-
Posts
465 -
Joined
-
Last visited
Content Type
Profiles
Forums
Gallery
Events
Everything posted by *Hans*
-
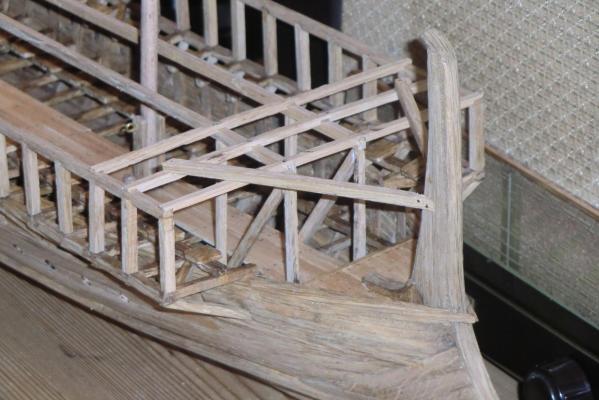
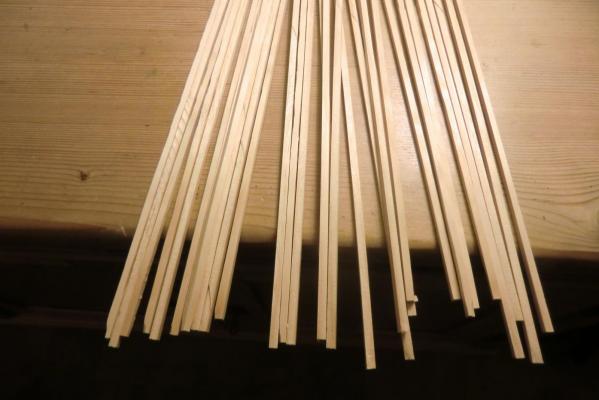
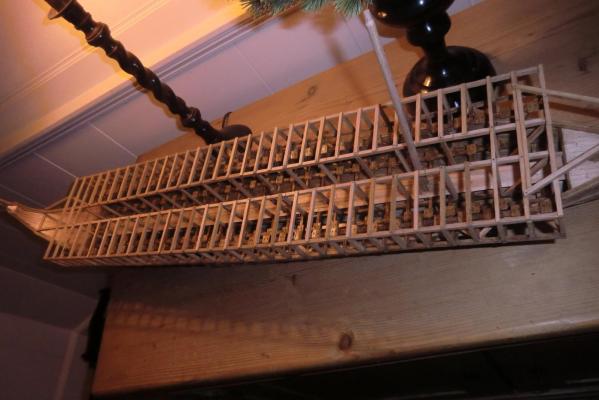
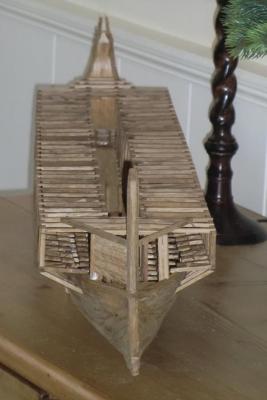
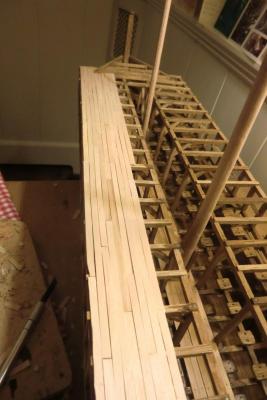
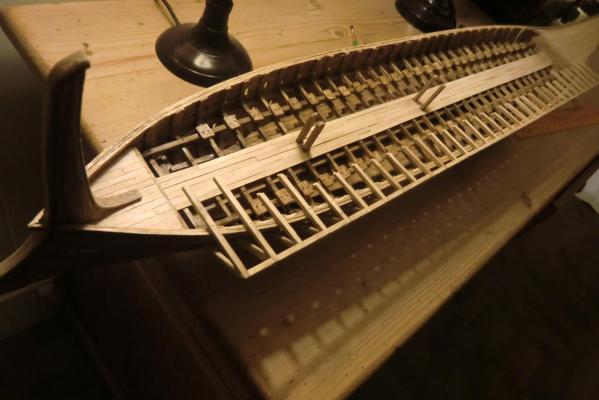
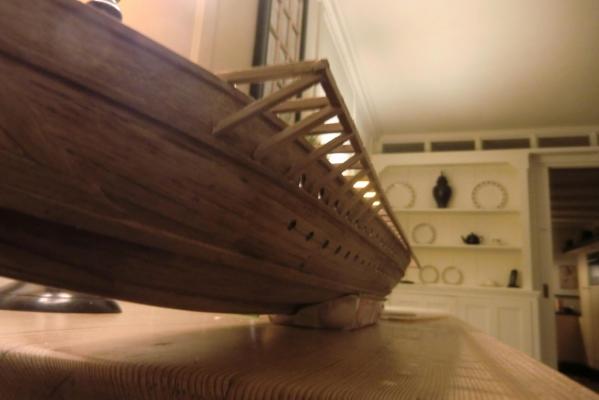
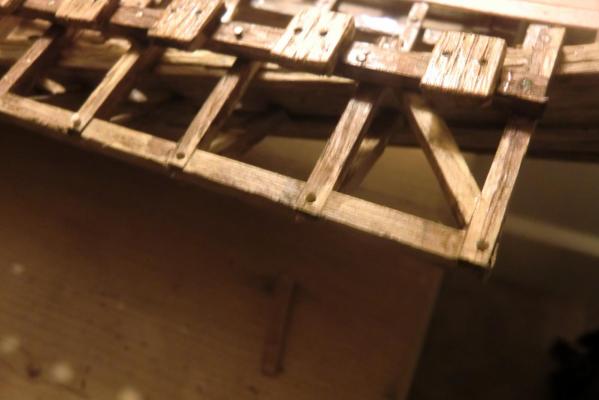
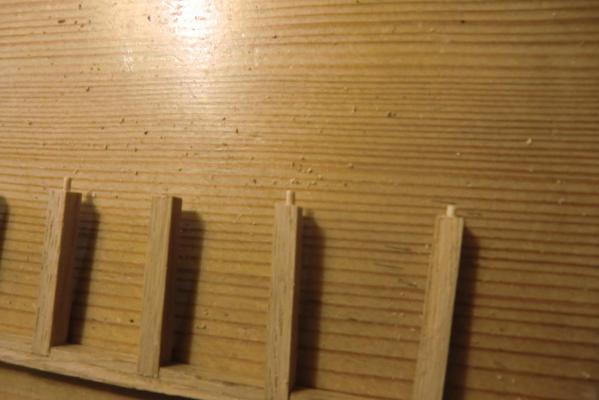
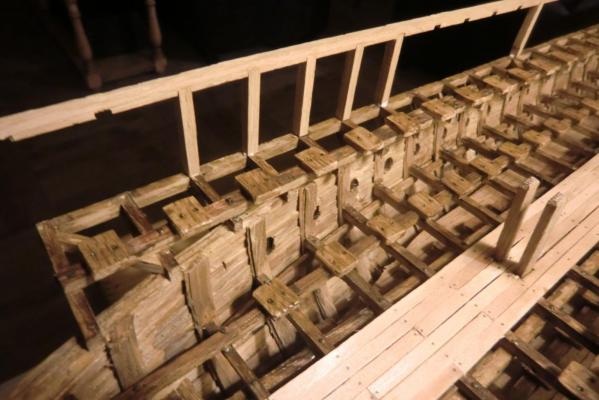
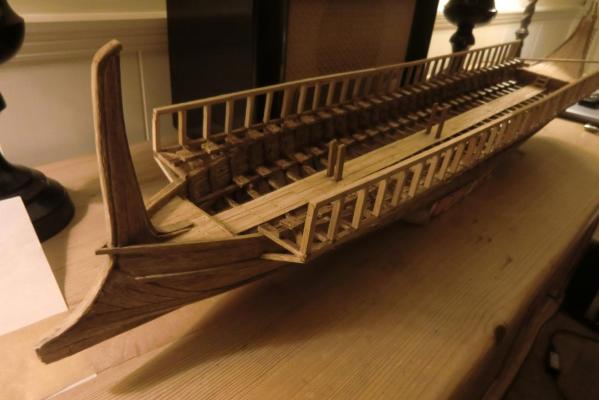
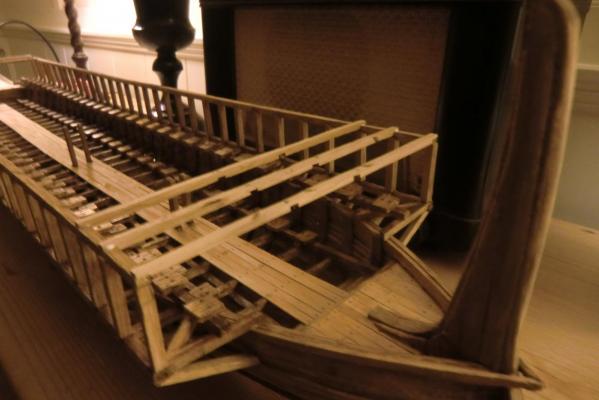
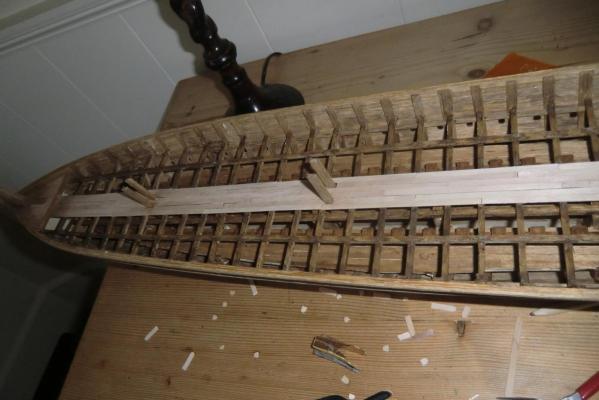
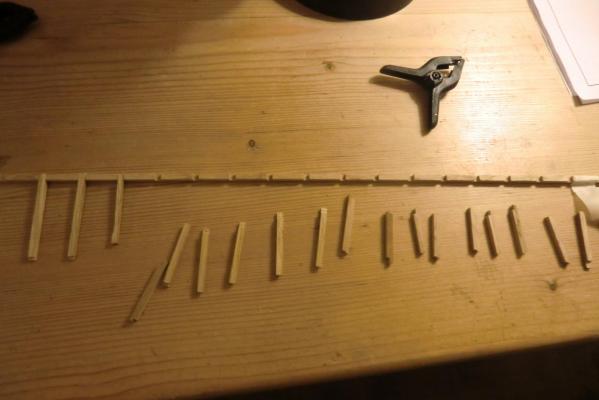
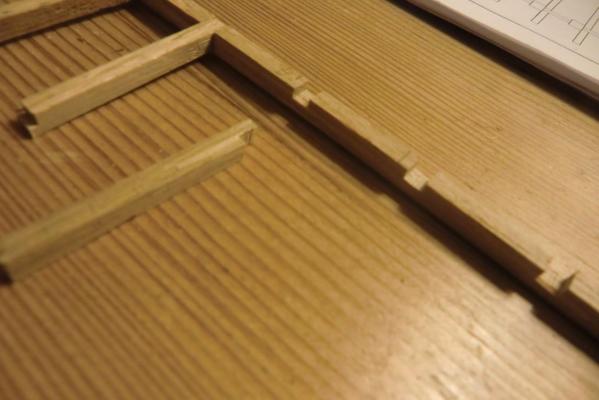
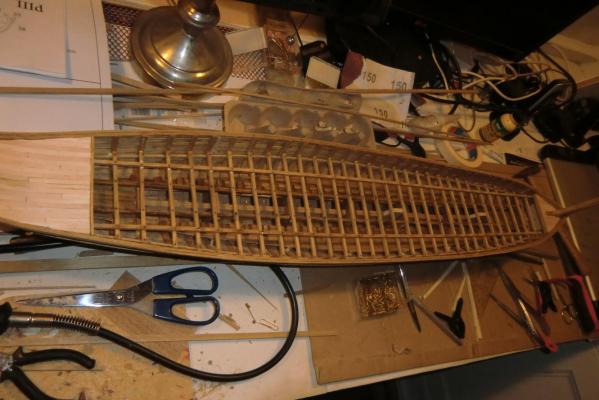
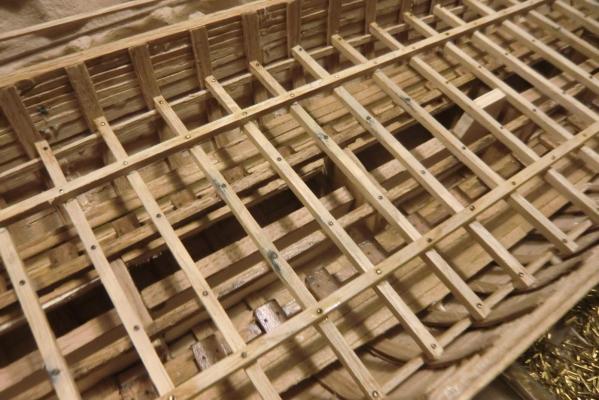
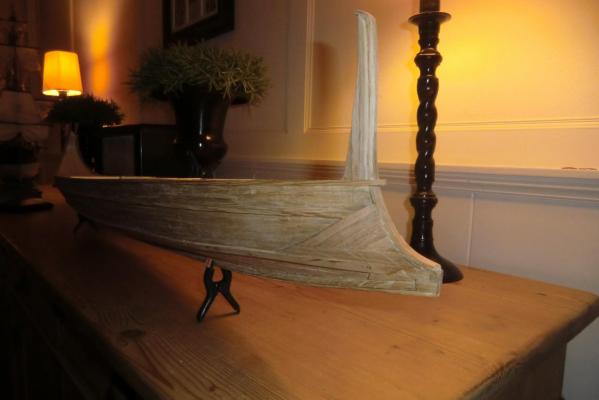
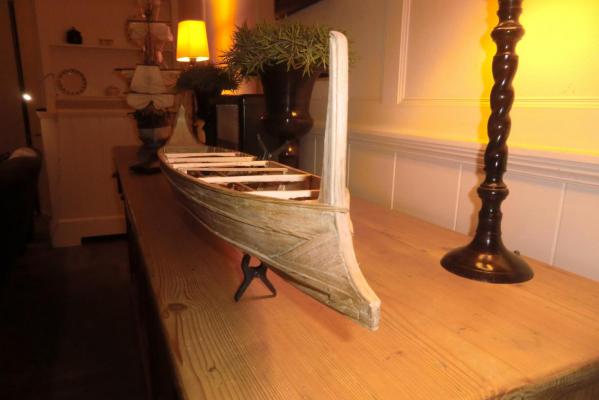
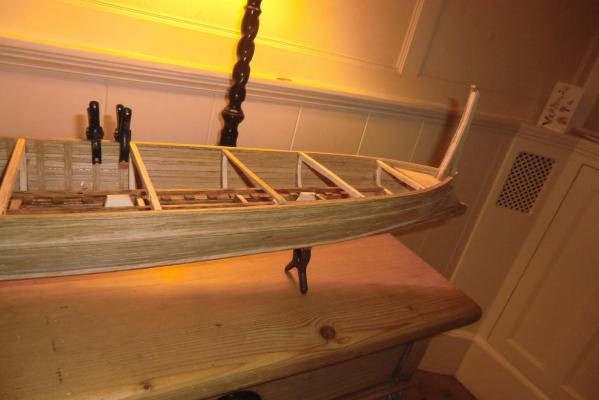
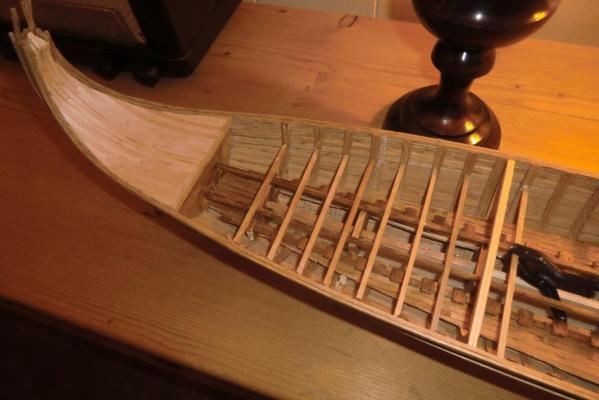
Thanks guys. December is a busy month - it has been a while since my last pictures. The structure on the ship is getting in shape more and more: And in the meantime cutted some wood for the oars: I figured out (being a mechanical engineer) that the structure of the original kit isn't made in the proper way - looking where the oars will come. To my opinion the whole structure will distort when speeding up the rowing (when the captain wants to waterski f.i.) The immense forces on the structure aren't brought to the hull when the diagonal beams are lacking. So I added them. View on the front with its closed nose: And the deck being placed:
-
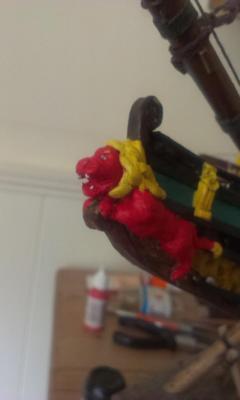
Haha nice - already thought so! I'm very familiair with green stuff - even introduced it on a Dutch modelbuilders forum. I made my lion on the Batavia out of this stuff. Indeed not "noble", but often very usefull!
-
Cristiano, Just had a quick scroll through your post to have a look at the pictures. You're doing a wonderfull job! How did you make the wolfs heads? Woodcarving or sculping them?
-
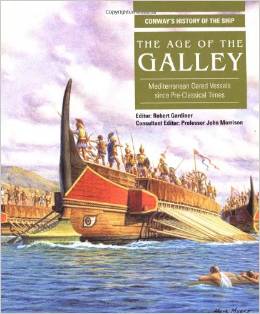
Cristiano, Very nice pictures you have! And thank you for this information. I use oak for the ship - will try as much as possible visible from the wood, but I also like the pale red colors. I am working out a color sceme with dark brown-black, pale red and oak as wood. The images you gave me are a very nice and good help for this.
-
Steven, Guess you're right - just did a search on the web and also found next quote: Homer (not Mr Simpson) speaks about the "black ships" in the Illiad; while Odysseus refers to the "crimson ships" in the Odyssey. The black could be pitch or tar or as Don says, which could be oiled wood. As red was one of the easier colors to produce during ancient time, versus purple which took about 60,000 rotting snails to produce one pound of dye. So it is possible to have black and red ships. You have to remember, the history police won't come knocking on your door because you chose colors that may not be historical accurate as this is a hobby
-
So i guess this is not visible from the outside because it is under the lower deck (which lies on level of the second row of seats). I cannot mount it on the right spot anymore. I could think about mounting it just above the lower deck, so that it is visible, but that would be a bit incorrect though?
-
Steven, there are a few things I am particularly interested in, maybe you know the answers (as I cannot look them up in my book yet): - did they use some sort of colors on these ships?. I am thinking of using some pale red and oker for details, but am not sure about this. - The hypozomata - at which height in the ship was this mounted? Was it visible from the outside?
-
It doesn't have to be difficult , and: First - a dremel rotary tool (or any other brand of course) is very handy for these kind of jobs Second - oak is tough and strong. I think if I would drop the hull there wouldn't be real damage to it. With the regular modelkit wood I'm not sure about this. A rat tail file might be the better option if you're using walnut or basswood
-
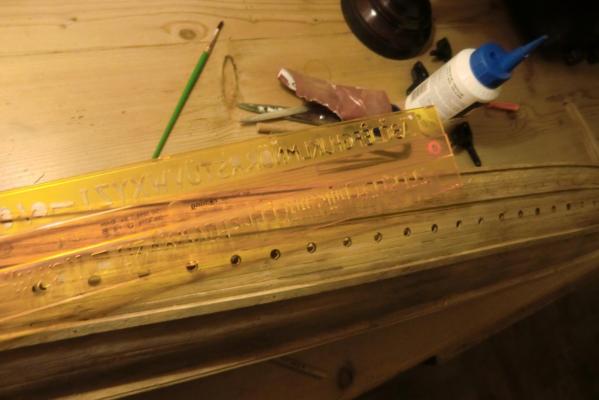
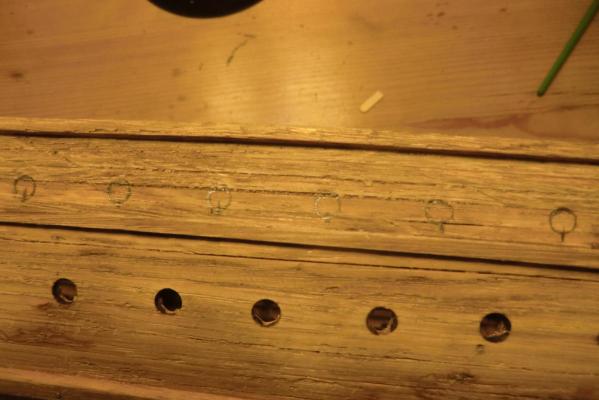
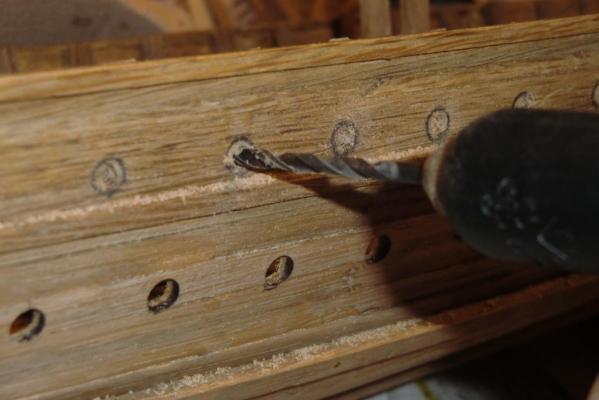
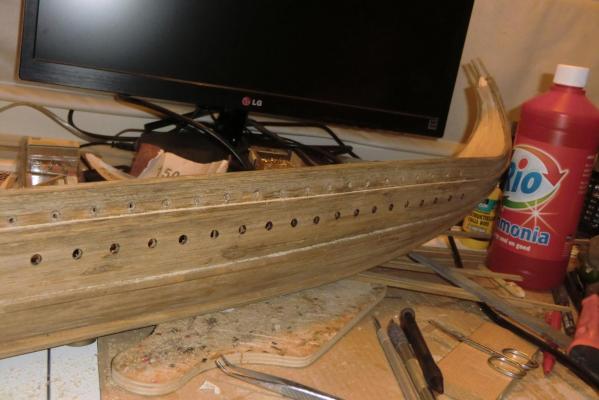
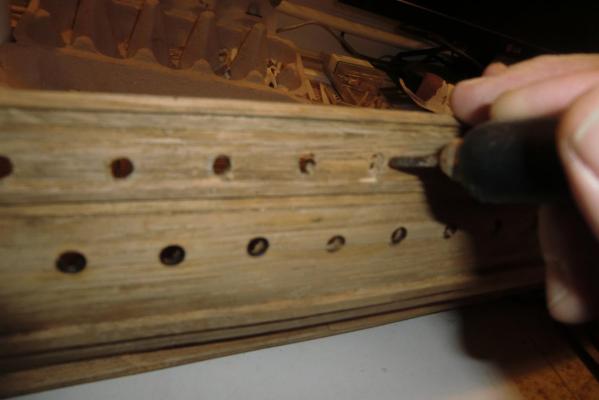
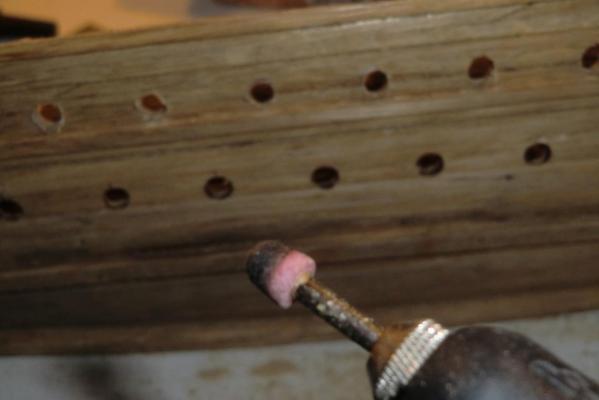
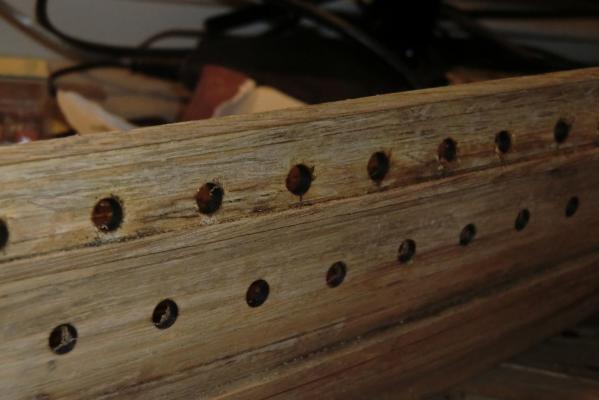
As promised: pictures of making the holes for the oars: First step is to mark the right spots and rough diameter. I used an old fashioned letter template for this: Then simply drill the holes with a 3 mm drill (rather difficult to drill and make a photo - the drill is actually turning, but the flash makes it not visible): With a round cutter widened the wholes until the approx diameter is reached: Then with some sort of whetstone (don't know how else I should call this) in the right diameter done the last step:
-
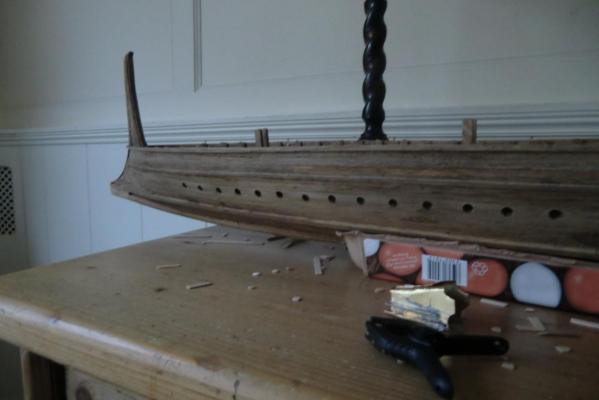
In fact this ship isn't that difficult. After making the substructure for the second row of seats I added the deck in between them. Quite simple with wooden stirrers again. After this I started with aging the oak by treating it with ammoniac. This gives a dark shade over the wood. Not sure if I will stain it further - have to make some samples Also made the first row of holes for the oars: And I started with the frames for the third row of seats: Here my new circular saw is quite handy
-
To be honest - this is a bit of a handicap which turns out to be (at least in my opinion) an advantage. I am a bit of a sloppy builder - when I make some planks in say 4 x 4 mm in turns out that some of them are not exactly square, or the saw has ripped out some splinters or so. Never mind then I say to myself - in real this would have happened as well. In the end my models turn out to be nice, with rough edges, but having a live and vivid character. Just like the real ones after many years of use. (but this is also a long excuse for simply saying I'm not that a skilled builder.... )
-
Sharpie, you're doing a really fine job over here, with all the research! I think this will become a quite accurate model - although there is no real ancient model to compare it with. I saw a picture somewhere (don't know where it was - appearently not in this topic) where you were talking about an airpump - but to my opinion this is just a waterpump. You might have noticed I am busy on the Trireme at this moment. It is build in the usual kit-style, not plank on frame, not to the most accurate ancient methods like yours, and with a lot of my own input in it. What a luck I have no ancient vessel has remained....
-
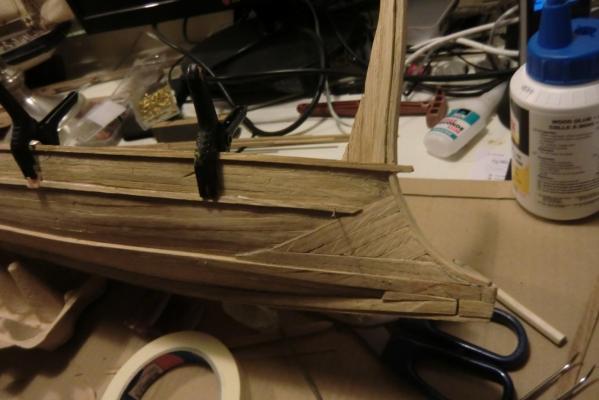
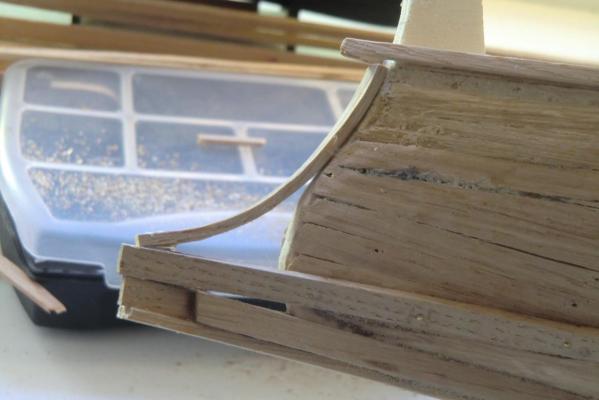
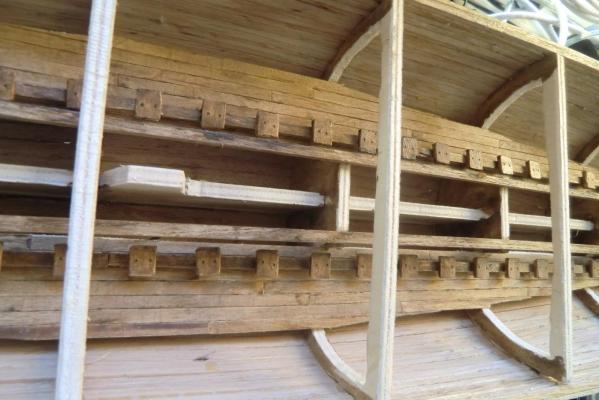
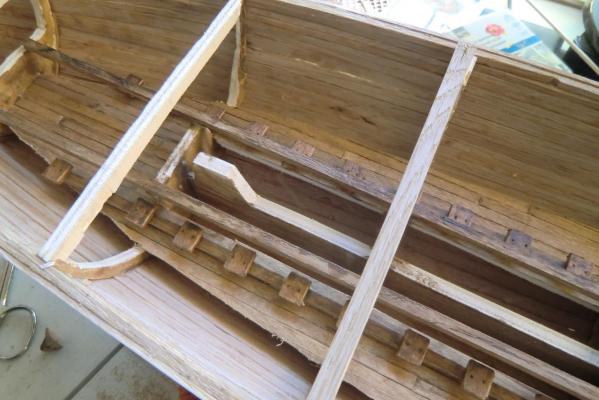
Planking of the hull is merely finished - and the ram on the bow is getting its shape. When you make a mixture of oakdust and diluted white glue the oak will start to discolor to black a bit. Fortunately this again will be covered by the further planking of the bow and the ram. And a few pictures for Don, showing the inside so far:
About us
Modelshipworld - Advancing Ship Modeling through Research
SSL Secured
Your security is important for us so this Website is SSL-Secured
NRG Mailing Address
Nautical Research Guild
237 South Lincoln Street
Westmont IL, 60559-1917
Model Ship World ® and the MSW logo are Registered Trademarks, and belong to the Nautical Research Guild (United States Patent and Trademark Office: No. 6,929,264 & No. 6,929,274, registered Dec. 20, 2022)
Helpful Links
About the NRG
If you enjoy building ship models that are historically accurate as well as beautiful, then The Nautical Research Guild (NRG) is just right for you.
The Guild is a non-profit educational organization whose mission is to “Advance Ship Modeling Through Research”. We provide support to our members in their efforts to raise the quality of their model ships.
The Nautical Research Guild has published our world-renowned quarterly magazine, The Nautical Research Journal, since 1955. The pages of the Journal are full of articles by accomplished ship modelers who show you how they create those exquisite details on their models, and by maritime historians who show you the correct details to build. The Journal is available in both print and digital editions. Go to the NRG web site (www.thenrg.org) to download a complimentary digital copy of the Journal. The NRG also publishes plan sets, books and compilations of back issues of the Journal and the former Ships in Scale and Model Ship Builder magazines.


