HOLIDAY DONATION DRIVE - SUPPORT MSW - DO YOUR PART TO KEEP THIS GREAT FORUM GOING!
×
Paul0367
-
Posts
512 -
Joined
-
Last visited
Content Type
Profiles
Forums
Gallery
Events
Everything posted by Paul0367
-
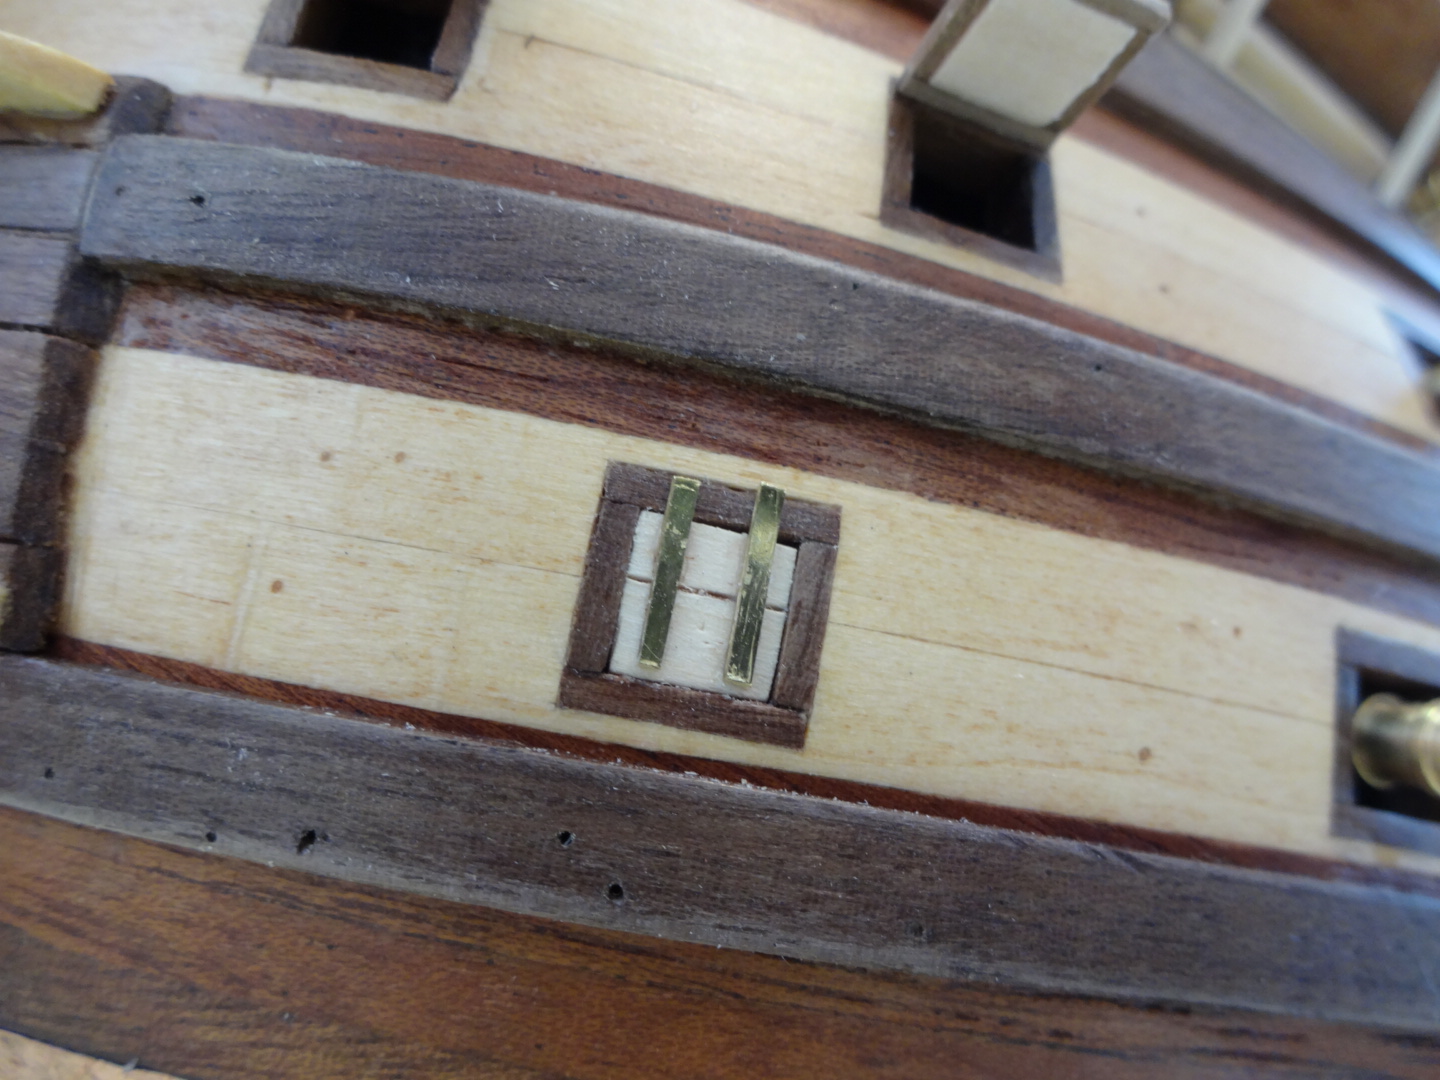
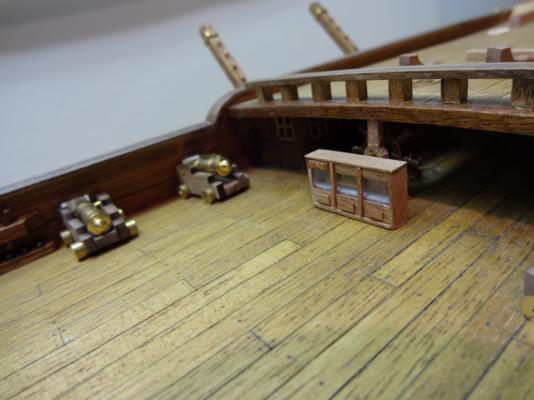
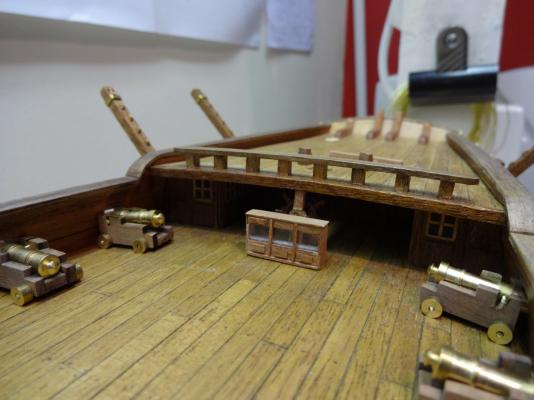
 I'm searching for opinions here, ok I know it's my ship and ultimately I'm the one who needs to decide but its opinions I'm in search of especially you experienced guys. Top picture, ignore the hinges these are mearly for effect, due to some doors remaining closed and flush I'm thinking this, the frame is attached when closed, a blade score around the outer edge will highlight this more but the key word is flush when closed The centre image is the same door, open but a painted ( swear word) frame. The third image is the same door framed. I know it's not flush if it was ever closed but it's playing with the eye, I think. I have my own preference but just putting it out there


- 708 replies
-
- 2
-

-
- victory
- constructo
- (and 1 more)
-
Oh my friend not only have you made the doors, you framed the edges too, love it, that's perfect and the framing solves the problem of using two boards. Thank you, you have sent me the solution. I will be looking into the hinges too. I really need to trawl the MSW site more, love seeing her finished. ? How do you put sub headings on the site of previous builds. Well im off to nosey at your builds, thank you
- 708 replies
-
- 2
-
-
- victory
- constructo
- (and 1 more)
-
Thank you for the heads up on the hinges, they are really good and very effective and transform those doors, also love the doors made with wood... DOORS? please if you still have the constructo model you built with the wooden doors could you send me a picture, I have the delema stated earlier, the hull planking is two 6mm planks ( not Scale), the doors (cast) are 3 x 4mm planks ( Scale ) or more scale is a better word. I considered putting a groove in my hull planks but this may look terrible and will make or break the model, getting them right is using this method may prove very difficult, too risky even.
- 708 replies
-
- 1
-
-
- victory
- constructo
- (and 1 more)
-
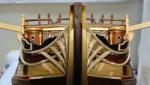
Cheers Josh, It was a gamble that payed off. Where did you get your display case from, was it purchased or made by yourself
-
This is another part that the kit avoids, the internal decoration but really looks bare without.

- 708 replies
-
- 2
-
-
- victory
- constructo
- (and 1 more)
-
HI Mike Thank you, what is your kits doors like, also the canonaids, are they closer than Constructo
-
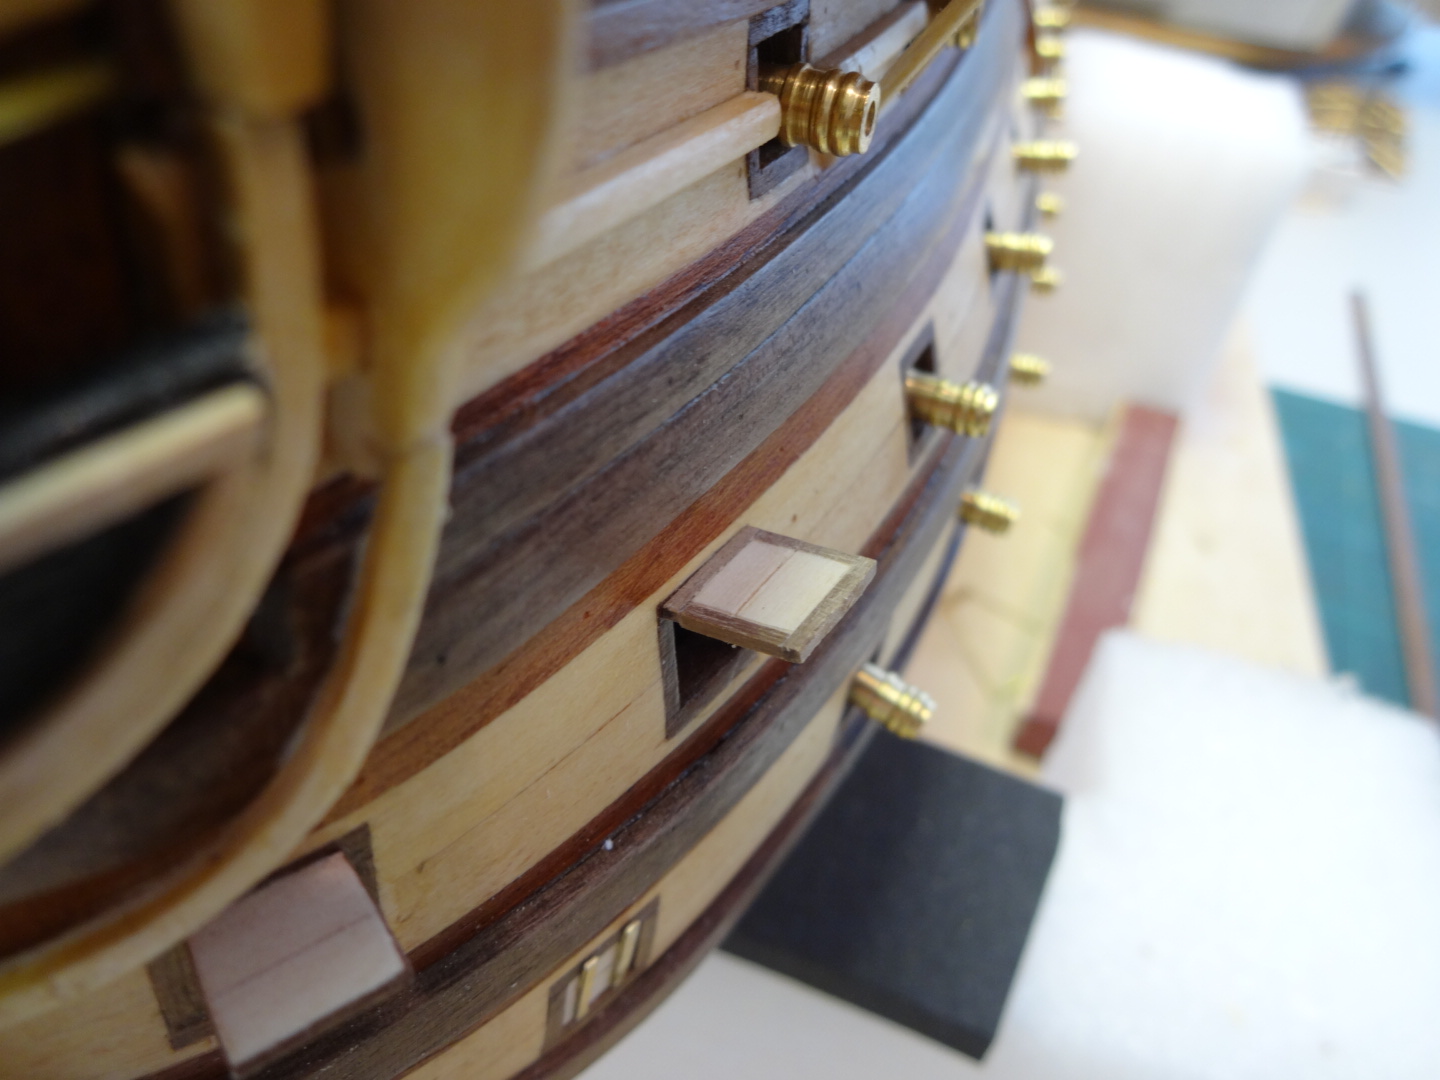
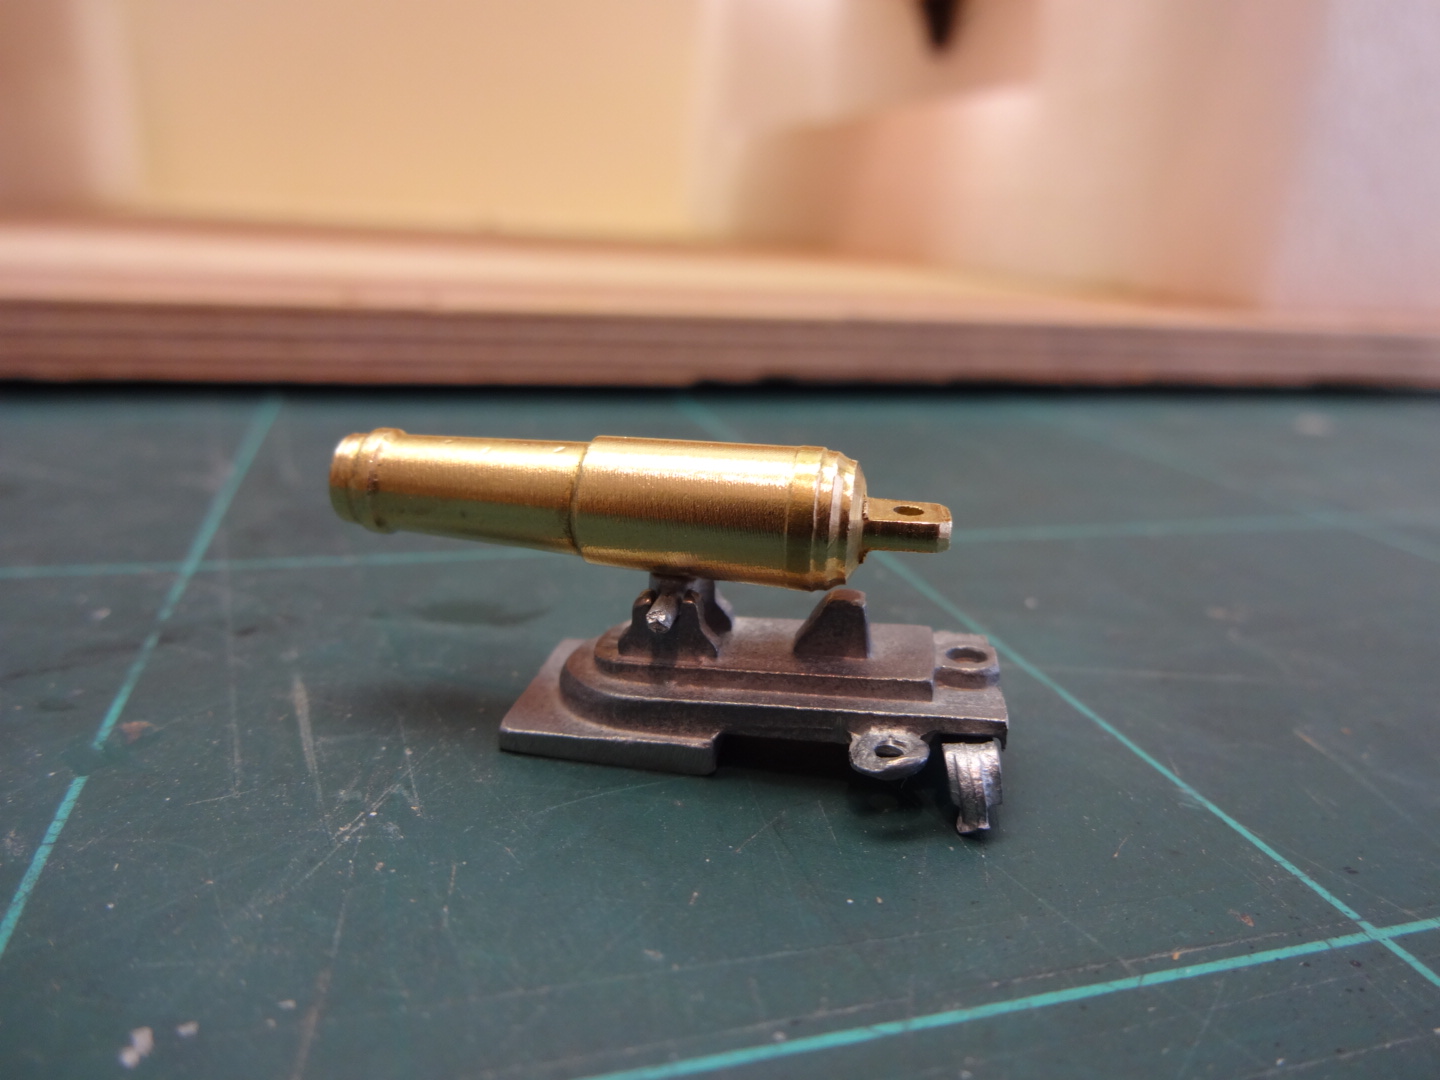
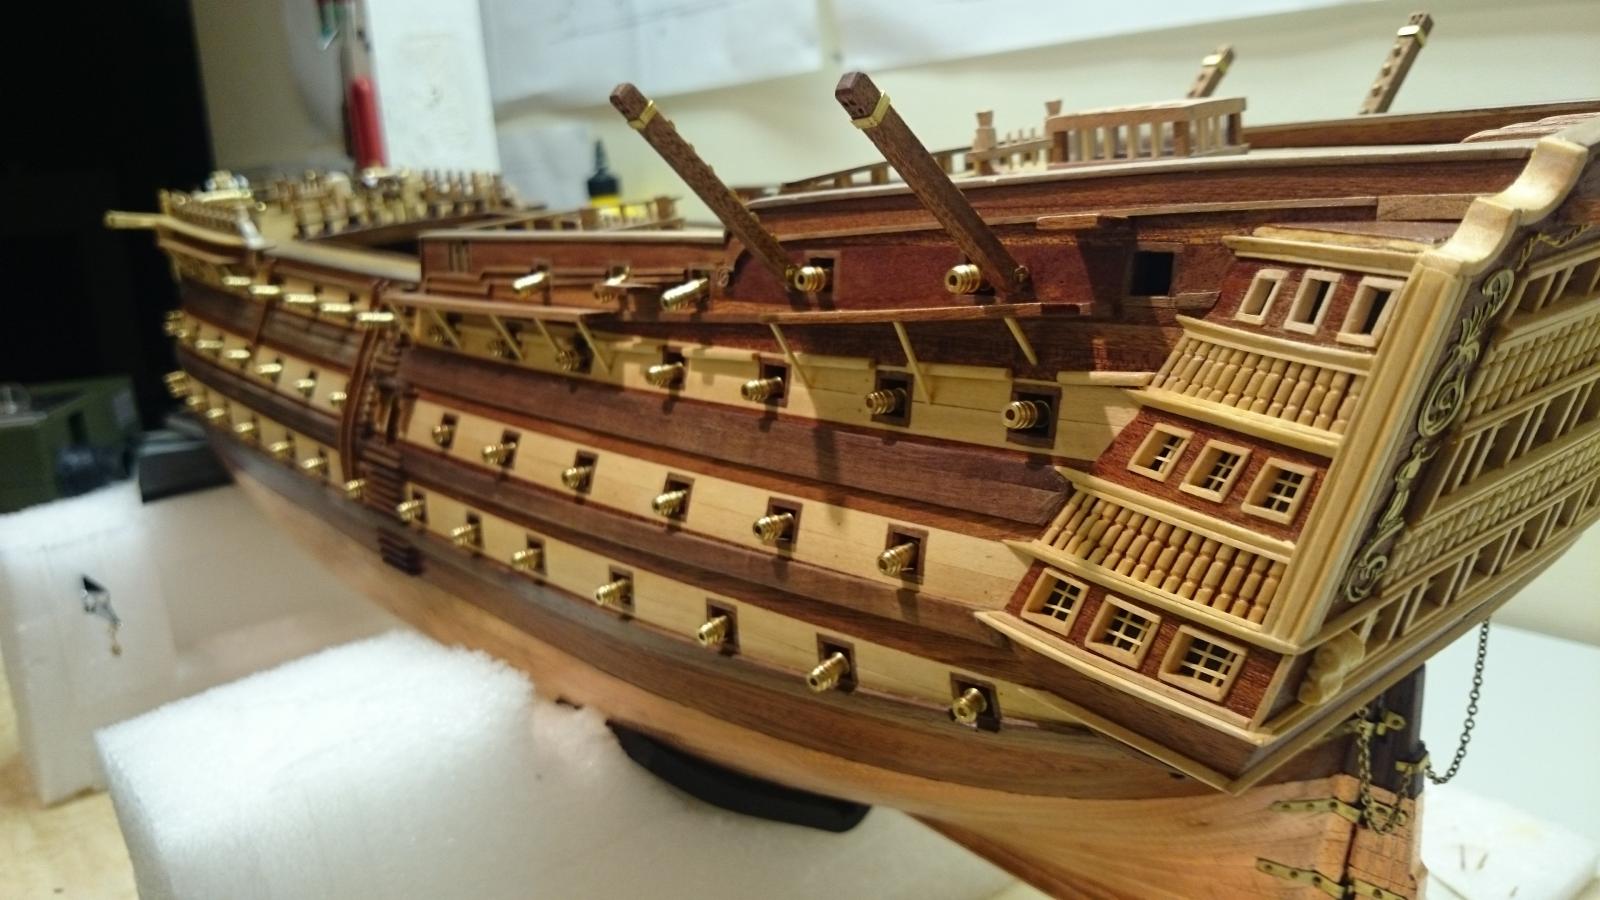
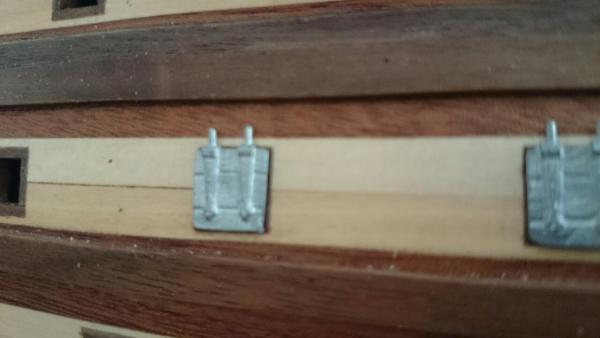
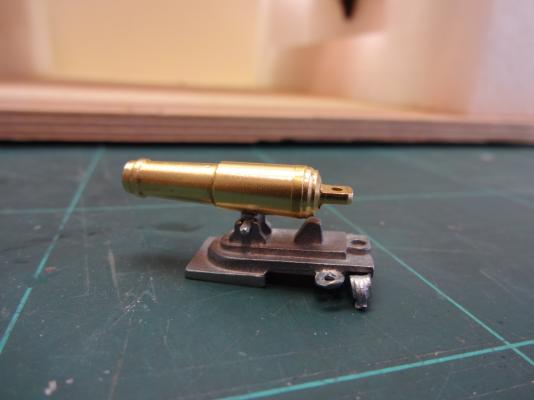
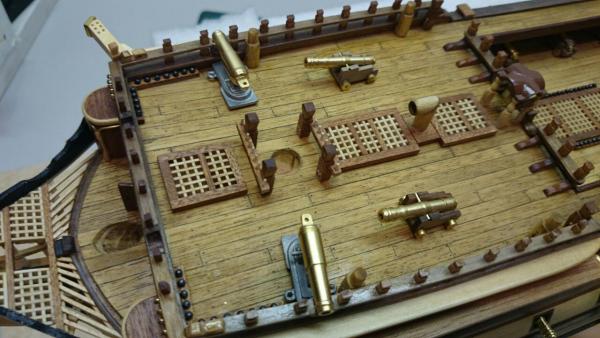
I'm not going mad fitting screw adjusters, bear in mind by the time these are roped up there will be little below the canon to see, as for actual canon i'm again not to fussed. The metal canon door when closed counter sink into the frames and do look very plausible but there not as flush as the real ship, that said there is no reason why the ones that are left closed cannot be sunk further. The immediate problem with the doors, you will find we have two 6mm planks which span the doors top to bottom but to be scale there would need to be three planks of 4 mm. To add insult to injury, Contructo have the metal door stamped with three planks per door. See image. Caldercraft ( I keep banging on about) put a lot off effort in to making a very acurate reproduction, this is where the tag comes from and to do so the dimensions grew to accommodate the extra details. I will one day in the future bash the later Kit. These doors open, may get away with but closed the problem shouts out, well to us it does but the average person whom don't build would never notice.
- 708 replies
-
- 2
-
-
- victory
- constructo
- (and 1 more)
-
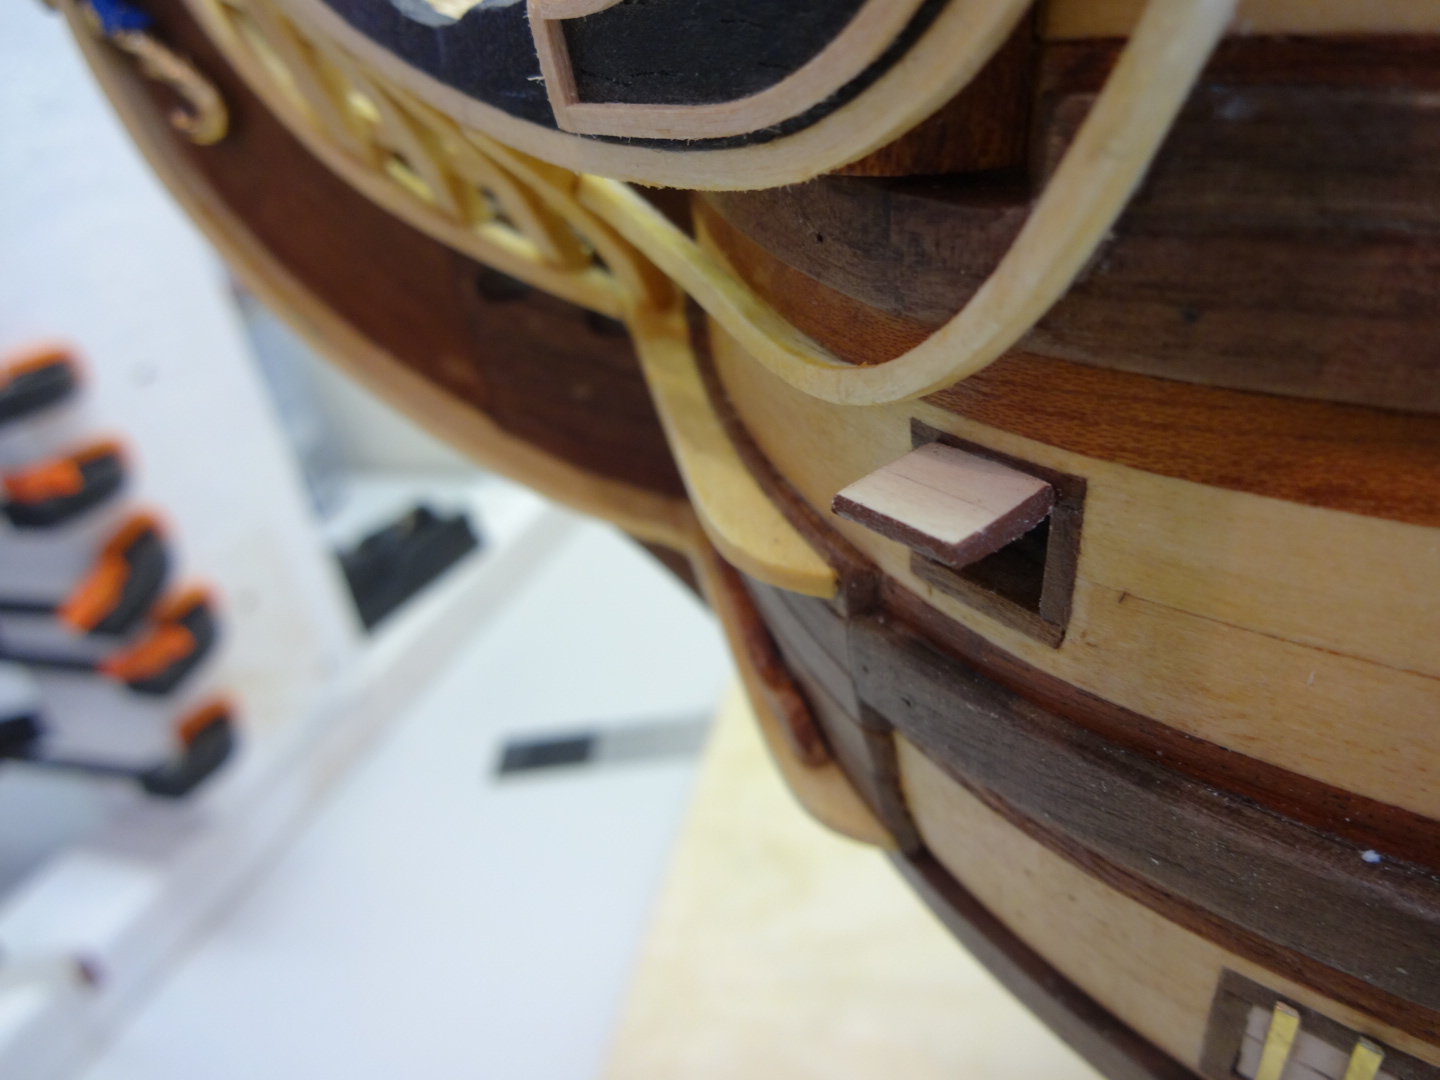
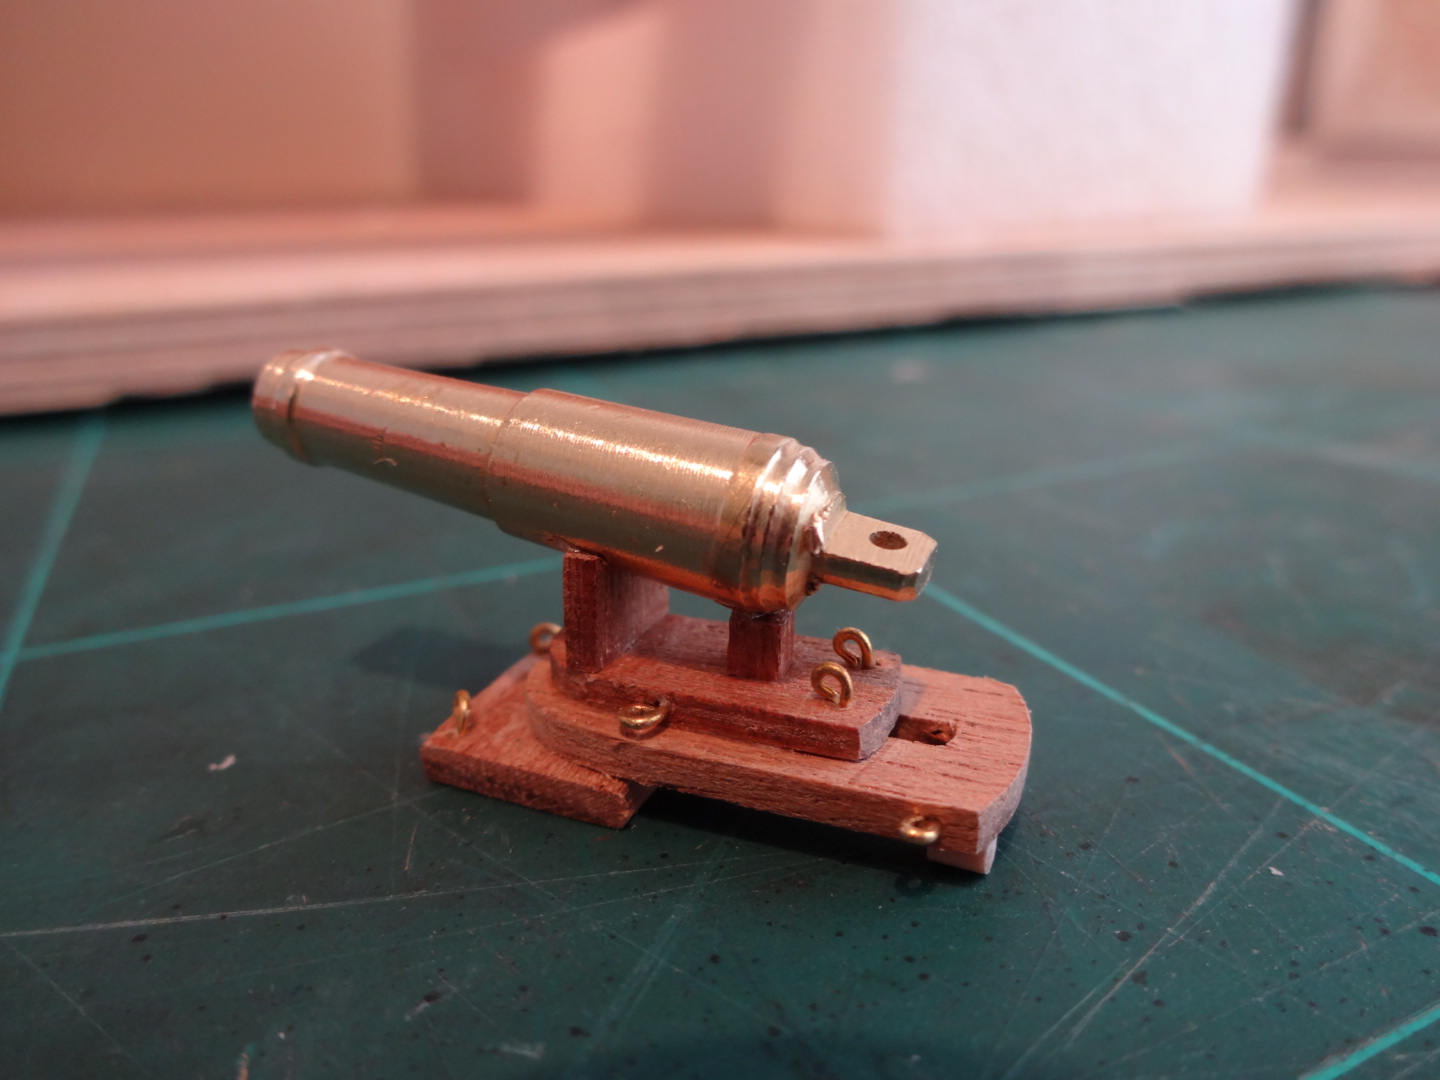
Well I'm sure you aware I'm not a fan of the metal stuff supplied in the kit, the canonaids are well, very metal. I would like to say look at my idea but, well, I pinched this but hey that's what these sites are for. The big job really is replacing all those canon door with scratch built wood ones.

- 708 replies
-
- 3
-
-
- victory
- constructo
- (and 1 more)
-
I'm new to this ship stuff, sorry, please explain rig my lines ? I know the dead eyes are the rat line carriers and masts are, well mast. Are you referring to standing rigging.also is there an advantage to leaving them long before the running rigging is fitted. I haven't studied the rigging side in depth yet. I have read that you need to start from the inside and work your way out, for the obvious reasons of access.
-
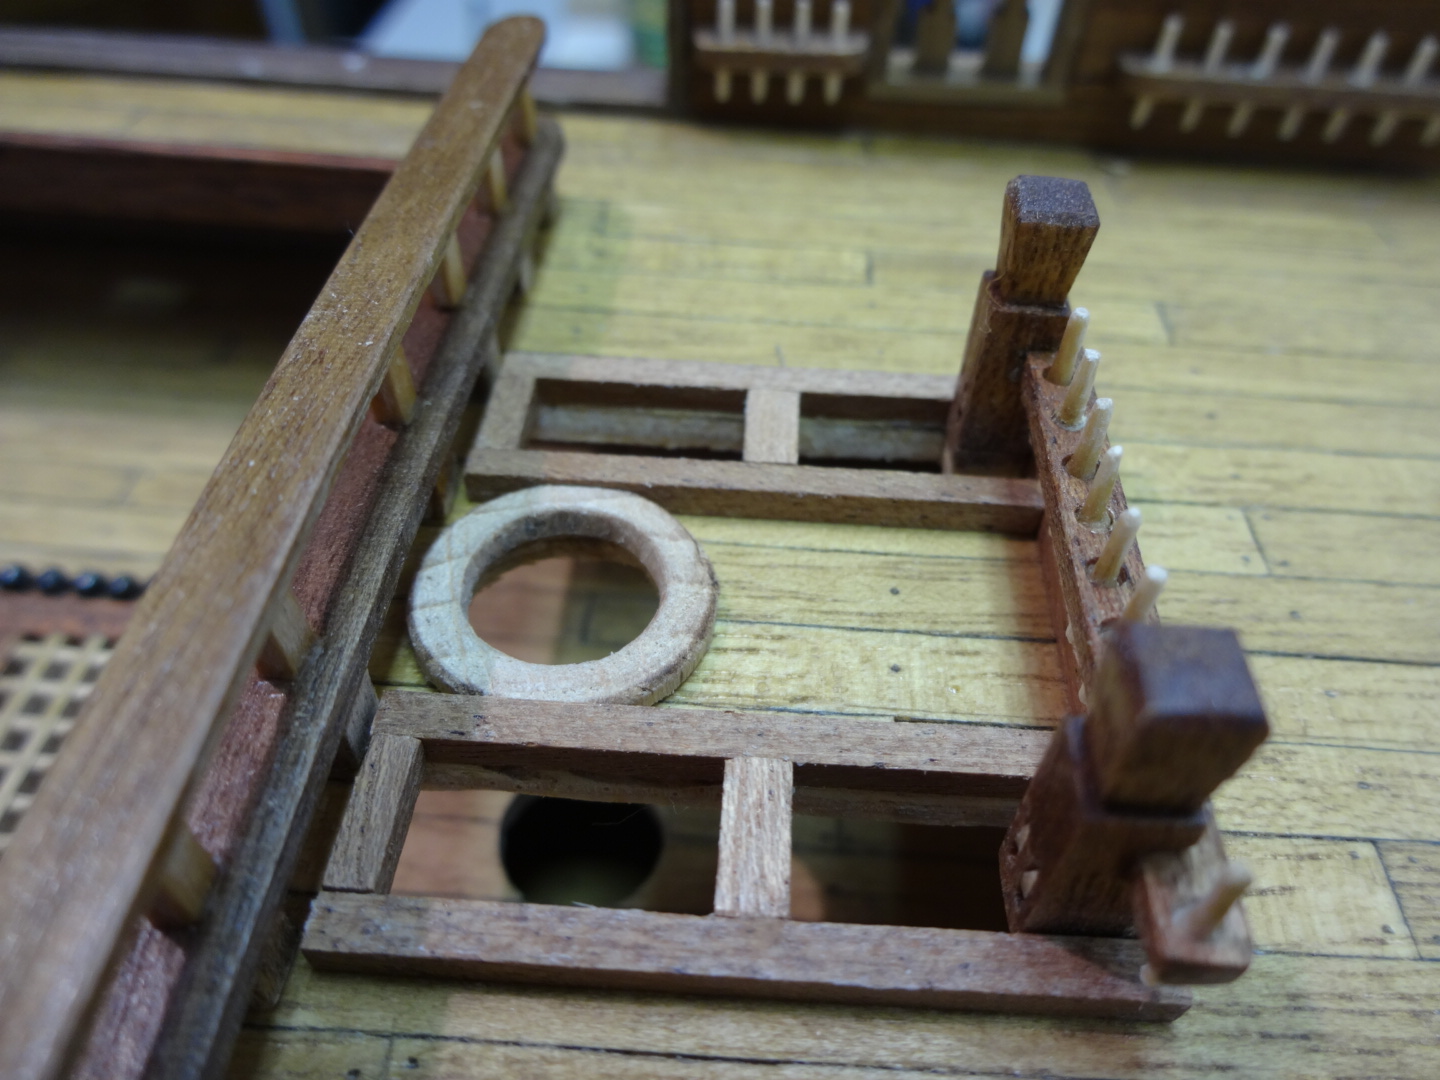
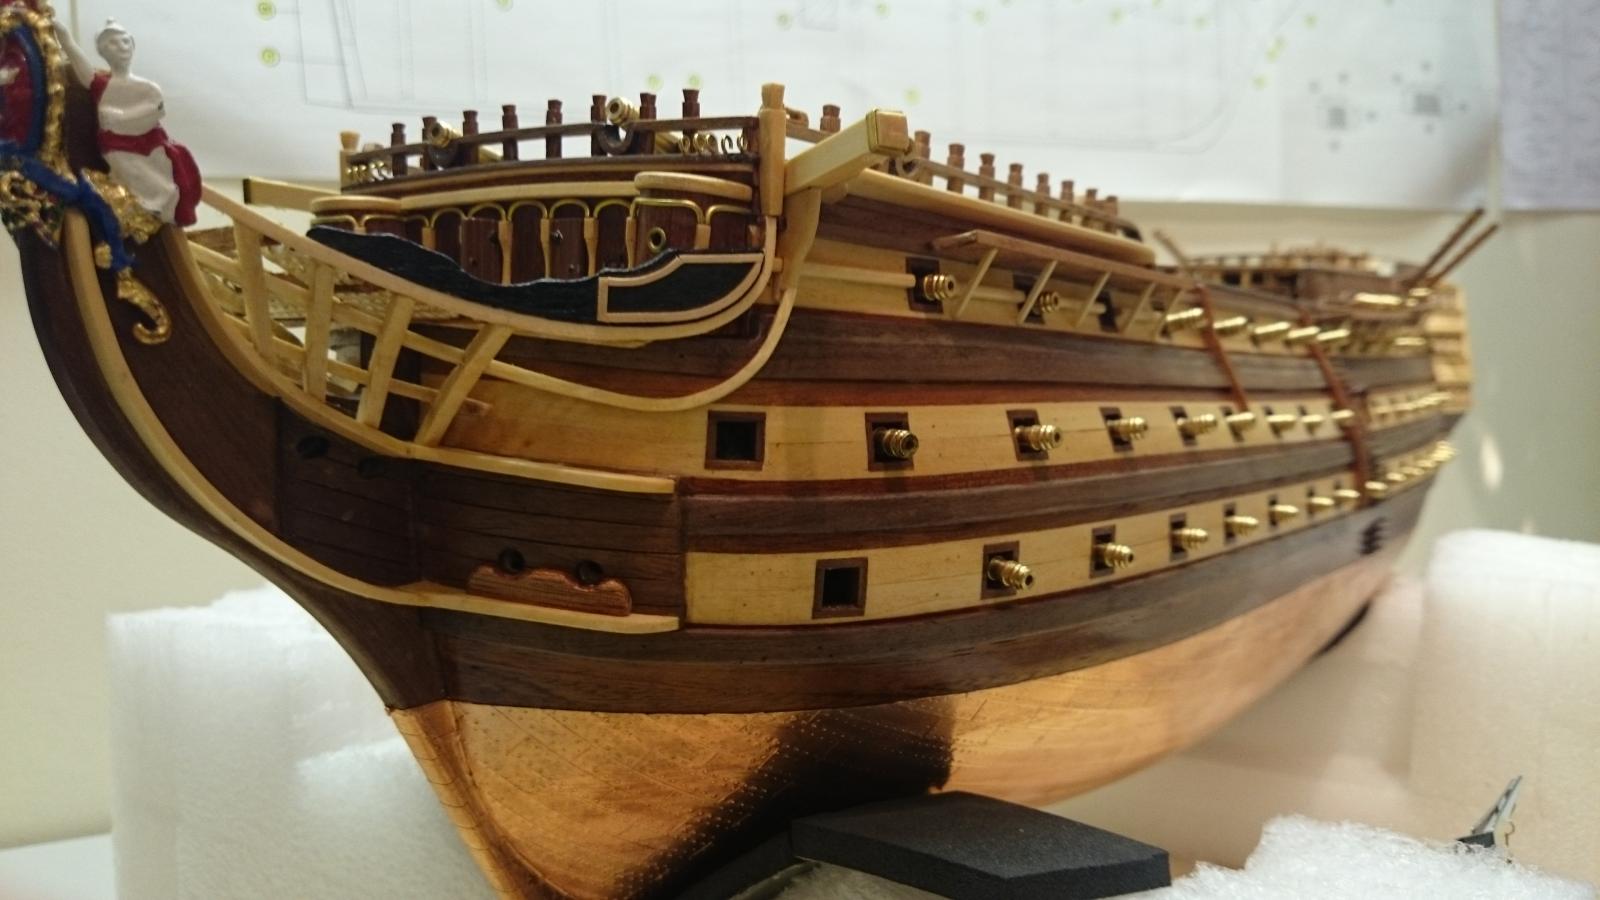
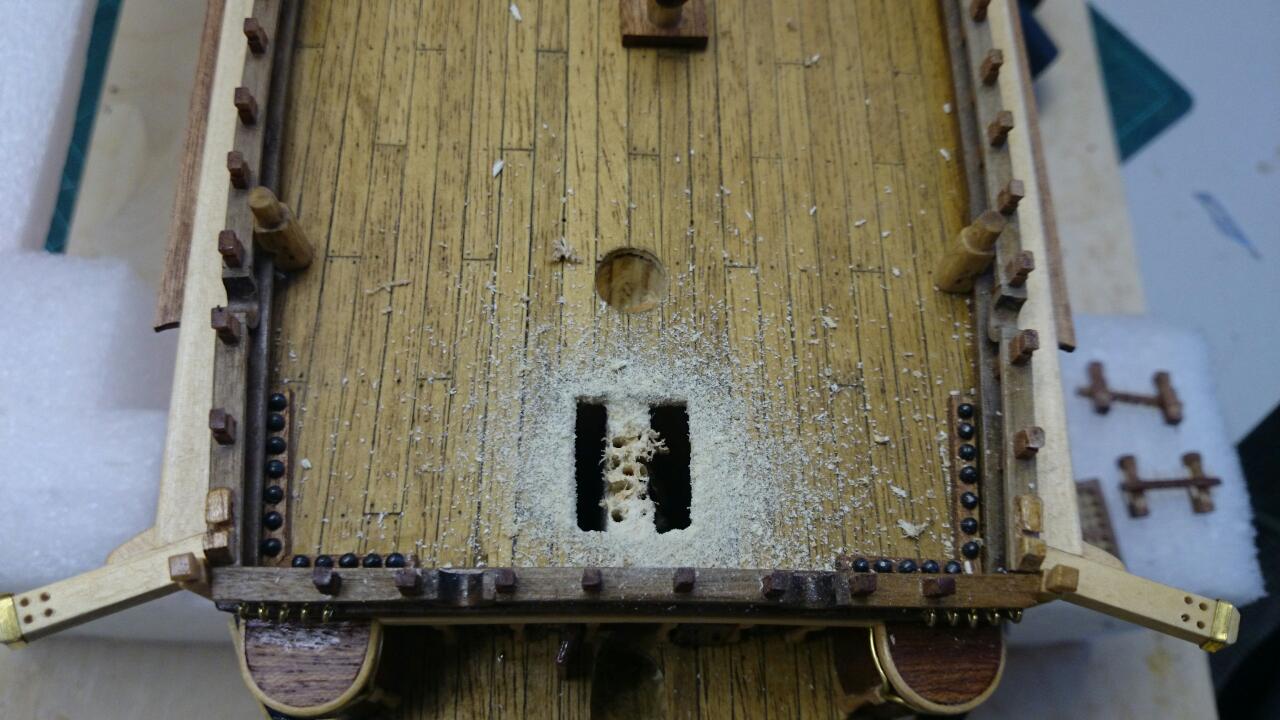
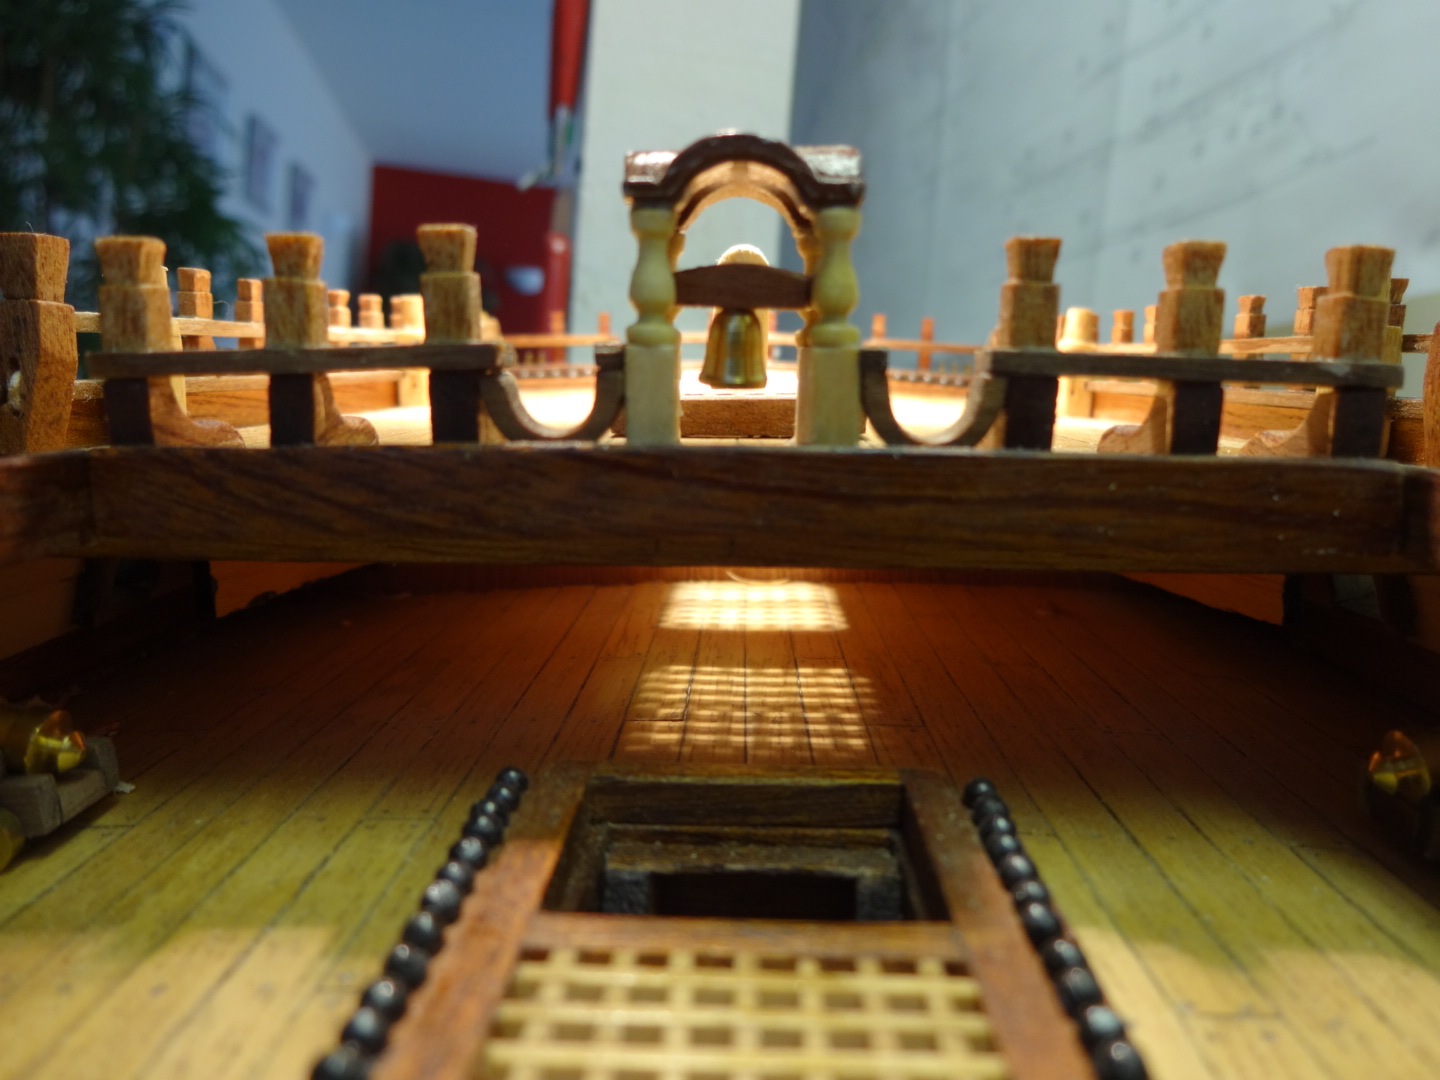
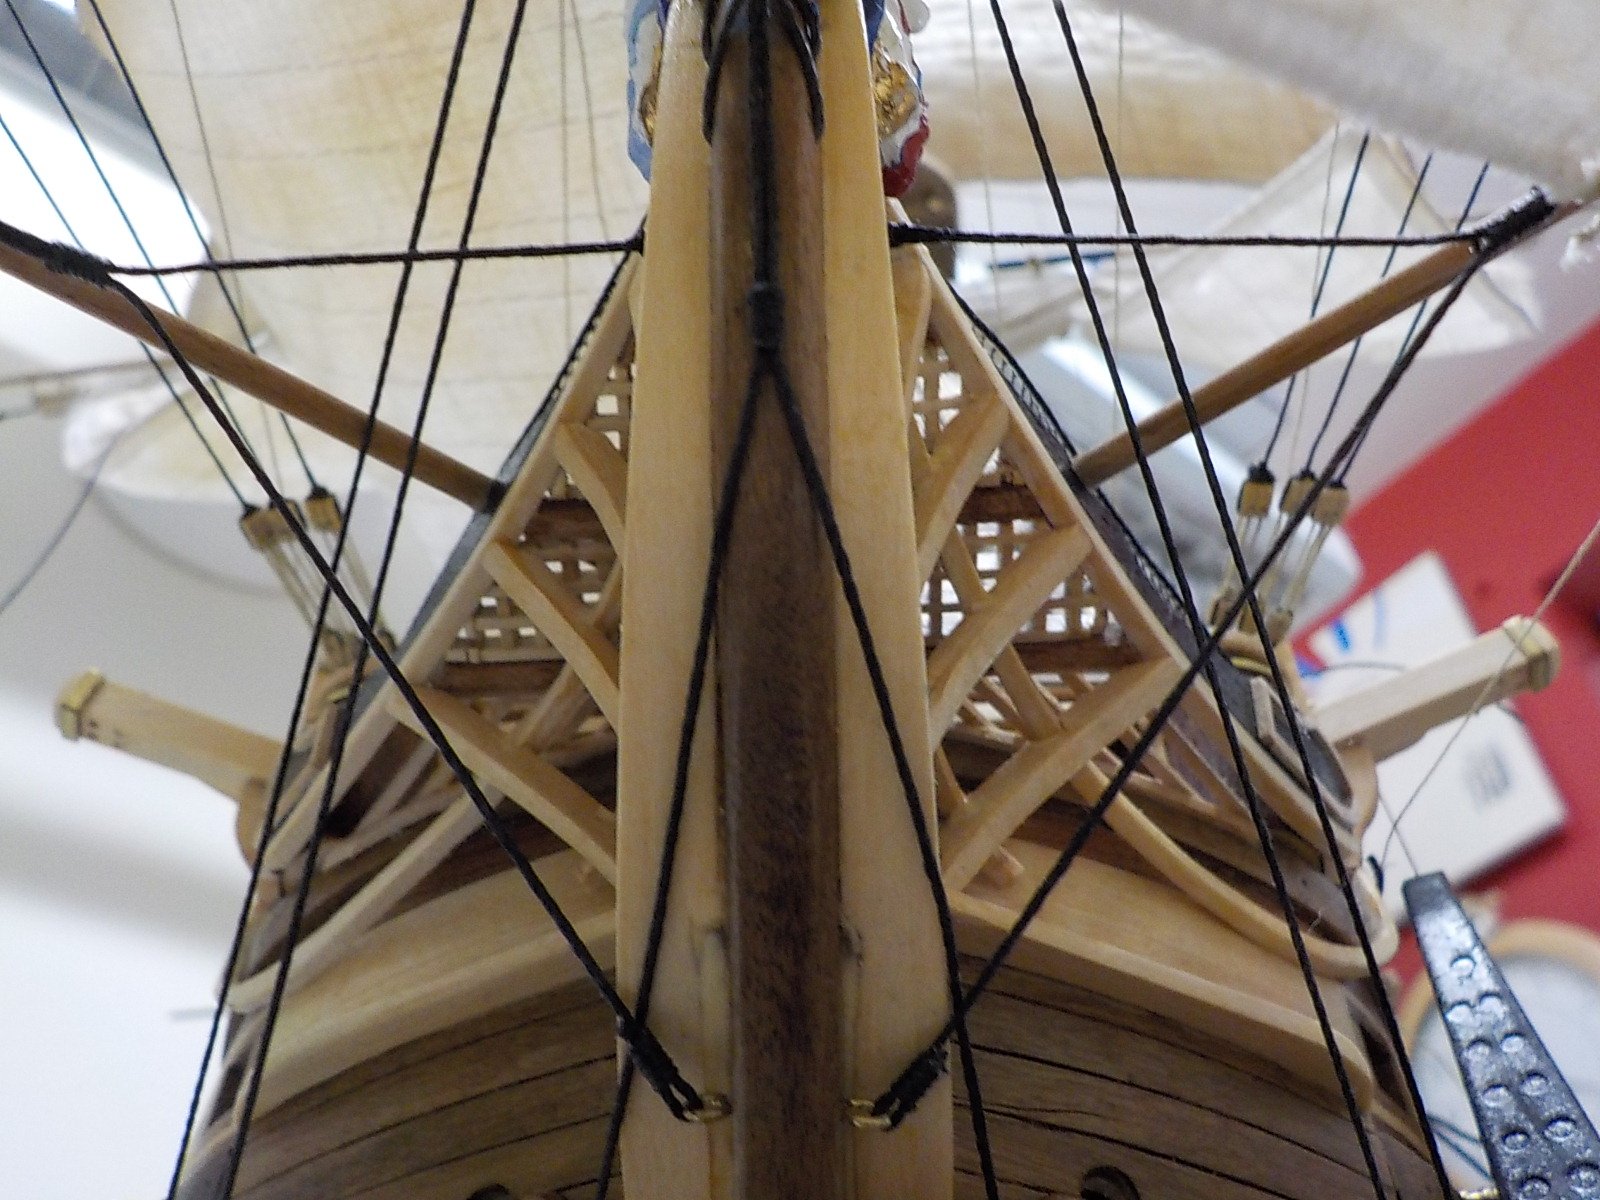
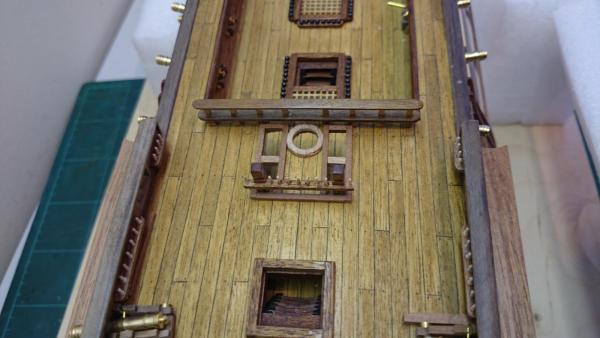
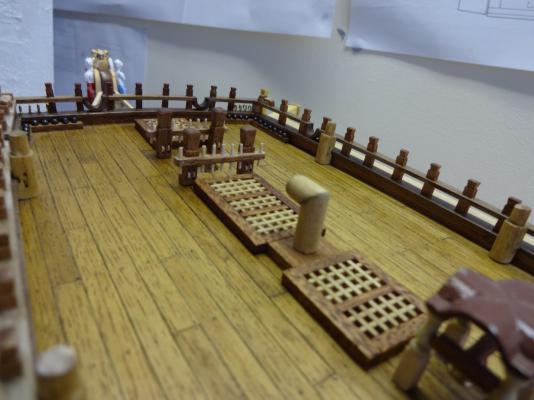
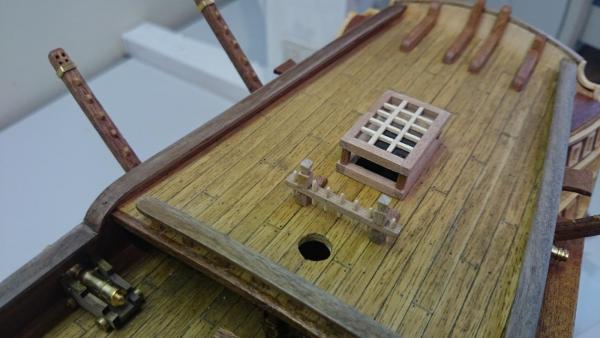
I have framed my holes below the main mast and to be honest this is probably my favourite risk, it just looks right to have these openings for the rigging,,, ok, yes the purest will notice the mast should be almost central but I'm not cutting filling and moving mine.
- 708 replies
-
- 3
-
-
- victory
- constructo
- (and 1 more)
-
Thanks Rich, Sir, I like that. My Cannon balls are fishing lead shot No8 00.6g ok they have a slit in for attaching to the line but I just pinch them closed, the balls are not perfectly smooth, like real canon balls and I just left them there natural colour. Airbrush, regards the Caldercraft kit, personally because this is my first ever venture into ship building I just didn't want to spend so much on a kit, honestly I didn't know if I could build one. So many part built models on ebay where they either loose interest or likely struggle to build.
- 708 replies
-
- 1
-
-
- victory
- constructo
- (and 1 more)
-
Hi Dominic Last time we talked your kit was still awaiting delivery, cannot believe the price, you were given it. looking great by the way, love the captains quarters detail. I spend so much time building and adding my own pictures I confess to not routing about other builds very often. Airbrushpiracy led me to your site as we talk frequently and your name twigged the grey matter when he talked to you. I will be popping back to see your work.
-
Make the wife breakfast in bed, do some serious creeping and drop in, dear I want a Caldercraft Victory about £800, all the fittings and quality stuff will all arrive in the box. Bingo Oh and good luck with that one. remember which one i'm building, it not guaranteed to work. Failing the above, Cornwall Model boats should give you the information, that said there are plenty of them being built on MSW, ask the guys
-
Well I don't want to disappoint you but that at 90 mm is huge, the brass etched one is 45mm the gap between the davits is only 75 mm. No wonder the Caldercraft vessel is so detailed, it's a big girl in comparison. To be honest I never realised how much bigger, explains the price tag Really.
- 708 replies
-
- 1
-
-
- victory
- constructo
- (and 1 more)
-
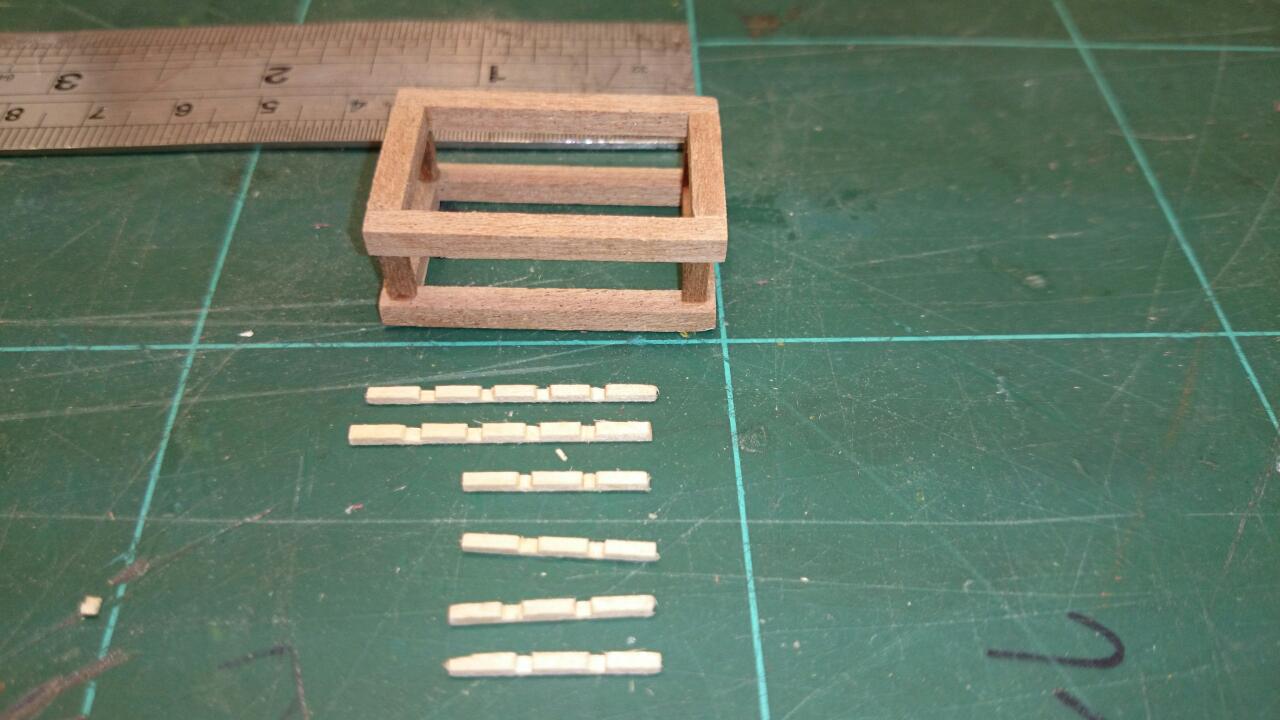
More chopping to match the real ship, just needs the frames
- 708 replies
-
- 2
-
-
- victory
- constructo
- (and 1 more)
-
Send me your email address, i can send you pictures. don't trawl the net for this, I did and there is very little out there. To be honest I thought I did put images on but just had a look through and I didn't. Castings, you've got to send pictures of them, I can quite easily replace mine at this stage, the wheels, don't go to mad there almost obscured when fitted
-
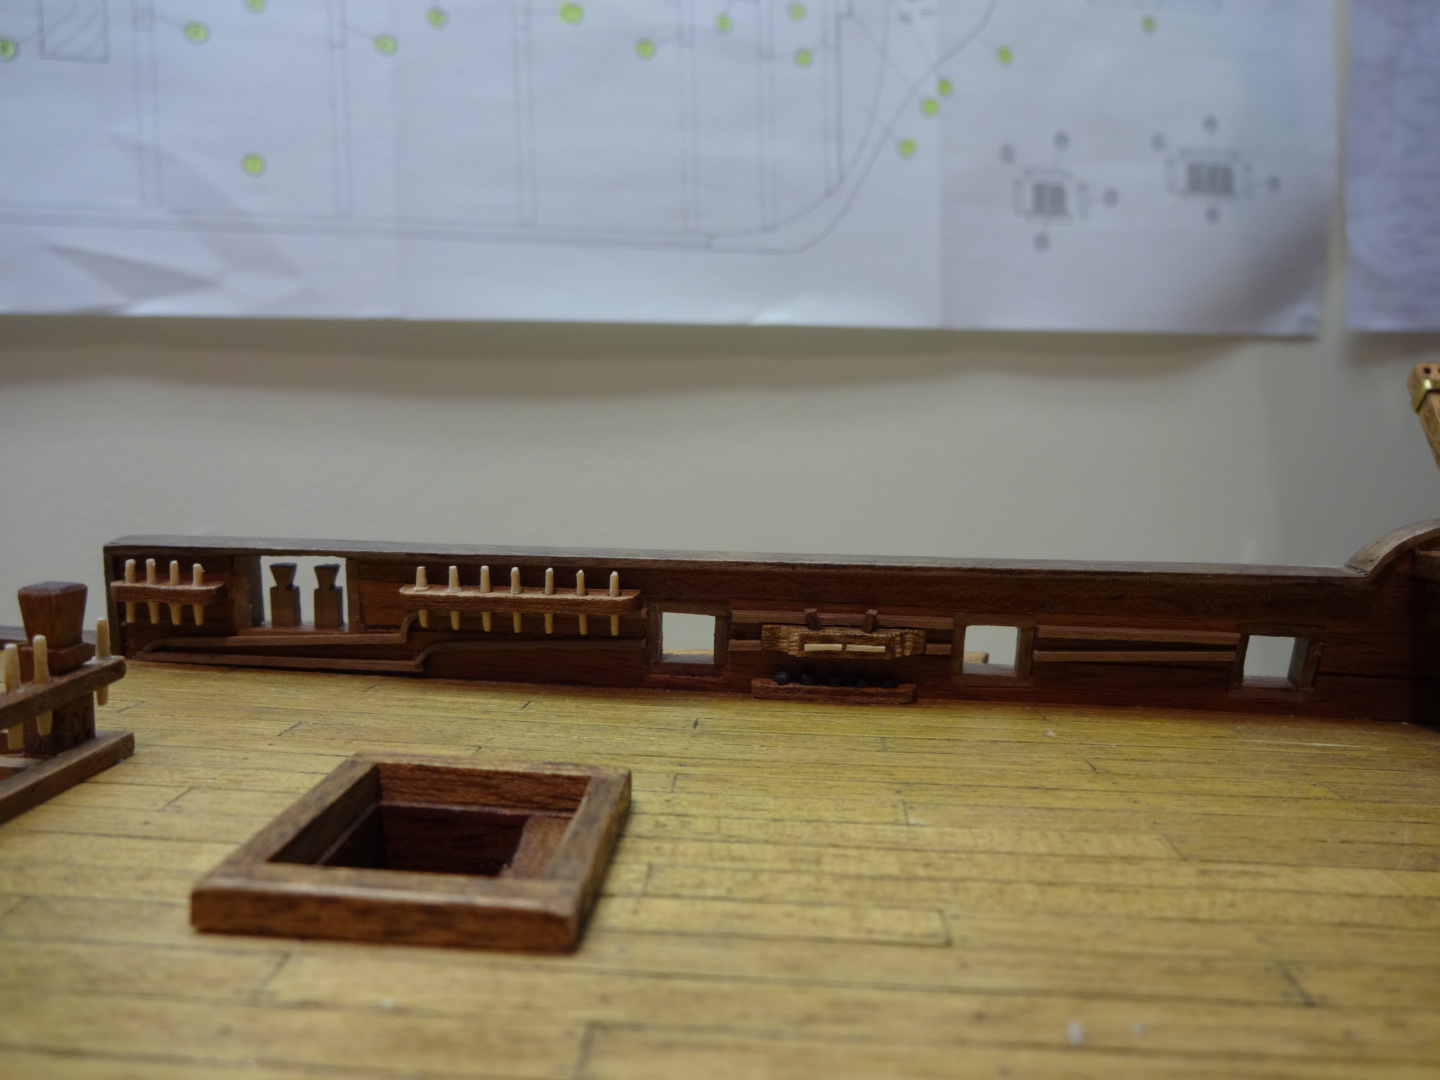
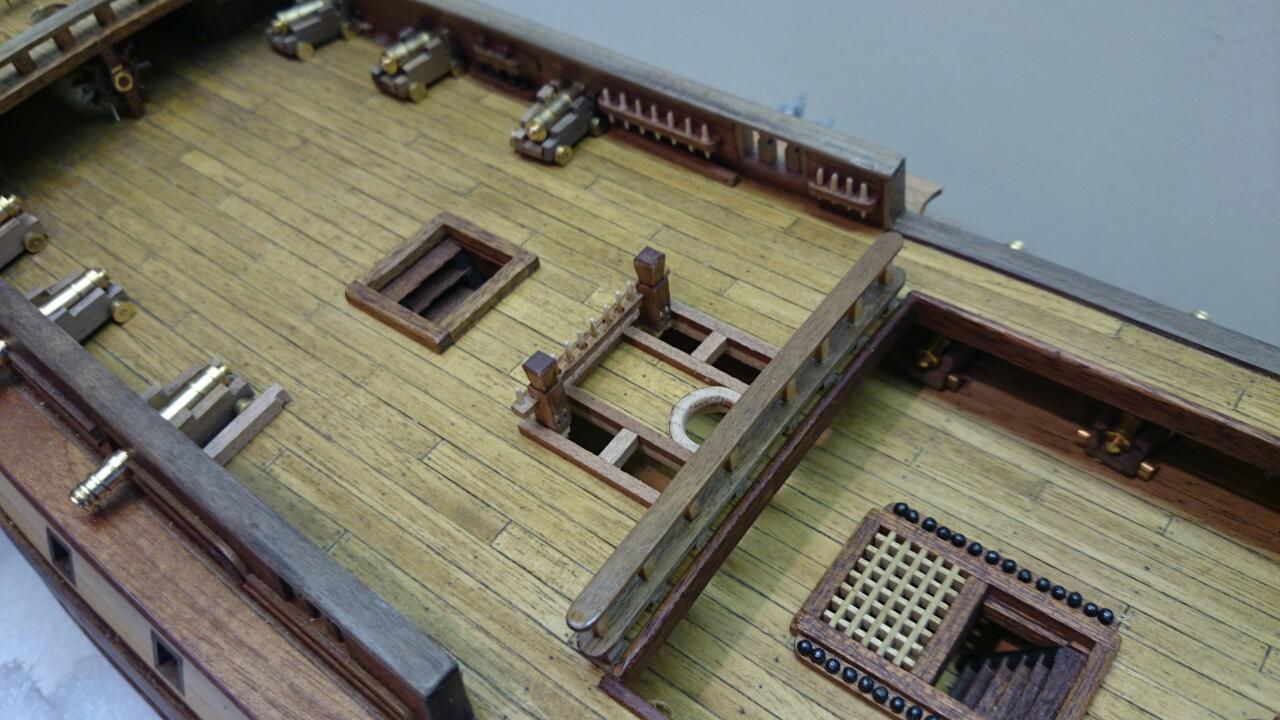
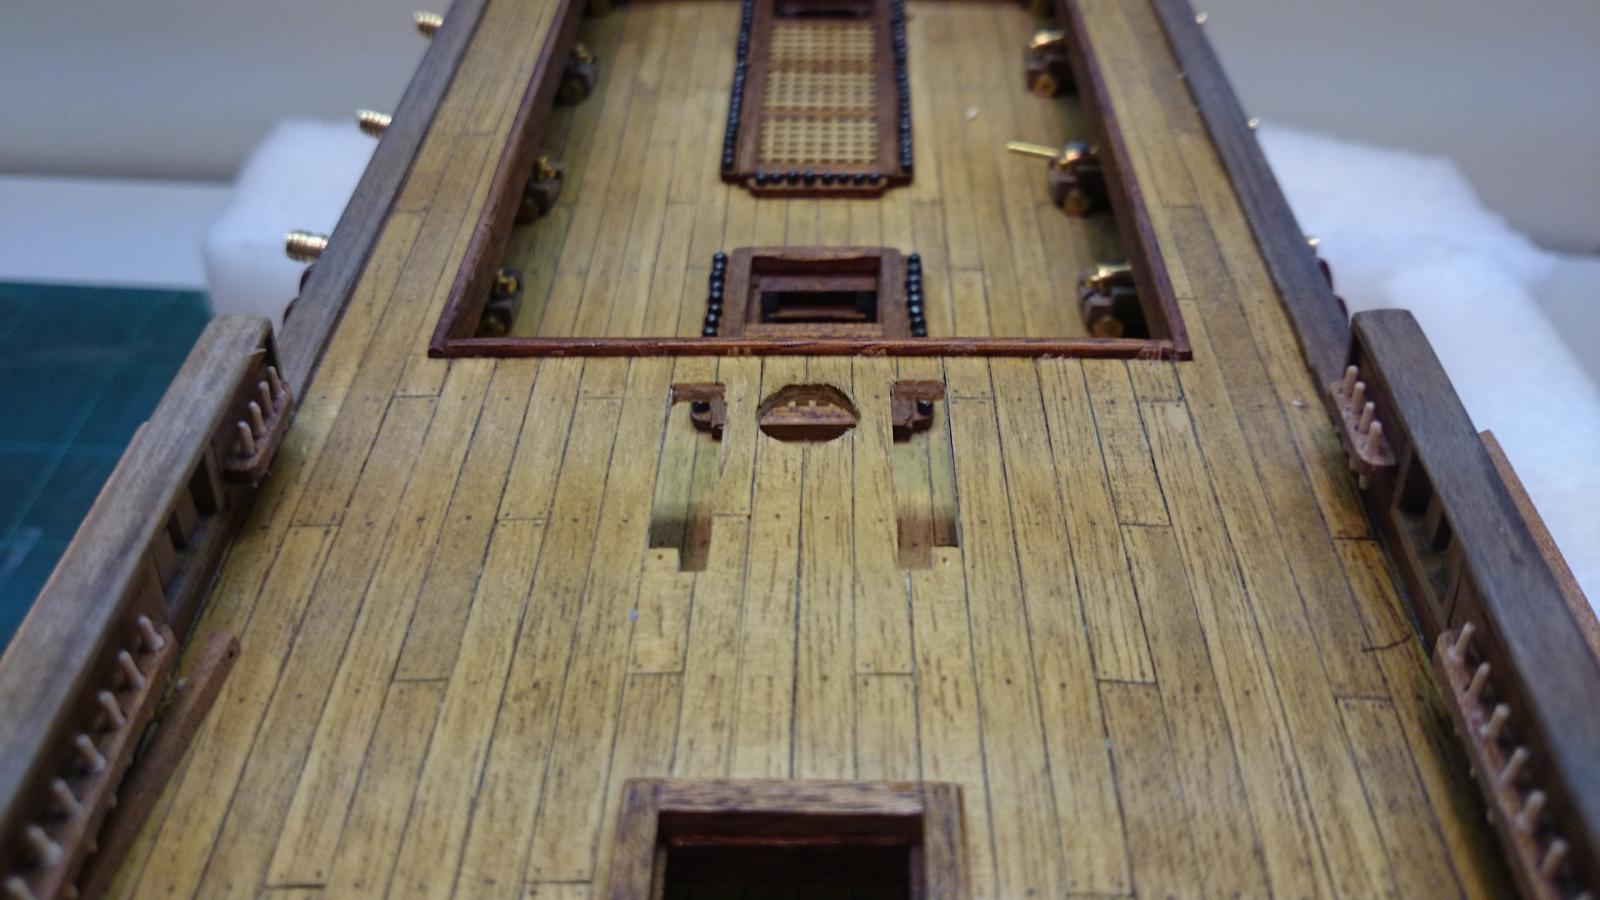
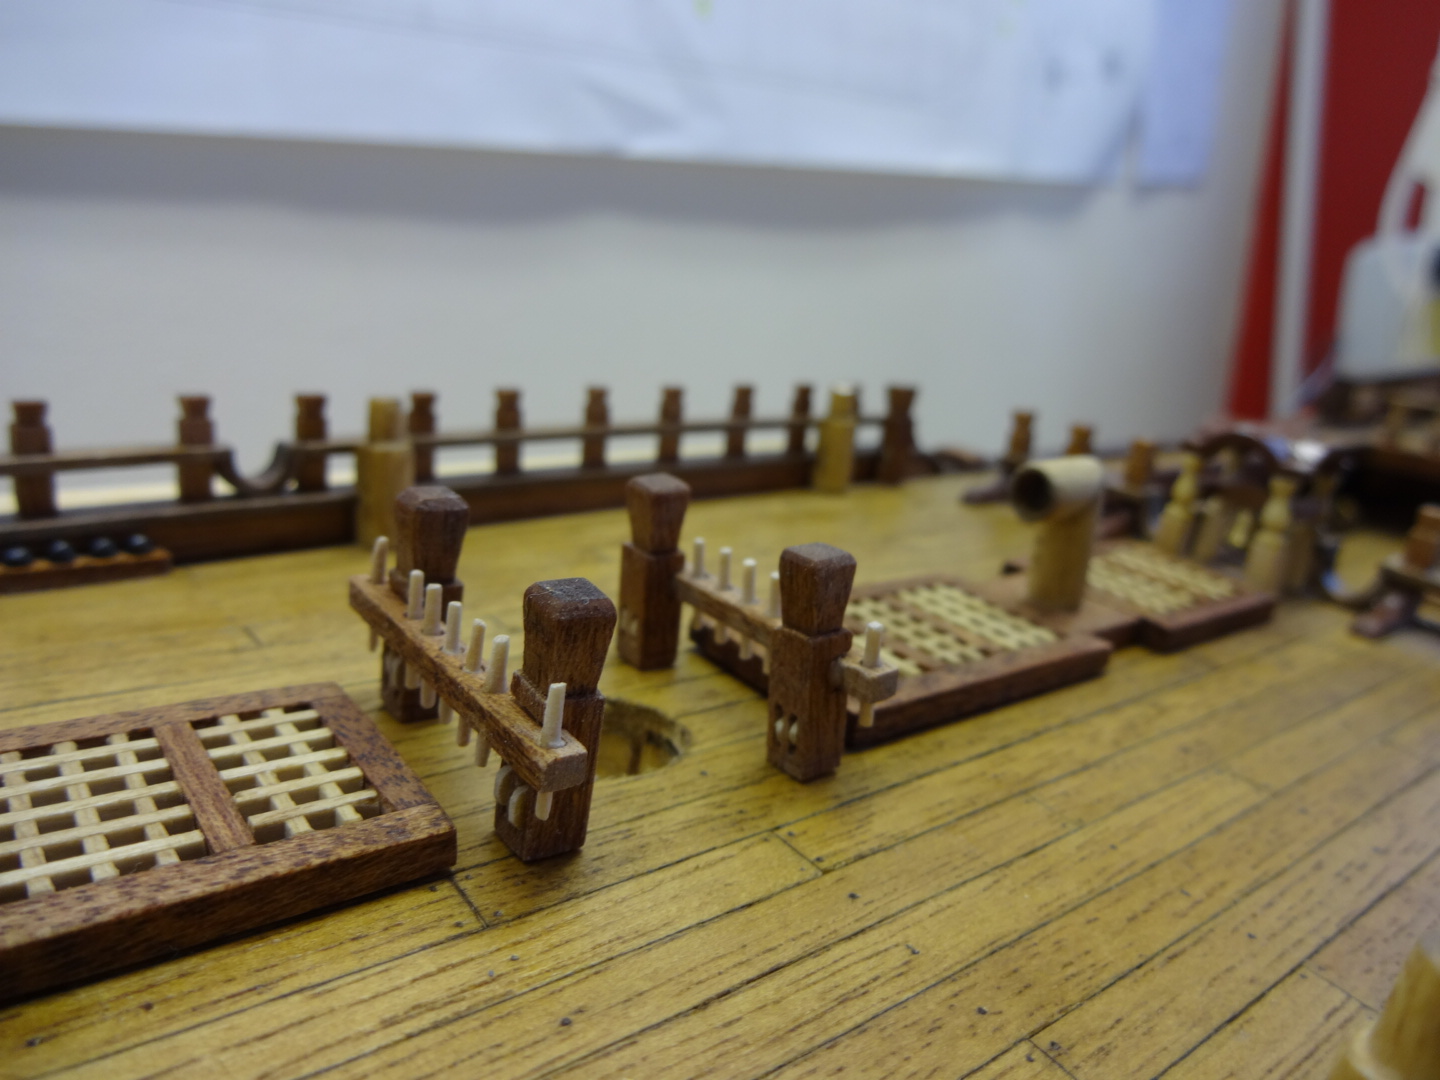
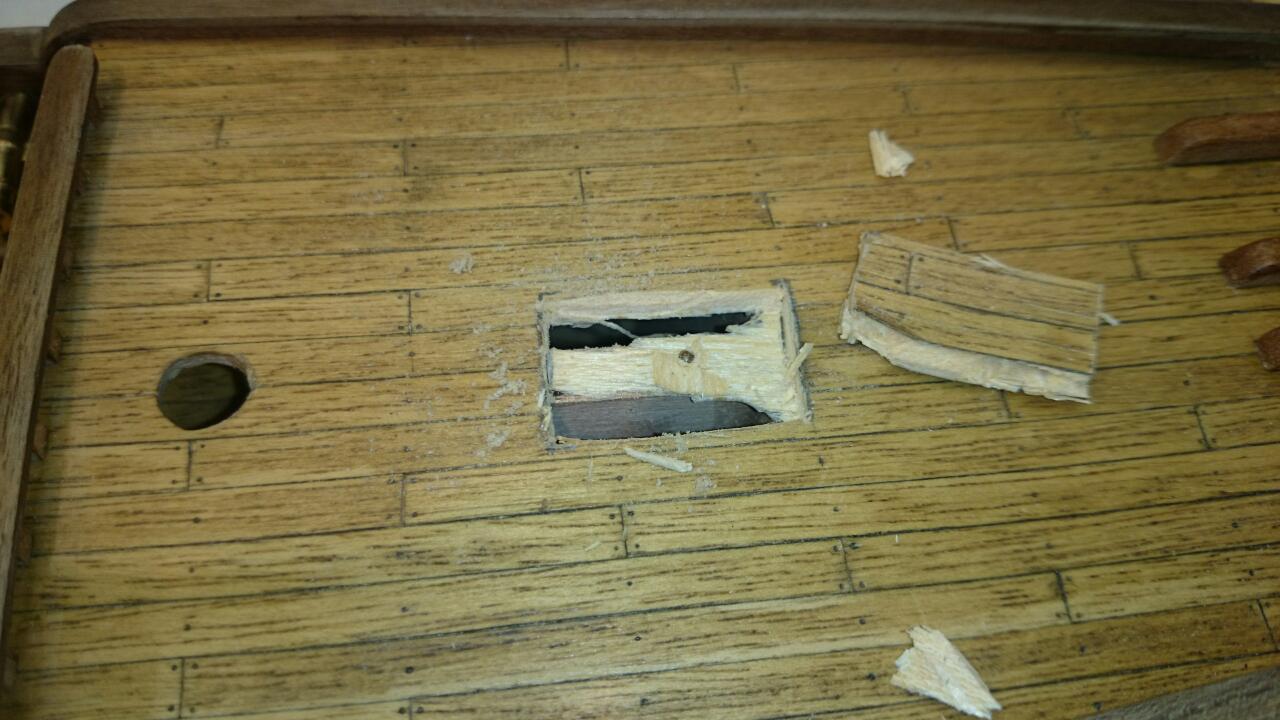
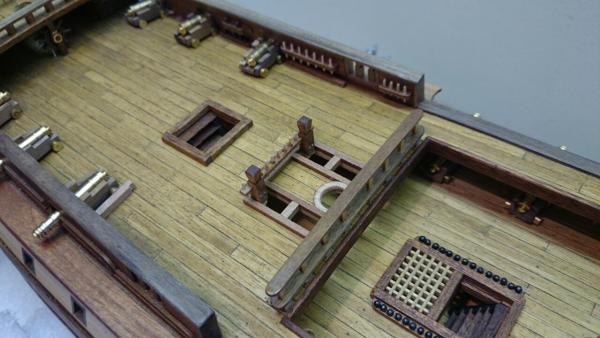
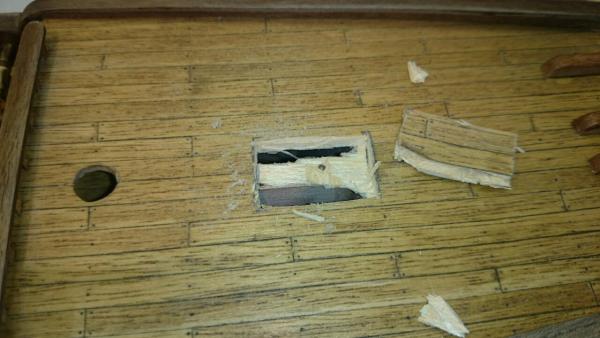
Well I've cut more holes in my forecastle in an attempt to gain the natural effect, really though having done this on the upper deck deck I should have learnt to do it before fitting an array of obstacles. Looking at reference material there is no grill on the quarter deck surrounding the main mast base but there are two framed cut outs, well they will be fun to replicate I'm sure


- 708 replies
-
- 2
-
-
- victory
- constructo
- (and 1 more)
-
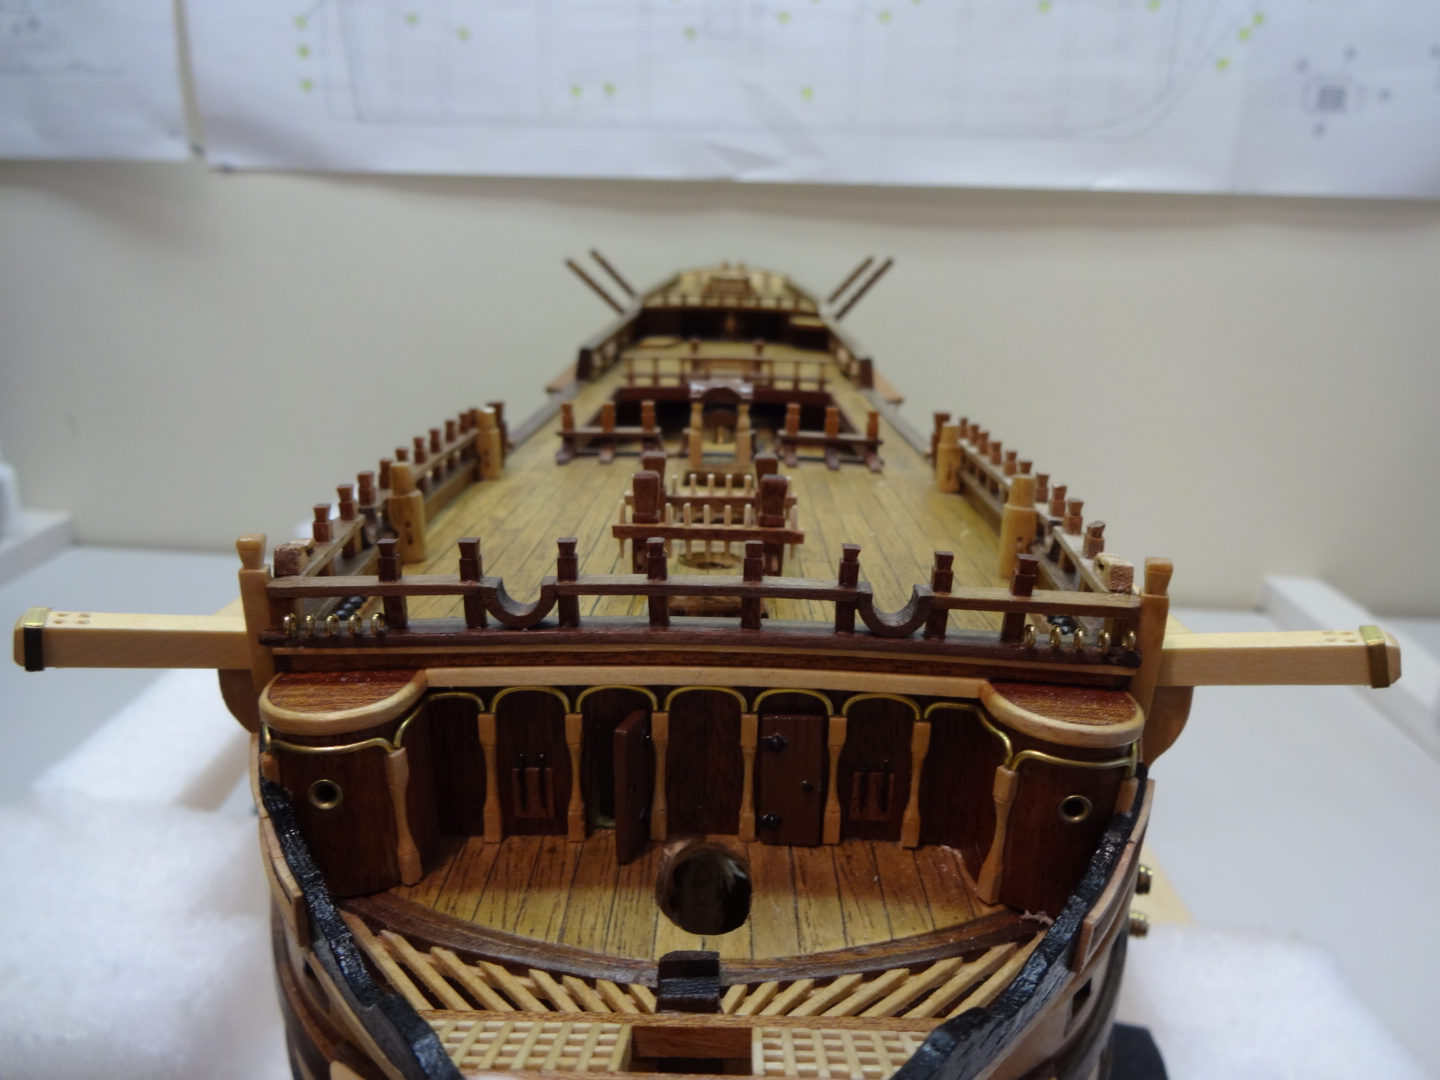
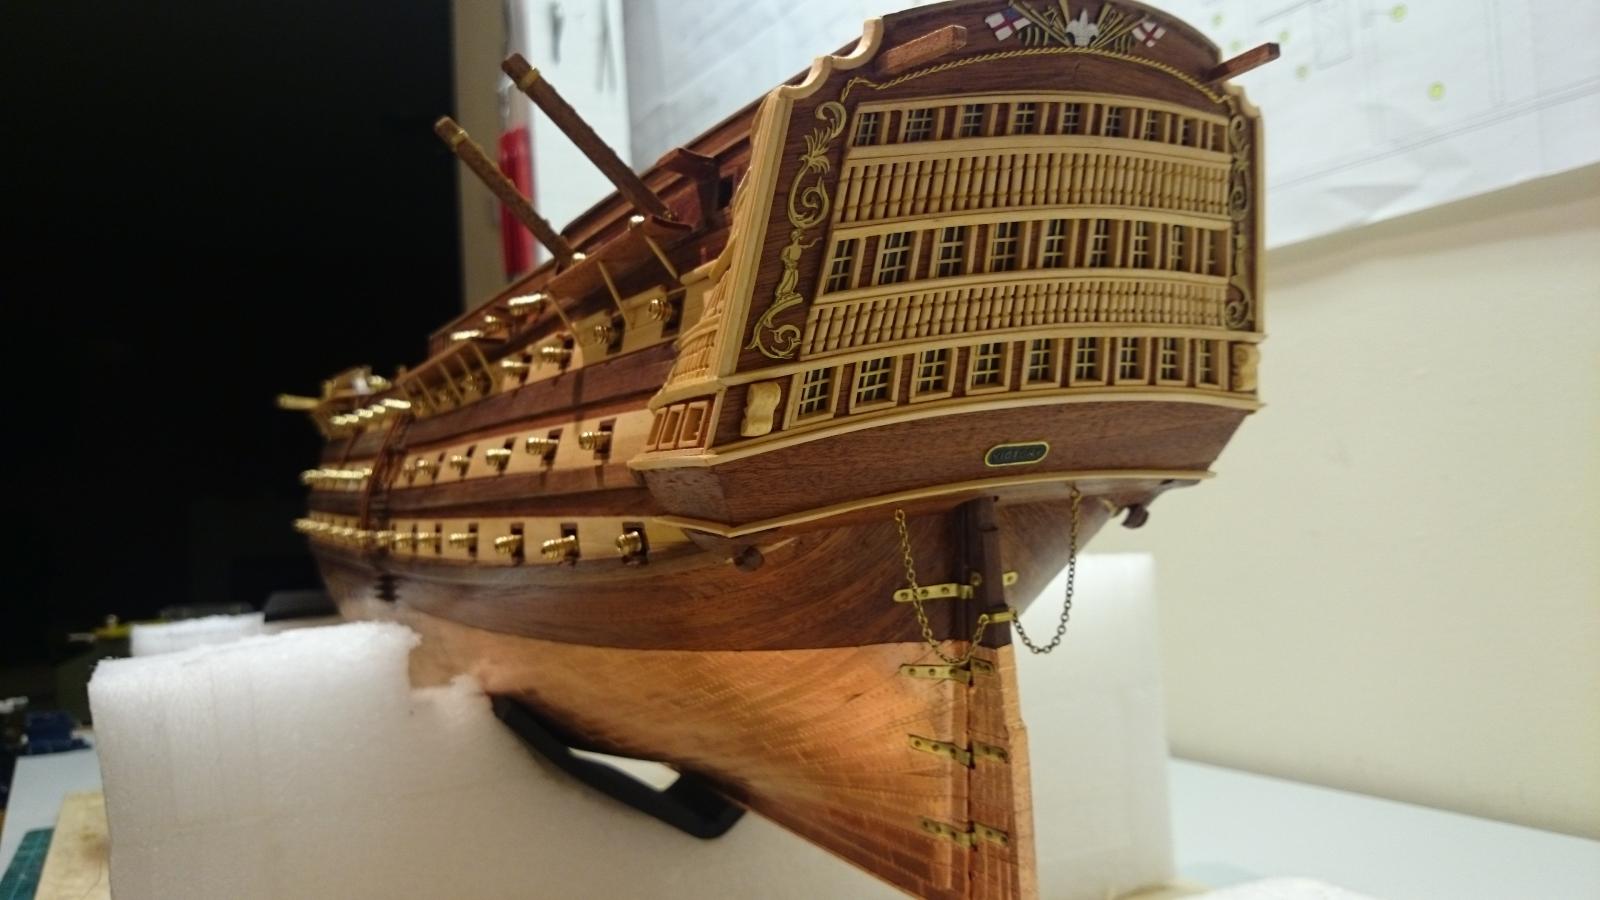
Due to my kit staying natural and all my fittings being brass including the to be added railings I'm sticking with the brass look, I have only added colour where my hand was forced by the kit using cast metal parts in the exception of the flag insignia on the srern which required a splash of colour.
- 708 replies
-
- 1
-
-
- victory
- constructo
- (and 1 more)
-
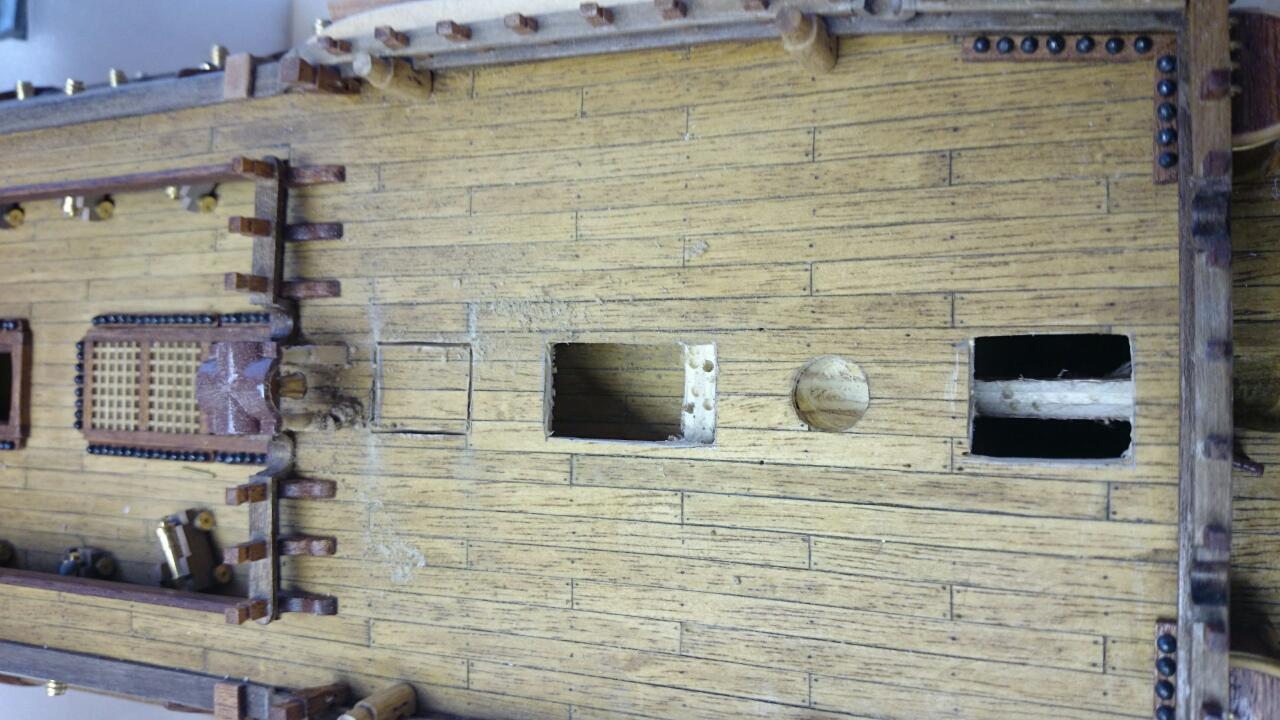
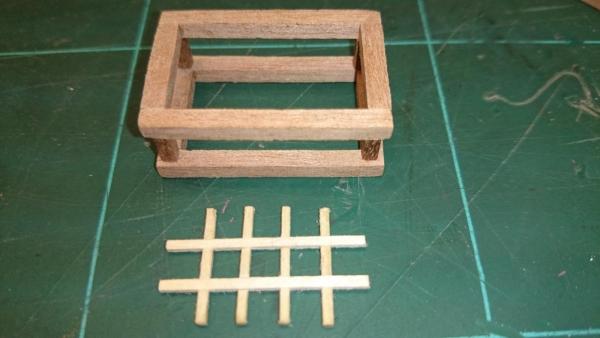
Last grates of this build completed, just put in position awaiting the deck cutting to allow a natural look, especially where the light will cascade onto the deck below. My canons are not completed yet despite sneaking into several pictures, some brass fittings to instal and also toying with the idea of fastening them down as they are on the real vessel but scale blocks are an issue here and looks like I may be making my own tiny ones to achieve this.
- 708 replies
-
- 5
-
-
- victory
- constructo
- (and 1 more)
-
hello Josh Well I feel I've met you already many times, as your model has probably had more hit from me than any other modeller on the Web. There is very little Constructo Victorys on MSW especially when I started last April so I went in search for others and found yours, beautifully built and you inspired my natural wood look. I think your Web page is great and would like to have made my own but not something I've ever ventured in. Really though it's great reference material for all whom venture into this hobby.
- 708 replies
-
- 1
-
-
- victory
- constructo
- (and 1 more)
-
I bought mine from Conrad, Uk based but all products are shipped from there German sister company, I found them cheaper than any other supplier I could find including ebay and to make things even better I bought the MF70Mill, DB250 Lathe and Ks230 Circular saw and got a £10.00 discount on each unit. Buying from UK also helps me if there is to be any faults and a guarantee is brought to bear. Conrad were very good suppliers and the parcels received were well packed and tracked with UPS. As for the Proxxon range, brilliant tools for this hobby, the lathe is perfect for mast and many other items
-
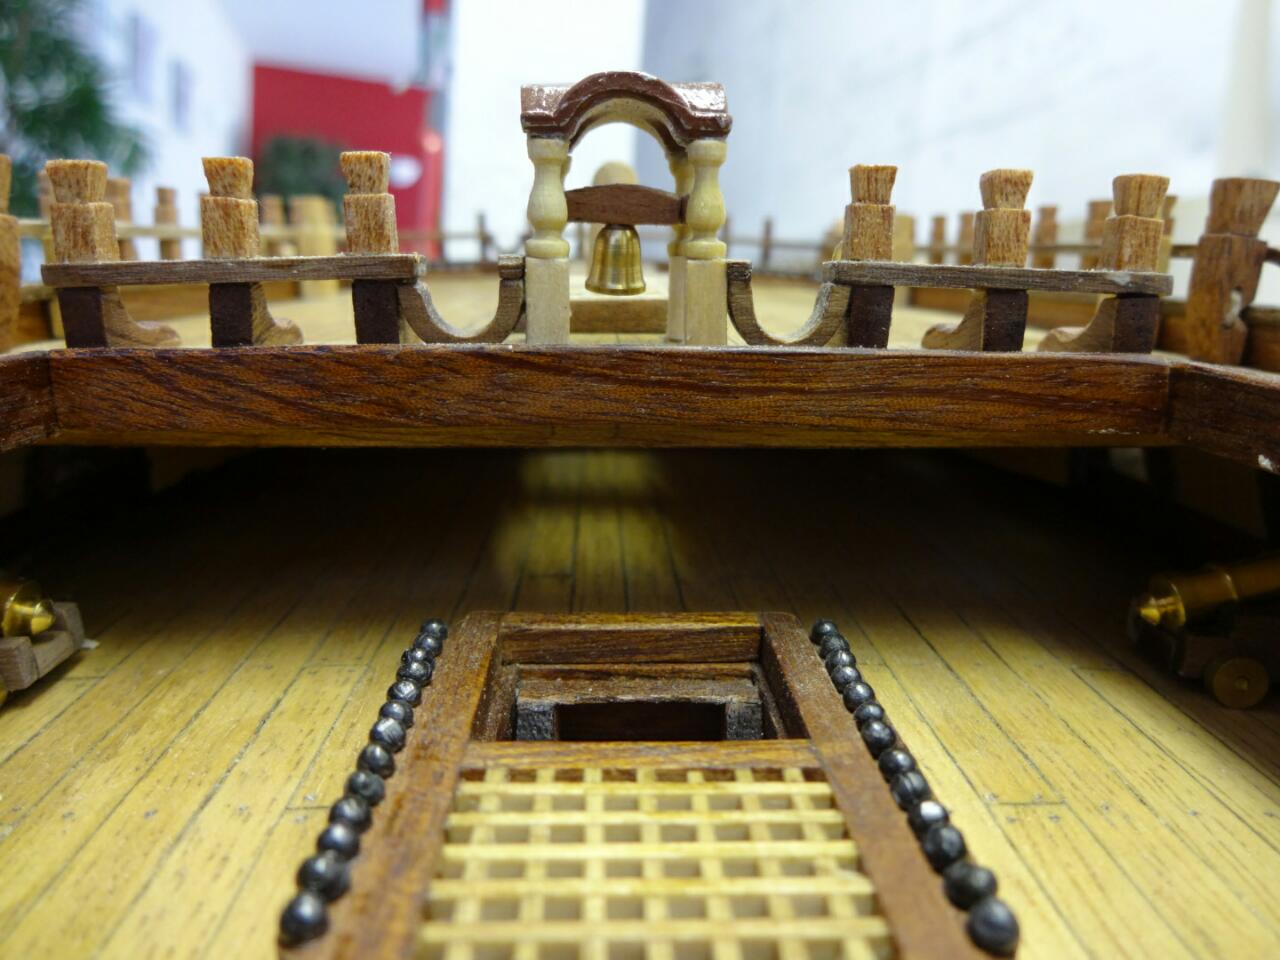
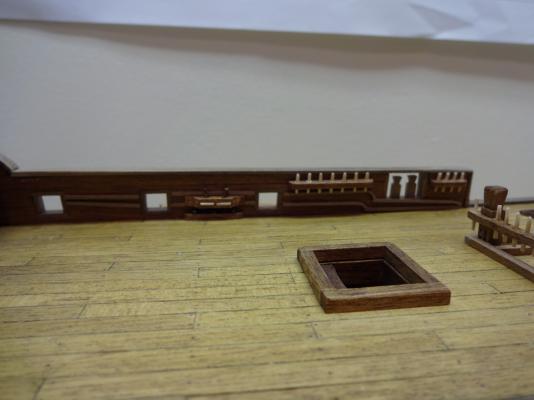
I've moved onto the skylight having completed the final belay pin rack. As with my grates I have cut the deck beneath and ground away part of the centre structure to give a more natural view down rather than a blue piece of card behind the glazing.Just a few light wood uprights followed by remaining glazing and it's ready to instal on the poop deck.


- 708 replies
-
- 6
-
-
- victory
- constructo
- (and 1 more)
-
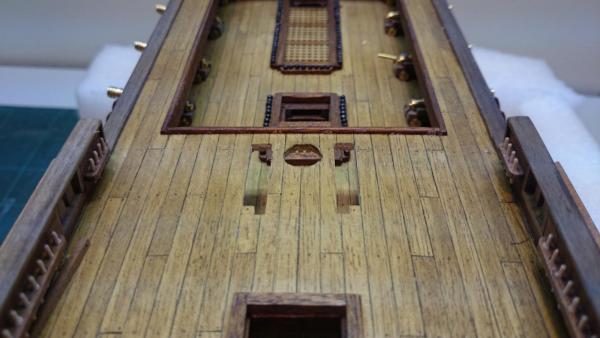
Well I've had a bash at a mini chest of drawers as I call it, compasses to add and a lantern, oh and a lantern chimney and then the tie downs on the side

- 708 replies
-
- 3
-
-
- victory
- constructo
- (and 1 more)