HOLIDAY DONATION DRIVE - SUPPORT MSW - DO YOUR PART TO KEEP THIS GREAT FORUM GOING!
×
Paul0367
-
Posts
512 -
Joined
-
Last visited
Content Type
Profiles
Forums
Gallery
Events
Everything posted by Paul0367
-
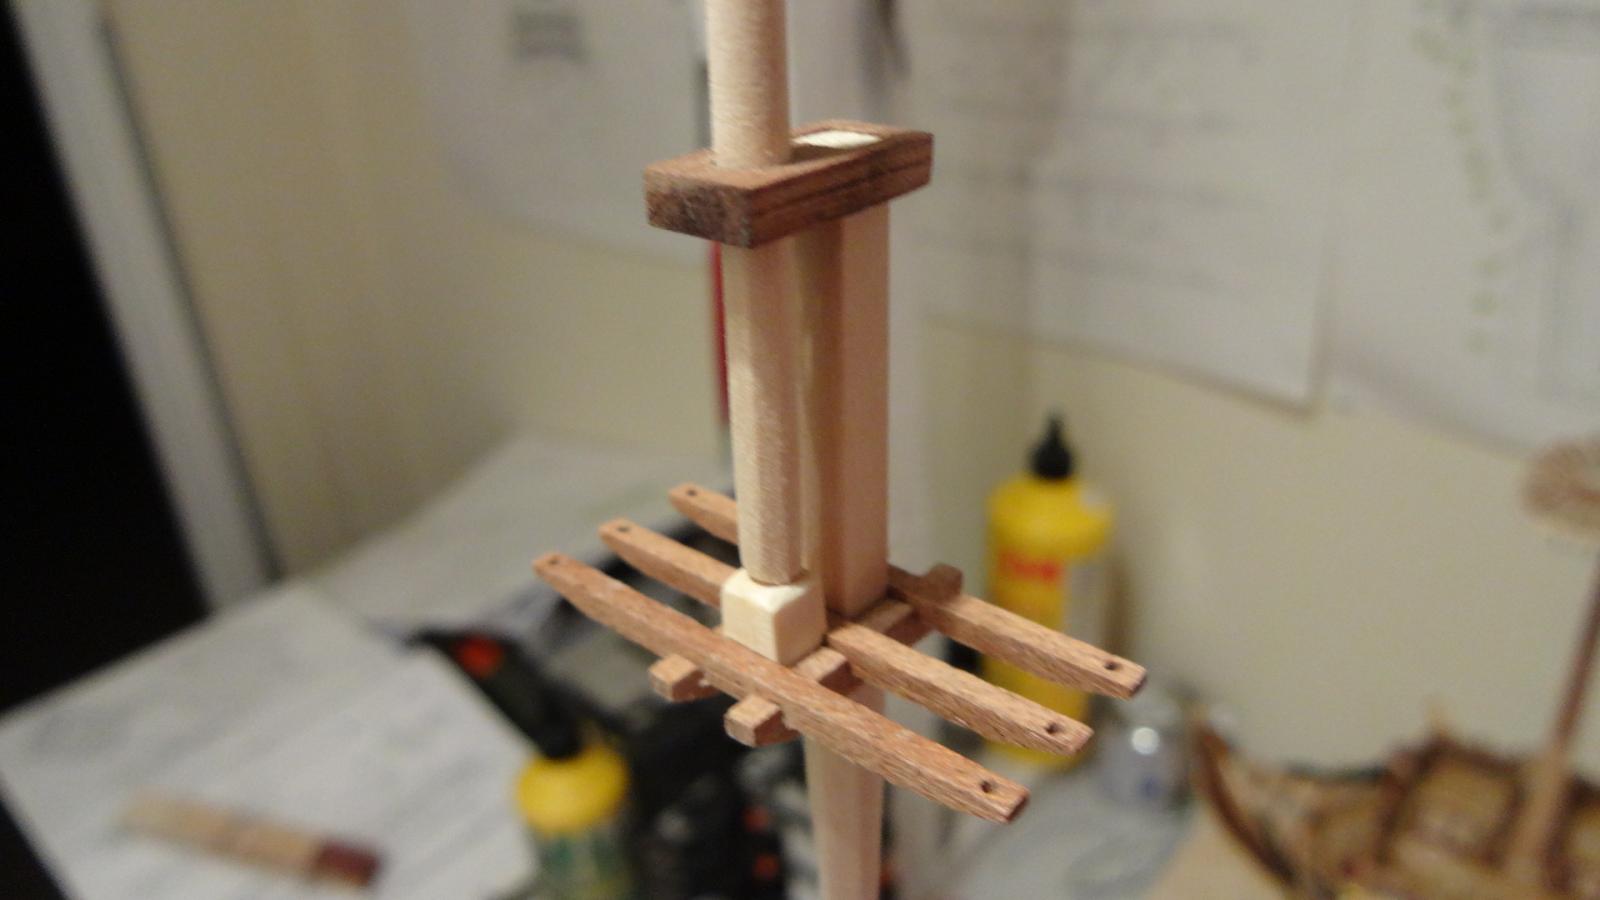
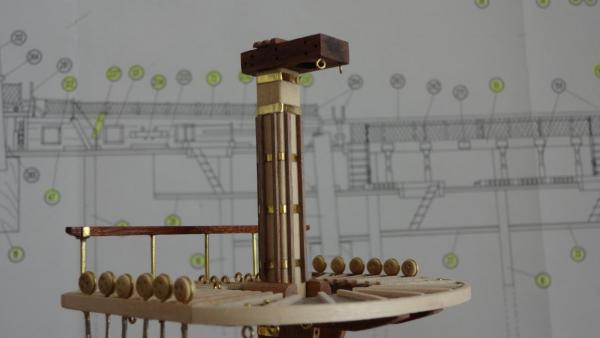
 I have moved up to what I call main mast stage 3 or what you guys would call the main top gallant.
- 708 replies
-
- 5
-

-
- victory
- constructo
- (and 1 more)
-
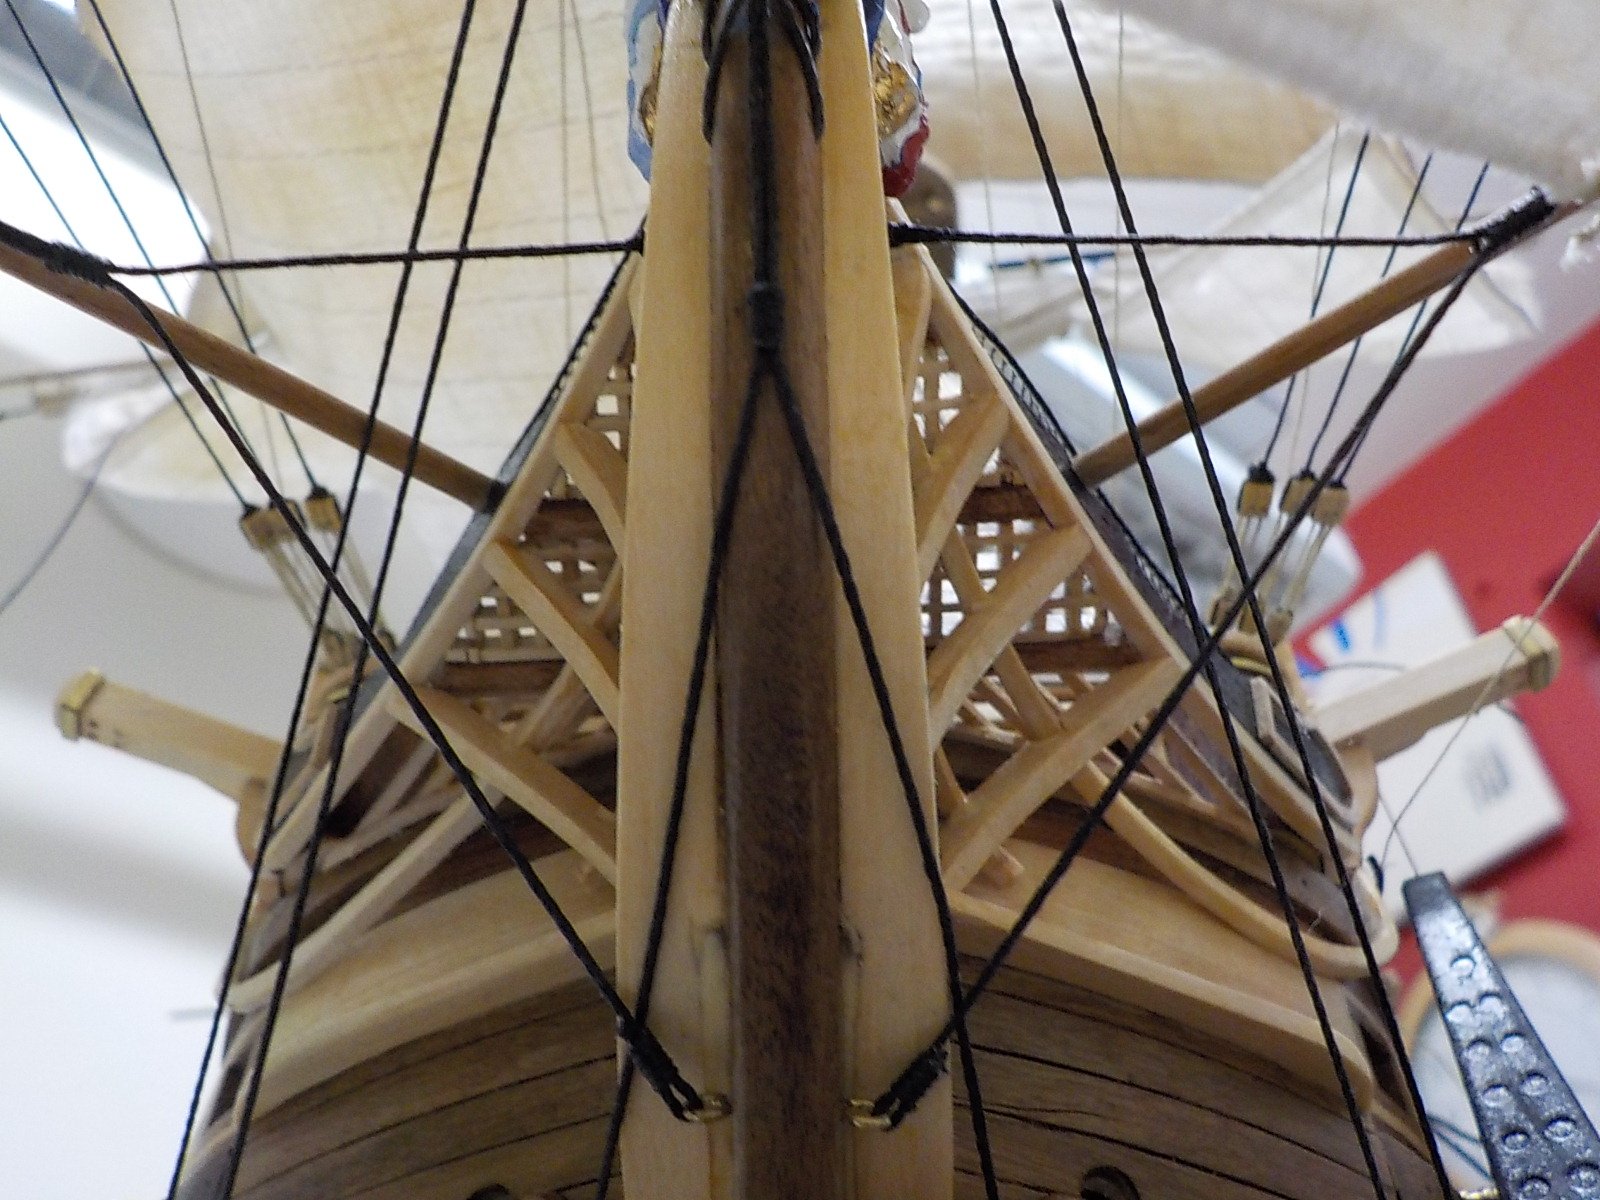
Mate she looks beautiful, I want super close ups of all the mast junctions to save me some serious research. Lazy I know but hey what can I say. So so glad you did a dry run on that display cabinet, I just could not imagine what could have been. That said it shouldn't happen really, it's not like the case was a budget one.
- 230 replies
-
- 2
-
-
- victory
- artesania latina
- (and 1 more)
-
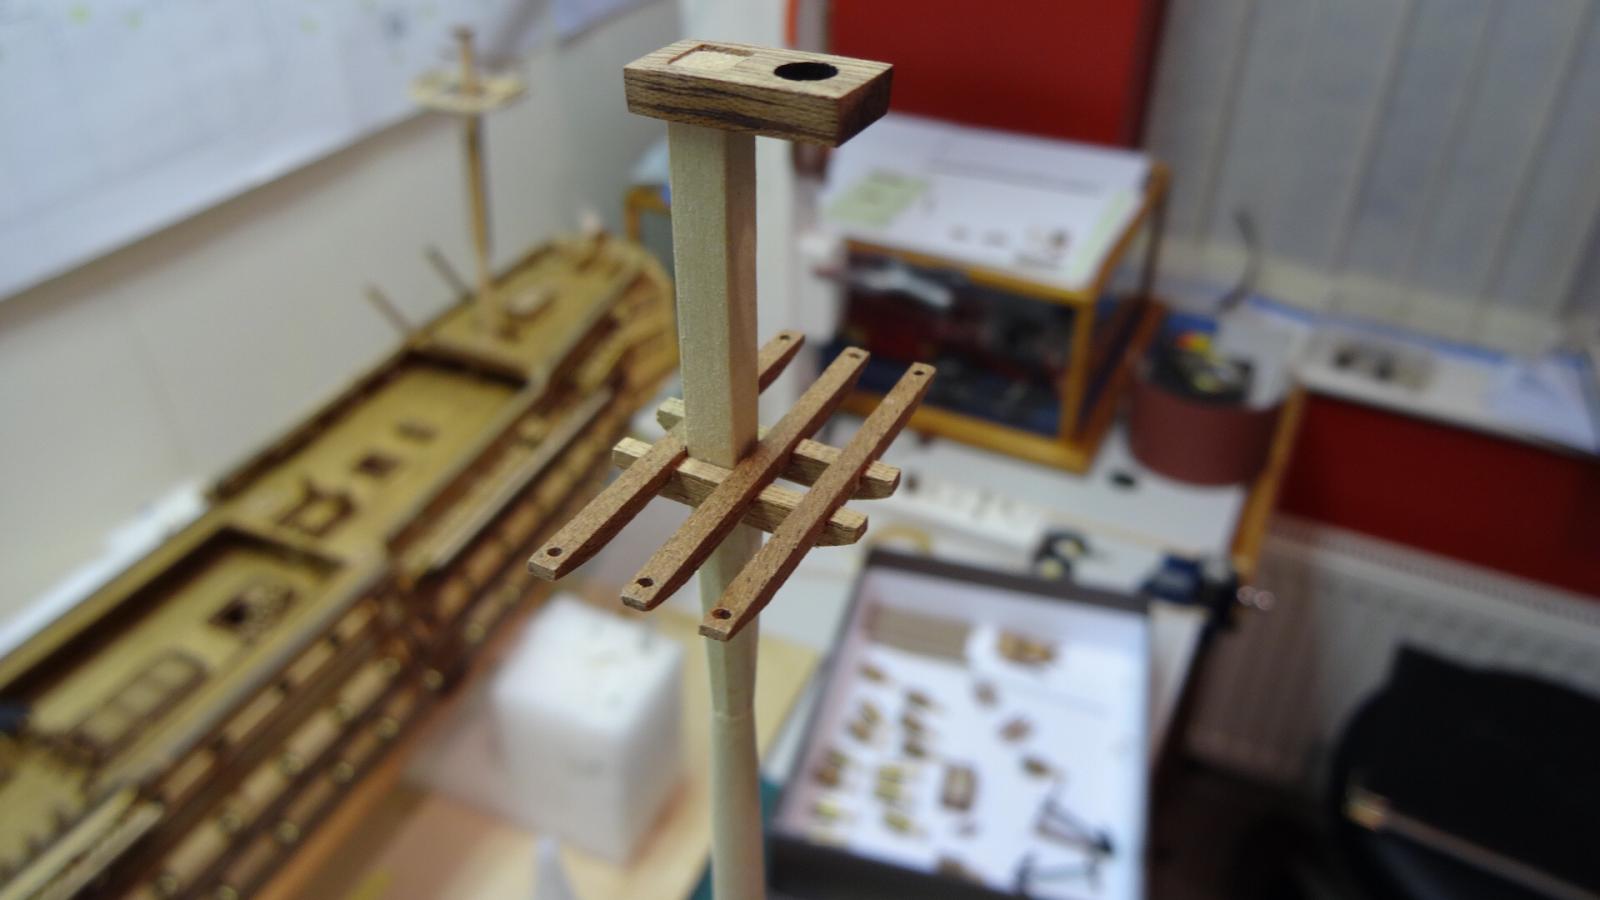
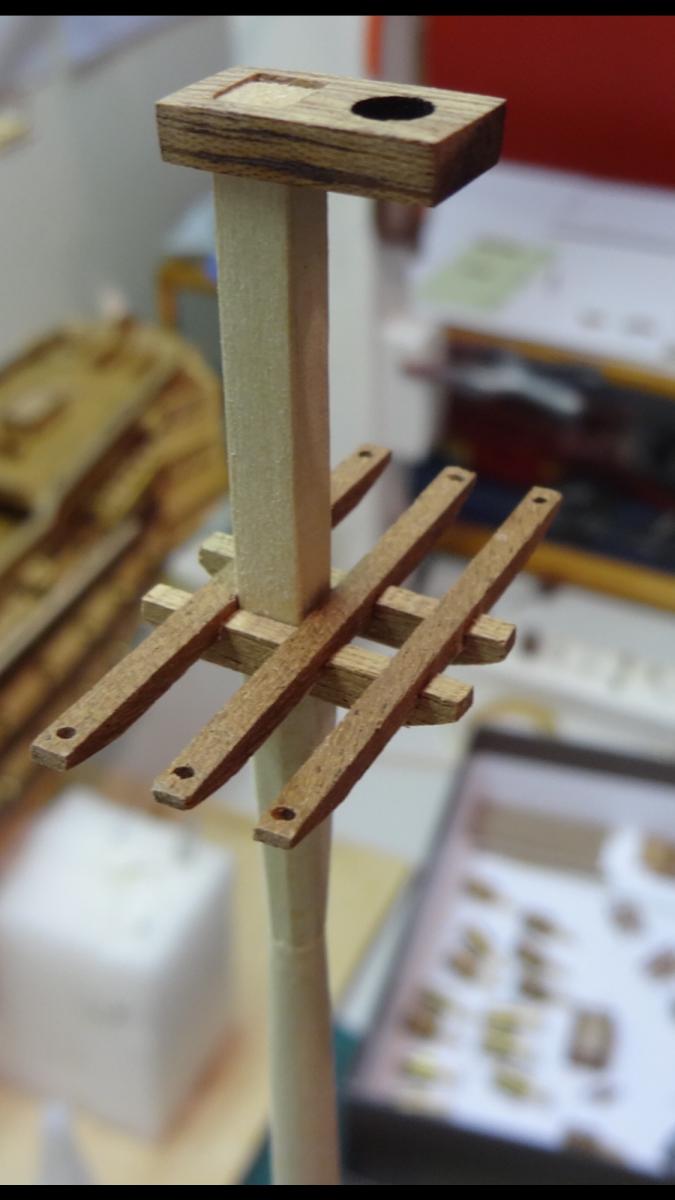
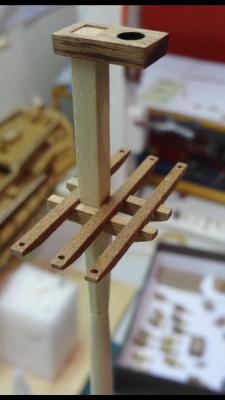
Mast stage 2, this piece took some work, starting from large Hex base to small hex to round, tapering to a hex tapering out to square. This is hats off time to the original design / builders. The ship is a work of art, far to good to send to war Thanks for the compliments guys.


- 708 replies
-
- 6
-
-
- victory
- constructo
- (and 1 more)
-
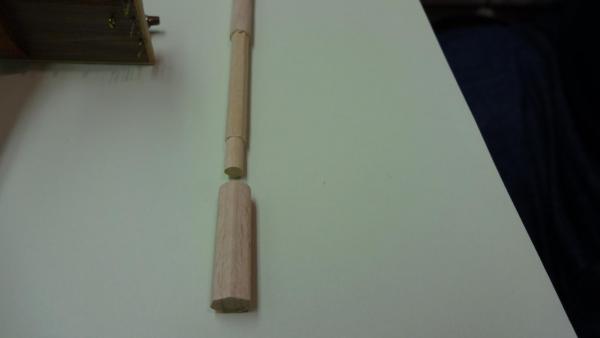
I have moved to what I call stage 2 of the mast process. Again I am following images of the real ship and noticed the base of the mast starts quite thick, well lets say thicker than the dowel supplied, but only for a shot distance then it becomes, well what you expect based on the holes on the blocks ( thinner ). Just to add some more pain it's hexagonal too. As have my finger tips now become with every passing of the plane blade. To make it thicker I used 10 mm dowl and yep planed it and my fingers until it was an acceptable diameter, then drilled her and used the mast top as a plug, that's after turning it to 4mm with a lip. To finish I also sanded the top of the larger section to give it the shanferred effect shown to match my literature. The upper part disappearing out of the picture is still to be narrowed to scale.
- 708 replies
-
- 3
-
-
- victory
- constructo
- (and 1 more)
-
Thank you for the compliments, much appreciated, I am moving very slowly at the moment as my get up and go has well, got up and gone. Ok buying supplies, you need a US supplier to save you the shipping cost, I use Cornwall model boats but that said the wood is never as good as the kits supplied wood. I am yet to find wood the same quality.
-
Can we have three lines down and one do the wrapping around the pin, these pin racks on the real vessel generally look a mess
-
I have not looked that far yet but there's always problems with these model ships, can we ever get something that goes smoothly without compromise or pain. Mike, seriously, how on earth have you built so many of them knowing what lies ahead. At least this time I can say I had no idea. Belay pin racks on the the real vessle carry more pins too, more than out lines can scale down to, I have not fixed mine to the decks at this time so I have a possible re think ahead of me.
-
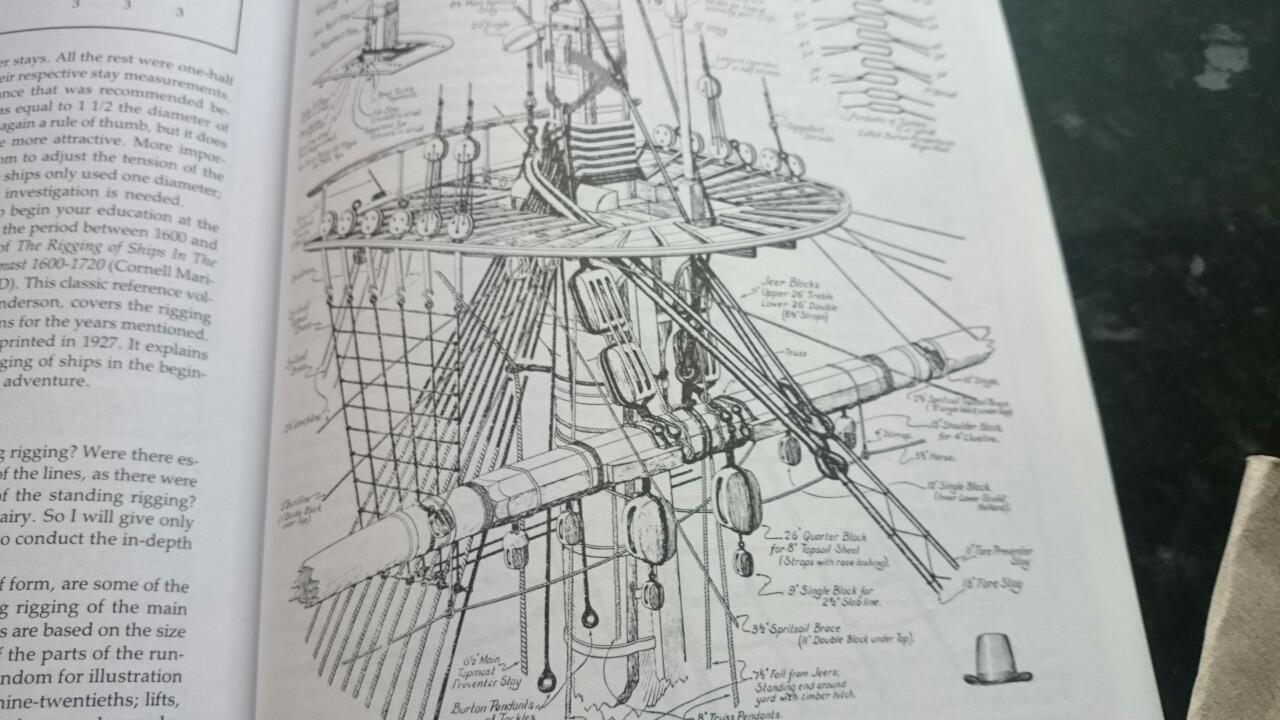
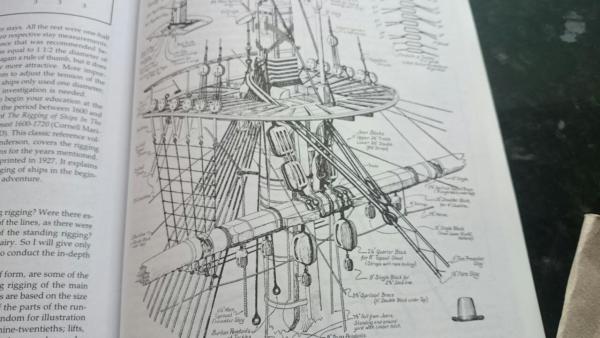
That book is the best out there, I am detailing mine from the images in there. Hard back ha ha
- 230 replies
-
- 3
-
-
- victory
- artesania latina
- (and 1 more)
-
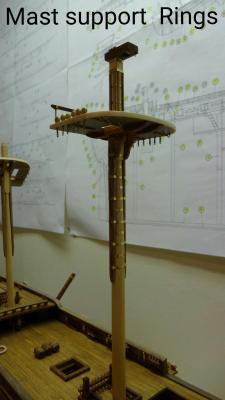
Mast support rings going on, really not sure about these yet and the build delay is in part pondering on the approach.
- 708 replies
-
- 2
-
-
- victory
- constructo
- (and 1 more)
-
Mast work coming along sobeit very slowly, I have had other commitments this month and awaiting the material's also hinders the build. That said, Its not a race and I'm in no rush.
- 708 replies
-
- 6
-
-
- victory
- constructo
- (and 1 more)
-
Cool, I was not expecting her to be in full dress, now then i'm inteding in doing the same, Mike help a buddy and put tons of pictures on, close ups too please, looking stunning and one that really fuels the debate to paint or not to paint thats for sure. Beautifully built mate.
- 230 replies
-
- 3
-
-
- victory
- artesania latina
- (and 1 more)
-
Oh Mike she is beautiful, the library are going to love this ship
- 230 replies
-
- 3
-
-
- victory
- artesania latina
- (and 1 more)
-
Oh Dave, really I am lost for words.take care mate
-
Well its been a while since I posted any work, well been a while since any work has been carried out to be honest, well on the ship that is. I have been fitting a door on my build area to prevent stray noise from the equipment I have added since starting the build disturbing my boys adjacent tv room.


- 708 replies
-
- 2
-
-
- victory
- constructo
- (and 1 more)
-
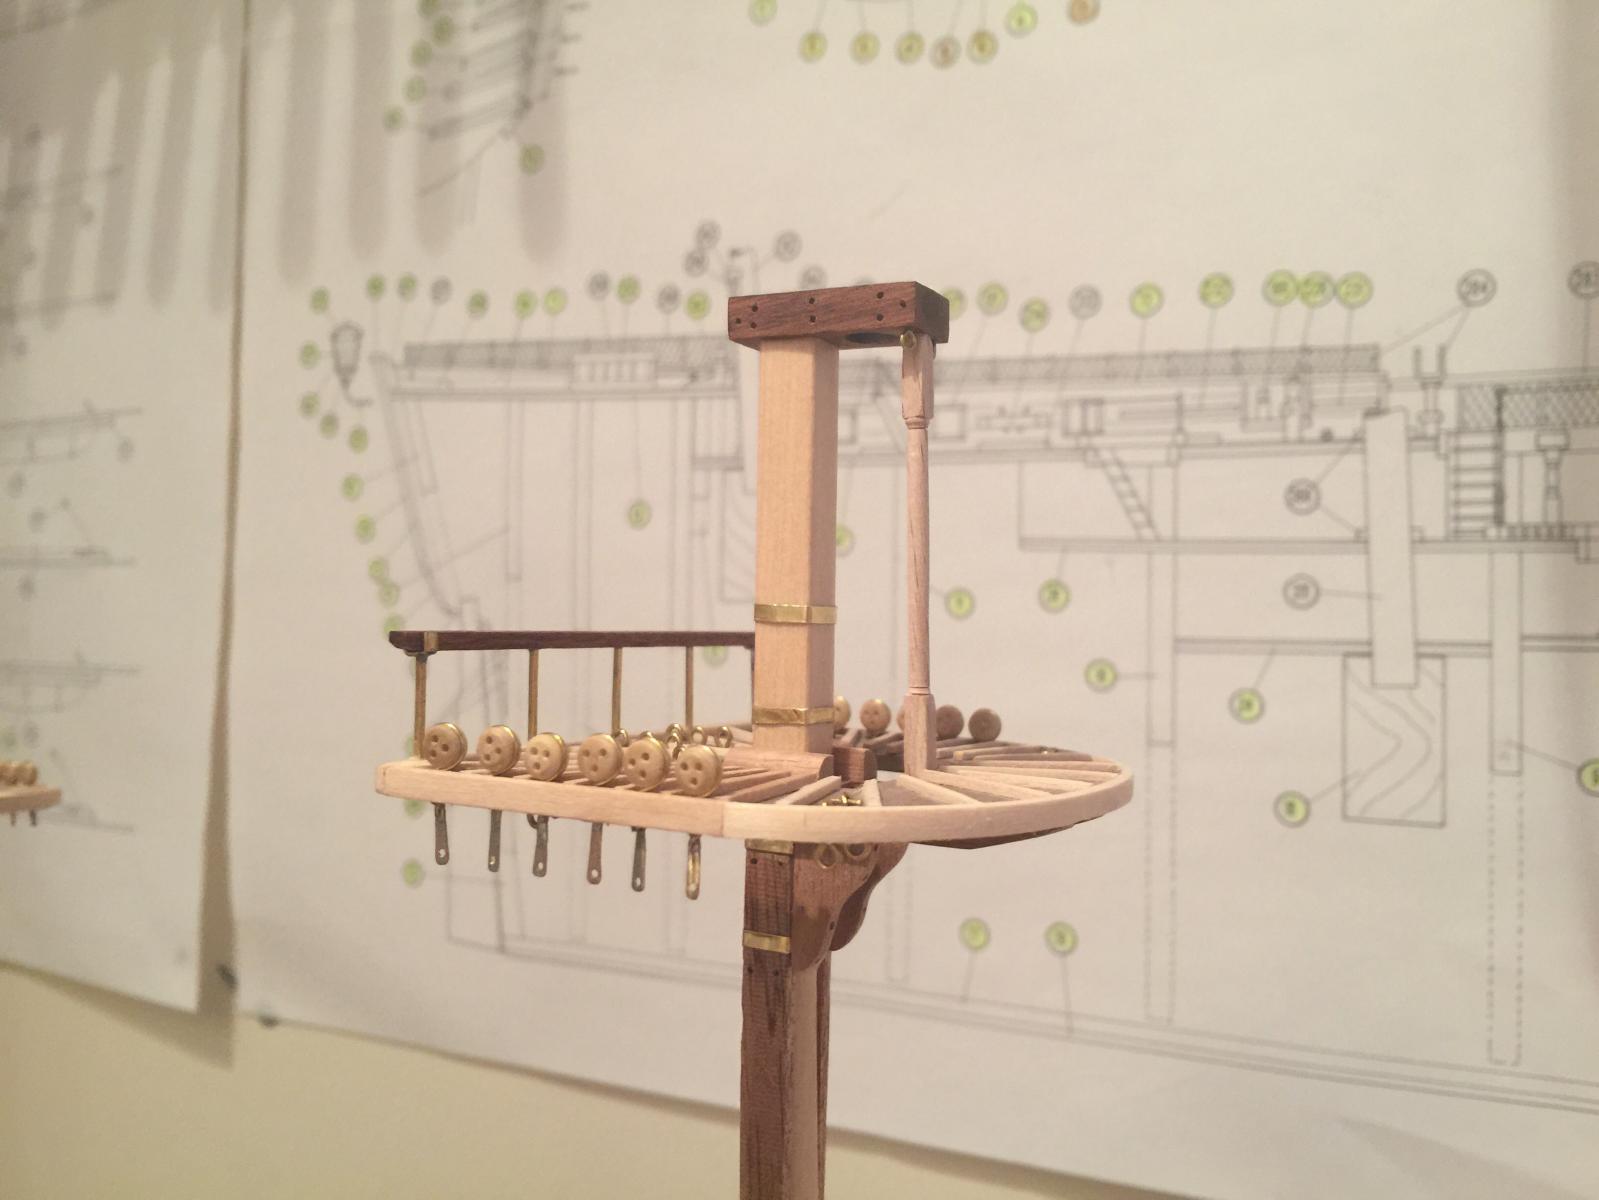
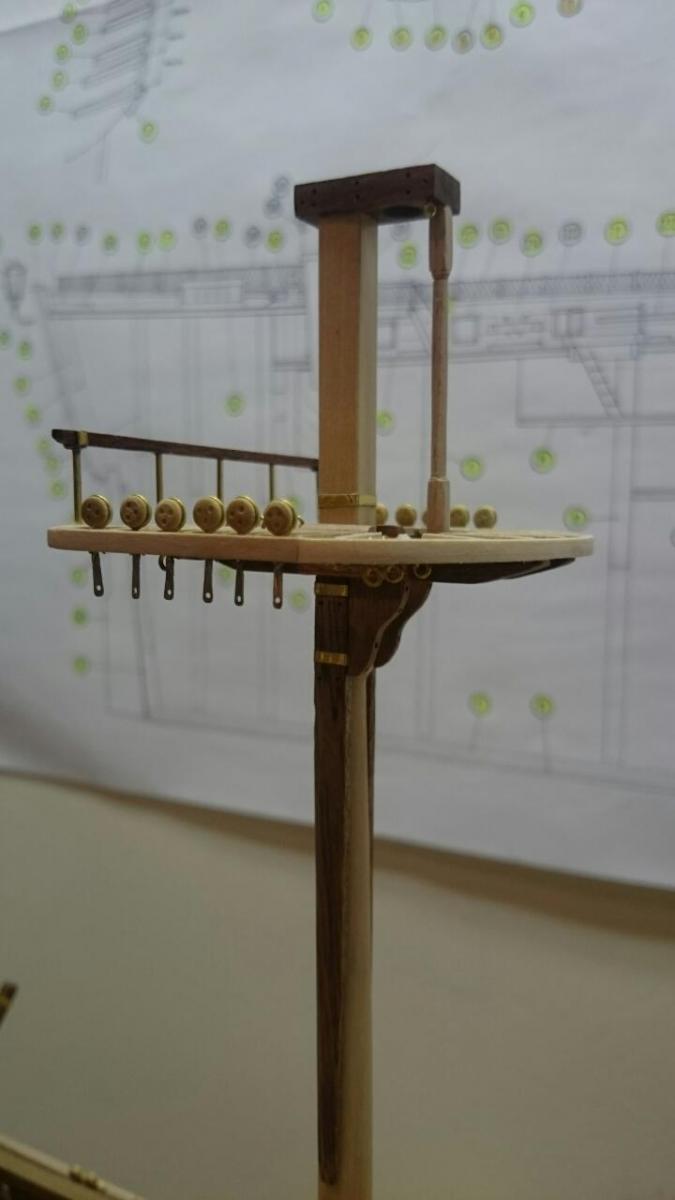
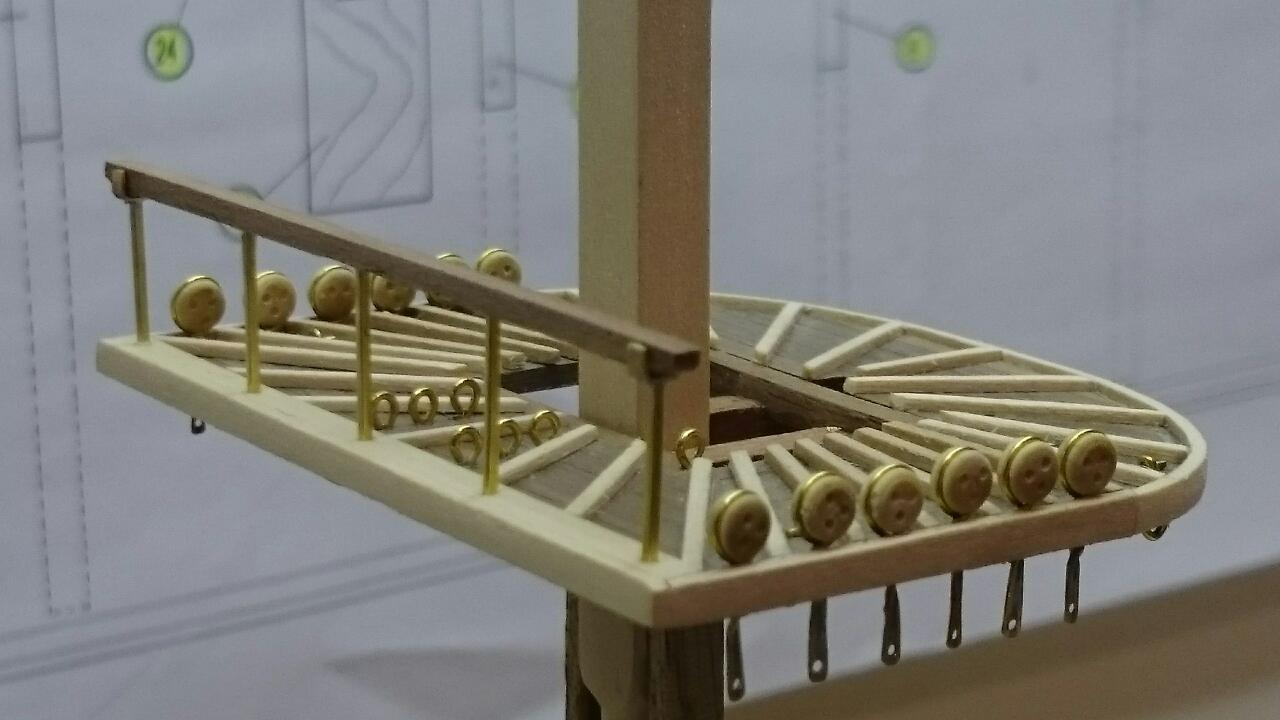
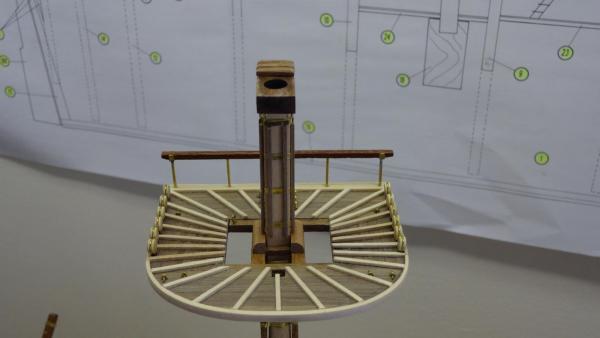
Been pressing on with the platforms today and fitted one of the rear rails, the uprights on the real ship are actually square and not round as Constructo would like us to beleive, I just hammered the brass wire supplied for this job, yep you guessed, hammered square.


- 708 replies
-
- 7
-
-
- victory
- constructo
- (and 1 more)
-
I have seen a lot of it and its a lot of work, but I will try
-
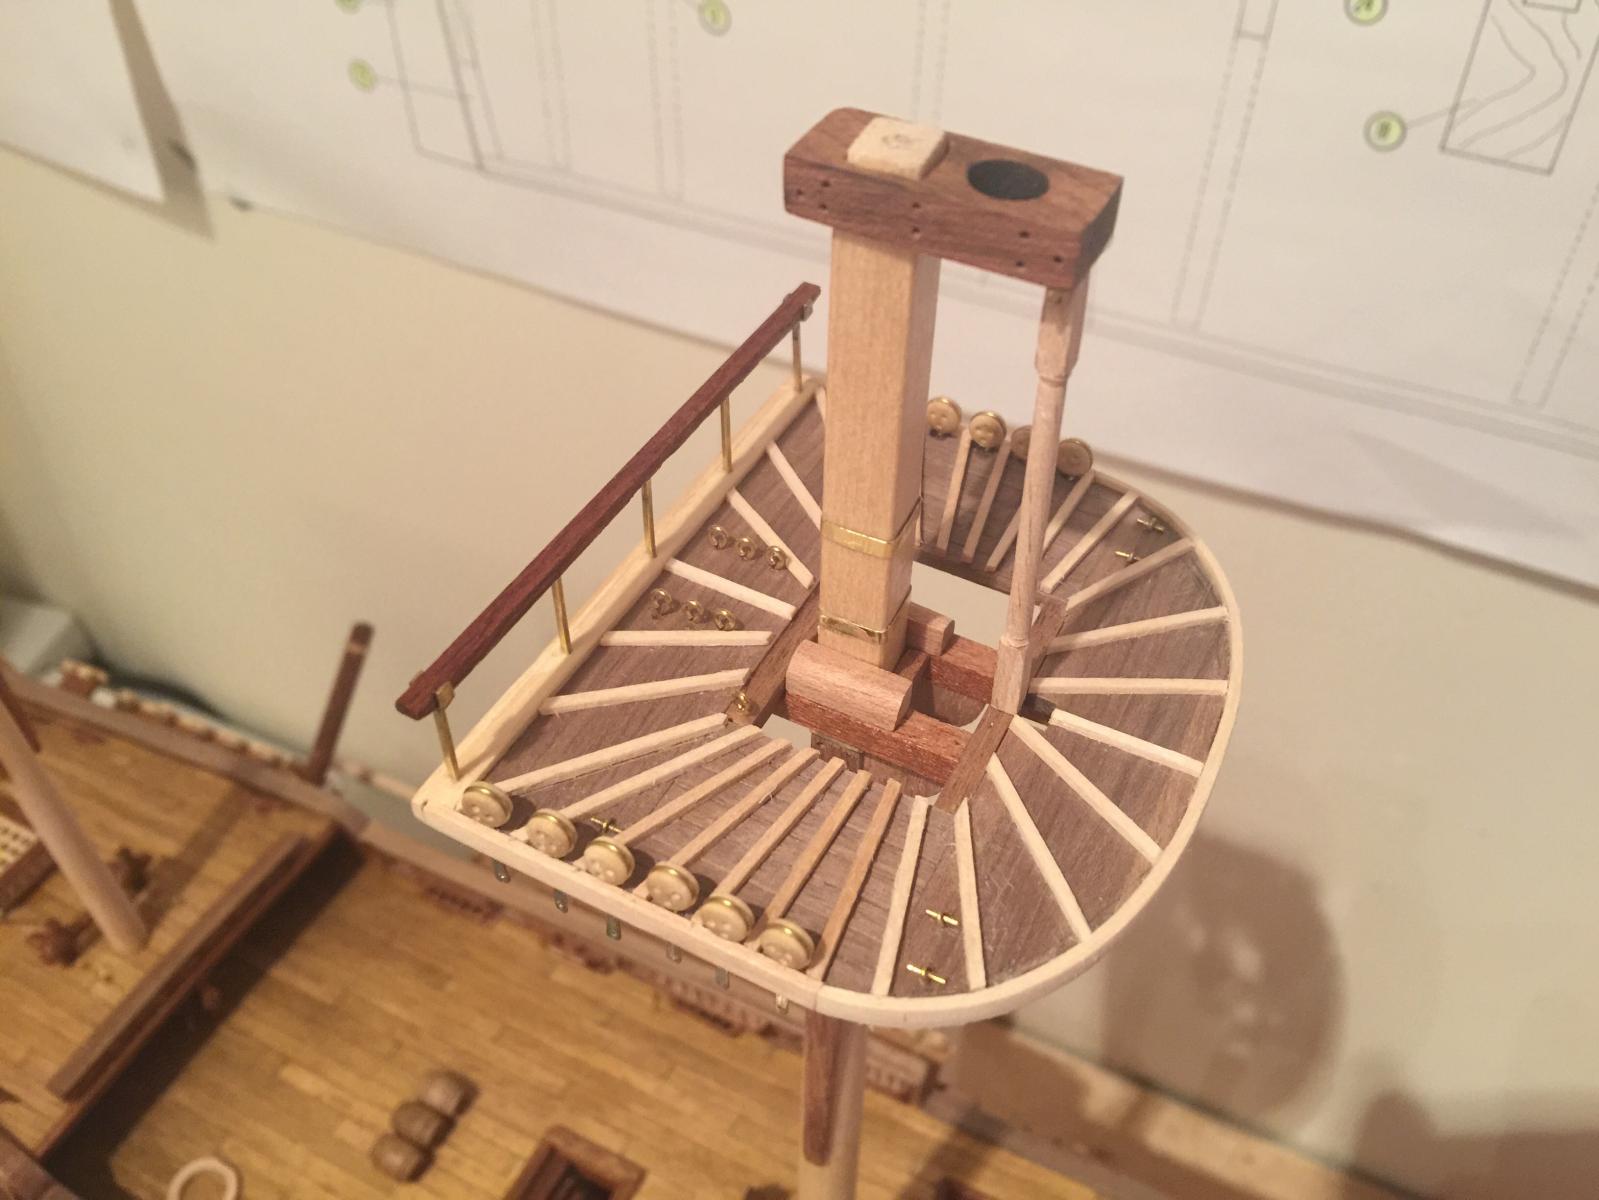
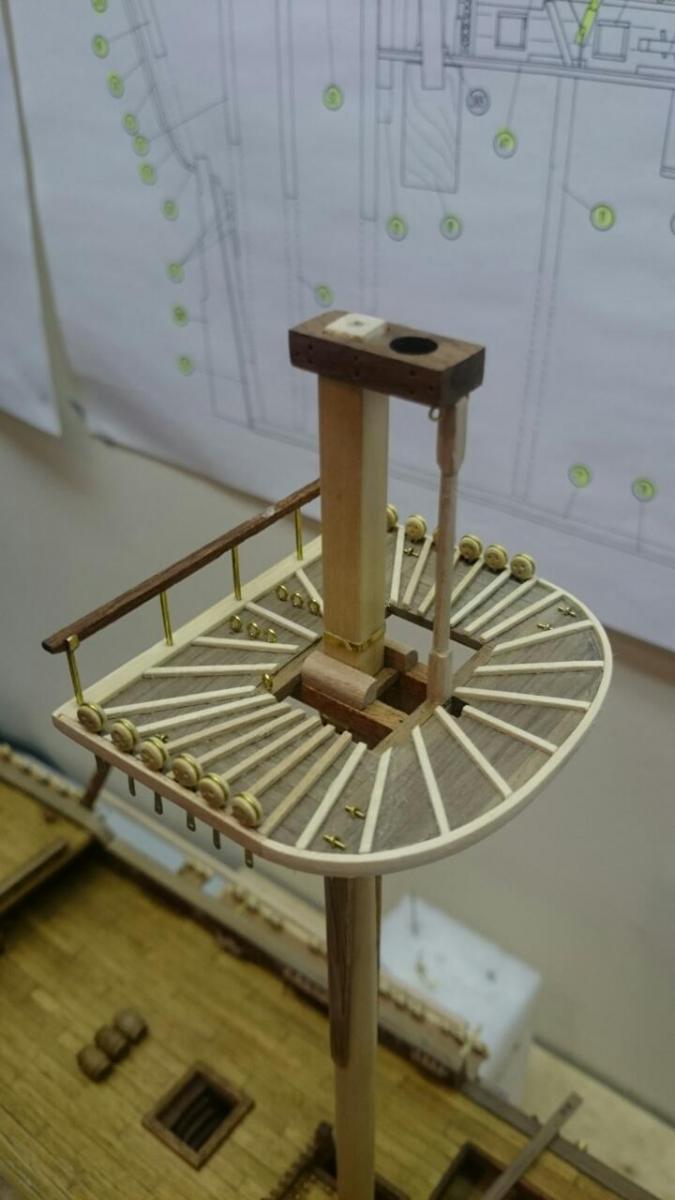
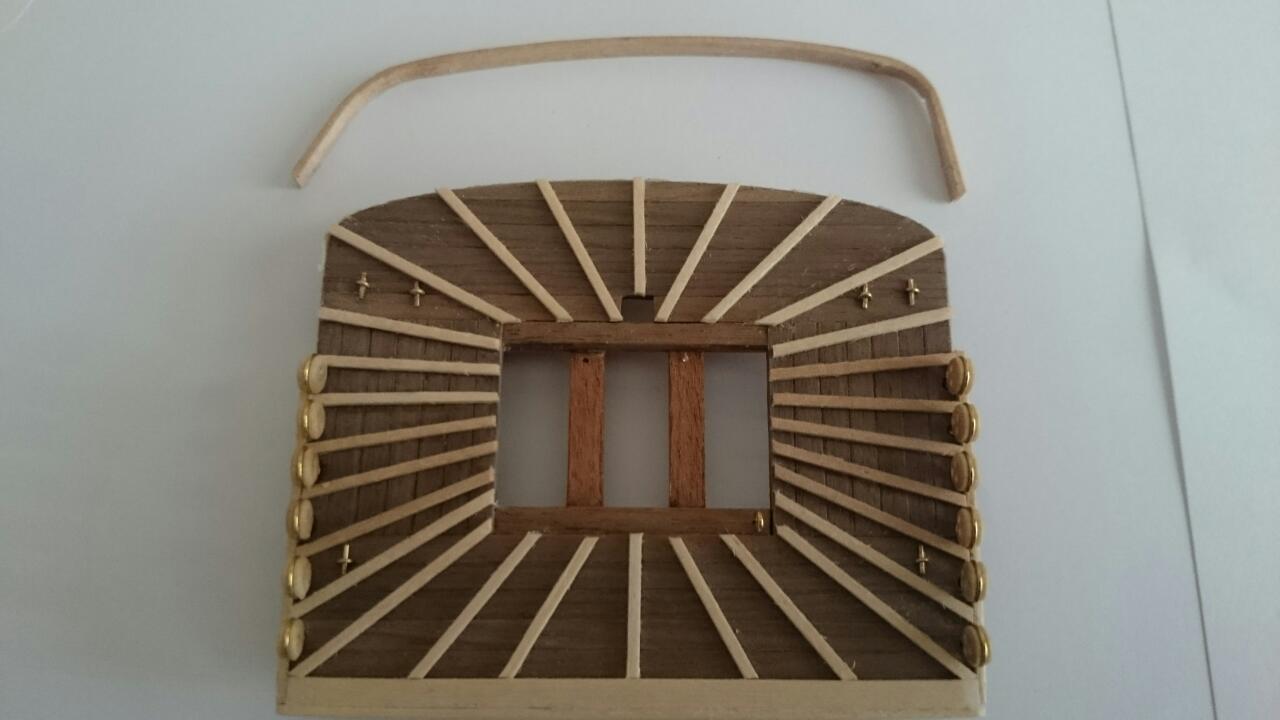
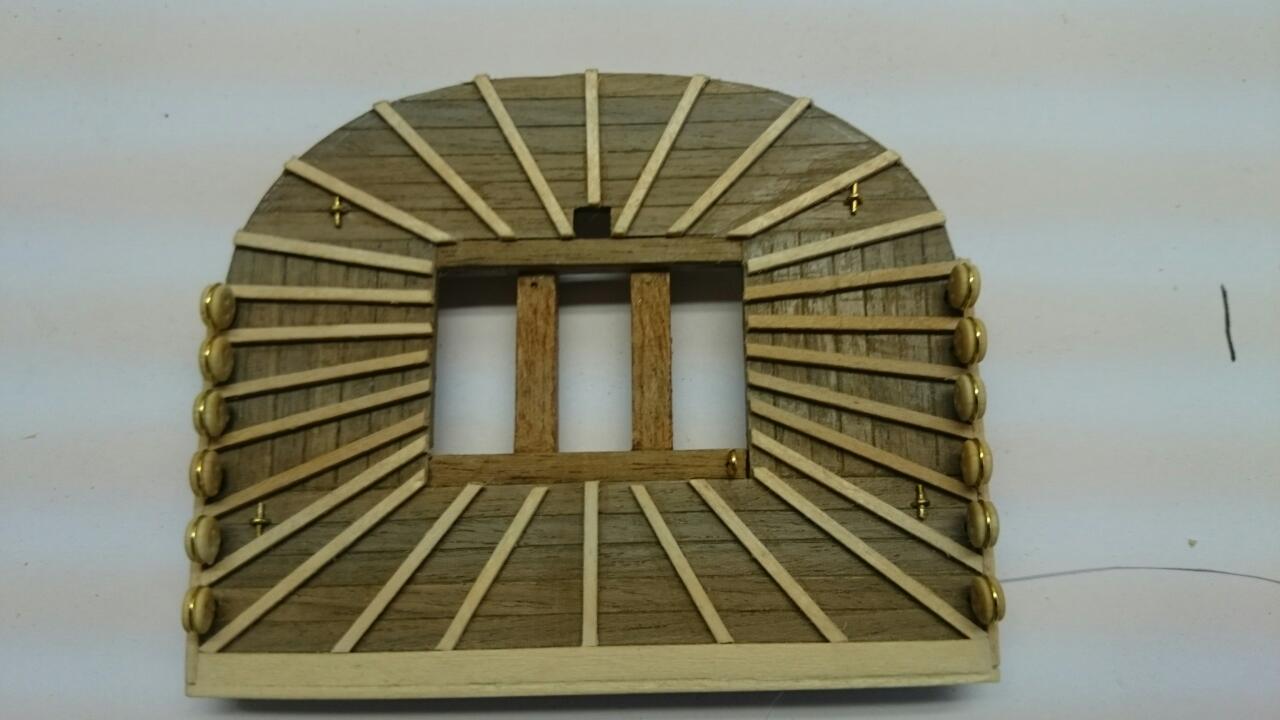
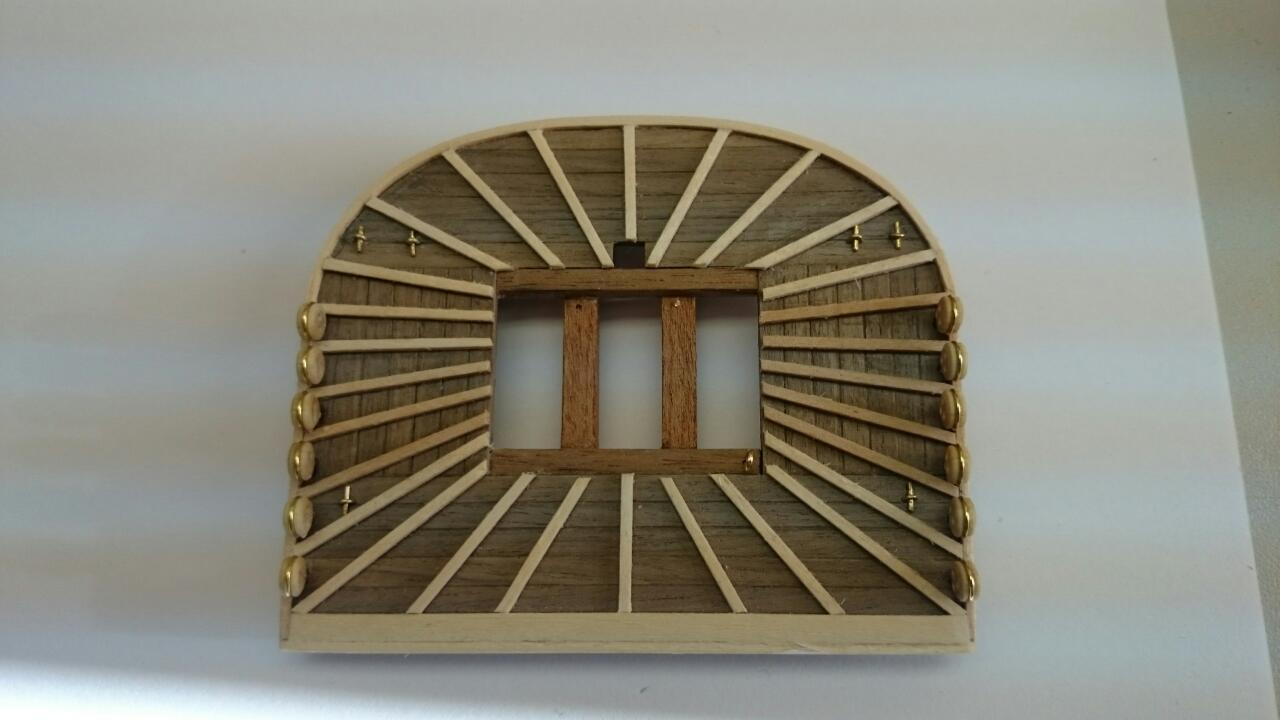
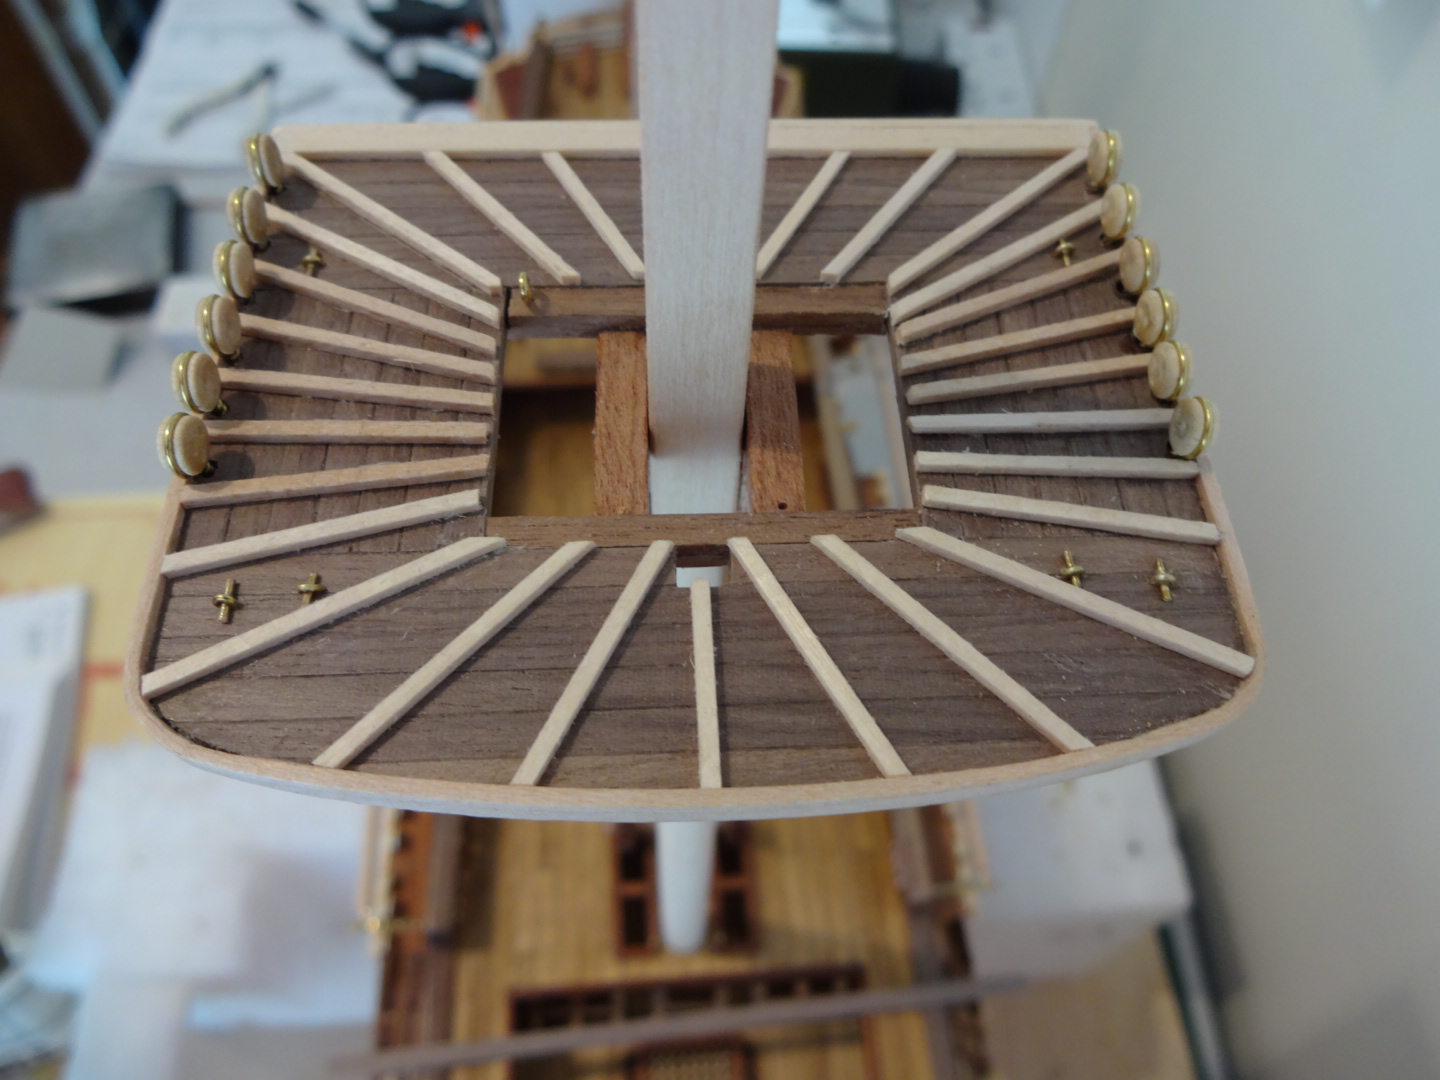
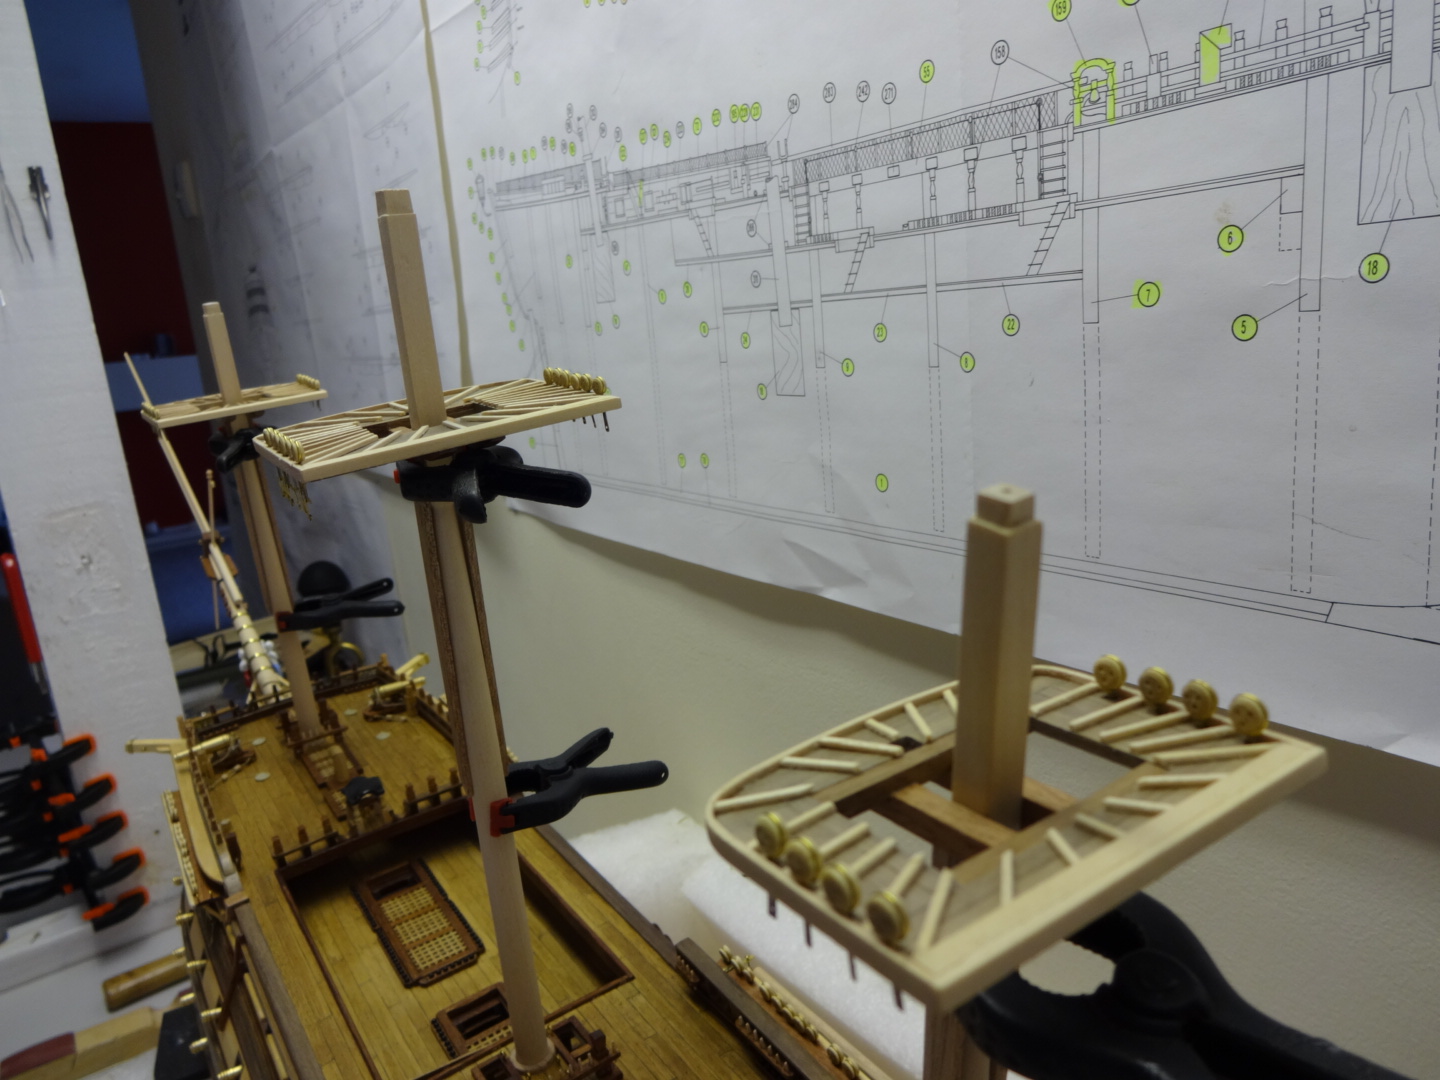
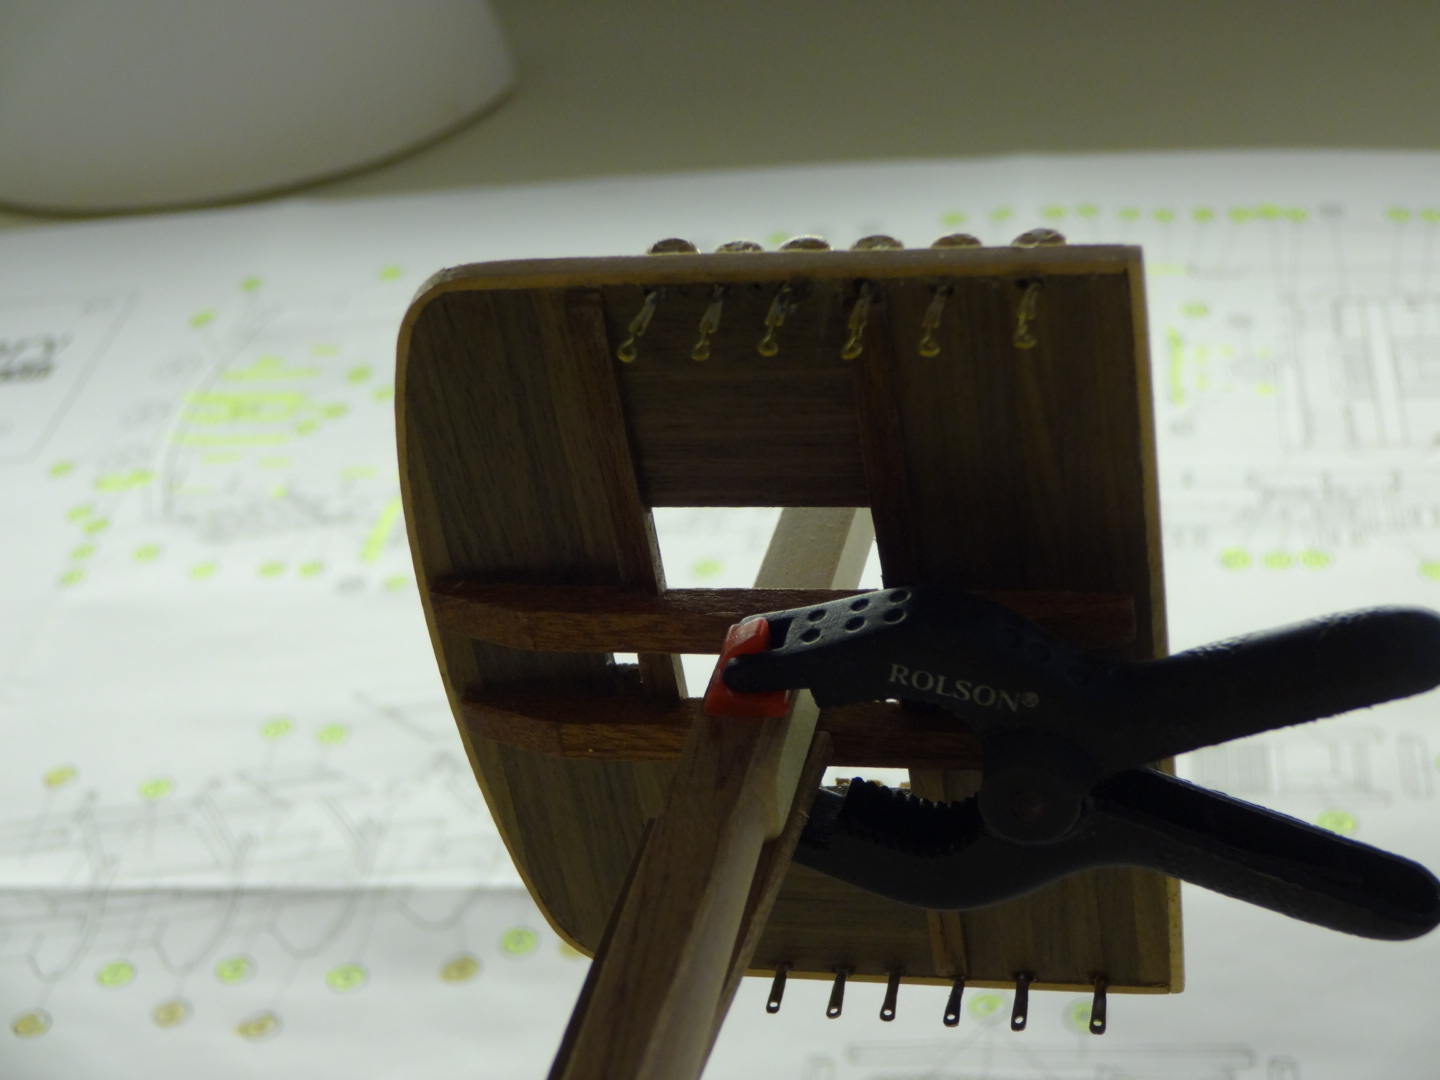
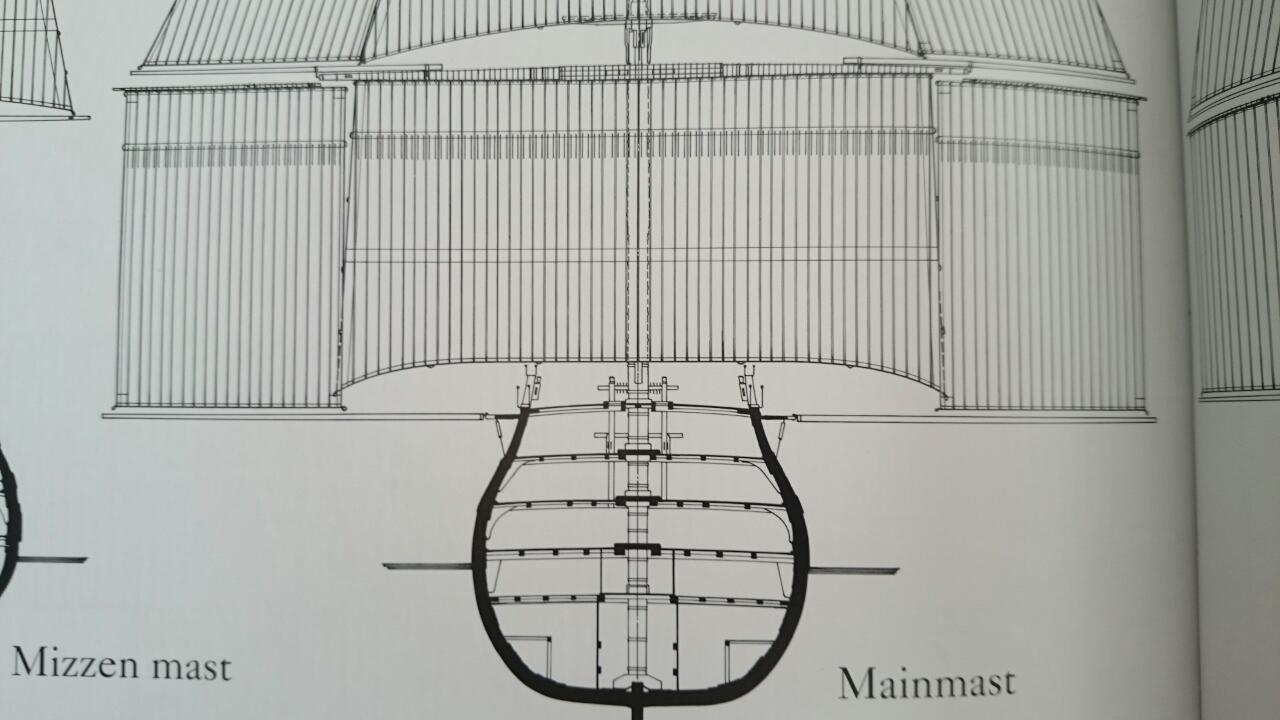
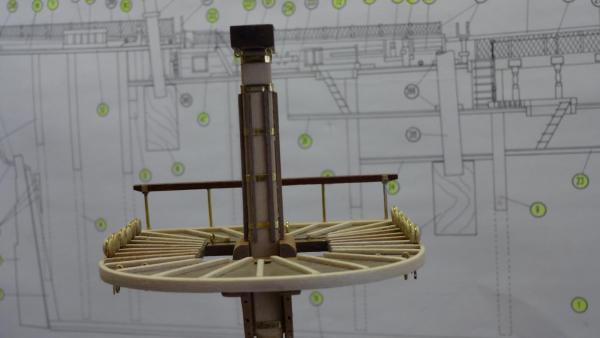
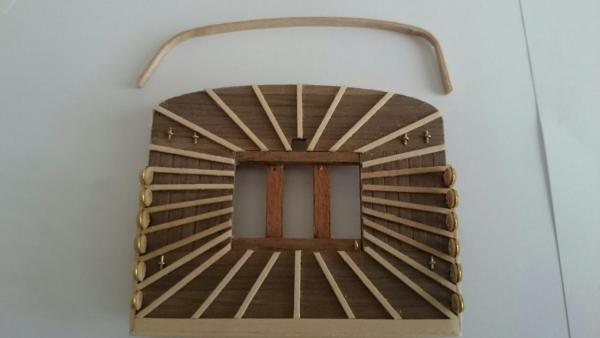
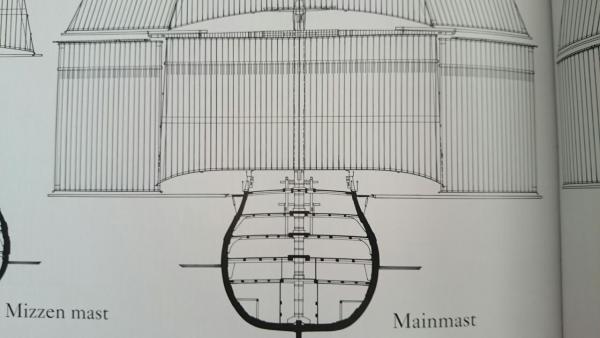
Thanks for the pictures Andy, they sort of forced me to do something I was trying to kid myself that I could live with. Mast platforms, the kit gives us a nice template and the methods of construction but the templates are quite wrong. I only noticed this fact when I studied the images of the fittings and for a while I thought they were ok, well for me there not. I will explain, the kit platforms are far to square and to be honest being so square was actually a pain to get the wood to conform to the shape. The actual platforms are far more curved and I just had to, replace or re work my originals, the latter surficed.
- 708 replies
-
- 6
-
-
- victory
- constructo
- (and 1 more)
-
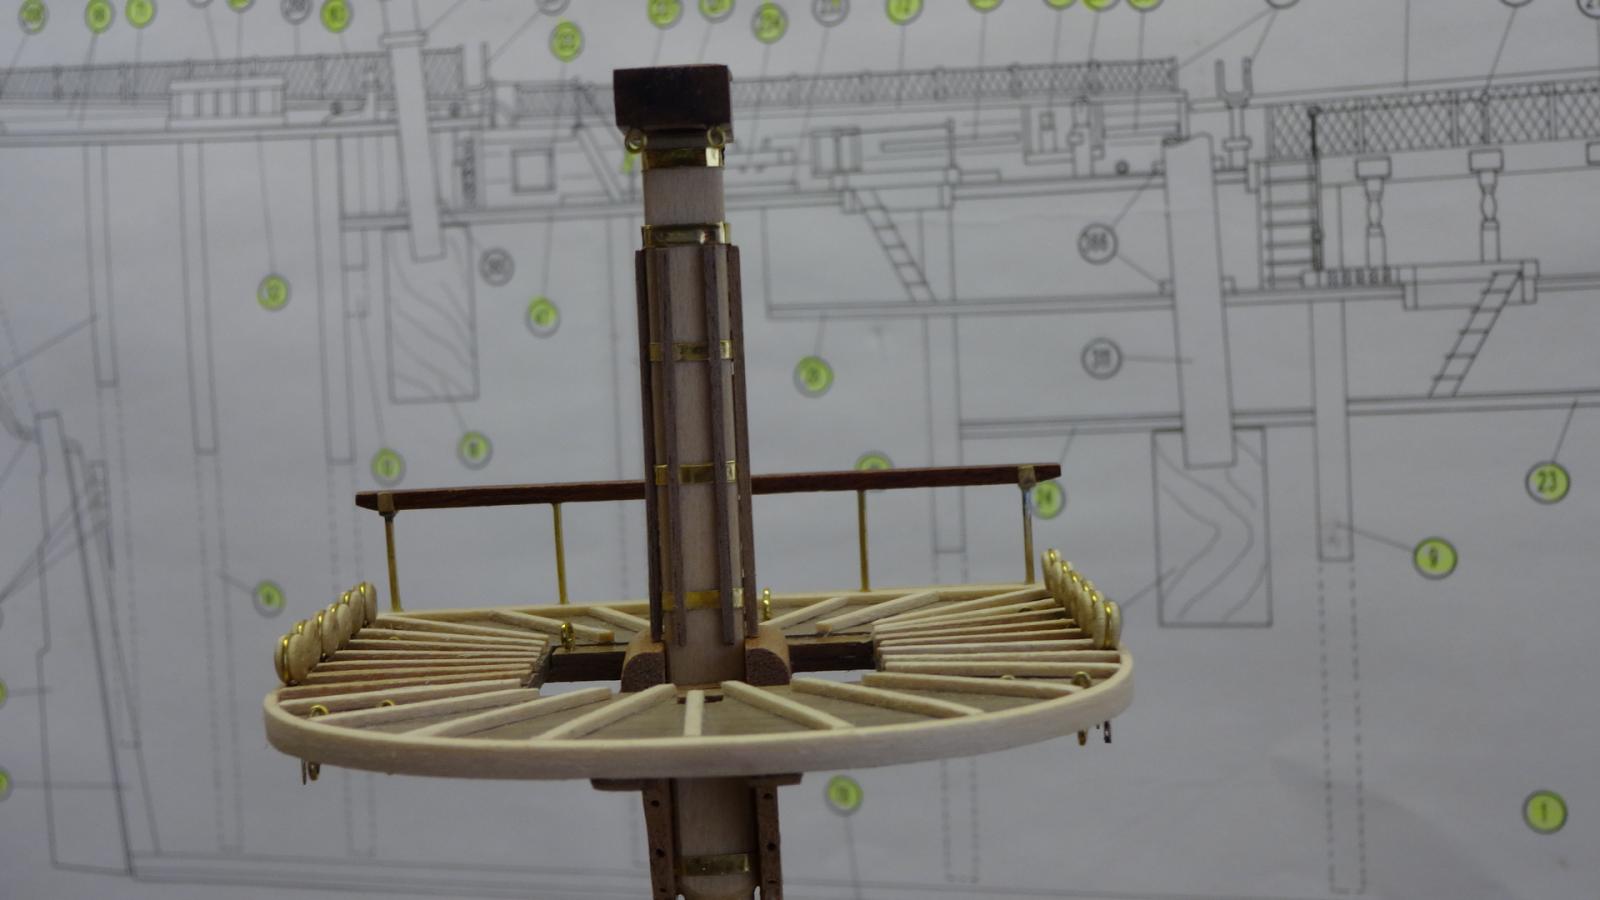
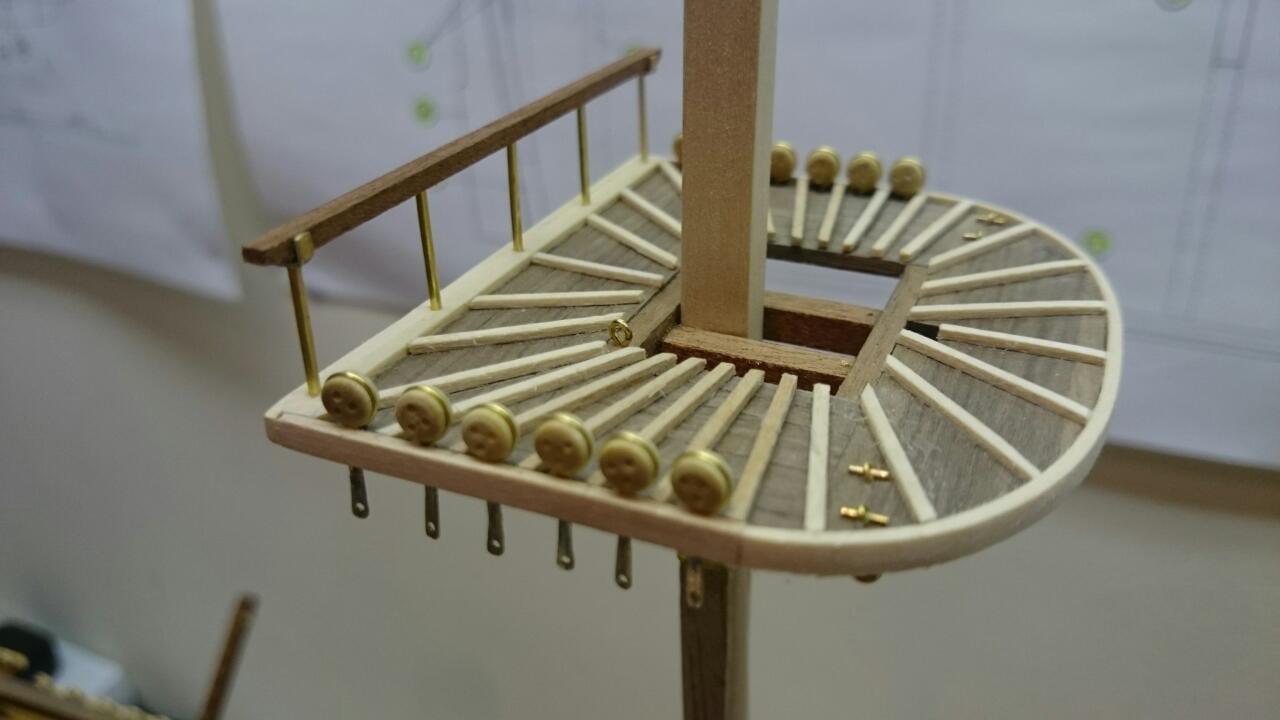
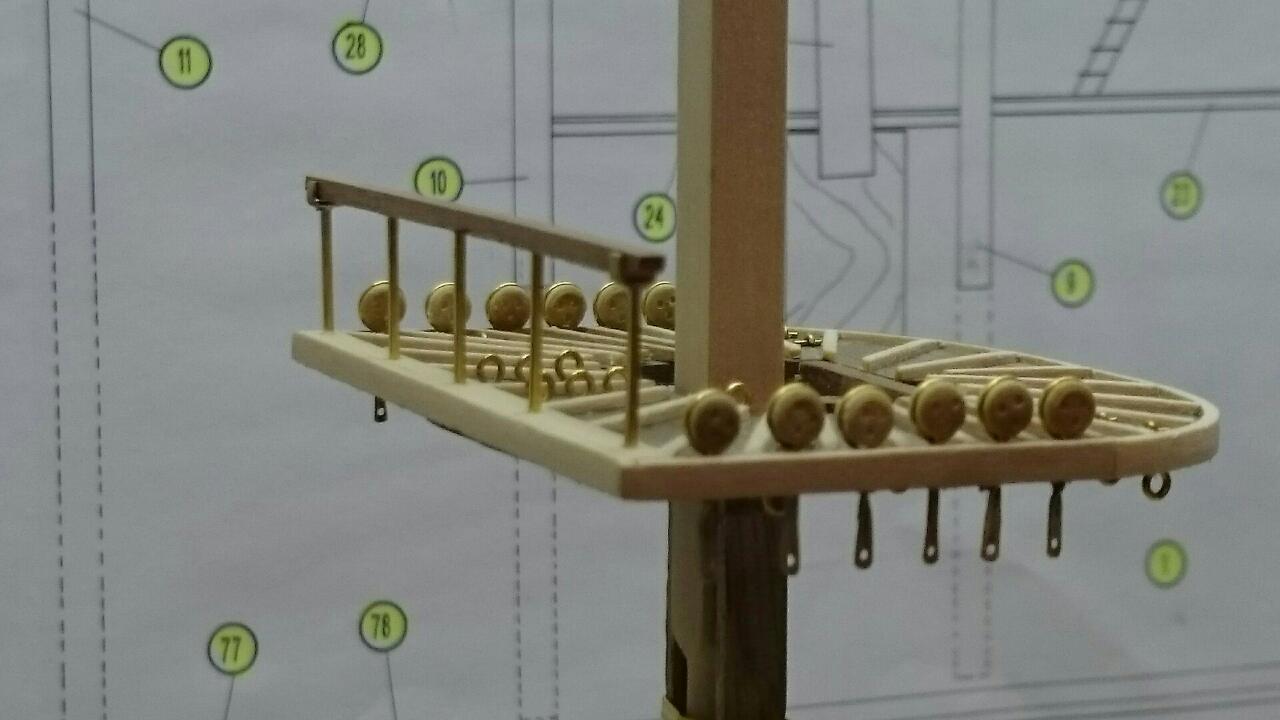
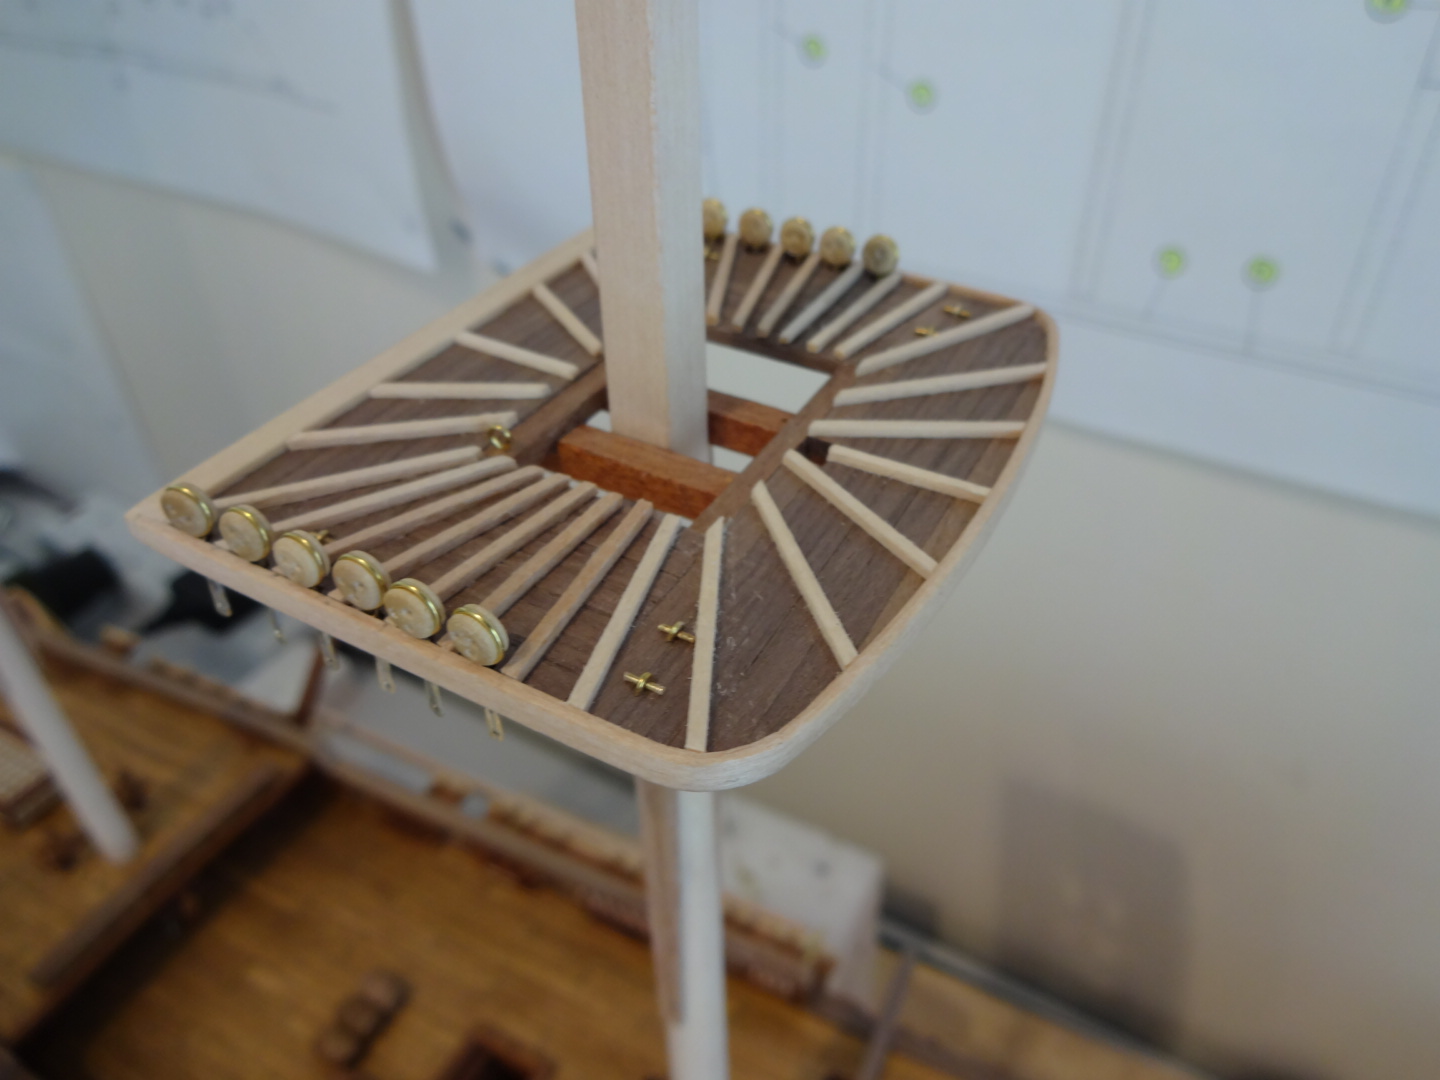
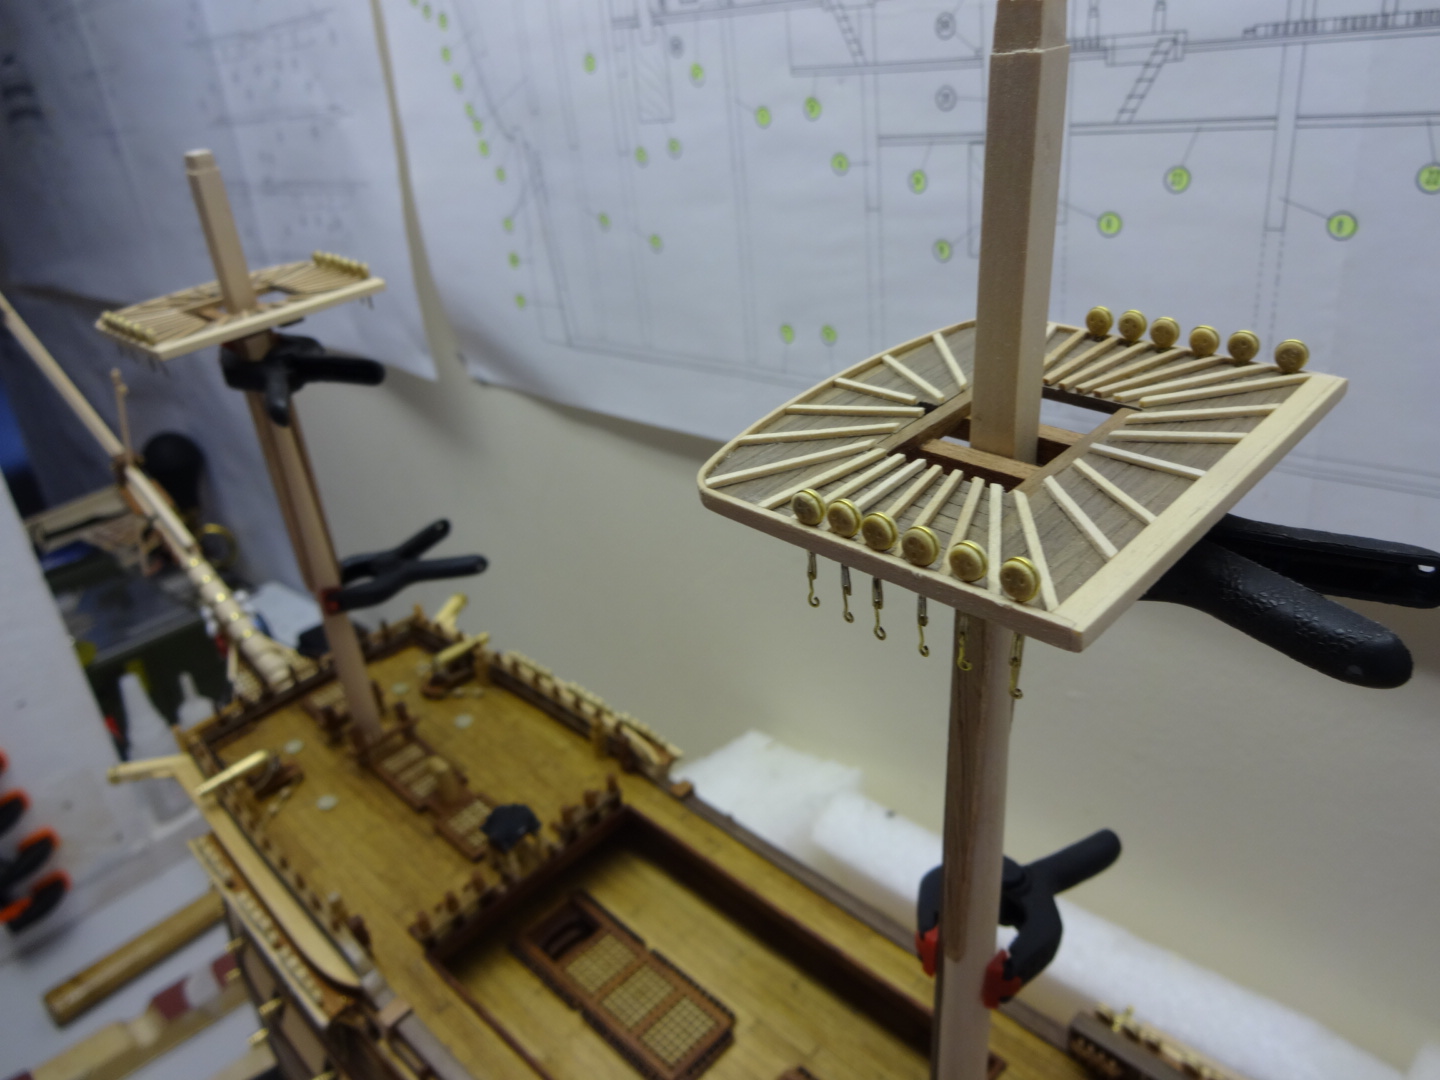
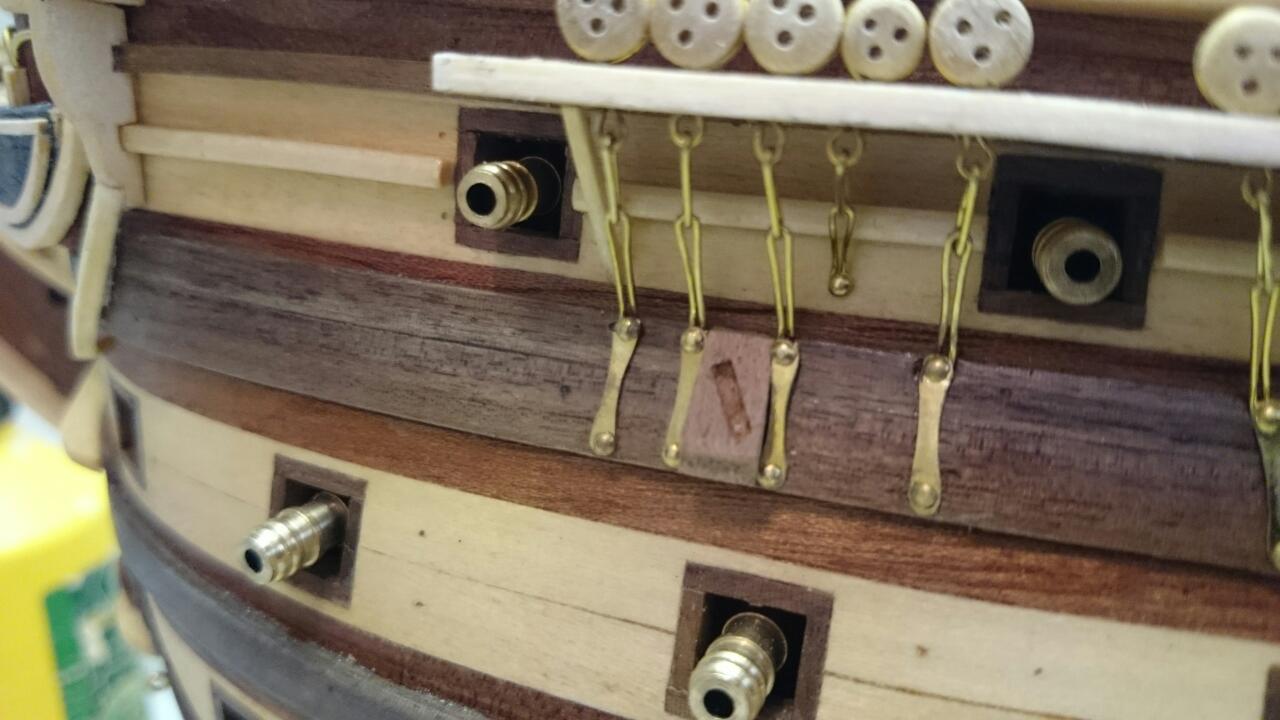
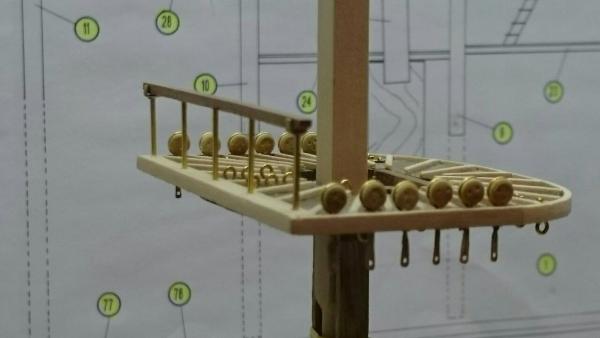
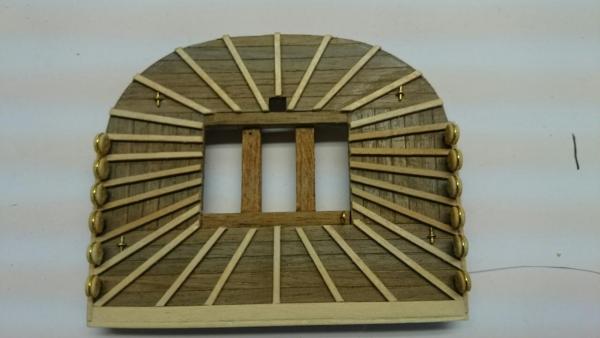
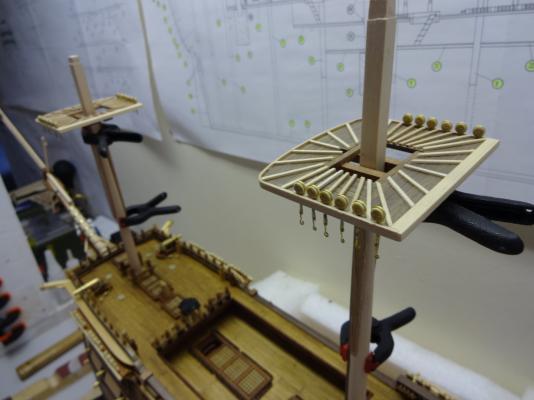
Starting to add the detailing to the platforms on each of the mast ( much more to add ), the kit, as always, falls quite short here too, so its chew through reference books and try and add as much as possible at this scale. Adding all deadeyes in the scale manor and also making the hooks to which the line is attached took quite some time and adjustments to match images rather than the kits positioning of each deadeye.


- 708 replies
-
- 6
-
-
- victory
- constructo
- (and 1 more)
-
Let me know when you find the larger anchors but at the monent its a sacrifice I may live with. The many would never notice either way really. To to add the extra 14mm would make the kit ones look odd so new is the only way.
-
Where you planing on puting all those Anchors. Razor saw and a mitre box is my main cutter, I also use the proxon cirular saw but I do need a finer blade for it, clean all cuts with sand paper to remove any strands formed but keep the edges crisp & sharp
-
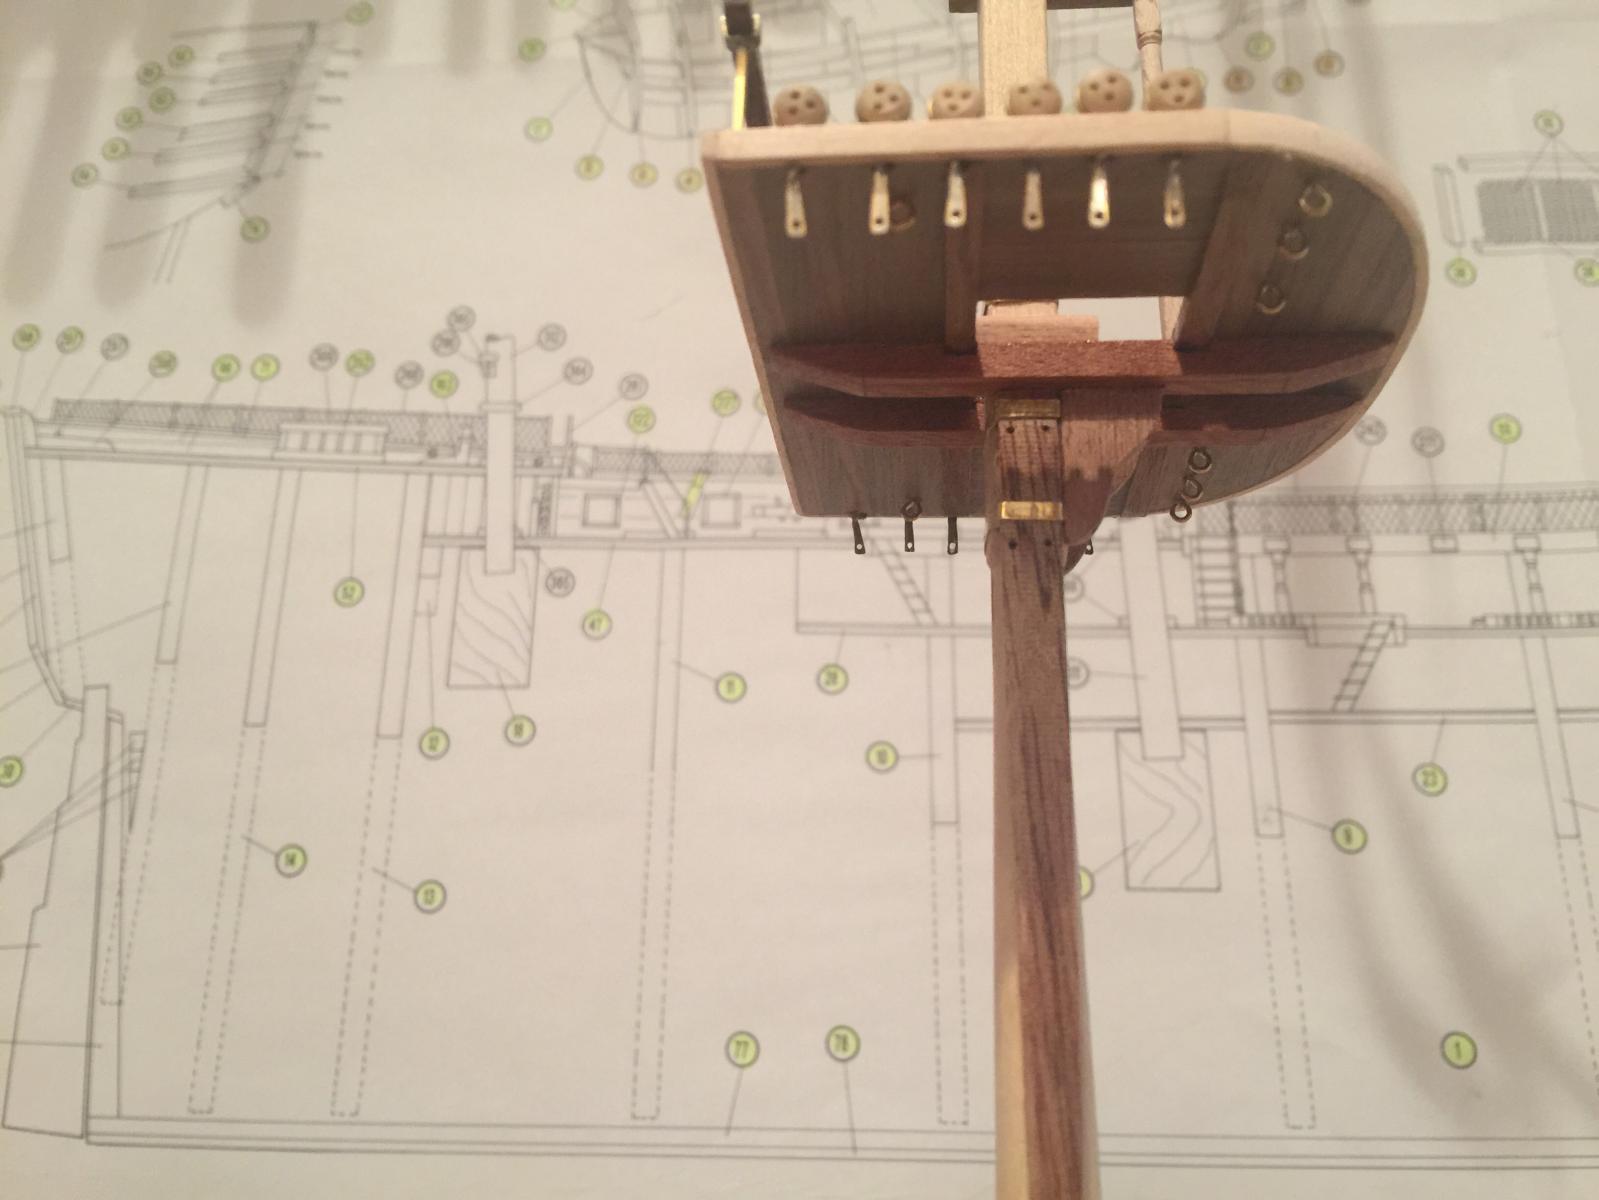
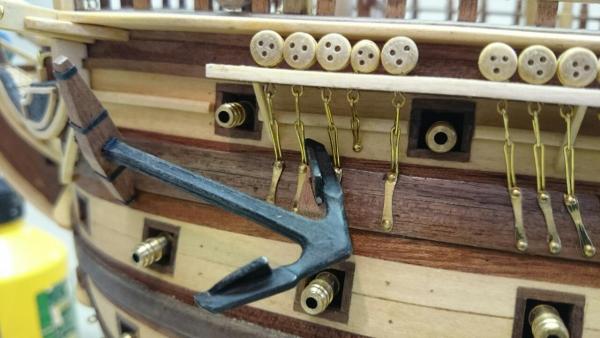
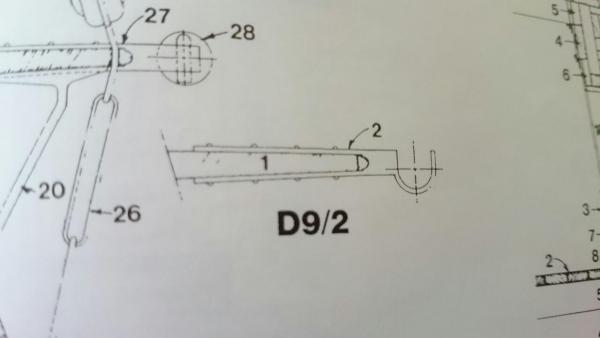
All mast platform deadeyes fitted and also the anchor supports missing from the kit.

- 708 replies
-
- 4
-
-
- victory
- constructo
- (and 1 more)
-
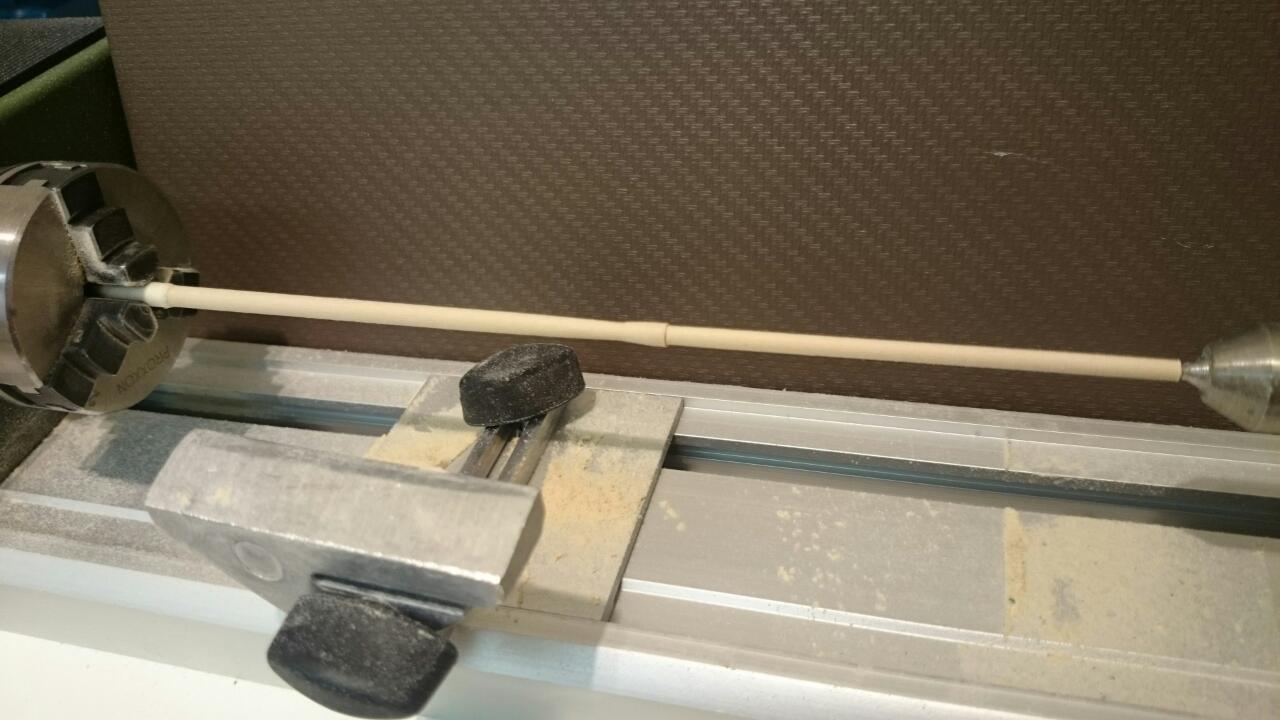
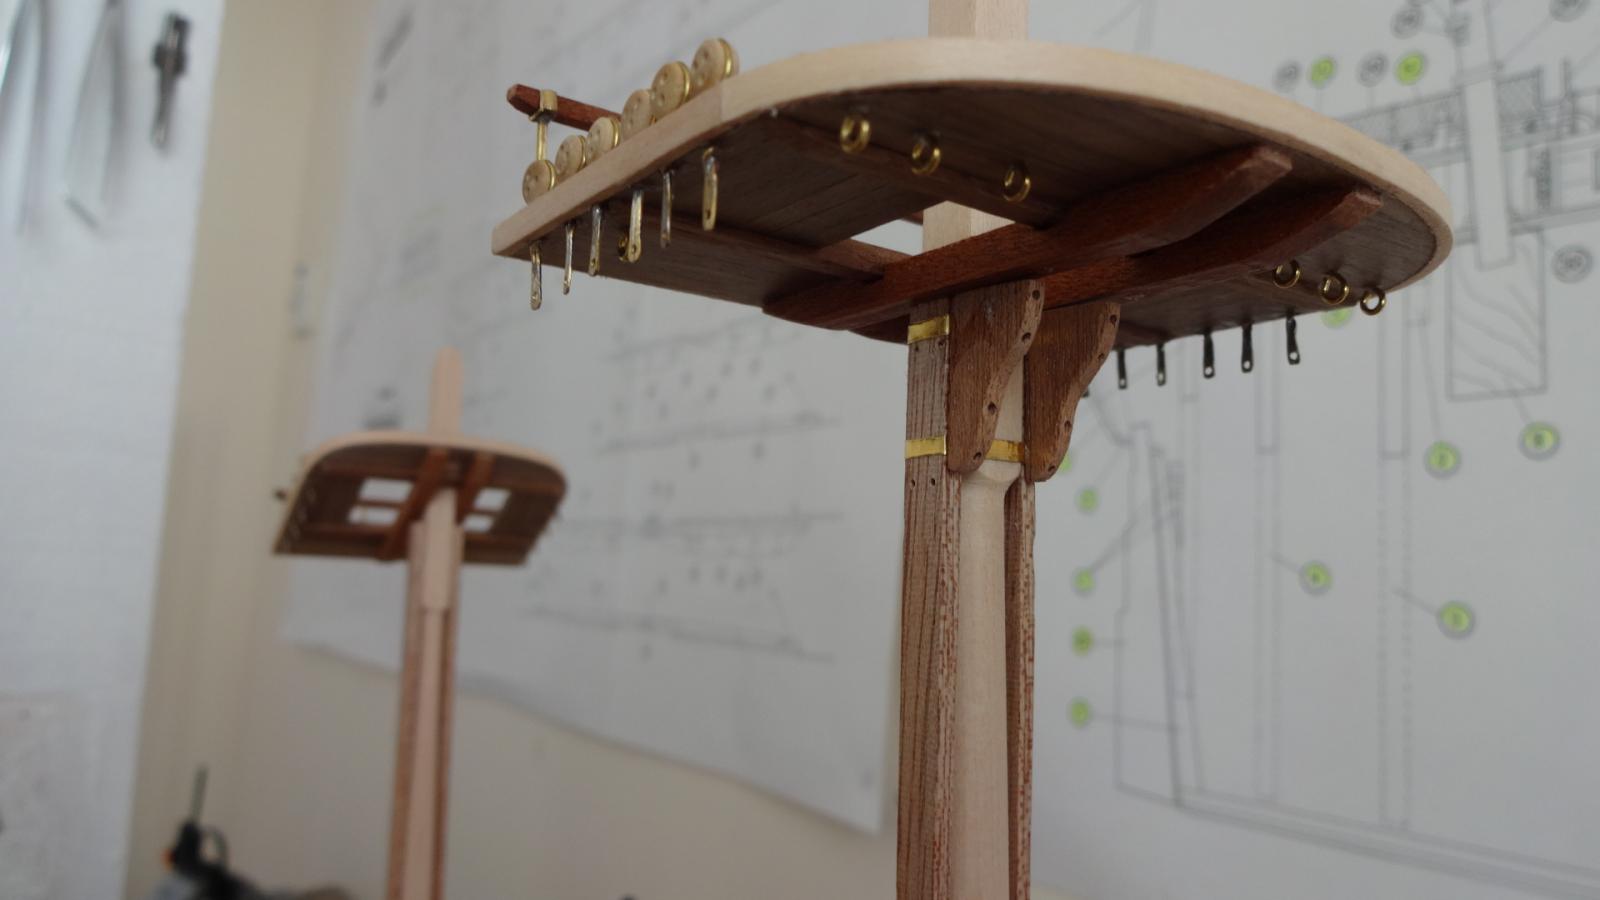
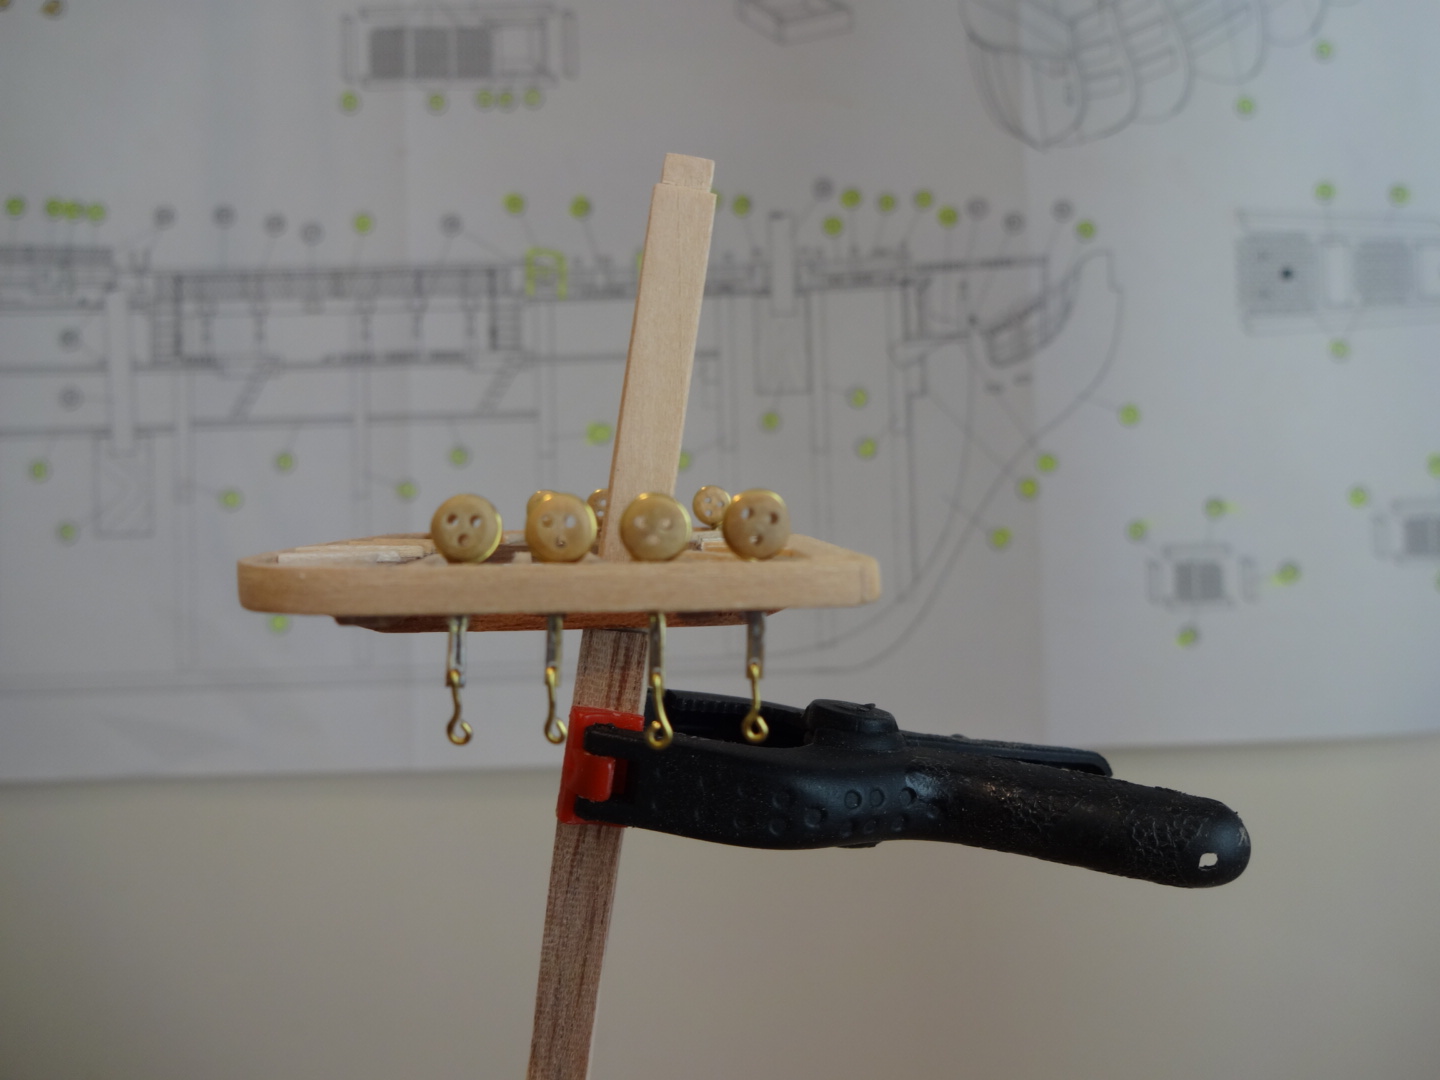
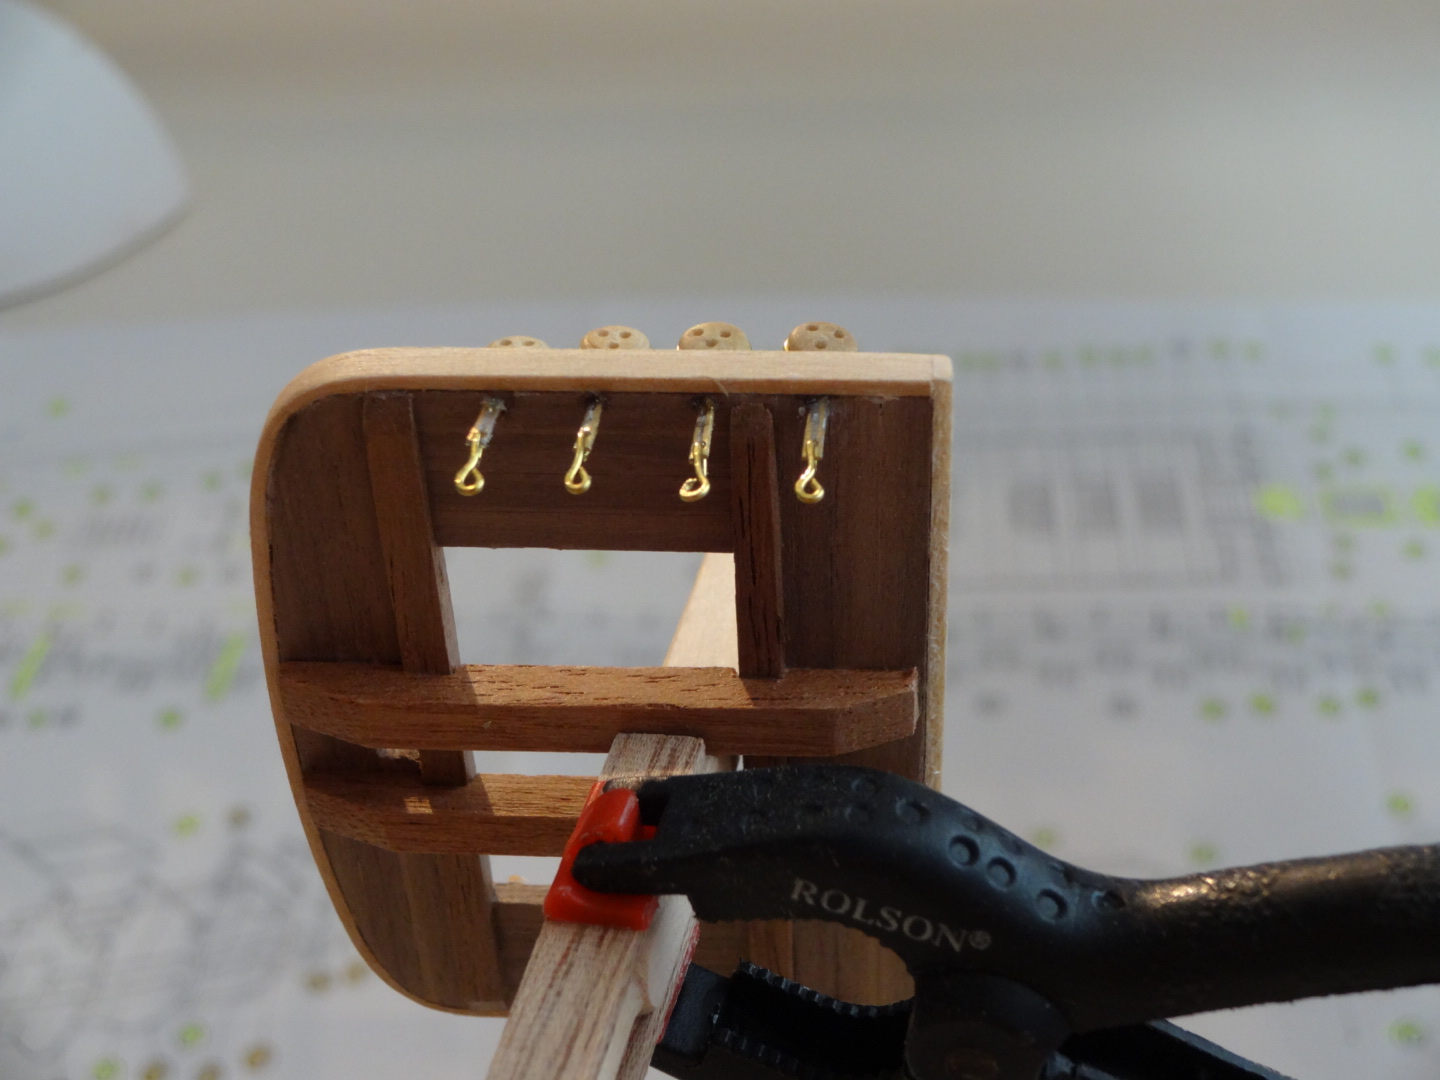
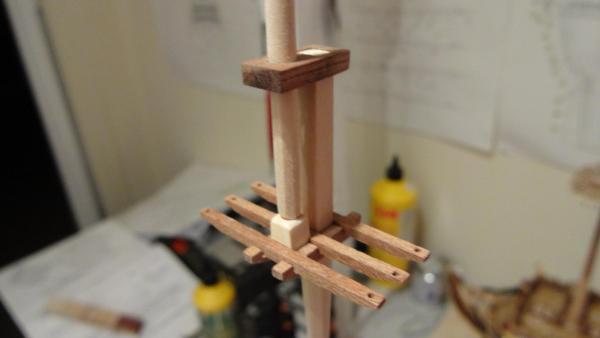
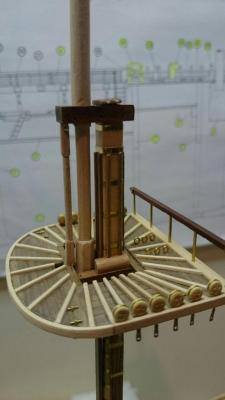
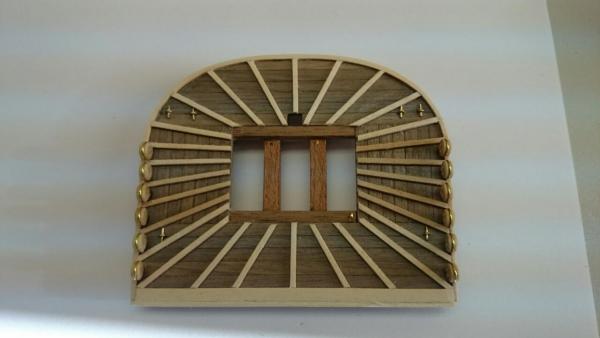
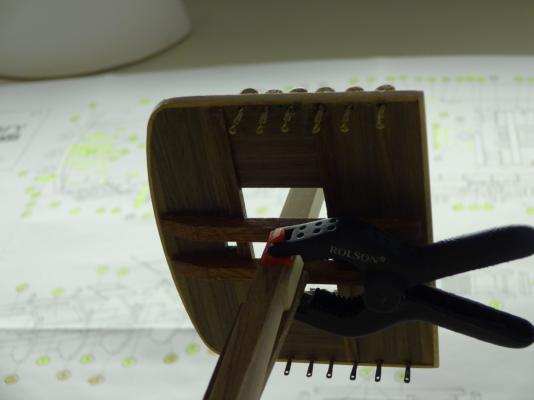
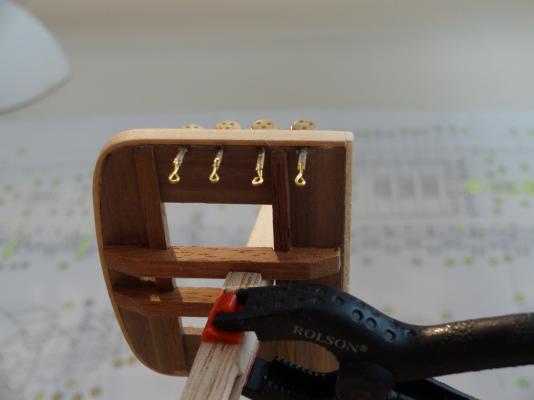
I have been pressing on, sobeit slowly, with the deadeyes on the mast platforms. The clamp is holding the mast strengtheners which are to be soon also fitted.

- 708 replies
-
- 5
-
-
- victory
- constructo
- (and 1 more)
-
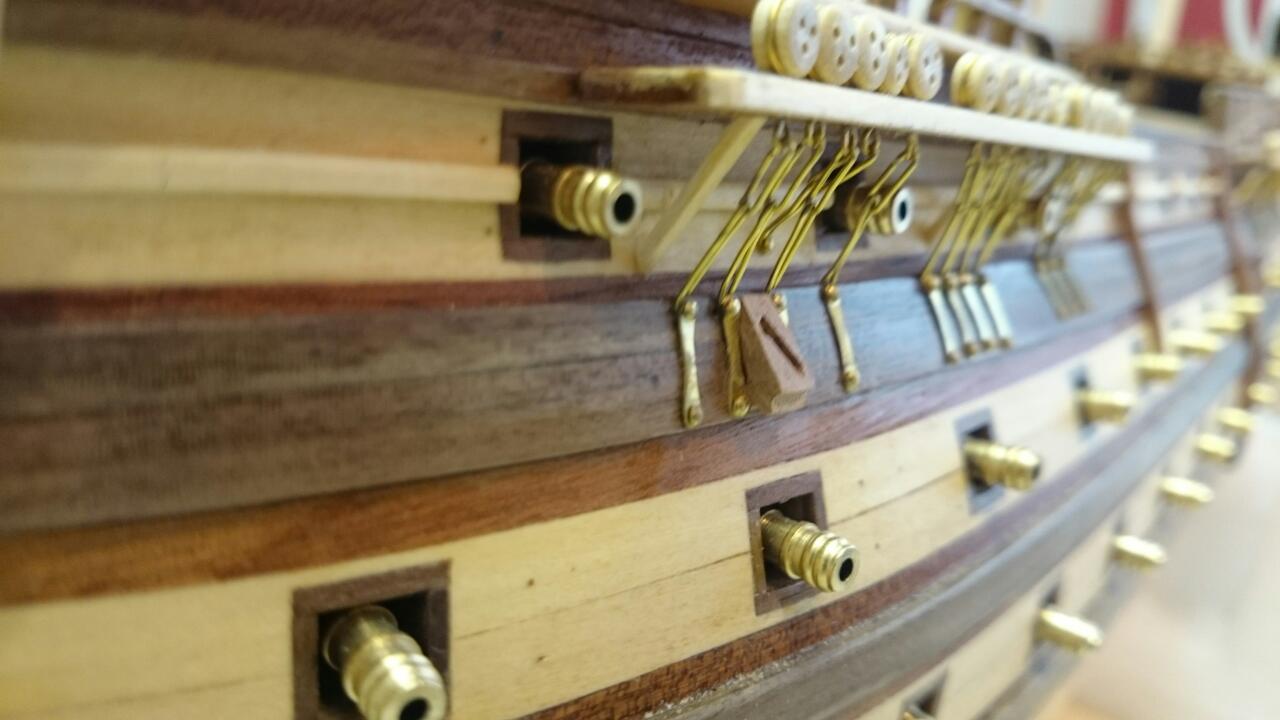
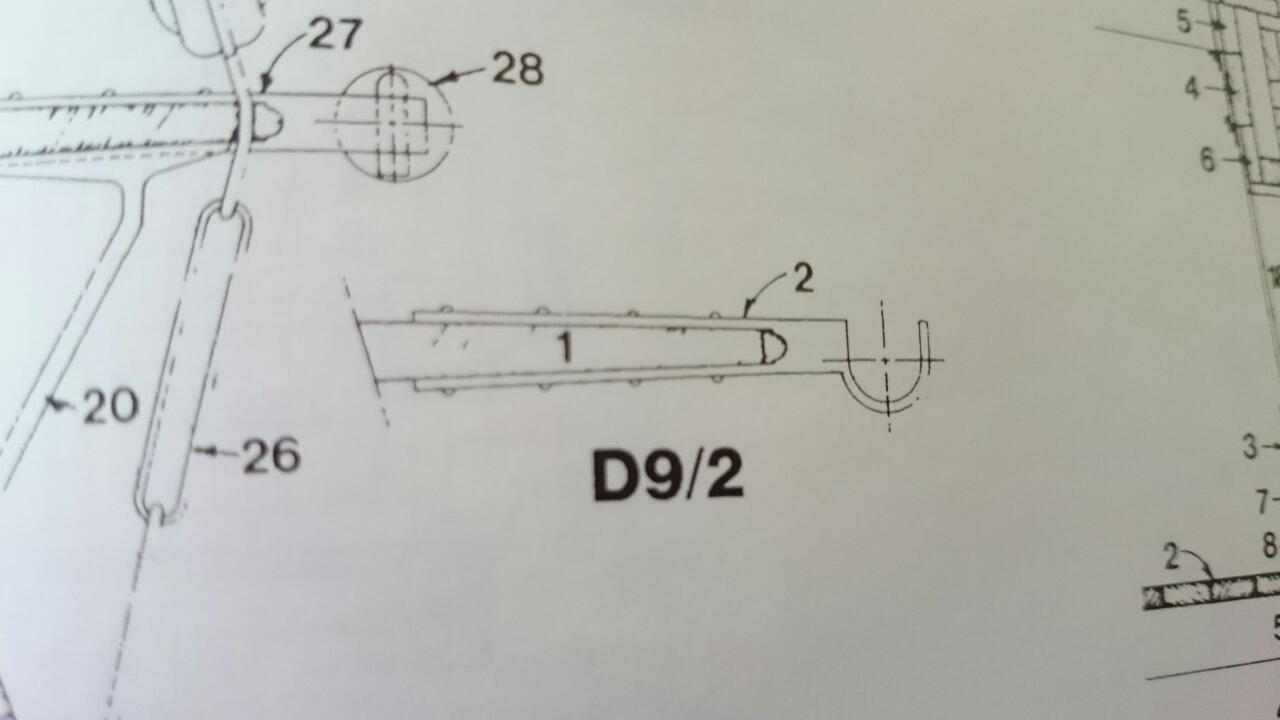
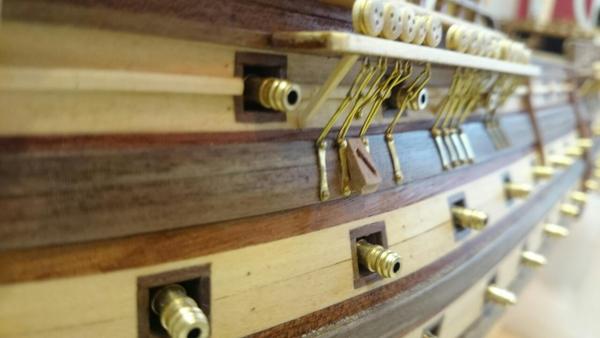
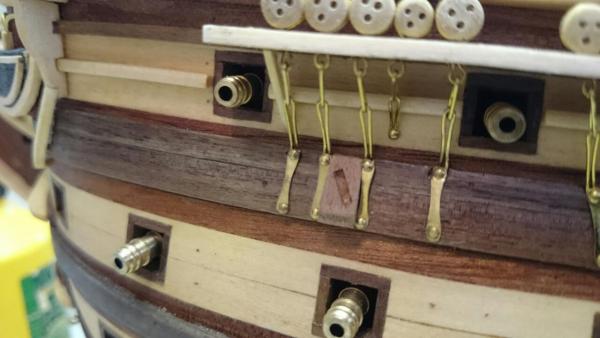
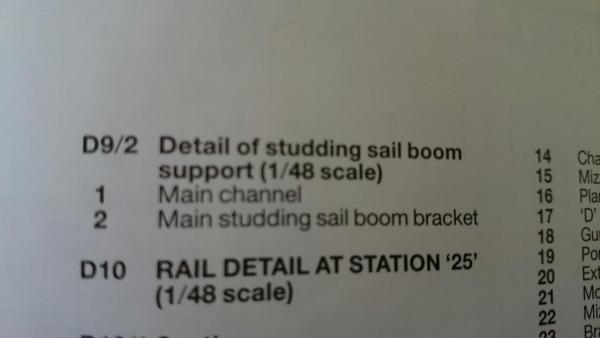
These appear to be brought out when at full sail and stowed by the side in the brackets attached to deadeye rails, there called lower studding sail booms, the fore mast does the same but there smaller and are fixed forward of the dead eye rail and not stowed outside the ship. Well from all my books they point at this but im no expert. Dave, I cheated and bought the barrels, to cheap to consider turning my own. Shh I made them.
- 708 replies
-
- 2
-
-
- victory
- constructo
- (and 1 more)
-
Cheers Dave Its not how much i'm doing, rather how long I can avoid the canon rigging, there is quite a lot of additional deck fittings and eyelets that the kits avoided, possibly as there is only so much they can add to keep the price down. Oh before I forget don't put the large side lifeboat davits on until much later than the plans suggest,, trust me on this, they stick out shouting knock me loose, or completely off. It will happen, my pictures show three, yep had enough of re attaching them.