HOLIDAY DONATION DRIVE - SUPPORT MSW - DO YOUR PART TO KEEP THIS GREAT FORUM GOING! (Only 13 donations so far - C'mon guys!)
×
Paul0367
-
Posts
512 -
Joined
-
Last visited
Content Type
Profiles
Forums
Gallery
Events
Everything posted by Paul0367
-
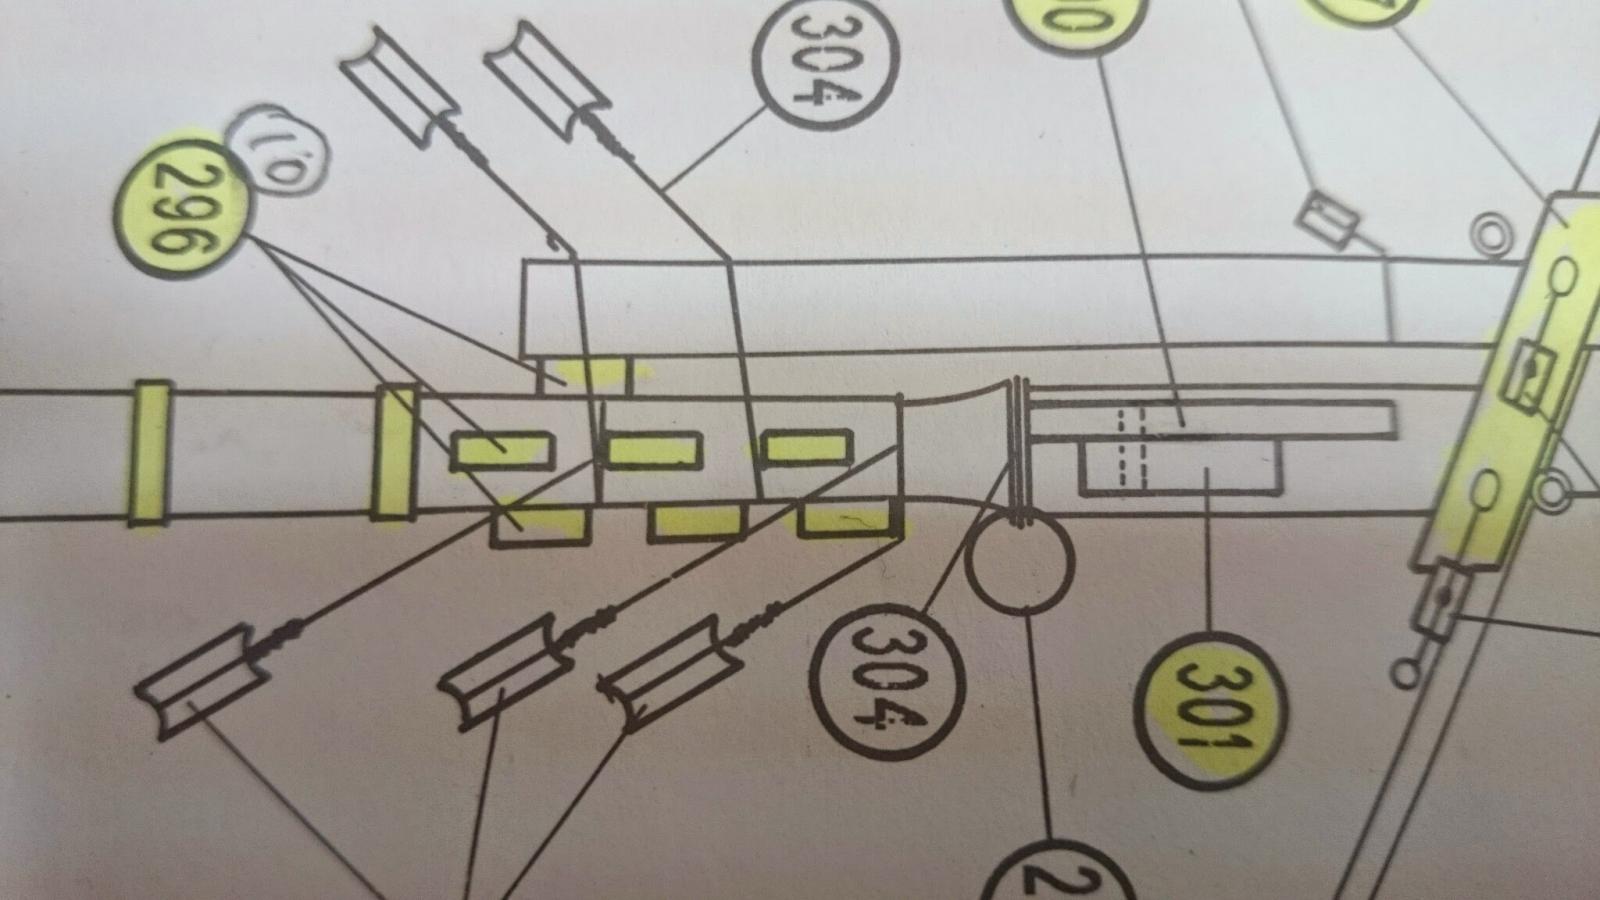
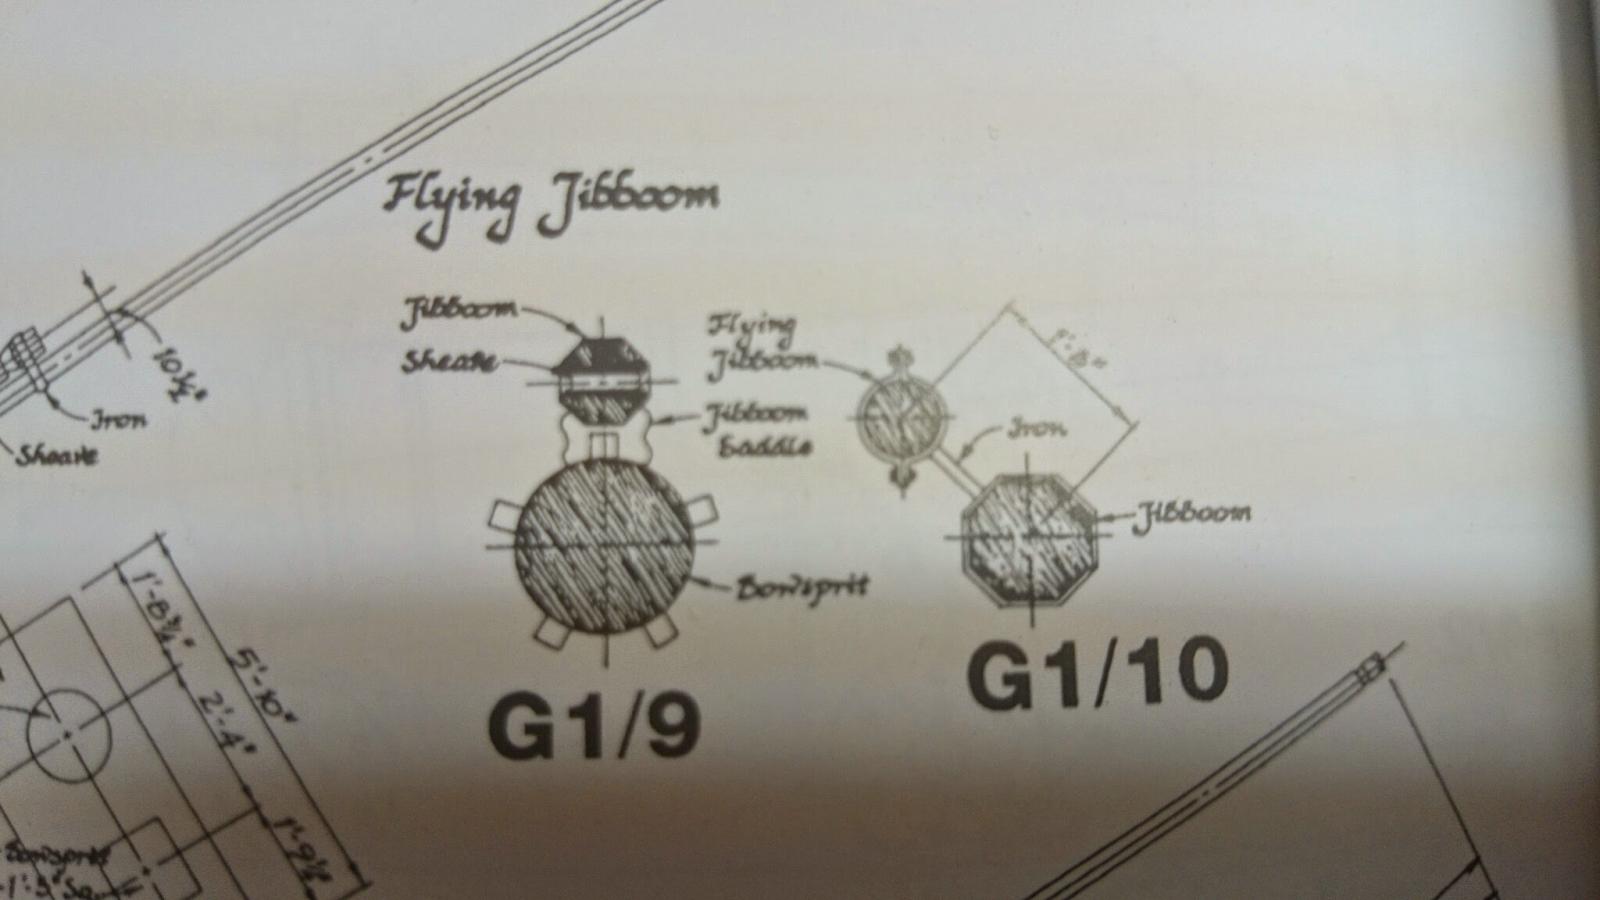
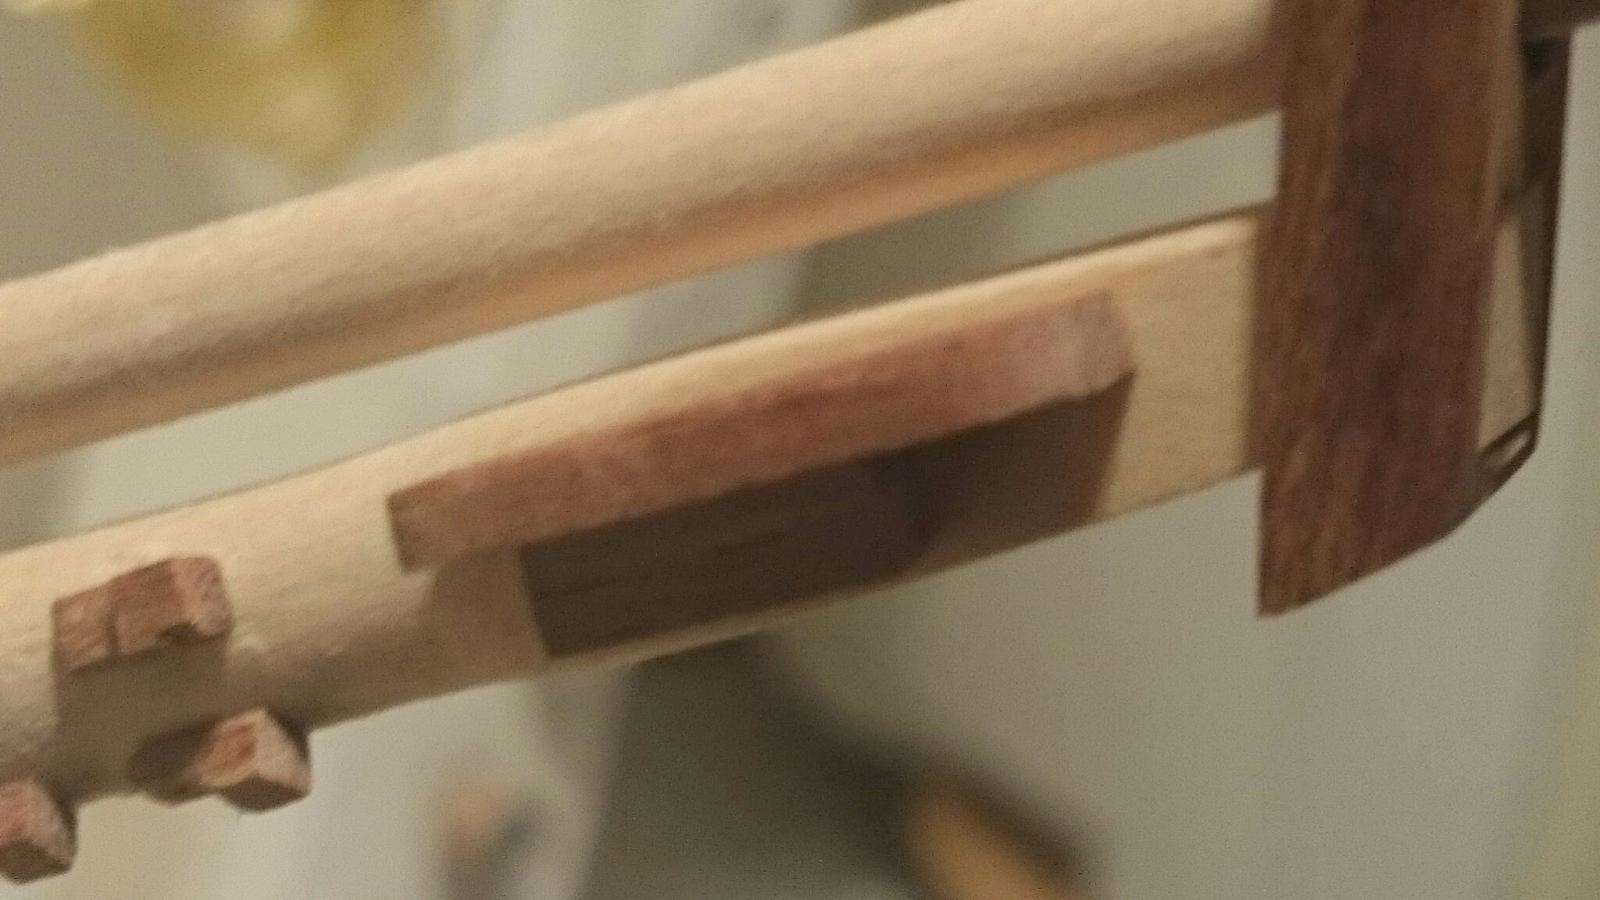
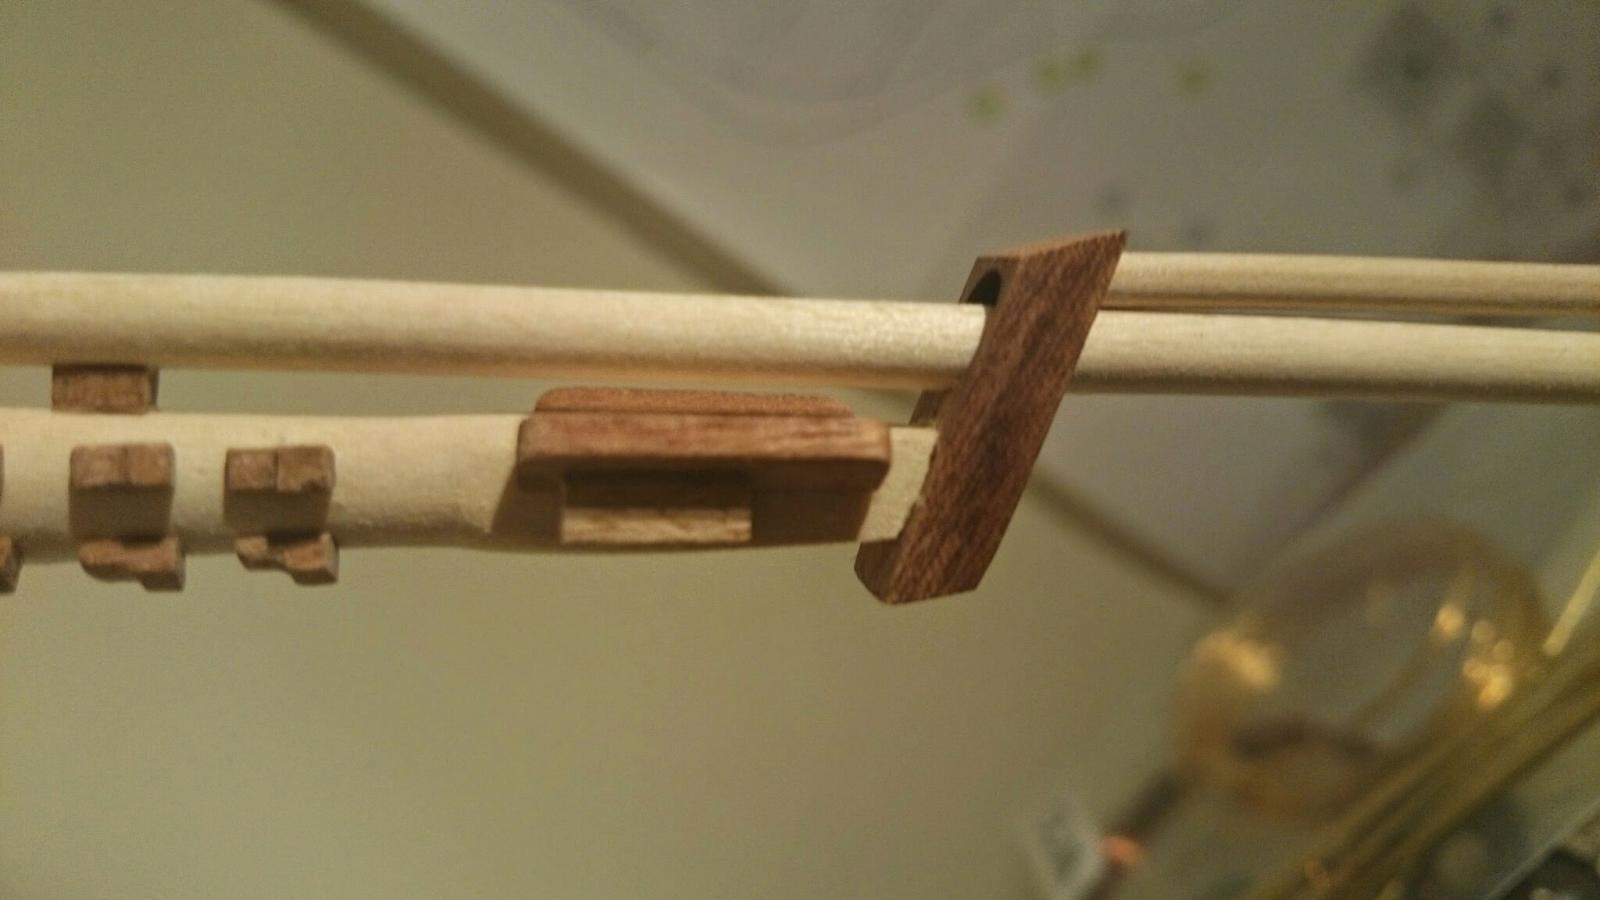
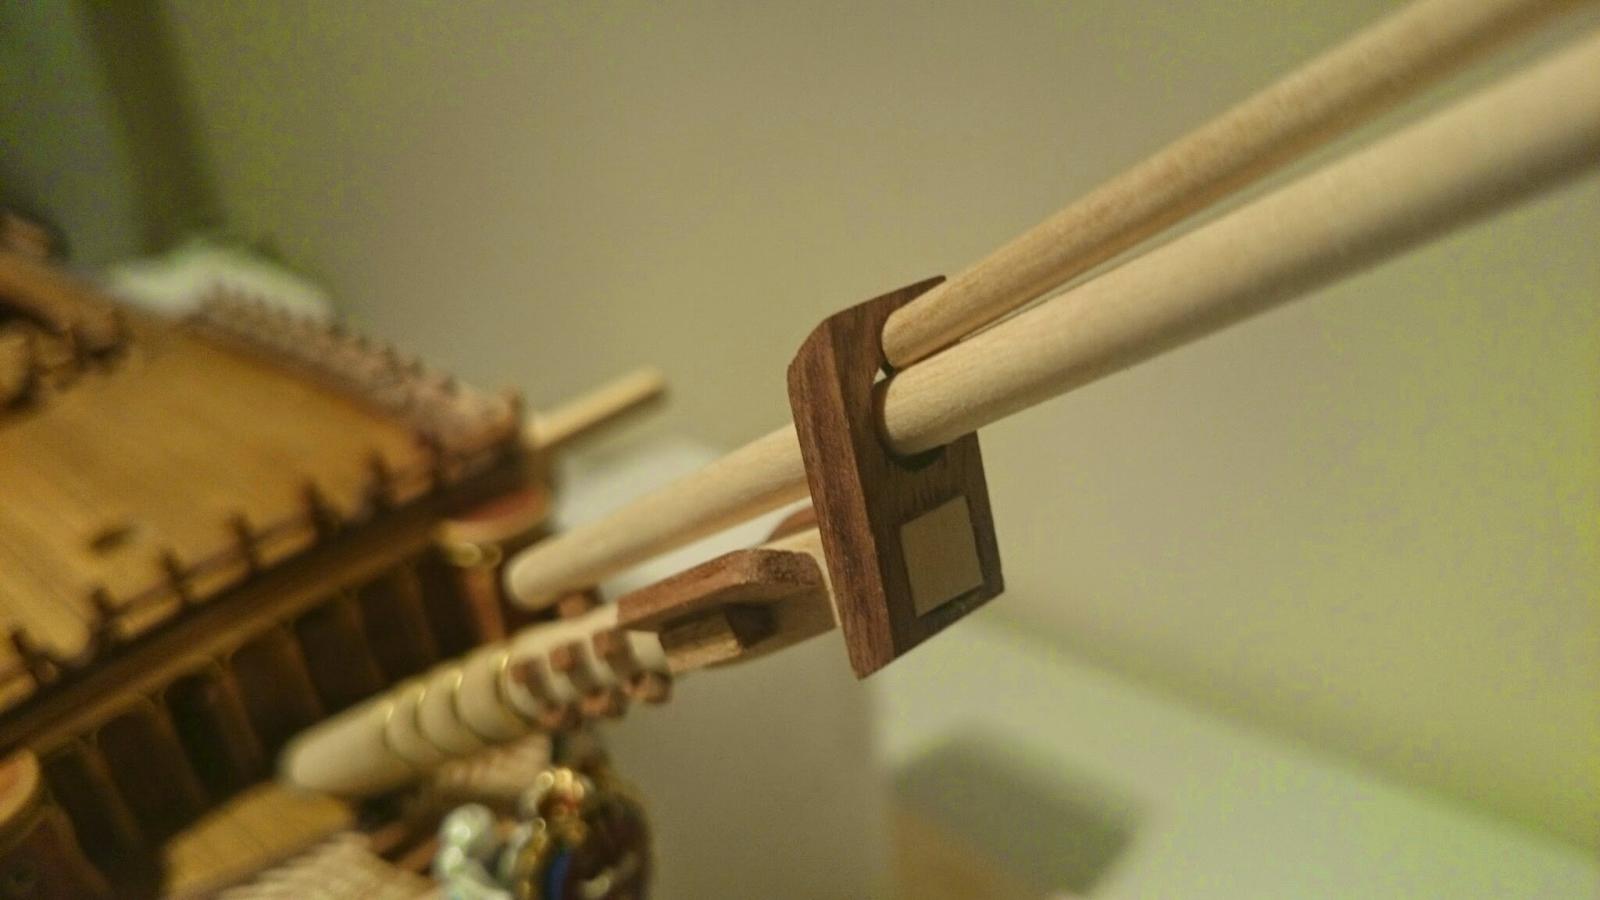
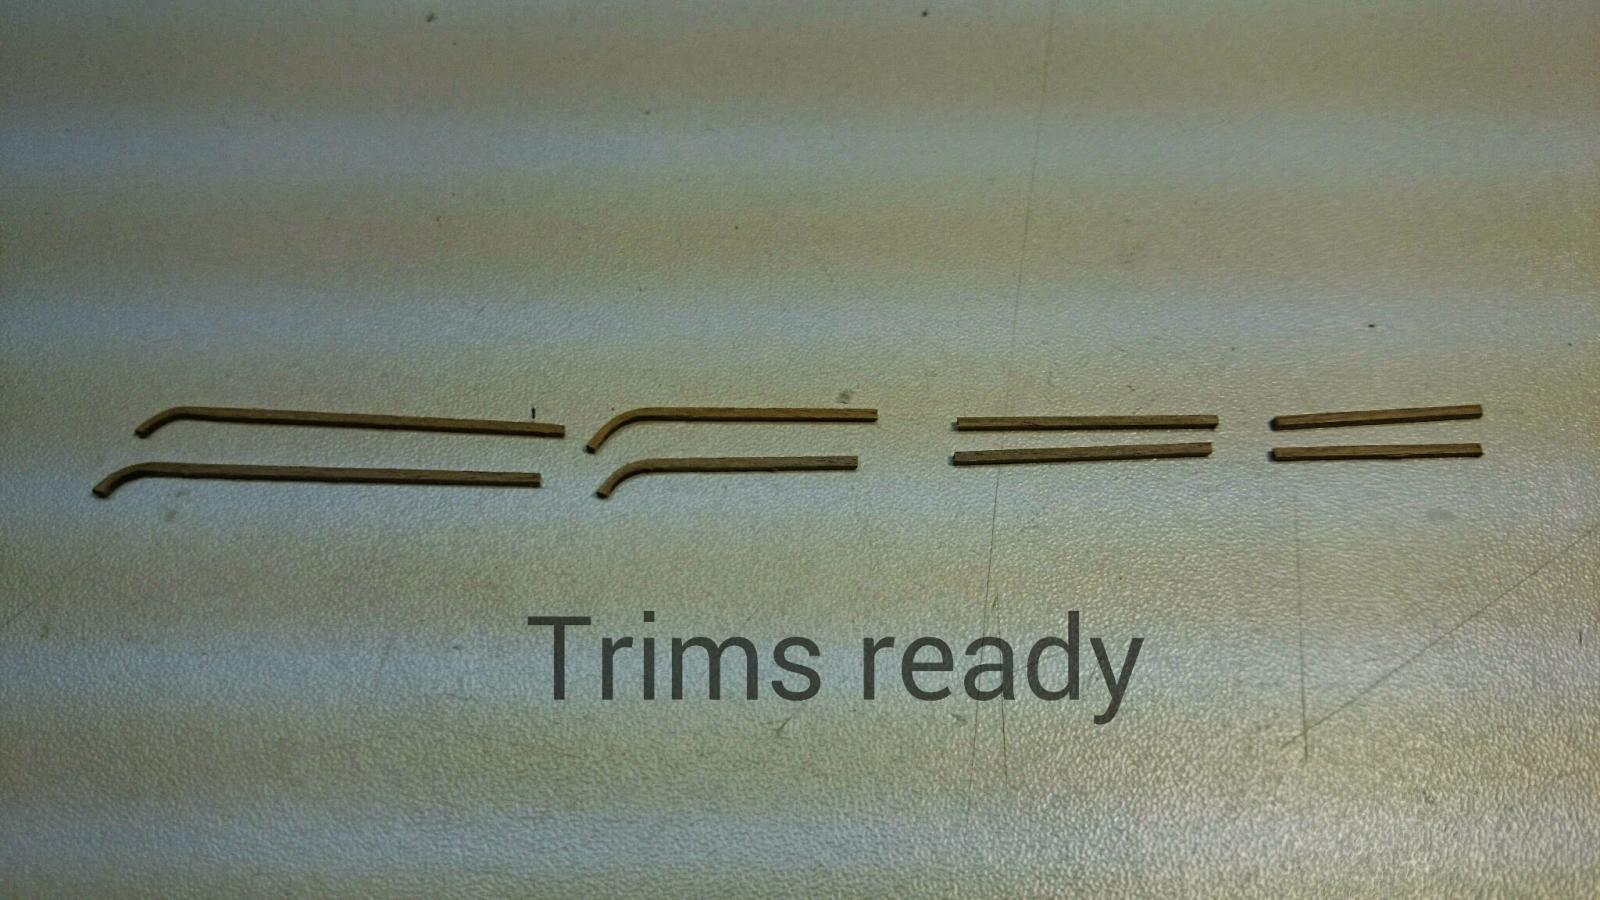
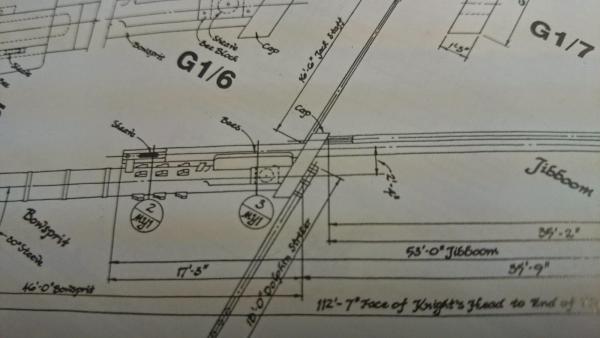
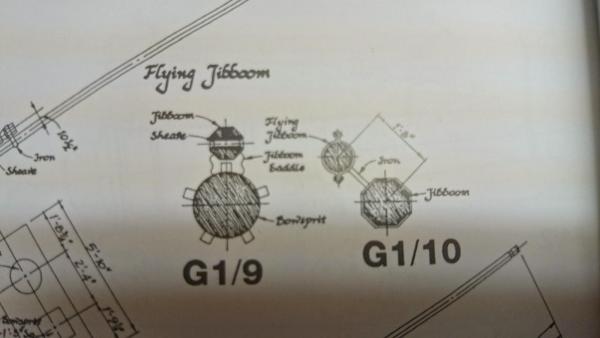
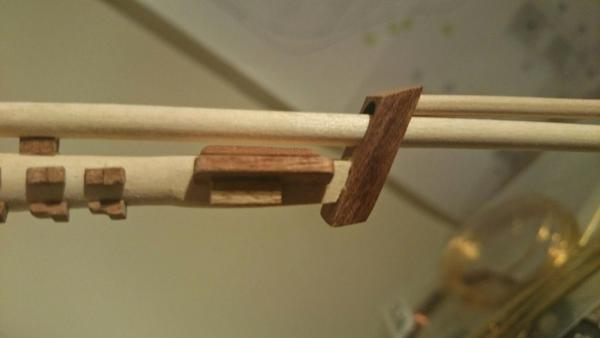
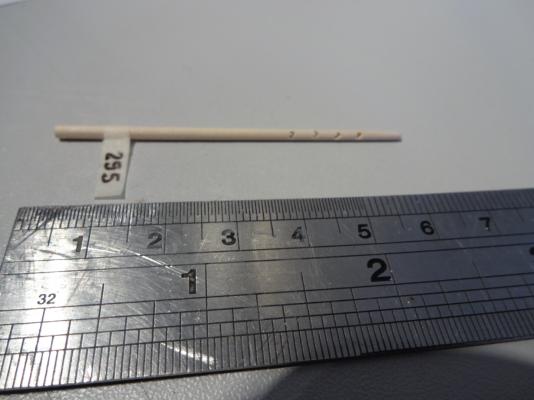
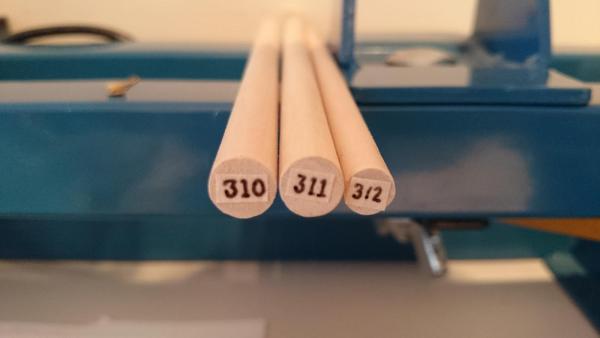
 I have had a one step forward and two back / 10 back today I have moved my attention to the Bowsprit, whilst waiting for other bits to arrive. I made / attached fittings with the vauge instructions and also vauge plan. Plan only show 6 of the rope guide blocks no 296, I suspected 9, which I looked at other images on the net and found there to be 9 on other builders models, ok so I fitted 9 rectangle blocks, job done. NO NO, I have a book you see THE ANATOMY OF A SHIP THE HMS VICTORY which I ( in error) forgot to look at prior to all my work. Yep I have to start again, there is actually 15 blocks and there also shaped and positioned differently to the kits position. Also the kits Bowsprit fairleads no 300 are fitted at a 90 degree angle to the bowsprit which is another thing I found incorrect after fitting, these Fairleads are angled up 45 degrees which requires a reshape also a reshape of the blocks below no 301. Why get these wrong Constructo, surely not to make it easier as its not difficult to recreate the parts correct way. I hope the images show this, I still need to fit my 3 remaining top blocks. and also a couple of brass reinforcement bands not to mention fittings to complete.
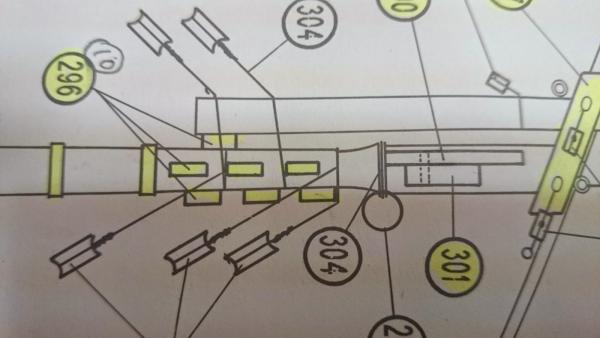


- 708 replies
-
- 4
-

-
- victory
- constructo
- (and 1 more)
-
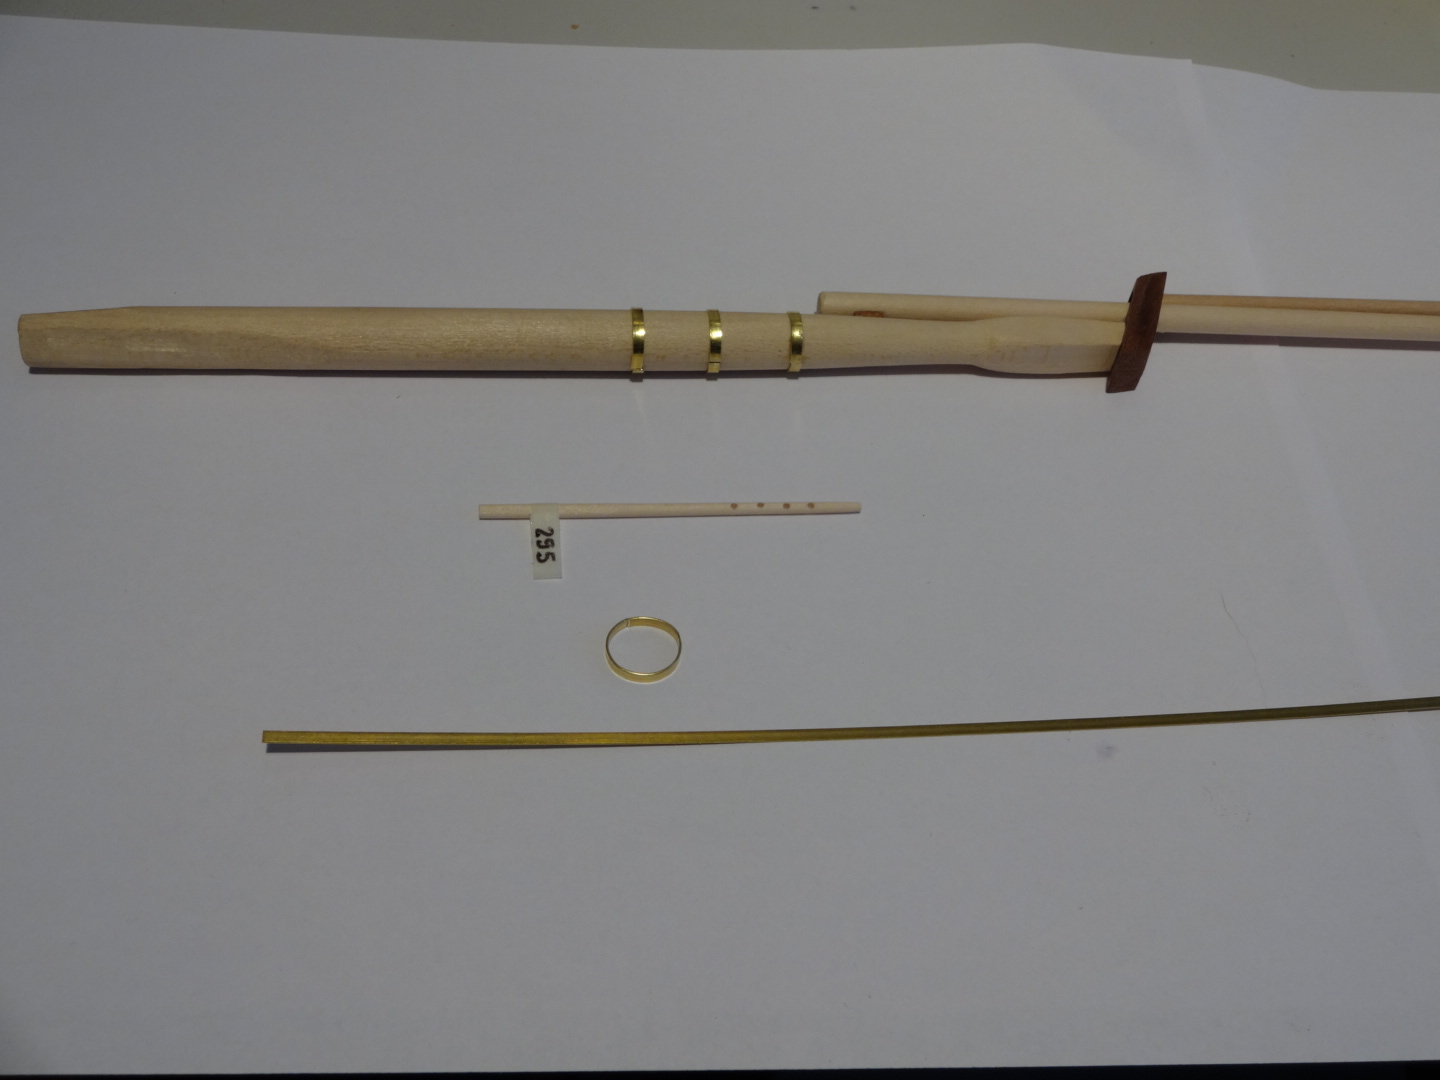
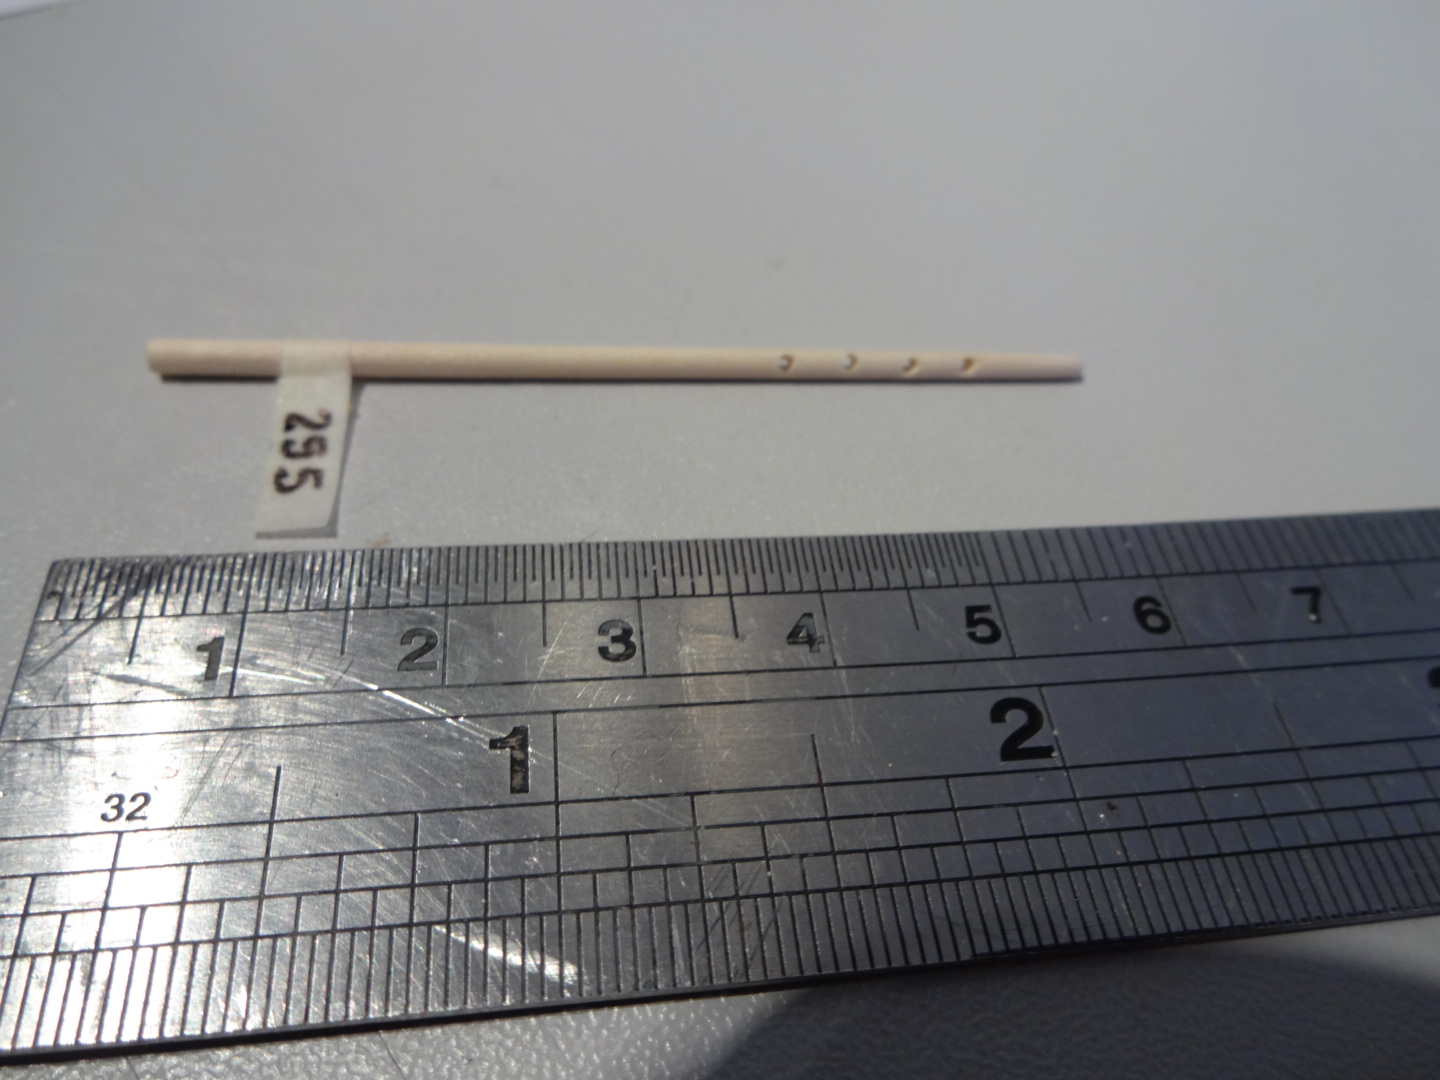
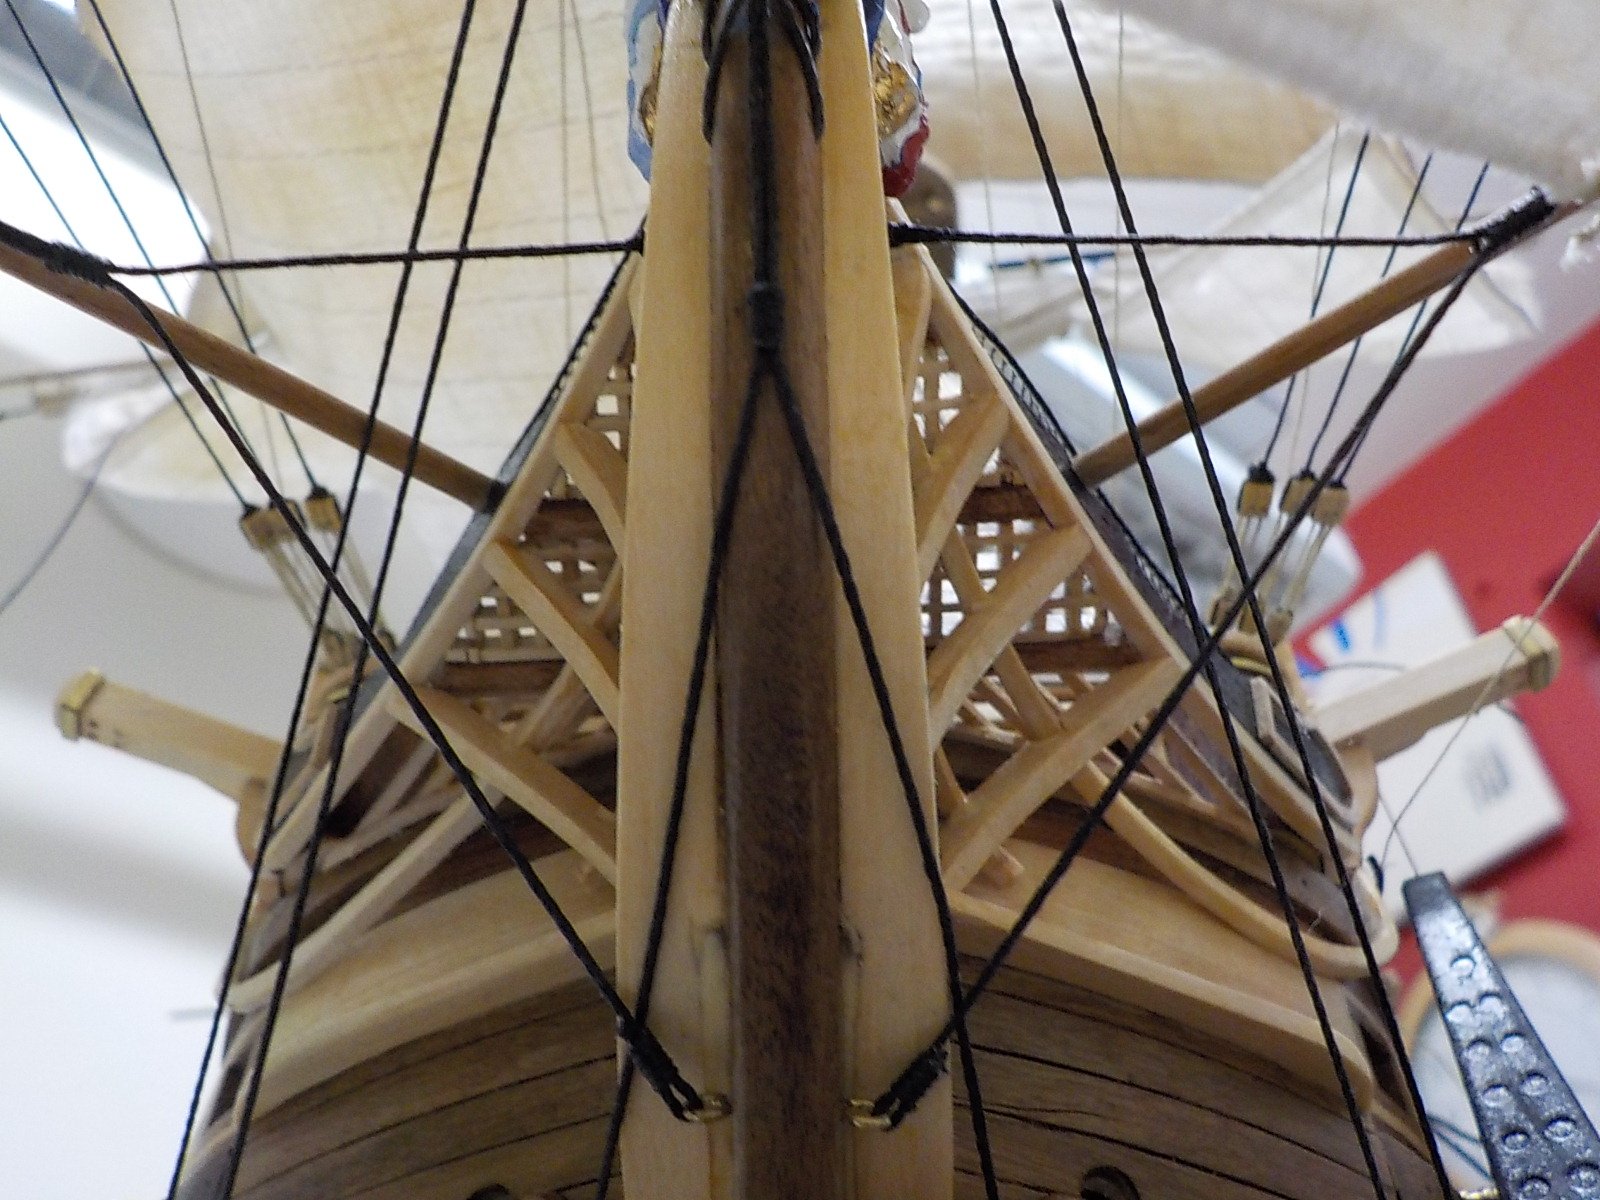
Still working on the mast platforms which has highlighted a shortage of wood, which has put me back on the bowsprit making the reinforcement bands and then I will be slowly applying the many fittings that it wears. also the main three lower masts are cut ready to enter the carving stage.

- 708 replies
-
- 2
-
-
- victory
- constructo
- (and 1 more)
-
Sorry I missed the question, yes I'm doing build log as for the Constructo Victory kit, there is non that I've found on MSW for new guys like me to use for help.
- 1,756 replies
-
- 1
-
-
- constitution
- constructo
- (and 1 more)
-
Looks very well, Ive fitted the rudder so will require a bit of work to cover it but I think I'll manage it. Thanks for the pictures.
- 230 replies
-
- 1
-
-
- victory
- artesania latina
- (and 1 more)
-
Whilst I've been waiting for my copper and tools for the install on the hull, I've moved away from the hull and on to the masts. These took me 13.5 hours, yes so long. There is so much measuring and cutting, measuring and cutting checking are glueing involved and not only once, as most are aware there's three of the things.


- 708 replies
-
- 4
-
-
- victory
- constructo
- (and 1 more)
-
My oh my, huge progress made mate, looking really well. You got it sussed out to great effect.
-
Hi Mike I've ordered the copper tape and tool for the job, could I put in a request of a few pictures fore / aft full side and if poss below and finally the rudder. All this to aid me in the copper install. Also did you cut full hull length strips or cut them to manageable strips and join them and I'm assuming you run the rivits from behind the tape then fit and score the joints after. Sorry for all the questions but theres little around about this that I can see.
- 230 replies
-
- 1
-
-
- victory
- artesania latina
- (and 1 more)
-
Well, spent the day making the brackets thinner, this was done in situe and took well, a while. The kits supplied brackets if used really need putting on a diet also, mine were the same thickness initially as the ones provided in the kit and I felt they Looked far to chunky.


- 708 replies
-
- 6
-
-
- victory
- constructo
- (and 1 more)
-
Hi Dave I did look on to see if you had posted any updates but assumed you had closed shop for the festive period. I'm still pondering the brackets for the stays I fitted, should I go thinner as the real ones are iron and quite thin, I'm also going to copper the hull before I instal to many fittings which may be knocked off in the process. Look at Mtdoramike s build and his hull is stunning.
-
One beautiful looking model, build quality is stunning. One thing that makes me happy to have chosen Constructo myself is there wood quality.
- 1,756 replies
-
- 1
-
-
- constitution
- constructo
- (and 1 more)
-
Well after a long build break I'm back, since my break I have received a book on the anatomy of the HMS Victory and this prompted me to tear off the brackets which are supplied by constructo to support the mainmast channels. Originally they appear to be iron on the real vessel but I opted to stay with the wood route as before but a little more realistic. I also jumped a few stages to start to make the platforms for each mast, these I will just keep revisiting as the build progresses, sort of gap fillers.

- 708 replies
-
- 3
-
-
- victory
- constructo
- (and 1 more)
-
Hi Mike, Hope Christmas went well, just a question, where did you get the rivit detailing tool from
-
Mainmast channels made and a couple installed and that's me done for the coming week as I'm off to chase the sun.

- 708 replies
-
- 6
-
-
- victory
- constructo
- (and 1 more)
-
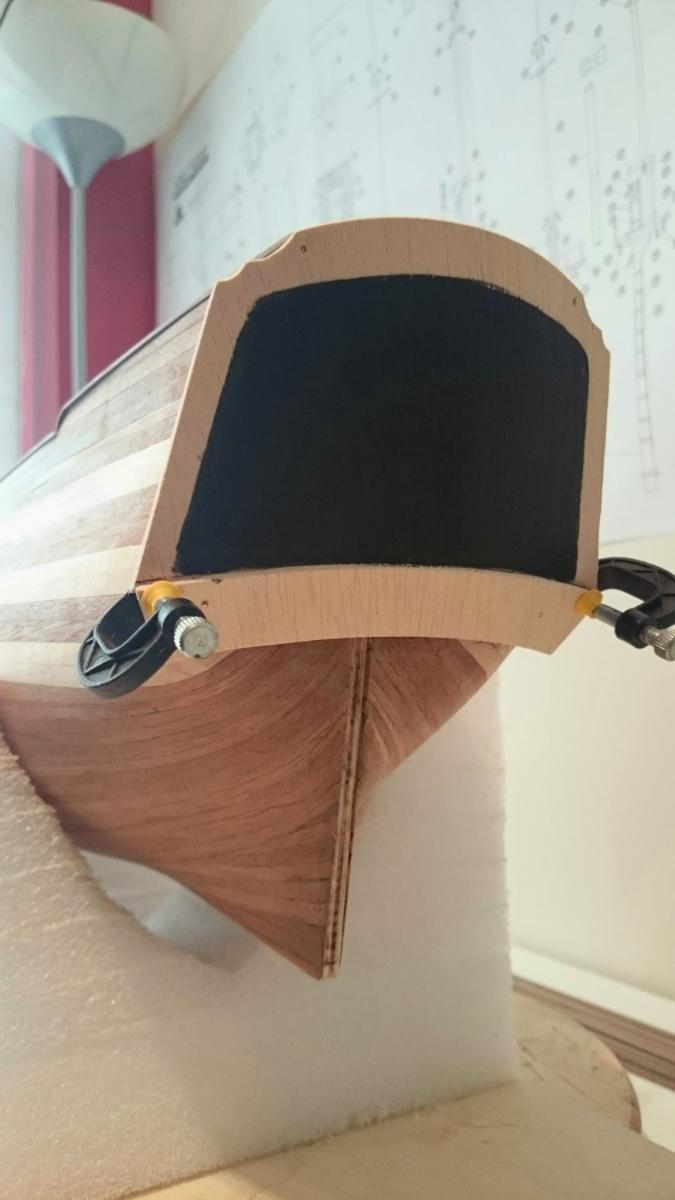
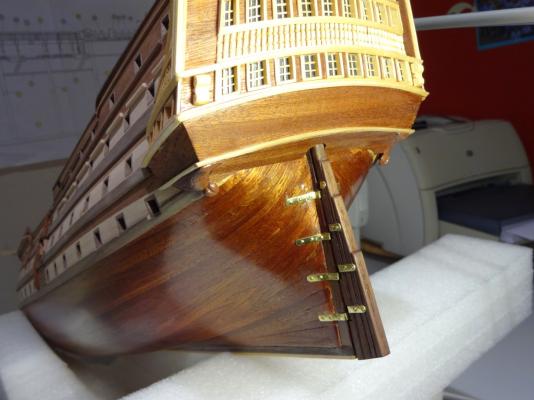
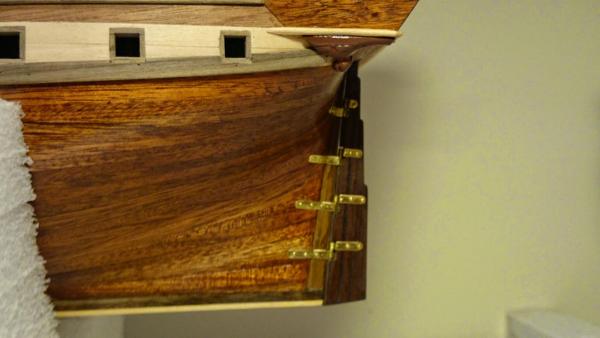
I have moved on to the rudder another part of the ship that really should have been done after the captains quarter s certainly before any Dec rails went on. This enables you to flip her over without risking the knocking off of the rails. Personally if your building this kit fit it around section 53, just leave of the chain until the rudders due instal time

- 708 replies
-
- 5
-
-
- victory
- constructo
- (and 1 more)
-
Hi my overseas friend, LOVE, LOVE, LOVE the copper plating, what did you actually use and how was it attached, beautiful job mate, the library will have a work of art. I am at the do I don't I copper plate her stage.
-
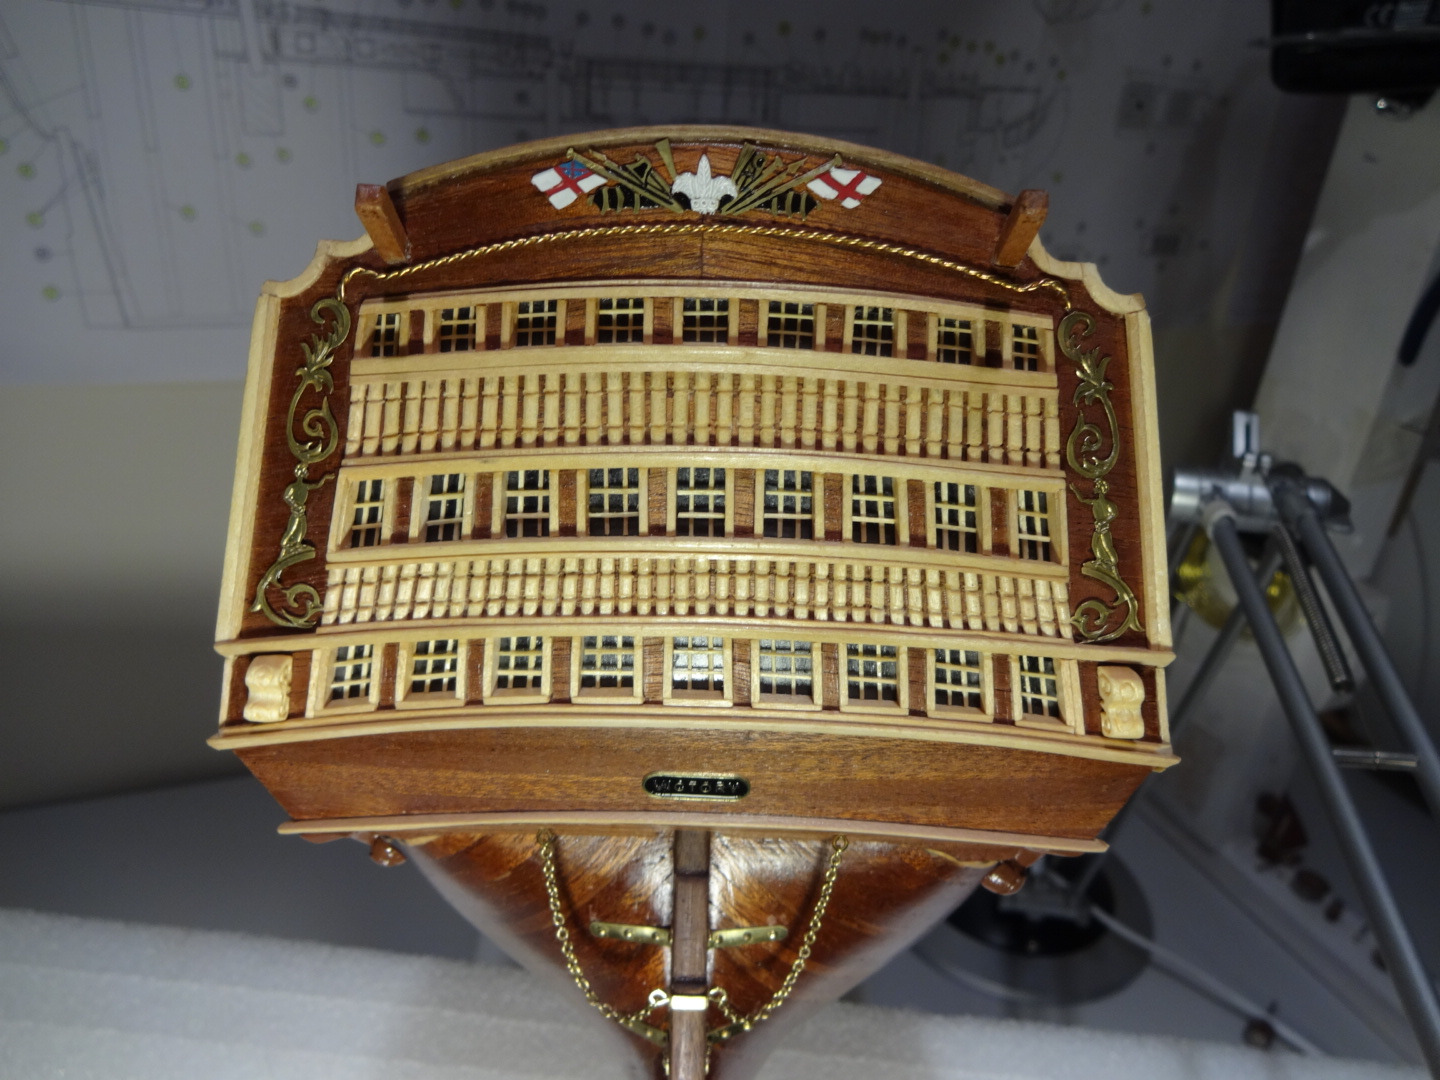
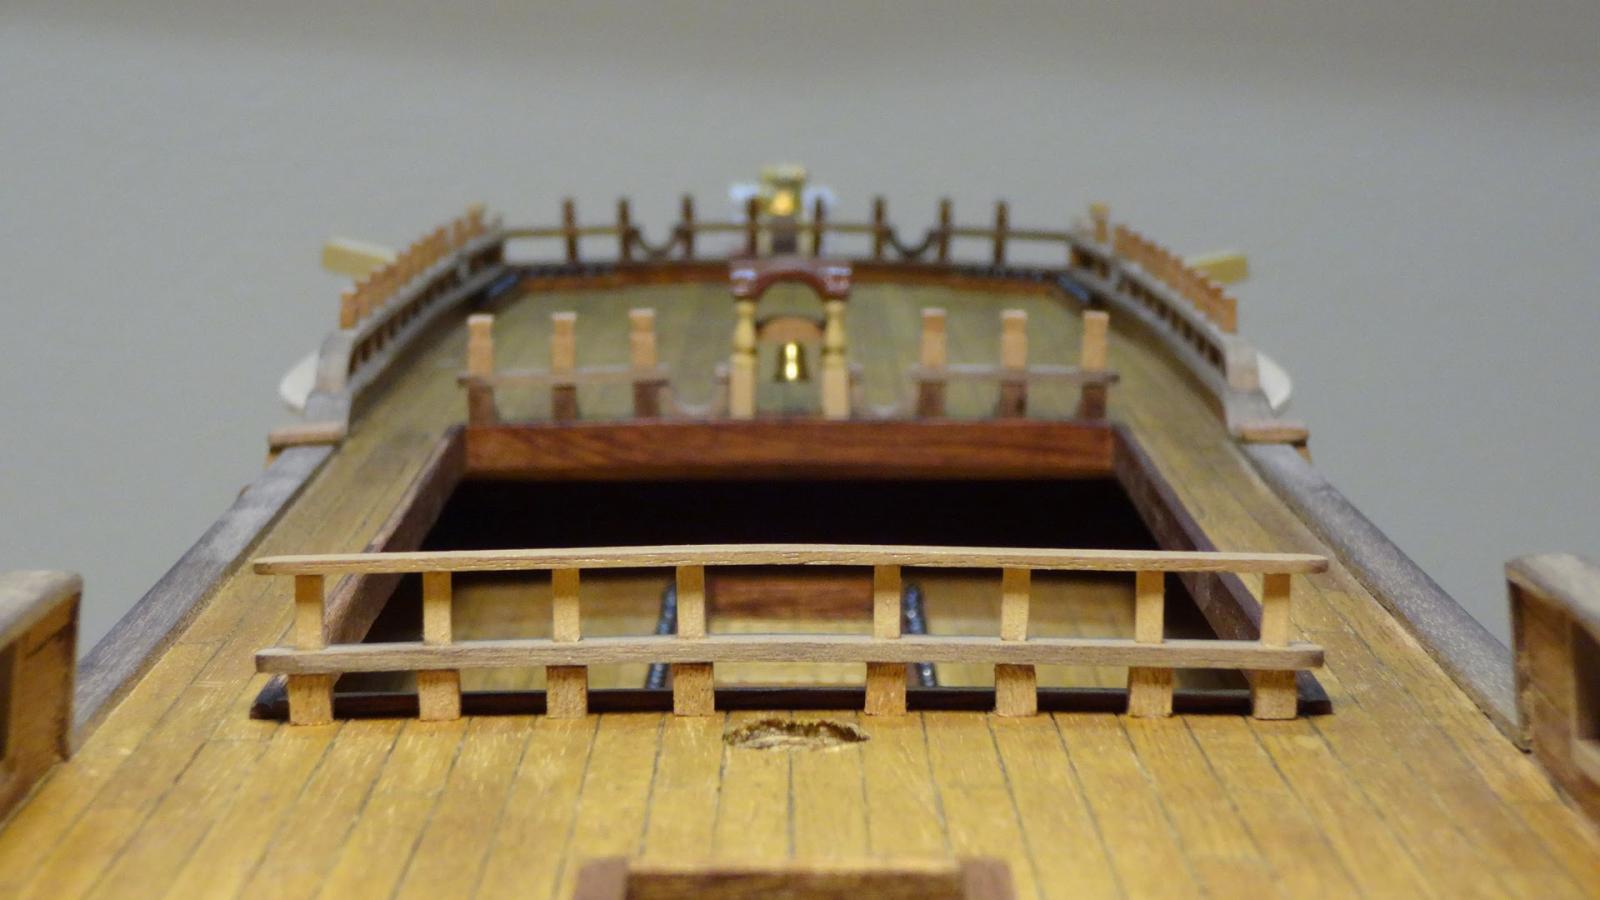
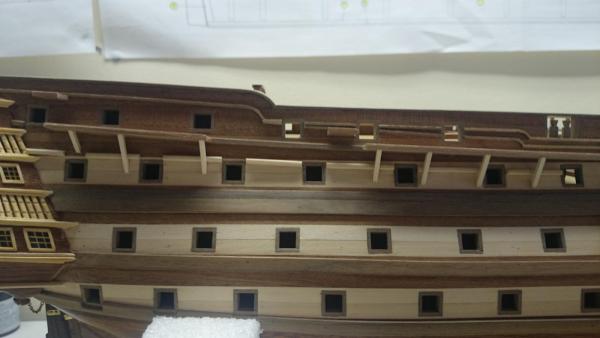
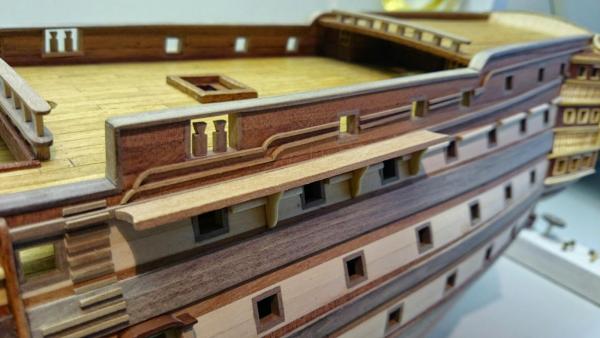
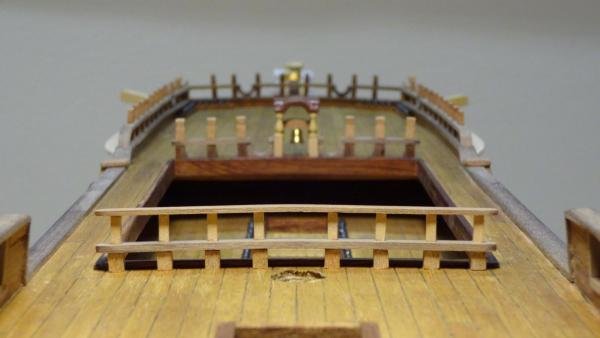
Been adding some of the hull decorations this weekend.
- 708 replies
-
- 6
-
-

-
- victory
- constructo
- (and 1 more)
-
Ha ha Phillistine
-
Ha ha Phillietine
-
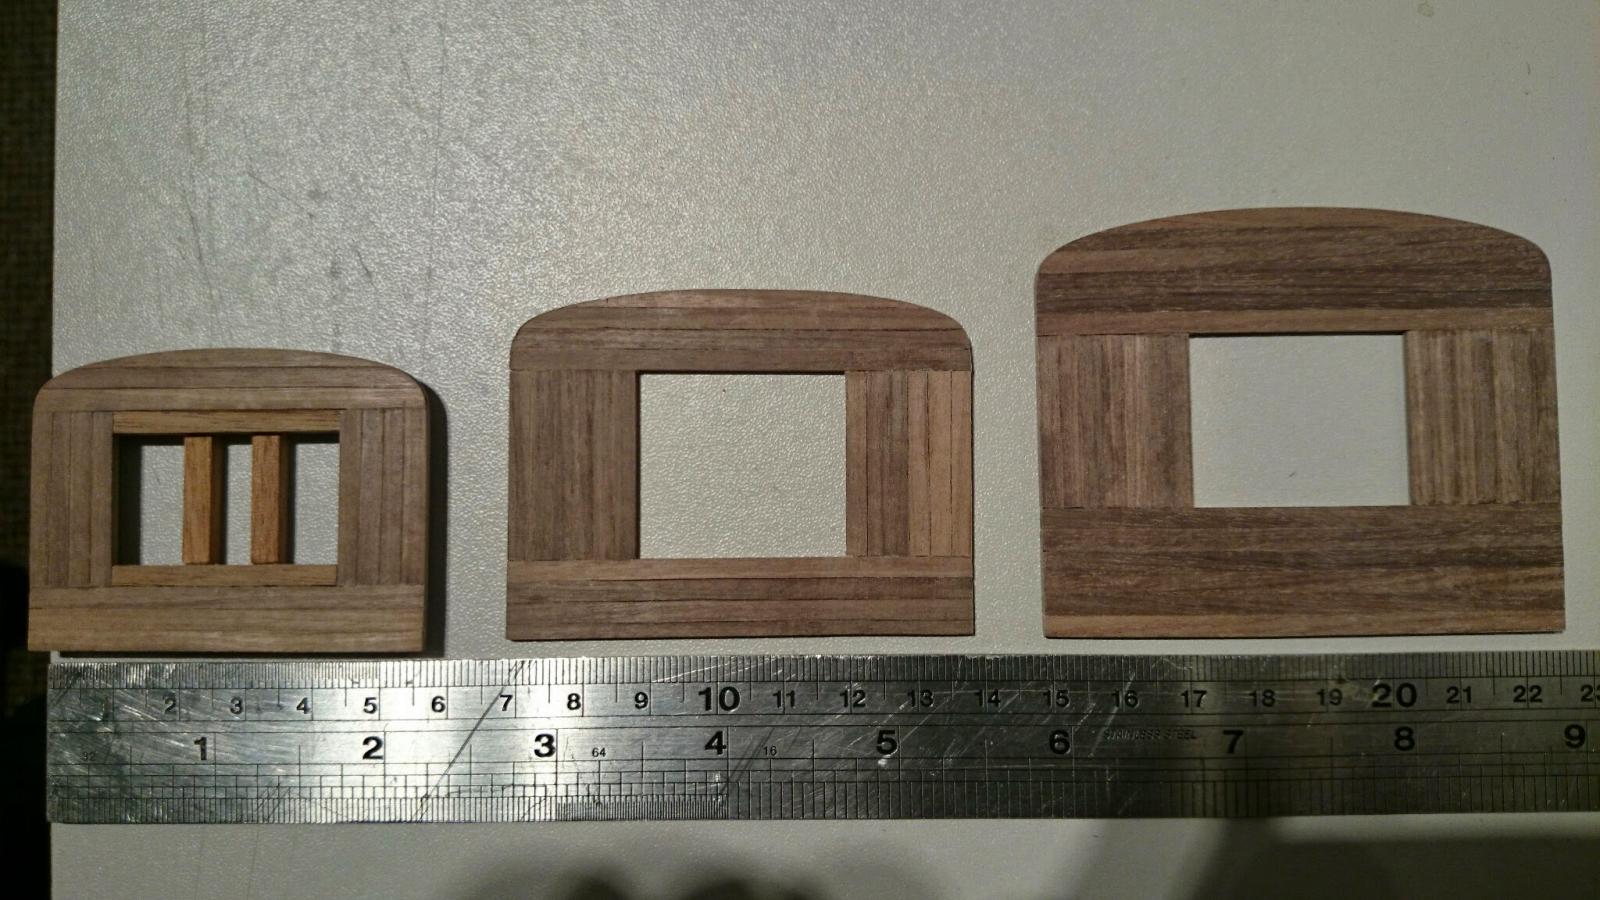
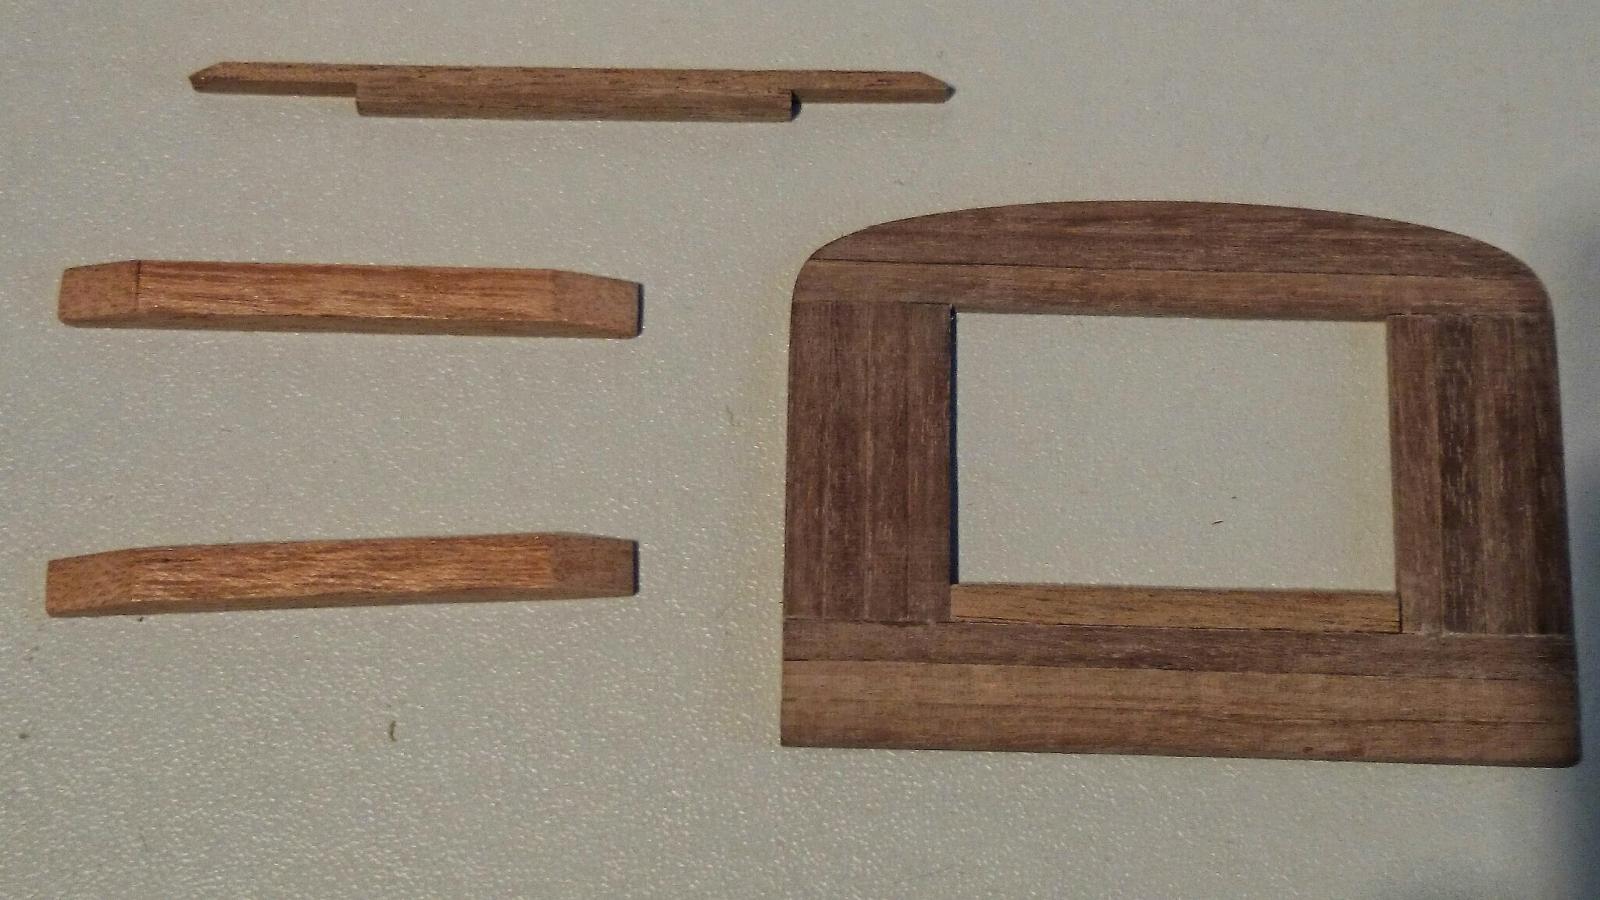
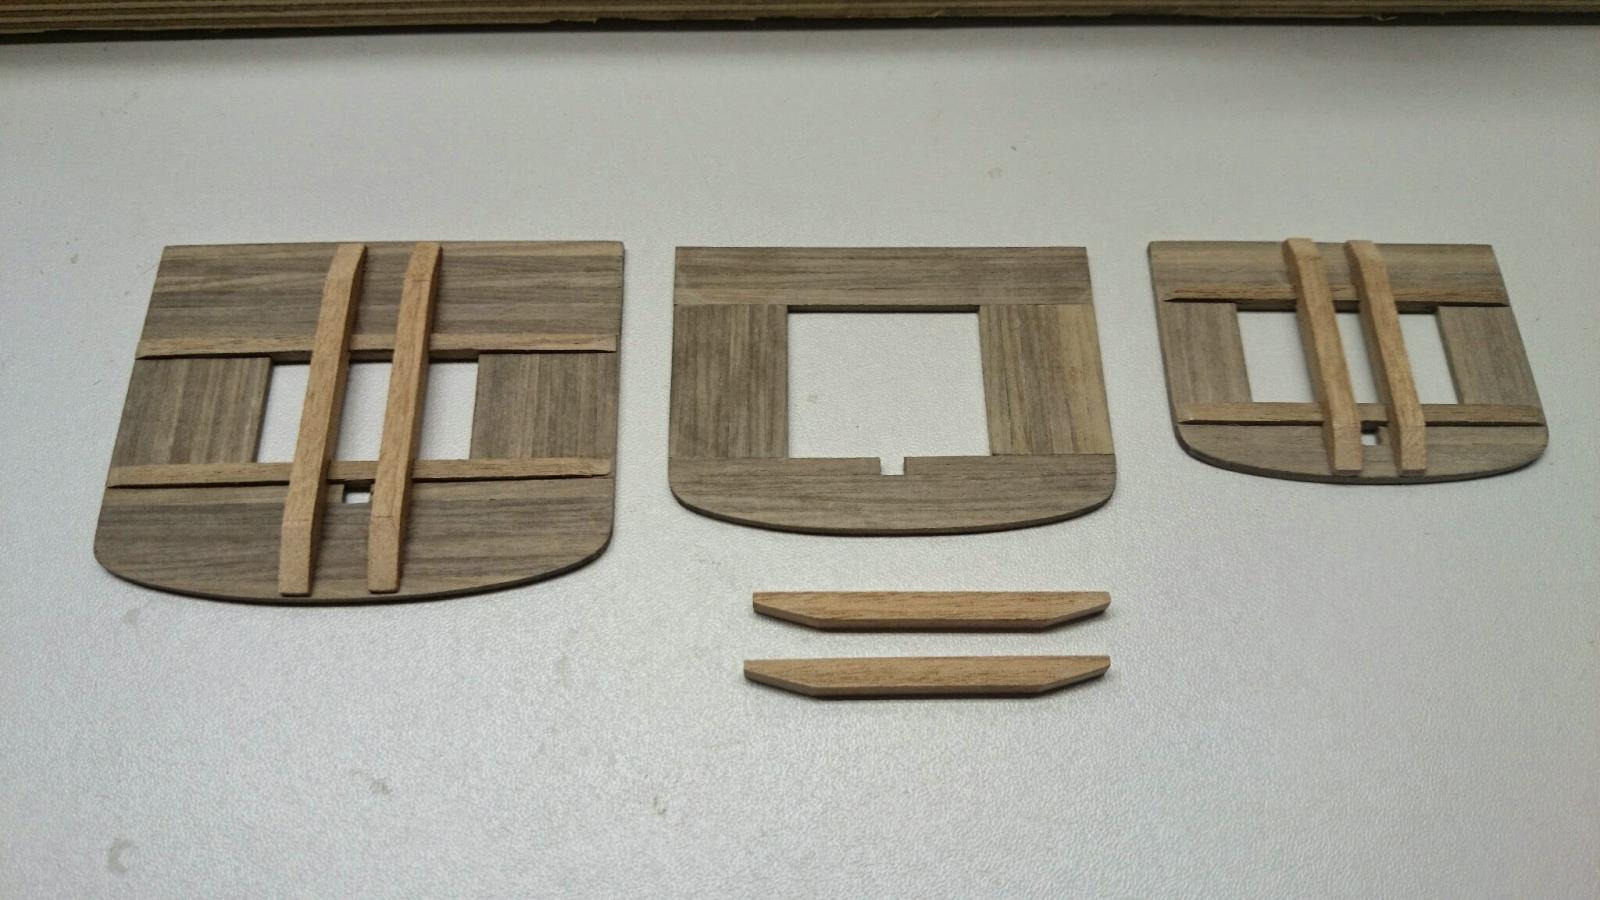
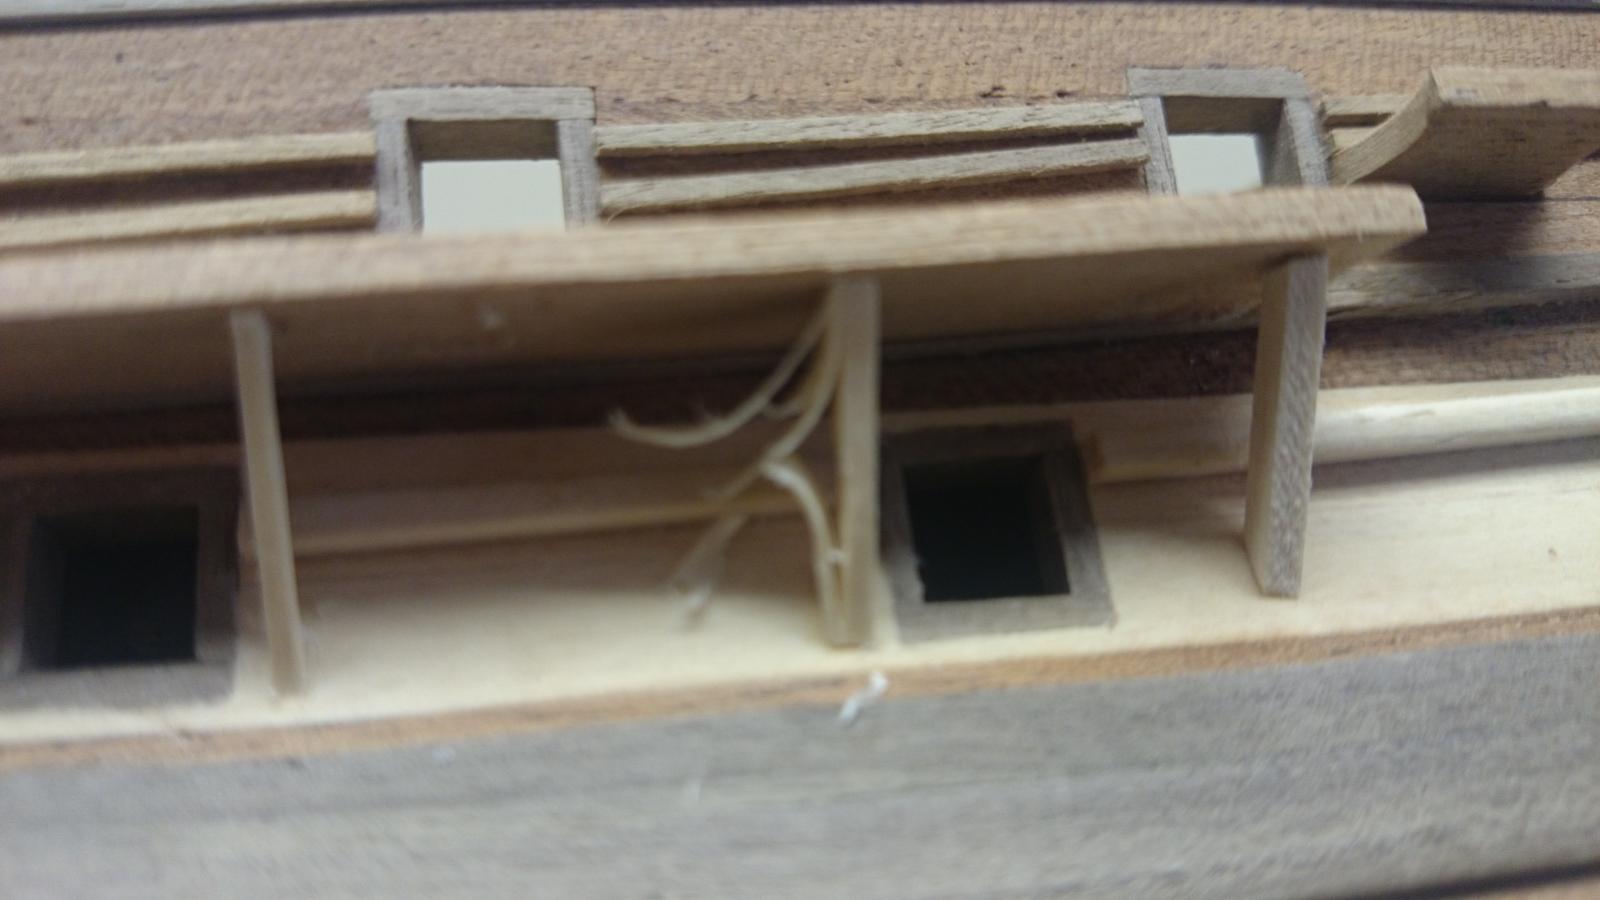
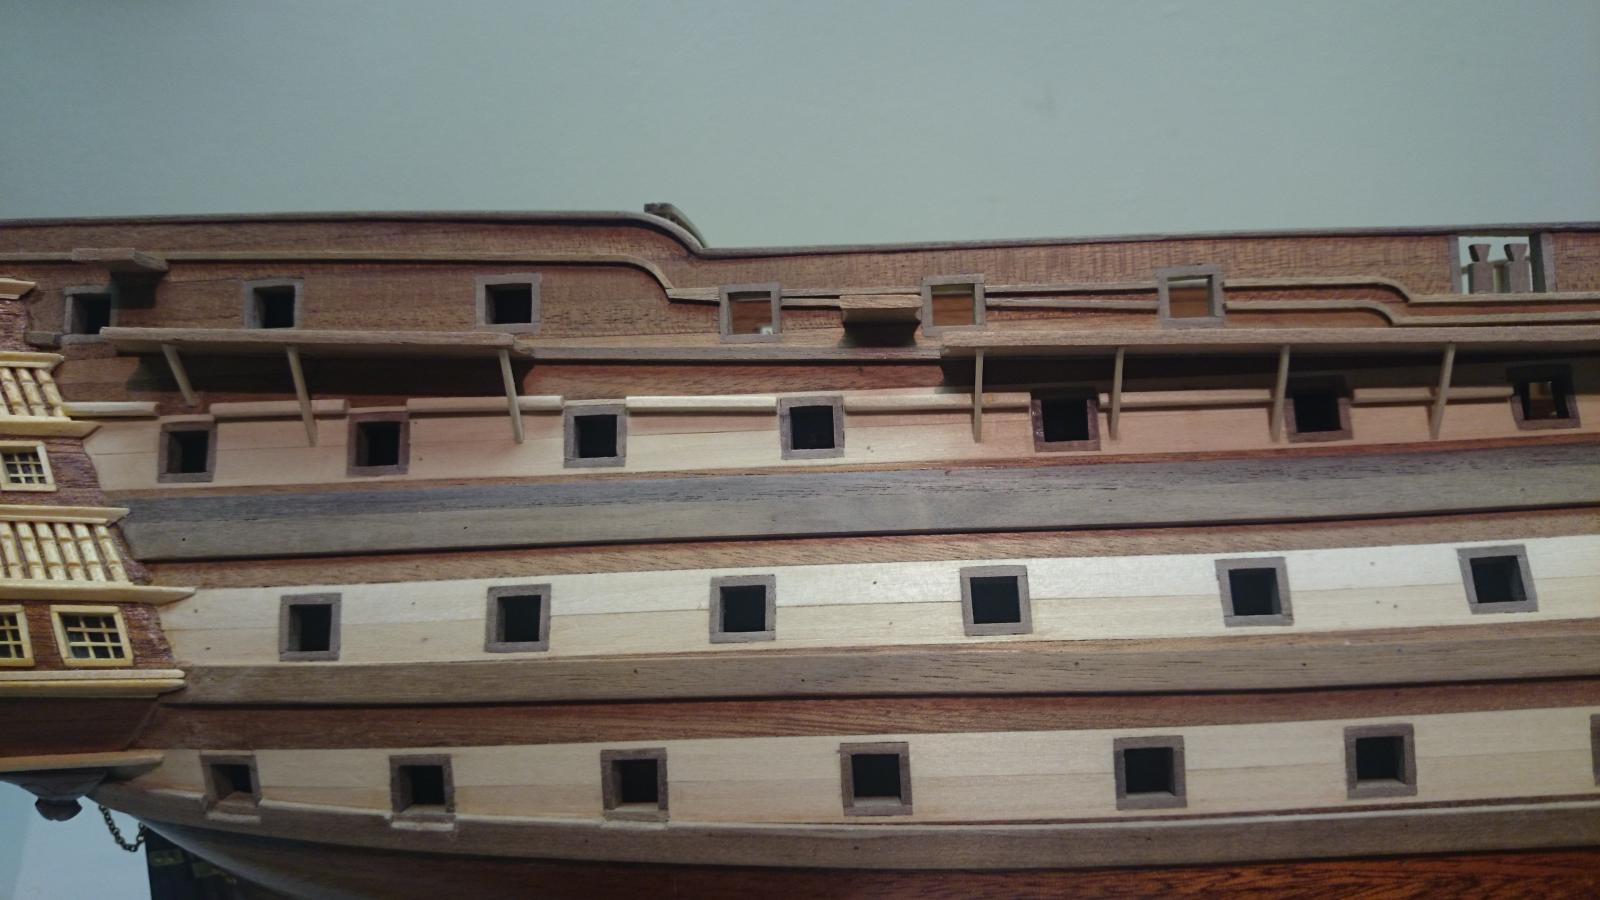
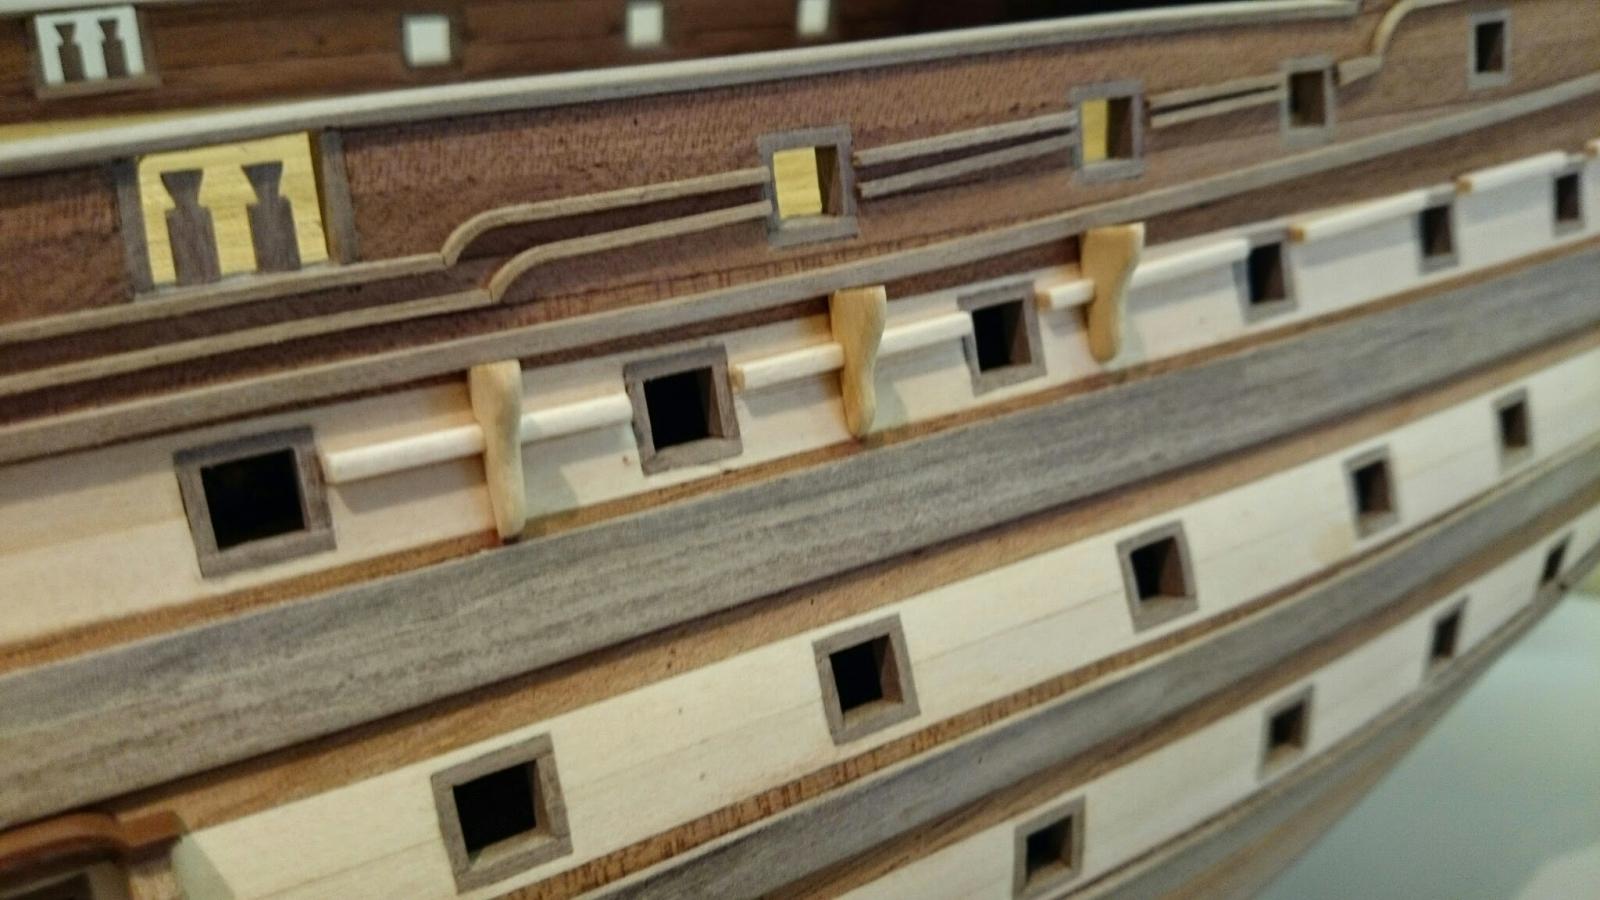
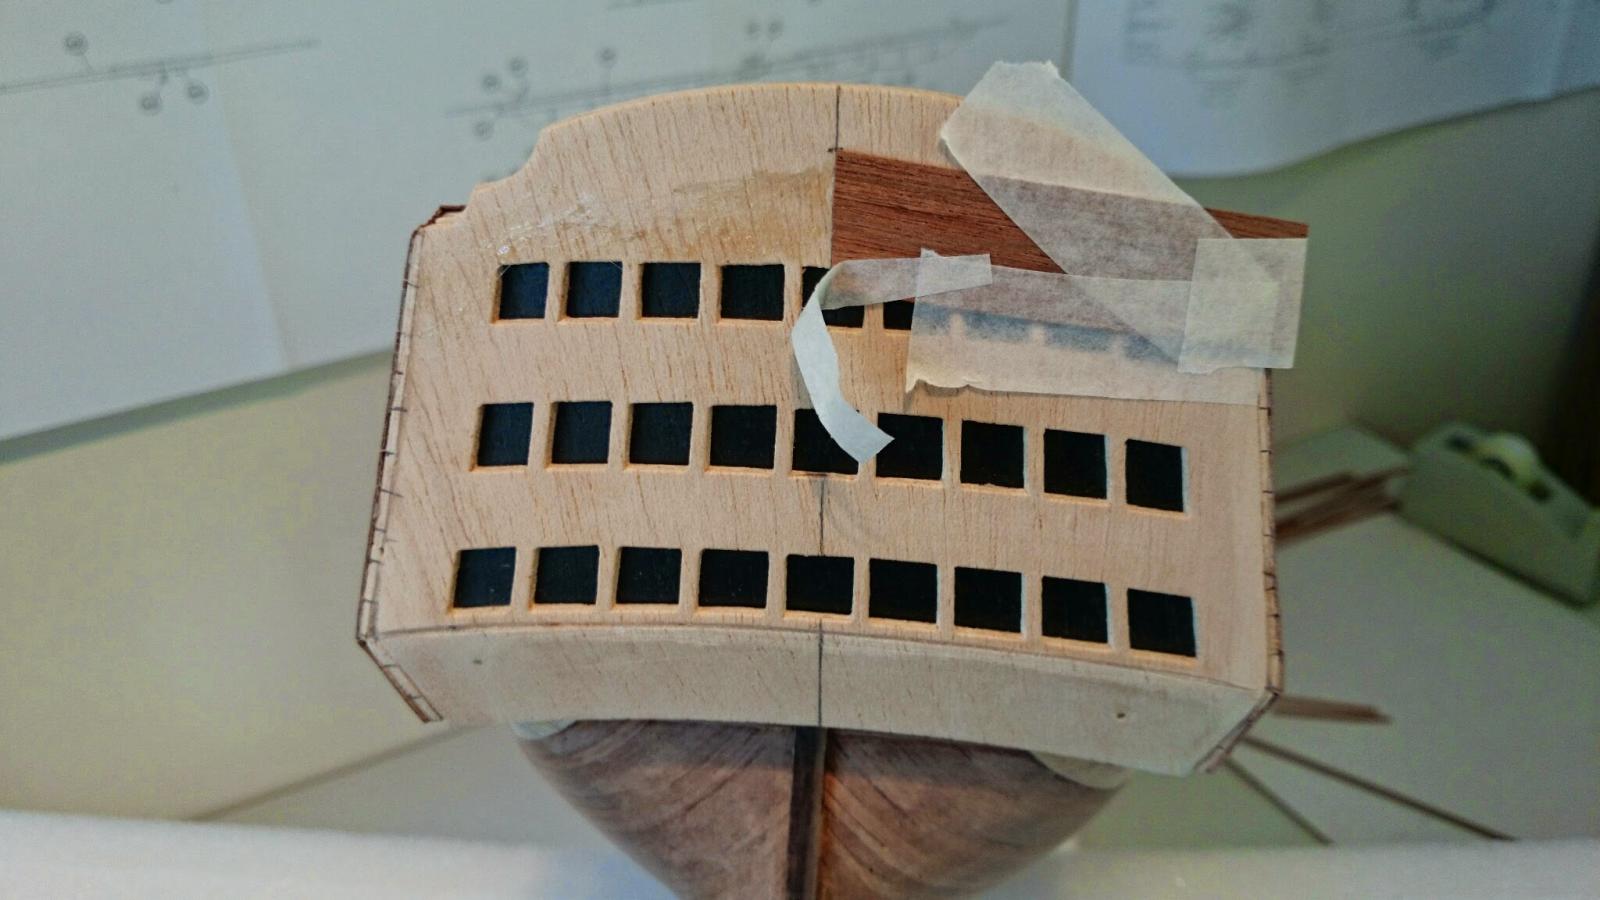
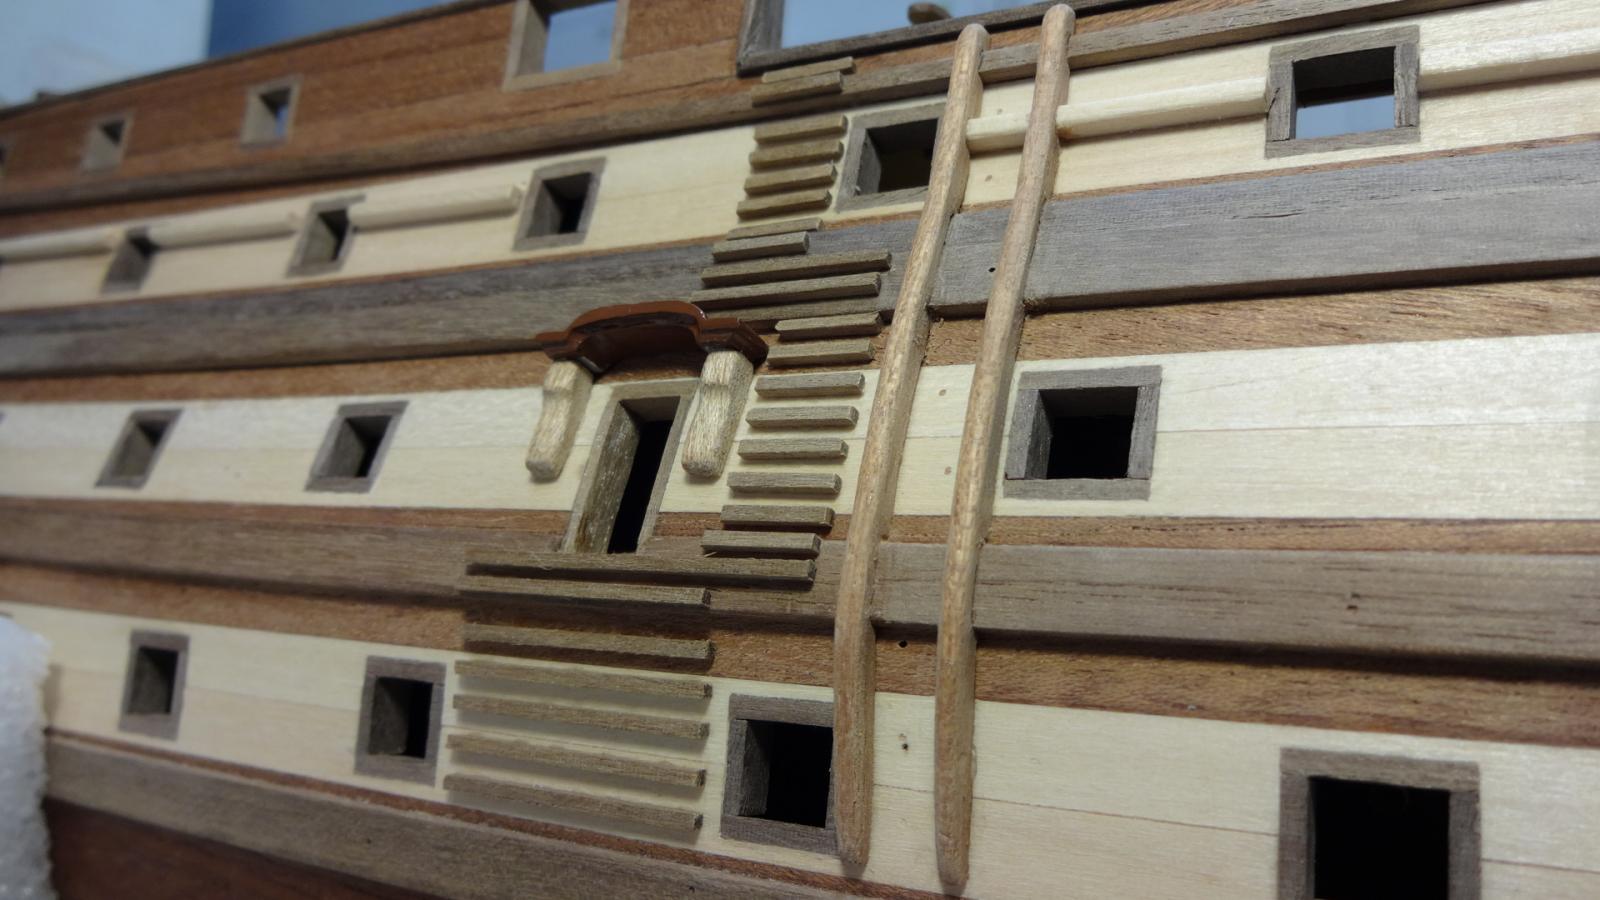
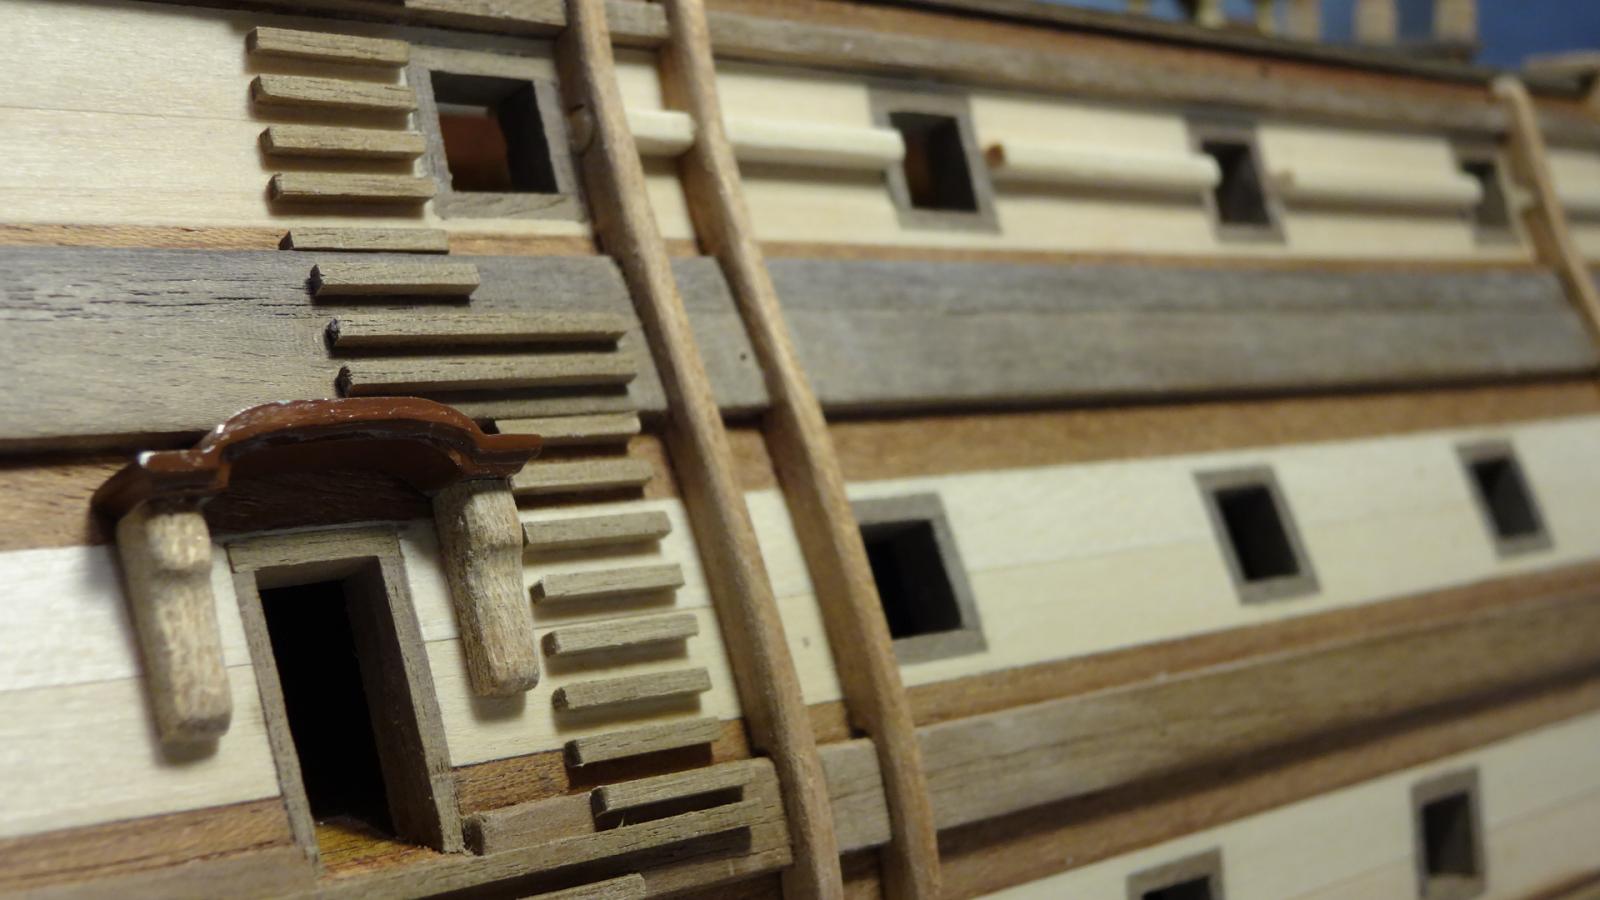
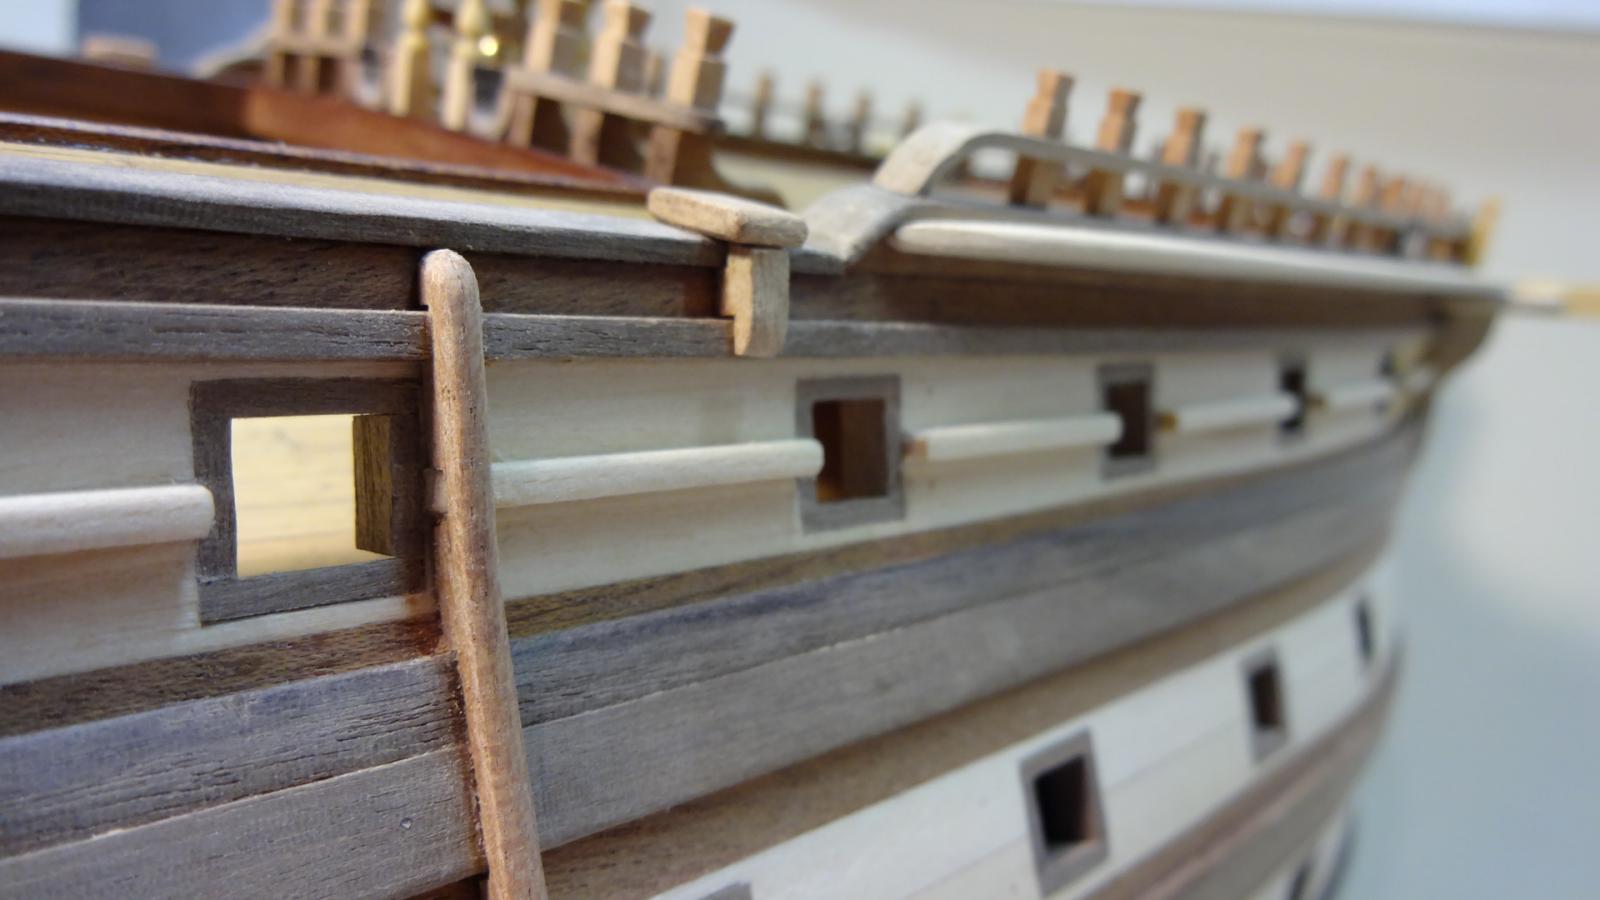
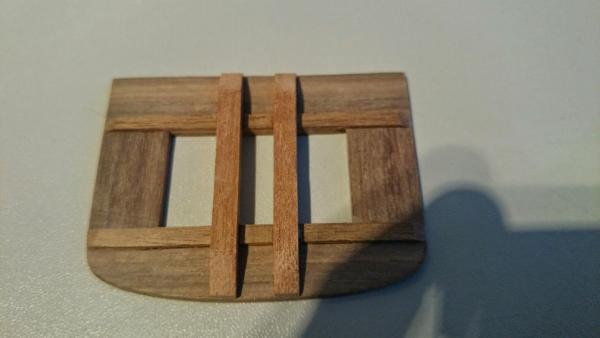
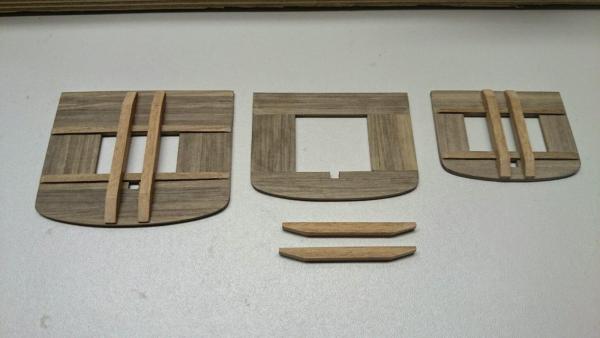
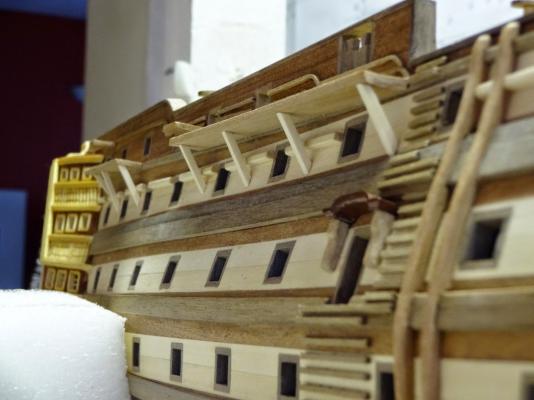
Been off work this week so been cracking on, loads of hours but not a great deal to show, especially to one whom doesn't build. Fairleads take some making and then there is two. OK gun ports, plans do not position them correctly with the bulwarks, well mine didn't, the ports which you see on the middle deck from the rear are vital and you have to ensure you miss the ribs. You will hit the ribs on the lower decks I'm sure, I hit many which is a pain as they have to be cut out to access the board behind for the canons to sit. This is not a problem as you would never know when the cuts been done. I used a vernier and transferred the plan on to the model ( I put a pencil dot in the centre of each cut ) and slightly adjusted the top Bulwark ones that were going to hit the ribs, its a slight adjustment and doesn't show up later. Some trace the plans and transfer them over. Just check and double check before you cut, and ensure both sides match each other. I can send you pics and my measurements on the bulwarks if this would help.
- 708 replies
-
- 2
-
-
- victory
- constructo
- (and 1 more)
-
Looks beautiful, I like how the canons would protrude through the doors when closed. Saves the crew pulling the heavy canons back and forth I assume. Did your kit include the brackets for the doors and you make the doors to suit, this is far nicer than the victory kit, or is this your upgrade. I ask as the victory of the same manufacturer is cast iron and paint affair and no where near as nice as those on yours
- 1,756 replies
-
- 1
-
-
- constitution
- constructo
- (and 1 more)
-
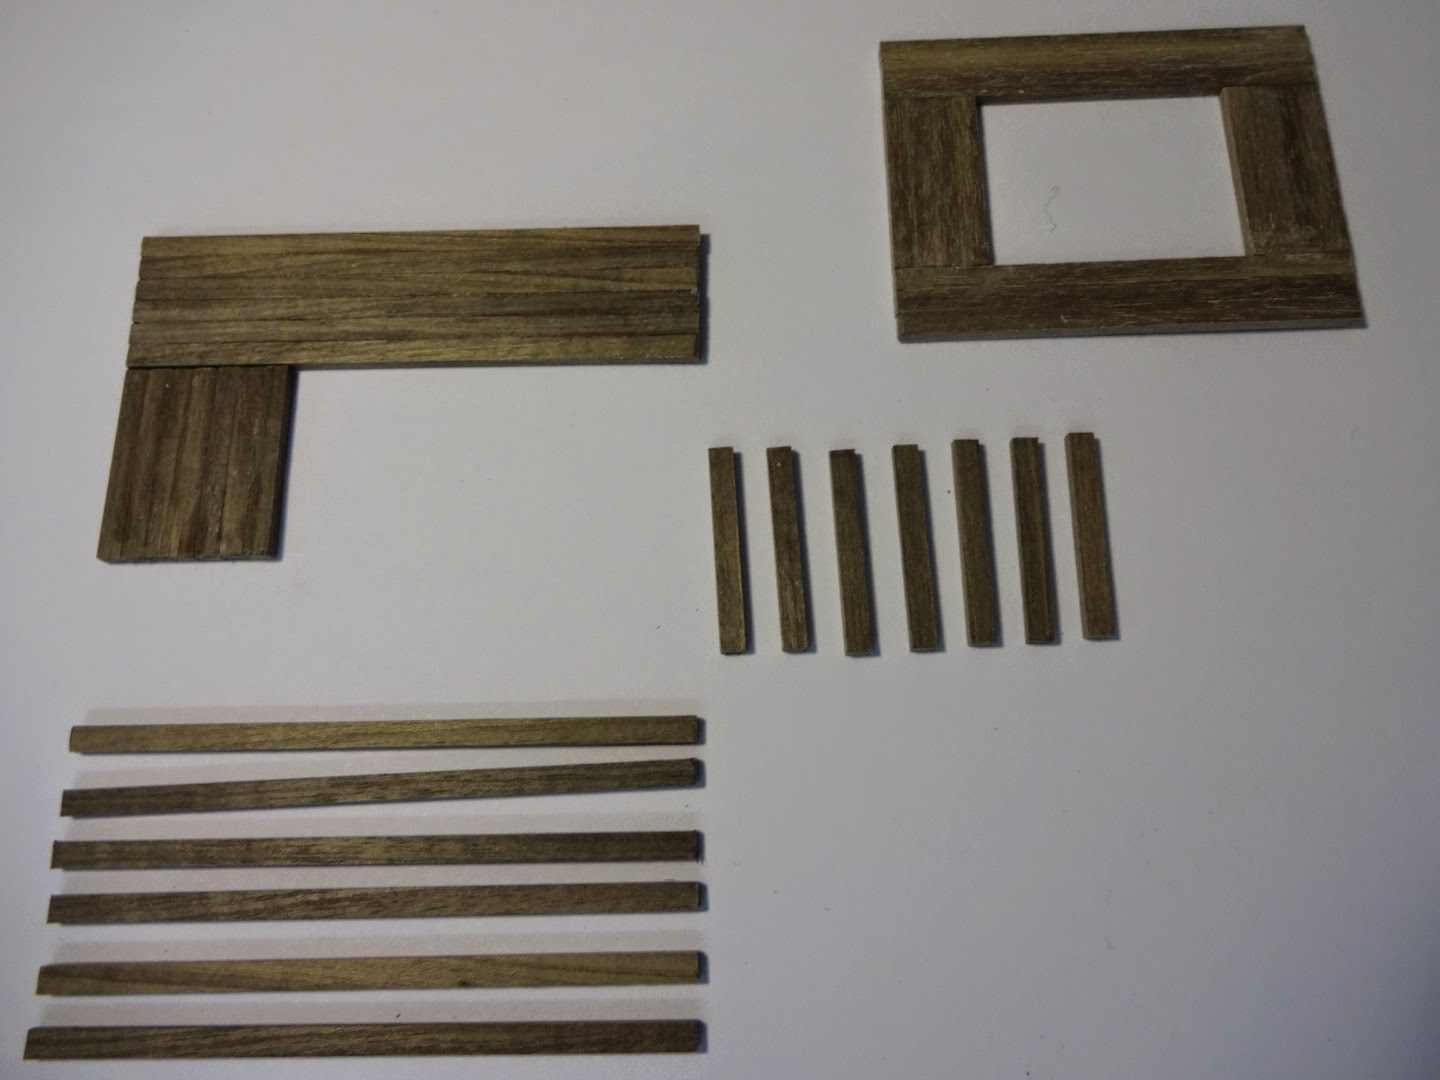
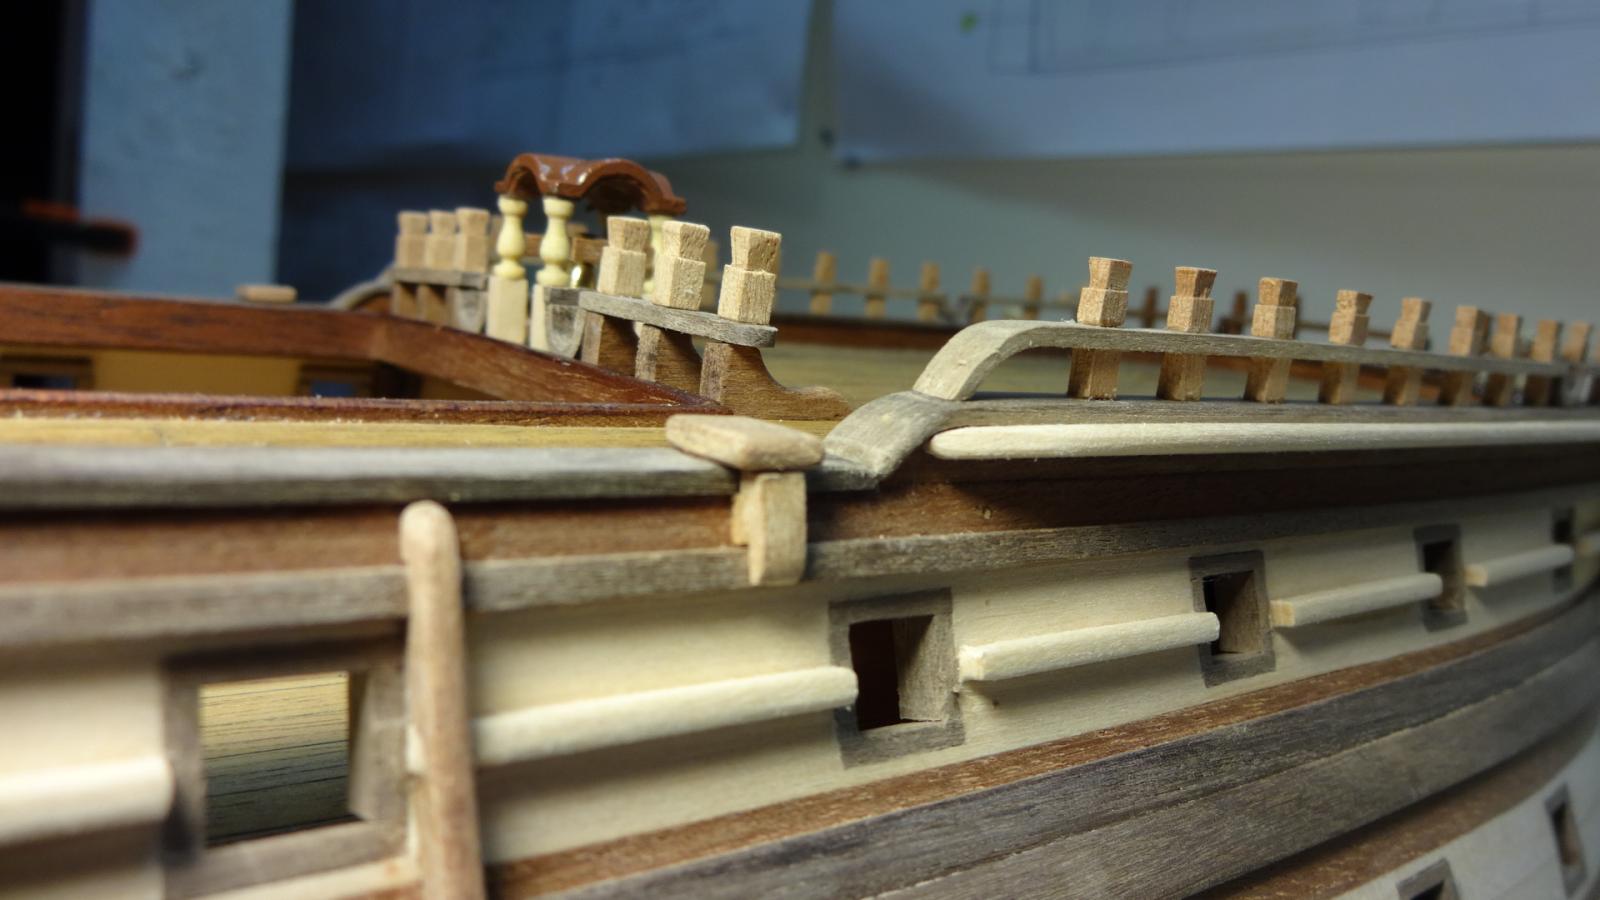
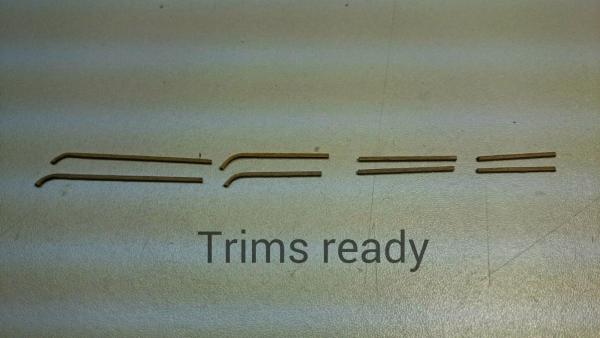
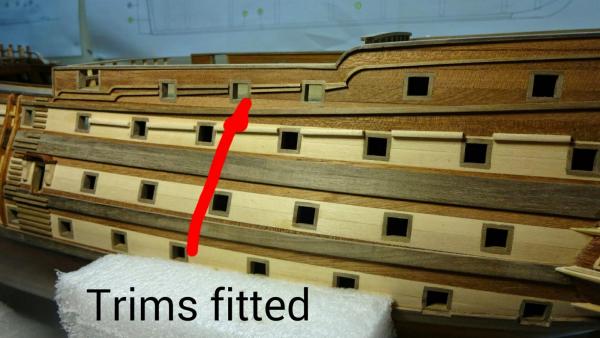
I have moved back to doing more, more and more handrails today and some more reinforcements


- 708 replies
-
- 5
-
-
- victory
- constructo
- (and 1 more)