mtdoramike
-
Posts
2,094 -
Joined
-
Last visited
Content Type
Profiles
Forums
Gallery
Events
Everything posted by mtdoramike
-
I have a buyer lined up for the Crockett. He will be driving down from Georgia to pick it up in a few weeks.
-
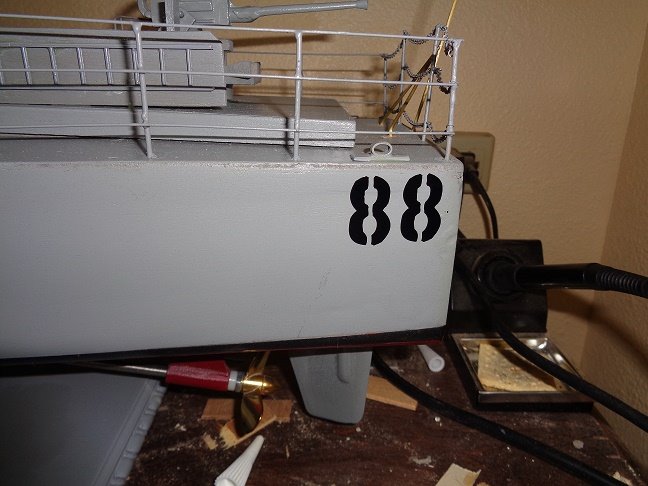
Yes, I also replaced most of the decals after applying them because I didn't like the water slide decals.

-
The model doesn't look to be in bad shape. A few hours and it would be good as new. I have seen models built by self proclaimed perfectionist and I was not impressed. I'm not a perfectionist, but to me perfectionism is subjective. I have found when it comes to model building, perfectionism can and in most instances create more harm than good.
-
Where are you going to put the already together hull? It ain't going to in a 30x8x4 box, the original kit box maybe.
-
If you are getting a free kit, with the hull built and deck planked for $100.00 shipped by who ever packs it, I would jump on it. I have built this particular Mamoli Victory several years ago, and it is a nice kit that builds into a respectable model. If I wanted to build another Victory, I would be all over this deal like a frog on a June Bug.
-
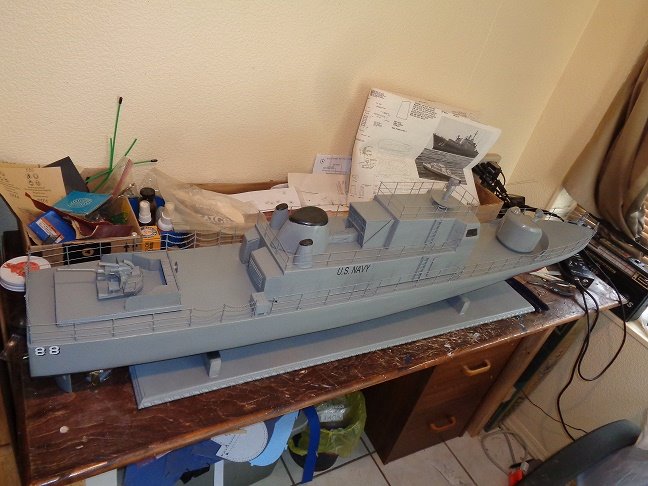
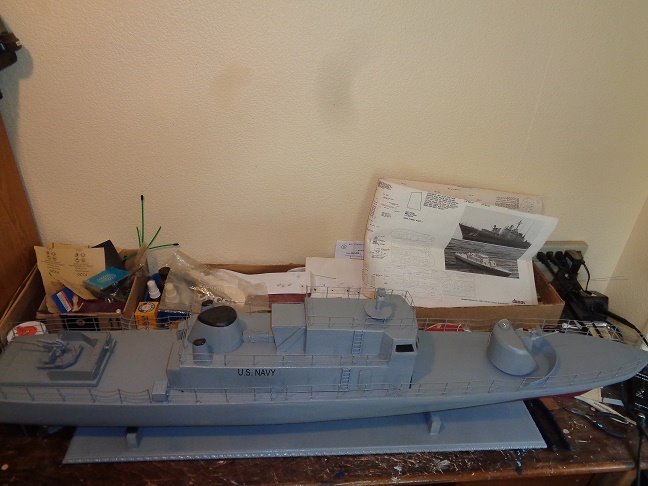
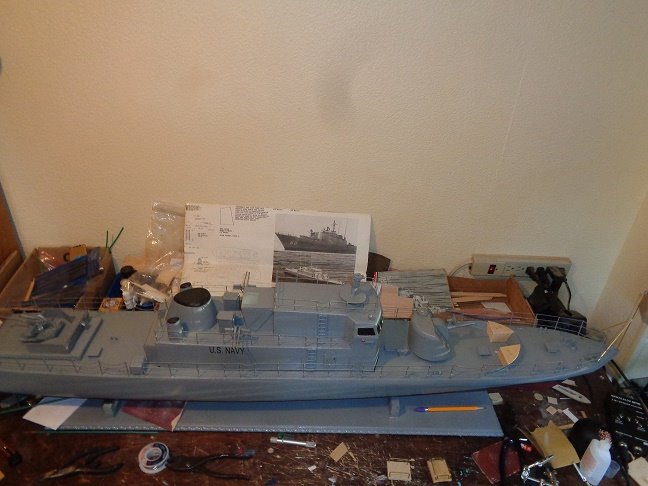
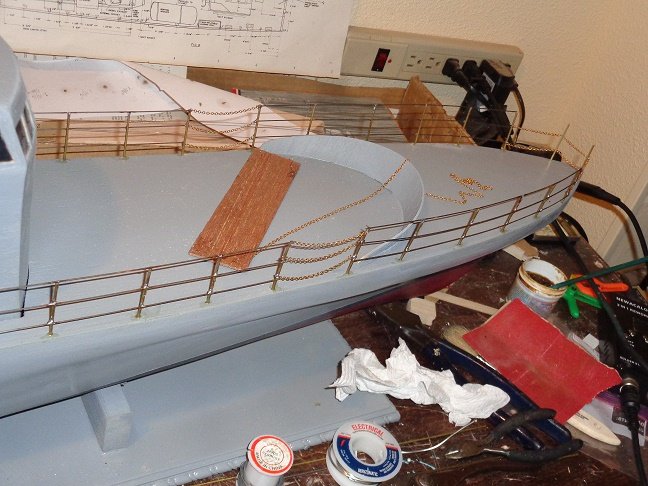
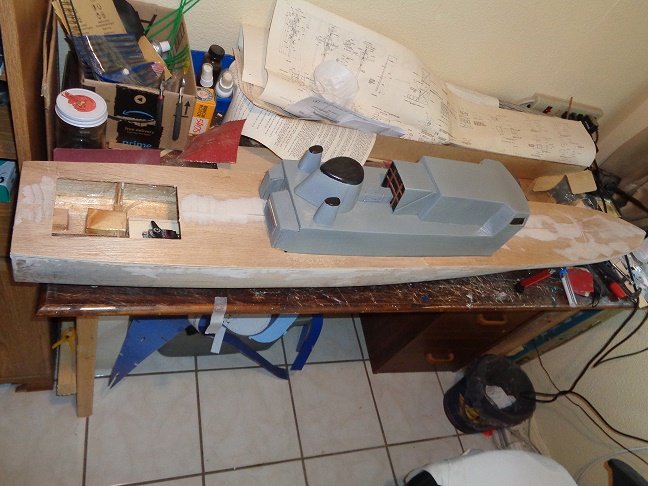
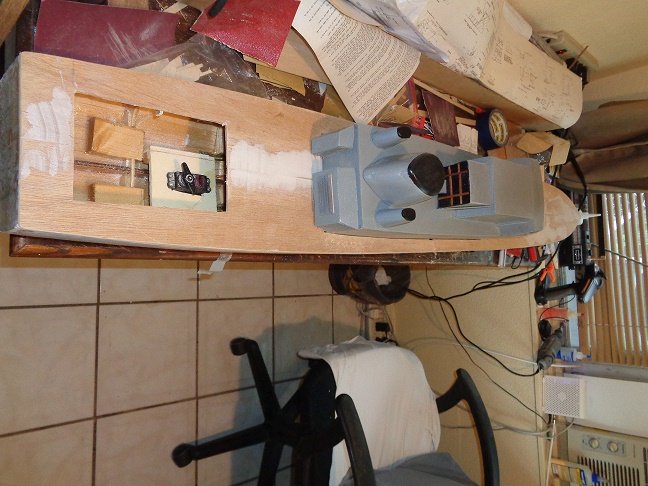
It's getting a bit closer to completion. Still adding all those bits and pieces. You can see where I added the larger hatch covering for the servo rudder access.


-
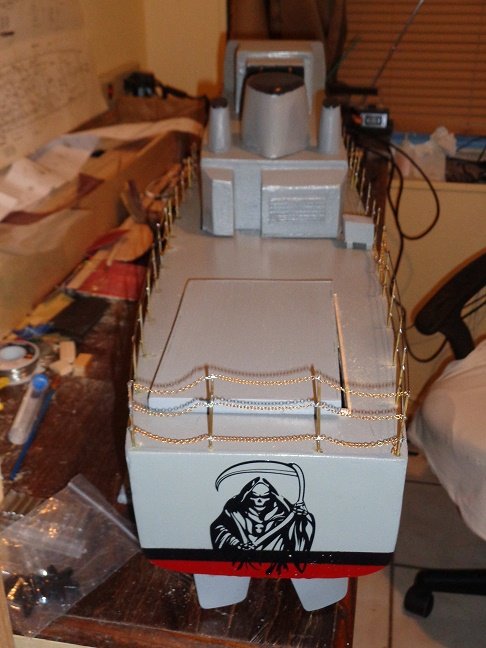
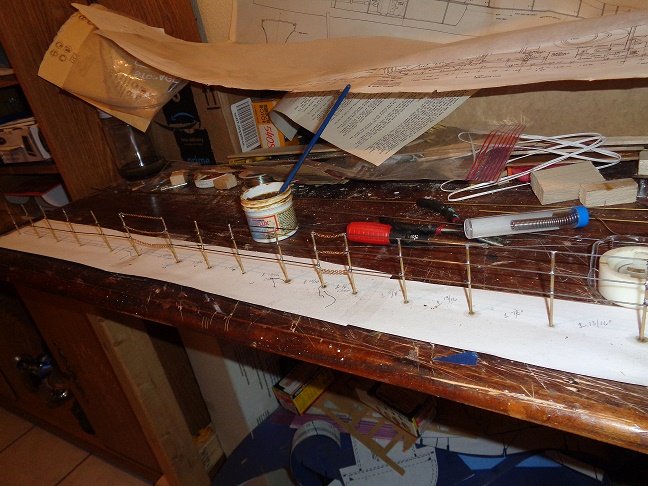
I'm about half way through with the railings. Those chains are a real pain. I bought some solder off of ebay and did almost the entire railings on the lower deck and while I was working on the front section of railings, I would hear a bing. I checked and found several of the railings had popped loose from the posts. I thought maybe I didn't solder them well enough, so I soldered them again. This morning I went in my work room and found several of the railings loose again. So I found some old solder I had and re-soldered them again. So far, no more Bing.
-
I'm sorry to hear of your father's passing TexJake, the hobby as a whole will be less for his passing. Our prayers are with you and your family. All of the kits you listed are excellent kits and anyone would be honored to own them.
-
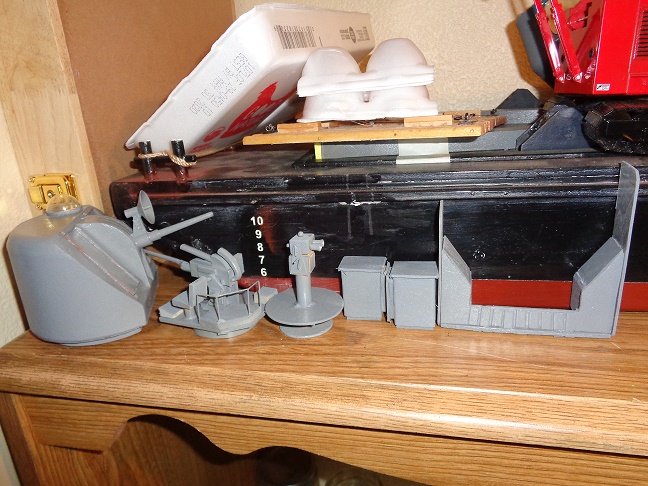
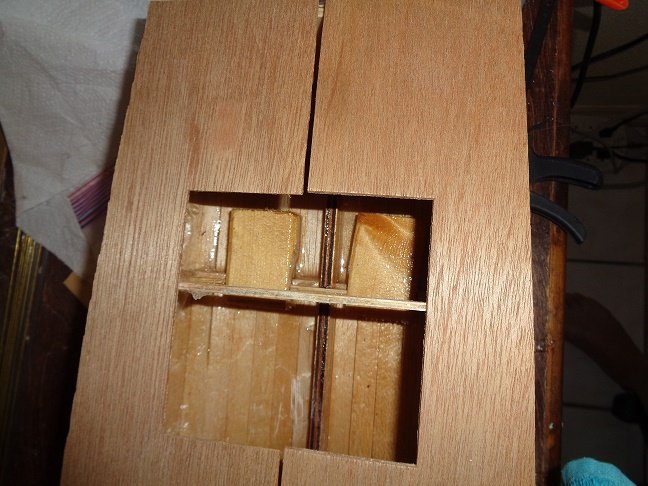
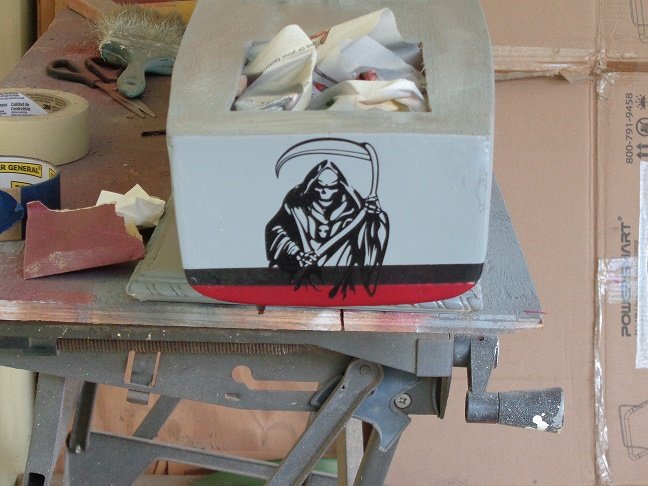
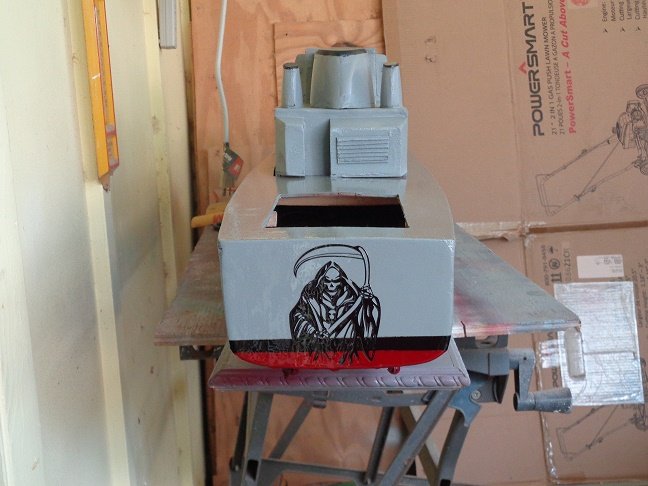
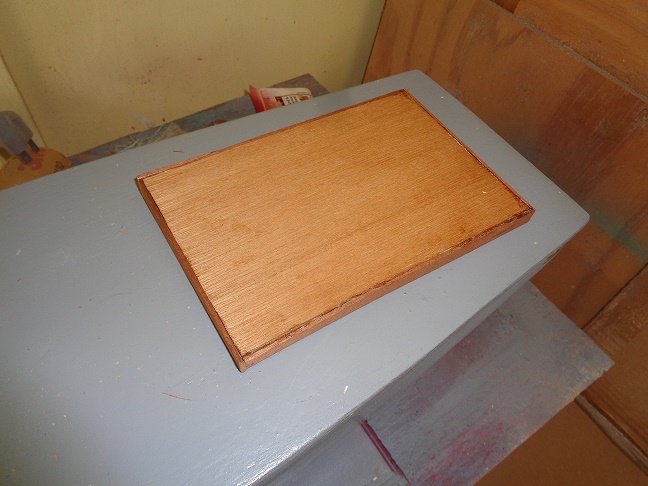
Thanks Popeye, I sealed the Reaper with epoxy resin to make it water proof, I also sealed the deck and gave it another coat of classic gray paint. I found some scrap 1/8" hobby plywood that I didn't know I had and used it to fashion a new rear hatch cover because the kit supplied cover was to small for the opening after I enlarged it to give better access to the servo and rudder arm. I applied the kit supplied decals to the hull, which are water slide decals, which I don't really care for, but they serve the purpose. Here are a few observations so far of the Crockett kit: Like I mentioned in the beginning, this kit is not for a beginner or even an intermediate builder. I'm not saying it couldn't be built by either one, but it would be a very tough build. There are tons of small bits and pieces that require building and the instructions are almost worthless and the plans are good, but could be better. Although I like the kit, I would never build another one. I will explain why later.

-
Y Beautiful house, you were fortunate to live in it, we lived in a small 5 room house that you could throw a cat through the exterior walls. The only trains we had were wooden blocks tied together with fishing line. One year my folks were able to give us a slot car racing set for Christmas, we were in hog heaven. But as always, all good things come to an end, we played on that race car set so much that first day, by noon we had burnt it up.
-
I decided today to take a break from the railings and built a display board for the Crockett.
-
I started working on those railings yesterday and was able to get most of the railings done for one side of the bottom deck and decided to install them on the deck before calling it a day. I woke up about 2:00am this morning and couldn't get back to sleep and for some reason those railings that I installed just wasn't sitting right with me, so I went to my work room and there it was slapping me right in the face. It was one of those Murphy's law moments I just couldn't believe what I had done...…………...….
-
Well, I'm going to get starting on making the railings today. If you don't see any new posts for awhile, I'll be hiding in my basement in shame. Oh wait, I live in Florida, we don't have basements. Maybe in the attic.
-
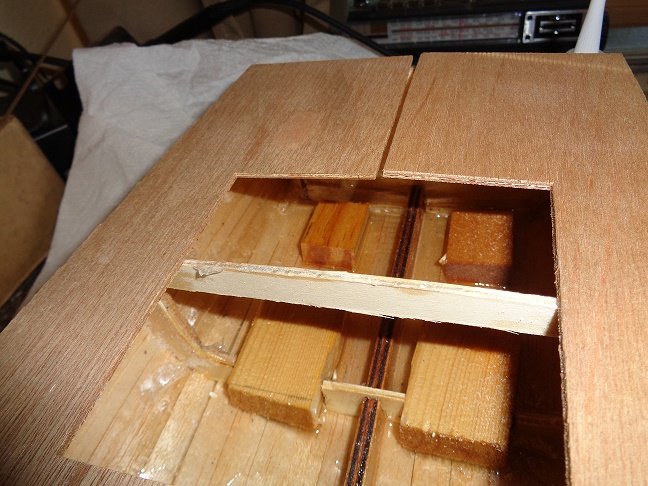
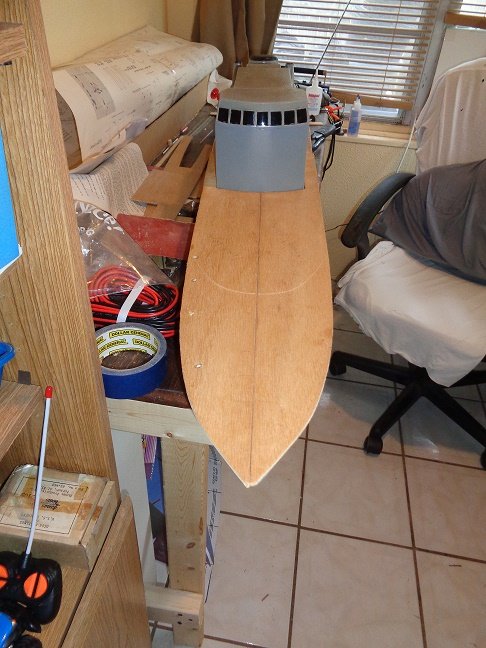
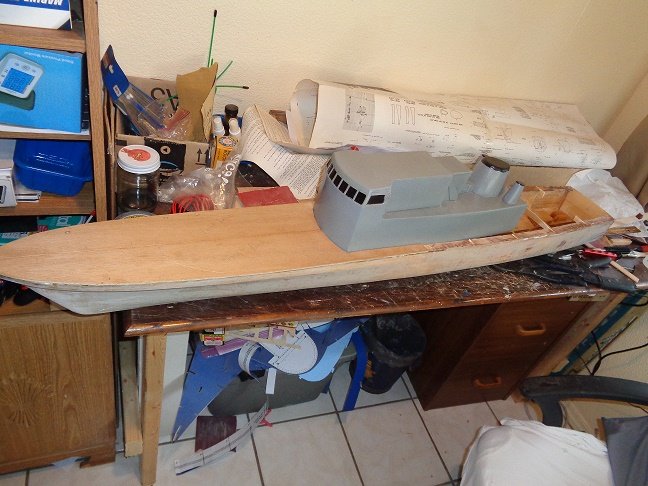
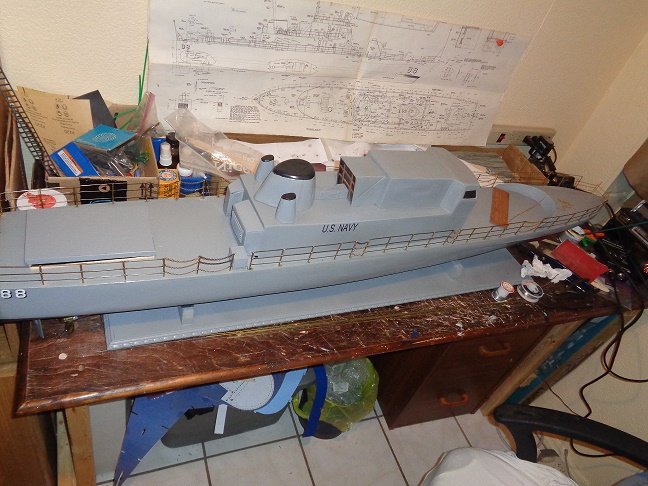
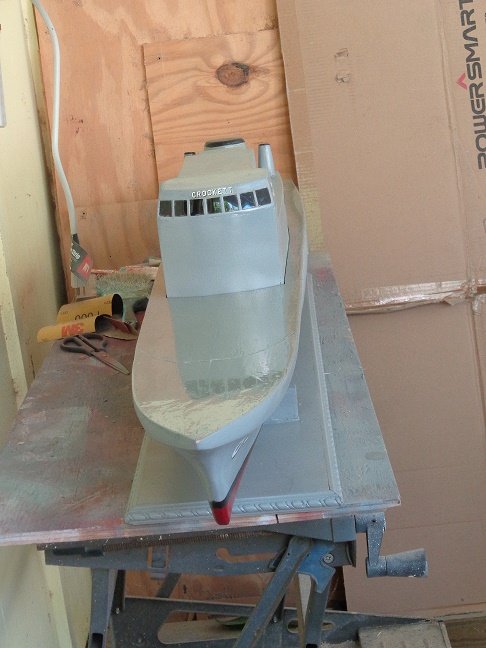
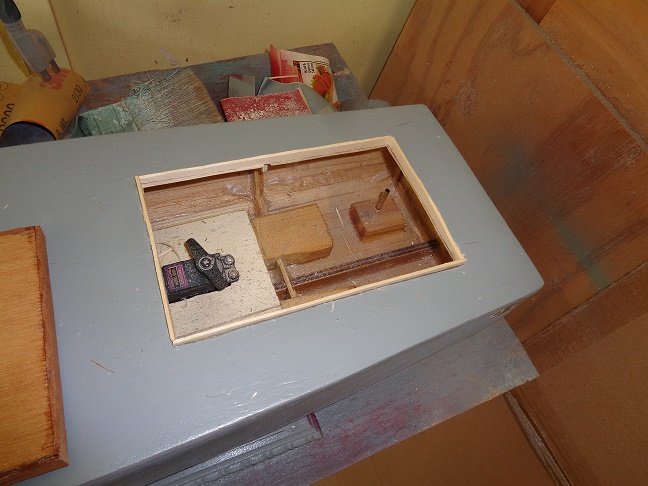
I installed the rear deck. I also enlarged the rear hatch opening, which will allow for better access to the rudder arms and servo. I will have to some figuring on building larger hatch cover.

-
Mine too, why not take the help when you can get it.
-
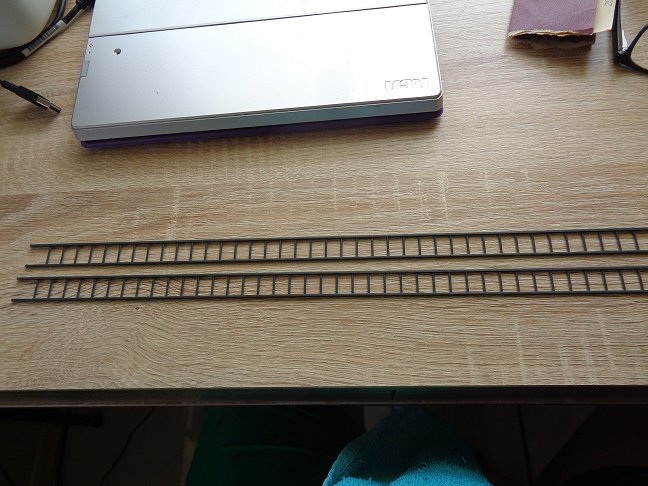
Thanks CD, I was able to cheat a bit at least on the ladders anyway. I ordered these from Hobbylinc for less than $10.00 shipped. So at least I won't have the opportunity to screw those up with my inadequate soldering ability.

-
I don't see how they can make them for 99 cents. But I'm hooked on both counts.
-
I'm planning to get started on making the railings for this beast. I so hoped that I could find some pre-made railings that would have worked, but the spacing between stansions are not equal. I have been dreading this part of the build because there is so much of it and I literally suck at soldering. I watched a few You Tube how to's, but I know my limitations. we'll see.
-
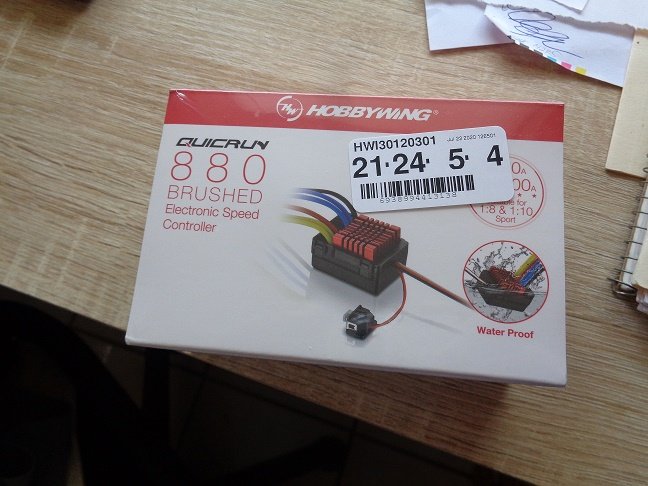
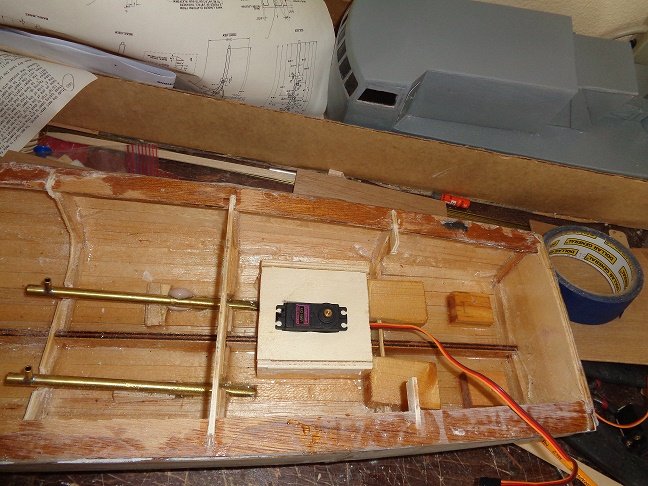
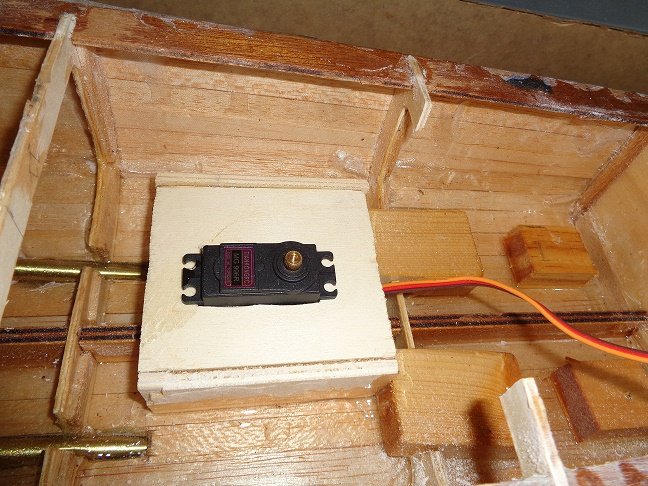
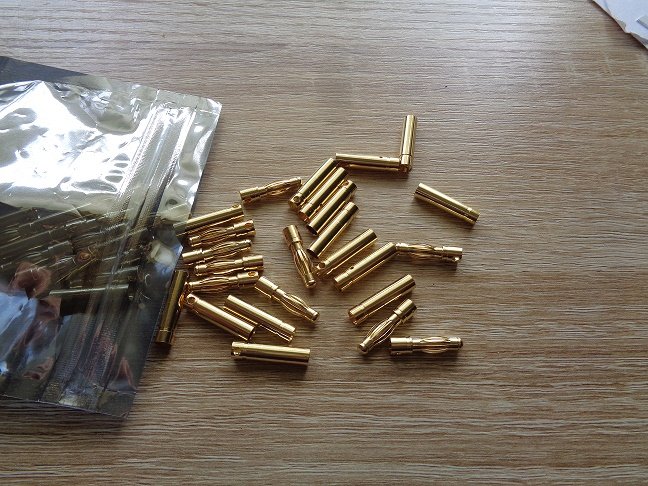
I have the servo box installed and received the 4mm bullet or banana connectors to solder onto the two 550 motors.
-
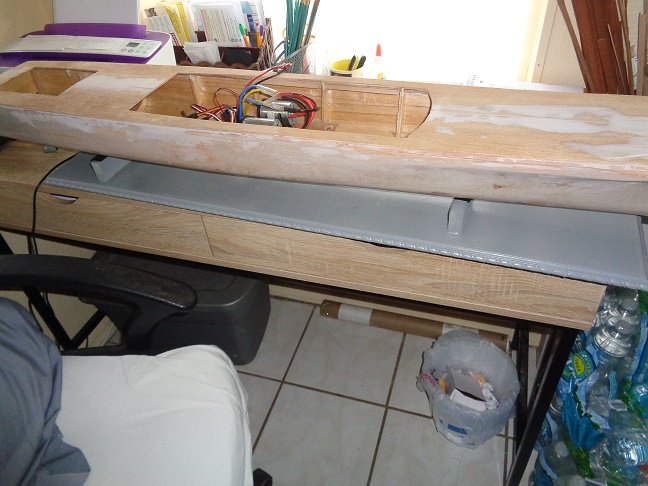
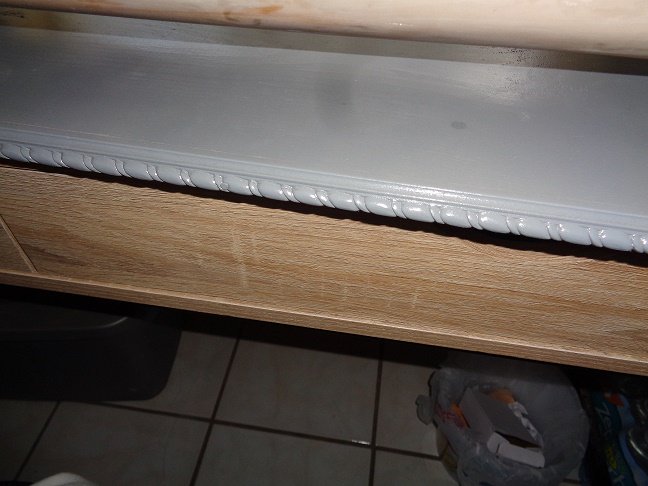
I was finally able to fiberglass in the stuffing tubes and the struts and gave the last coat of resin to the exterior of the hull, which makes three layers of resin. But in actuality winds up being two coats or layers since I sand in-between each coat. I made several of the deck furnishing as well as temporarily placing the deck onto the hull to check the fit and finish. It looks good except for one area, the rear hatch, which allows for access to the rudder posts as well as the rudder servo. I find that if the rudders are installed where required, access to the rudder posts will be hard to access for adjustments when the deck is installed.