-
Posts
675 -
Joined
-
Last visited
About 72Nova
- Birthday 02/26/1959
Profile Information
-
Location
San Marcos Ca
-
Interests
Model ship and auto building, restoring my muscle car.
Recent Profile Visitors
-
 72Nova reacted to a post in a topic:
Mary Rose by Baker - scale 1/50 - "Your Noblest Shippe"
-
 72Nova reacted to a post in a topic:
Mary Rose by Baker - scale 1/50 - "Your Noblest Shippe"
-
 72Nova reacted to a post in a topic:
Mary Rose by Baker - scale 1/50 - "Your Noblest Shippe"
-
 72Nova reacted to a post in a topic:
Mary Rose by Baker - scale 1/50 - "Your Noblest Shippe"
-
 72Nova reacted to a post in a topic:
Wasa 1628 by Knocklouder - Billing Boats - 1:75
-
 fmodajr reacted to a post in a topic:
Sovereign of the Seas by 72Nova - Airfix - PLASTIC
-
 Baker reacted to a post in a topic:
Sovereign of the Seas by 72Nova - Airfix - PLASTIC
-
 GrandpaPhil reacted to a post in a topic:
Sovereign of the Seas by 72Nova - Airfix - PLASTIC
-
 Chapman reacted to a post in a topic:
Sovereign of the Seas by 72Nova - Airfix - PLASTIC
-
 kirill4 reacted to a post in a topic:
Sovereign of the Seas by 72Nova - Airfix - PLASTIC
-
 Ian_Grant reacted to a post in a topic:
Sovereign of the Seas by 72Nova - Airfix - PLASTIC
-
 ccoyle reacted to a post in a topic:
Sovereign of the Seas by 72Nova - Airfix - PLASTIC
-
 fake johnbull reacted to a post in a topic:
Sovereign of the Seas by 72Nova - Airfix - PLASTIC
-
 Tumblehome reacted to a post in a topic:
Sovereign of the Seas by 72Nova - Airfix - PLASTIC
-
 chris watton reacted to a post in a topic:
Sovereign of the Seas by 72Nova - Airfix - PLASTIC
-
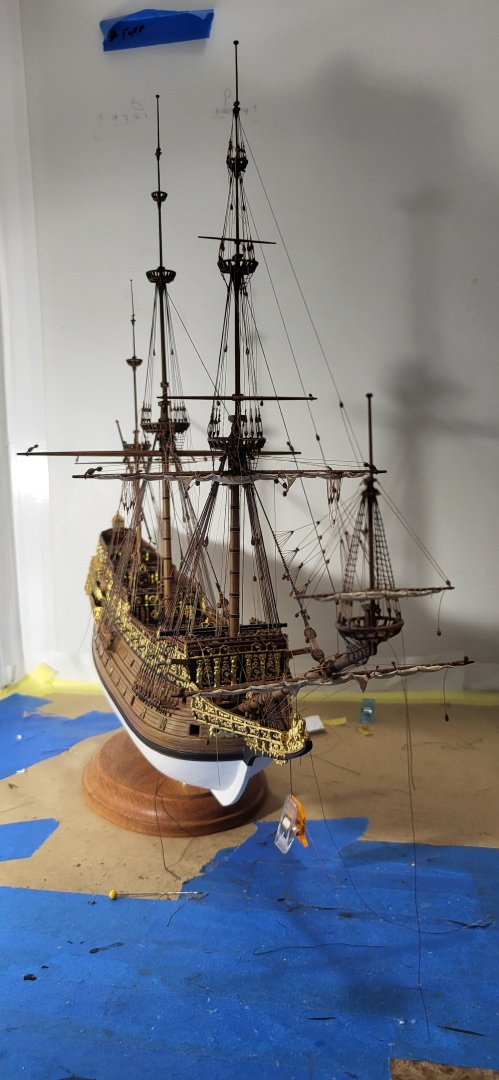
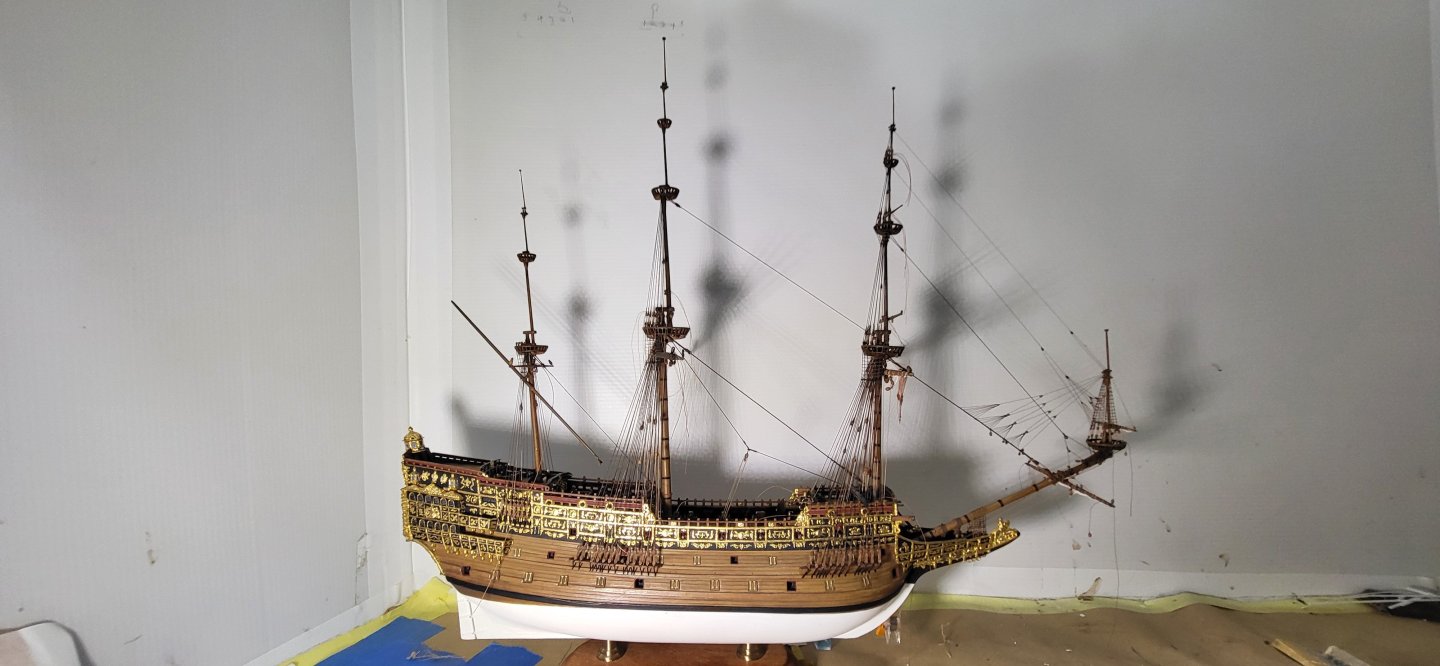
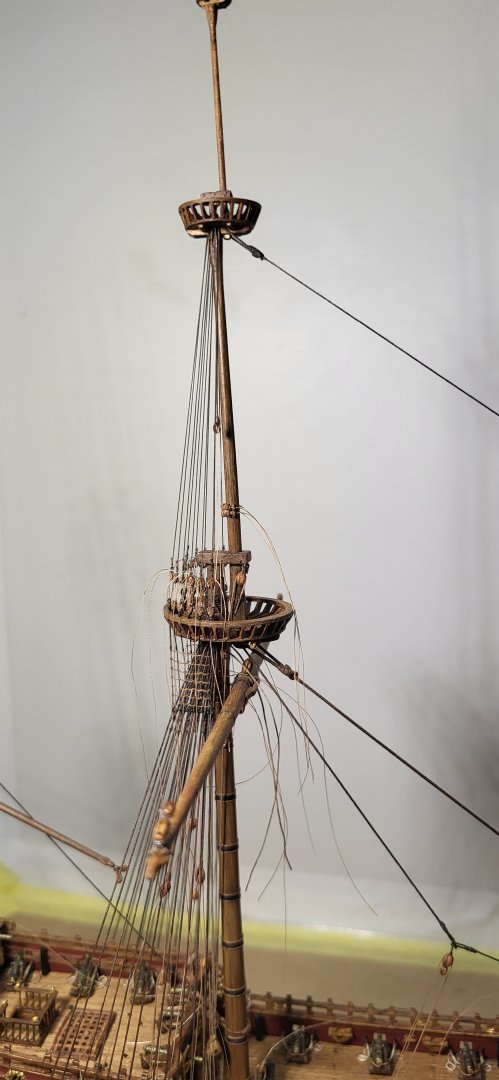
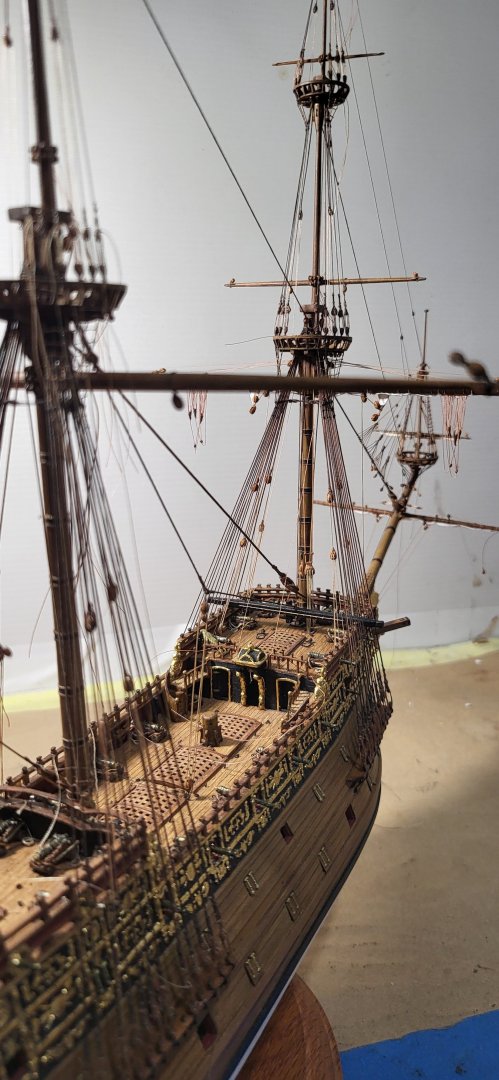
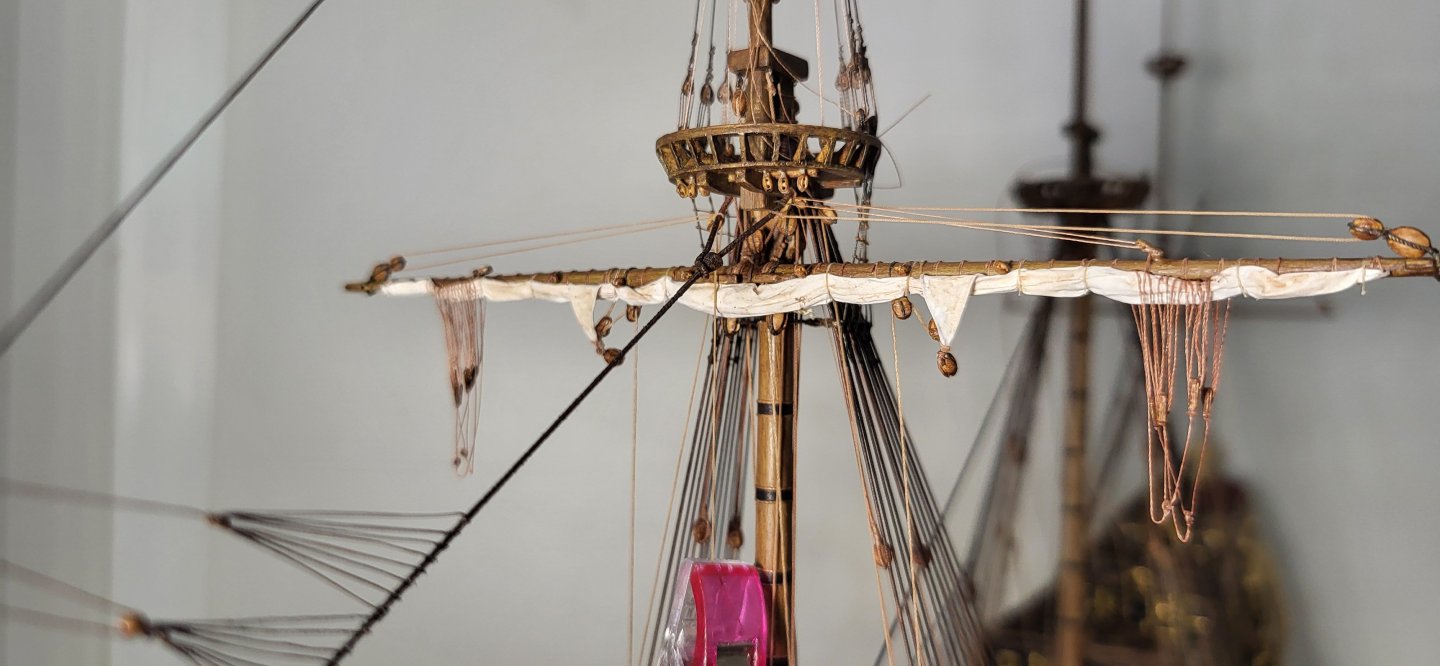
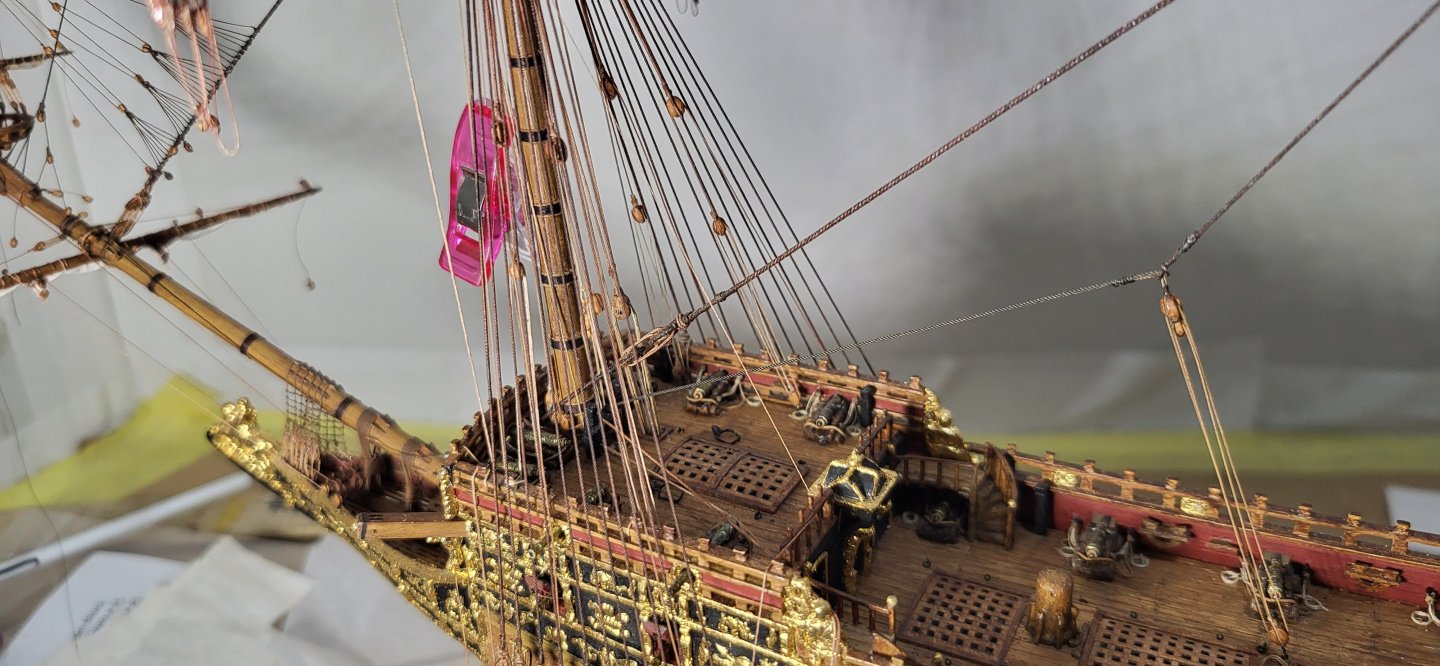
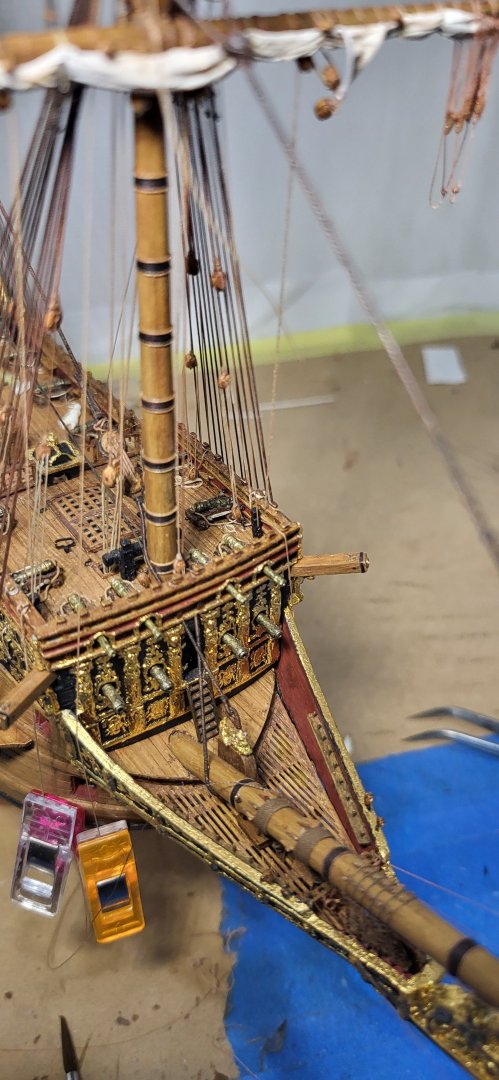
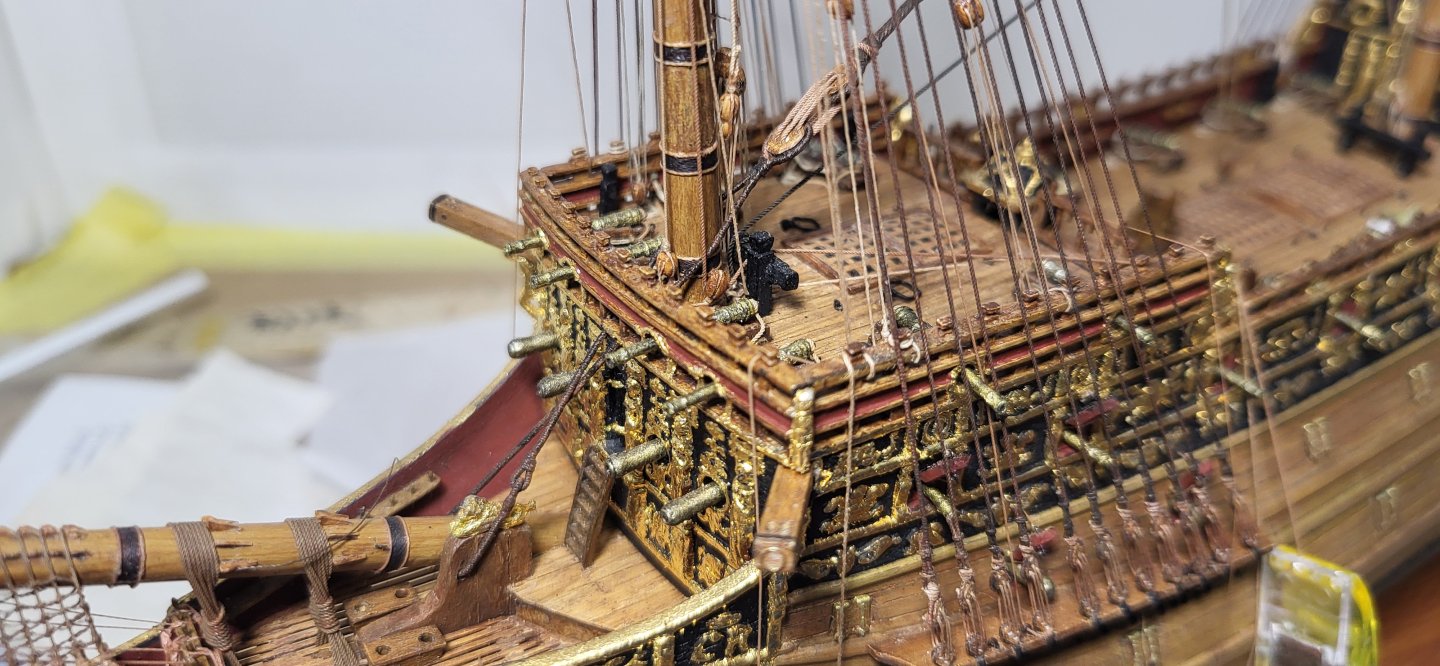
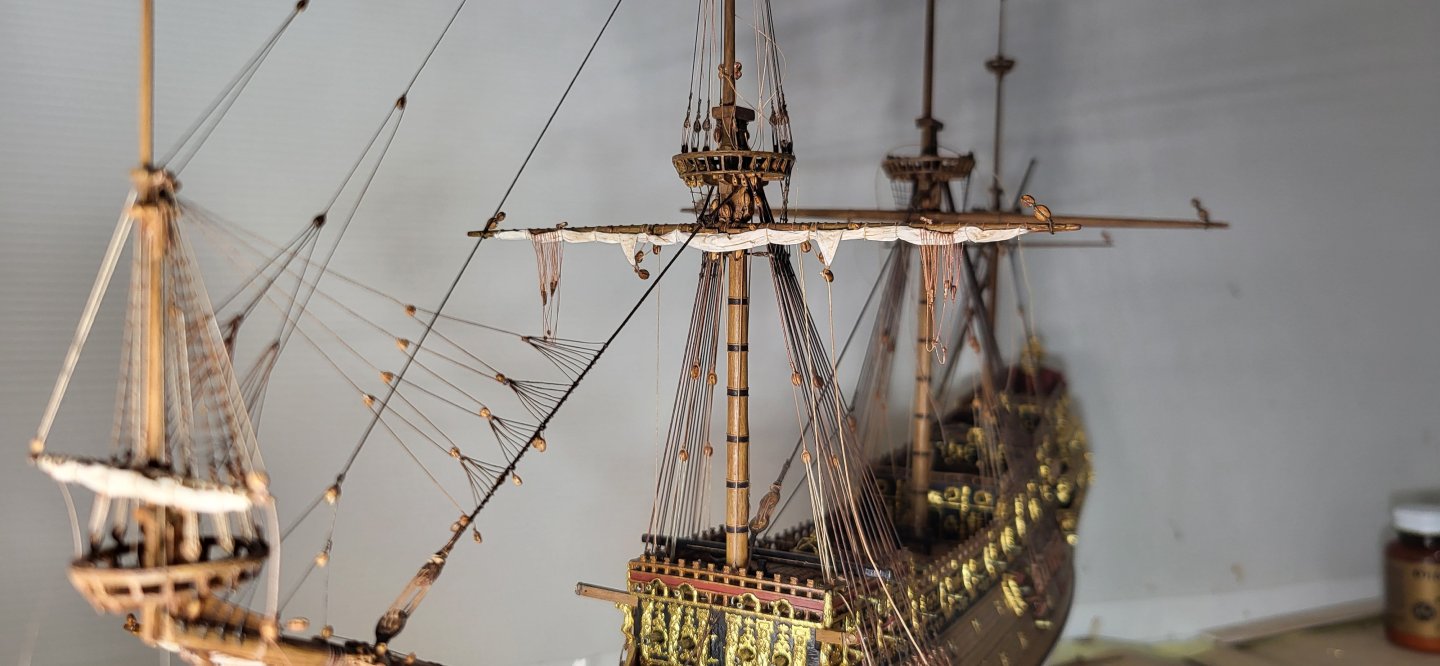
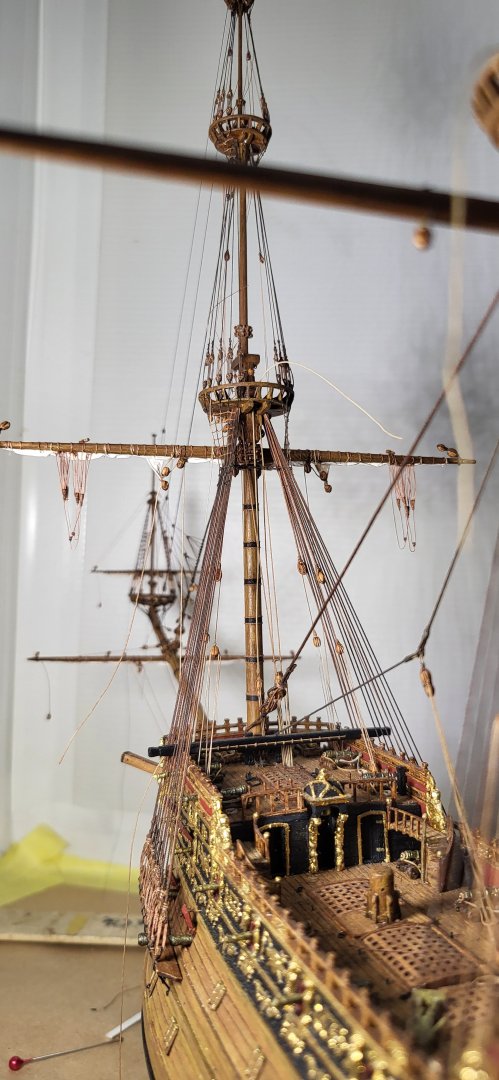
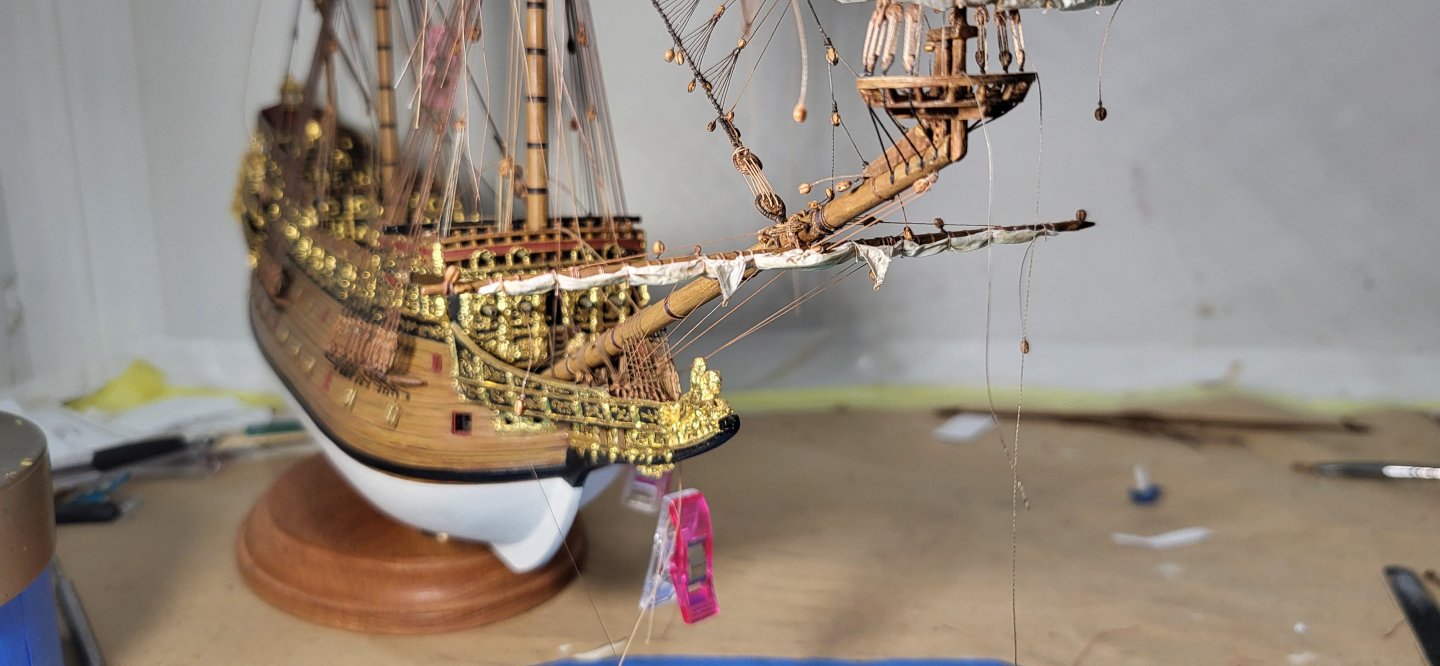
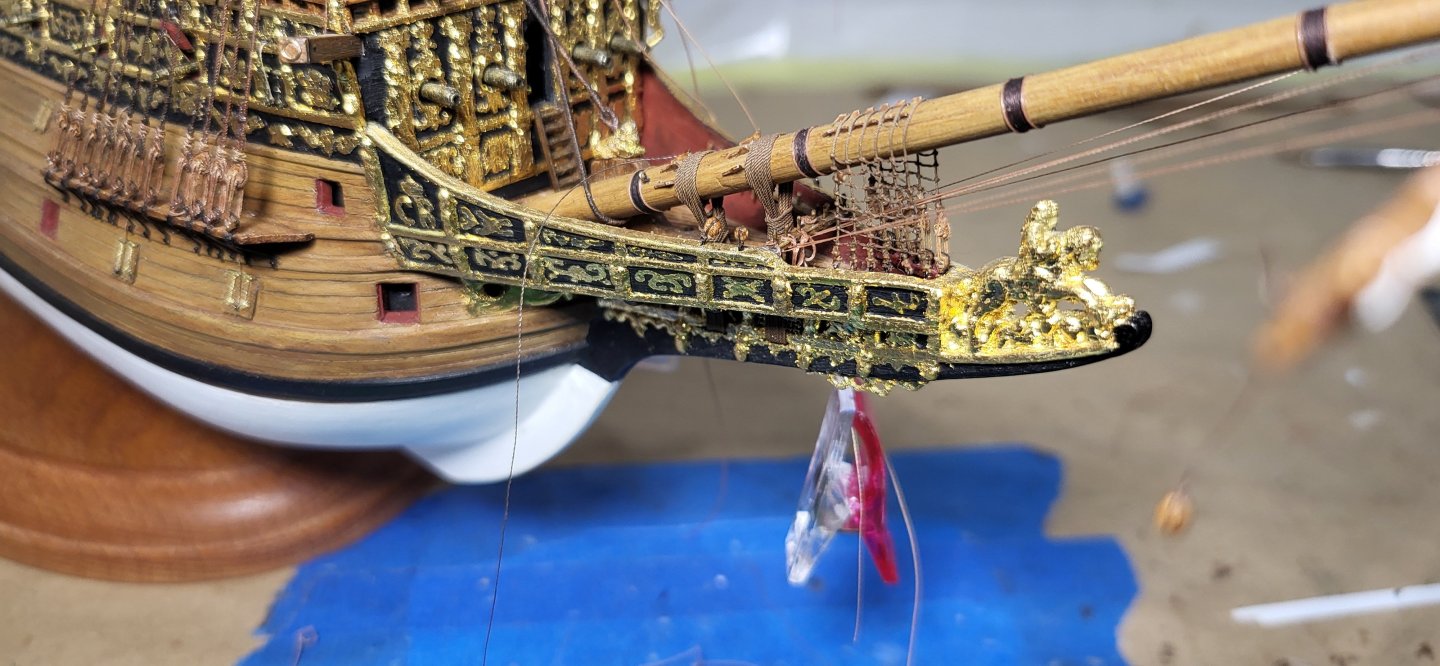
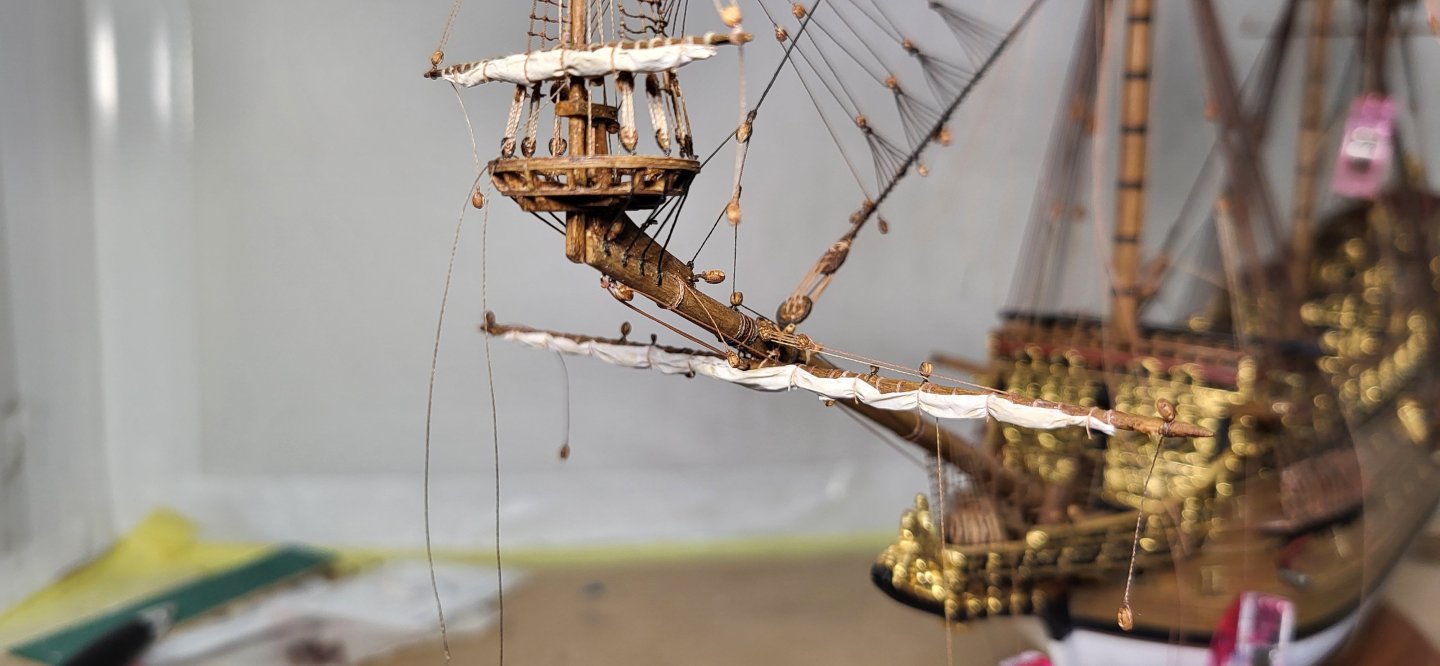
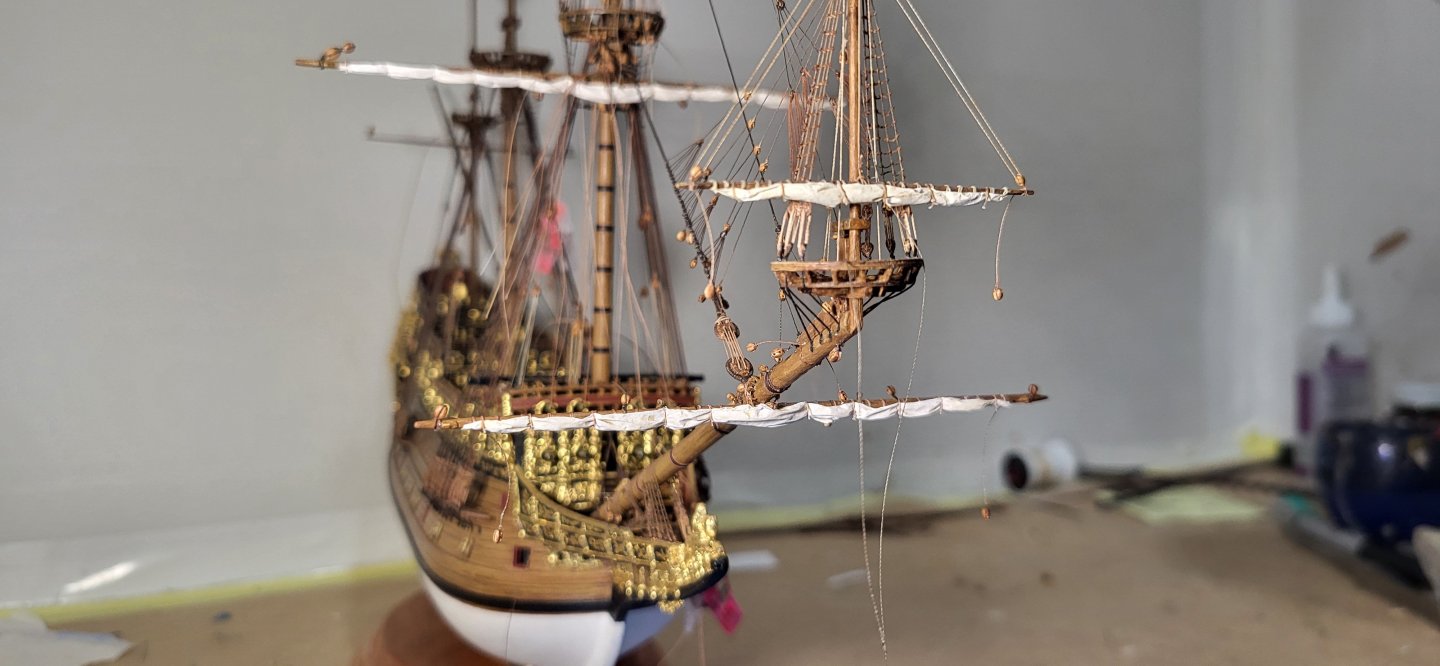
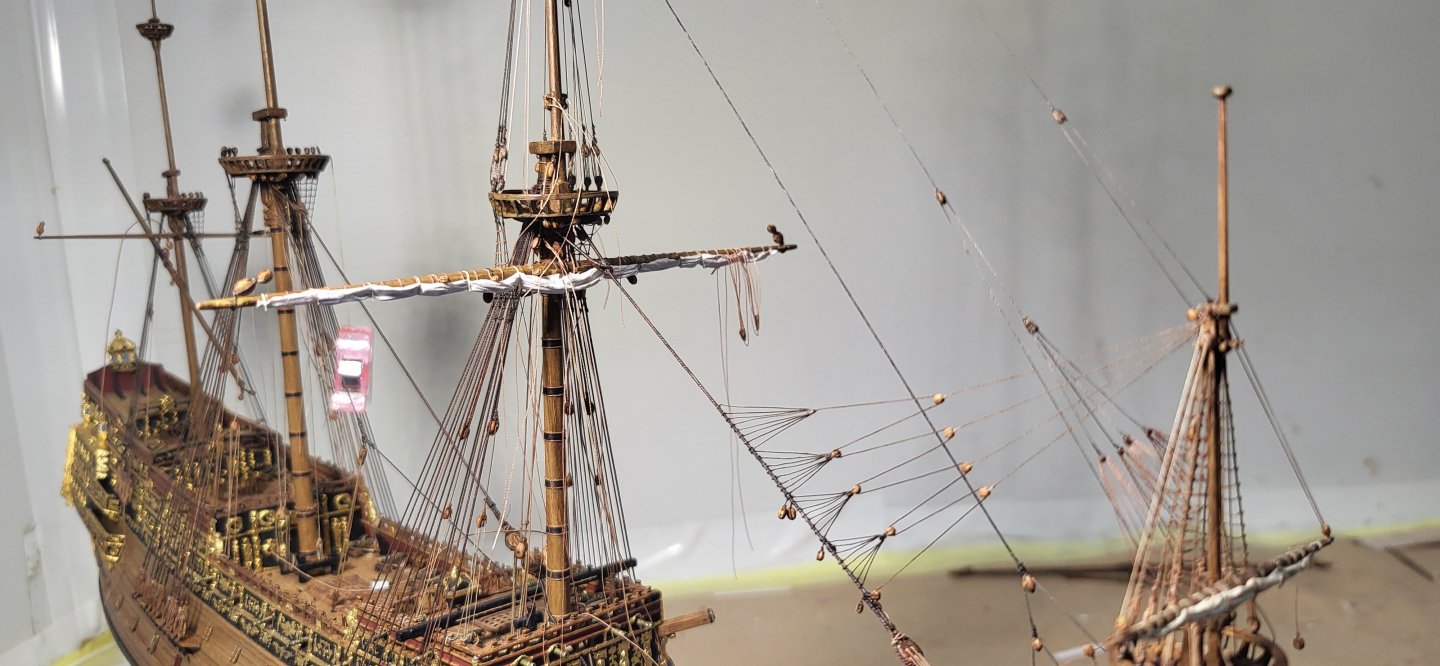
I was able to finally set the main top mast in place and complete rigging the shrouds using .20mm line, dead eyes measure out at about 1.70mm, slightly oversized but visually looks good. I used .35mm line for the stay, led thru a block at the fore masthead and down to the long tackle I had rigged like almost 2 years ago, it's not perfect but at this scale looks fine. As always, I appreciate everyone stopping by and looking. Michael D.
- 324 replies
-
- Sovereign of the Seas
- Airfix
-
(and 1 more)
Tagged with:
-
 72Nova reacted to a post in a topic:
Wasa 1628 by Knocklouder - Billing Boats - 1:75
-
 72Nova reacted to a post in a topic:
Wasa 1628 by Knocklouder - Billing Boats - 1:75
-
 72Nova reacted to a post in a topic:
Große Jacht 1679 by Baker - FINISHED - Corel - 1:50 - modified model from the Yacht D'Oro kit
-
 72Nova reacted to a post in a topic:
HMS Revenge 1577 by GrandpaPhil - 1/64 - CARD - from Victory Models Plans
-
 72Nova reacted to a post in a topic:
Große Jacht 1679 by Baker - FINISHED - Corel - 1:50 - modified model from the Yacht D'Oro kit
-
Impressive Ian, I hope you have stock in that media you're using...😀. Happy New Year! Michael D.
- 24 replies
-
- ferry
- Europic Ferry
-
(and 1 more)
Tagged with:
-
I've rigged the single jeer using .30mm line that's led to base of the mast, thru a single block and will be belayed to the bitts. The lifts are rigged using .25mm line, the standing part at the stay collar, thru the blocks and down to the deck belayed at the caval. The fall for the martnets is 100wt thread with the standing part at the stay collar, thru the sister block, maybe should've been a shoe block but oh well, thru a 1.5mm block on the collar and down to the forecastle rail, once I complete the port side, I need to focus on the main topmast shrouds and stay as this is led to the tackle at the base of the fore mast. Thanks for looking. Michael D.
- 324 replies
-
- Sovereign of the Seas
- Airfix
-
(and 1 more)
Tagged with:
-
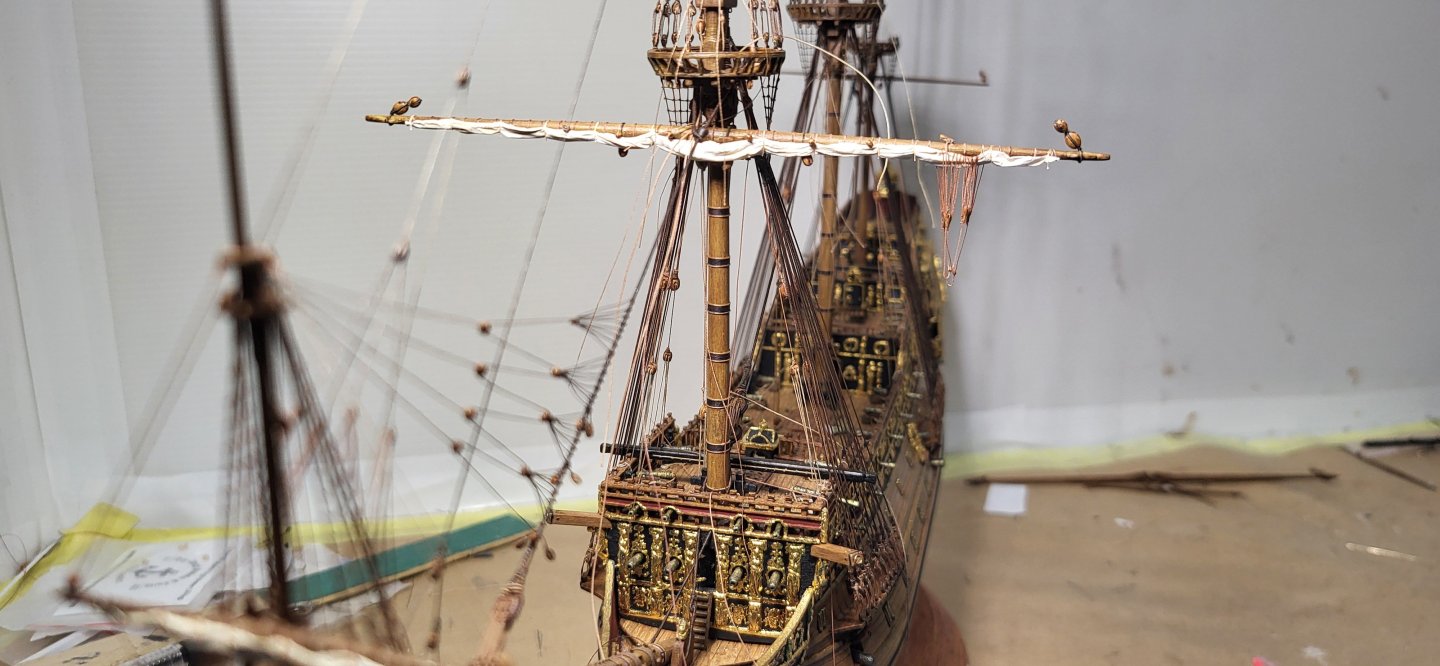
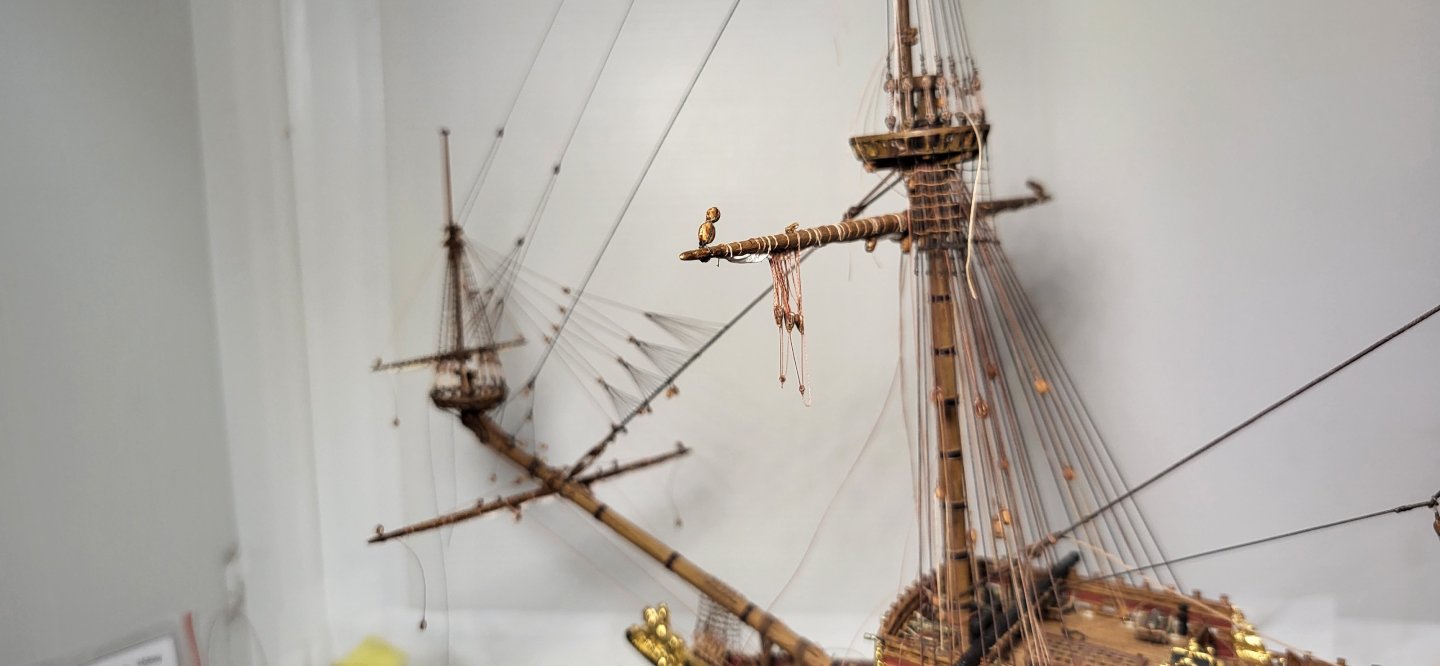
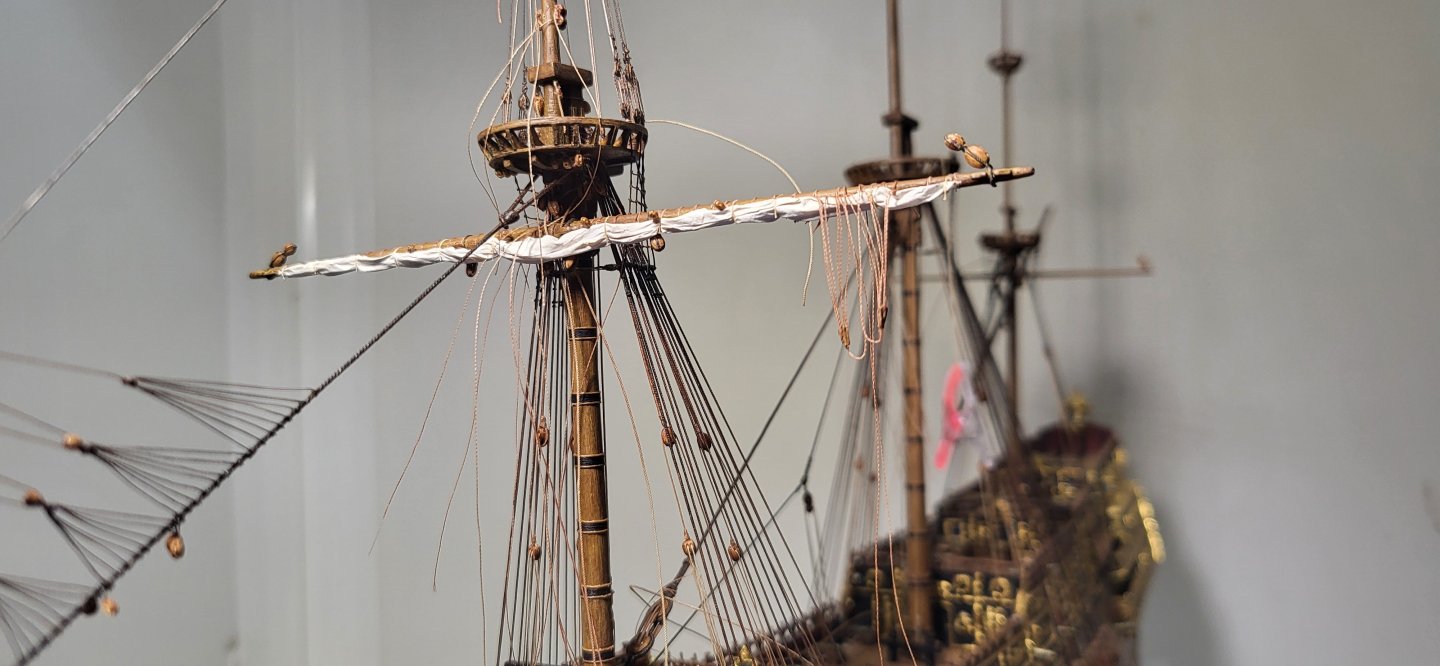
The Fore course yard is finally installed with some of the rigging completed, still much more left to do but is looking ok, thanks for looking. Michael D.
- 324 replies
-
- Sovereign of the Seas
- Airfix
-
(and 1 more)
Tagged with:
-
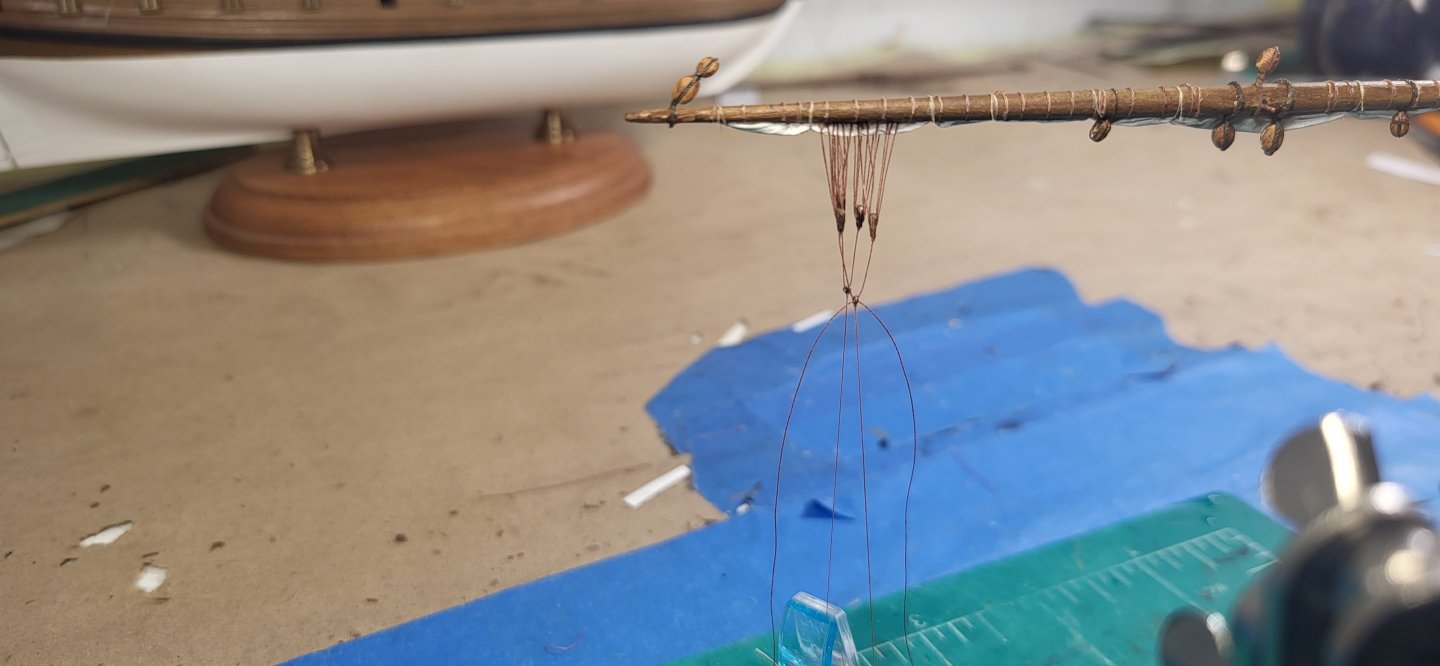
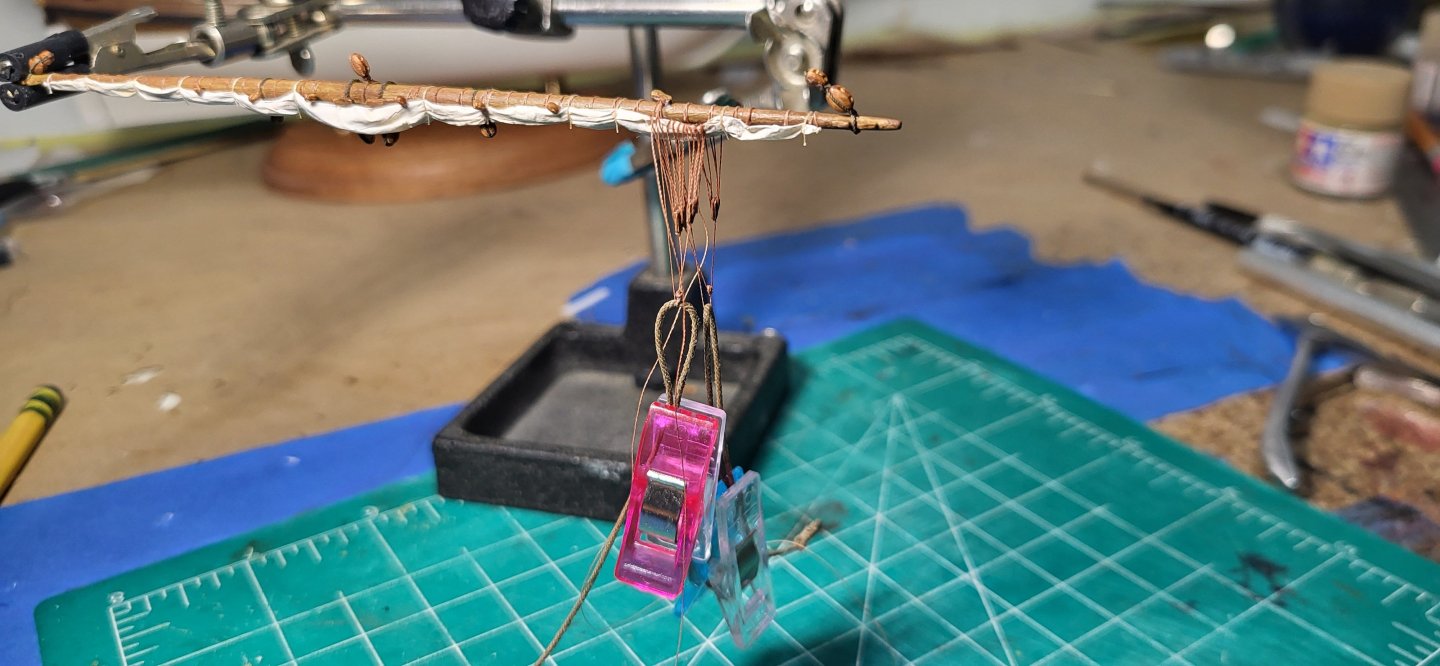
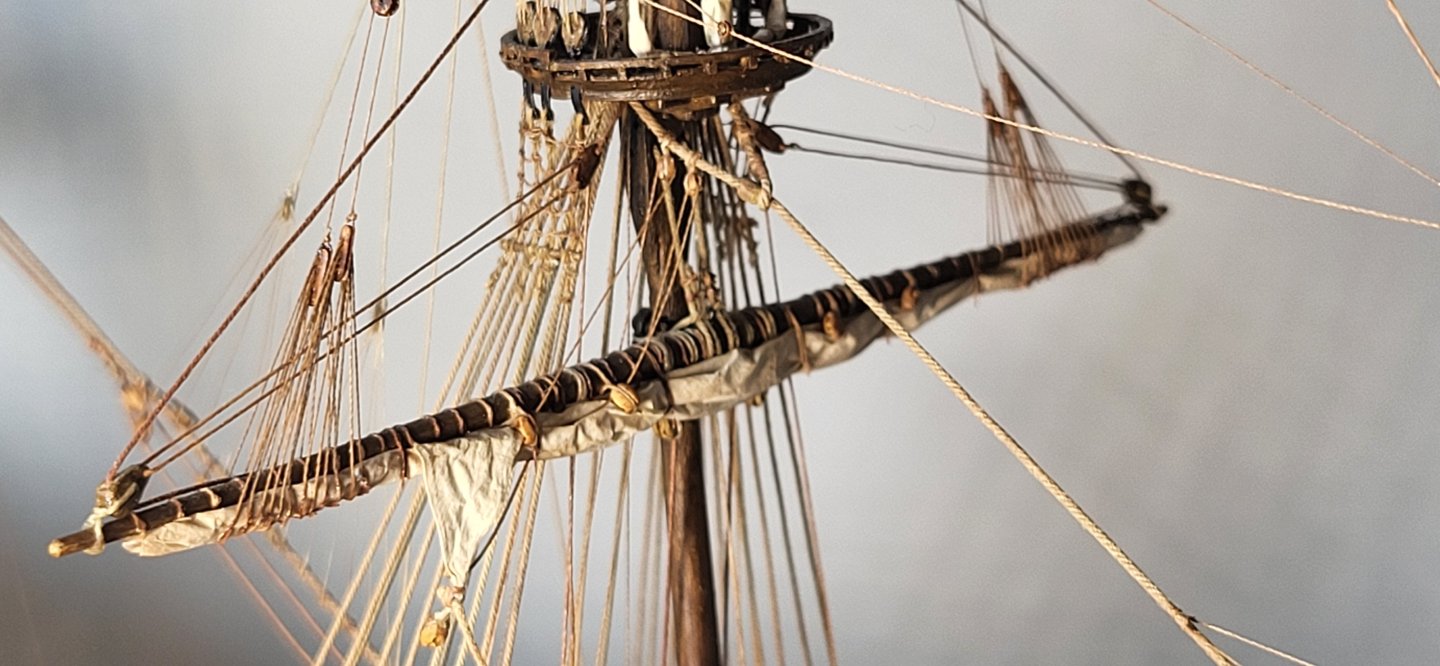
The port side martnets are completed and challenging to say the least, the crow feet on the fore side was straight forward feeding them over the sail and trimming them on the back side once the glue set, for the aft side I just cut to length and tucked them up to the underside of the yard, I wasn't too concerned about all the crow feet being taught as I suspect there be some loose ones during the gathering of the sail. The bridle in reality is one piece, but I faked it by passing to two ends thru a bulleye in opposite direction, glued then snipped the ends, I did the same thing with the legs running thru the sister block, once the yard is set the fall will start at the stay collar, thru the sister block, thru a block on the collar and down to the deck. Thanks for looking. Michael D.
- 324 replies
-
- Sovereign of the Seas
- Airfix
-
(and 1 more)
Tagged with:
-
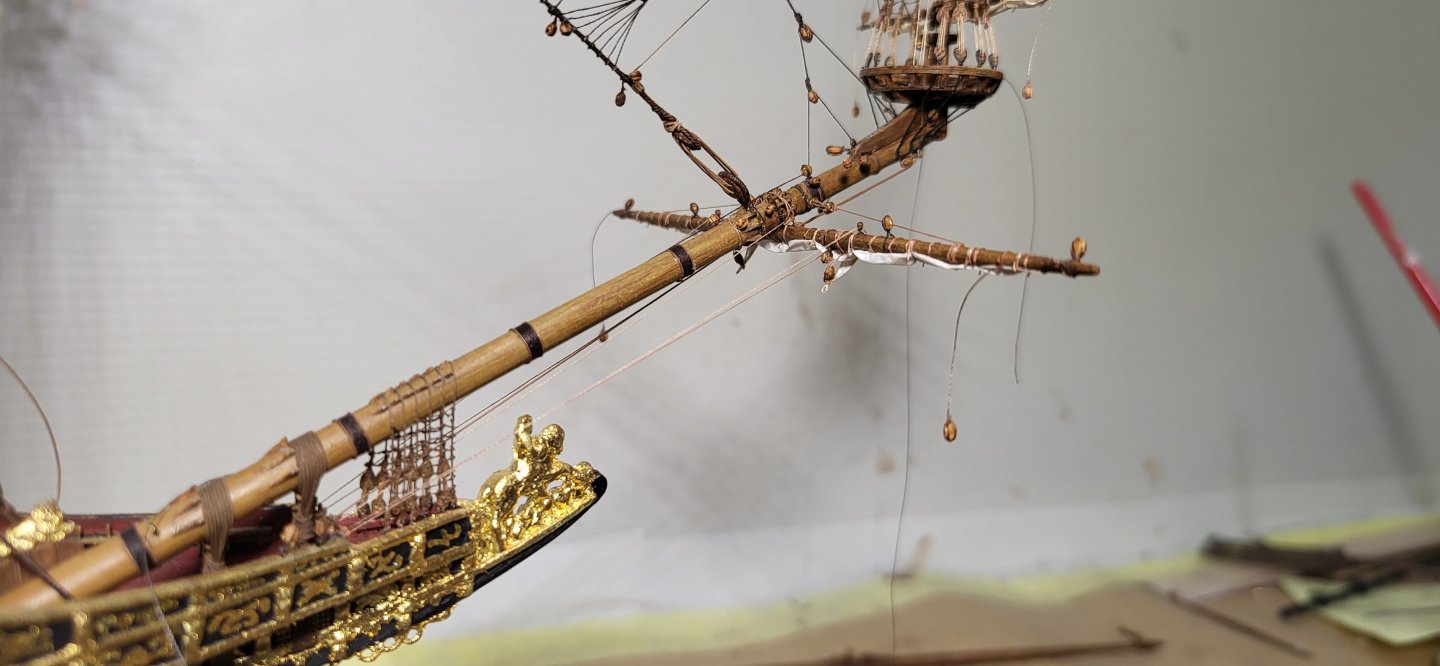
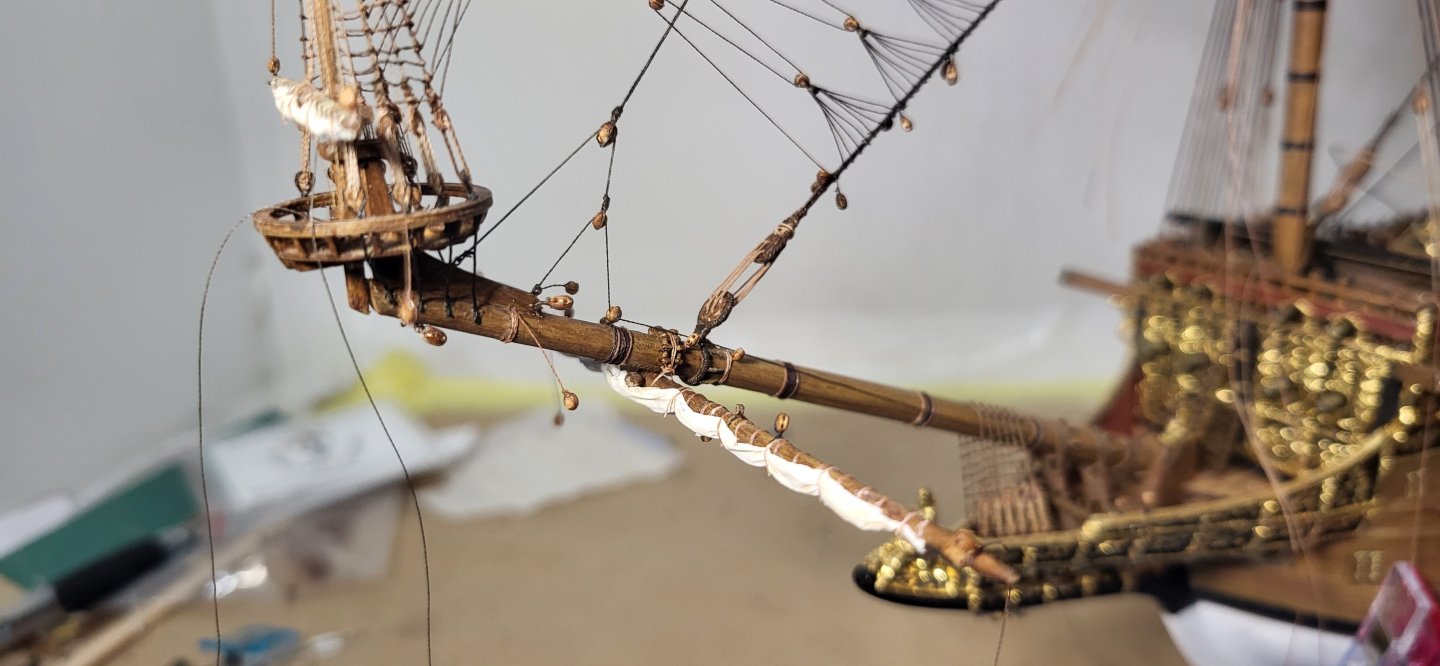
Thank you for the gracious compliment, Mark. A bit more progress on the spritsail rigging, I've attached the clews, rigged the clew lines and the 3 buntlines, all of these are led to the range and belayed. As much as I want to continue in this area, I need to shift my focus on attaching the fore course yard as the remaining rigging will be in the way. Michael D.
- 324 replies
-
- Sovereign of the Seas
- Airfix
-
(and 1 more)
Tagged with:
-
Ian I have a feeling you won't be able to hide this one from the wife. Looks like another epic build in the making👍 Michael D.
- 24 replies
-
- ferry
- Europic Ferry
-
(and 1 more)
Tagged with:
-
This info is very interesting and contradicts most everything I've read in my limited research, thank you for sharing your extensive research, Mark. I'm in agreement with Trevor though on the lack of rigging leading to the forecastle timberheads, at the time I was too focused on the Payne engraving and others builds when reworking the beakhead area when I came across information that Paynes engraving was made prior to S.O.S even being rigged, by then it was too late and I think I made reference regretting this decision, at any rate I will run a few lines to the forecastle as Illustrated in an earlier post and move forward. I appreciate you guys taking time to share your thoughts. Small update, I've rigged the halliard which is lead to the range and working on the standing lifts void of any knots, sometimes these have knots according to Lee's, anyways thanks for looking. Michael D.
- 324 replies
-
- Sovereign of the Seas
- Airfix
-
(and 1 more)
Tagged with:
-
The spritsail is bent to the yard and furled and the yard attached to the bowsprit, still much fine tuning and rigging left to do but at least it's one less loose piece floating around. Michael D.
- 324 replies
-
- Sovereign of the Seas
- Airfix
-
(and 1 more)
Tagged with:
-
Thank you, Frank, for the wonderful compliment. I've been experimenting with how I'll be displaying the martnets and this is early in the mockup stage, I think using just two will suffice in their presentation at this scale. I'm still undecided on where to run the falls, either under the top attached to the stay or taken up to the topmast top with pendants. As always, I appreciate the comments and recommendations. Michael D.
- 324 replies
-
- Sovereign of the Seas
- Airfix
-
(and 1 more)
Tagged with:
-
Your sewing machines stitches per inch look really good at that scale, better then most I've seen and your hand stitch looks really good as well...hehe. Sails look great!! Michael D.
- 97 replies
-
- Corel
- Große Jacht
-
(and 2 more)
Tagged with:
-
Thanks Trevor, I will attach the clue of the sail later on and still undecided on the martnets, I might just rig them as I did on my Vasa with 2 per side instead of 4 and I think will look fine as in this picture. Michael D.
- 324 replies
-
- Sovereign of the Seas
- Airfix
-
(and 1 more)
Tagged with:
About us
Modelshipworld - Advancing Ship Modeling through Research
SSL Secured
Your security is important for us so this Website is SSL-Secured
NRG Mailing Address
Nautical Research Guild
237 South Lincoln Street
Westmont IL, 60559-1917
Model Ship World ® and the MSW logo are Registered Trademarks, and belong to the Nautical Research Guild (United States Patent and Trademark Office: No. 6,929,264 & No. 6,929,274, registered Dec. 20, 2022)
Helpful Links
About the NRG
If you enjoy building ship models that are historically accurate as well as beautiful, then The Nautical Research Guild (NRG) is just right for you.
The Guild is a non-profit educational organization whose mission is to “Advance Ship Modeling Through Research”. We provide support to our members in their efforts to raise the quality of their model ships.
The Nautical Research Guild has published our world-renowned quarterly magazine, The Nautical Research Journal, since 1955. The pages of the Journal are full of articles by accomplished ship modelers who show you how they create those exquisite details on their models, and by maritime historians who show you the correct details to build. The Journal is available in both print and digital editions. Go to the NRG web site (www.thenrg.org) to download a complimentary digital copy of the Journal. The NRG also publishes plan sets, books and compilations of back issues of the Journal and the former Ships in Scale and Model Ship Builder magazines.


