HOLIDAY DONATION DRIVE - SUPPORT MSW - DO YOUR PART TO KEEP THIS GREAT FORUM GOING! (Only 13 donations so far - C'mon guys!)
×


rcmdrvr
-
Posts
420 -
Joined
-
Last visited
Content Type
Profiles
Forums
Gallery
Events
Everything posted by rcmdrvr
-
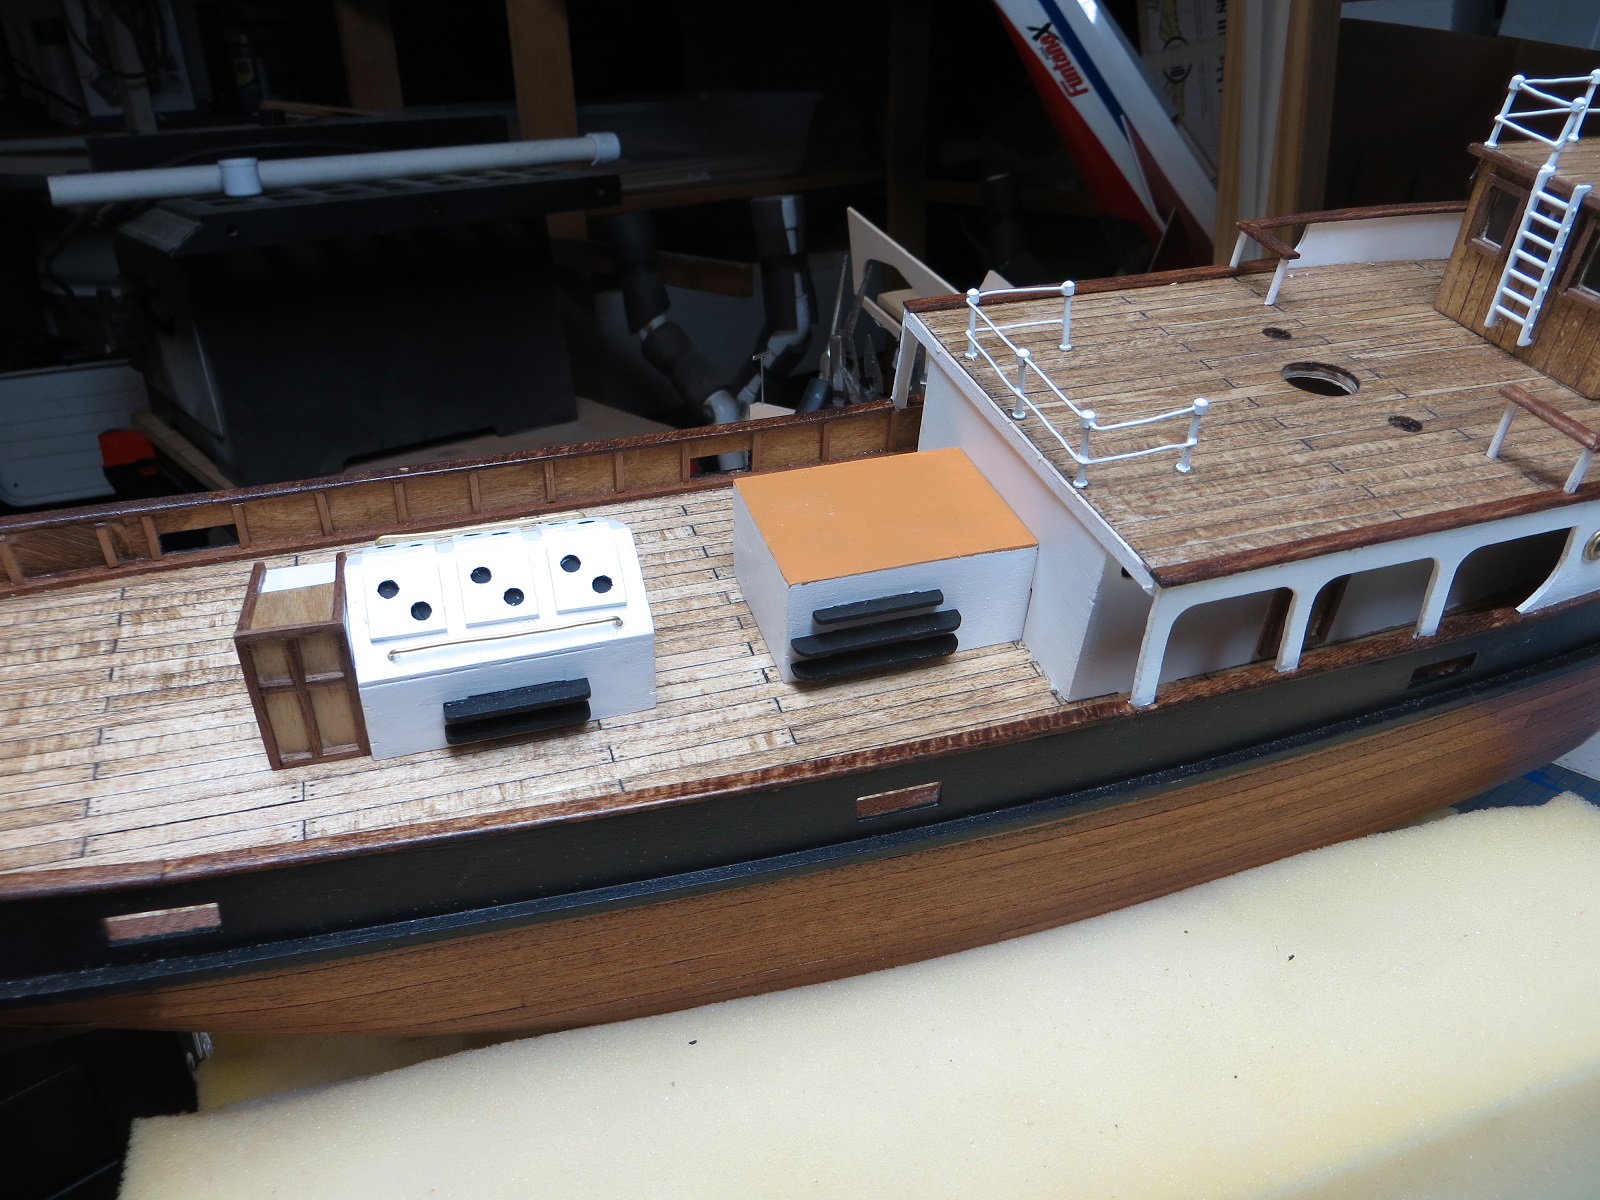
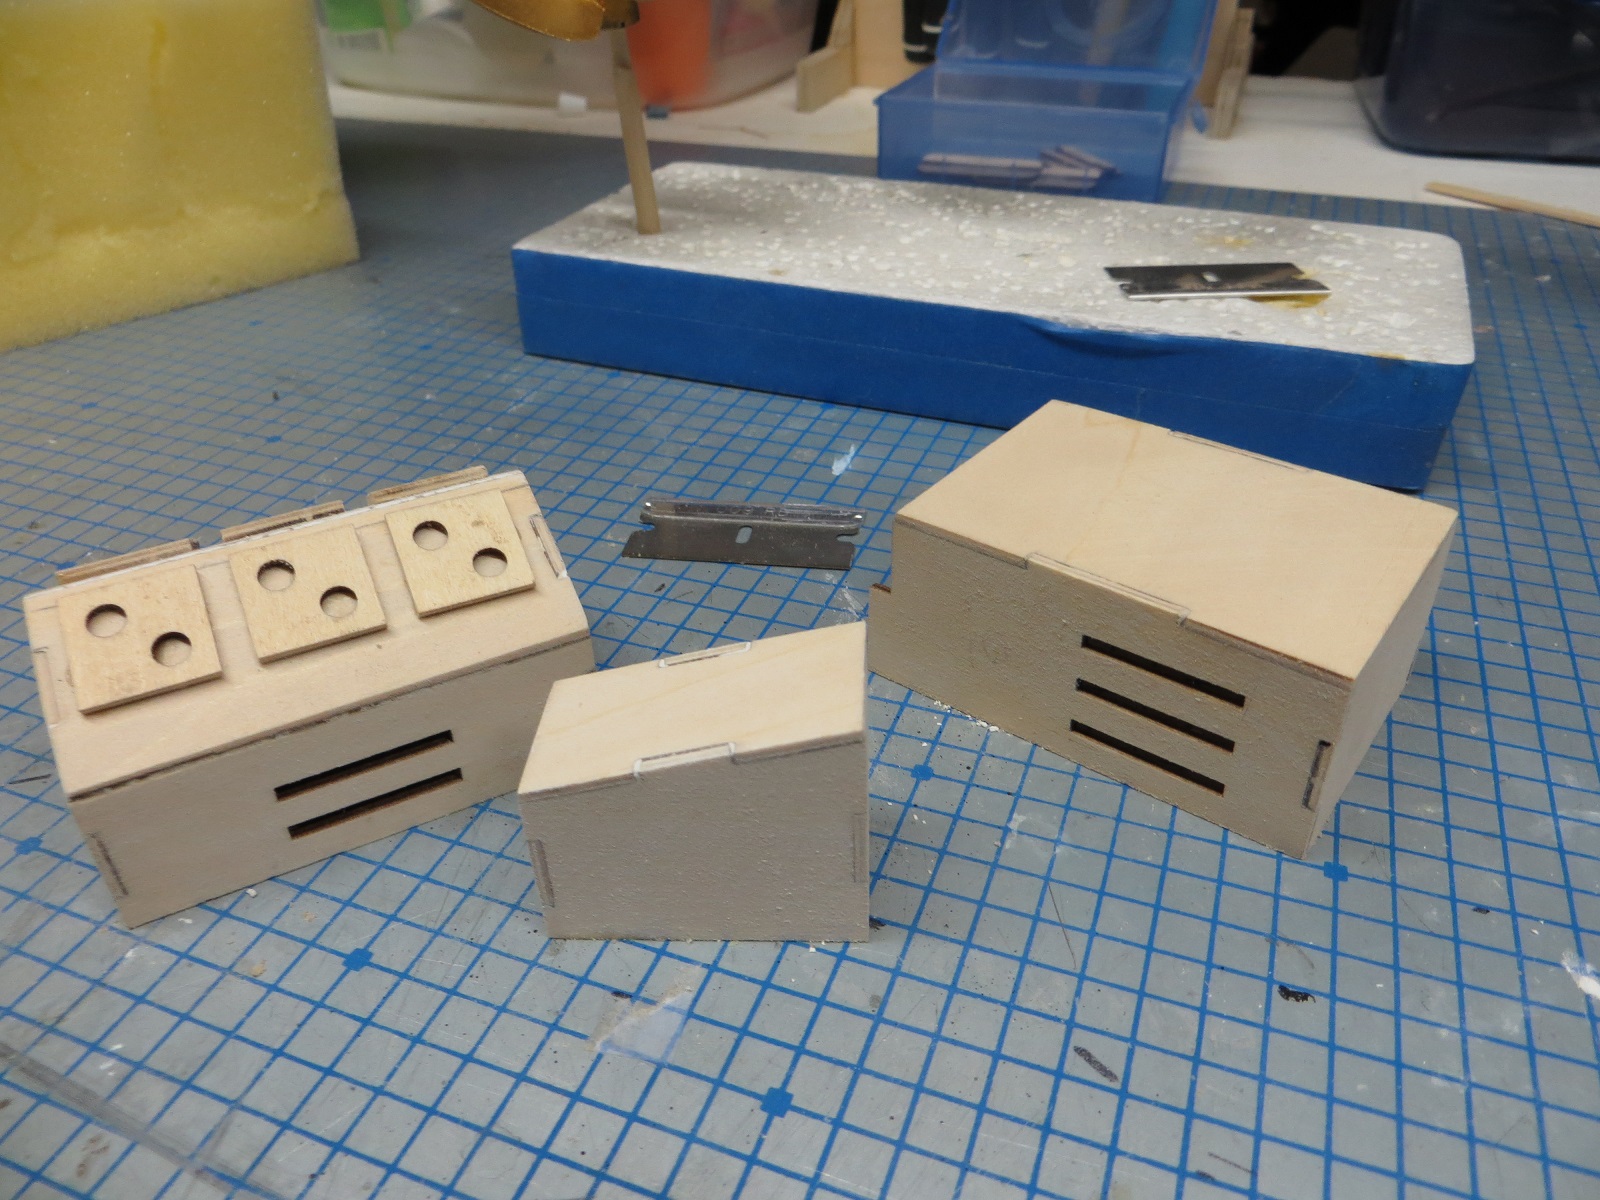
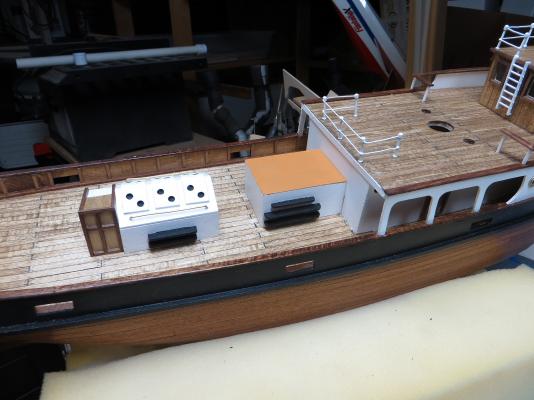
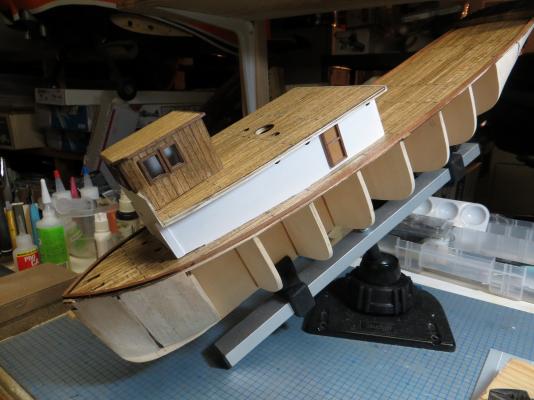
I built painted and attached various deck cabins and housings.
- 47 replies
-
- 1
-

-
- sanson
- artesania latina
- (and 1 more)
-
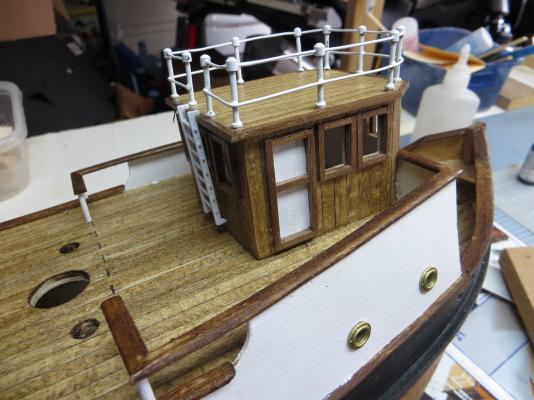
It has been a couple of weeks since I posted. I have made a little progress on the Sansun. I painted and attached the brass railings and ladder to the wheelhouse.
- 47 replies
-
- 1
-
-
- sanson
- artesania latina
- (and 1 more)
-
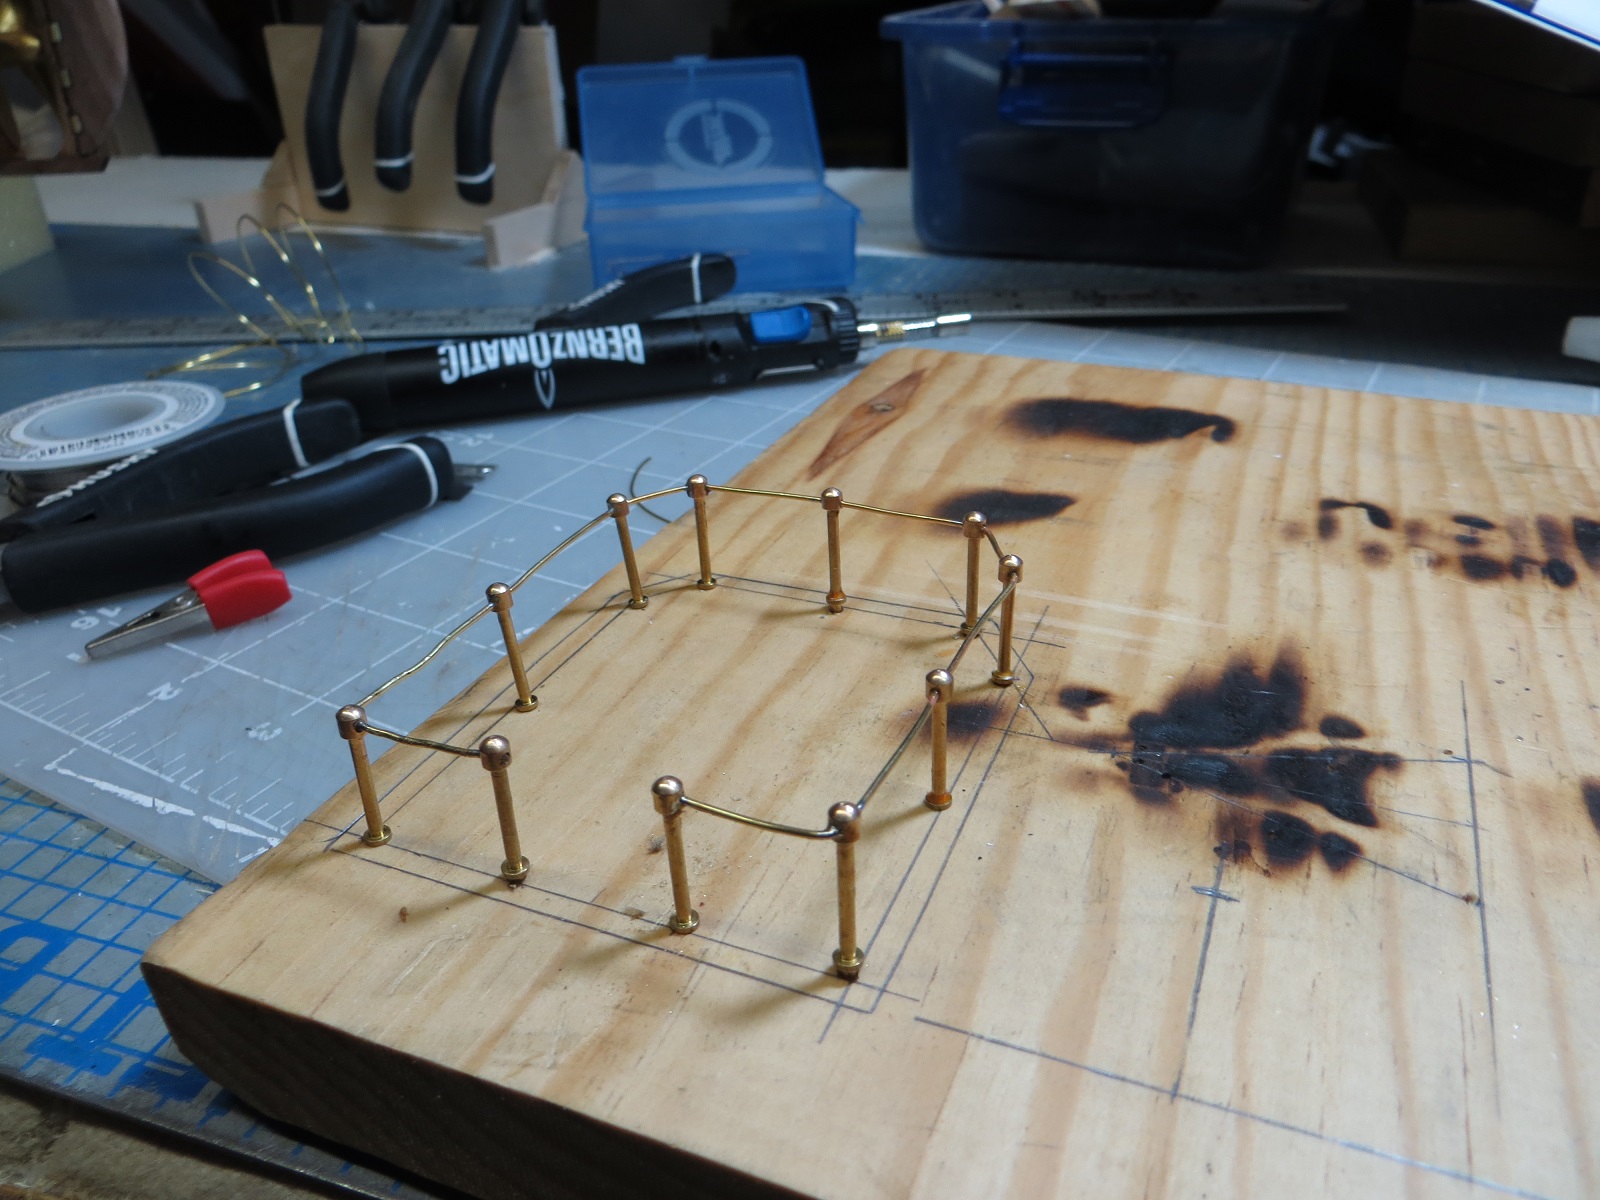
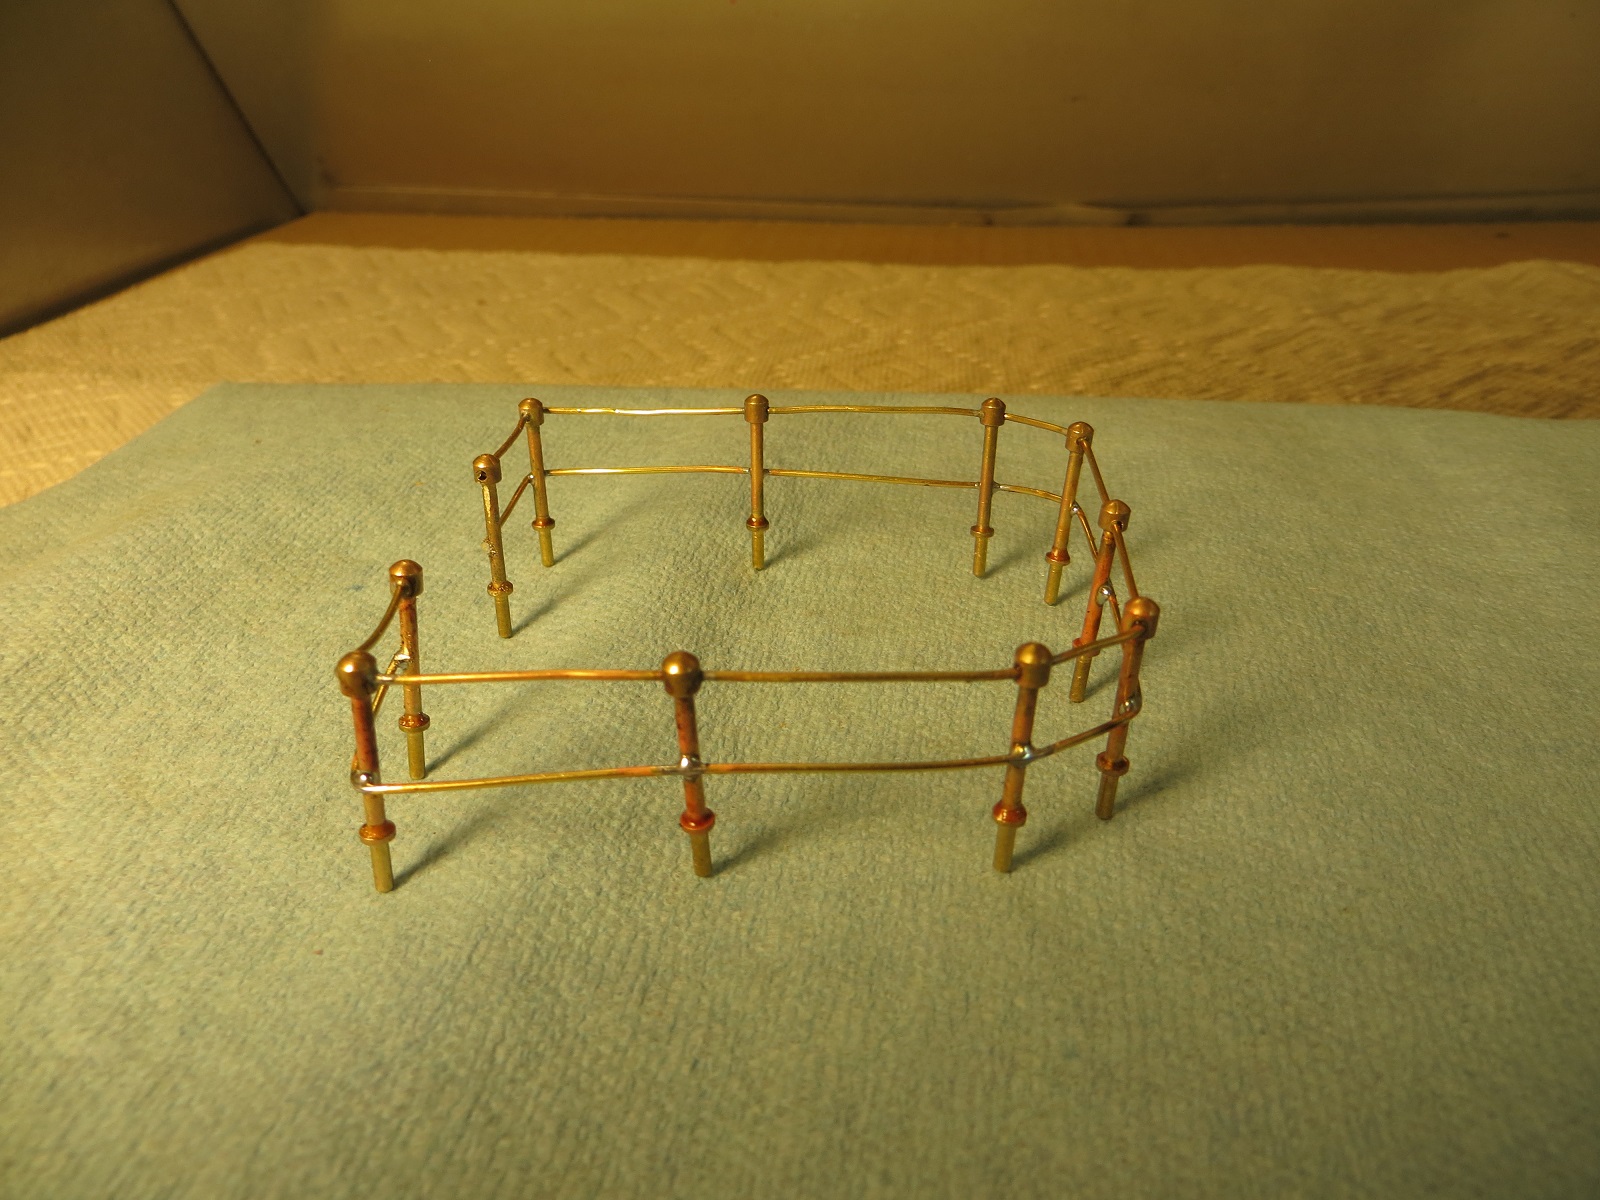
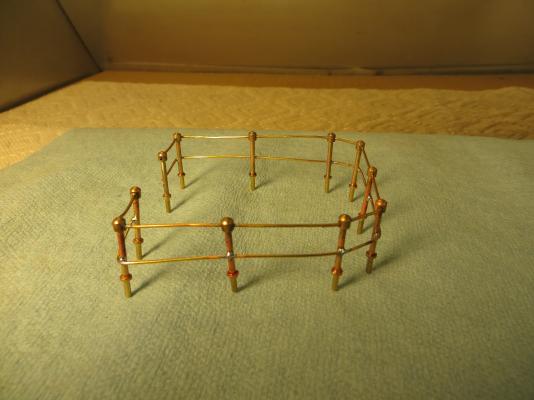
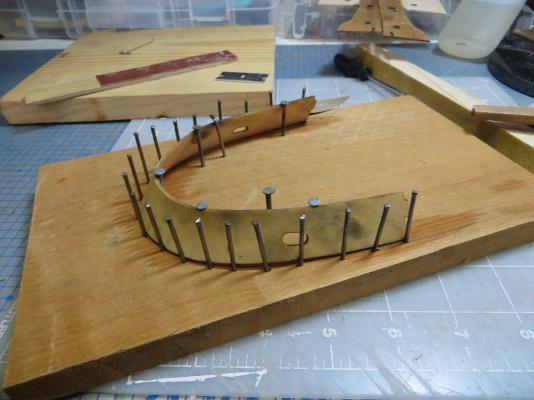
Well, the basic hull and superstructure is pretty much complete. Now beginning to work on various deck structures. Here is the brass railing that will go on top of the wheelhouse. Slowly, I am beginning to acquire the skill of soldering.....a very necessary skill in this boat building hobby. The final photo is the railing ready for painting.

- 47 replies
-
- 4
-
-
- sanson
- artesania latina
- (and 1 more)
-
I also had a chance to complete installing the top railing around the deck. Stained with walnut and then given a coat of clear.

- 47 replies
-
- 2
-
-
- sanson
- artesania latina
- (and 1 more)
-
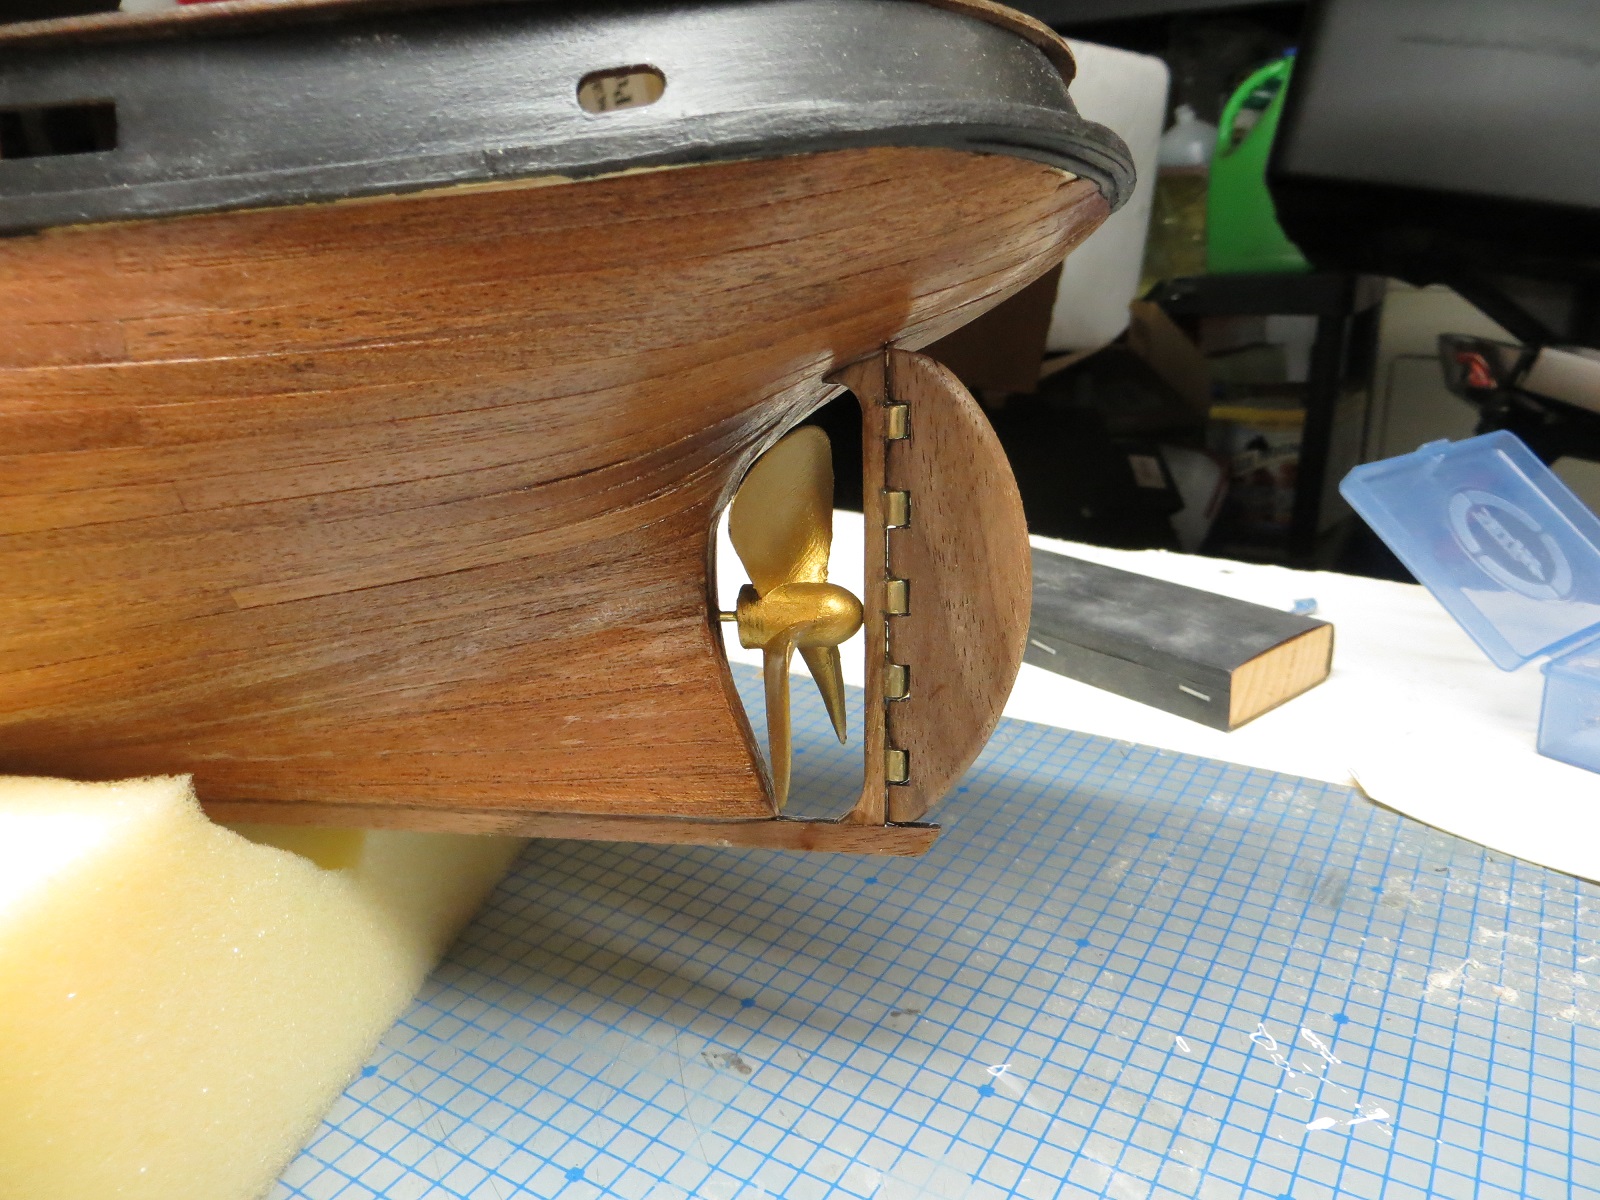
Completed the construction and installation of the screw and rudder. I guess the brass paint on the plastic screw doesn't look too bad.

- 47 replies
-
- 5
-
-
- sanson
- artesania latina
- (and 1 more)
-
I am beginning work on a the deck equipment on my current build (Sansun tug). I have a lot of dull grey metal parts that I have to paint to look like brass. Nice and shiny. I brushed some brass paint from Vallejo (acrylic) and did not like the results. Any recommendations. I do have an airbrush and I am reasonably adept at its use. Just not sure what paint to use.
-
Now that the planking is essentially done, I returned to the superstructure area. The first stem is a coat of paint. I am using the acrylic paint from MSW and applying with a brush. I then moved onto building a few of the deck structures. These will be painted and trimmed before gluing to the deck. I painted the screw. The kit provided a black plastic screw. I have painted with Vallejo brass paint. I am holding my breath on this one. The last step I started this weekend was the railing around the deck. This is going to take some time. All-in-all, a productive weekend.


- 47 replies
-
- 5
-
-
- sanson
- artesania latina
- (and 1 more)
-
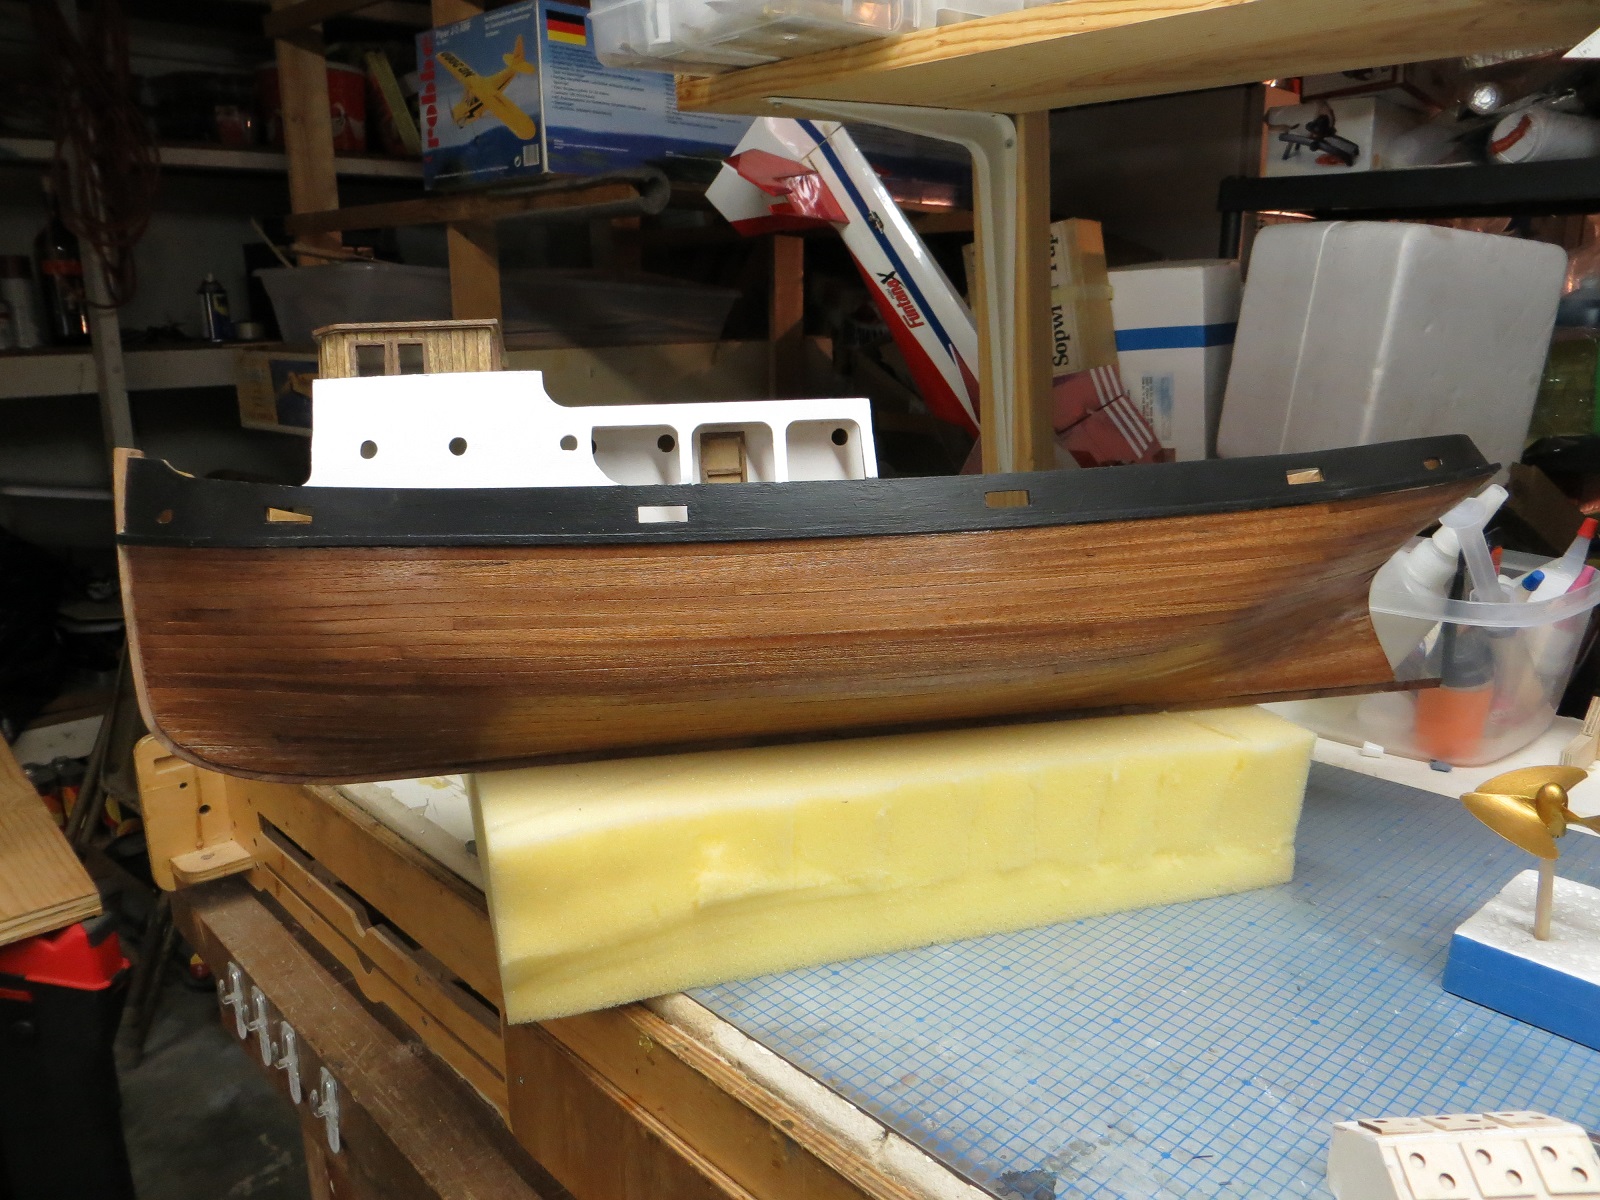
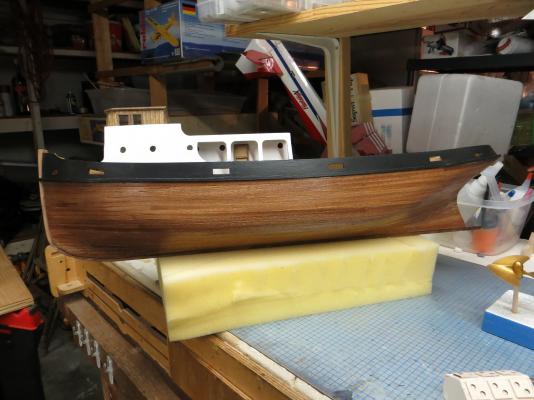
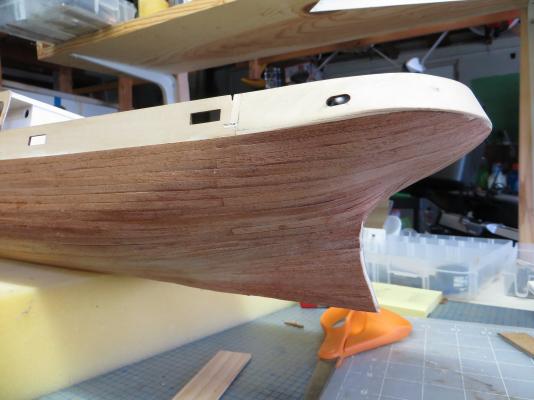
The final step that brings you up to date is I did cover the planked hull in a thin coat of clear polyeurthane.

- 47 replies
-
- 5
-
-
- sanson
- artesania latina
- (and 1 more)
-
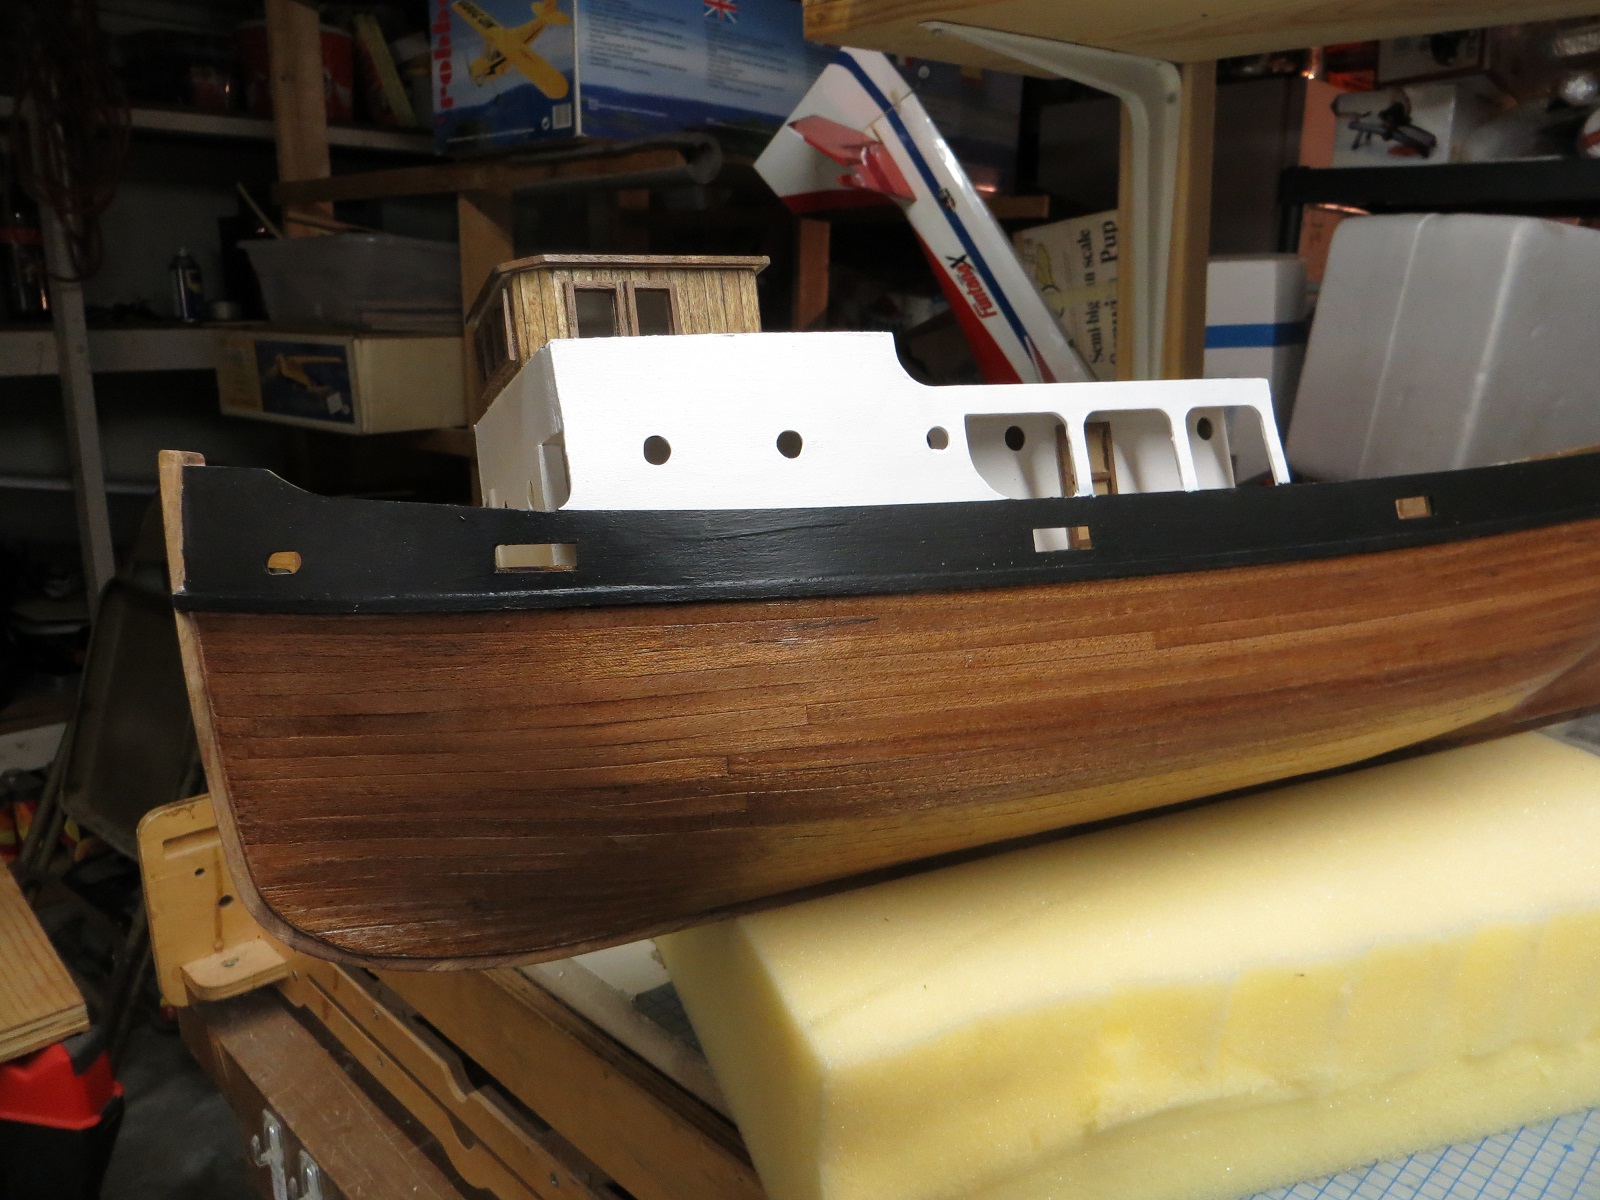
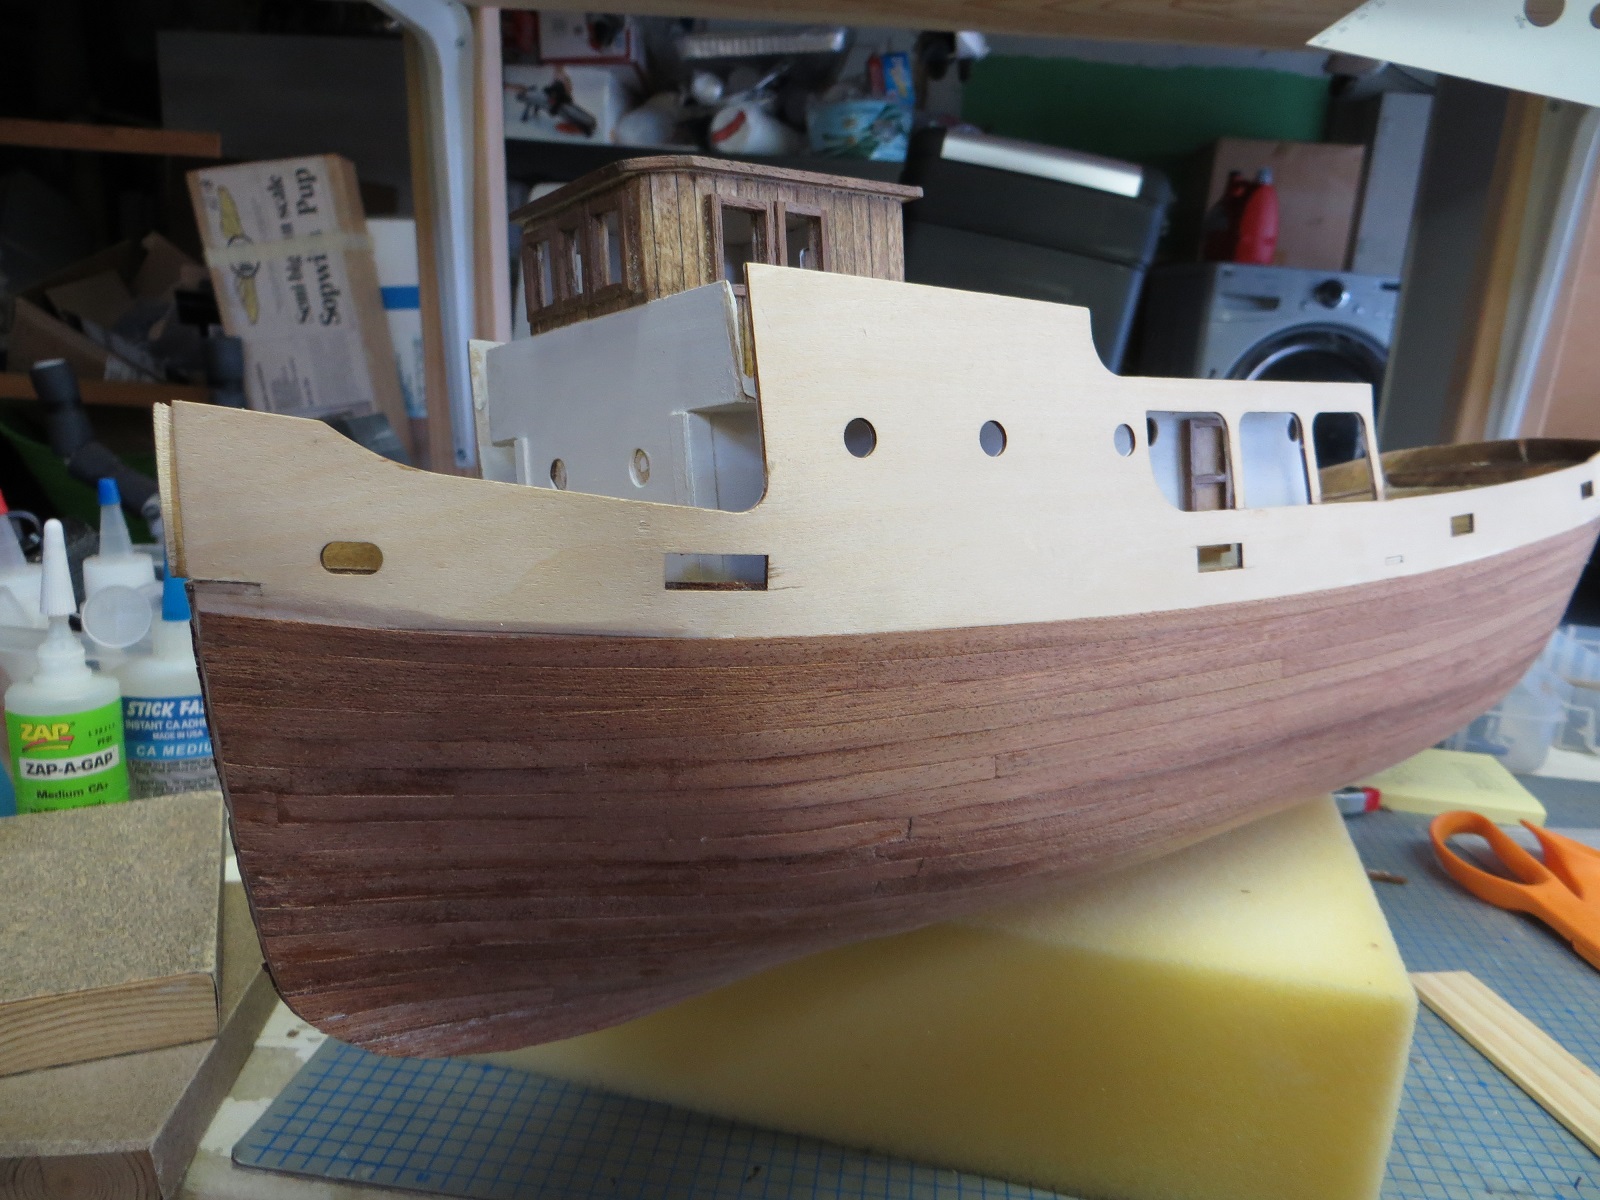
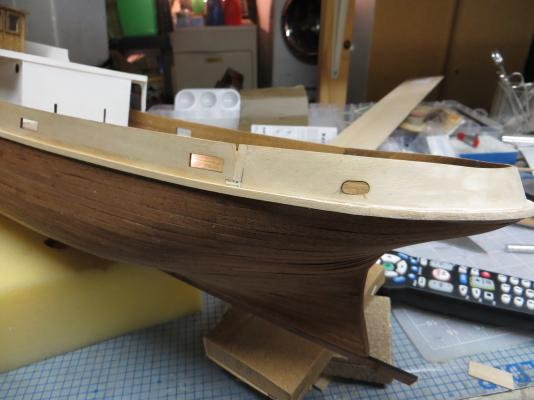
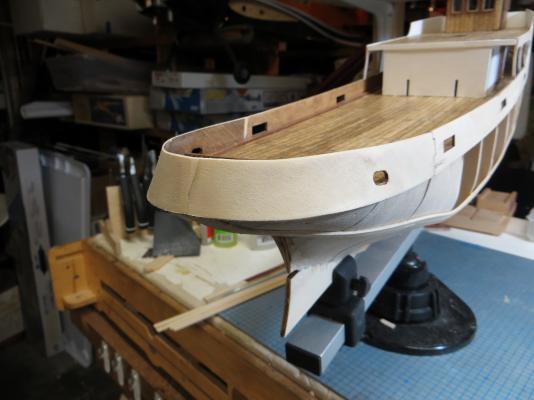
Once the hull was planked with the finish strips; the next step in the process was to add the keel. Took a bit scraping, sanding and bending but I think I got it in place and looking OK. After the keel is in place, I added the wooden strip that separates the upper deck siding from the planked hull. I used strips to laminate a piece to fit around the curved stern.
- 47 replies
-
- 2
-
-
- sanson
- artesania latina
- (and 1 more)
-
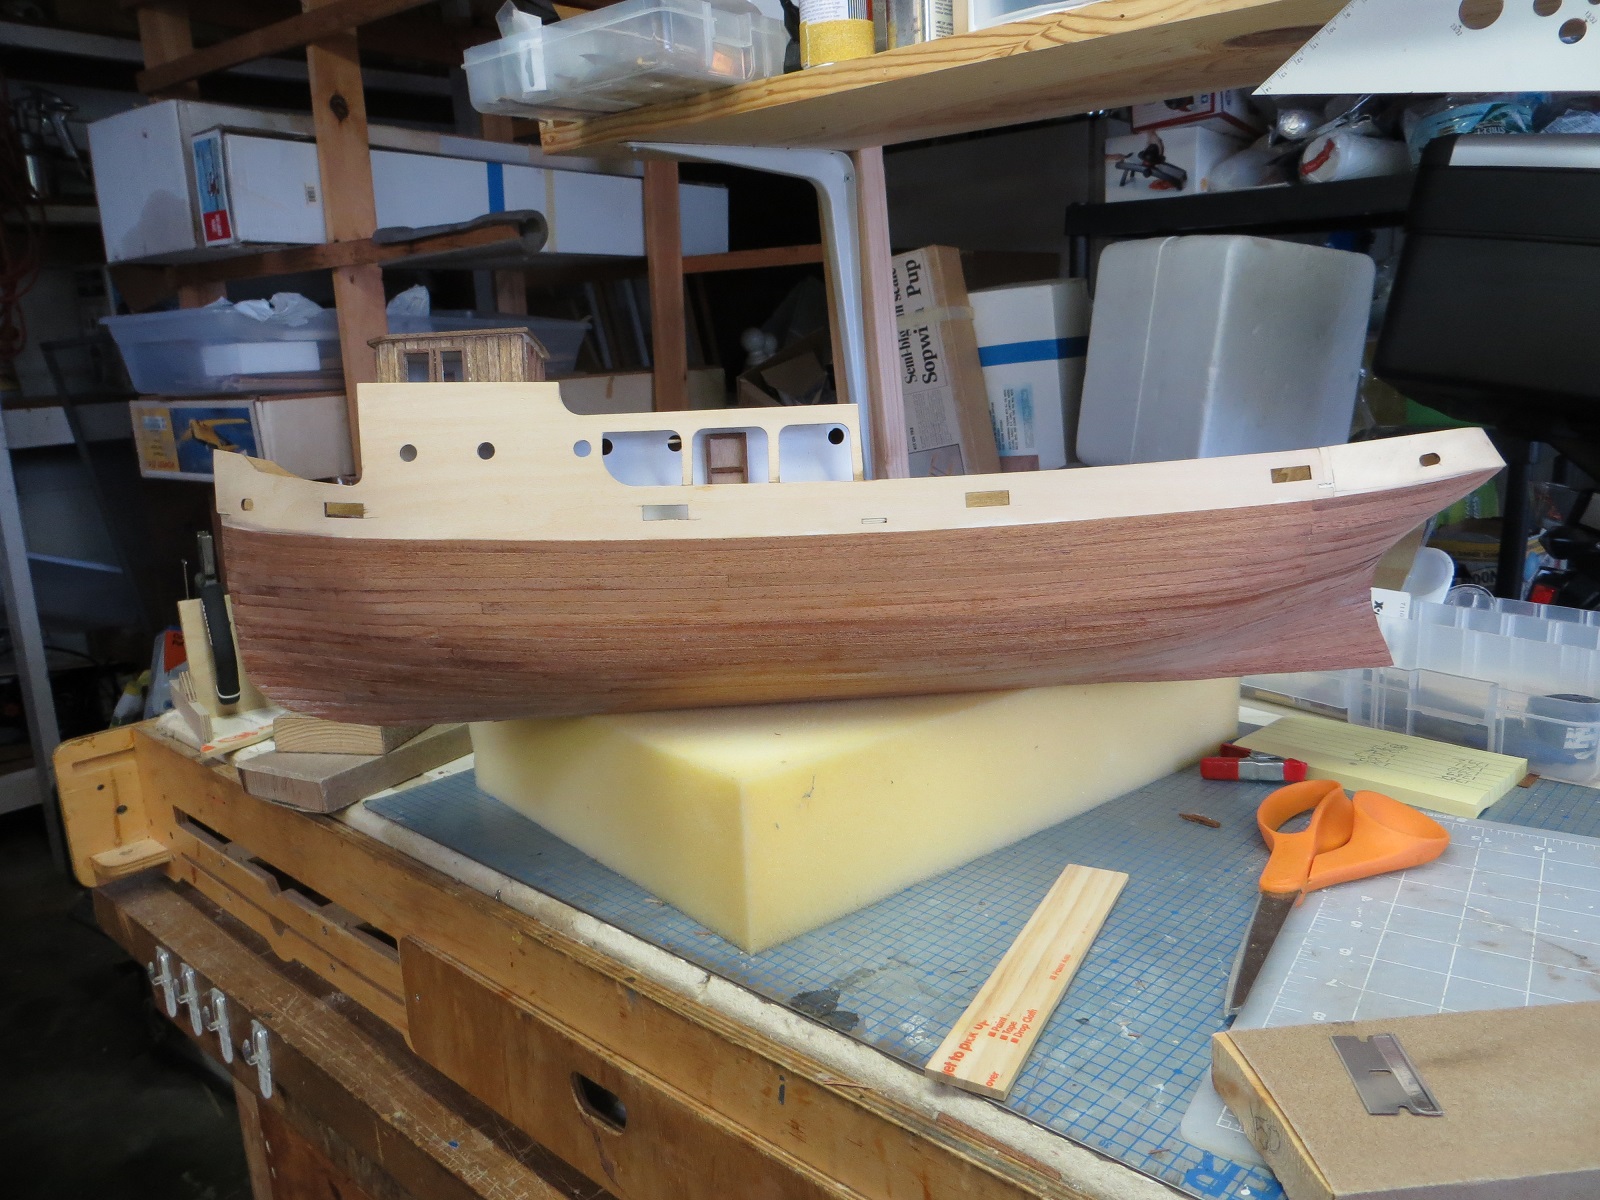
Wow. Noticed that I had not posted for quite awhile. Since the last post I have been able to complete the planking of the hull with the very thin finish strips. As I got closer to the bottom of the hull the process began to make a little more sense and I did a better job of fitting the strips. The next hull will be better.


- 47 replies
-
- 2
-
-
- sanson
- artesania latina
- (and 1 more)
-
I am now starting the process of laying down the "finish" layer on the hull. The strips are paper thin so they tend to conform to the hull. The problem...any glue I use soaks through the wood.
- 47 replies
-
- 4
-
-
- sanson
- artesania latina
- (and 1 more)
-
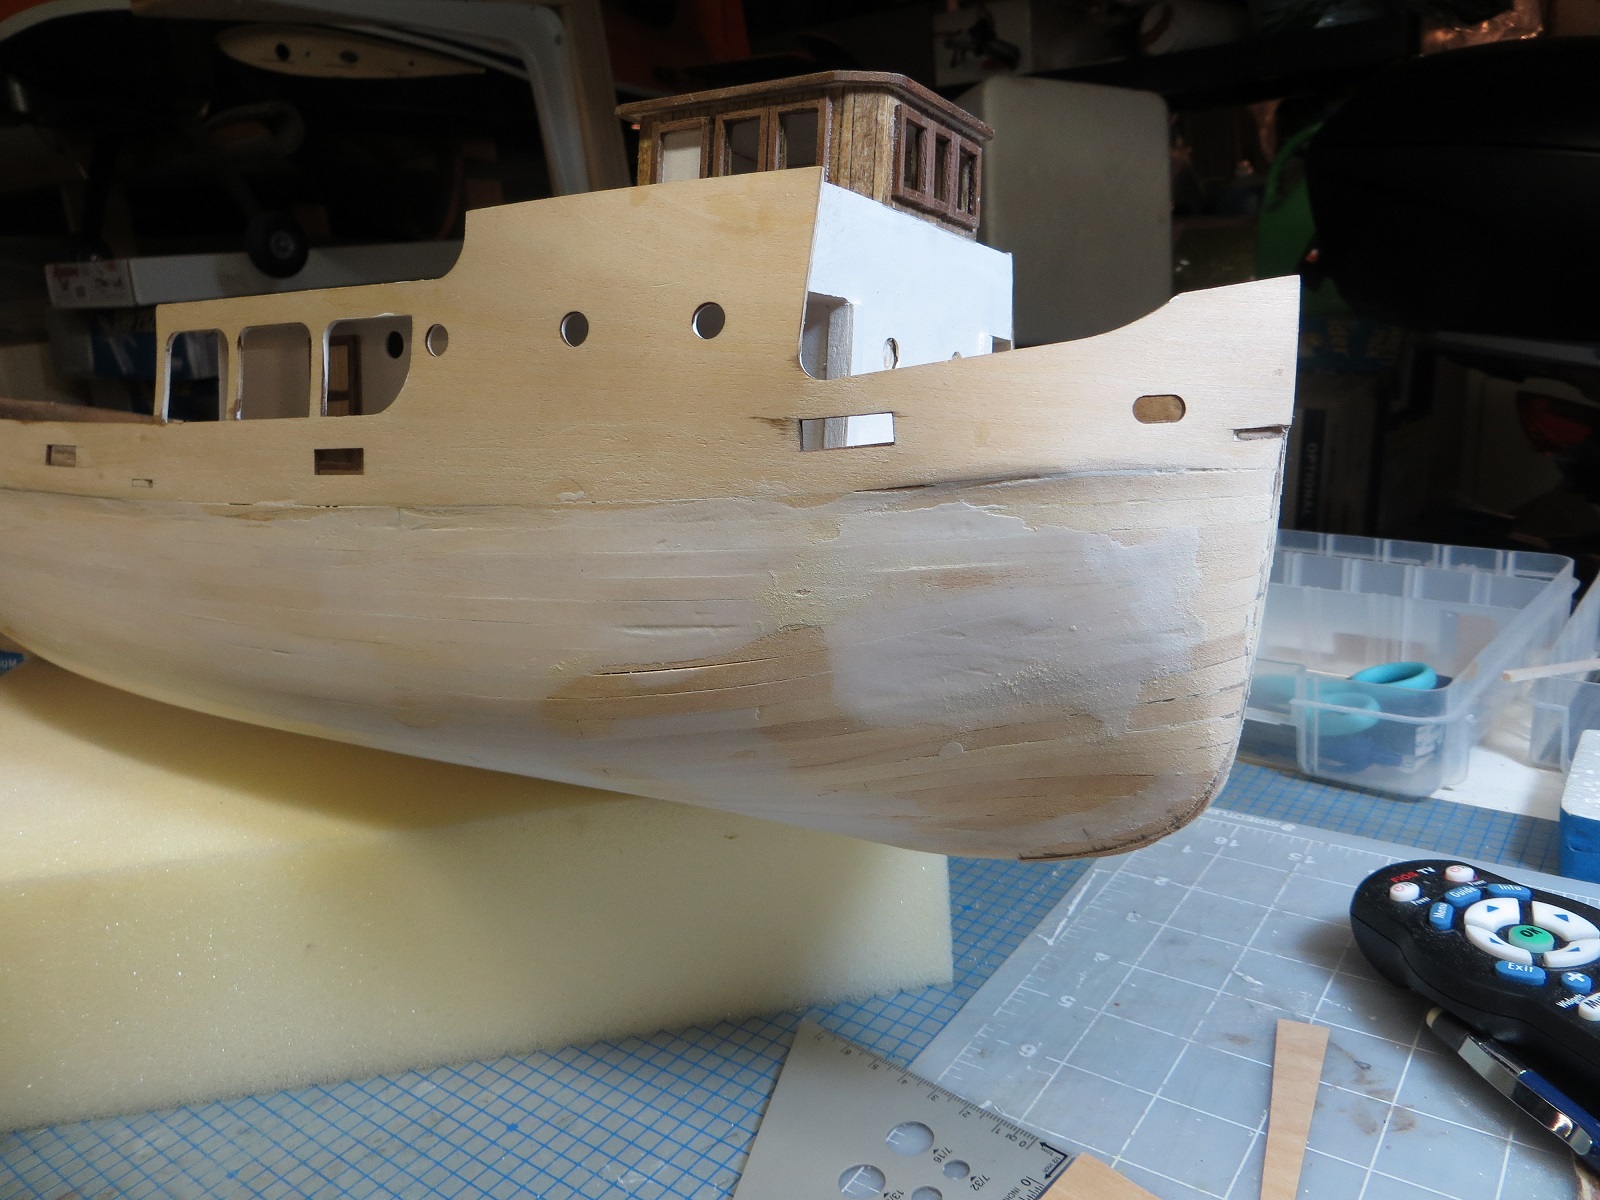
Finally got back to the model. The next step was to rough sand the first hull in preparation for the second hull to be applied. I used a small pad sander to rough it out and then filled the highs and lows with spackle. That sanded easy.

- 47 replies
-
- 4
-
-
- sanson
- artesania latina
- (and 1 more)
-
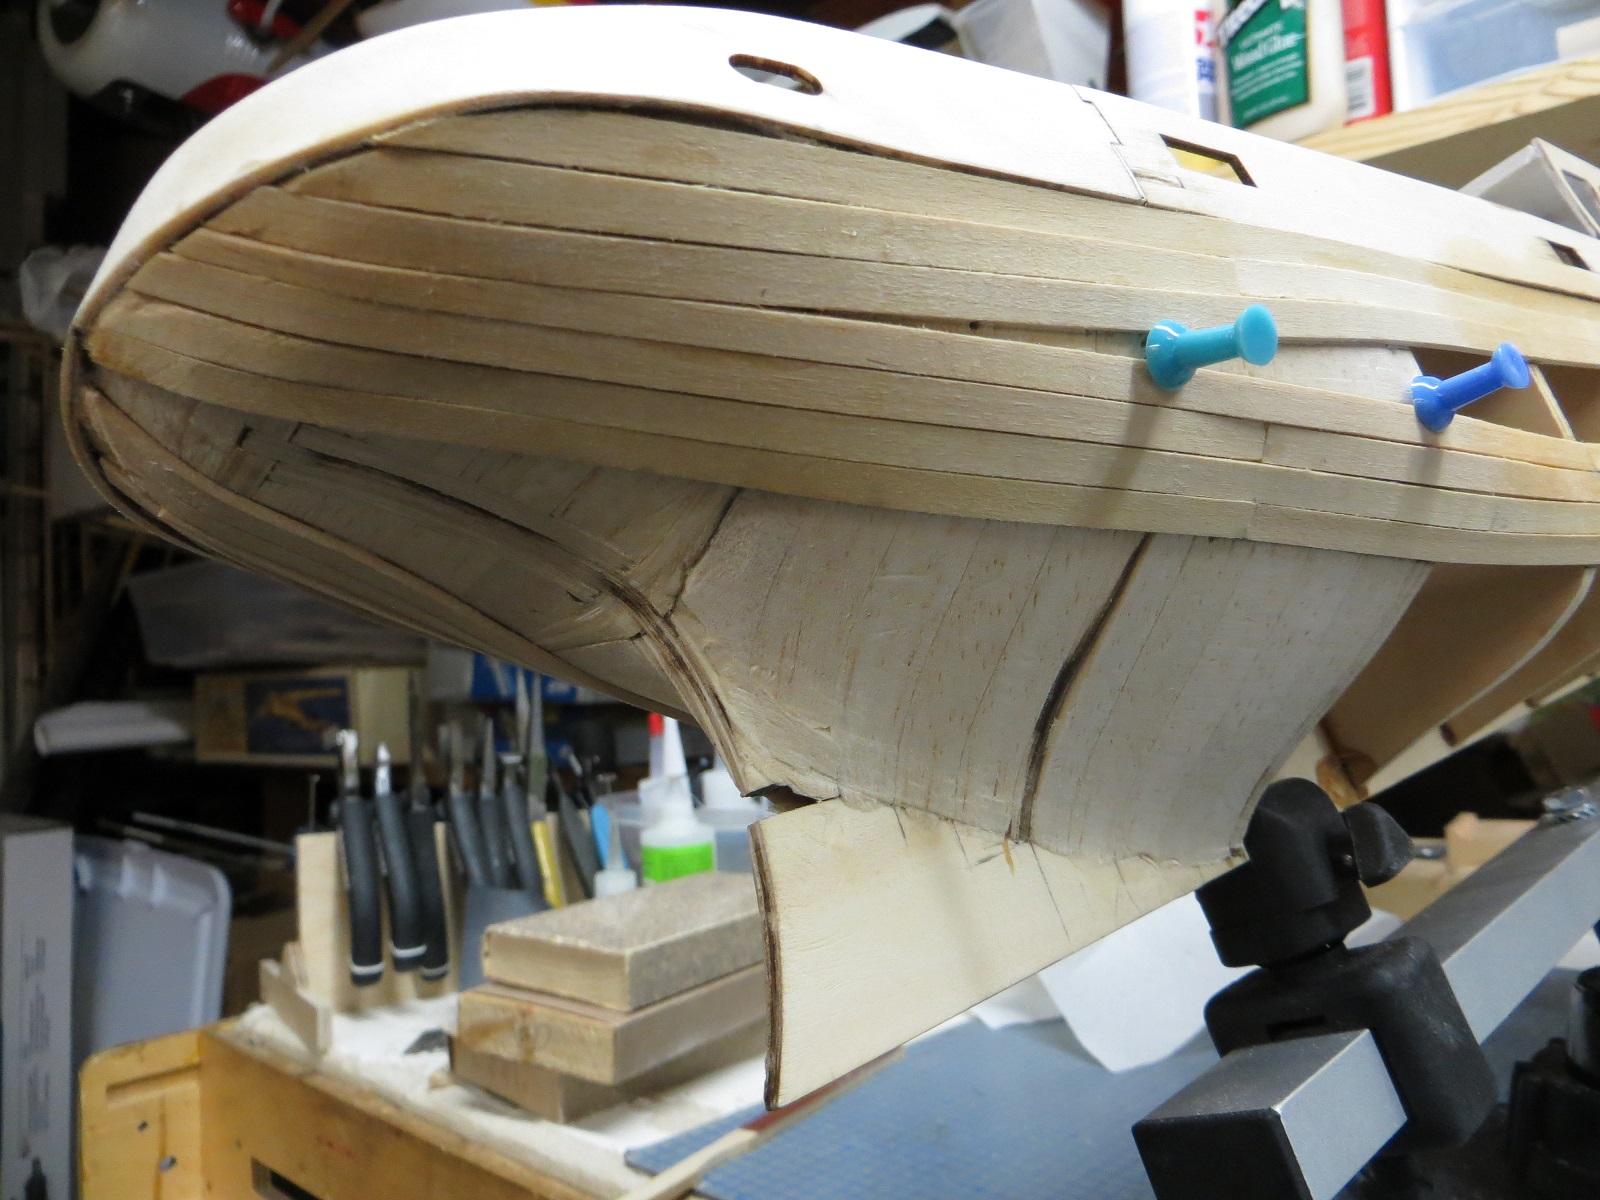
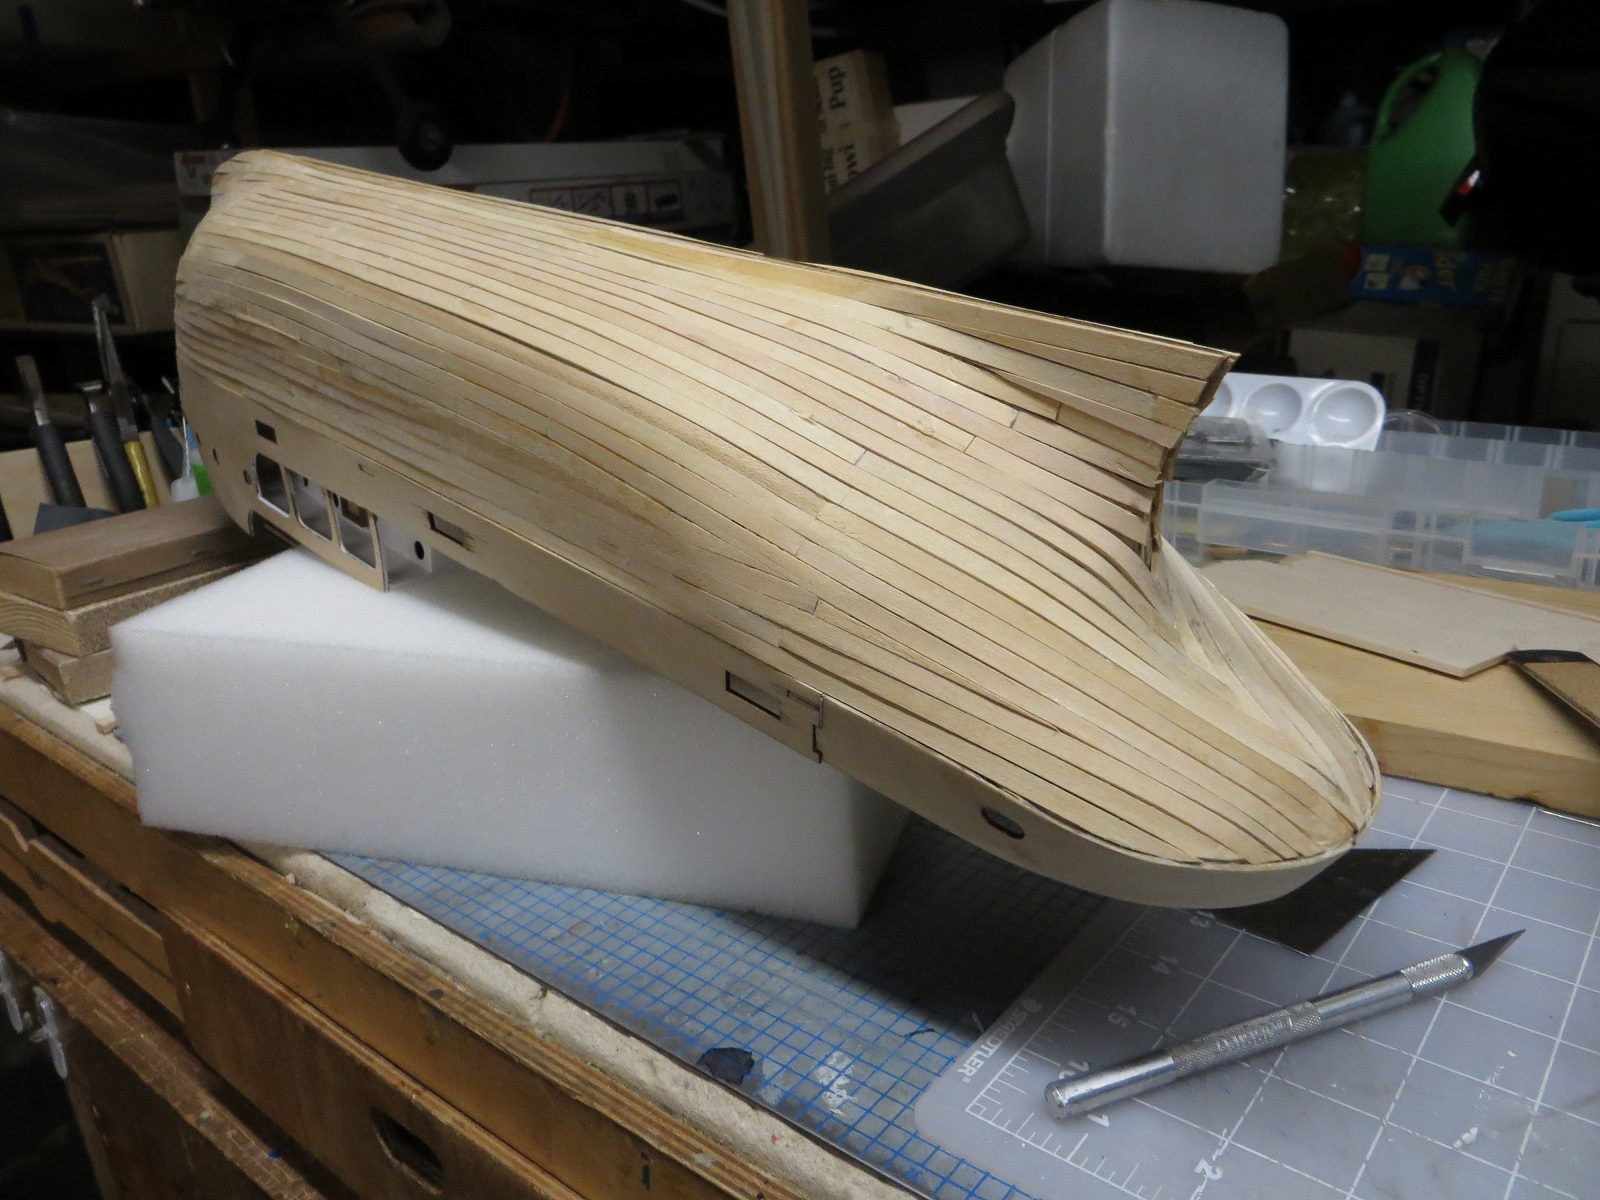
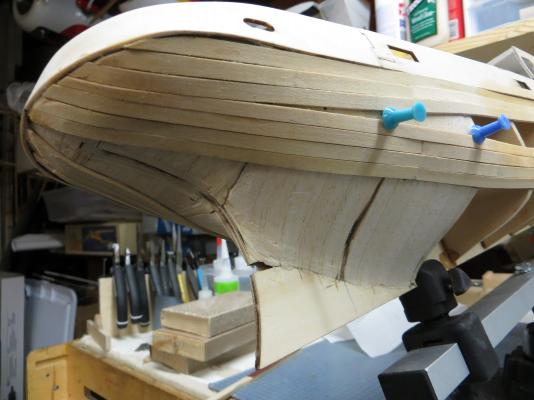
The next step is to plank the hull with the first "rough" layer of planking. This is done with basswood strips which I first soaked for 15 minutes in a tube made froma 2 foot long piece of PVC piping. I have been dreading this process. It took about a week to complete. I think I have achieved a planking job that, with a lot of sanding, filling and then more sanding will create a surface I can plank with the veneer strips.


- 47 replies
-
- 5
-
-
- sanson
- artesania latina
- (and 1 more)
-
It took some work but I finally got the railing pieces glued to the hull. I piece I formed for the stern did not fit well so I had to split it and later insert a splice. I believe after painting the railing pieces will look OK.


- 47 replies
-
- 5
-
-
- sanson
- artesania latina
- (and 1 more)
-
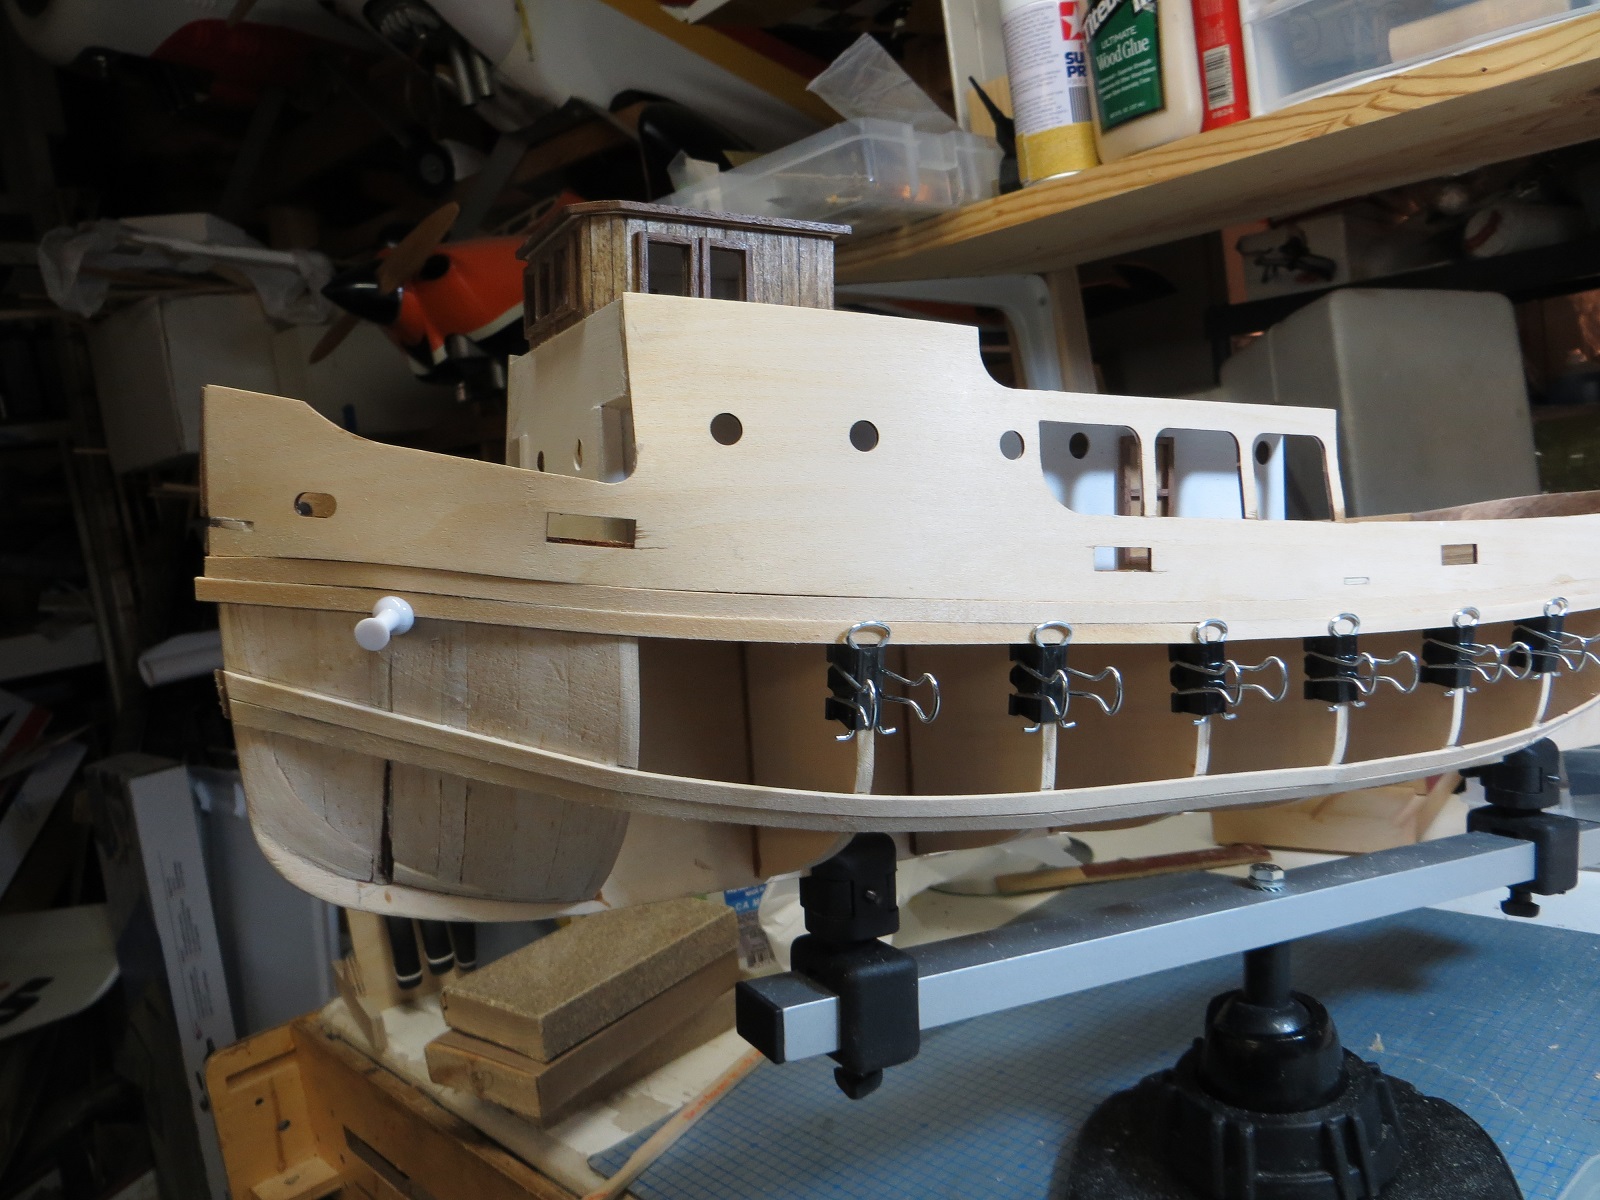
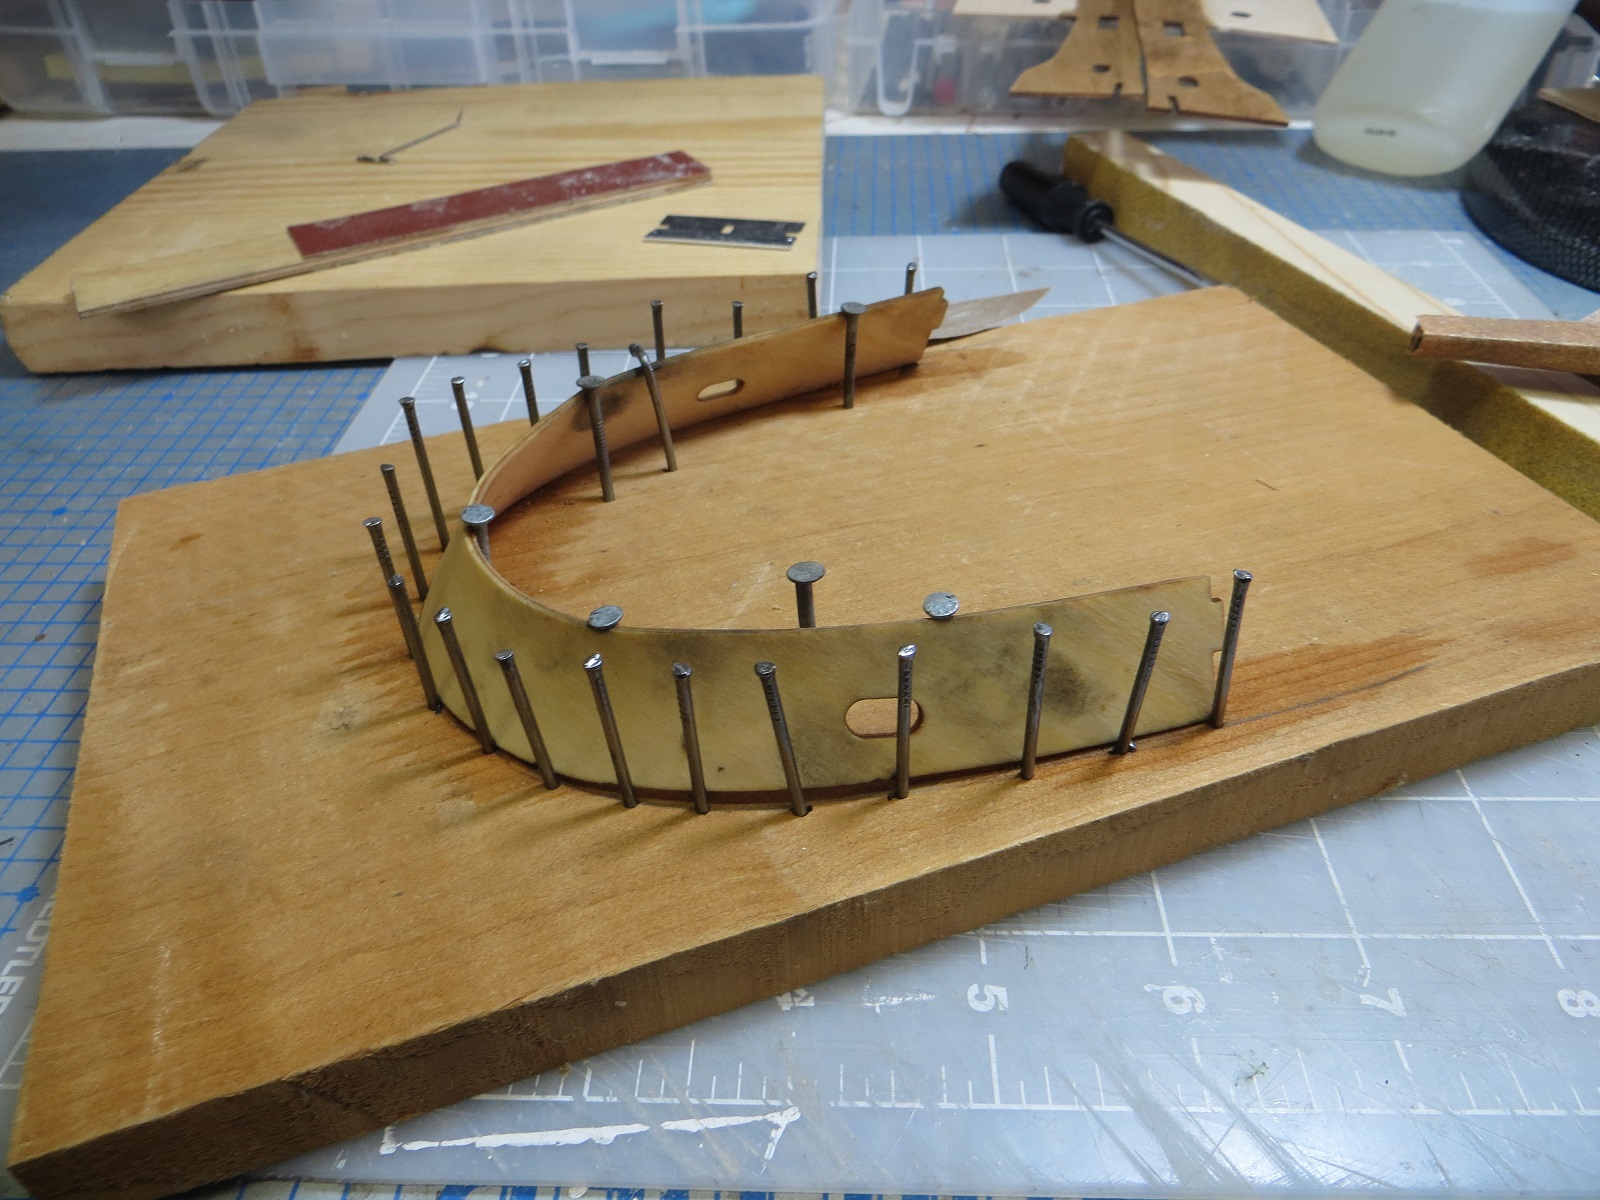
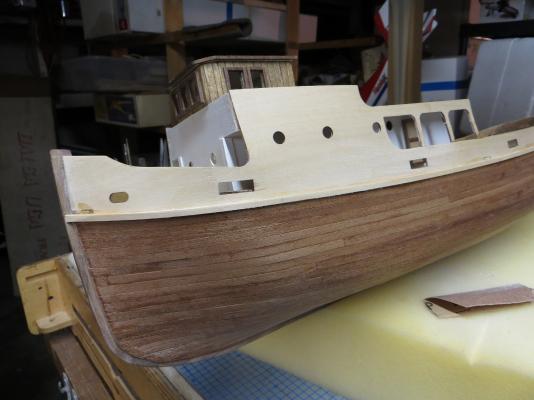
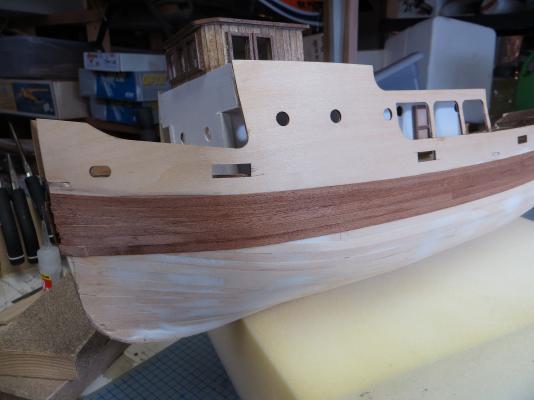
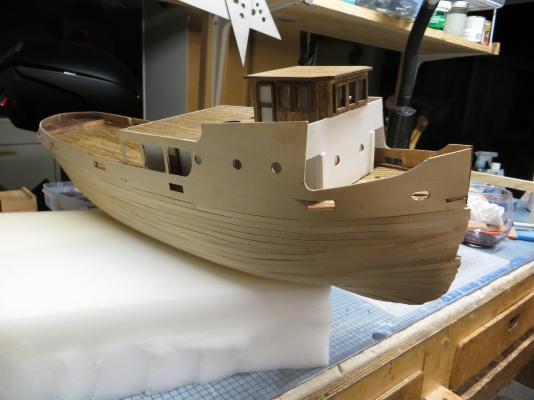
Have not posted any photos in awhile. The next step to the build was to add the siding around the hull. The stern piece of this process required some pretty severe bending of the ply wood parts. I soaked the piece for twenty minutes and then formed it around a jig I created while the piece was soaking.
- 47 replies
-
- 3
-
-
- sanson
- artesania latina
- (and 1 more)
-
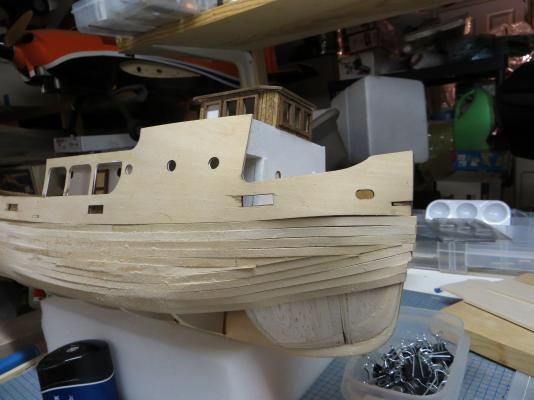
Completed the main house and now attaching to the hull.

- 47 replies
-
- 4
-
-
- sanson
- artesania latina
- (and 1 more)
-
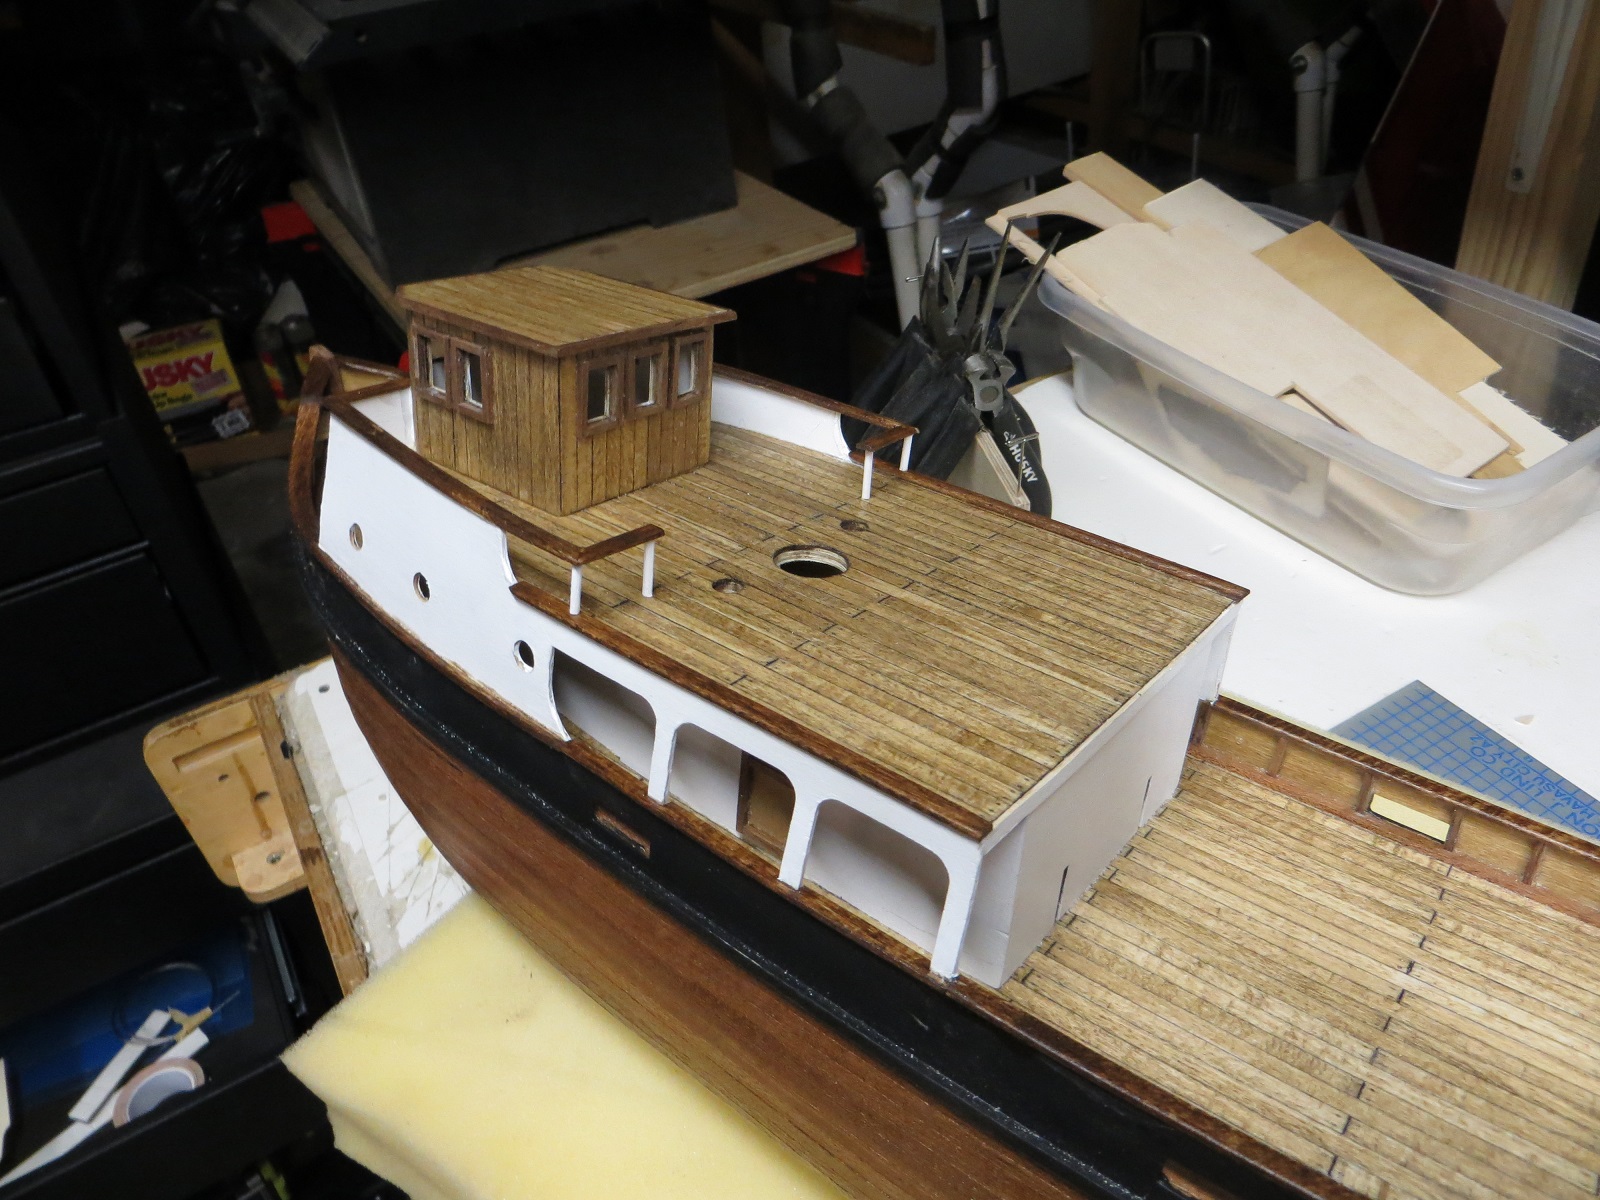
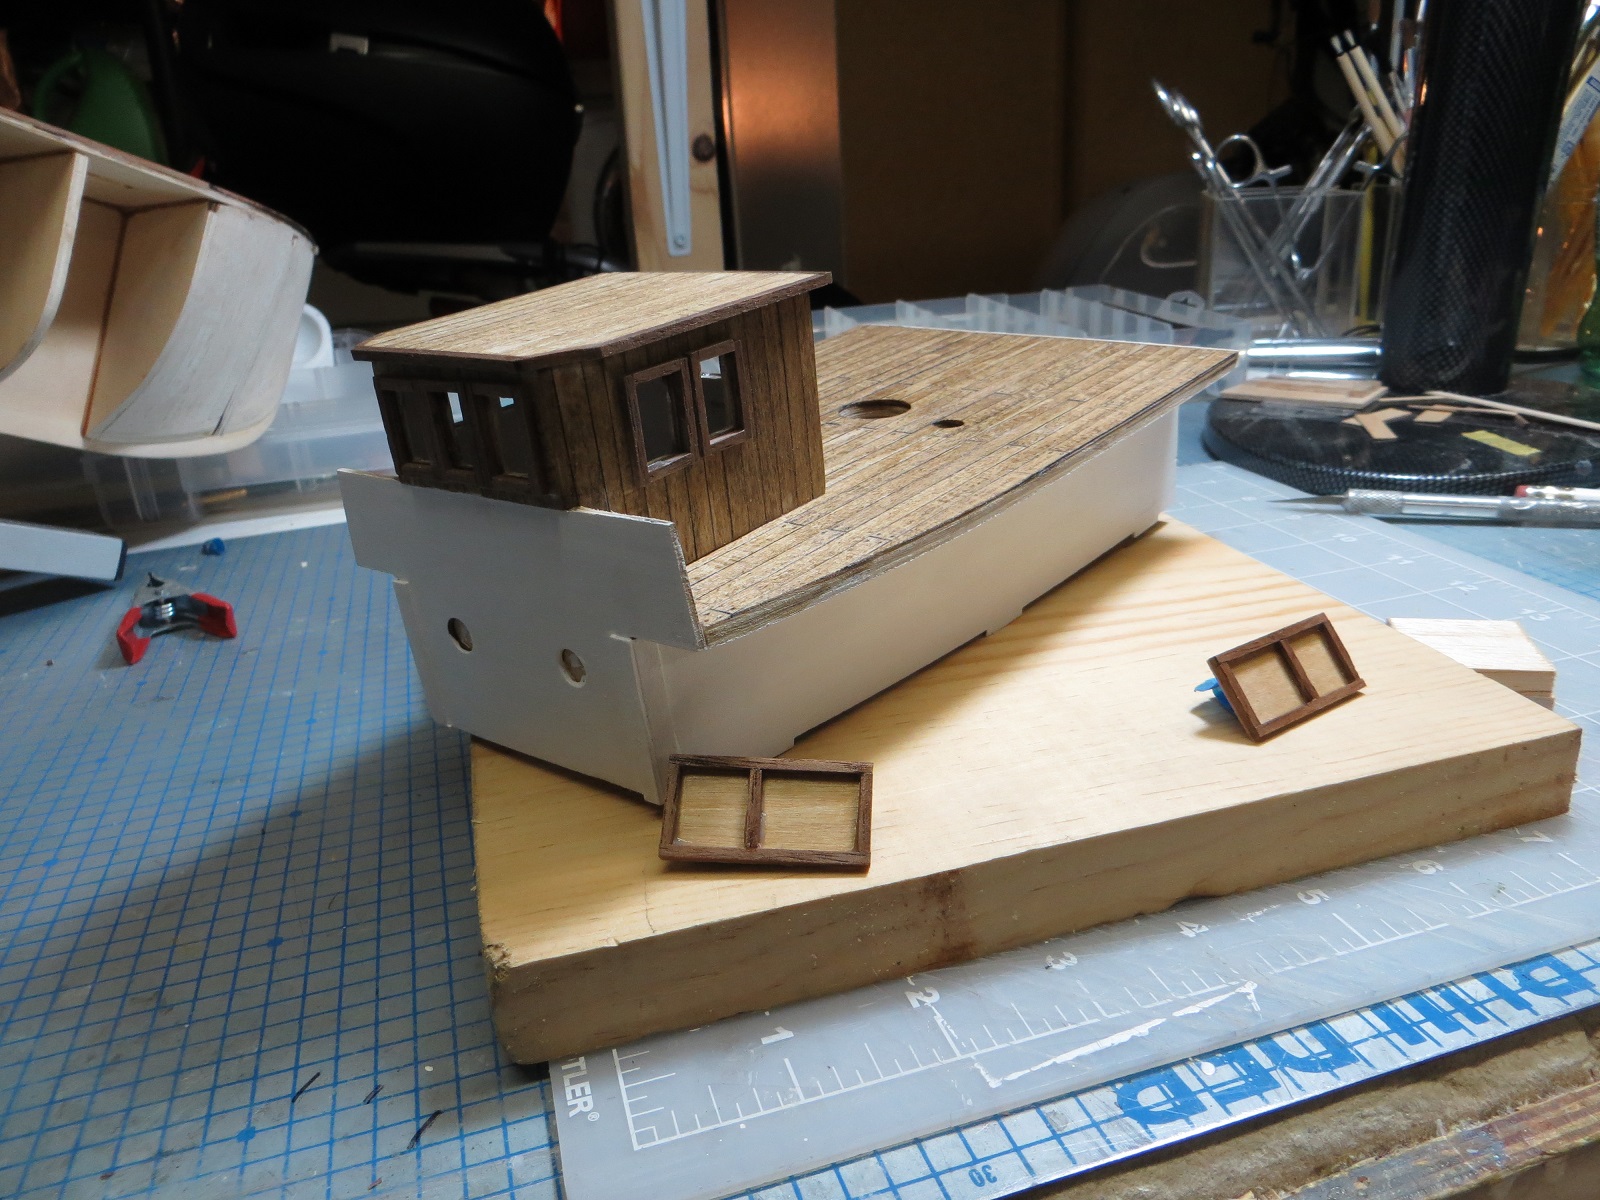
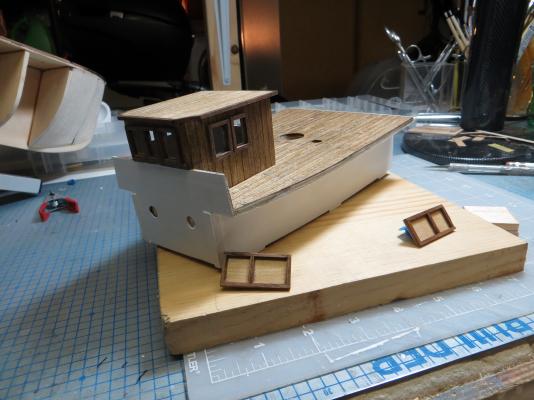
Started working on the cabin structure. Relatively easy to build. There are two structures that are required to be built. The main housing (which I believe would have housed the steam engine) and the pilot house. The wall are painted (I used Model Shipways Acrylic primer and paint and was very happy with the way it brushed). After completing the decking and roof to the pilot house I stained to match the main decking and then applied a coat of polyurethane. So far the pieces seem to fit well.
- 47 replies
-
- 4
-
-
- sanson
- artesania latina
- (and 1 more)
-
Your work is creative and impressive.
-
Thanks for the tip chevygrunt. I will look into the bracing and hole backing. Thanks to everyone else for the likes.
-
I will be interesting to follow your build and compare to my build of the same model. My will be stock except for minor modifications.
-
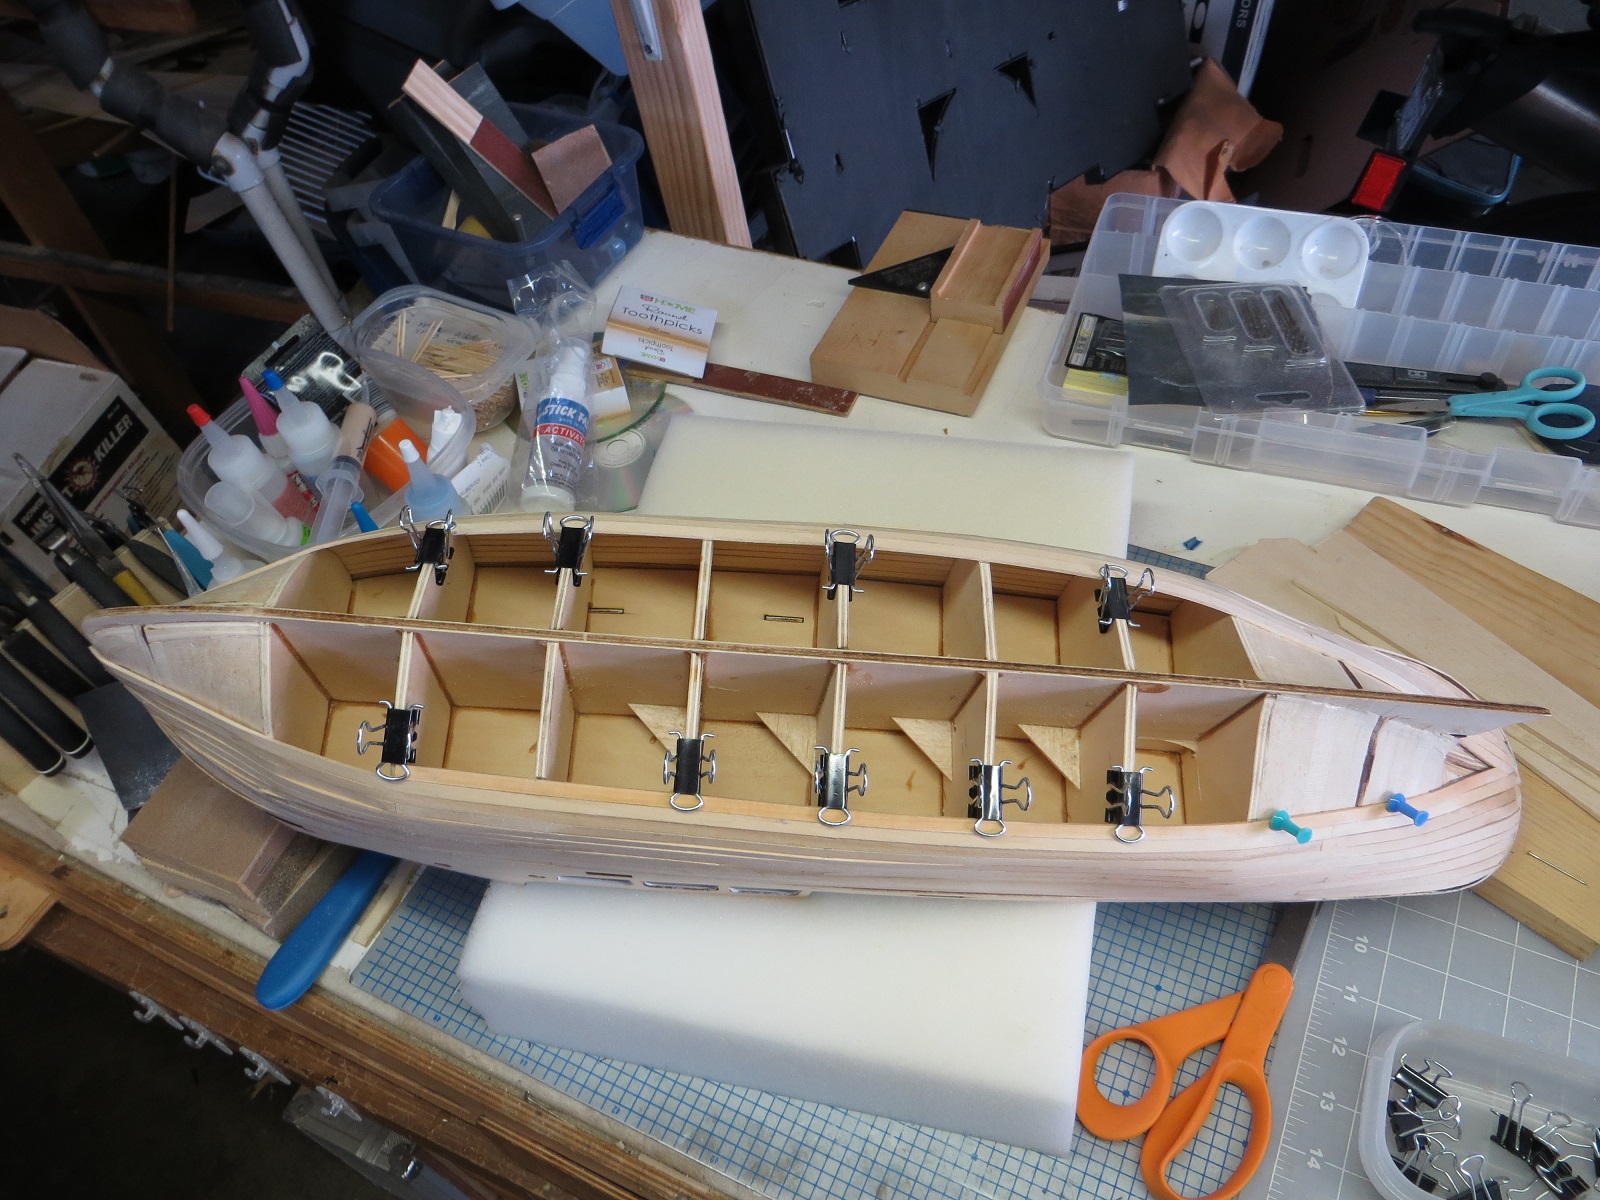
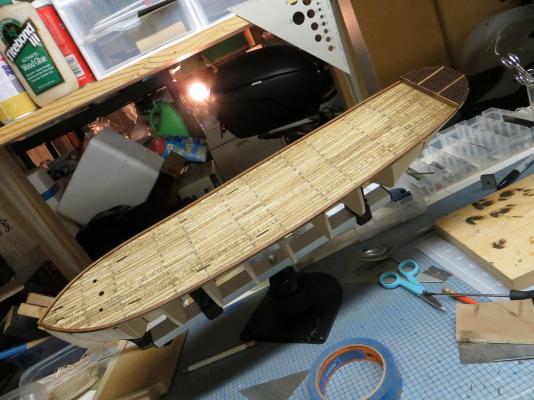
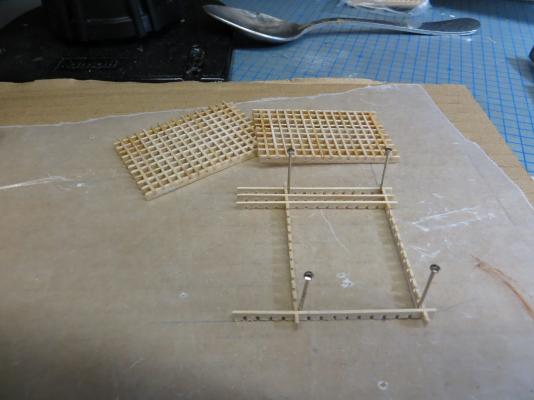
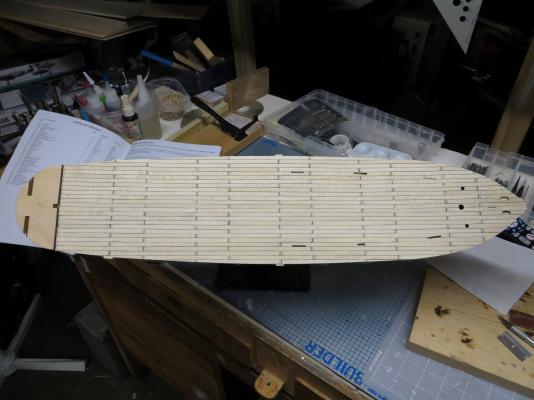
Well, the decking is not complete. This photo gives you some idea of the model's status. You can see the waffle structures at the stern. The next steps will involve assembly of some of the deck housing structures.
- 47 replies
-
- 2
-
-
- sanson
- artesania latina
- (and 1 more)
-
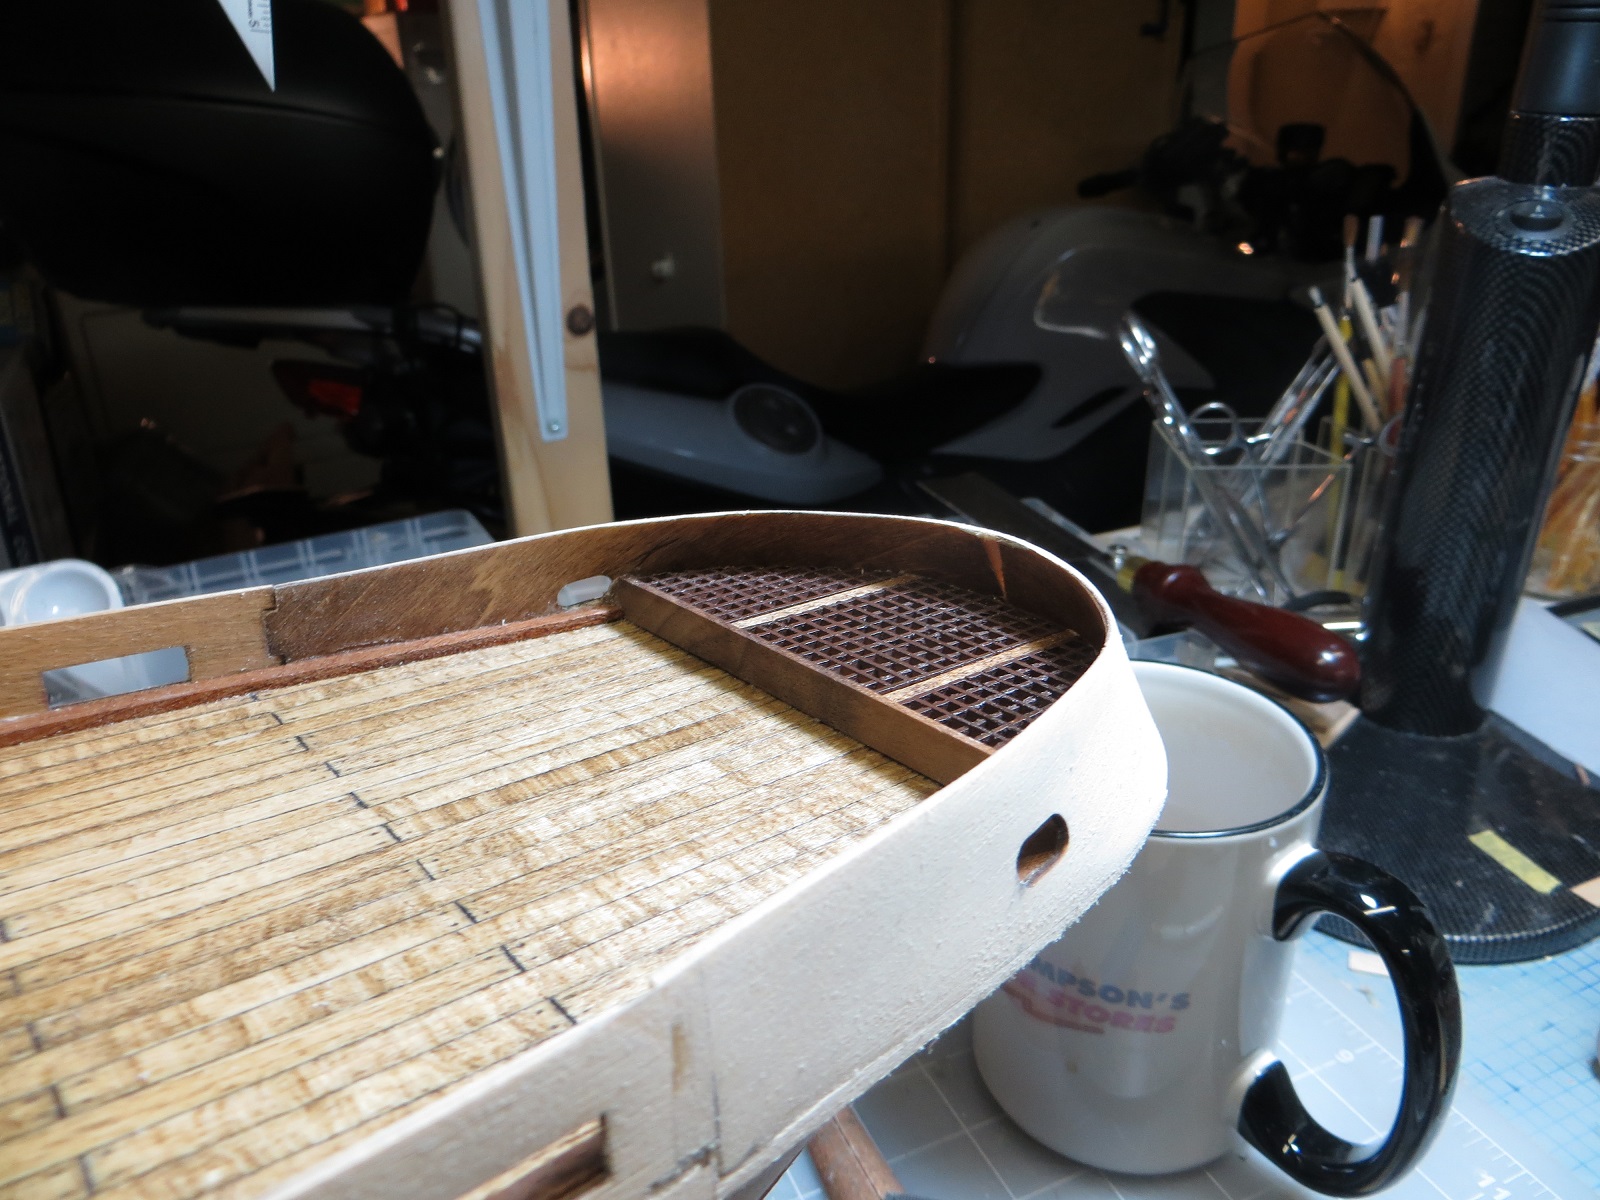
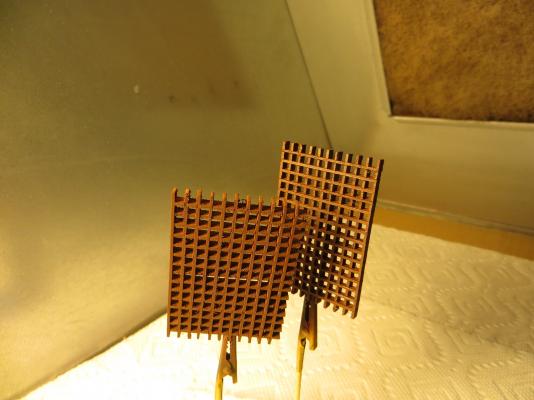
The stern portion of the decking consists of a waffle pattern of wood. The kit provided notched strips of wood that assembled into the waffle structure. Delicate but not too difficult to work with. I airbrushed the assemble structures with brown acrylic paint.
- 47 replies
-
- 2
-
-
- sanson
- artesania latina
- (and 1 more)
-
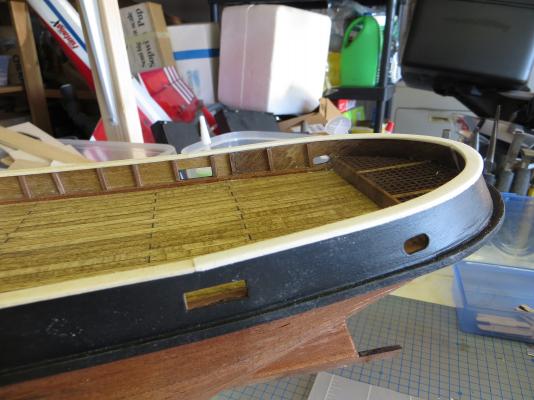
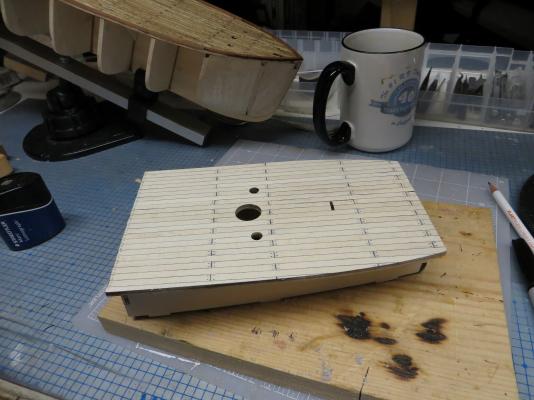
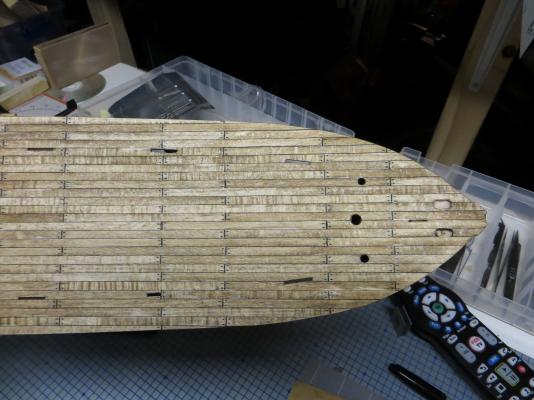
I have continued working on the deck planking. It took about a week to lay down the wood strips and another couple of night to stain and seal the wood. I tried several stains (and even looked at no stain) and decided to go with golden oak. I think it gives the grain a richer pattern. My jig for cutting the planking to the proper length worked very well. The jig that was used to position the pin holesto simulate the deck nailing.....not so much. After using it for a few hundred holes the positioning holes in the jig widen and accuracy was somewhat diminished. Overall, however, I think the deck looks OK.
- 47 replies
-
- 3
-
-
- sanson
- artesania latina
- (and 1 more)
-
Thanks for all the responses. I think I will play around with some veneers.