HOLIDAY DONATION DRIVE - SUPPORT MSW - DO YOUR PART TO KEEP THIS GREAT FORUM GOING!
×

michael101
-
Posts
441 -
Joined
-
Last visited
Content Type
Profiles
Forums
Gallery
Events
Everything posted by michael101
-
 I took a picture of test for you
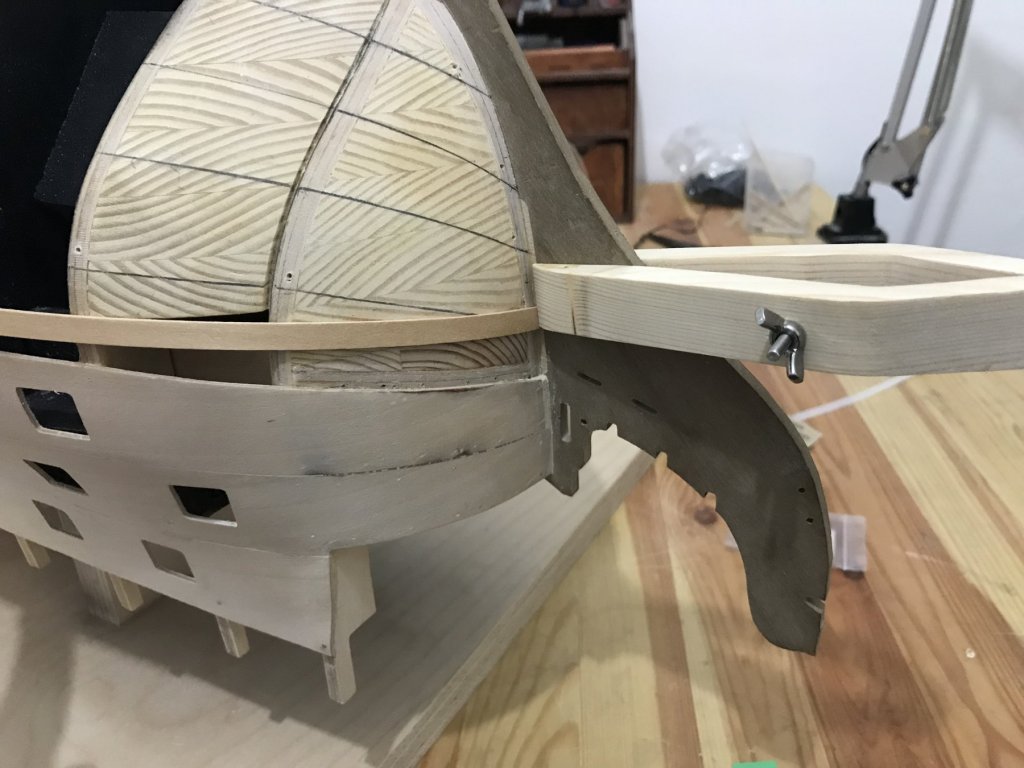
-
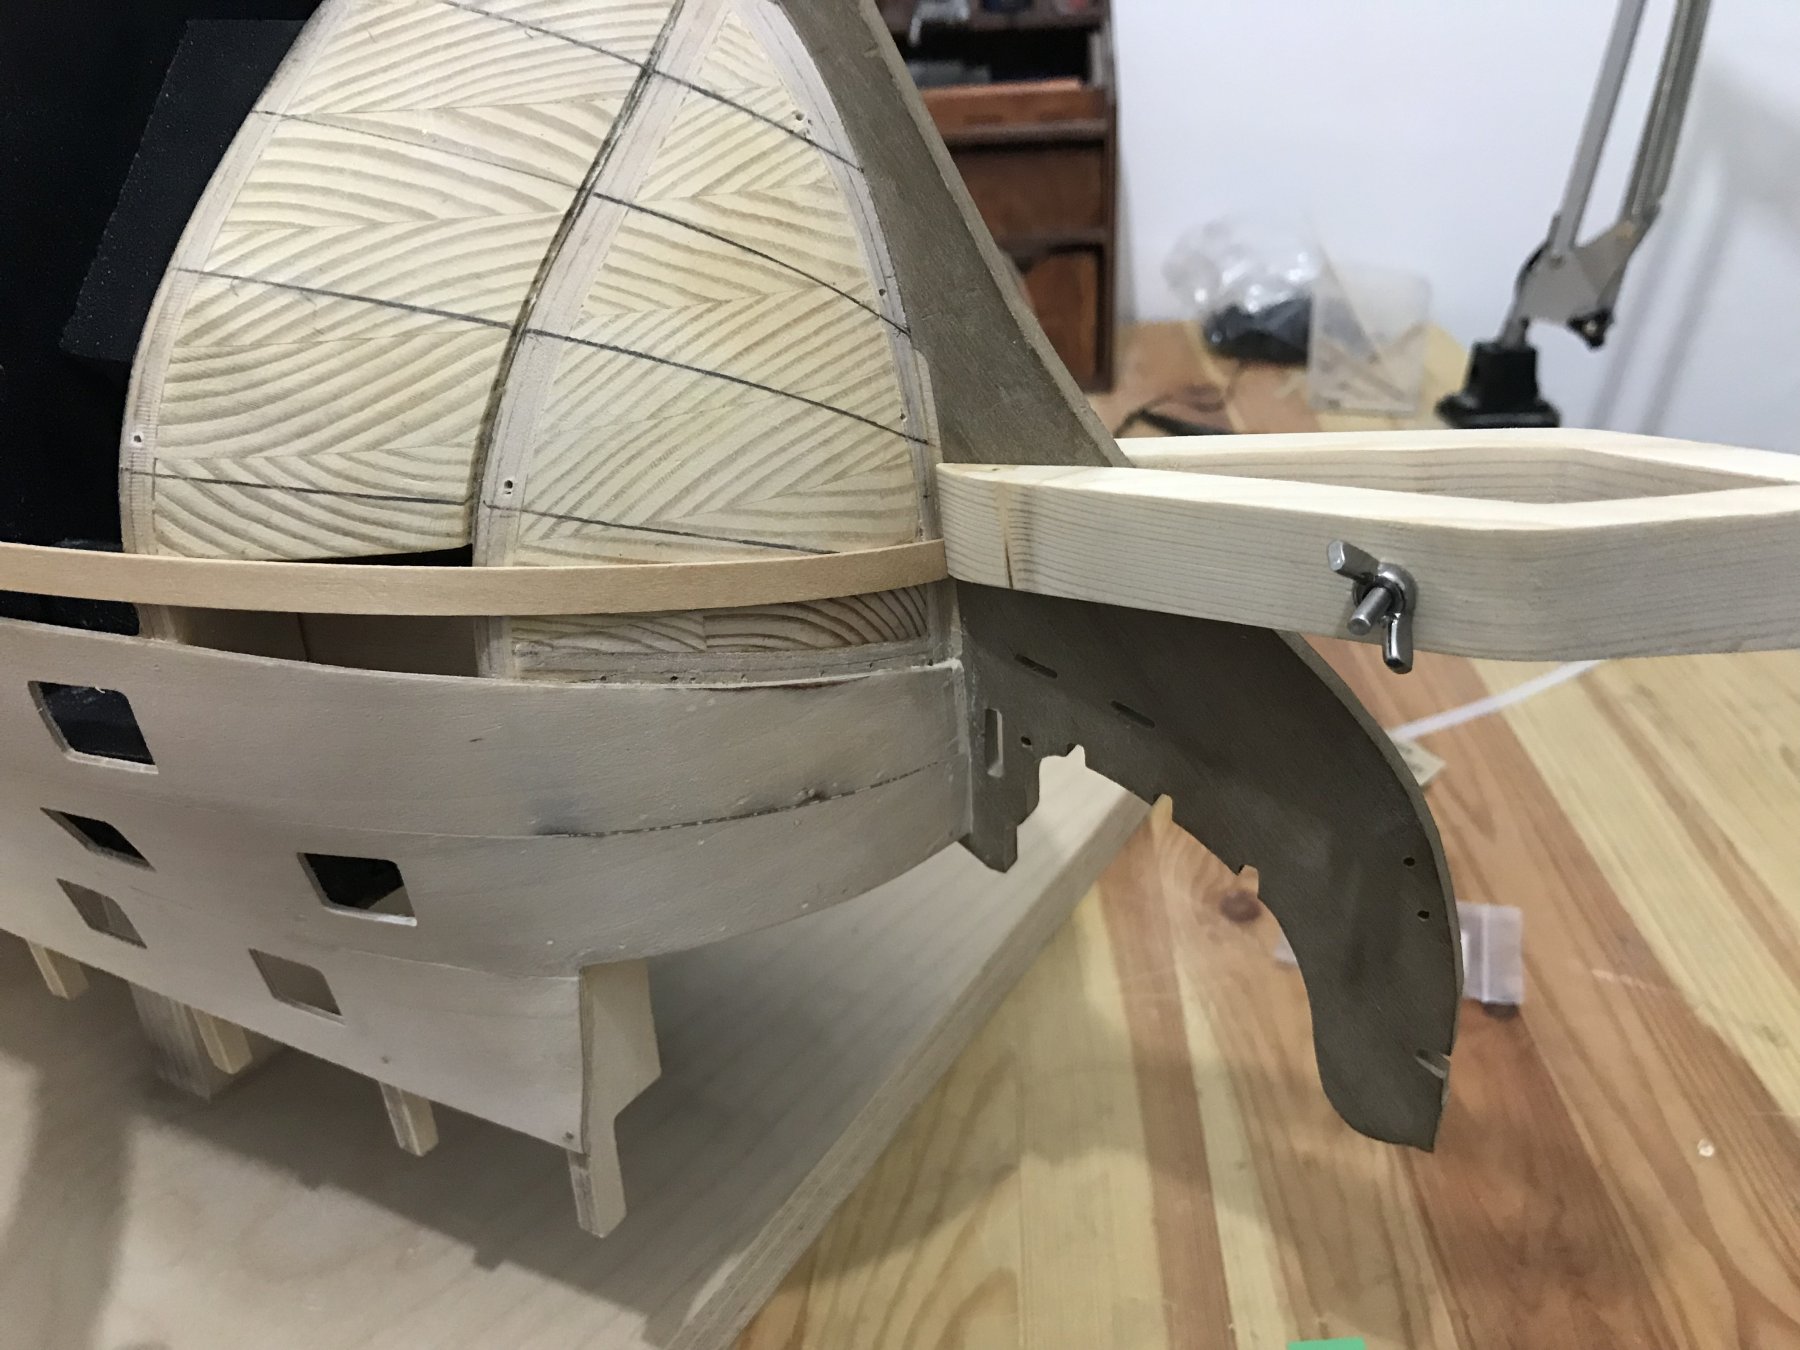
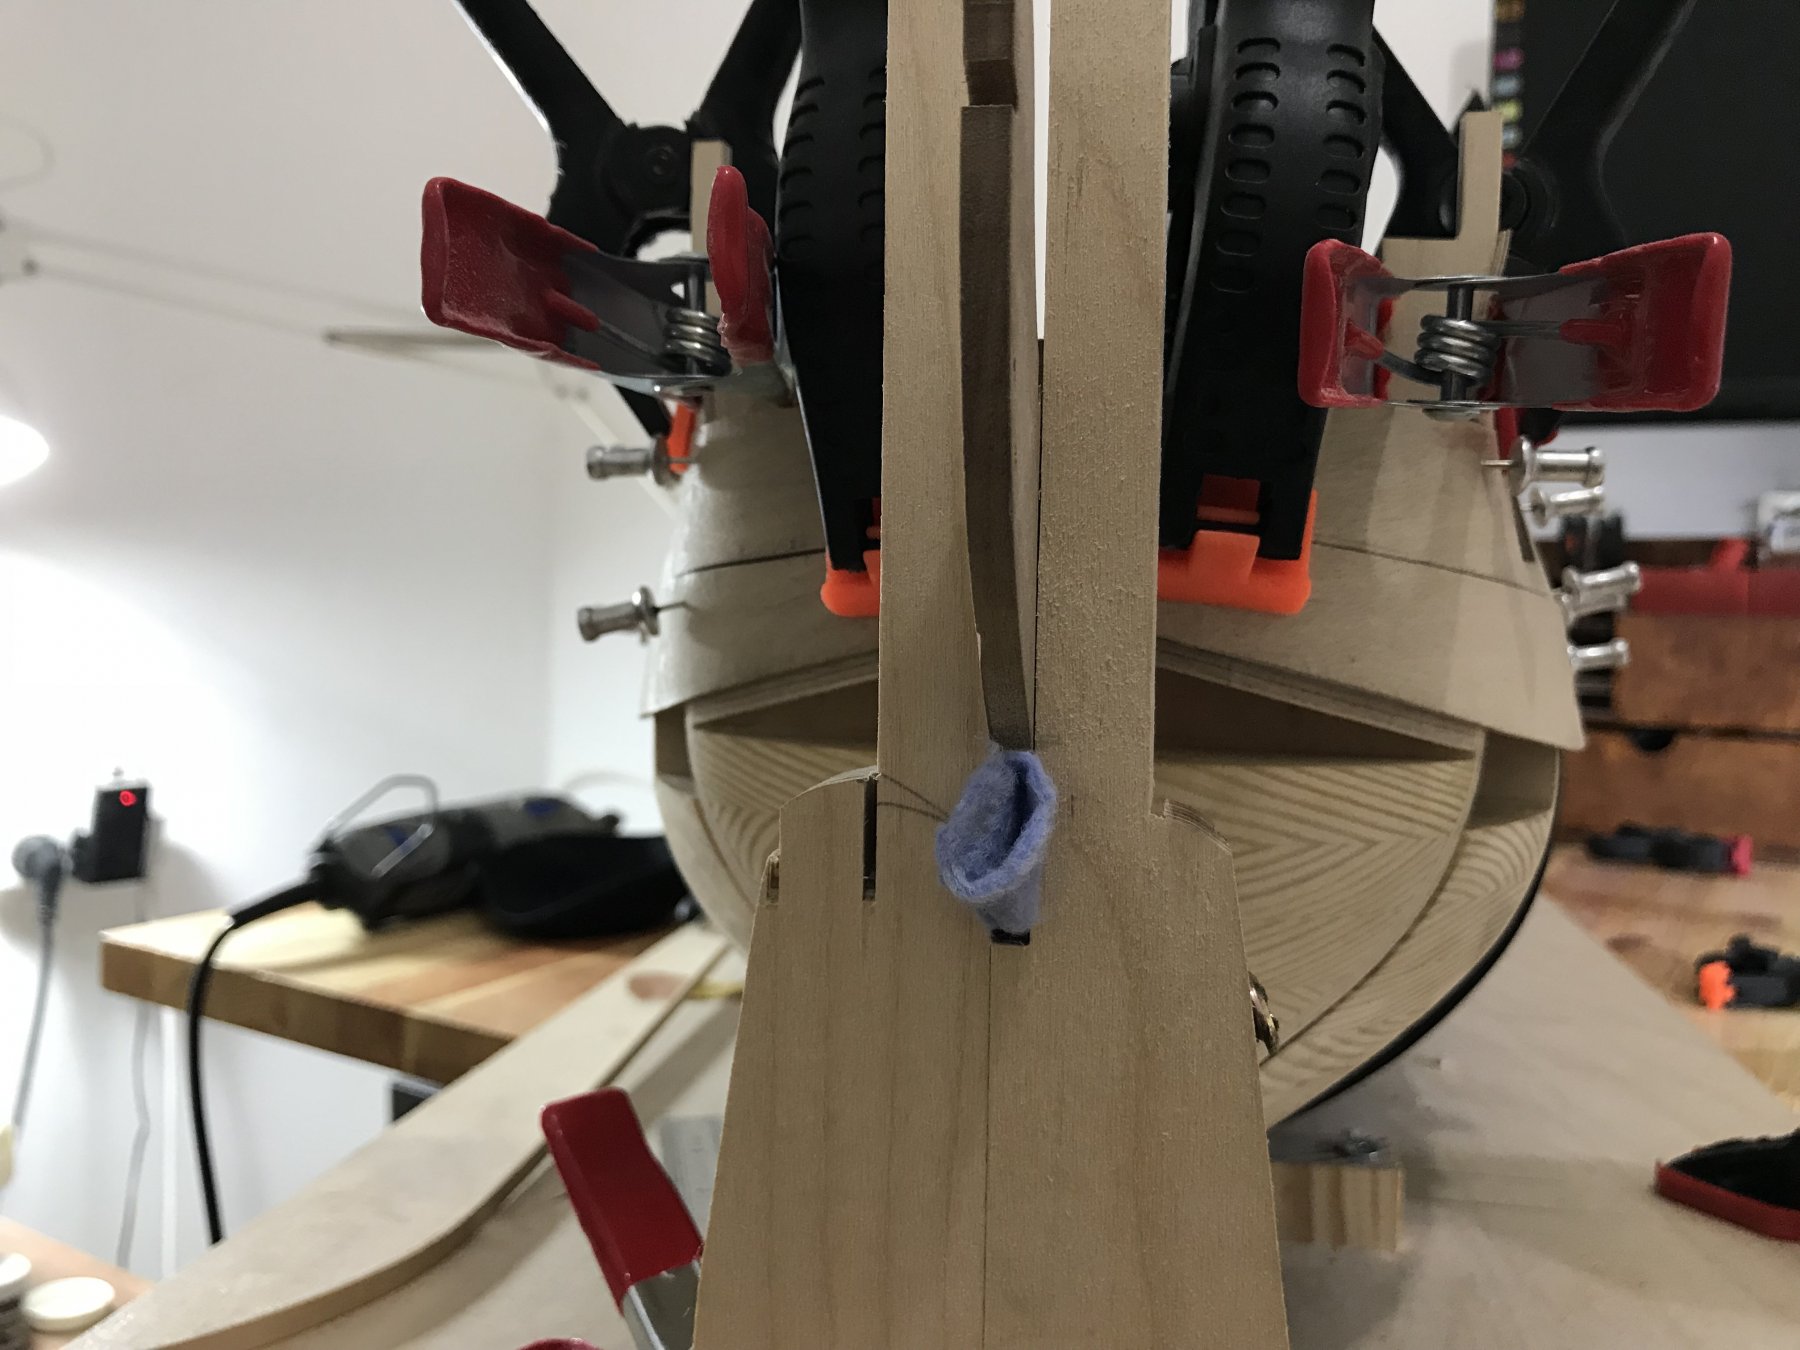
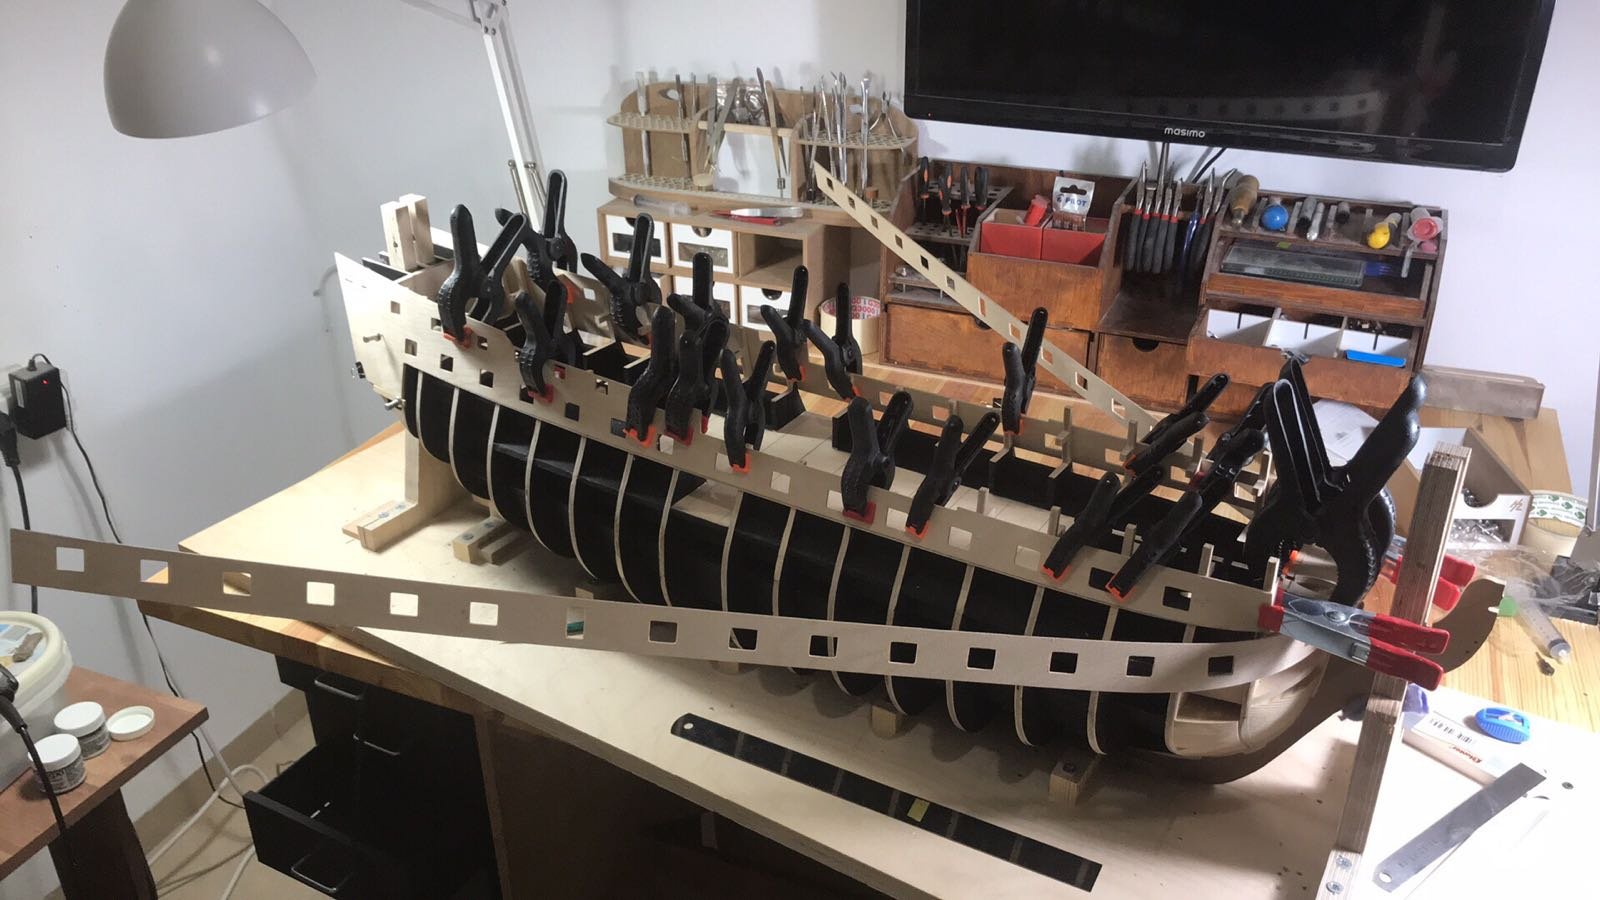
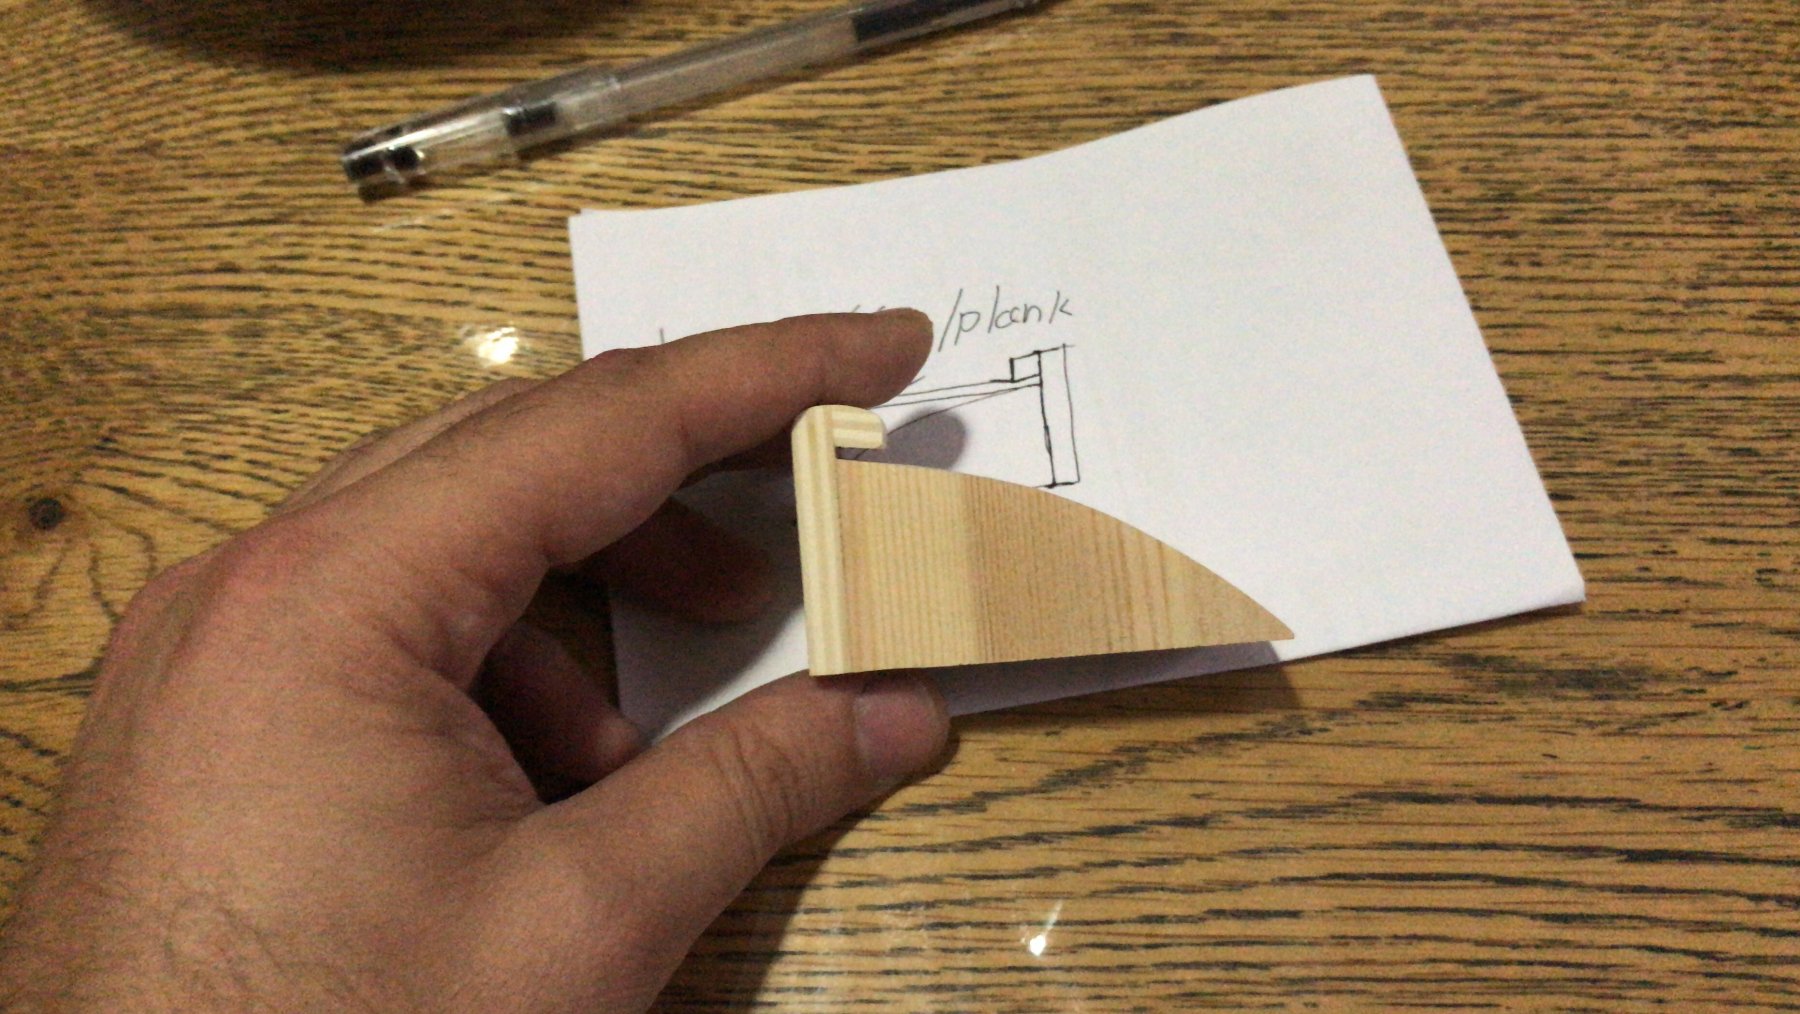
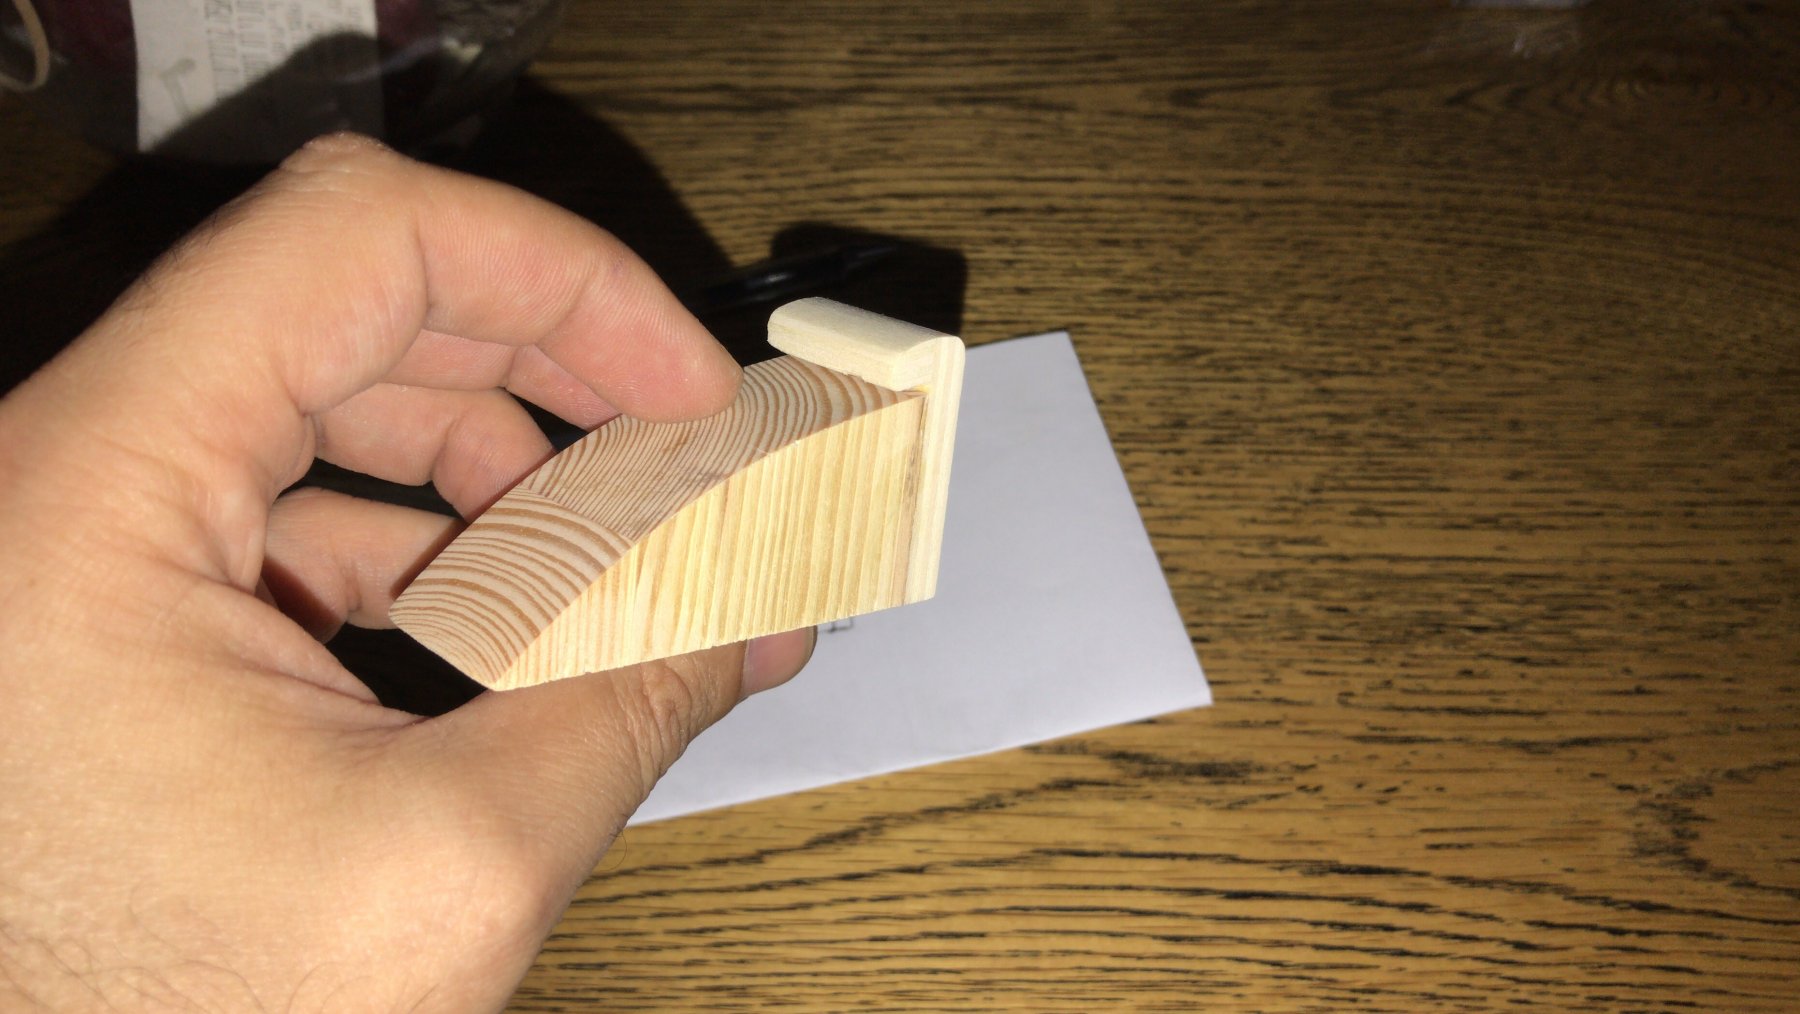
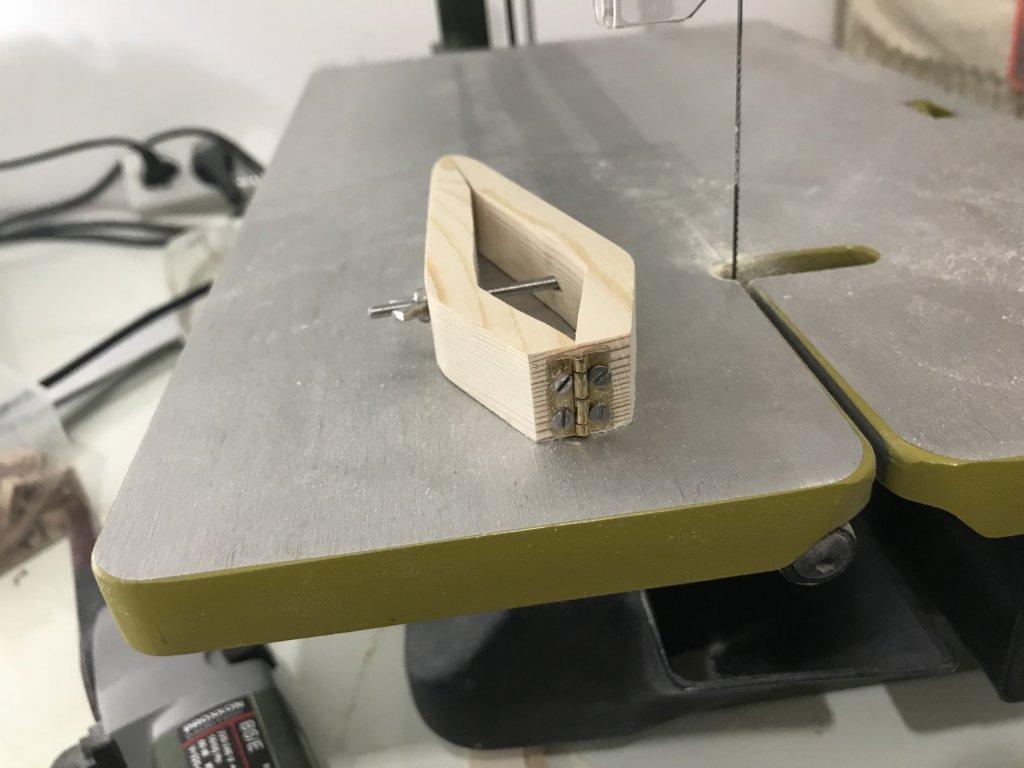
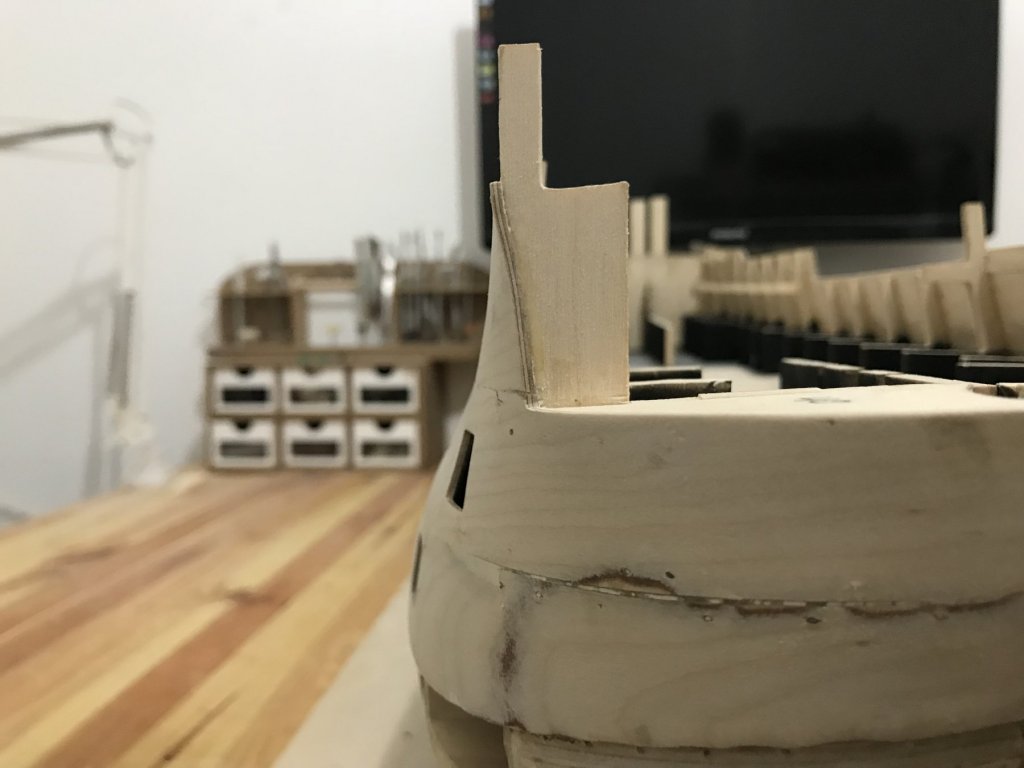
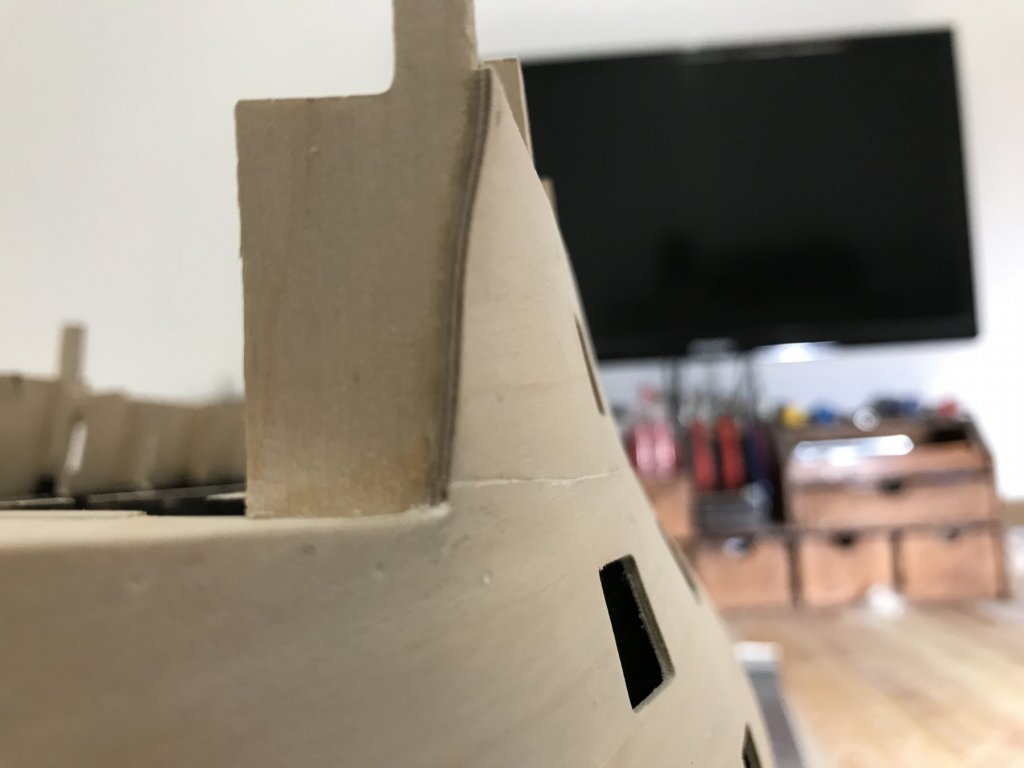
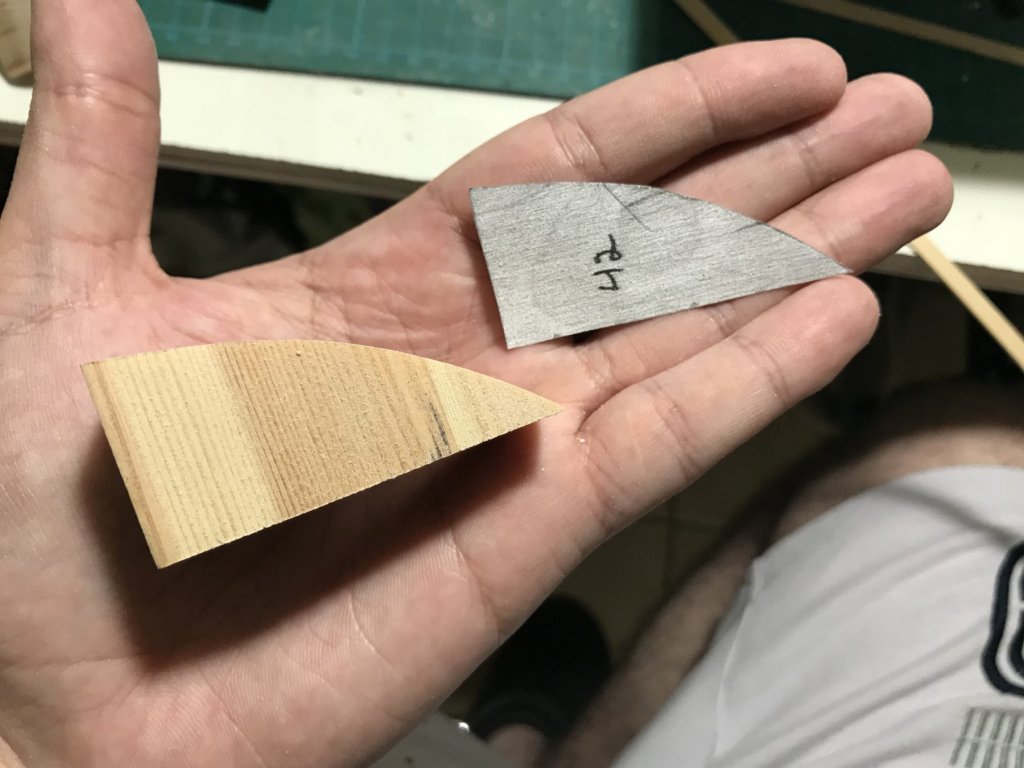
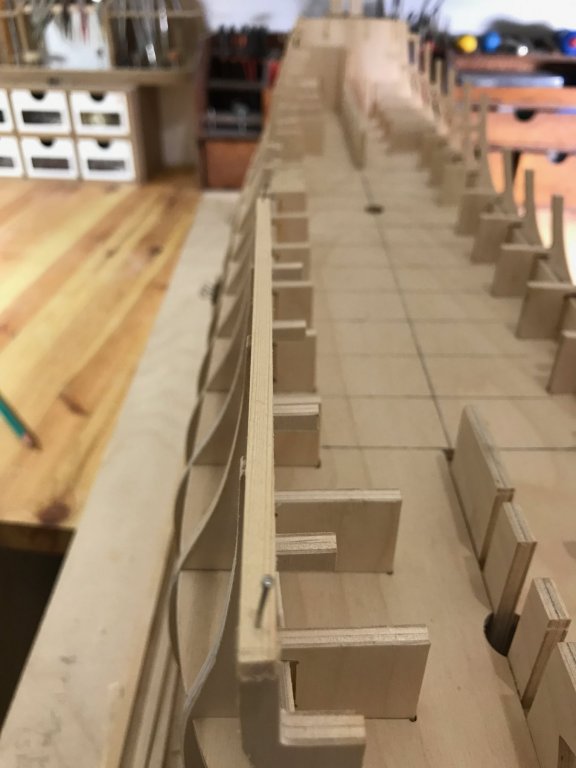
Thank you EJ_L and JohnReid this evning i made the front clamp for holding the begining of the planks at the bow i made the angle with the exact think as the kill for attaching it to the kill and holding the planks
-
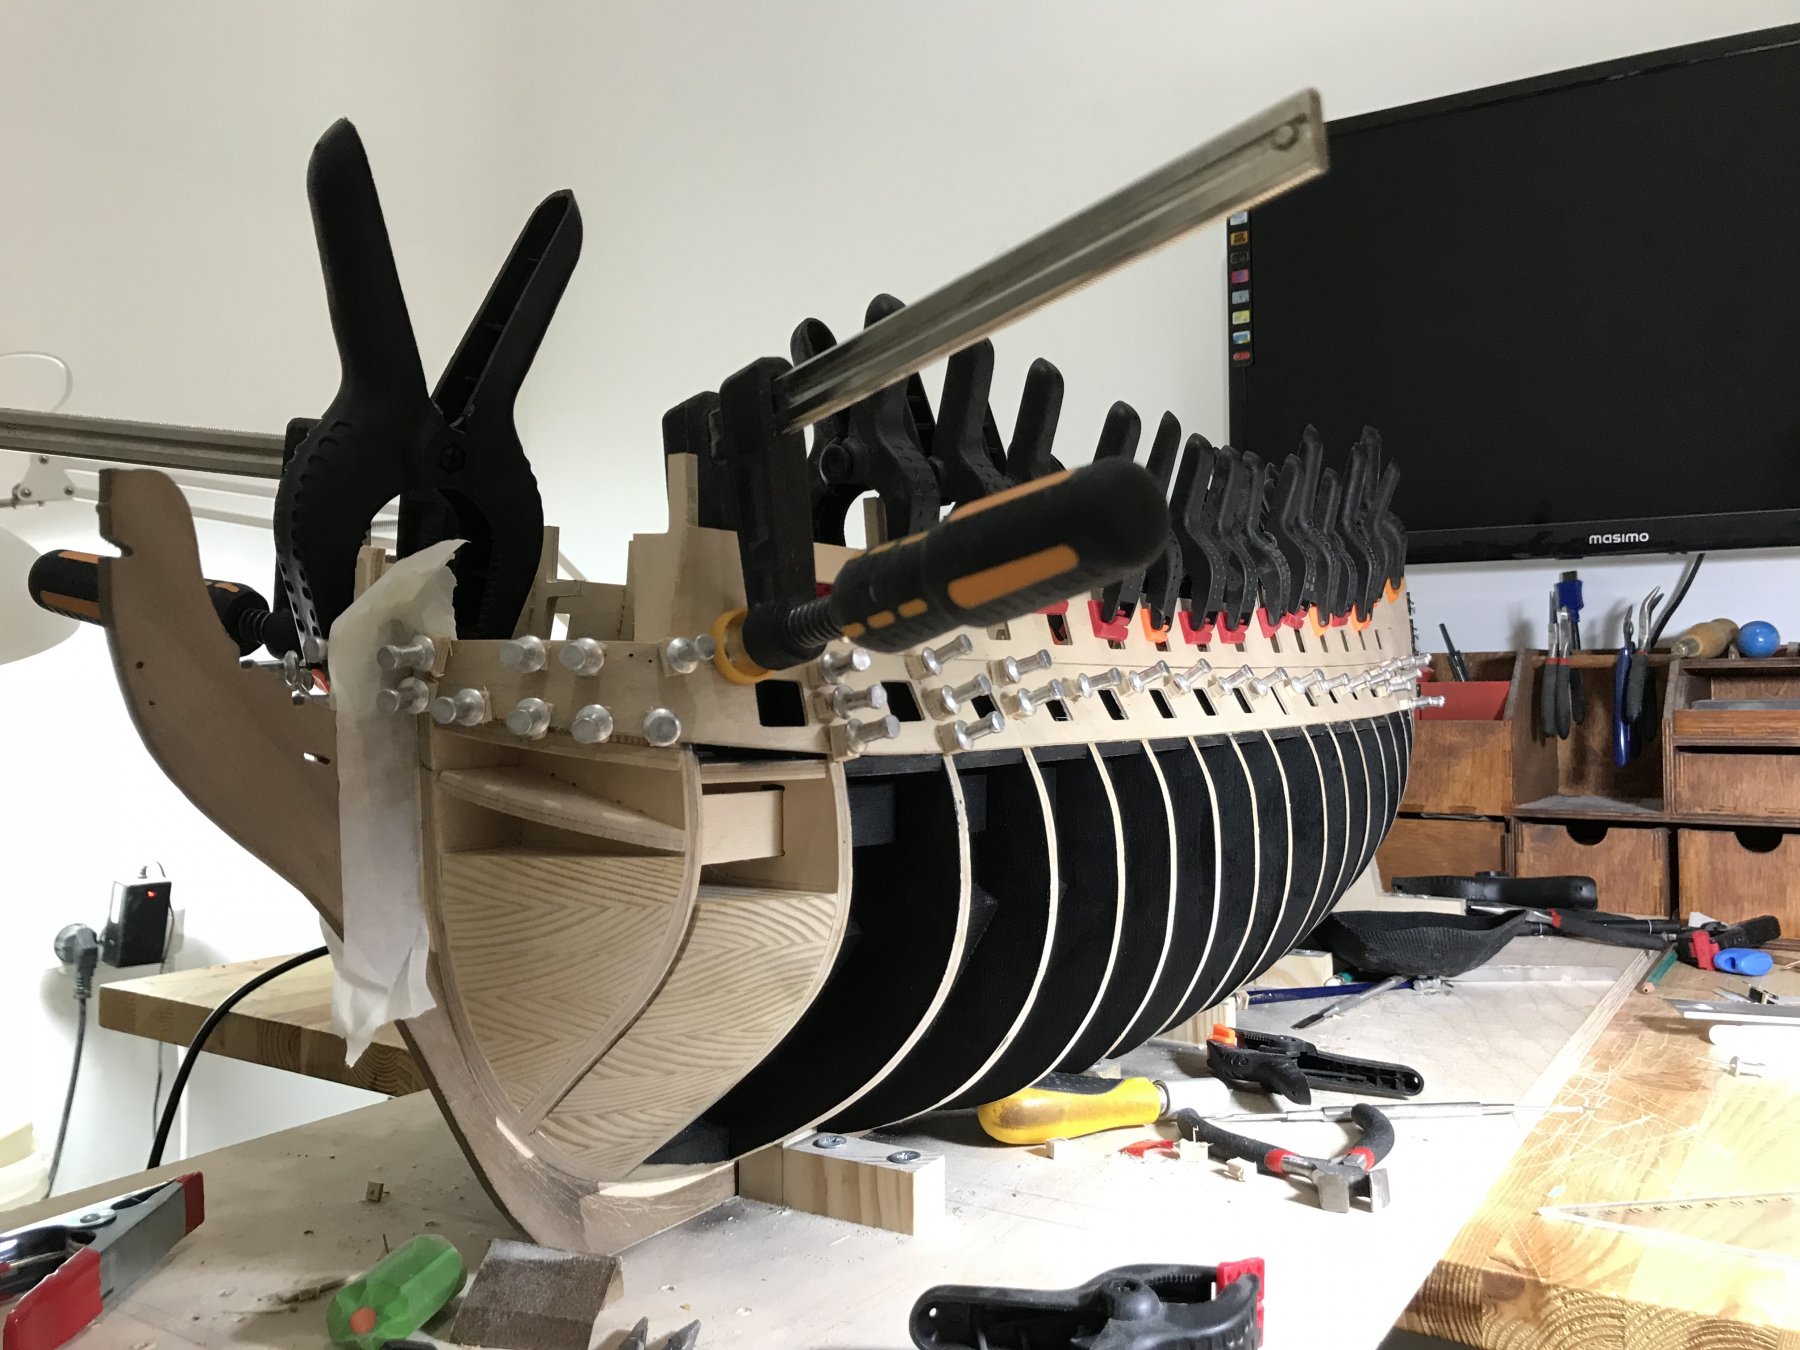
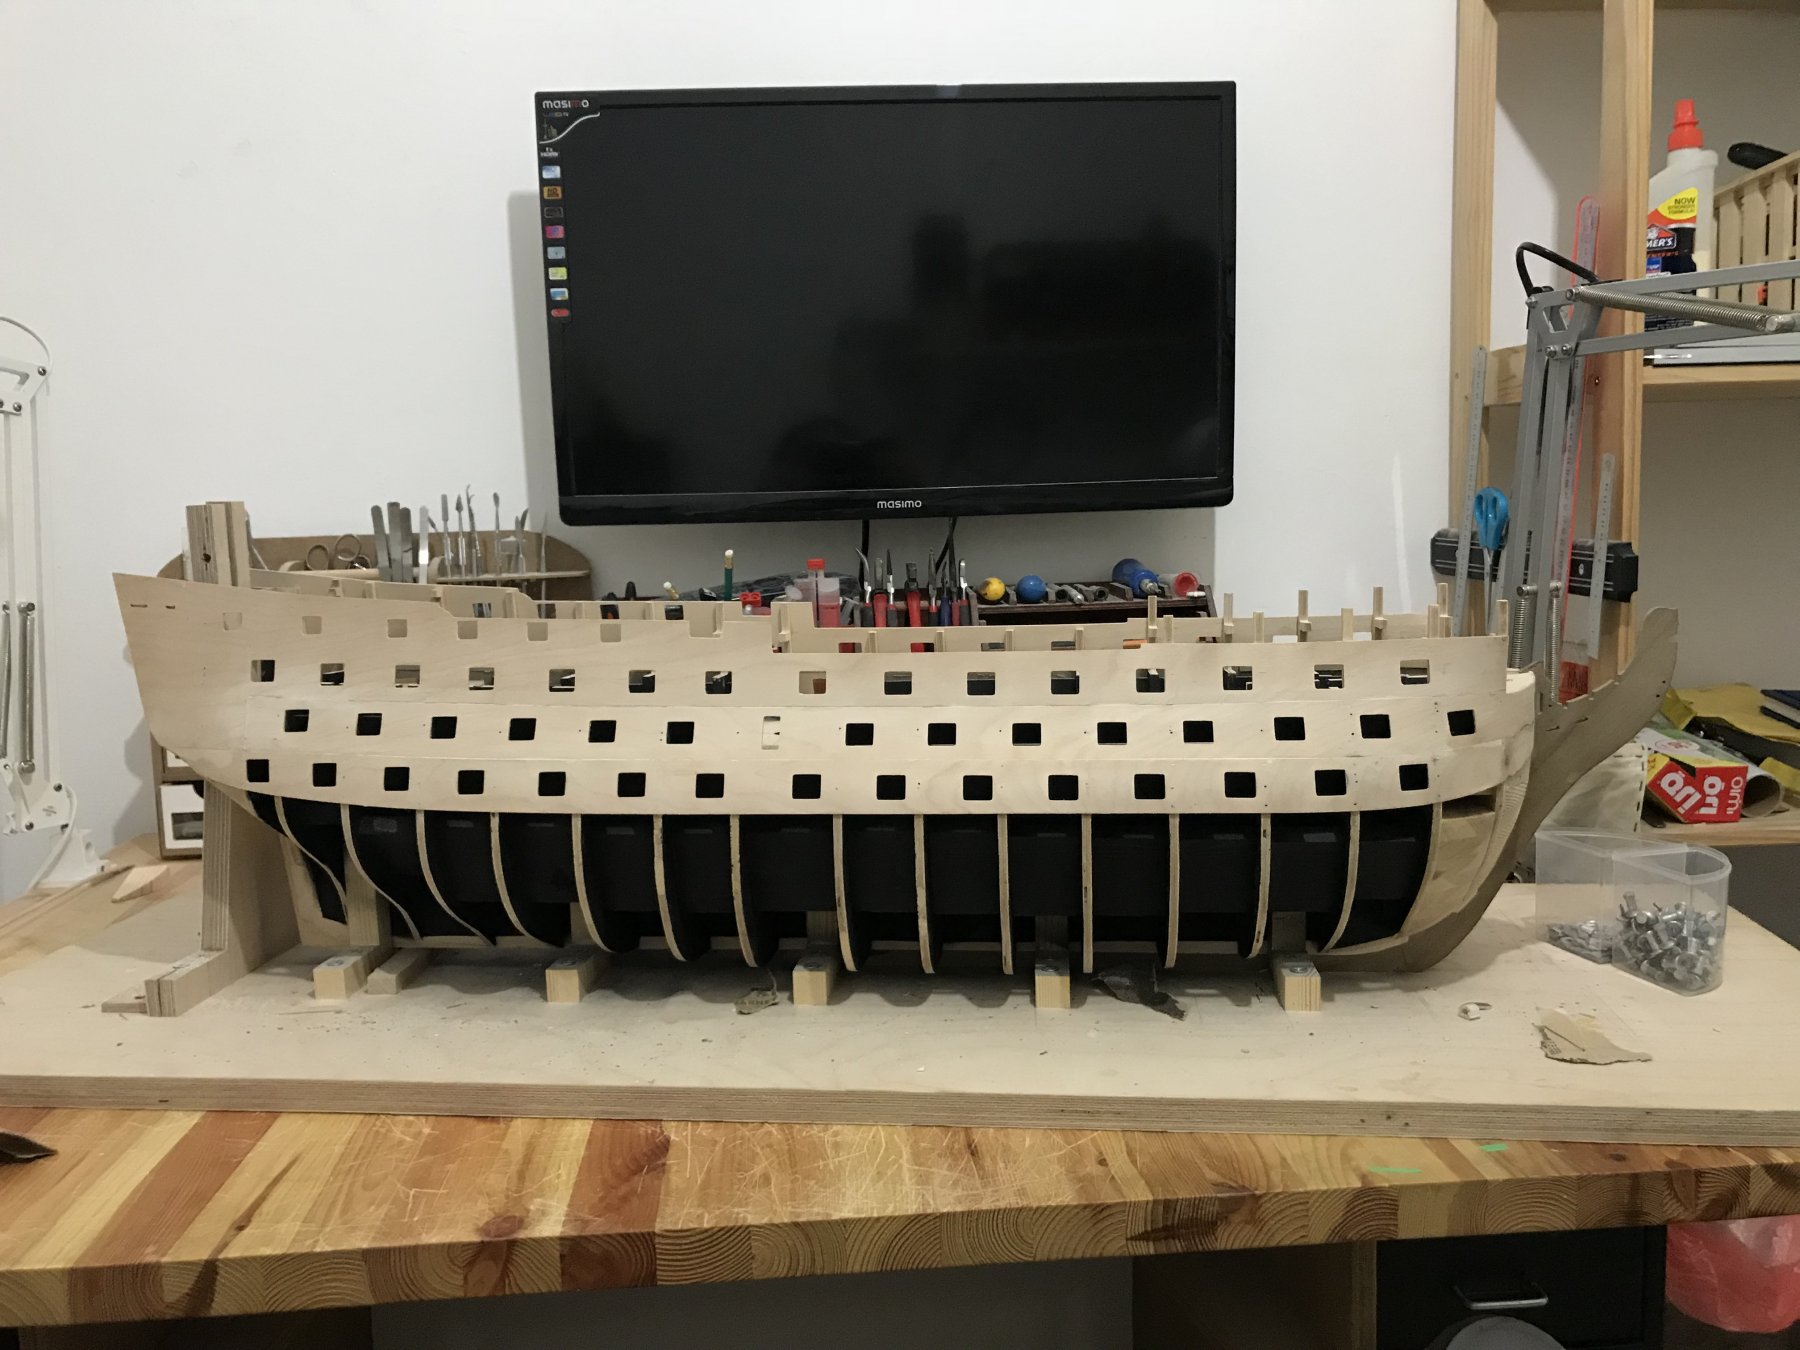
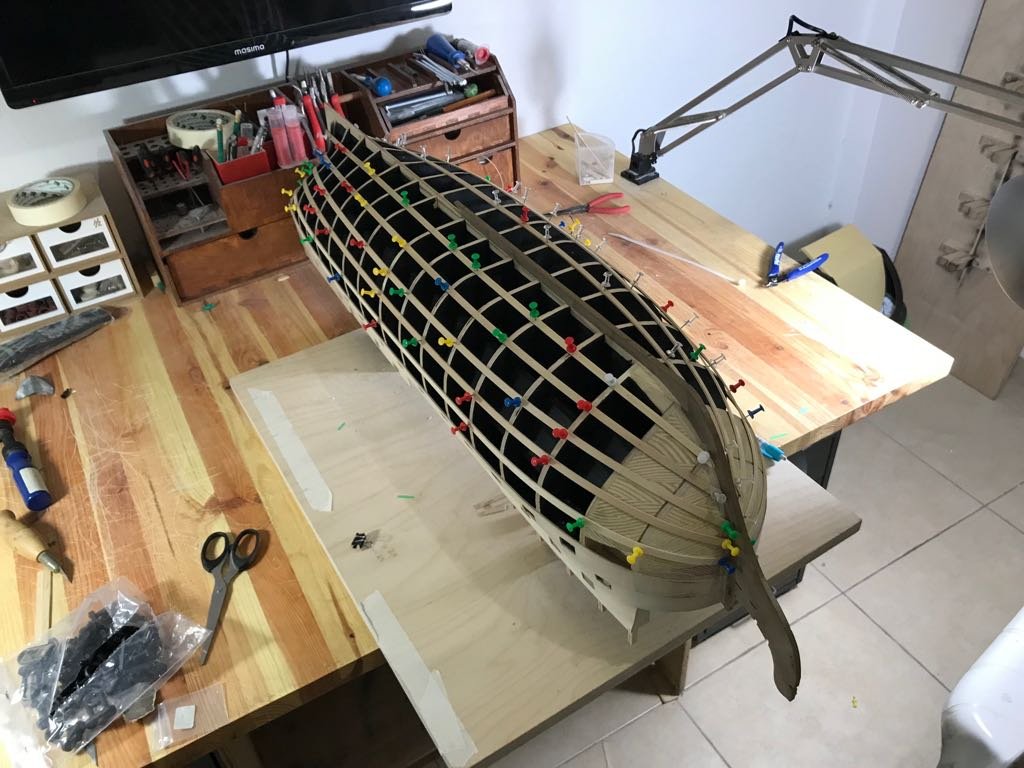
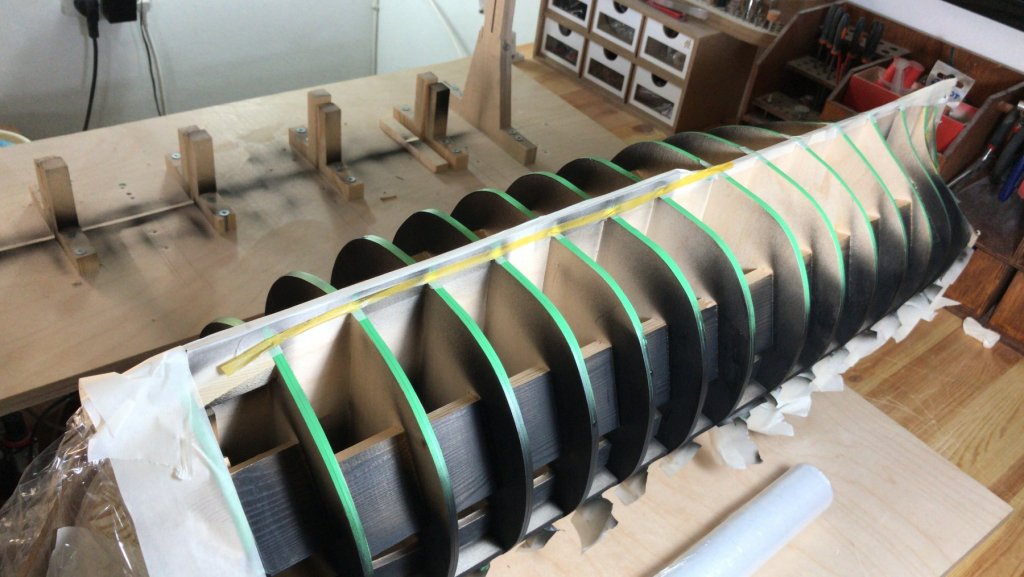
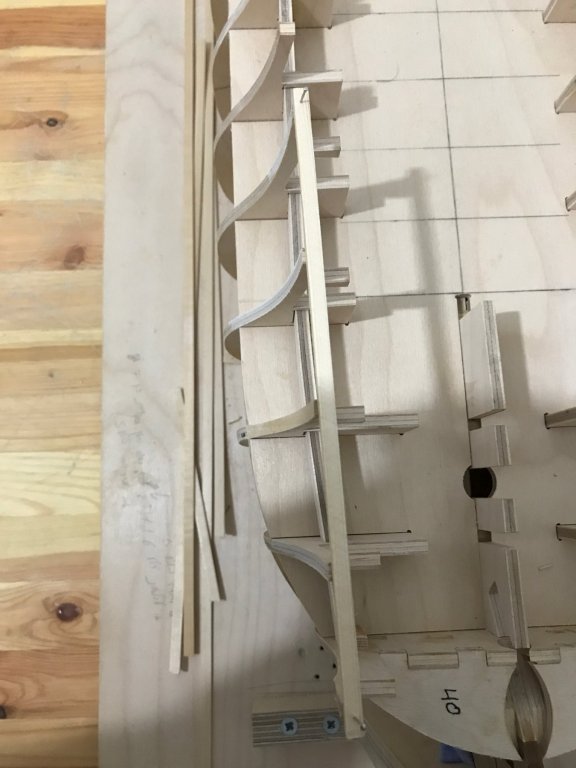
A little update I have finish the lining the belts process everything taking me long time due to a lot of work at the office .... but in Hebrew we say Measured steps will lead you to a safe way Regards, Michael.

-
Thank you friends
-
Thank you Altduck
-
plank clamp
michael101 replied to michael101's topic in Building, Framing, Planking and plating a ships hull and deck
Test to the fainl product:

- 1 reply
-
- 2
-

-
- clamp plank
- plank
- (and 2 more)
-
Hello there i have make new plank clamps maybe it will be useful for someone here is a link to my build log you can see the plank clams and also the guide process for how to make them
-
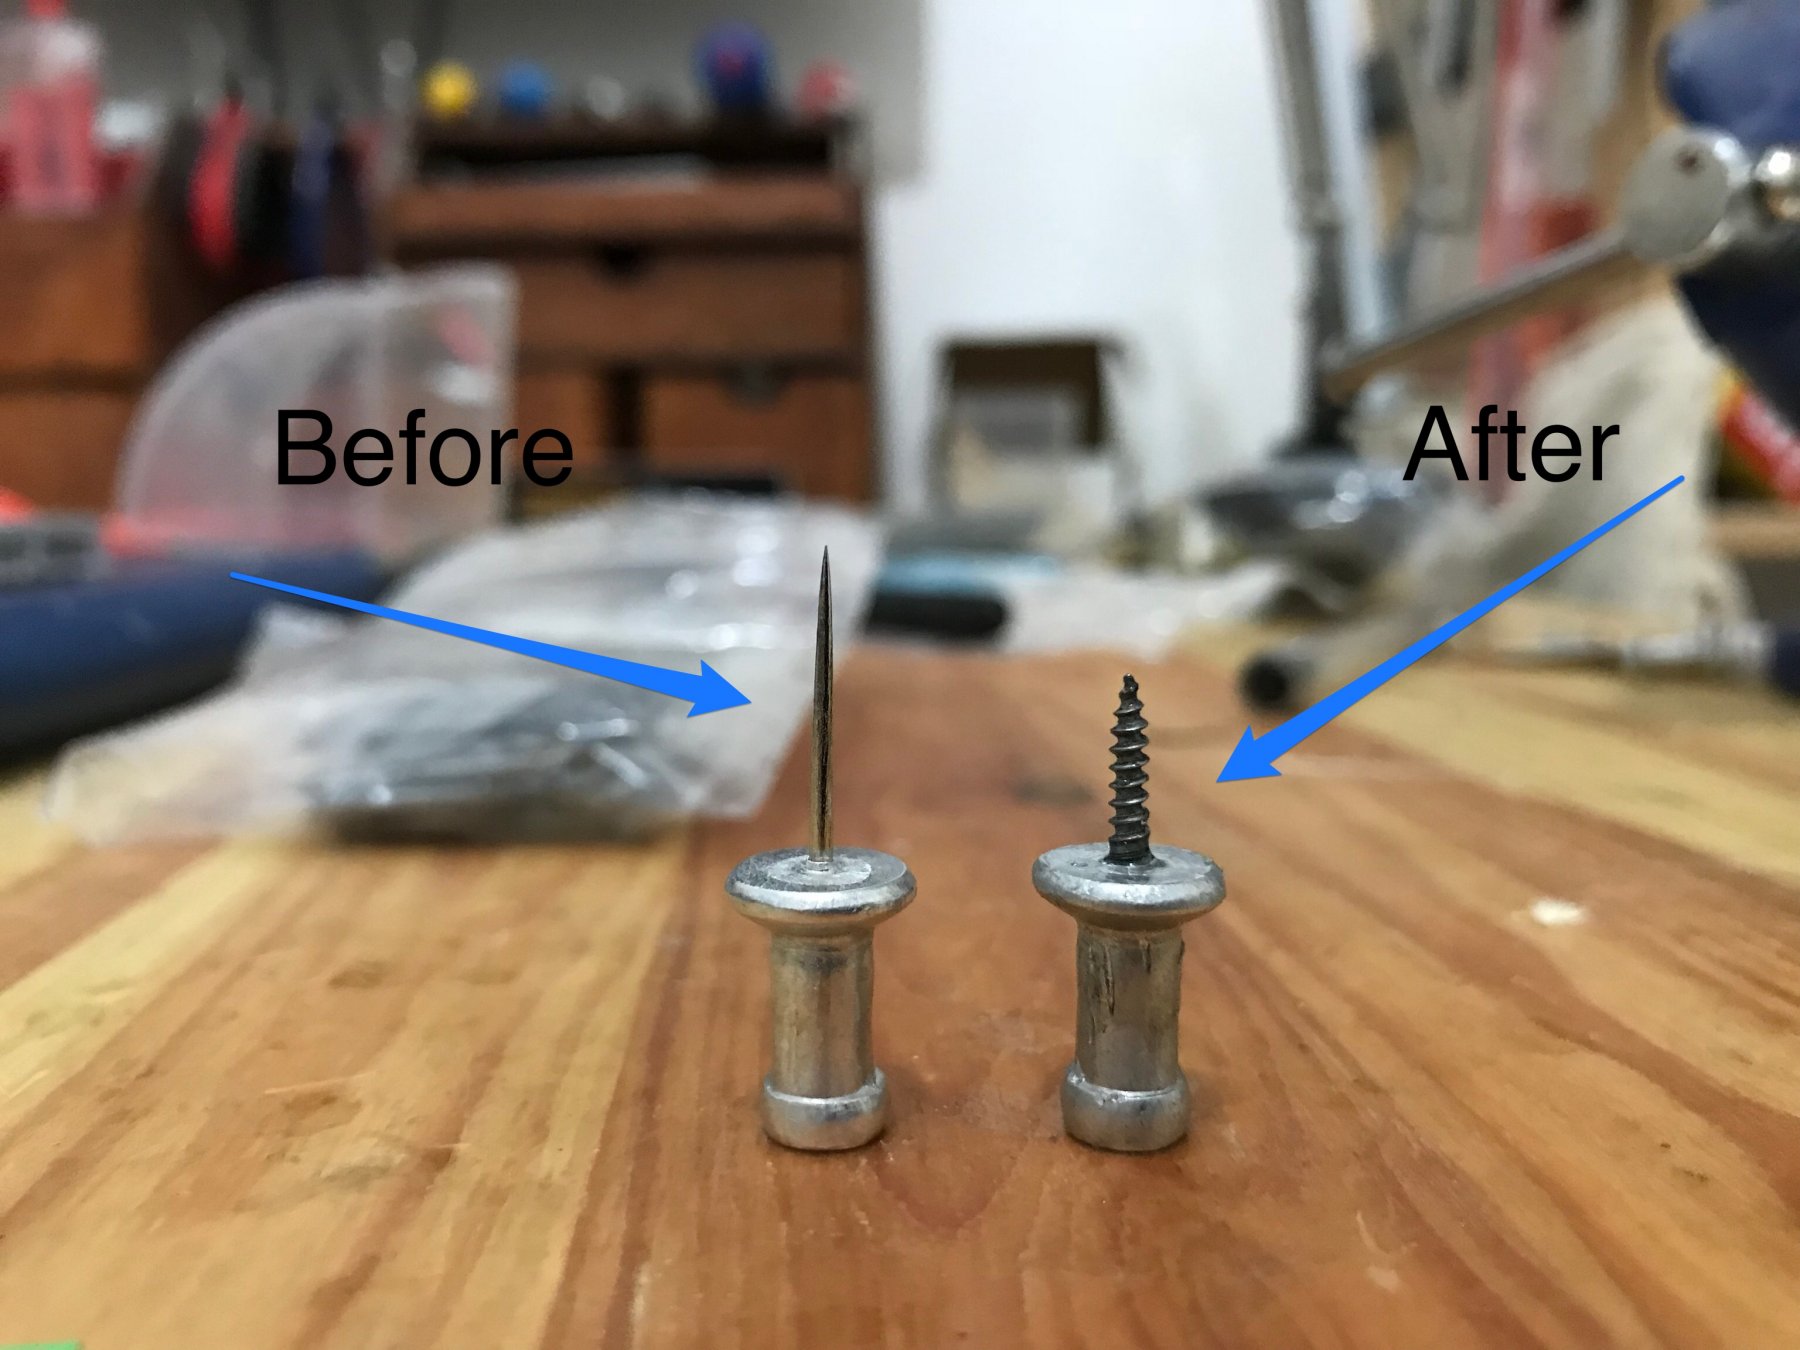
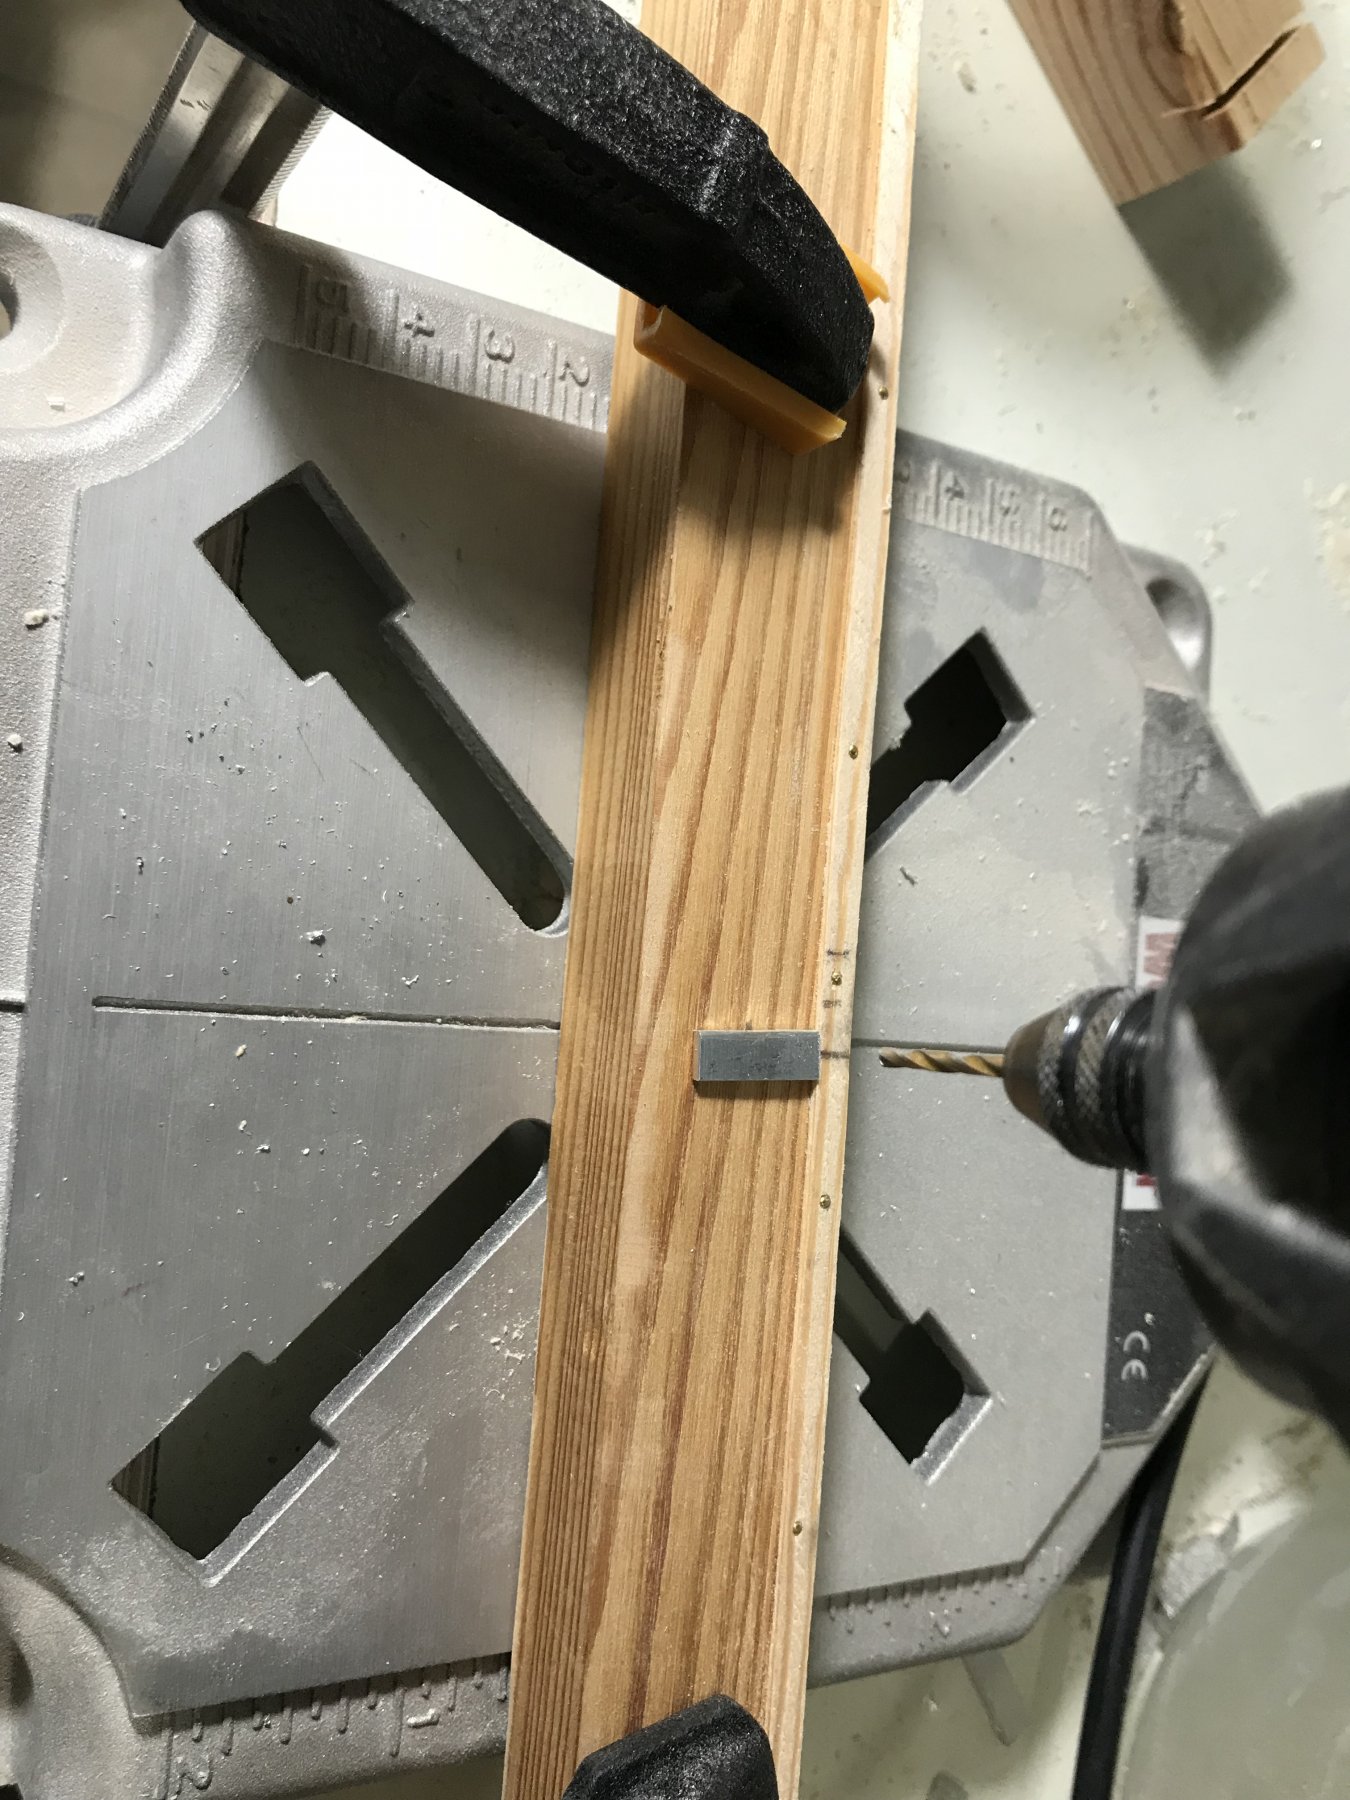
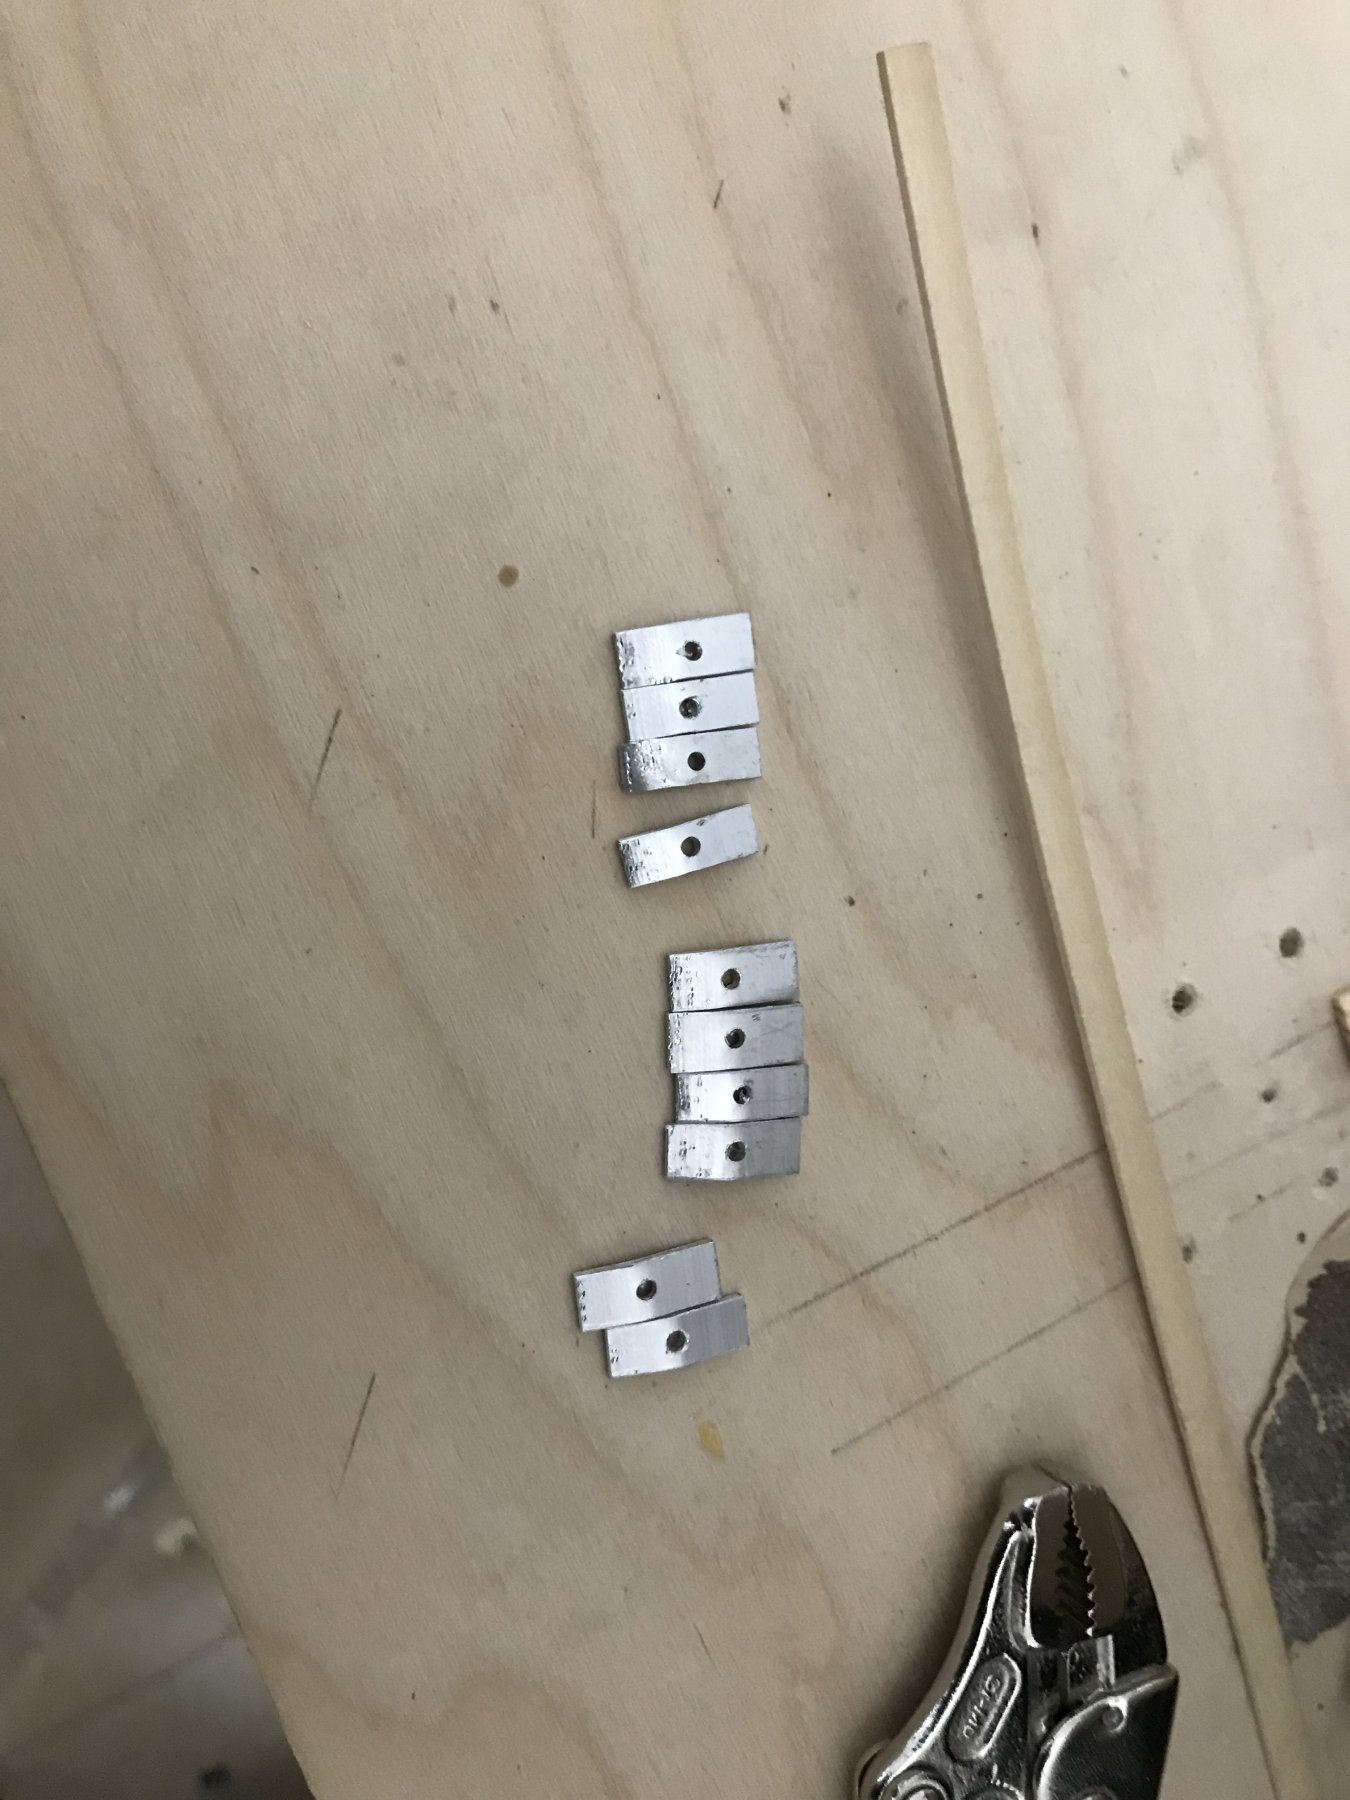
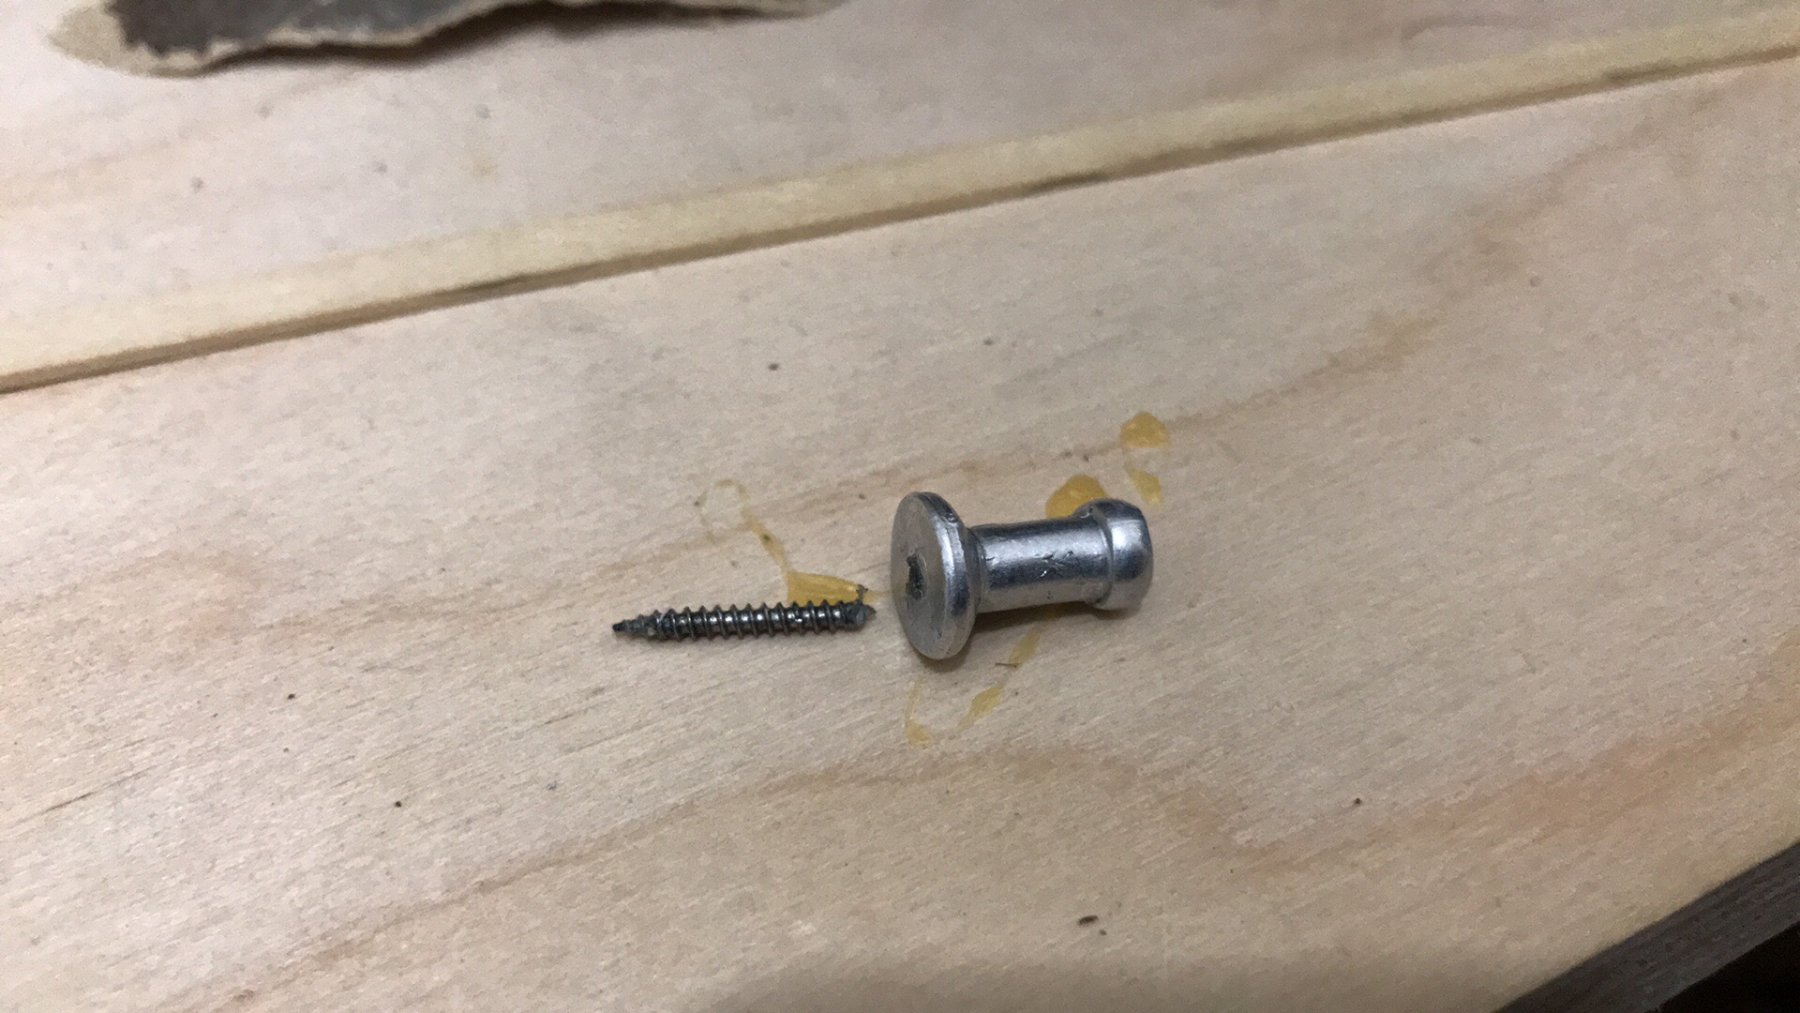
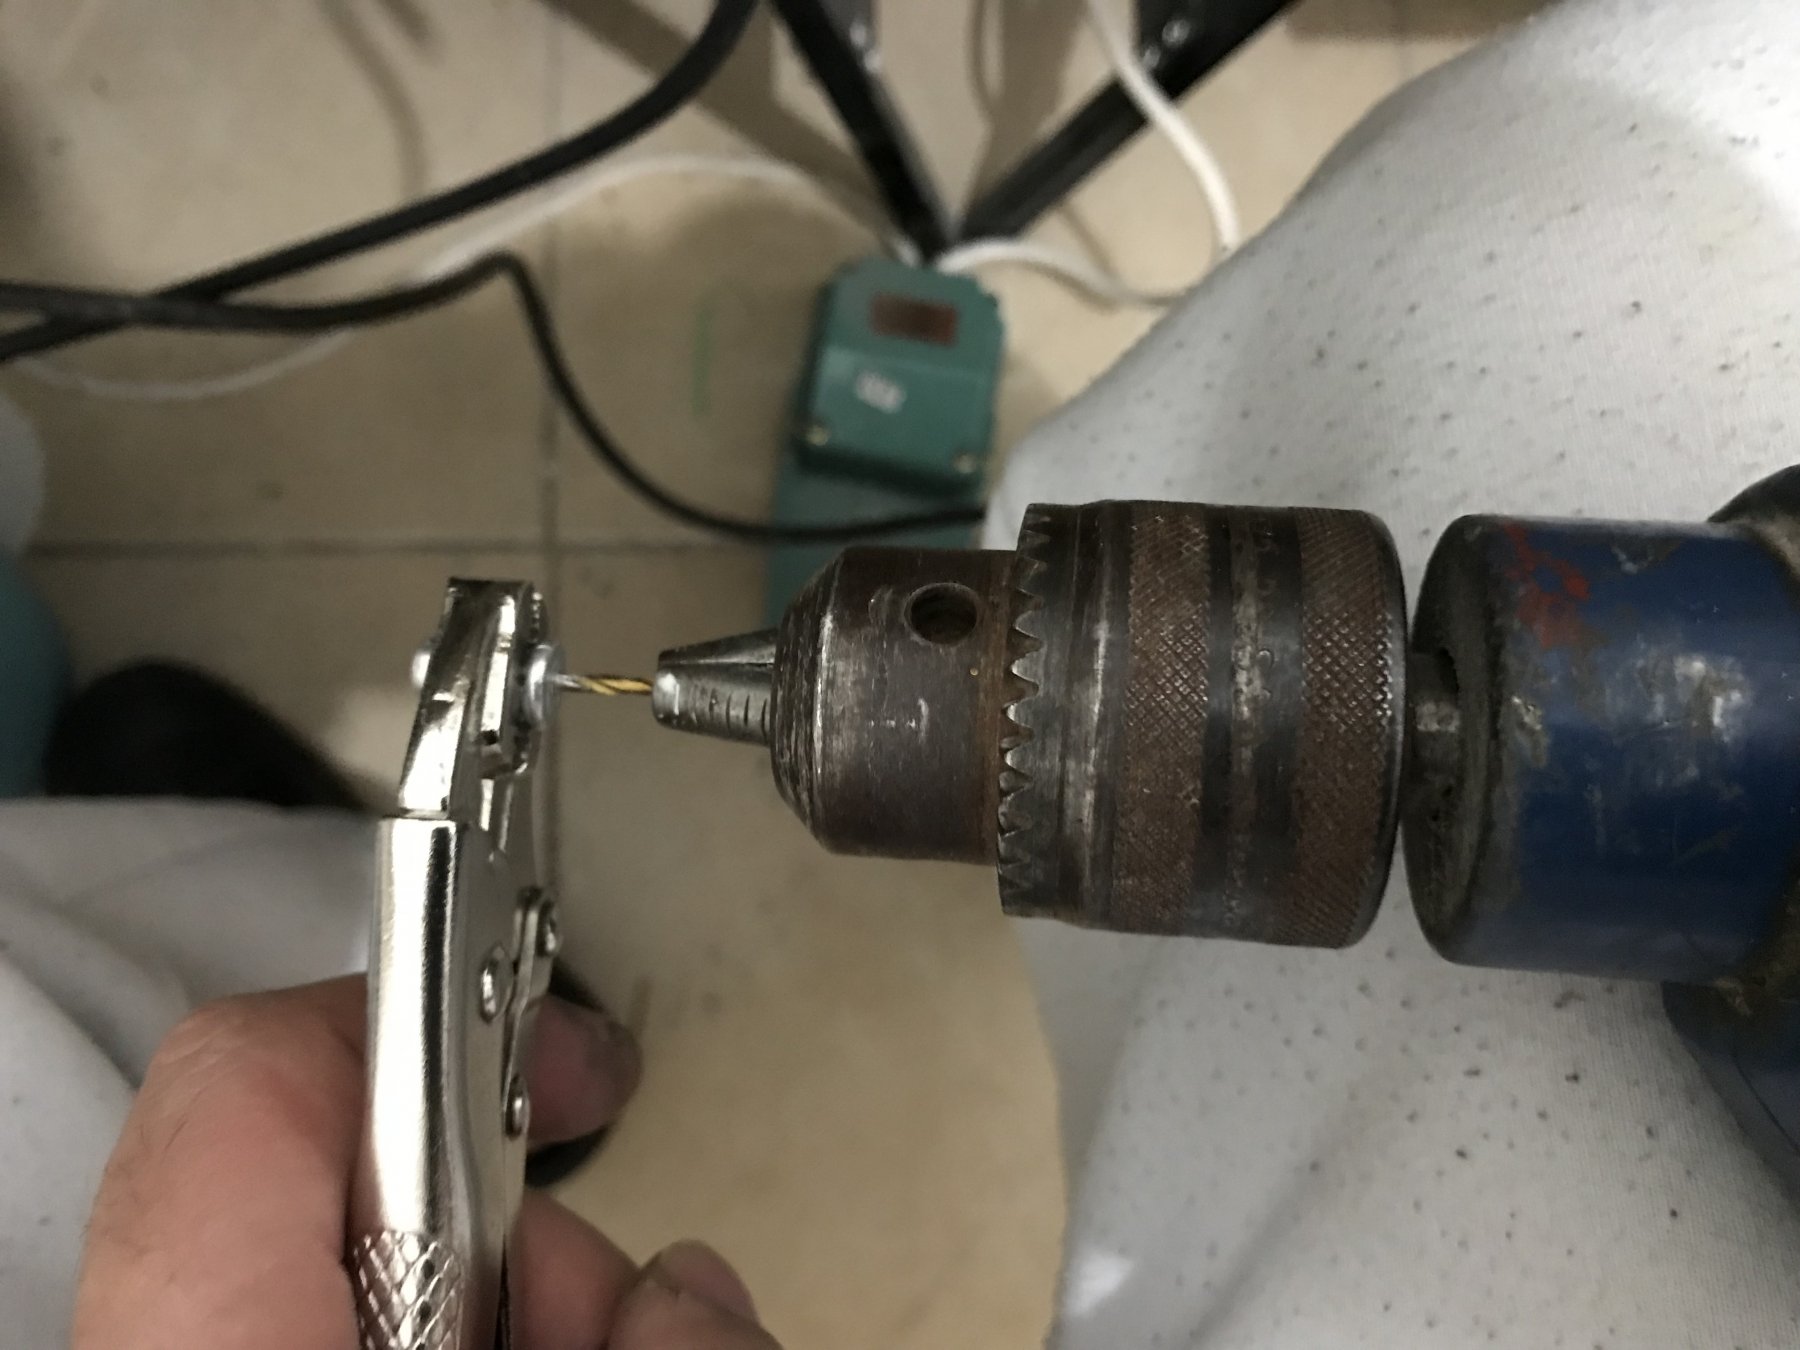
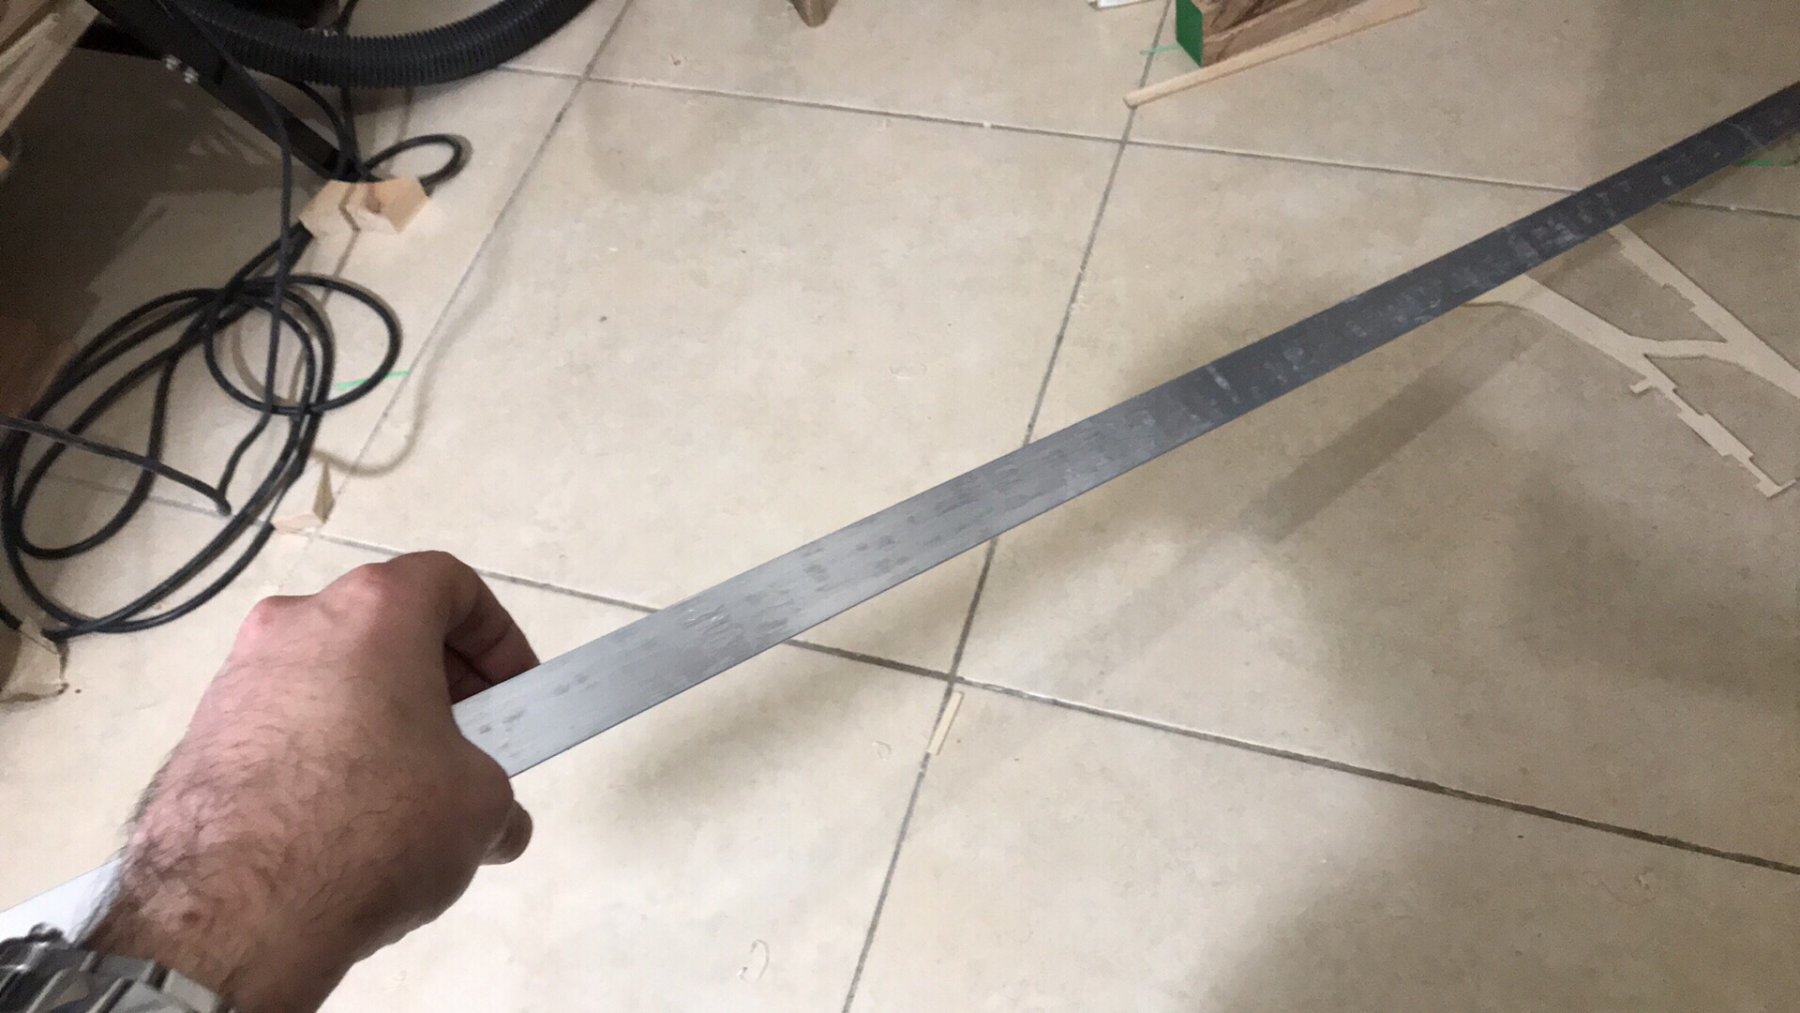
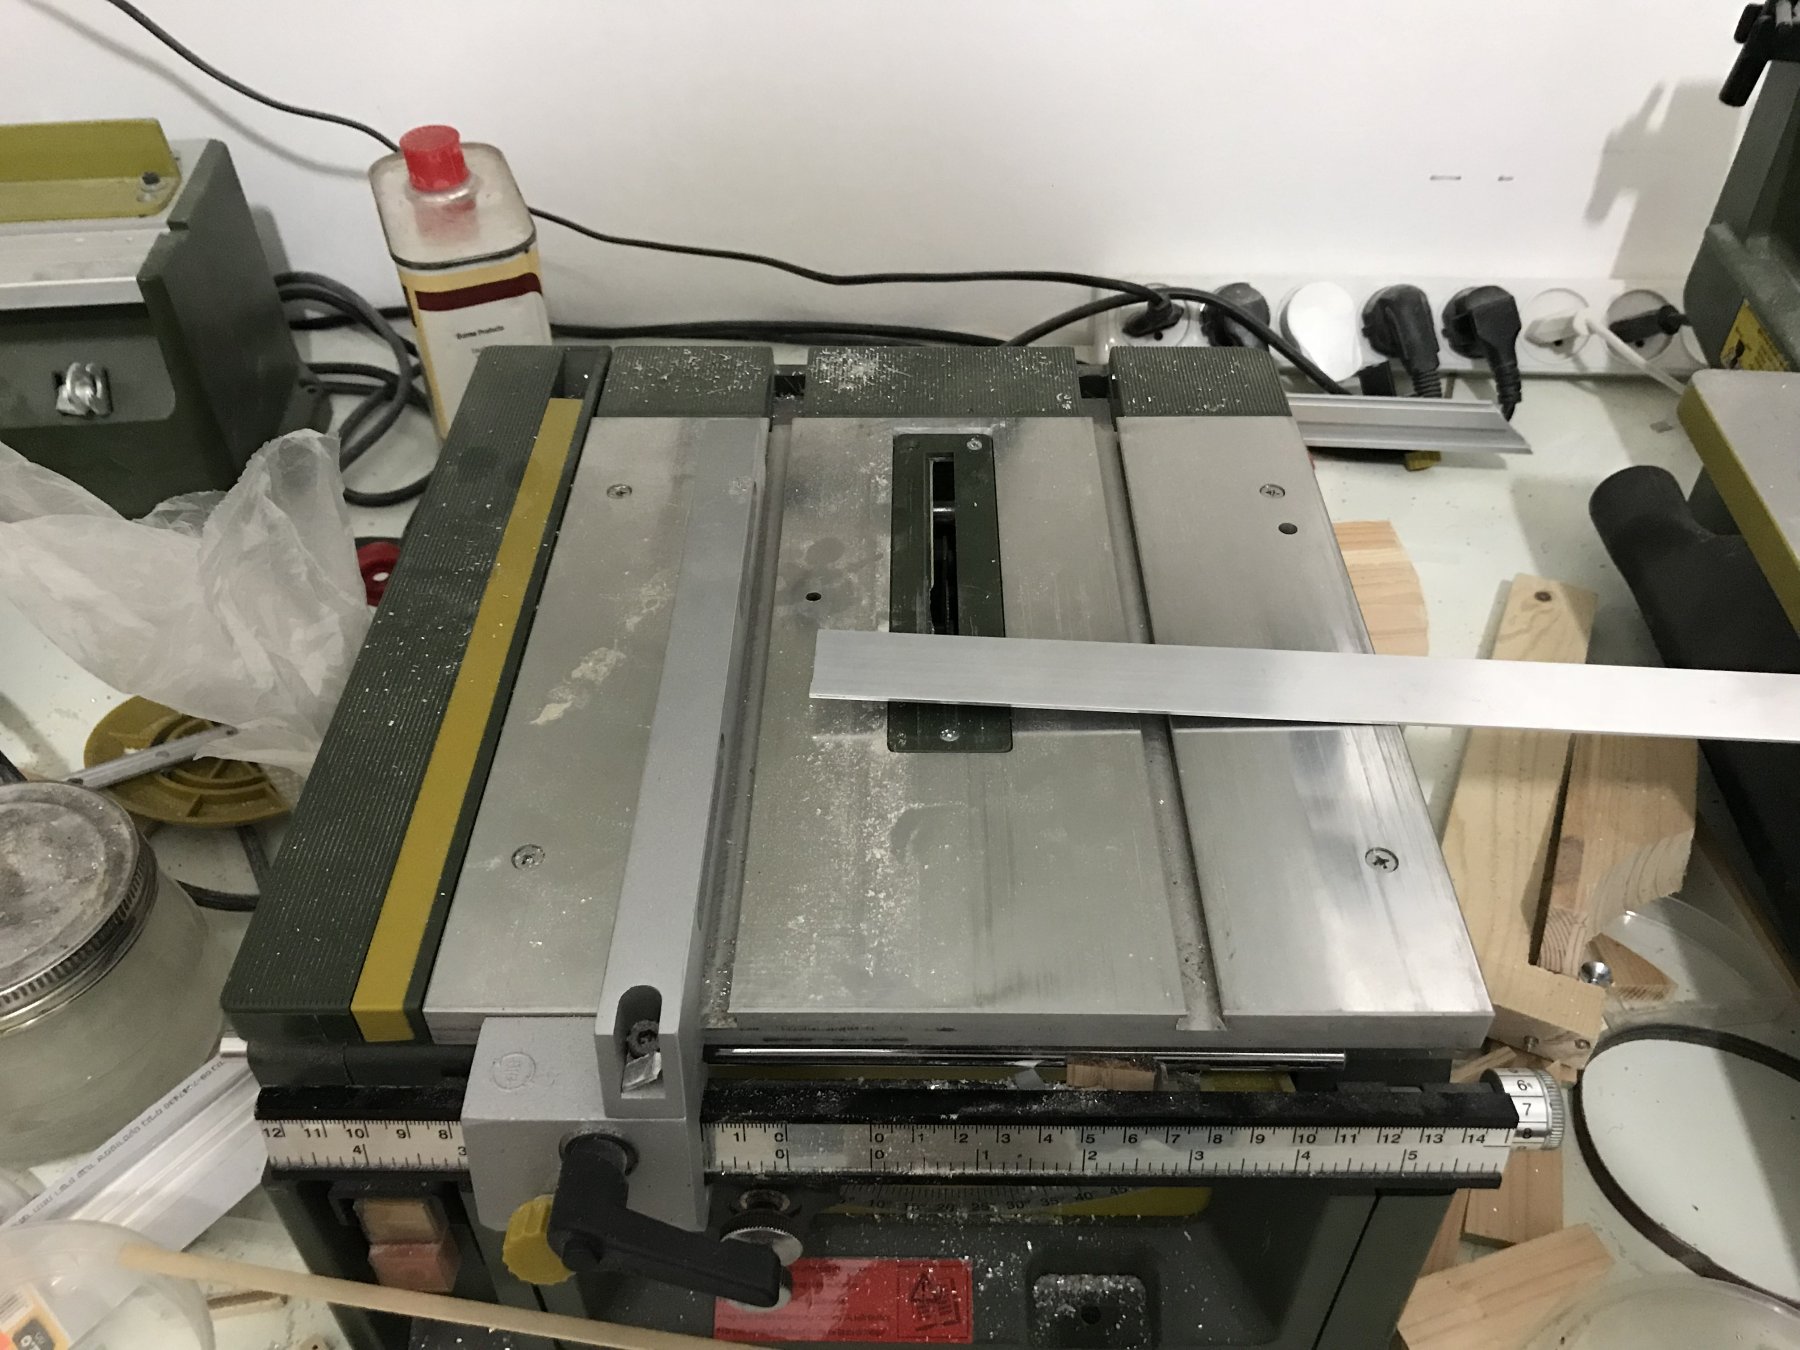
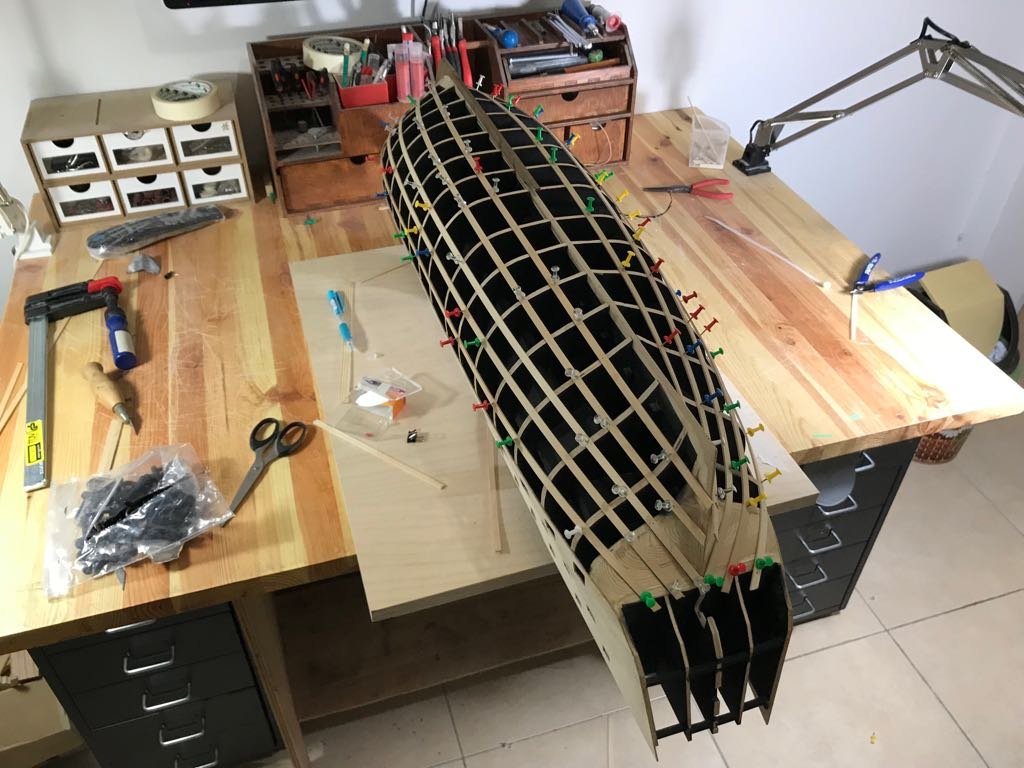
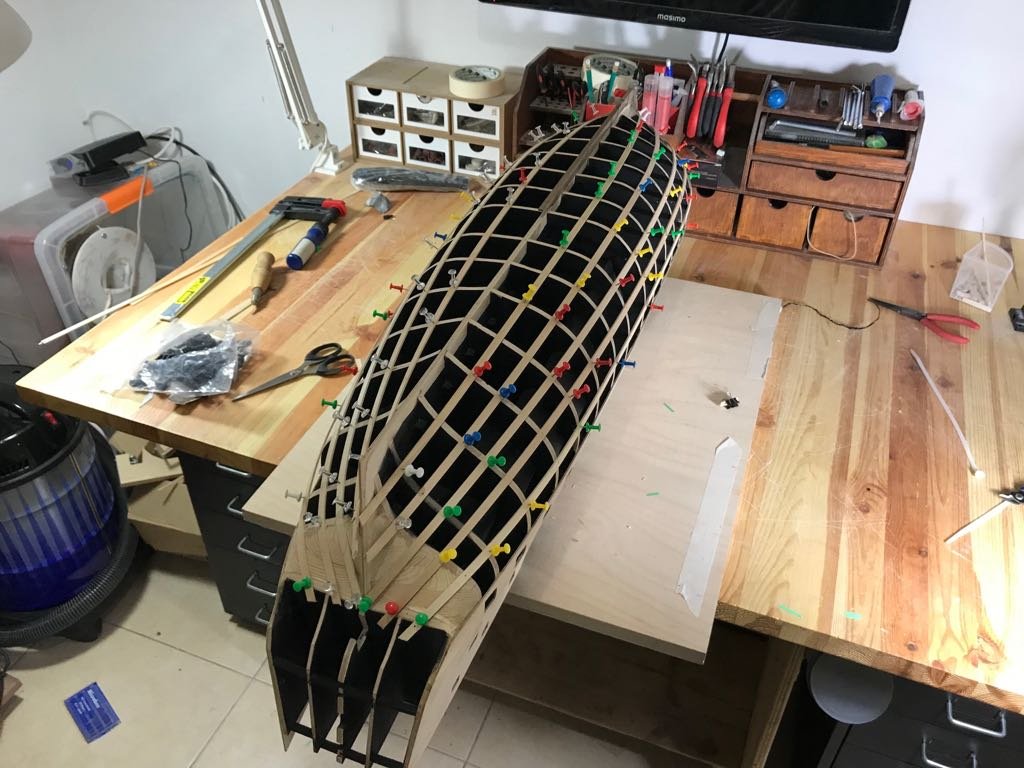
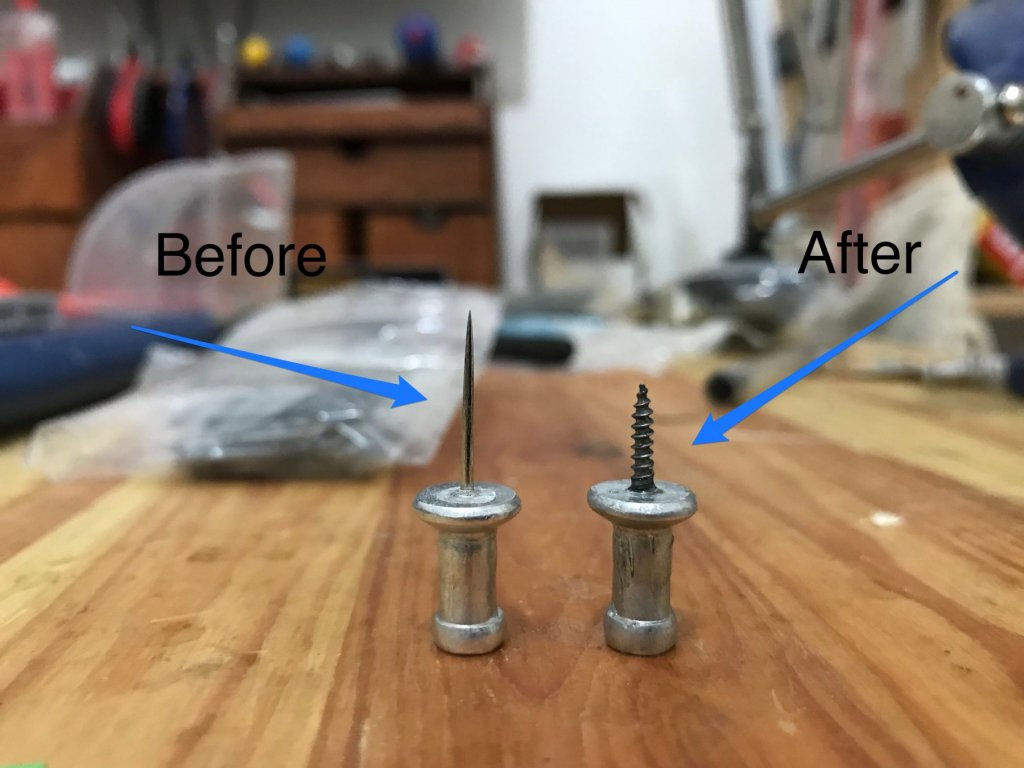
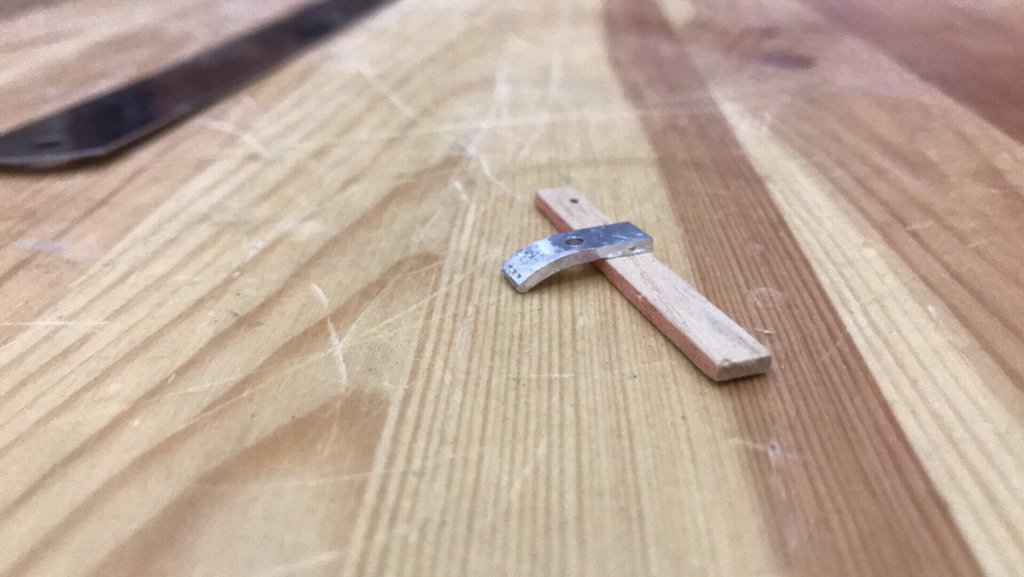
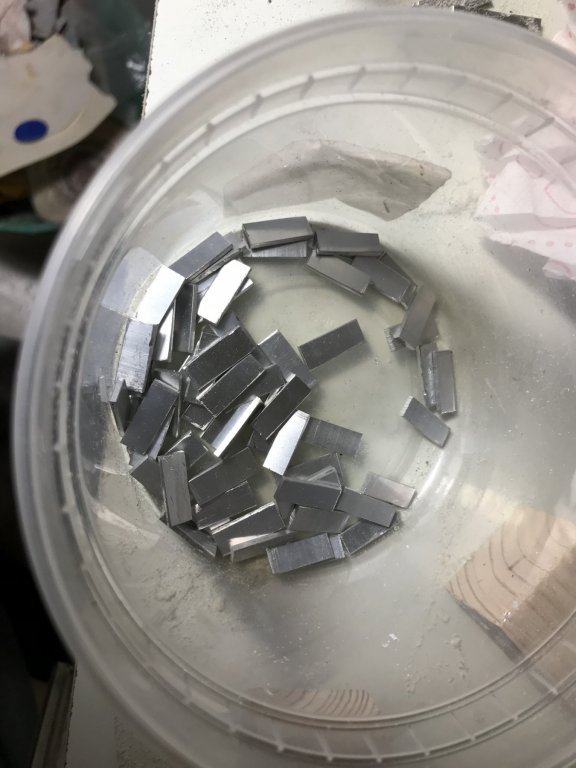
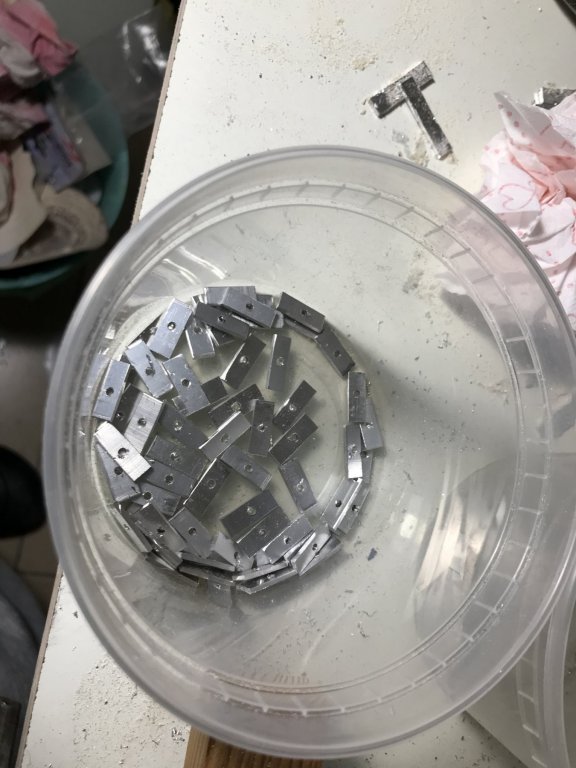
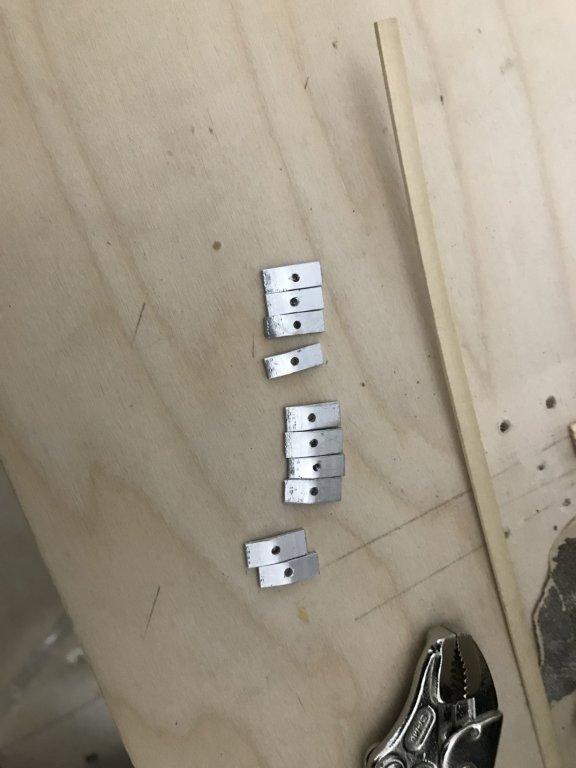
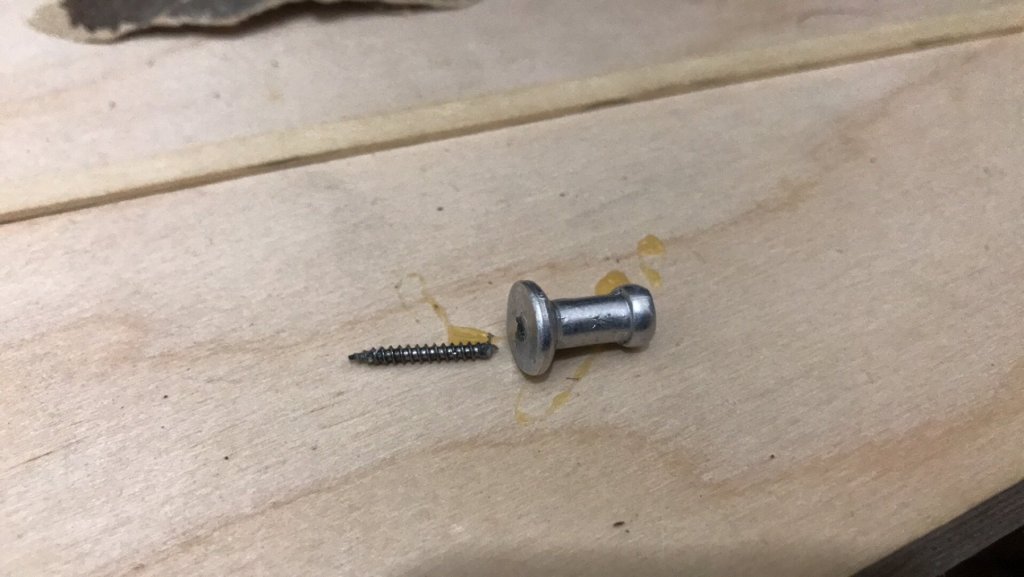
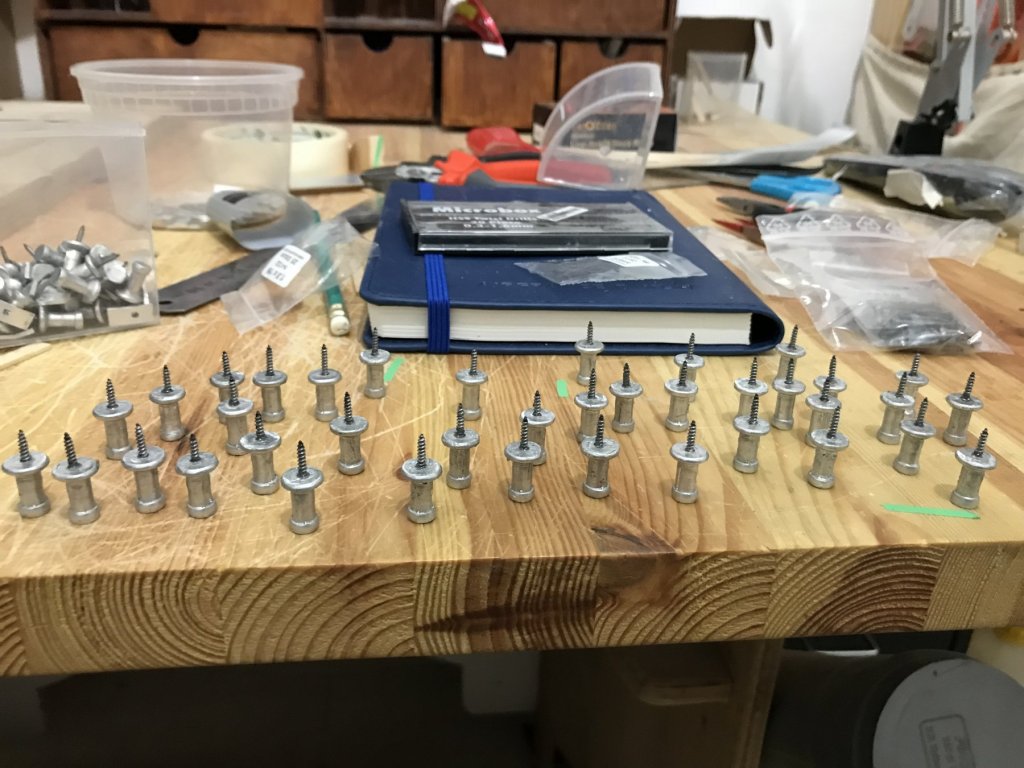
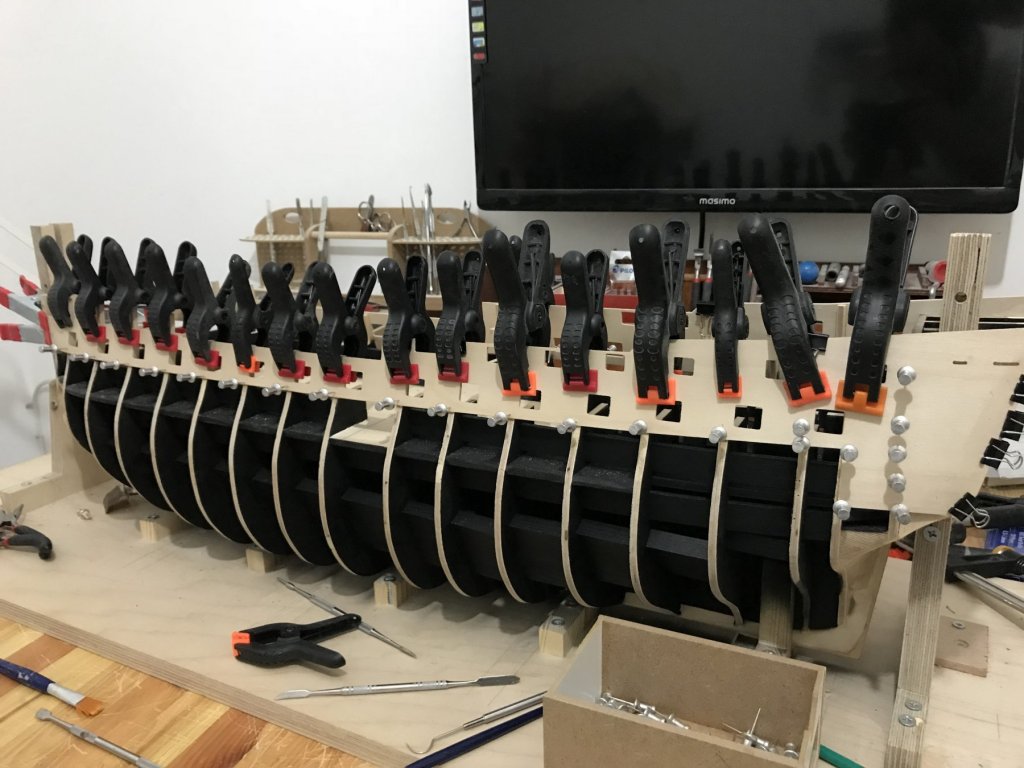
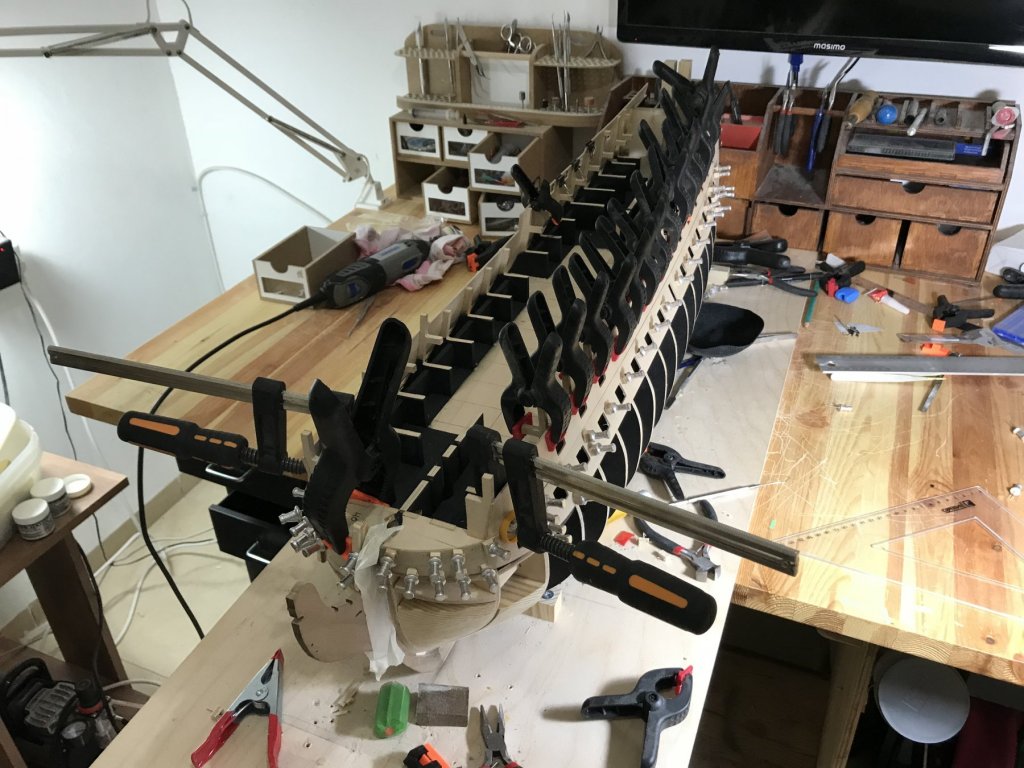
Getting rady to the next stage I saw some plank clampers at the internet also i saw them in some build logs ... but after talking with Moxis i decide not to buy the due the expensive price and also i heard that the metal clamp its very week ... so i decide to make my clampers by my self ... i got the idea for the screws from Moxis , for the handles i have use the head of the push pins , i took the pins out and drilled the holl with 2 mm dia the screws that i bought was 1.8 mm by the Moxis advice and after cutting the head of the screws i have glue them to the handle by epoxy glue , for the clamp i have cut drill and bend aluminum here is some pictures: The final product :


-
Thank you all
-
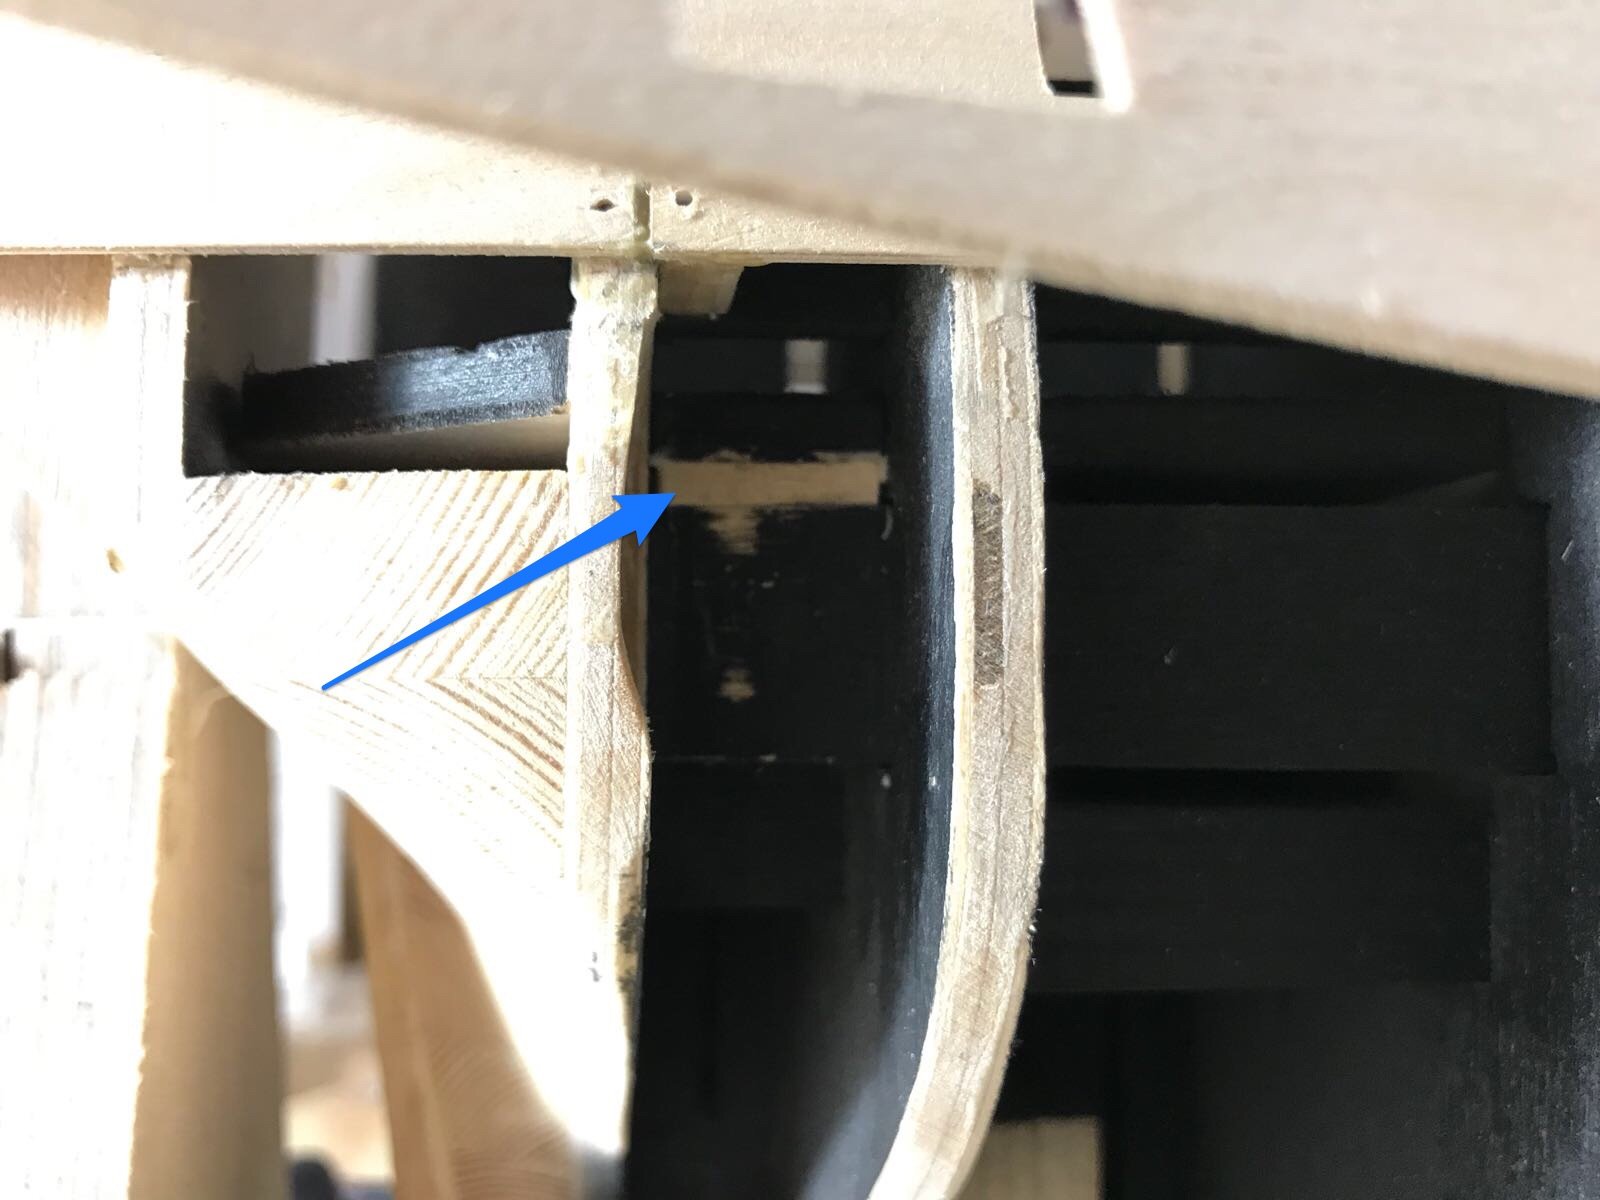
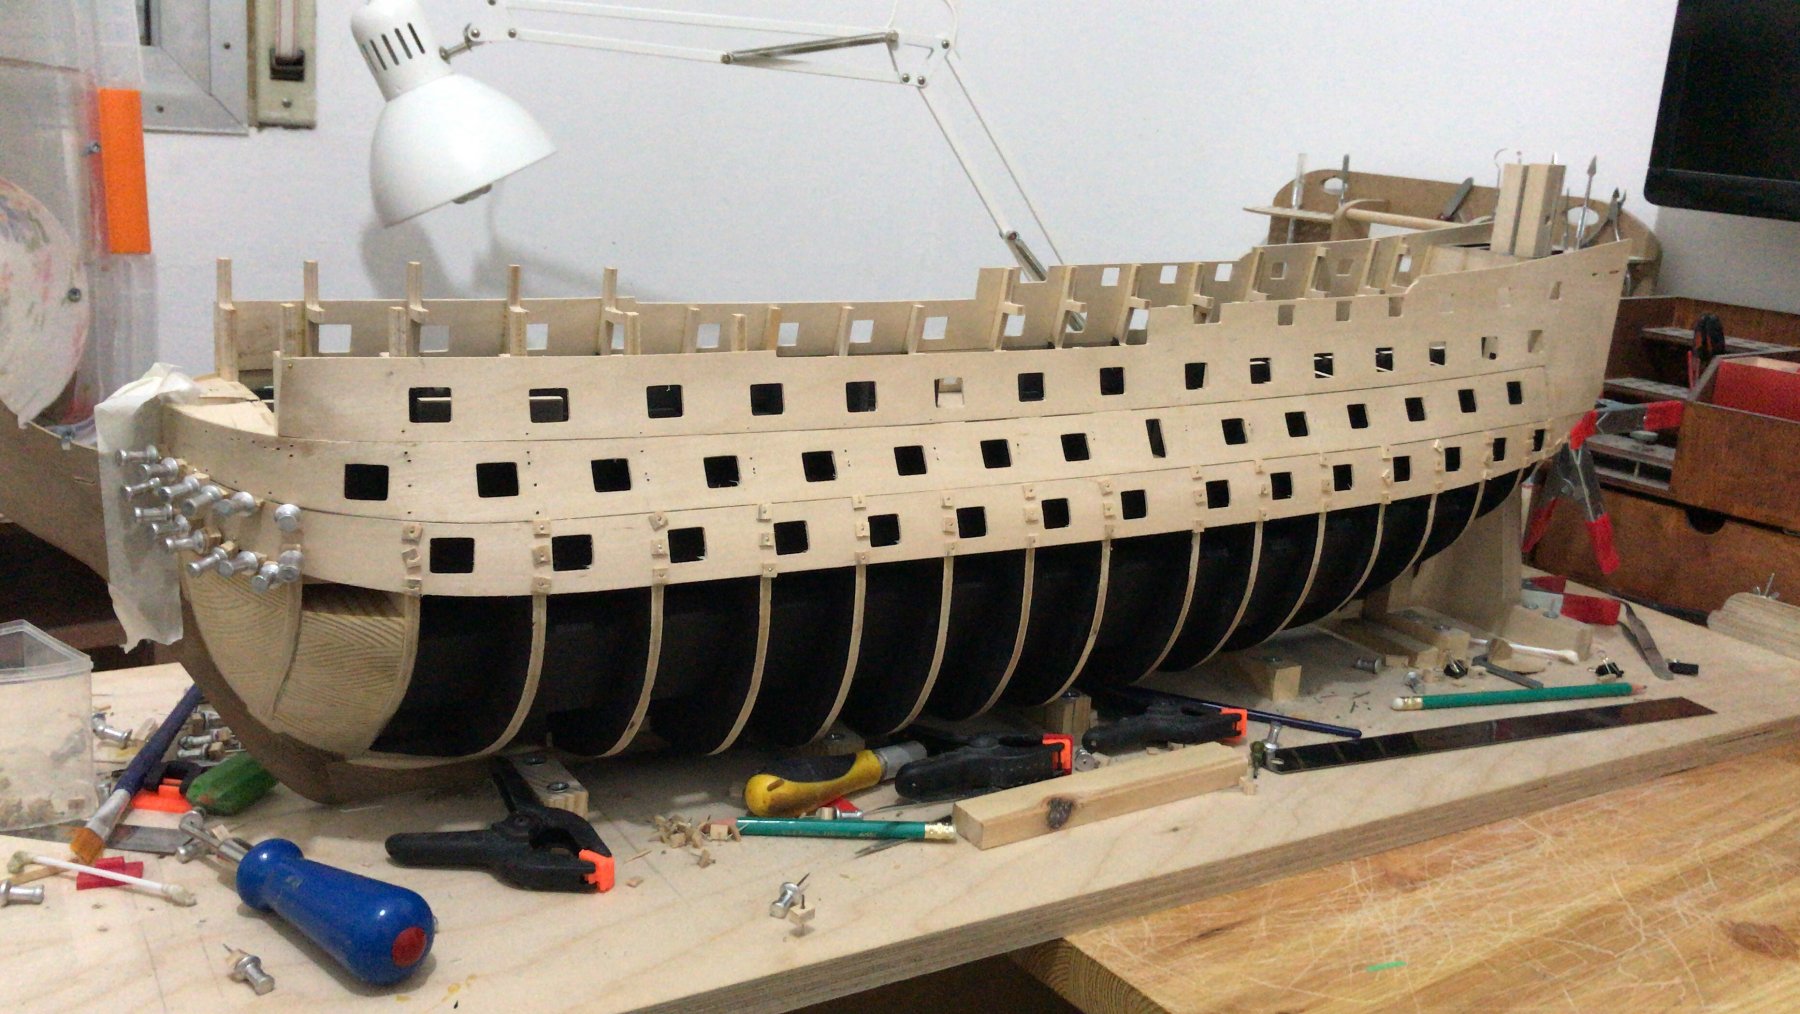
There is also a very important thing that you must pay attention before installing the last pattern between bulkhead 16 to bulkhead 17 the gun port its very hegh and when you will need to drill the center of the gun port for the cannon , you will not have good space to drill so i had to glue a piece of wood between the cannon support to the deck to have enough place to drill here is a picture (the pucture its before painting it black ...)

-
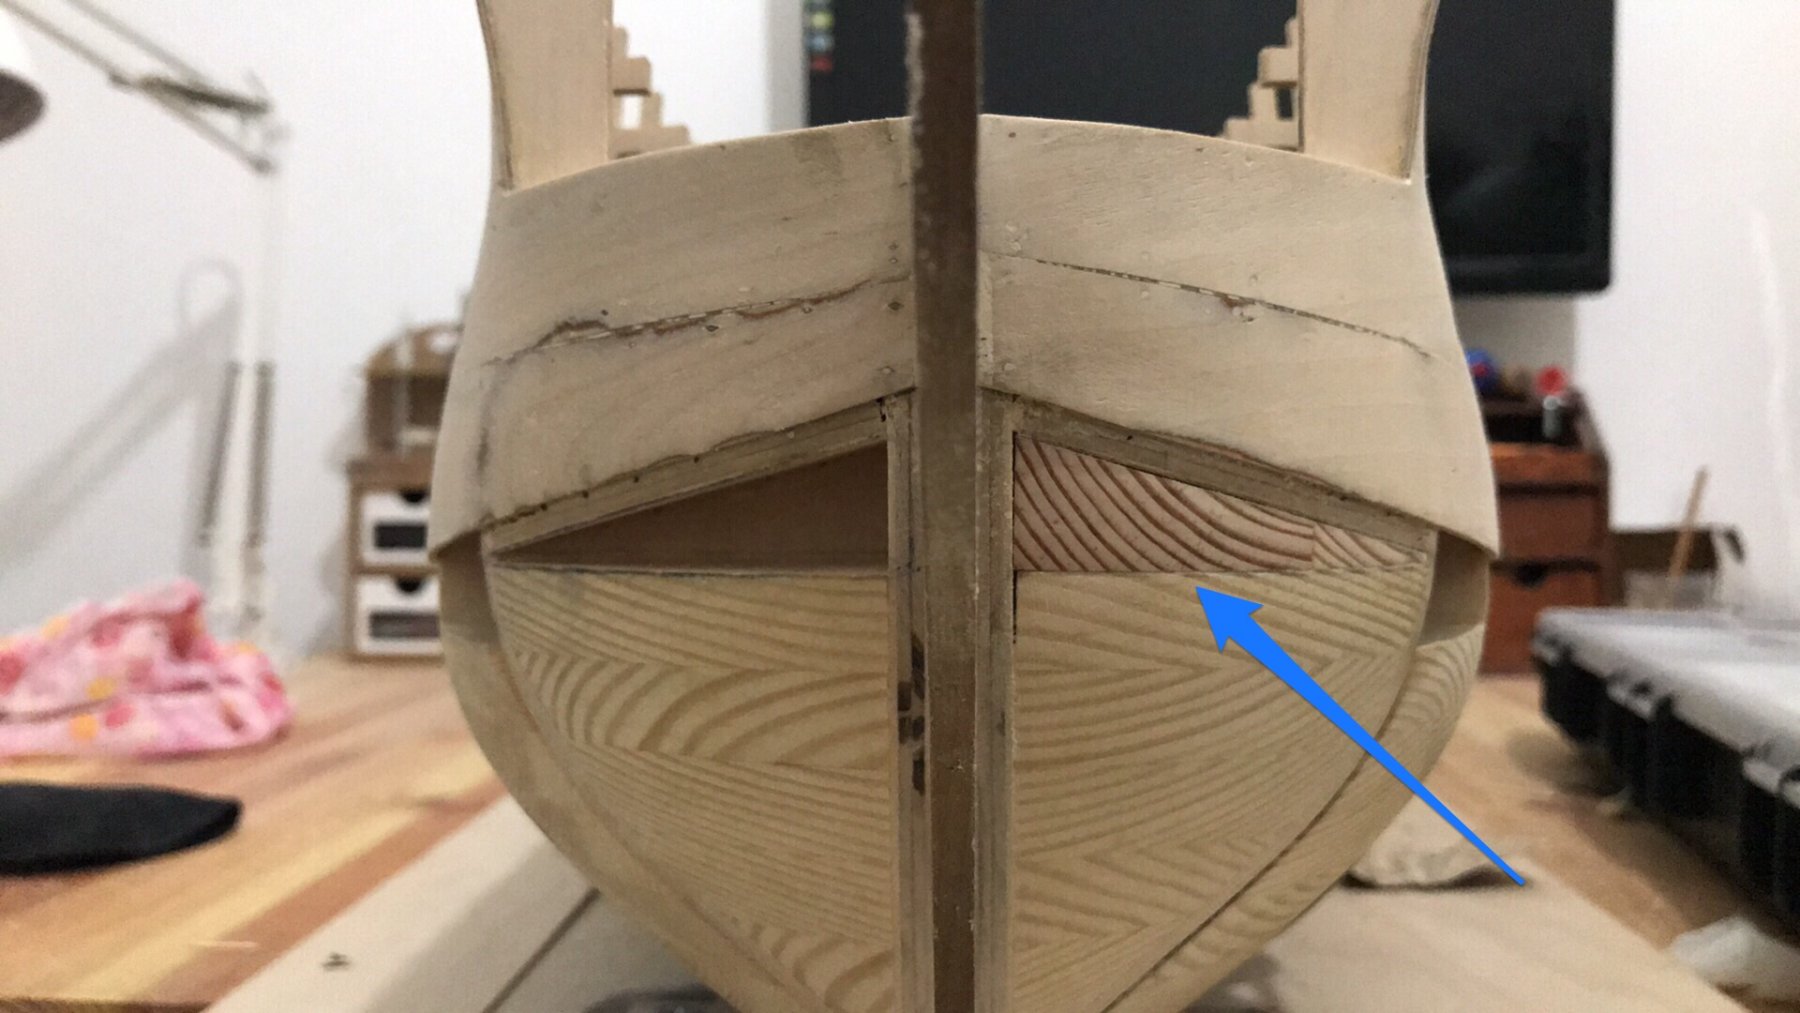
I also had to add block fillers at the bow between the blocks that i made before to the pttern suport You can see in the post above pictures that the block fillers are installed in both sides
-
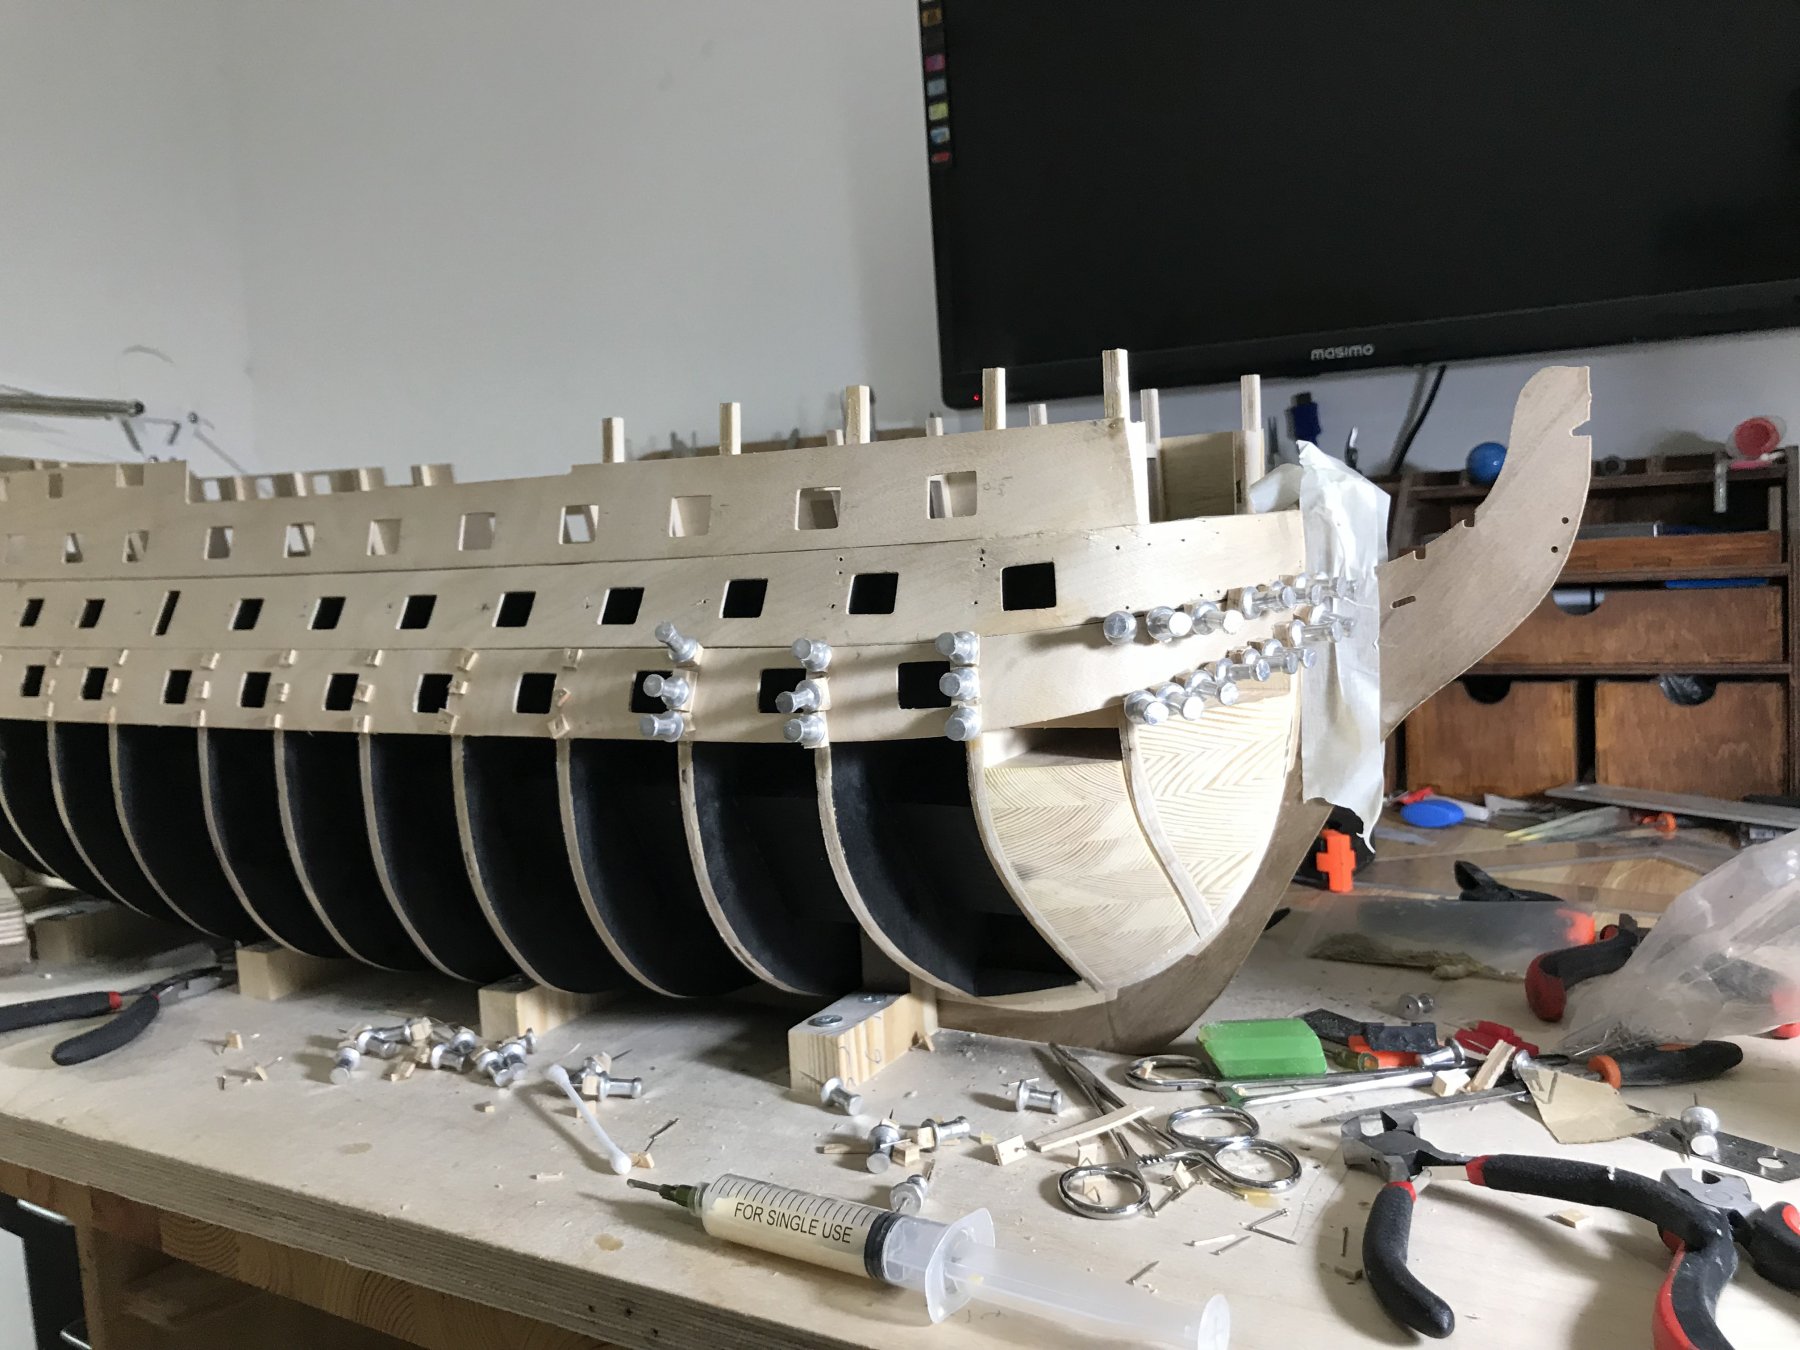
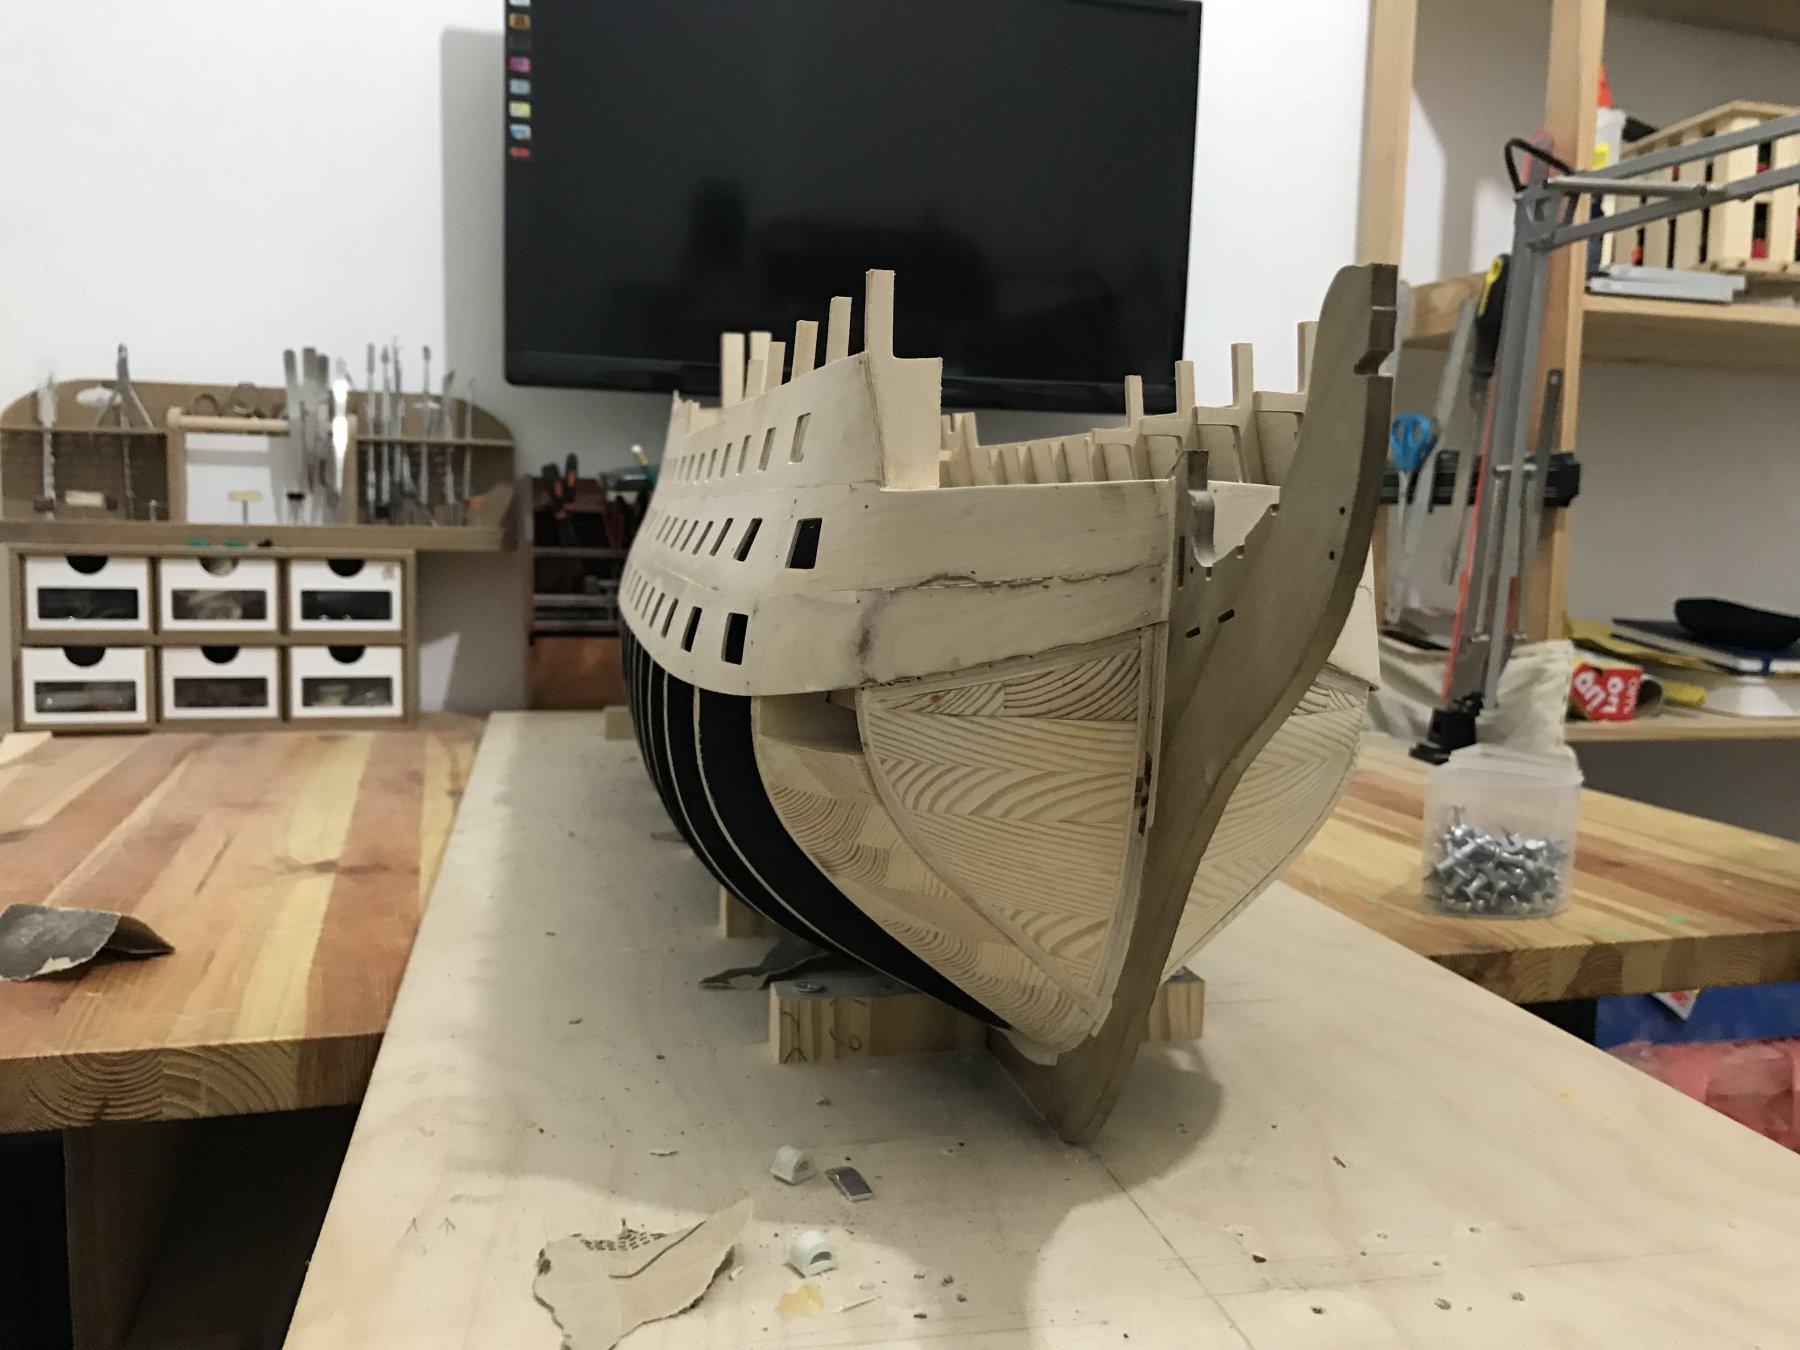
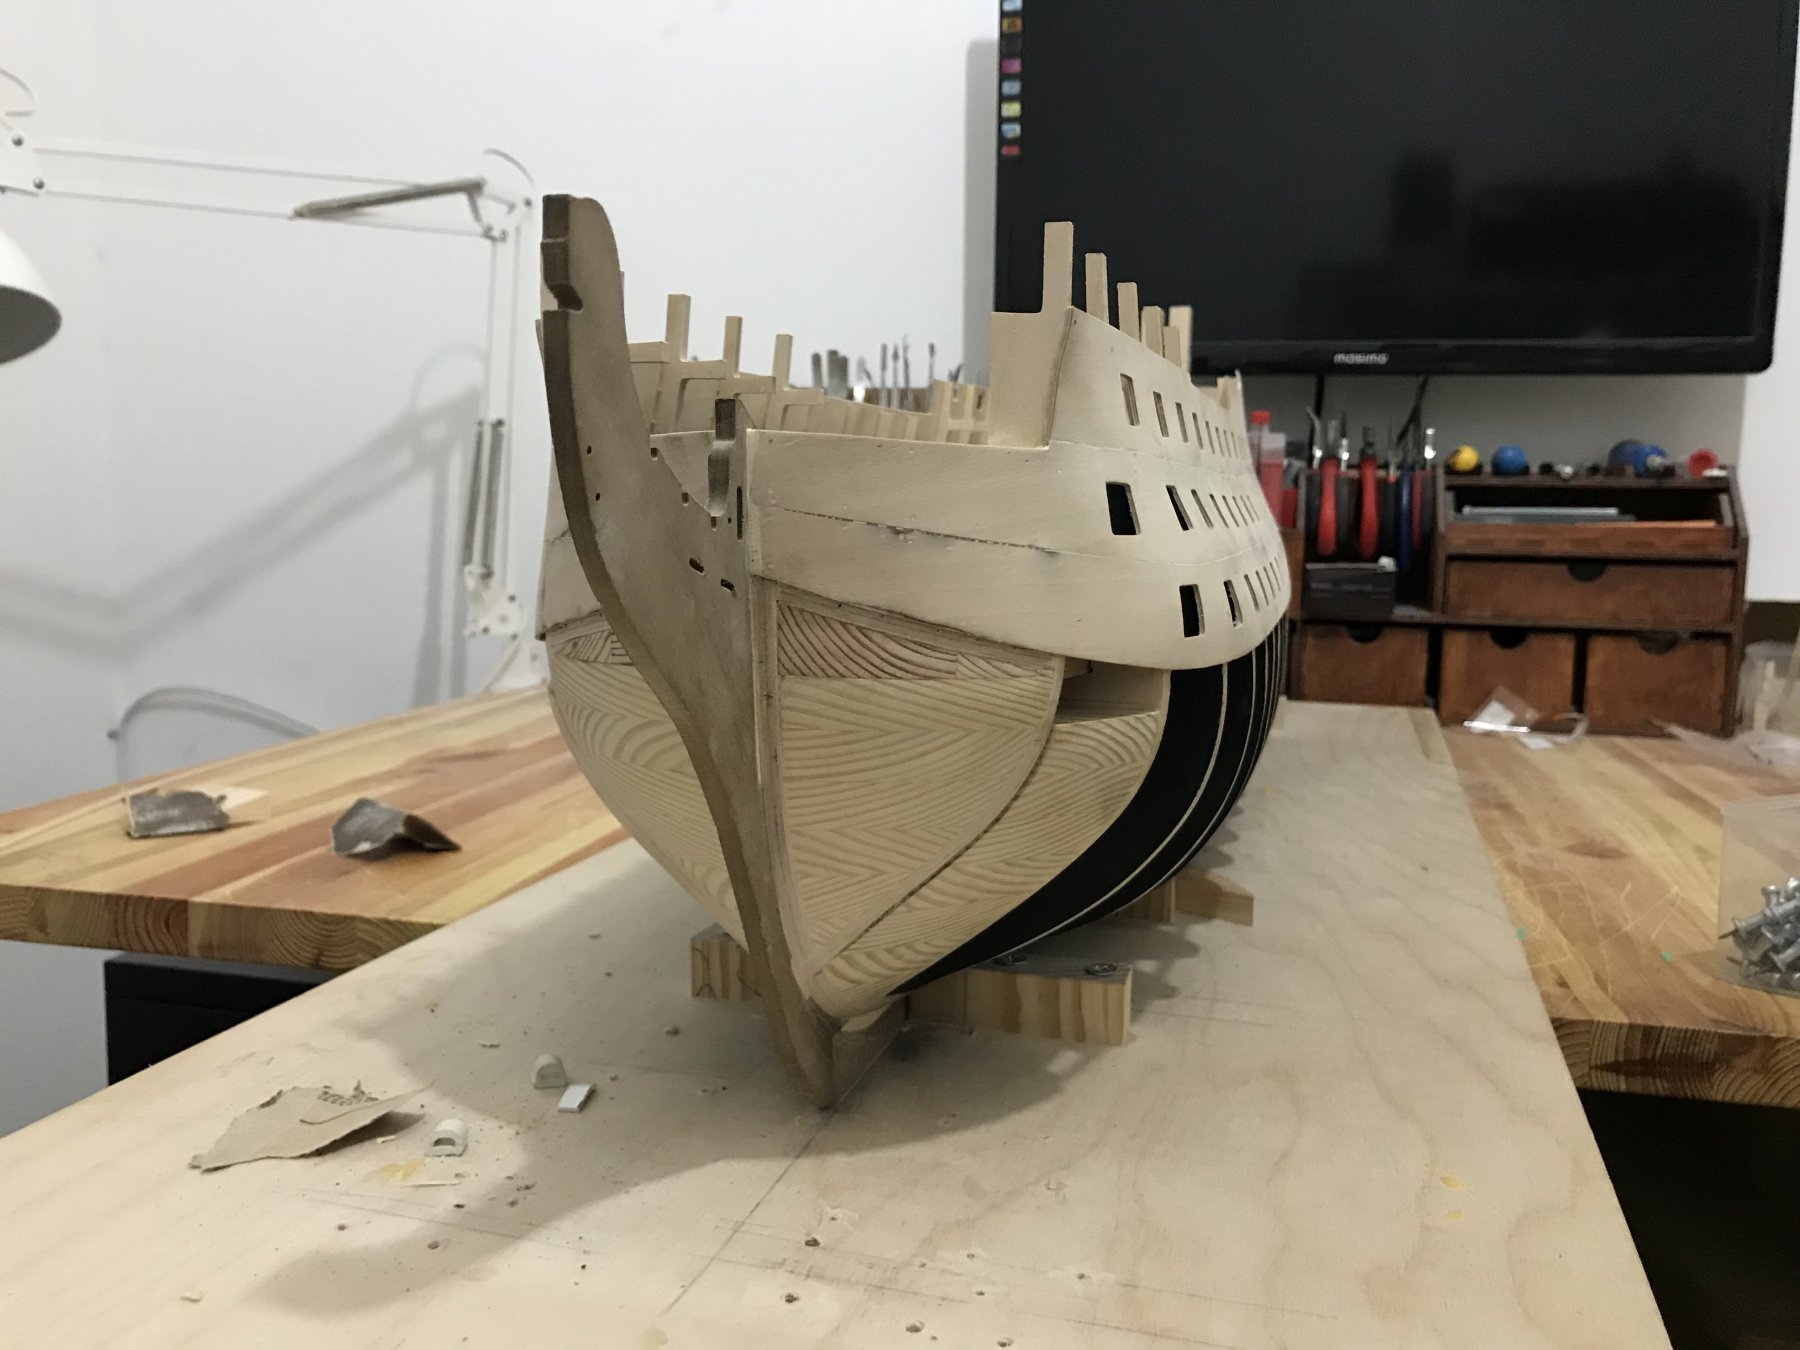
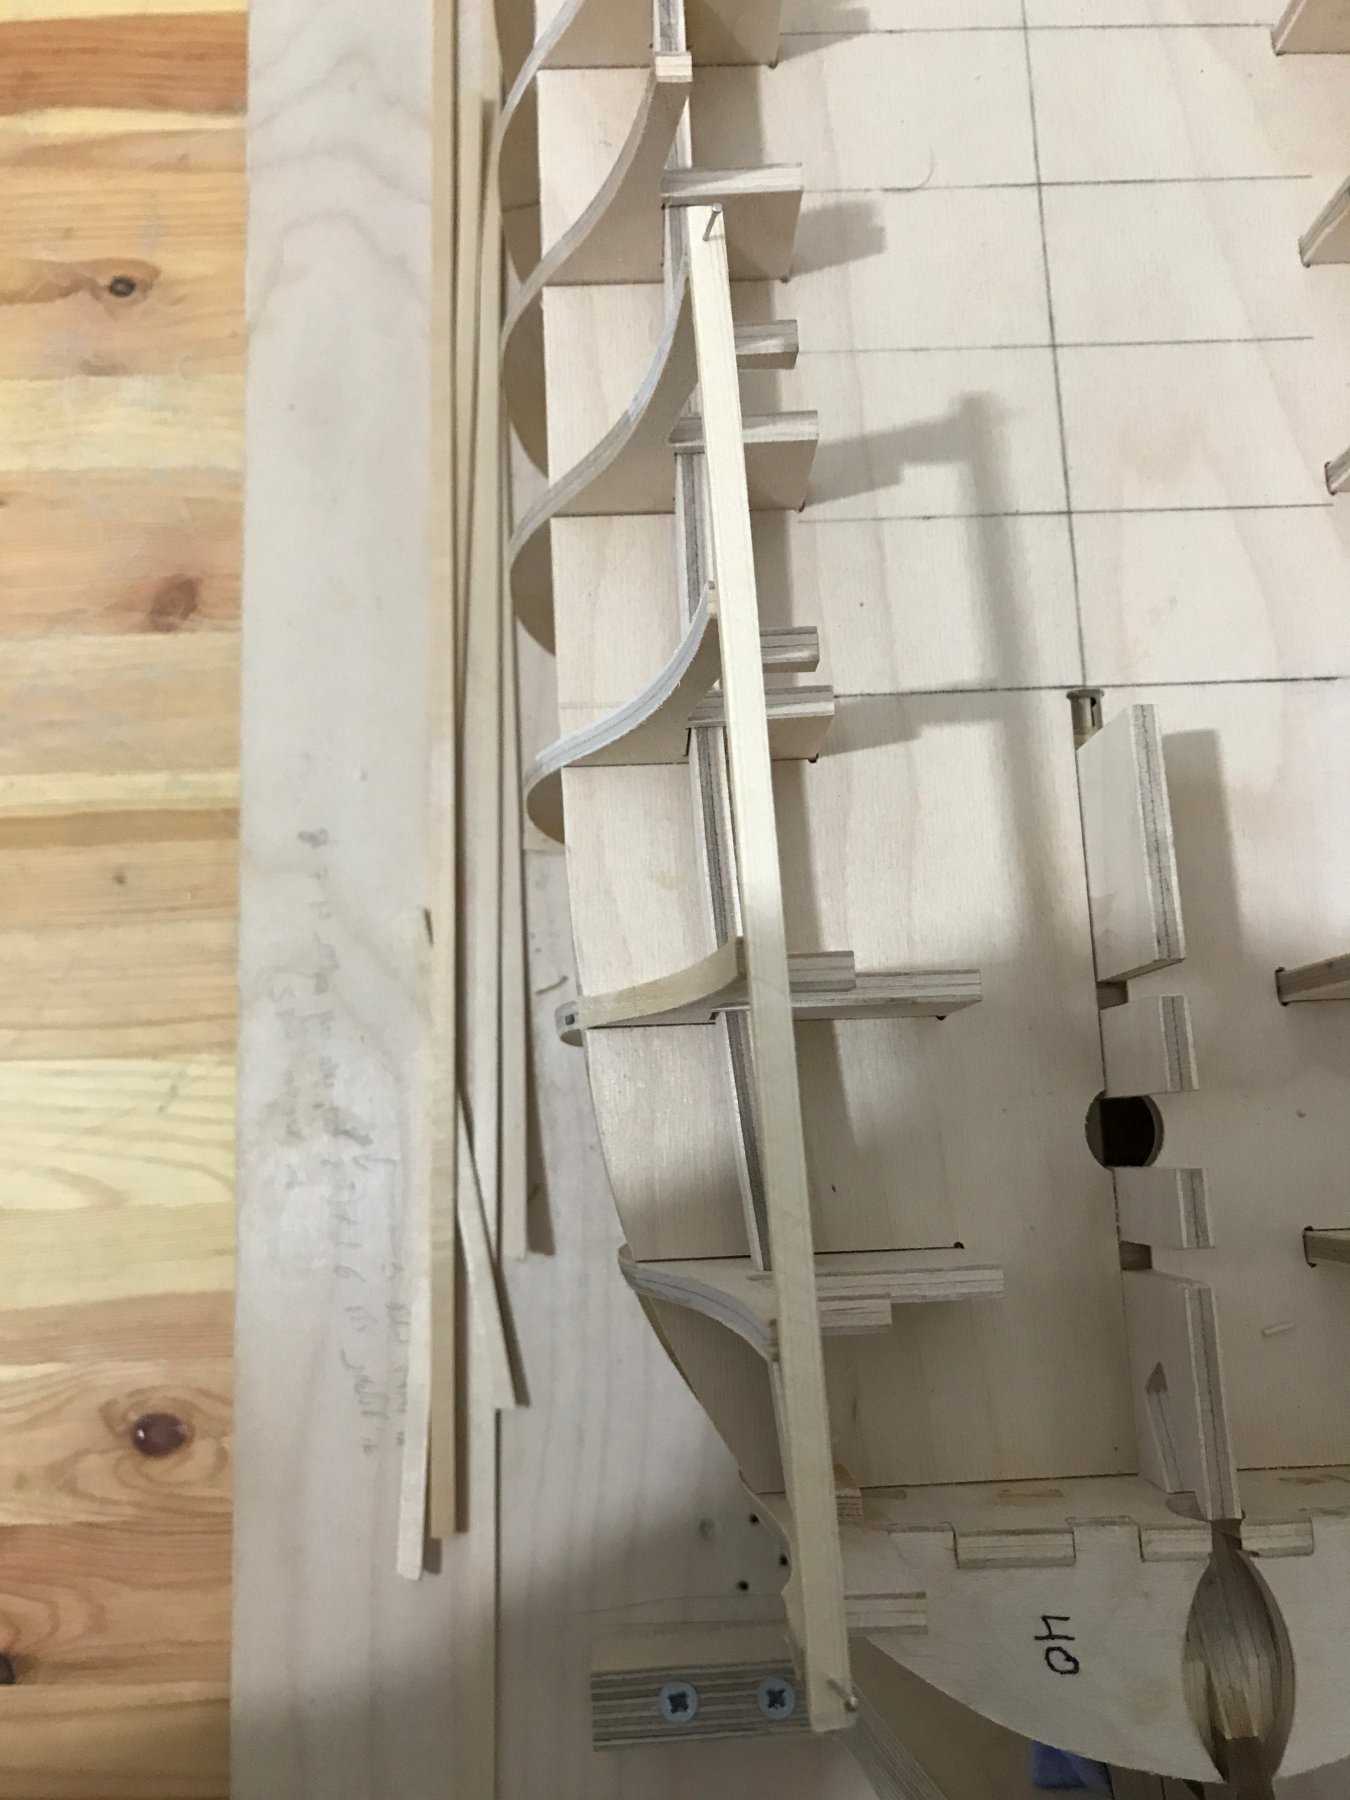
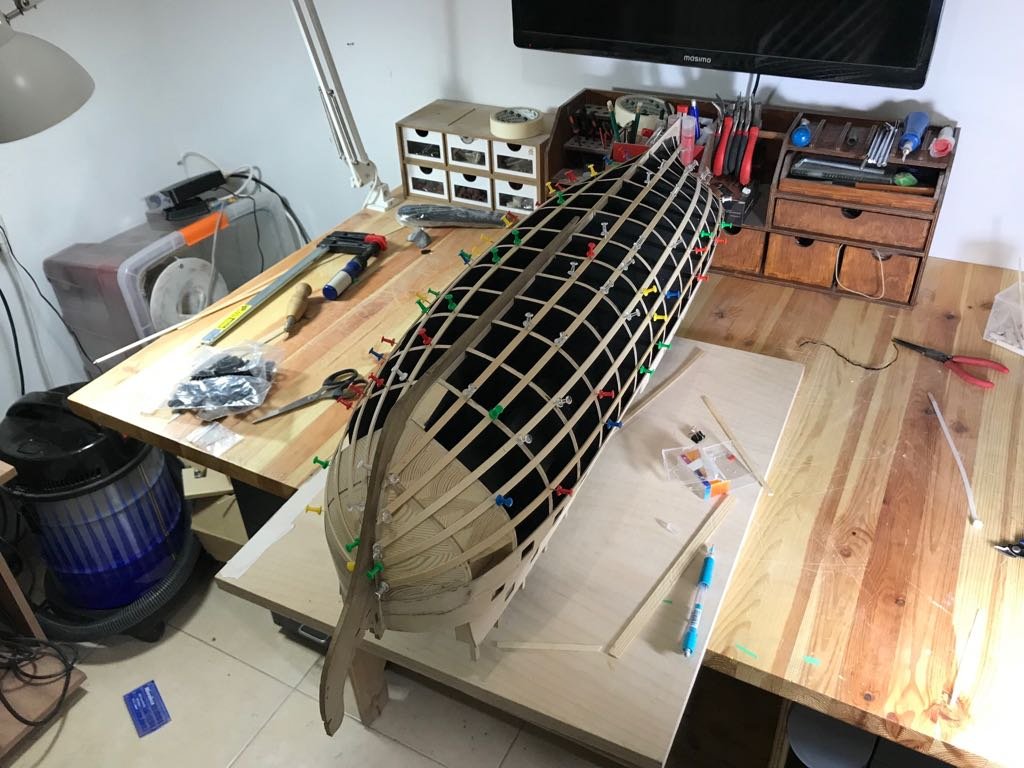
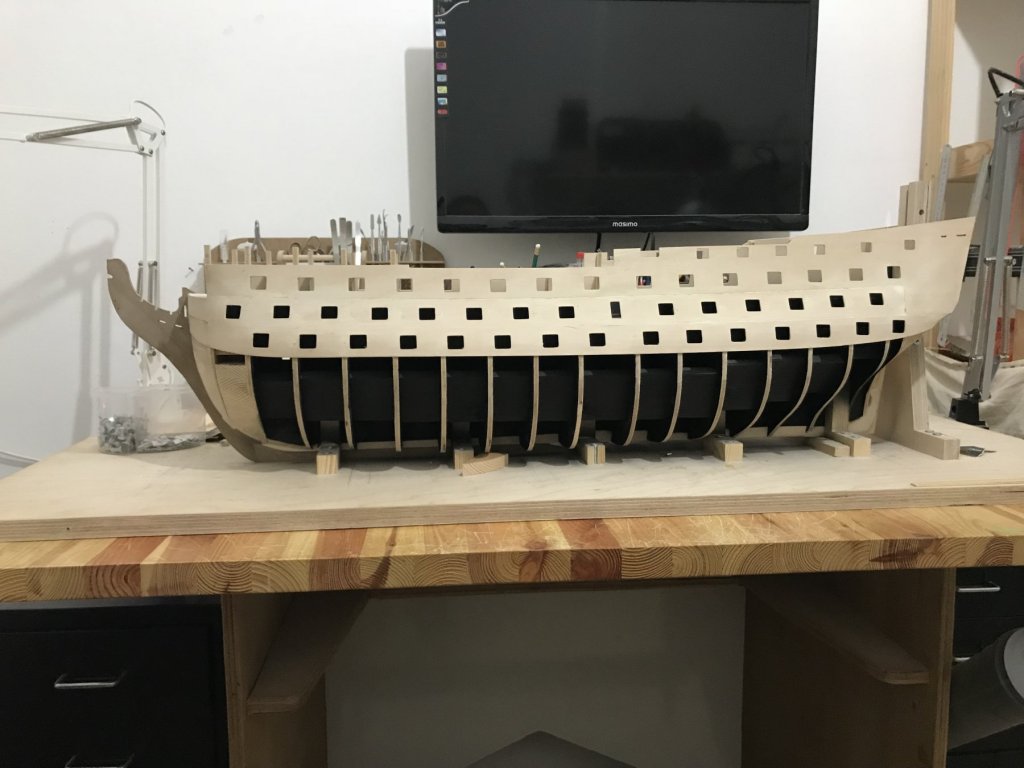
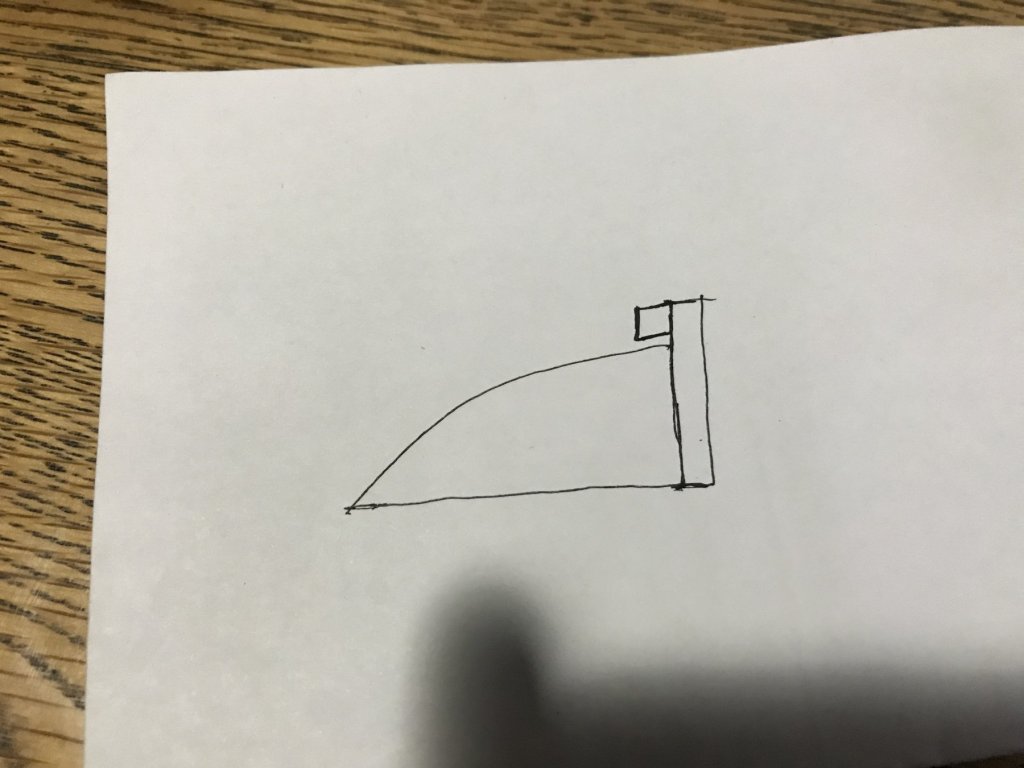
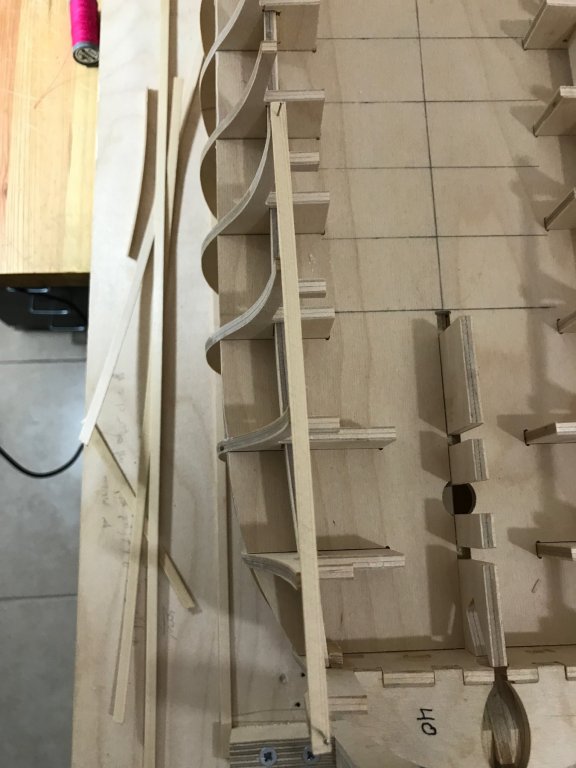
Hello there finally I can update my build log ... here is some pictures from installing the patterns process I can say that edge of the second pattern at the top doesn't mach withe edge of the firs one (at the bottom ) also at the curve of the bow section .... same thing between the third pattern to the second so I found the way to know how much you need to trim from the pattern to get full touch between the edges I have install the first pattern temporarily and then I was putting the secunde patterned I let hem lie on the edge of the first pattern then I marked the edge of the secunde pattern at the bottom of the first pattern : like in this picture : after marking I took the first pattern out and trimed the edge to the line that I have marked.... I did the same thing at the second pattern by using the third one (at the third the problem was at the bow section but it was a big problem to make them touch ....) here its some pictures of the process :


-
As always ! Nothing to say beside beautiful perfect amazing act. That is what happens when an artist putting his soul in his project ! Michael.
-
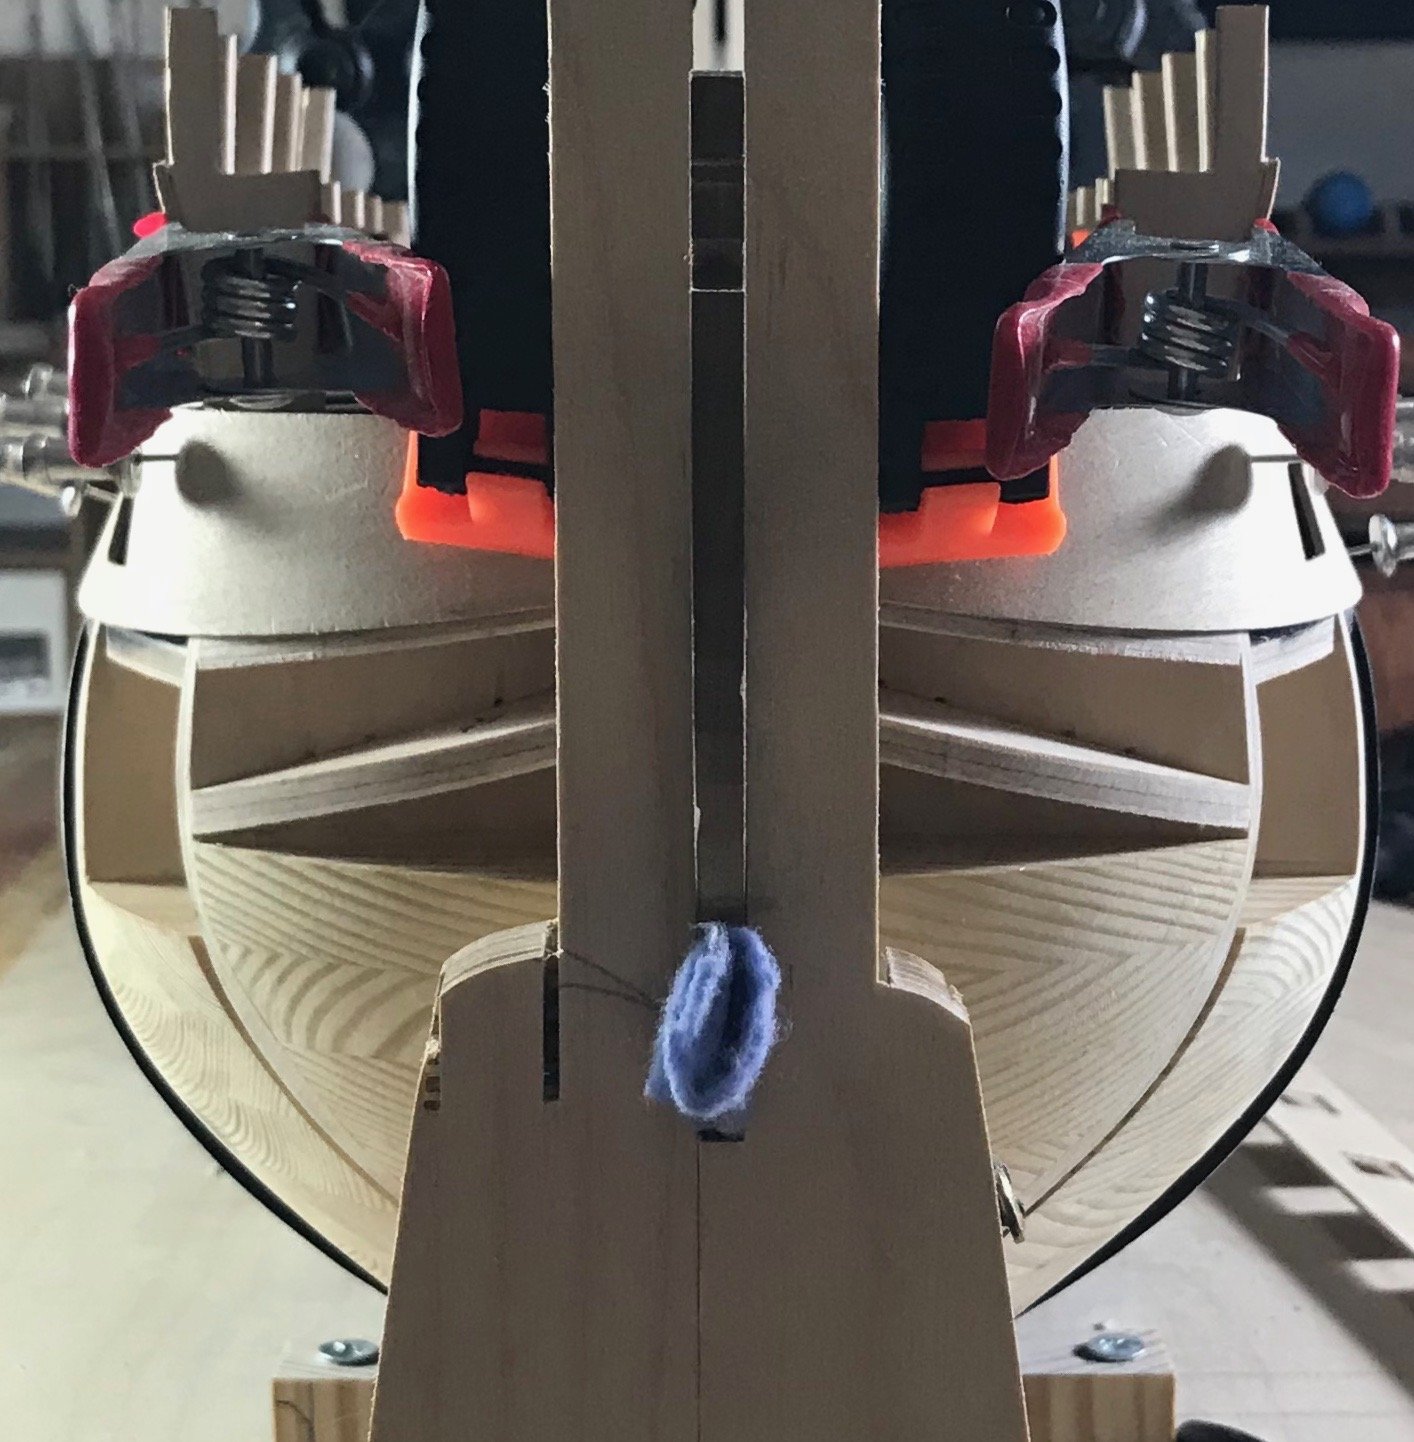
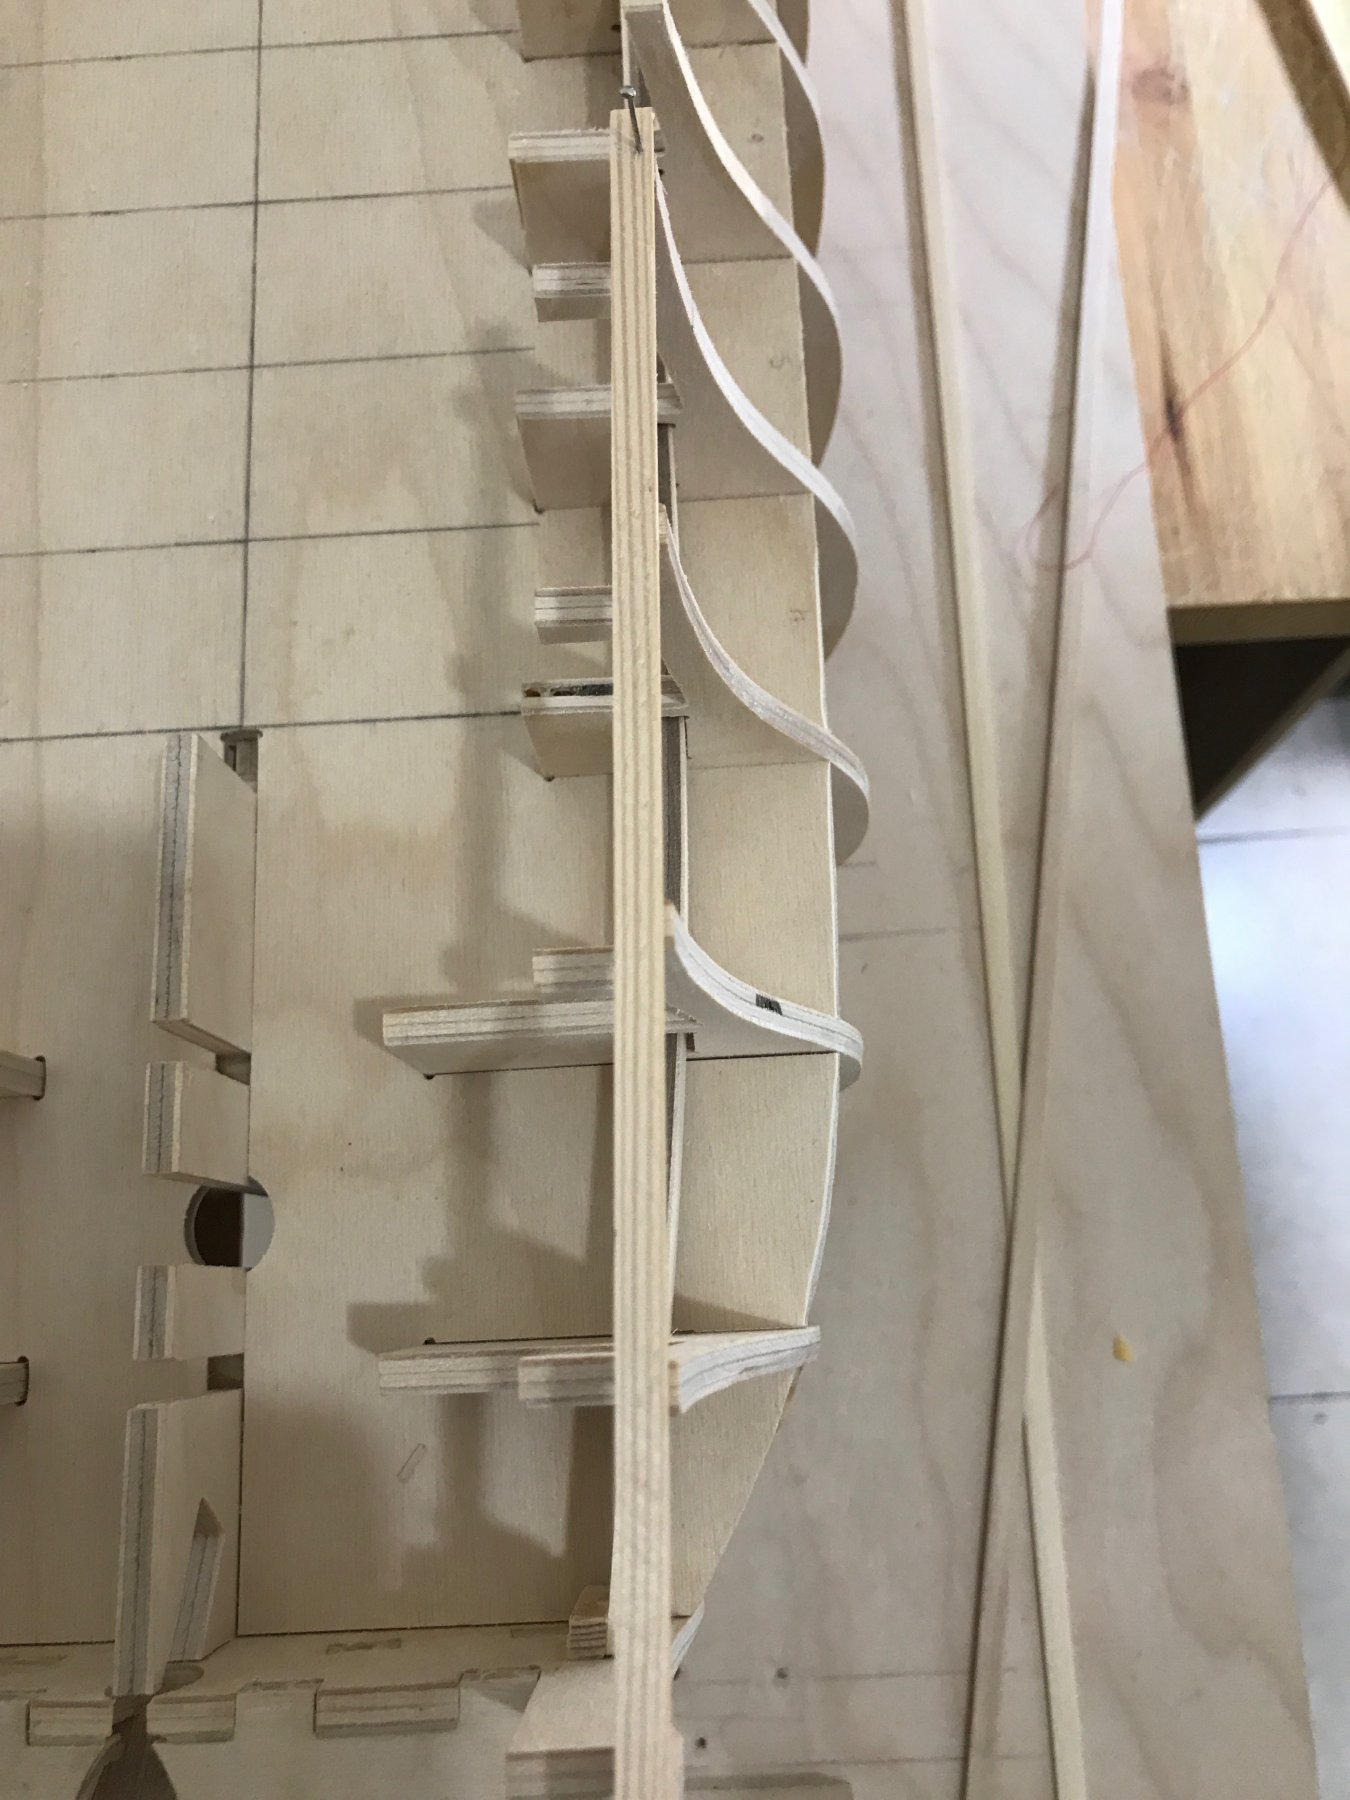
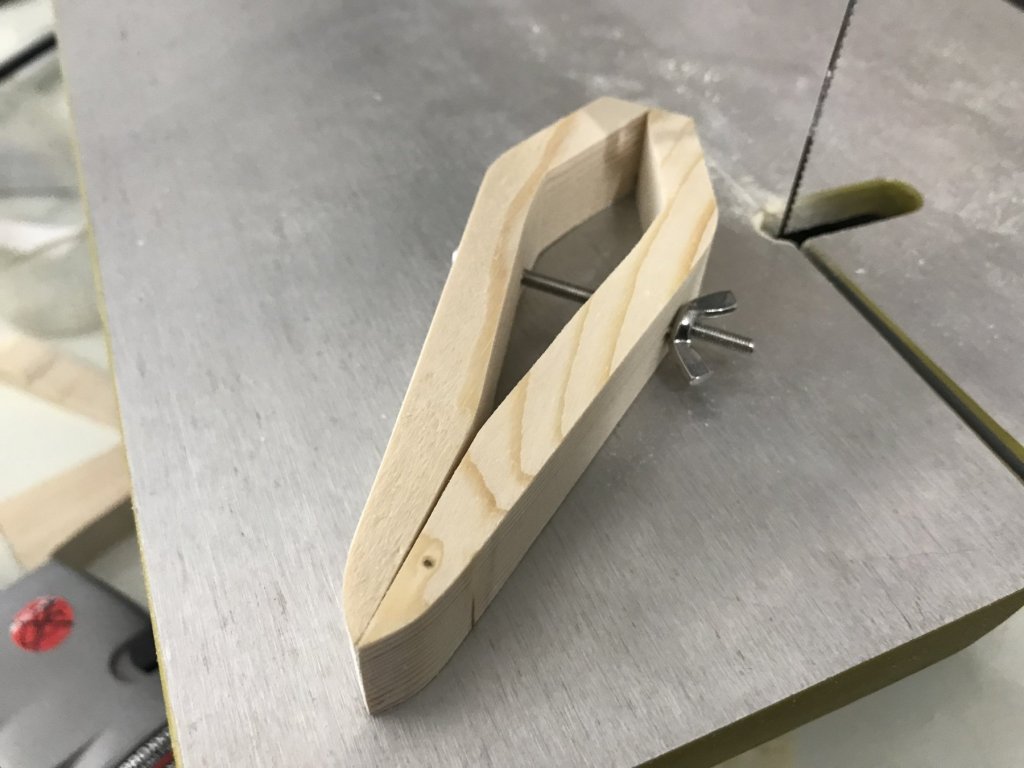
So before anything i want to share my idea about how to band the patterns / planks qt the bow im not sure if i will use the plank bander or haer dryer but i made this jig : i took a photo copy of the front pattern suport to get the exact curve and then i shaped some wood as the exact curve using the scrall saw and sand disc on the top i made a stoper with a space as the thick of the plank/pattern here is some picures


-
Thank you EJ Thank you Robert ! You always has the right solution !!! that picture help a lot because its exactly as i calculate the situation
-
Also it says that the gun port must to be flash with the front of bulkhead 17 , the problem is that if it will flash with the gallery pattern all the way so it will never be flash with the front of bulkhead 17 ! So from all that question it must be falsh only in the middle (or the first third as the picture of the factory ) and after glue the patterns need to sand the axcess material from the back line of the gallery support also from the doagonal adge of the gallery support all the way to the kill to be flash as the gallery suport ! And need also to glue a little piece of wood from the middle to the top at the gallery suport to be flash with the line of the gun port please correct me if im wrong
-
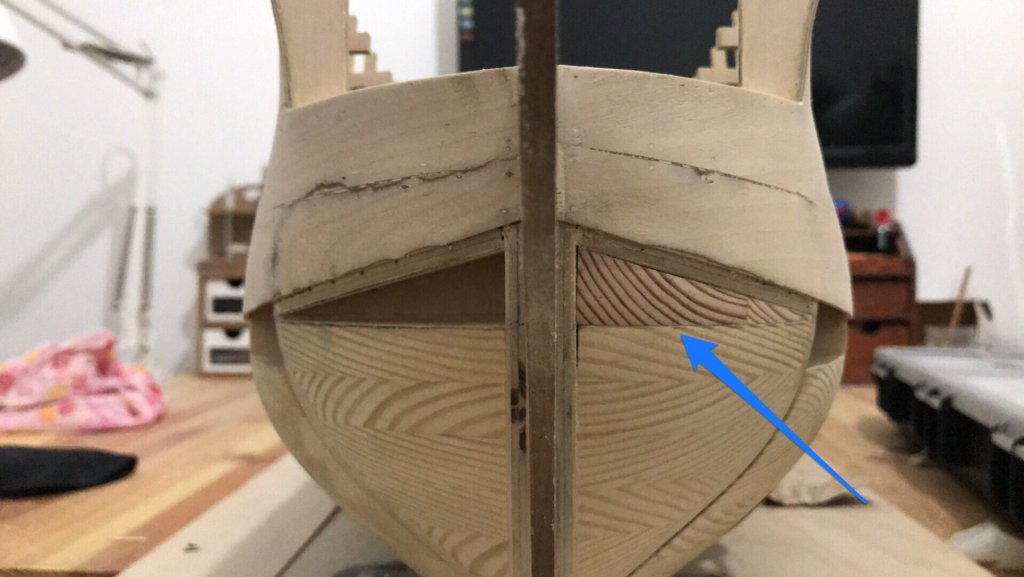
Also other thing the diagonal adge of the pattern at the back (in the first pattern) is not covering the diagonal adge of the gallery support !!! Pattern diagonal adge 14mm gallery diagonal adge 17mm its notice also in the picture from the factory ...
-
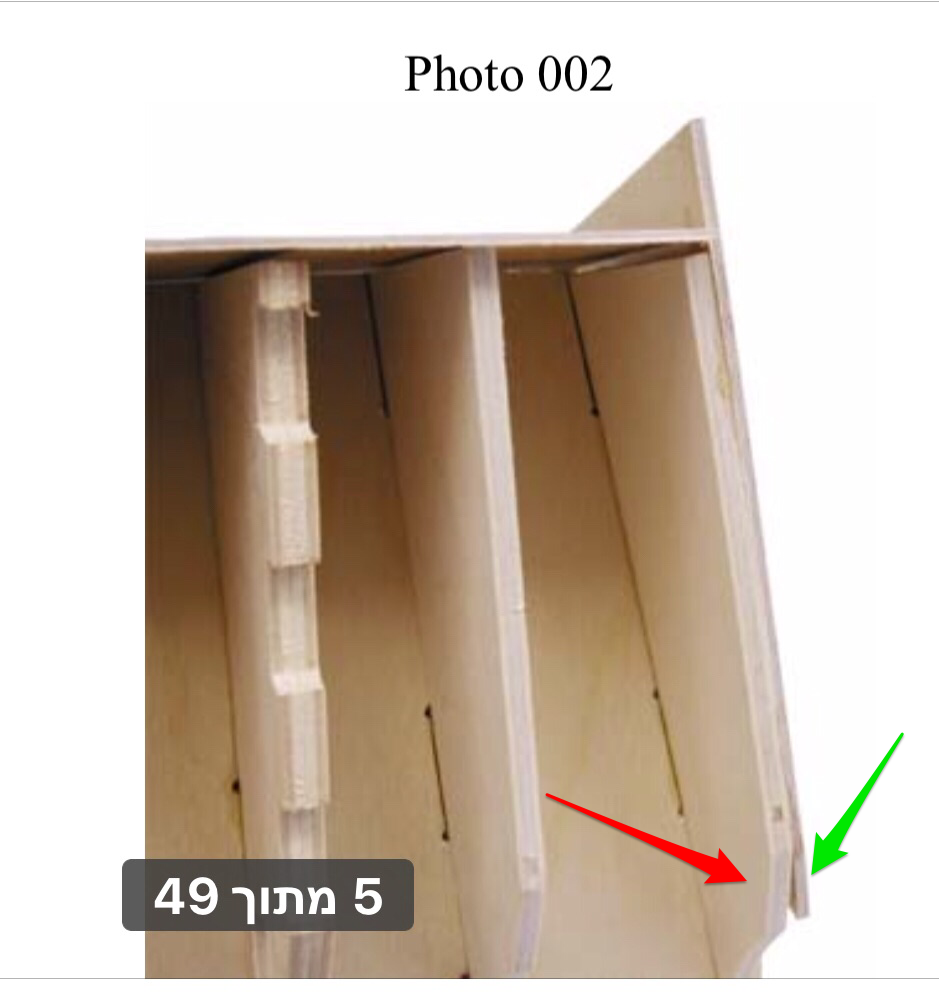
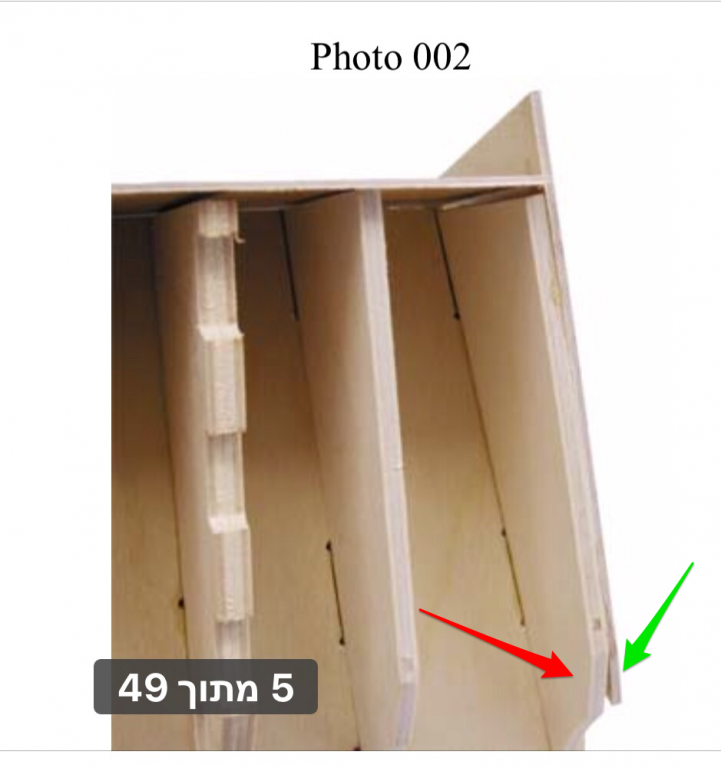
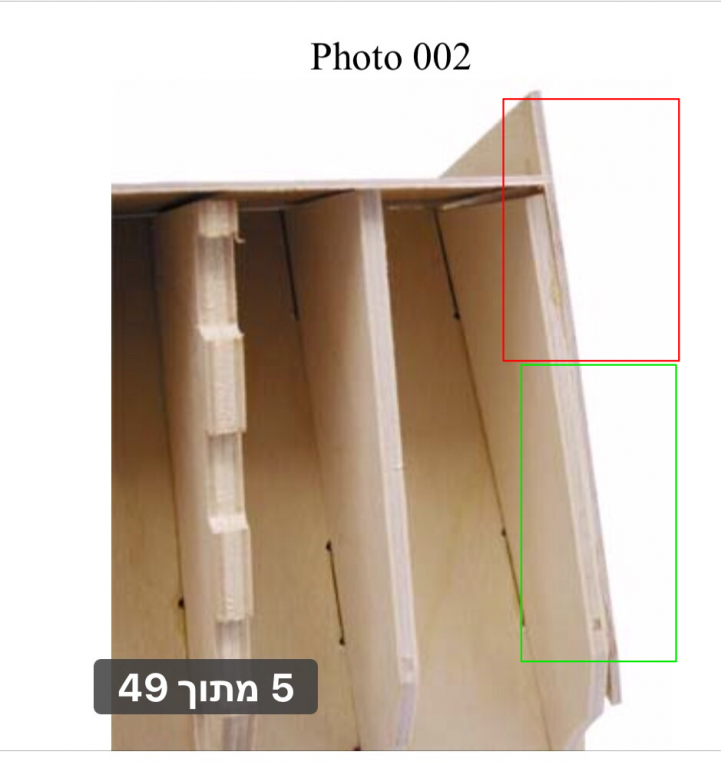
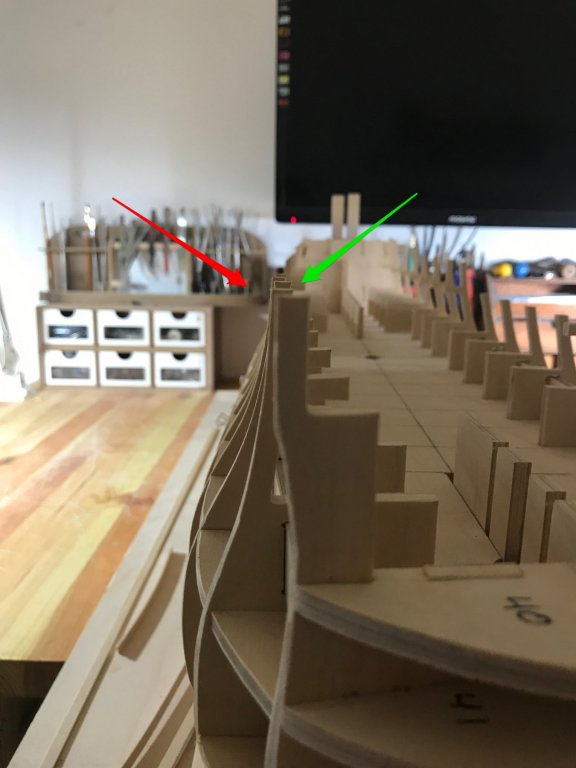
Now about the new stage (installing the gun ports patterns ) in the instructions it says that the first pattern must be flash withe the gallery support ... it is imposible to fo that becouse if it will be flash with the gallery supports the front of the pattern (next to the bow) it will go to much down ... also you can see even in the picture of the factory its not flash with the gallery supports ...(look at the red square that the pattern is out of the line of the gallery support ) also if the gap starting at the firs third of the gallery support and going out of the line its meen that at the bottom it will go in of the line !!! And if you will look good at the picture (on the green square ) you will see that in this section the pattern its more in from the line ...
-
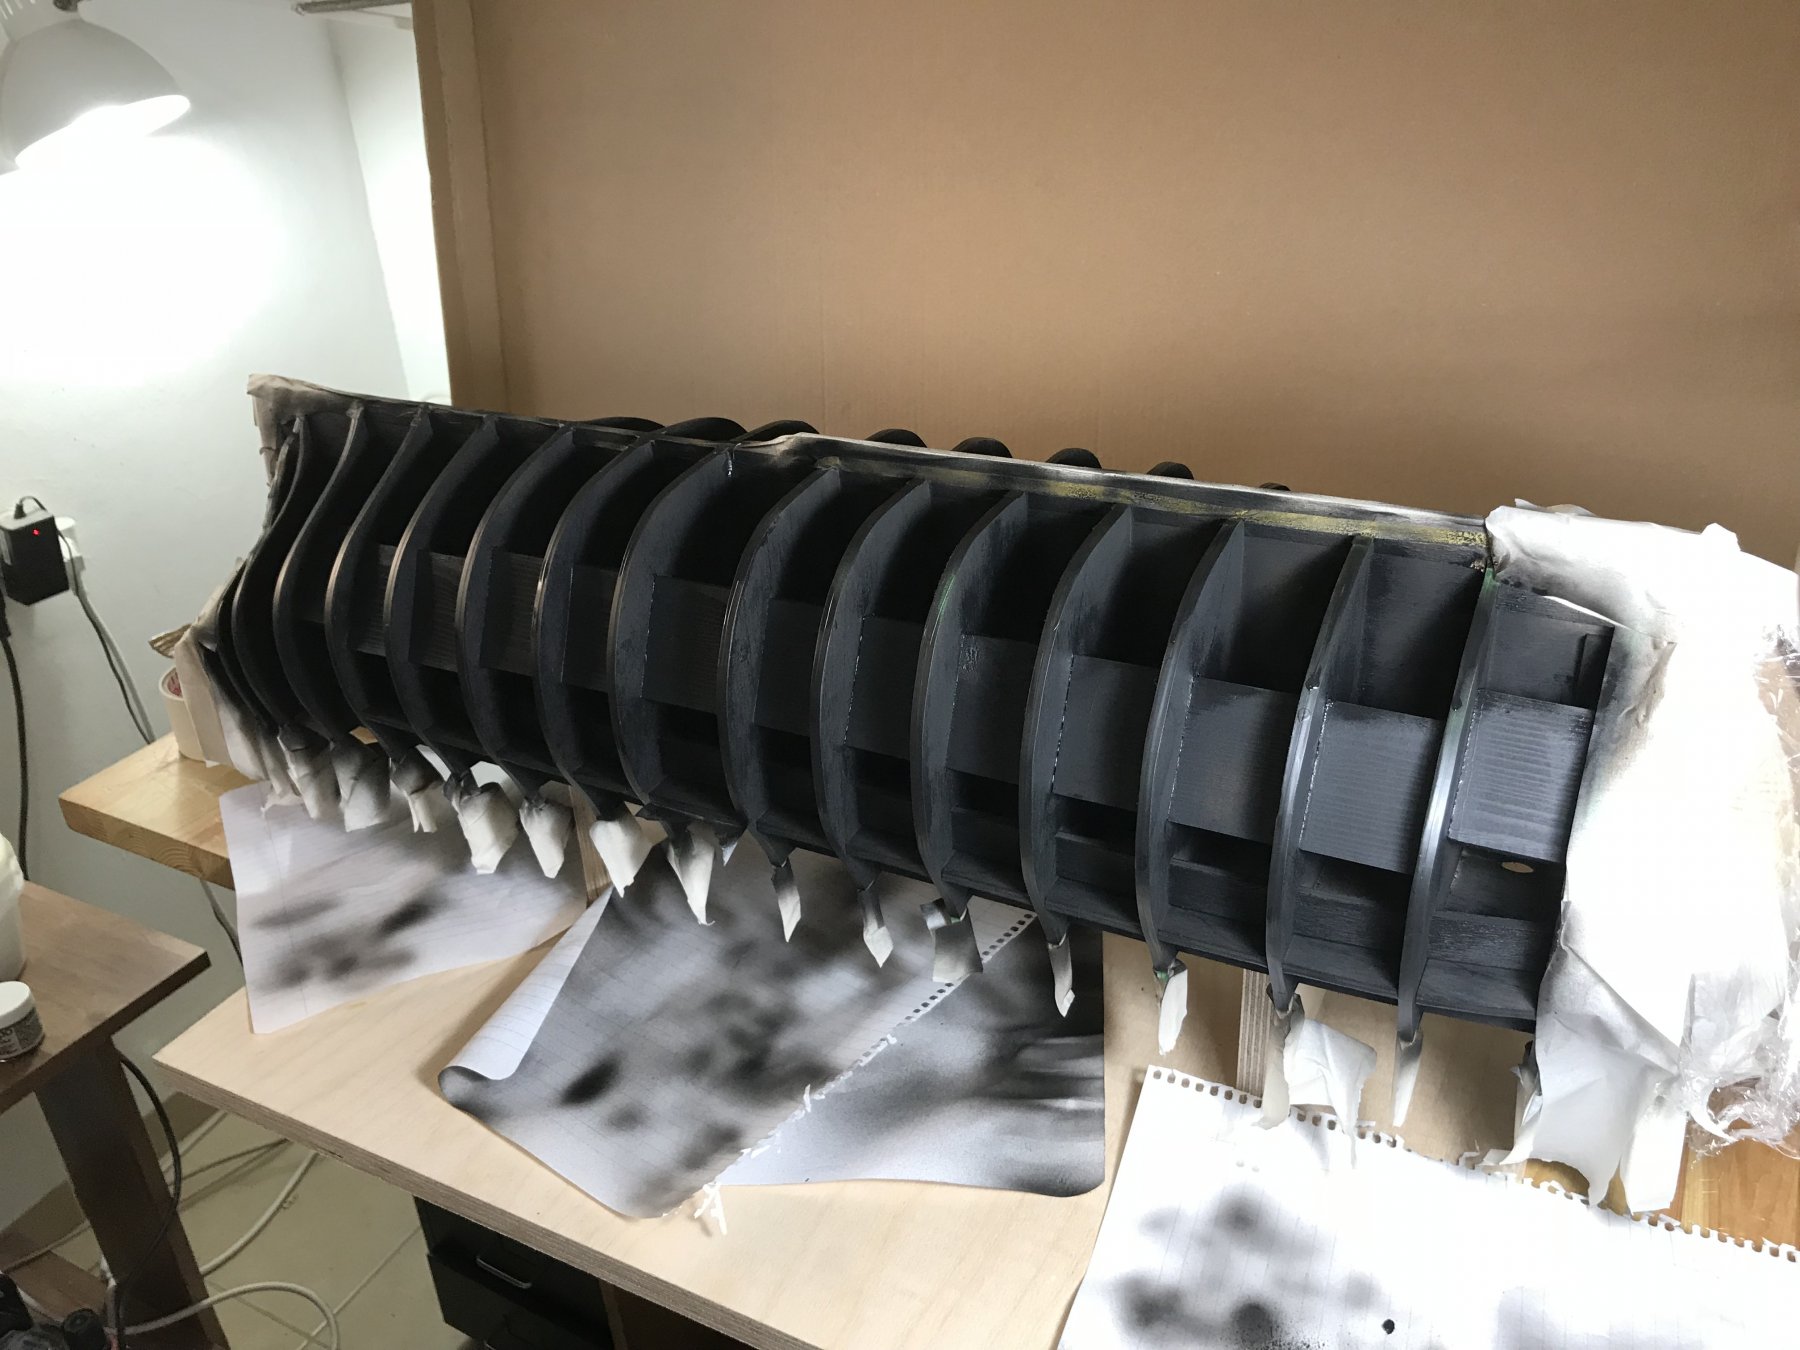
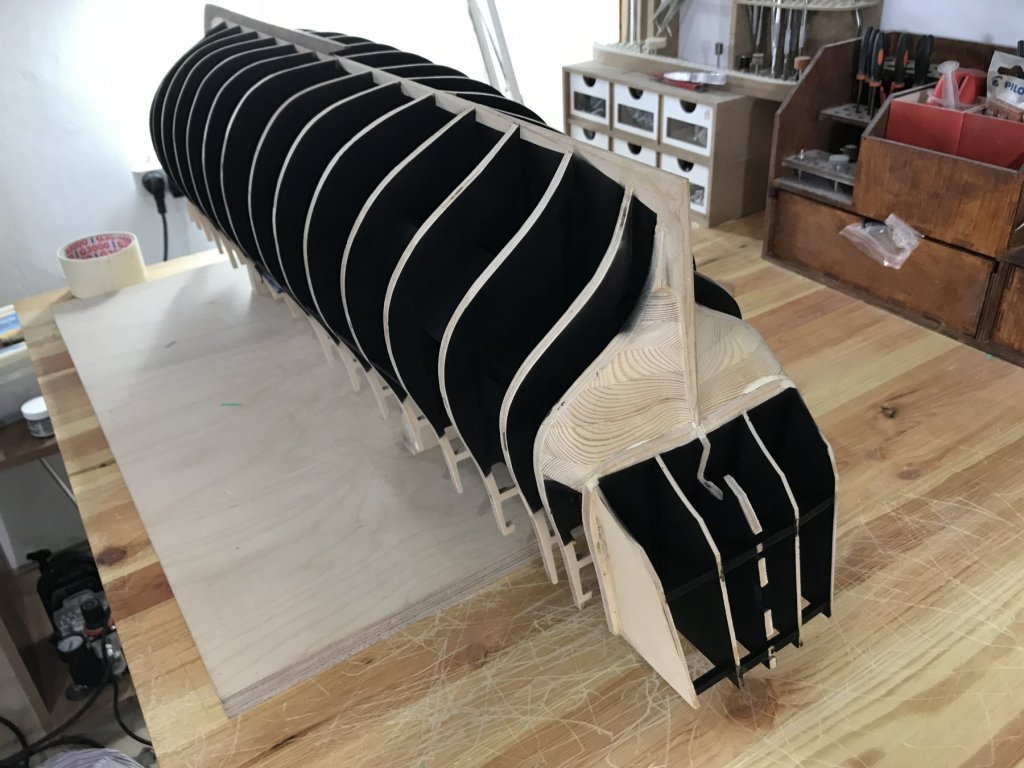
about painting I have found that cup very useful for the air brush: and here is some pictures of painting :


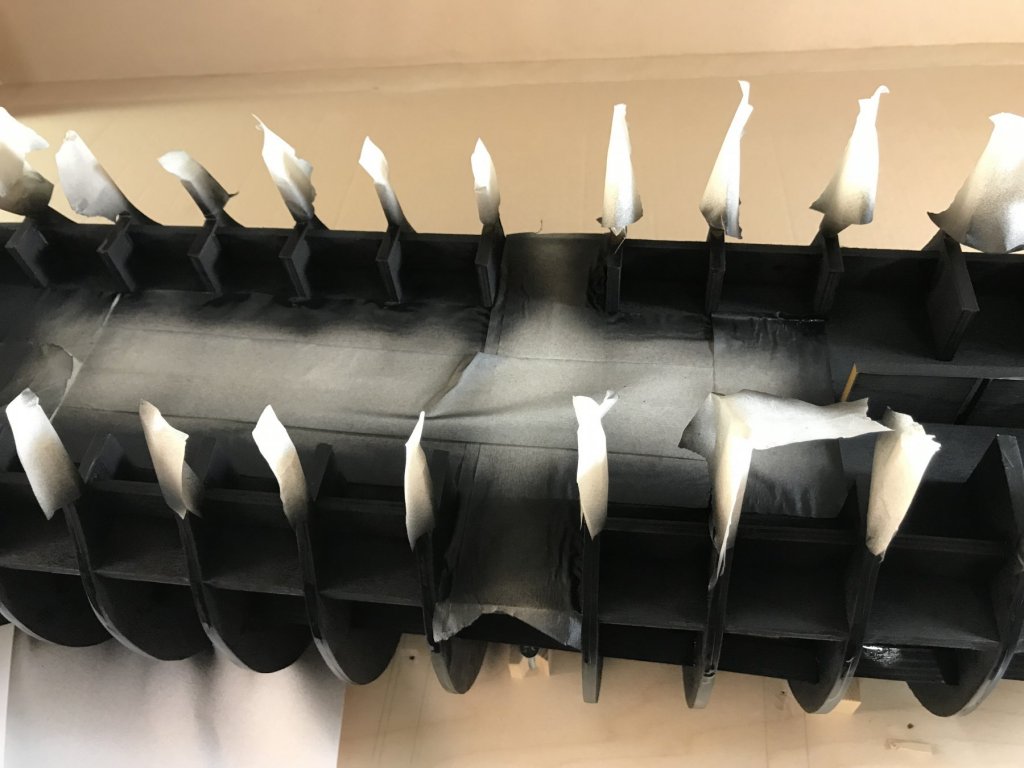
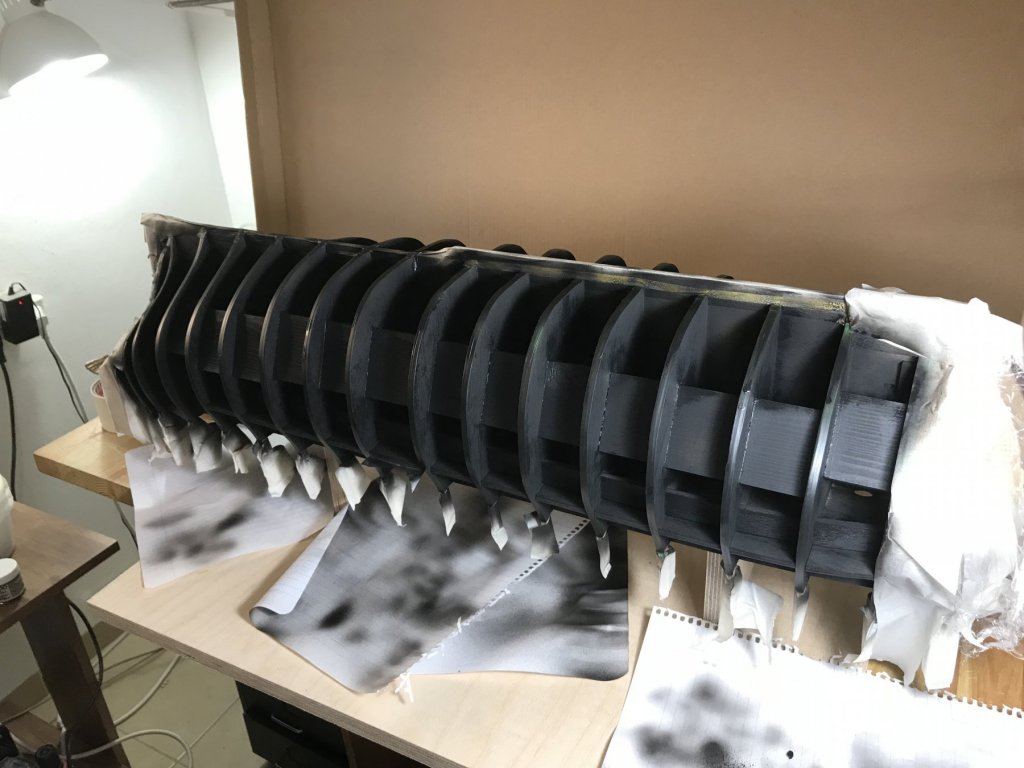

-
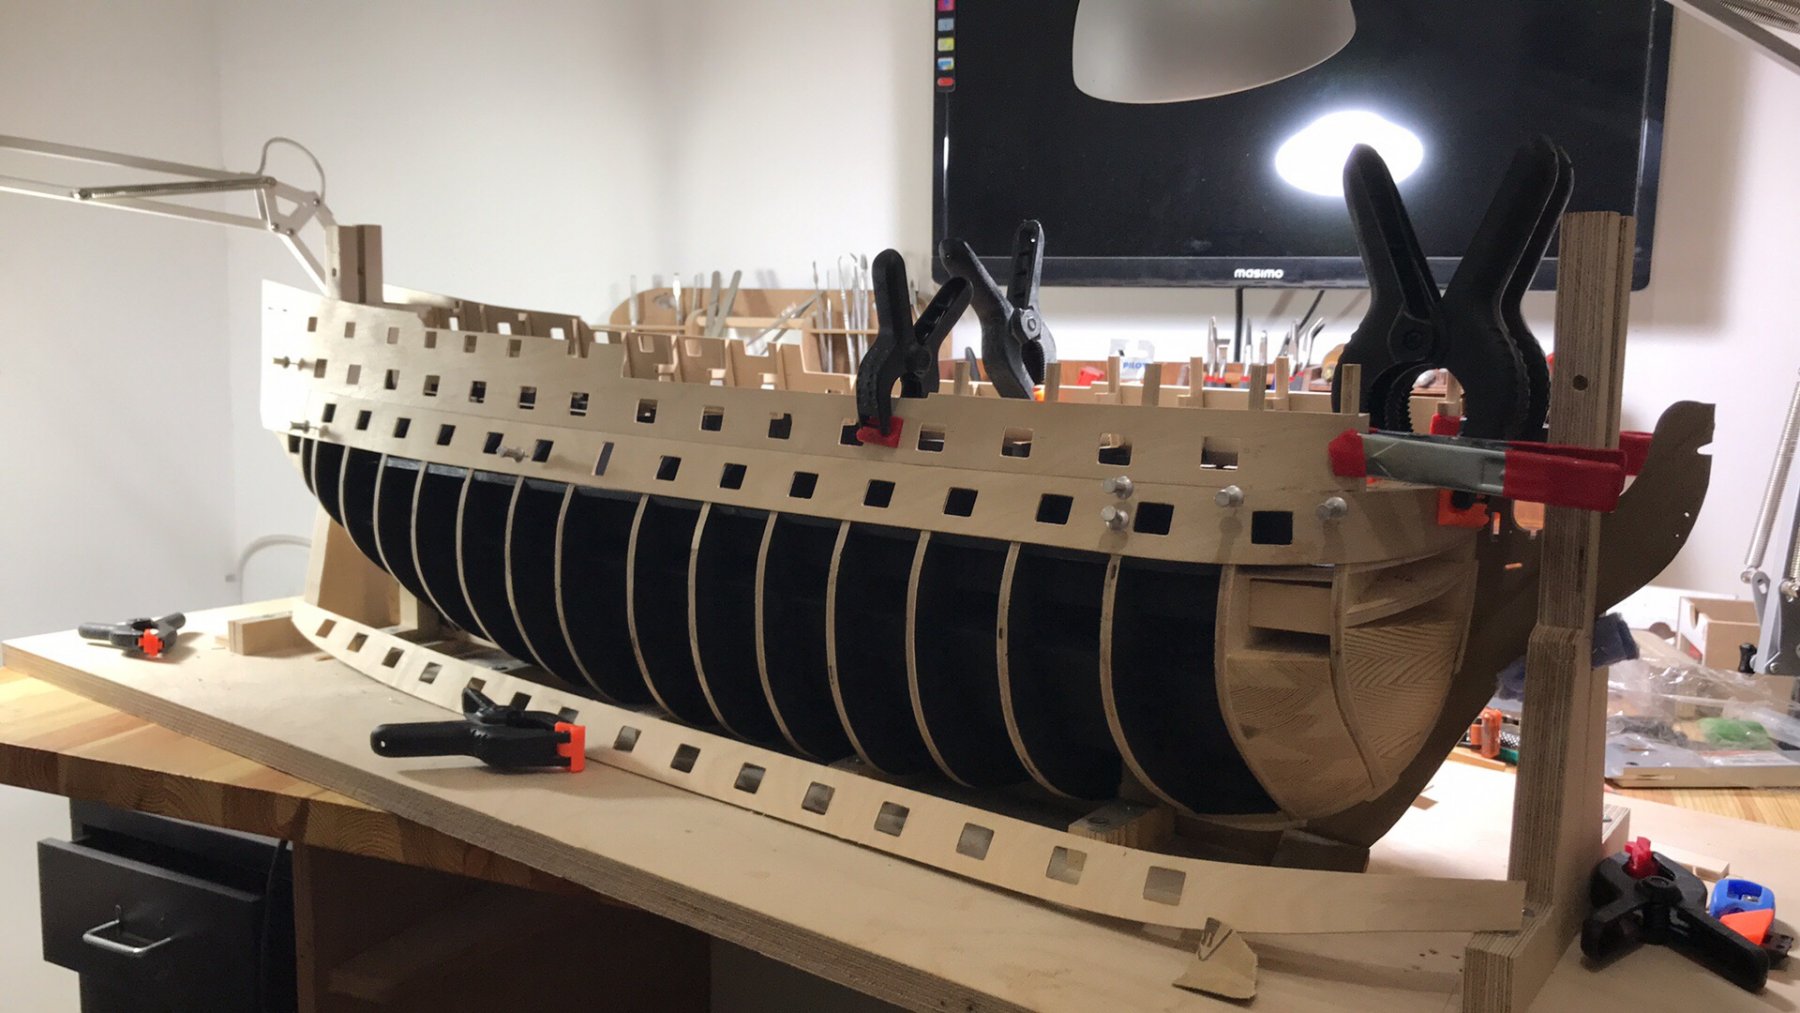
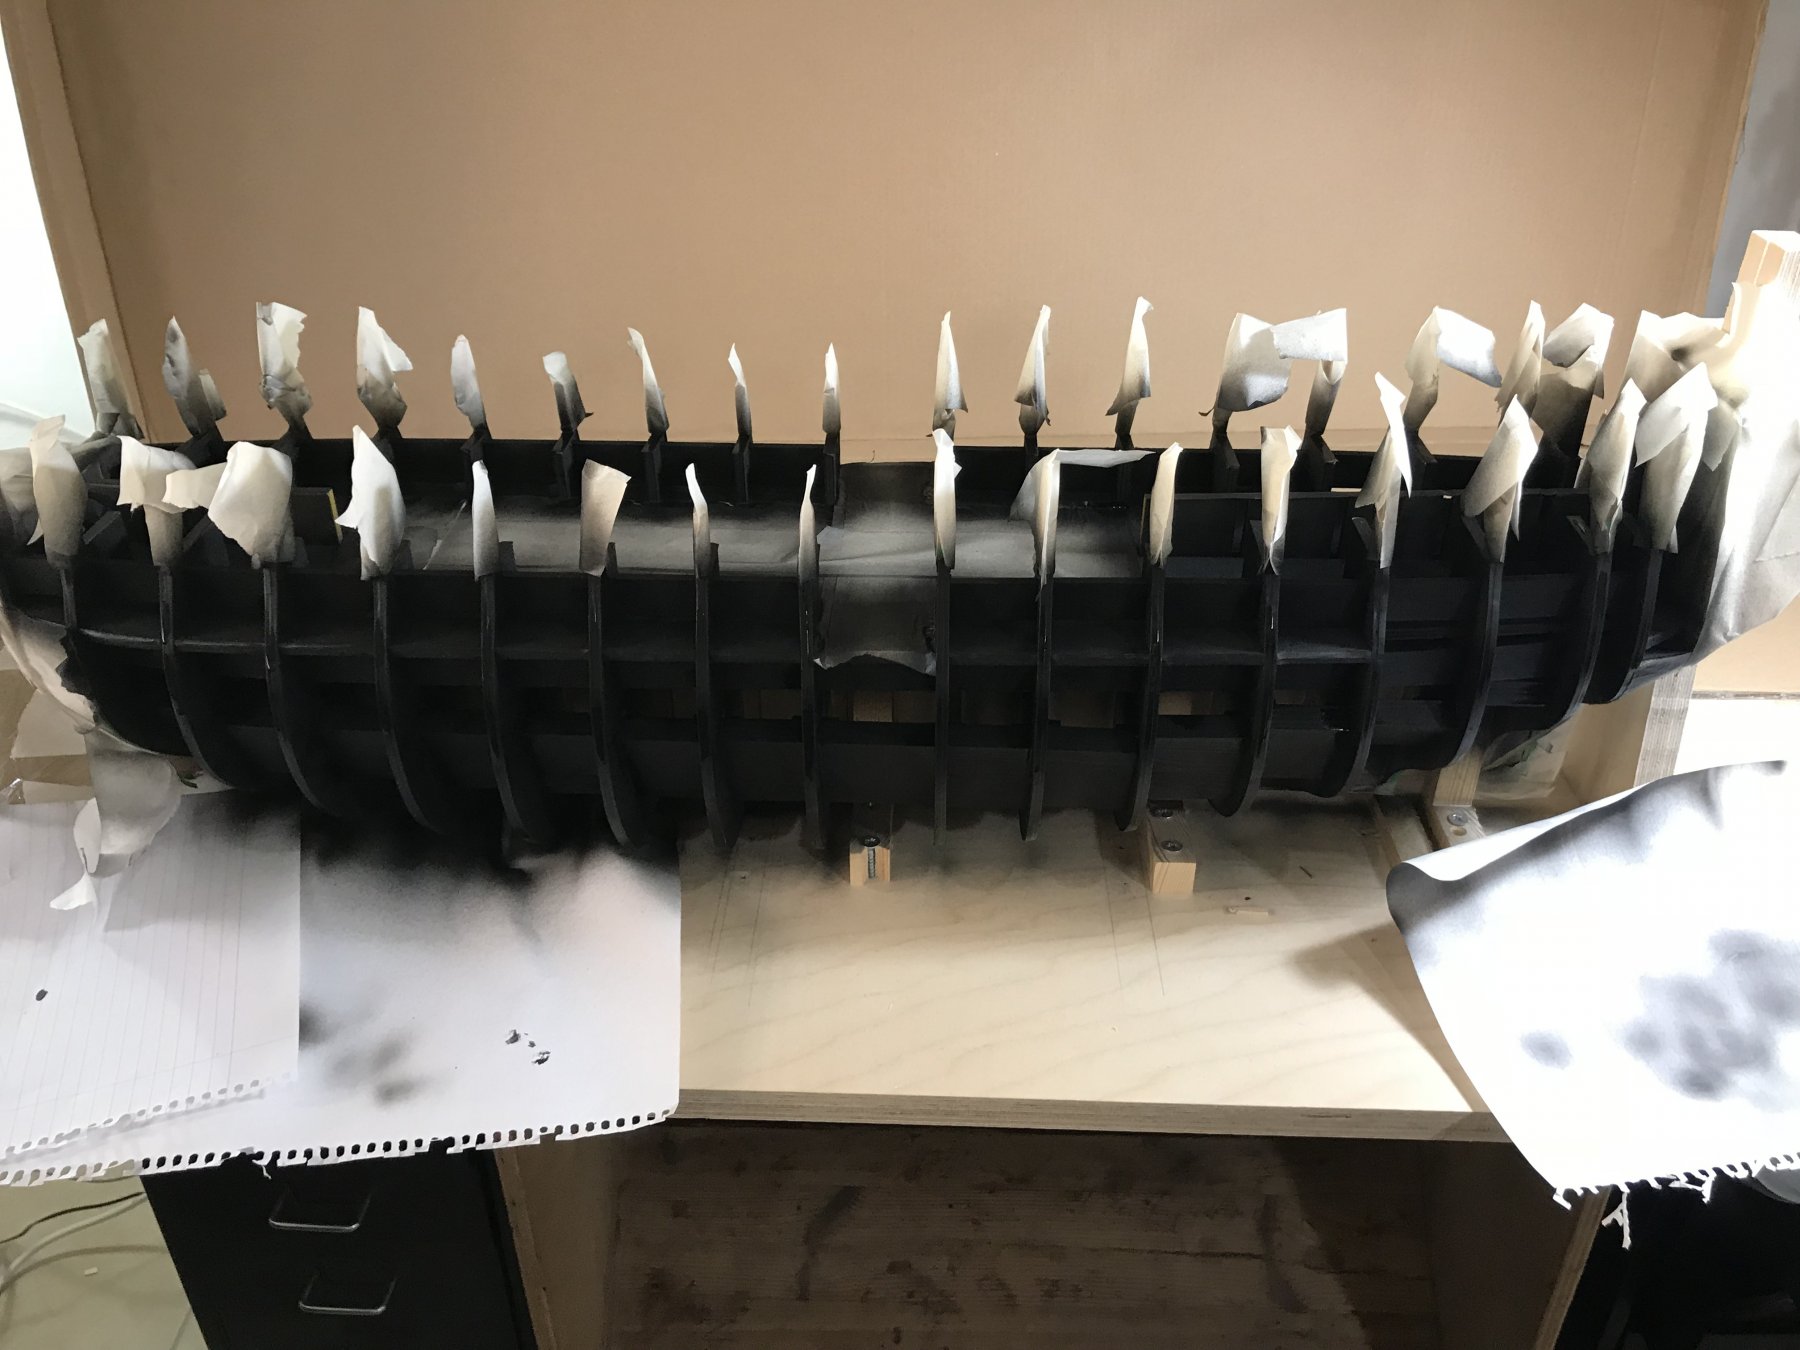
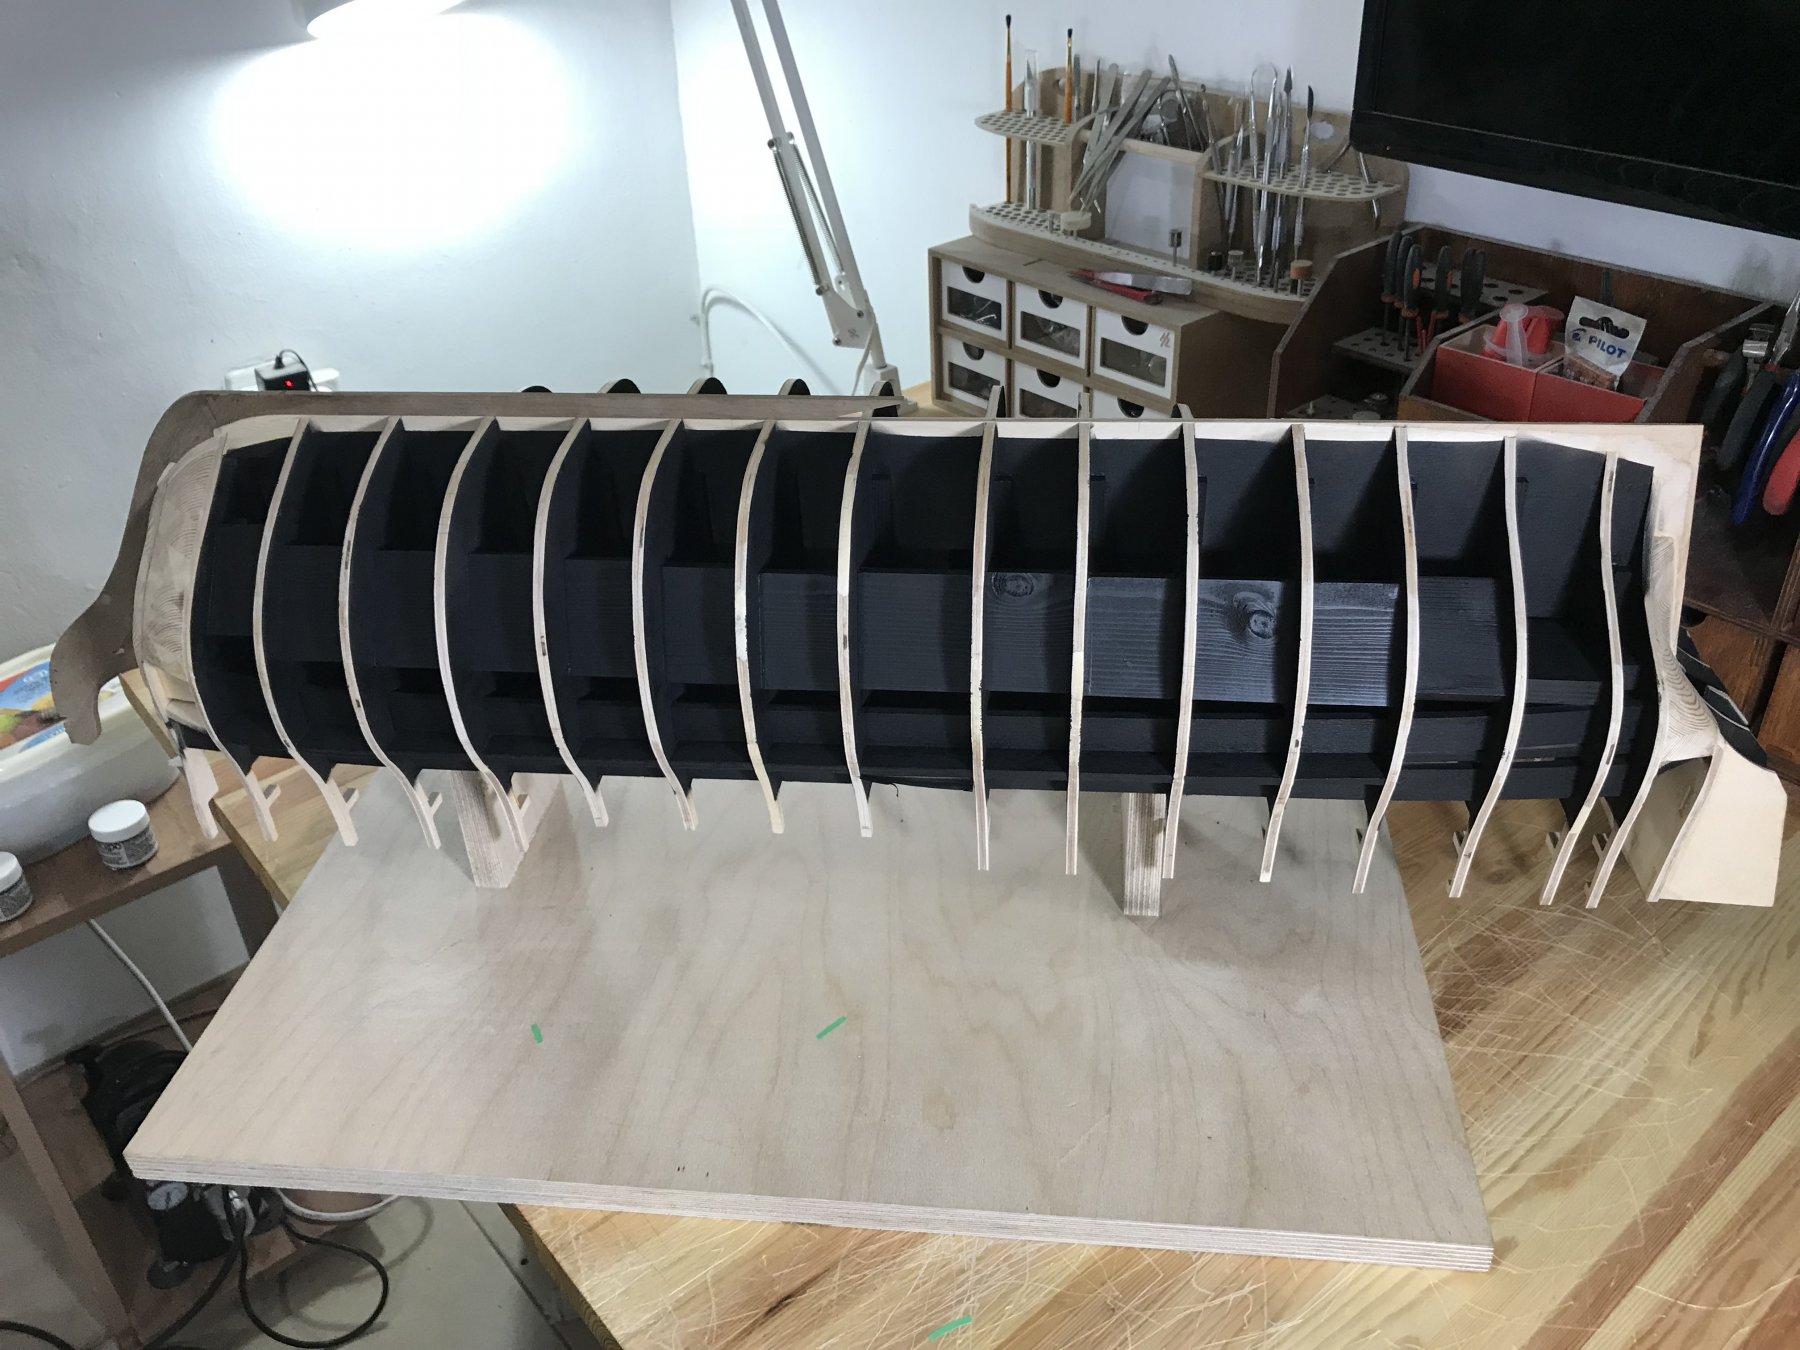
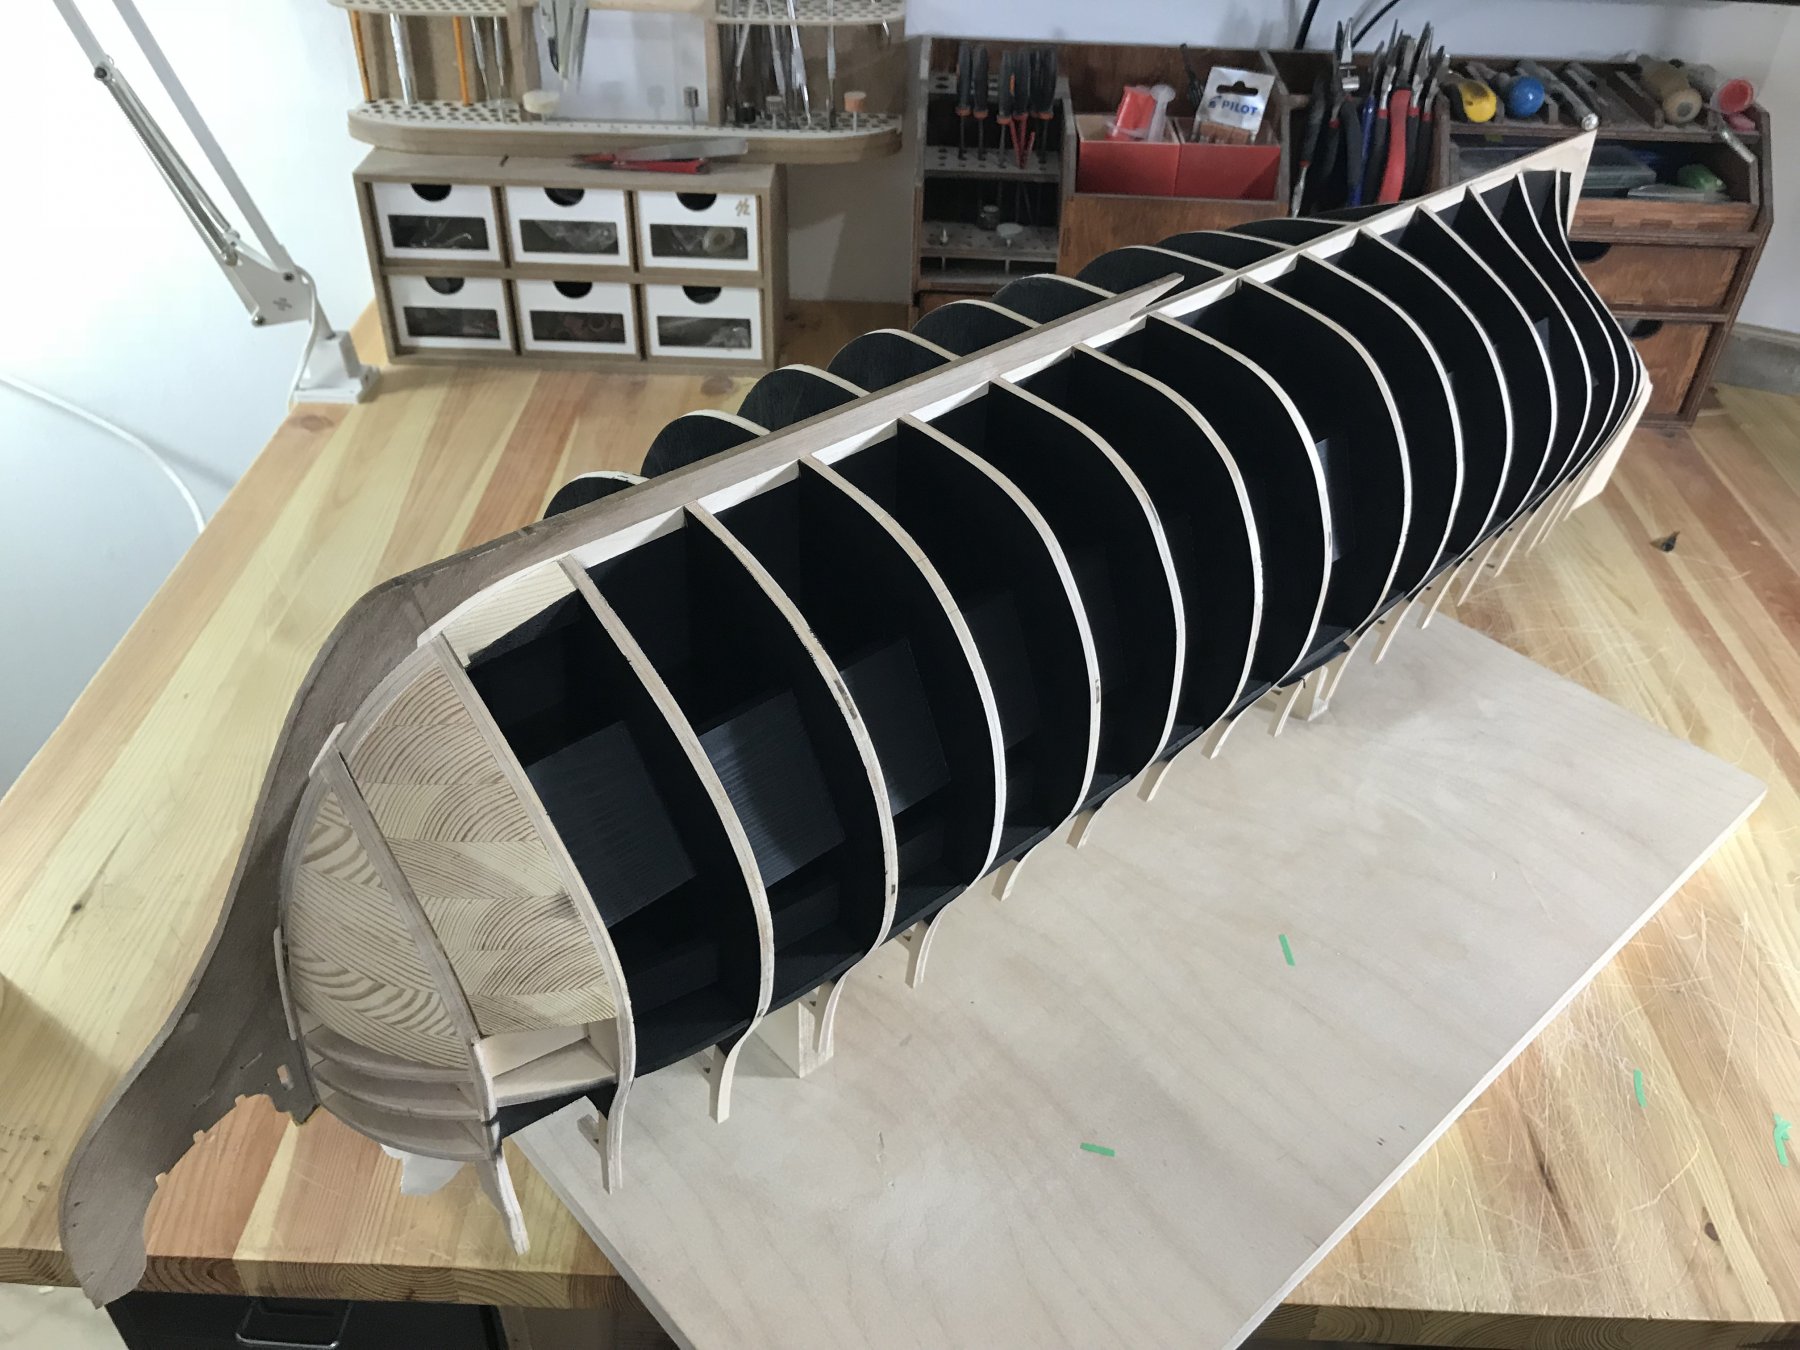
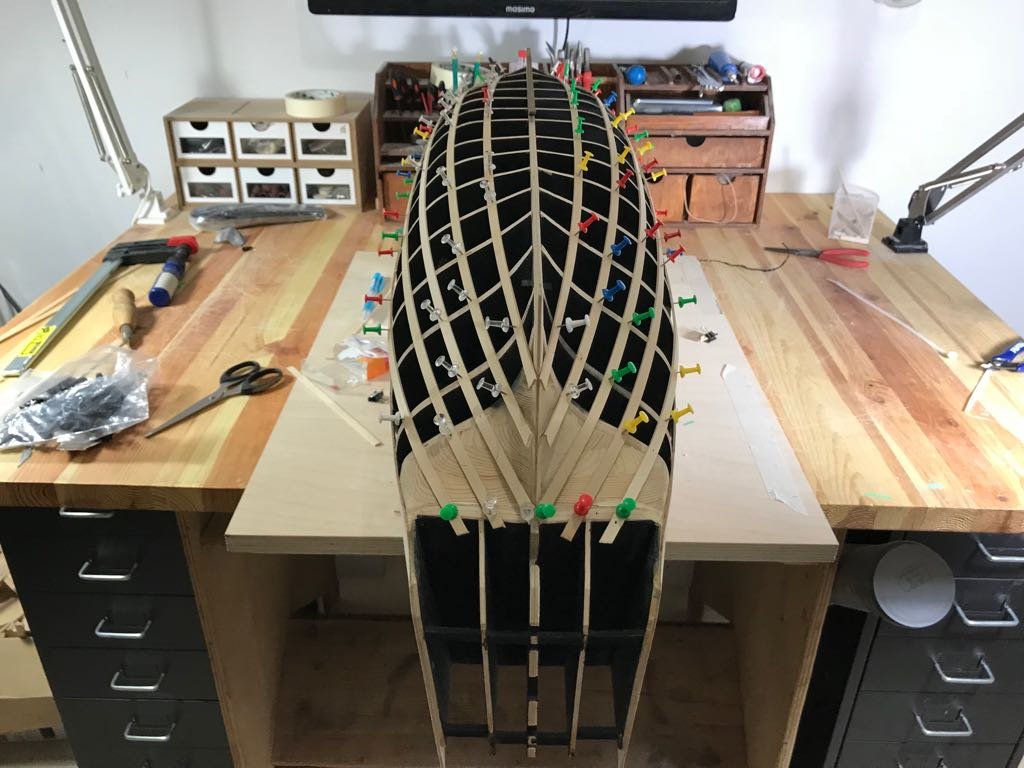
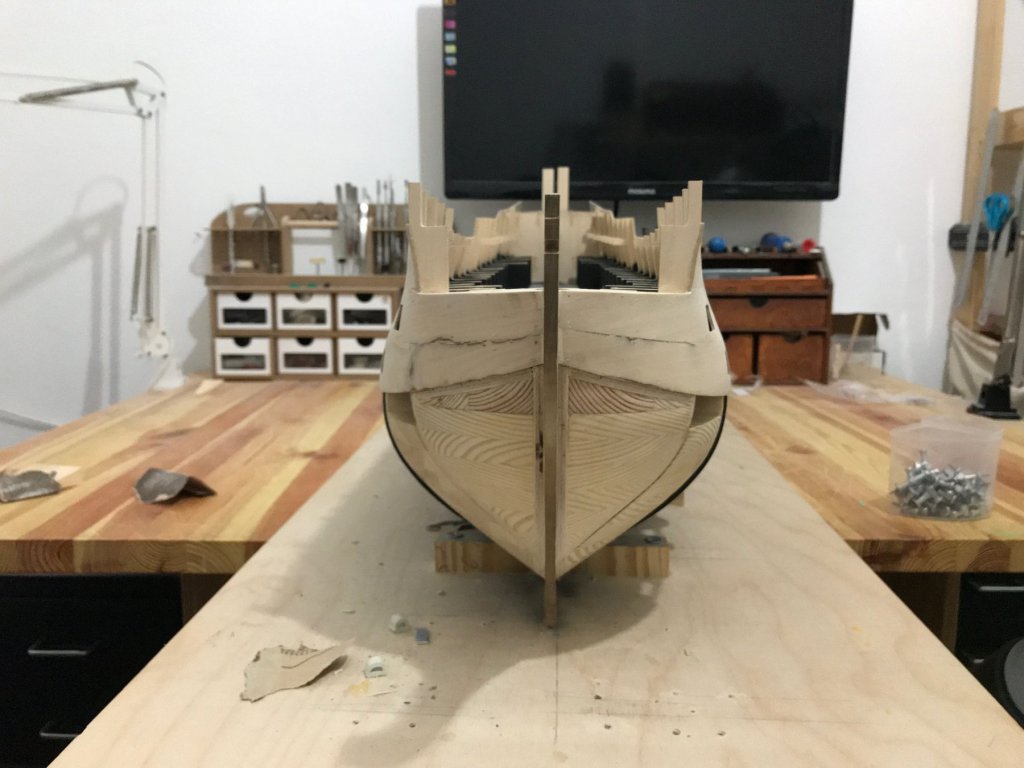
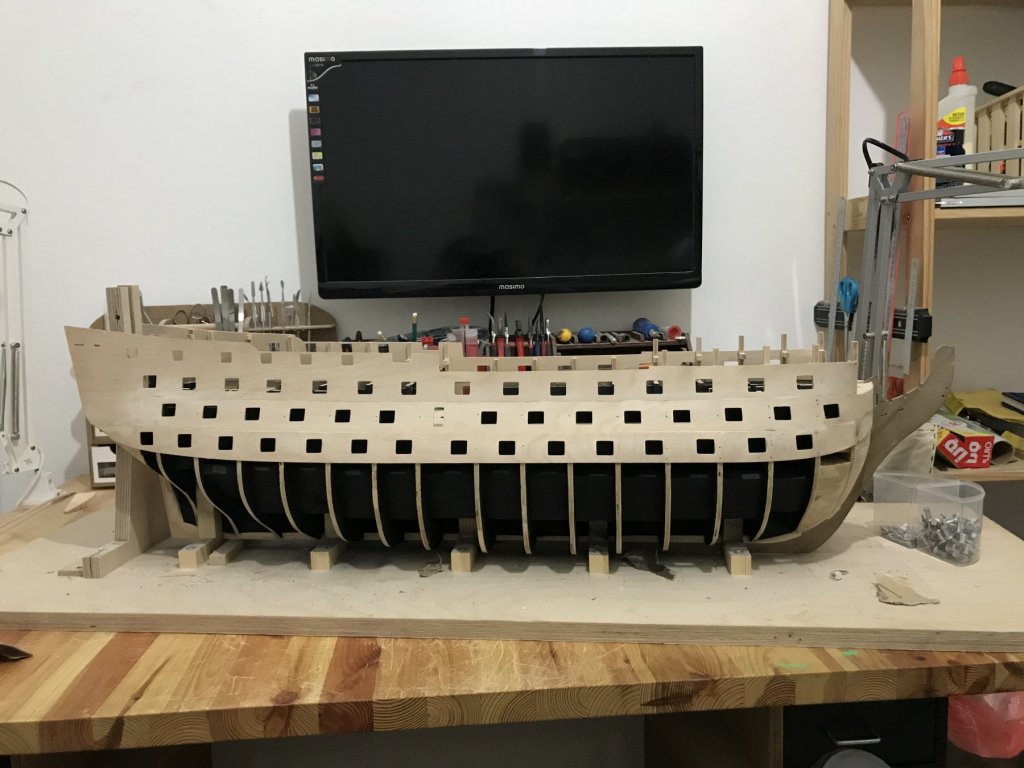
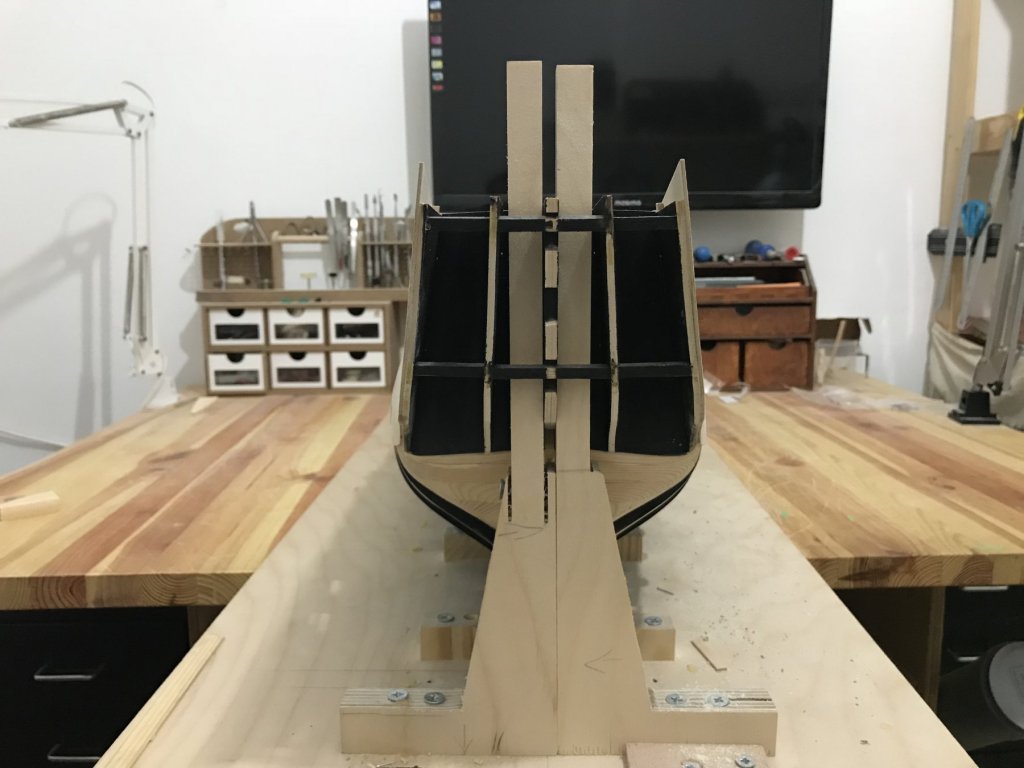
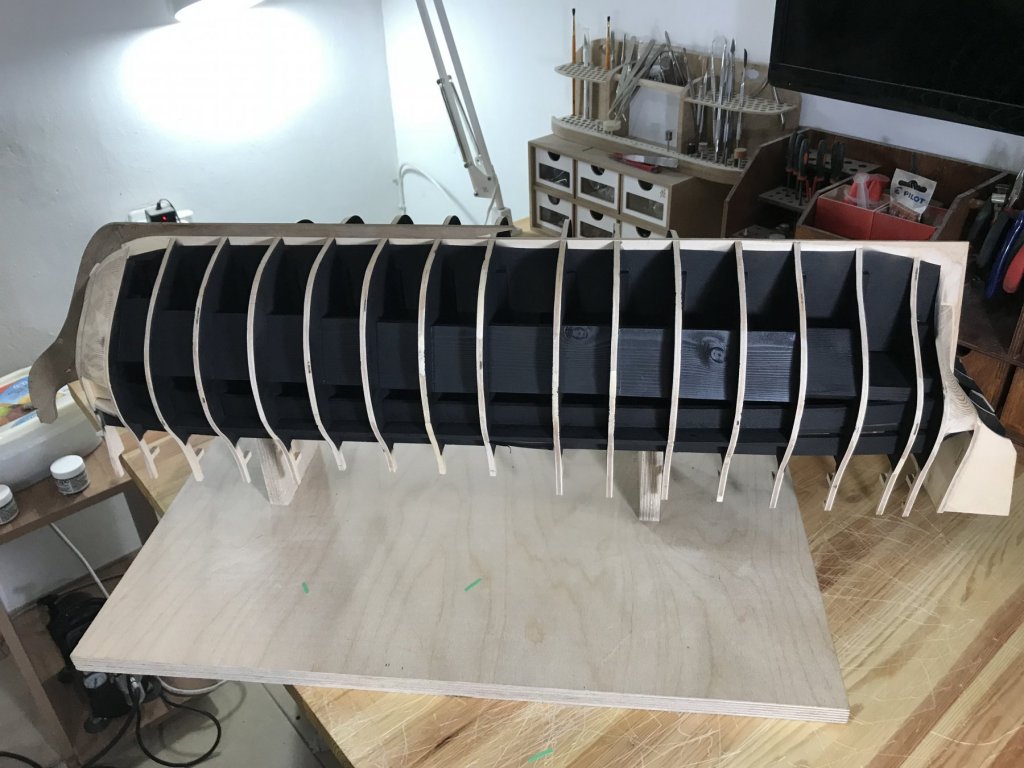
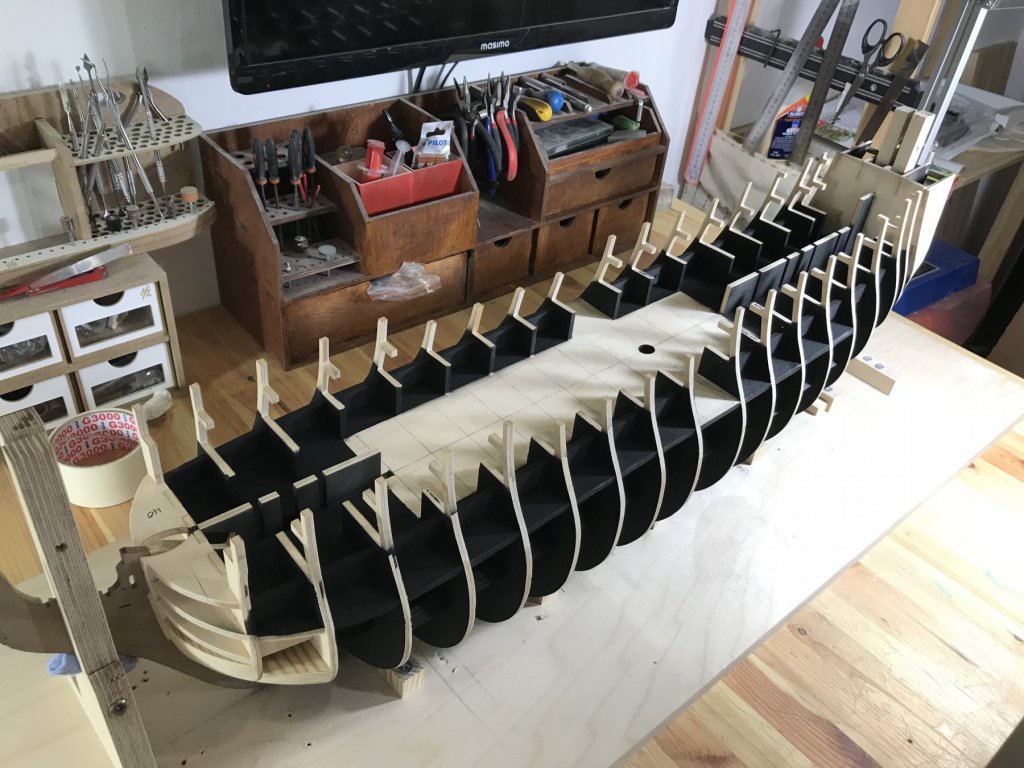
Hello Friends due to a lot of pressure in the office and some holidays I not had the time to work on the ship..(life you know lol) but now im back and I have finish the fairing process and also I painted the interior of the ship black matte (using airbrush ) and now im starting to install the gun ports patterns , I have some questions of this stage .. but first of all i will post some new pictures of what I have done here is an example of correcting the angel of the front curve of the ship I had this problem : you can see that the tops of the bulkheads not running straight but in the other side it was a perfect so I decide to put a straight timber from the front until the last one of this section to see how much the top bulkheads tuning out from the line on the good side ( they was about 3/4 mm): and I did the same to the other side ... so you can see exactly how much you need to glue and how much you need to sand... and here is a pictures after fixing :

-
pin pusher / nail nailer amati
michael101 replied to michael101's topic in Modeling tools and Workshop Equipment
Tha nk you Pat in my last project i used to work with hammer but after i got this tool i have to give it a try for sure there is a way to chande the tube... i not had the time to explor it lol but i was thinking that i will find a quick answer in this forum 🤣 -
pin pusher / nail nailer amati
michael101 replied to michael101's topic in Modeling tools and Workshop Equipment
Thank you Allan -
hello there I bought the nail nailer deluxe of Amati , the one that came with 2 tubes my question is how to change the tube best regards Michael.
-
i have only Three letters WOW!!!!!!! AS ALWAYS YOU DOING THE BEST !!!!!!!!!
- 527 replies
-
- 1
-
-
- caldercraft
- victory
- (and 1 more)
-
Hi Daniel, this is a GOOD NEWS !!!!! I hope the bulkheads will be laser cut we will be more than happy to see some pictures from your factory best regards , Michael.