HOLIDAY DONATION DRIVE - SUPPORT MSW - DO YOUR PART TO KEEP THIS GREAT FORUM GOING! (Only 13 donations so far - C'mon guys!)
×


johncole
-
Posts
57 -
Joined
-
Last visited
Content Type
Profiles
Forums
Gallery
Events
Everything posted by johncole
-
 "In for a penny, in for a pound" Chuck, I'm following this with great interest. I'd also like to be included in the group build if there is still room. Many thanks in advance. John
- 421 replies
-
- 5
-

-
- medway longboat
- Syren Ship Model Company
- (and 1 more)
-
Tom, Nice build. I have this model in queue for when I'm feeling especially brave (and more skilled). My unsolicited vote for the deck stain is weathered oak. It looks really good to my eyes. John
-
Calhoun; A very worthy project for sure!! John
-
Shore leave has been cancelled, I'm back to work. I'll post progress as things get done. Next up: Install rat lines John
-
Here's another good Puritan link: http://america-scoop.com/index.php?option=com_content&view=article&id=701:les-photos-de-puritan&catid=67:puritan&Itemid=893〈=en You can scale the parts from the photos. It's not an entirely accurate method, but will give you a nice representation. Hope this helps. John
-
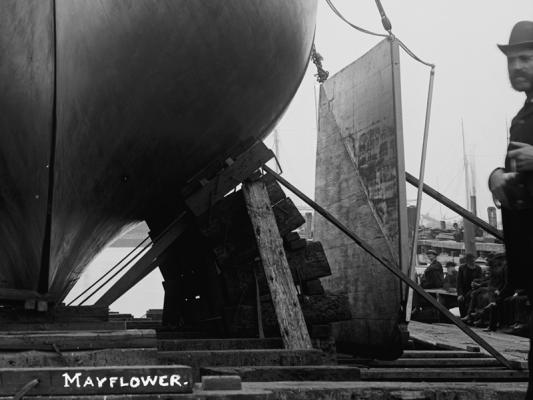
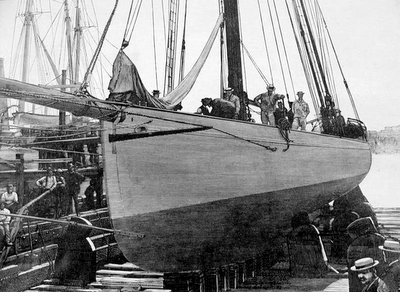
Thank you Bob and Andy! Yes Andy, bad angle. Looks like I was drinking while installing the mast.. The kit has some (ok, a lot) inaccuracies, and I was able to locate some old pictures online. Mayflower was built immediately following Puritan, so some of her details can be adopted. Study the pictures closely, because these boats changed their sail and furniture setups often. See link: http://www.jsjohnston.org/index.html Also, do a google image search for 'Puritan yacht' I believe there are some bow problems too, the kit likely has the wrong profile. No matter, and I don't mean to sound so critical of Mamoli. It's still a fun build. John
-
Check out post #1, 6th pic from the top. You'll see the 3/16" sq added under the false deck and between the bulkheads. I'm not sure these were even needed, I just wanted to give the stanchions a bit more to adhere to. I had to take a break from my model due to other obligations, but I'm back at it. Standing rigging continues. Ratlines are next, then on to some sail work. John
-
I bought my kit in the late '80's, so it's machine cut (routed). I would think the laser cut parts would be more accurate to the drawings? Anyway, I did put together a base board and bonded six small blocks (three pairs of two each) to hold the keel upright and straight. The middle two blocks are set apart a bit wider to accommodate the keel pocket doublers. You may not *need* a keel holder like this because of how the deck is installed. The deck slots key into the bulkheads, and it's important that everything fits well before gluing it down. I did quite a bit of trimming on the deck slots to get the frames to fit correctly. The top of the frames should be beveled too so that the deck lays down against them. One more thing; I added 3/16" sq. hard balsa under the deck edge, between each frame. I did this because later, you will remove the temporary frame stanchions and install the 2x3 permanent stanchions. These will go through the deck and into the balsa for a bit more integrity. I hope this helps. Have you considered starting a build log on your project? Hope you do! John
-
Please follow along! It was your earlier posting (August I think) that jump started me to build my kit. We probably have the same kits. I elected to try a single planked scheme using bass wood, but the double planked way will also work really well. I was trying my hand at single planking to help develop some skills. Don't hesitate to contact me if you have any Q's. BTW, I'm progressing along with masts and rigging, but I'm having some photo software issues. More soon, I hope. John
-
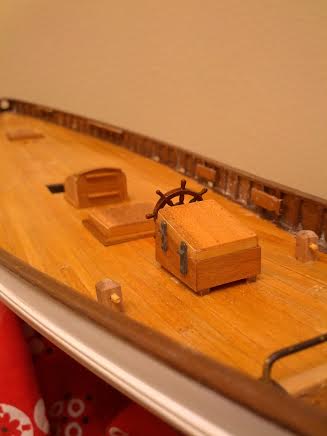
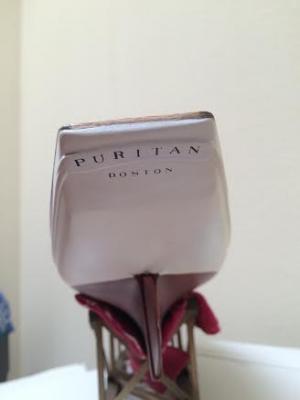
Some rig fittings have been installed on deck, and now it's official: the boat is named! John
-
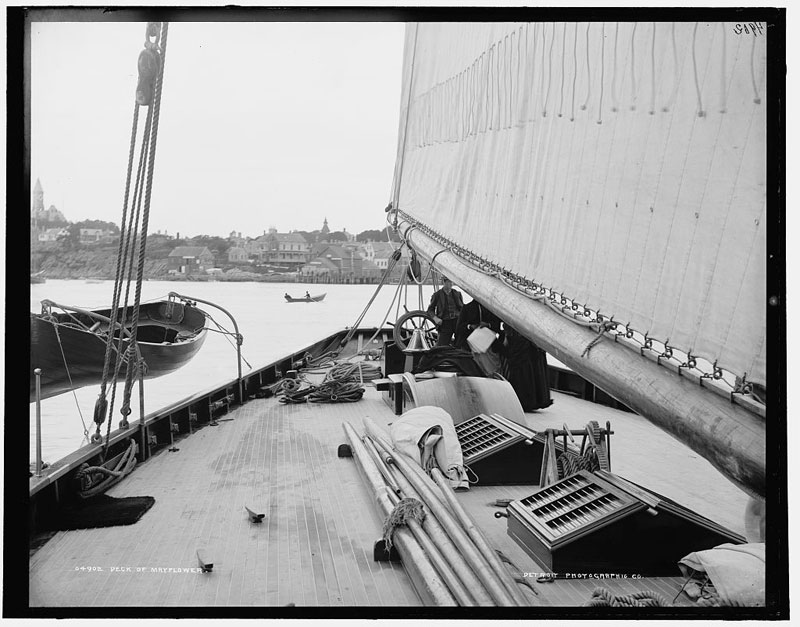
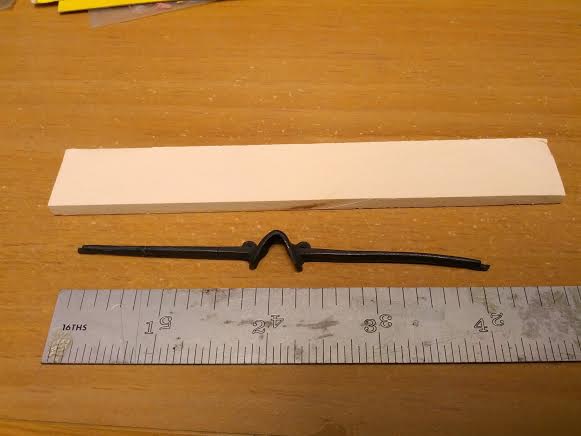
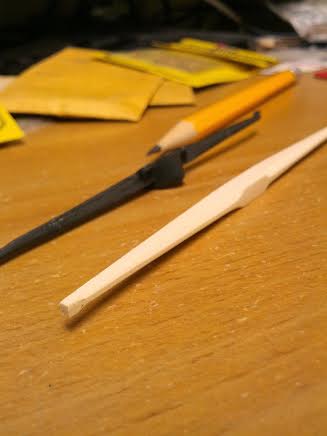
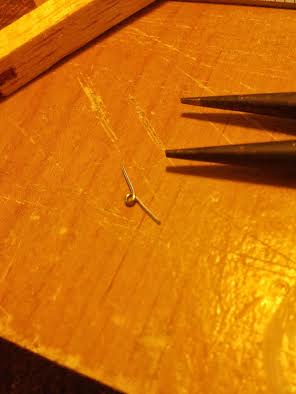
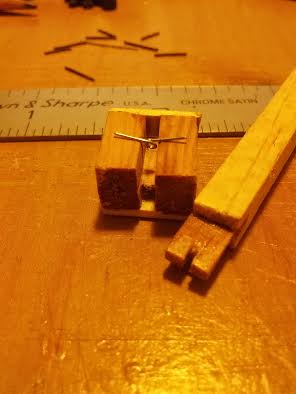
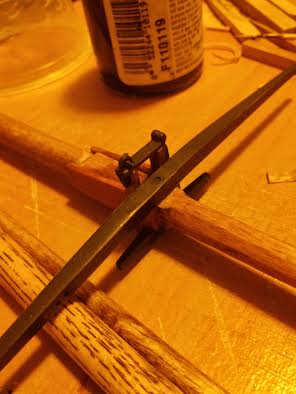
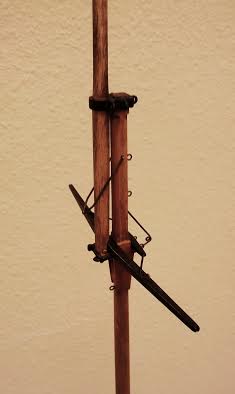
Mast building continues, and I'm ok with the results so far. The boom has an interesting detail that I wanted to simulate. The main sail attachment to the boom used many small steel fittings. The kit plans show a rope spiraled through the sail and around the boom. I would have likely done this too, but I've discovered Johnson's yacht pictures of Puritan and Mayflower. Pictures like these are really a blessing for scale details, but also impart the burden of "doing it right". Below shows my sequence of making them. John


-
Bob, I'll be watching closely how you figure out unknown rigging details on your model. I've got a couple of 'unknowns' myself with my build. I agree with your observation; these boats were rigged as conditions and materials permitted. I really like how your Lettie is looking! John
-
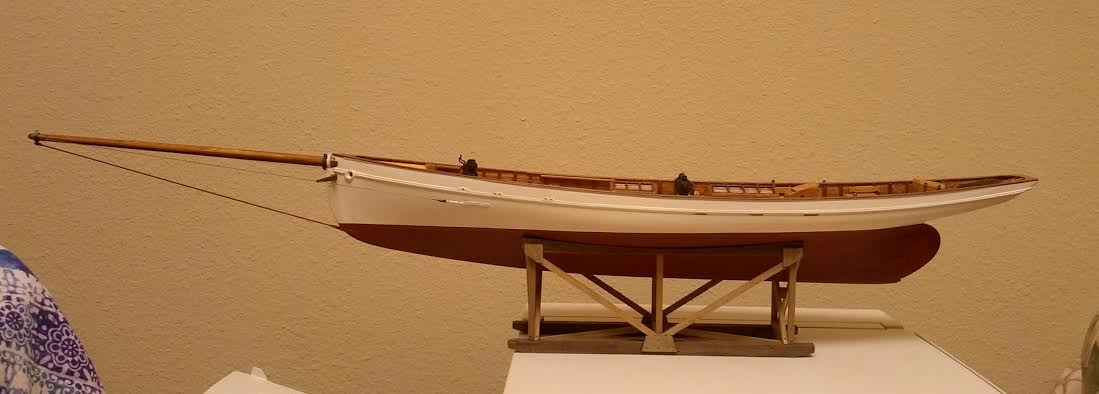
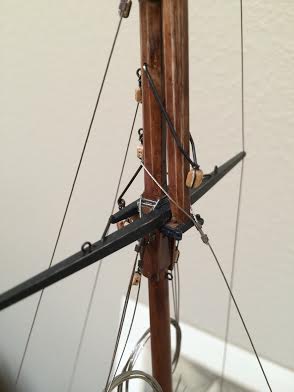
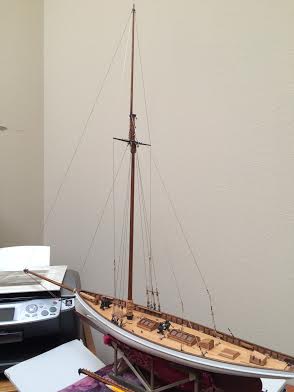
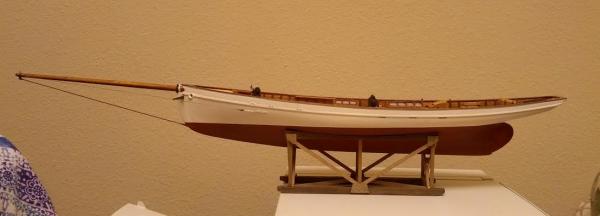
Hello shipmates, Work on the mast is going well, and I'm taking lots of extra time to sort out the standing and running rig plans. The urge overcame me completely and I HAD to stick the mast into the deck. What inspiration!! I might have to make the boom again, the wood I chose (ash, I think) to replace the kit's warped piece looks weird with it's big, open grain. I had no idea how it would finish with stain until I had it shaped and sanded. Oops. Lesson learned: Test wood and finishes first!! But most everything else seems to be going ok. This sloop is at the outer edge of my abilities and skill set, and I really can't imagine how I might handle a future square rigged clipper or brig. I'm persistent, and that's a good thing. John


-
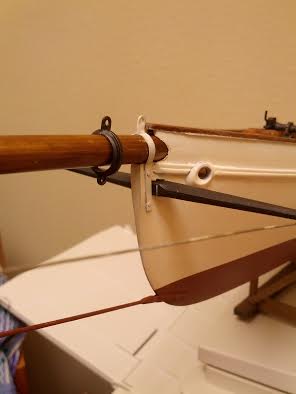
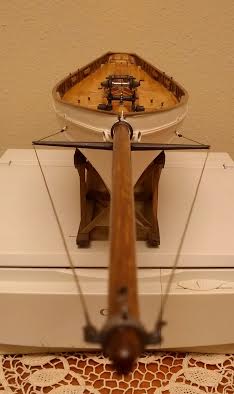
It was a productive weekend. I made some metal bits to mount the bowsprit, and everything eventually fit into place. I think the hull and deck are nearly done, except for boat davits. Next up; building the masts. This will be really interesting for me since I've only built the AL Swift before this. I know this rig is just a sloop, but it does have some degree of detail that I'll have to study so I don't goof up and install things in the wrong places. Mamoli seems to have a concise rig plan, but there are some differences when compared to old photos. John


-
Thanks so much Nils, David, and Pete. Nils, I've seen pictures of Genesta, but I'm not sure if I'm seeing the correct boat you describe. I'll do more research to see. I'm very new to ship modeling, and there is so much I do not know. David, that's a really good question about paint or clear finish on the hull. My original goal was to get the planks fitted very tight and seamless, and the wood smoothed out so that minimal paint would be used, like a wash maybe. I wanted the boat to simulate Puritan closely, and I had hoped for a finish that showed some of the plank definition. But since my hull wasn't even close enough for this technique, I began to apply more and more varnish and paint, ending in what you see. I guess my eventual goal is to get better at planking, not depending on a second layer. (Kind of silly perhaps, since double planked hulls look great). Pete, your Volvo Race is really great! I've got so much to learn here, it's really exciting, and a bit overwhelming. Thank you again for checking in, and the 'likes'. John
-
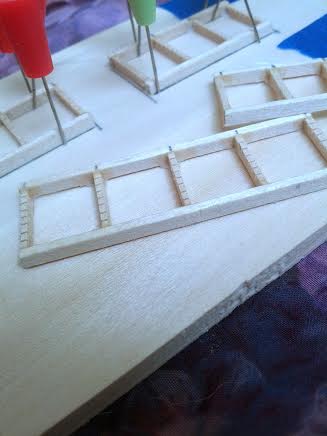
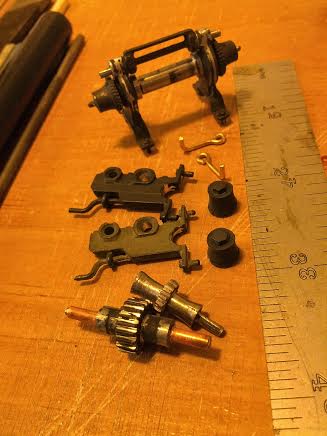
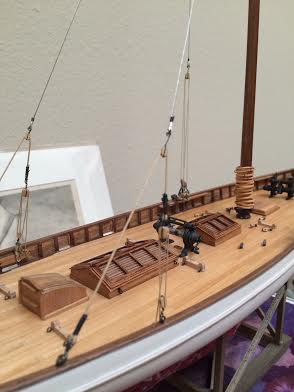
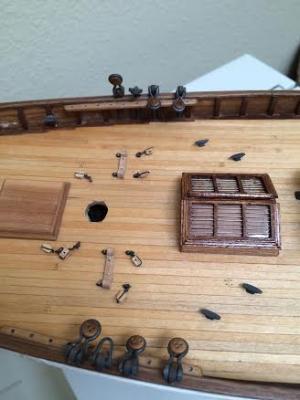
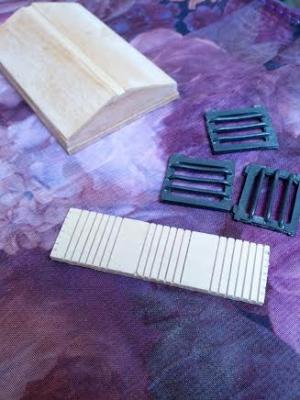
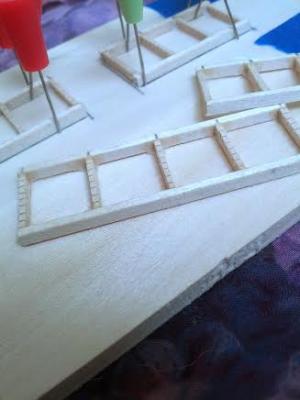
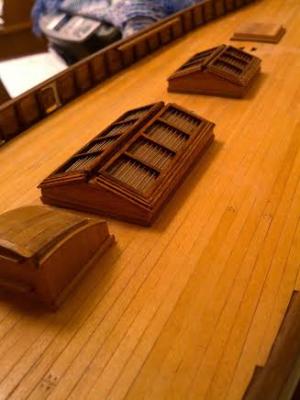
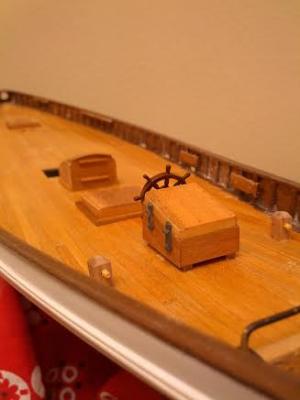
Hello all, I keep chipping away at my Puritan, and while I'm pleased with how things are coming together, I'm imagining what improvements to make on my next model. I made new skylights, the kit castings were a bit bulky. These were a LOT harder to make than I thought they would be. I made moulding for the frames, and used .015" wire (guitar string) for the rods. The winches..ouch! They seem way too big, but I'm using them anyway. Thanks for checking in. John


-
Eitan, I'm following your build closely, it's looking great. Still awaiting a response from Mystic... John
-
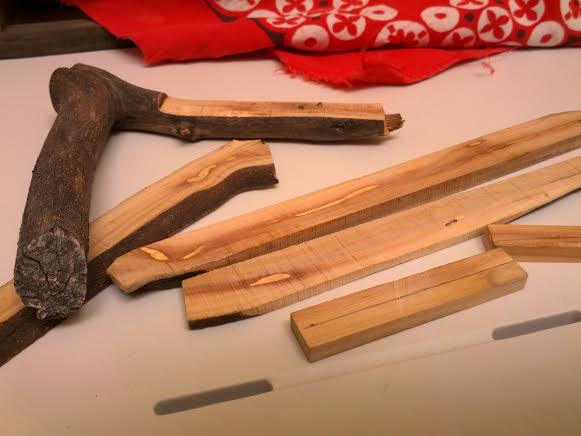
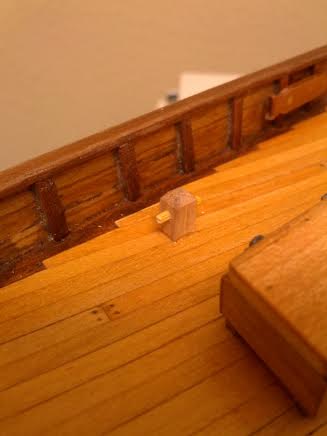
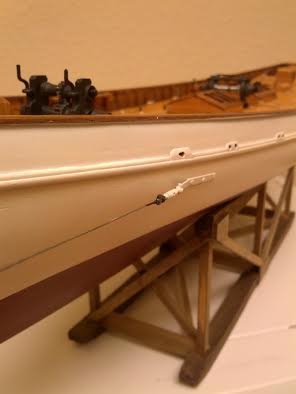
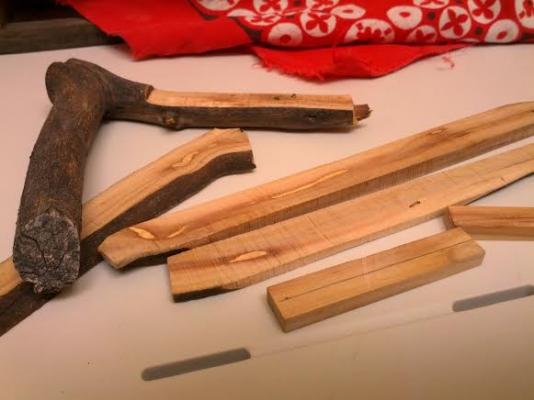
I've been working on the deck furniture and fittings, while discovering just how much time it takes me to complete a particular part. Do I even need to mention the do-overs?? ;-) There's a common native tree here in N. Calif called manzanita. It's very twisty, dense, hard wood. I gathered a few small dead limbs and made some lumber. It's not really suitable for much, but I'm finding it interesting to work with. I made the aft bits from it, and will also use it for the bowsprit mounts (I don't know the correct term). John

-
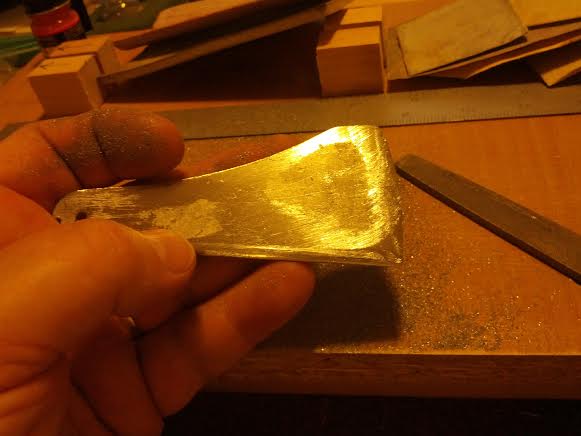
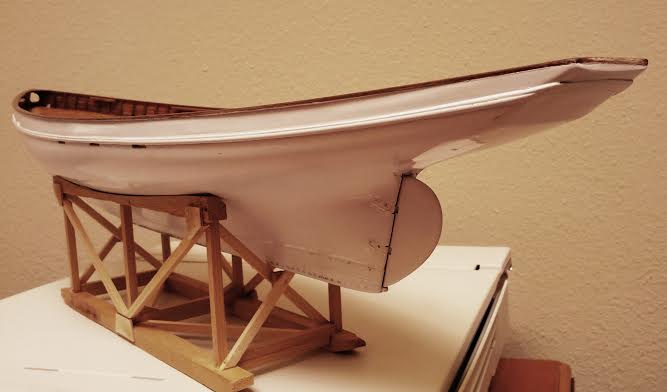
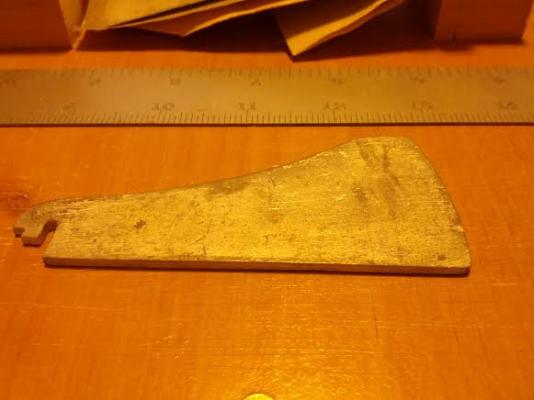
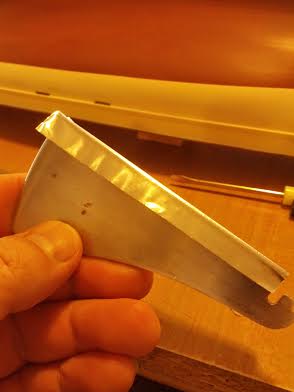
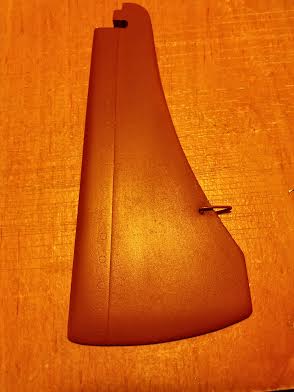
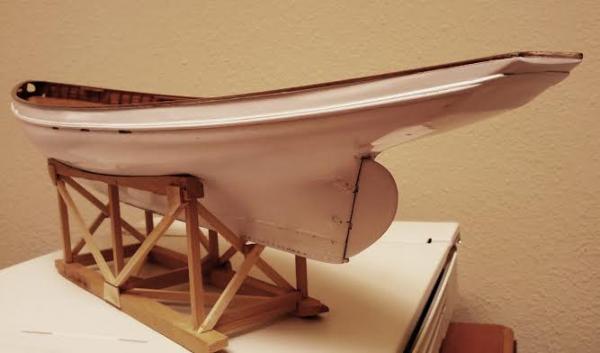
Thank you Bob, such nice words from an excellent craftsman. And thanks for the likes, it's quite humbling with this group! I finished the centerboard last evening. The kit supplies this rather large chunk of cast metal, the purpose is to help with ballast for a functioning model. The full size boat also used a ballasted centerboard, so I figured I could shape this casting up to work out ok on my model. Foil tape simulates the copper leading edge. Note: I did learn that the centerboard should probably be another 5-6 ft long, but I caught it too late. Also, the shape (according to the Mayflower) might also be changed. I've got a list of changes for my next Puritan. 8-) John

-
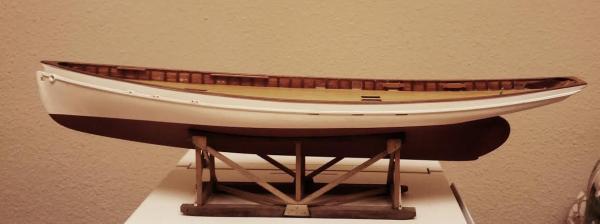
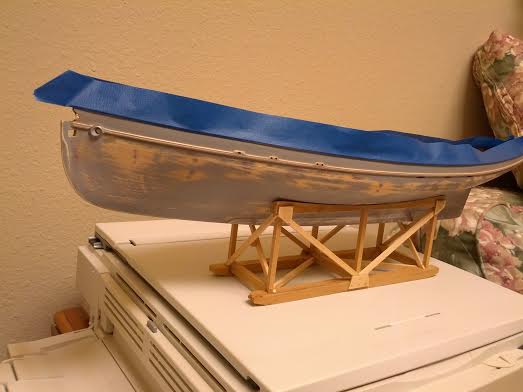
Thank you gents. I like how it's coming together, but that's not to say I haven't made some mistakes! Previous modeling experience helps me recover from them. I got the waterline figured out, then masked and painted the 'red lead' below. Next up, getting the centerboard finished. That will complete the hull, then it's on to the deck details (YES). John

-
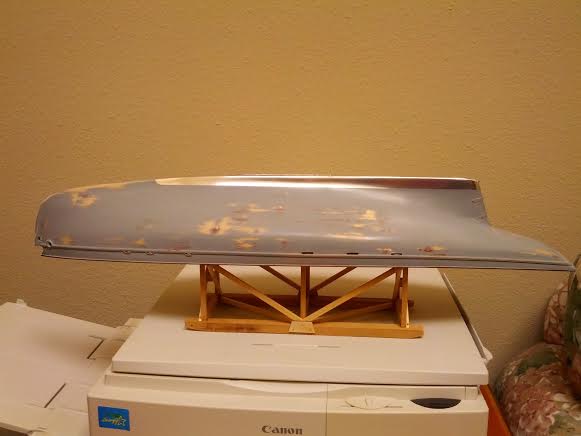
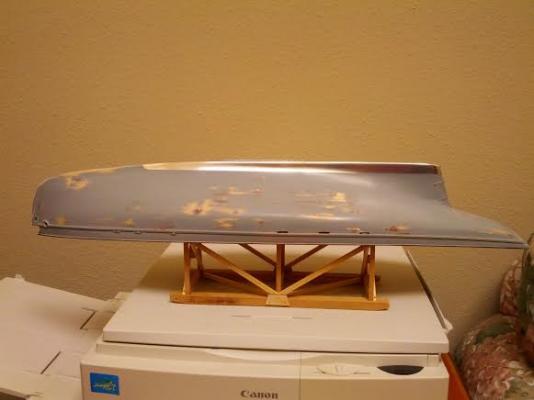
Thank you Mates. Today I set up my airbrush and applied some paint to the hull. It came out OK, and I kind of like the slightly irregular surface. I didn't want it to look like a smooth plastic hull. Well, no problem there! Next up, I need to establish the water line and apply red lead paint. John

-
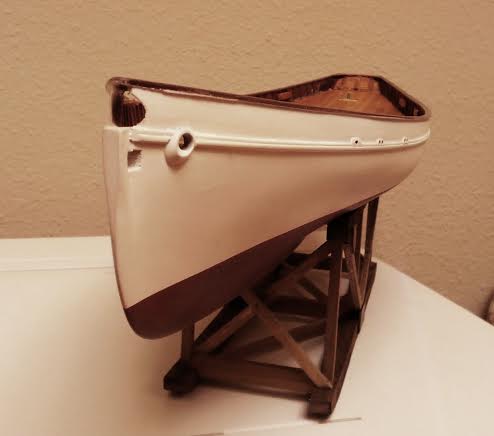
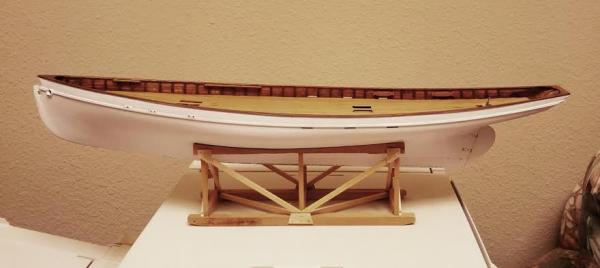
Sand, seal, prime, sand some more. WHAT??? This can't be MY hull!! It's full of small pin holes and seams! Dab on some spot putty, sand some more, it's getting better. Repeat this three more times, OK good, it's getting better.. (I wanted to preserve a hint of wood grain under the finish, but I'm not so sure now). I'm definitely getting a clear appreciation for the other builders on this site. I think it's ready for paint! John
-
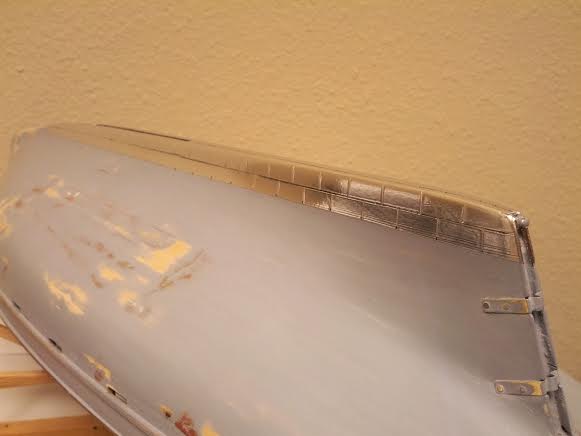
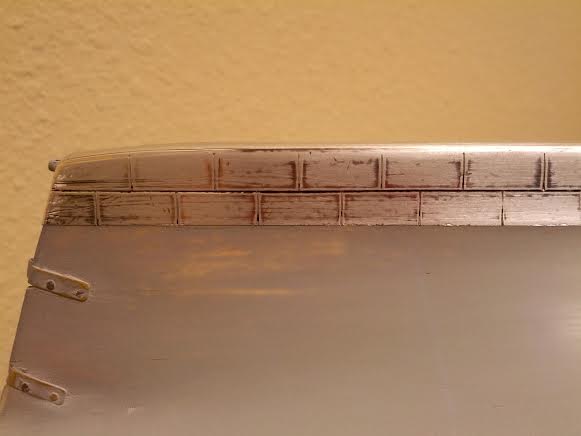
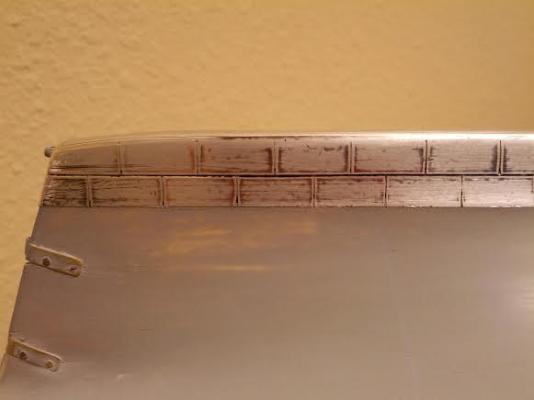
Thank you Eamonn, it's much more enjoyable than my first build (AL Swift) because I took away some good lessons. I have so much more to learn, and this site is really a gem in seeing how others accomplish their art. I did get a few more things done. The lower keel area of the hull had copper sheets nailed and soldered, creating a very smooth finish. I simulated this by using aluminum tape (it will be painted over), scored to simulated the seams. Also, while the kit castings are pretty good, the cross tree (?) at the bow is kind of bulky and curved, so I carved a new one from holly. BTW, I really love this wood! I learned about it from Dirk's MS Syren build. John


-
I LOVE these boats, Annie made a big impression on me when I got to see her first hand at Mystic. I too plan to make this my first scratch-build someday. Nice work. John
- 103 replies
-
- 1
-
-
- annie
- sandbagger
- (and 1 more)