johncole
-
Posts
57 -
Joined
-
Last visited
Content Type
Profiles
Forums
Gallery
Events
Everything posted by johncole
-
 Wayne, Planking is a skill and an art. I don't think there's a way to learn this skill until you actually do it. One plank at a time is the best way. I believe the Mayflower would be an advanced project. Here's what I'd do: gather up all of her parts and materials, stow them away for a future build, then tackle a more friendly project (Willie Bennet, AL Swift, etc..). Others will have sound advice to, I reckon. I hope this helps. John (instrumentation and controls guy)
 -
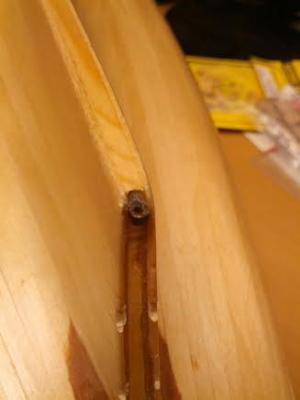
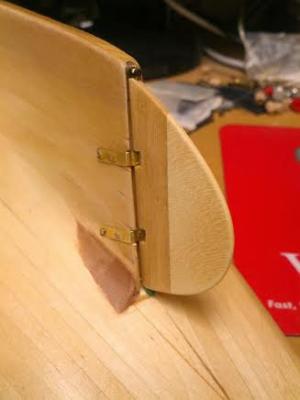
Thank you Bob. I'm really finding out just how challenging this hobby can be. Today I installed the rudder and cut out the scuppers. I think the hull is almost ready for paint!! John


-
Randy; Check out "Blacken It" solution, model train and craft stores have it. There's also a really good topic here at MSW about how to best use it. Hope this helps. John
-
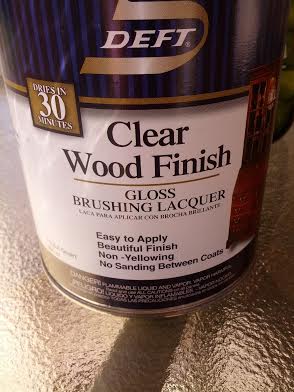
Pete, Bob; Thanks for checking in, I appreciate it very much. Thanks to all for the 'likes' too. I feel as though I'm confronting a steep learning curve with this project, but it's definitely do-able, and darn fun! After scraping the deck, I sanded it with 320 paper, then applied two brushed coats of lacquer. Right now it's curing in the sun. Rudder work is next up. Thanks again, John
-
I had a productive weekend, the deck was completed! It's far from perfect, but I'm happy with the results. I don't know what kind of wood I used, how sad is that? Whatever it is, it's quite hard and splintery, and I wouldn't use it again. I'm always collecting ideas to improve future models. John

-
Nice job Alex!! Antony, you are a great person to share your time and skills. I will be following your project with much interest. John
-
Eamonn, steal away. That's all I've been doing since discovering this site.. I began installing deck planking. I'm using *some kind* of wood from a long forgotten source. Maybe alder? Anyway, 1/8" strips were cut, and I'm off and running. Well, maybe a very slow jog. John


-
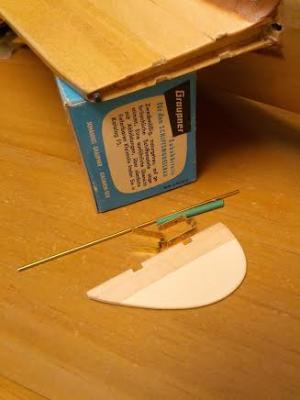
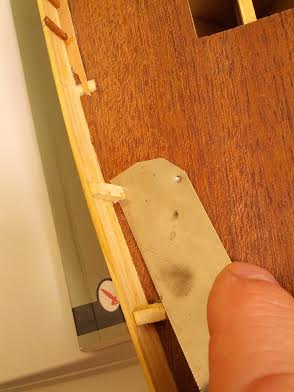
Hello Nils, and thank you for the nice comments. They keep me motivated. Yes, the sliding keel (or is it a centerboard?) is located on a hinge pin, and a deck winch (non-functional) moves it into or out of the keel. Thanks again for checking in! John
-
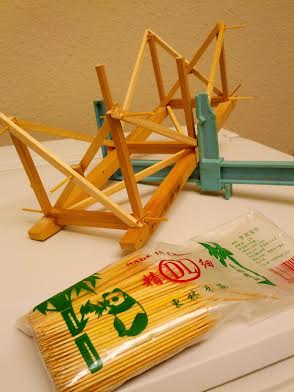
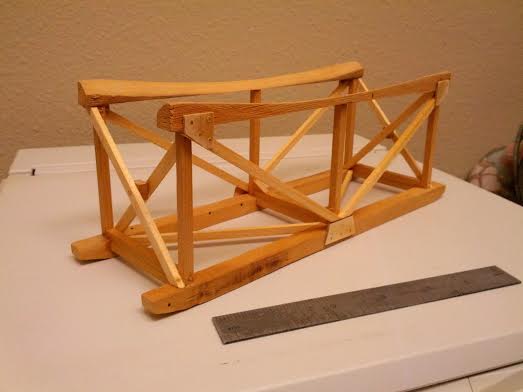
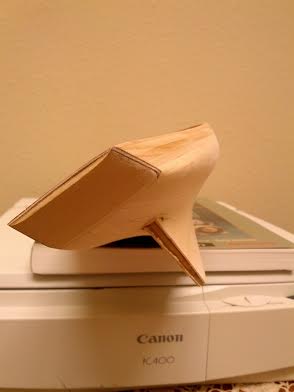
Hello again. Hard to believe, but it took me nearly two days to make a cradle for this project. I left the wood rough, hoping it might add some kind of scale effect later on. The toothpicks I used are bamboo. I use these often on model airplanes as well, and they add lots of strength. Next up is finishing the rudder, then on to deck planking. I've been putting the deck off because it's definitely out of my comfort zone! John

-
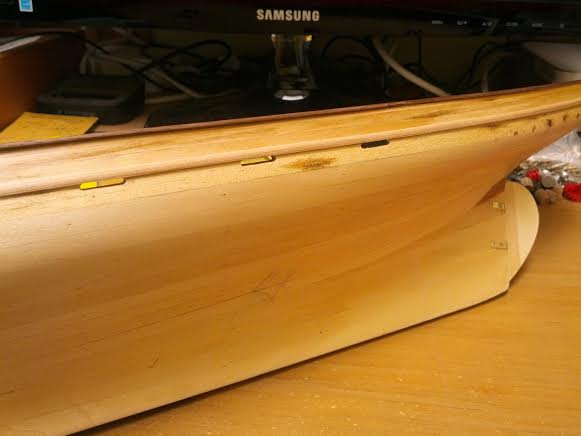
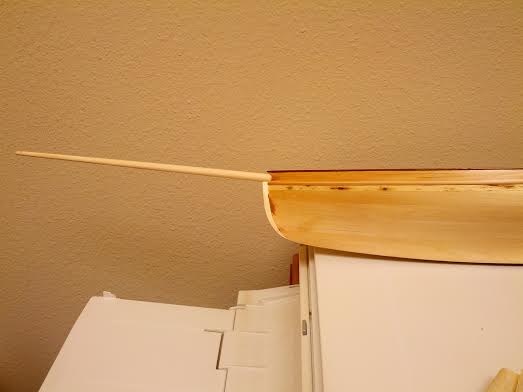
Wayne, Jay, thank you for the encouragement. I did a bit more today; added the side mouldings (is that what they are??) using some model RR basswood. Next, the hull was sealed with lacquer and sanded, then I carved the bowsprit from sitka spruce and did a rough fit. John
-
Bob, Andy; Thanks so much for checking in and nice words. I'm really having a good time building this boat. Andy, did you do a build log on yours? I'd love to see pictures sometime. A special shelf for it, now that's a good idea. I finished the cap rails and other small details. You can see where I had to apply some filler. A lot of these parts were made of non-kit wood. Hull finishing soon, and rudder work coming up. John
-
Eamonn, Thank you. OK, margin planks... got it. I have SO much to learn about ship terminology. Evidently, I didn't learn much while spending 11 years in the US Navy. What was I doing then?? John
-
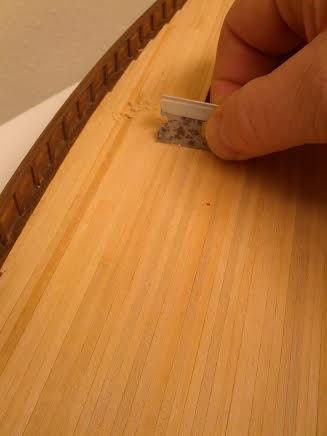
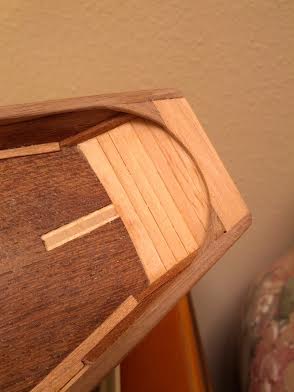
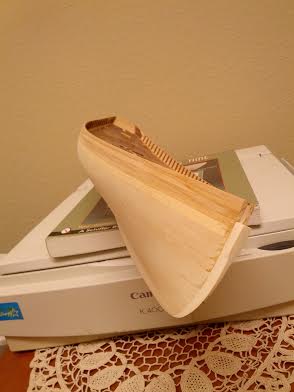
Hello Hamilton, thanks! I've been moving forward, the single layer of bass planking came out well enough that I'll omit the second layer. I shaped the hull using sanding blocks and sand paper pulled around a piece of plastic pipe. I do have a few places where a bit of filler or wood is needed. The nibbing plank took forever to do, the rails too. But I'm really enjoying this build!! Sometimes I think it's a difficult project, but then I see some other complex models being built on this forum. I think my model would be considered a good beginners build. Yow! John And now, a few pics:
-
Dale, This build log is very informative and inspiring. I hope to one day build this model, when I gather more courage and skill. Well done. John
-
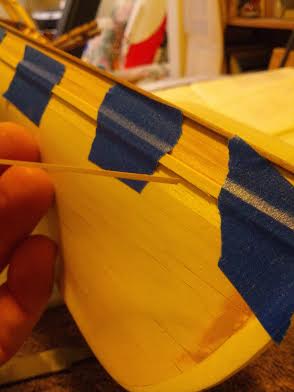
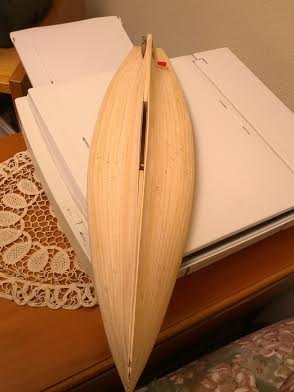
Thank you Eamonn, it does indeed have beautiful curves. Big day today, I finished the hull planking! The last plank required two stealers, and everything worked out ok. I made quite a few mistakes that will hopefully guide my next build to a better outcome. Next up: add some sort of stem post, shape and level the hull, build and install the rudder. John

-
understanding Italian model boat plans - moved by moderator
johncole replied to susie2's topic in Wood ship model kits
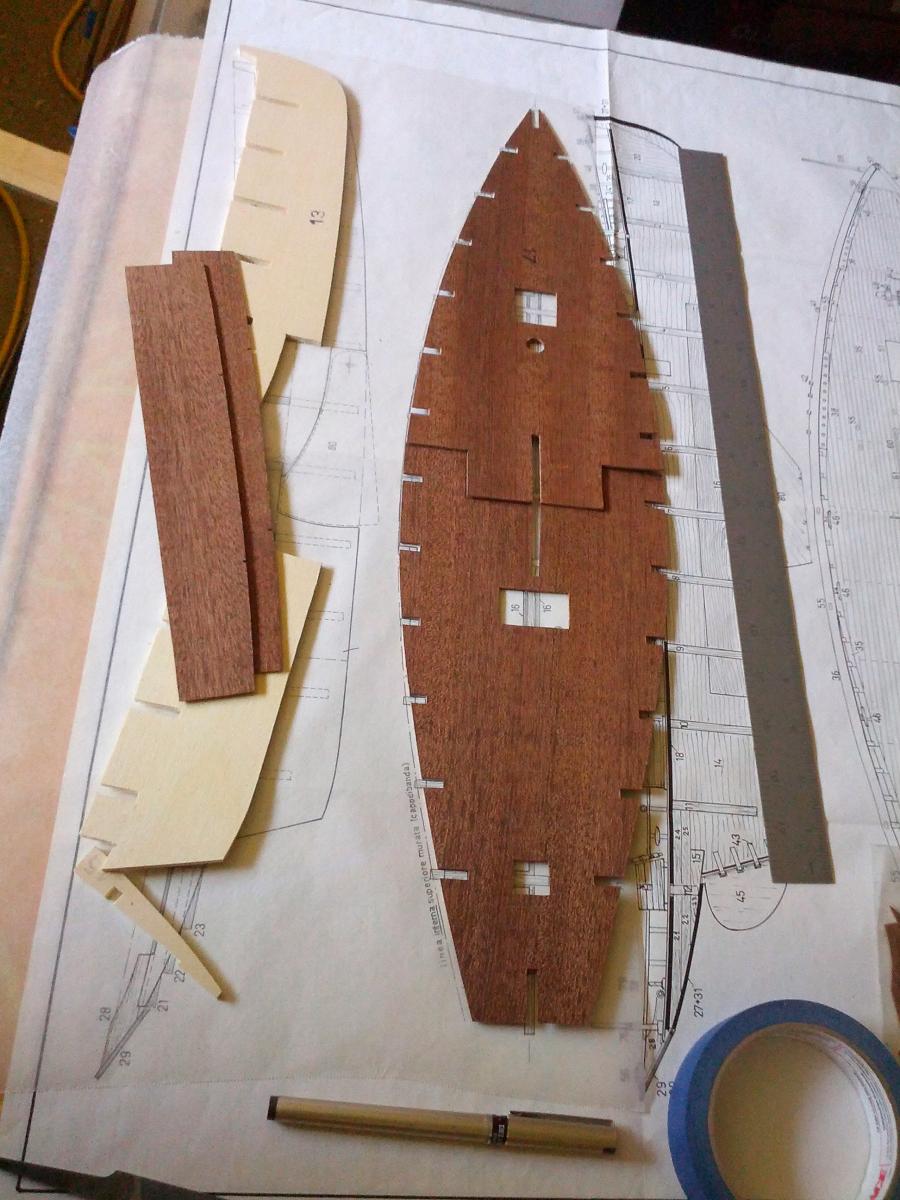
The Mamoli kits rely heavily on studying the plans. I'm finding the instructions don't really help much. One technique they use, at least on my kit, is that the part numbers correspond to the assembly sequence. Hope this helps! John -
Thank you Antony. I'm hoping to use just a single layer of planking instead of the double plank scheme from the kit. The kit wood intended for the first layer of planks was finished pretty rough (not their fault, it's supposed to be covered with a second layer of walnut), so I used basswood instead. The fitting of planks is pretty fun, in a meditative sort of way. I've made a few mistakes, but so far have recovered from them. John
-
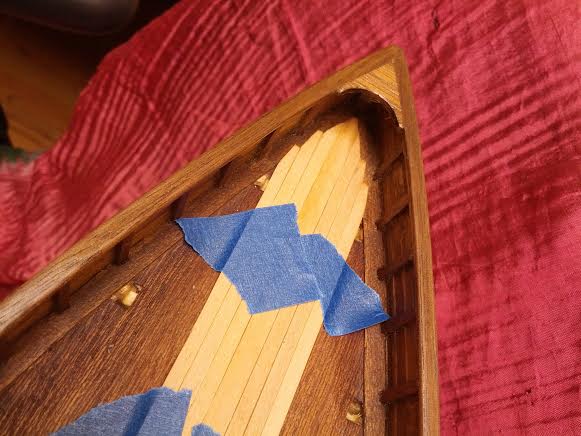
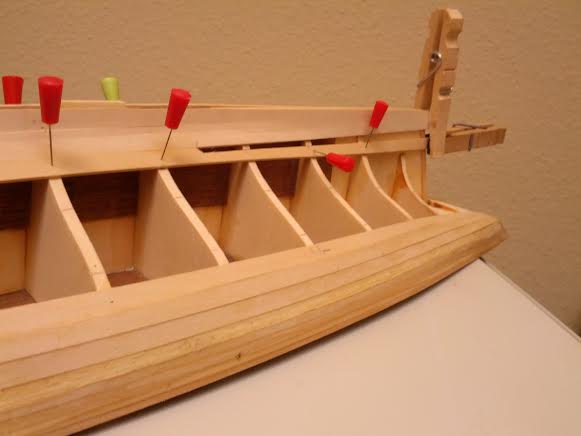
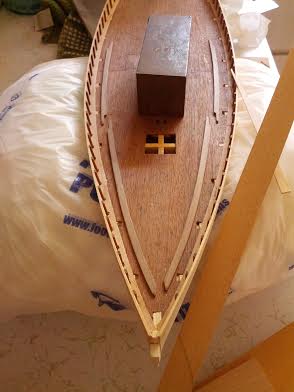
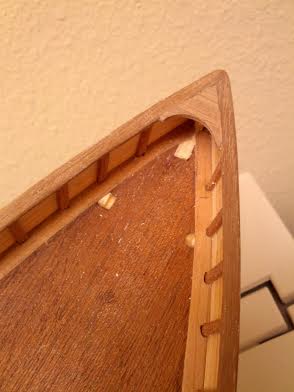
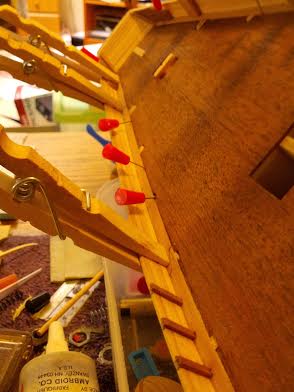
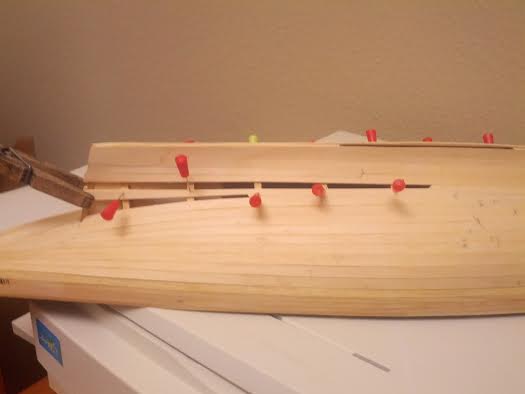
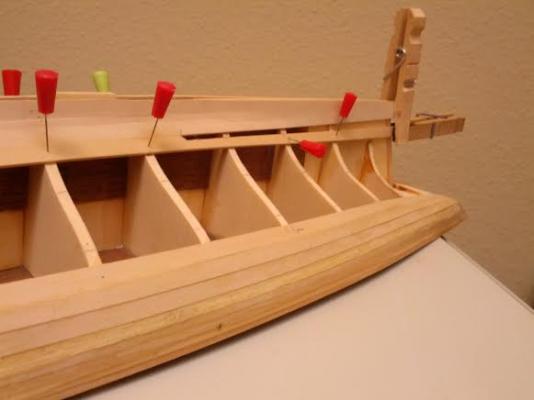
Bulwarks installed, planking underway. First stealer location shown. John
-
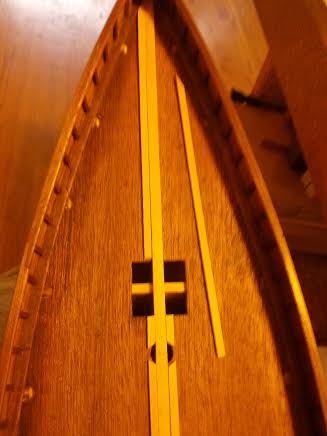
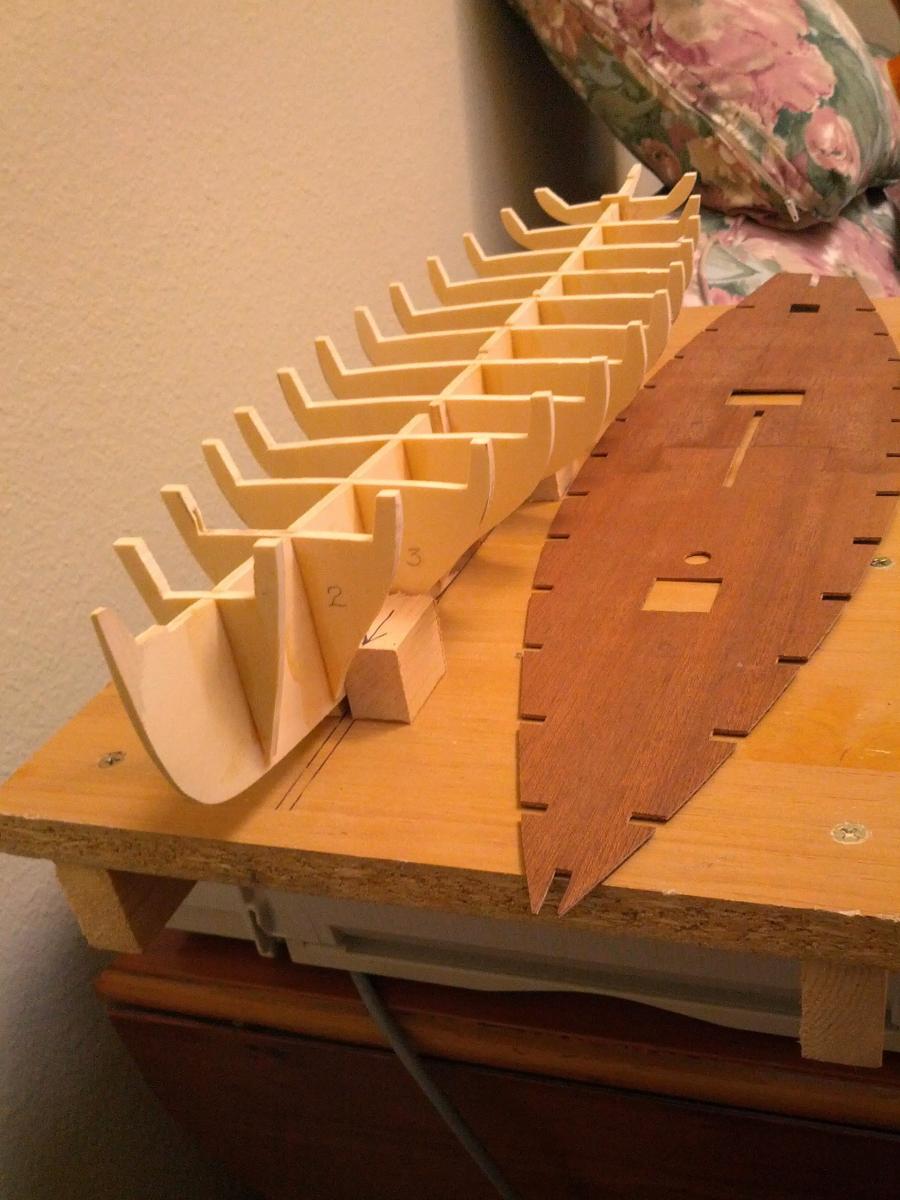
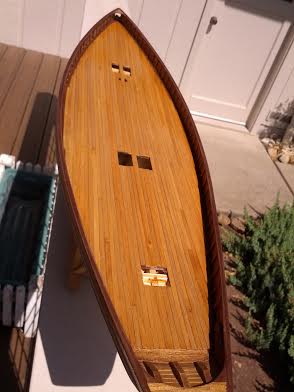
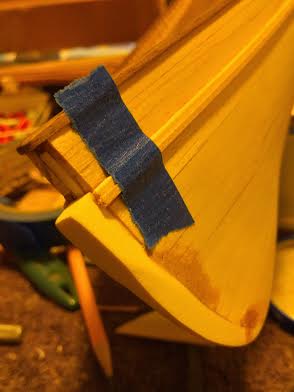
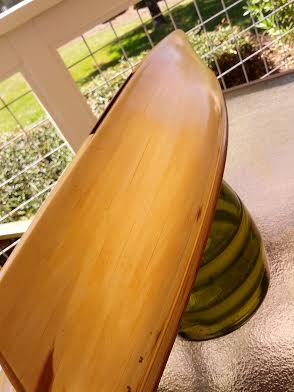
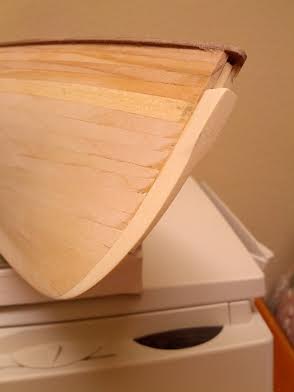
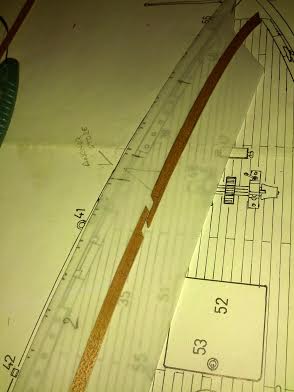
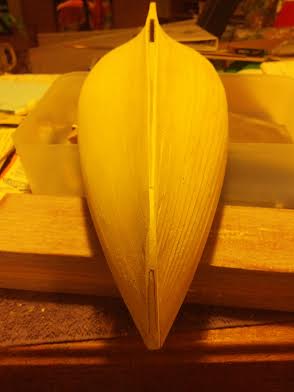
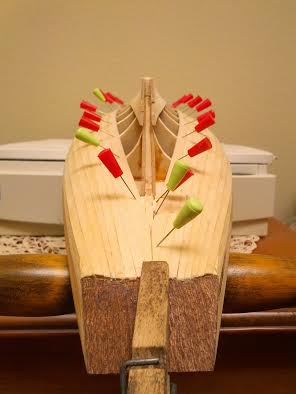
I *think* the hull is ready for planks, shaping and sanding went pretty well. I did botch a couple of places, fixed with shims. The keel is tapered quite a bit, unlike most of the earlier ships. I think this taper helps ensure a very fine edge at the bow. I'm not sure how this was done on the full size ship, but I'll try to somehow create the effect. The slot for the sliding keel can also be seen. John

-
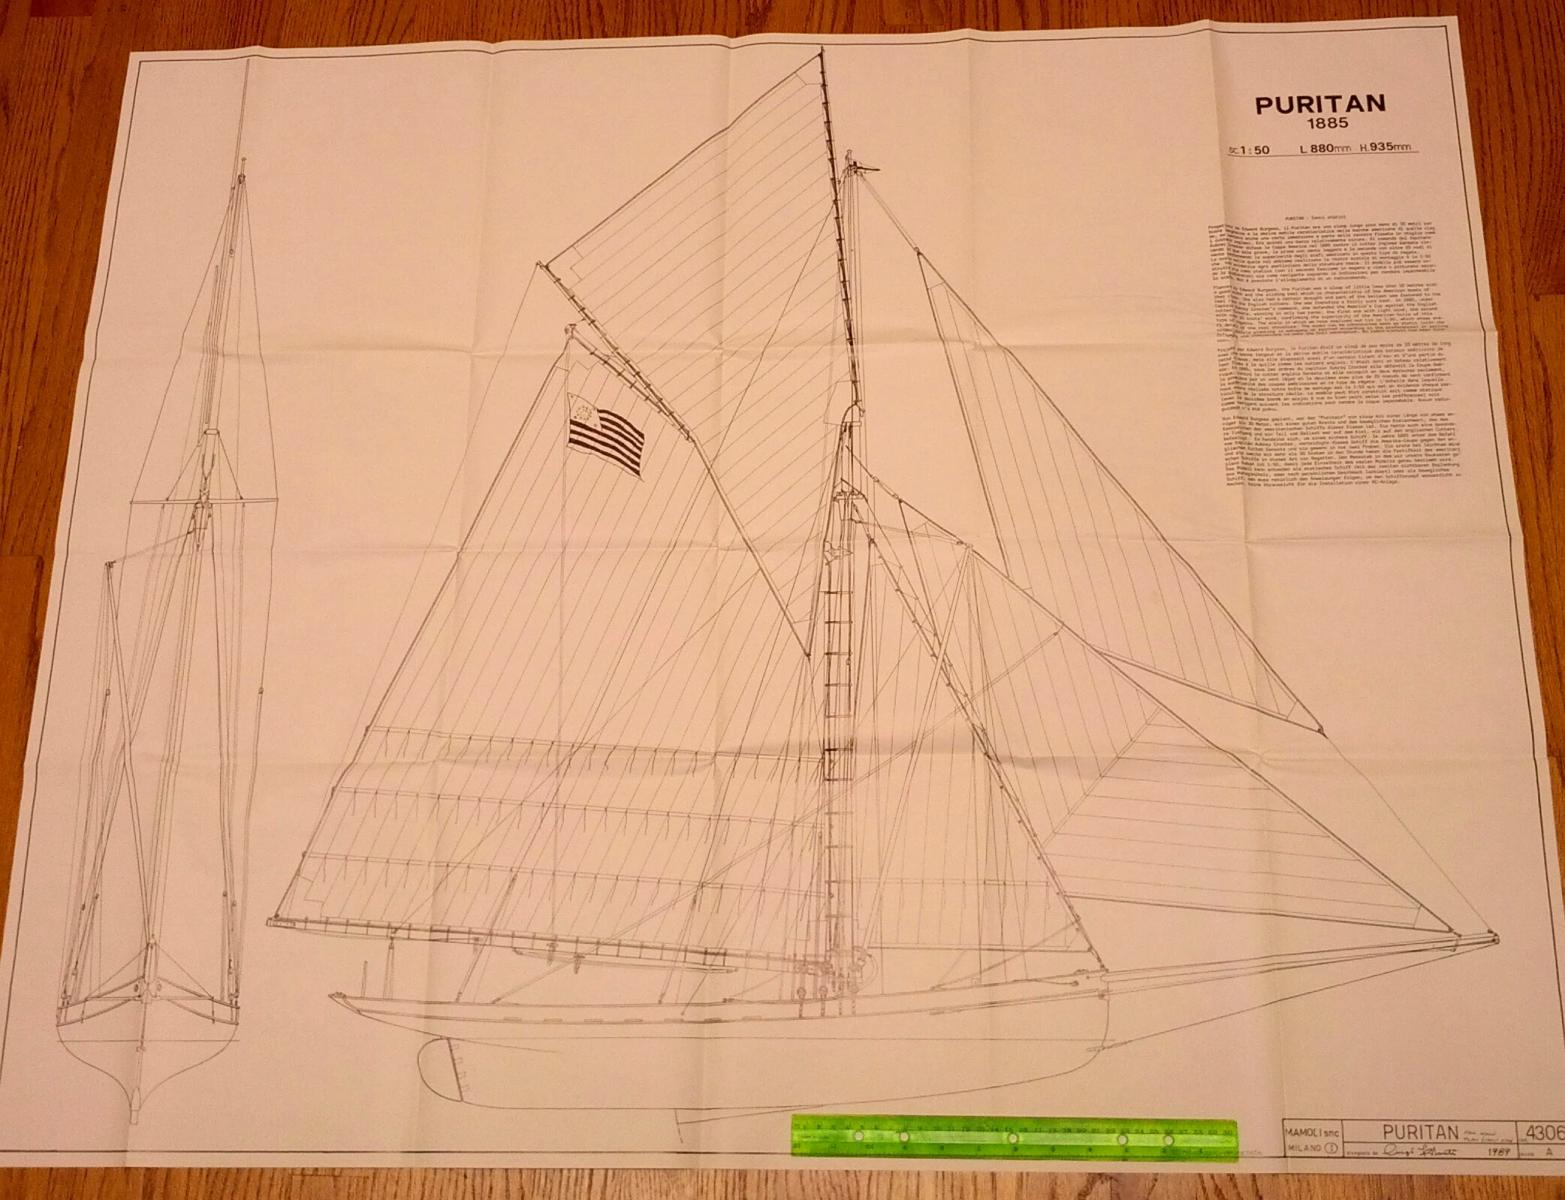
Hamilton; There's a picture above that shows the full size plan, and the green ruler laid at the foot is 12" - 30.5cm. Yes, it has presence as the sails are quite large. Thank you for checking in! John
-
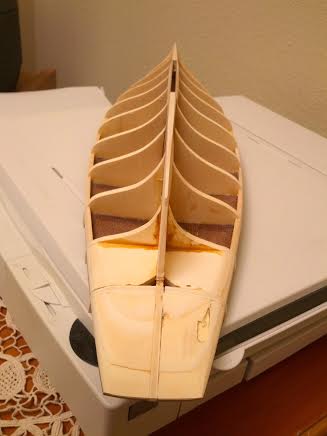
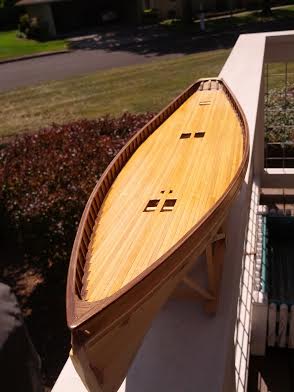
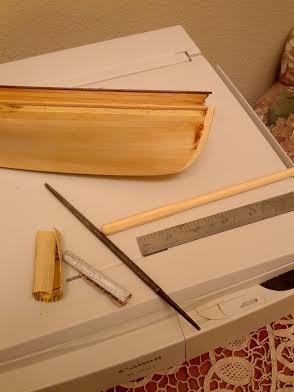
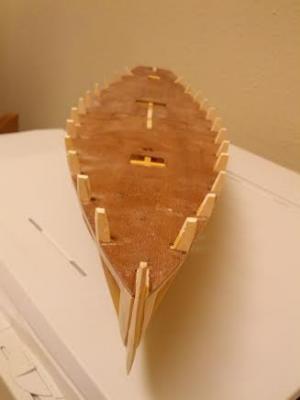
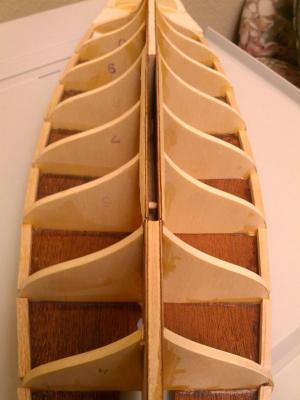
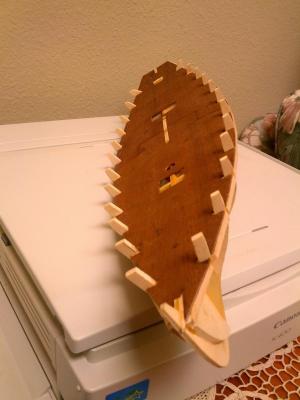
Here goes. This is my first build log here, and this kit will be my second wood ship model. The kit is typical of European kit makers today. I'm not the best authority on what's good or bad, due to limited experience in model ship building. The machine cut parts are mostly accurate, with some trimming and fitting required to get a fair hull shape. Following are some pictures of the kit, plans, and my initial hull lay up. The design features a sliding keel, and a slot is created in the keel to allow its function. Enjoy! John


-
Maturin; That sounds good to me as well. I'm in no hurry either, and I am currently in between model airplane projects. So I'll start in the next couple of weeks on my Puritan, perhaps I'll discover some pitfalls and work out some solutions. John
-
Joe, Your boat is looking great! Very nice lines. John
-
Hi Mark; Thanks for the reply. That makes good sense to start independent builds. After reading your message, it only took a moment for me to realize how confusing multiple builds would be in the same thread. Regards, John
-
Maturin; I'm new to this site, but I have been modeling for some time (mostly scale rc airplanes). I too have a Puritan kit, and I'm thinking of building it someday soon. Would you be interested in doing a team build on our models? Is that sort of thing even done here?? I'll follow your lead. Regards, John Cole