Noctavigant
Members-
Posts
13 -
Joined
-
Last visited
Recent Profile Visitors
-
 kearnold reacted to a post in a topic:
Hello from Central Ohio
-
 Keith Black reacted to a post in a topic:
Hello from Central Ohio
-
 Keith Black reacted to a post in a topic:
Hello from Central Ohio
-
 Keith Black reacted to a post in a topic:
Hello from Central Ohio
-
 Duanelaker reacted to a post in a topic:
New Bedford Whaleboat by Noctavigant - BlueJacket Shipcrafters - scale 1:33
-
 Duanelaker reacted to a post in a topic:
New Bedford Whaleboat by Noctavigant - BlueJacket Shipcrafters - scale 1:33
-
 Duanelaker reacted to a post in a topic:
New Bedford Whaleboat by Noctavigant - BlueJacket Shipcrafters - scale 1:33
-
 Noctavigant reacted to a post in a topic:
1:350 Warship Kits and Sets for Sale
-
 JpR62 reacted to a post in a topic:
New Bedford Whaleboat by Noctavigant - BlueJacket Shipcrafters - scale 1:33
-
 gsdpic reacted to a post in a topic:
New Bedford Whaleboat by Noctavigant - BlueJacket Shipcrafters - scale 1:33
-
 GrandpaPhil reacted to a post in a topic:
New Bedford Whaleboat by Noctavigant - BlueJacket Shipcrafters - scale 1:33
-
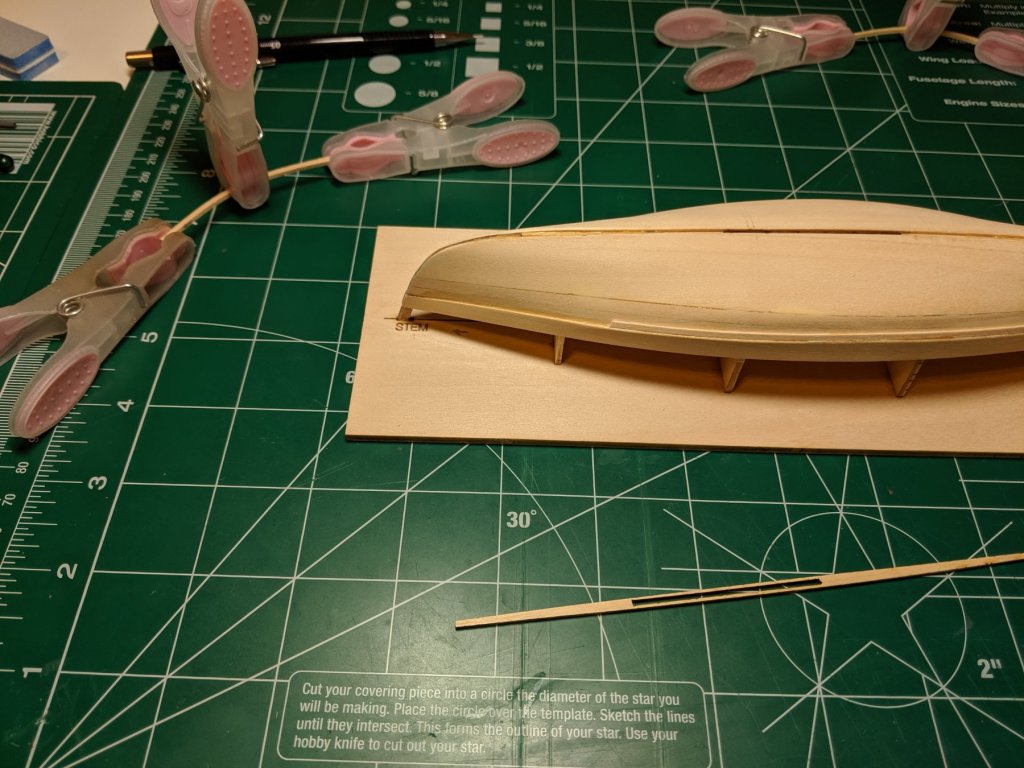
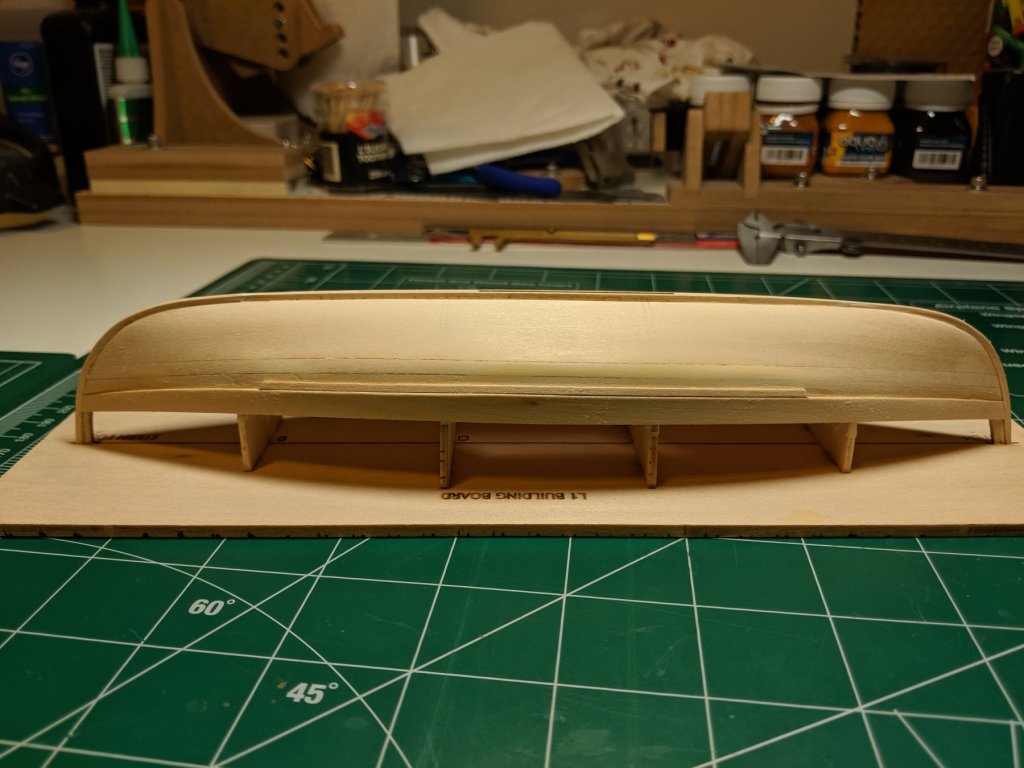
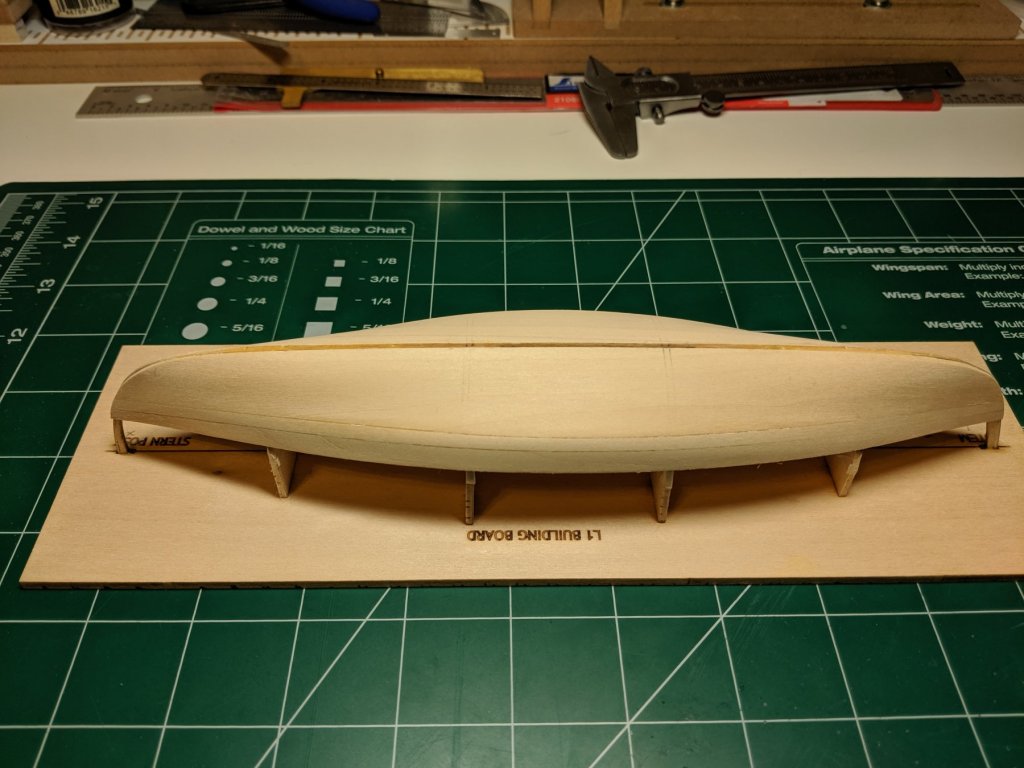
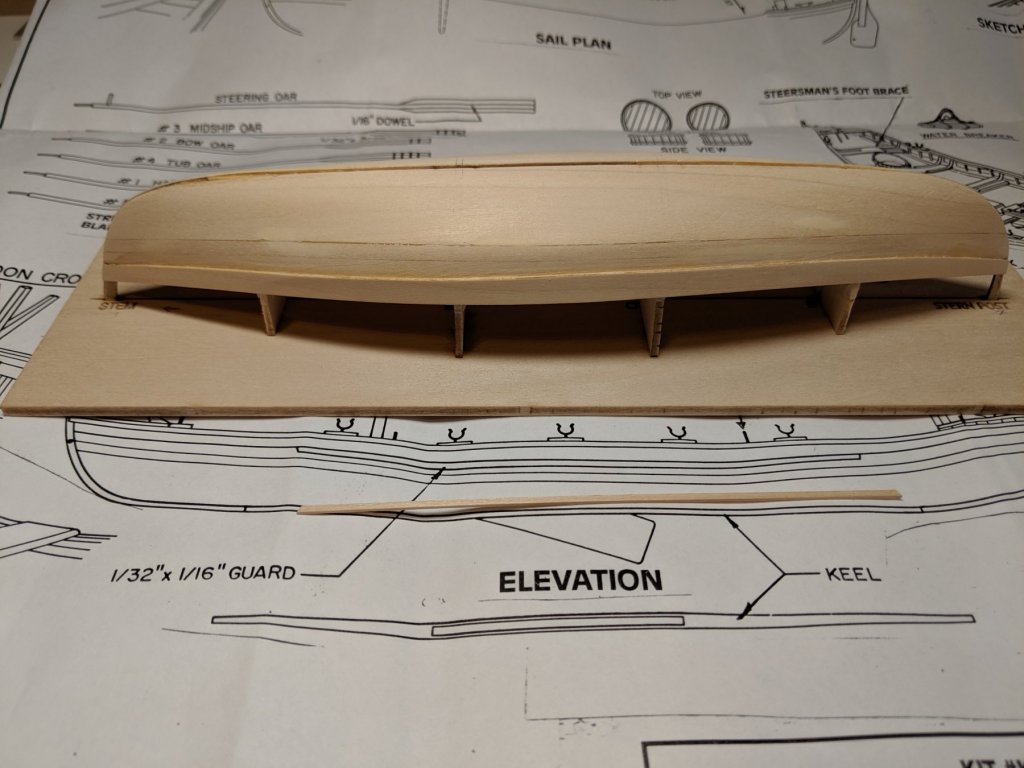
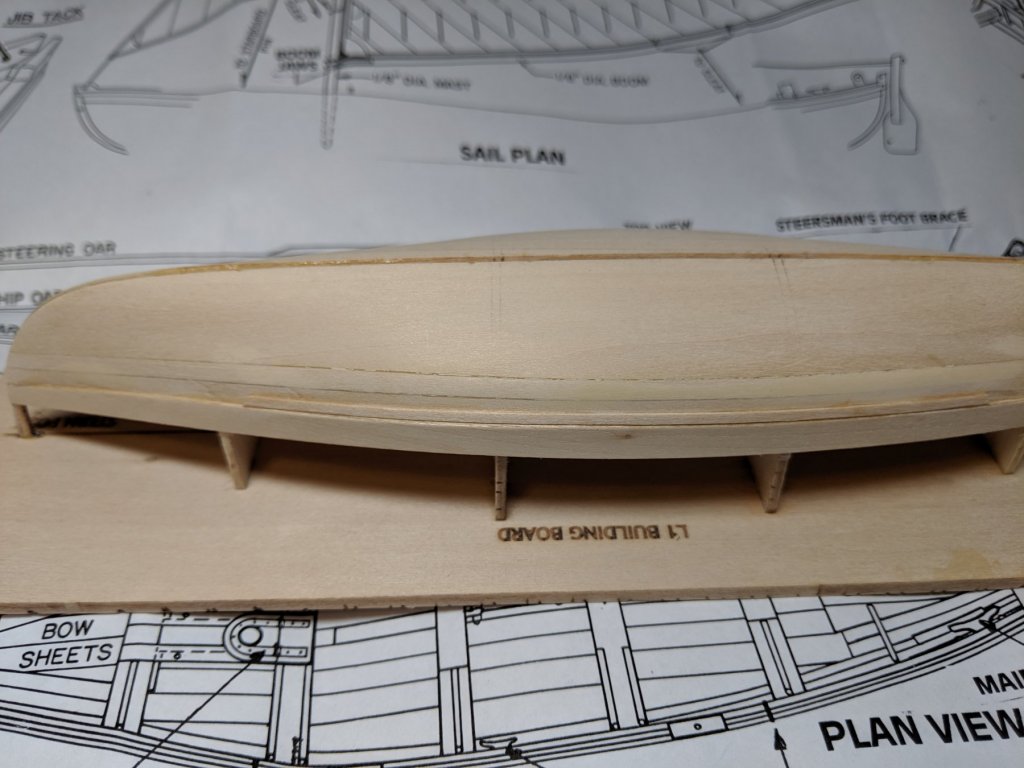
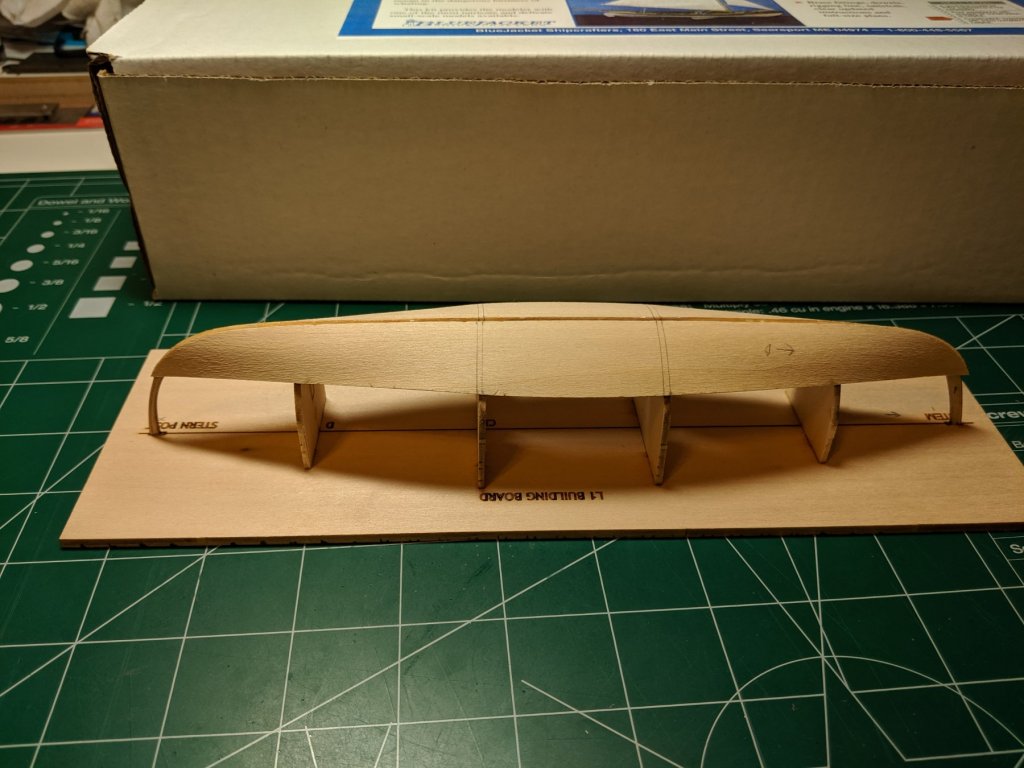
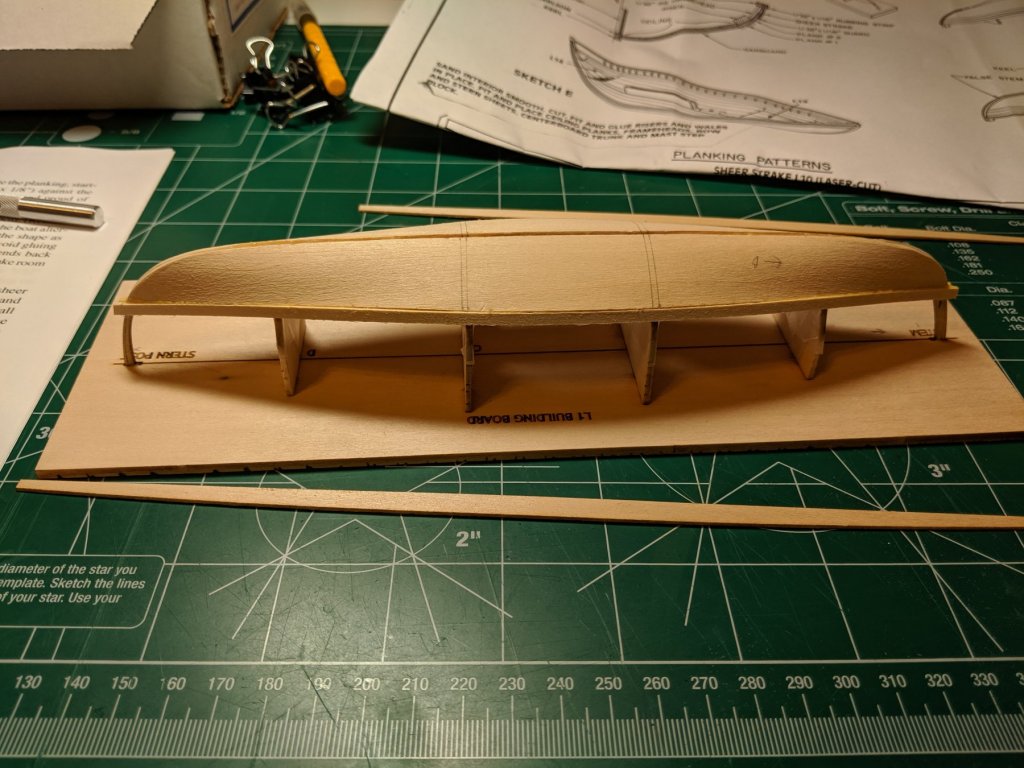
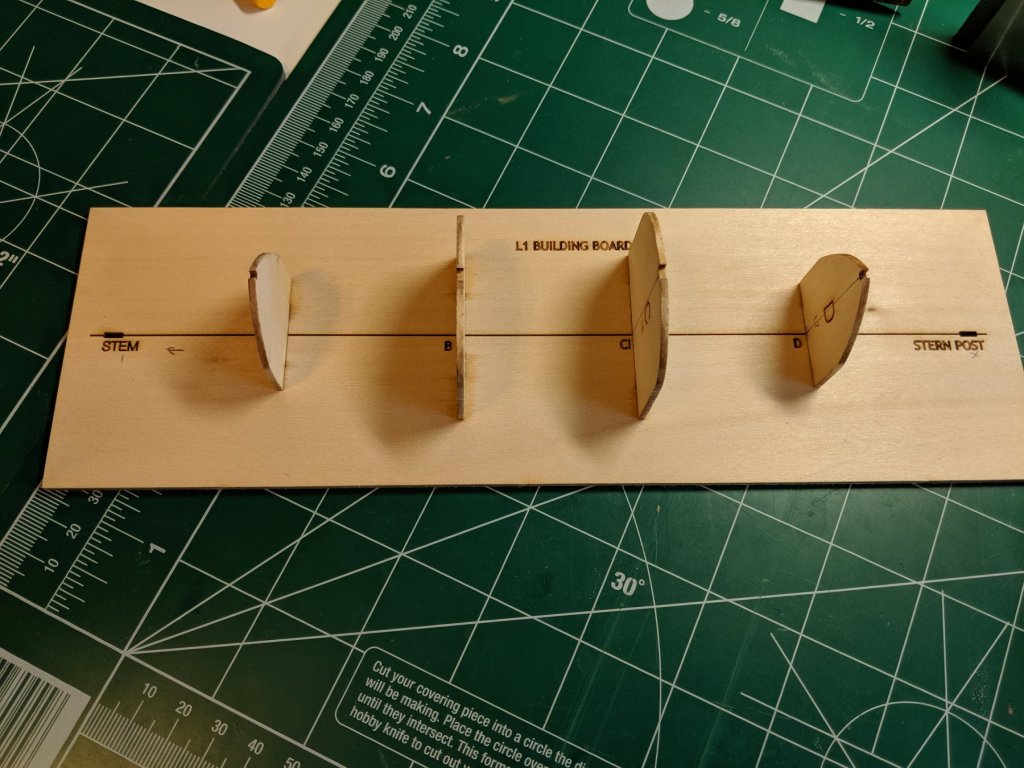
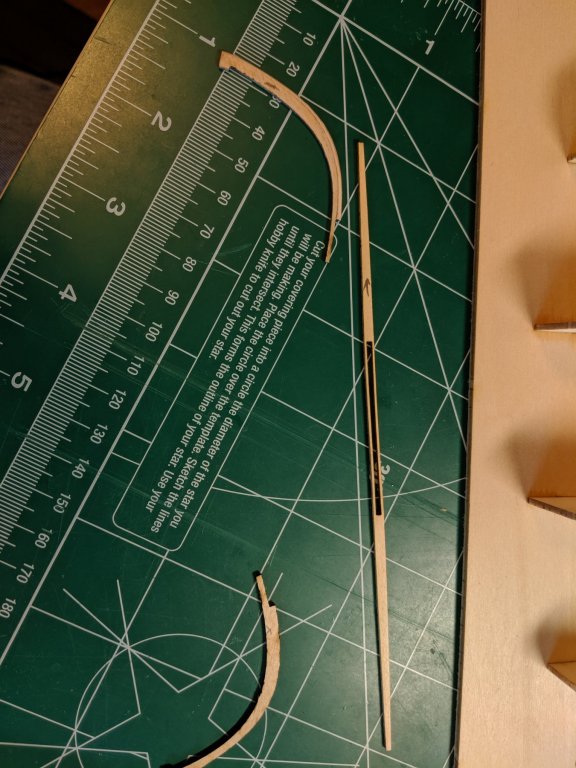
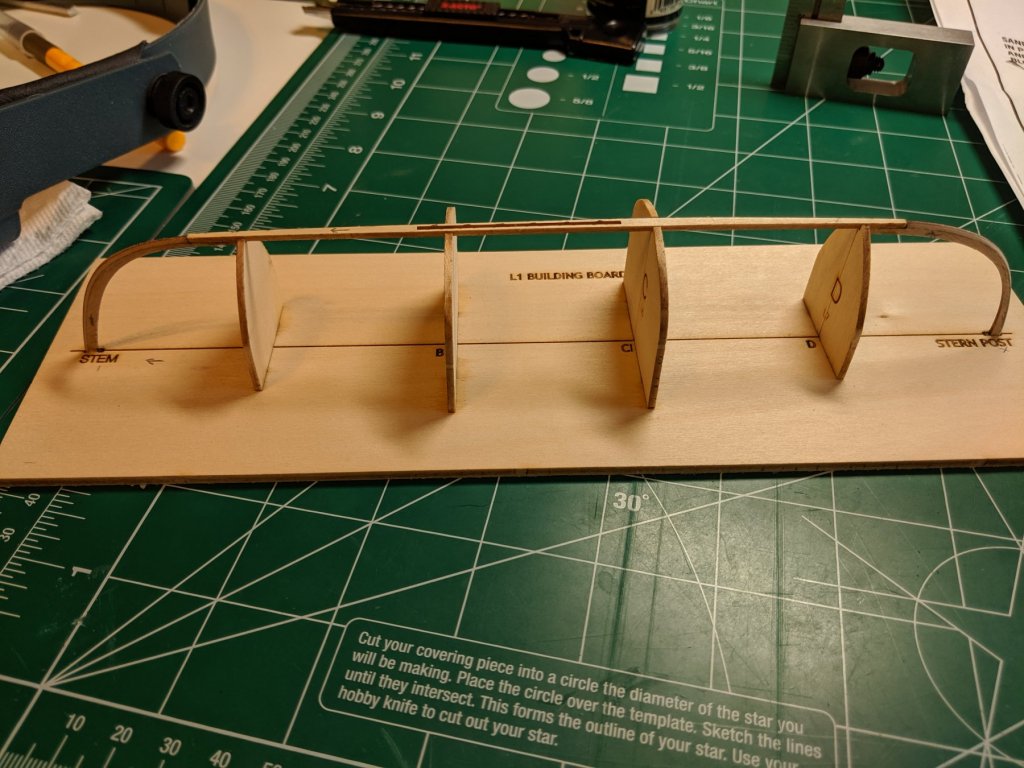
Happy Sunday all. It's been quite some time since I've posted and my previous build never took off. I figured it was time to start a new kit that was simpler than the last. I decided on the Whaleboat since it's a smaller kit without the higher parts count, and it seemed to be easier than the Occre kit I tried last year. I have been working on this over the last two weeks, so here are some photos of my progress thus far. I started setting up the jig, beveling the stem and sternpost, and gluing them to the keelson.
-
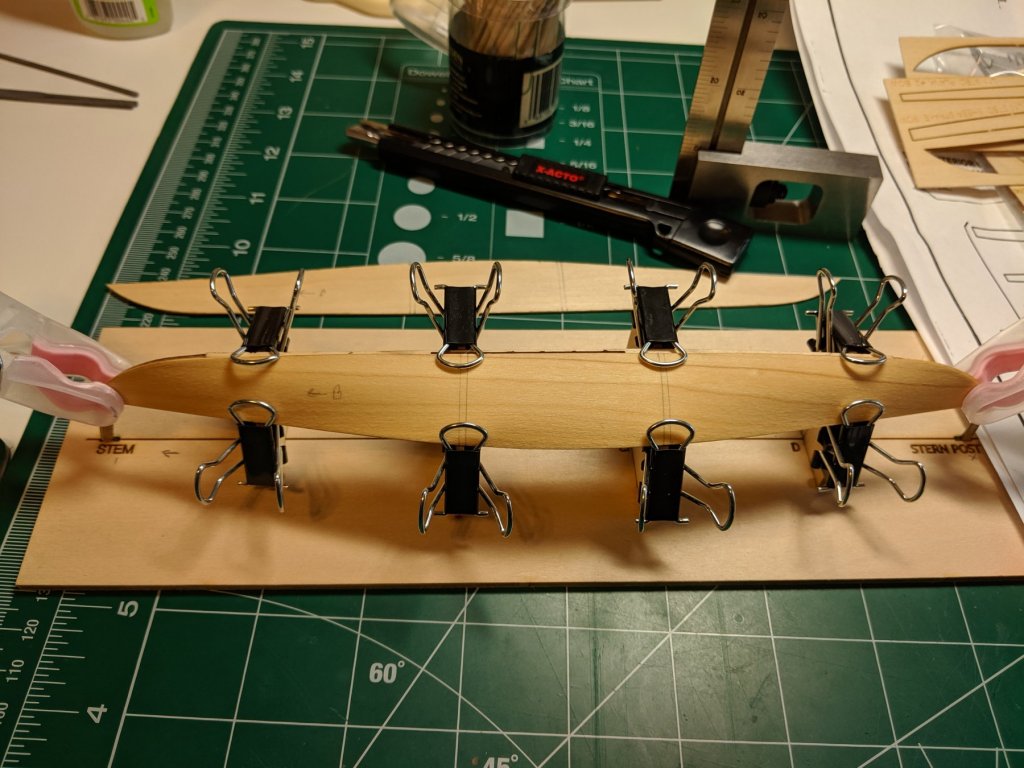
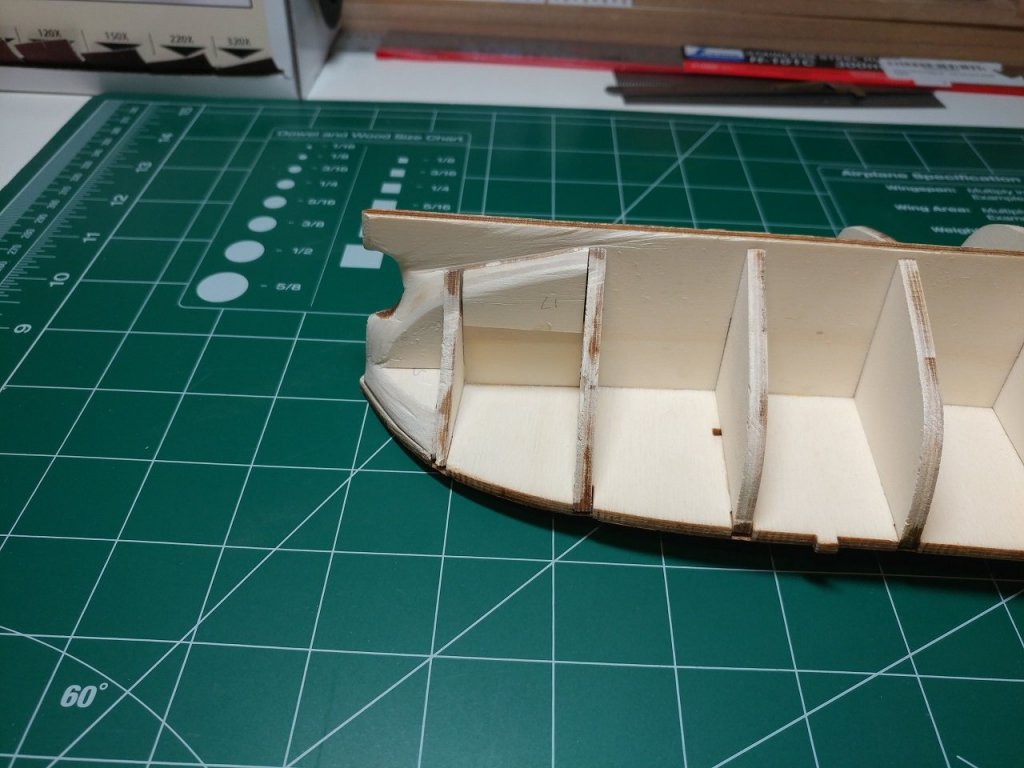
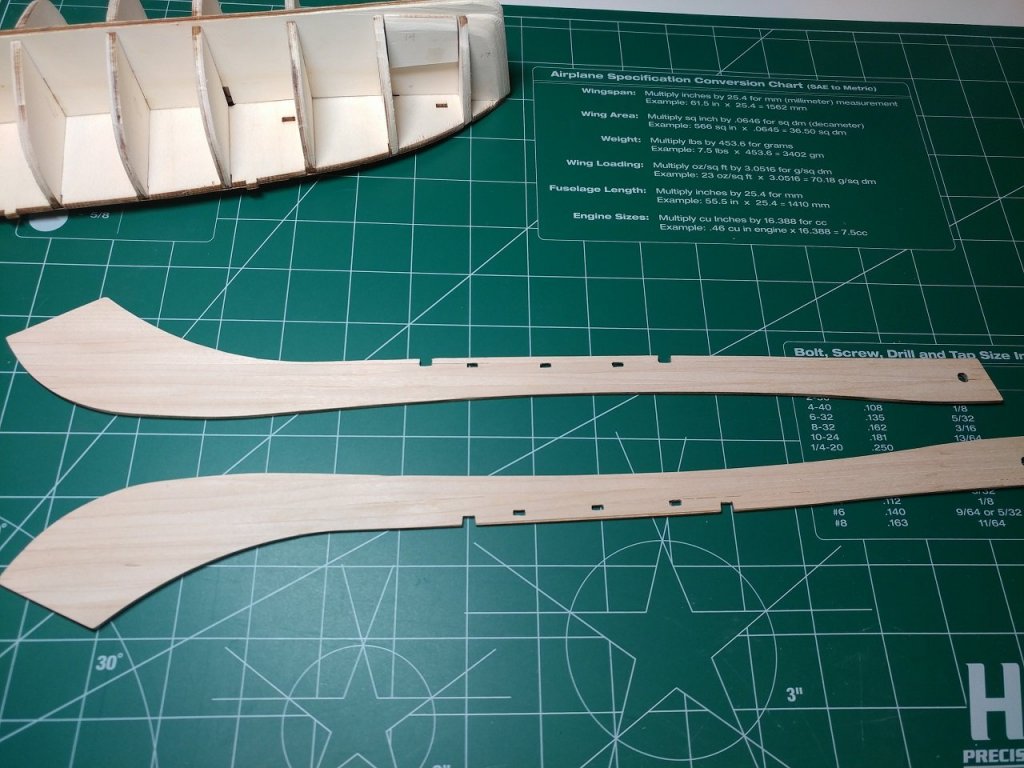
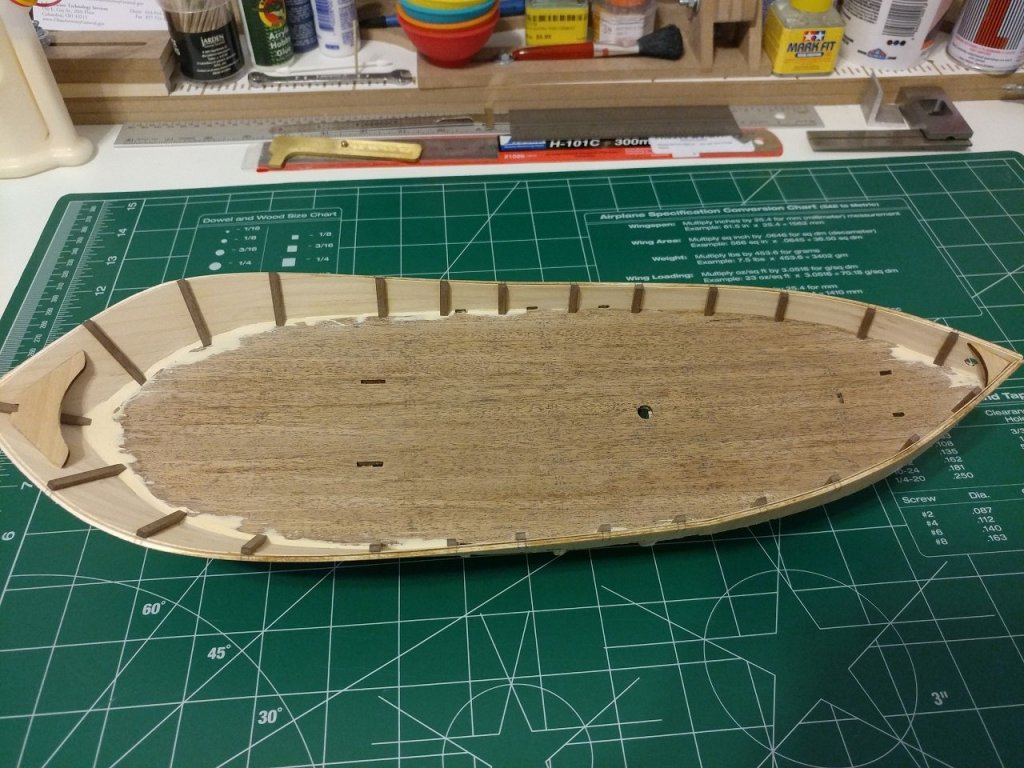
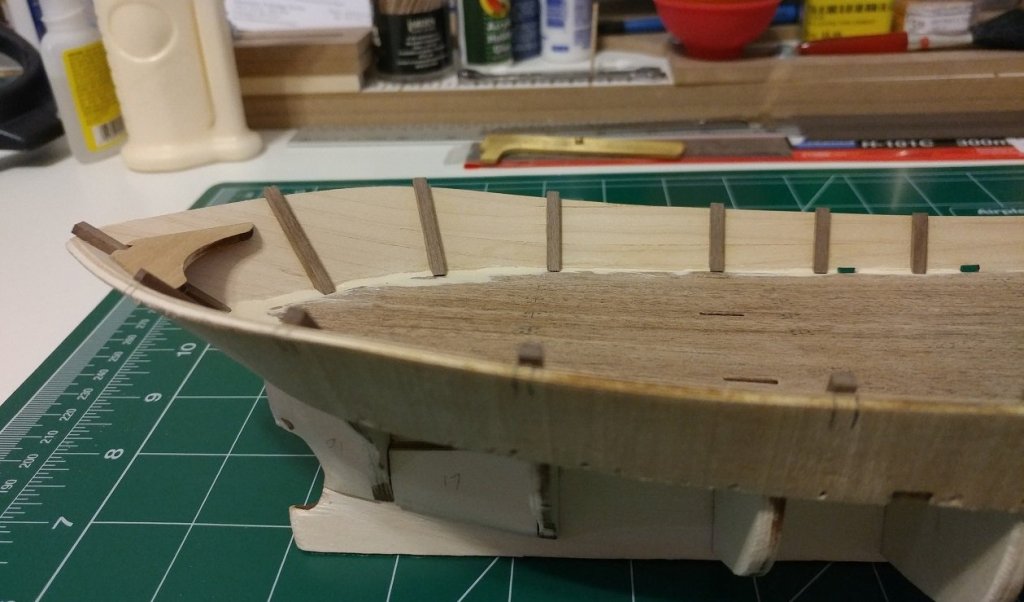
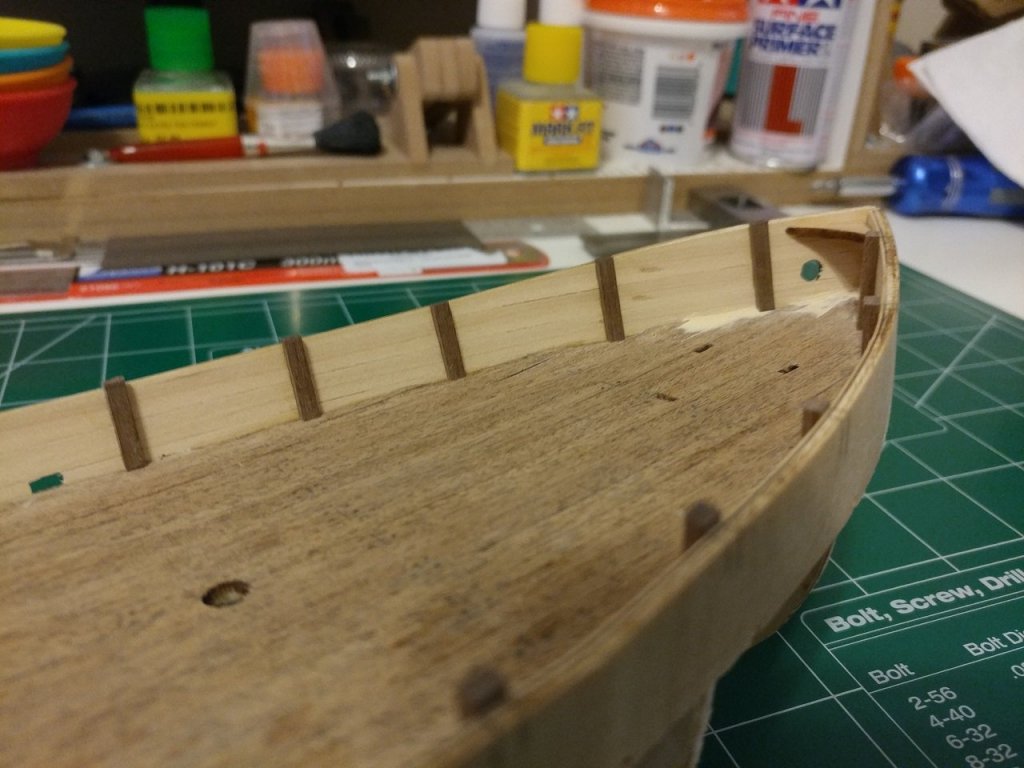
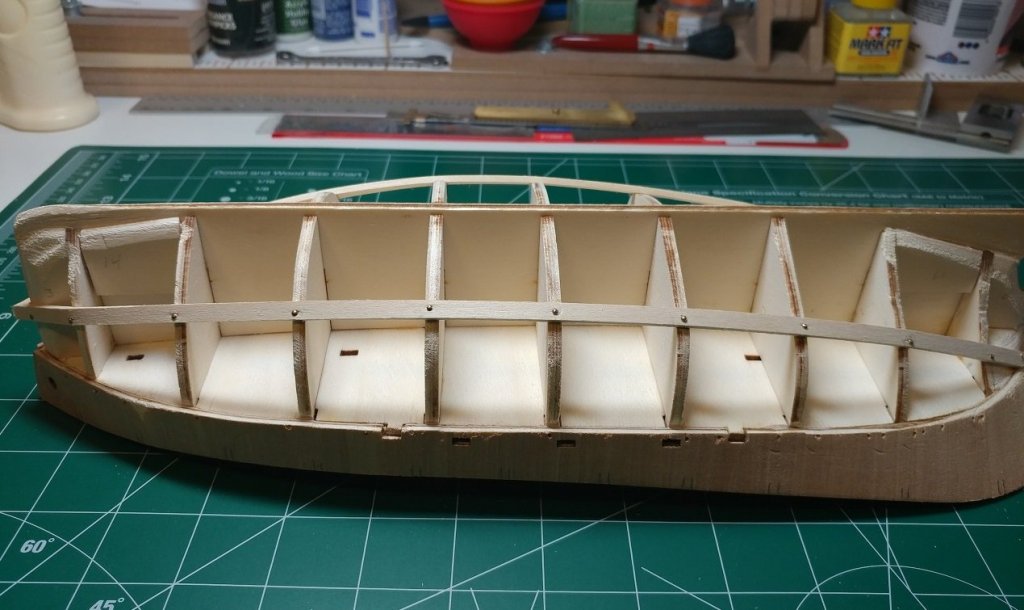
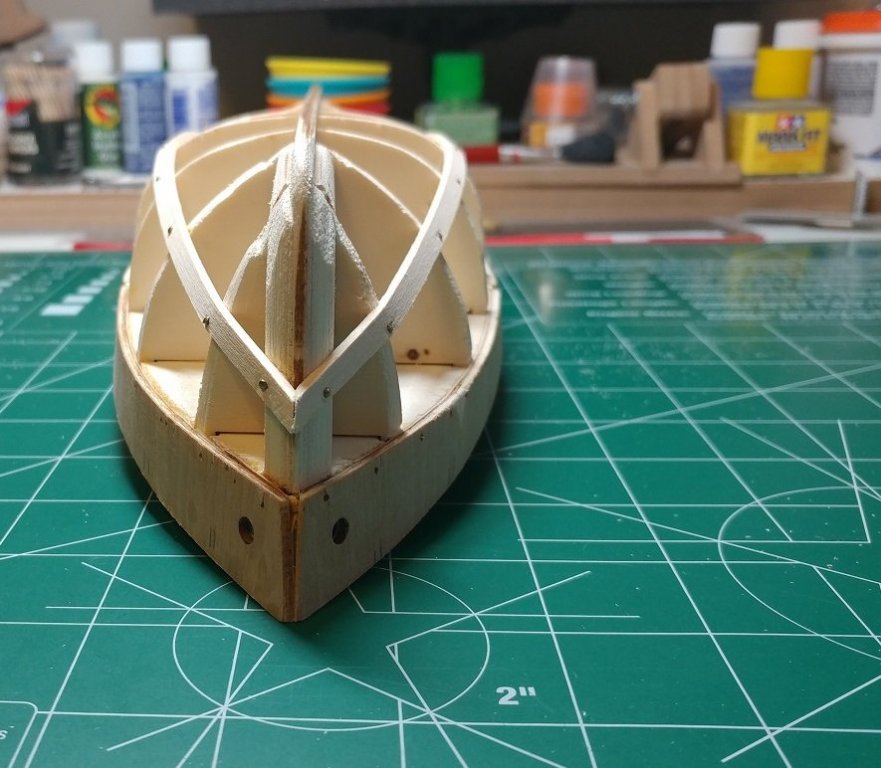
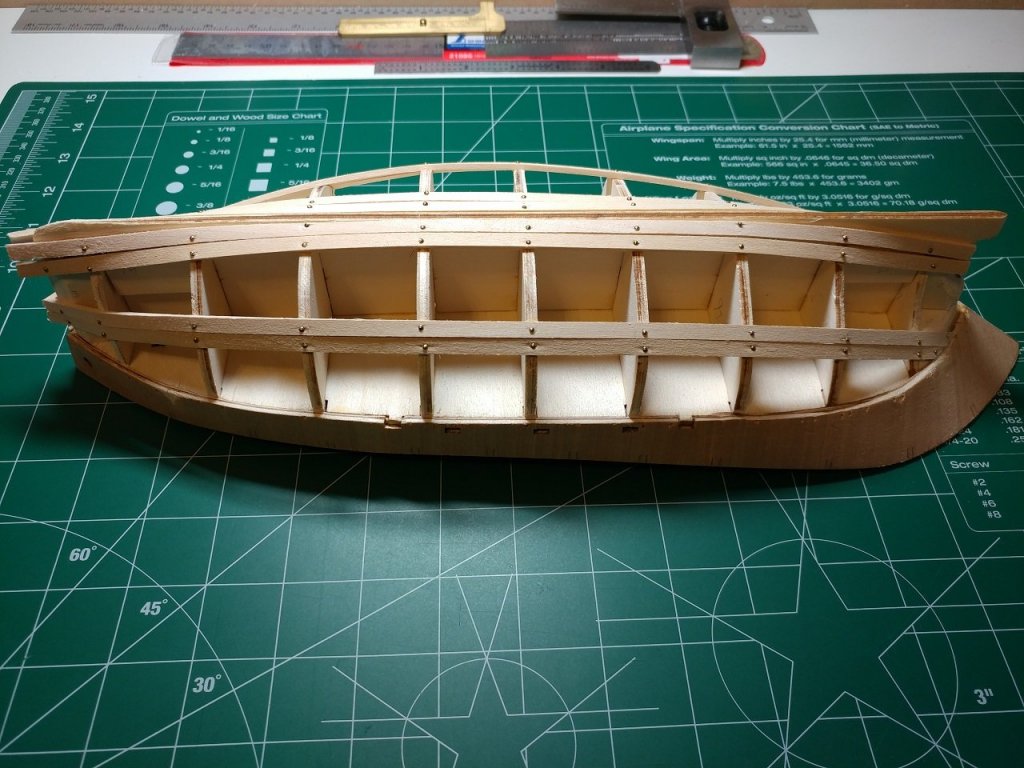
Finally got some time over the last couple of weeks to work on this. I found a problem after gluing the bulwarks in place. A couple of my clamps popped off during the night, which caused a lot of gaps around the deck. Rather than try to cut everything apart, I decided to see if I could make things work since it will be painted in the end. Filler blocks in place. Planking the interior of the bulwarks. Stanchions in place. I will be painting this model, so the filler will be hidden. Starting the first row of planking. This kit is double planked.
-
Thanks Bill! I'll send you an email shortly. Sean
-
Thanks Darrell! I was not able to make the meeting today due to timing and weather, but I plan on being at the April meet.
-
 Noctavigant reacted to a post in a topic:
Hello from Central Ohio
-
 Noctavigant reacted to a post in a topic:
Hello from Central Ohio
-
 Noctavigant reacted to a post in a topic:
Hello from Central Ohio
-
Thanks for the invite Lee. I'm only 30 minutes from the library. Does the club meet in one of the conference rooms there?
-
My name is Sean. I'll be adding it to my signature block along with my current build soon.
-
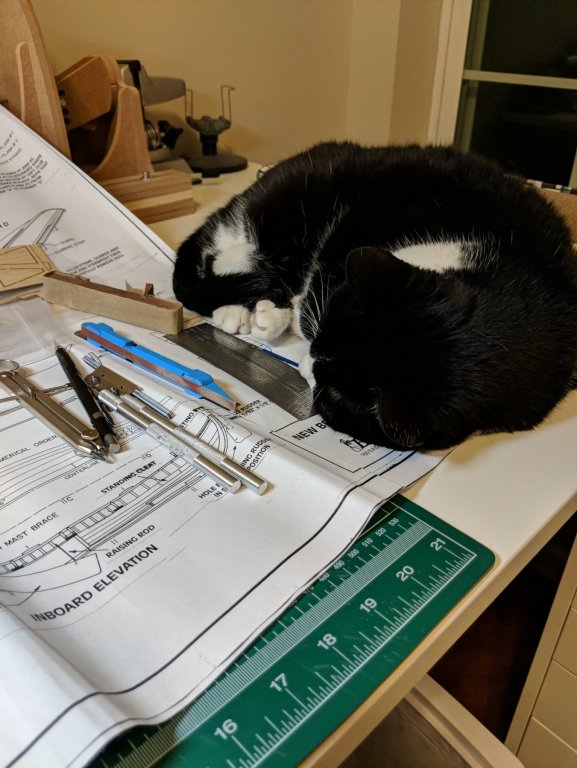
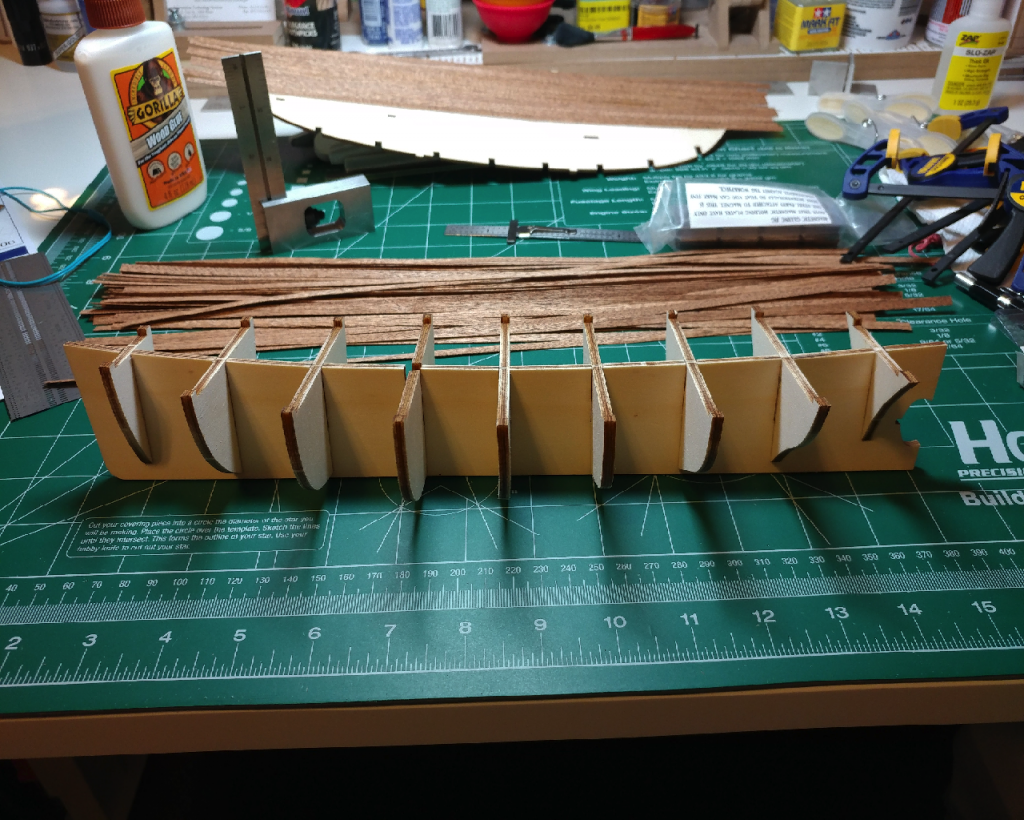
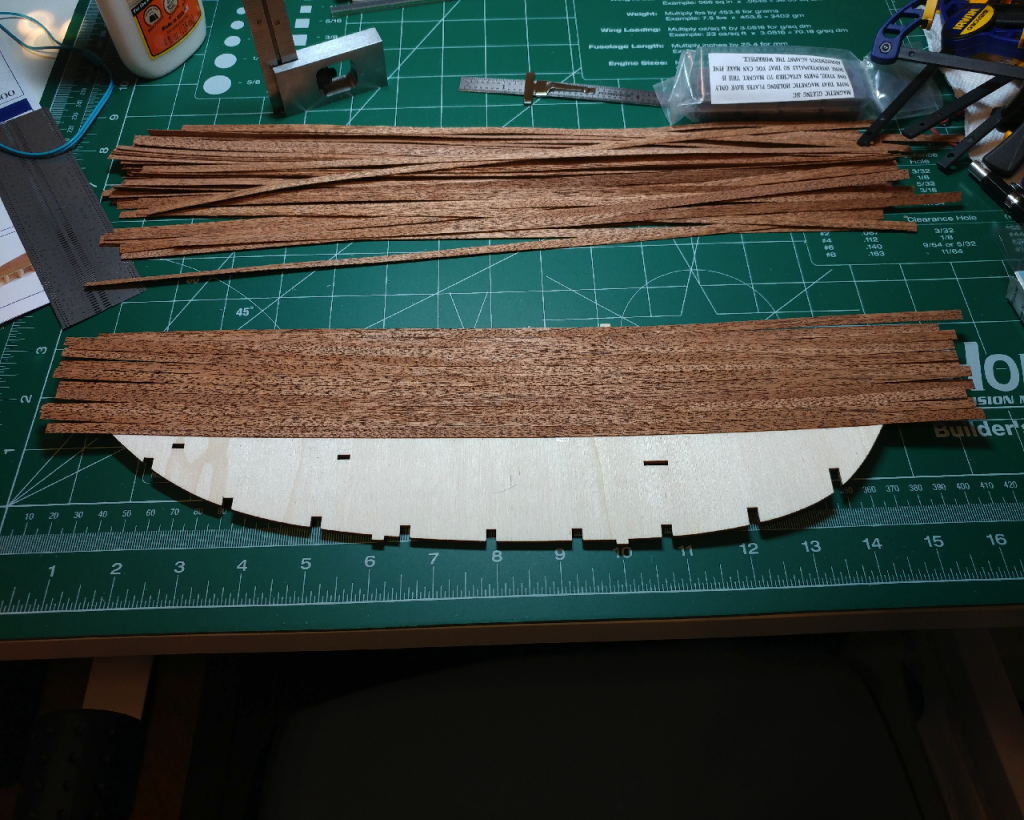
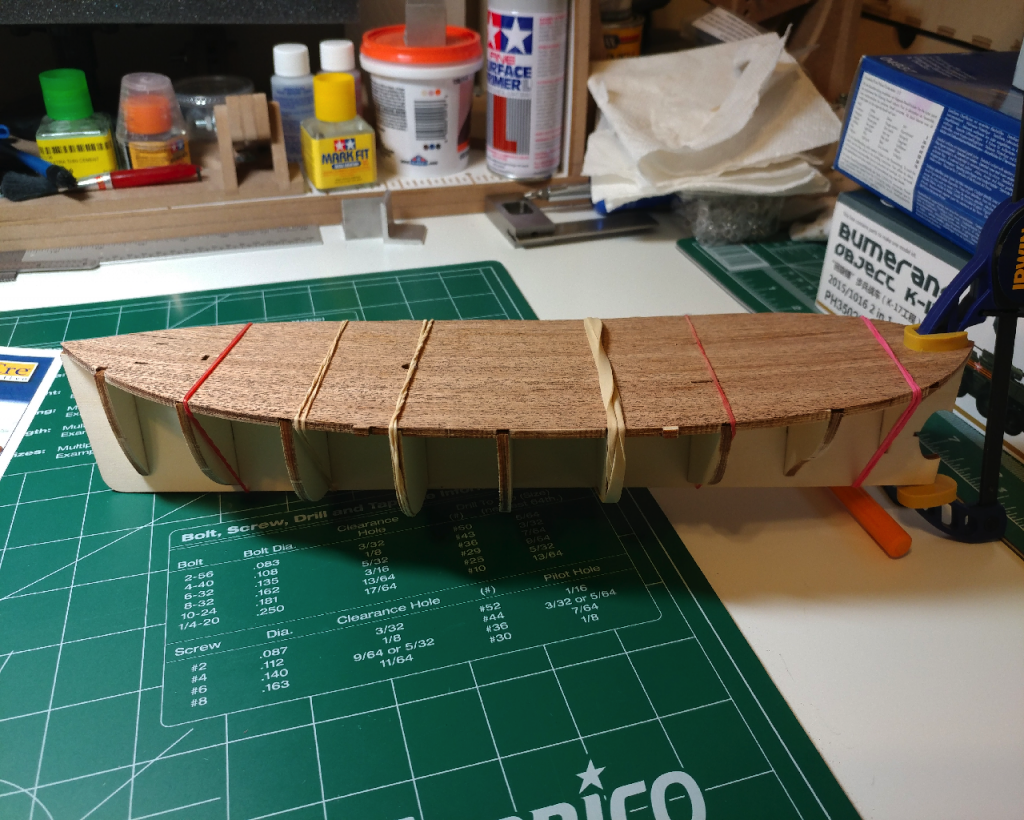
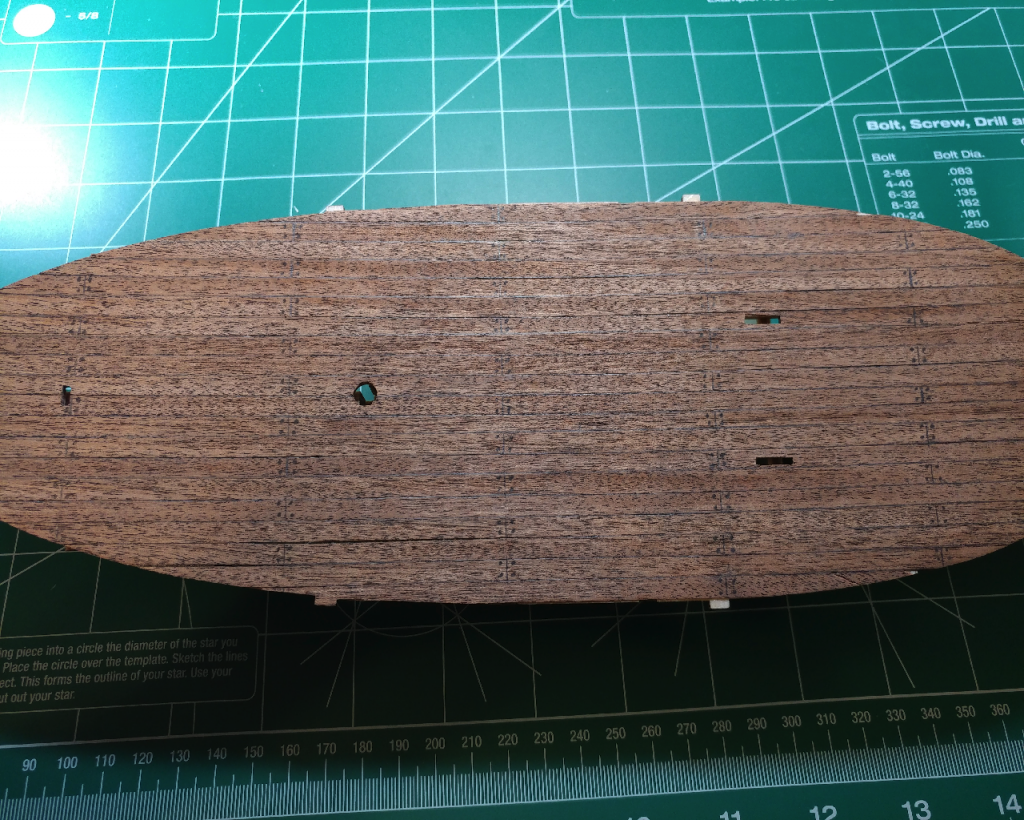
Well, here is my first build log. I haven't gotten very far over the last couple of weeks, but it's a start! I will warn you, my nautical terms are severely lacking, so feel free to correct me if I am wrong, or don't know the proper term. First up I glued all the frames together using aluminum angle to keep everything square. Adding the planking to the deck. I found the wood to be very dry and quite fragile. I believe it's sapele. Trimmed up the planks and glued the deck to the frames. Everything lined up pretty well. Did some pencil lining on the deck to give the planks some separation. There are a couple of gaps that I will have to deal with soon. That's it for now. I'll be continuing on with the hull this week. Thanks for reading. -Sean
-
Hi all! I've been meaning to post here for some time. I've been registered for almost 4 years, better late than never I've been following this site for some time, reading over build logs, and trying out cheap MidWest kits before I posted an actual build. I currently build a lot of plastic amour and ship kits, and I am active with our local IPMS chapter. I used to build furniture a long time ago, but after selling our home a few years ago, I had no where to keep the tools and work. I did manage to take over our den and the wife has been completely supporting my hobby. I am a systems administrator for a local school district. Building models helps me relax and keeps me off a computer most evenings. I will be posting a build log of my current project shortly.
About us
Modelshipworld - Advancing Ship Modeling through Research
SSL Secured
Your security is important for us so this Website is SSL-Secured
NRG Mailing Address
Nautical Research Guild
237 South Lincoln Street
Westmont IL, 60559-1917
Model Ship World ® and the MSW logo are Registered Trademarks, and belong to the Nautical Research Guild (United States Patent and Trademark Office: No. 6,929,264 & No. 6,929,274, registered Dec. 20, 2022)
Helpful Links
About the NRG
If you enjoy building ship models that are historically accurate as well as beautiful, then The Nautical Research Guild (NRG) is just right for you.
The Guild is a non-profit educational organization whose mission is to “Advance Ship Modeling Through Research”. We provide support to our members in their efforts to raise the quality of their model ships.
The Nautical Research Guild has published our world-renowned quarterly magazine, The Nautical Research Journal, since 1955. The pages of the Journal are full of articles by accomplished ship modelers who show you how they create those exquisite details on their models, and by maritime historians who show you the correct details to build. The Journal is available in both print and digital editions. Go to the NRG web site (www.thenrg.org) to download a complimentary digital copy of the Journal. The NRG also publishes plan sets, books and compilations of back issues of the Journal and the former Ships in Scale and Model Ship Builder magazines.


