Supplies of the Ship Modeler's Handbook are running out. Get your copy NOW before they are gone! Click on photo to order.
×

russ
-
Posts
3,086 -
Joined
-
Last visited
Reputation Activity
-
 russ got a reaction from Mr Whippy in Second Layer Planking Guide
Baris:
I agree with Chuck about the proper way to plank. I would definitely recommend those planking guides that Chuck linked to. I also realize that you are probably wanting to work within the confines of the kit.
Those kit supplied planking strips will work, you will just have to cut them to fit and let them lay on the first layer as naturally as possible. It is not how the boat was actually planked, but it will get the job done and look nice if done with care.
You can use pins to hold your second layer planks in place, but pin into the first layer and let the cap of the pin hold down the second layer plank. That way there will be no unsightly holes in the finished planking.
As for glue, I like to use yellow carpenter's glue, but any good water based glue will work fine. Just keep a damp rag handy to wipe off squeeze out etc. This is much easier than using super glues, but it will take a bit longer to dry.
Russ
-
 russ got a reaction from daHeld73 in HMS Bellona 1760 by SJSoane - Scale 1:64 - English 74-gun - as designed
I could see using the seizing you show if the ropes were bound side by side, but when the ropes are crossed, it just seems like the vertical throat seizing would be more appropriate. Good luck with your search.
Russ
-
 russ got a reaction from daHeld73 in HMS Bellona 1760 by SJSoane - Scale 1:64 - English 74-gun - as designed
What I read must have been referring to the throat seizing used when rigging shrouds to deadeyes and crossing the shroud lines. There a throat seizing was used. That must have just stuck in mind when crossing lines like that.
Russ
-
 russ got a reaction from jcurtis55 in Biloxi Oyster Skiff by russ - FINISHED - 1/24 scale
Here are the oarlocks and oars, the display base and a set of horses for the skiff to be mounted on, and some views of the completed model.
Questions and comments welcomed. .
Russ
-
 russ got a reaction from Bill Morrison in Mayflower by husky1943 - FINISHED - Revell - 1:83 - PLASTIC
I recall using diluted white Elmer's glue on rigging line way back when. I use beeswax these days. You can get a cake of it at a local sewing or crafts store. Un the line along the edge of the beeswax and then run the line over a hot light bulb to melt it into the line.
Russ
-
 russ got a reaction from Bill Morrison in Mayflower by husky1943 - FINISHED - Revell - 1:83 - PLASTIC
Your model is coming along well. I recall those plastic sails from the Revell kits. They can be a bit brittle, especially after some time. I would have recommended that you attach the sails to the yards before you mount them on the masts. However, that ship has sailed so you will have to extra careful in attaching the sails.
Beware the cats near any rigging.
Russ
-
 russ got a reaction from Bill Morrison in Mayflower by husky1943 - FINISHED - Revell - 1:83 - PLASTIC
Not sure what kind of line you used. It may have needed a stretch prior to use. It may be that humidity might be part of the problem. Not sure what it is. However, the model as a whole is looking good.
Russ
-
 russ got a reaction from daHeld73 in HMS Bellona 1760 by SJSoane - Scale 1:64 - English 74-gun - as designed
Mark:
You are doing very good work. I hope one day to approach this level of skill.
Like the others, I have my scrap box, full of fond wishes that did not quite come true. It is indeed a special occasion when I get something right the first time. Most of my models are full of second, third, and fourth tries.
Russ
-
 russ got a reaction from Daniel KF in Biloxi schooner by Russ - FINISHED - 1/48 scale - POB
Michael and Mark:
Thanks for looking in.
Here is a look at the bulwarks planking.
More to come.
Questions and comments welcomed.
Russ
-
 russ got a reaction from Daniel KF in Biloxi schooner by Russ - FINISHED - 1/48 scale - POB
Here is a look at the fitting of the spar blanks. You can see the overall scale of the model. The bowsprit has been shaped, but the others are just square stock of the proper length.
More to come.
Questions and comments welcomed.
Russ
-
 russ got a reaction from Daniel KF in Biloxi schooner by Russ - FINISHED - 1/48 scale - POB
Planking almost complete.
Russ
-
 russ got a reaction from Daniel KF in Biloxi schooner by Russ - FINISHED - 1/48 scale - POB
Here is some more planking.
Questions and comments welcomed.
Russ
-
 russ got a reaction from Daniel KF in Biloxi schooner by Russ - FINISHED - 1/48 scale - POB
Planking the hull was a fun experience.
More to come.
Questions and comments welcomed.
Russ
-
 russ got a reaction from Daniel KF in Biloxi schooner by Russ - FINISHED - 1/48 scale - POB
Hello everyone.
When I first reposted this log, I did so in a hurried fashion and did not include any background details on this vessel type or the nature of this build. Here is a short thumbnail of the history behind this vessel type.
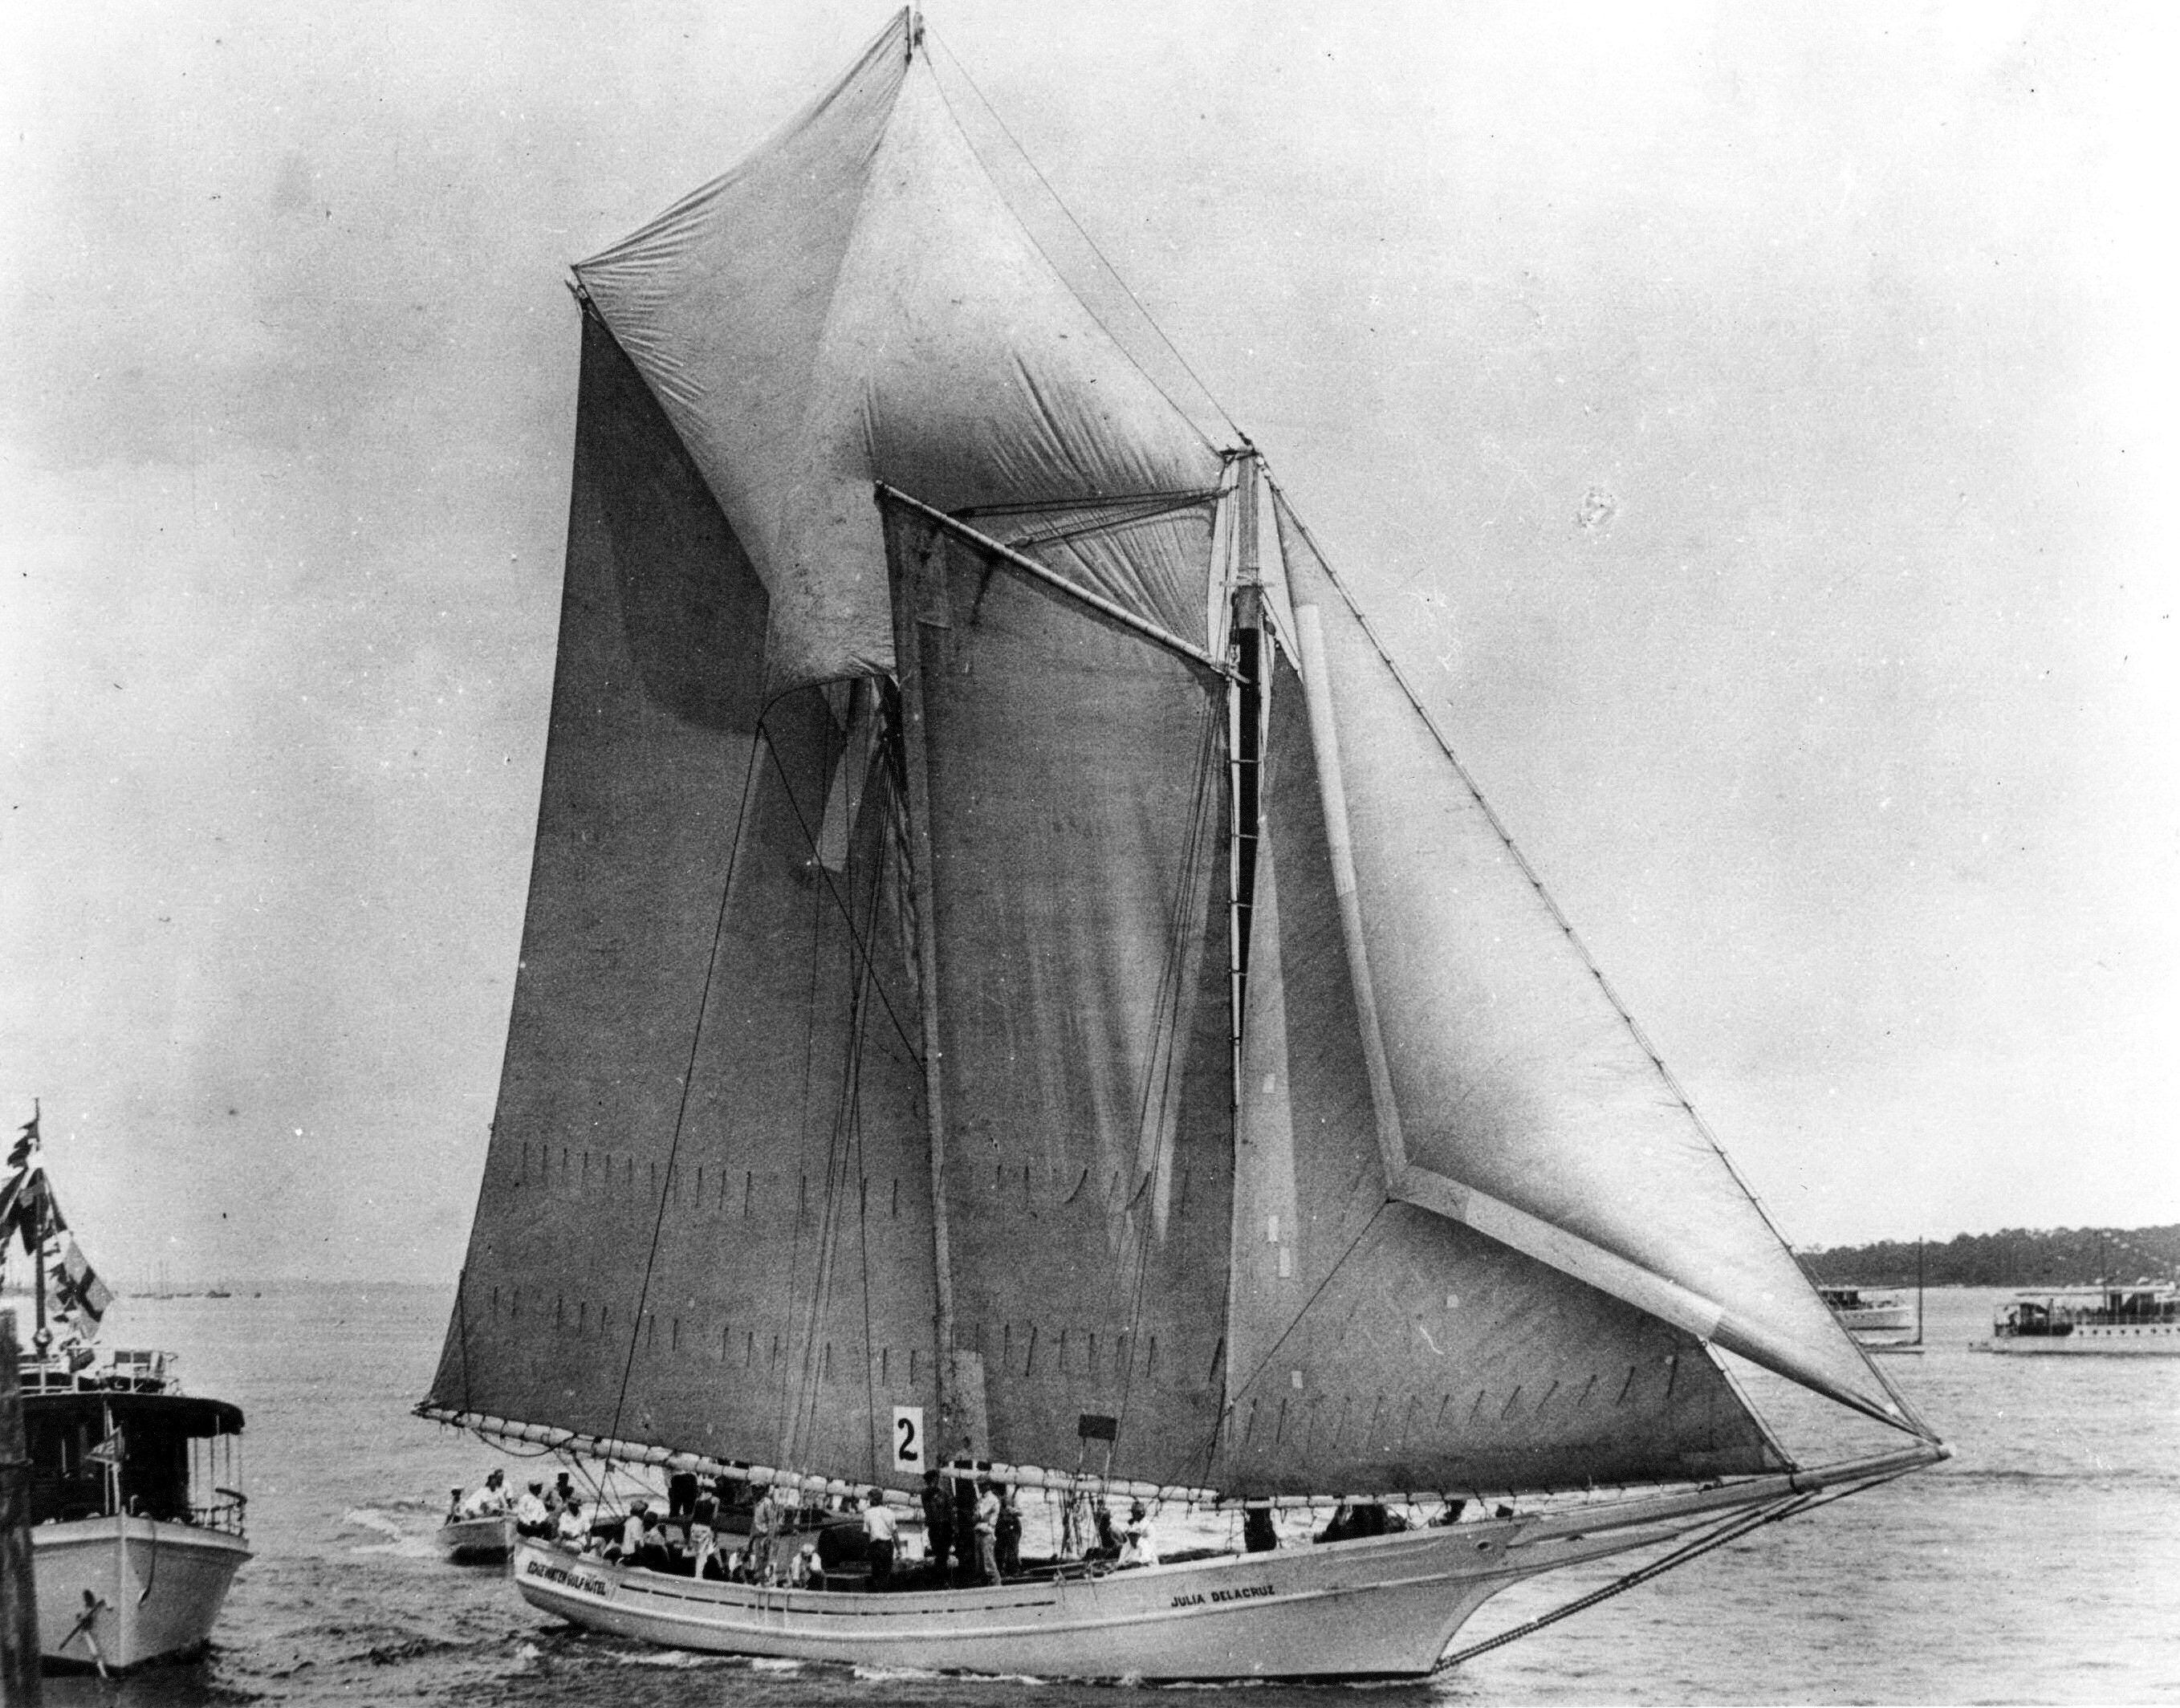
The Biloxi schooner is a two masted gaff rigged, centerboard working schooner. These schooners were built along the Mississippi coast as early as the 1830s and the last pure sailing schooner was built at Biloxi in 1929. The hull form is characterized by a markedly shallow draft, broad beam, with a midsection having a low, hard turn of bilge. The cross sections were most always rounded with no hard chine. The stern is usually flat or slightly curved across its face and set with a moderate rake. The stem is usually a clipper style stem with a stem head reaching out under the bowsprit. Sometimes, we see a more upright stem, and in a few cases, the stem was rounded and called a spoon bow. In the more usual clipper bows, there is a simple head trim. The sheer in the earlier schooners was more marked than in later boats.
These boats were used for fishing, harvesting mostly shrimp and oysters, but also some other types of seafood in local waters. With the development of the local seafood canning industry in the 1880s, fishing schooners were built larger over time. While earlier fishing schooners averaged about 40-45 ft in length, the later schooners of the 1920s averaged around 60-65 ft.
The fishing schooners were built in large numbers in the early 1900s because of a 1902 state law that prohibited oyster dredging under motor power. The Bowers oyster law shaped the way the seafood industry did business and inadvertently kept the fishing schooners around for another 30-40 years. The law allowed shrimping under motor power and so there was a trend towards building auxiliary schooners in the period beginning in the early 1900s, but the development of purely motor powered shrimpers developed alongside the schooners.
During the mid to late 19th century, freight schooners were built larger and heavier than the smaller fishing schooners, carrying, lumber, charcoal, and locally produced naval stores. They were either carried out to the deep water harbor at Ship Island, about 10 miles off the coast for shipment abroad, or over to New Orleans, by way of Lake Ponchartrain and the basin canals for local sale. With the development of railroads and trucking, these schooners lost their place in the coastal freight industry. Many of them were abandoned in local rivers etc, but some found a new life in the seafood industry in the 1920s and 30s.
Although this type of schooner was built in several different locations In Louisiana, Mississippi, Alabama, and the Florida pan handle, Biloxi was a single place where more were built than anywhere else. That is why it became known as the Biloxi schooner. In fact, in the Smithsonian's National Watercraft Collection, Howard Chapelle applied that name to this type of schooner.
This model is a commission, but the client is a good friend of mine who is allowing me to build at my own speed. The model is intended as a gift and it will be named for the recipient. Thus I will withold the model's name until the end.
The plans were developed from a several years study of customs house records, local contemporary photographs, newspapers, builder's half models, various private collections, and some personal archaelogical studies. The most interesting and useful documents I have found are the old tonnage admeasurements from the customs house. These admeasurements contain detailed internal measurements of the hull that were used to determine tonnage. I have studied these documents and the federal regulations that governed them and I can now use them to "reconstruct" plans for some of these schooners. This is how the plans for this model were developed.
The model is loosely based on a design for a Biloxi fishing schooner built in 1900 by Martin Fountain, Sr., called American Girl. I have reduced the size of the model to fit what the client wants in an overal finished model. The plans for this model yield a schooner about 41 ft on deck and about 8 tons. This would be a typical schooner for the 1890s.
Here are some pics of the components and the beginning of the construction. Comments welcomed.
Russ
-
 russ got a reaction from Archi in Thickness sanders.....Byrnes vs Micro Mart
I have the Byrnes Model Machines thickness sander. It is the best on the market. Buy quality and you buy once.
Russ
-
 russ got a reaction from BETAQDAVE in Phantom by _SalD_ - FINISHED - 1/8" scale
In this case, a touch of CA on the end of the line before you cut it will prevent the fraying. Just coat the area where you want to cut, let it set, and then cut it.
Russ
-
 russ got a reaction from ccoyle in Charles W Morgan by Brucealanevans - FINISHED - Model Shipways
Bruce:
This is a beautiful model. Congratulations. Well done.
Russ
-
 russ got a reaction from Knocklouder in Mayflower by SawdustDave - Finished
Dave:
This is really nice work. As for the bell, if you had not said otherwise, I would think it was an actual bell. Nice work.
Russ
-
 russ got a reaction from Saburo in TRITON Cross Section bbrockel
Bob:
I see. In future, always measure for and set the wales first, and then plank below them. This will save you having to go through this again.
Good luck.
Russ
-
 russ got a reaction from FrankWouts in Blue Shadow by SkerryAmp - Mamoli - 1:64 - Fictional Revolutionary War Brigantine - Recommissioned as the Kara June
Adam:
I think the extra filler blocks will be a good idea. Where the rabbet begins to move upward at the bow, you will need something for the end of the garboard strake to land on. Same thing where the ends of the planks land at the transom. That should work very well.
Russ
-
 russ got a reaction from FrankWouts in Blue Shadow by SkerryAmp - Mamoli - 1:64 - Fictional Revolutionary War Brigantine - Recommissioned as the Kara June
Adam:
This model has a nice looking hull form. I think it will make a fine display once it is completed.
Those bow "fillers" are really just there to give a landing for the bow planks. If I were doing this, I would fit some extra balsa or basswood fillers in between the first few bulkheads and the last few bulkheads. This will make planking a little easier because the lower planks ends will have some place to land in between the bulkheads.
Have fun with it.
Russ
-
 russ got a reaction from robert952 in Maine Peapod by JesseLee - FINISHED - Midwest Products - 1:14 - Early 1900's
Good work so far.
Regarding your hull not holding its shape when taking it off the jig, I have always added a temporary beam across the hull on the inside of the planking to keep the hull stretched to its proper breadth until I can get some framing in the hull. Once you get the side frames in there, it will stiffen up nicely and the temporary stretcher can be removed.
Russ
-
 russ got a reaction from Gabek in Swift by GabeK - FINISHED - Artesania Latina - first wooden ship build
Very well done. Congratulations on an excellent model.
Russ
-
 russ got a reaction from yvesvidal in Captain Roy 1948 by russ - FINISHED - 1/48 scale - POB - Biloxi Lugger
I know there are those who will not appreciate every little details or accomplishment, but I hope some of you will. The first plank has been cut and fitted. I always begin with the sheer strake. That establishes the curve off of which everything else will run. This plank has been spiled, tapered, and soaked. No glue yet. I will let it dry in place and when I glue it, it will have its shape and will need only finger pressure for a few minutes for the glue to take hold. Note the hi tech clamps.
Russ
-
 russ got a reaction from yvesvidal in Captain Roy 1948 by russ - FINISHED - 1/48 scale - POB - Biloxi Lugger
I am lining off the hull for planking. Still some work to do making sure the curves are what I want. It is very close though.
Russ


