HOLIDAY DONATION DRIVE - SUPPORT MSW - DO YOUR PART TO KEEP THIS GREAT FORUM GOING! (Only 69 donations so far out of 49,000 members - Can we at least get 100? C'mon guys!)
×


ca.shipwright
-
Posts
483 -
Joined
-
Last visited
Content Type
Profiles
Forums
Gallery
Events
Everything posted by ca.shipwright
-
 Some information for my planking. I hope as written it is not to confusing. Endeavour splining.pdf
 -
2 more photos
-
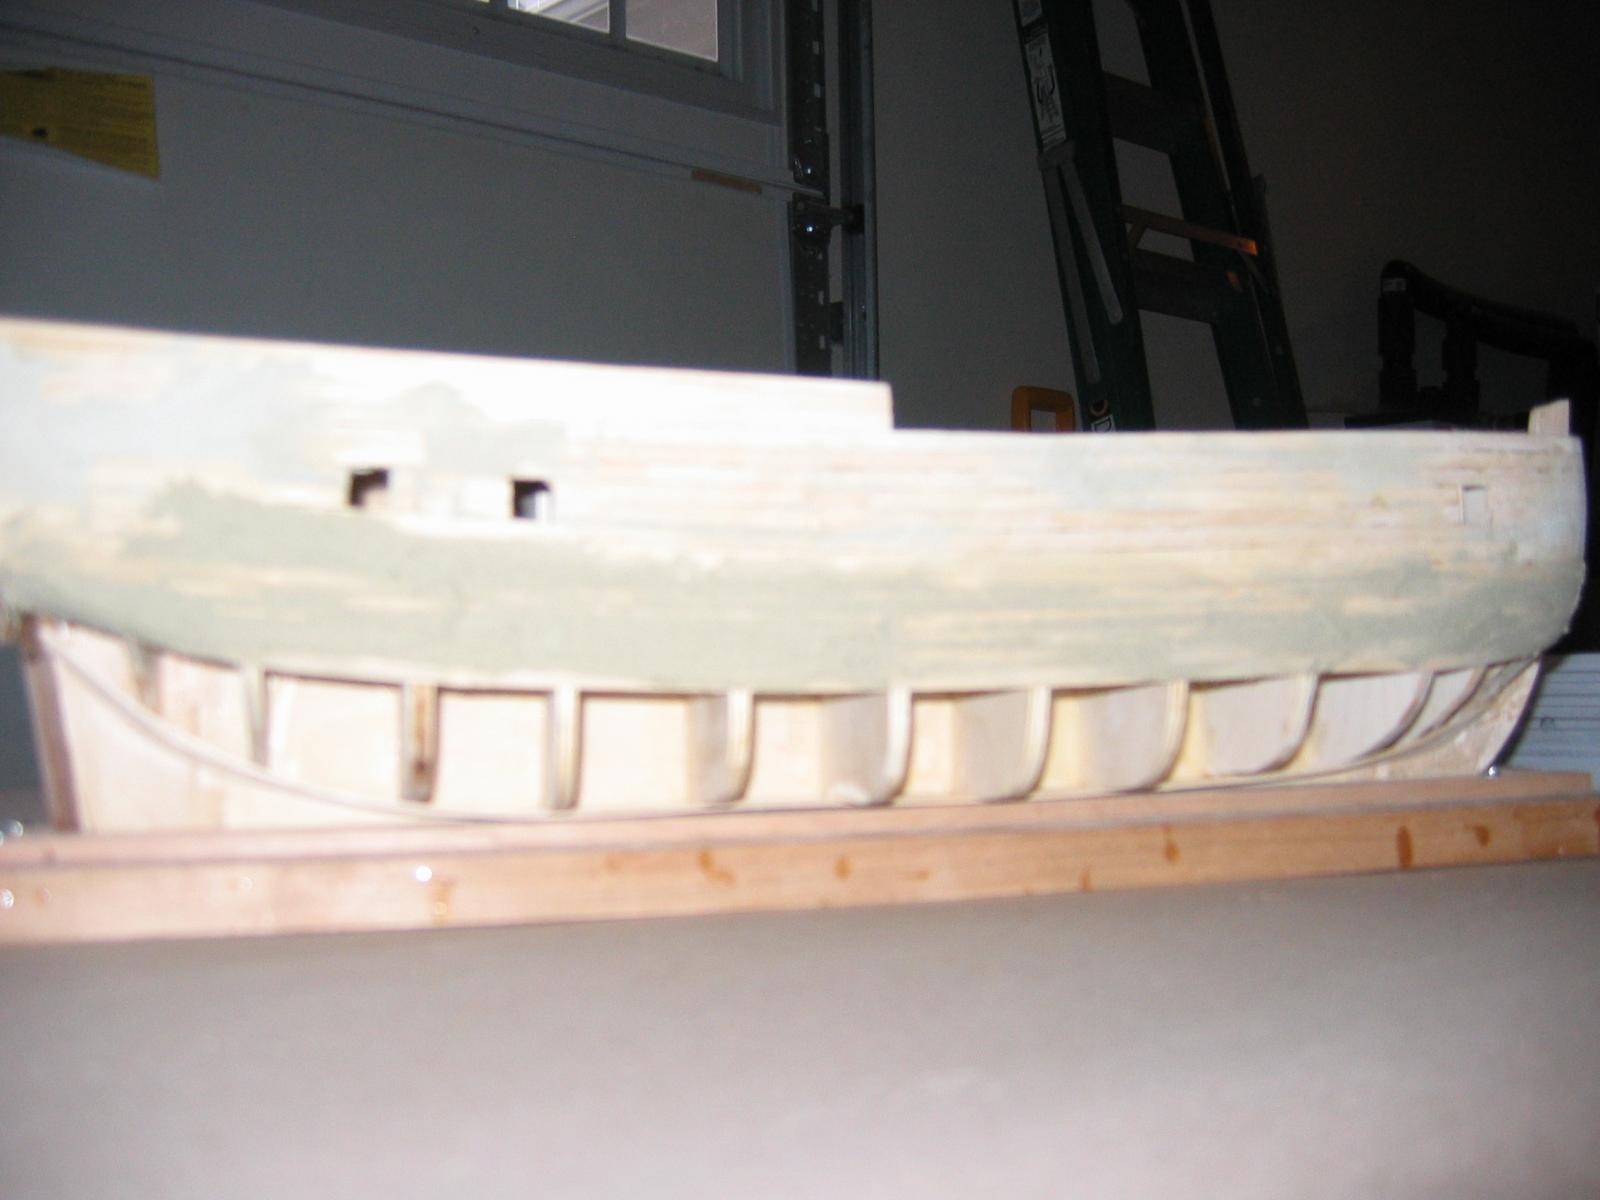
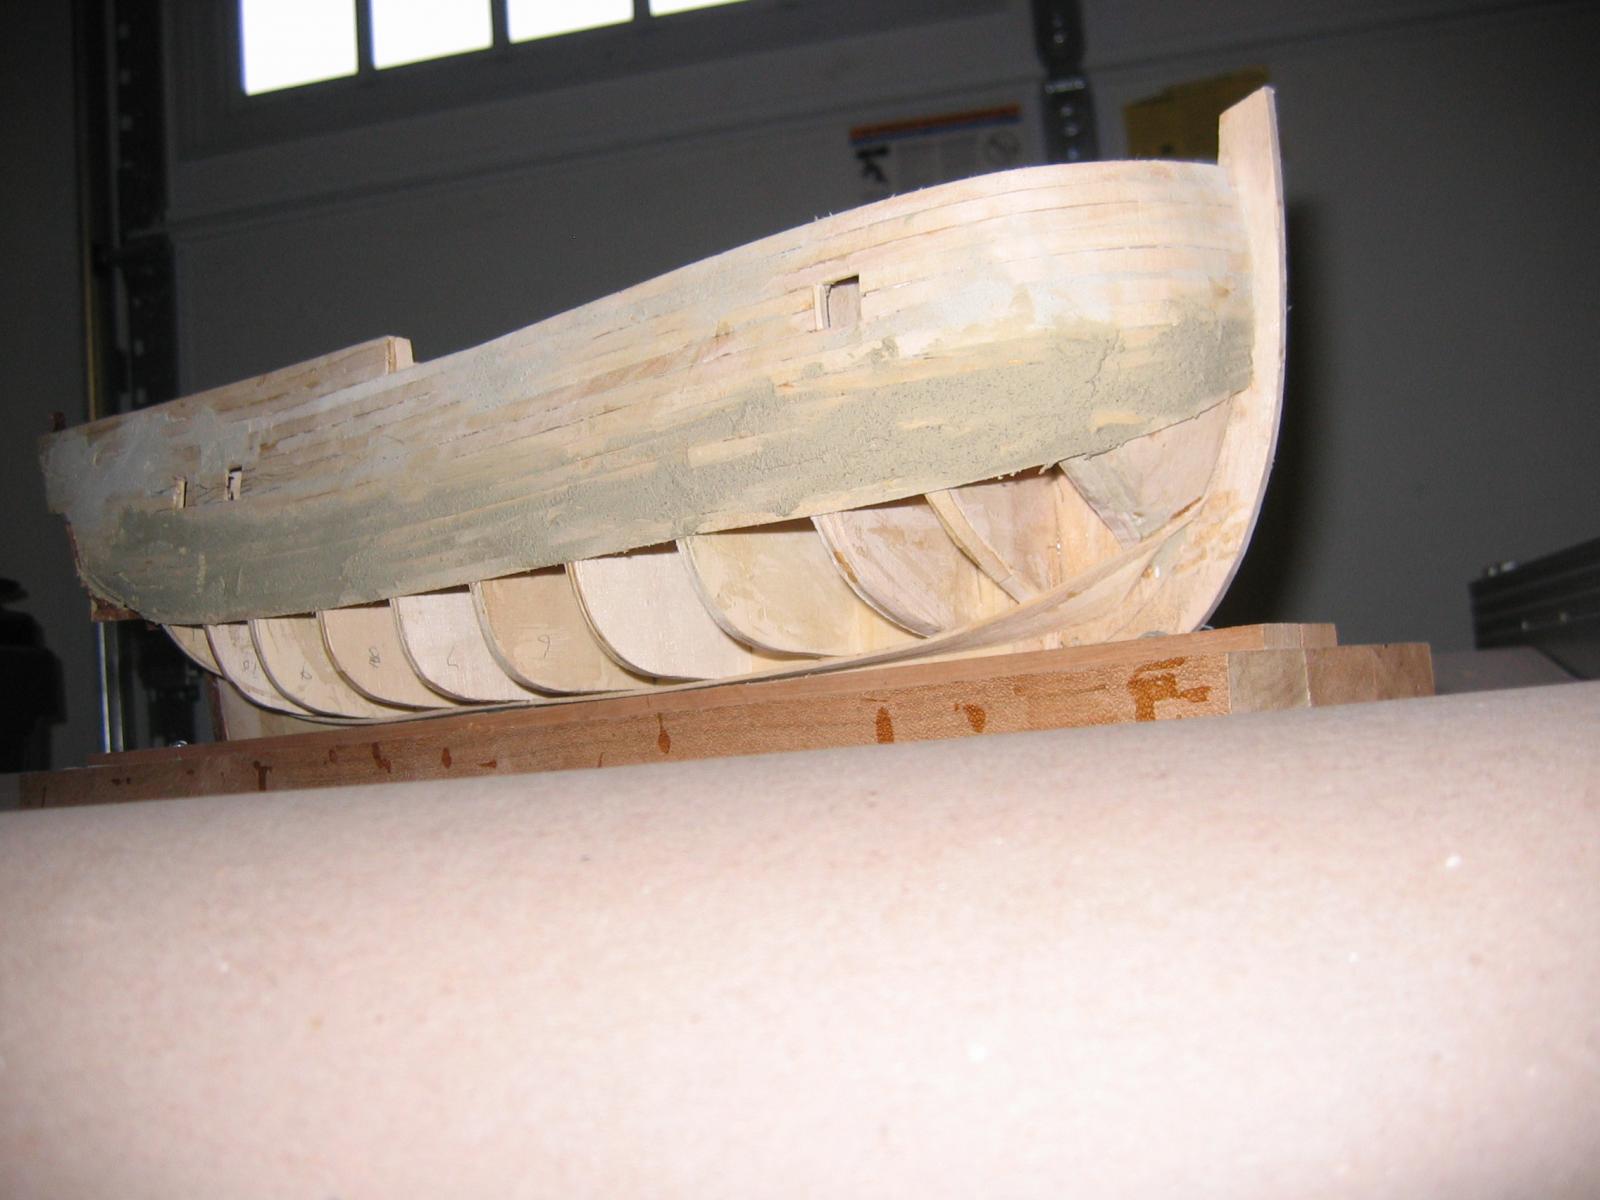
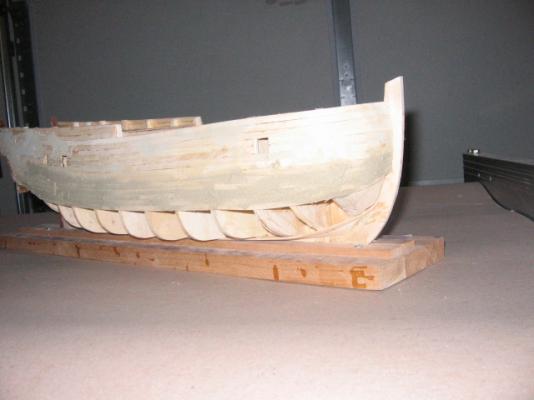
Here are some photos of the first planking. As you can see, there is wood filler all over the second band. I find it useful to fill and sand as each band is completed. I get an earlier idea as to how the hull shape is developing and it allows for earlier correction of defects before they get out of hand. Up to now, the tapering of the planks have been done by eye. Happily they have come out quite good. The symmetry of the hull is almost perfect.

-
You are too kind and politically correct. They might want to rename the kit.
-
Nice carving Dave. I never could get my mind around a starting point to carve something. Your pictures and resulting carving of the head now show me a good starting method. Thanks
-
Thanks Dave, The center keel of the Corel kit measured from the turn to flat at the bow is 88 feet scaled, I guess I'll build the stretch version.
-
HMB Endeavour was 81 feet according to AOS, Does anyone know how this was measured? I've heard the term between the perpendiculars. What are they and do they apply to an HMB as opposed to an HMS?
-
Dave, Found your log. Must have been a severe senior moment. If I hadn't ran a dowel through the deck and down to the center keel just for the heck of it, I would have been in a world of difficulty because the dowel lie directly against the center keel at the proper angle. Sometimes I'd rather be lucky than good> I am going to cut off that much of the center keel which is equal to the AOS rudder stern post by using a traced pattern. I am going to make the stern post out of laminated 4mm sq. walnut which is what the forward edge of the rudder will be. I am going to thin the center keel for about an in and a half forward of the rudder stern post to provide the rabbet for the 2 layers of planking. I hope this will end this part of the construction and allow be to carry on with the lower planking. Regards to all Michael
-
Hi Byron, I also built the Sultana. It was my first wood model ship and came out just like a first usually does.. Your Sultana is very well done. I have started the Corel Endeavour this month and have a build log under HMB Endeavour -Corel 1:60 - by ca.shipwright. You are absolutely correct when you say the written instructions leave a lot to be desired. However, after reading and following along on the plan sheets several times, I began to get the syntax they are using for English and they made a little more sense. A yellow highlighter is most useful on some of the ambiguities; as are noted in the margins, The plans are great, nice thick paper.not newsprint, and are scaled very close. I am listing in my build log outright errors in the instructions and possible solutions, The plans are historically incorrect. I use the Anatomy of a Ship HMB Endeavour by Marquarndt as my souorce for information. I reduce his !:48 drawings and enlarge his 1/96 and 1:72 drawings for making templates, I'm sure all the Endeavour builders will welcome you log. Good Luck, Michael
-
Great looking deck. The caulking is perfect. For this item -caulking - less is more. What wood are you using for the decking and waterways? Thanks Michael
-
Dave, I can't seem to find your build log. Can you point me to it? URL maybe? Thanks Michael
-
Hi Dave, Yes, I am using the AOS book as my source material. I am going to plank up to the ports on the second planking. I have never been able to get a satisfactory margin by cutting them out after planking over them. I am going to post to your log and see if I can bring it forward on the list. Thanks
-
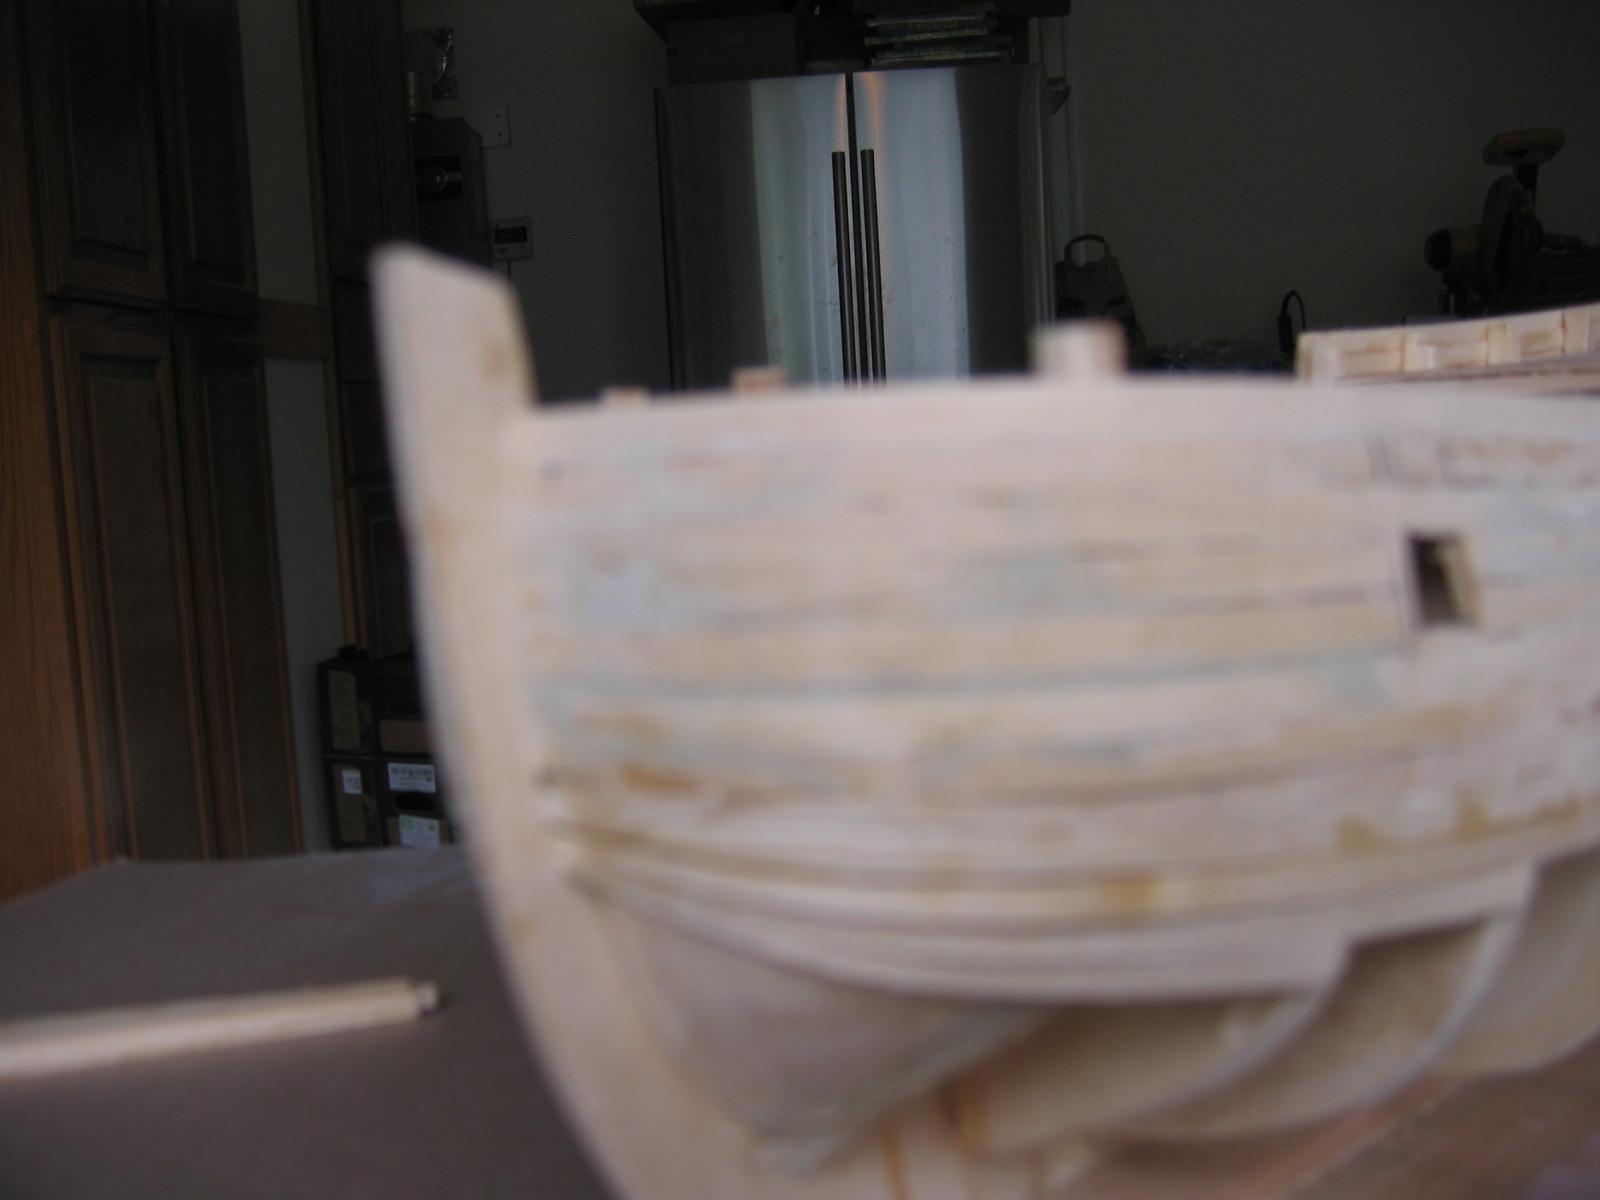
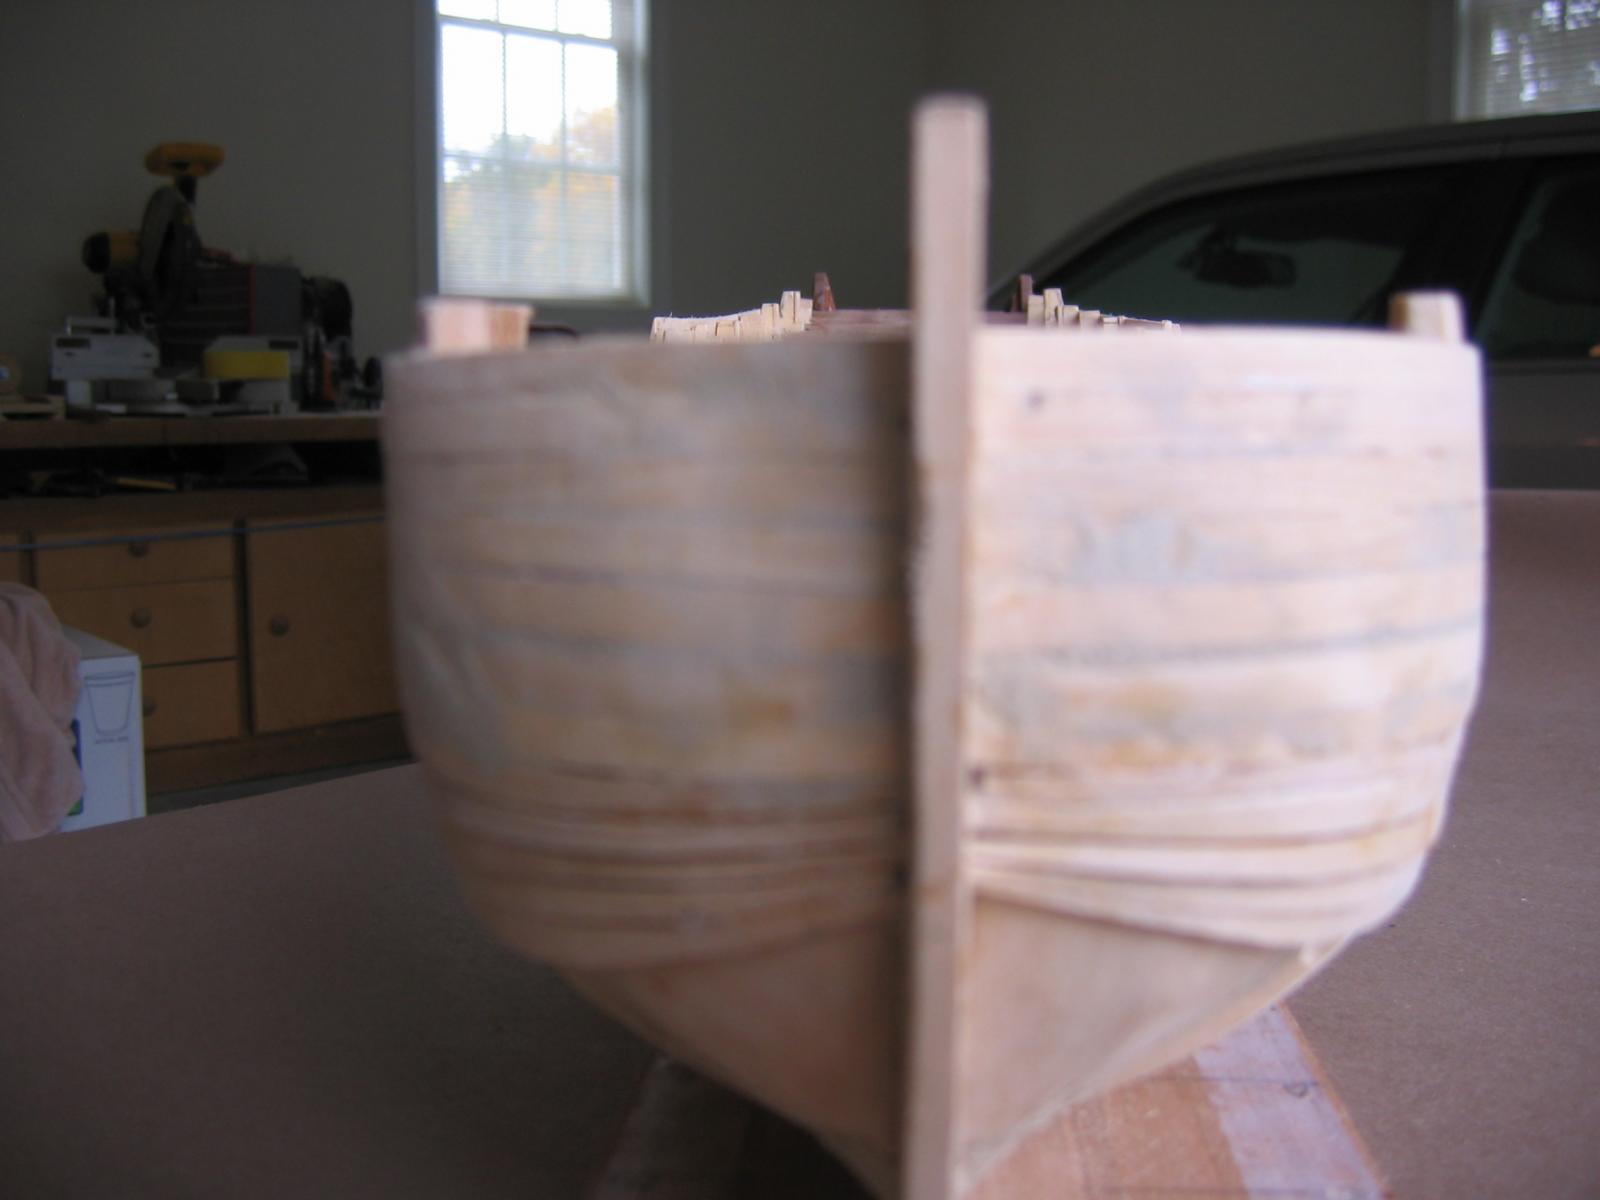
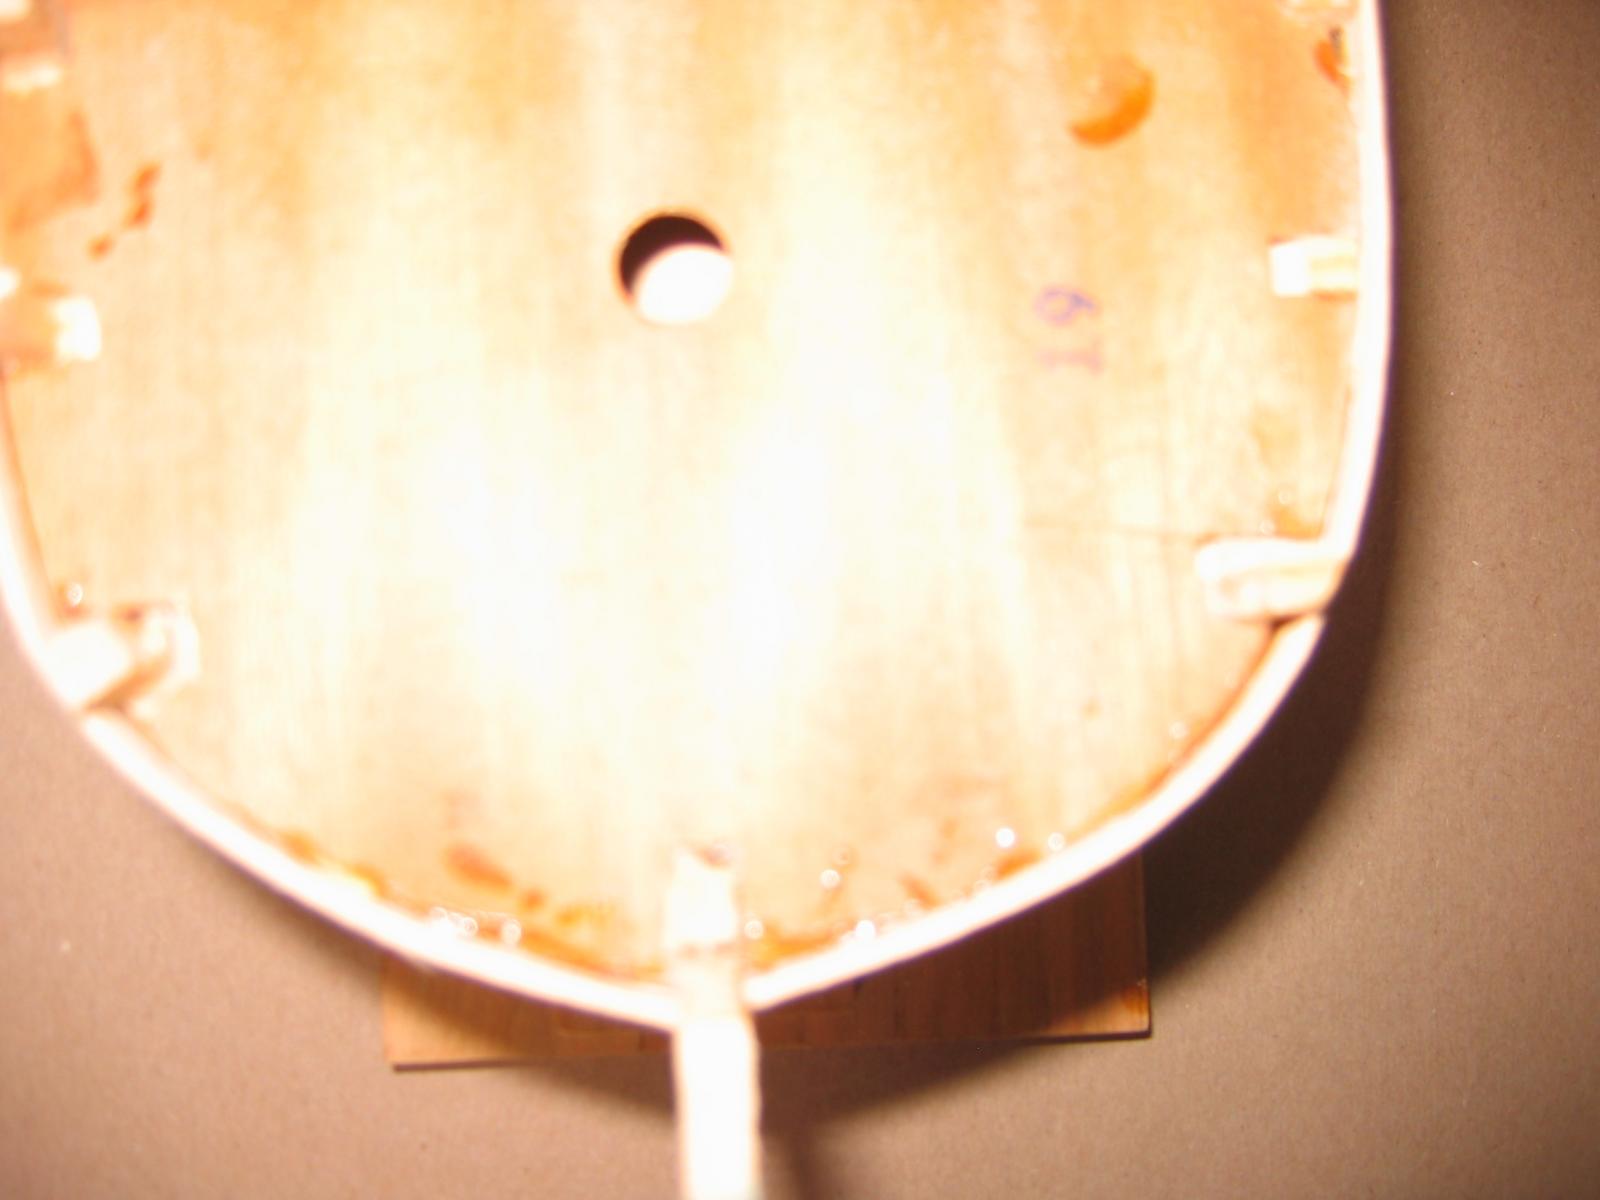
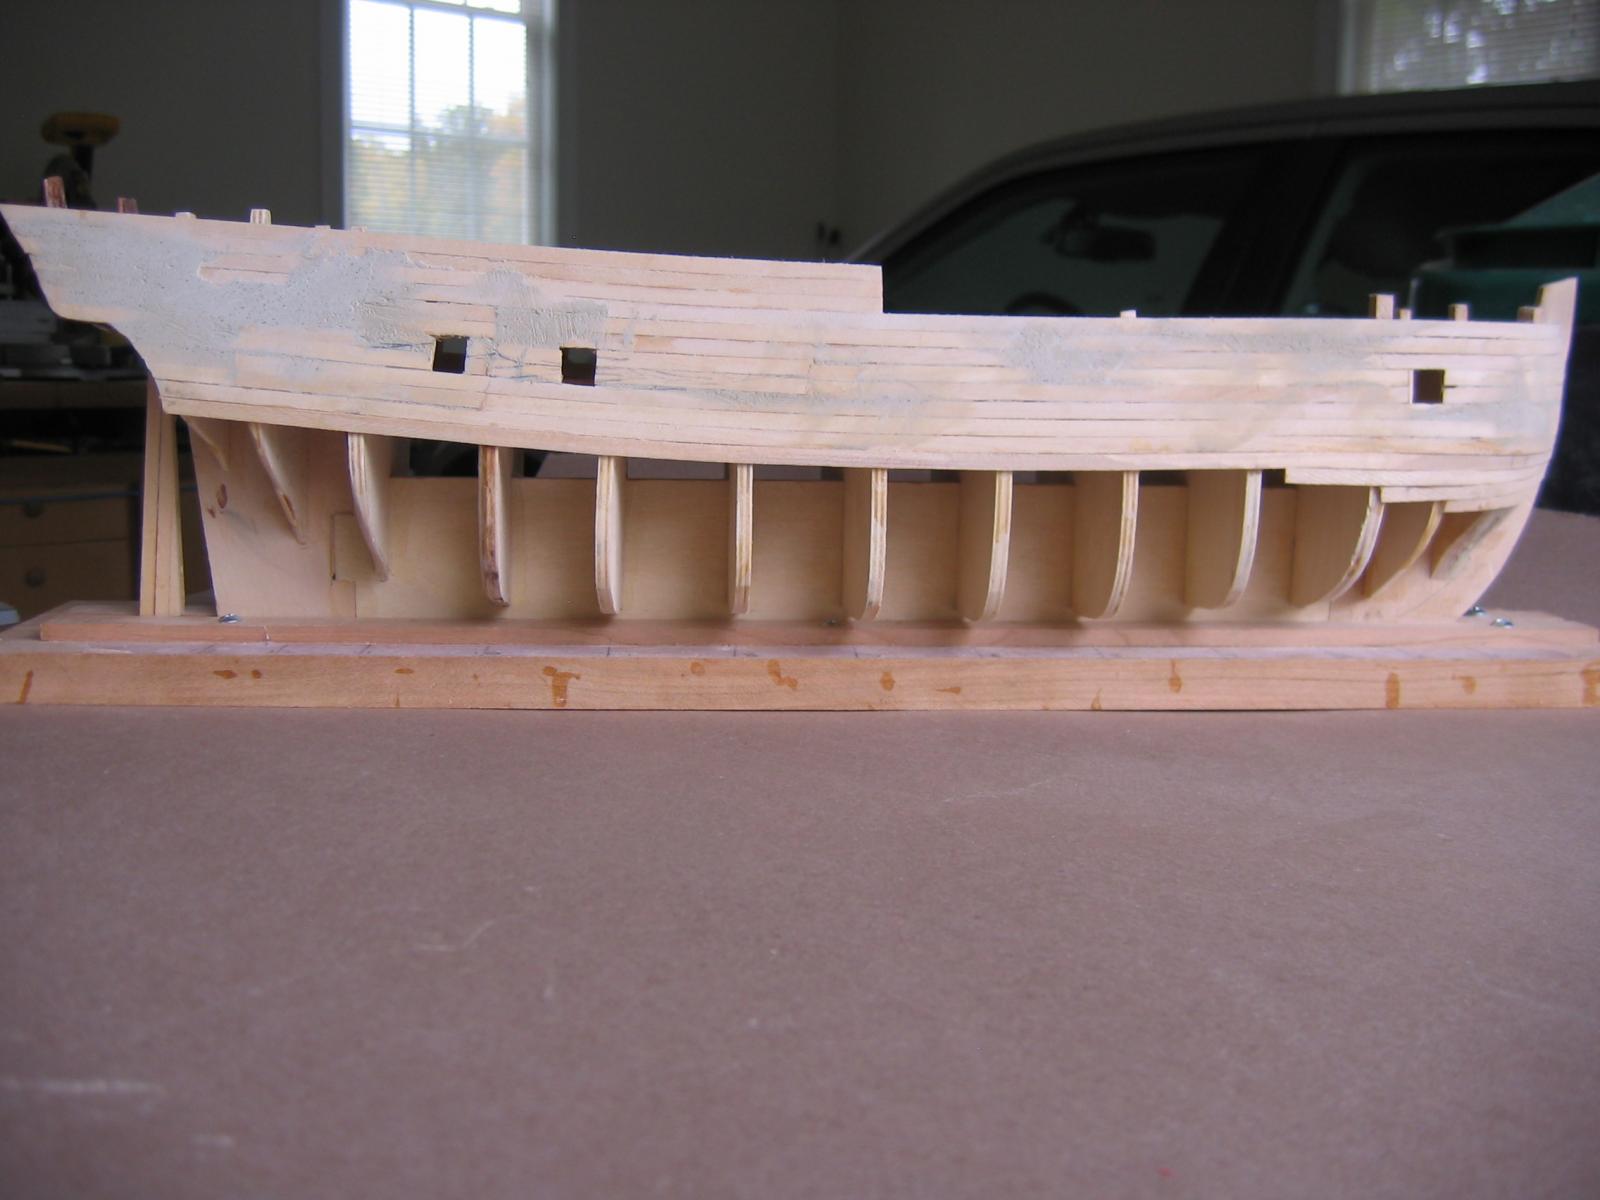
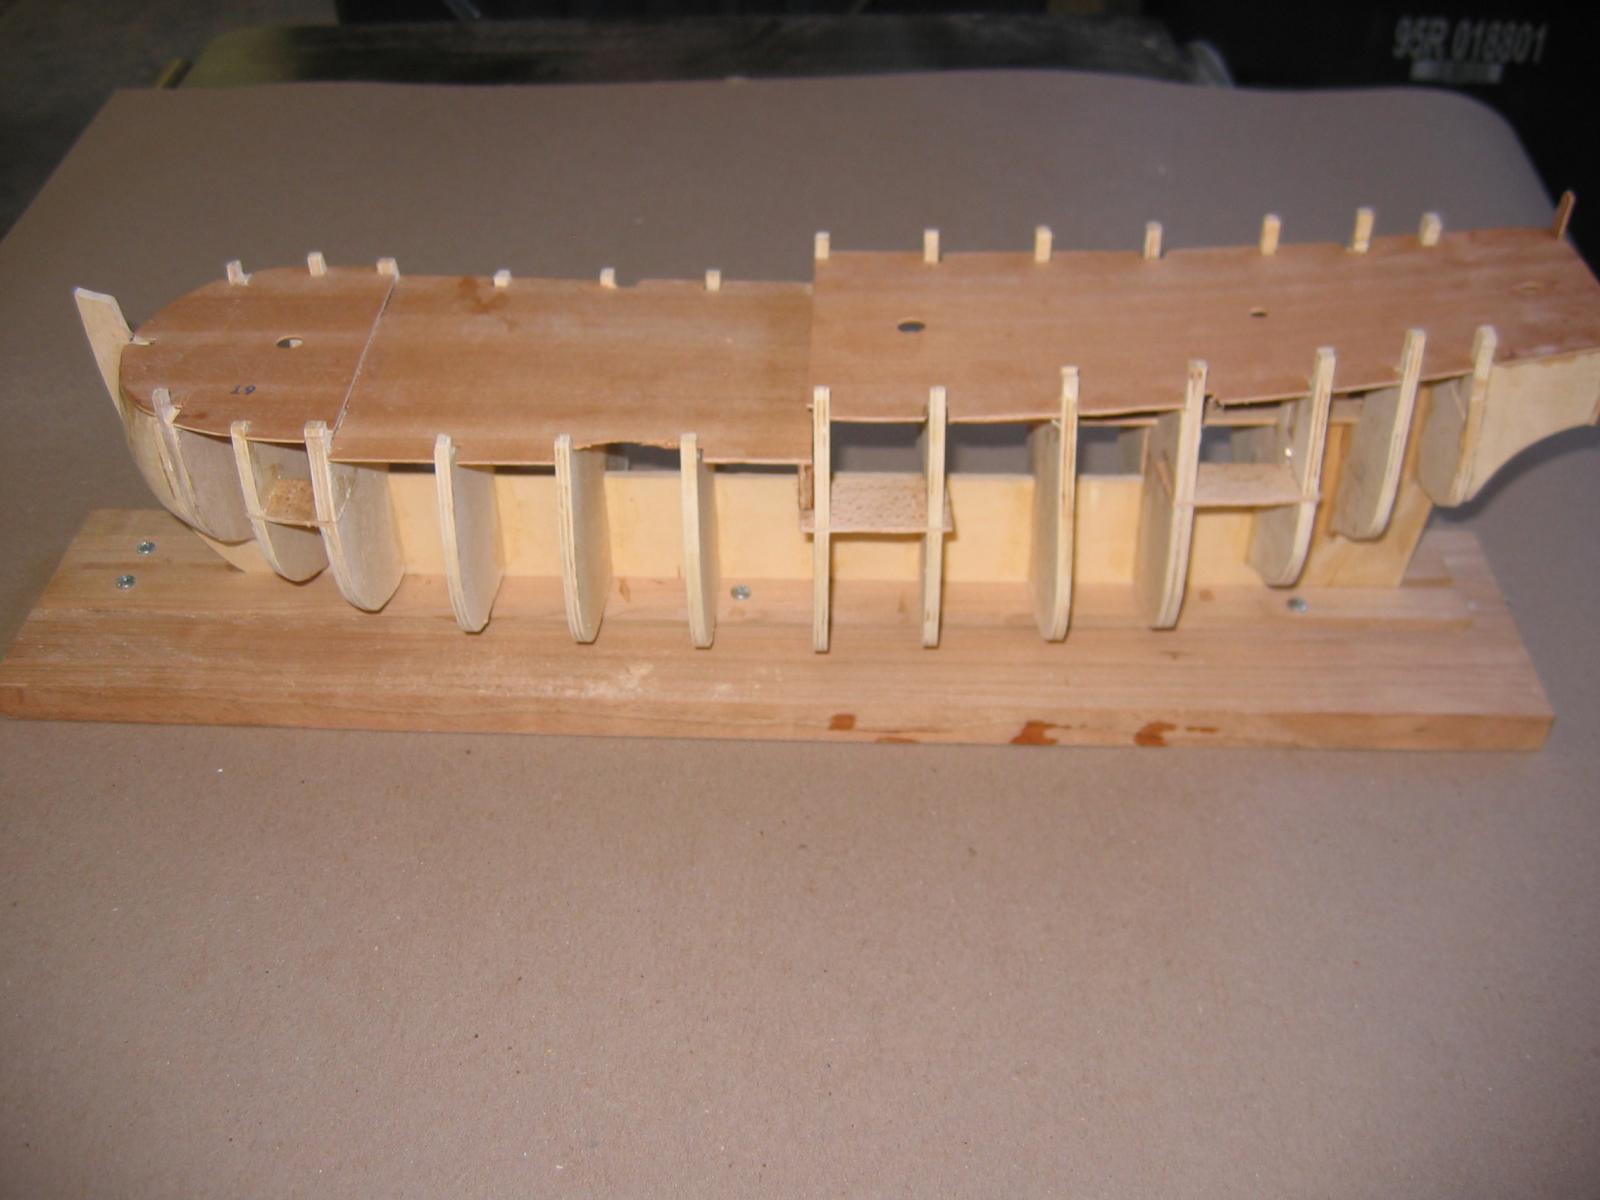
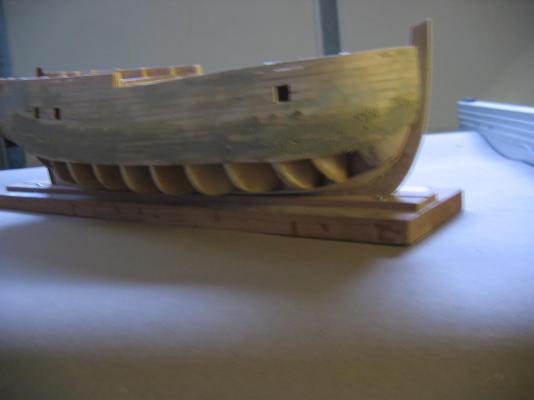
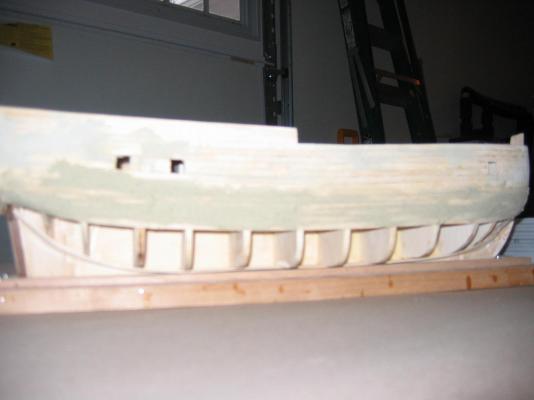
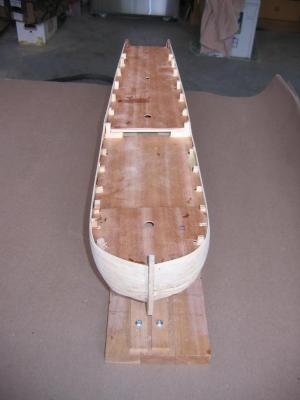
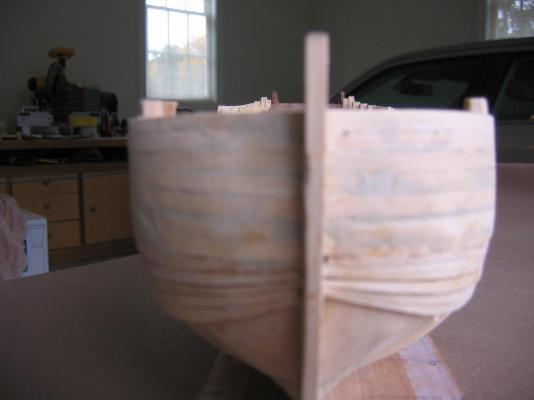
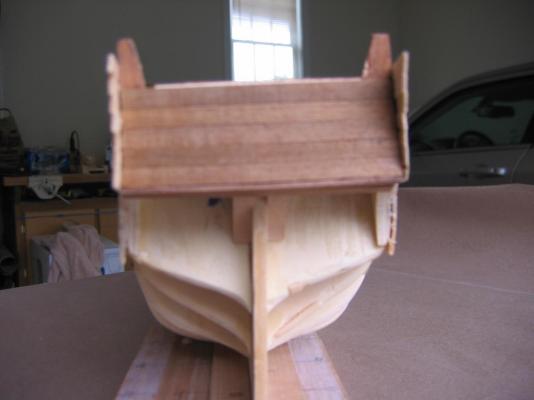
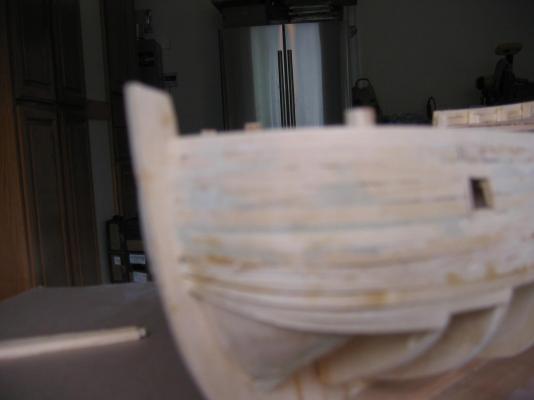
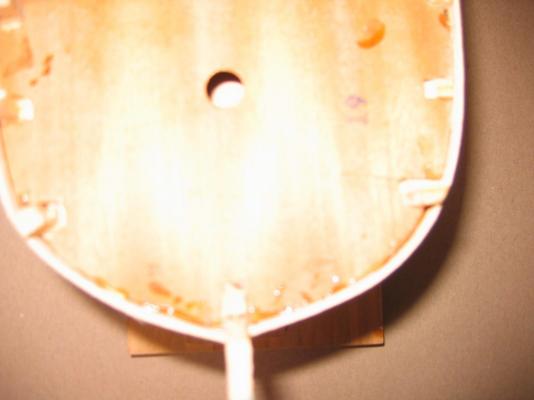
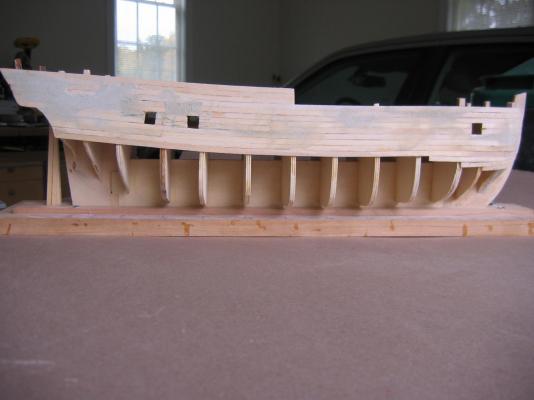
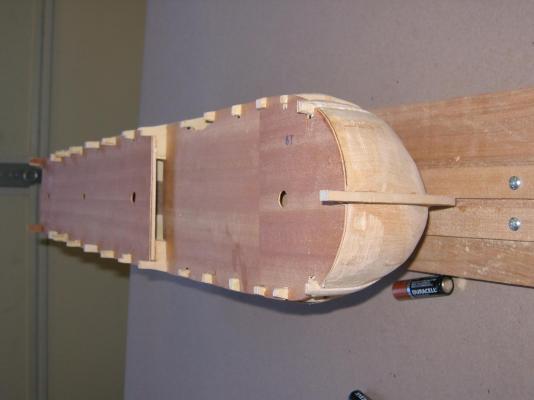
Dave, the filler between bulk heads is a great idea. How do you prevent the forward bh from pushing the rear bh back? Here come the photos I promised. Some comments on the photos. #1 Shows the placement of the light ports according to AOS. #2 Shows that the hull is reasonably shaped and symmetrical. #3 Shows the bow planking and the tapering of the planks. Corel says to use dropped planks. I think I can do it without them. #4 Shows that the planking is fairly even up to this point. #5 Shows the stern planking on the counter #6 Shows the forward light port #7 Is a top view showing the line of the bow fillers falls from the deck level #8 is the broadside which shows a satisfactory sheer all long the ship Please jump right in with comments or suggestions. You can see some wood filler to help with some of the mistakes. I sand the planks every 2-3 levels. I find it gives a better result. Now on to the lower hull. Regards to all Michael


-
Couldn't stop thinking about the rudder post. I may have over thought it. One could always taper the aft end of the center keel to a thickness of 2 mm in front of the rudder post. Hmmmmmmmmmmm.
-
Hi everyone, Here is an update on my Endeavour. First Corel has it wrong as to the placement of the Canons. They actually have them mounted behind what appear to be the light ports which by the way are far from the correct placement according to AOS. The replica has them on the main deck. So those "false bridges" are really not needed other than to set the first plank and get a good sheer line. Also omitted are the air ports. The stern is somewhat confusing in that there are few reference points for the wales which usually mark the end of the upper transom. Now for the biggie. I'm looking at the rudder and the rudder post assembly. Ahem, where is the rudder post? I thought it was part of the center keel. But this then would not allow for the planks to go into the rabbet. The rudder is 4mm thick and the center keel is 5 mm thick. The rudder post would have to be 5 mm + 1.5 mm x2 (for first planking) and 0.5 mm x2 (for second planking) for a total 9 mm. This would have to taper to the 4 mm of the rudder thickness. And, if that is enough, don't forget the rudder has to somehow go through the upper transom to the quarter deck for the steering assembly. Any thoughts, please jump right in. Enough thinking. My brain has been fried. I have also finished planking the upper half of both sides of the hull Tapering the planks at the bow is giving a pretty good run. Pictures to follow in the morning. Regards Michael
-
Andrew, Get yourself a wallpaper soaking tray and throw all the planks in there with water and let them soak a day. They will bend much easier especially around this blunt bow.
-
Had to rip out the first 4 planks today. It seems that I looked at my completed hull framing from every direction except from the top. If I had, I would have seen that my bow filler blocks had chubby cheeks- a slight forward bulge that extended about 3 mm beyond a vertical dropped from the edge of the forward sub-deck. A little more carving and sanding by hand took care of this problem. ATTENTION Corel Endeavour builders: I will try to explain some of the more difficult/vague/incorrect instructions that I see in the Corel published instructions. I hope I can prevent some heartburn for you builders. Pay particular attention to the placement of the 1st plank attached (26a) What the directions mean is the BOTTOM EDGE of the first plank aligns to the TOP EDGE of the false bridges (16). This should also give the plank a nice following of the deck sheer. Using CA glue for planking. Now my fingers are CA covered. I will wait for the end of planking before I clean them up.
-
Hi Chris, The center keel does extend 5mm below what the rabbet line would normally be. There is no separate keel to be applied to the center keel. This 5mm will be covered with 2nd planking mahogany on the exposed sides and bottom. The rabbet is actually simulated in this treatment.
-
Chris, I looked at your build and the one thing that stands out in difference is that your kit has only 10 bulkhead formers. Mine has 13. I don't think it makes much of a difference, Although you may have more of a challenge keeping the planking dips from between the bulkheads. Robust is an understatement for you building board. Michael
-
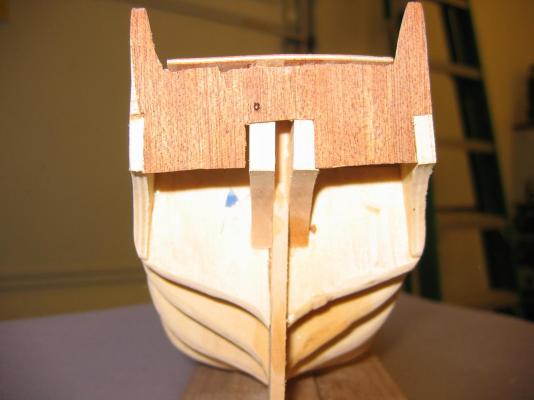
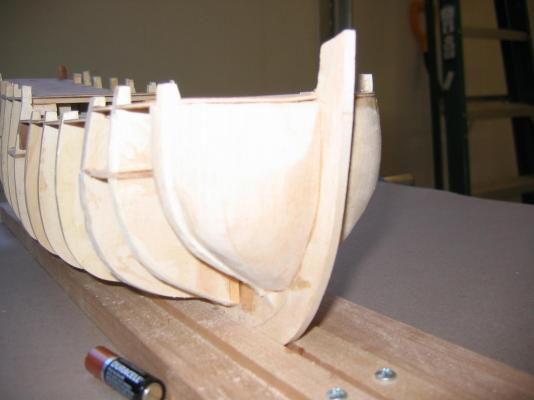
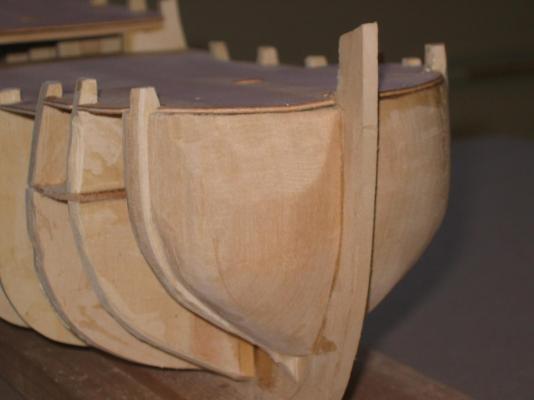
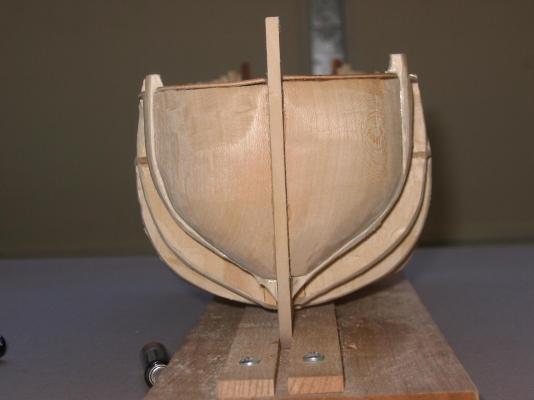
Notes on the pictures (captions that didn't transfer over with pictures). Bow blocks need a little filler at the bottom. The block of wood for carving the filler blocks was a tad short. But the came out well. You really need to keep visualize the bow curve when you carve them. The solid block is a better foundation the Corel parts. Very happy with the symmetry and sheer of the hull Stern view has a slight list to port. This will be corrected when we build out the covering.
-
More Pictures
-
Photos
-
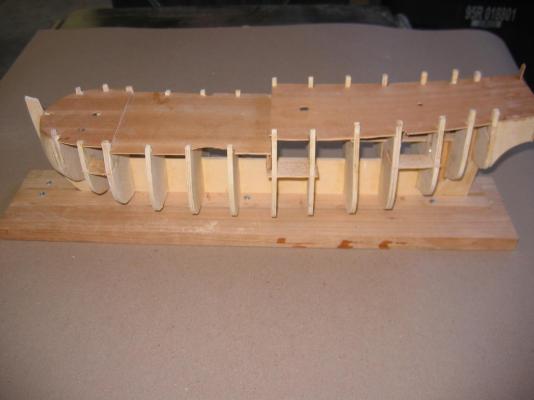
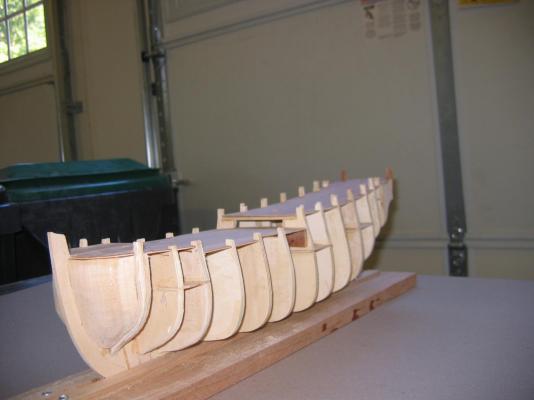
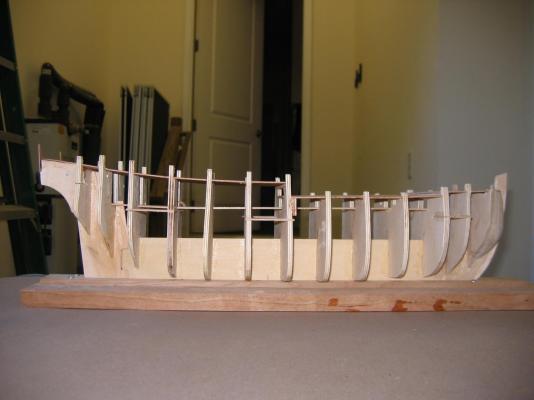
10/12/15 Now that the house guests have departed, it was time to get back in the shipyard. The hull has been completed. The bulkheads are glued in, the bow filler blocks carved and mounted, (came out quite good), the sub-decks have been glued down, the stern frame is in, and the bulkheads have been beveled for curve. Just a little touch up sanding and we'll be ready for planking. I have taken some pictures. They have come out ok. I hope I can get then into the post which follows.
-
Hi everyone, For changing the scale of plans it is: What you want divided by what you have i.e. 1/60 / 1:48 = 1/60 X 48/1 = 48/60 = 0.8 or 80%, which is the machine enlarging setting. Remember our 6th grade math: when dividing fractions invert the denominator and multiply by the numerator. Works for 1/72 =120% 1/96 - 160% Thank you FedEx Office Regards
-
Denatured alcohol will dissolve PVA. Soak the planks liberally and then pry then off as the glue loosens, Once you have them, off scrape the plywood to get any remaining glue off.