HOLIDAY DONATION DRIVE - SUPPORT MSW - DO YOUR PART TO KEEP THIS GREAT FORUM GOING! (Only 69 donations so far out of 49,000 members - Can we at least get 100? C'mon guys!)
×


ca.shipwright
-
Posts
483 -
Joined
-
Last visited
Content Type
Profiles
Forums
Gallery
Events
Everything posted by ca.shipwright
-
 Jesse, Great job on the Syren. Here is a link on how to make a small lathe using a power hand drill. It's cheap and works. I made it and use it to cut canon barrels and taper masts and yards. Put a foot long dowel or square stock and you can cut several pieces in one set up. http://www.utube.com/watch?v=yCaGW9z4bIM
- 1,306 replies
-
- 6
-

-
- syren
- model shipways
- (and 1 more)
-
I also have the Corel la Couronne awaiting space in the shipyard. I found this site and it may help to answer your questions about the stern arrangement. The site says the plans are high resolution digitalized and downloadable. But, I can't figure out how to do this. If you can will you please post directions Thanks http://www.themodelshipwright.com/high-resolution-ship-plans/sailing-vessels/french-17th-century-warship-la-couronne/
- 608 replies
-
- 3
-
-
- la couronne
- corel
- (and 1 more)
-
Message to Charlene: Sorry to hear that work is interfering with a hobby you enjoyed so much. Just remember, when retirement comes, you know that you will have a hobby and the time to enjoy it. (Oooooo Ended with a preposition in a message to a teacher.) how about ........a hobby for which you will have the time to enjoy. You do great work. Come back soon.
-
Thanks Dave, I can see them all over the deck. They all look very tight. I have had very little satisfaction with my nibbing strakes, and scarf joints in the past. I have not been able to get a clean crisp edge on my joints as you have. I have been using basswood to plank decks and this might be a part of the problem. I am going to use either cherry, or Swiss pear for HMB. Hopefully the hardwood will give me a better result. I also using boxwood for all the deck furniture and the wales. Regards,
-
Dave, I just happened to notice a hooked scarf joint in the deck planking next to the stern gallows. Is there any particular reason for this as I don't see any others? I thought I would ask as I am starting to plank the deck. Regards
-
Charlene, Outstanding!! Happy New Year to you and Jerry. Regards
-
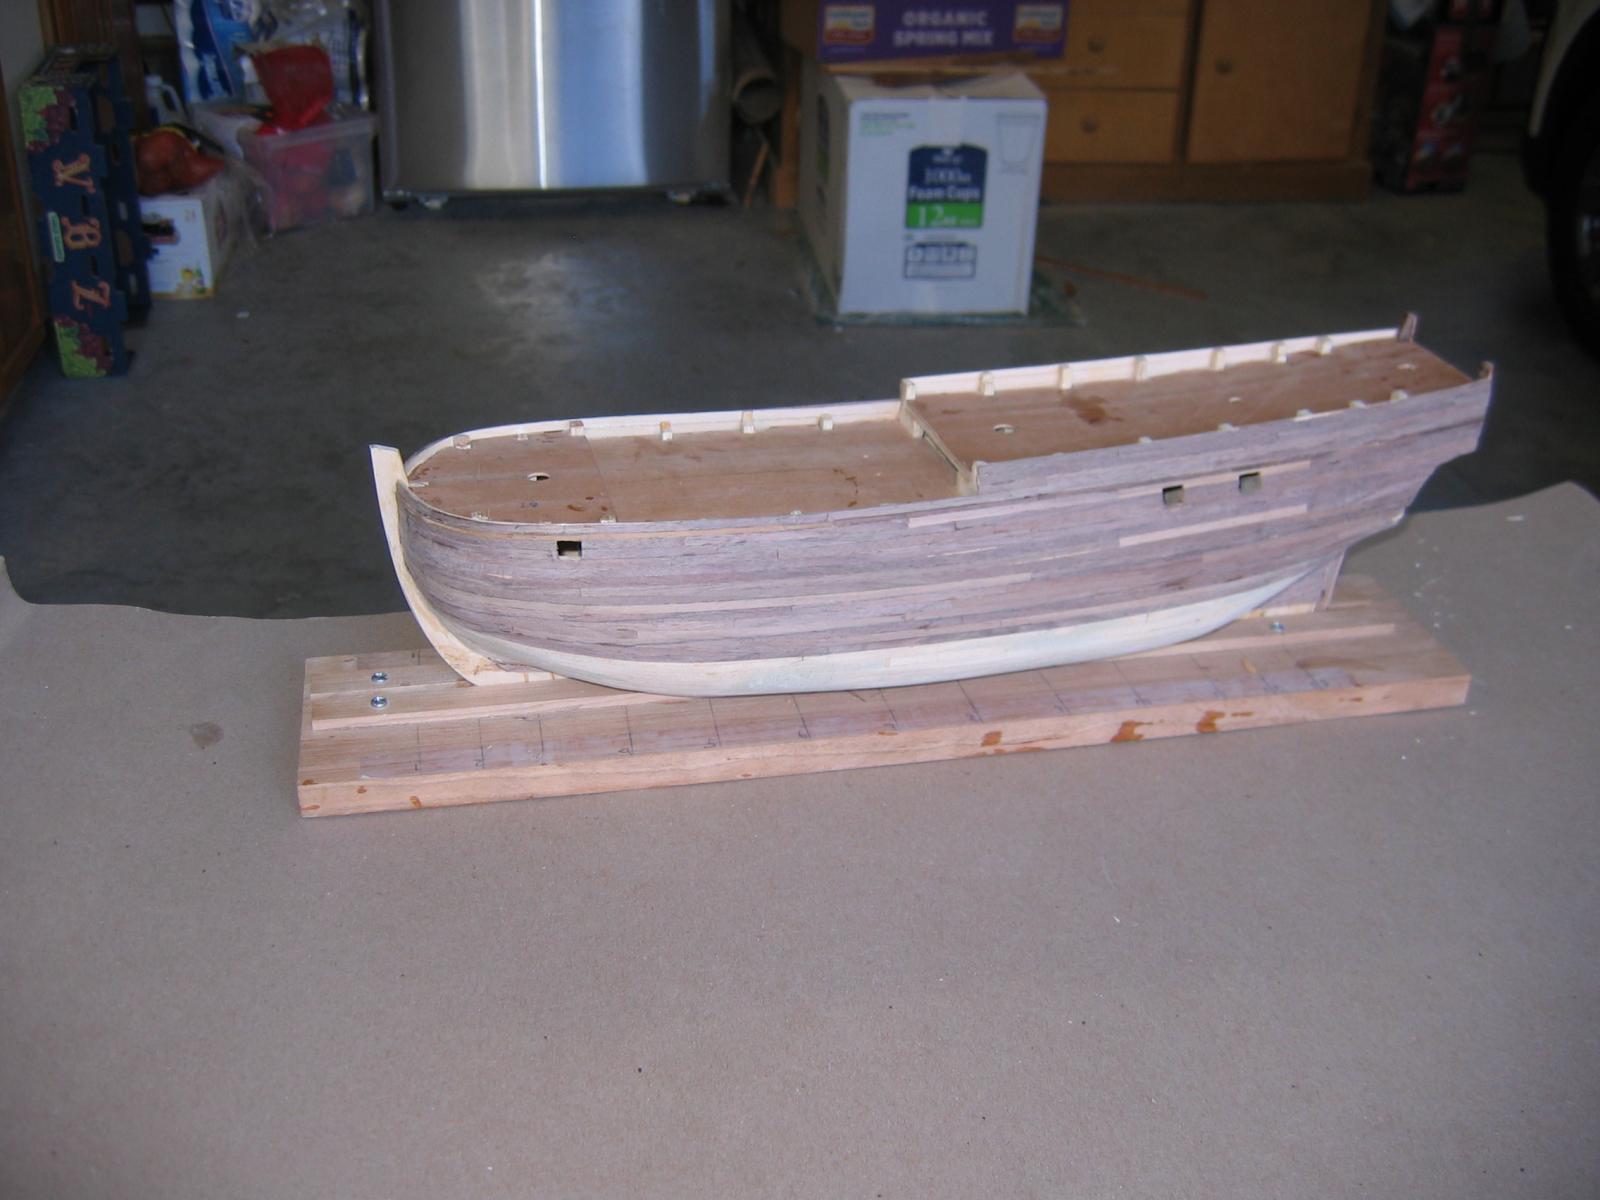
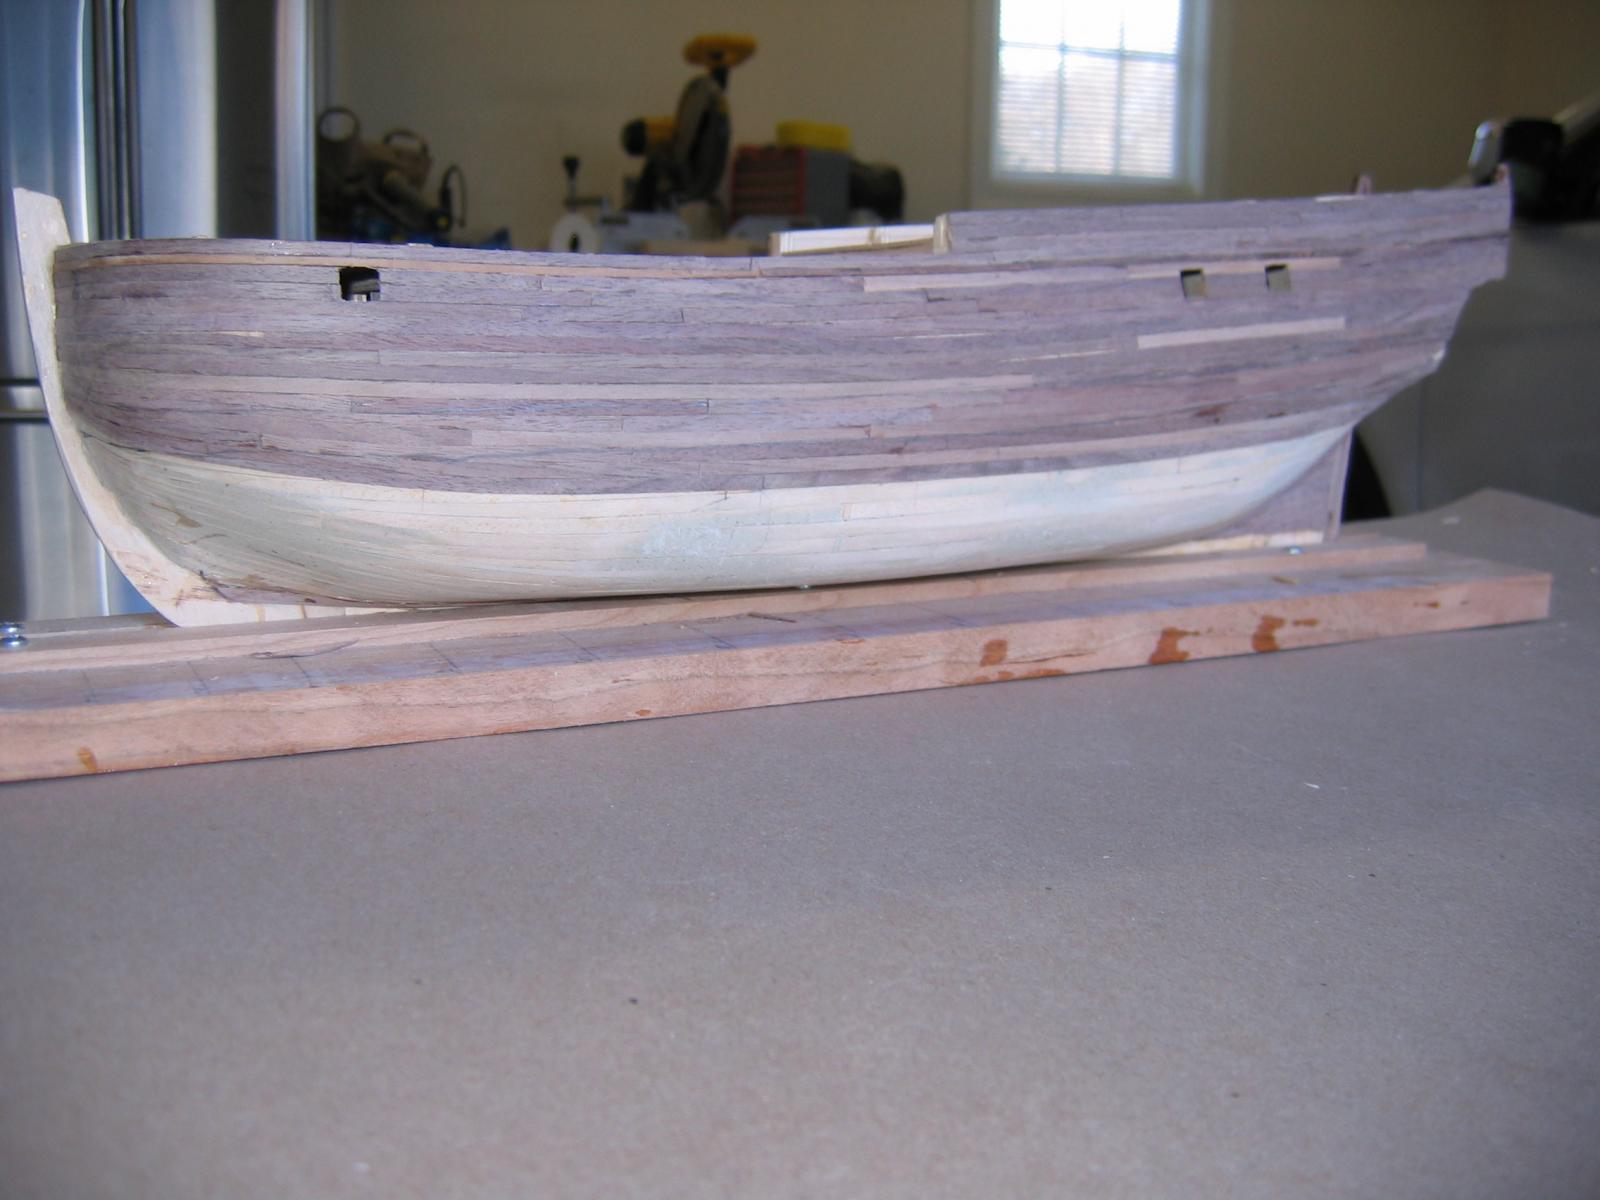
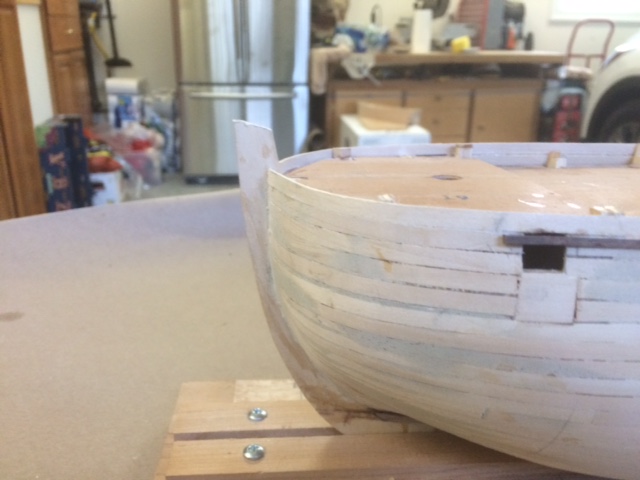
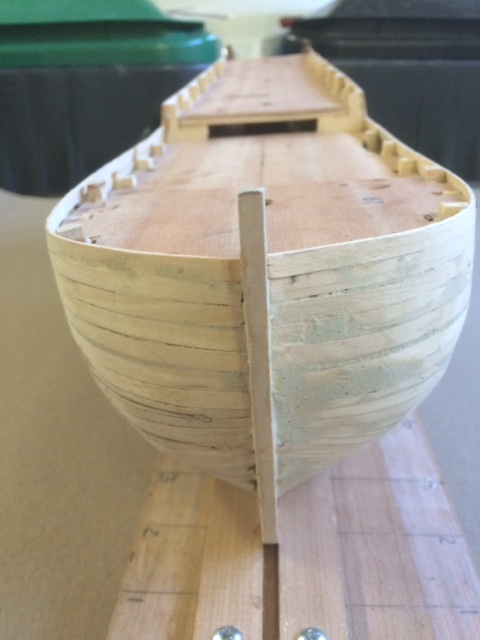
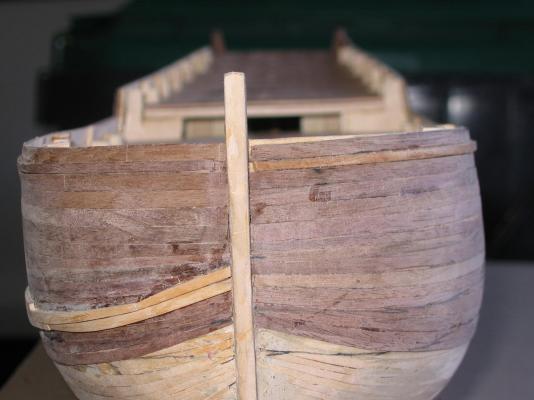
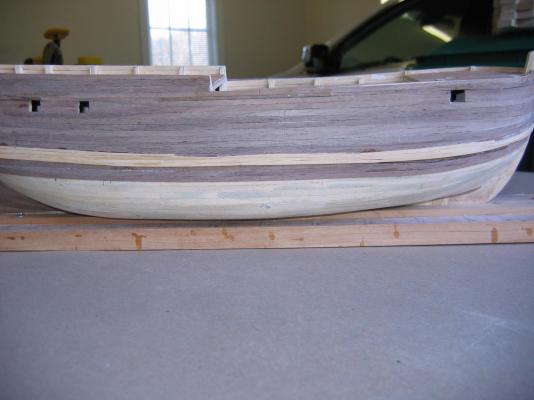
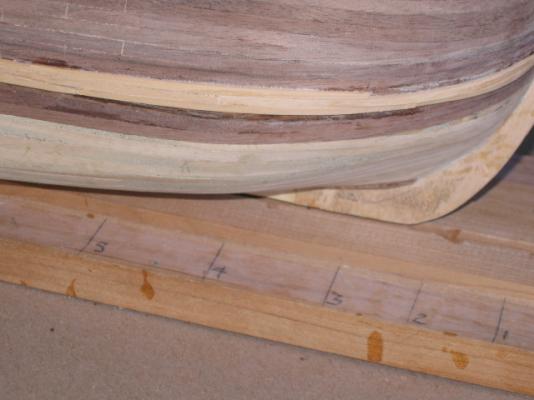
Time for another up date. Finally got the hull sanded good enough to start the second planking. I installed the sheer strake and put rebates in for extra support for the channels. I began the second planking at the sheer strake and planked down to one plank below where the bottom of the wales lied. I then planked upward to the top of the bulworks. Worked out pretty well. Then came the really interesting part. I decided to do the wales in anchor stock planks made of Asian boxwood. It is very hard and probably as the best edge holding of any wood. Each pair of anchor stock equals 1 plank width. There will be 3 pairs of anchor stock for the wales. I started at the bottom of the wale because the bottom of the 1st row will yield a straight line. These planks can be "mass produced by shaping a billet the length of a plank using a disc sander and then slicing of the planks at width. These planks lay on pretty straight forward. I started amid ship and work for and aft. This got me the proper lengths for the cut planks at the stem and stern. Now comes the hard part. Each of the mating planks have to done on a custom fitting basis. Once the mating planks are in on the second row up, they will yield a straight line (in theory). Then back to the mass produced etc. I wonder if I made a mistake by doing anchor stock instead of regular planking. Do overs are always an option. There are some spaces in the planking. I will fill these with sanding powder using dilute white glue as a binder. Some pictures below. My photography shows great ineptitude. My apologies. I may have to do some deck furniture or deck planking to break up the tedium of the anchor stock work.


-
Chris, On my endeavor, I finished the second layer planking down to the bottom of the location of the wales plus one plank.This allows me to use a thinner plank by 0.5mm for the wale placed over the second plank. The benefit to this is it is much easier to bend a thin plank than say a1.5mm plank. Visually there will be no difference. Regards
-
Sal, I've been lurking on your build. Awesome work, I have the Syren on the shelf. I love the alligator clips. I guess you need them in the different sizes depending on the distance between deadeyes etc. Maybe one of you engineering types can figure out to make a set where the distance between clips is adjustable. Regards
- 659 replies
-
- 5
-
-
- syren
- model shipways
- (and 1 more)
-
Charlene, I always thought that the Amati Bounty is one of the most beautiful model ship kits ever offered. You are doing a ban-up job of building this kit. It is coming out beautifully. I regretted selling the kit as soon as I gave it to the FedEx guy. Oh well. Regards to Jerry G.
-
Charlene, I do believe that your Bounty resided in my shipyard before I sold it to Jerry several years ago. Enjoy!
-
Well, we now know that those glider designs were truly magnificent.
-
Jerry, The deck planking is superb. What did you do to get the crisp black "caulking" lines?
-
Steve, A long time ago I was considering going into flying model planes on the reel and wire (way before radio control). I went out to the airfield one warm spring day to watch some of the flyers. This one gent had a brand new sparkeling dark blue US Navy Corsair. The gent had spent the whole winter building this plane and it was beautiful. He cranked up the engine grabbed the reel line and off the plane went. Up into the air, down into the ground nose first. The gent went over to the wreck, broke off the engine, splashed fuel all over the remains and lit it. It was then I decided this hobby was not for me.
-
Sal, Your work is just awesome! Gives me something to which to aspire. Syren is next in the dockyard. I only have one slip and it is occupied by HMB Endeavour. Regards
- 659 replies
-
- 3
-
-
- syren
- model shipways
- (and 1 more)
-
Hi Chris, Thanks for the great collection of Endeavour photos. I will add them to my collection. She sure looks small in the drydock, One thing that I can see from the photos assuming the replica is close to the original, is that the Corel kit has taken many liberties. Non to the better. the stern is especially well off the replica . Corel shows a lower counter that the hull planks end at. The replica shows the planks tucking right under the counter. I'm going to have to live with this. Too far along to rip out. I was fortunate enough to visit the replica in Oxnard, California on it's around the world cruise. Crawled around the lower decks on my knees after hitting my head on the overheads one time too many. The sailors in those days must have been a lot shorter. Regards
-
Hi Chris, I am going to fabricate the doors from wood. I'm leaning toward cherry for the deck planking. The Swiss pear looks a little pink to me. I am still trying to fabricate s satisfactory wale set up. Do I make the wales black or leave the veneer coat natural? I wish I could no them in ebony but I am allergic that wood. Regards,
-
Back again. I am getting close to laying the deck planking. I don't want to use the basswood, I have some holly, some really nice cherry that should grey out a bit as it is exposed to air, and boxwood. I'm leaning toward the cherry. Thoughts anyone? Thanks
-
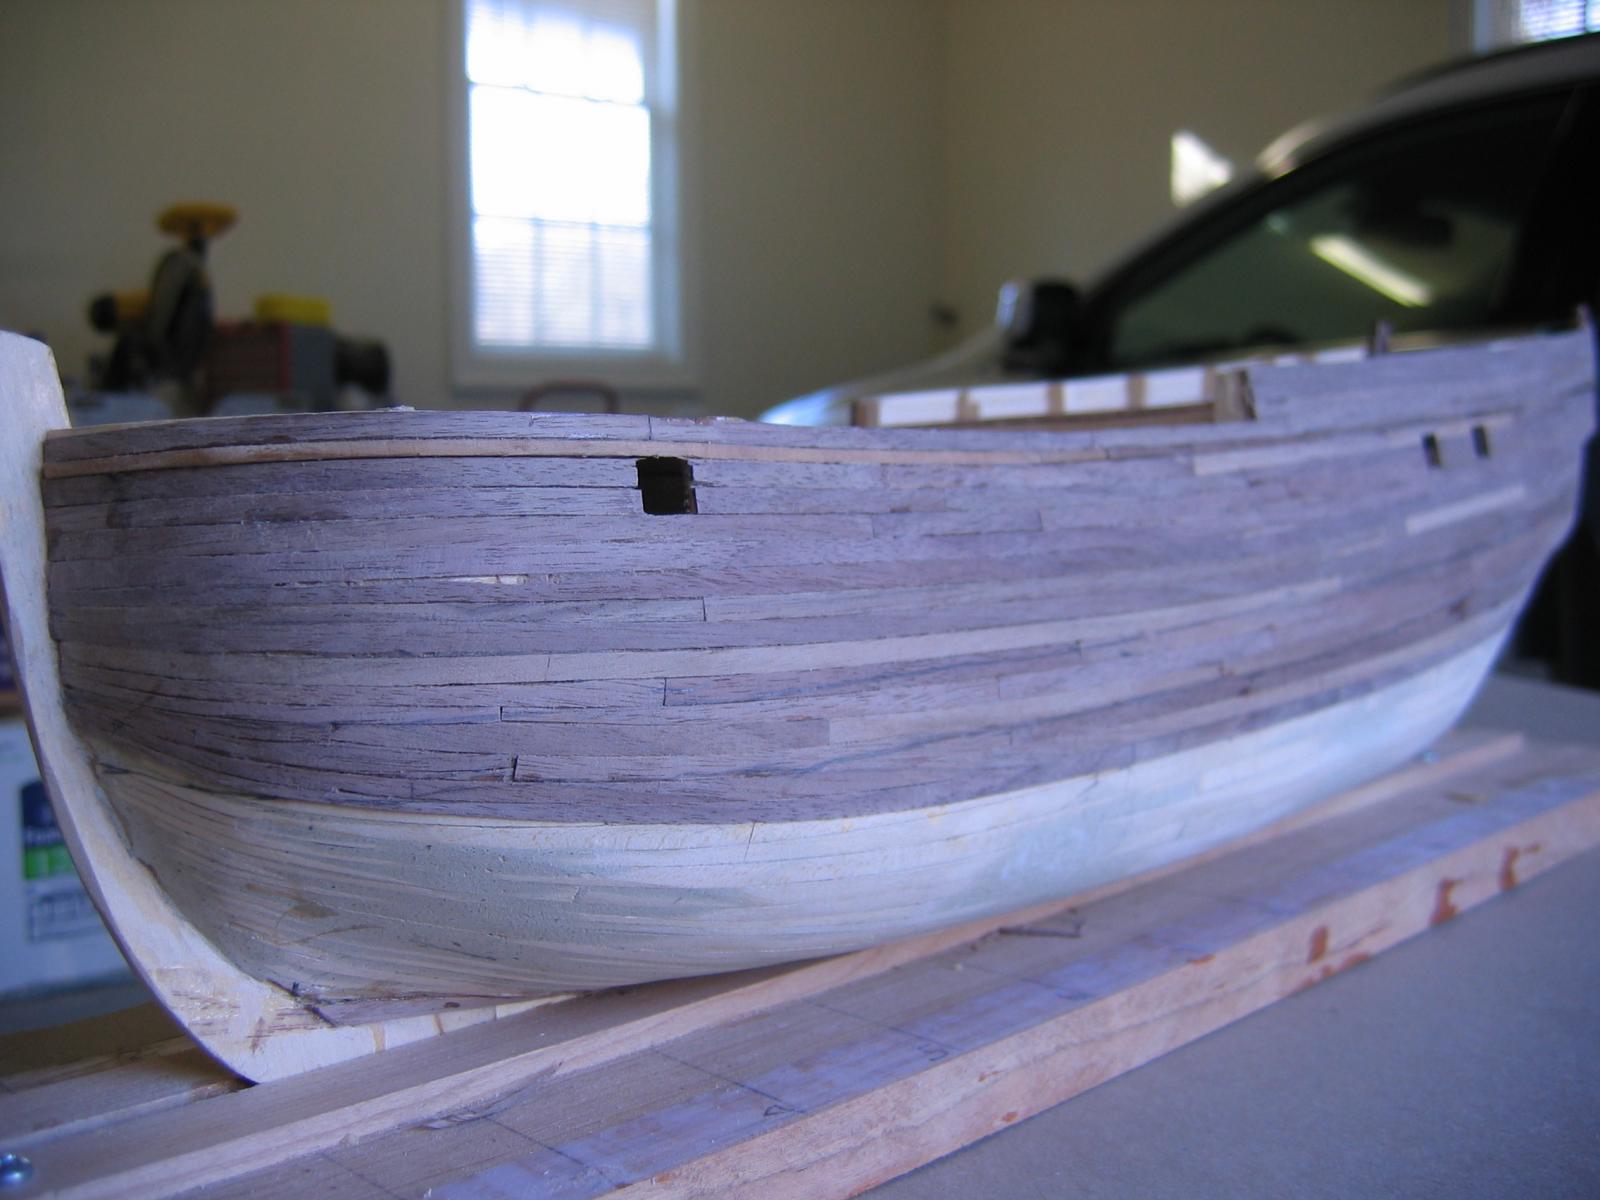
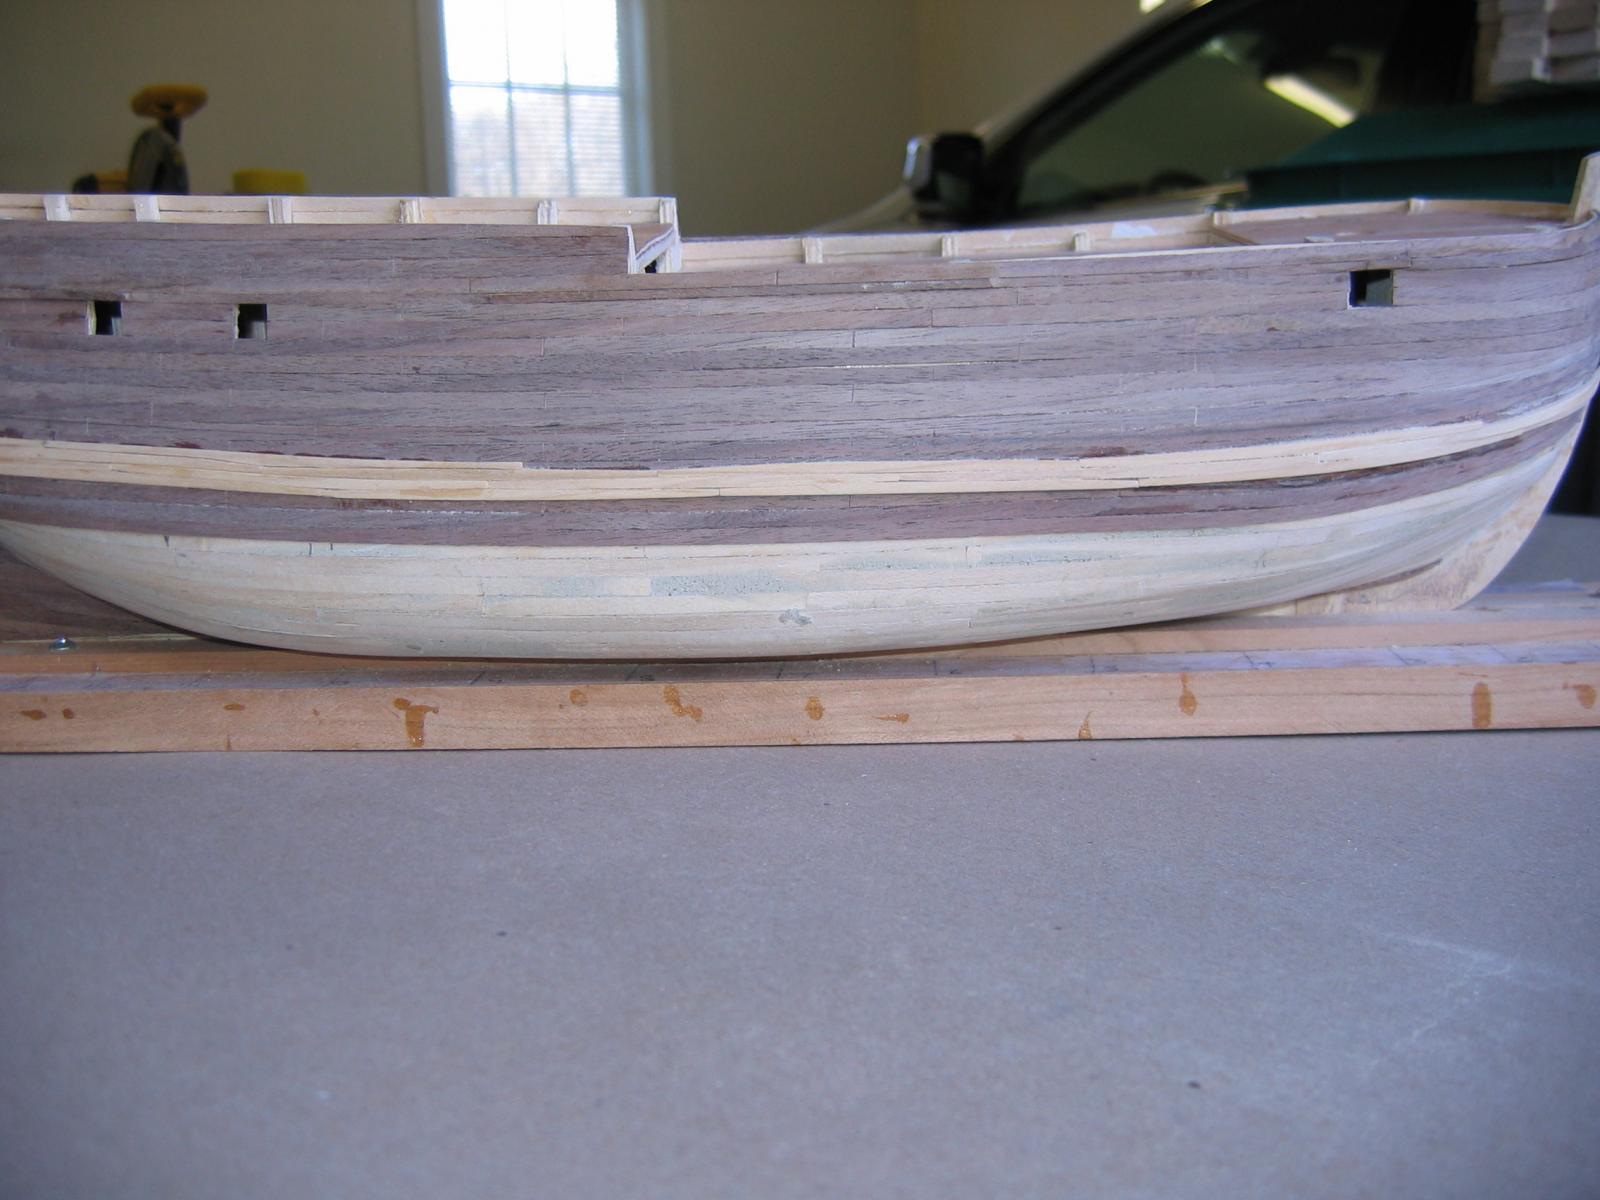
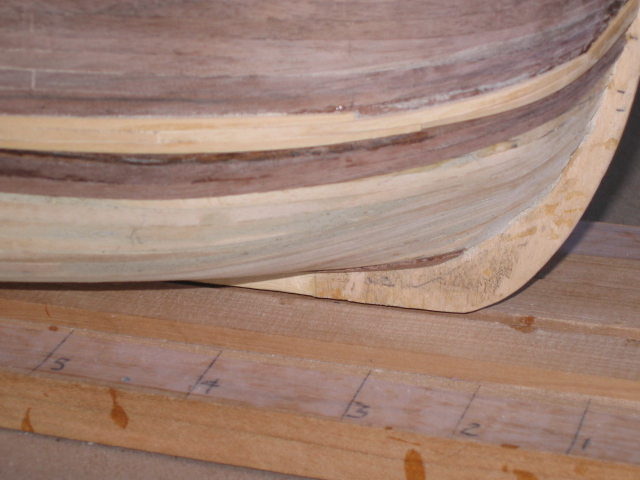
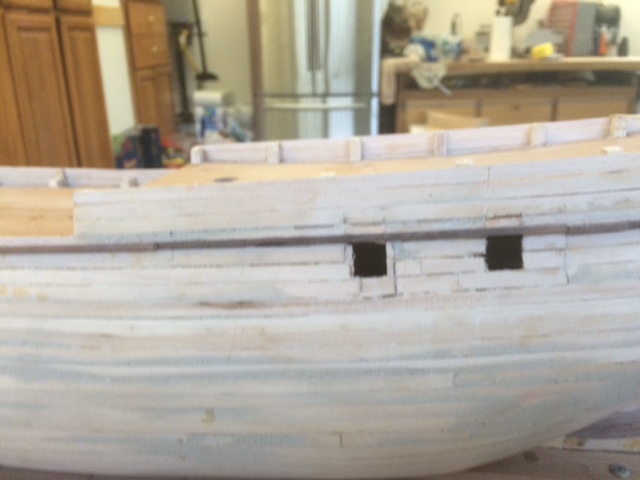
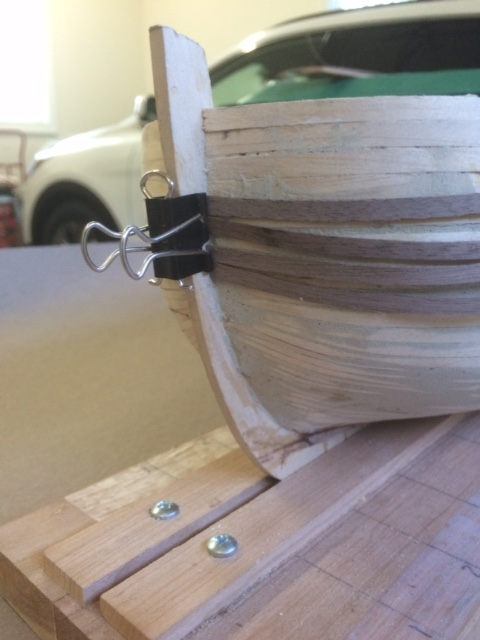
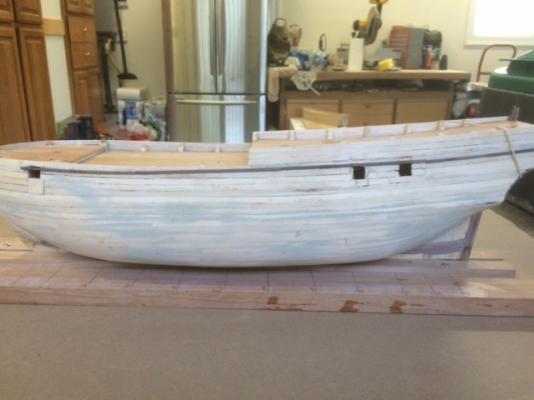
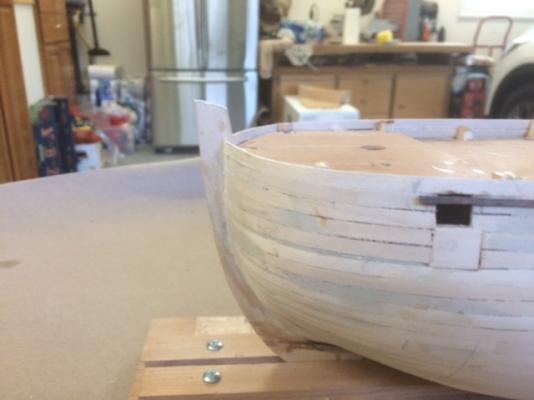
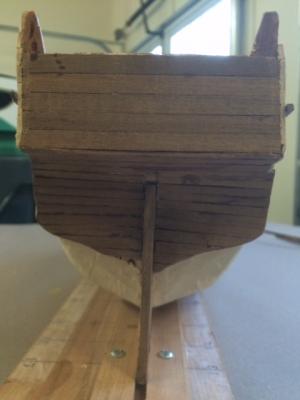
Hello everyone, It's been a while since I posted in my own log. It seems that all the interesting stuff is happening else-ware and so are my posts. I finally finished the first planking, filled the defects, sanded, filled the defects, sanded.....Then looking at AOS and the hull back and forth I found that the light ports were misplaced on the hull, Corrected this and filled and sanded. Seems that is my theme song. I am very well satisfied with the shape and fairness of the hull. It is nicely symmetrical port and starboard, the sheer is very good. It does have a slight twist in the stern. Hopefully when all is said and done this won't be so obvious. She does list a bit in the build board- just alittle loose I liked the idea of putting a mortise on the thick plank just above the light ports. Cut the mortises on the table saw and glued this plank on port and starboard sided up to the bow bend. I have some timber soaking getting ready for the bow bending. This should be fun. I am going to install the wales next with a 3/32 thick plank as the base and then do the anchor stock veneer in boxwood. This is if my test model of the wales comes out decently. I want to lay individual planks and I think a 4 inch plank to simulate 20 feet should work. Please share any thoughts you have on any of the things I have mentioned. I want to say I am not too proud to use any of the tricks that are posted in the forum. Here are some pictures for today. Have a great day!


-
Greg, Thanks for the method. I was wondering how, or if, I was going to approach the anchor stock. I have a bunch of .045 boxwood that might just do the trick. I think I'll give it a try. I haven't installed the wales yet so I may just lay the boxwood over the second planking.
-
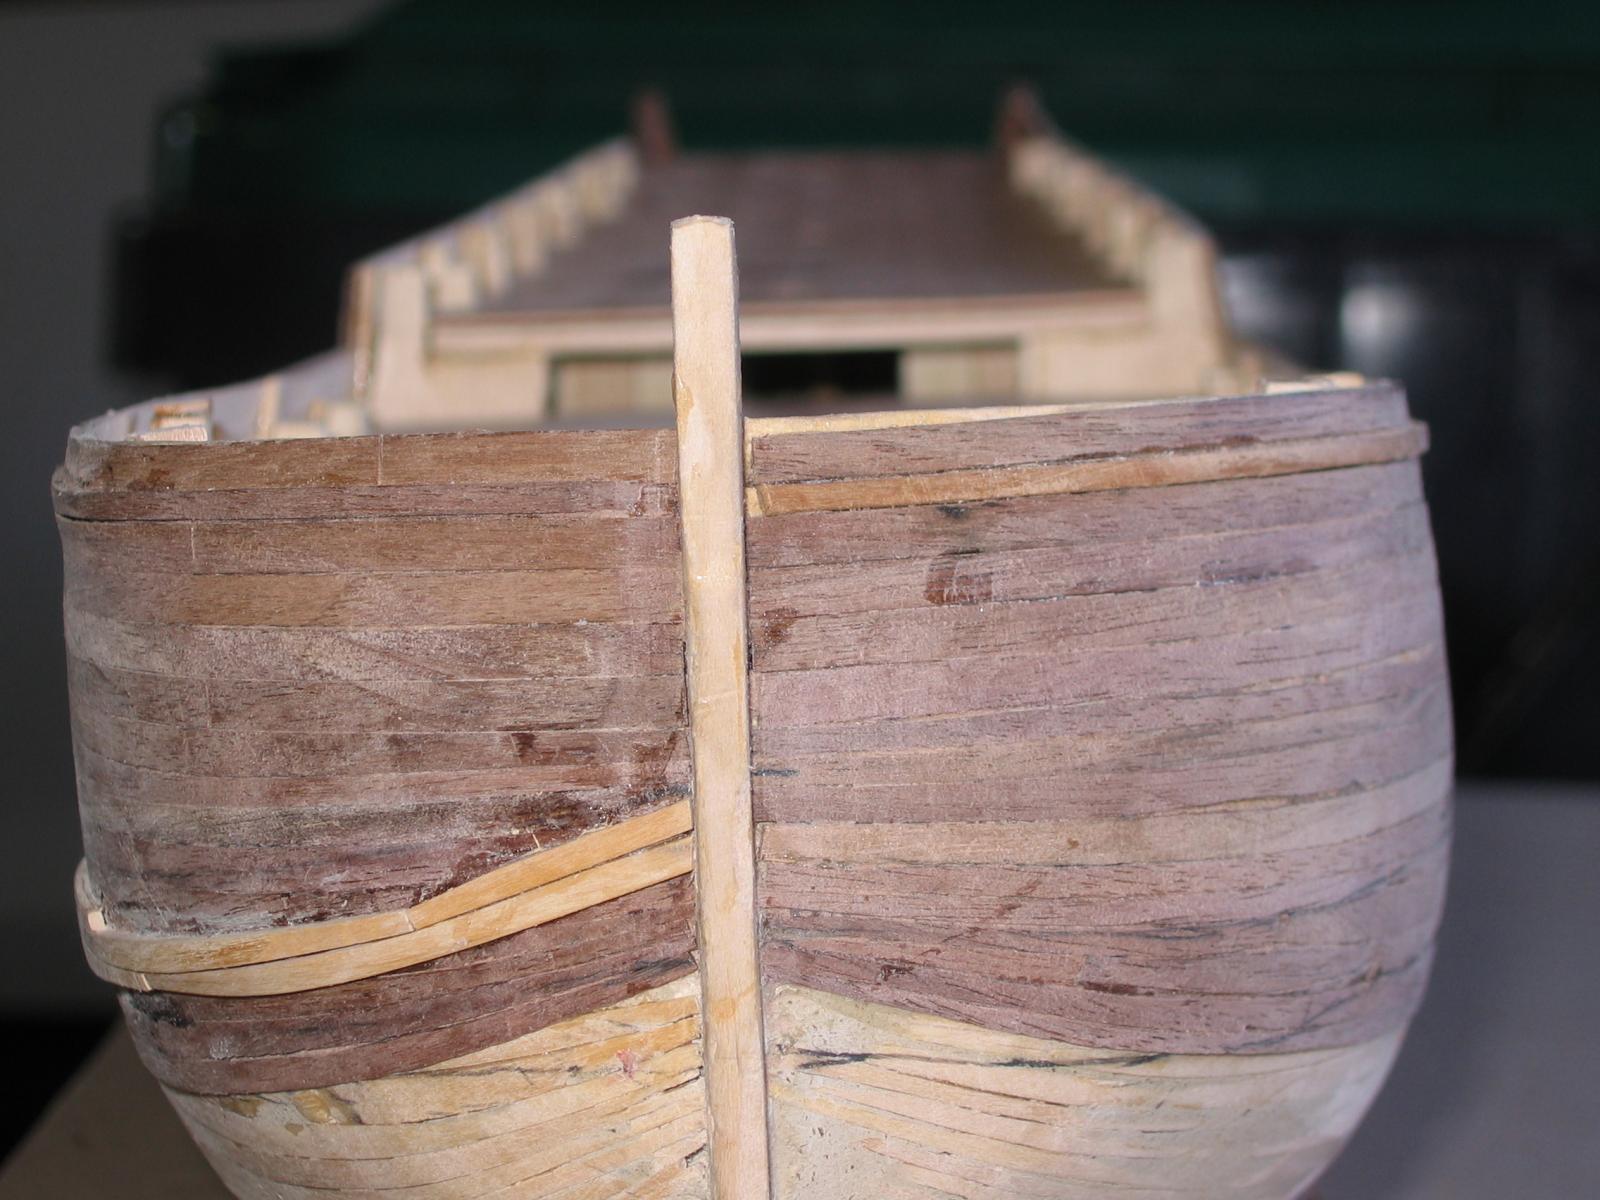
Chris, Anchor stock is the shape of the planks used in the wale of a lot of British ships. If you have the Endeavour or Victory AOS, the side view of the with the wale visible shows the shape and the interlocking pattern. The shape is very similar to what the wooden cross member on the anchor looks like. Thus "anchor stock". It really looks nice if done neatly.It is quite difficult to do and raises the level of the completed ship considerably. This is what it looks like. Notice the peaks are not centered. They are usually about 2/3 of the width and about 2 1/2 times the width of the end which is usually half a plank width. You always need an even number of rows so you have a straight edge to continue regular planking runs. I hope this helps Regards,

-
I was looking at the AOS and it shows the wales constructed with anchor stock. Has anyone attempted this with Endeavour?
-
Dave, You are setting a high bar for me. Your work is very impressive. The detail is awesome. I'm finally finishing up the 1st planking. Then on to the 2nd. Regards