IgorSky
-
Posts
1,842 -
Joined
-
Last visited
Content Type
Profiles
Forums
Gallery
Events
Everything posted by IgorSky
-
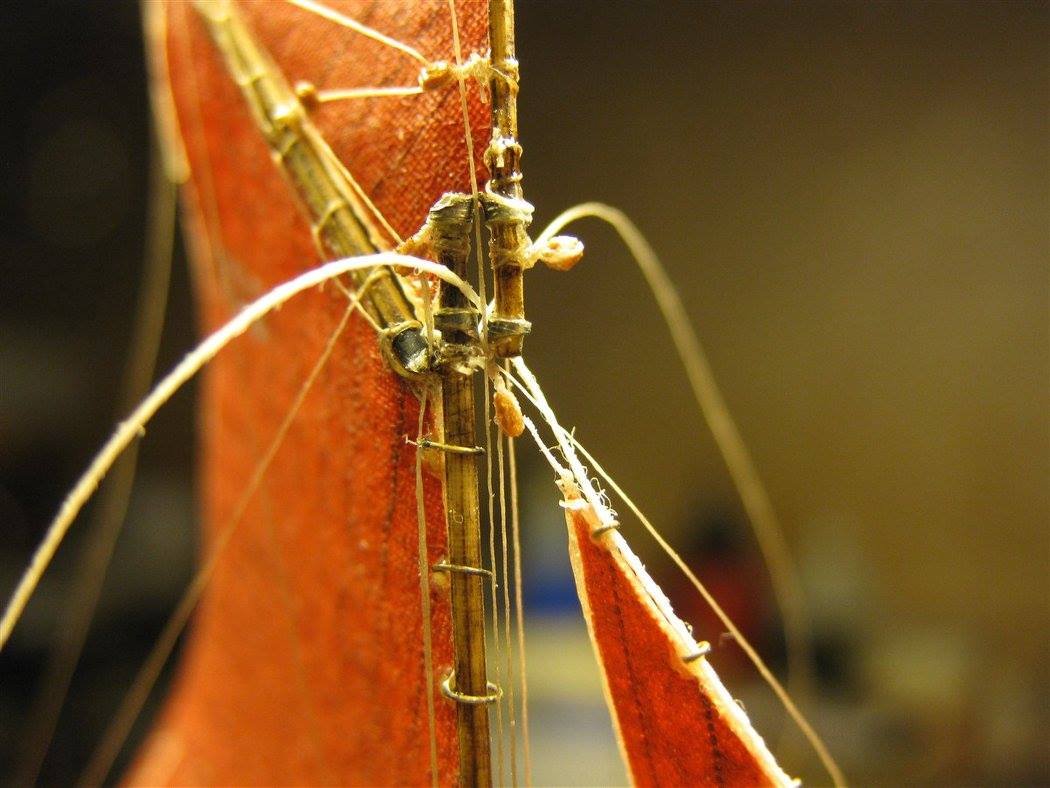
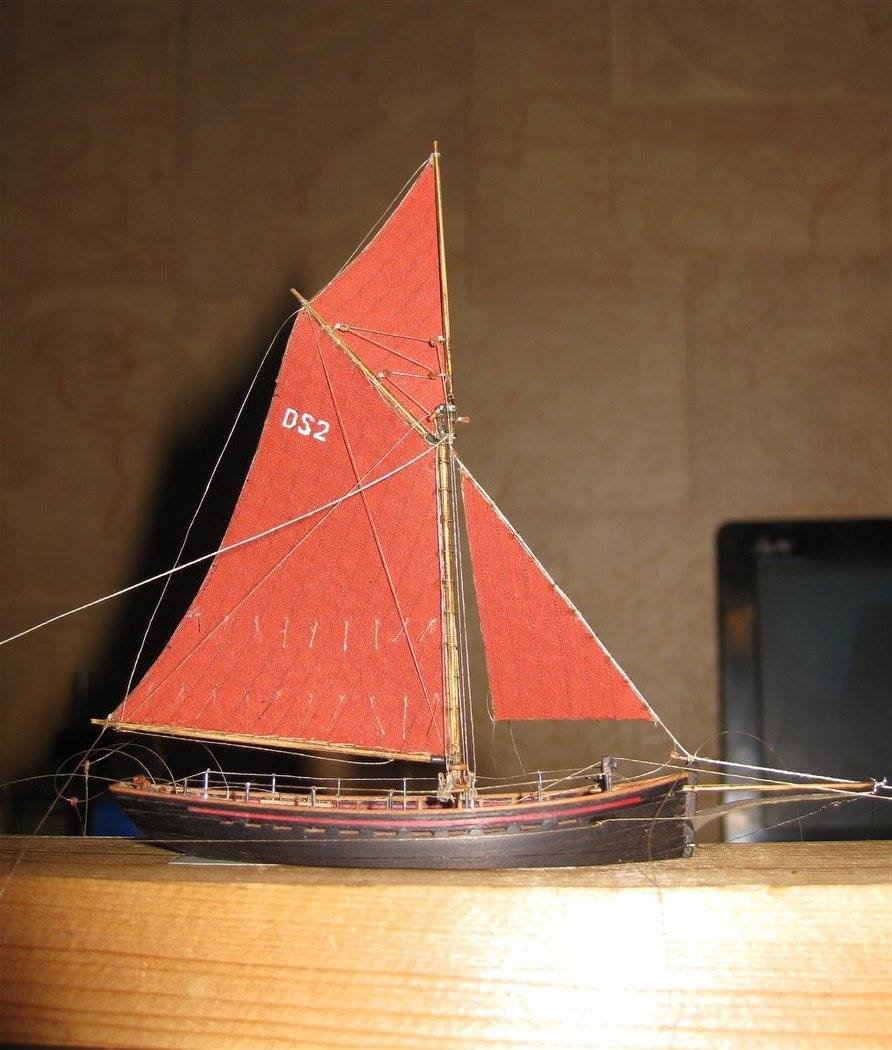
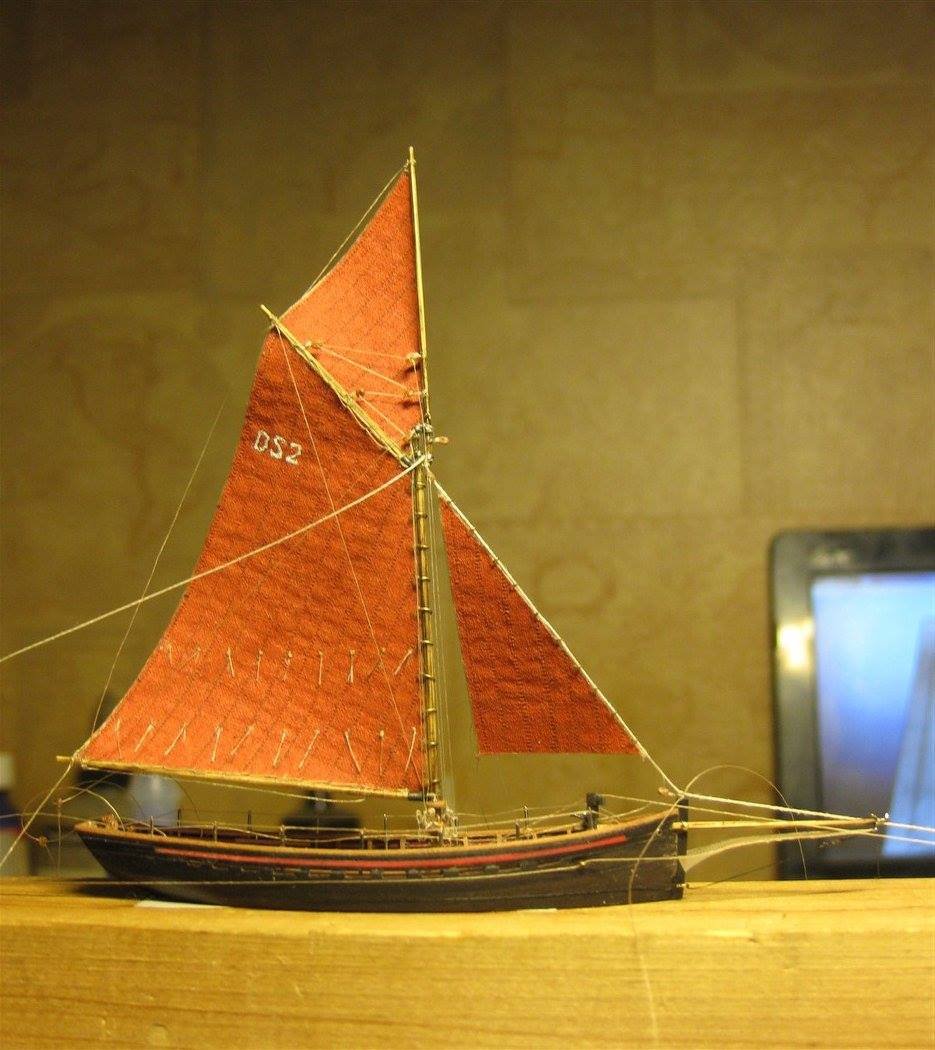
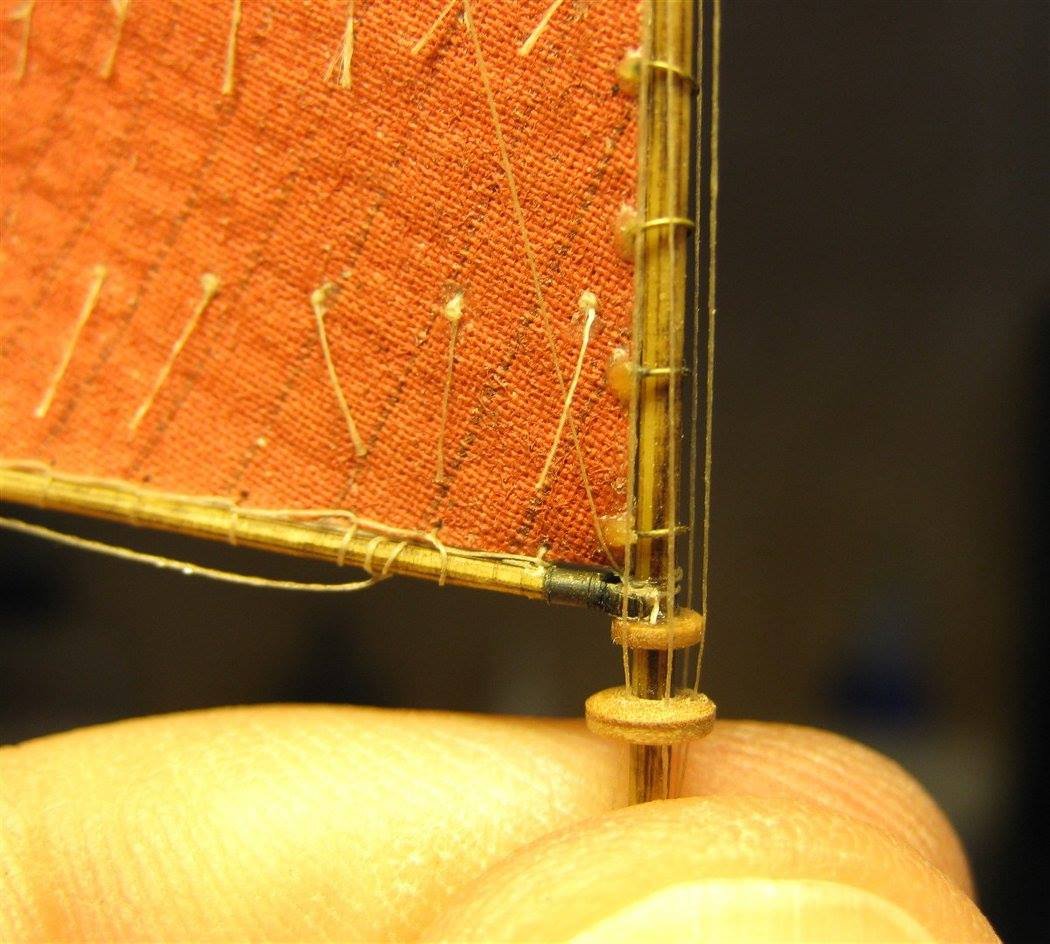
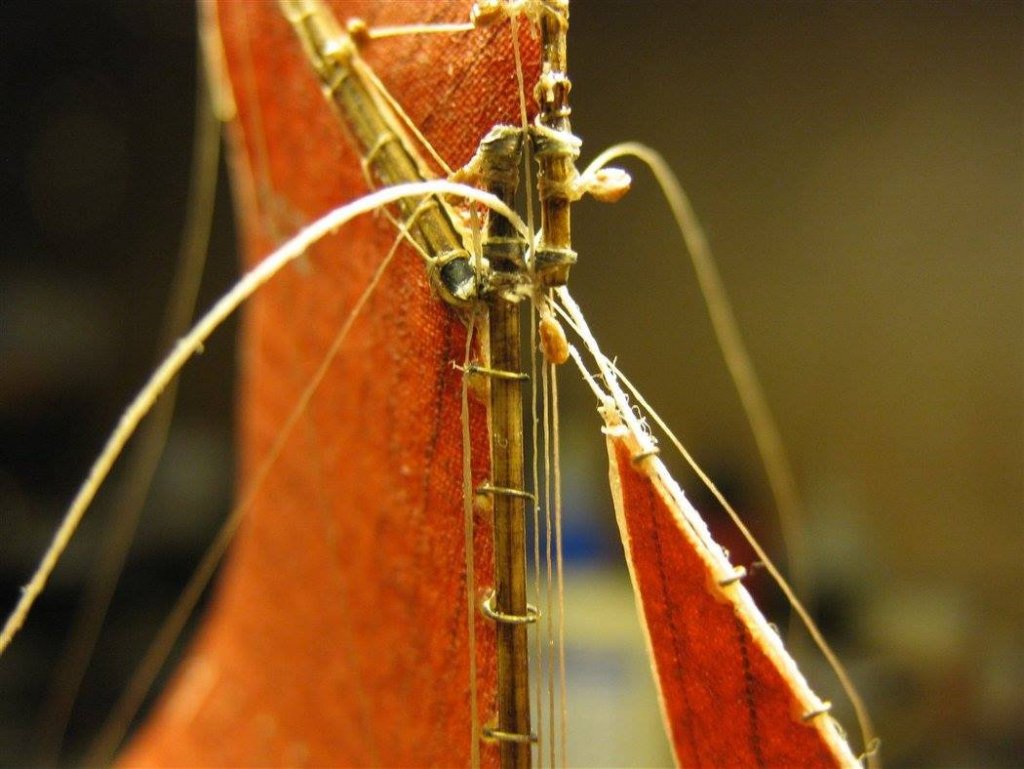
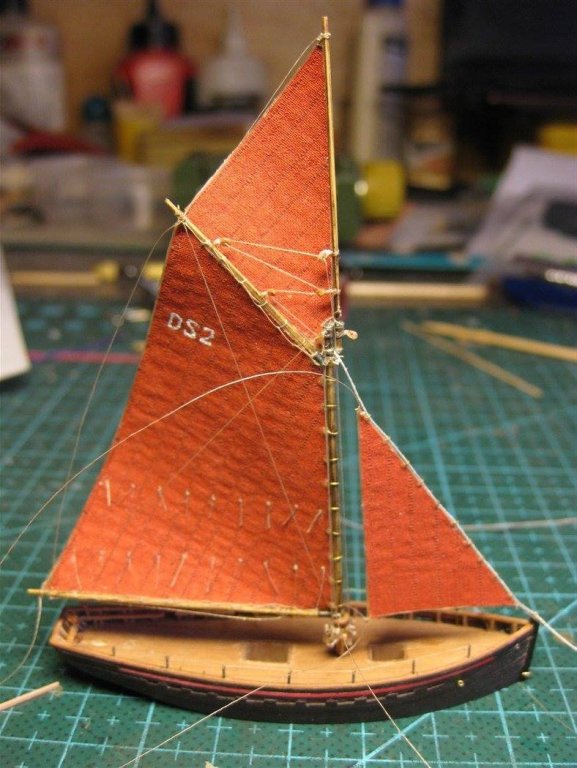
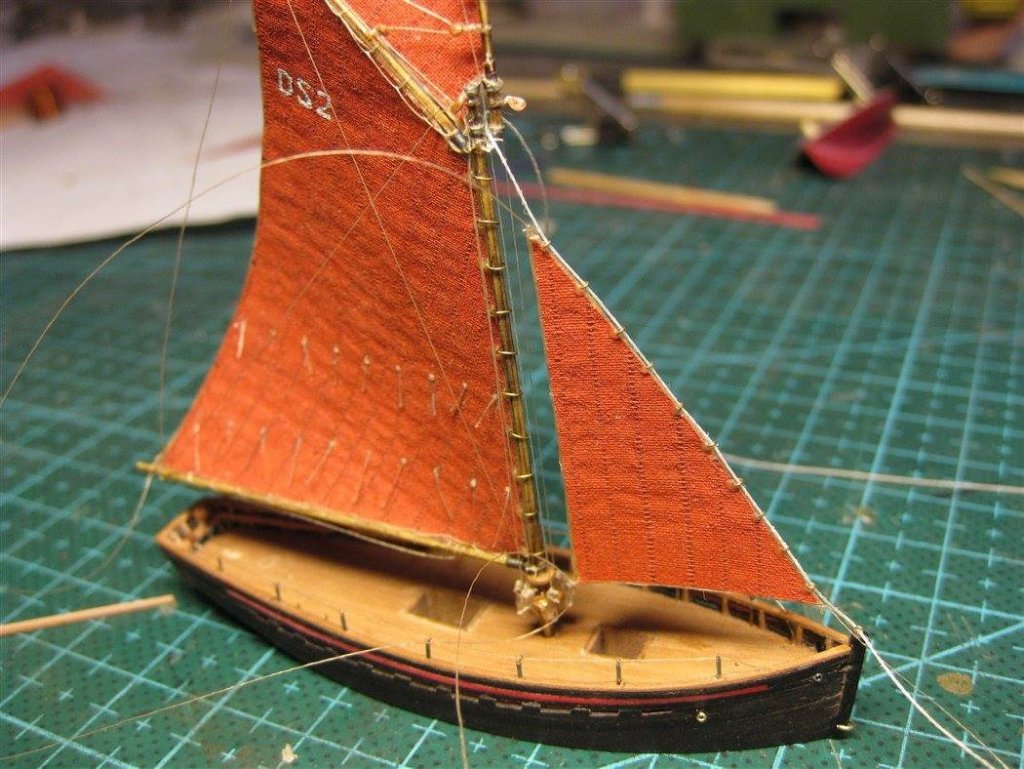
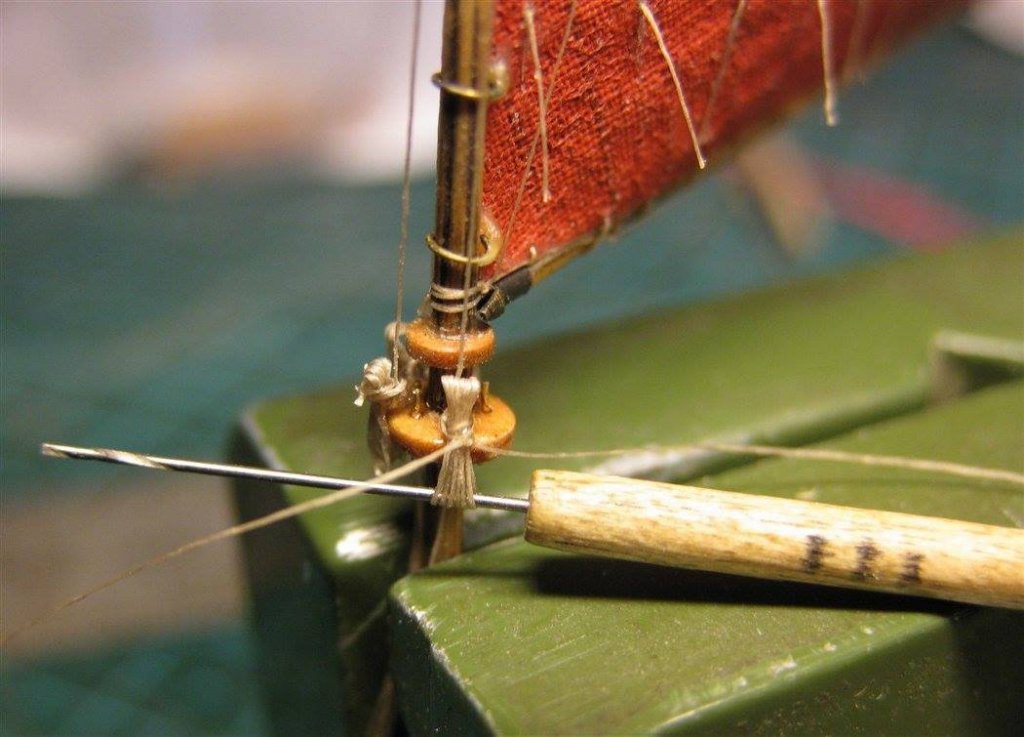
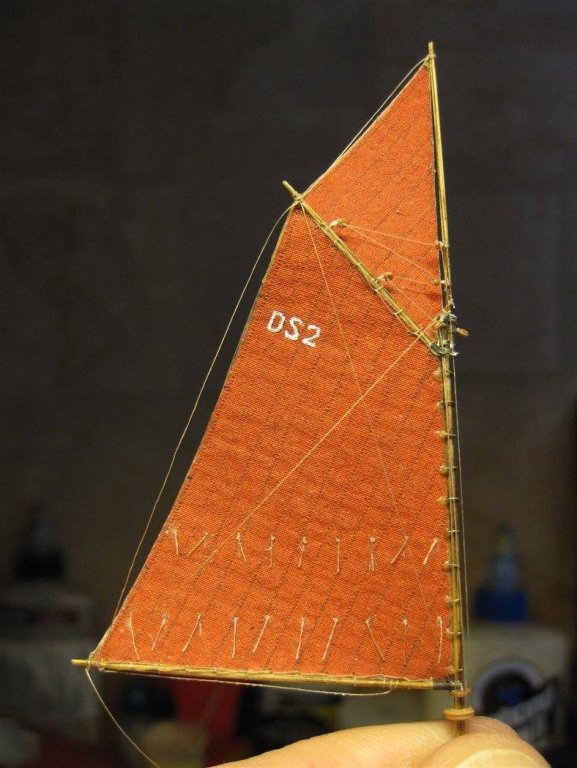
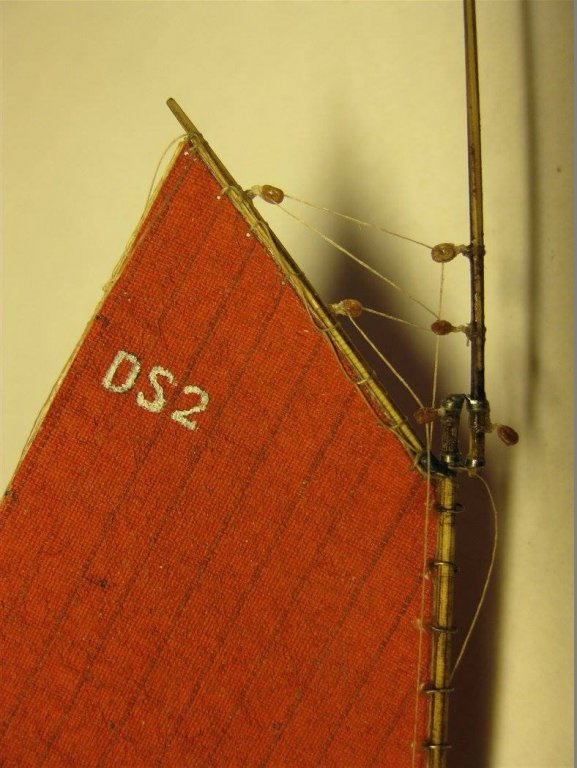
Then I completed the wiring of the running rigging of the first of the front sails


- 185 replies
-
- 6
-

-
- jolie brise
- pilot cutter
- (and 2 more)
-
Incredible work, Nils! I think that your model can be studied for hours, so that we can see all these details! Congratulations! Best Regards! Igor.
- 2,625 replies
-
- 4
-
-
- kaiser wilhelm der grosse
- passenger steamer
- (and 1 more)
-
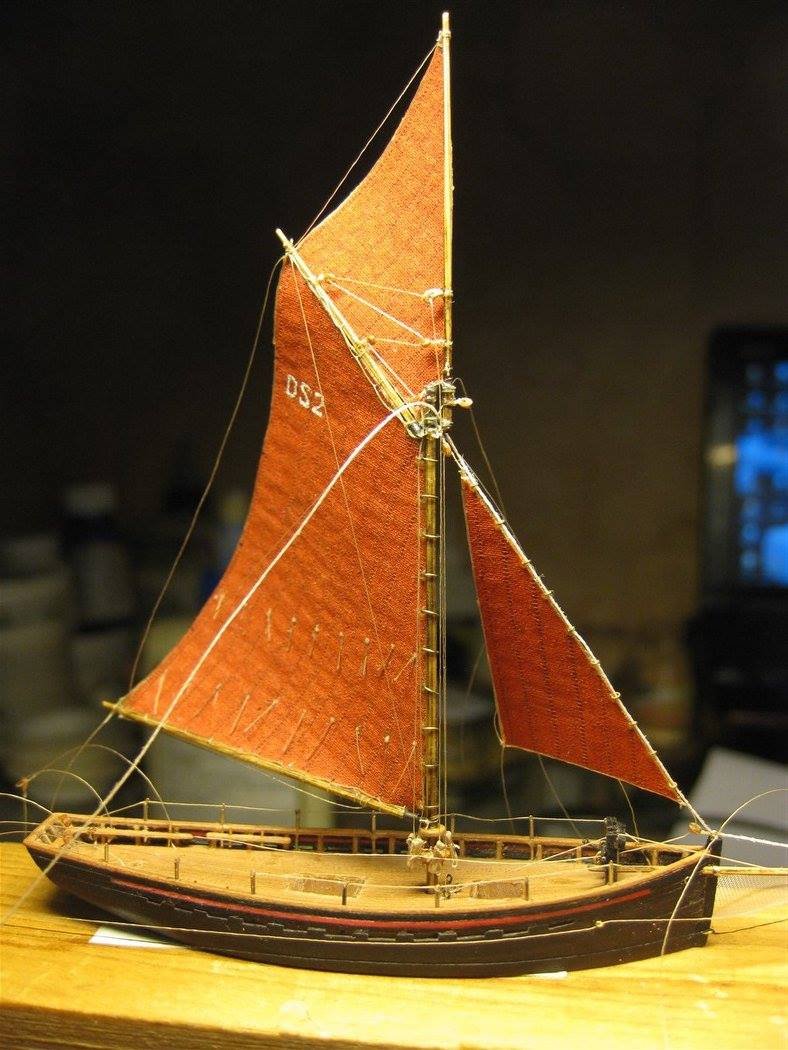
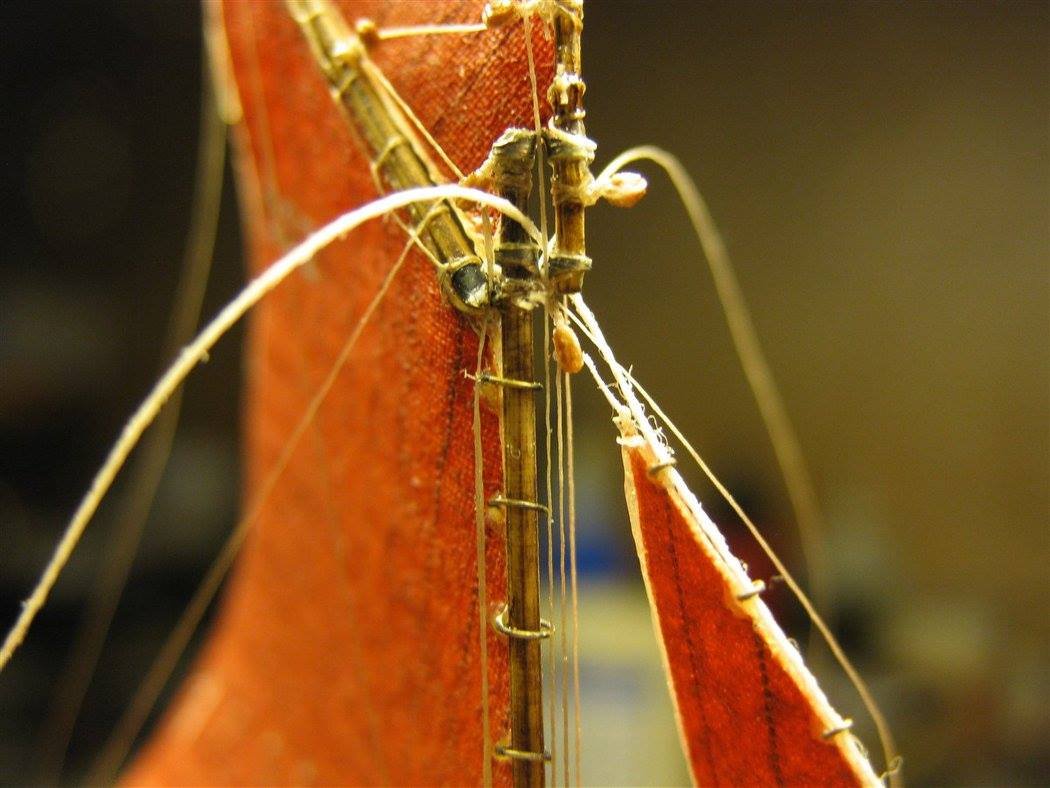
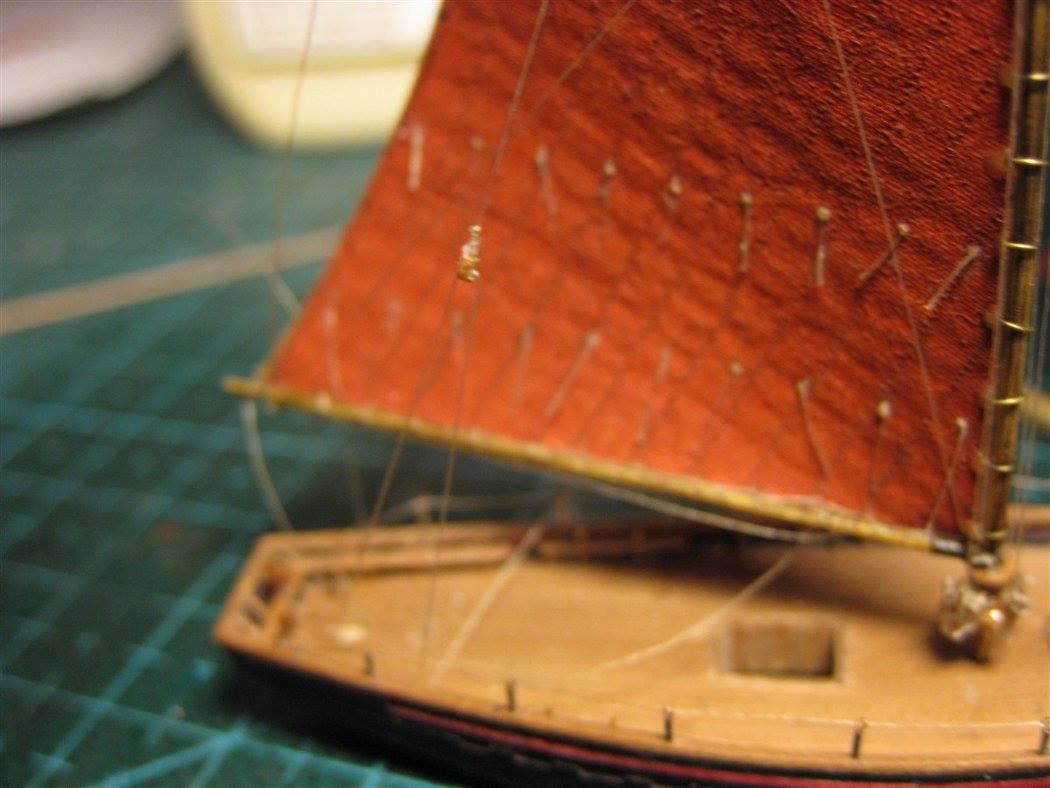
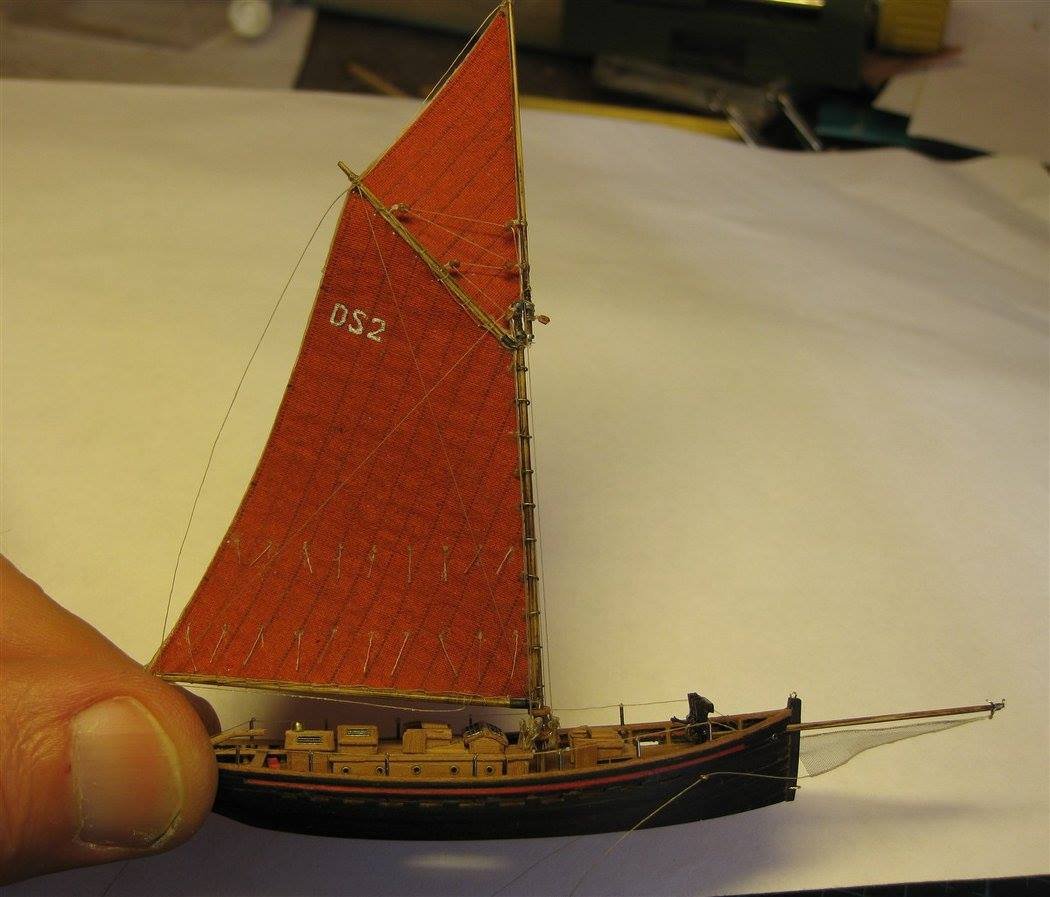
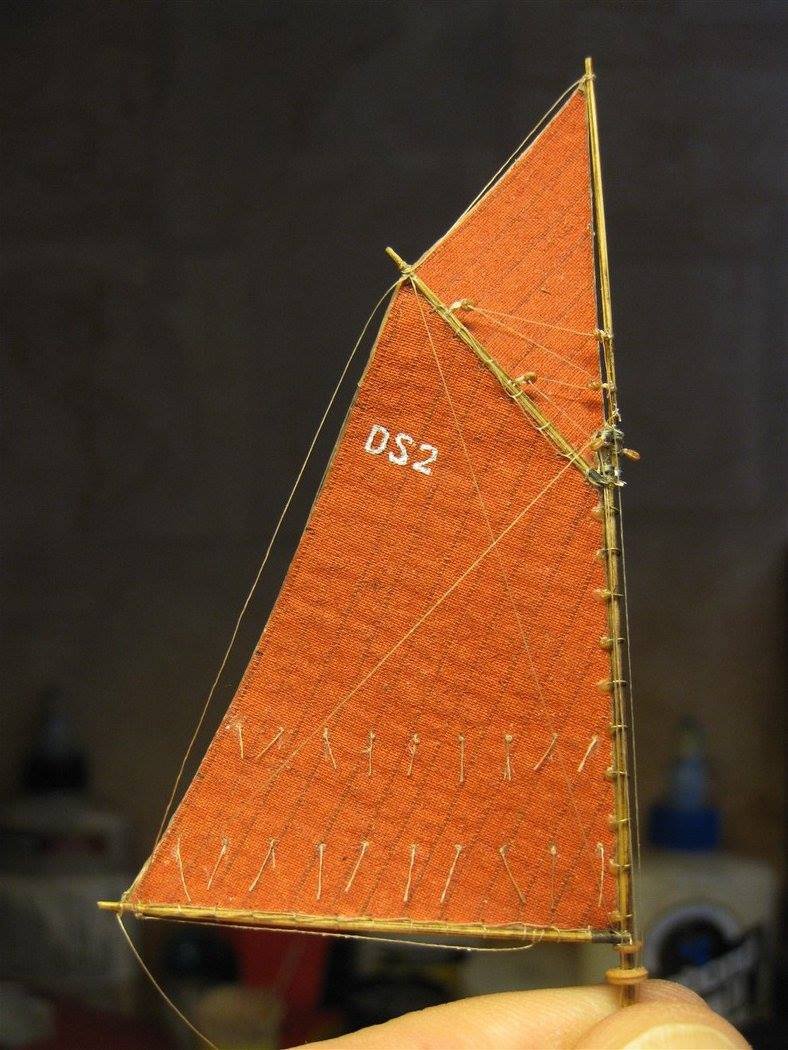
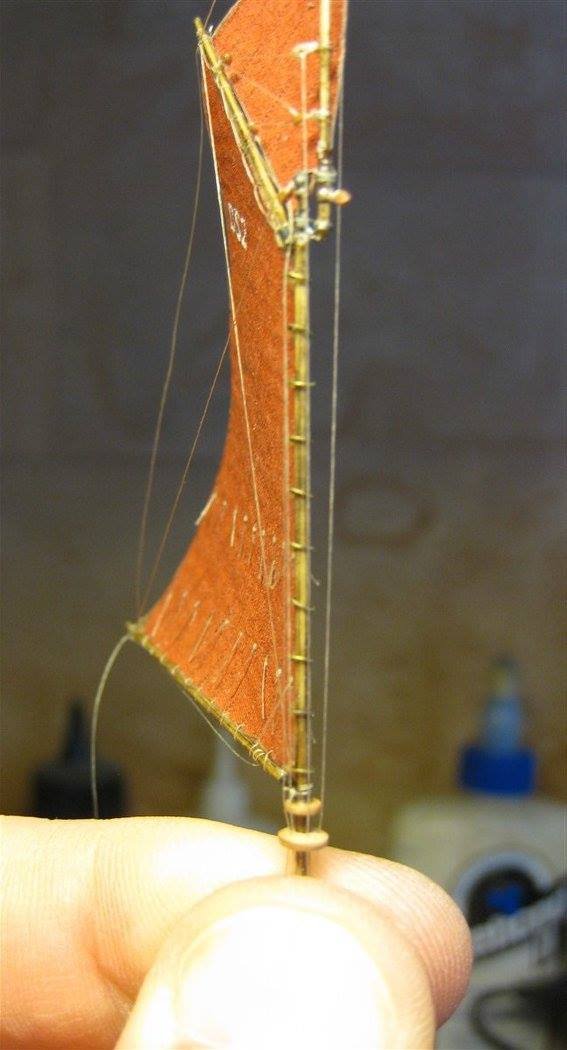
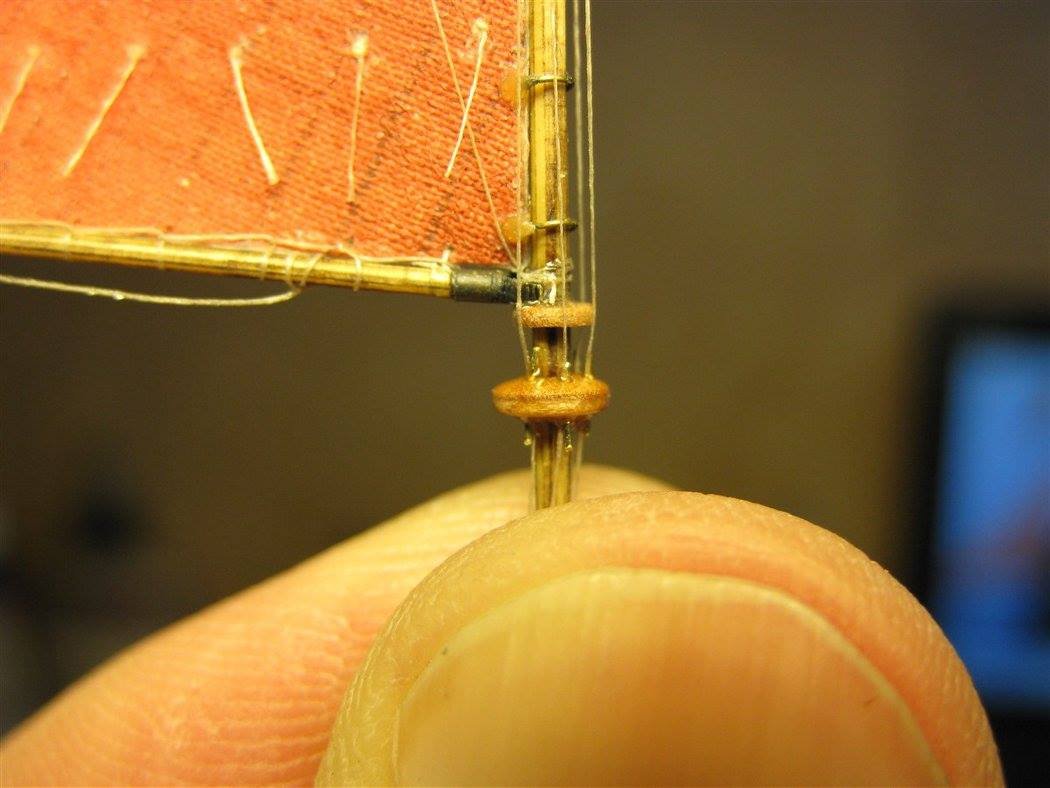
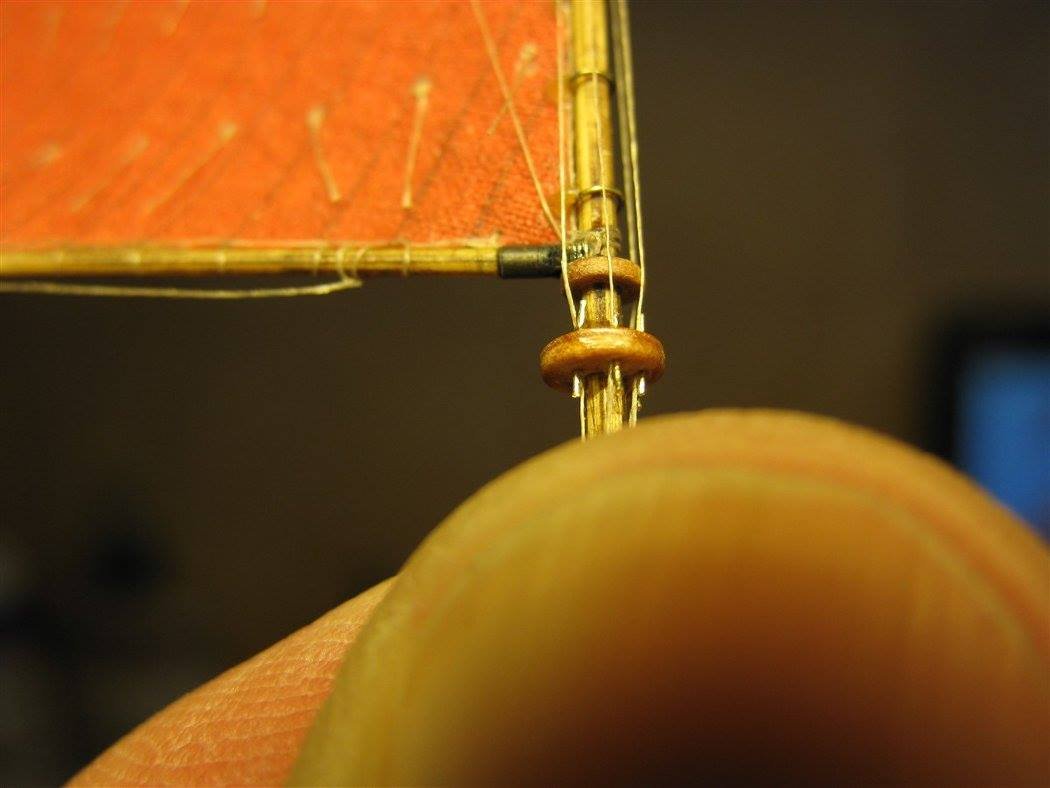
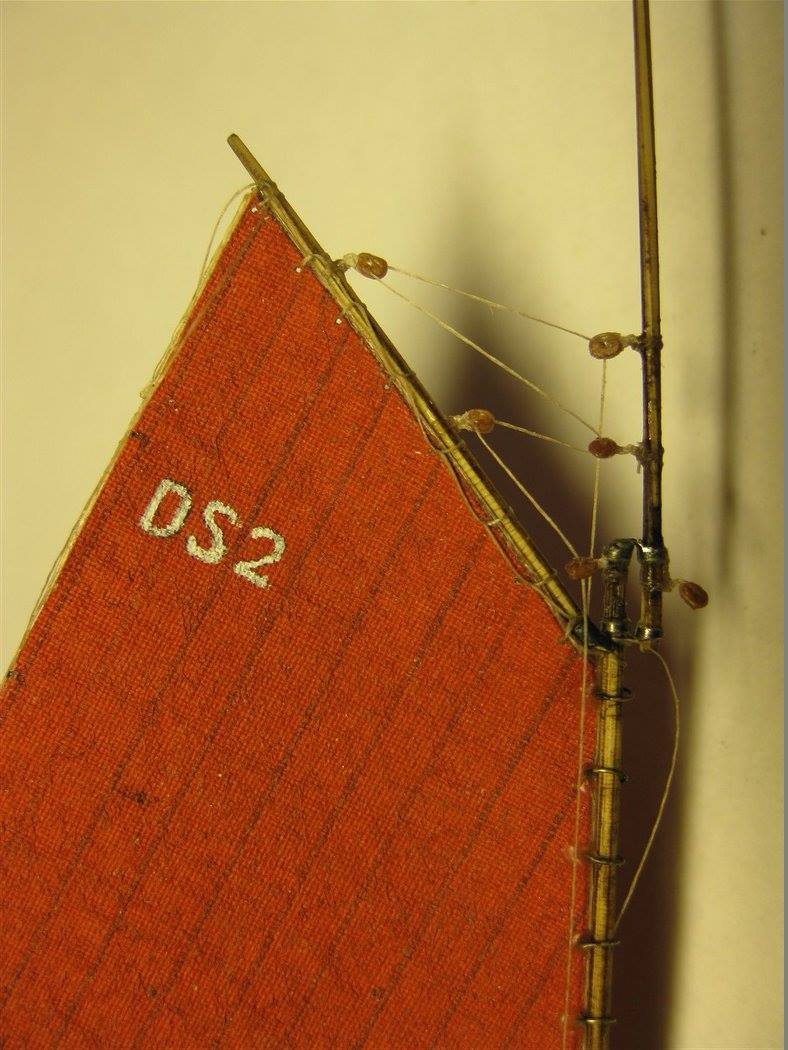
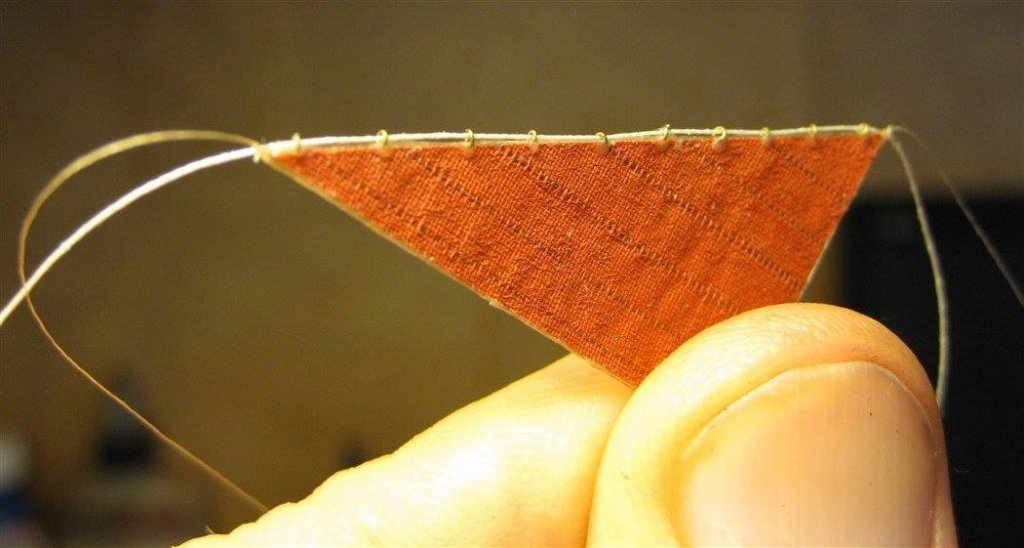
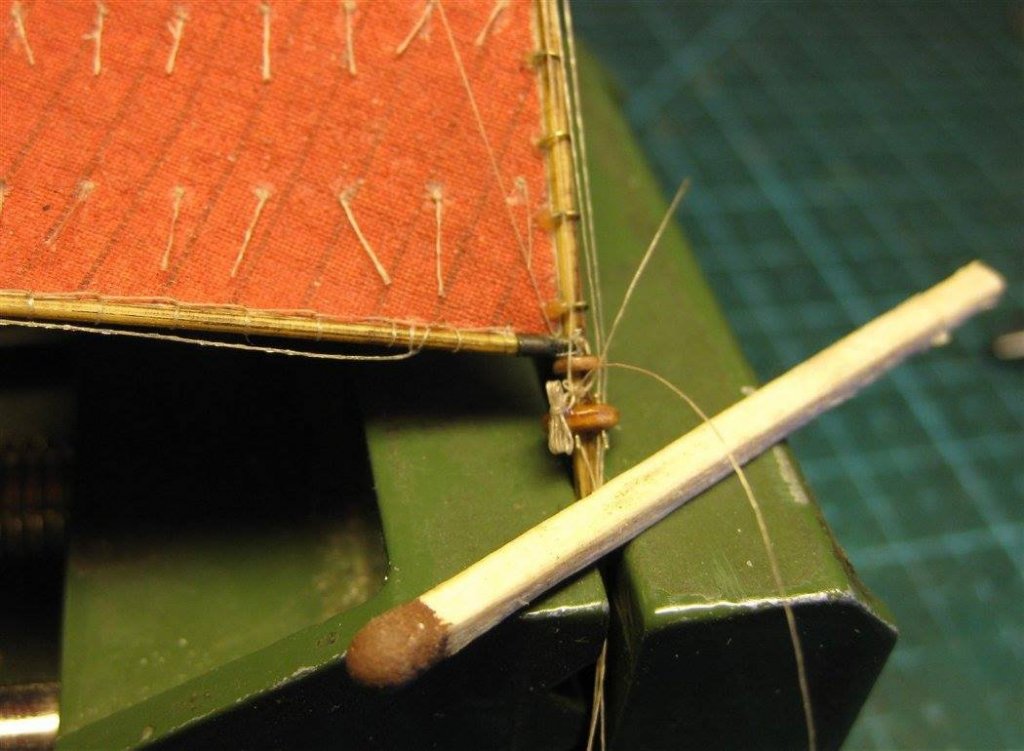
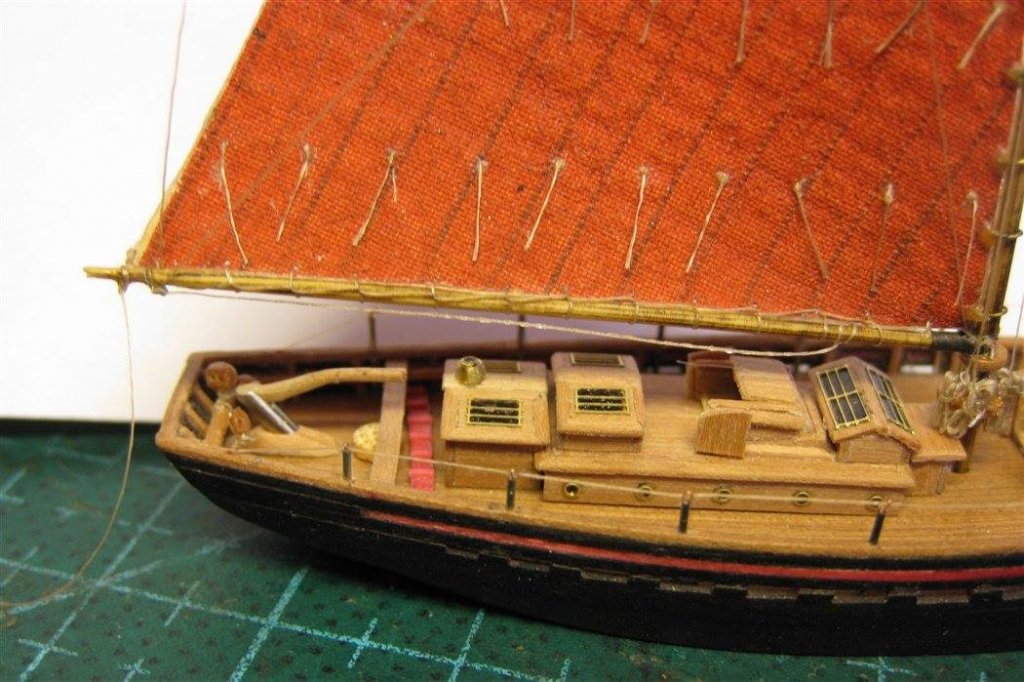
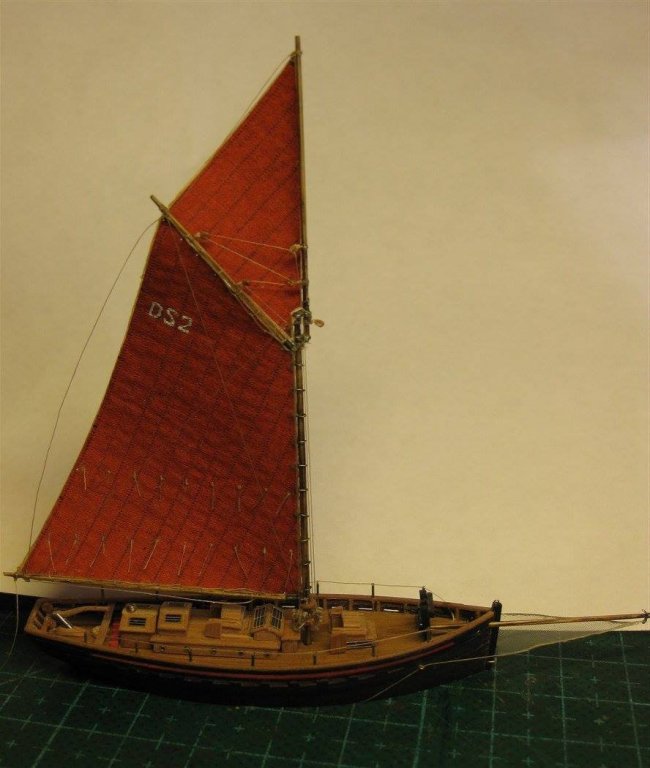
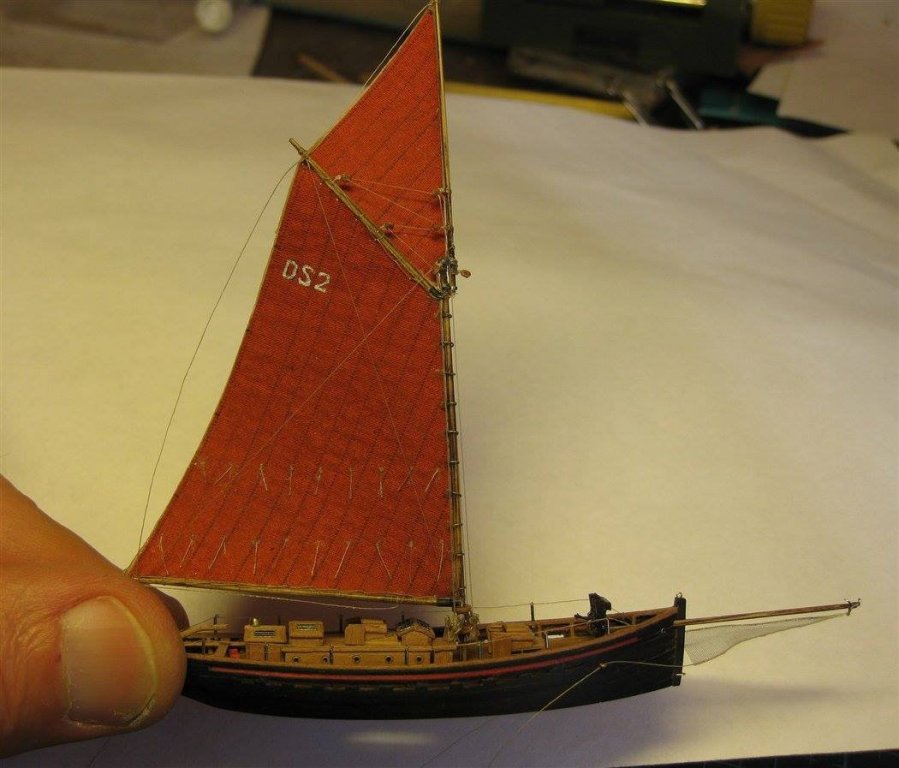
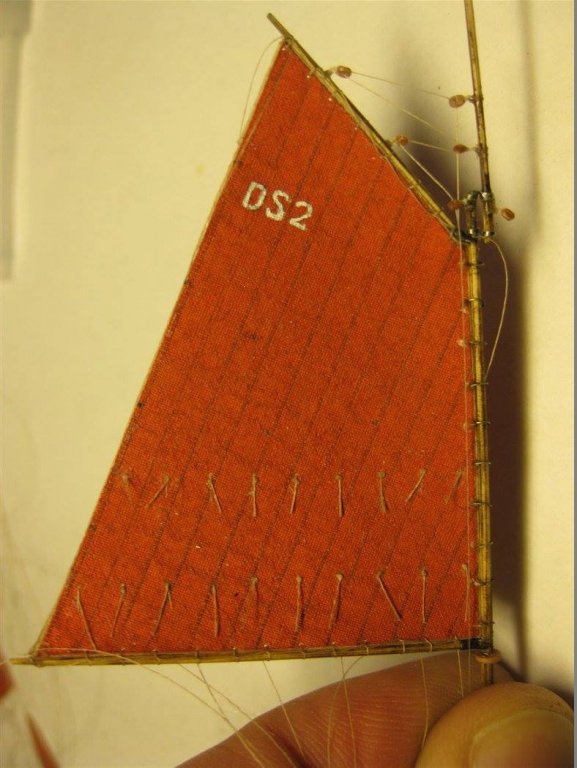
Then I missed the mainstay through the racks of the lower front sail and tested it on.
- 185 replies
-
- 7
-
-
- jolie brise
- pilot cutter
- (and 2 more)
-
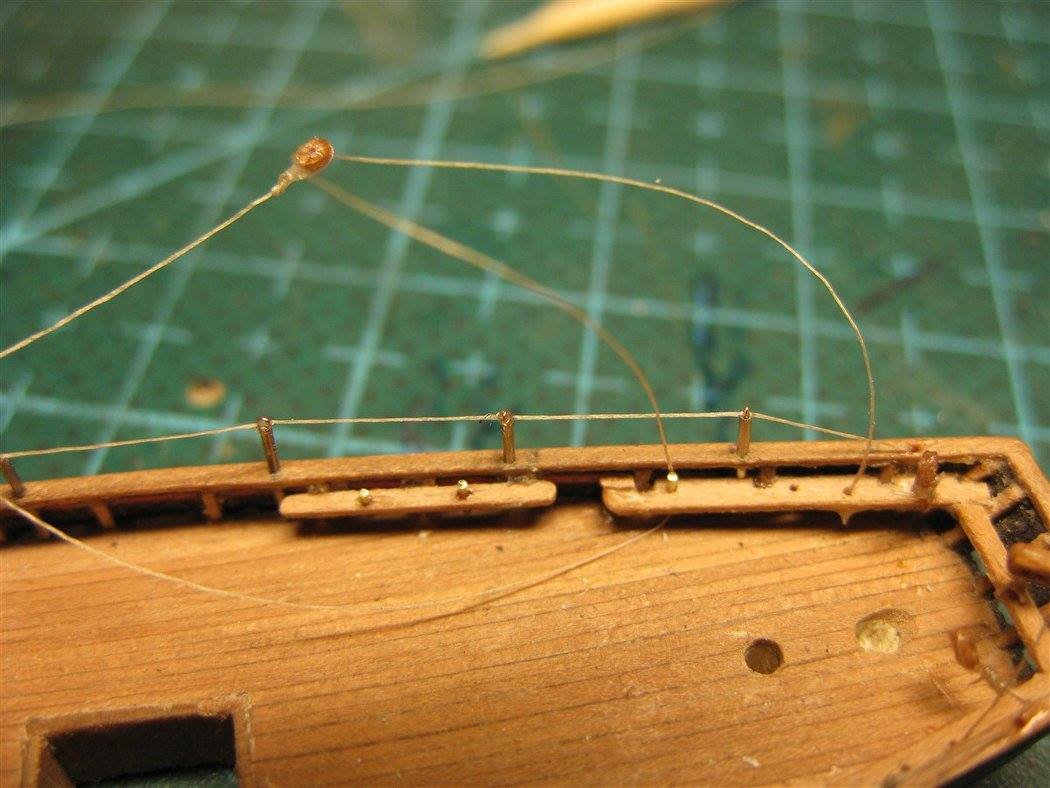
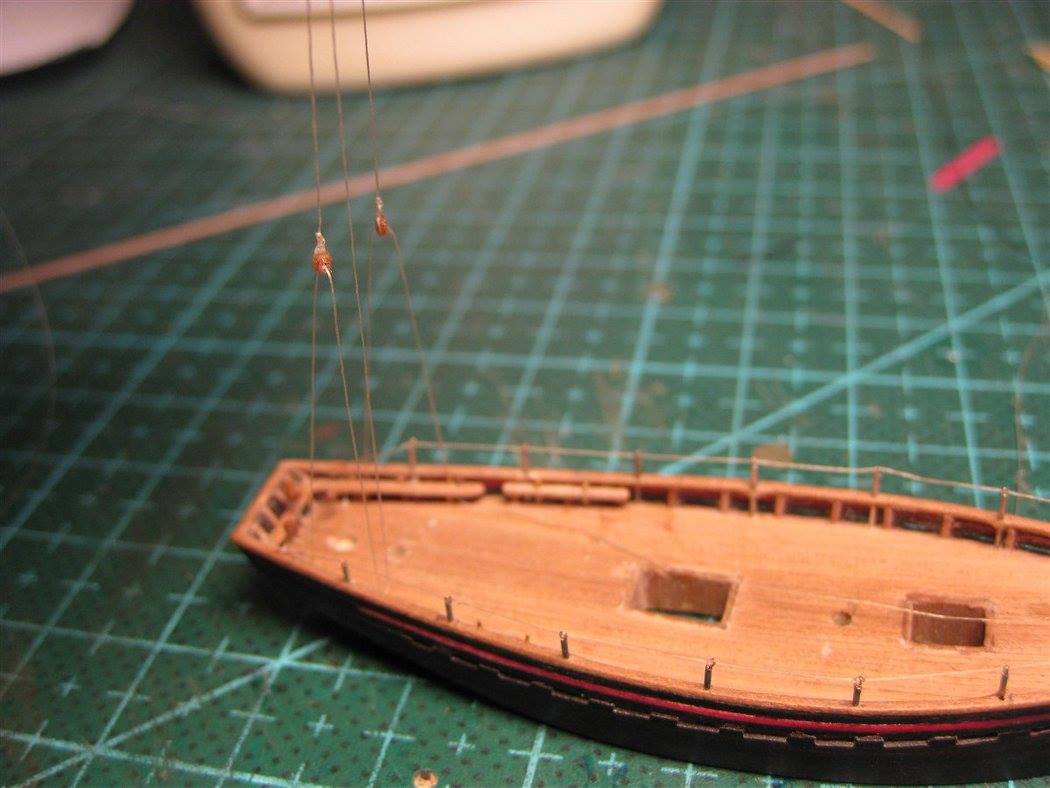
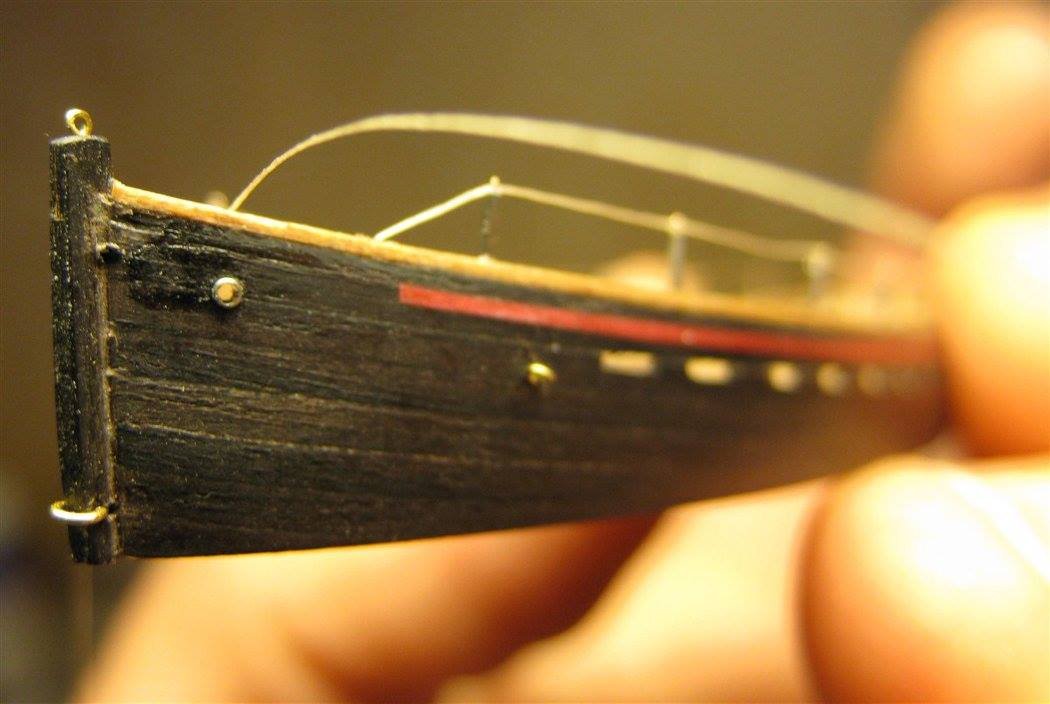
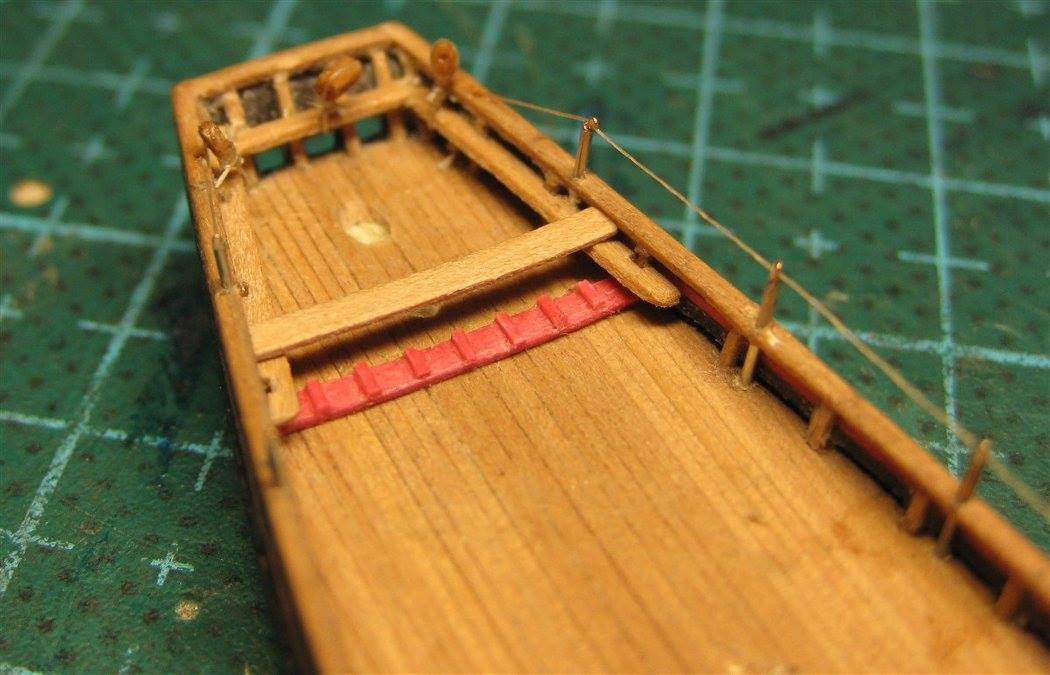
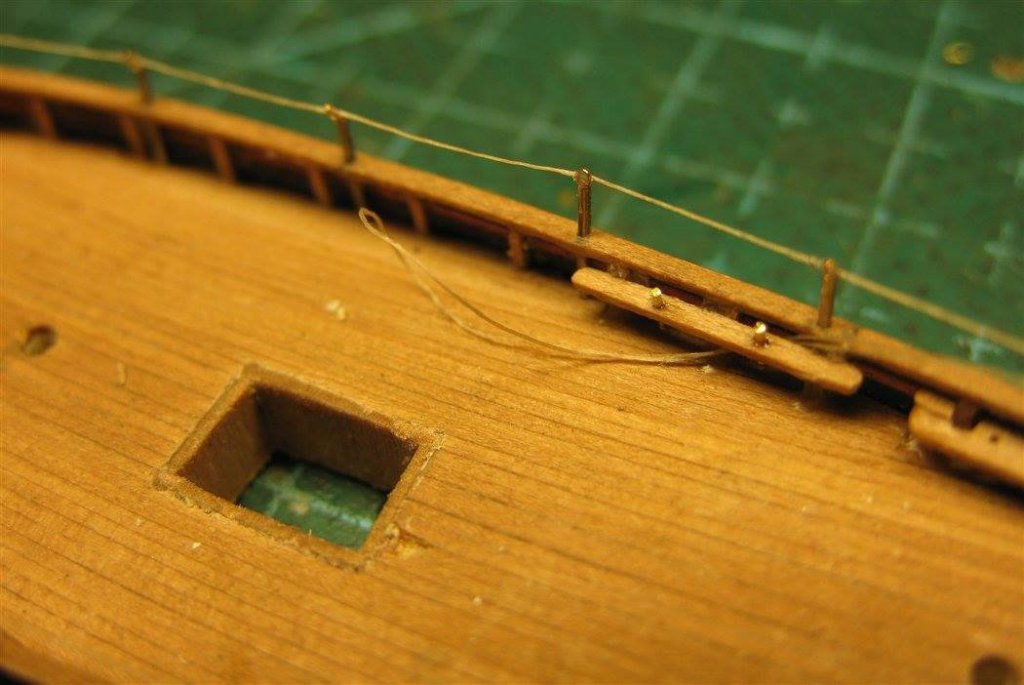
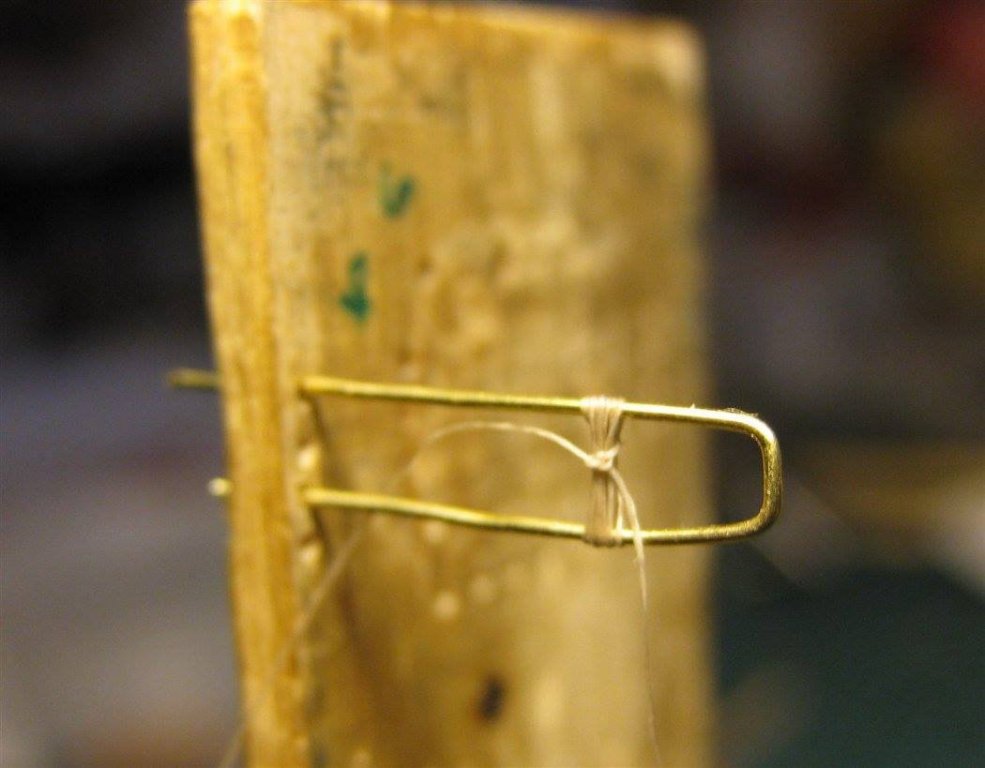
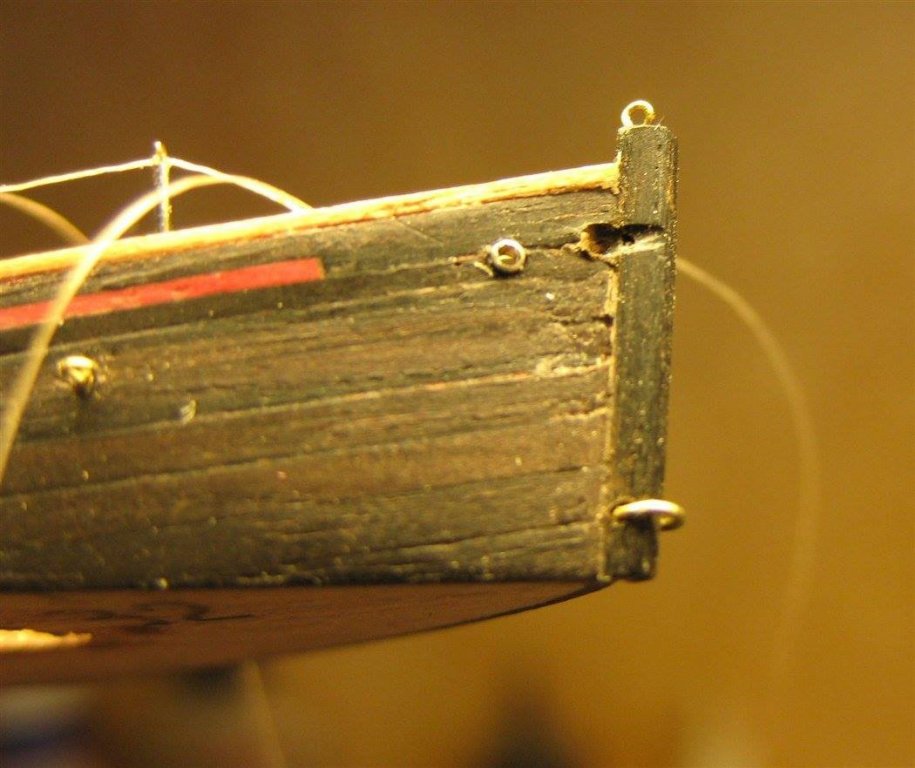
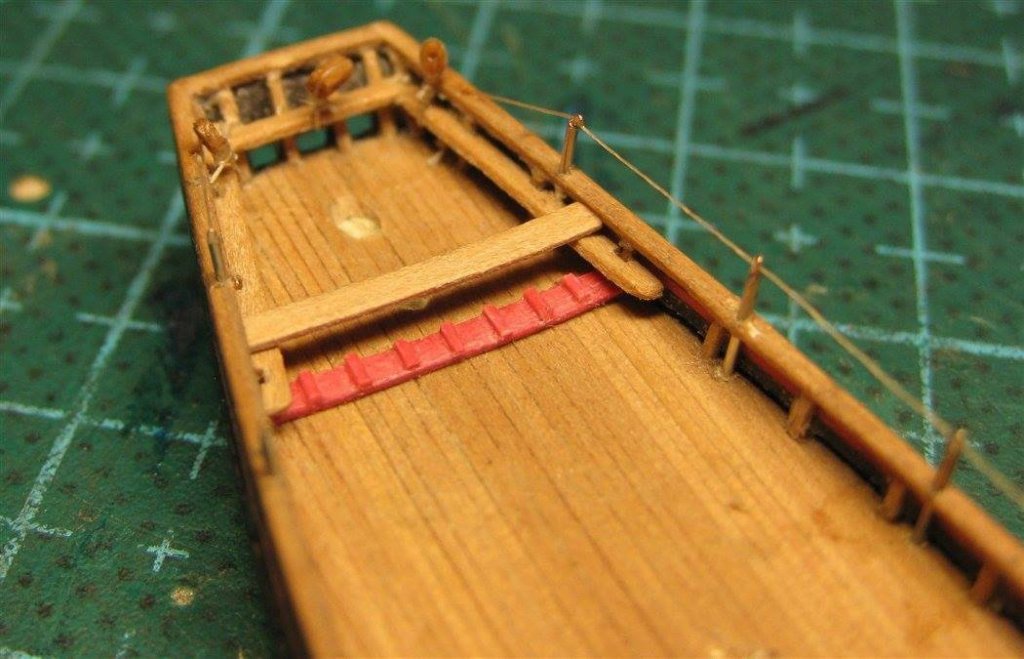
Then I made a couple of belaying pin planks for the stern of the boat and installed them in their places. Then I tried to stretch a loop from the thread between the plank and the board. In the future, I plan to use such loops to guide rigging in hard-to-reach places inside the bottle


- 185 replies
-
- 7
-
-
- jolie brise
- pilot cutter
- (and 2 more)
-
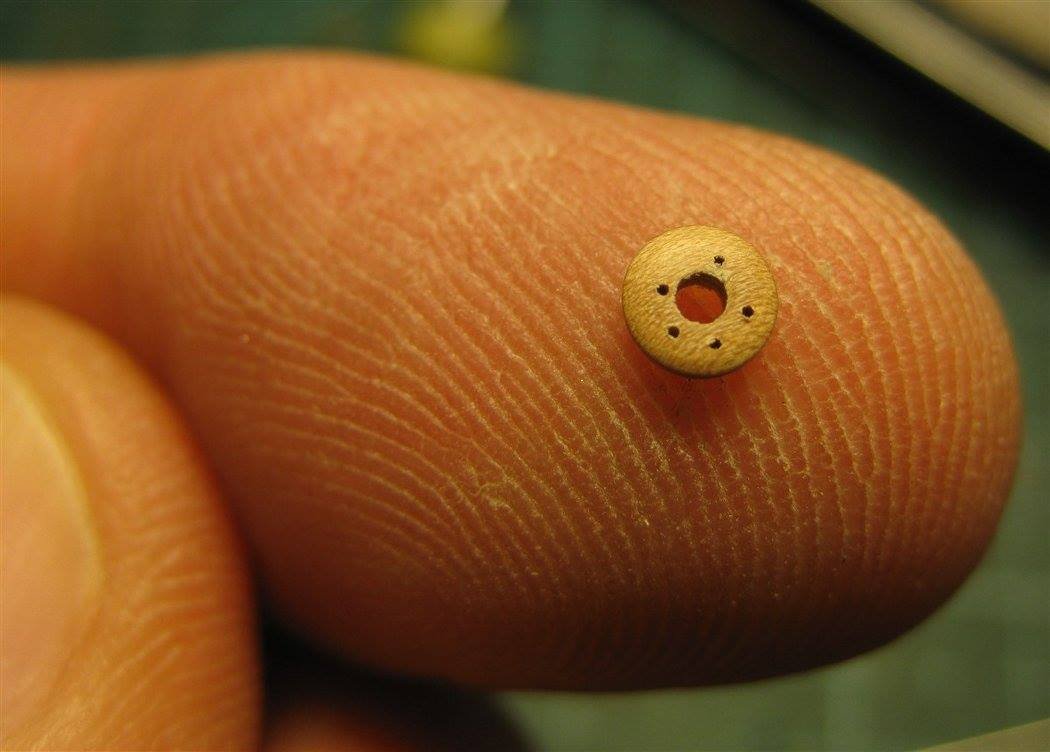
Yes, it is so, Michael! Often it is necessary to seek a compromise between the size of the part, the authentic appearance, strength and the ability to use this part in the design, taking into account the subsequent assembly of the model in the bottle. And sometimes it seems that you have already reached a certain limit .... But then it turns out that a small change in the design or technology of making a part essentially pushes this limit
- 185 replies
-
- 3
-
-
- jolie brise
- pilot cutter
- (and 2 more)
-
Good morning Michael and many thanks for your feedback! Every time I come up with a way to do something new, I'm also not quite sure about the result. So I'm just trying to do it. Sometimes the result justifies expectations, but sometimes I have to look for another solution. But this, of course, is an interesting and fascinating process
- 185 replies
-
- 3
-
-
- jolie brise
- pilot cutter
- (and 2 more)
-
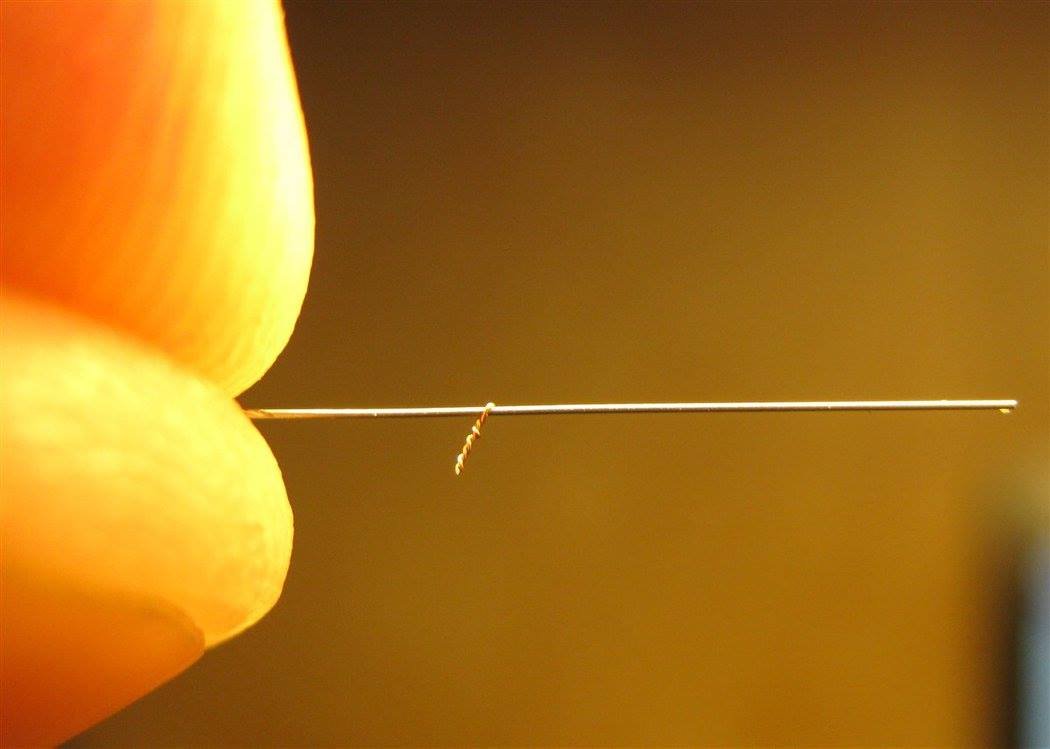
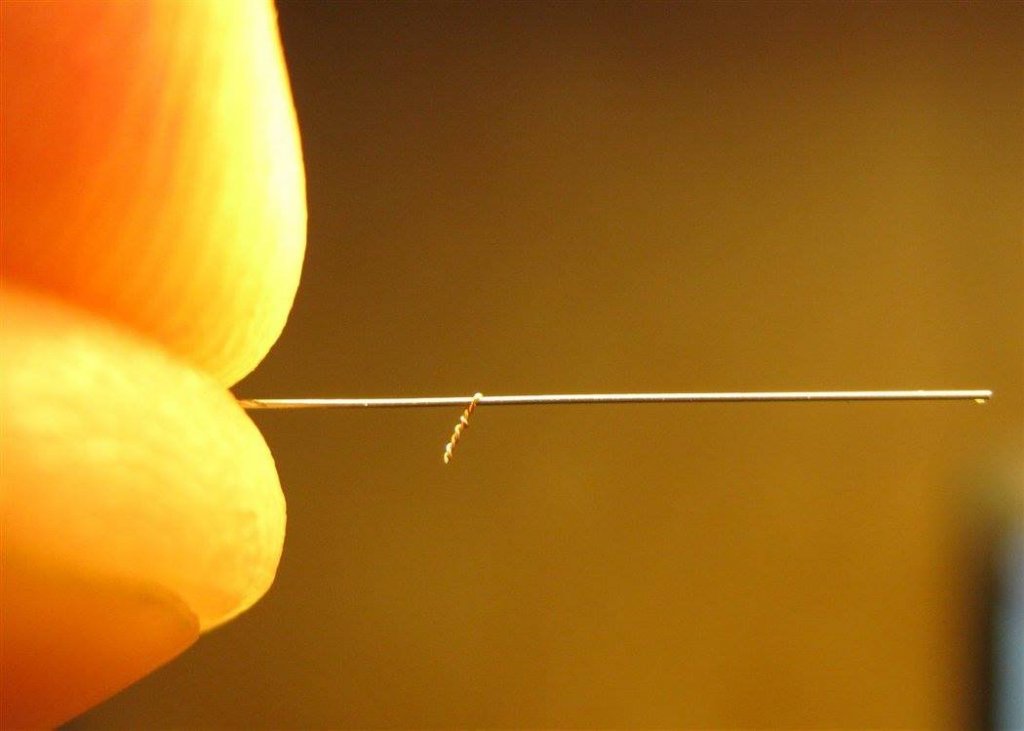
Carl, I buy the needles of different diameters in a medical goods store.
- 185 replies
-
- 2
-
-
- jolie brise
- pilot cutter
- (and 2 more)
-
Then I wound a few skeins of rope with a simple device and hung them around the nagels


- 185 replies
-
- 6
-
-
- jolie brise
- pilot cutter
- (and 2 more)
-
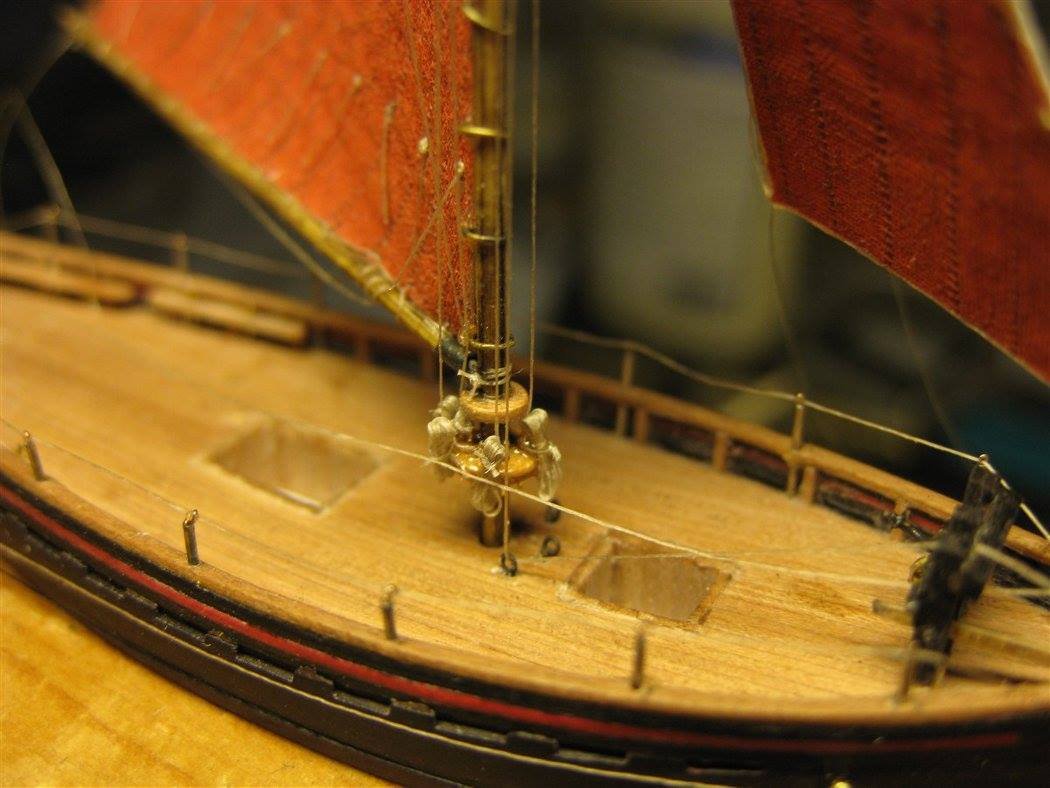
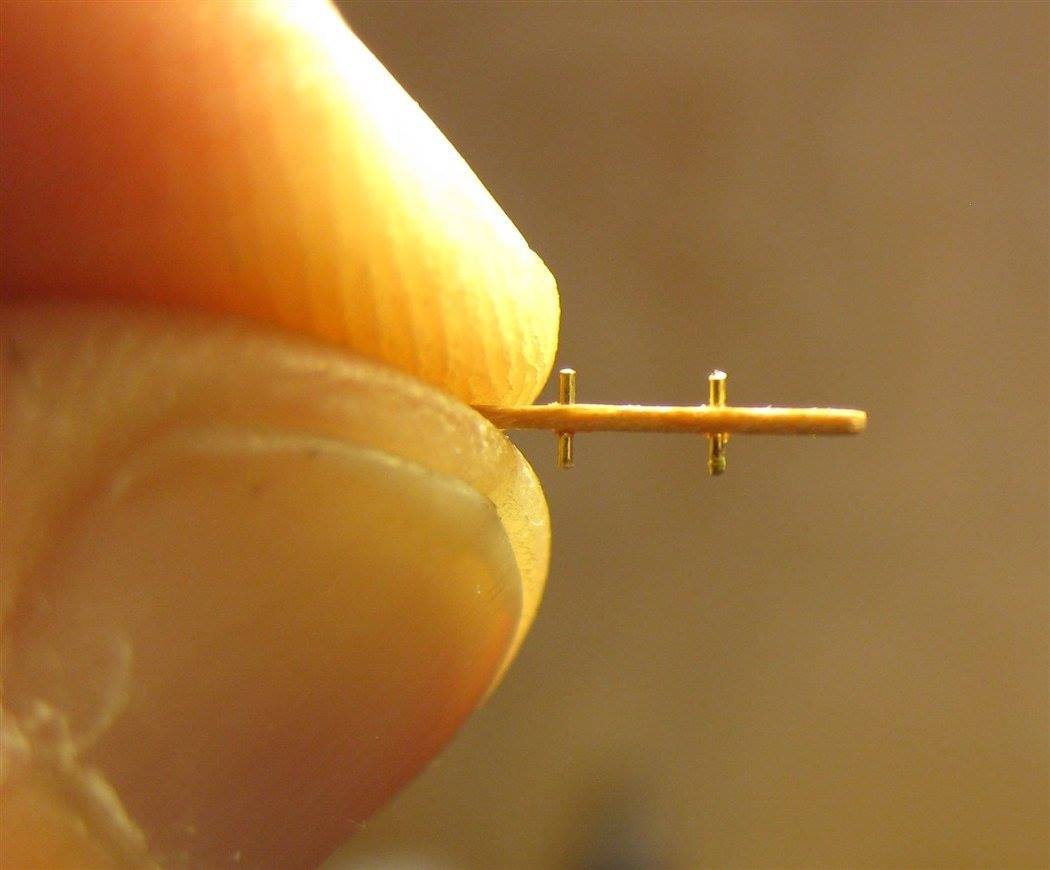
Then I decided to make the fife rail), on which the running ends of the gaff will be fixed. In the original, this is a kind of metal band with nests for nagels, but I decided to make this part easier, because All the same it will not be visible under to the skeins of the ropes.


- 185 replies
-
- 7
-
-
- jolie brise
- pilot cutter
- (and 2 more)
-
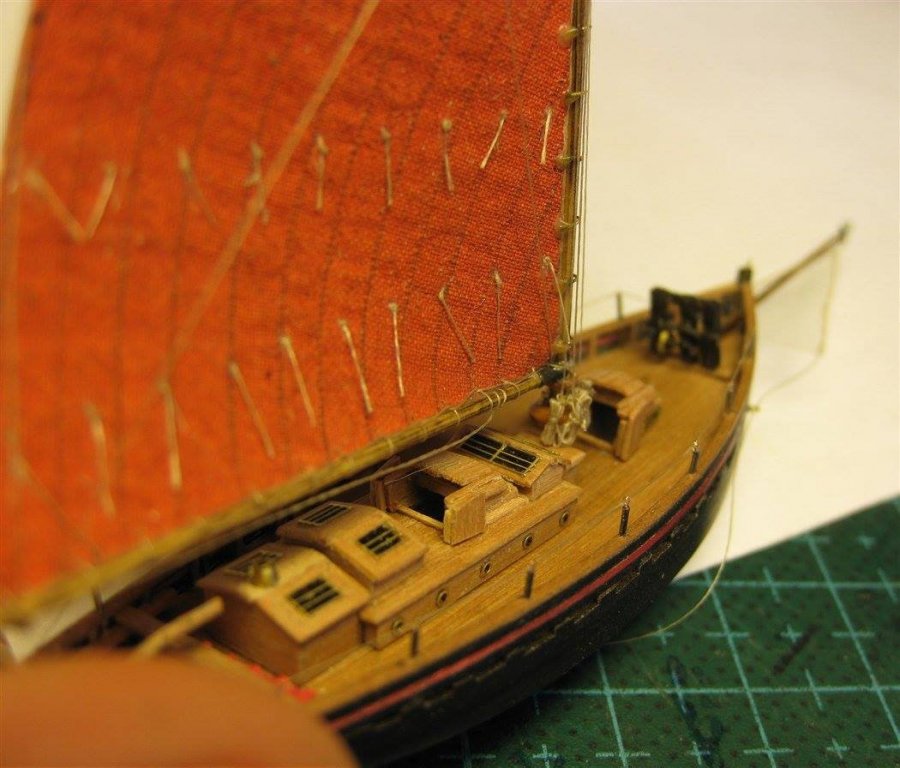
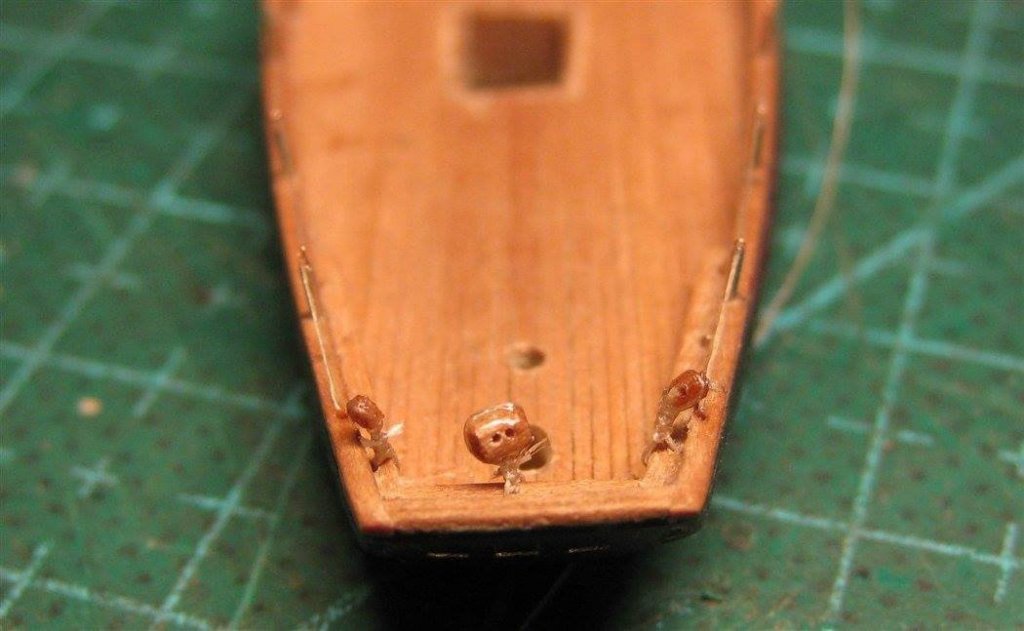
Next, I made the hawse-holes for the anchor rope from the pieces of the medical needle and fixed them in place.


- 185 replies
-
- 5
-
-
- jolie brise
- pilot cutter
- (and 2 more)
-
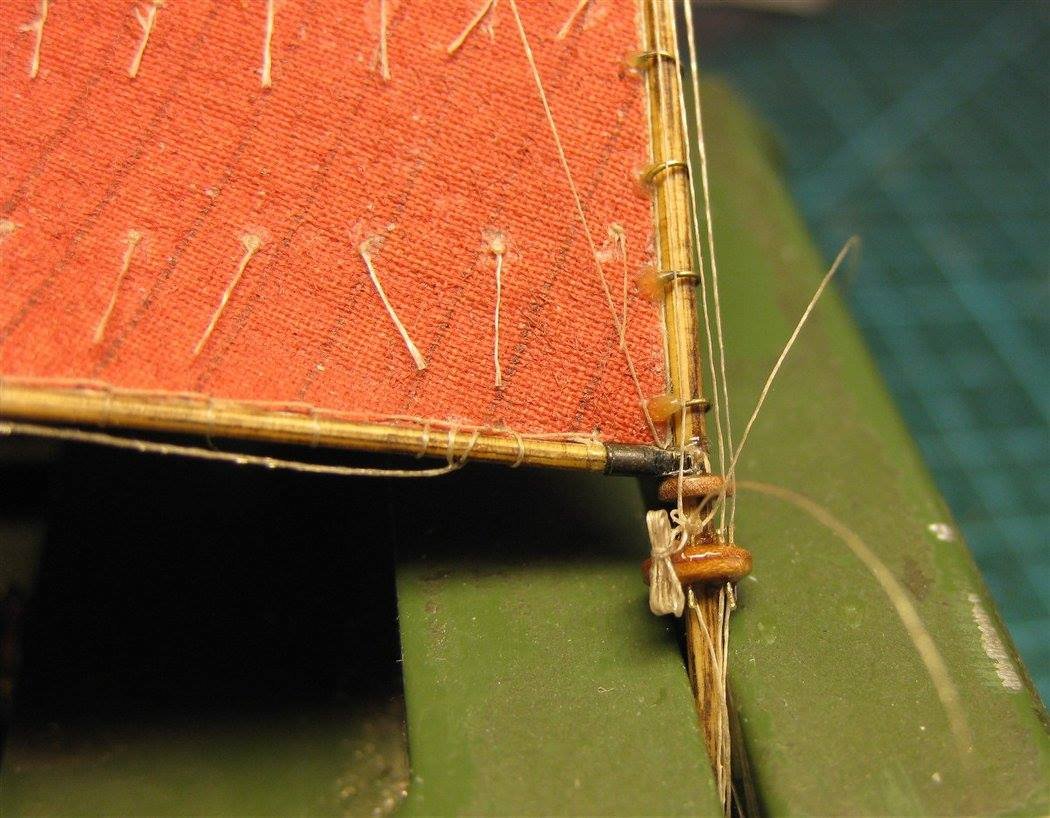
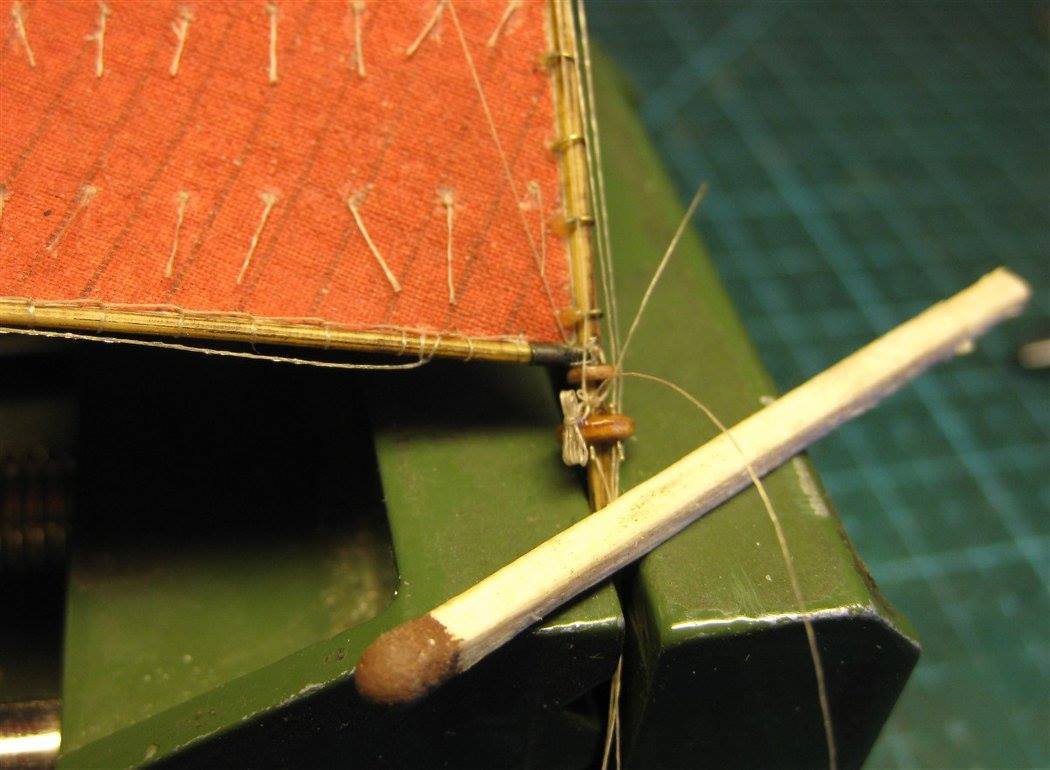
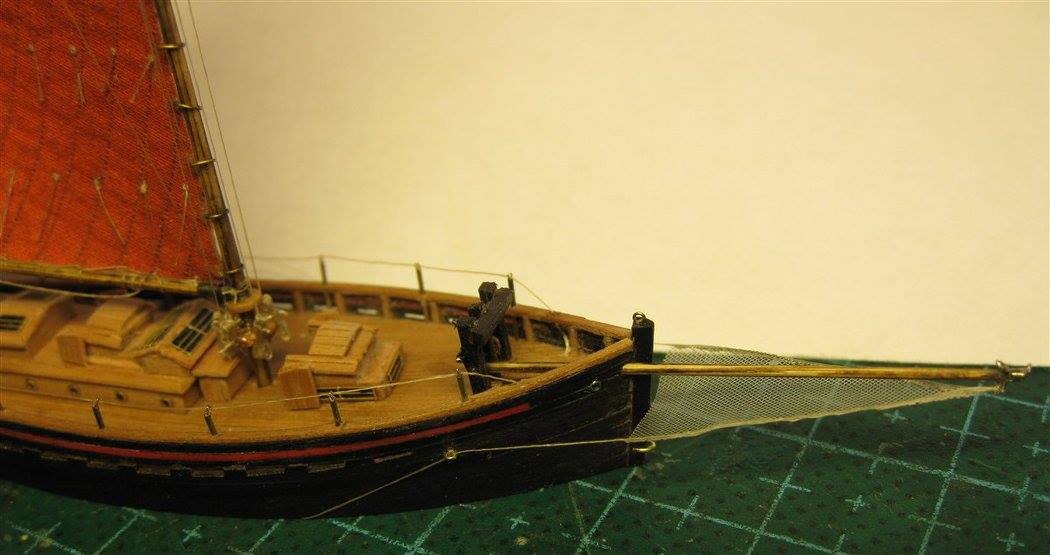
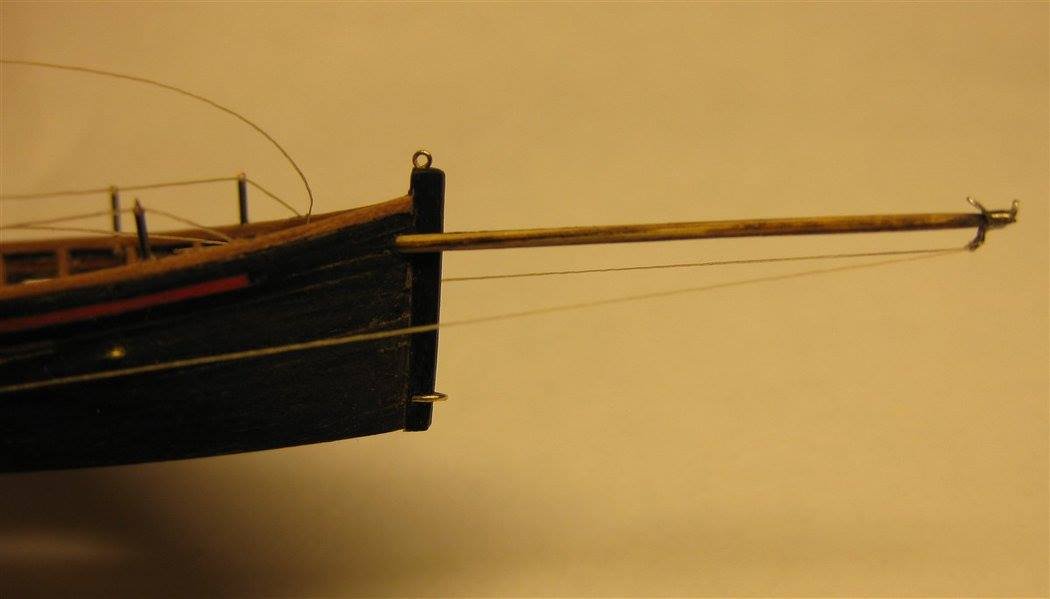
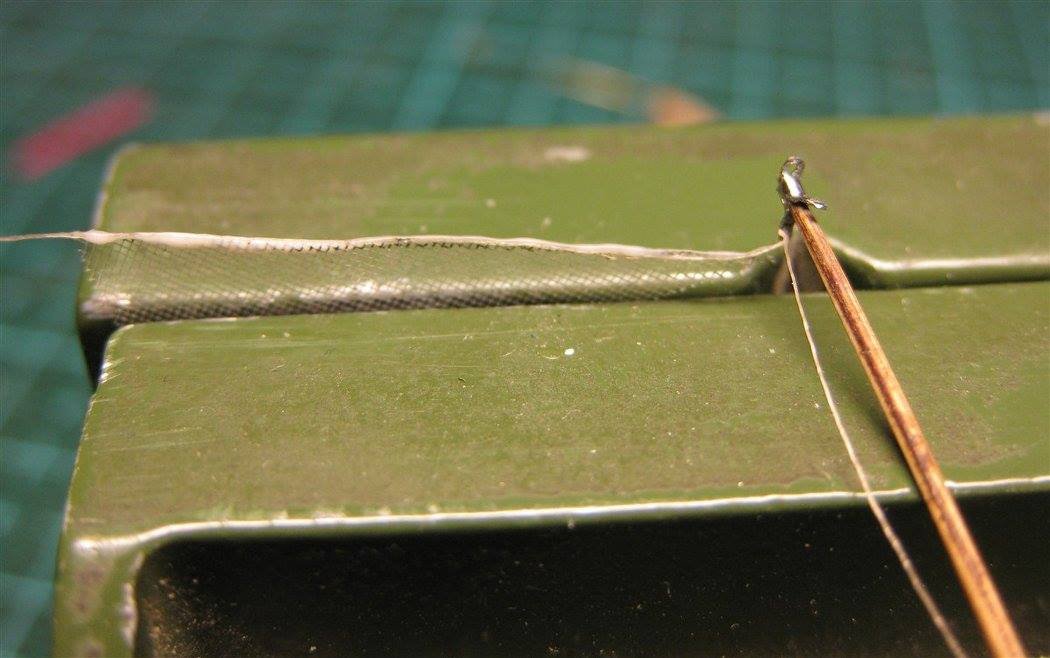
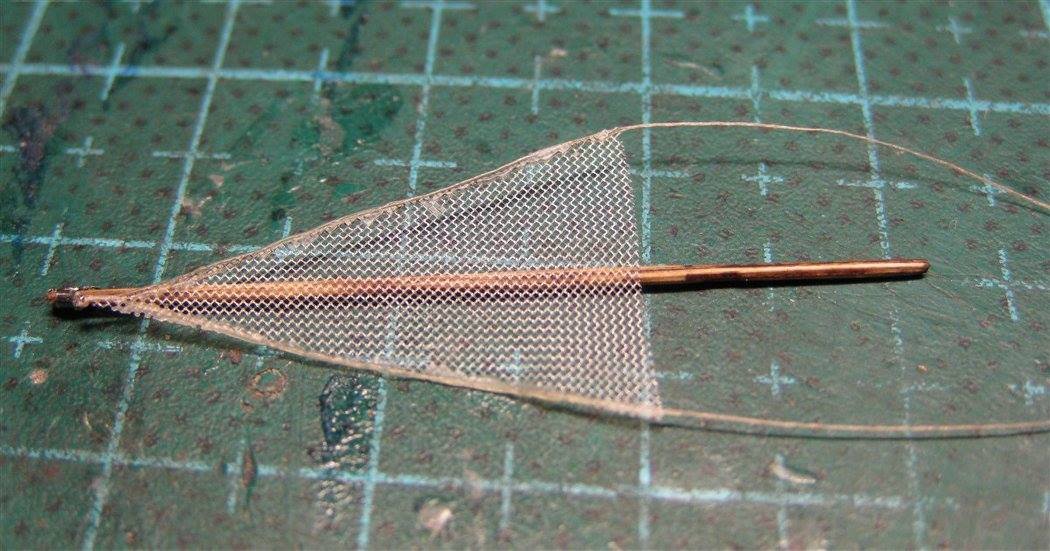
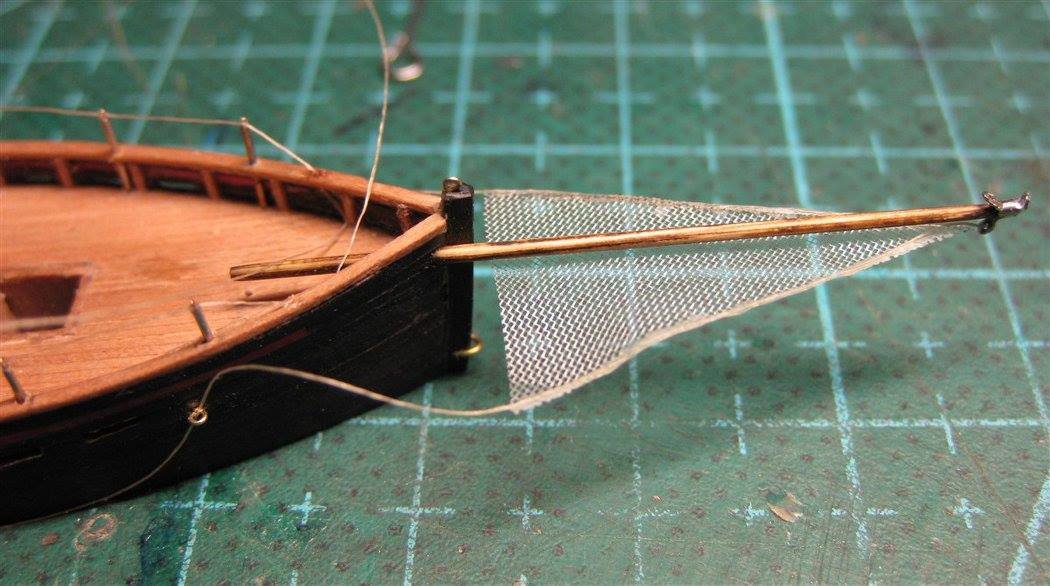
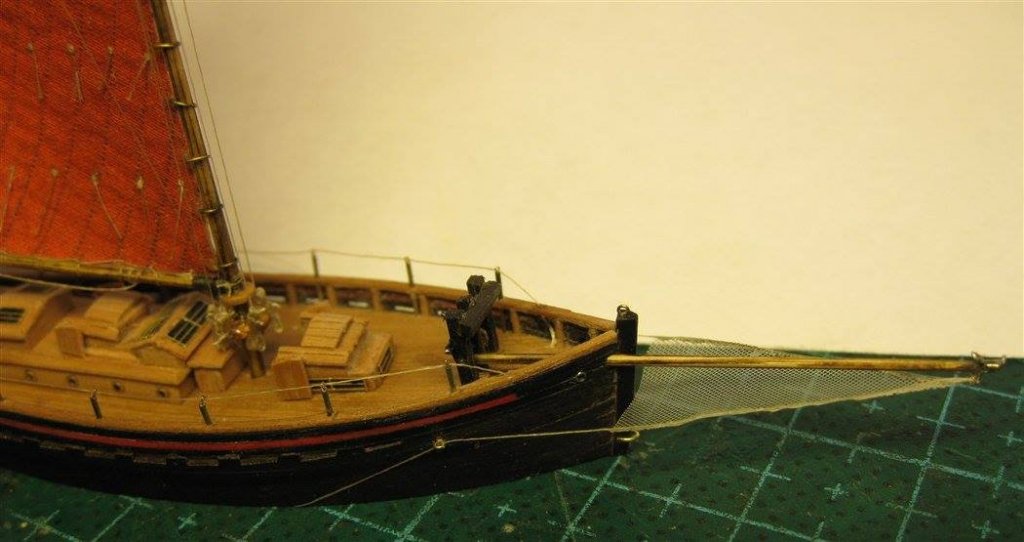
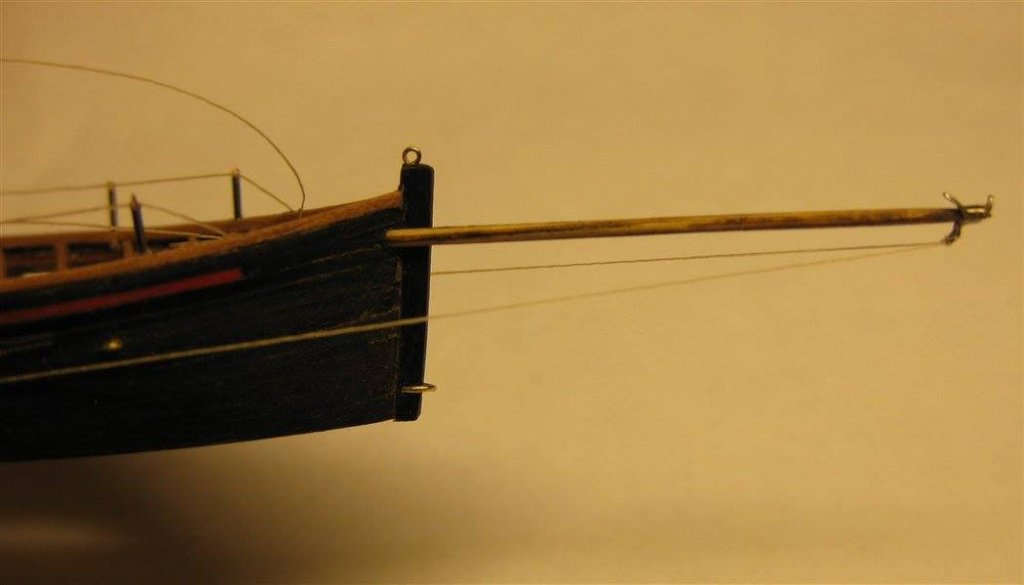
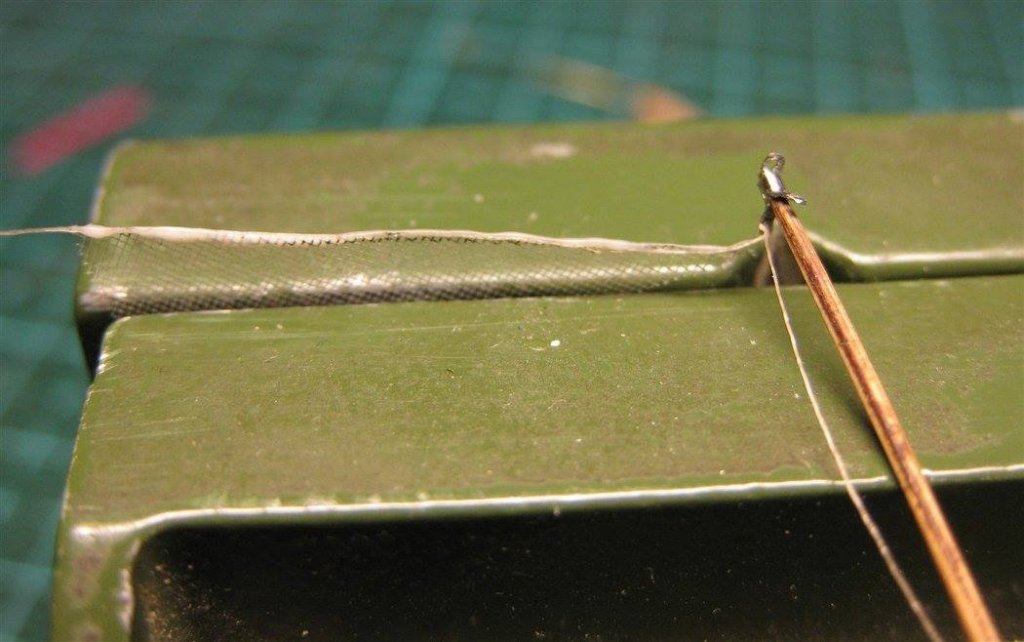
Then I cut out of from the tea bag a grid for the bowsprit and fixed it in place (without final fixation for now)


- 185 replies
-
- 6
-
-
- jolie brise
- pilot cutter
- (and 2 more)
-
Many thanks, Carl! It was very laborious work, but it seems that these efforts were worth it.
- 185 replies
-
- 3
-
-
- jolie brise
- pilot cutter
- (and 2 more)
-
Then I made the strip with stops and installed a couple more blocks at the stern.


- 185 replies
-
- 7
-
-
- jolie brise
- pilot cutter
- (and 2 more)
-
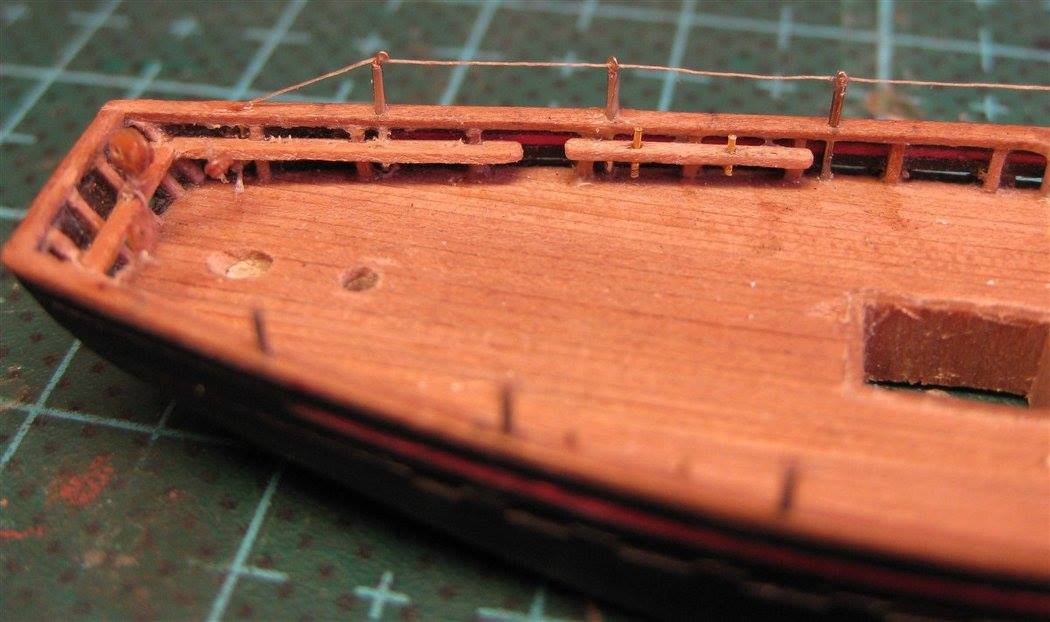
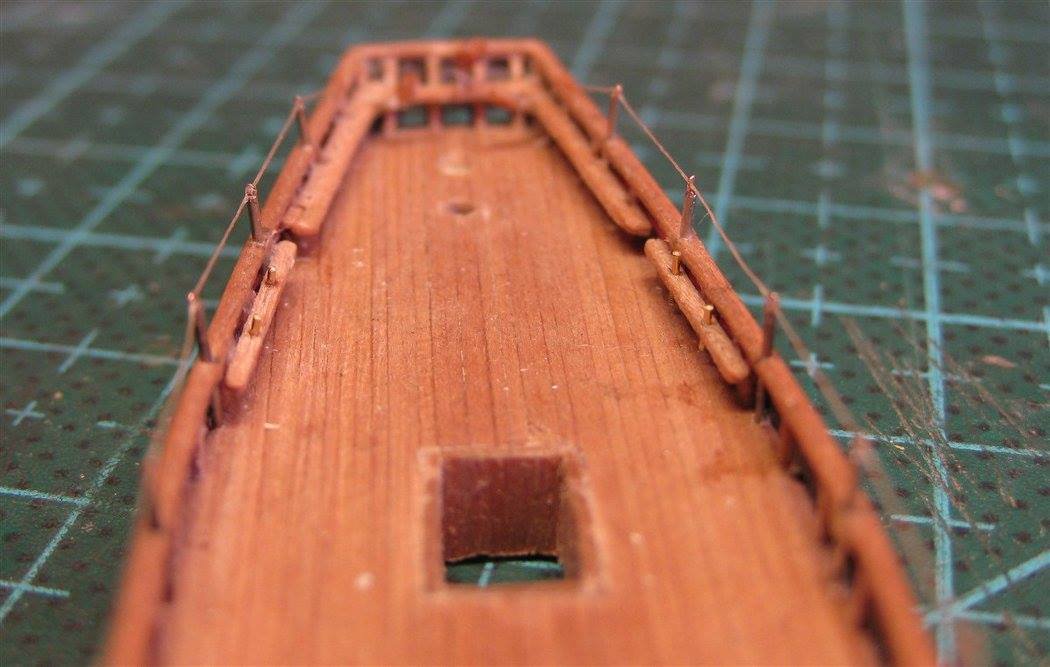
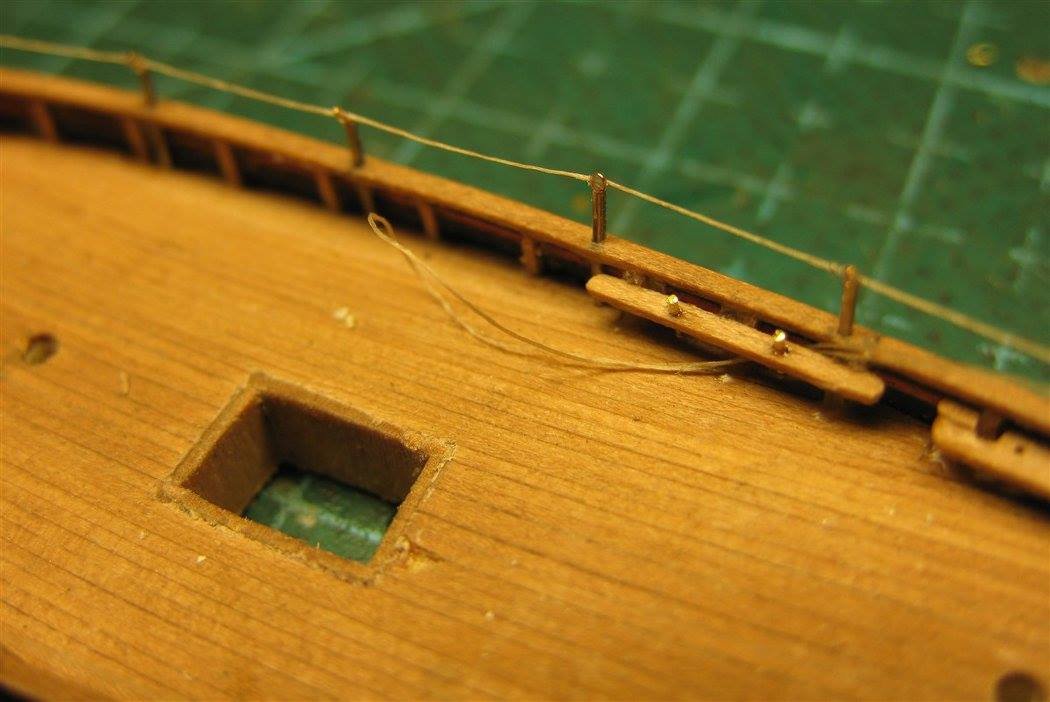
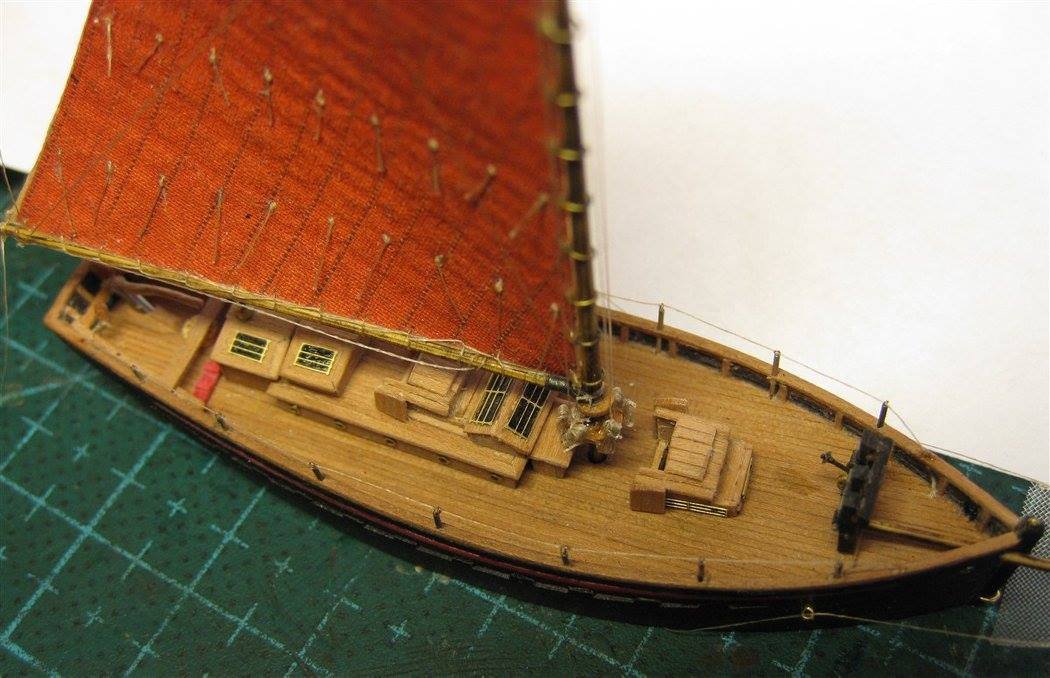
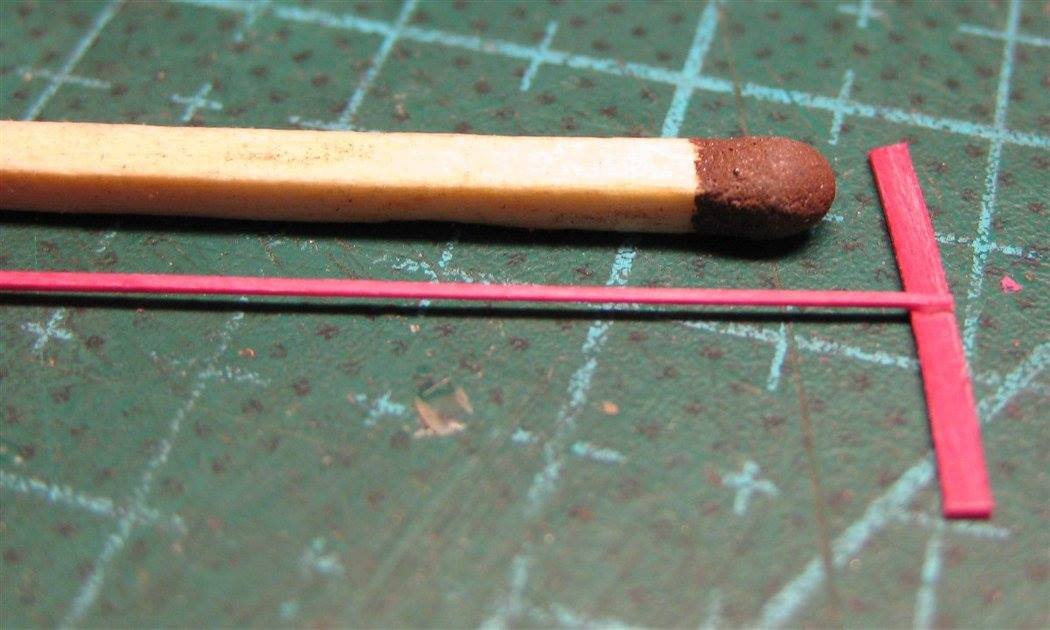
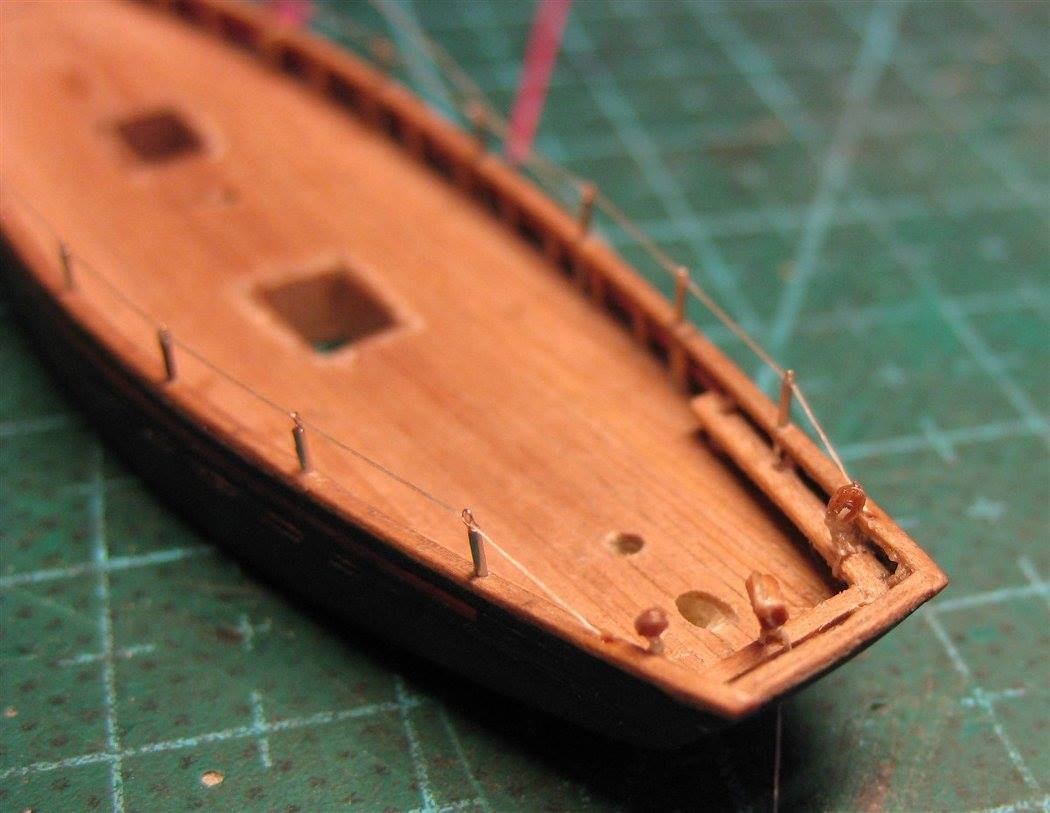
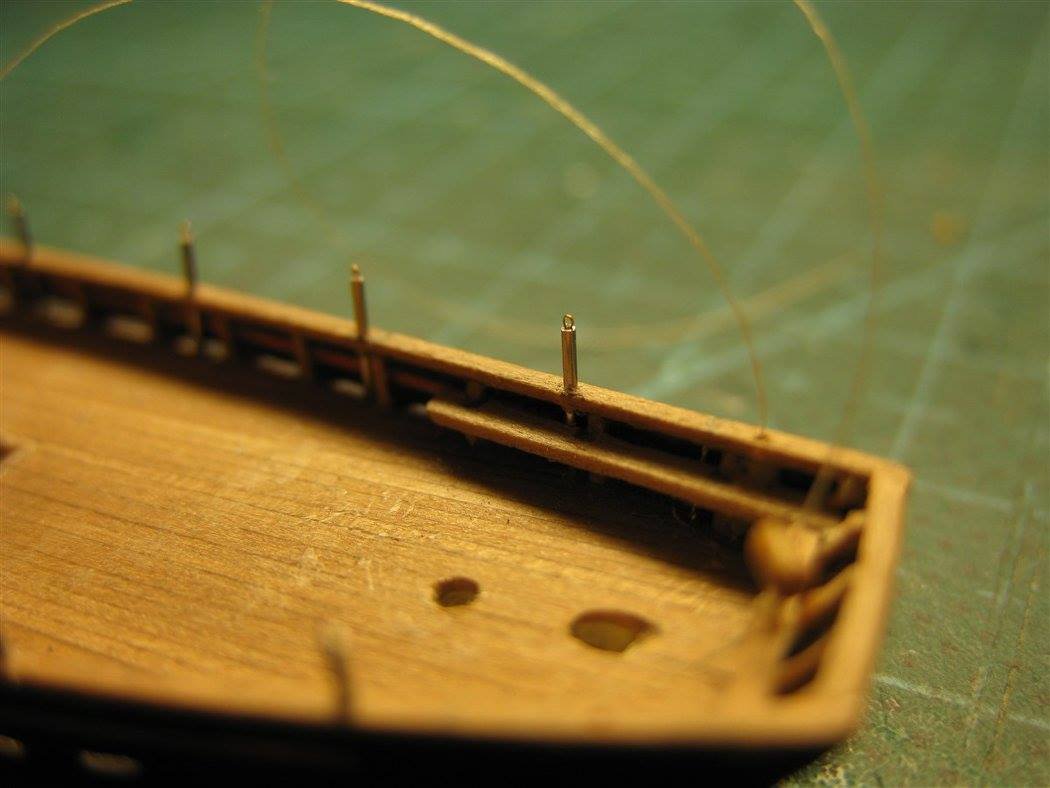
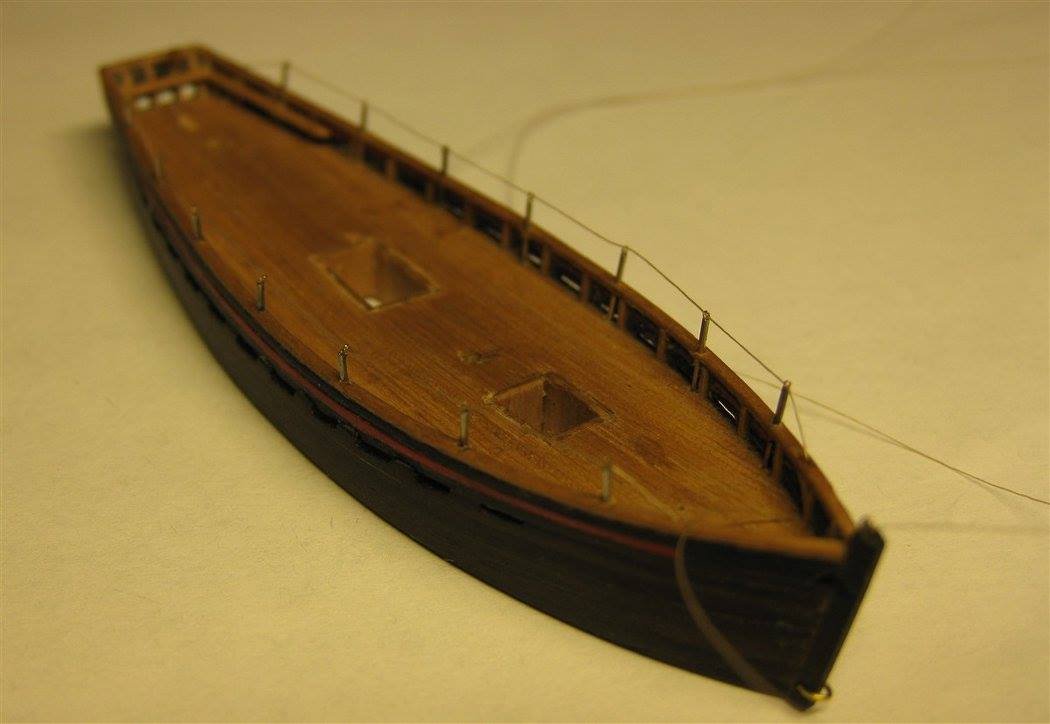
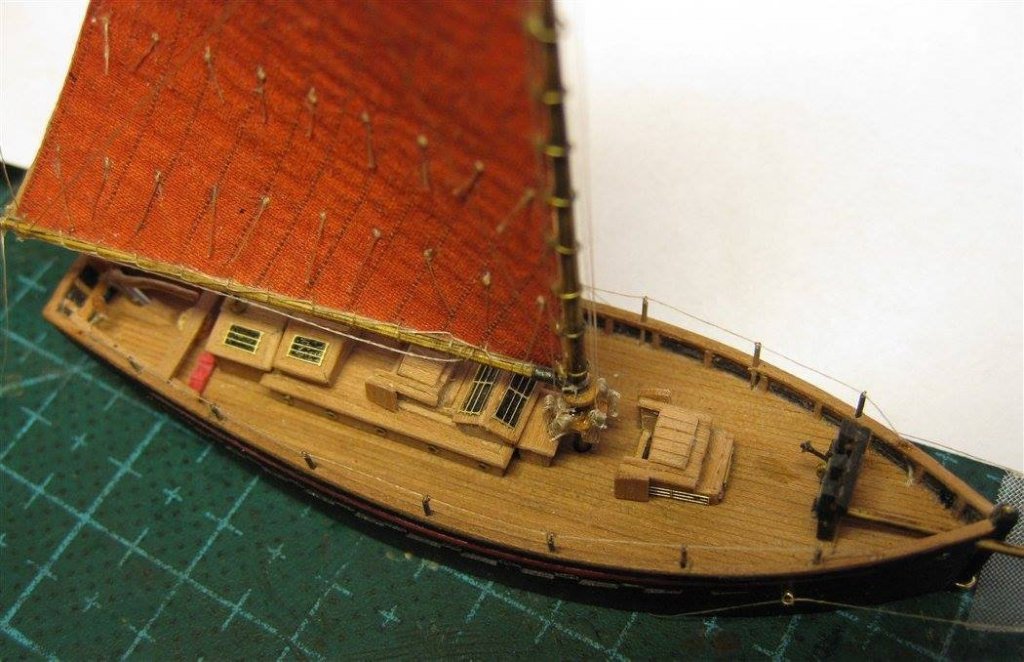
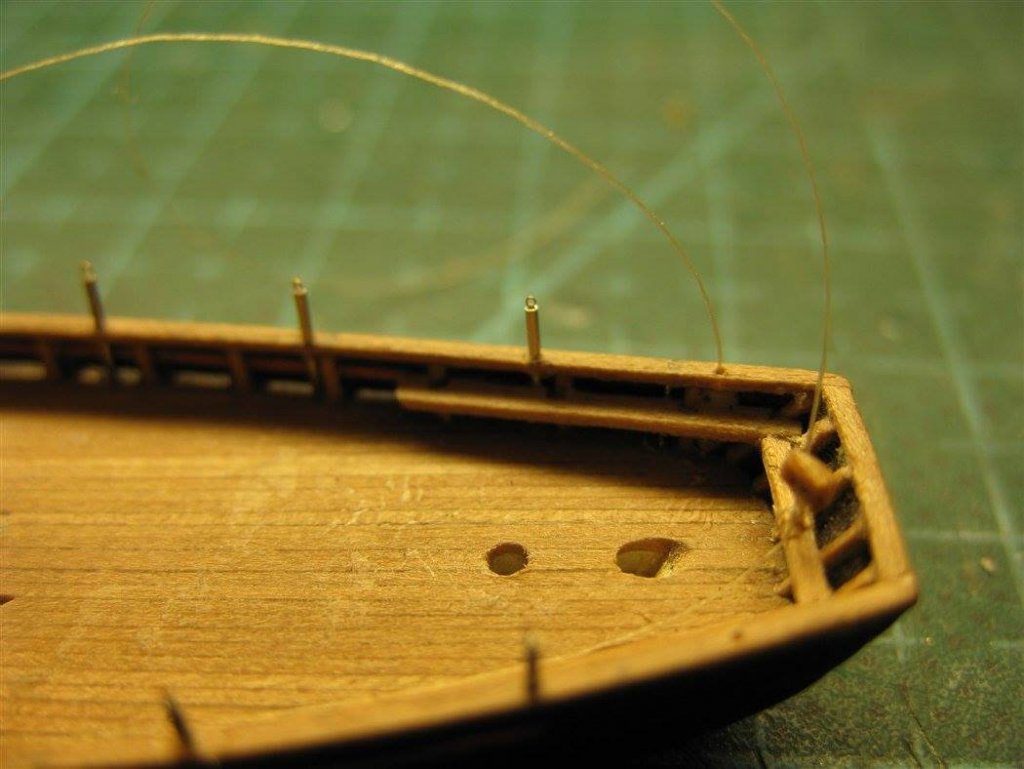
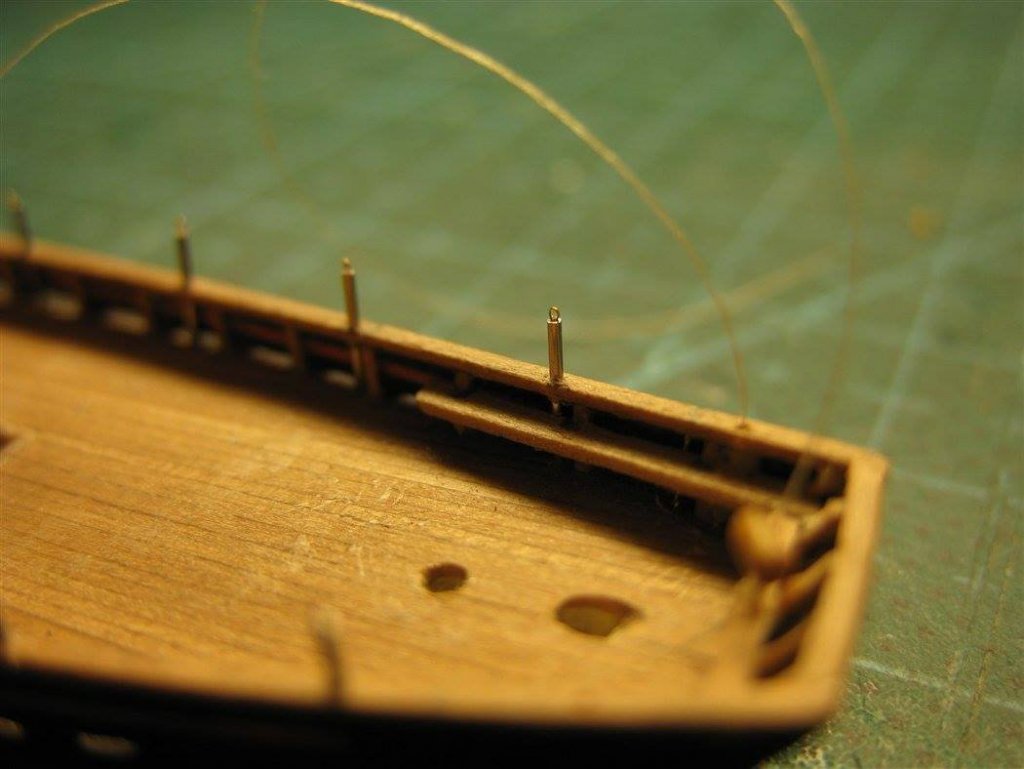
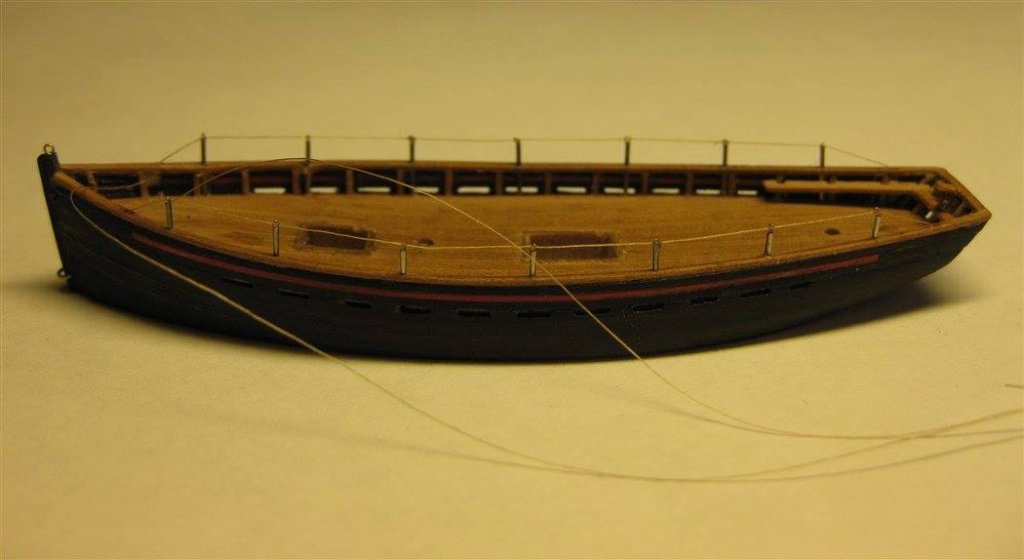
Hello to all! For almost a month I did not post updates, though, the work was quietly conducted. Now I will make up for lost time So, the next stage of the construction was the making the railings. I have, if possible, delayed this stage, because I prefer to install them whenever possible, so as not to interfere with the work. Racks of railings I cut from medical needles. In the gunwale I drilled holes for them. I screwed a very thin wire rings with legs to paste them into the upper ends of the posts and then stretch the railings through the rings.


- 185 replies
-
- 6
-
-
- jolie brise
- pilot cutter
- (and 2 more)
-
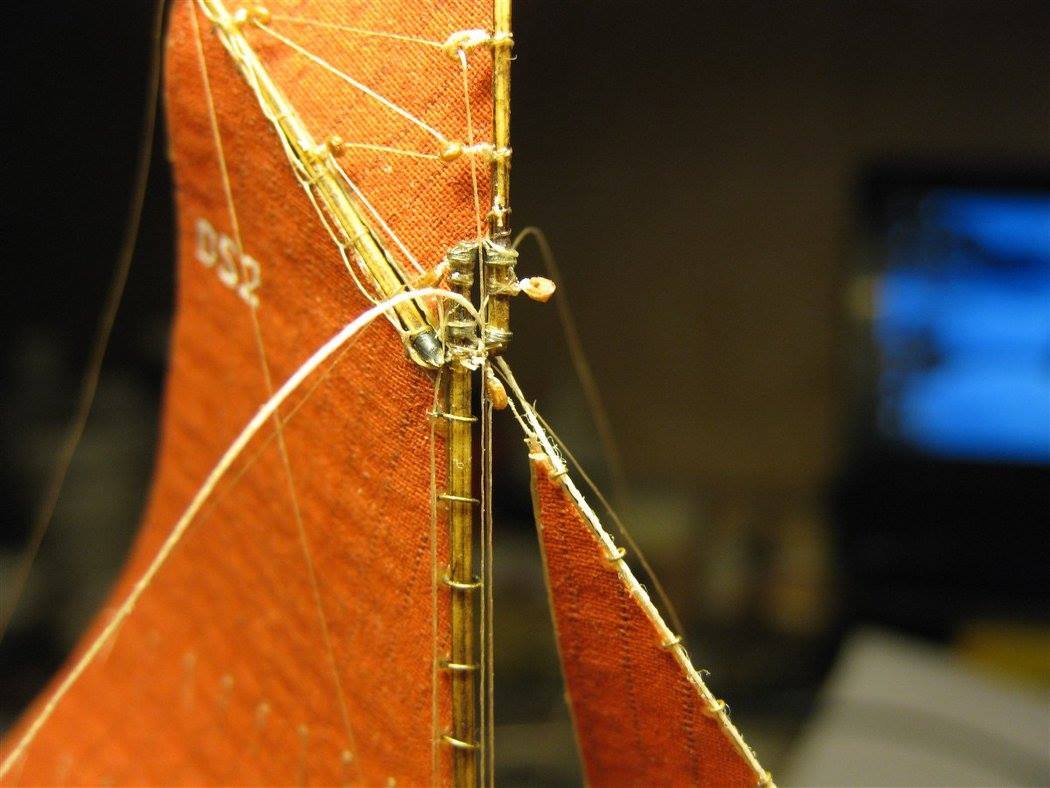
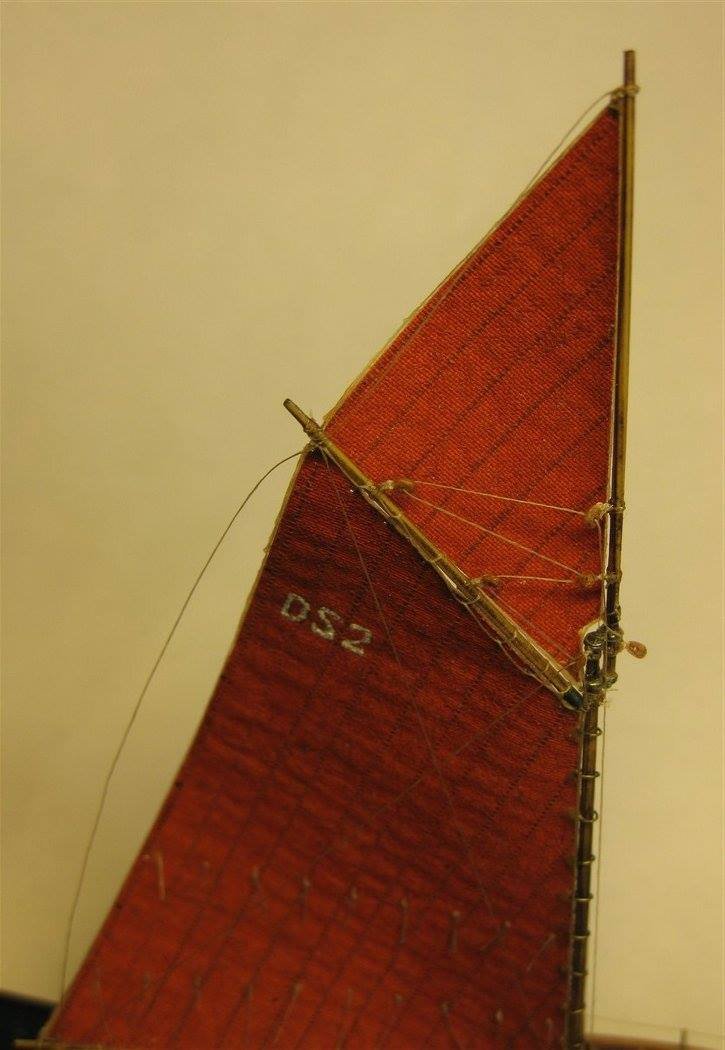
Then I installed the blocks for the rigging of the gaffel. The scheme is, of course, simplified in comparison with the original

- 185 replies
-
- 5
-
-
- jolie brise
- pilot cutter
- (and 2 more)