G.L.
-
Posts
1,553 -
Joined
-
Last visited
Content Type
Profiles
Forums
Gallery
Events
Everything posted by G.L.
-
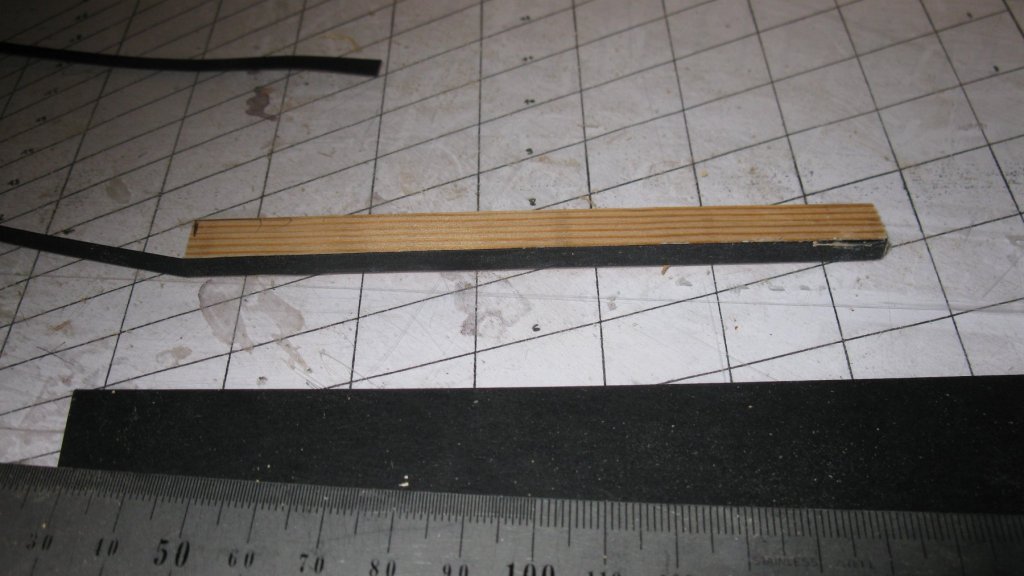
 12.40 All the parts of the cooking furnace from left to right: the furnace; the removable stove pipe. The holder for the stove pipe when it is stored on the deck in case the store hatch is closed.
-
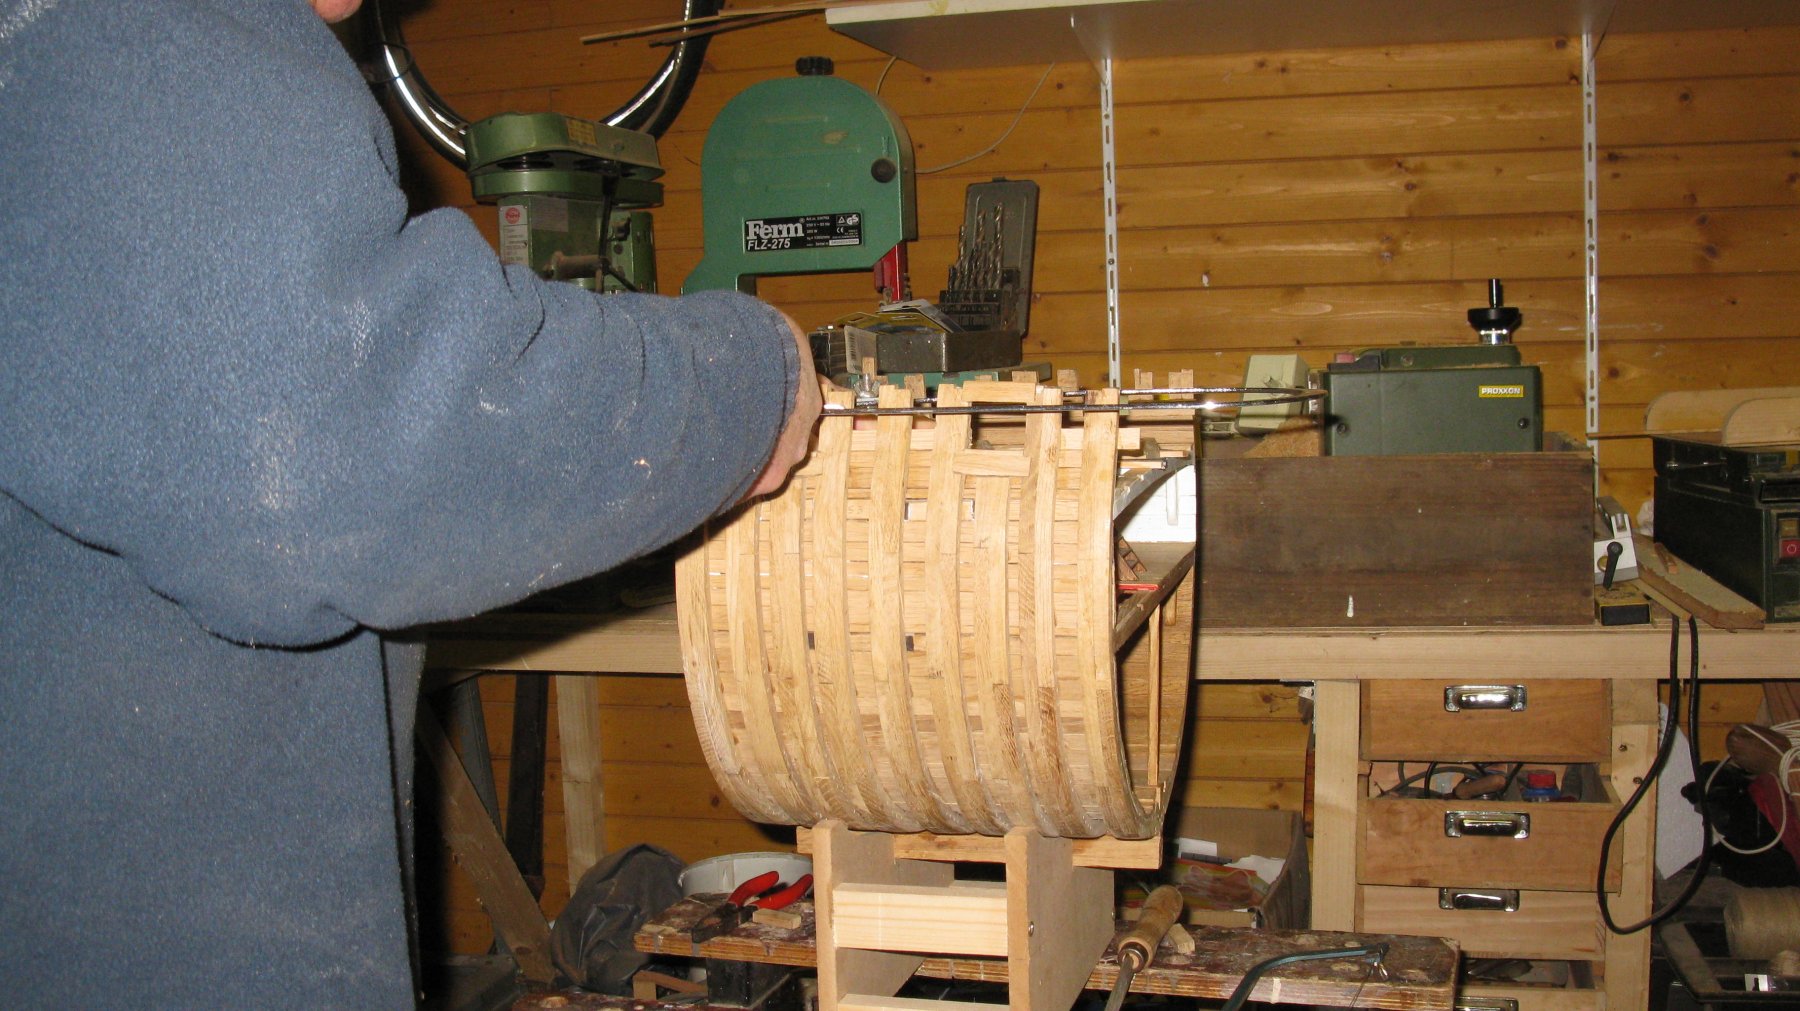
12.39 In the shrimp cooking store stands the shrimp cooking-furnace. The furnace is made in a similar manner as the stove of the crew shelter (post 9.8 -9.11), using a wooden cylinder and cardboard.

-
Thanks for your input, Marc. Where do you buy it?
-
Thanks Jan, I think that I am only an 'amateur' in metalwork. I have seen craftsmanship af a much higher standard on this forum. G.L.
-
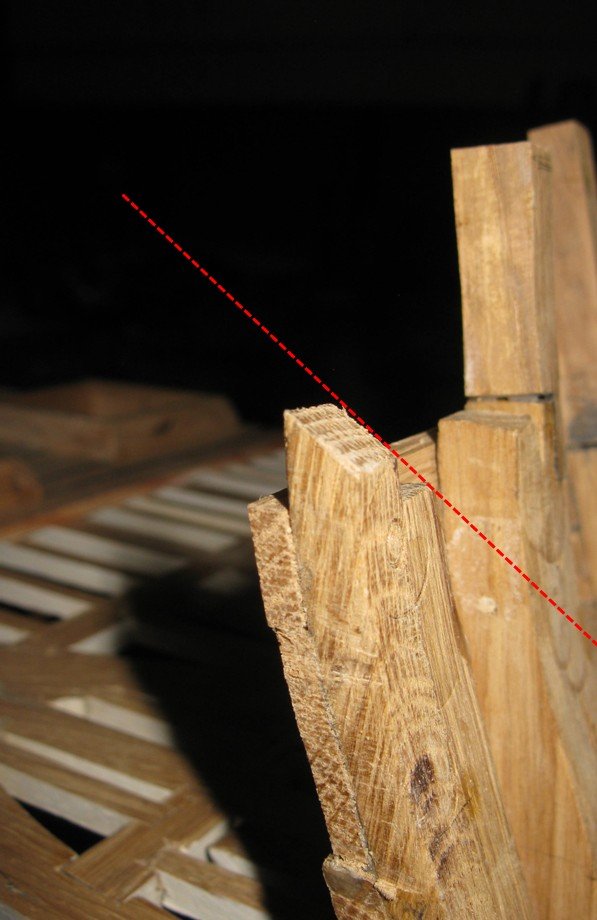
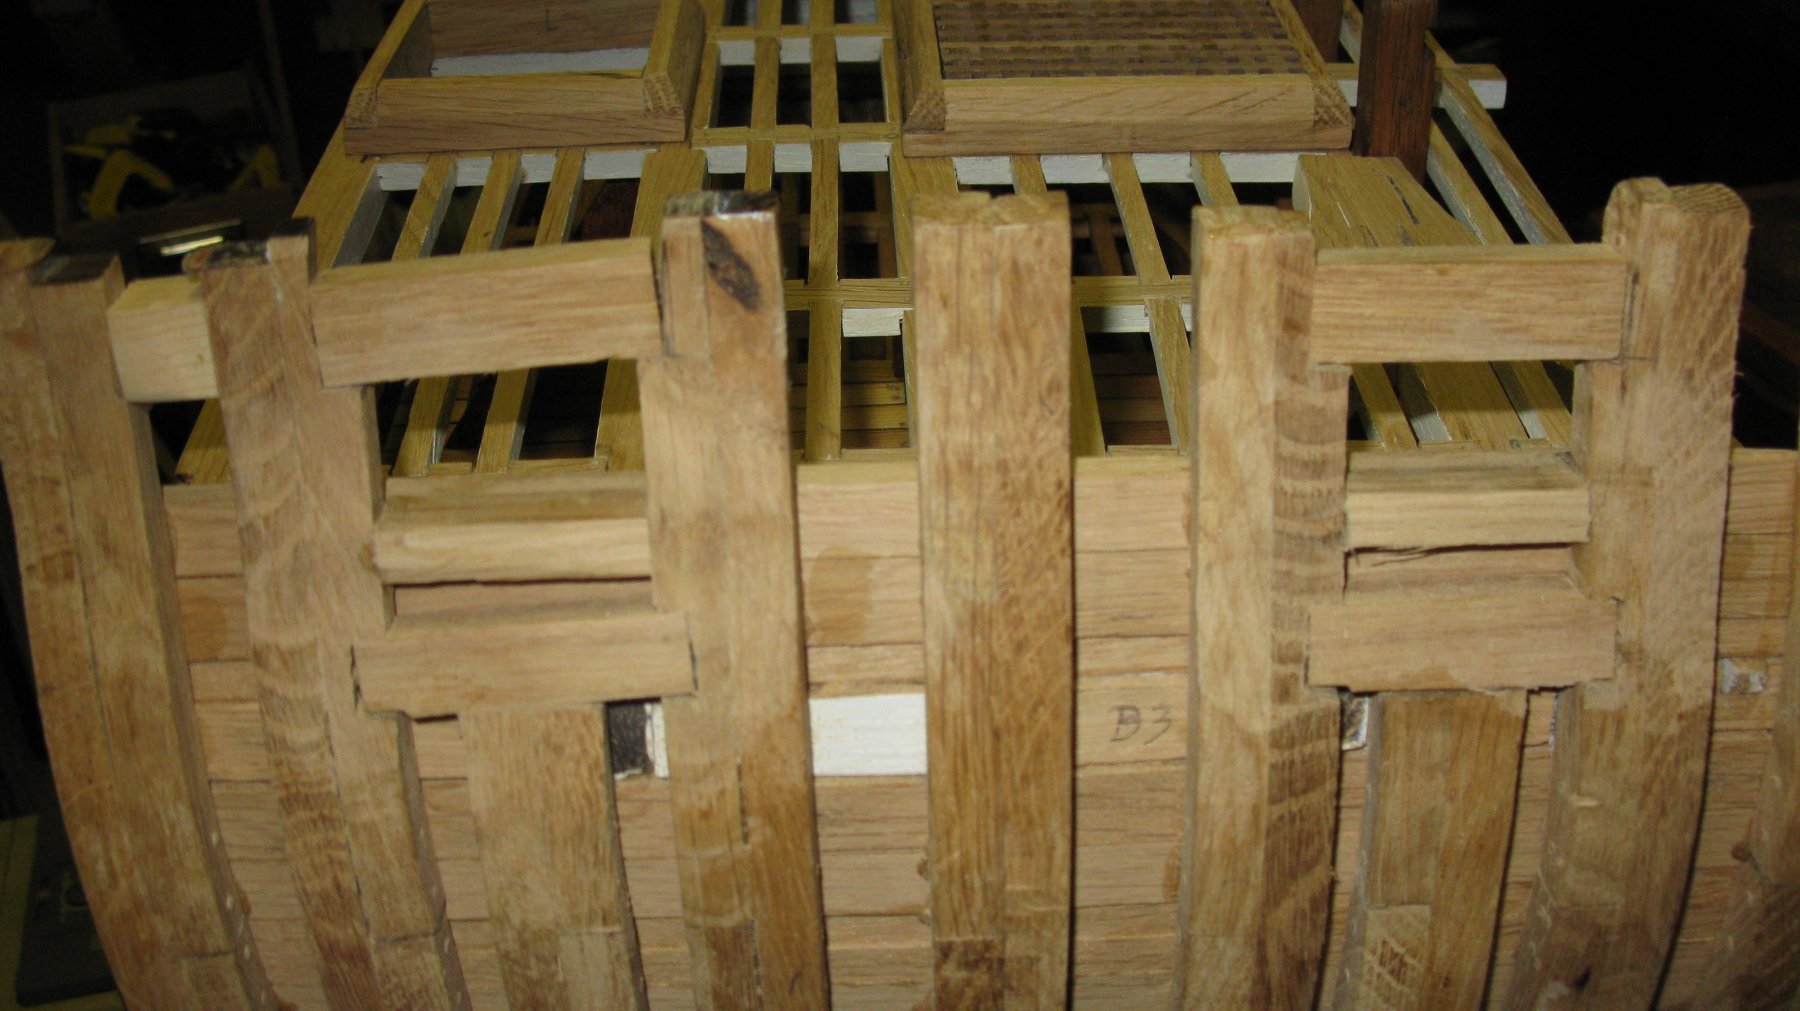
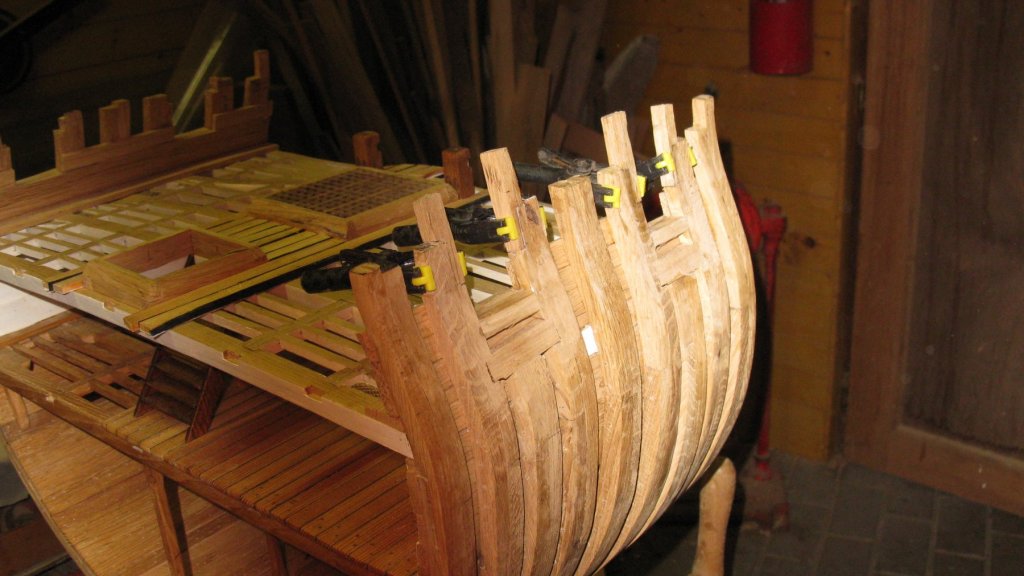
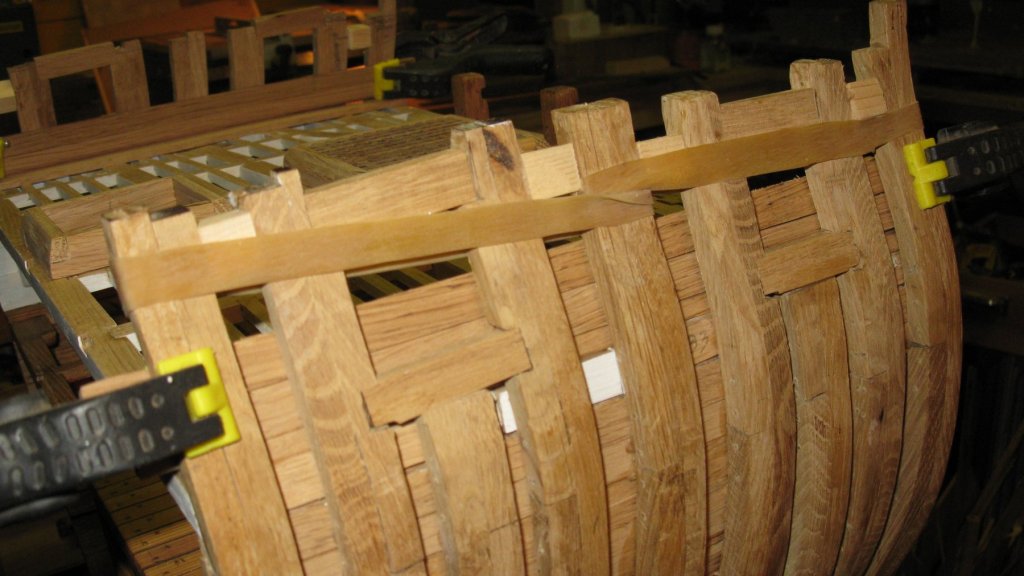
Maybe an advice to future Triton cross section builders is at its place here: Wait until you are arrive at the planking at the level of the gun ports before placing the gun port sills and lintels and make the frames (fourth futtock and top timber) some centimeters higher than indicated on the plan.

-
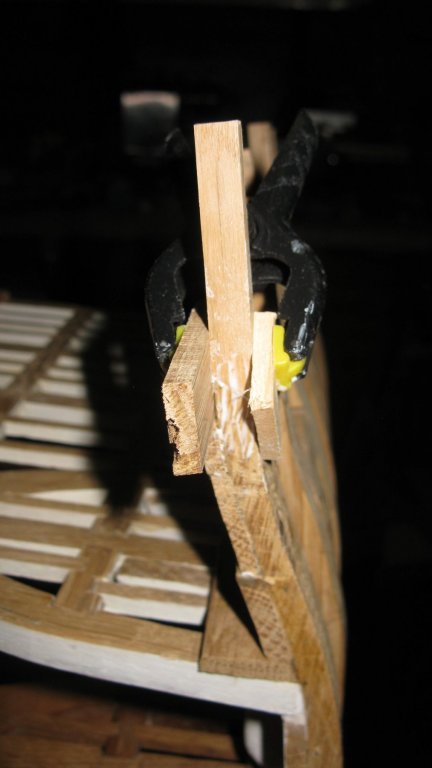
My frames are also a little too short. It is not really a problem for the most of them because their top ends will be hidden by the inner and outer planking, but the fourth futtock of frame sticks out of the sheer rail and must be lengthened at both sides. To have a larger glue surface, I saw them off under an angle of approximate 45° and glue a comfortable long piece on top of it. I do the same with the fourth futtock of frame C because this one remains also visible.

-
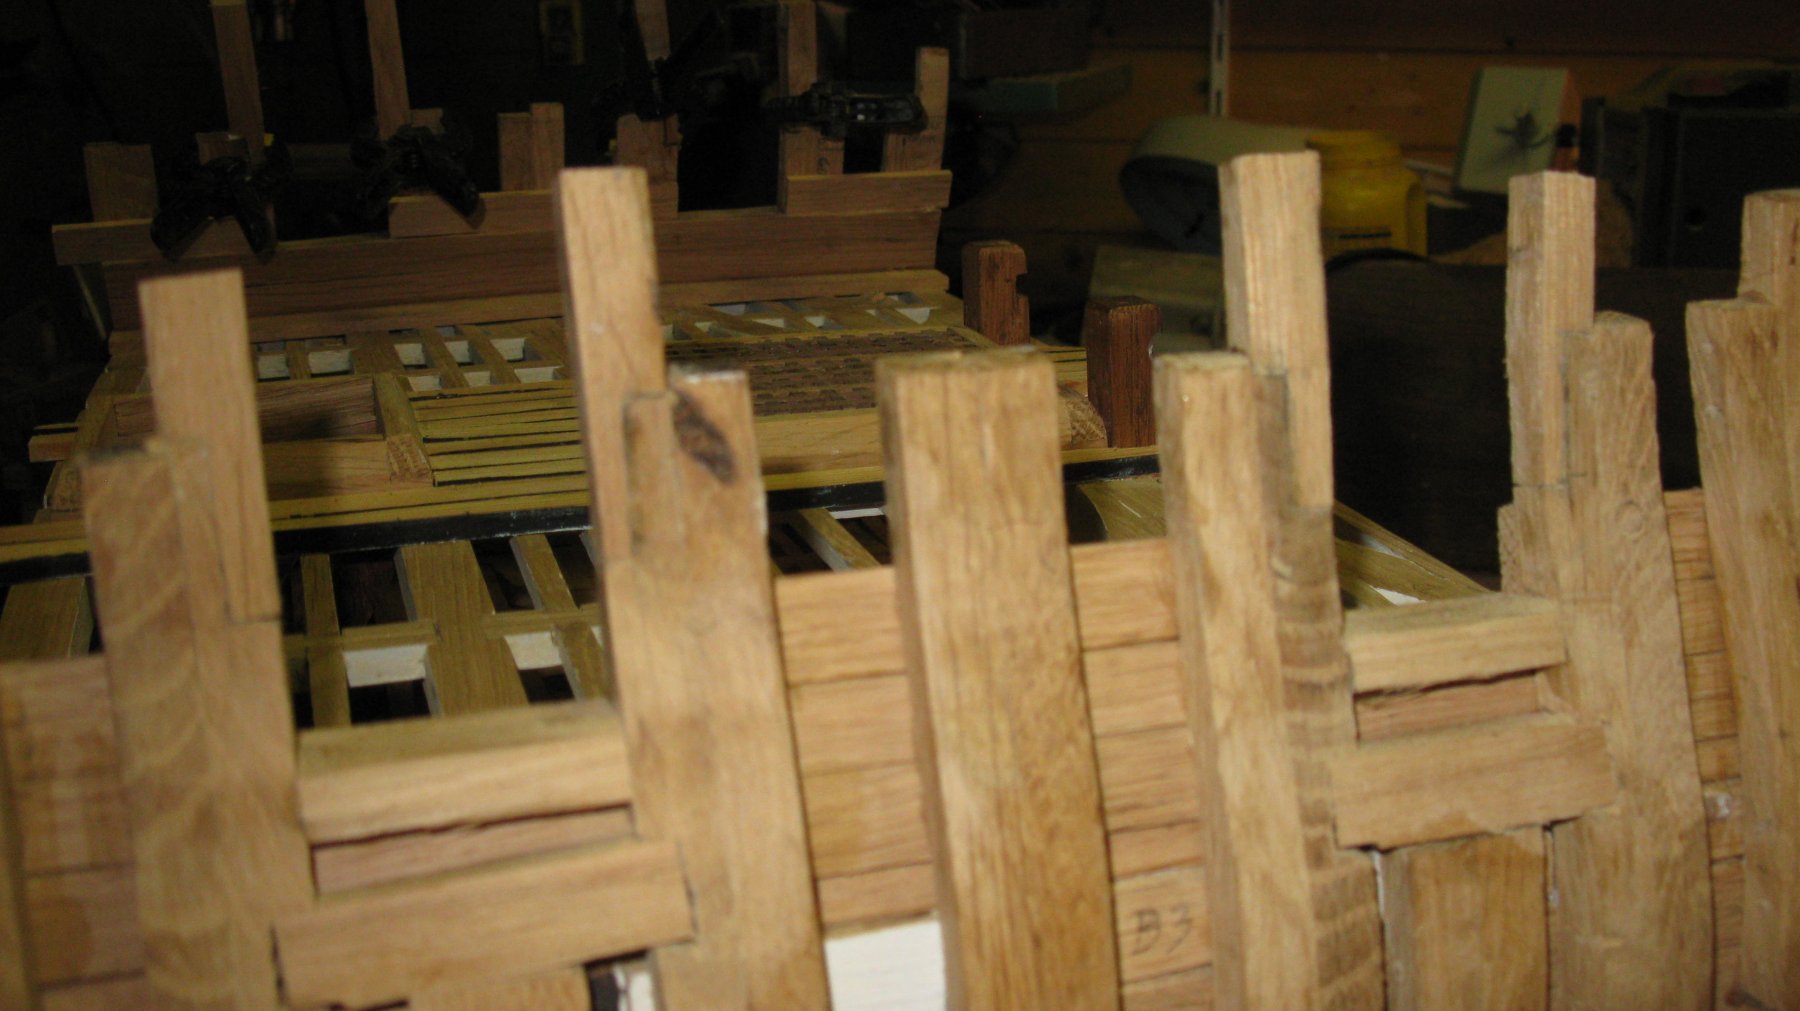
The notches for those lintels have to be filled. 103.bmp
-
Of course the gun port lintels are also too low, therefore I saw them out.


-
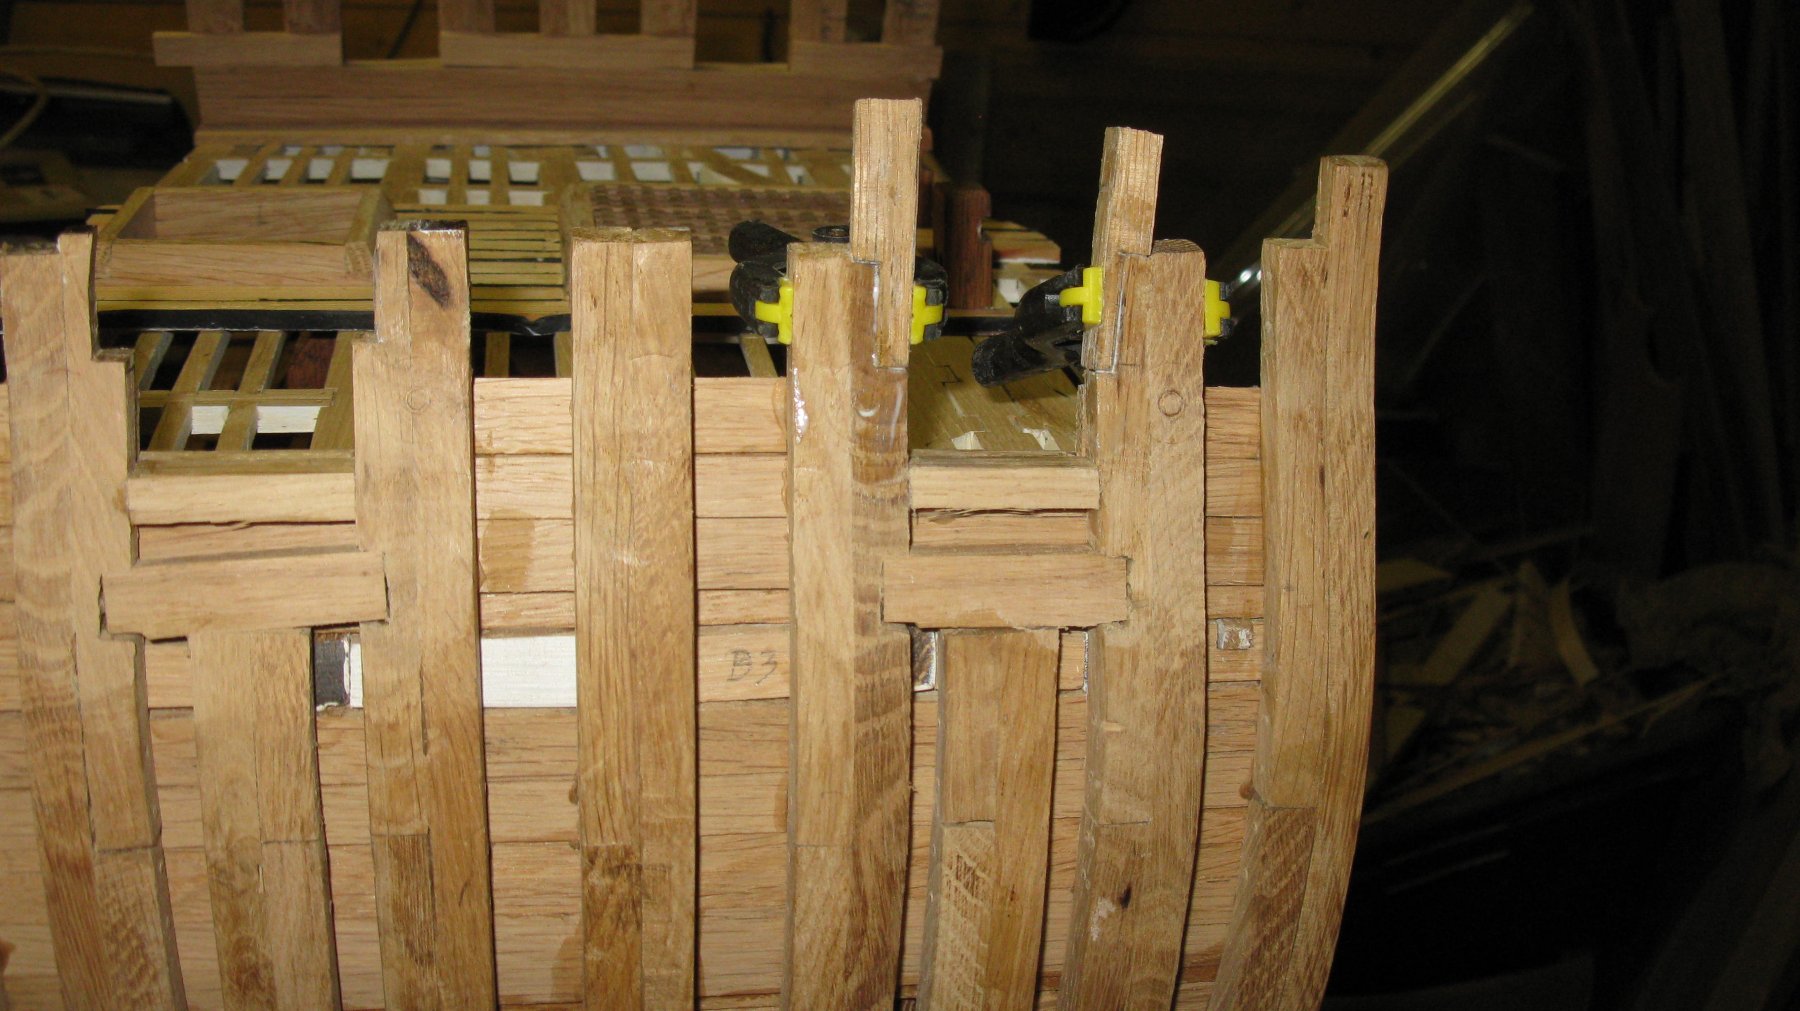
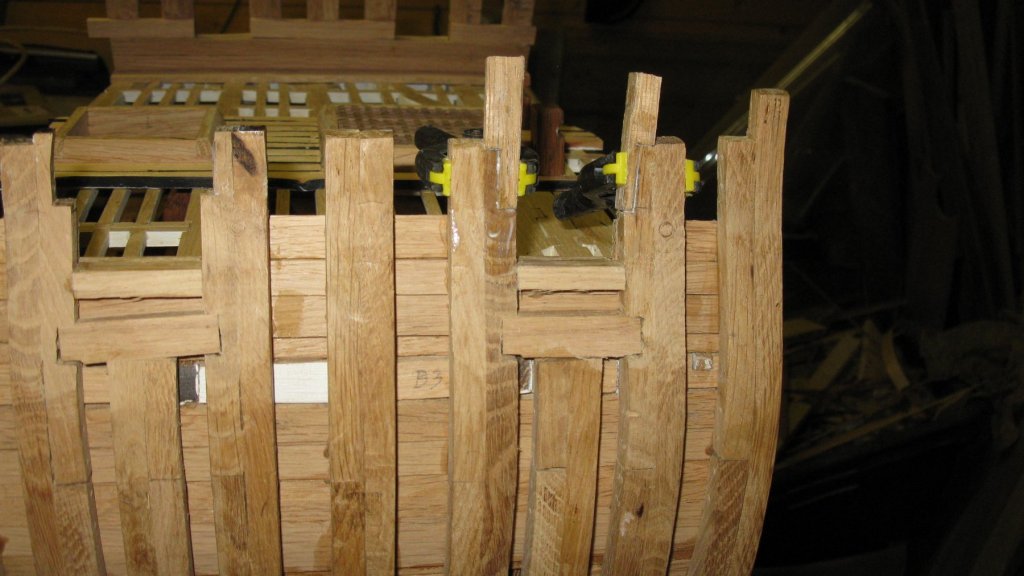
My mistake can be resolved and will fortunately been hidden by the inner and outer hull planking. I start to place new gun port sills. Now I have the exact height indicated by the inboard planking.

-
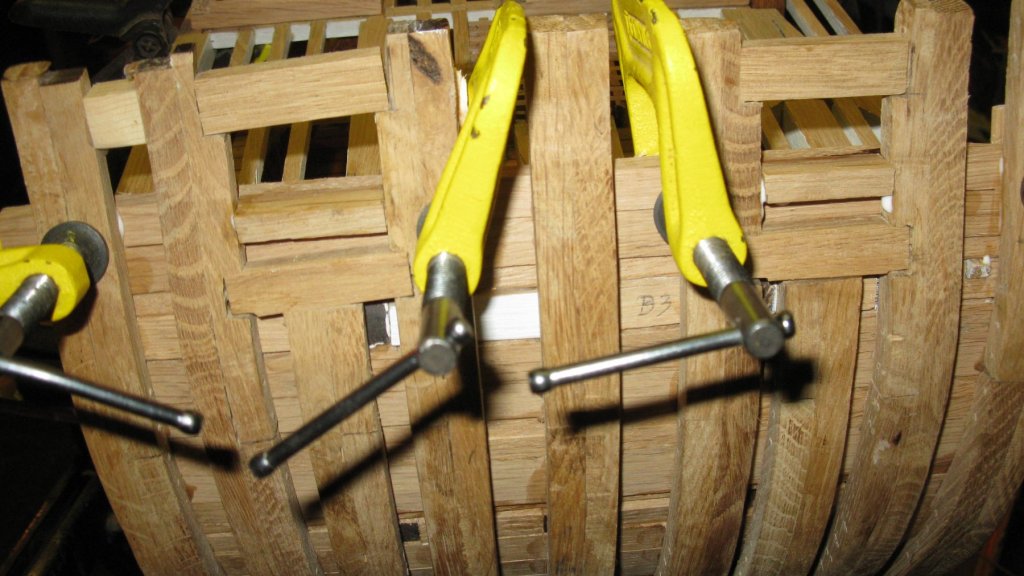
they are even lower on the starboard side
-
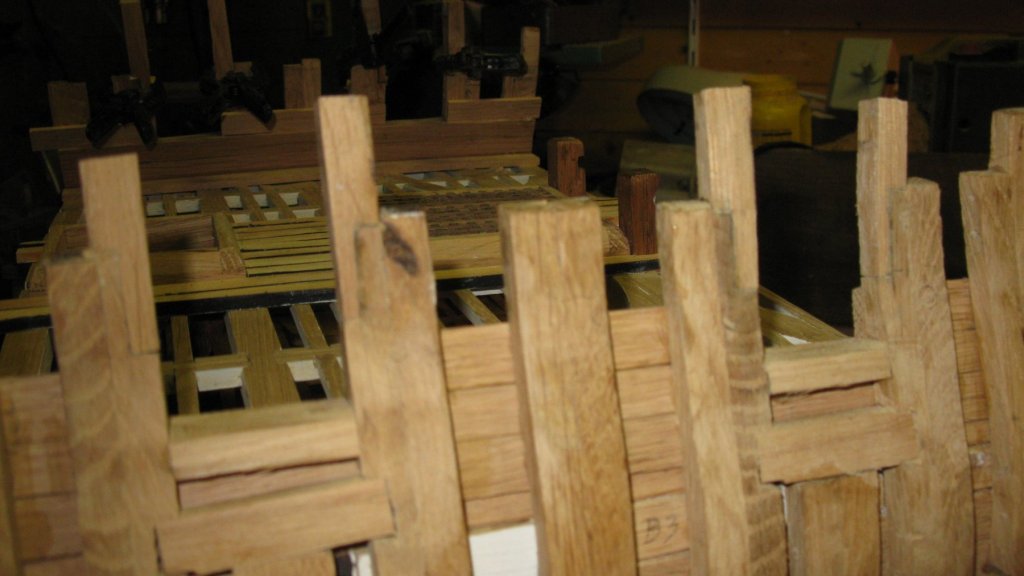
While continuing the inboard planking upward from the gun deck, it becomes clear what I realized already since a while. I made the gun port openings already at the start in the frame production stage. Now it seems that the gun port sills are sitting too low.

-
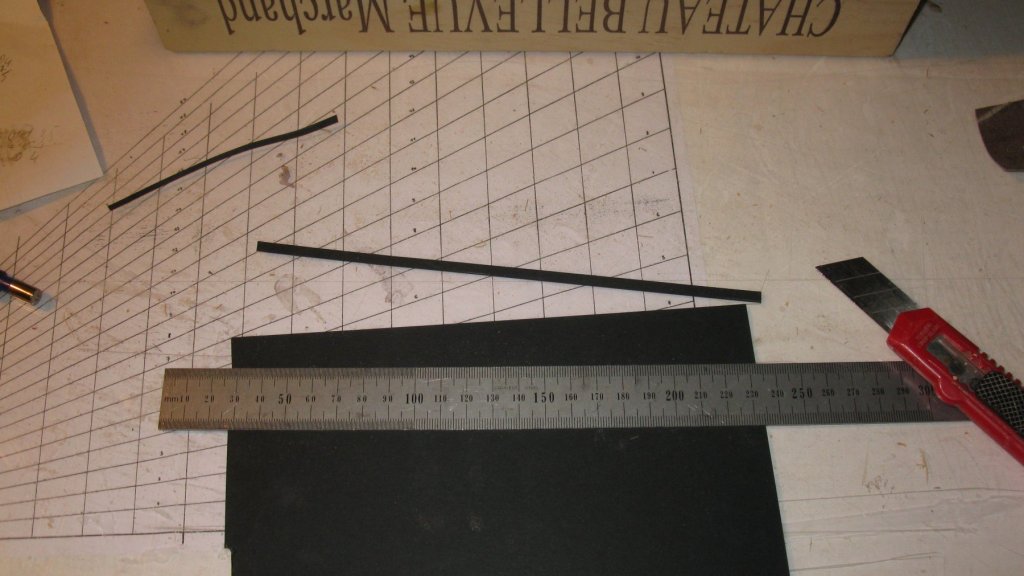
Yes Nils, I use strips of 220 grams black paper which I glue at the side of the planks with ordinary white wood glue before fixing them on the deck beams. G.L.
-
Aviaamator, Your tree nails with the dark edge look fantastic! G.L.
-
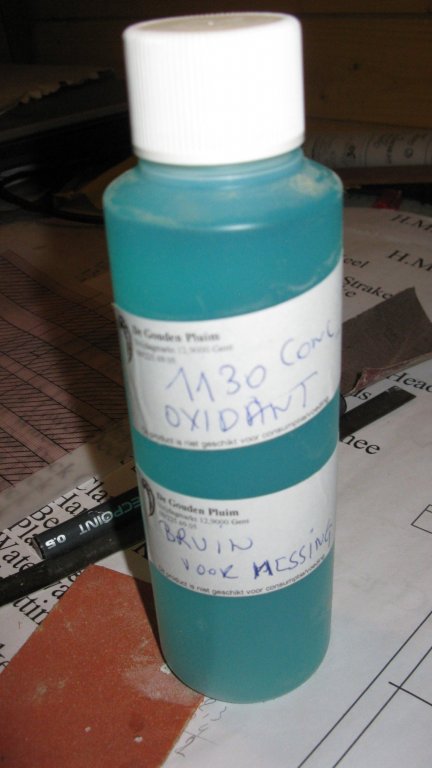
I use an oxidant which is called 'oxidant 1130', it is mainly used for brass but it works also with copper. I don't know the exact name or the composition of the product. I buy it in a shop for artist products in Ghent (Belgium): 'De gouden pluim' ( http://www.degoudenpluim.be/ ). They fill it in the wanted amount in plastic bottles.
-
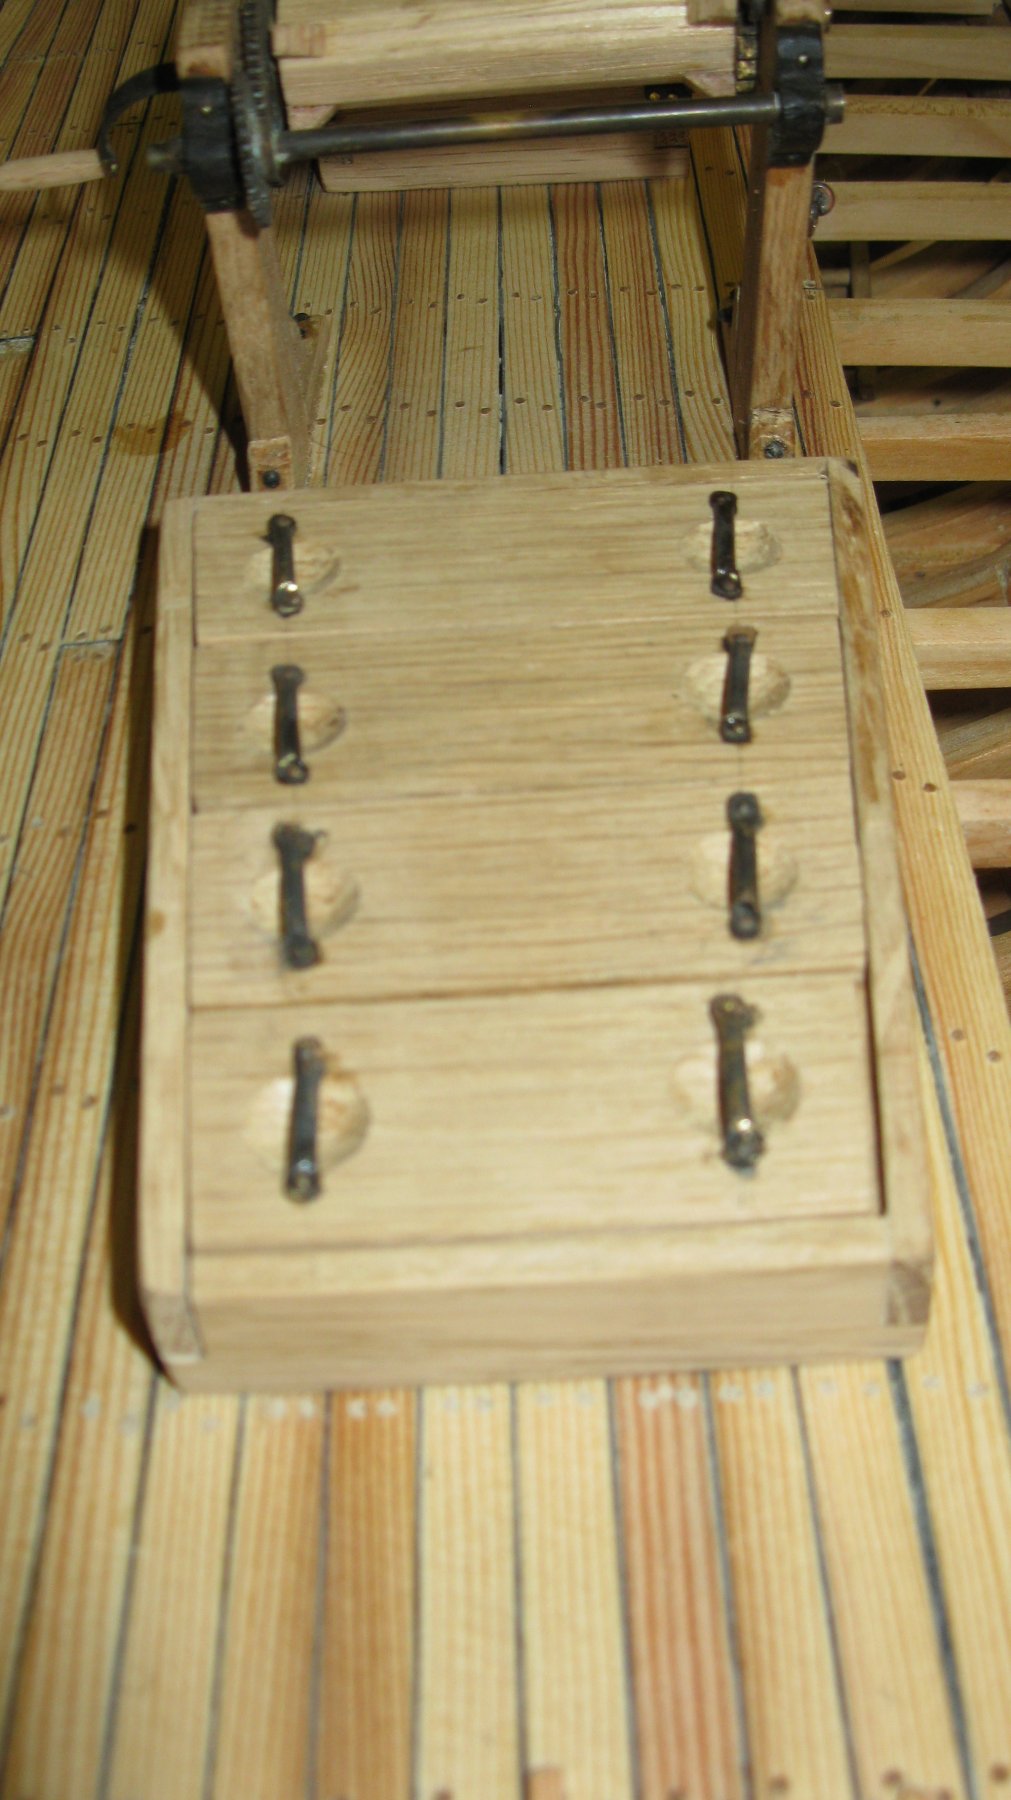
12.38 The edges of the handles are filed round and blackened and finally nailed on the planks.


-
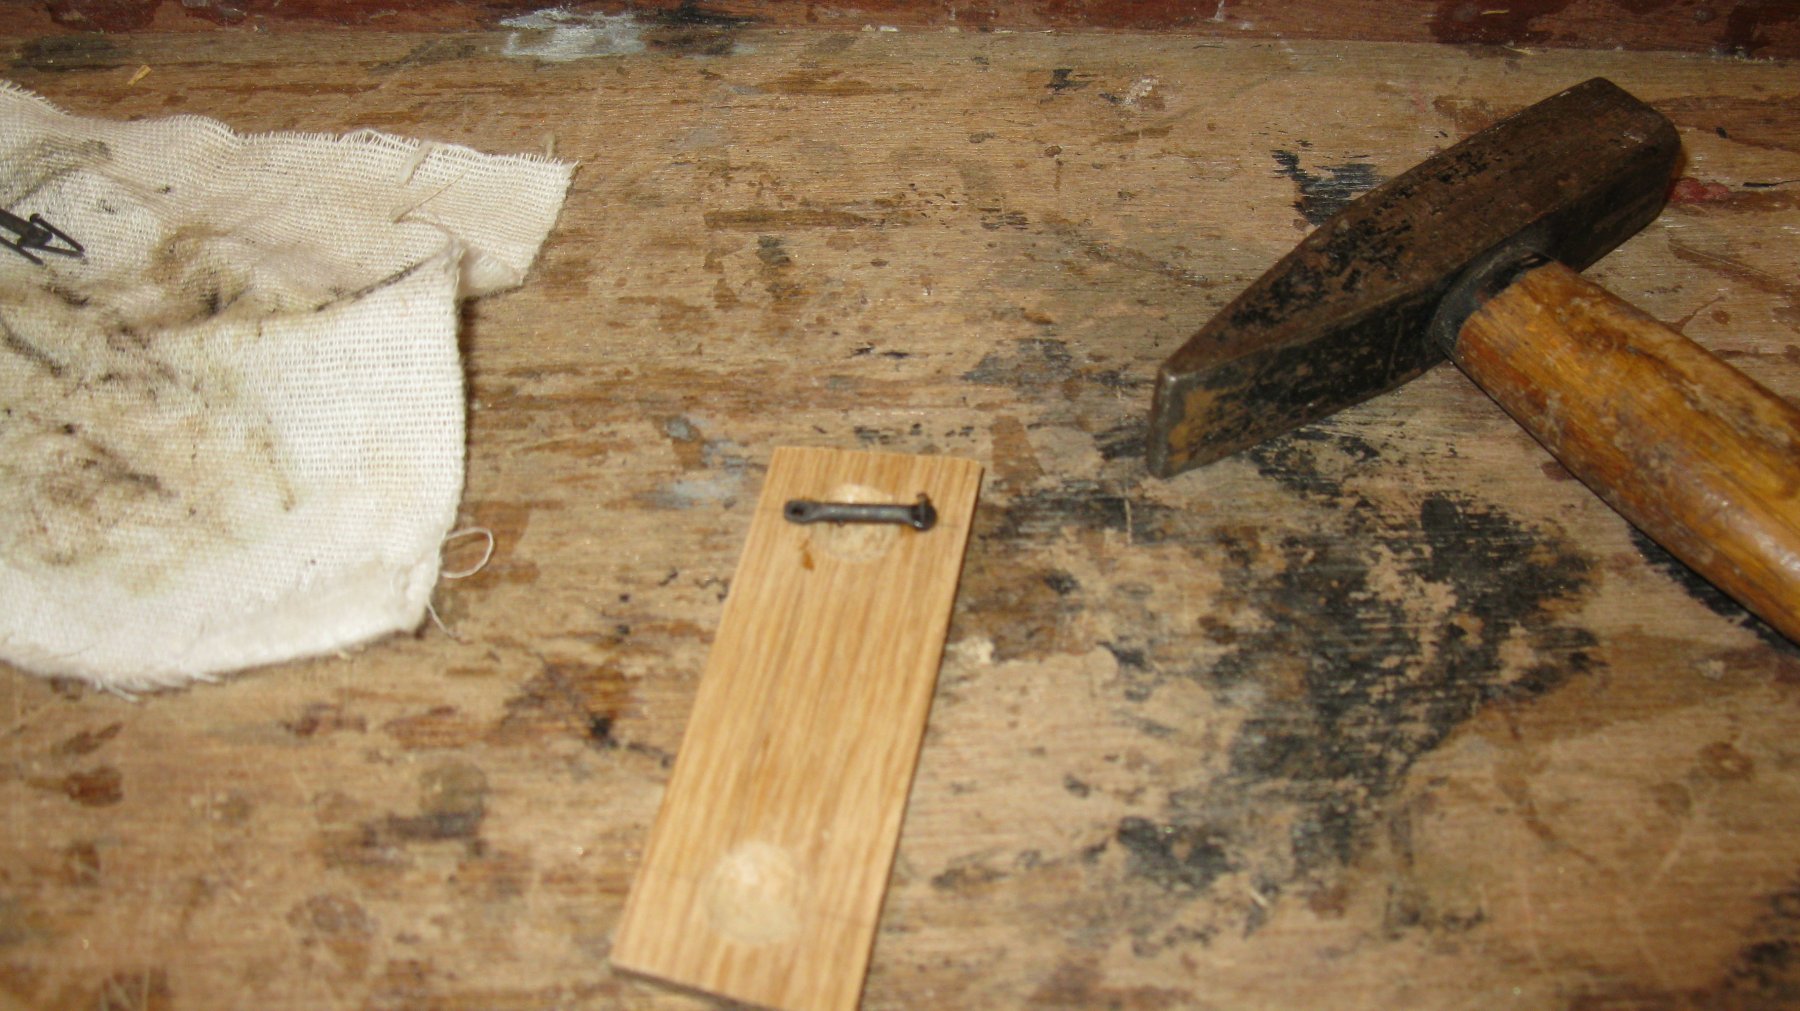
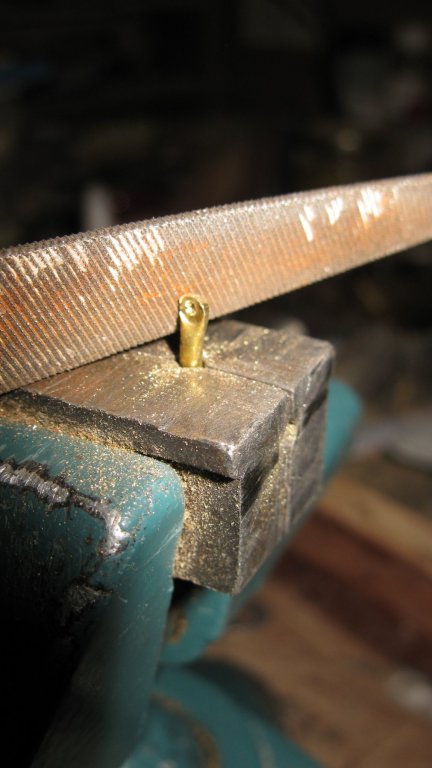
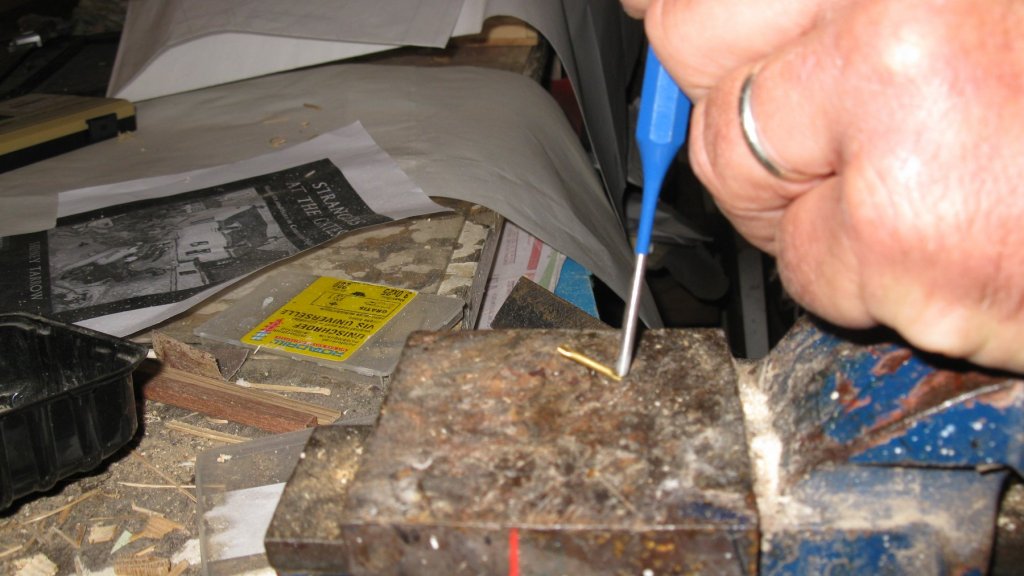
12.37 I hammer the edges flat and drill a nail hole in the flattened part.
-
12.36 The handles are made of pieces of brass tubes of 2mm diameter.
-
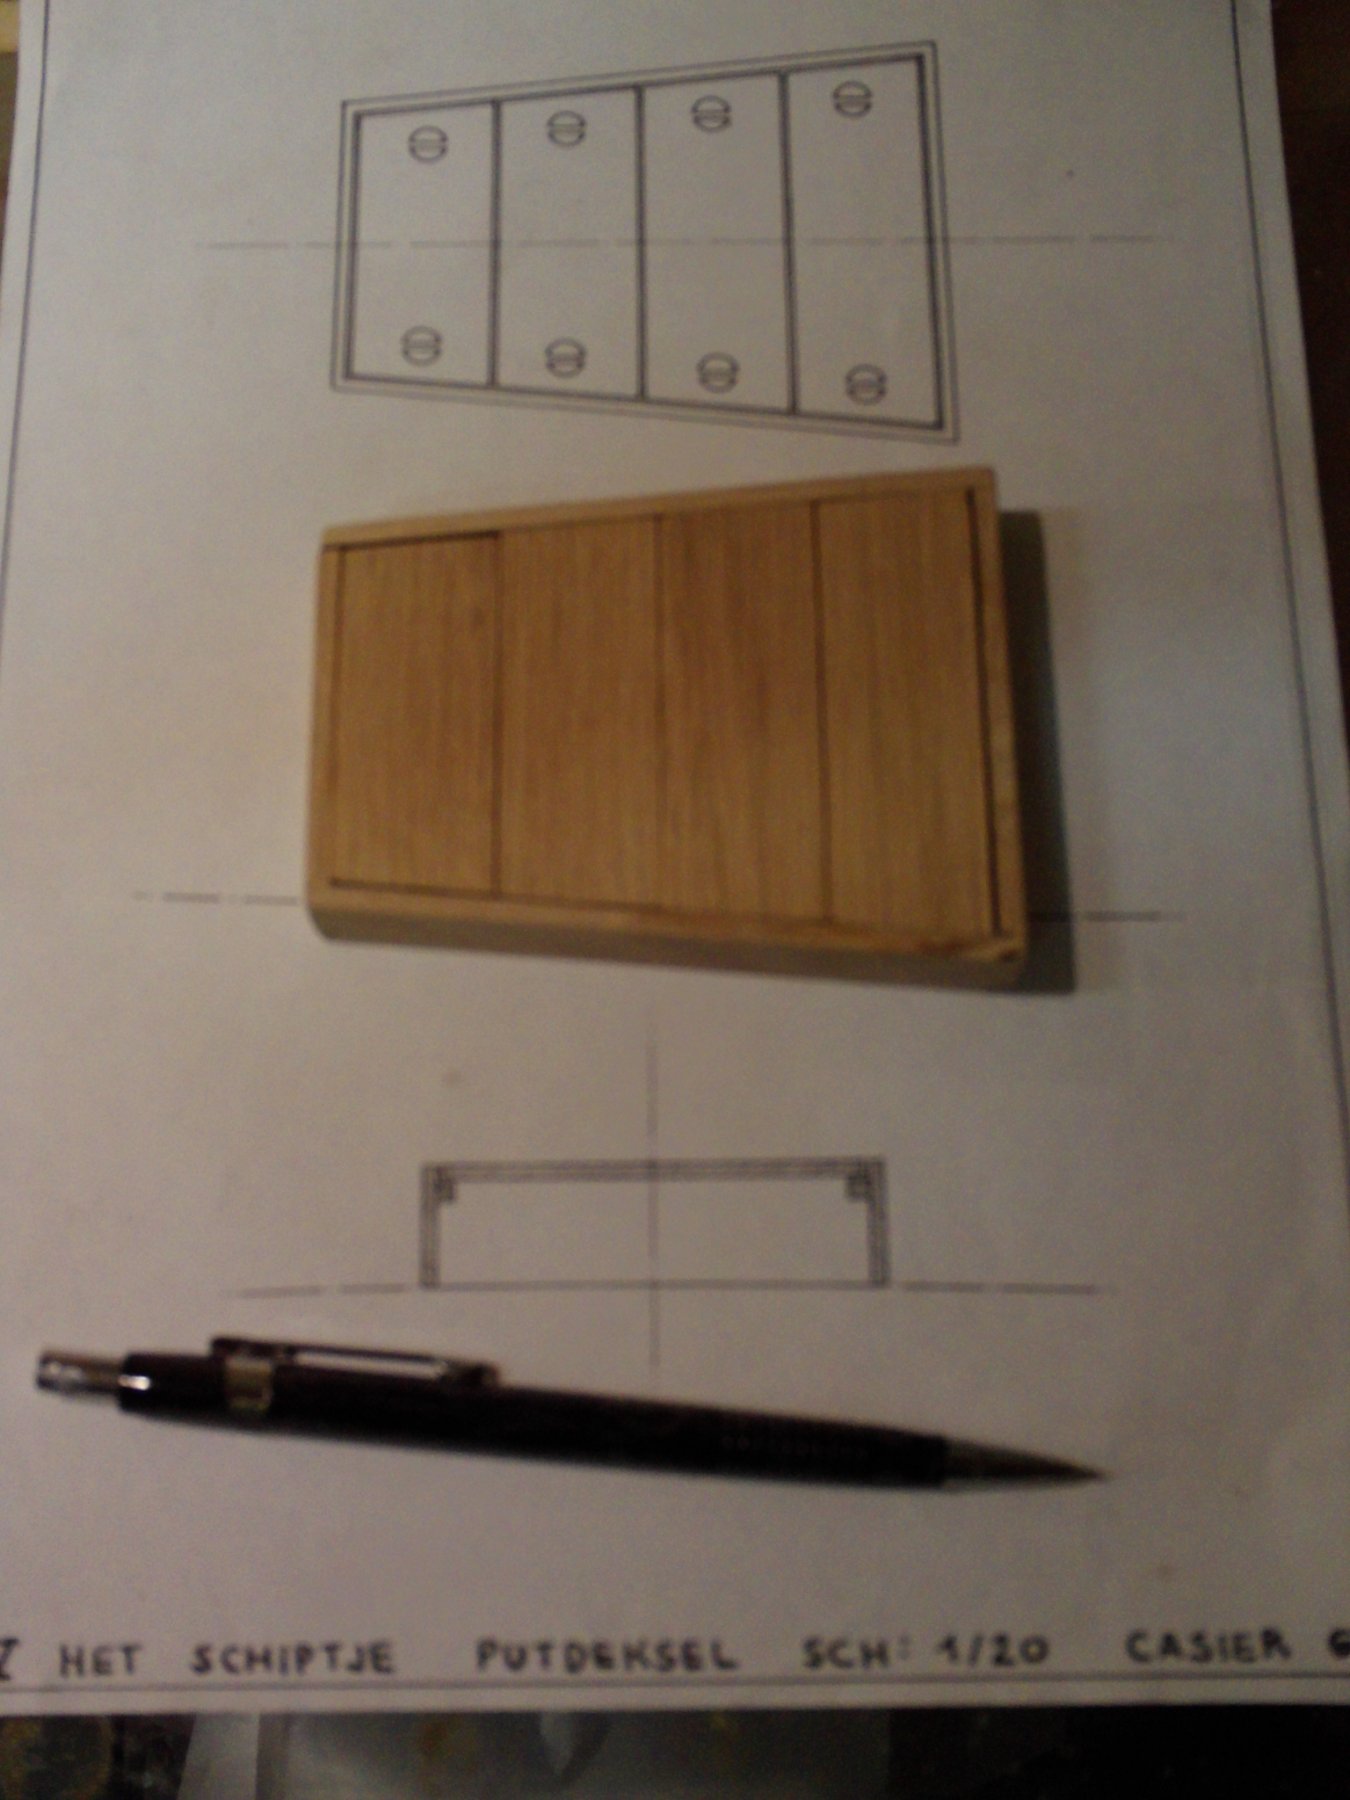
12.35 Each of the covering planks has two handles. Below the handles is a shallow deepening. I make it with a round mill.


-
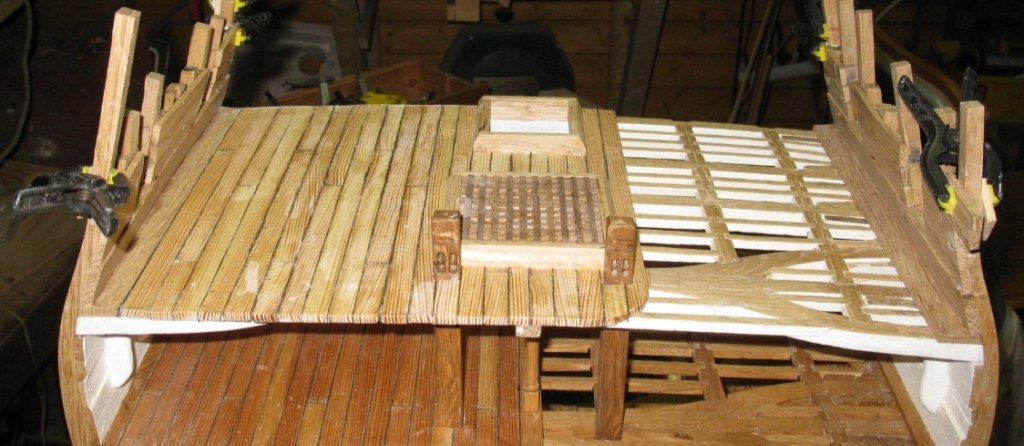
12.34 The making of the hatch-way and the planks don't need a lot of explanation.

-
12.33 Behind the winch is the shrimp cooking store. On top of it there is also a hatch-way which is covered with removable planks.
-
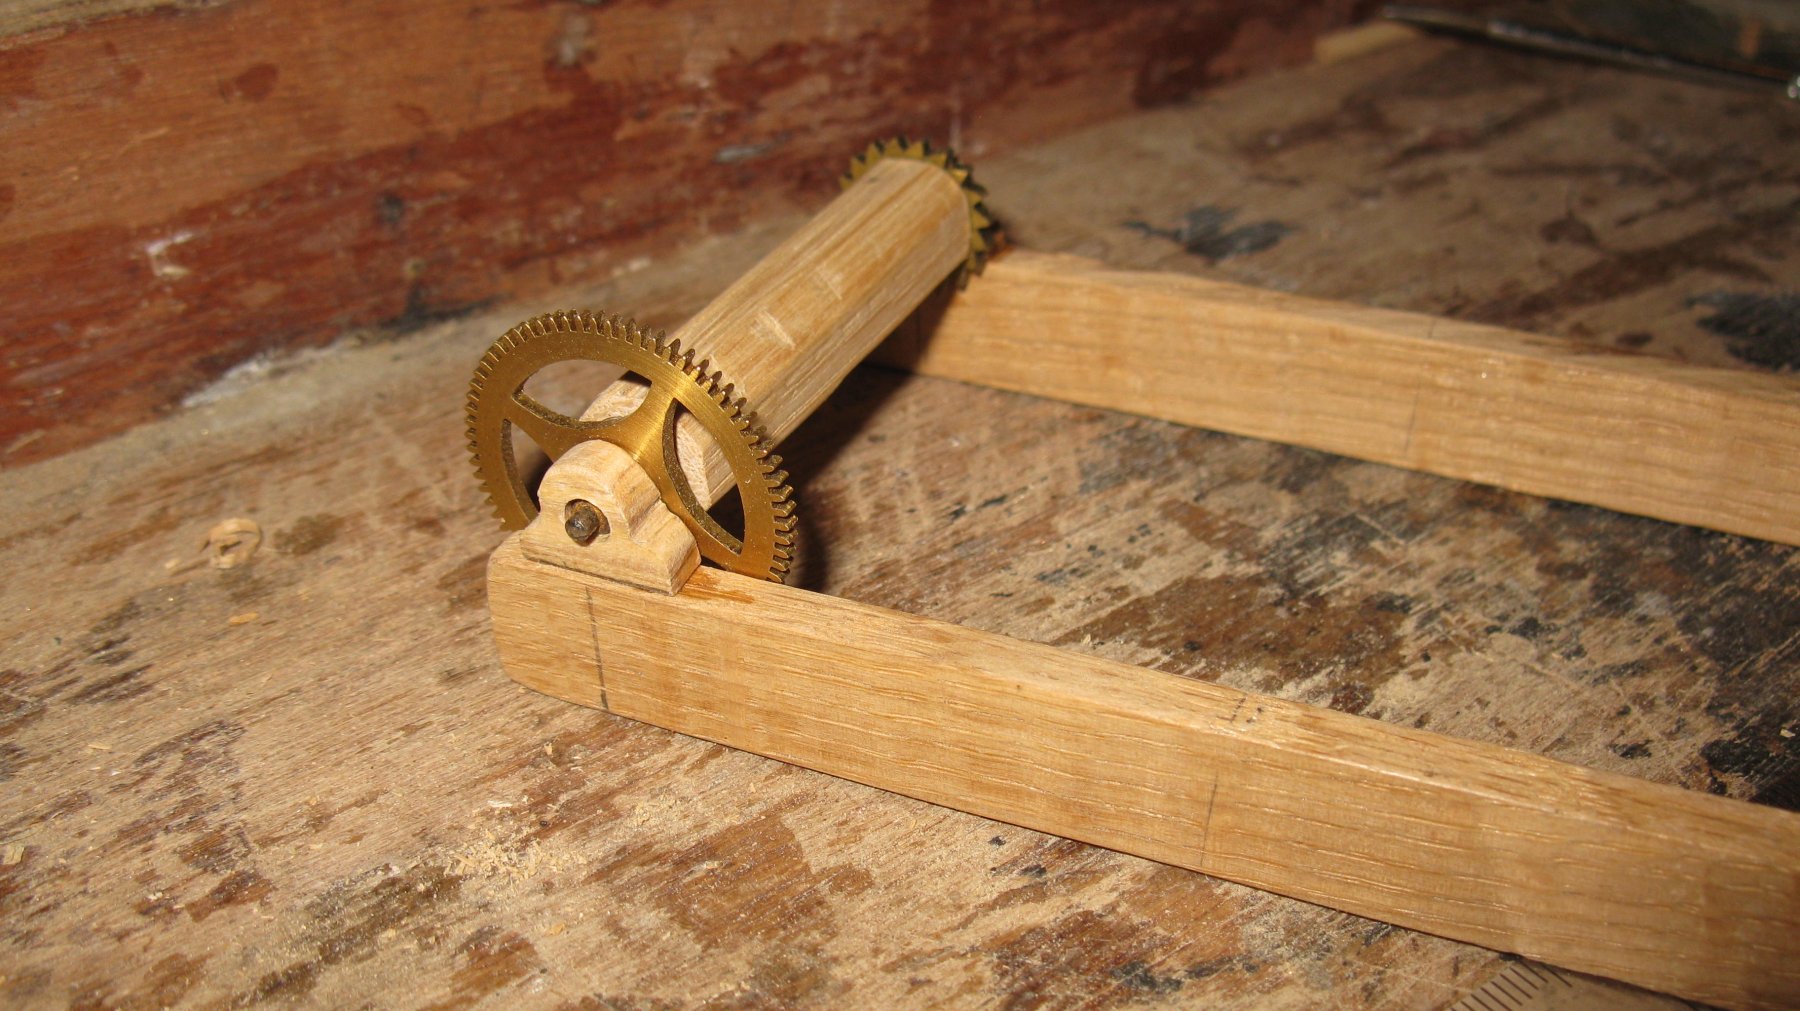
12.31 The composed winch. The stringers are continuing below the deck and are still kept together with an elastic until the glue is dry.

-
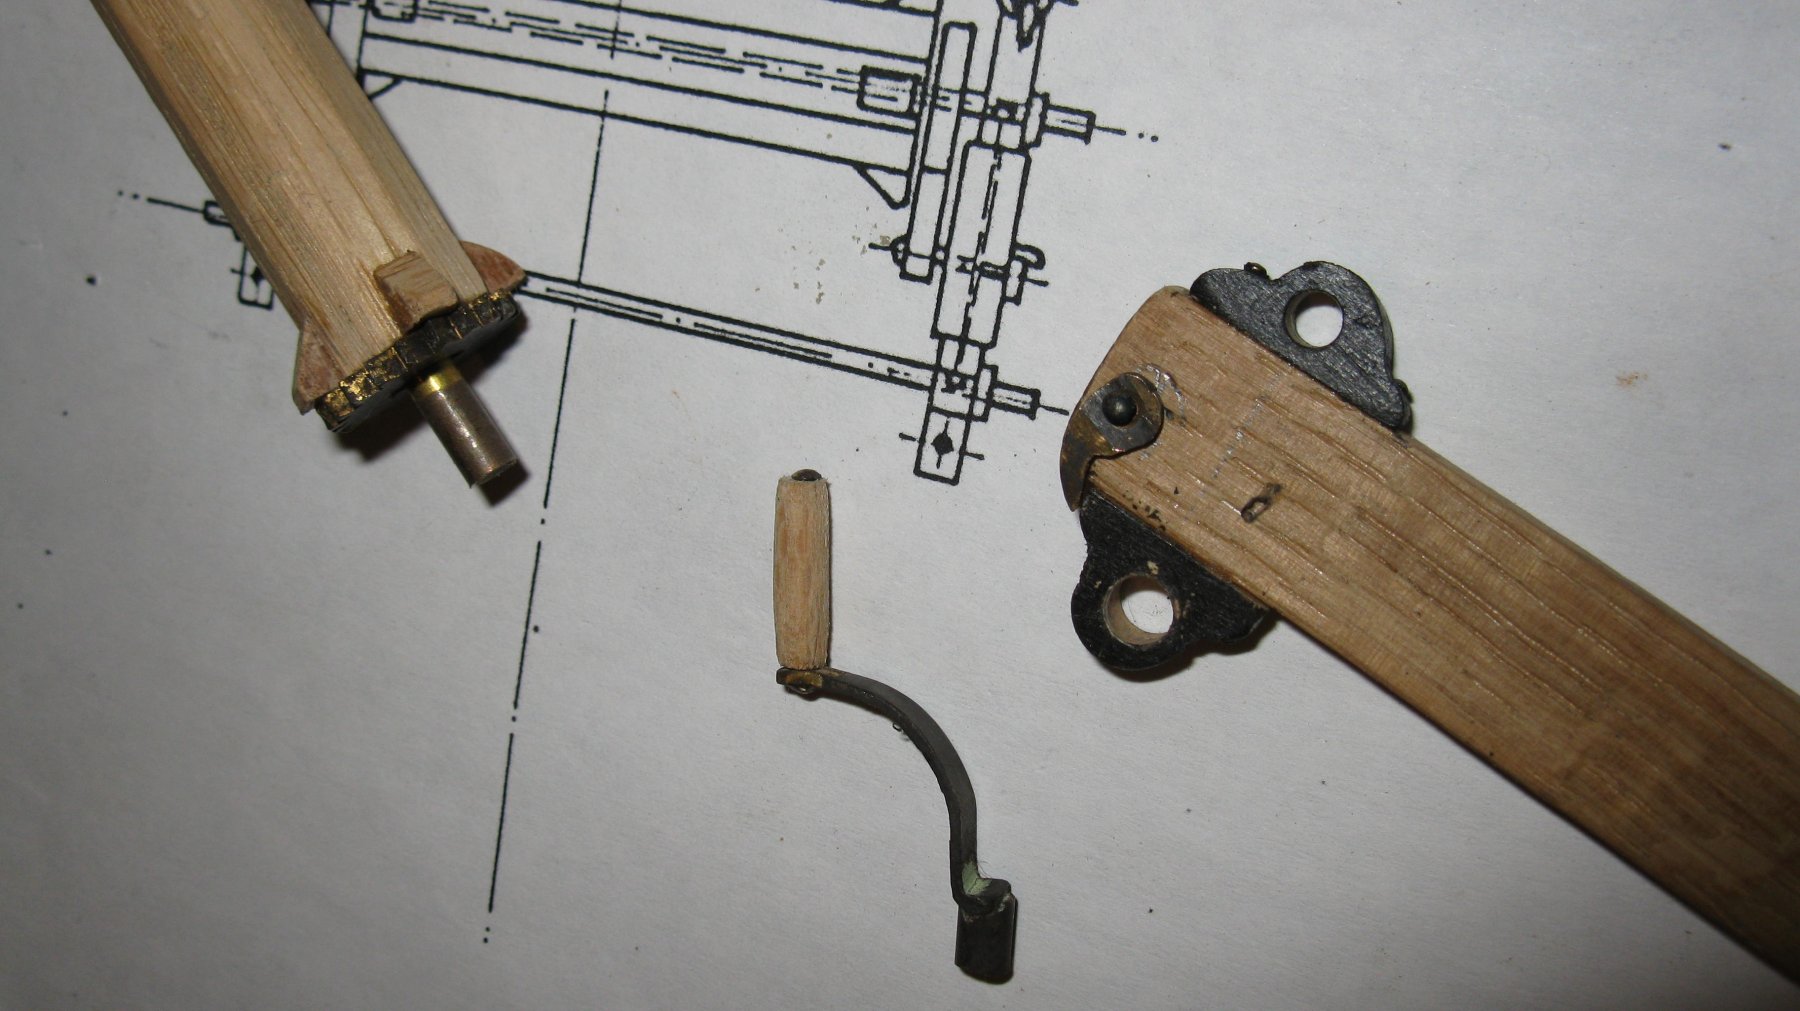
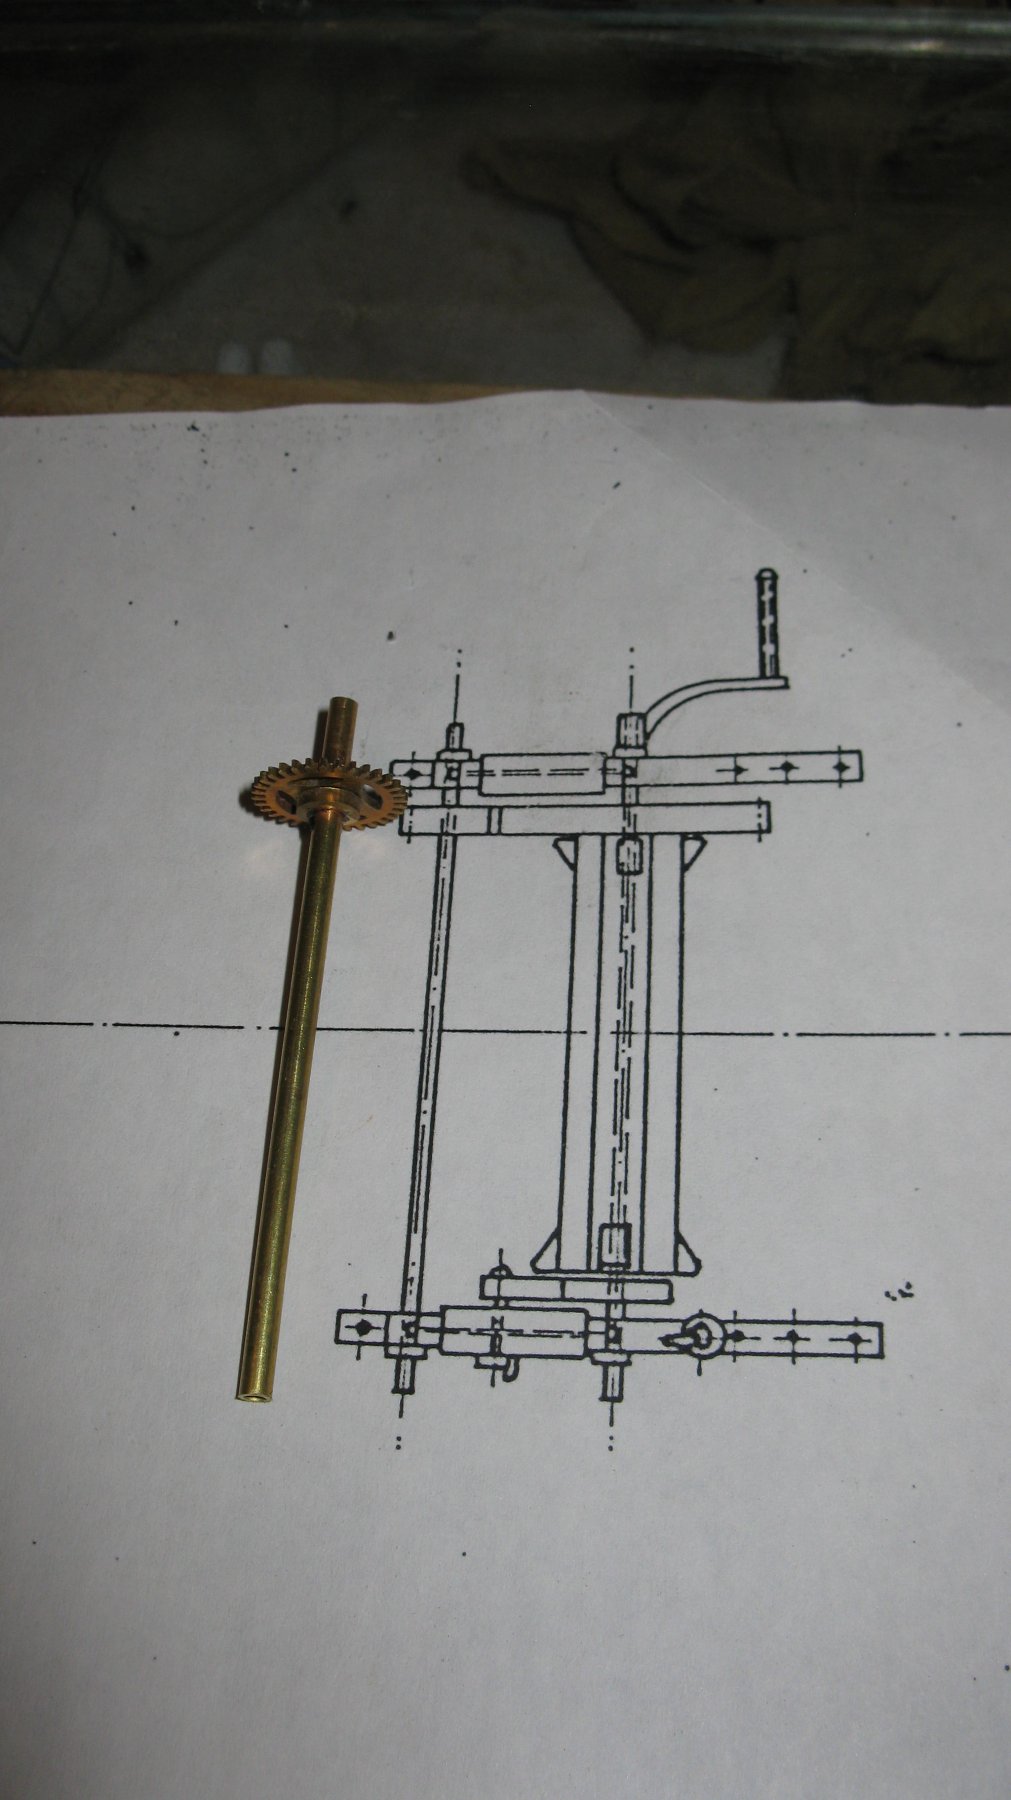
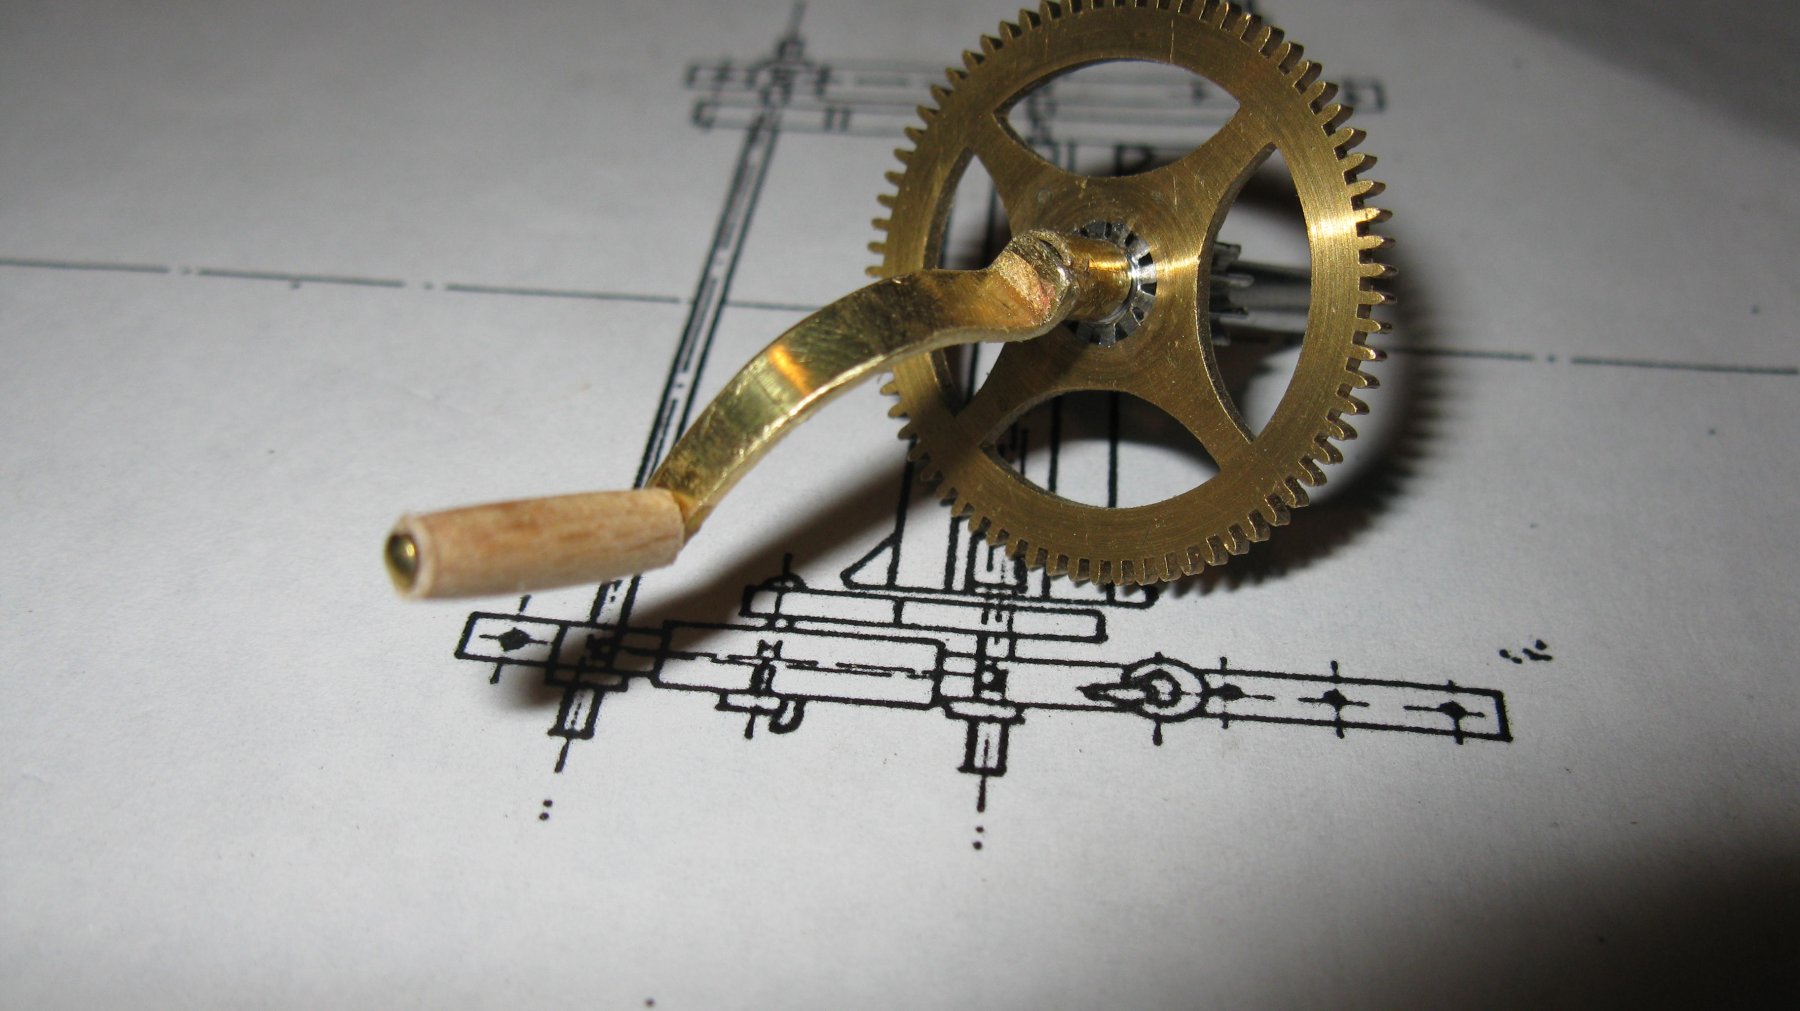
12.30 Different parts of the winch

-
12.29 At the back side of the winch there is a metal bar.
-
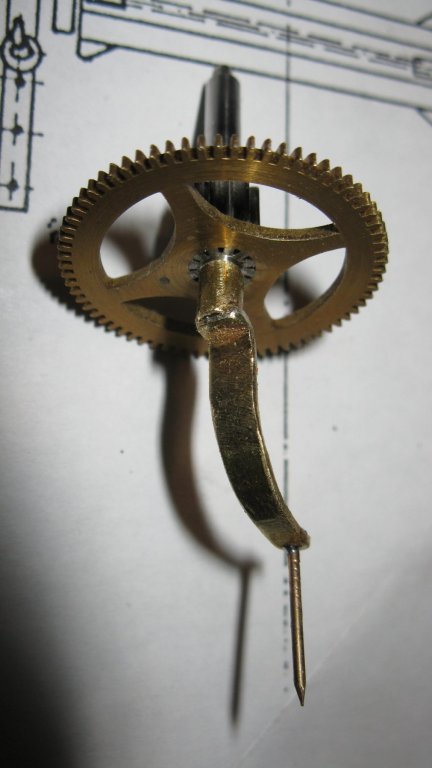
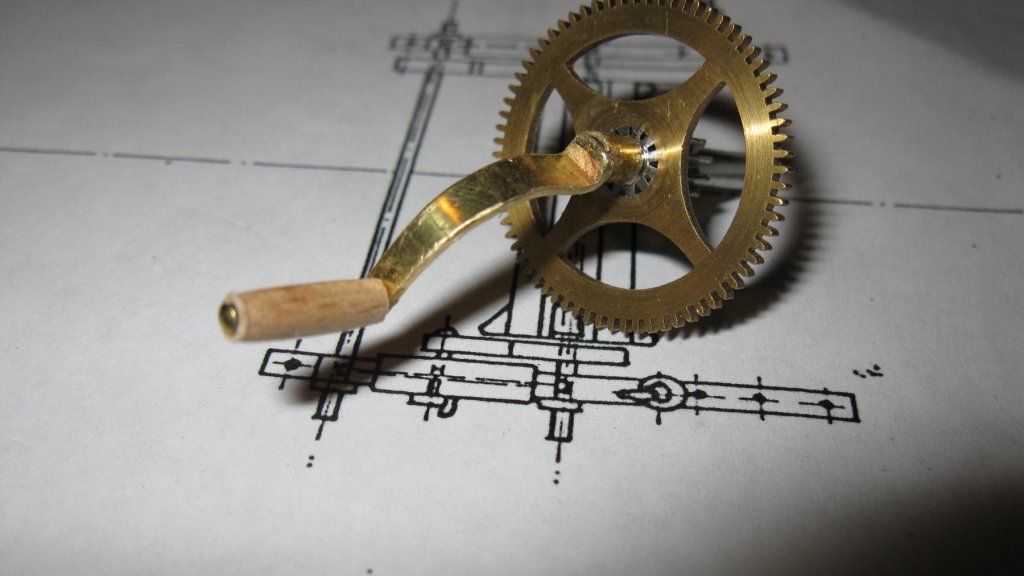
12.28 At the other side of the big cog-wheel, a handle has to be attached.
-
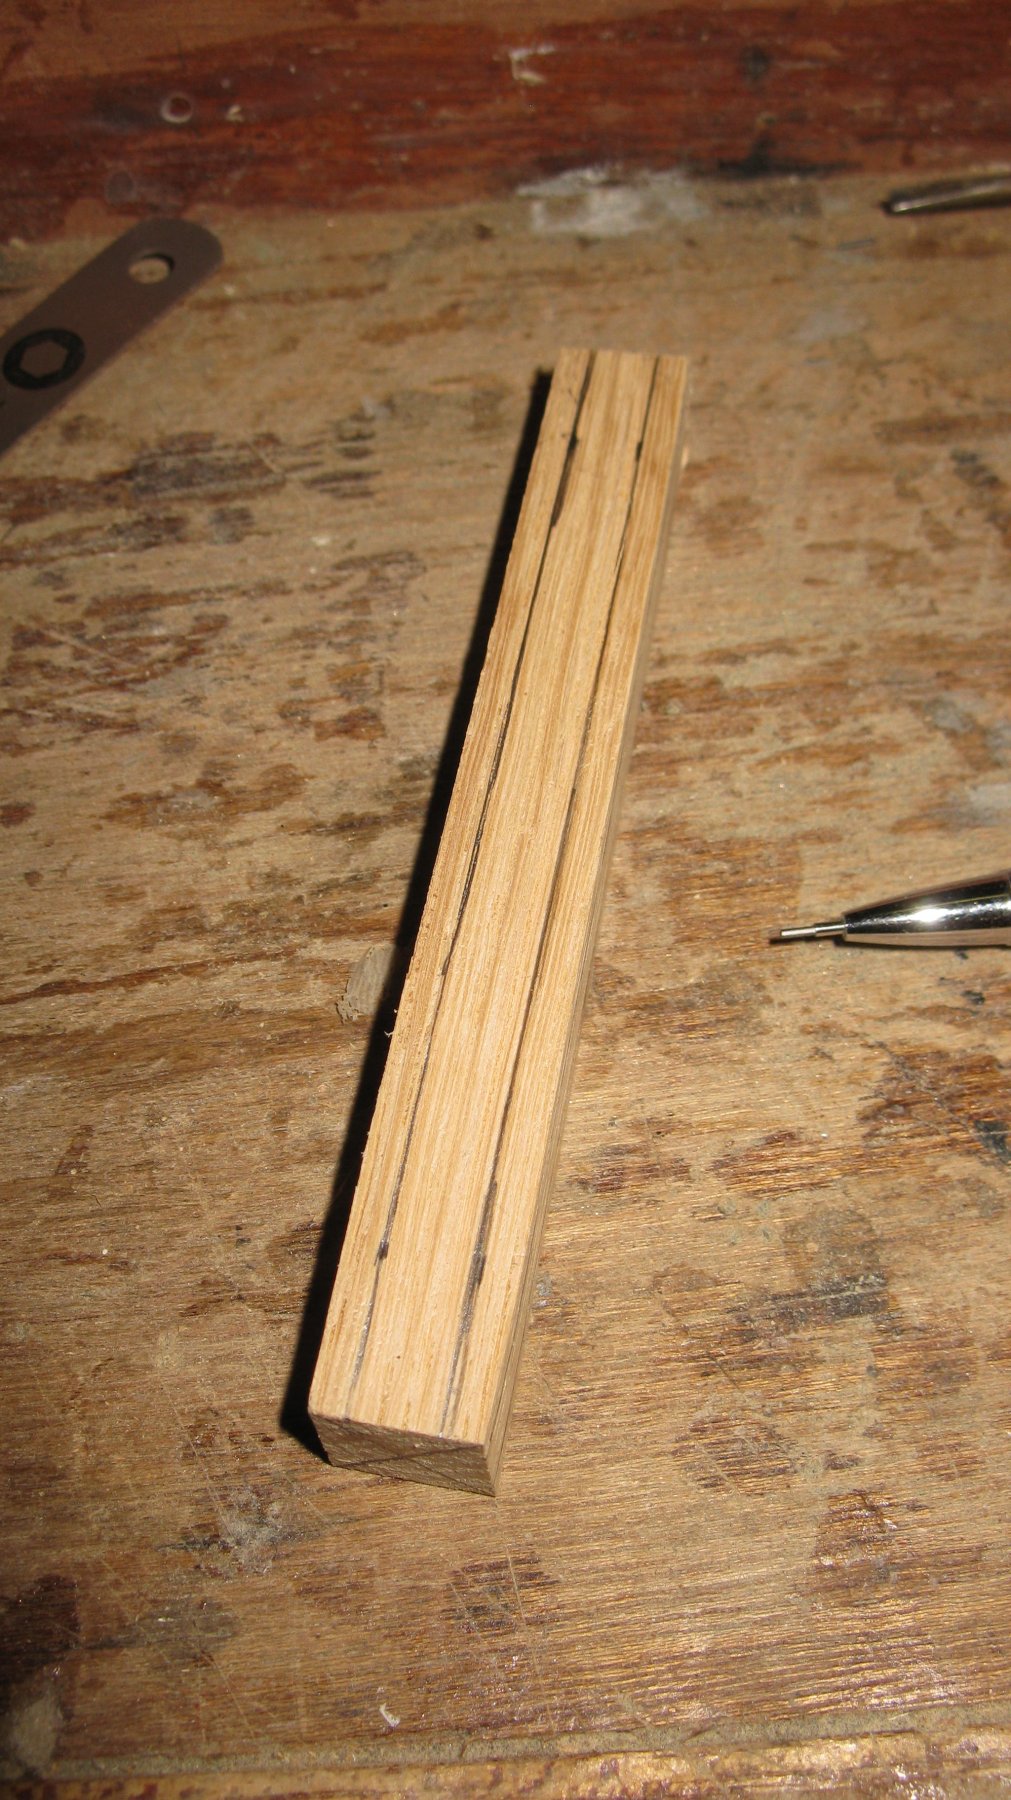
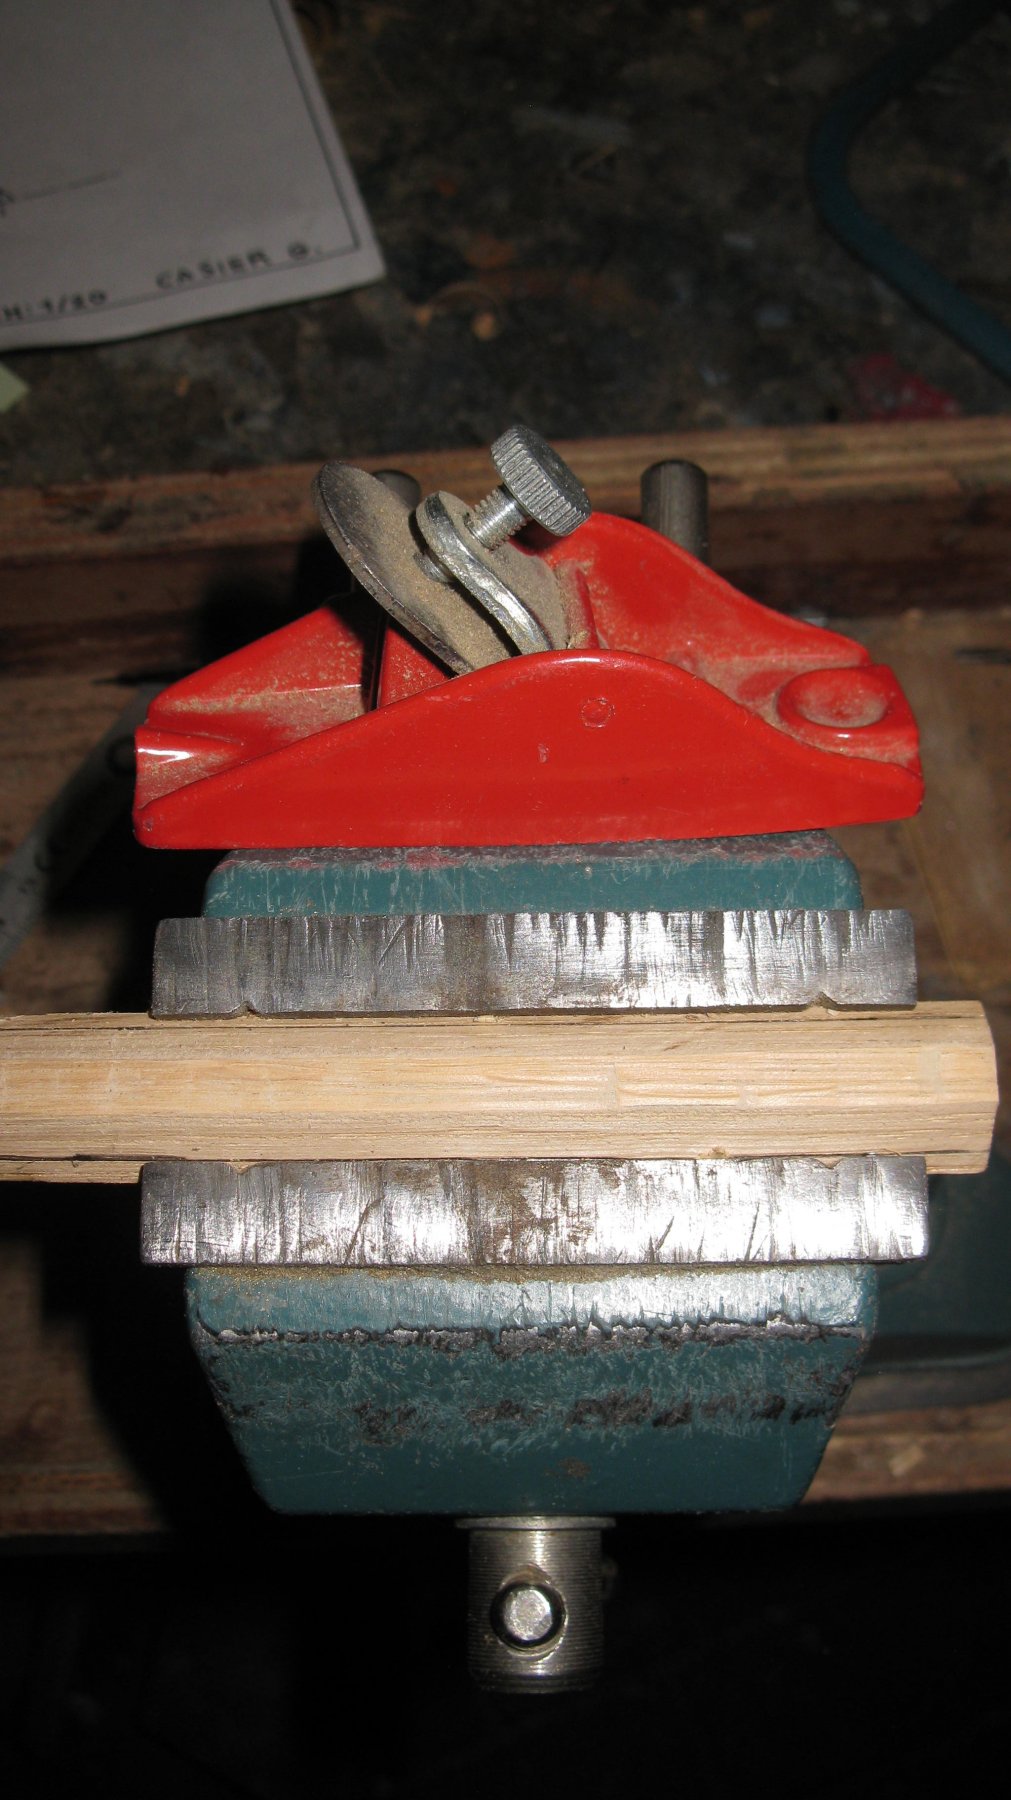
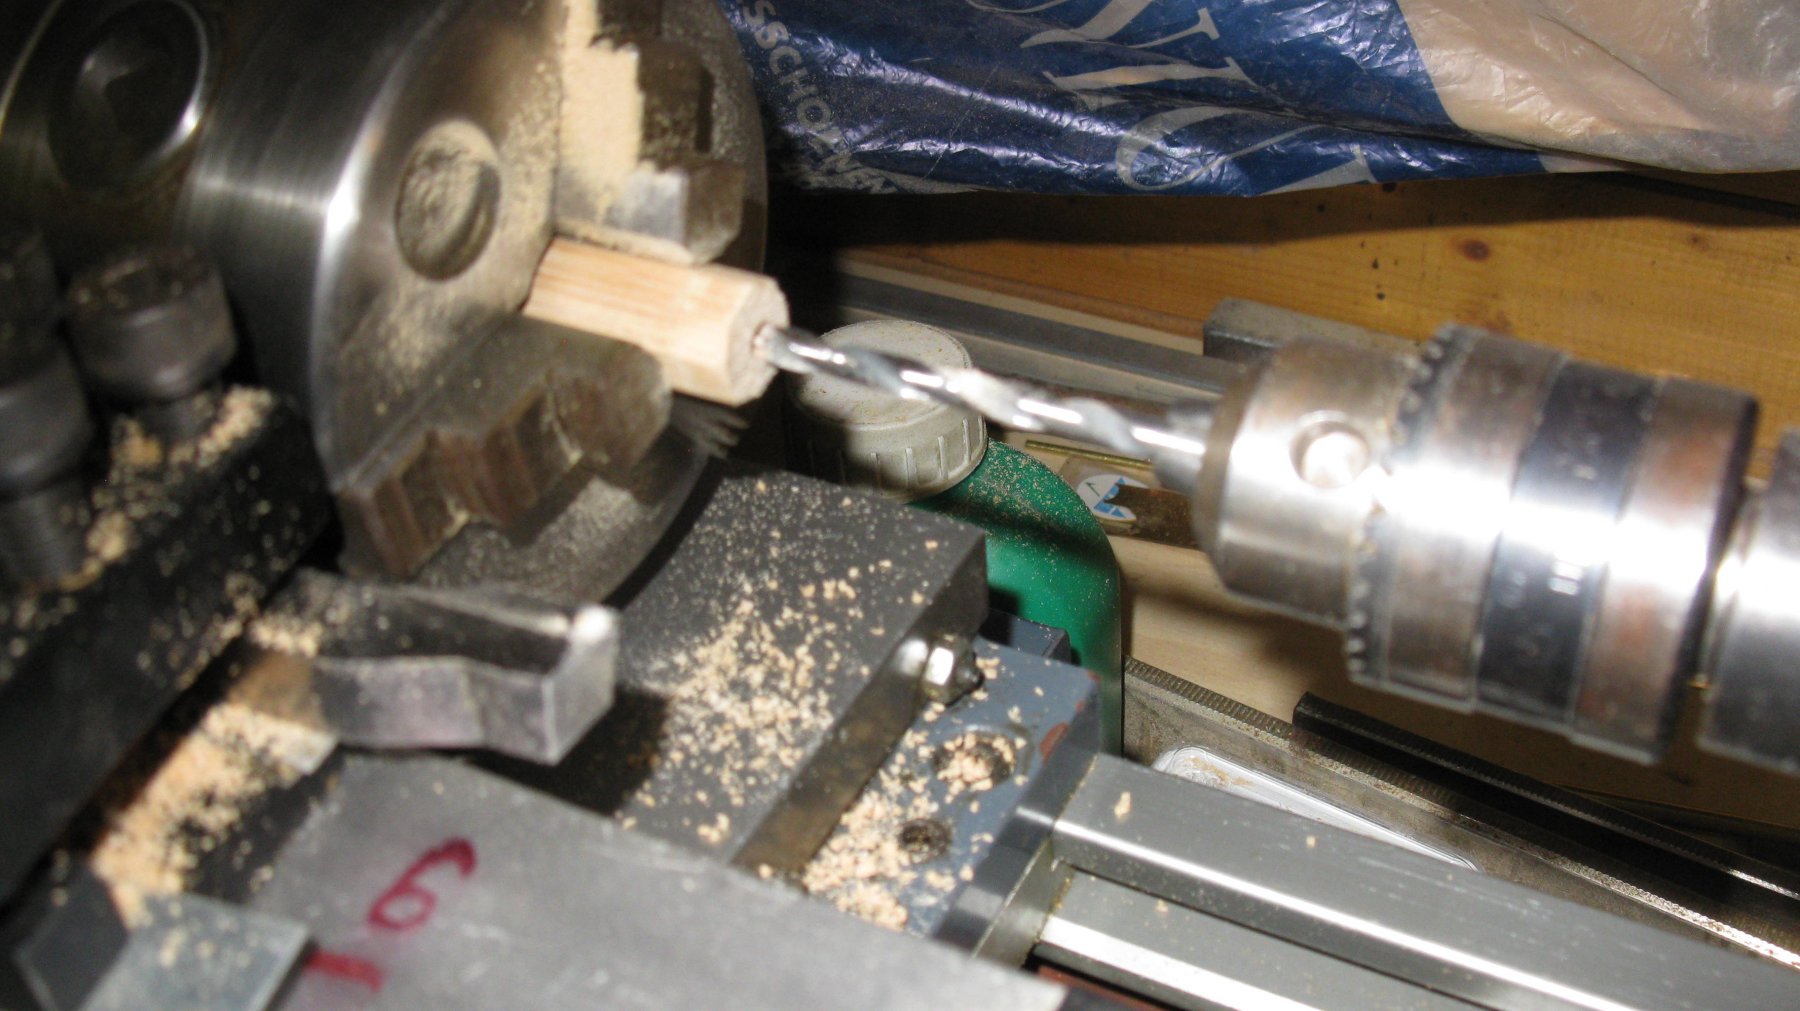
12.27 I make the capstan roll of a square piece of oak of which I plane off the corners till it is a octagon. Then I drill a hole in the center in which the shaft of the cog-wheels fits.