-
Posts
1,553 -
Joined
-
Last visited
Content Type
Profiles
Forums
Gallery
Events
Everything posted by G.L.
-
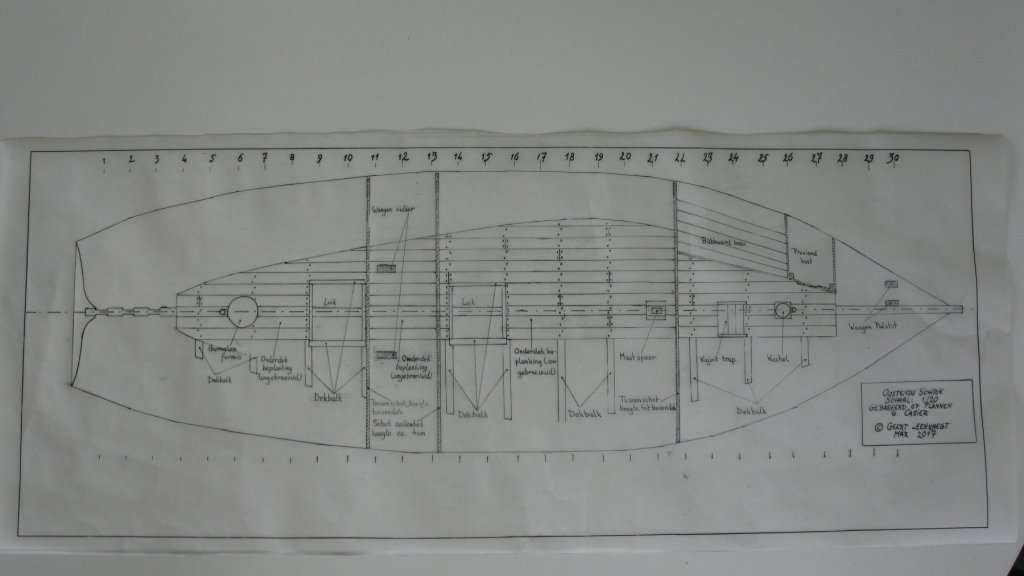
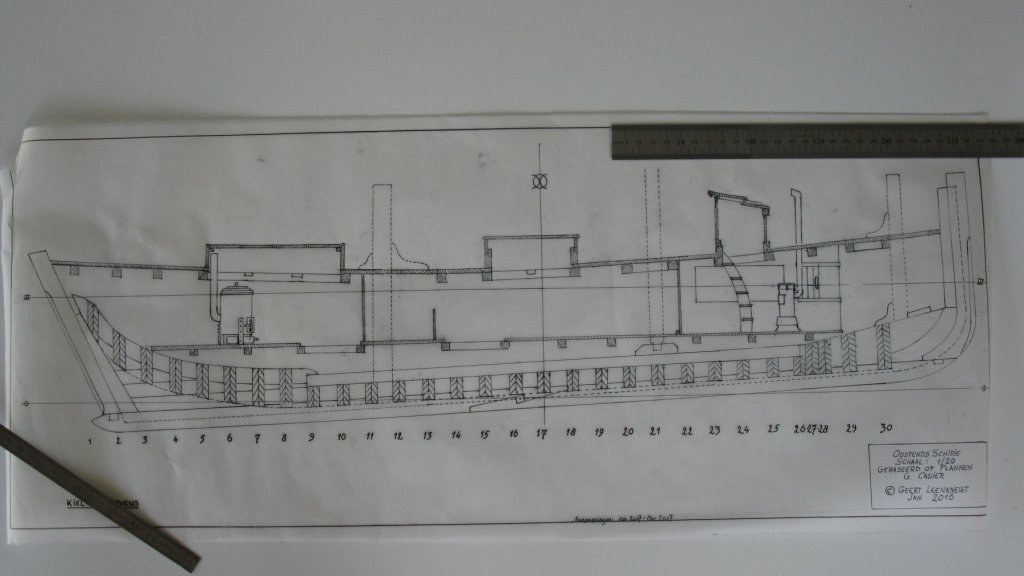
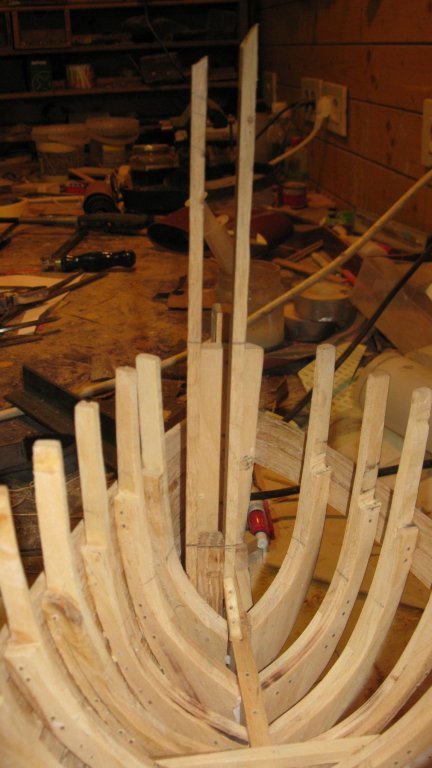
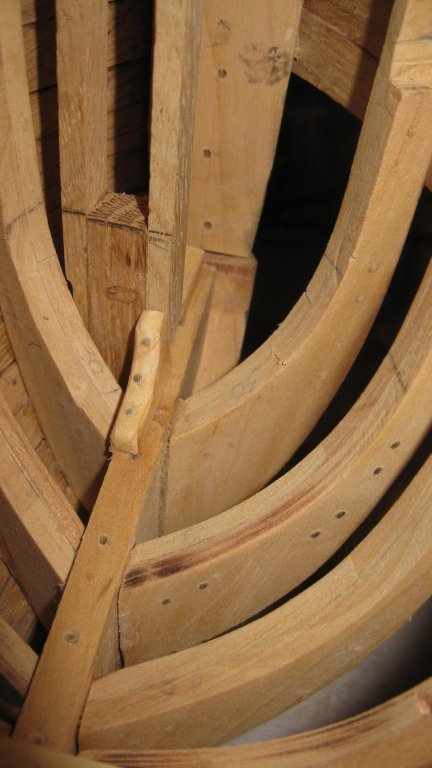
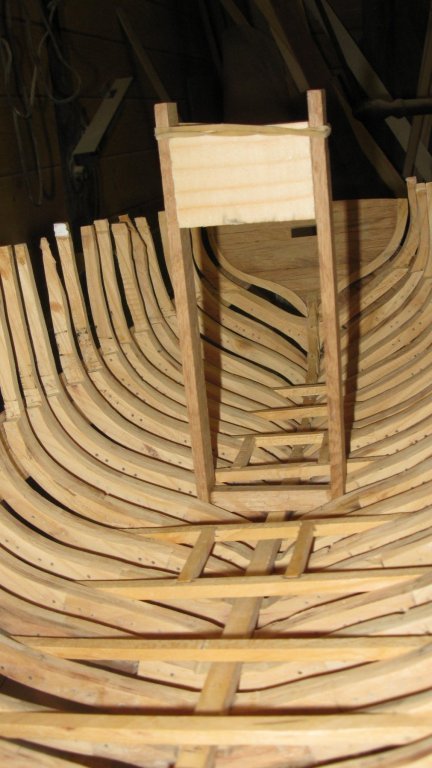
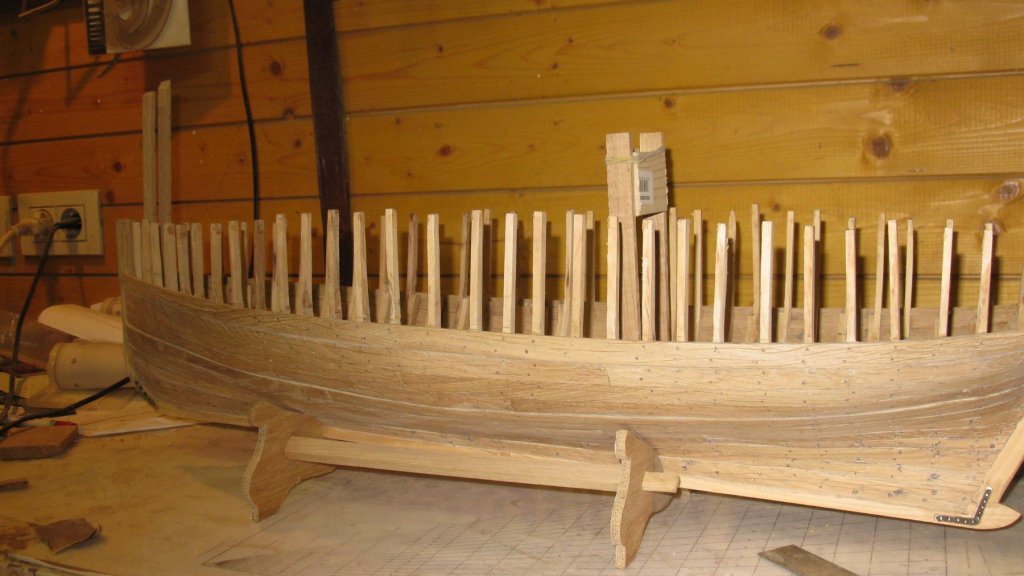
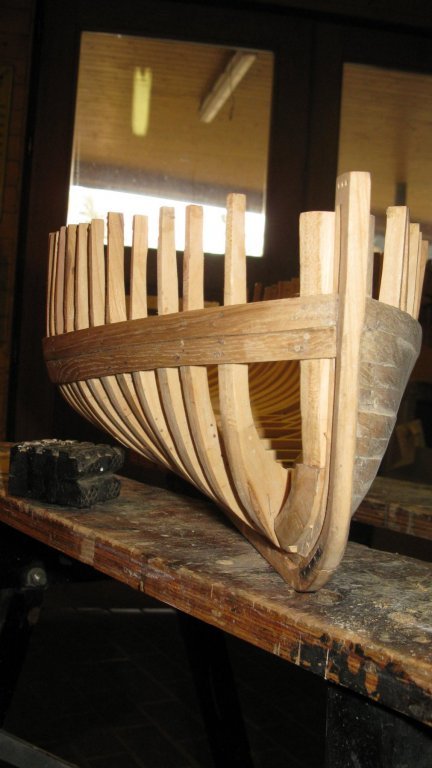
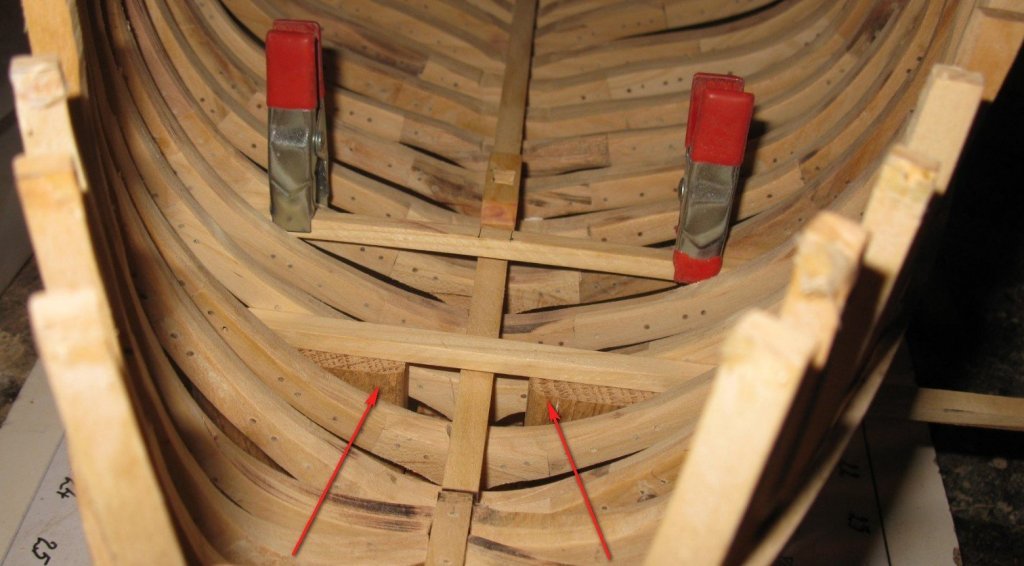
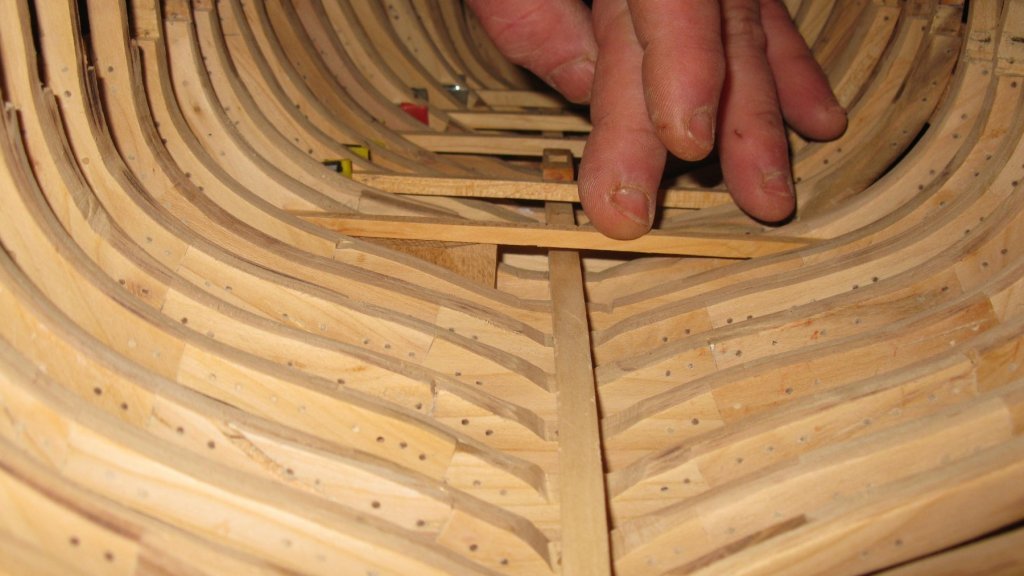
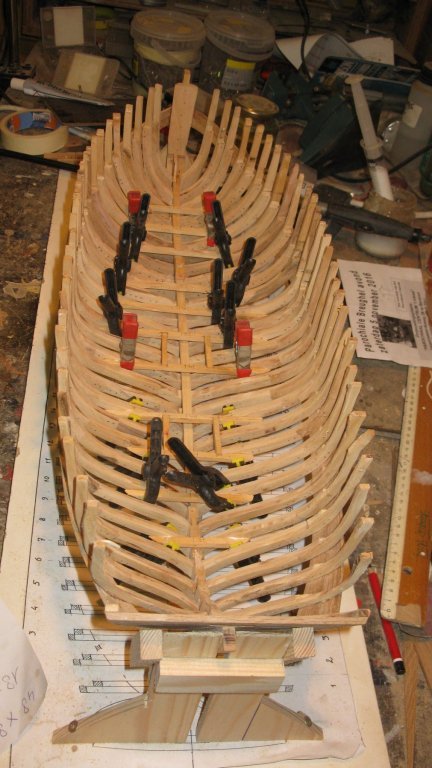
8.4 It is about time to think about the interior of the boat. I have only one contemporary sketch of how the vessel might look like. The sketch is now very precise. For example the crew shelter in the forecastle is not to scale at all. On my model I measure an average headroom of 1.2 meter, but the sketch shows al spacious cabin with two bunks behind each other. If I convert them to the real space I dispose of, I have such a small bunks that if they should lay me in it, I would never get out of them anymore. 167.bmp
-
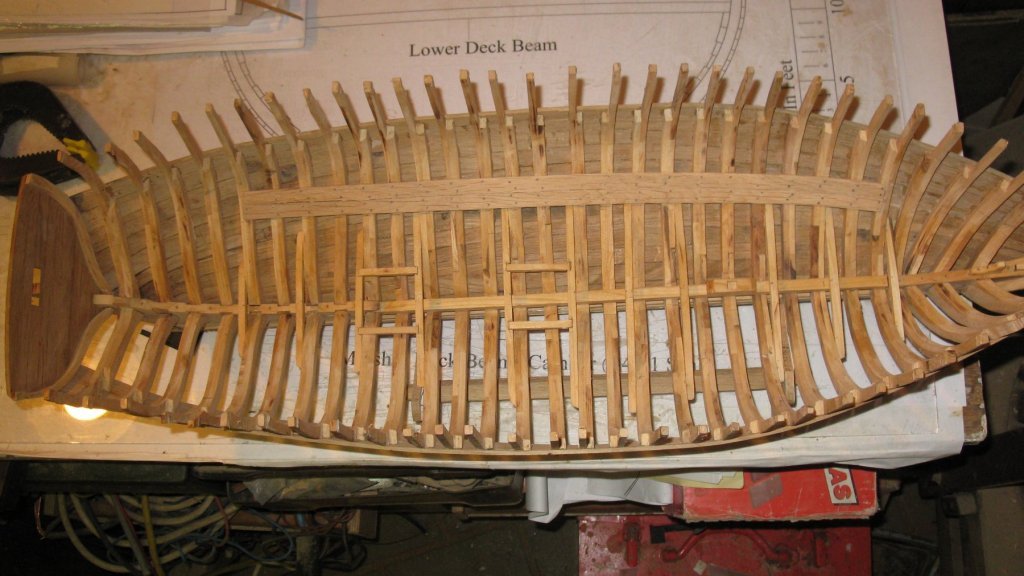
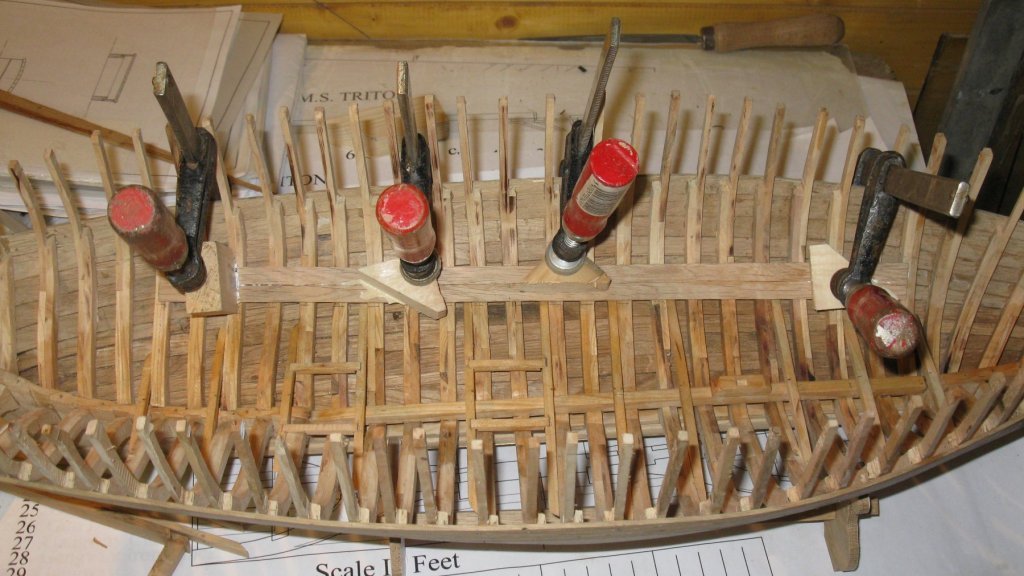
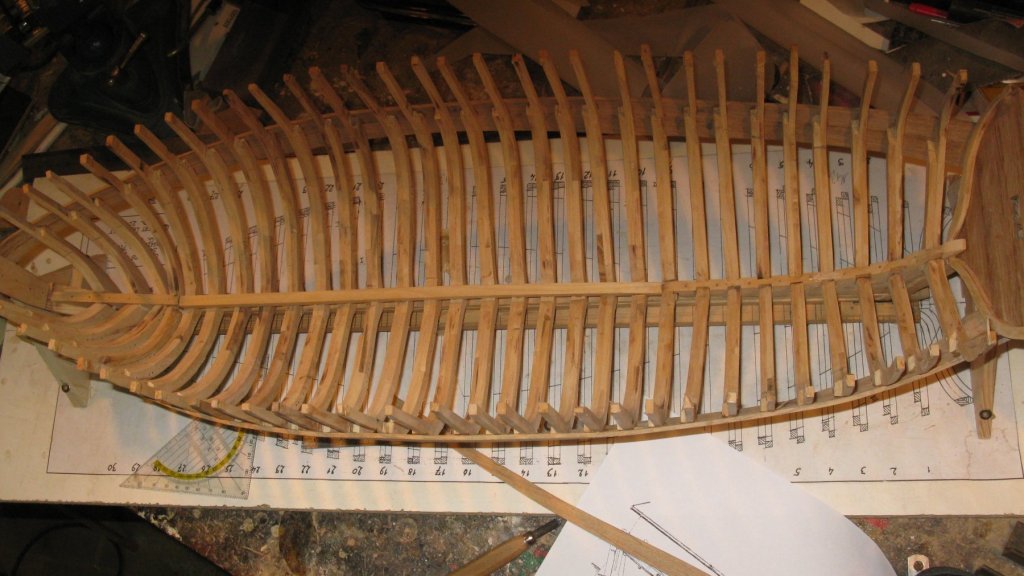
Wow Derek, You are going fast! I have some questions: I have the impression that you made de keel a bit shorter at one side of the model. Is there a reason for? You made the notches for the carlings over the whole thickness of the deck beams. The carlings are thinner than the deck beams. Wouldn't it be better to make smaller notches in which the carlings can be laid? Many regards, G.L.
-
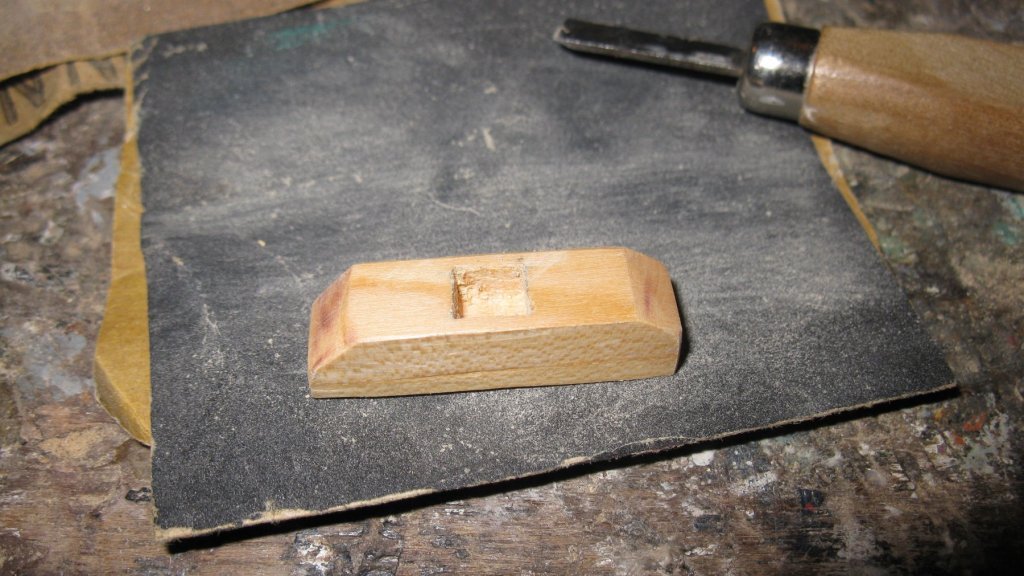
Part 7: Deck gear preparations and sand band 7.1 Some parts of the deck gear like the jib boom support and the fishing winch continue below the deck till the bottom of the vessel. I make their bottom pieces now. I leave them longer than needed. Later, when the deck beams are in place, they can be sawn at the correct height.
-
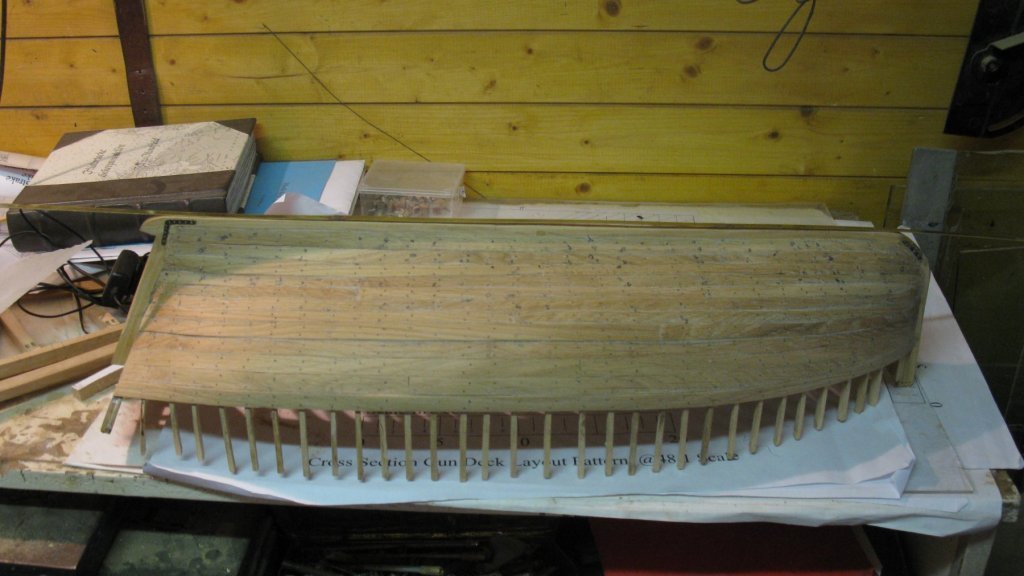
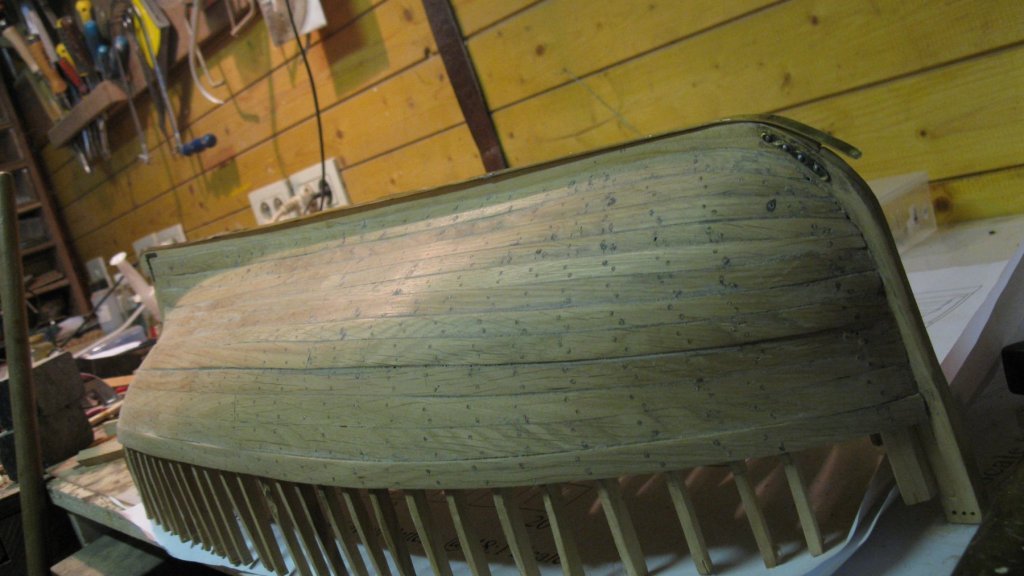
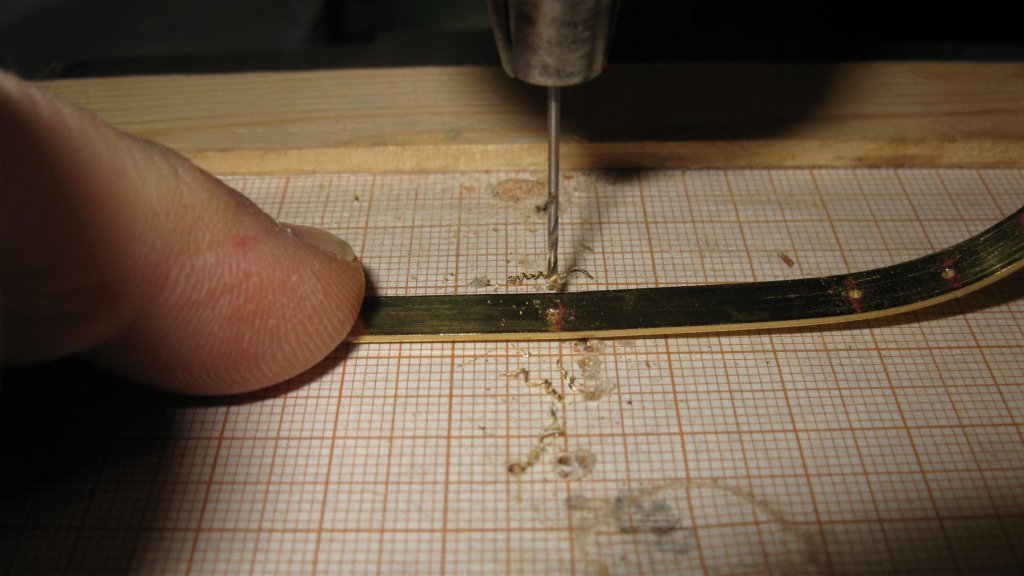
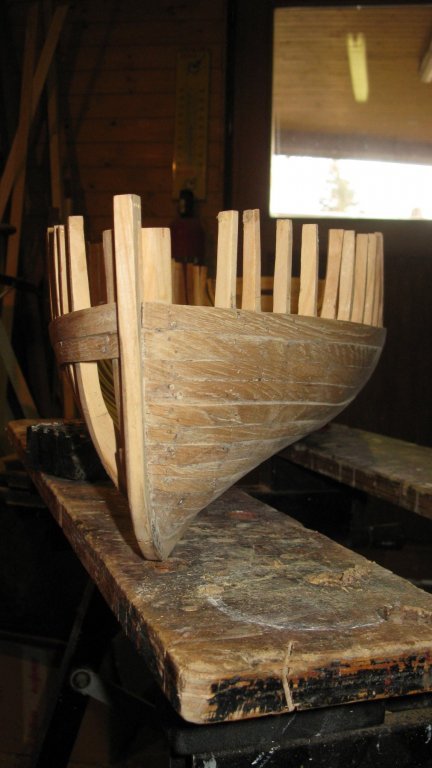
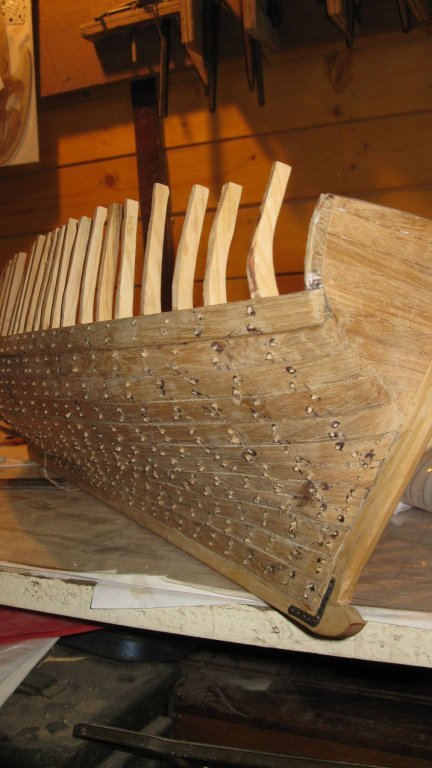
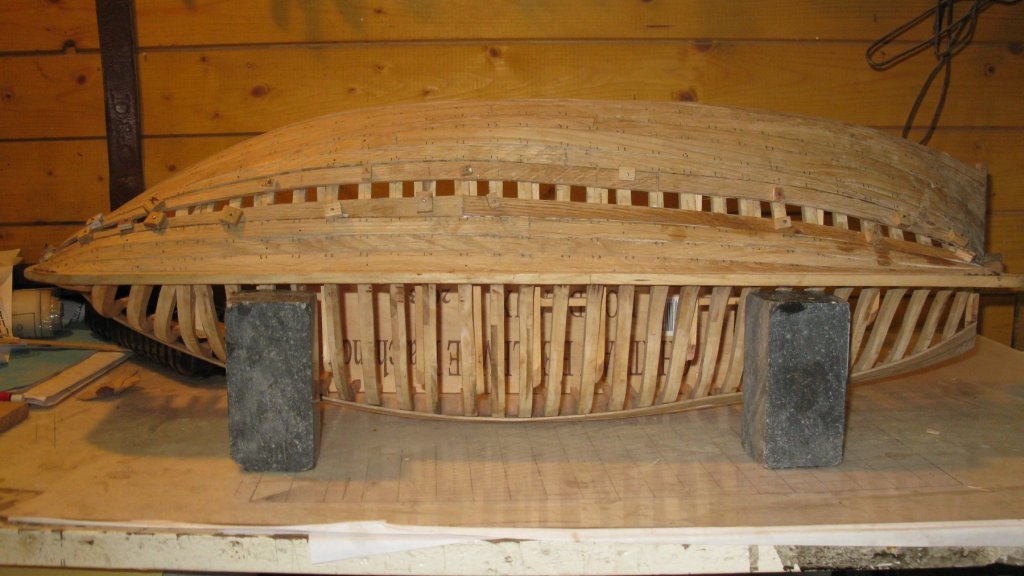
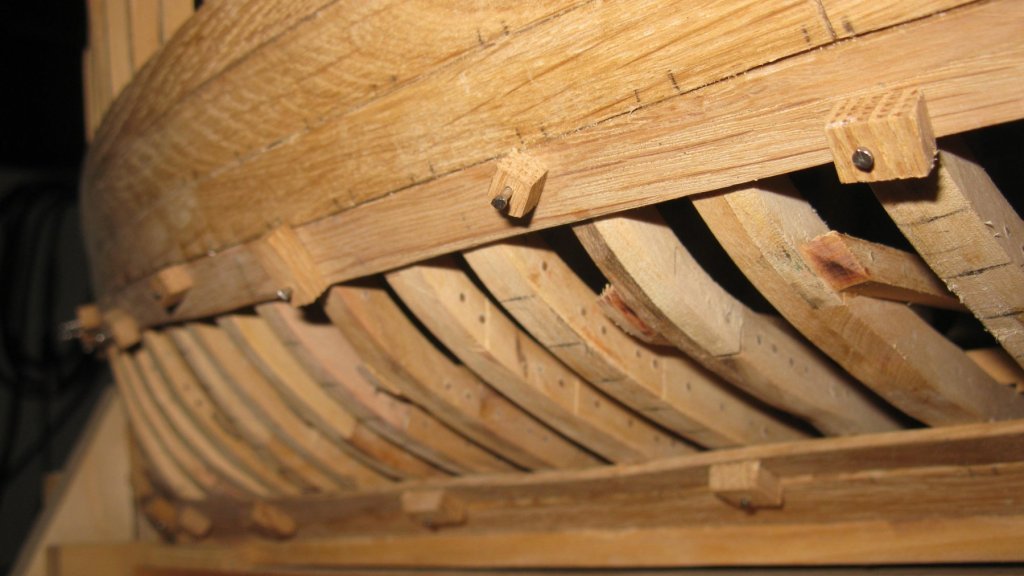
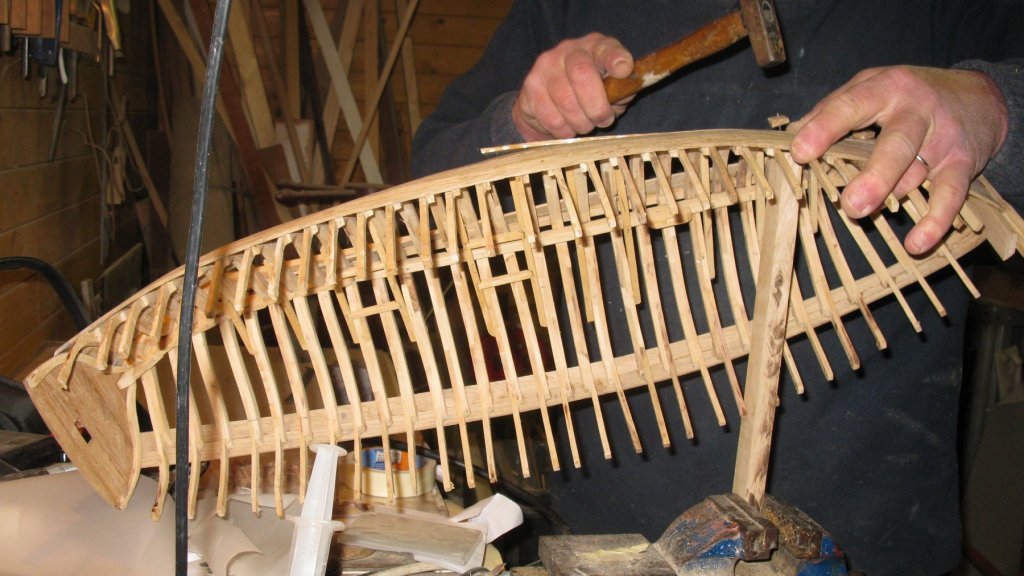
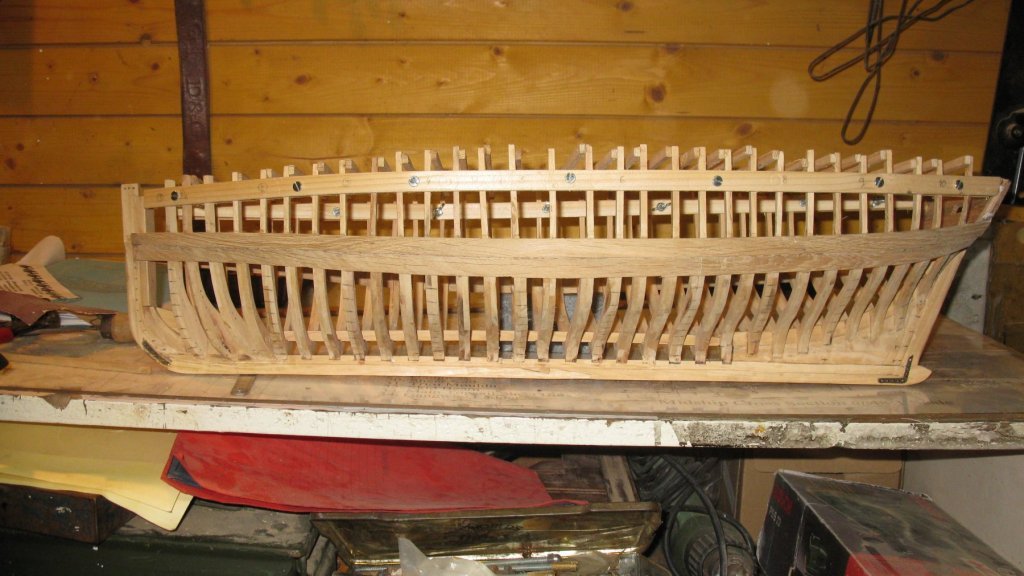
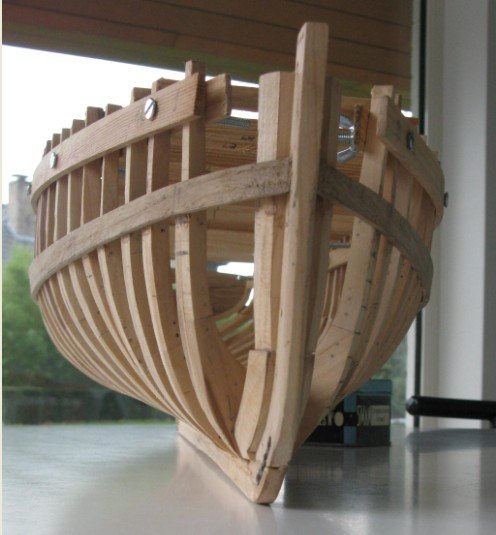
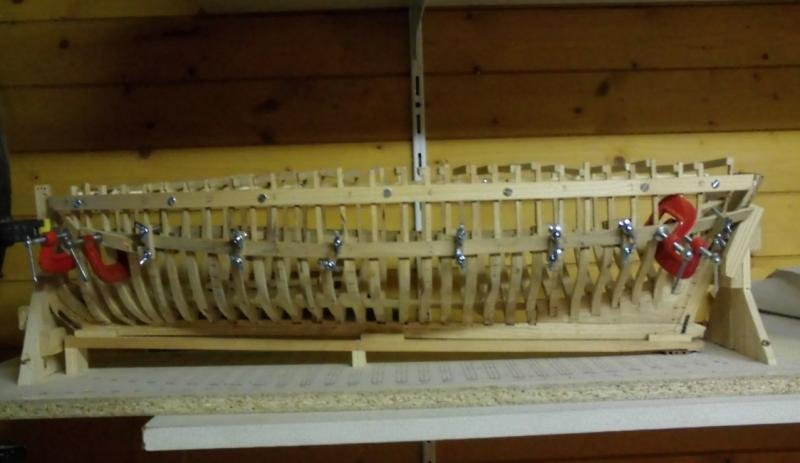
6.16 The space between the frames becomes a bit cramped to use clamps to hold the planks in place. Therefore I nail the planks on the frames with predrilled holes. I drill the holes in the locations where afterwards should be a tree nail. To prevent the fragile frames for breaking when I hammer the nails I use a stick in the bench vise as a prop.
-
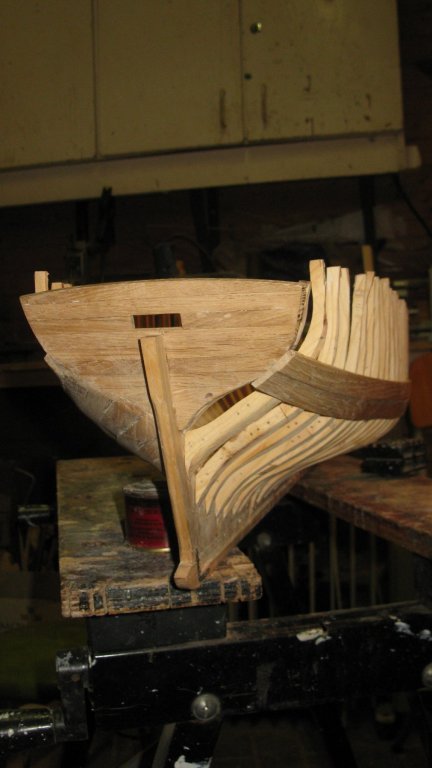
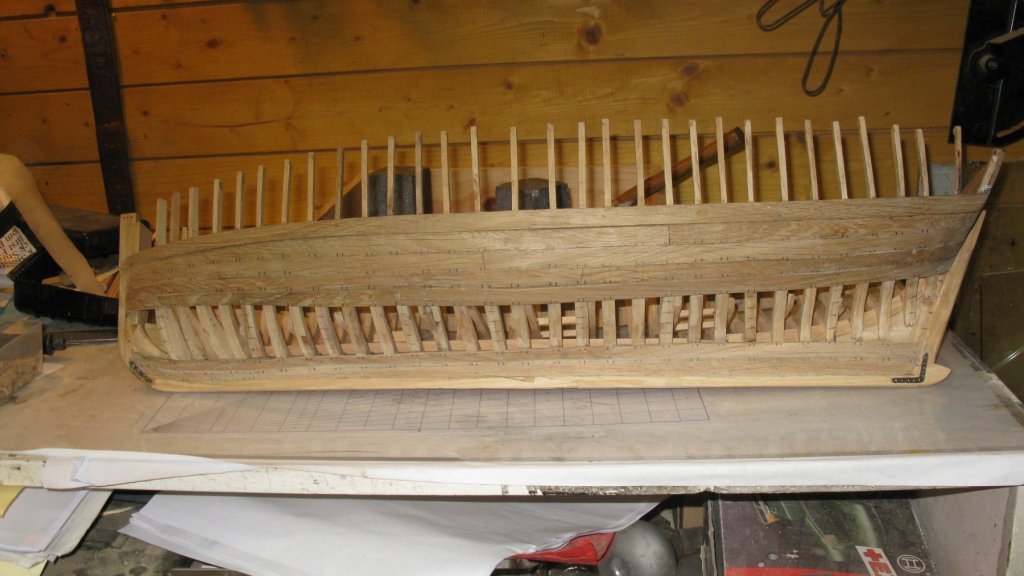
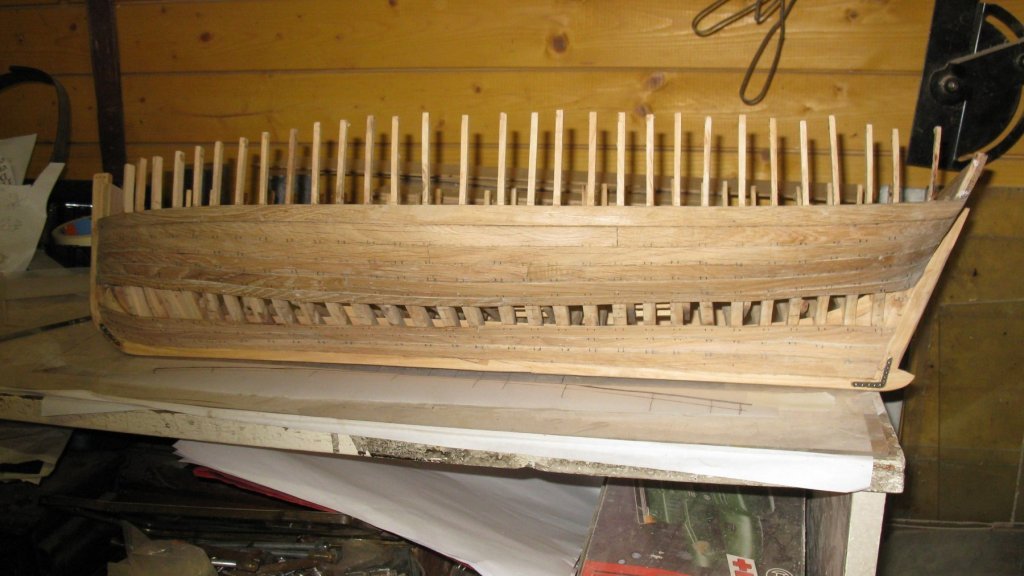
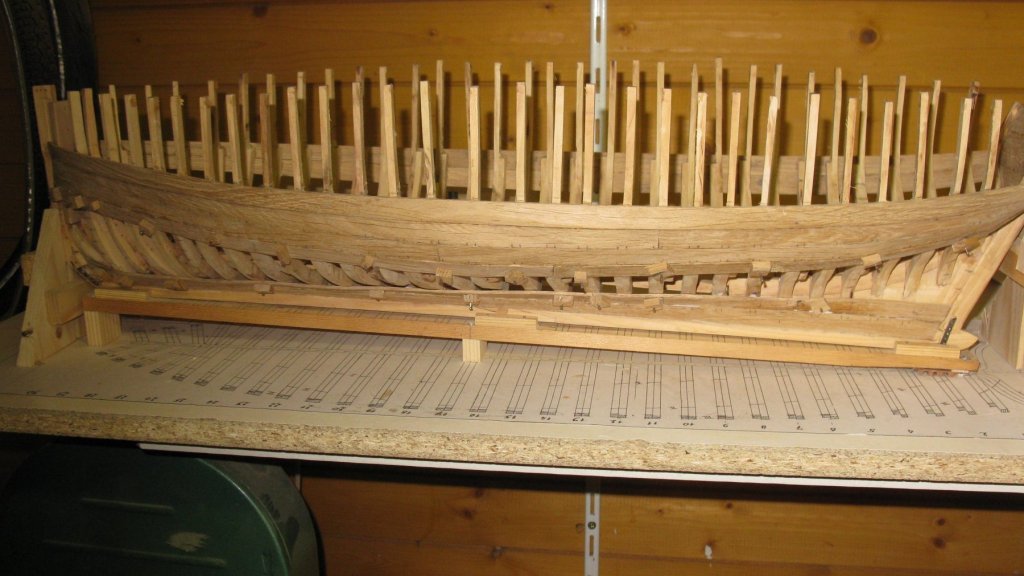
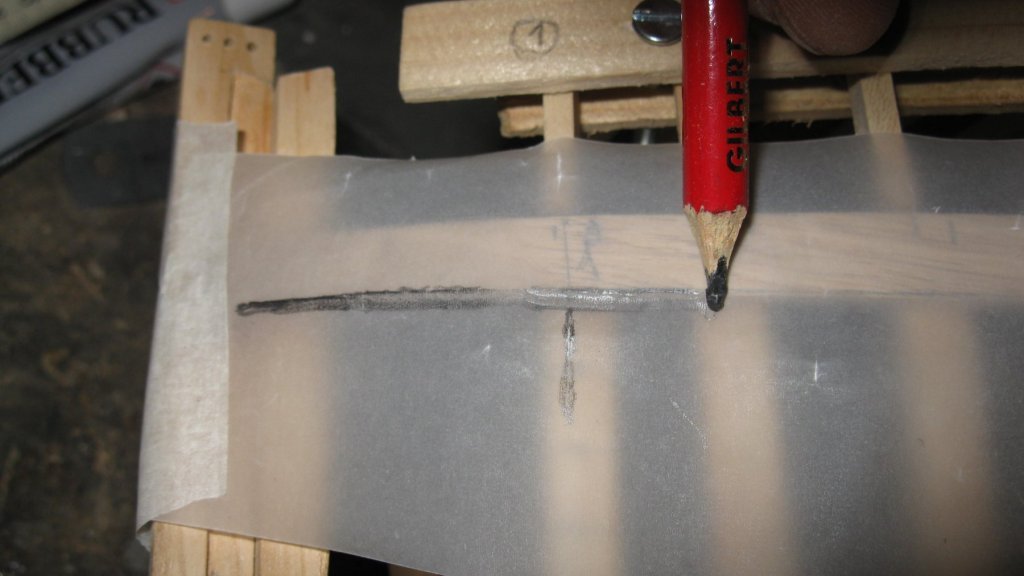
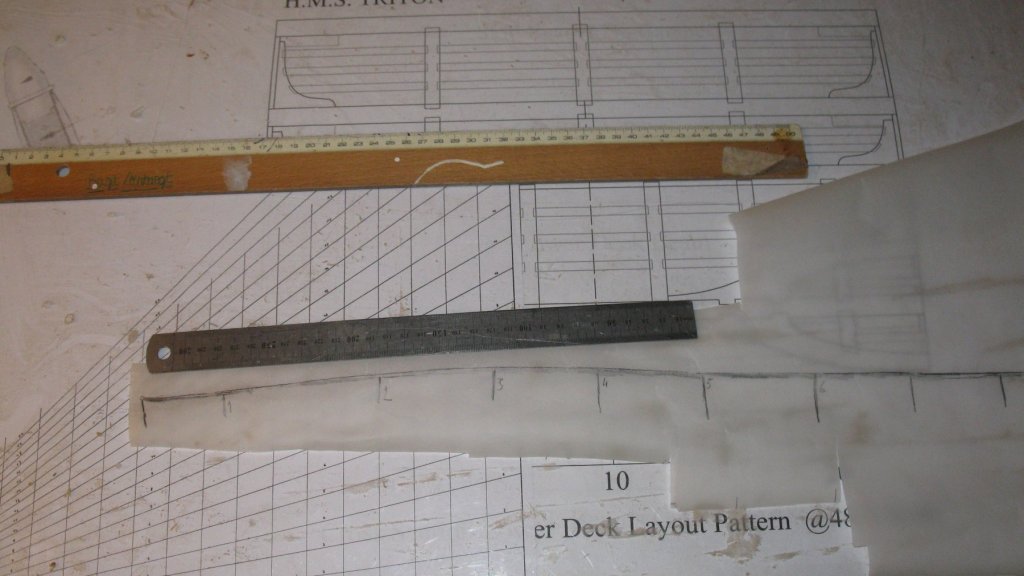
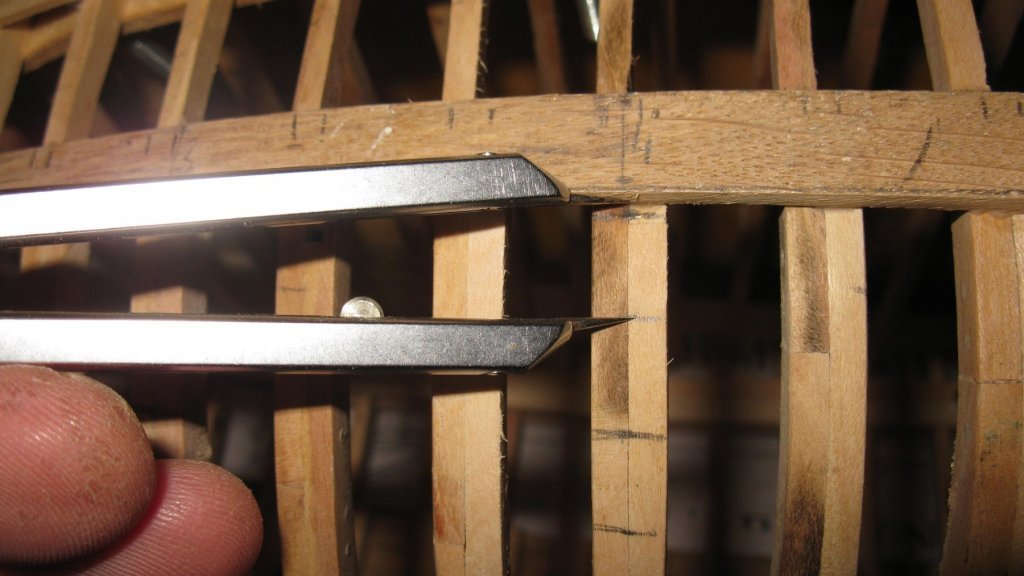
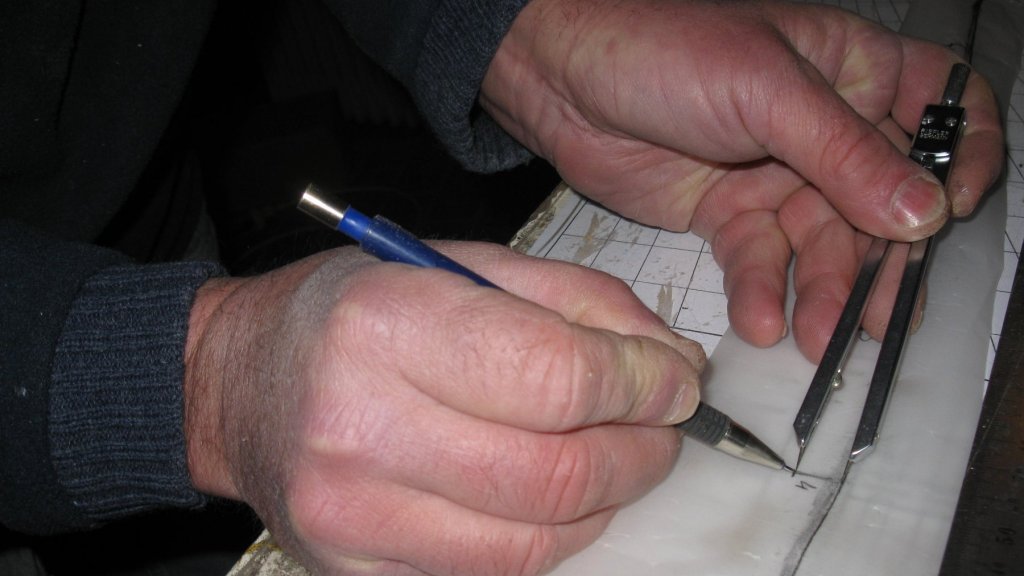
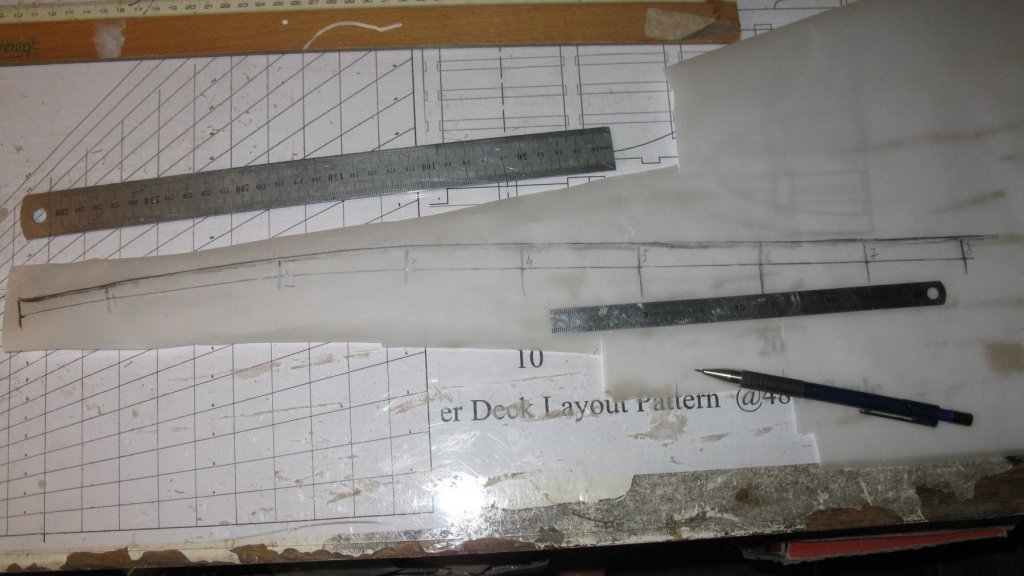
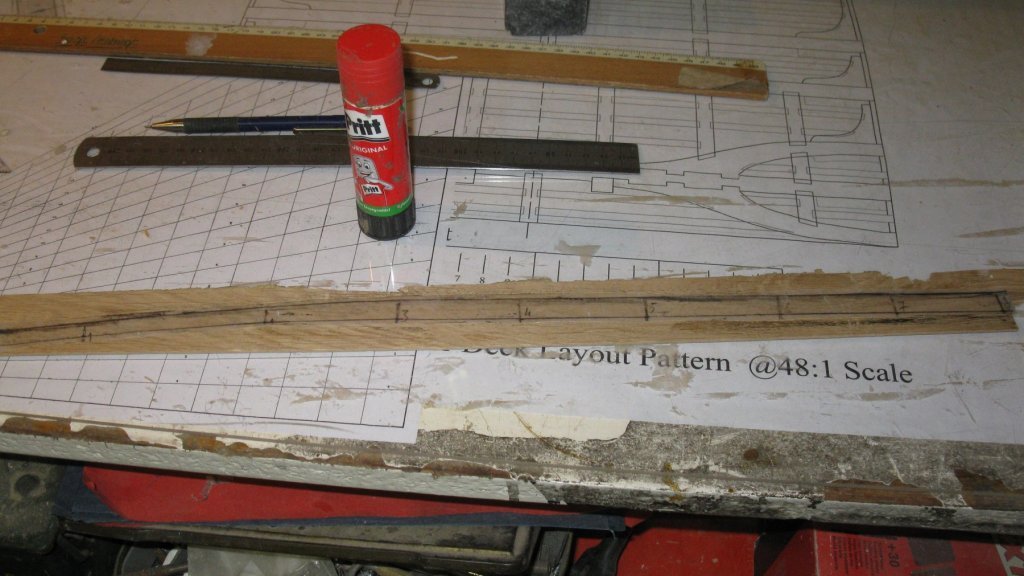
6.11 The second plank is again a challenge. The upper edge of the wale was straight, that is not more the case for all the following planks. To determine the upper shape of the following plank I tape a piece of tracing paper to the hull. I brush past the sharp under edge of the wale with a pencil, marking the edge on the tracing paper. I mark also the middle line of my reference frames. With a pair of compasses I take the width of the plank on the marked frames and bring them over to the corresponding frame lines on the tracing paper. Connecting the width marks I obtain the lower profile of the plank.
About us
Modelshipworld - Advancing Ship Modeling through Research
SSL Secured
Your security is important for us so this Website is SSL-Secured
NRG Mailing Address
Nautical Research Guild
237 South Lincoln Street
Westmont IL, 60559-1917
Model Ship World ® and the MSW logo are Registered Trademarks, and belong to the Nautical Research Guild (United States Patent and Trademark Office: No. 6,929,264 & No. 6,929,274, registered Dec. 20, 2022)
Helpful Links
About the NRG
If you enjoy building ship models that are historically accurate as well as beautiful, then The Nautical Research Guild (NRG) is just right for you.
The Guild is a non-profit educational organization whose mission is to “Advance Ship Modeling Through Research”. We provide support to our members in their efforts to raise the quality of their model ships.
The Nautical Research Guild has published our world-renowned quarterly magazine, The Nautical Research Journal, since 1955. The pages of the Journal are full of articles by accomplished ship modelers who show you how they create those exquisite details on their models, and by maritime historians who show you the correct details to build. The Journal is available in both print and digital editions. Go to the NRG web site (www.thenrg.org) to download a complimentary digital copy of the Journal. The NRG also publishes plan sets, books and compilations of back issues of the Journal and the former Ships in Scale and Model Ship Builder magazines.


