G.L.
-
Posts
1,553 -
Joined
-
Last visited
Content Type
Profiles
Forums
Gallery
Events
Everything posted by G.L.
-
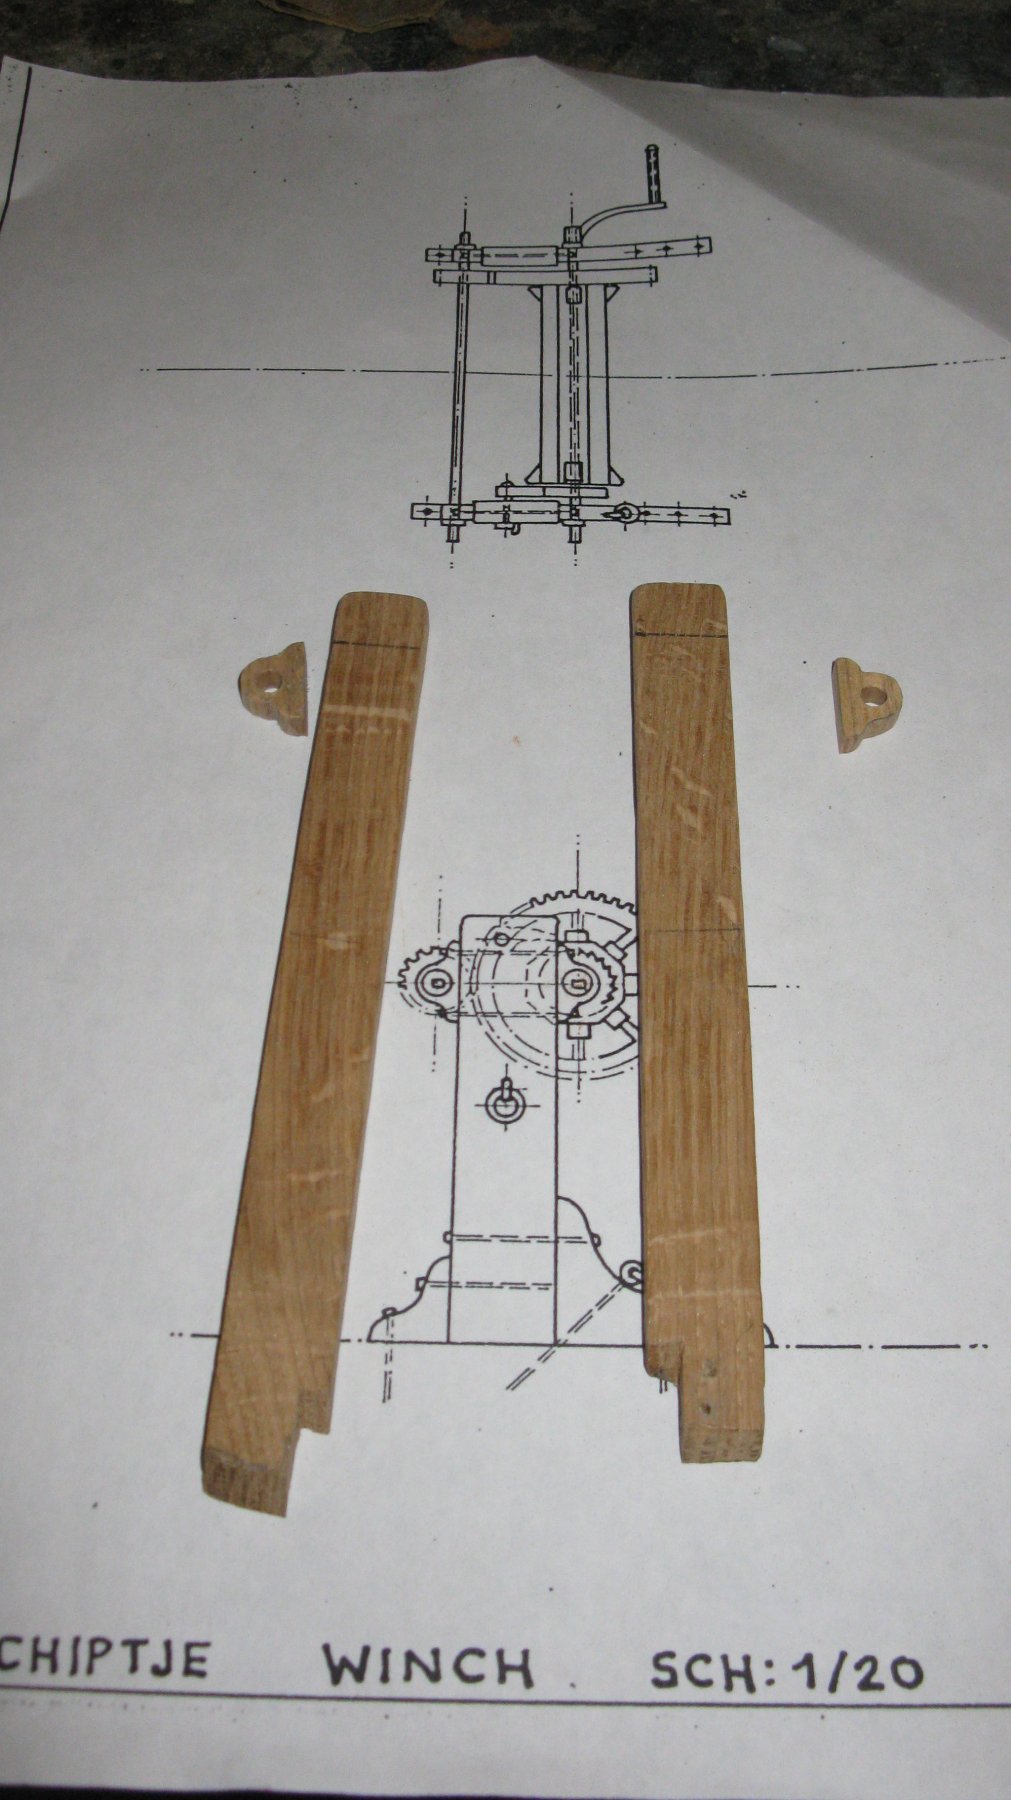
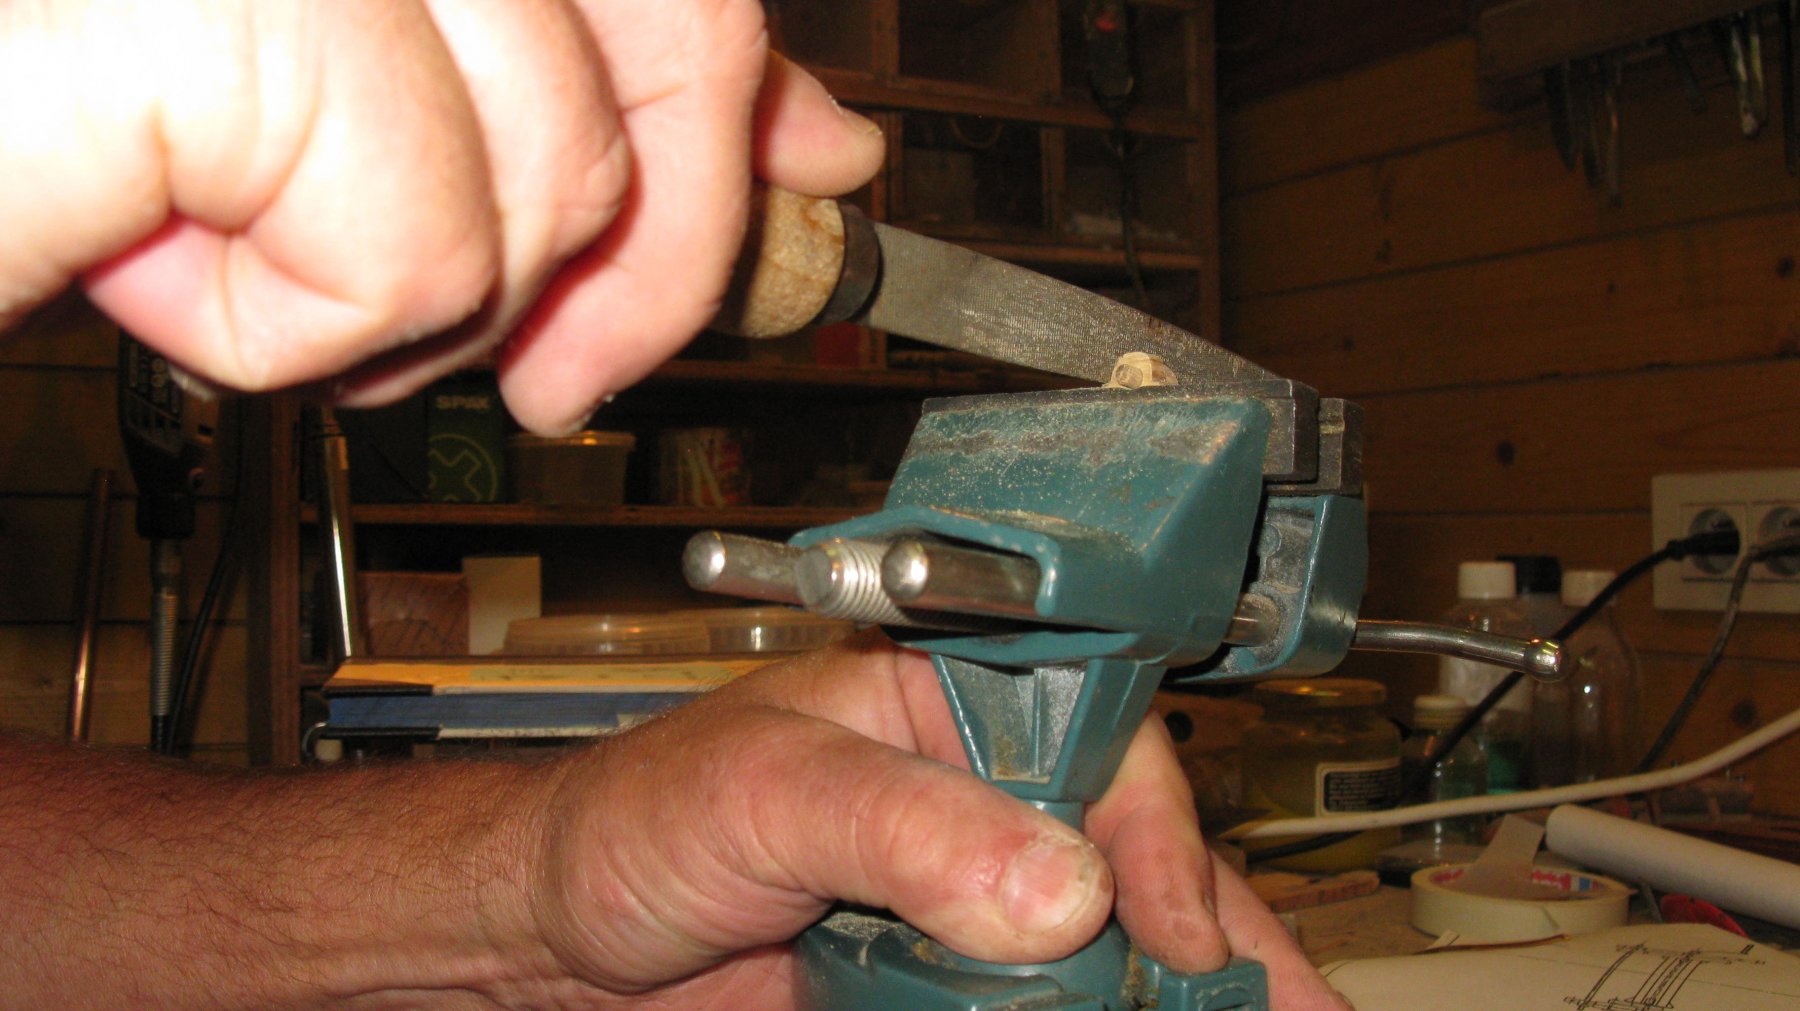
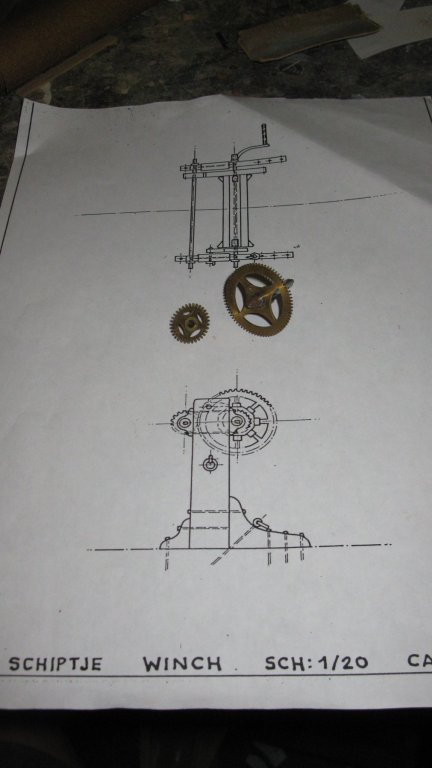
 12.26 I saw the winch stringers to the correct length. They go down below through the deck till they end between the ship frames under the below deck. I make also four bearers in which the capstan roll ant the axis will rest in wood. Later they will be painted in black.

-
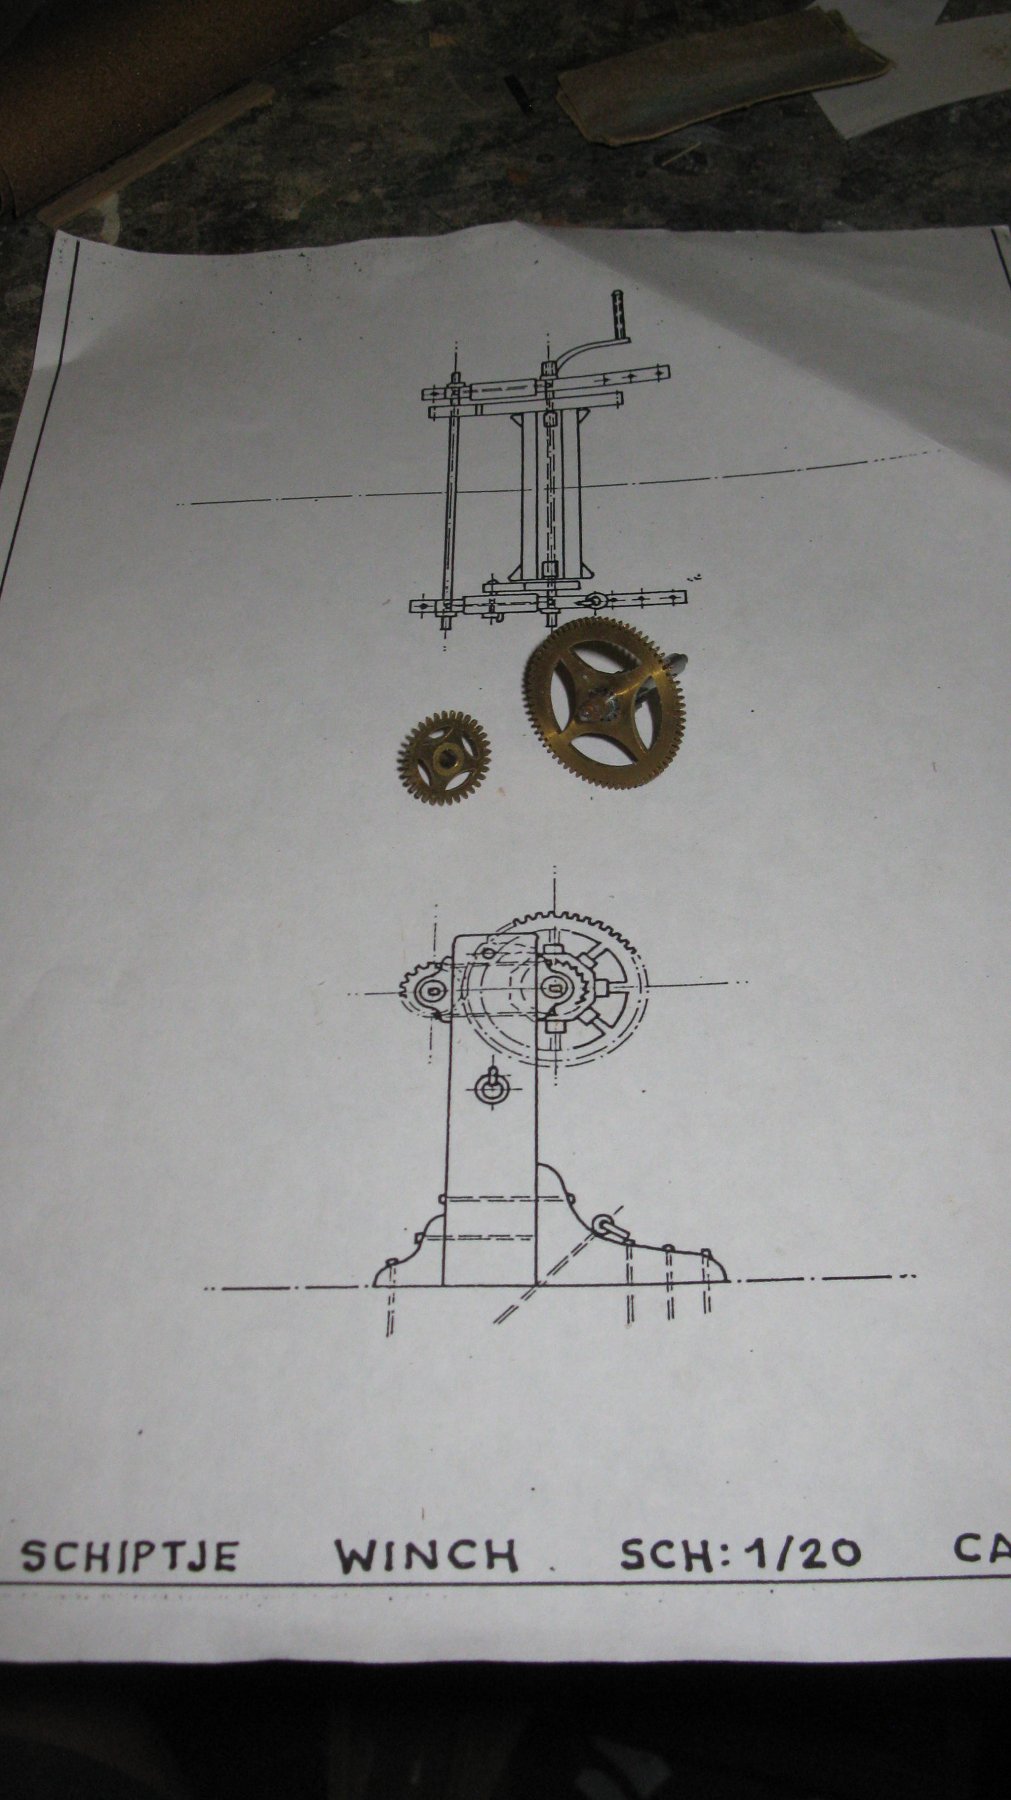
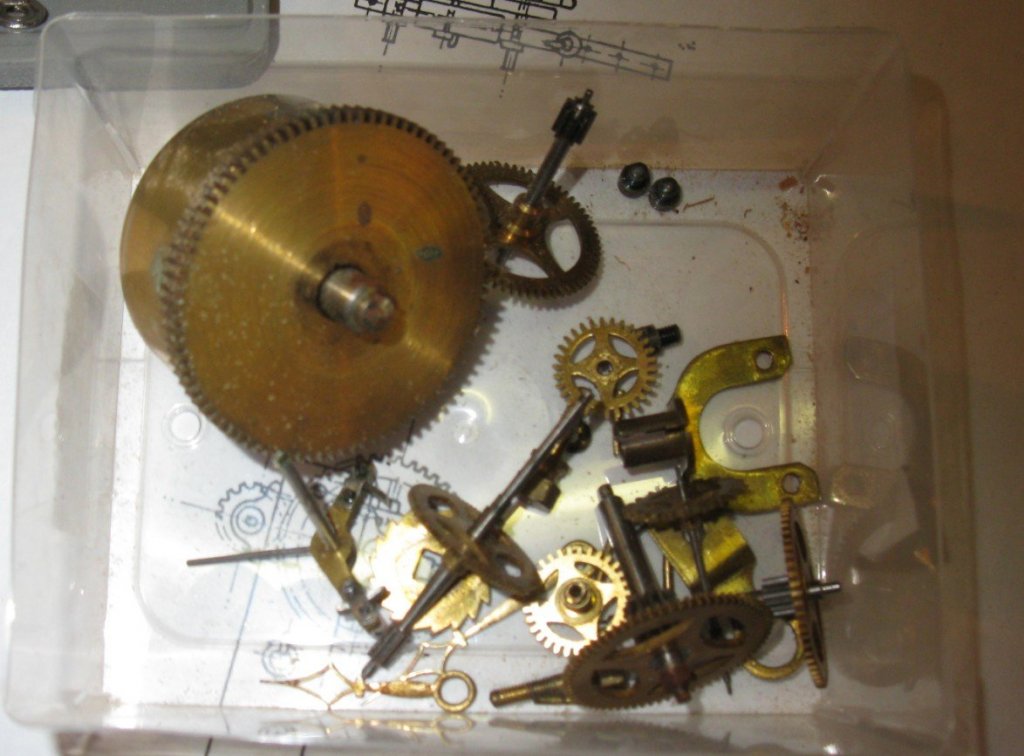
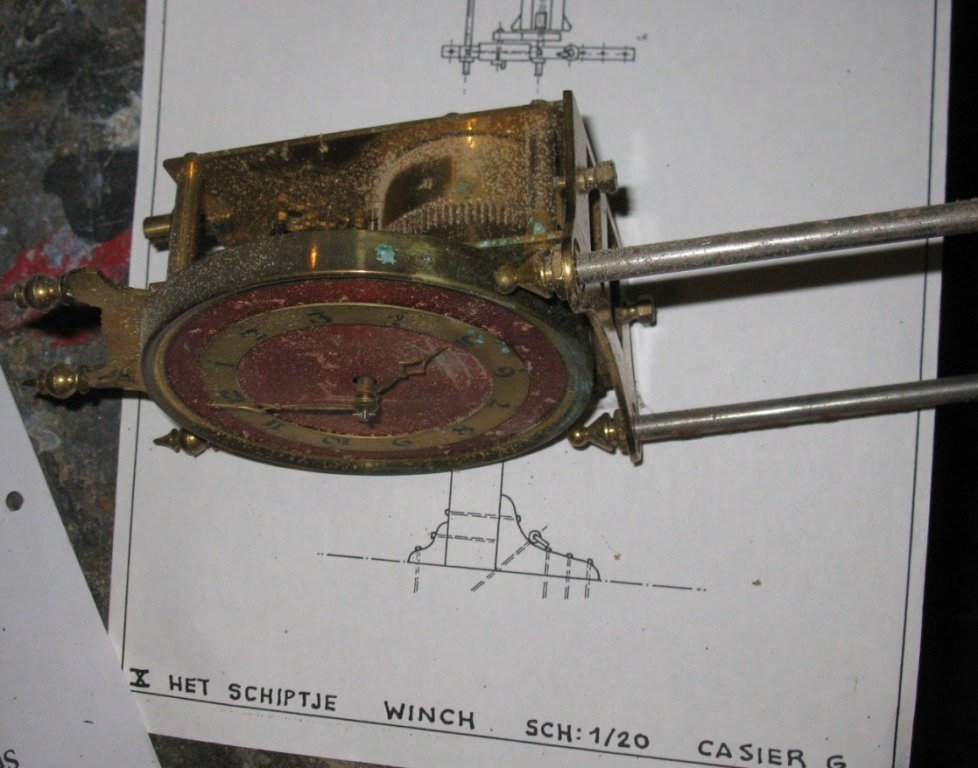
12.25 To make the fishing winch, I start with cannibalizing an old clock. I provides my all the different cog-wheels needed.
-
Thank you Mark and Hakan. The deck is made with pine like it was on that kind of boats. G.L.
-
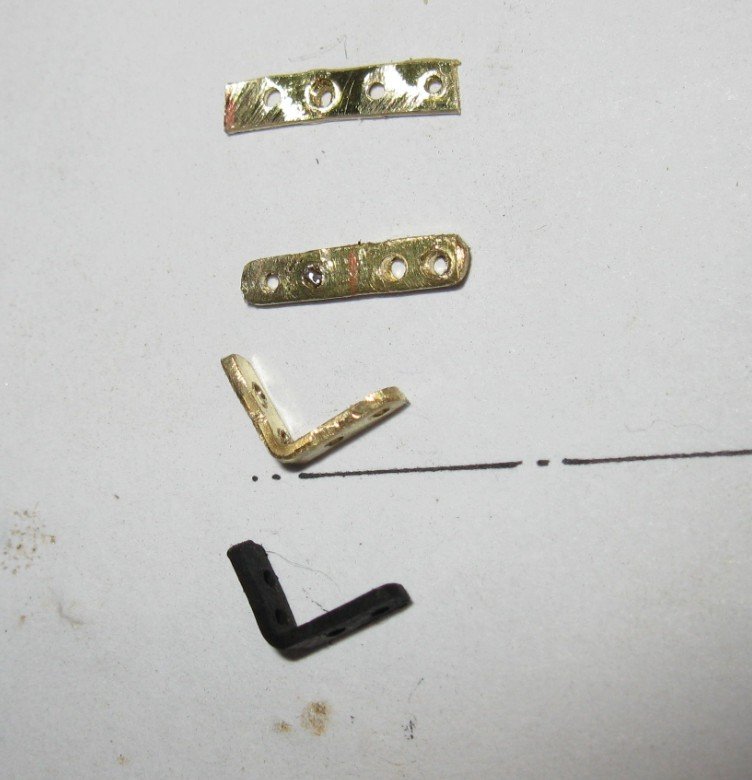
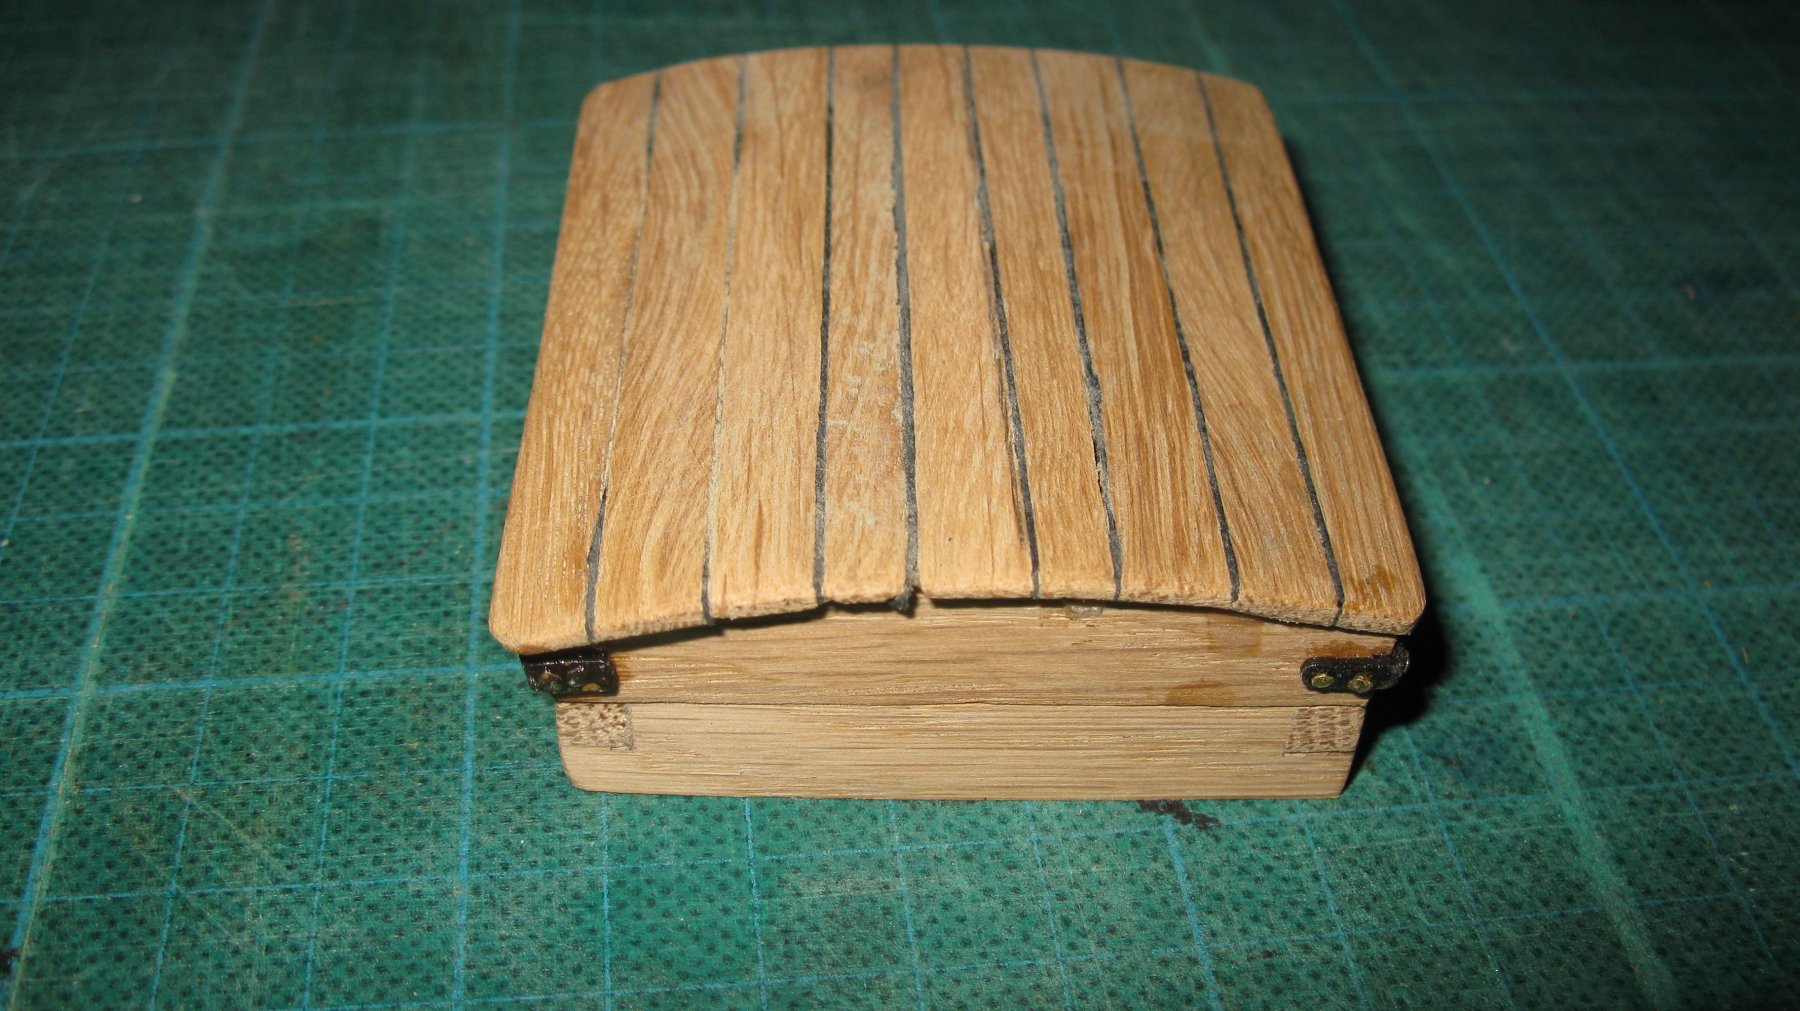
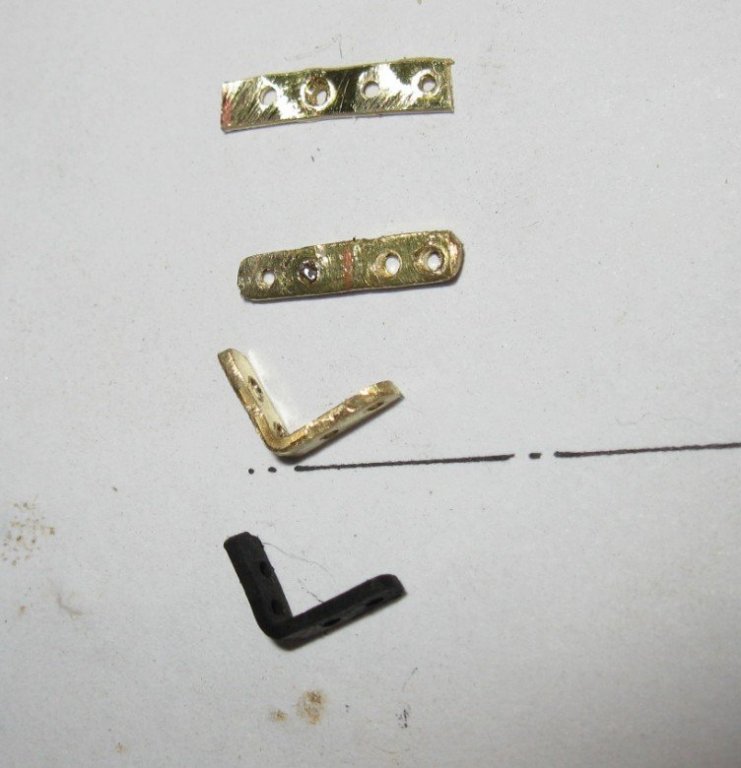
12.24 I finish the hatch with sanding it and adding corner-claps to the corners.

-
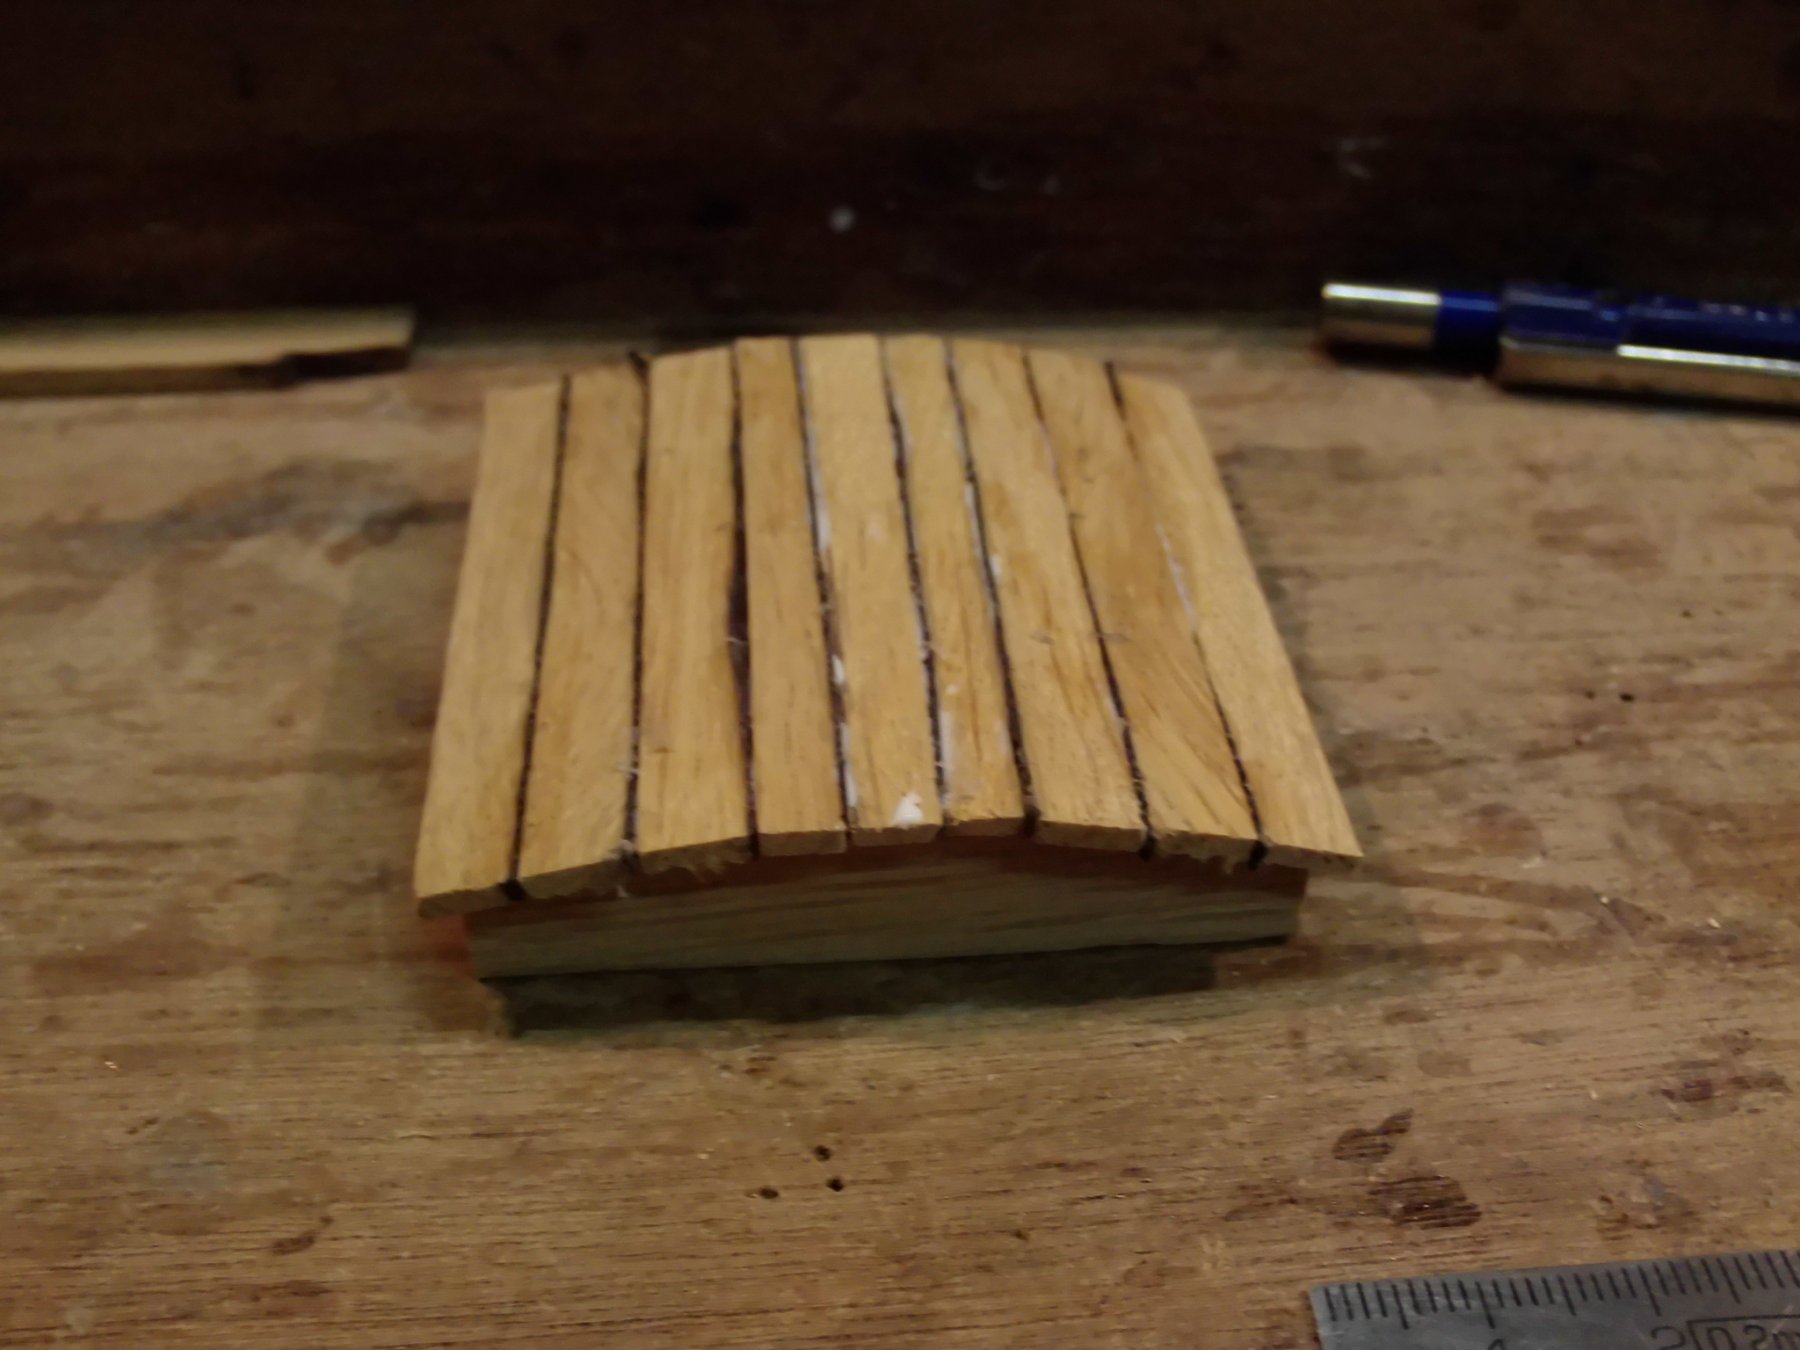
12.23 Planking the hatch. Again with black cardboard strips between the planks.


-
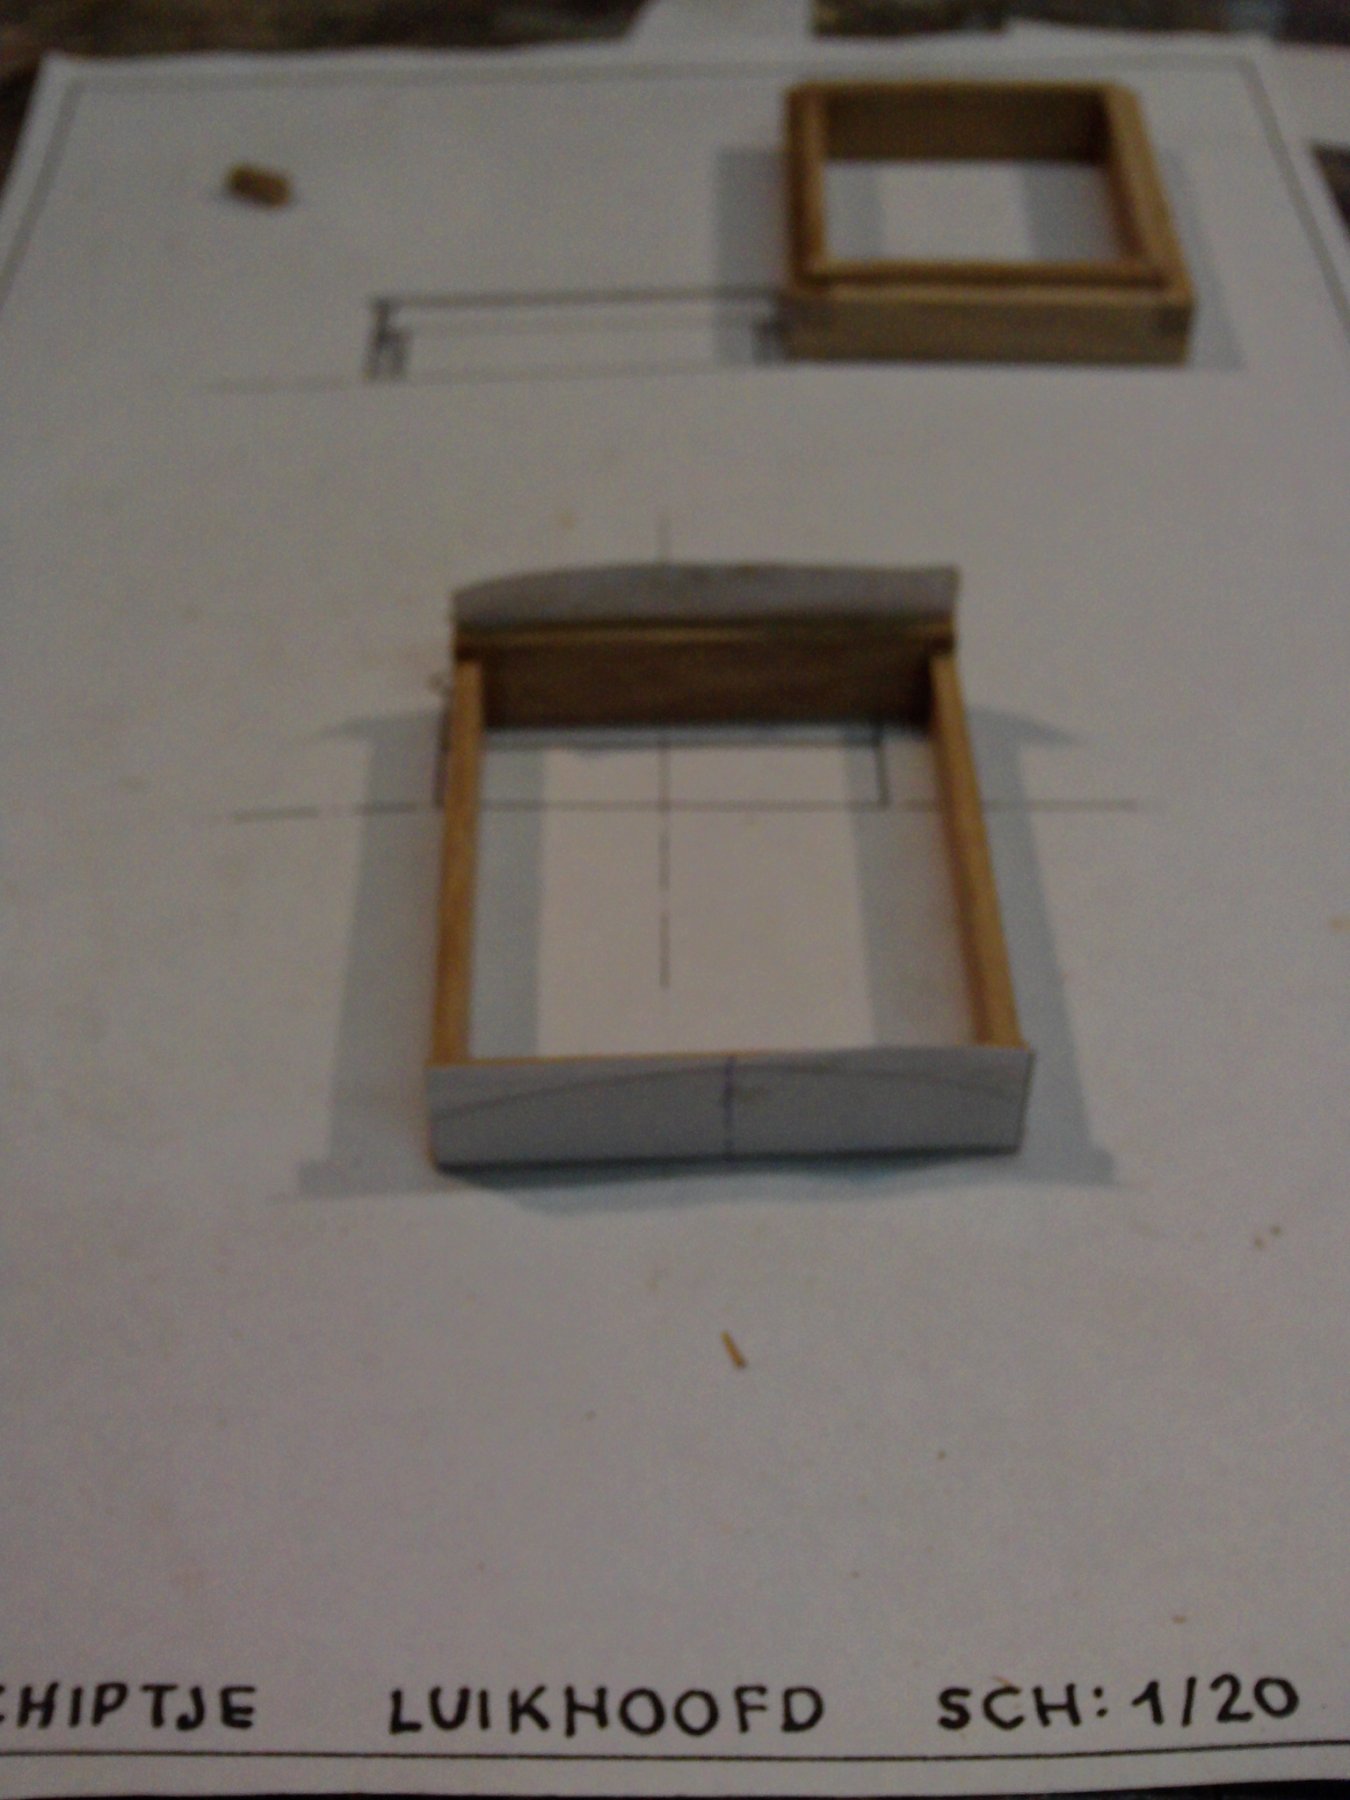
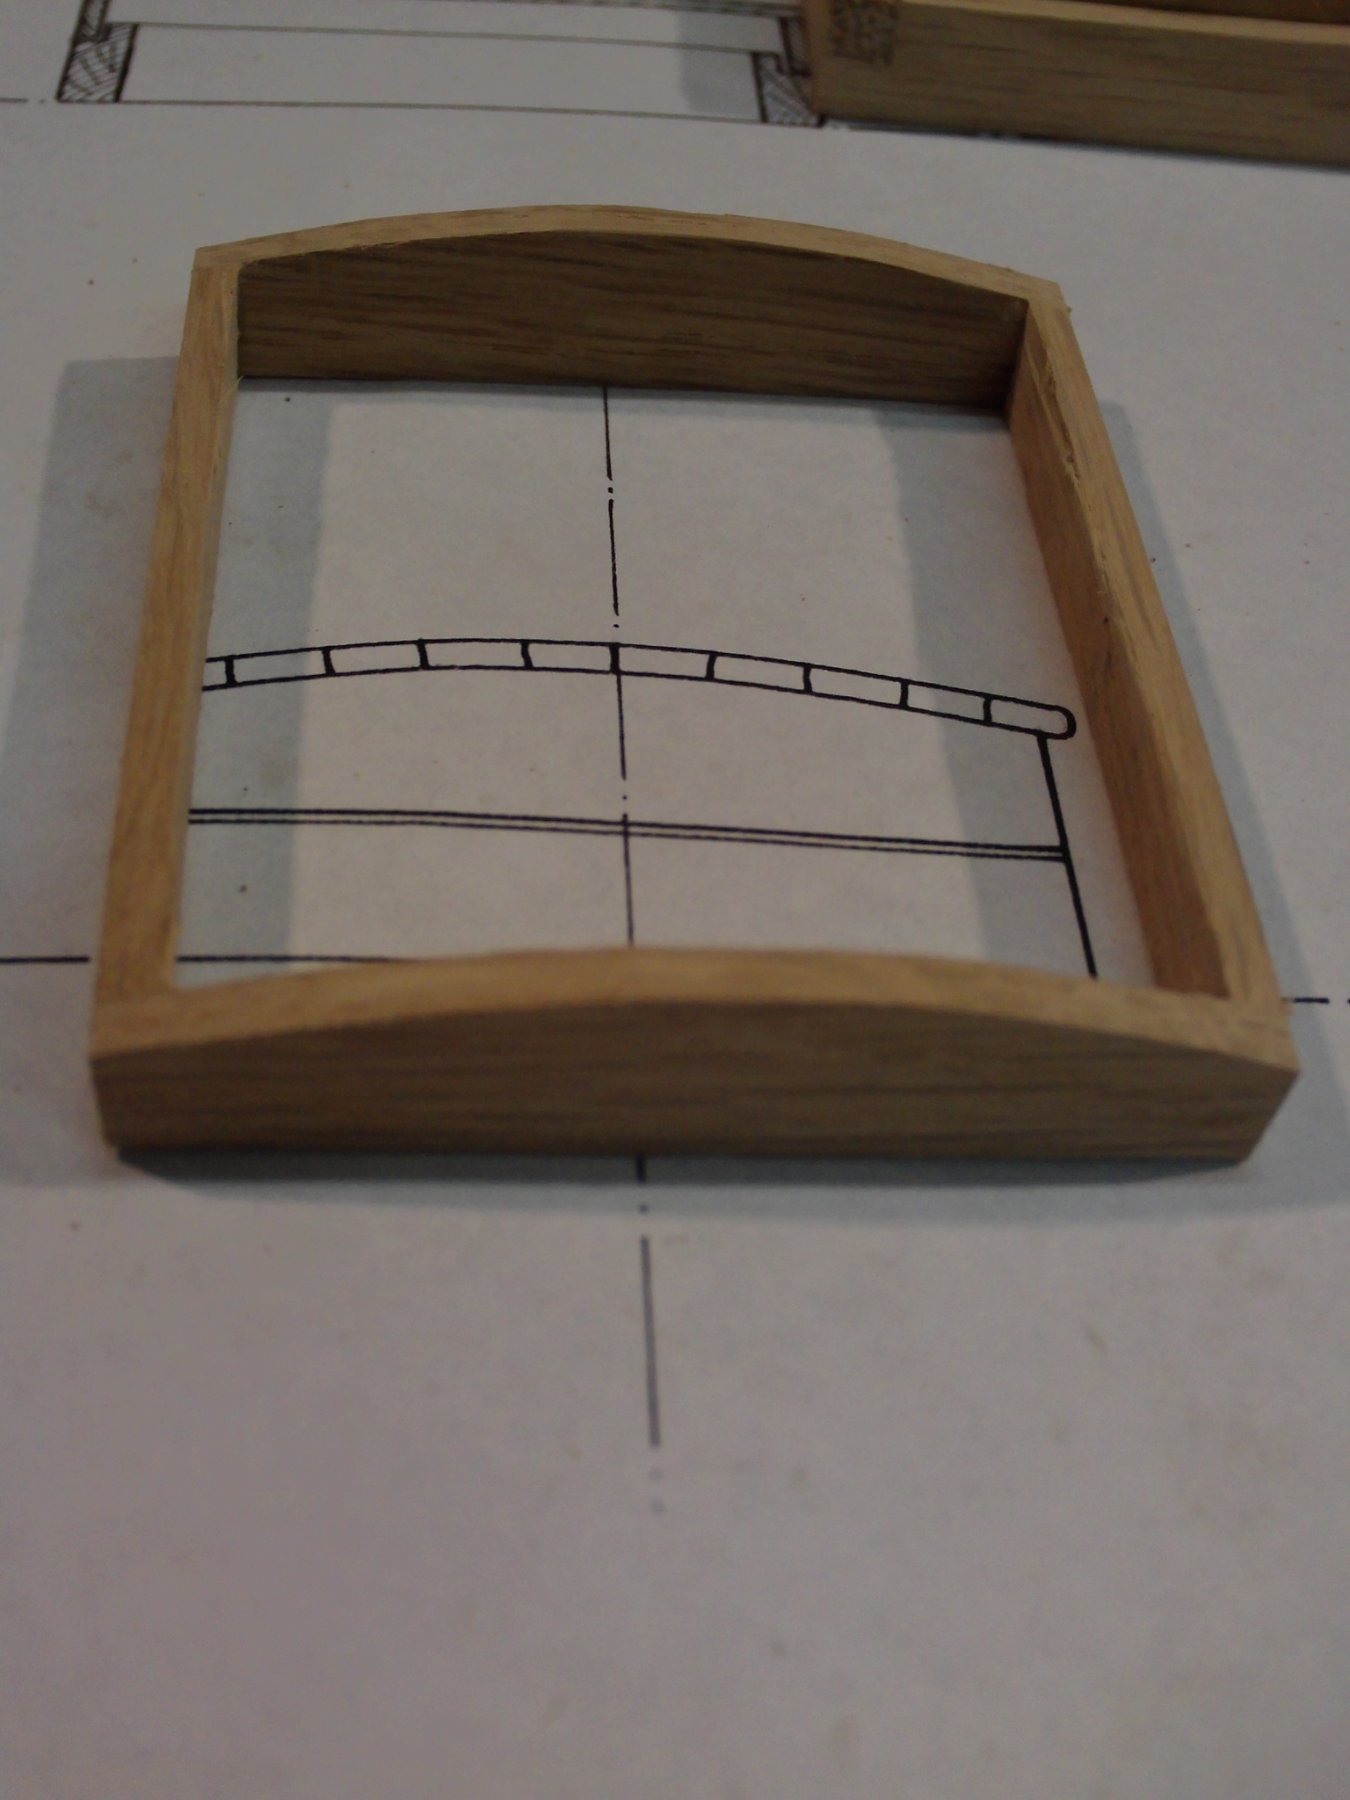
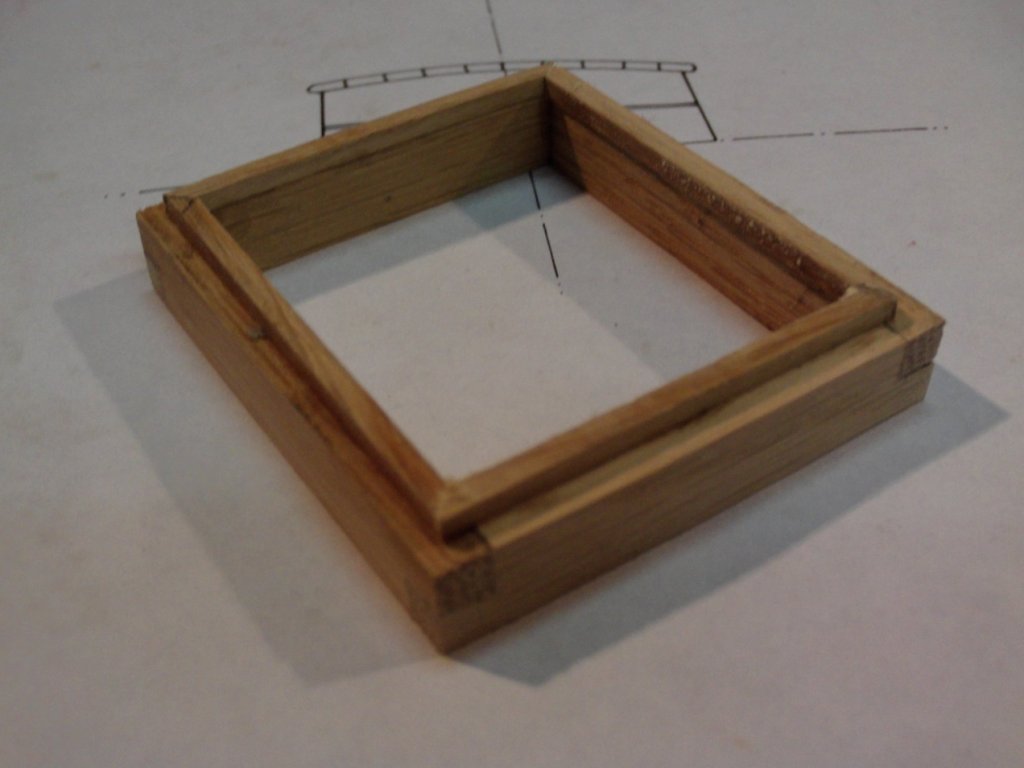
12.22 The frame of the hatch in place on the hatchway.
-
12.21 The hatch itself is made of straight planks. I sand the top-rounding with the band sander after the planks are glued together.


-
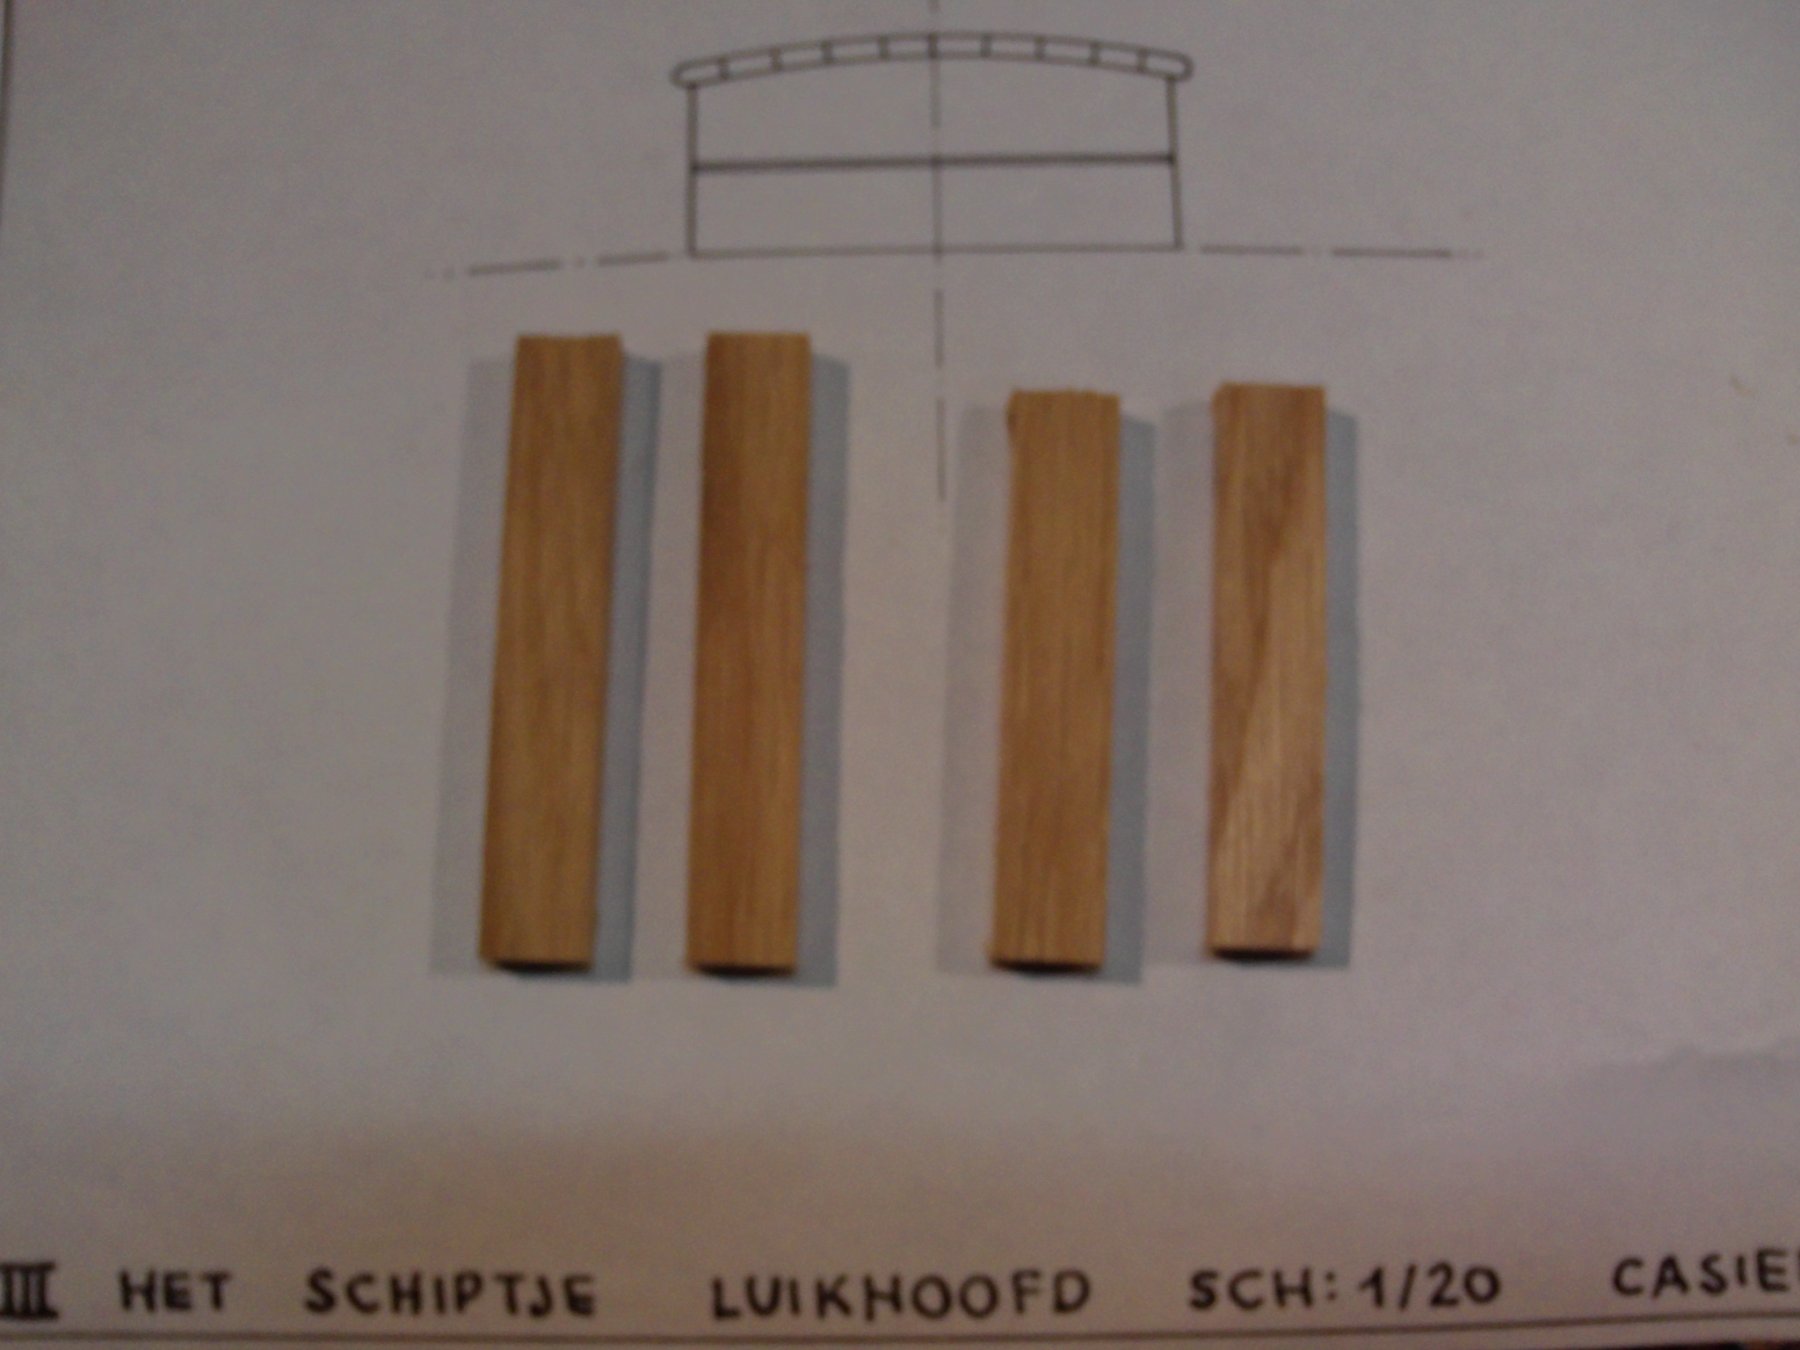
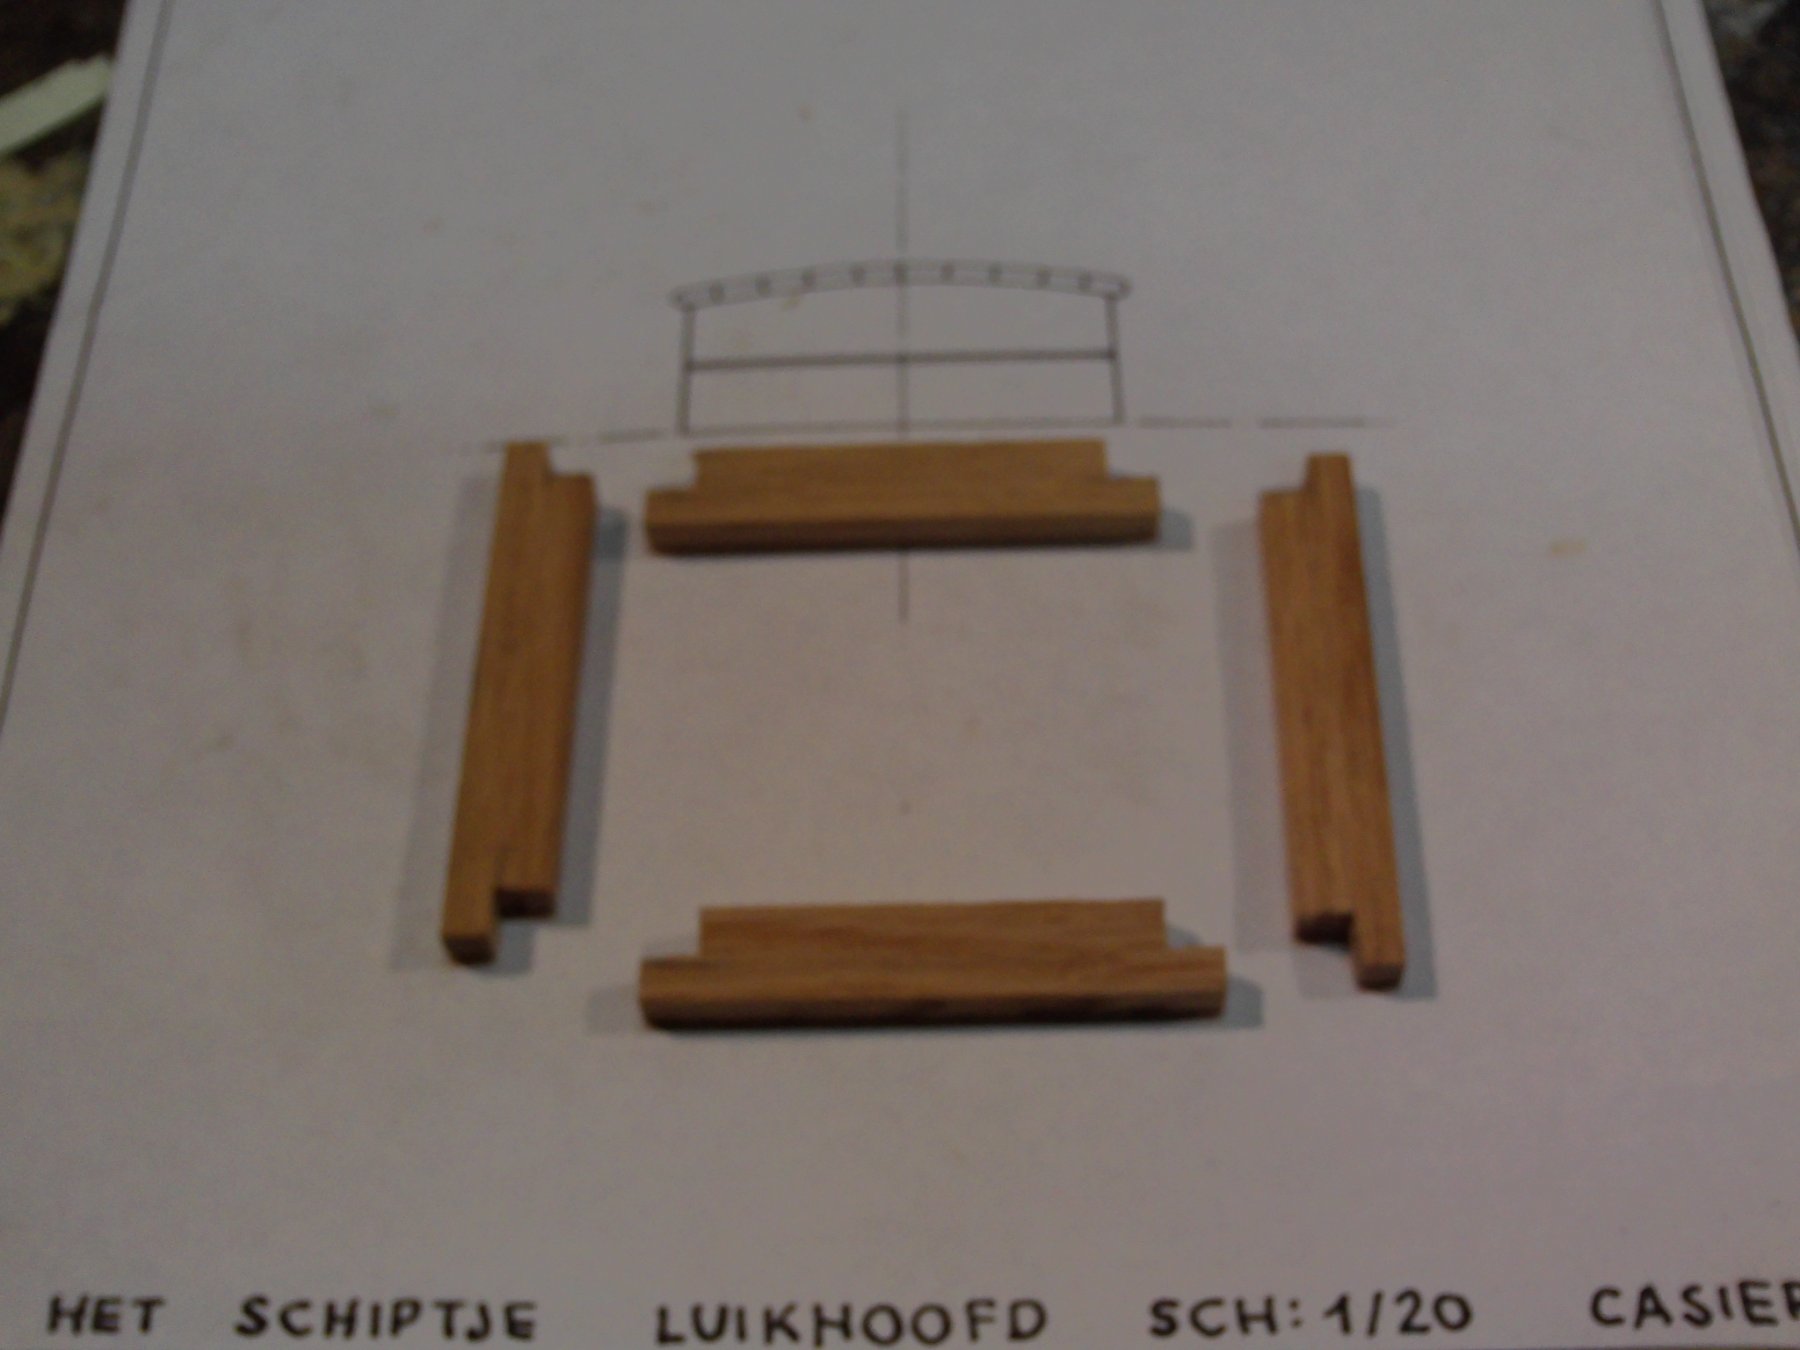
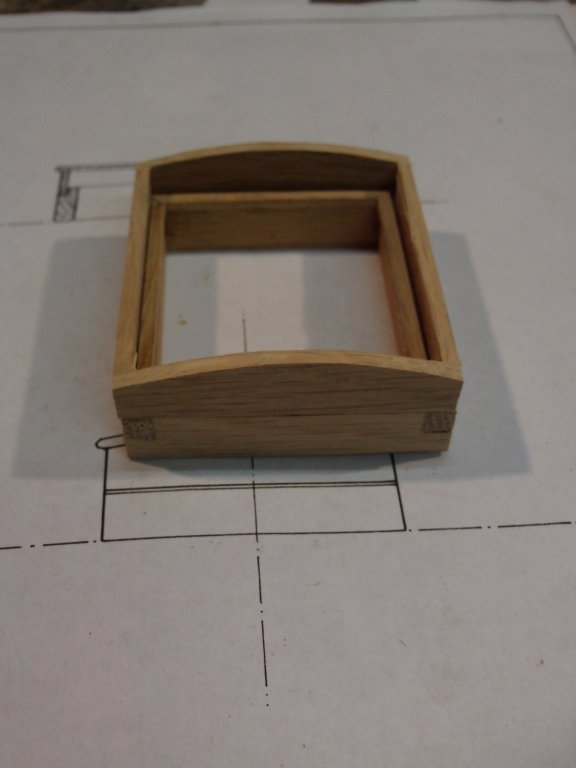
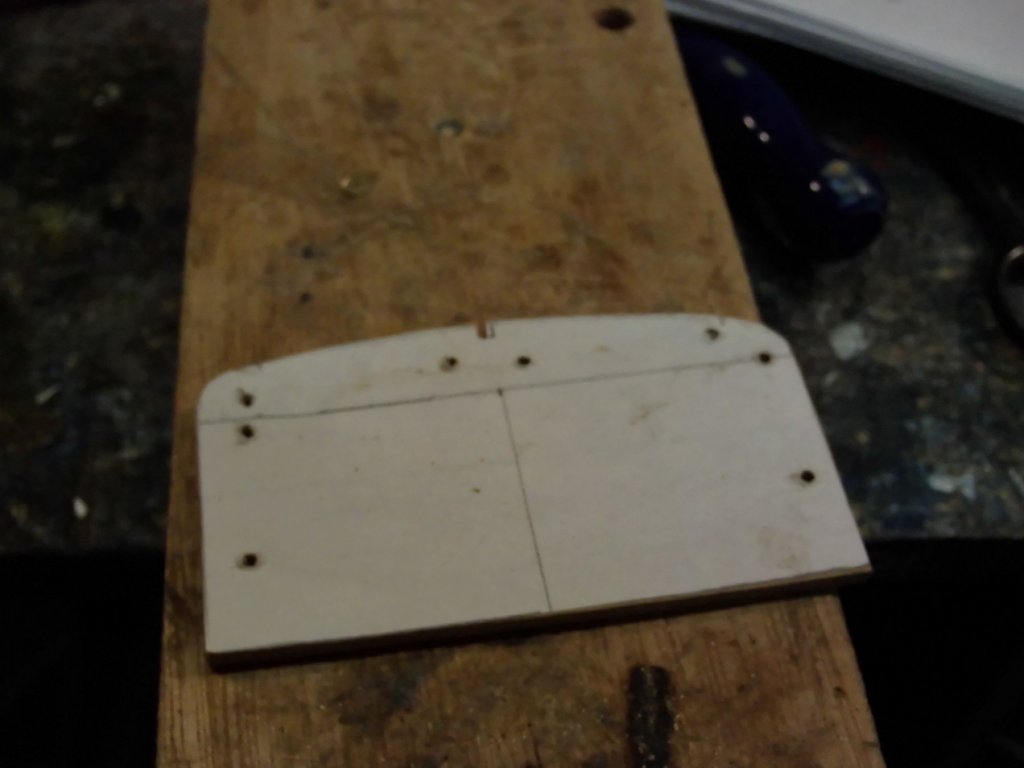
12.20 The fish hold is covered by a hatch. In the pictures below you see the subsequent stages of the construction of the hatch-coamings. I believe they are self explaining.

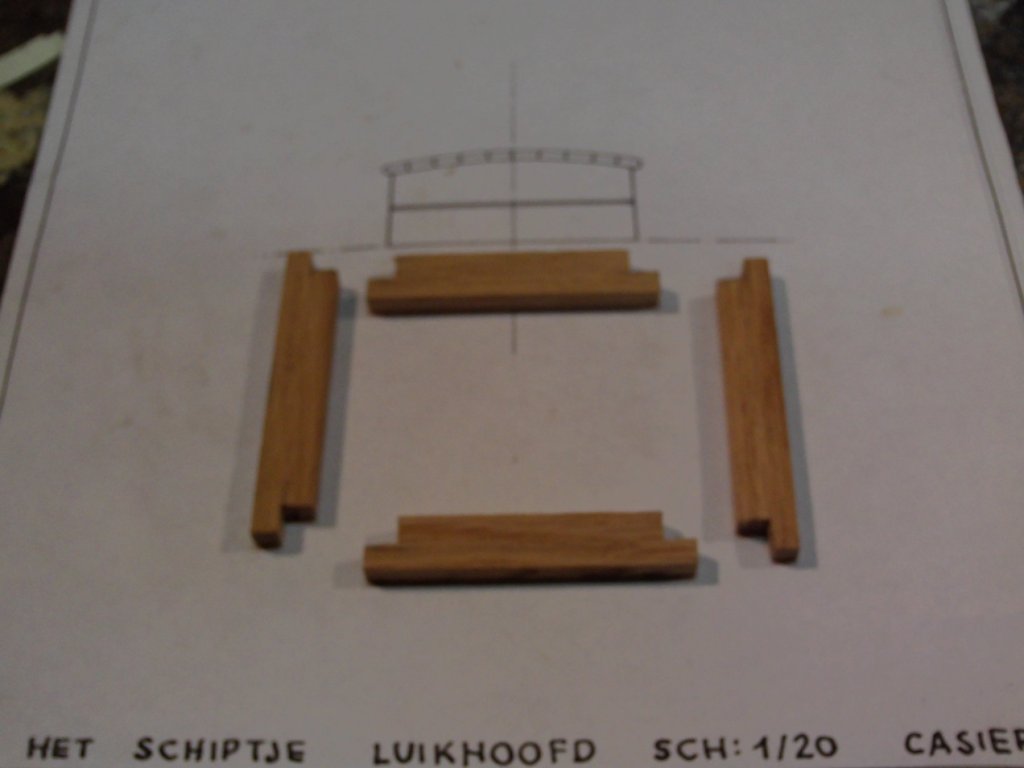
-
12.19 I solder two small round footplates at the deck side and the traveler is ready.
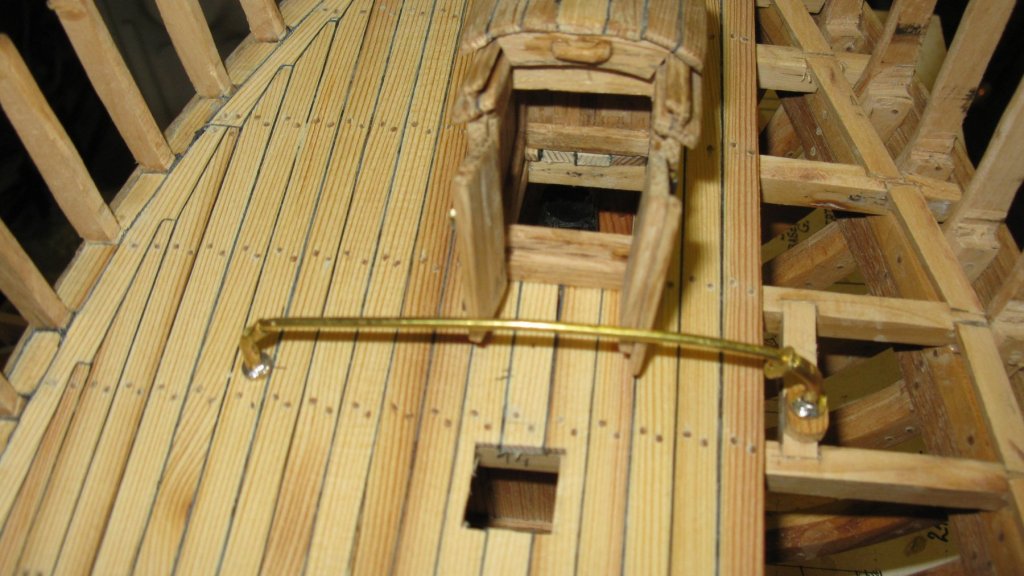
-
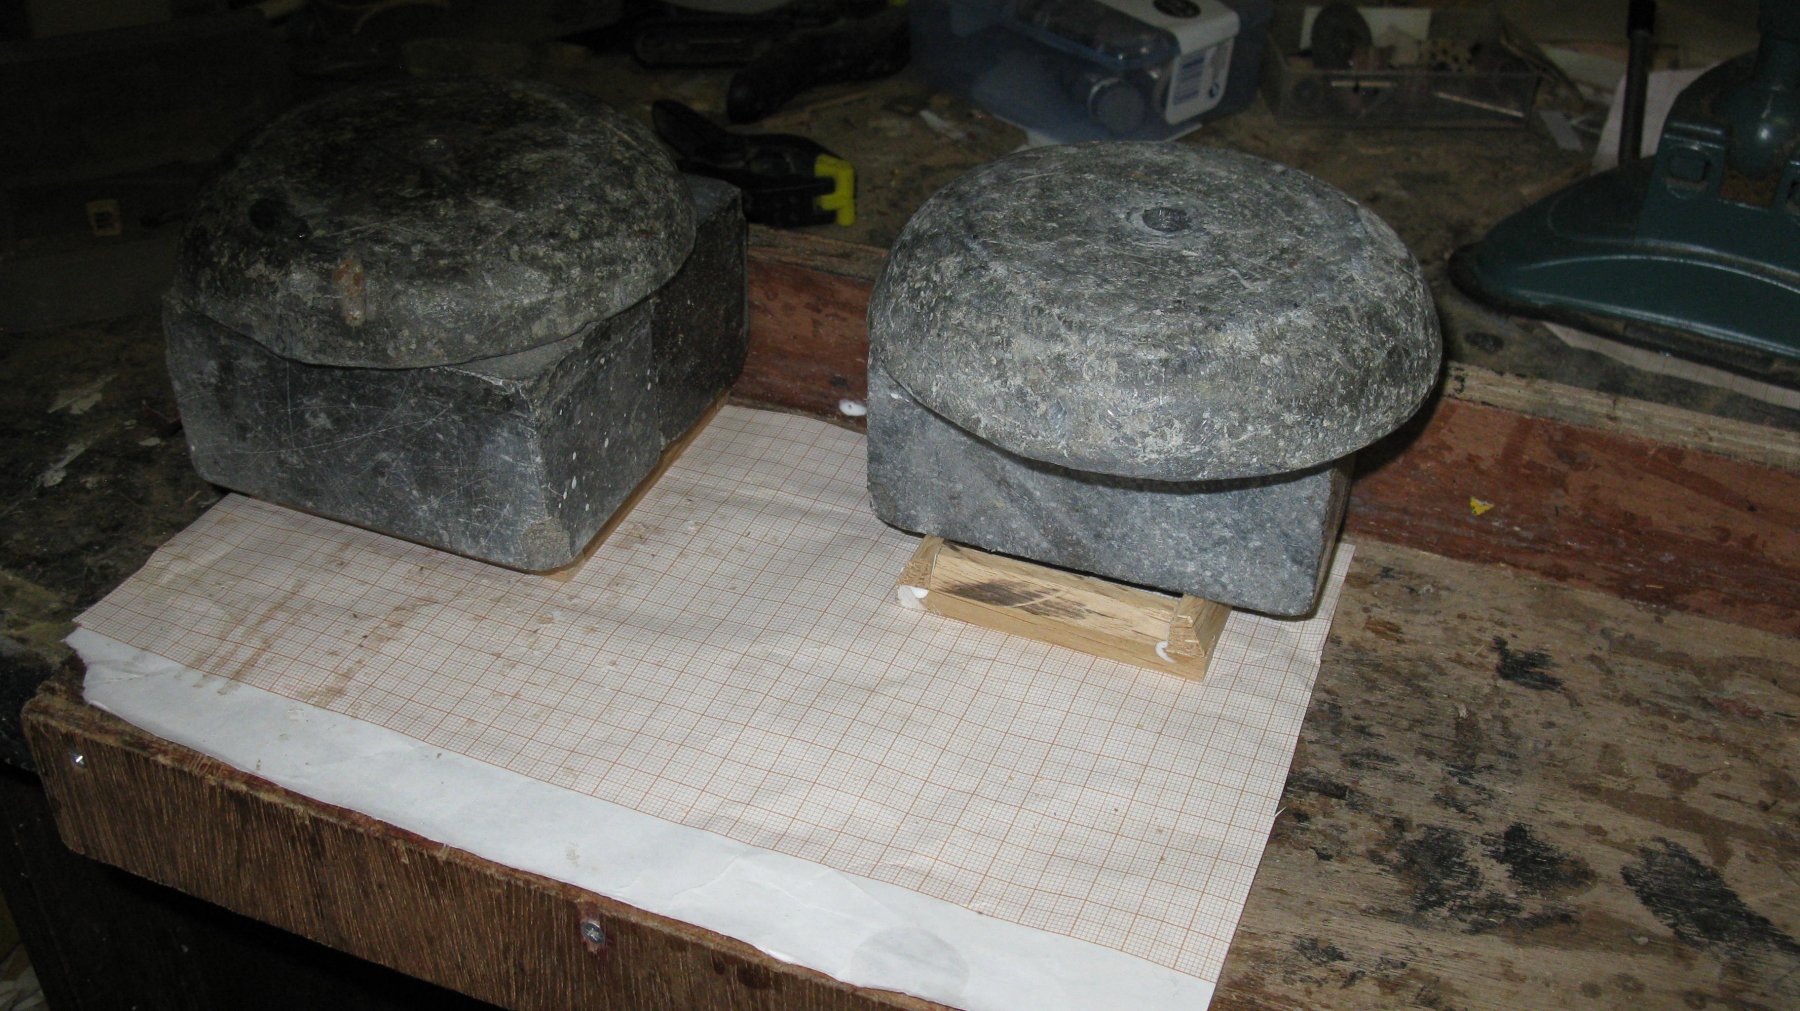
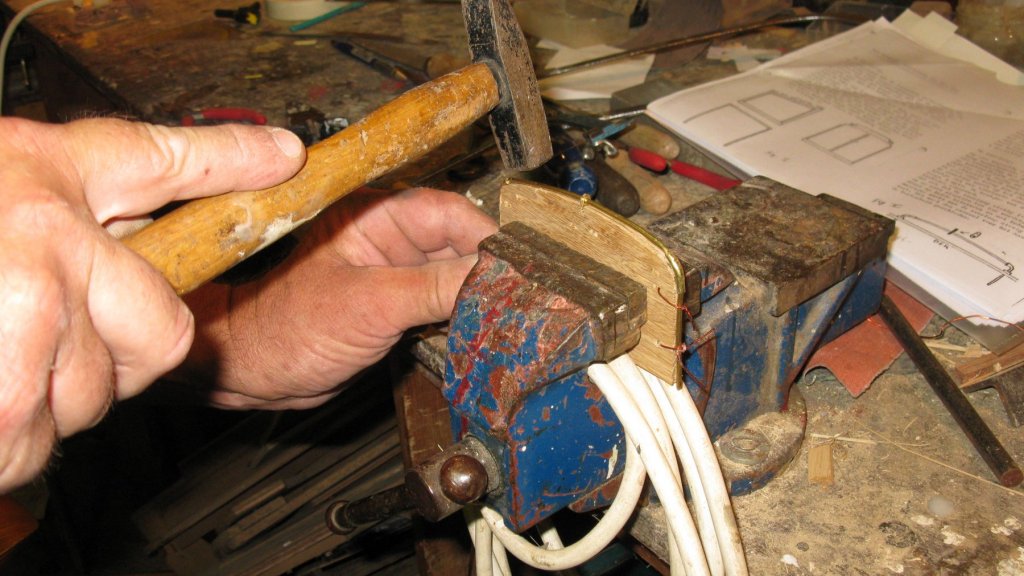
12.18 To shape the traveler, I make a wooden mold. The traveler is given form by hammering it around the mold.
-
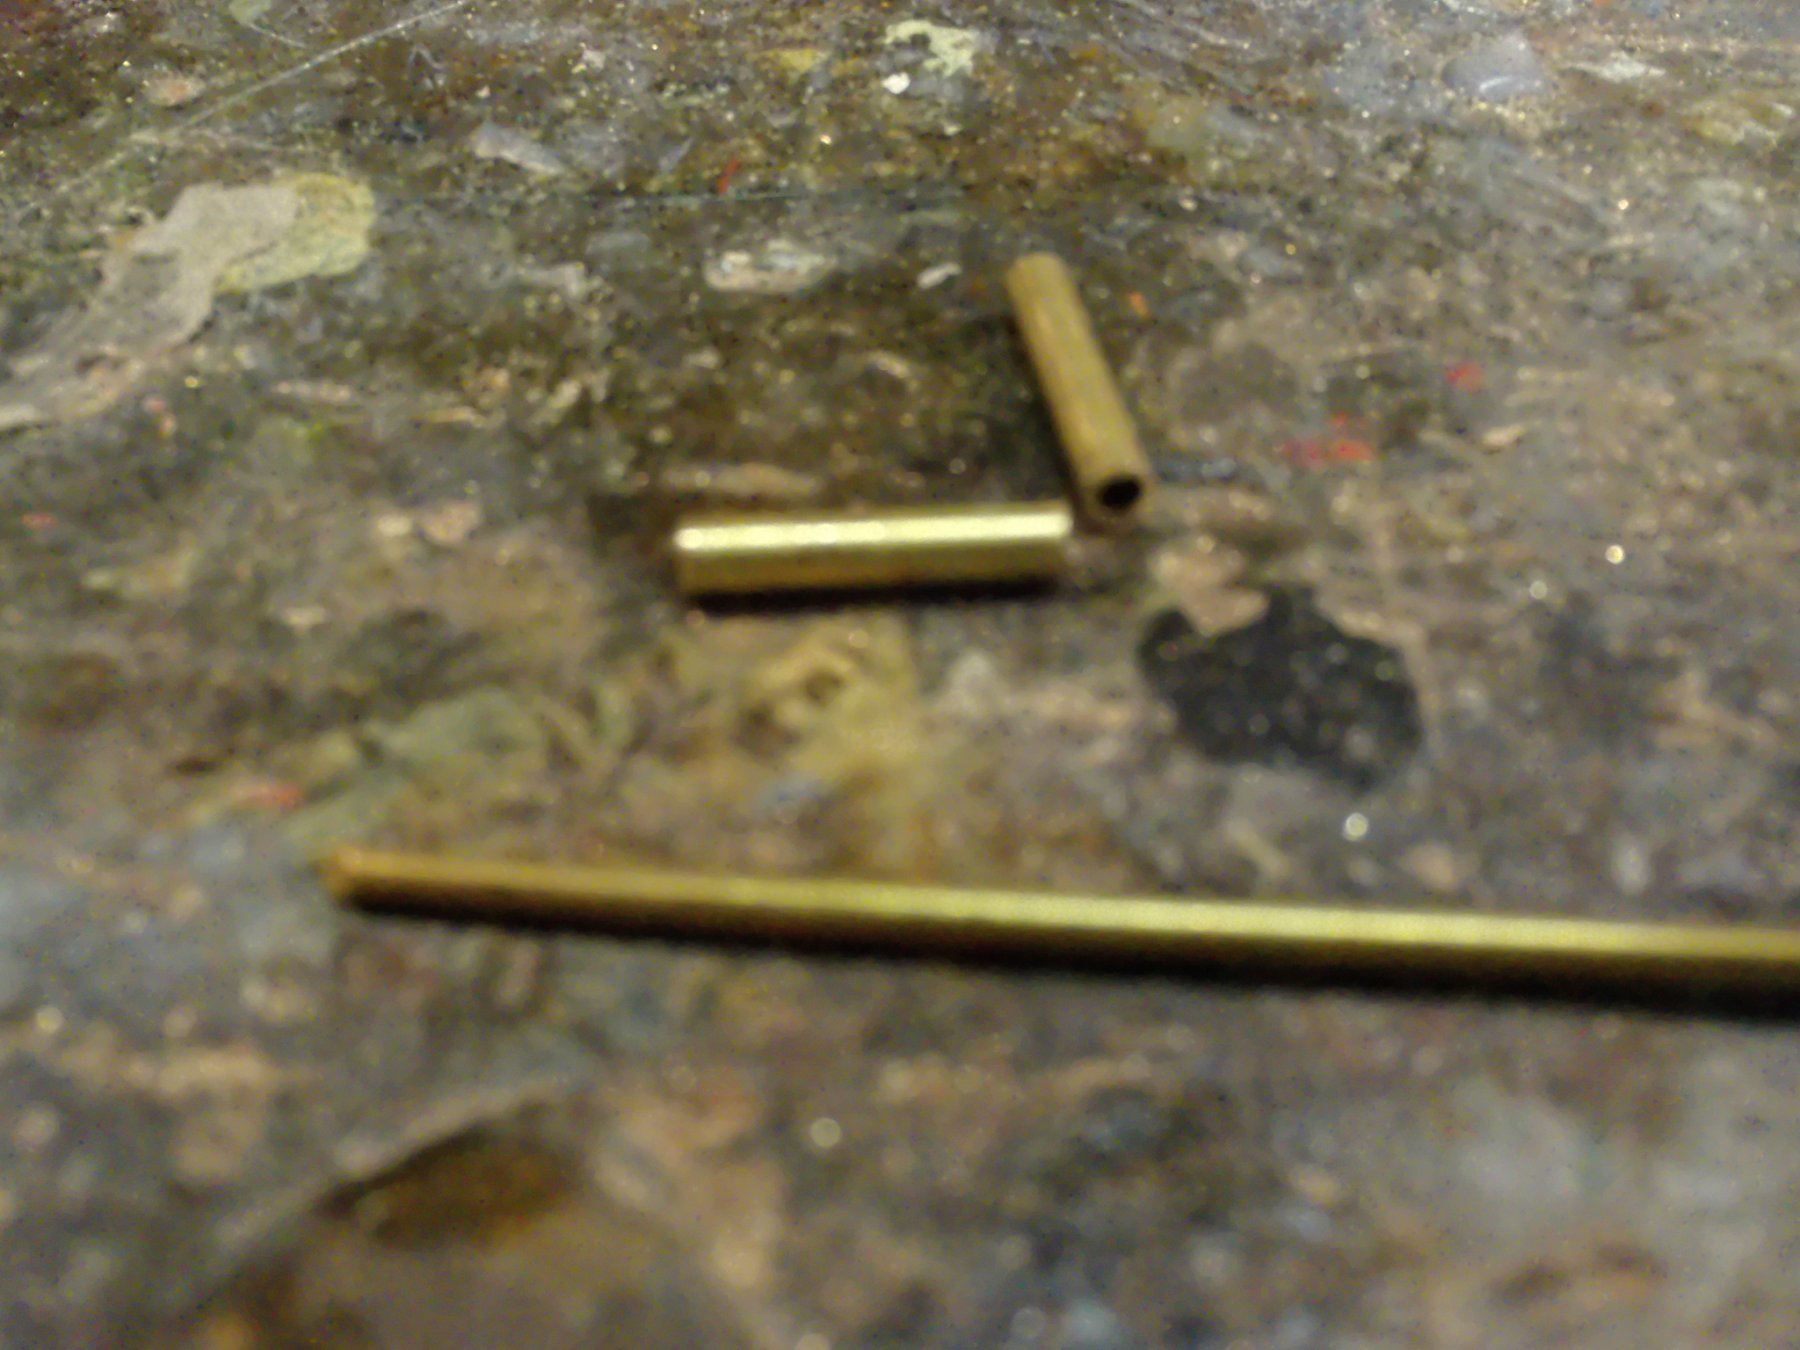
12.17 The jib sheet traveler is made of a 2mm brass rod. Both sides are thicker to stop the traveler ring. Therefore I solder two pieces of brass tube to the ends.

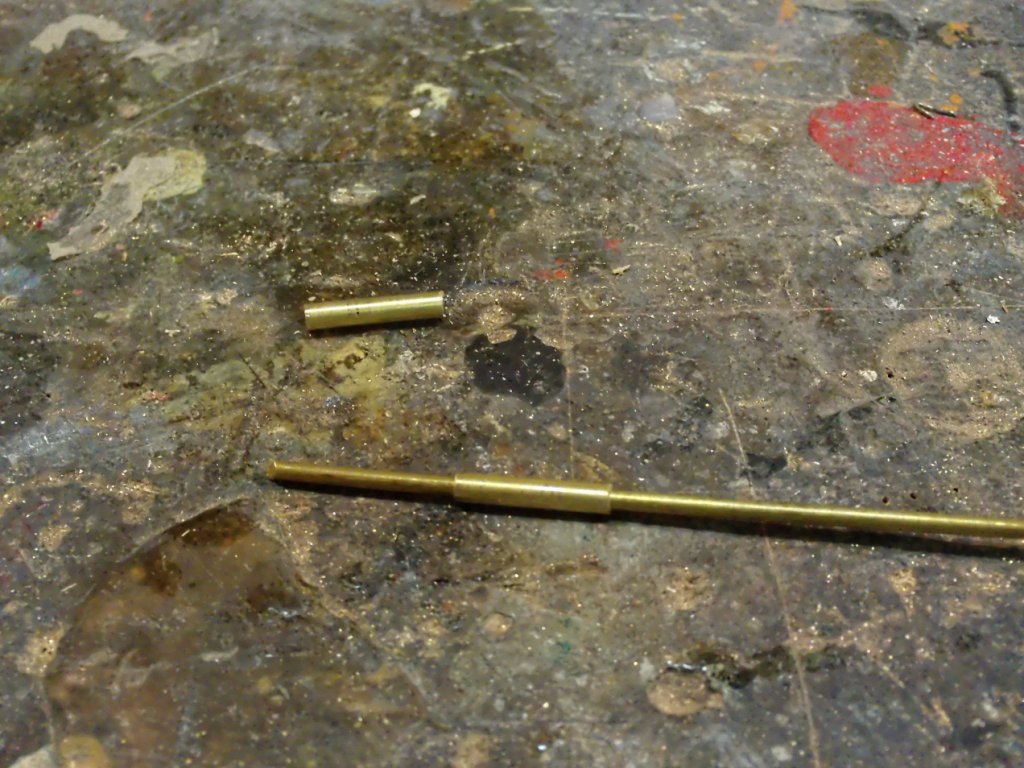
-
Derek, It looks impeccable. Nice joinery! G.L.
-
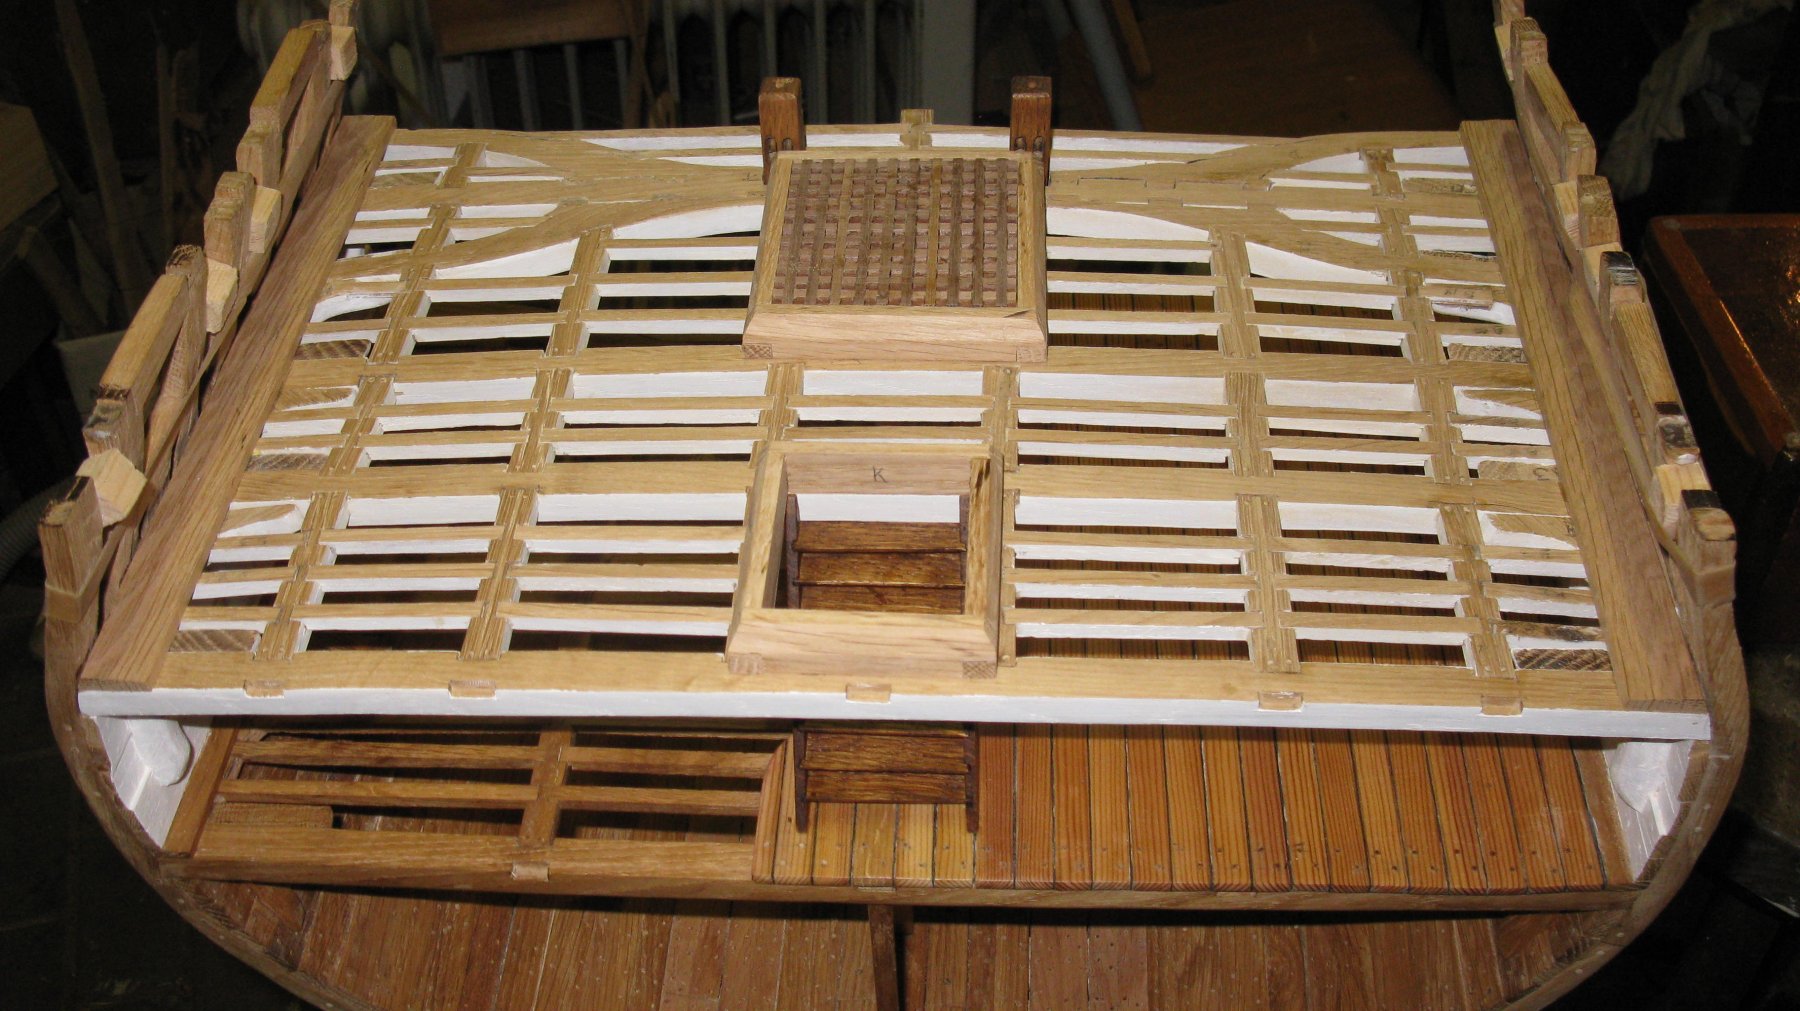
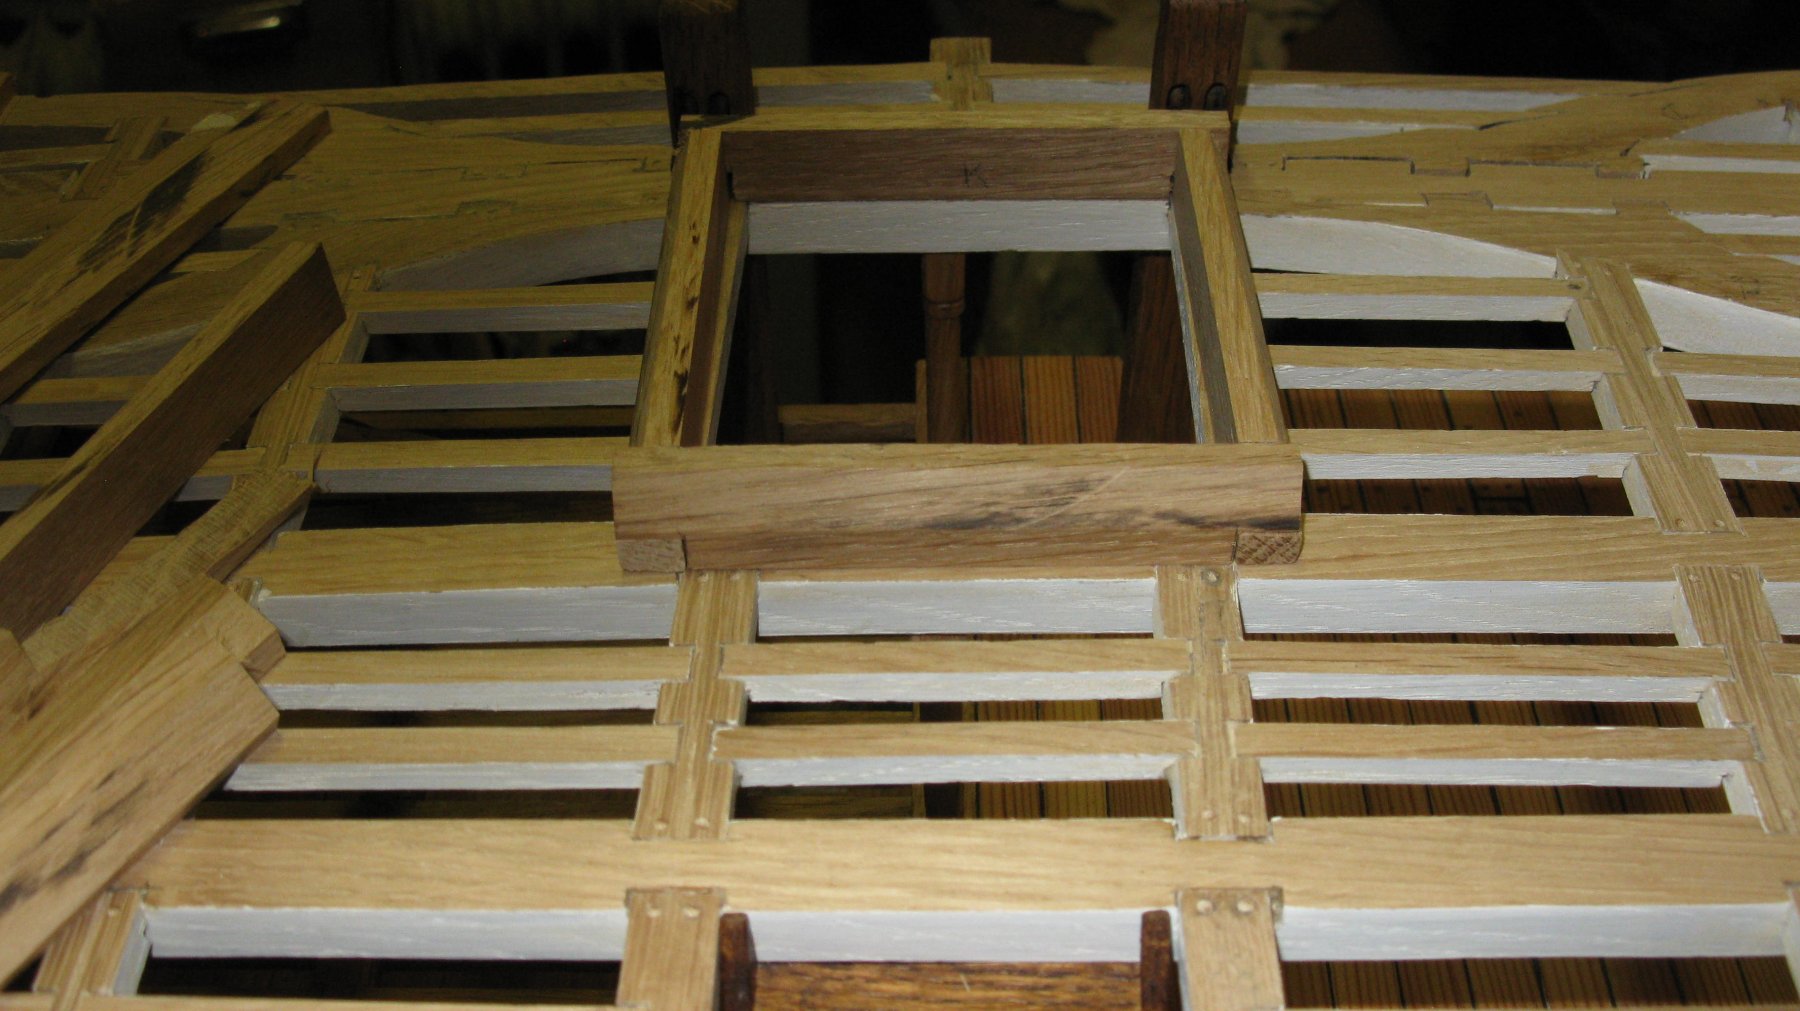
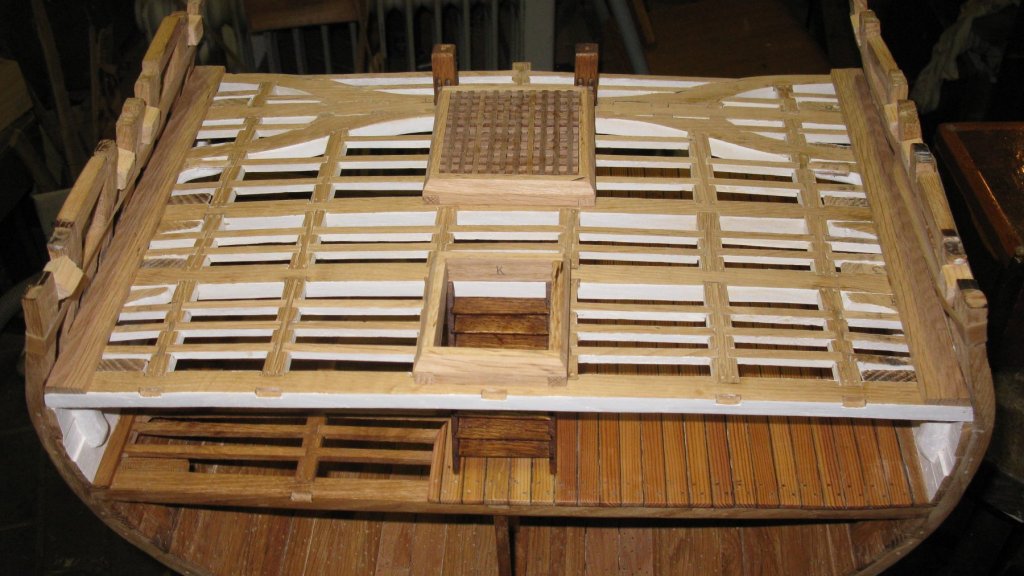
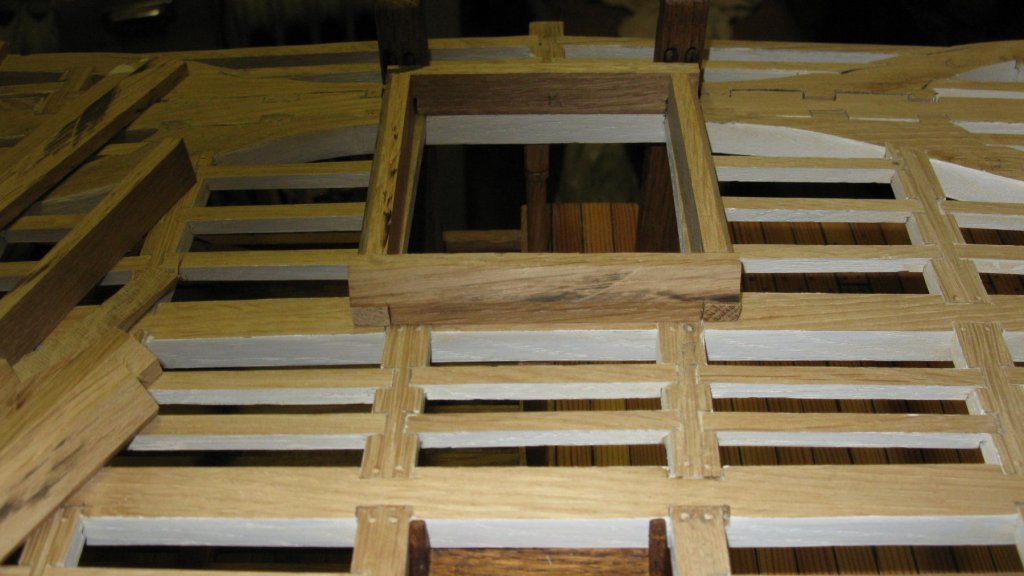
The hatches into their position on the cross section.
-
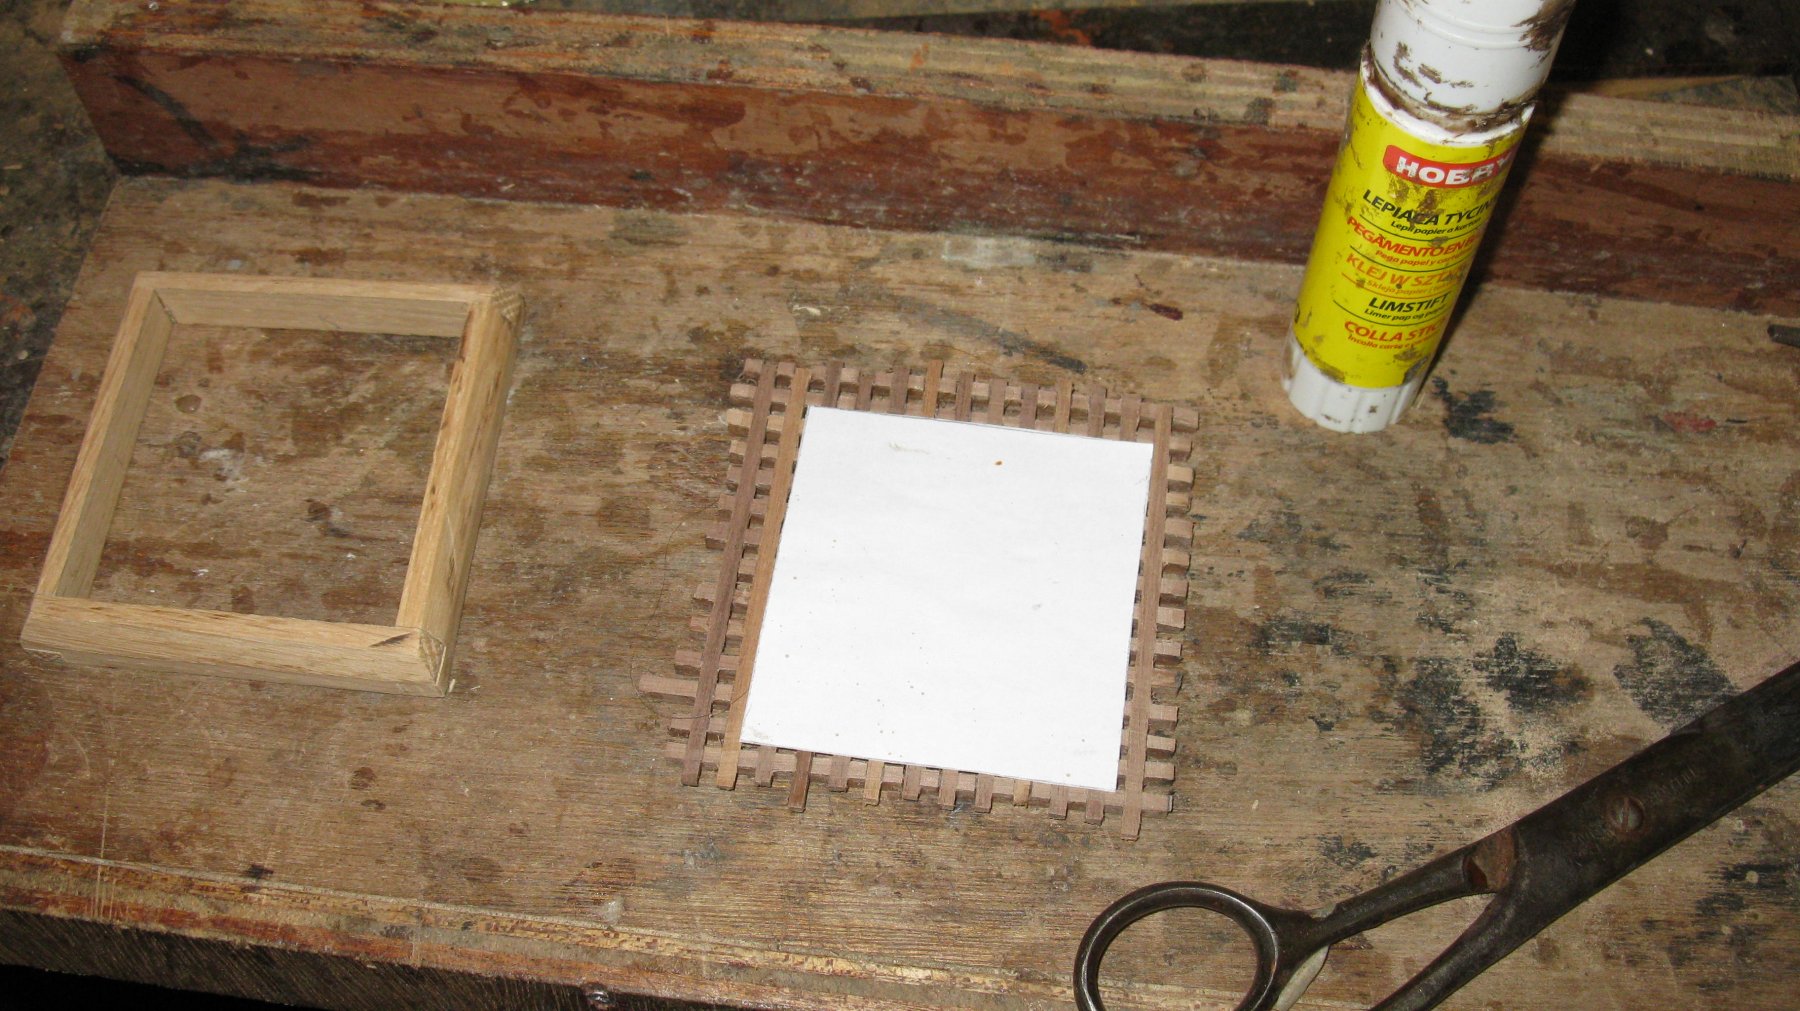
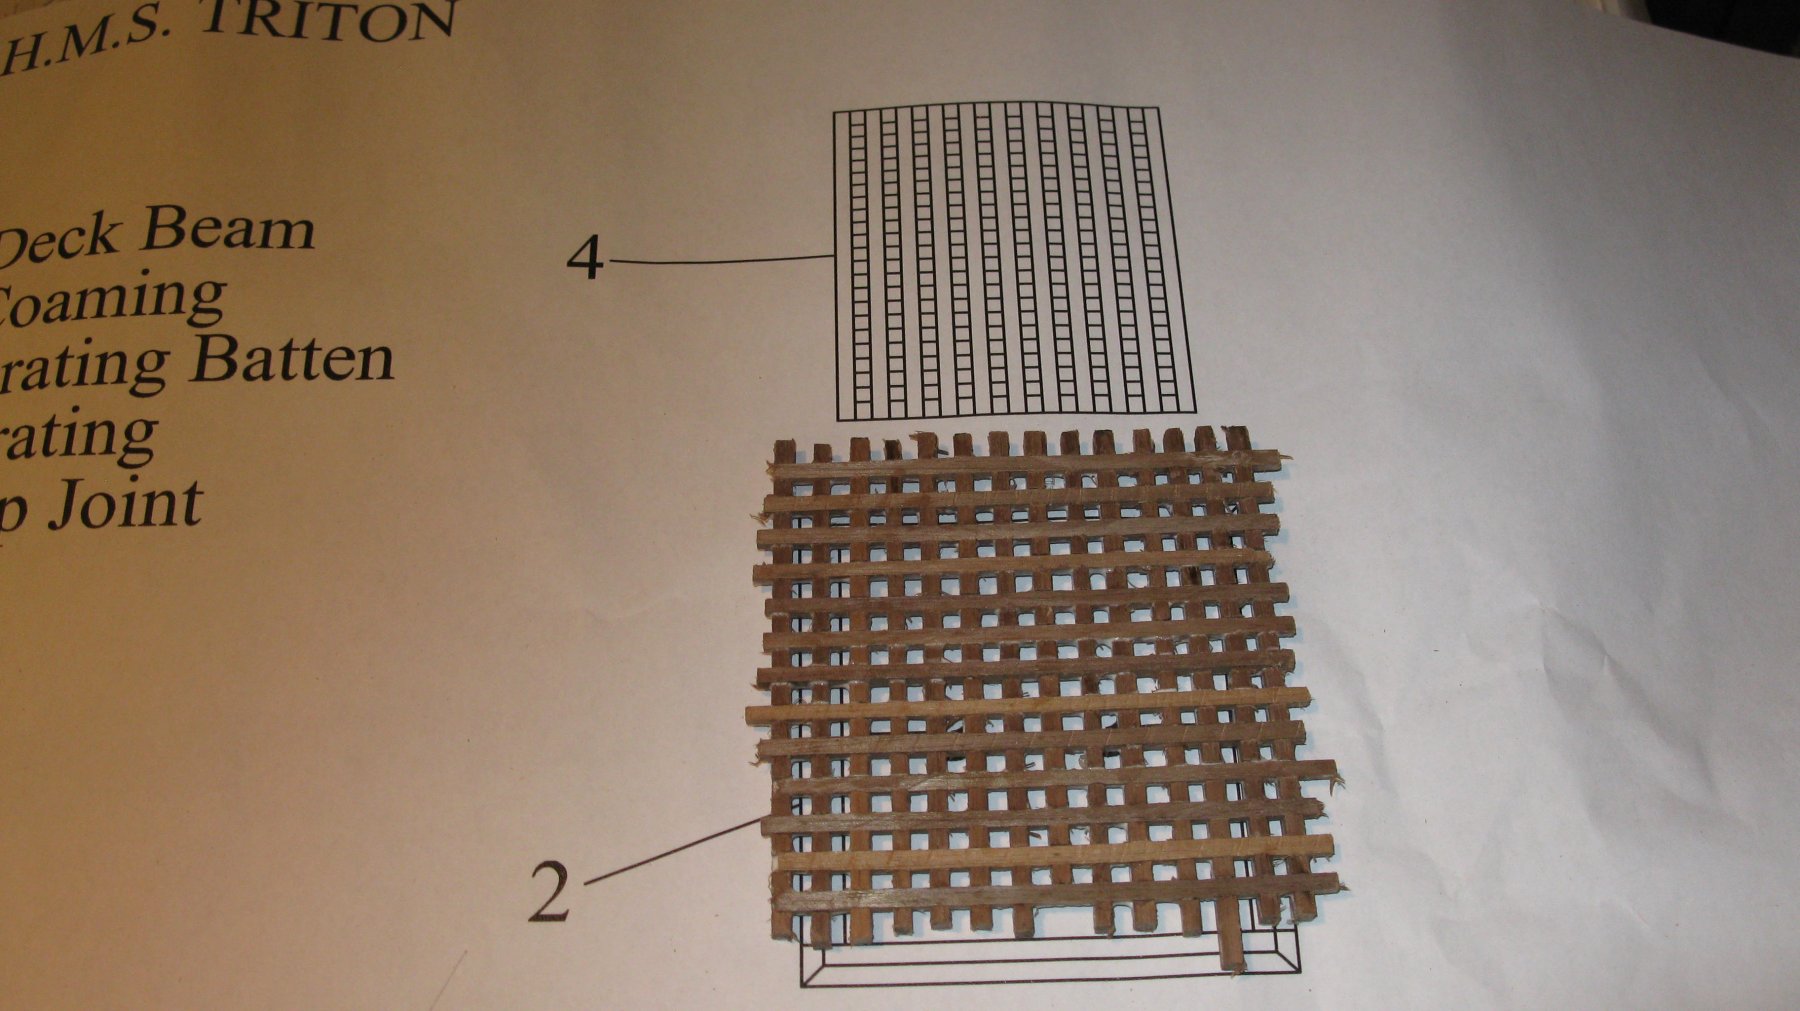
I saw the outline of the paper out of the grating.
-
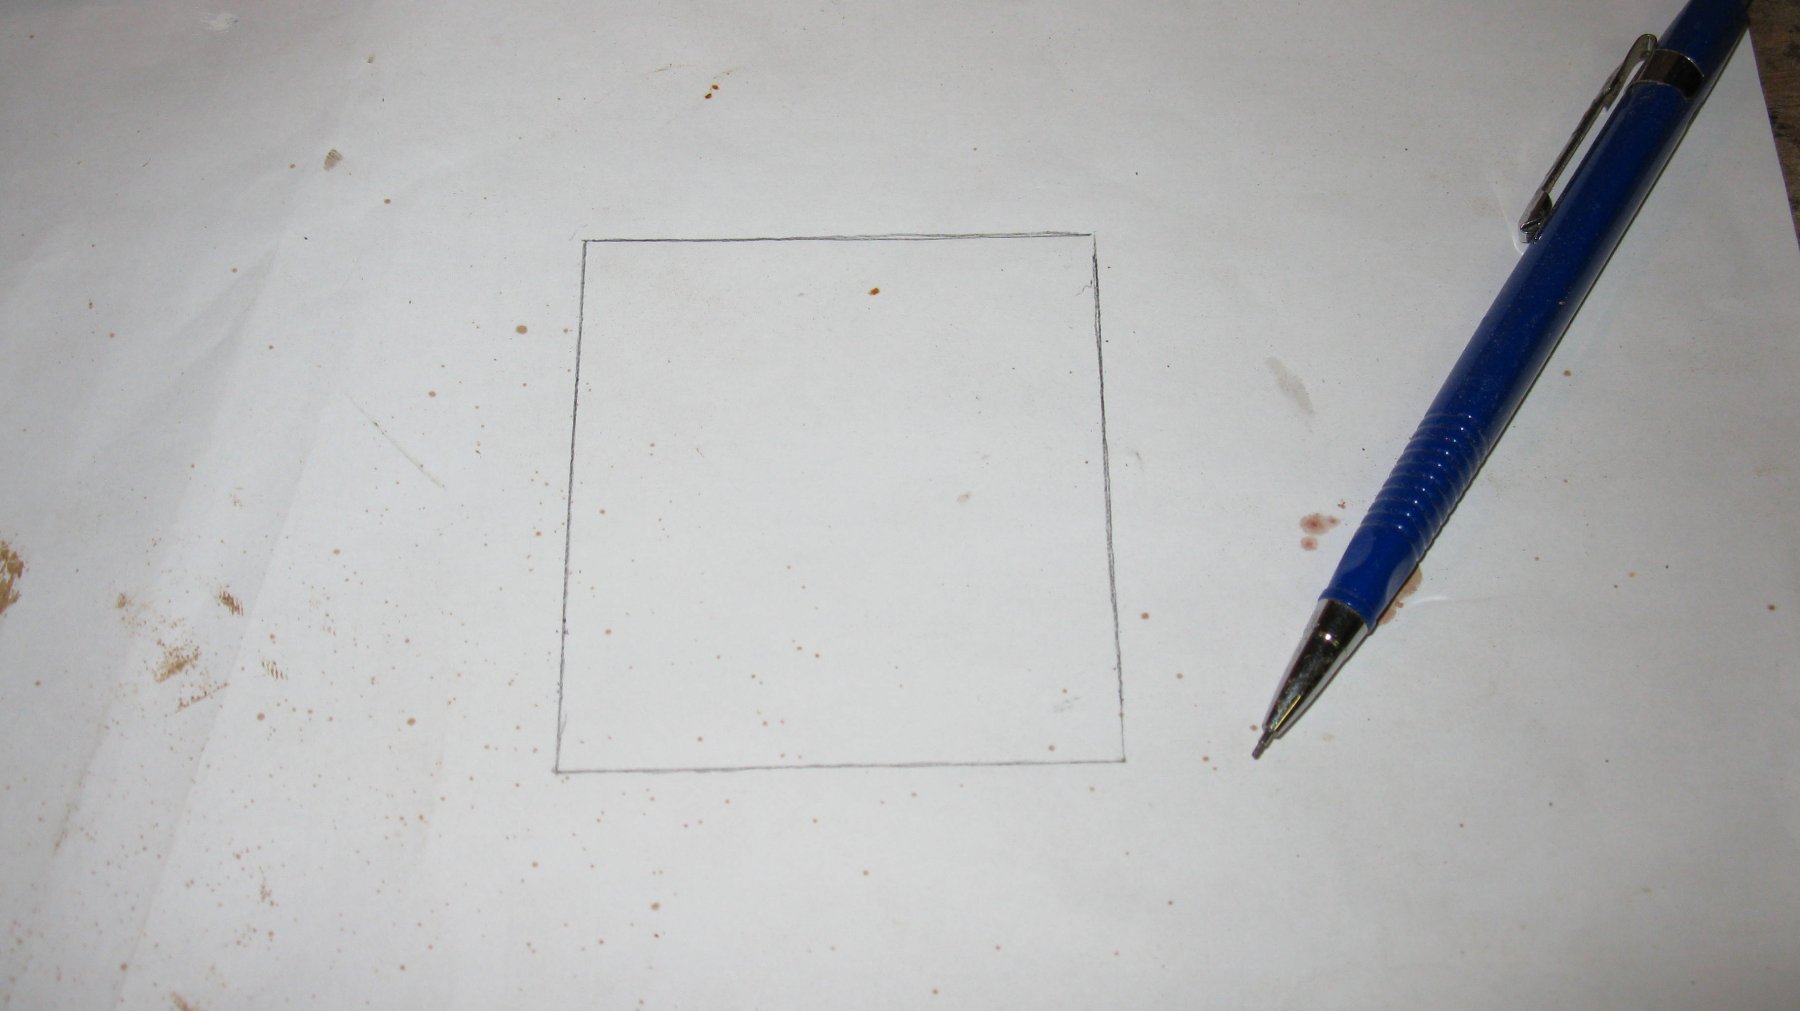
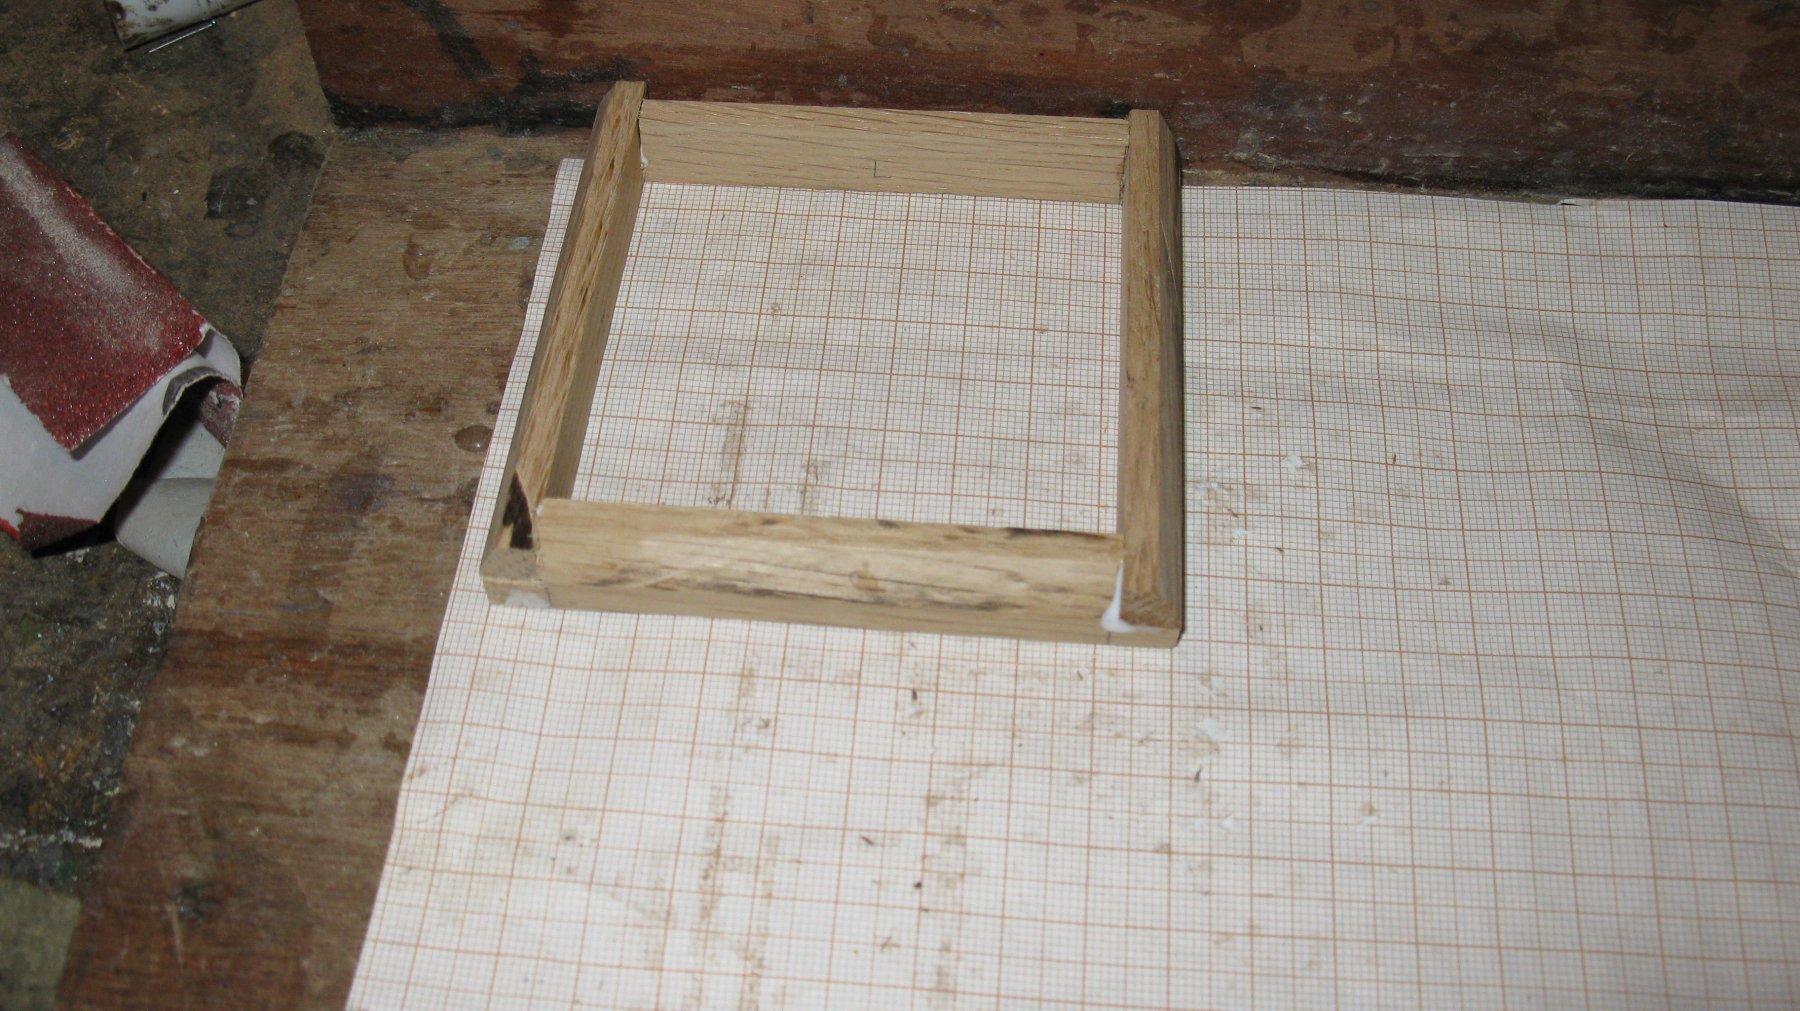
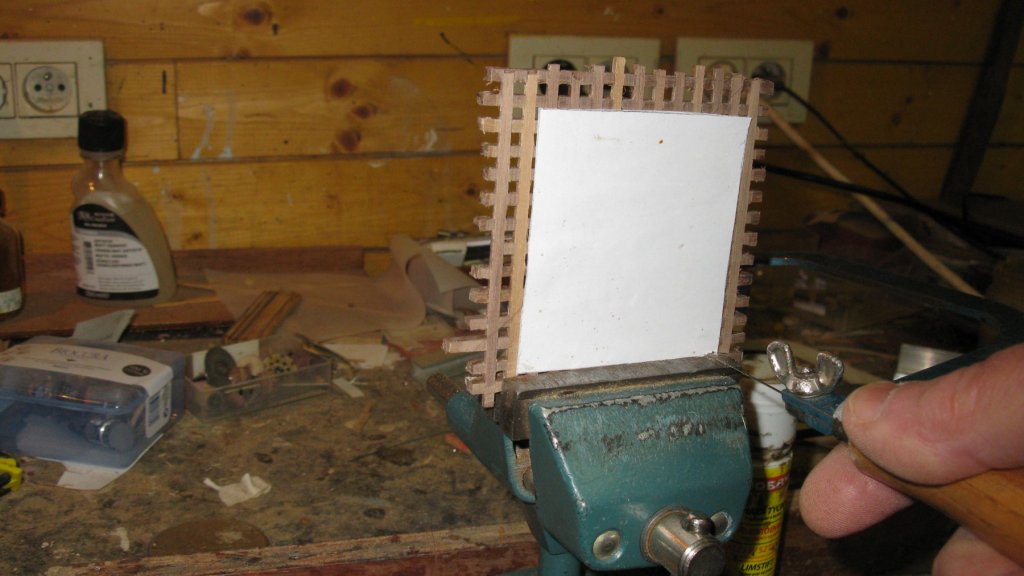
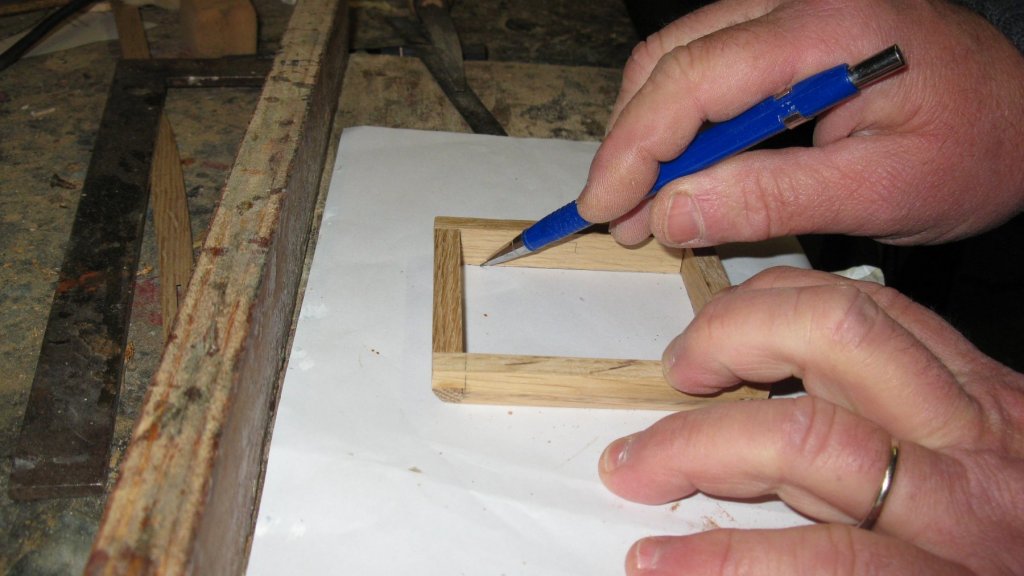
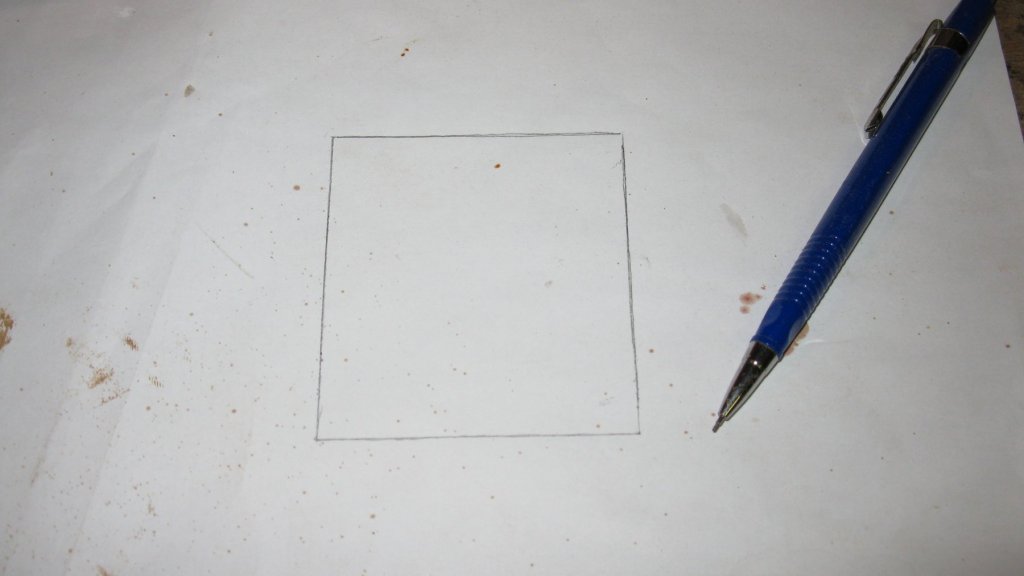
To tailor the grating, I transfer the inner sizes of the hatch on a piece of paper and position that paper on the grating with some paper glue.

-
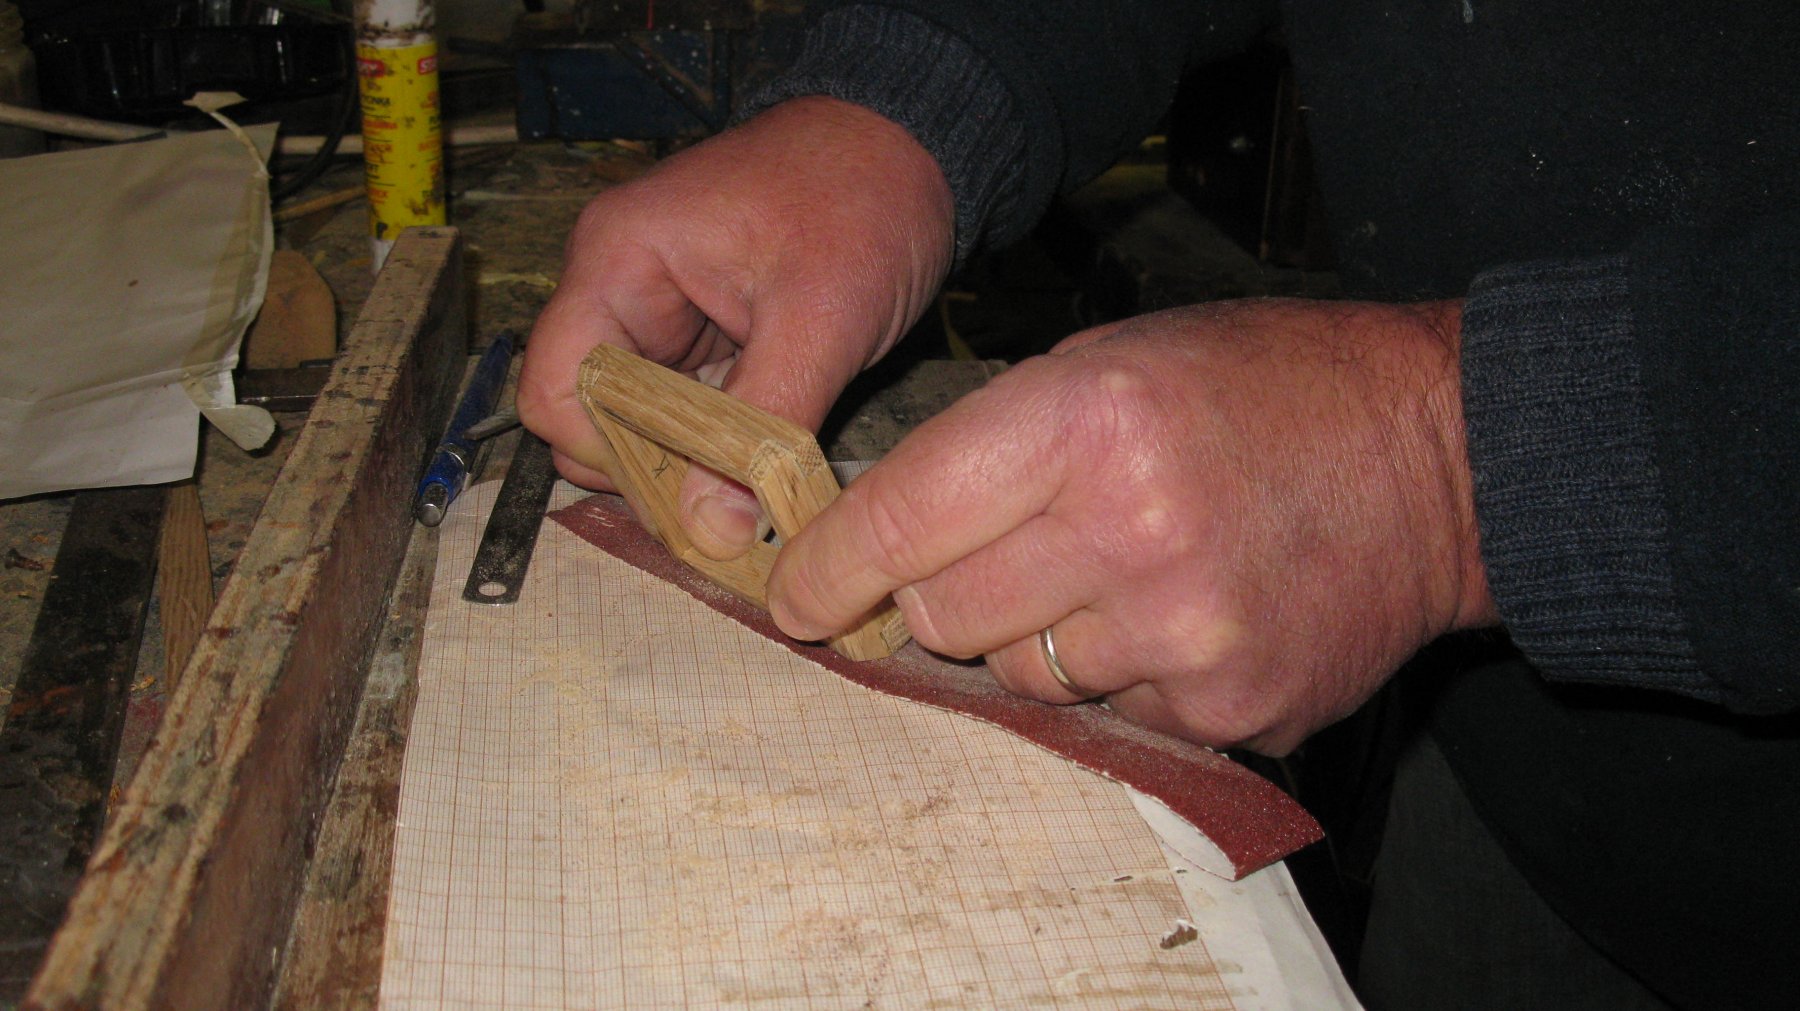
Finishing the hatches with sand paper.

-
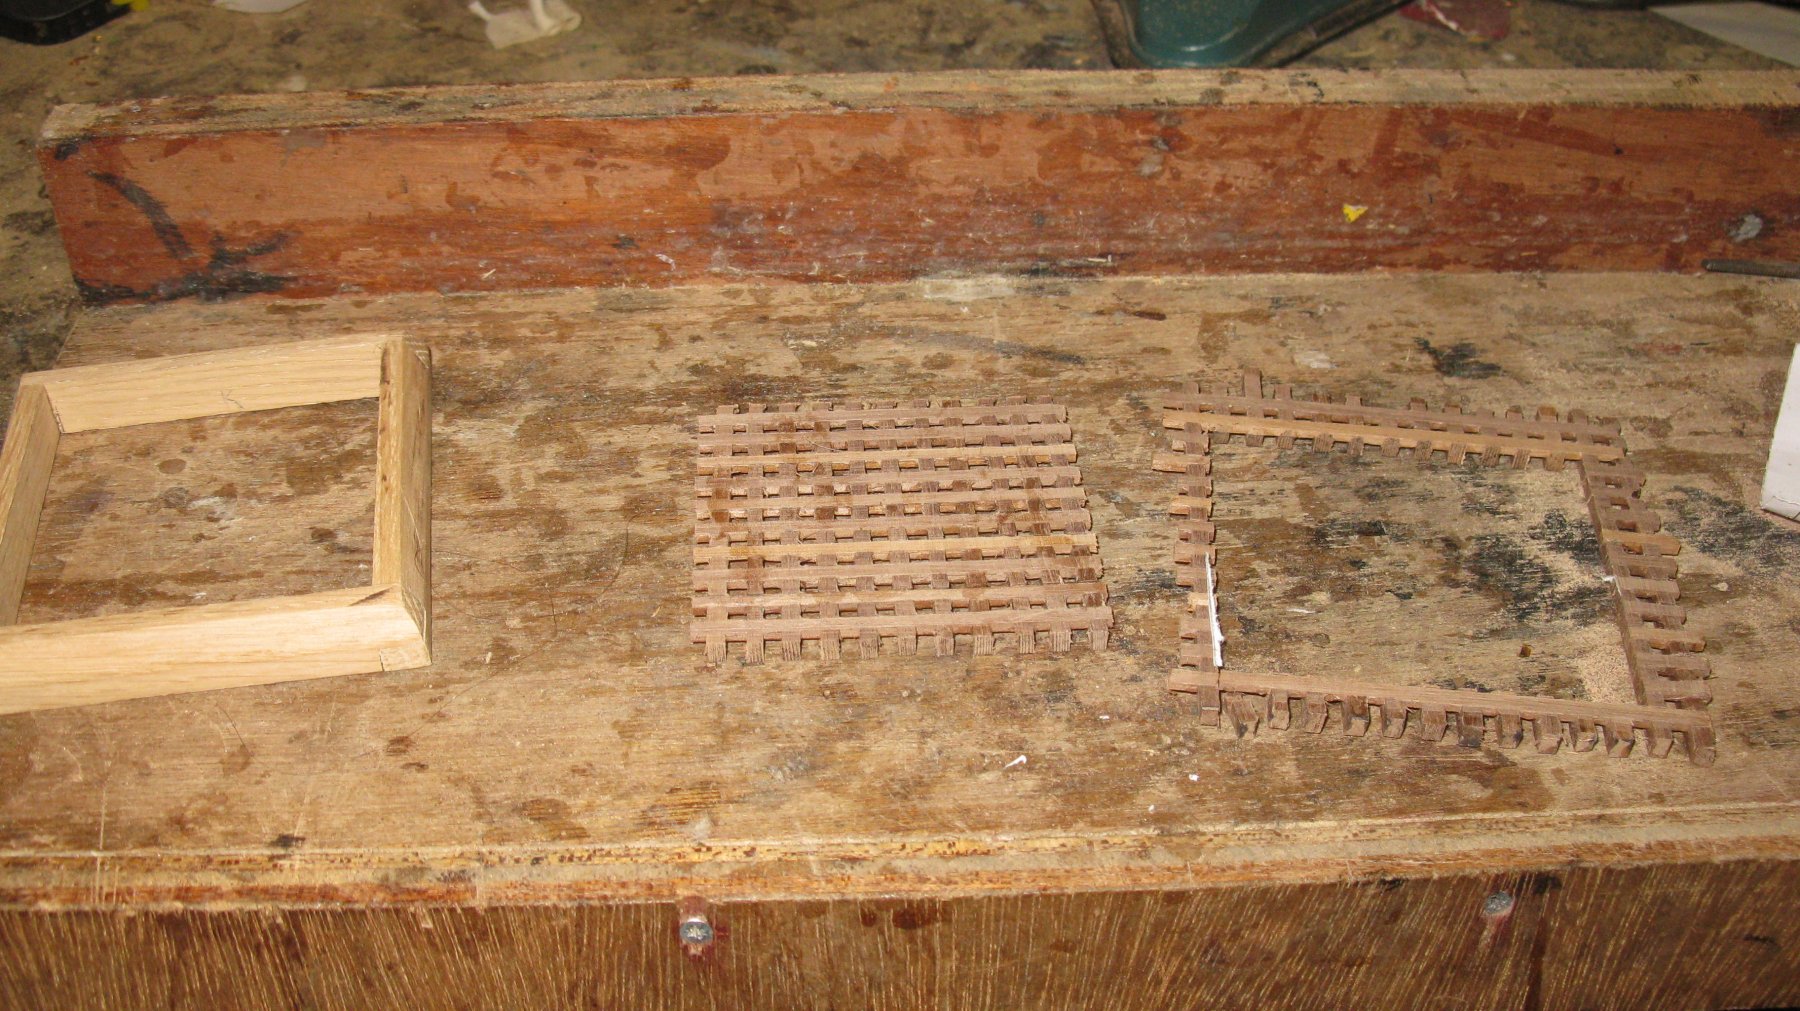
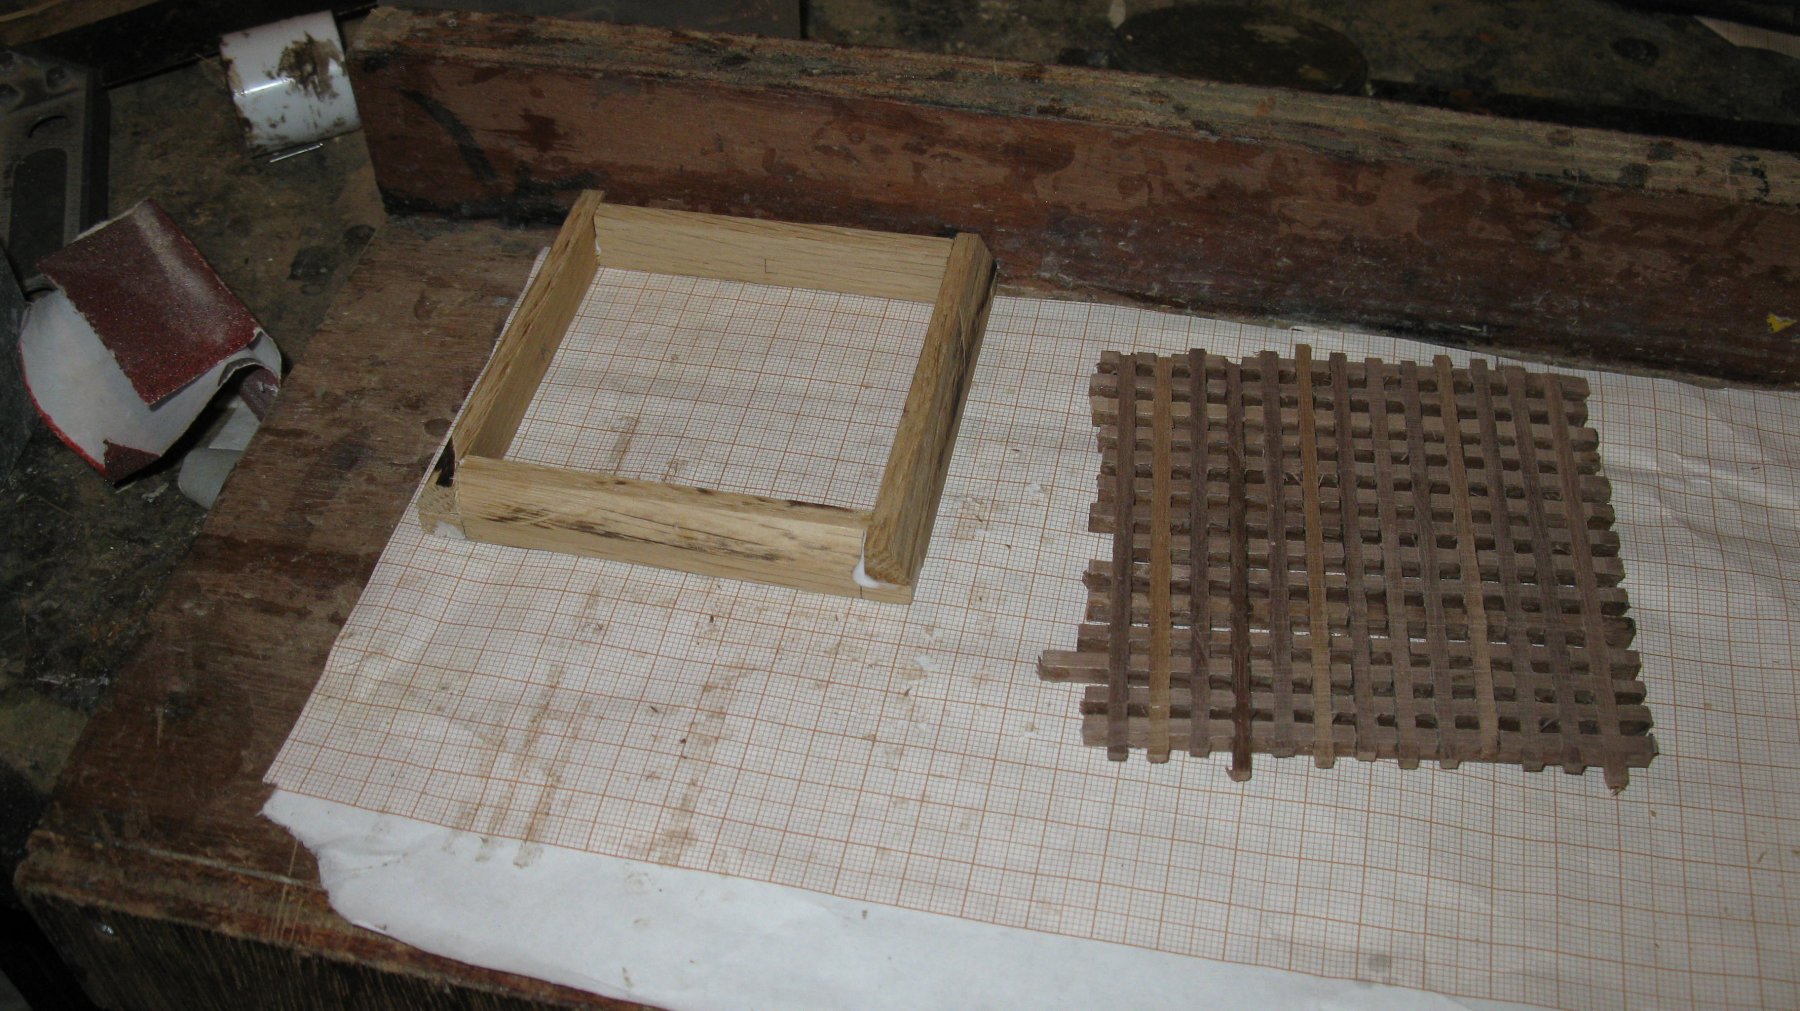
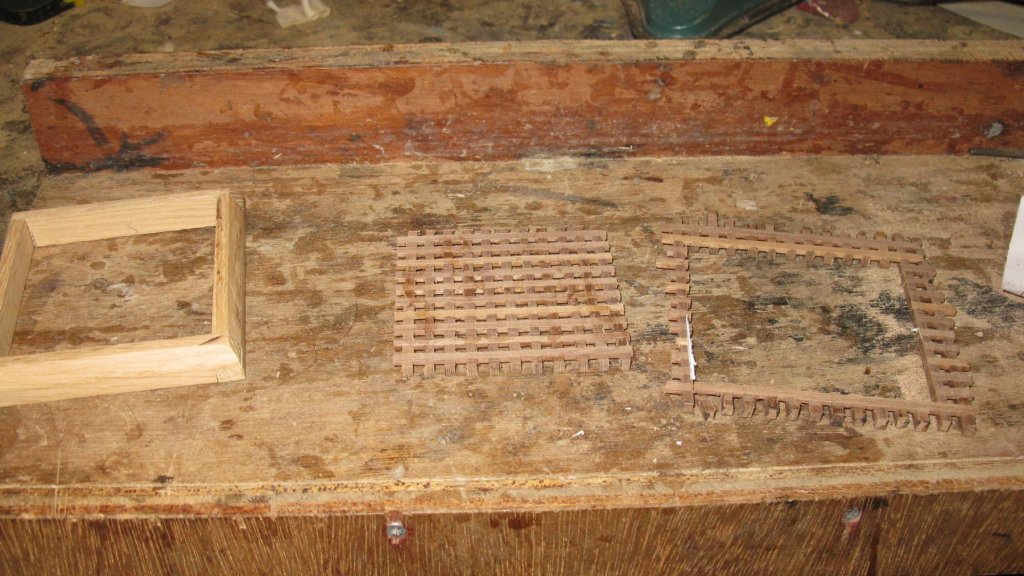
Raw hatch and grating

-
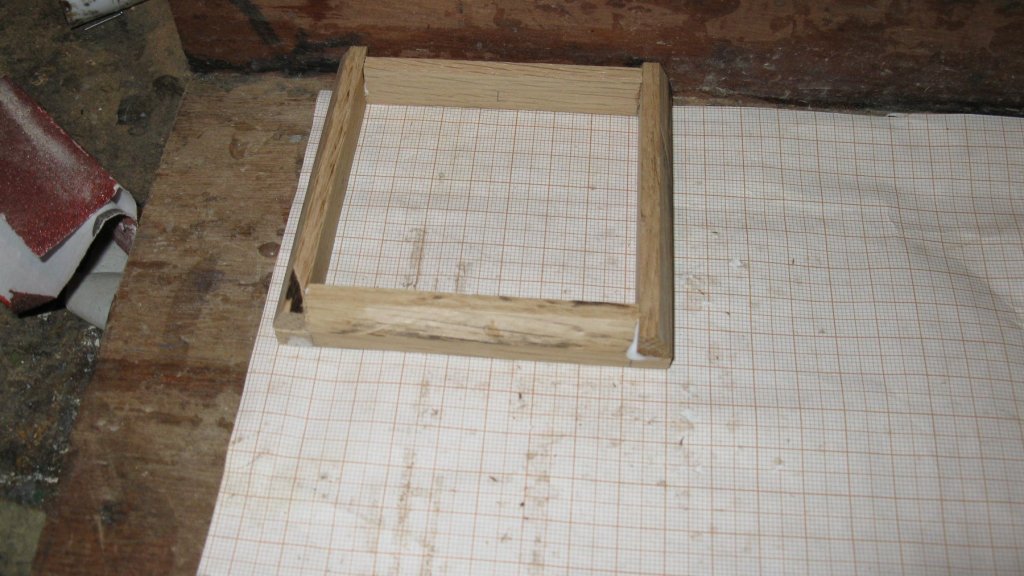
I glue them together using the same piece of millimeter paper as before to obtain right angles. I let the glue of the hatches dry with some weights on top of them. On completion I check them on the cross section.

-
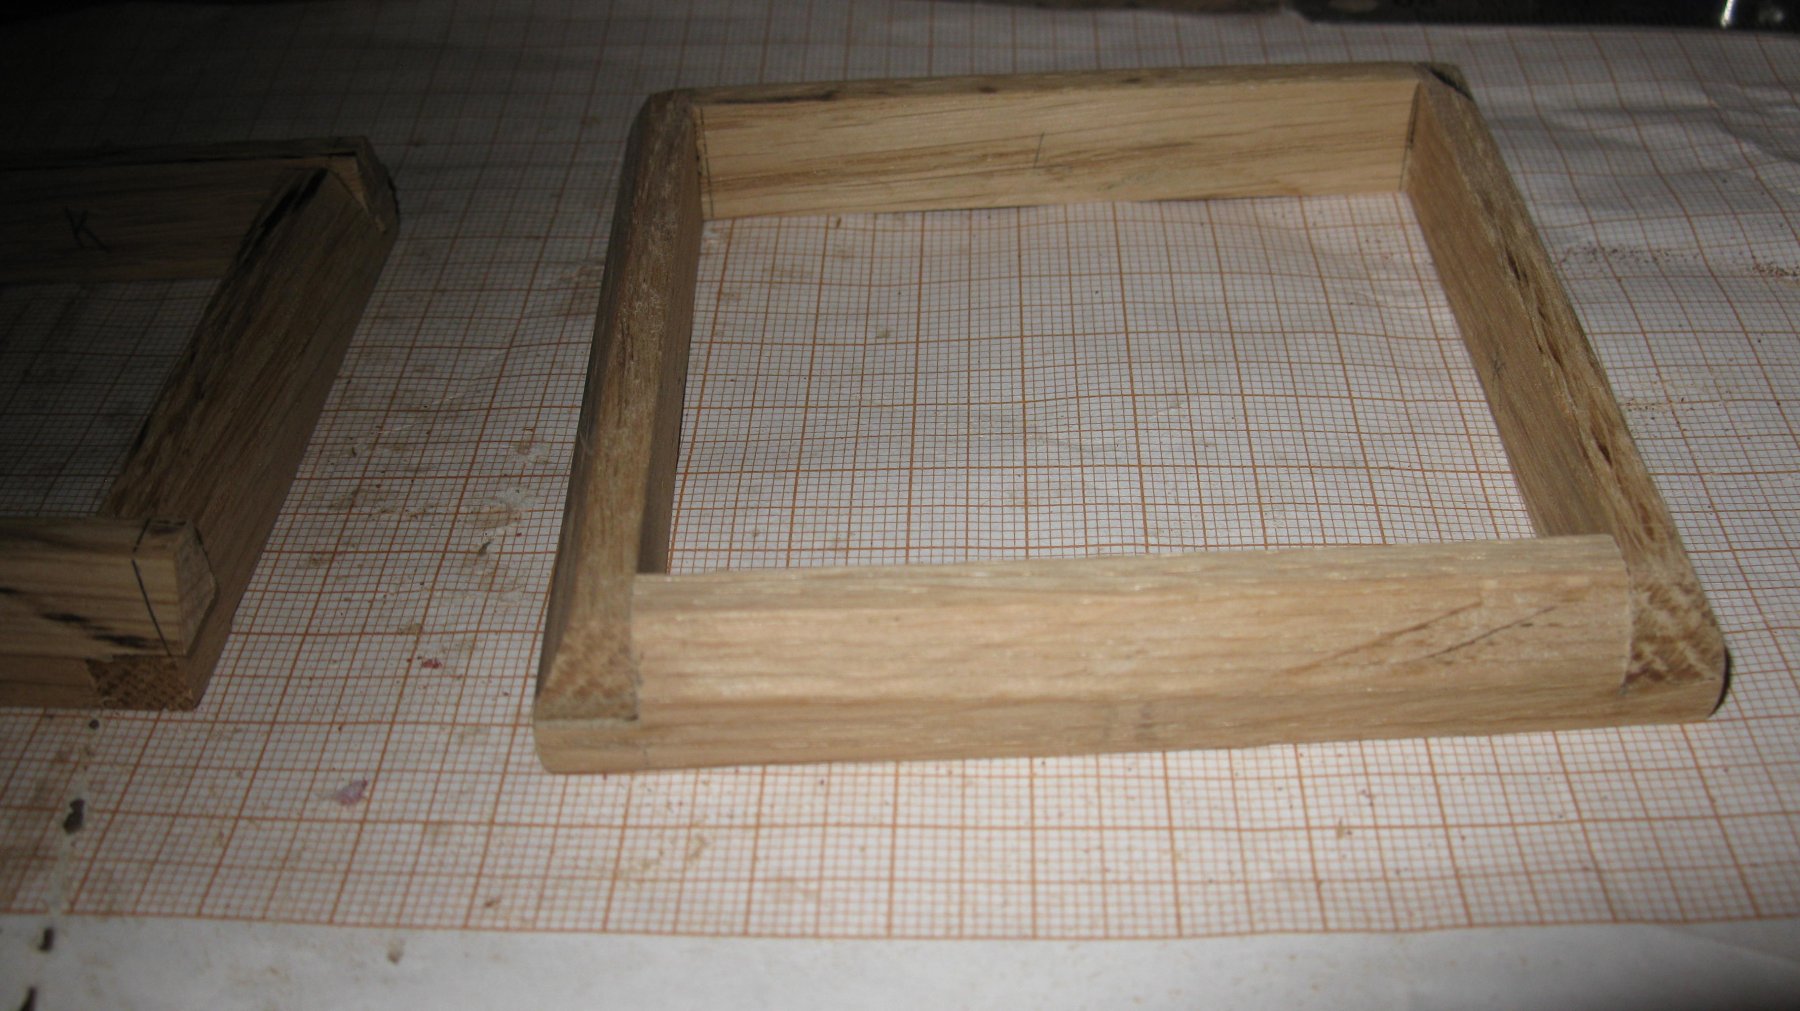
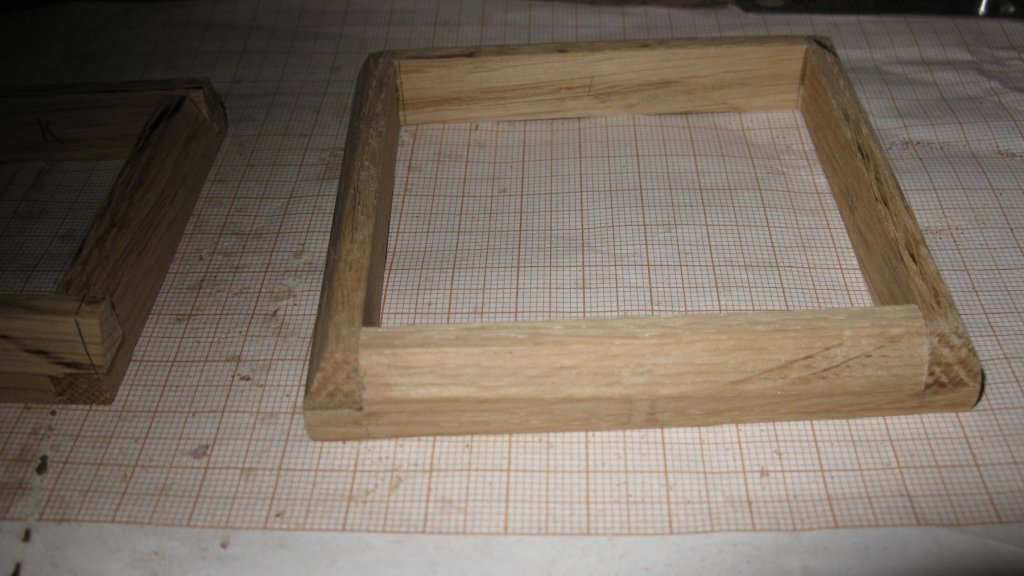
Sawing the coamings for the hatches.
-
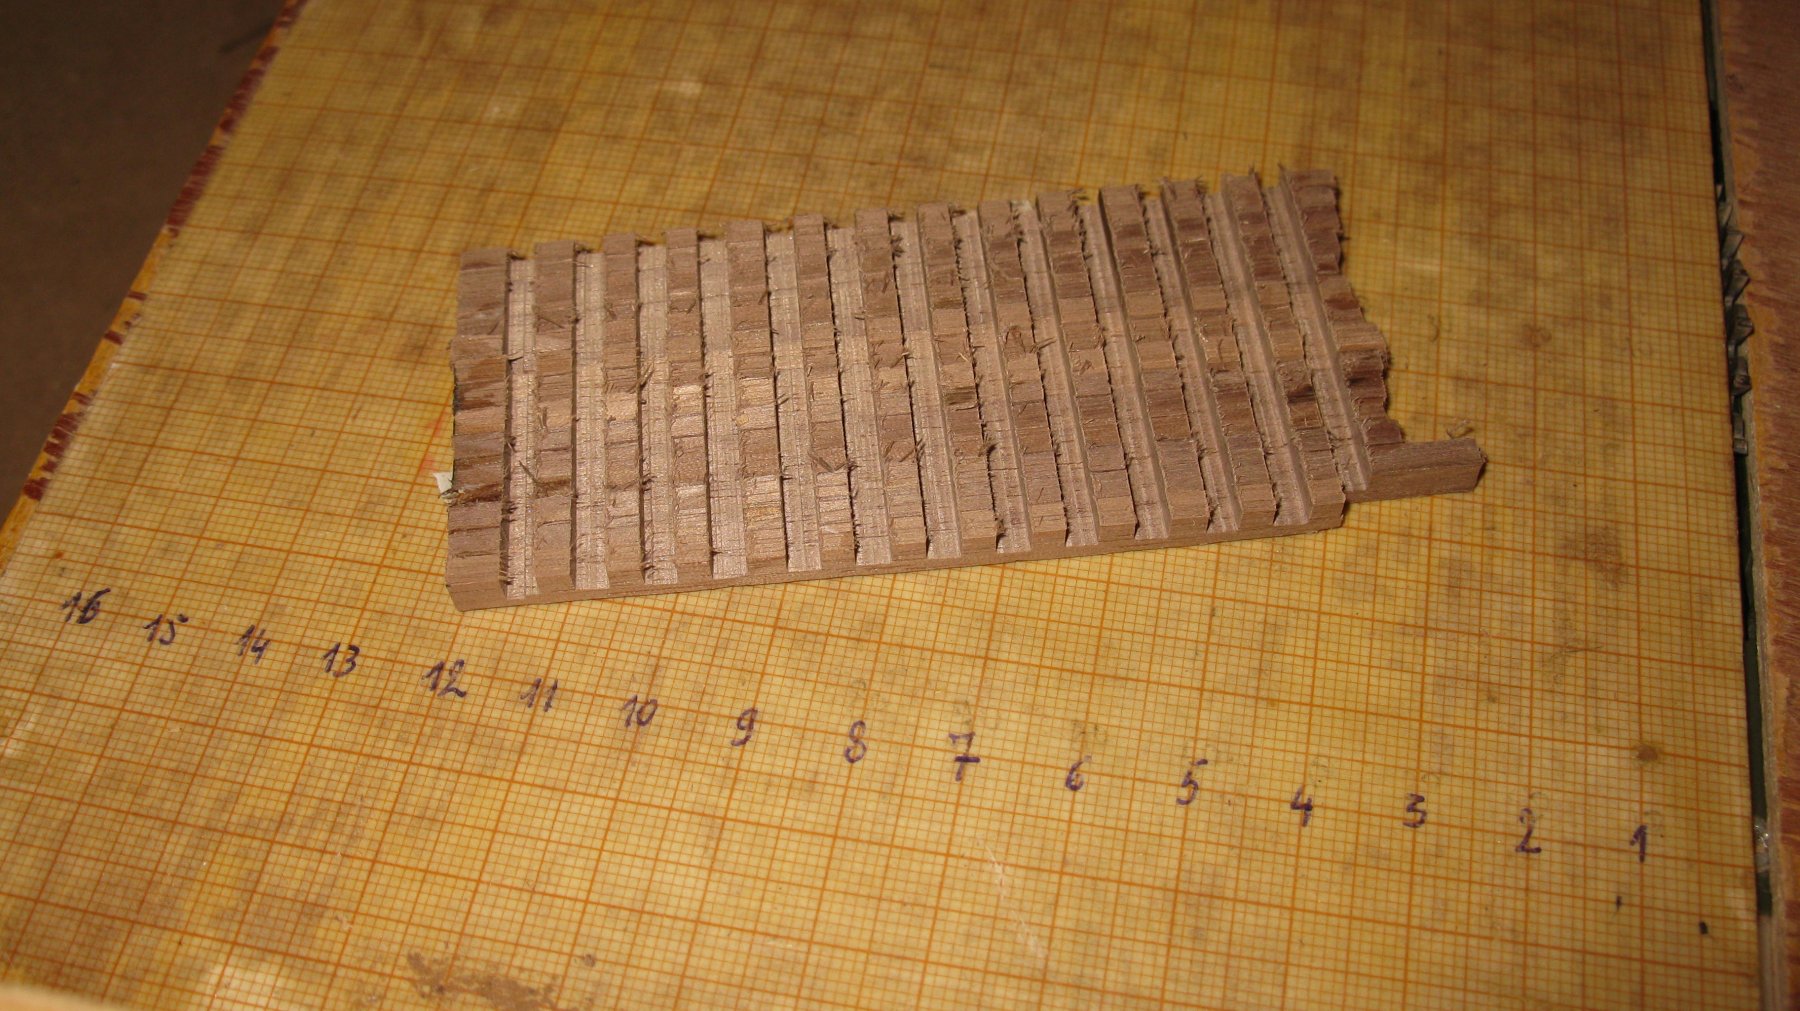
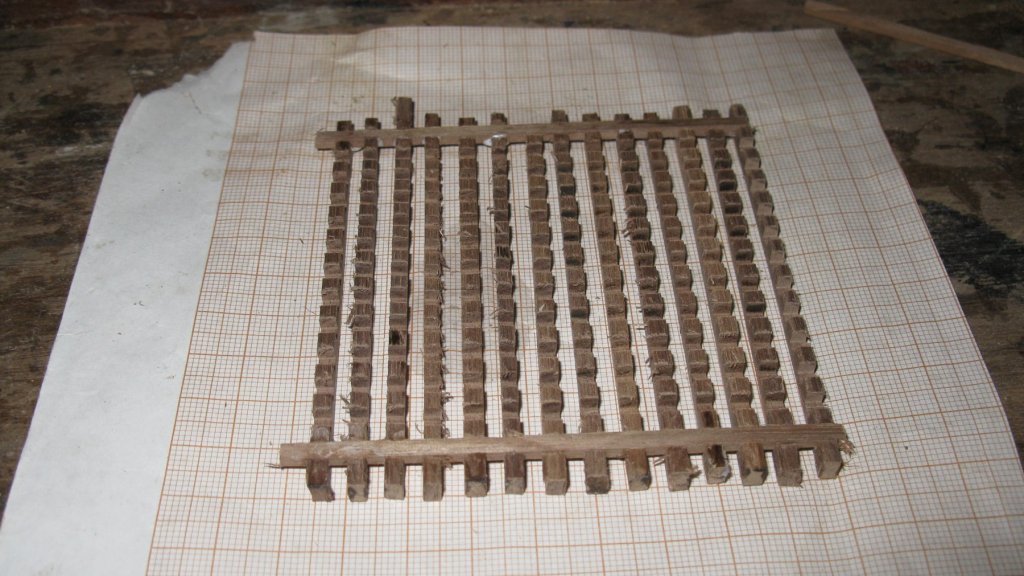
As you can see, I made the grating a bit larger than needed just in case it wouldn't be fully intact. I will wait until the hatch is made to size it to the correct dimensions.

-
All the pieces put together.
-
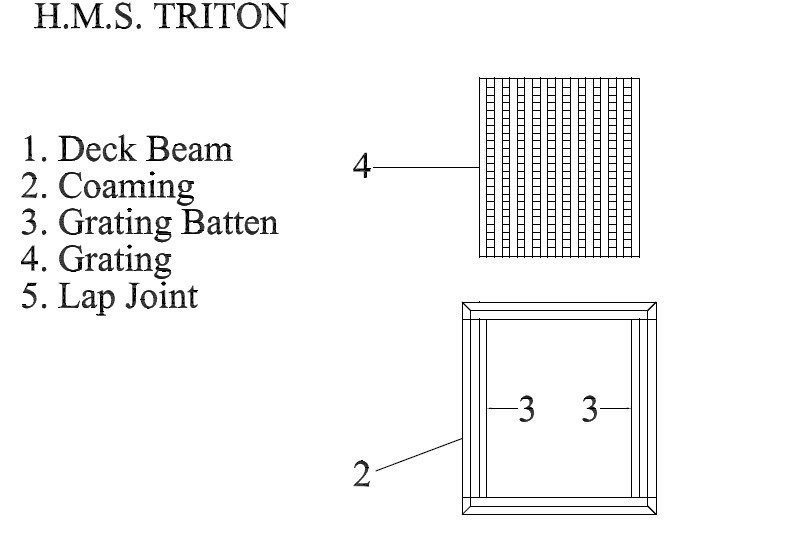
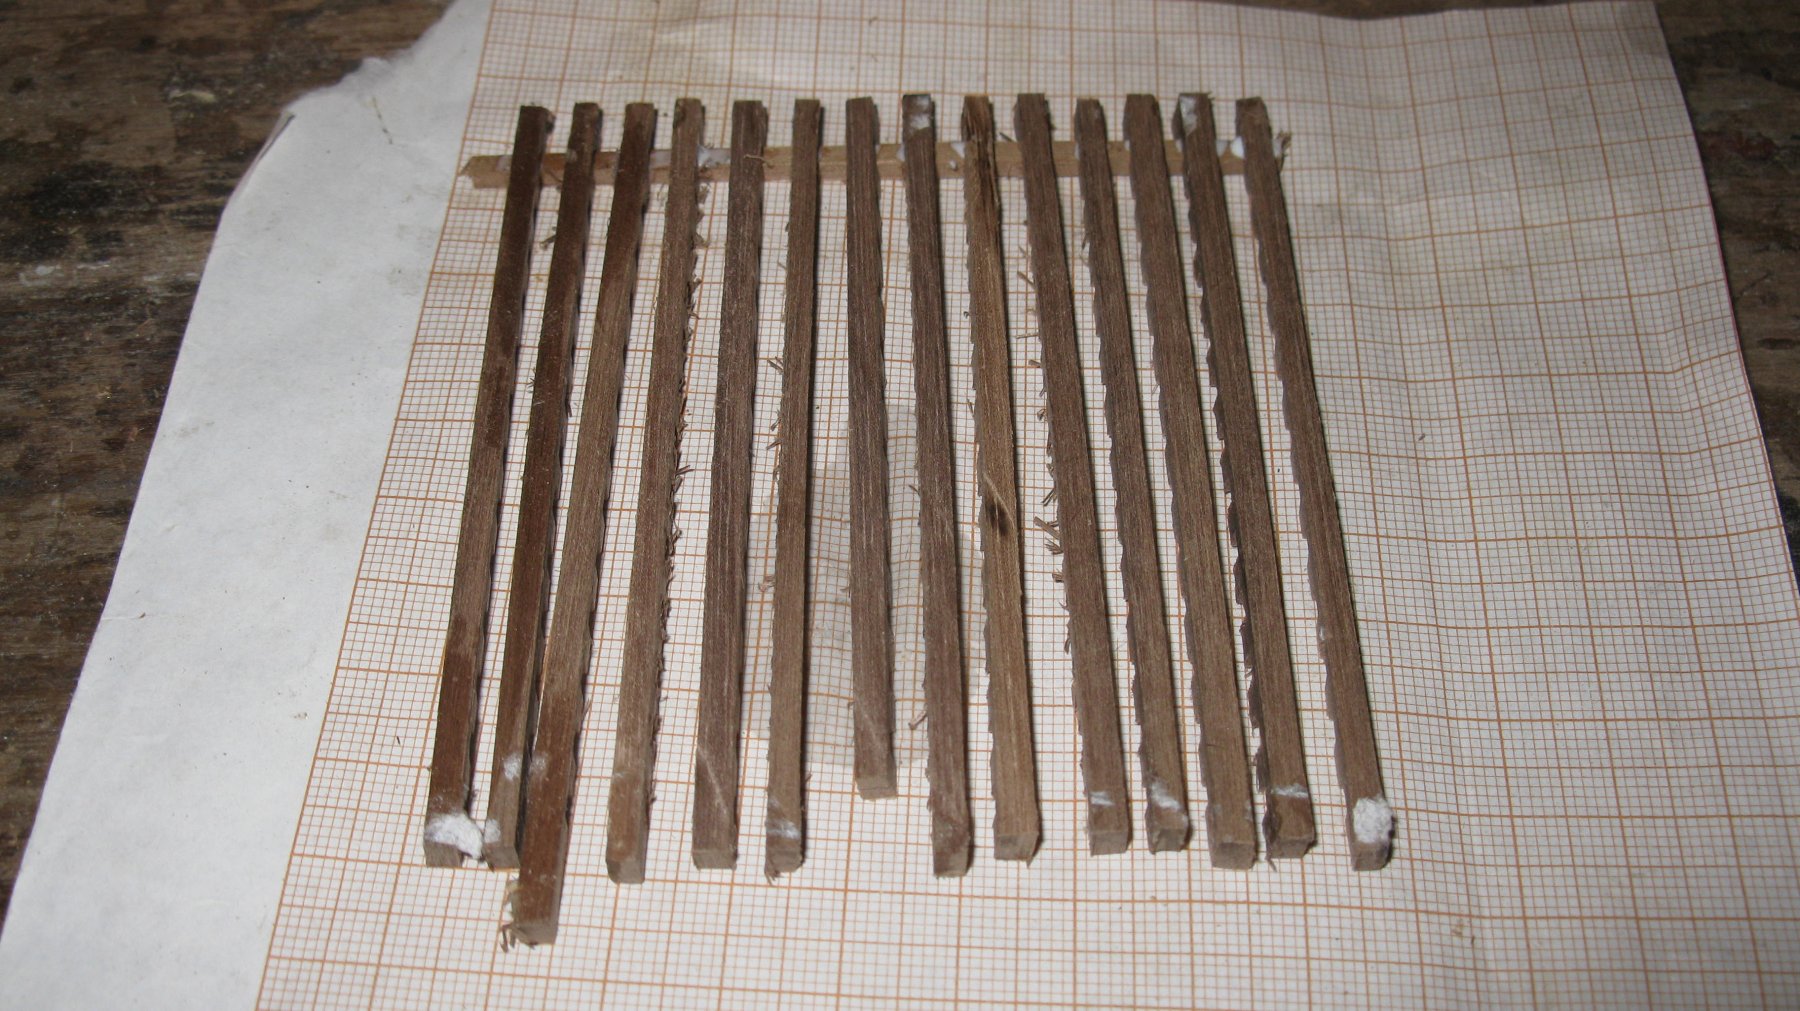
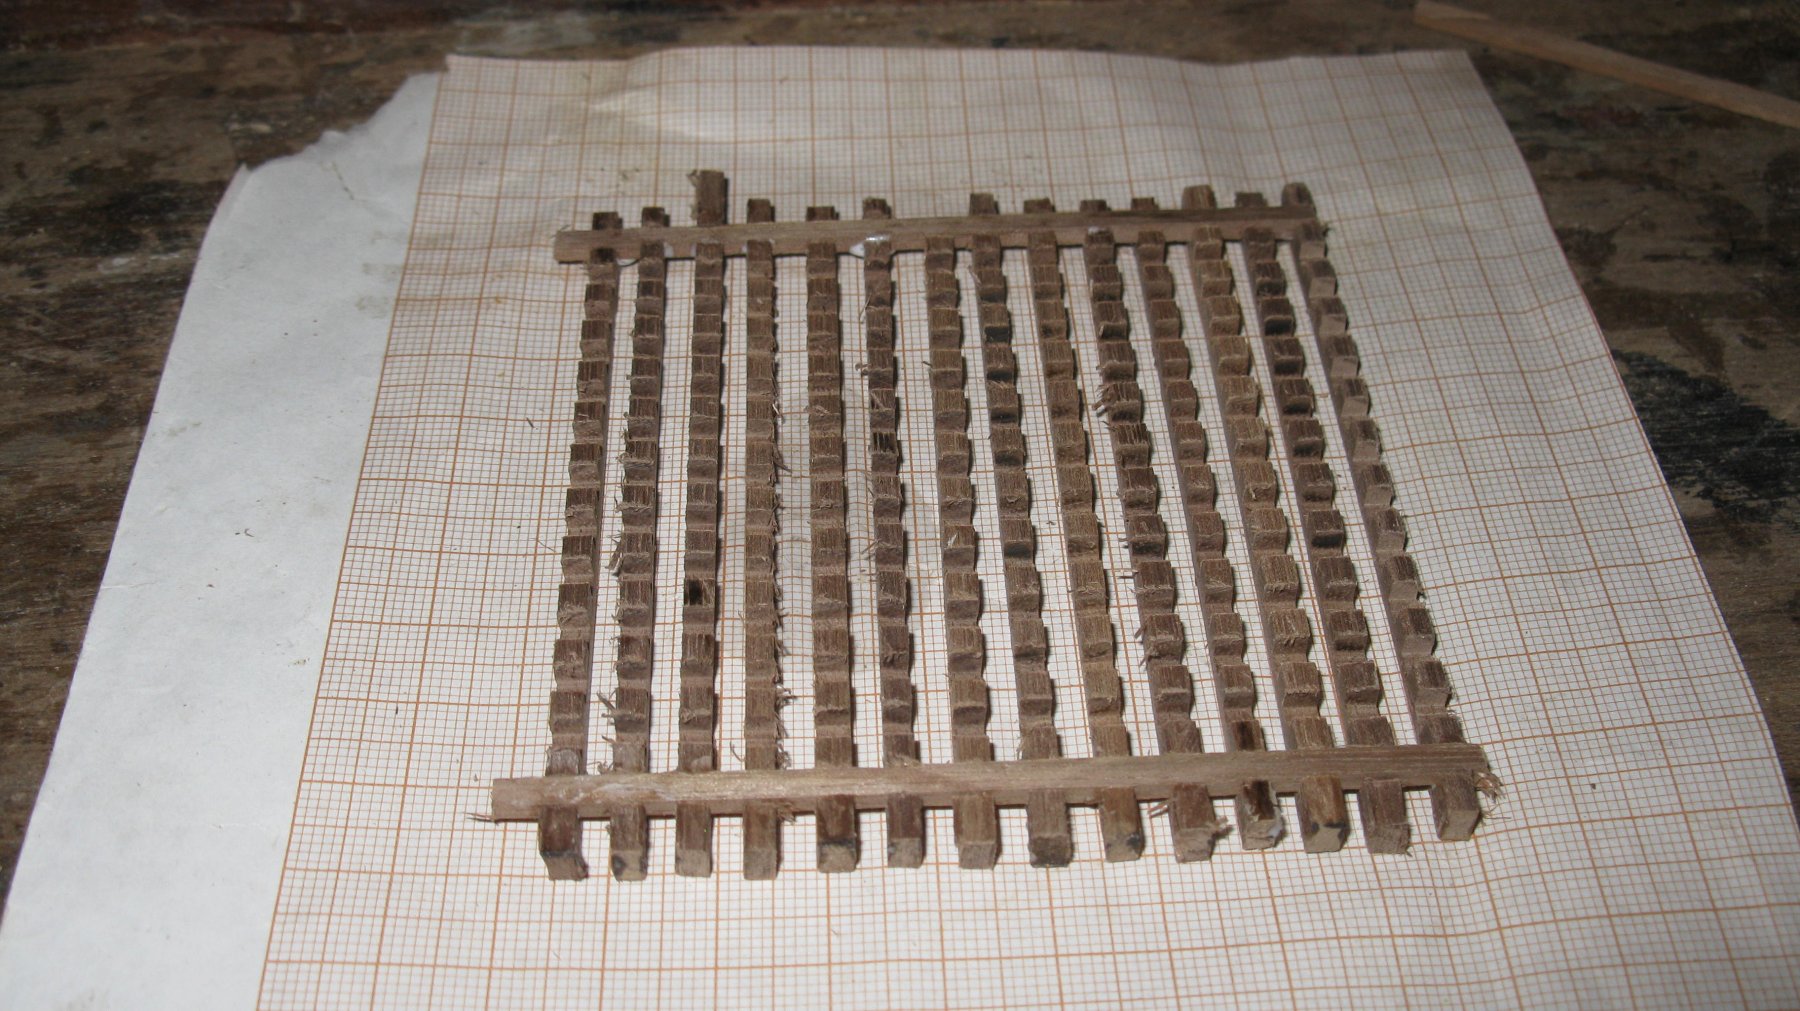
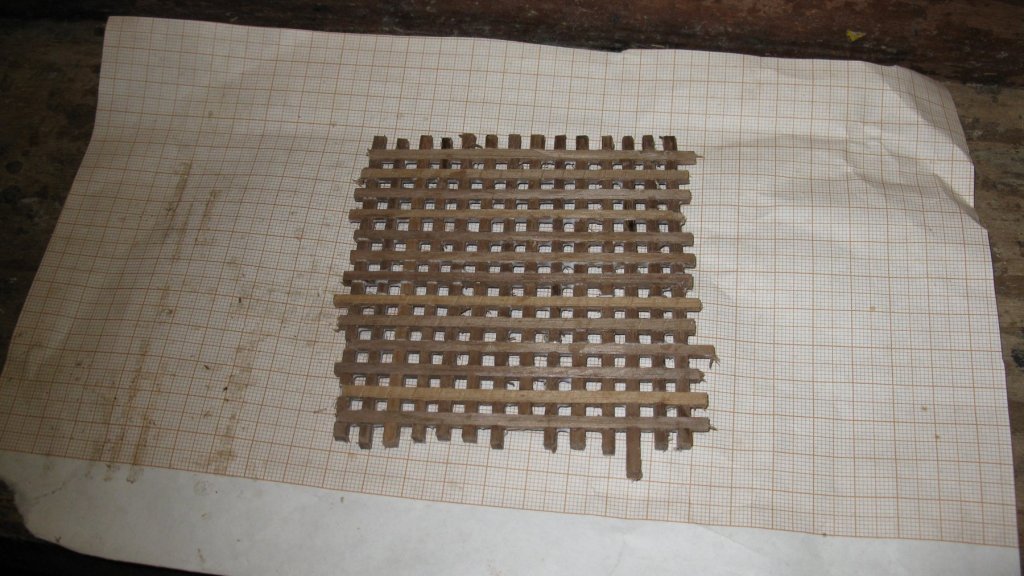
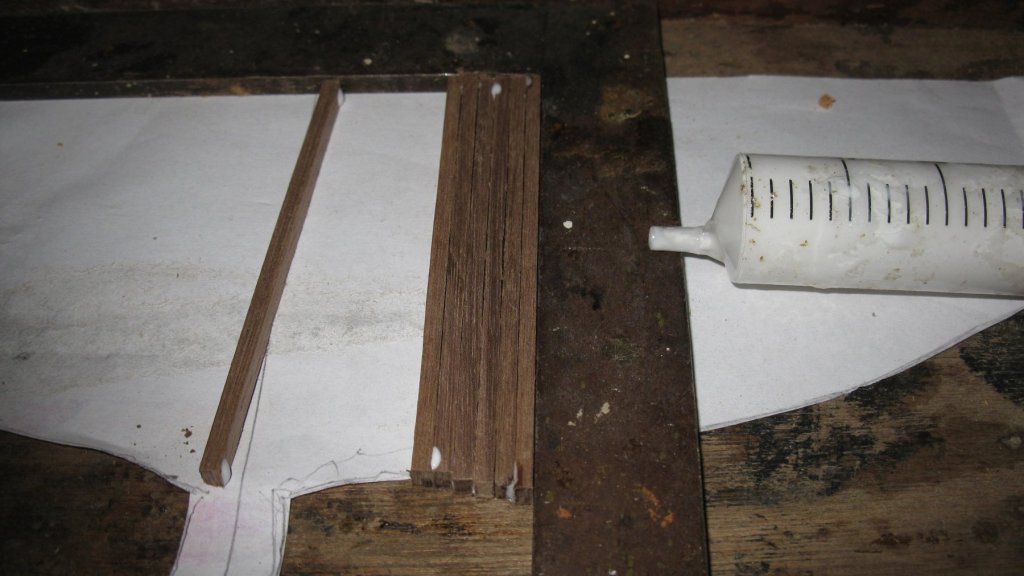
In the grooves I glue 3 mm wide and 1.5 mm thick laths. I start at the outsides and form the grating on a piece of mm paper to be able to glue the laths at 3 mm interspaces

-
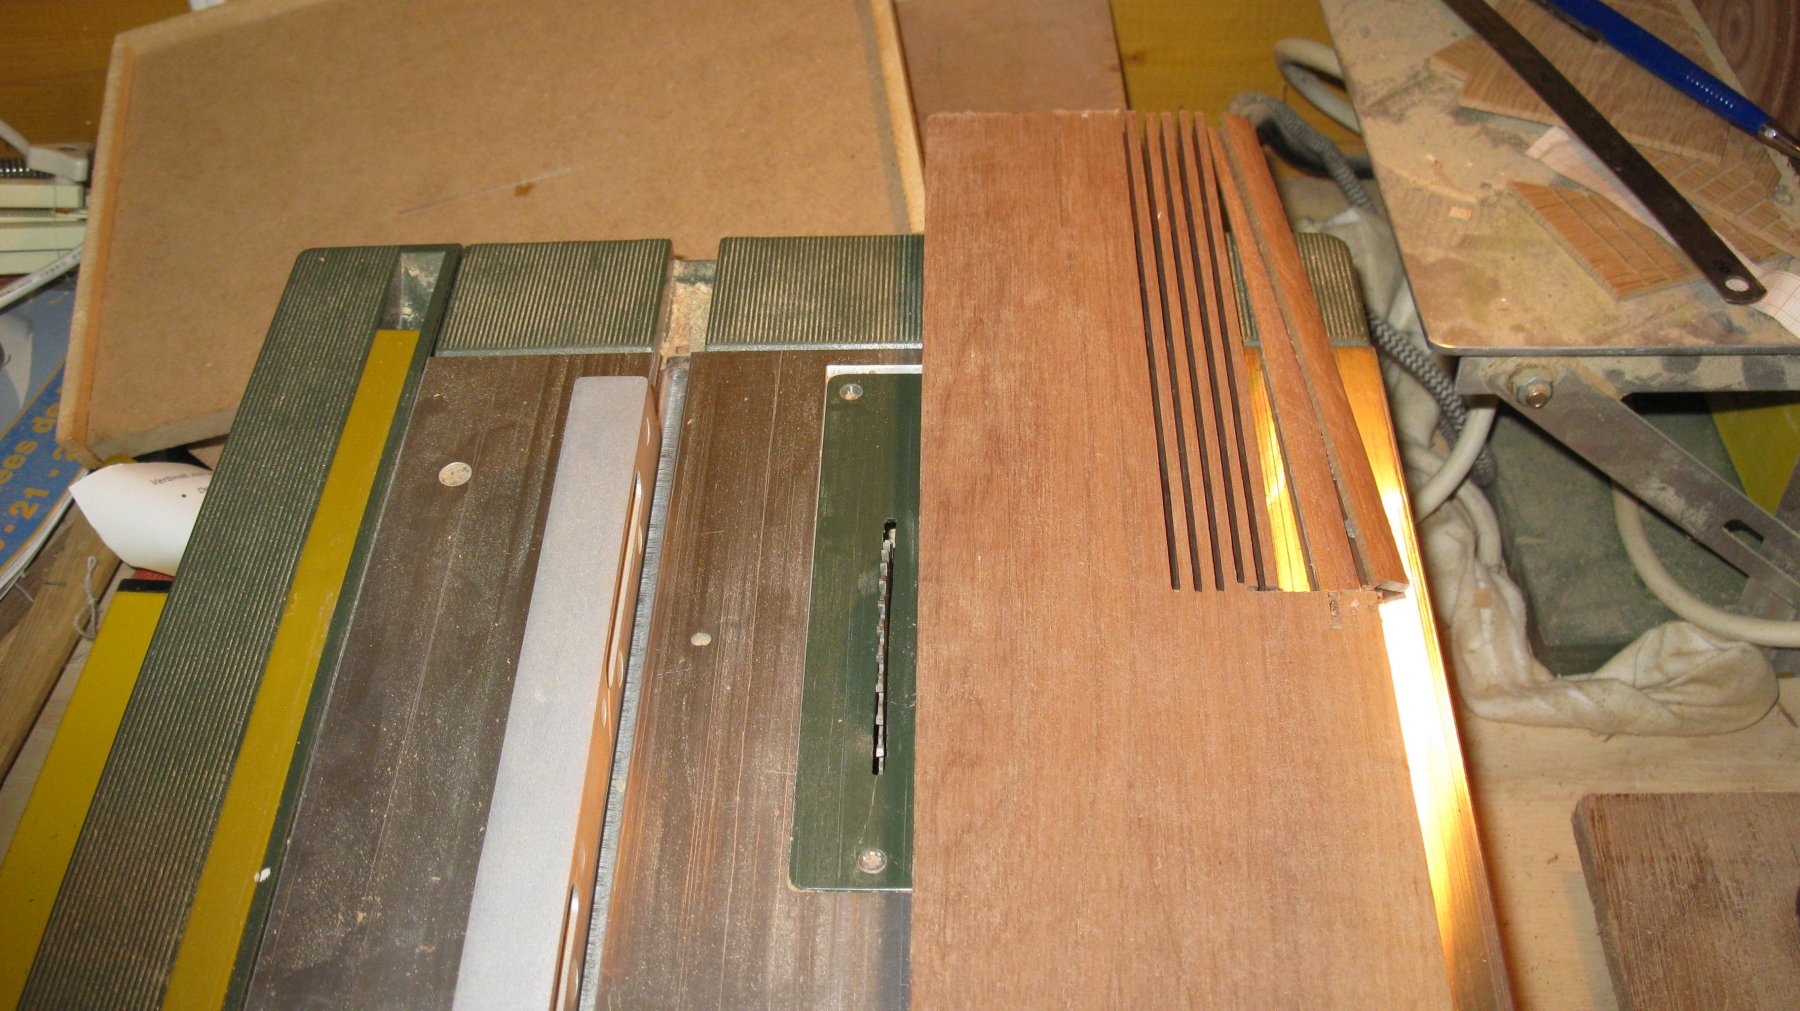
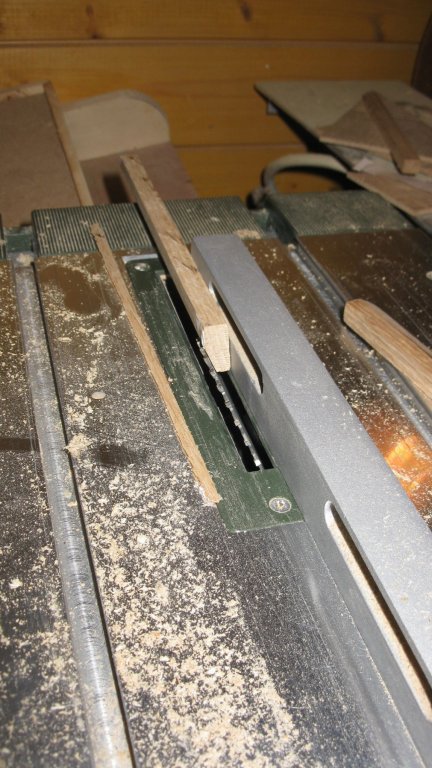
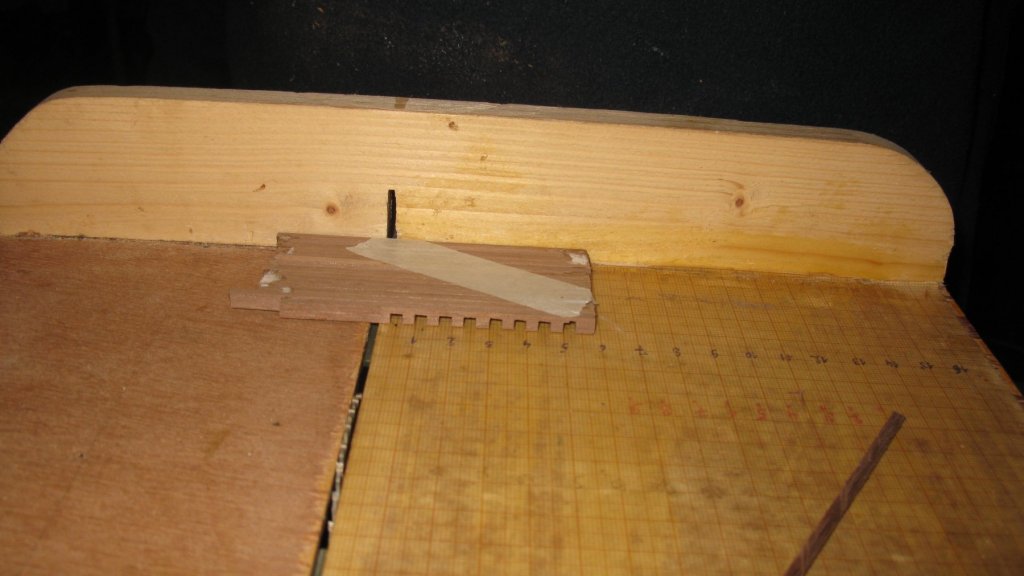
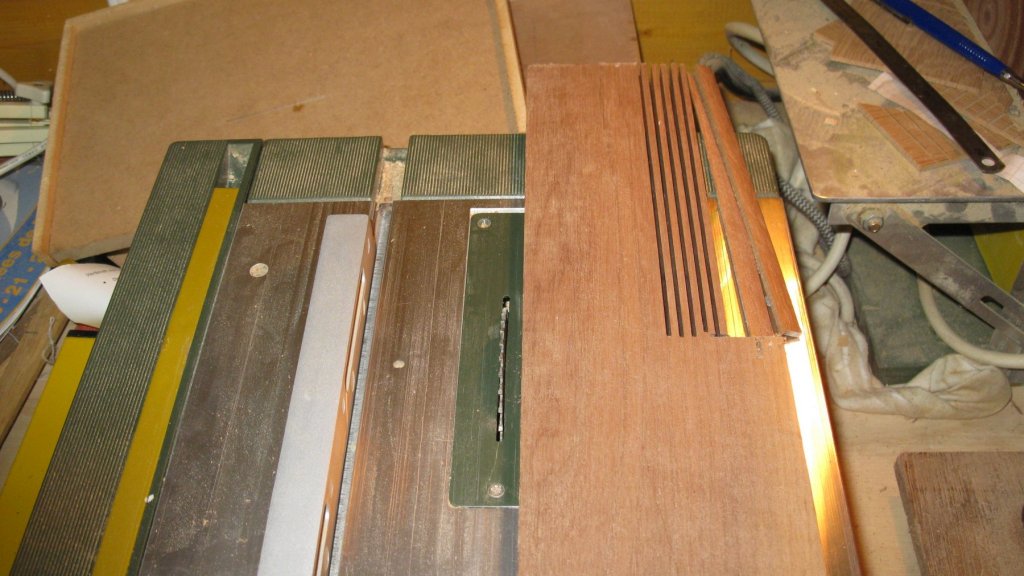
On my Proxxon saw table I like to use a table saw sledge on which a millimeter paper is glued with the 0 mm line exactly on the saw blade edge. With the help of that sledge it is easy to saw 3 mm wide grooves of 1.5 mm deep at 3 mm intervals.
-
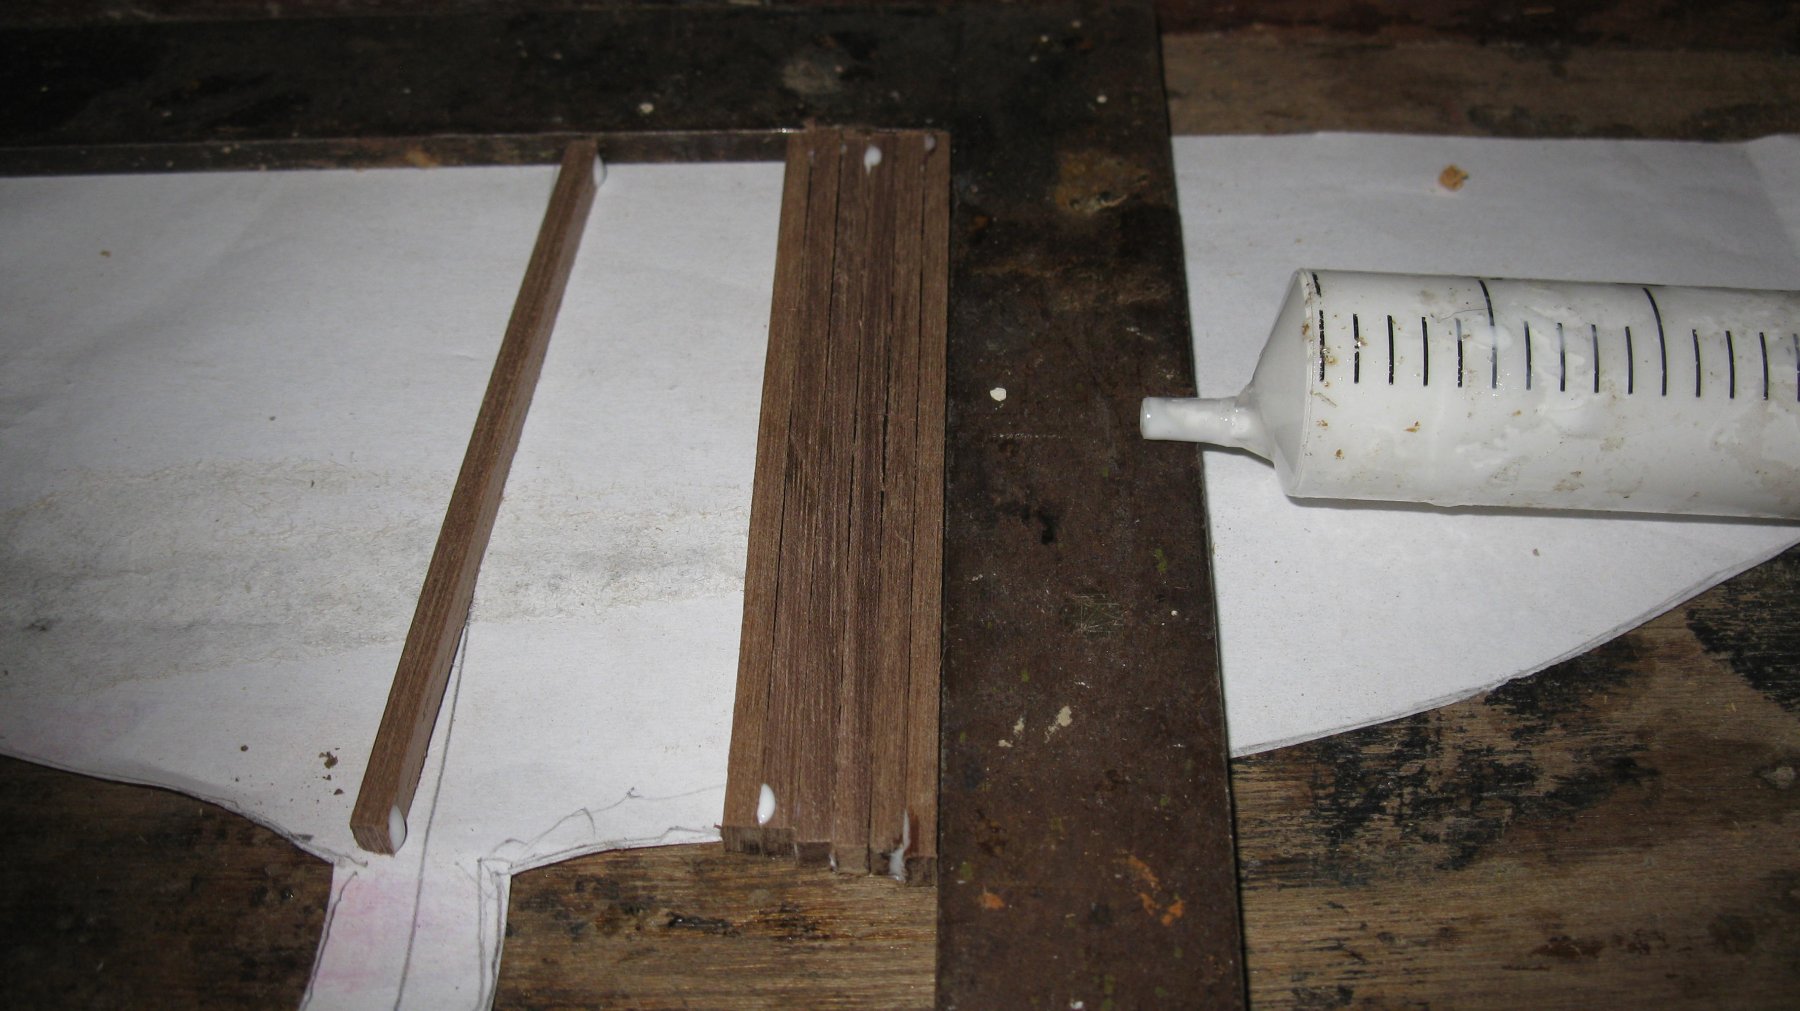
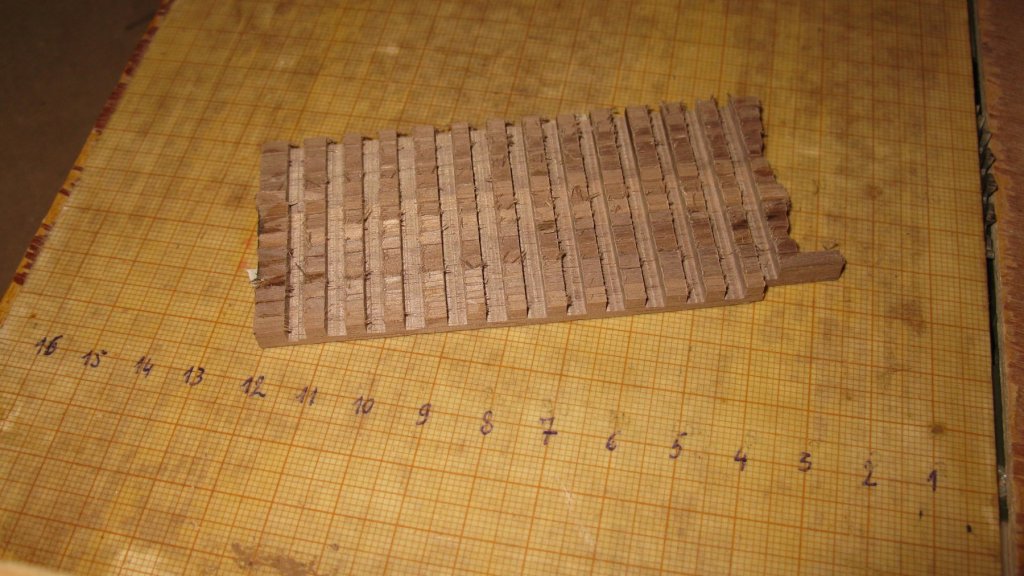
I make the grating in walnut because it is a better wood than oak to saw out little pieces. I start to saw 3x3 mm thick planks and I glue them together with a drip of wood glue at each end. Like this they form a 3 mm thick plank.
-
I will now make the gun deck hatches, starting with the grating for the after hatch.