G.L.
-
Posts
1,553 -
Joined
-
Last visited
Content Type
Profiles
Forums
Gallery
Events
Everything posted by G.L.
-
 The wales form the base for further planking upwards.
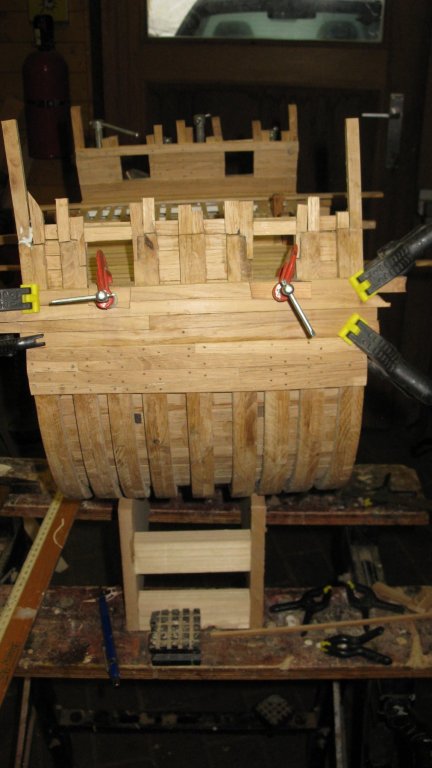
-
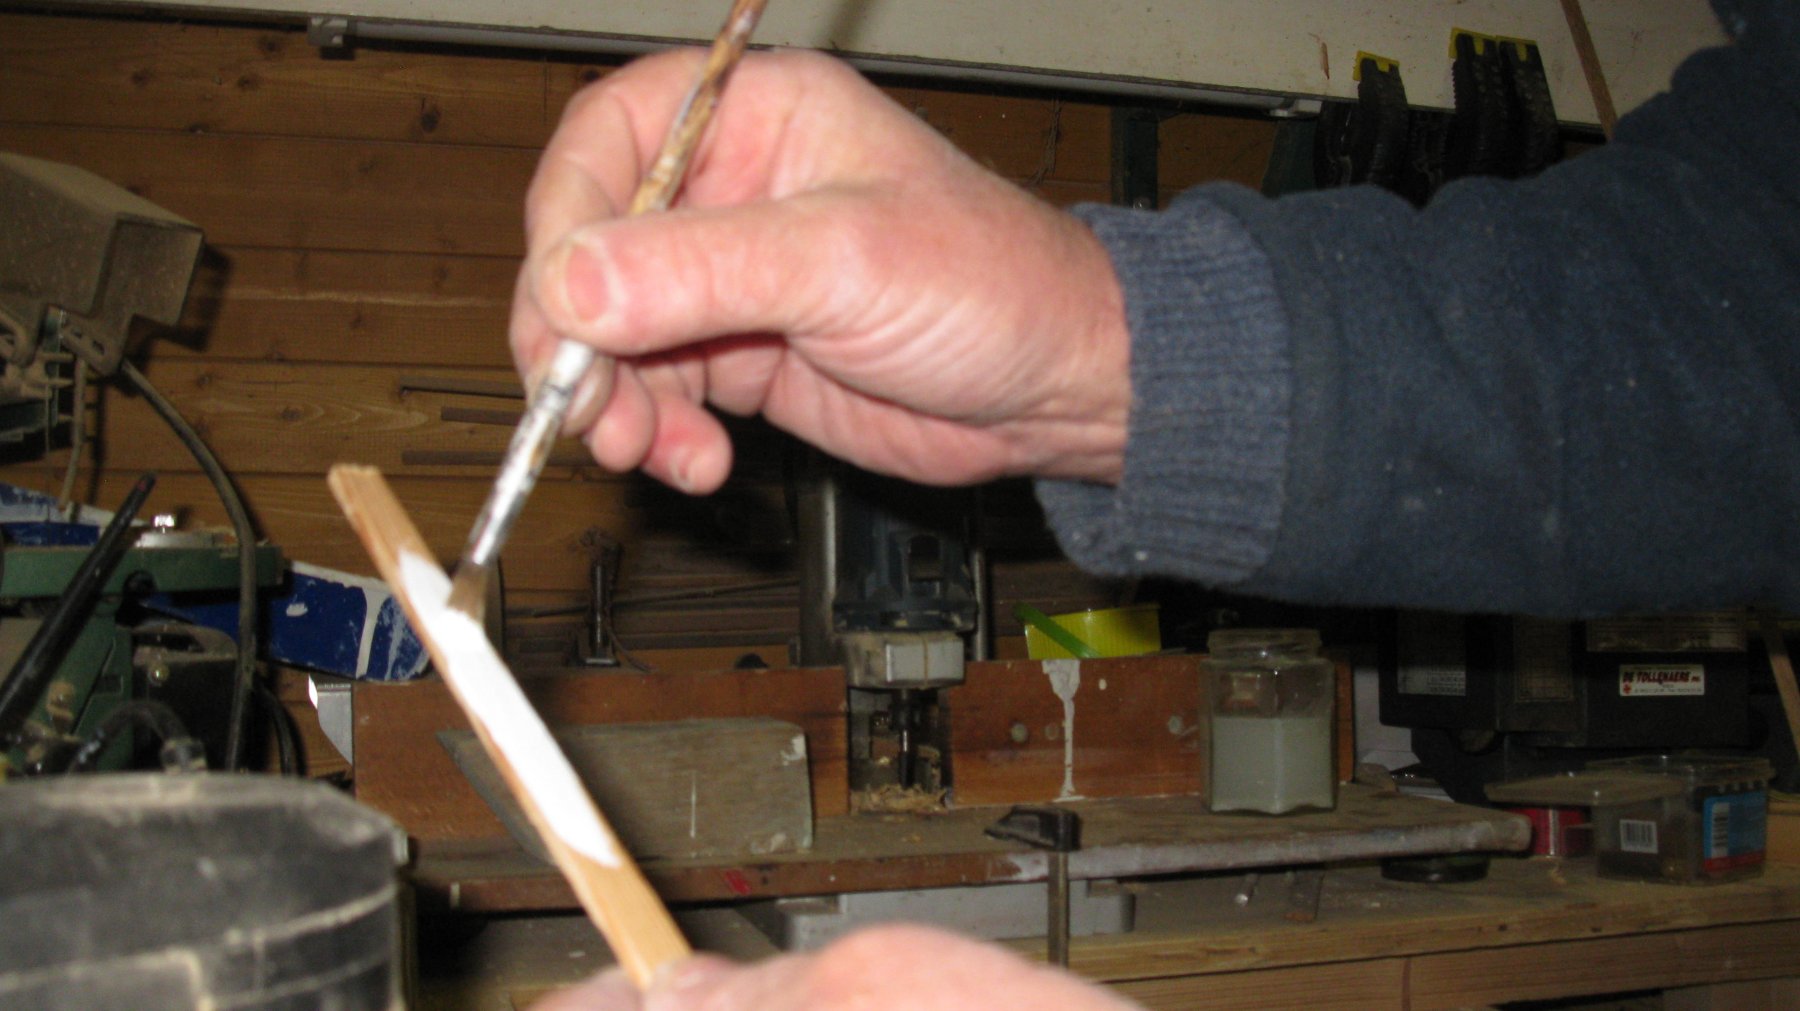
When the glue is dry, I sand them an glue them into their position on the model.

-
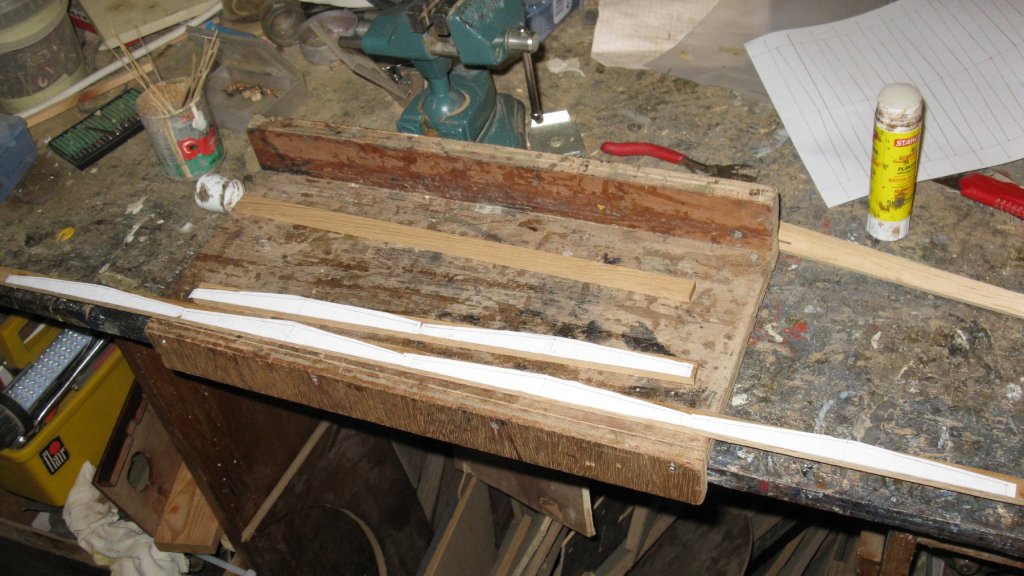
... and glue in strips of two layers on top of a copy of the drawn pattern.
-
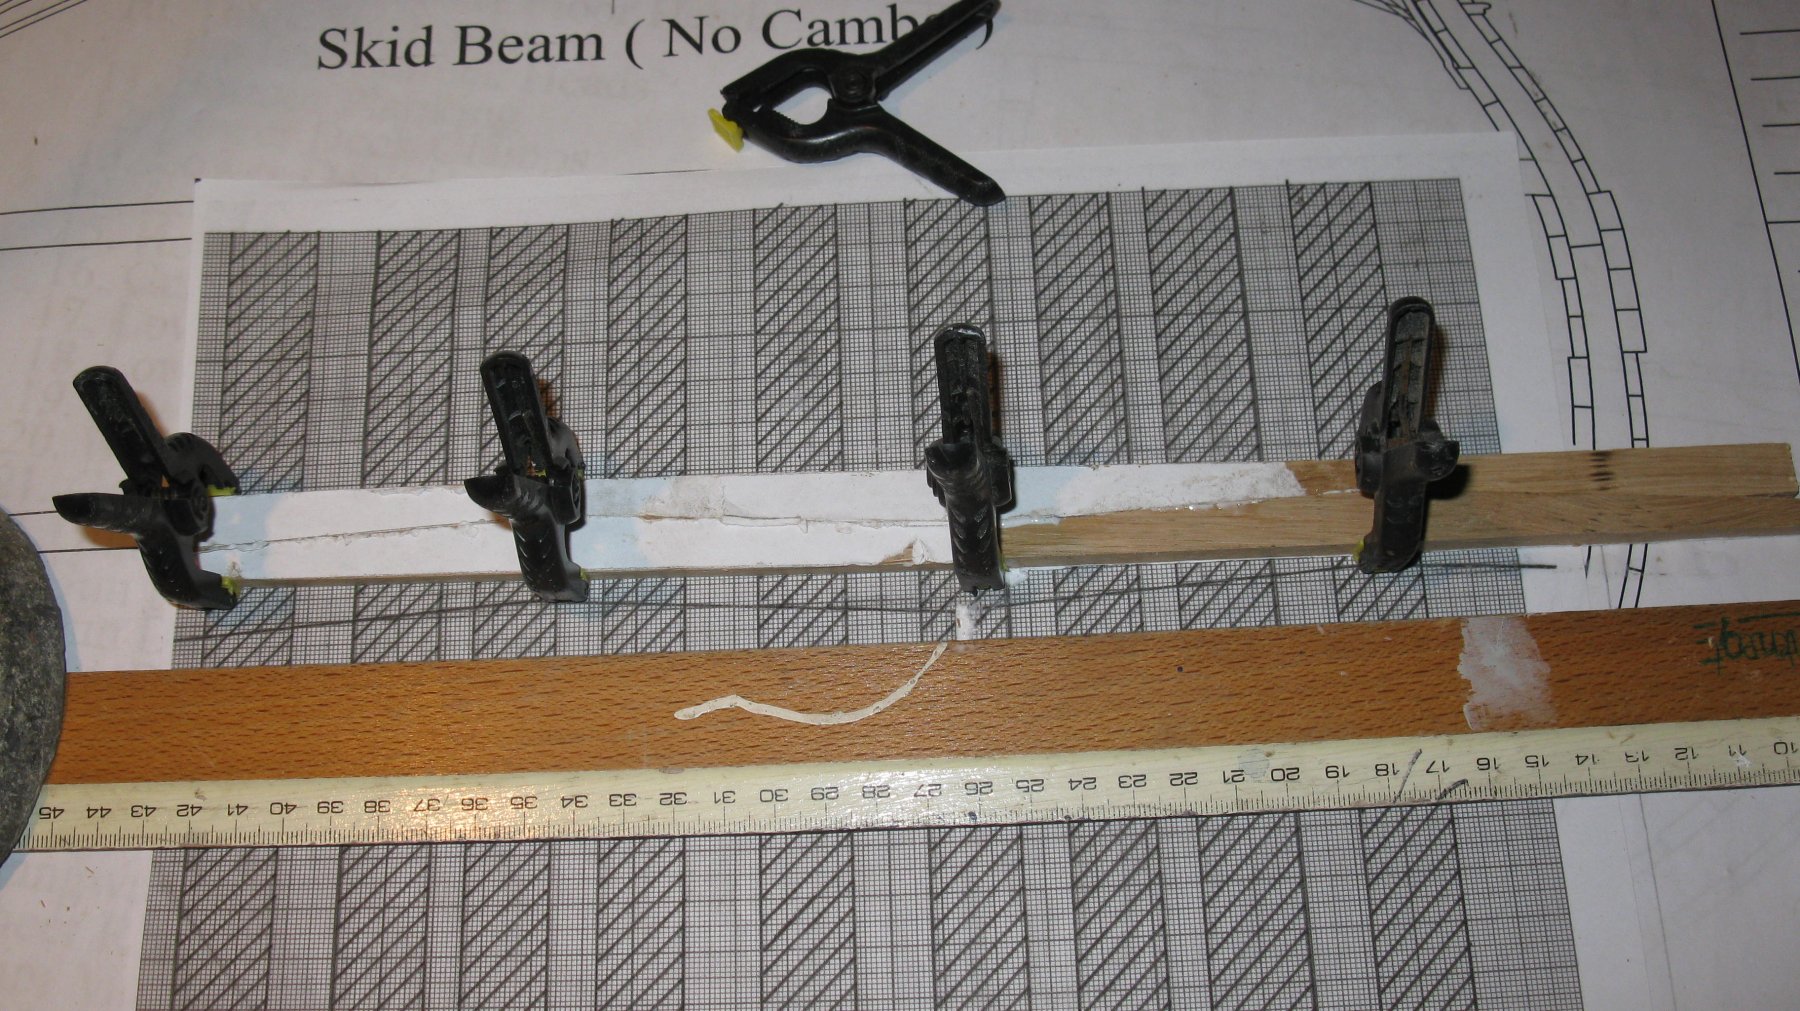
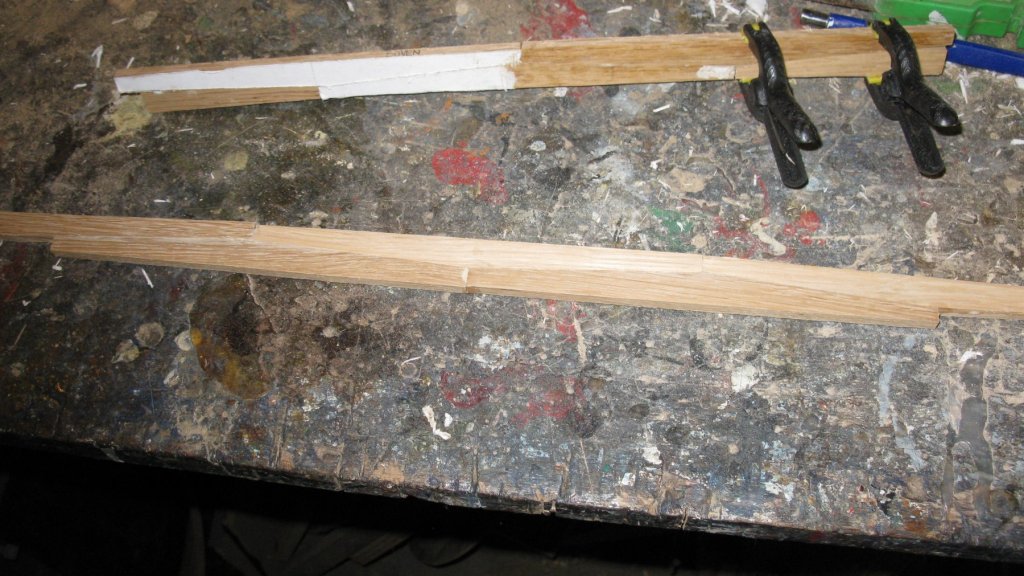
I saw the different planks of the wales with the help of paper templates with the table circular saw...
-
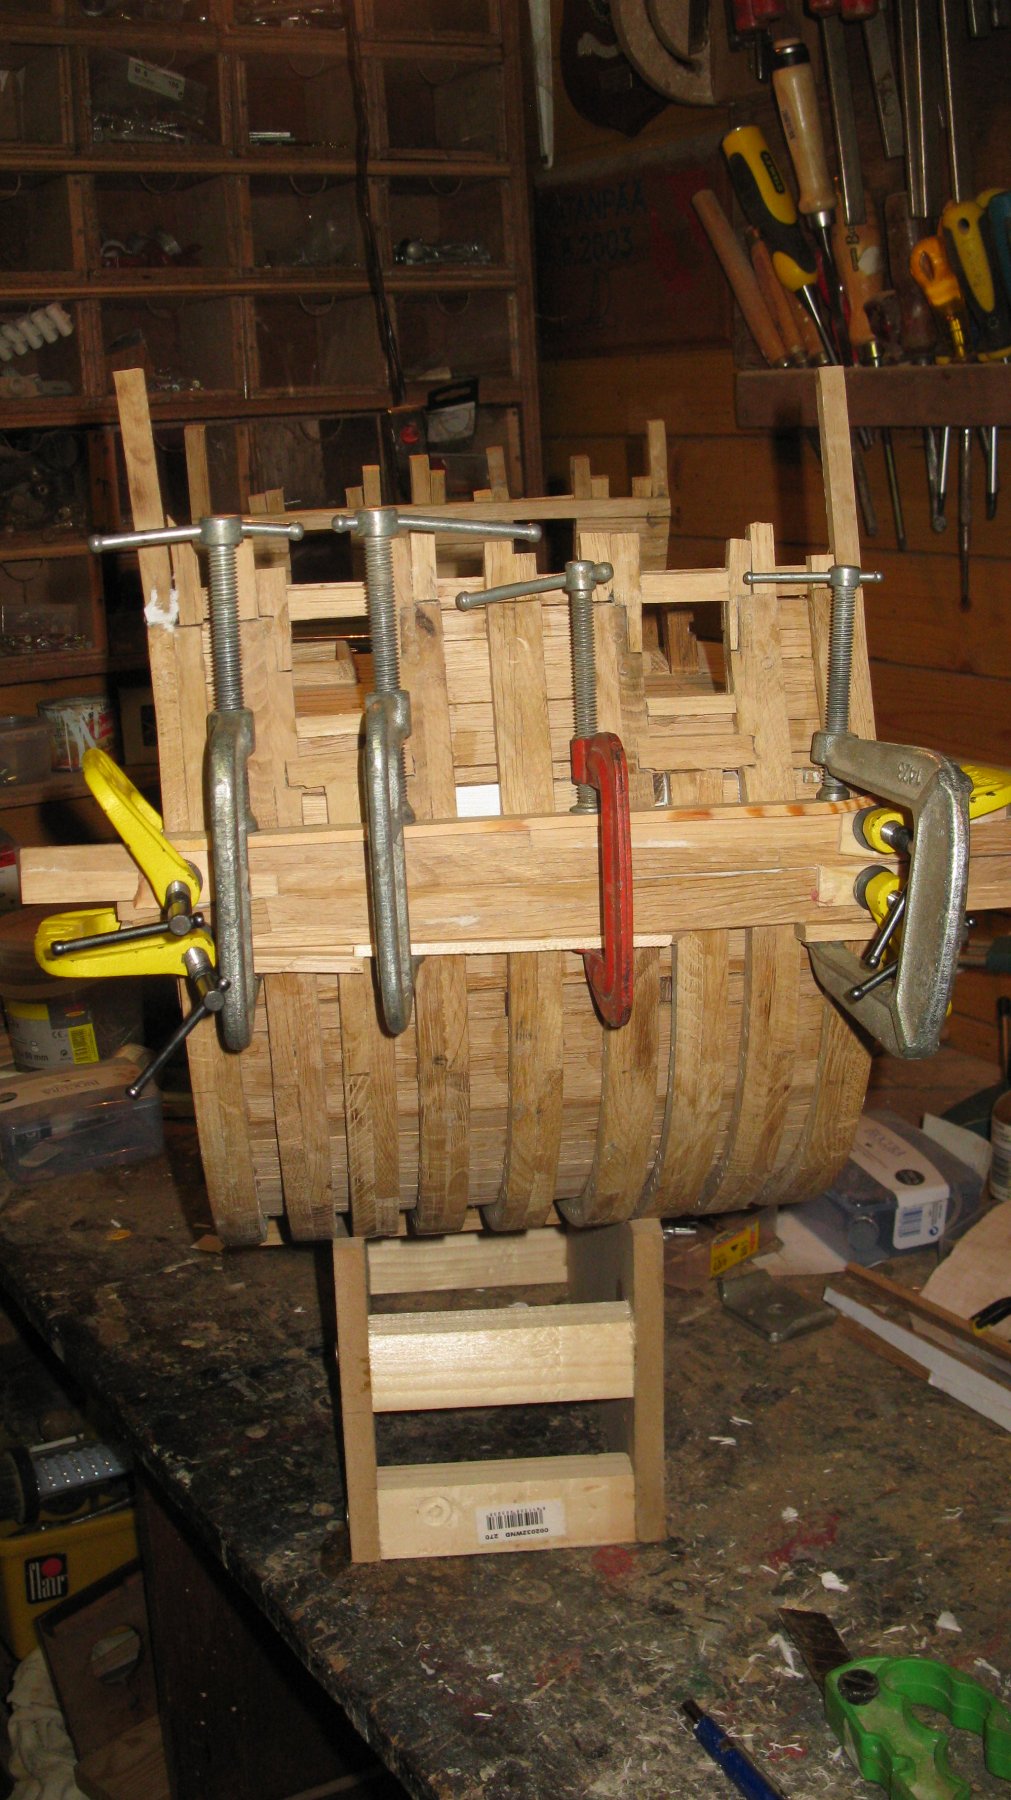
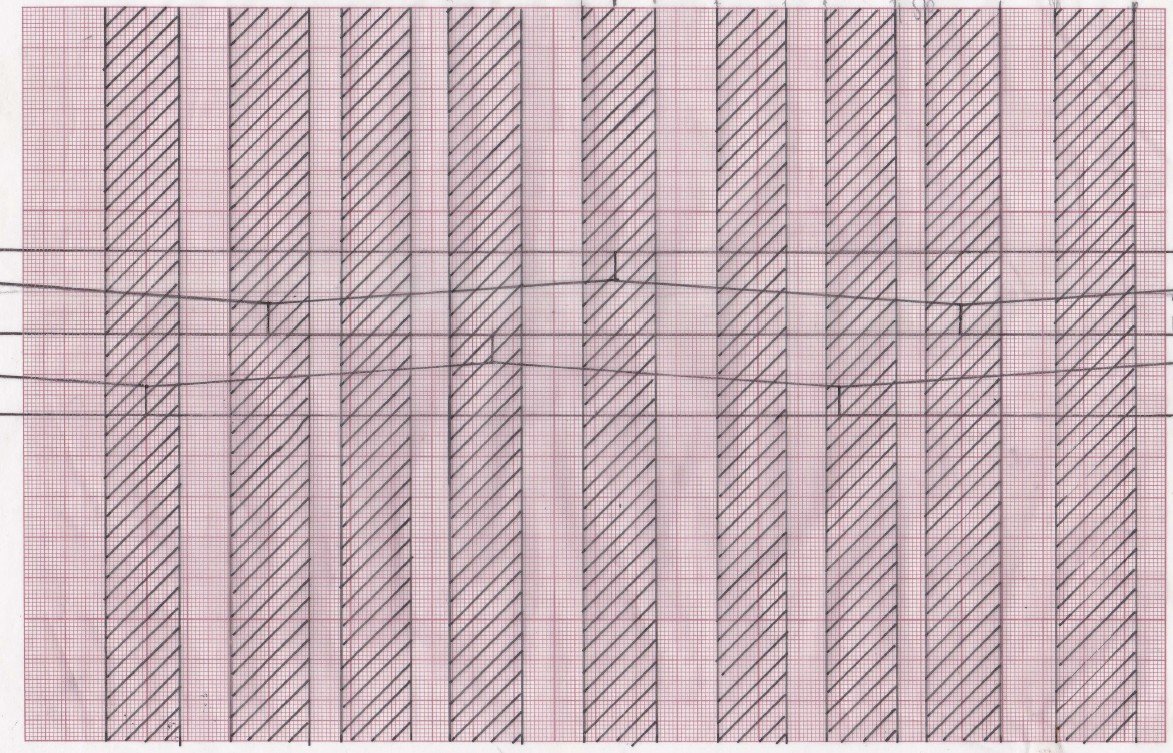
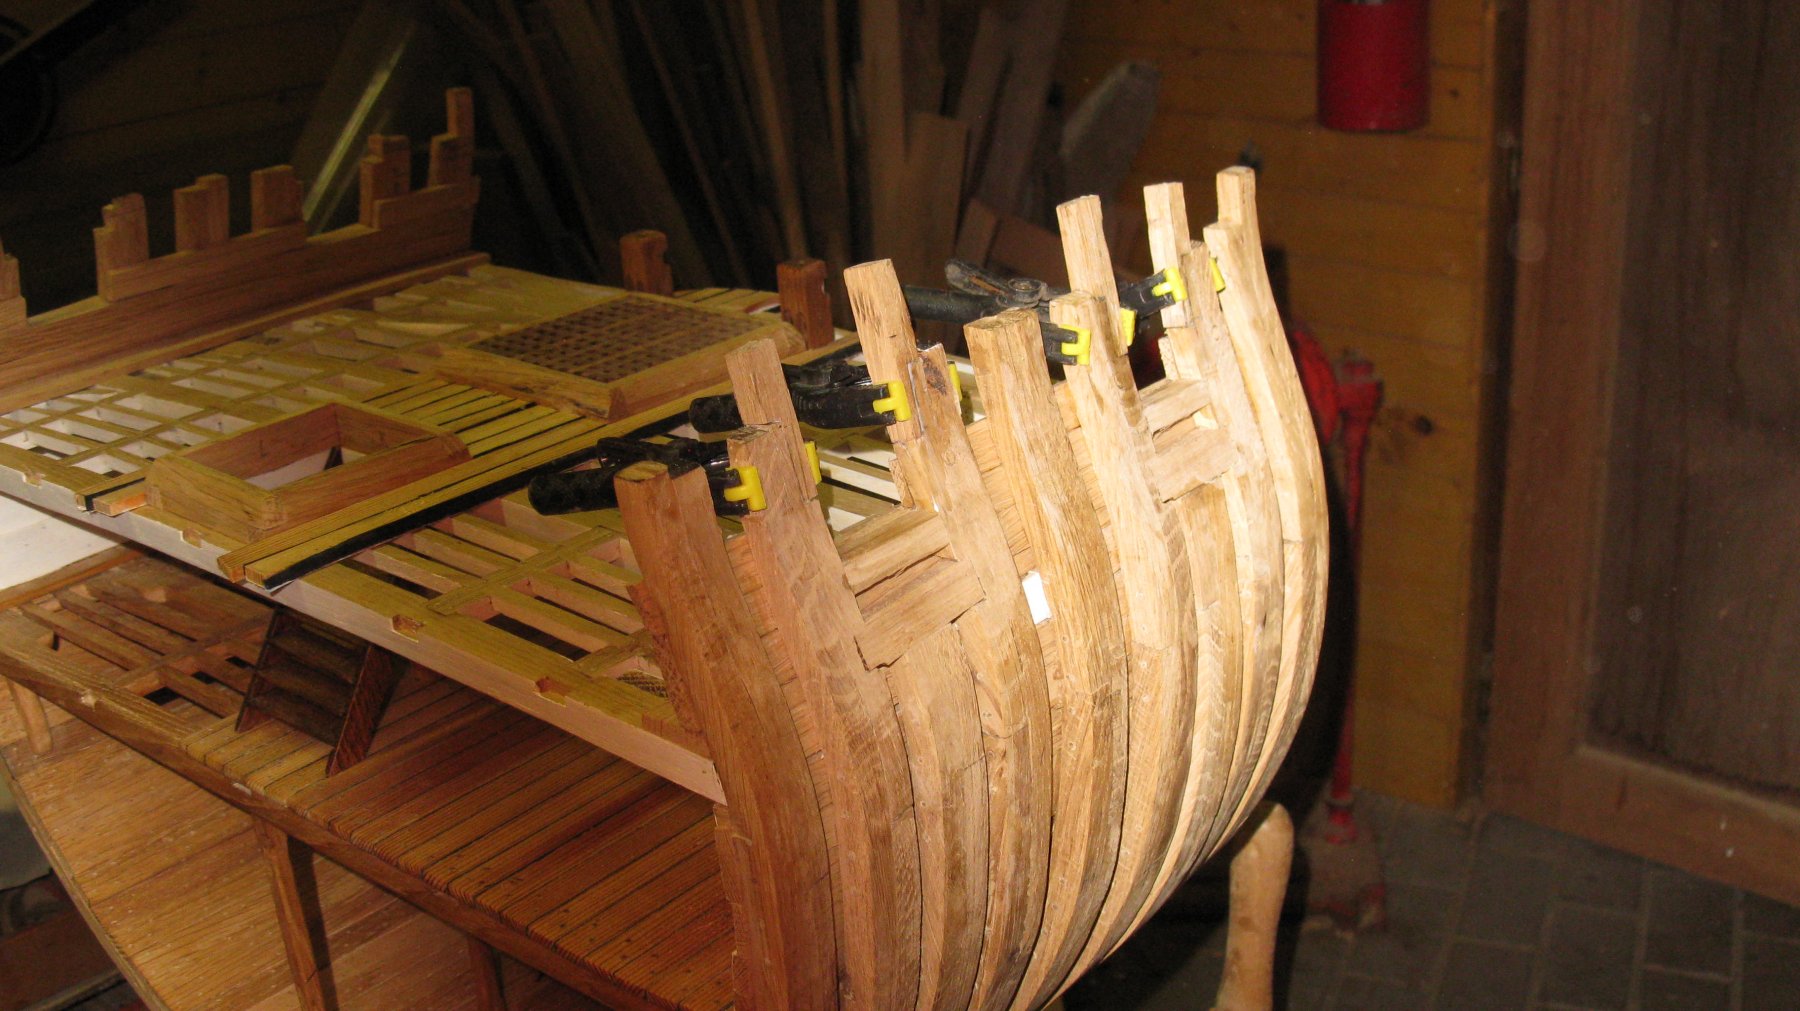
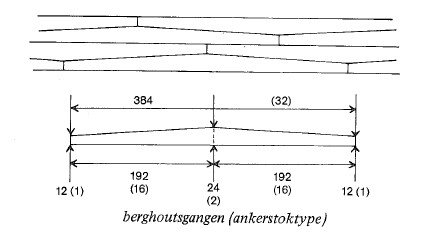
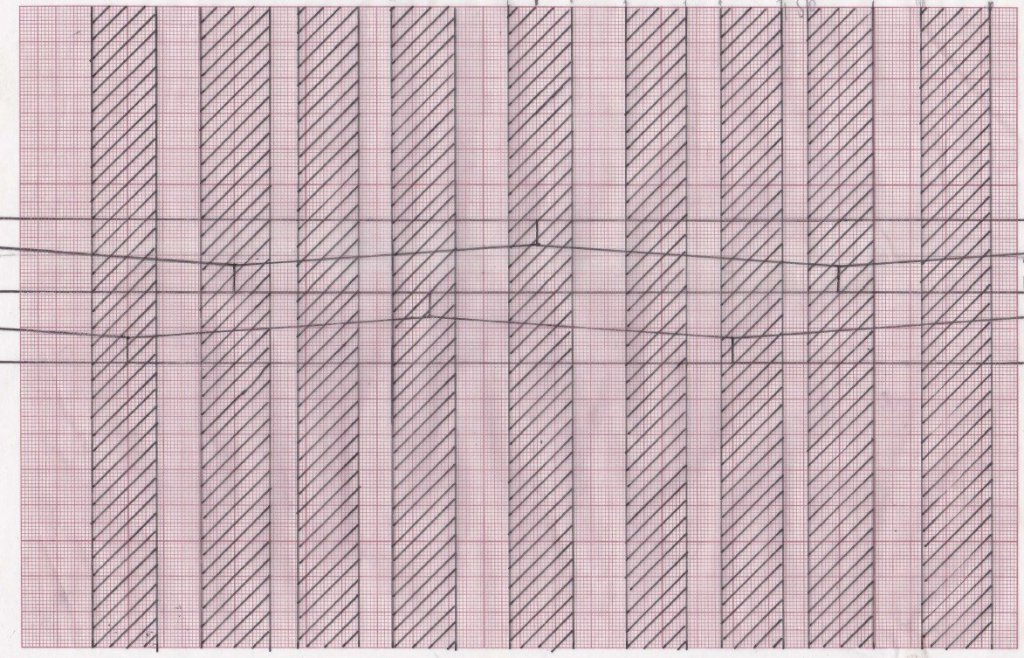
I start the outside planking with placing the wales. Inspired by a lot of Triton cross section builders, I decide to make the wales in an anker stock pattern. Accordingly to 'Historic ship models' of Zu Montfeld the planks were 384 cm long and 12 cm wide at the ends and 24 cm in the middle. It is not possible to keep those exact sizes due to the frame intervals and the wales with on the cross section drawings. I draw a pattern with wales of which the dimensions are as close as possible.
-
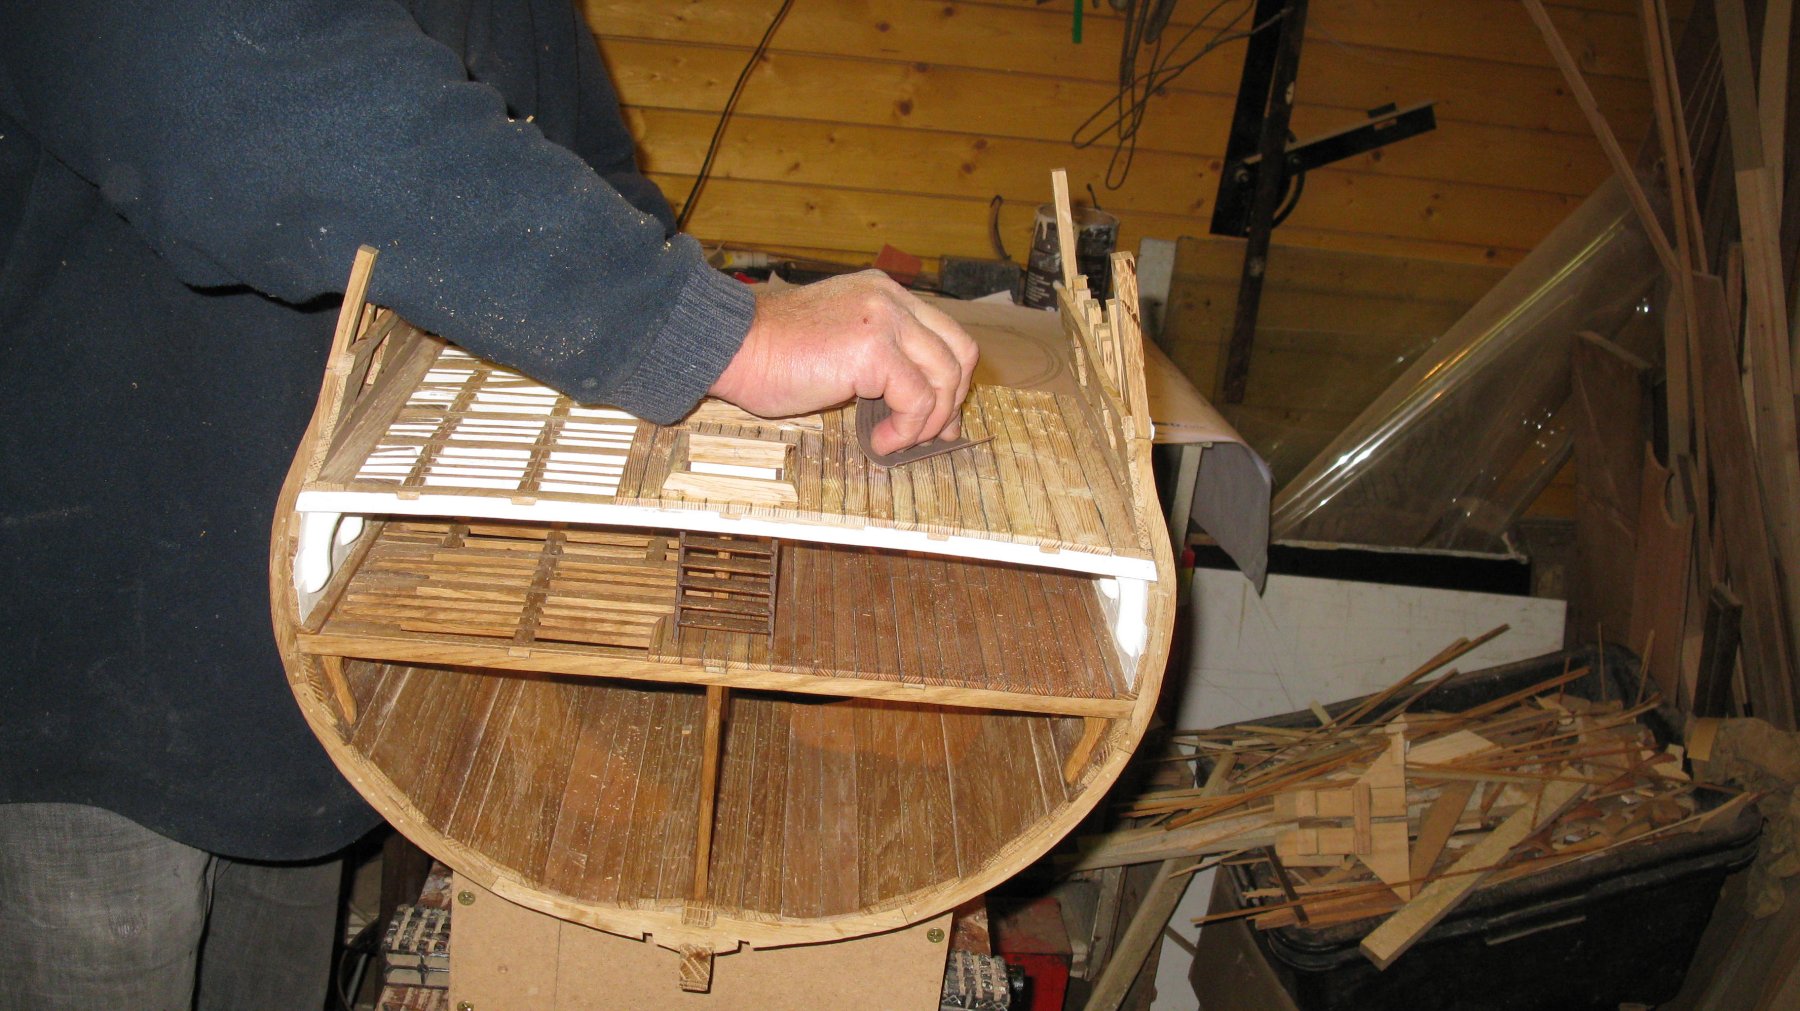
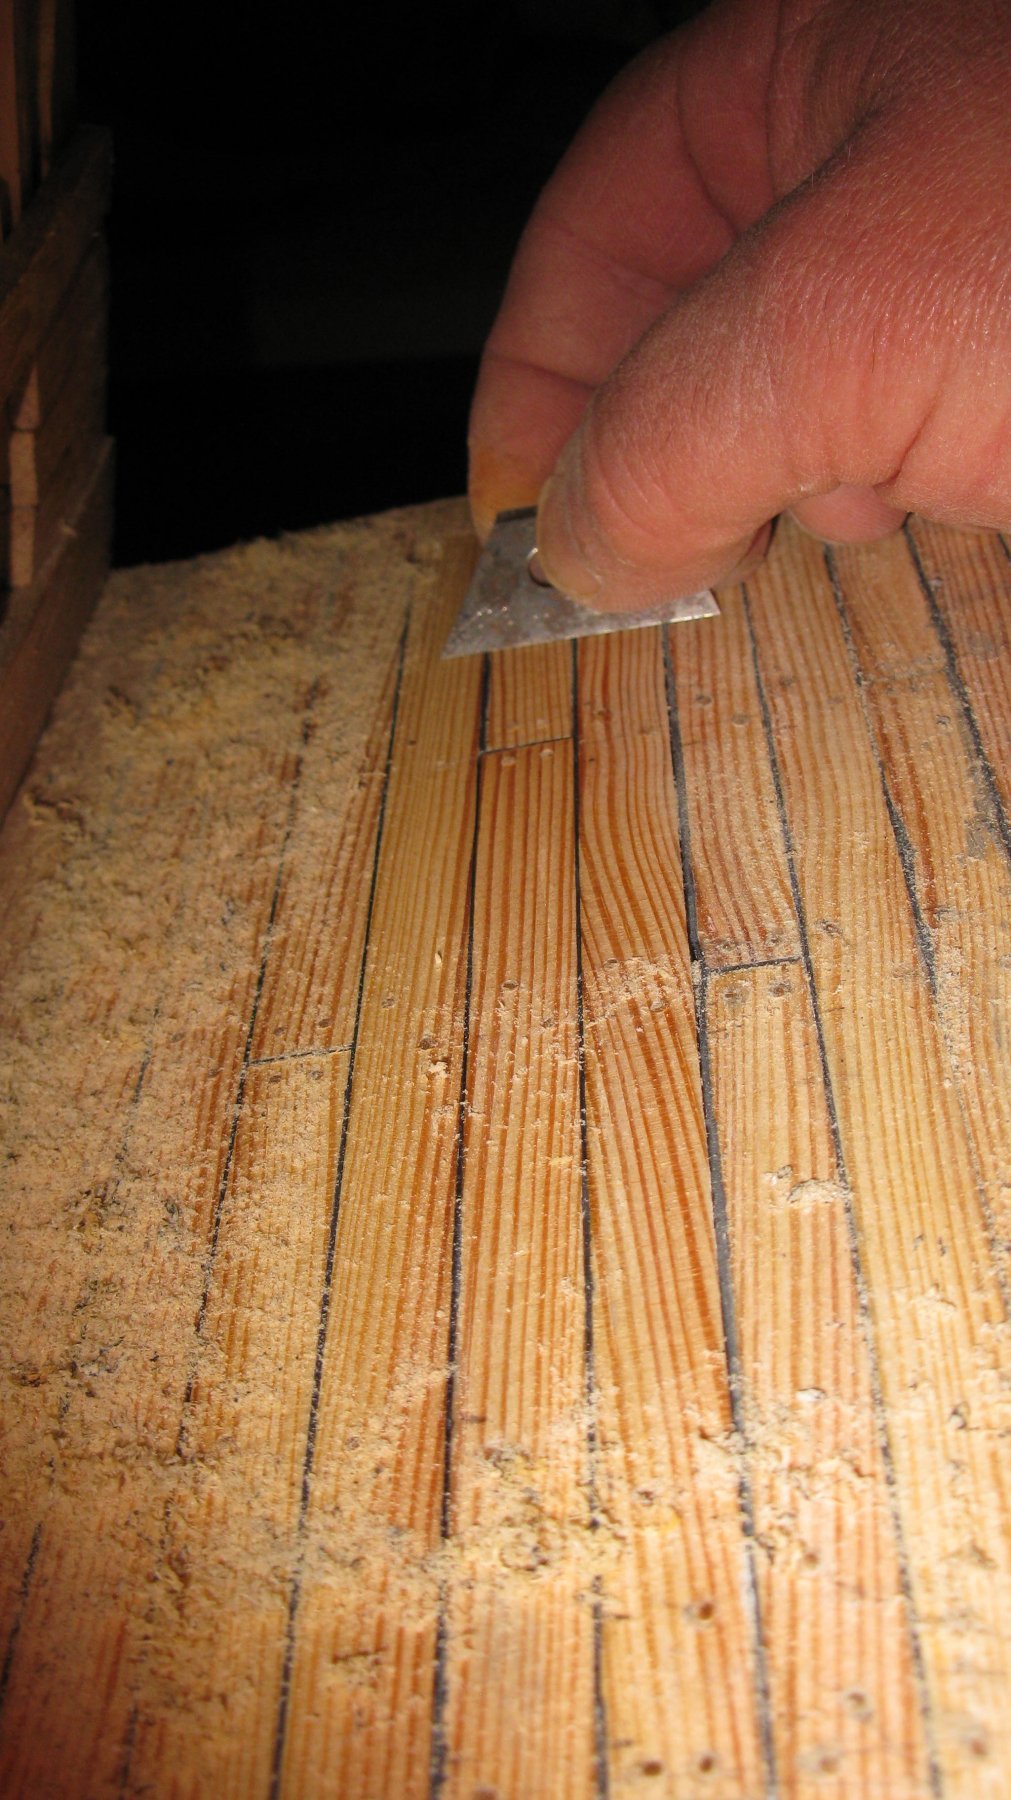
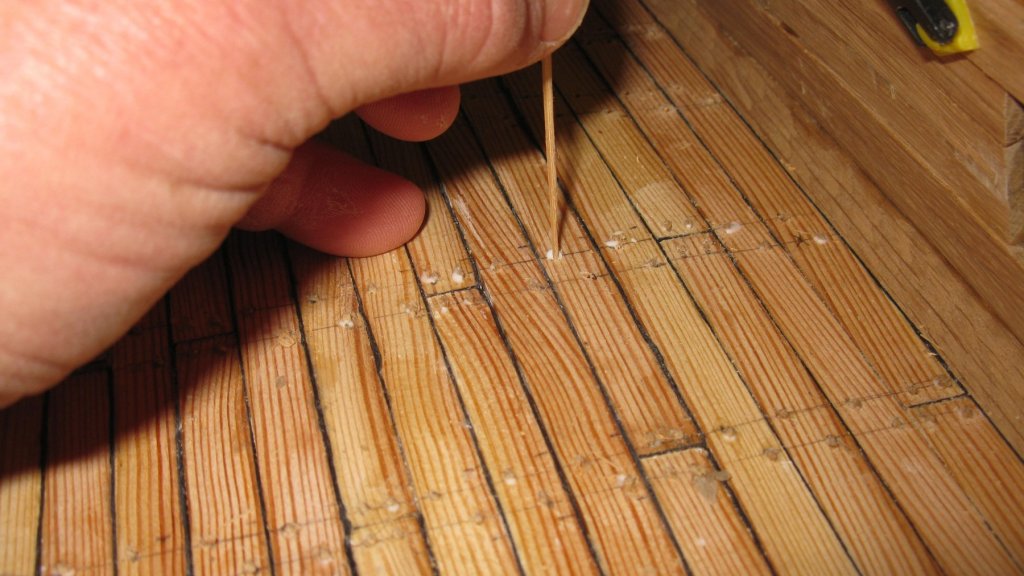
After that coarse sanding, scraping the deck with a cutter knife blade and fine sanding.

-
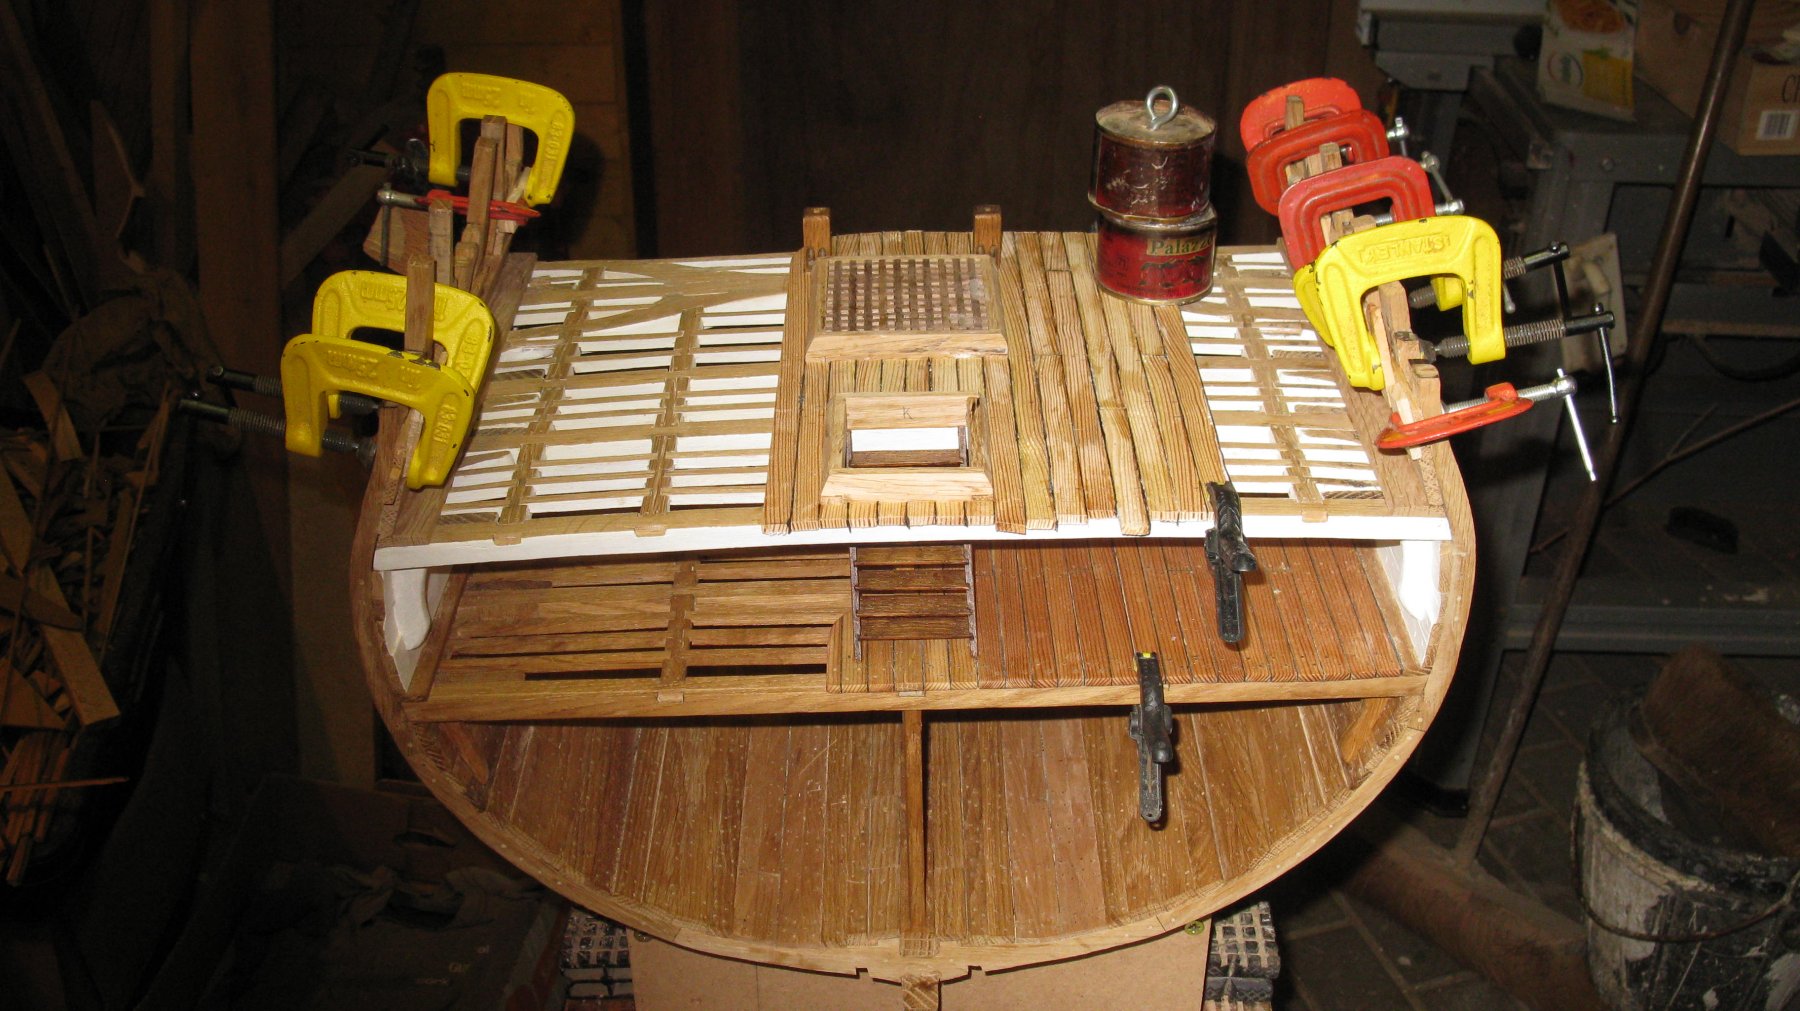
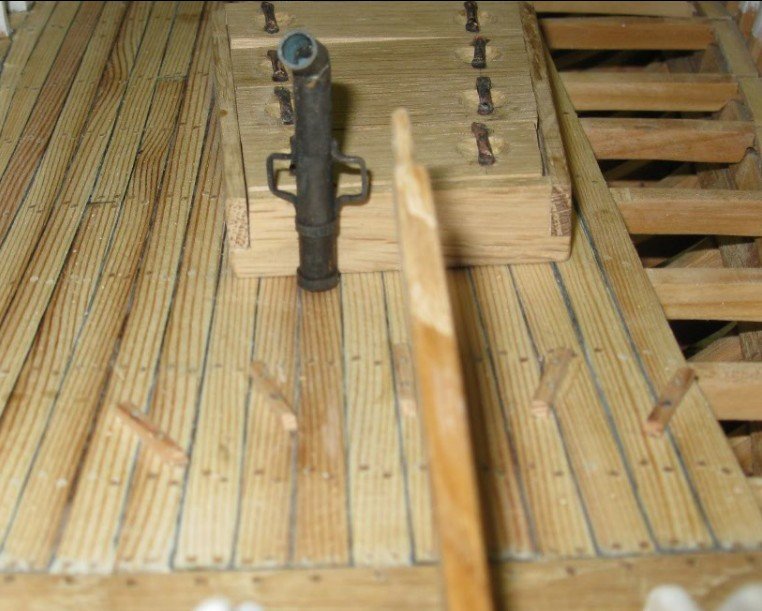
Next thing to do is putting tree nails.
-
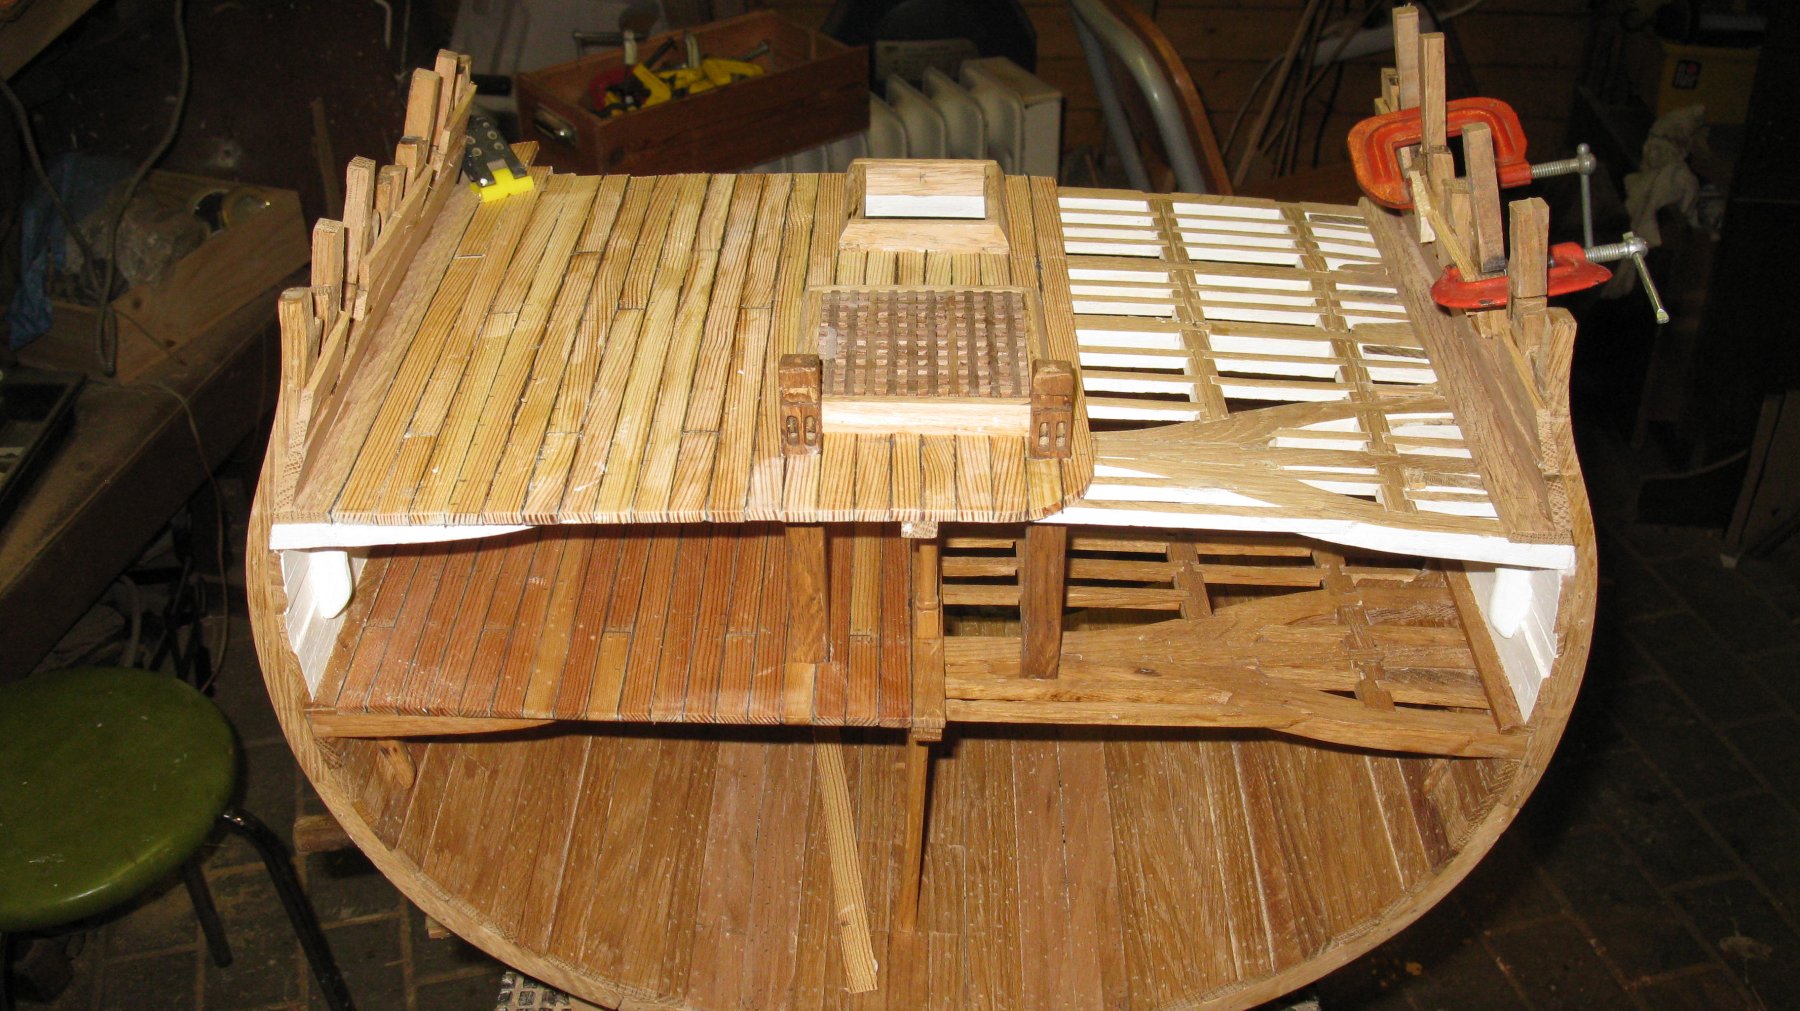
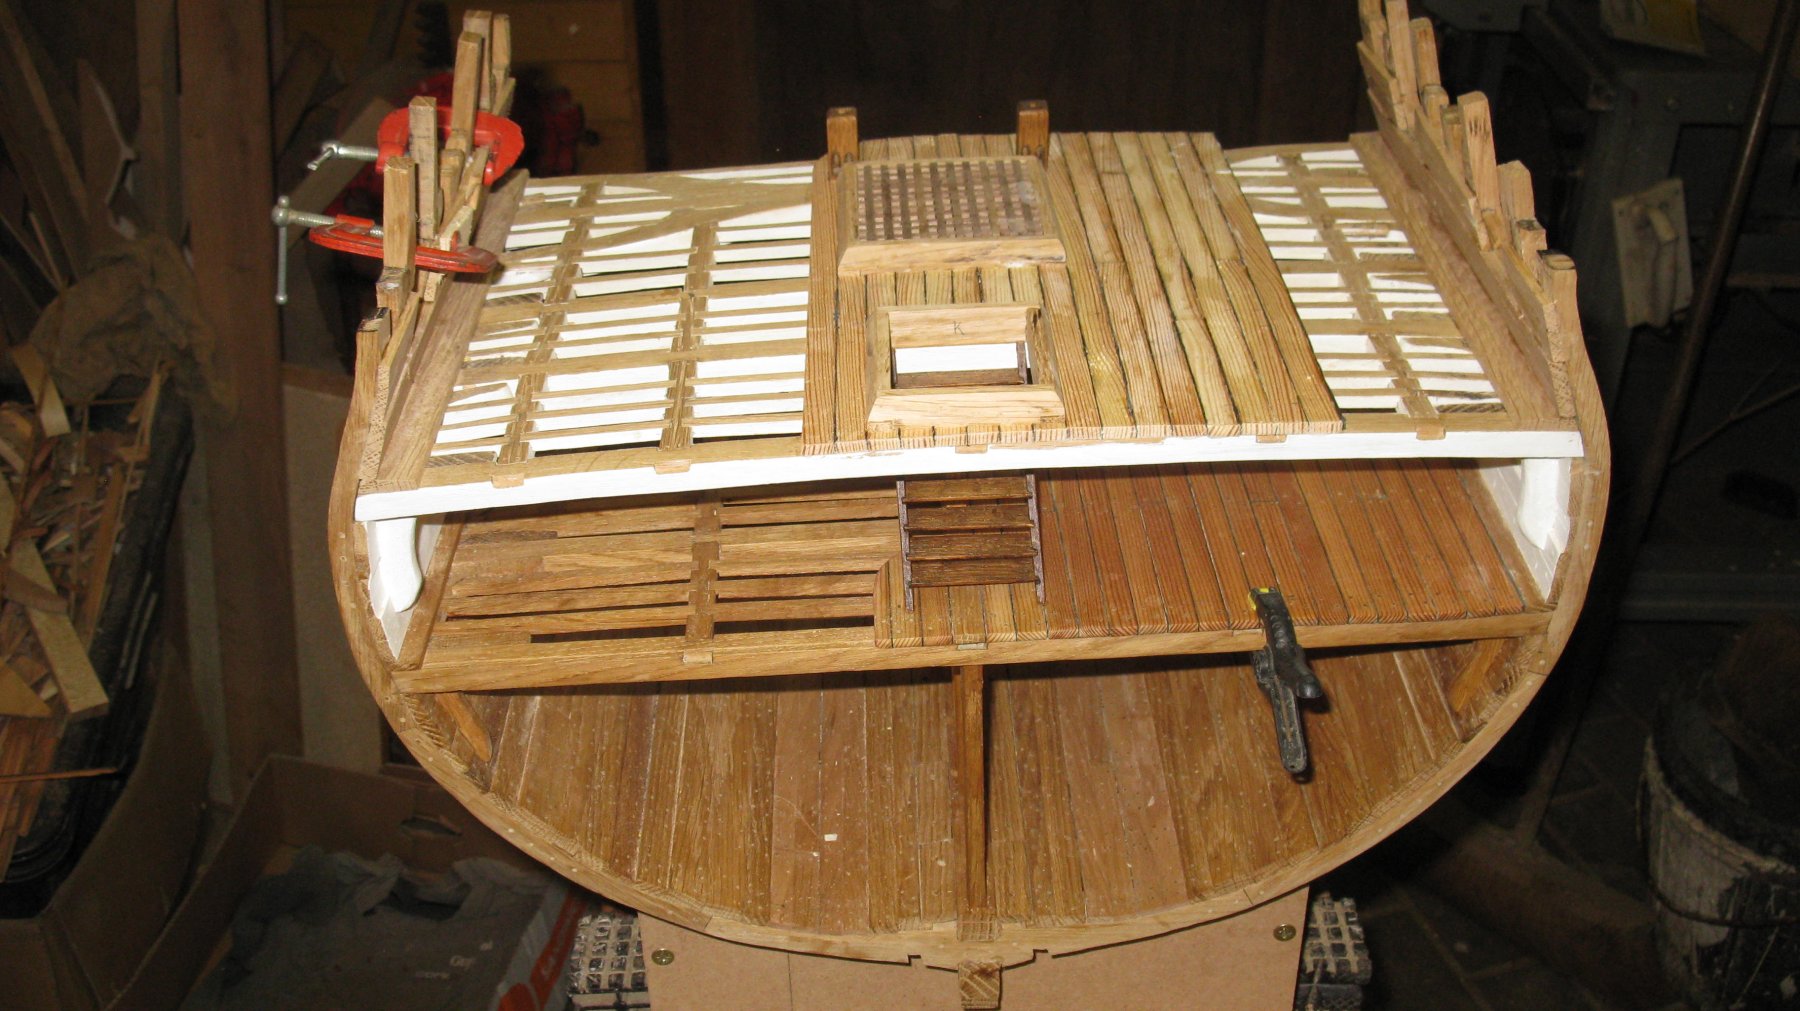
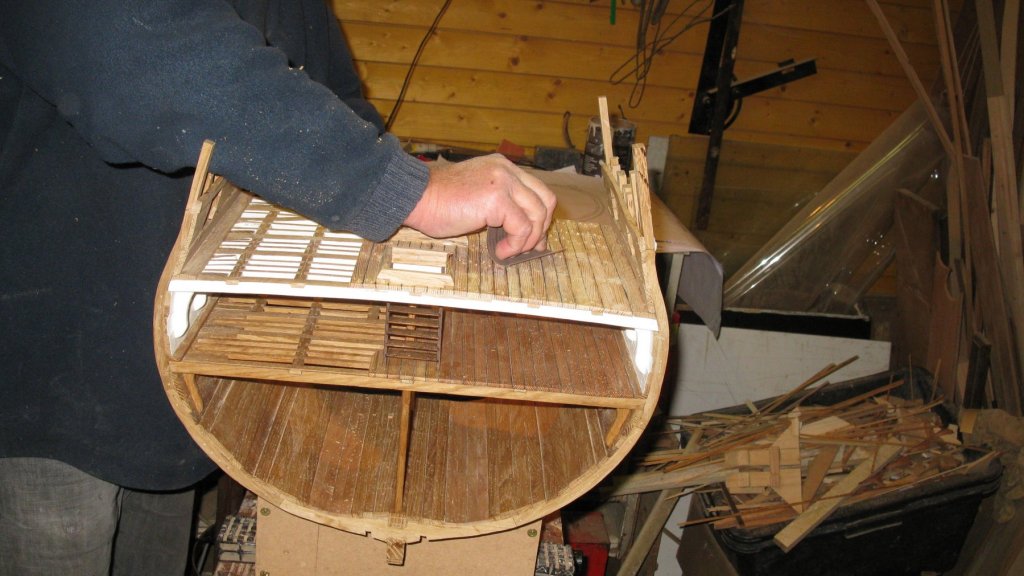
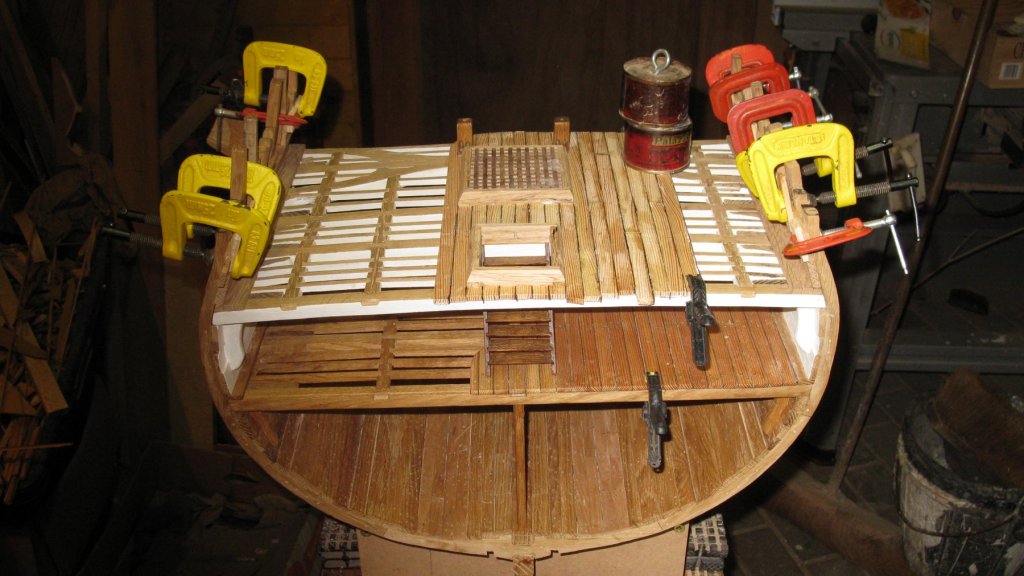
All the planks are laid.

-
The deck is spreading out plank by plank. Sometimes it is necessary to put some pressure with lead weights.

-
To imitate the caulking, I glue black 220 grams paper strips at one side of each plank.

-
The lower deck is painted in white, so the ceiling also has to be painted. I paint it plank by plank when gluing them on the deck beams.

-
While applying the inner planking and rectifying my mistakes with the port holes and the frame lengths, I continue laying the gun deck. Like on the lower deck only the portside will be fully planked. At the starboard side planking will be omitted from the starboard topsail sheet bit on. I lay the first two planks on each side of the forward hatch.

-
Thank You Hakan, The 'Ostend shipje' has some similarity with the British smack, but it is only half the size of it. Flemish fishermen who evaded to Great Brittan during the 1st World War got acquainted with the smack and introduced the type in Belgium after the war. I have somewhere a smack cross section project on the shelf, but have to finish first my HMS Triton cross section. G.L.
-
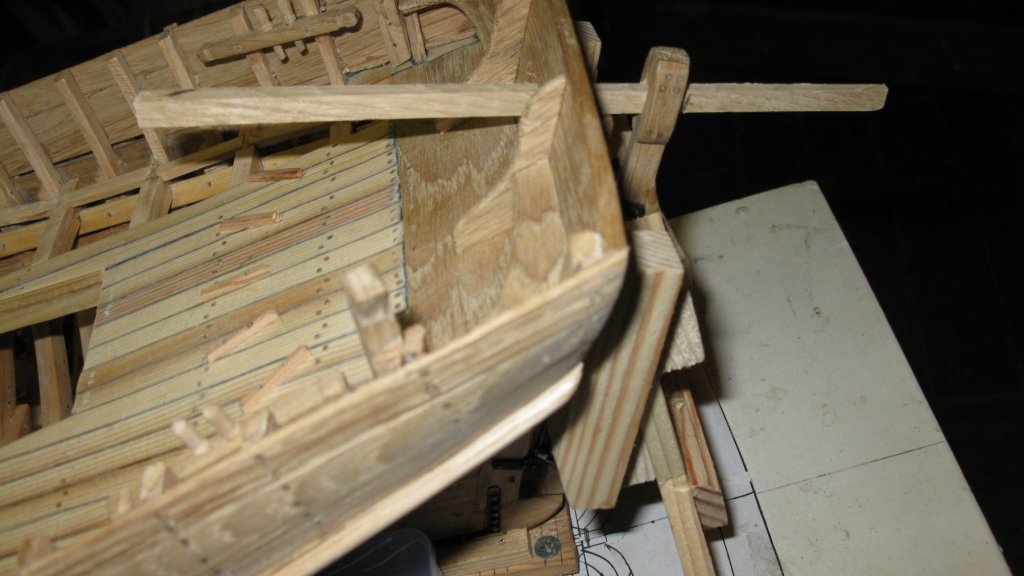
13.9 The deck parts are made now, but not yet attached to the deck. Next thing to do is closing the bulwark and finishing the rail.
-
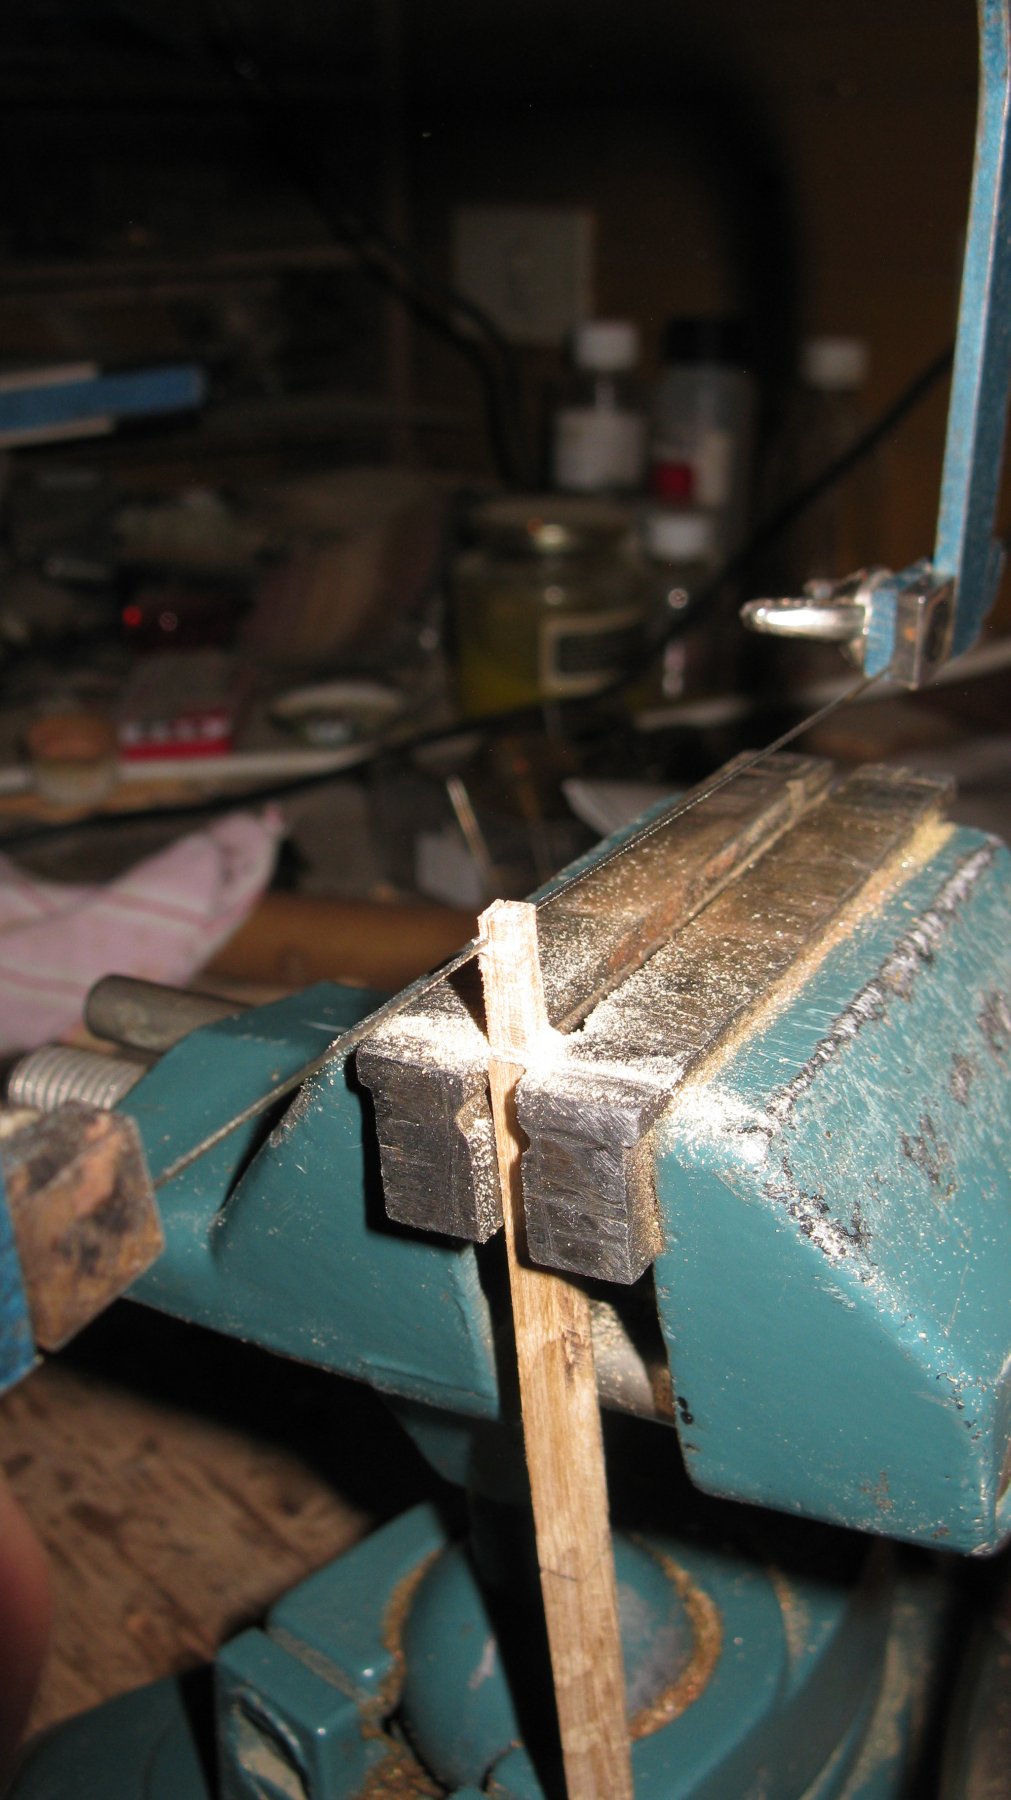
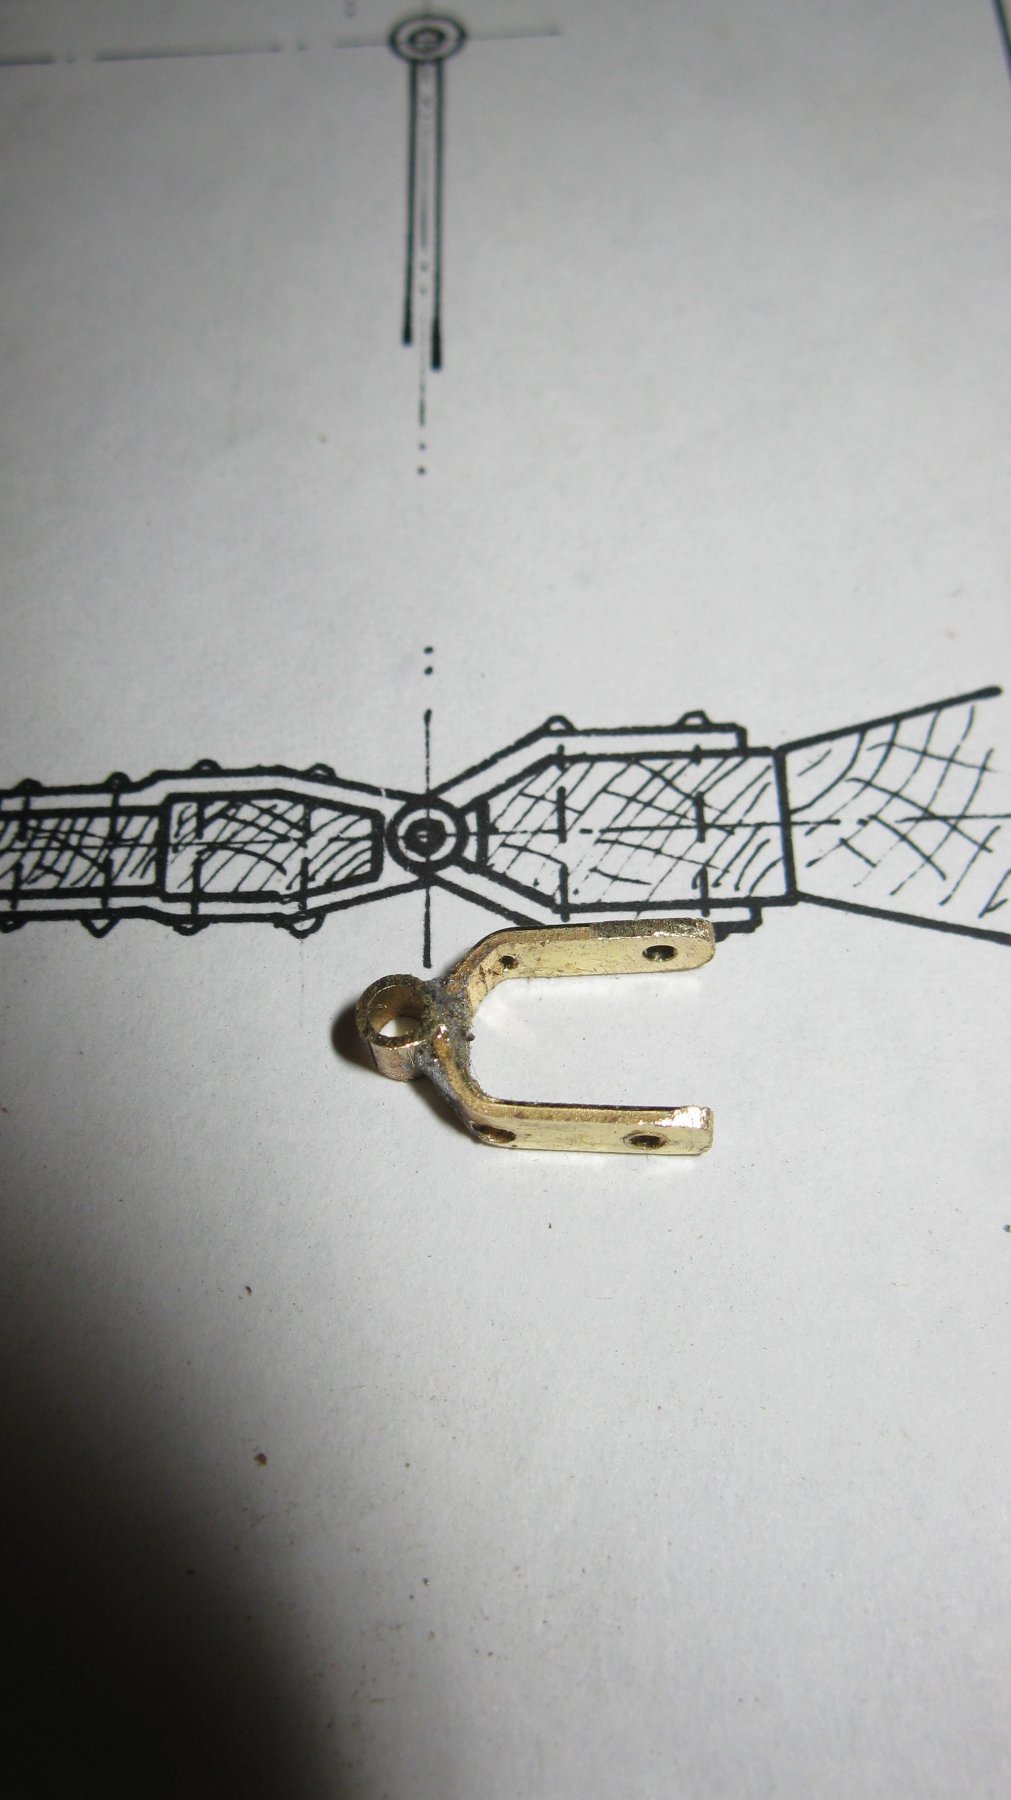
13.8 The tiller arm.

-
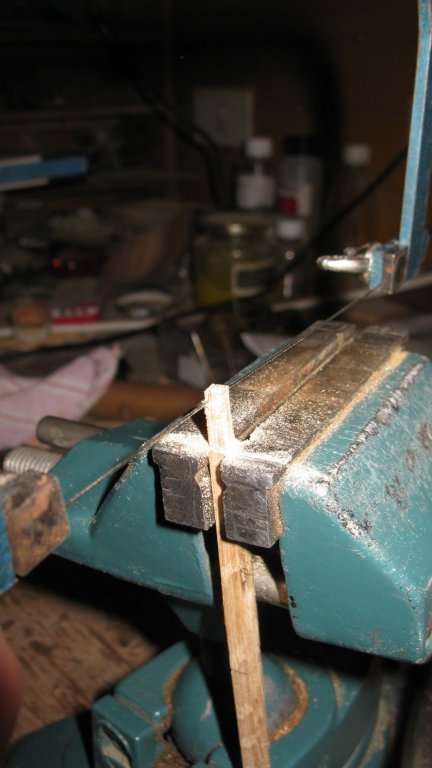
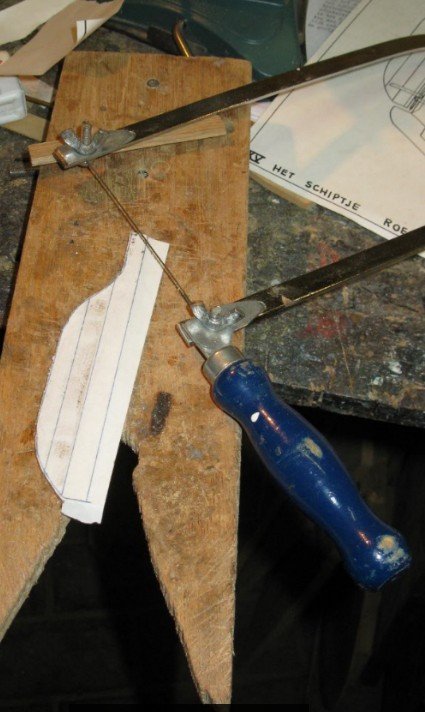
Shaping the tiller arm with fret-saw and file.
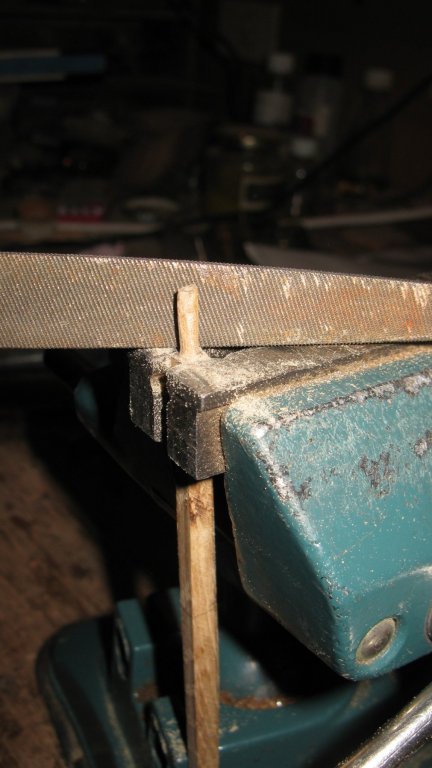
-
13.6 The tiller arm was made a bit later then the rudder, but I add it with this post for the logical continuation of my report. Taking the measurements of a piece of wood.
-
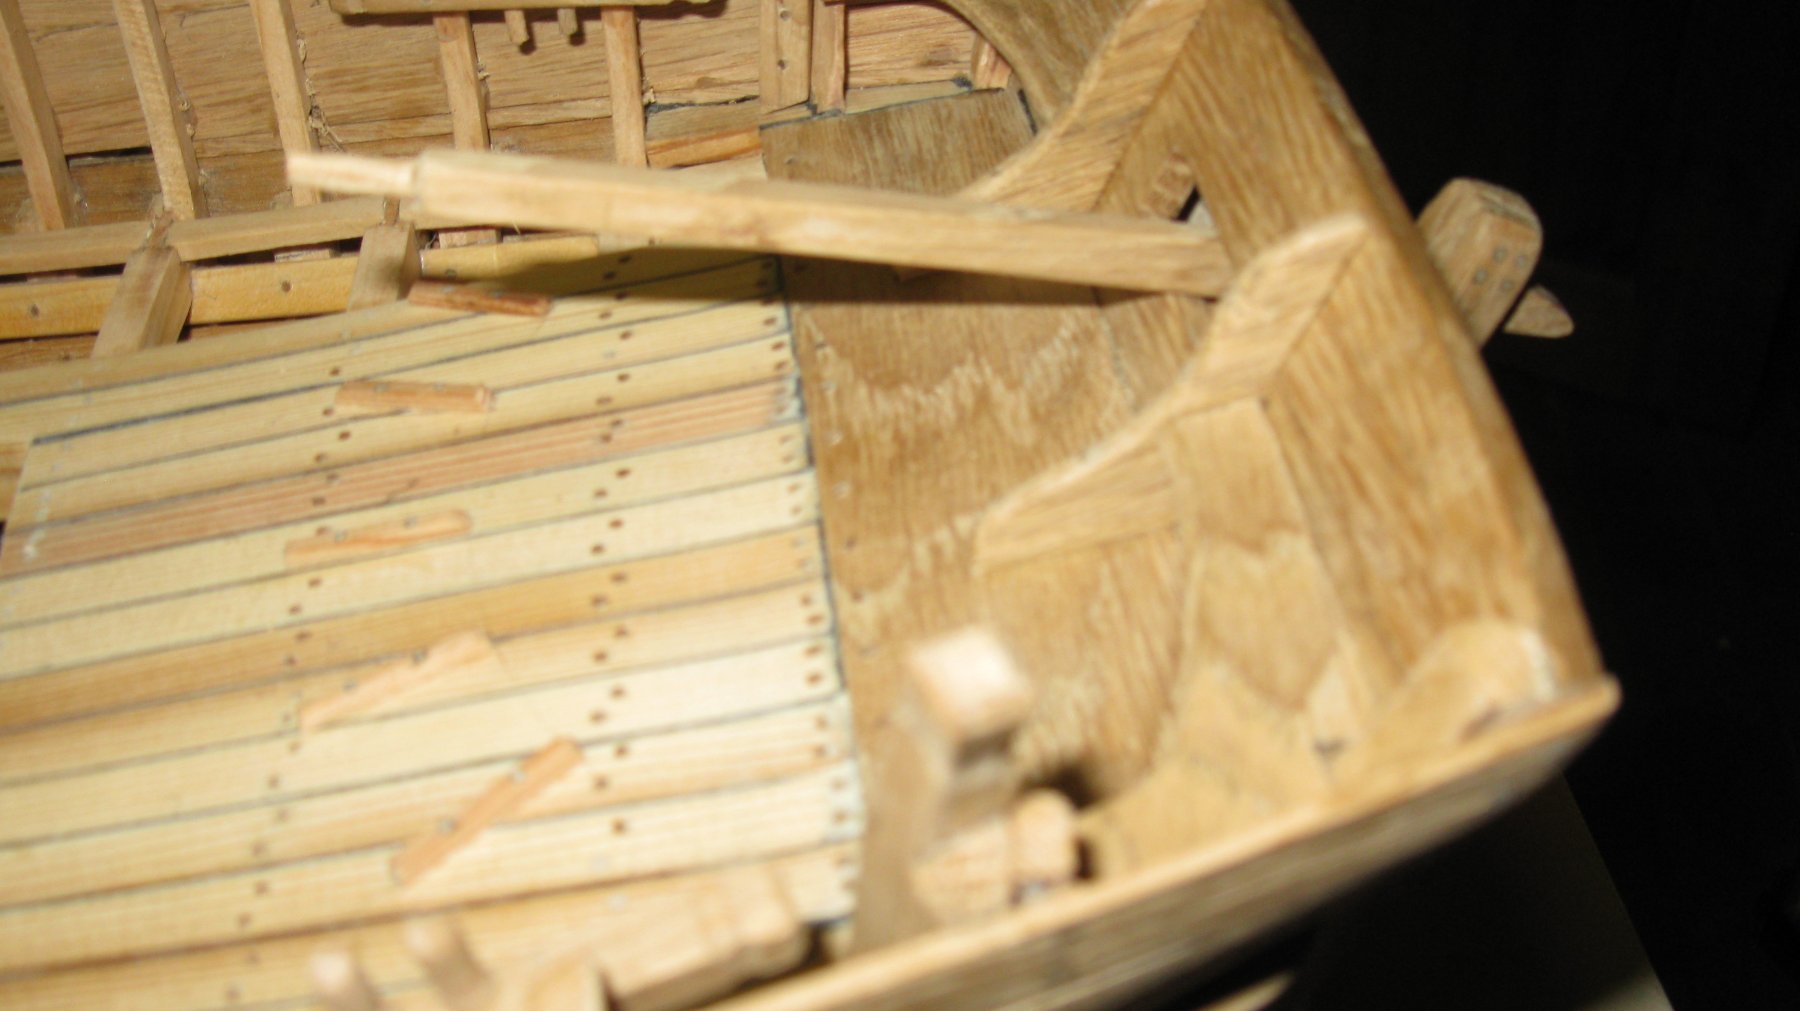
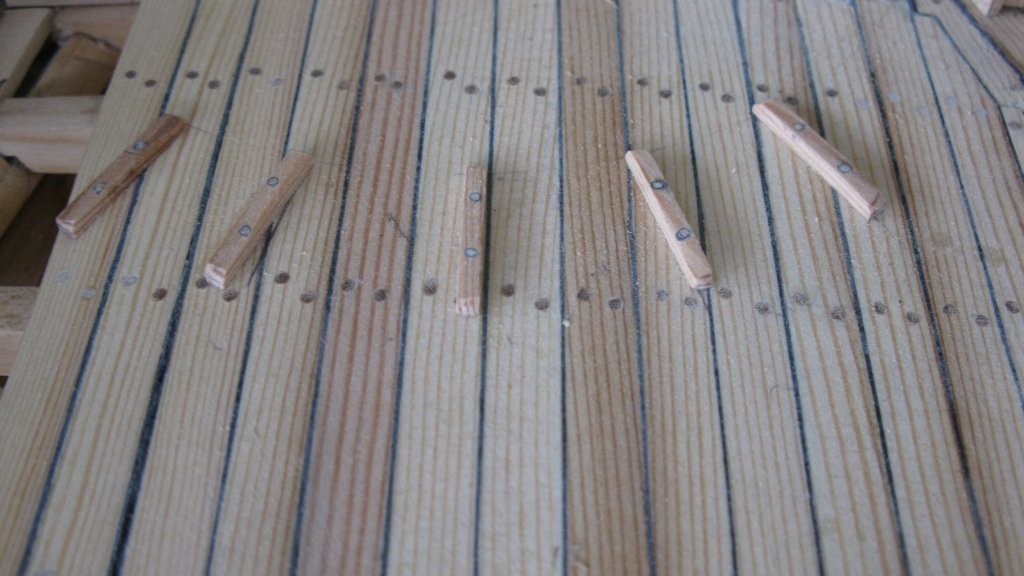
13.5 On the deck there are five wooden anti-slip strips to give the helmsman foothold.
-
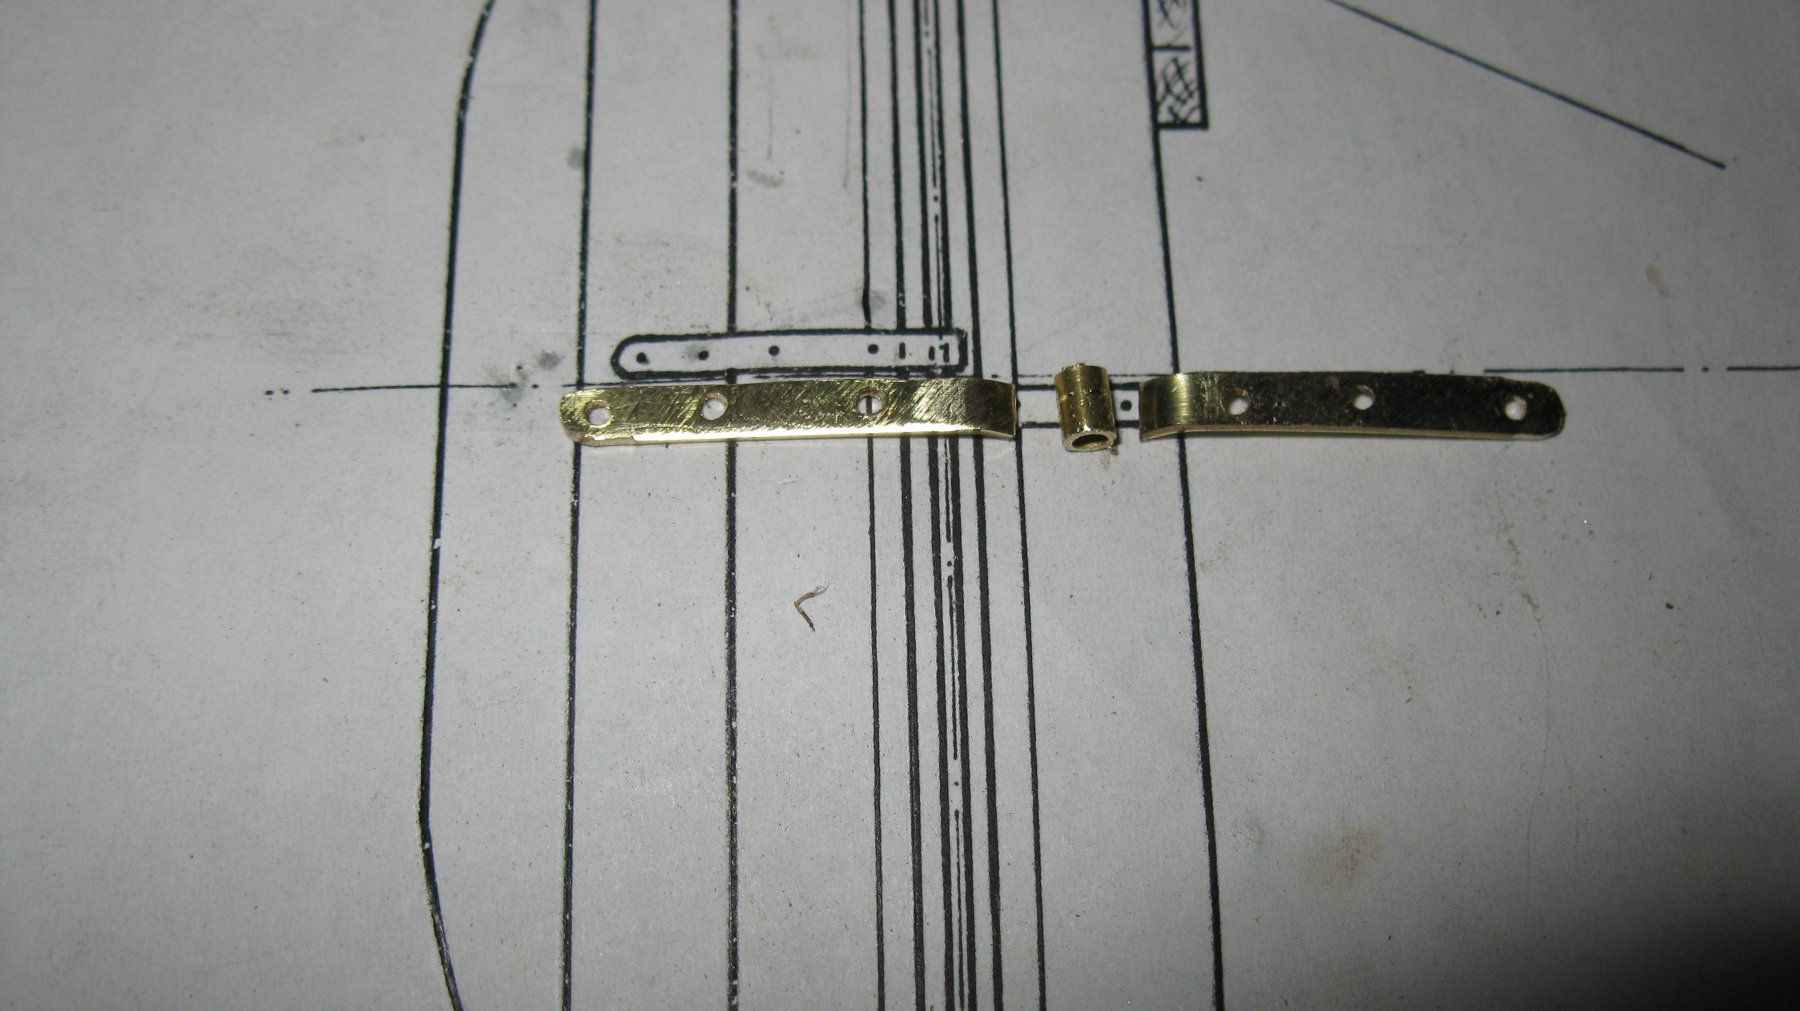
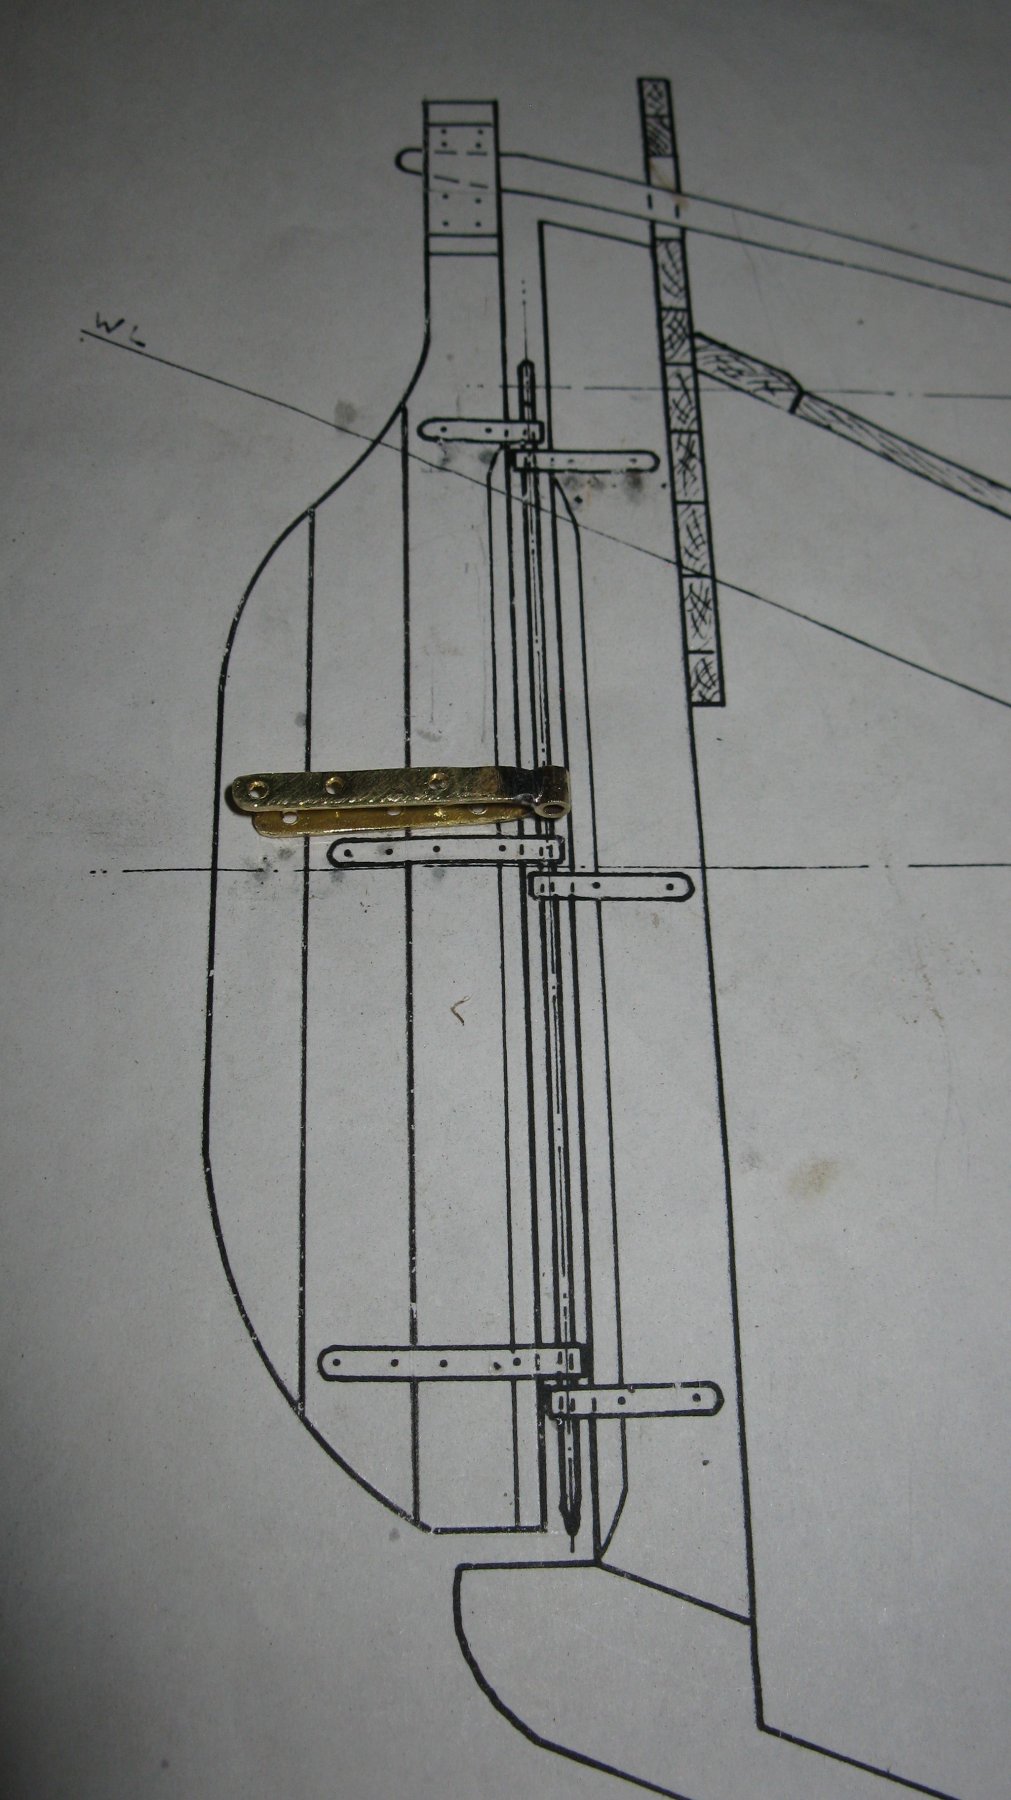
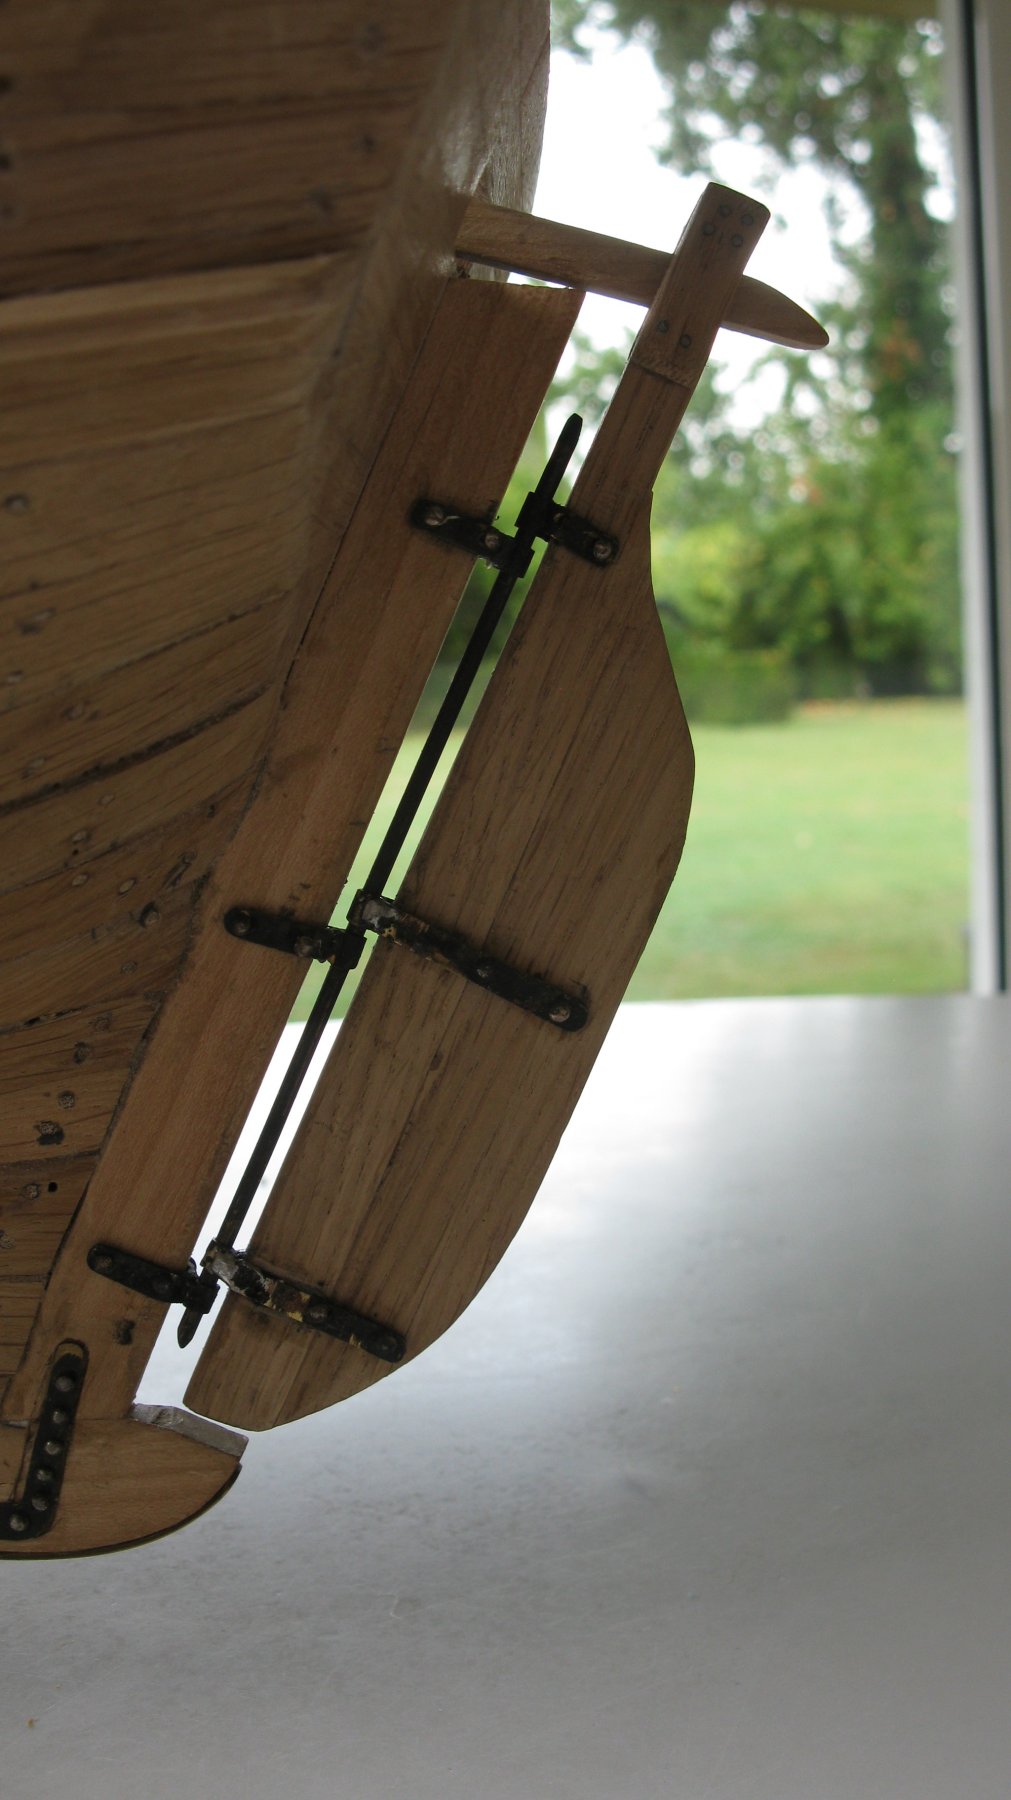
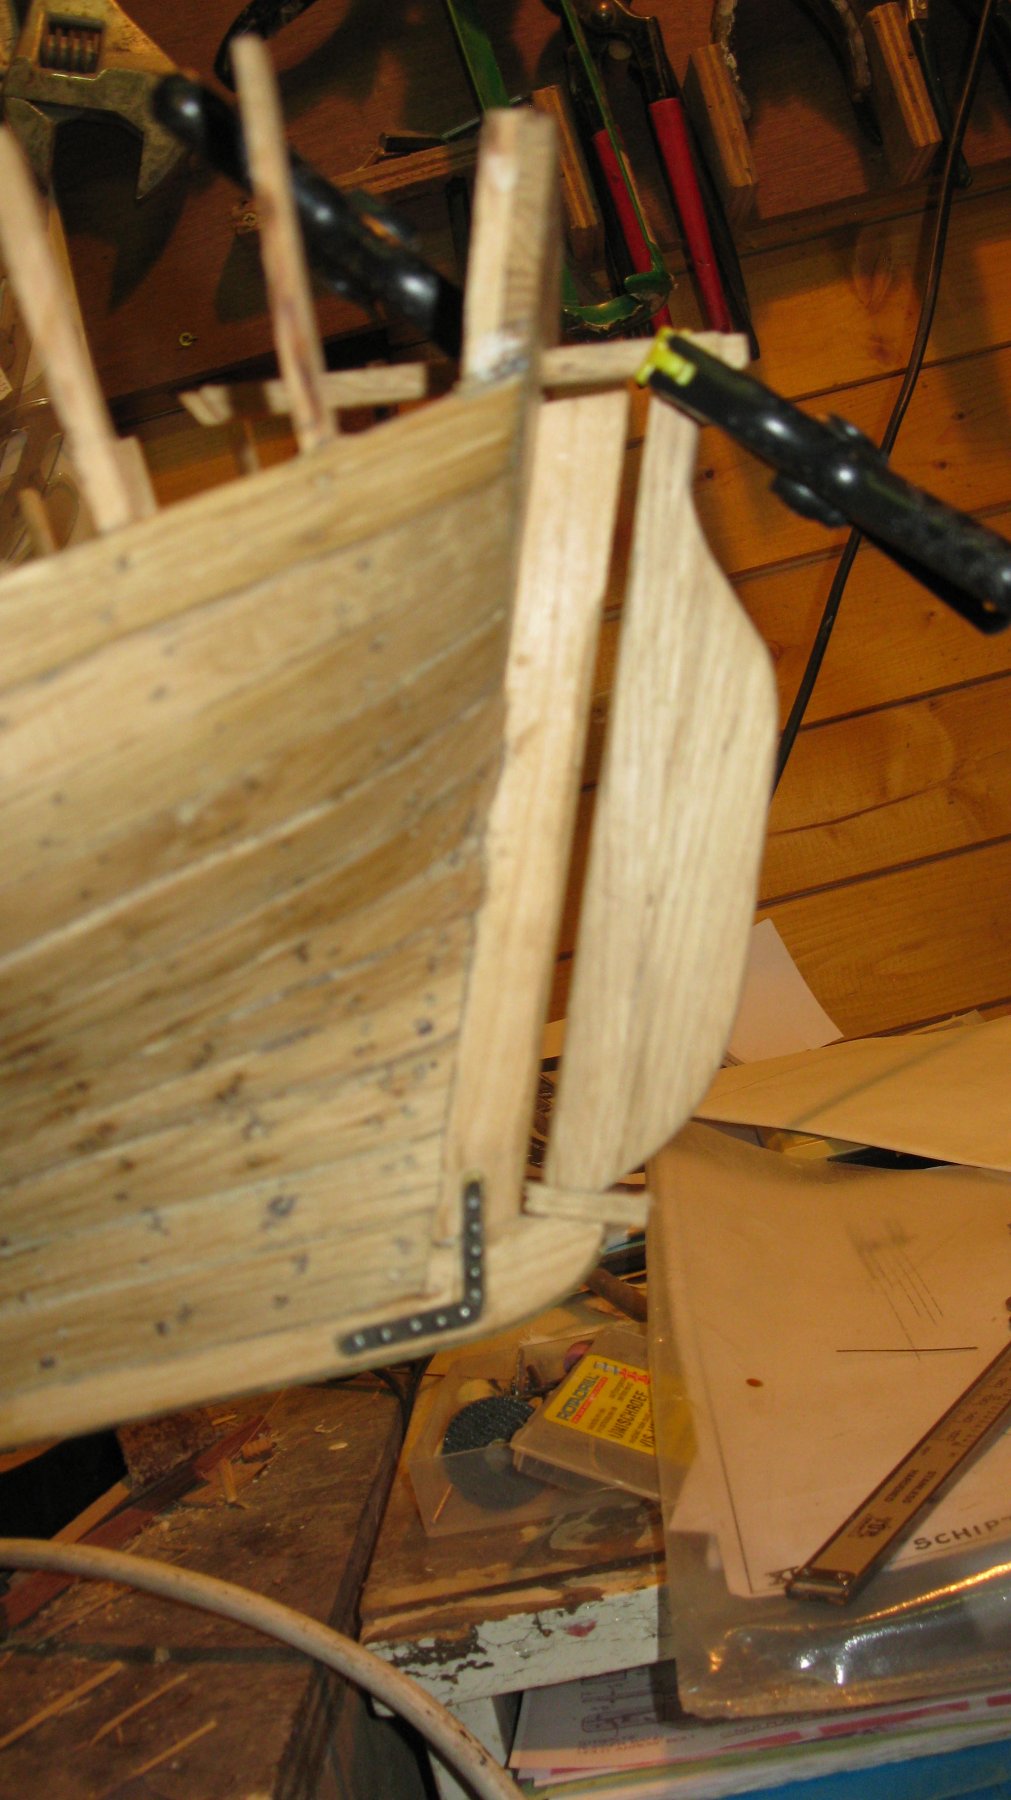
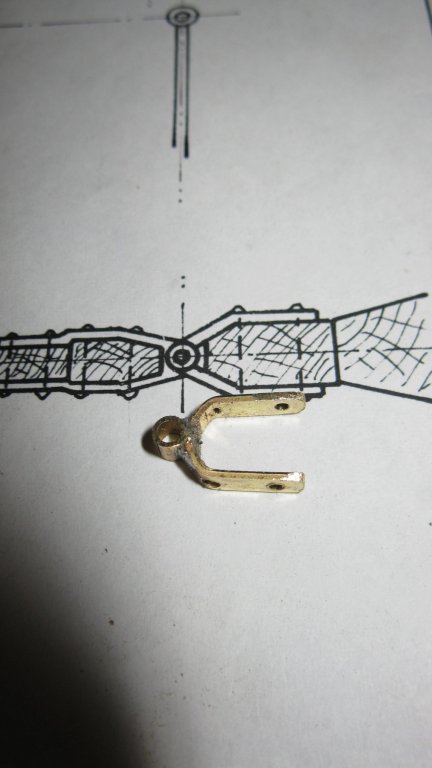
13.4 The rudder is attached to the stern with one long rudder pintle held in three braces. I make the middle brace a bit longer than drawn in the plan to give support to all the rudder planks.

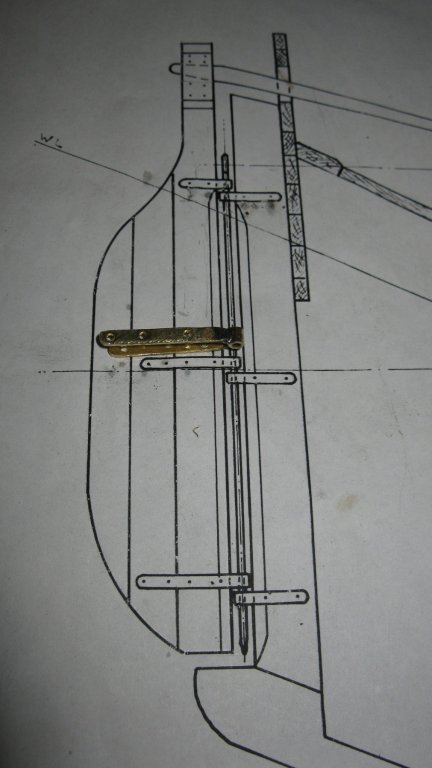

-
13.3 The rudder, provisionally attached to the stern.

-
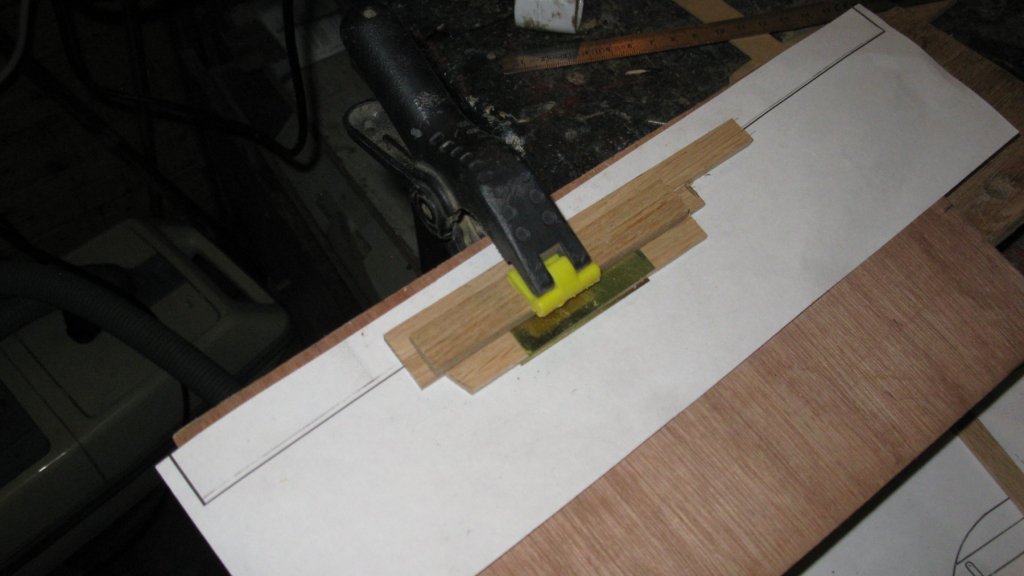
13.2 When the glue is dry, I saw the rudder along the template. and sand it.
-
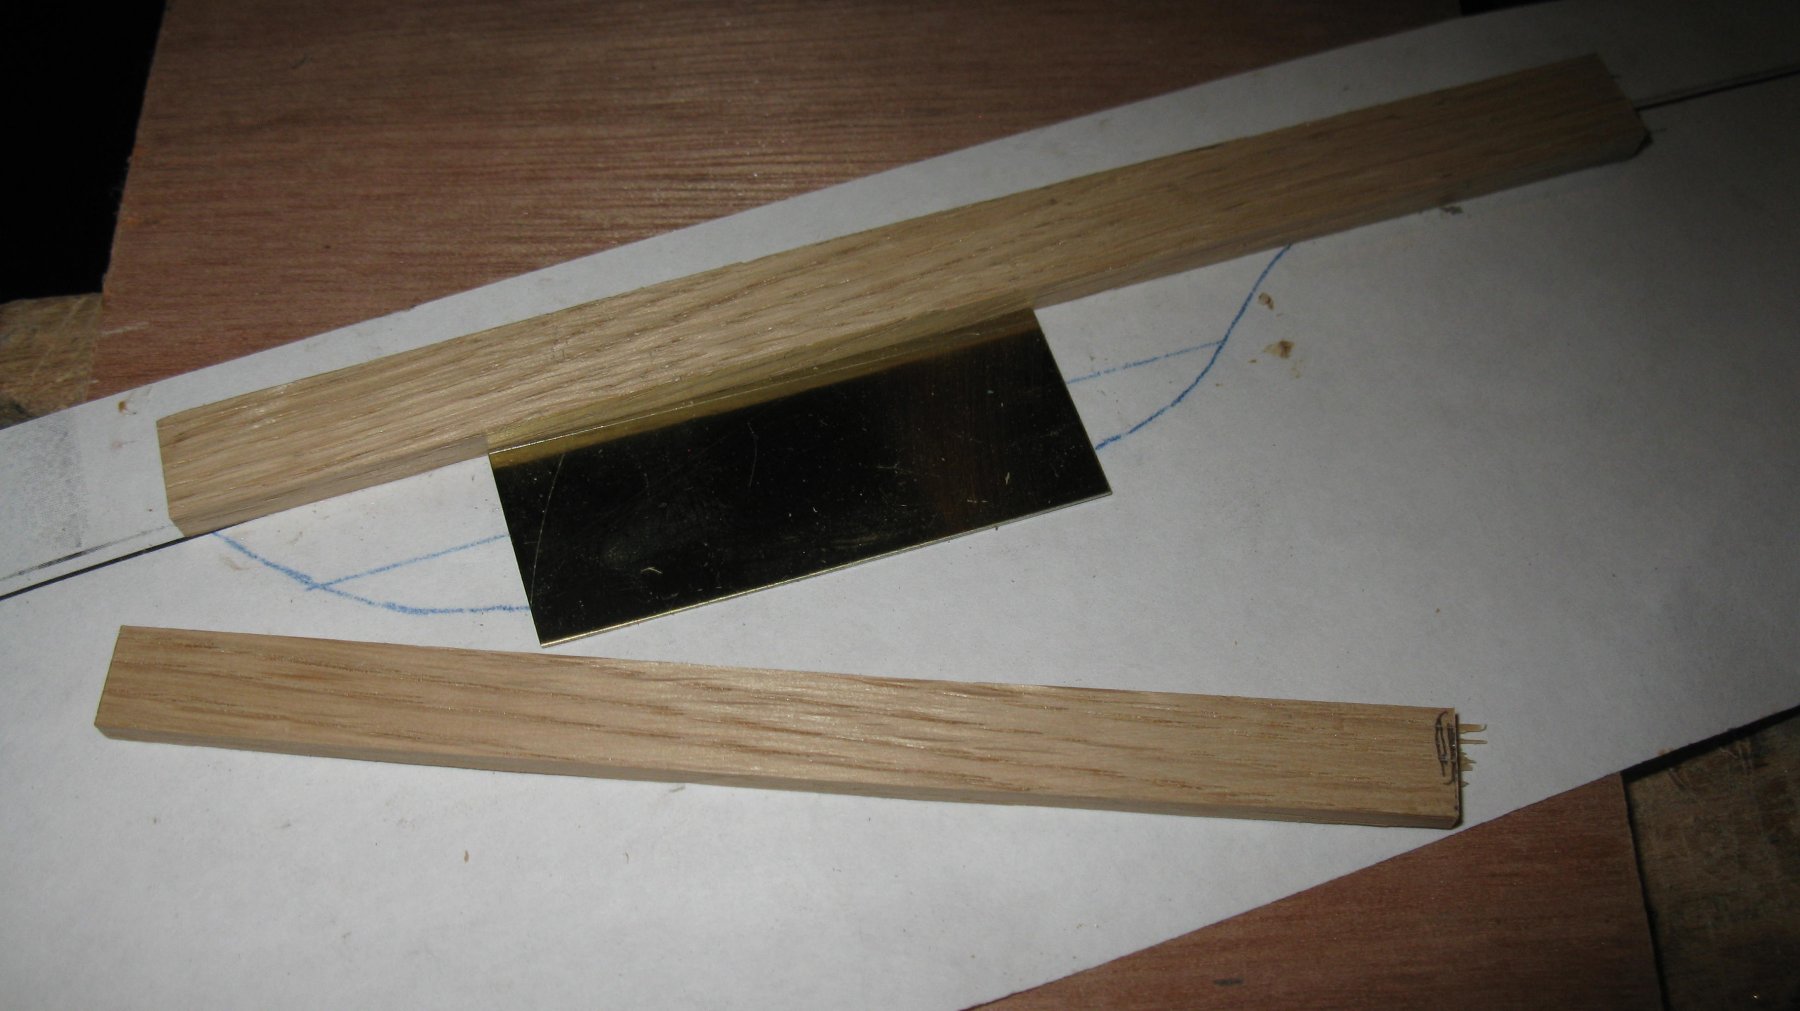
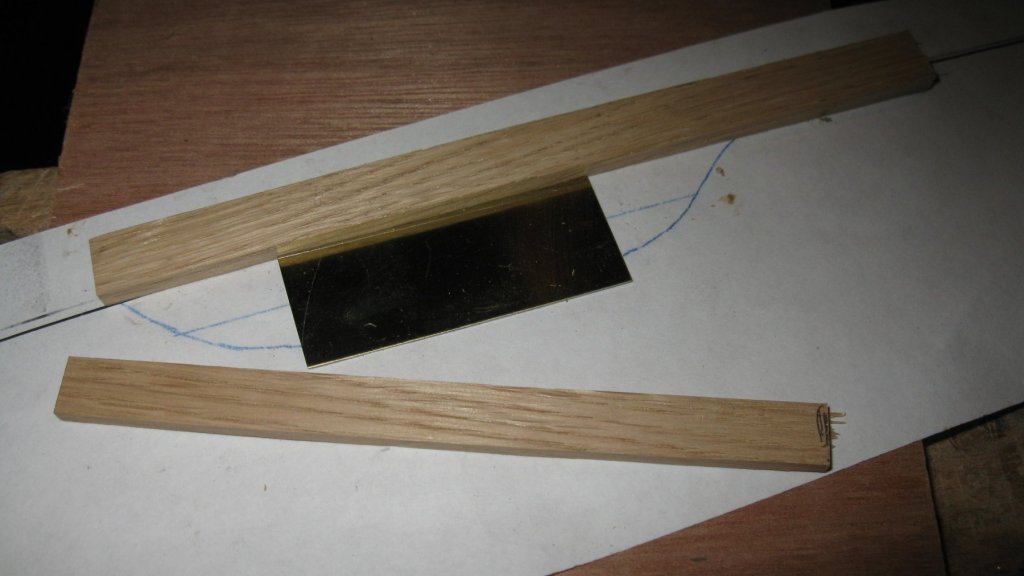
Part 13: Making the rudder. 13.1 The rudder is made of three oak planks, the main piece and two after pieces. Because the main piece is thicker than the after pieces. I lay a small sheet of brass of half the thickness difference below the after piece planks to glue them together. I lay also a similar brass sheet on top of the whole to put some pressure on it while the glue is drying.

-
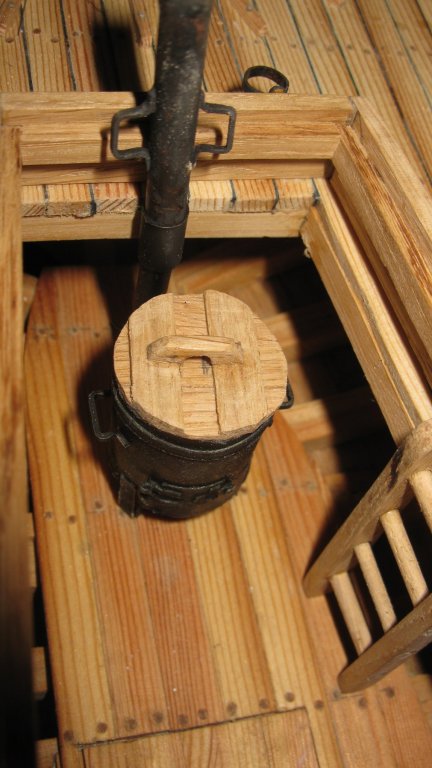
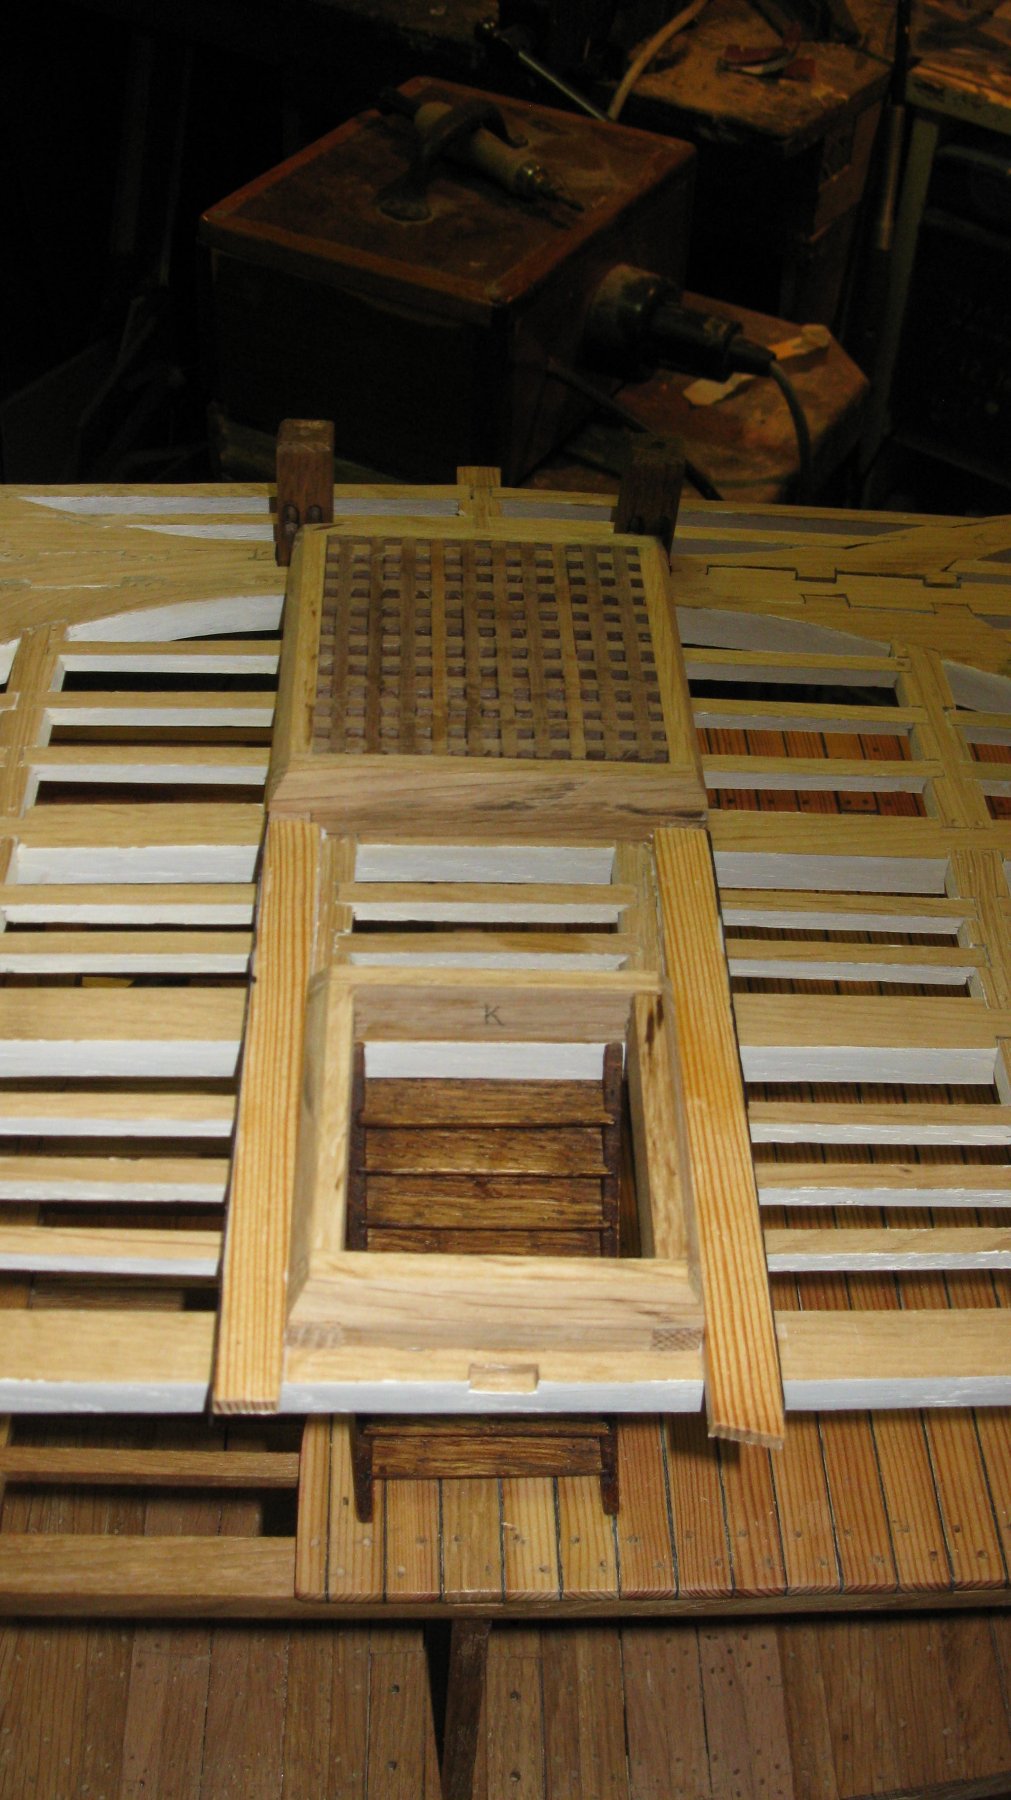
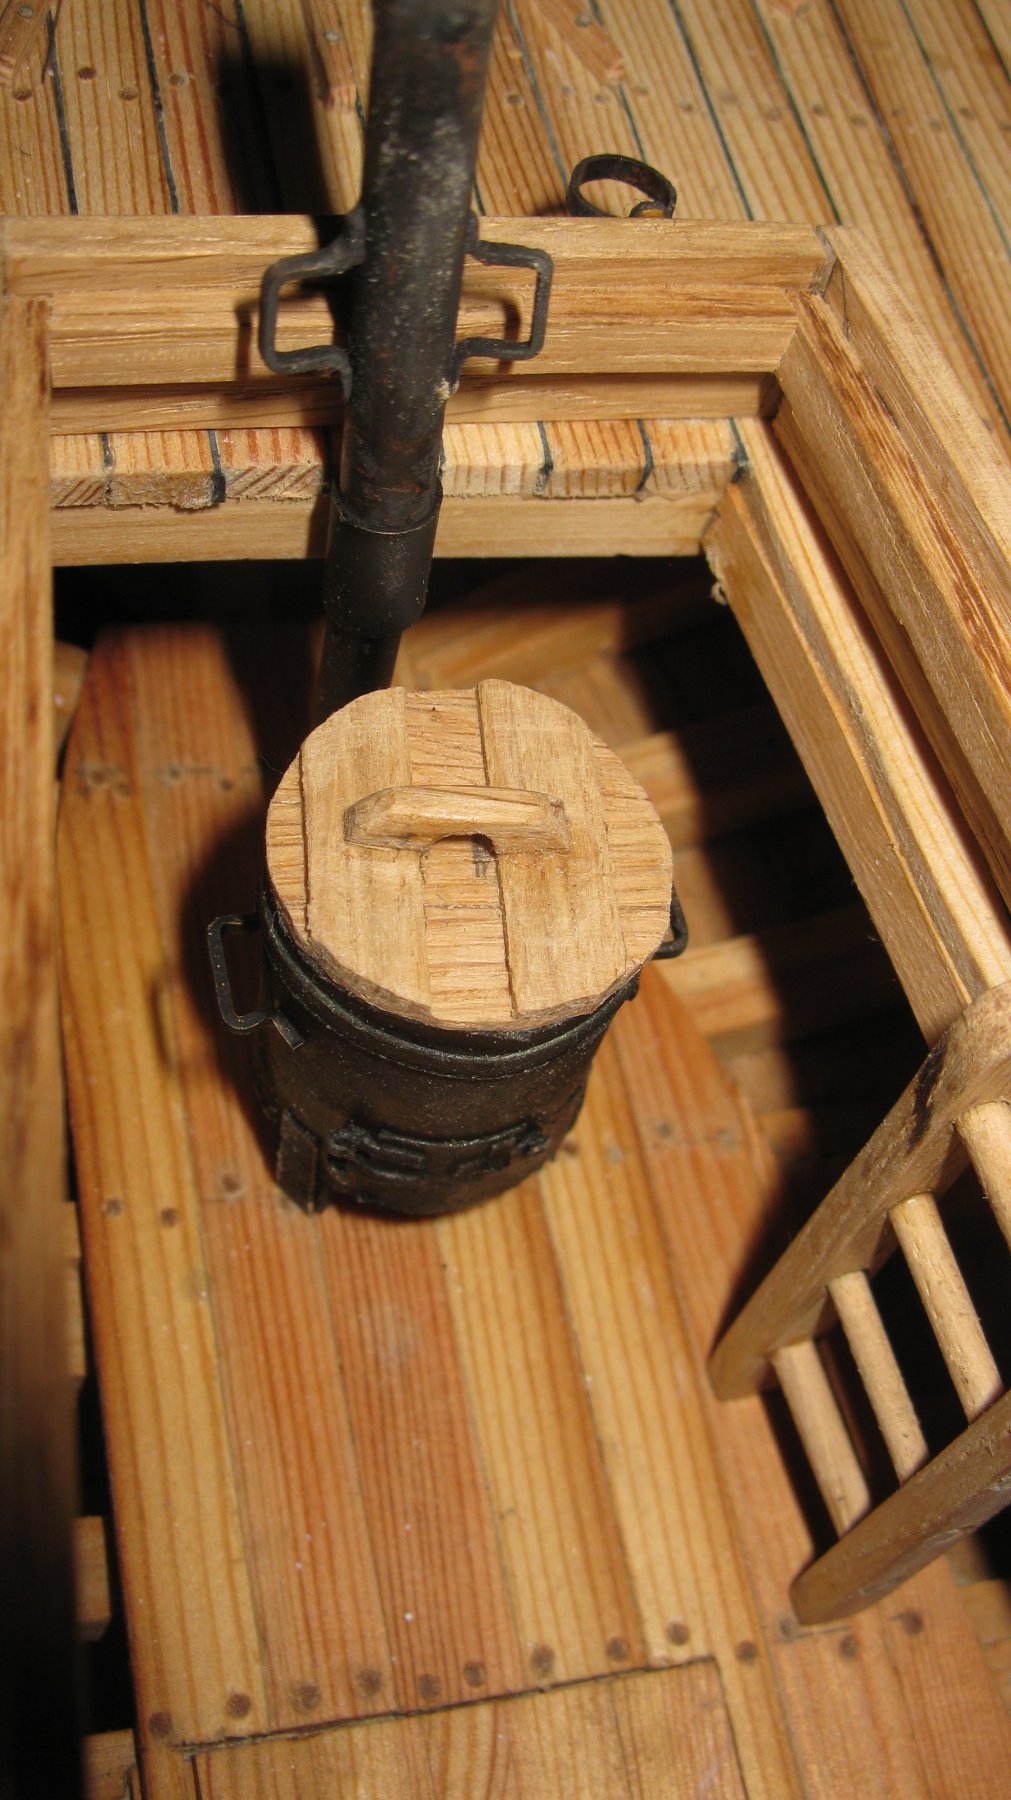
12.42 The stove pipe in its holder on the deck when the furnace is not in use and the hatch is closed.
-
12.41 The furnace, painted in black and placed on position in the store.