HOLIDAY DONATION DRIVE - SUPPORT MSW - DO YOUR PART TO KEEP THIS GREAT FORUM GOING! (Only 36 donations so far out of 49,000 members - C'mon guys!)
×


Drazen
-
Posts
389 -
Joined
-
Last visited
Content Type
Profiles
Forums
Gallery
Events
Everything posted by Drazen
-
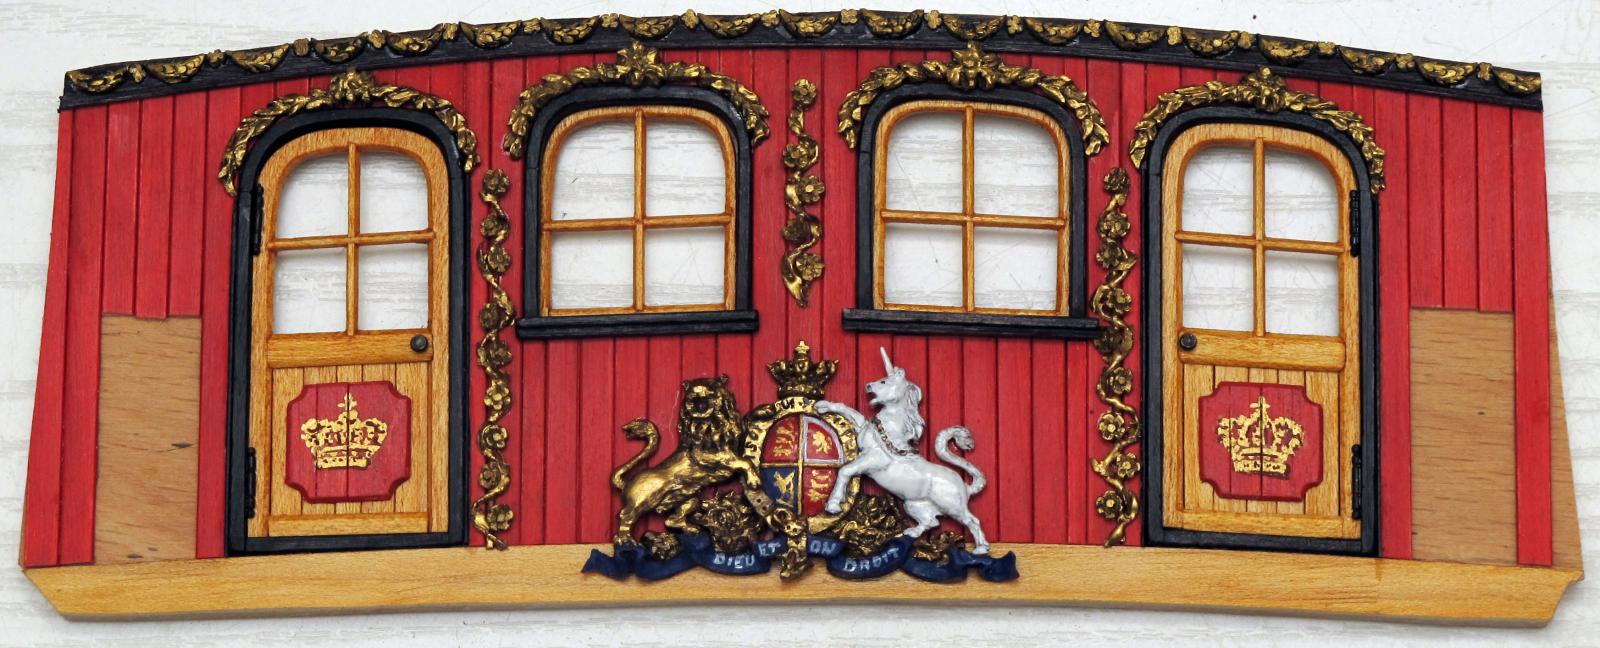
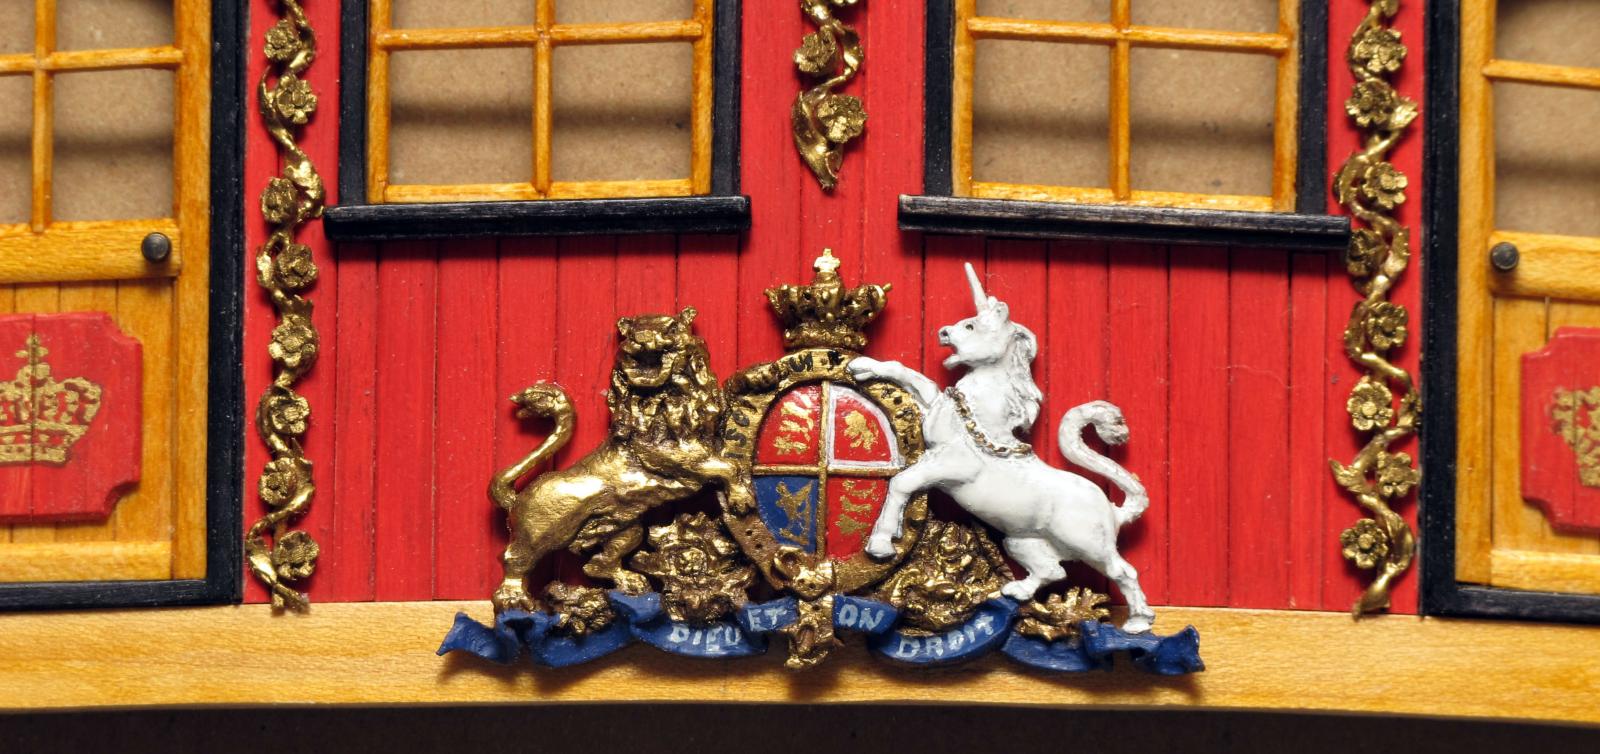
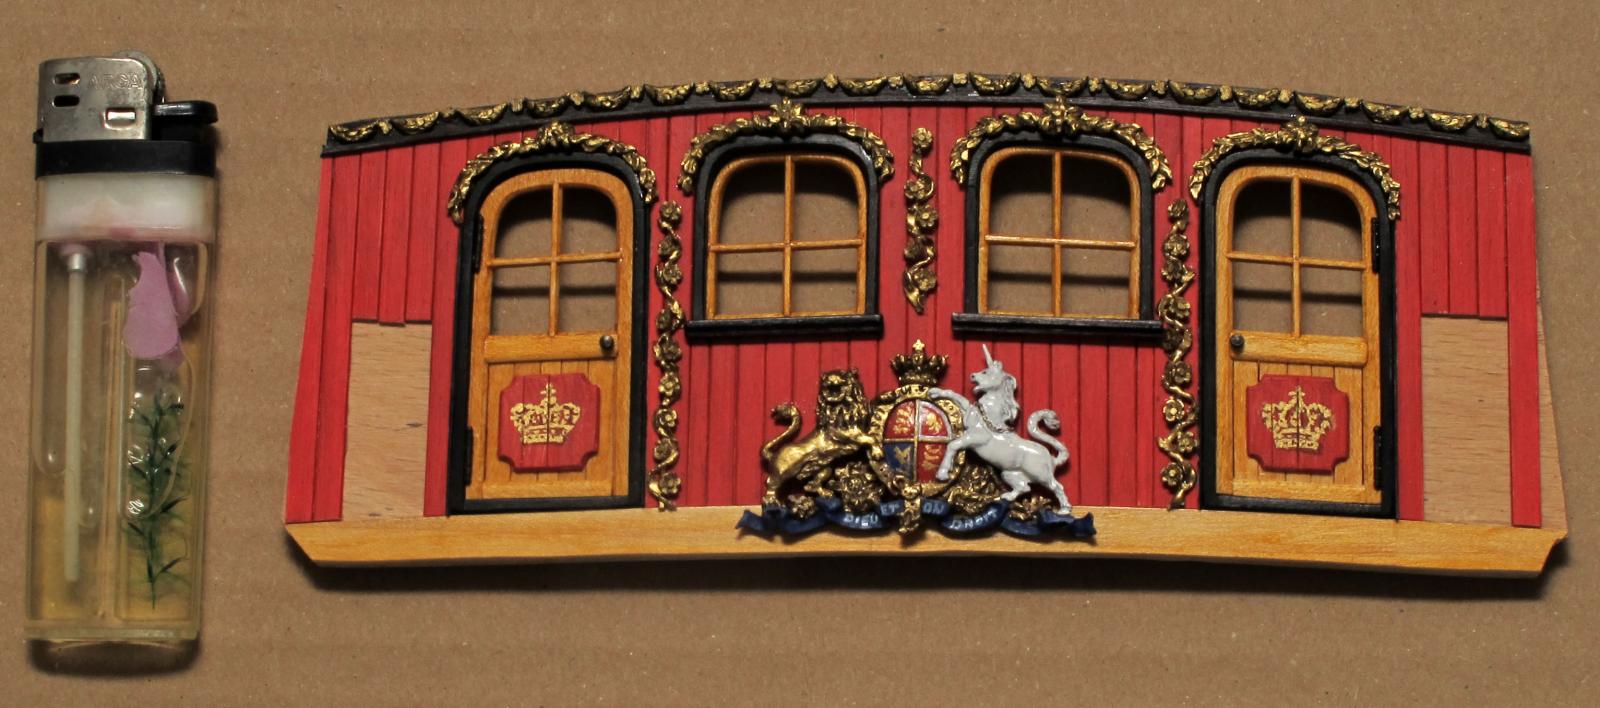
 Diederik Thank you for the offer. I will be grateful if you can make some good photos of the sculptures of the ship. Somebody said, this work has been more or less, done on the replica. All other Photos are very helpful too. All other info you bring to be shared here in the forum can help us definitely. Thank you in advance Drazen
 -
Spijkertje, This is all here to be shared and helped other model builders to make them their job easier and have more fun when building. Please, share all my info I posted here as you like. I myself am grateful to Mile Bijelić, Ab Hoving, Cor Emke, Herbert Tomaesen and the Russian colleagues Dr. Mike and Alexandr Dobrenko for all the help, materials and advices I myself got from them. Drazen
- 487 replies
-
- 2
-

-
- ship of the line
- 80 guns
- (and 1 more)
-
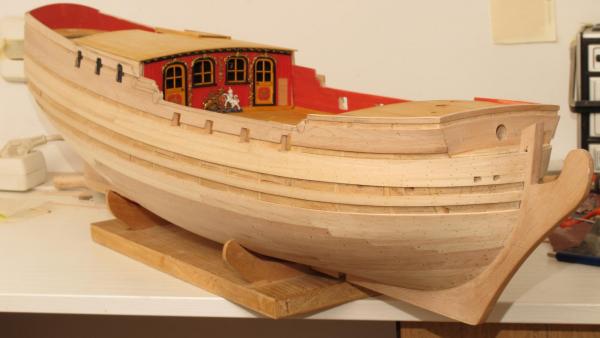
Here some new photos I took when wisiting Mile in Zagreb… Dražen
- 86 replies
-
- 11
-
-
- royal caroline
- yacht
- (and 1 more)
-
I have had a lot to do for my company in last weeks... ... but now, here are the new stands which will hold the ship later (when ready) too. Dražen

- 487 replies
-
- 24
-
-
- ship of the line
- 80 guns
- (and 1 more)
-
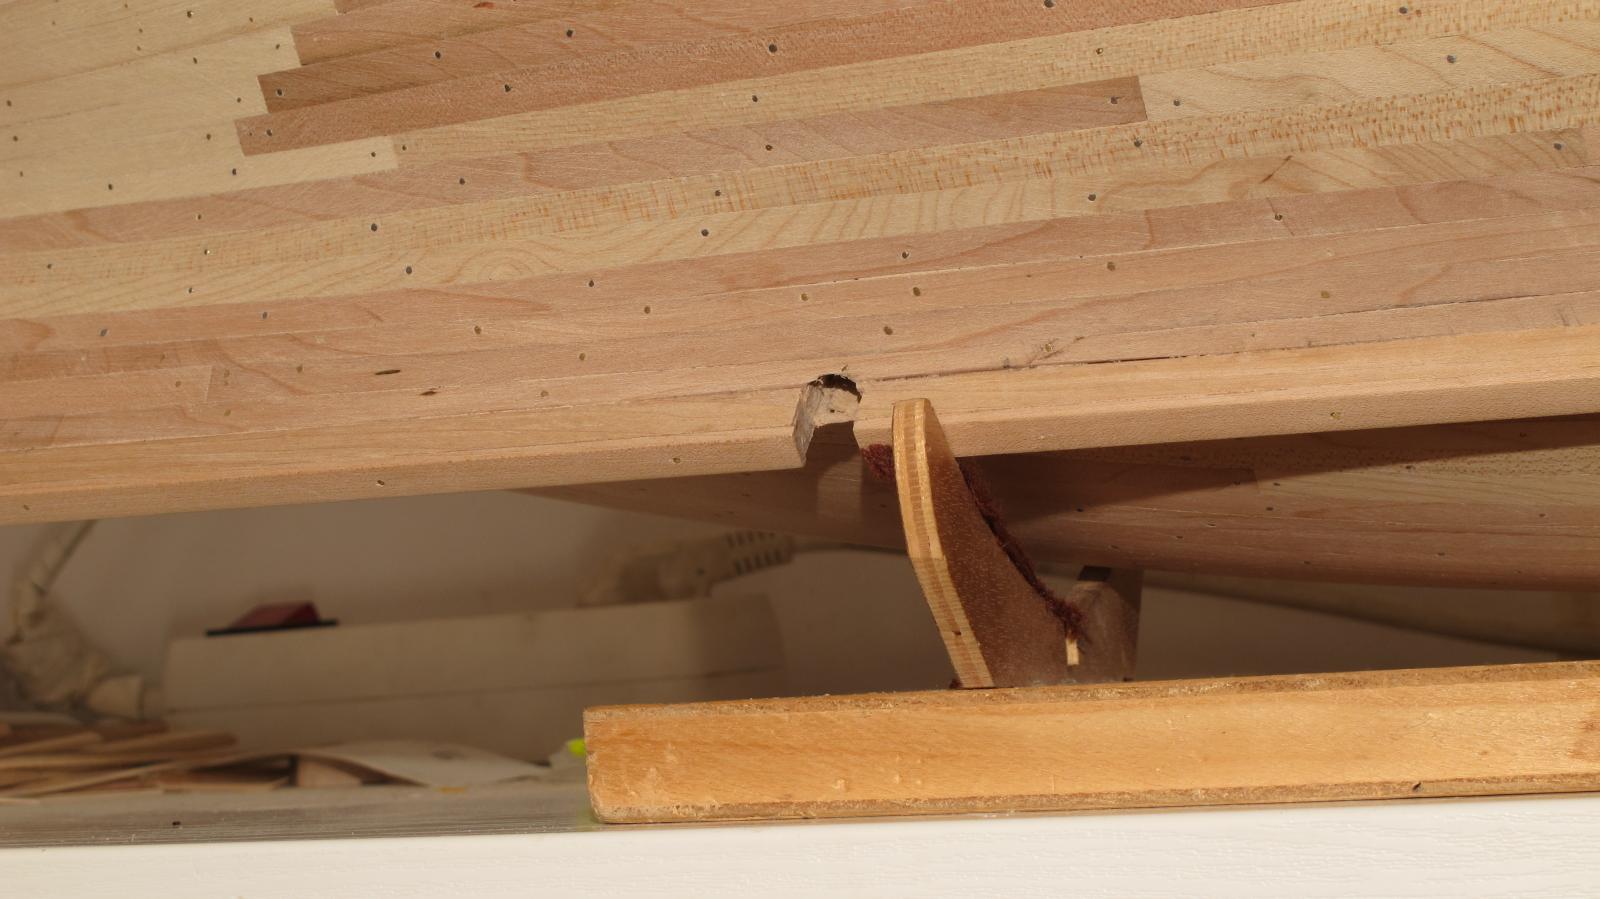
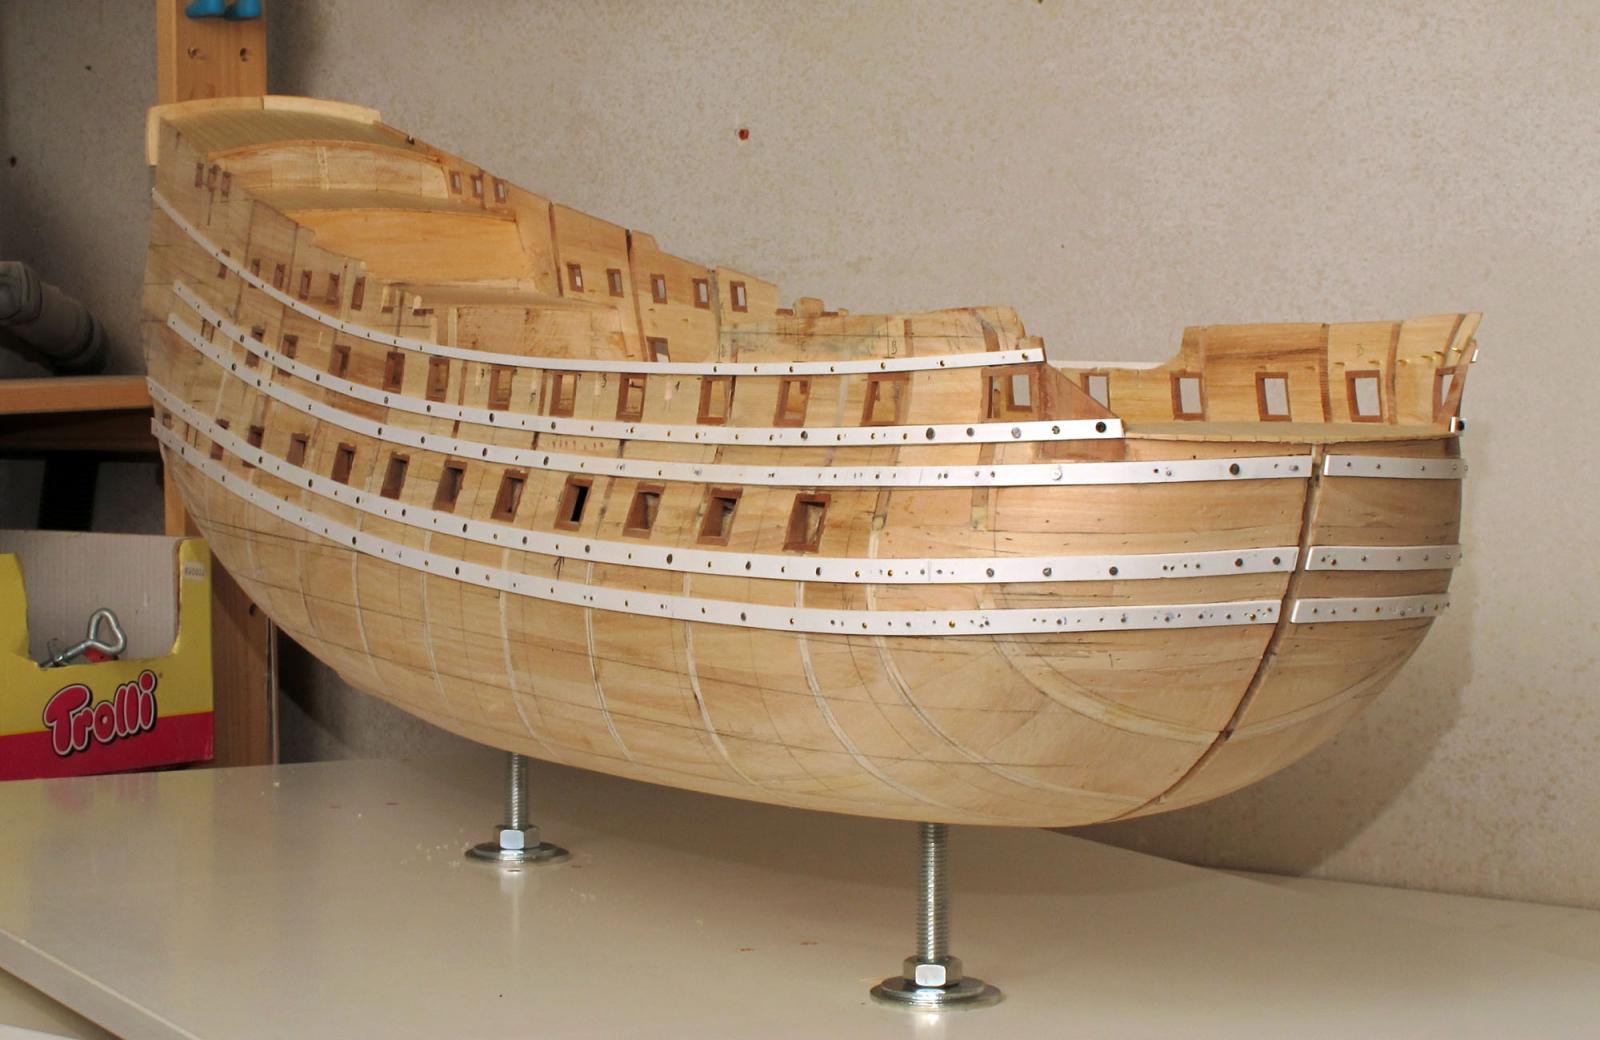
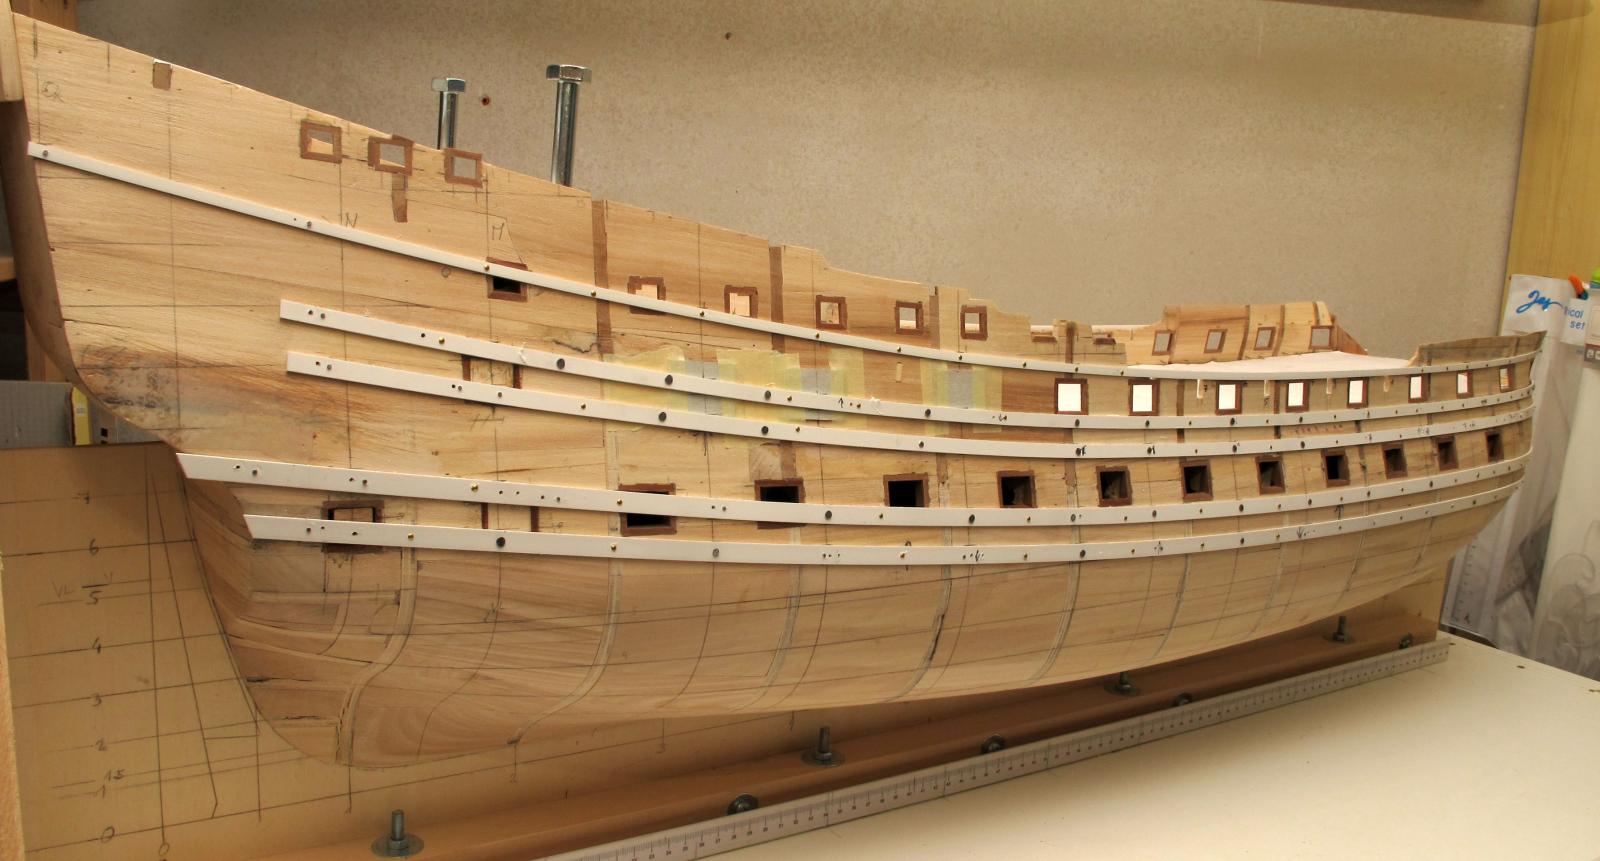
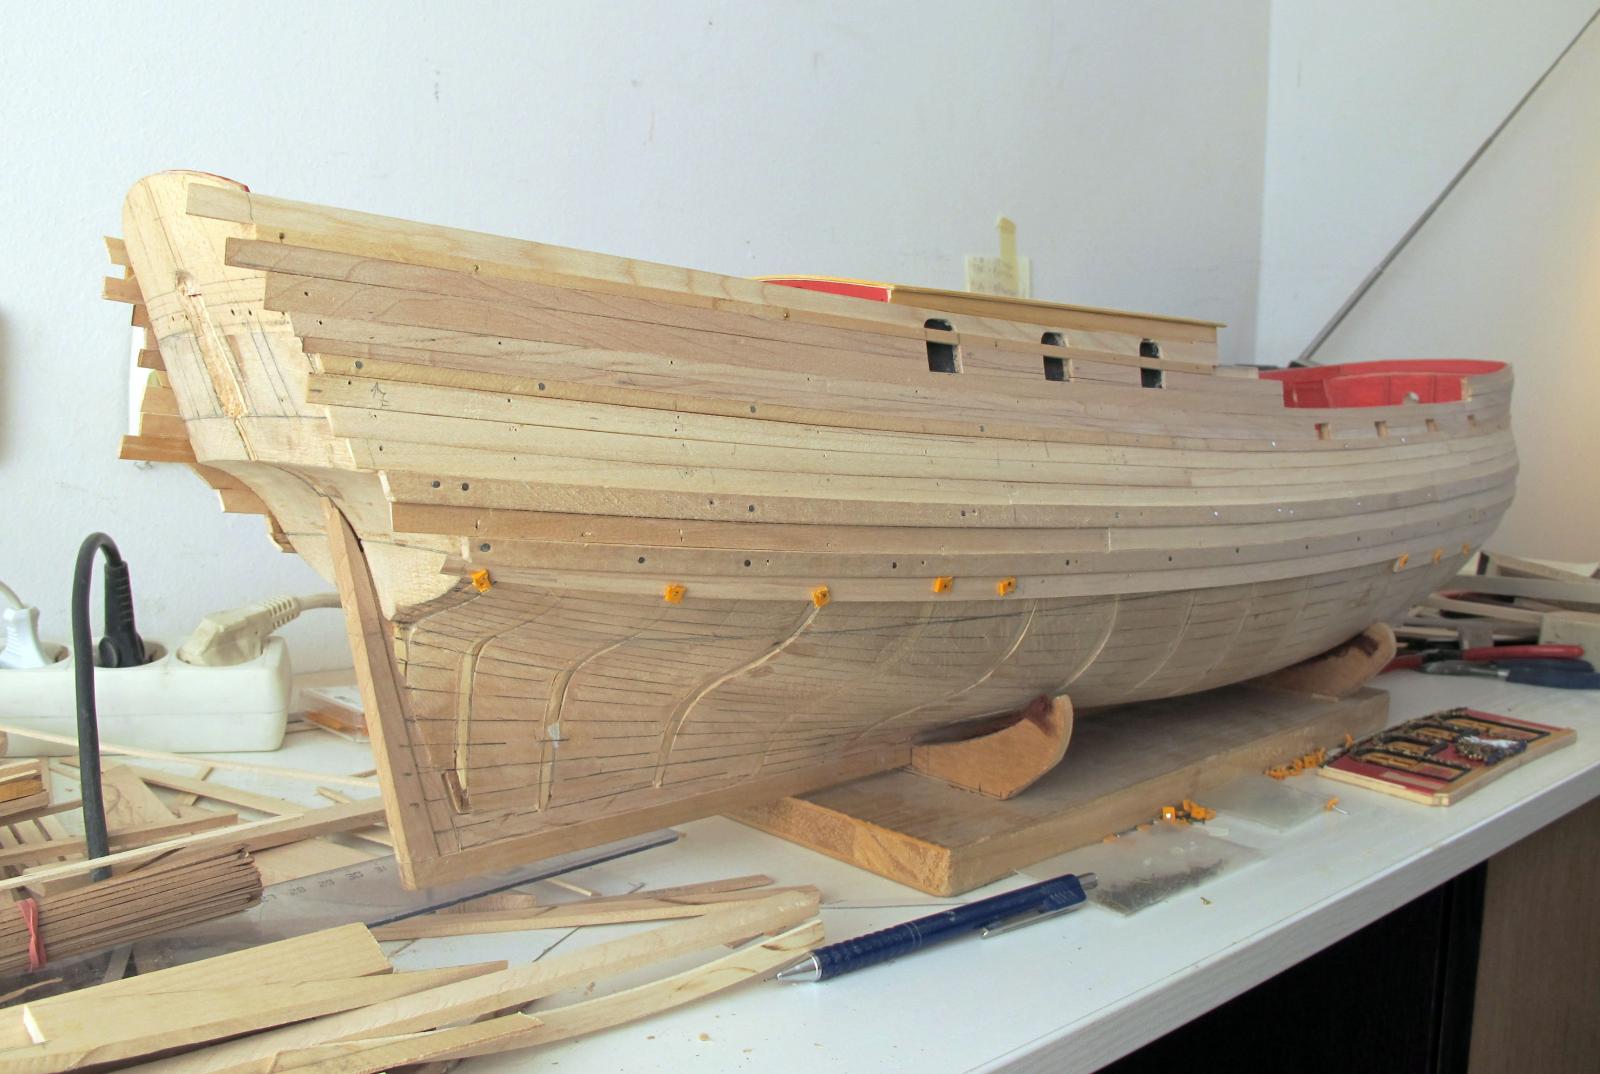
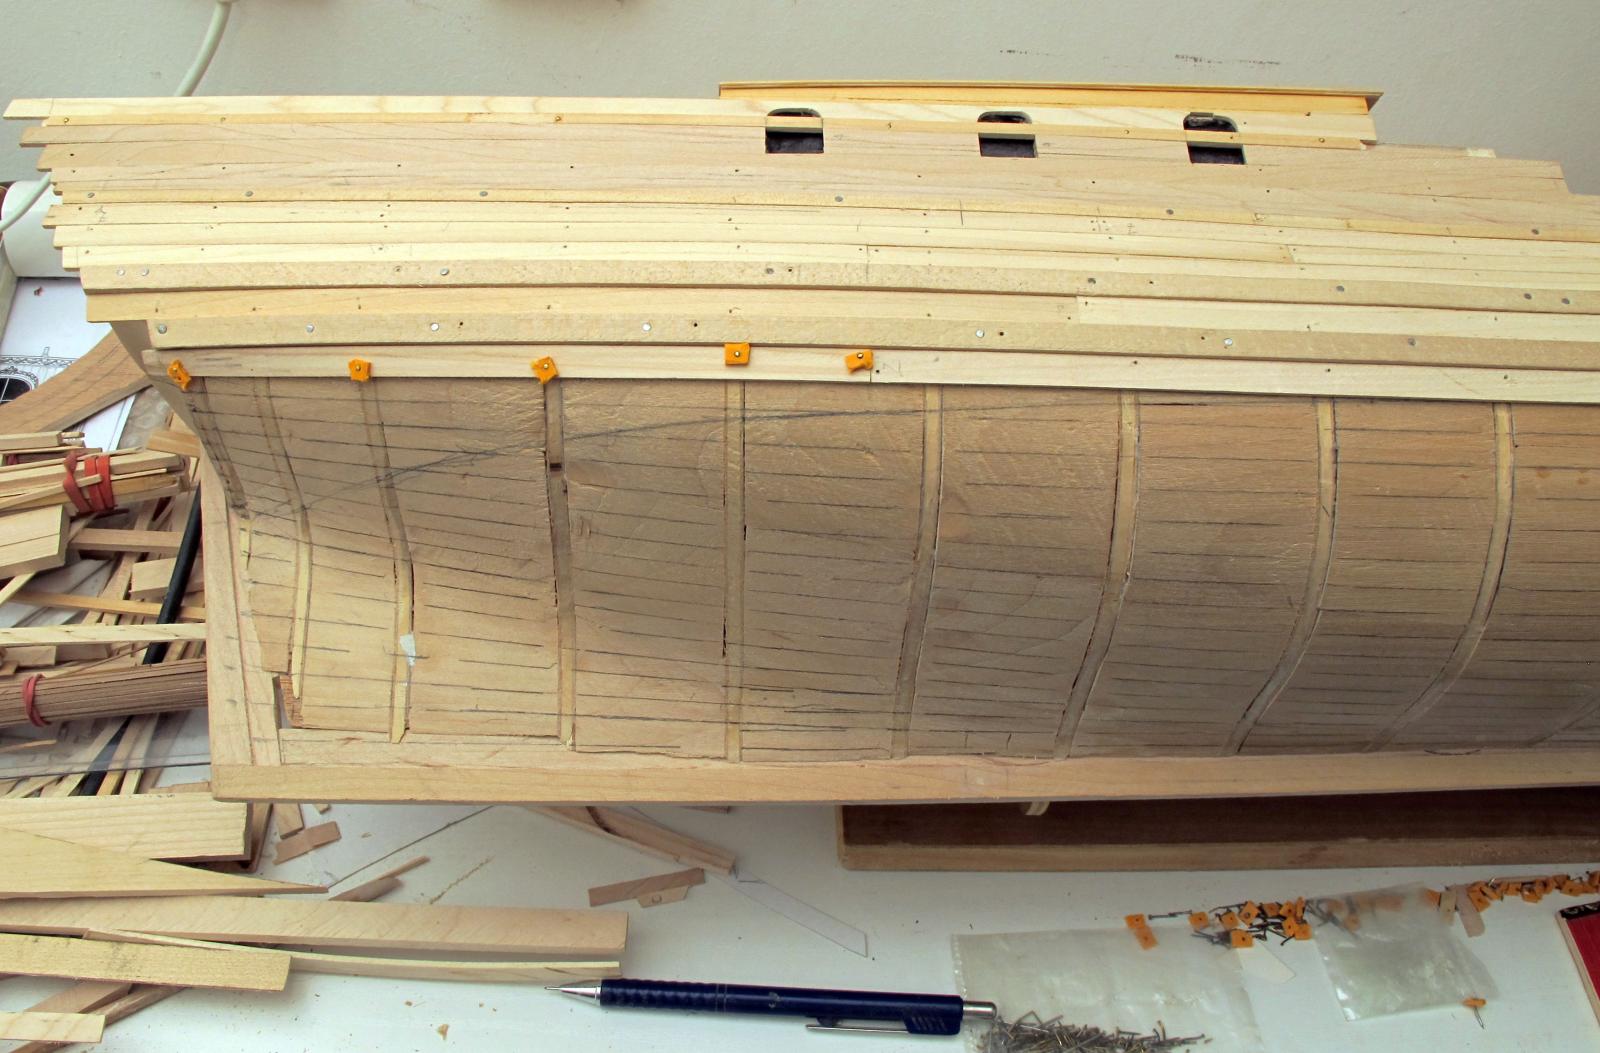
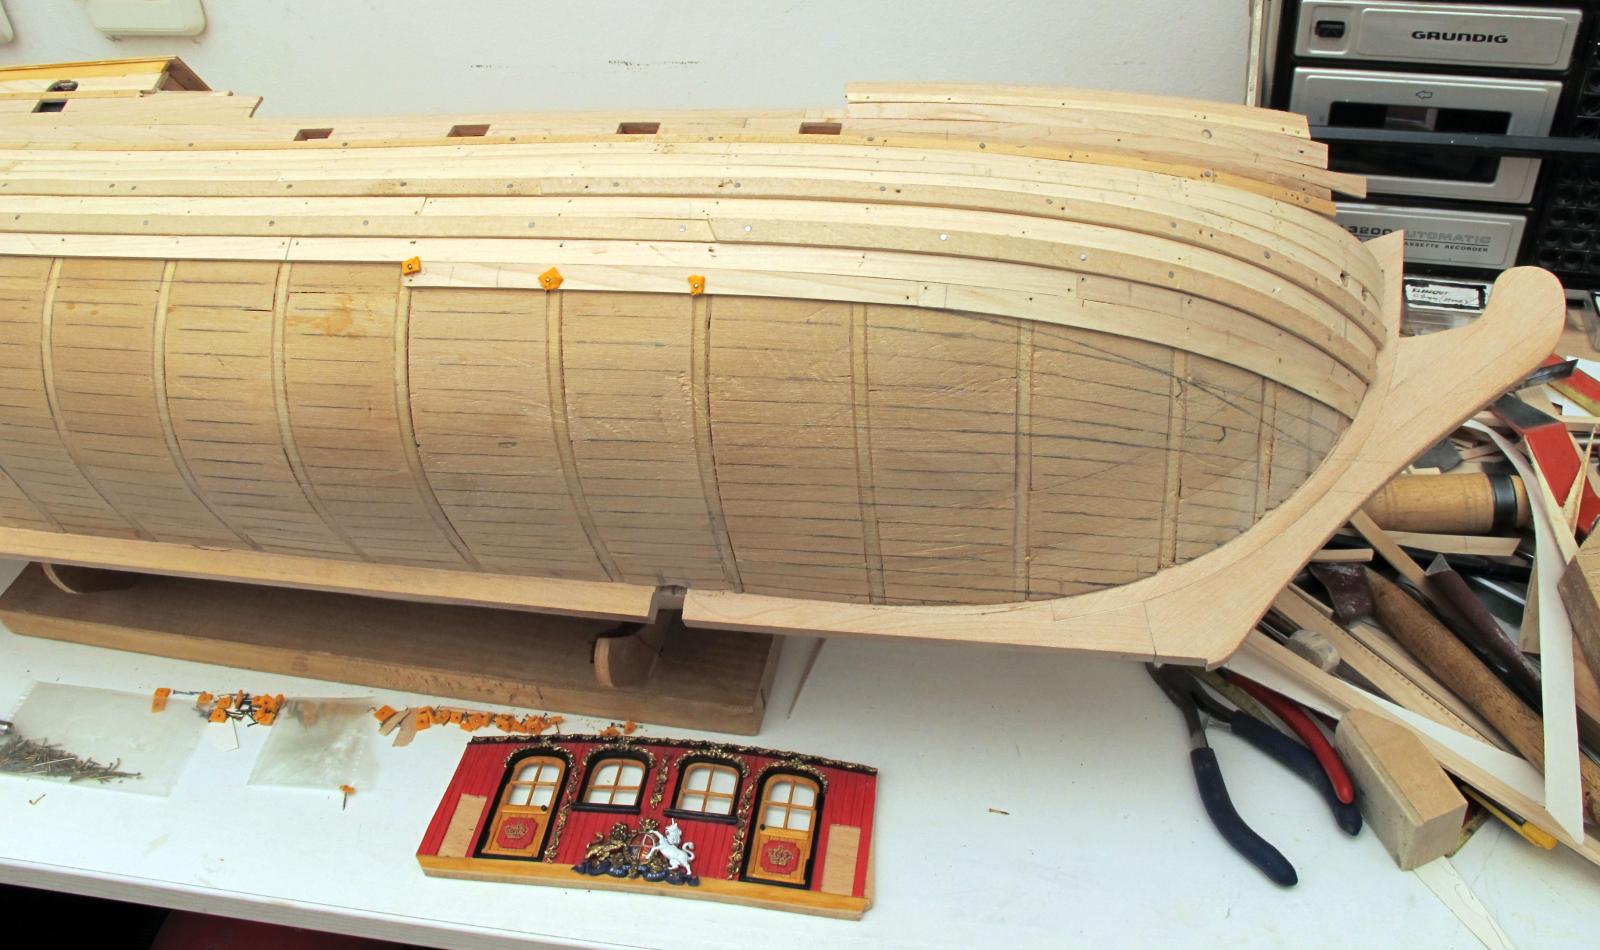
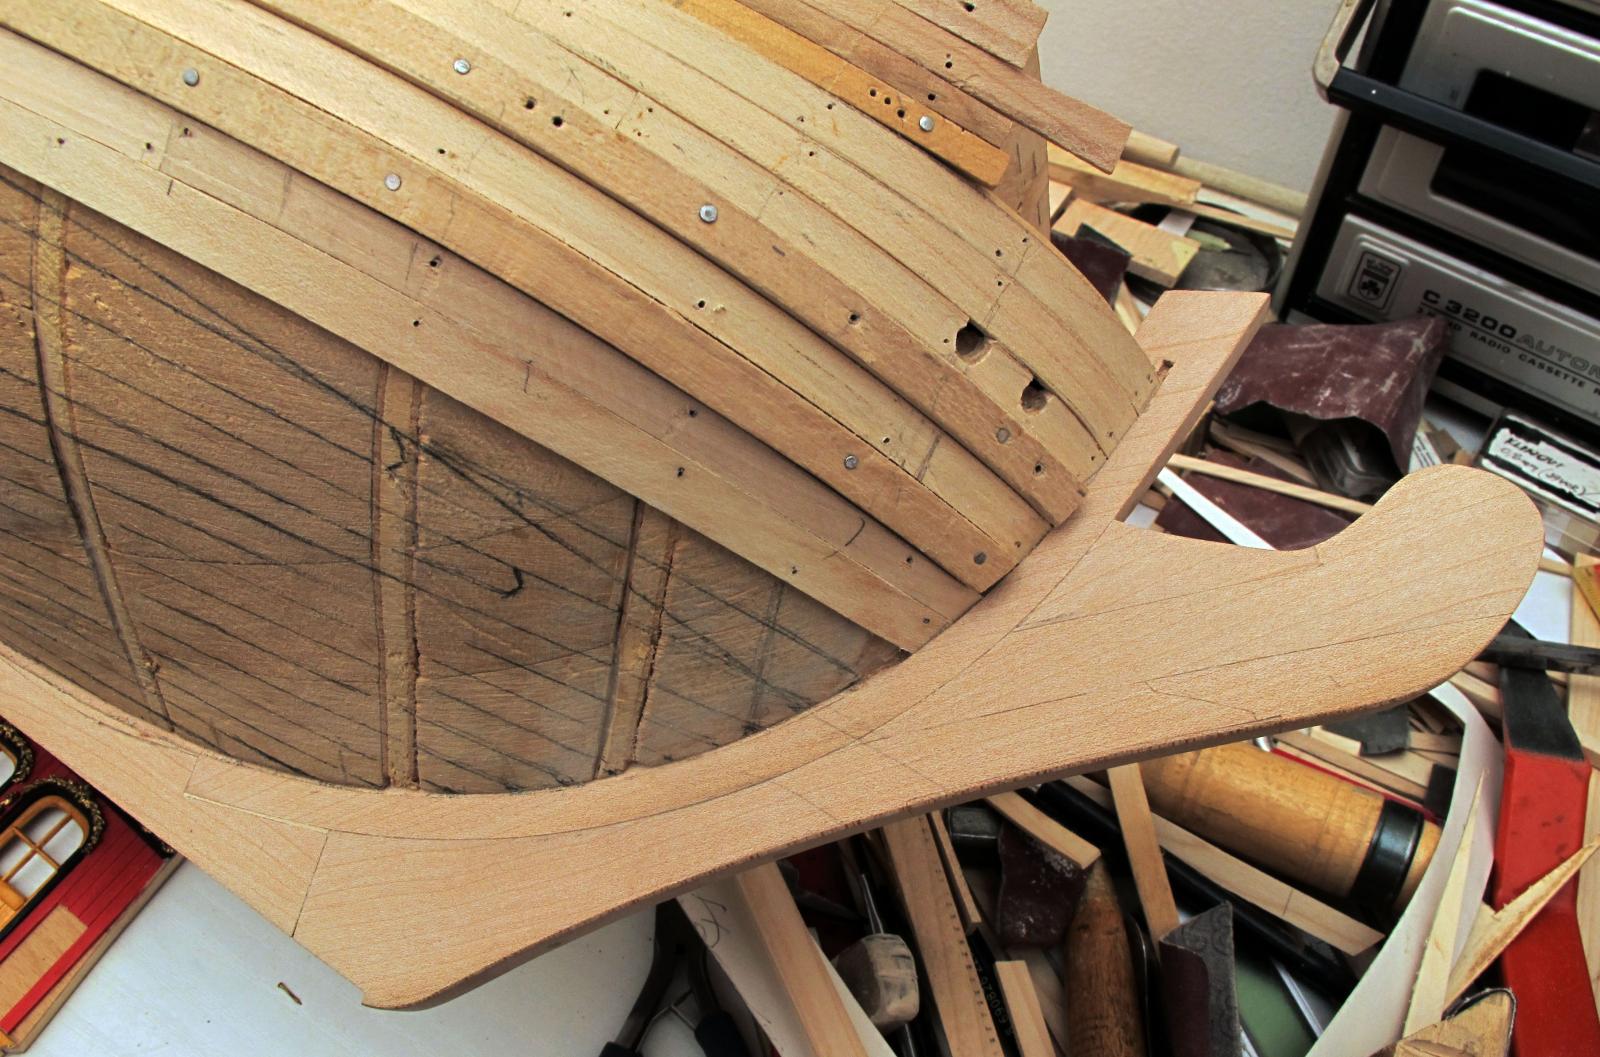
Jan, the main issue is how to bring these wales into an exact line (actually curve) without bends and in more or less same distance along the ship length (except at the area of the stern where they slightly separate). Well, now they are OK. After fixing the planks, the planks will, let’s say so, lead the right wales into the exact position. I will need to bend the real wales on the steam, but the final “fine tuning” job will do the planks themselves. I know, again, that this is not how the Dutch were building ships, but the final result should be – if (hopefully) nobody reads my build log and just observes the final model – without putting the model apart. Dražen
- 487 replies
-
- 1
-
-
- ship of the line
- 80 guns
- (and 1 more)
-
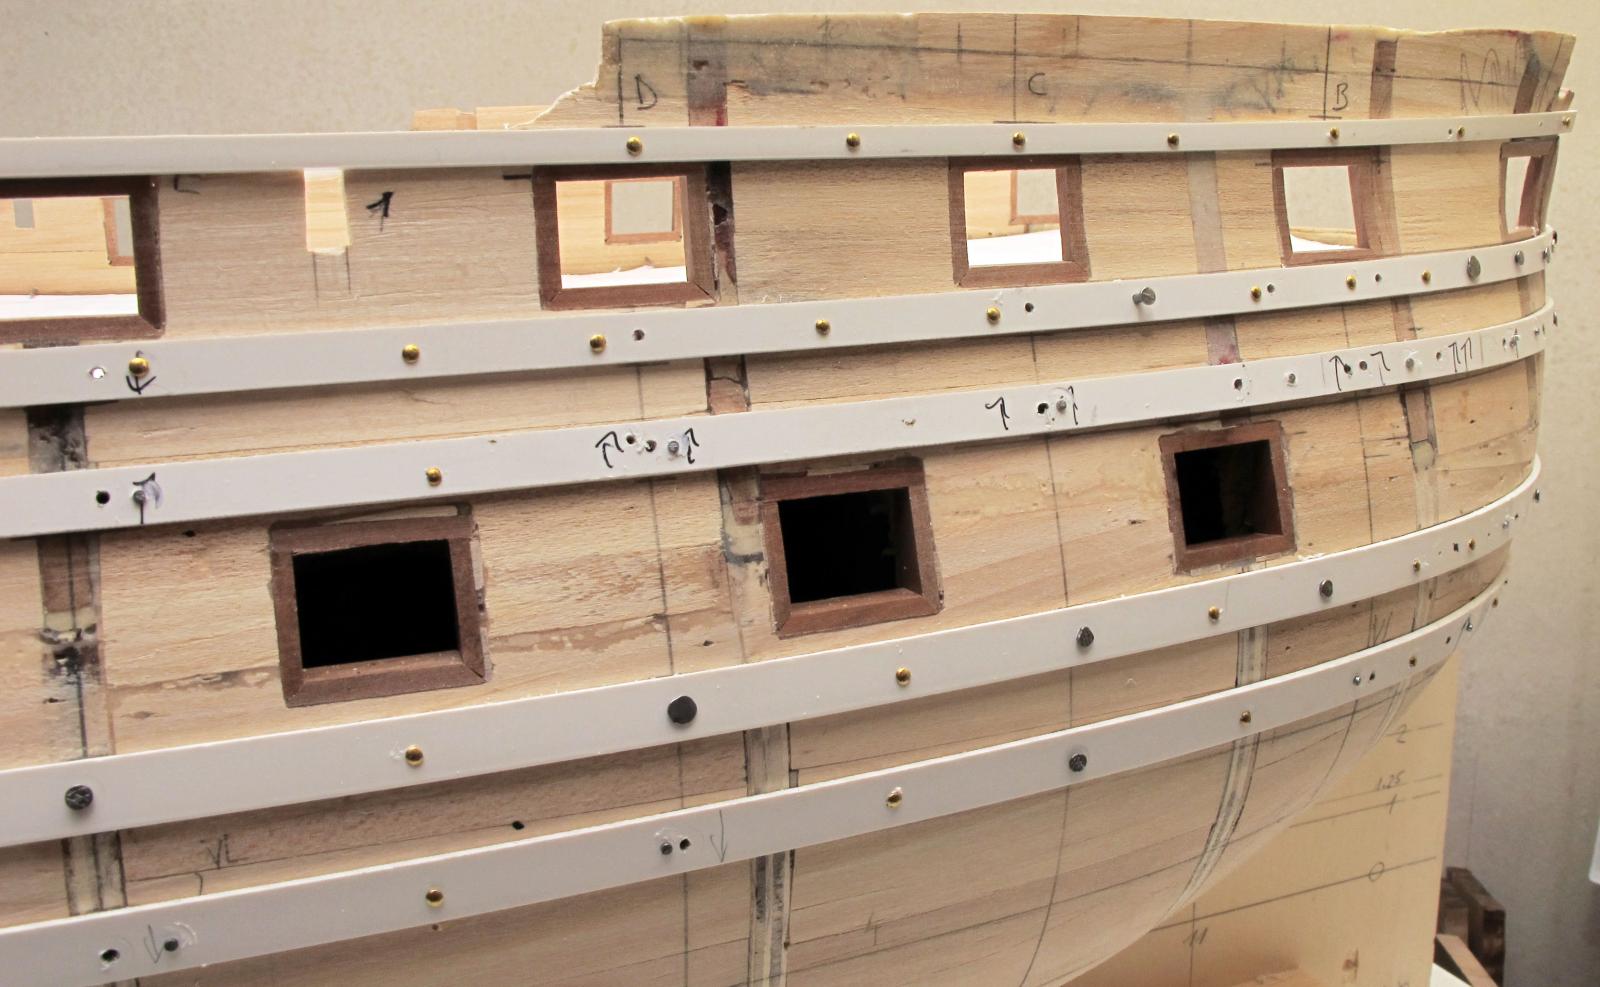
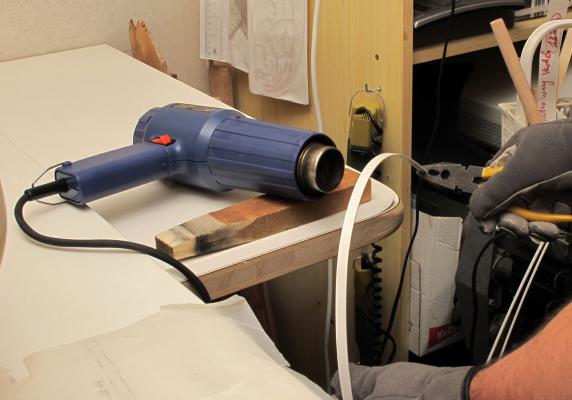
Just an additional clarification... I bent the plastic wales with the hot air gun only on the bow. The rest was easy to bend (elastically, not plastically) just by applying a slight tension -> holding with finger -> making a hole with fine drilling machine -> and inserting the nail in the hole. You can correct the “corners” (where the line is not nice) by: removing the nail out -> (slightly) correcting the shape of the partition -> drilling another hole near the old one. After correcting approx 30% of the originally set nails, I got a nice curvature. Dražen
-
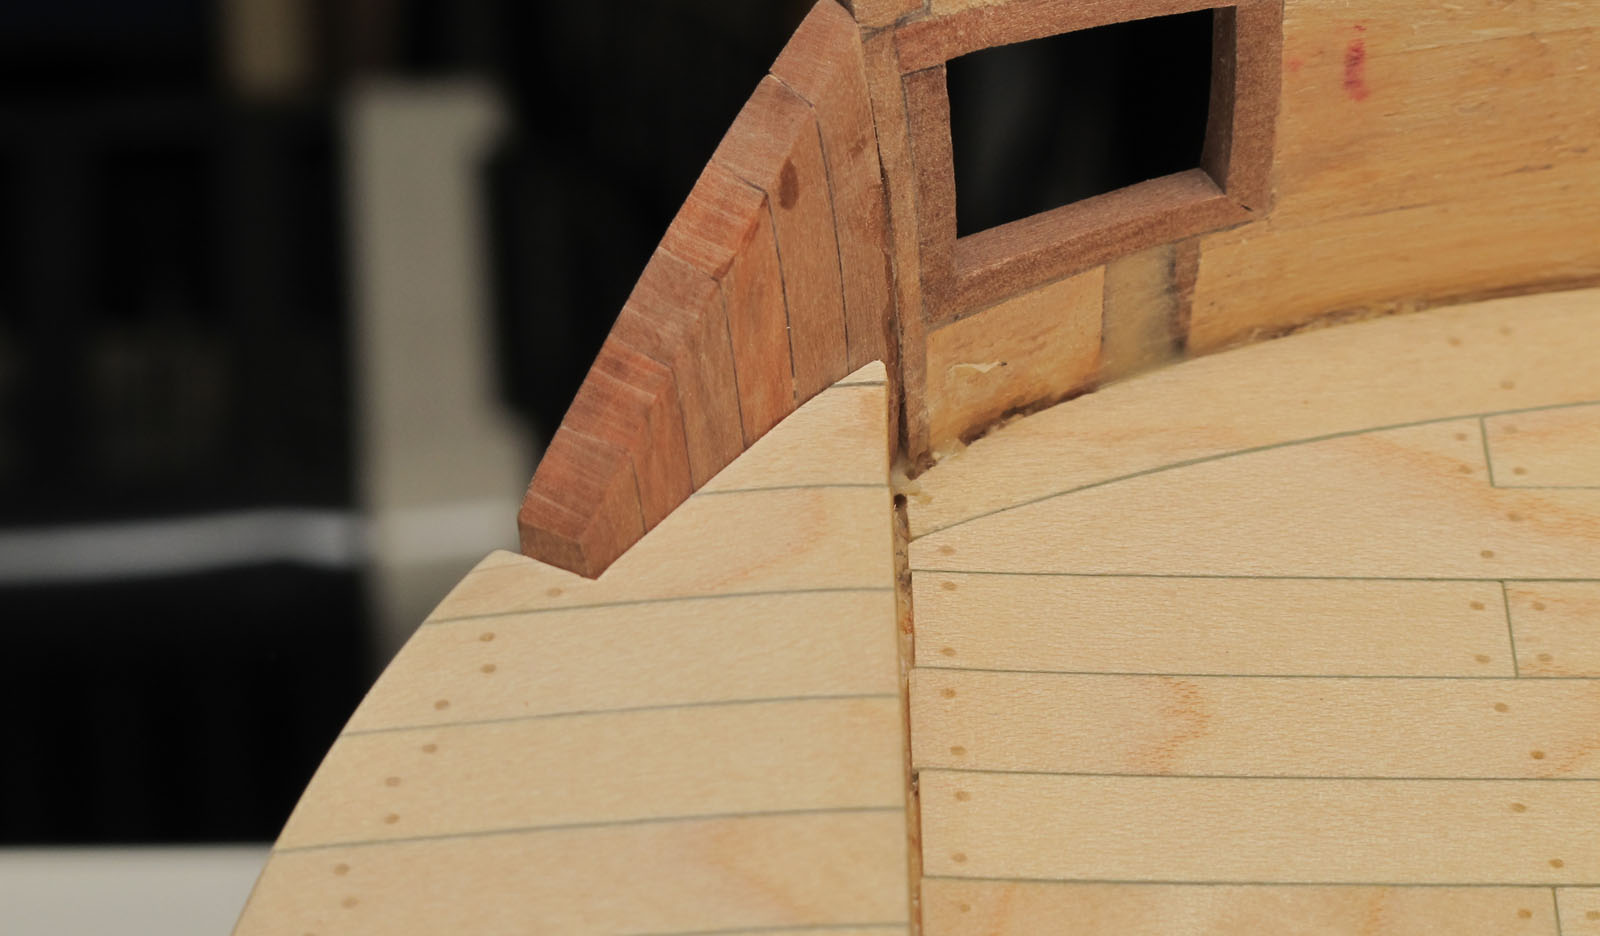
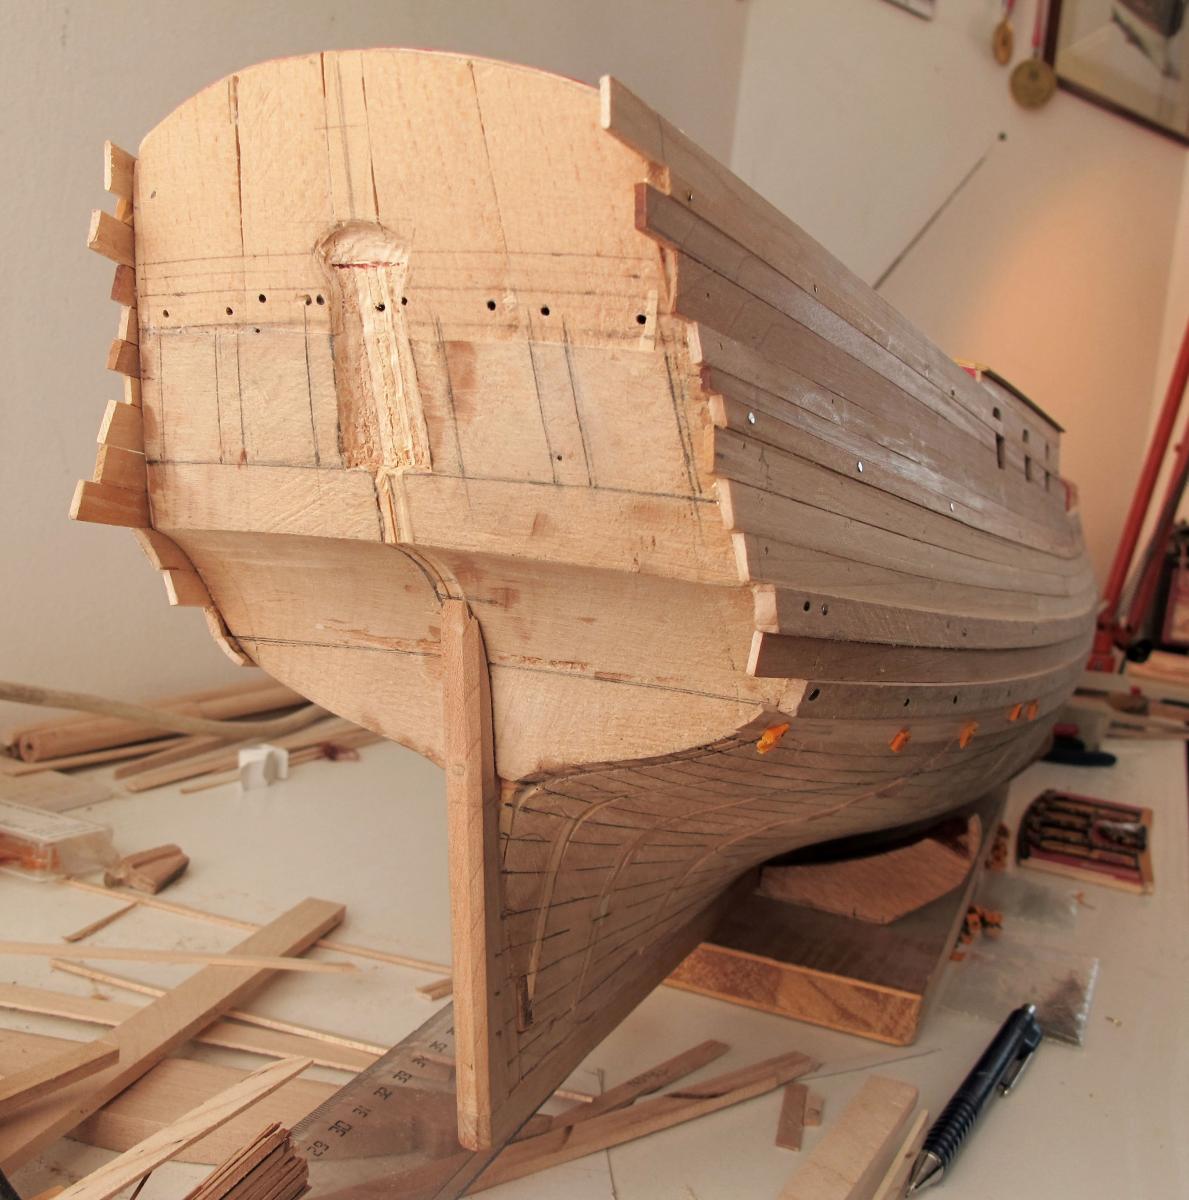
Nigel, Please, use any technique you like. This is the nice thing that we help each other in order to make things easier and more beautiful . Your remark on “non-sticking wood glue on plastic” is indeed a great remark. I was primary not thinking on this, but is a kind of “ad-on” which would make the using of plastic even more preferable. Why I did use the epoxy to connect the beakhead timbers: The timbers do not stick/fit 100% together, but are, or could have a slight spacing in between (also historically). The wood glue shows with prolonged time tending to creep if the connection between two parts is not very narrow. There could be a certain load on this part (timbers) from the outside plank which I will lay on it, so I preferred the epoxy. Epoxy is also more transparent, so I do not see the glue in between. Some testing could prove these hypotheses, which one may try. Dražen
-
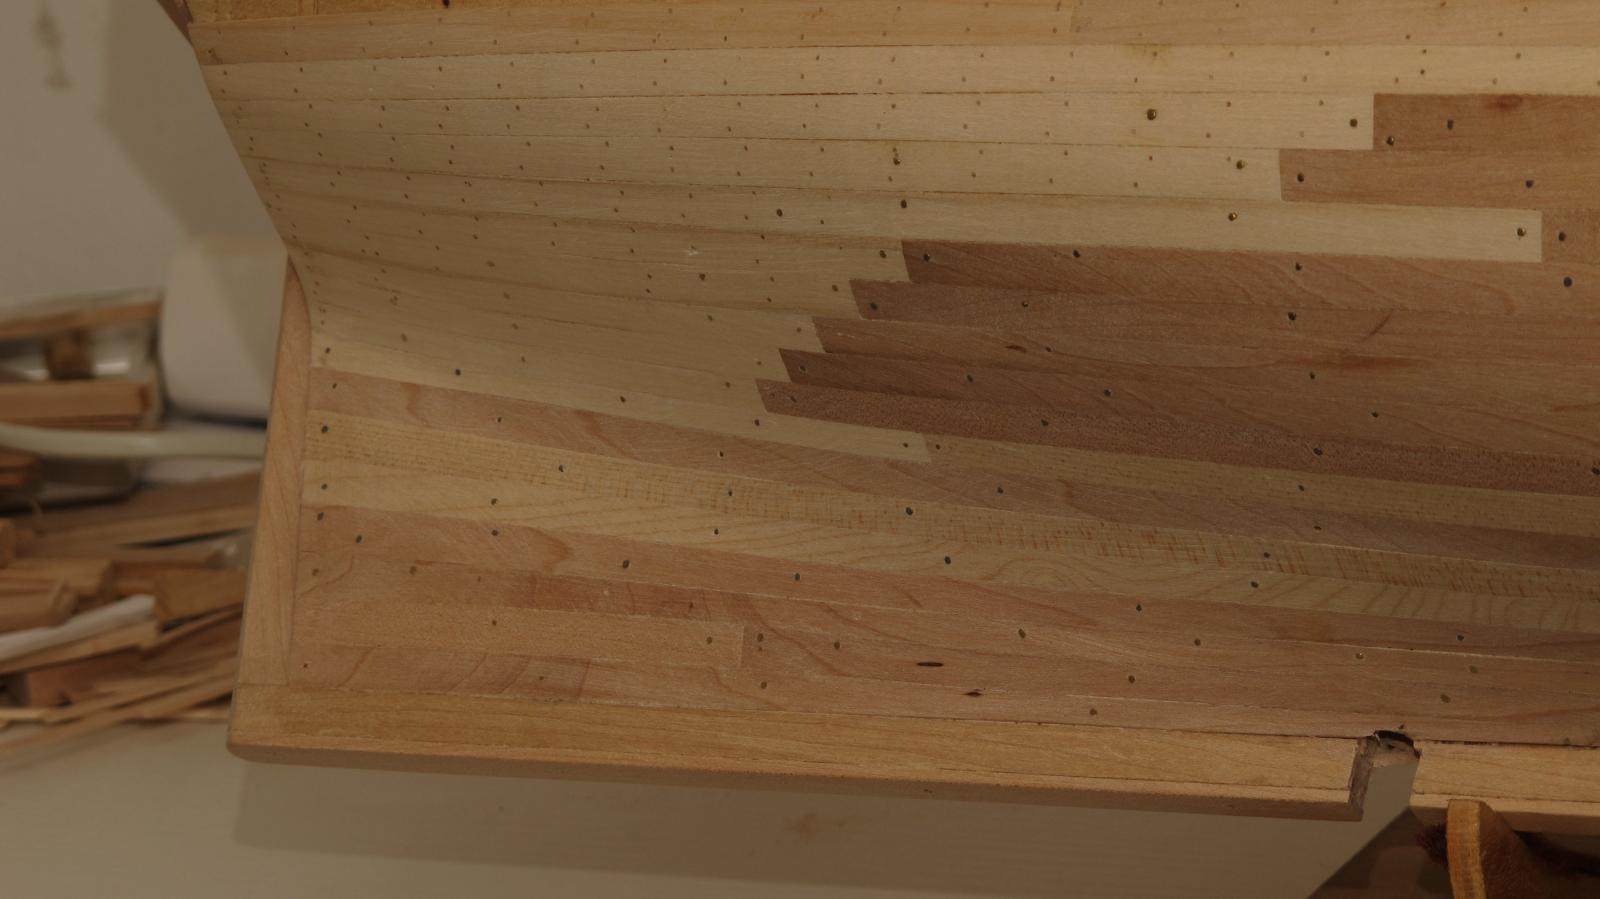
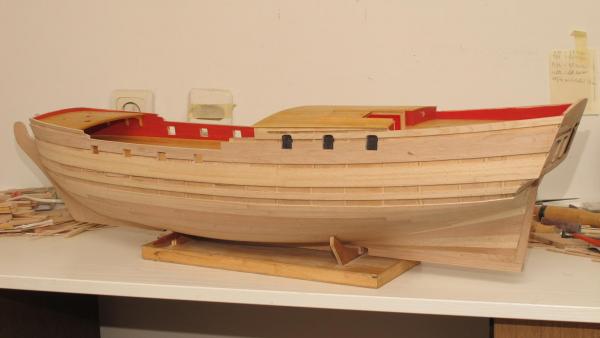
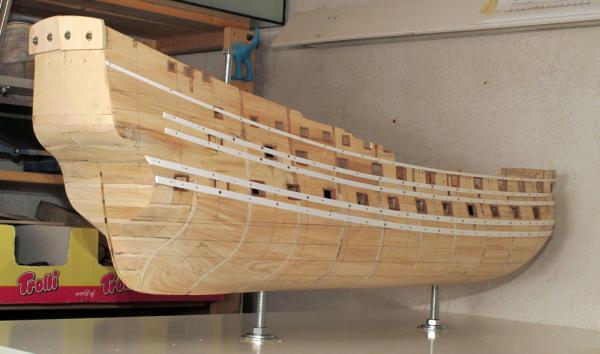
Today I finished them all and will next start planking. Here are some photos how it does look like. Controlling the line with slightly adjusting the nails appeared to be an efficient technique. Dražen


- 487 replies
-
- 18
-
-
- ship of the line
- 80 guns
- (and 1 more)
-
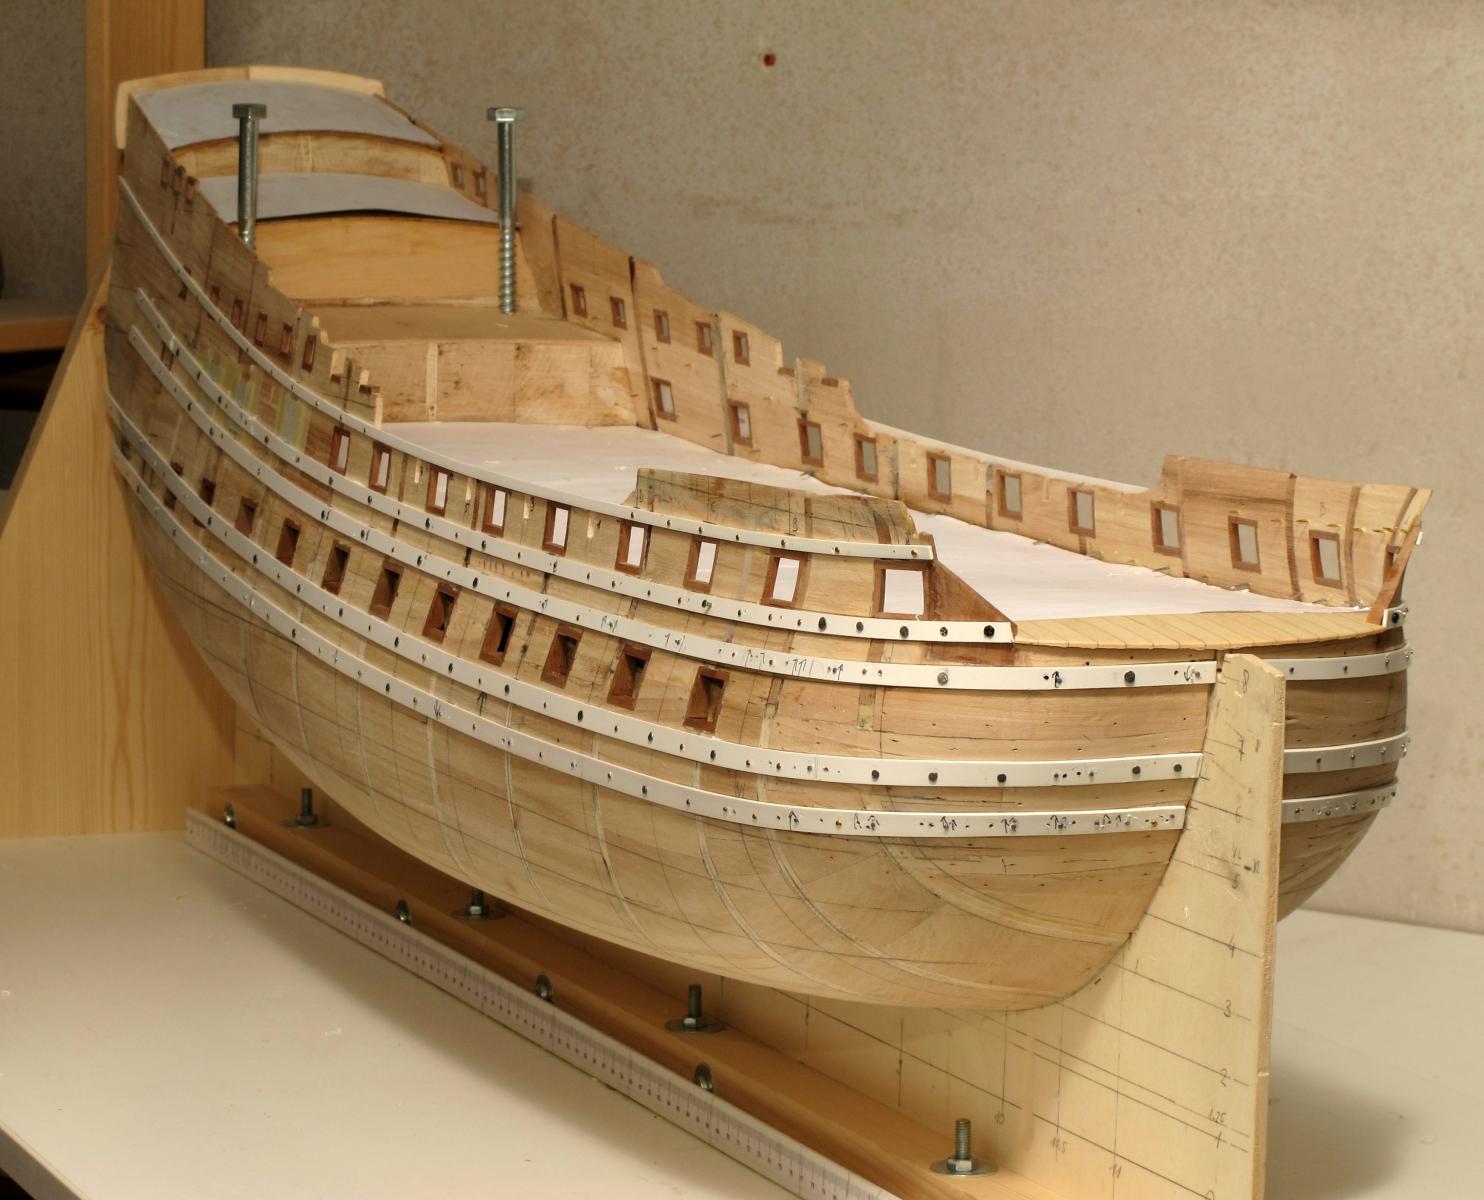
Last week I started to make the false wales before I start the planking. It turned out that a flexible plastic is much better for this purpose than a wood. The bending was very easy with a hot air gun and the curvature easier to control than with a piece of wood bent on the steam. This was just the experience I made. Dražen
- 487 replies
-
- 2
-
-
- ship of the line
- 80 guns
- (and 1 more)
-
... and brought into shape so they fit to the ship hull. Dražen
- 487 replies
-
- 2
-
-
- ship of the line
- 80 guns
- (and 1 more)
-
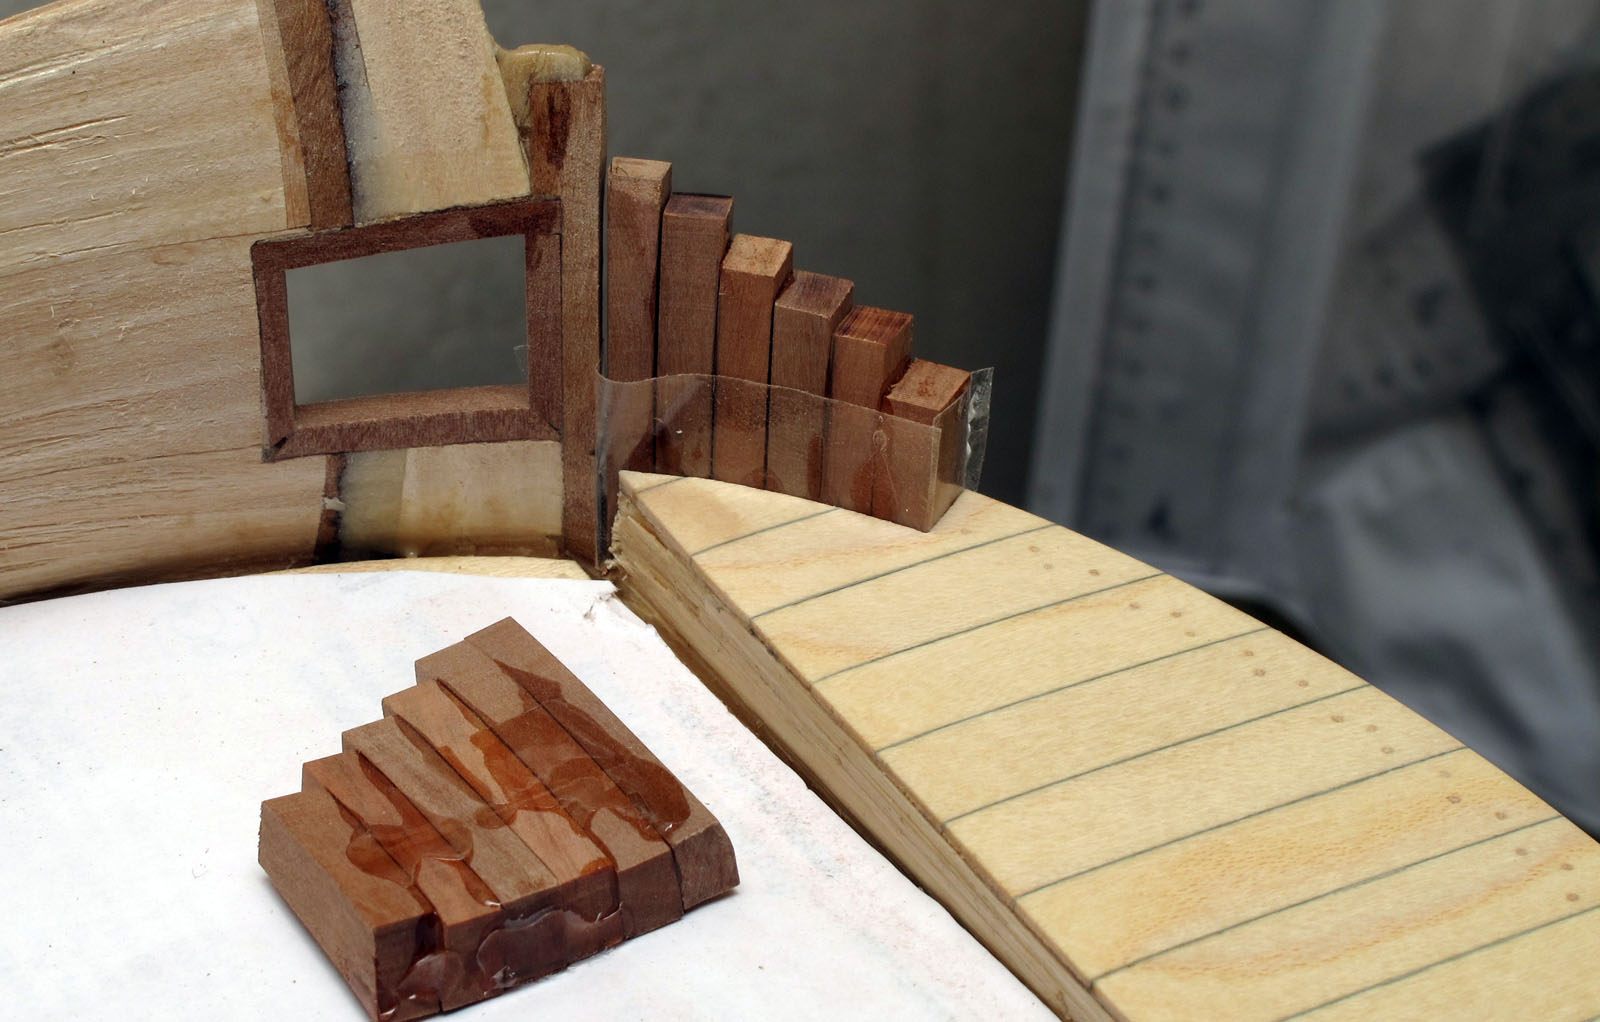
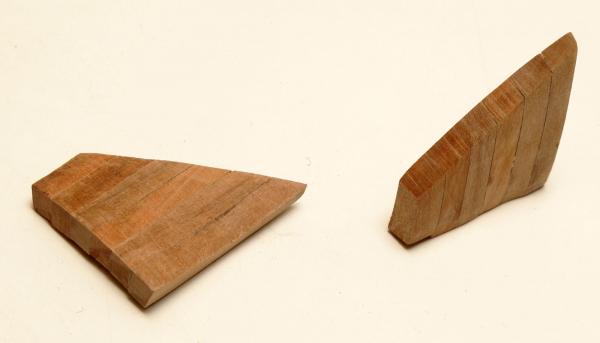
... than the single timbers cut and glued together with epoxy. Dražen

- 487 replies
-
- 6
-
-
- ship of the line
- 80 guns
- (and 1 more)
-
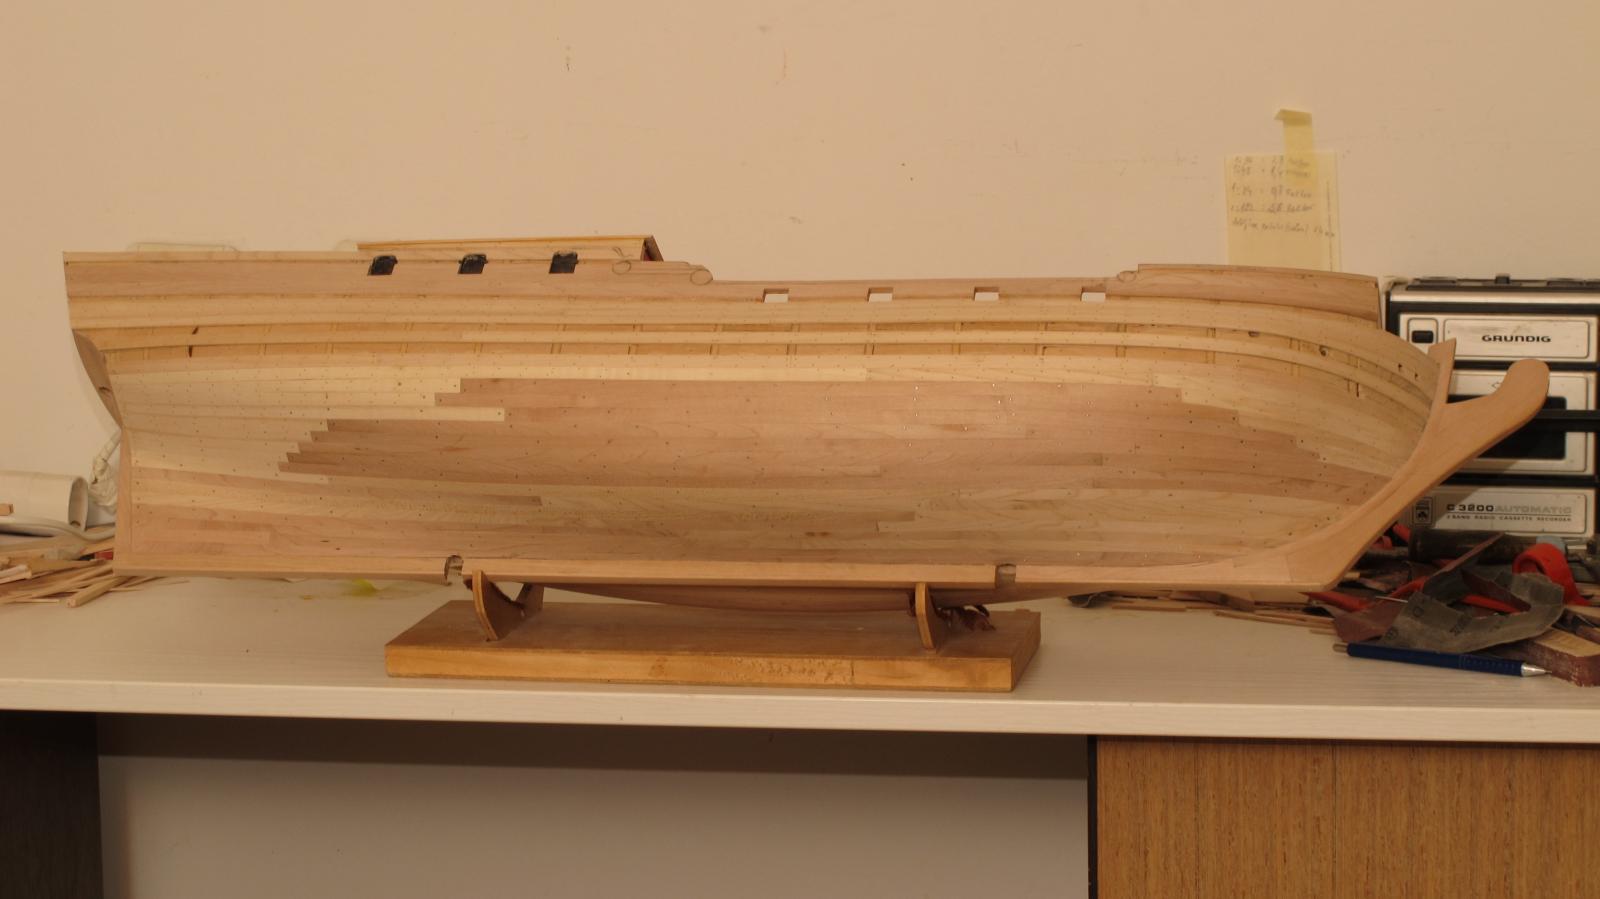
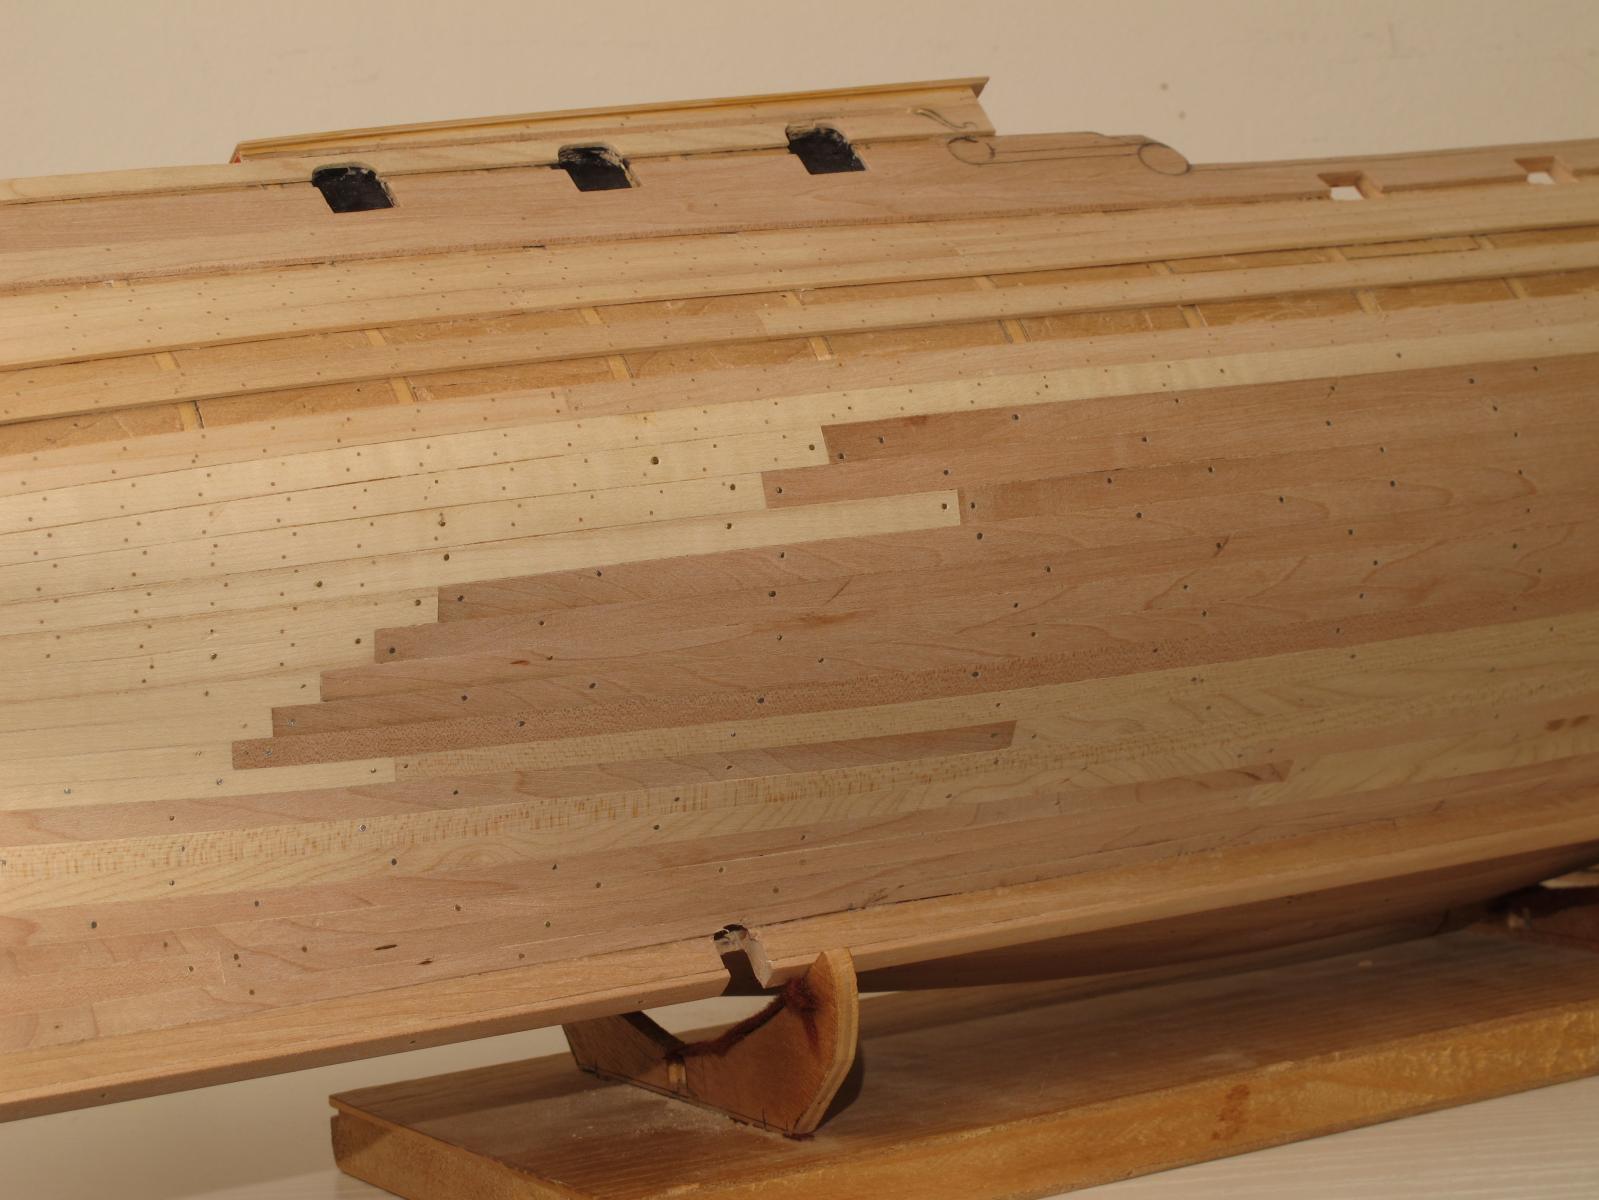
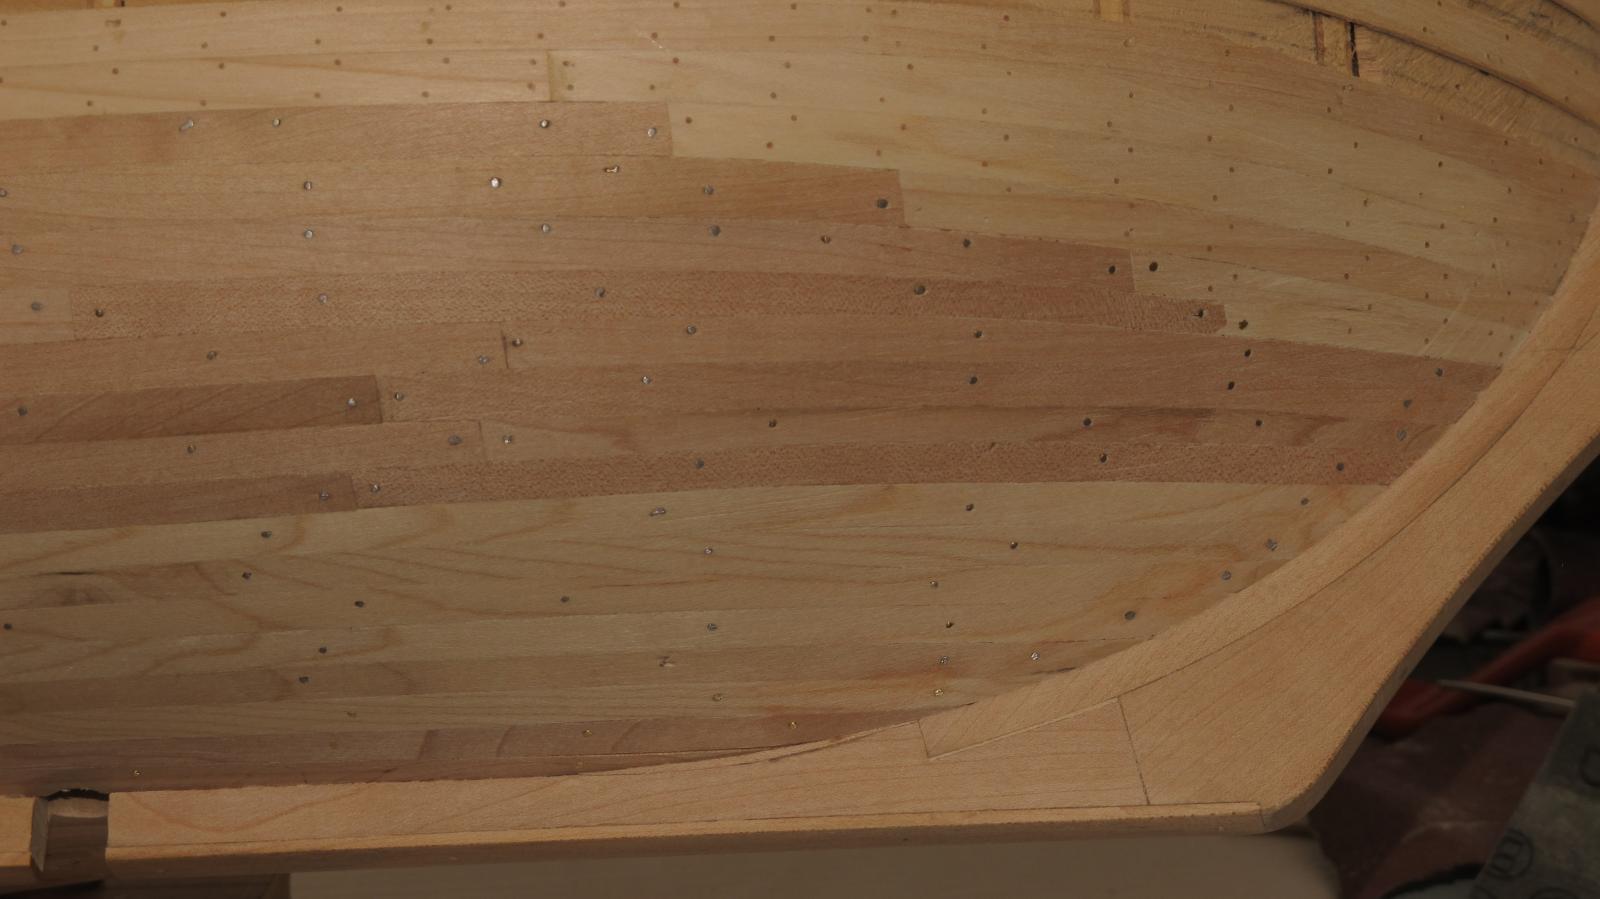
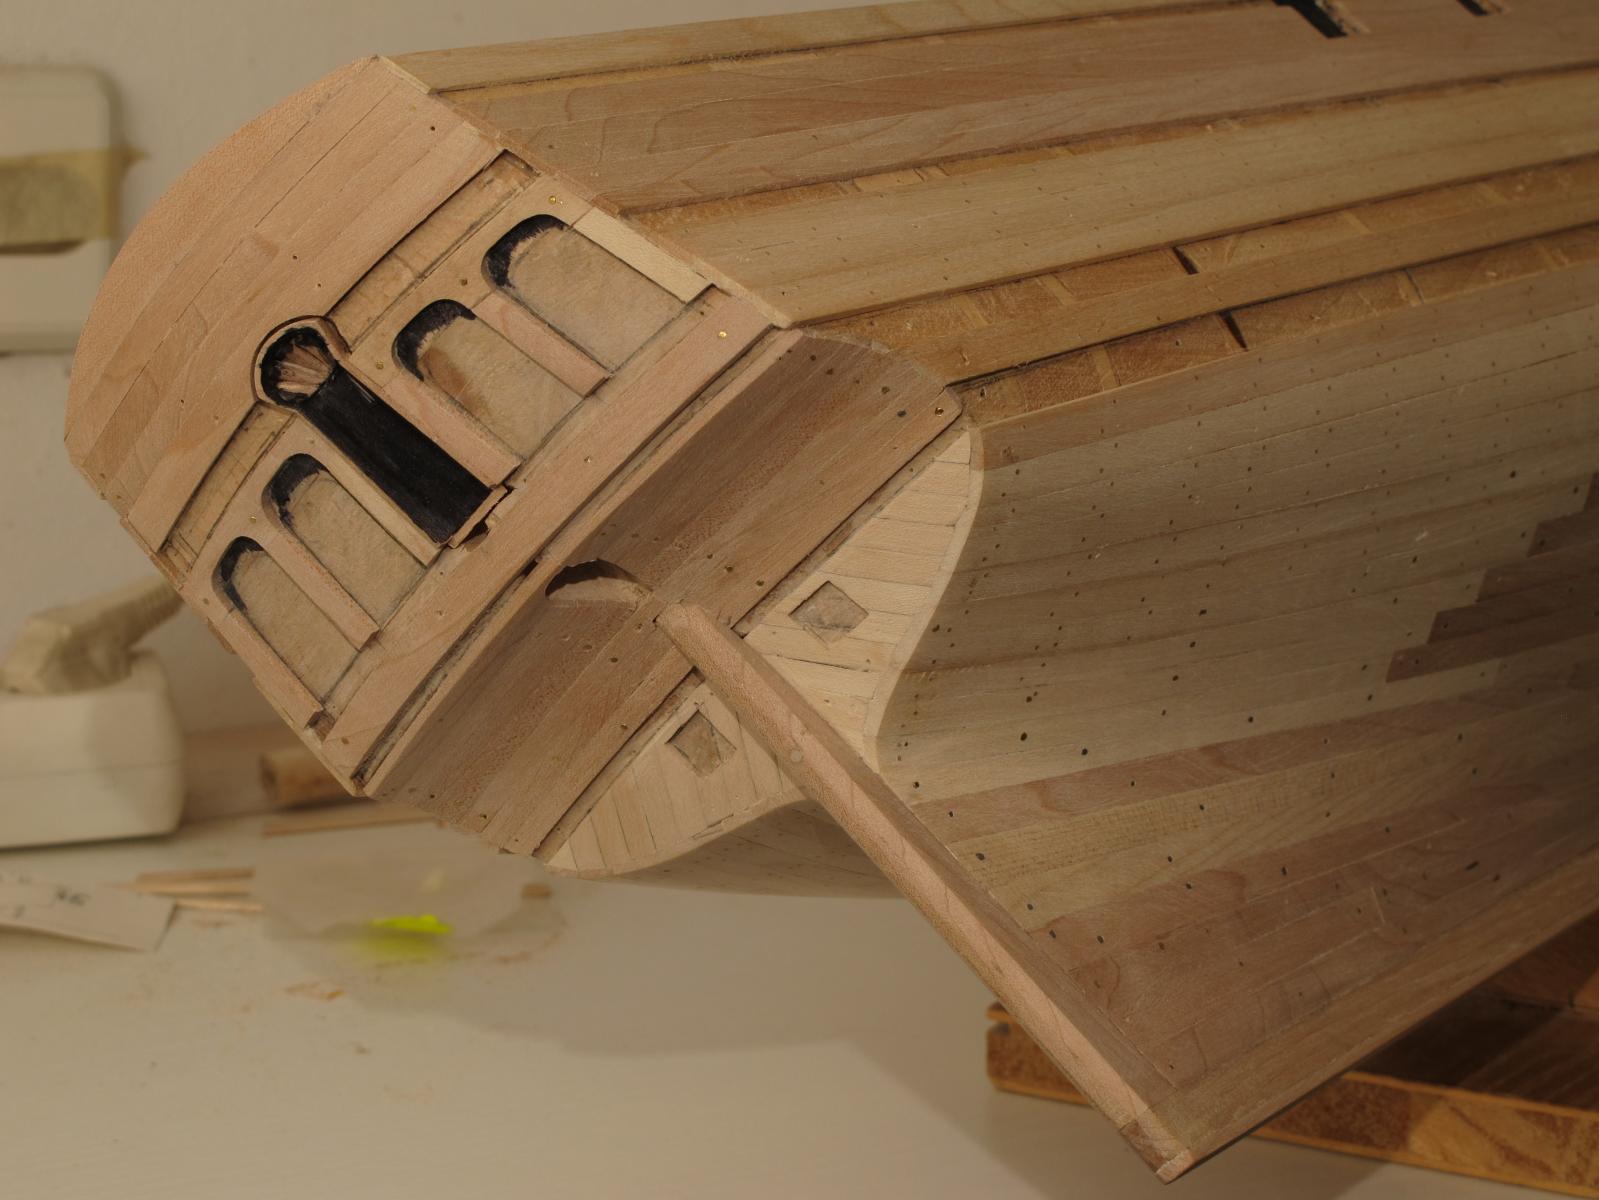
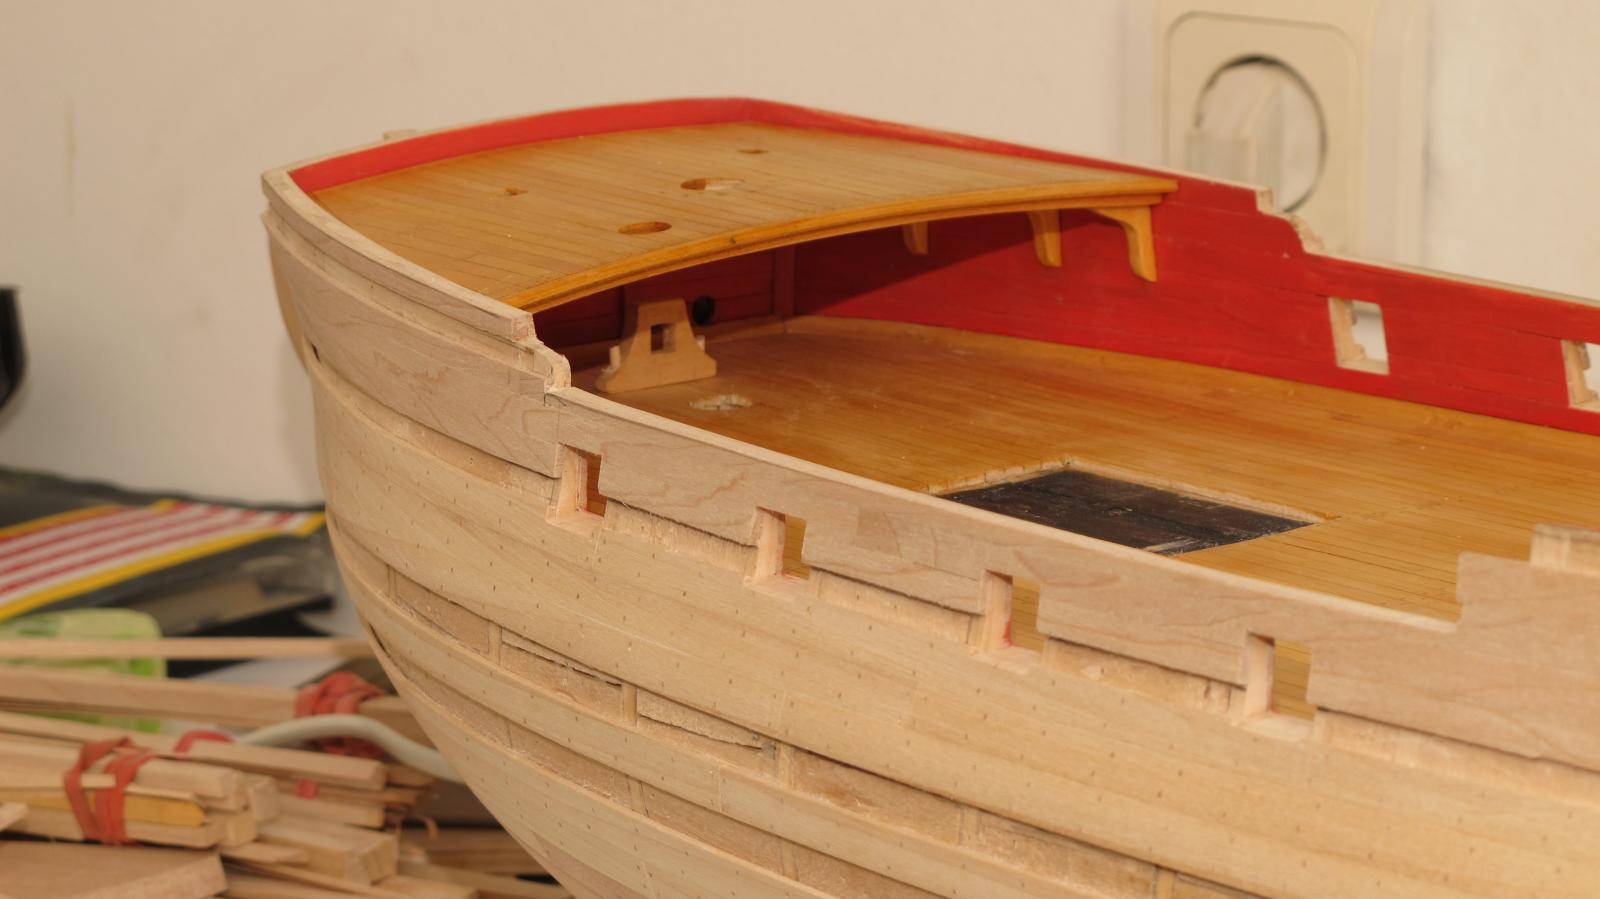
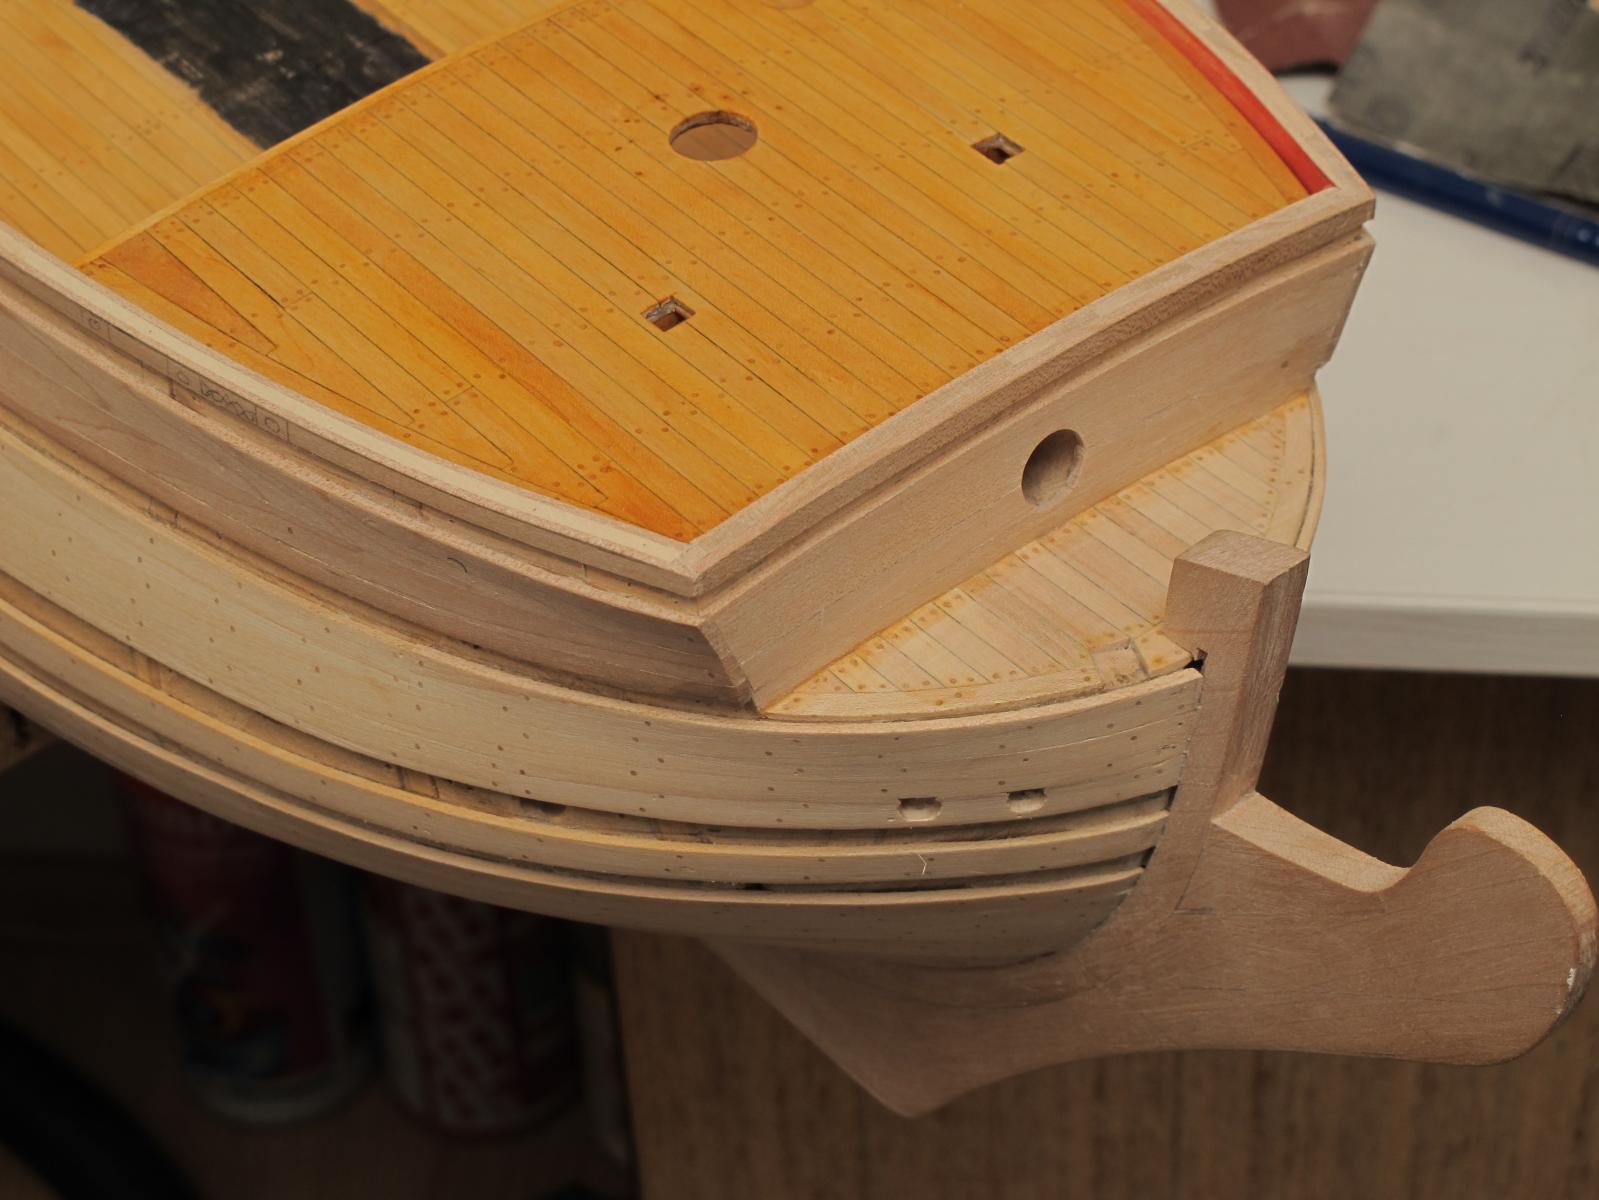
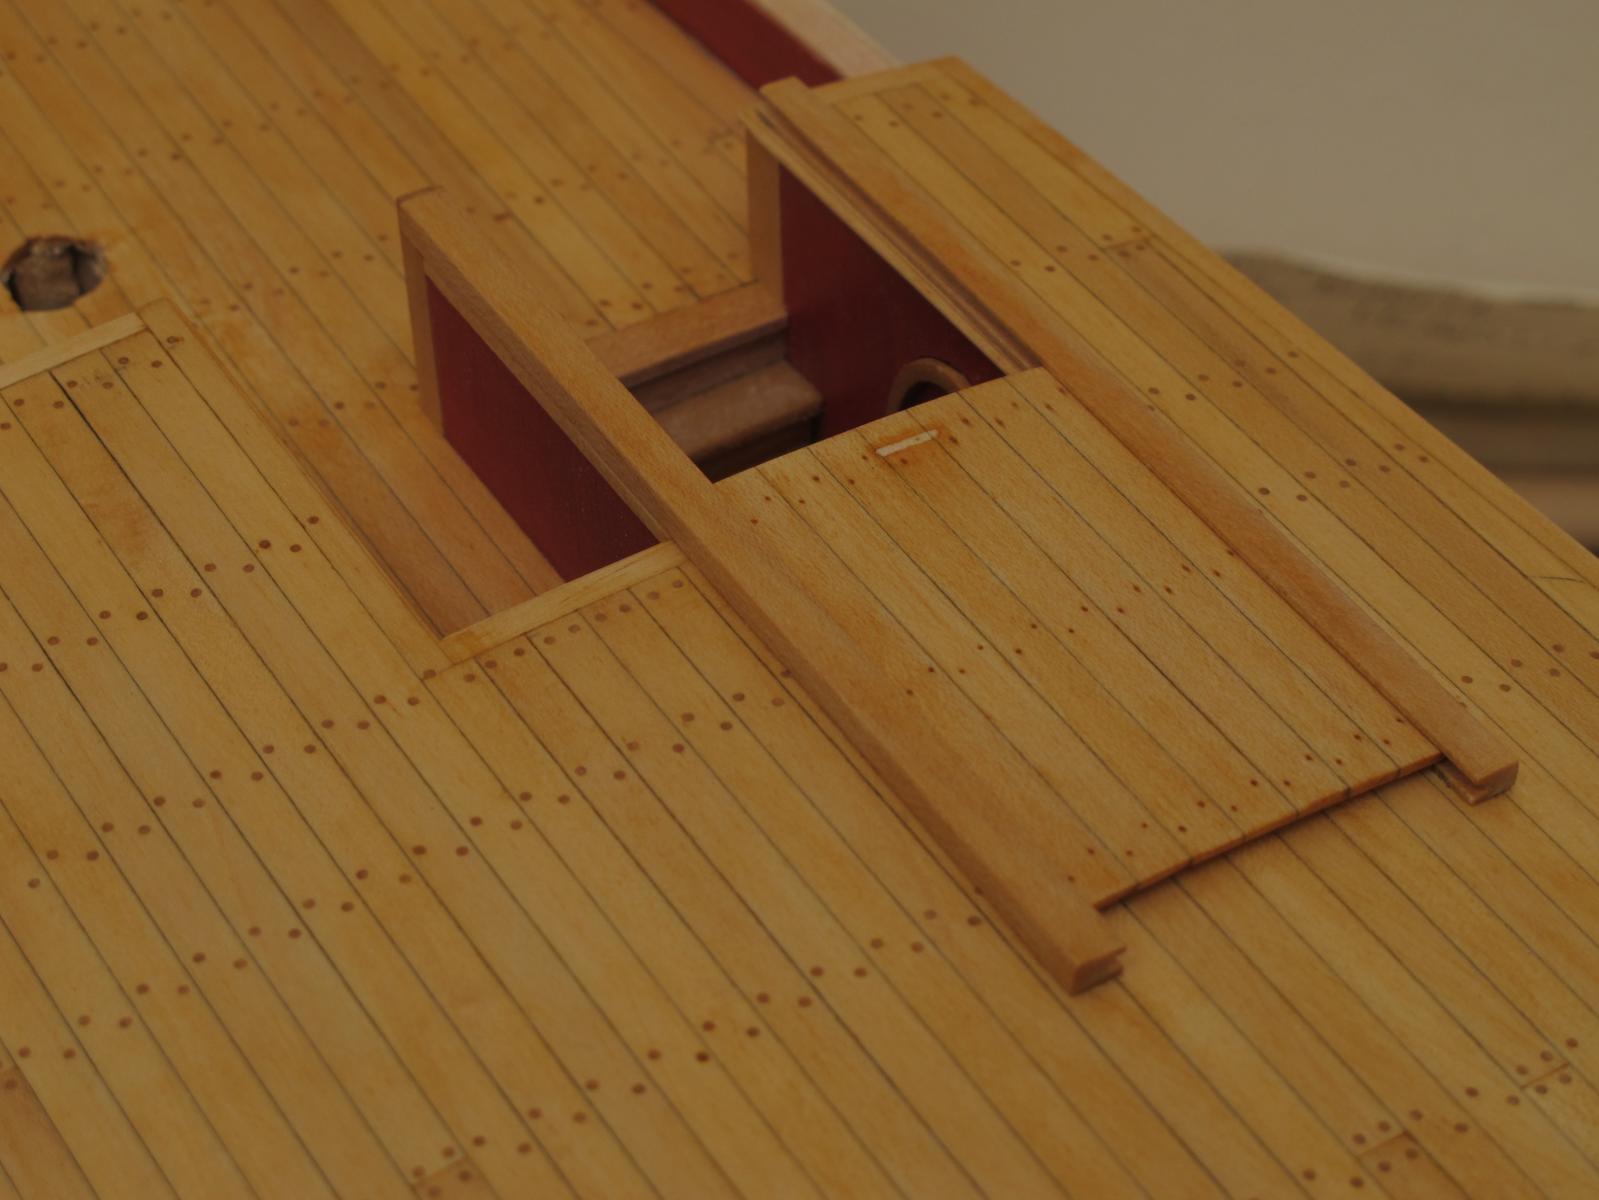
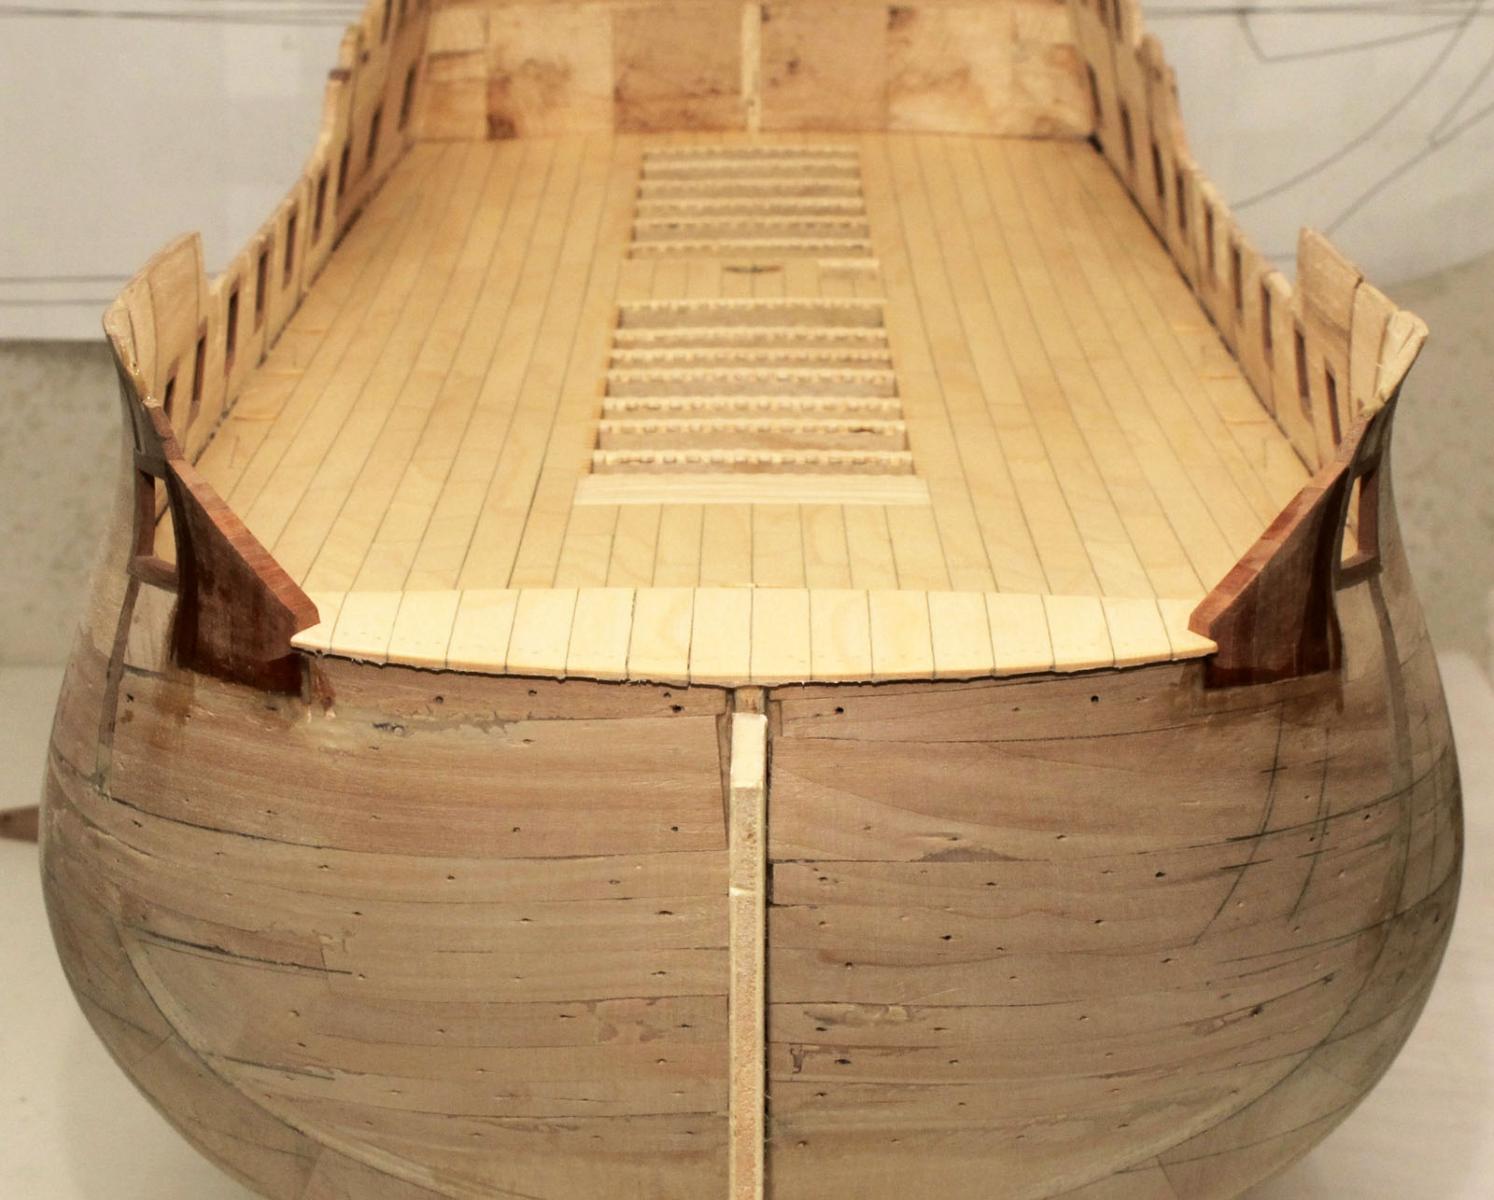
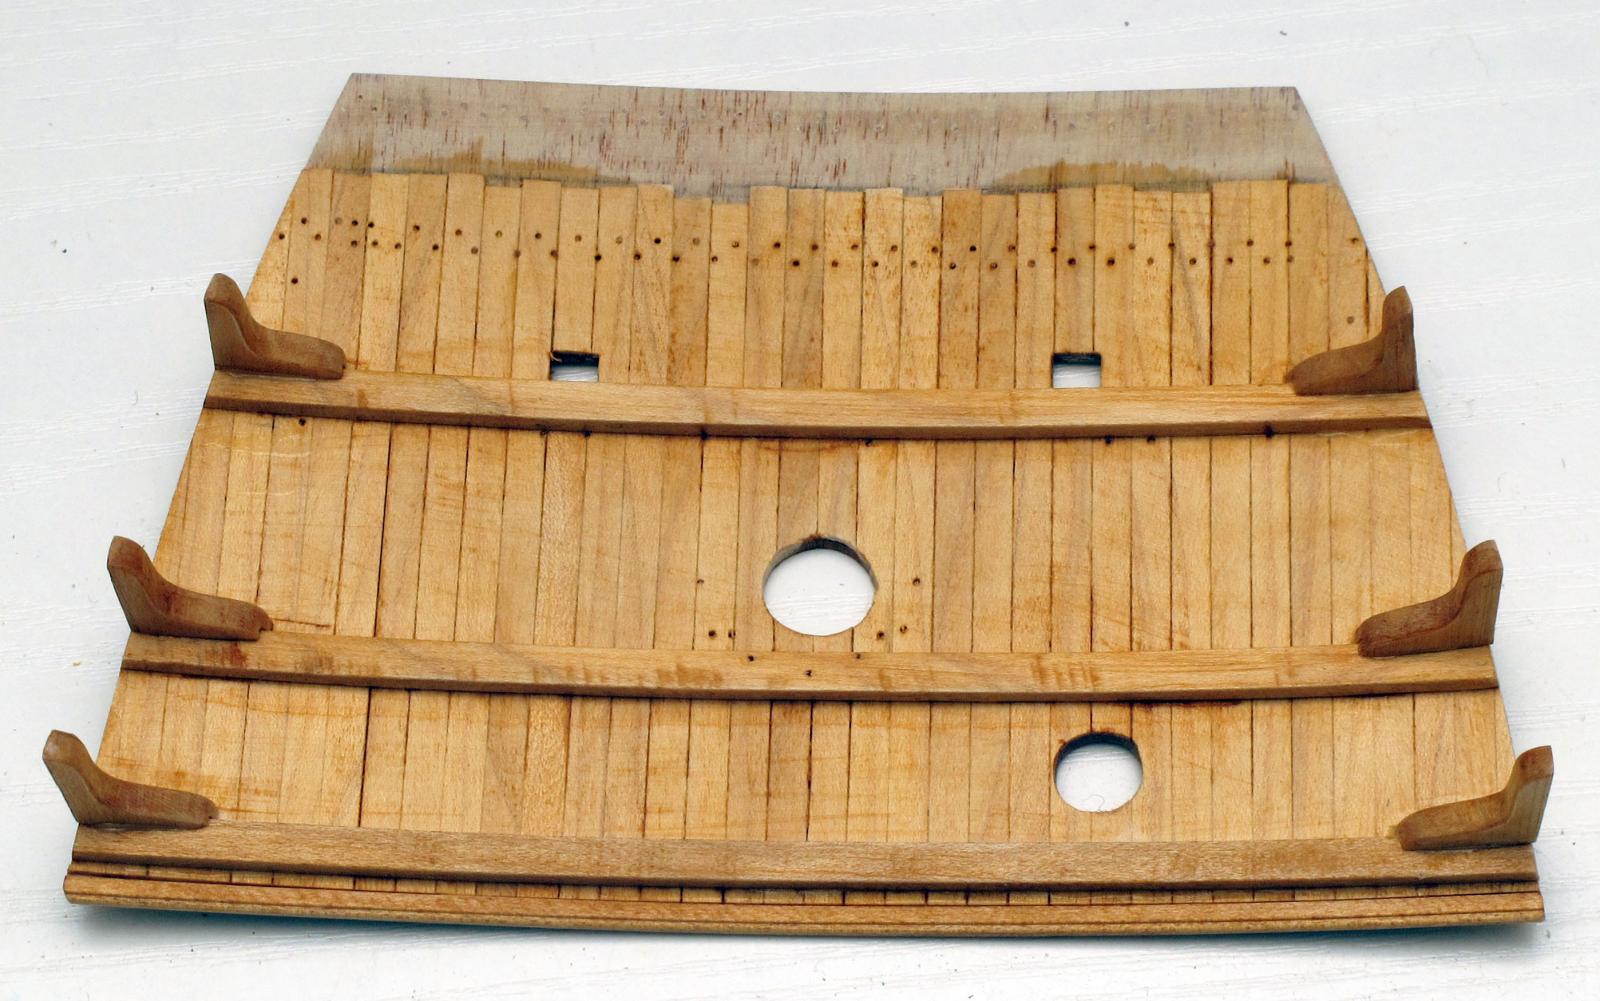
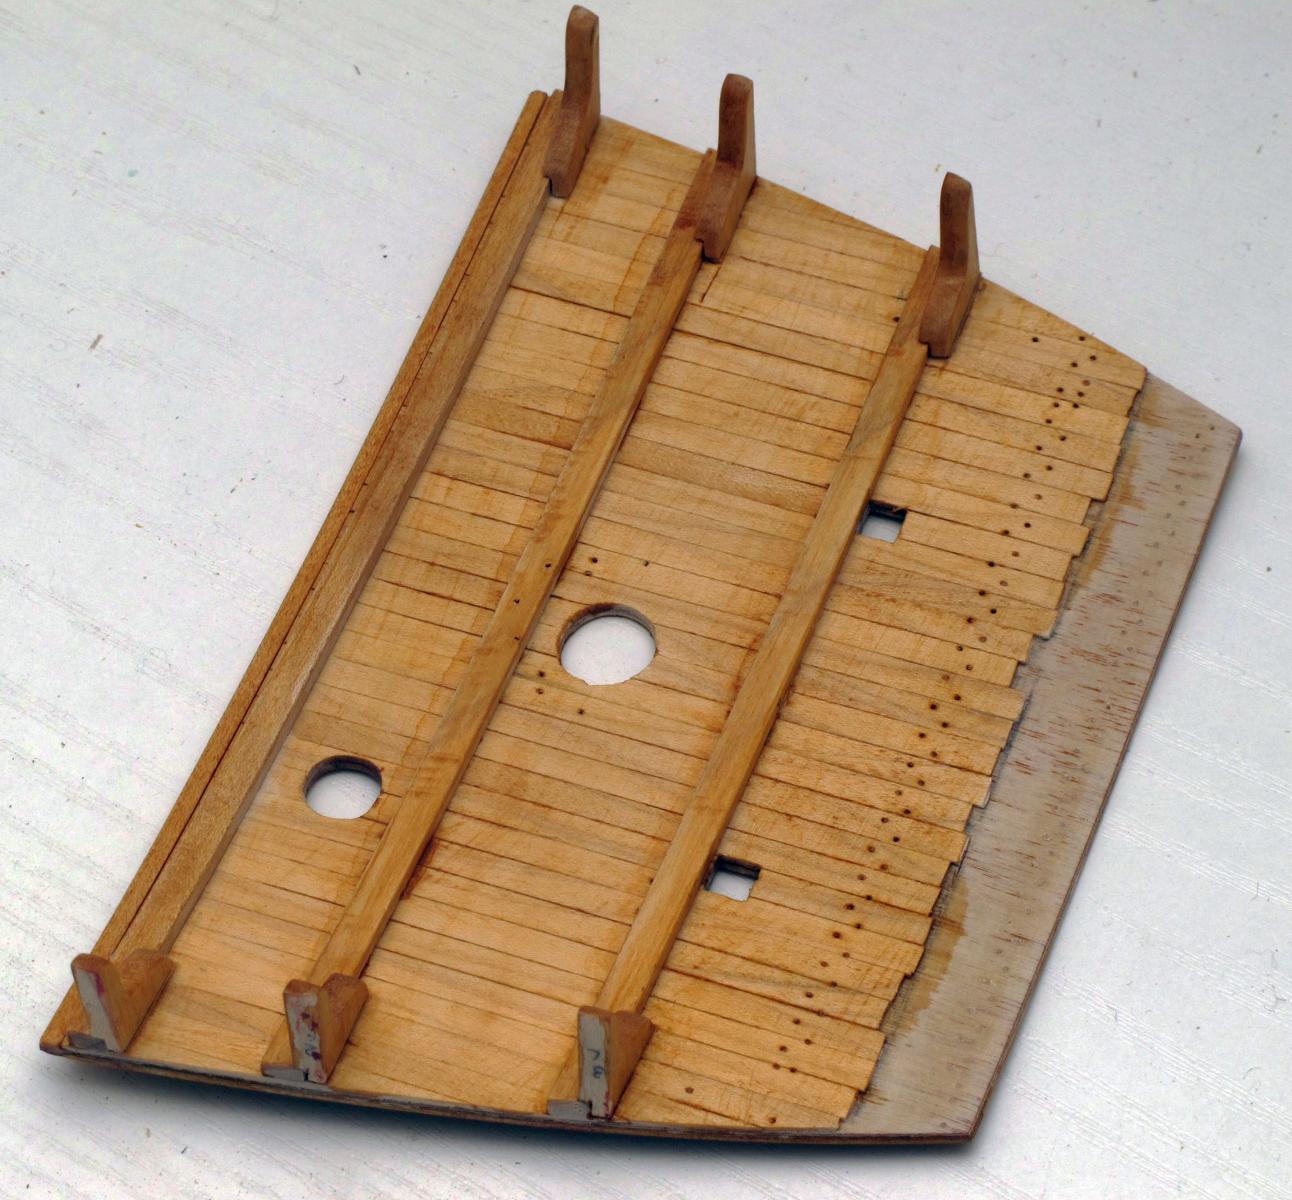
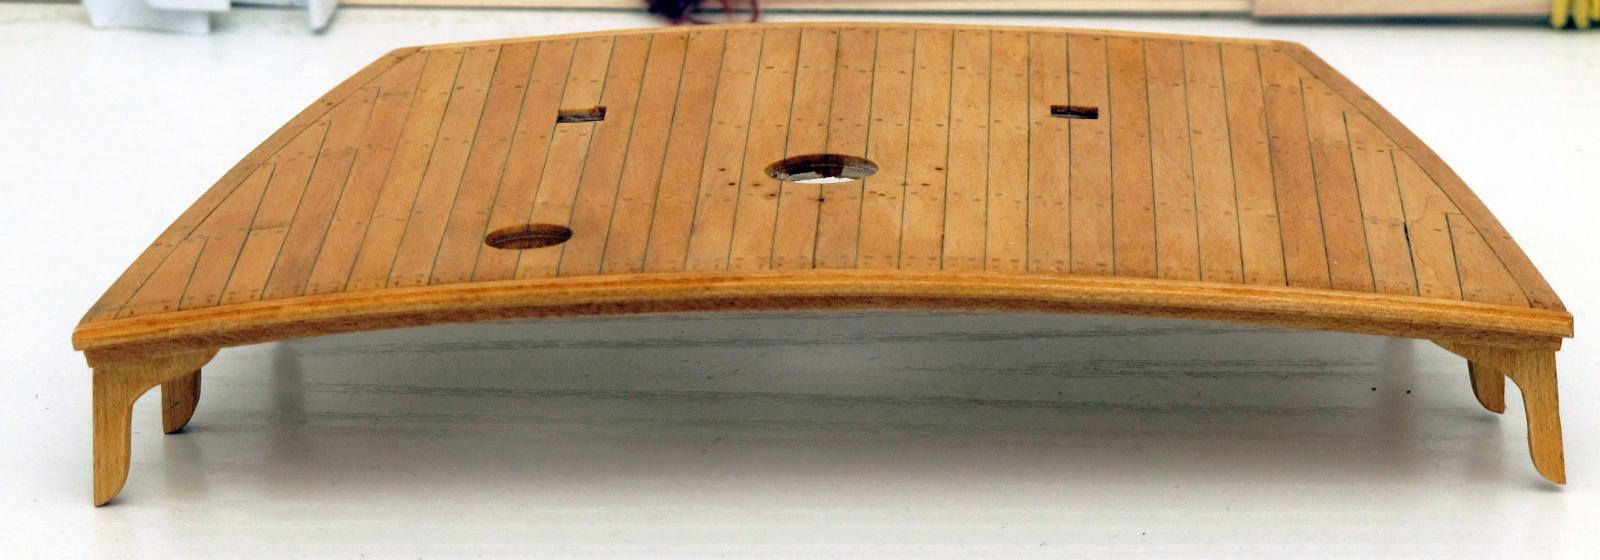
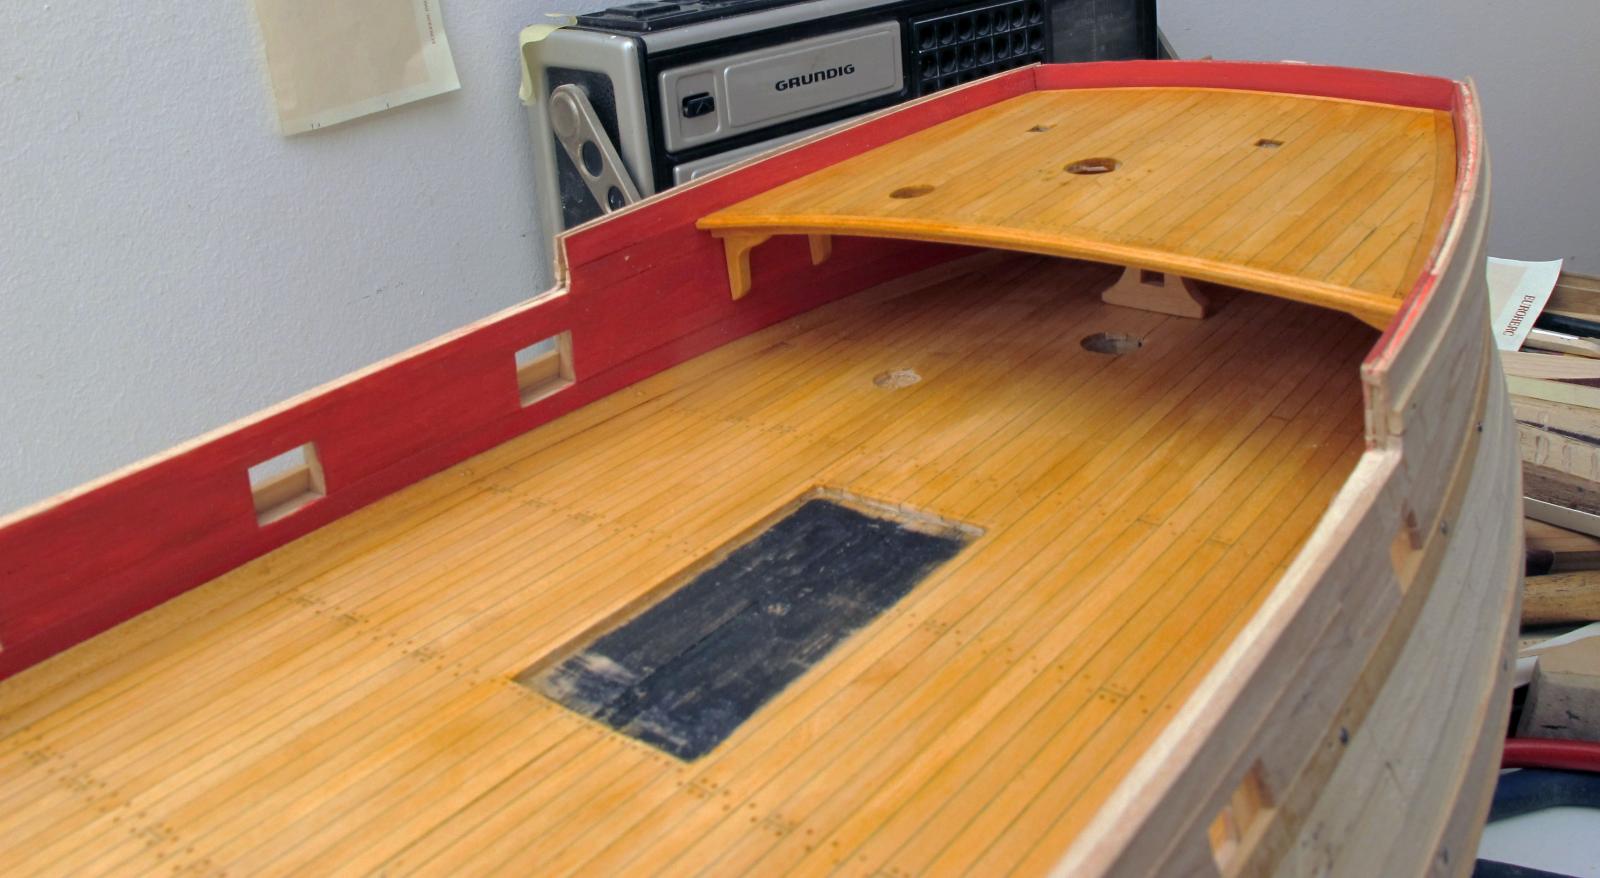
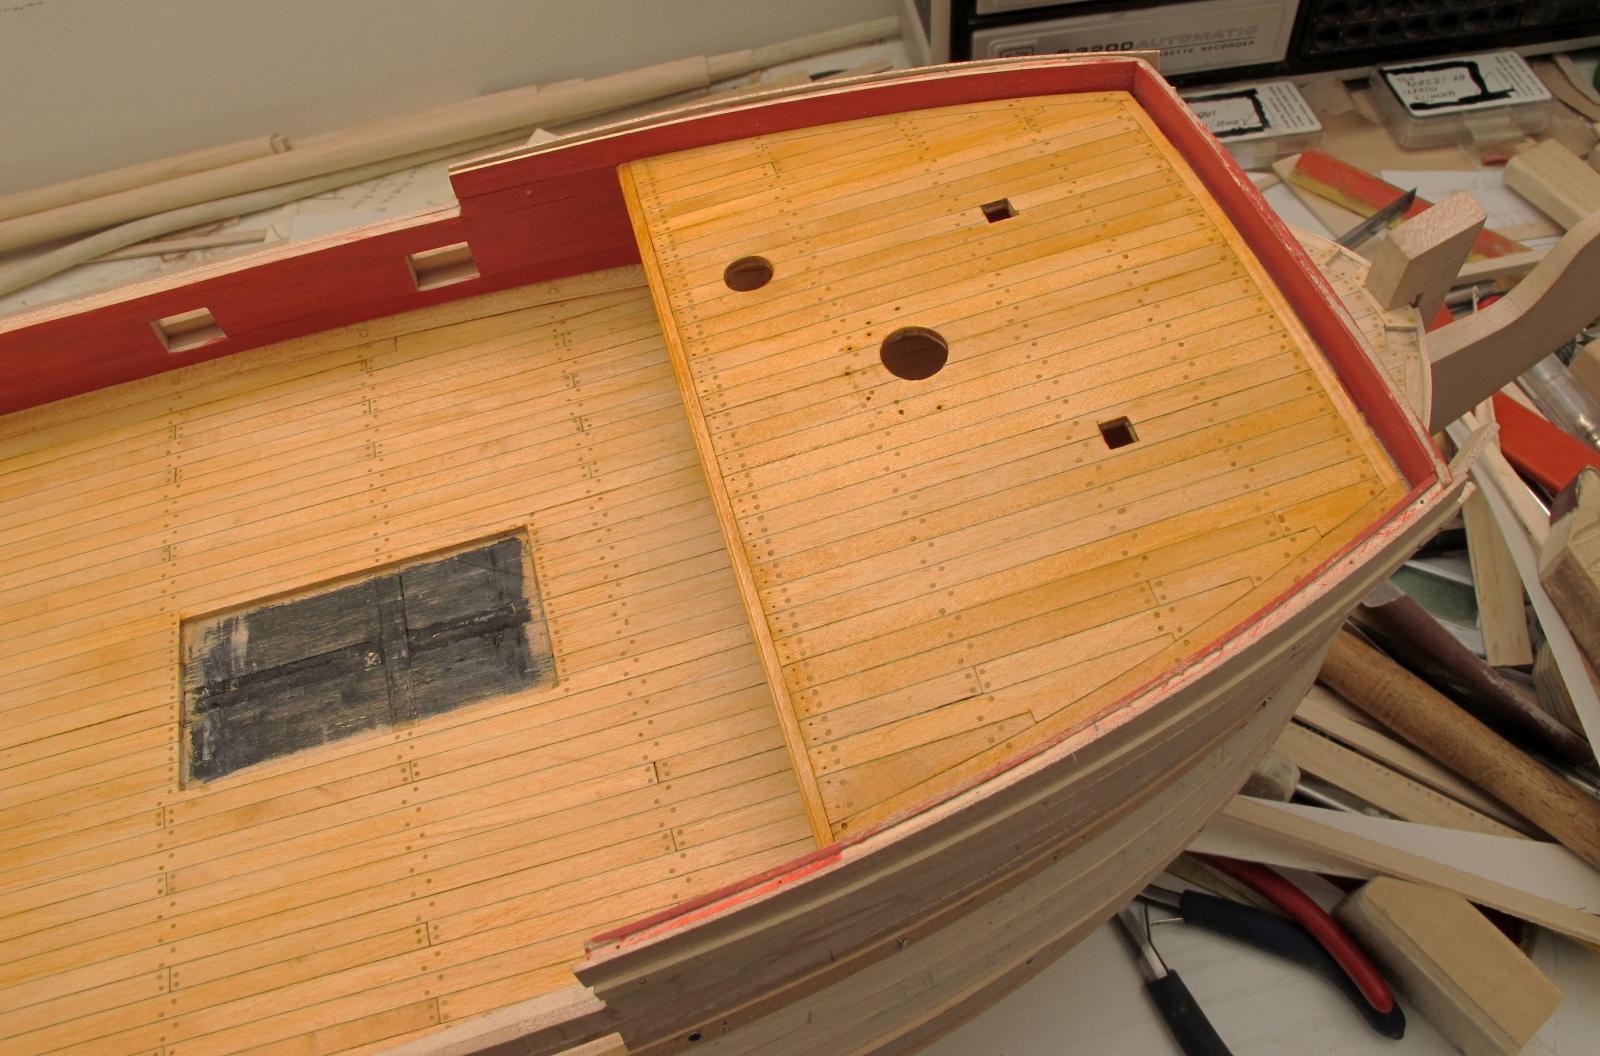
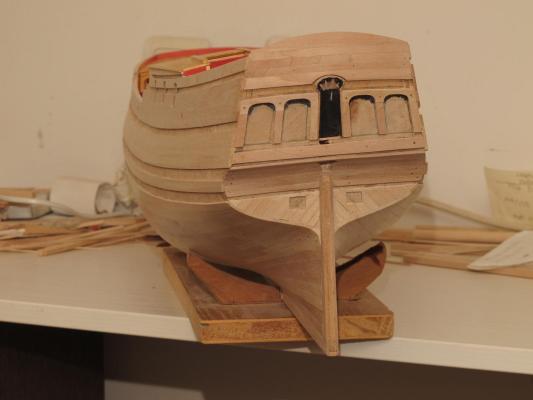
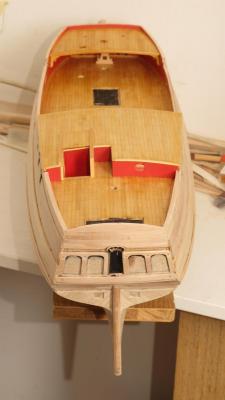
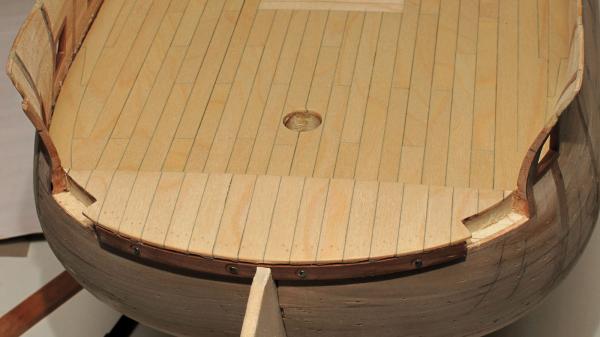
I made the small forecastle deck and cut the areas for the timbers. Dražen
- 487 replies
-
- 11
-
-
- ship of the line
- 80 guns
- (and 1 more)
-
Nils, this is the work by Mile Bijelić. I am just the one who helps posting it here Regards, Dražen
- 86 replies
-
- 1
-
-
- royal caroline
- yacht
- (and 1 more)