HOLIDAY DONATION DRIVE - SUPPORT MSW - DO YOUR PART TO KEEP THIS GREAT FORUM GOING! (Only 36 donations so far out of 49,000 members - C'mon guys!)
×
Drazen
-
Posts
389 -
Joined
-
Last visited
Content Type
Profiles
Forums
Gallery
Events
Everything posted by Drazen
-
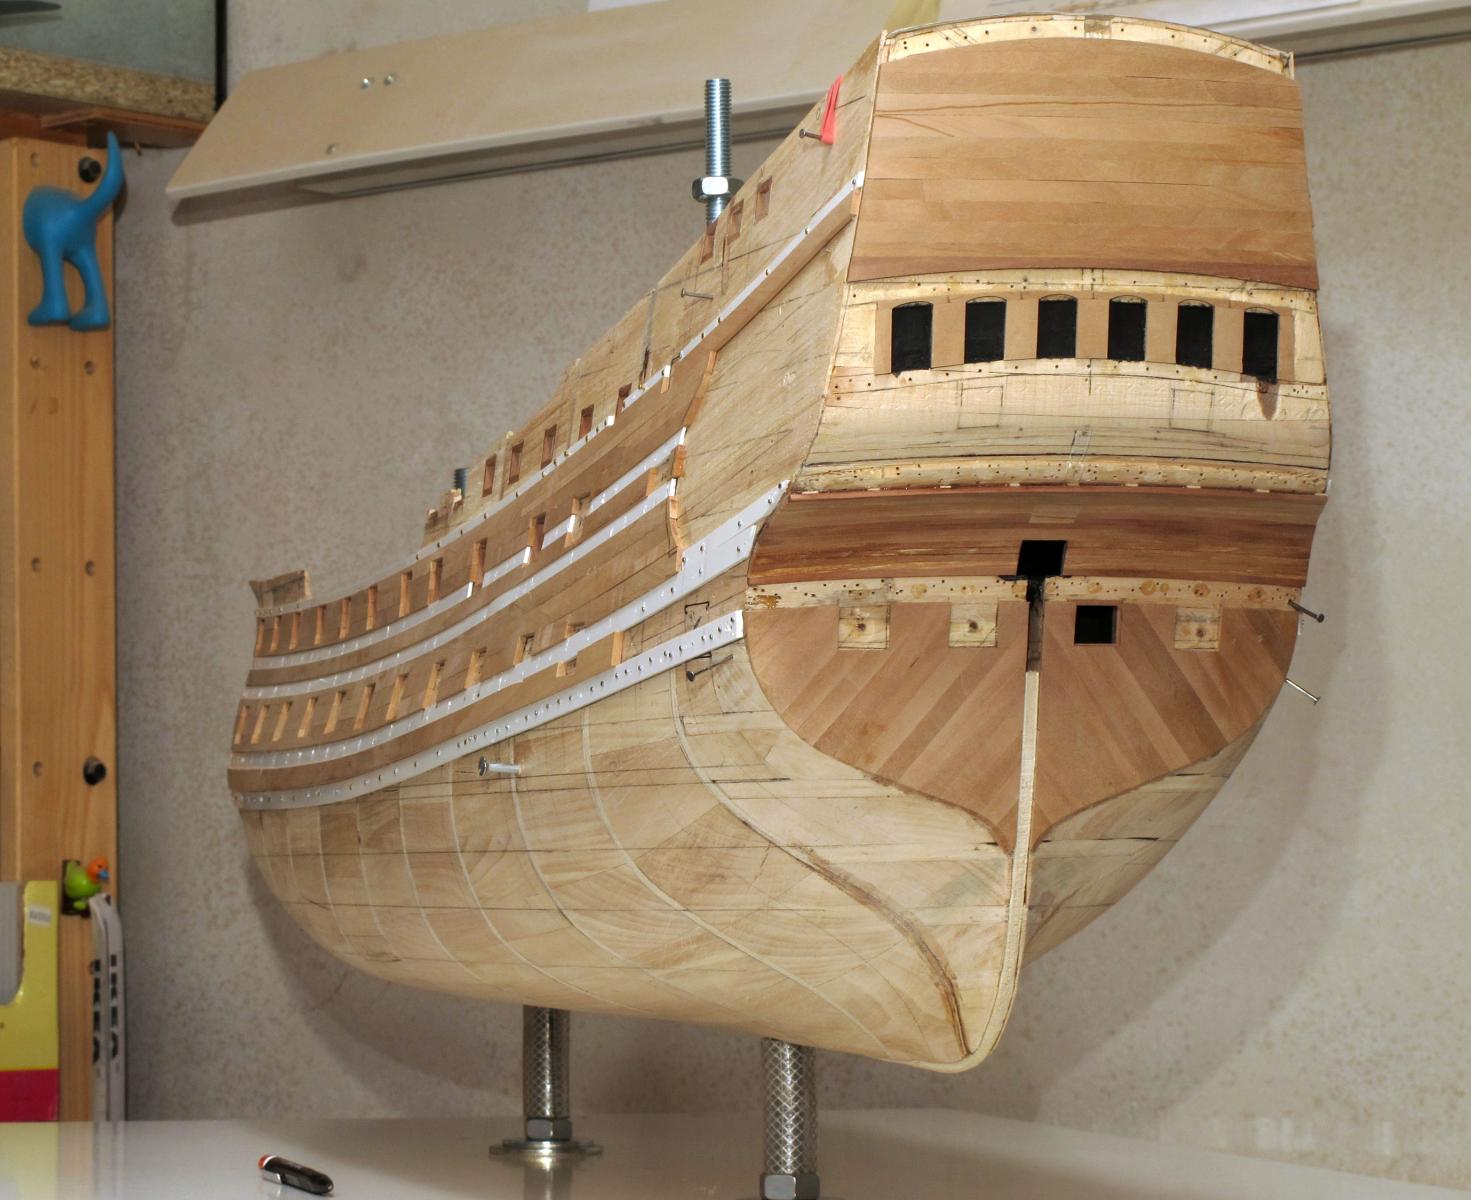
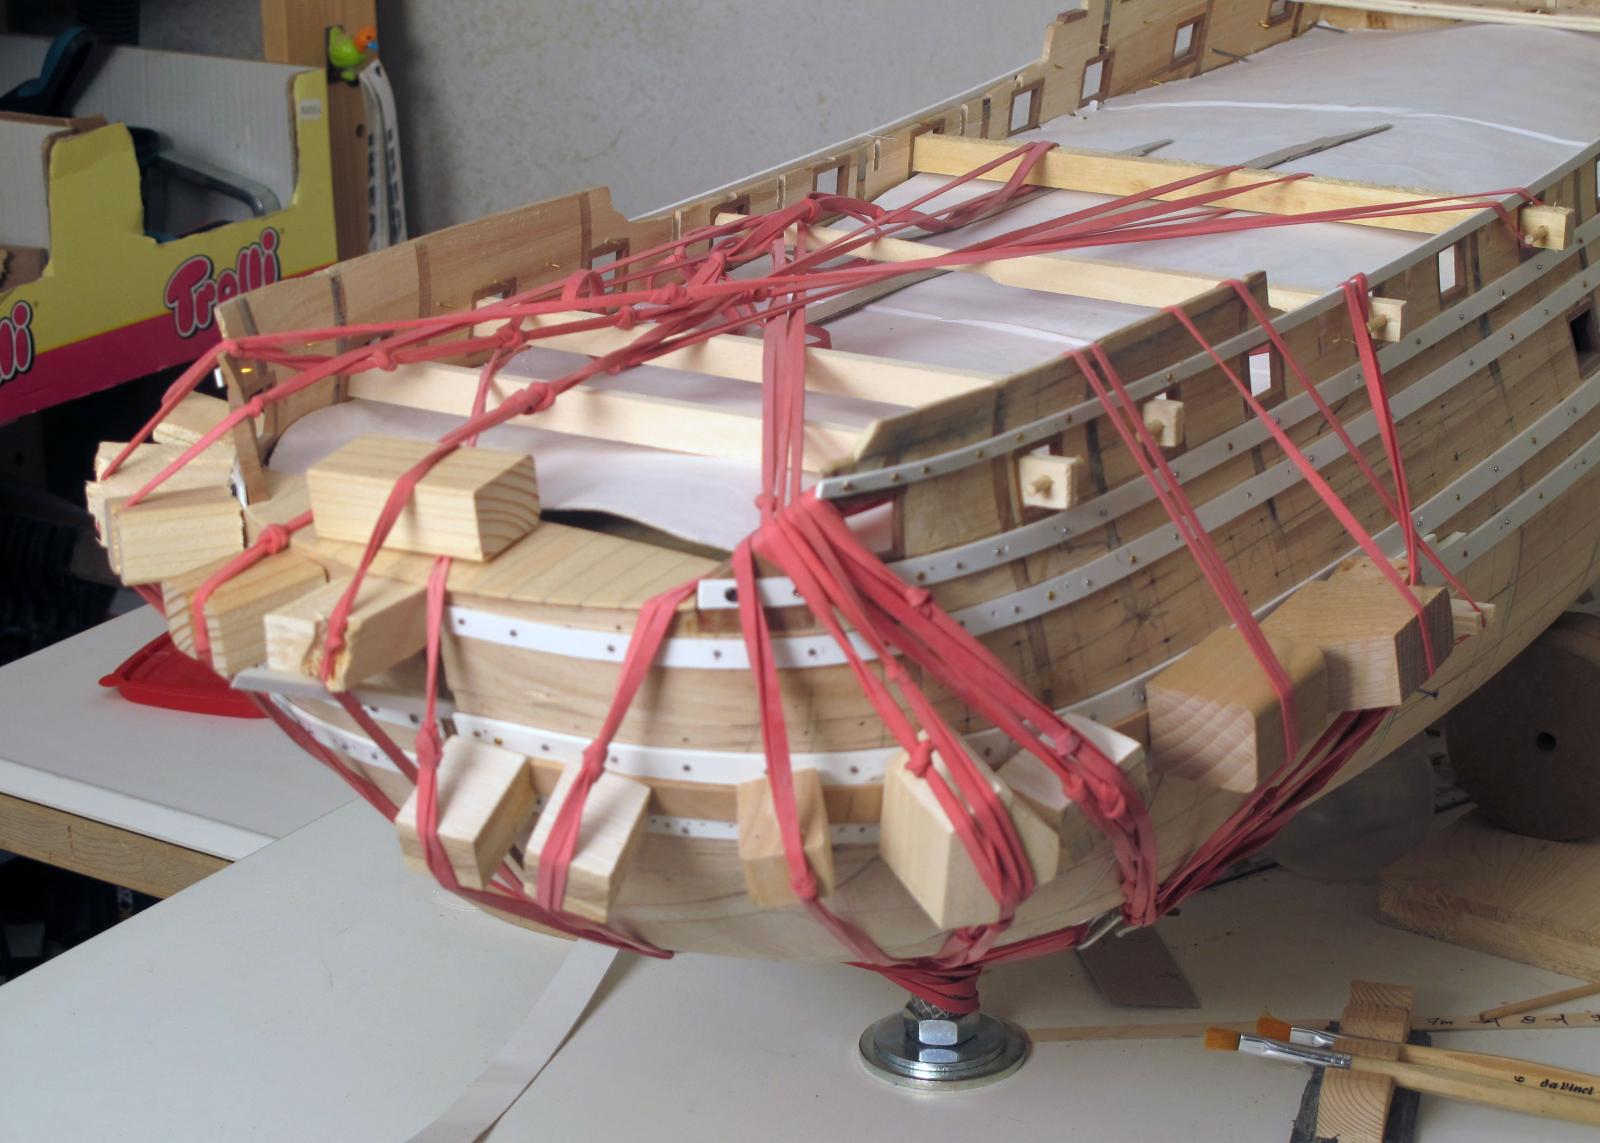
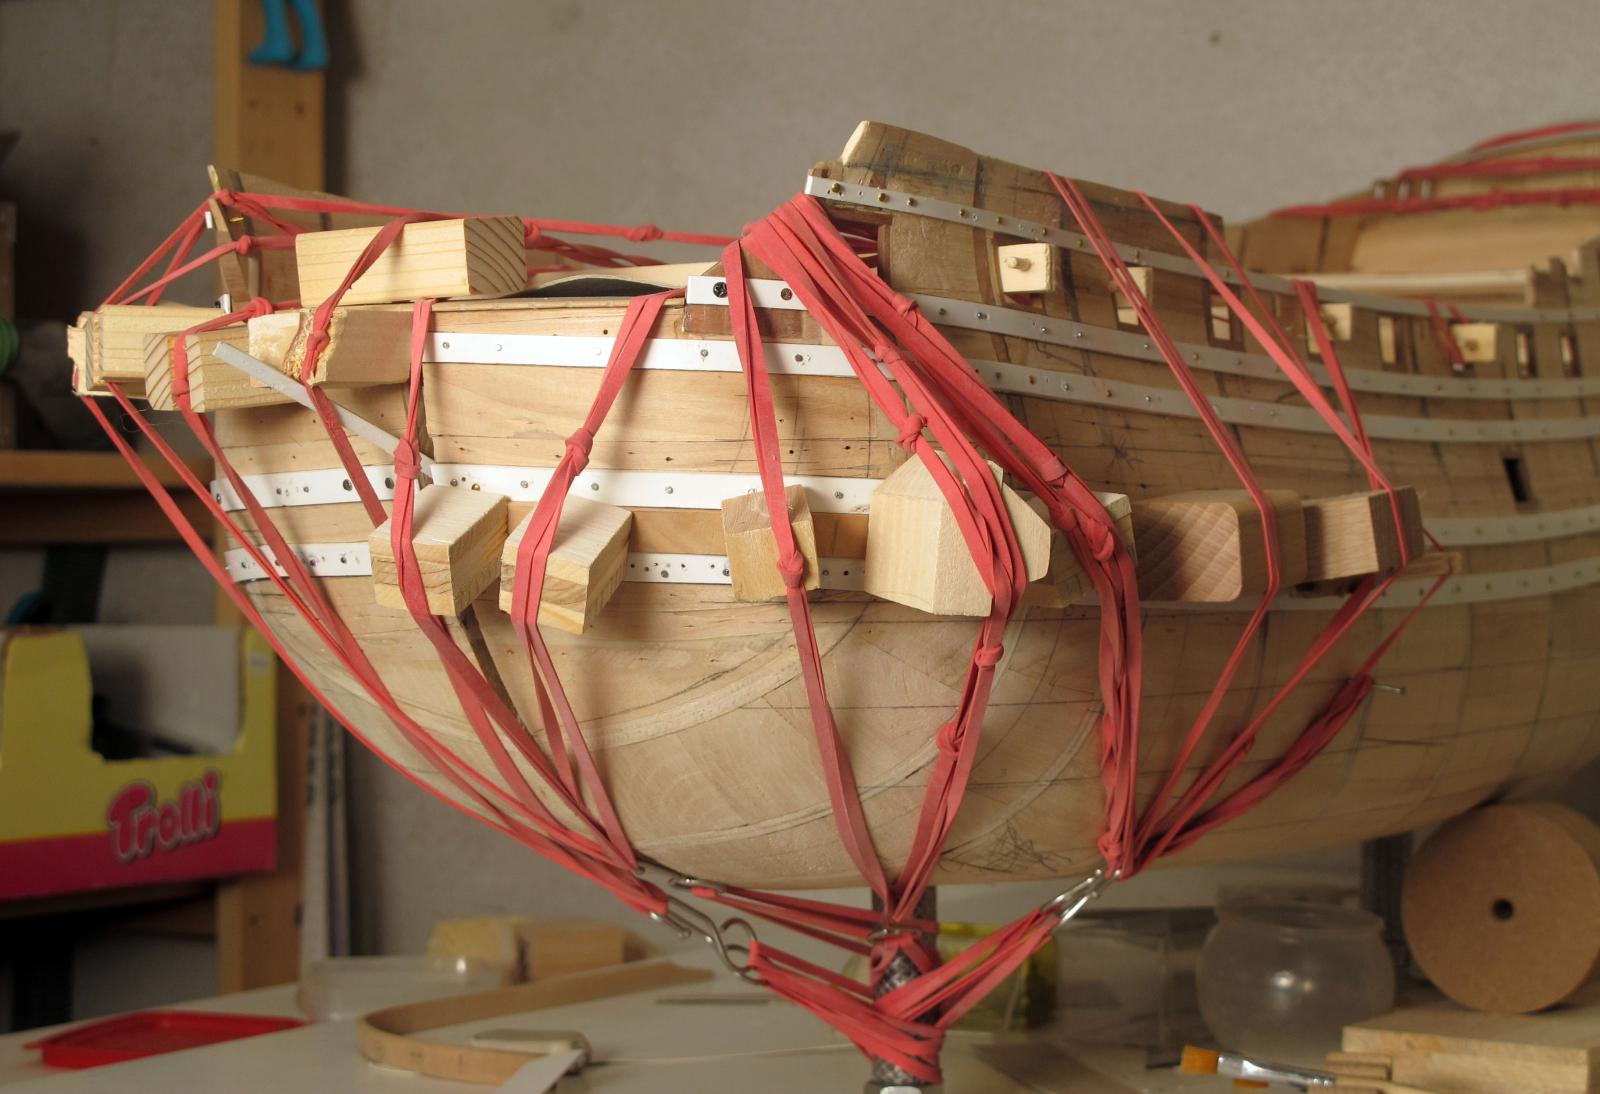
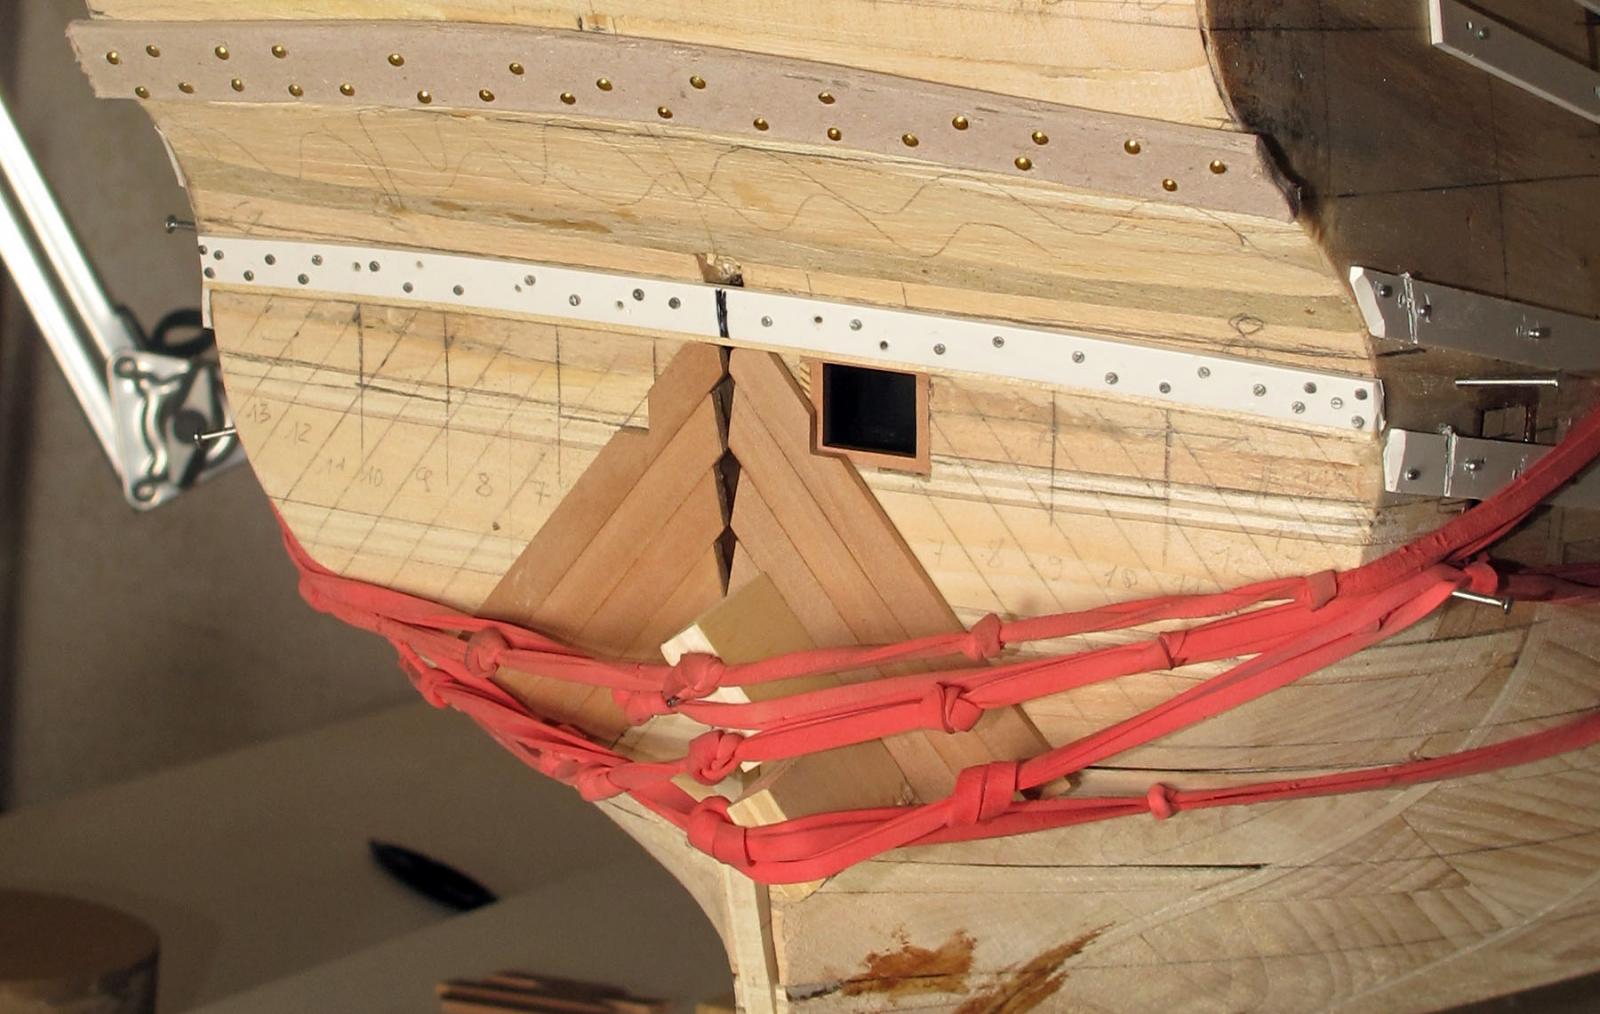
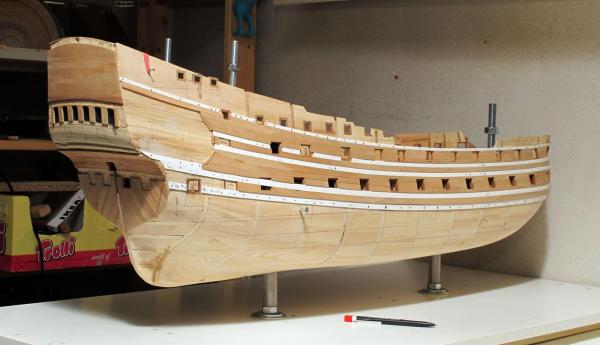
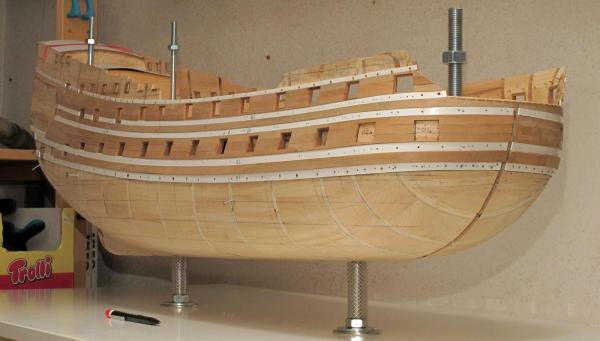
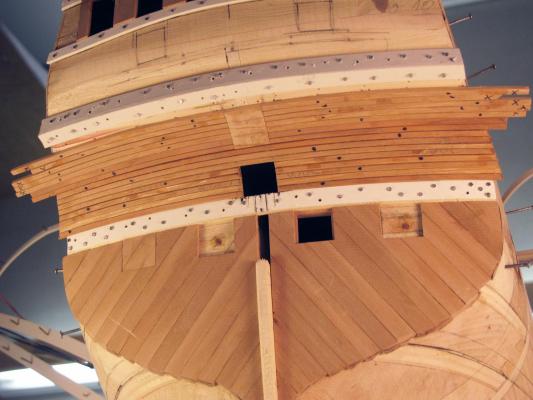
 .. I have turned the ship upside-down in order to get it easier with the planking and fixed it to the table. The table I can still move for reaching different sides of the hull. … definitely not as Dutch had been building ships, but much easier for me Drazen
- 487 replies
-
- 10
-

-
- ship of the line
- 80 guns
- (and 1 more)
-
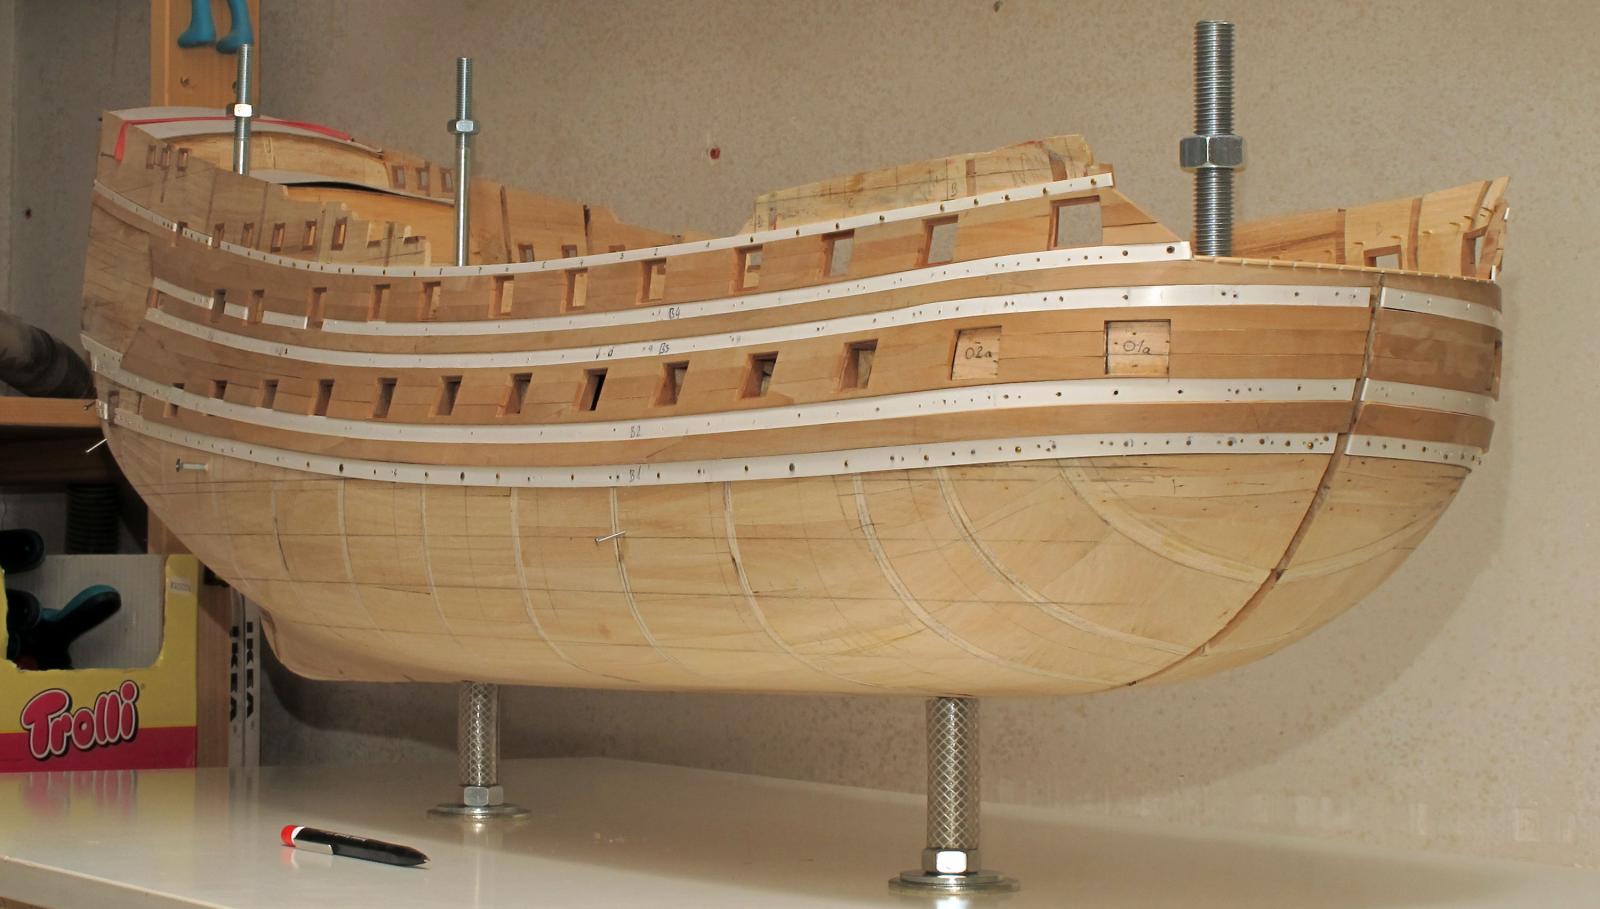
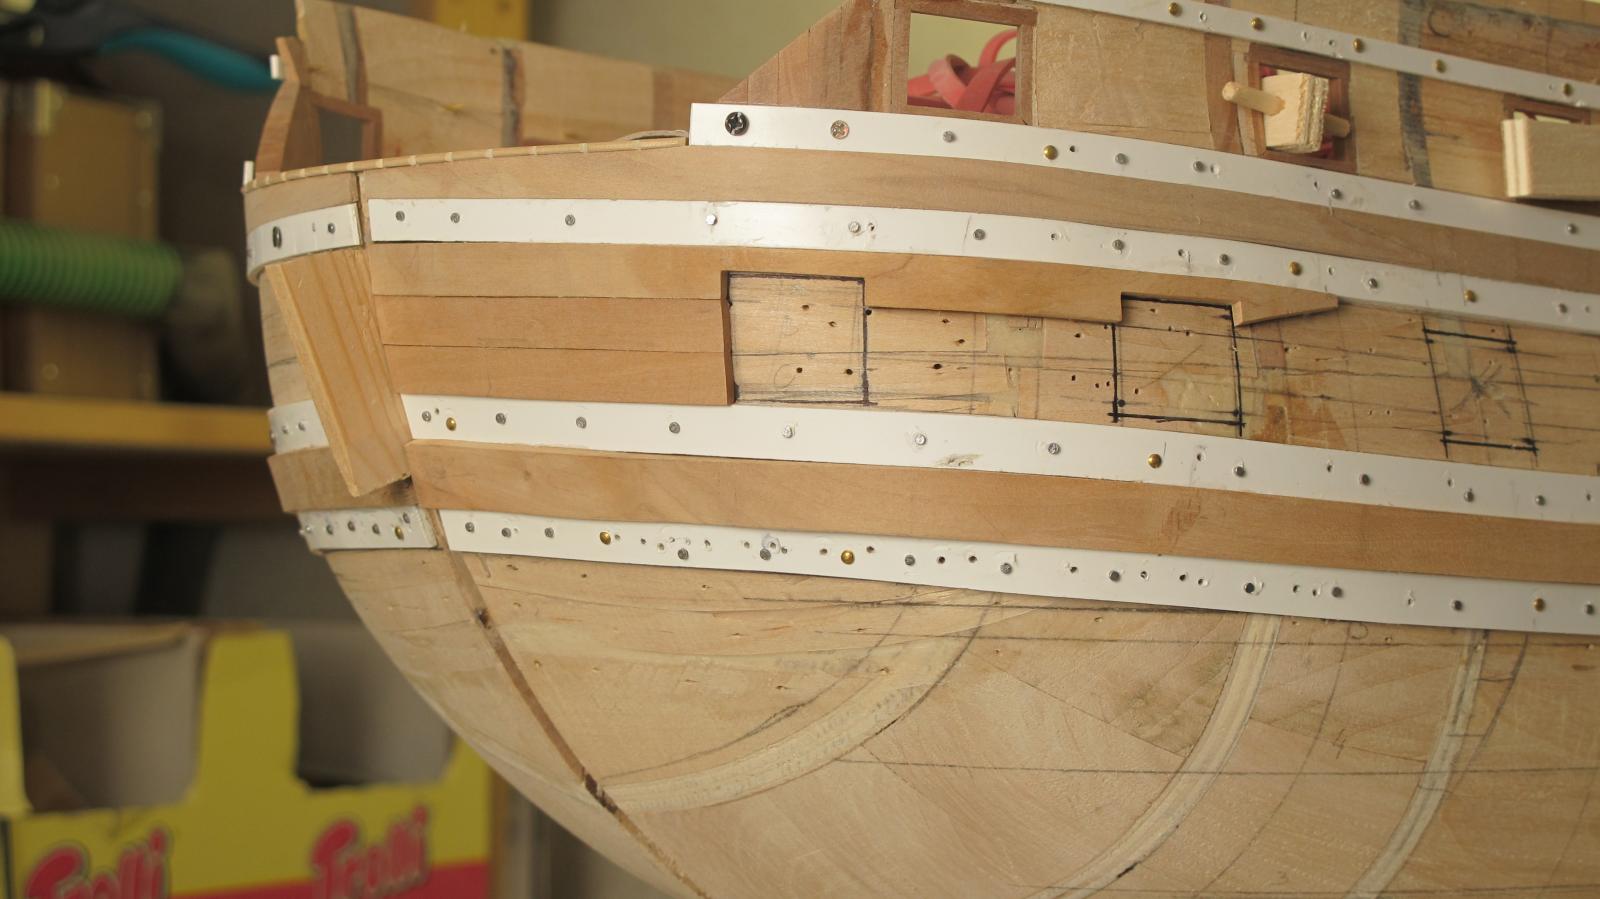
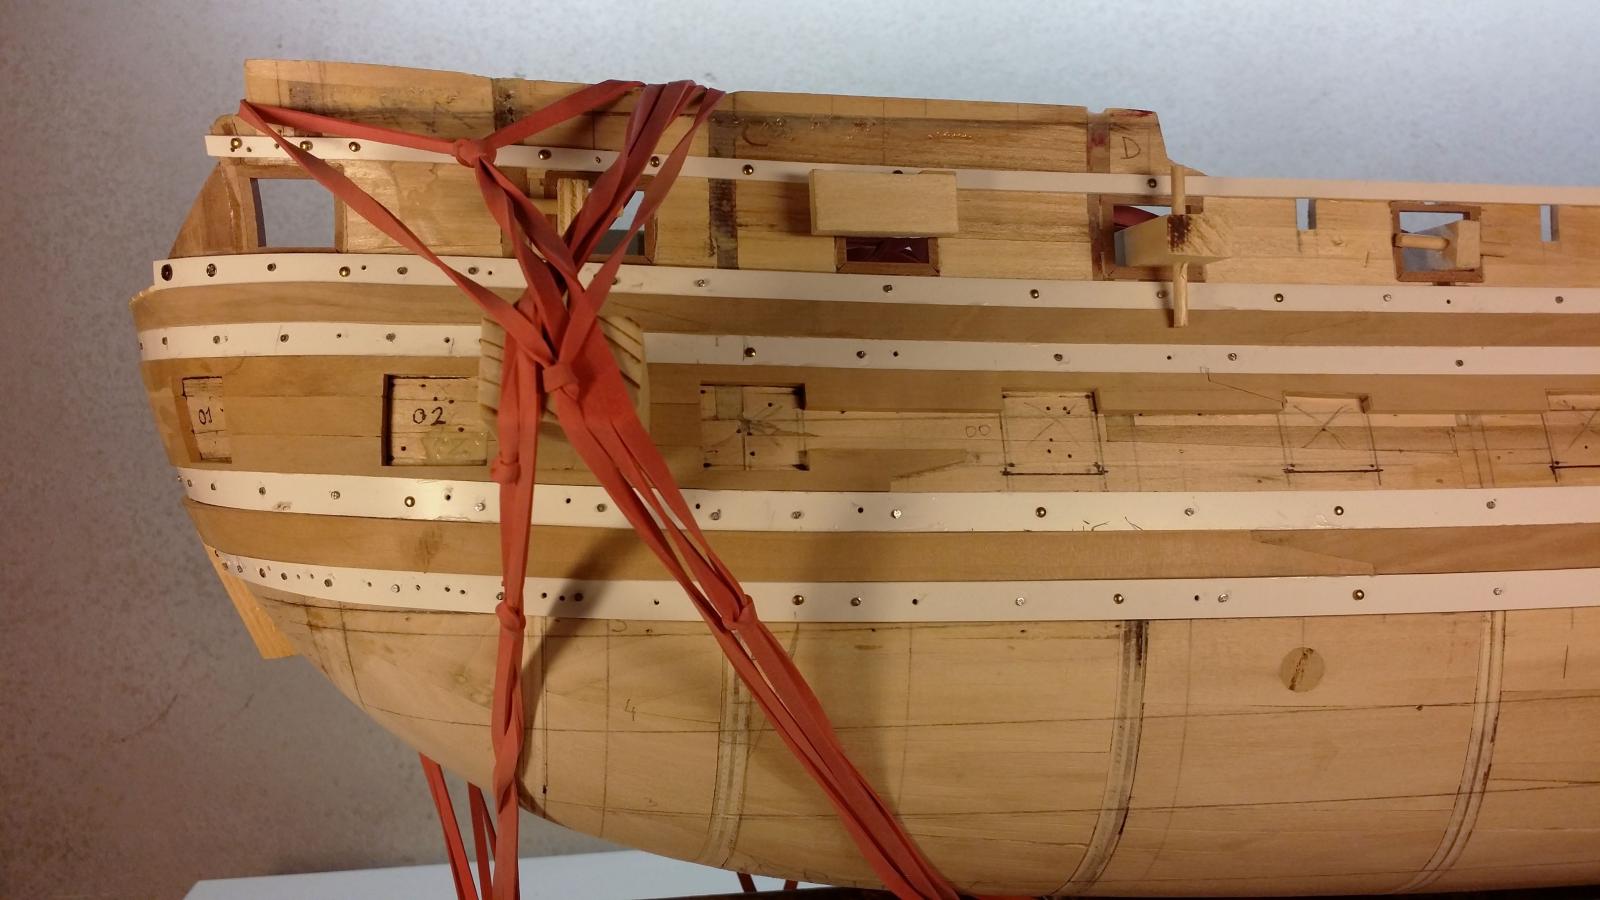
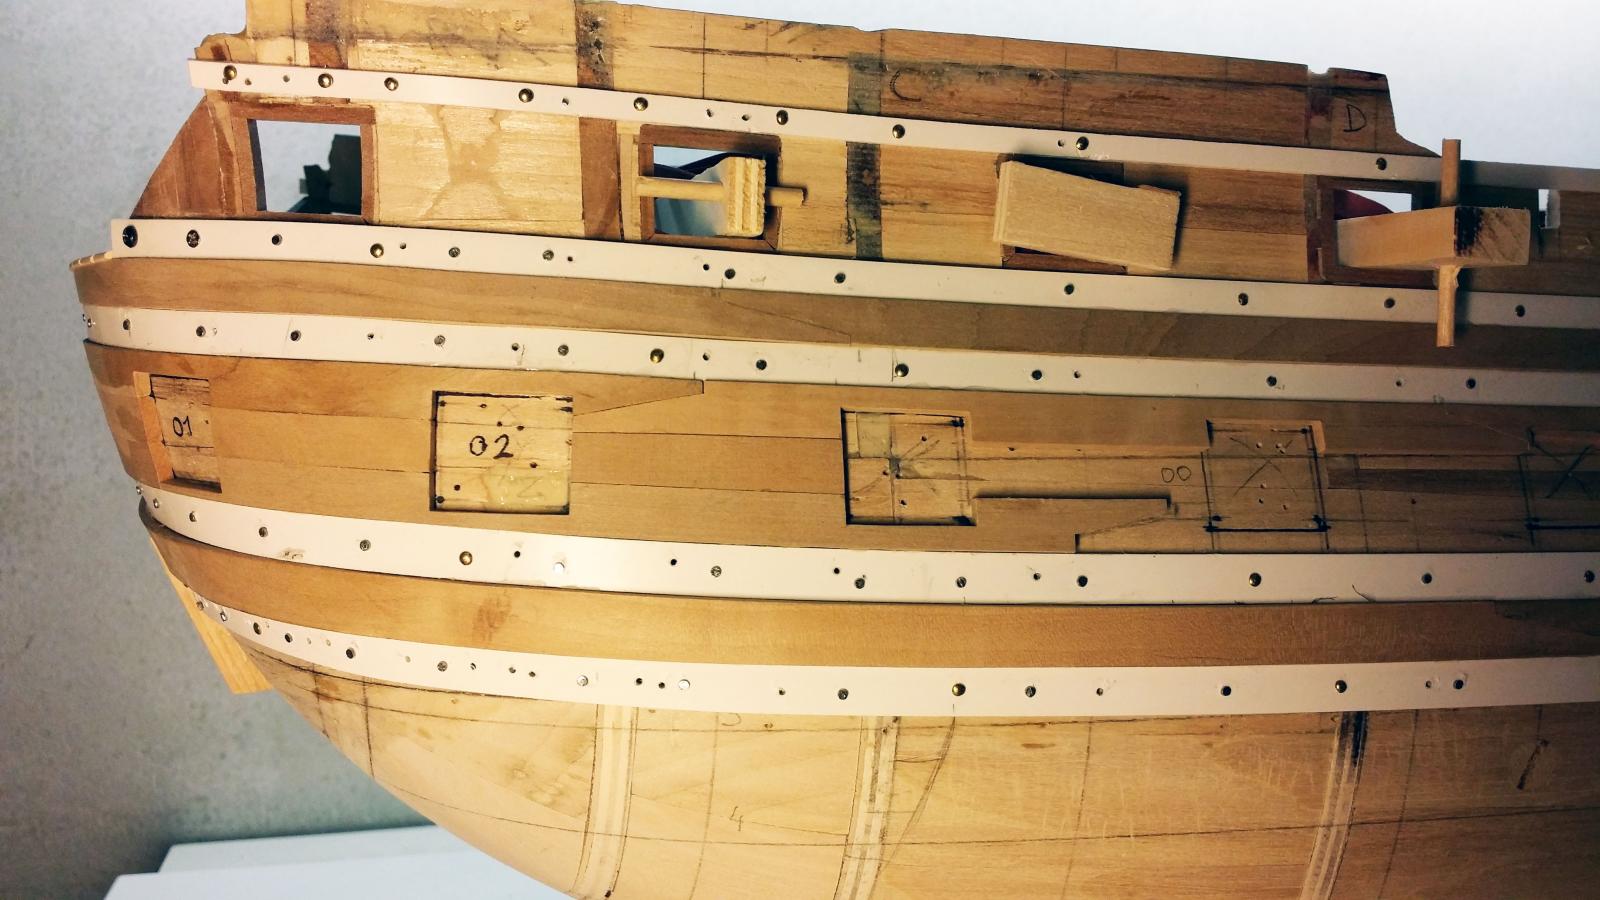
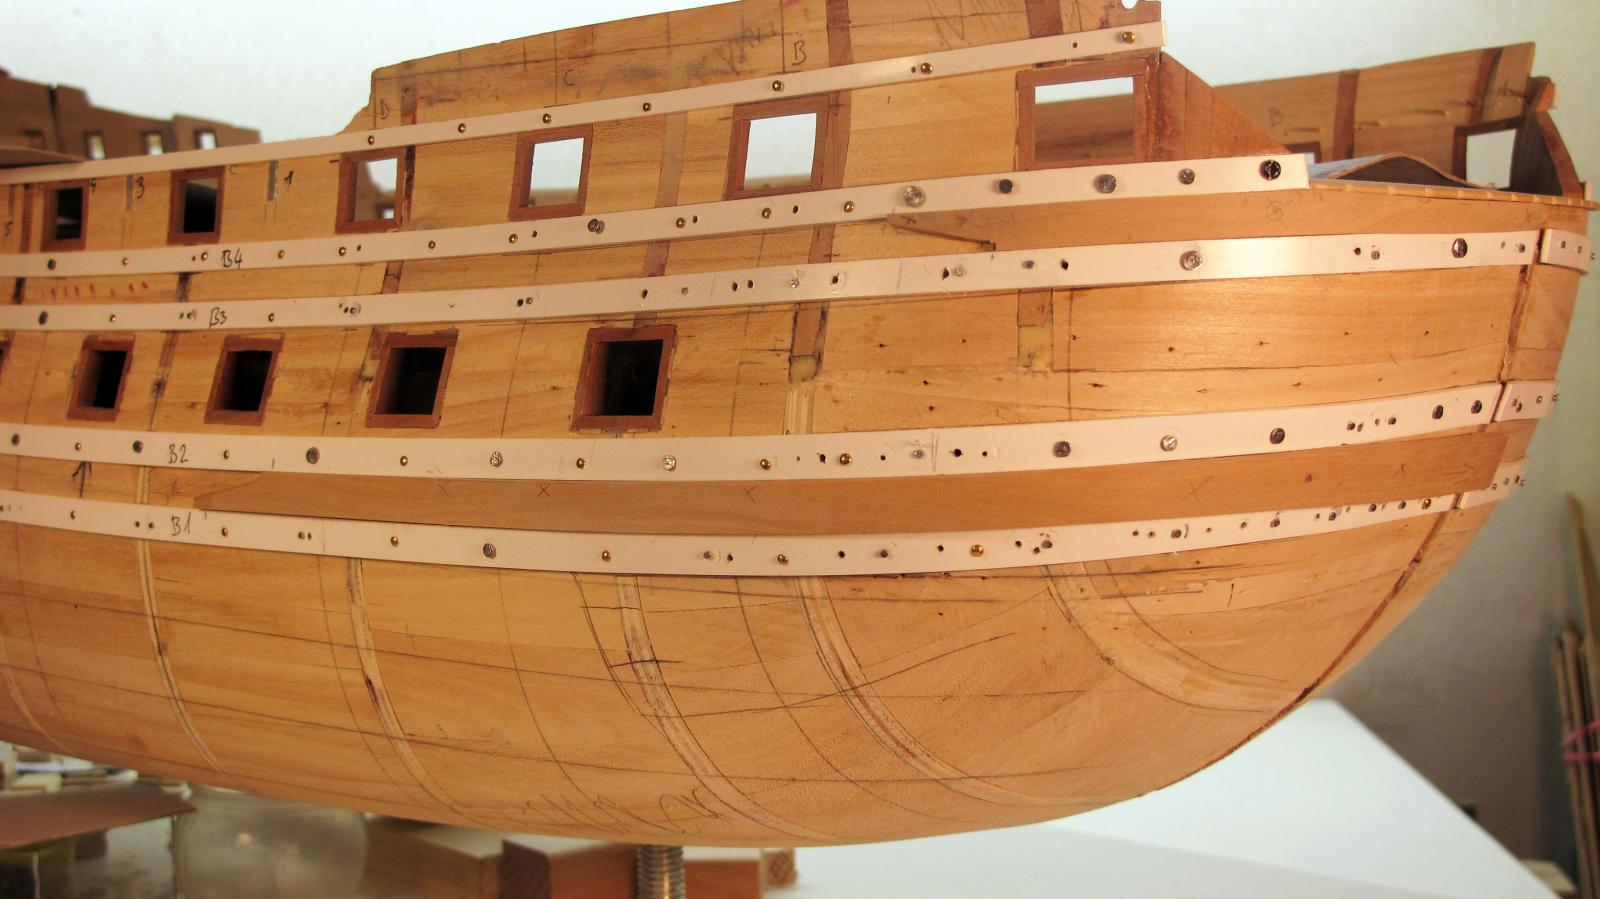
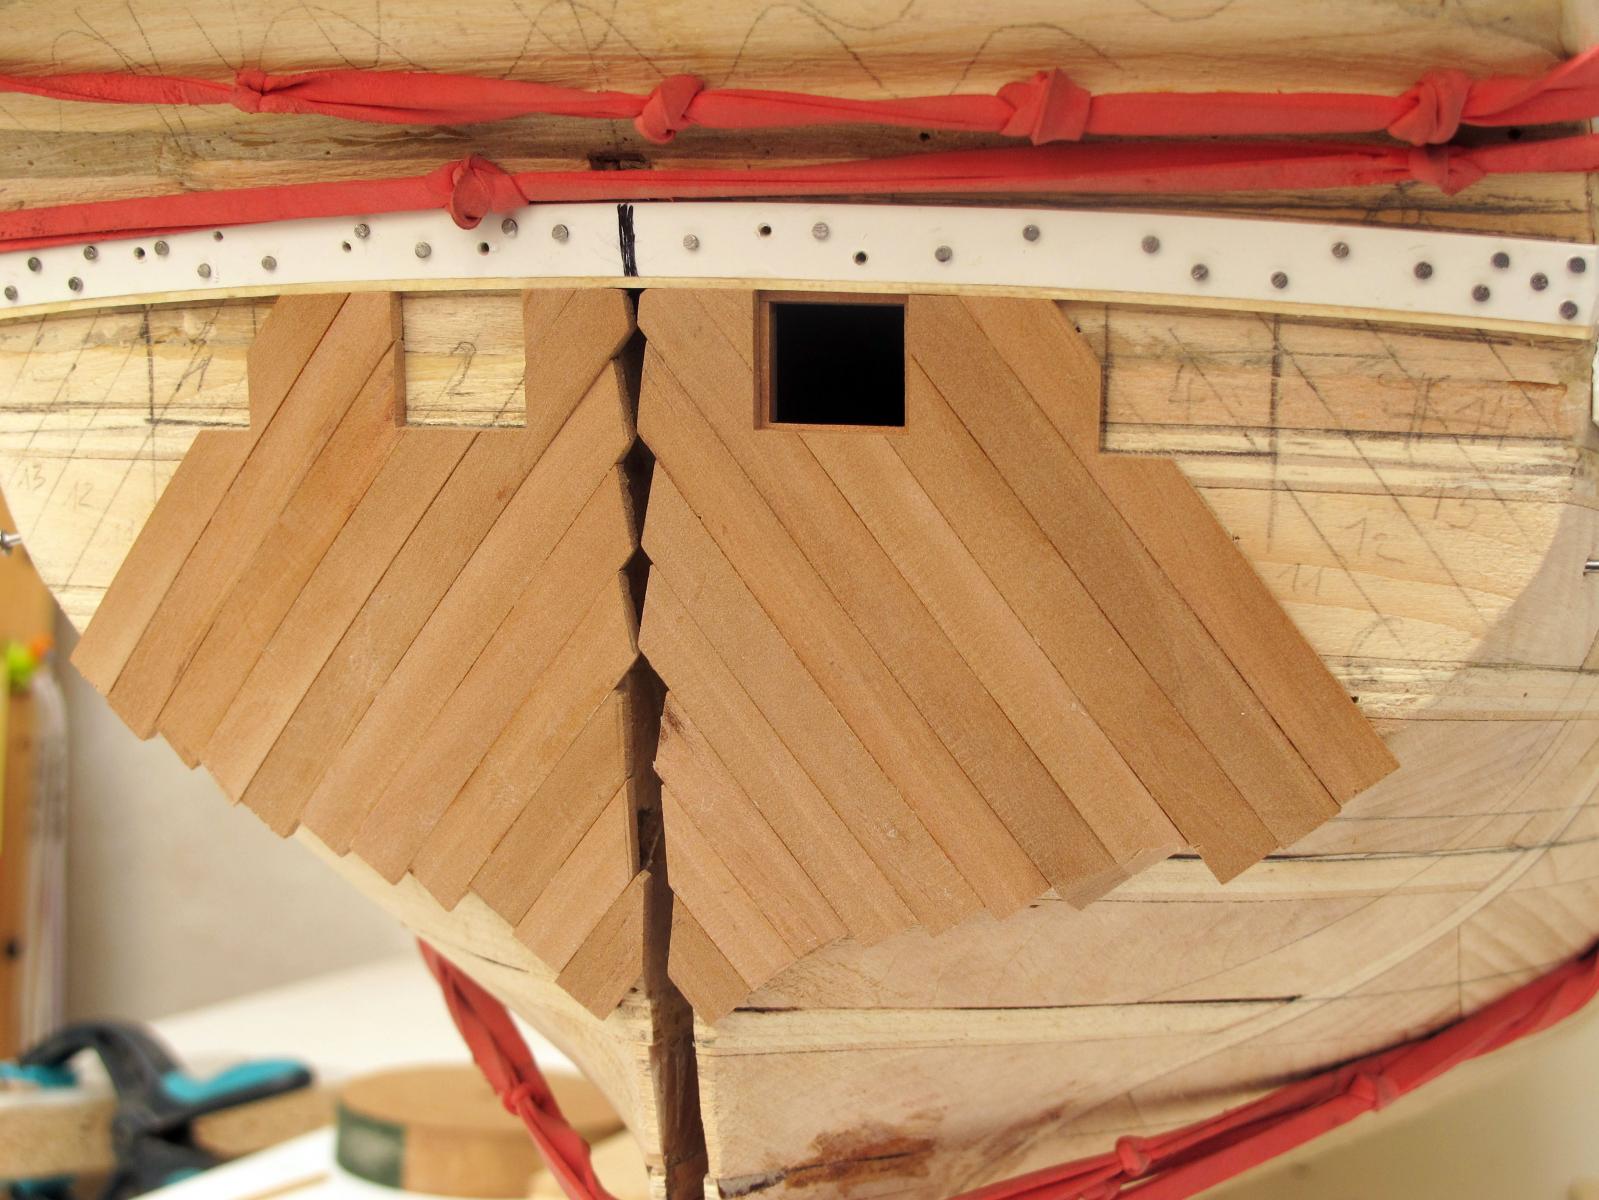
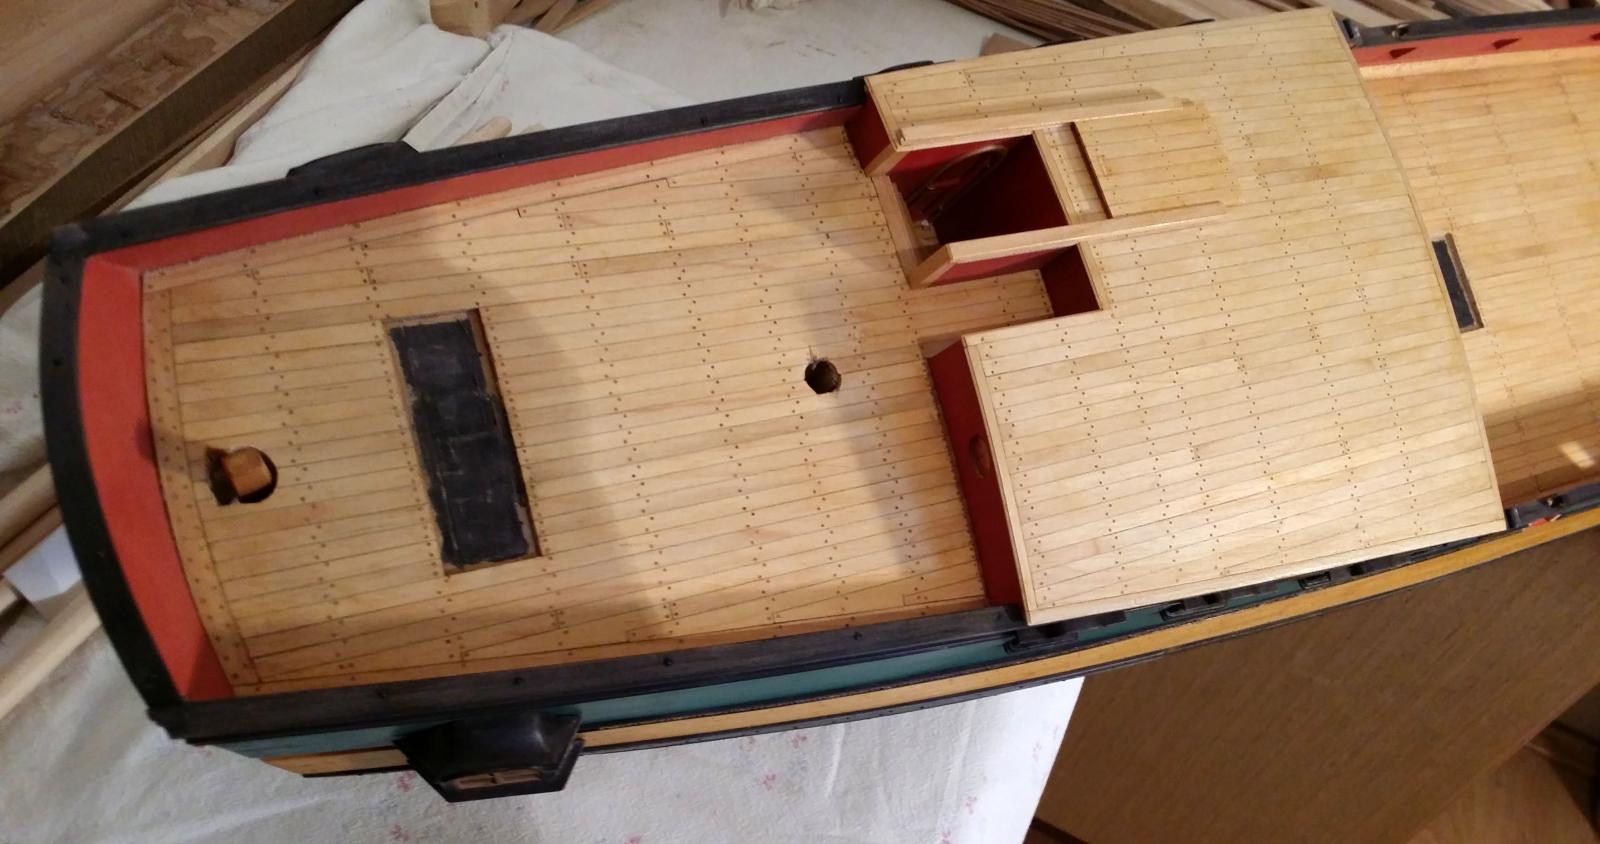
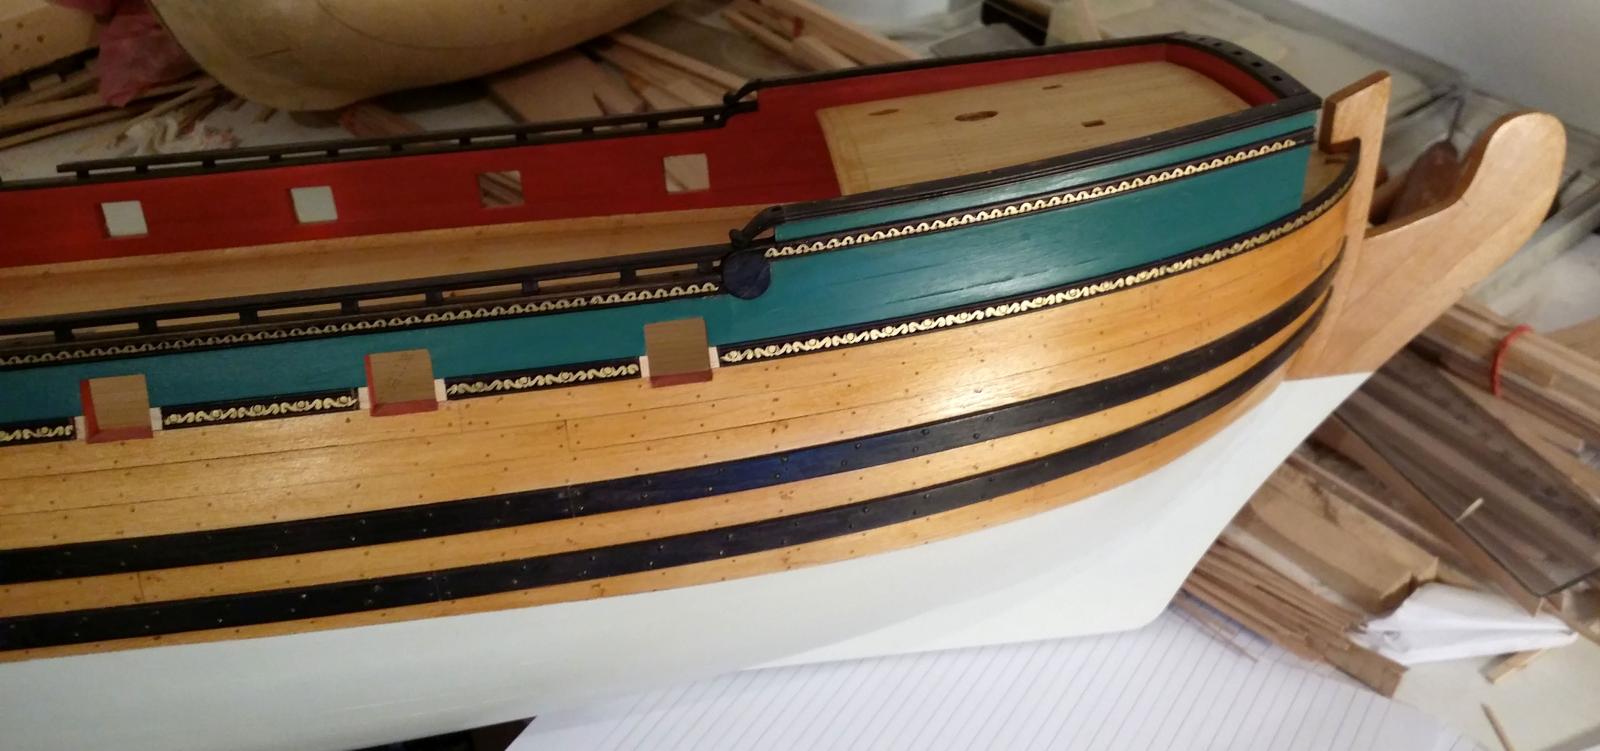
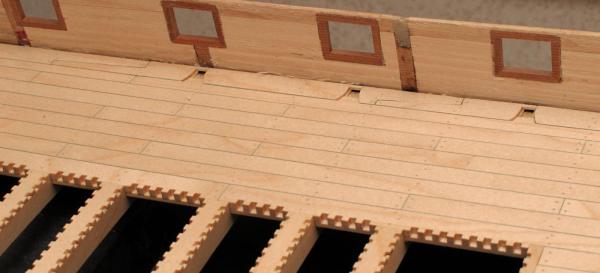
I have finished the planking around the gunports and below clinker. Now, am going to do the lower part below the first wale and water line. Drazen

- 487 replies
-
- 21
-
-
- ship of the line
- 80 guns
- (and 1 more)
-
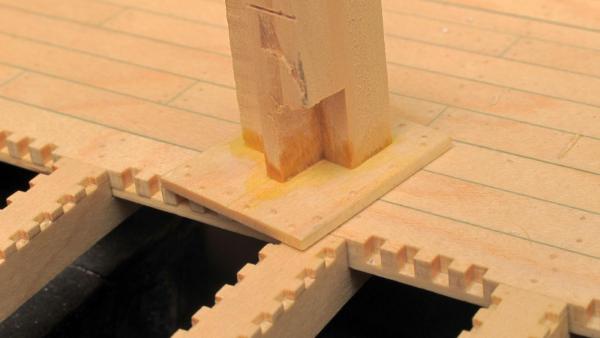
After months, I have get some yellowing on the places where the CA glue has been applied. Maybe someone knows how to remove the yellow shade - without making parts new? Please, see the link: http://modelshipworld.com/index.php/topic/9817-ca-glue-got-yellow-after-months-any-hints-how-to-repair/ Drazen
- 487 replies
-
- 1
-
-
- ship of the line
- 80 guns
- (and 1 more)
-
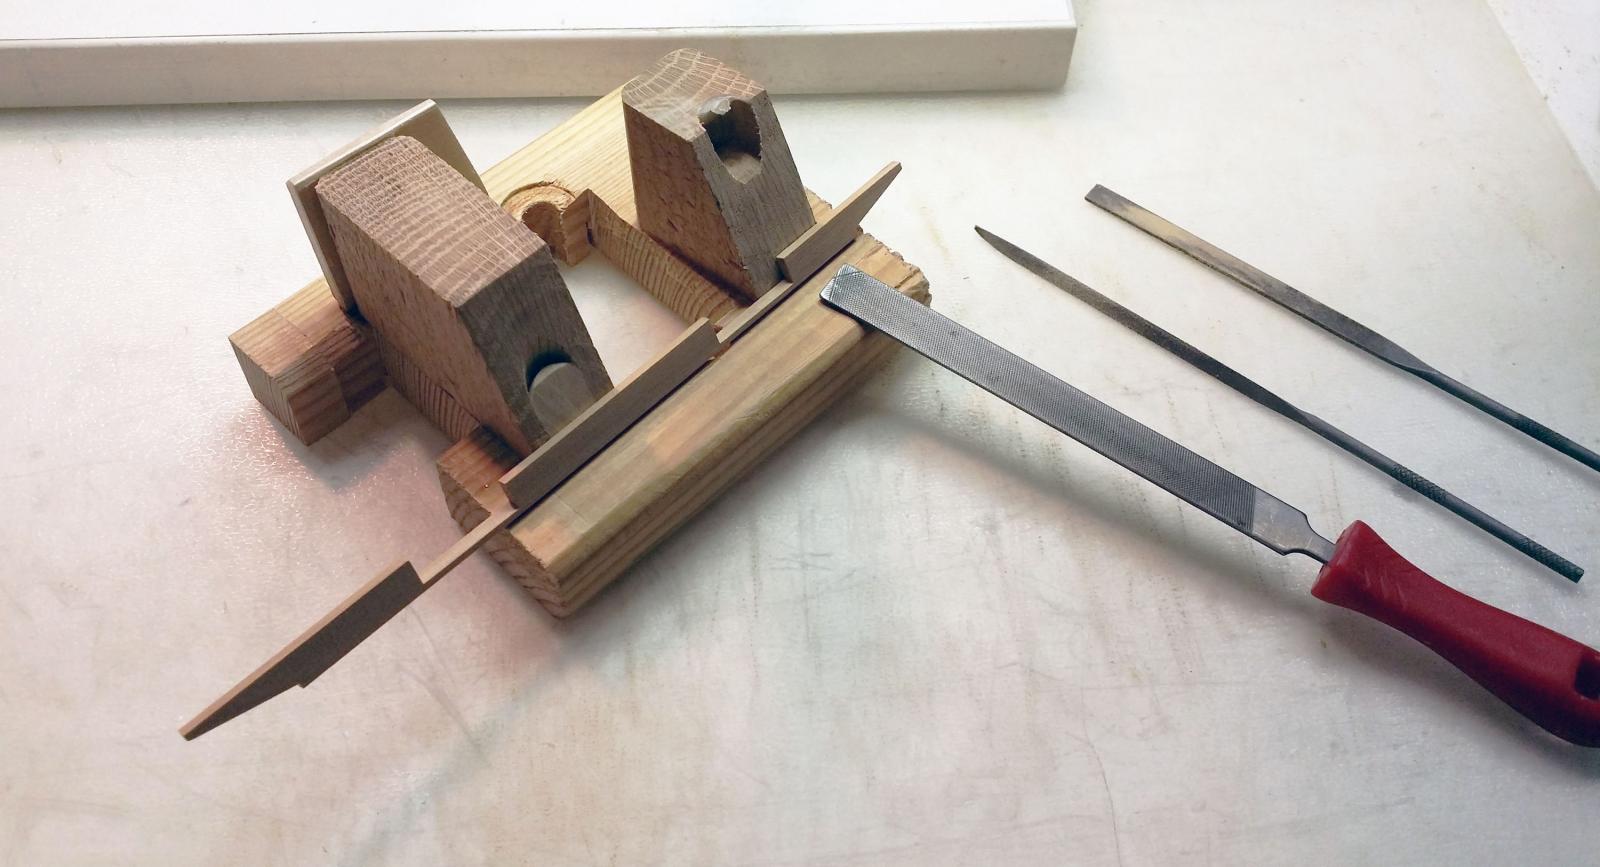
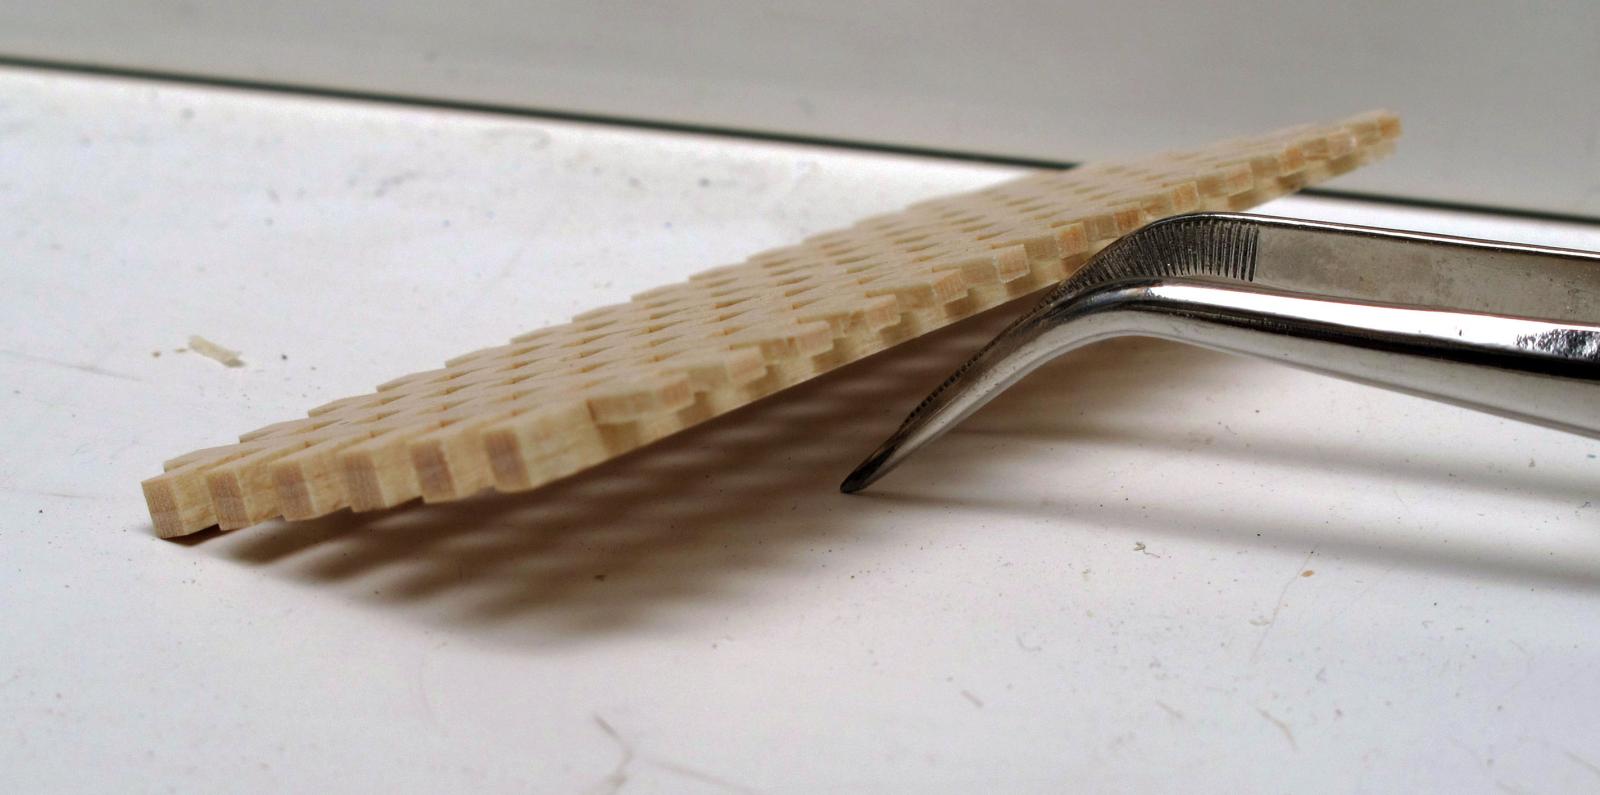
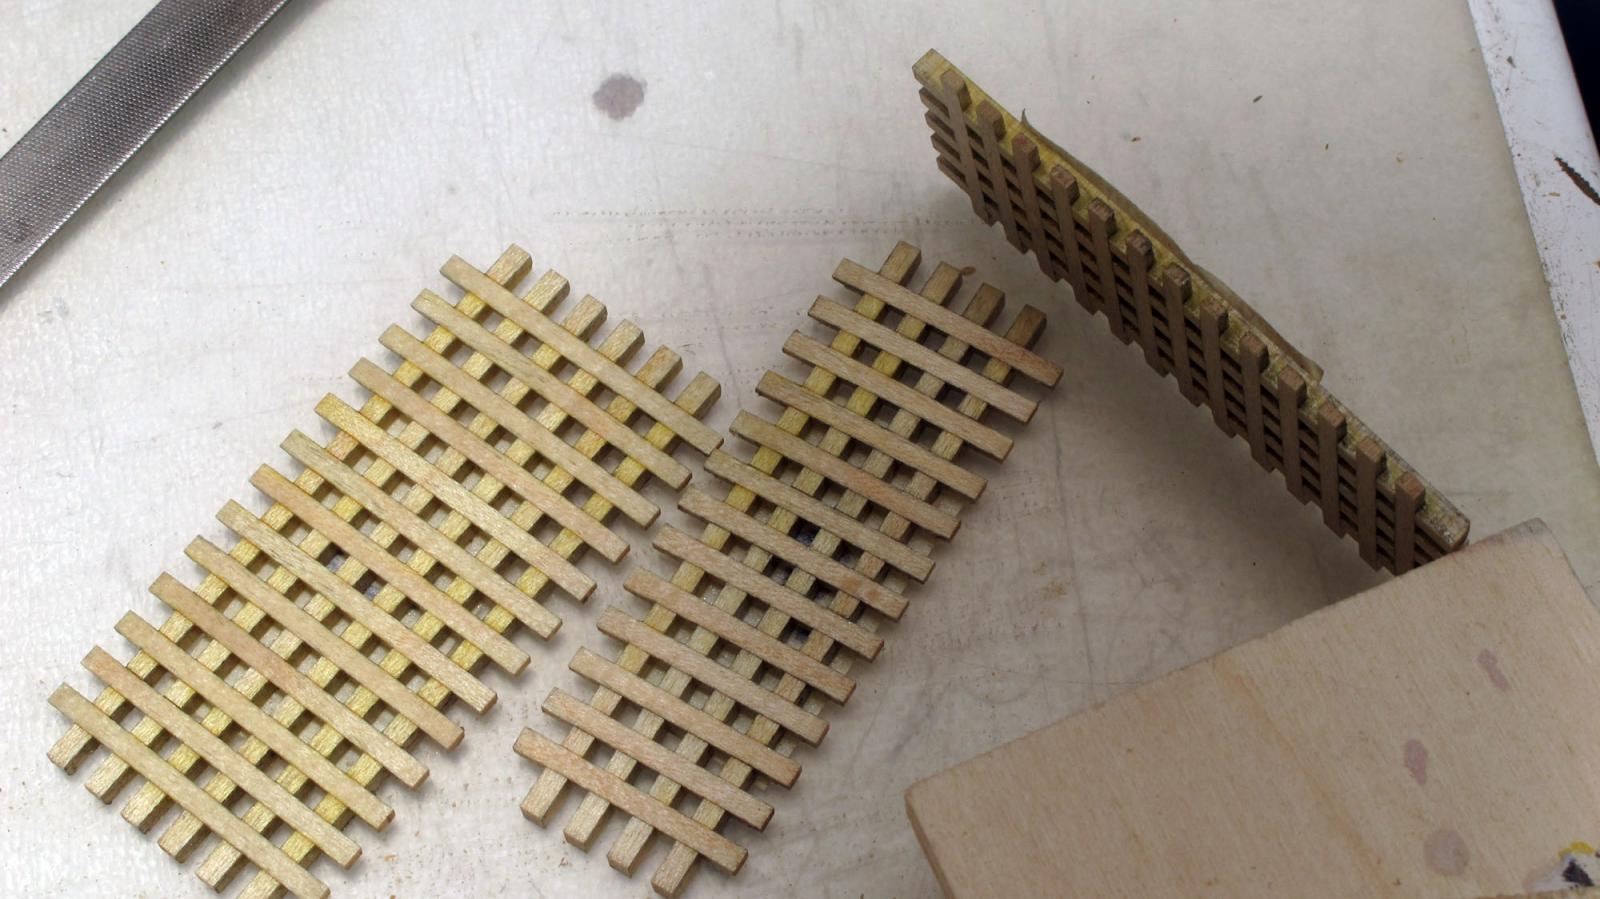
This primitive jig makes it easier to rasp. Drazen

- 487 replies
-
- 10
-
-
- ship of the line
- 80 guns
- (and 1 more)
-
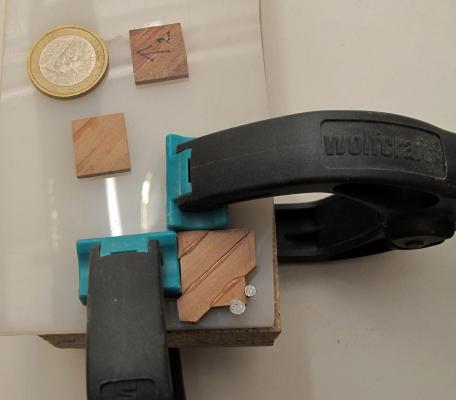
I was wondering if any chemical could neutralize the yellow color and keep the bond? It is quite sure that the CA penetrated into the wood. Also, on the pear wood, there is no effect of yellowing; just on the maple wood – strange. Drazen
-
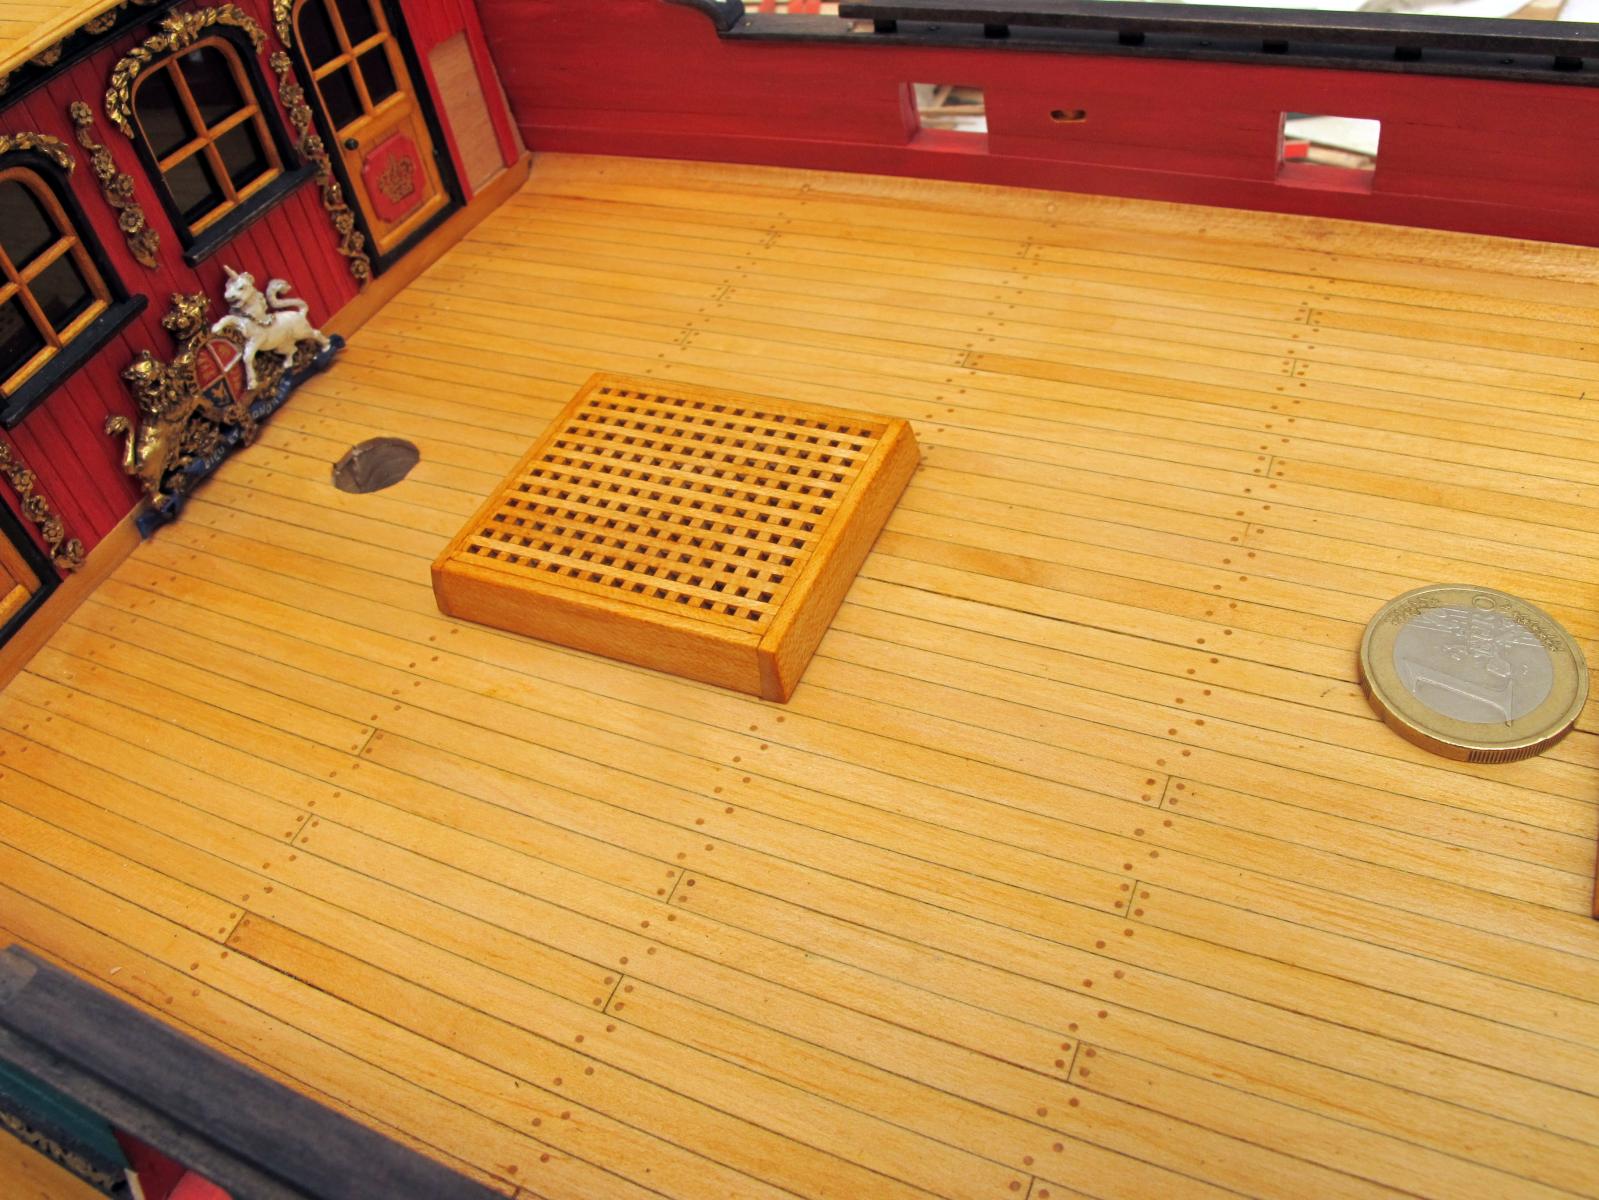
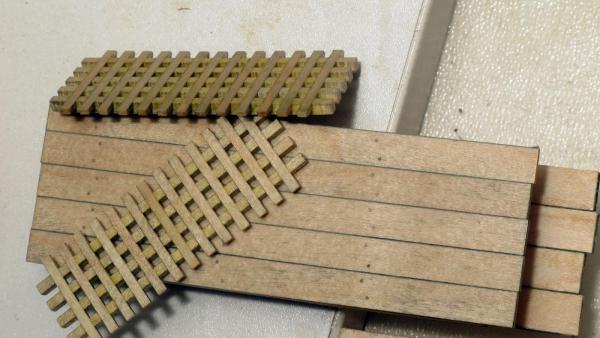
Hopefully somebody has experience and some hints… I have a question concerning the gluing with super-glue (cyanoacrylate). After several months, I was using CA glue, some of my parts (a very important ones and already installed) got yellow with the time. Please see the photos where you can see the problem: before one year right after gluing and now. My questions: What do you do against this? Is there a procedure to remove the yellow tone? How is with the resin/epoxy, same problem or not so strong as with CA? Here are few facts about this problem: I was thinking it could be a reaction with the shellac, but there are parts without any shellac and still yellowing strong. The problem occurred after 6 to 10 months after gluing The wood material where it occurred is maple. At the same time, I made a ladder out of pear wood. There, I cannot see any yellow effect. The water outlets were on the ship and the gratings were in the closed plastic box - same effect of yellowing. On some parts, I was using the activator to accelerate CA, and on some not - no difference in effect. The glue was CA fluid and also gel - no difference. The humidity in my cellar where I work is from 45% in winter up to 70% in summer. The water outlets are already installed and very difficult to repair. The yellow effect would ruin the impression of the ship significantly. I positioned today a small part near the window to see if sunlight can minimize the effect. I know that the decals on plastic models can get yellow with the time and this can be removed if one leaves the model on the direct sunlight - than it gets white again. Any idea? Thanks in advance. Drazen


-
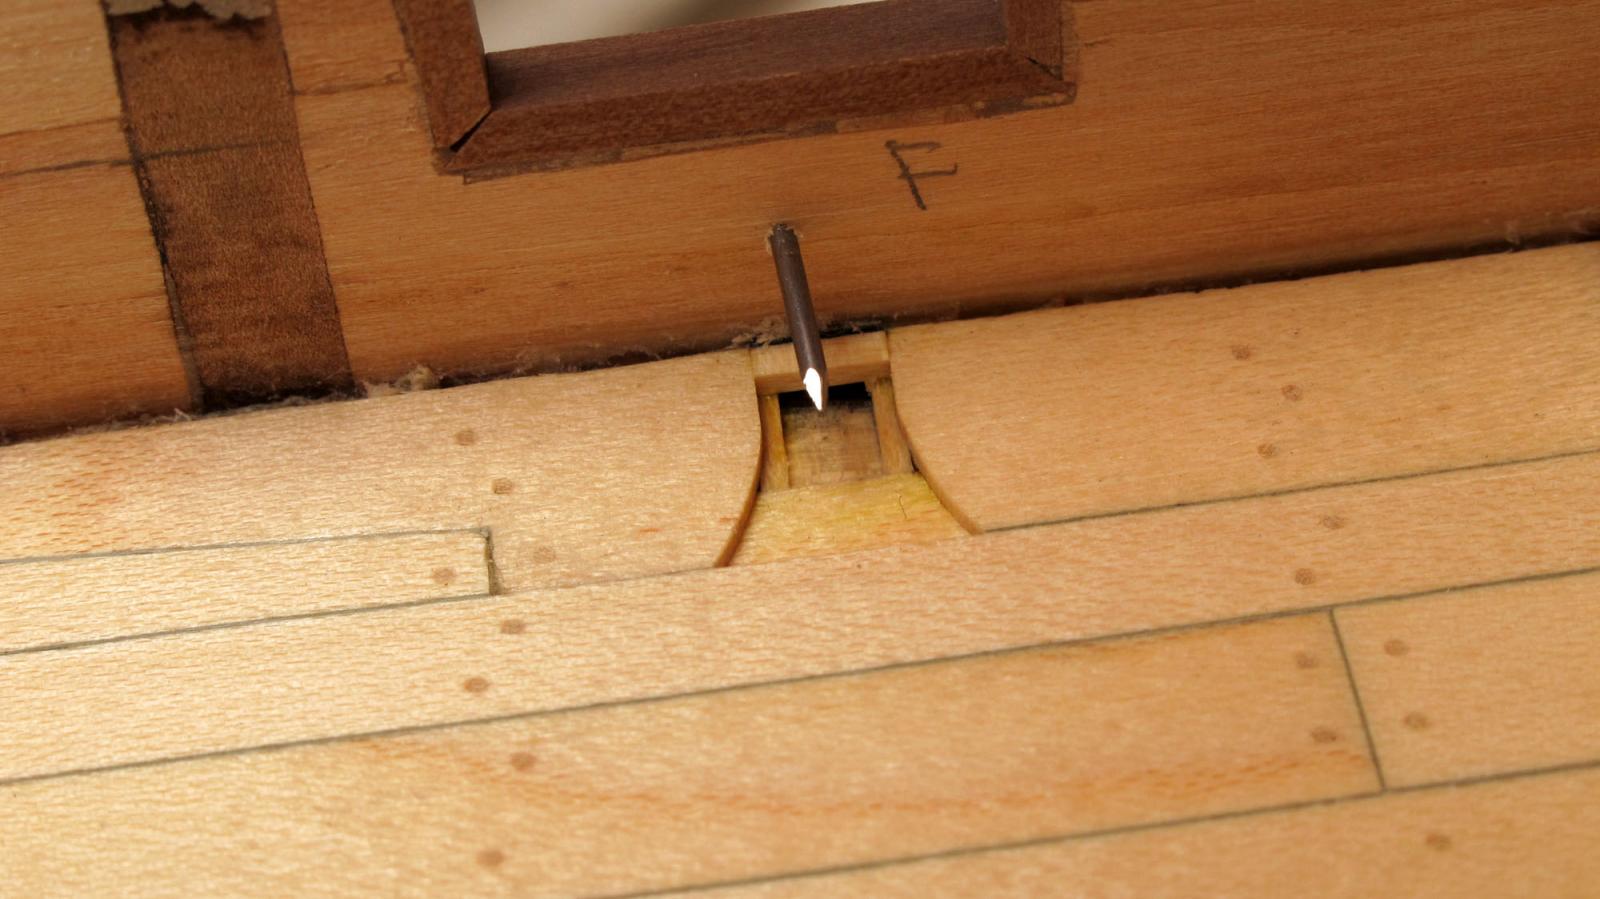
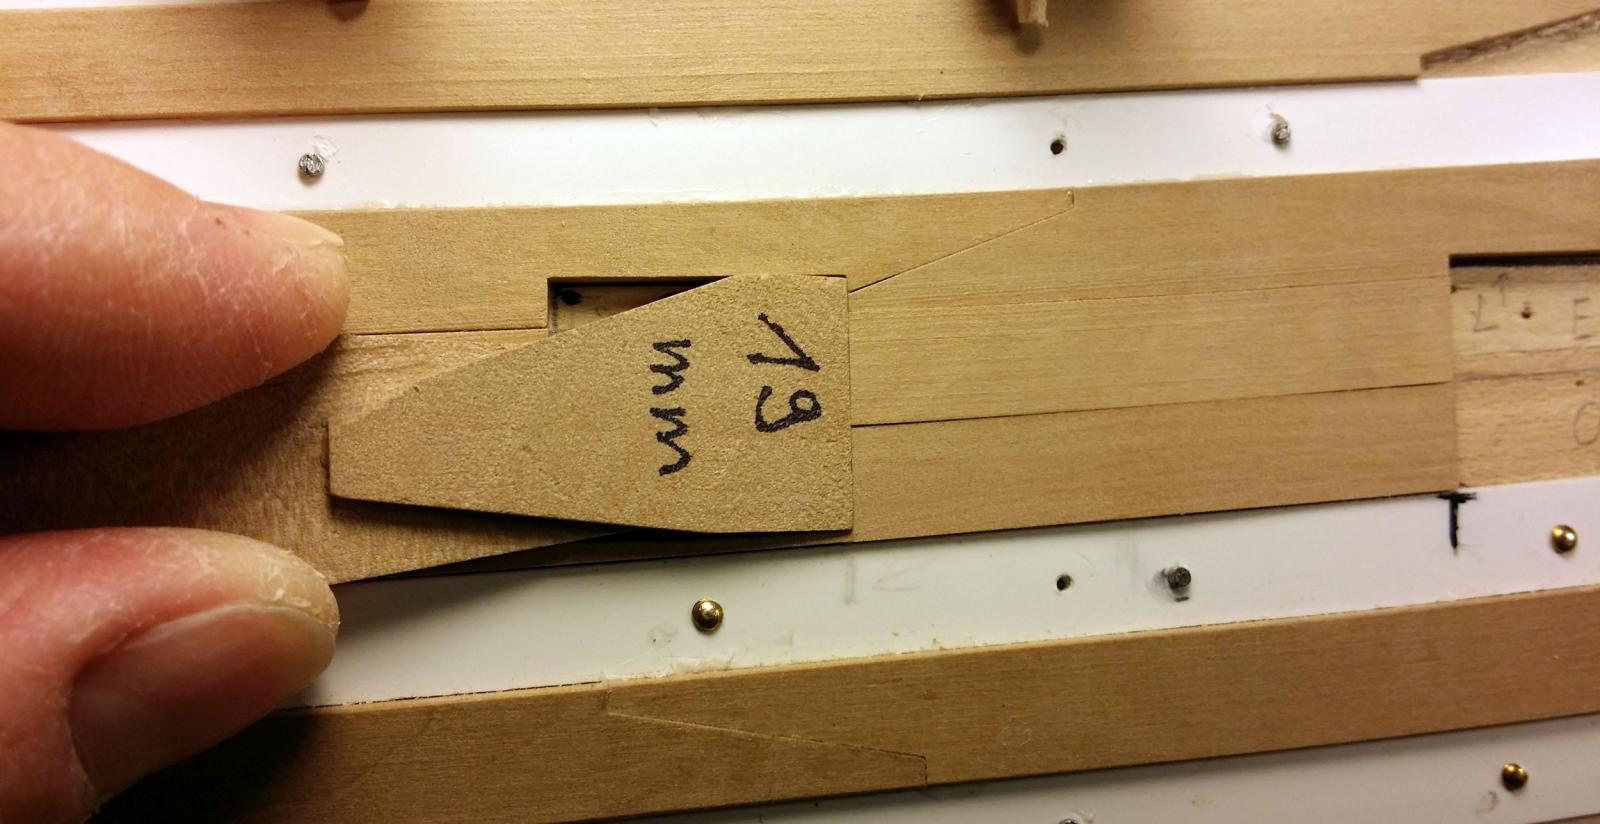
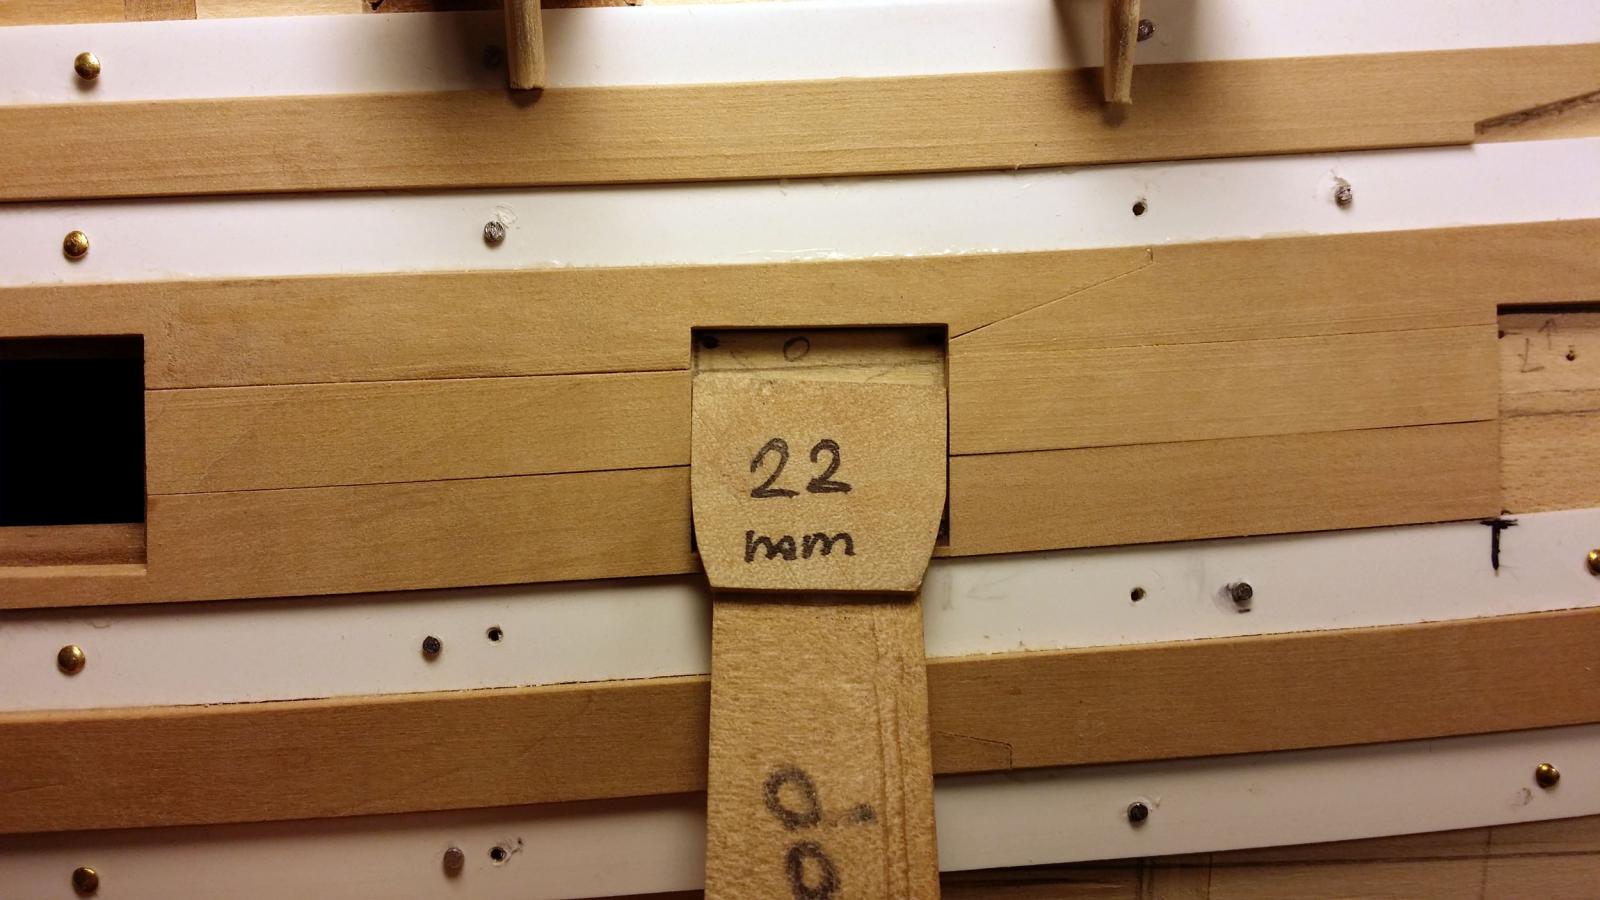
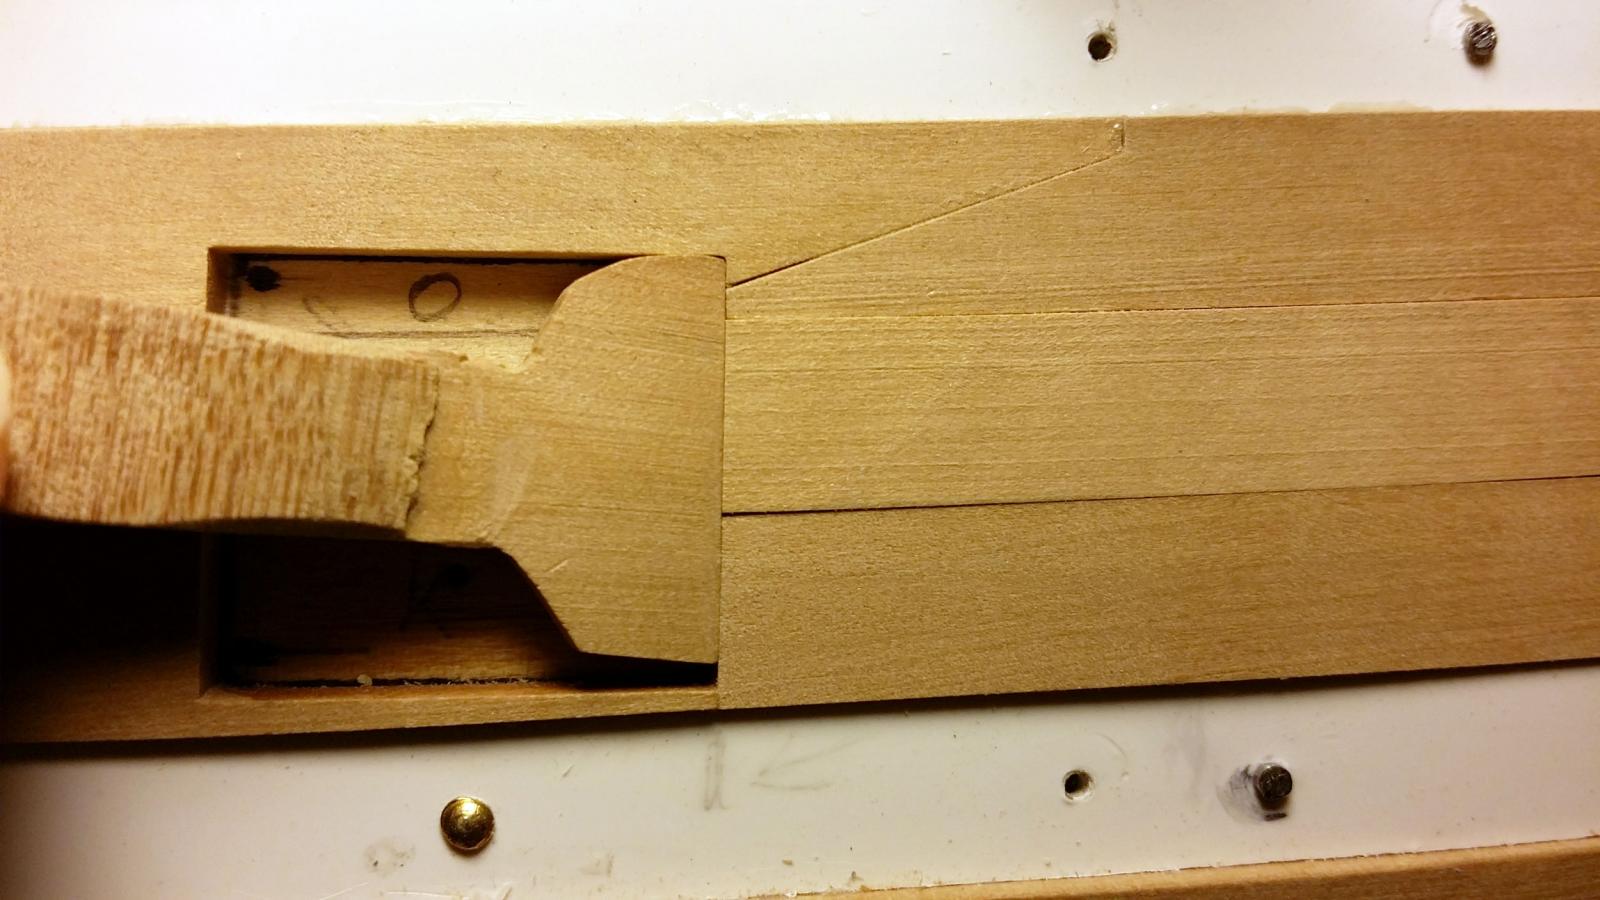
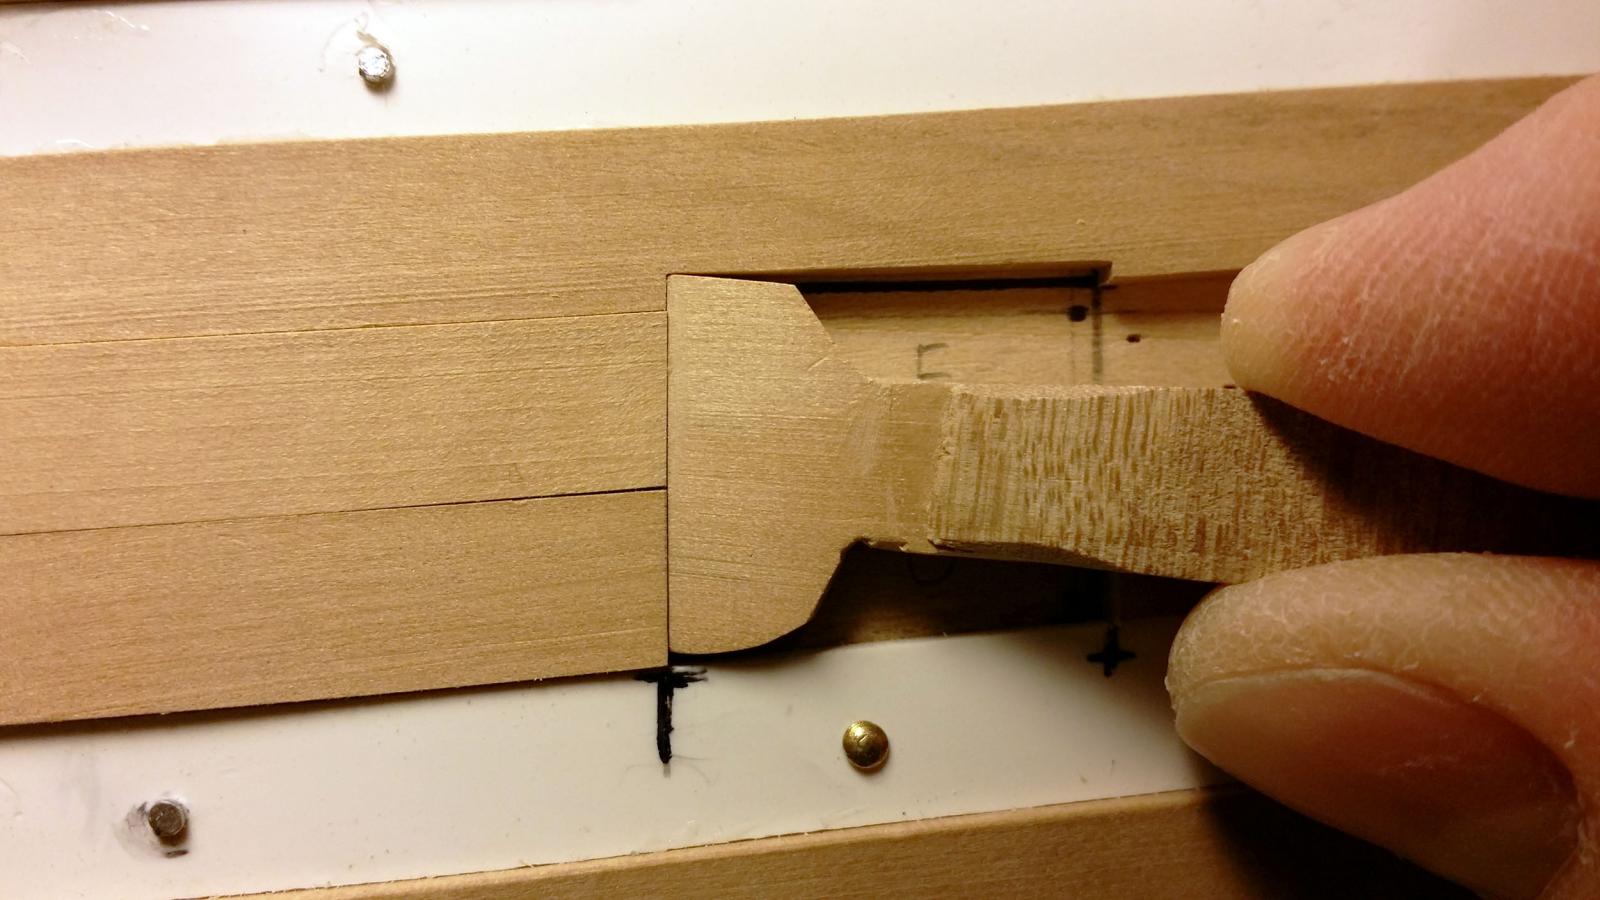
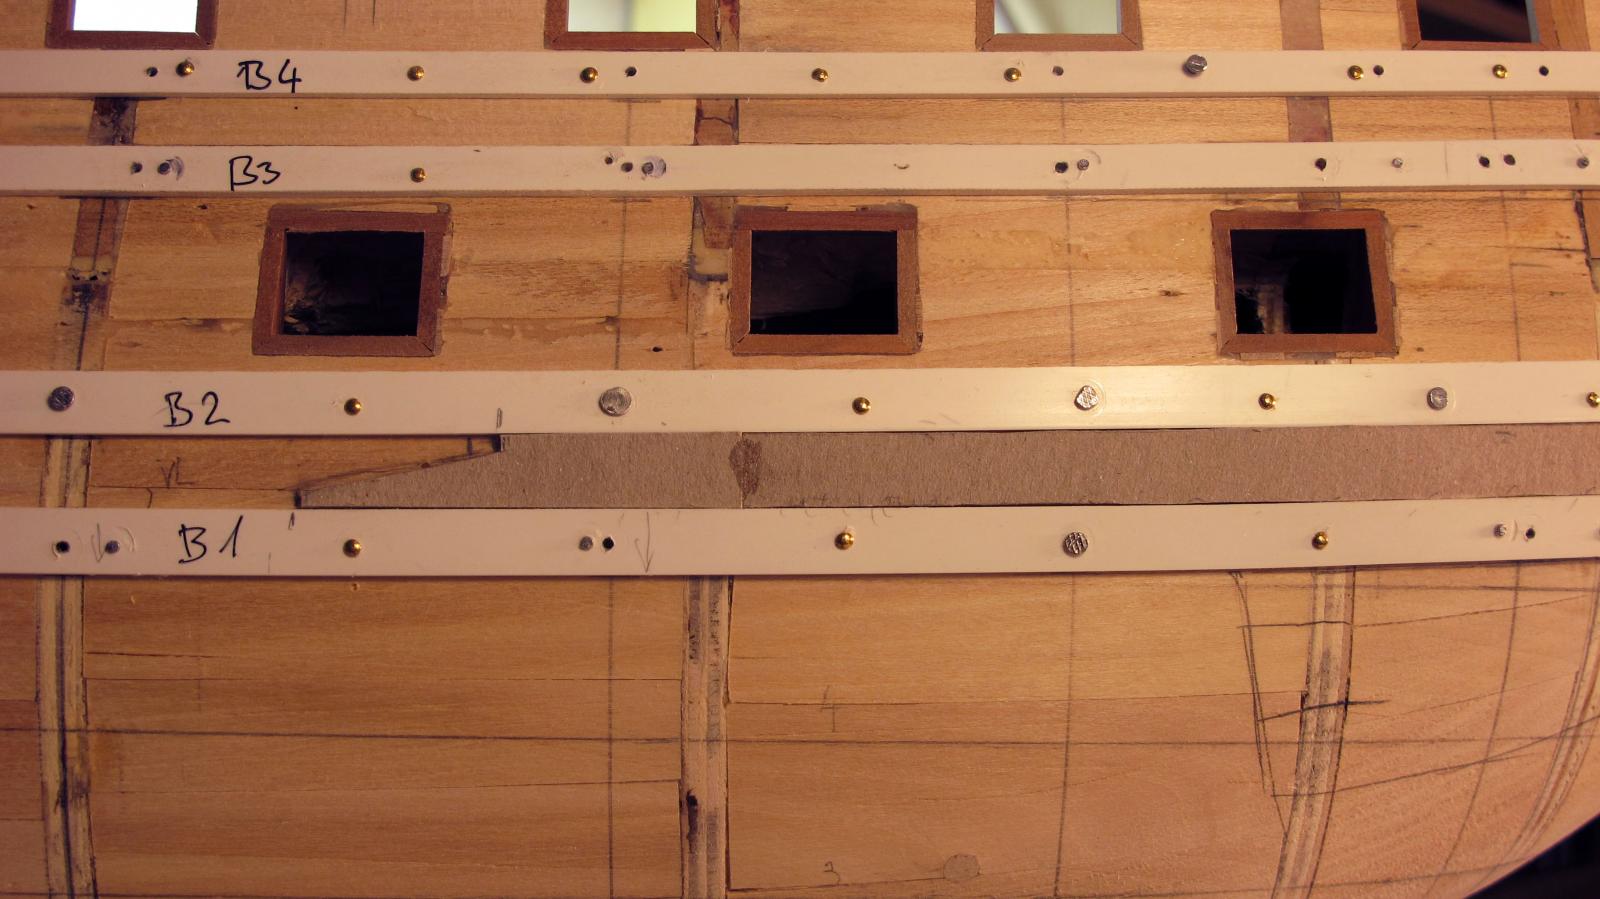
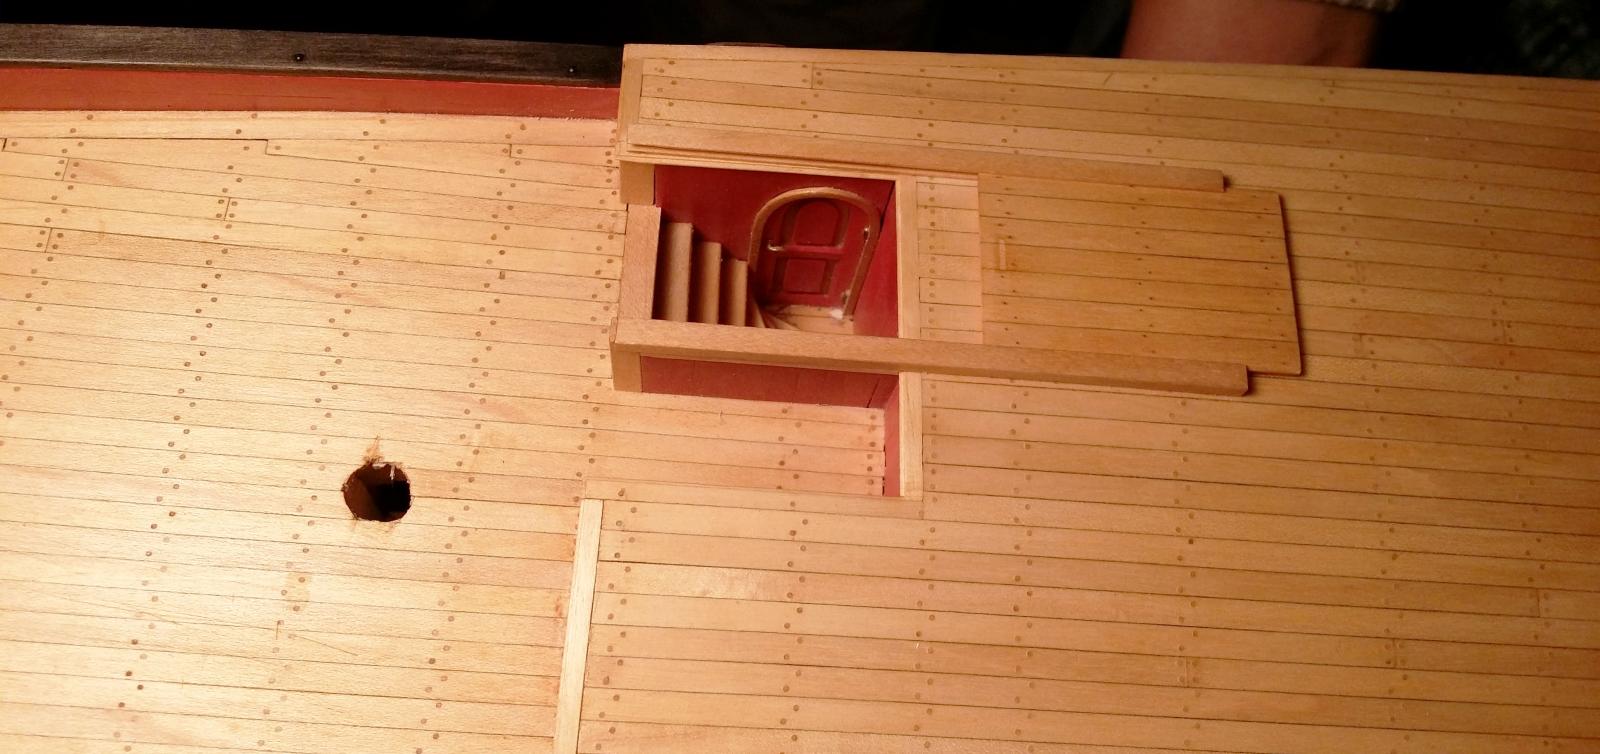
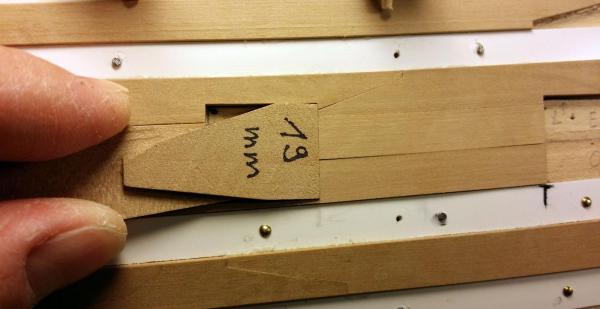
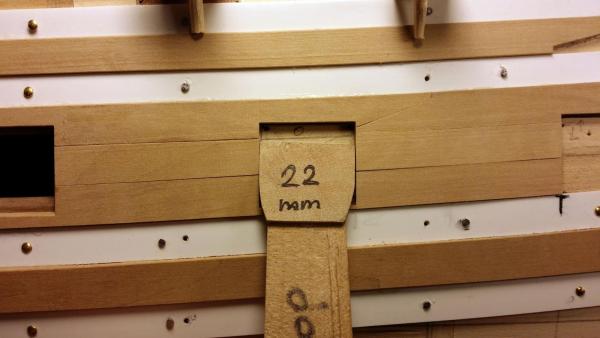
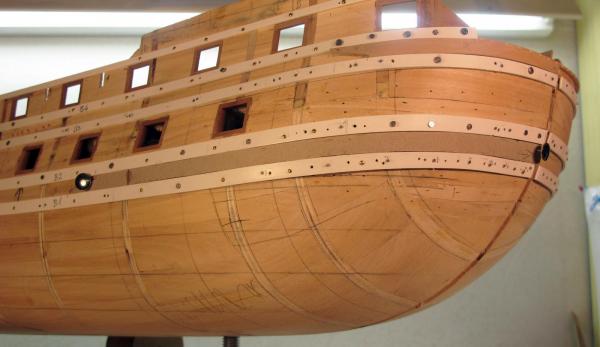
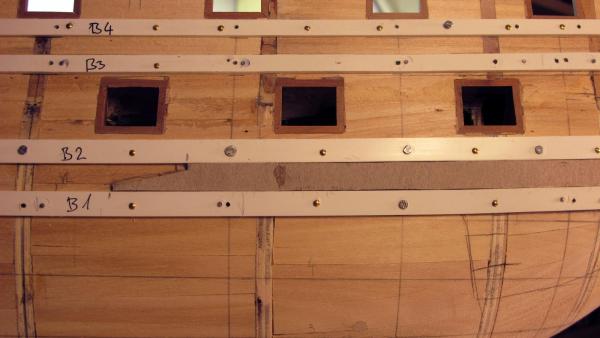
... checking the accuracy and size of the gunport. Dražen


- 487 replies
-
- 16
-
-
- ship of the line
- 80 guns
- (and 1 more)
-
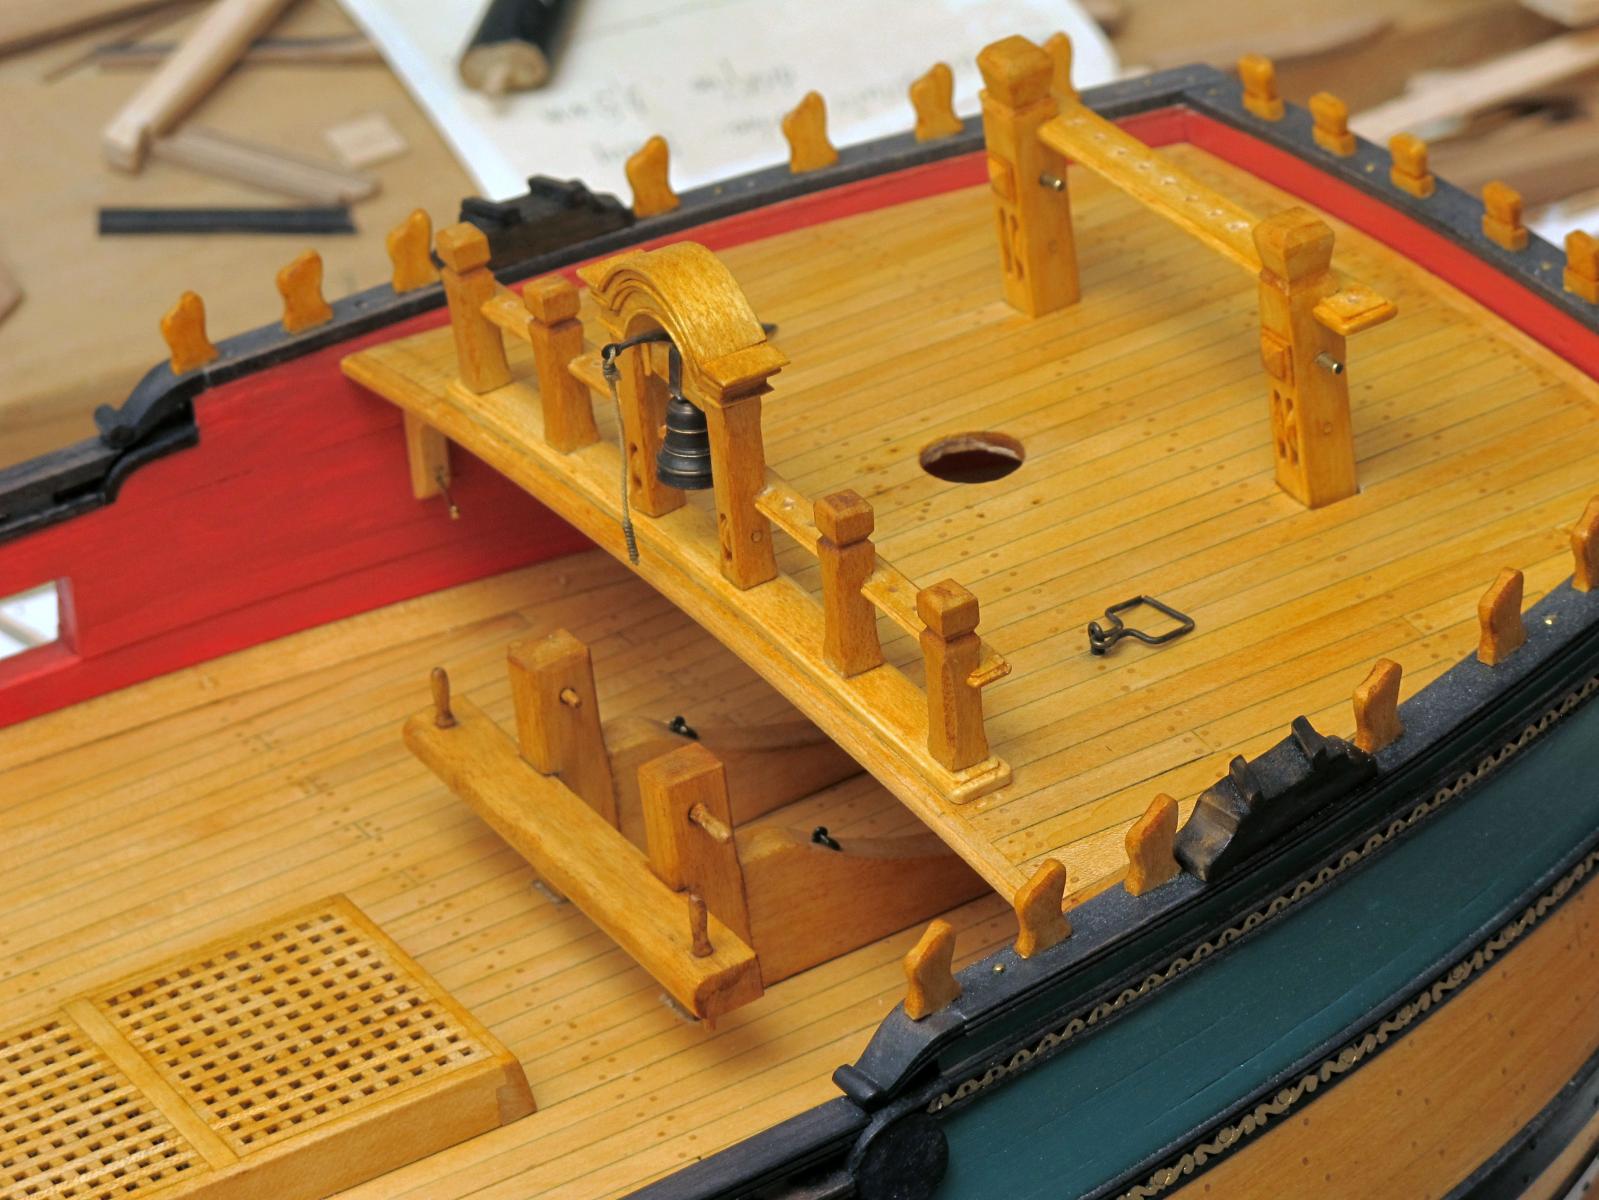
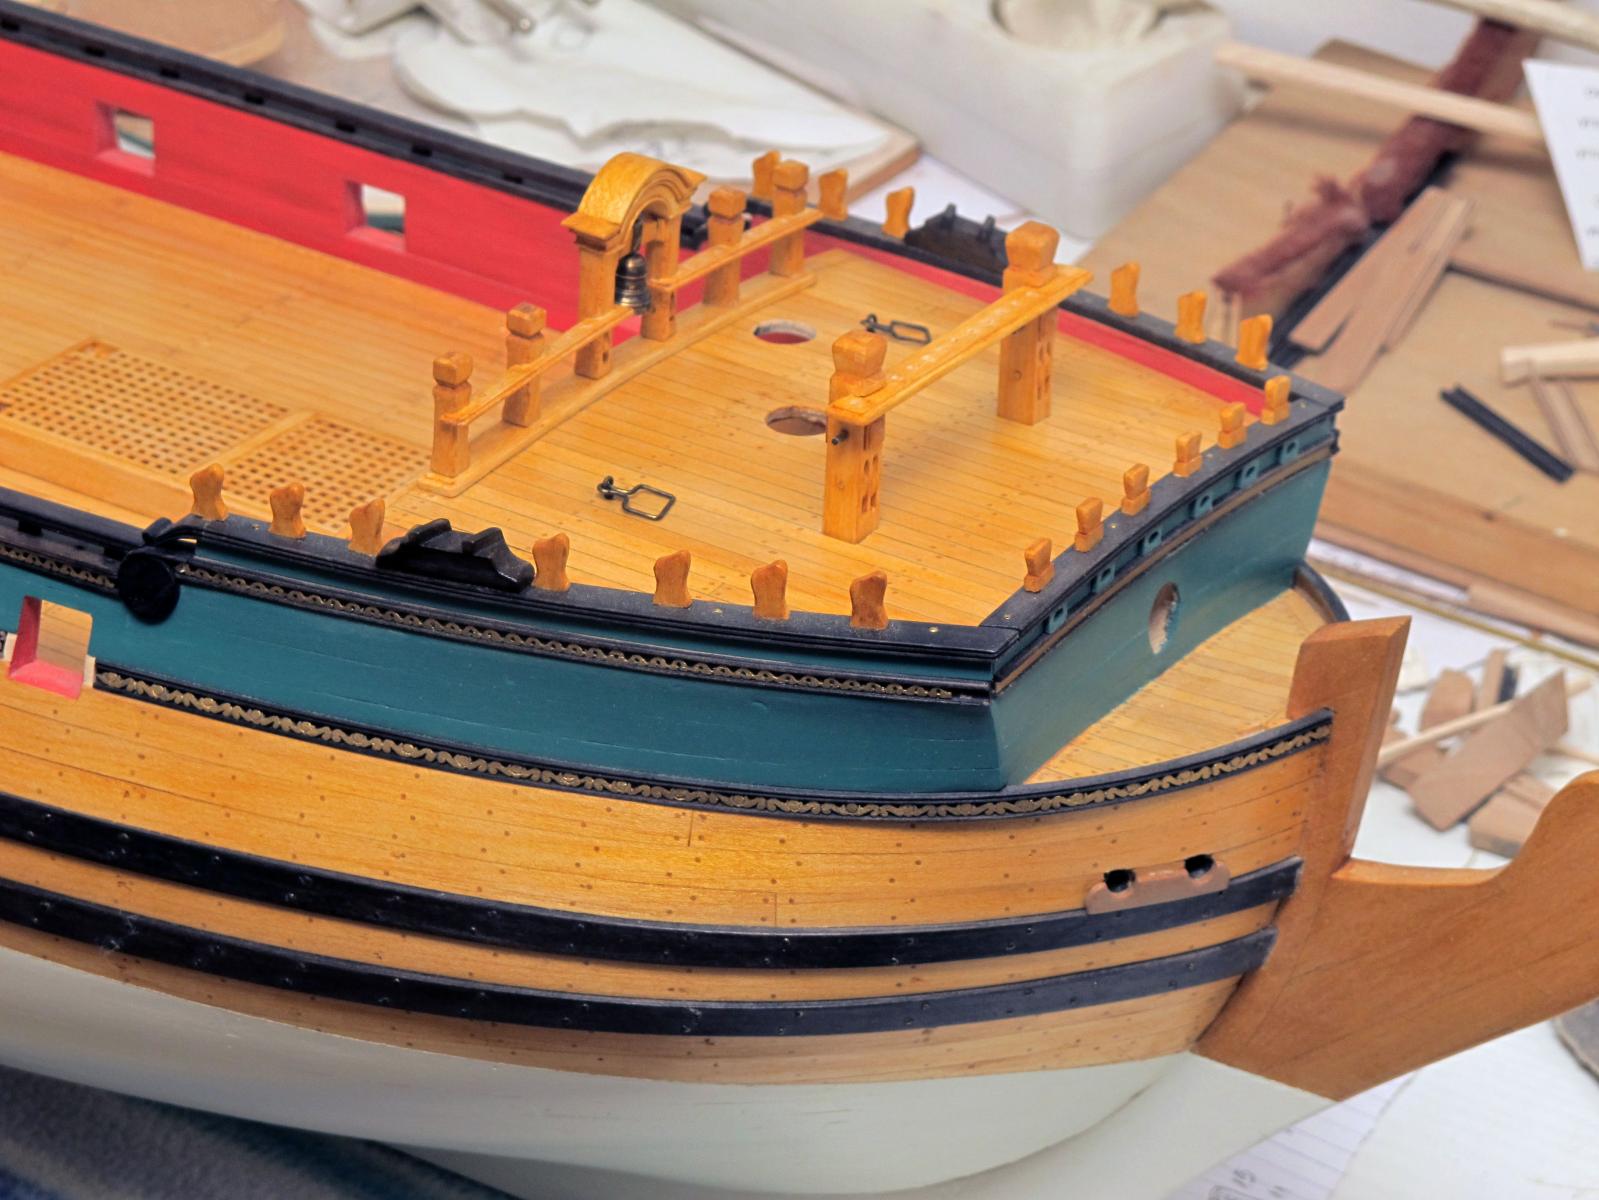
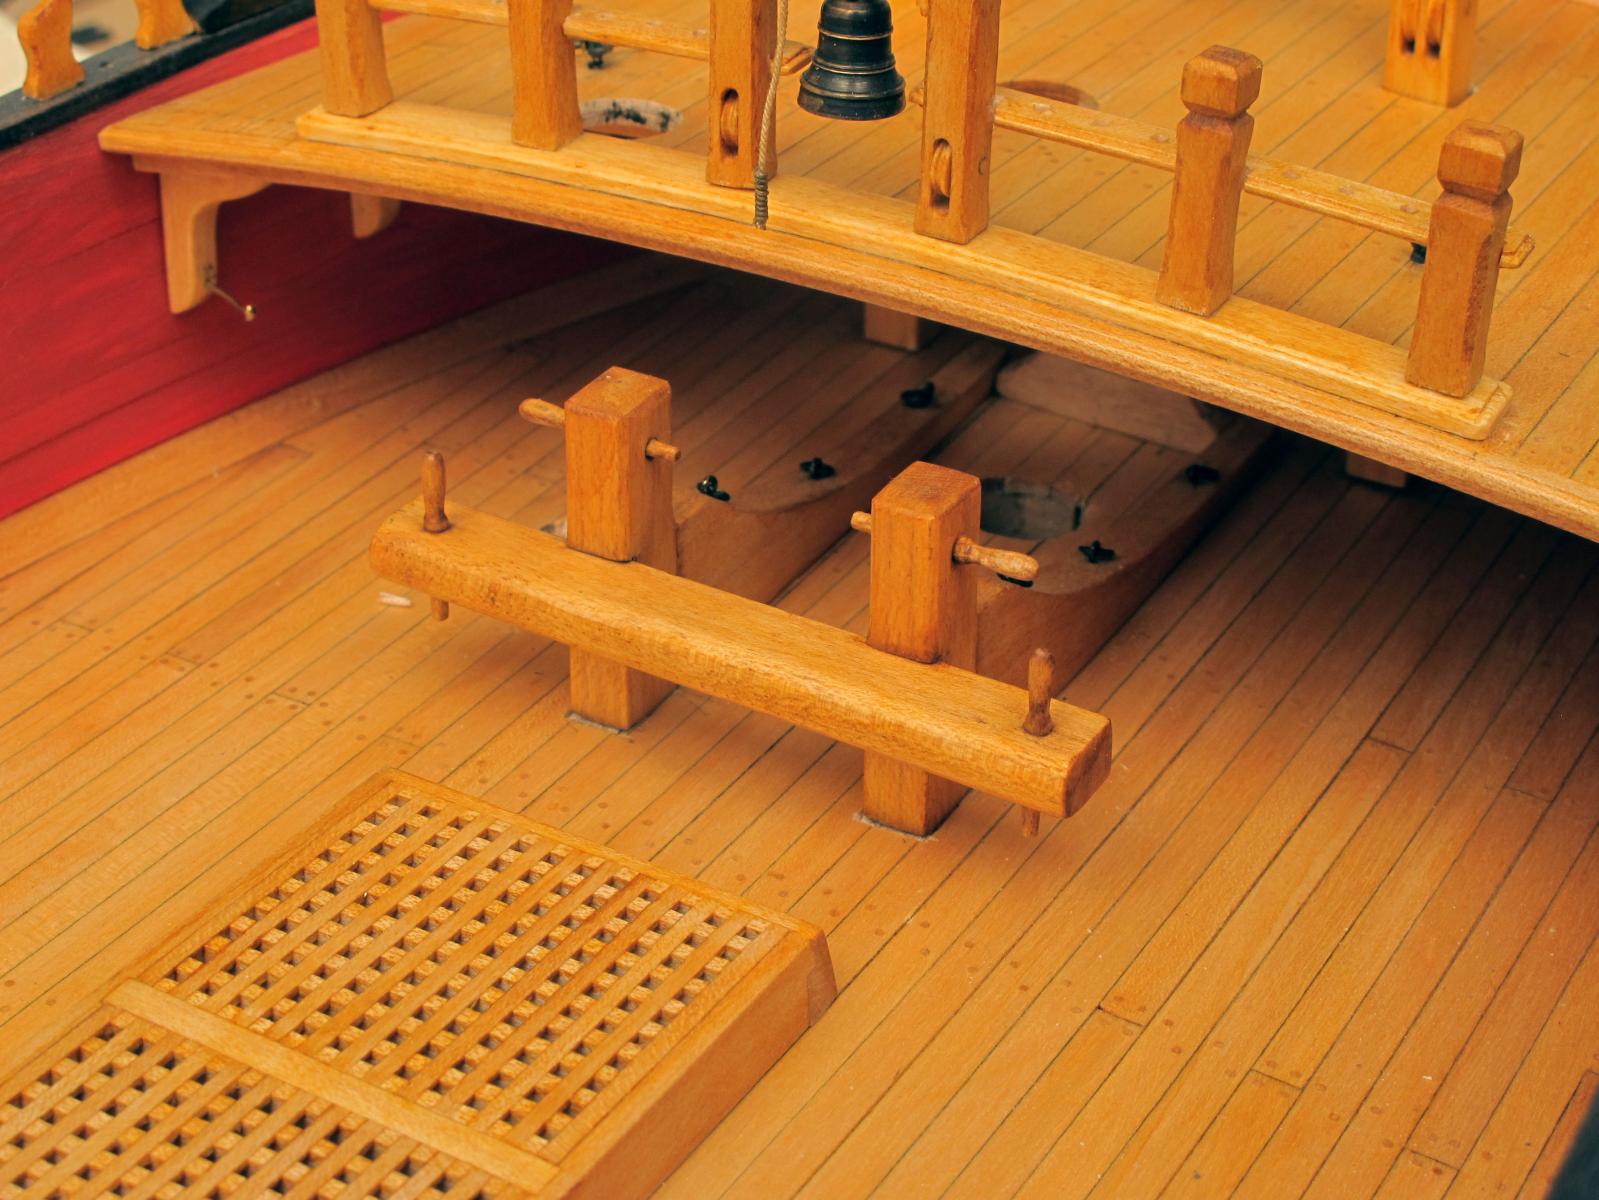
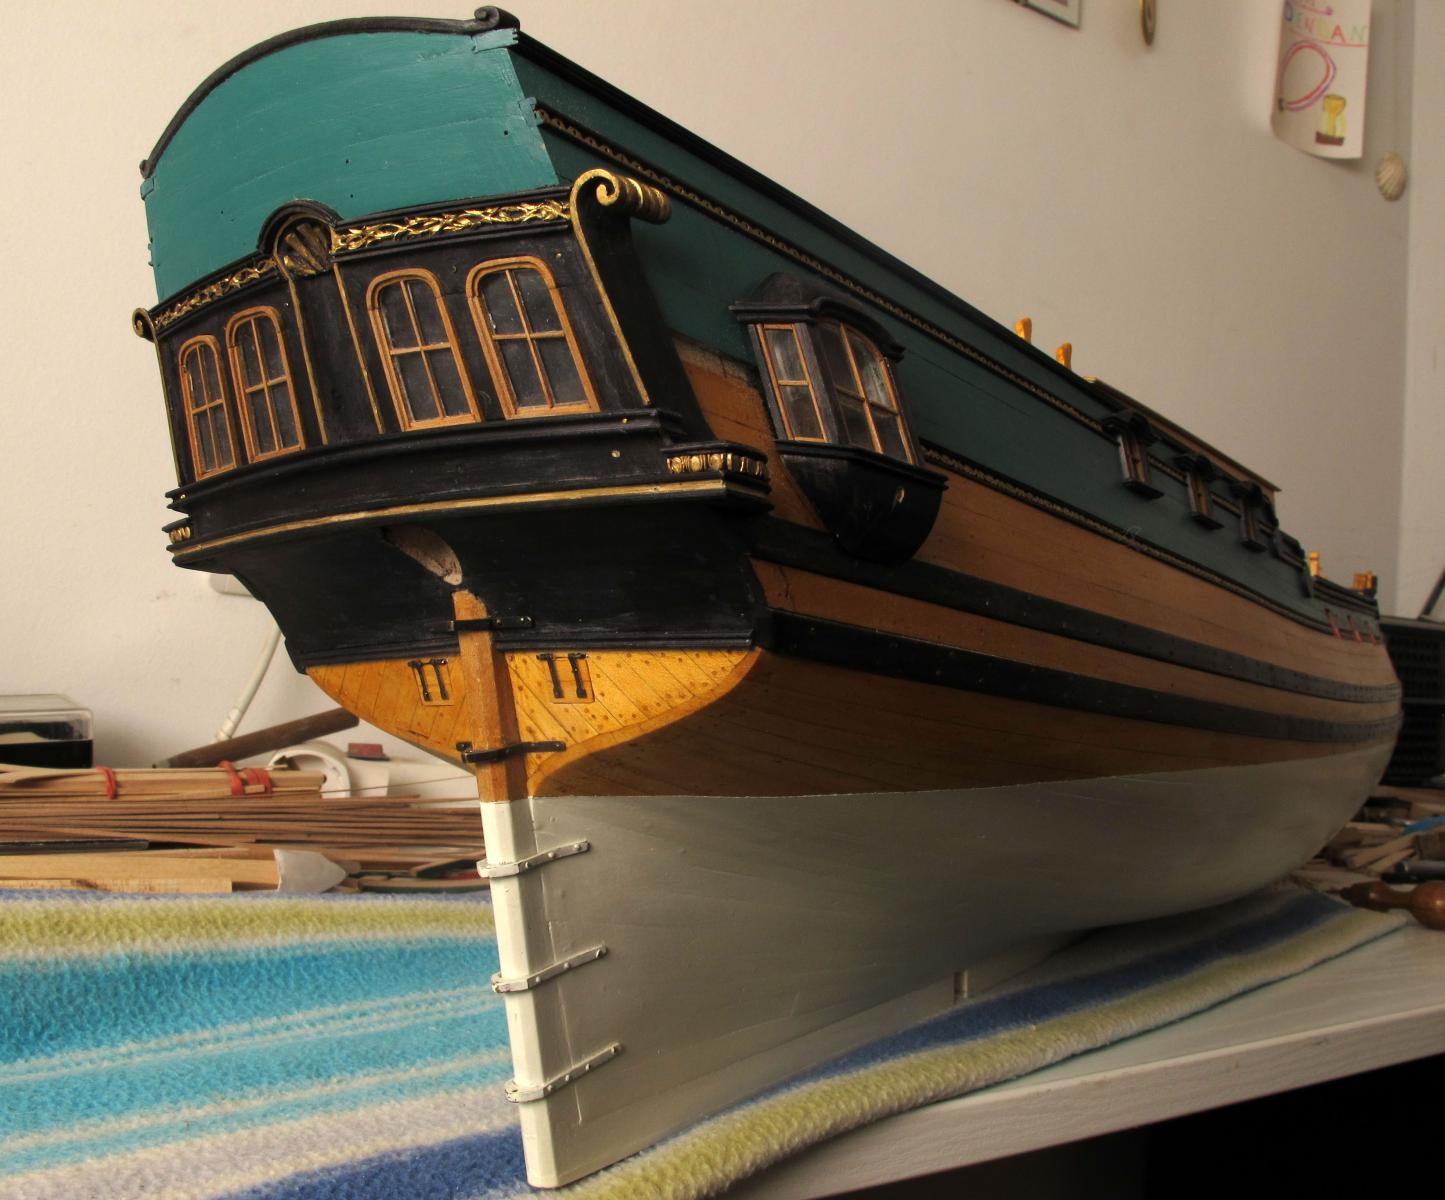
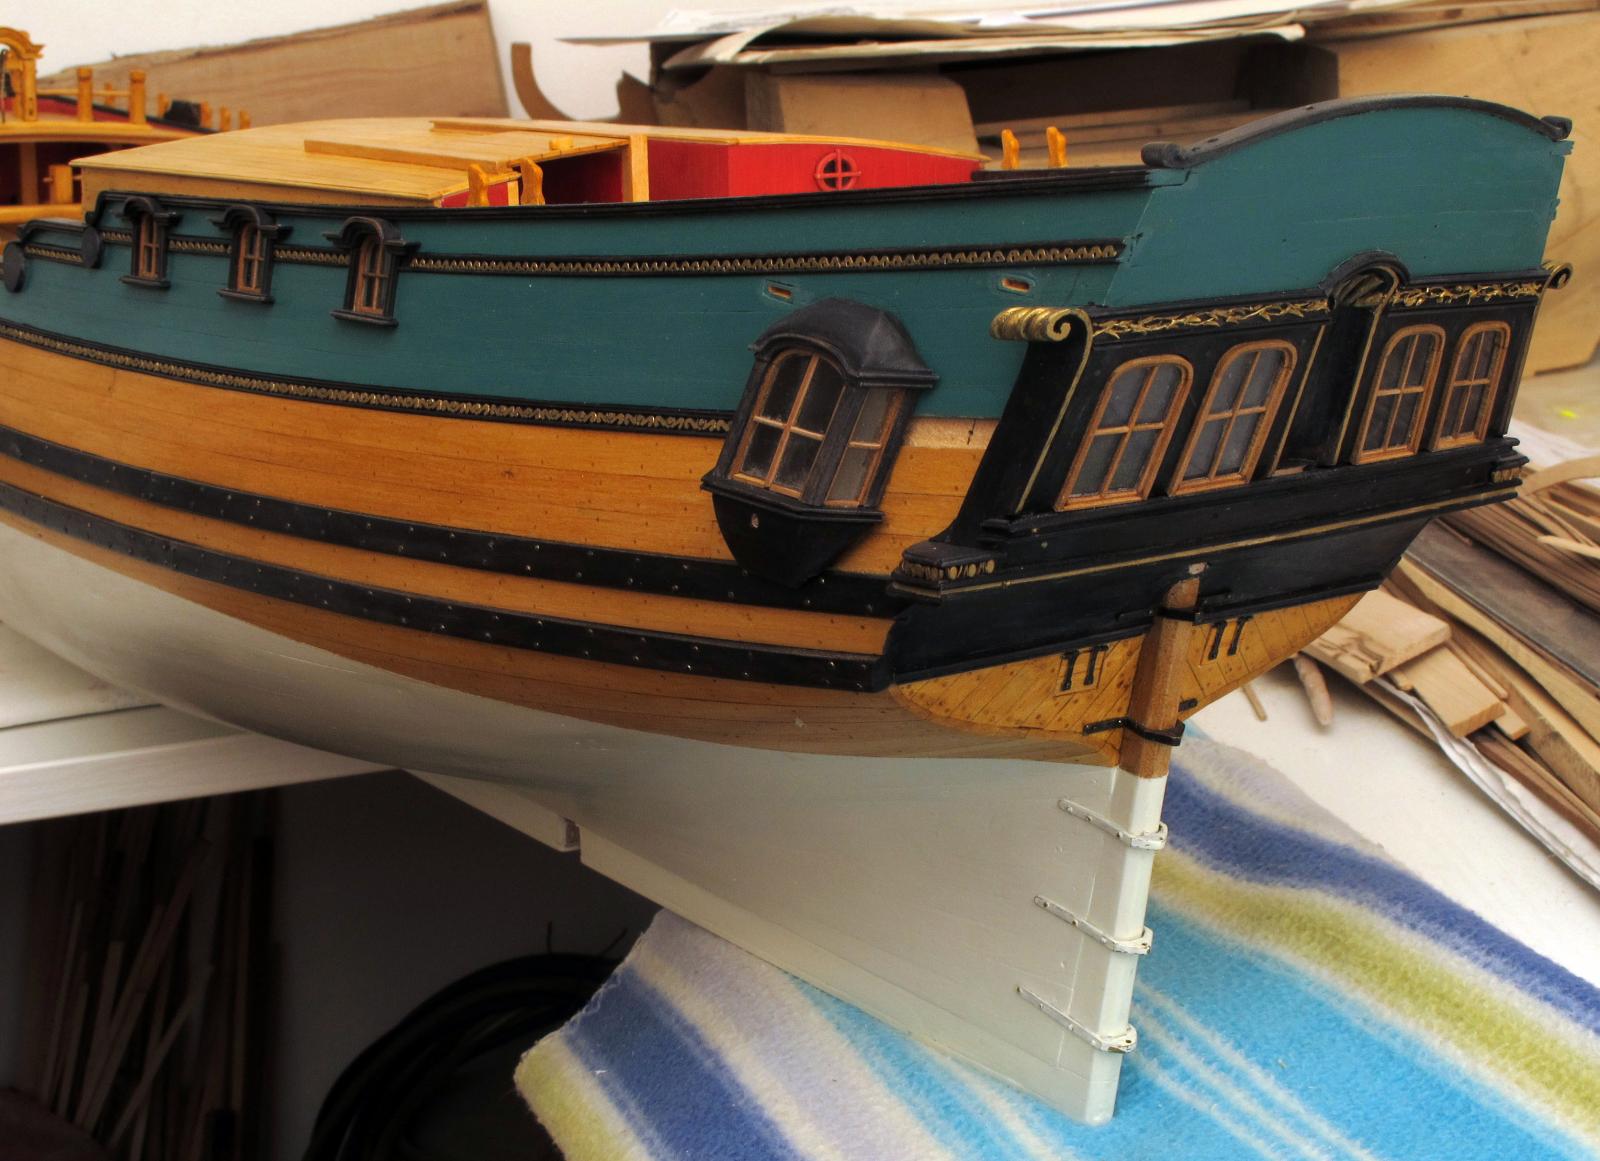
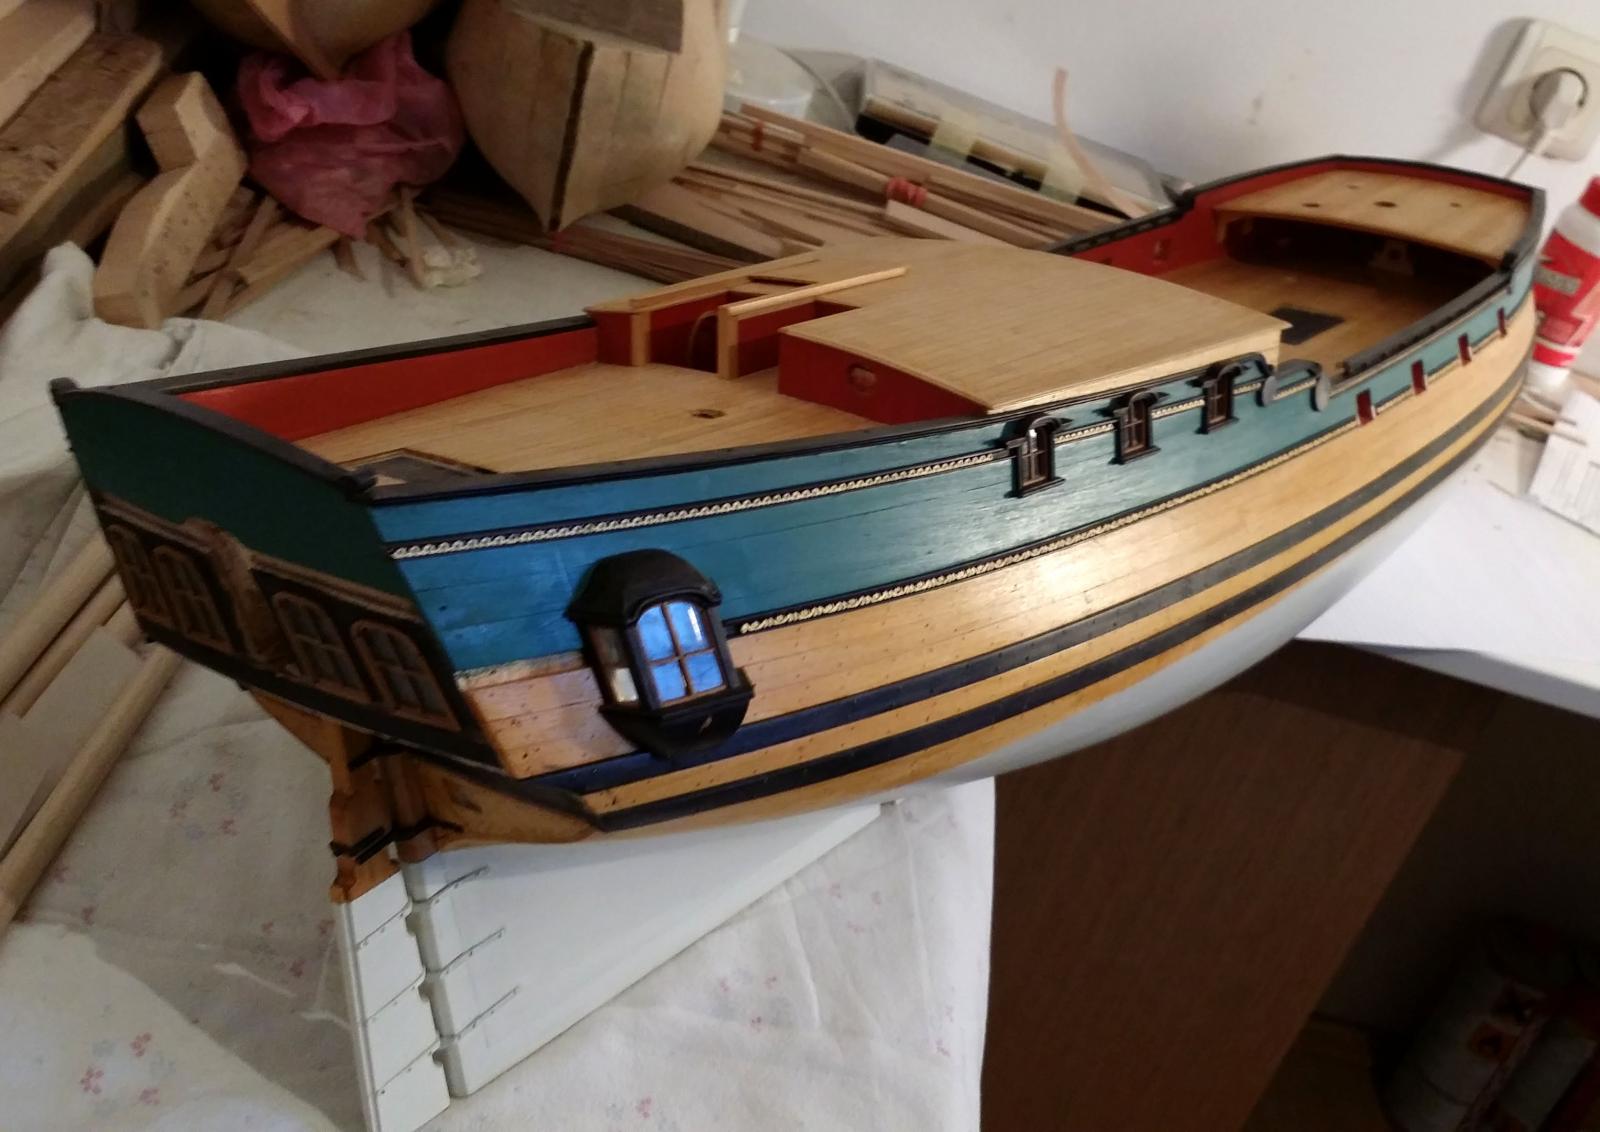
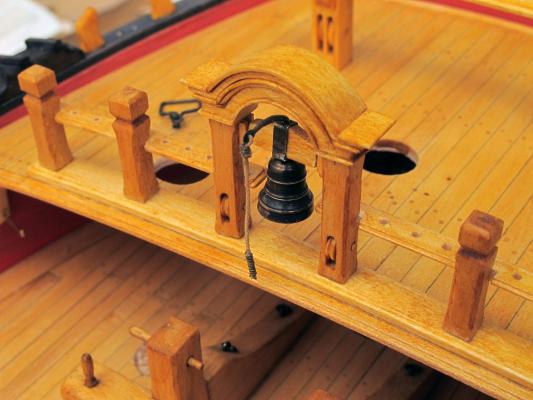
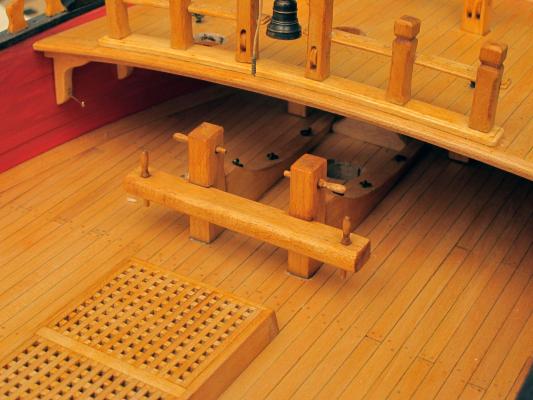
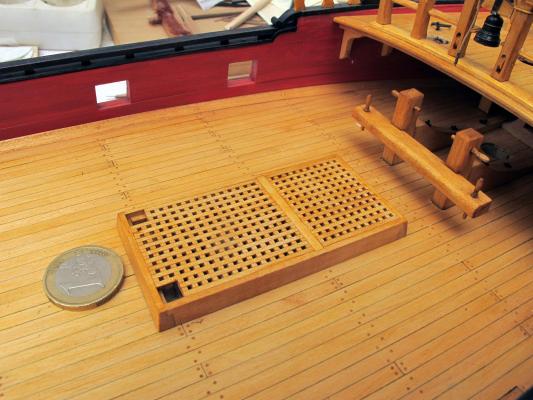
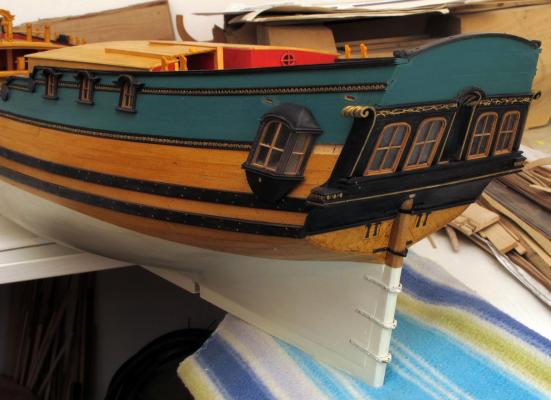
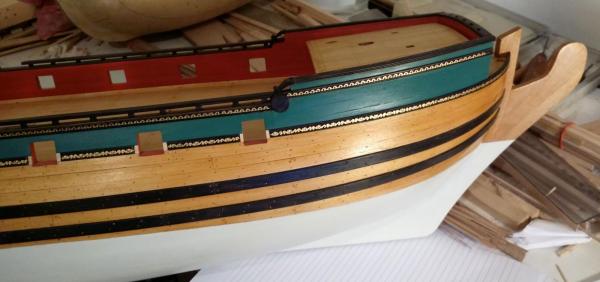
... have just visited Mile in Zagreb... and here are the recent photos. Dražen


- 86 replies
-
- 16
-
-
- royal caroline
- yacht
- (and 1 more)
-
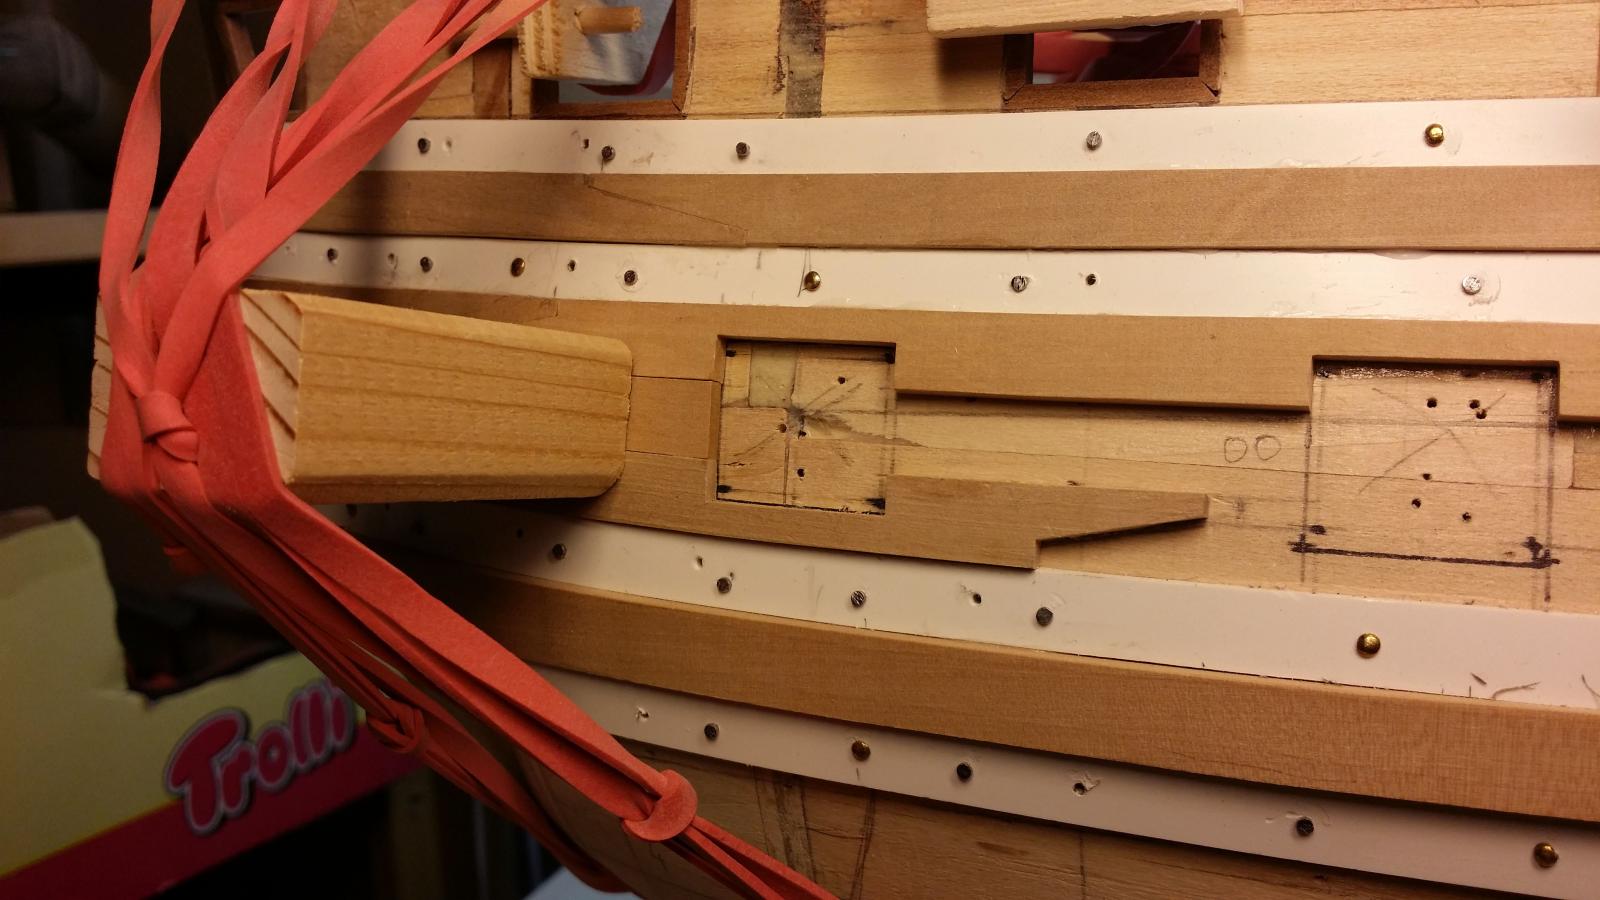
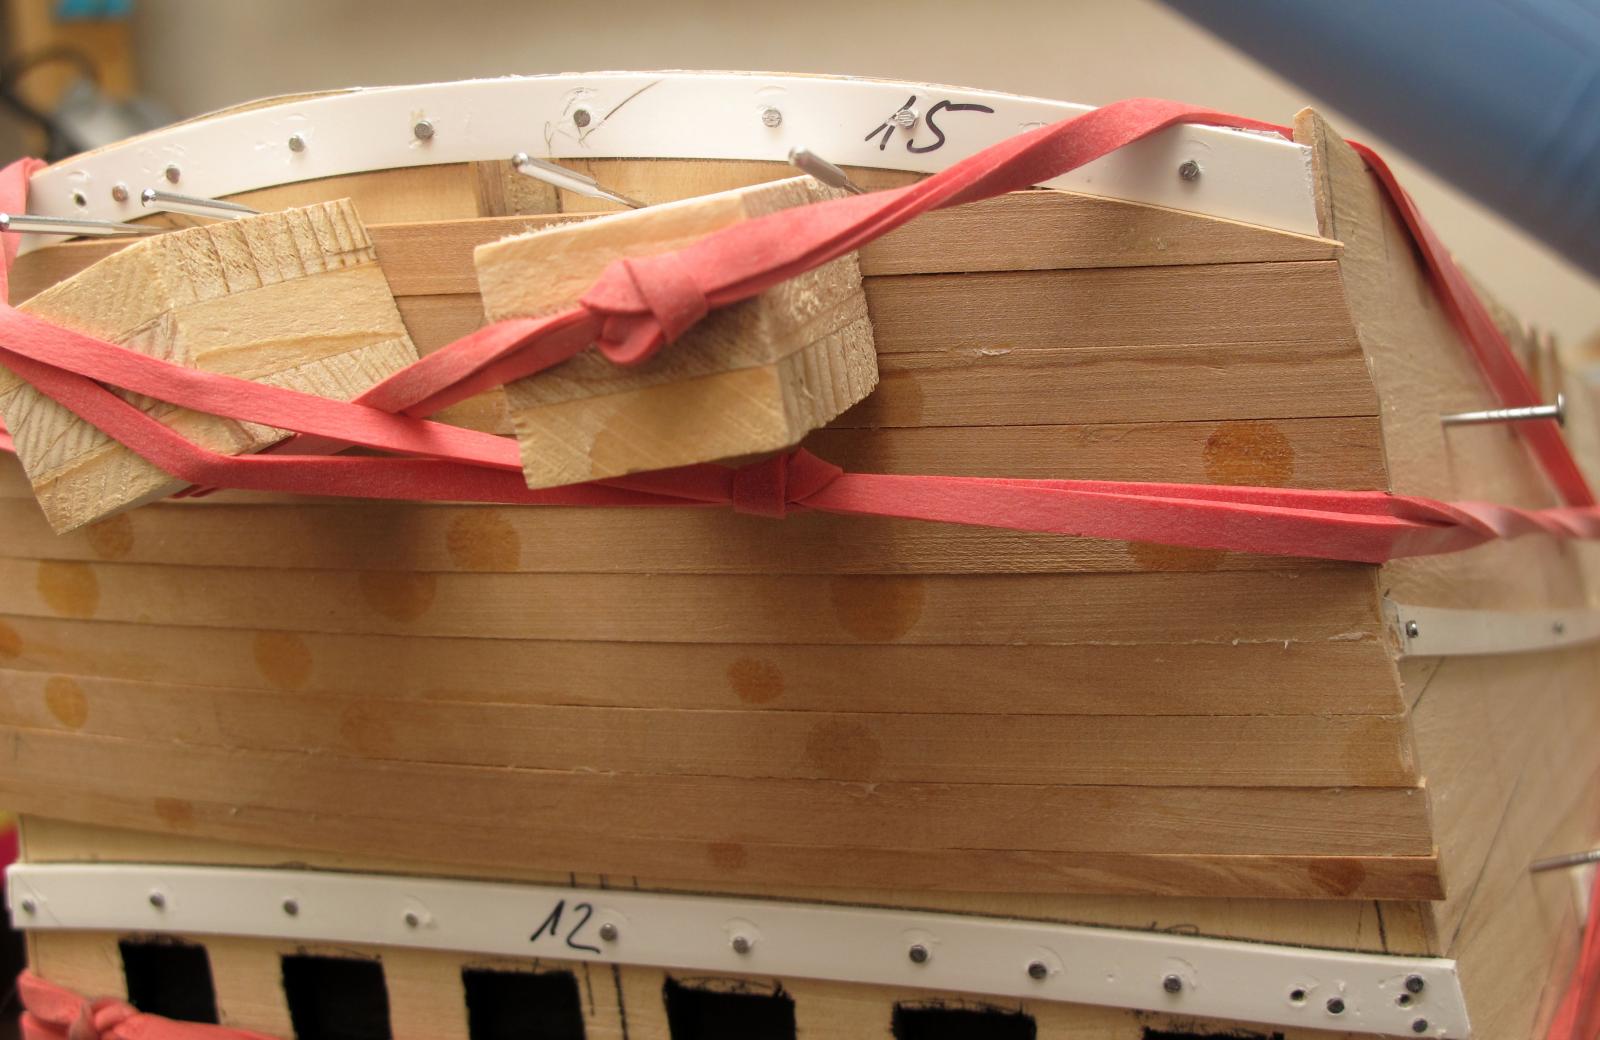
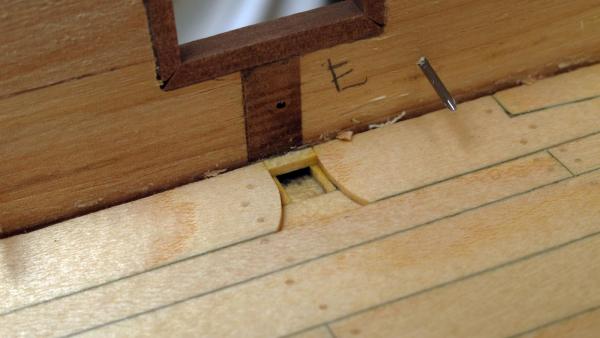
Step 3: Glue in place. This is simply to be done, but not always easy to fix solid when drying. Dražen


- 487 replies
-
- 14
-
-

-
- ship of the line
- 80 guns
- (and 1 more)
-
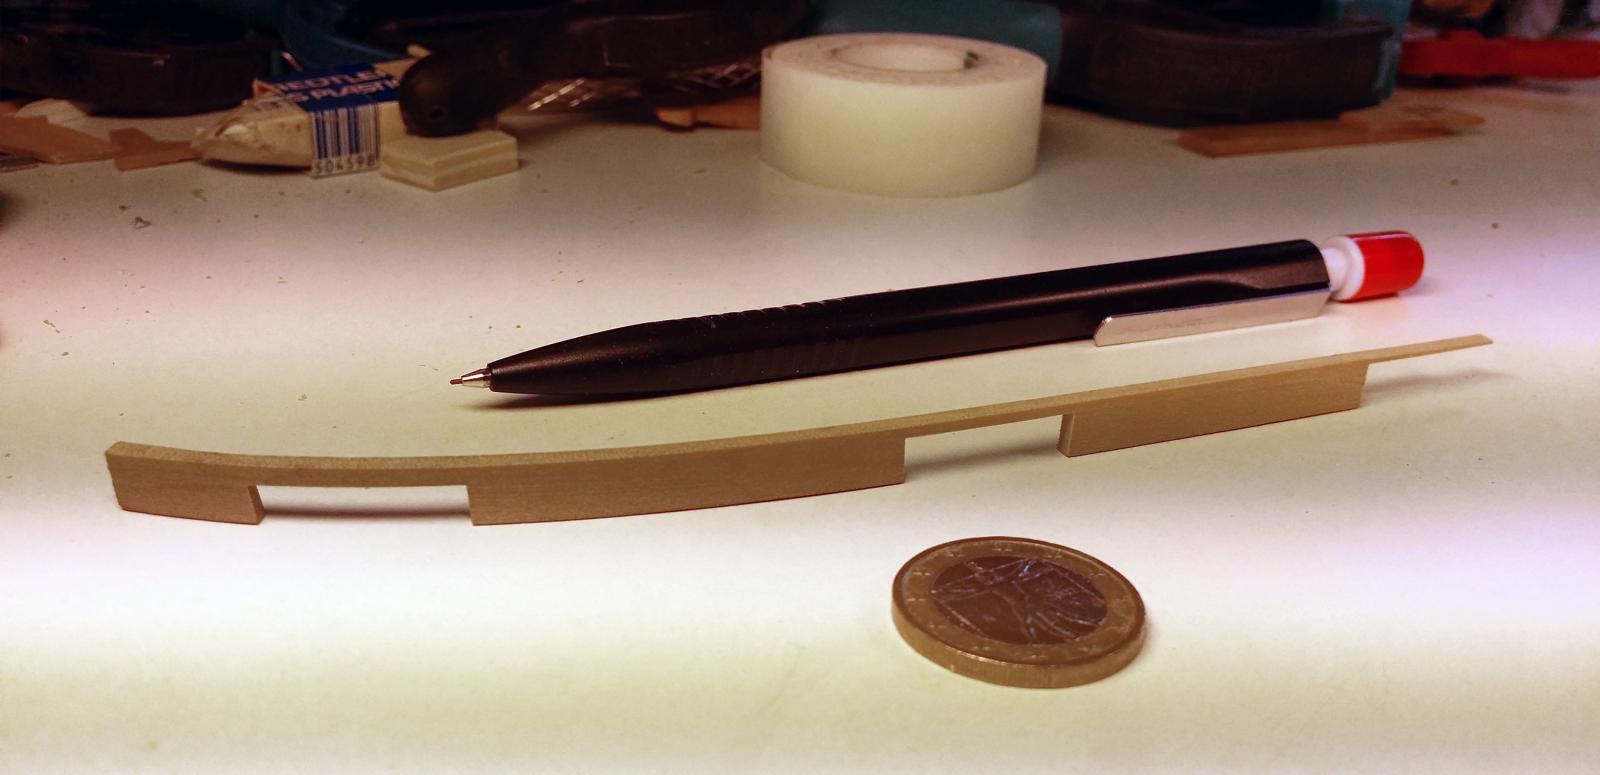
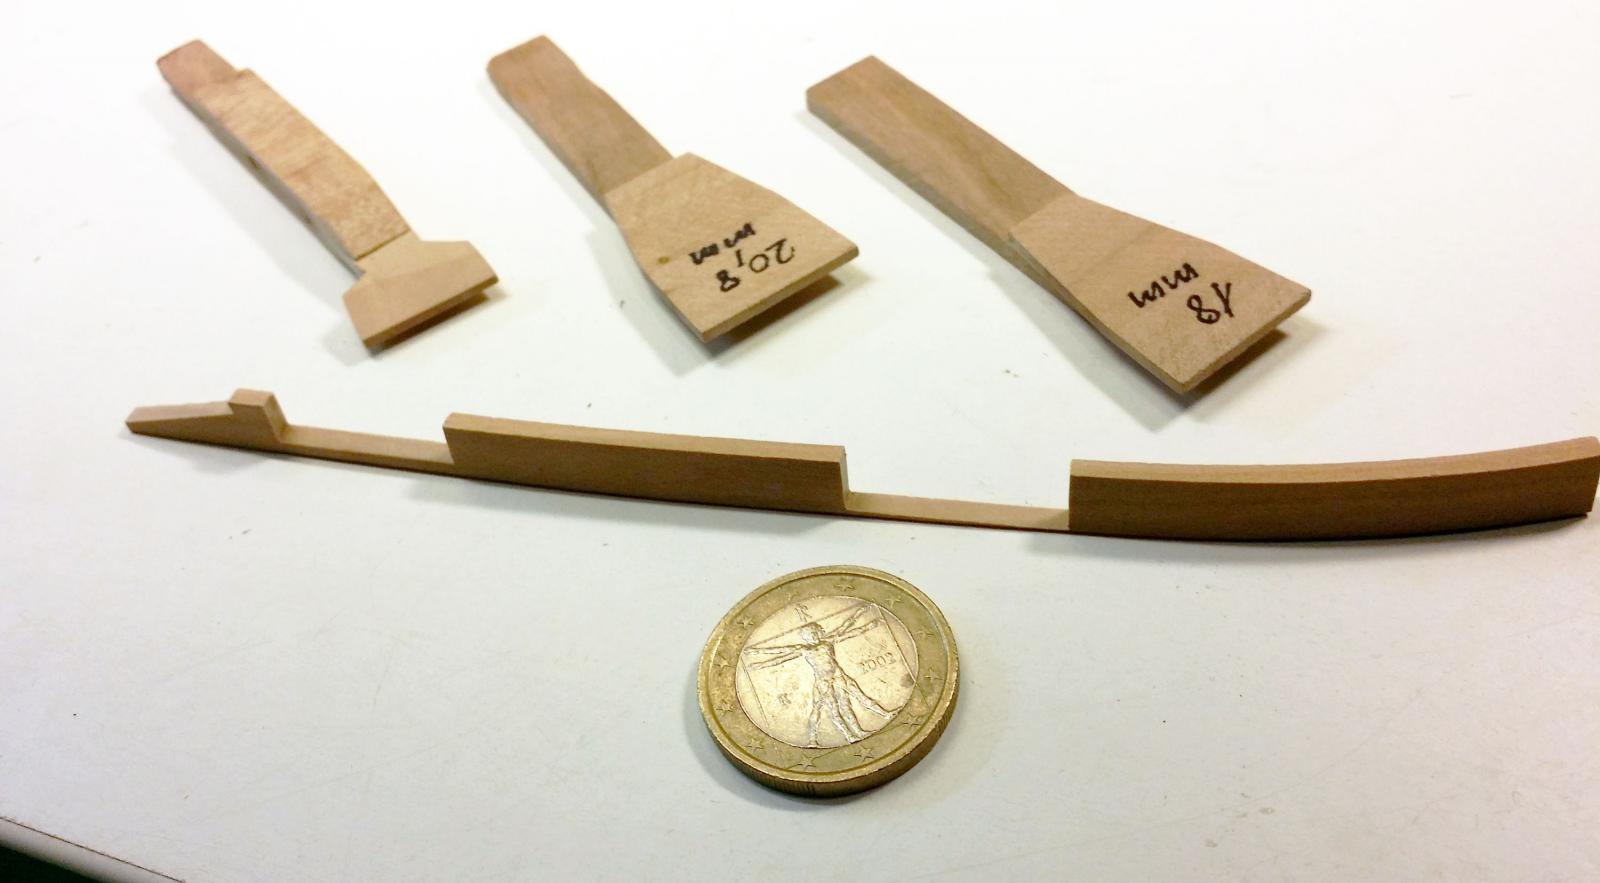
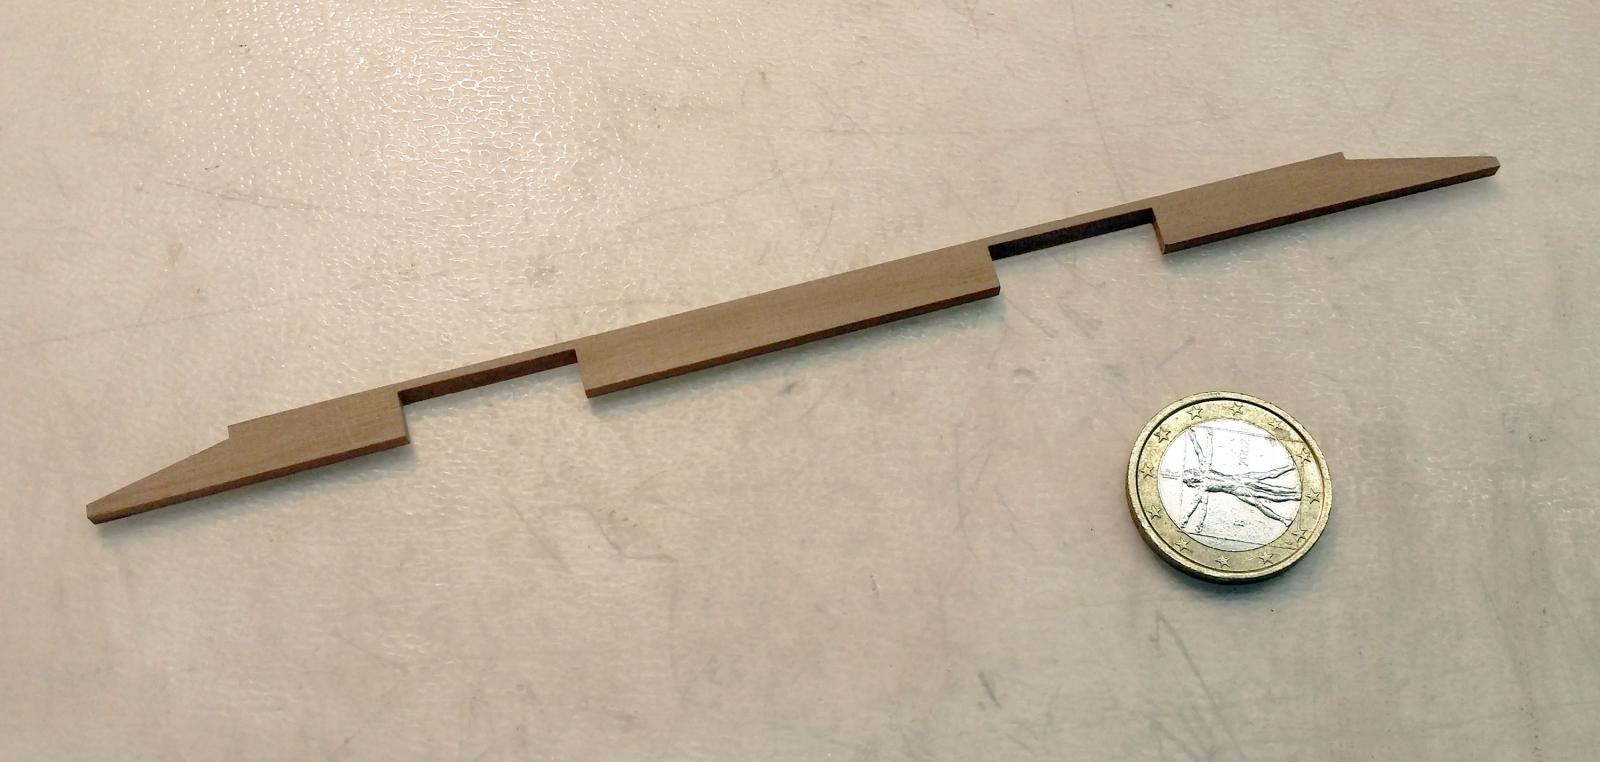
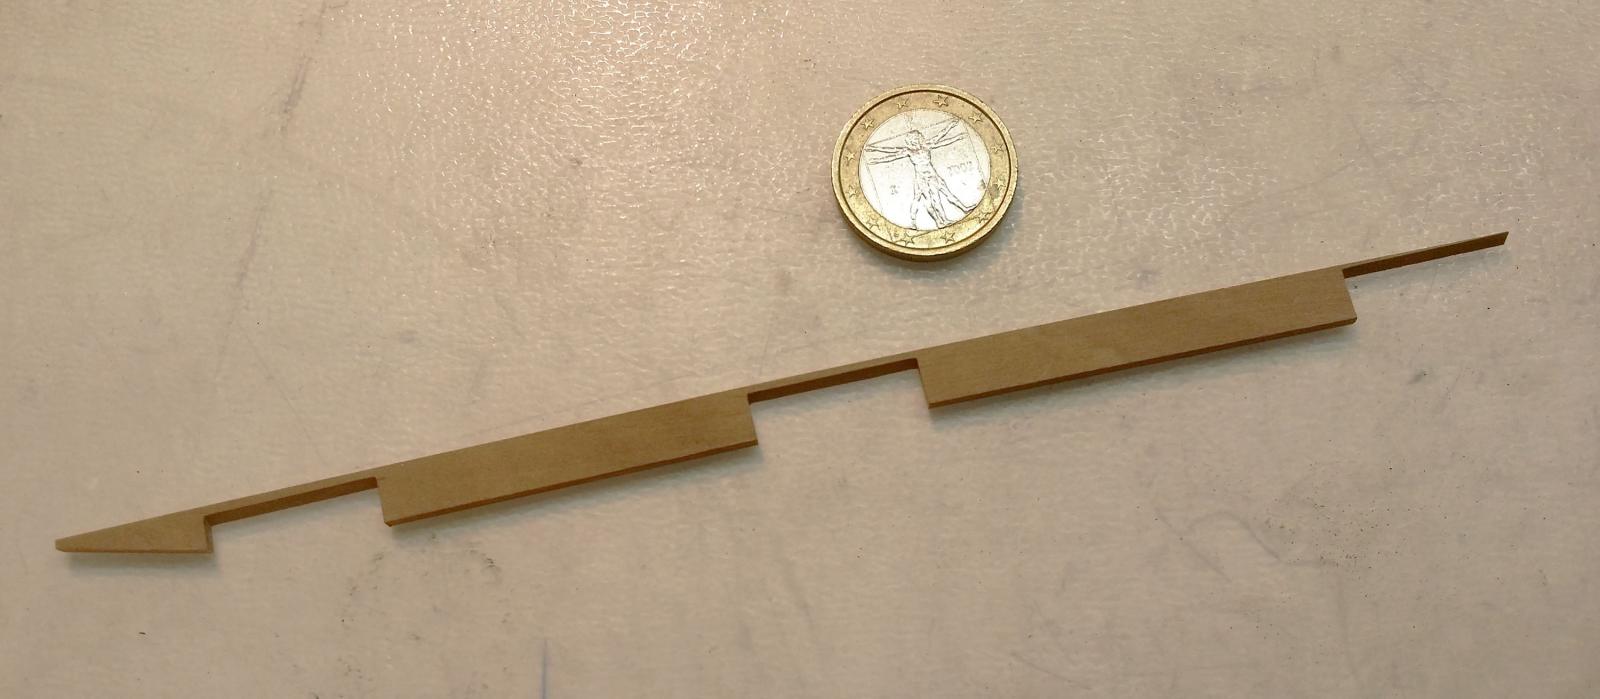
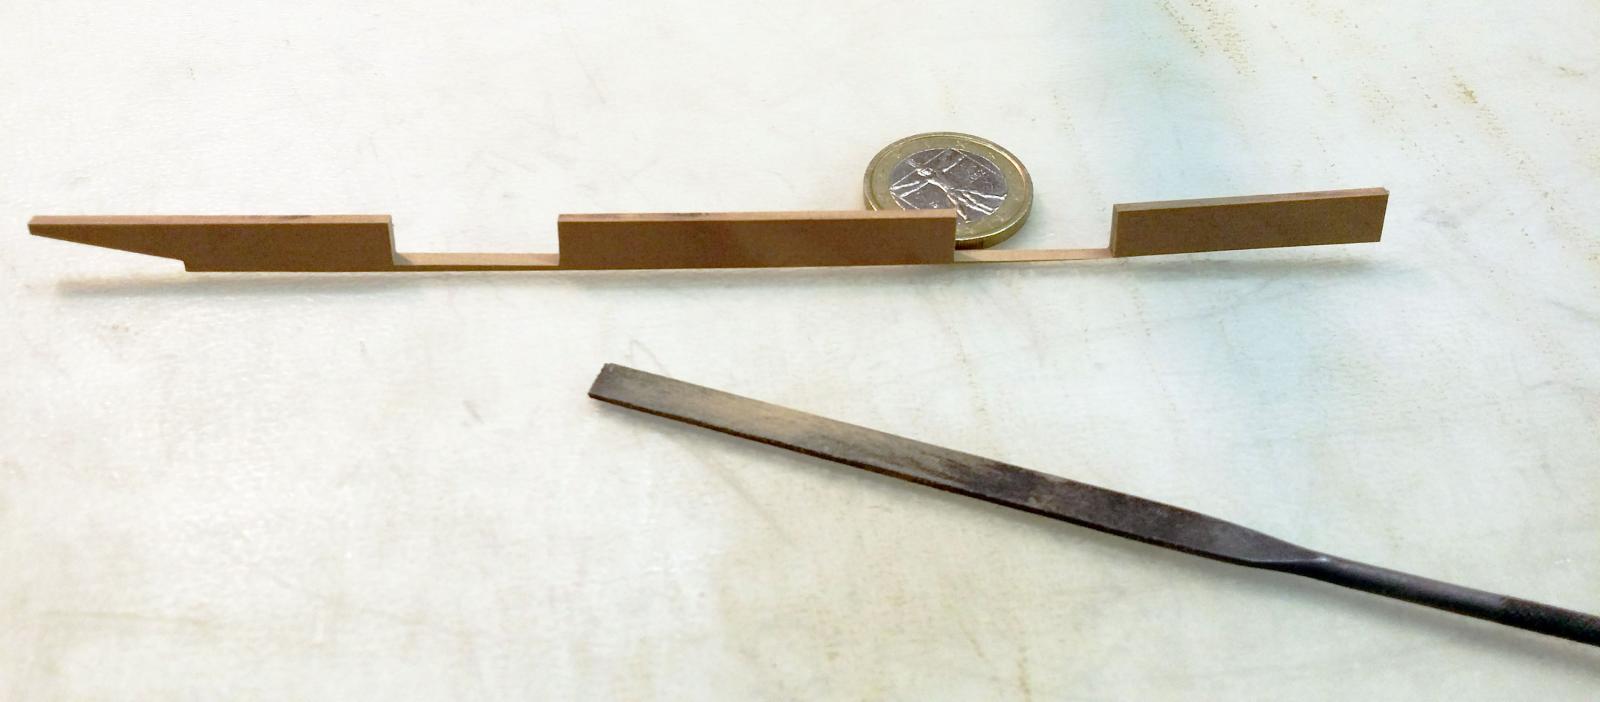
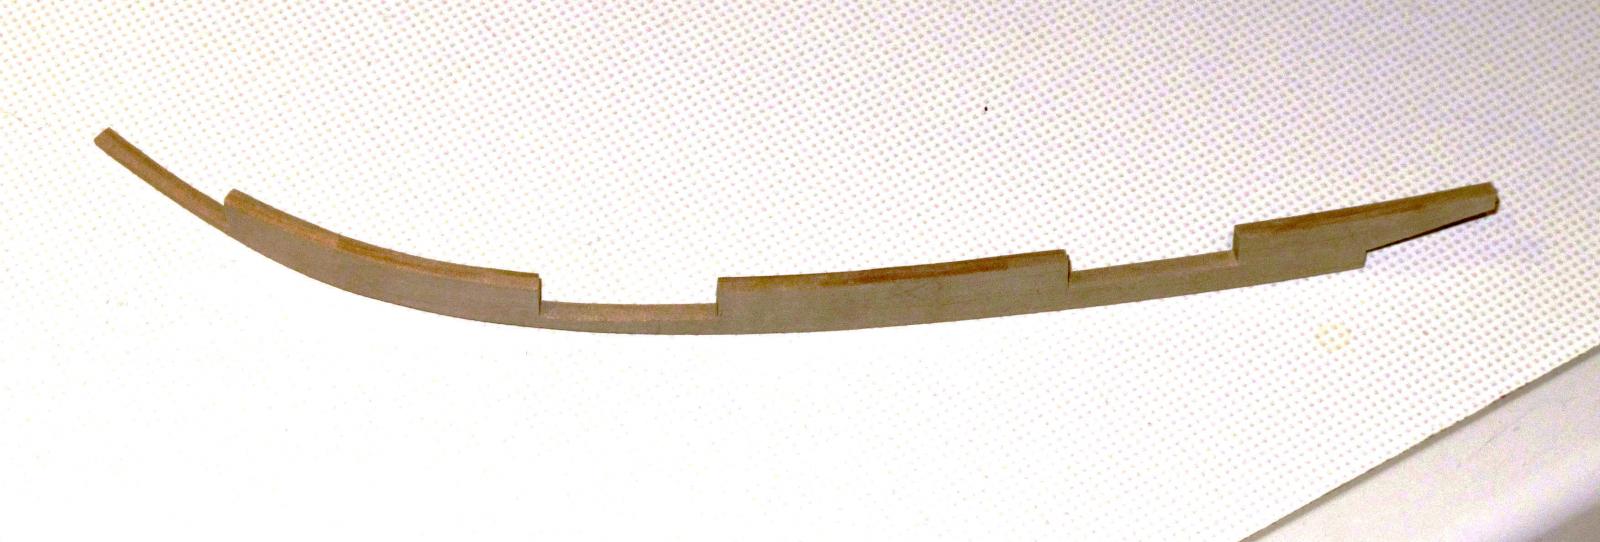
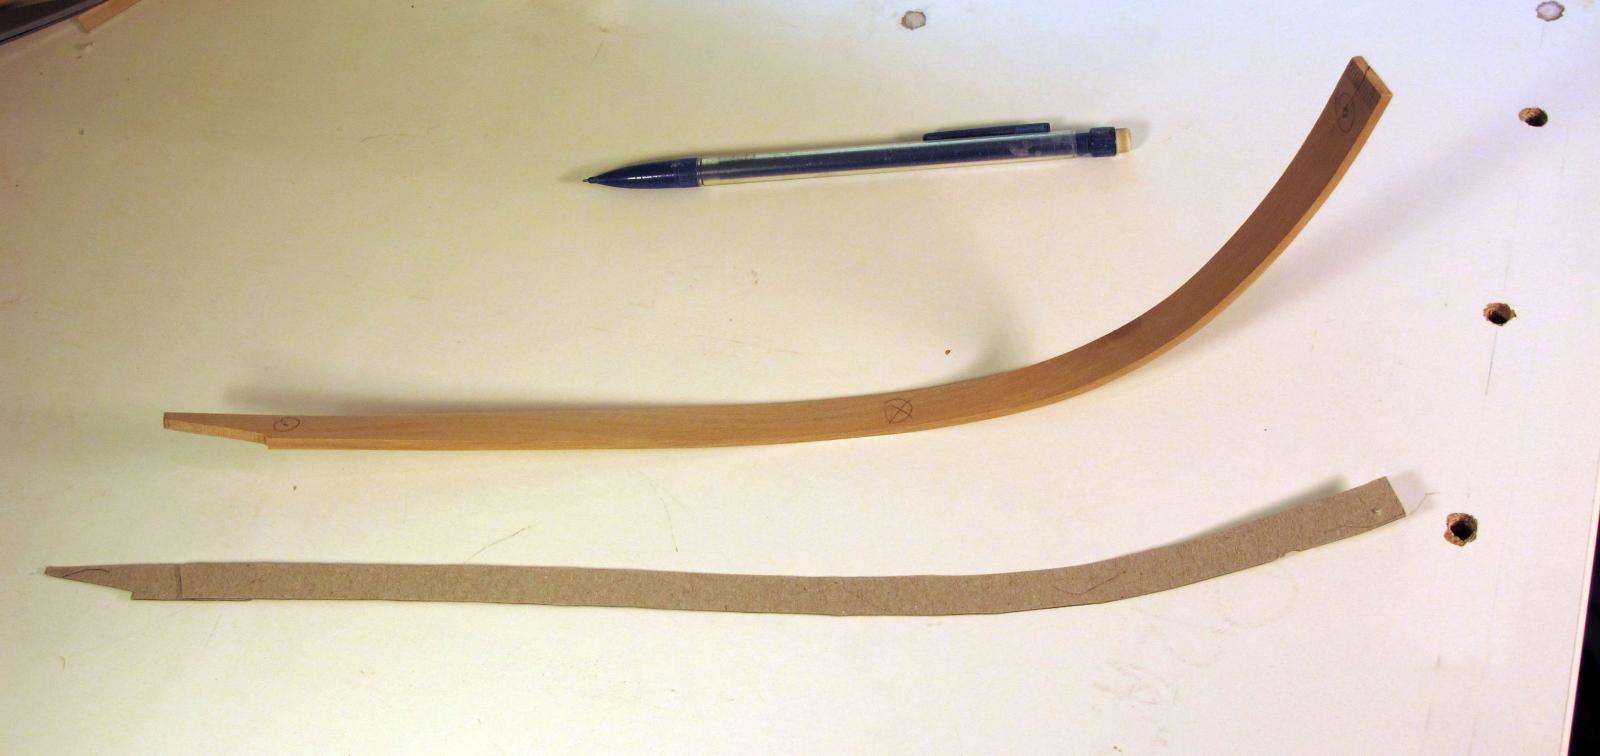
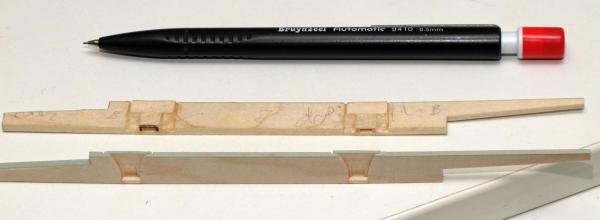
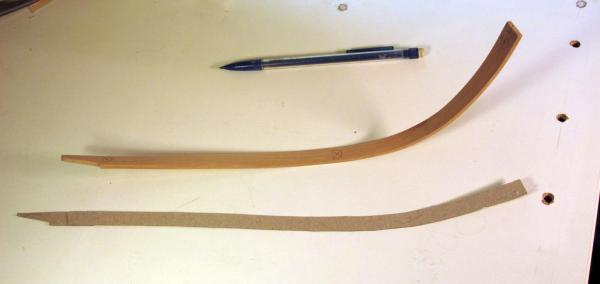
Step 2: Translate the contours from the cardboard to a piece of pear wood. Then, cut with a fret-saw and bend with steam till it fits the ship curvature. Trim (grind) again in (very!) small steps till it fits into the place nicely. Good grinding jigs help a lot. I prepared the pear wood to be 0.5mm thicker than the final plank thickness – this, I will remove when grinding the whole ship hull in order to get a nice, smooth surface. Dražen

- 487 replies
-
- 9
-
-
- ship of the line
- 80 guns
- (and 1 more)
-
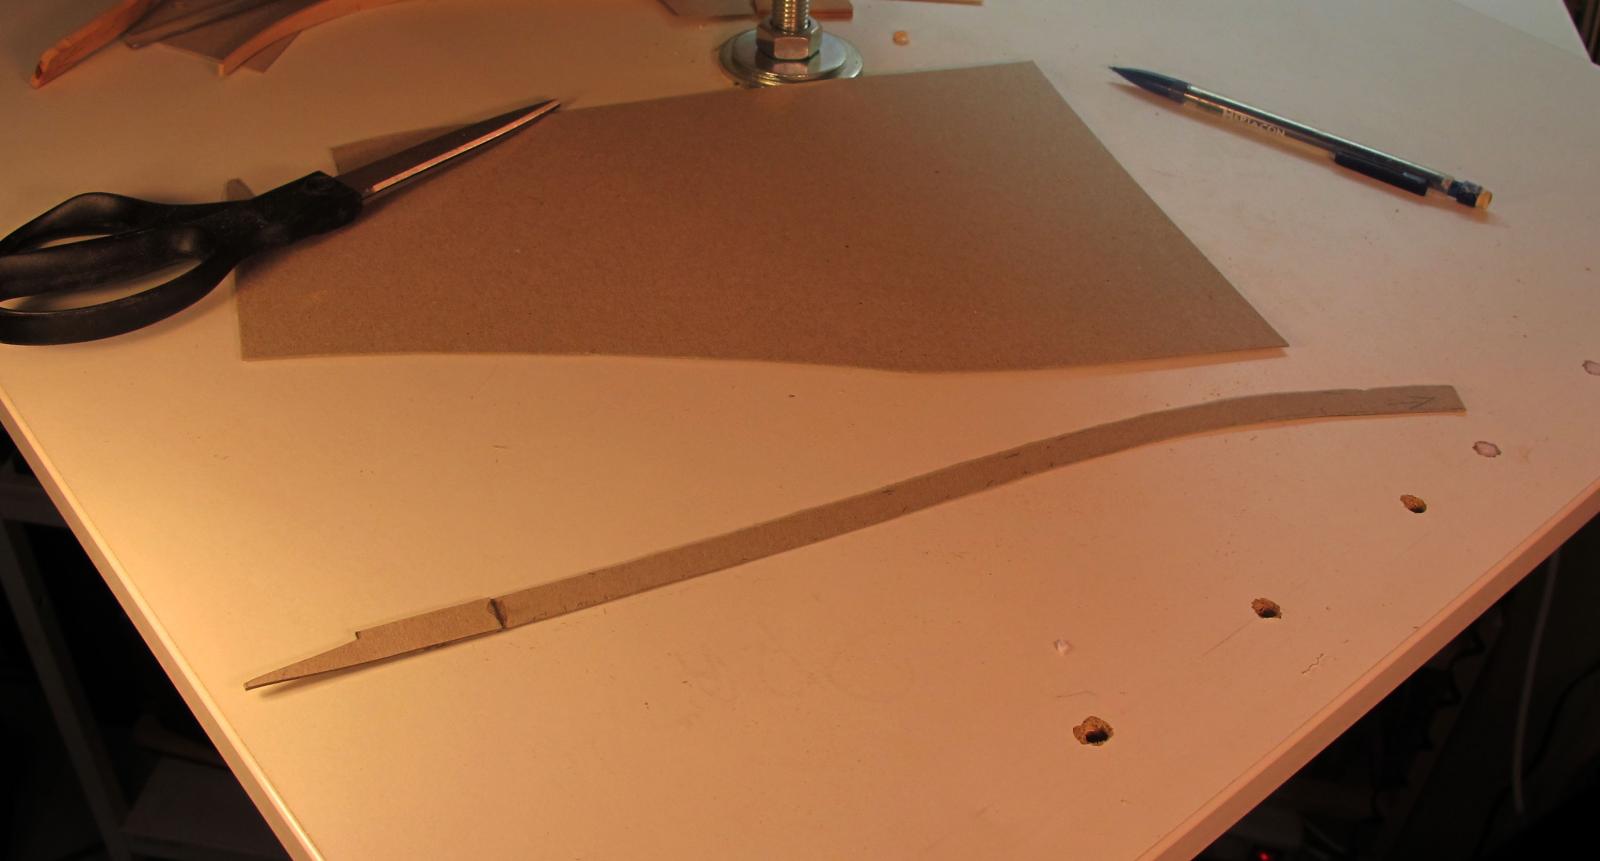
Here, I will explain the planking technique. Although probably for many a known method, maybe for some interesting to read. I am showing it on one of the most bended/complicated plank - due to the strong curvature on the bow. Step 1: Cut the plank template out of a cardboard and trim it so long till it fits nicely and follows the contour exactly. This needs a lot of trimming in small steps. Dražen

- 487 replies
-
- 8
-
-
- ship of the line
- 80 guns
- (and 1 more)
-
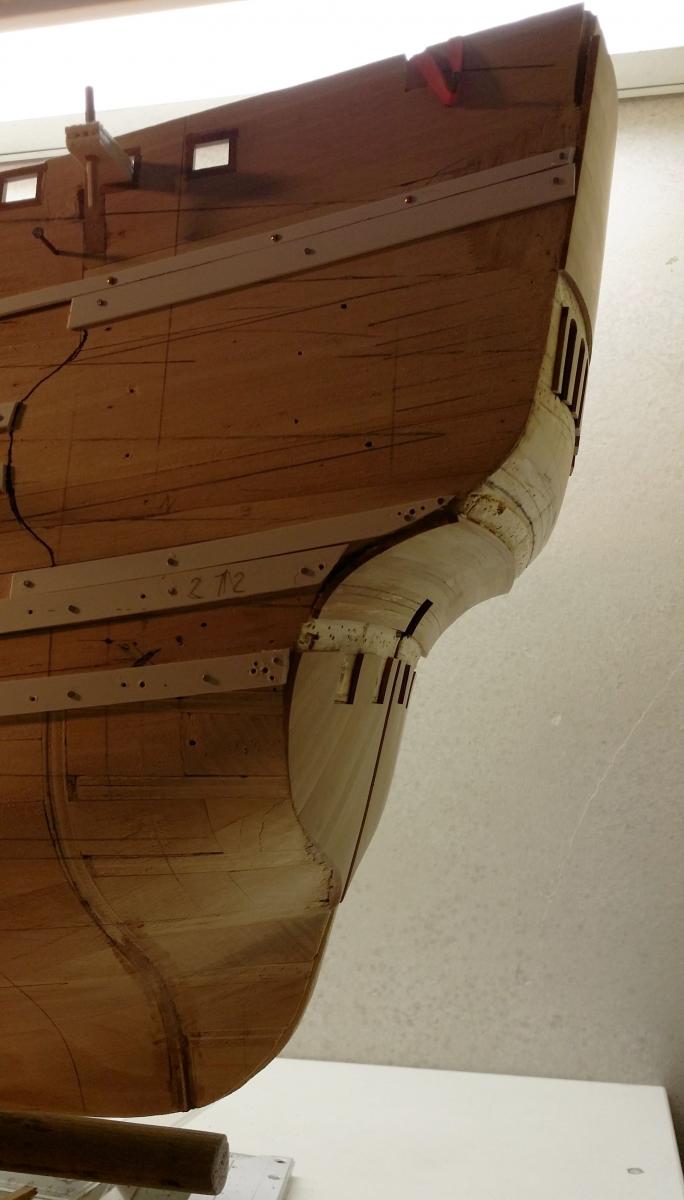
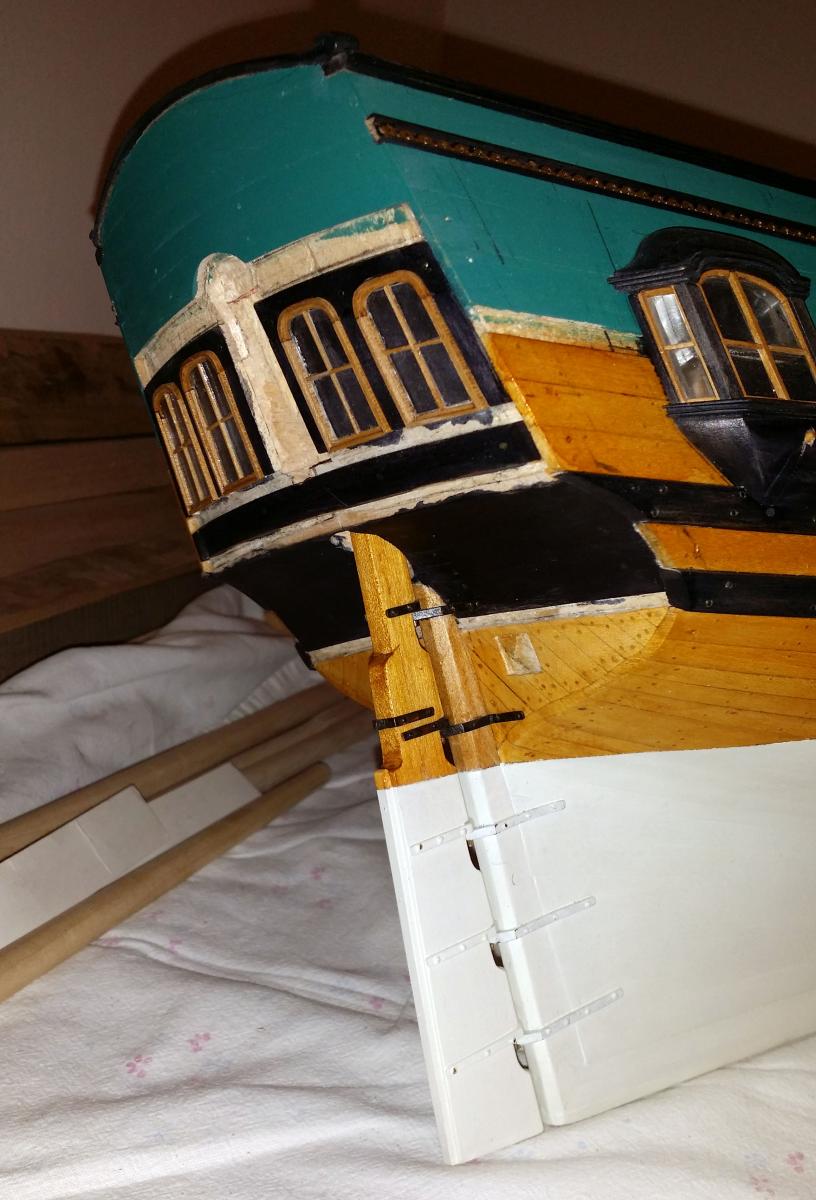
… the lower part of the stern – the status at the moment. Dražen
- 487 replies
-
- 6
-
-
- ship of the line
- 80 guns
- (and 1 more)
-
The outer part of the gunport lids glued together with epoxy… Dražen
- 487 replies
-
- 6
-
-
- ship of the line
- 80 guns
- (and 1 more)
-
Hi Bruno, I am not sure if I understand your question. .. but I will try to answer. Mile did finish a second Jadran (marine school ship of former Yugoslavia) in the meantime. He worked last 1.5 years on it and that is why Royal Caroline has a relatively slow progress. Otherwise, Mile is extremely fast... I always get frustrated how slow I am, when I see his progress :-) ... but maybe we post some photos of Jadran into the forum. The next, we are looking for the plans of the Royal James 1671 – not easy to find these plans at all. Mile is going to do the Royal James after the Royal Caroline, in a bigger scale – probably 1:48 – and he will do it as an admiralty model. This will be something to report!!! … a huge model with extreme precision and impression of reality which I am used to see when Mile is doing things. I am looking forward a lot to this project. Dražen
- 86 replies
-
- 2
-
-
- royal caroline
- yacht
- (and 1 more)
-
Jan, This is the lower hackebord. The size also surprised me when I was doing the templates, but the template represents just a projection (a diagonal) in order to know how far to lay planks. Dražen
-
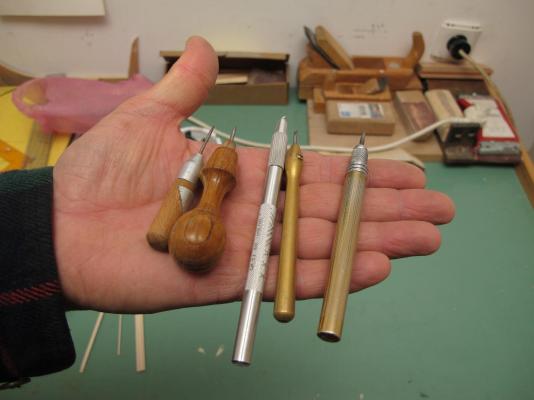
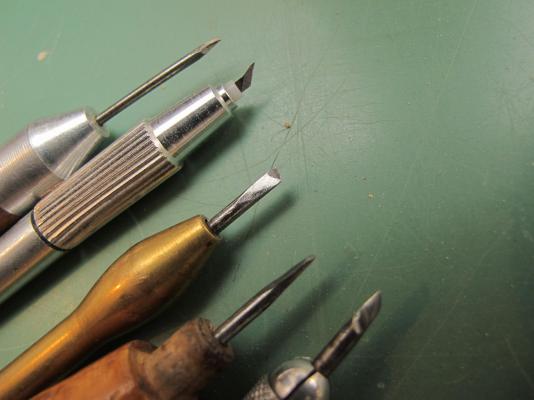
To Omega 1234: Concerning the carvings, I can tell here for Mile something since Mile is not using a computer much… Mile is doing carvings out of the pear wood. The tools are made by himself and out of old drills. Some of them I show here on the photo so you can get an impression. The carving procedure is following: Print a sculpture in scale of the model on a paper Glue the picture on the piece of wood (pear wood) Cut the contour of the sculpture (around the picture) with a fret saw Start carving – leaving the upper contours untouched and carving away the areas you do not need Practice, practice, practice… My remark: Boxwood would be even more suitable for the carving work, but the pear wood is also a good material too. Dražen
- 86 replies
-
- 15
-
-
- royal caroline
- yacht
- (and 1 more)
-
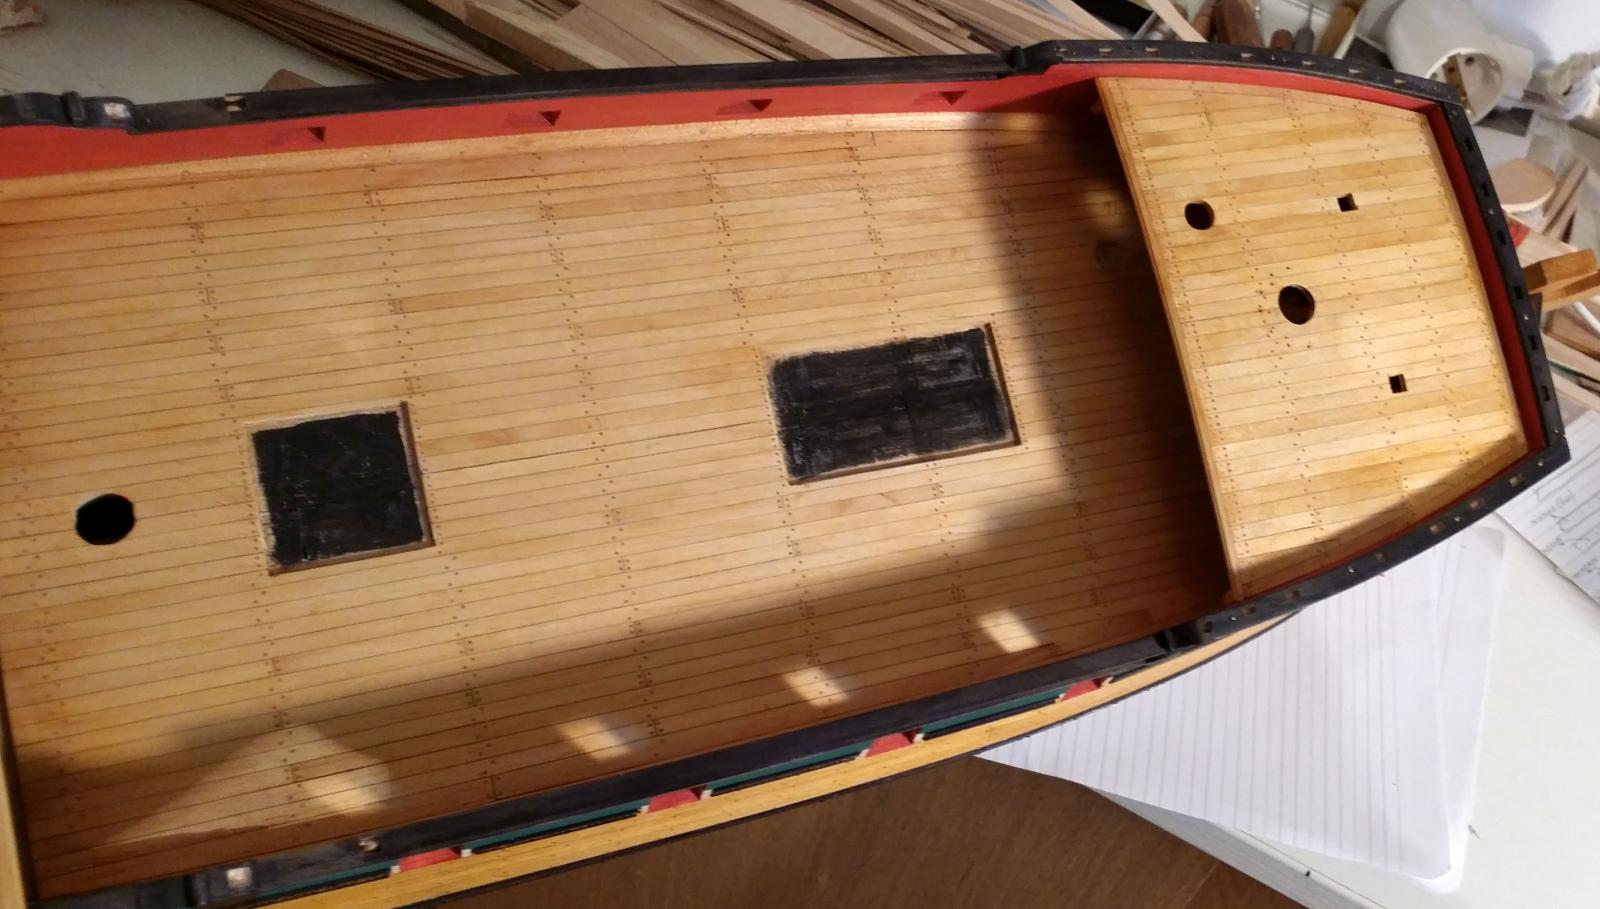
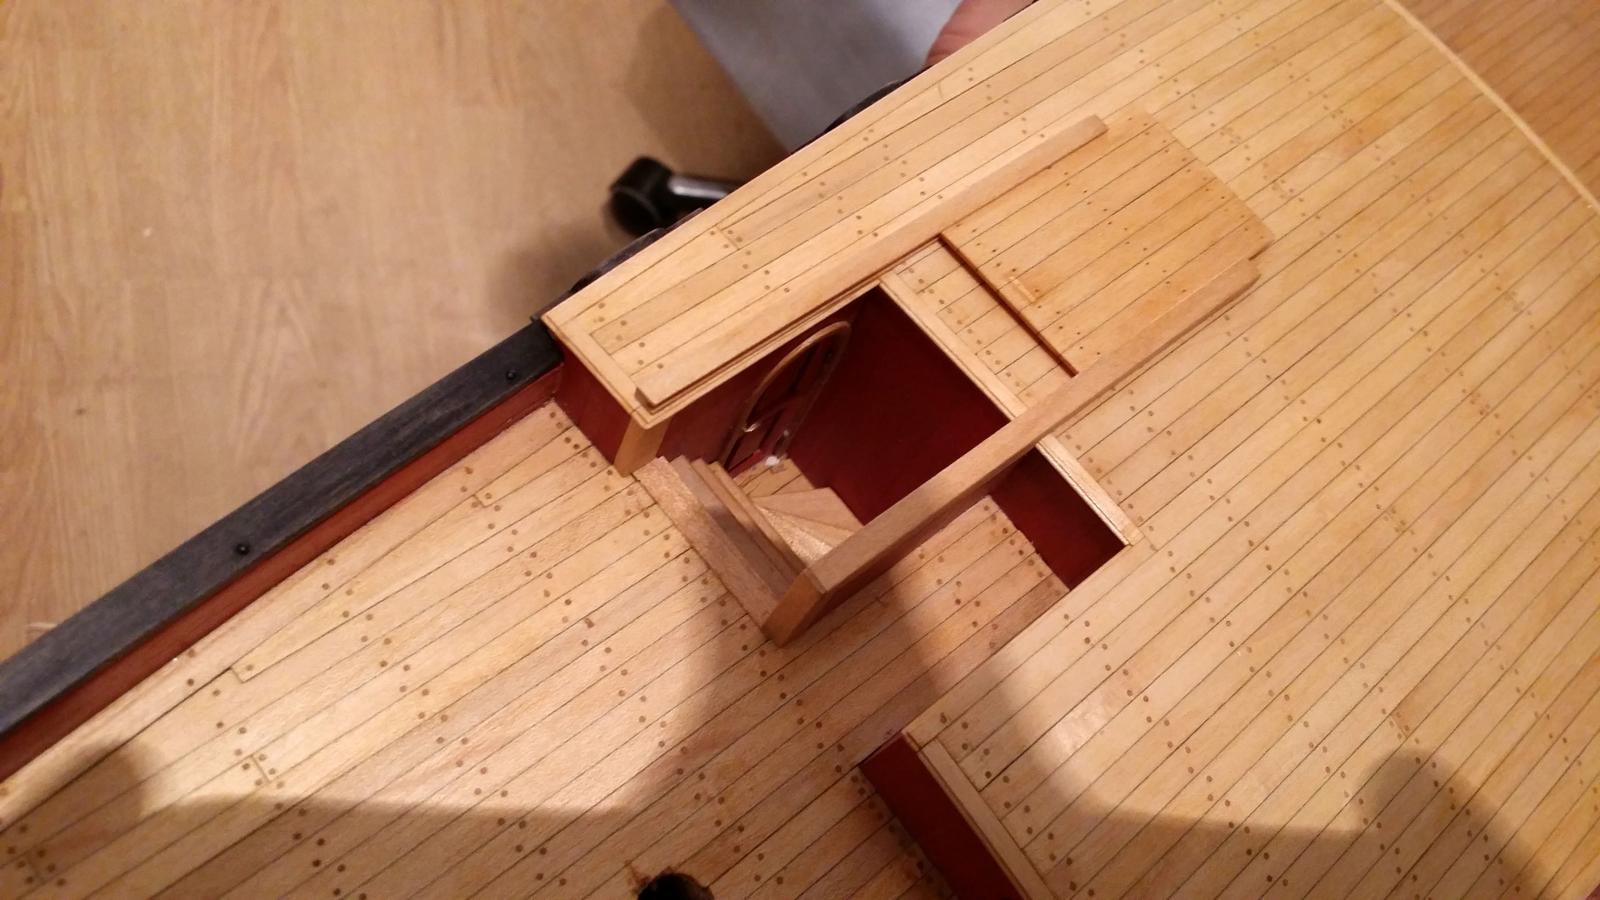
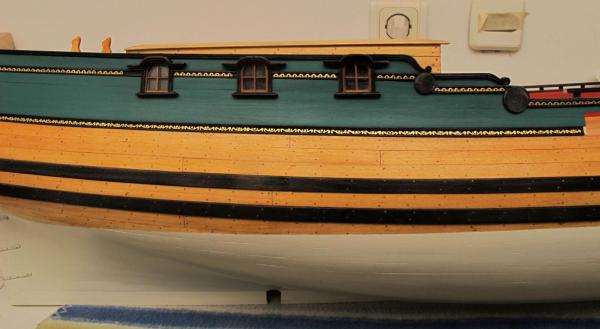
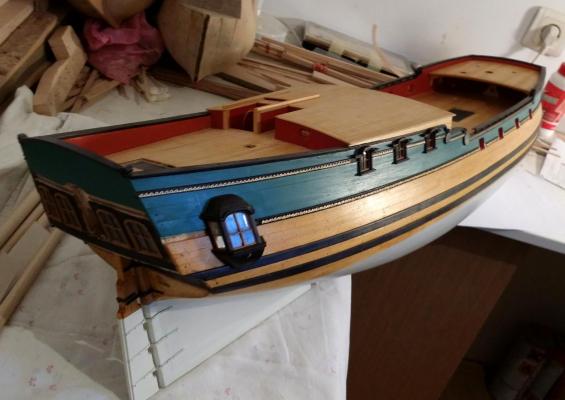
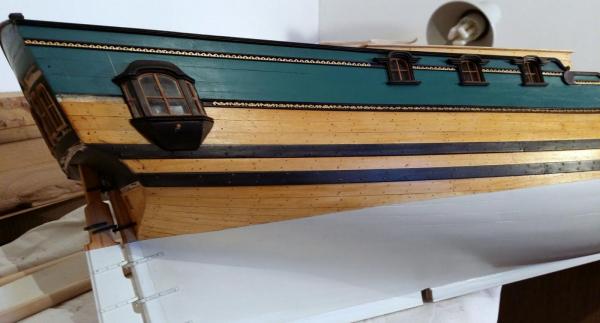
Again some updates on the project - fotos made last weekend. Dražen
- 86 replies
-
- 16
-
-
- royal caroline
- yacht
- (and 1 more)