


Vtwoods1027
-
Posts
12 -
Joined
-
Last visited
Content Type
Profiles
Forums
Gallery
Events
Posts posted by Vtwoods1027
-
-

 Hi there everybody,
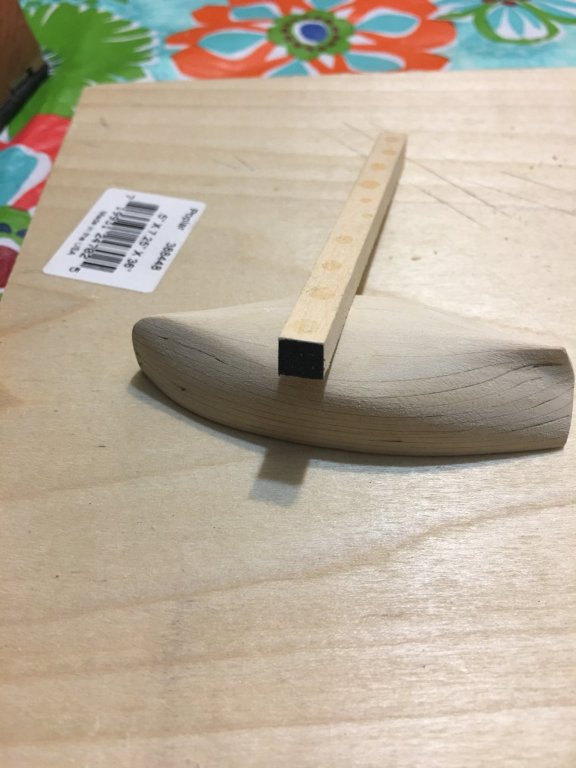
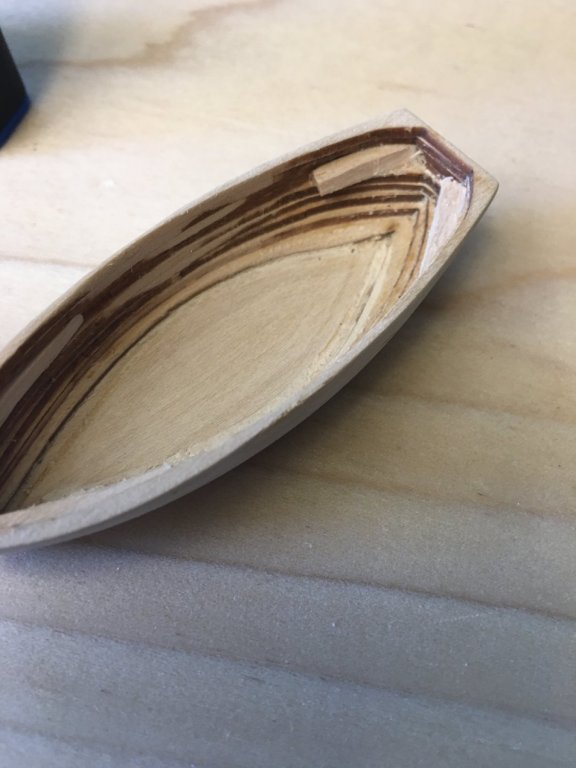
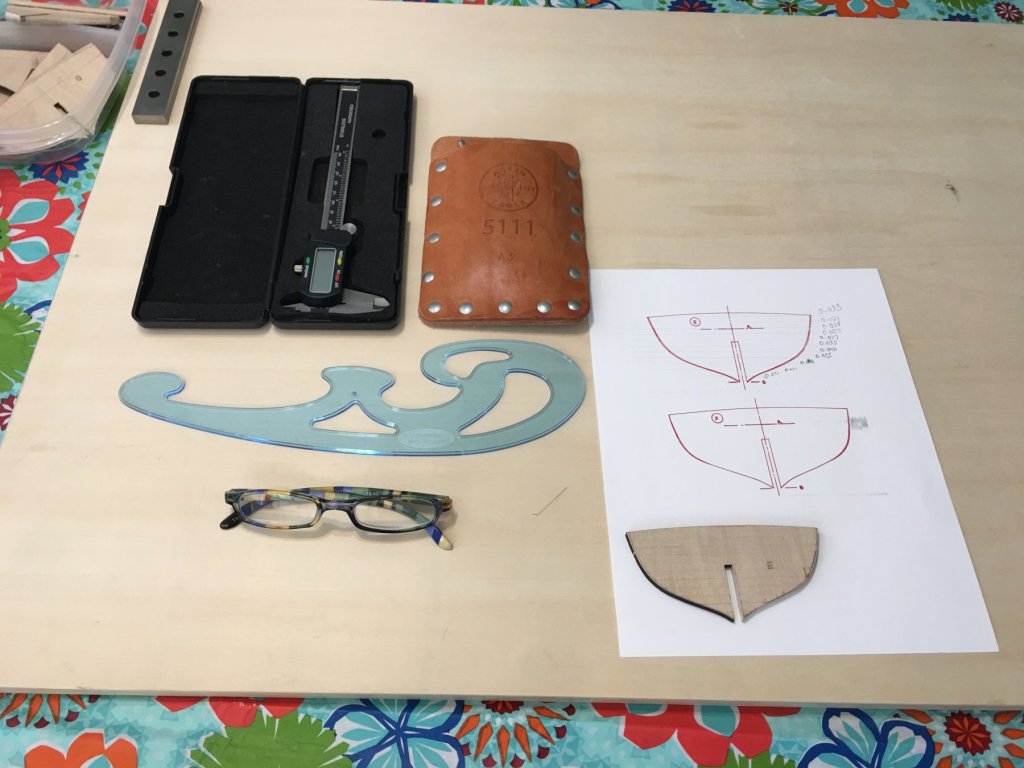
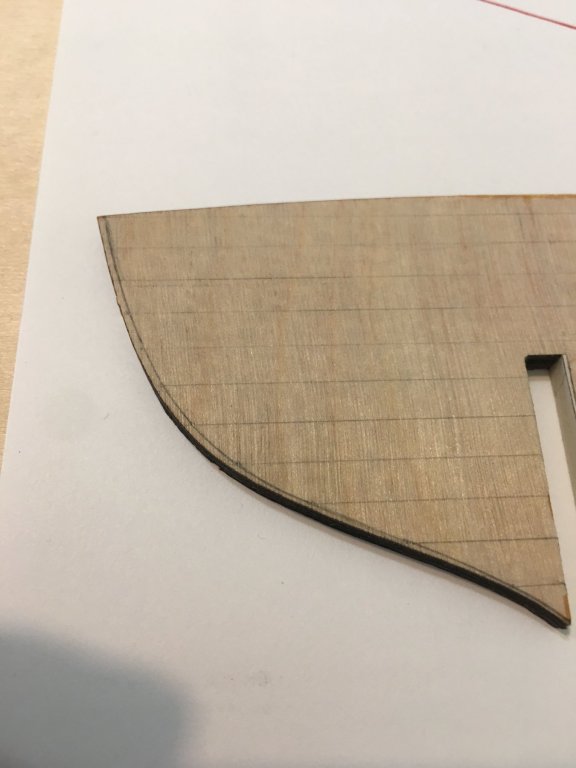
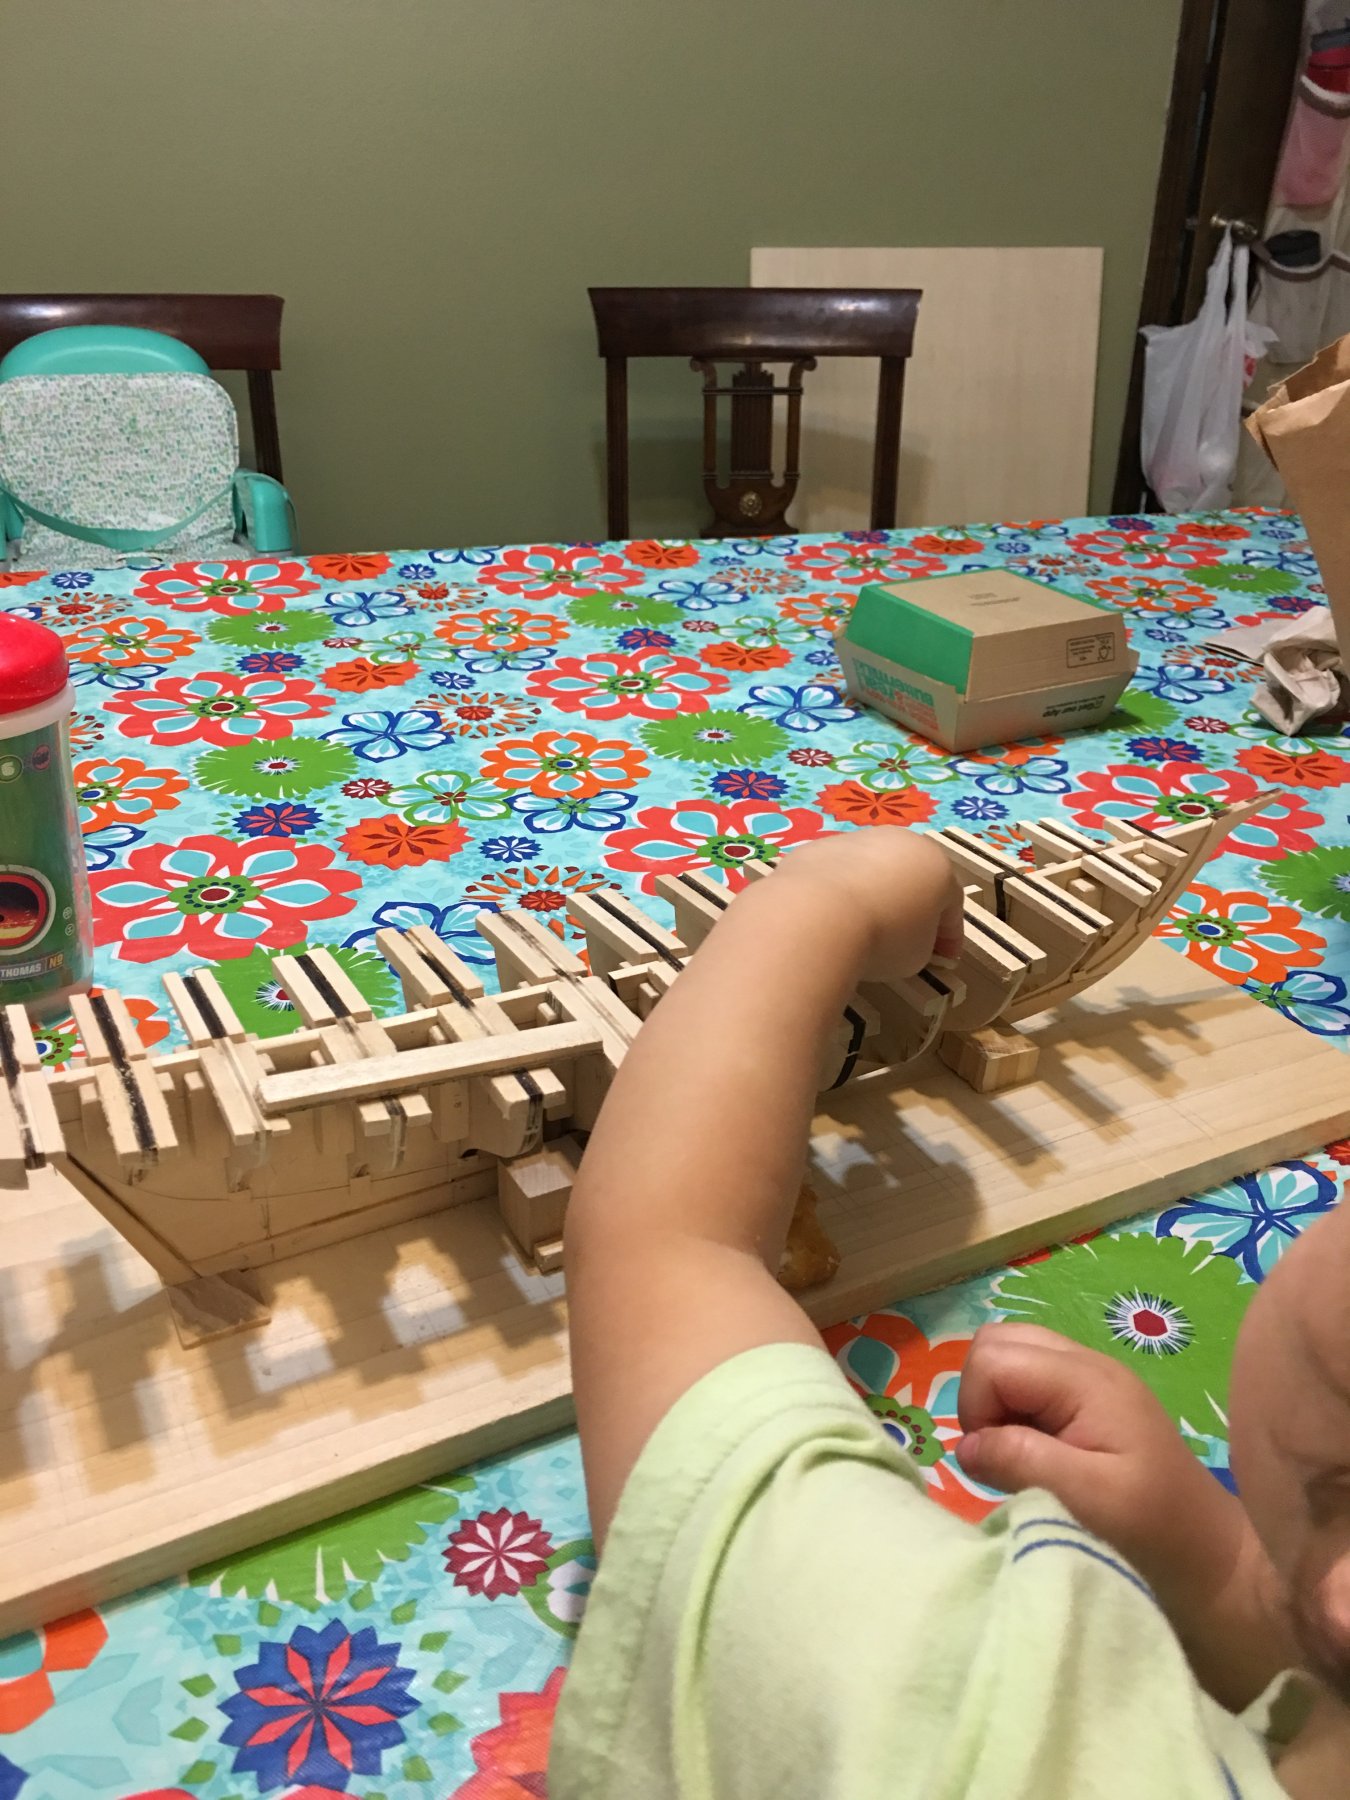
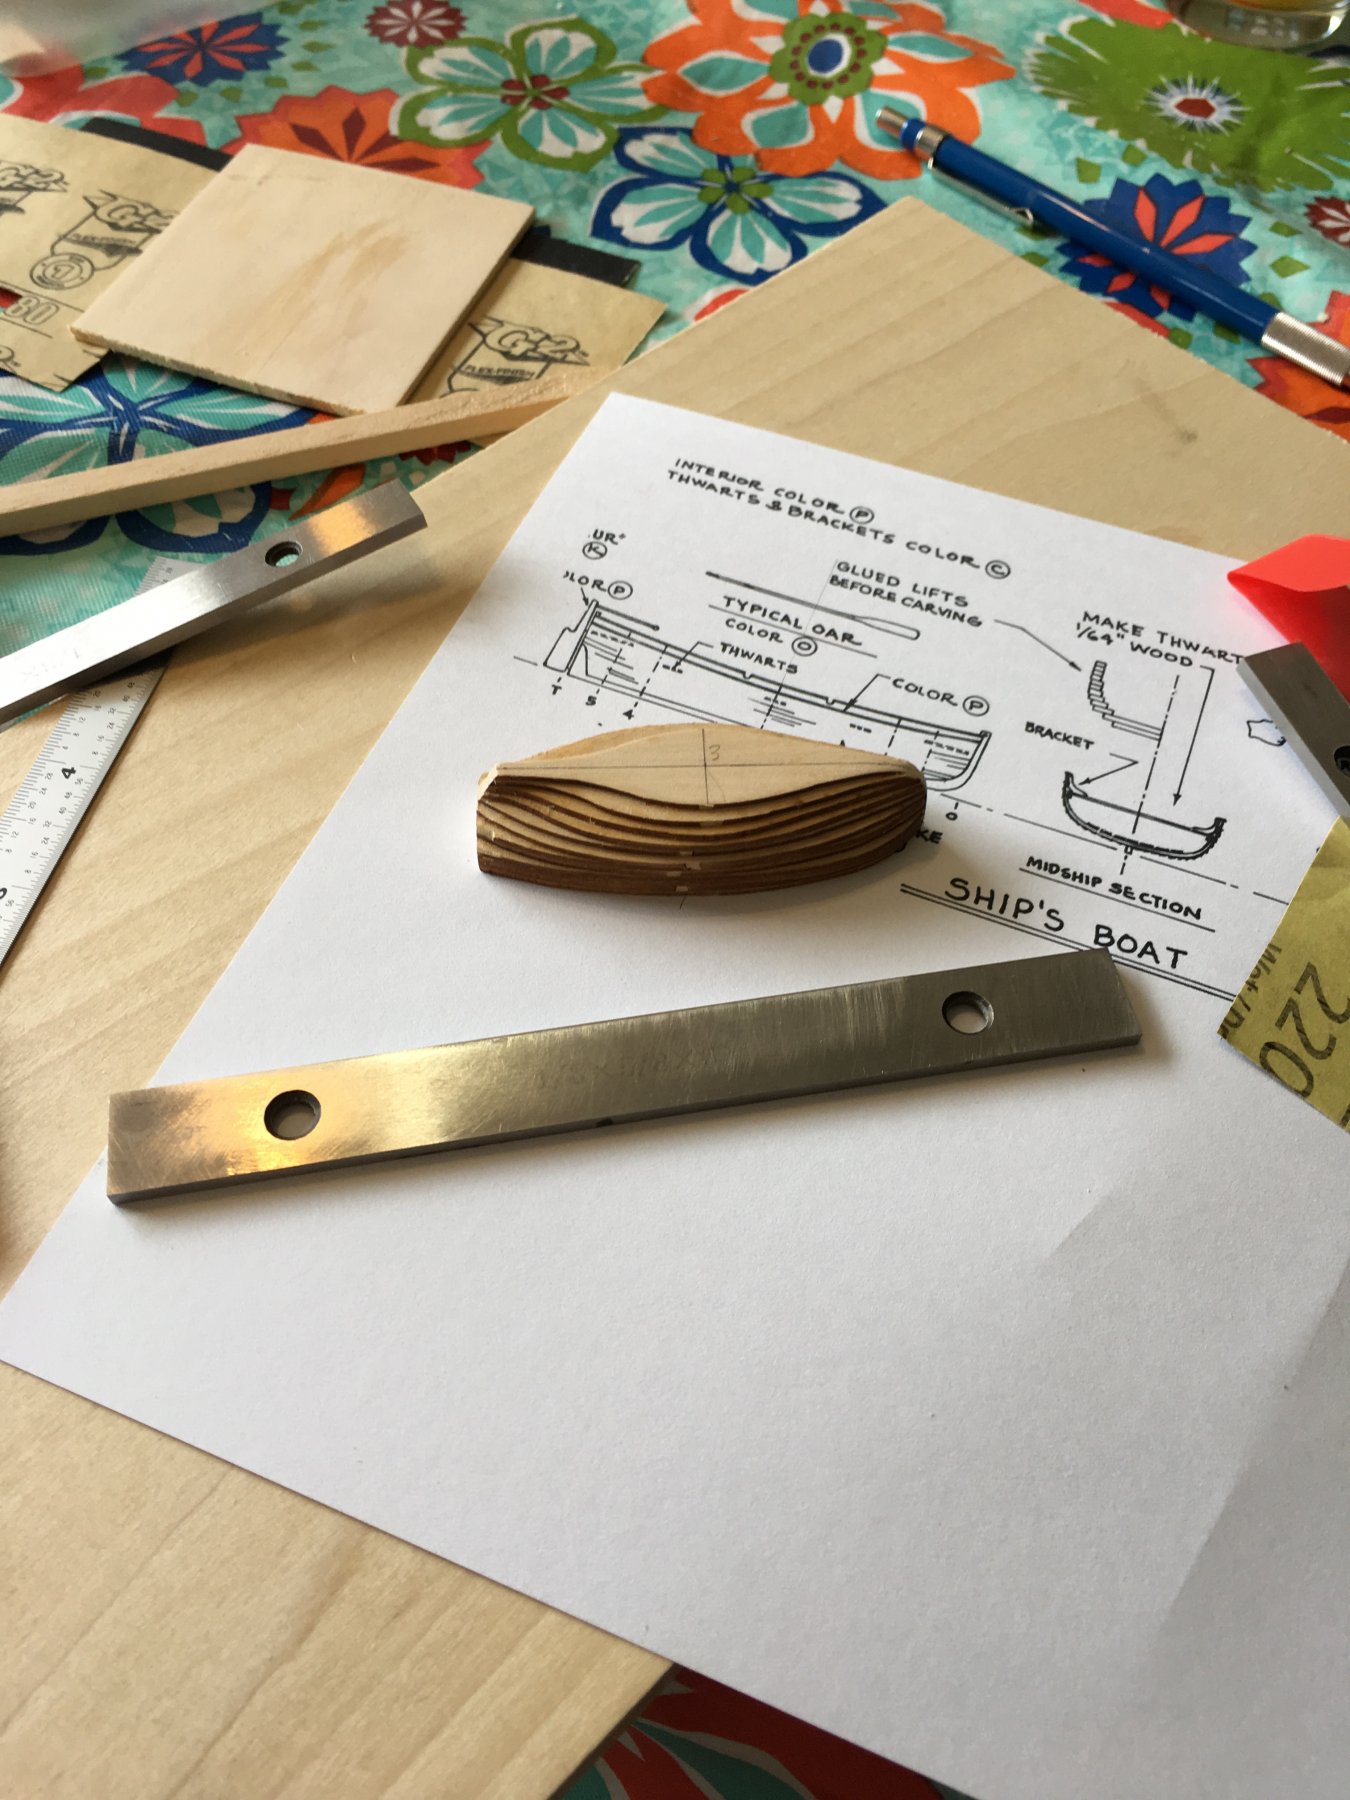
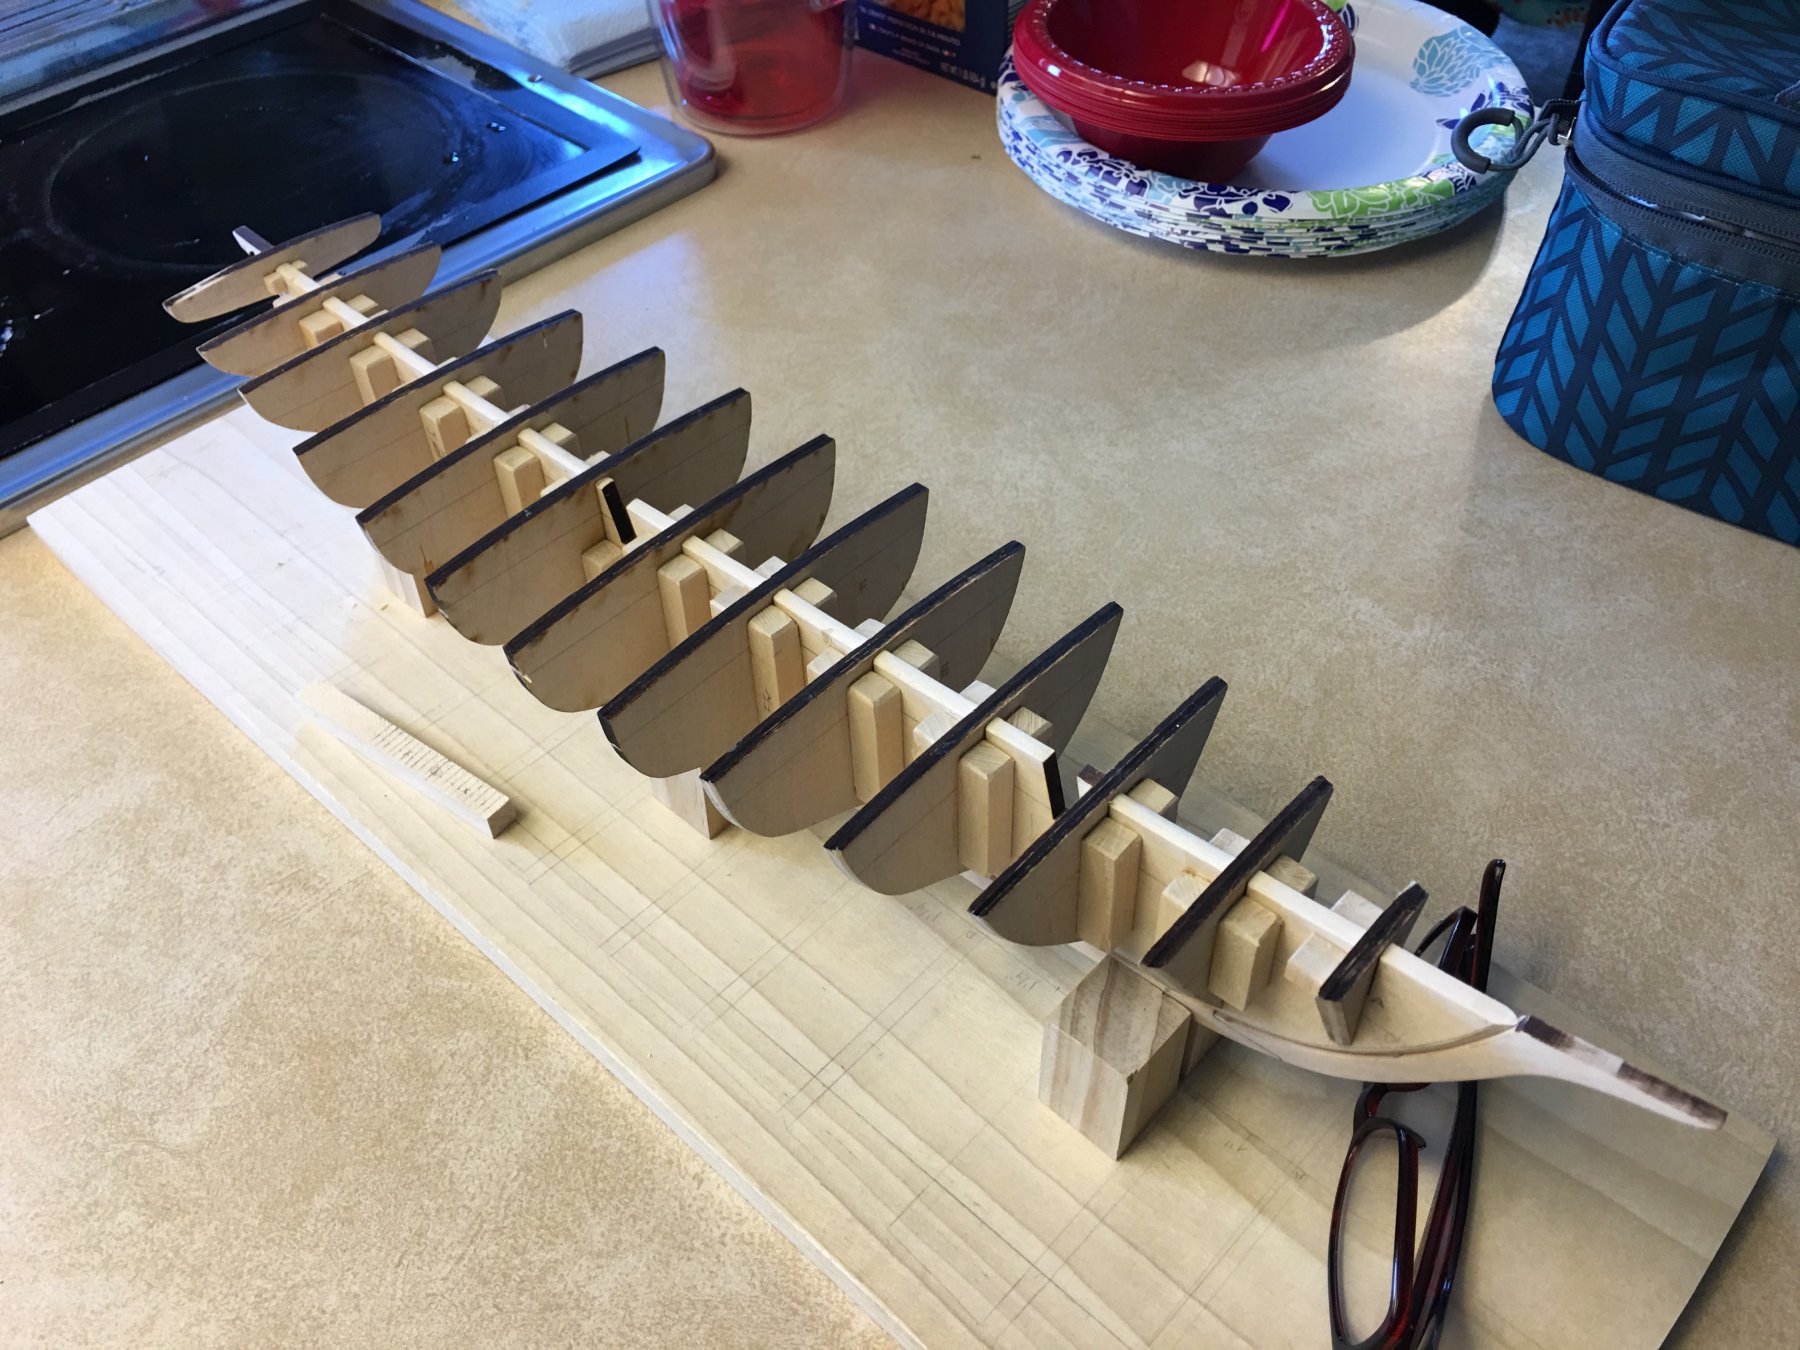
Kind of a shotgun approach to the update today... I have been working on two different aspects in parallel, this ships boat and fairing the hull.
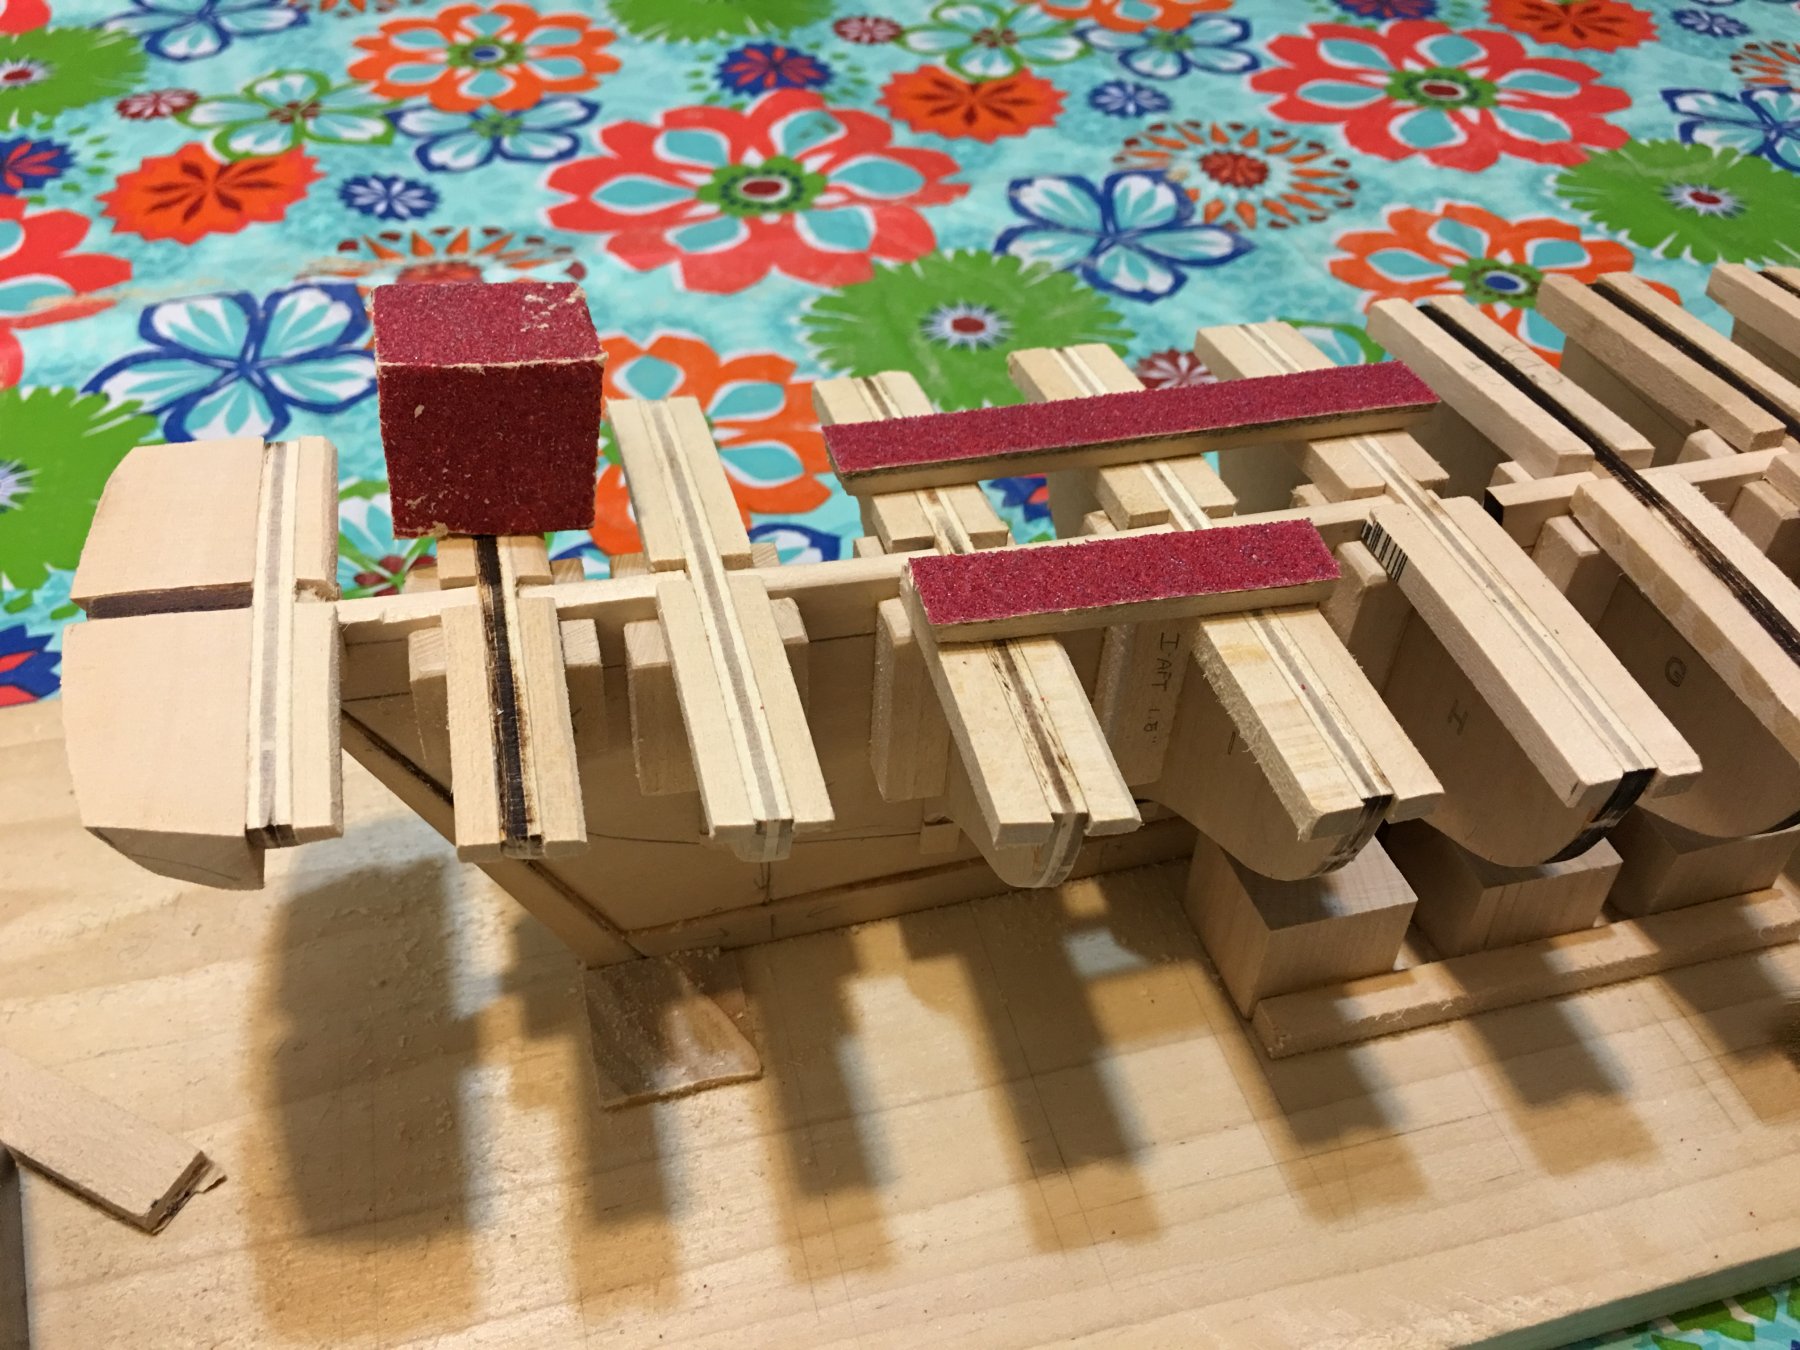
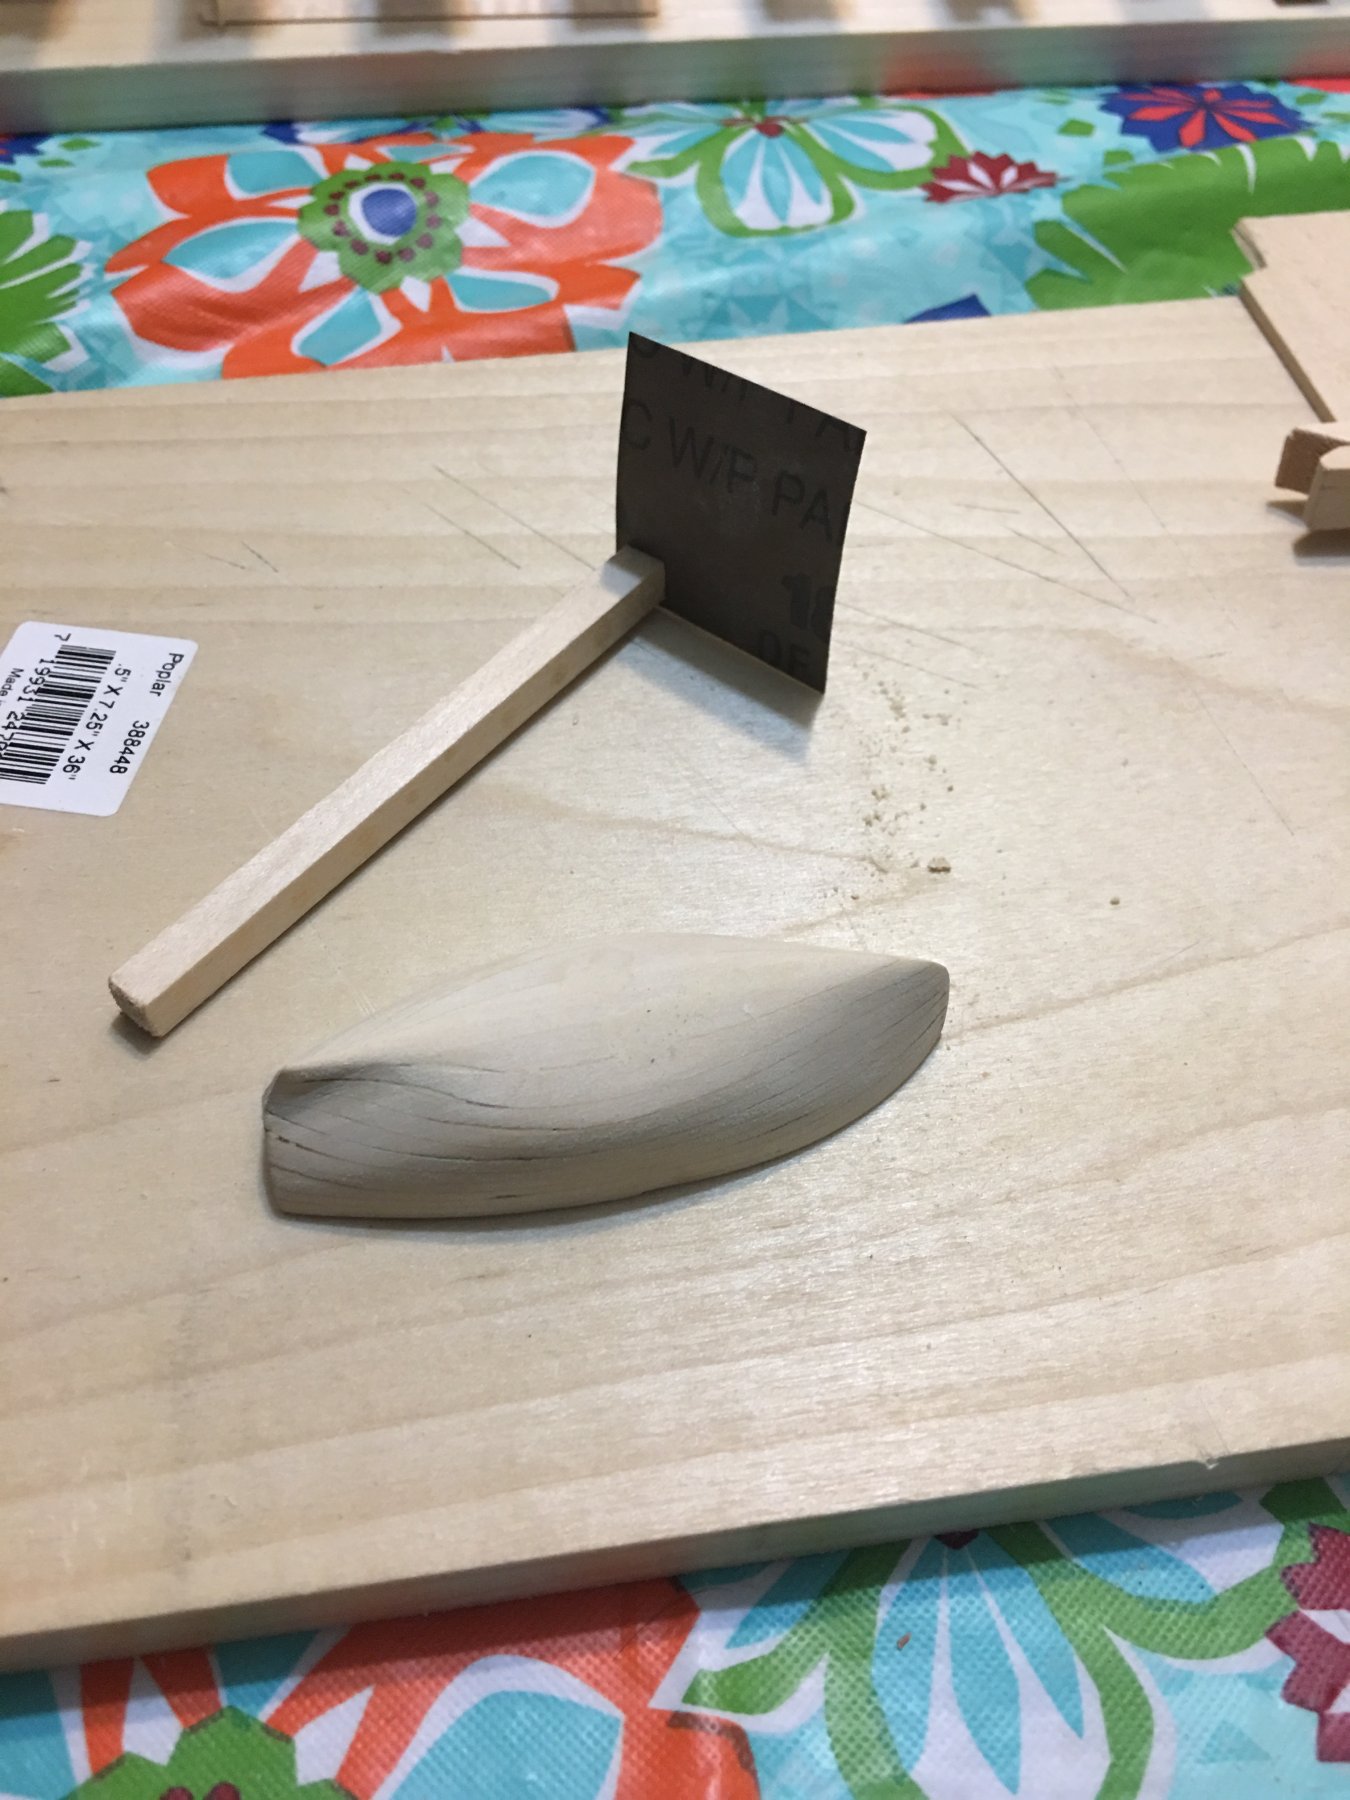
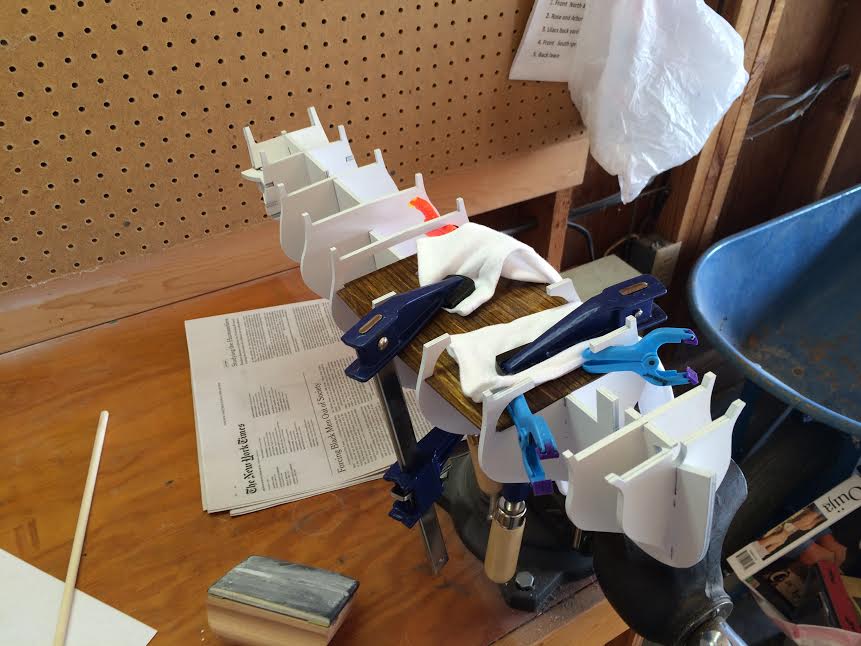
I used the plans to make hull aspect guides... Applied to the sides of the ships boat, I did a lot of sanding and got the outside of the hull in pretty good shape. The inside needs more work but some wood filler and lots of sanding/patience should get it in decent shape. That's next weeks work.
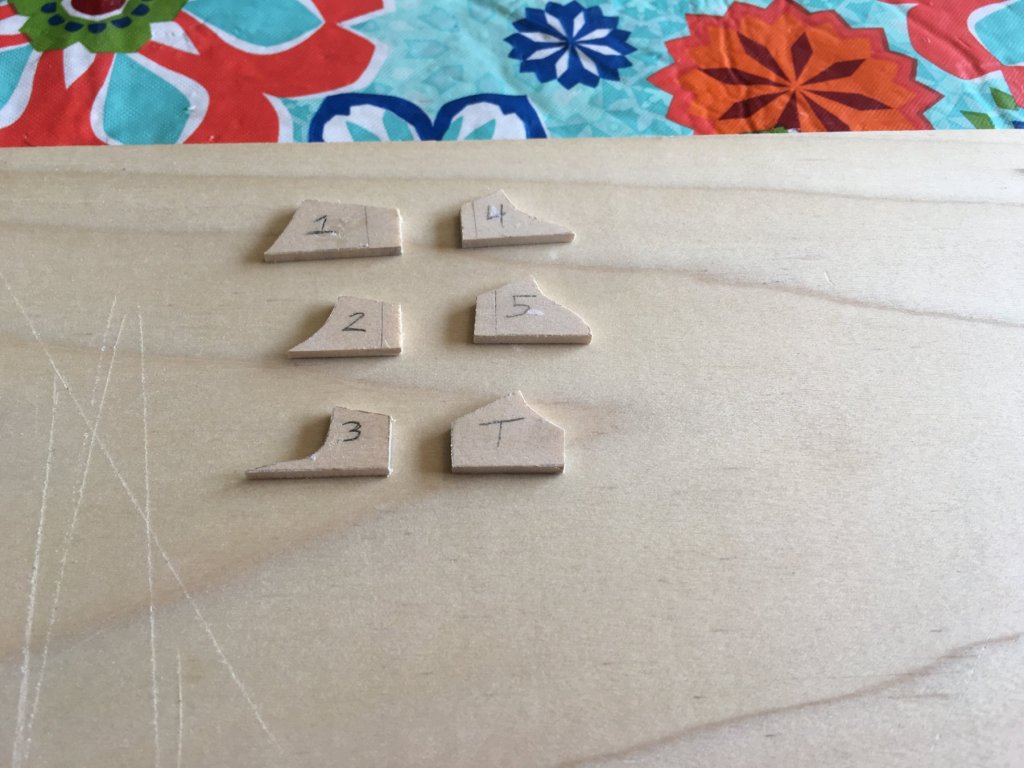
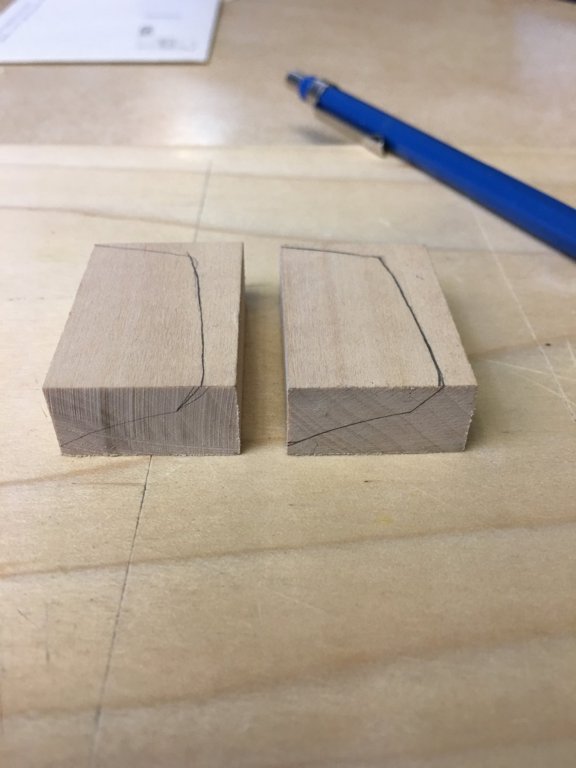
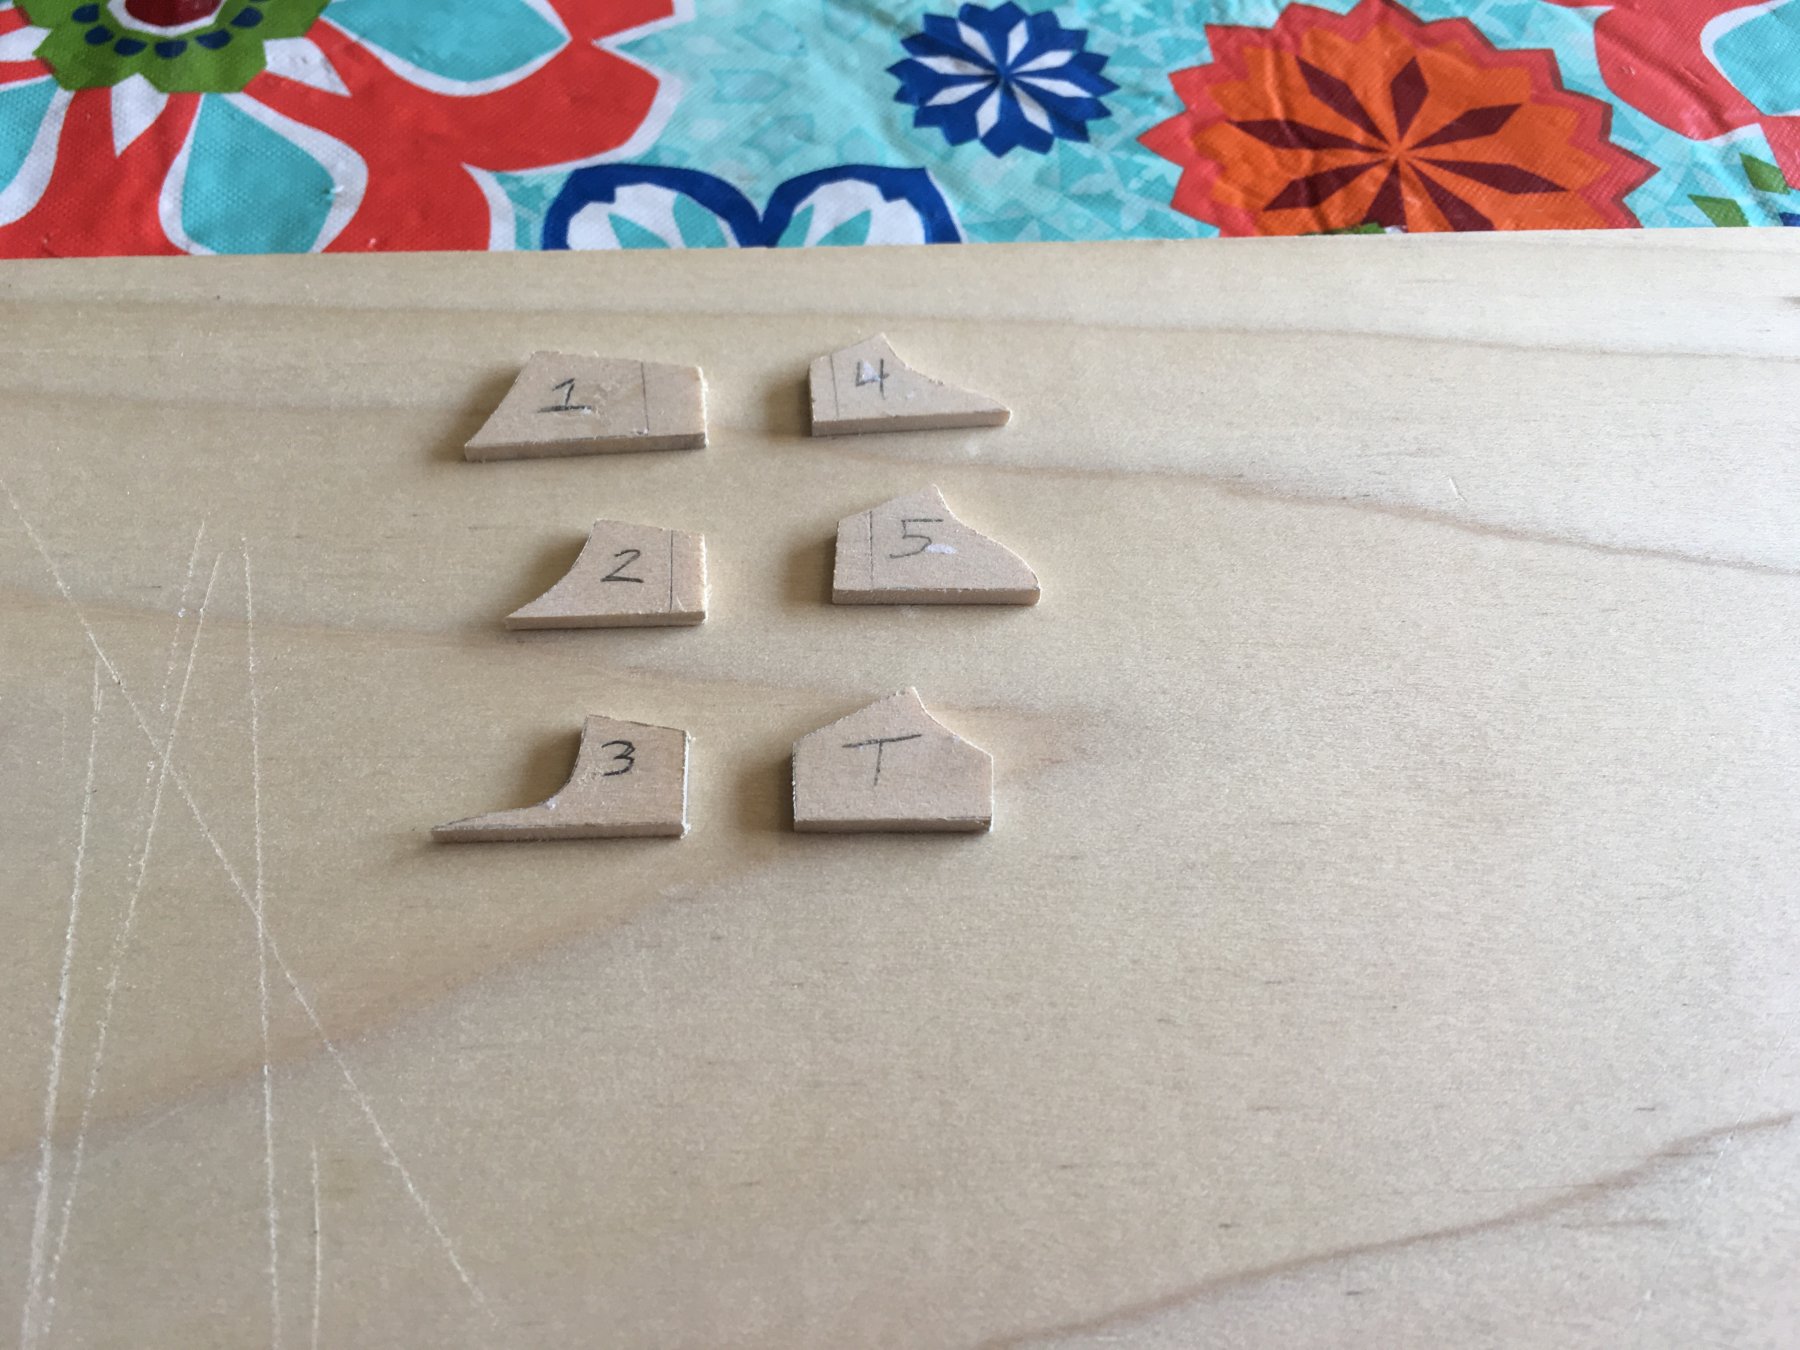
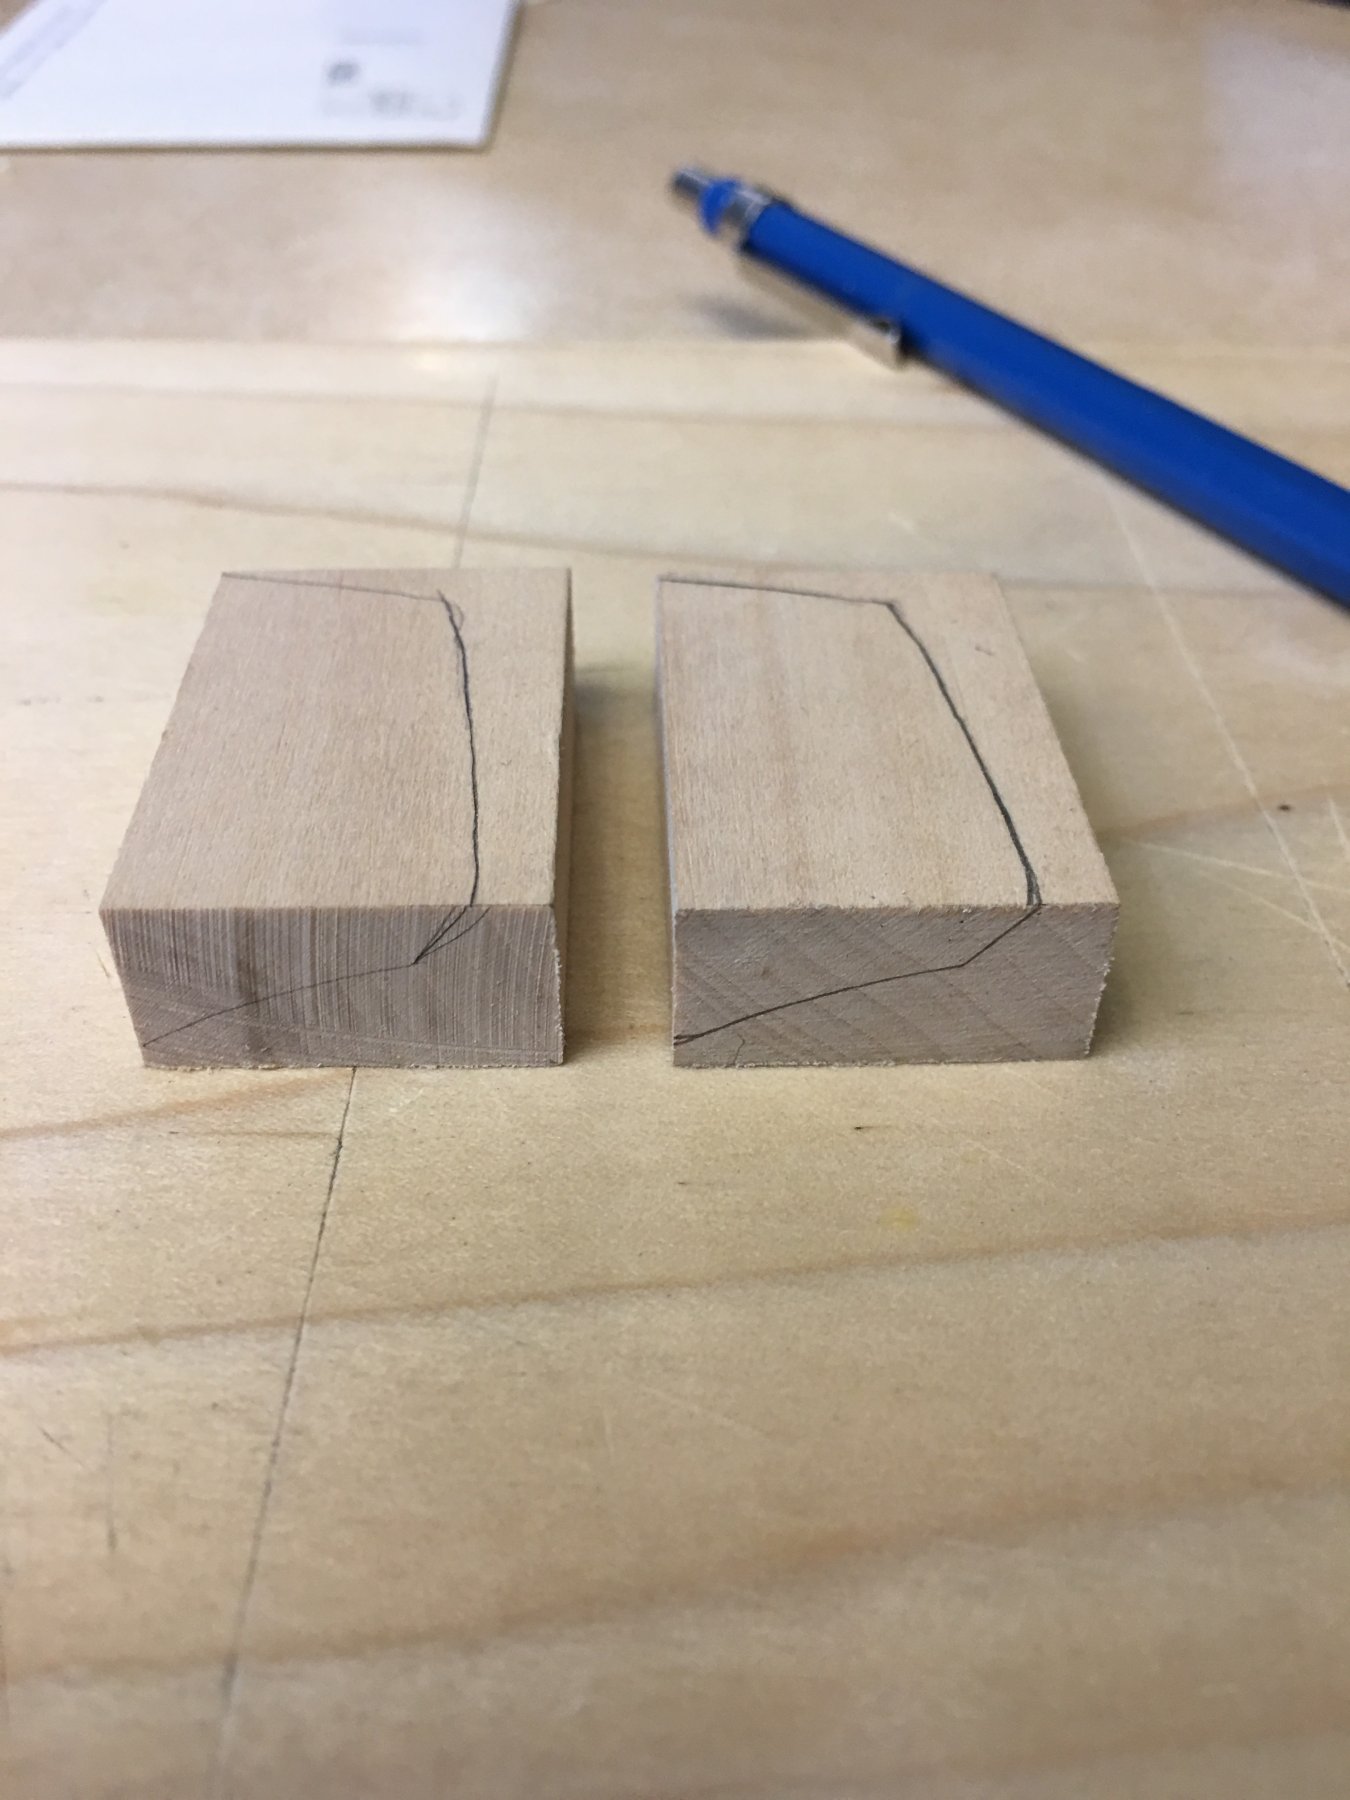
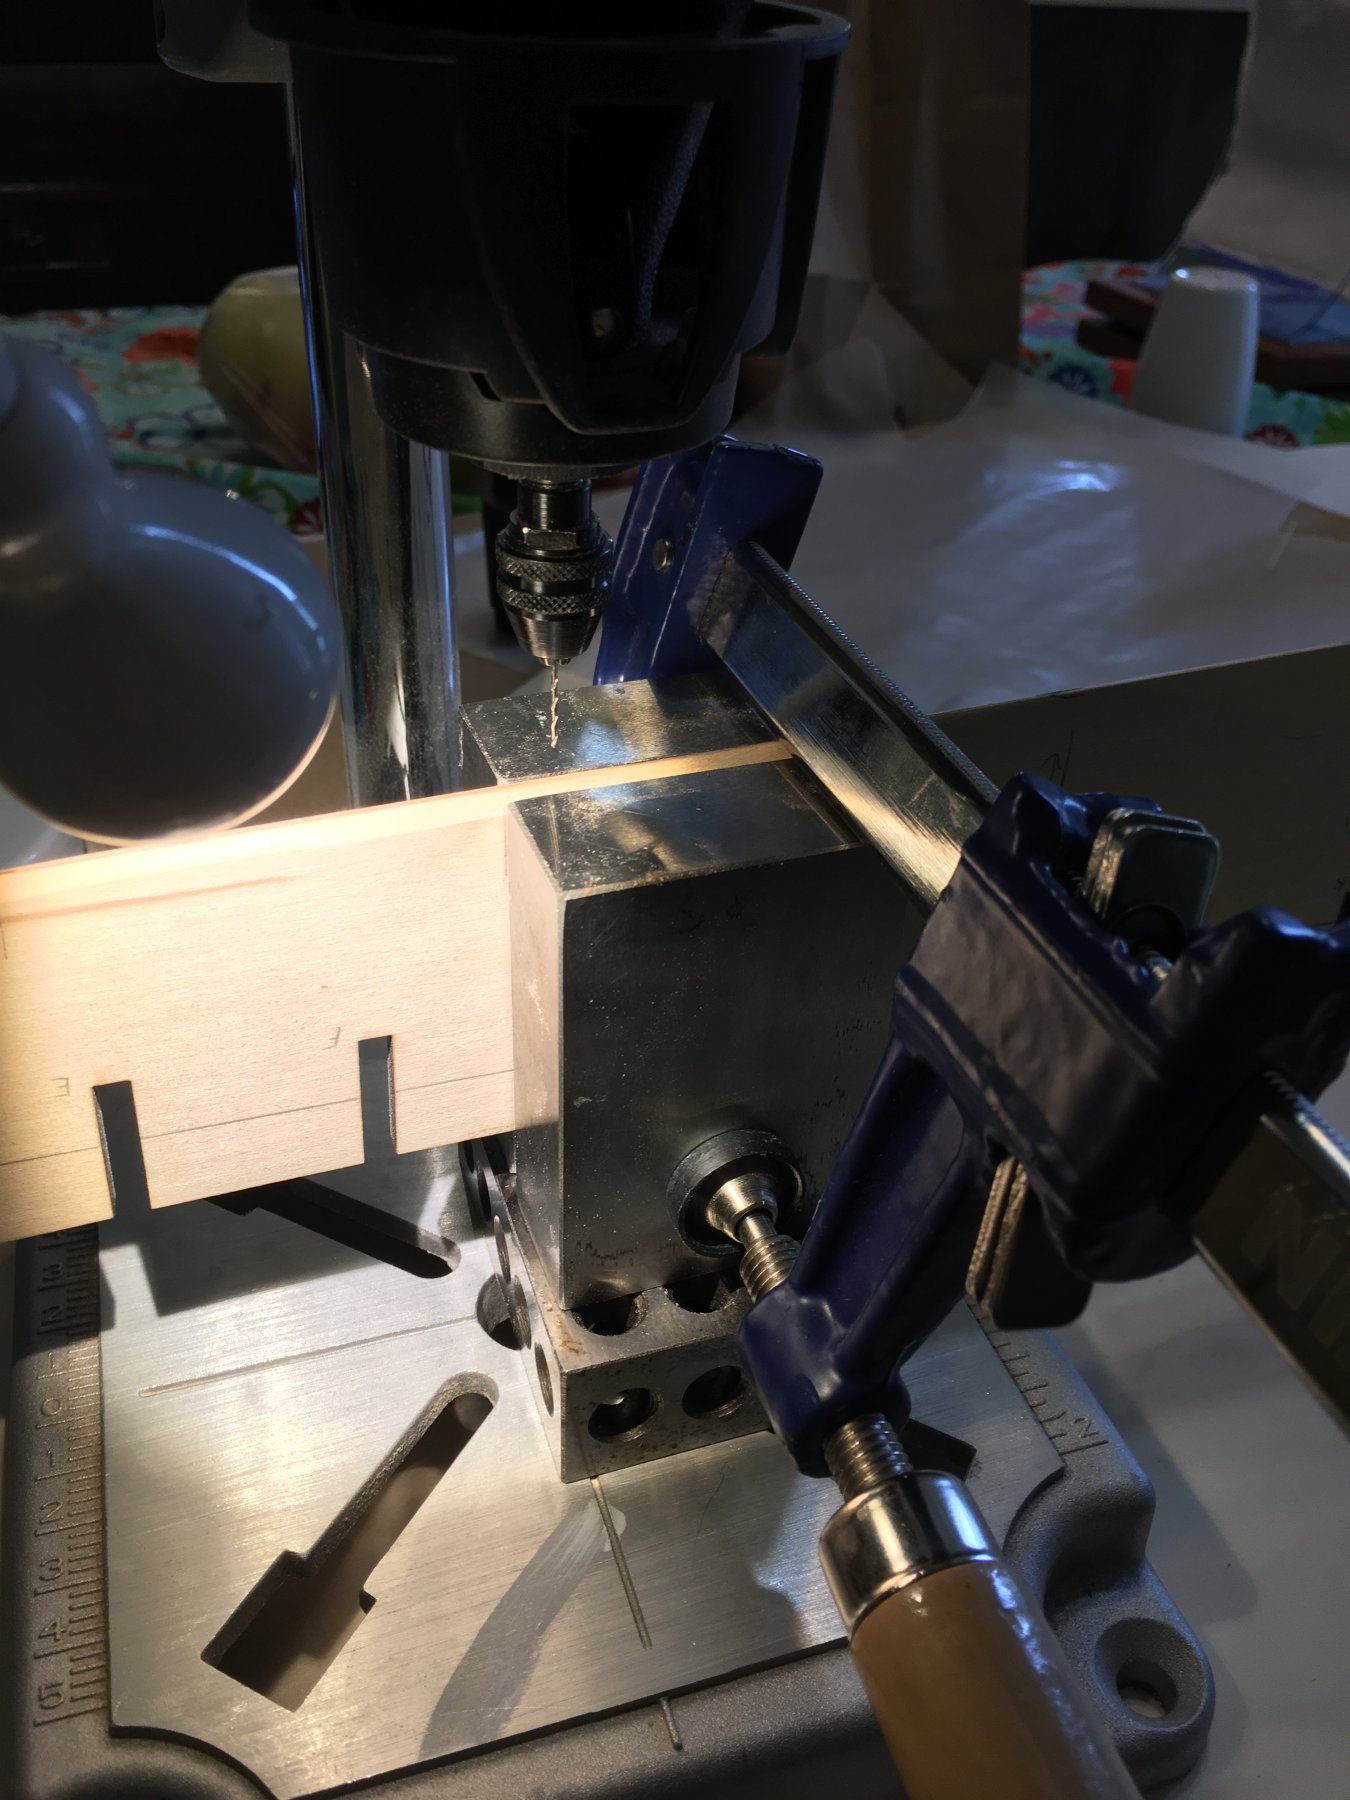
Traced out the transom filler blocks and installed them. Please note that I am receiving help from the next generation of model shipwright.
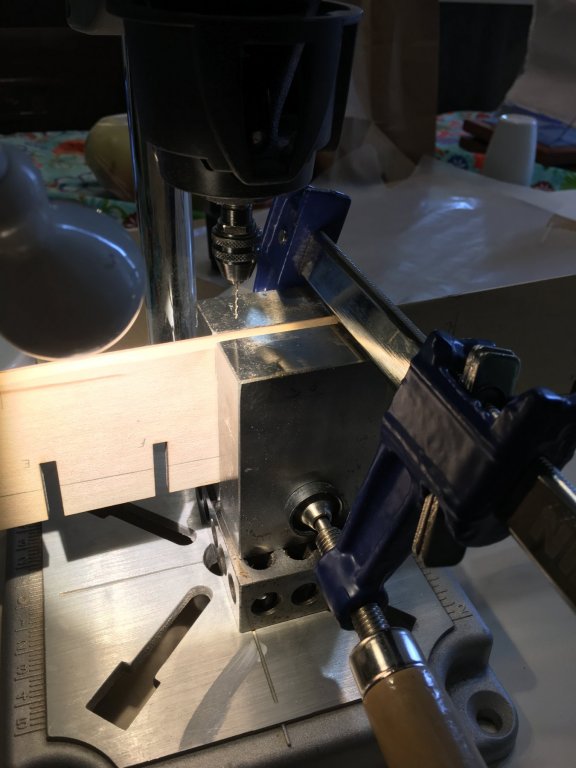
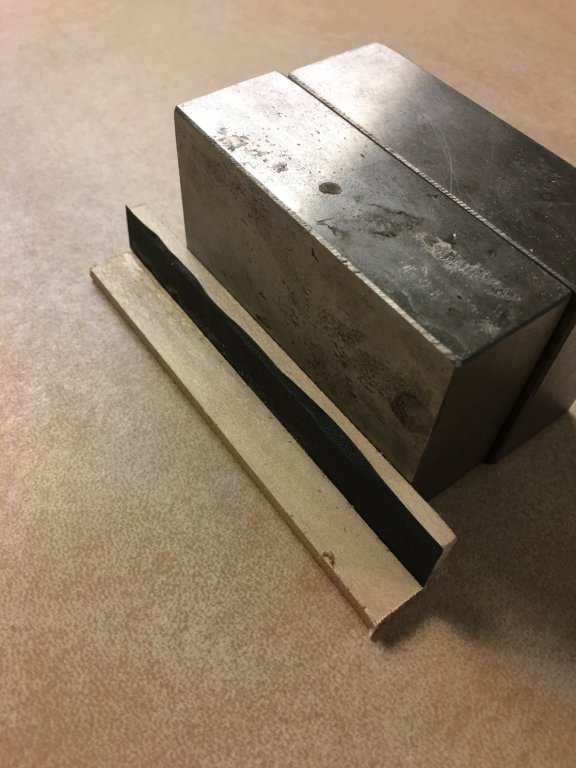
One nice thing that I kind of learned.... I placed extra braces in just about everything (see help from 2 y.o.) to make things much more robust. Sanding them down proved to be challenging, but I learned that by alternating between a 1 bulkhead, 2 bulkhead and 3 bulkhead sander, the taper angle just kind of 'averages out'... so some repetitive work, but the shape is basically forming itself.
")


- Tom E, Karleop and Tigersteve
-
 3
3
-
A more light hearted post... first of all thanks to Karl for the links. I am working on the boat a bit now... I'll post more a bit later. But in the meantime. Its Saturday morning, wife asleep (she is a night NICU nurse), toddler occupied with siblings and I have a few hours of boat building. I am working on frames to shape the hull of the ships boat, watching a documentary on early jet development and generally really enjoying model shipwrighting. Such a great hobby that lets you be creative, work with your hands and still be pretty technical. Enjoy your day all... oh yeah... I am also cooking up french onion soup for dinner!

- Tigersteve and Karleop
-
2
-
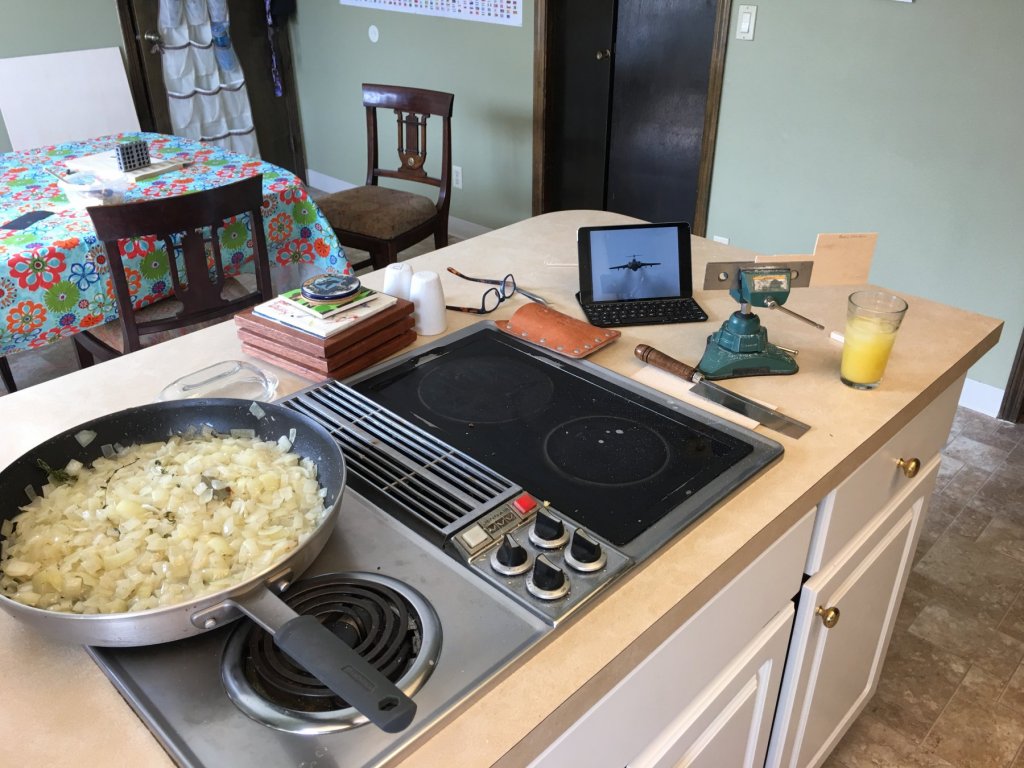
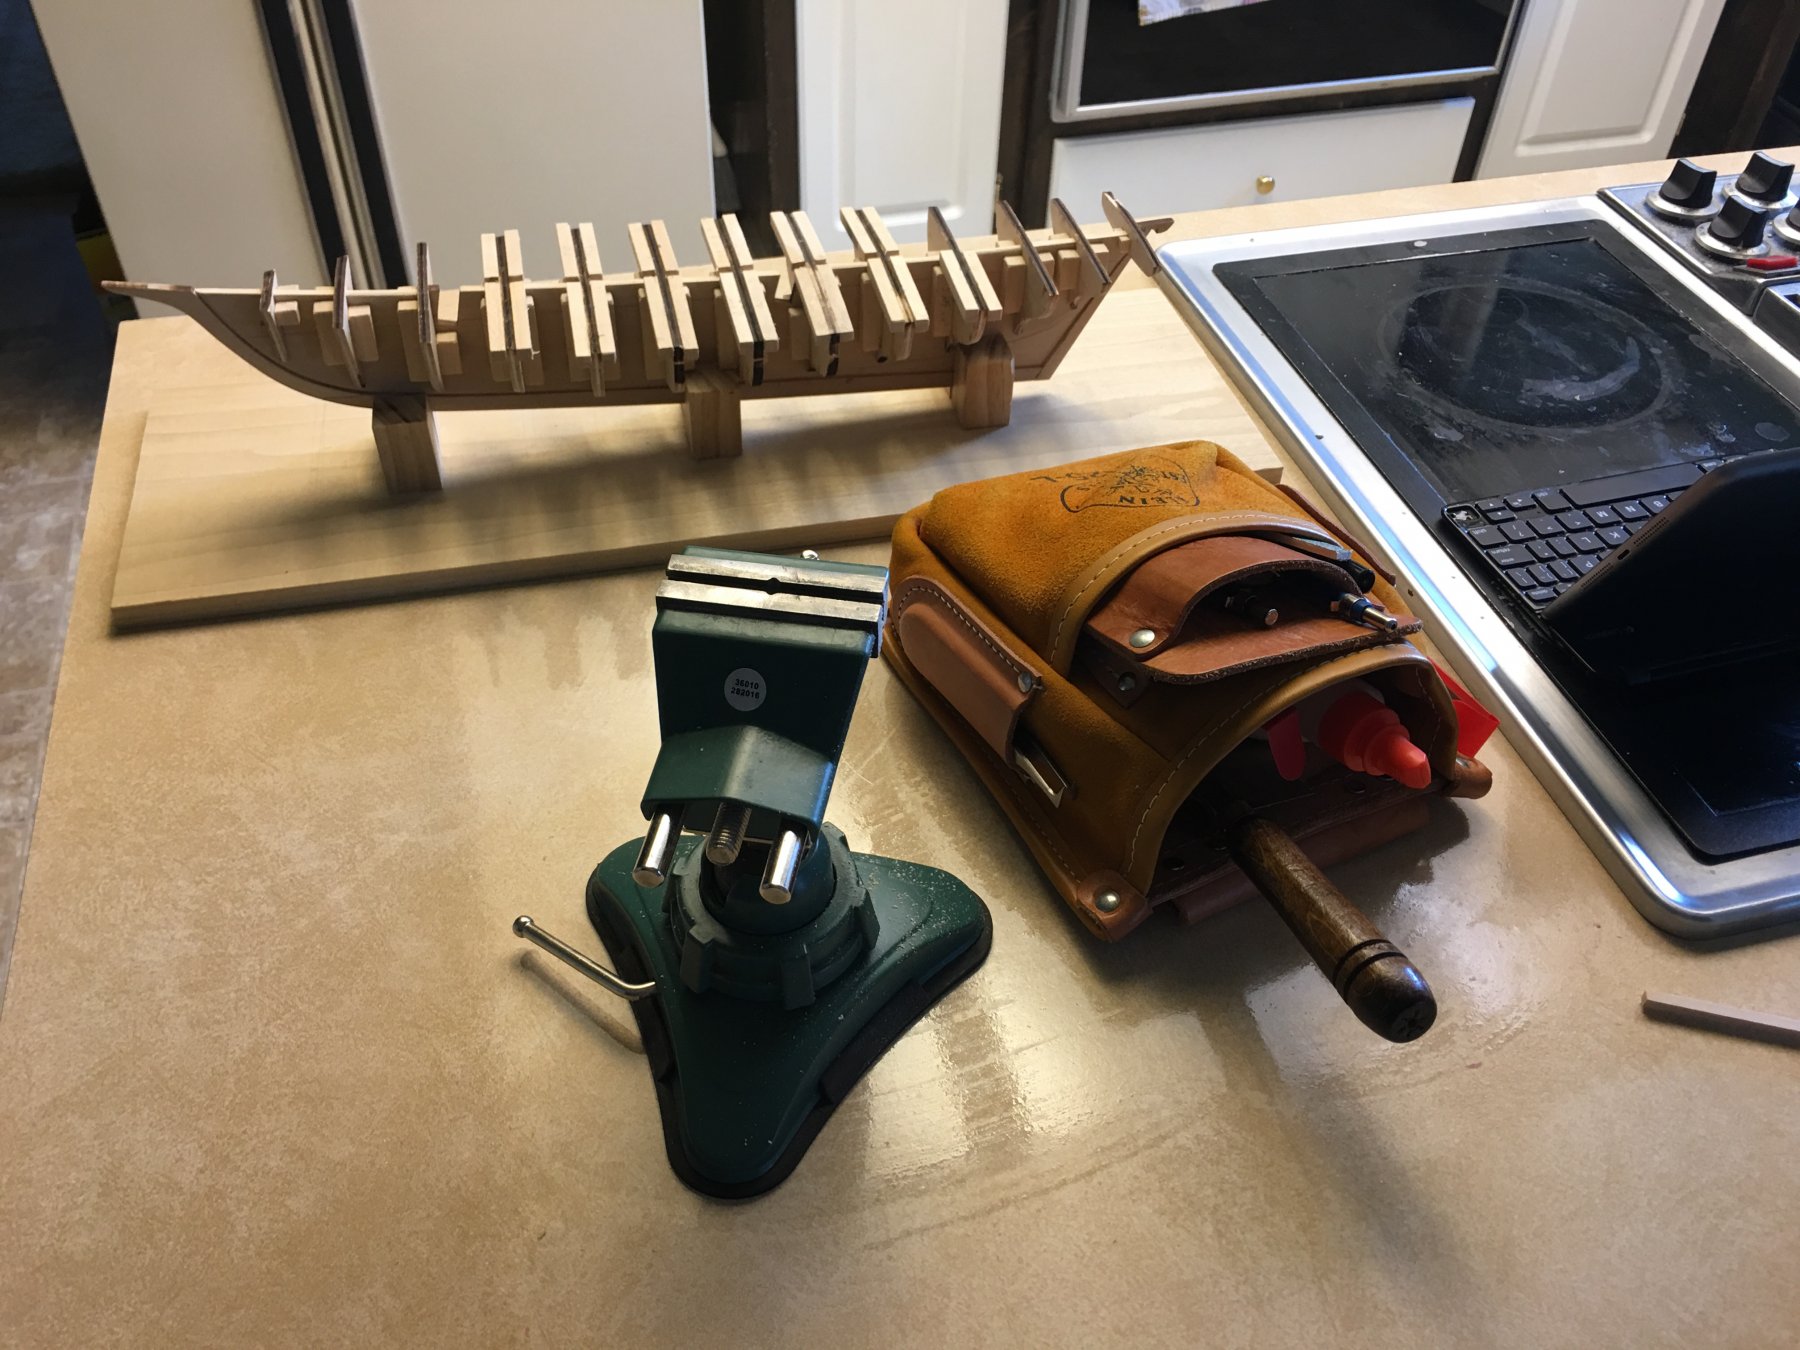
Hello all - Just a quick update. I spent the weekend re-enforcing the false keel and bulkheads with some scrap that I had from the last model. Probably overkill, but I was concerned that the bulkheads seemed to move quite a bit when I was sanding the edges to get the taper edges more symmetric. I will generate a lot of saw dust in the next week, but the center keel/bulkheads are 'iron-tight' now. Oh yeah, please note that I have to do all this in the kitchen so my little klein tool bags are my life line to being organized (I love tools).


- Tigersteve and Karleop
-
2
-
-
Lots of fun on the 3 day weekend!
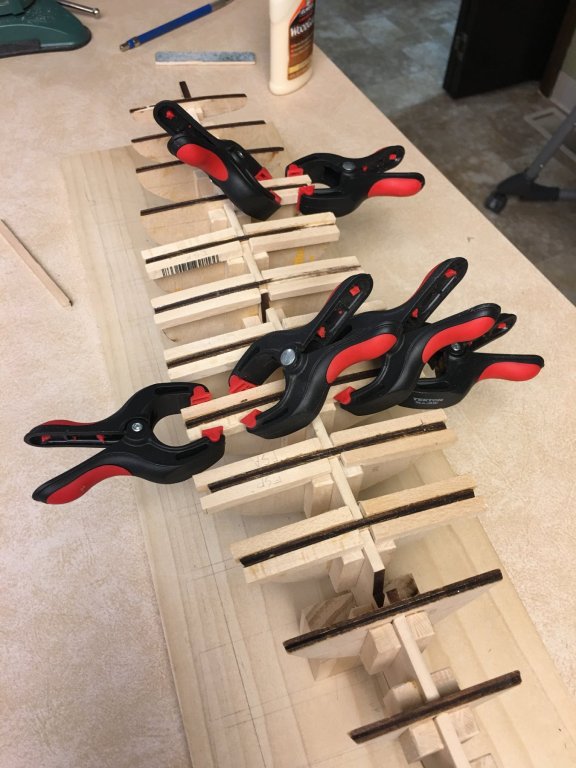
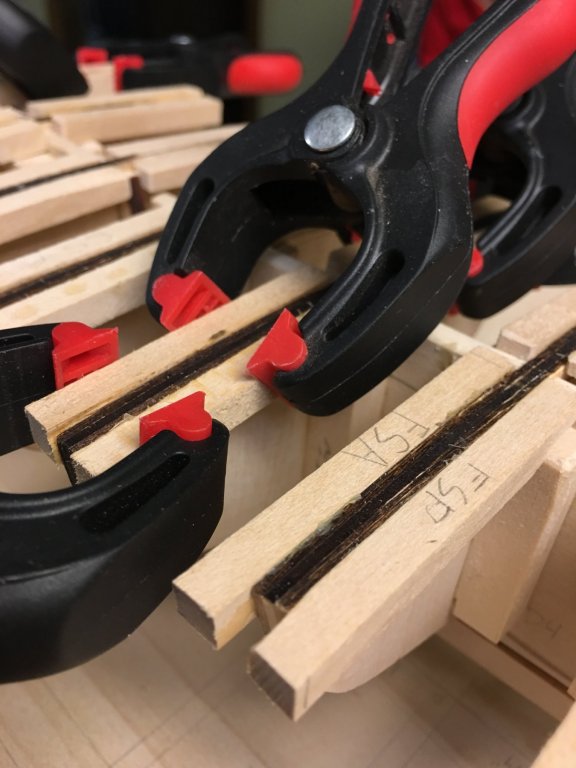
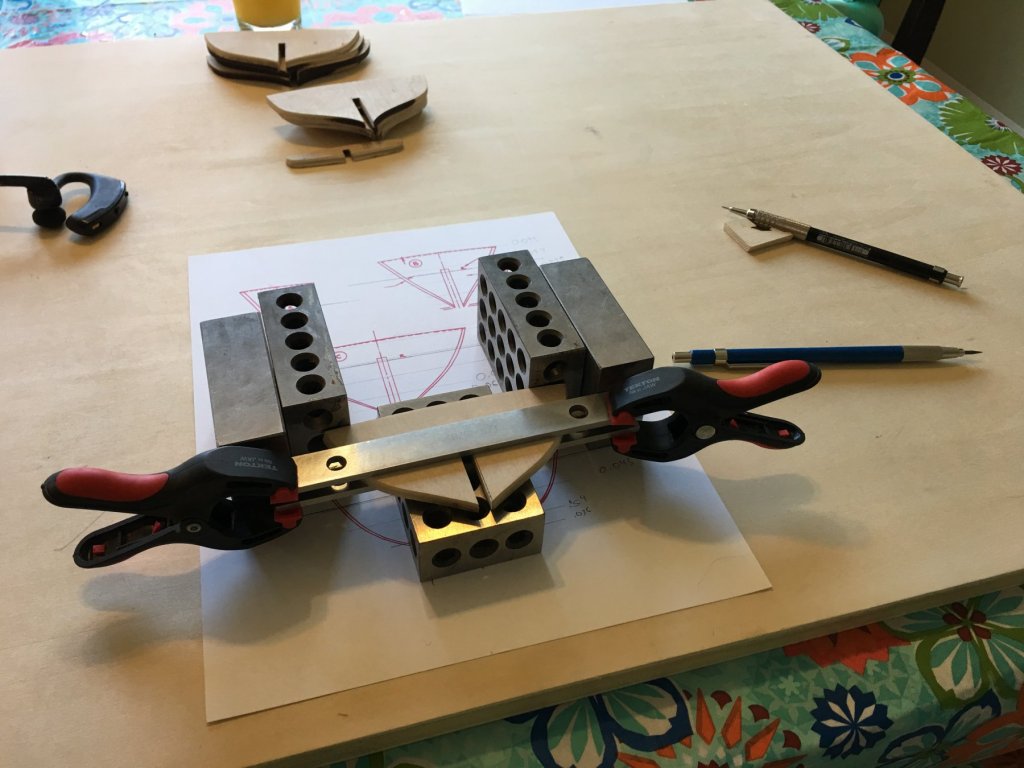
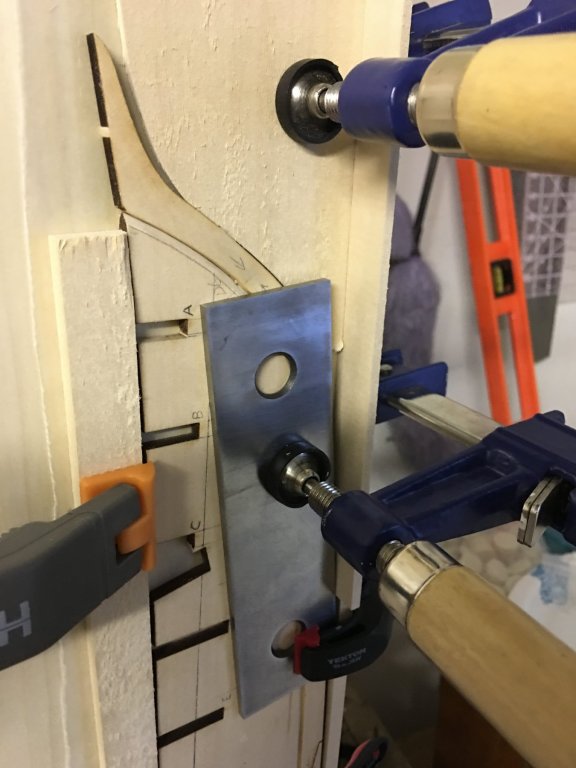
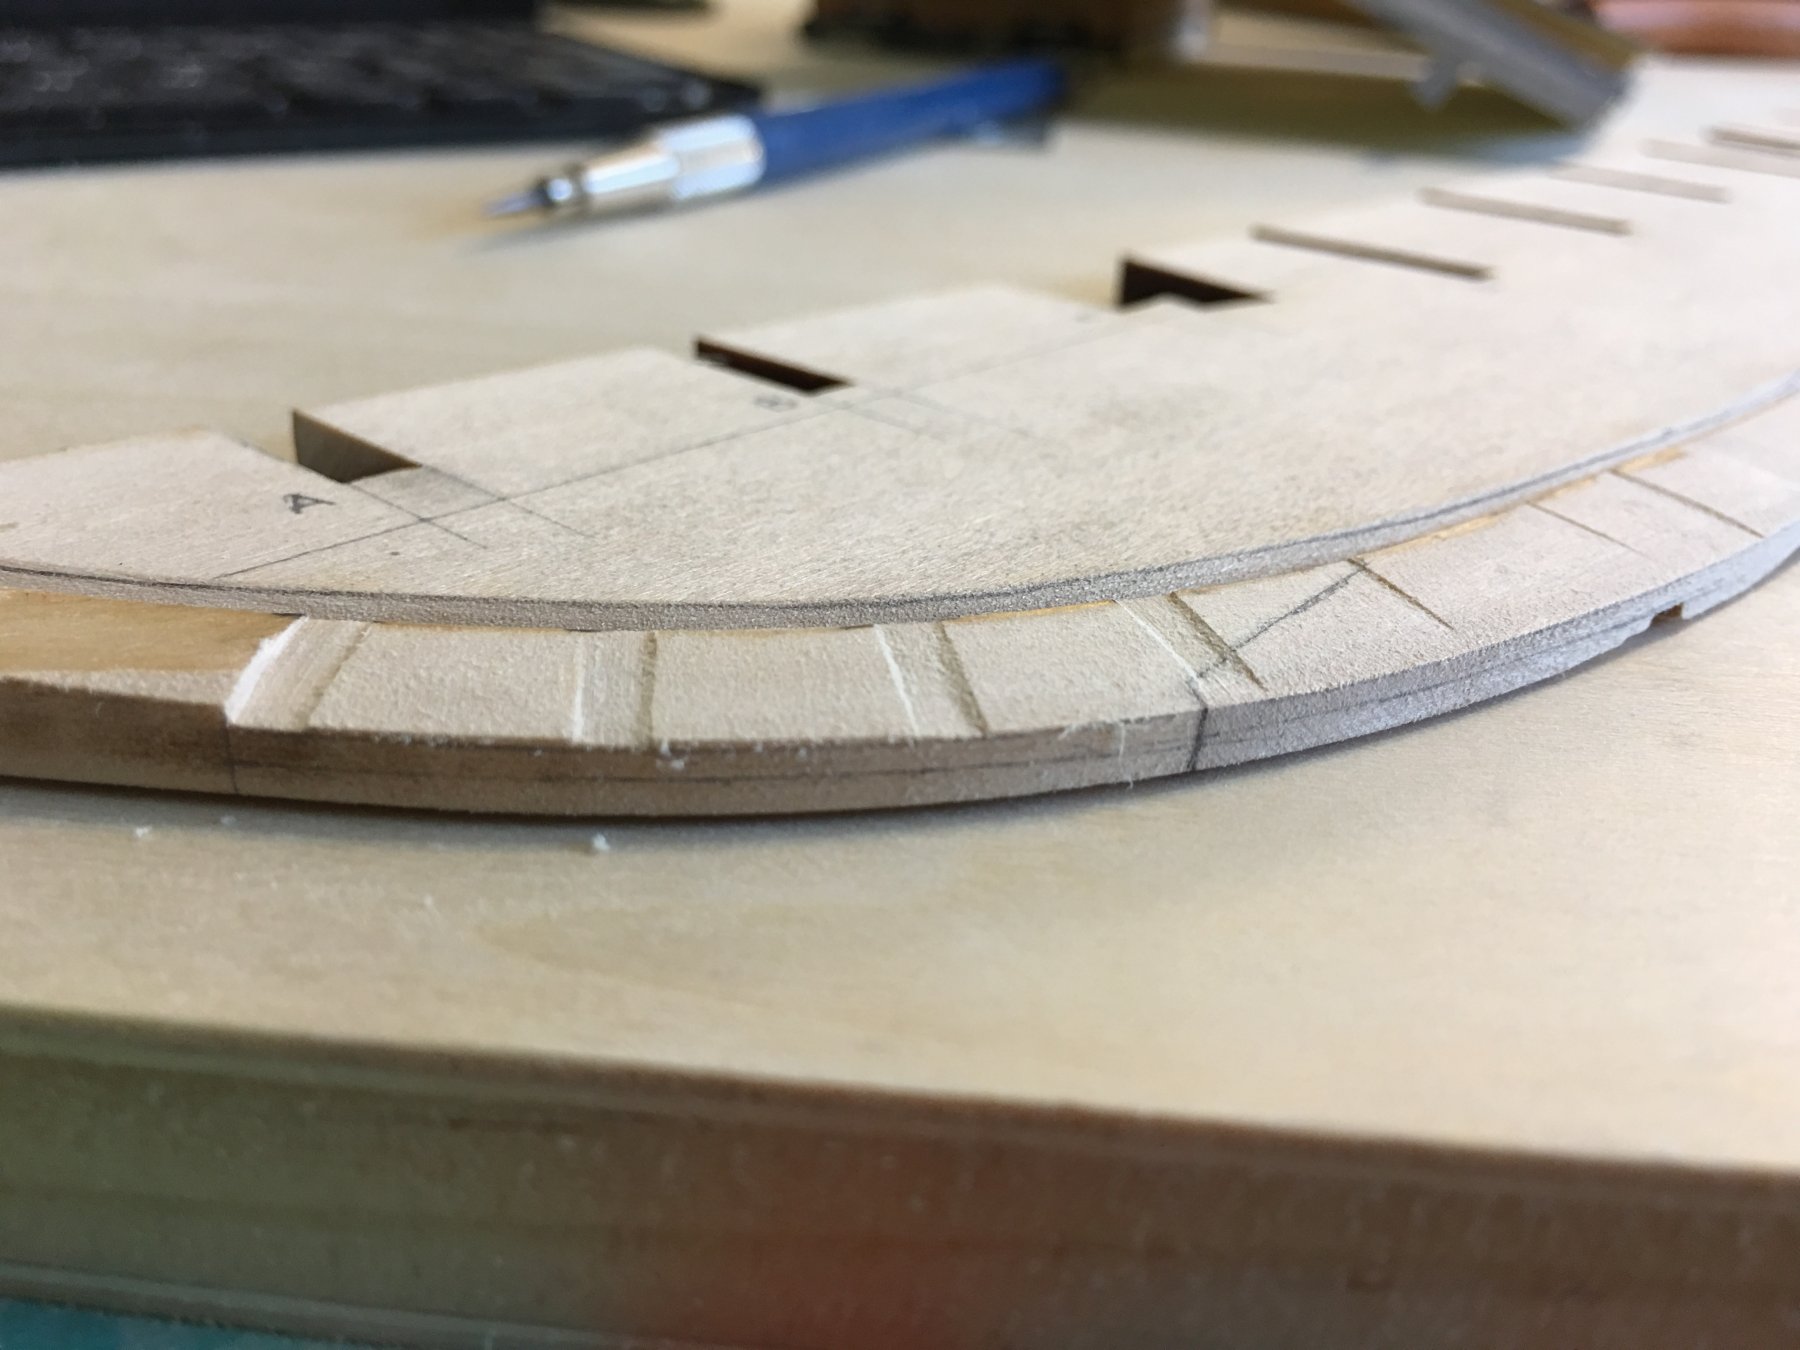
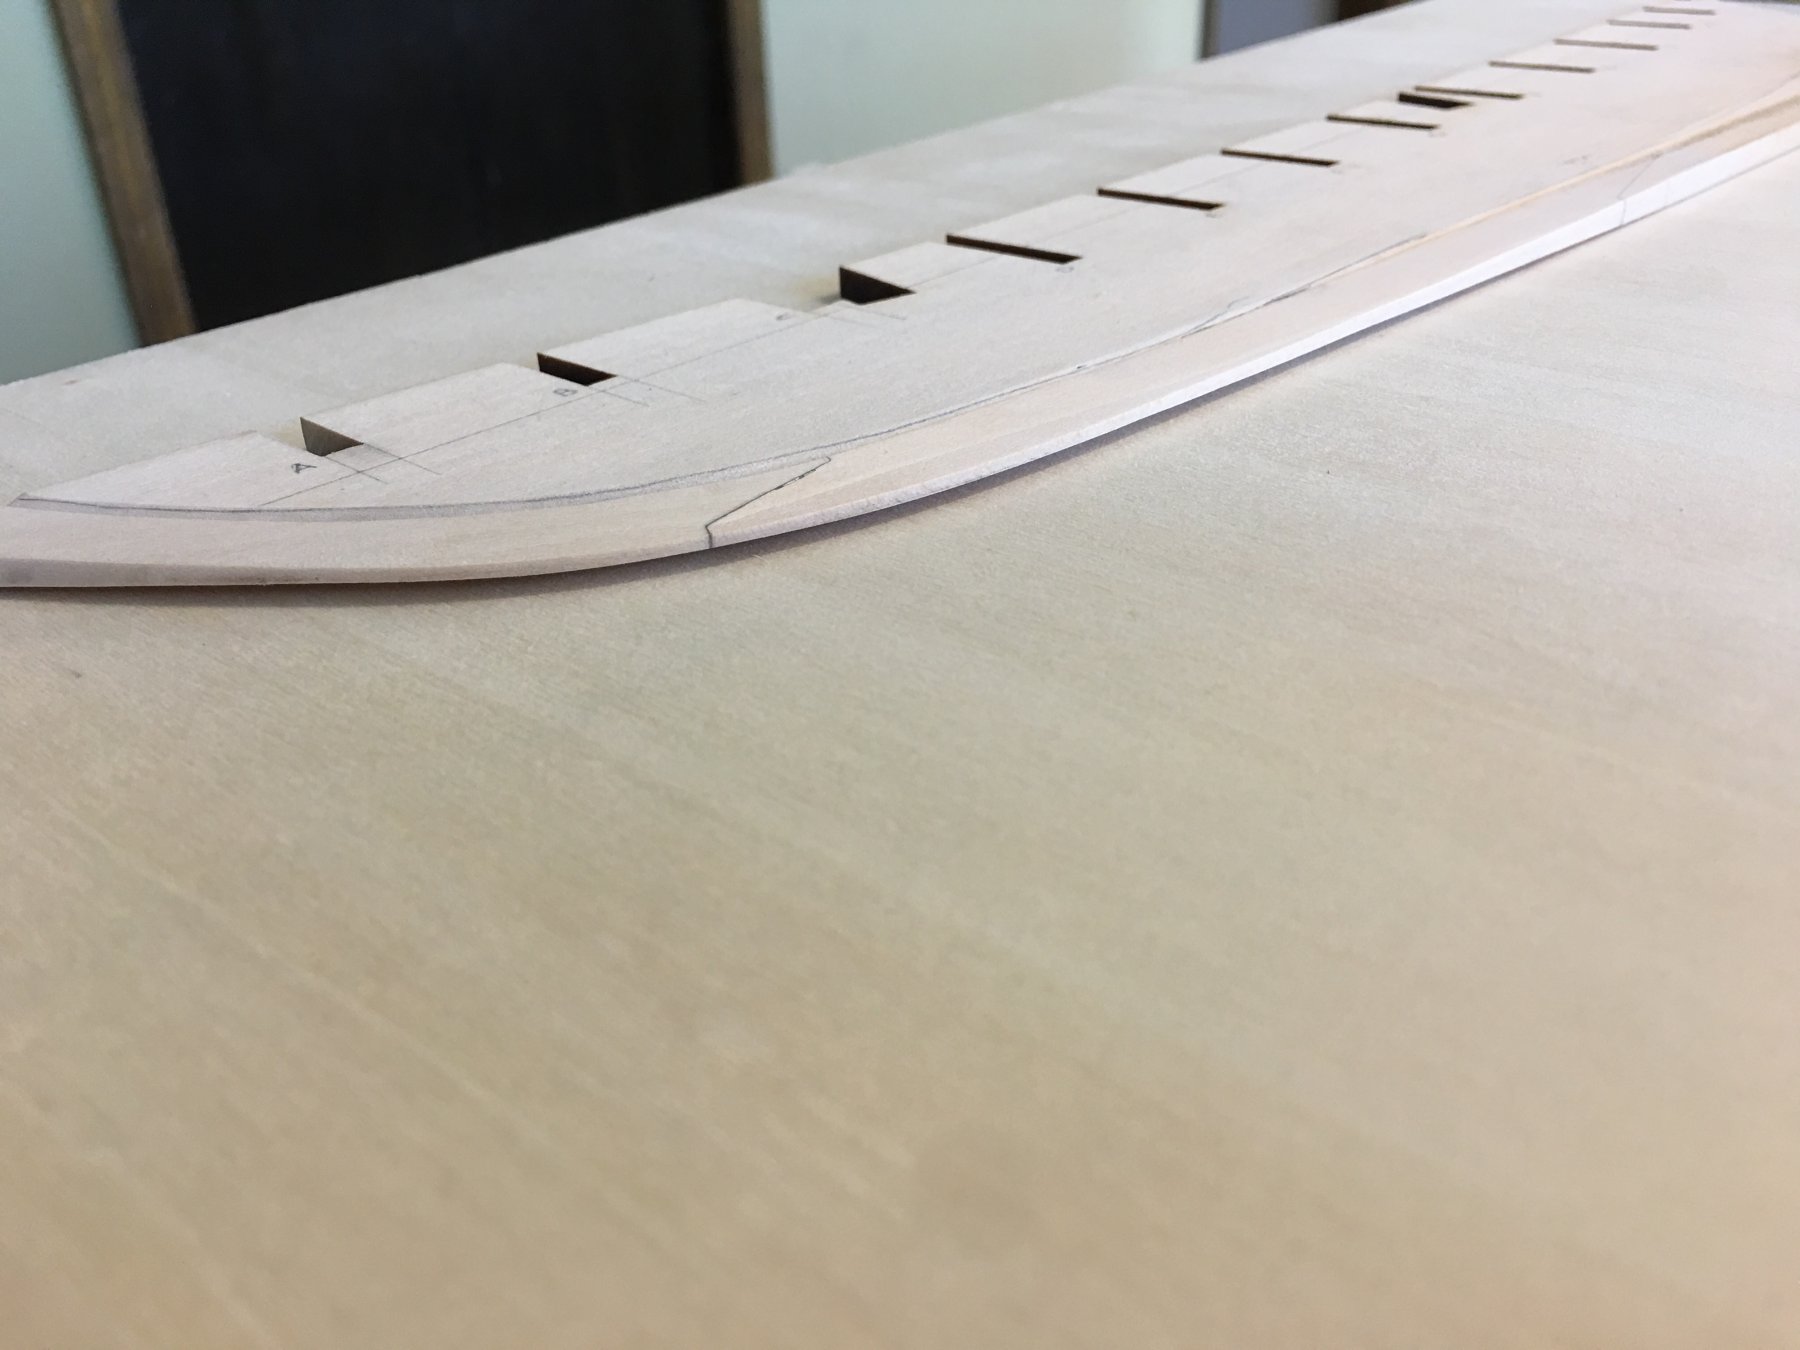
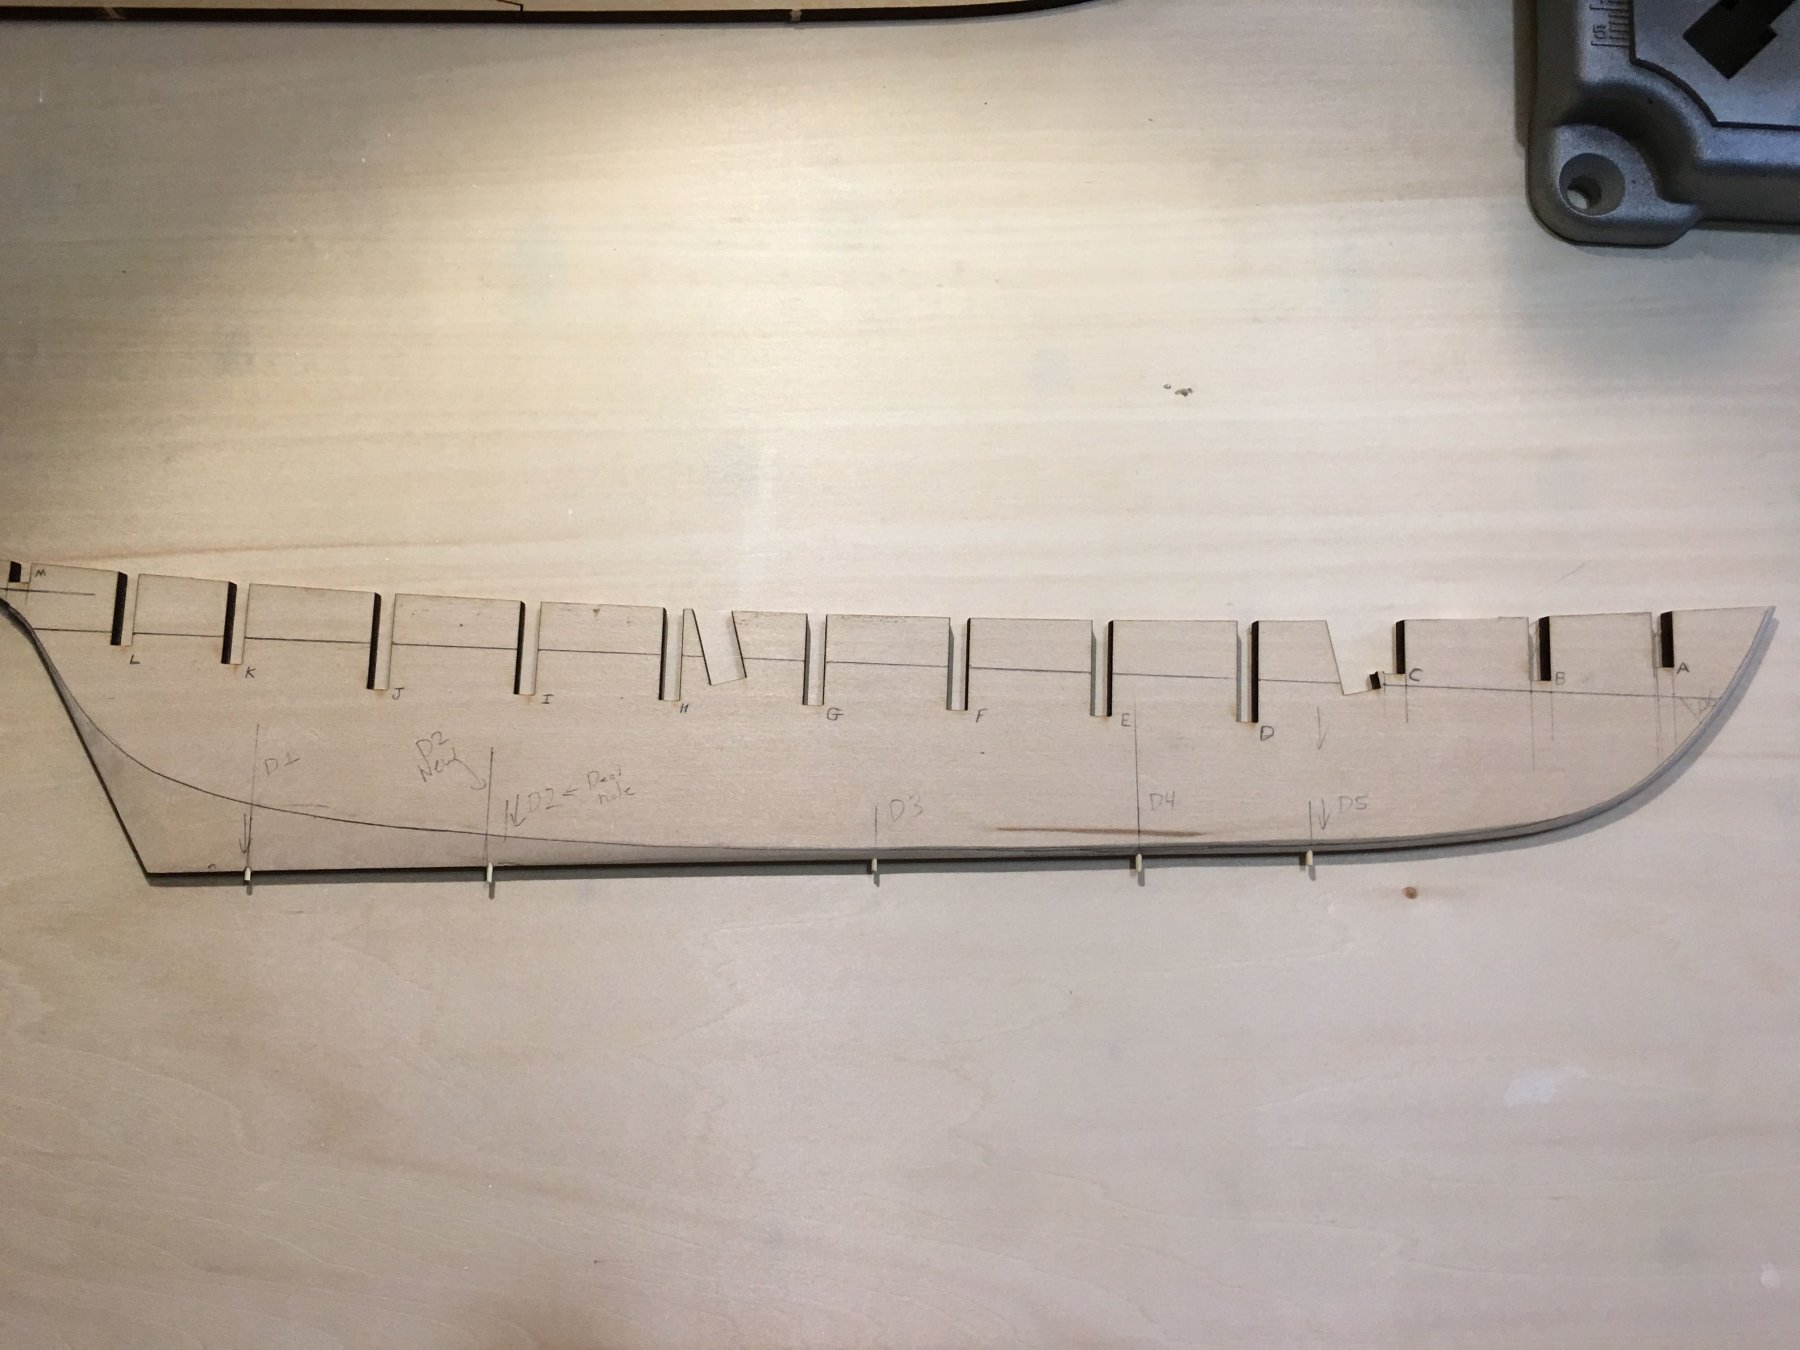
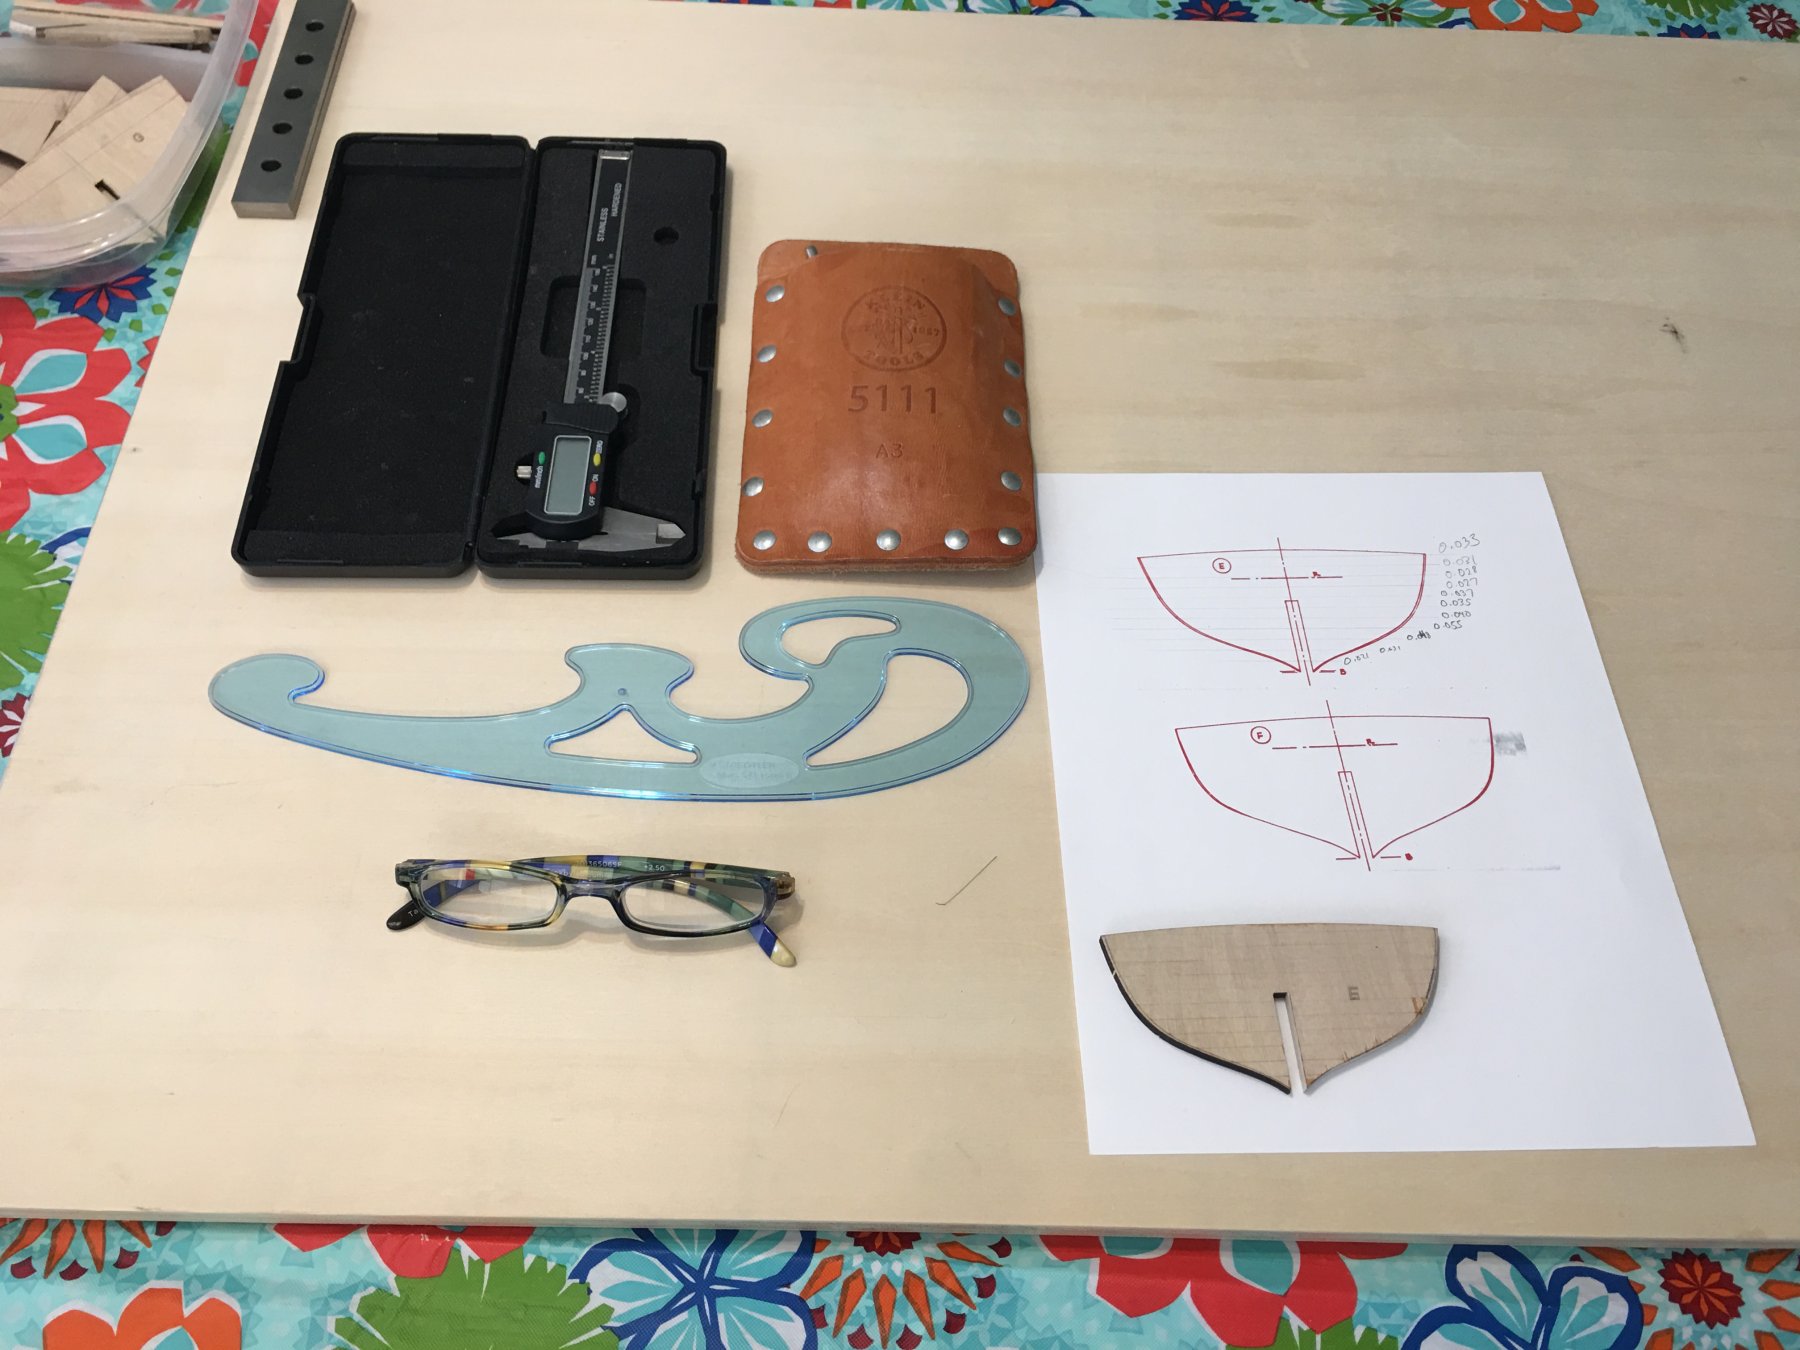
The first job was to place (again) the reference line on the bulkheads. This is tricky because I want them to be symmetric on both sides of the bulkhead. Making a measurement on one side and then flipping the bulkhead over to repeat the measurement is asking for some sort of systematic error. So, I used the machinist parralel blocks and plates on scanned plans to create a frame to make the marks.
Also, I got the building board started (and finished). I was super happy to find some machinist parrallels in 3/16" thickness. They were really cheap and make so many tasks easy now.
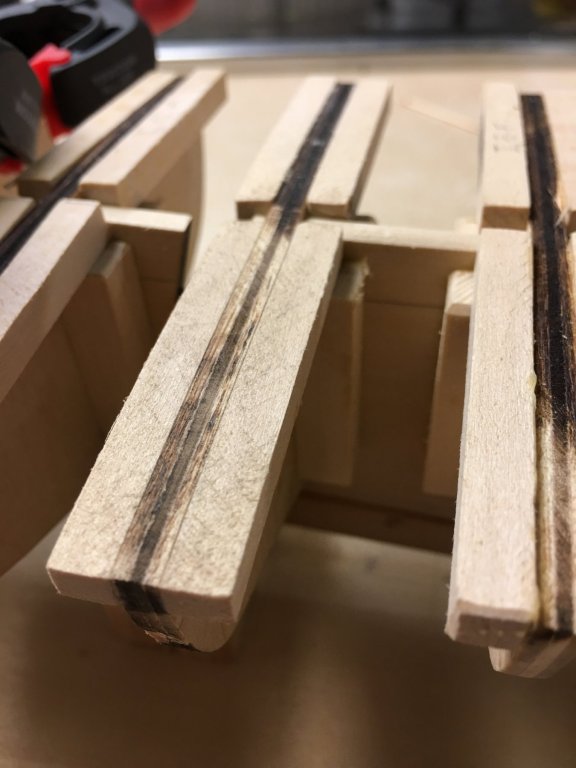
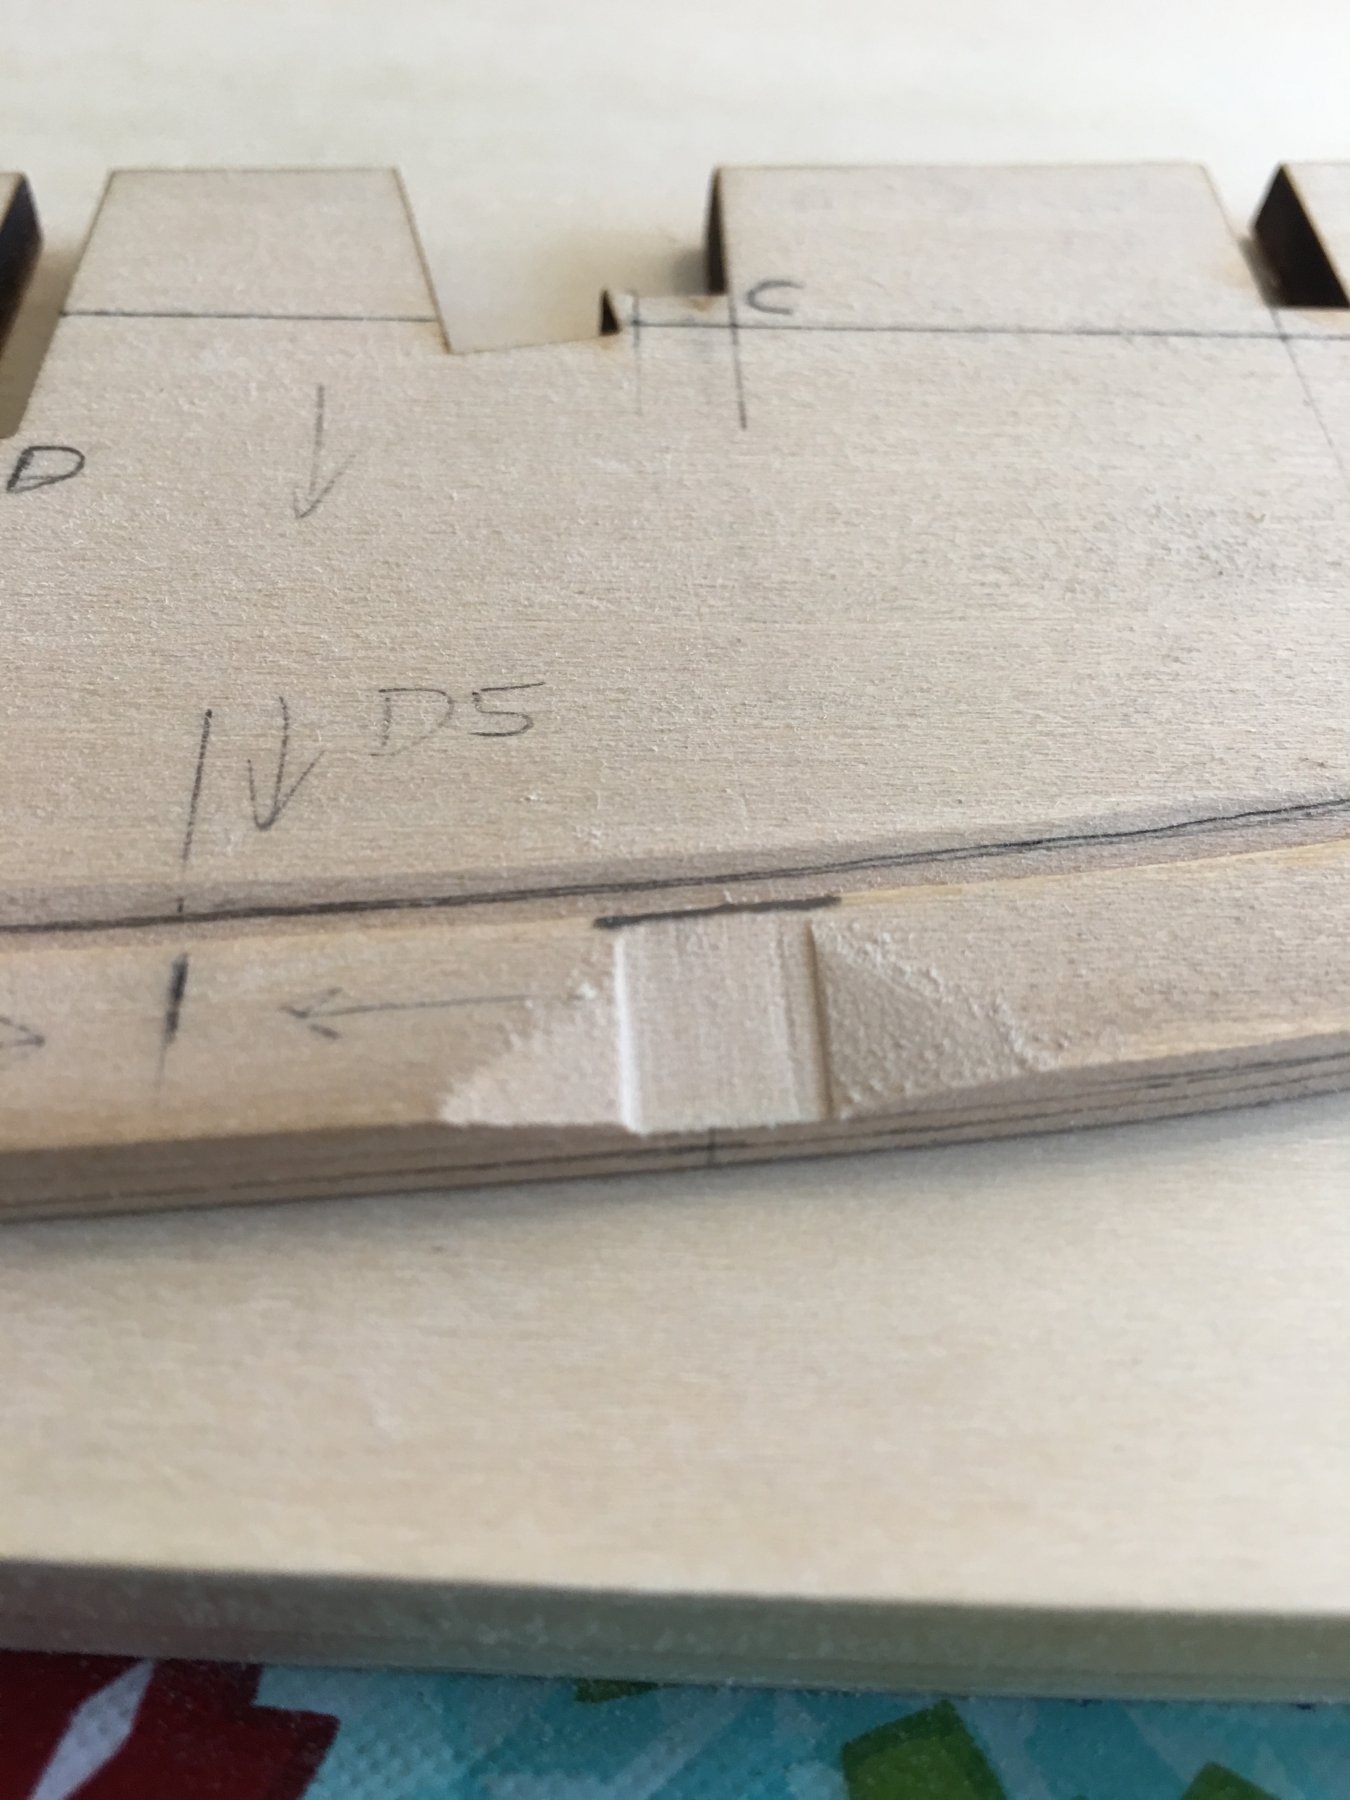
Bulkheads are going on one at a time with a square and the reference line matched up. I will post later on this, but the plans and pieces are really off.... by at least a 1/16". I can shim up the parts later, but its remarkable that they are so far off. Not complaining, just observing.

- Tigersteve, Tom E, Karleop and 2 others
-
5
-
Hi there Everybody. Thanks for the kind words of encouragement. I appreciate it. My family is lovely and can feign a certain amount of excitement, but its so good to hear from fellow enthusiasts. Here is the latest update.
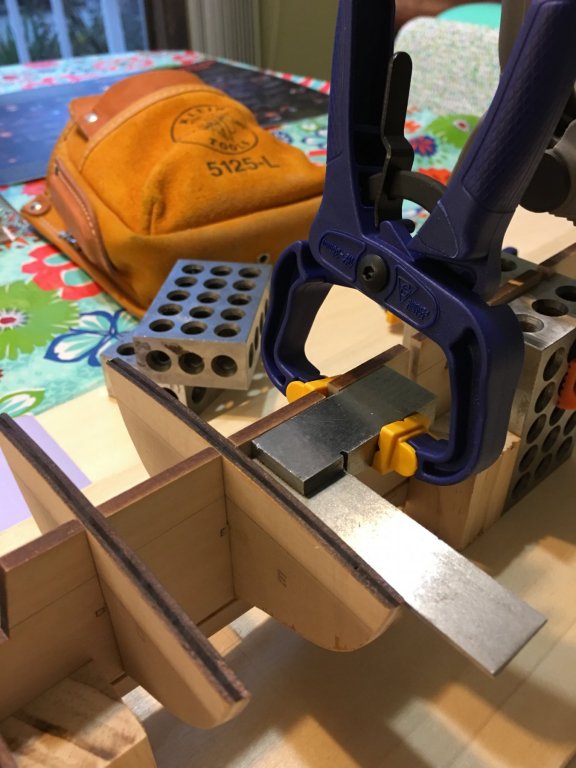
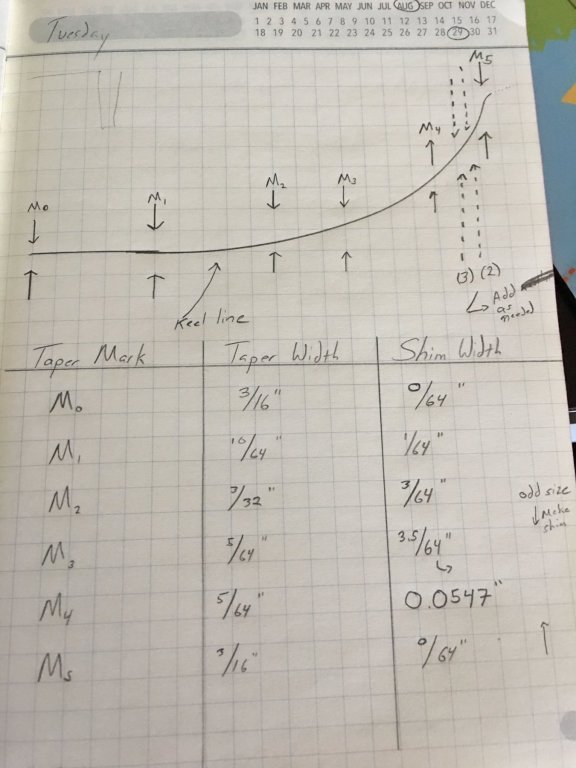
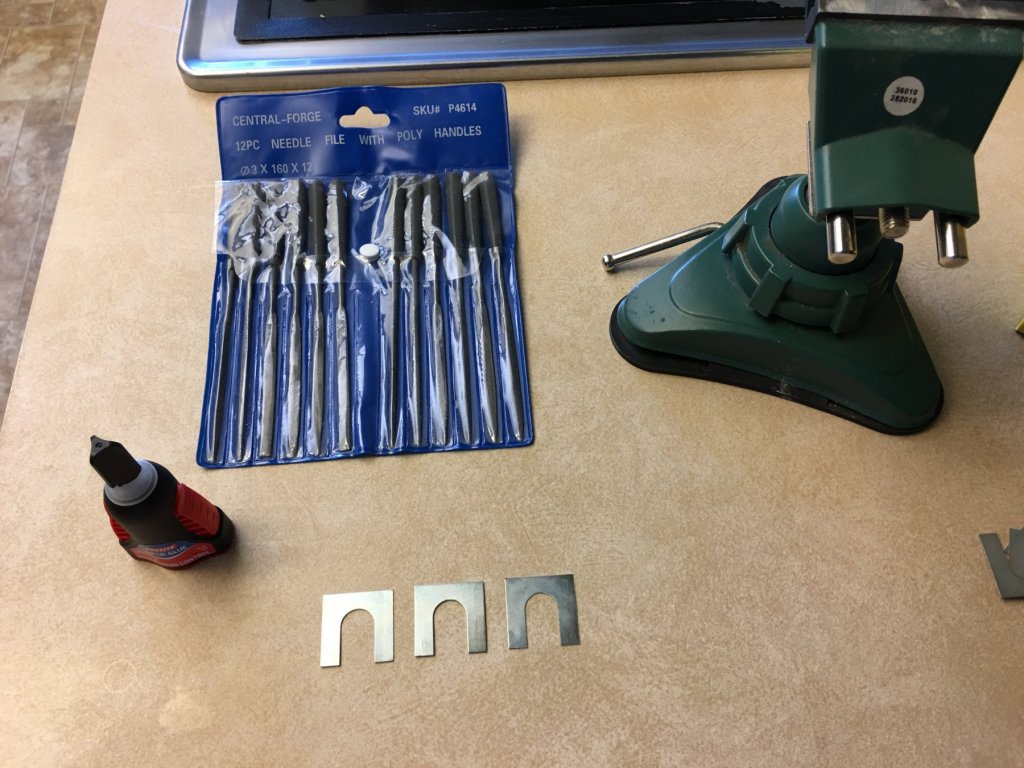
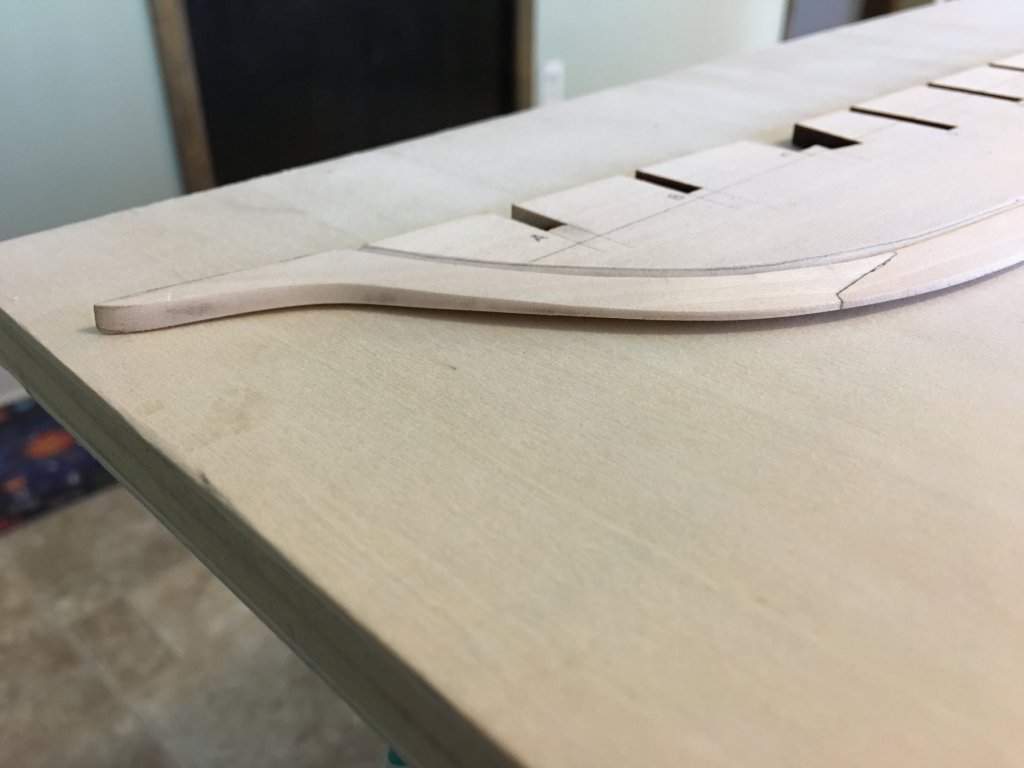
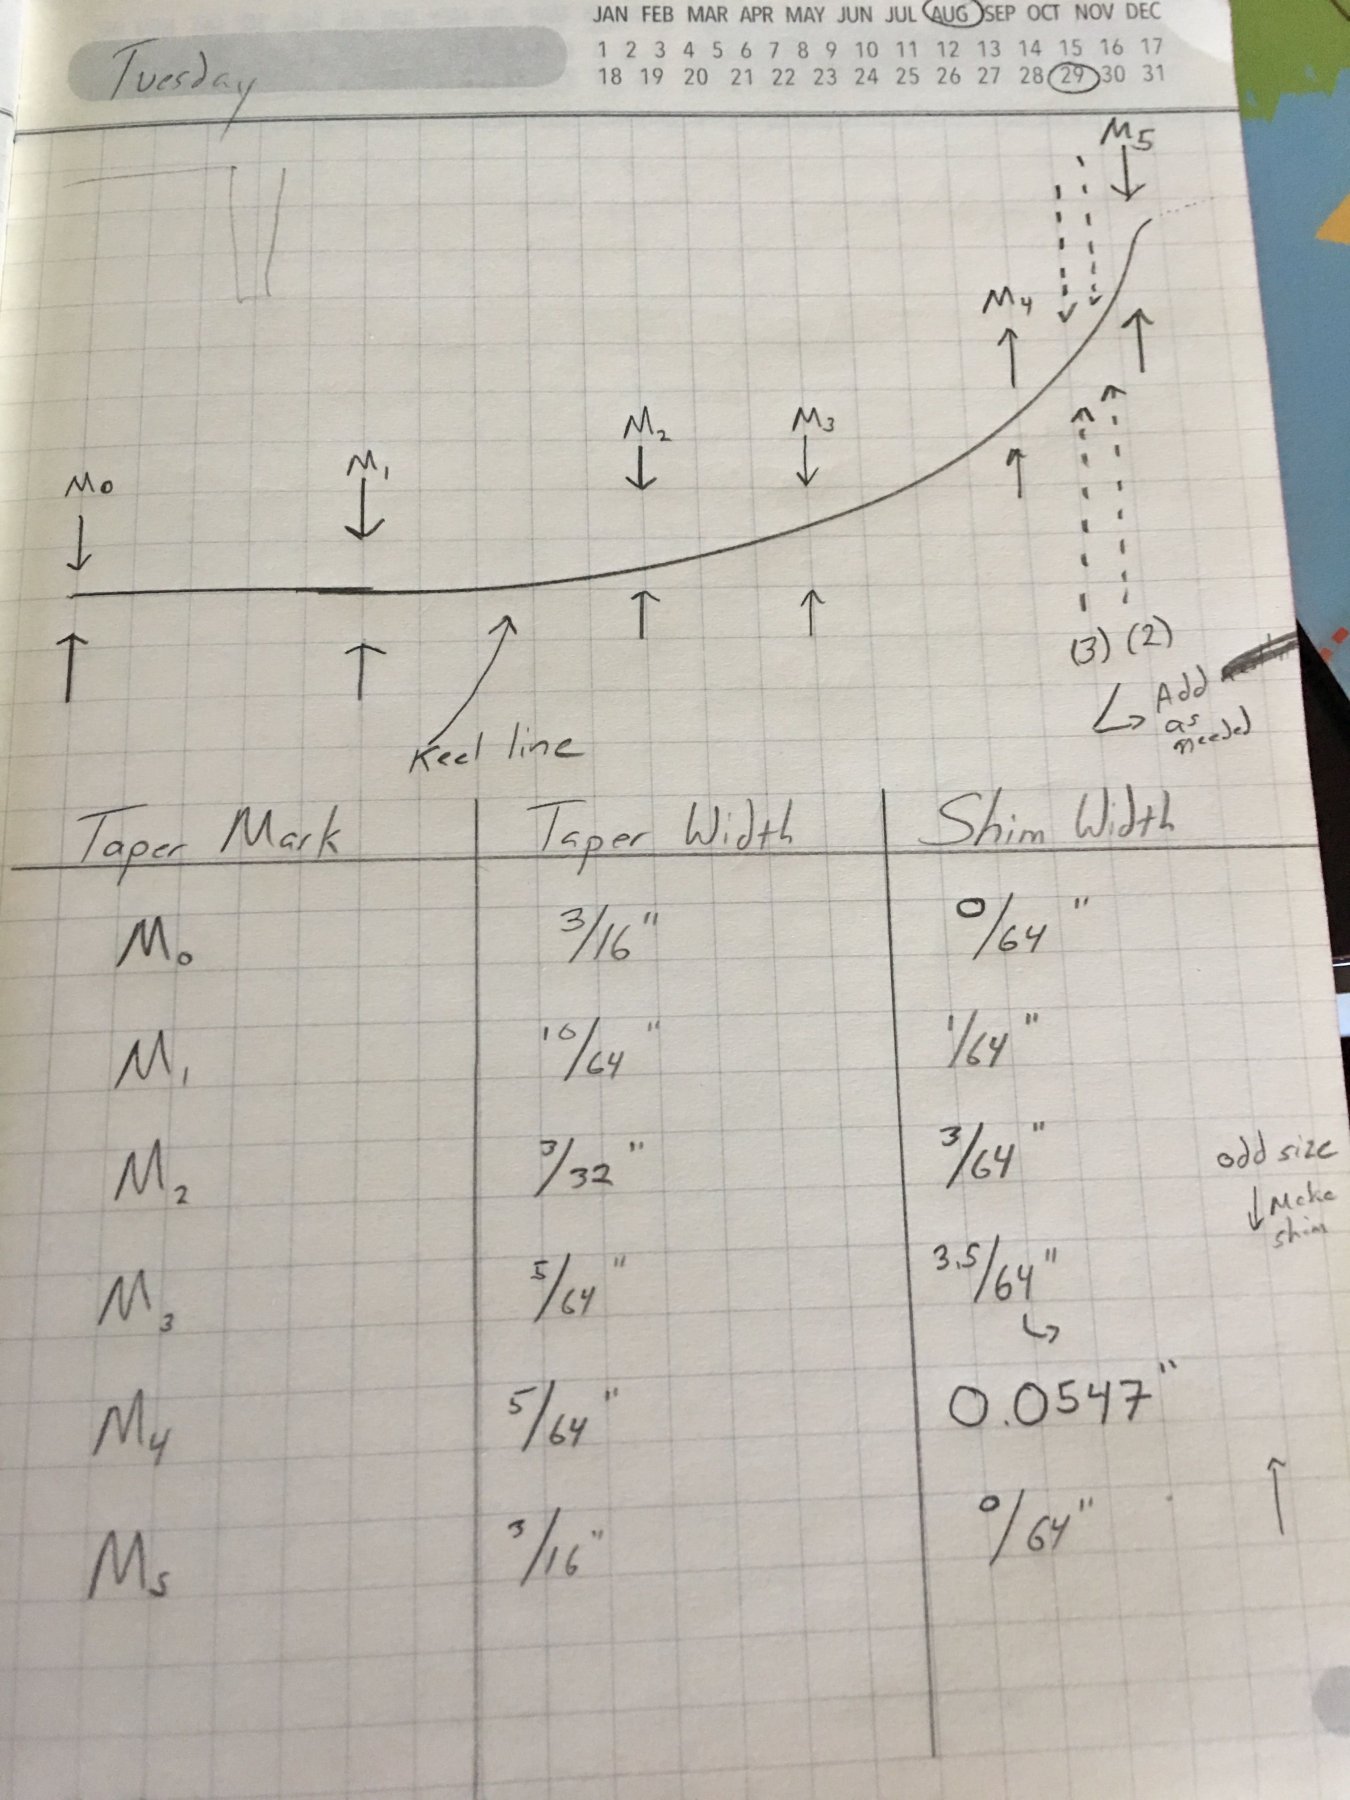
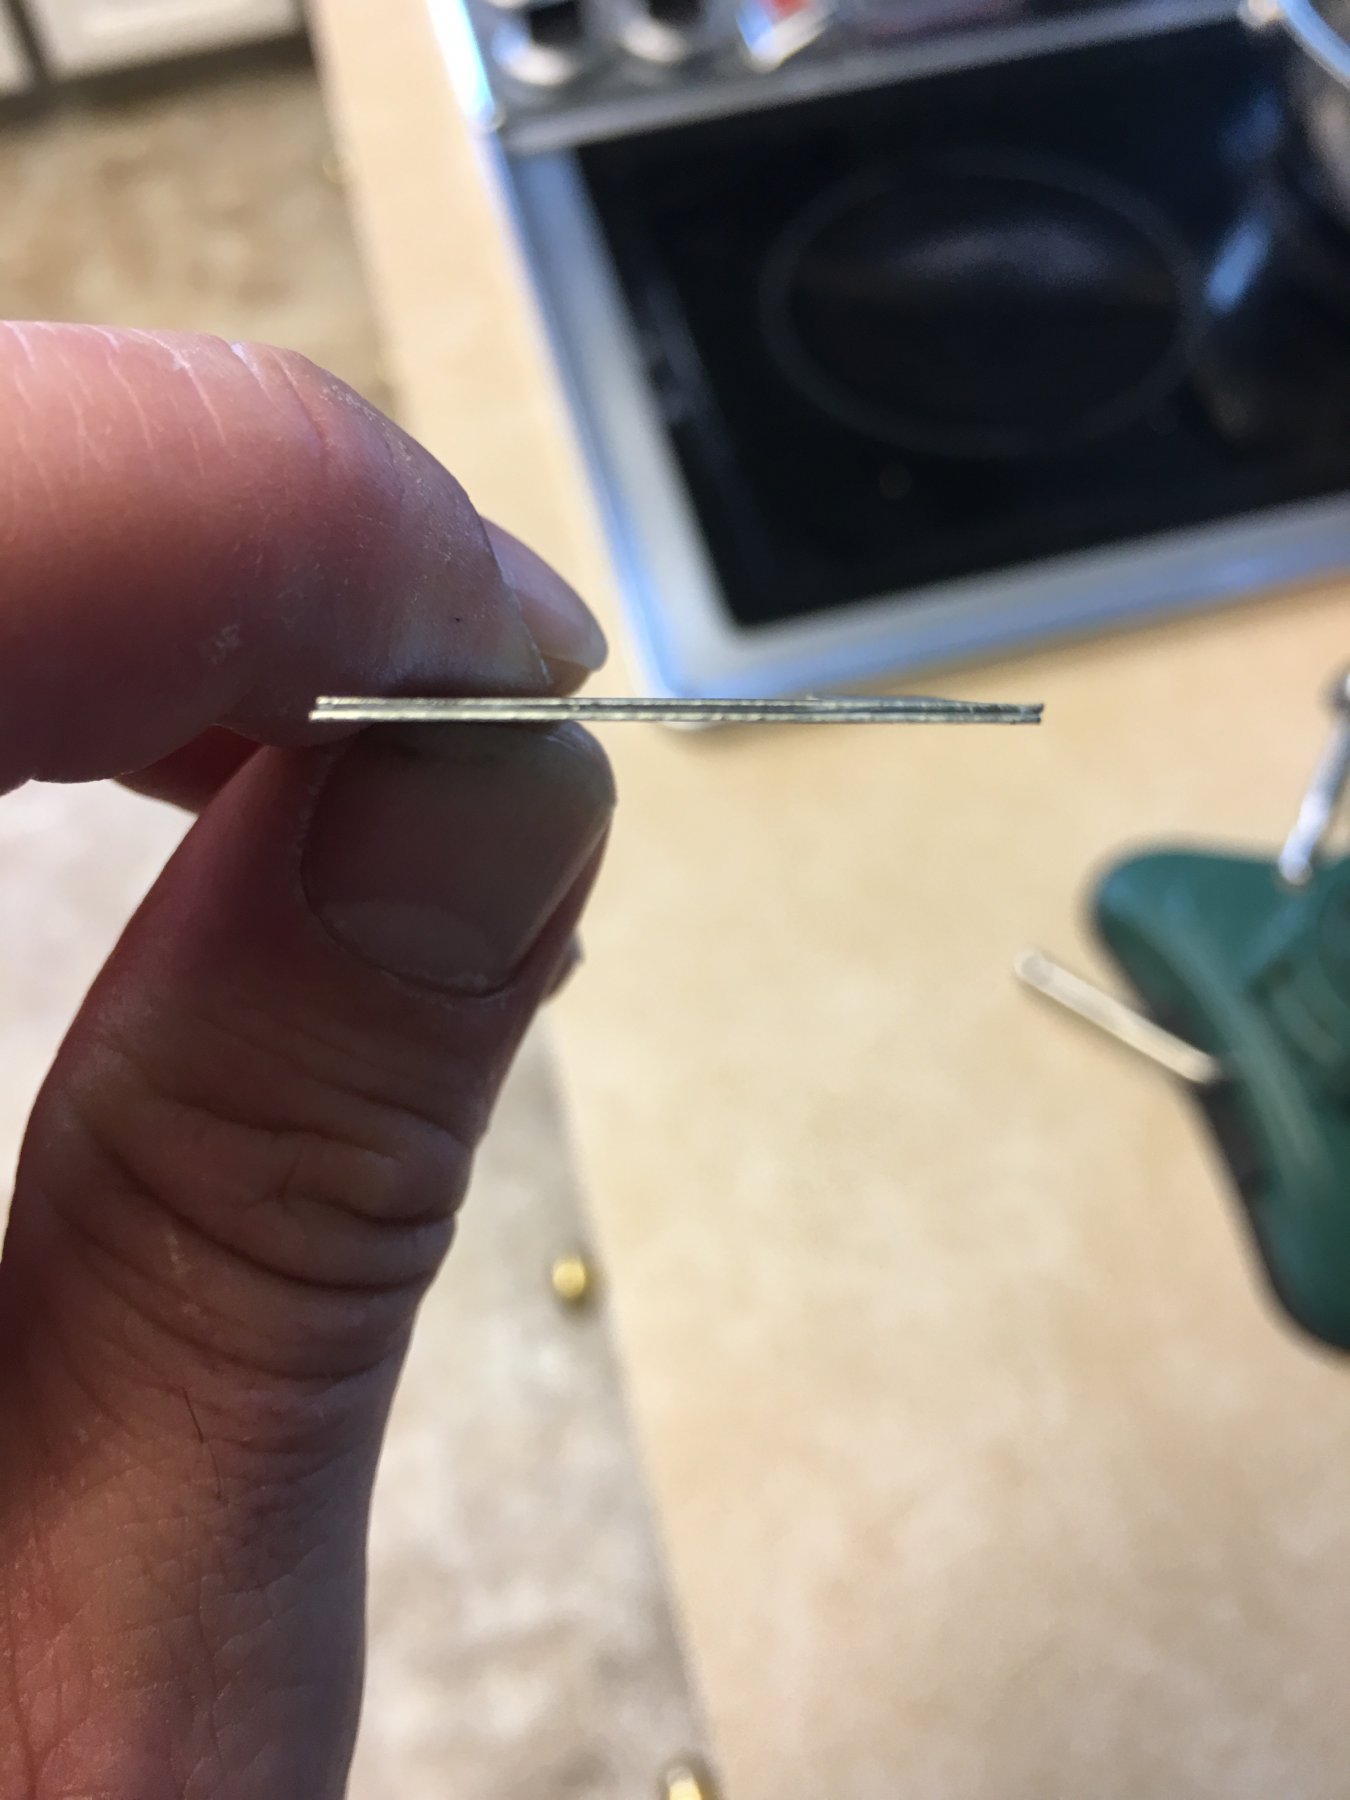
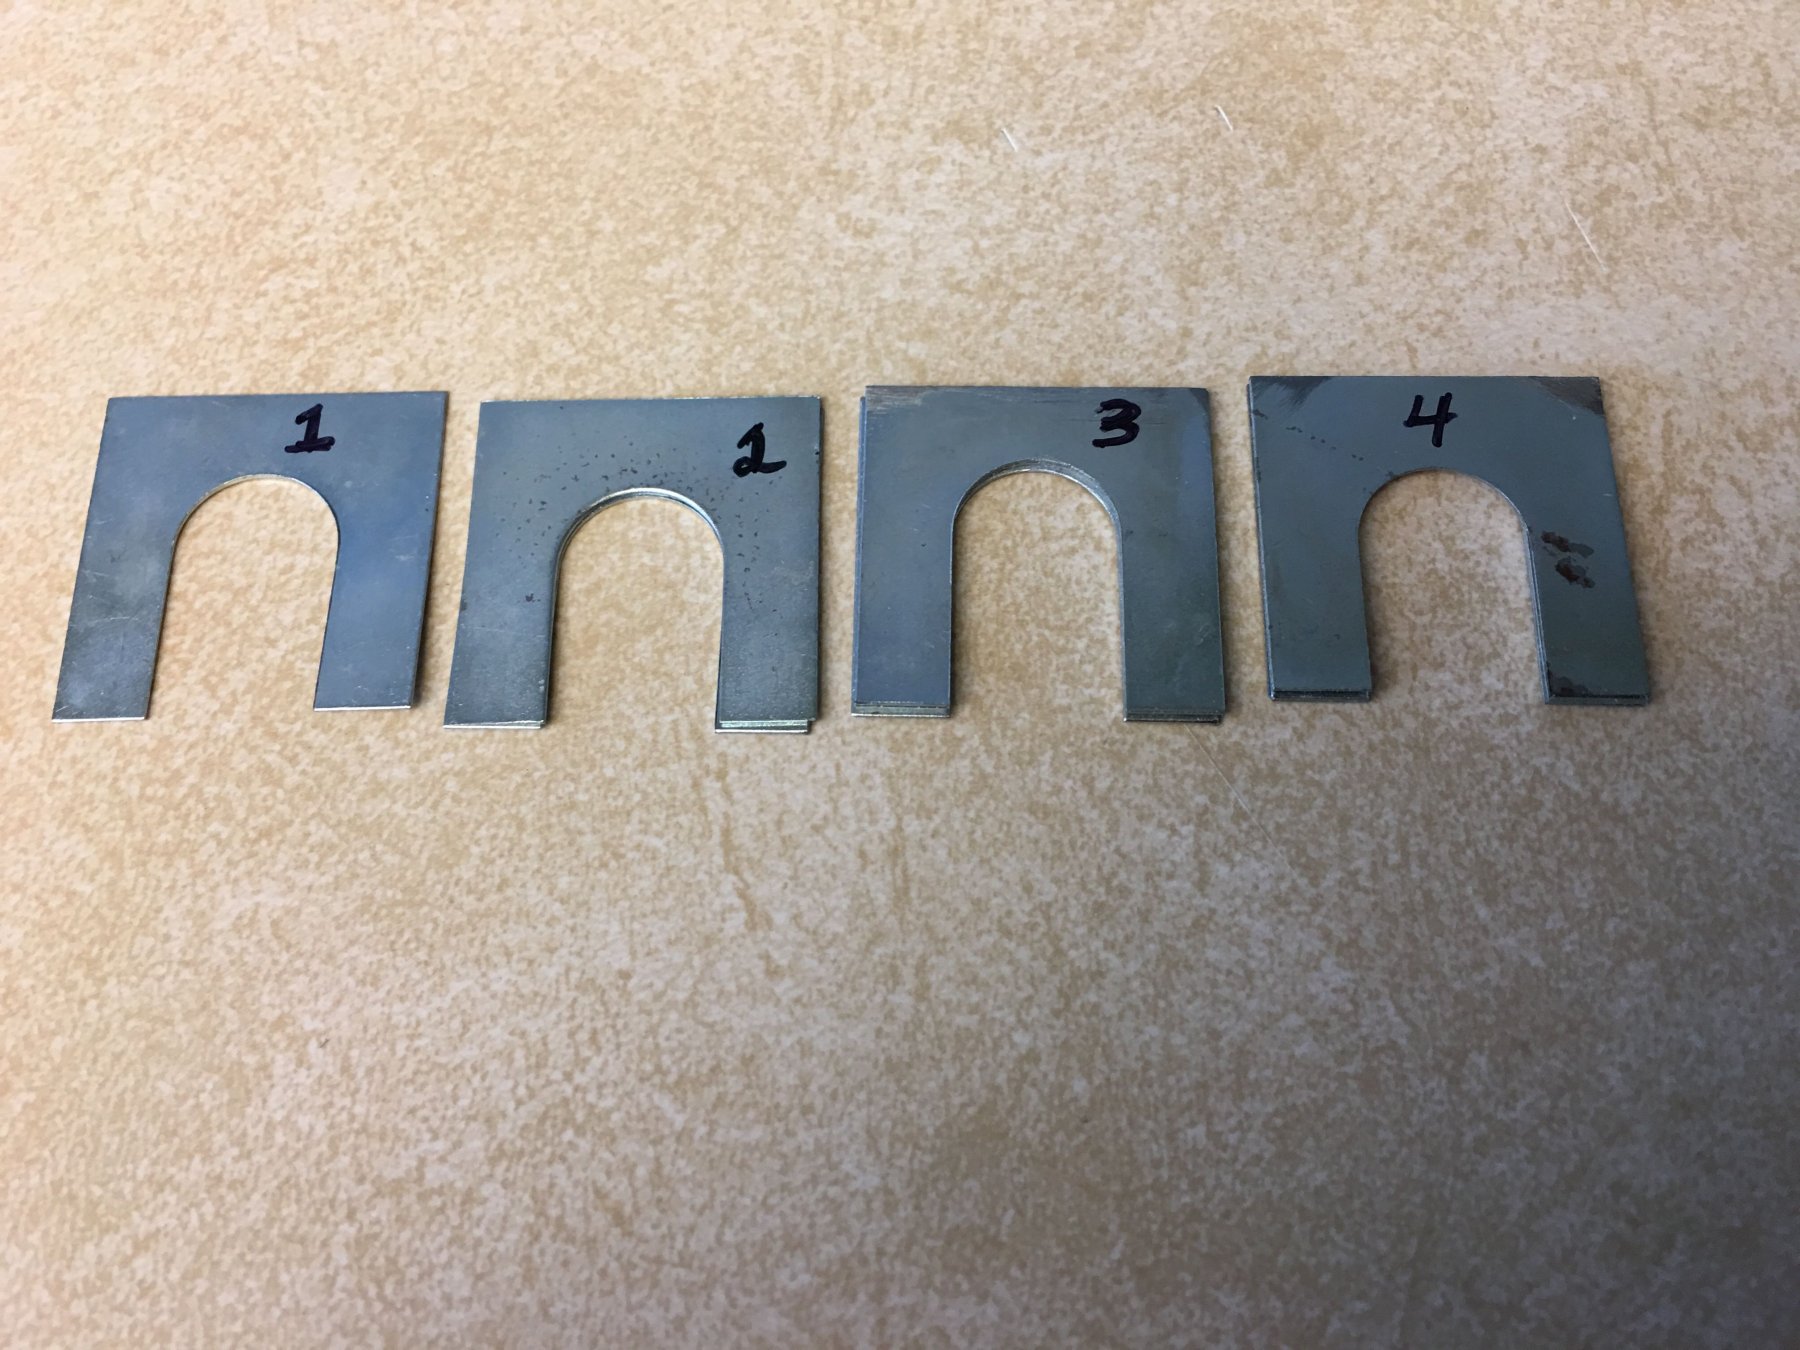
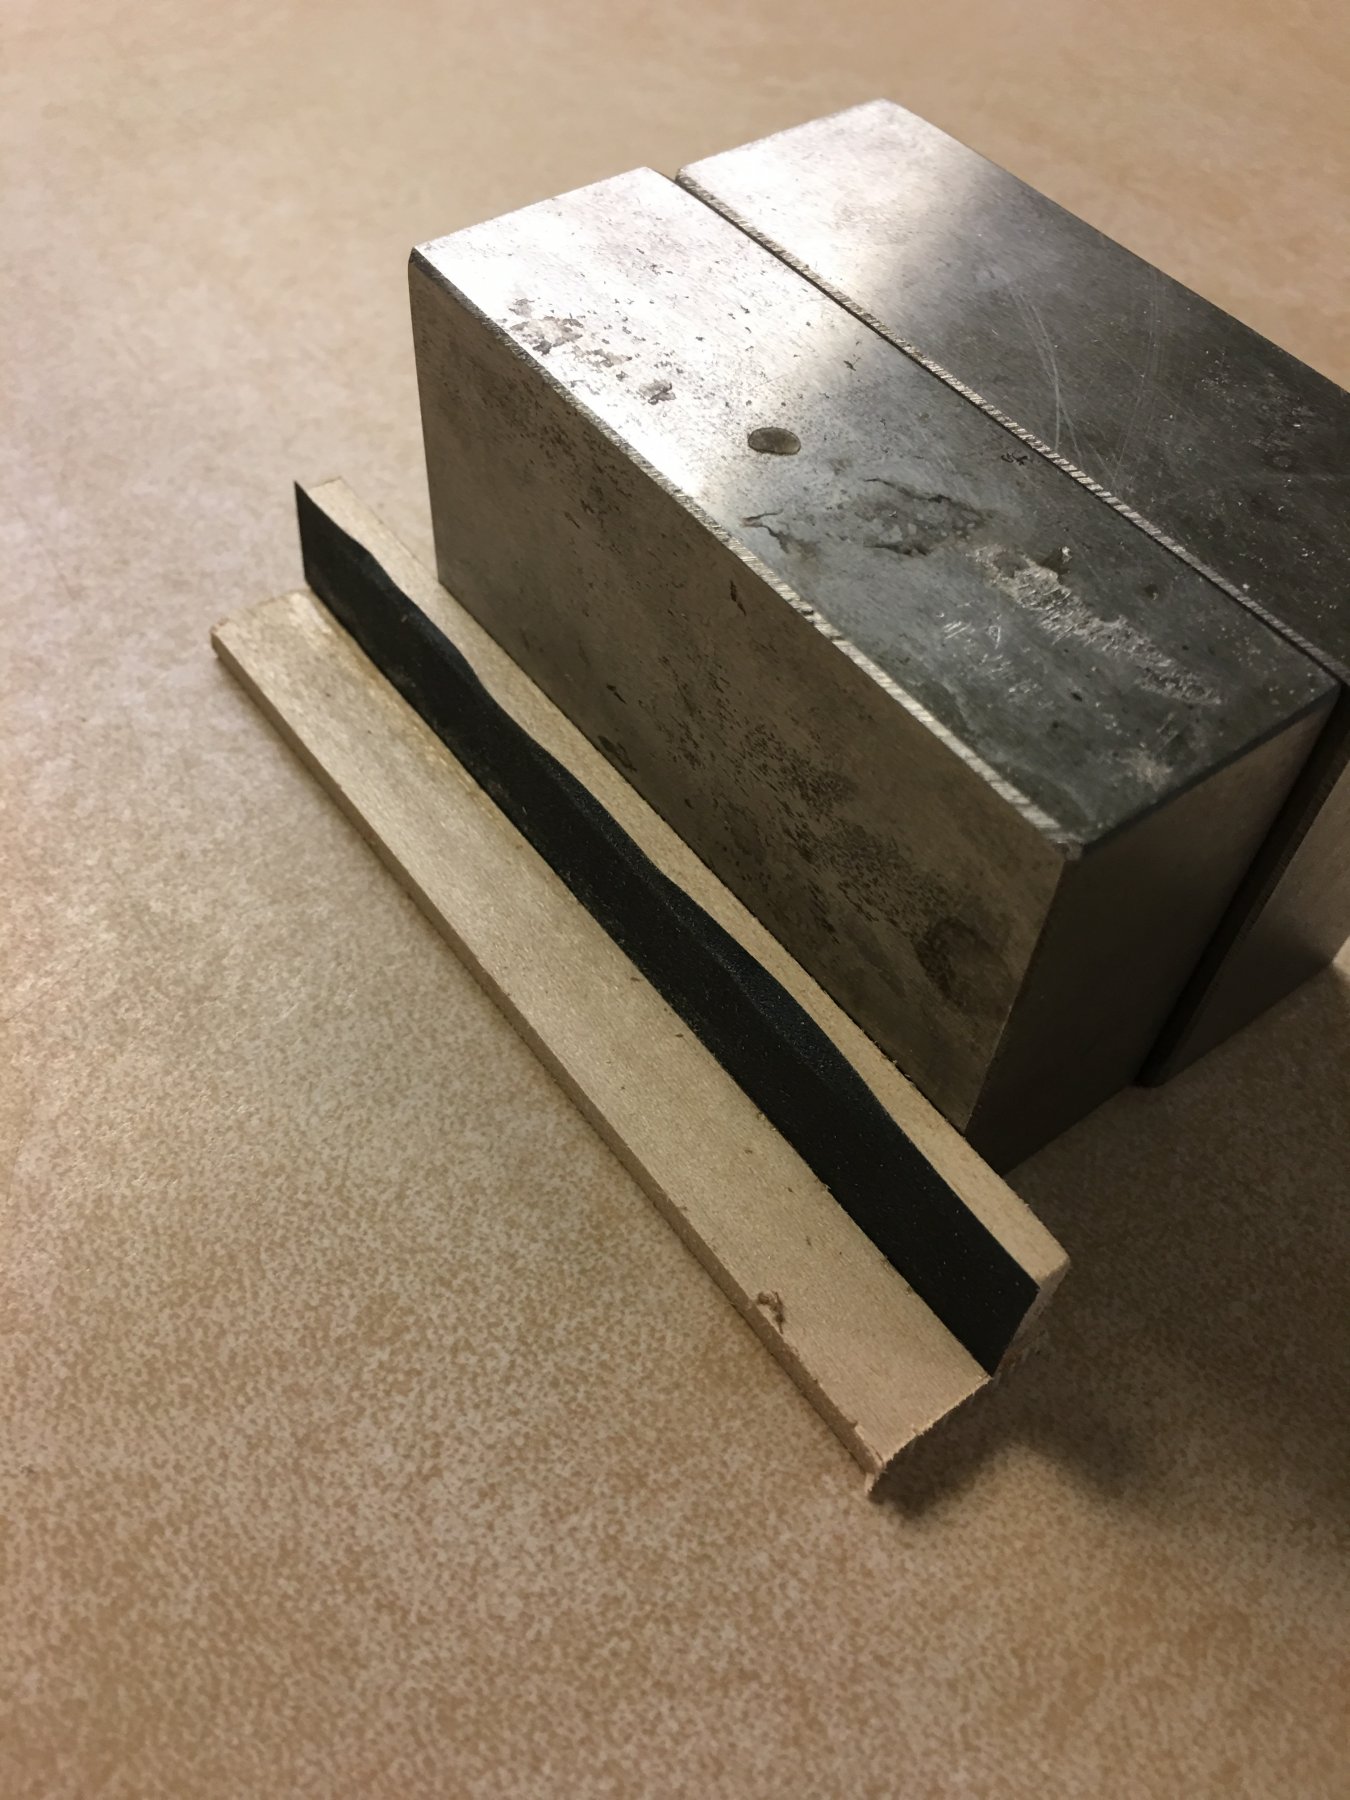
I have completed the tapering of the keel!. It was a little tricky and I am pretty proud of how I got it accomplished.The plans show the tapering of the keel, so I made a rough sketch in my build log. I glued together 1/64" thick engine valve lifter shims, which I could then use to mark both sides of the keel to define the profile of the taper. At several points, I made reference tapers... using a super soft pencil mark (5B) on the top of the keel to indicate if I was sanding on the top of the keel. Repeat, repeat, repeat and then carefully sand the remaining parts of the keel to make a smooth symmetric taper down the center. Lots of saw dust (man glitter) but its done.


- Tigersteve, Tom E, Ondras71 and 2 others
-
5
-
Greetings to all fellow model shipwrights. I am working on Model Shipways Pride of Baltimore II. I have done a few previous kits from Dumas and MidWest, with some rather nice results and have decided to make this a lifetime hobby. I'm throwing this build log up to get some help as I go along and provide some inspiration to others starting out. I am thinking that I am a younger member here (43) and love that this hobby is still going on. A little about me, so that all other readers can get where I am coming from. I am a nuclear physicist. I grew up on the chesapeake bay and my father had a Morgan 28' outisland that I learned to sail on. I'm a bit of a perfectionist and love how this hobby combines the meticulous nature of a technical build with the final result of a beautiful piece of what I would call architectural art.
Here is where I am at... early stages.
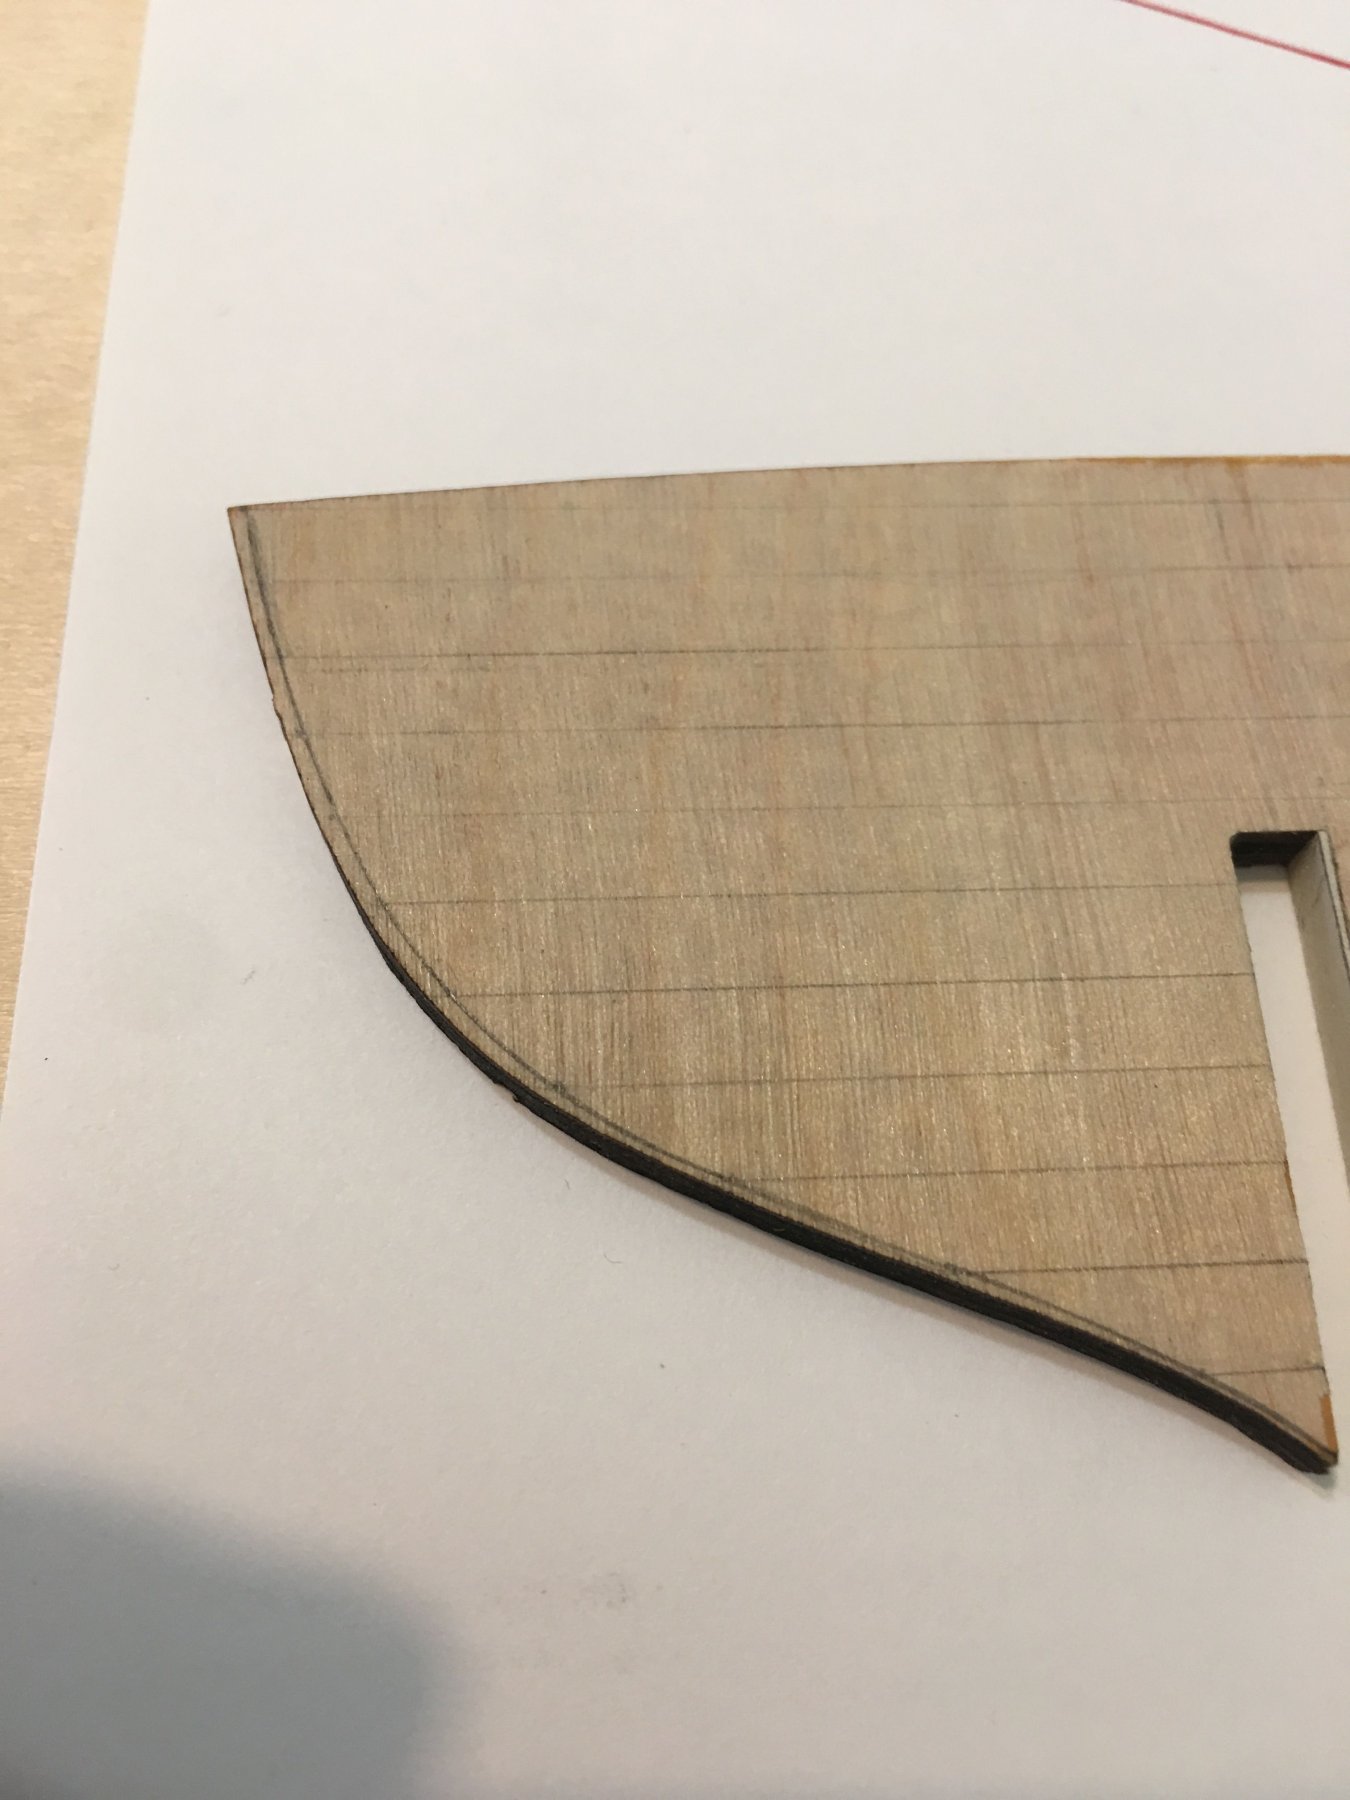
I got the kit and set out to getting started. One thing that struck me was the imperfections of the cuts and plans... A lot is off by ~ 1/16th". I know that this is art, not technical designs, but my machinists would have kittens if I provided parts this far off. That being said, I have been consulting a great book that my wife gave me; "Ship[ Modeling Simplified" by Frank Mastini. So far, it has been crucial in getting the bulkheads symmetric and centered.
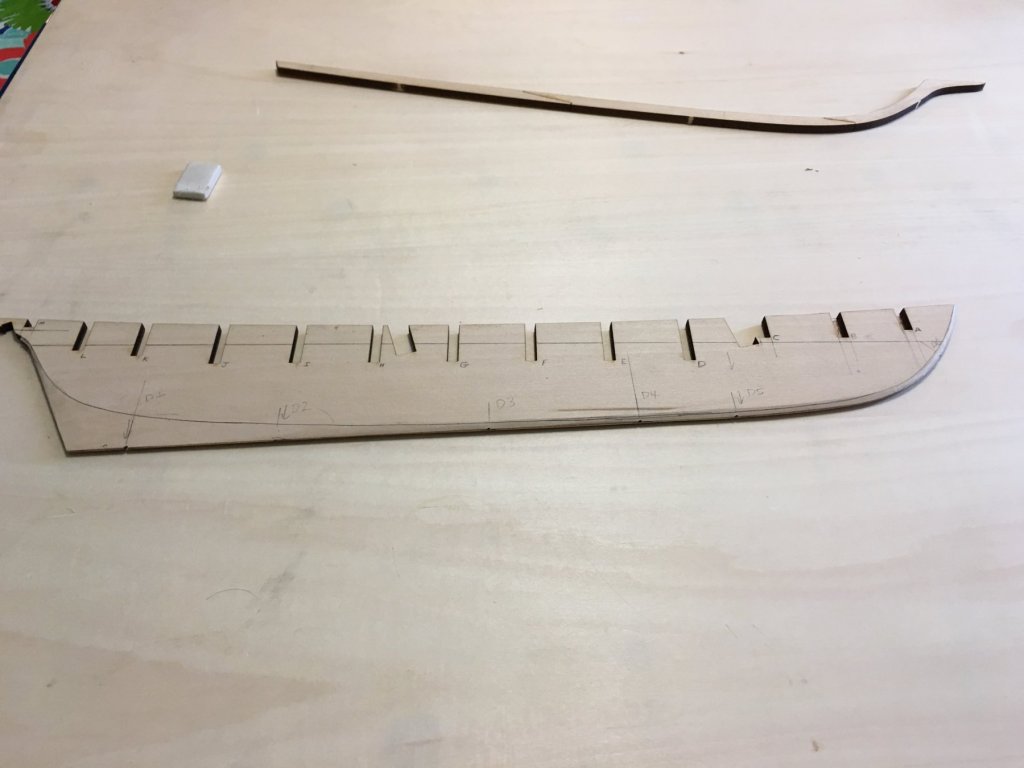
Here are the current pictures. I have tapered the false keel and used machinist blocks to get dowels (I filed down tooth picks) centered. I glued the keel/stem assembly to the false keel. Also, I have marked (the now centered and symmetric) bulkheads for tapering.
One extra note that makes this build a little more difficult and unique. I have a 2 y.o. son who thinks that the most important thing in his life his to get his hands on the parts and 'help.' My wife is a NICU nurse who works nights so I have a lot of parenting time, and building this model is a little harder with a toddler trying to crawl up your leg.

-
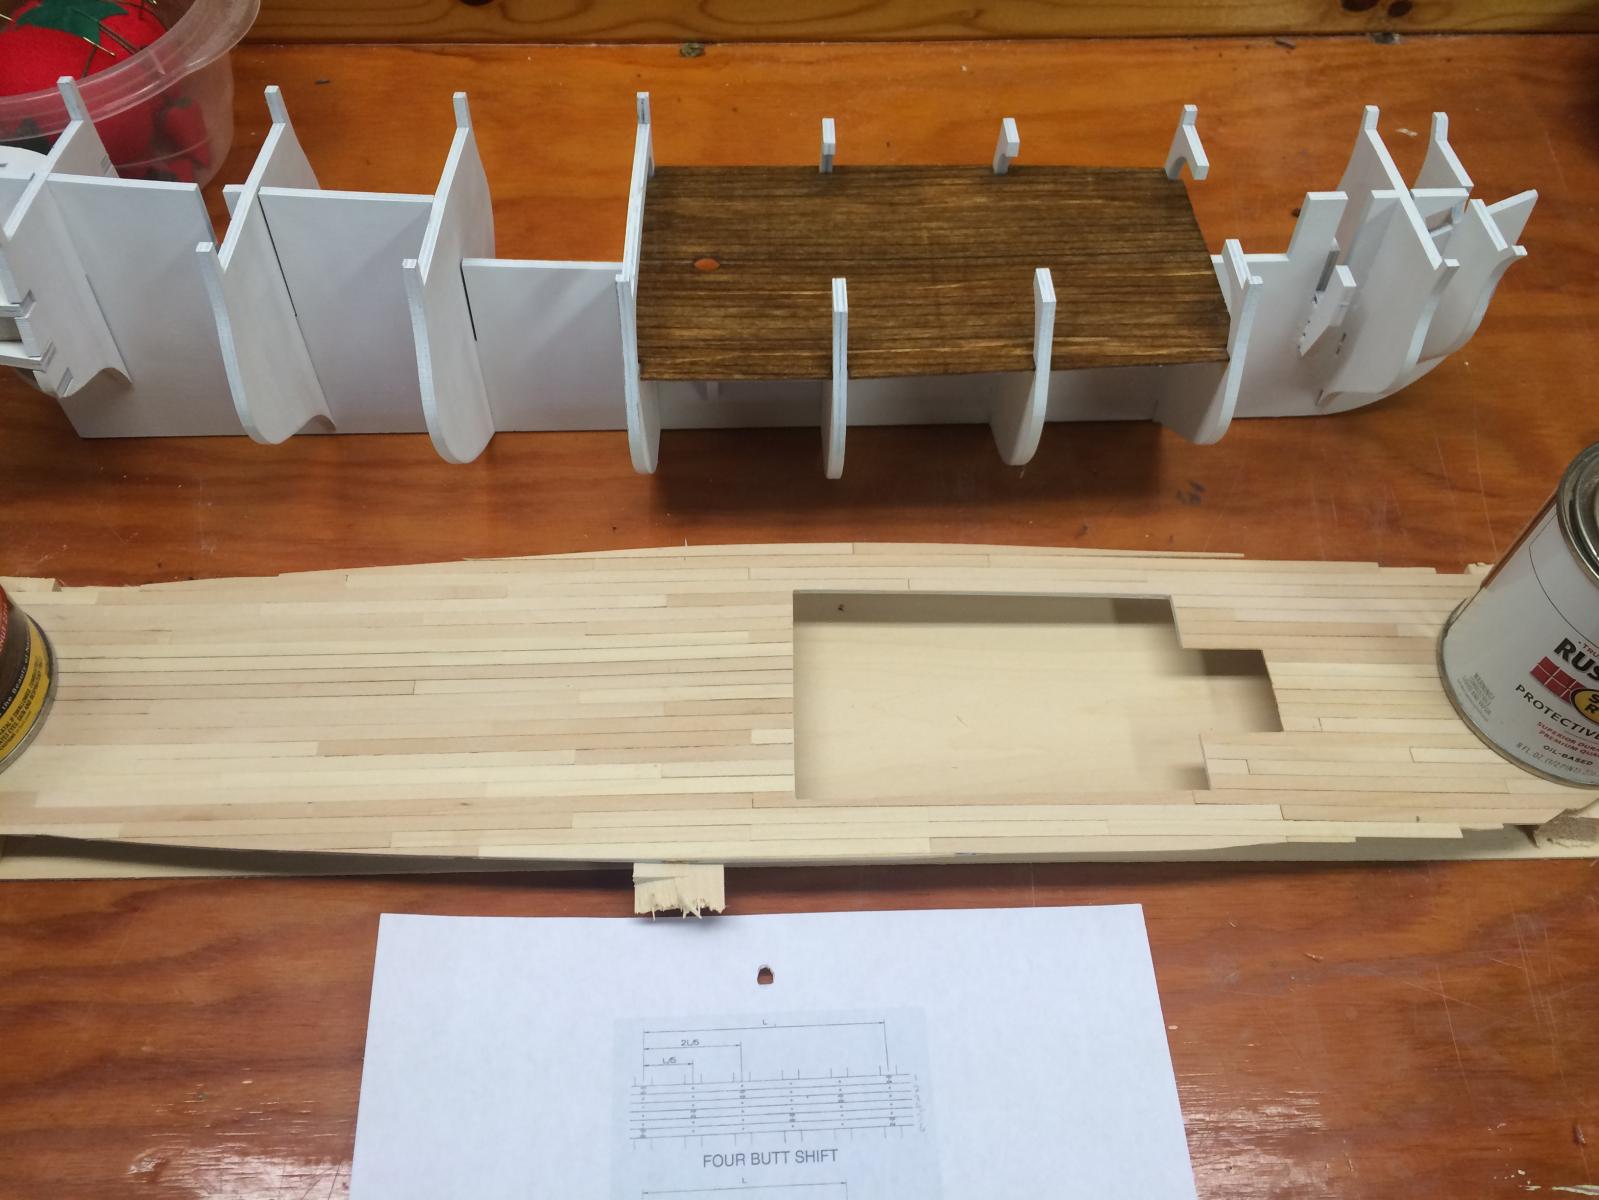
I took the deck and made a false deck mold.... added on top 3/32" by 1/16" planks... doing a four offset butt setting. It's getting there... I will mix up flat white paint and thinner to simulate a newly holystoned deck. Sorry about the delay in updates. My wife and I are expecting our first child (together) in a few weeks and she has a large "honey do" list.

-
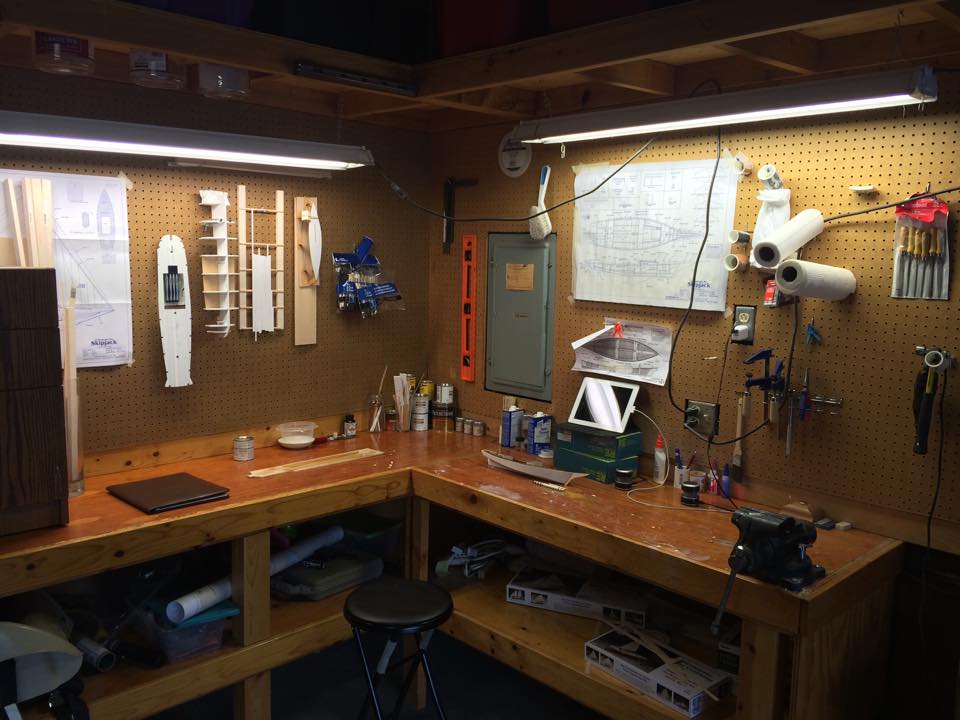
Been a little delayed, but very excited that I have gotten my little work shop mostly completed. Great things to come... but not in a very fast manner! Thanks all! More tomorrow.

- Ryland Craze and Bobstrake
-
2
-
-
Thanks so much for the info! I'm building the same model, and you are saving me from missing good steps (I'll make a cabin interior too!). It's looking great!
- mattsayers148 and Bobstrake
-
2


Pride of Baltimore II by Vtwoods1027 - Model Shipways - Scale 1:64 - first build - As currently moored at Baltimore, MD
in - Kit build logs for subjects built from 1901 - Present Day
Posted
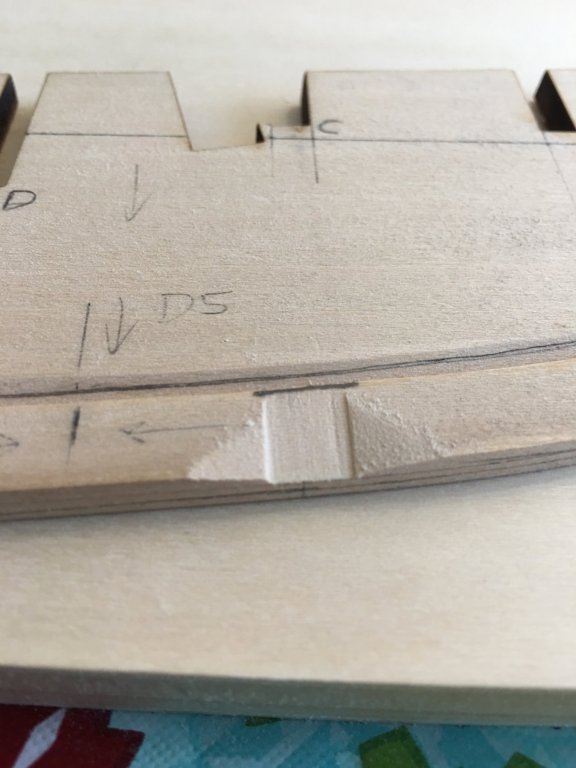
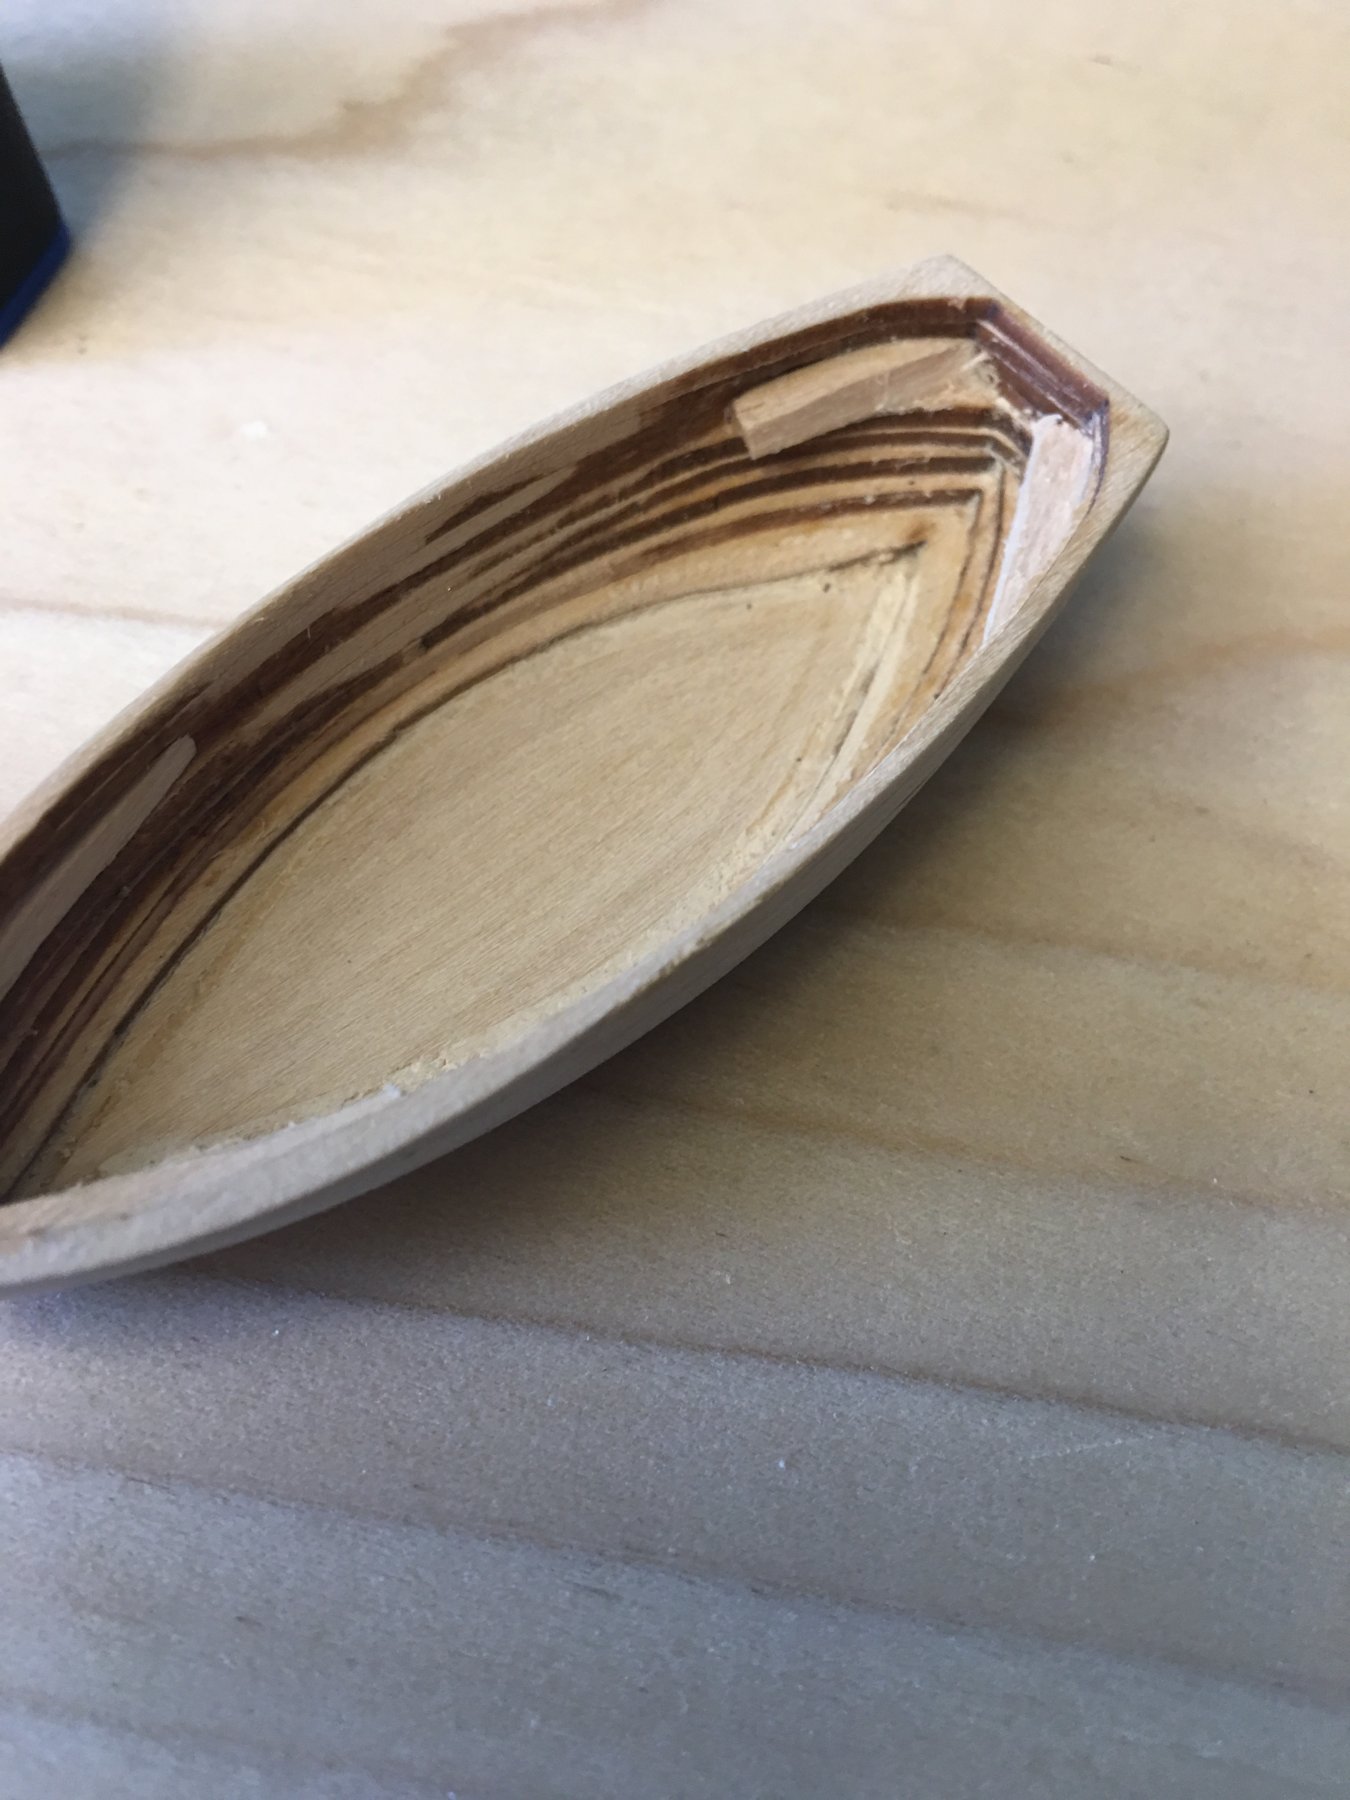
I think I made some progress!!!
The hull structure is in a pretty good shape and I think I can actually move on. I faired the deck surface and then moved on to the bulkhead. There was a LOT OF GAP between the bottom of the bulkhead and the rabbit line. I added some filler wood and sanded them down using little dowels with sandpaper glued to them. They look pretty good now. Also, I carved (actually sanded) the filler block into position on the stern of the ship. As I stated before, the plans and parts don't quite match up, but a little extra work makes everything smooth. Hope you all are having fun!