


Bob the Builder
-
Posts
35 -
Joined
-
Last visited
Content Type
Profiles
Forums
Gallery
Events
Posts posted by Bob the Builder
-
-
Chuck - I may end up doing that, but first I think I will try Alan's advice on building my own (I have tons of extra lumber), I was hoping not to spend any more
on extras for this build.
-
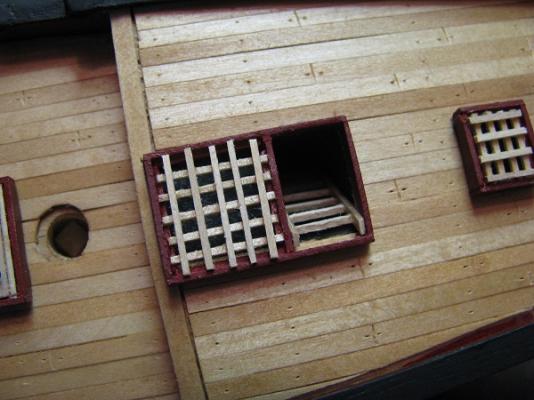
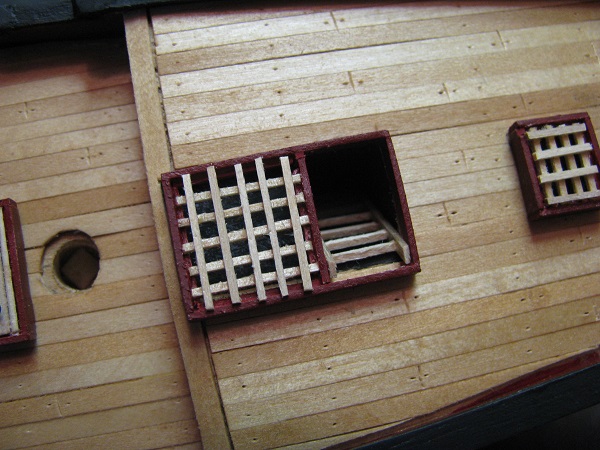
I got on a scratch-building kick, before opening the kit bags. I'm gonna go back and use the cast gratings supplied with the kit. I think I can detail-paint to make those appear to be wood.
- Chuck Seiler and shihawk
-
 2
2
-
-
From posting these pictures right after a day's work, I've learned that maybe I should make some pictures, and then study them to see what details can be finished in a better way before I post them for all to see. It gives an honest perspective that I don't have staring at the project all day on my bench...
-
-
-
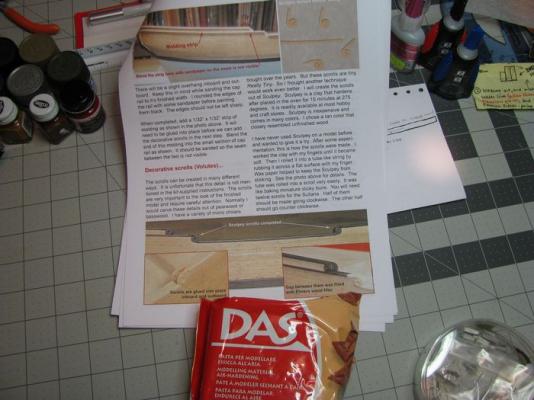
Made the volutes from rolled up air-dry clay, and blended in to the cap rails. Looks like some more sanding shaping is in order.

- Chuck Seiler, AON, Overworked724 and 1 other
-
4
-
-
I built my own gratings according to the practicum, and made a ladder to down below...
- egkb, Griffon and Overworked724
-
3
-
Made some progress on the schooner this weekend...

-
That's the kind of advice that will help me learn, Chuck! Now that you point it out, it seems obvious the planks should appear to be fastened where they begin and end-- that's just good logic, and I missed it....but it will be fixed tonight.
Also, I was able to right-click on the diagram and save it so I can print it out and put it on my cork-board as a reminder. Great help -Thanks for taking your time to help me be better!
- egkb, Canute, Chuck Seiler and 2 others
-
5
-
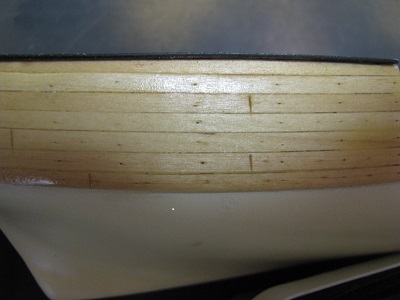
Here's my first attempt at trunnel-making and plank butts....
- Ryland Craze, justsayrow, shihawk and 8 others
-
11
-
-
Beautiful work on the crest. I salute you!
-
Chuck, I can take more pics of the side planking so you can see my trunnel work and butt-ends, but I have to find another photo resizing program --
my trusty program vanished with my last updates!
As for the deck planking, I fully intended to add trunnels and butt-ends there too after a final sanding, was just waiting for the stain to dry.
Now you've got me re-thinking about the butt-ends up on deck. (I really like the look, but if it's not accurate...?)
I knew I would have to make some compromises when I committed to ship-building with historic accuracy. In plastic, we say "It's your model,
make it like you want it", but this (to me) is different.
-
To describe the Tamiya Dull Red that I used for the inside of the bulwarks is like mixing 85% bright red and 15% rust, again for a slightly weathered look...
it's been difficult to see the exact red that other folks have used, since camera settings and lighting affect they way the color is represented in pictures.
-
-
-
-
Tamiya paints are the best I've ever ever used - I pick up these up locally at Raleigh Hobby, or they can be ordered and shipped anywhere in the continental U.S. from Tower Hobbies. The spray cans designated with the "TS" prefix are synthetic lacquers...they dry fast, and sand easily.
I use these for 90% of my work. If you're using an airbrush, their bottle acrylic paints are designated with an "X" prefix for gloss colors, and "XF" for flat colors.
If you find a gloss color that's perfect for your need, they also have a flat base you can mix in to make it as flat as you want.
NOTE: Be sure to use an appropriate primer first though! I use Krylon spray primer w/ 10-minute dry time.
-
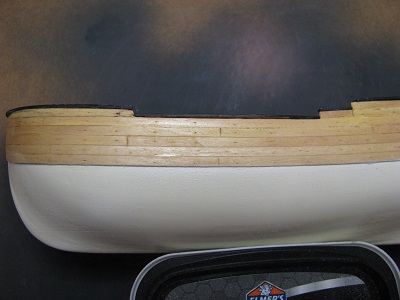
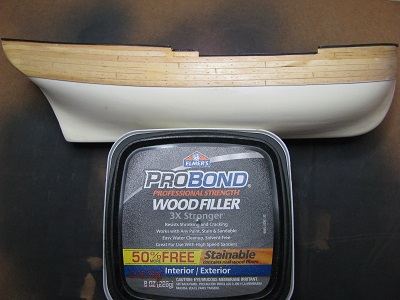
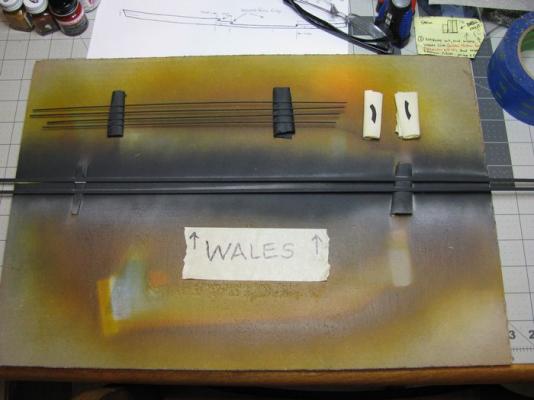
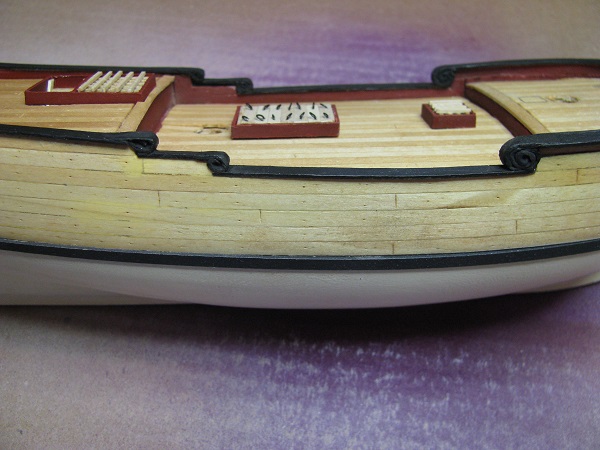
Using Chuck's advice once again, I painted the wales, trim, and fashion pieces off of the model for a neater job.
From the plastic hobby, I've used Tamiya Lacquer paints for years, and after wood is properly primed, the paint works just fine here too.
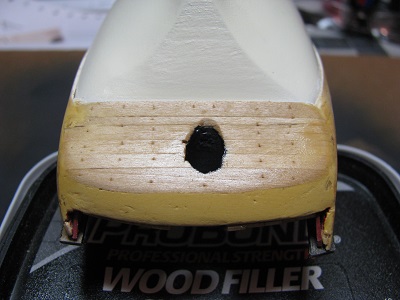
I used Tamiya Racing White for the hull color. It gives the schooner a slightly weathered look in my opinion.
The insides of the bulwarks are Tamiya Dull Red (not sure if historically accurate, but it looks right to my eye)
- mtaylor, Canute, Chuck Seiler and 4 others
-
7
-
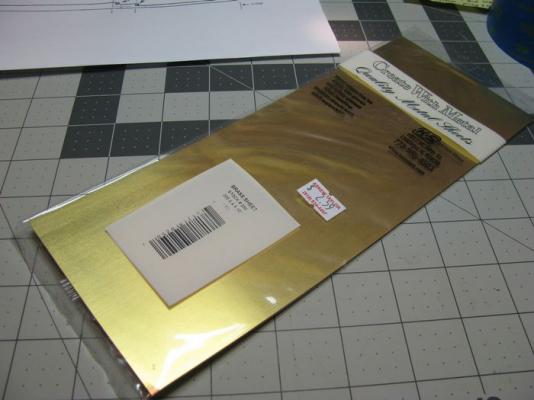
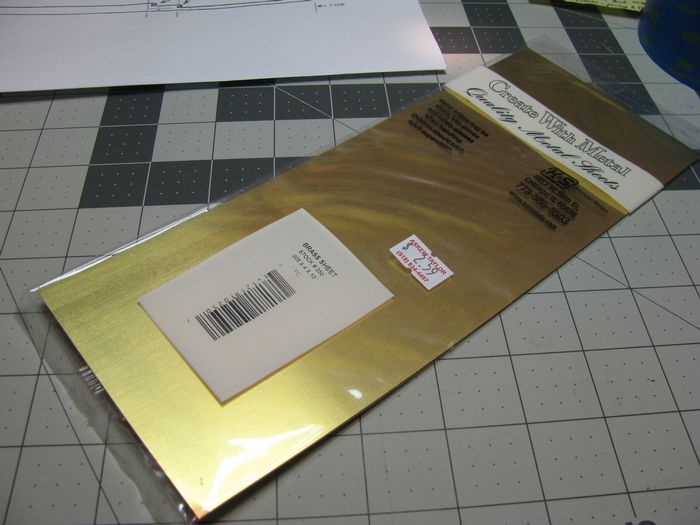
I plan to make my rudder a fully functional piece, and using the technique from Chuck's practicum that I'm now so fond of, I'll make the gudgeons and pintles from a brass sheet I picked up last Friday. Not costly at all...and I'll have plenty of leftover (if I do it right the first time)
- mtaylor, egkb, CharlieZardoz and 2 others
-
5
-
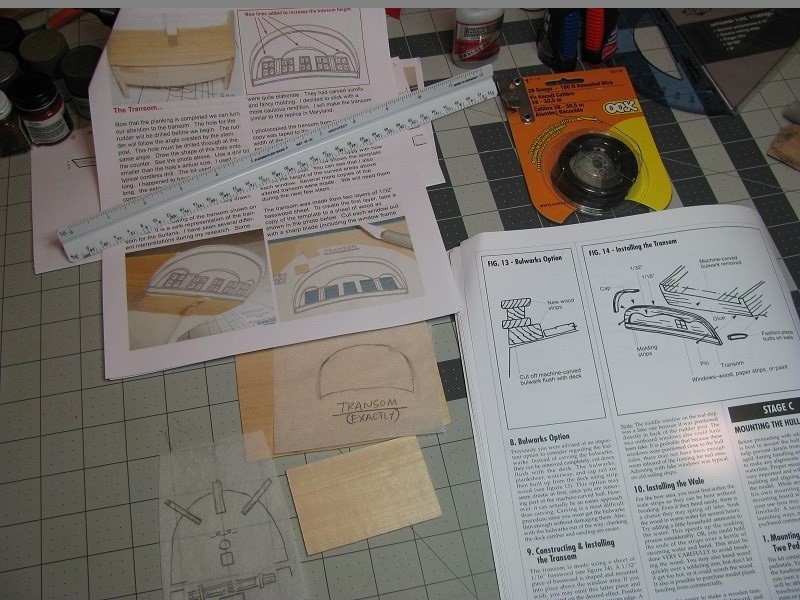
The volutes will be next (the curvy decorations where the cap rails break) Chuck made his from Sculpey, which has to be baked.... I will use DAS air-dry clay, which I have experience with. The only drawback to air-dry clay is that it shrinks a bit when dry, so I'll make them about 1/16" larger than needed, then sculpt them down to size if I need to -- glue-fix them in place, and paint-blend into the cap rails.
-
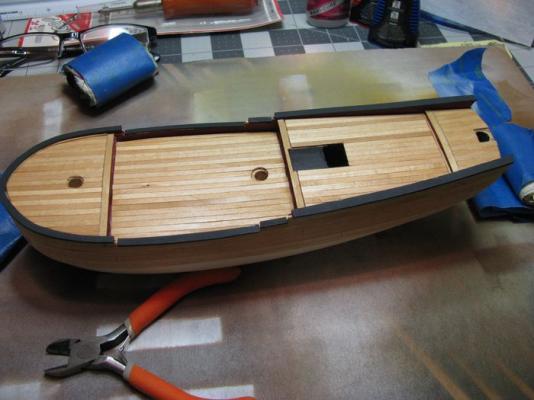
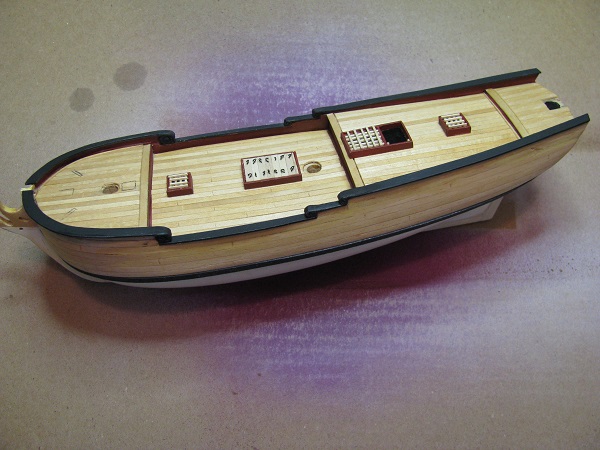
Made progress on the schooner this weekend - I planked and decked her with inspiration from Chuck Seiler and Chuck Passaro.
I practiced my trunnel making on the side planks, and will do the same for the deck now that the stain has dried enough to fiddle with.
I used Minwax Golden Oak for the color.
- CharlieZardoz, AON, mtaylor and 6 others
-
9


Sultana by CharlieZardoz - Model Shipways - 1:64
in - Kit build logs for subjects built from 1751 - 1800
Posted
I appreciate your careful, methodical approach, Charlie -- there's no reason you will come up with nothing less than a jewel of a model.
Watching your build is like an instructional segment, with the way you present your progress, and show the tools, templates, and materials used.
I have something to learn from you.