


David Rice
-
Posts
245 -
Joined
-
Last visited
Content Type
Profiles
Forums
Gallery
Events
Posts posted by David Rice
-
-
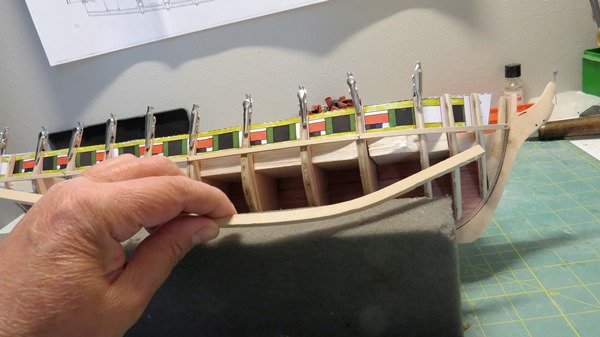
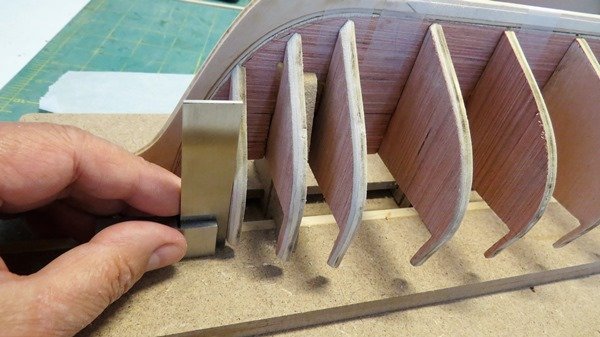
It rained again today. So I started the Gun Ports. Colored my Templates. Found a good use for my mini Alligator Clips. Marked, measured, and made a small template block. I still don't understand why the larger 1/4 is used, and not 3/16. I see lots and lots and lots of sanding in my future. Bending the material first does help.


- Nirvana, HIPEXEC, Tigersteve and 4 others
-
 7
7
-
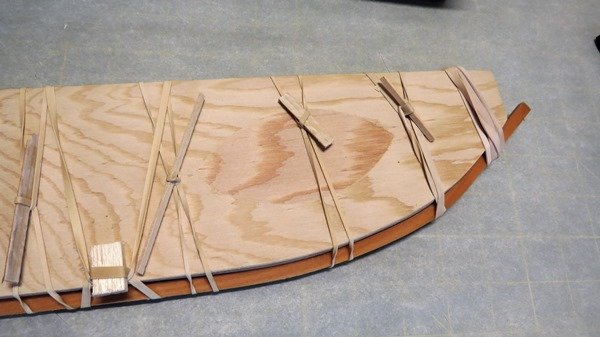
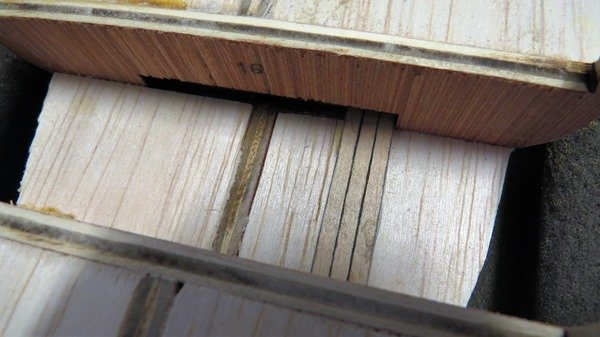
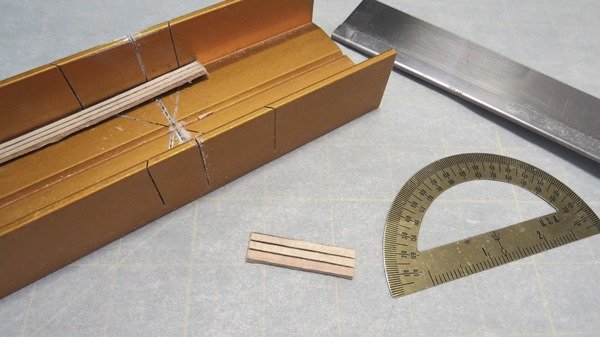
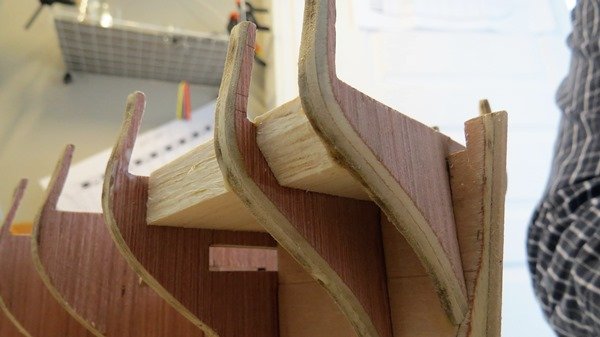
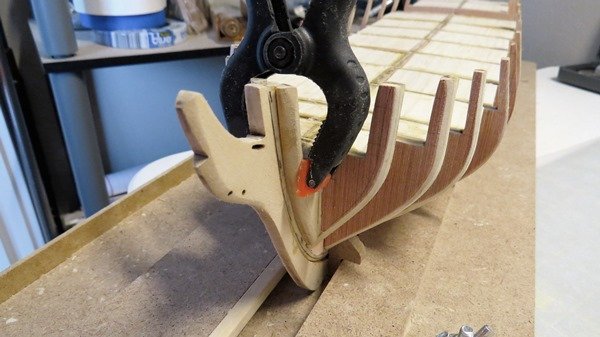
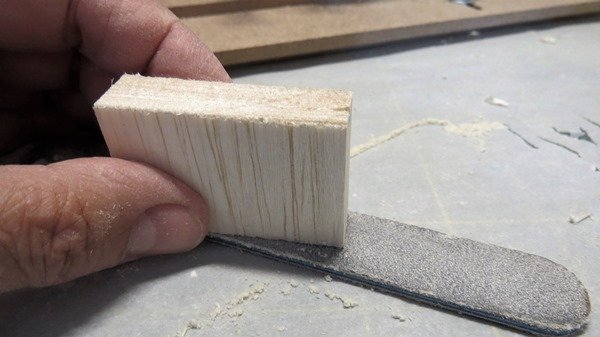
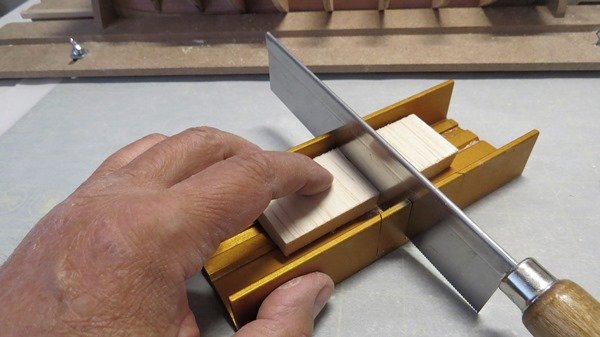
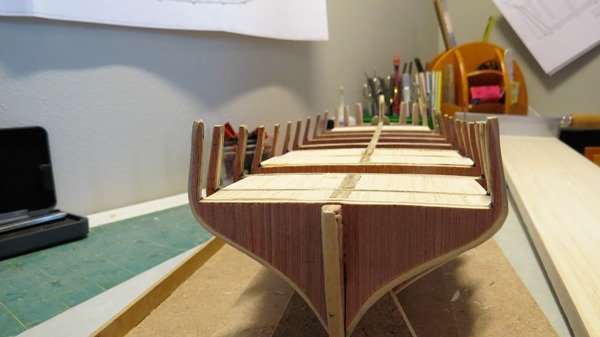
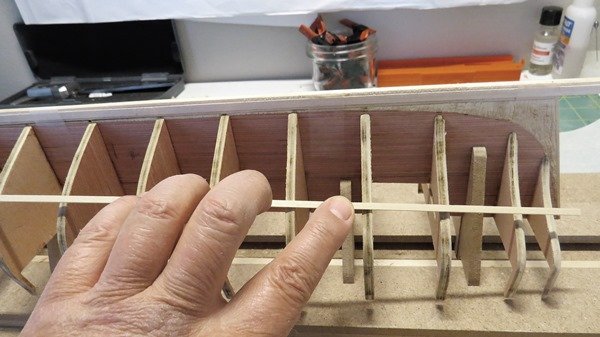
After soaking 24 hours and drying 20 hours the 1/4 x 3/16 Basswood Gun Port Framing material looks like a good match. Now the hard part for me, cutting the right lengths without messing up. I also double checked my sanding job. I have such a short term memory problem I need to double check everything now in triplicate.

-
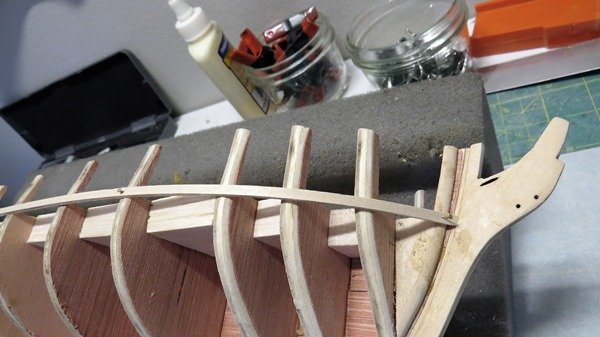
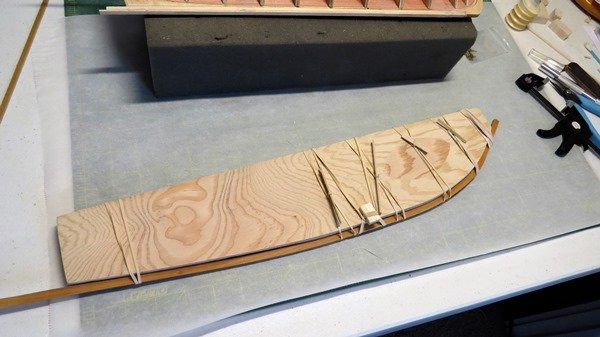
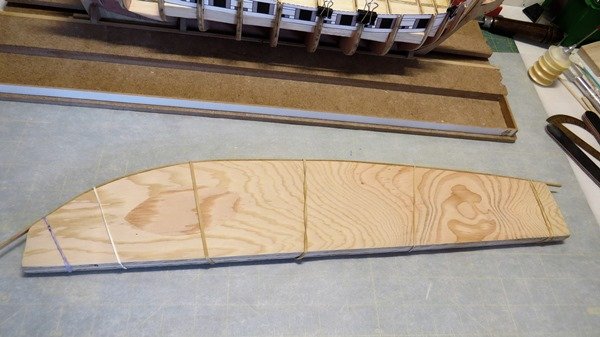
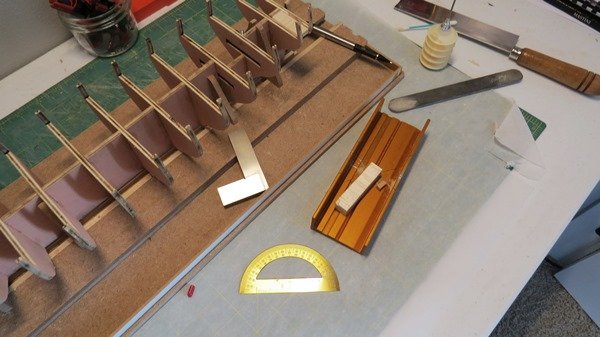
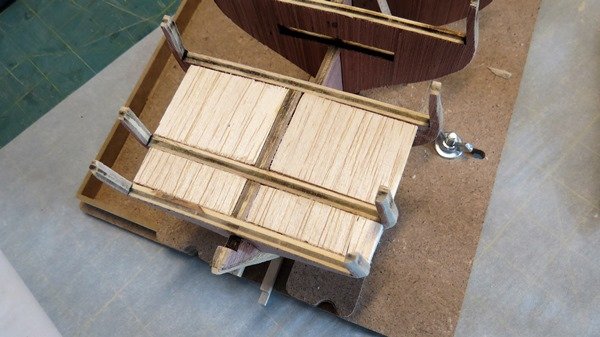
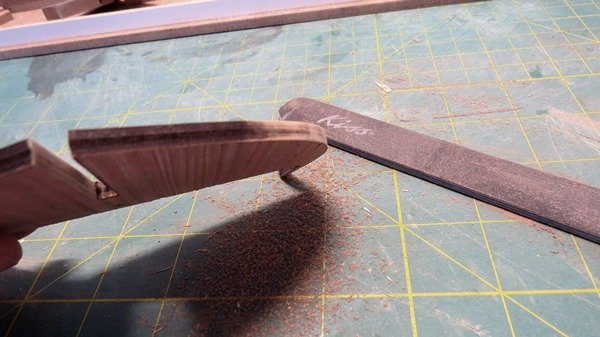
Bending the larger 1/4 x 3/16 Basswood Gun Port Framing material was a little more challenging since the larger side 1/4 will be at the top of the Sill. I needed to soak the 1/4 x 3/16 piece for 24 hours before I could conform it to the jig I made. I'll let it dry in place for a few days.

- Ryland Craze, Jack12477, Cathead and 1 other
-
4
-
12 minutes ago, Heronguy said:
It'll work up near deck level at least.
It's great to see your steady progress on the build - I wish my builds weren't so start and stop at this time of the year! I did cut the rabbet on my basswood bulkhead former. I also did with the the original plywood version that was replaced by the basswood. I thought that'd be a good warm up. I'll probably put the bulkheads on each of the 2 formers as well but unlikely I'd try to plank both hulls! Half of the stern forms that came came on the original plywood sheet literally disintegrated when I took them off the sheet!
I did the same thing. I tried to put the frame and bulk heads from the original material together too......I thought I may be able to use it for a scratch model later. No way. About a third of the stems were not even whole! They were hollow! That red plywood material is totally worthless.
I am not normally building much in the summer either, but so far our weather has been cool and rainy. My garden is complaining.
-
51 minutes ago, Heronguy said:
Good joke David!
Is your plywood hull form just being used for this task or will you be using it more?
I presume I will use it when planking.
-
Just like going Diving. Spent too much time underwater and you get the bends.

- JesseLee, Ryland Craze, Cathead and 2 others
-
5
-
2 hours ago, Heronguy said:
Hi David,
Have you looked at Rich's Syren build log (HIPEXEC) posts 70 to 82. They document his approach to using the 1/4" material.
It'd be interesting to see if prebending 3/16" then trimming them for each pair of bulkhead extensions gives you a solution too. Why don't you give it a quick try?
I have been looking at Rich's approach. I have material soaking.
-
Questions:
1. The Gun Port Framing material calls for 1/4 x 3/16 Basswood. That seems to be a very large piece of wood for the job, and will require much sanding later. I have some 3/16 x 3/16 material that looks to me to be better suited for the frame. What do you think?
2. The Gun Port Sill has some interesting curves. Would there be any advantage to steaming, and pre-bending (curving) the Gun Port Framing Material onto a jig. Then cut each individual piece to the required length and angle?
-
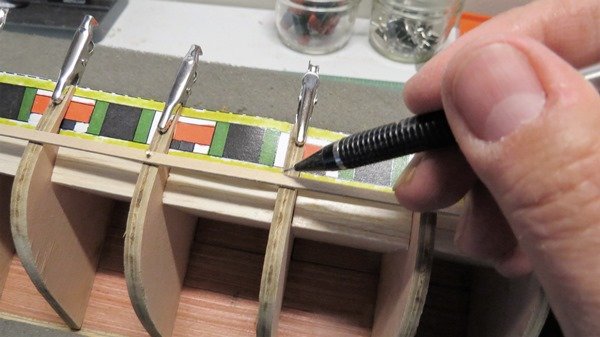
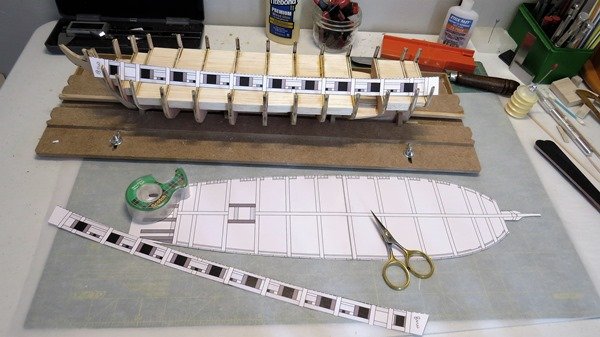
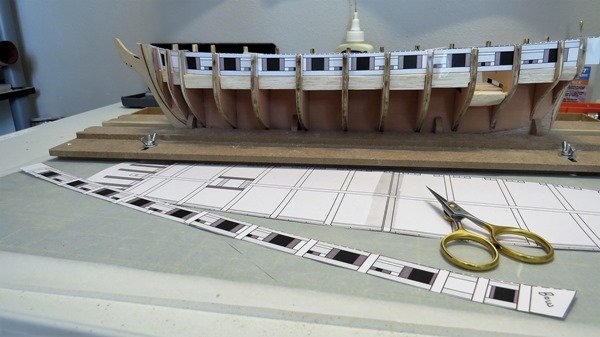
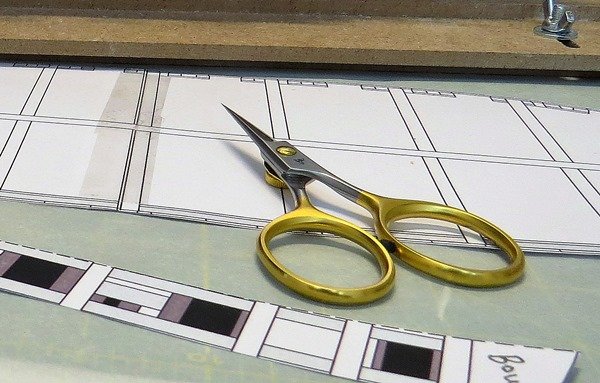
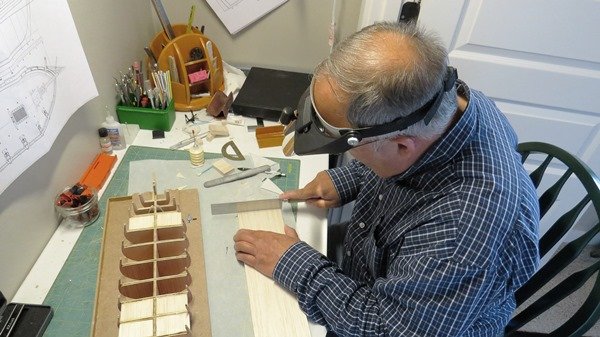
Cut out and fiddled with the Templates. I slightly miss cut the Deck piece at the Bow. If you haven't ever used the scissors that are used in Fly Tying, you should get yourself a pair. The scissors are unbelievably sharp, and have a supper sharp point that can reach into tight places. Warning: The point on the scissors are so shape, that you can injure yourself with it.
- JesseLee, Ryland Craze, Elijah and 4 others
-
7
-
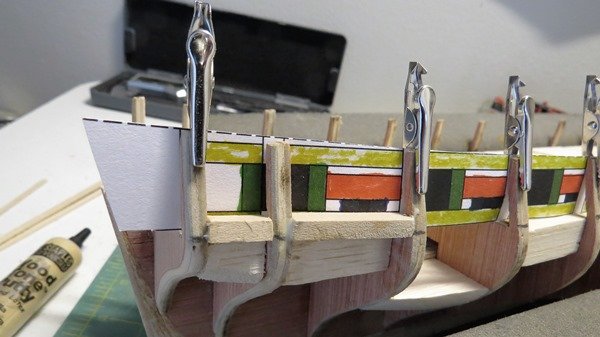
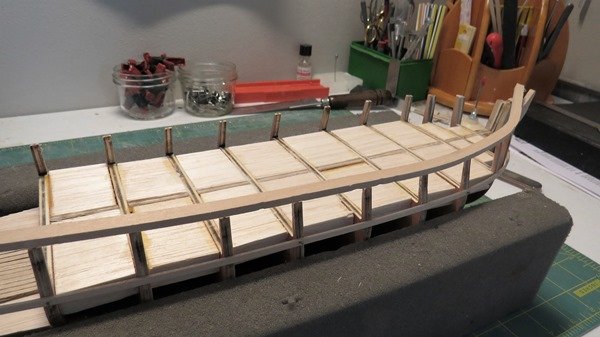
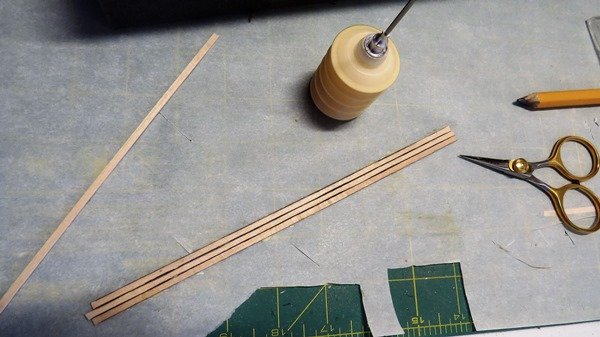
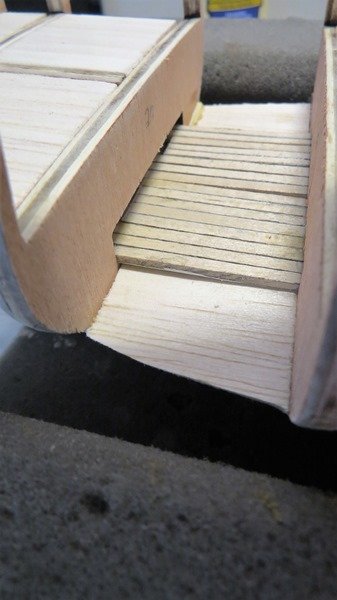
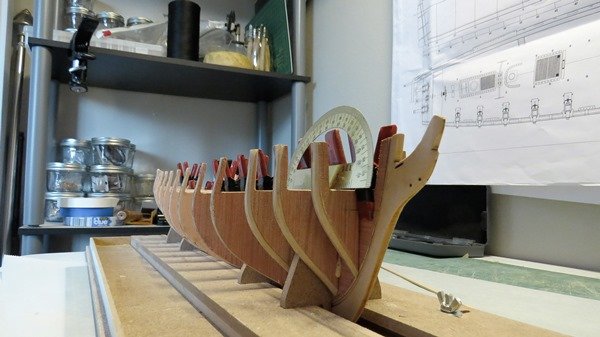
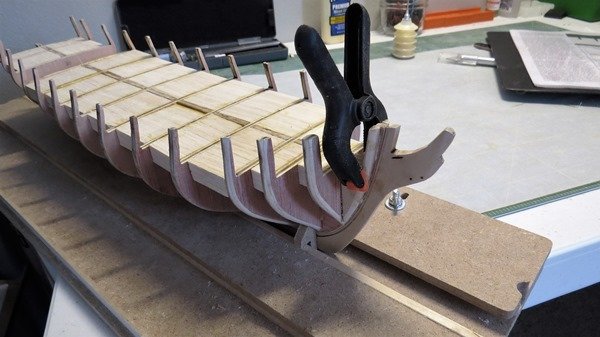
I worked on the lower deck yesterday. Instead of laying the planks one at a time, I glued three long strips of planking material together. I outlined with a pencil as directed, then glued them onto a piece of parchment paper. Trimmed off the paper with scissors. Measured the length, then cut and installed. I really like working on parchment paper.
-
-
-
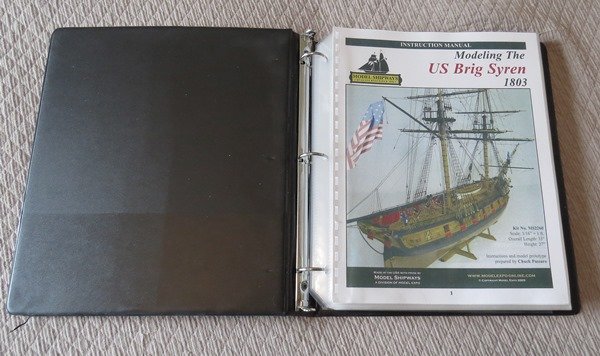
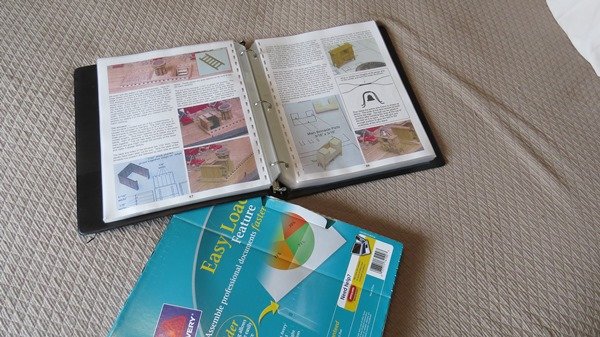
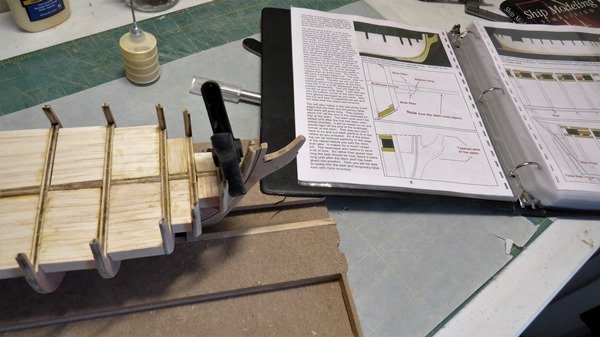
After spilling coffee on my Manual, I decided to cover the pages with Avery Plastic Sheet Covers and put them in a binder. What's nice is that I can remove only the pages I need to work with. I am saving work space, and have the ability to hang up a single page. Spilled coffee, munchies stains, or being a little wild with the glue and paint, no longer a problem.
-
Thanks......just like back in college. Read the book. I was always one of those guys who drove all around town looking for something, and never stopping to ask direction.
17 minutes ago, Heronguy said:PS - chapter 11 - page 48 describes the template for locating the mast holes etc
-
-
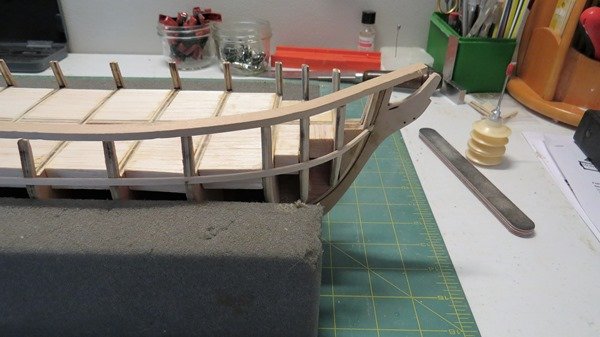
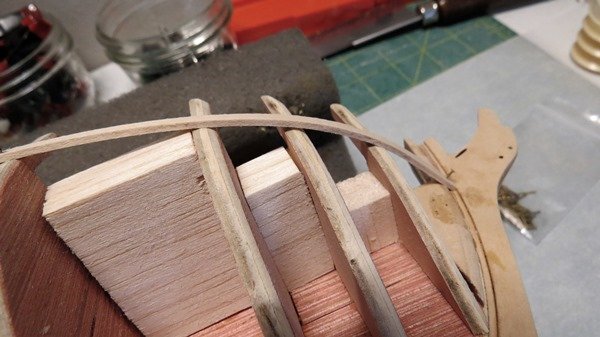
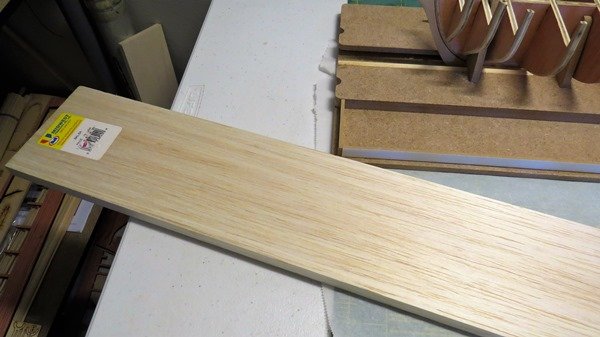
I spent some time making filler blocks today. Cutting up that $11.99 piece of Balsa Wood almost made me cry.

- JesseLee, BenD, Tigersteve and 6 others
-
9
-
-
27 minutes ago, Tigersteve said:
Pictures are great. Sometimes people write too much anyway!
Steve
Thanks. Before I started getting sick 10 years ago, I was a Wildlife Nature Cinematographer and Photographer. This new hobby of model making has given me an excuse to take a few pictures. Photography is nothing more than the manipulation of light.
-
-
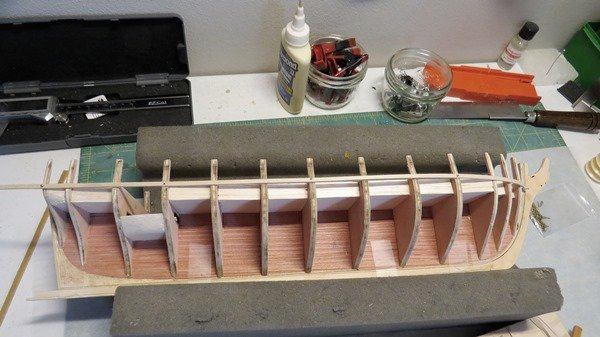
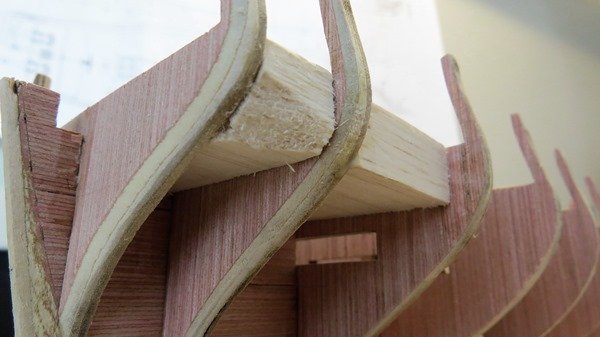
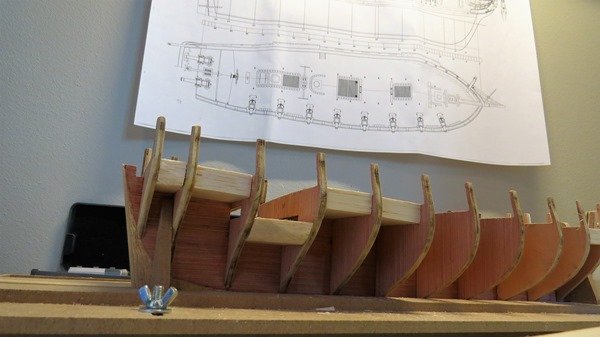
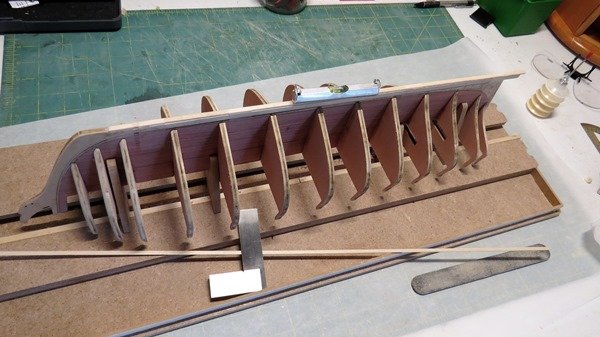
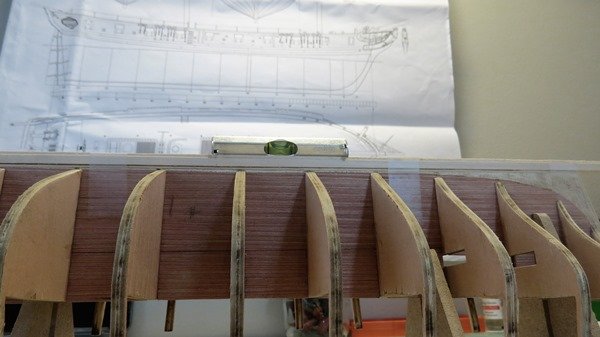
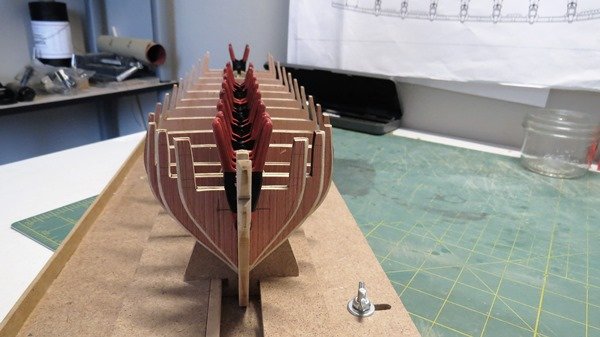
Too wet and cold to work out in the garden today. So I spent some time sanding and measuring, sanding and measuring. The red finish on the plywood keeps chipping. I know it will get covered up, but it still bothers me.
.JPG.b6e8553c74774fcdf07f125b58ec9228.JPG)
.JPG.aa054ca12cce69d5f09b10ee860196ac.JPG)
- BenD, JesseLee, Tigersteve and 3 others
-
6
-
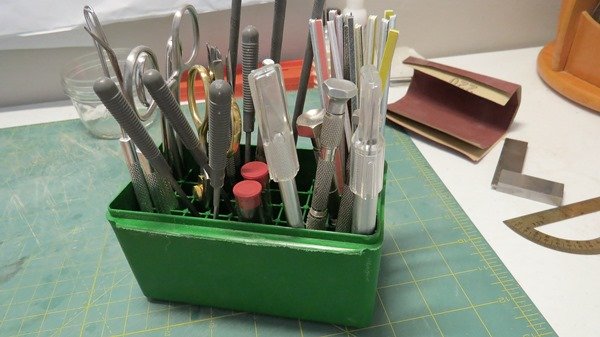
I was cleaning out my old Reloading Equipment, and getting ready to sell it. I found a plastic box with small separated compartments which is used for storing rifle cartridges. I removed the box lid. This is the best file, knife, scissor, and small tool holder I have used or ever even seen. Plus, they are real inexpensive. Most Sporting Goods Shops have them for only a few dollars.
- JesseLee, Ryland Craze, BenD and 4 others
-
7
-
-
On 4/29/2017 at 2:55 AM, Dubz said:
The best way is to scrap the most and then use some sandpaper for the rest.
Dirk
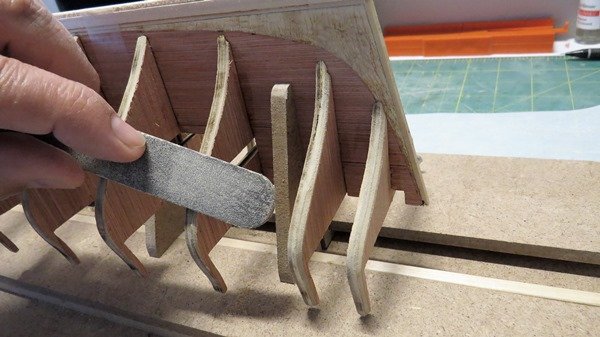
I have been using sand paper and my Commercial Emory Files. Removing Char residue is not one of my favorite activities. You don't want to get any of the black dust on yourself, or anything else. It stains like Charcoal Briquets.
- Ryland Craze, Elijah and Nirvana
-
3
-


US Brig Syren by David Rice - Model Shipways - Scale 1:64
in - Kit build logs for subjects built from 1801 - 1850
Posted
I still don't understand why a 1/4 inch and not a 3/16 piece of Basswood is needed. Using 3/16 would sure cut down on the sanding. I am pretty much following your build to see how your tackling the problems. So far I haven't broke anything. I am sanding now with professional size Emory Boards instead of my sanding sticks. The Emory Boards have a little give to them, which is easier on the more delicate parts when sanding. Less likely to break something.