Haliburton
-
Posts
367 -
Joined
-
Last visited
Content Type
Profiles
Forums
Gallery
Events
Everything posted by Haliburton
-
 Bob, that’s really well done - congratulations! I’m sure your niece will treasure it. Scott
 -
No excuses needed here Kevin - I always enjoy following your work and cameo appearances by doggie. Scott
- 38 replies
-
- 3
-

-
- Lady Eleanor
- Vanguard Models
- (and 1 more)
-
Very cozy looking Kevin and even a comfy spot for doggie underneath the Britannic bench!
-
I think Plastikote (at least in Canada) is rebranded as Dupli-Color
-
Welcome Paul! I grew up in Dundas. A beautiful town. Dundas trivia For the benefit of other readers, Dundas had a significant greenhouse operation up until the 1990s which exported cacti around the world. Billing itself as Canada’s Cactus Capital the summertime Cactus Festival was always a fun time.
-
That is very disappointing OC. I hope the contents are intact and that the seller makes the situation right. Scott
-
Really lovely work Craig, congratulations on a great build. I like your approach to the hull painting. Scott
- 225 replies
-
- 4
-
-
- I Love Kit
- Hood
- (and 2 more)
-
Can you tell us some ghost stories? Scott
-
Looking very nice indeed. Any led lighting planned to simulate that soft flickering glow of lanterns inside? Scott
-
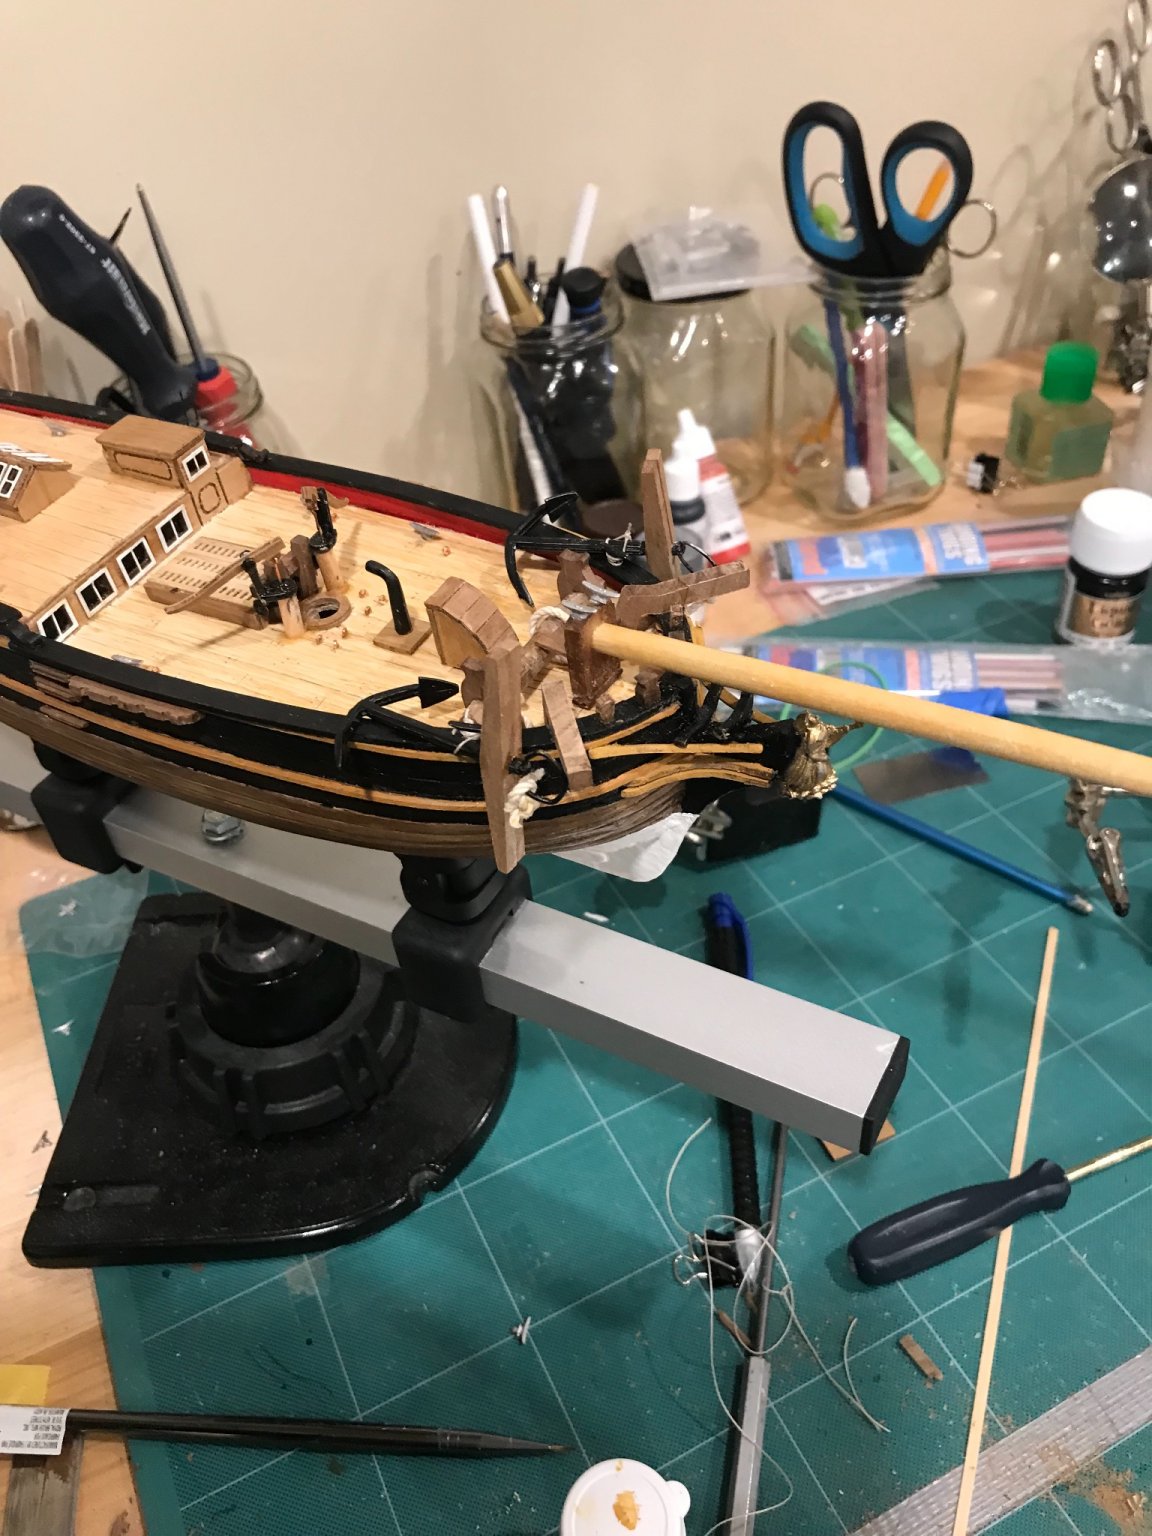
The bowsprit and figurehead have now been attached as well as anchors and cleats. Scott

-
Wow the stock kit barrels are so short and stubby in comparison. I wonder if there is a substitute you could fashion that would be more consistent with the upgraded barrels. Maybe some thin dowel? Scott
- 225 replies
-
- 6
-
-
- I Love Kit
- Hood
- (and 2 more)
-
Hi Mike, looking good! Three plank layers? Is that unique to Panart? Scott
-
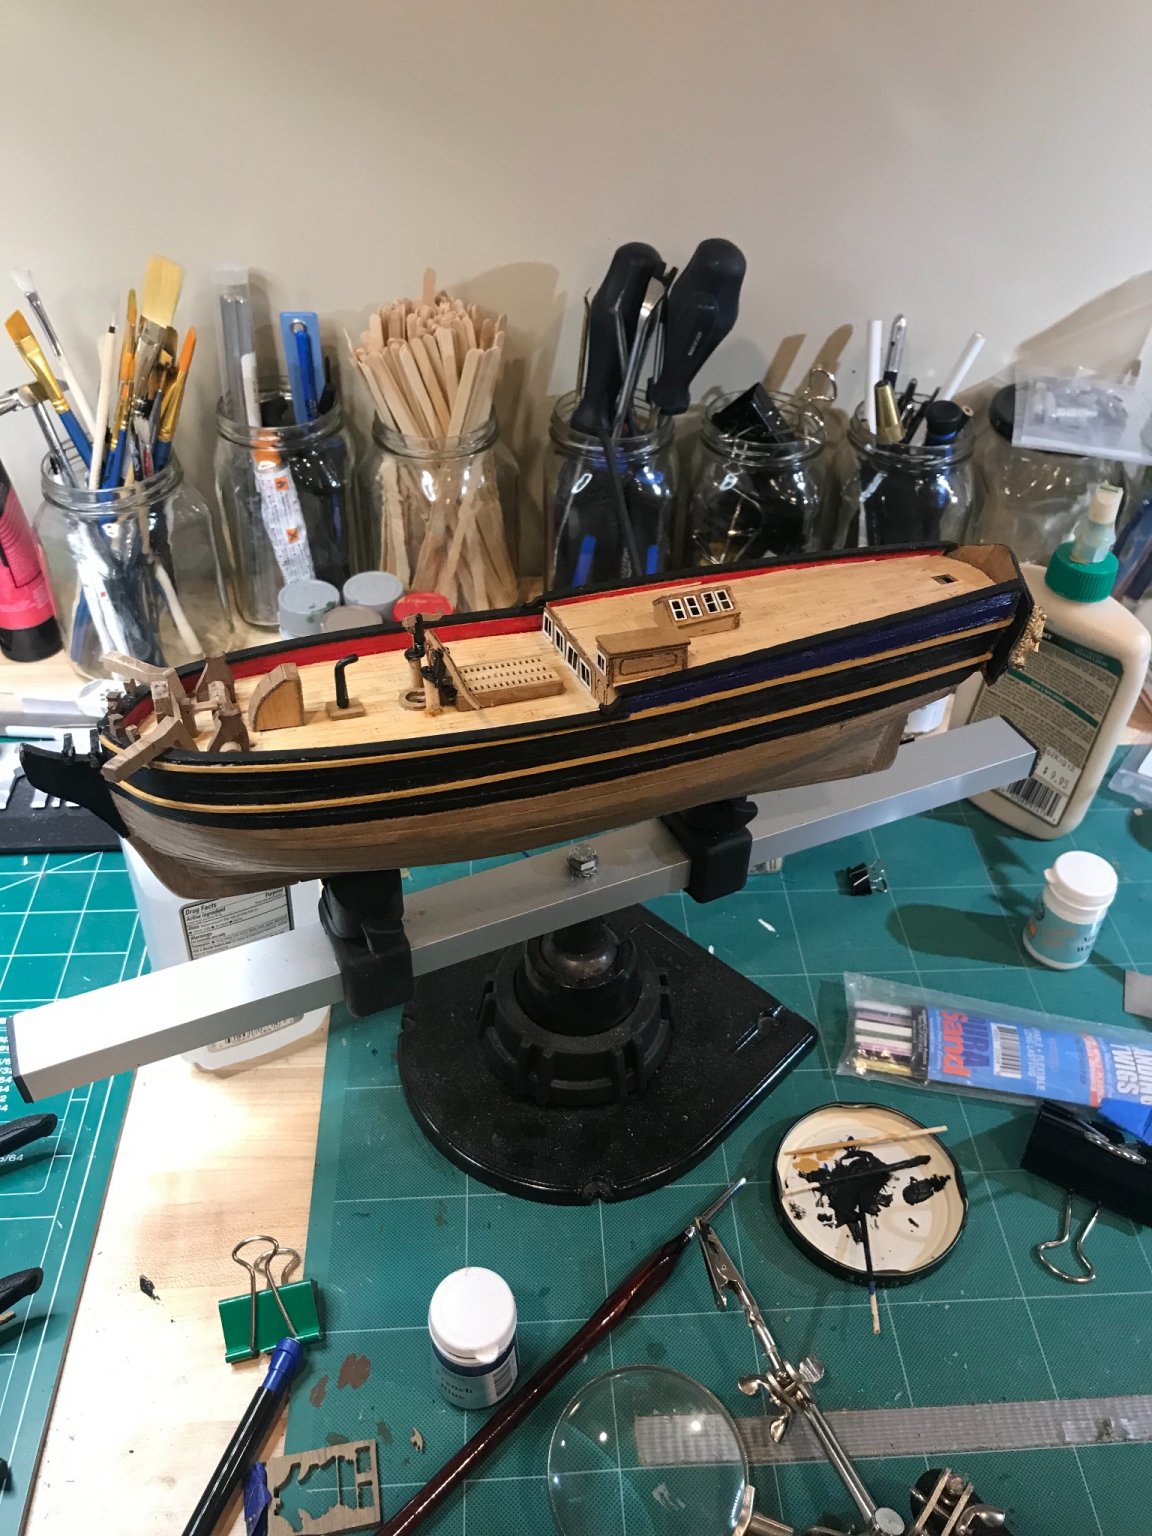
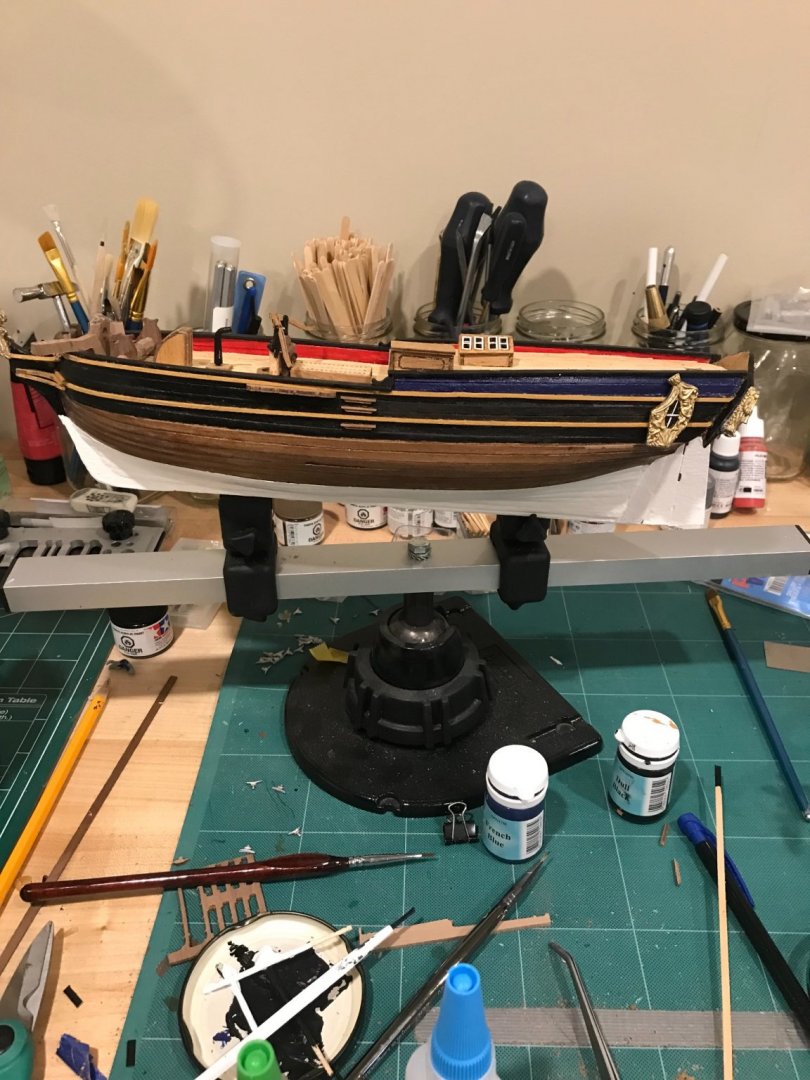
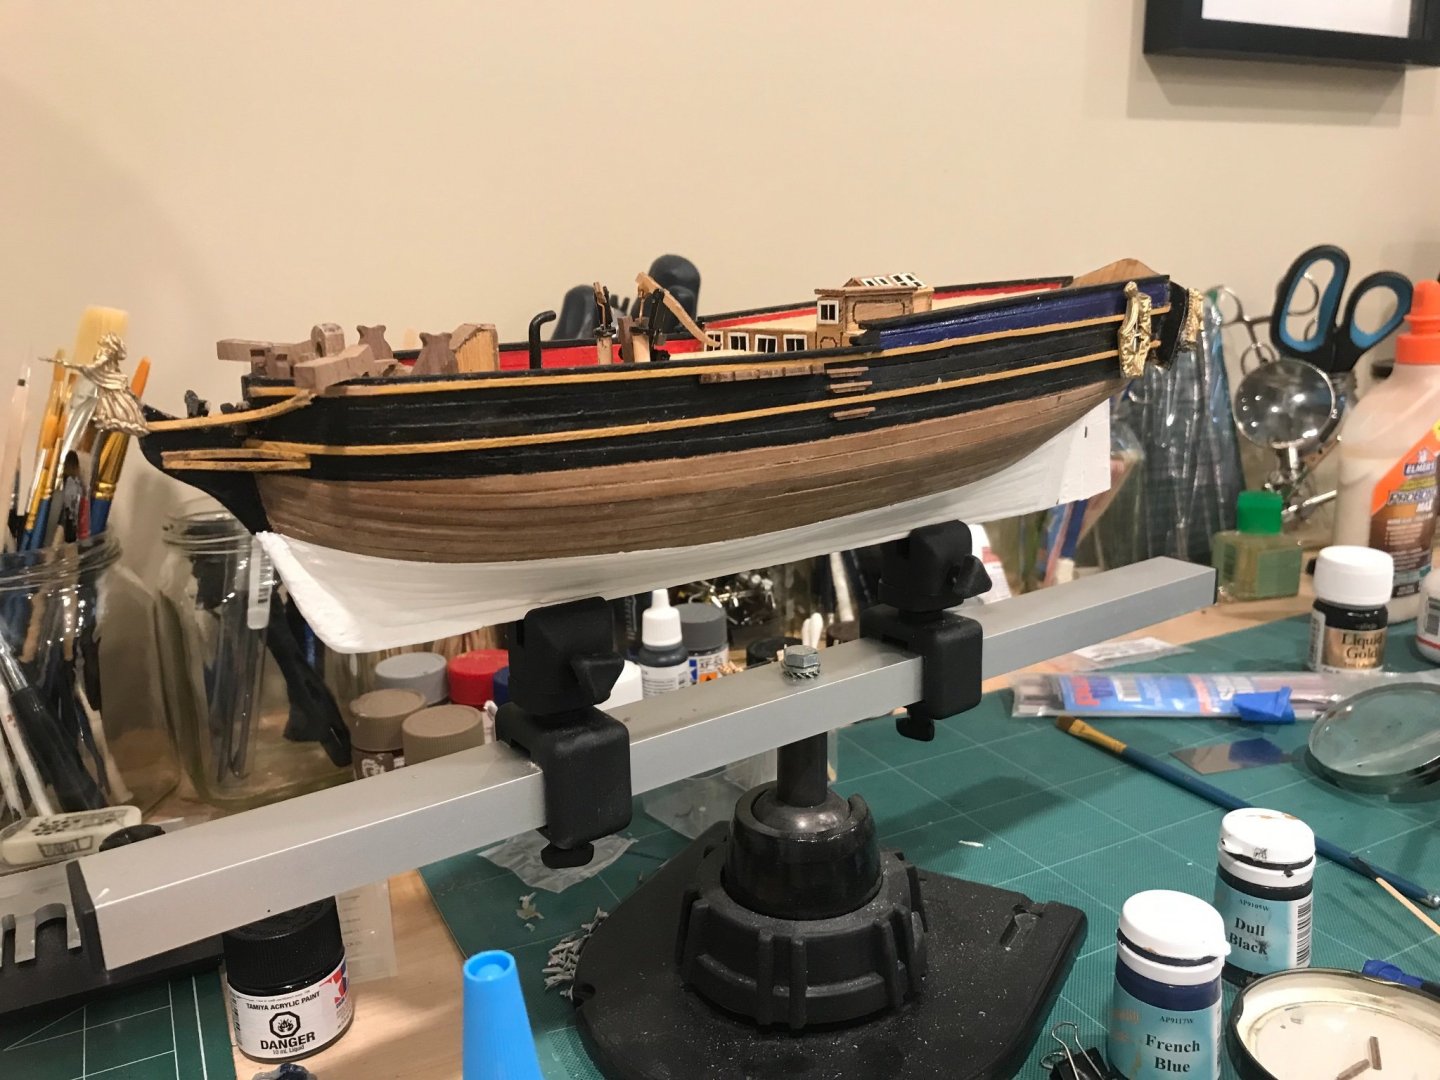
I’ve added tung oil to the wood finish and am pleased with the result. There’s a little spot I missed which I will touch up but it shows how significant the contrast is. Scott
-
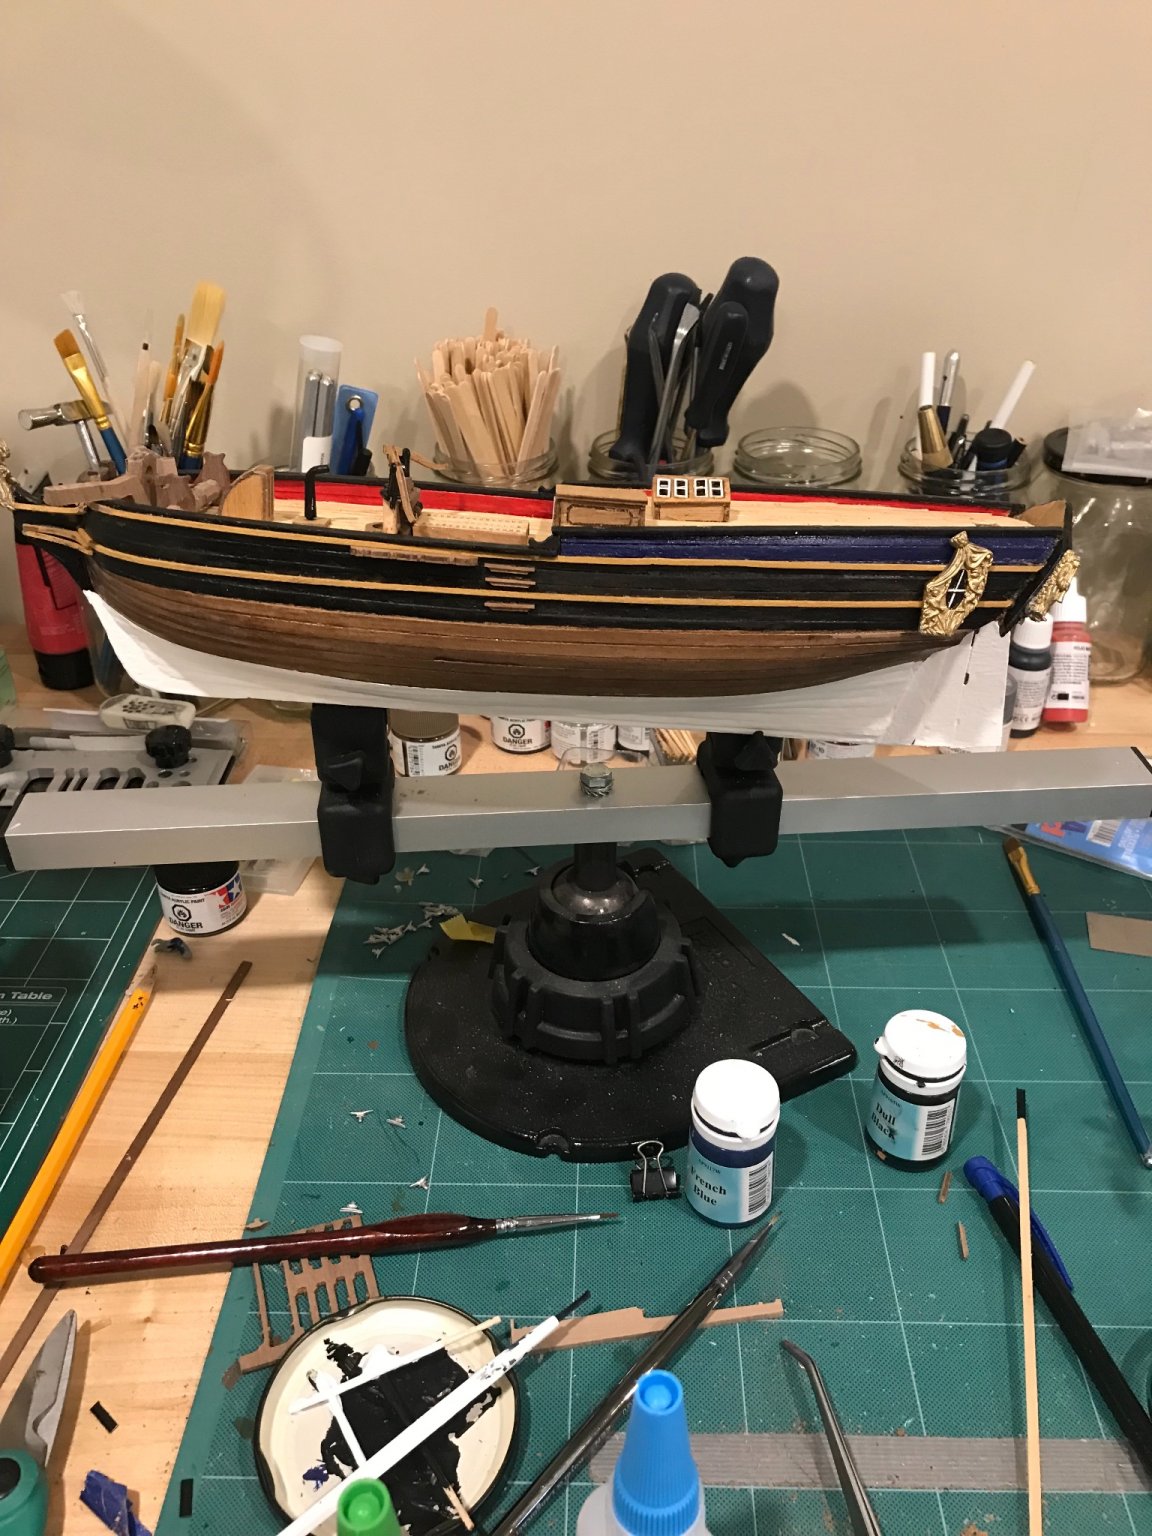
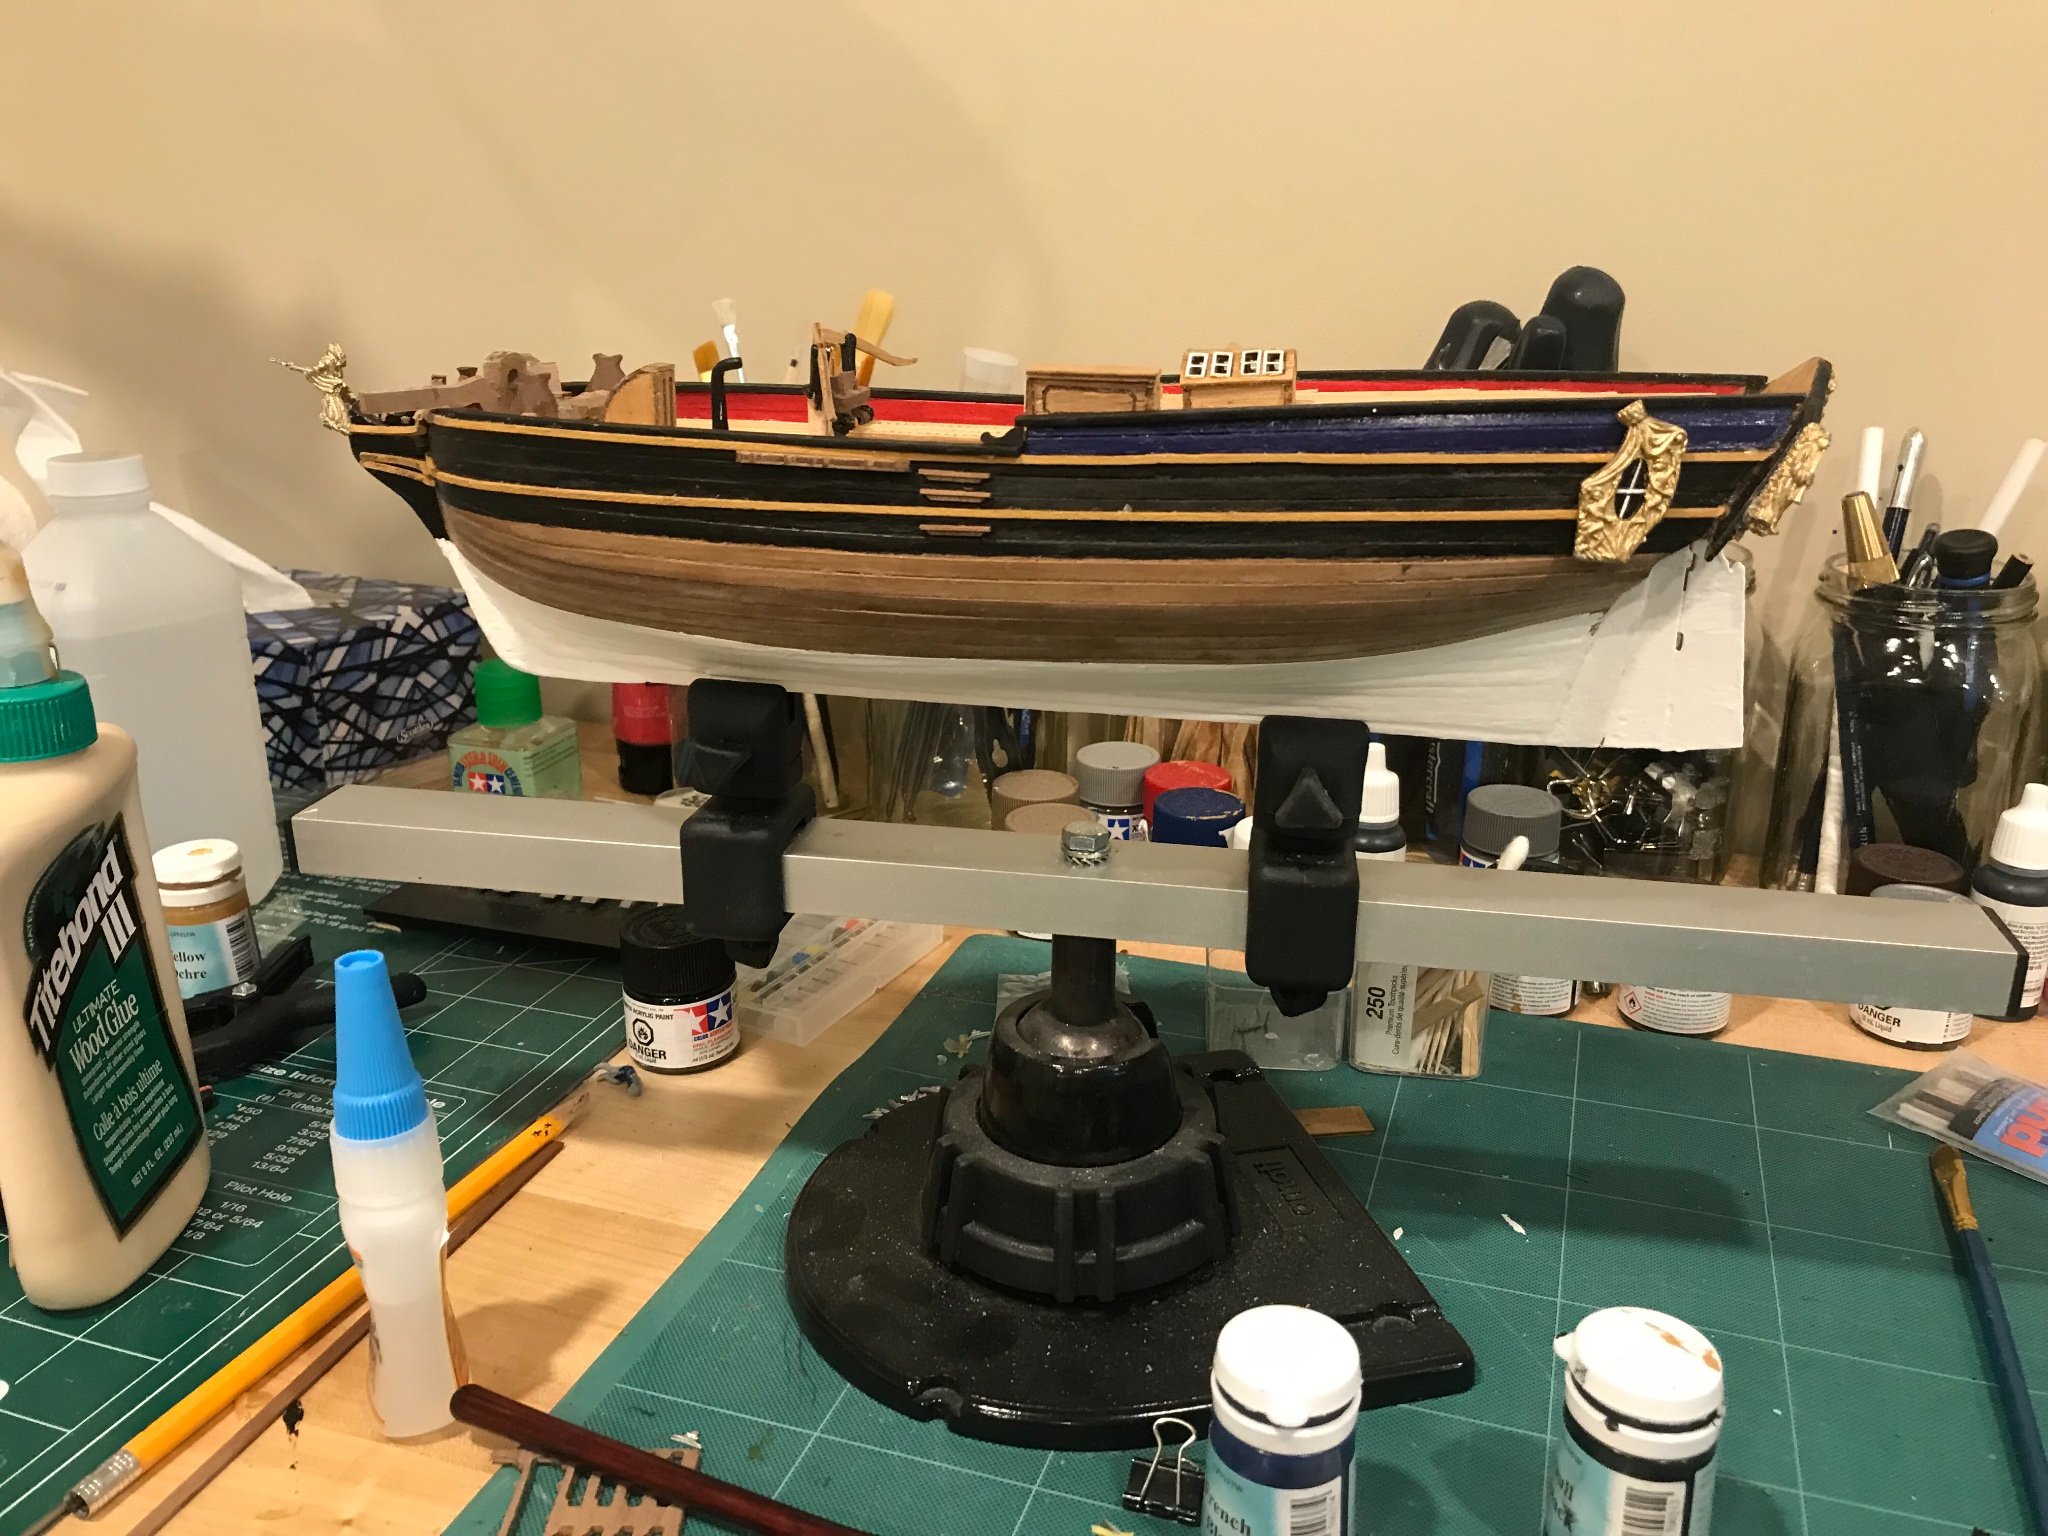
I’ve added the channels, sidesteps, figurehead and quarterbadges and made further progress on the hull painting. I had great difficulty with fitting the rudder hinge. The two components did not slide into opening in the stern counter as shown. I sanded and was able to get it partway in and cut it back where needed. I have skipped the wire and eyelets and will instead use wood to create a strapping over the hingepoints. The walnut ladder also crumbled into bits when I cut it out so I am debating whether to create my own or leave it out altogether. Scott.

-
That detail at that scale just blows my mind. How do you store the PE subassemblies to keep them safe ahead of placement? Scott
- 225 replies
-
- 5
-
-
- I Love Kit
- Hood
- (and 2 more)
-
Wow that pin next to the funnel really puts the scale you are working at in perspective. Looks like little people were helping with the handprints on the wall in the second photo? CDW, sorry I had an off-topic question. From your 1/200 Mikasa build I wonder if the I Love Kit 1/200 Mikasa is the same version? I’m thinking of doing that kit but was wondering if the pontos detail set (meant for the Merit 1905 kit) would work with that one.
- 225 replies
-
- 6
-
-
- I Love Kit
- Hood
- (and 2 more)
-
I like it, seeing it raised brings it to life. Well done. Scott
- 225 replies
-
- 5
-
-
- I Love Kit
- Hood
- (and 2 more)
-
Looking great! Just like in real life a ship is in dry dock getting her retrofit and upgrade to stay in the game! Scott
-
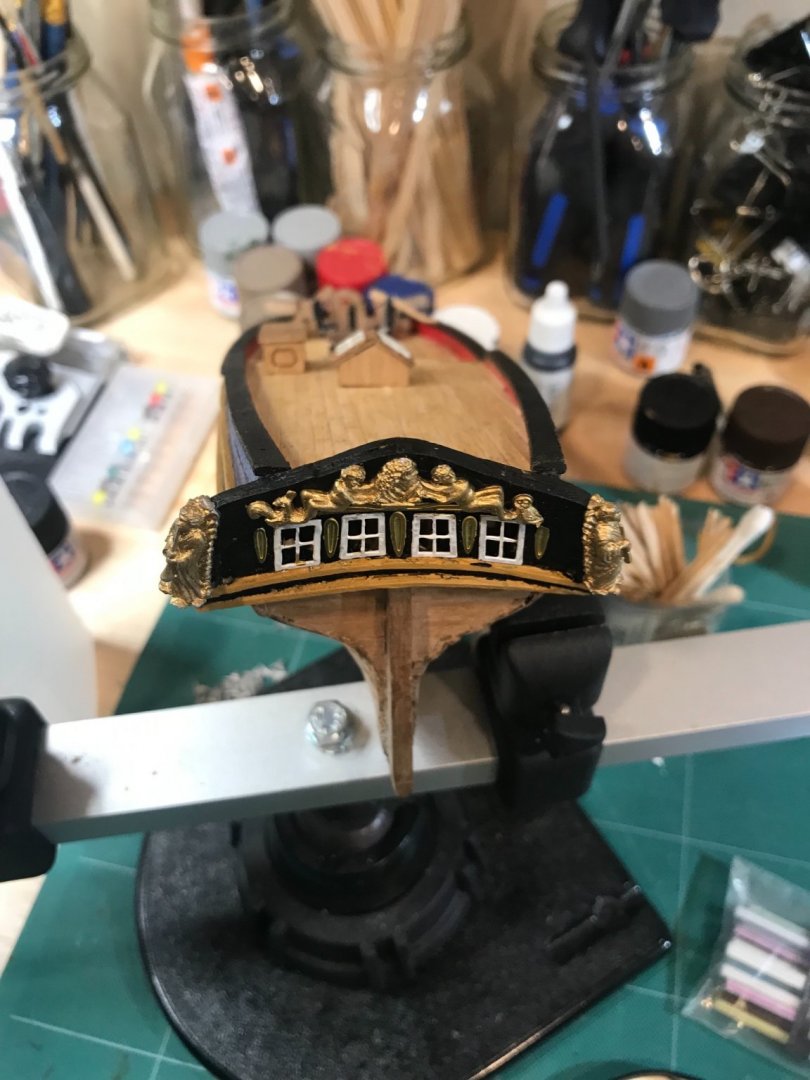
Well just over a month later and I’ve made progress here and there. Garden related chores, work and family all eat away at time to work on the yacht. I’ve been focused on painting and stern decorations and a few shots attached. I’m becoming more comfortable with the photo etch and have been using gorilla glue gel. Hopefully good practice ahead of doing a Vanguard product. Although that’s still a couple builds away. Scott

-
That’s ok, it’s worth the wait! It also gives you time to think about how you will display it and for any after-market items like gun barrels that you might be thinking of to arrive. Scott
-
I was looking at the flyhawk website and there is a letter from the HMS Hood Association posted stating that they believe this model is the most accurate ever produced and reflects the latest in research. Very impressive endorsement. Scott