HOLIDAY DONATION DRIVE - SUPPORT MSW - DO YOUR PART TO KEEP THIS GREAT FORUM GOING! (Only 13 donations so far - C'mon guys!)
×


Baker
-
Posts
4,234 -
Joined
-
Last visited
Content Type
Profiles
Forums
Gallery
Events
Everything posted by Baker
-

Revenge 1577 by Loracs - Amati - 1:64
Baker replied to Loracs's topic in - Kit build logs for subjects built from 1501 - 1750
Beautiful rigging on the cannons. Congrats -
Cat Esther by GrandpaPhil - 1/64 - CARD
Baker replied to GrandpaPhil's topic in - Build logs for subjects built 1501 - 1750
Nice work 👍 -
Roter Löwe 1597 by Ondras71
Baker replied to Ondras71's topic in - Build logs for subjects built 1501 - 1750
Very nice swivels, great work. -
Looks great 👍
-
-
We once discussed this on this forum in the shore leave section. Place the glued plastic pieces in the freezer. The glue would then become crumbly, and then you can separate the pieces again. I don't think you should take it apart if everything just came out of the freezer. I think your plastic is then also very fragile. Never tested this myself. so be careful, I give no guarantee 😉
-
The only wooden kit I made was from Billings (Vasa). My experience with their plastic parts wasn't also really "Wow" compared to the "real" plastic kits from Revell etc. The plastic parts from Billings are probably cast in short run moulds. The kits from Revell etc. are cast in real large moulds, much more expensive and intended for mass production. You will also not find holes or pins in the Billings parts to neatly glue the parts together. Considering the front of the grating and the front part of your beakhead appear to be the same length (yellow lines). I would glue the sides of the beakhead to the grating. and then make it fit your model. You may have to adjust the grating slightly so that the whole assembly moves in the direction of the arrow.

-
-
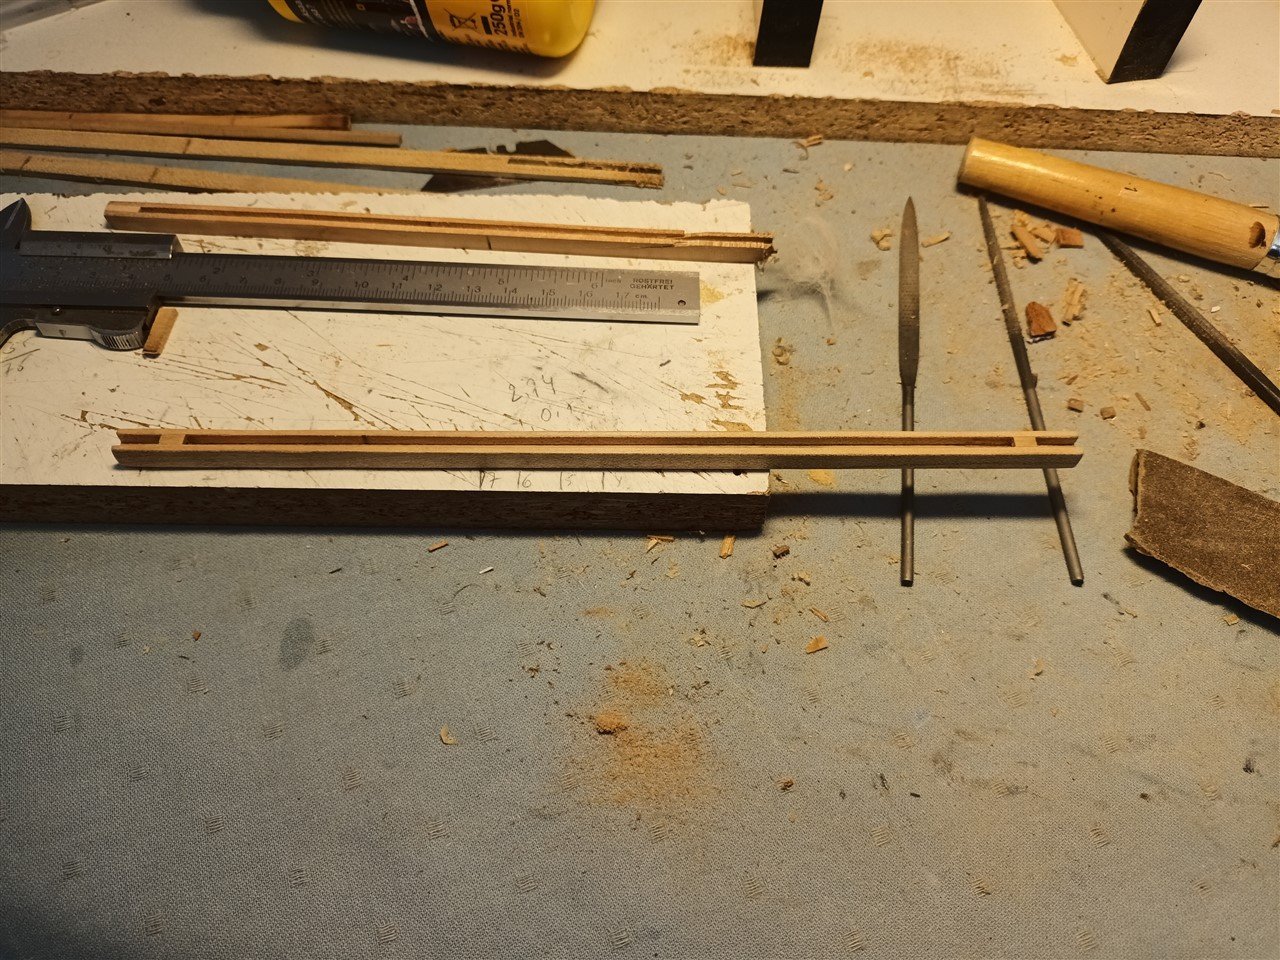
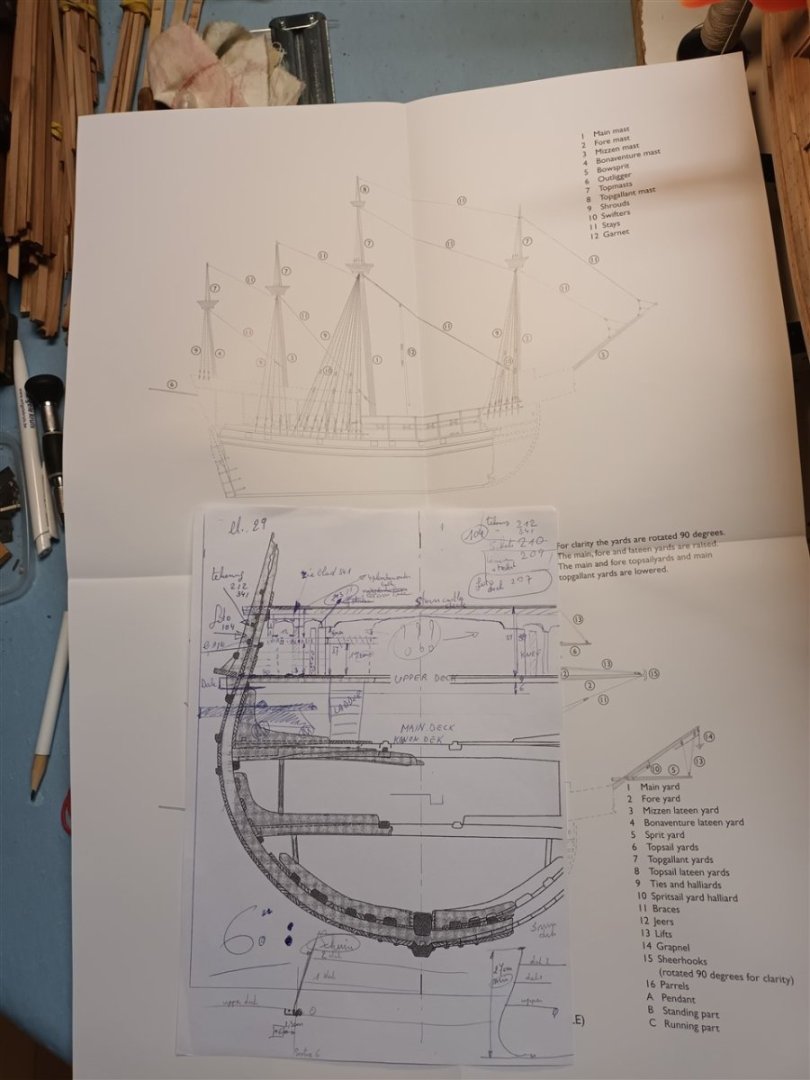
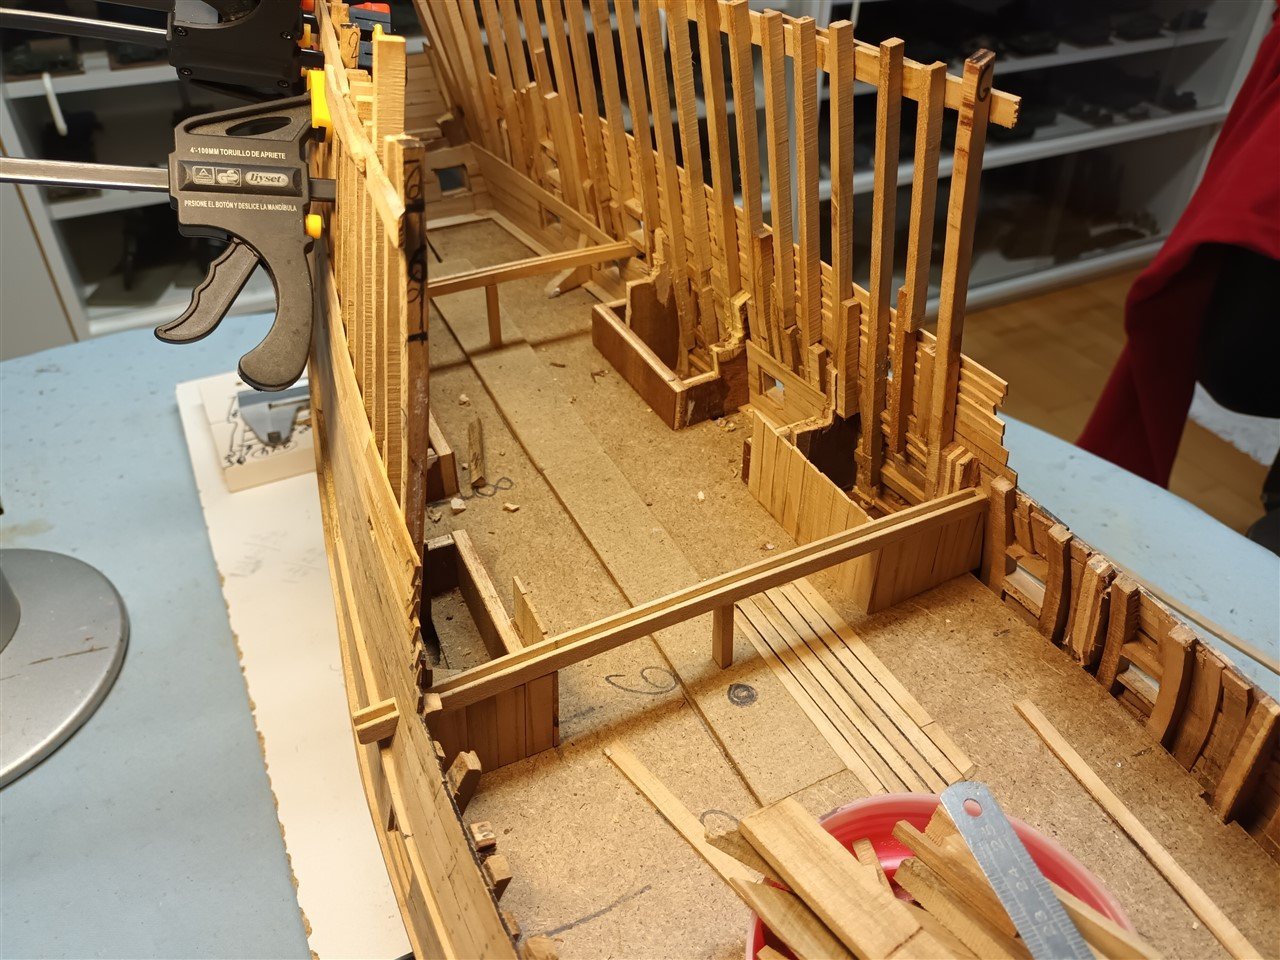
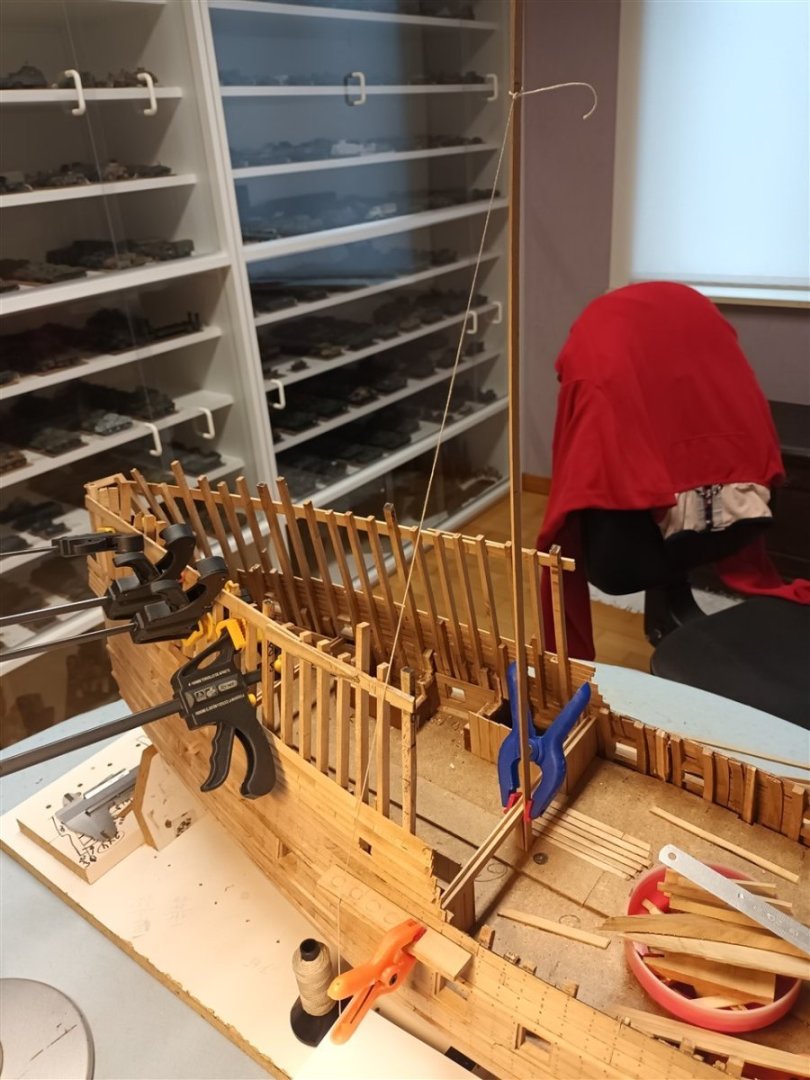
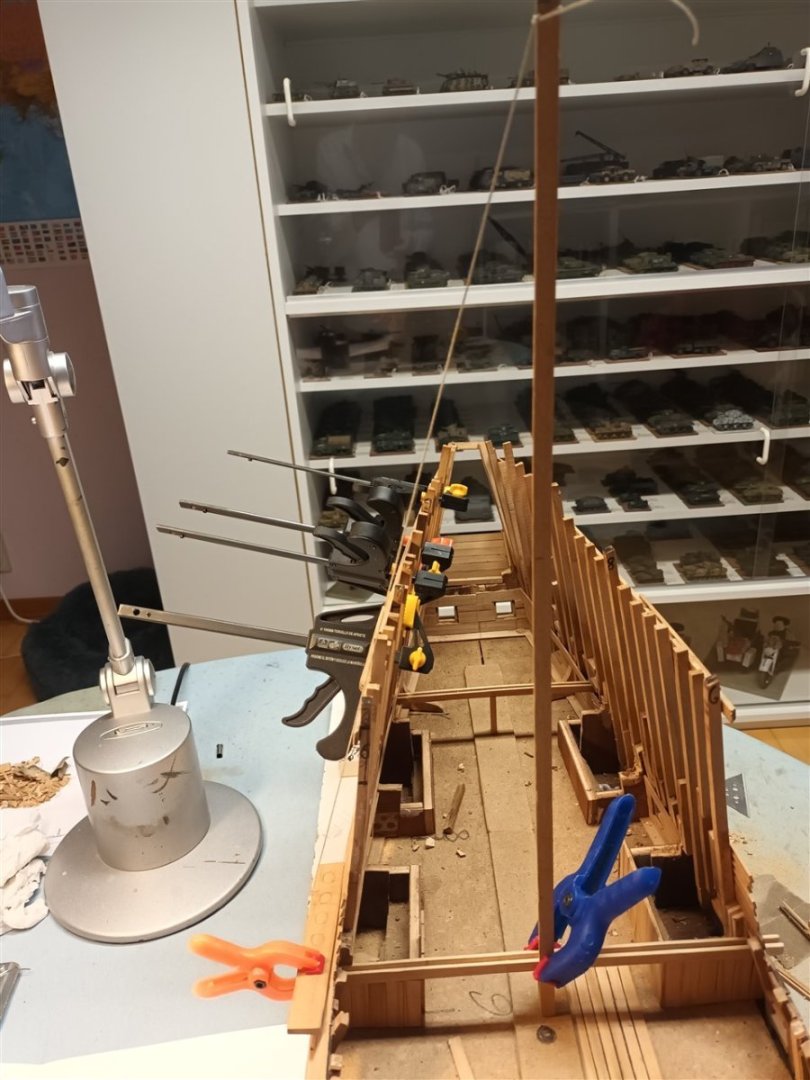
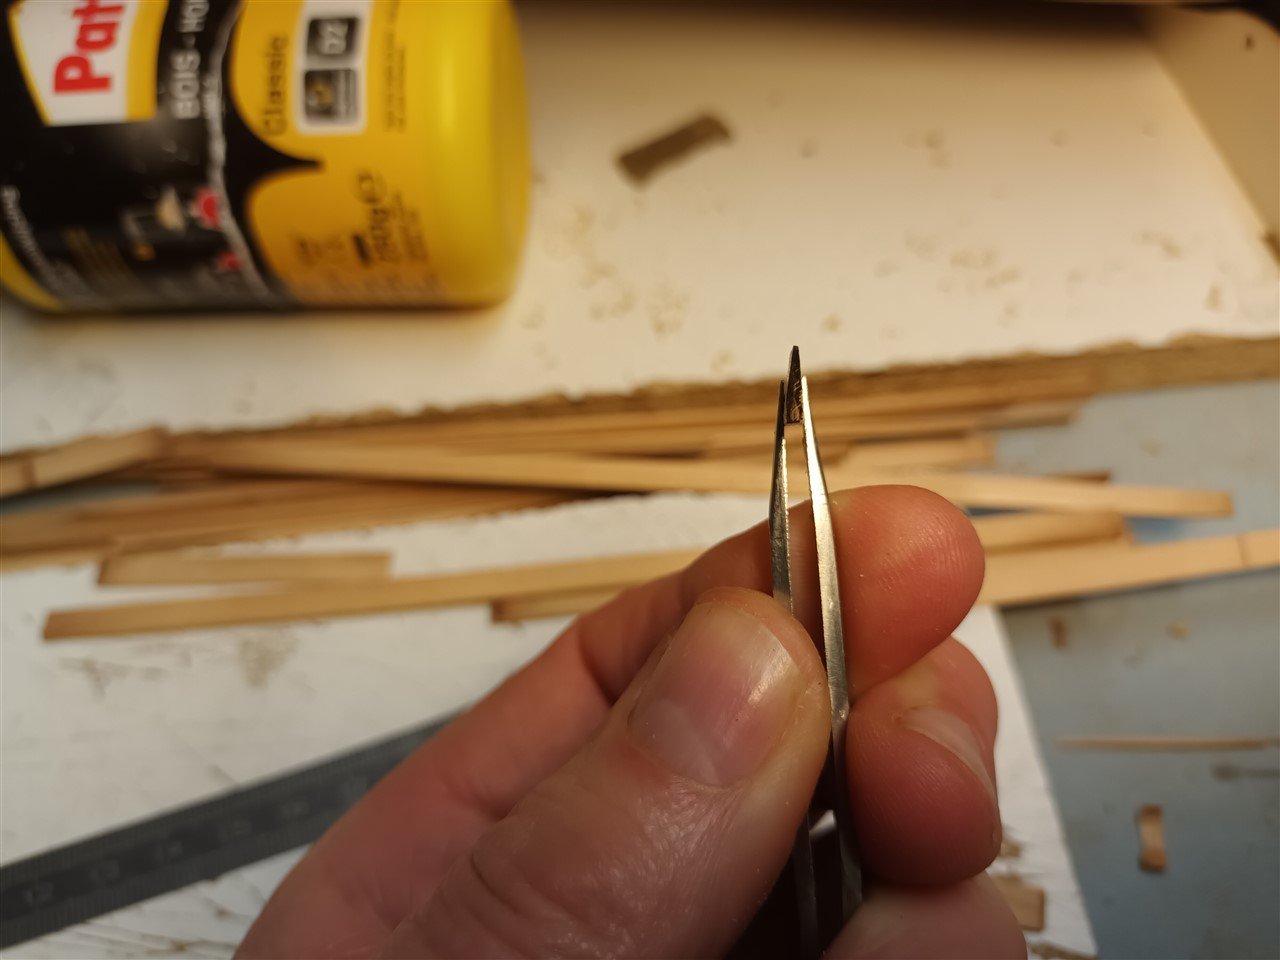
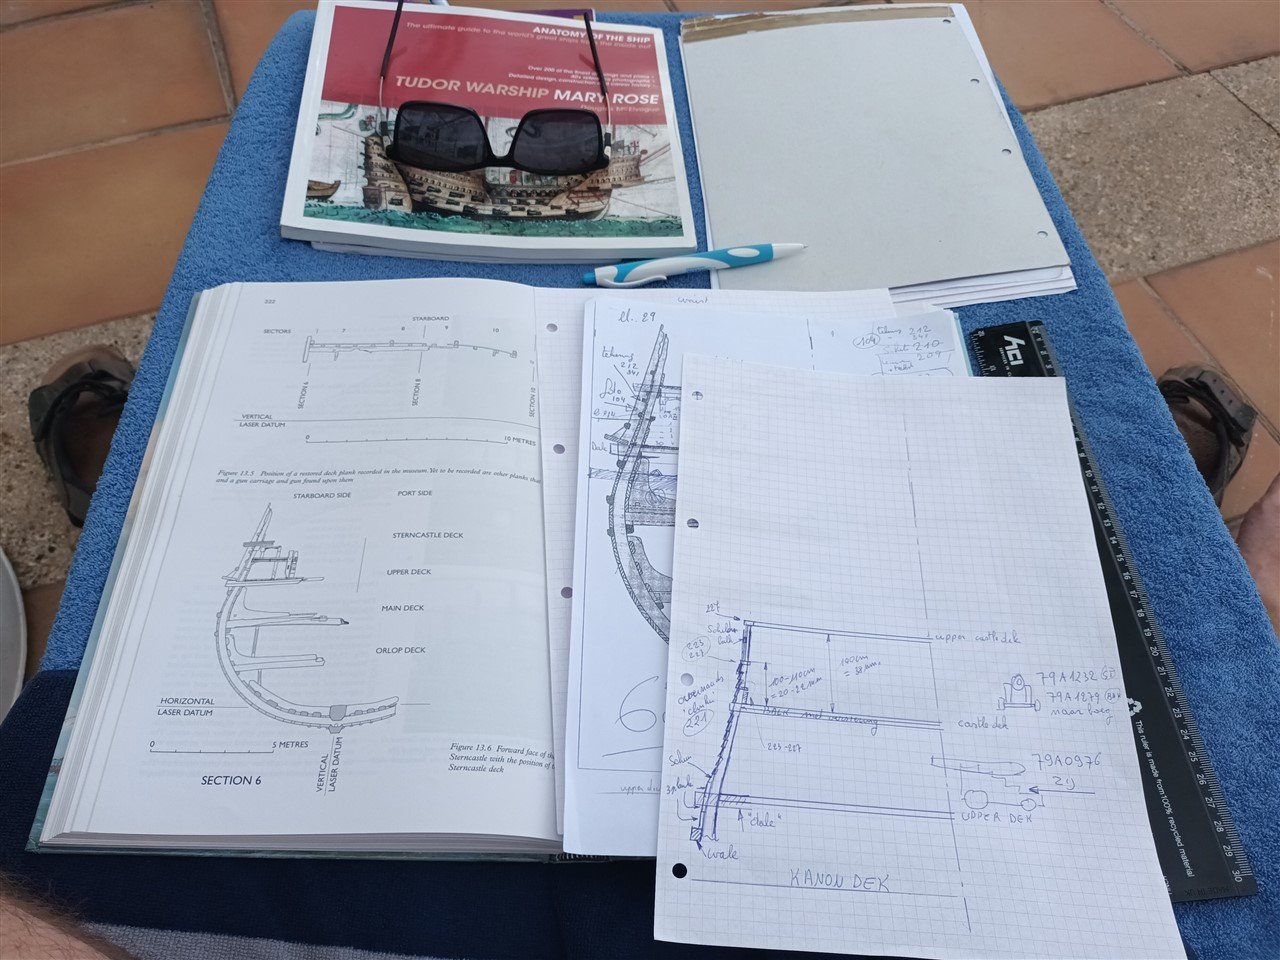
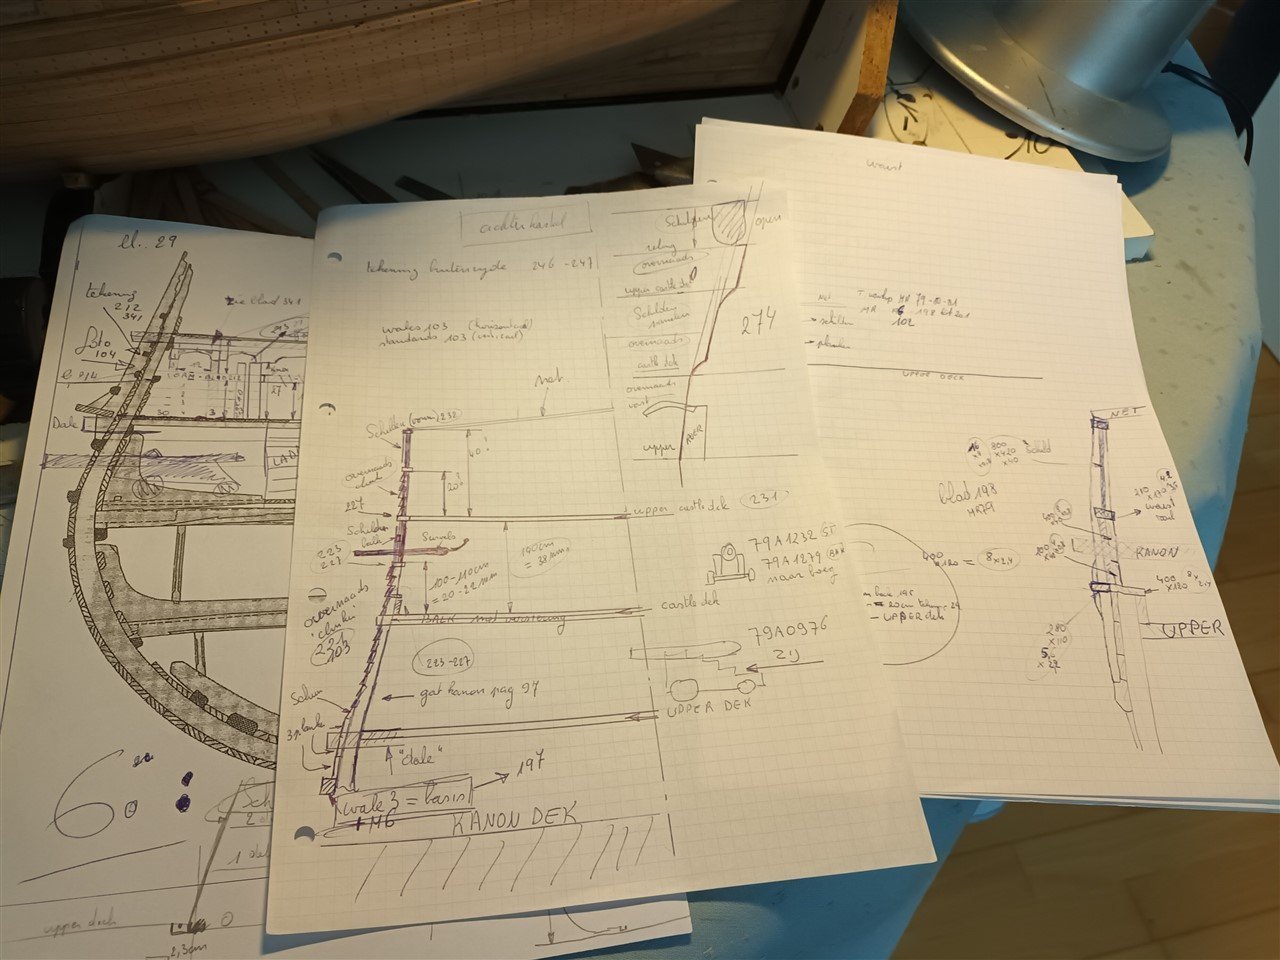
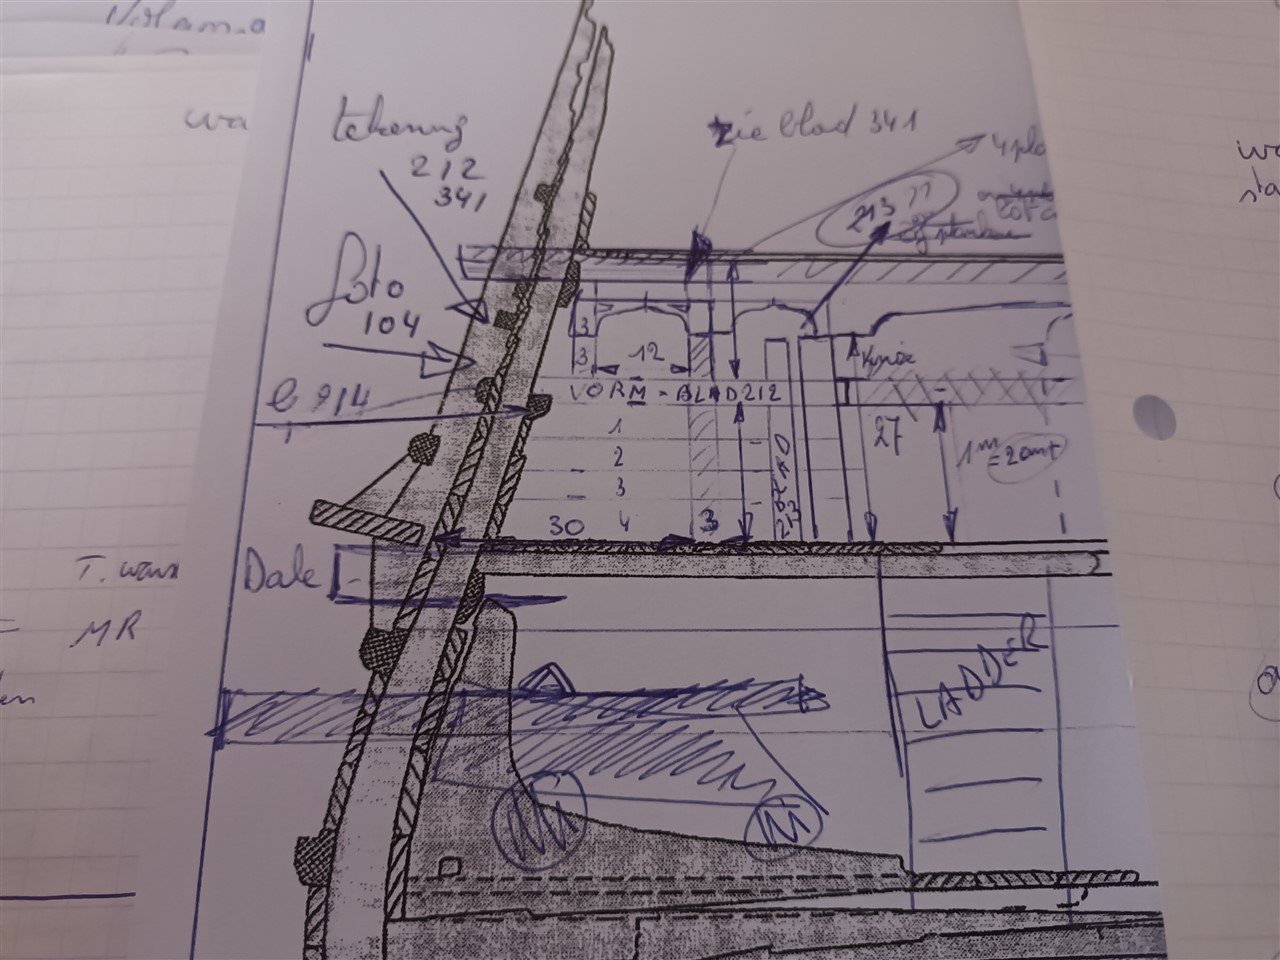
The two dales Each is made of 3 pieces as a base (bad photo, sorry) A finished dale Making the holes in the same place on both sides was a challenge. While the glue from the dales is drying, work continues on the inside. The support under each dale is fictional, and later virtually invisible. This gives the dale (as support for the deck) a slight curve And looking 5 steps further in the future. Checking the relationship between the sides of the castle, channel, mast and the schrouds of the main mast. Oops, I'm going to get in trouble if i go further this way... Noticed it just in time
-
Krupp 420mm Big Bertha by Haliburton - Takom - 1/35
Baker replied to Haliburton's topic in Non-ship/categorised builds
Parlez Français ?😇 Did a google search in French https://1914-18.be/2009/12/31/la-grosse-bertha-le-10-aout-1914/ -
Krupp 420mm Big Bertha by Haliburton - Takom - 1/35
Baker replied to Haliburton's topic in Non-ship/categorised builds
Nice work Some info about the battle of Liege in ww1 https://www.visitardenne.com/en/best-ardennes/iconic-sites/forts-province-liege#:~:text=This is the most famous,its garrison under the debris. -
Mossel bay... mossel baai in 🇳🇱 😉
-
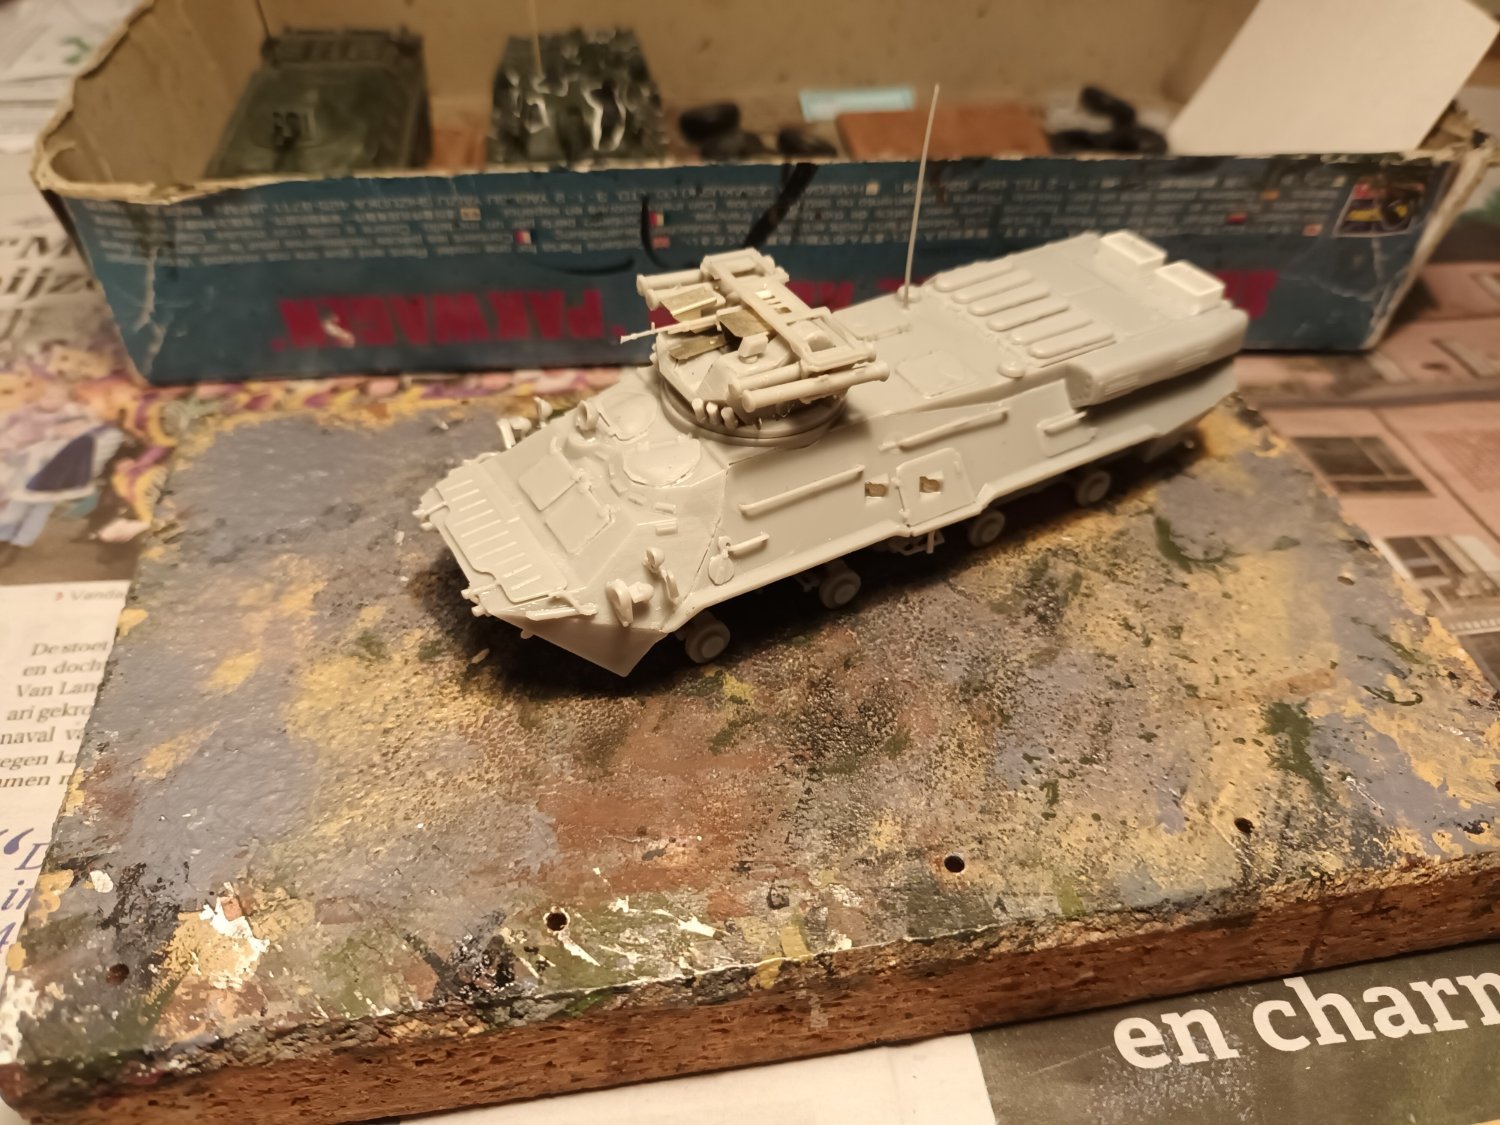
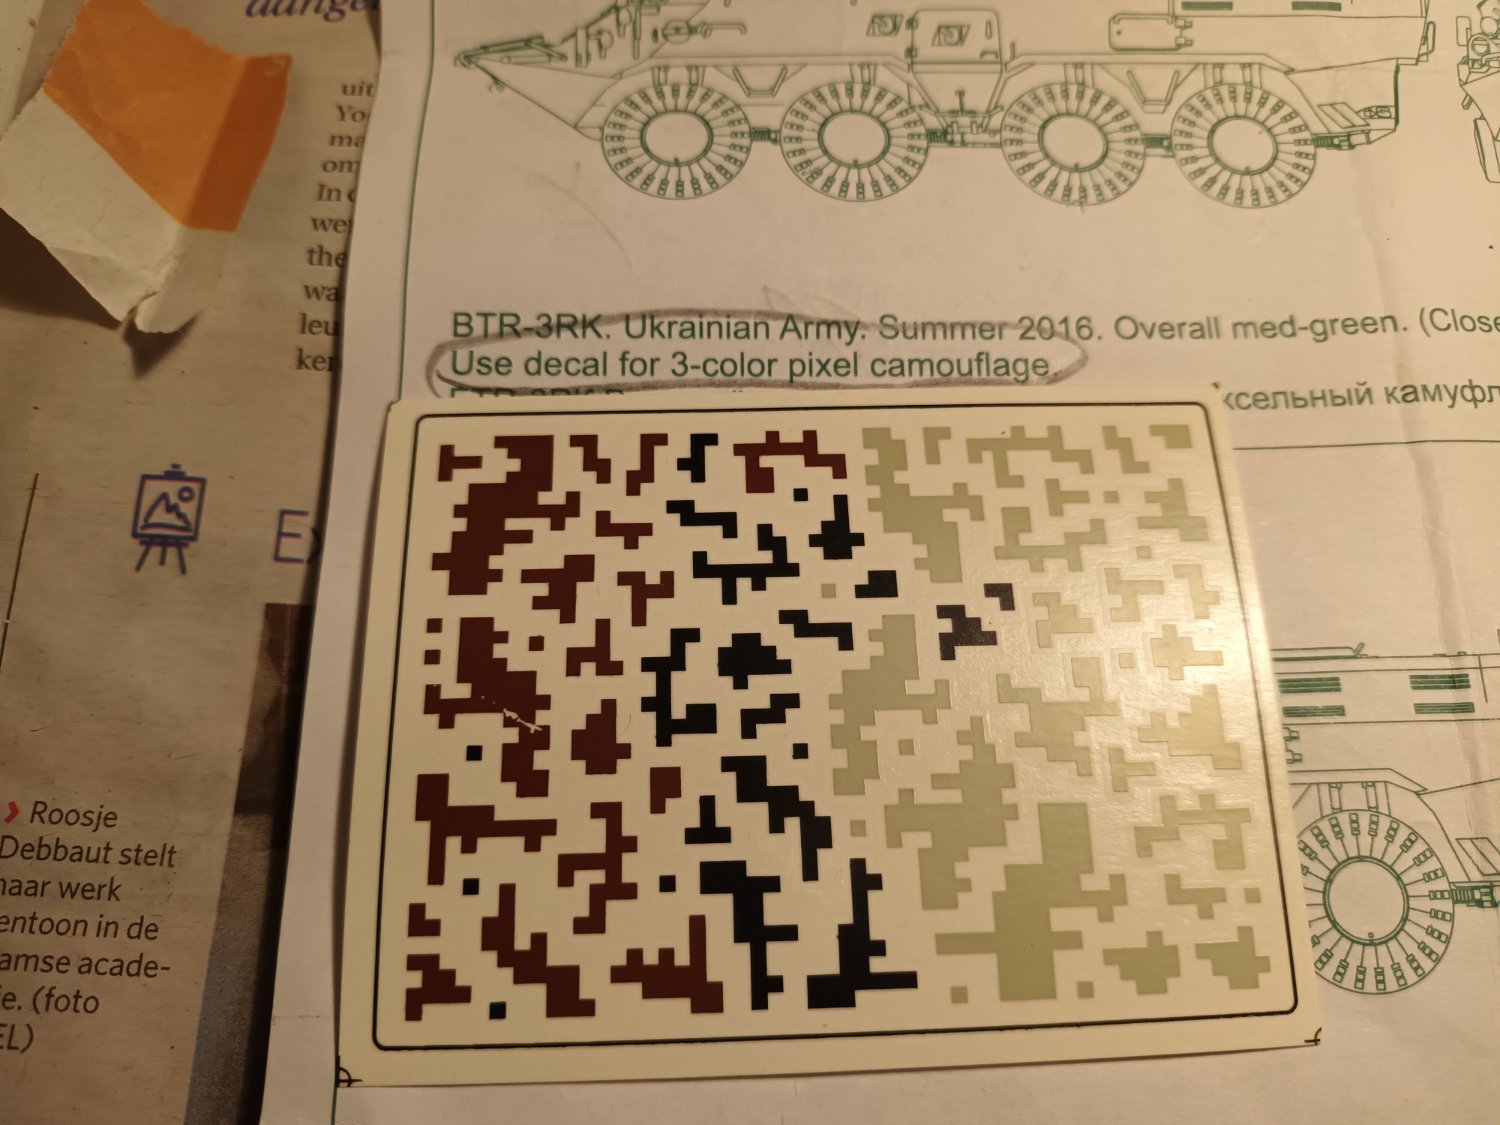
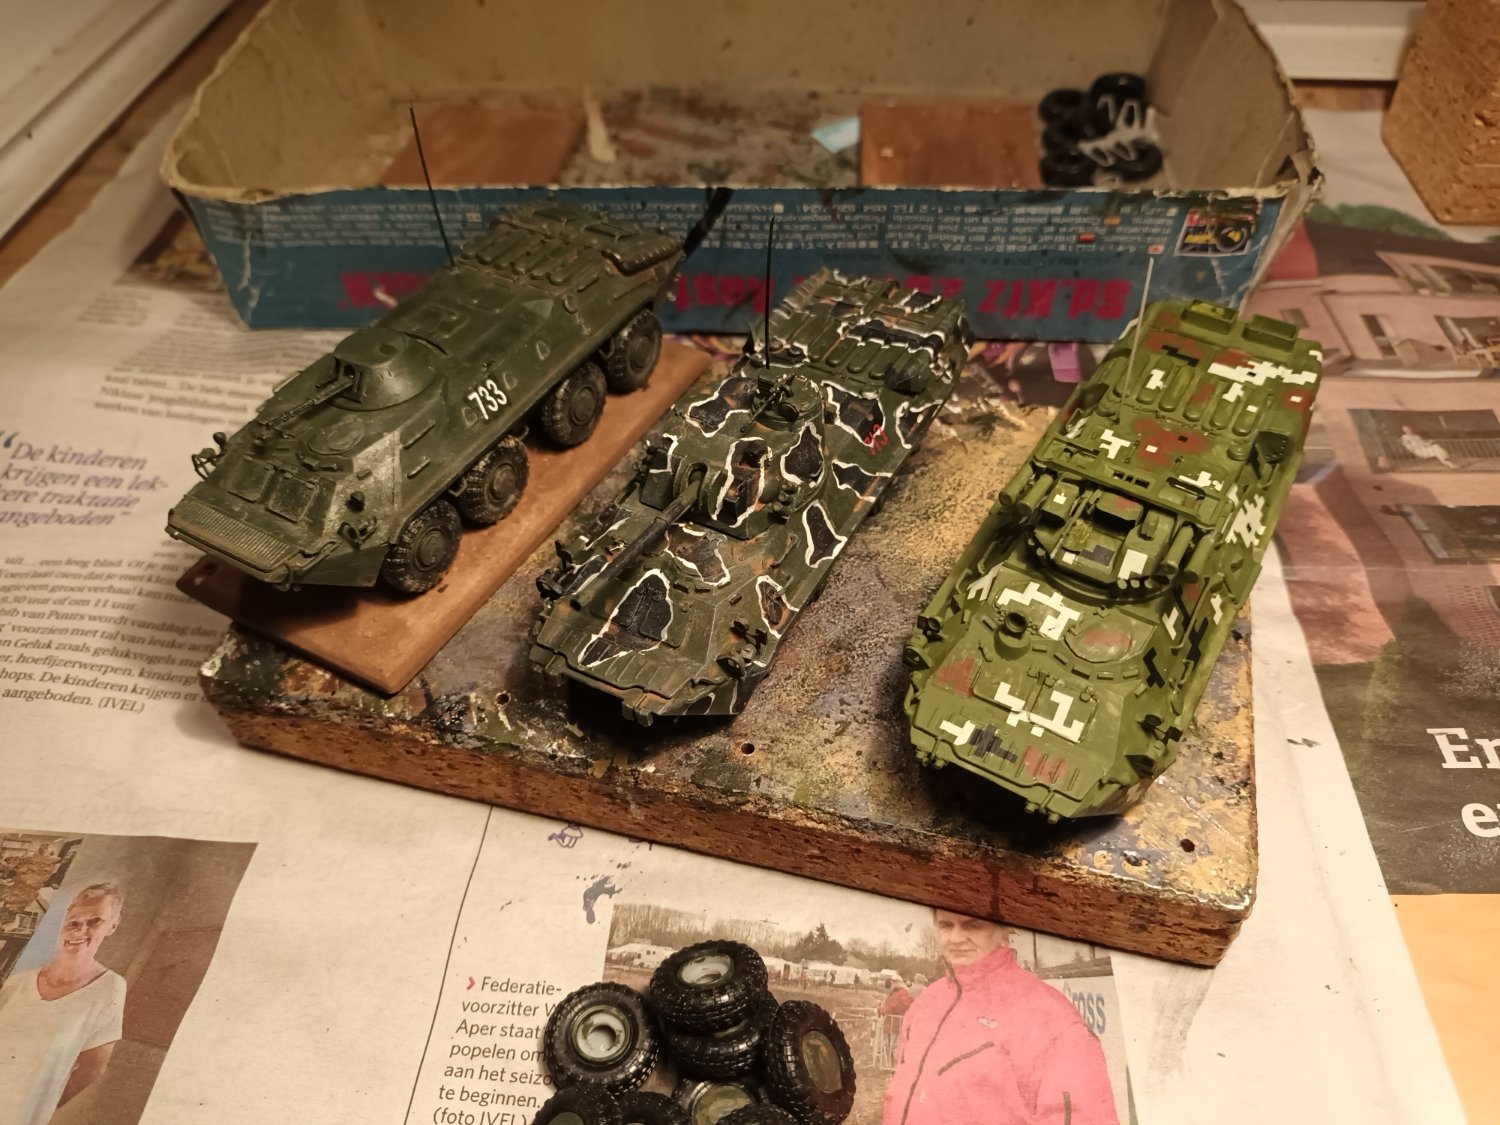
Russian modern armoured vehicles by Baker - ACE - 1/72
Baker replied to Baker's topic in Non-ship/categorised builds
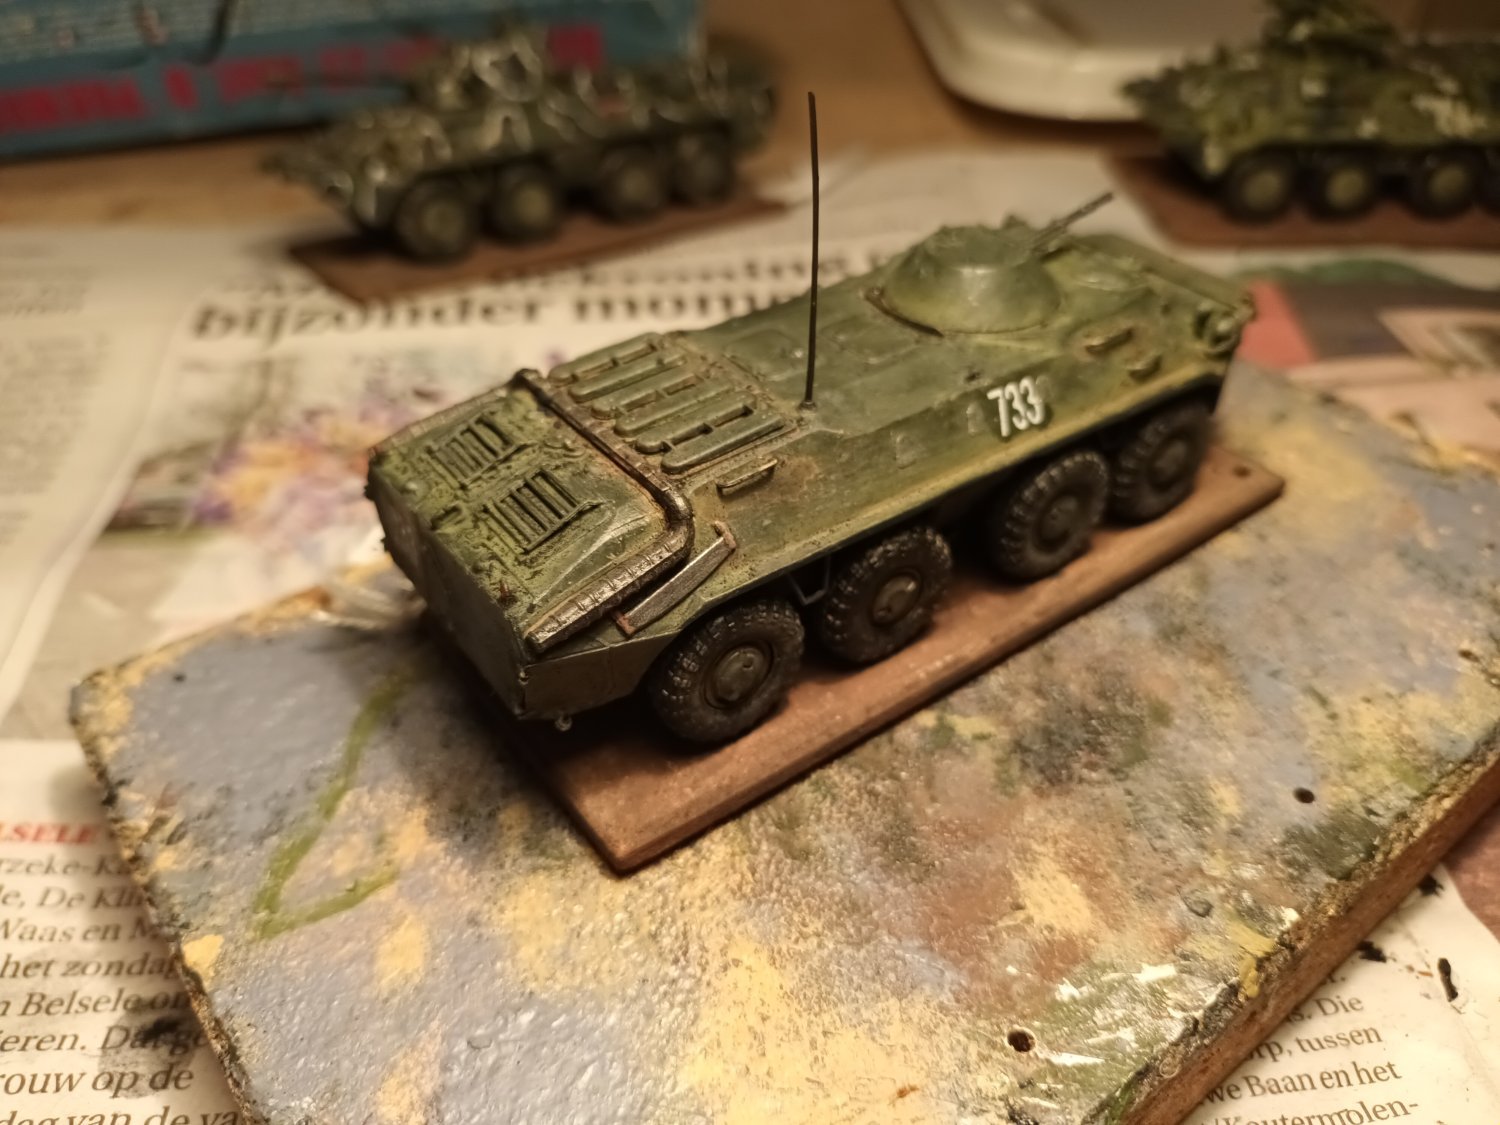
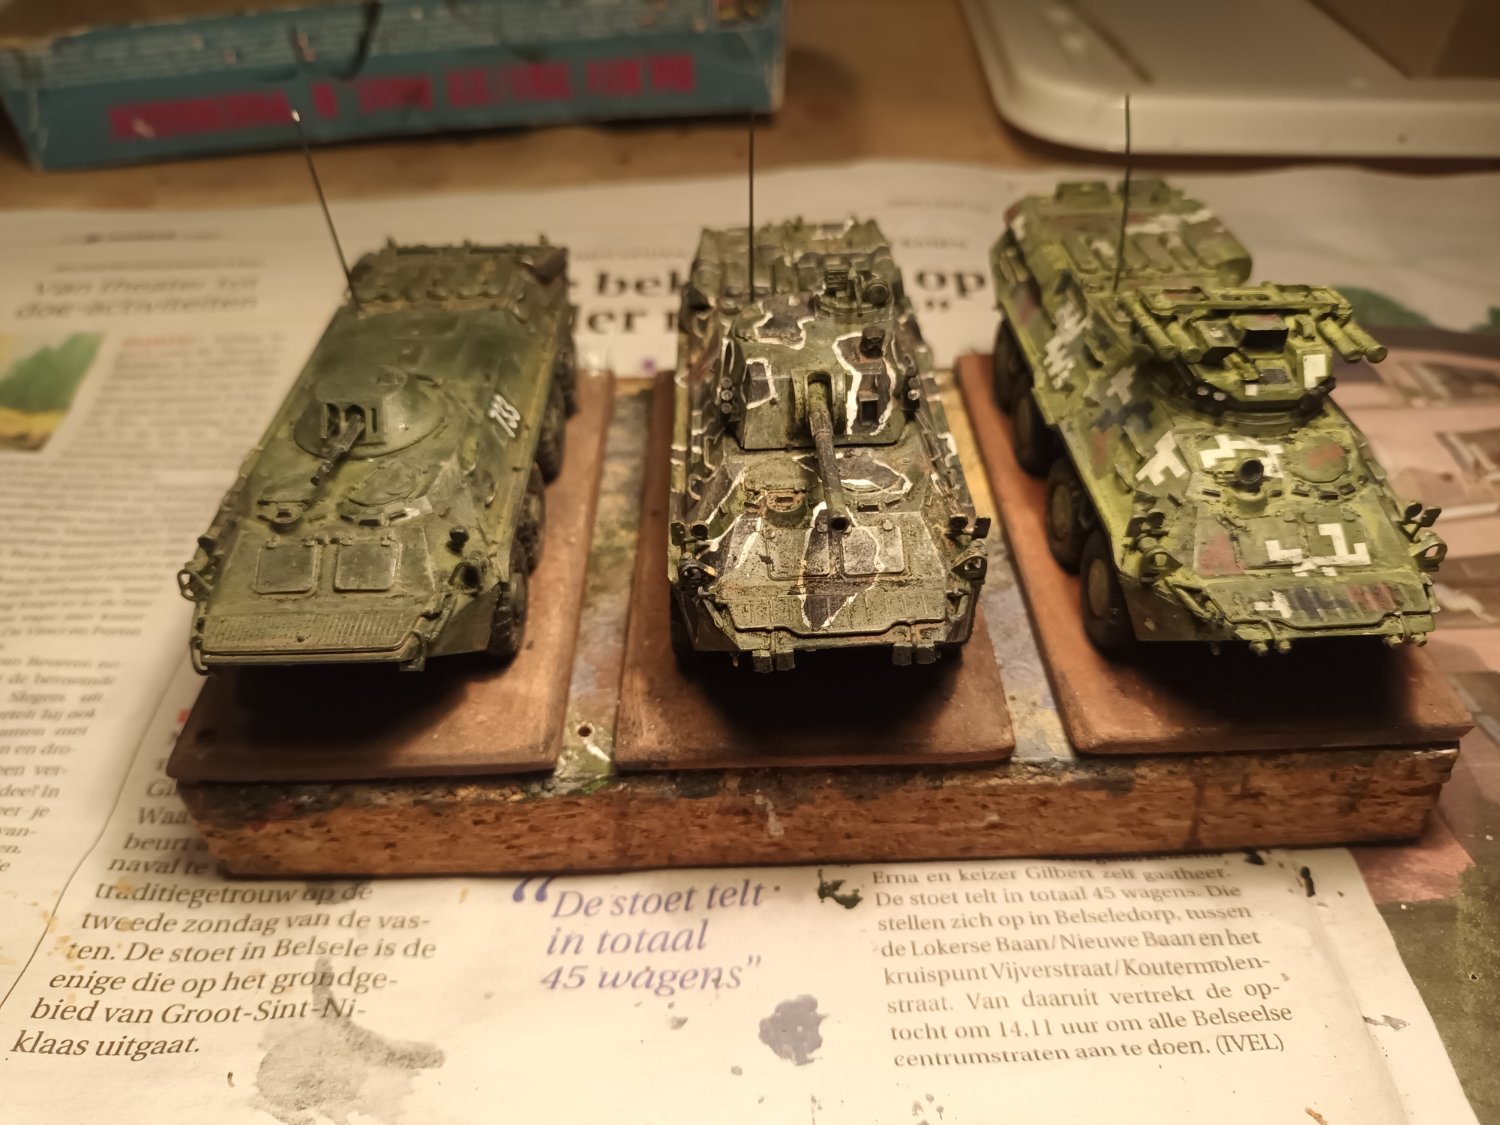
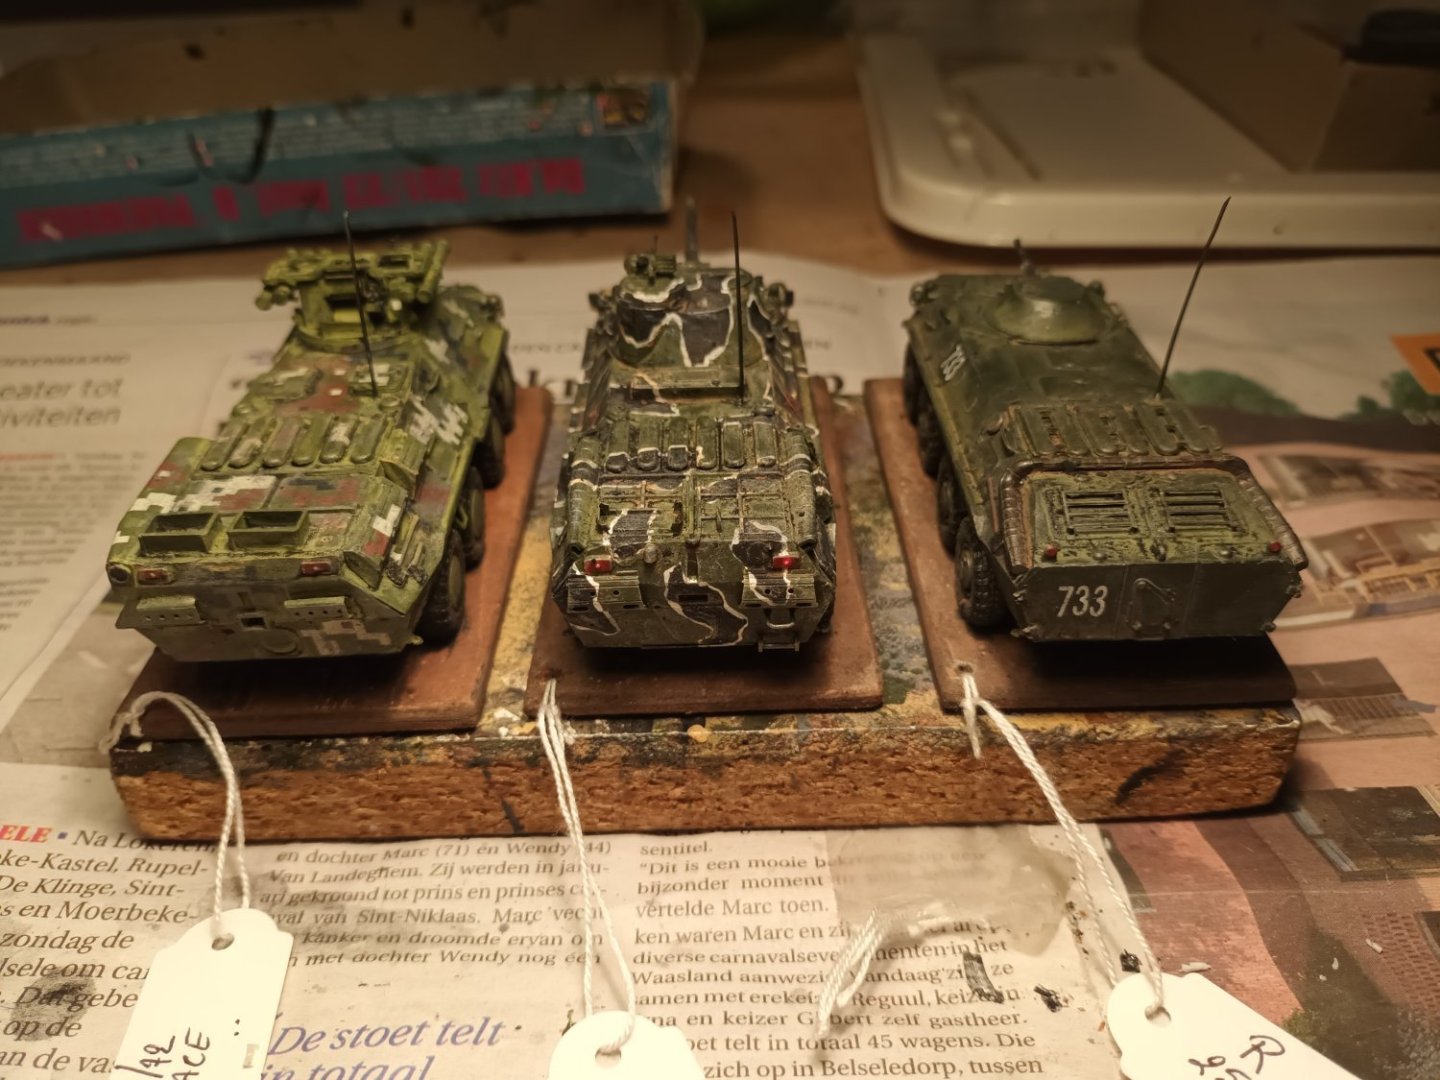
And ready BTR70 Nona mortar carrier BTR R3K (Ukraine) All 3 Thanks for following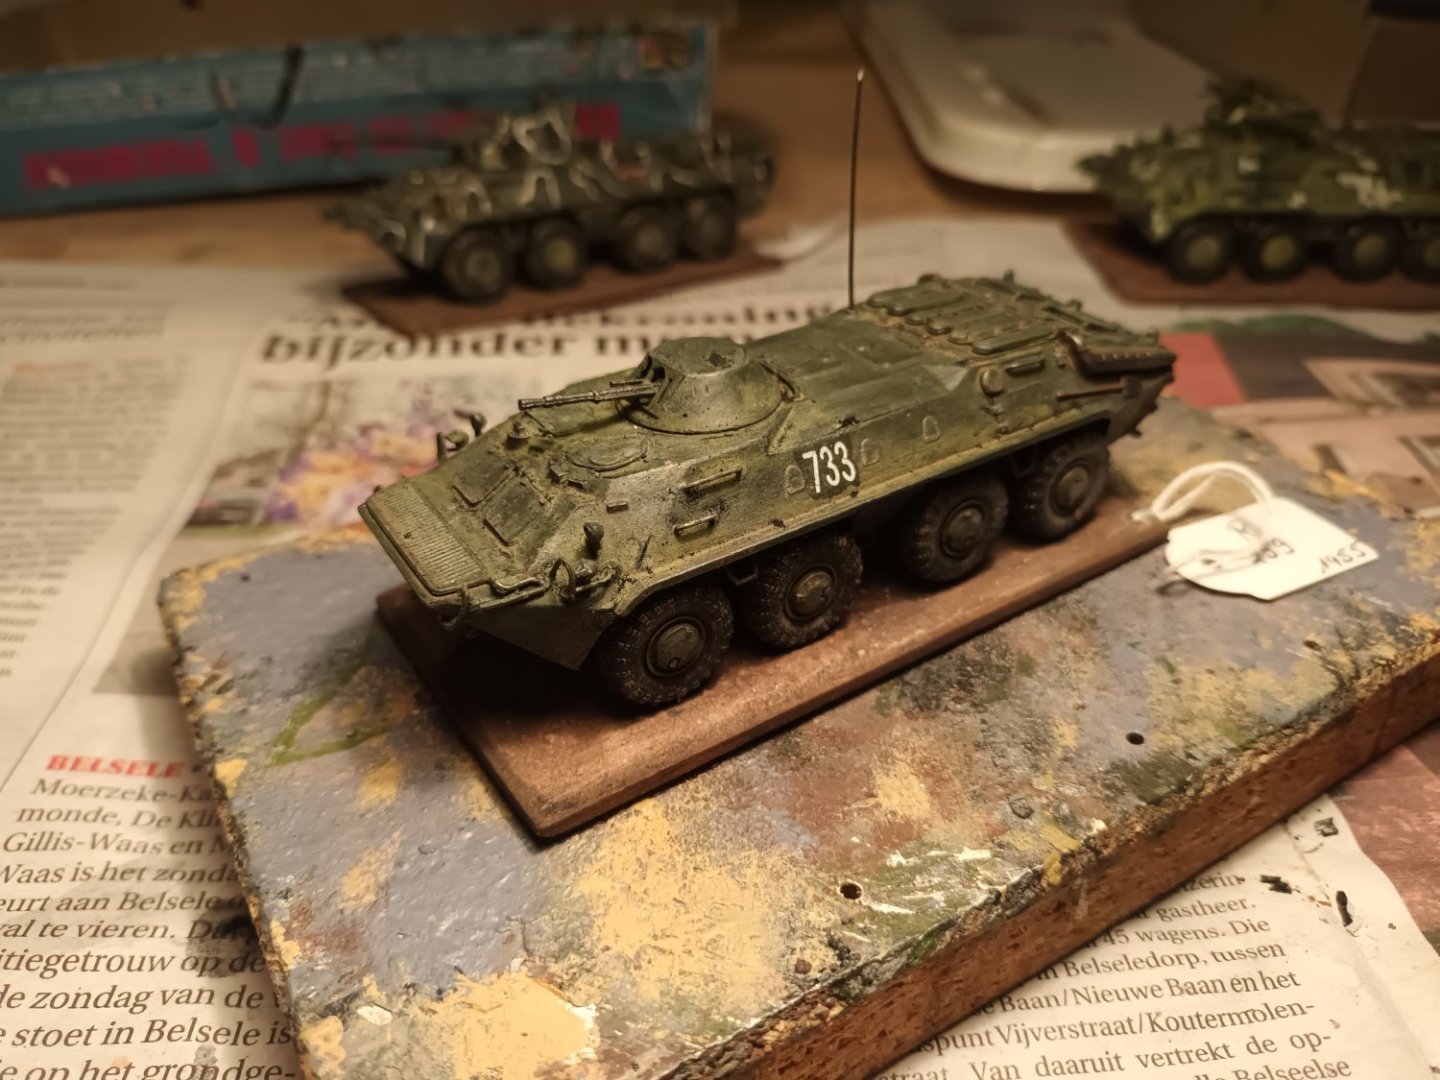


-
Russian modern armoured vehicles by Baker - ACE - 1/72
Baker replied to Baker's topic in Non-ship/categorised builds
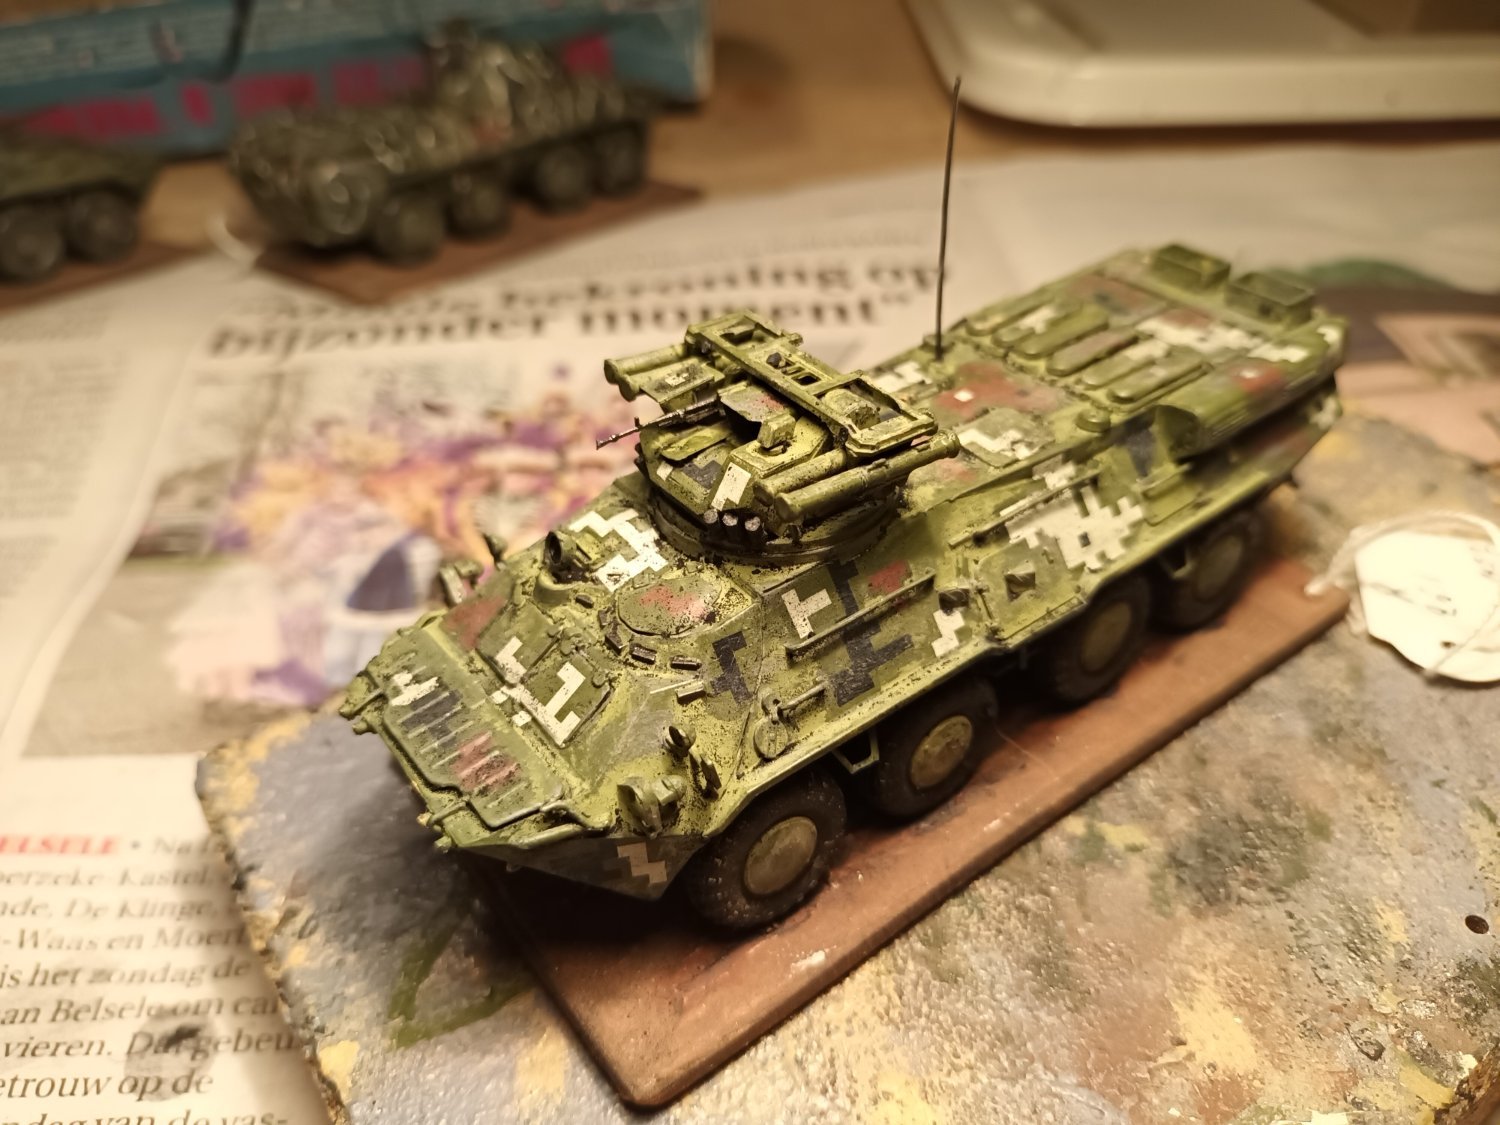
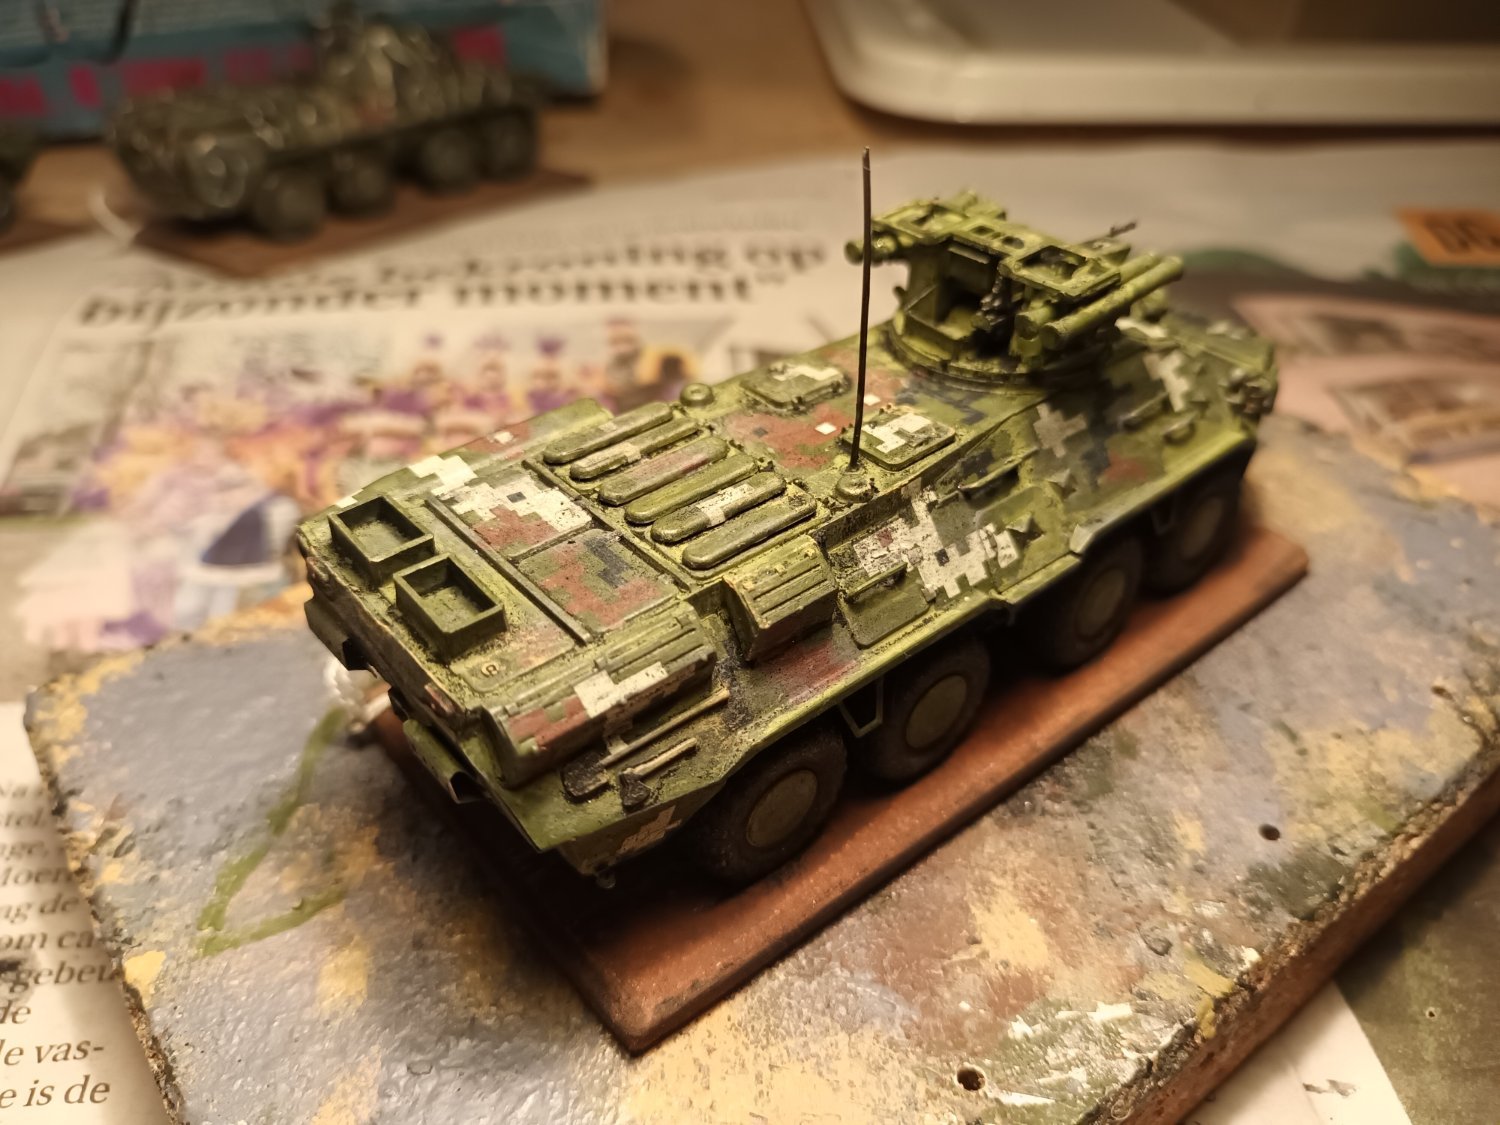
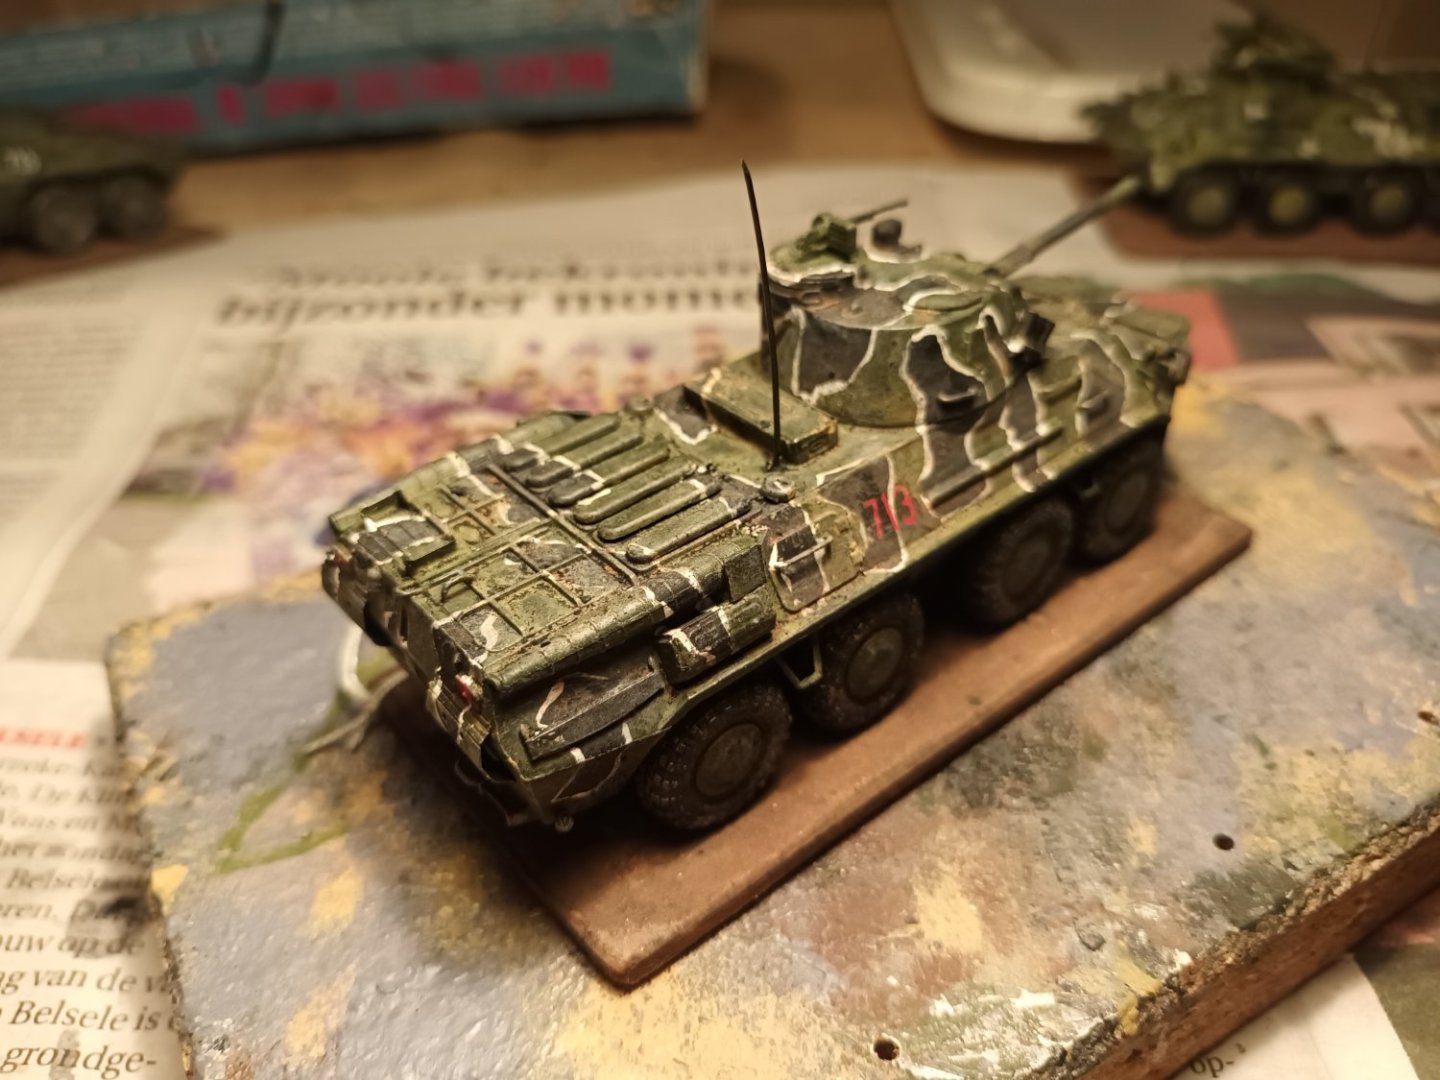
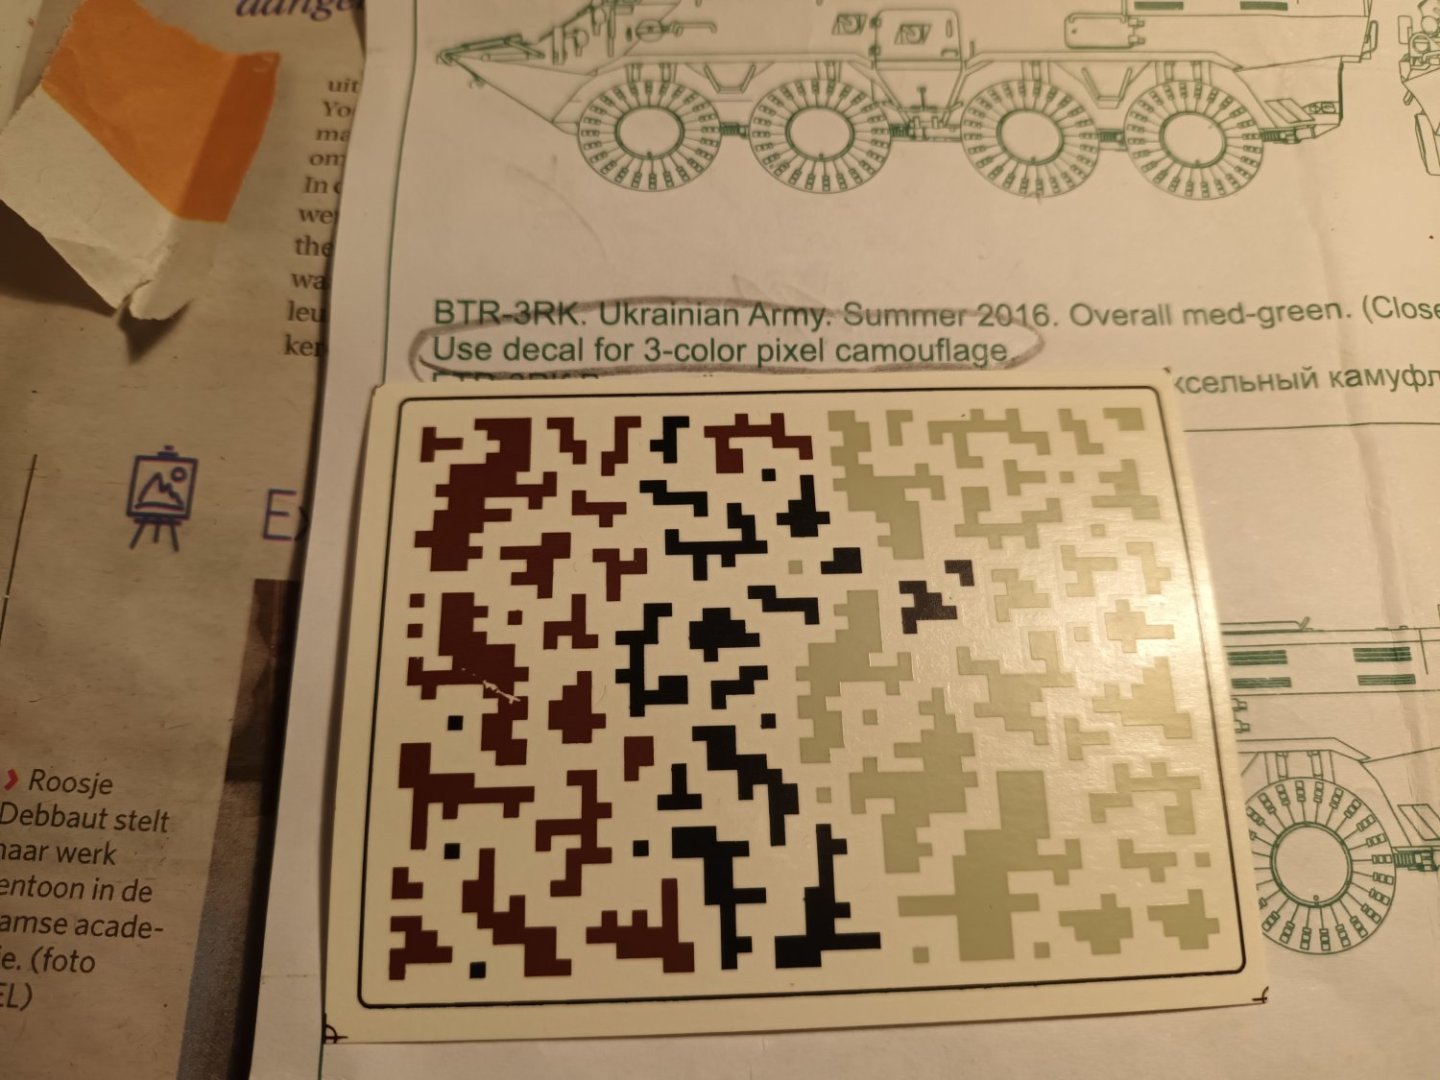
Update The BTR R3K turret is ready My first camauflage scheme with decals Almost ready

-
-
For your first planking, very nicely done.
-
Thanks everyone for the nice comments and the likes 👍
-
Slow, but beautiful 👍
-
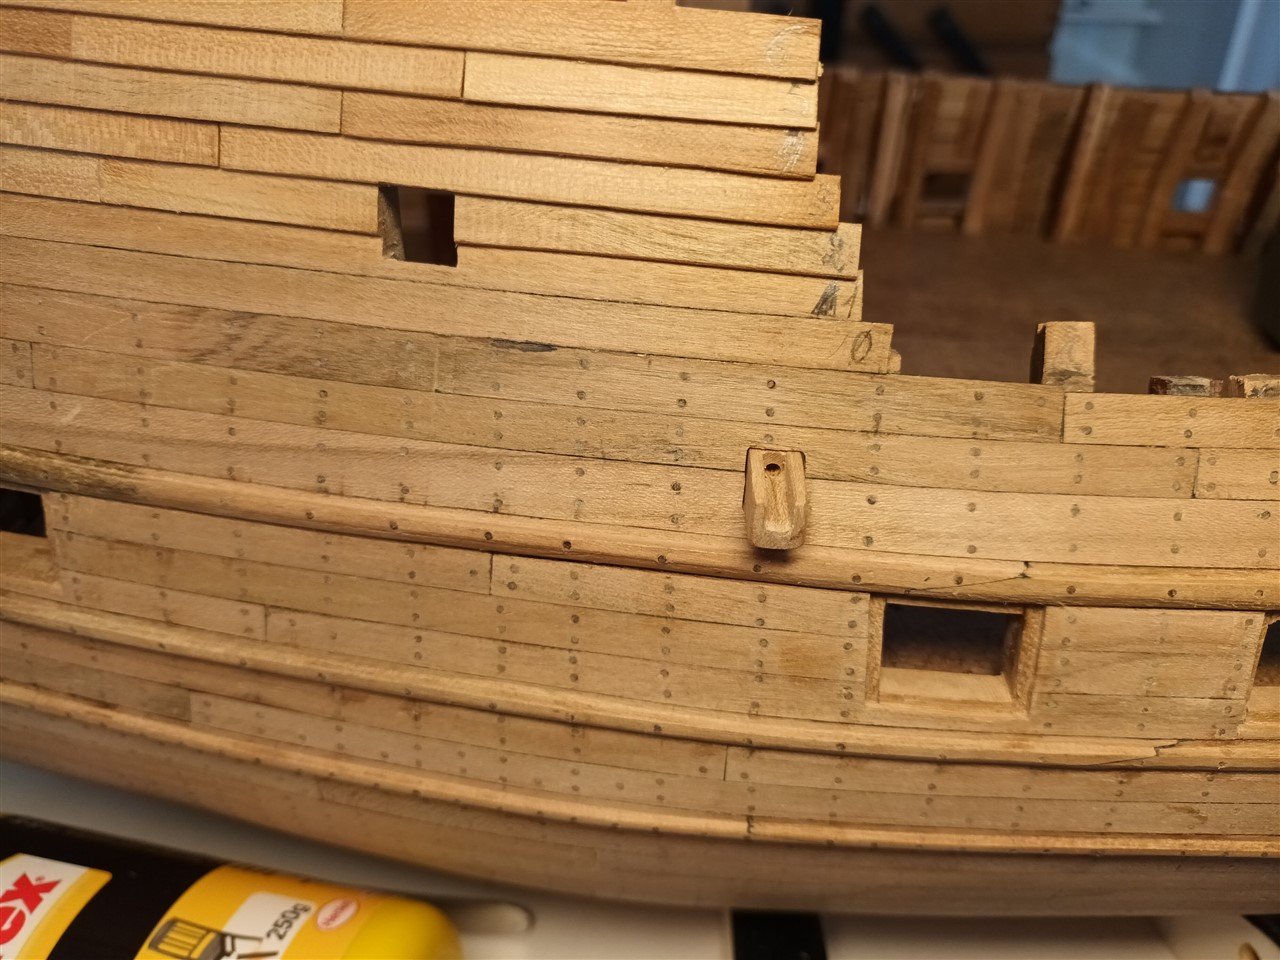
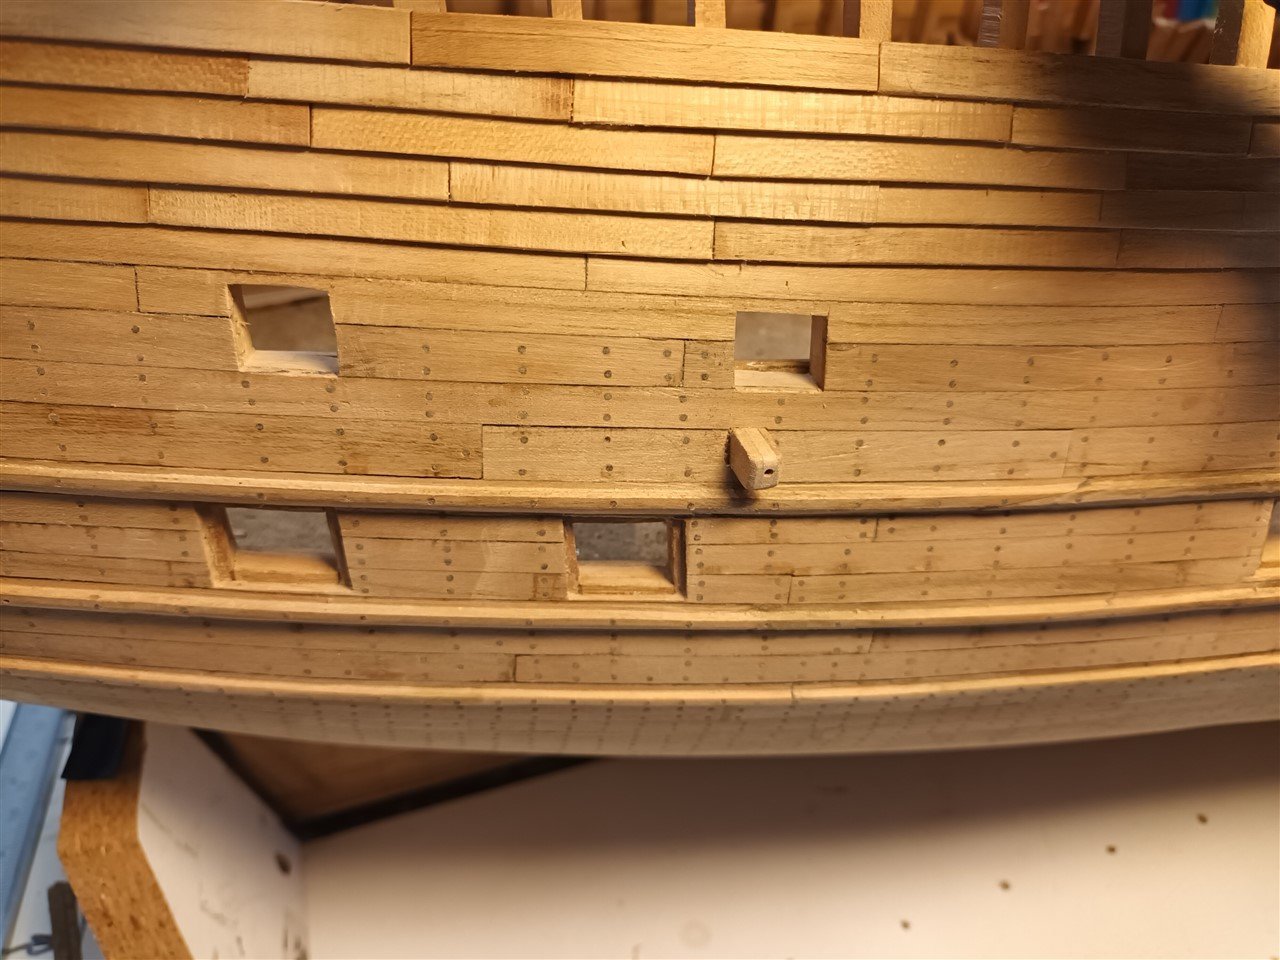
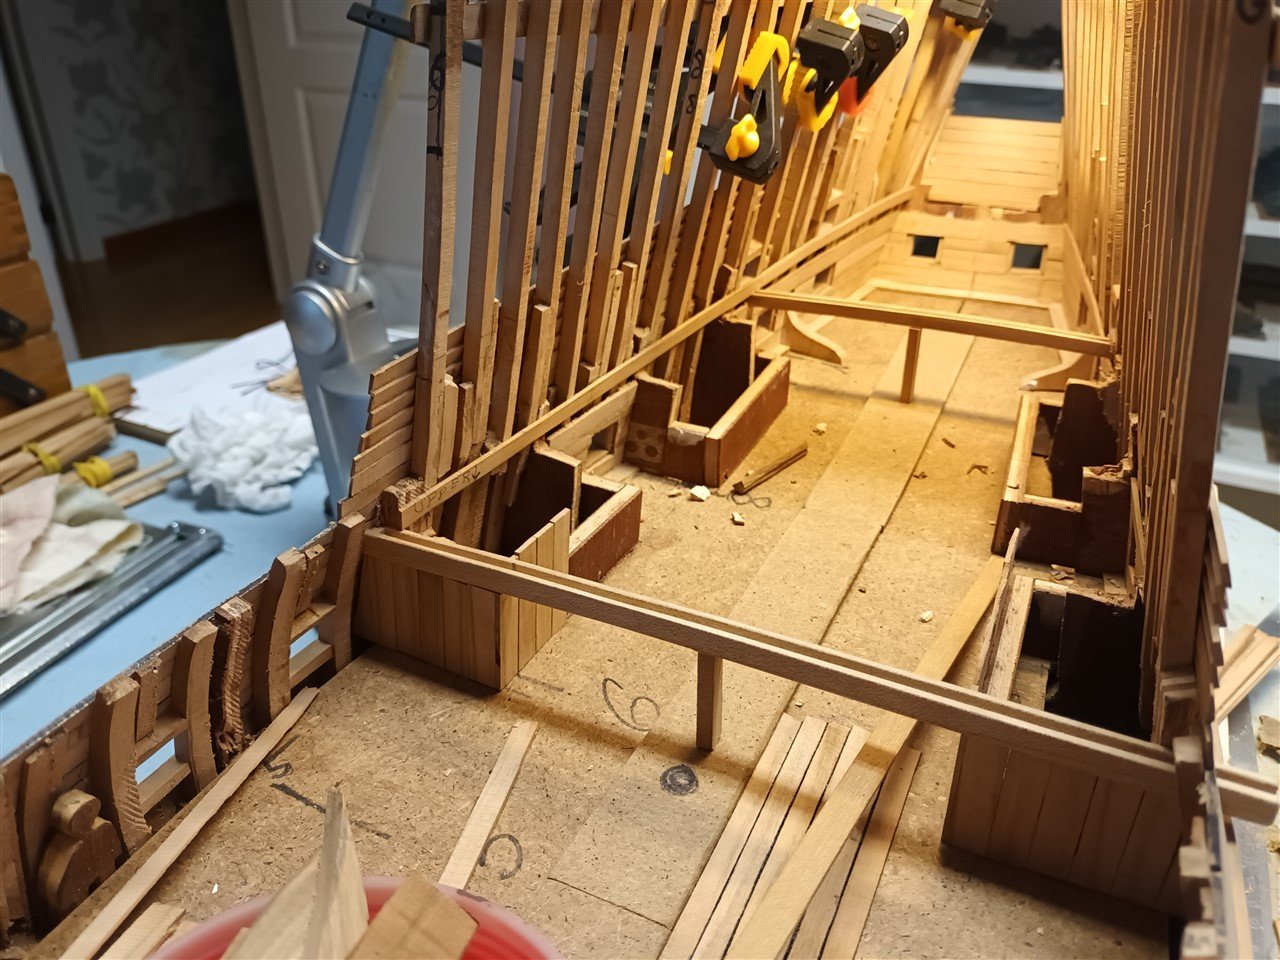
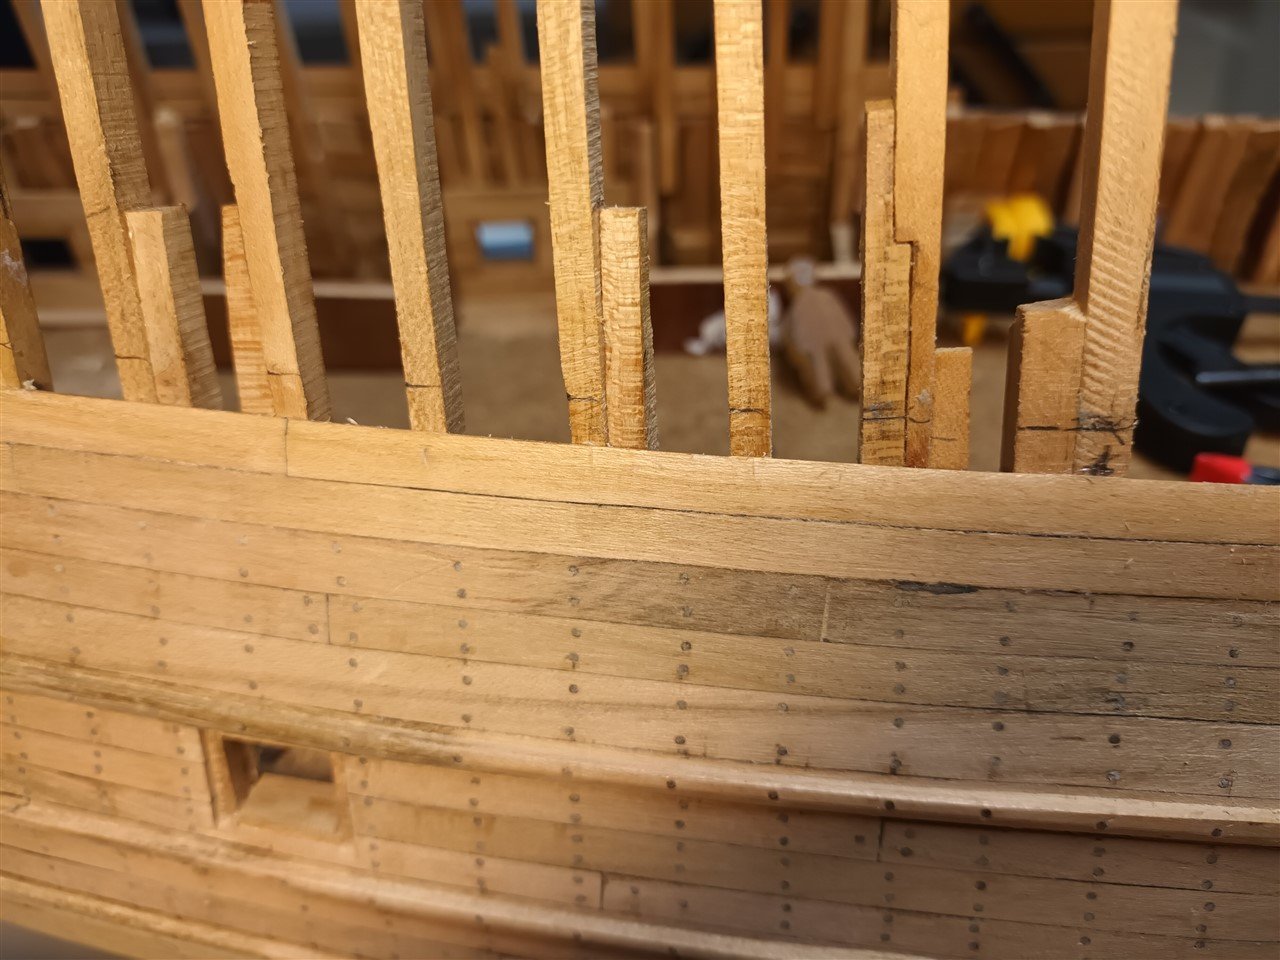
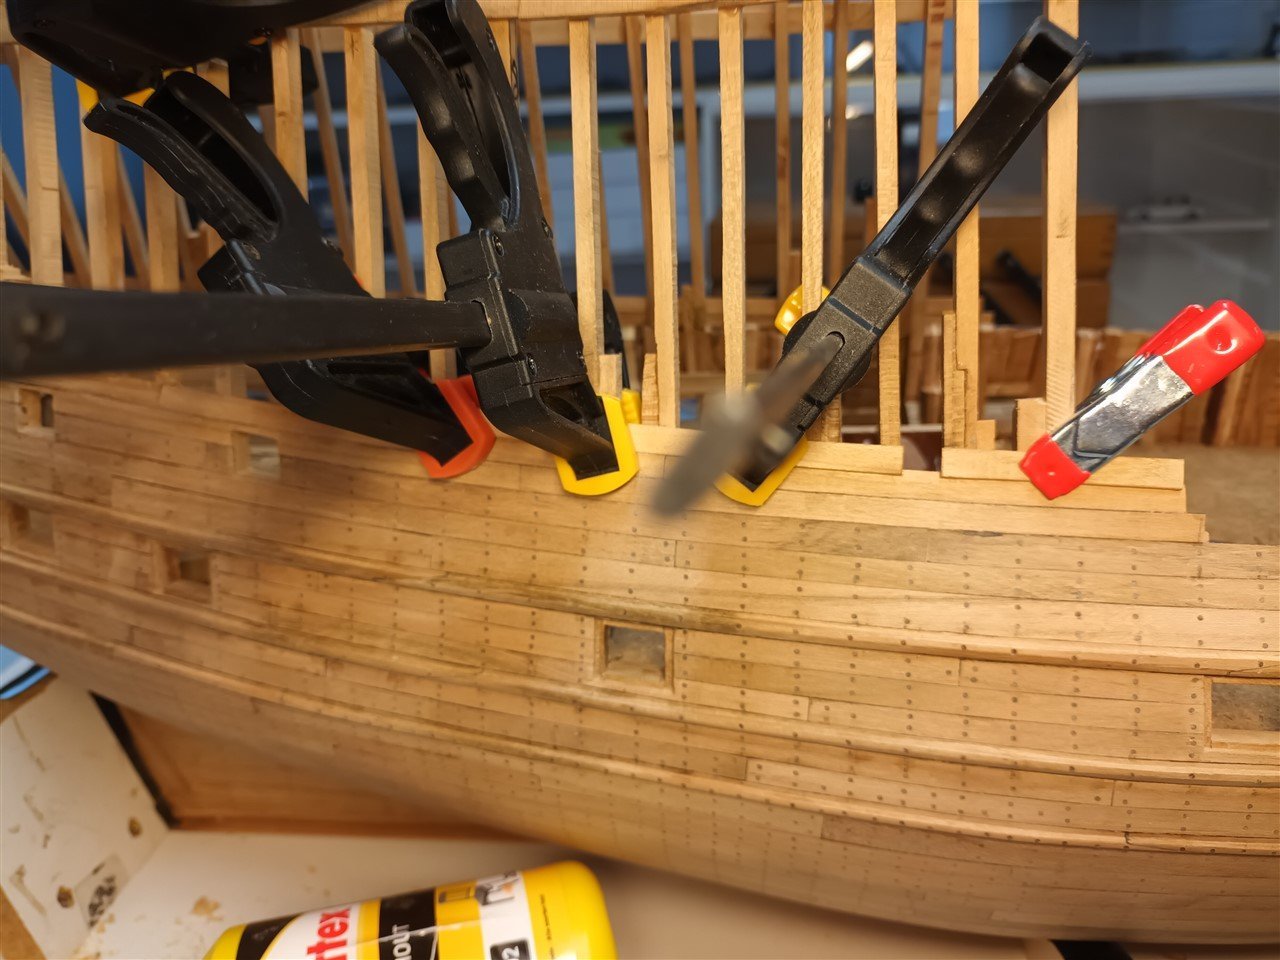
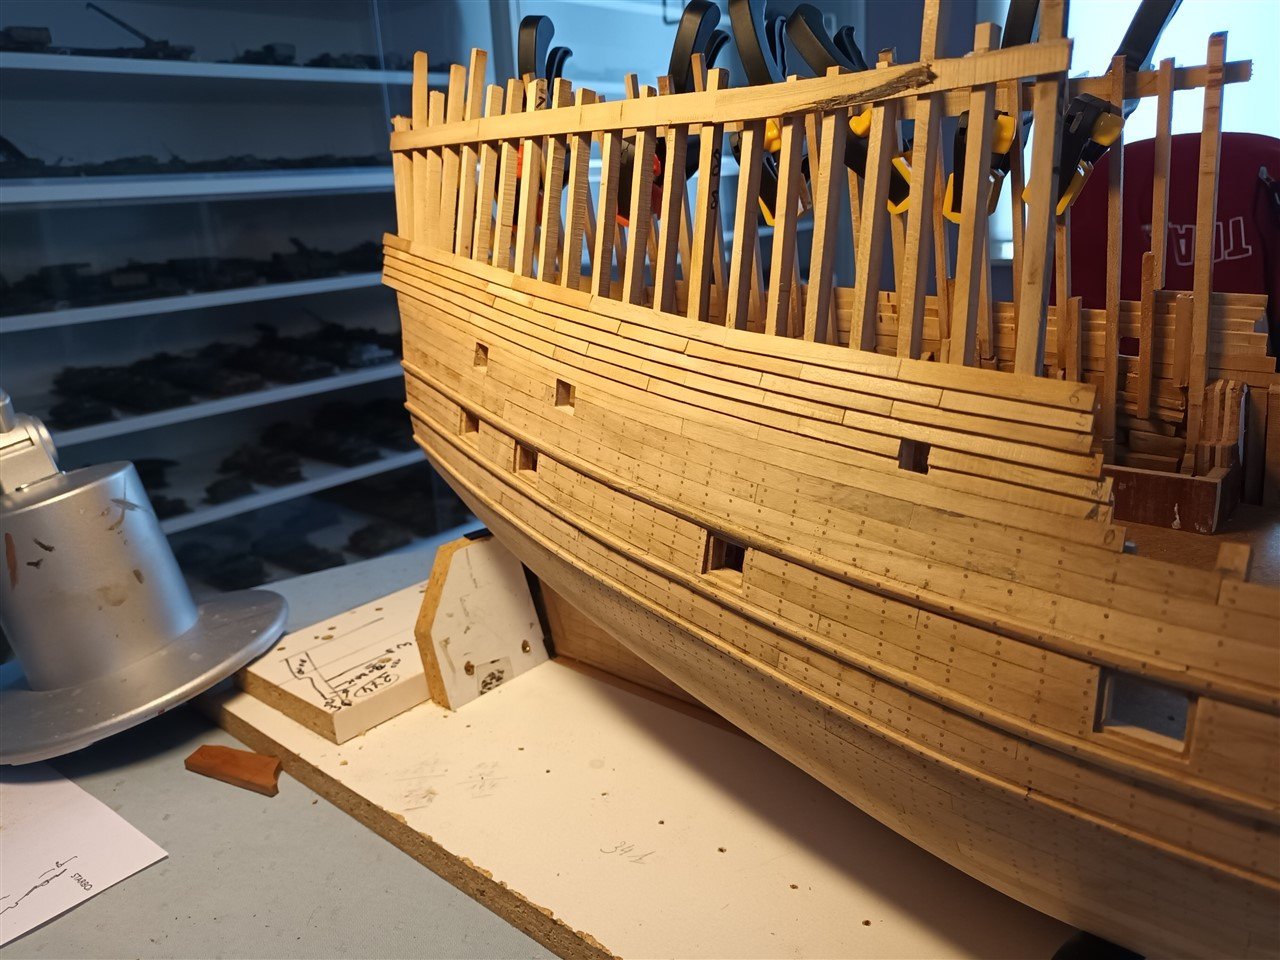
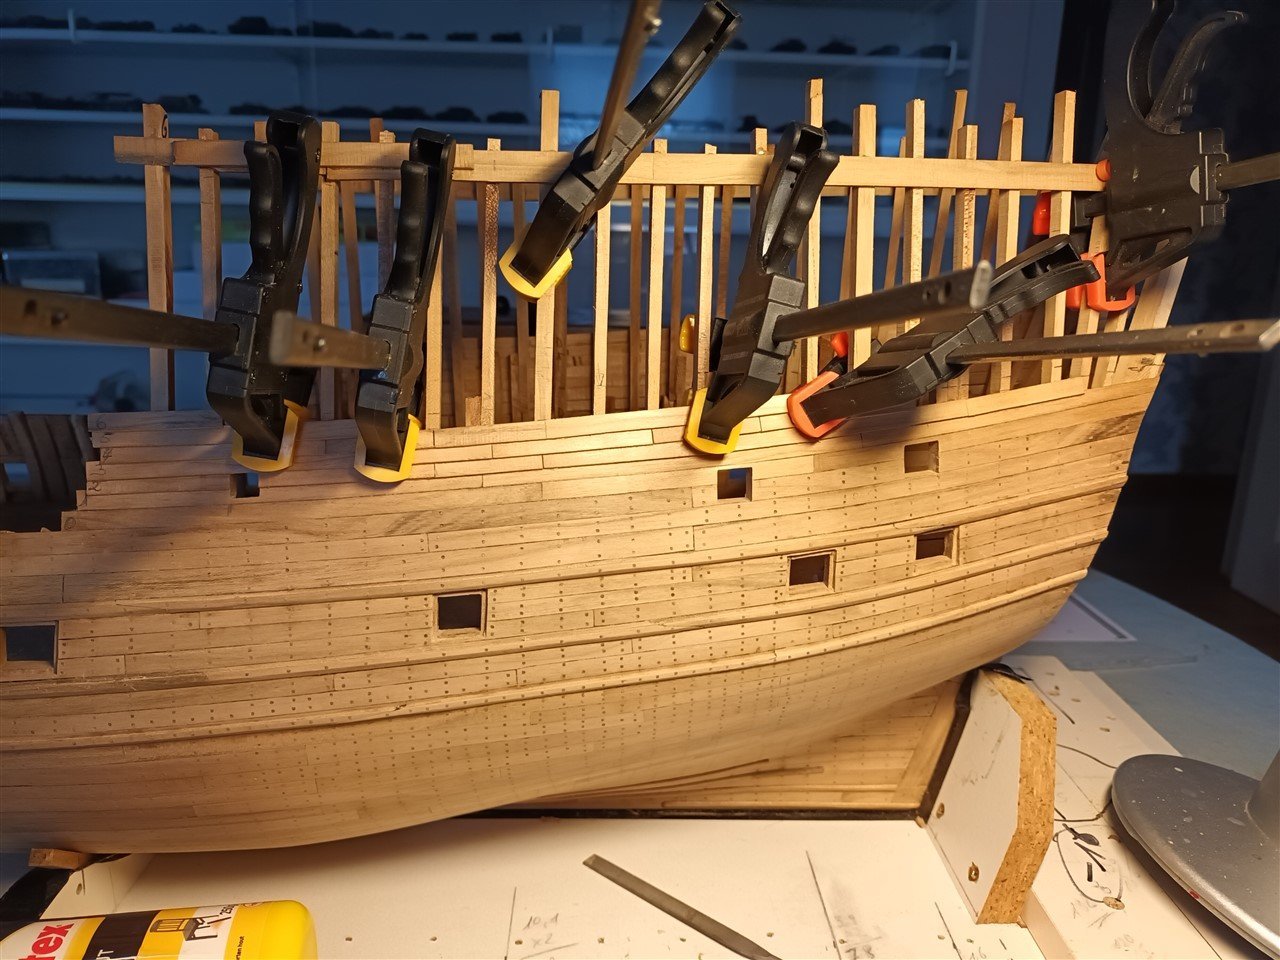
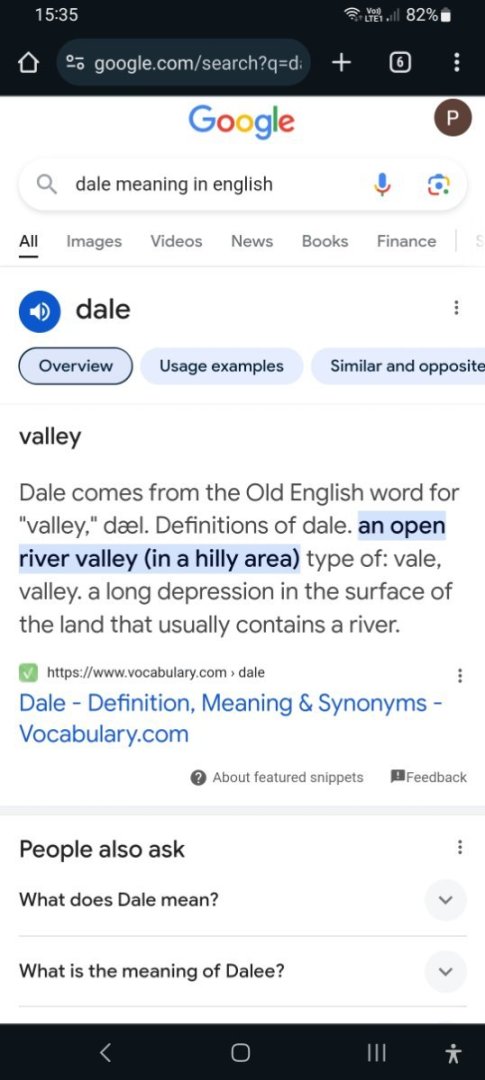
Further planking of the rear castle. I started with the part that was planked according to the clinker build method. These planks were not sawn but made from tree trunks that were split. length of the planks no longer than 2.70 meters The first of these planks was tapered. Above the tapered plank it is marked how high the upper plank may be Further planking And then there was a week's holiday in the sun, which was put to good use doing research . Back home and continue planking. The intention is to have 6 layers of clinker build, in total I should end up with 9. Above that there will be shields. That's why I first have to place the 2 dales, which determine the correct location of the upper deck in the rear castle English lesson : Dale.. old English word. The intention of these two dales is to drain the pumped water from the hold outside. And if you have to pee....Do it in the dale (so their 2nd name : pisdale... 😳)
-
Sad news about your health. But