

Levie
-
Posts
37 -
Joined
-
Last visited
Content Type
Profiles
Forums
Gallery
Events
Posts posted by Levie
-
-
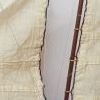
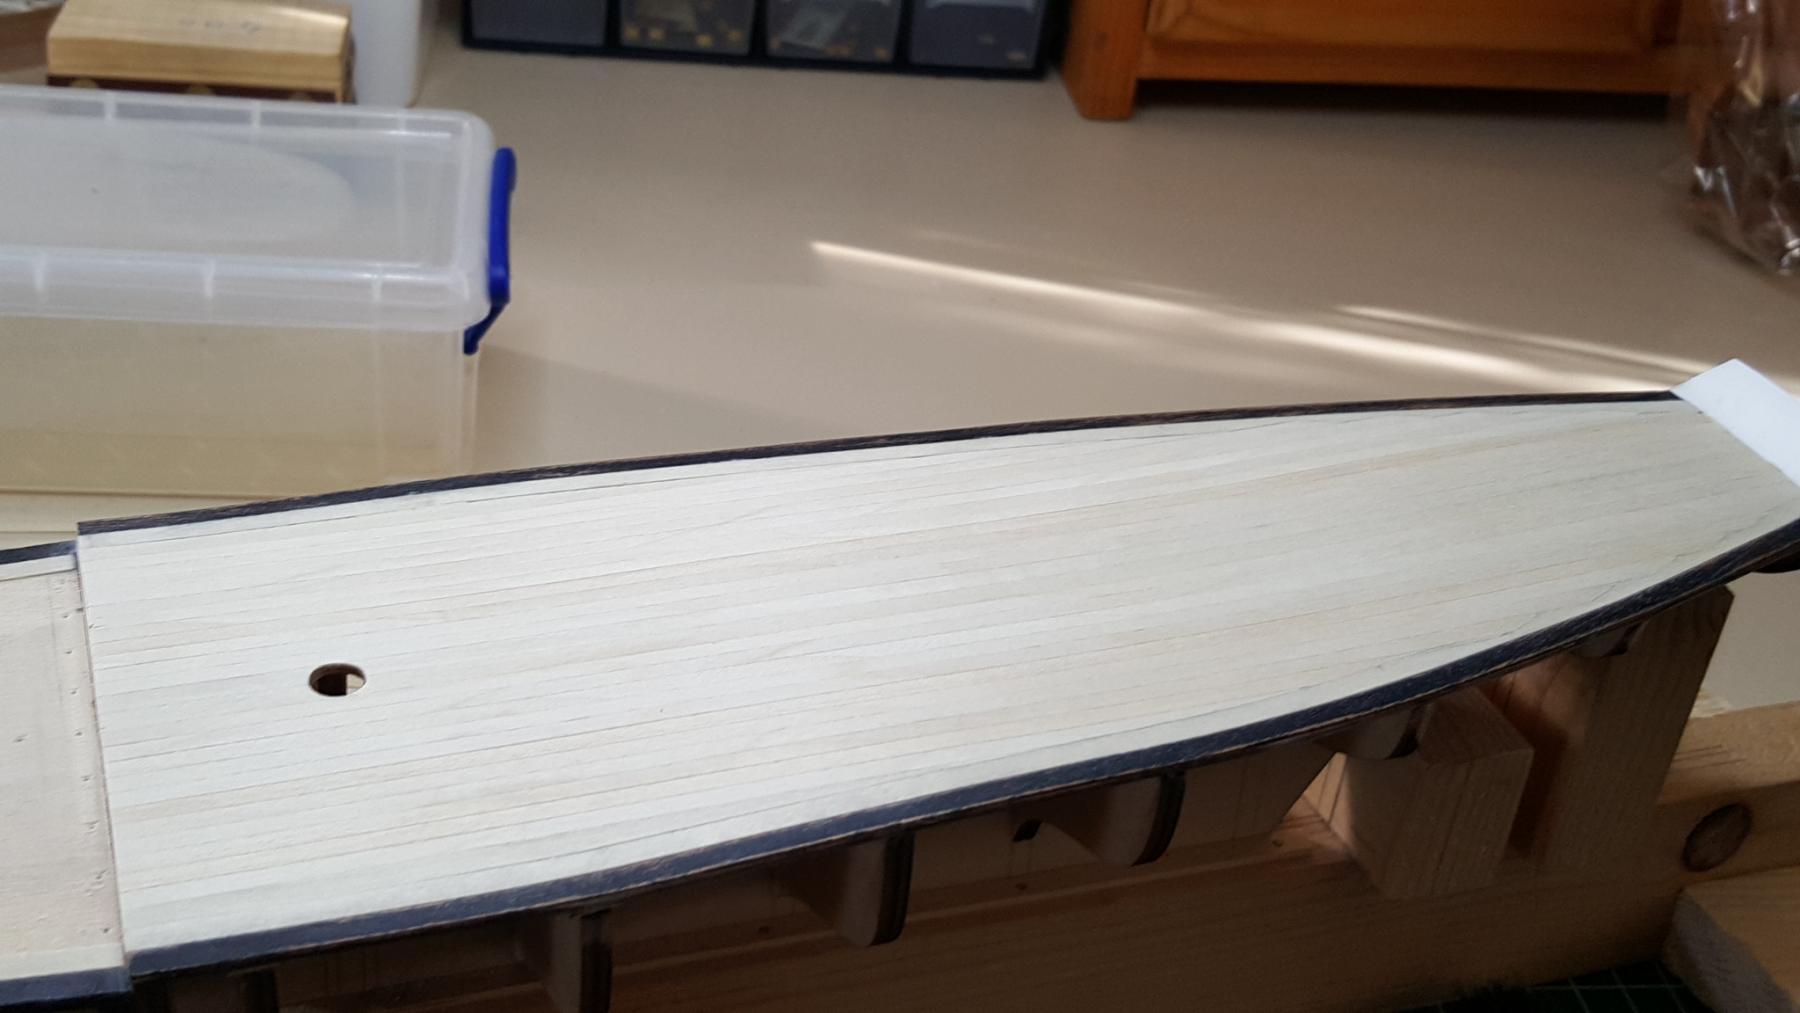
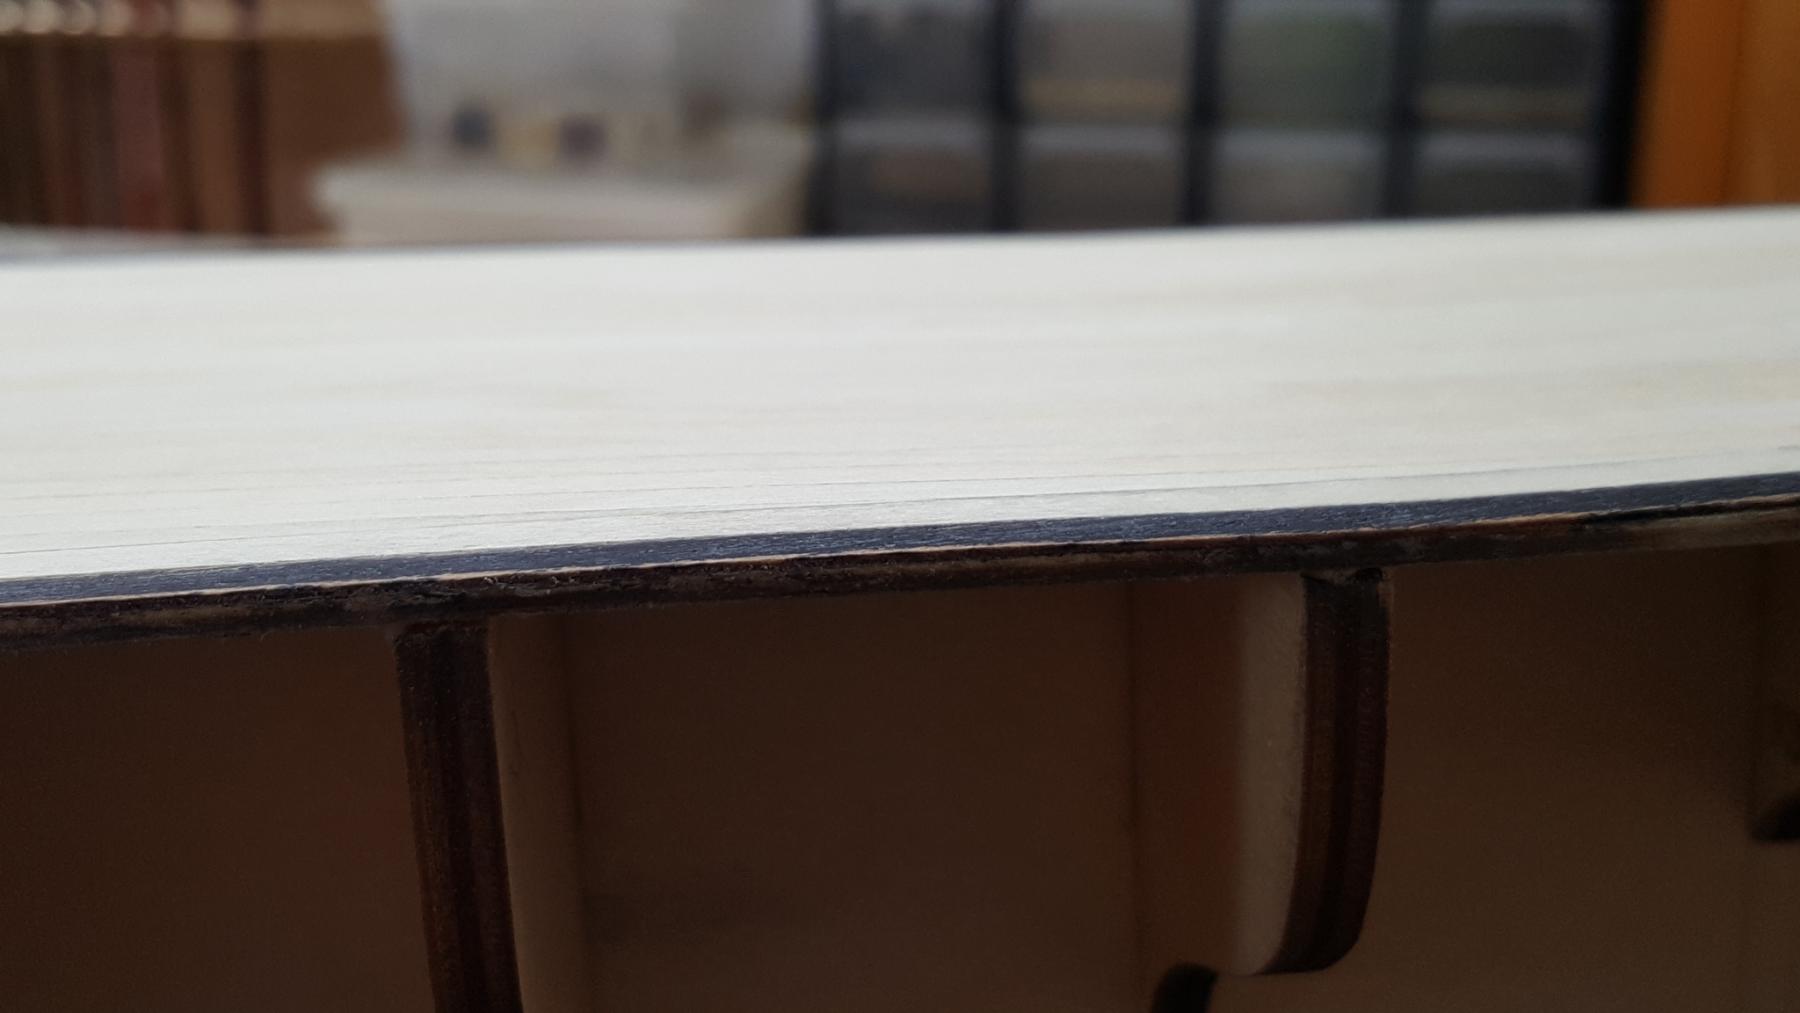
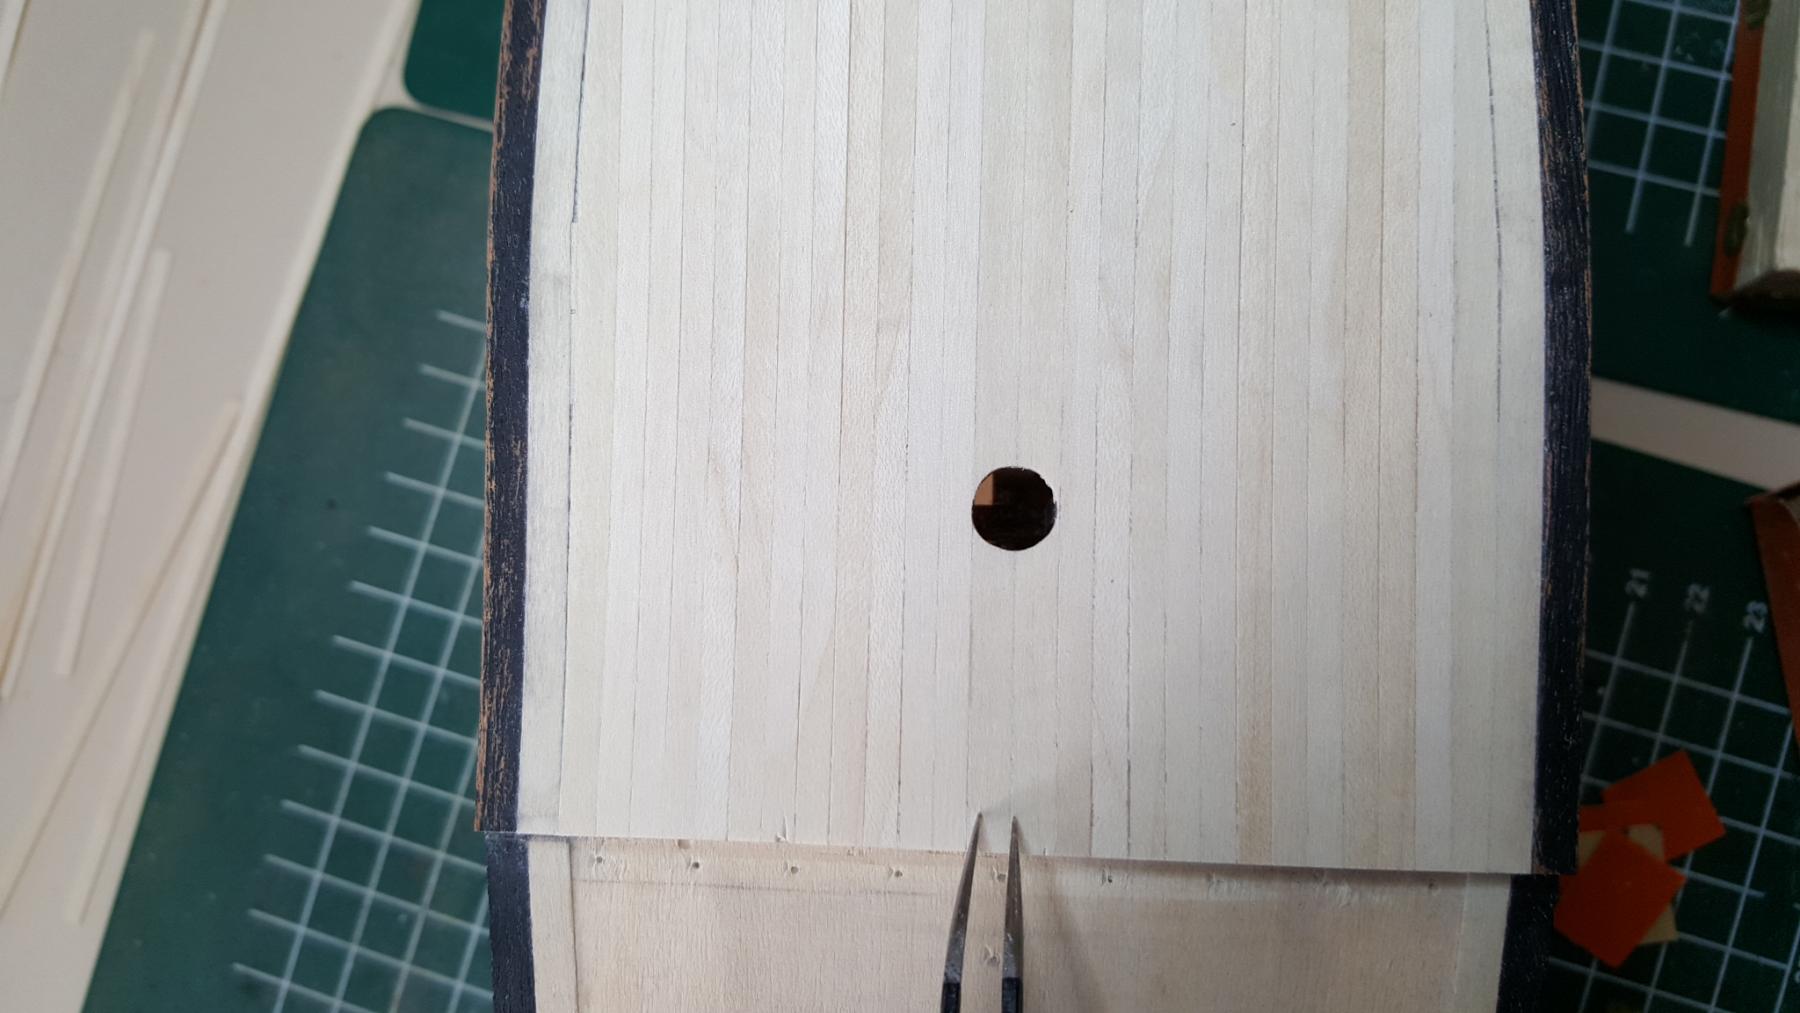
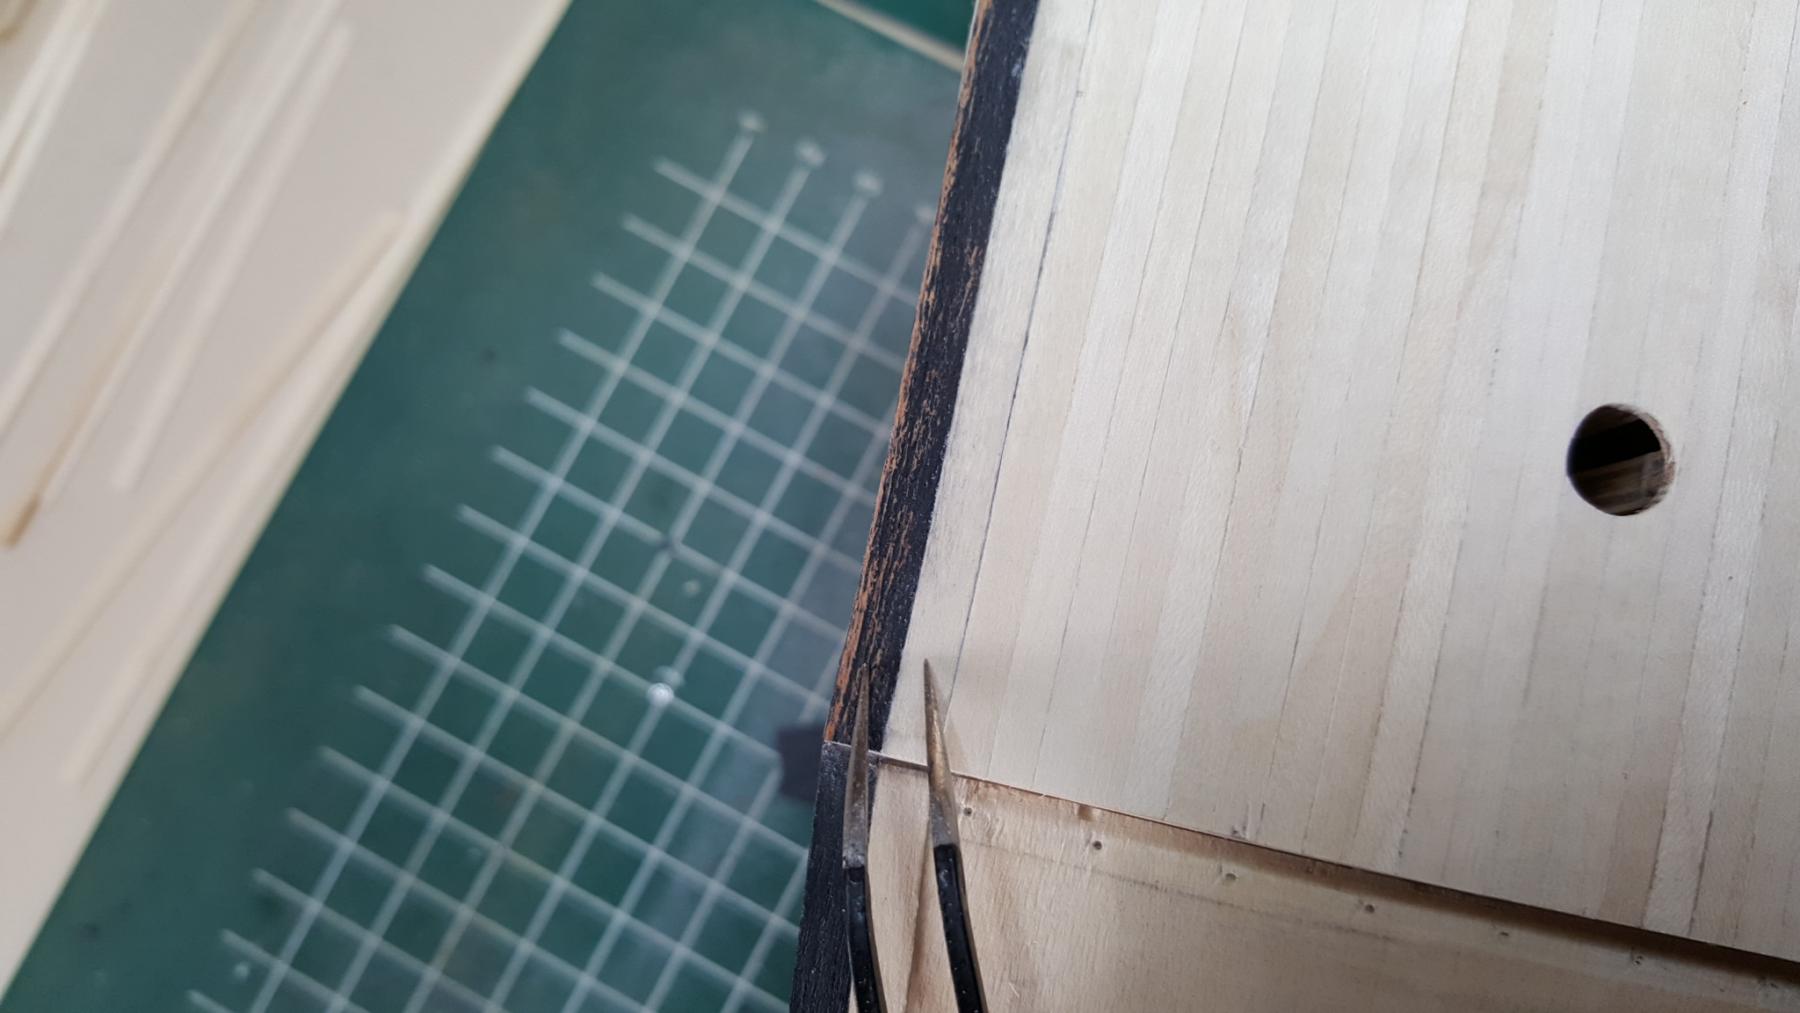
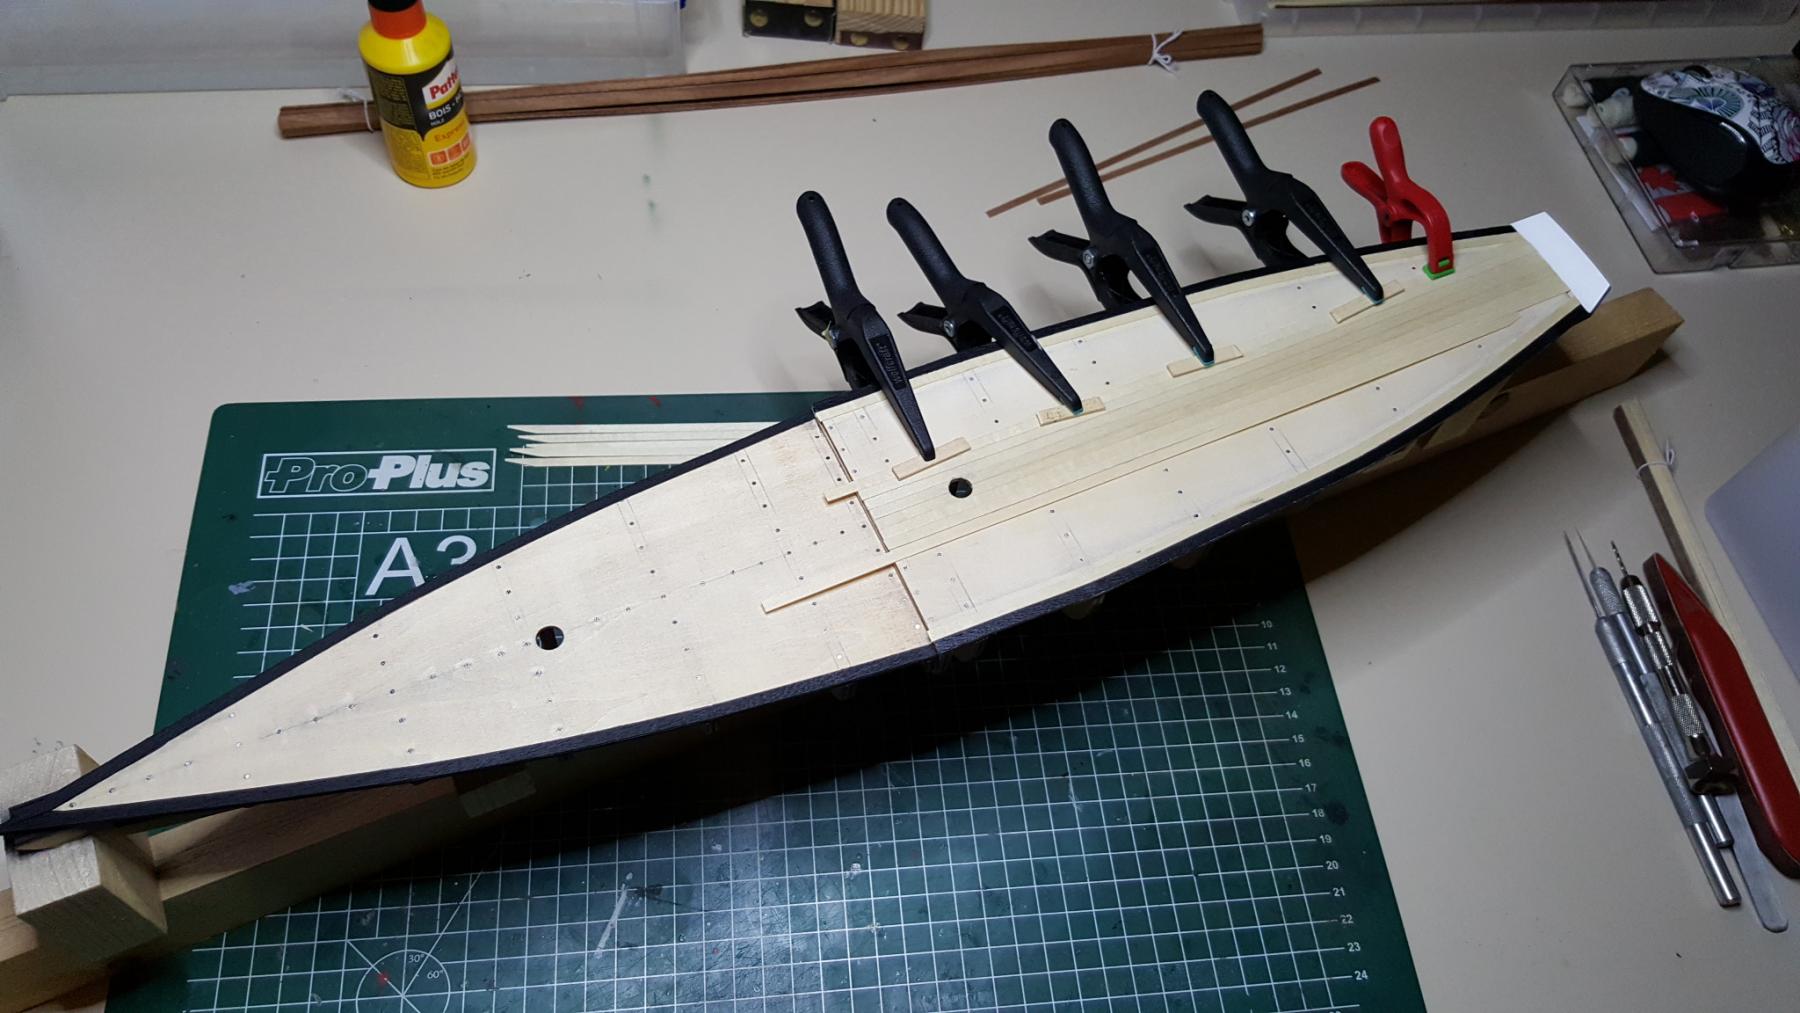
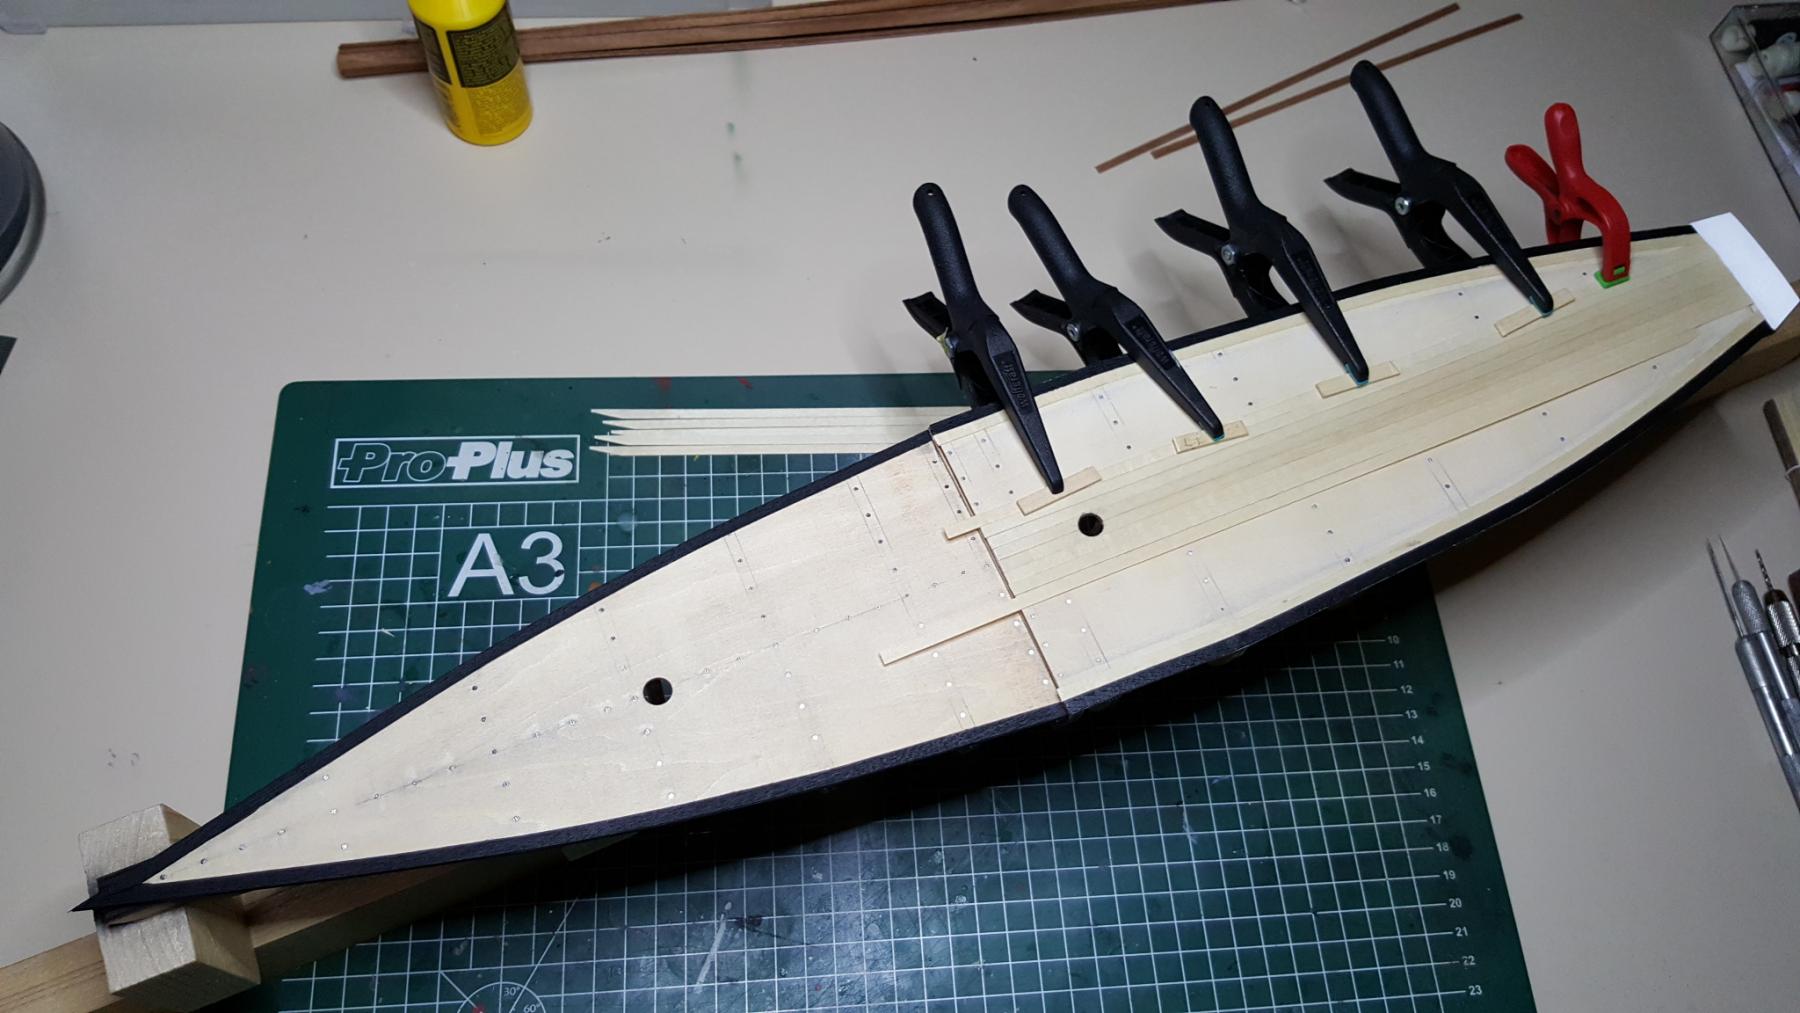
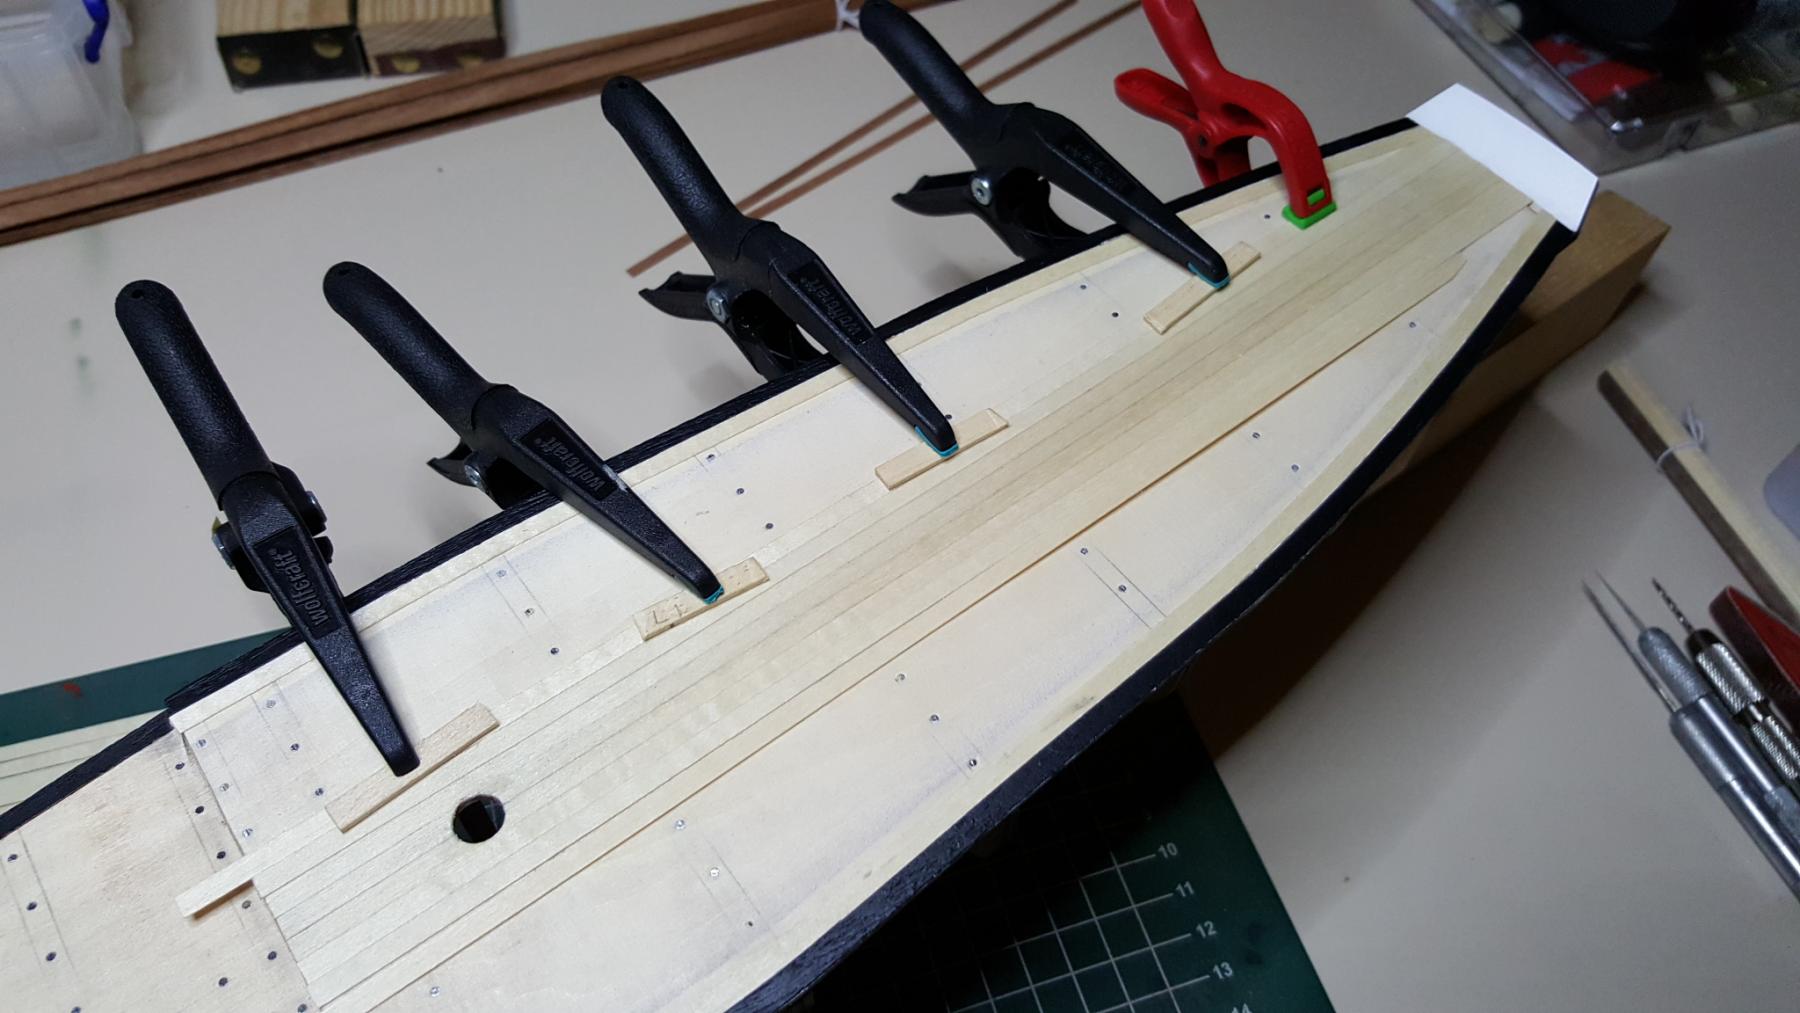
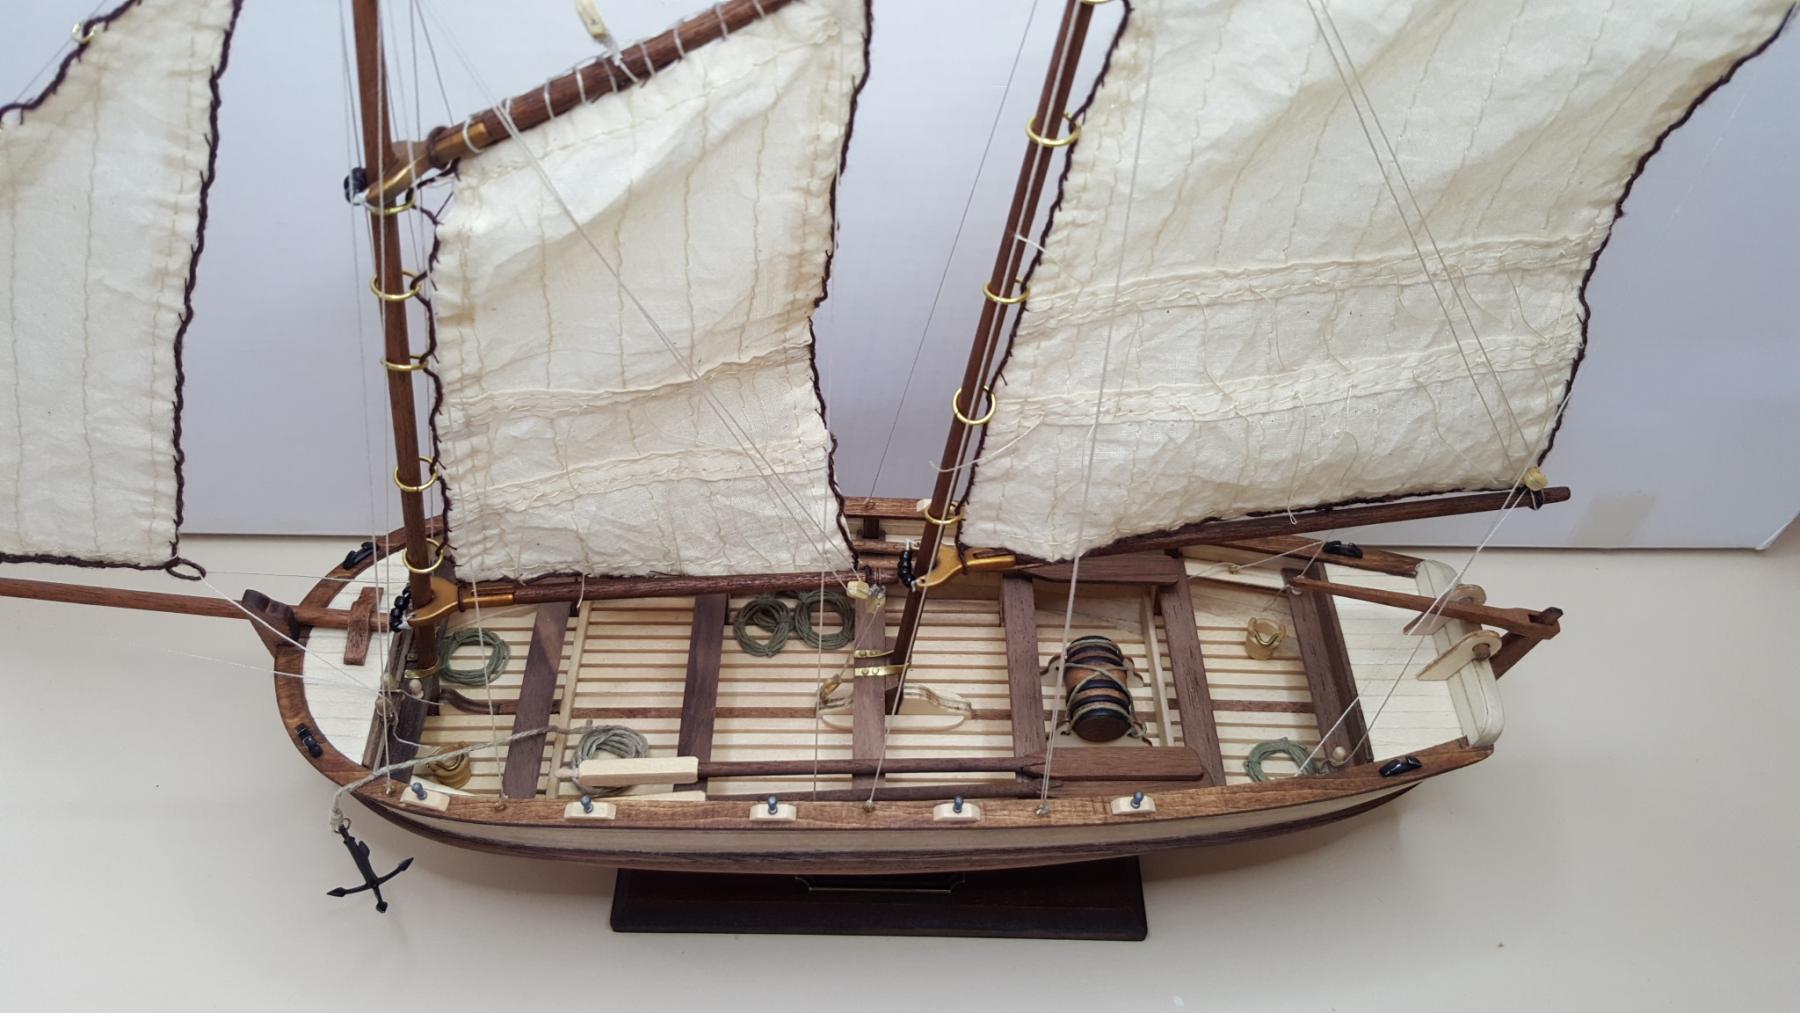
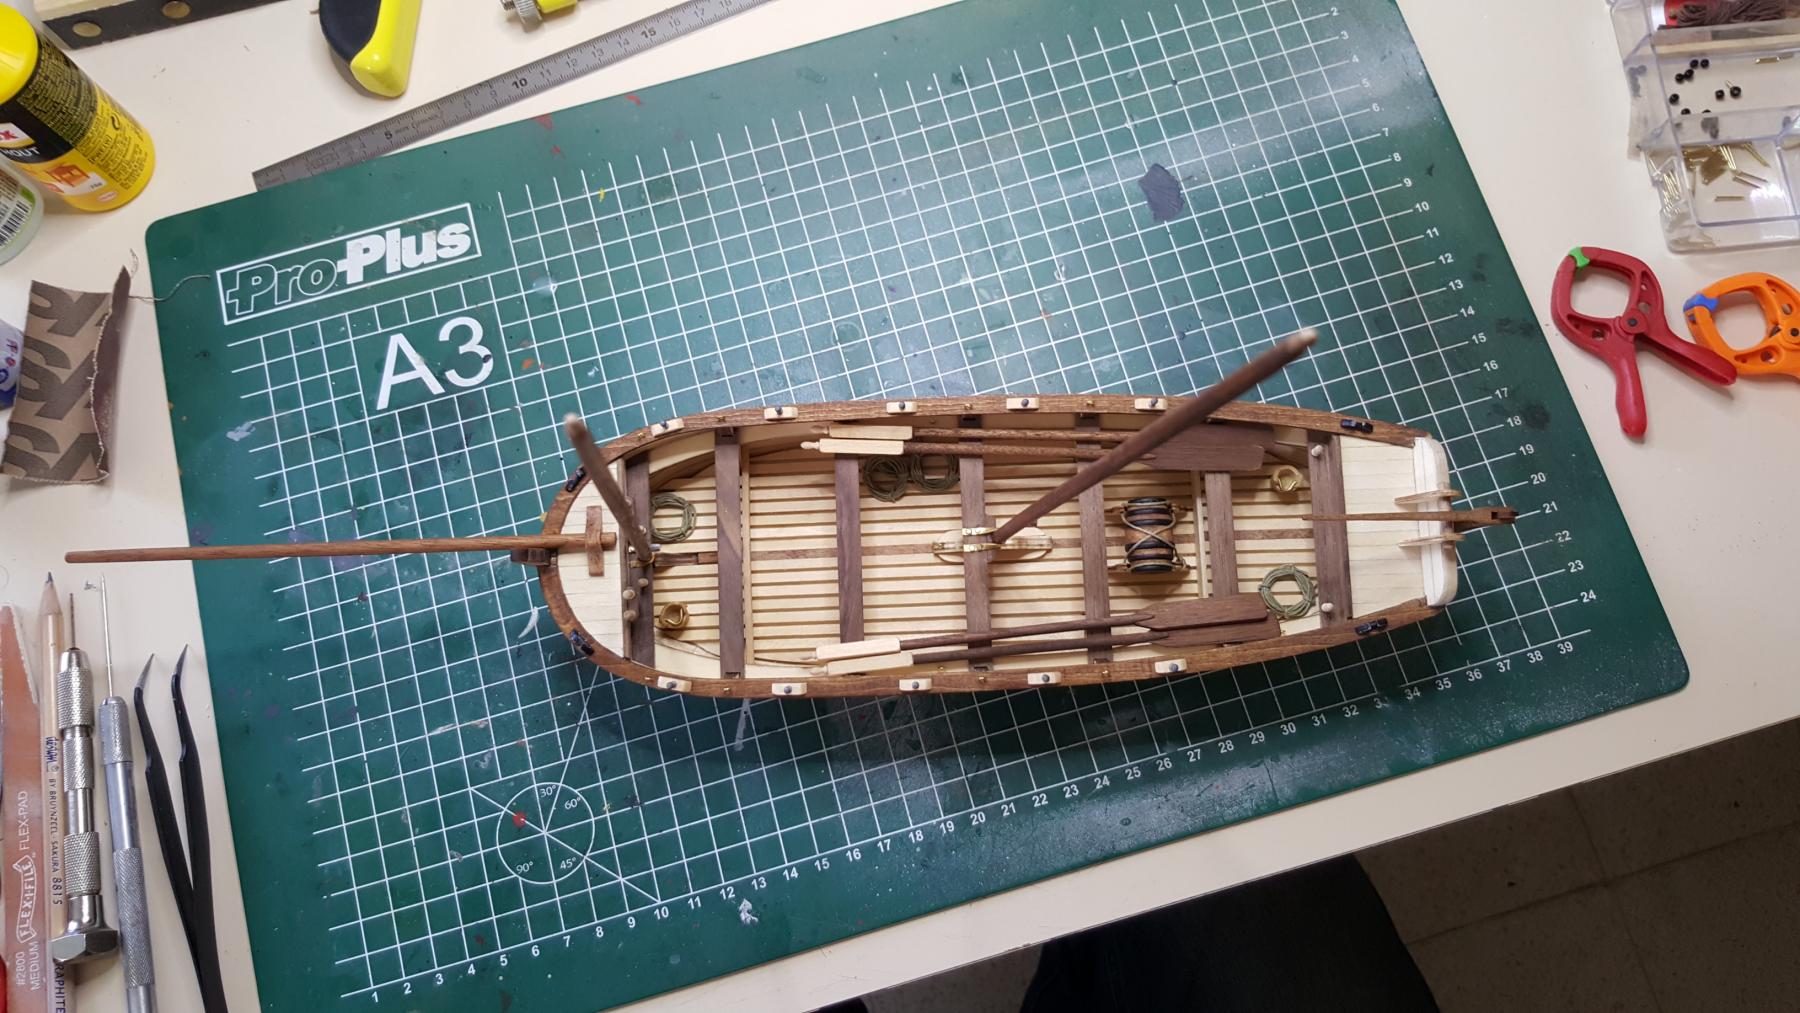
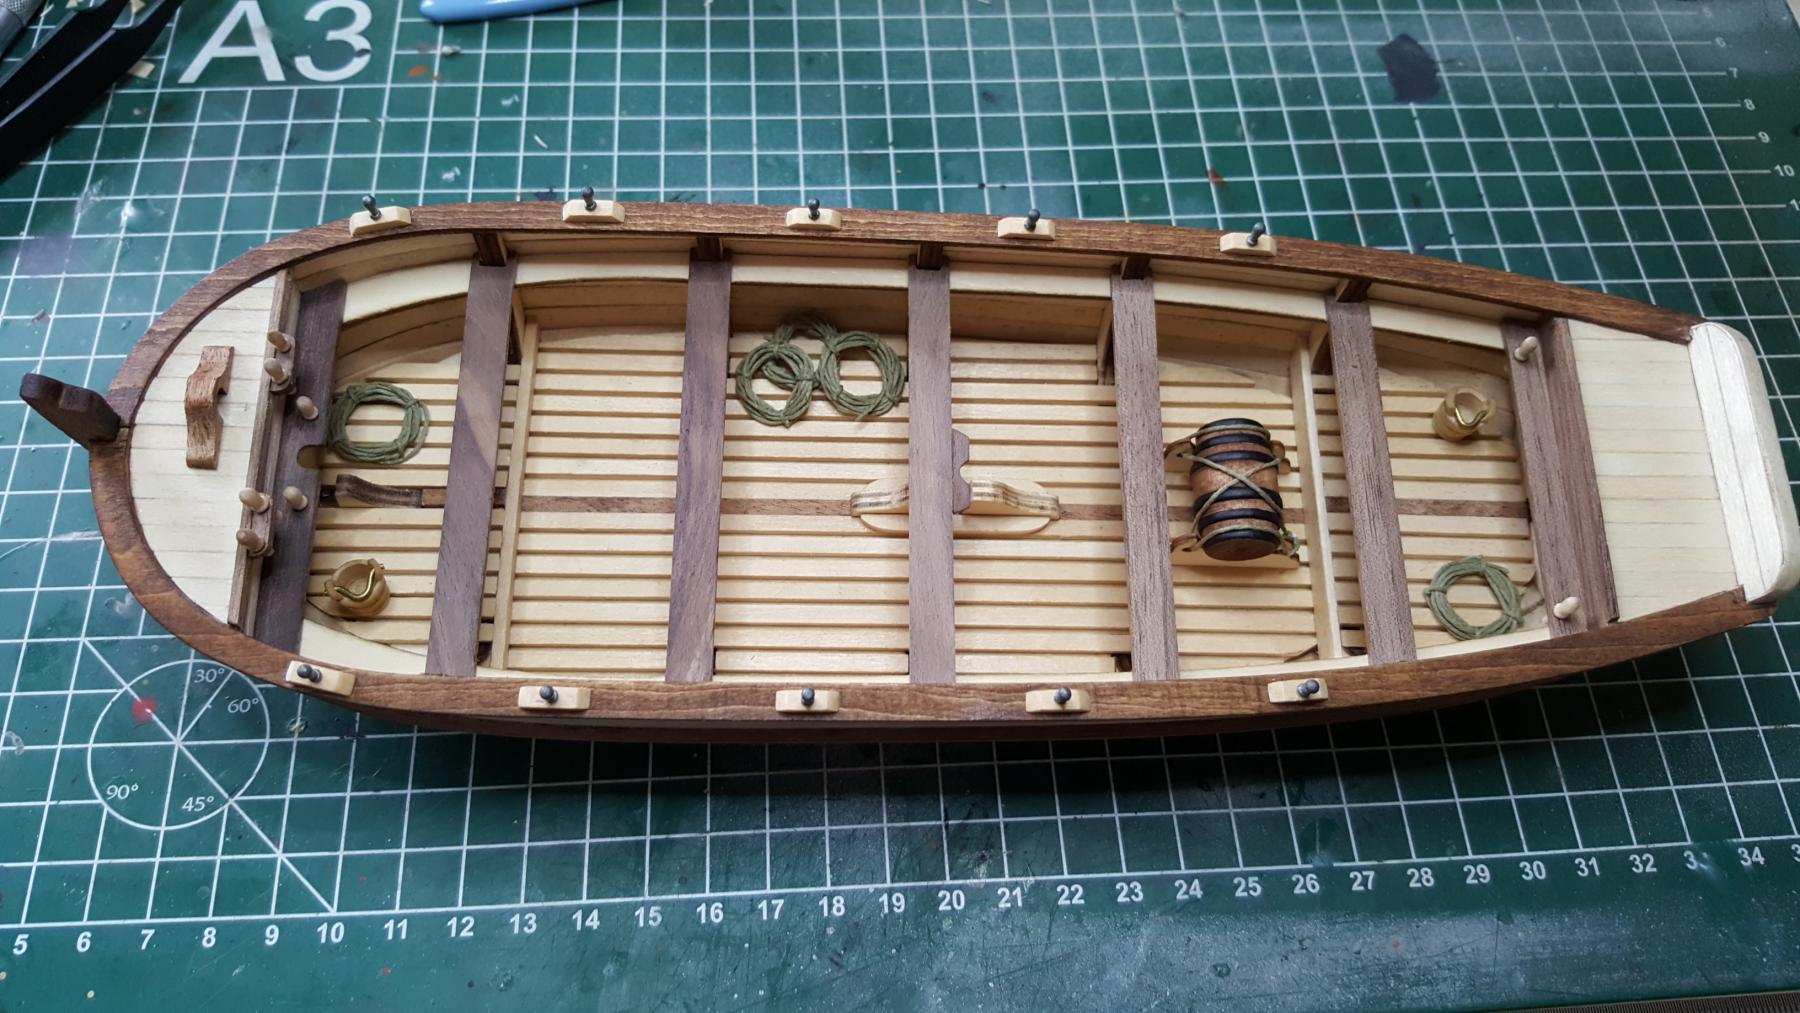
Fitted the dek planking with narrow strips (the ones that come the kit are too wide.) because the 1/1 scale schooner has a narrow dek planking but the centerline has 2 wider planks 1 on each side of the centerline and 2 on each side of the bowline.
See photos I show you with the tweezers.
It's not 100 percent accurate but better then the instructions say.
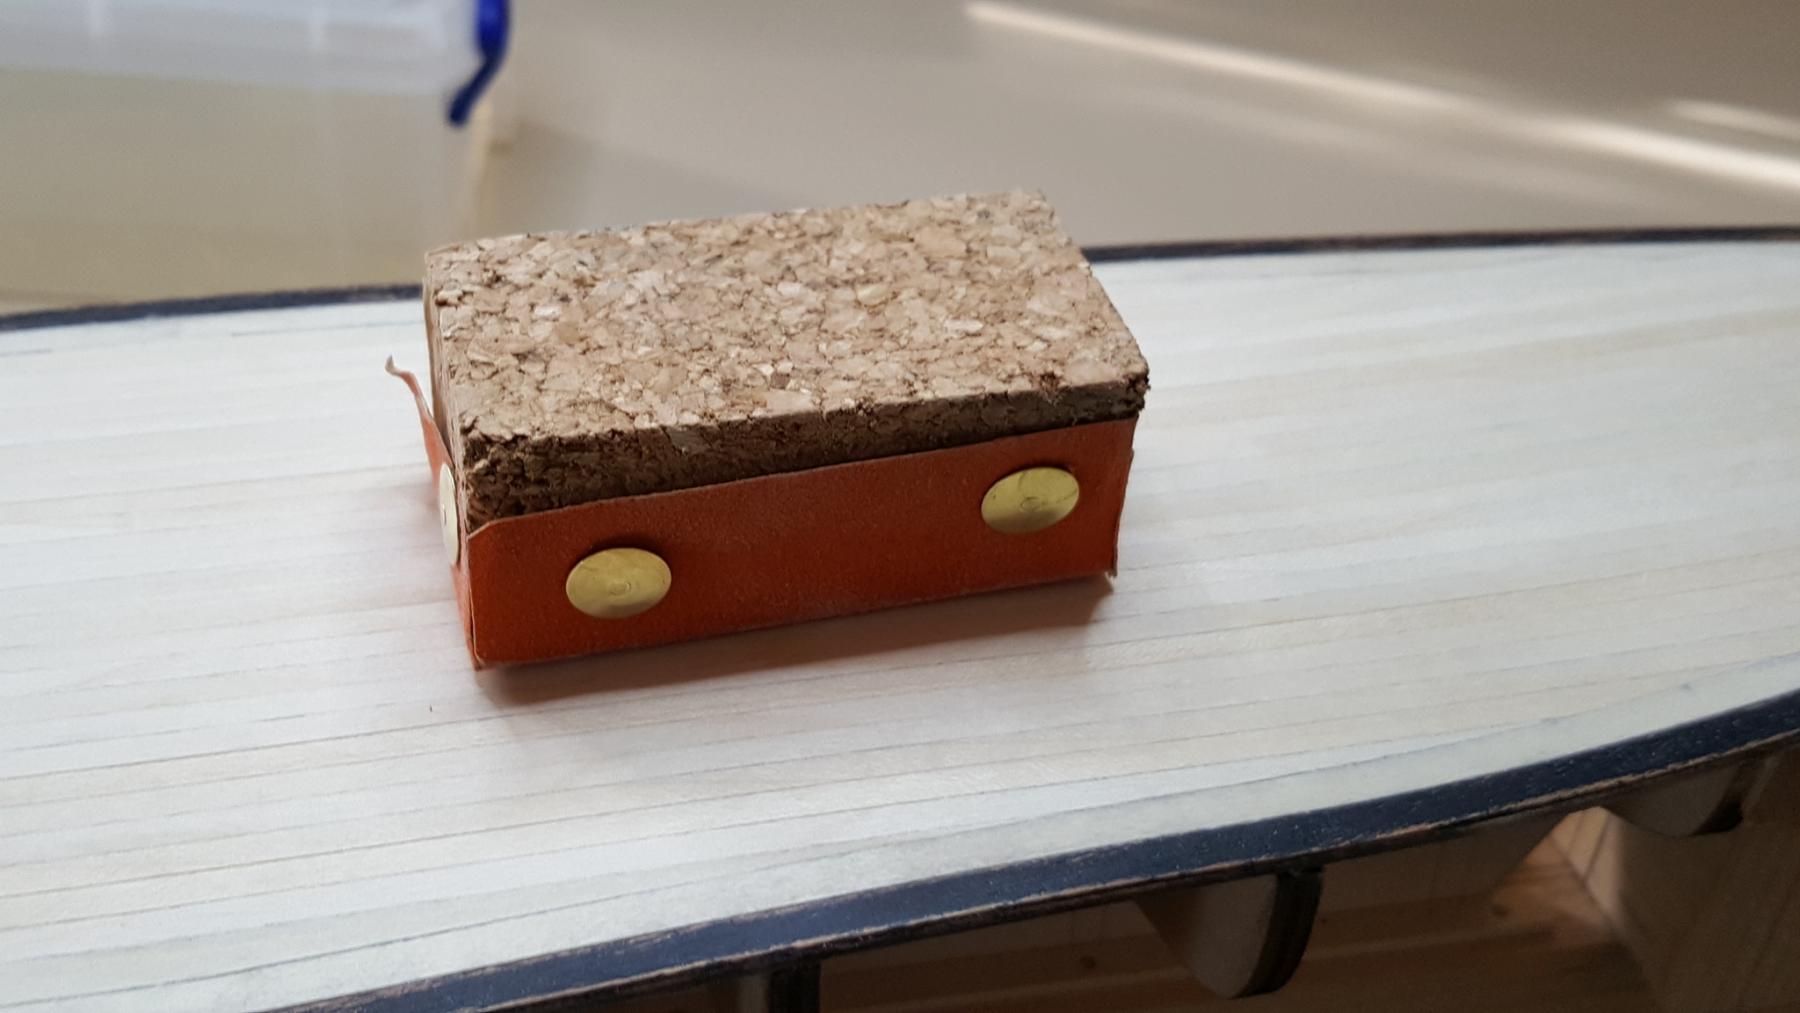
I used a kurk block to sand down the planks this is a must have because the dek has a slope to it and with the kurk it flexess easliy to the shape of the dek making sure you sand it 'flat' and smooth.


-
I am enjoying it so far
 and it's something different too.
 -
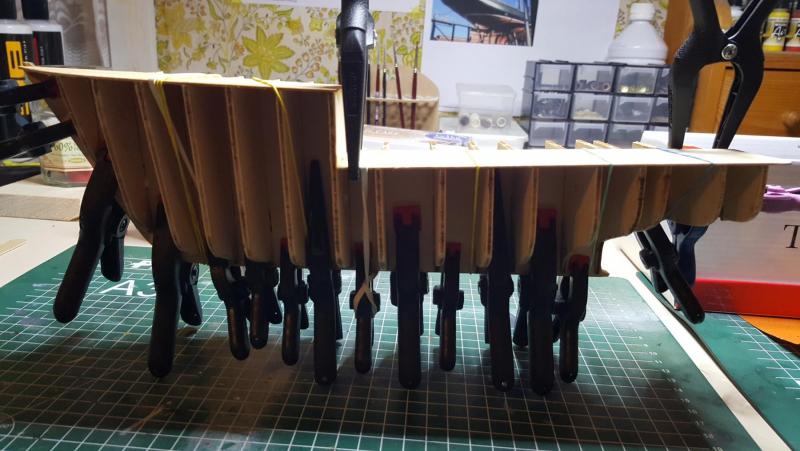
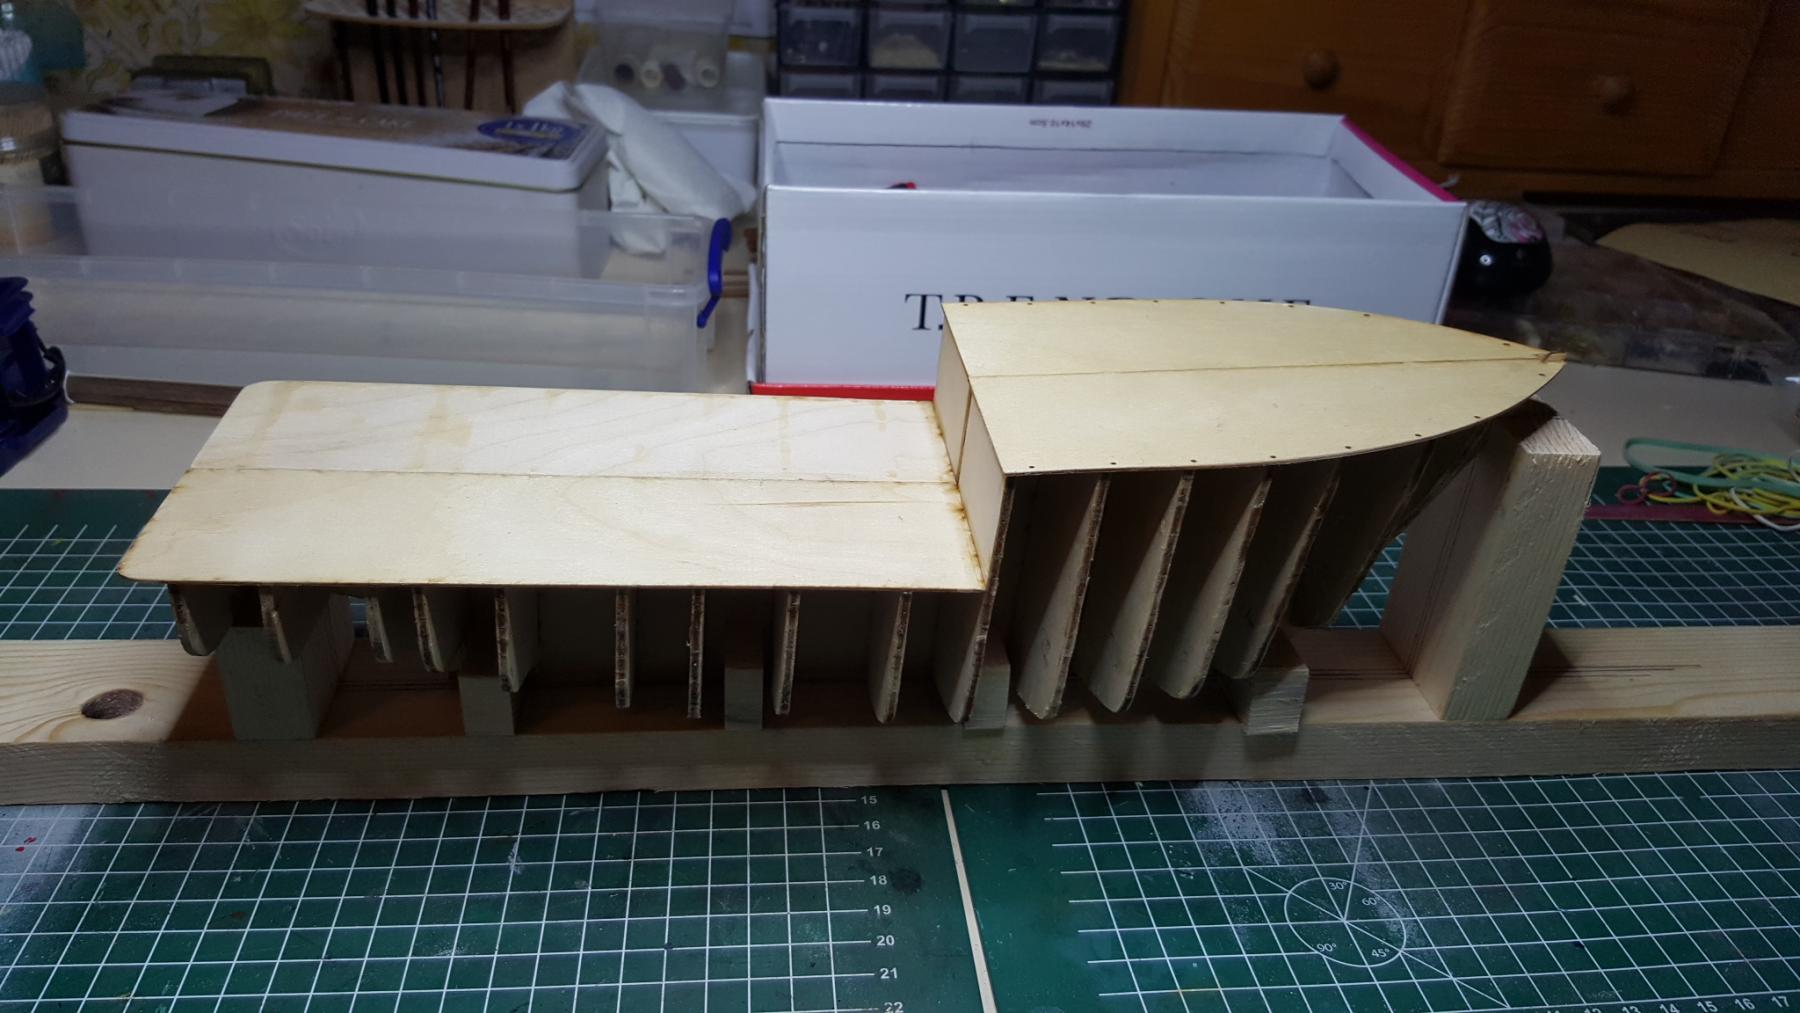
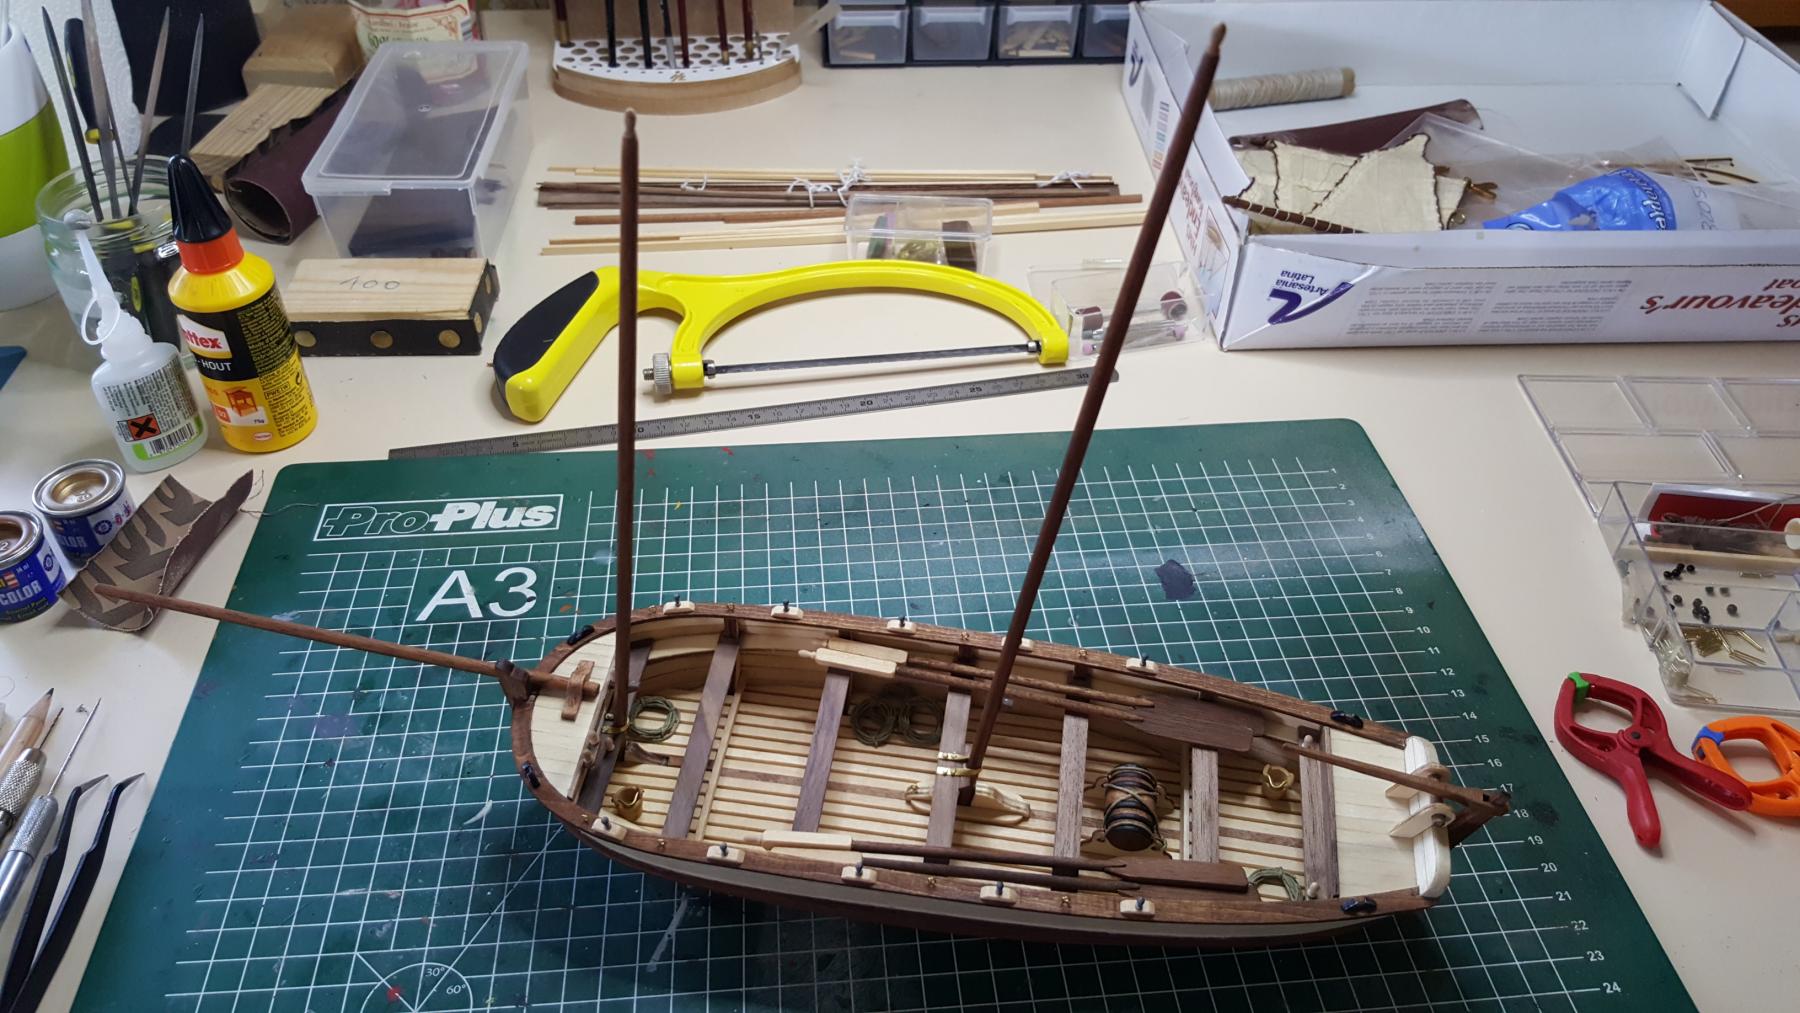
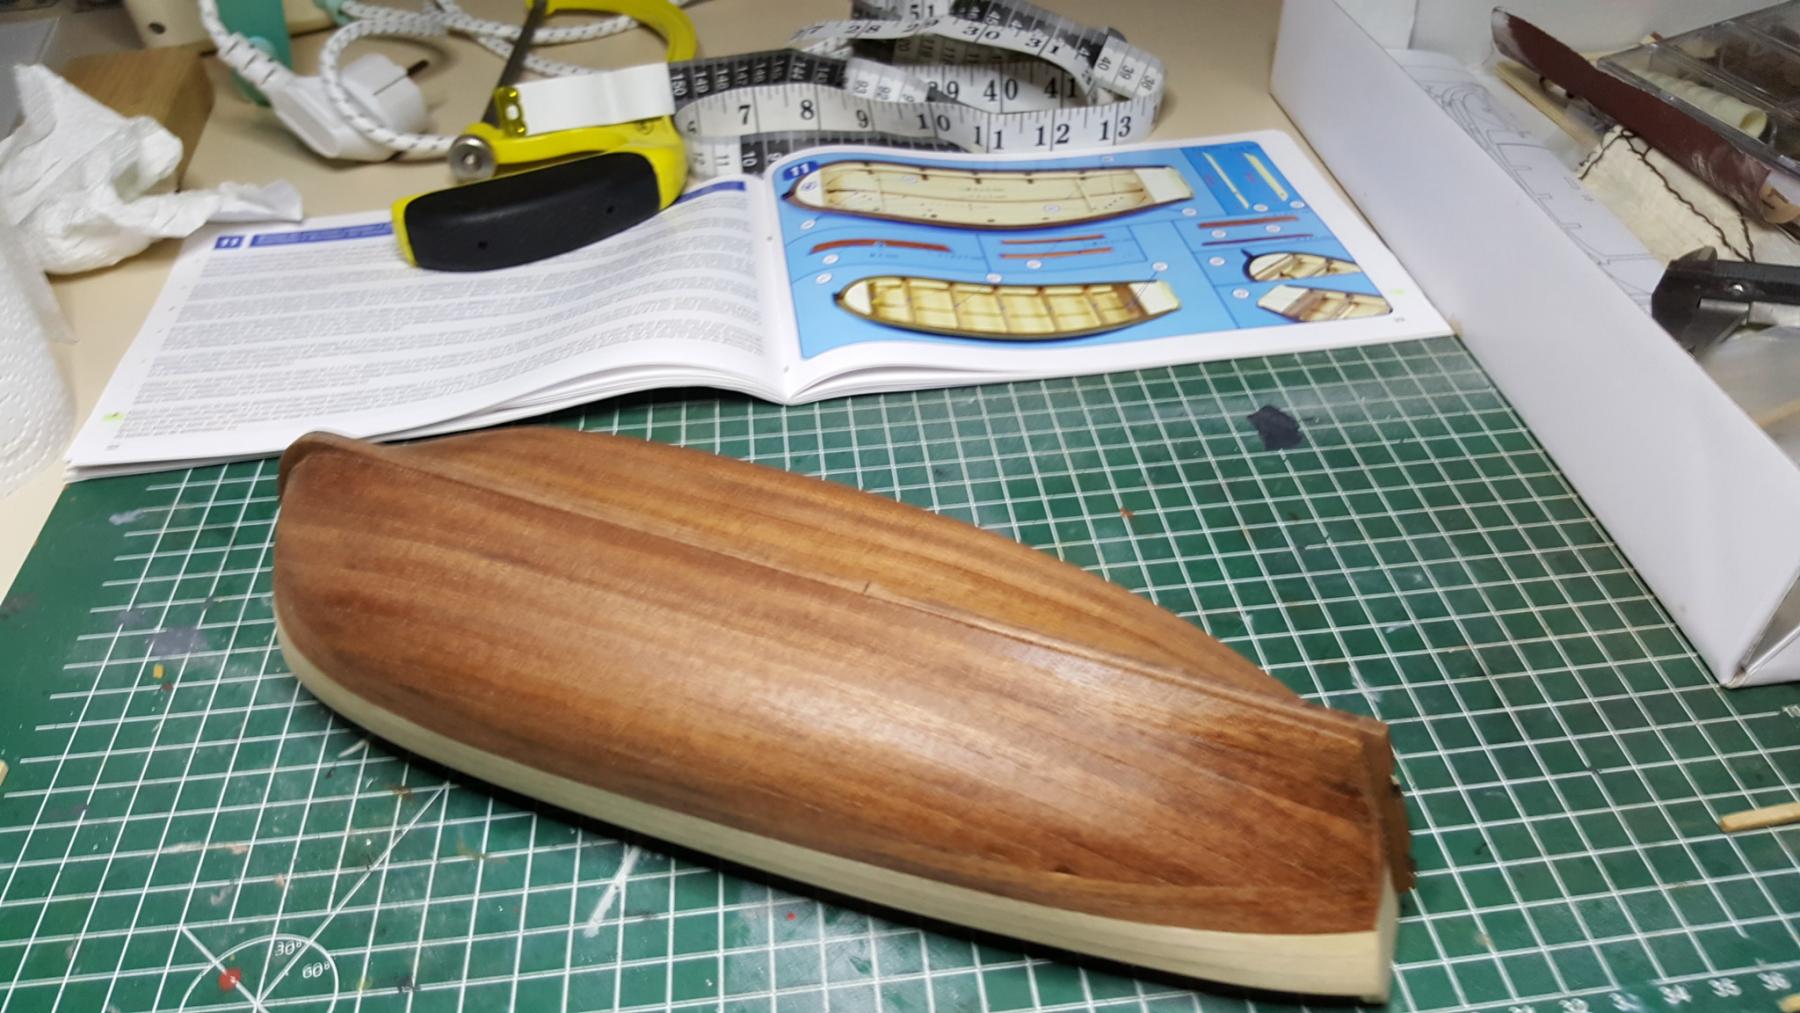
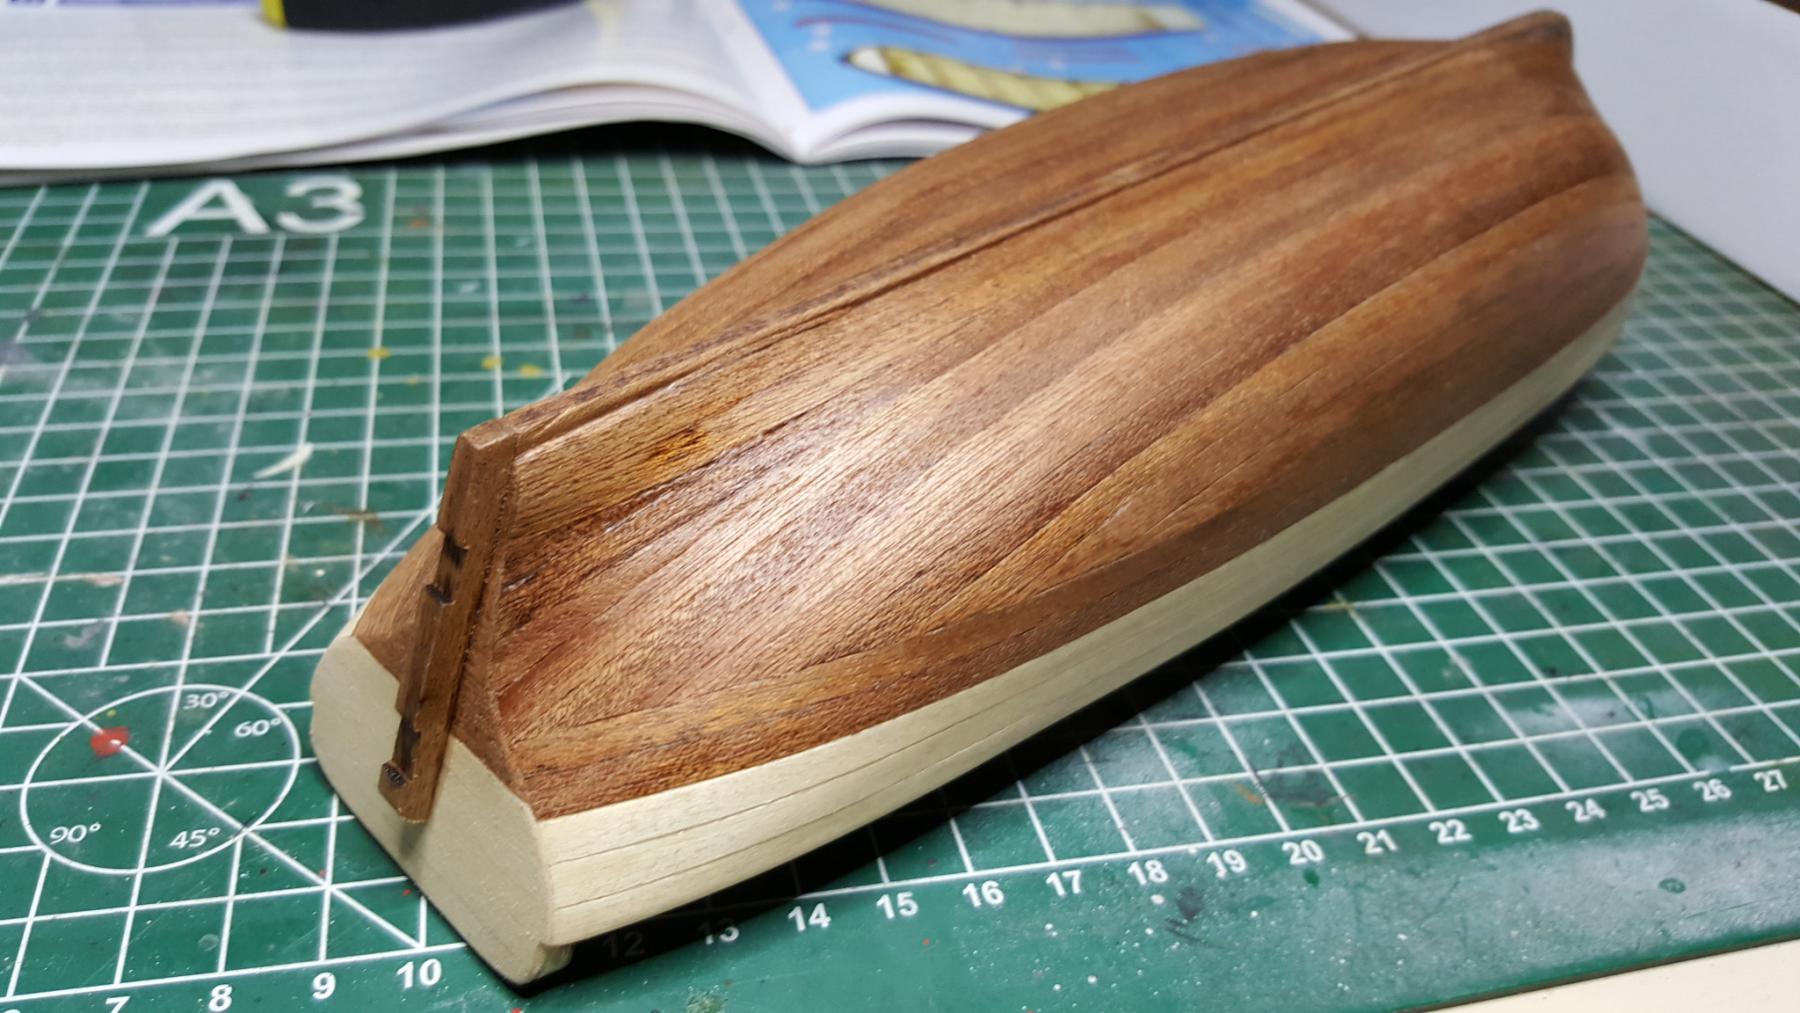
Further progress..
next job is adding some contour blocks and sand everything ready to start with planking.

-
I should have taken pictures of when I got it but this is where I have managed to get to now.
- popeye the sailor and hof00
-
 2
2
-
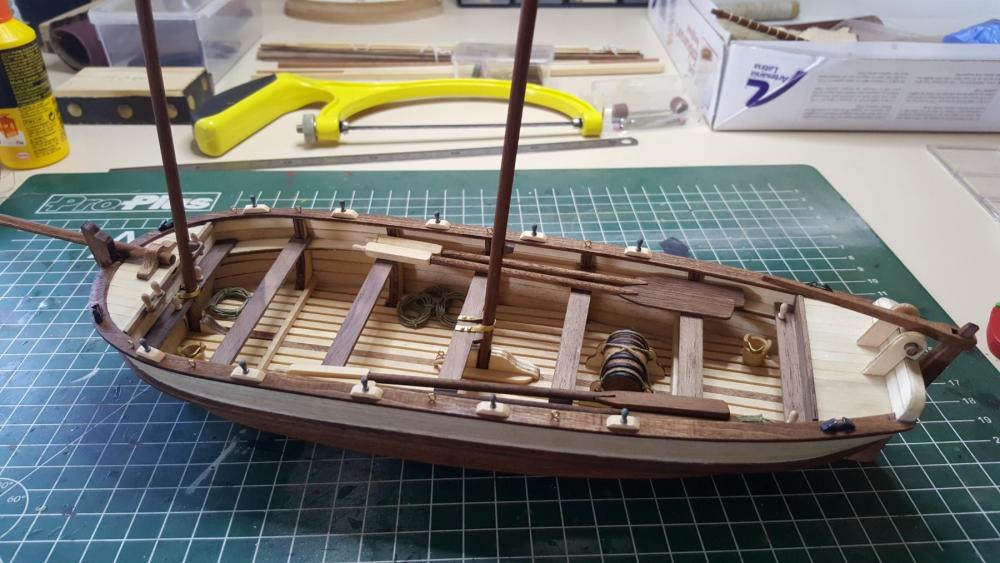
The startline of my third build The Andrea Gail from the film The Perfect Storm came as a surprise when the chairman of our model club told me he took a try with modelship building in wood but ended with a frustrating end and wanted to get it of his hands I told him immediately that I would take it home and see what I could do and that I can keep it.
So when I got home I could not ressist taking a look at it and realised I had to take it apart and start all over making sure that the hull is nice and straight and go from there.
The next day I spended it taking it apart getting the glue off and sanding everything to its original state and glue the hull back together again.
I am excited to take this challange and to learn more about this awesome hobby
-
-
And another 10 Photos.
what kind of red color did you use ?
-
-
-
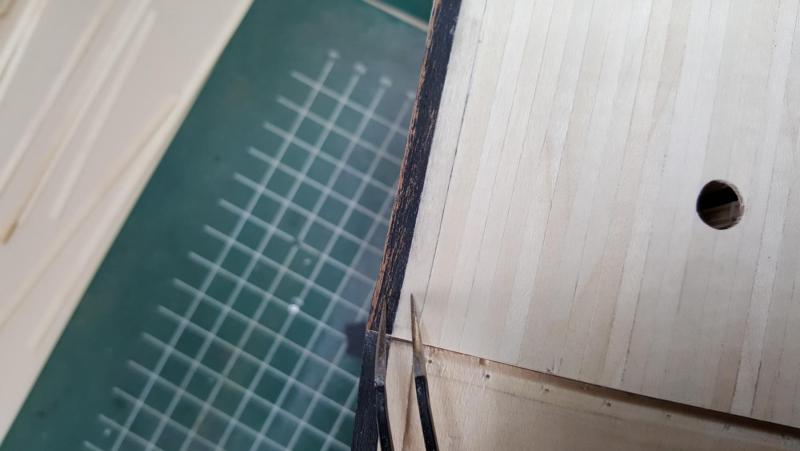
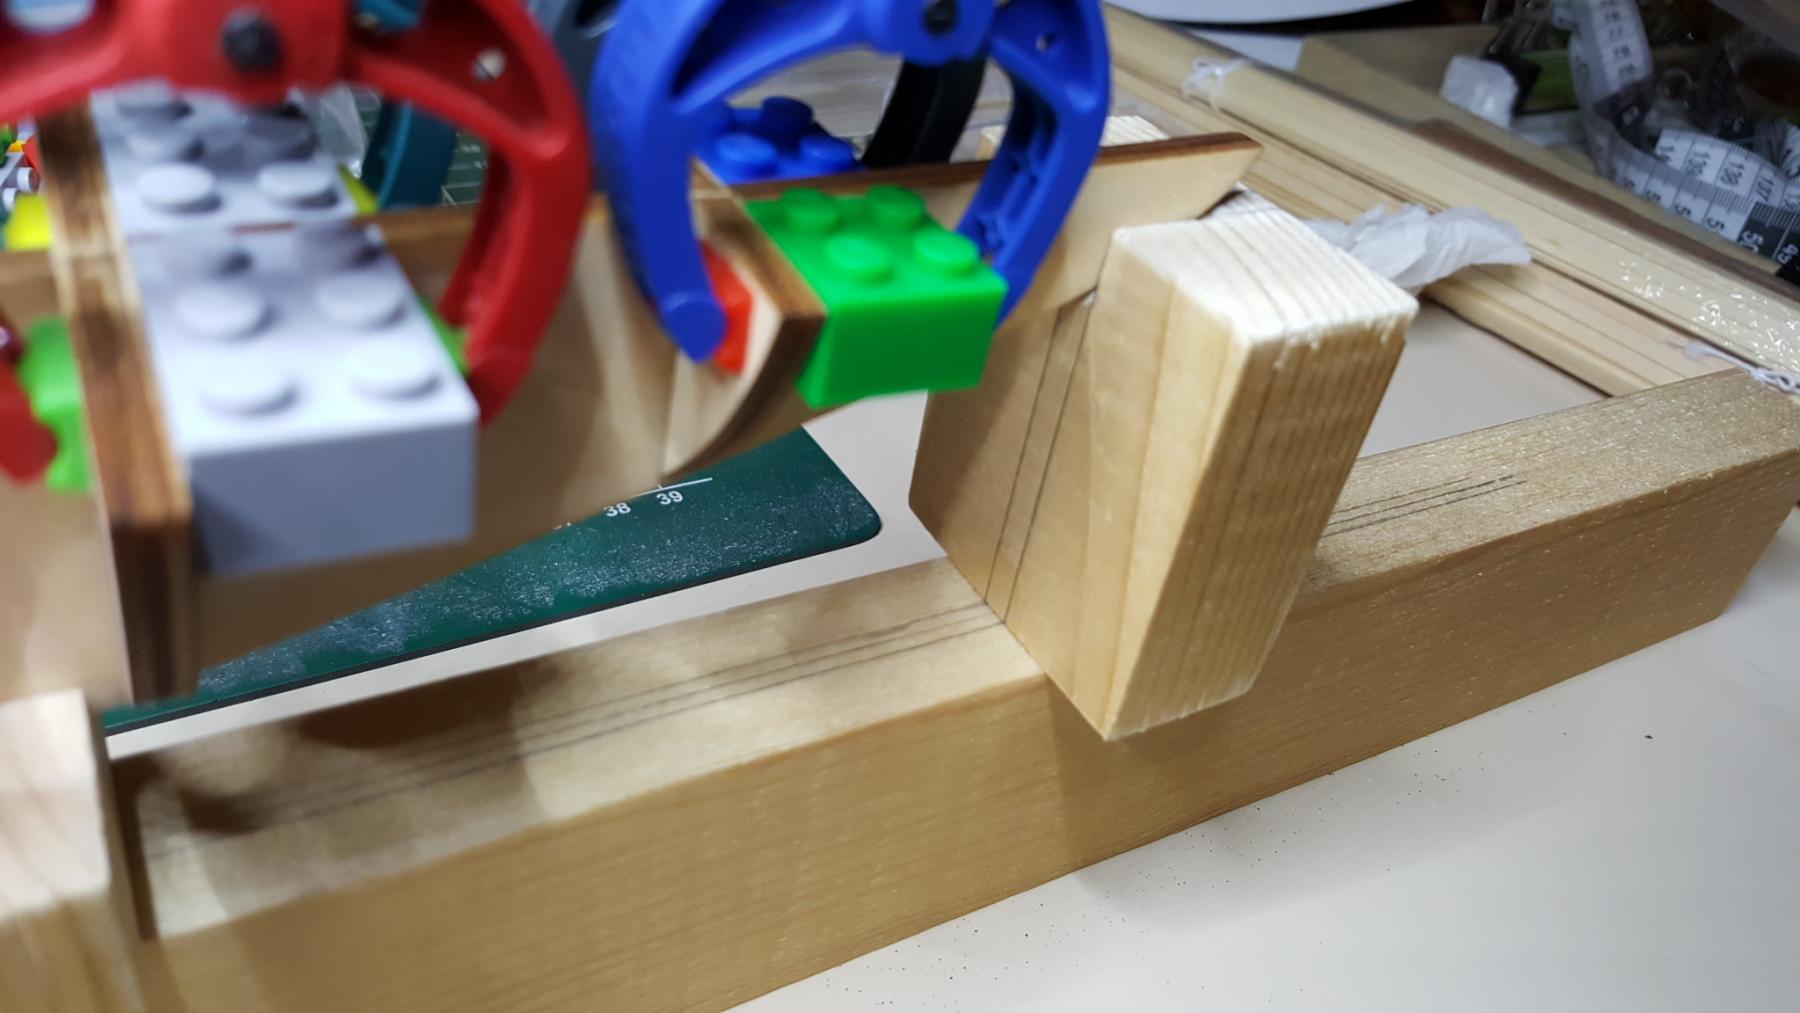
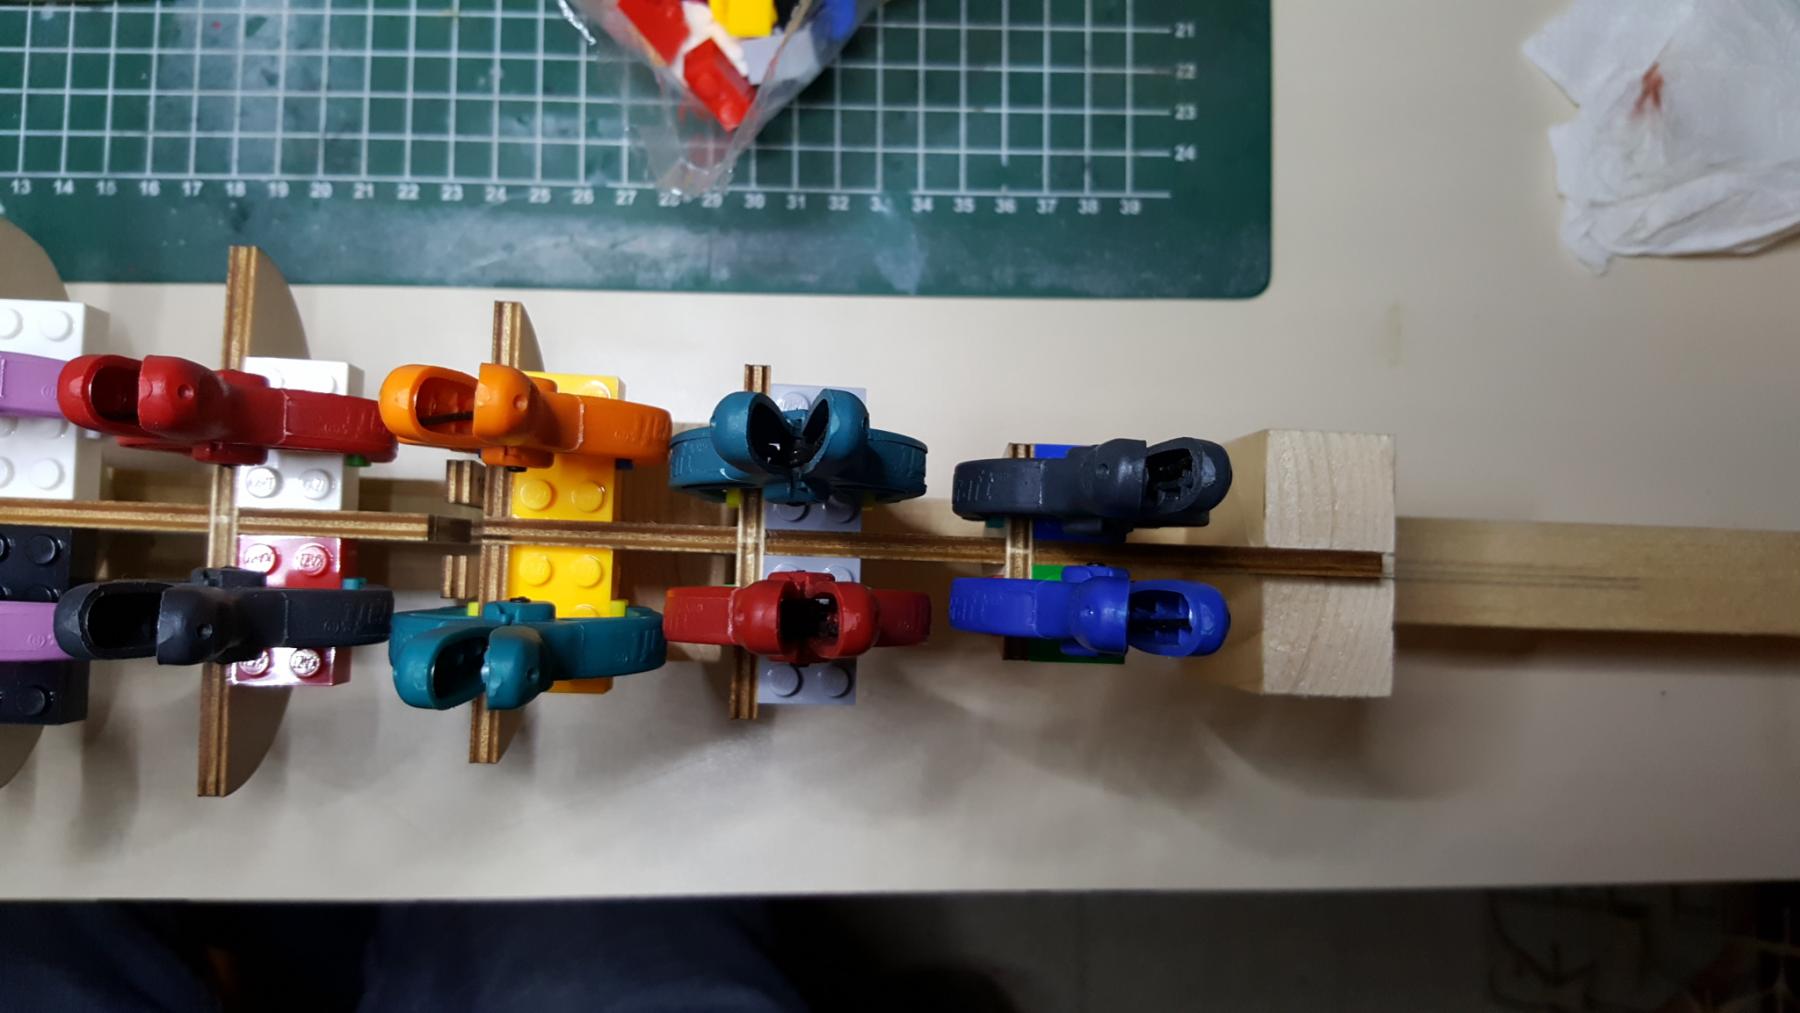
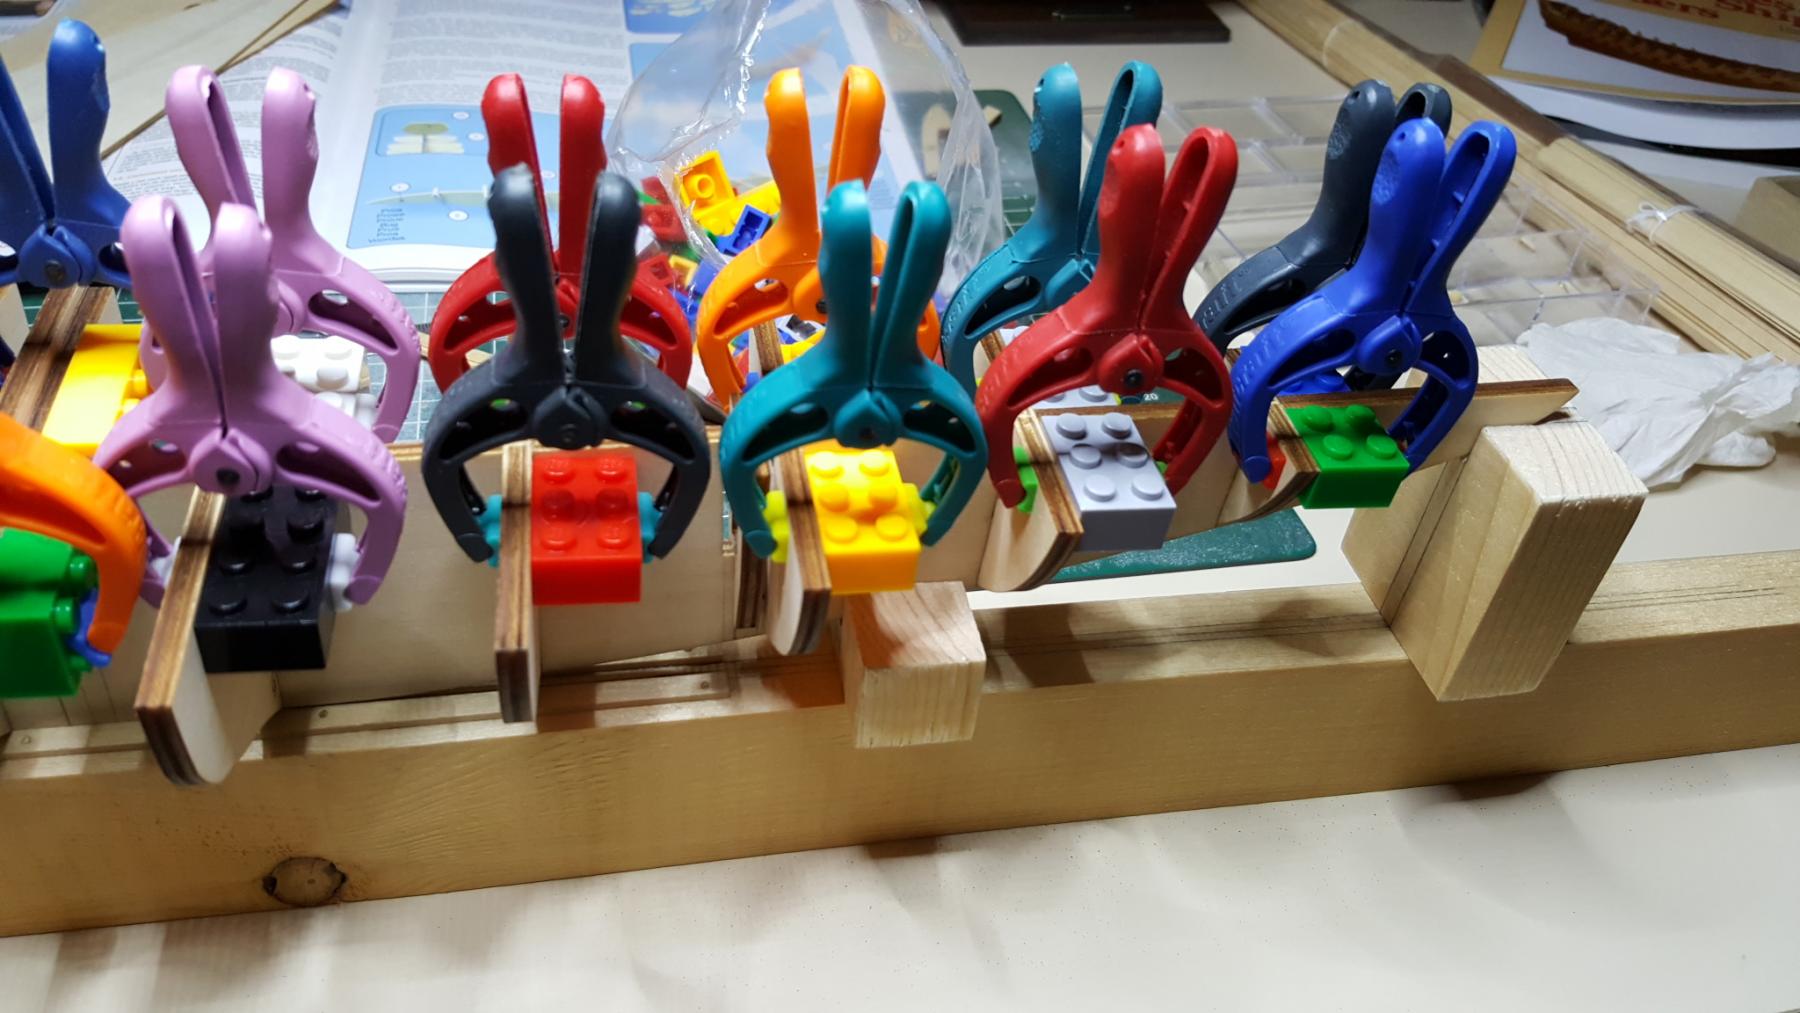
First I checked on a flat surface if the keel was straight by pushing on it with my finger to see if there is any movement and there was so I soaked the keel in water and with an household iron I steamed it flat. After that I build up a clamp as you can see on the first 2 photos with 2 strips 5 mm by 2mm thick nailed them down with the keel in between. Then made bloks to support the keel because you can't clamp the full length of the keel. I measured everything out so it all meets the centerline of the clamp as shown with the pencil lines they line up with the lines on the clamp.
Next the bulkheads are put into place after sanding both bulkhead and keel so they slide nicely into place with a very little friction and I clamp then with lego blocks and mearure between the bulkheads both starboardside and portside to be sure they are the same.
I will not glue this until I check the alignment of the bulkheads which will be the next step ...
-
-
-
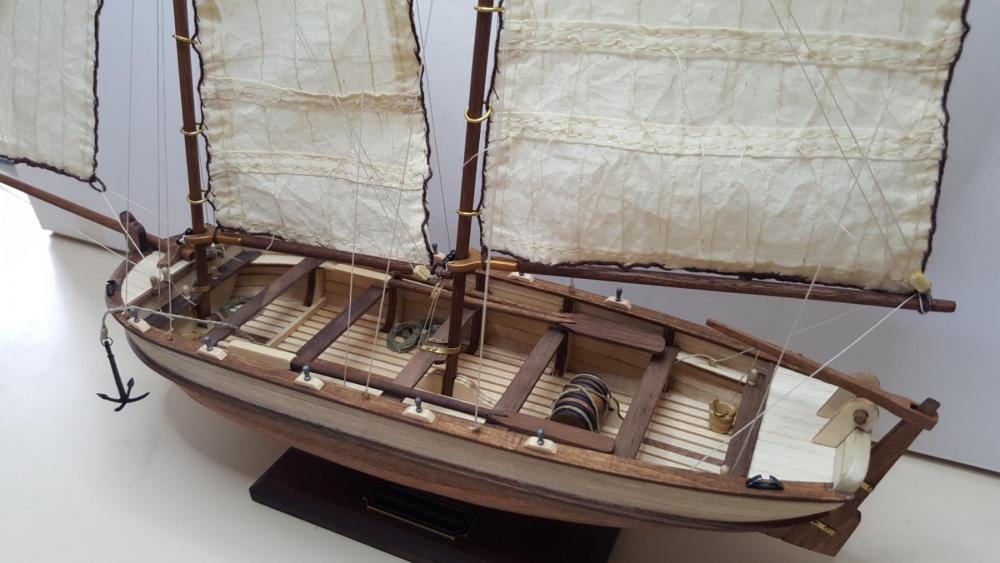
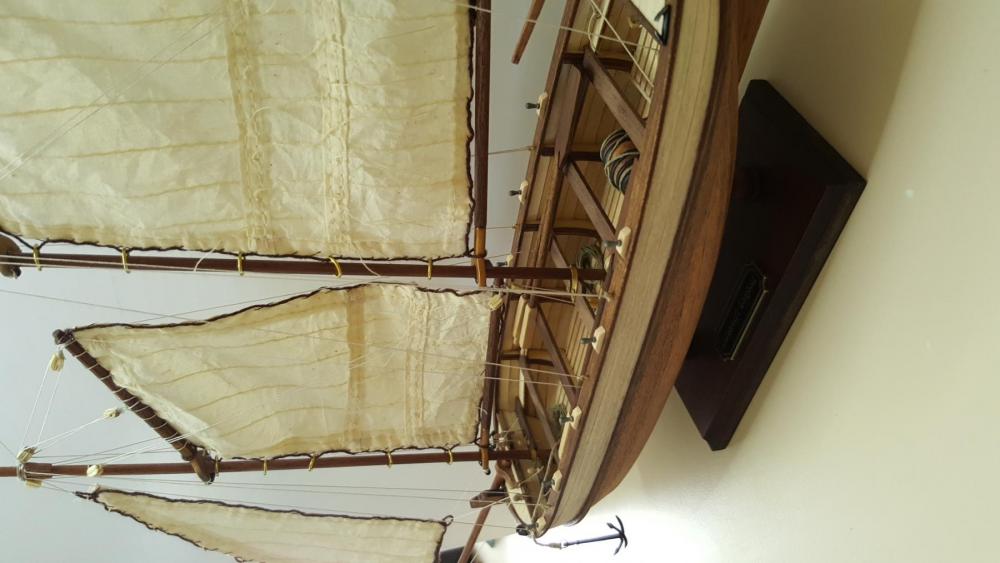
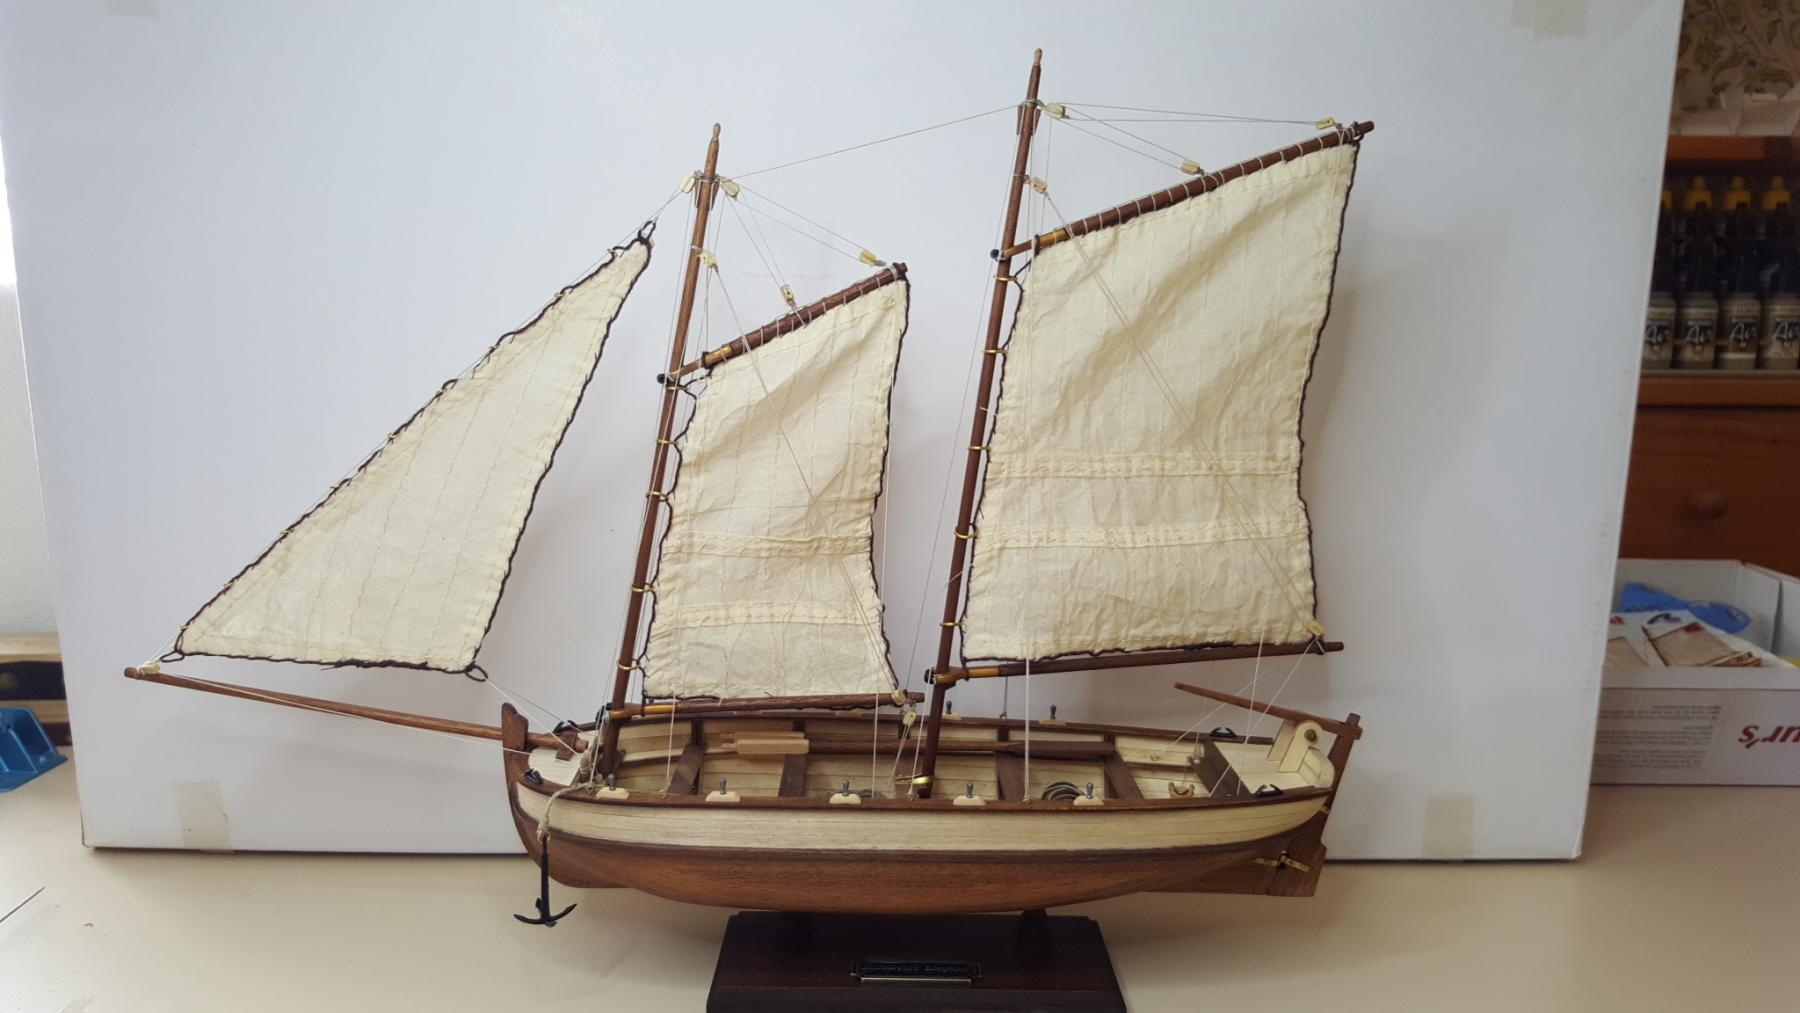
It's time to throw a bottle ! Finished and done.
I have learned alot with this first one. The planking and rigging was for me the most challaging part. Looks like I will be starting a new log on the Bluenose II I got it yesterday with the mail.


- GrandpaPhil and cristikc
-
2
-
-
Thank u for your tips I wrote them down. I will be starting next month on the bluenose ar I nearly finished my first build the H.M.S. Endeavours long boat. P.s. beautiful job on that cabin
 which varnish did you use?
 -
We are getting there! next the rigging and sails. Looks like I have the bug because I will be doing a new project after this model. Next one I will be building is the Bluenose II. Looking forward to it.


- BLACK VIKING, cristikc, Elijah and 3 others
-
6
-
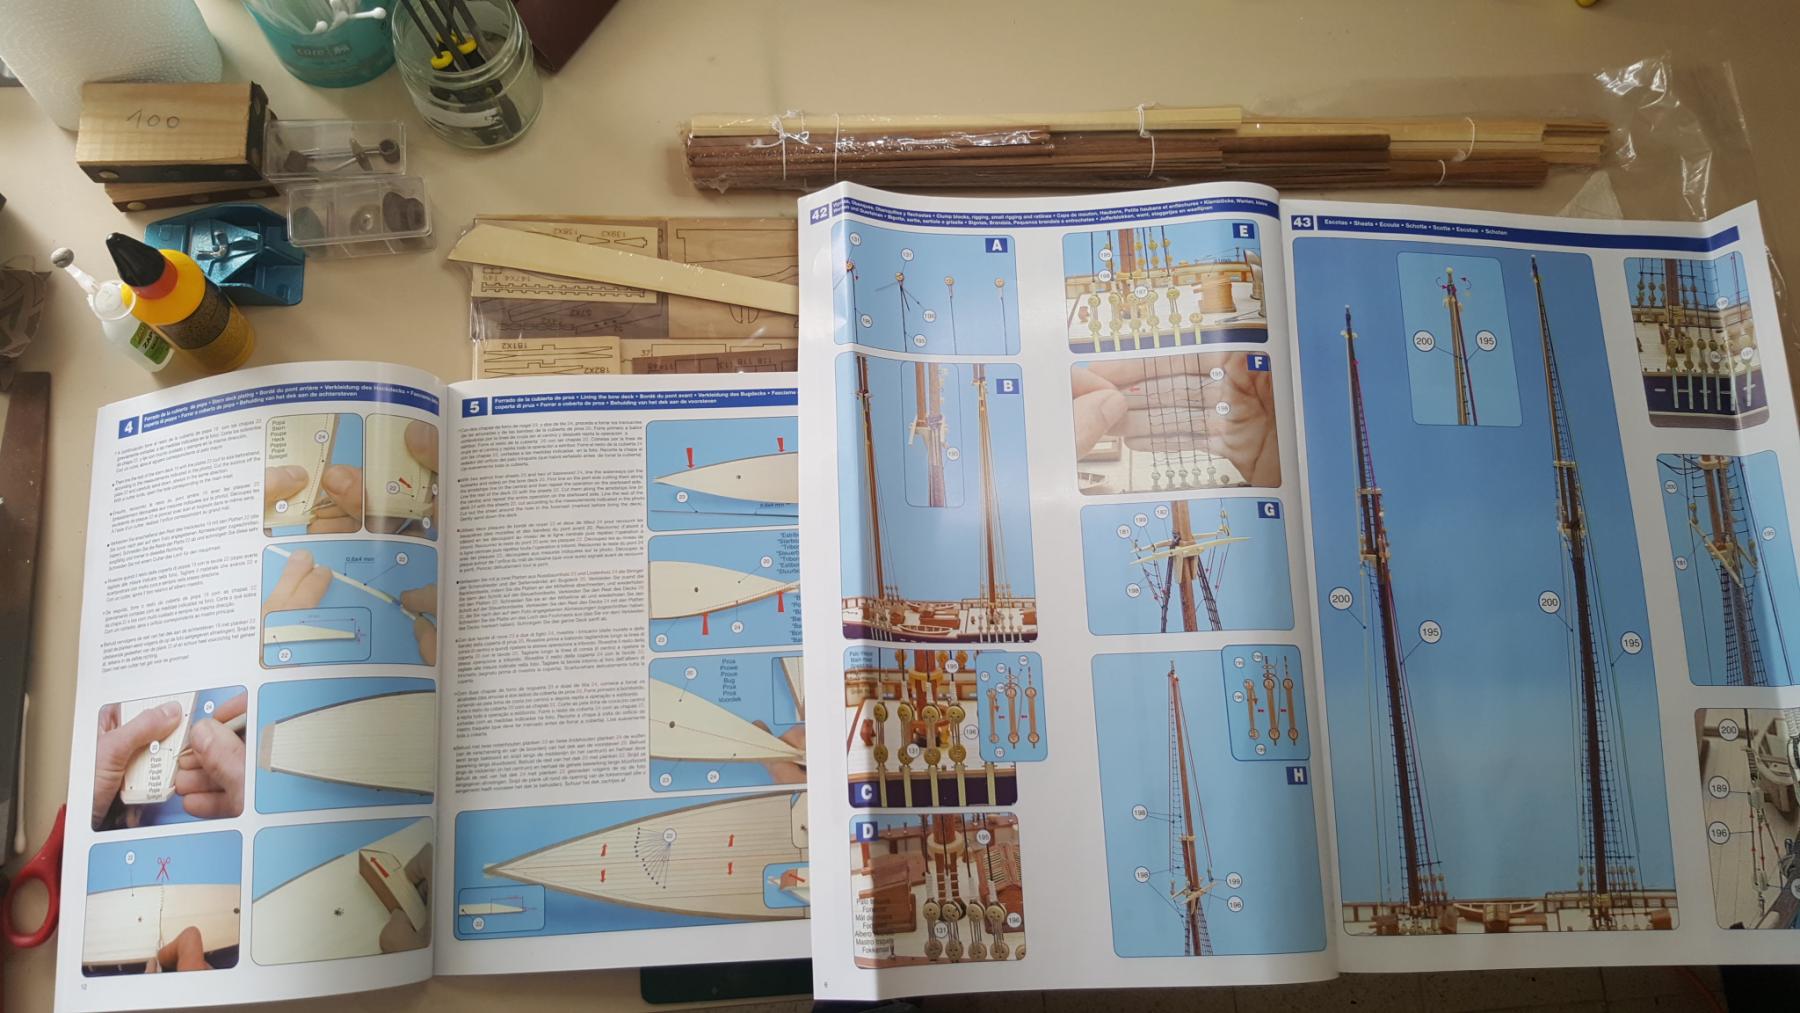
This one is going to be my next build. Any tips on the building process steps that are in the wrong order? Typicle for artensania
-
-
-
-
-
-
-


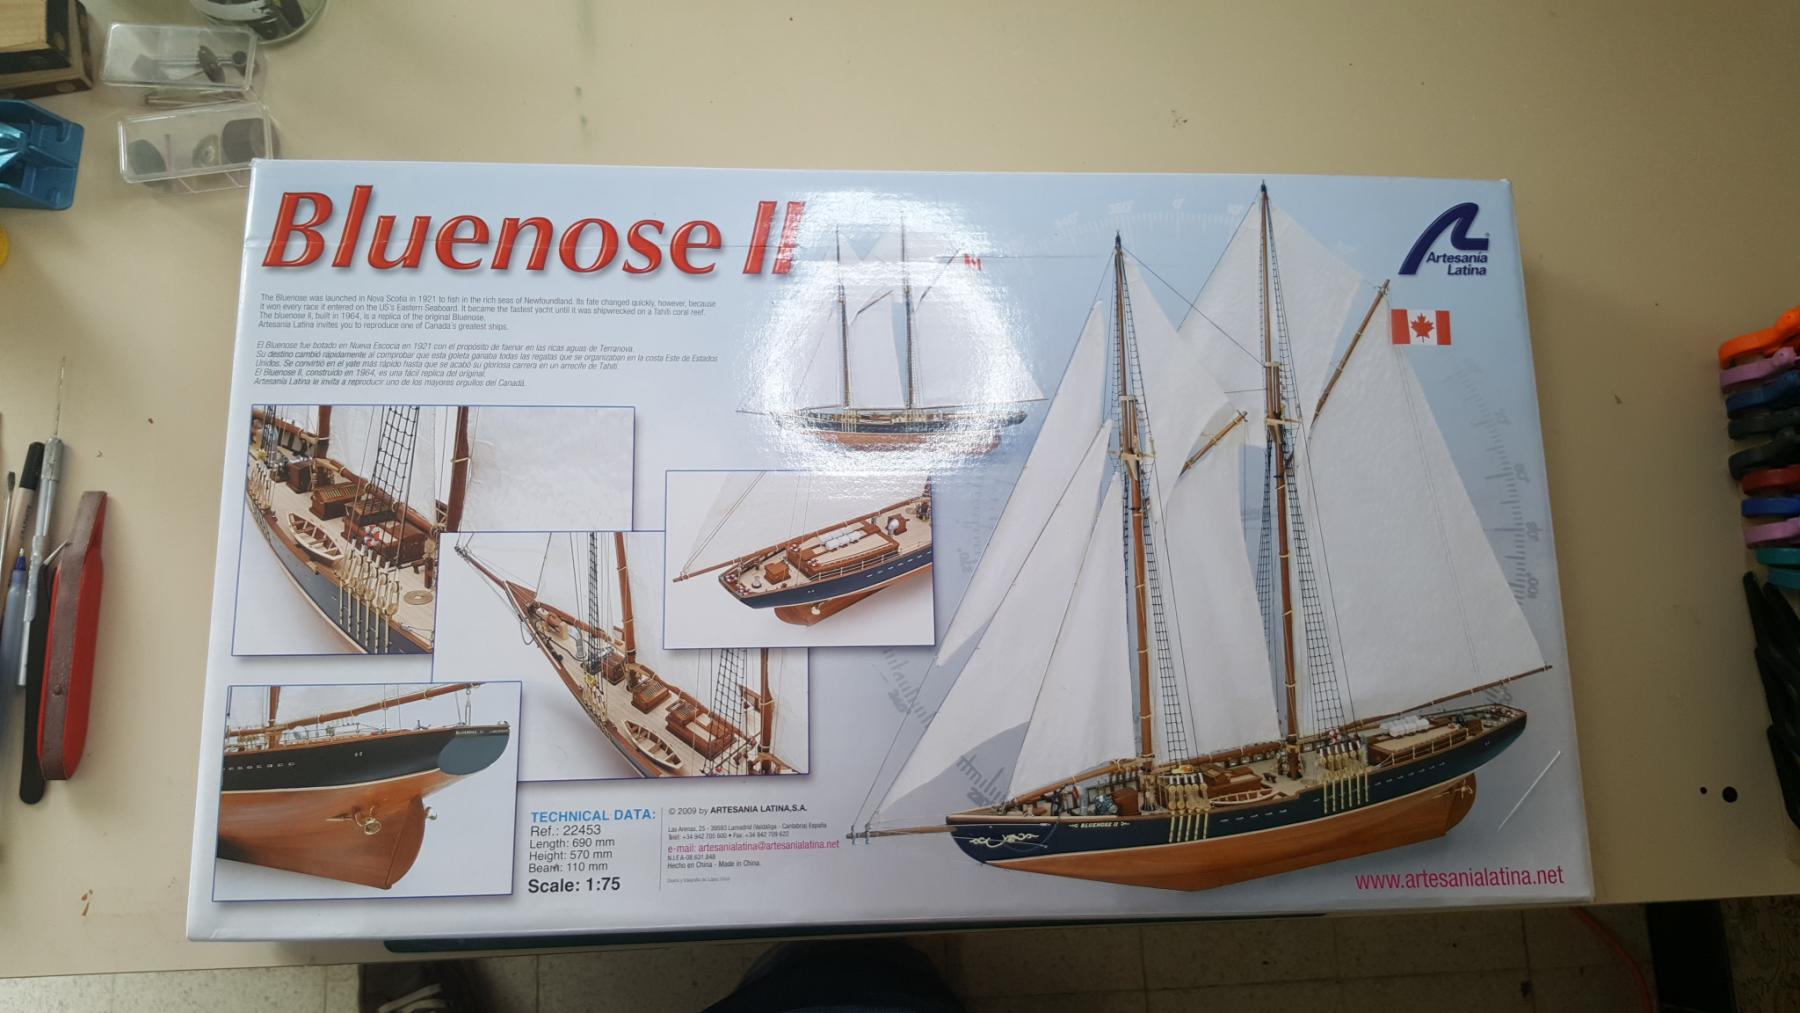
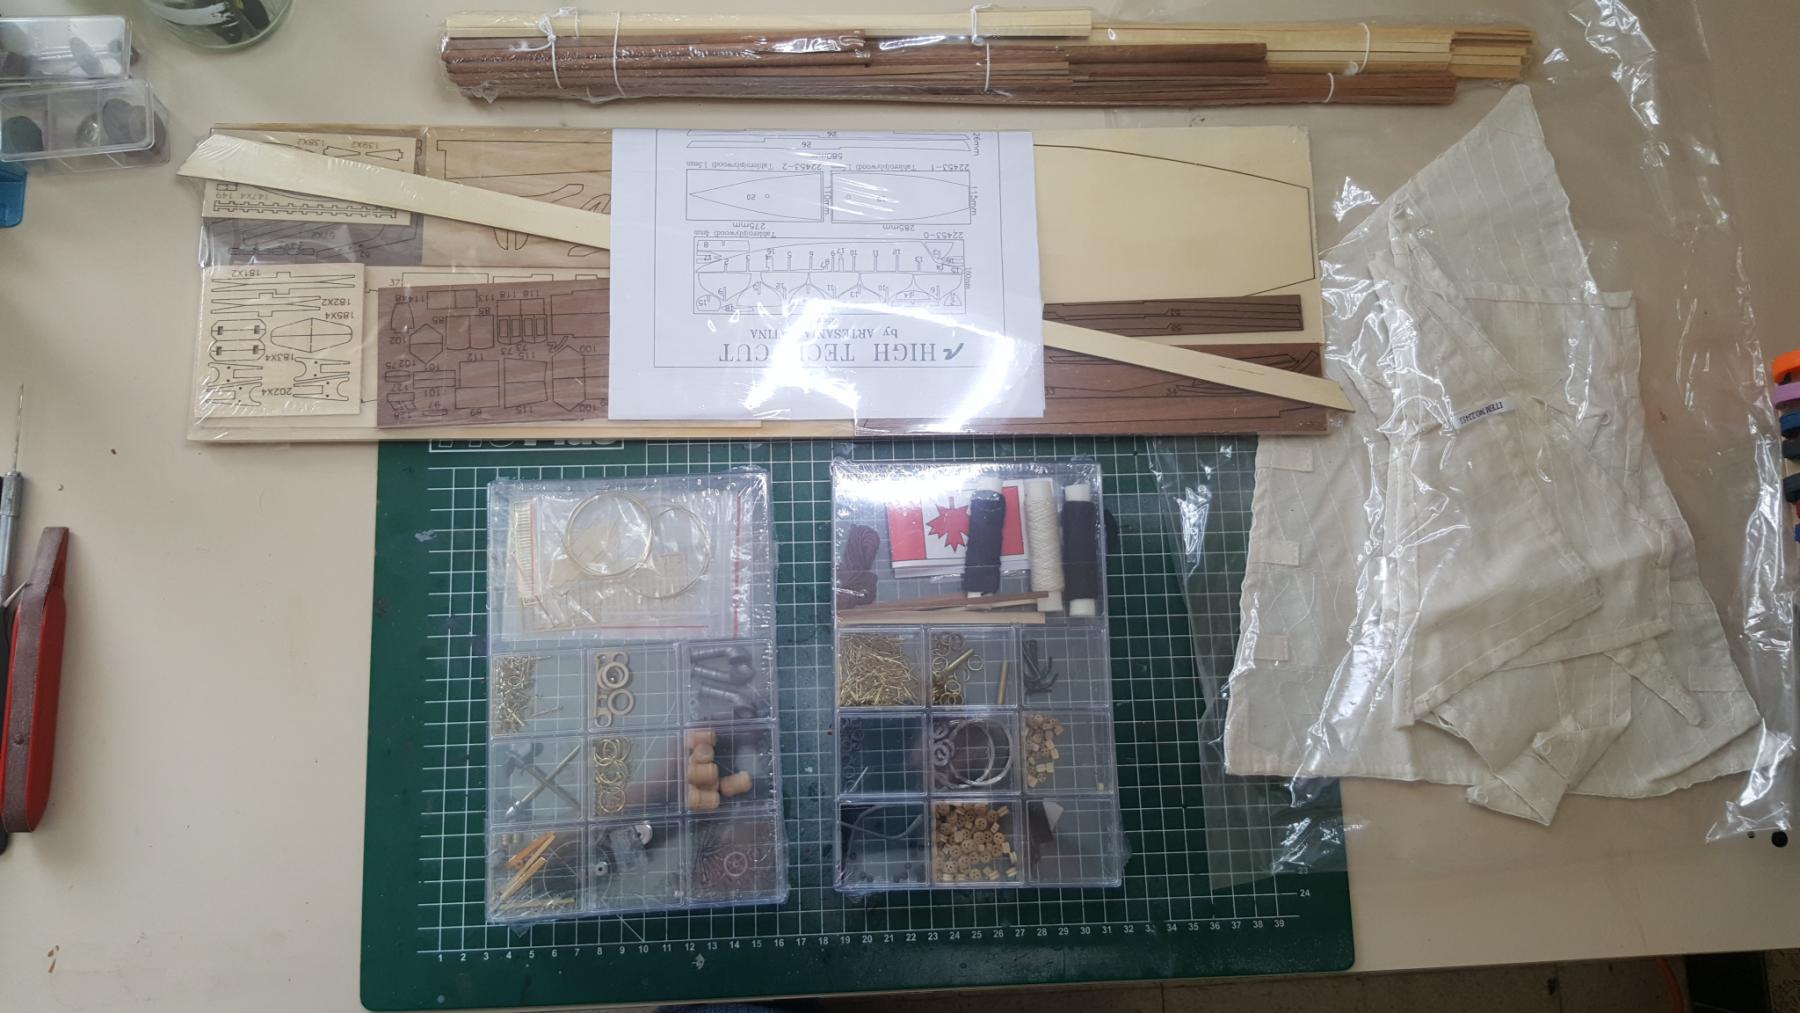


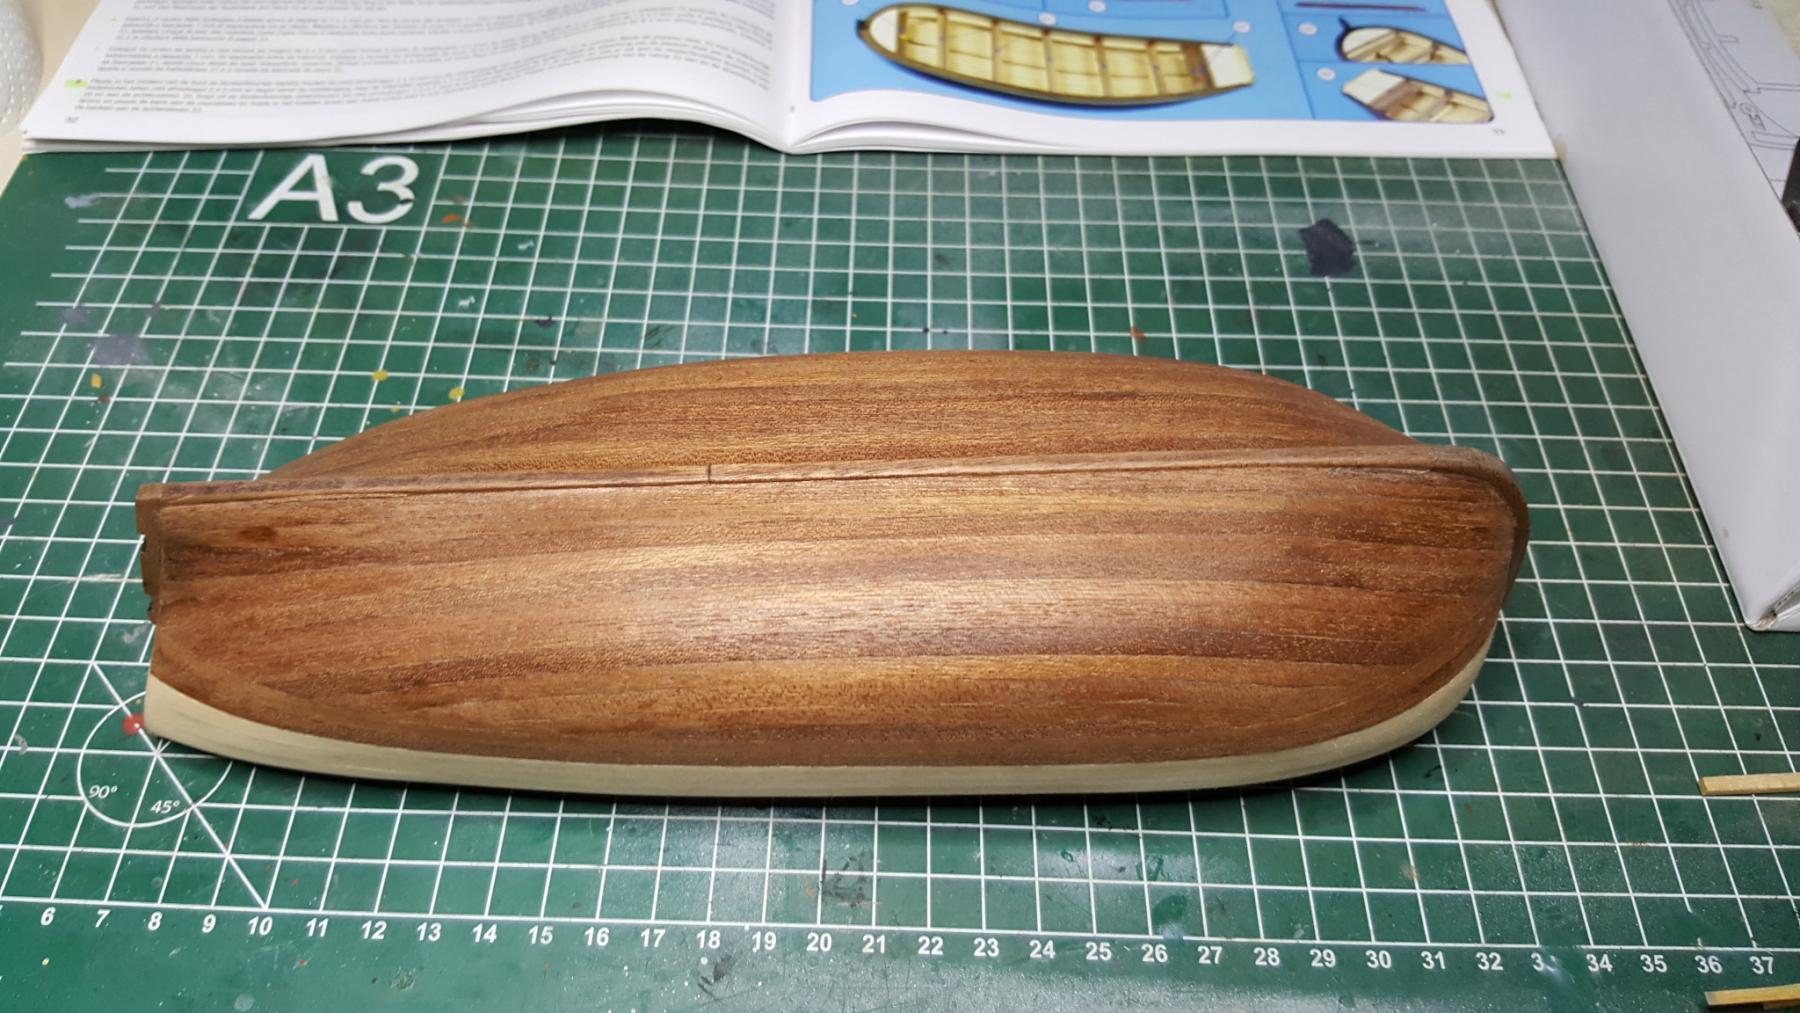


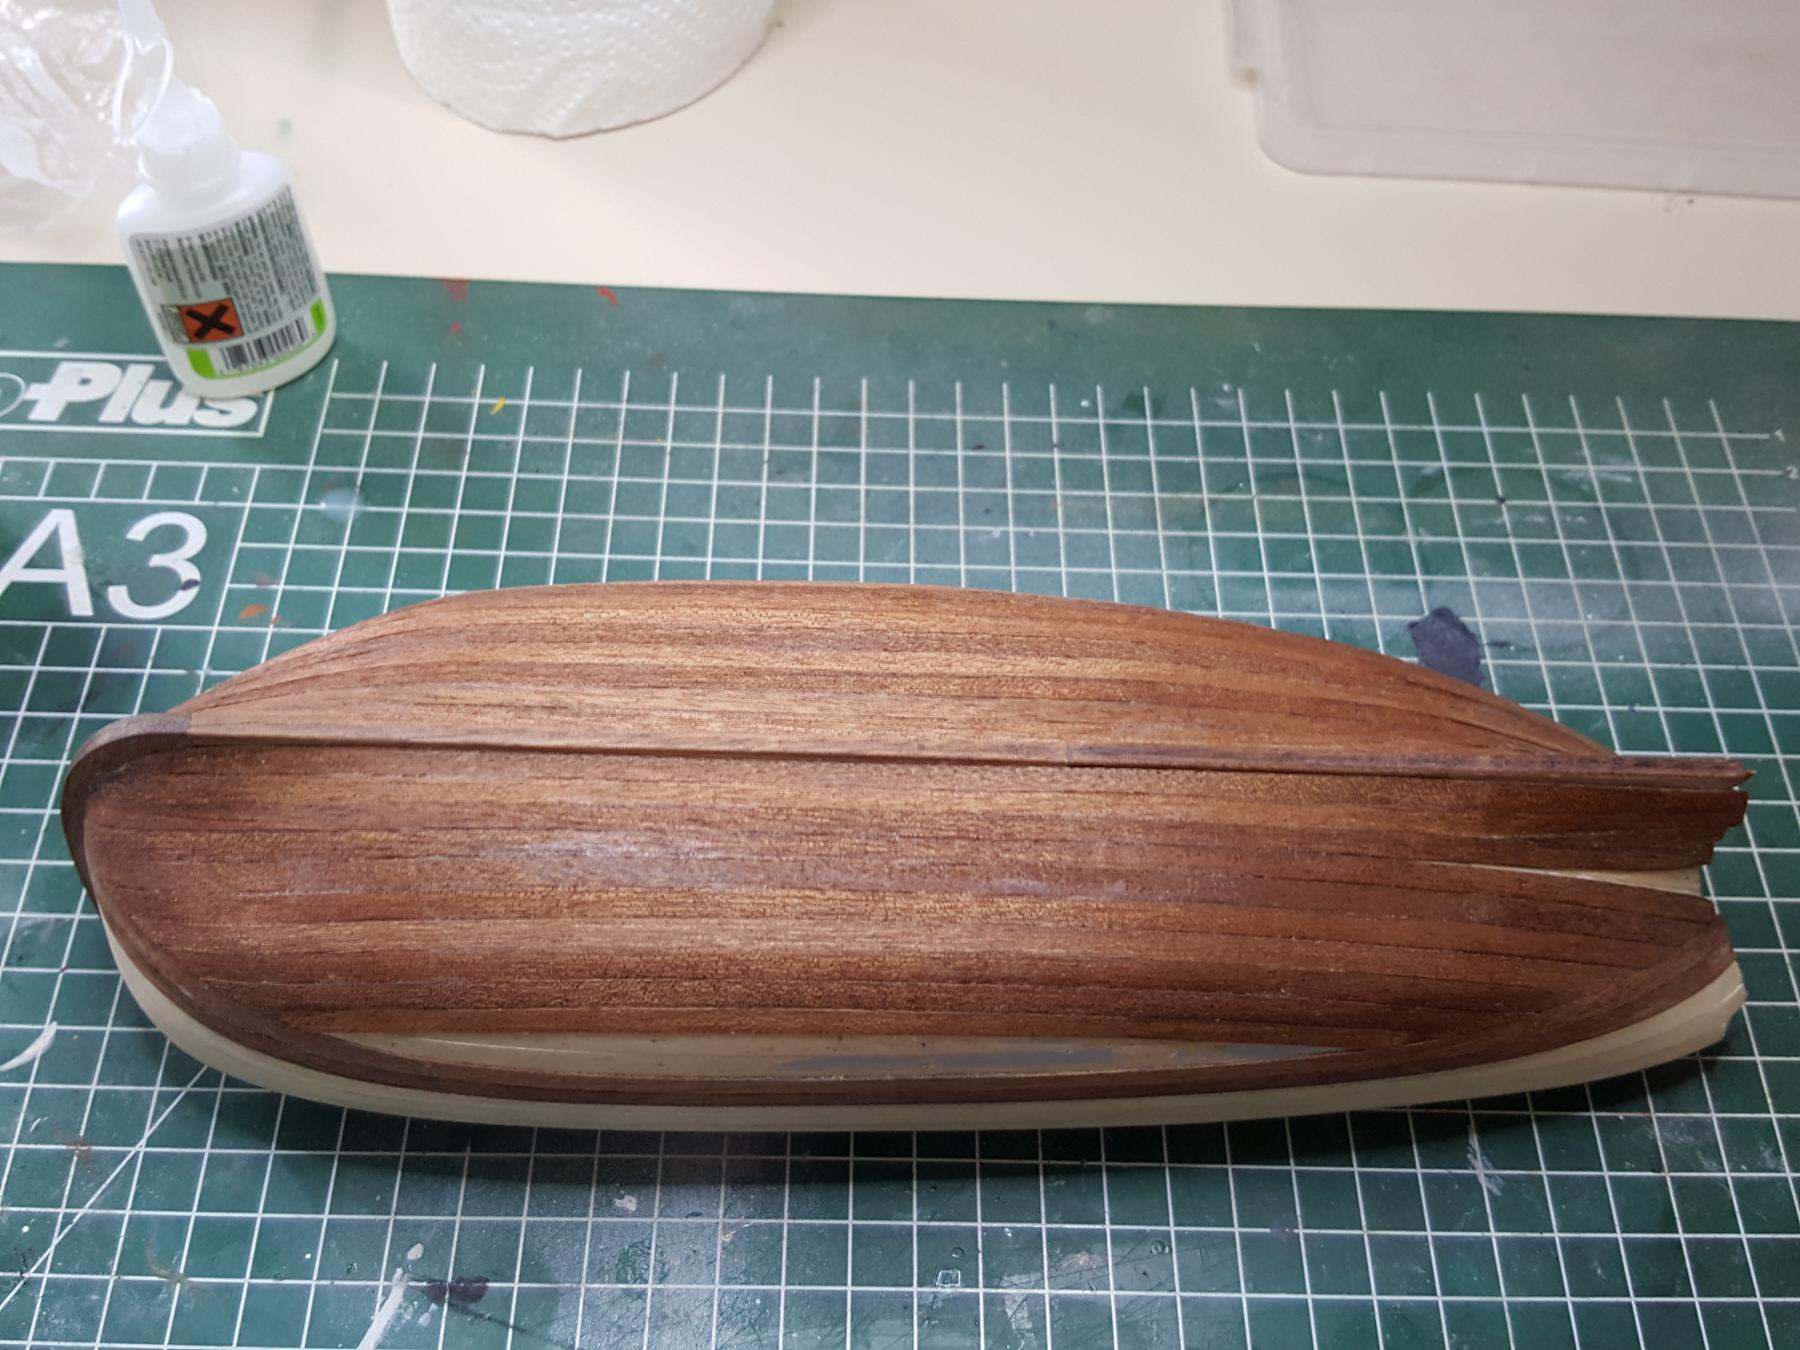
Bluenose II by Levie - Artesania Latina - scale 1:75
in - Kit build logs for subjects built from 1901 - Present Day
Posted
Ready for staining and the hull planking.