RGL
-
Posts
5,539 -
Joined
-
Last visited
Content Type
Profiles
Forums
Gallery
Events
Everything posted by RGL
-
 Just never got around to it. The bloke I’ve learnt a lot from has just posted photos of a DDG in completed models, he is an awesome modeller.
 -
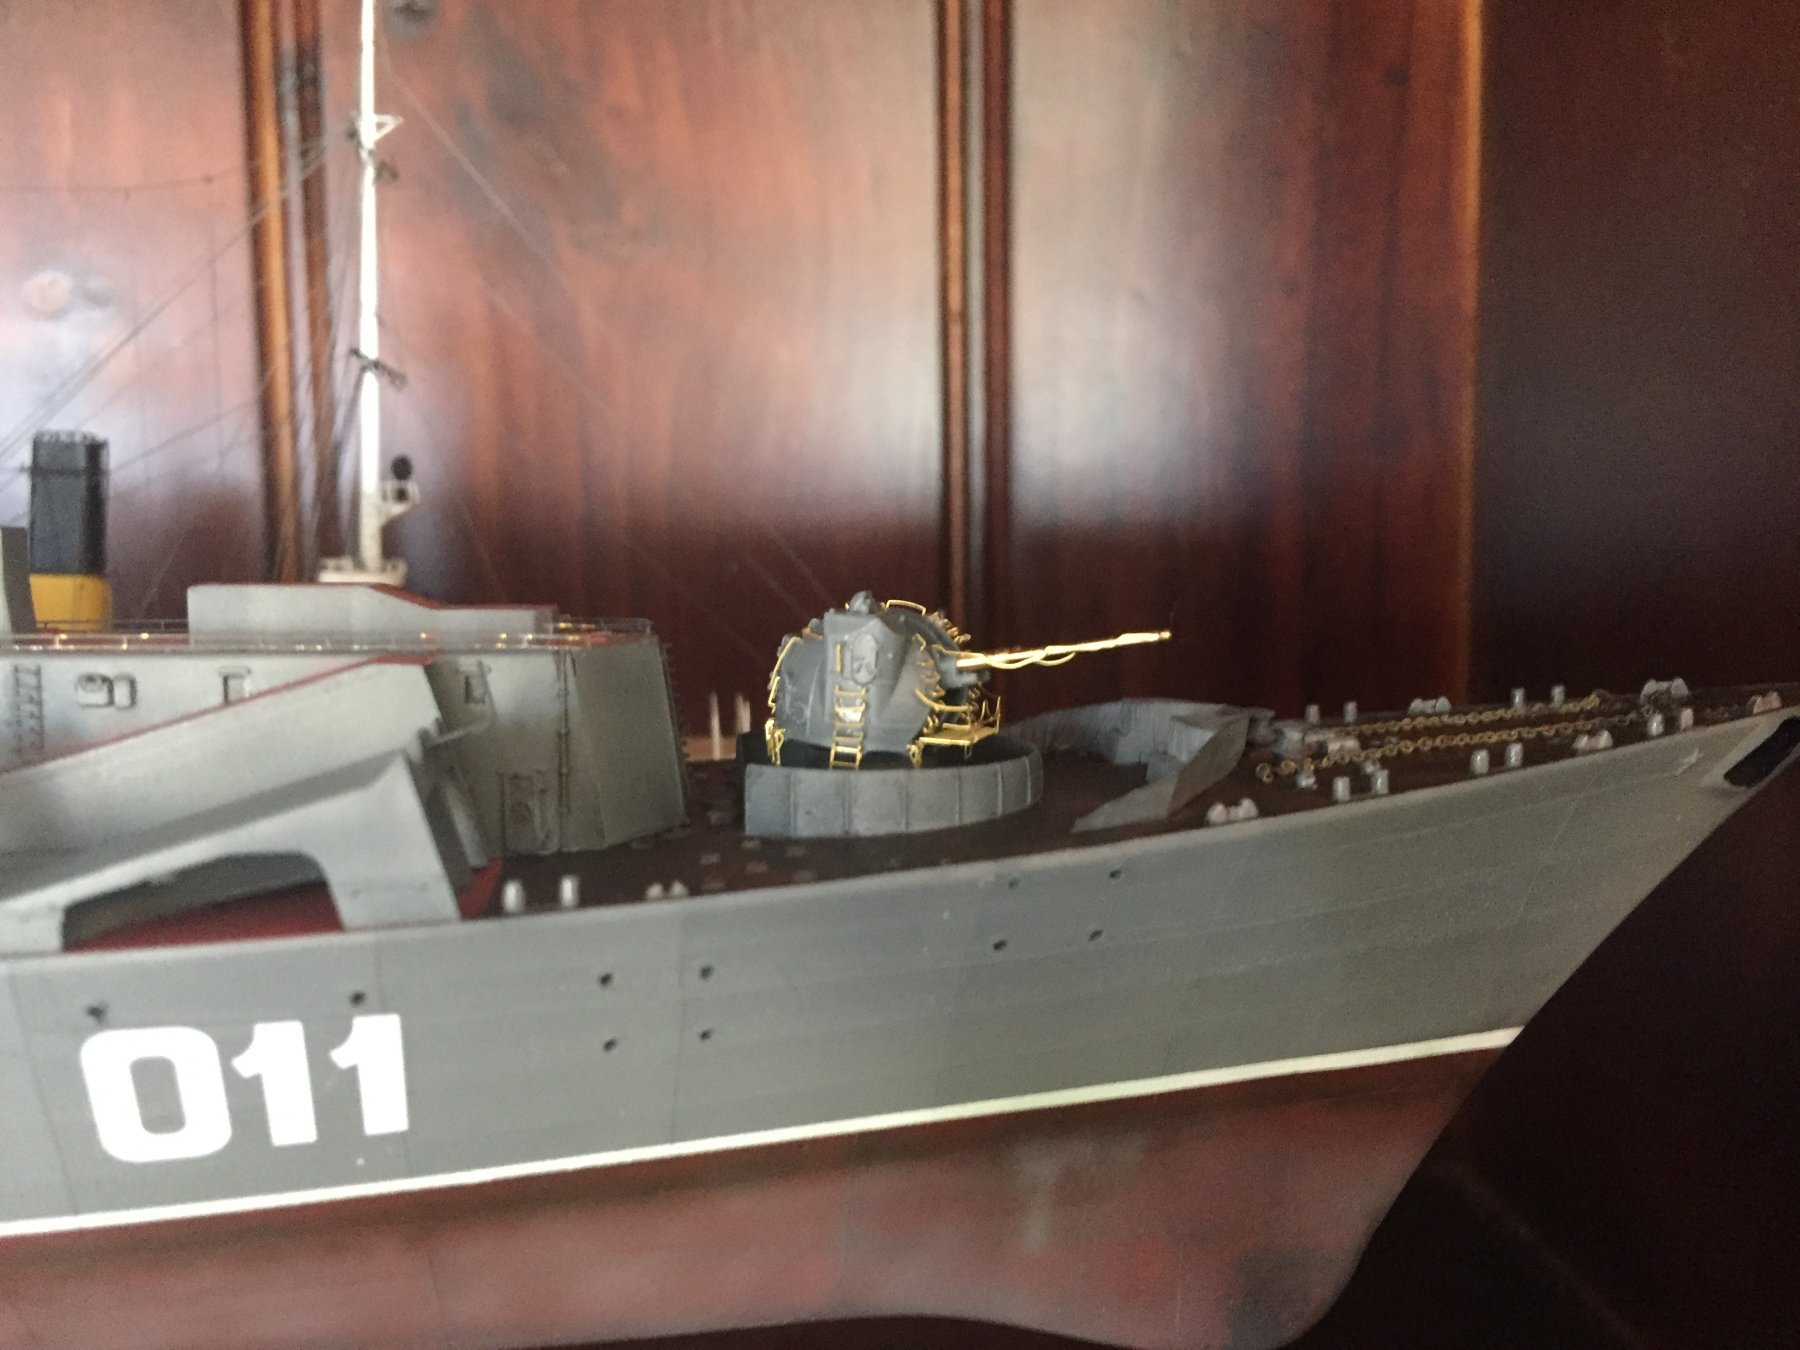
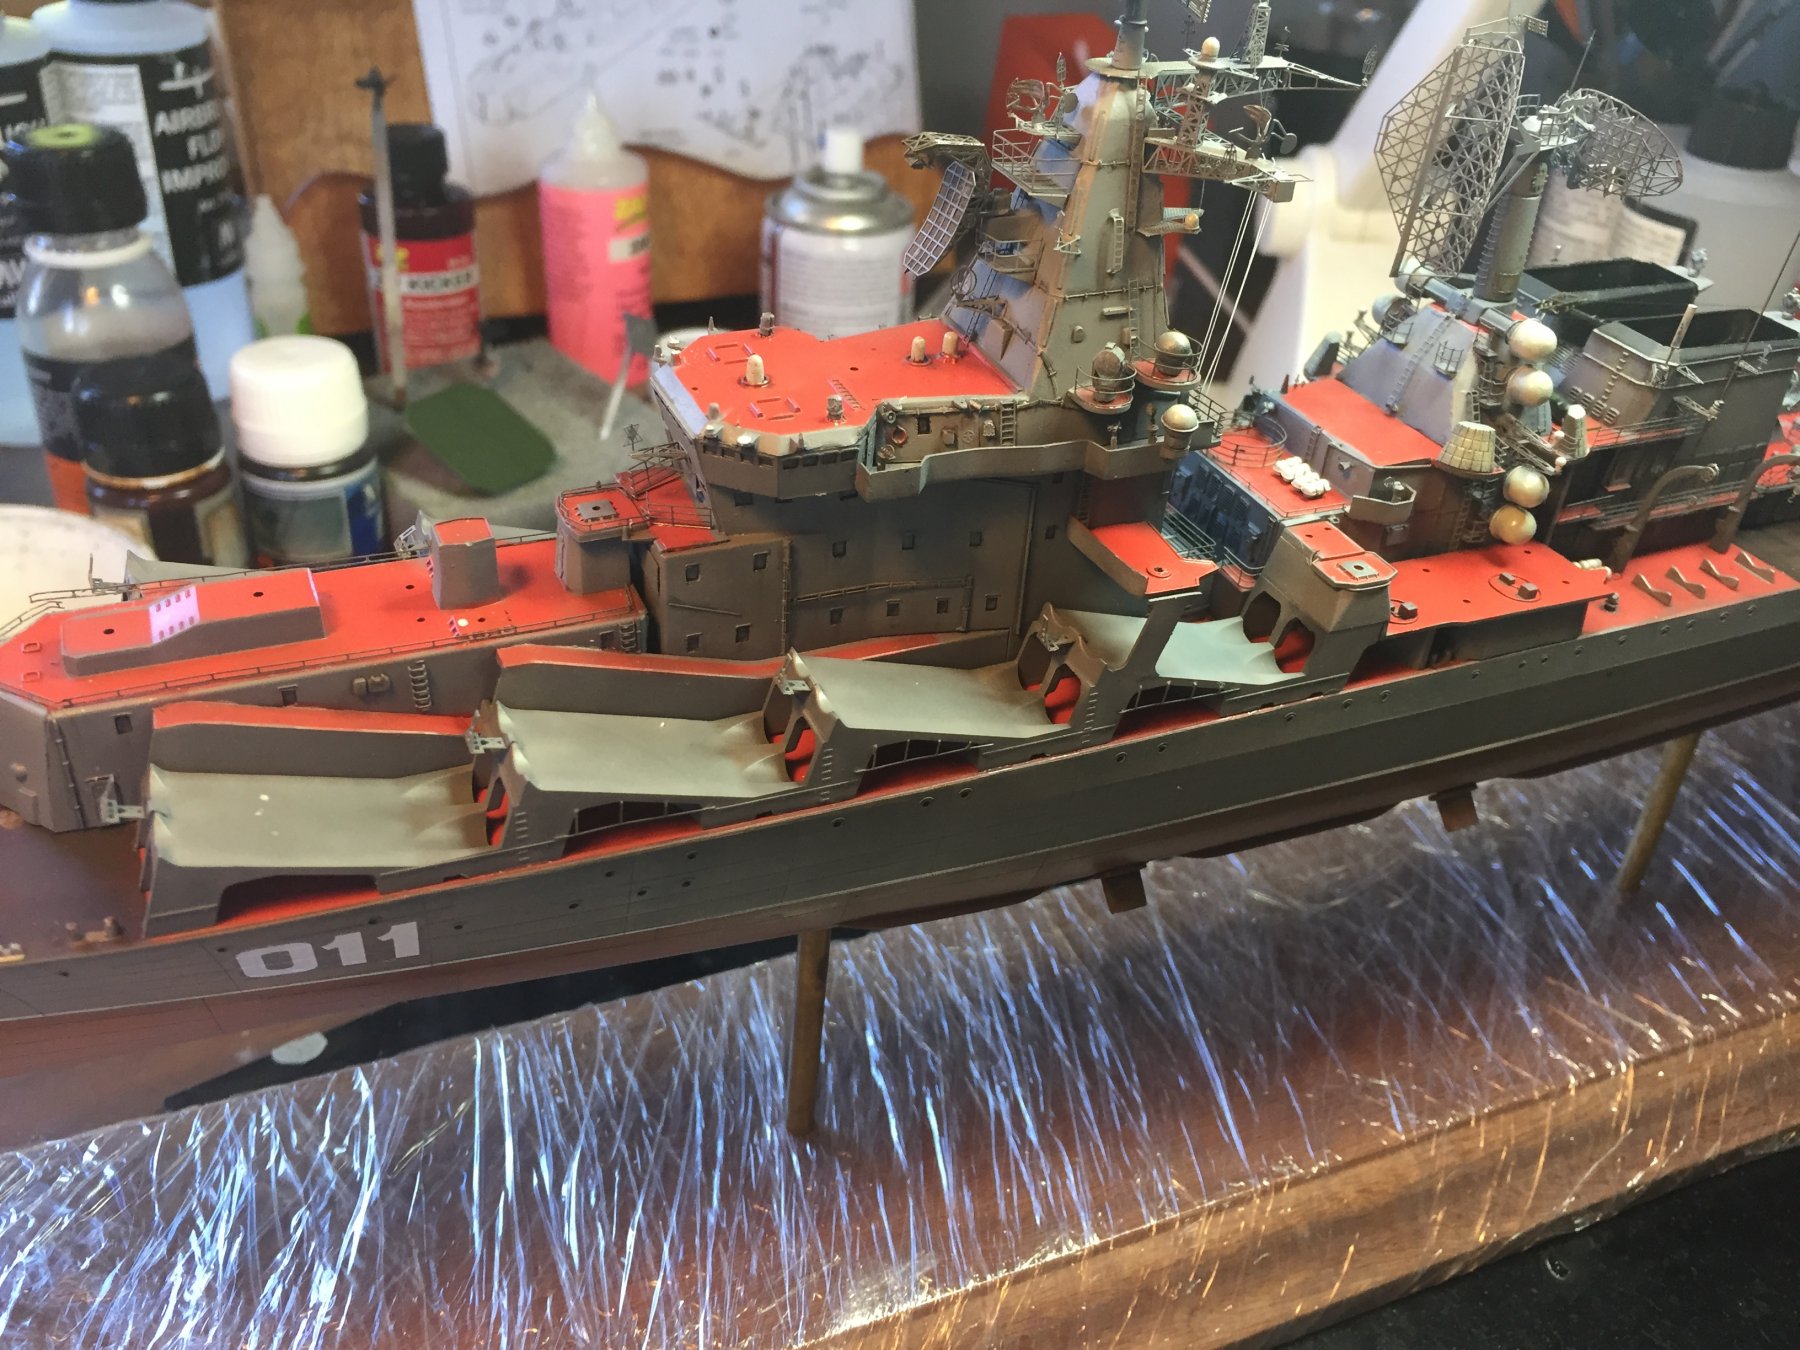
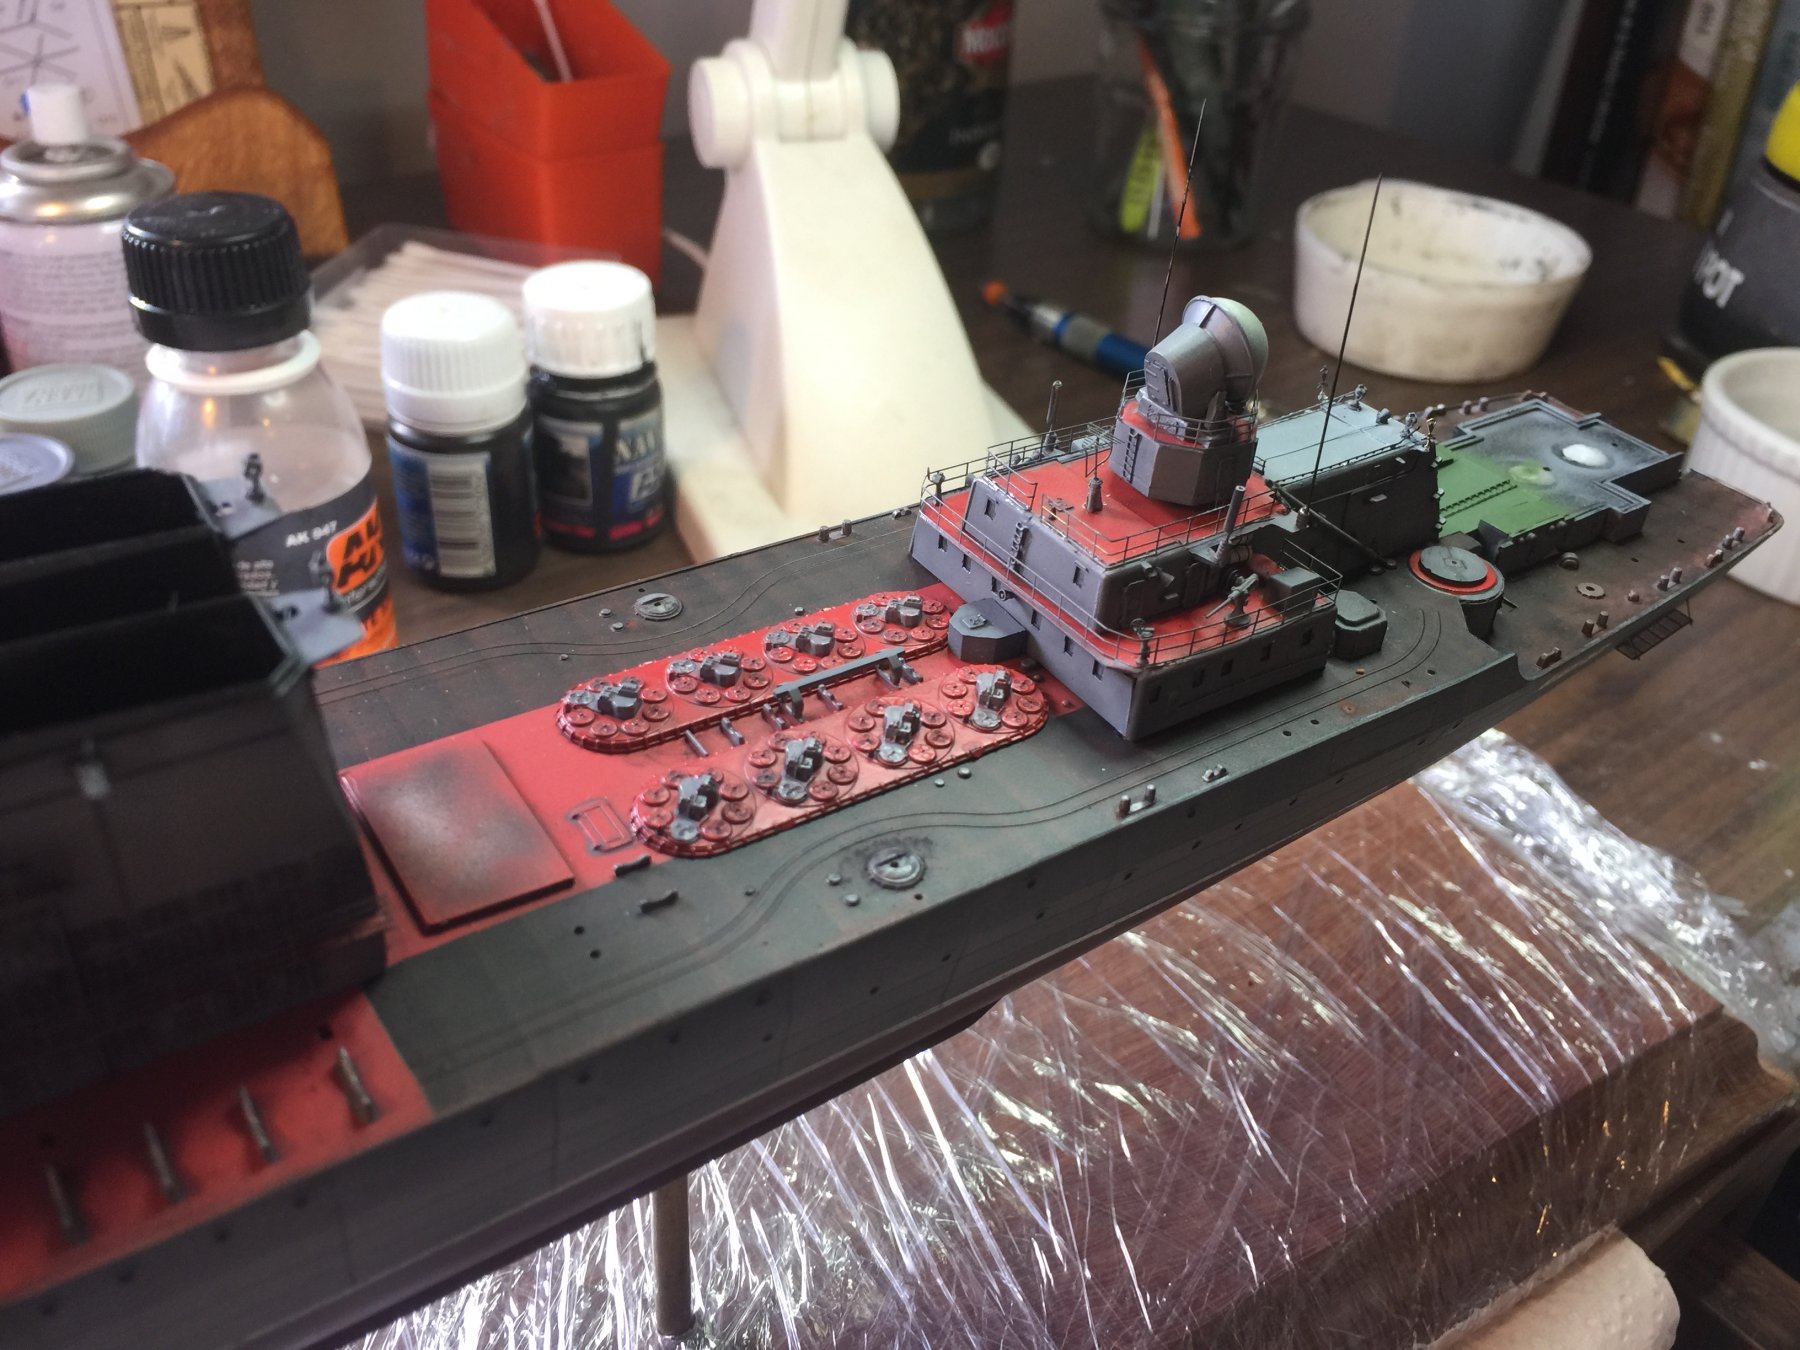
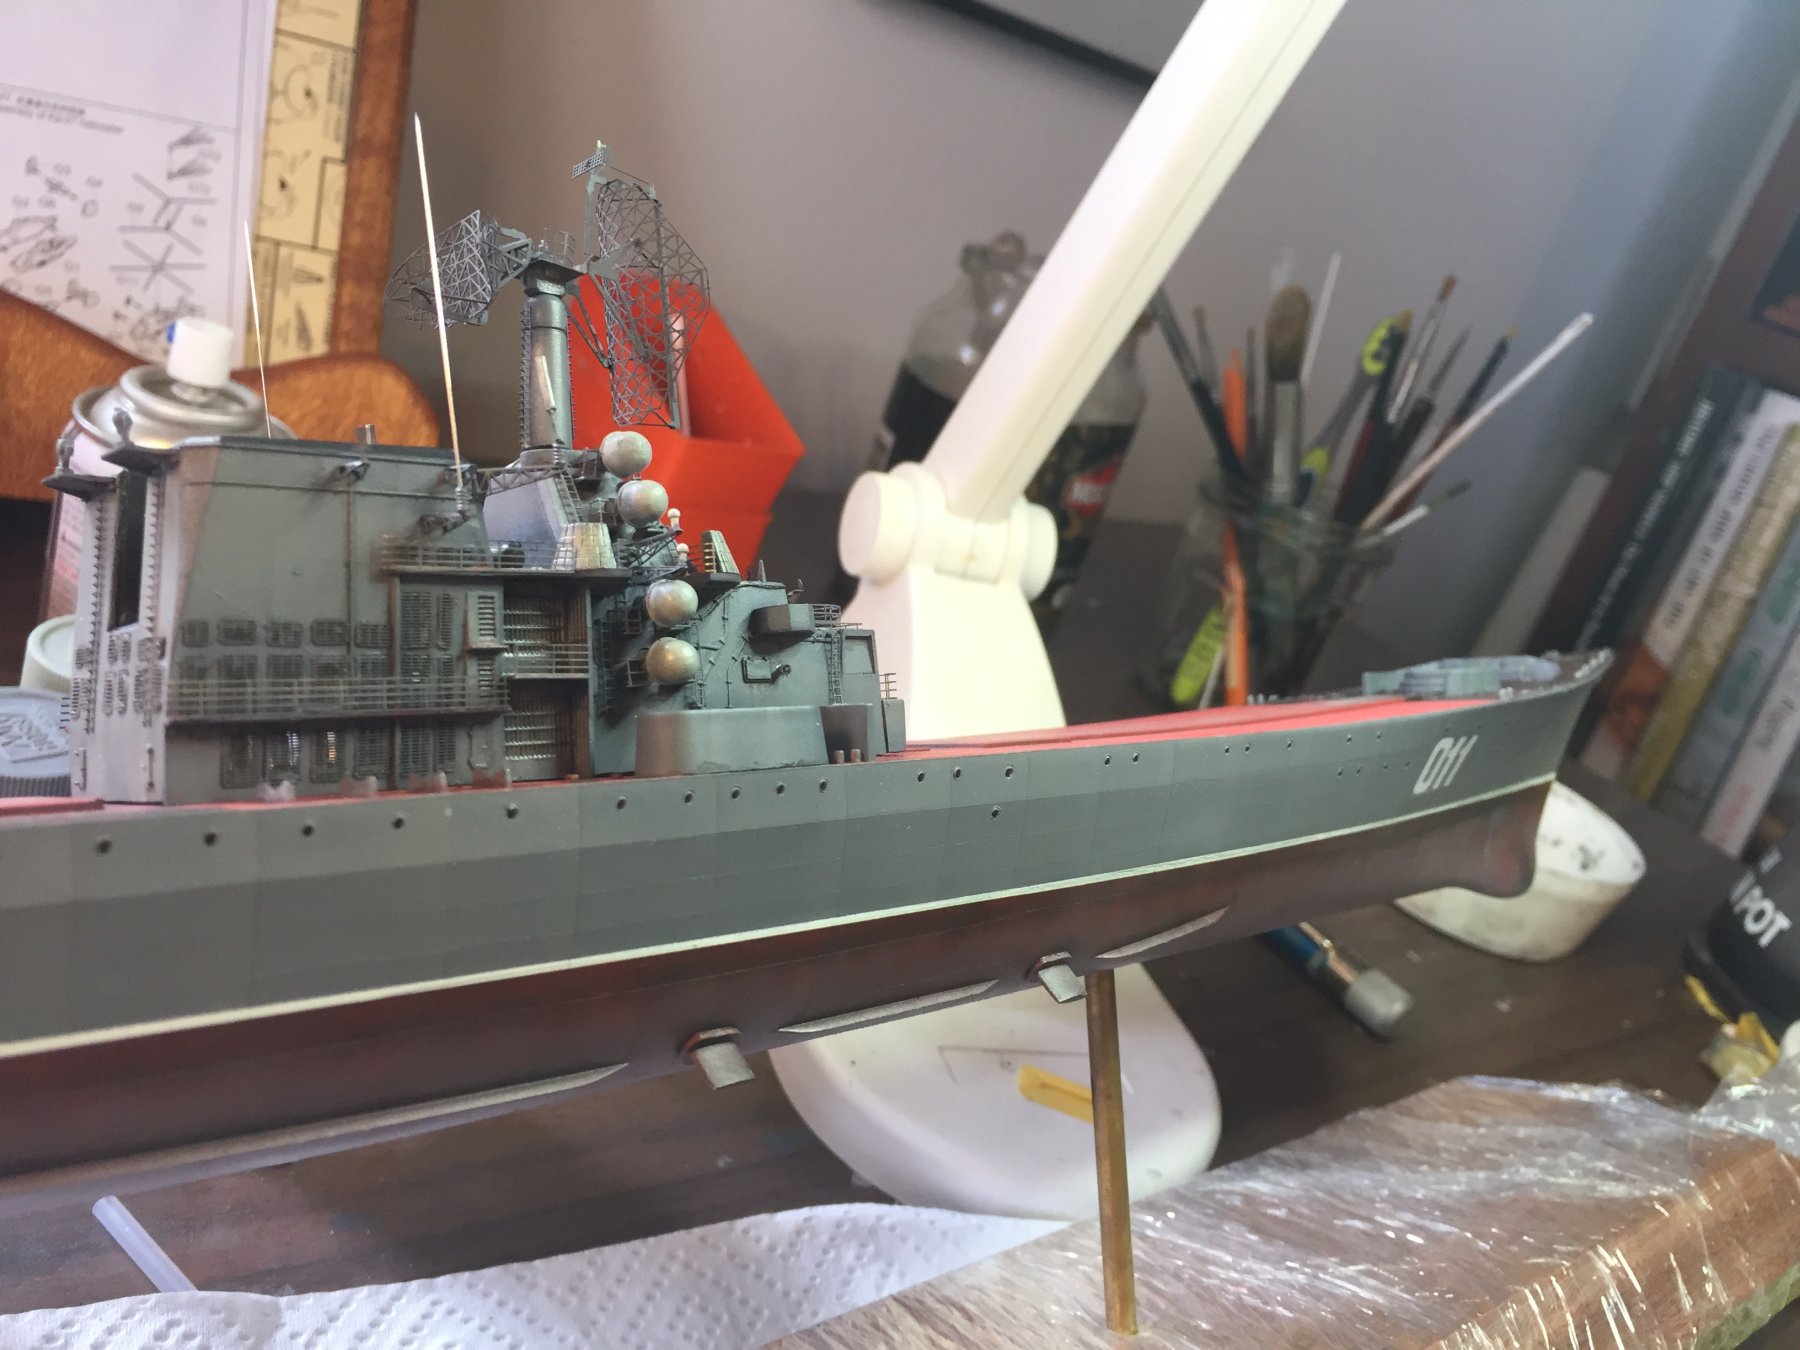
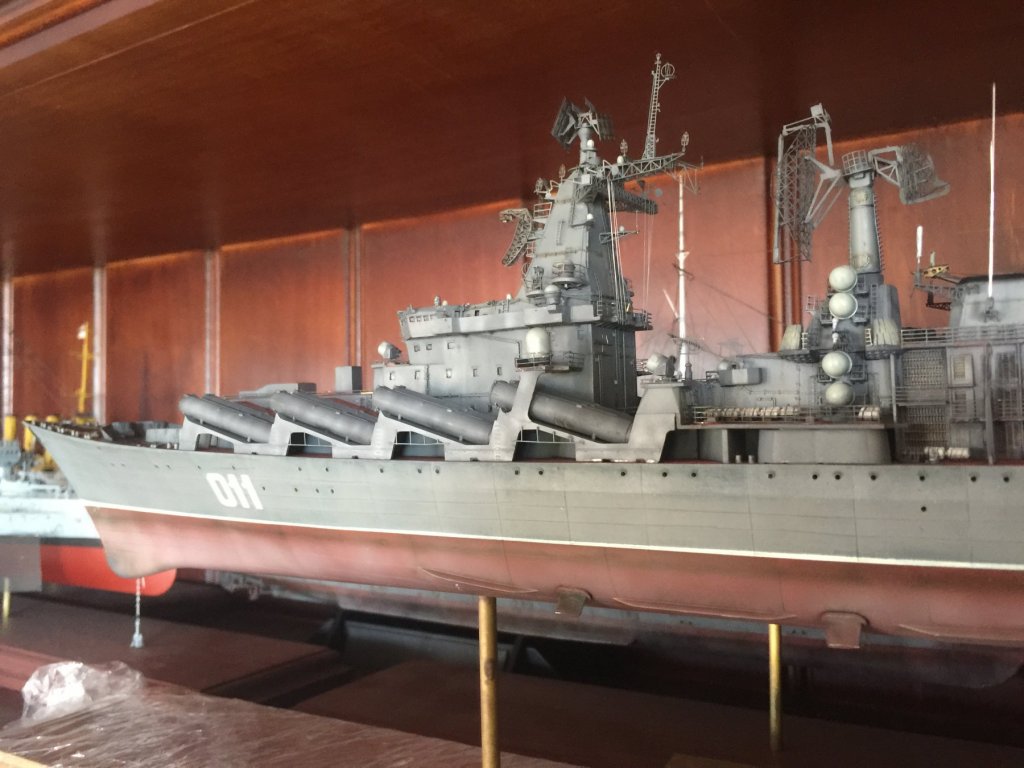
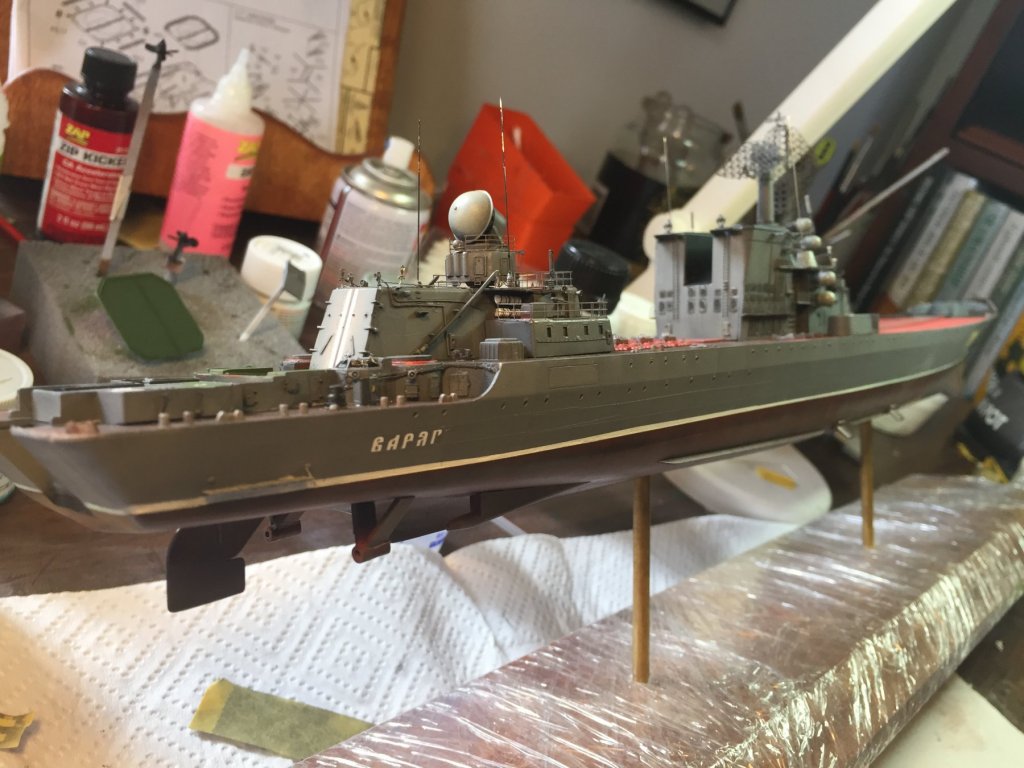
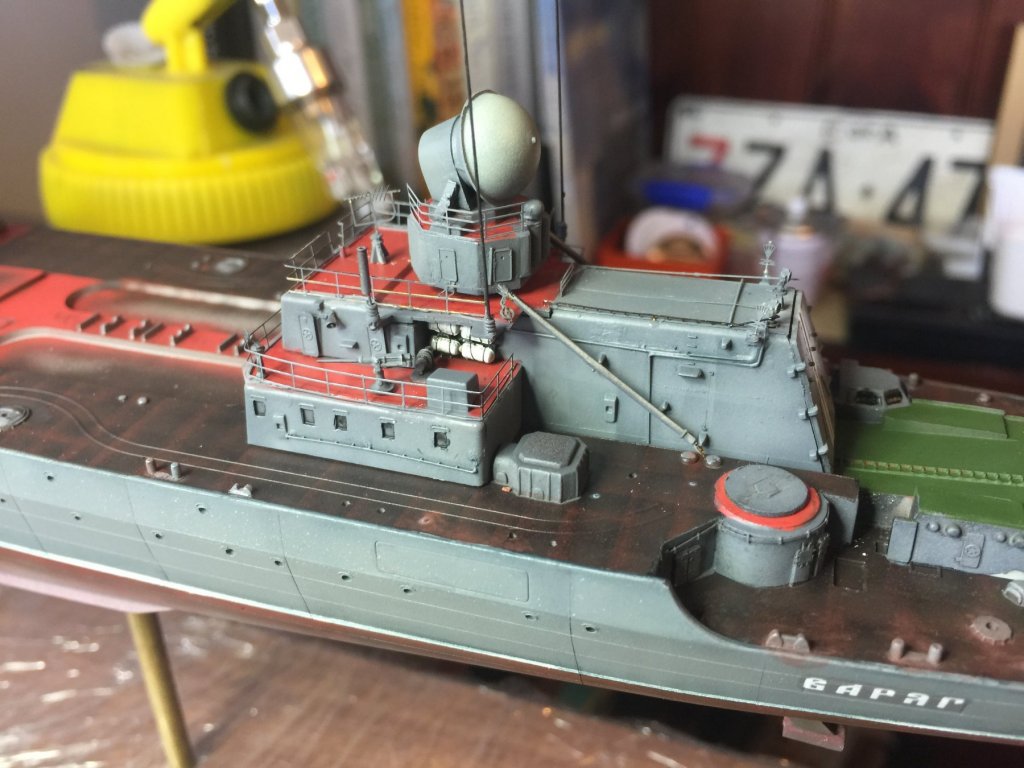
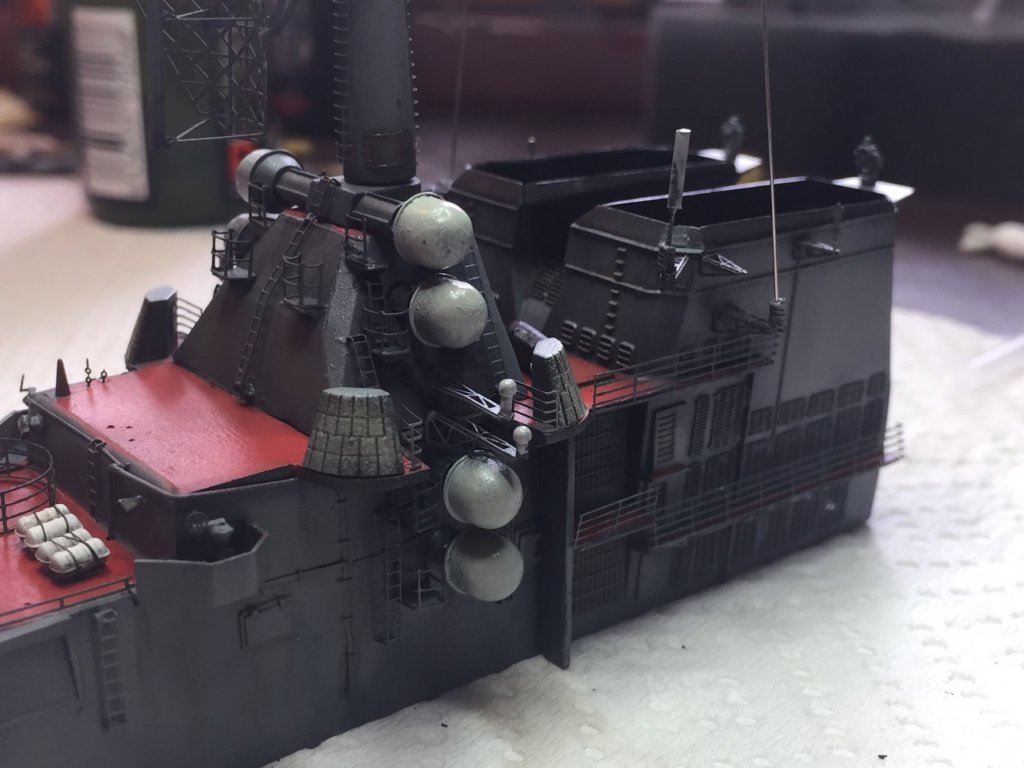
The life rafts and fire controllers added, the only railings to go plate on the sides. The SS-N-19’s are added, the numbers are very stark and will have a coat of matte varnish before weathering. The final bits have been primed and will need a few days to get ready.

- 180 replies
-
- 17
-

-
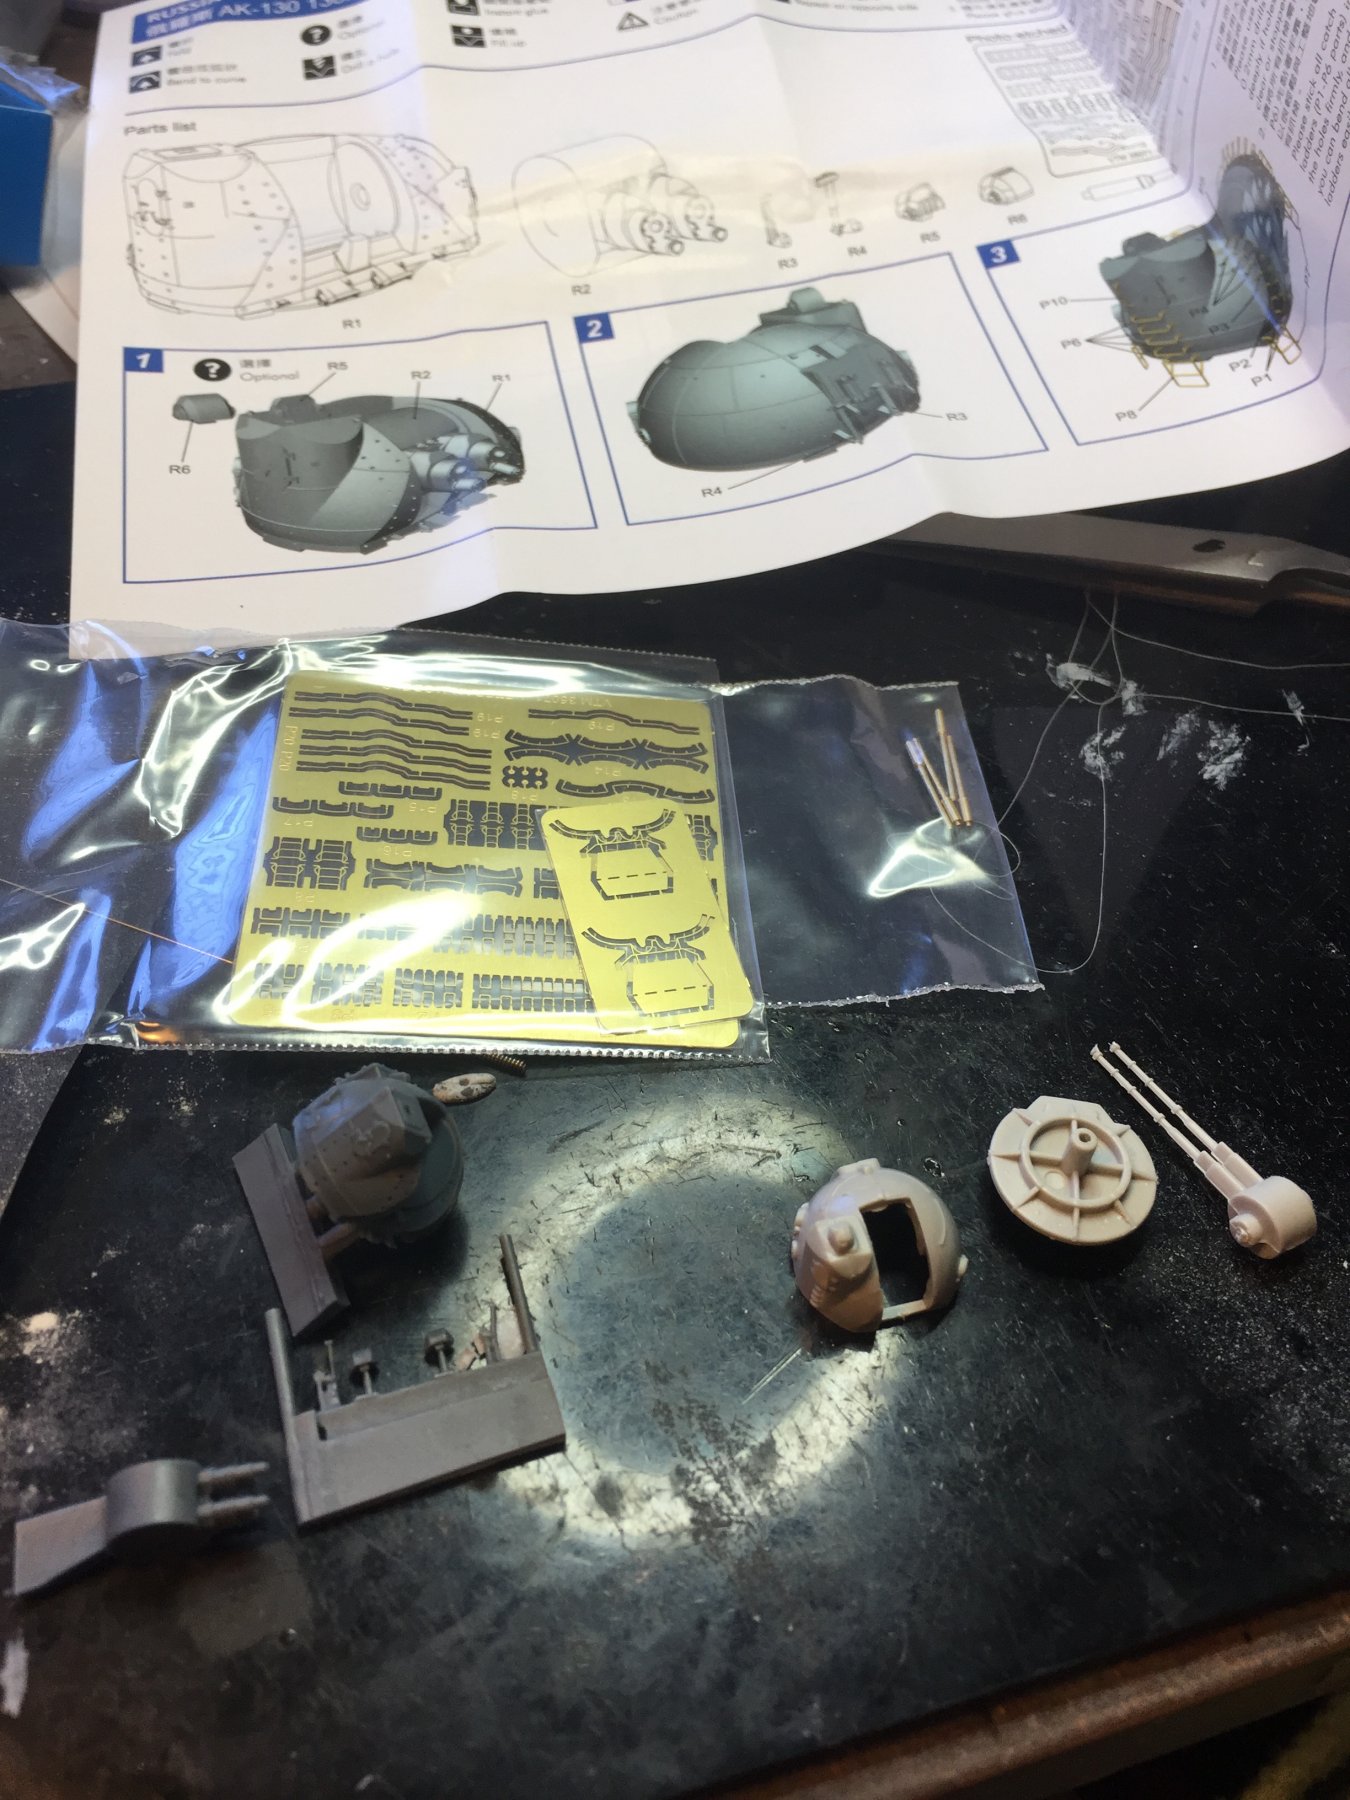
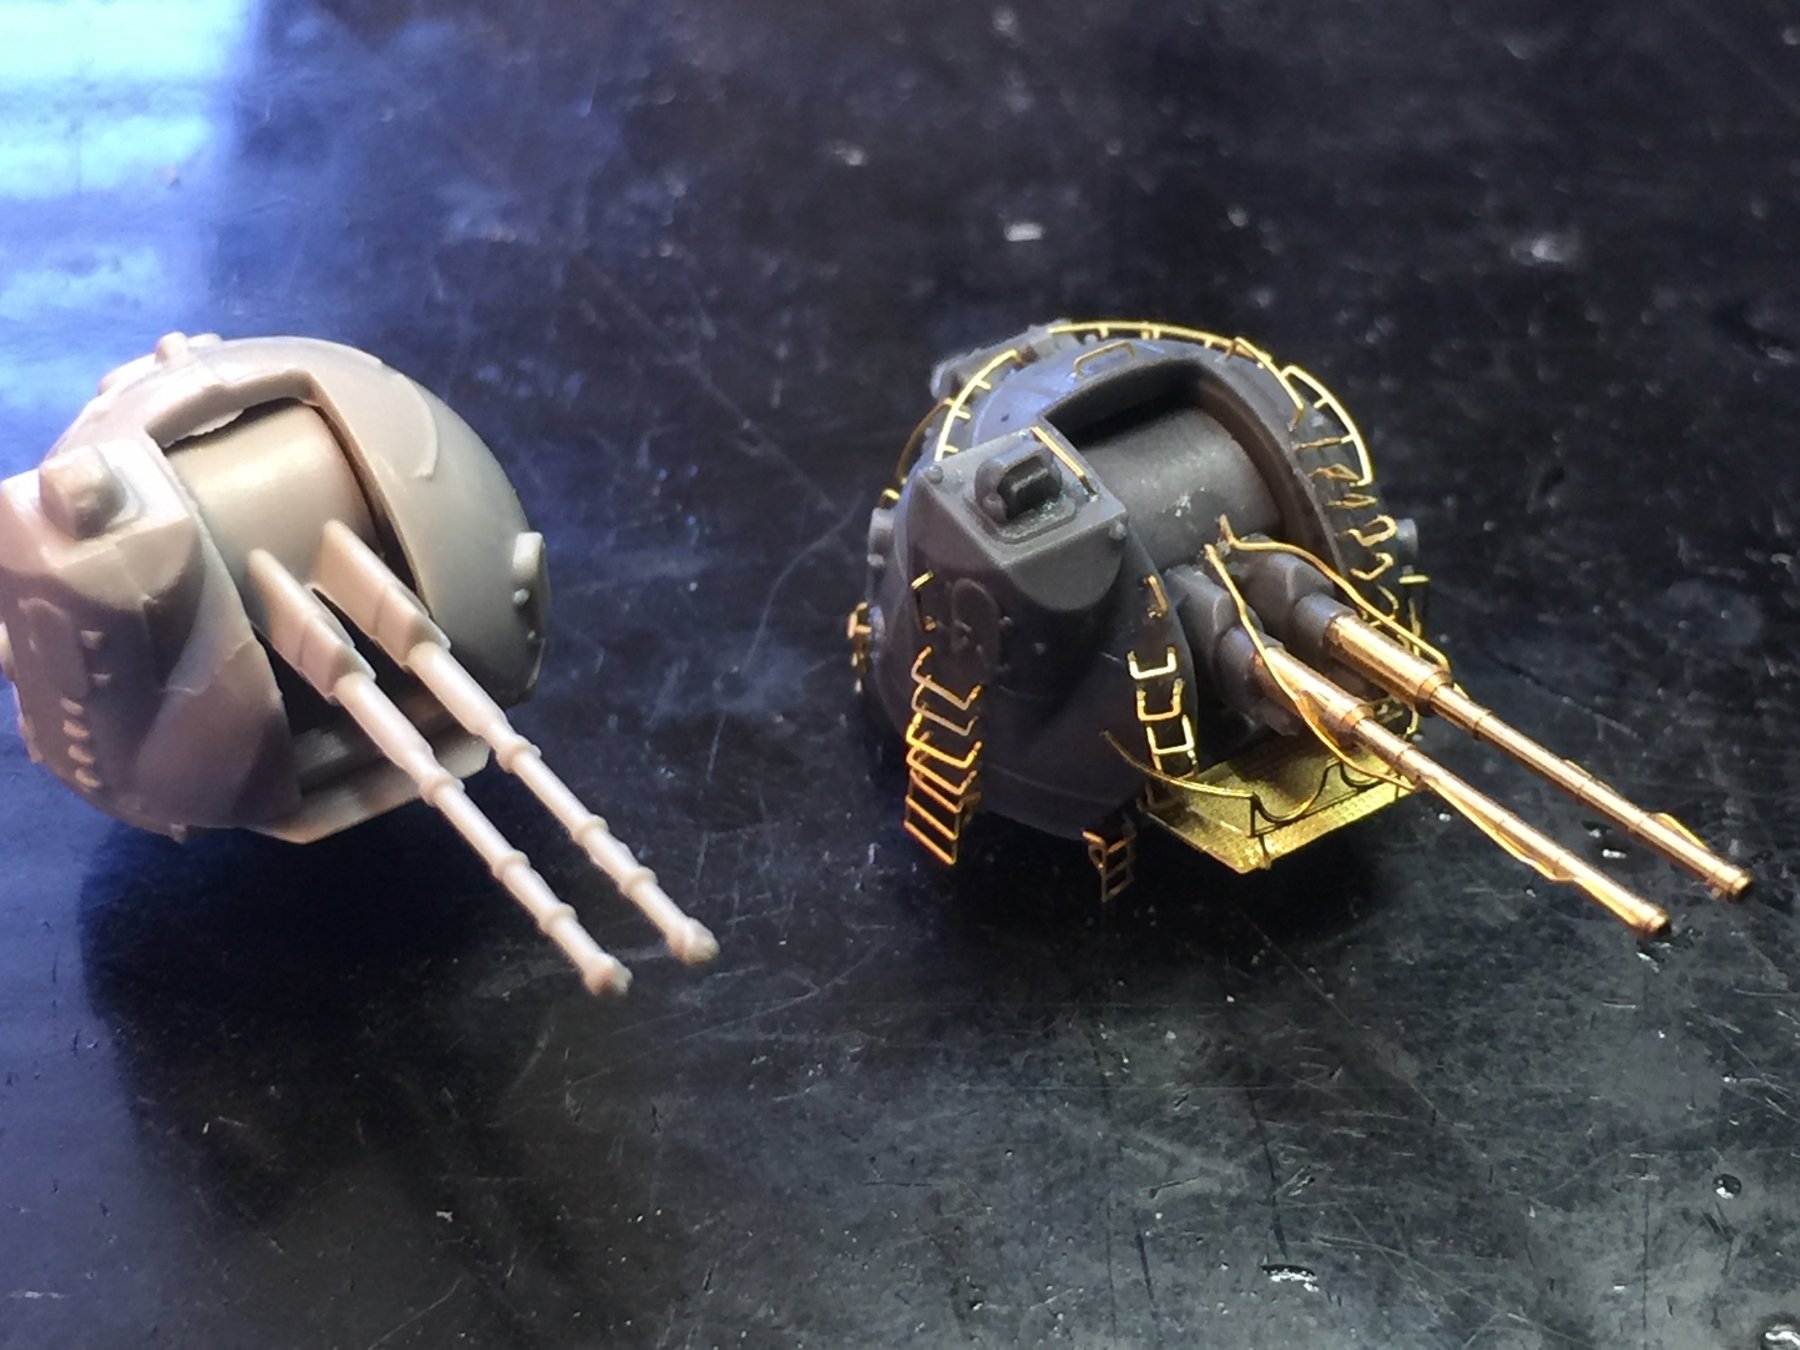
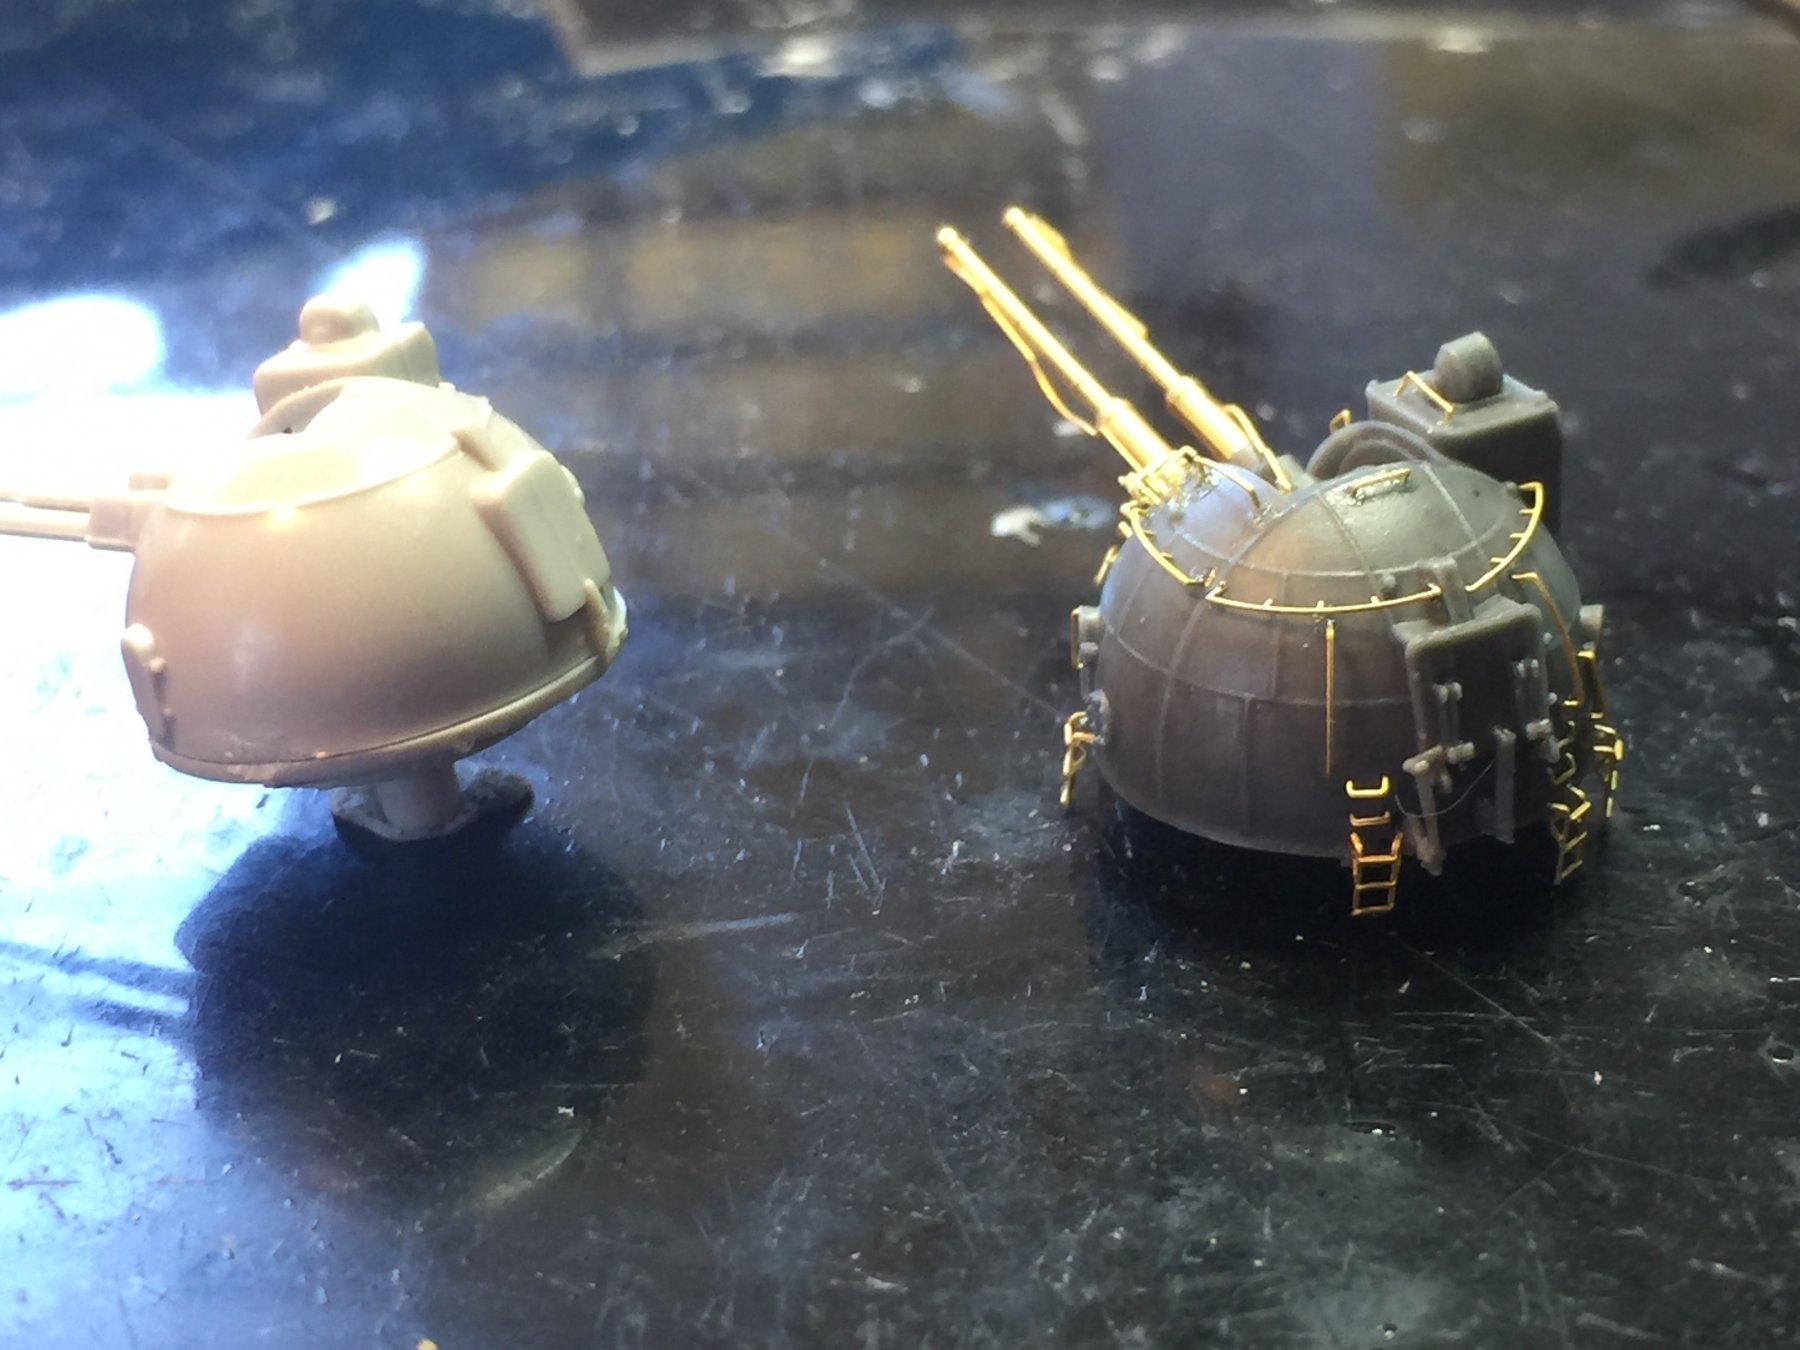
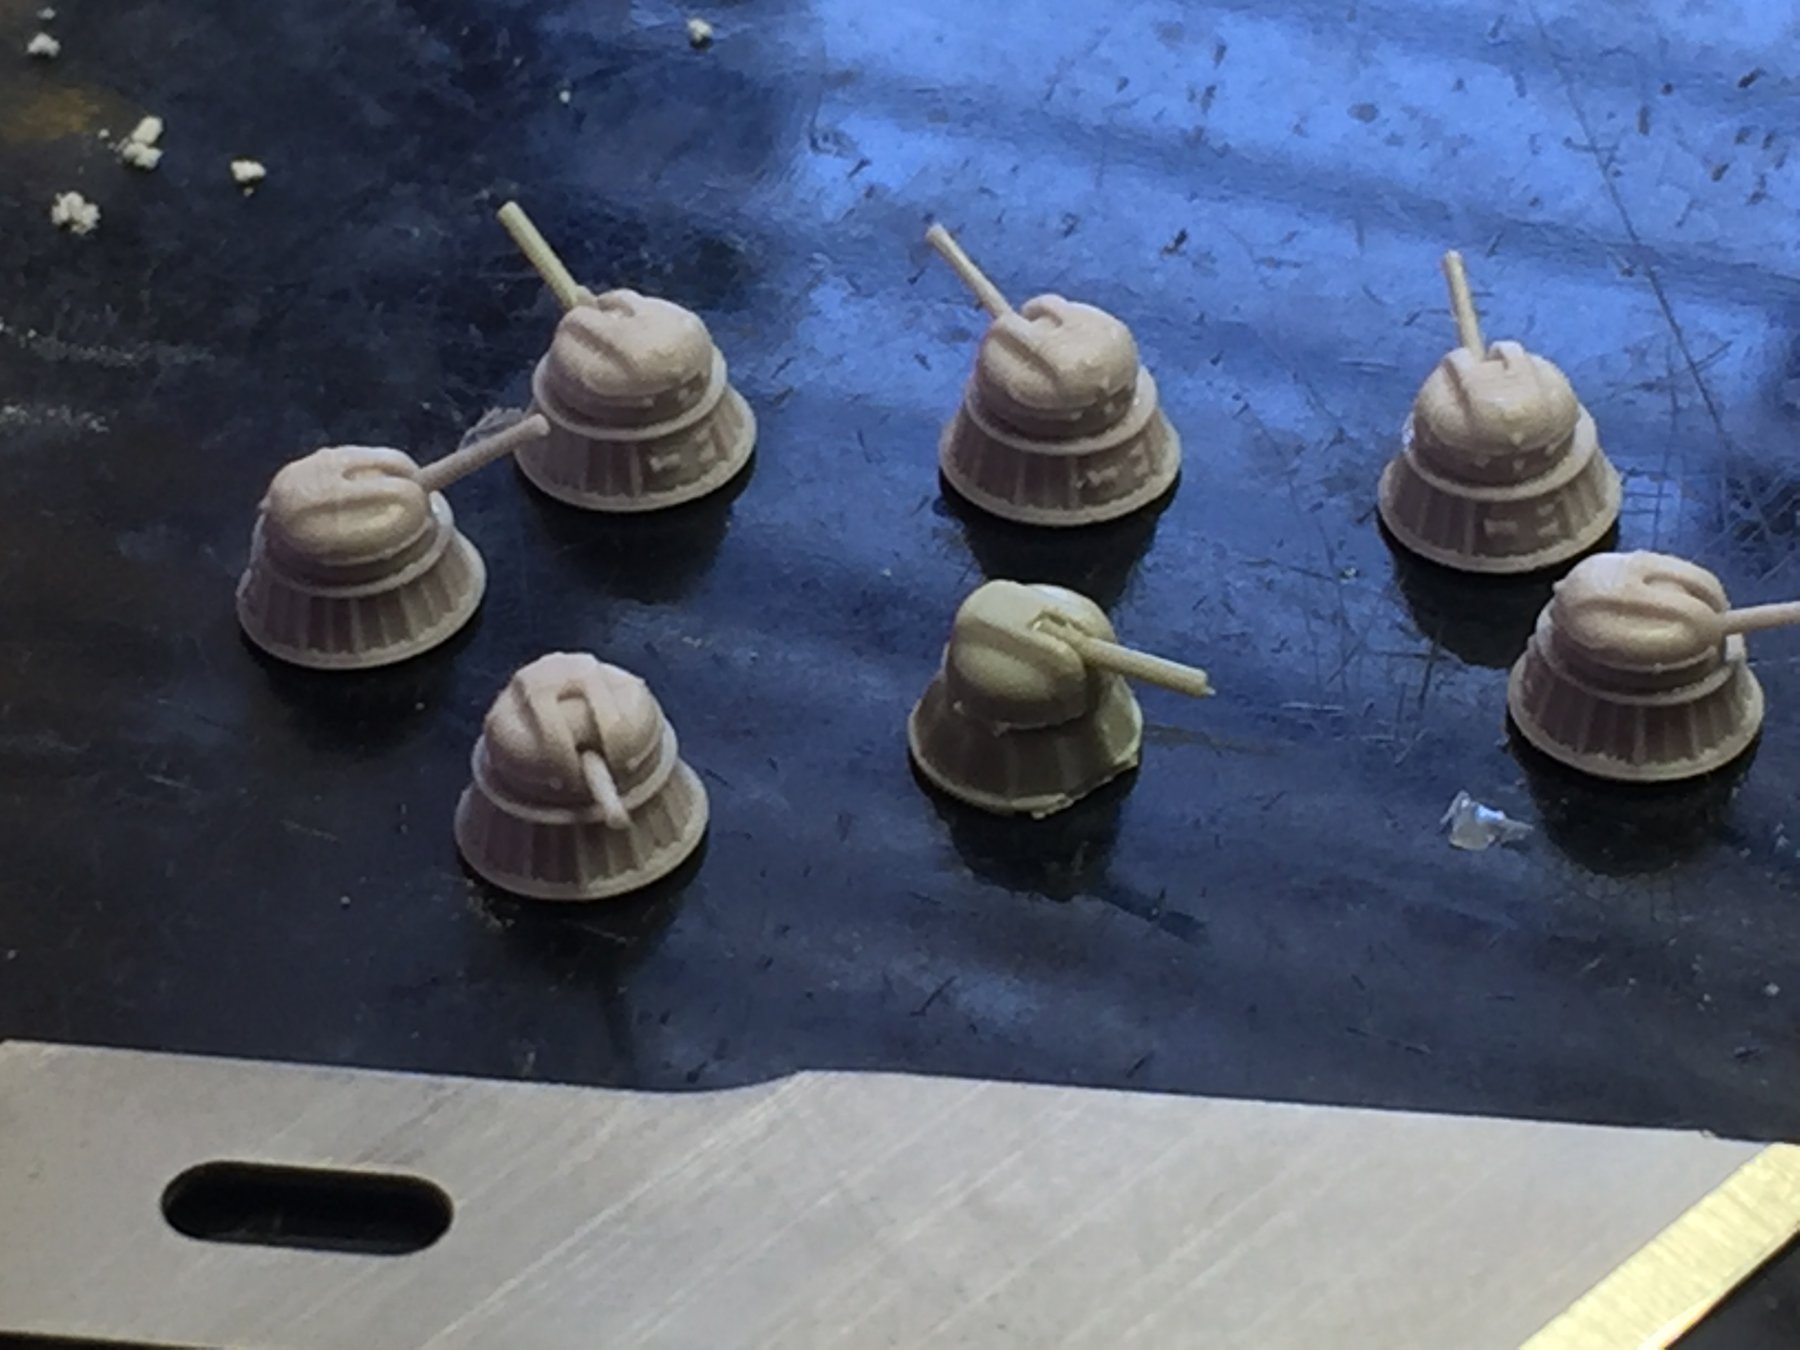
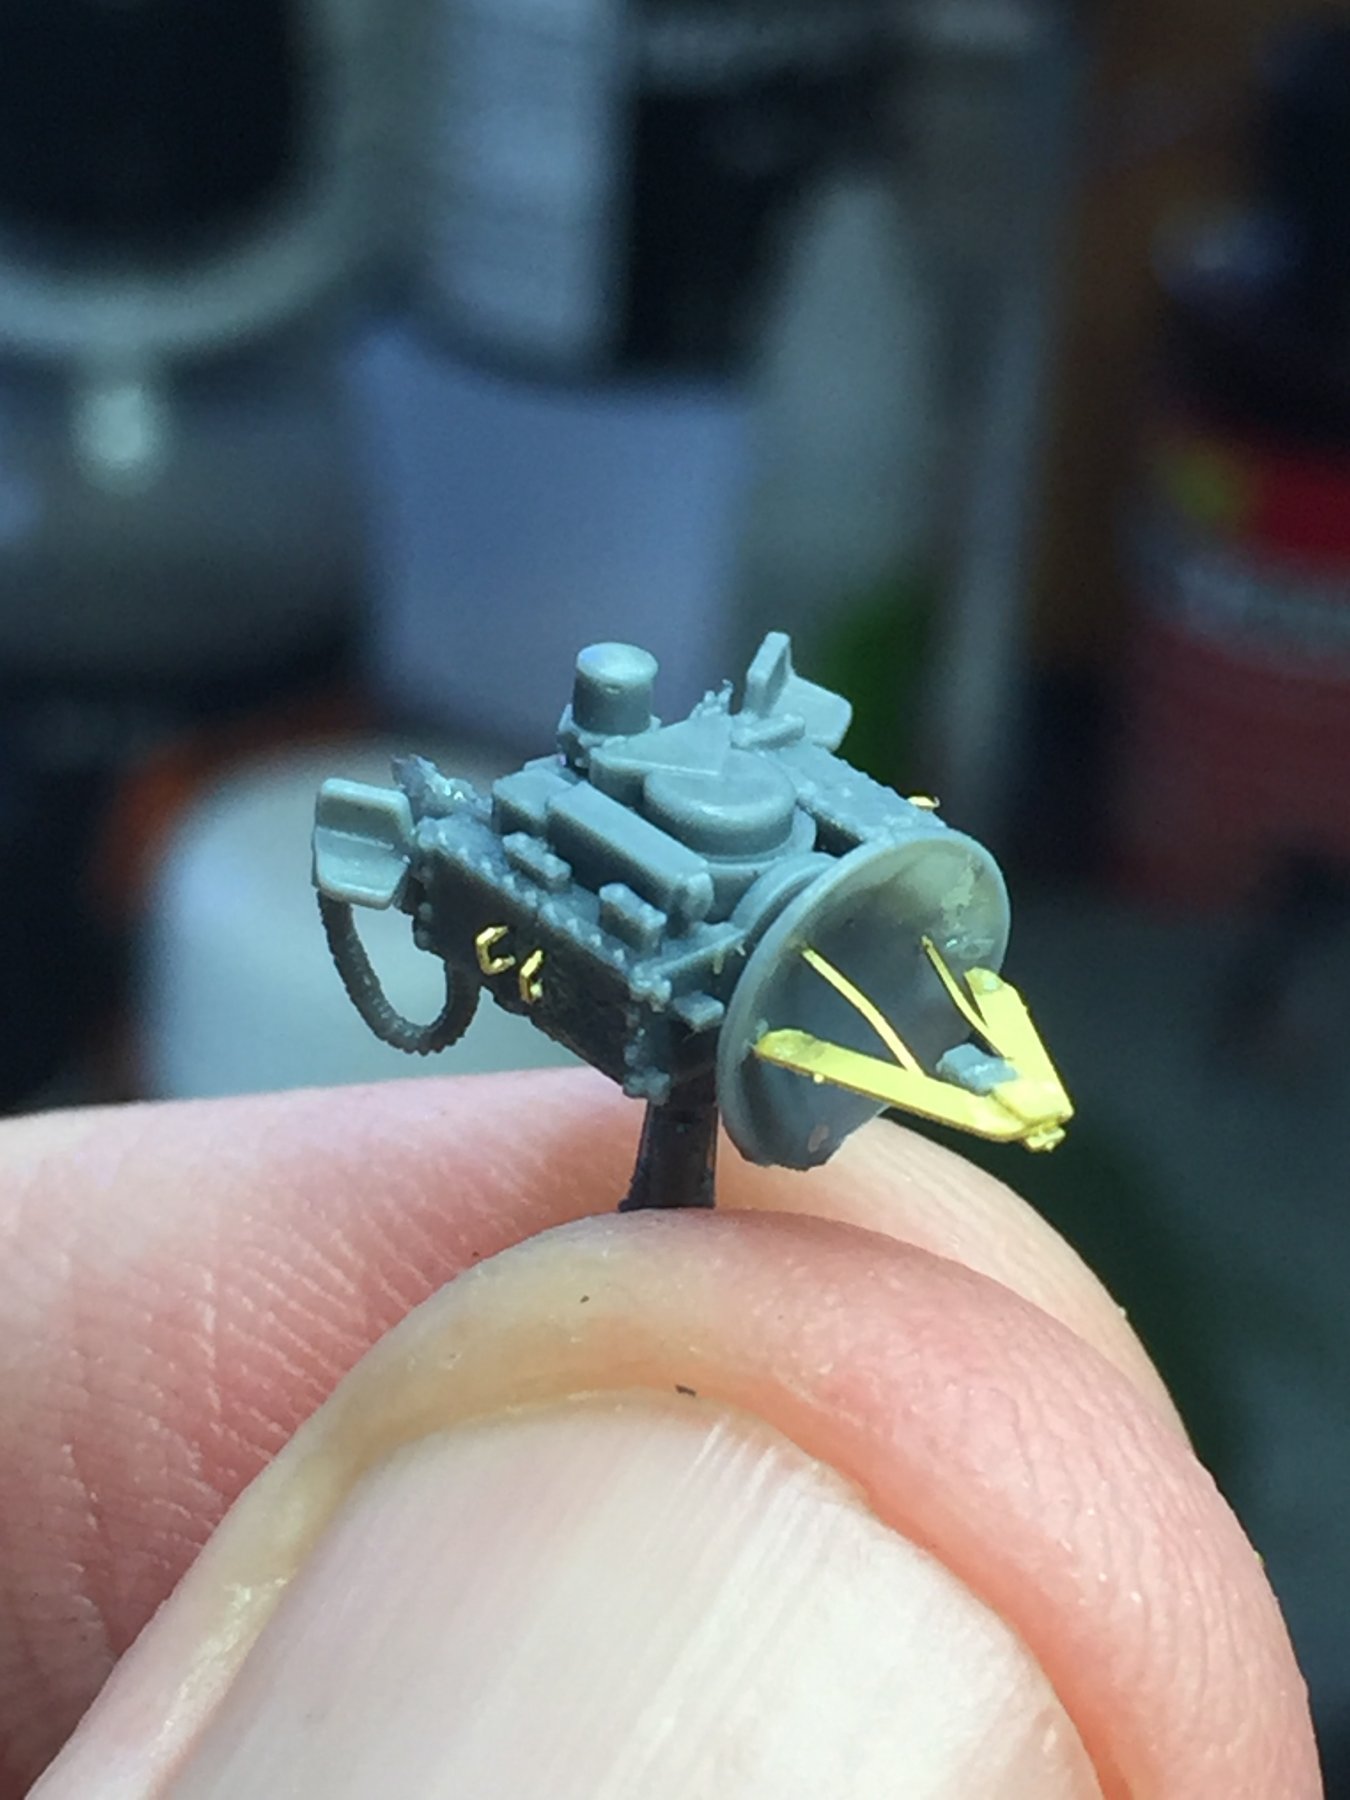
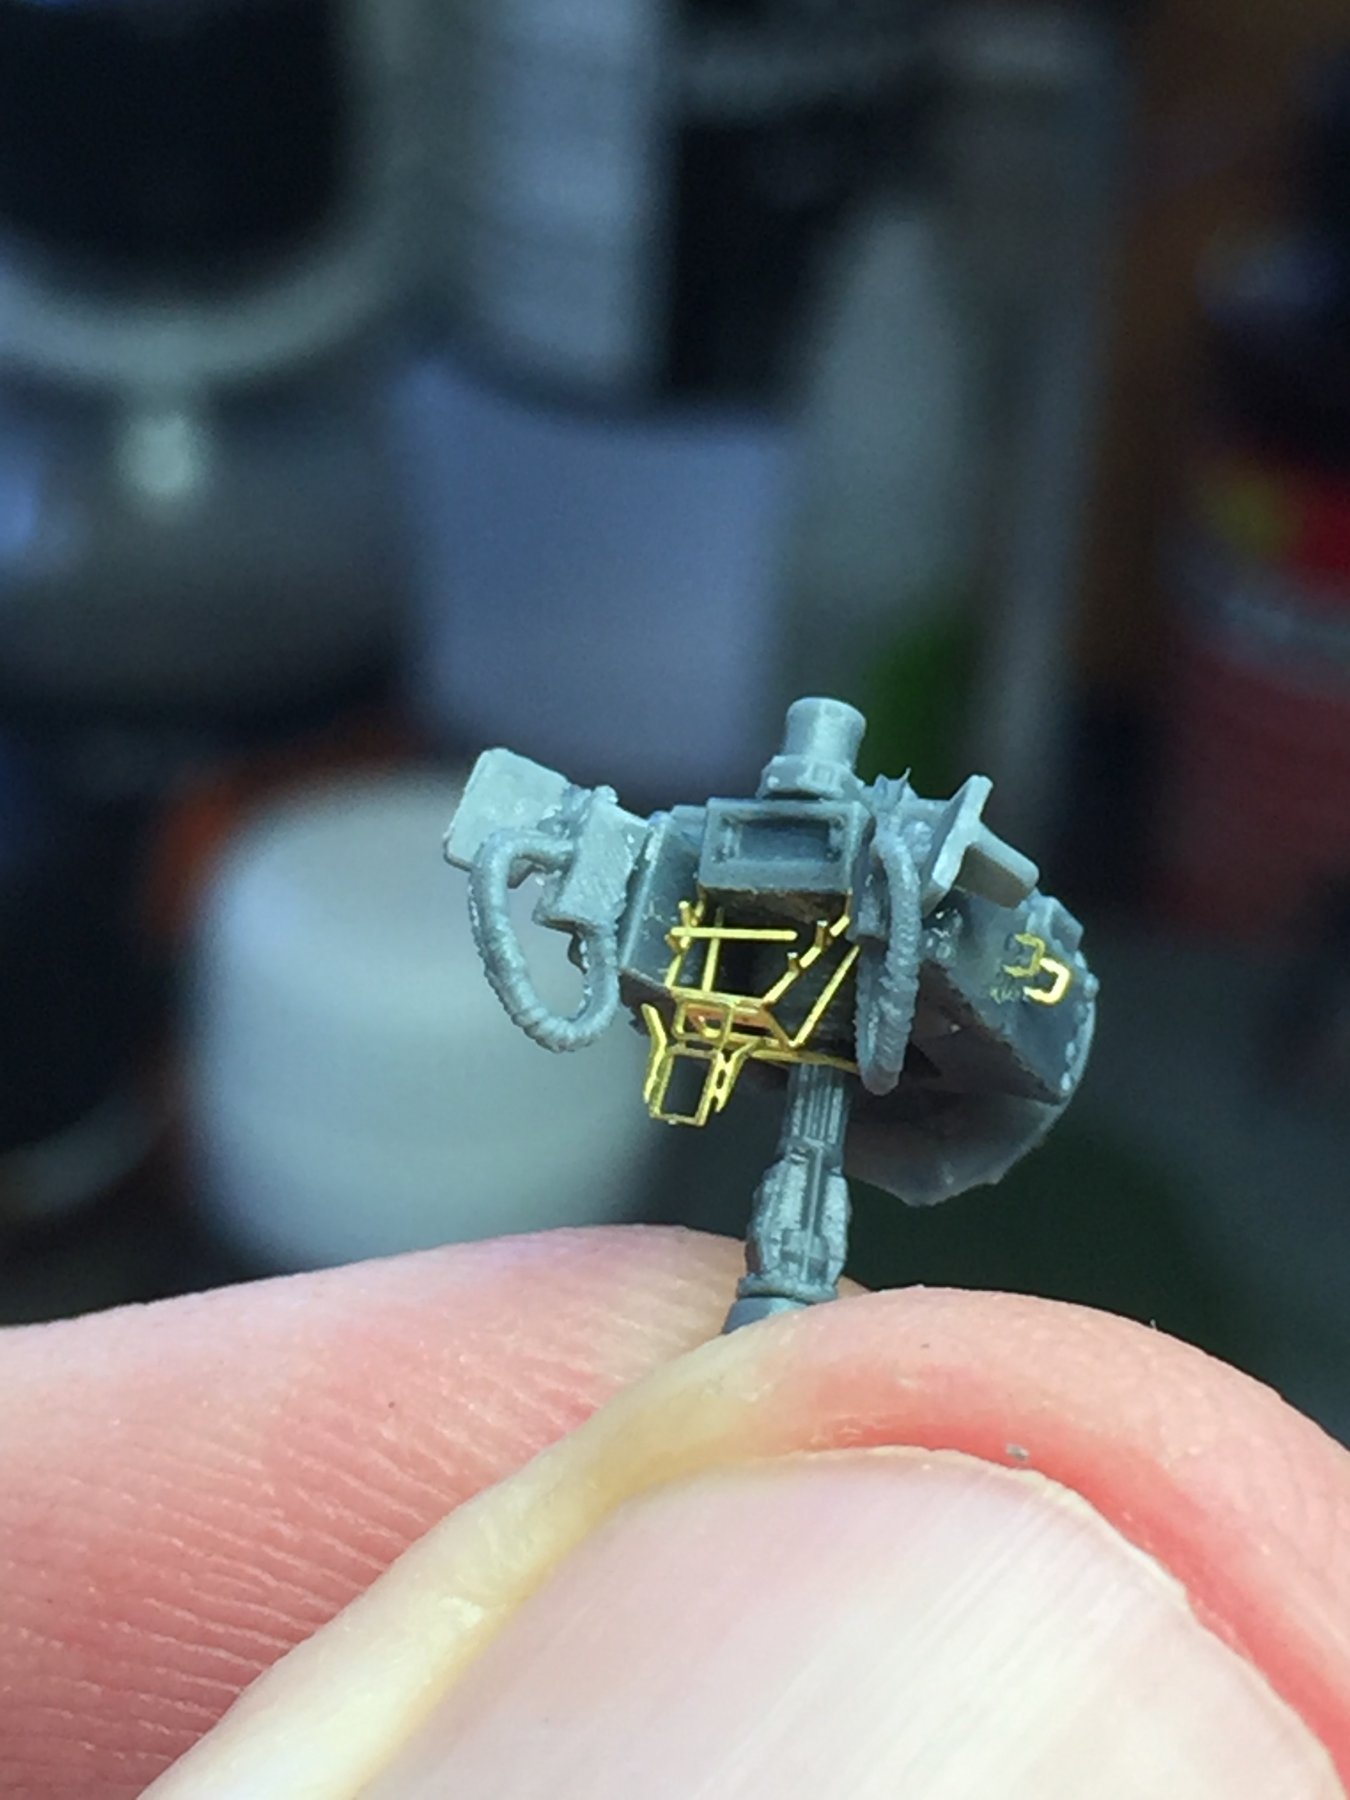
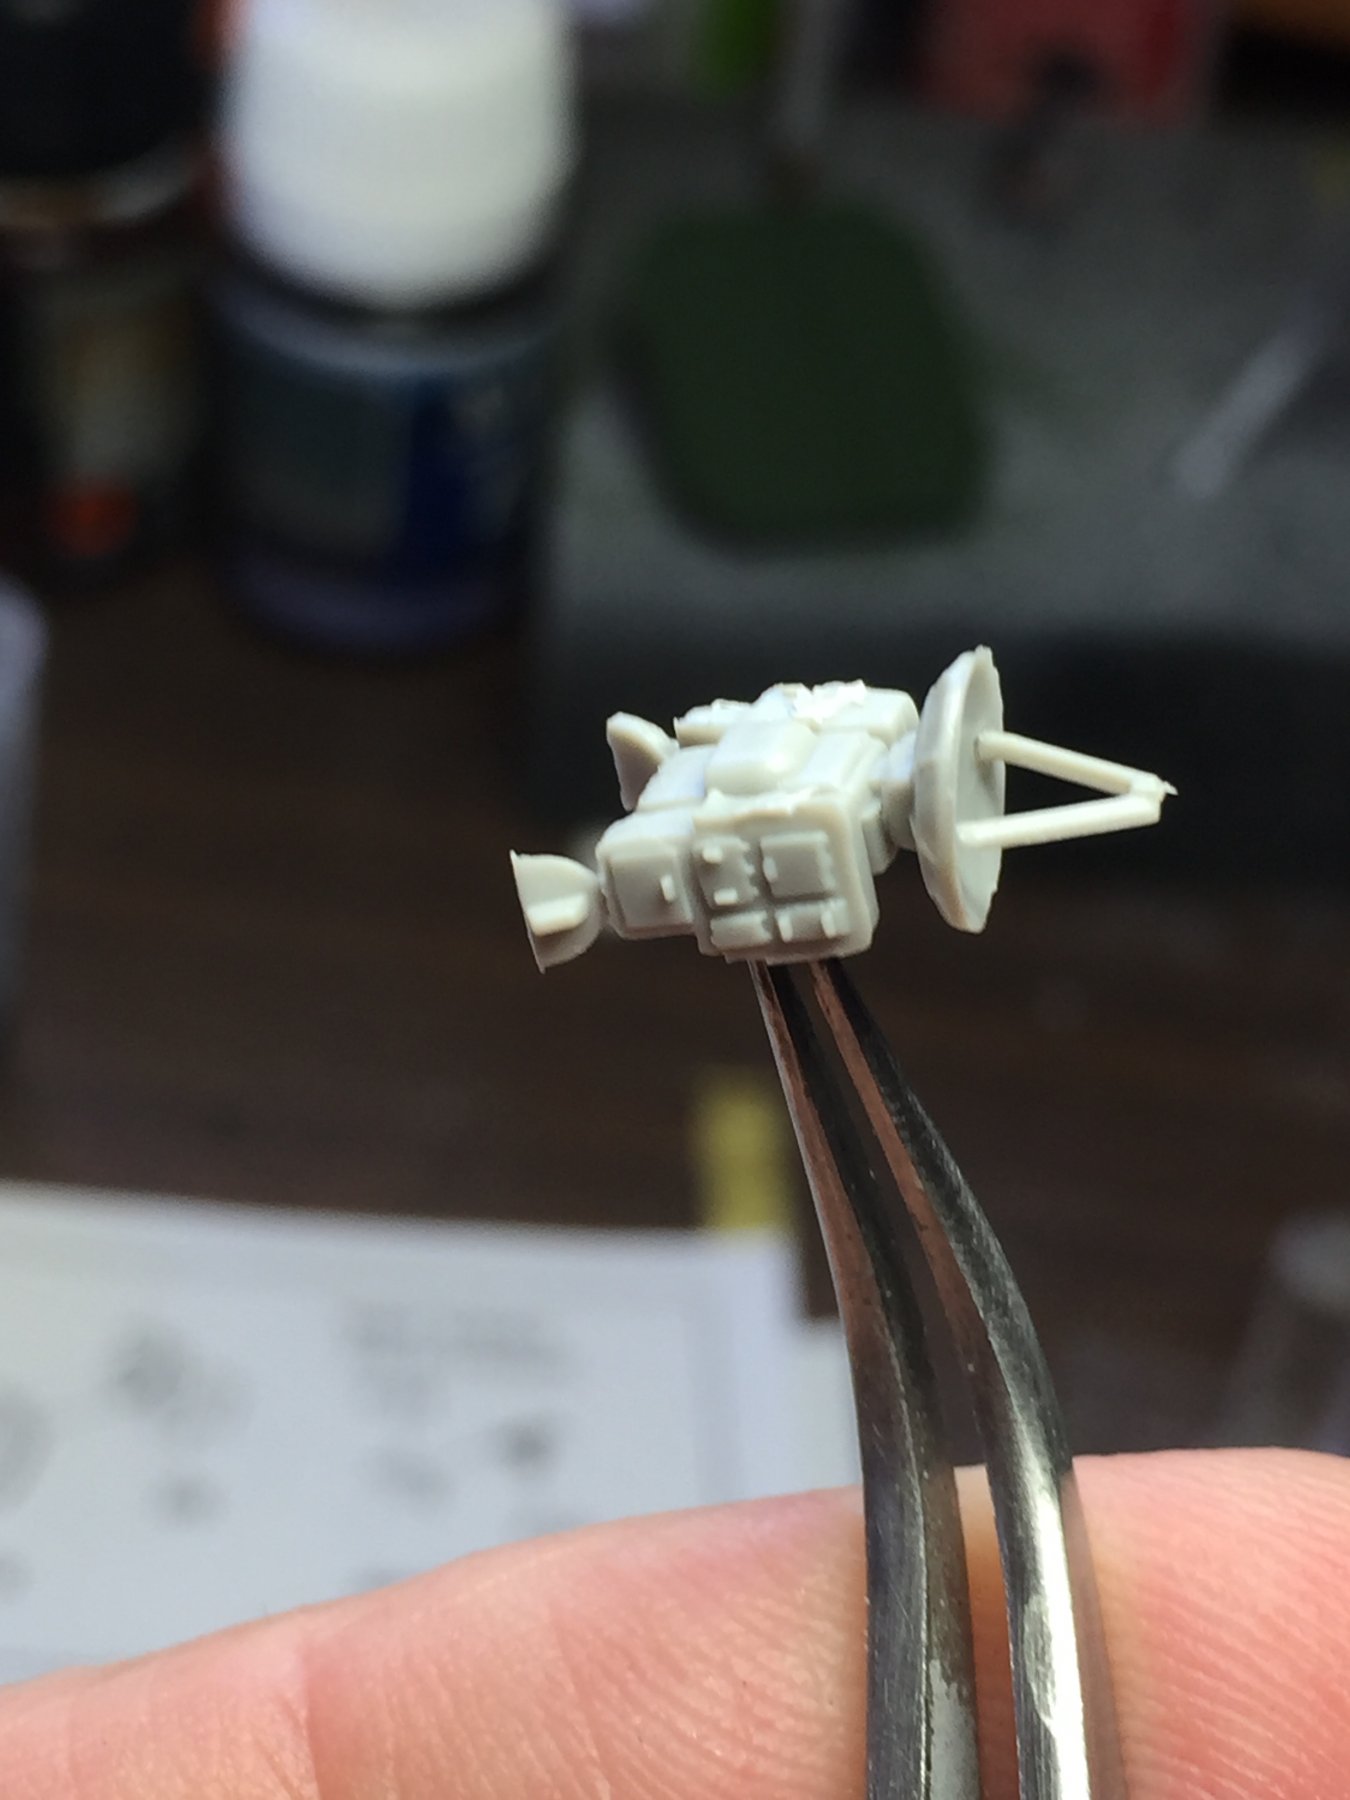
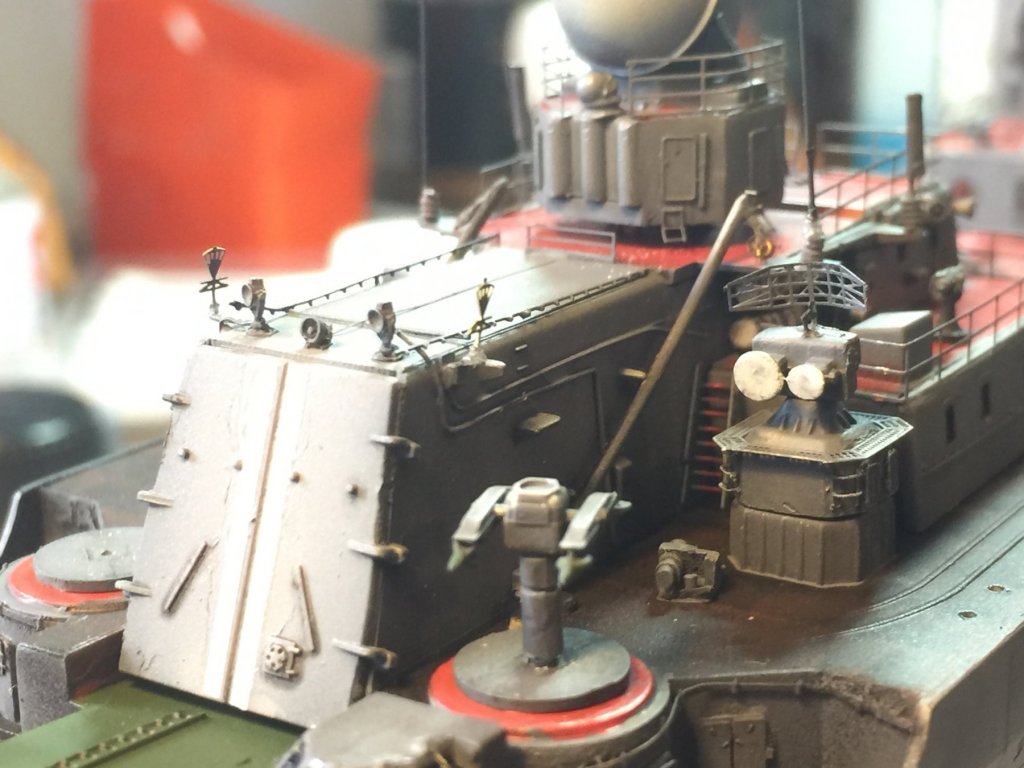
I read in an online forum the other day how those who make models tanks and model planes are better modellers. I’m calling BS as they have a) never made a tall ship and (b) work in much bigger scales. There is a LOT of aftermarket for both air and land, and an increasing amount for sea. The plastic blobs can only be beaten up so much to look real. The main gun, the CIWS (think Darleks from Dr Who, see if you can pick the kit provided one) anti submarine rockets and the kit screech fire control radar are all available in aftermarket.
-
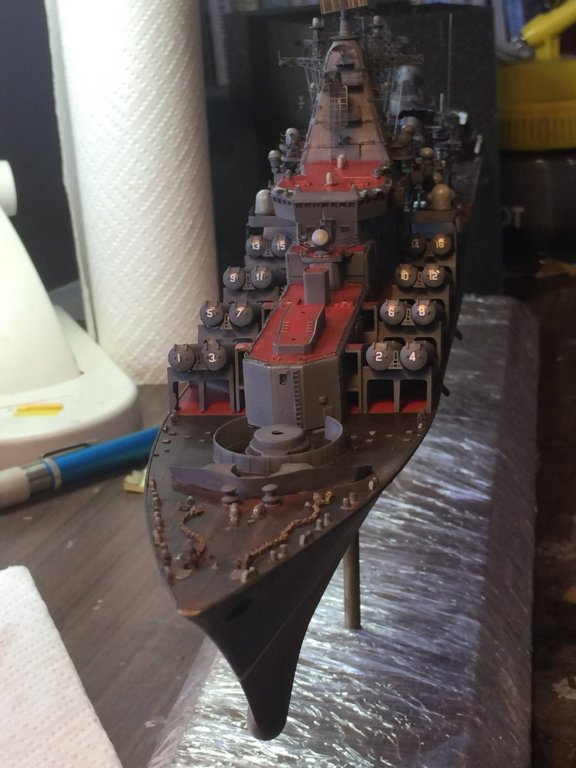
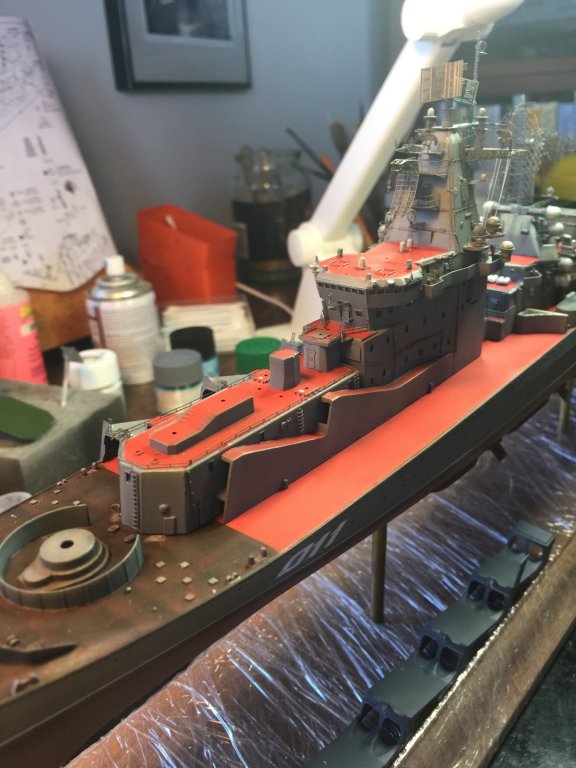
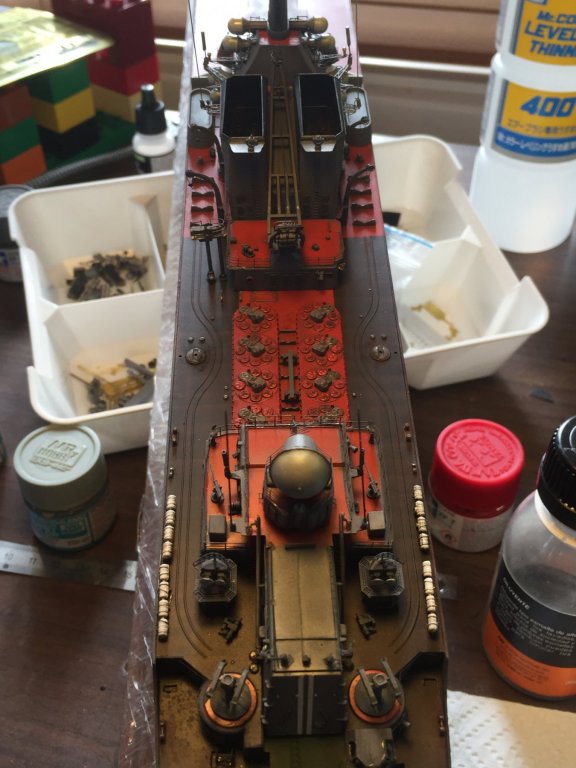
It is very red isn’t it, almost orange! I won’t grunge up the rest of the decks until all the details are added, (there’s a lot to go), and then I’ll probably use pastels. The upper hull has not been touched yet as I wanted to add the frames that’s hold the SS19’s as they have scuppers on the real thing (which I have added) and the railings as well so I know where the rust and grunge streaks will orintate themselves on the hull. I think Soviet propaganda would not allow photos of dirty ships, and this beast is circa mid 70’s. HD photos of him these days show a lot of sins covered by paint.
-
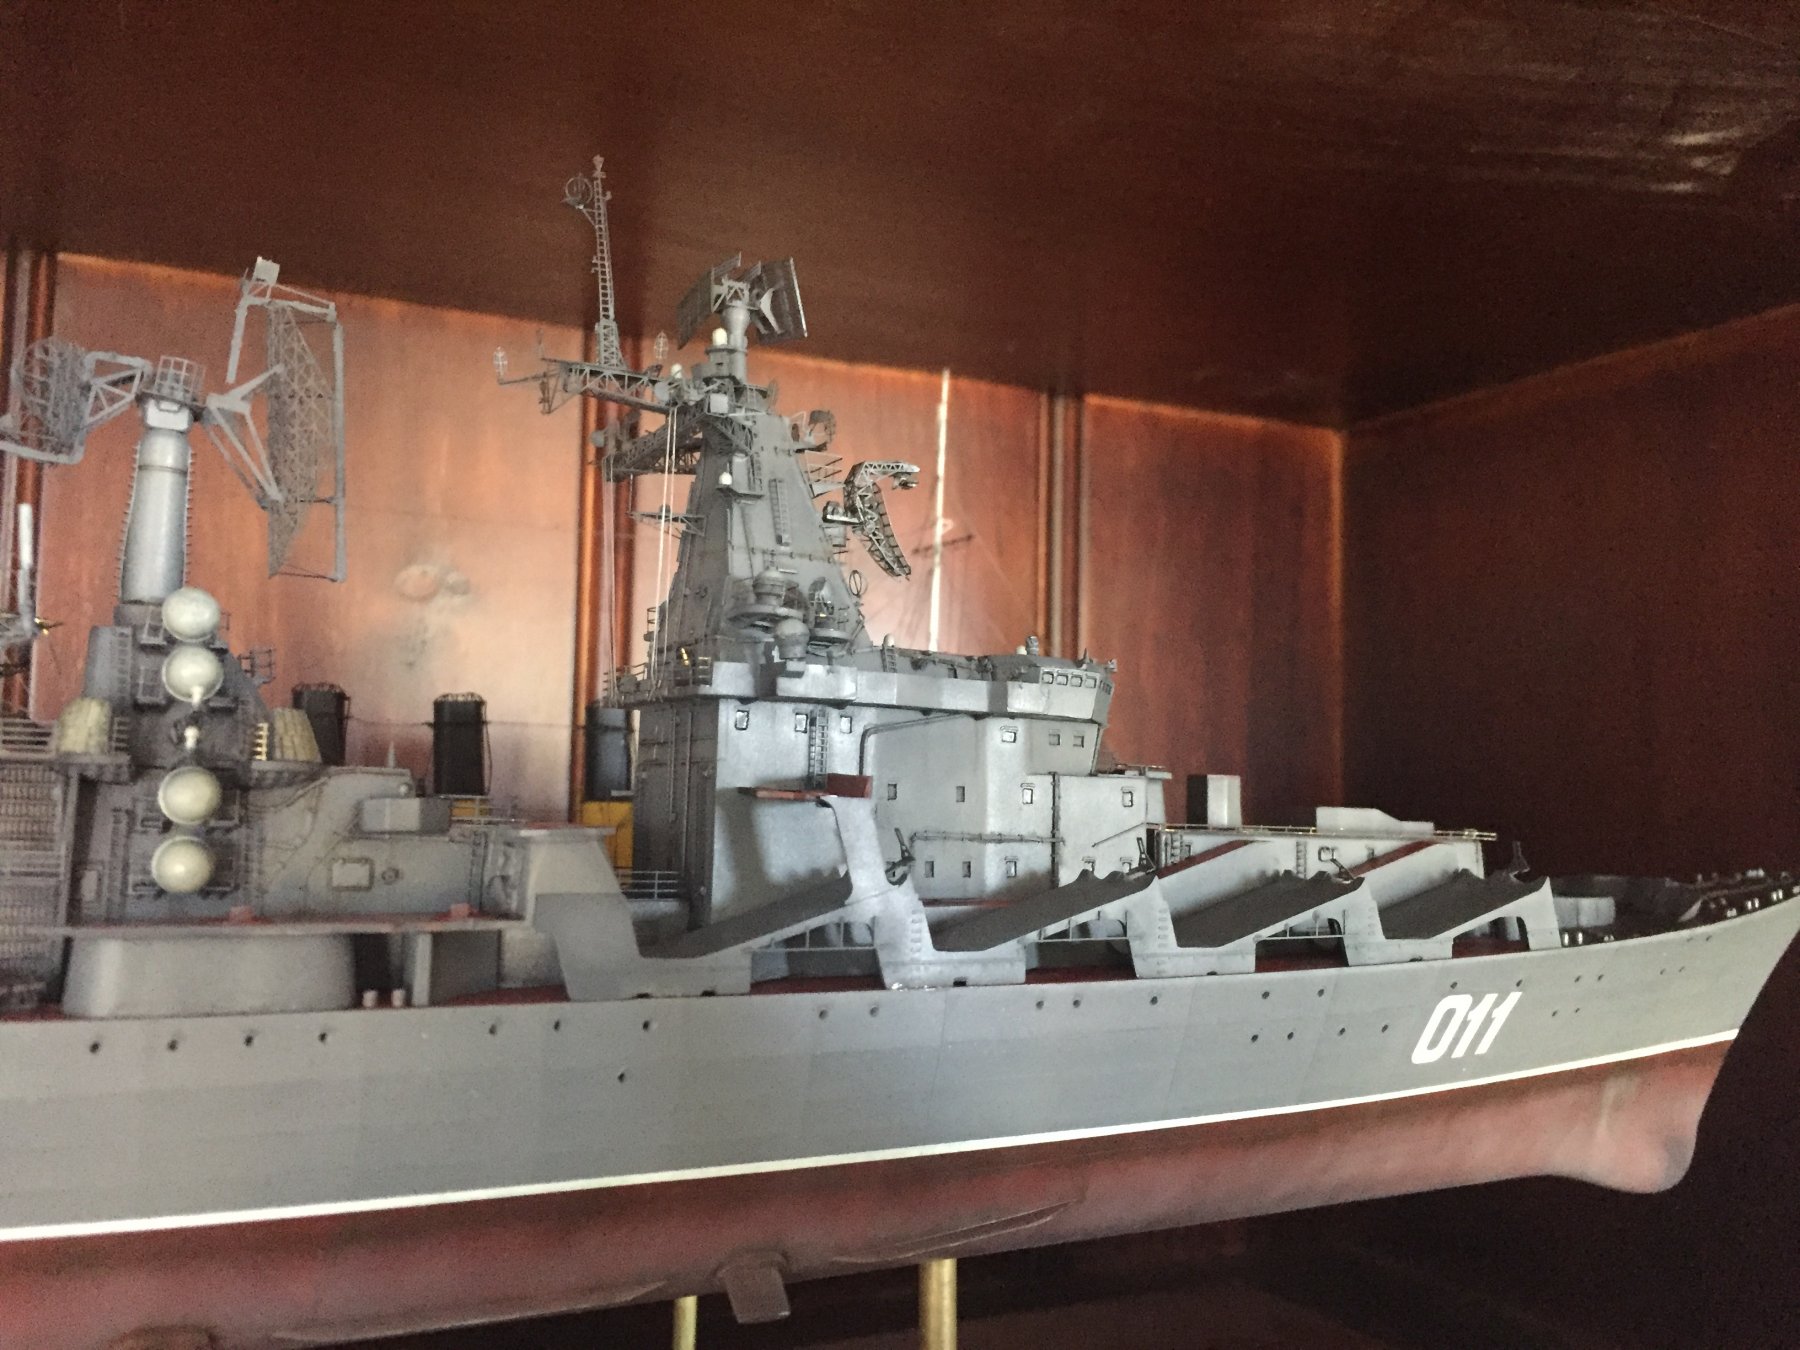
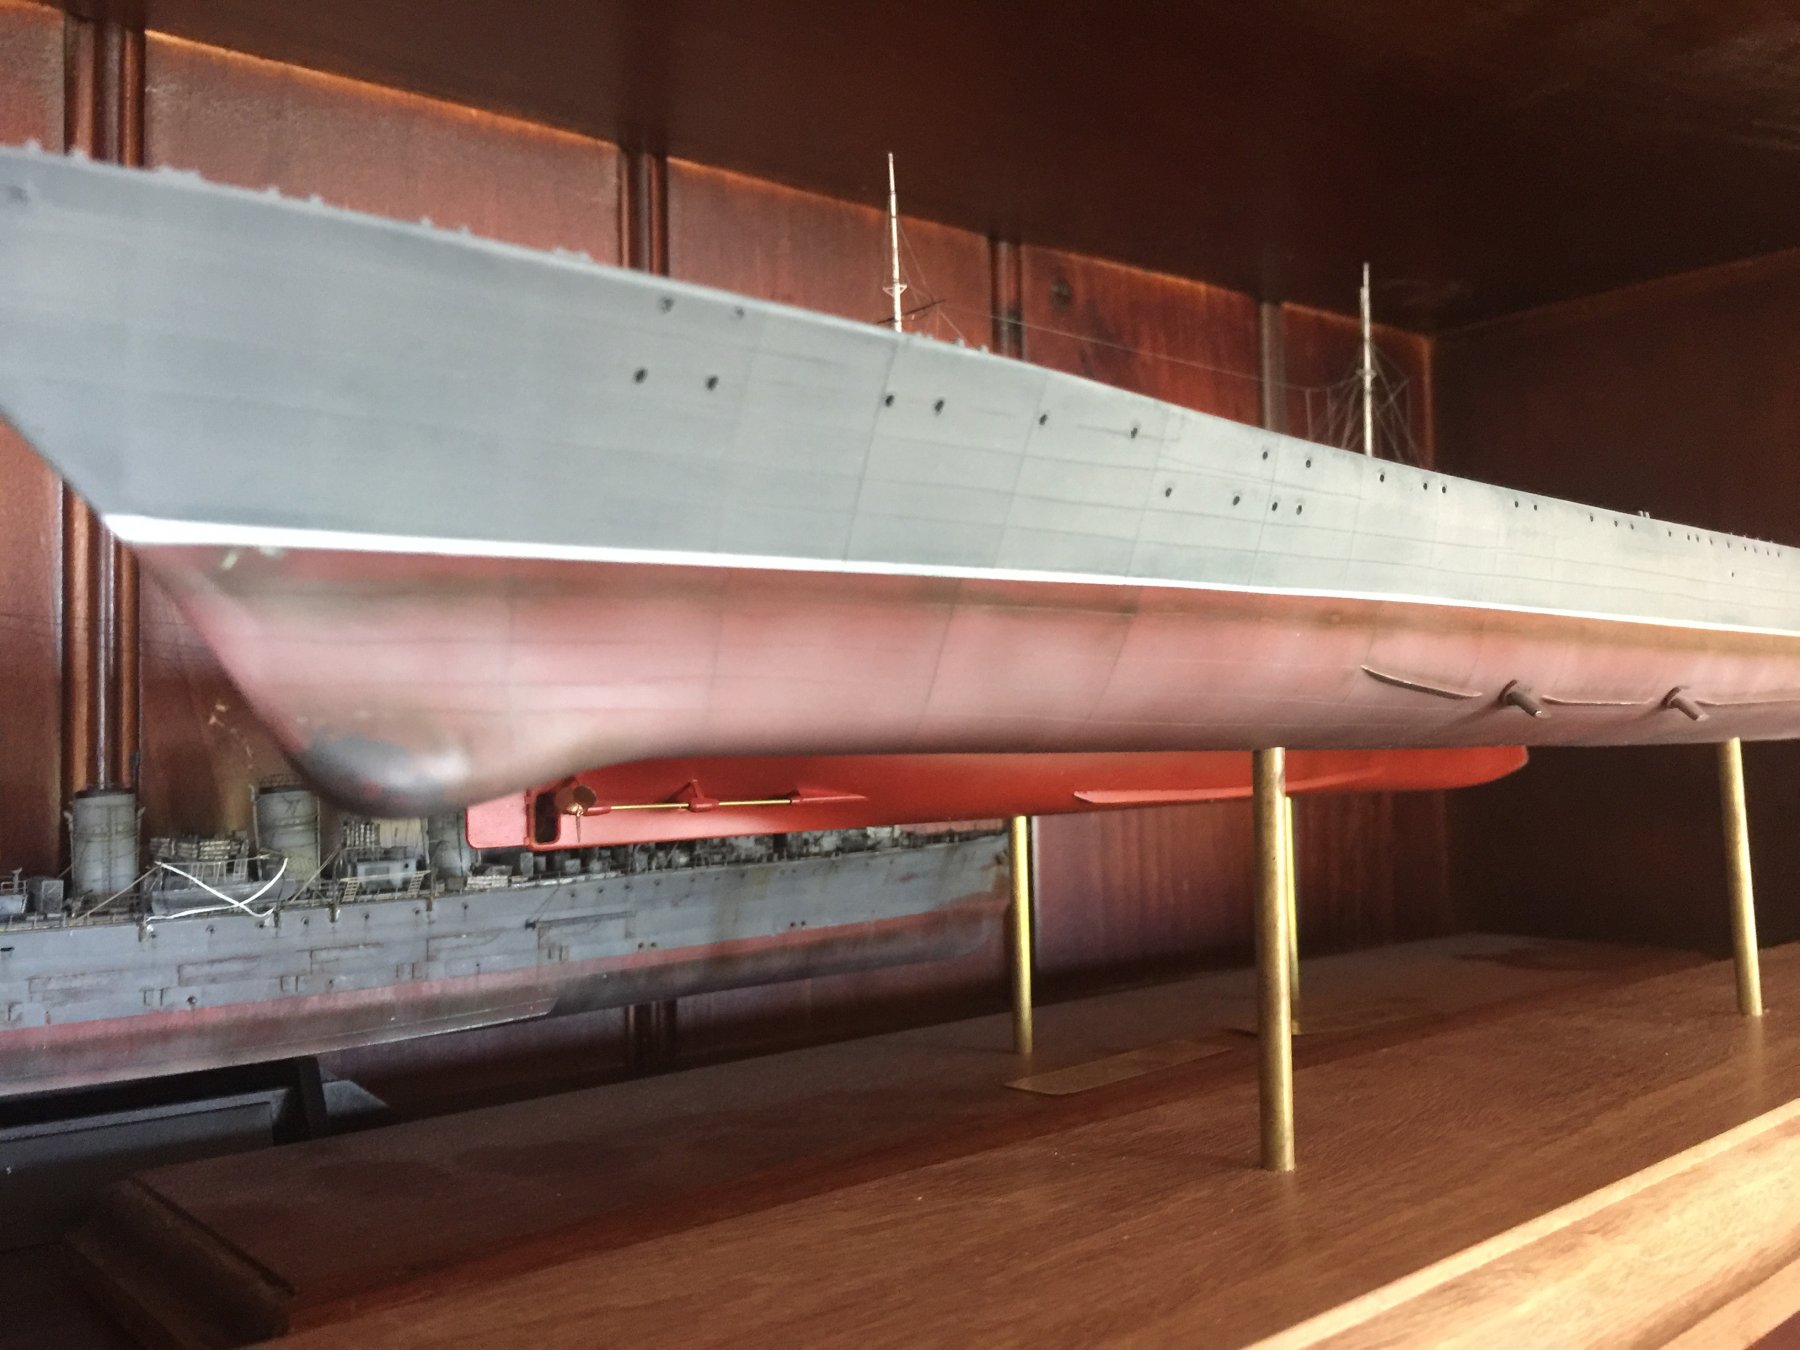
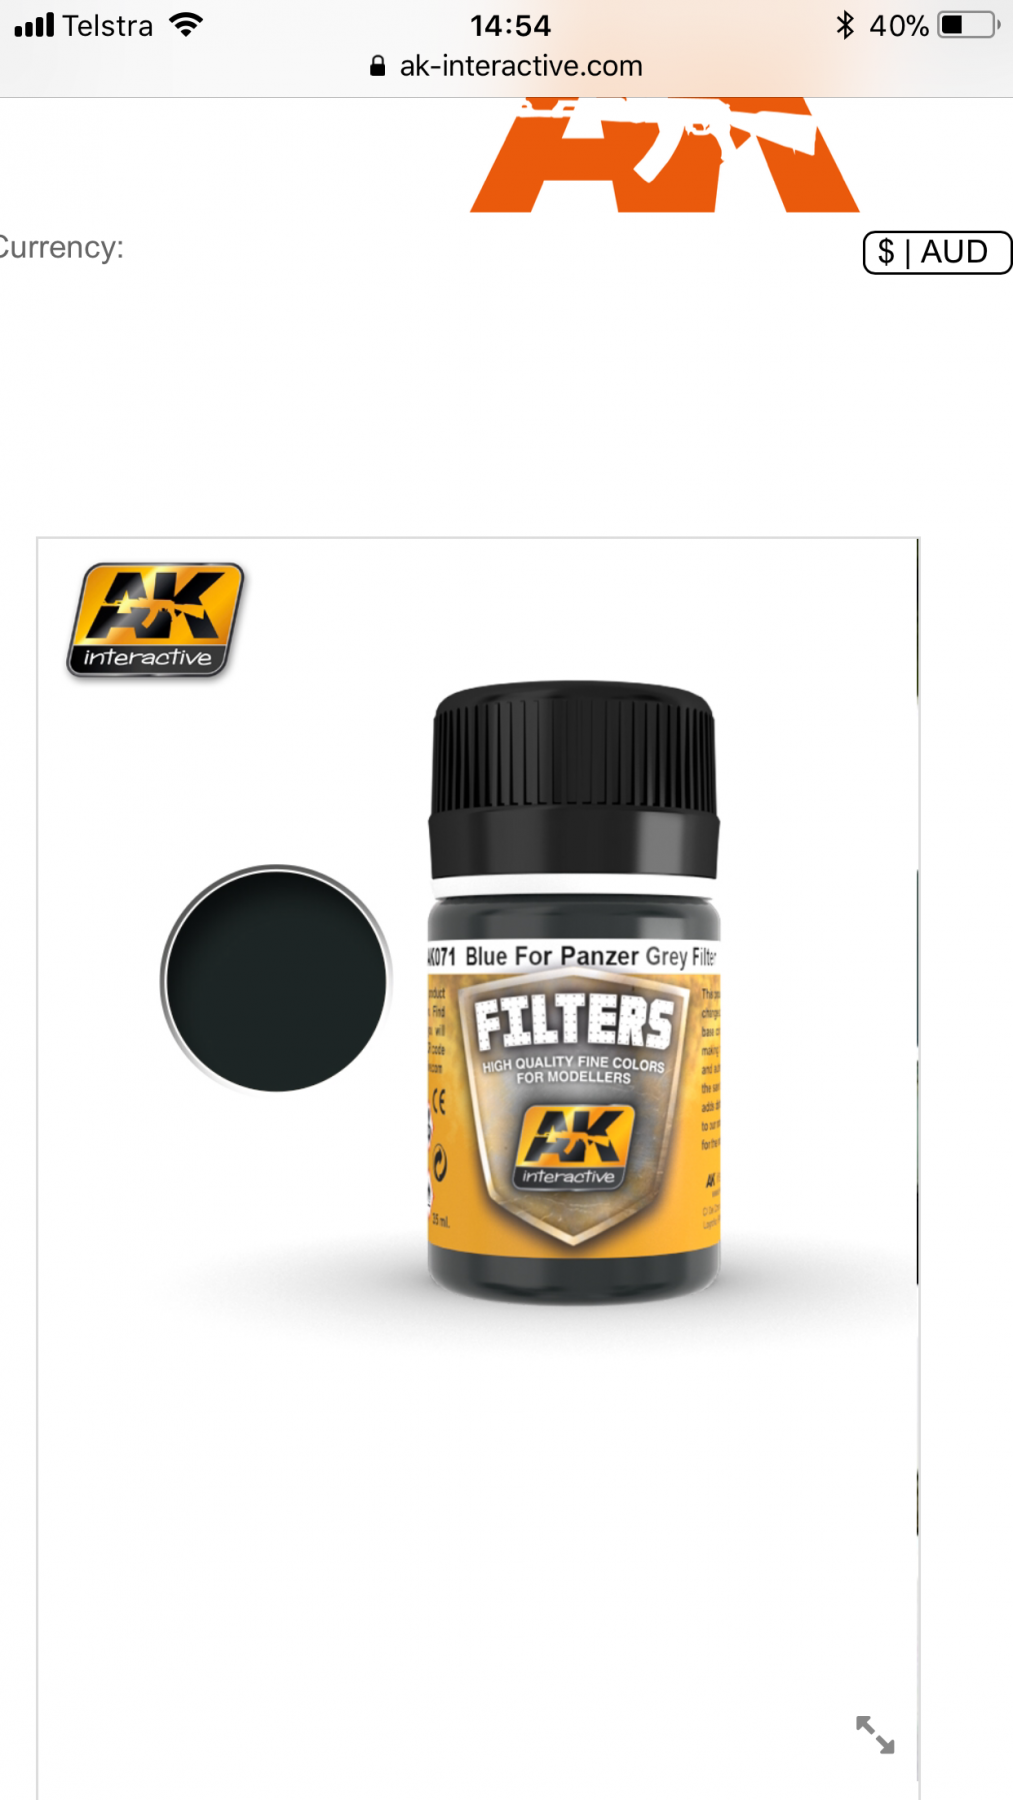
IJN grey, modulated with gull grey then oversprayed with 50% light grey all covered with a blue filter.
-
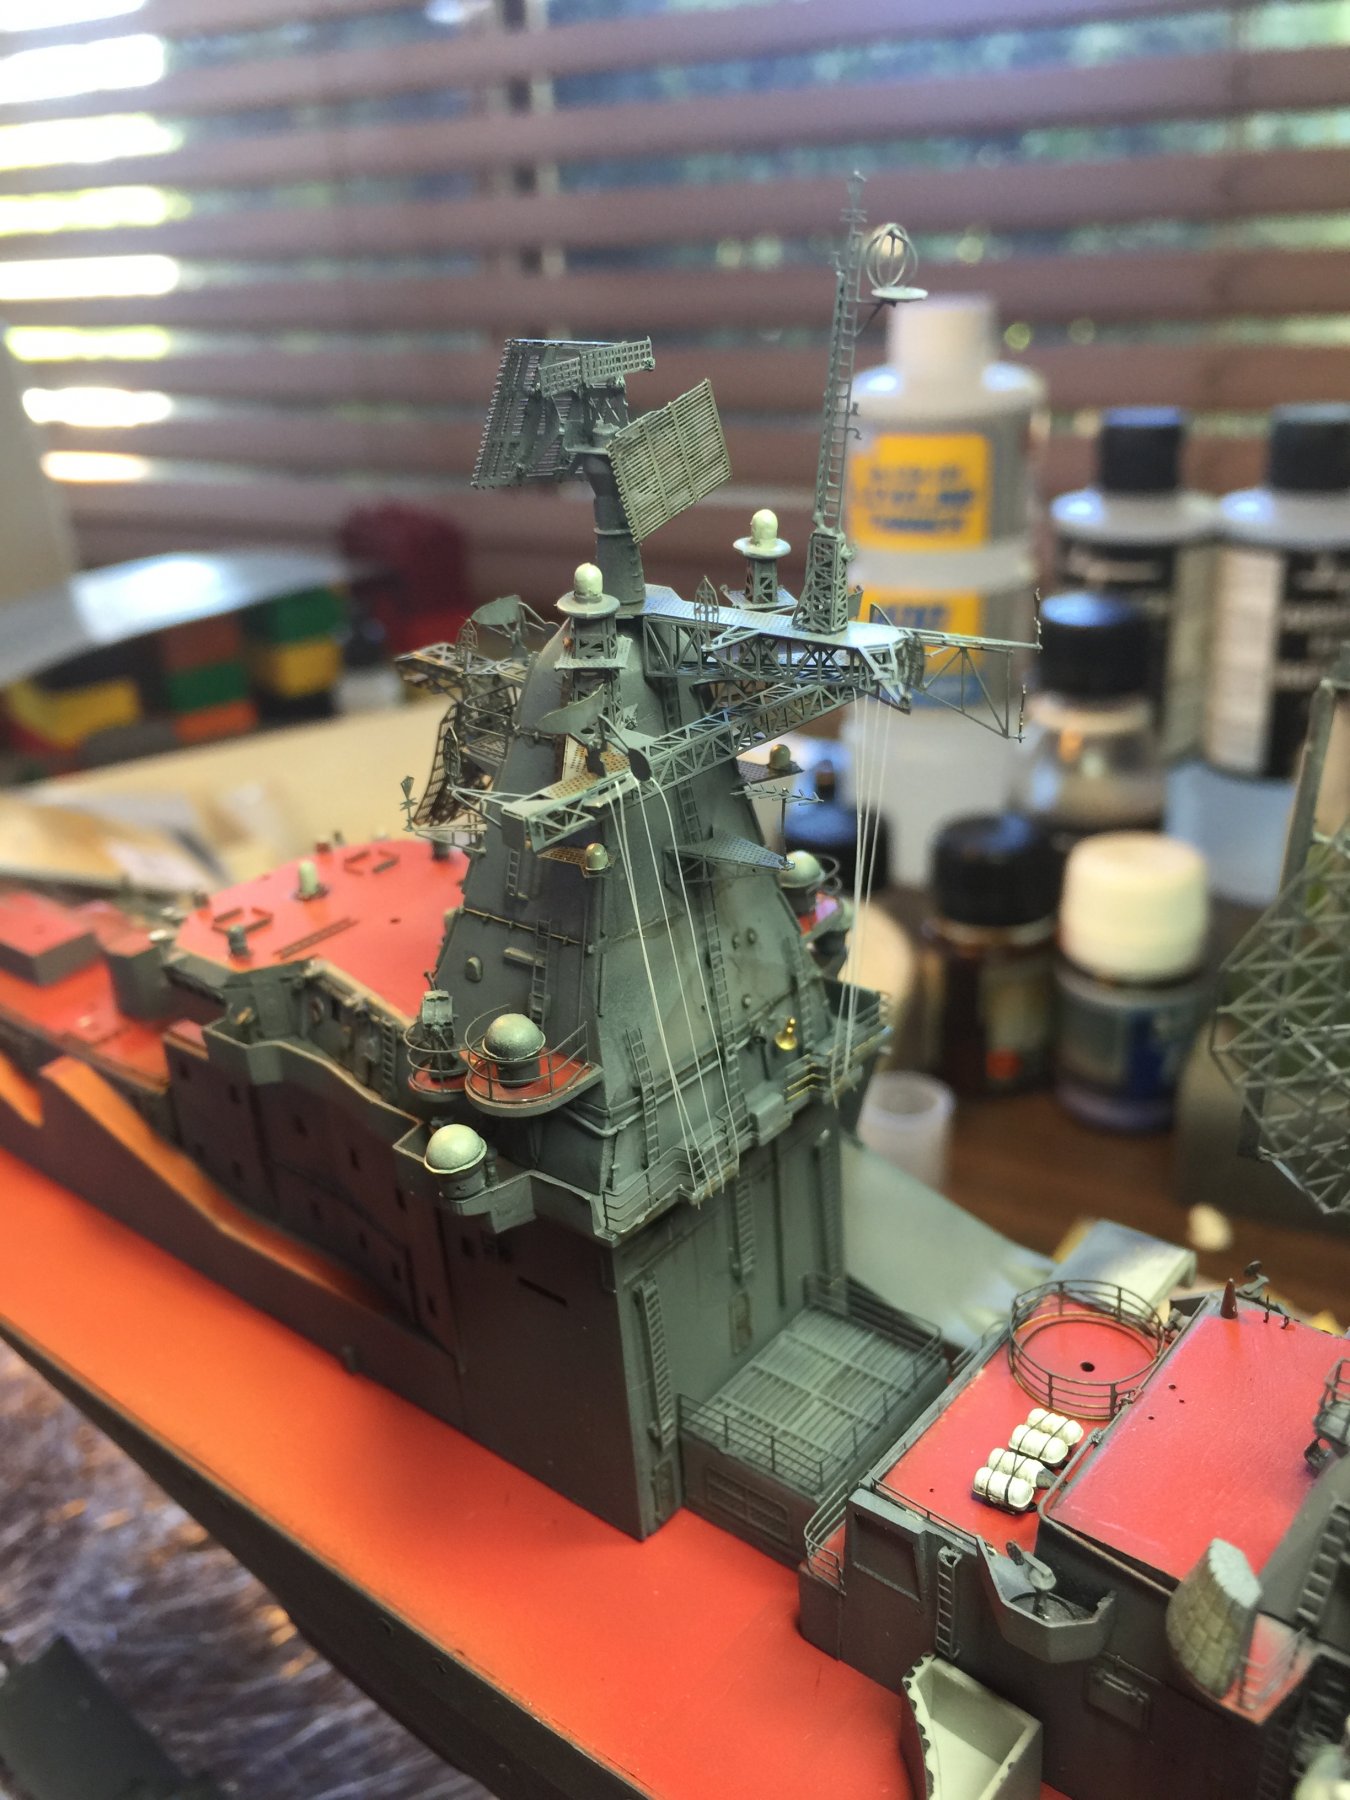
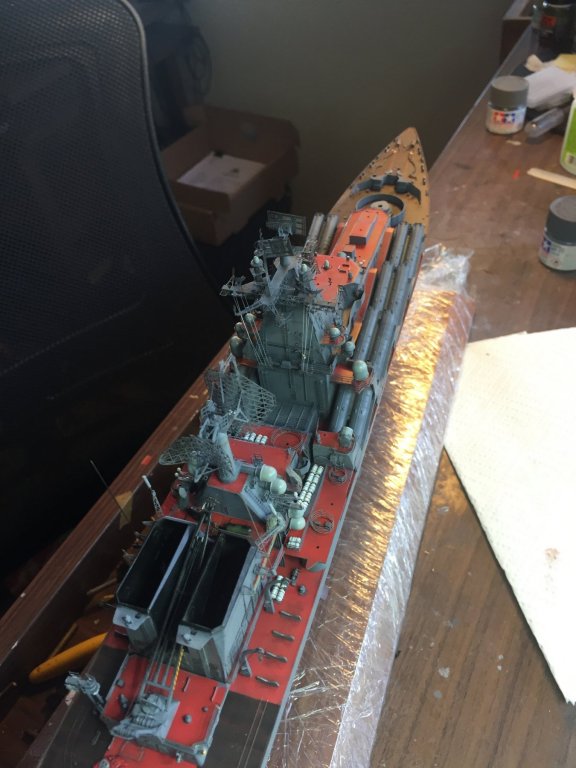
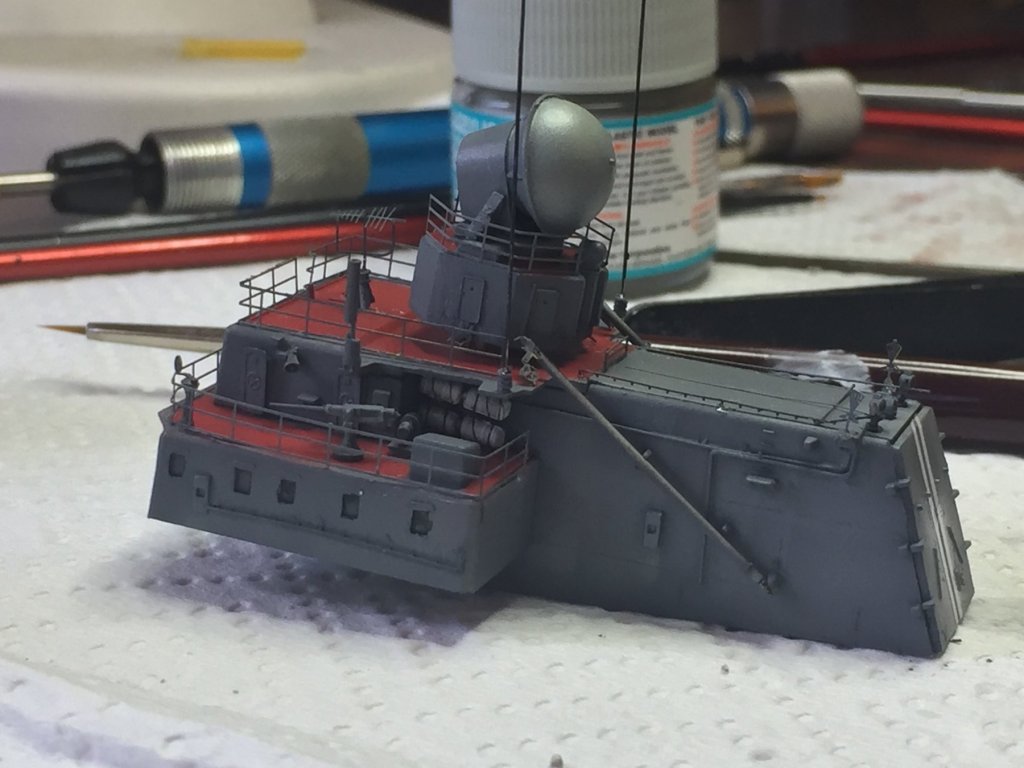
The main superstructure was glued down today. There is a heap of aftermarket to go on this, a radar, rocket launchers, CiWs and probably about 10 whip arials (as they are acupuncture needles they need to go on after also I don’t put them through my hand). I’ve grunged it up a bit and tried to dry fit the 16 rocket canisters on the side which should fit flush to the hull but they don’t. Meh.

-
Next is to throw a weeks with of preparation, the SAMs, fire controllers, davits with added details (seriously they were plastic sticks), battle cameras, the life bouy canisters, a few more winches

- 180 replies
-
- 11
-
-
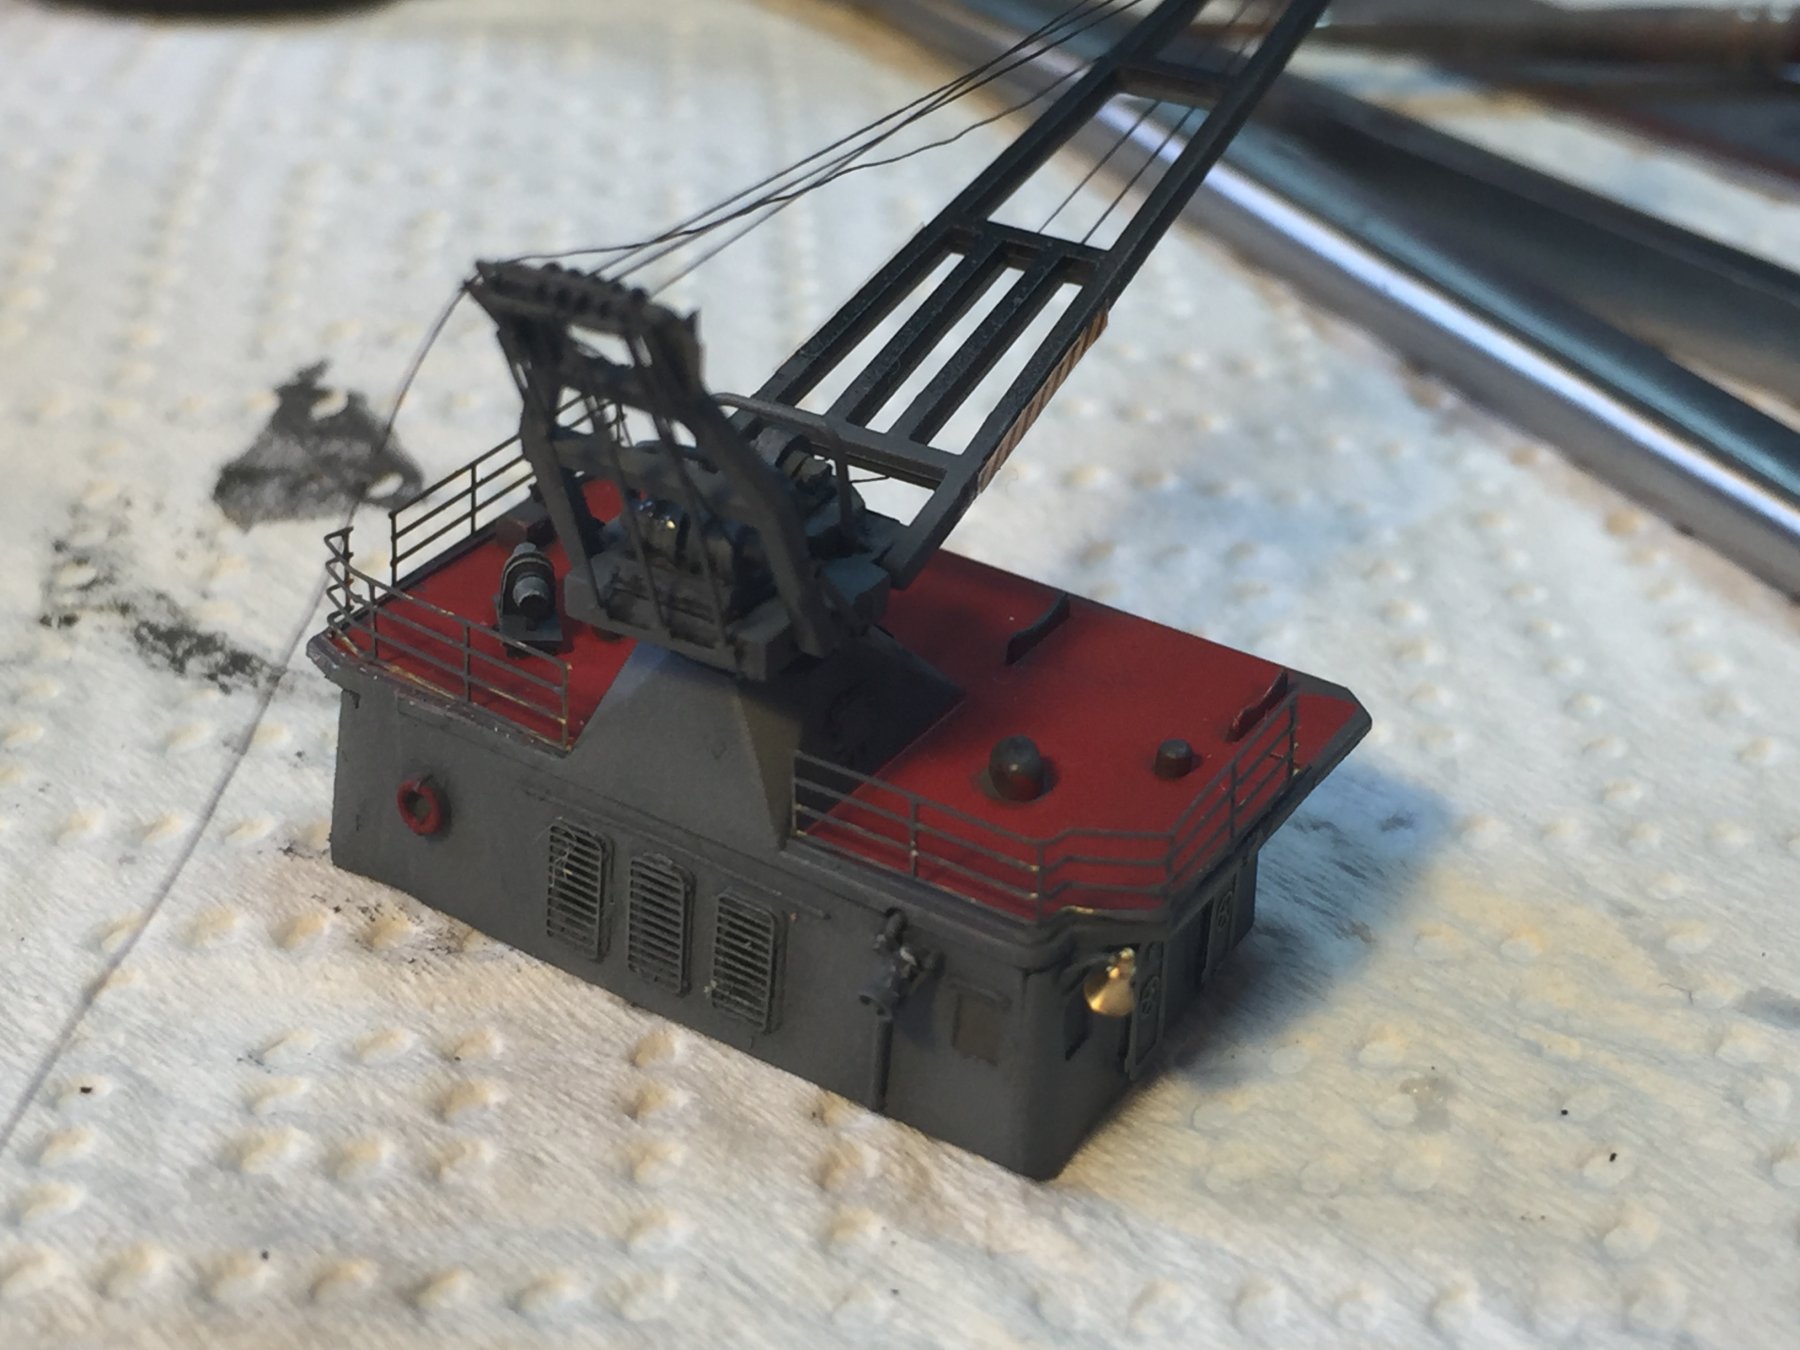
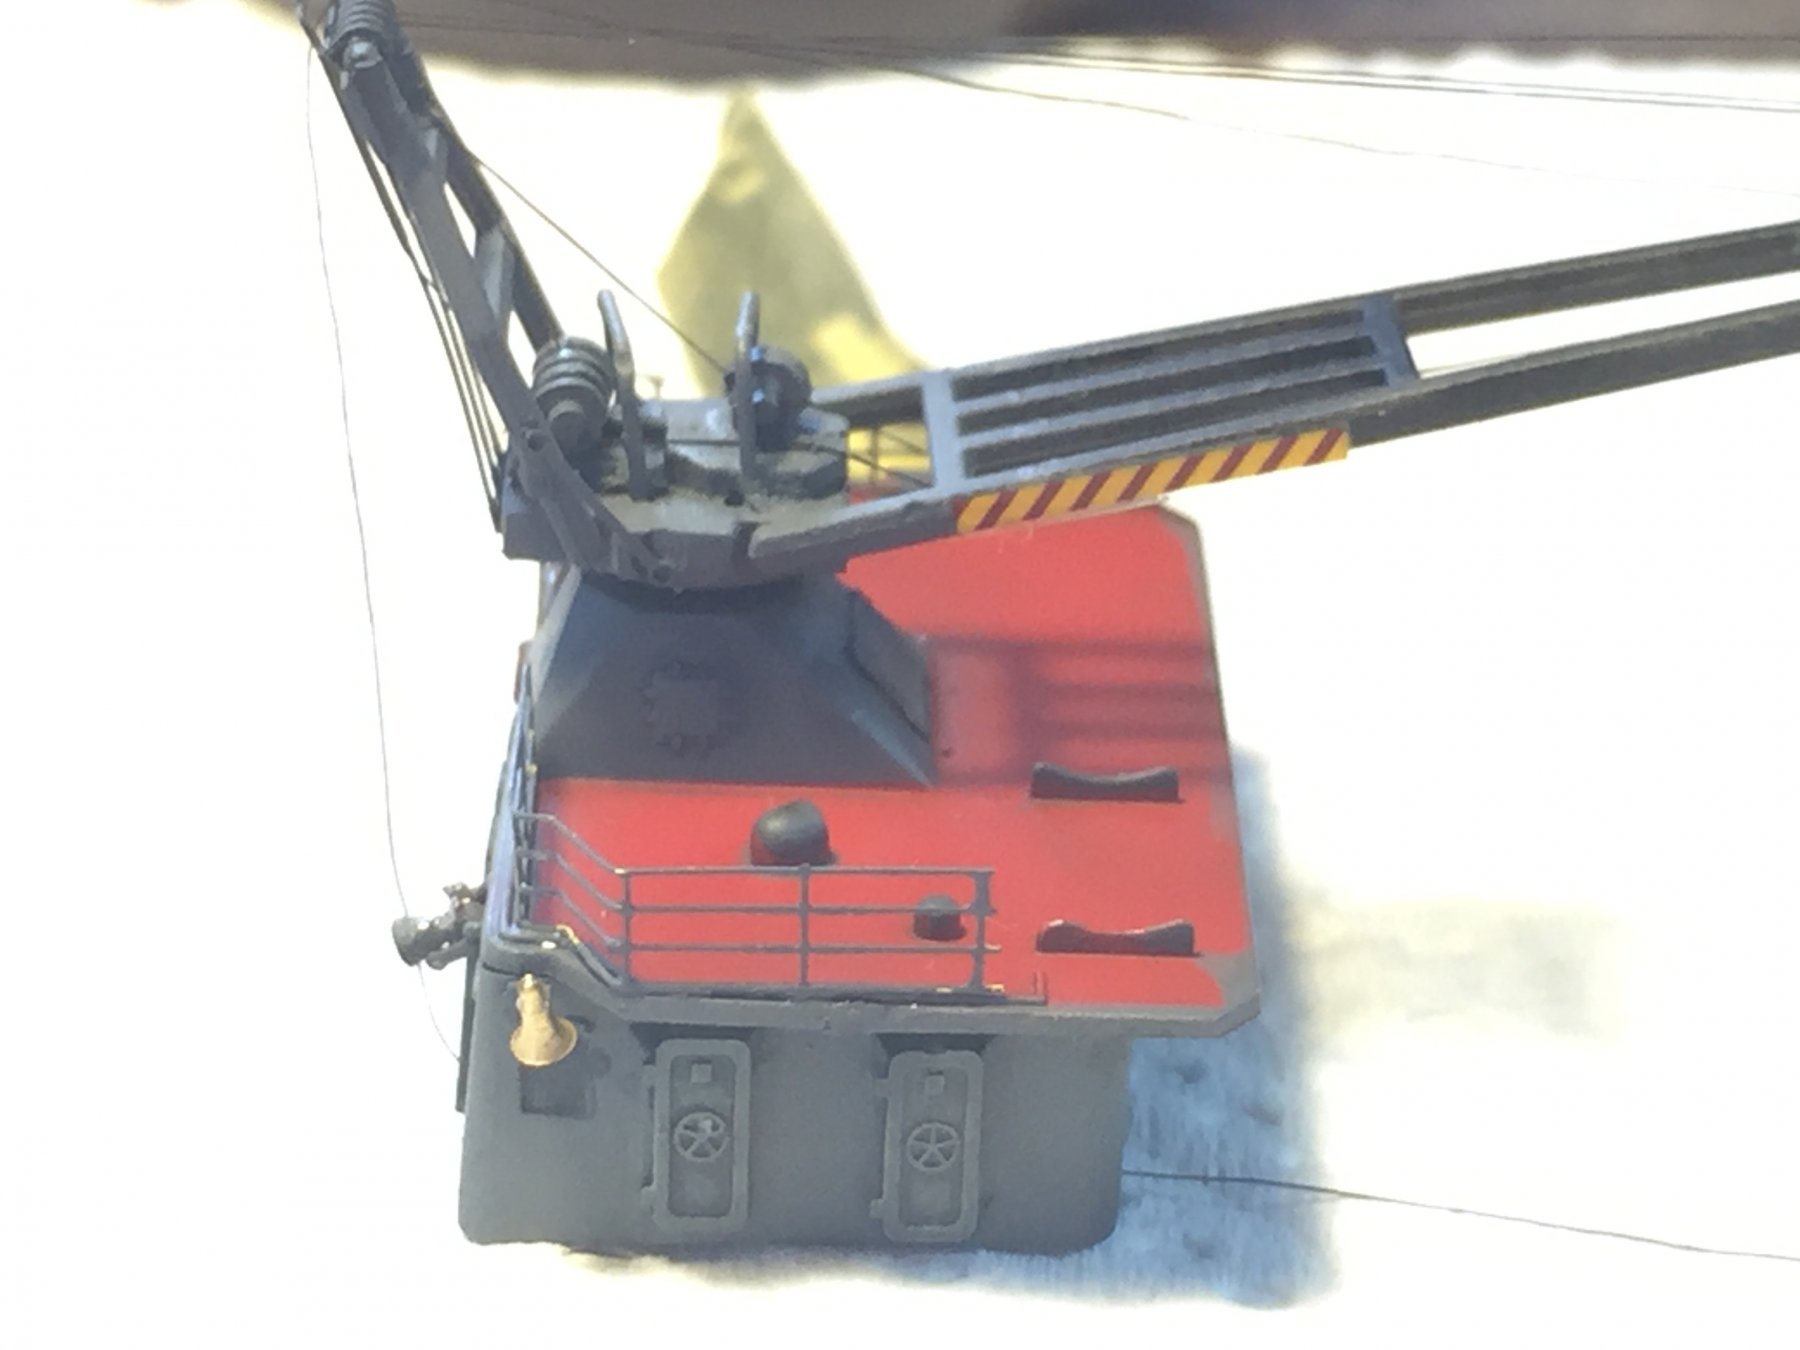
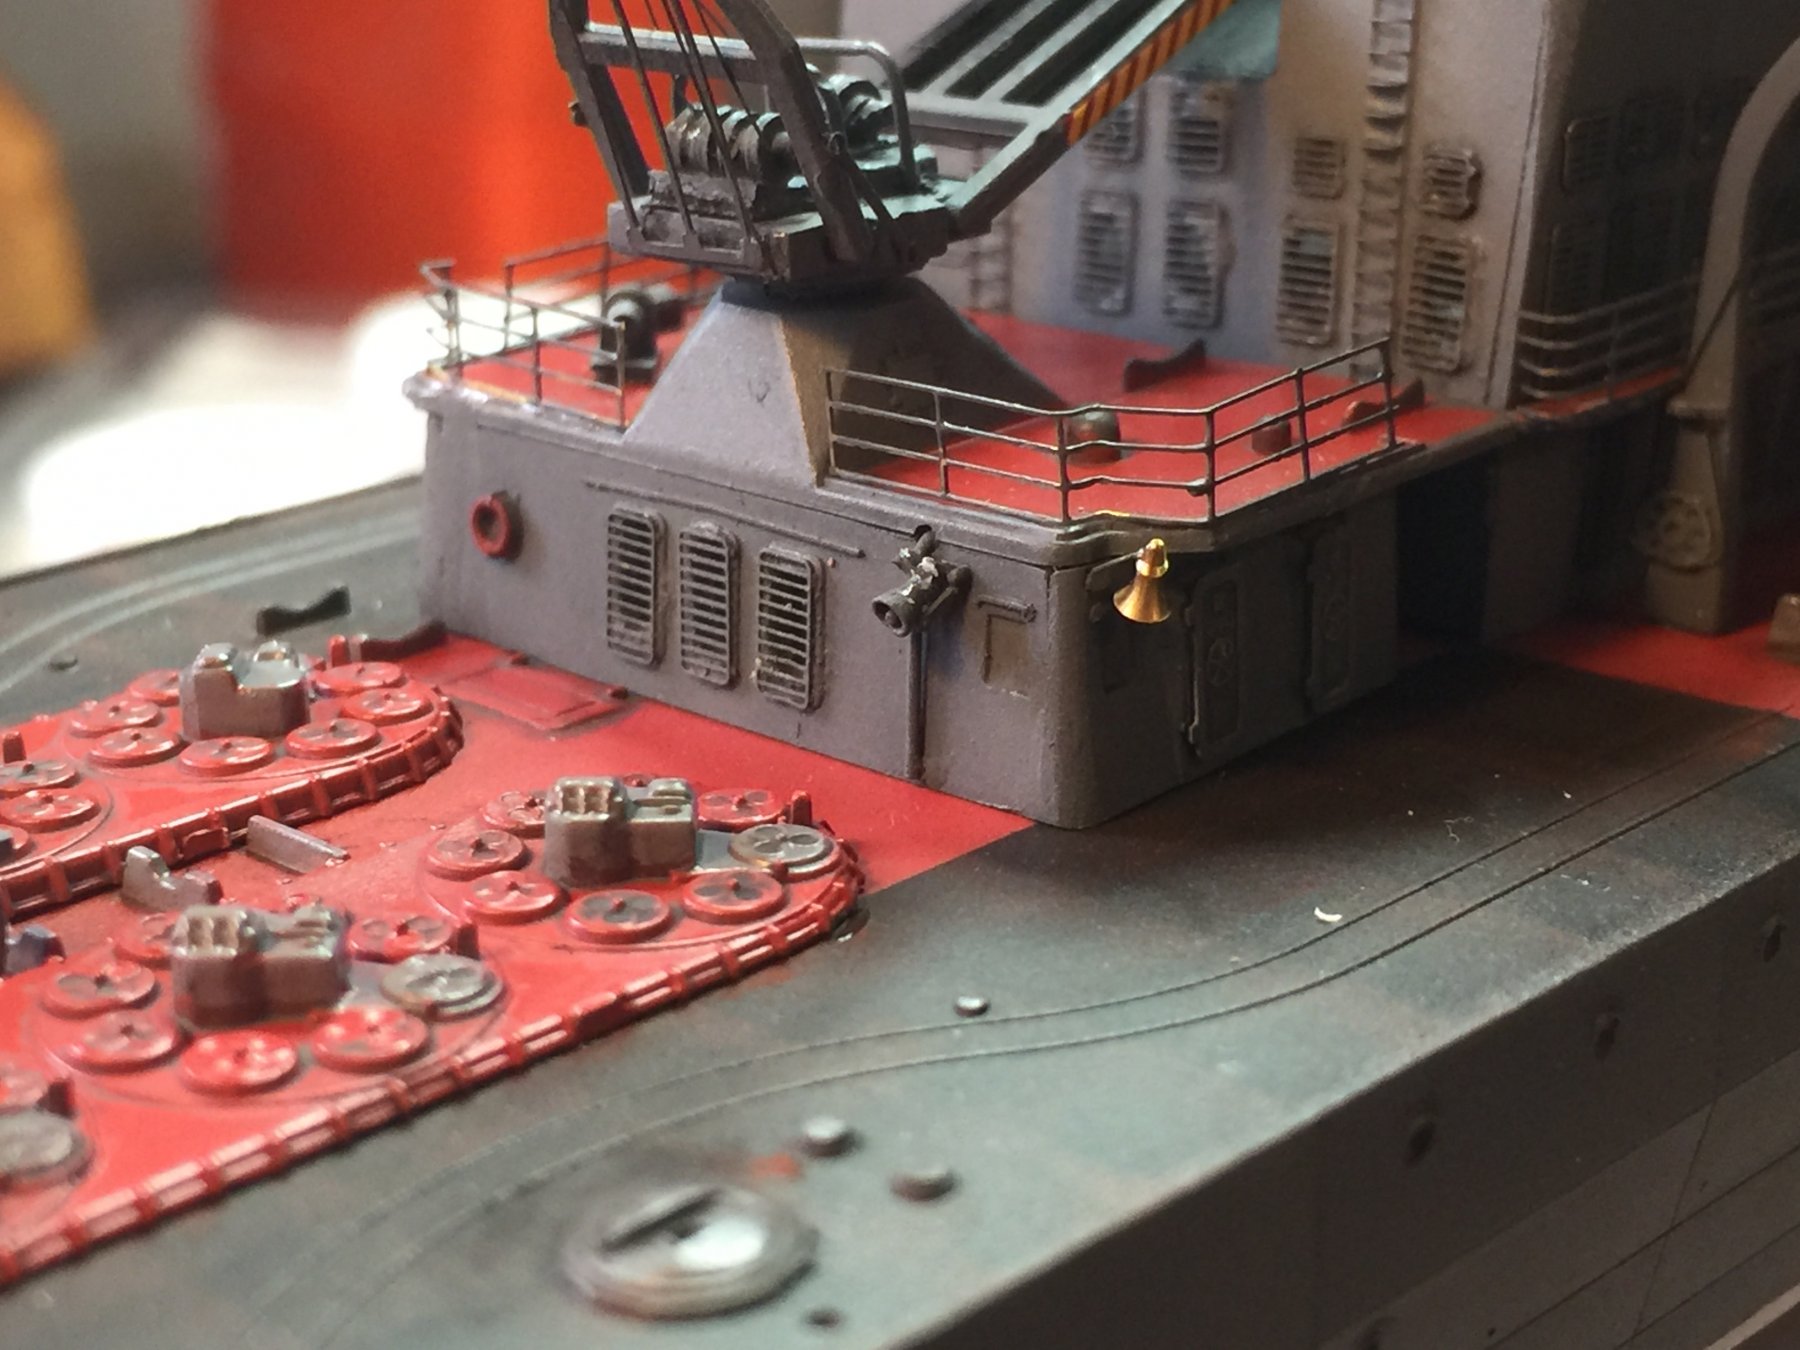
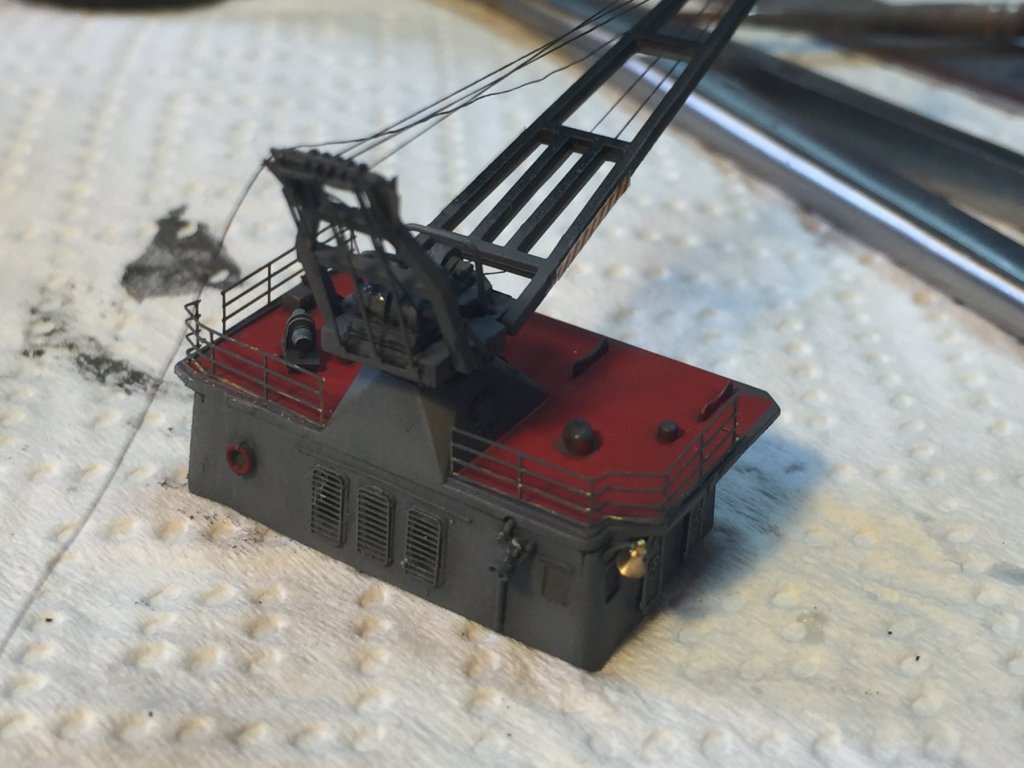
The crane, apart from the plastic frame is pretty much scratch built. Also you can see the tannoy and the first of 2 ships bells.


-
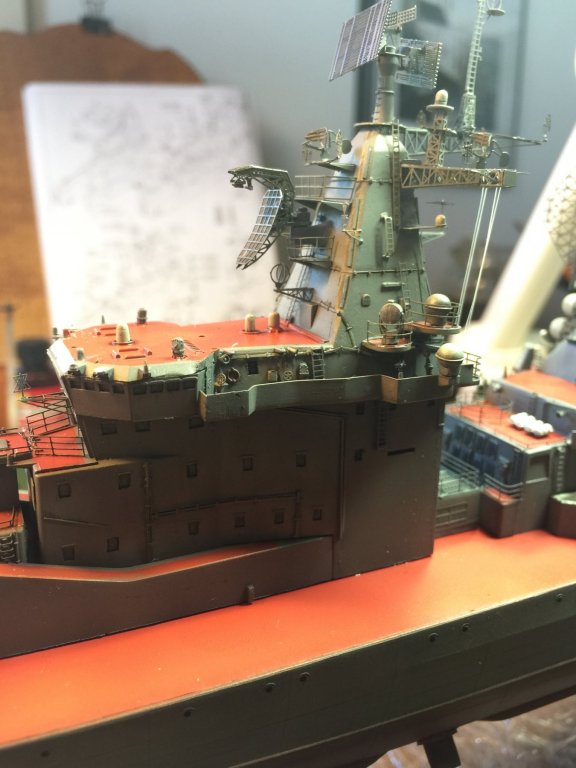
It more so the manual handling of att hung railing that does it I think. I’ve now glued down the stacks and the hangar plus the tops of the rocket silos.


-
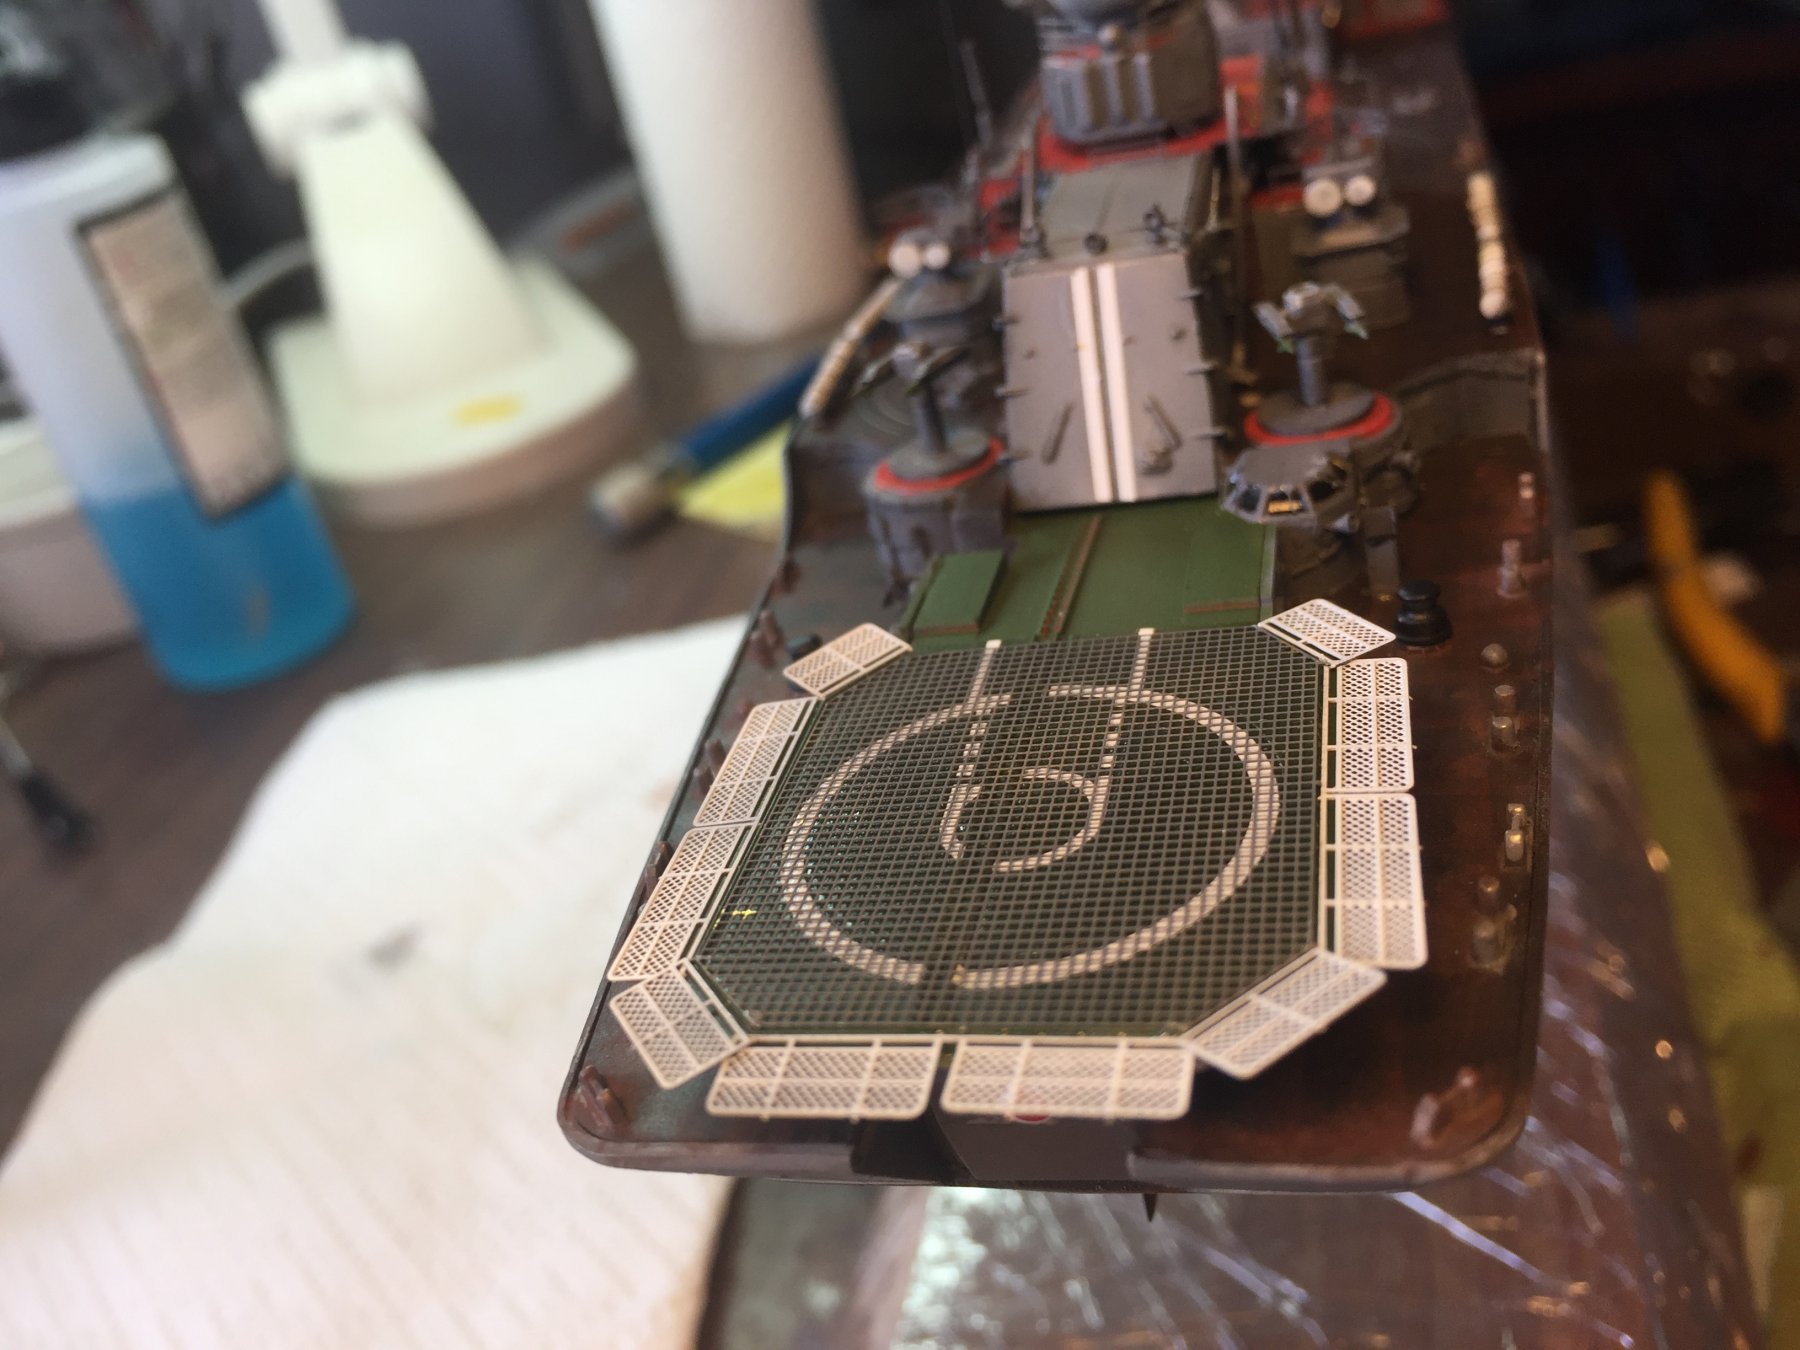
The hangar, everything has been glued on but not weathered yet. The thing about PE railing is no matter how well it’s primed, the paint chips off.
- 180 replies
-
- 13
-
-
One update PE set plus scratch/spares. I have finally received all of the other aftermarket for him being the guns and rocket launchers
-
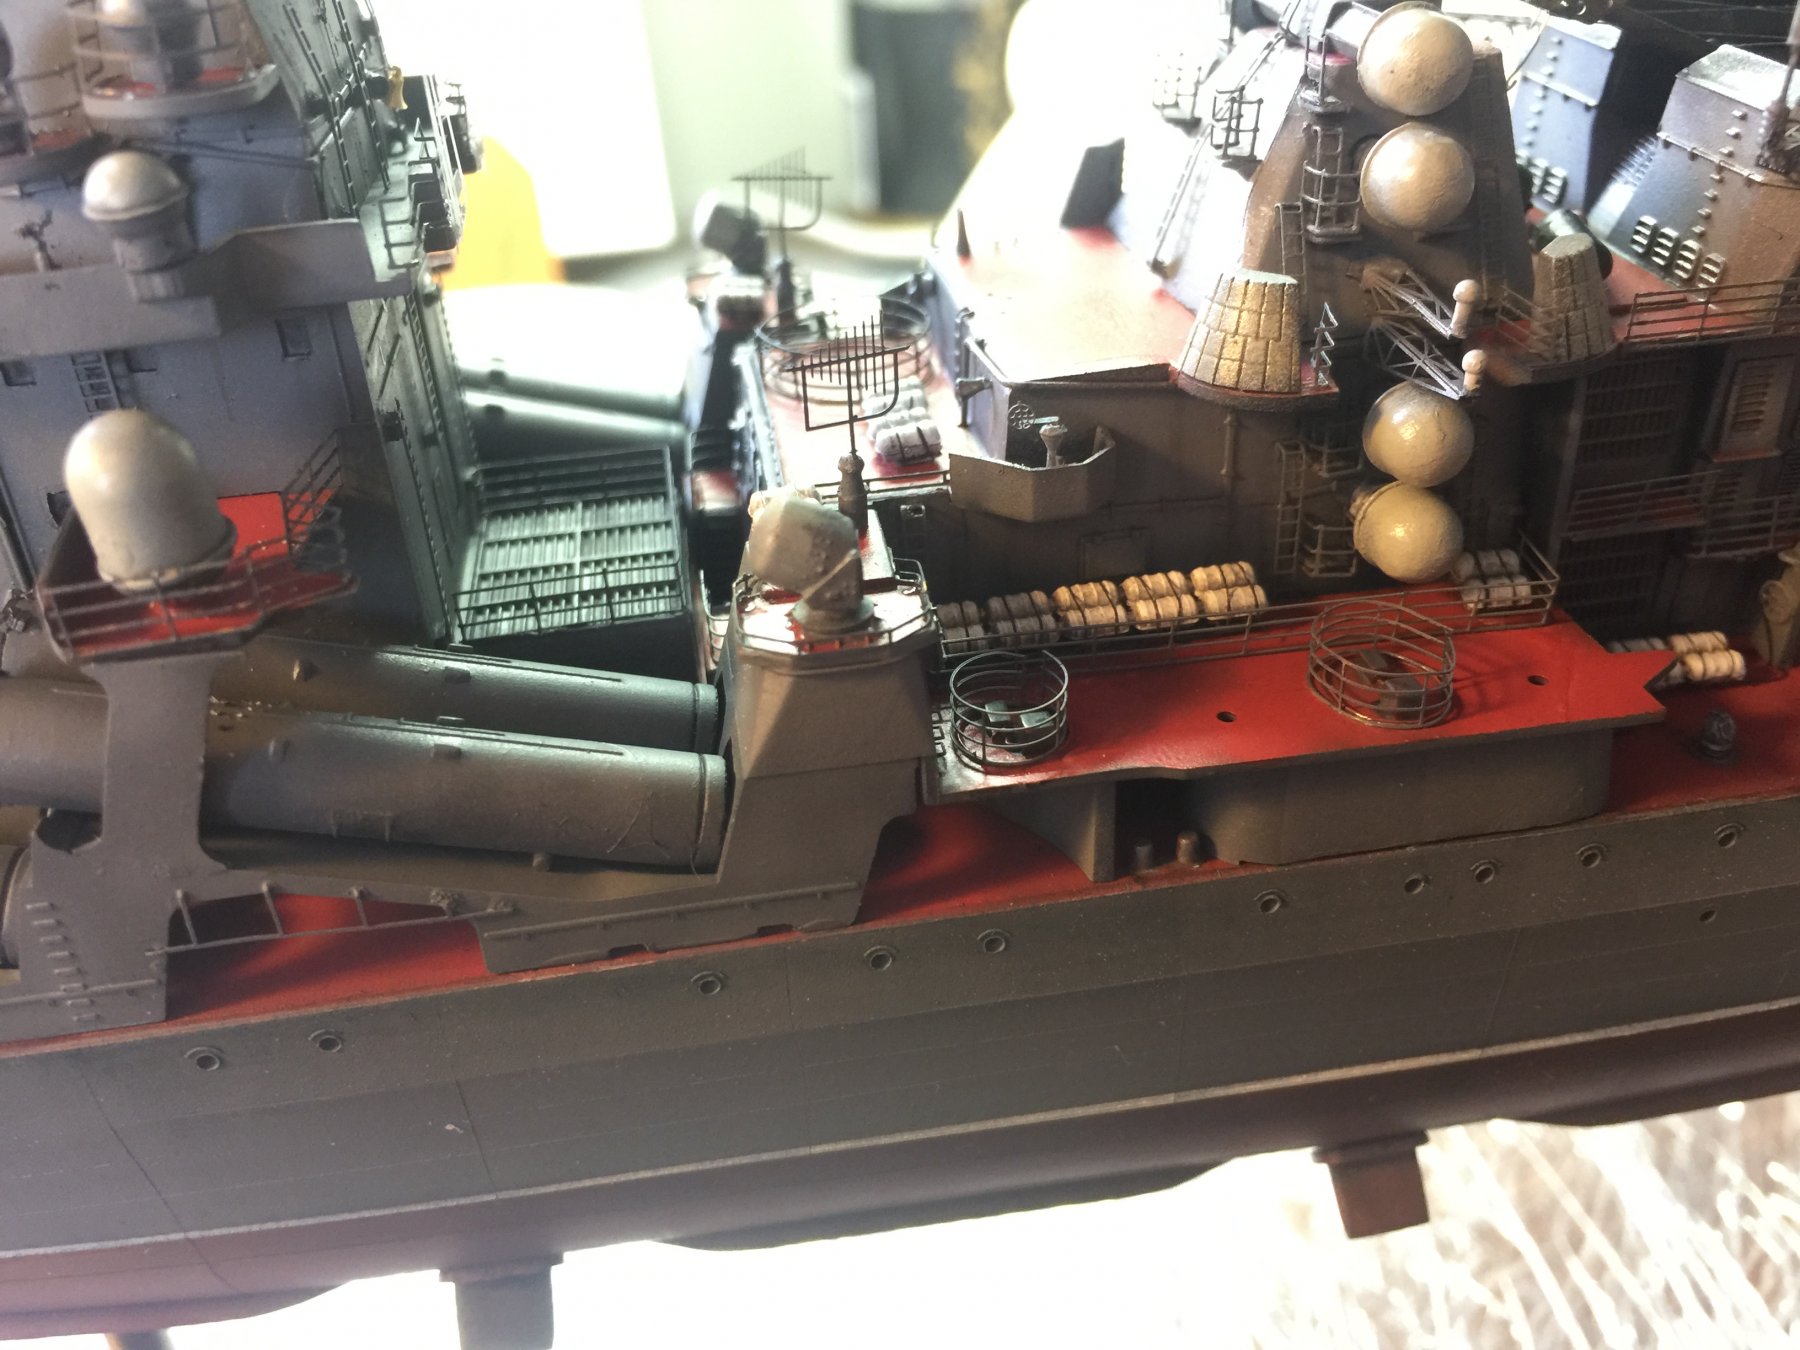
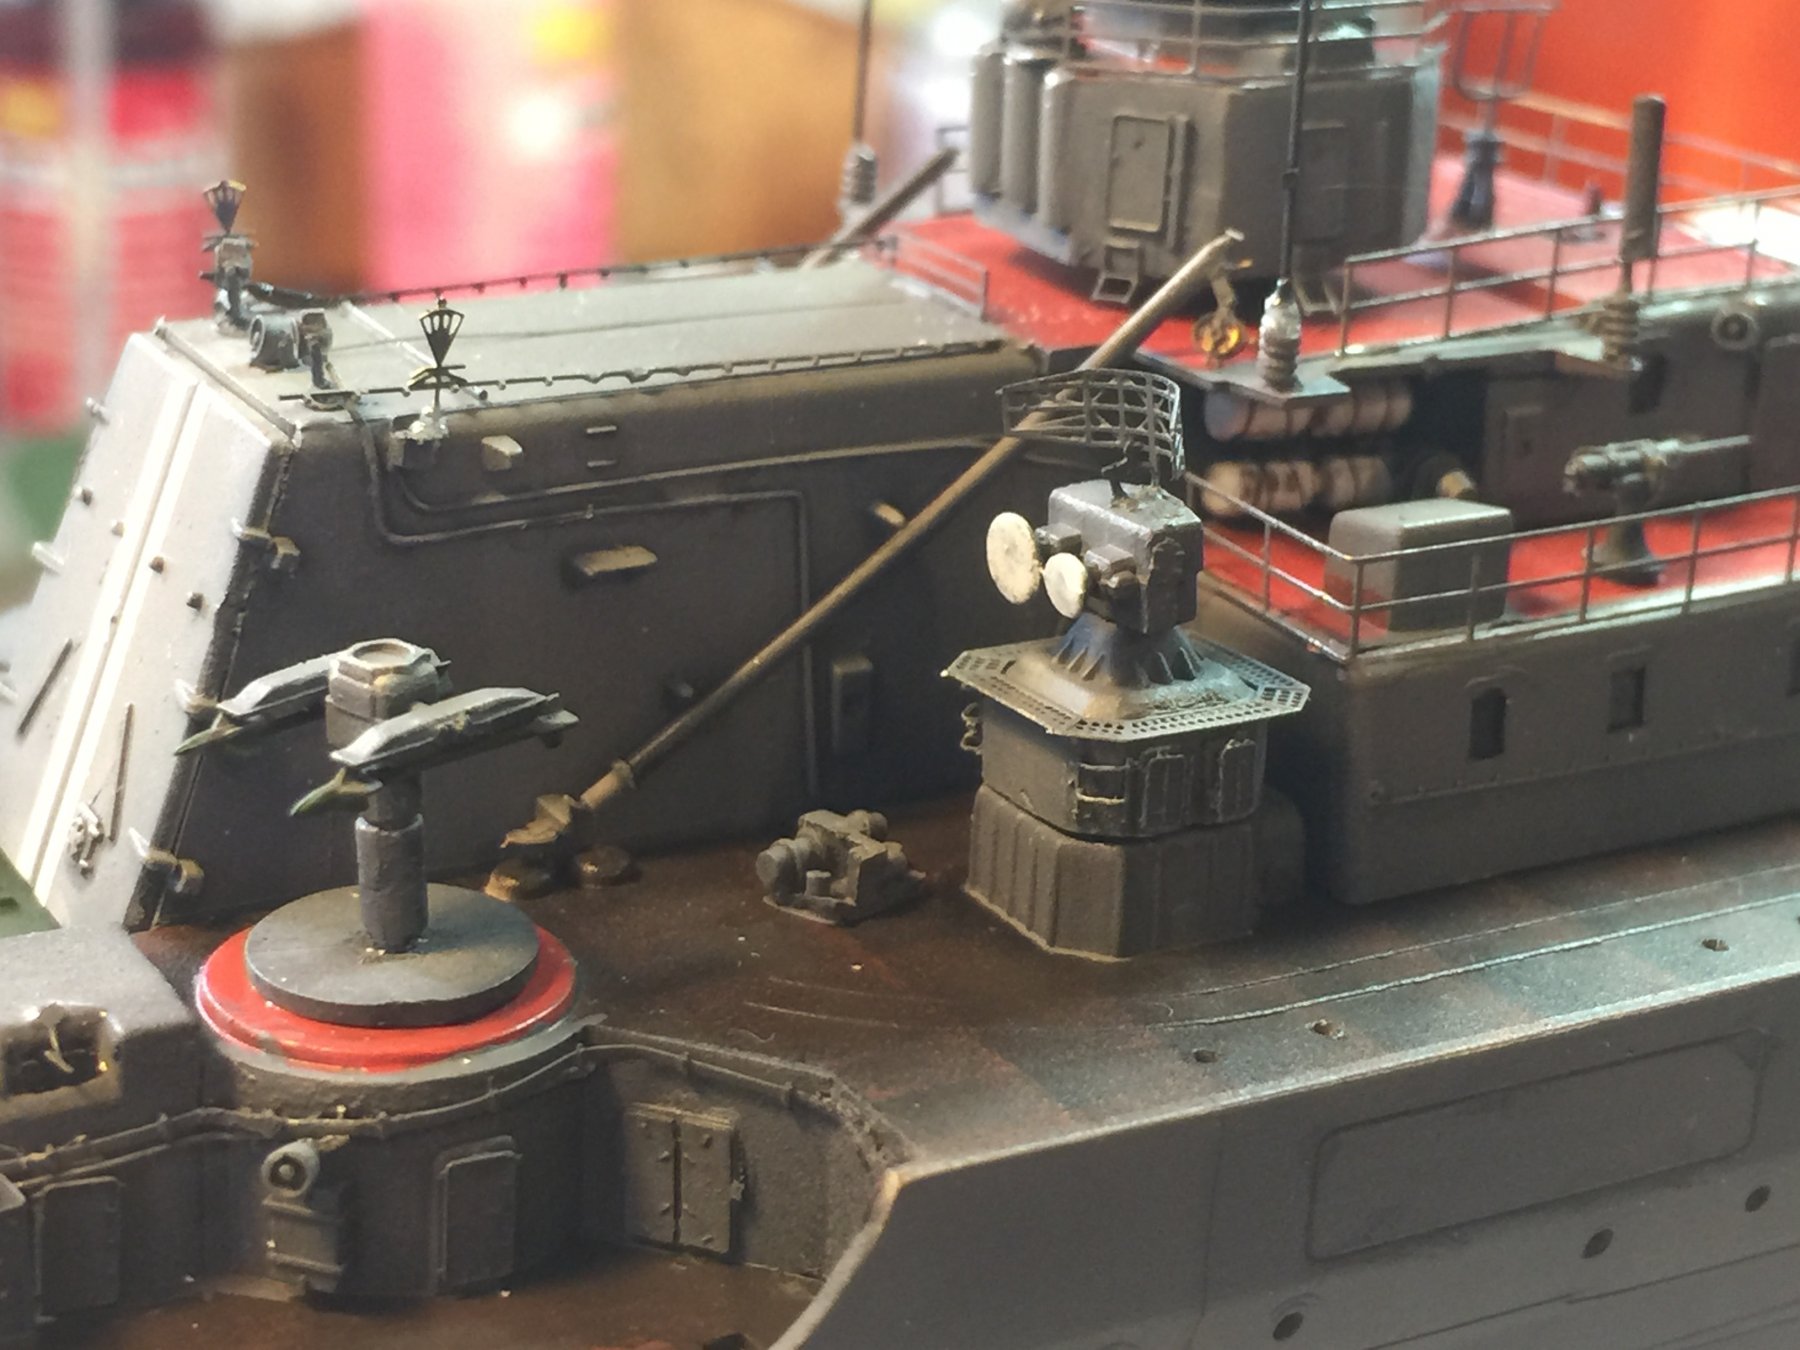
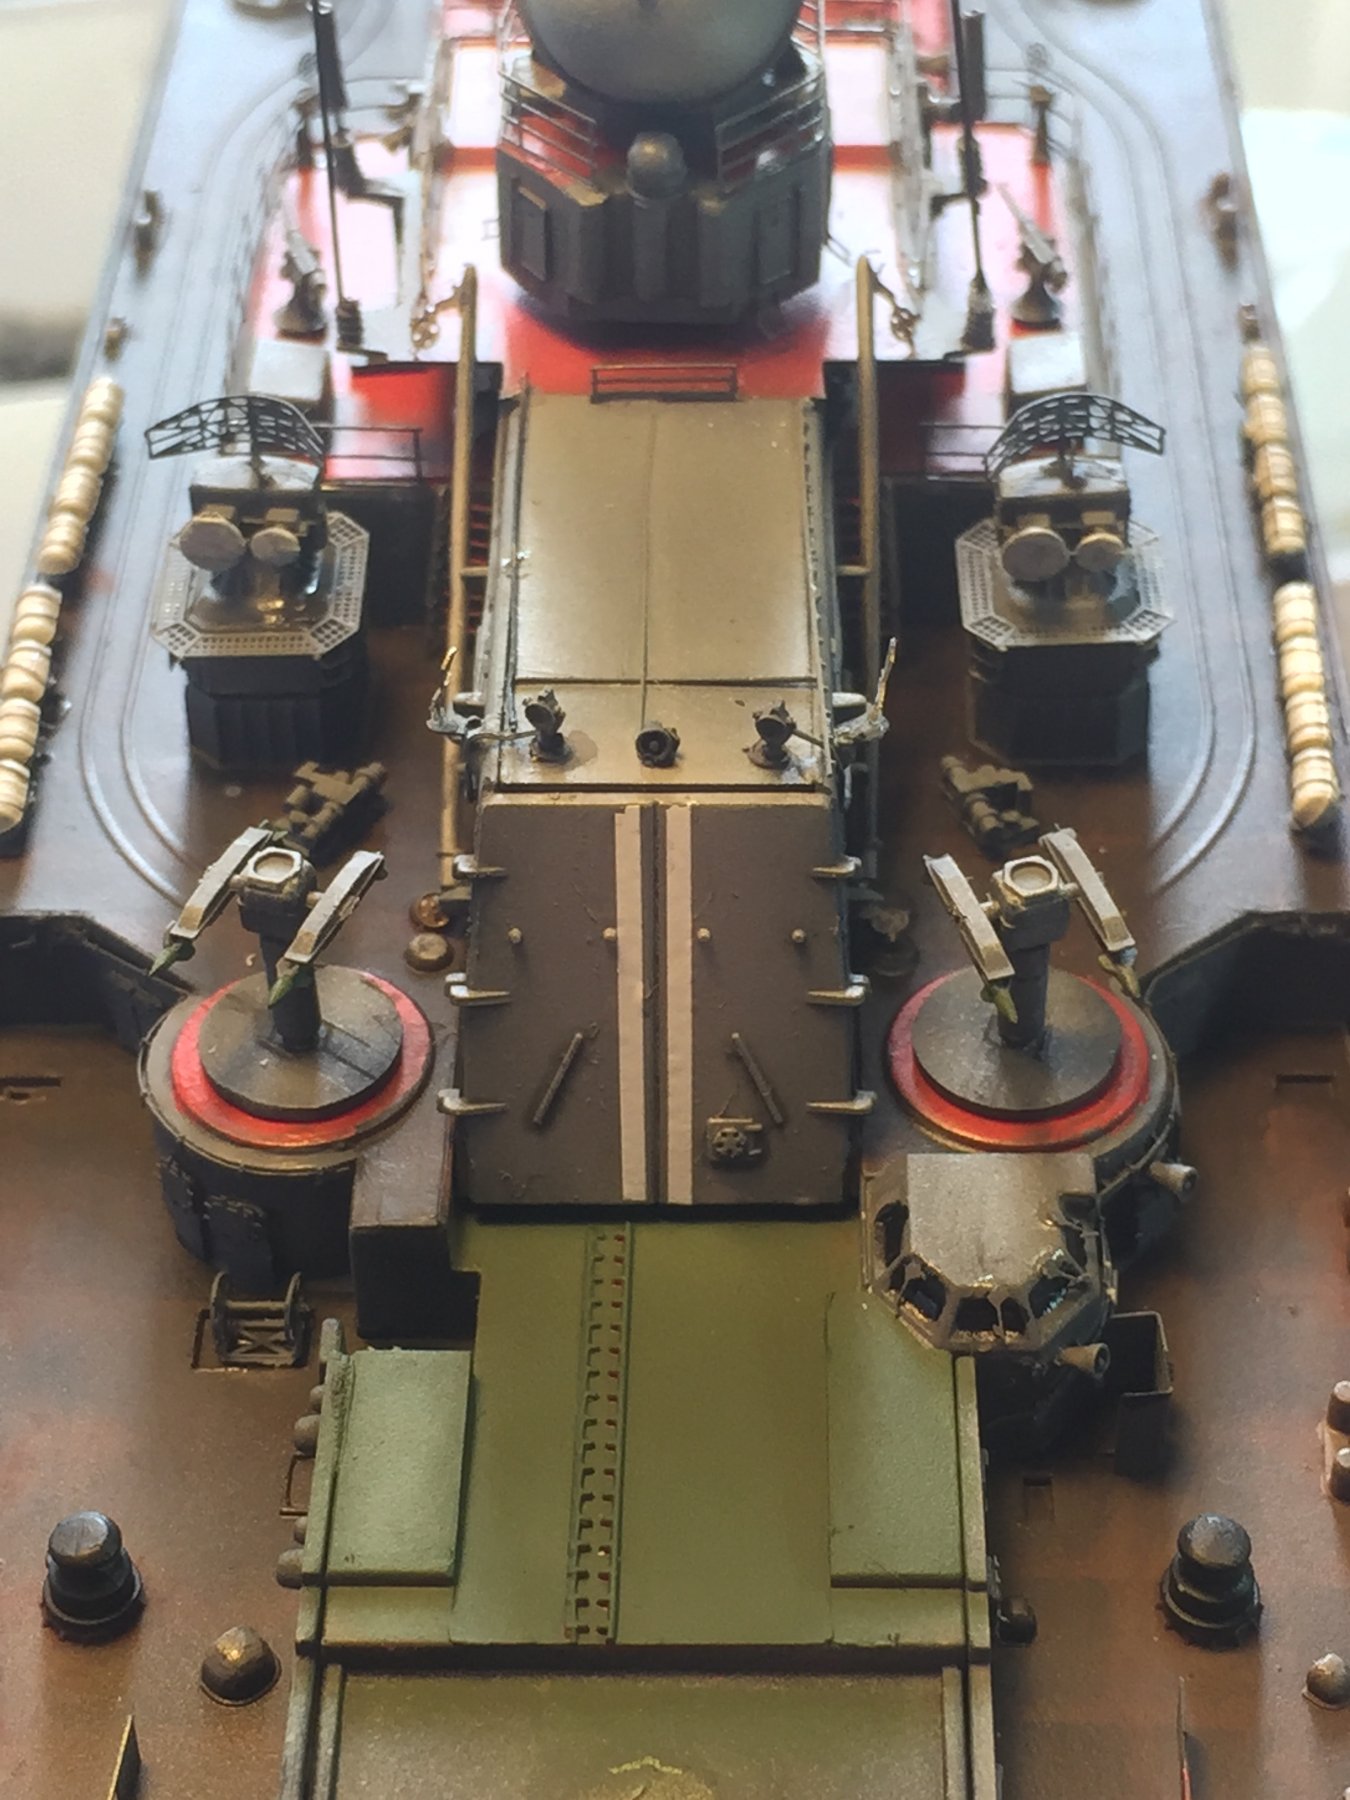
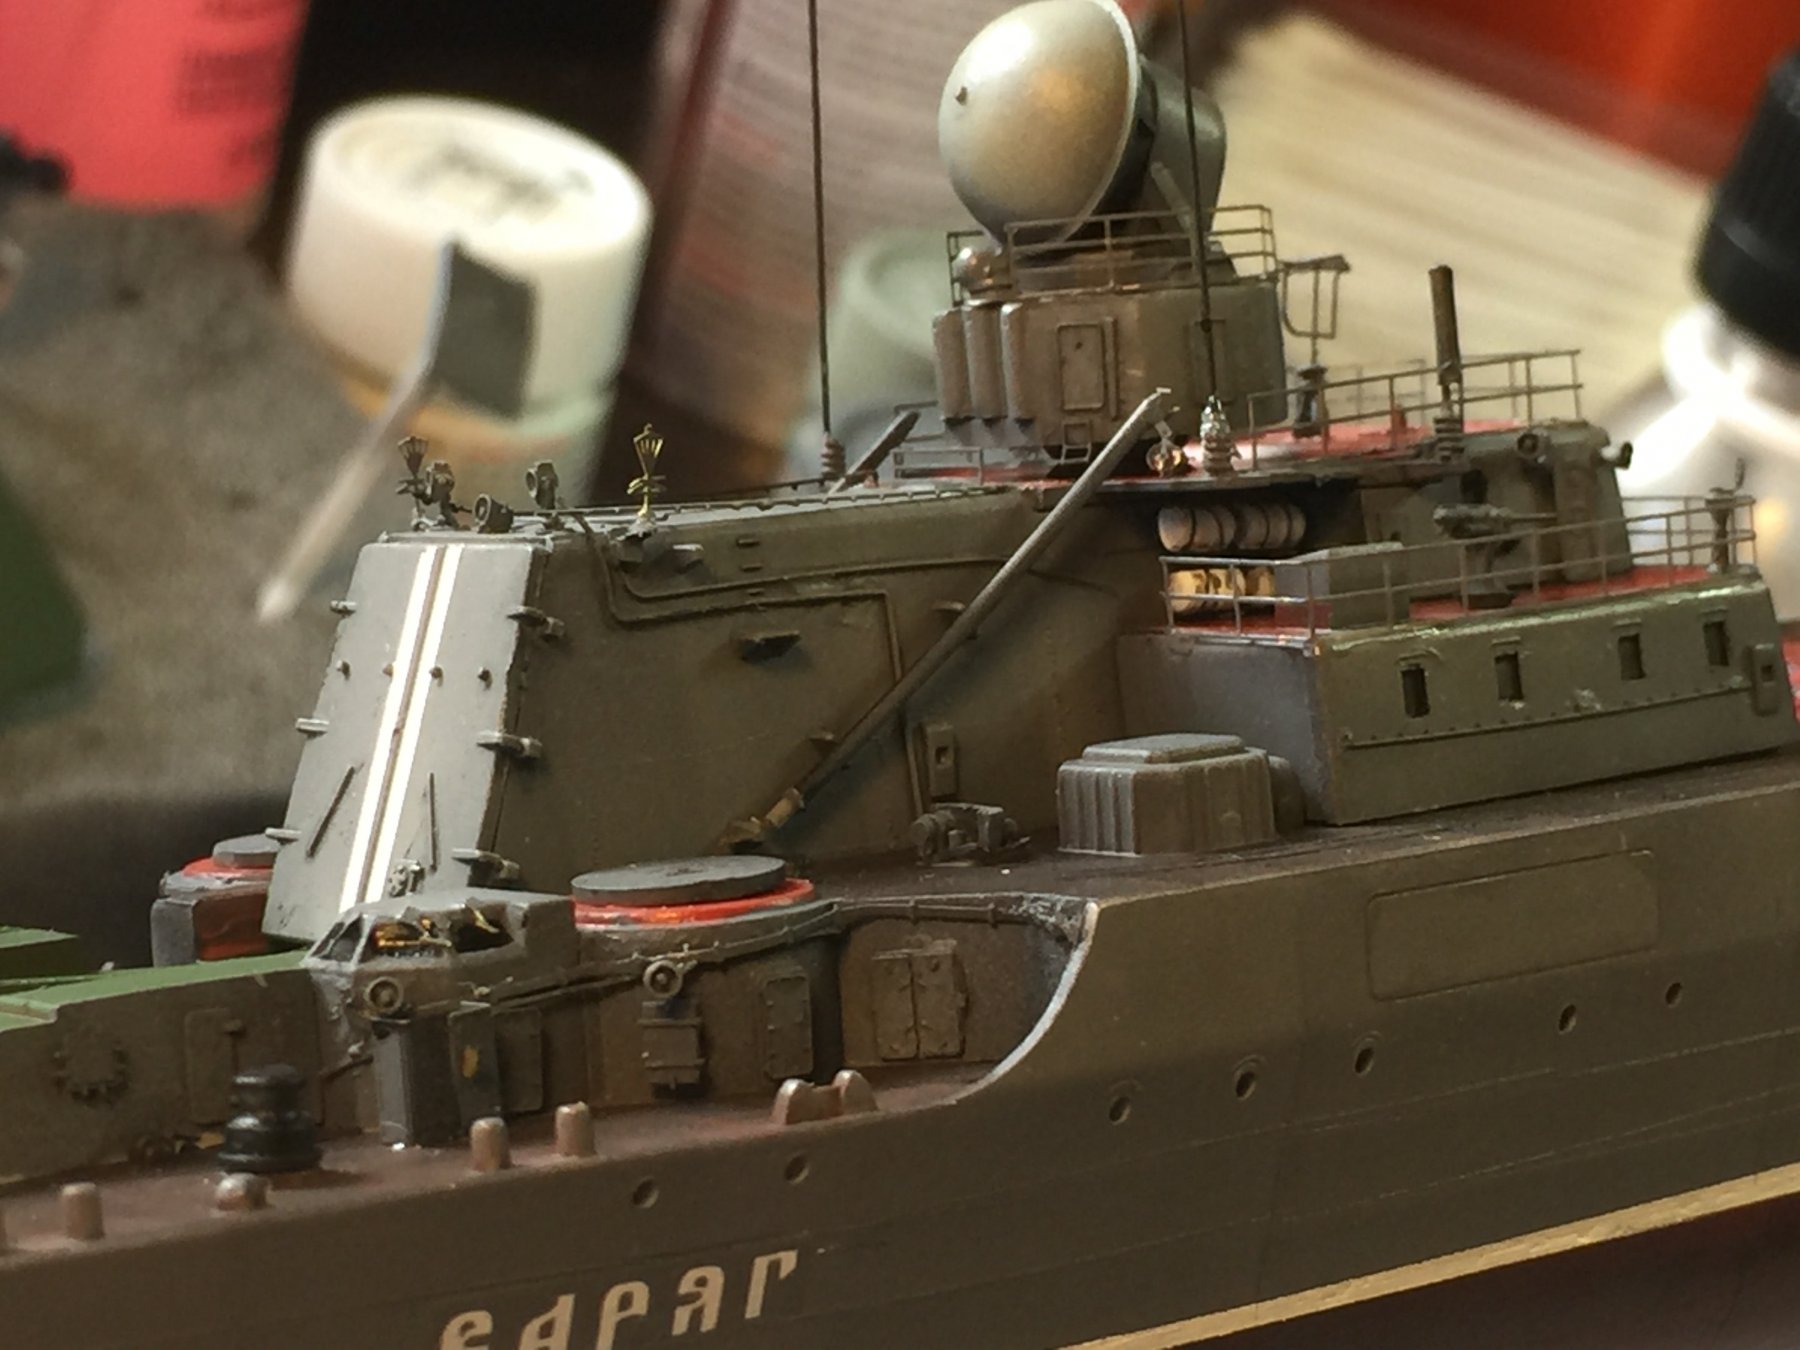
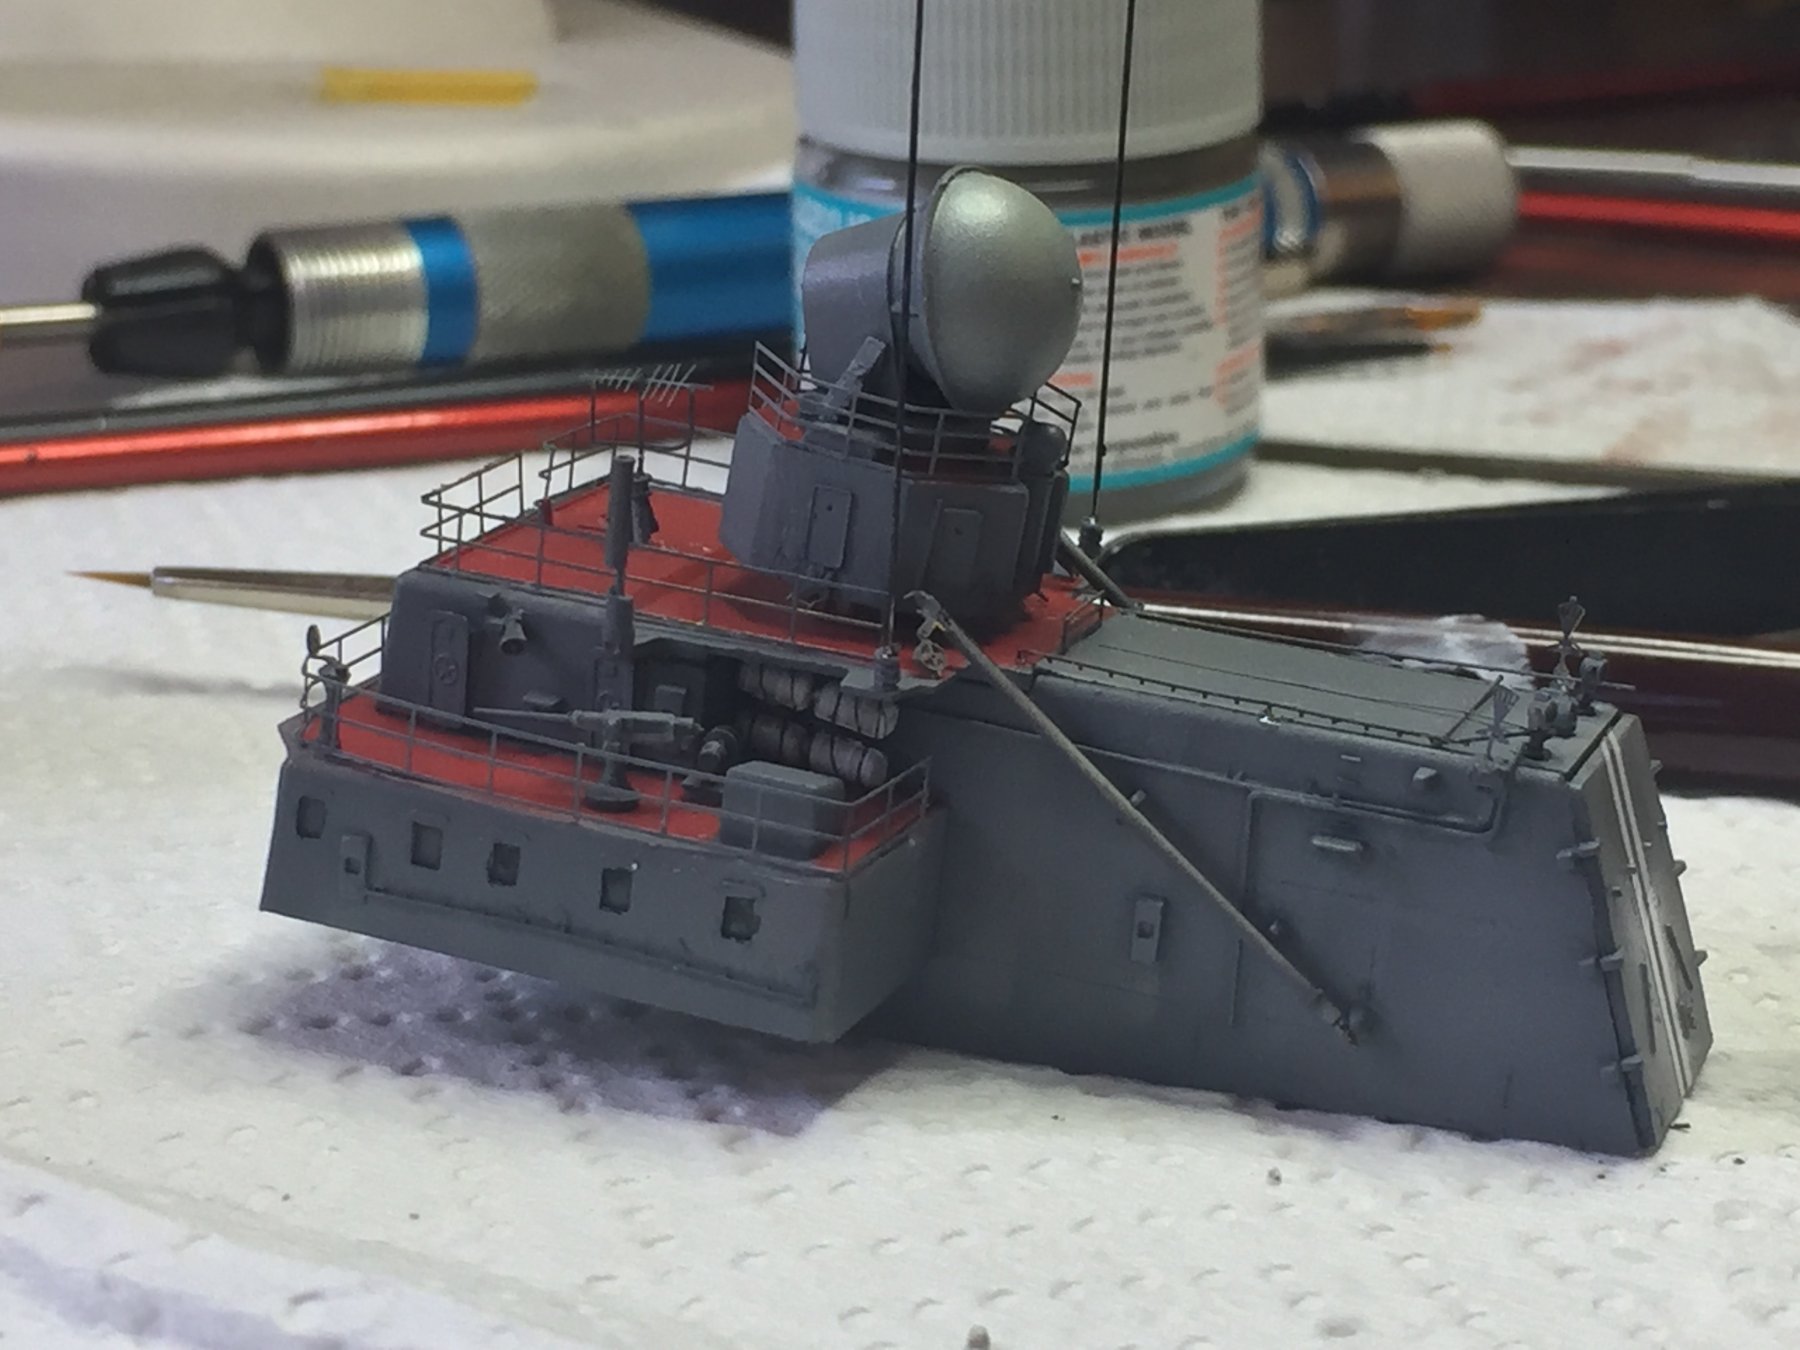
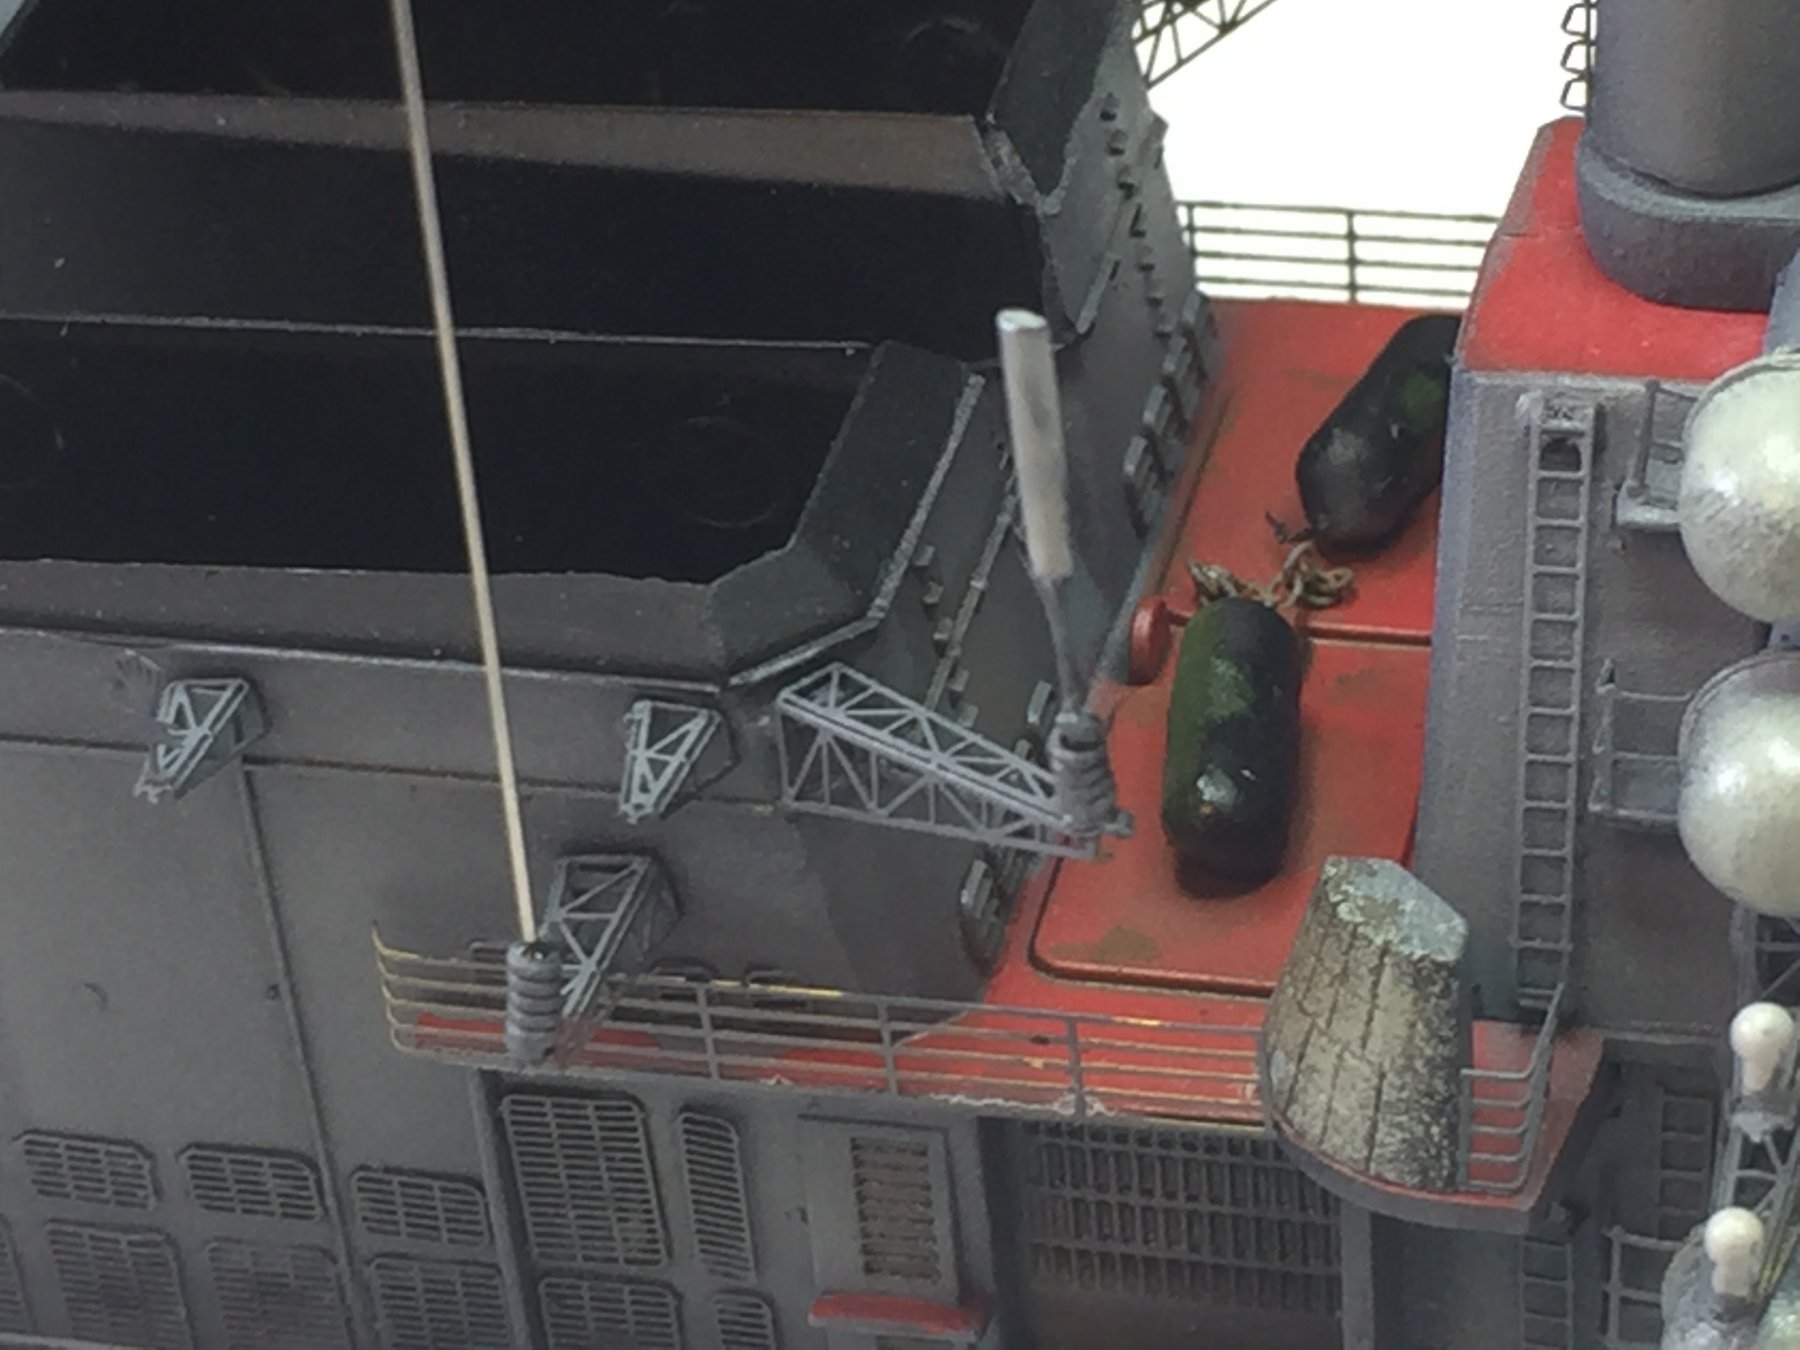
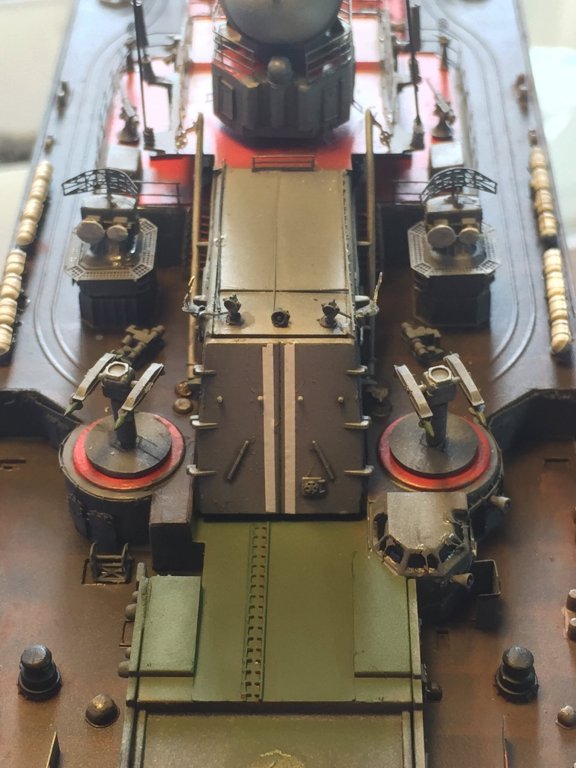
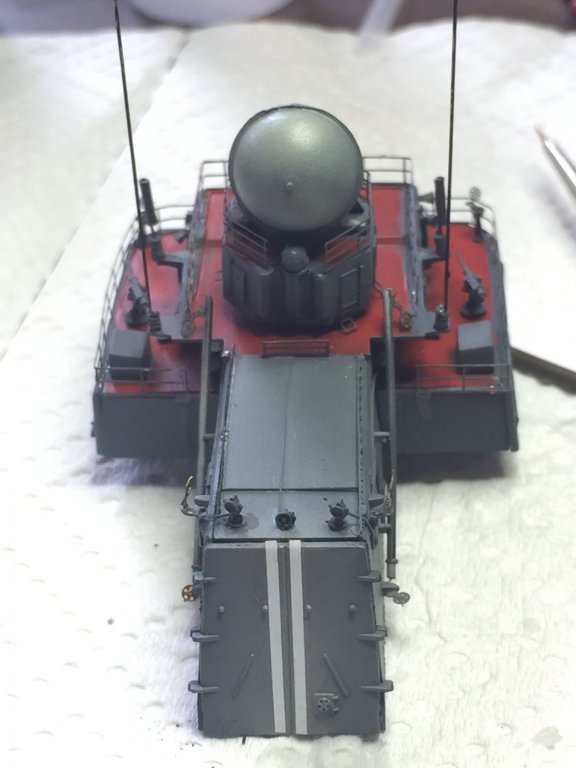
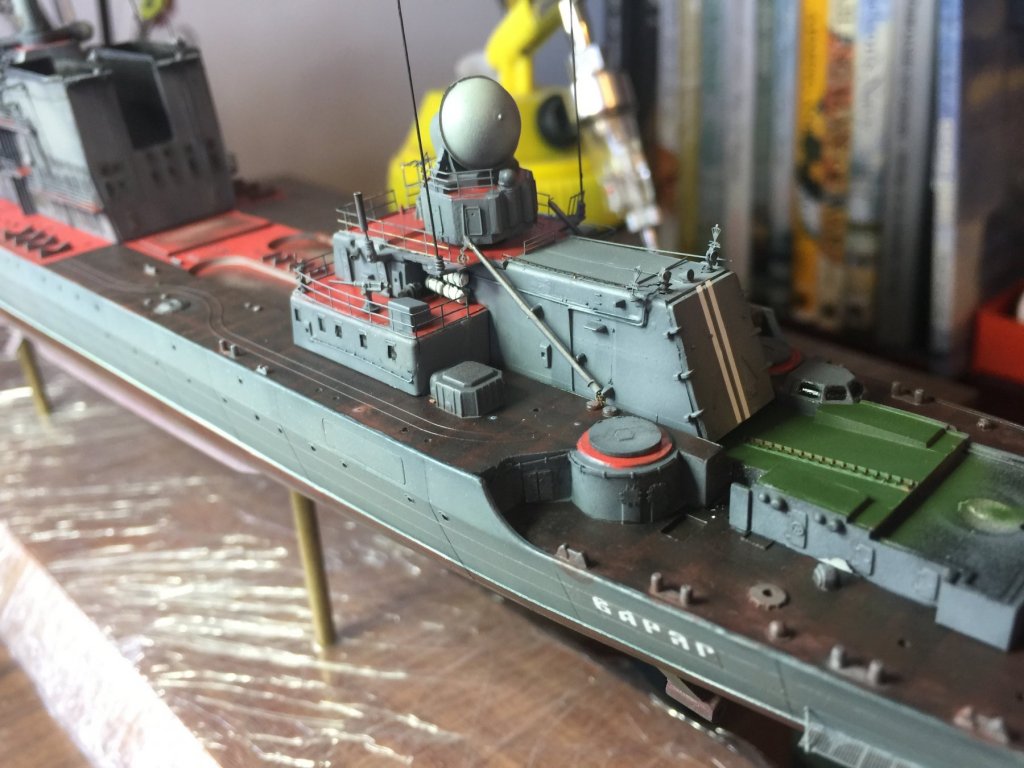
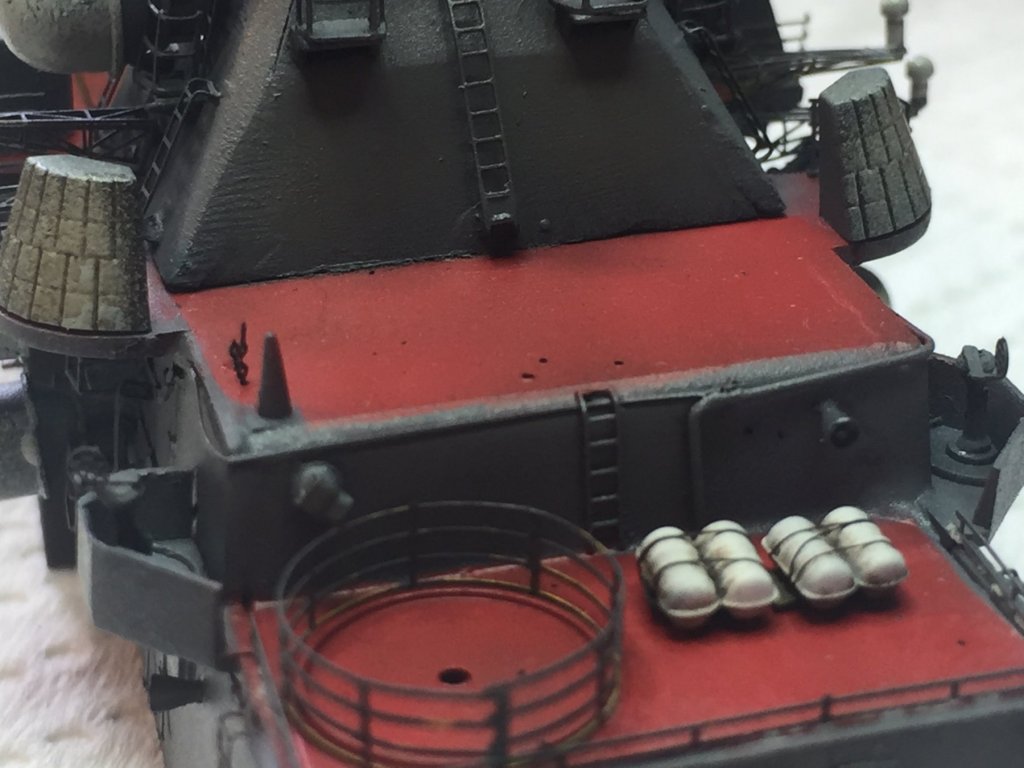
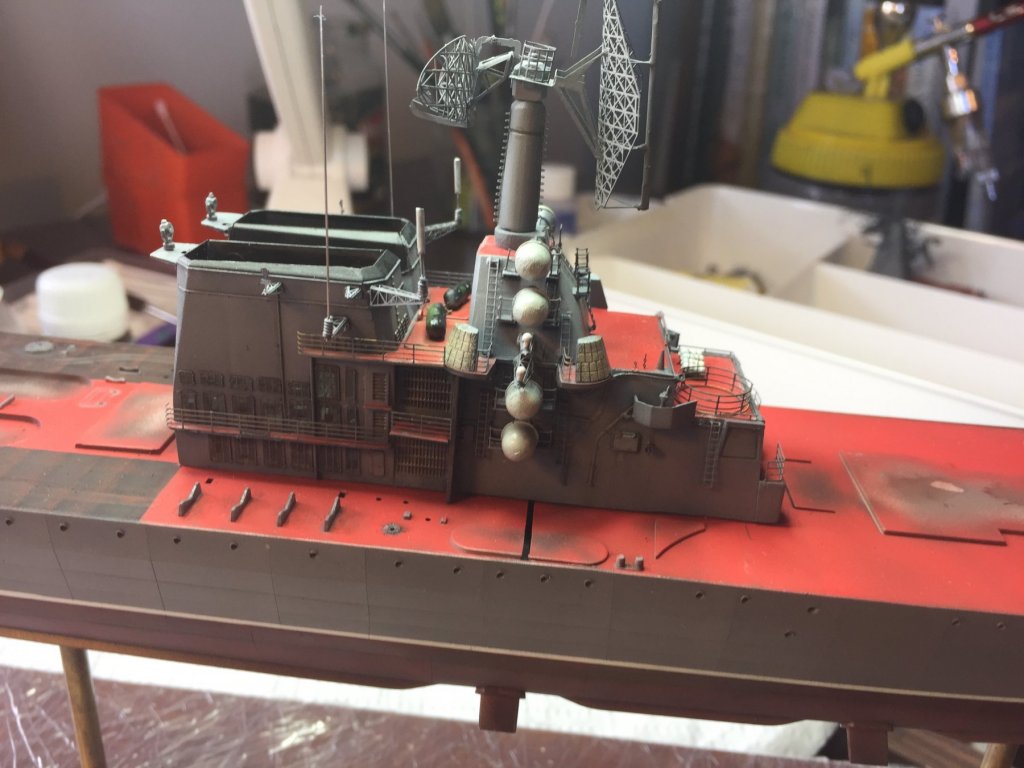
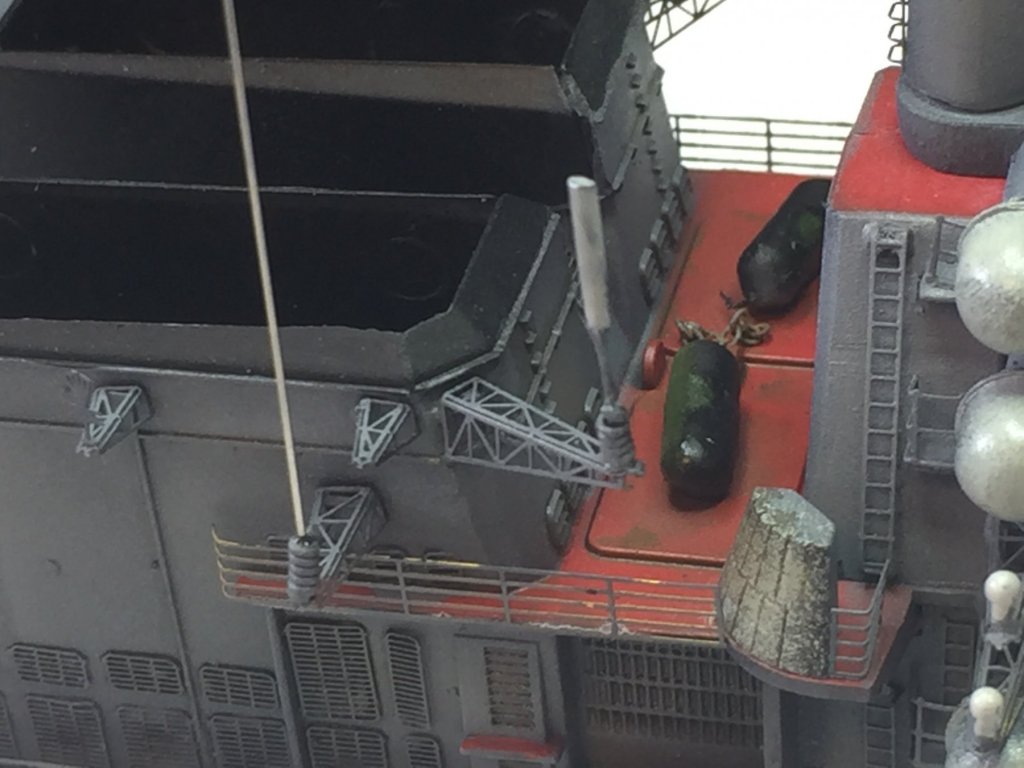
Apart from a pedestal that will belay part of the cage arial assembly (in the centre of the circle of railing), I’m pretty much finished this bit. I will paint the whip arials black (they are acupuncture needes) and rust her up a tad. The two black blobs immediatly in front in front of the stacks are great big fenders. In the drone footage from 2017 in Hong Kong they are visible I’ll grunge tho area up a bit yet. The little platforms on each each side with the target rings are the same as the real thing and I used spares glued onto pedestals.

- 180 replies
-
- 13
-
-
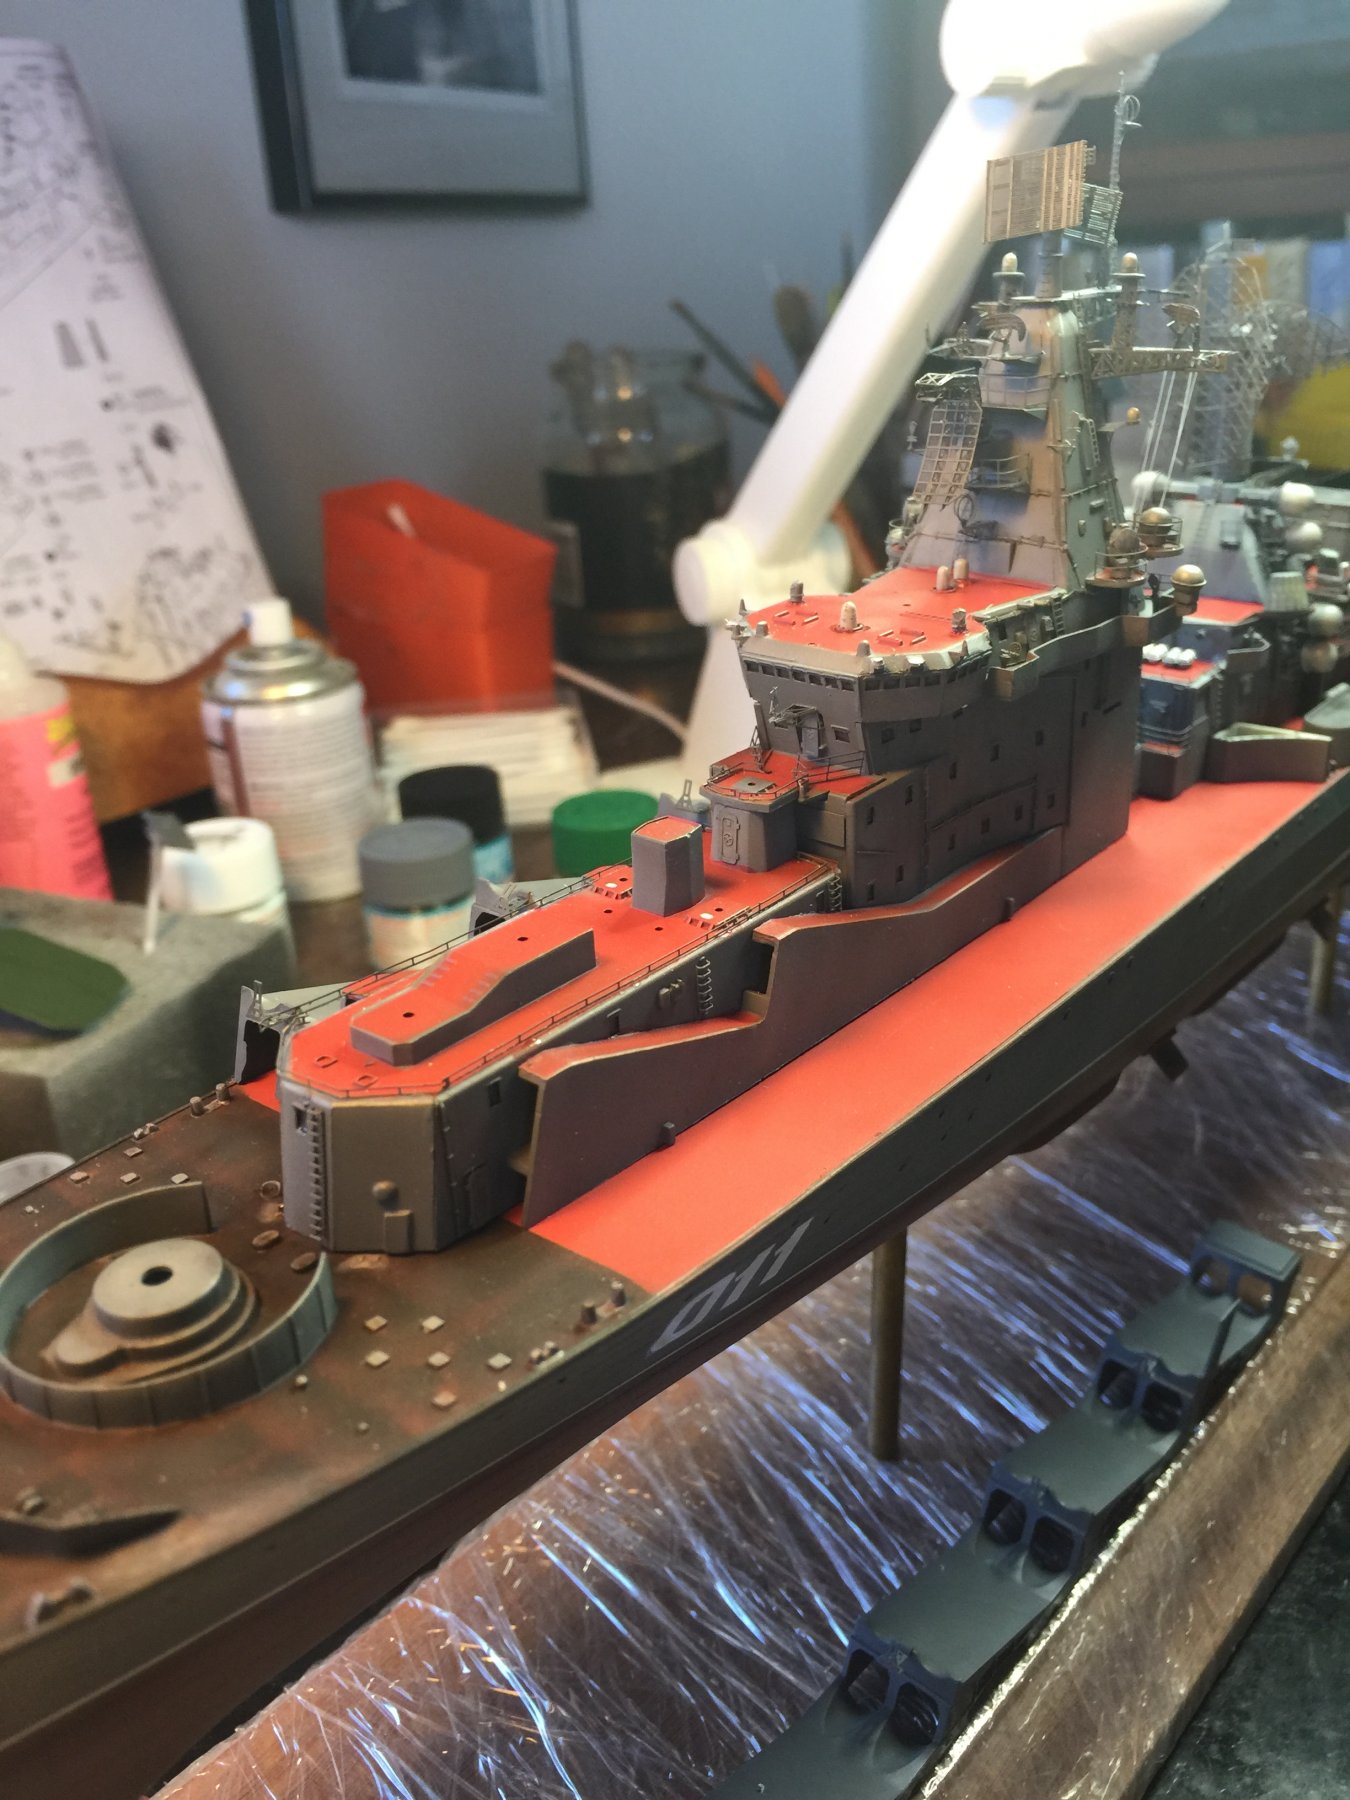
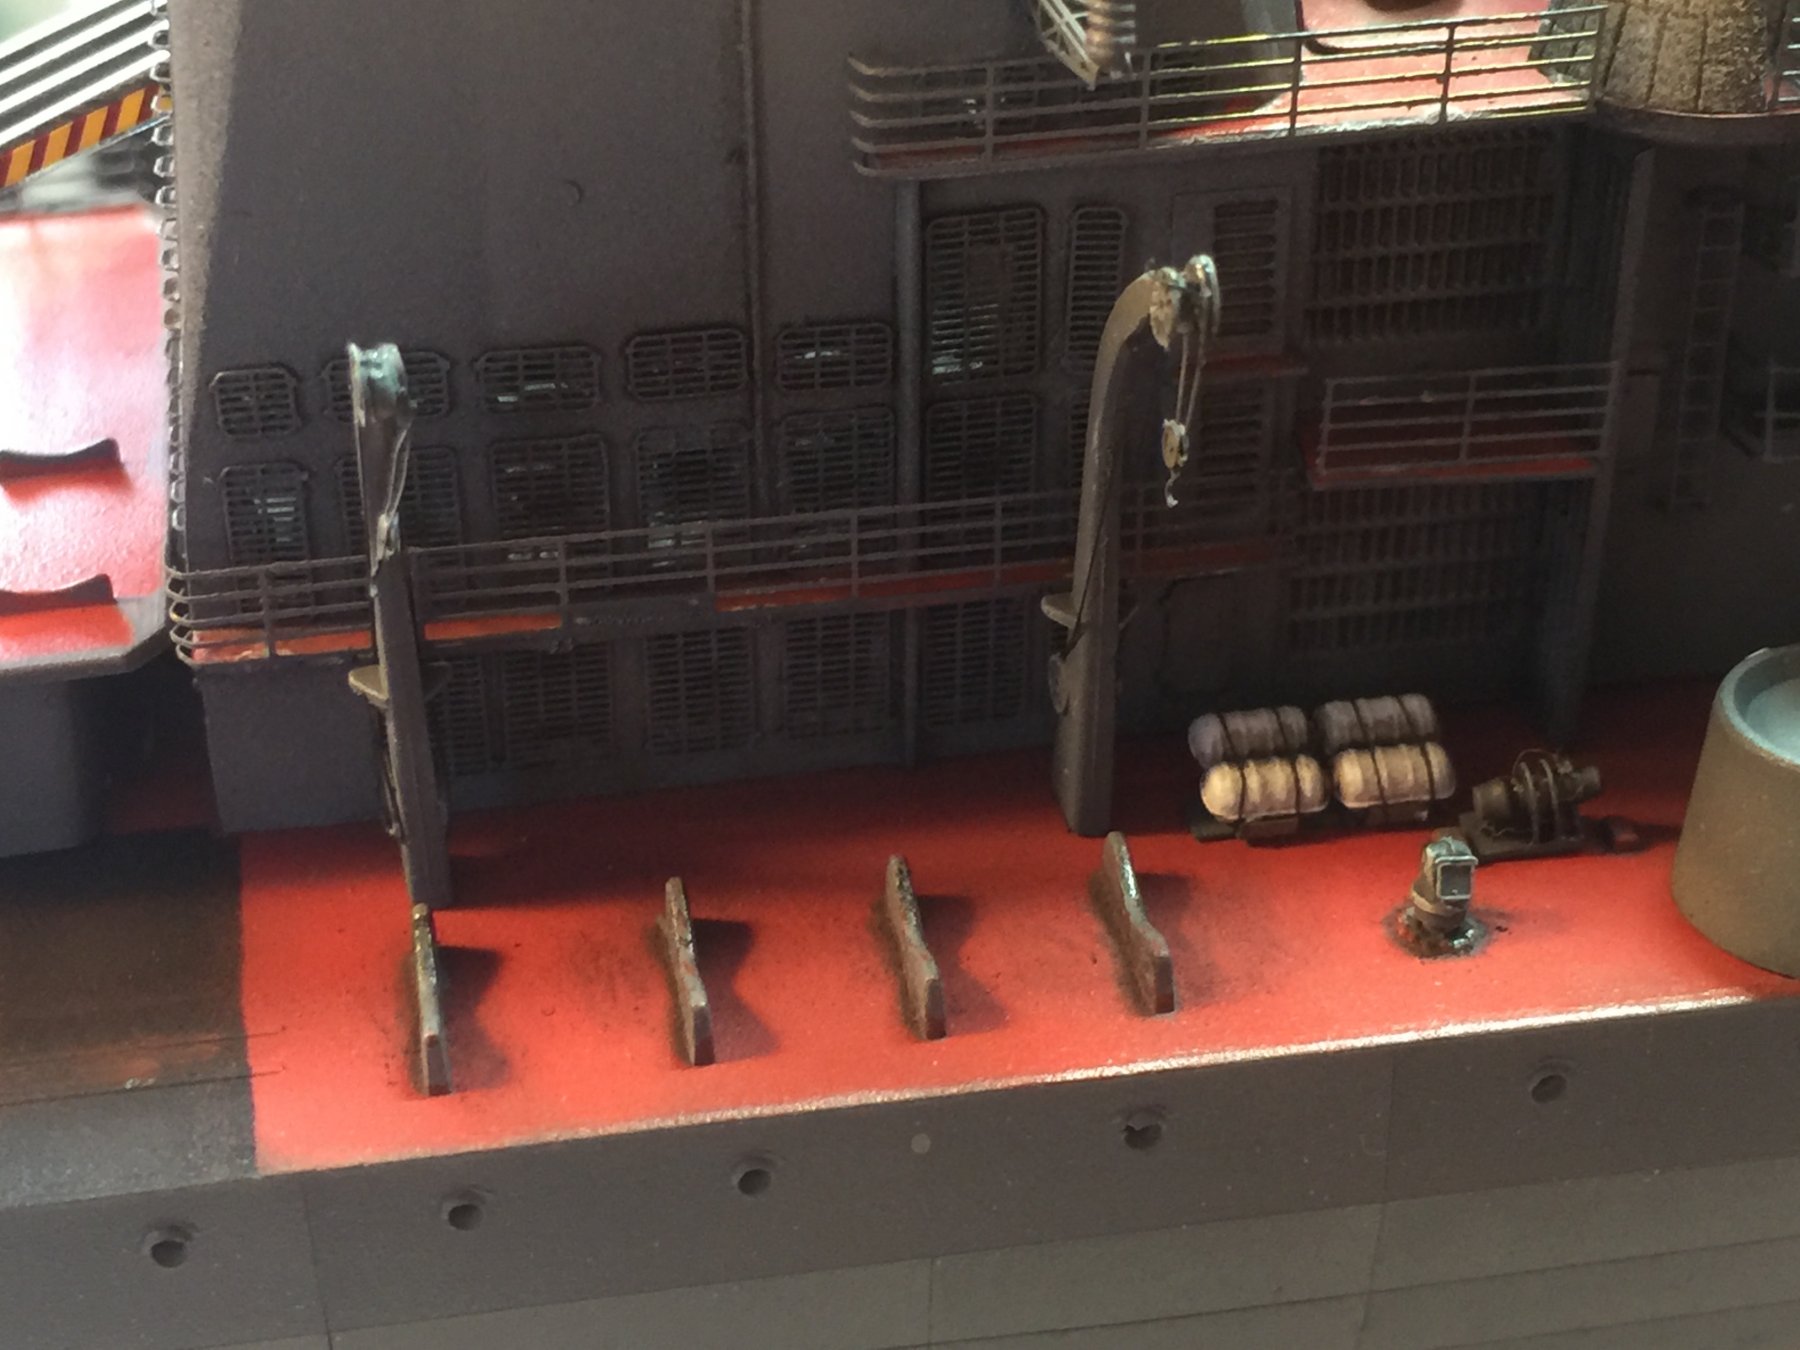
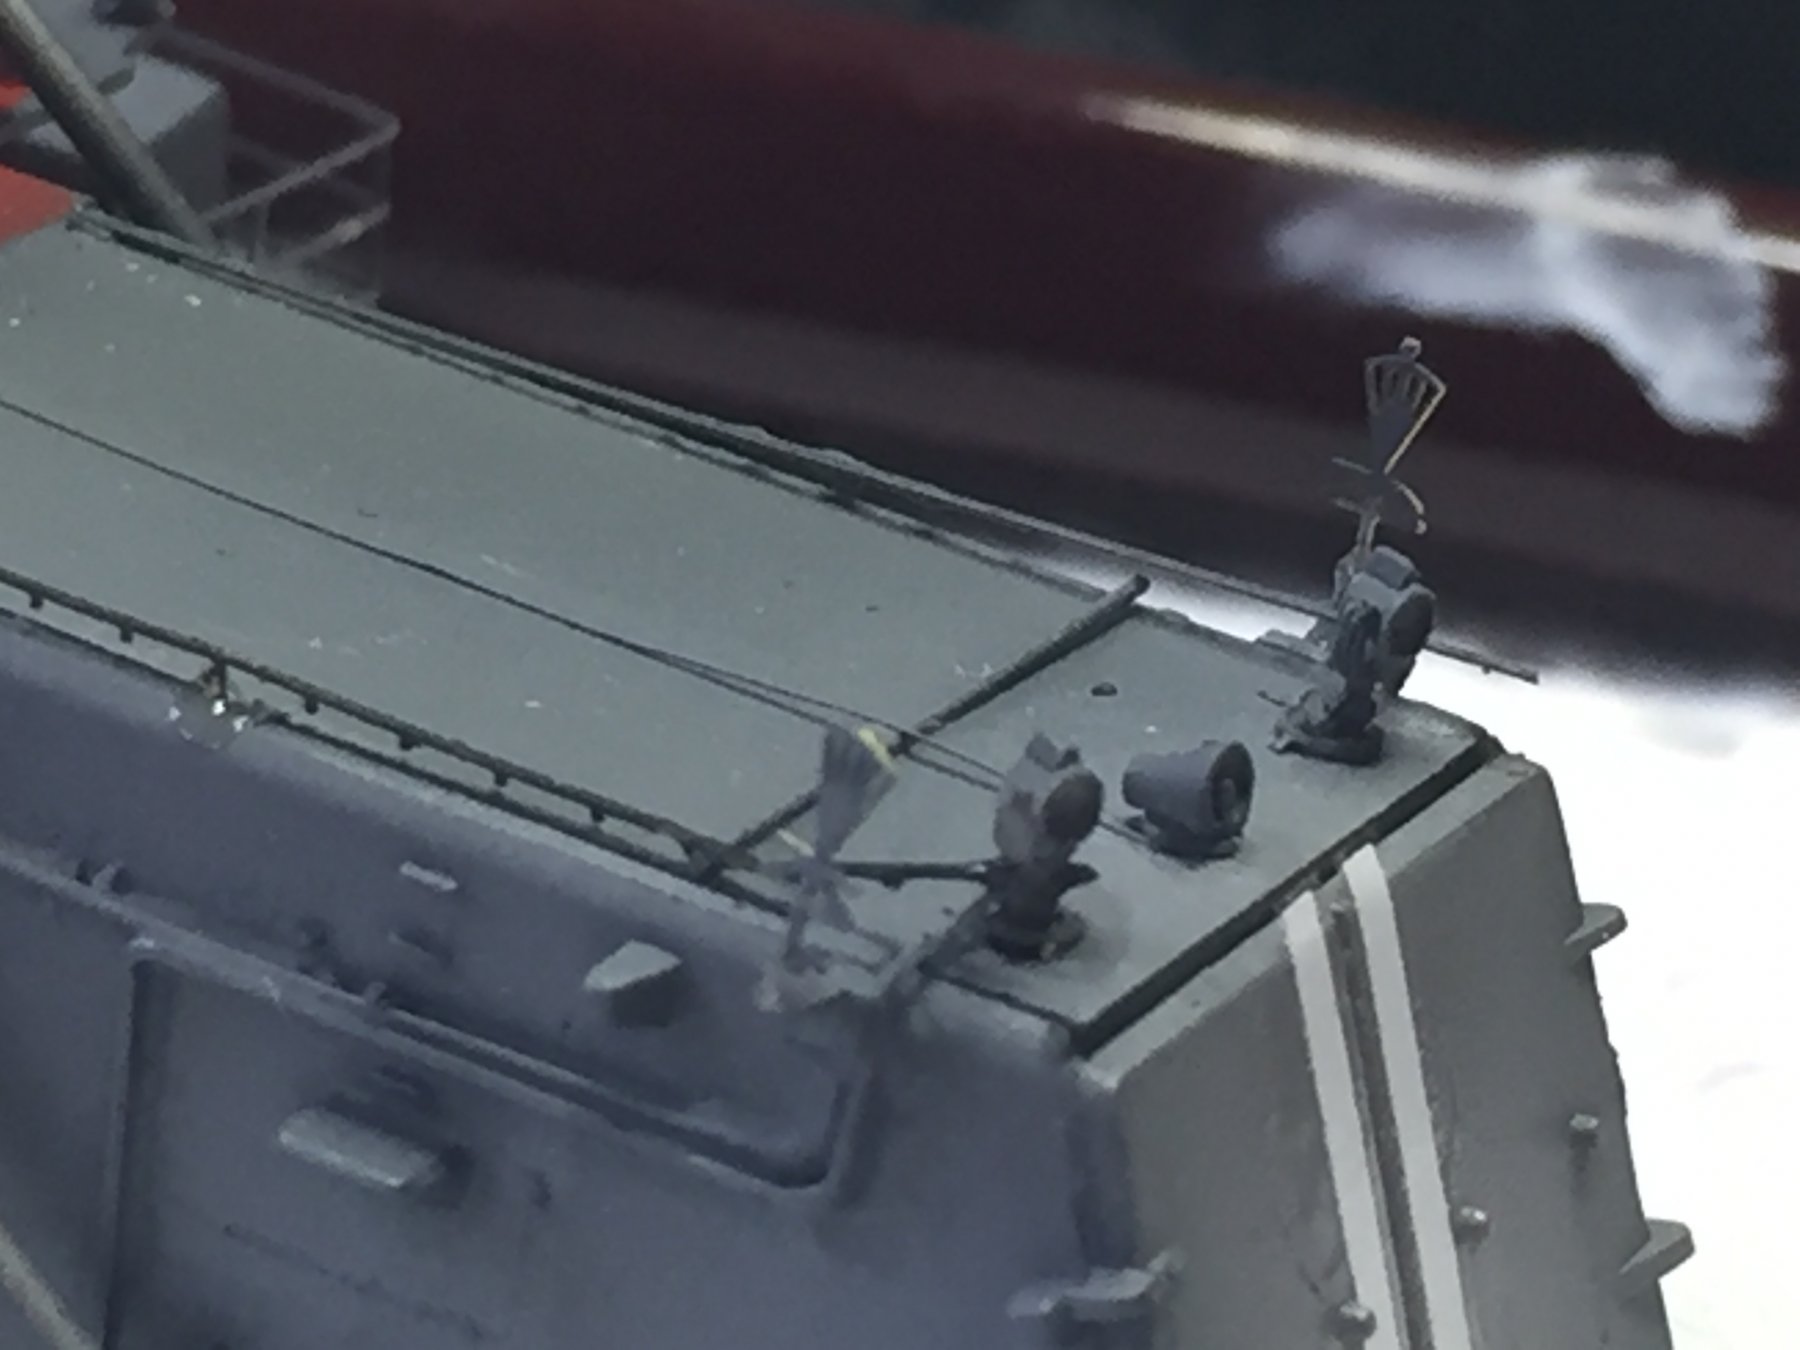
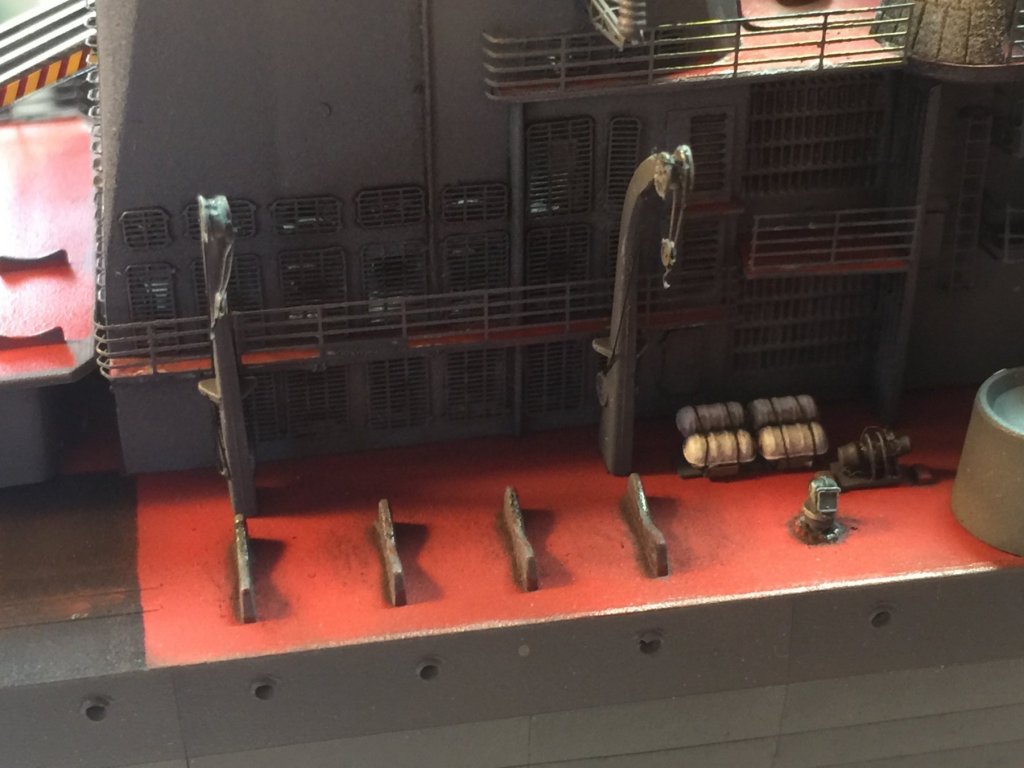
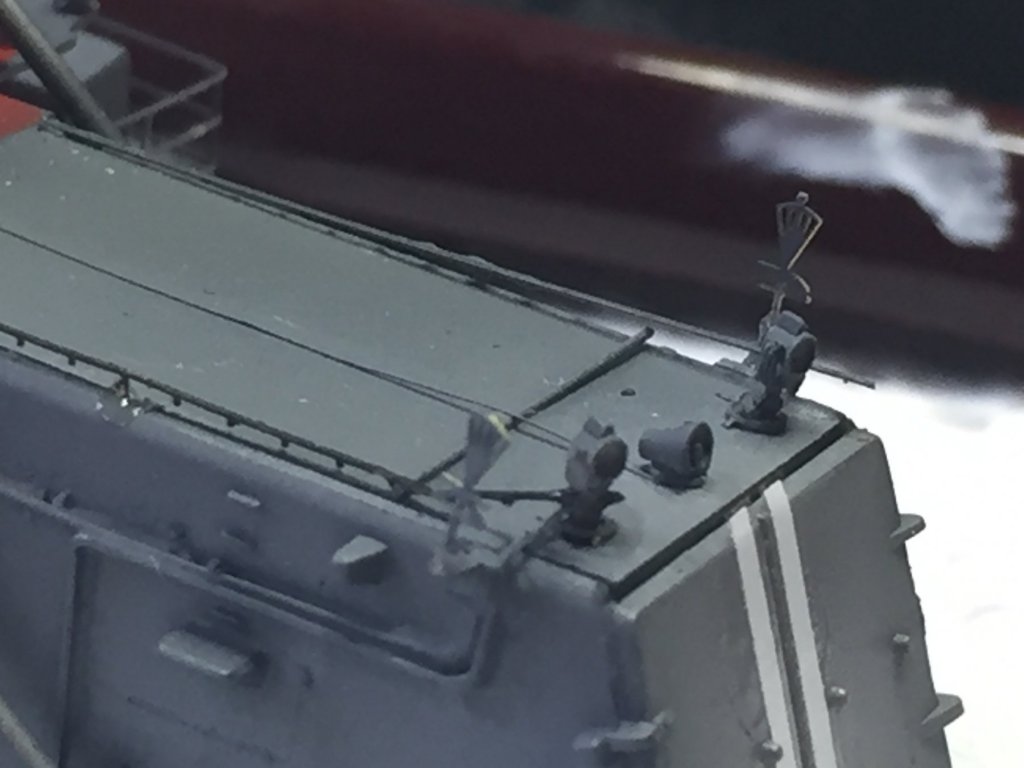
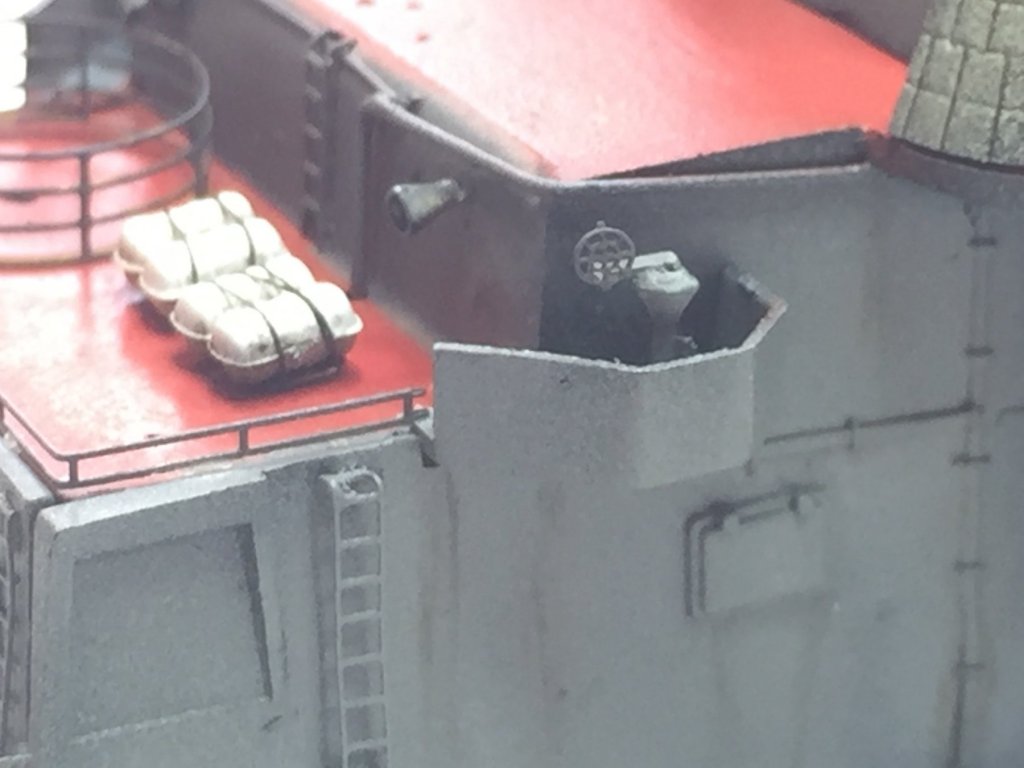
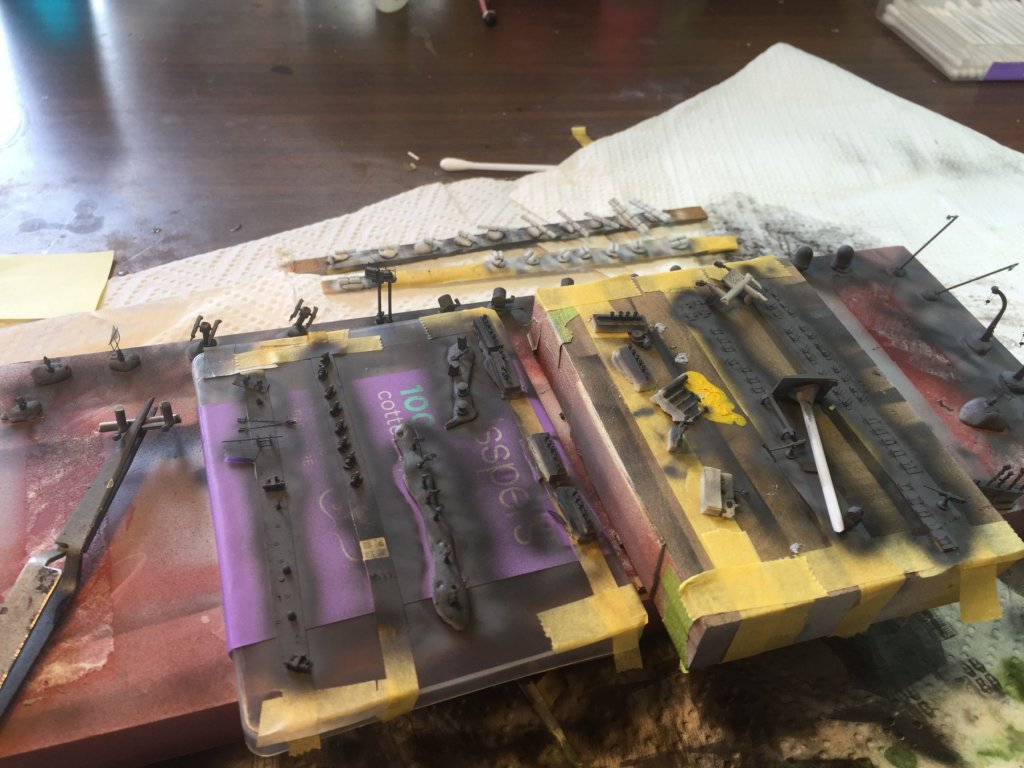
So today I also did the anchor chains (the kit gives you a rubbish molded one, painted all the little bits that go around the superstructures that I have to add to it before I can throw it together. They’ll all need a black wash and a lighter dry brush before being added. As an example, the little grey thimbles are 1/350 PA’s from LArsenal in France. The real ship is covered in them like a teenagers pimples.

- 180 replies
-
- 12
-
-
Plodding along, lots of little pieces to put together and paint. The life raft capsules sizes are supposed to slot into the deck but the real thing has them on racks with black straps. Sprayed them white, have them a wash and added some denier thread as the black straps.


- 180 replies
-
- 11
-
-
No offence taken Mark, I like to find different ships. This one is a bit old and clunky to build. The PE is from last decade, but the new stuff coming out is amazing and I get bored easily
-
The lower hull is now weathered, I’m yet to add a few bits of rust here and there, but a light overspray of grey grunge, with dilute black on the bottom over that and a ring or green Alge around the sides. I just feel it looks less like a toy (which it is really I can just afford to spend more on one) and more like a replica.

-
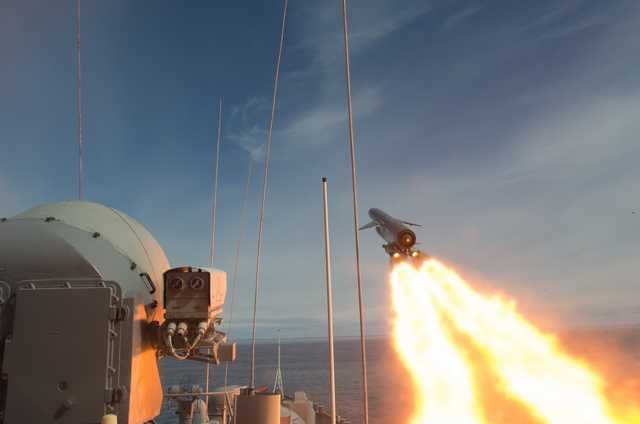
To answer your question Mr Taylor, it is pretty much used by armour modellers, and does need a fair bit of dilution but it deepens the colours and adds depth. If you go to U-Tube, and search Varyag or brother Moskva there is footage of both of them letting loose with all they have, in a way more awesome than any broadside in the sheer destruction over distance he carries.