RGL
-
Posts
5,564 -
Joined
-
Last visited
Content Type
Profiles
Forums
Gallery
Events
Everything posted by RGL
-
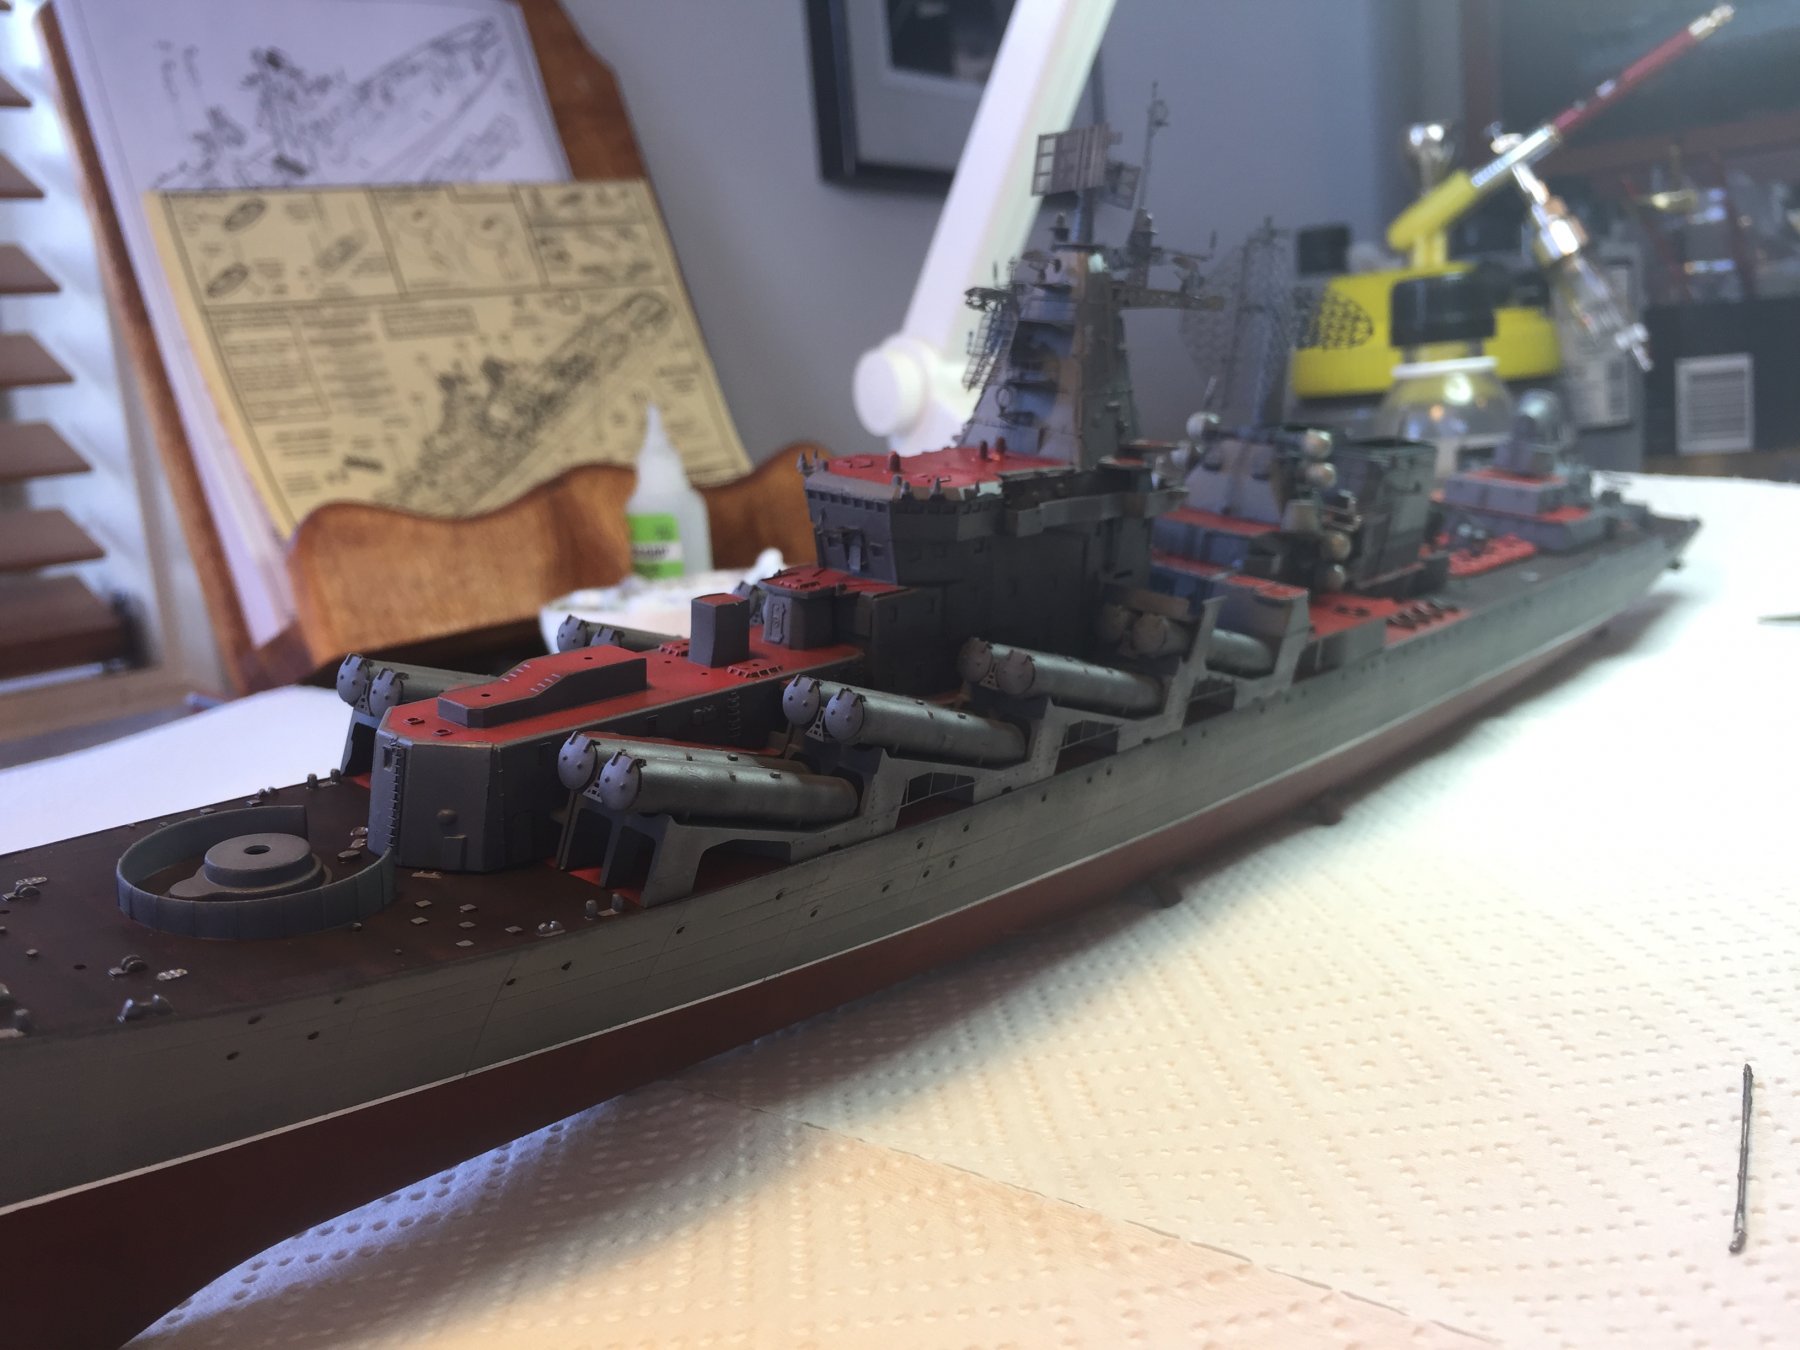
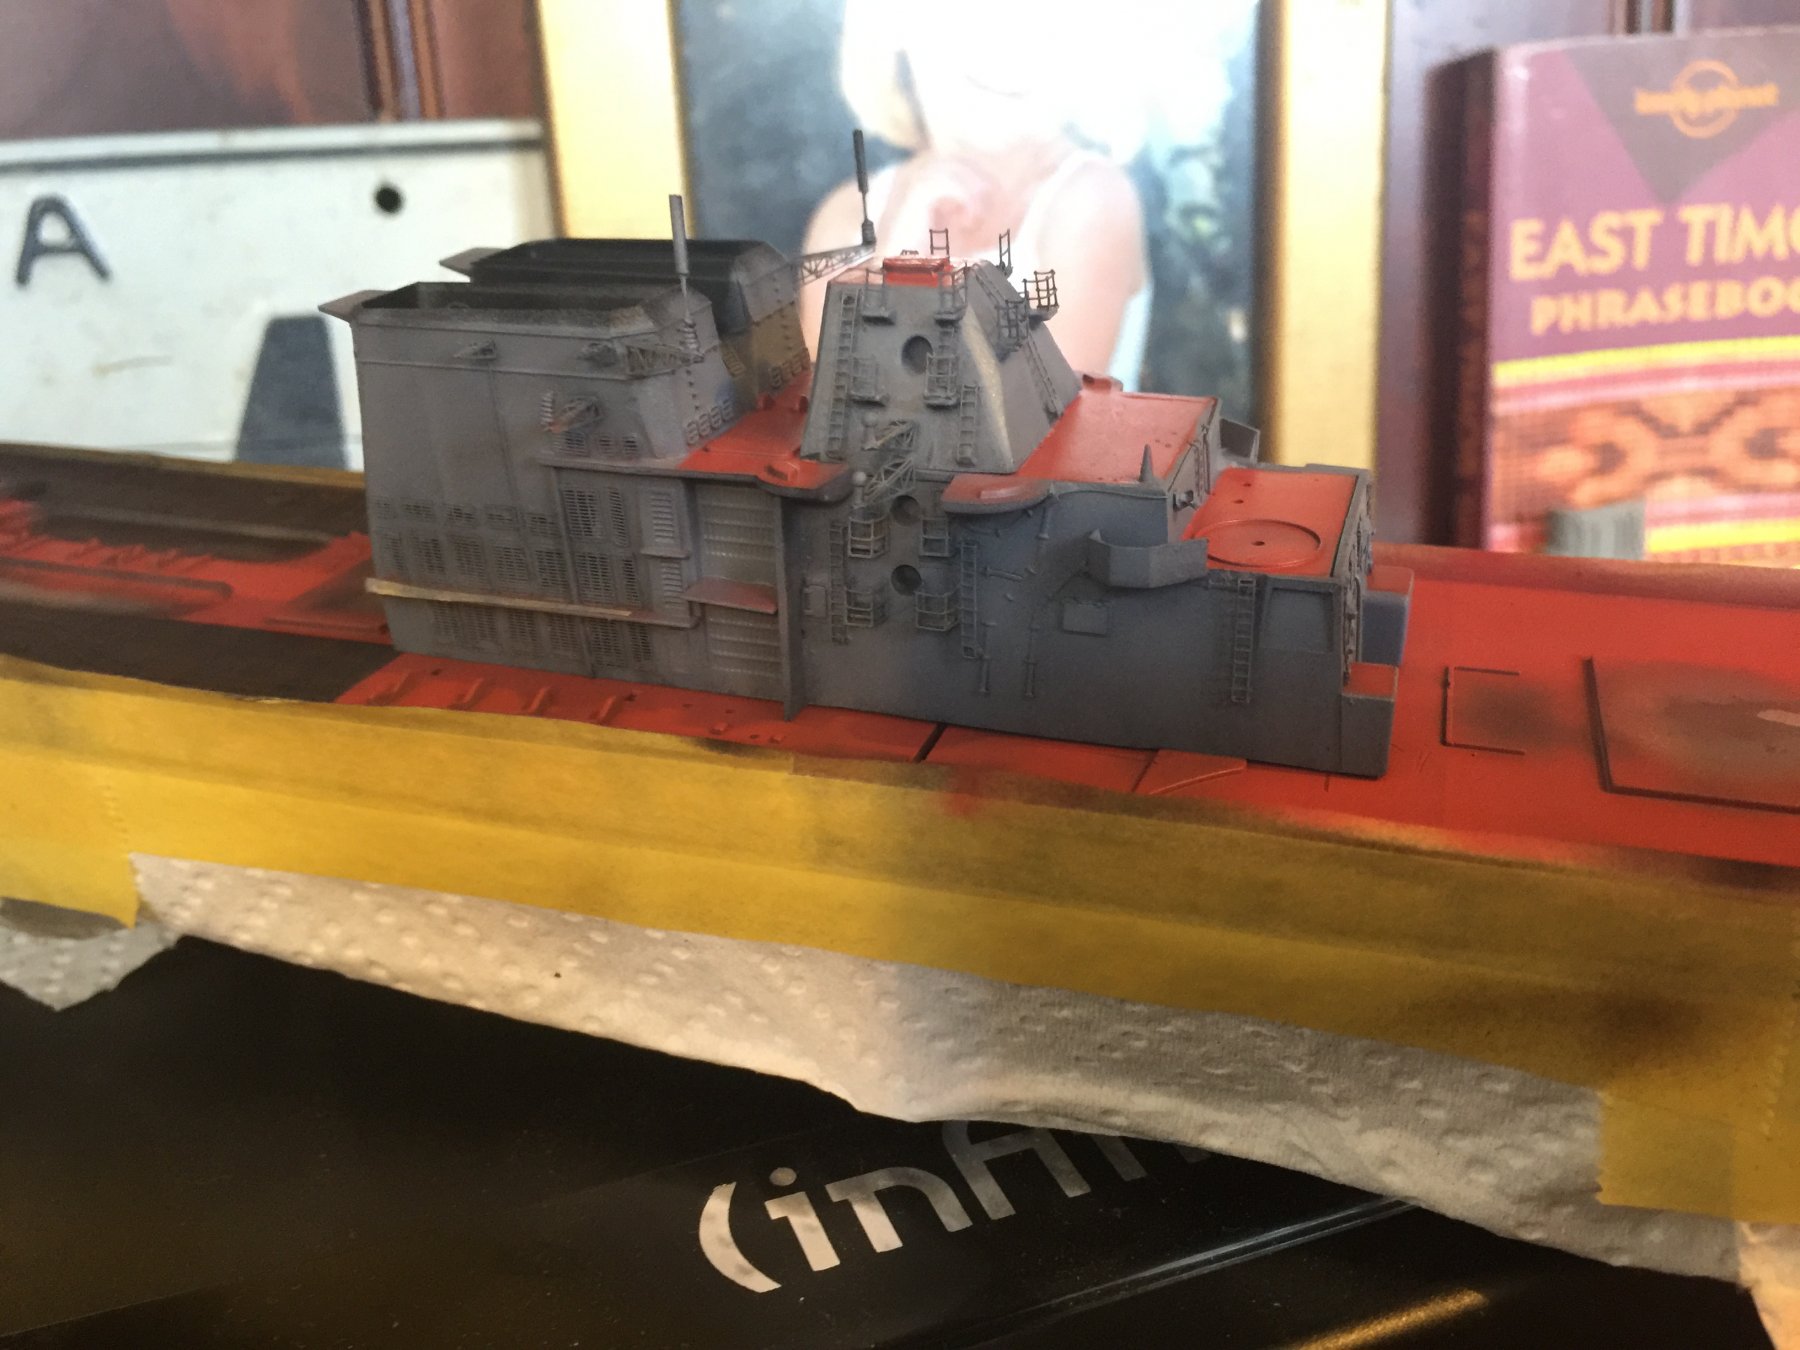
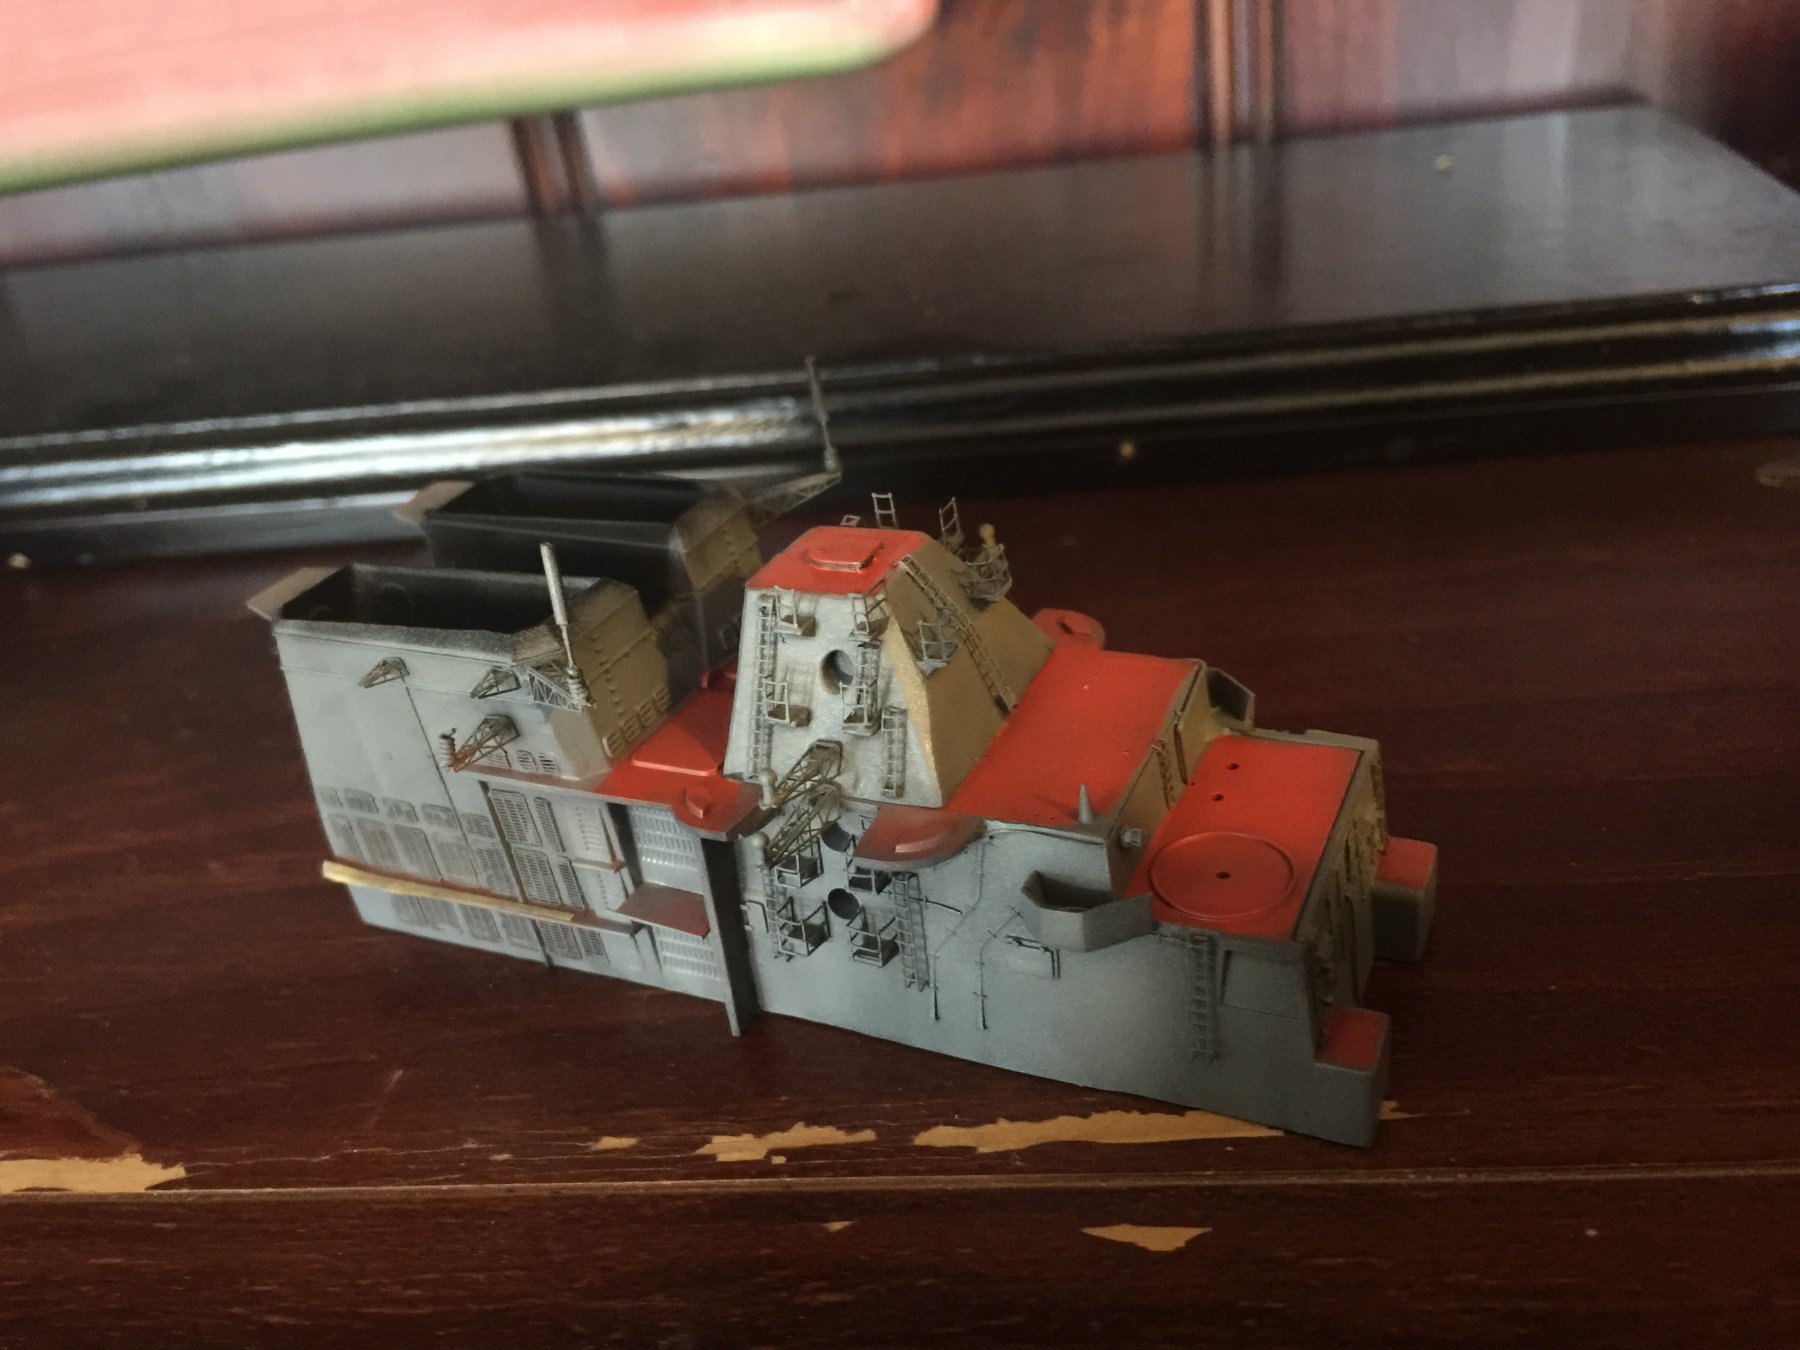
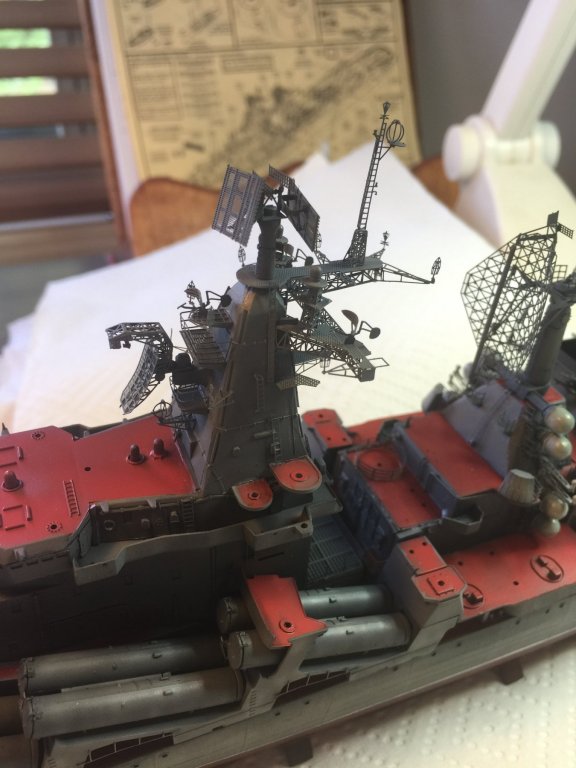
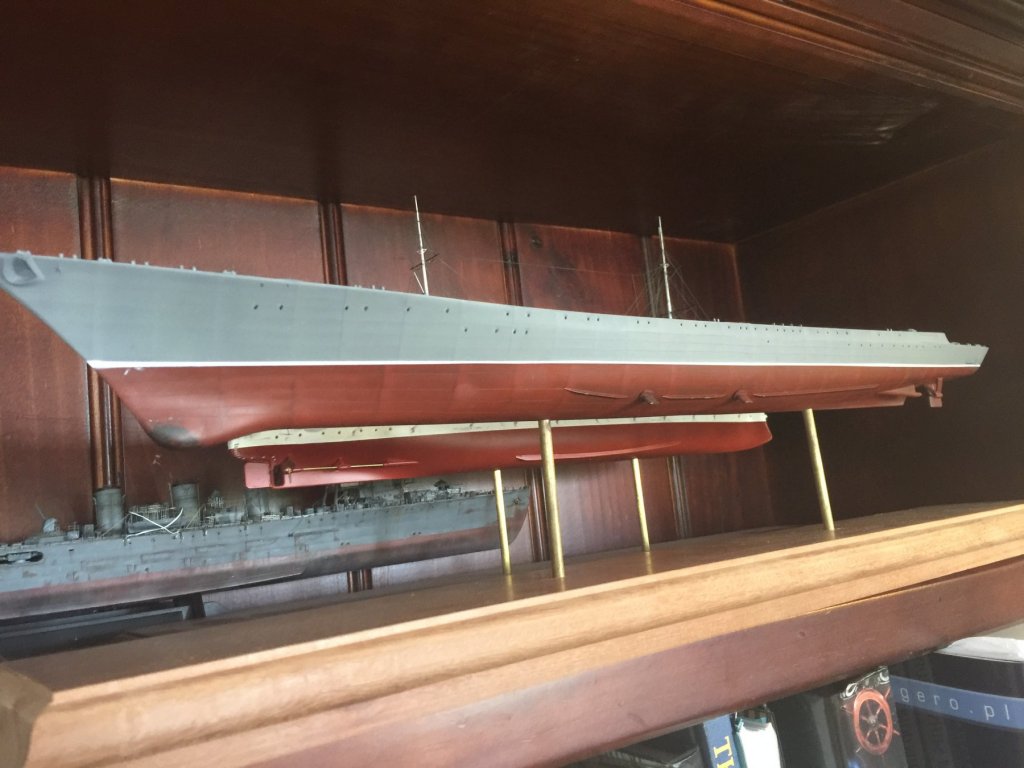
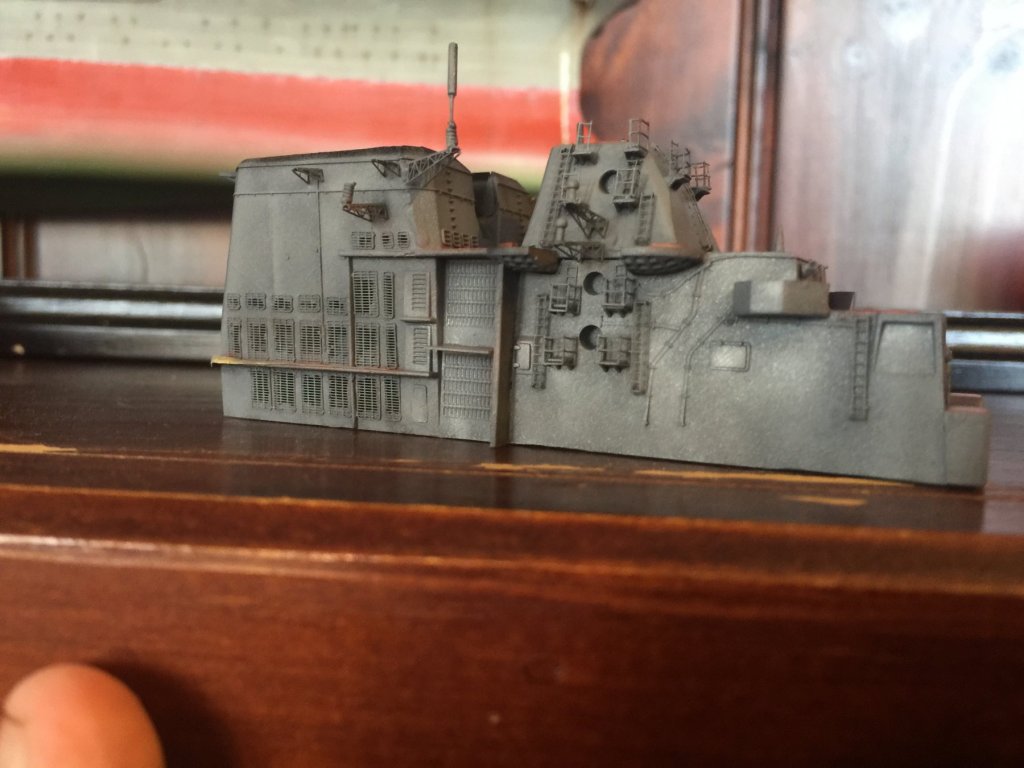
 So, while waiting for the postman to bring my AK Blue Filter, I masked and then gave the superstructures 3 shades of grey. No sooner had I finished then Australia Post arrived so I could add the blue filter, which a) brings out the modulation and a) makes it NOT look like another IJN ship on my shelf. All thown togeather in a dry fit it should eventually come up ok. That is the bulk work done, now the small work which means I’m 50% done. You may notice the filthy great gap in the deck will be concealed.
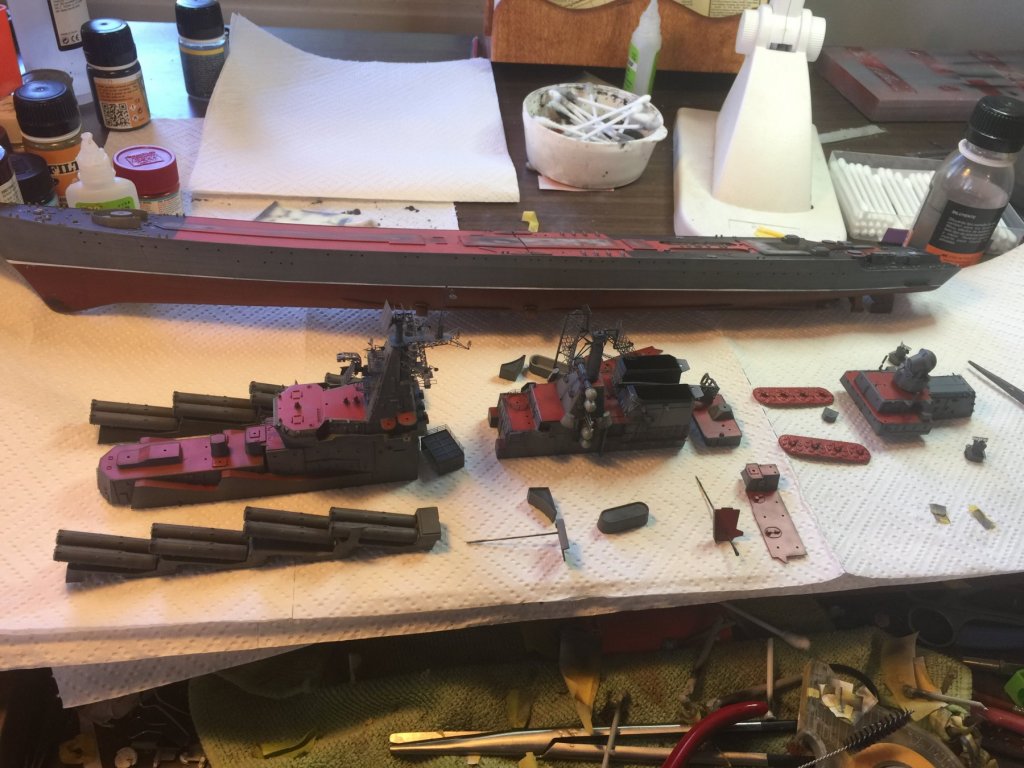


- 180 replies
-
- 10
-

-
Just awesome, the bigger the ship to more tiny details to forget! I just don’t think I can face a battleship for a while. You’re doing a marvellous job.
-
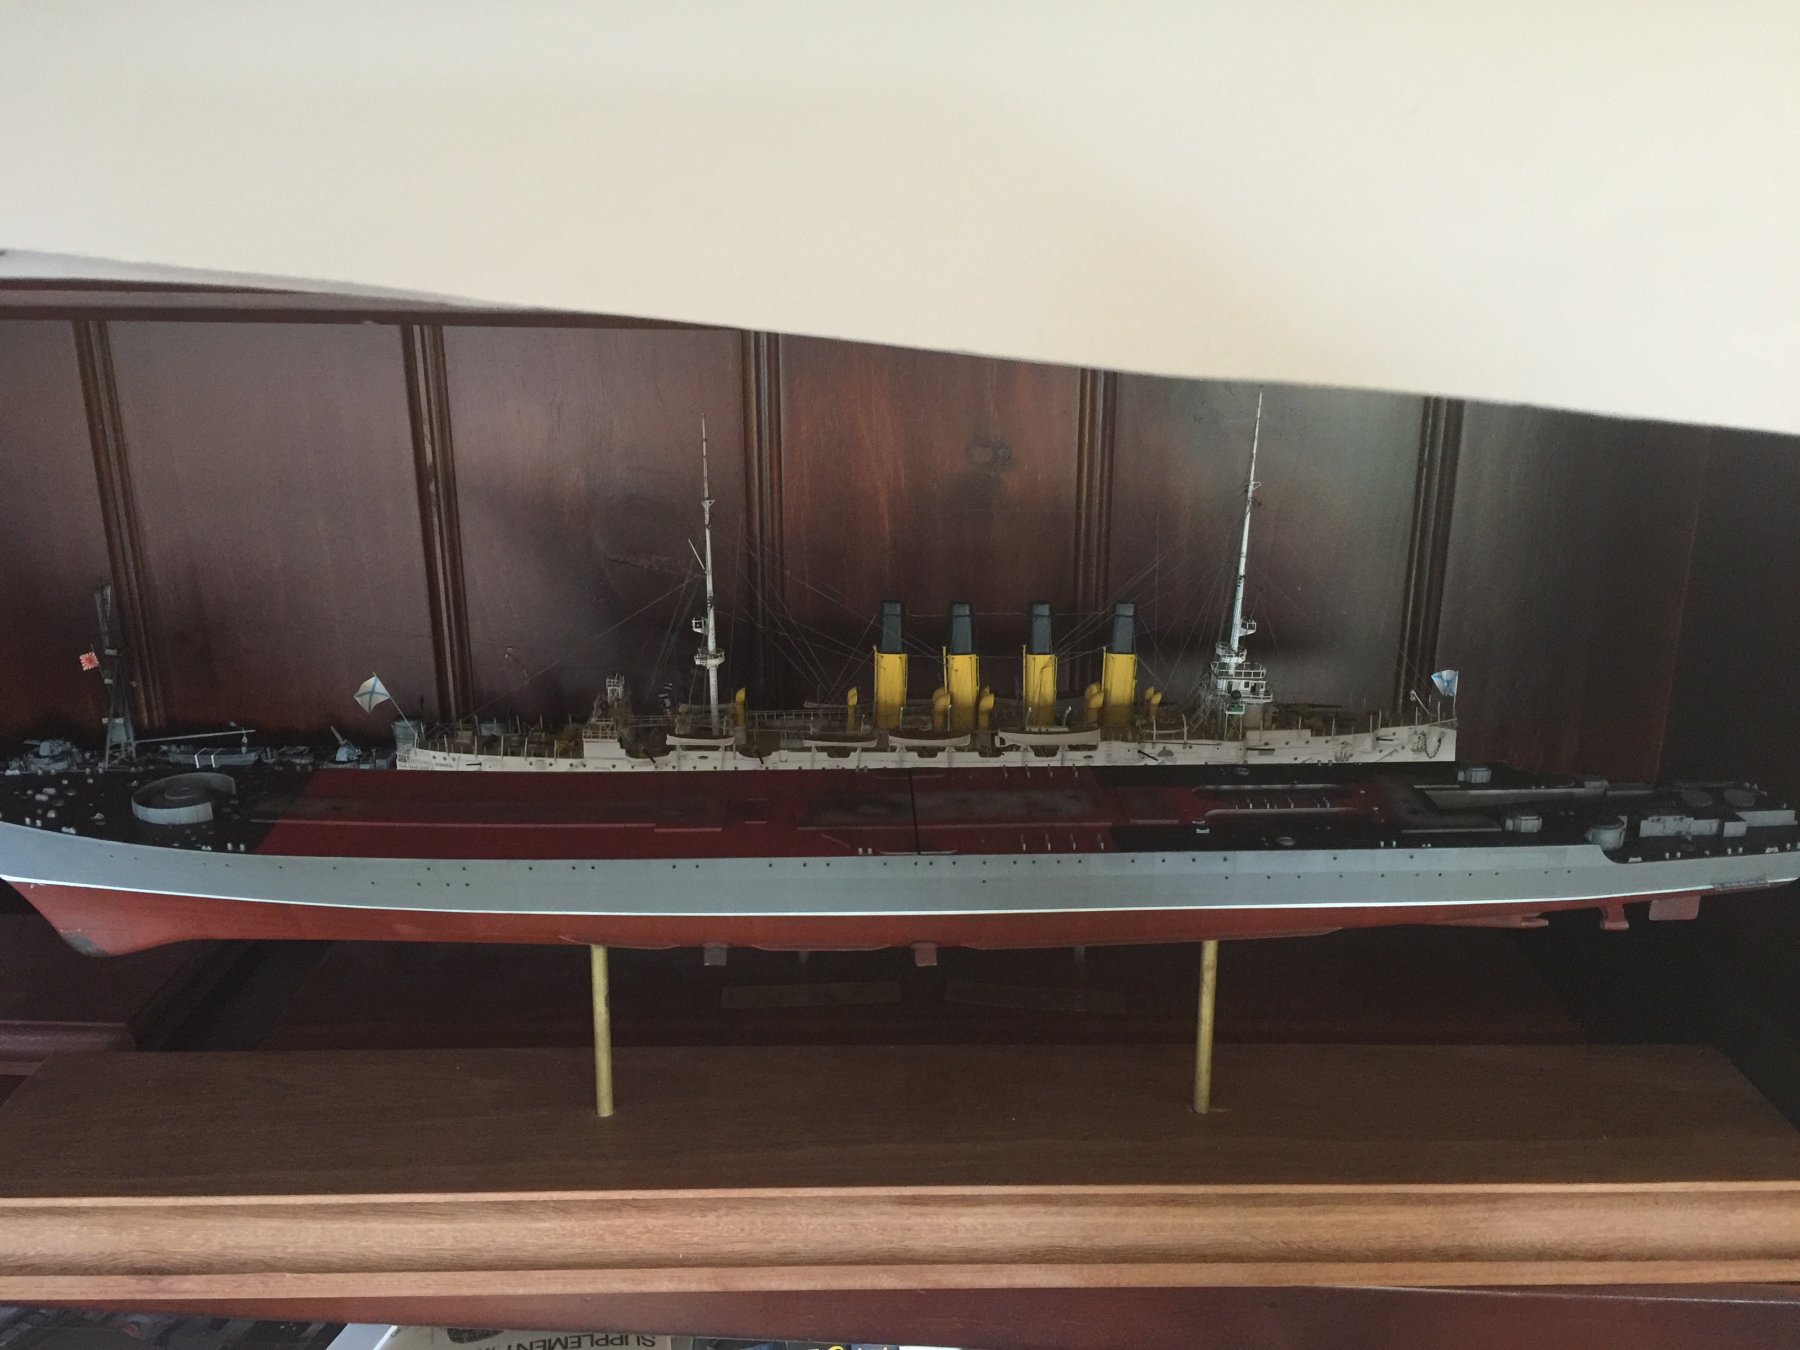
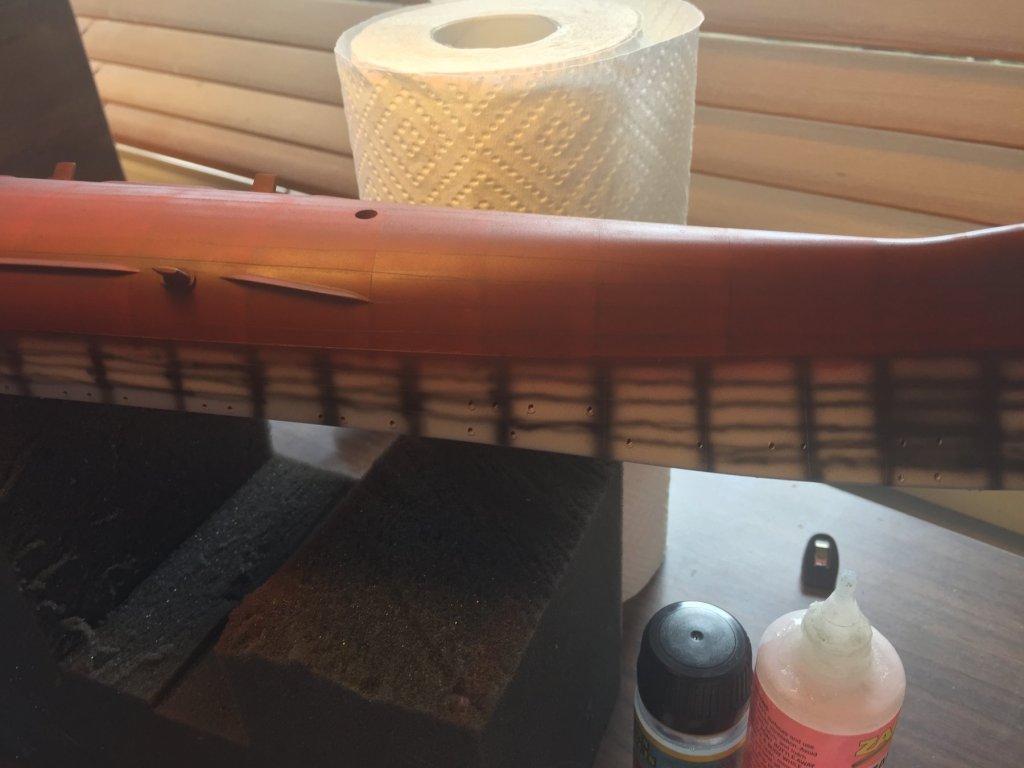
No, seriously that’s why I ask, Pat has been a very good mentor to me, and his former career makes him a subject matter expert (not to mention airbrush skills). So, my first racing stripe, ever! Tomorrow I’ll give him a coat of varnish.
-
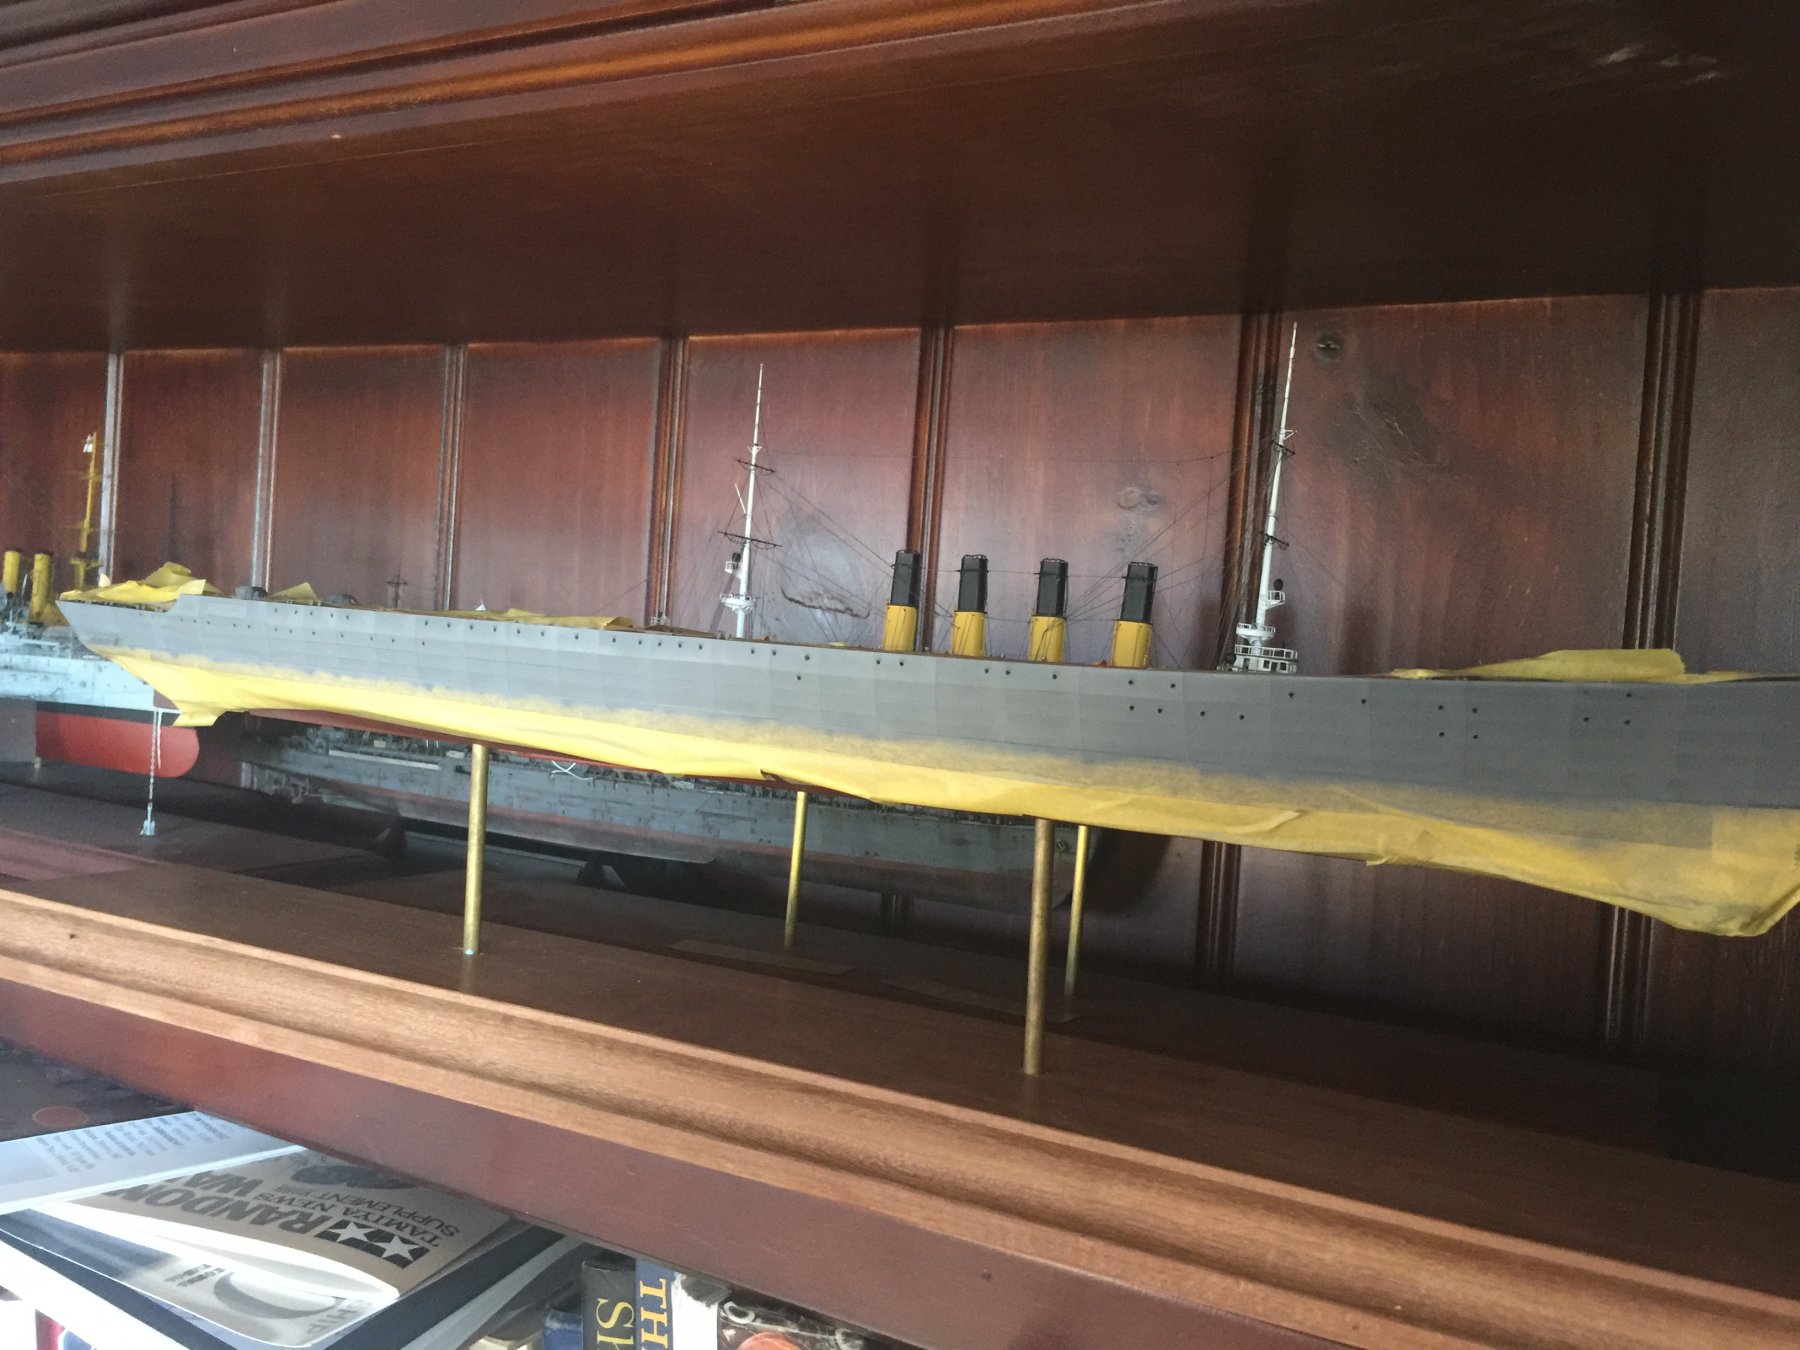
I did one lighter shade of grey to take away the over accent of the panels, then added grey to the multiple bollards etc. I did nothing to mask these pieces as would still be doing it in 2019. When I grunge it up it will cover a lot of sins. The hull just needs its’ white strip then I can seal it up with a varnish before I add the decals and start weathering

- 180 replies
-
- 12
-
-
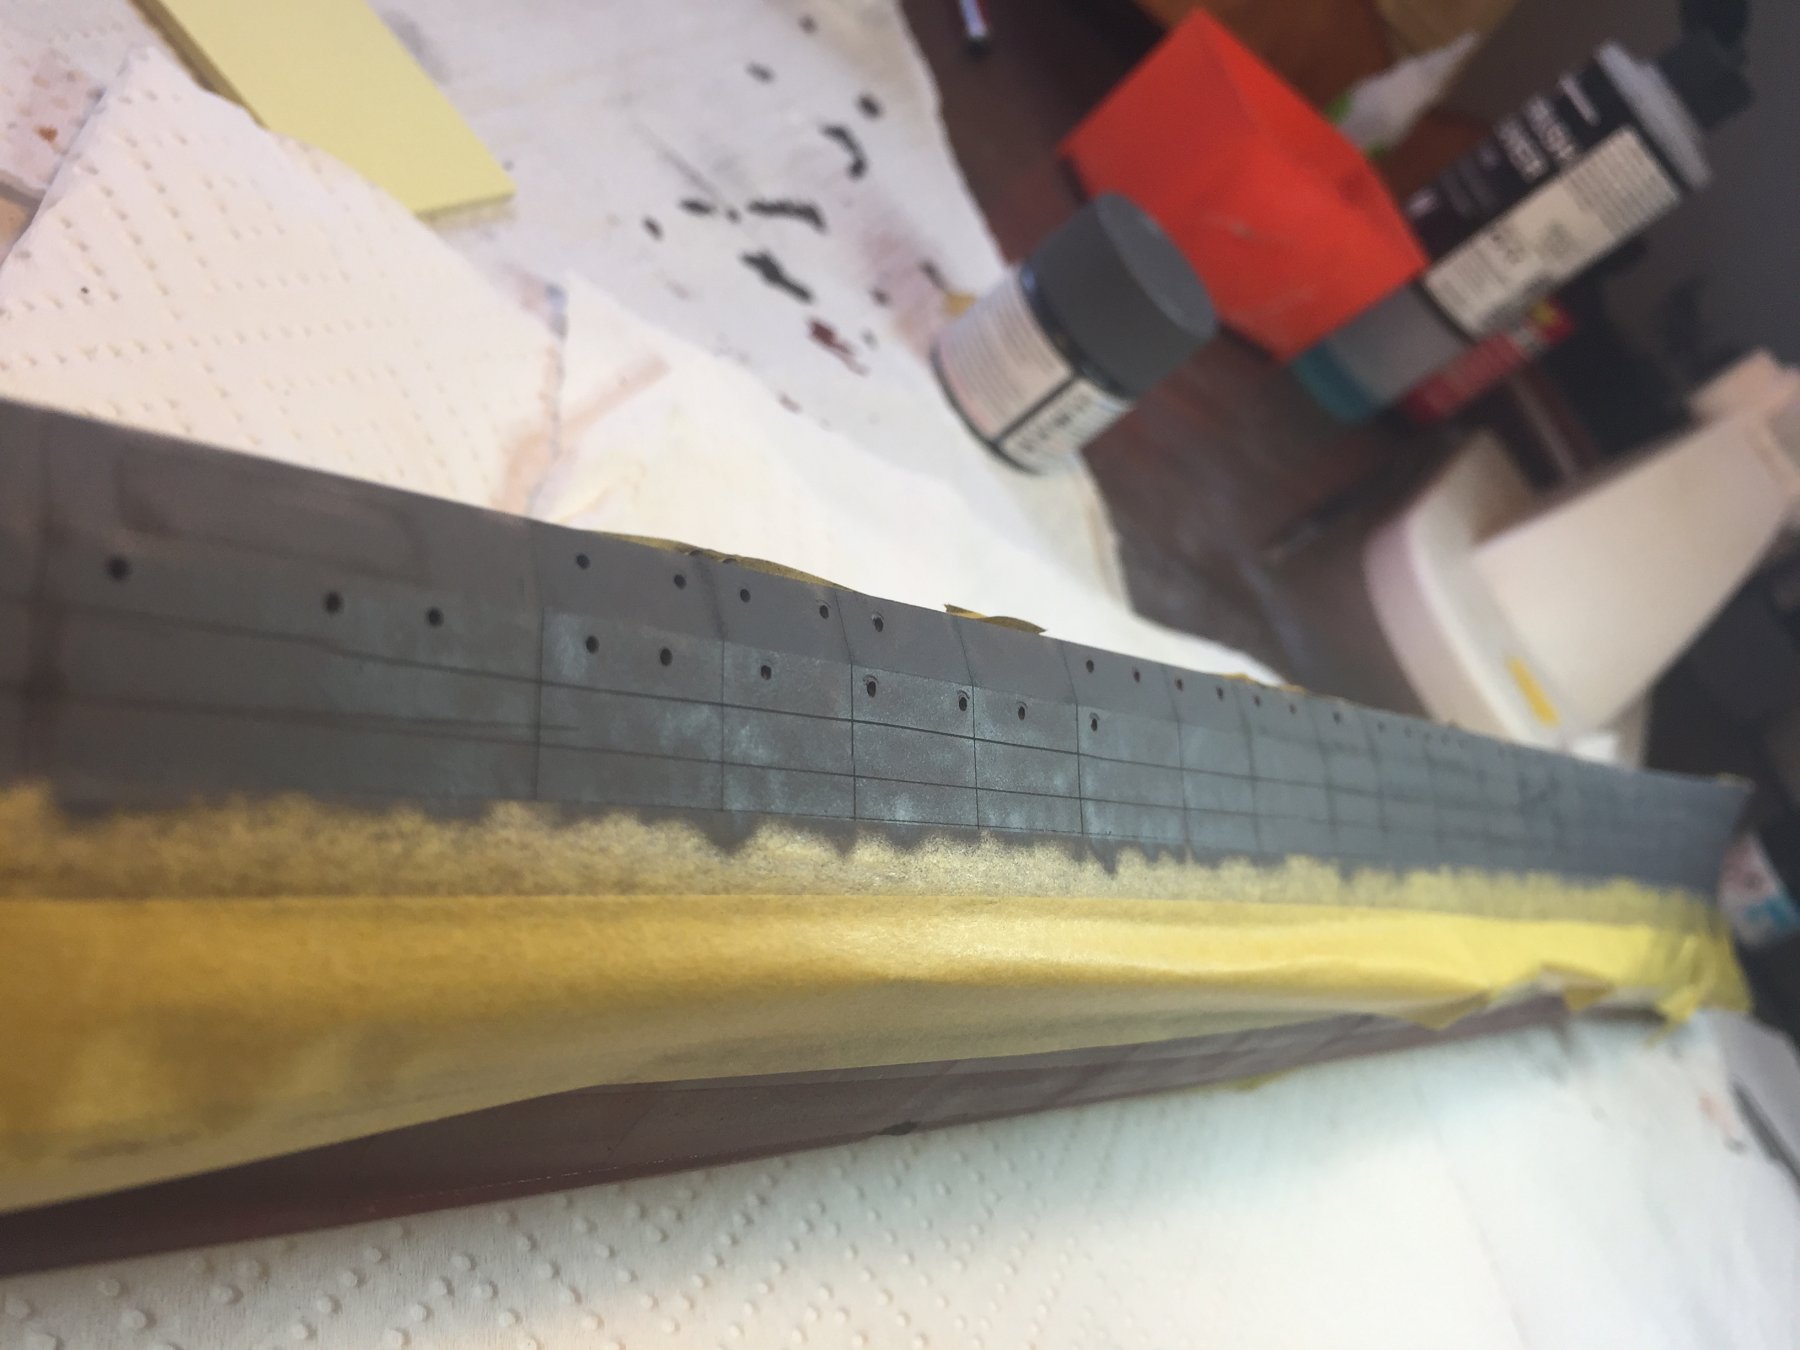
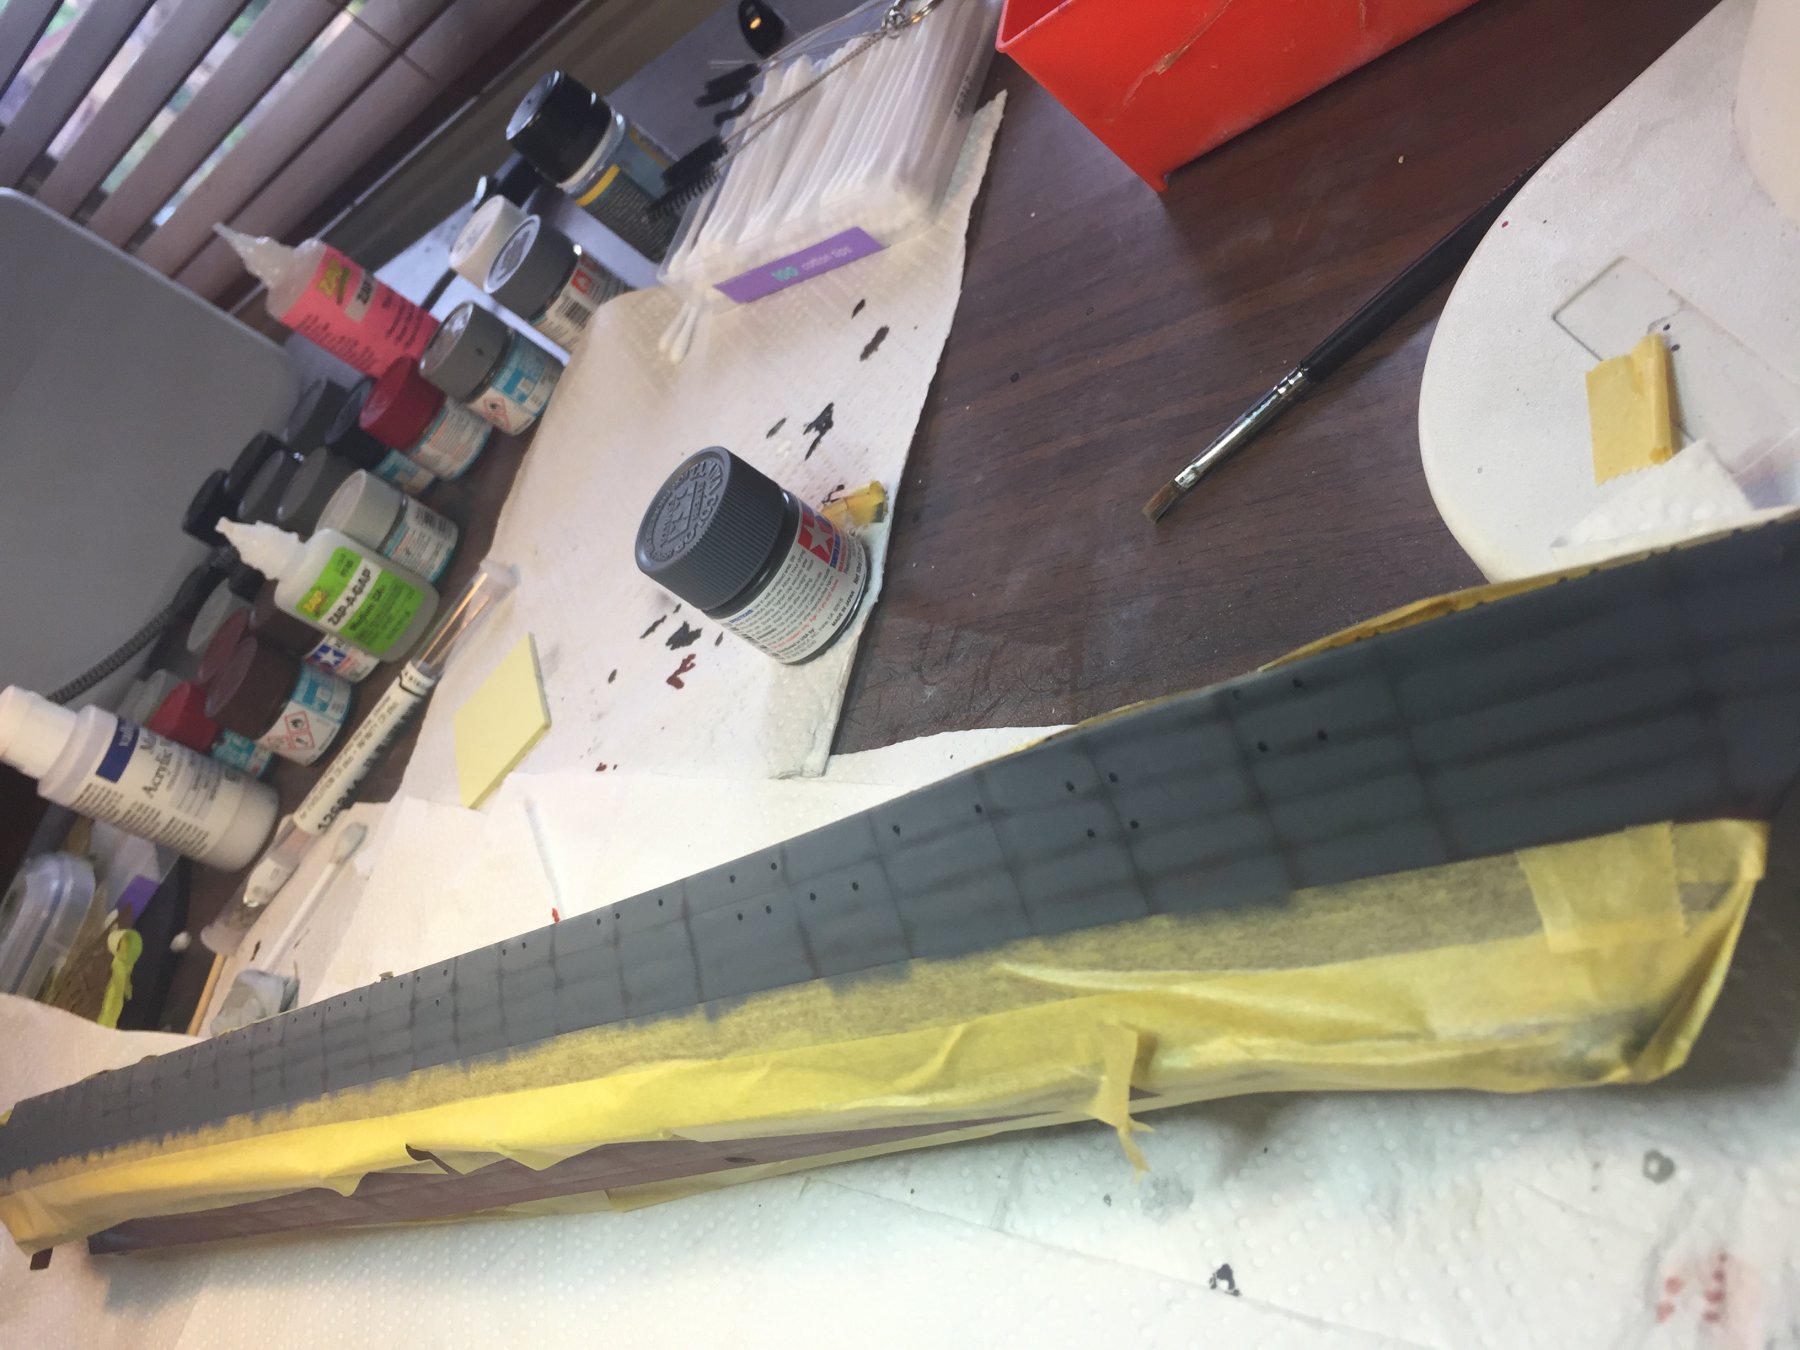
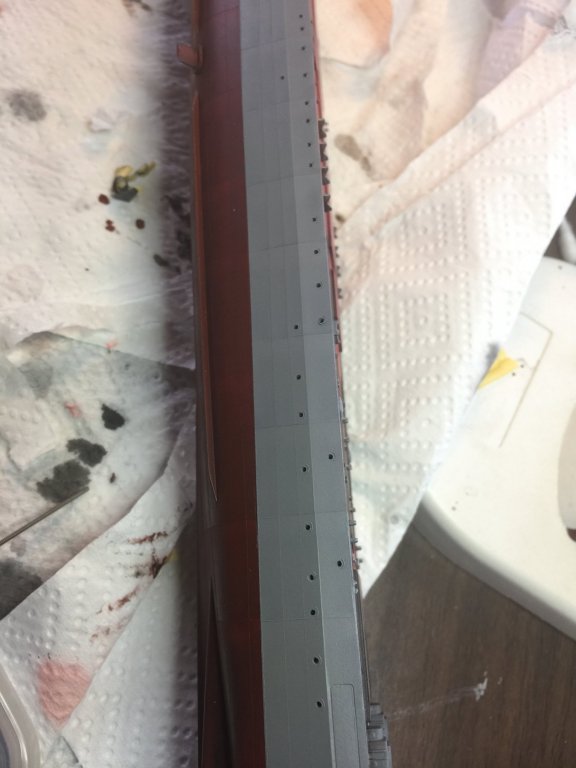
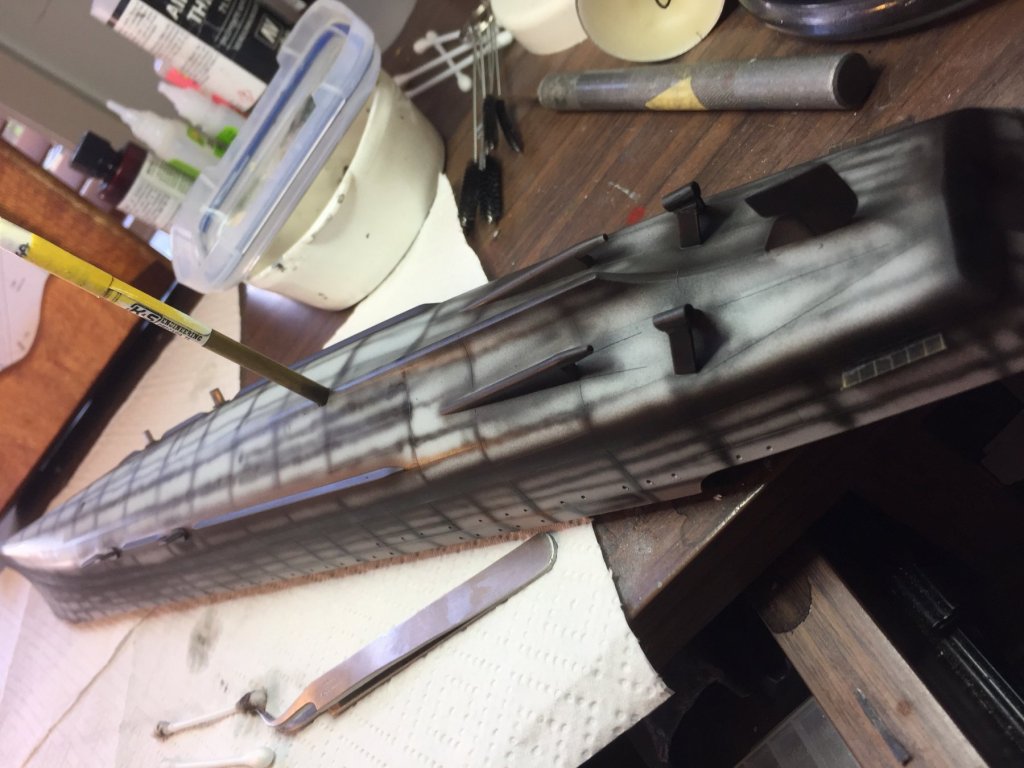
So, I get a couple of hours in after work, bringing up the panel lines then blending them in. I Made a huge error and stripped a large section of paint off as I used too much thinner but quickly rectified it with an overspray and I’ll let it set now, I’m quite satisfied. Even more so if the tape comes away clean.

- 180 replies
-
- 10
-
-
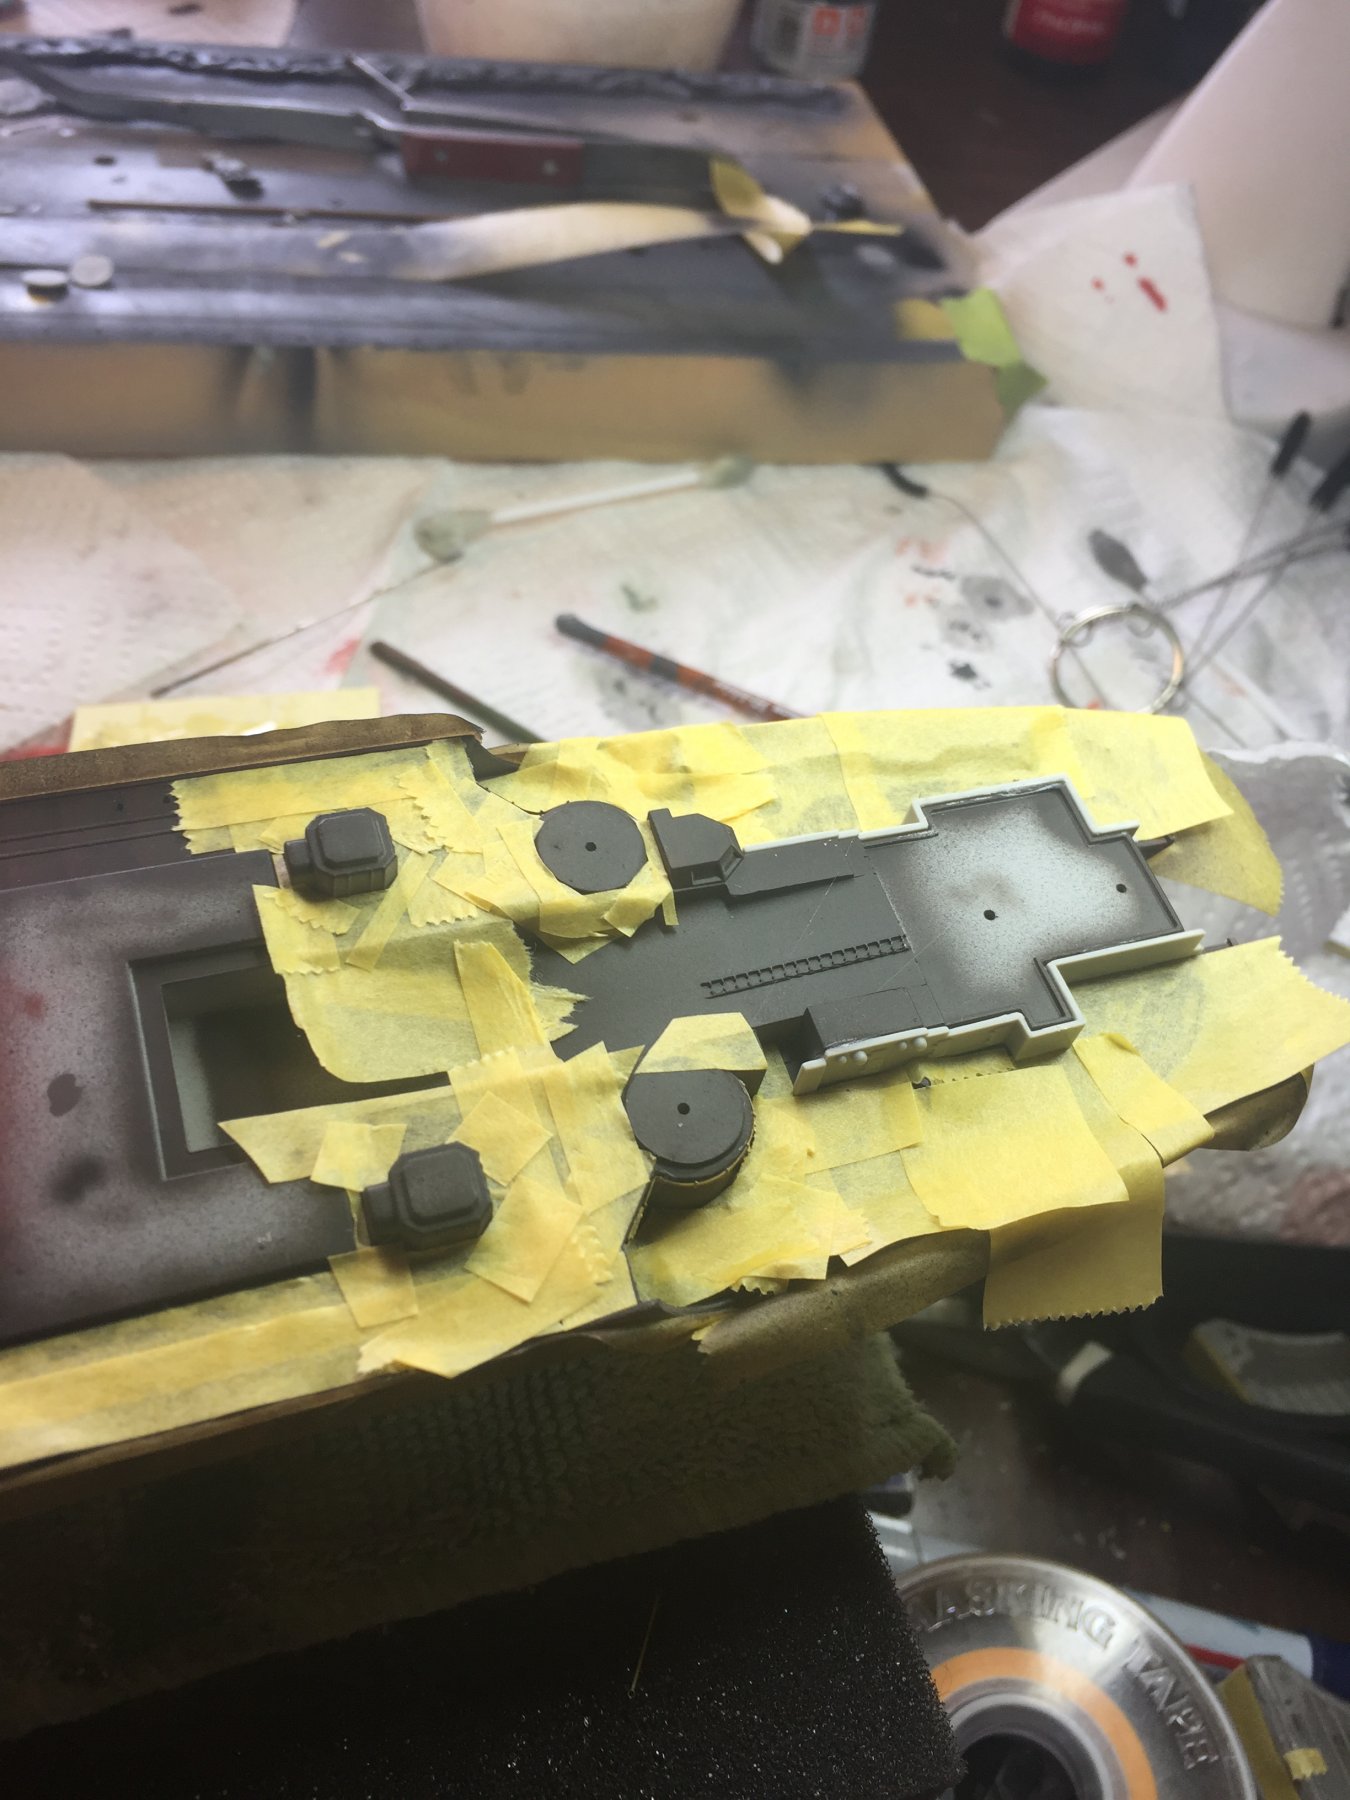
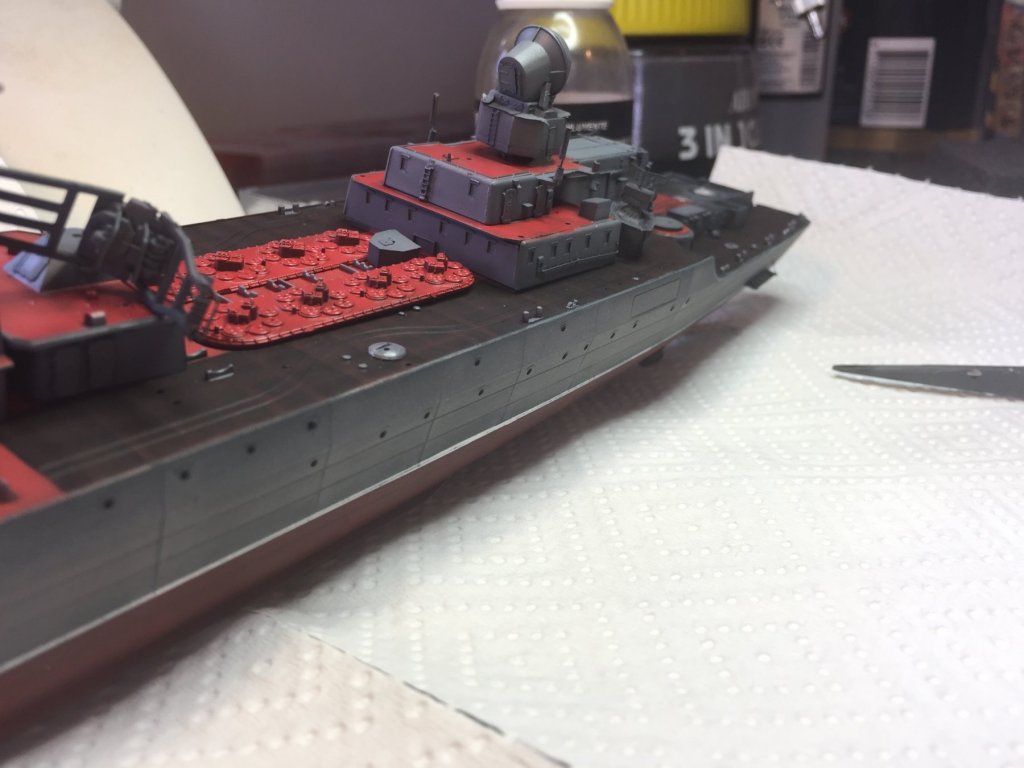
As I had time, I painted up the last of the sides near the heliport and added some PE from spares, the did a LOT of masking. The first of the hull coat. You can see the panels on the side which I etched in. Back to work tomorrow so no progress for a while.

- 180 replies
-
- 11
-
-
Railings added (well, most of them, lots of little bits to add but im waiting for a blue filter to arrive (next year apparently) before I can progress. It looks very bland I know, but it should come up OK. There are 4 major belaying points for cage aerials yet to go.


- 180 replies
-
- 10
-
-
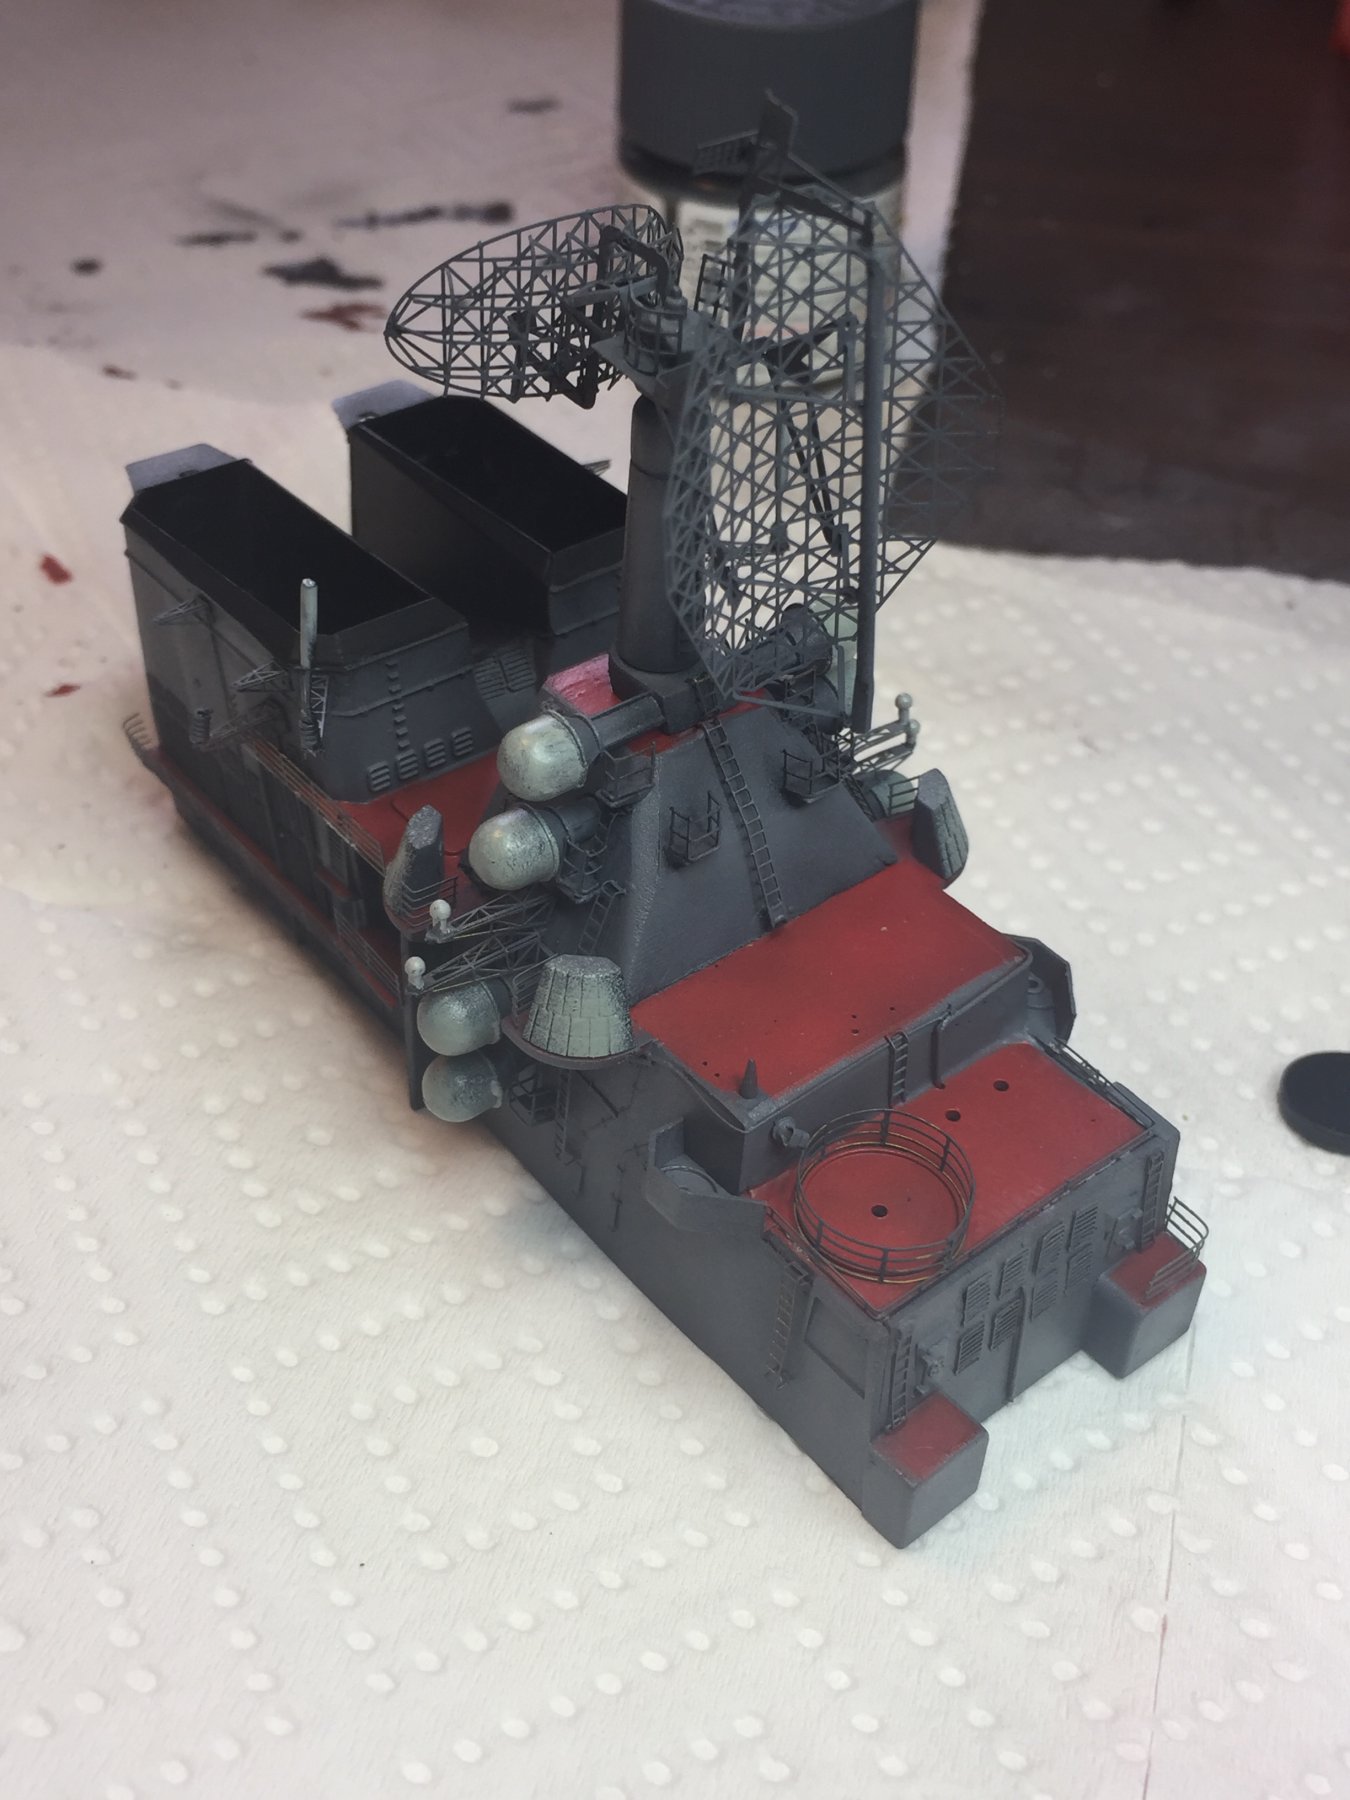
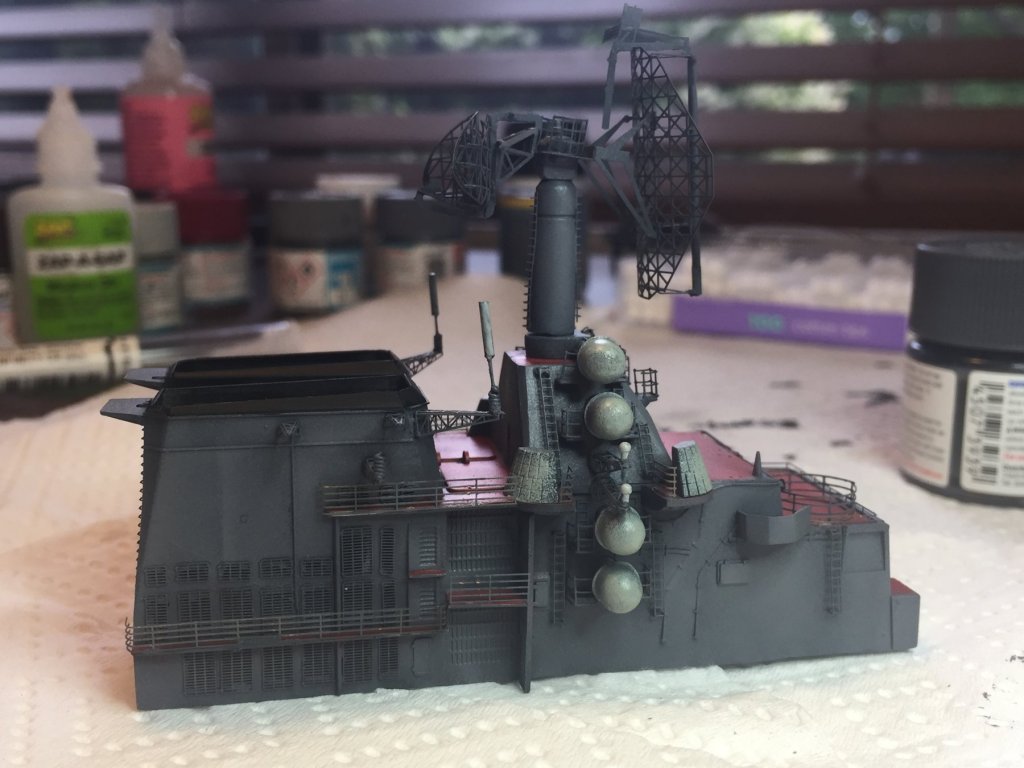
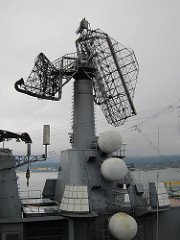
So, as I’m letting the hull set, I thought I’d give the funnels a coat. 2 shades of grey. The vents have come up quite nicely making the work worth it. I’ll place the radars /Fire controllers on, pin washes, railings, pin washes then railings, aerials etc. then a final blue wash.


- 180 replies
-
- 12
-
-
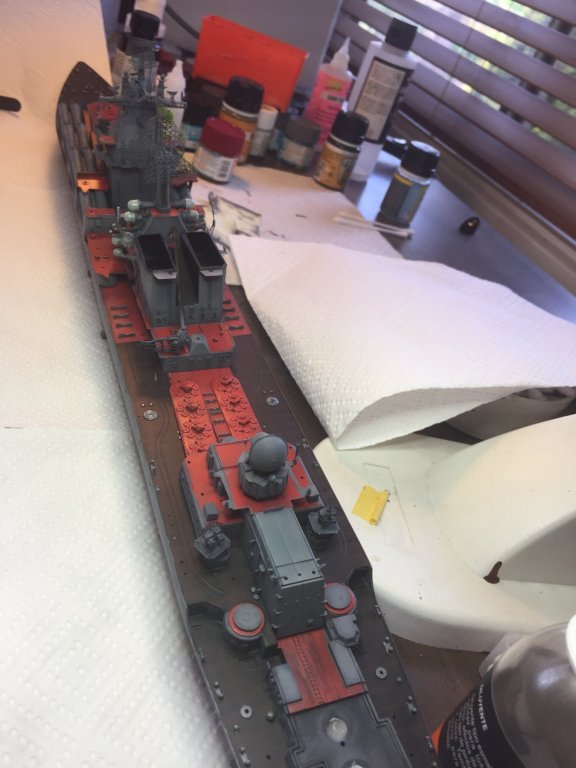
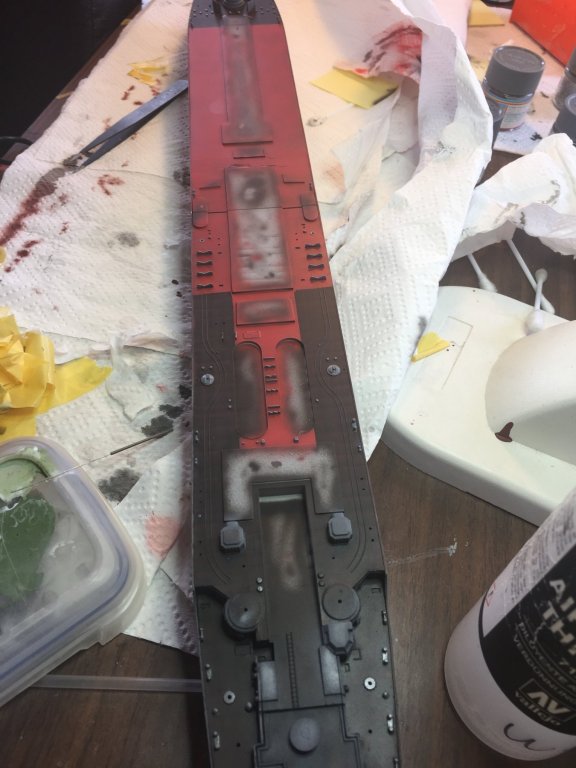
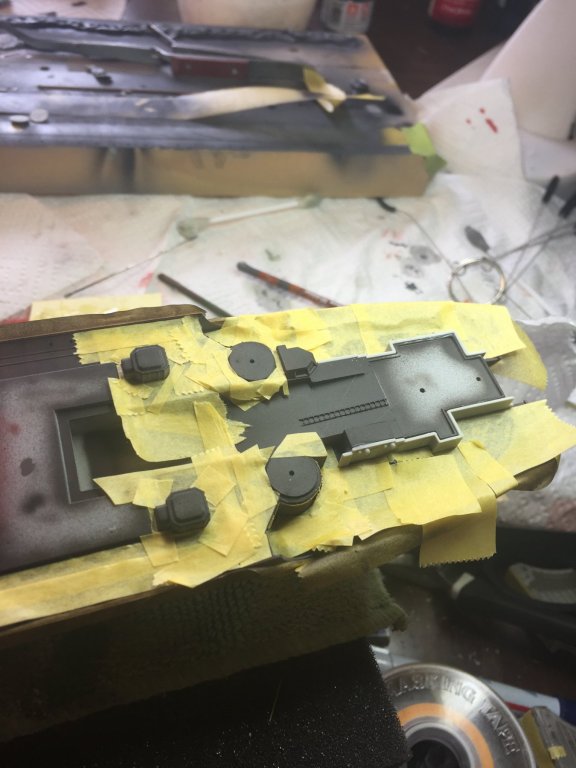
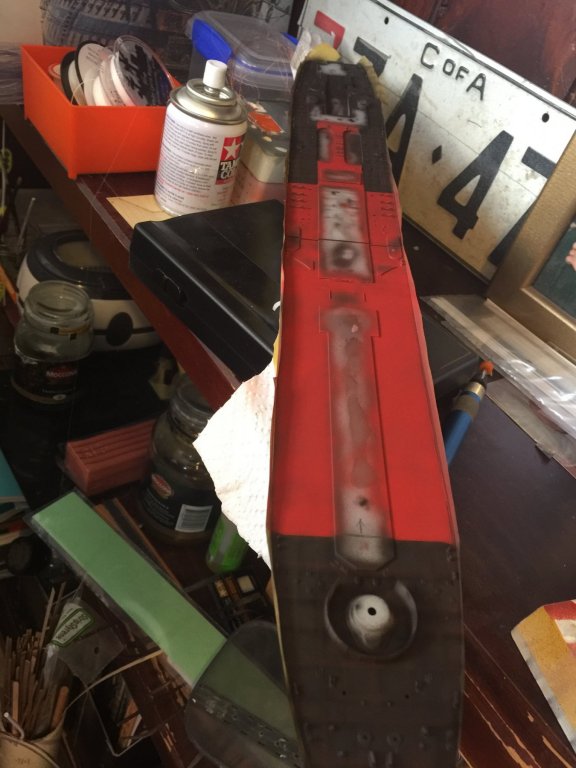
Now the red non slip. The grey bits remaining are mainly for superstructure. I will not weather the deck yet as all the little bollards etc will have to be painted. I plan to pretty much have the hull complete before I add any superstructure. The superstructures have all been primed and will be will be painted off kit.
- 180 replies
-
- 10
-
-
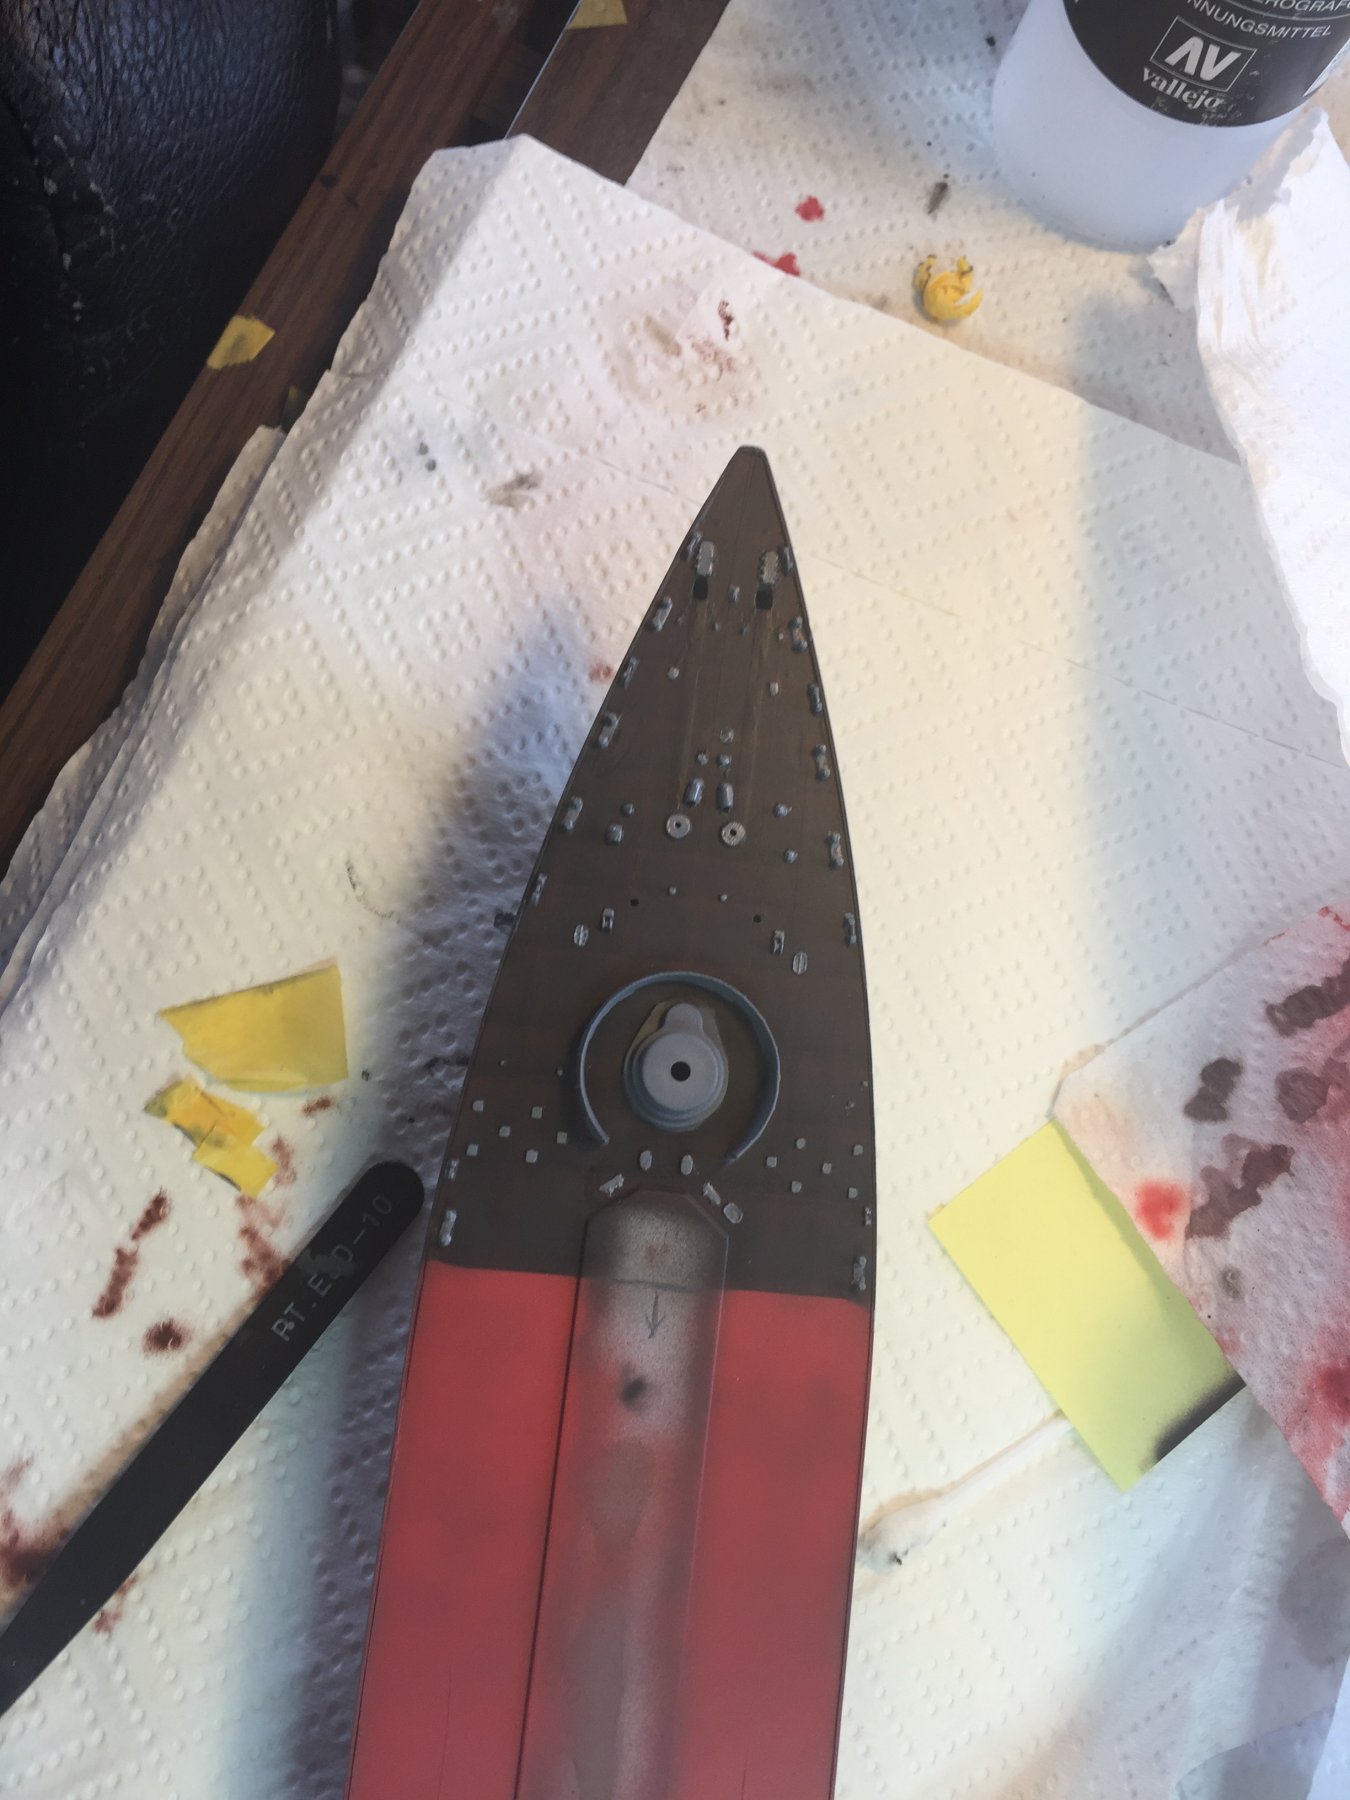
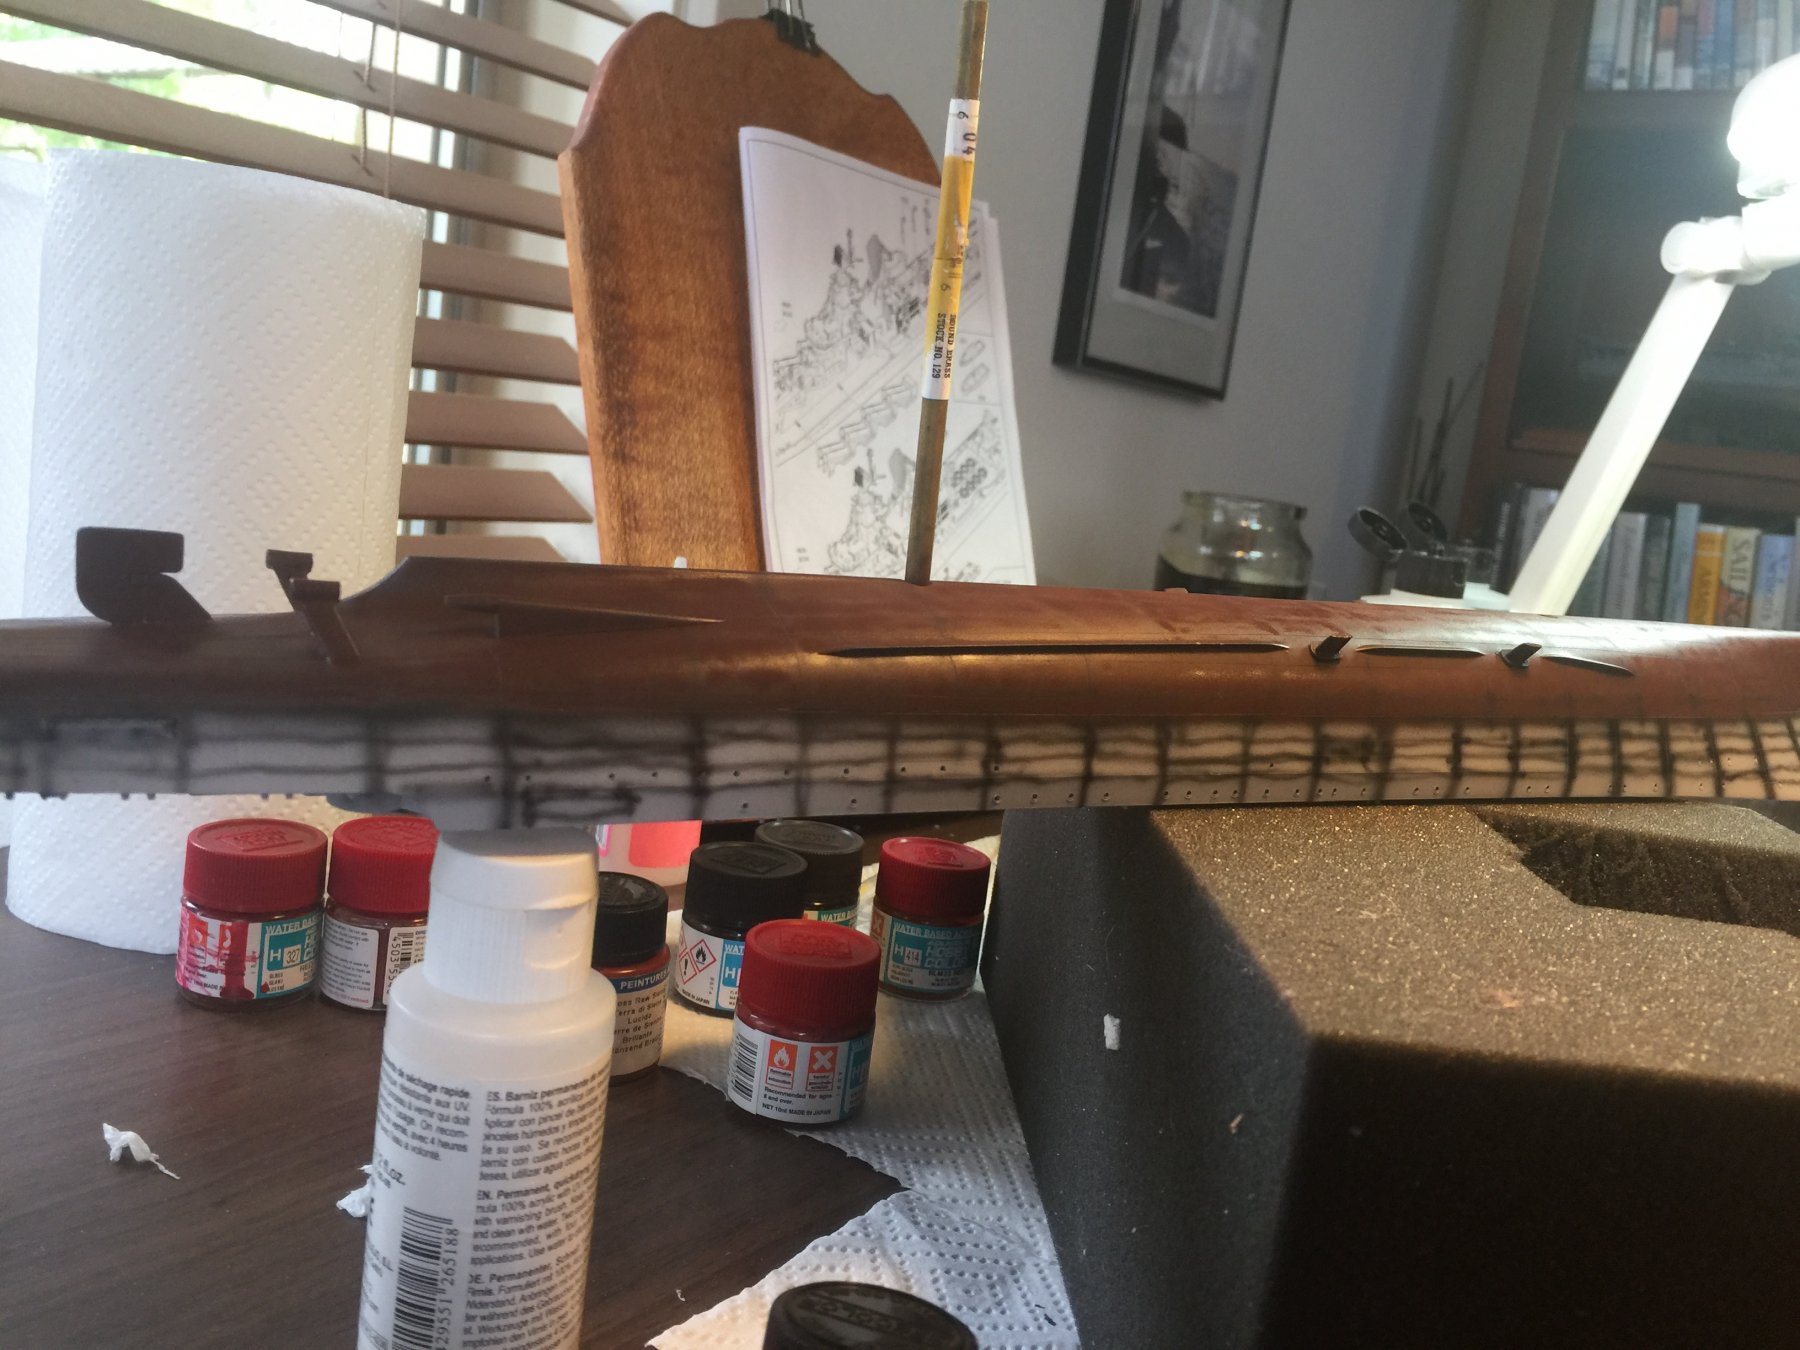
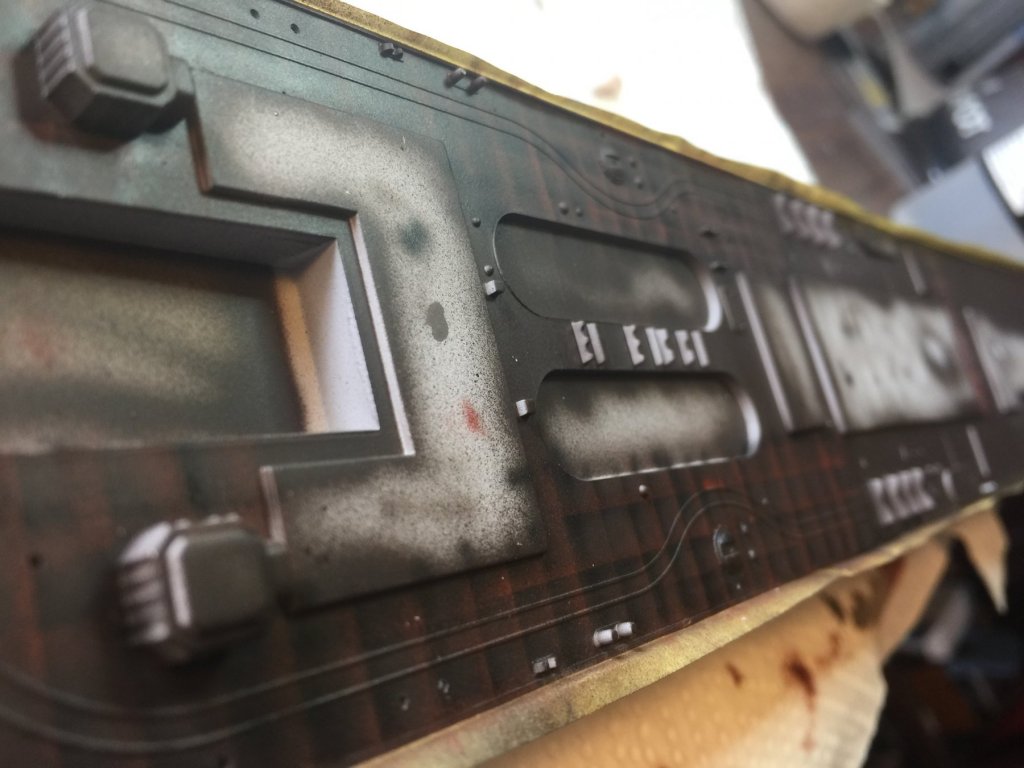
I filled in the gaps with black brown, then did red brown edges, then another overspray of black brown to dull it down. I think it came out OK, I’ll give it a few hours then put a satin varnish over it before masking before using a orange red for what I expect is non slain areas.


- 180 replies
-
- 10
-
-
Just to be a pest, but I don’t trust the 3D books. There’s a heap of references even on U-Tube and it does not make sense not to have it there. Happy xmas
-
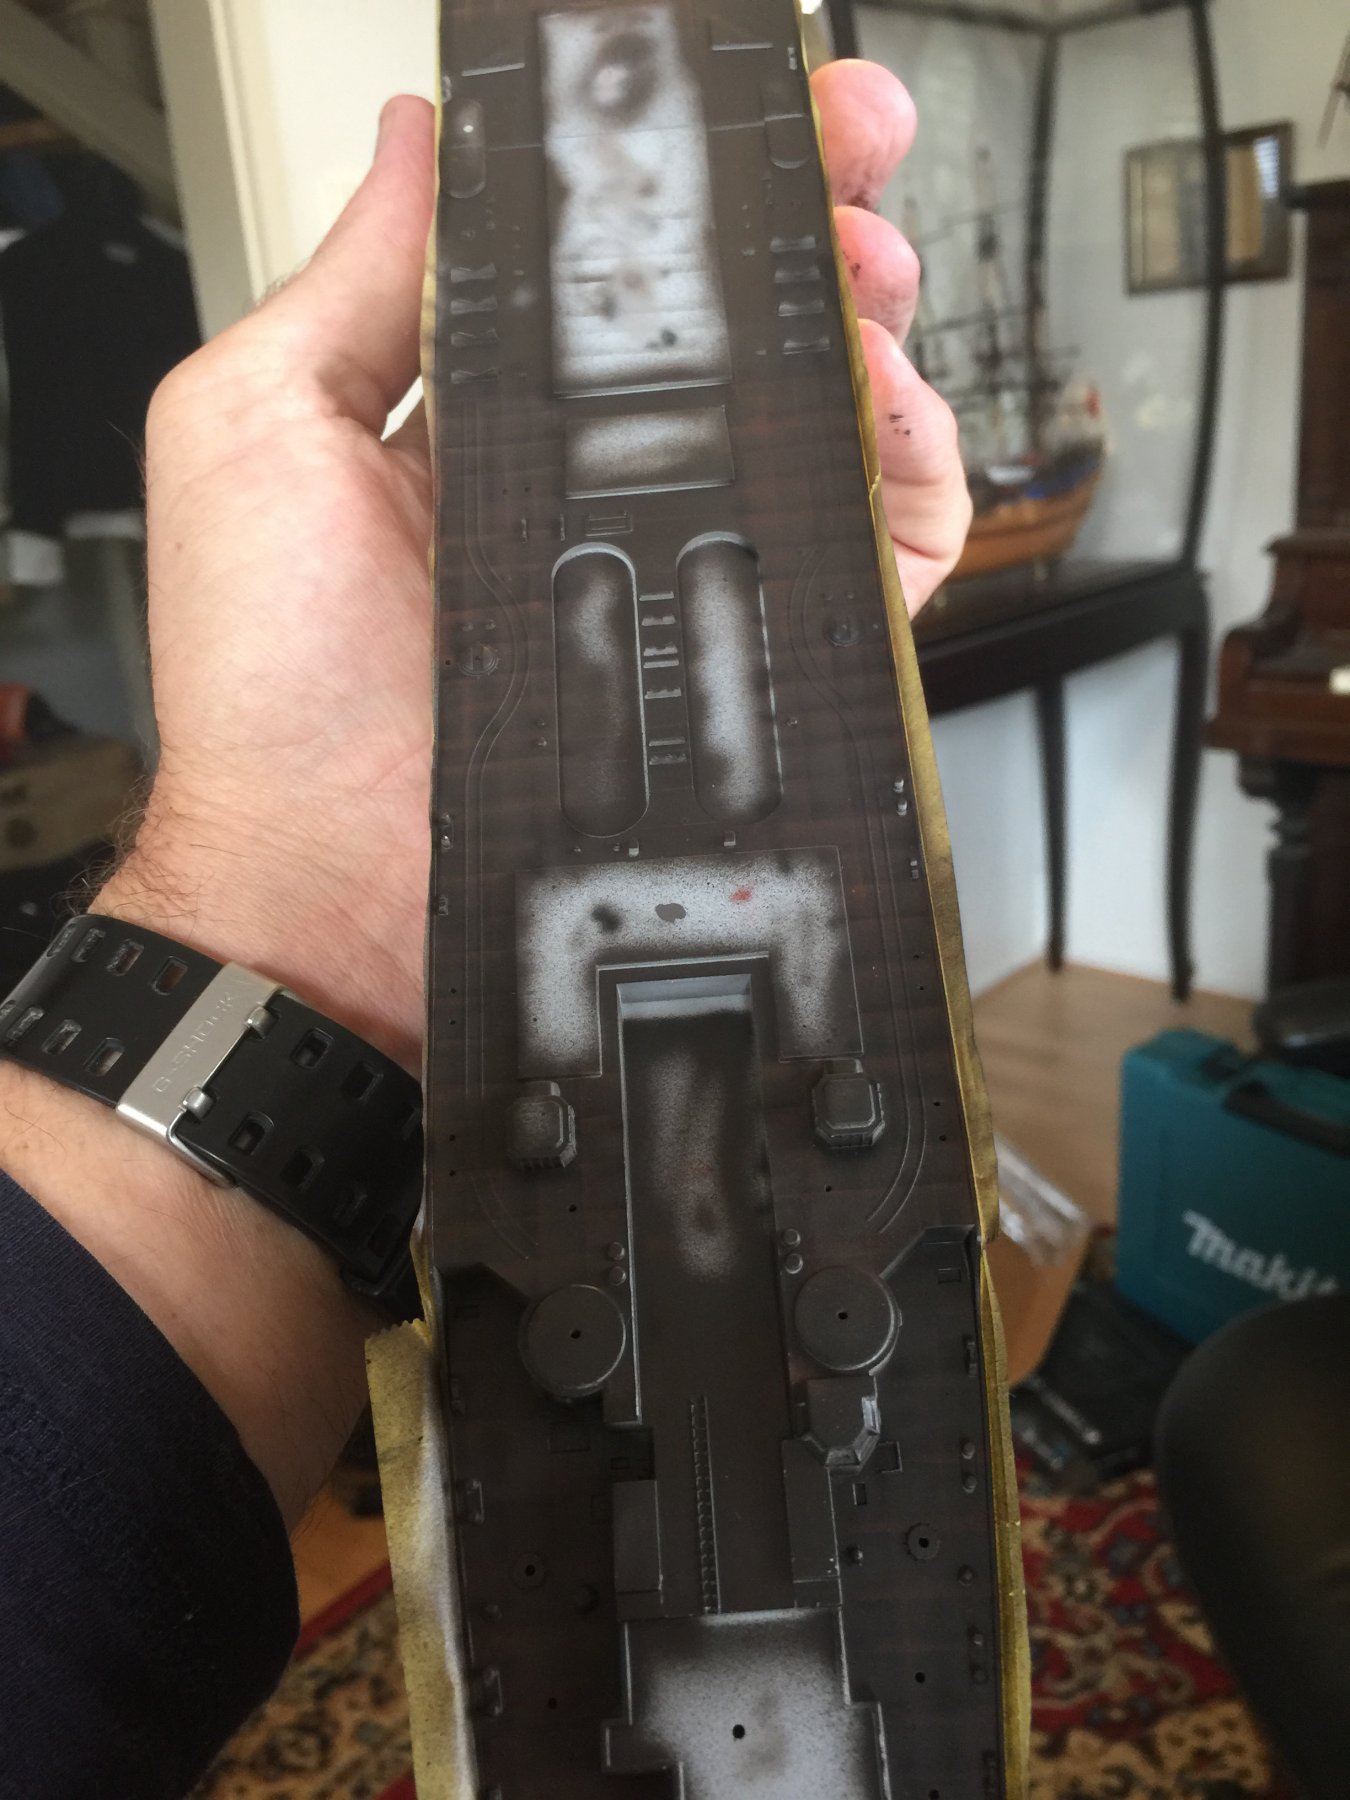
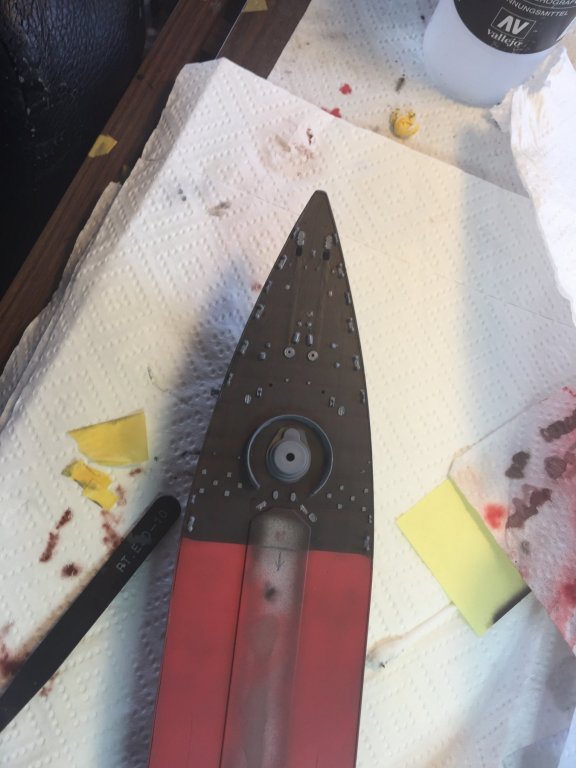
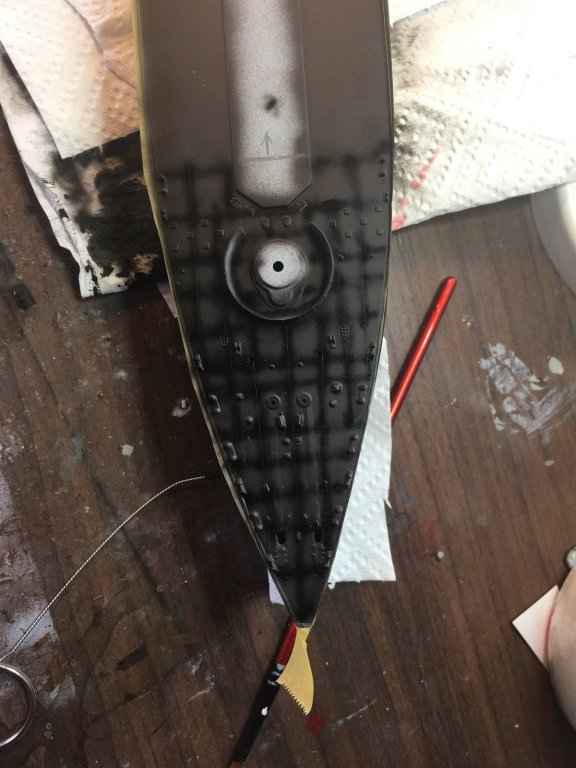
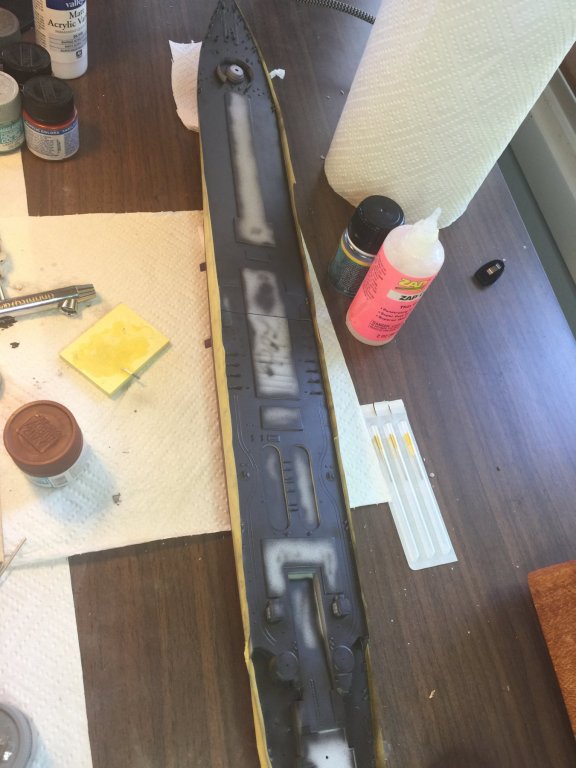
So, I get off work early today and look at the ship? What to do before Christmas? A bit of preshading on the steel deck. I like the colour but it needs work, the bits I don’t pre shade will have superstructure or red paint. As its xmas eve here, may you all be safe and well in your travels.
- 180 replies
-
- 12
-
-
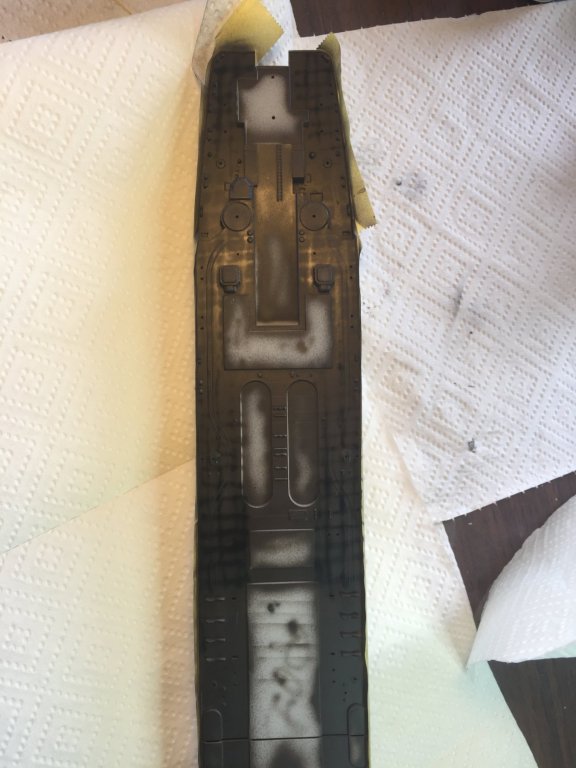
Keeping my OCDin place, I’ve sprayed the deck, Steel grey which I might etch some weld lines into yet, then panel them with the airbrush. Once I get the deck correct, the rest should be fairly strait forward, I just need to let it all dry.
- 180 replies
-
- 13
-
-
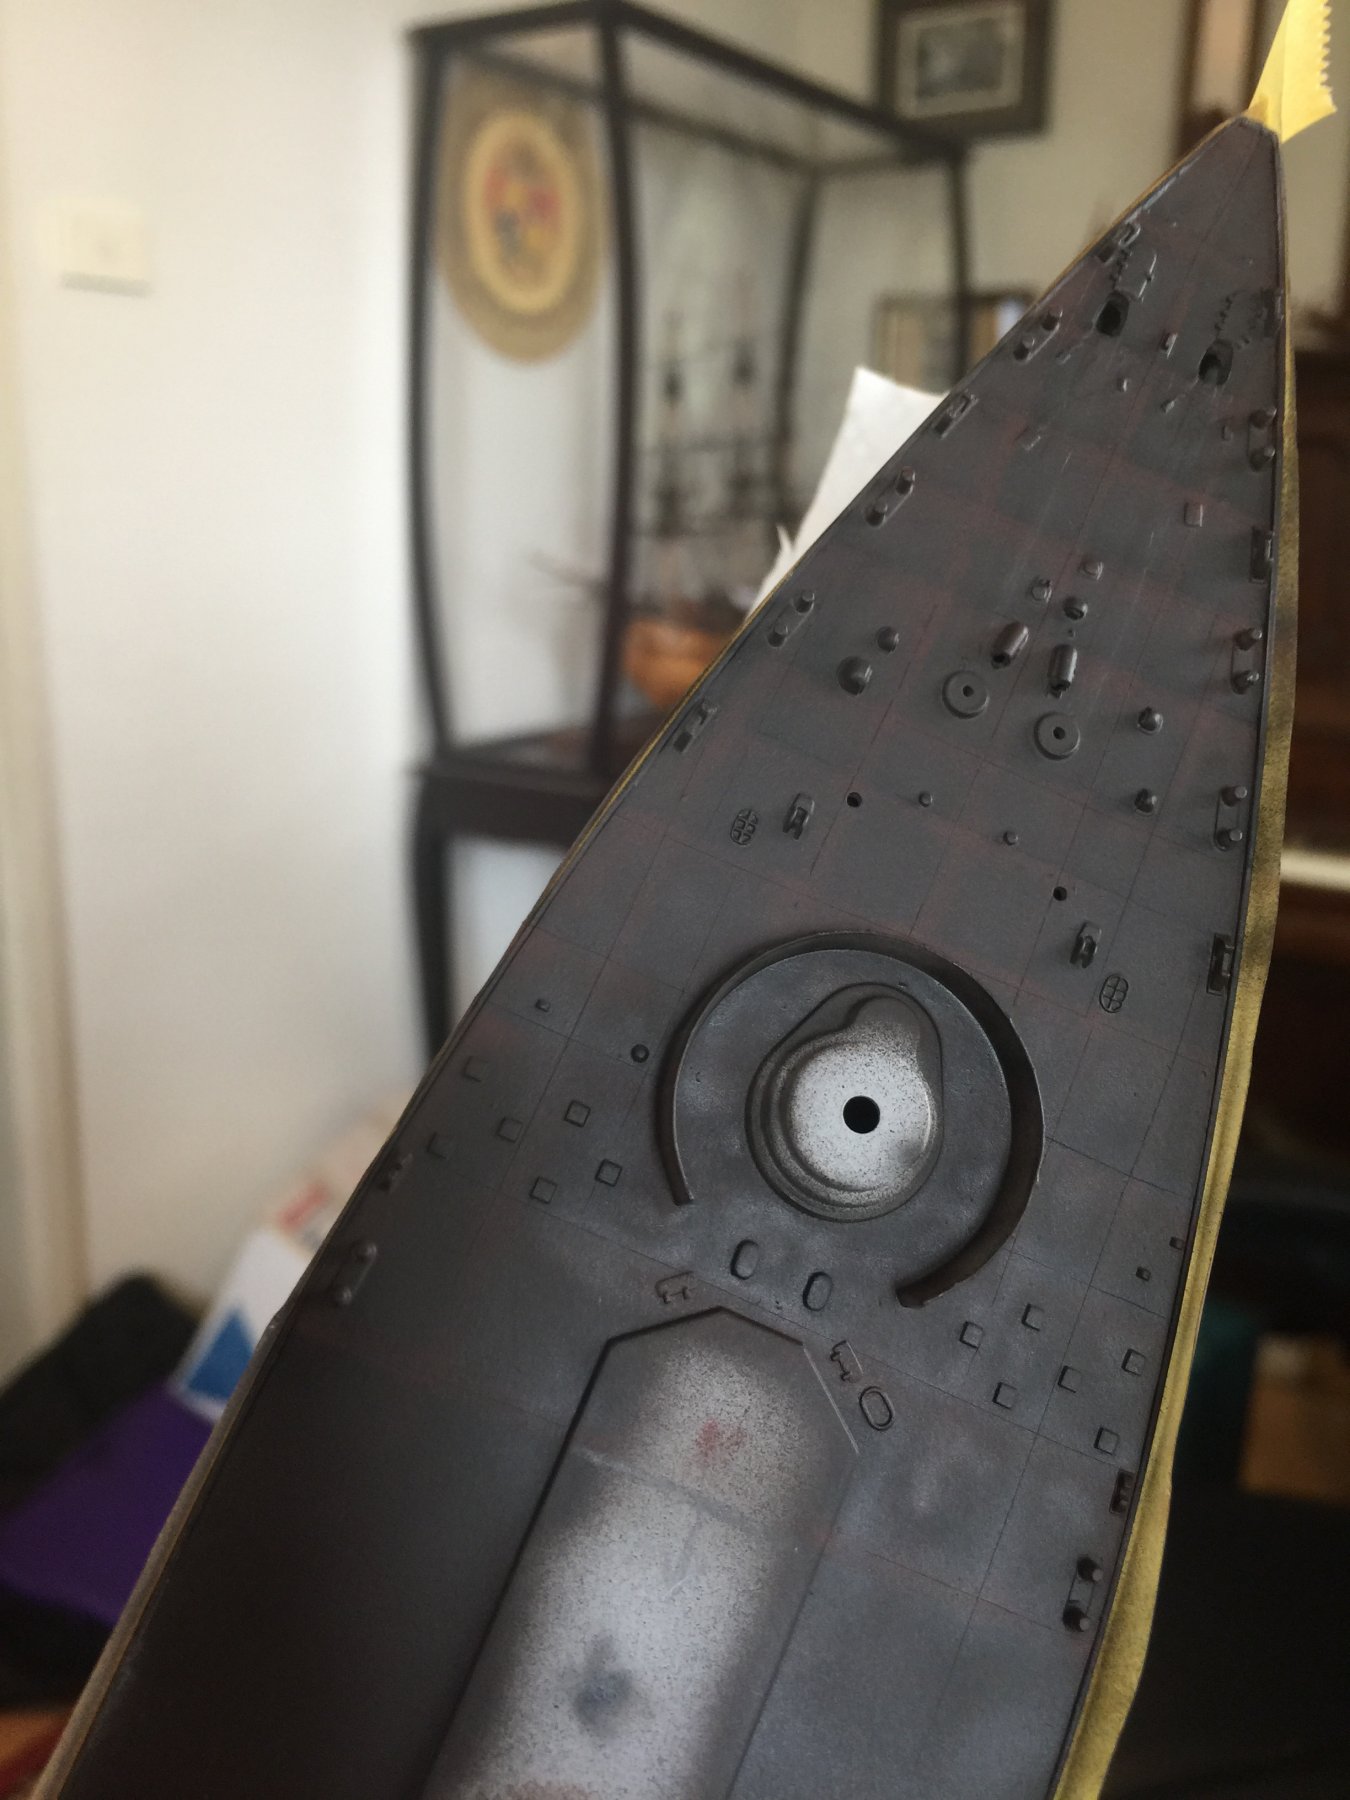
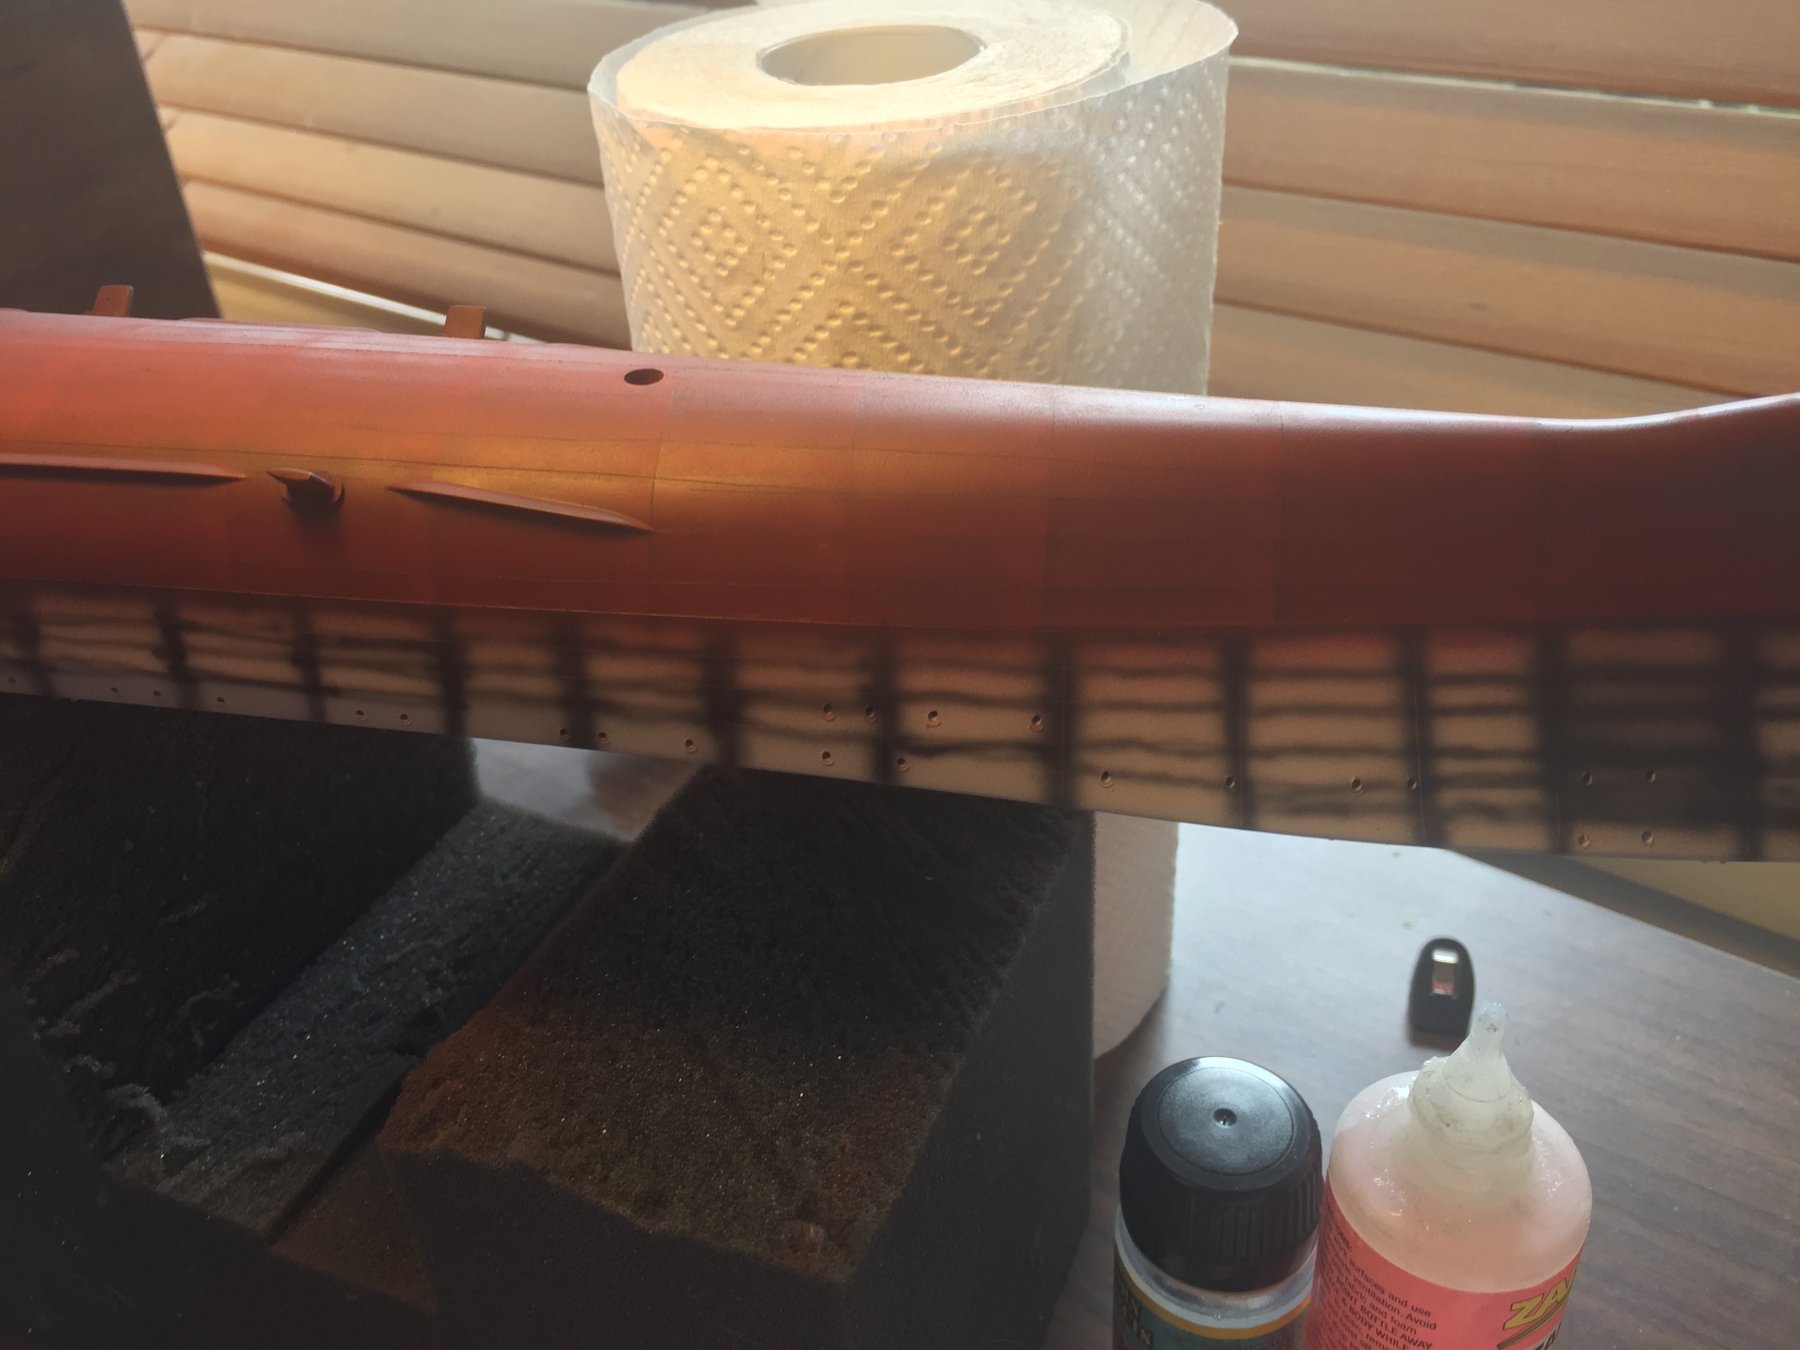
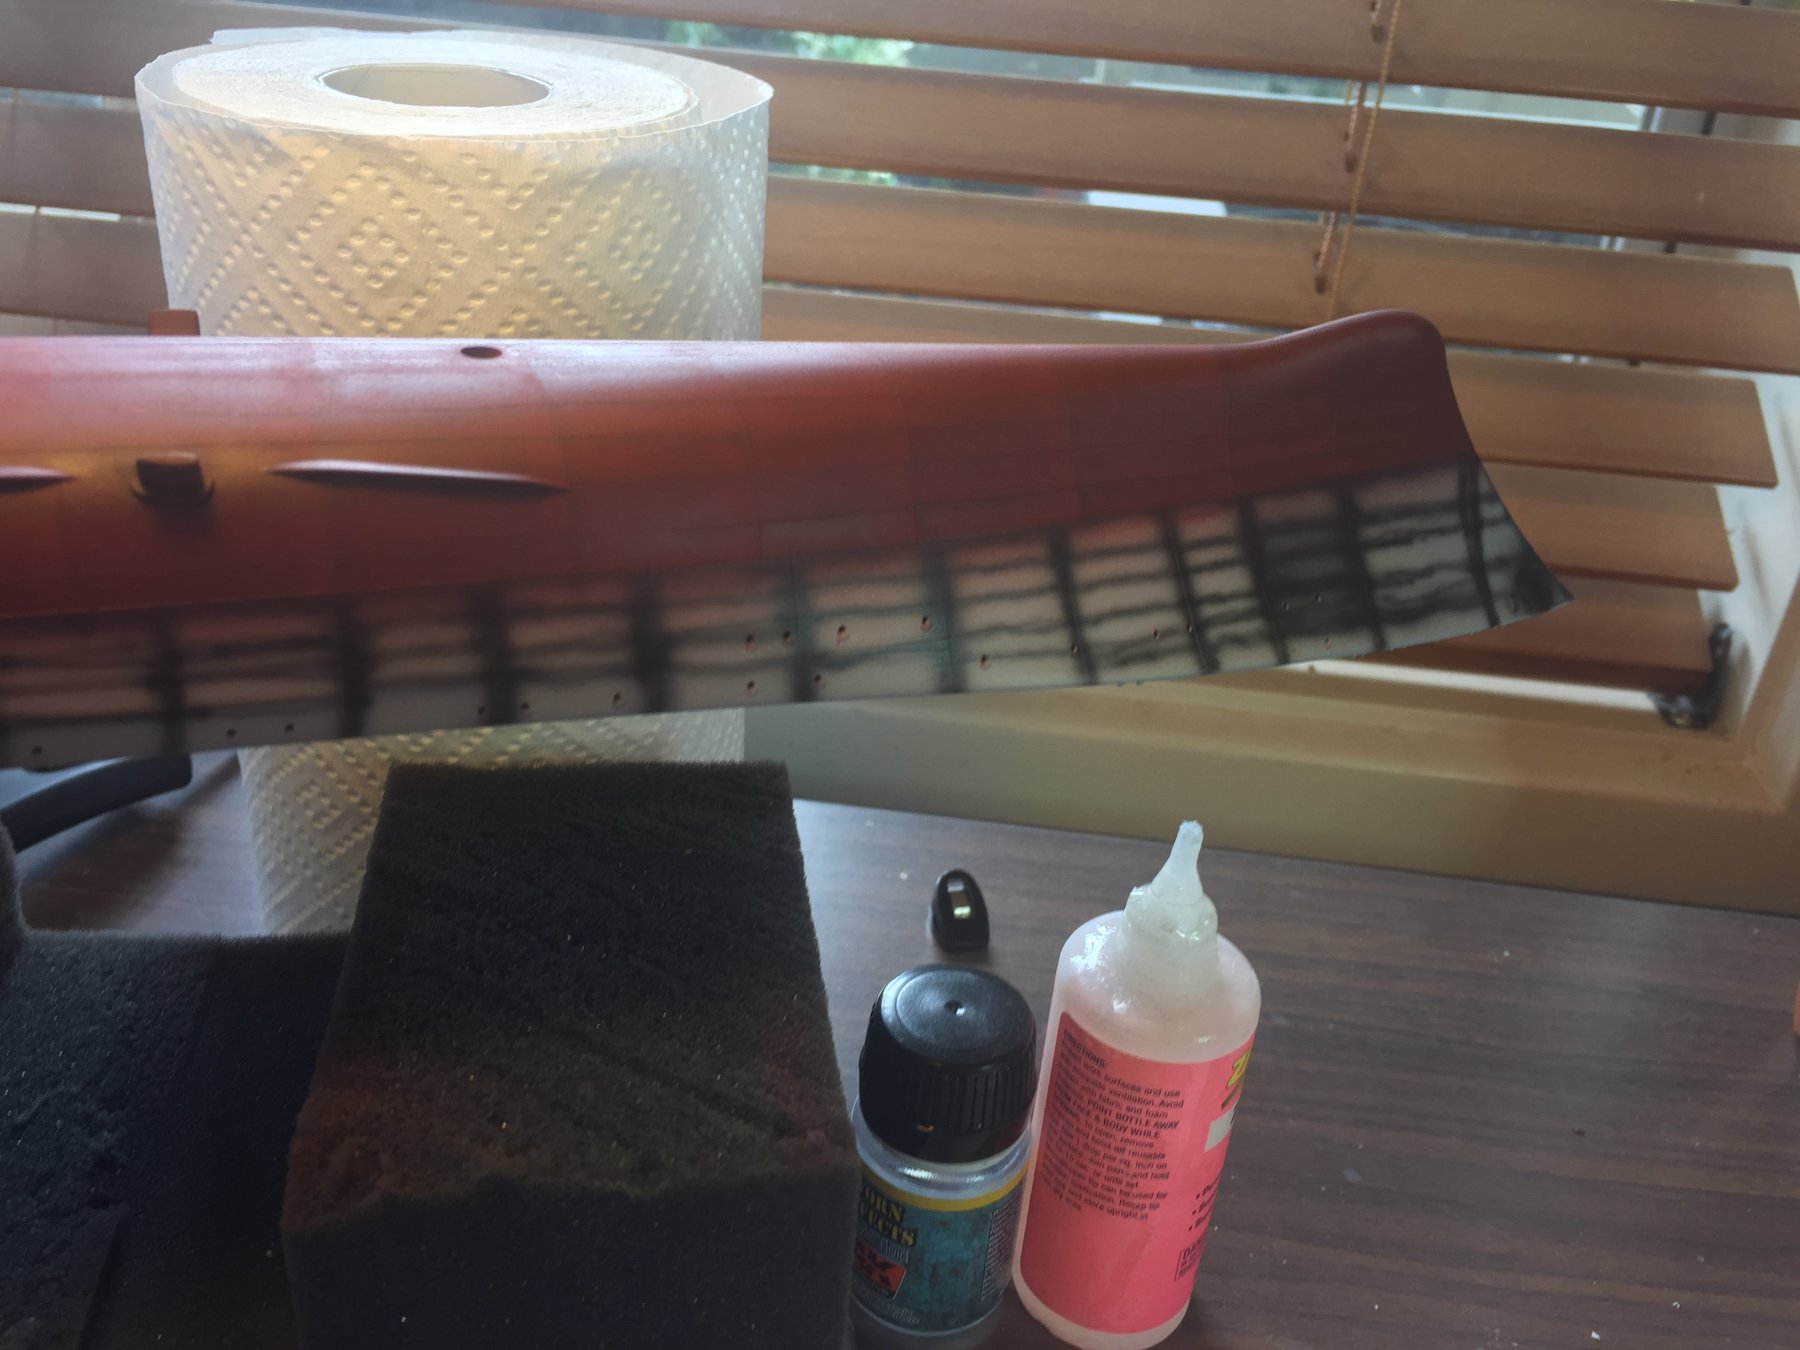
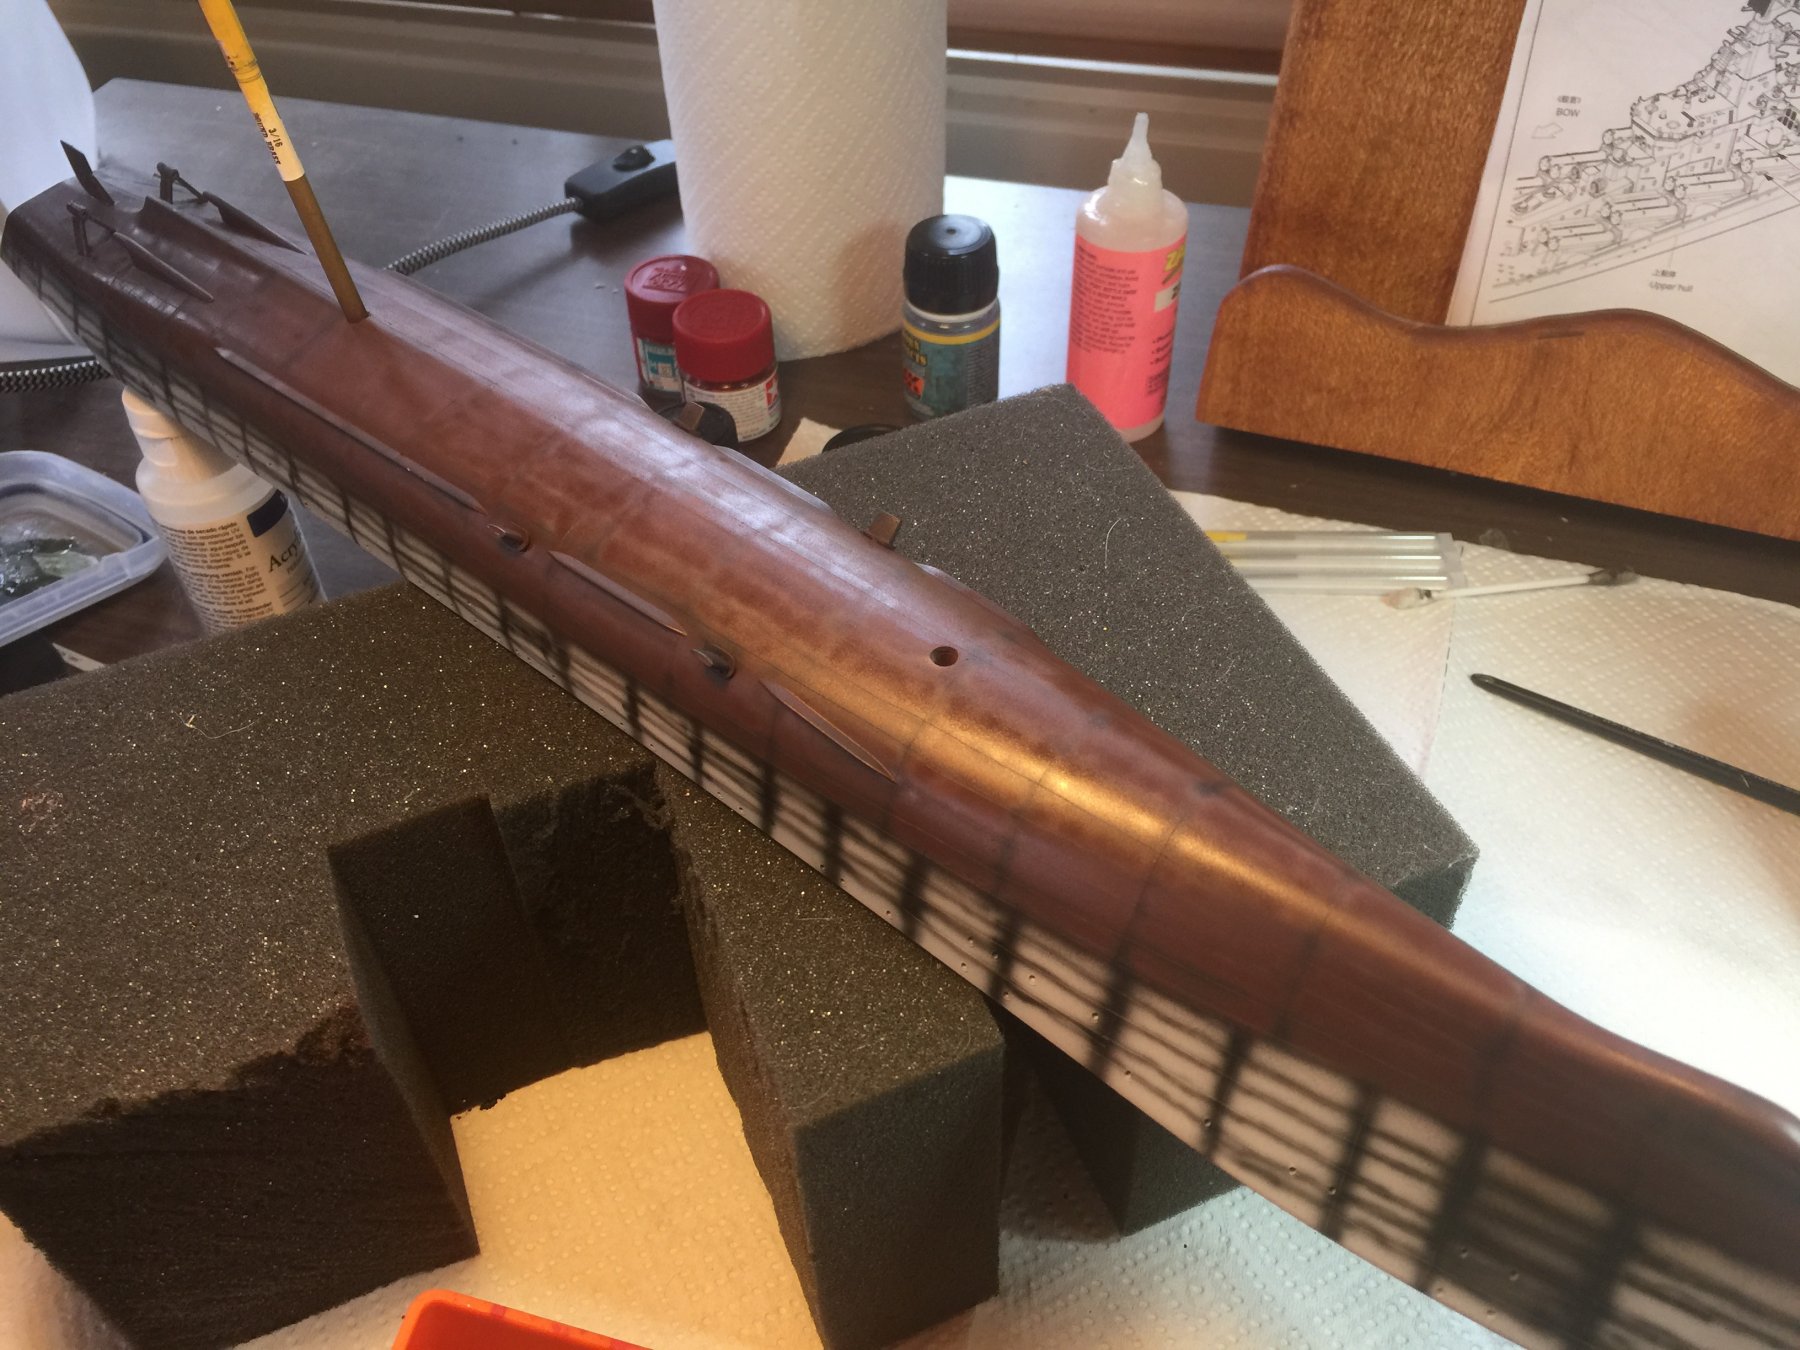
I diffused below the hull with 2 coats of red and 1 of burnt sienna. To the naked eye it looks a lot more blended but there is weathering to go anyway. I’ll let it dry for a couple of hours, then do the chipping. I can then let it dry for a week as duty calls over Xmas so I’ll get some priming done of the superstructures done this afternoon.

- 180 replies
-
- 11
-
-
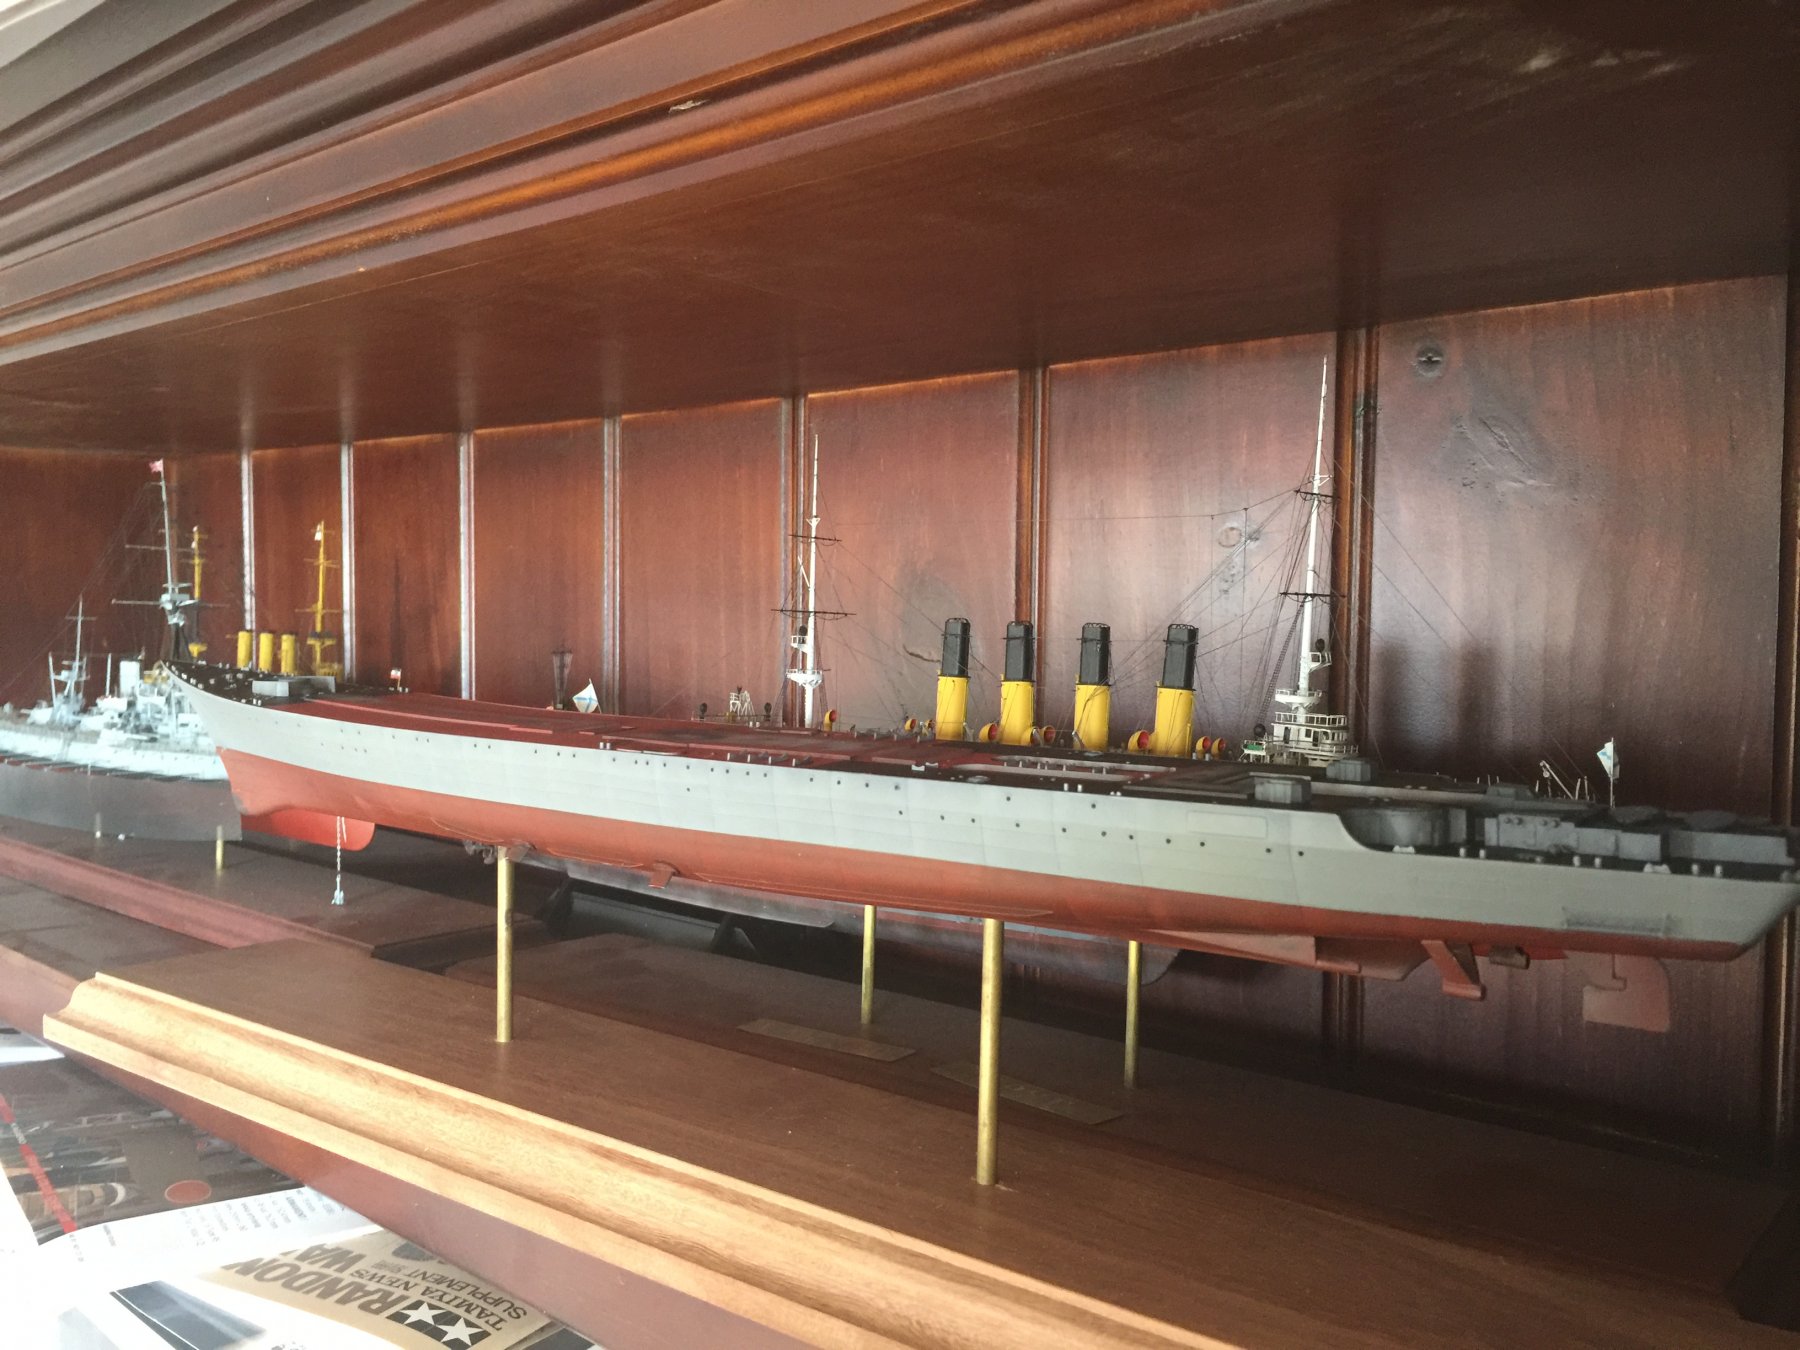
Thanks all. To accentuate the panels i have used some matt red and a card to keep strait lines. I’ll give it a little bit of time and then use a 25% red solution to overspray to fade it then a lighter coat on top of that.


-
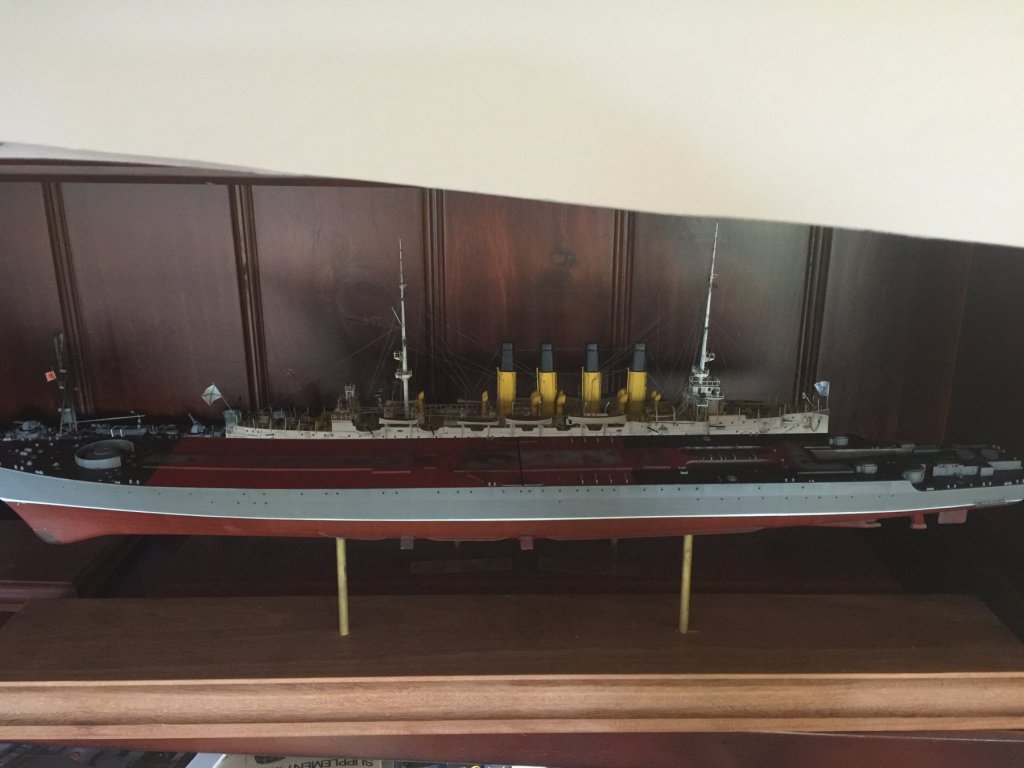
It helps define the panels/armour belts. If you have a look at my build of the Dreadnought and then compare it to my Isuzu build it will depict why I do it.
-
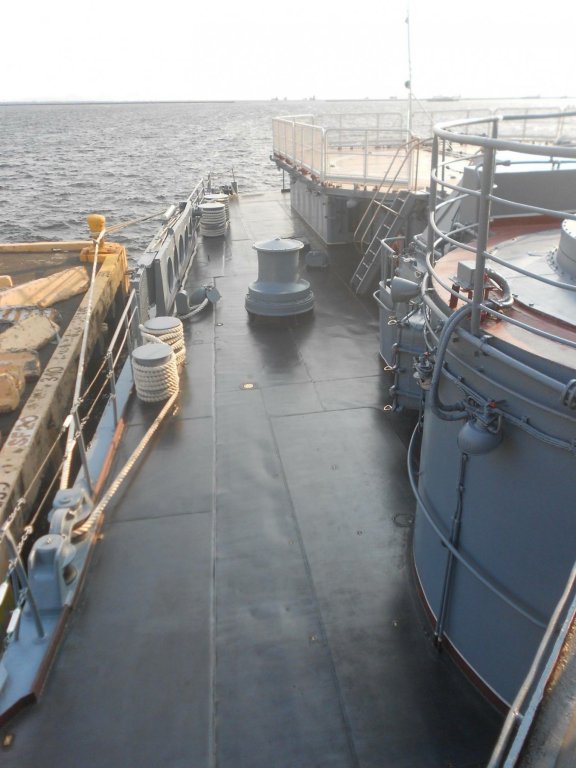
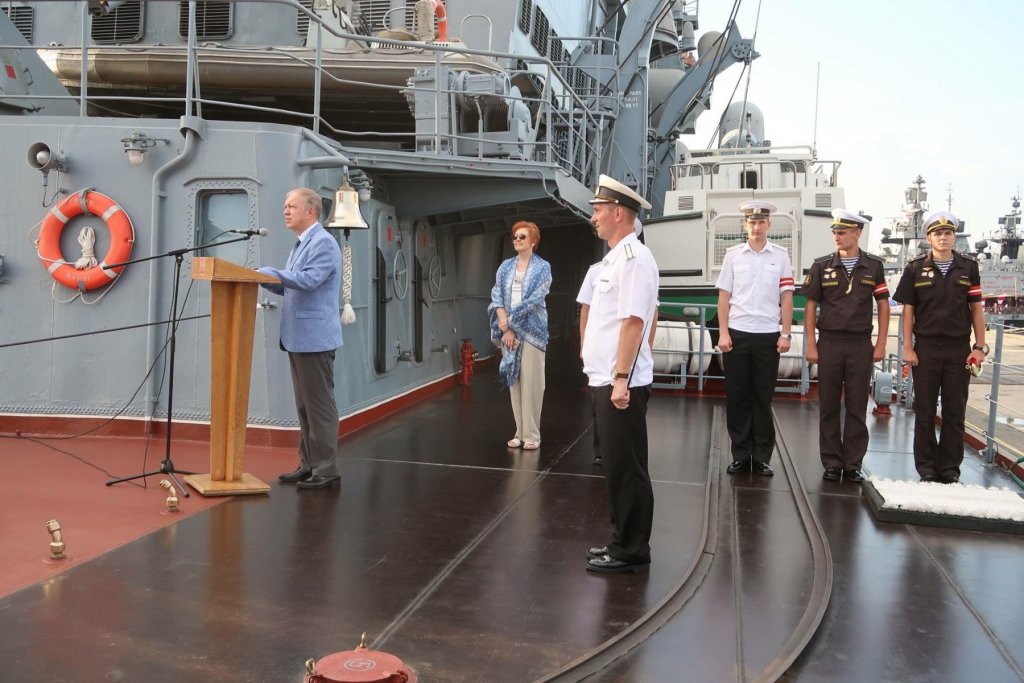
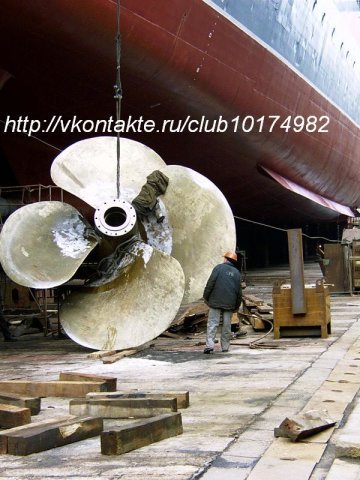
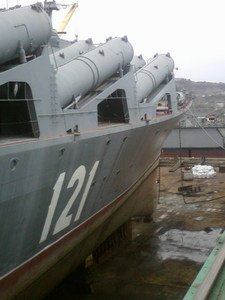
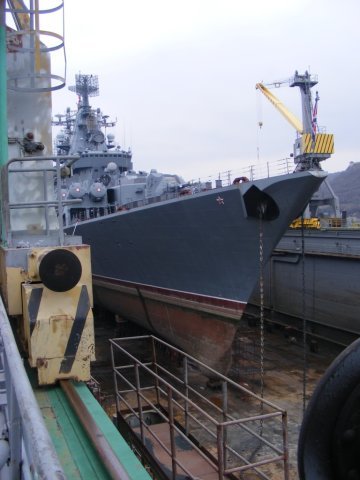
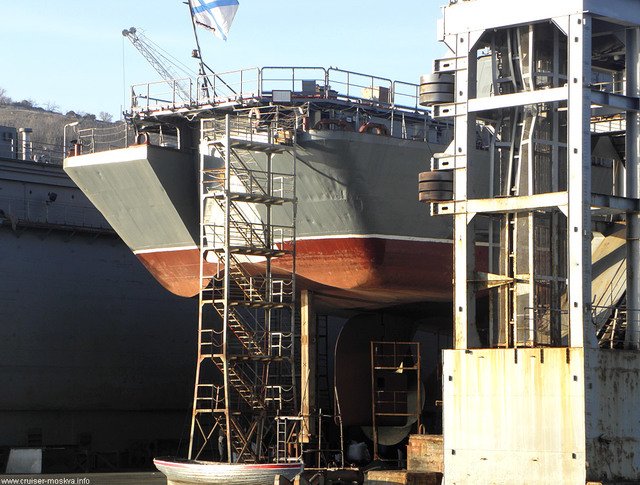
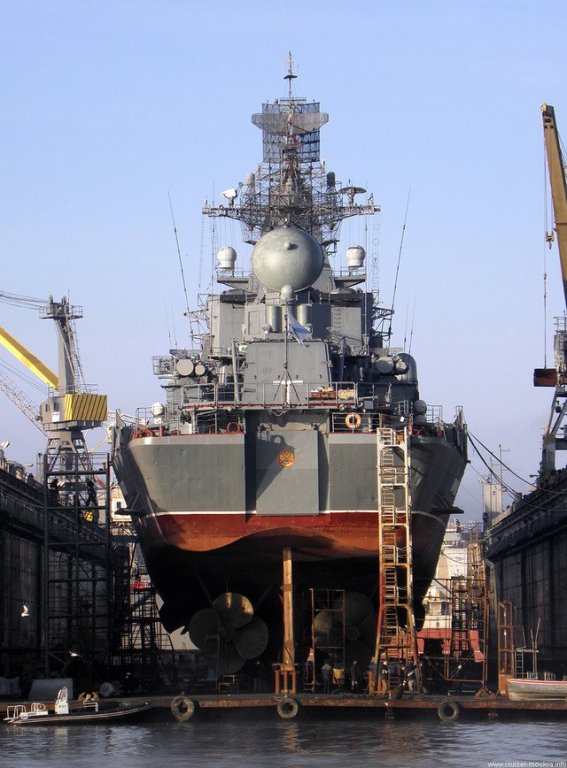
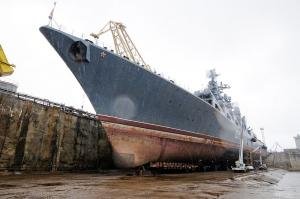
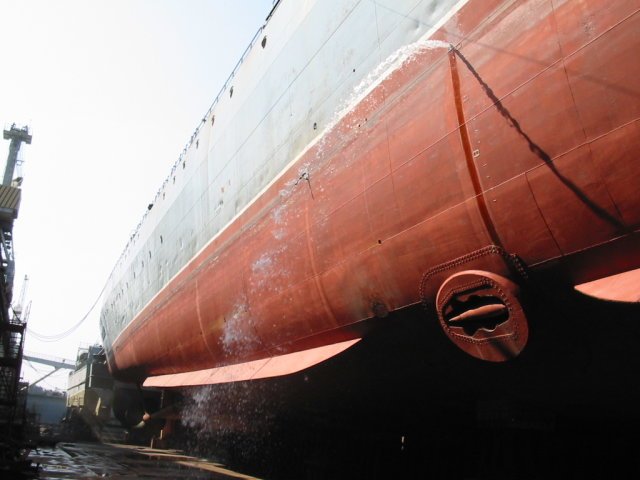
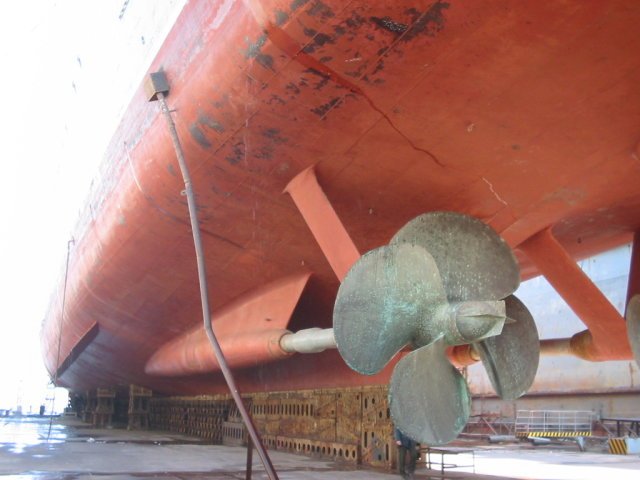
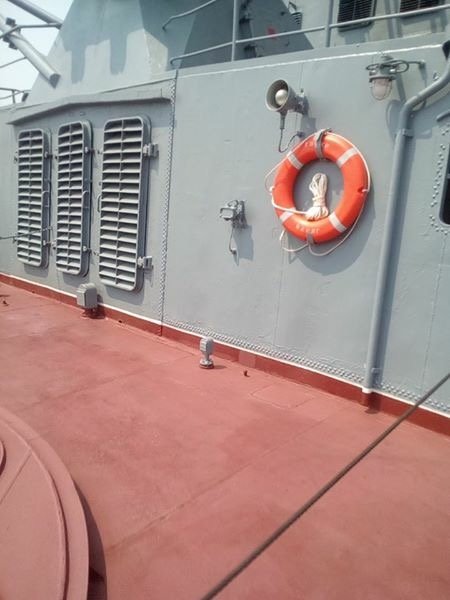
and a few more of a real hull in the stages of a refit. I can still grunge him up a bit yet.

-
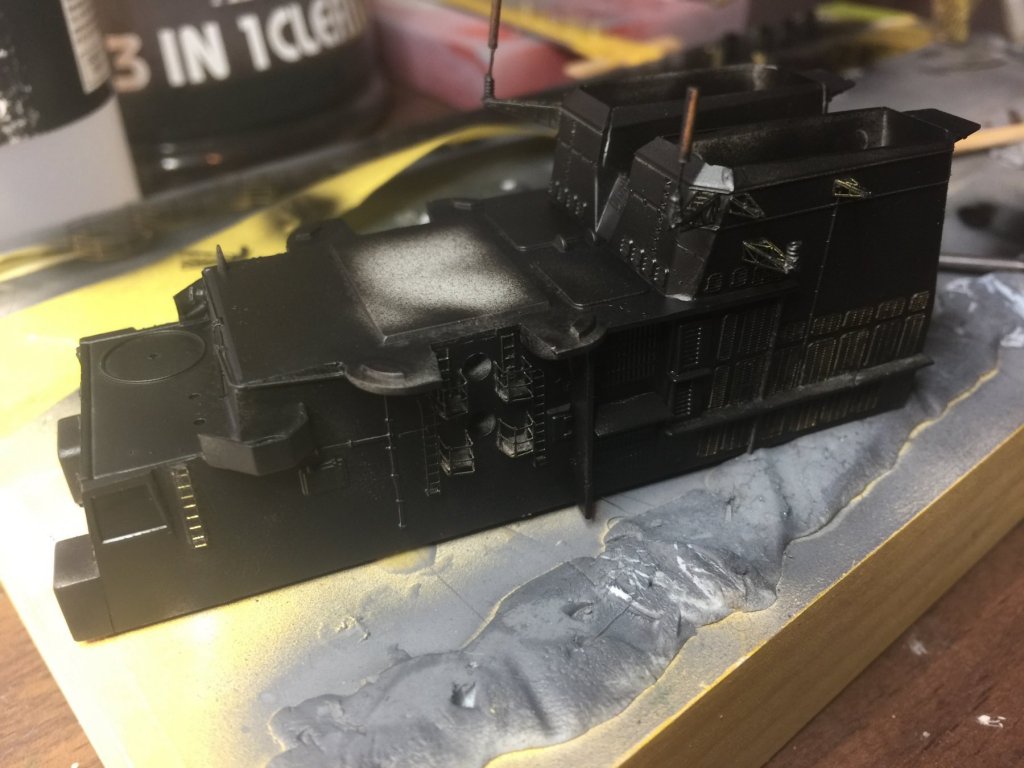
I have a black Vajello primer, I love the colour but I hate the paint as it Boggs up the airbrush very quickly. It saves time with preshading but more importantly it shows up where I have missed.
-
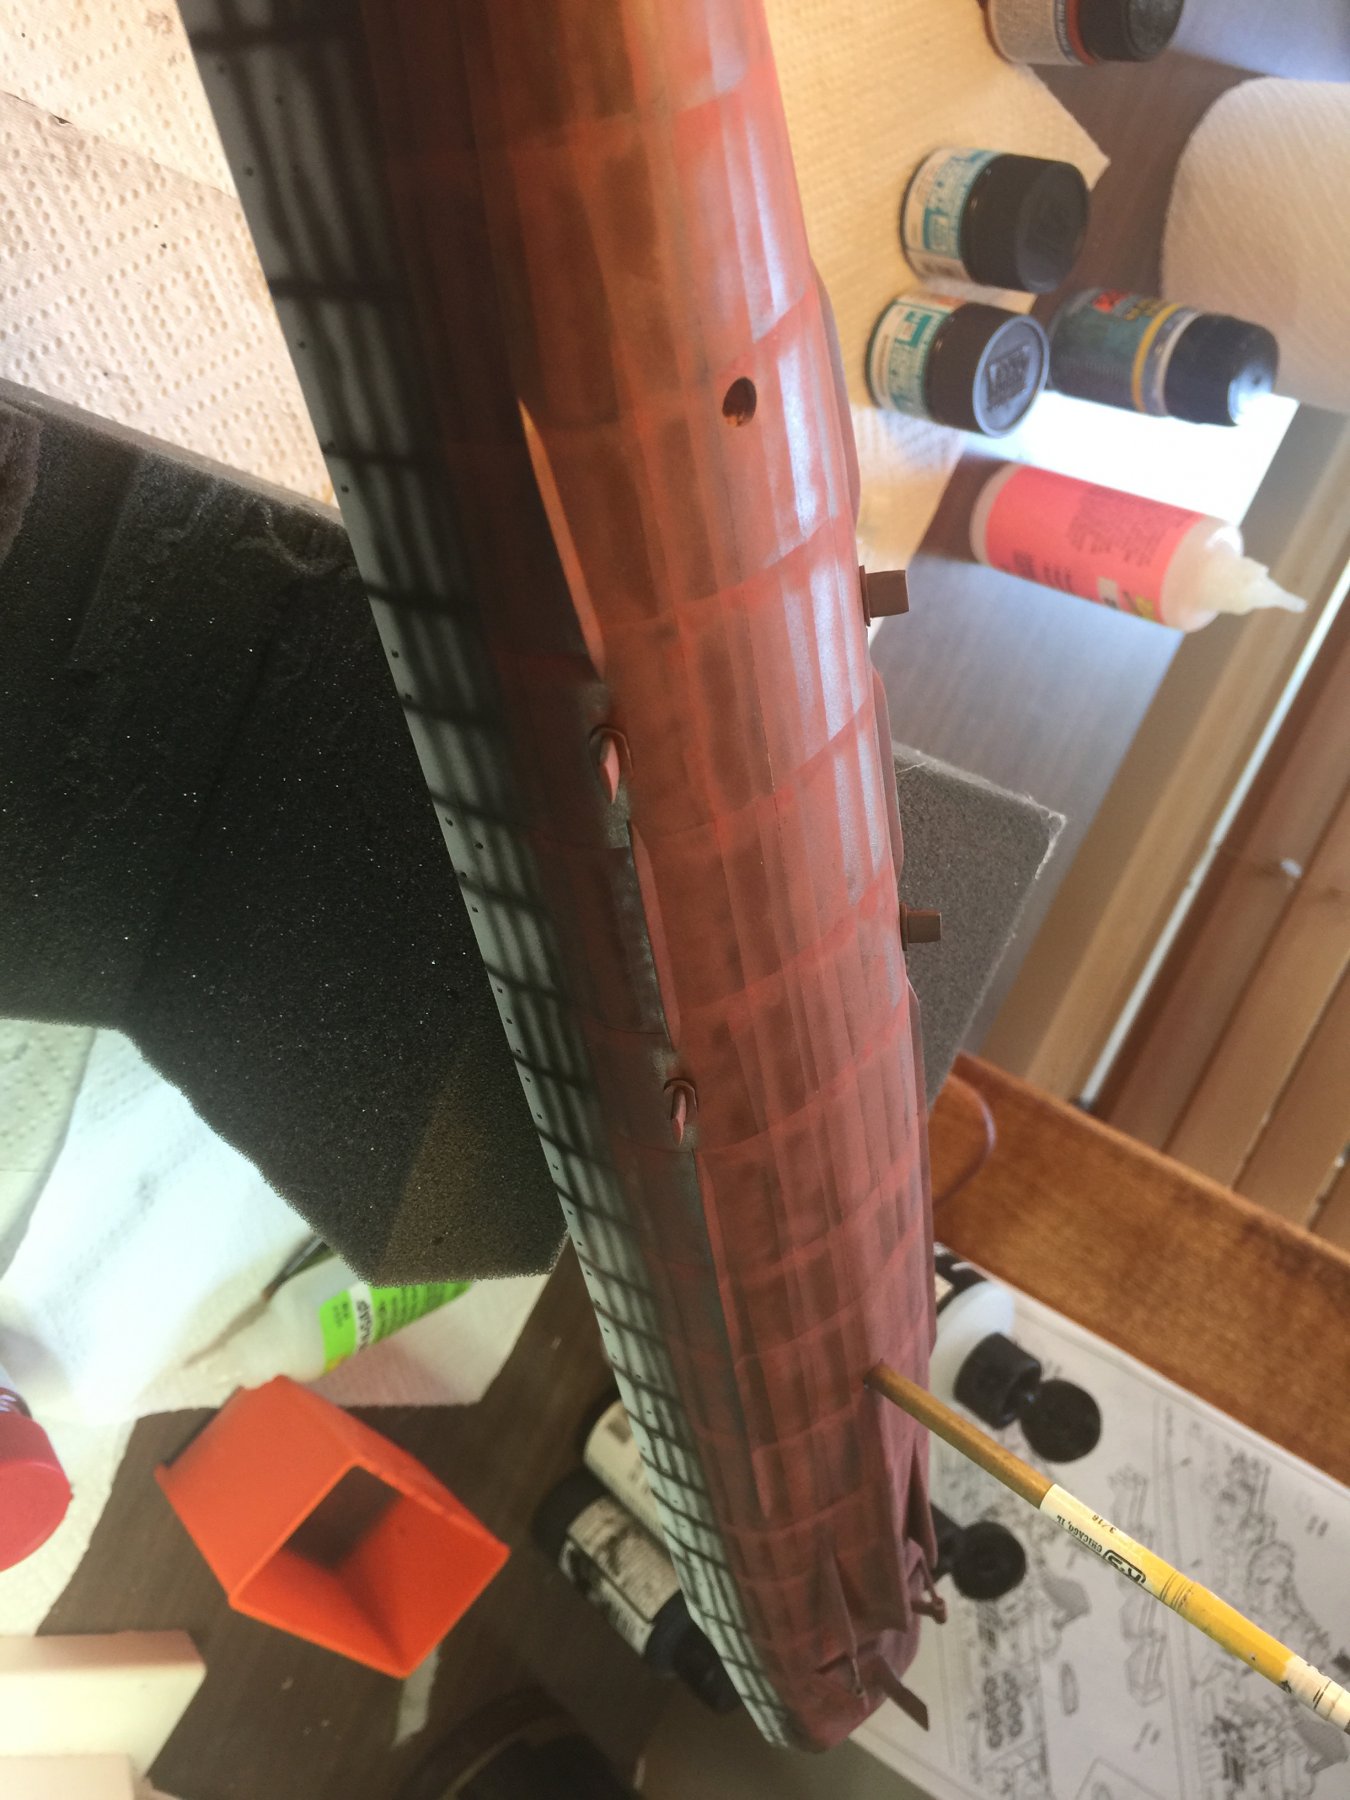
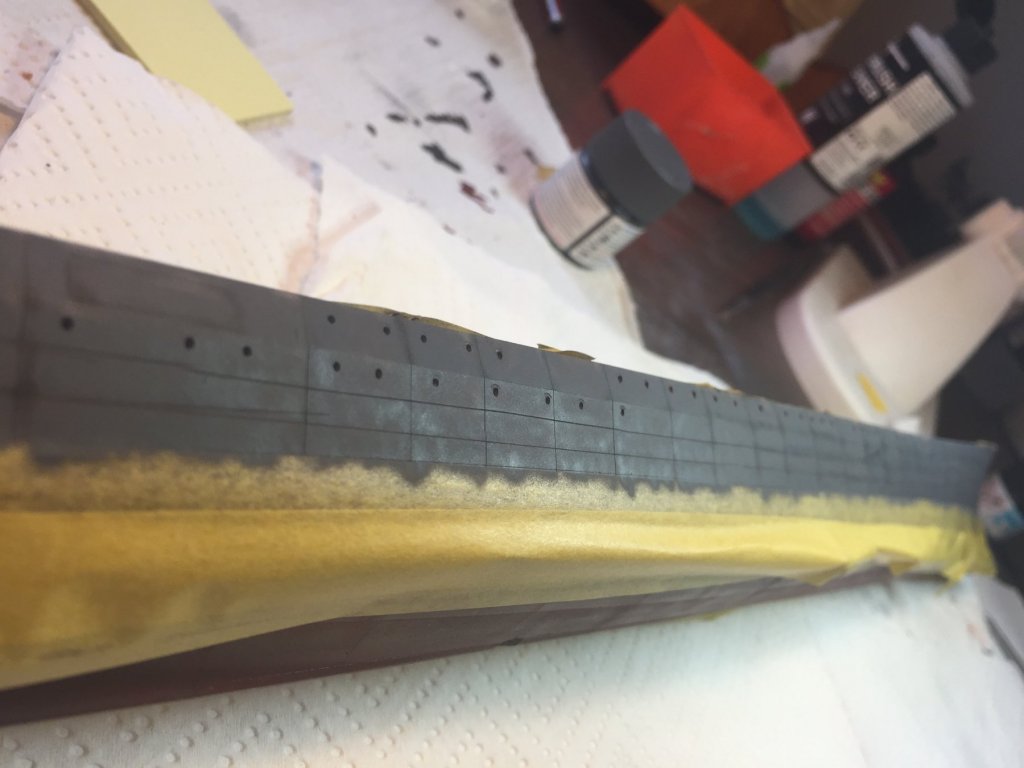
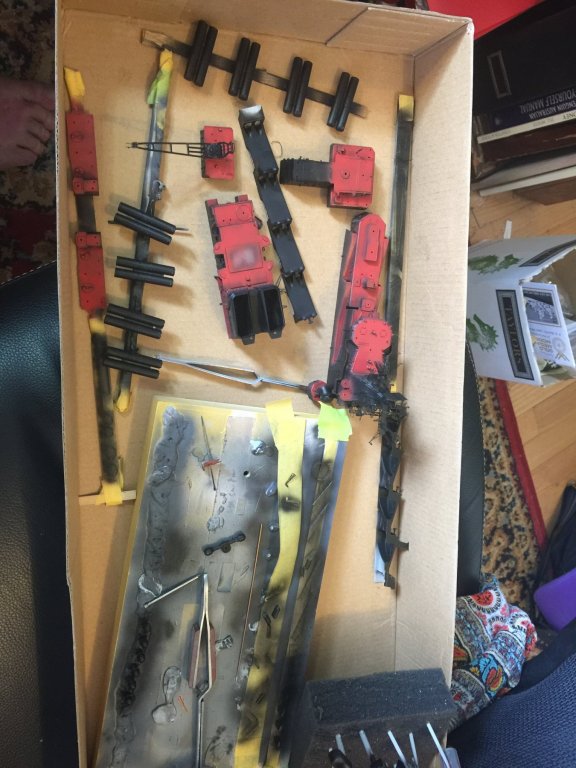
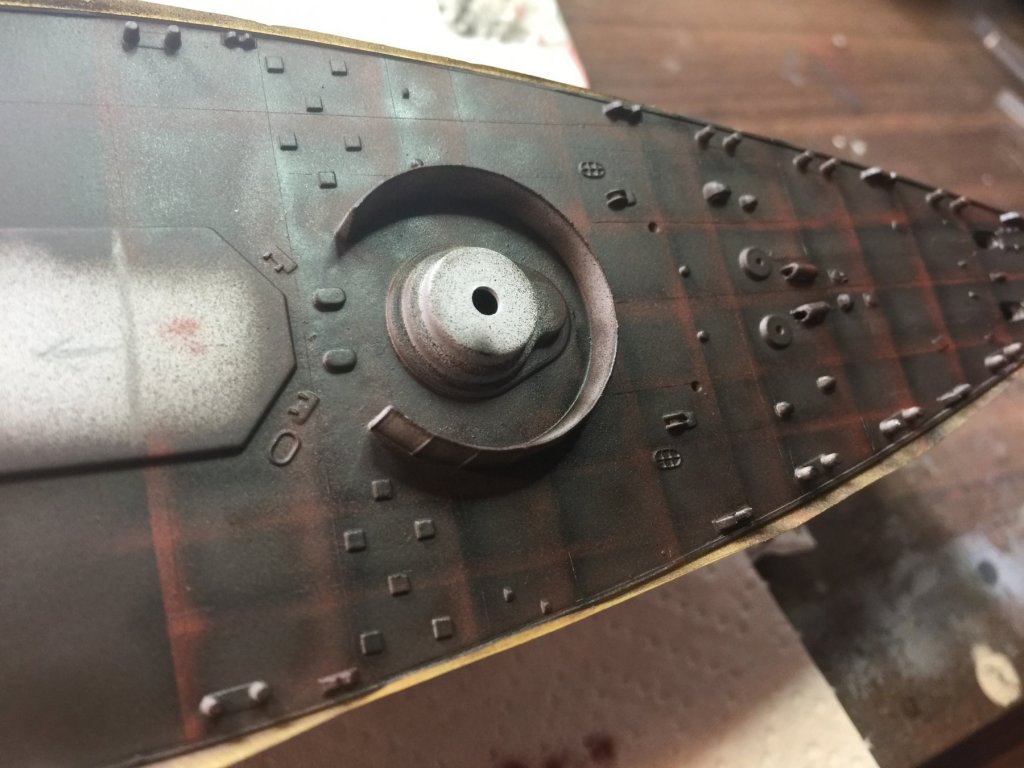
Small coats of chipping fluid, then filling the squares with coca brown. Next will be a dark red for the edges and some lighter colours for fading.


- 180 replies
-
- 12
-
-
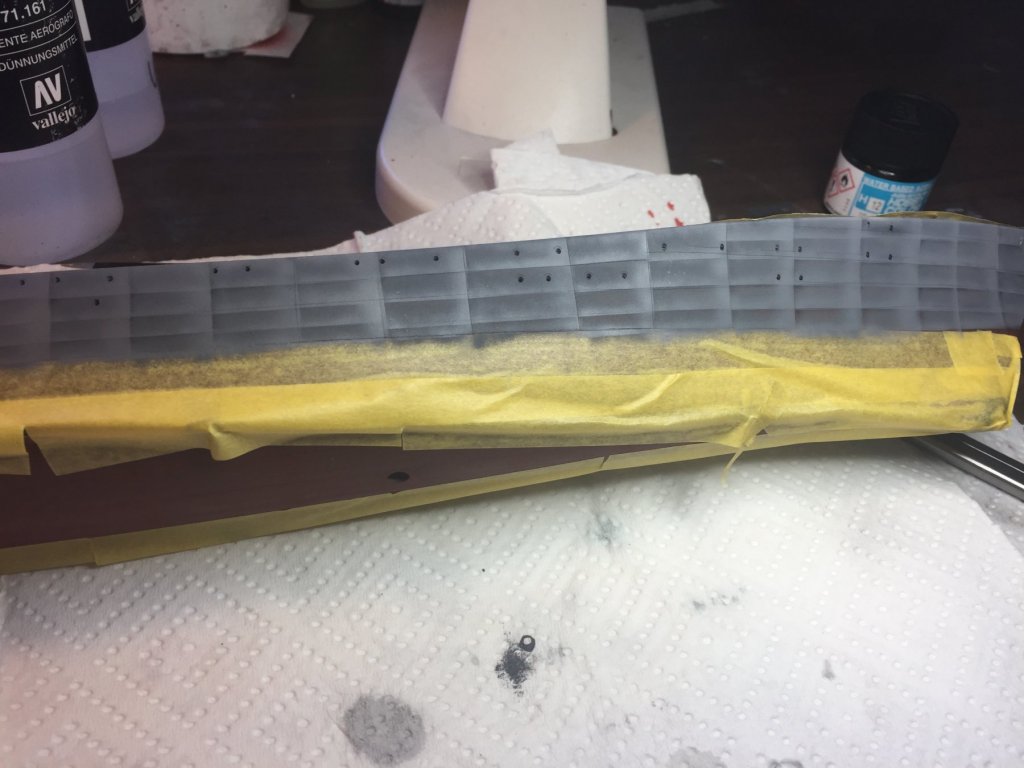
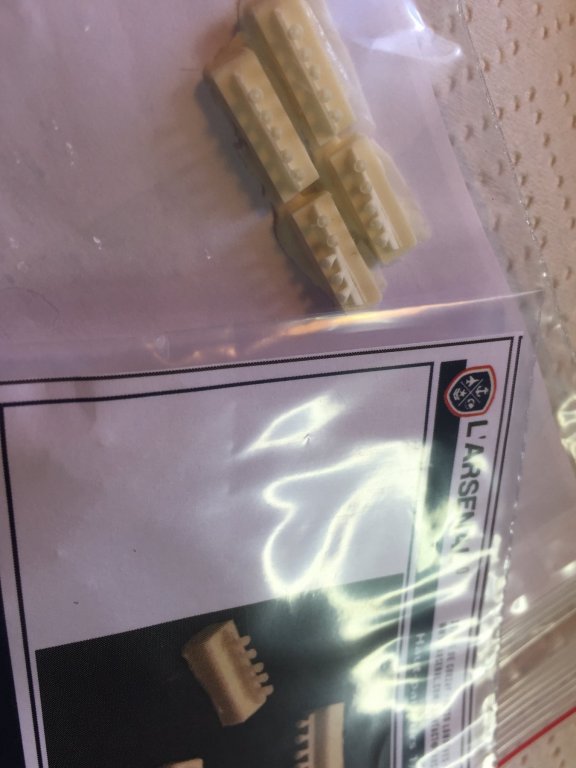
I have re attacked the pre shading, then covered the black bits with Matt varnish, the idea is to then put chipping fluid on top of the black prior to commencing painting. The chipping fluid is apparently good for 2 day’s under paint, but there is a full day’s work just getting the bottom of the hull right. I’m going to let that sit until a good black of day’s off. That way, once the hull red is added, I can chip away at areas for wear and tear that will appear as bare metal. This ship requires a boot strap and white line as well, then I can the add grunge. Next, just arrived from France after a weeks trip to Oz, tannoys it speakers, which are fairly liberally festooned around the ship. Someone in Singapore flew a drone over the Varyag this year and the HD video is amazing and I have picked up a lot of details on the superstructure I have to revisit. The kit does not come close to covering it all.

- 180 replies
-
- 12
-