RGL
-
Posts
5,545 -
Joined
-
Last visited
Content Type
Profiles
Forums
Gallery
Events
Everything posted by RGL
-
 So much prep for so 'little' to show. You'll be finished your big M before you know it now you've got the airbrush out.
 -
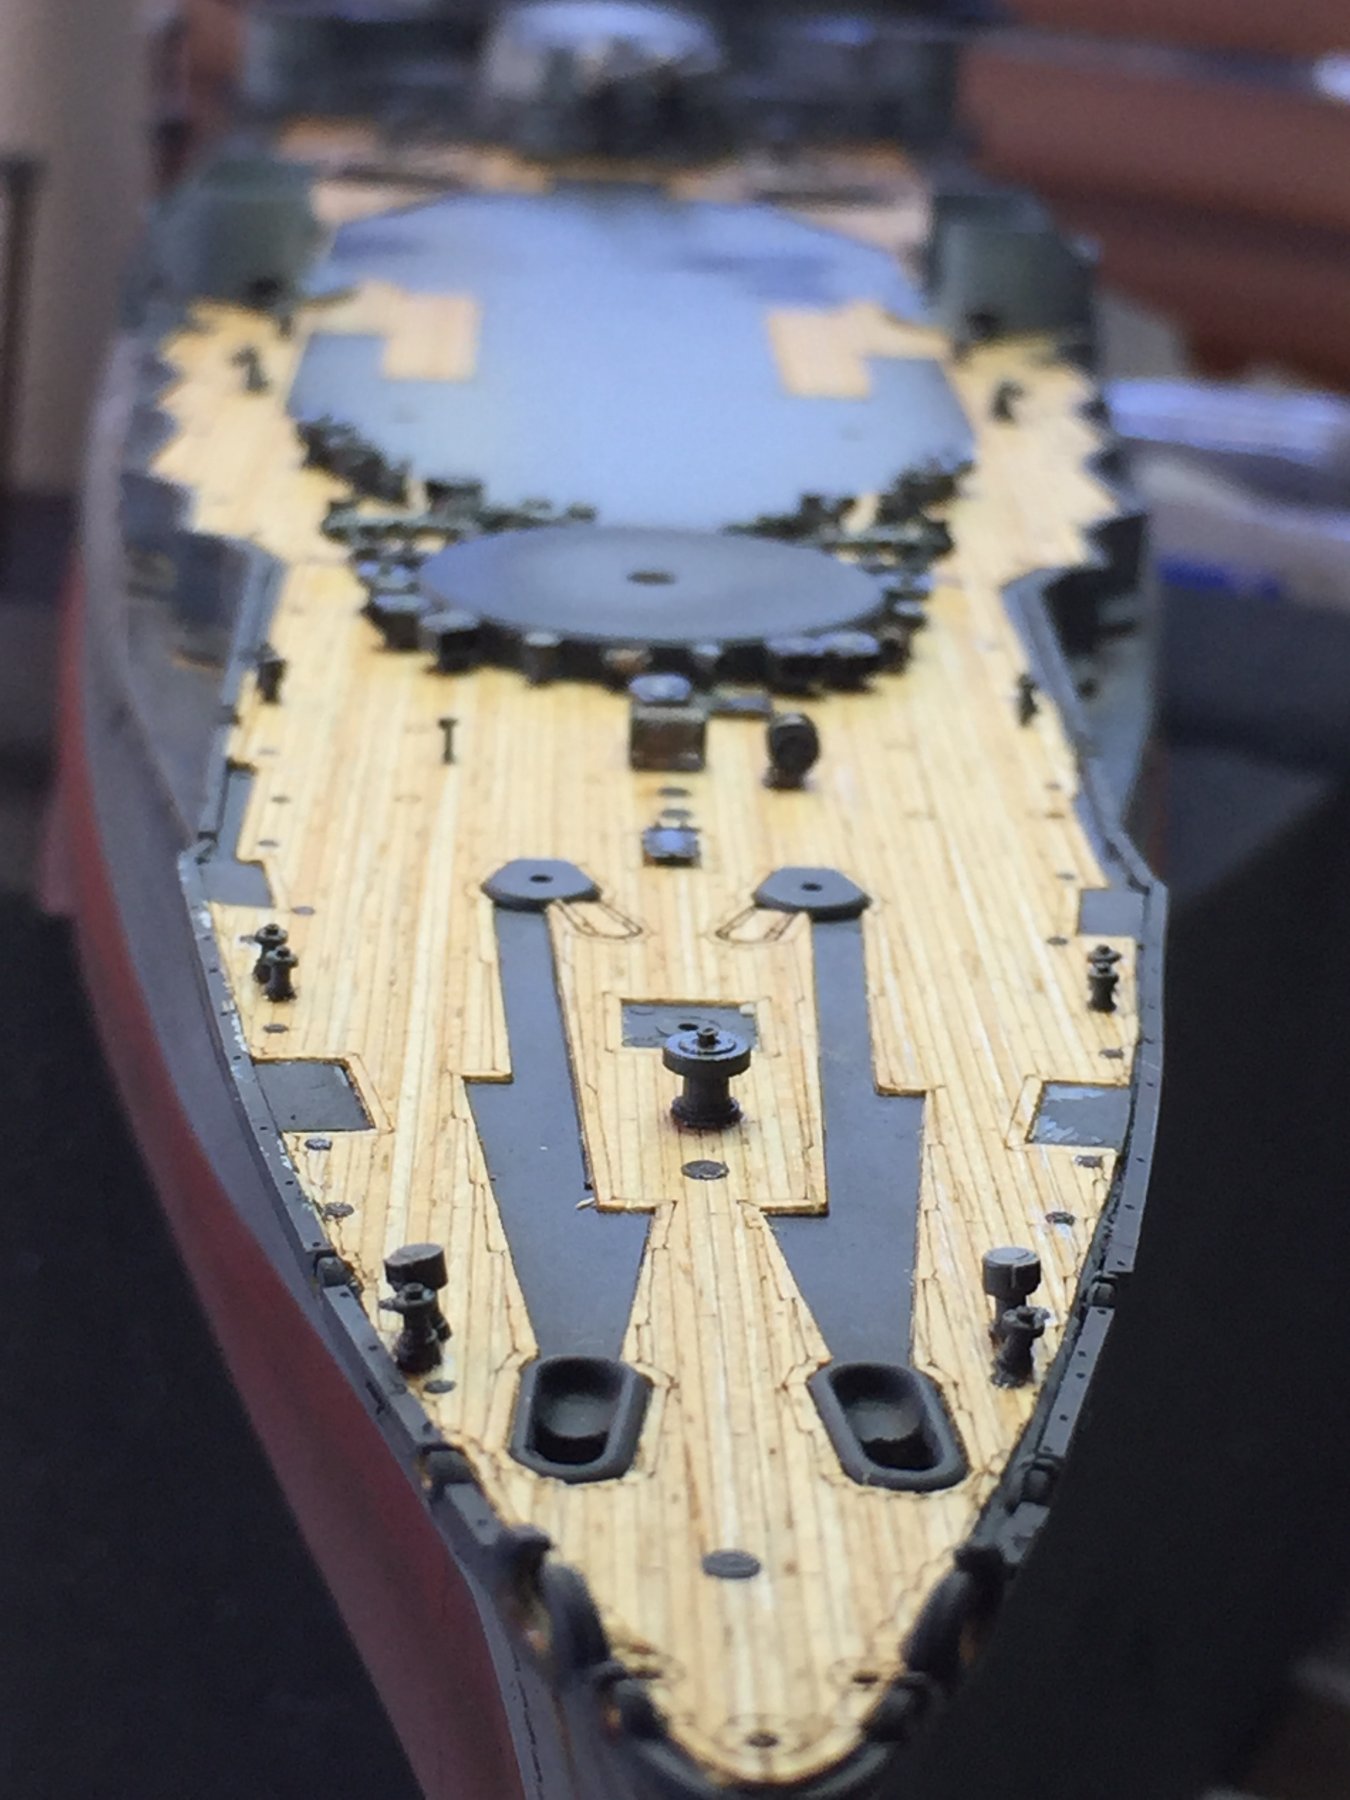
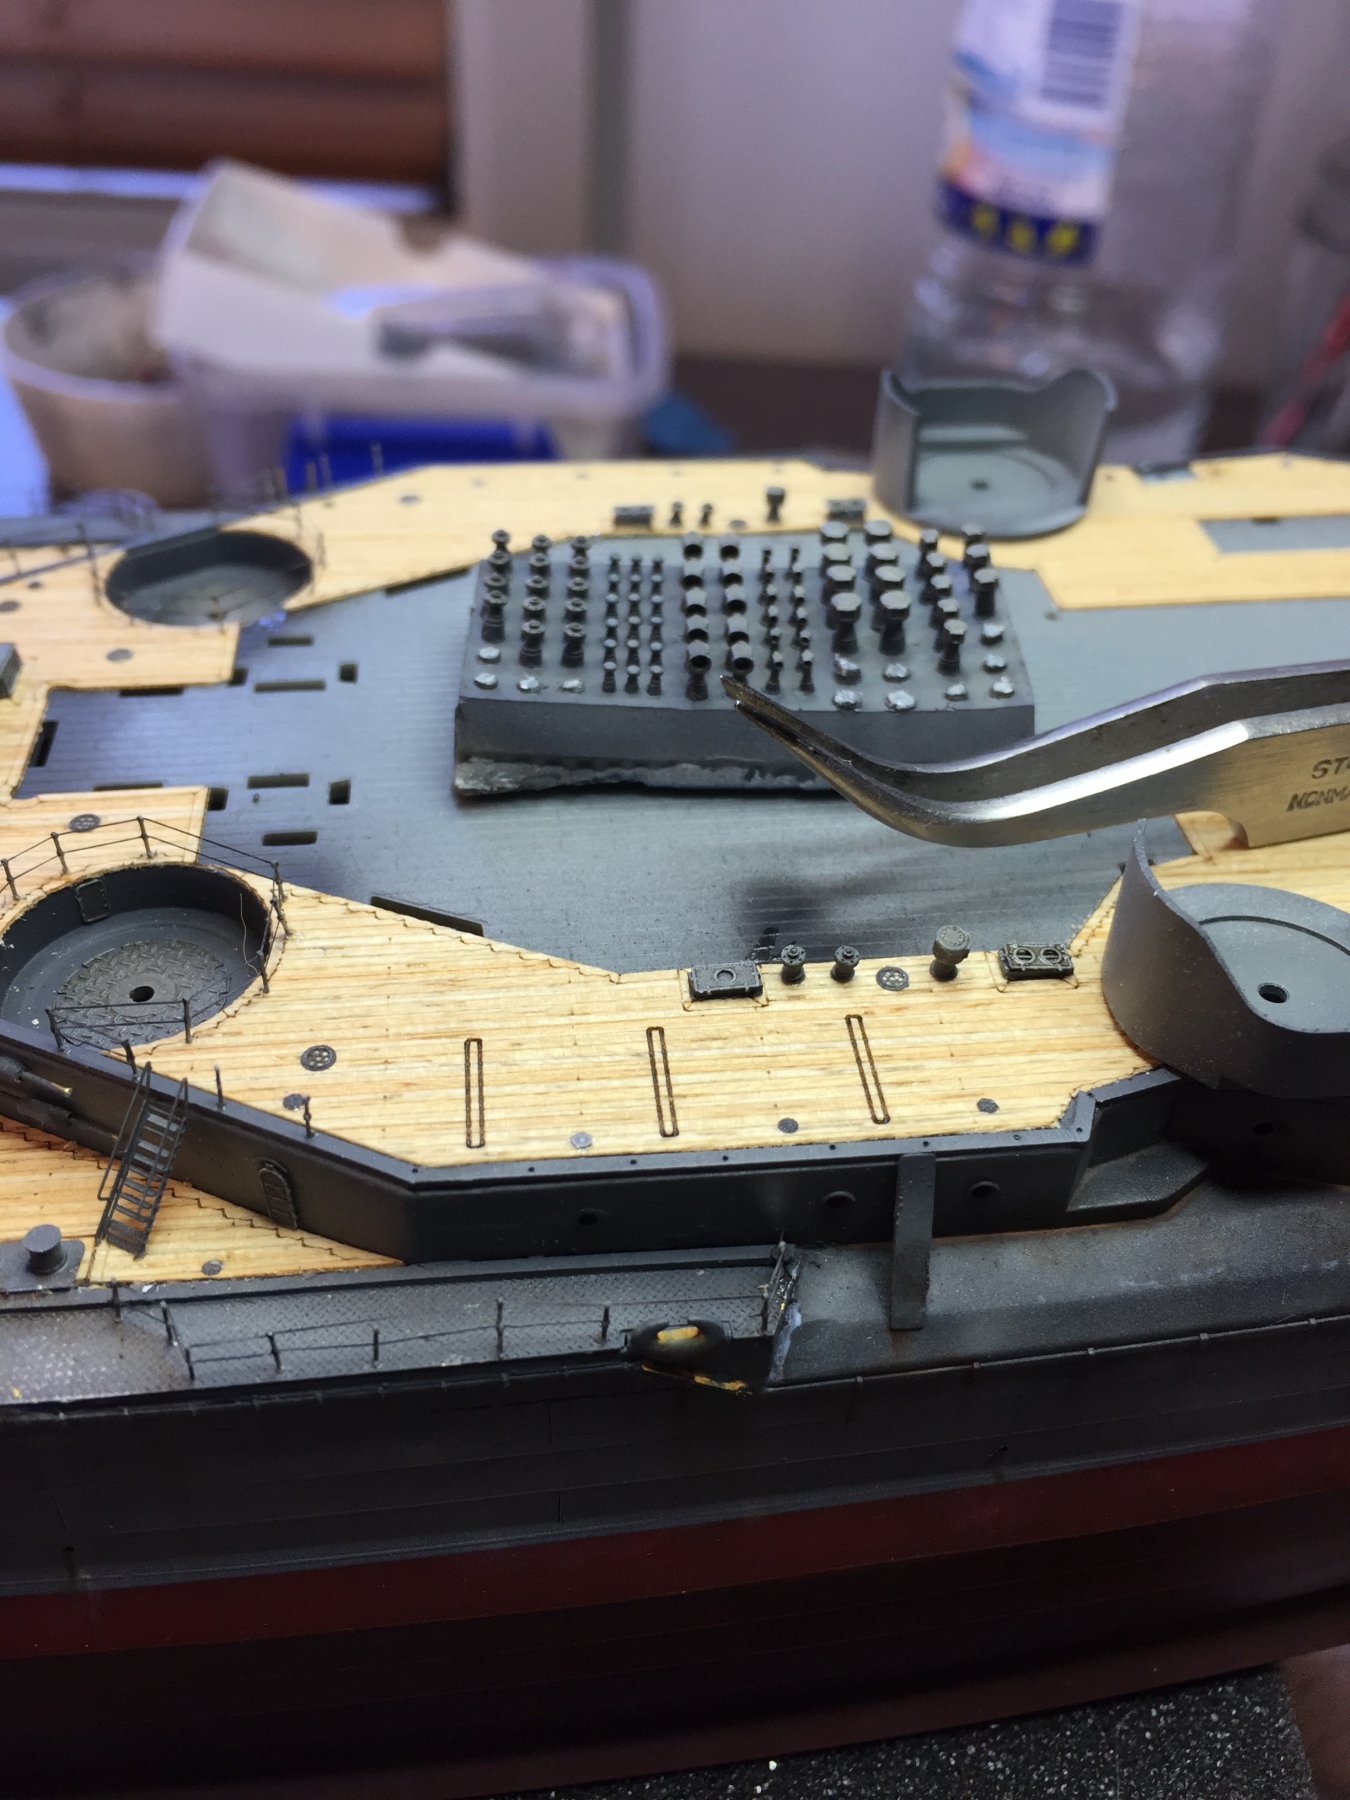
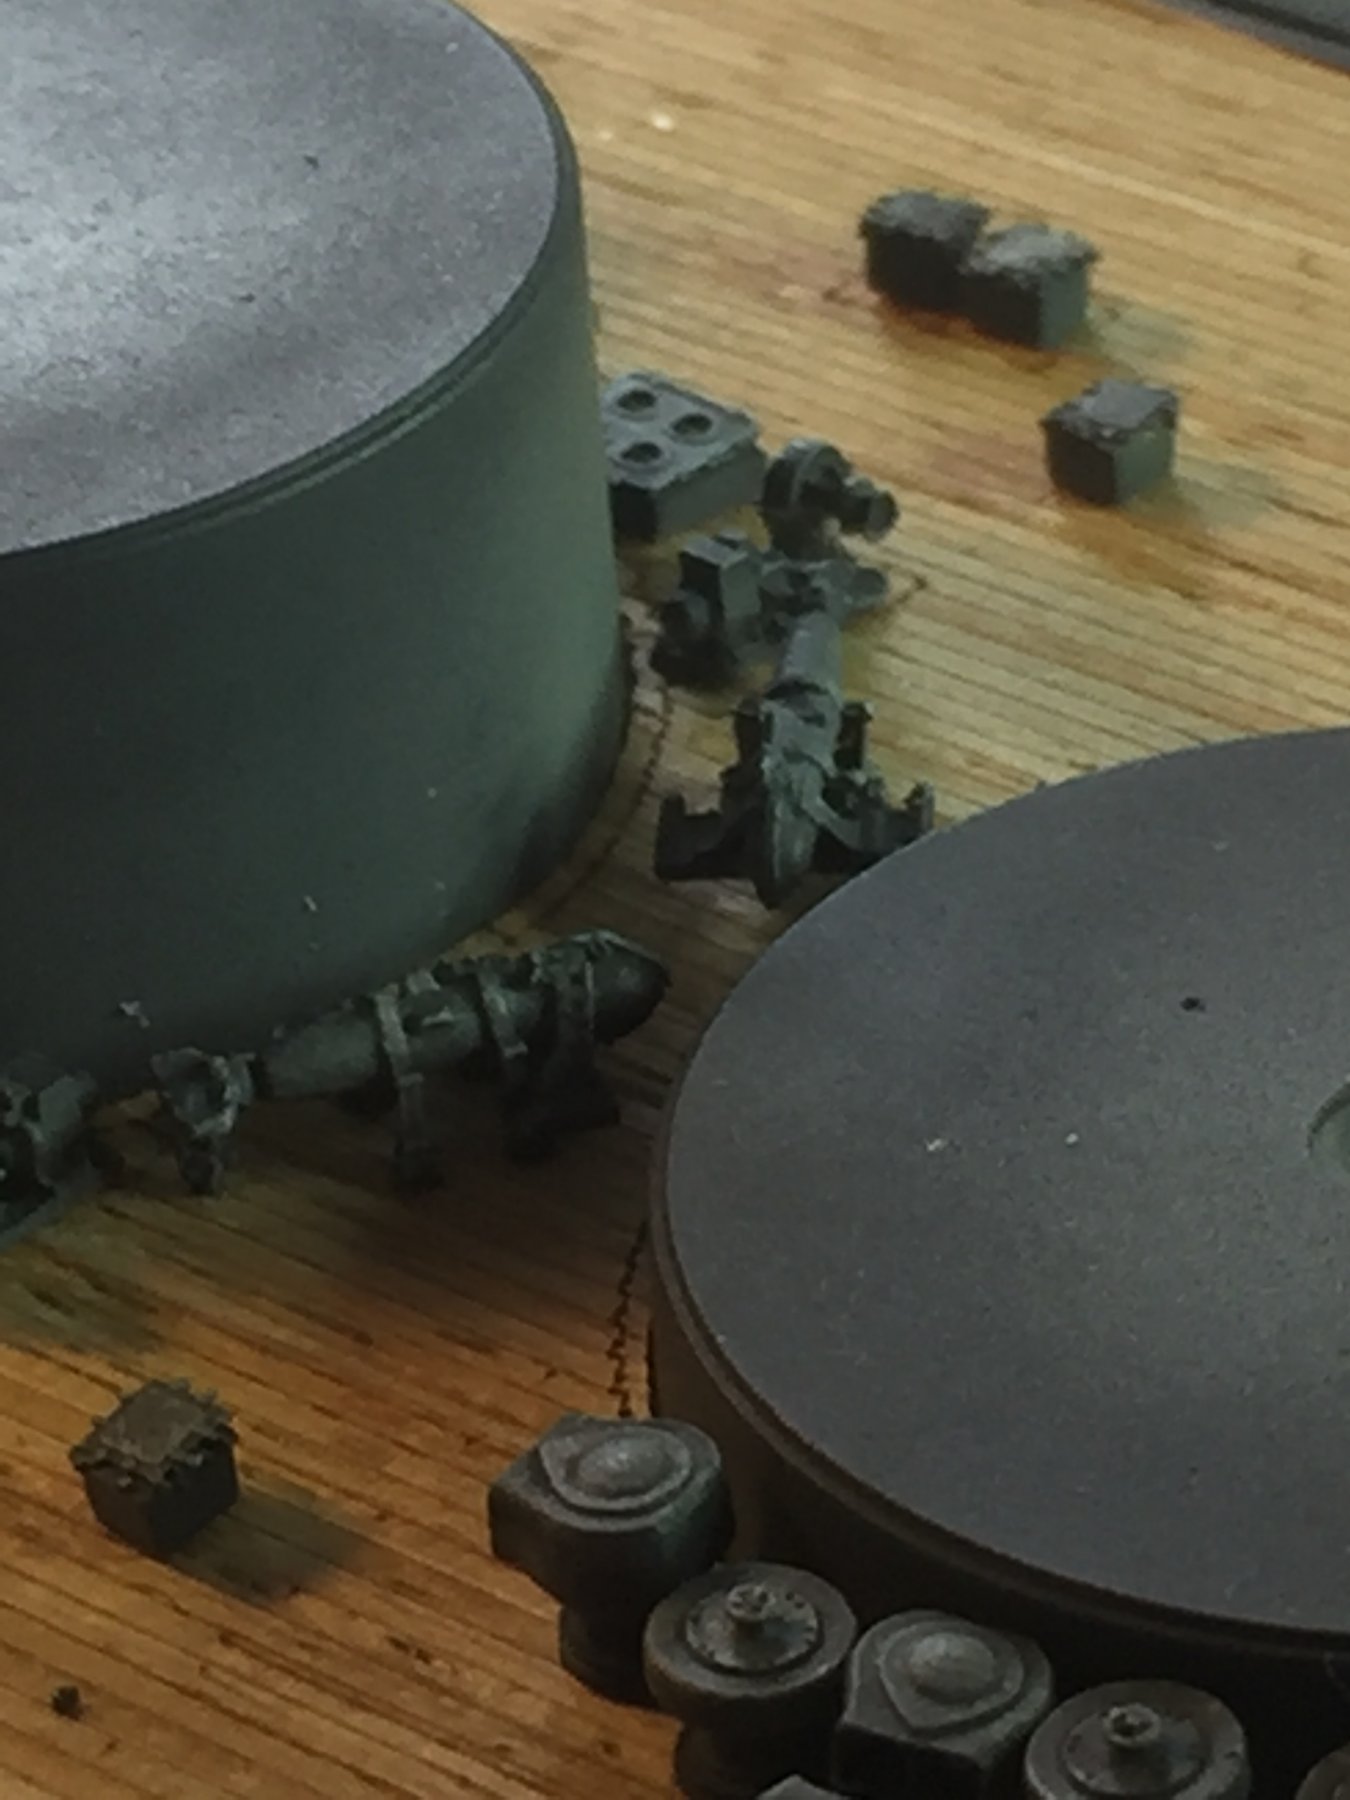
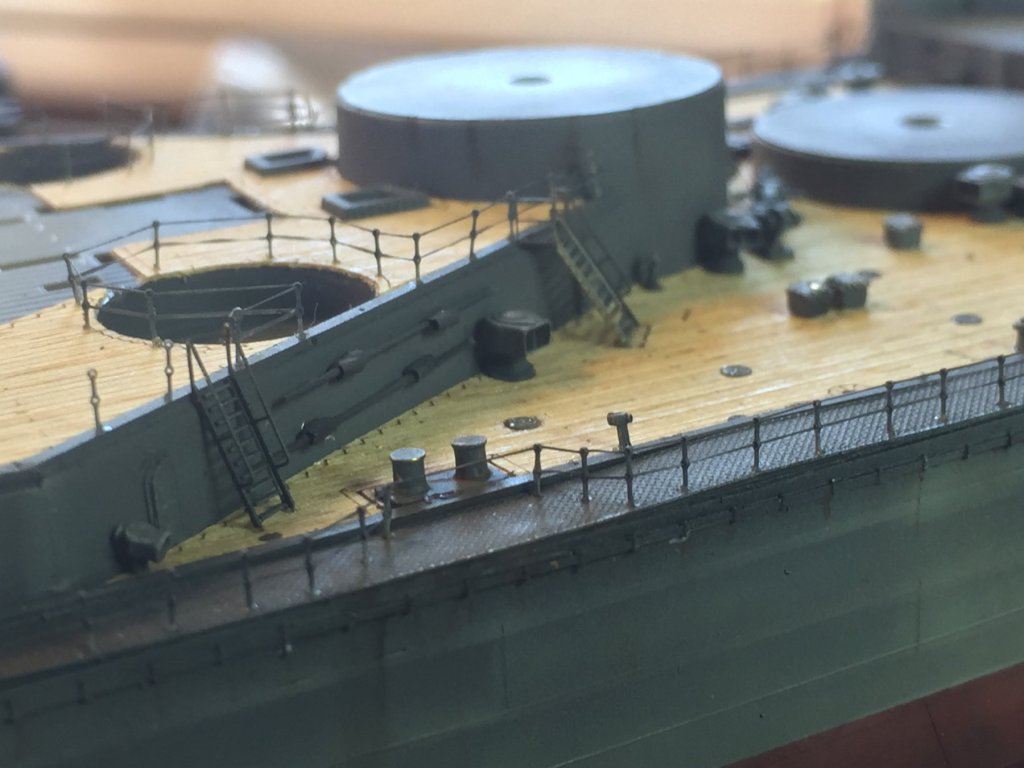
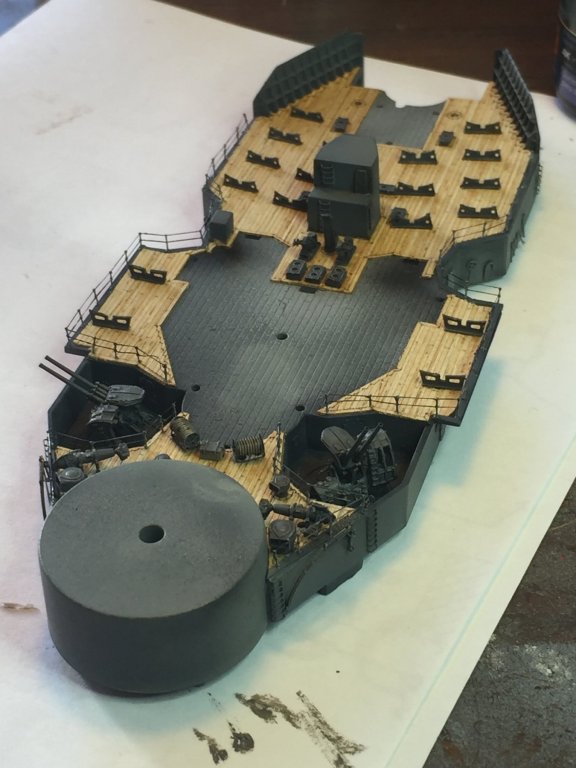
Finally the vents. I have to do up the anchor stuff now, chains, stoppers, breaks, anchors, cut some strip to make the anchor run flush with the decks. I've got a few more places to add vents at the base of the Pagoda, but I want to get the railings finished first.


- 224 replies
-
- 16
-

-
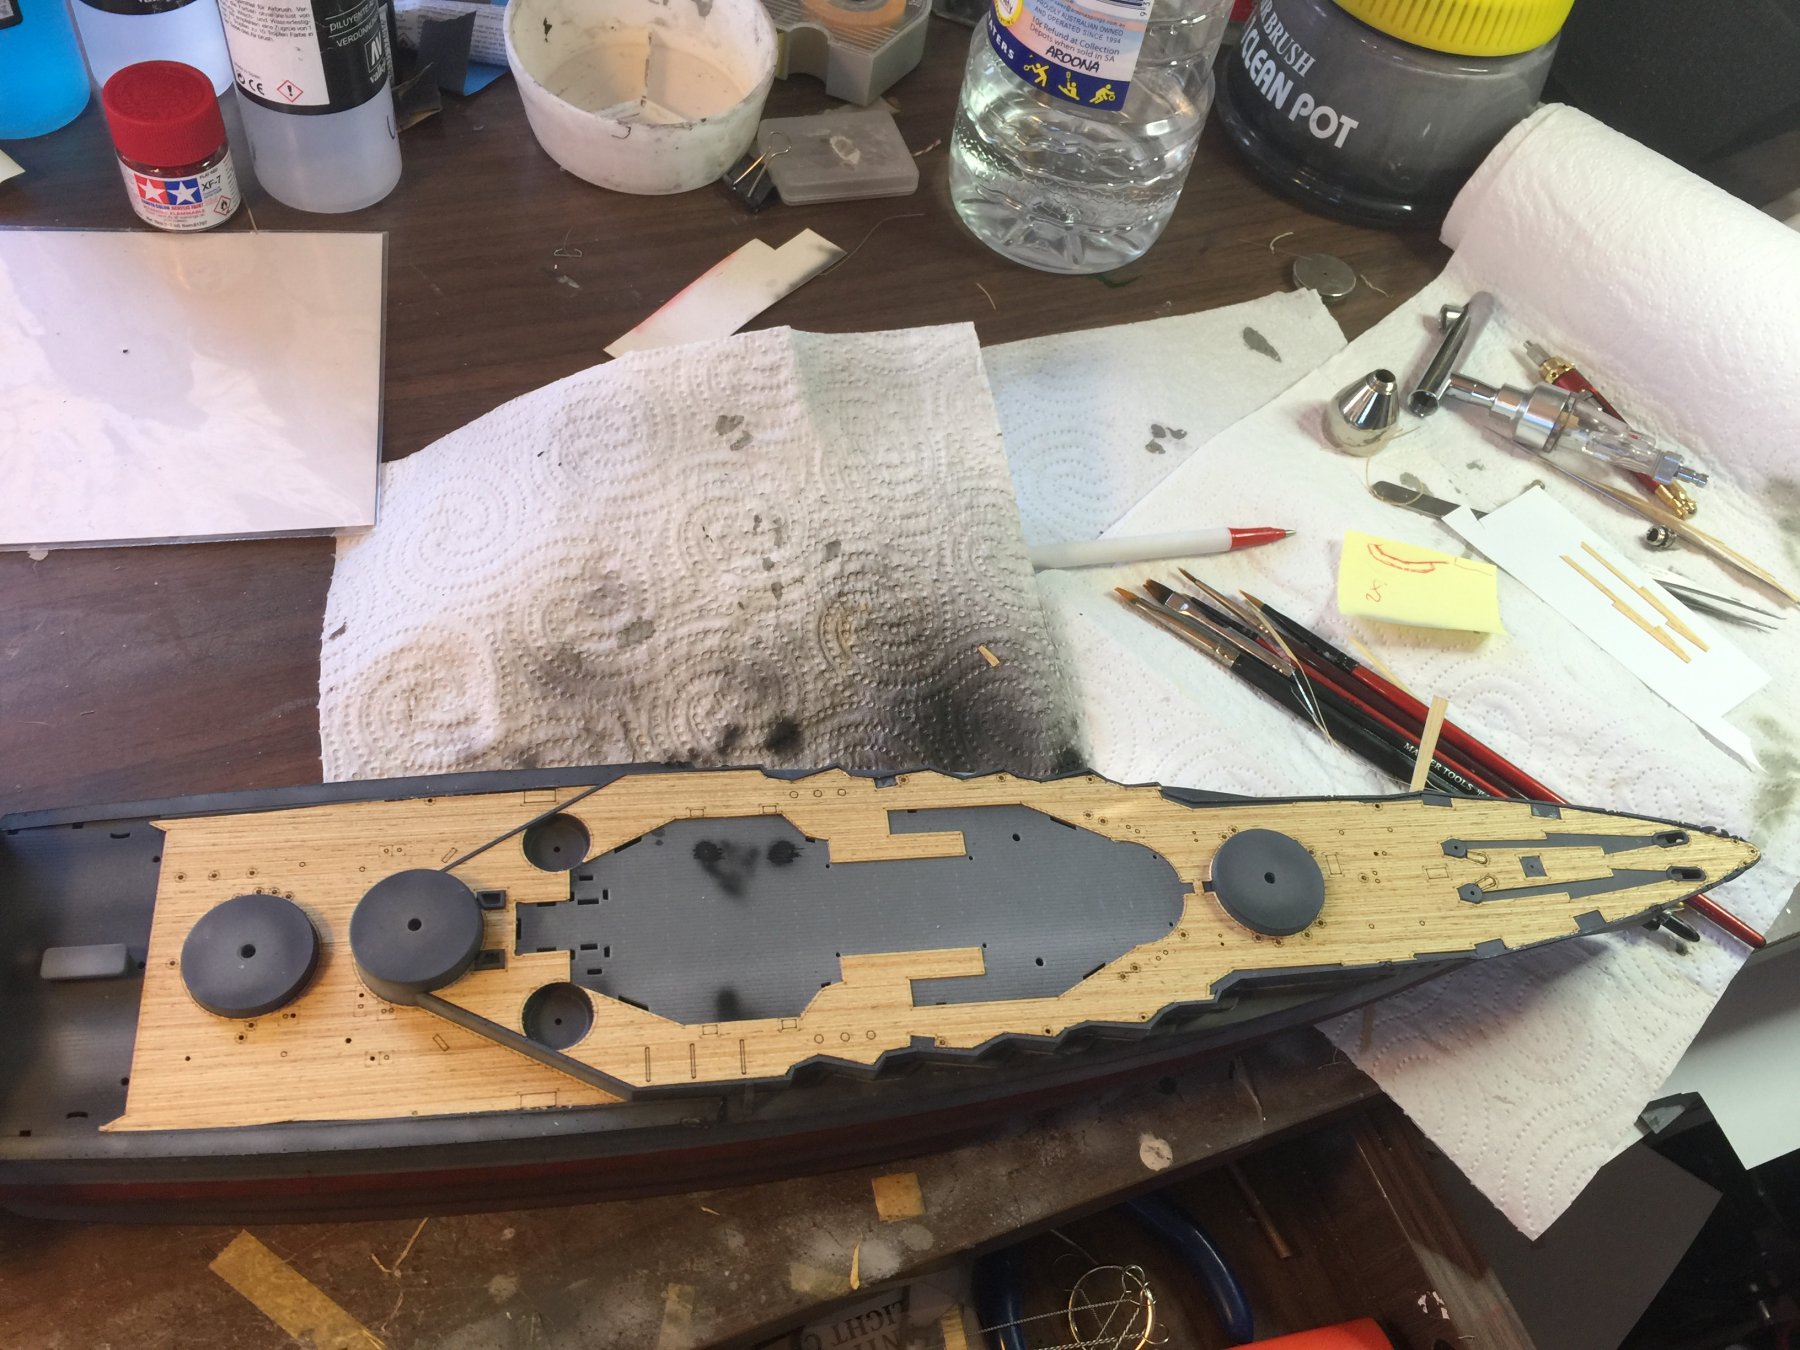
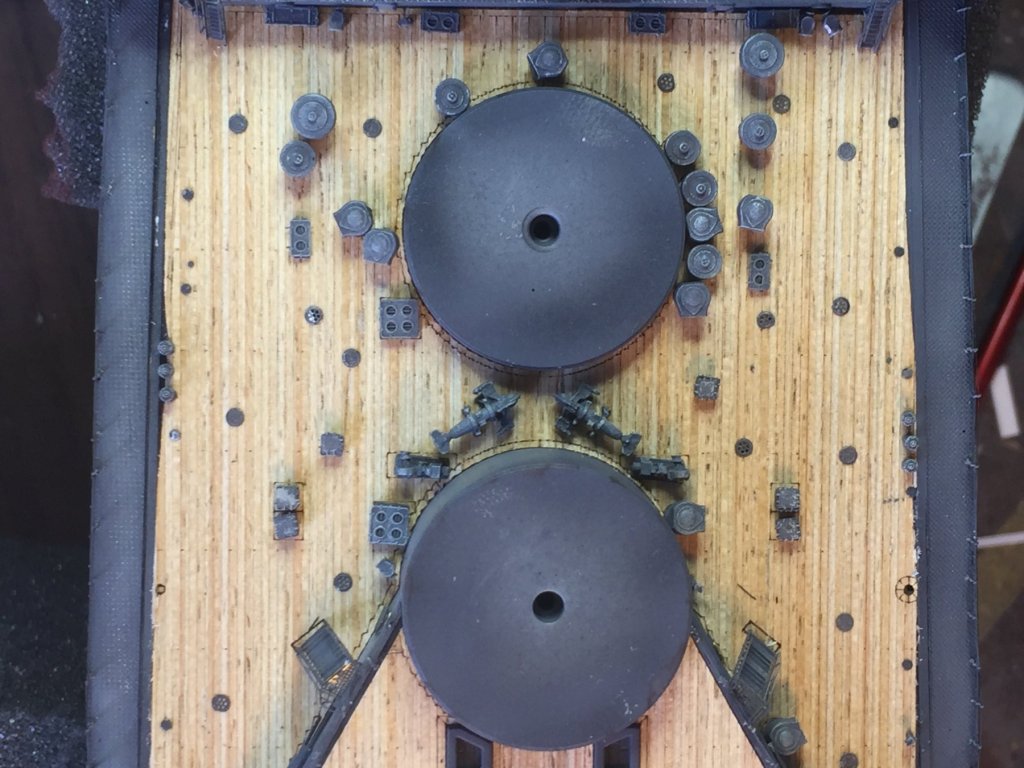
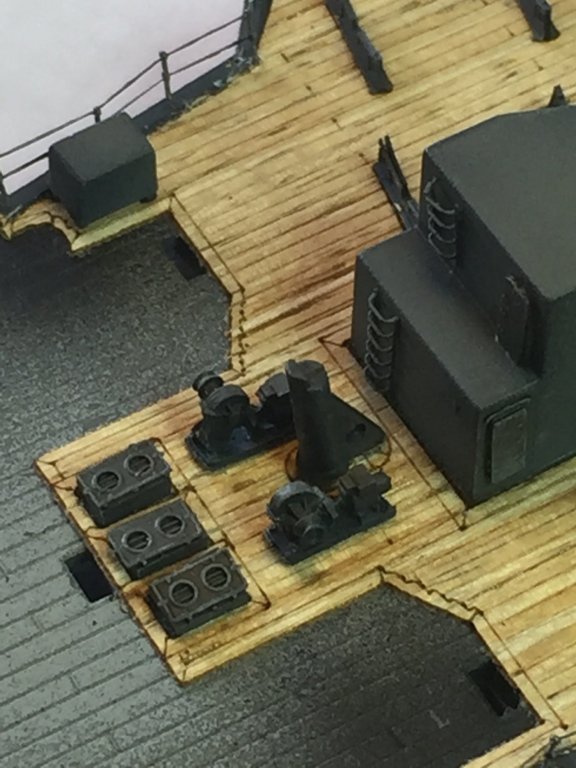
Every reference book has the decks with deck lights and various holes and covers. No kit ever makes reference. Chrysanthemum and Sword actually make them, they're tiny! As I have some I thought I'd use them. They're the tiny dots on the wooden deck.
- 224 replies
-
- 10
-
-
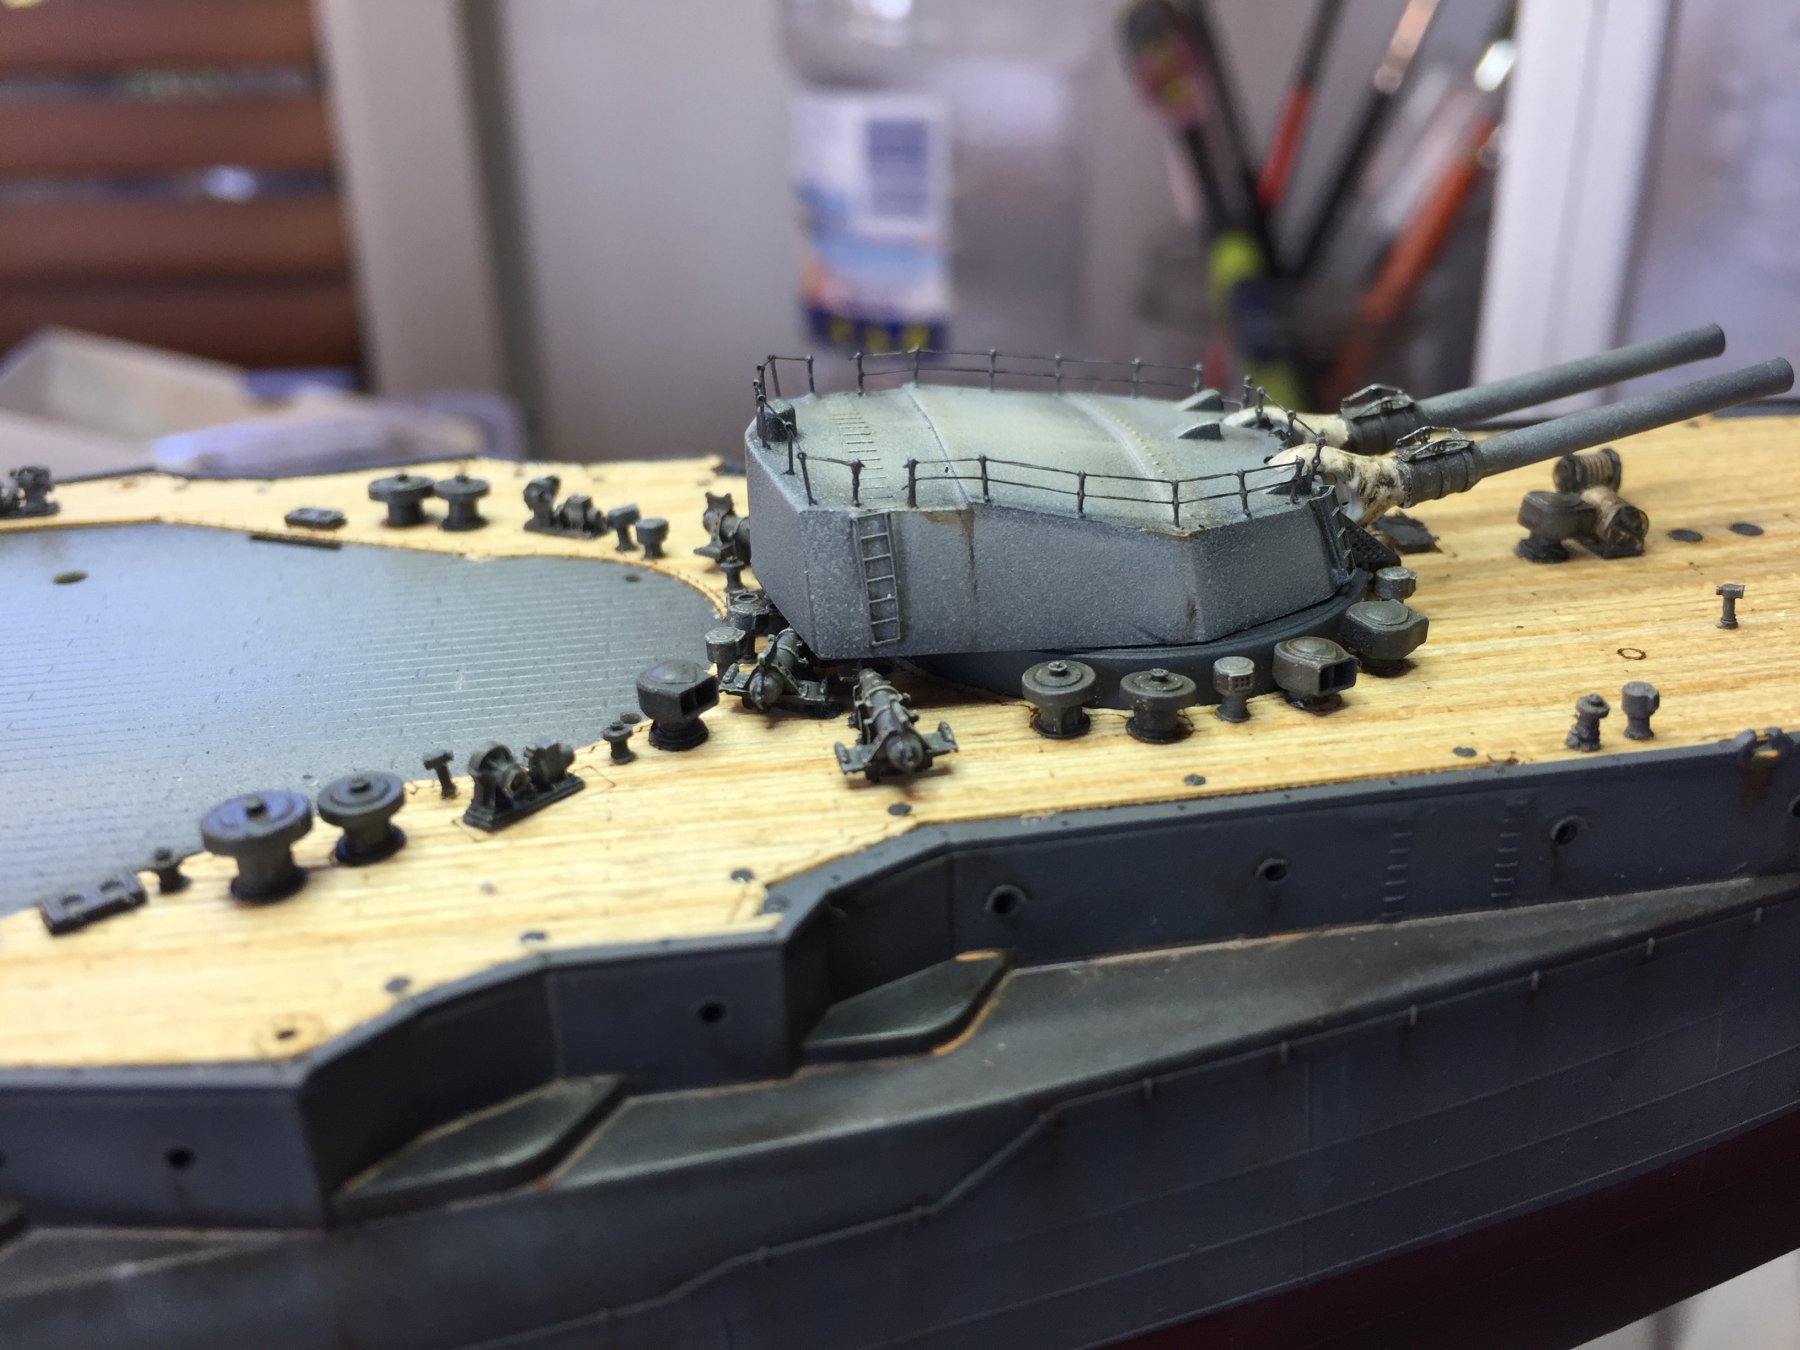
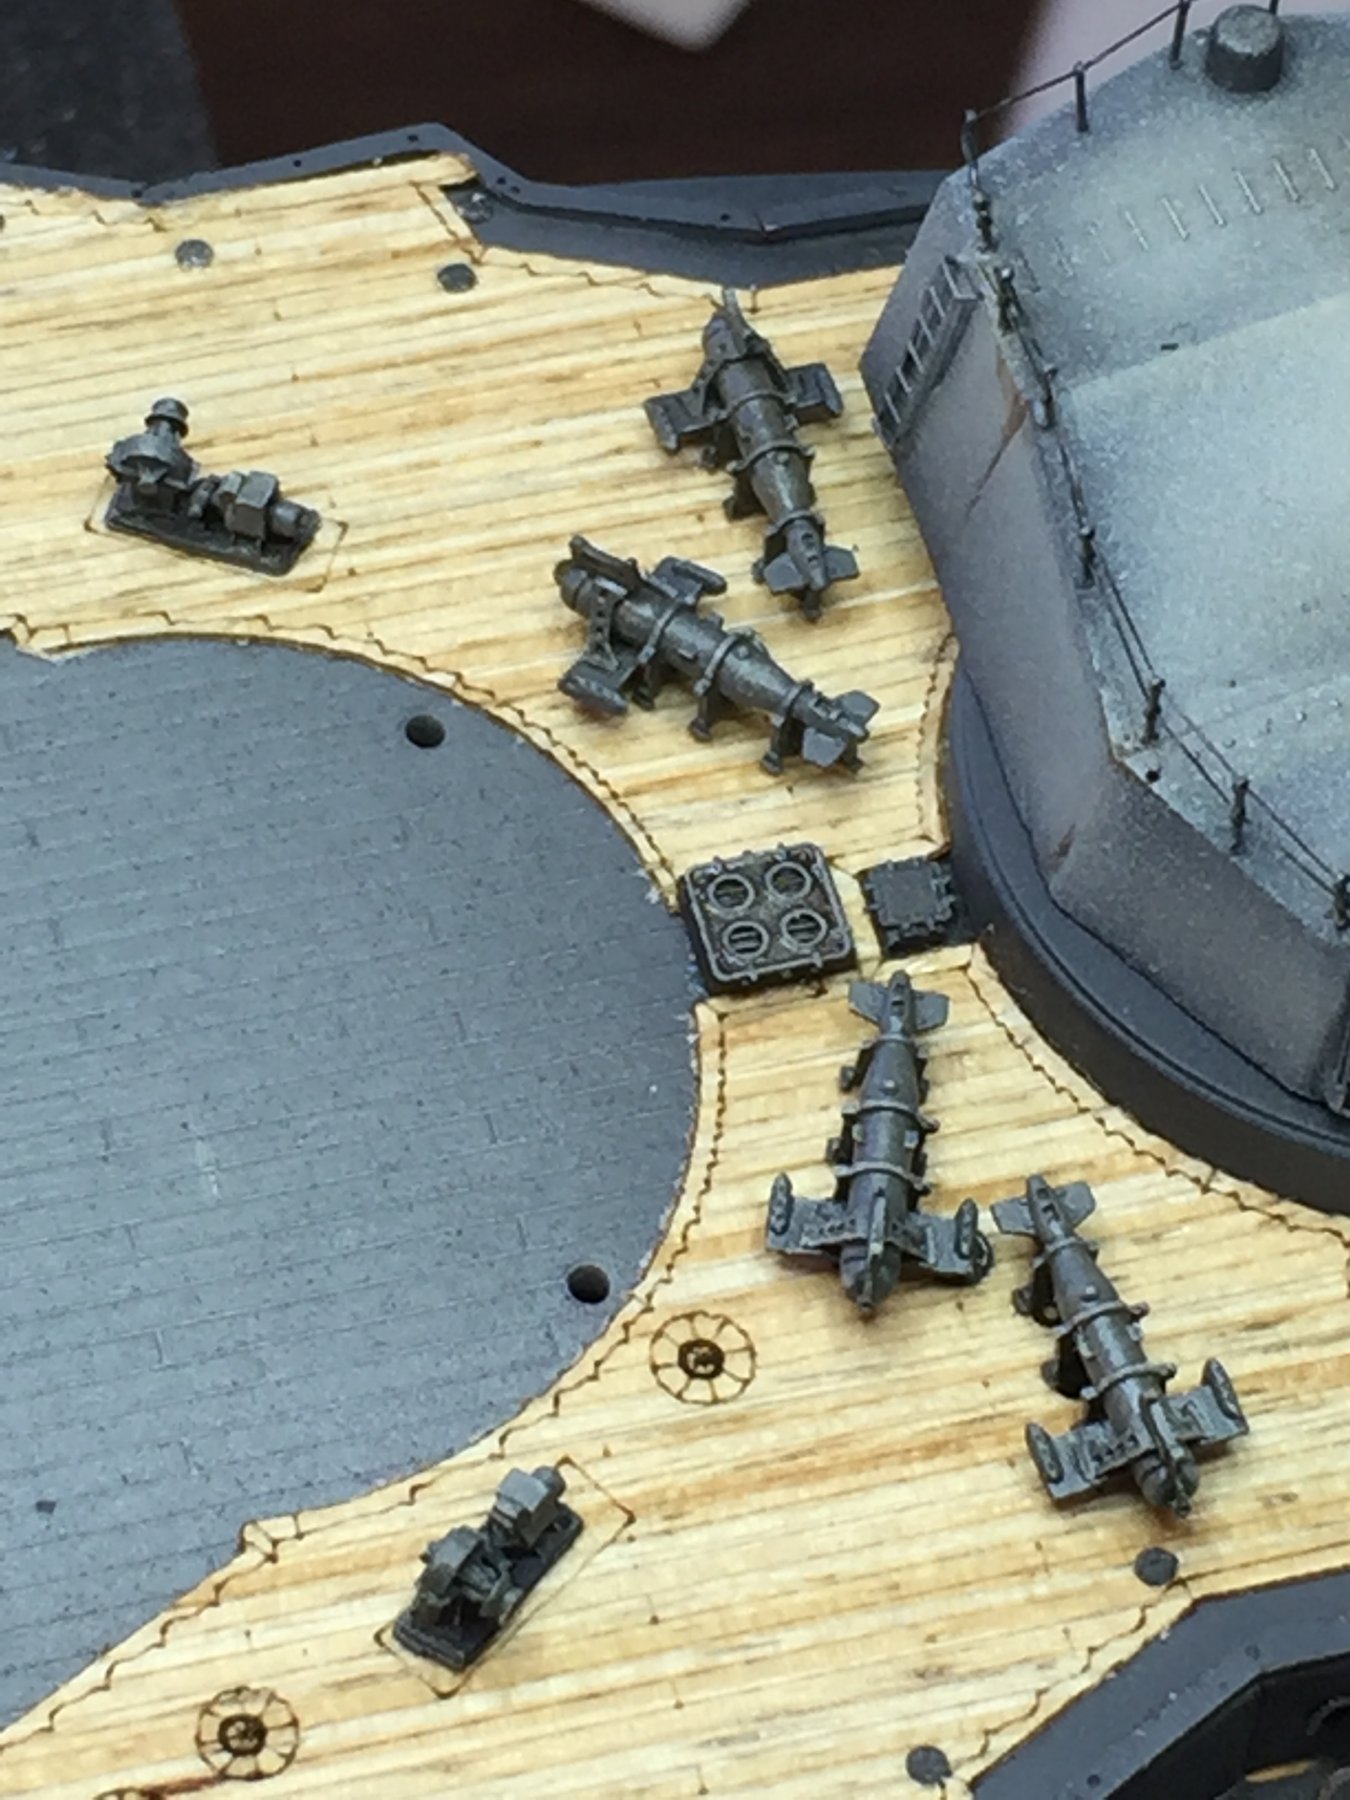
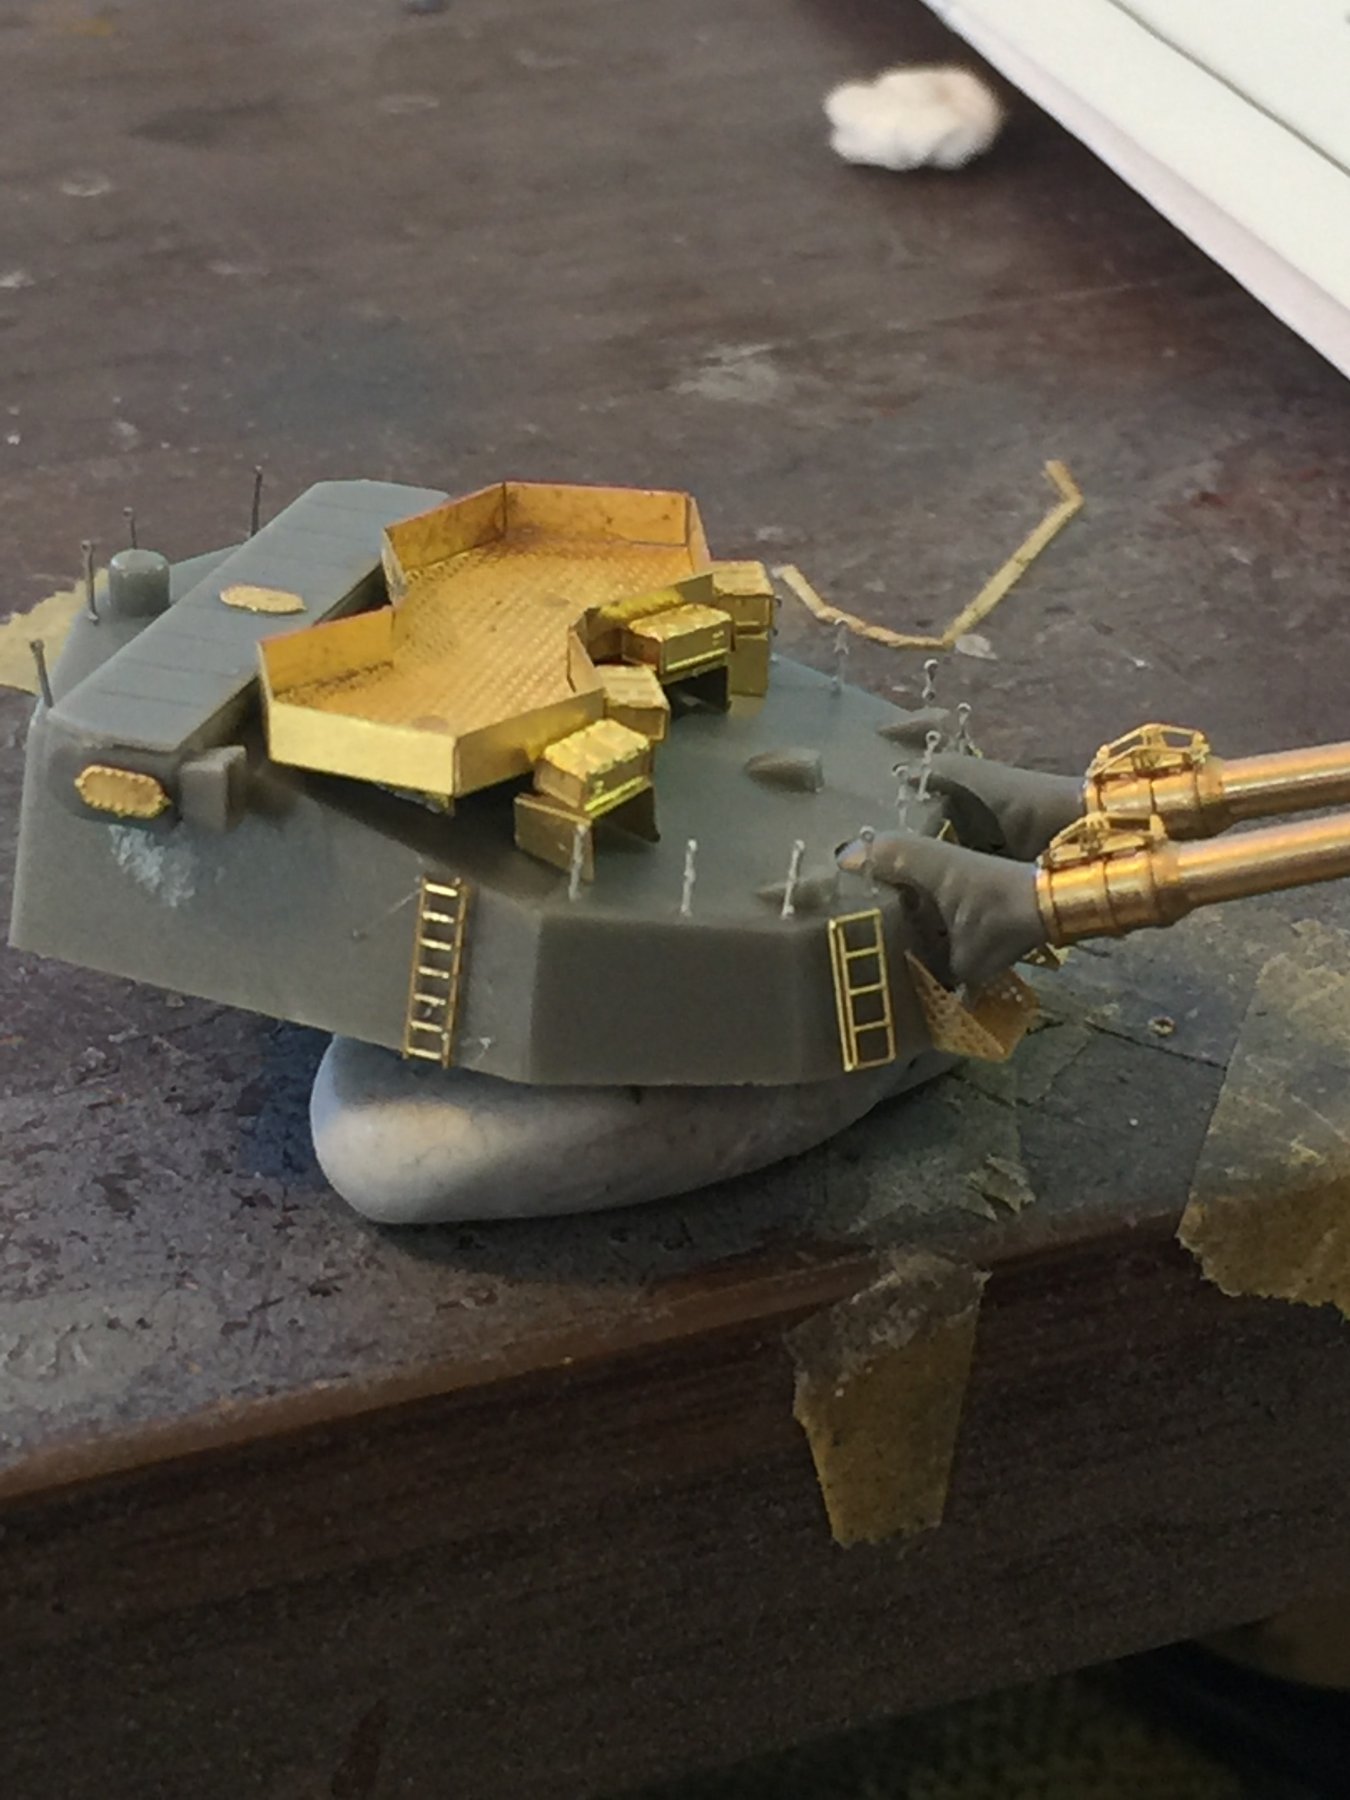
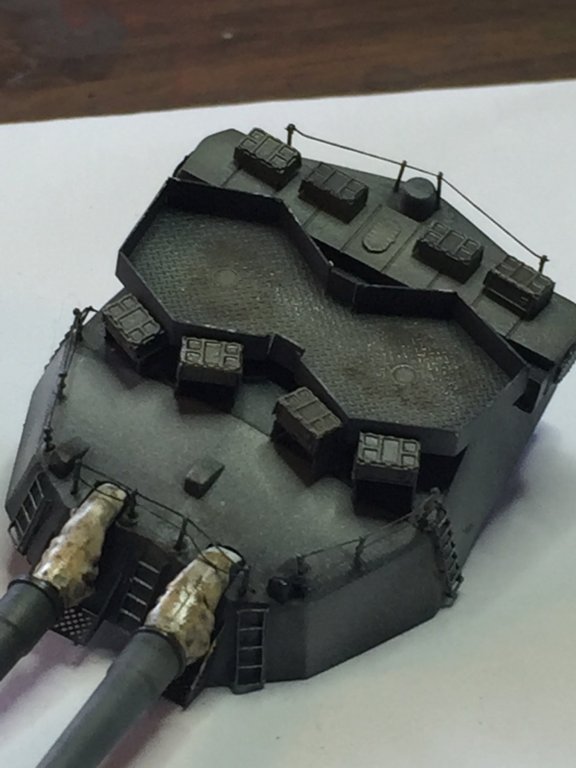
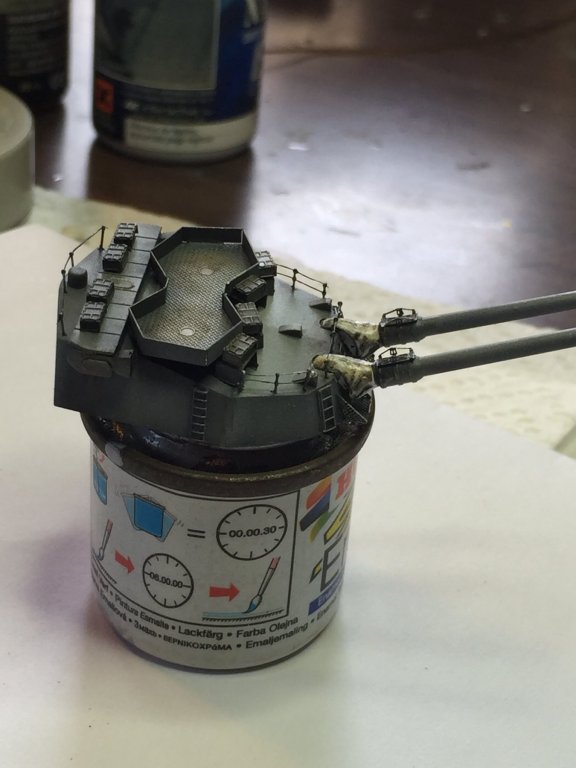
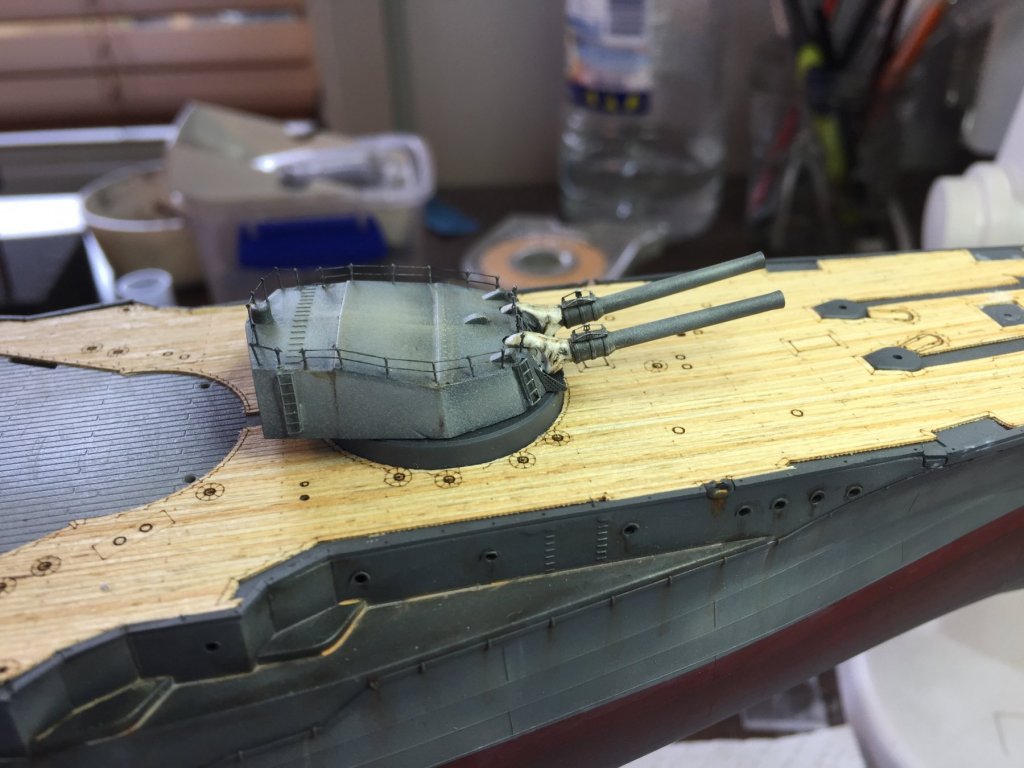
It's training equipment, there is a barrel that sits on top of that and platforms that sit either side, all of which is removed when not in use.
-
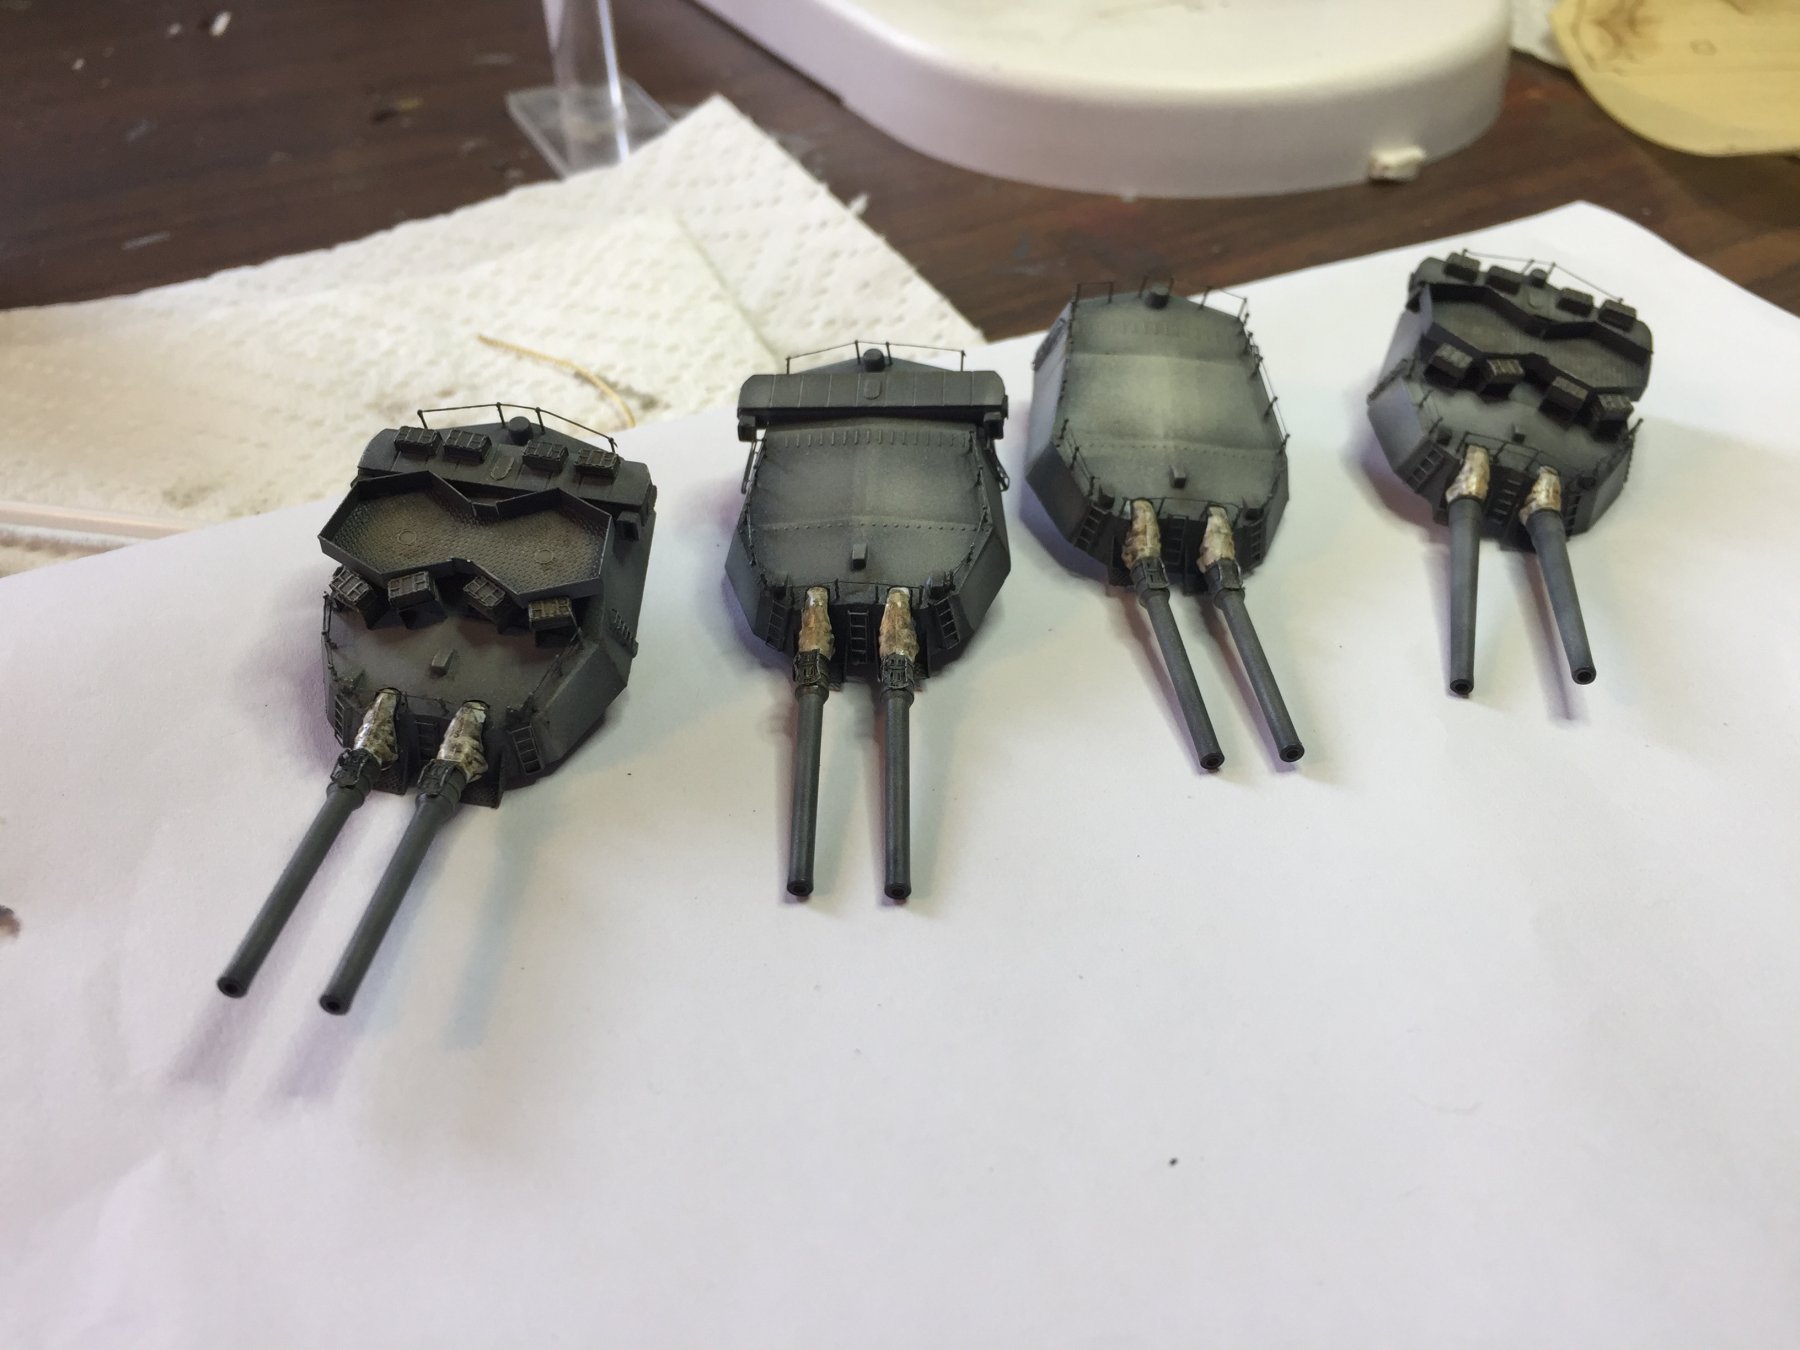
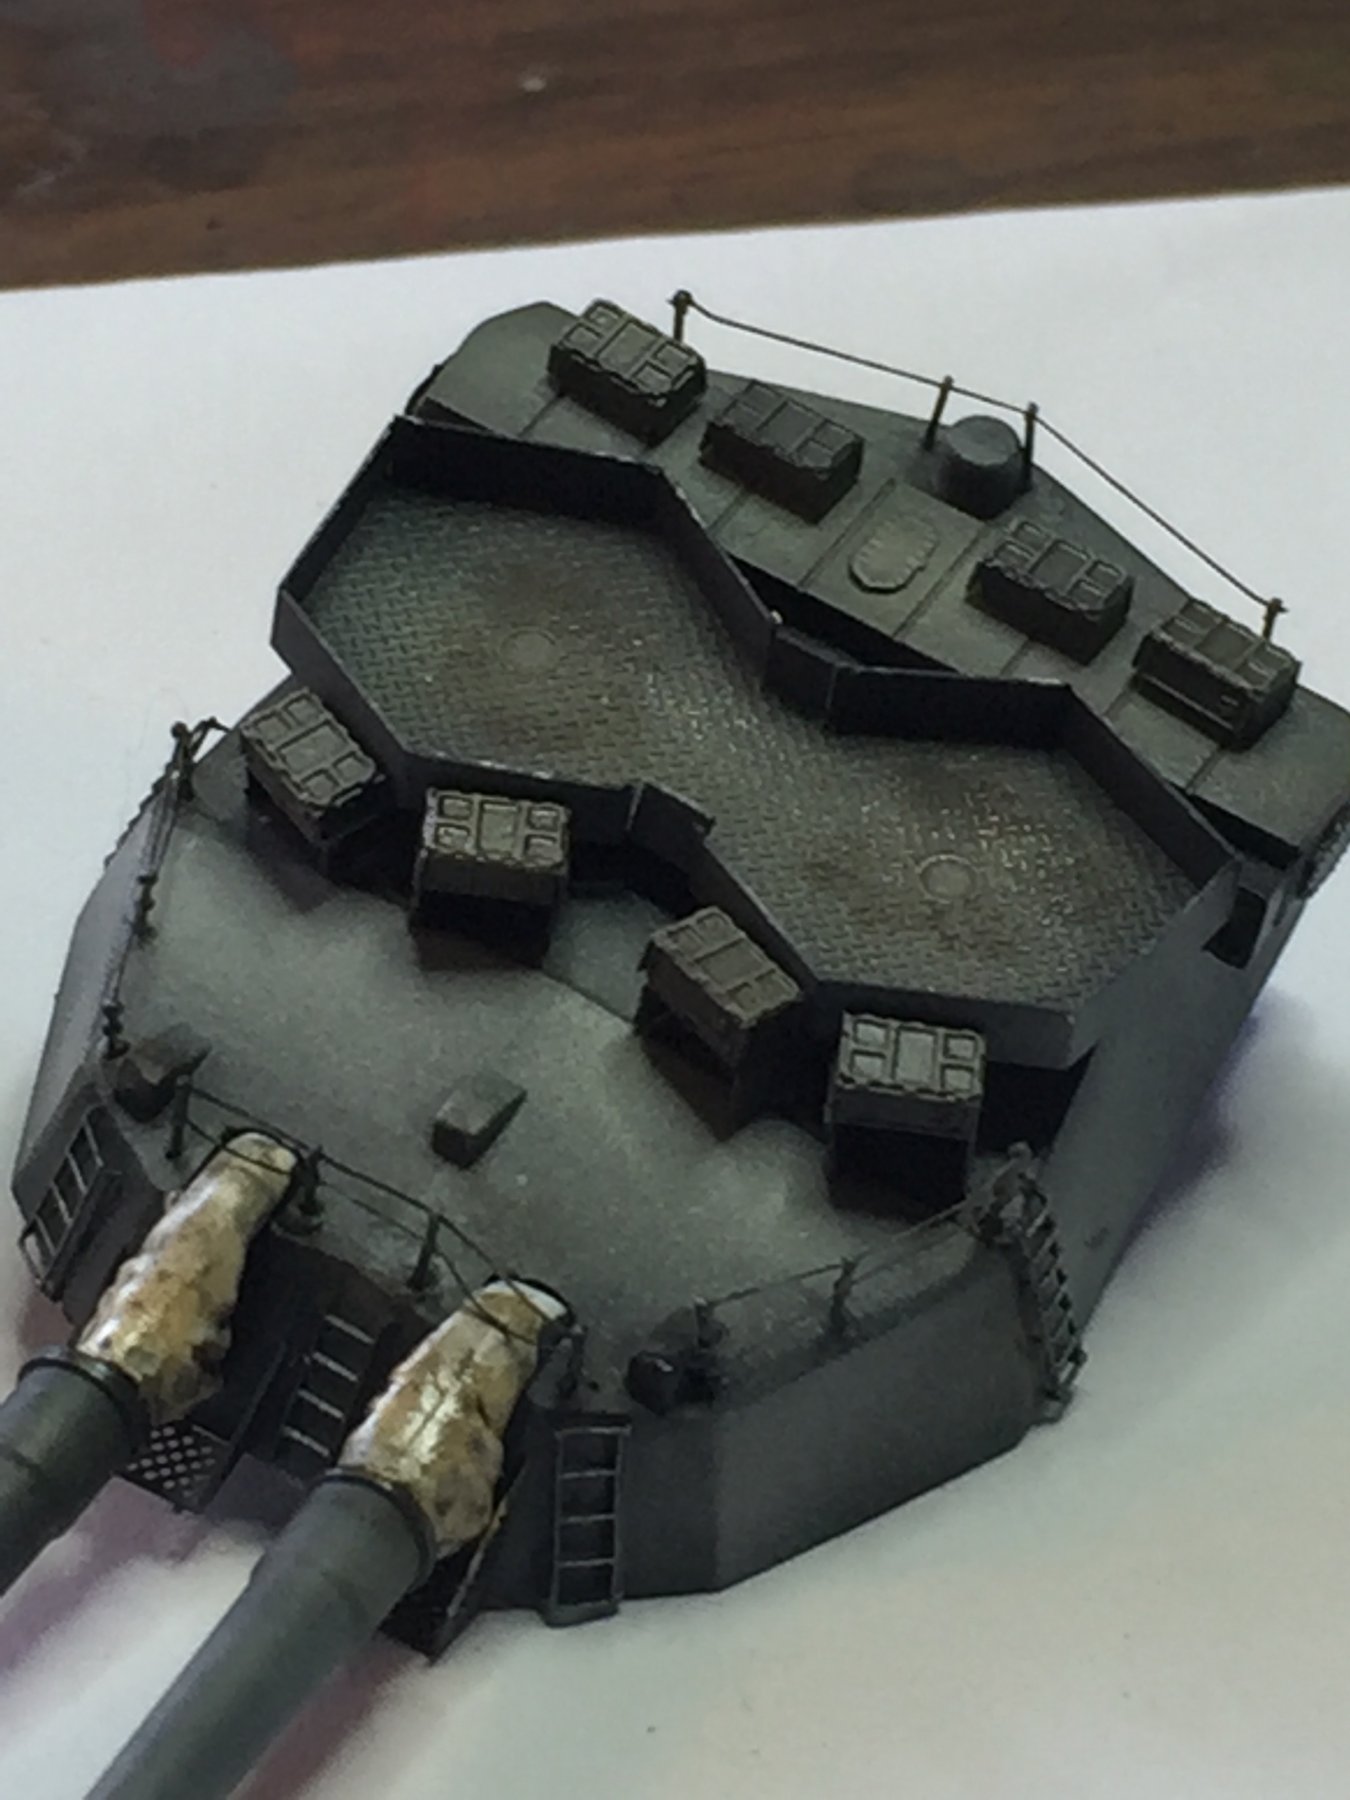
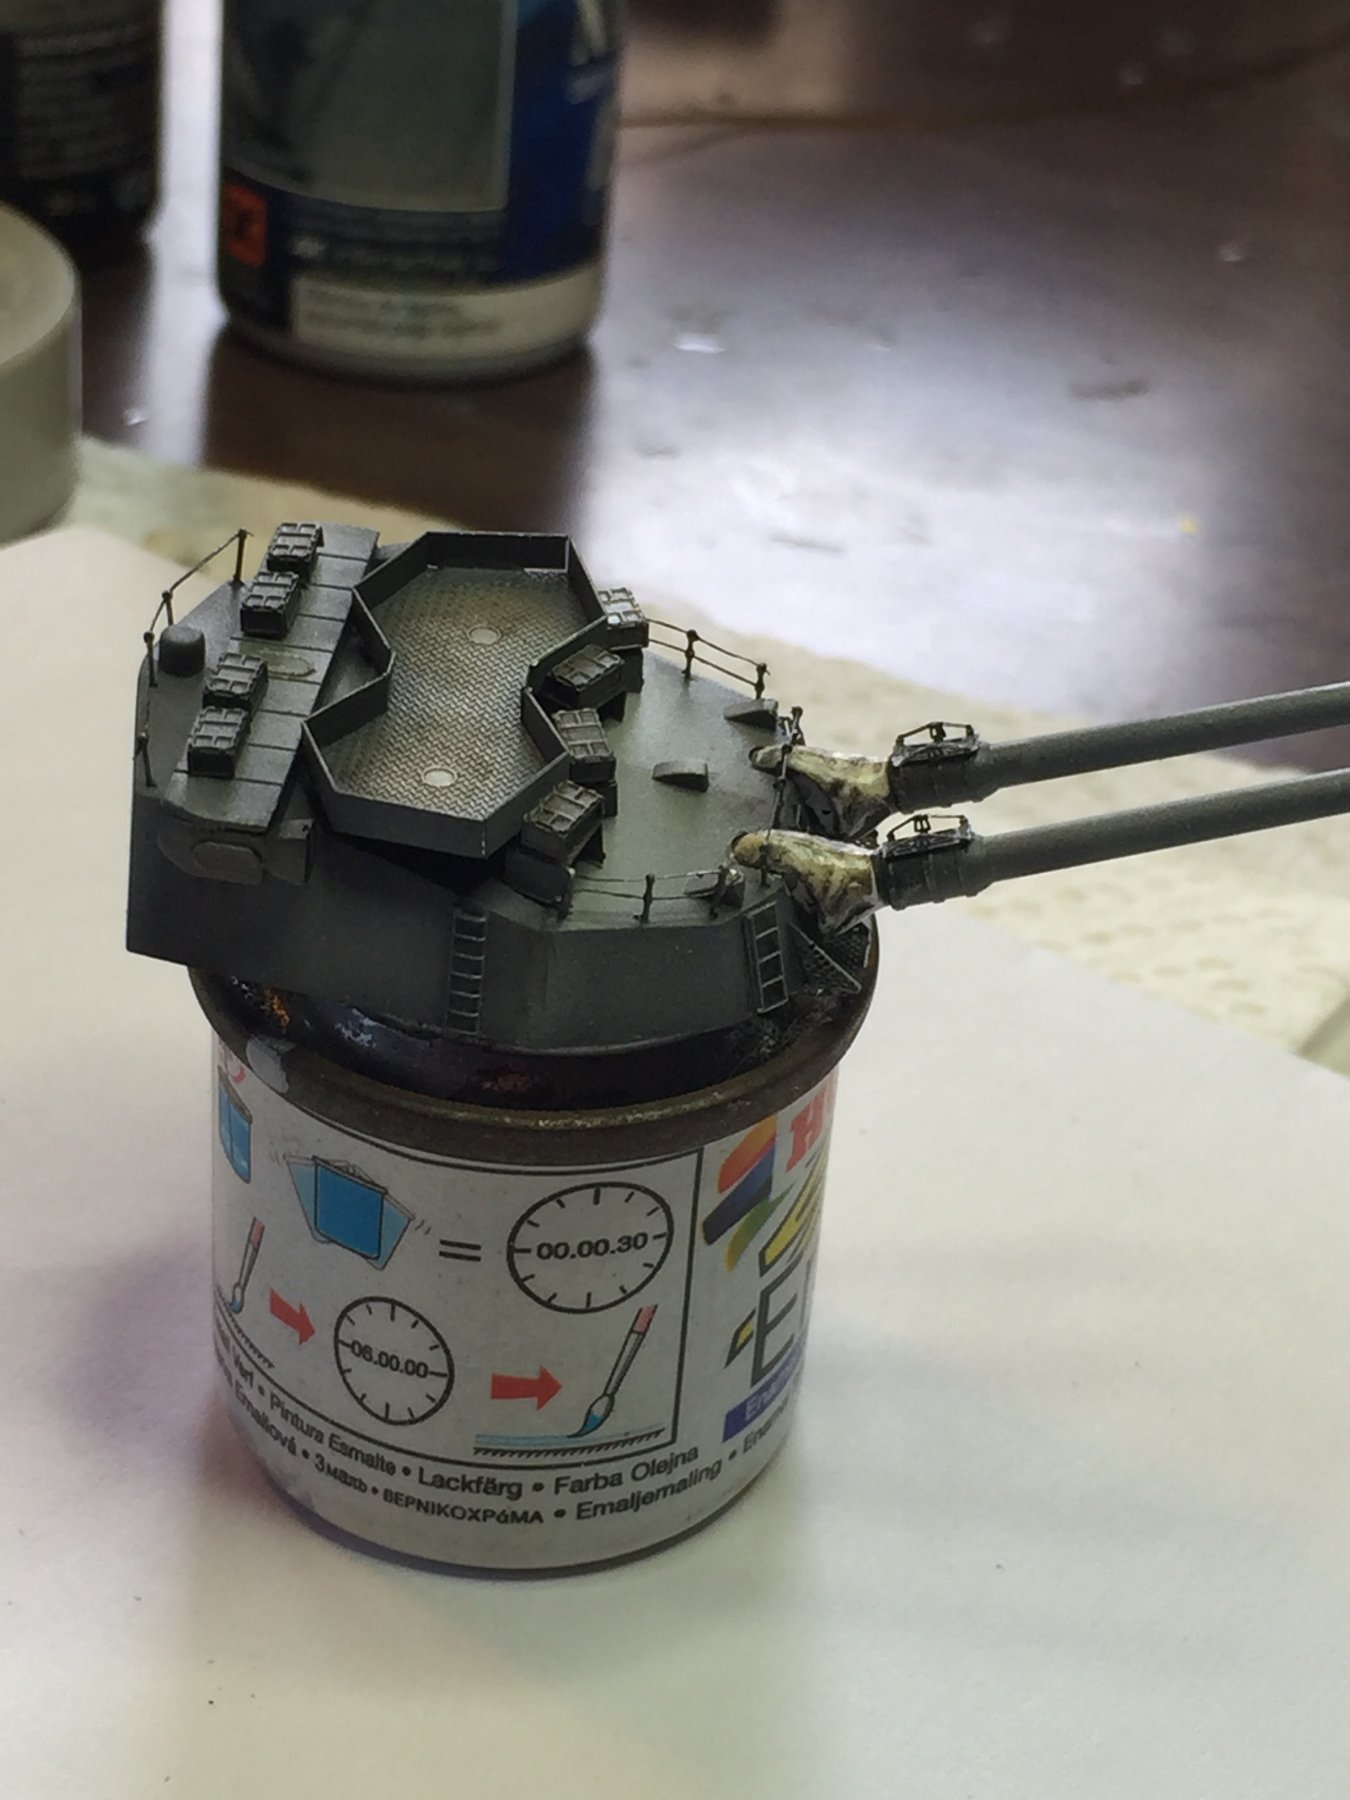
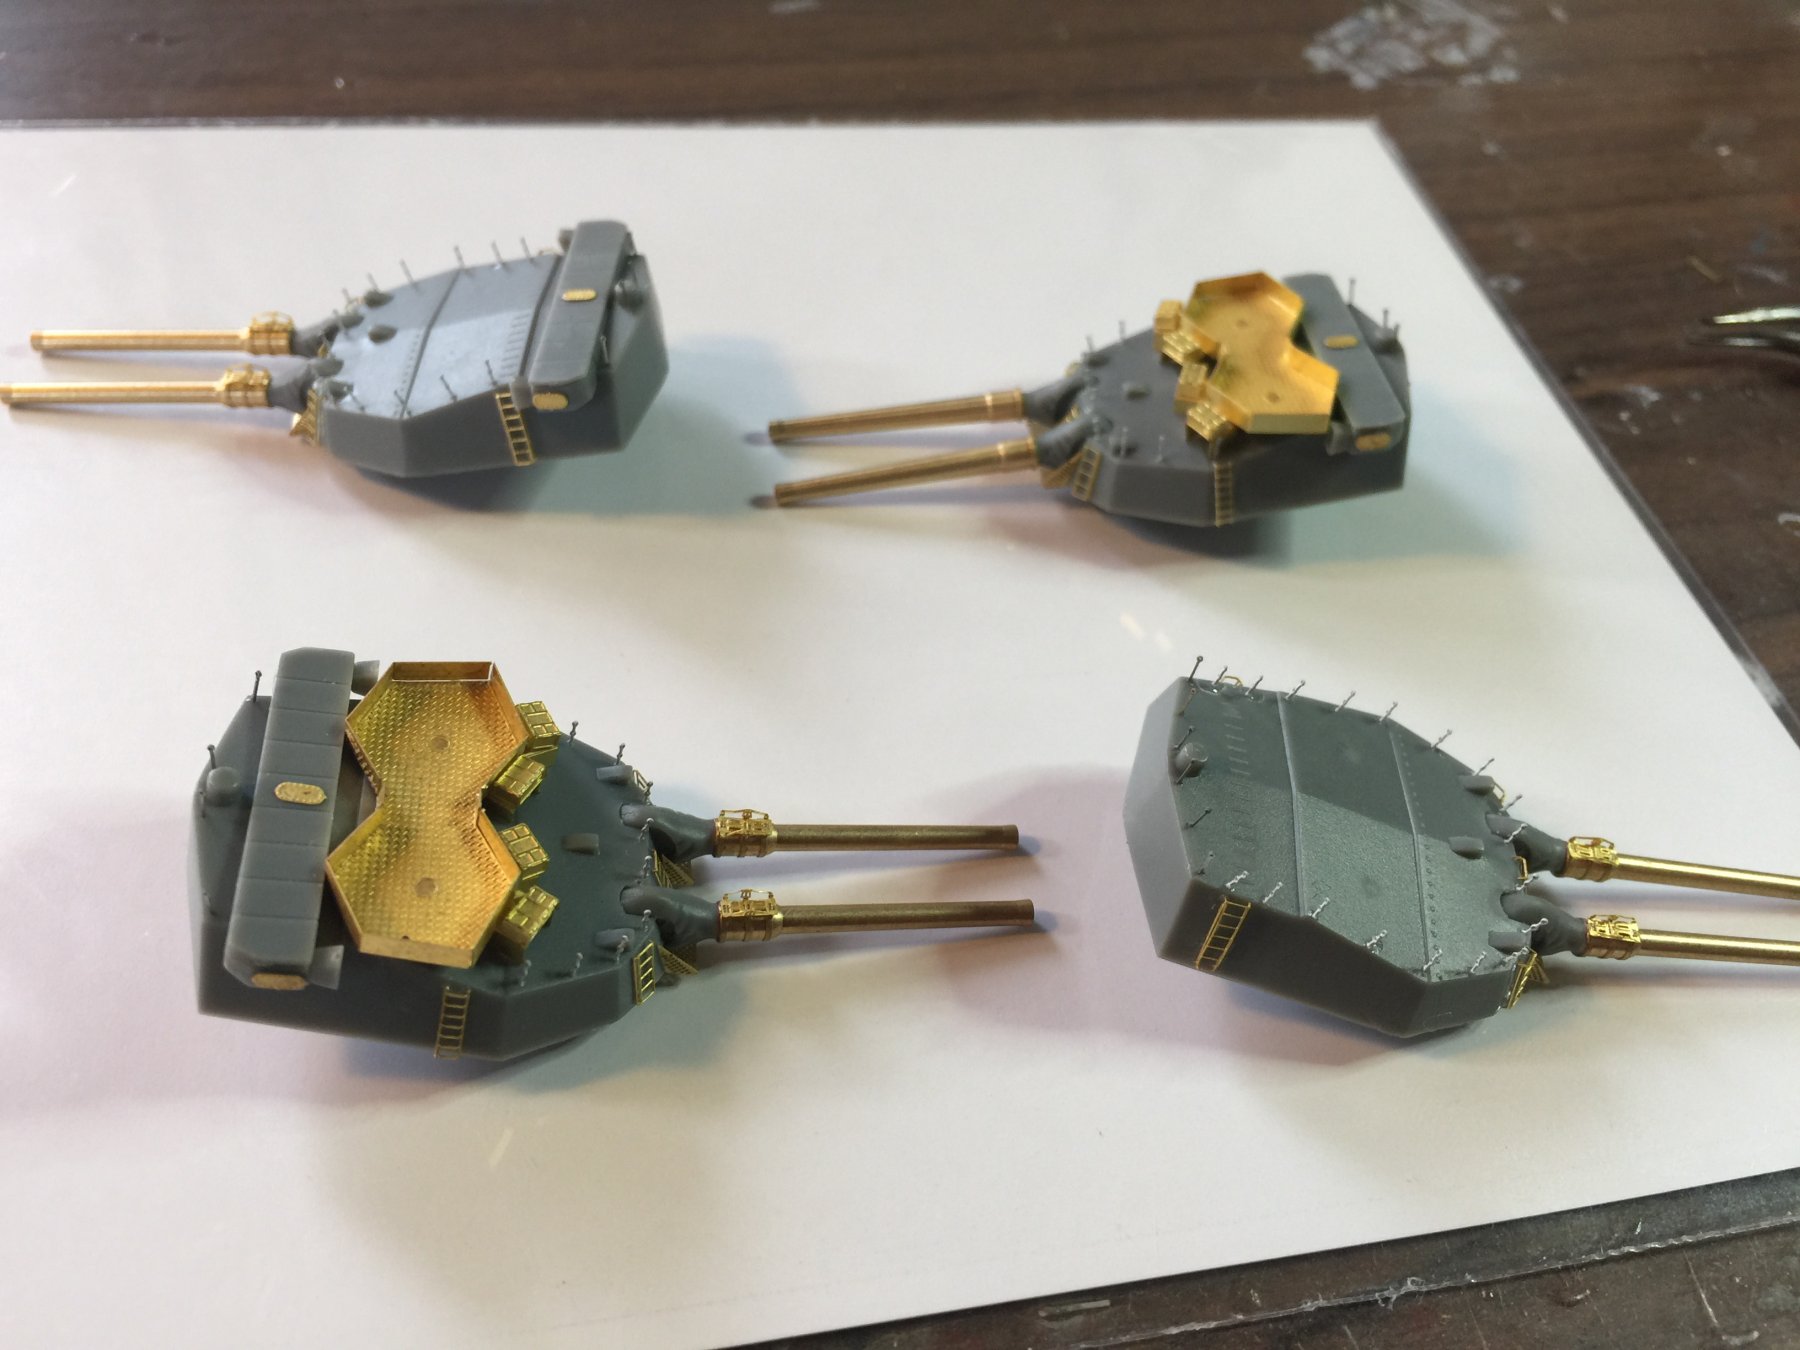
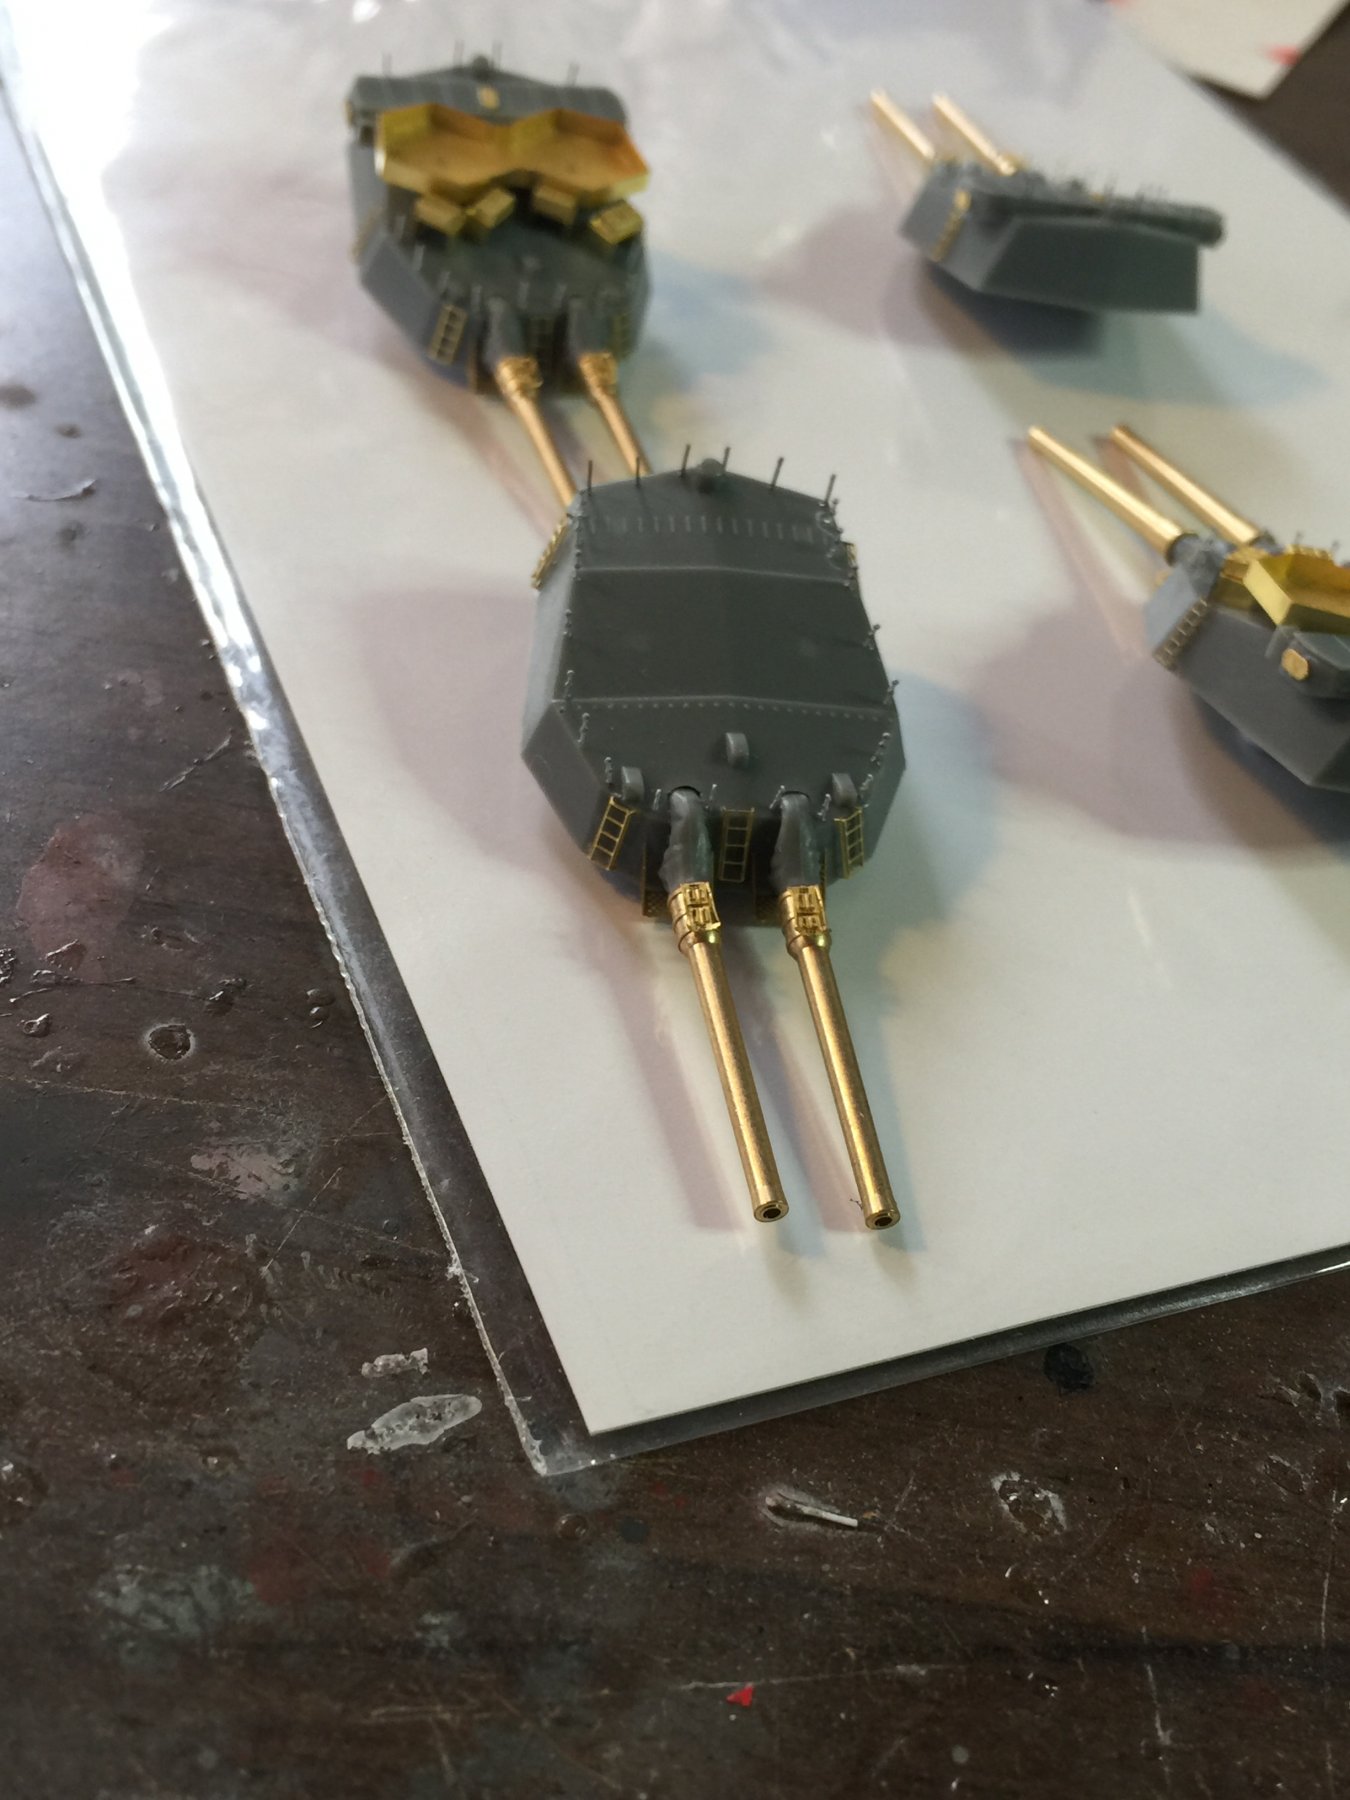
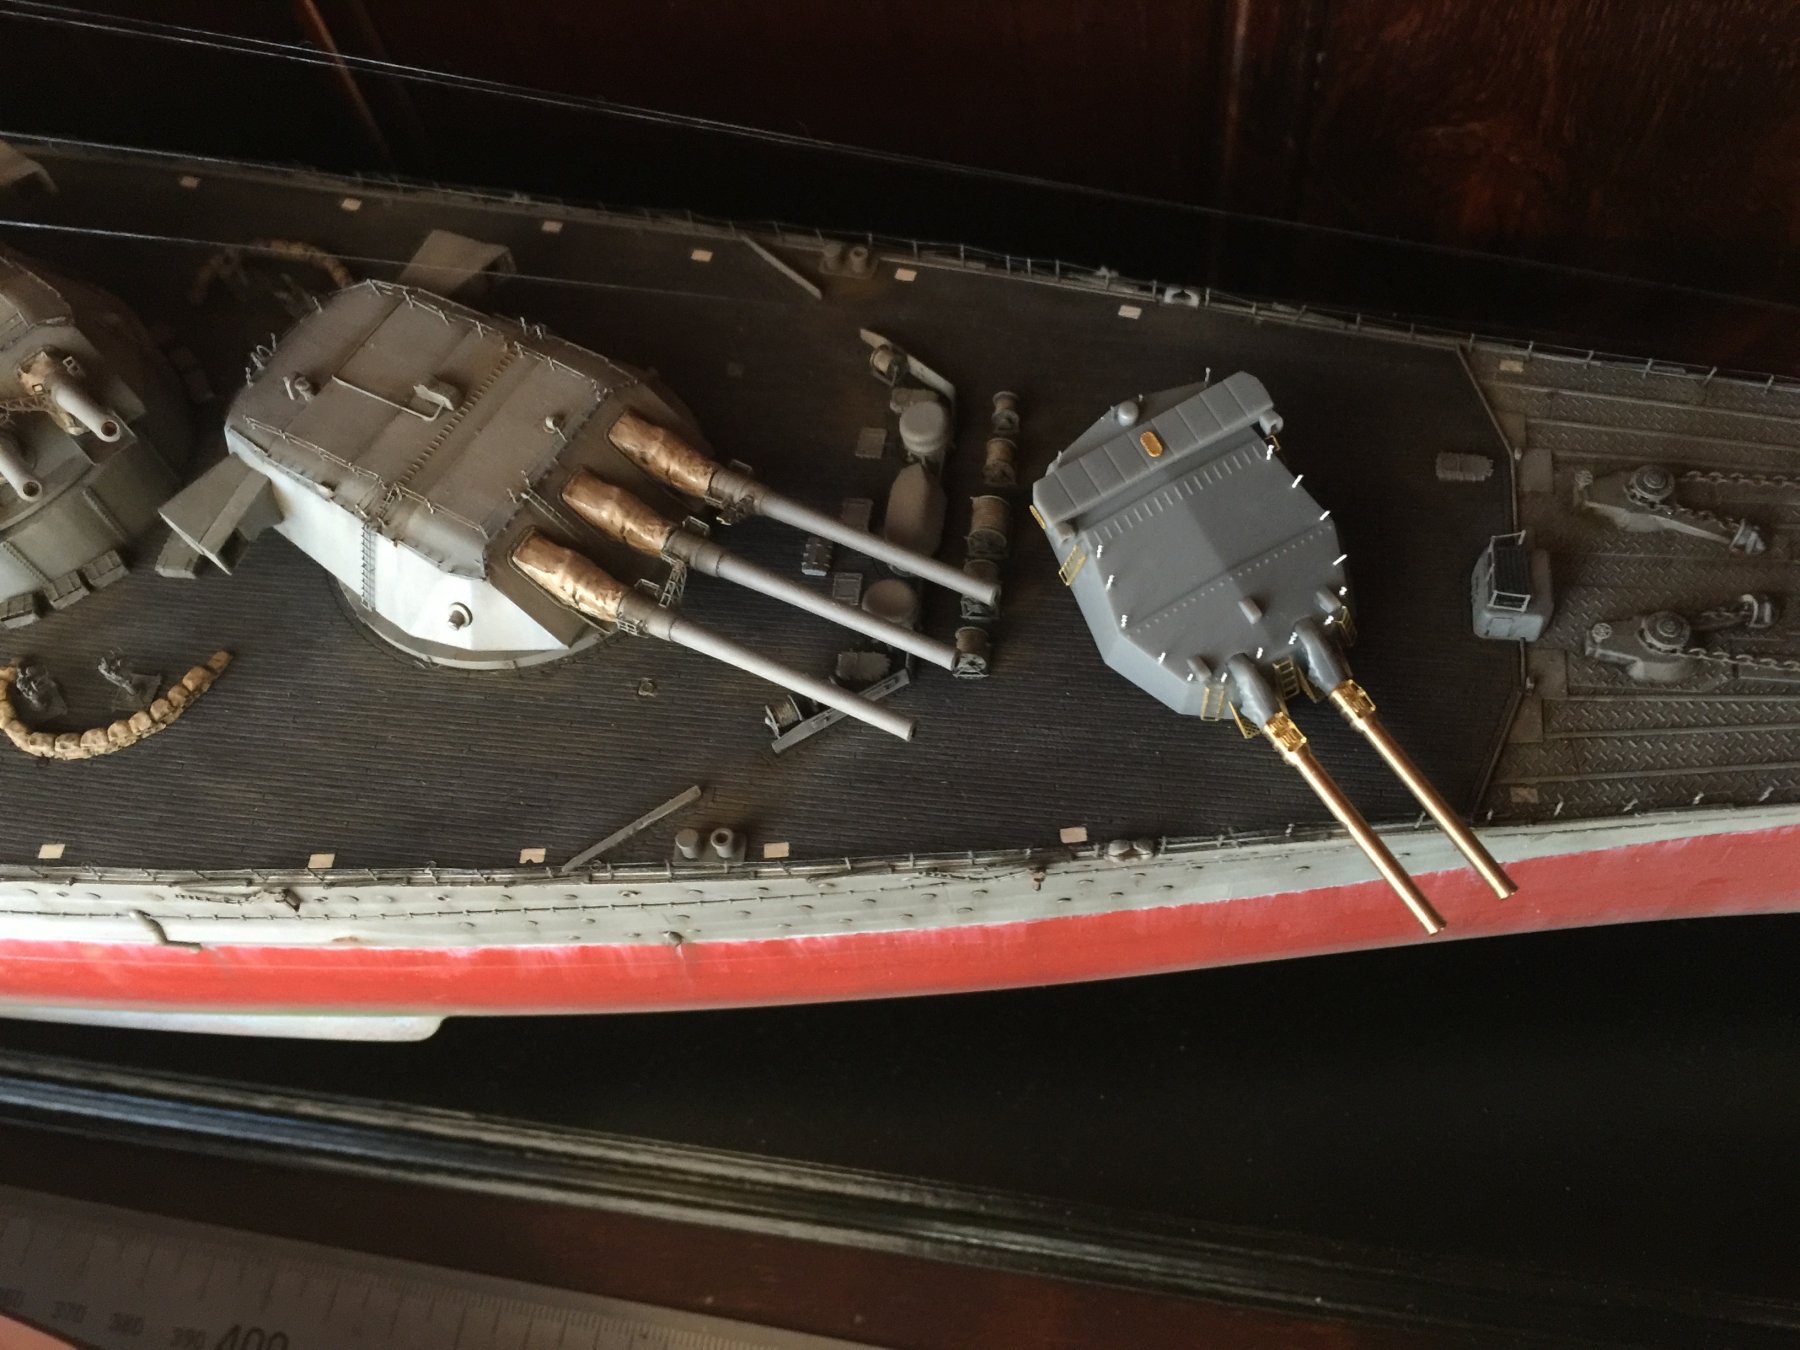
The main guns finally complete, just have to throw on 4 triple 25mm's when I do them up.

- 224 replies
-
- 15
-
-
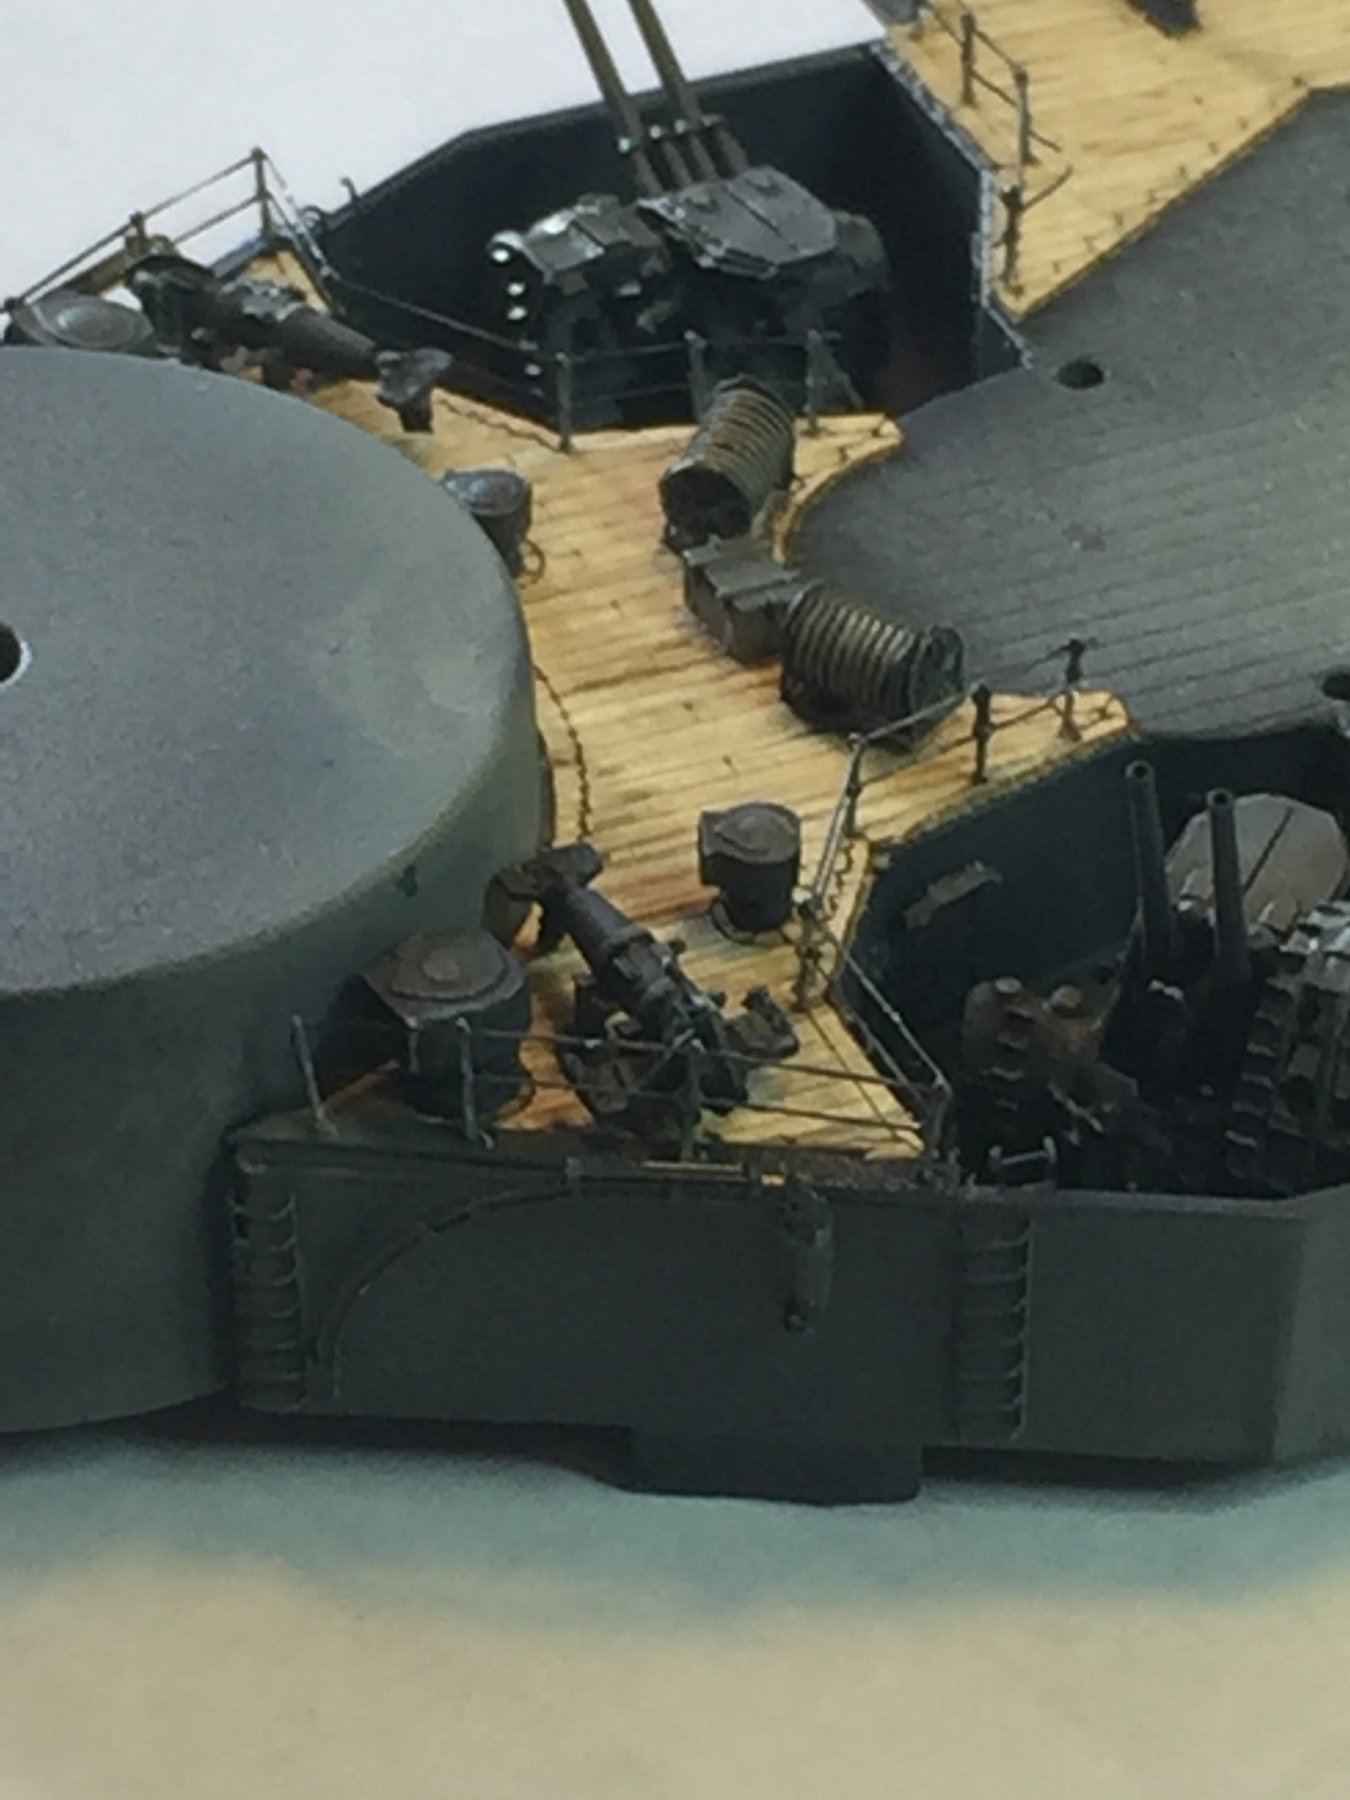
Cog, there are 28 triple mounts to go yet, but only 9 singles. There seems to be a lot more details on these older Dreadnought type ships.
-
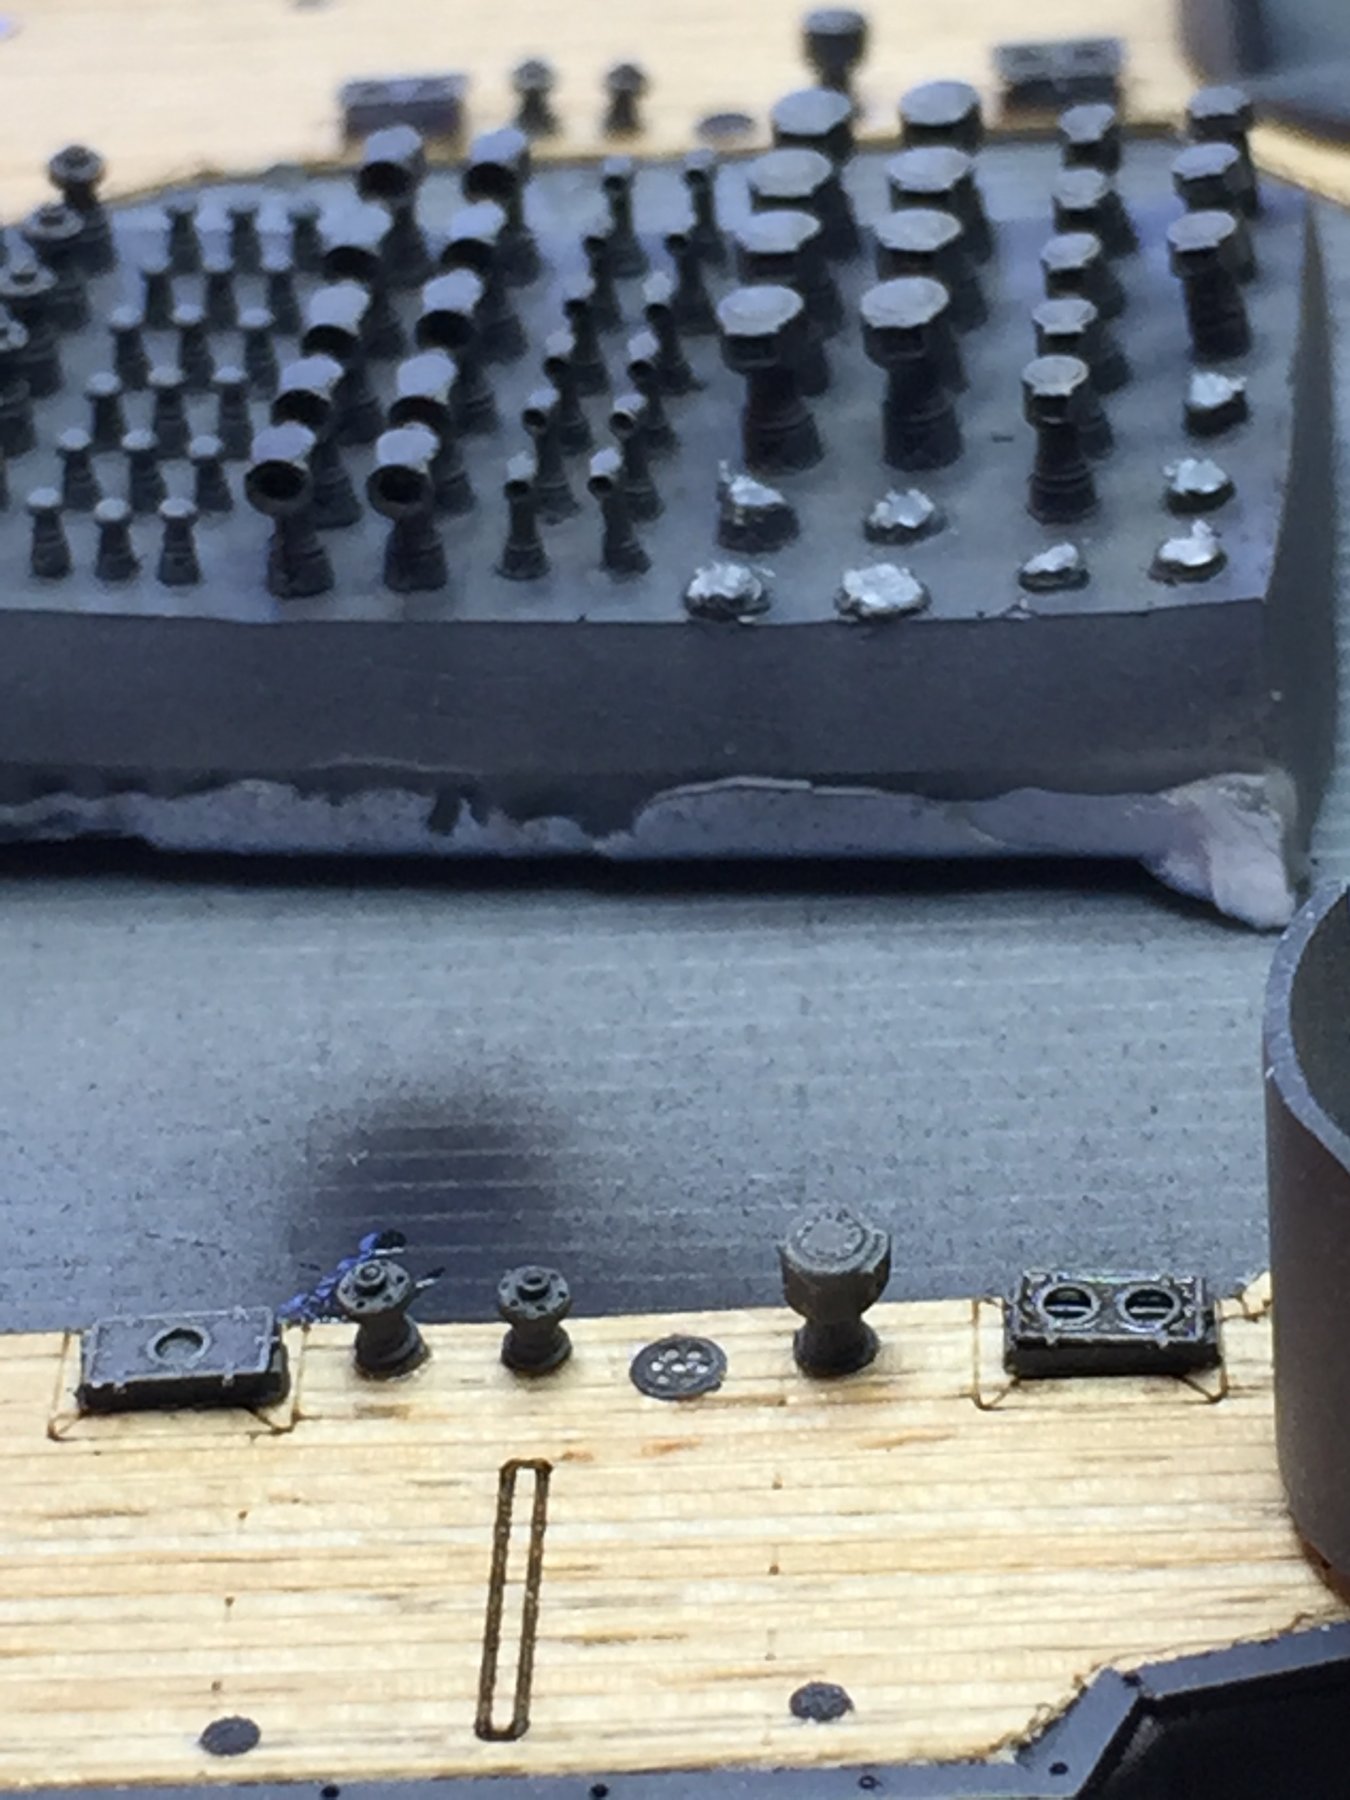
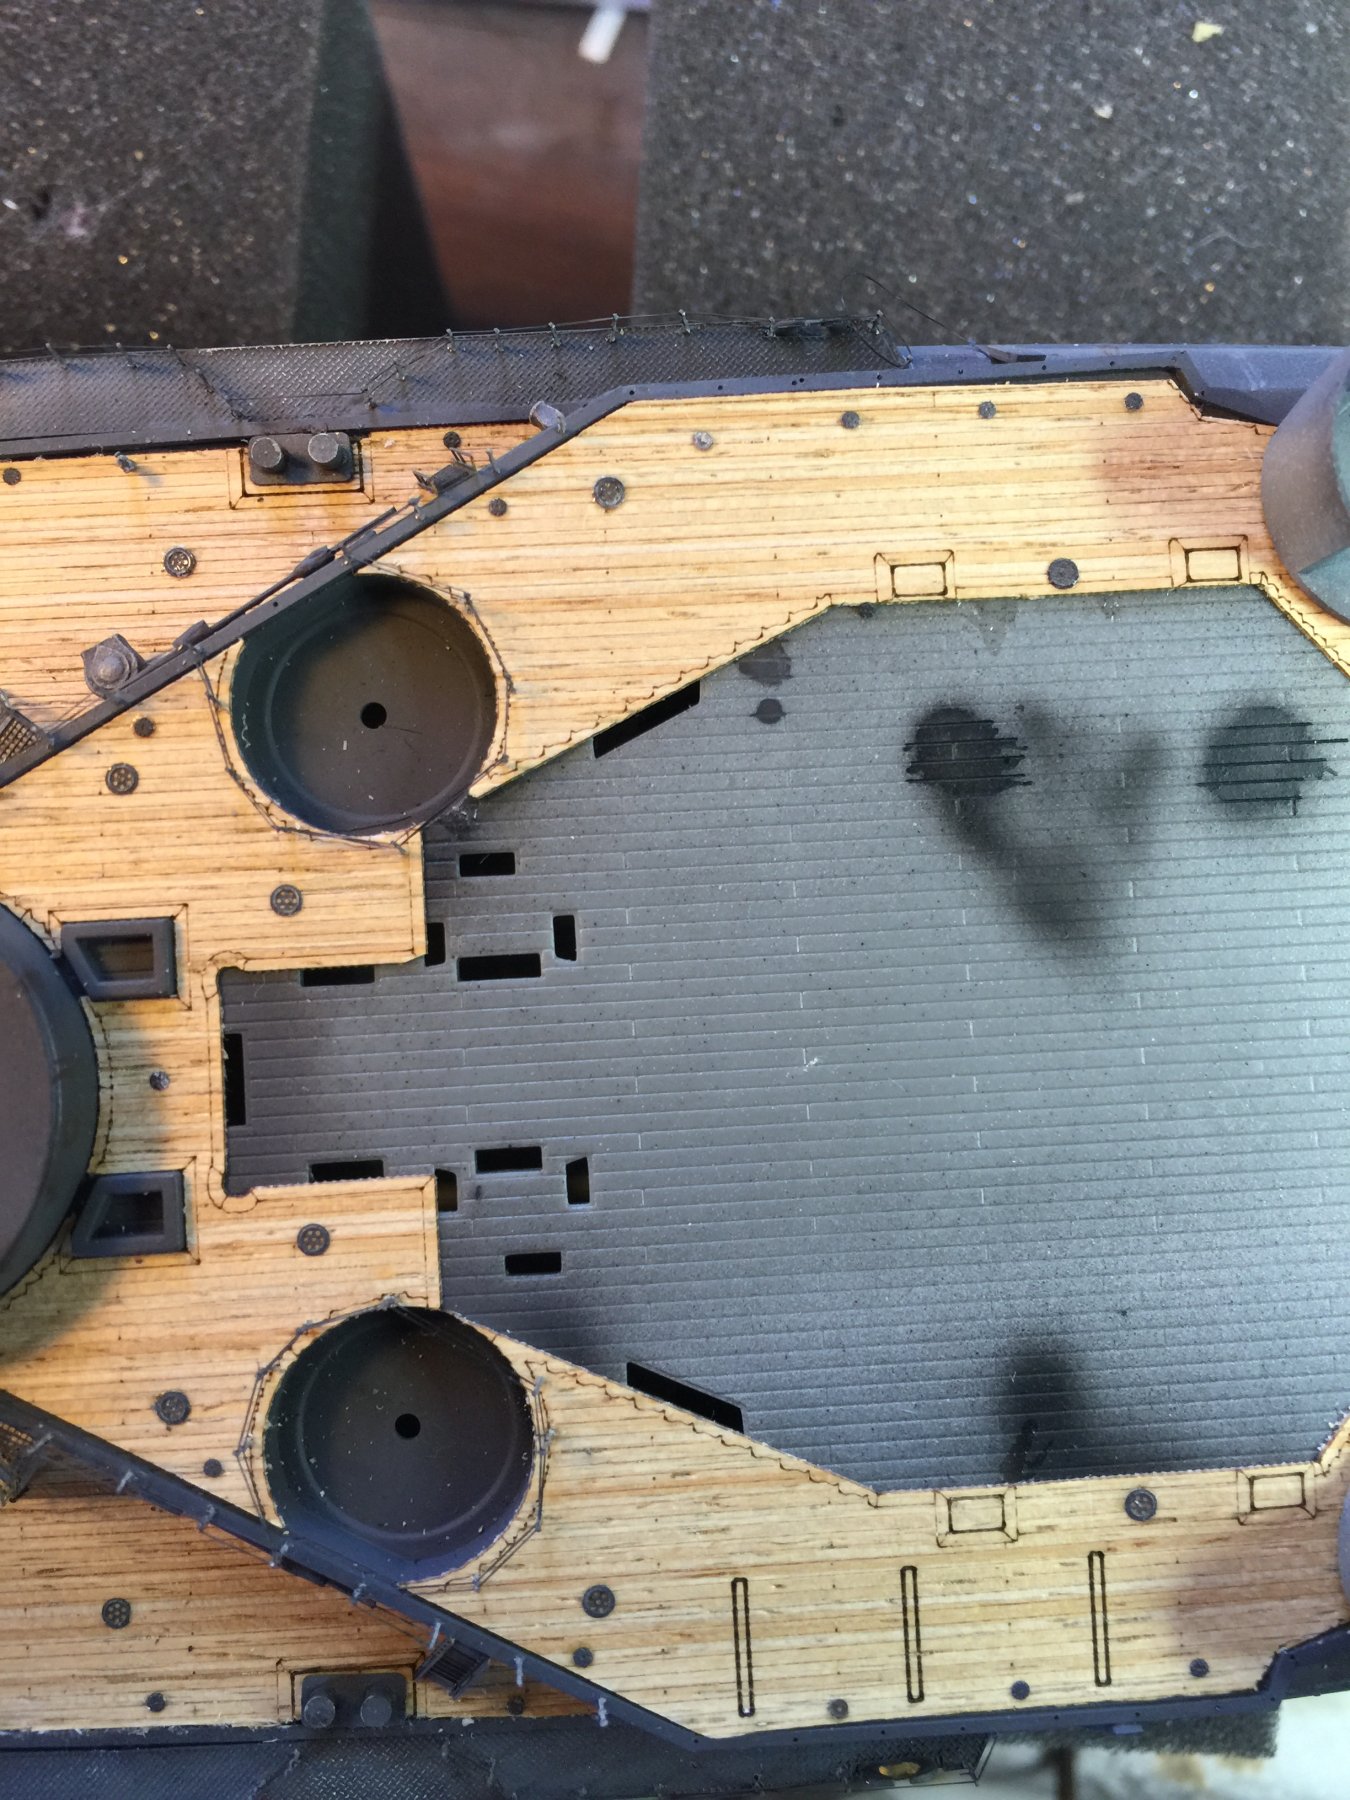
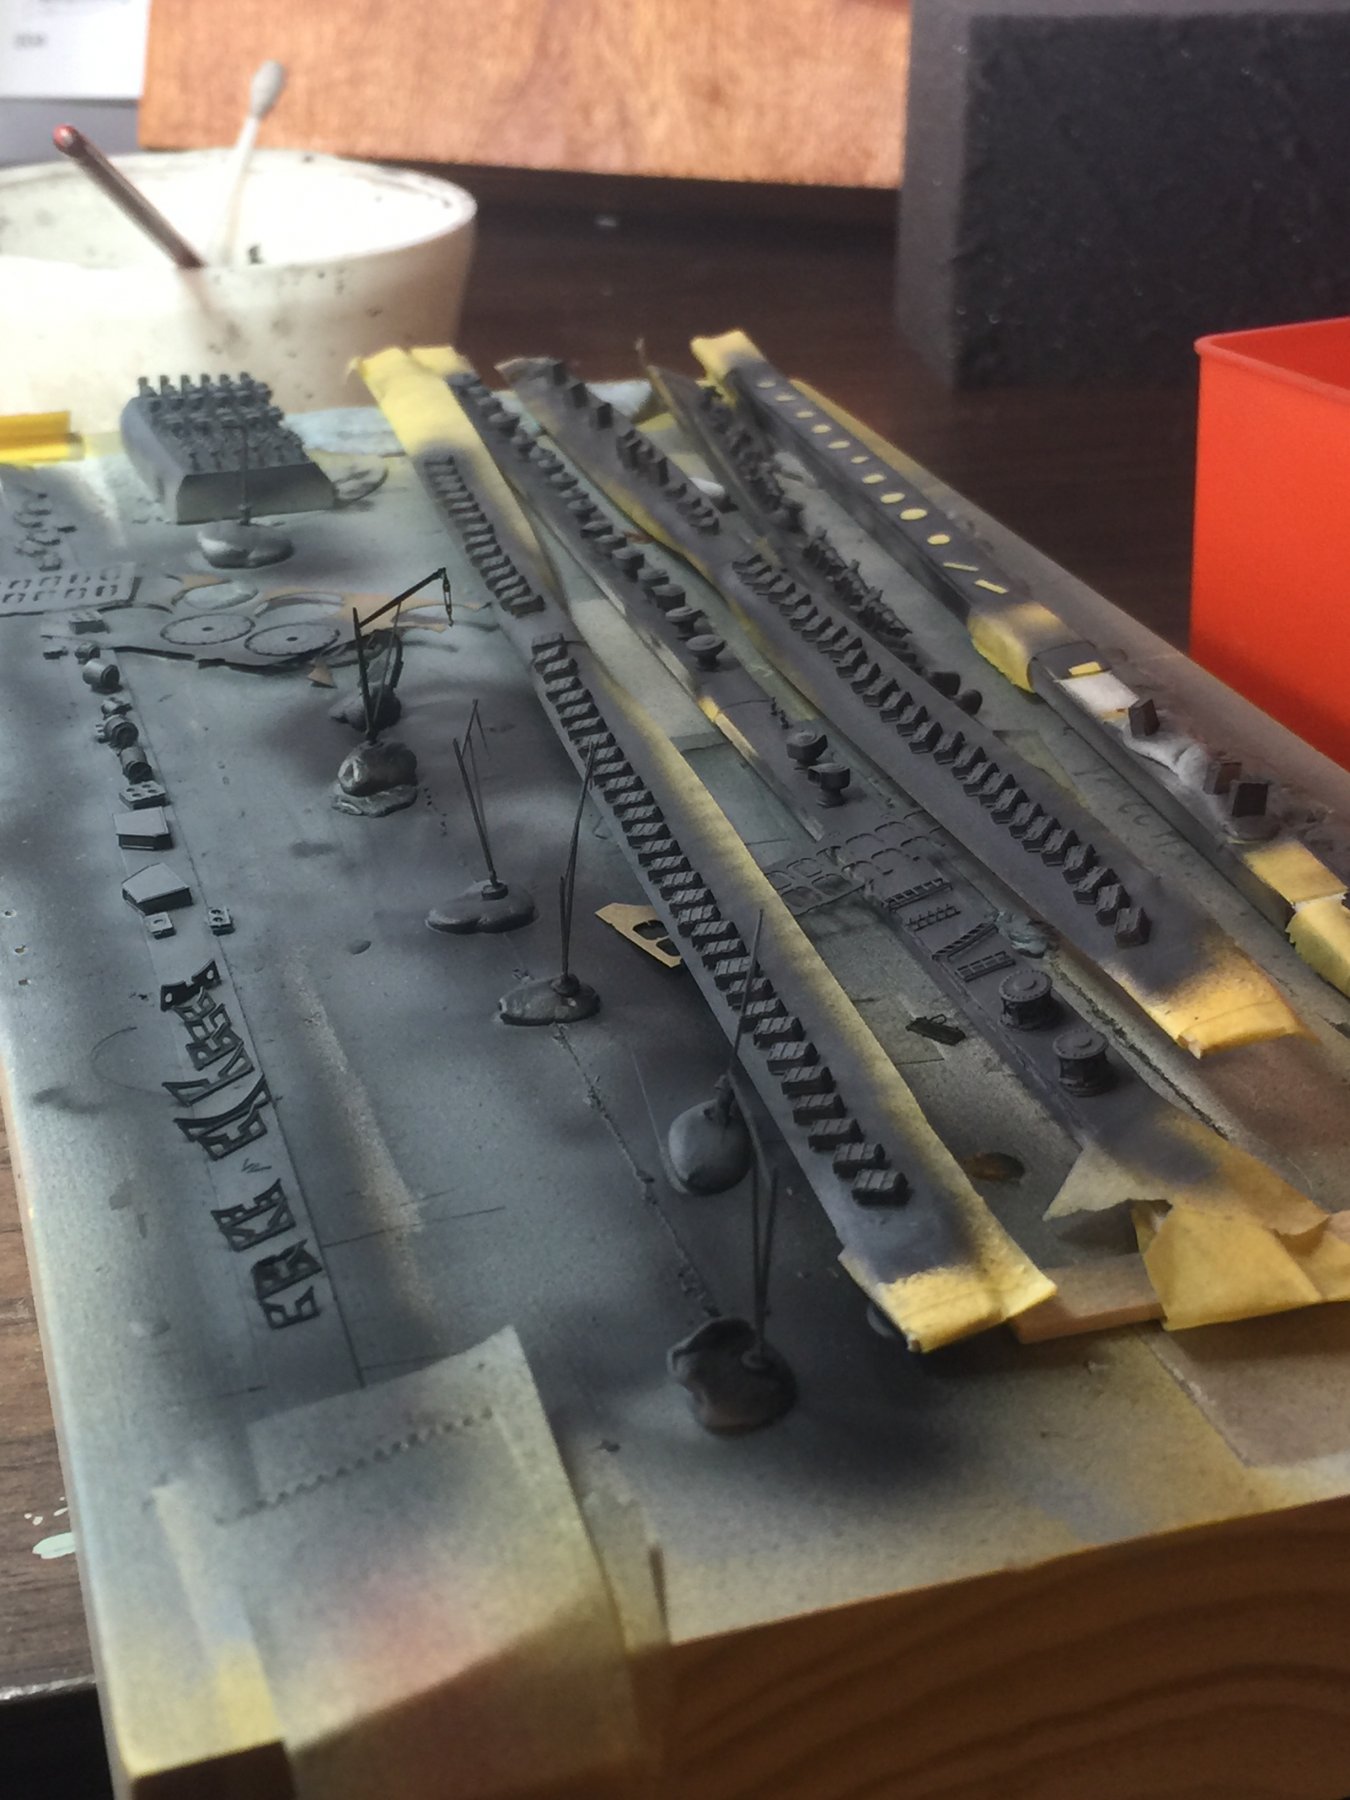
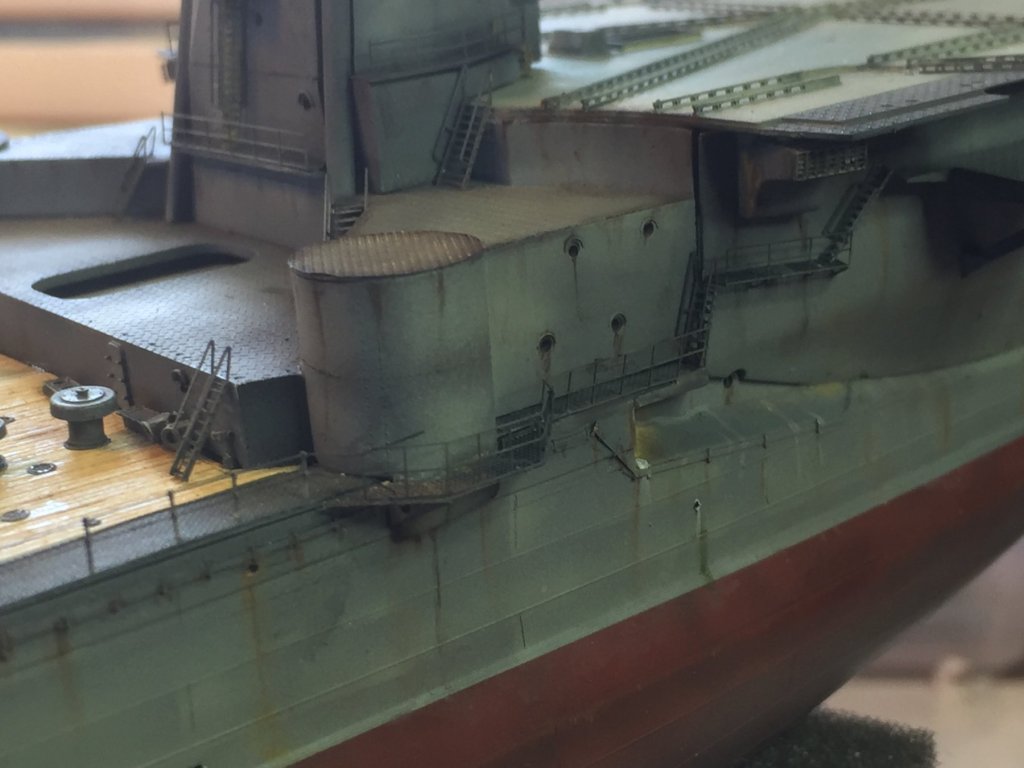
Ise Amidships; lots of vents, funnels, deck lights and holes. Side gantries added, individual stanchions, railings done up. I am yet to do up the cranes and davits. So much detail that has to fit in such a small area and it's all aftermarket.


- 224 replies
-
- 15
-
-
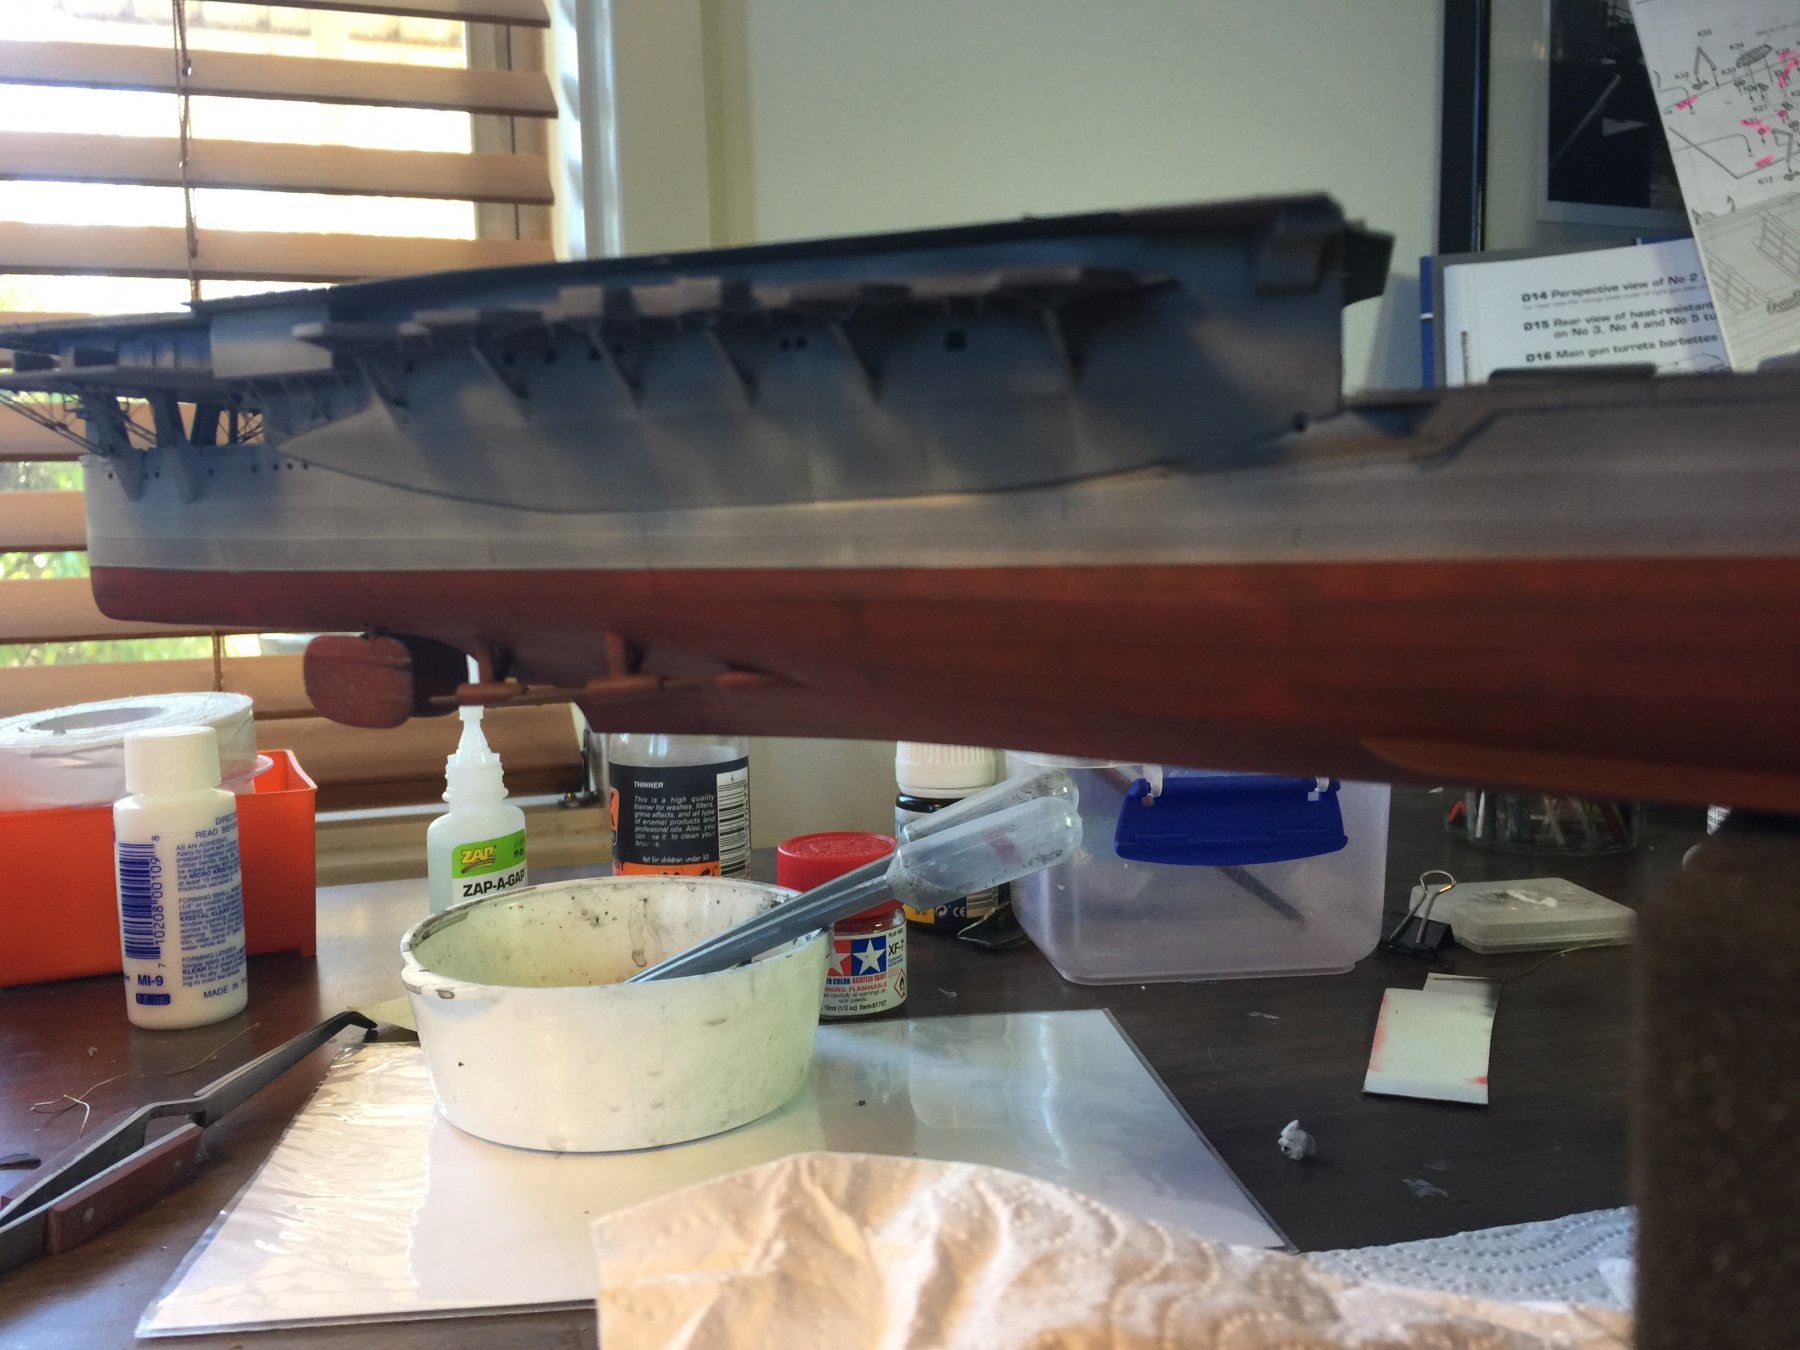
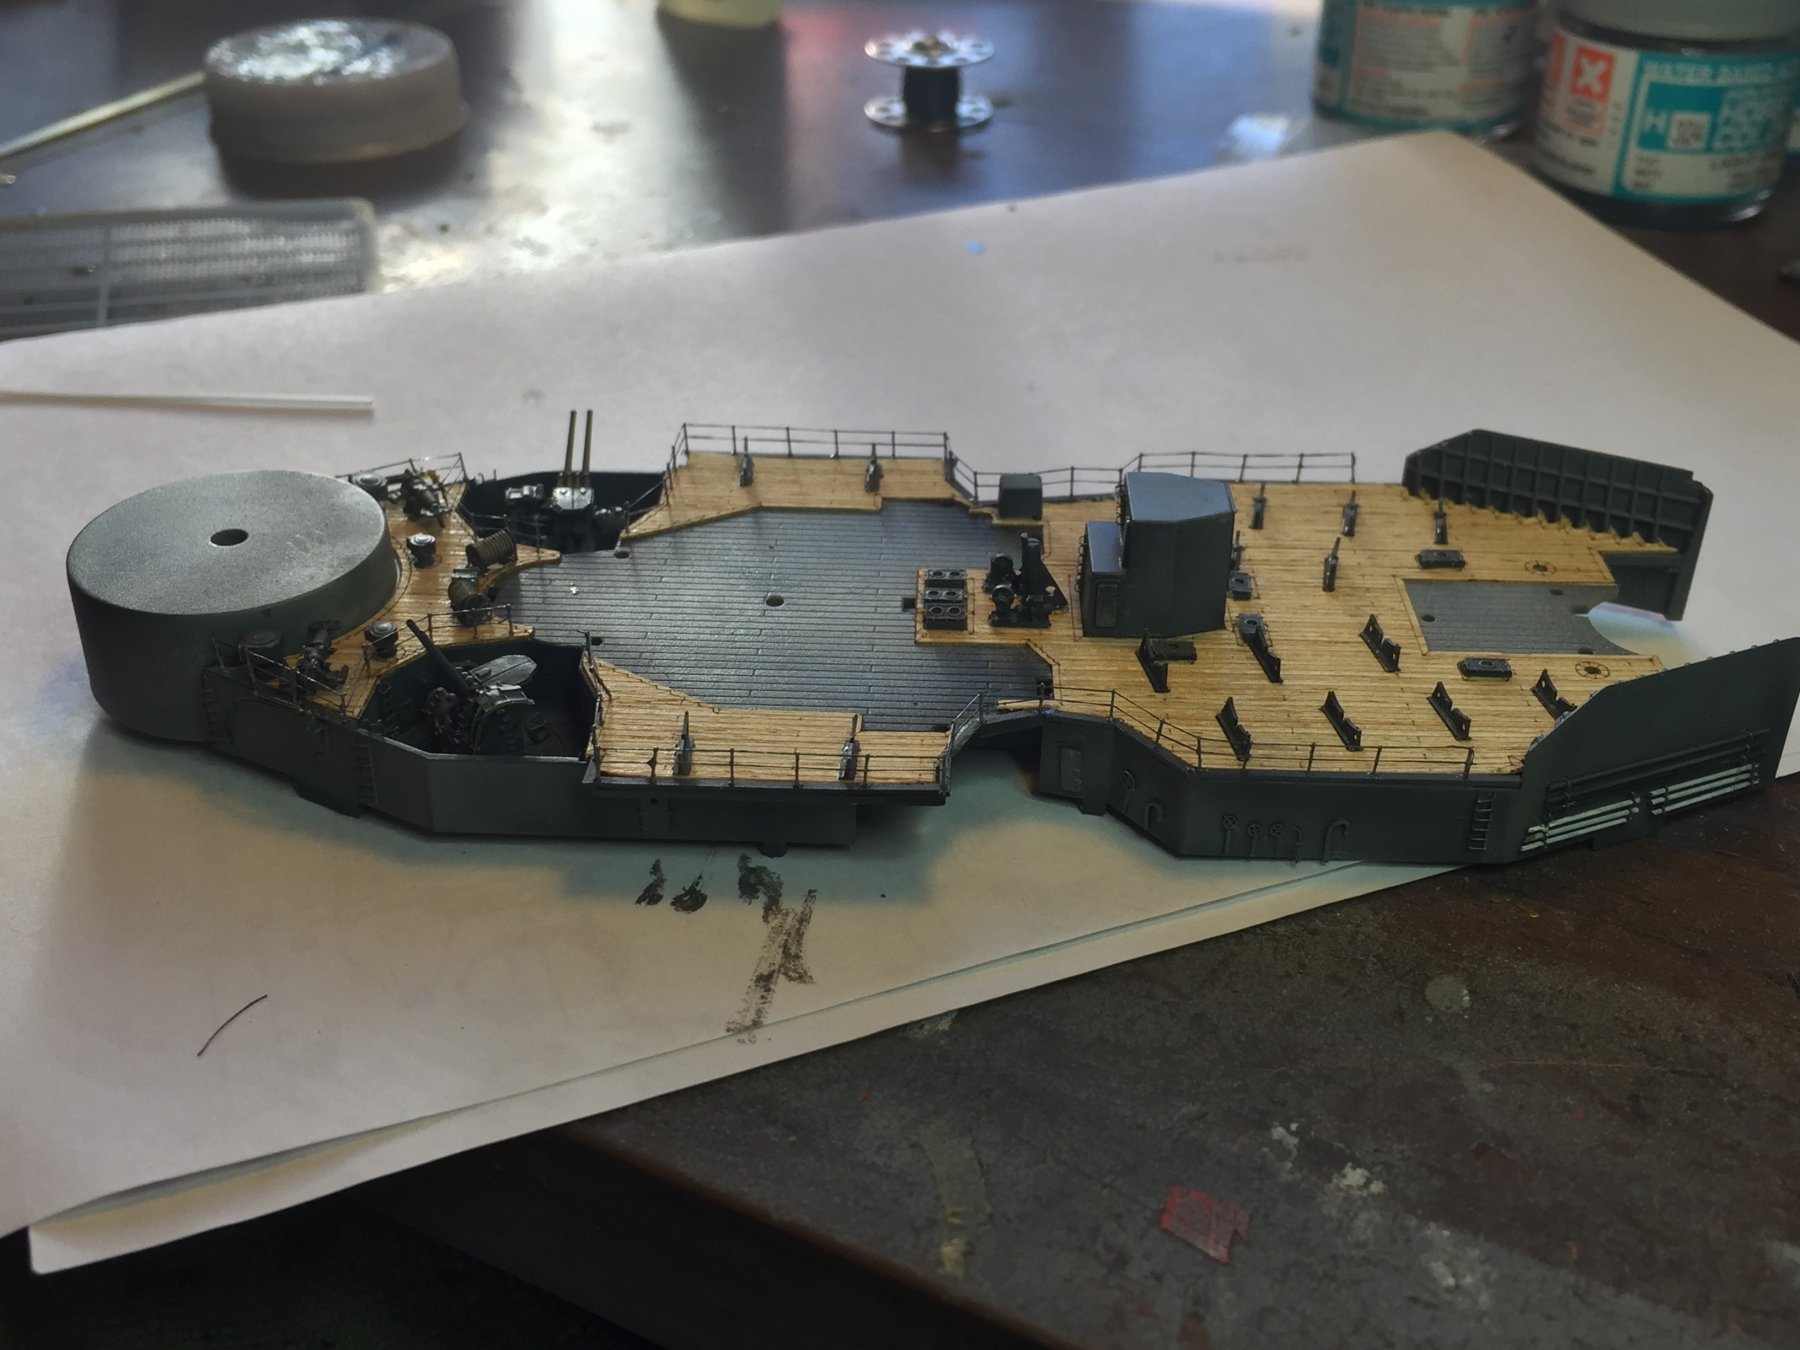
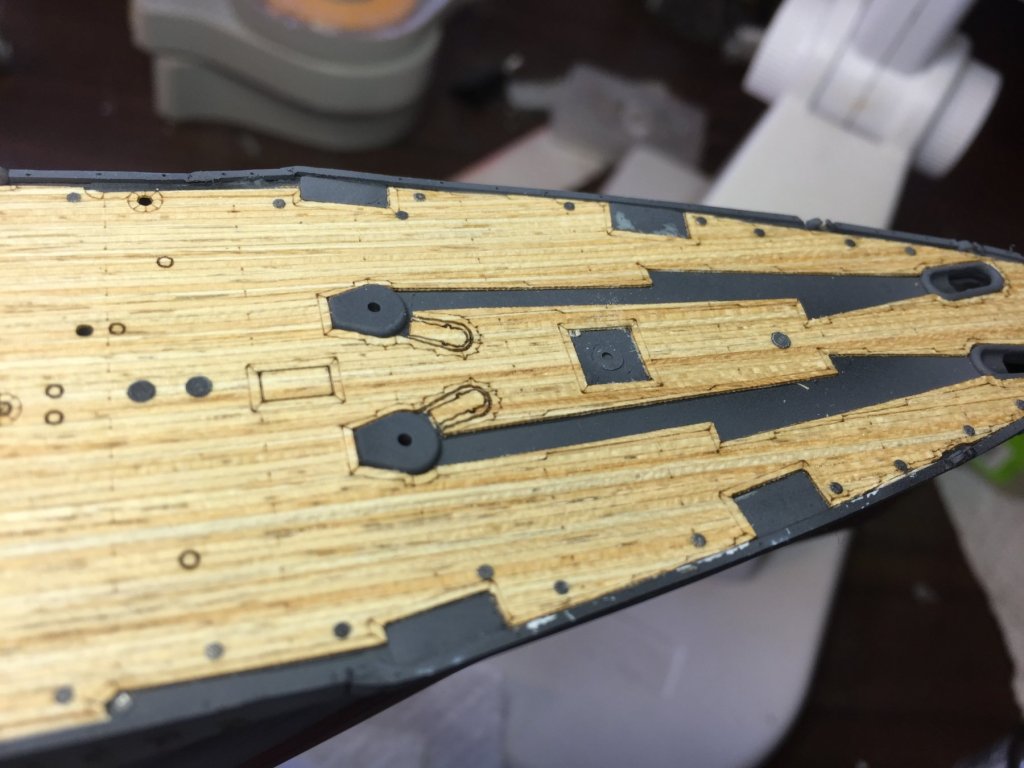
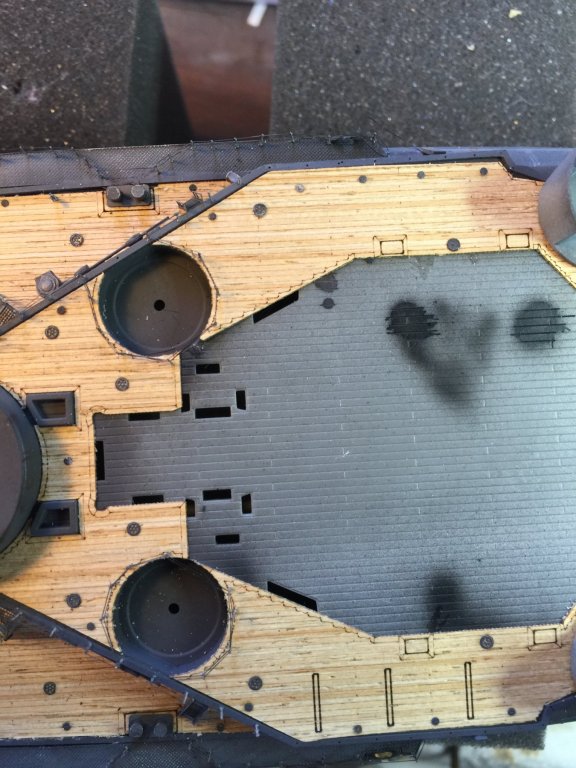
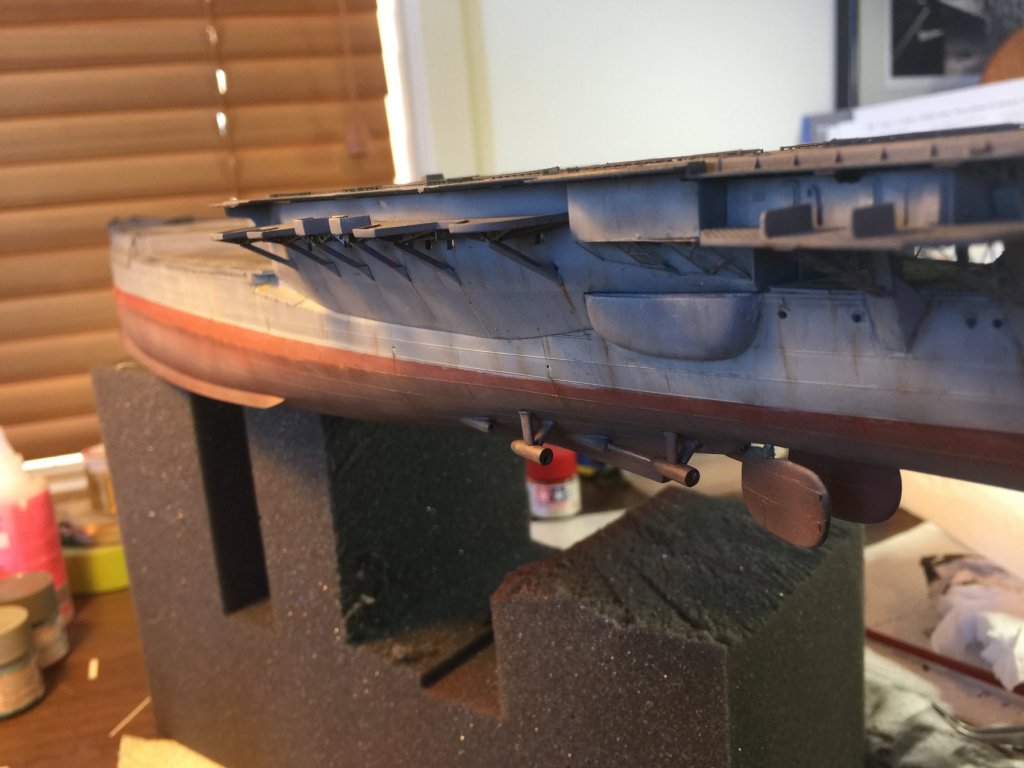
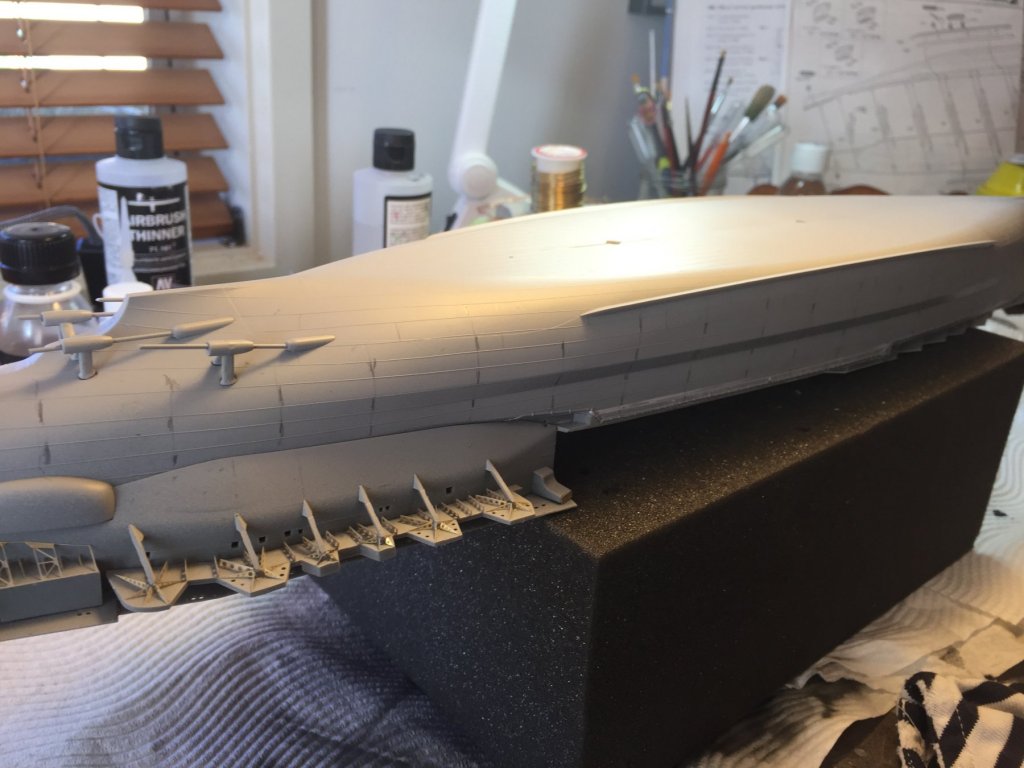
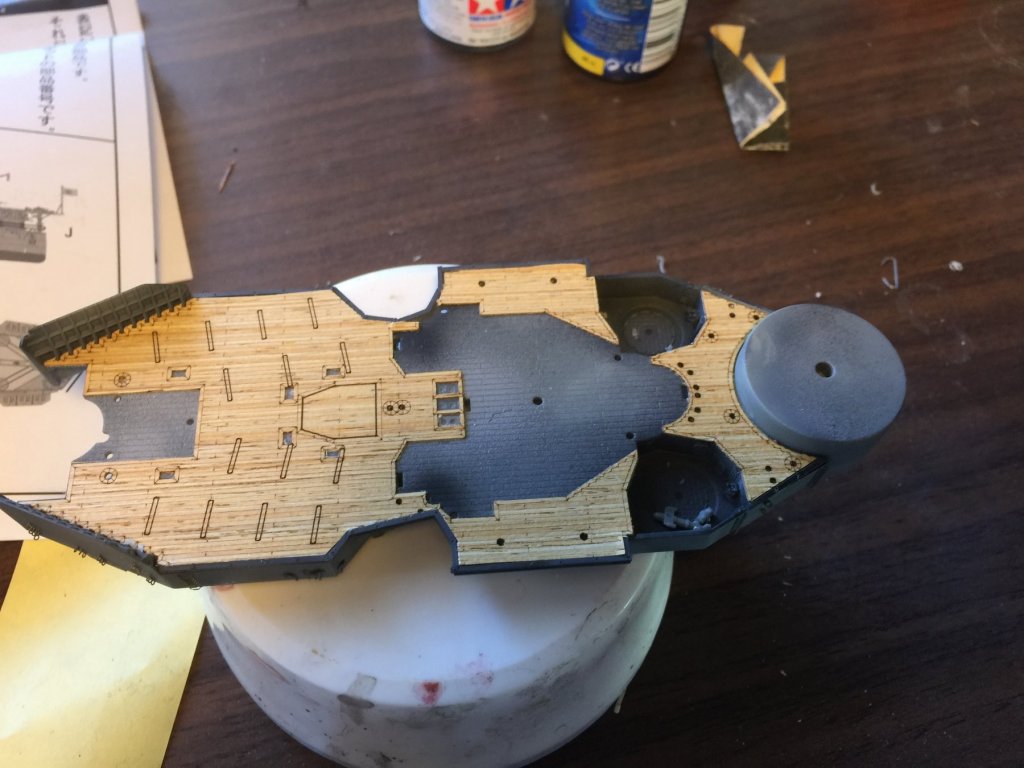
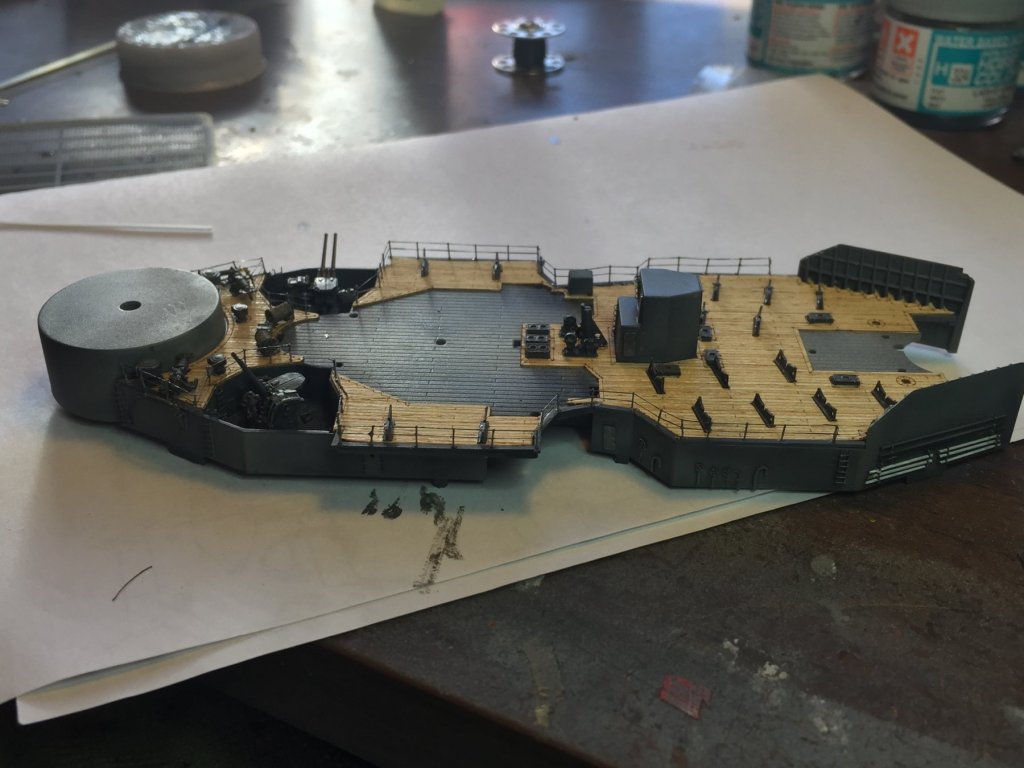
Now the hull is done, I can paint the rear flight deck or veranda. This was poured concrete so I have made it lighter in colour and will weather it and the rails later. Next, the stick on deck, which required some trimming due to the gunnels I added so I can put the individual stanchions in. Finally a dry fit.


- 224 replies
-
- 18
-
-
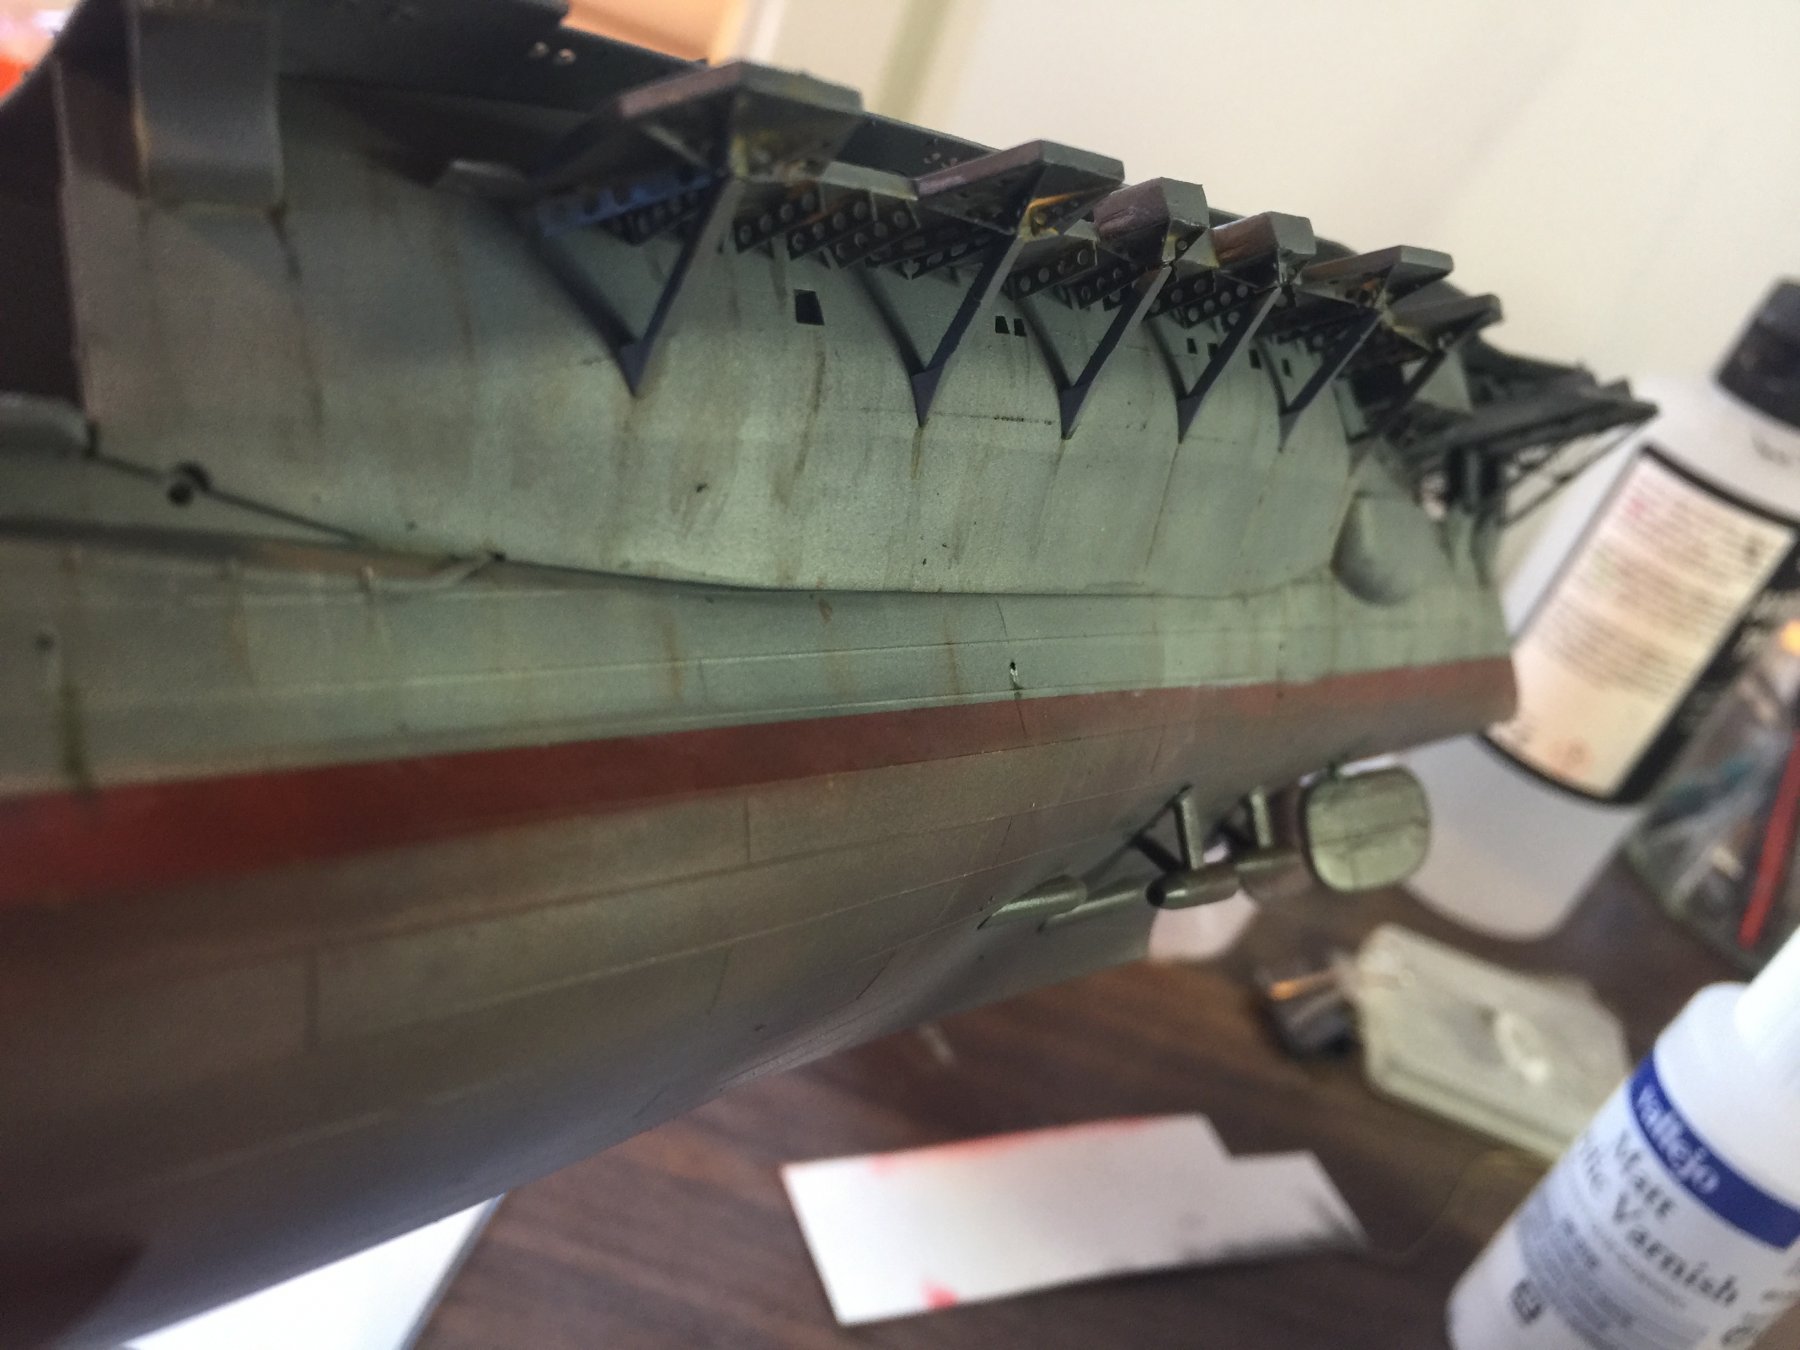
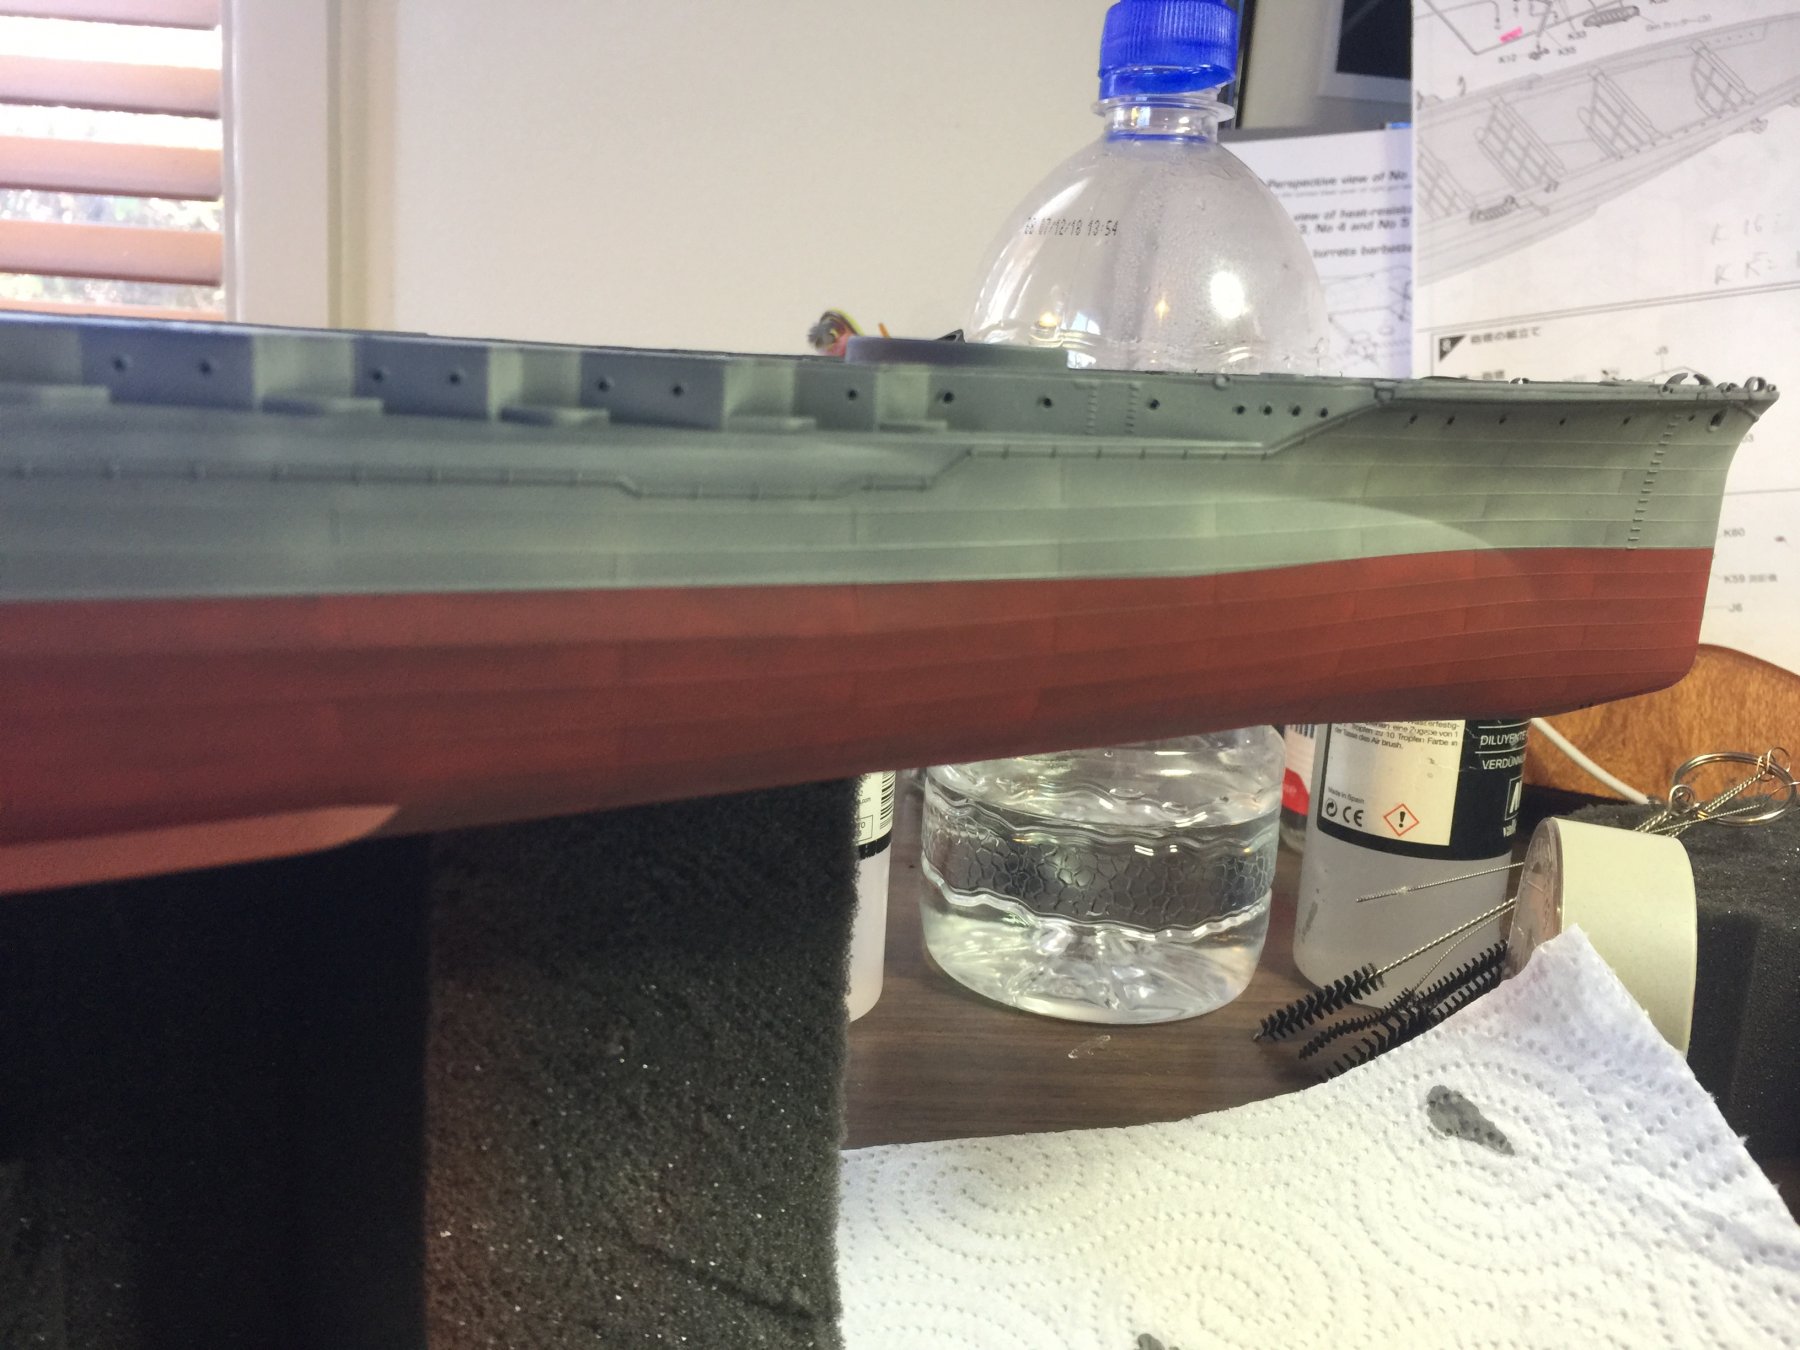
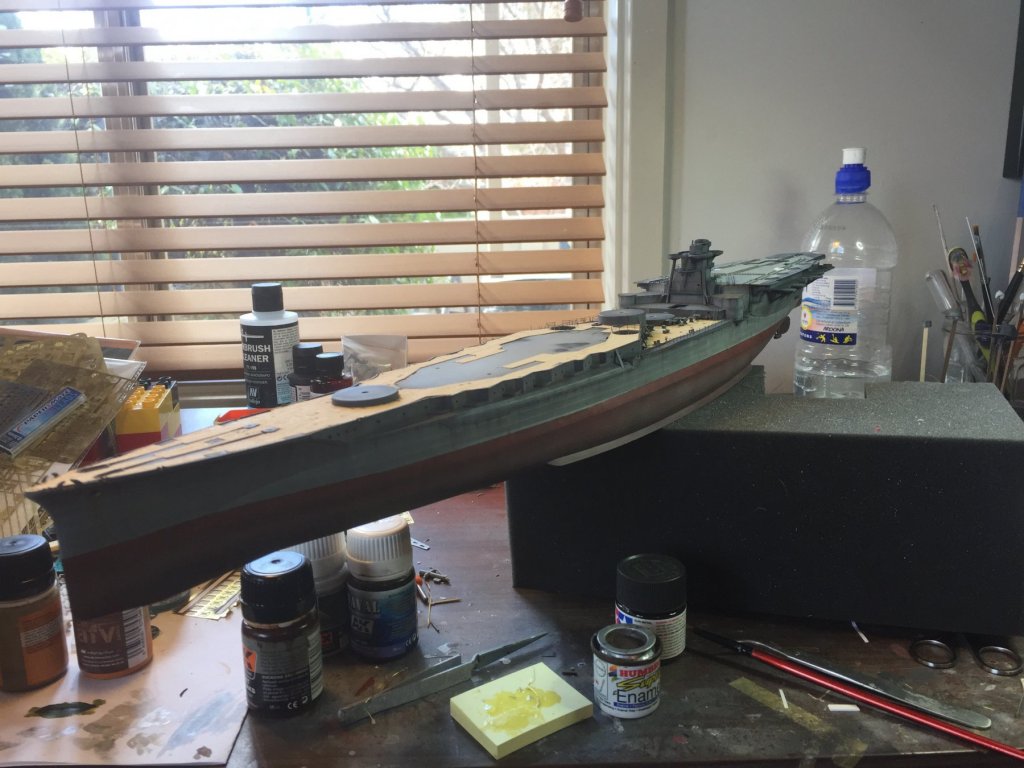
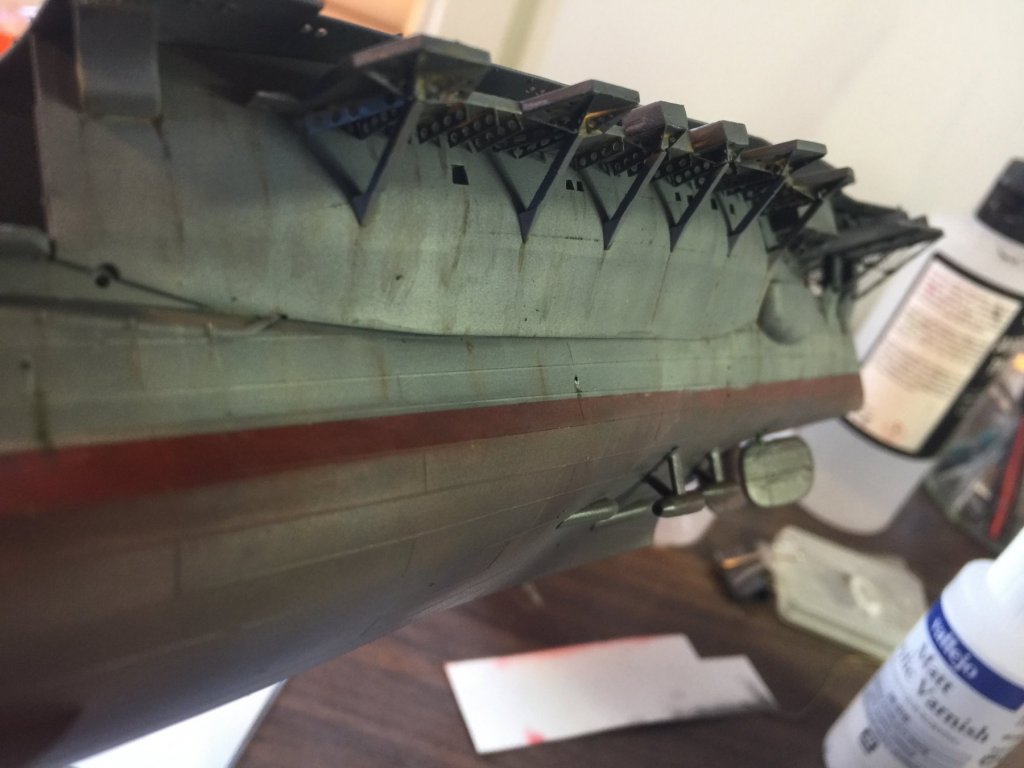
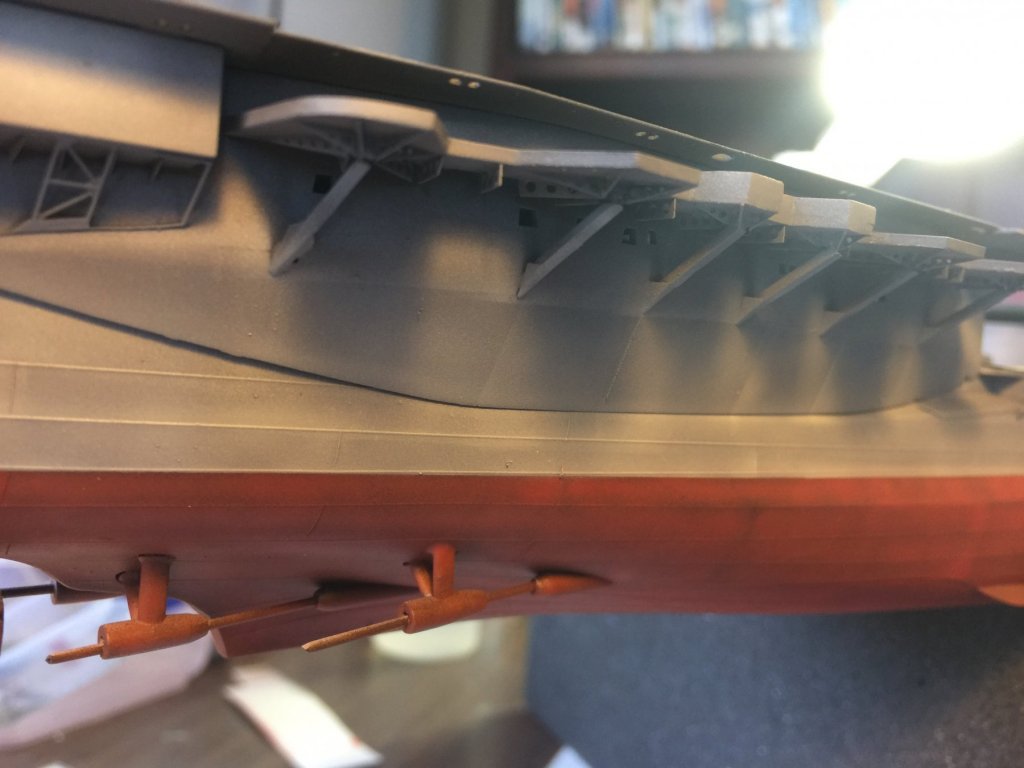
Given the ship on 1944 would not have been that beaten up prior to removing the catapaults, I have lightly weathered the hull (port side so far), and added some scuppers. Green, black and light grey overspray on the lower hull for a little grunge, then AK's streaking grime, crusted rust, slime, rust streaks and salt. It's come up ok so far. Once this is done I can work on the deck.

- 224 replies
-
- 14
-
-
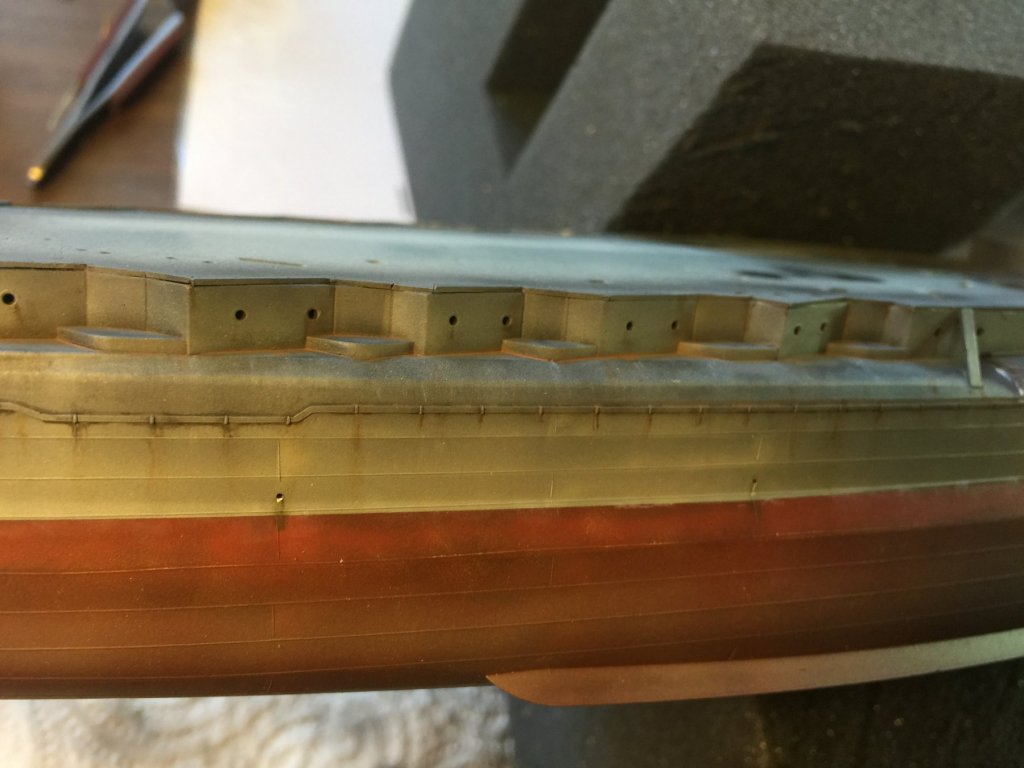
Upper hull base coat (pre weathering), done. It's come up nicely and tomorrow I'll add a varnish coat before putting in depth markers and weather it.

- 224 replies
-
- 20
-
-
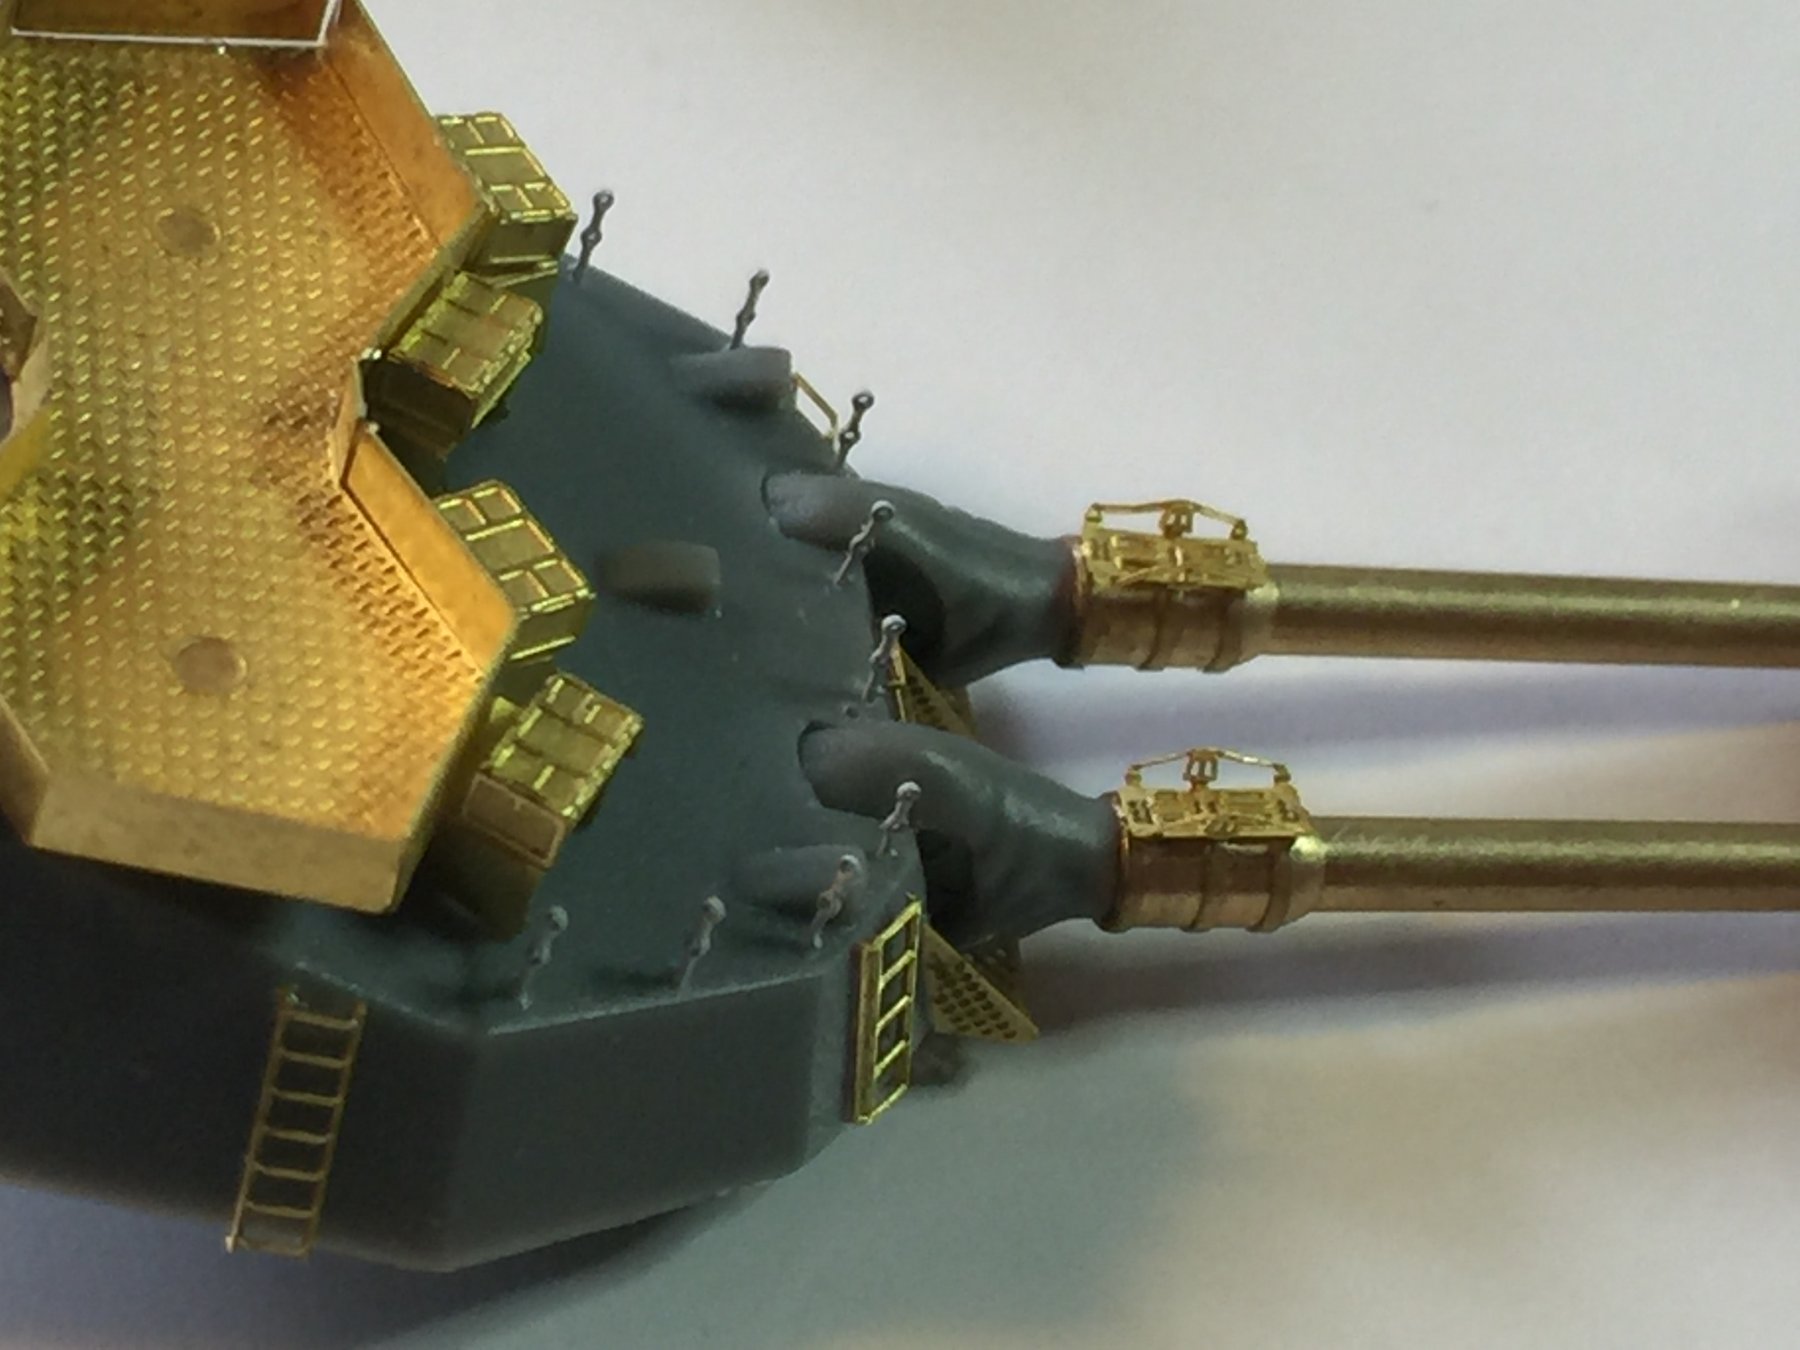
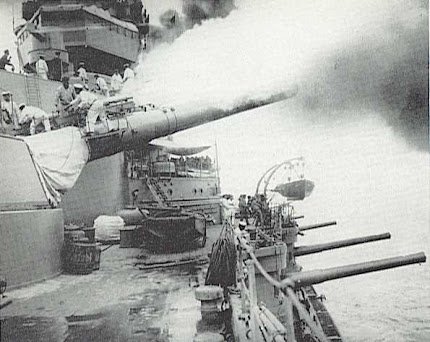
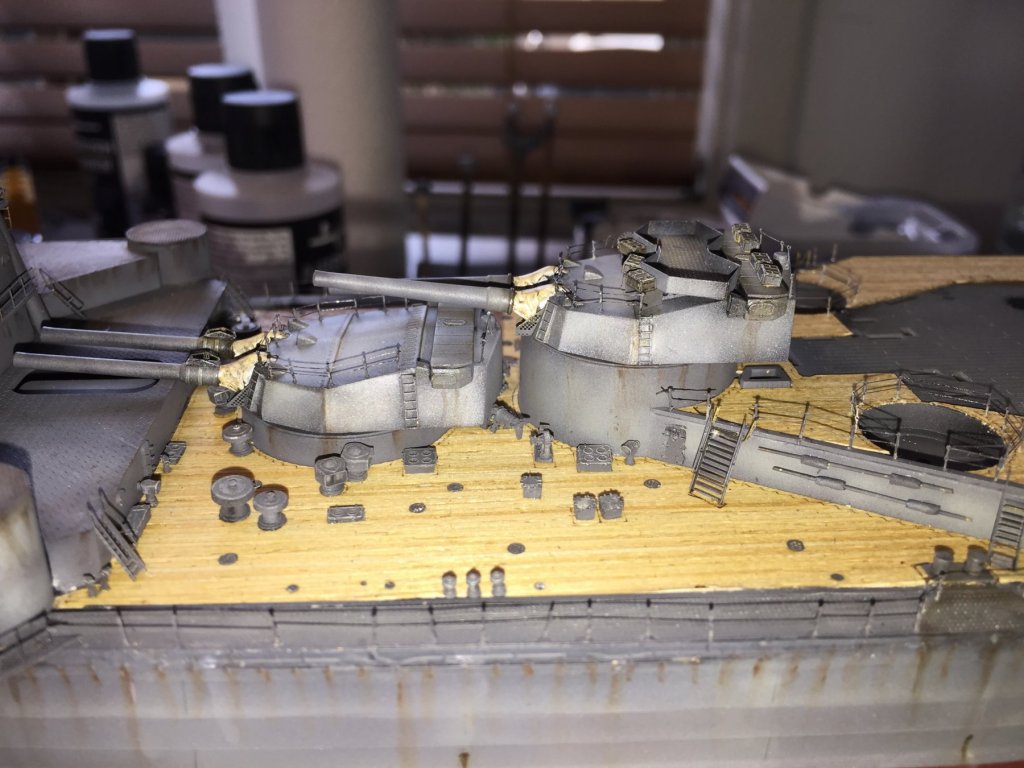
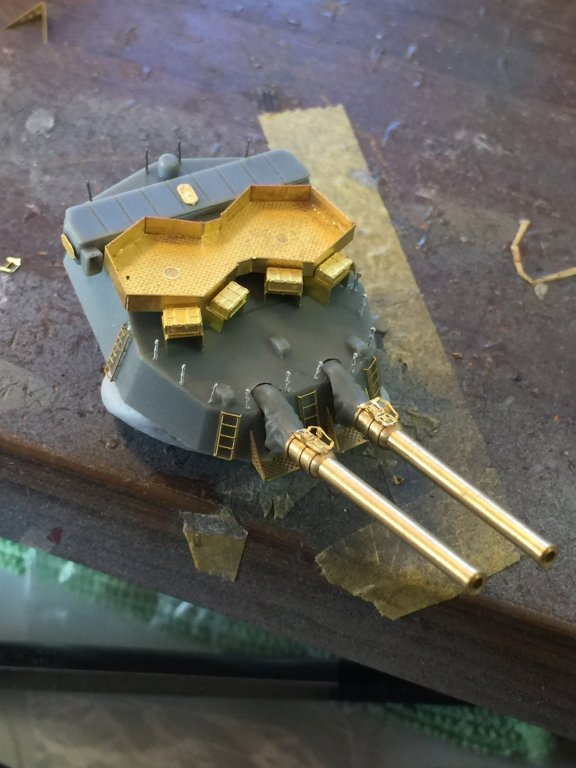
Breaking it up, the main cannons. I sightly disagree with Flyhawk placements of the 25mm's on top that does not consider the ammo boxes. I used the Tamiya stanchions again as it looks a lot better. The training equipment on the barrels does not include the stands (I have not used them this time), as apparently they were only used when in training and the actual bit that clamps into this bracket is not included. You can see the difference between Yamato and Ise main guns.


- 224 replies
-
- 13
-
-
Very true, my grey primer seems to have gone off so I used the black. I'm still new to the airbrush gig (this is number 3), and I want to do a grey grunge coat plus a little bit of green.
-
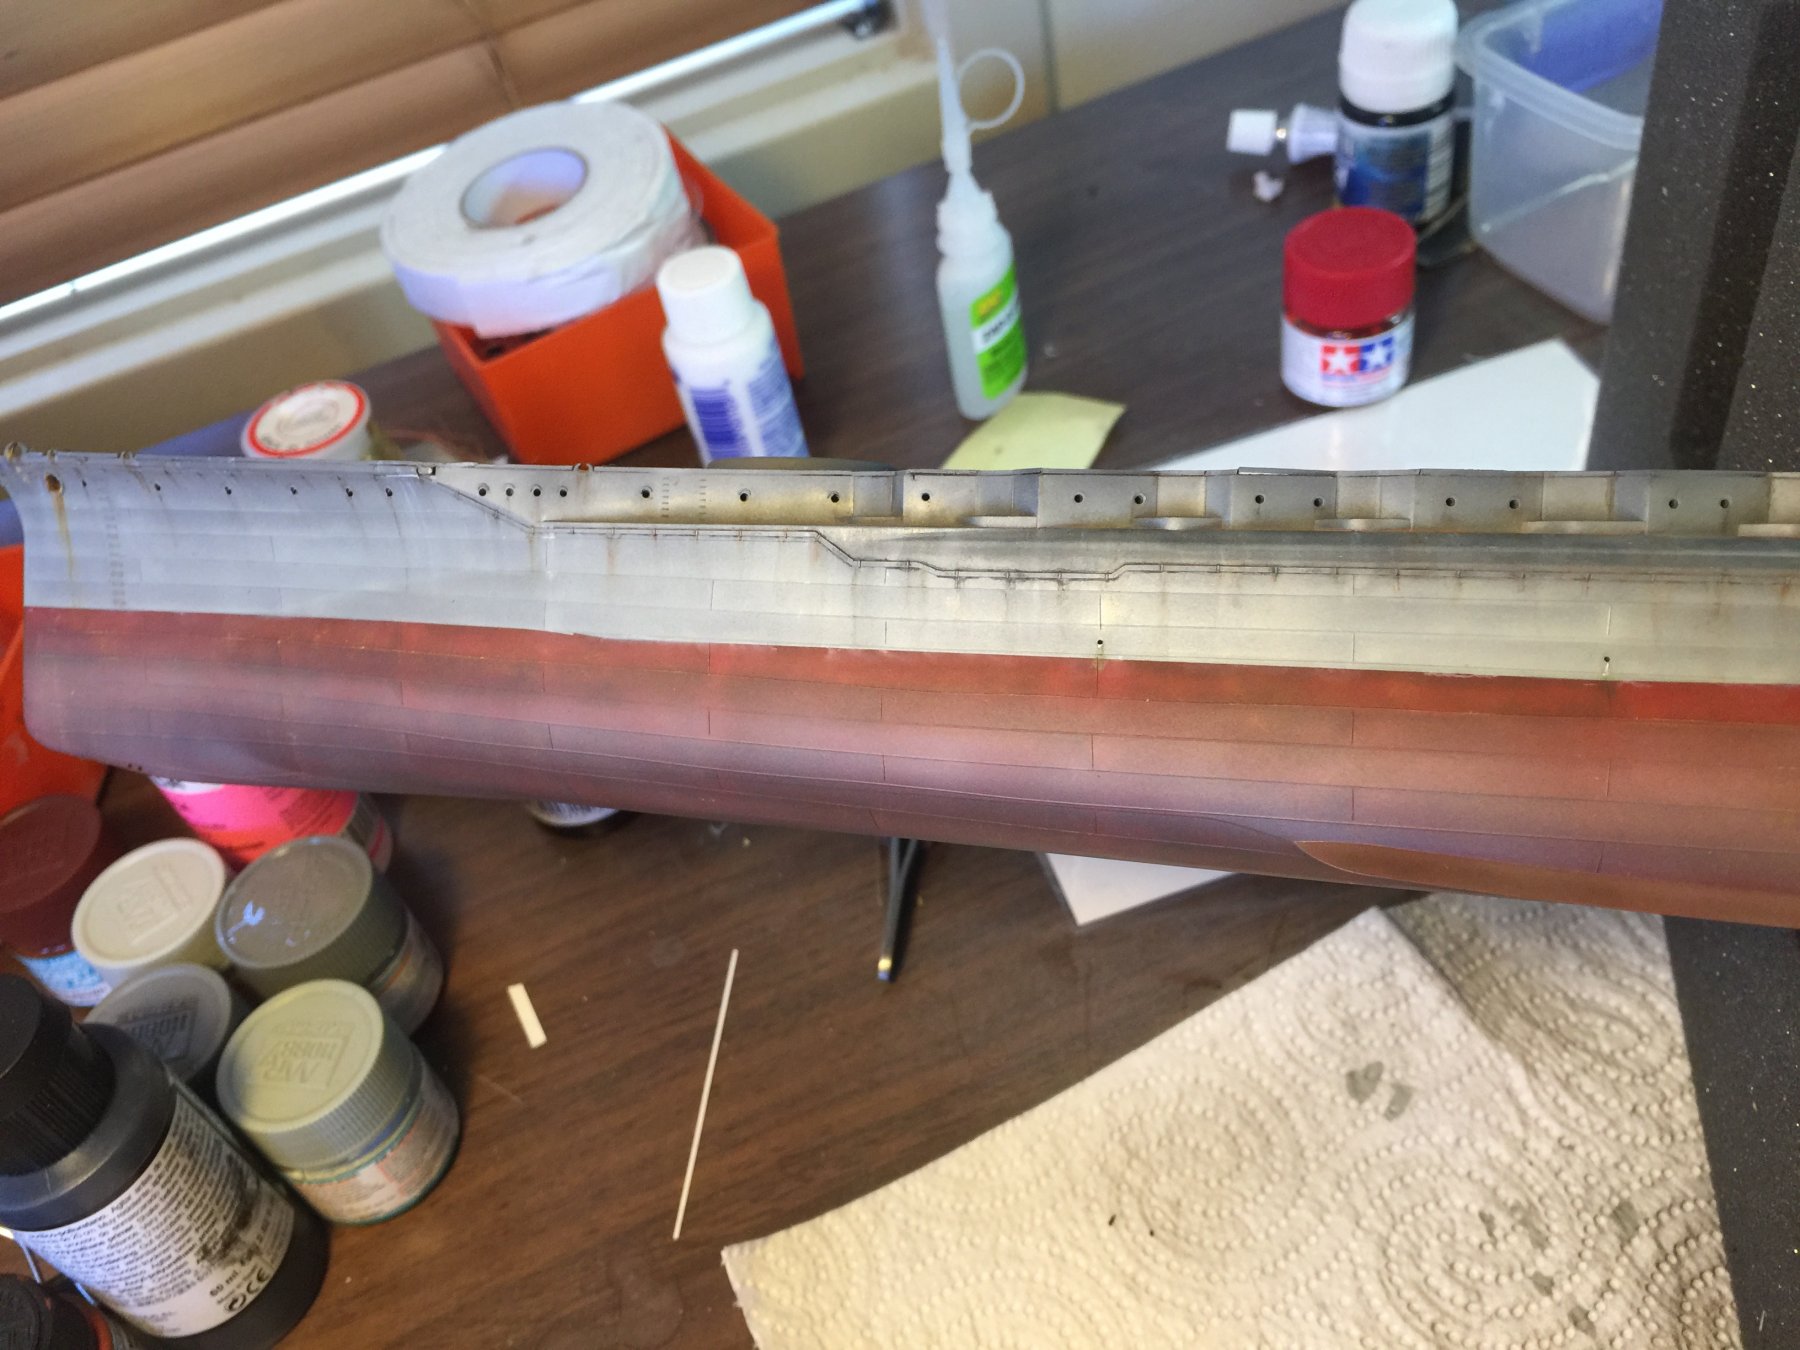
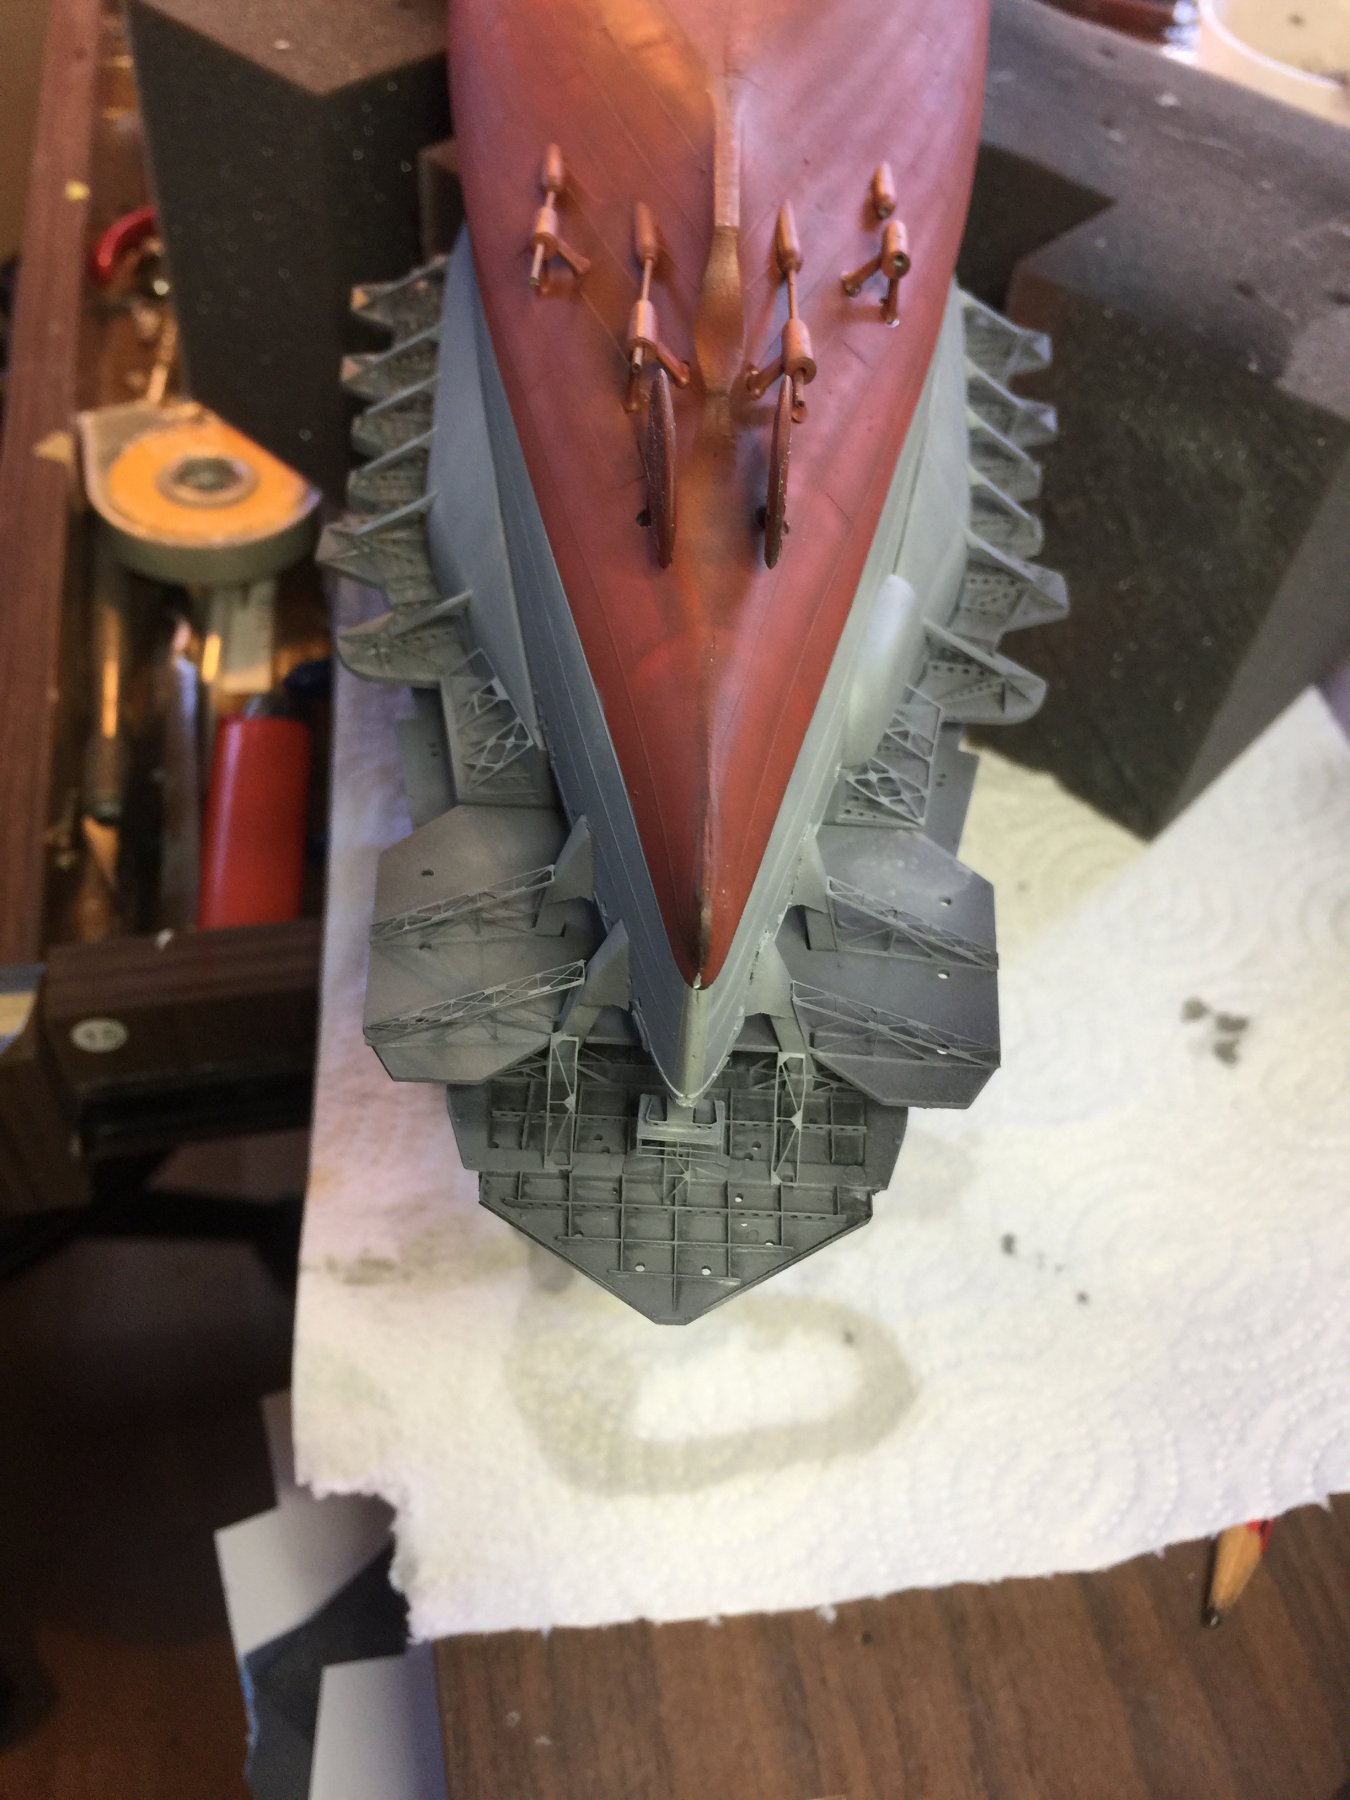
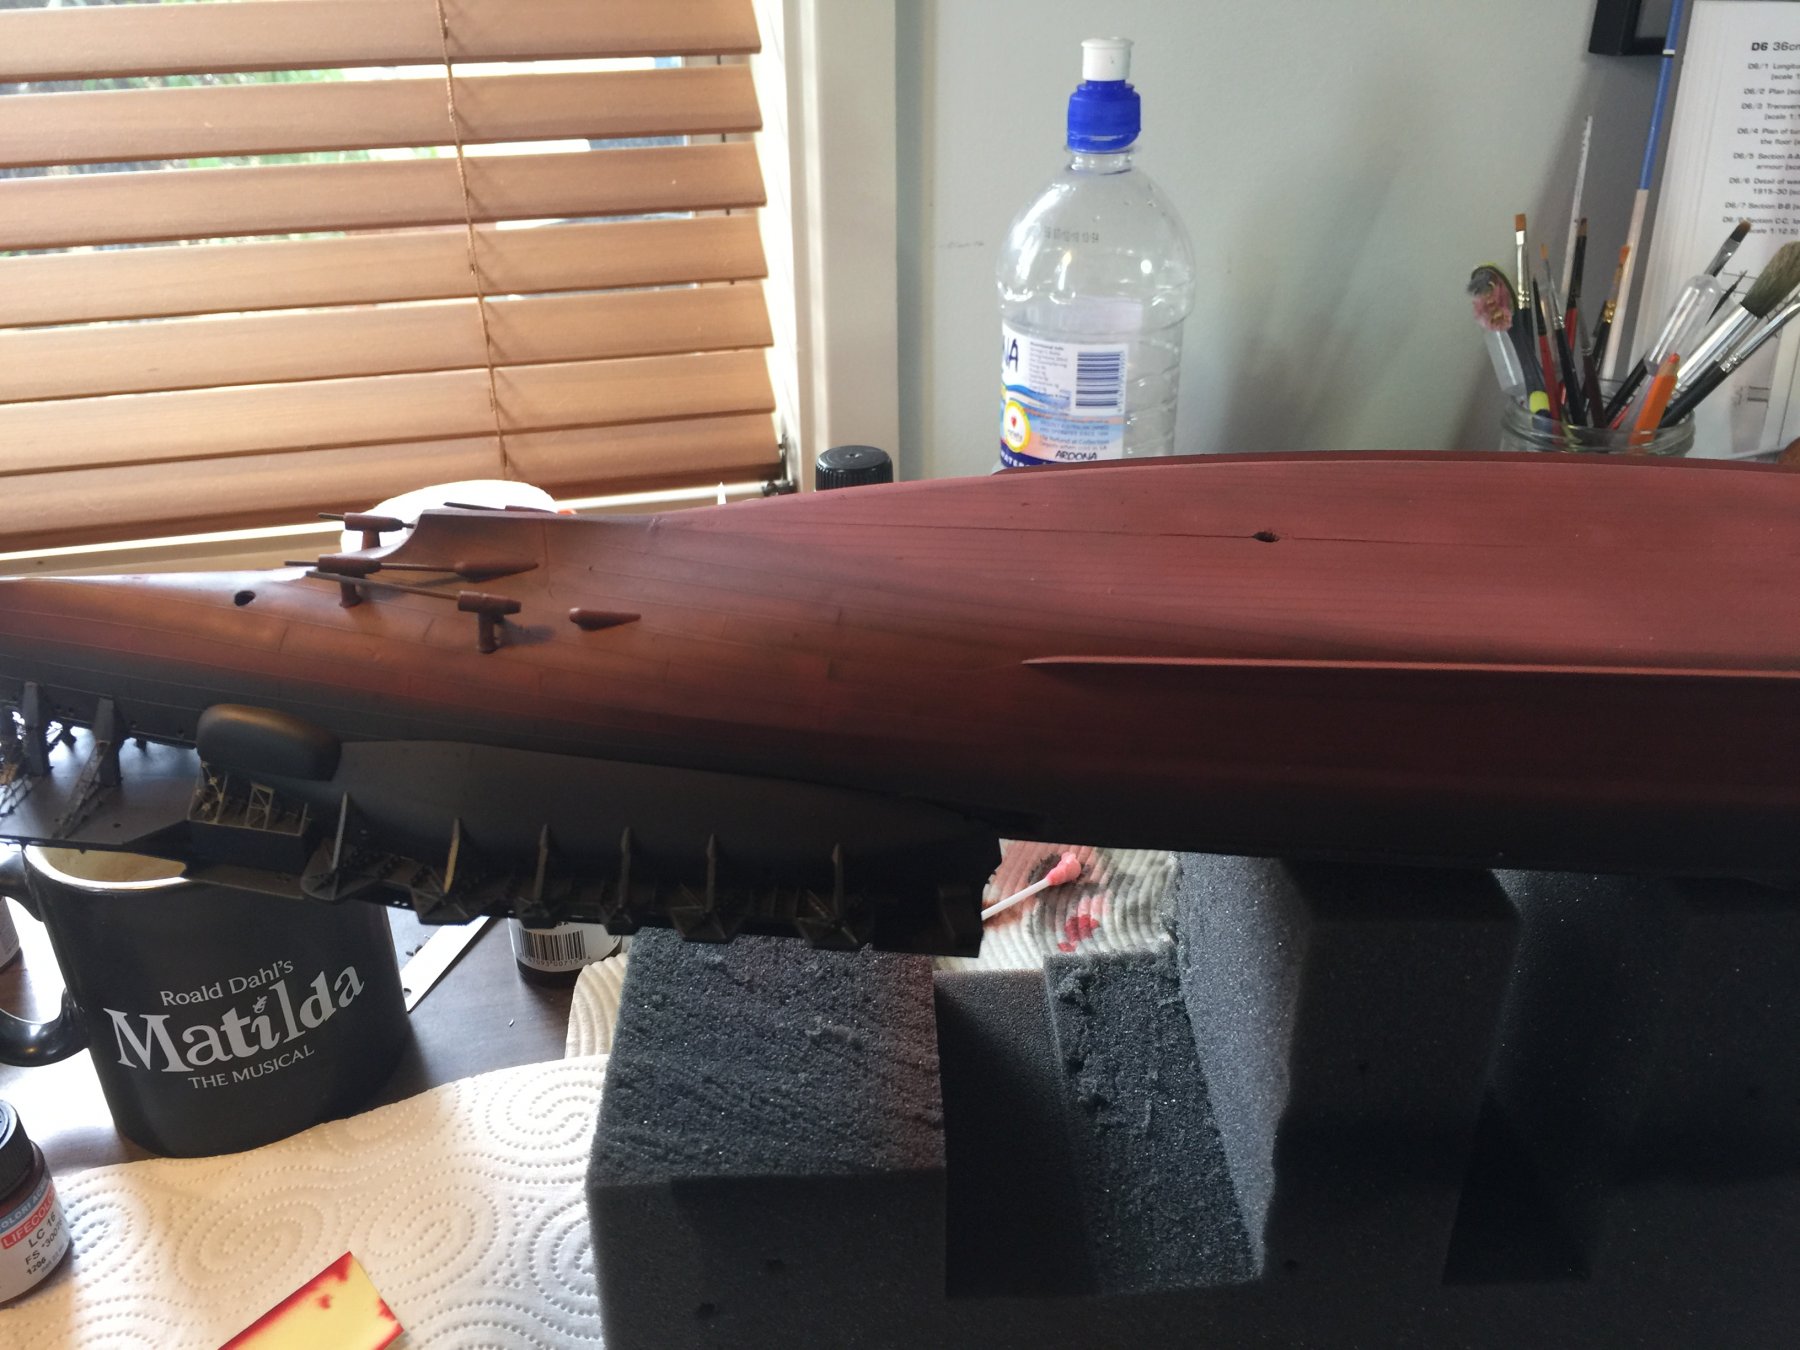
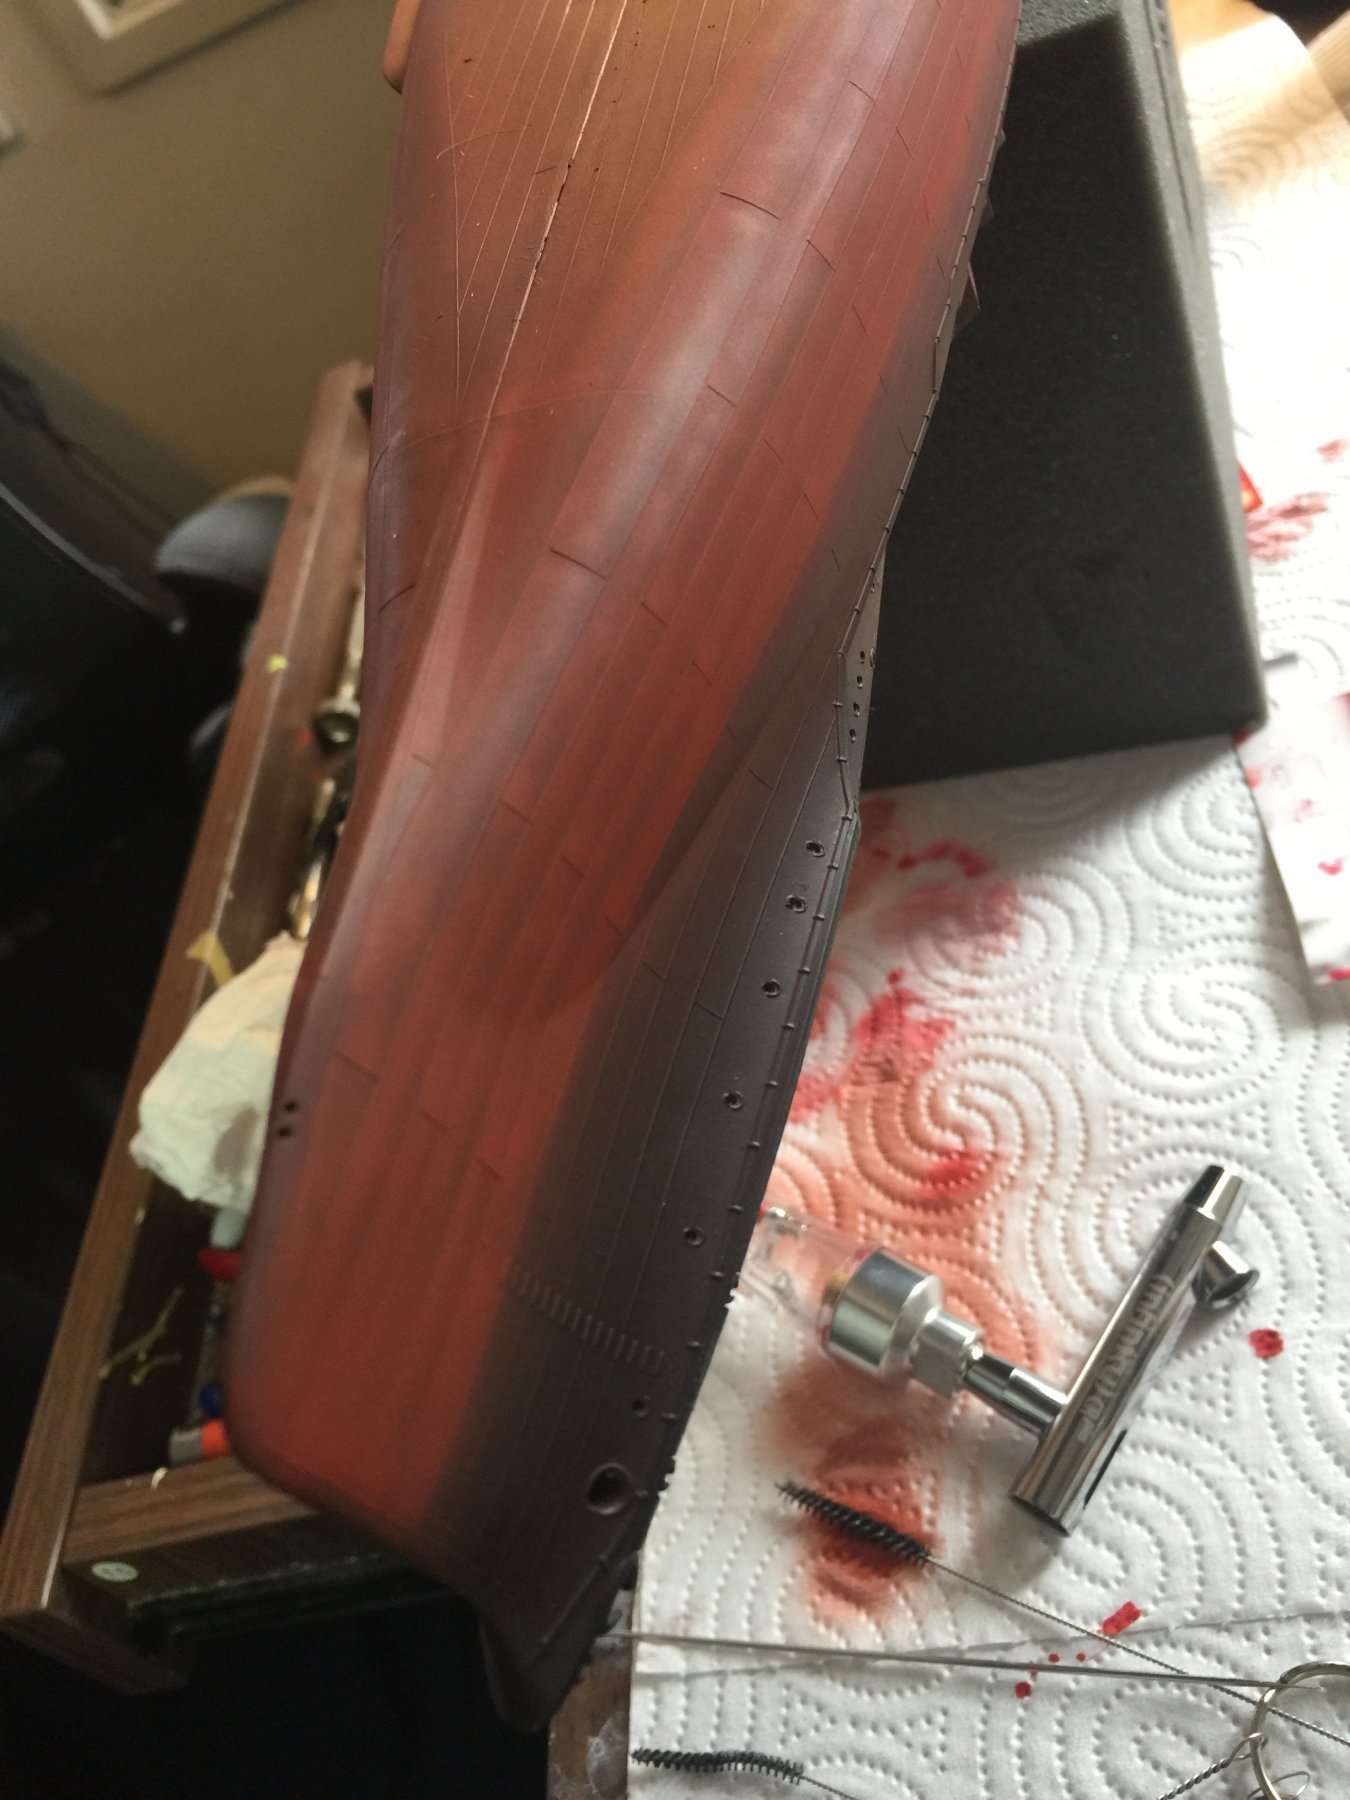
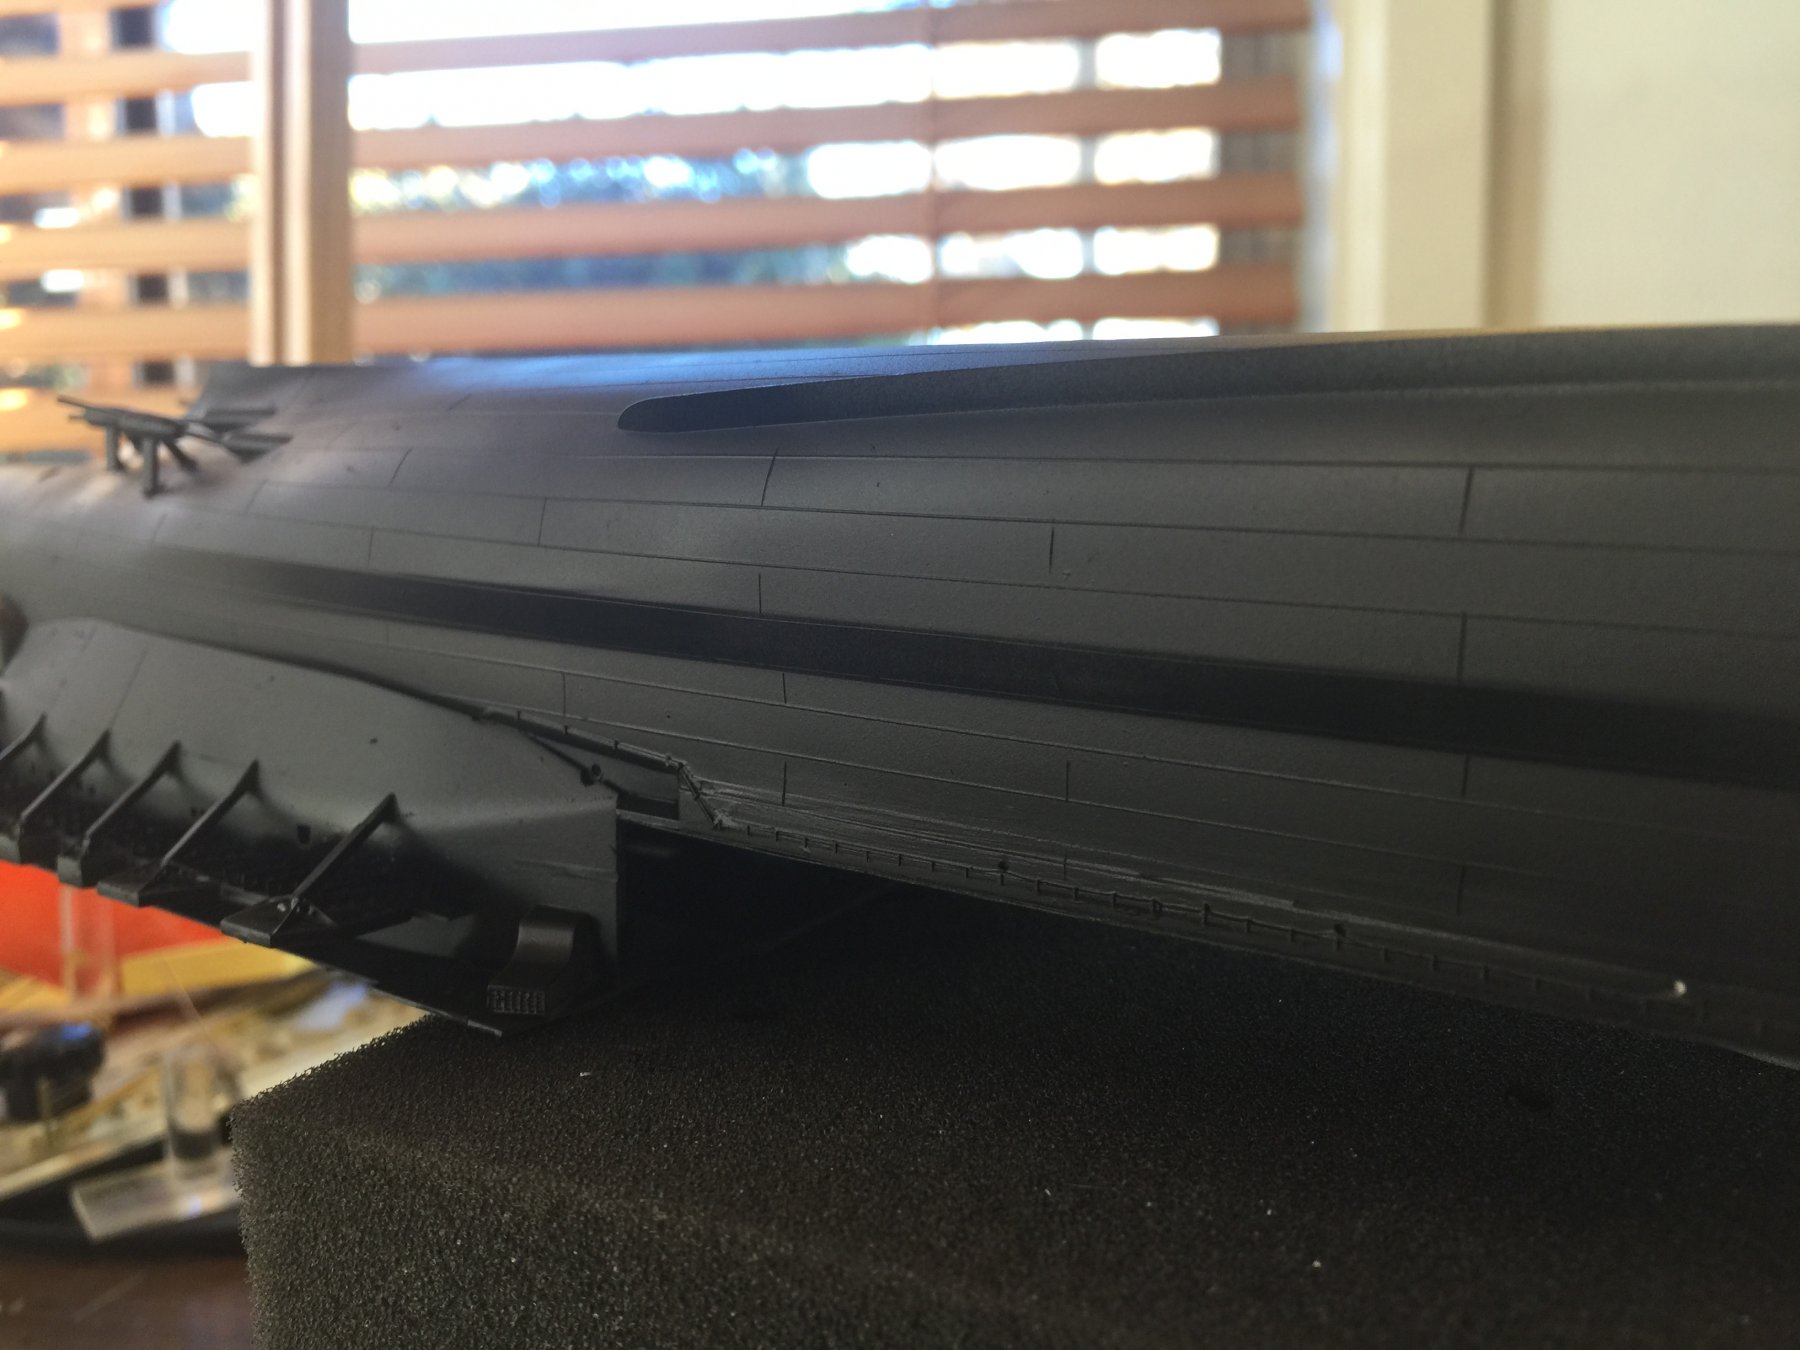
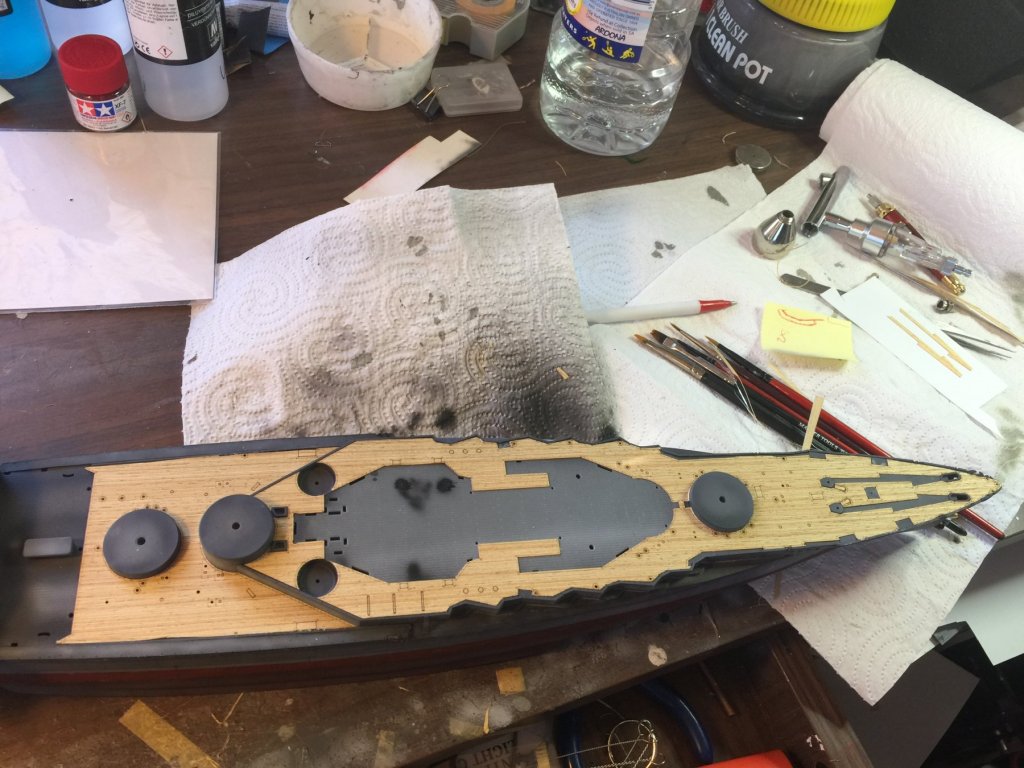
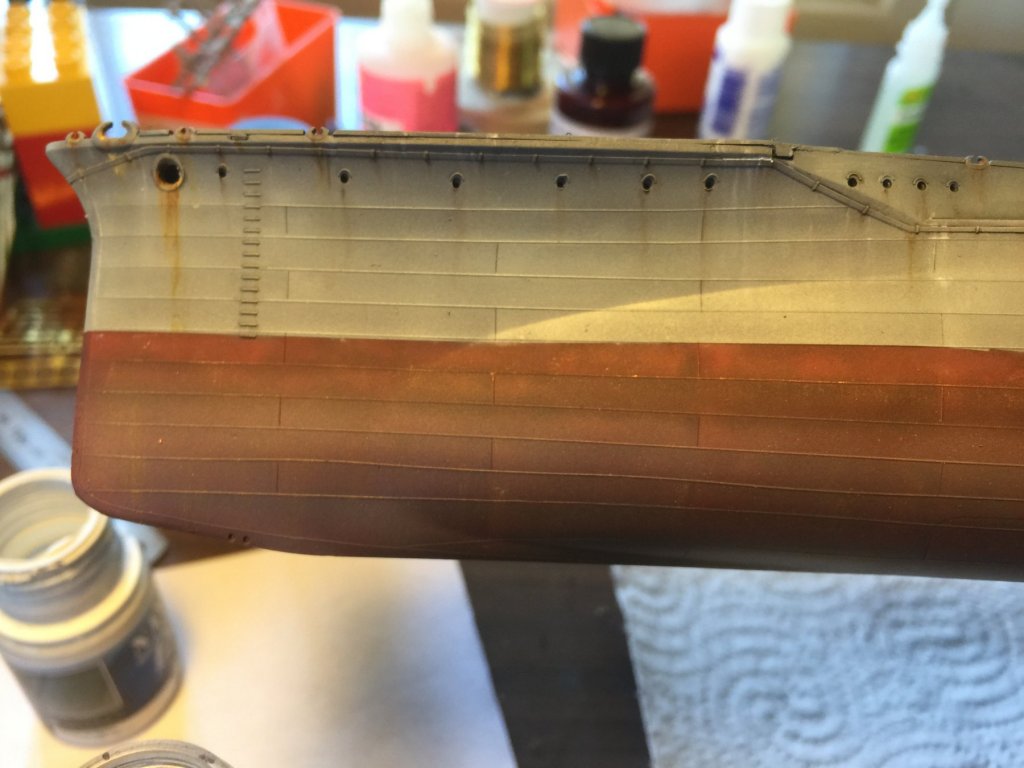
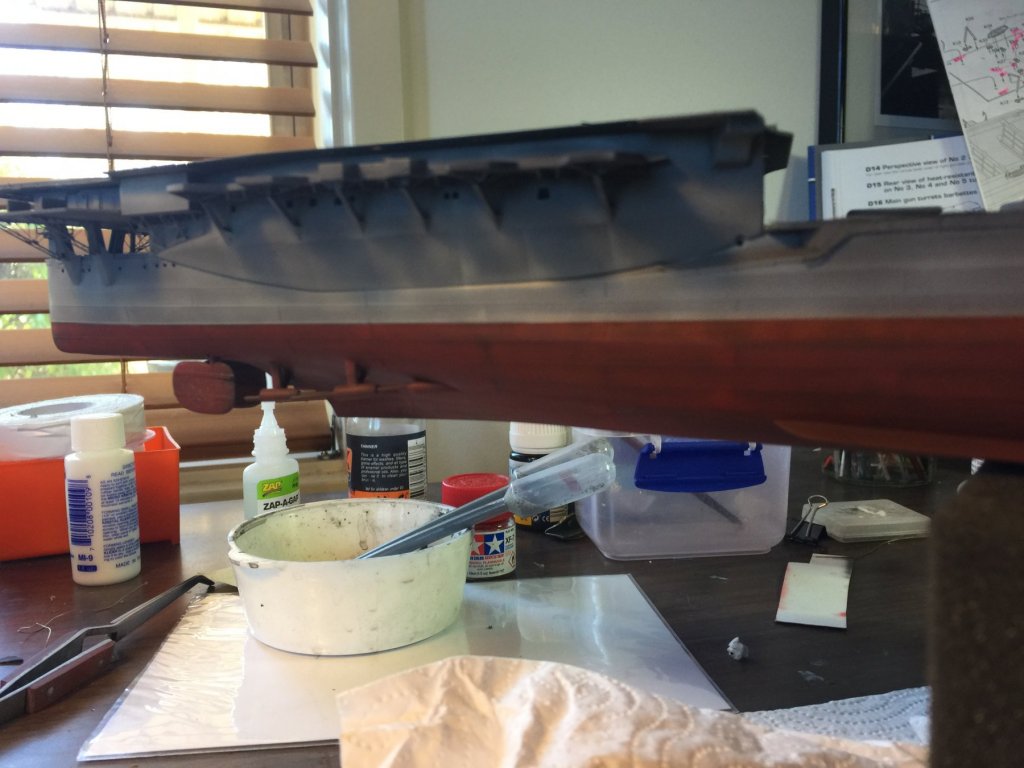
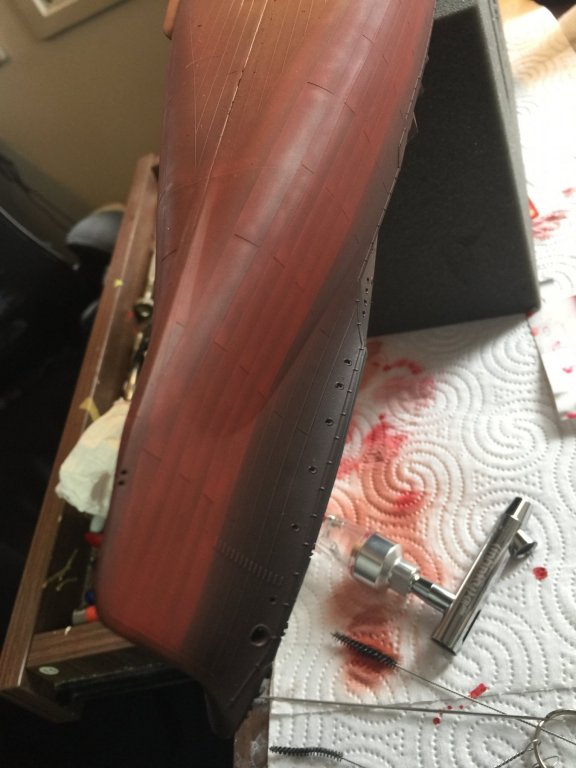
Lower hull, red brown, then red, then an overspray of raw sienna. I like the way you can see each panel, and when I grunge it it won't draw the eye so much. I'm liking a black primer as it makes it so much easier to see where I miss on a grey plastic hull.

- 224 replies
-
- 11
-
-
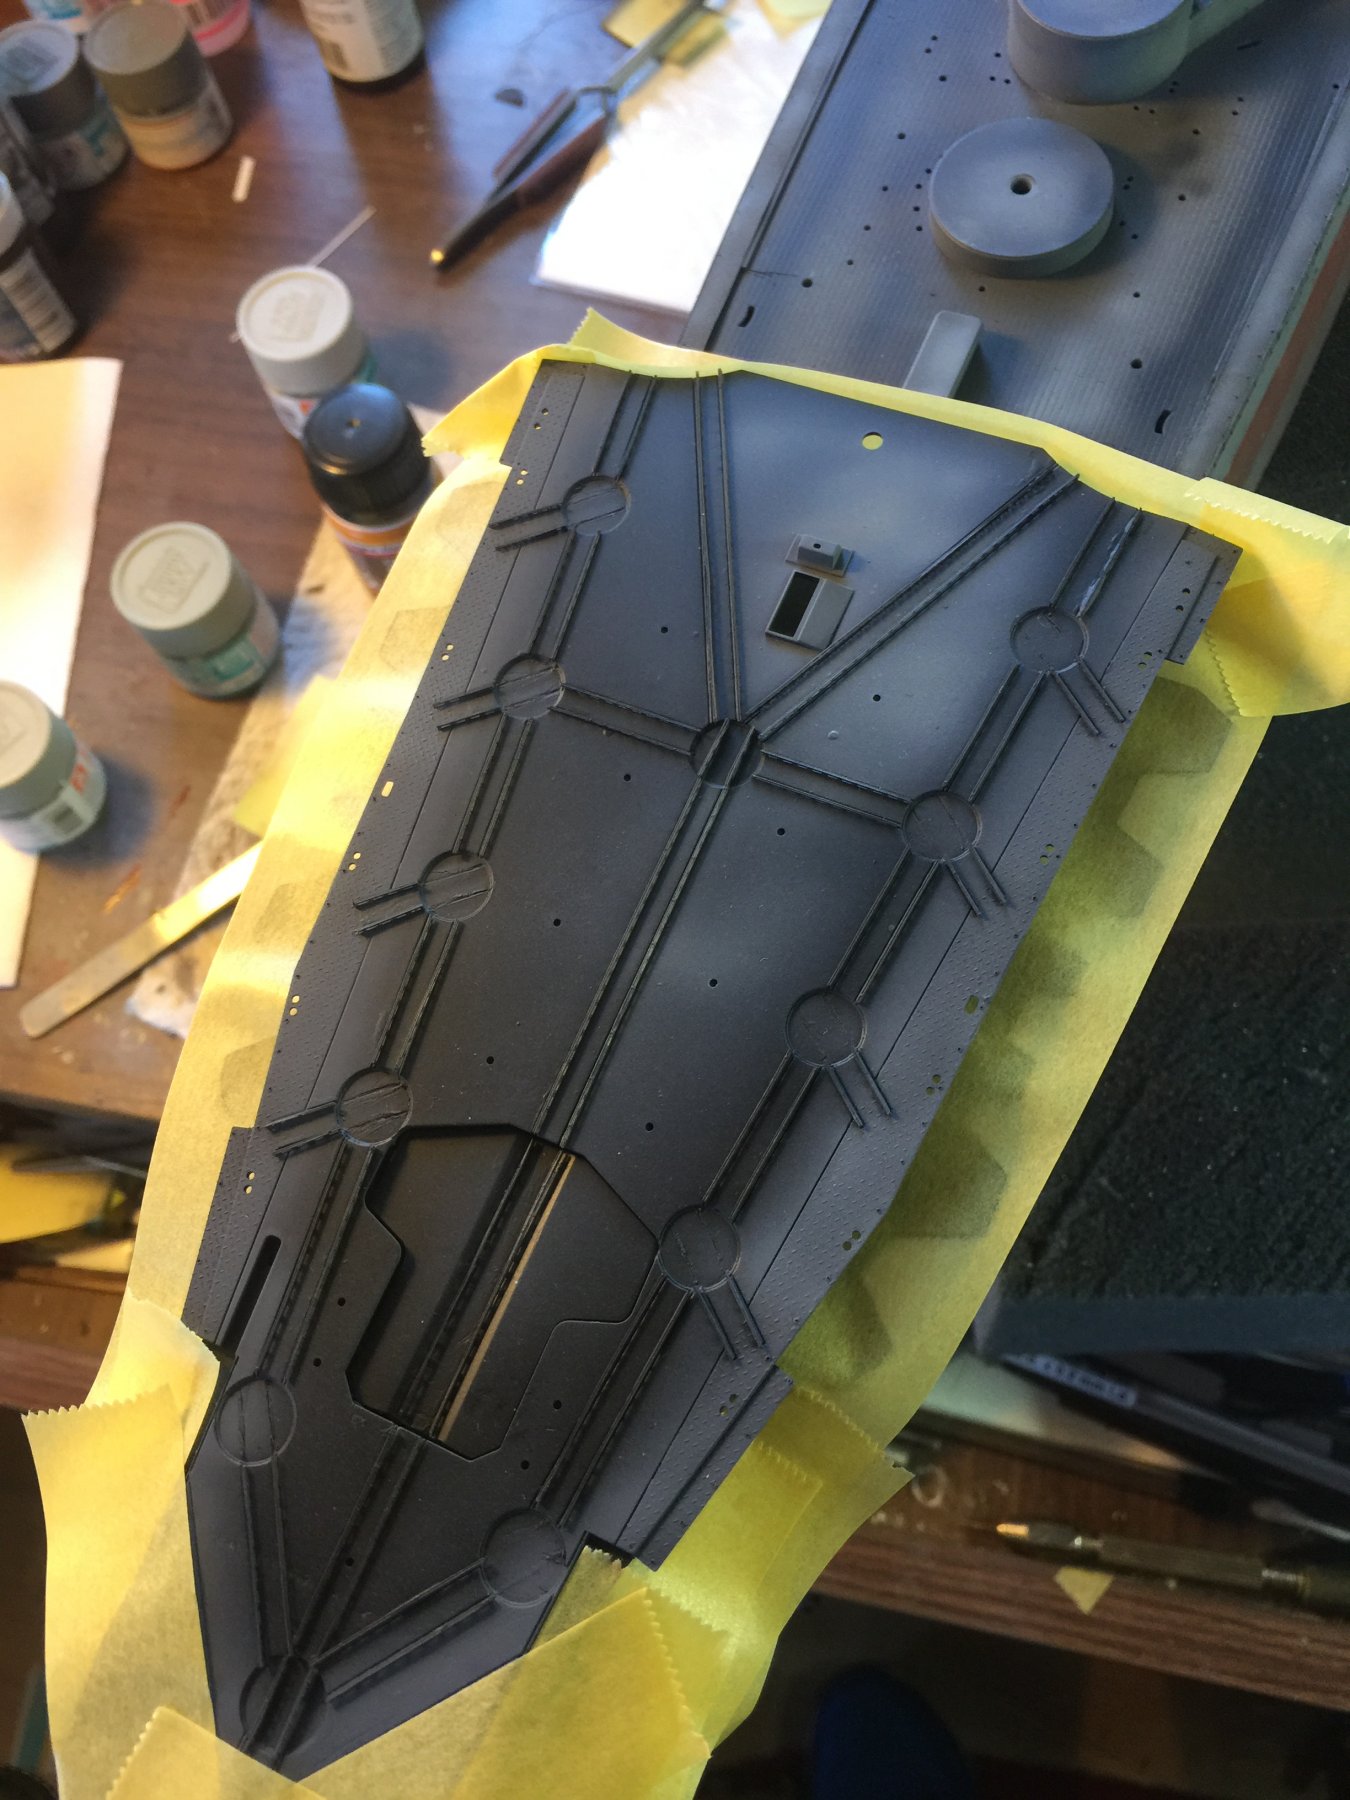
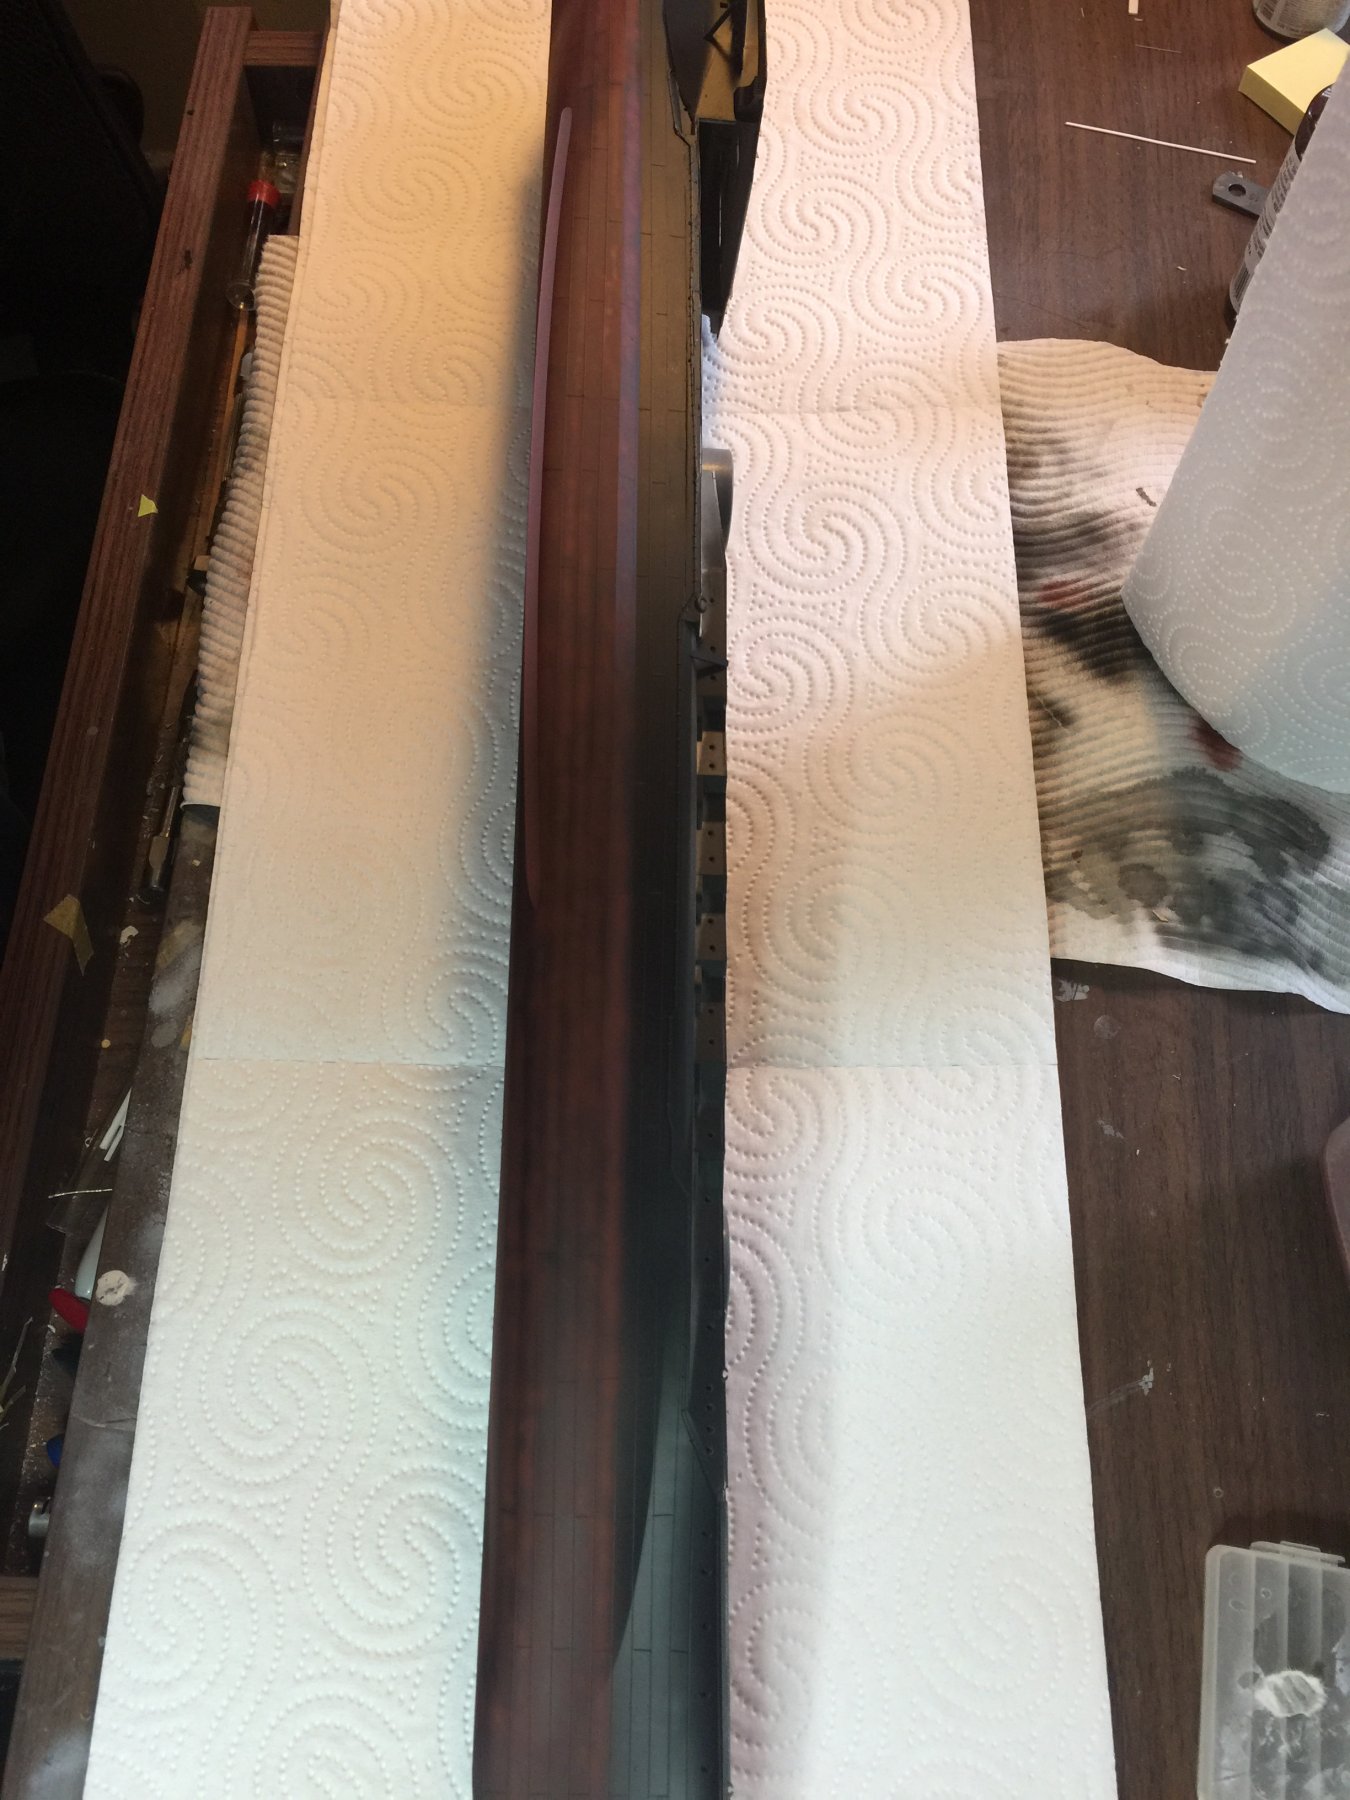
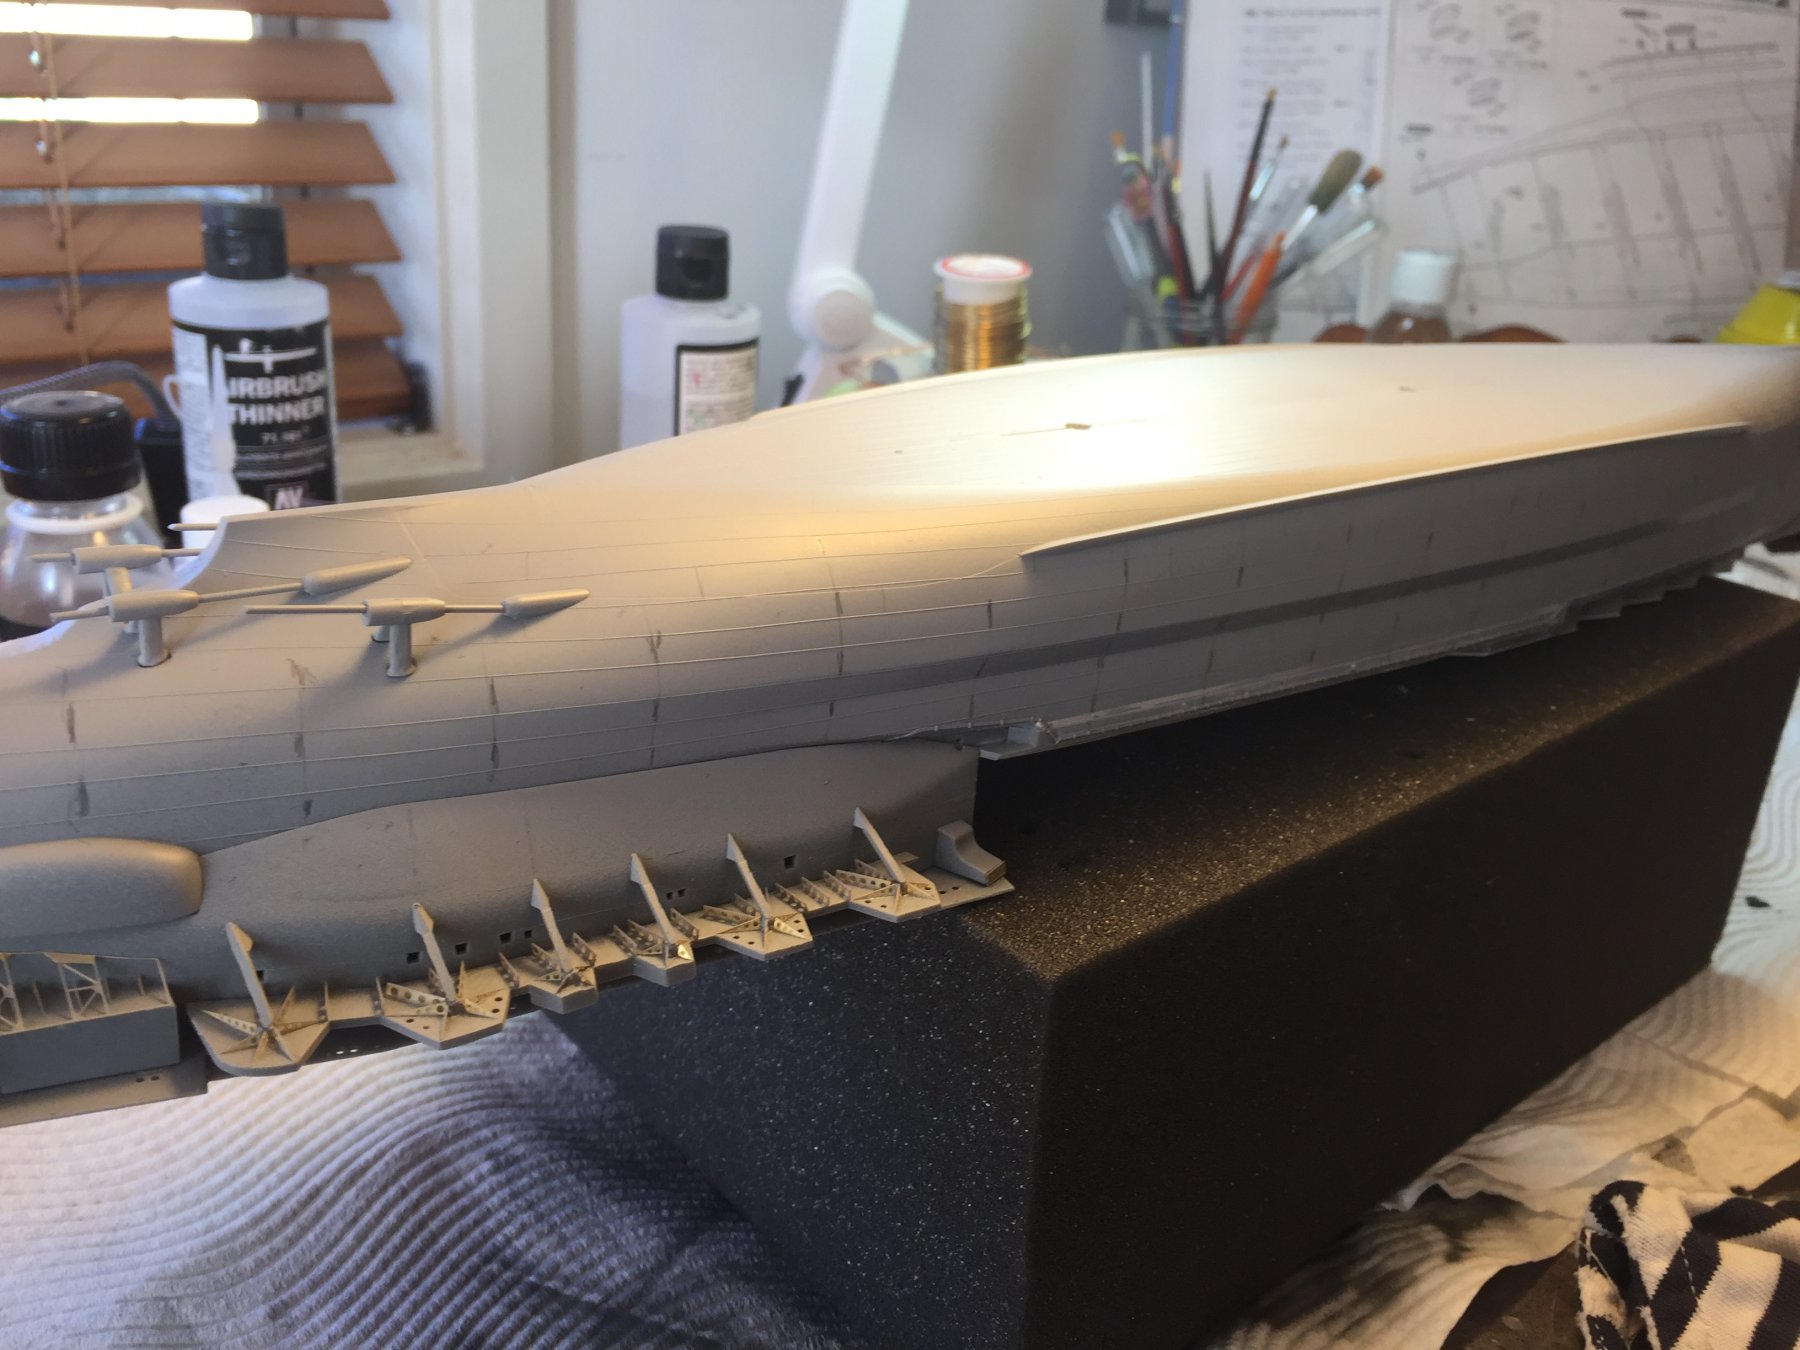
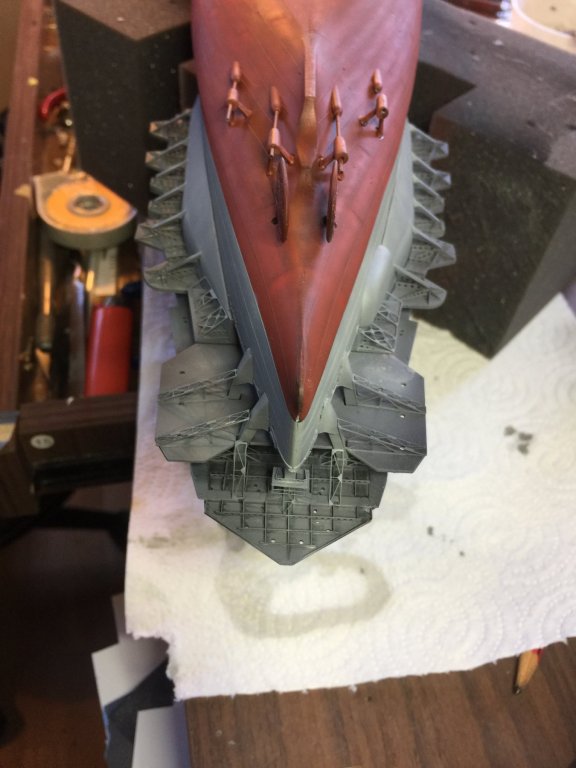
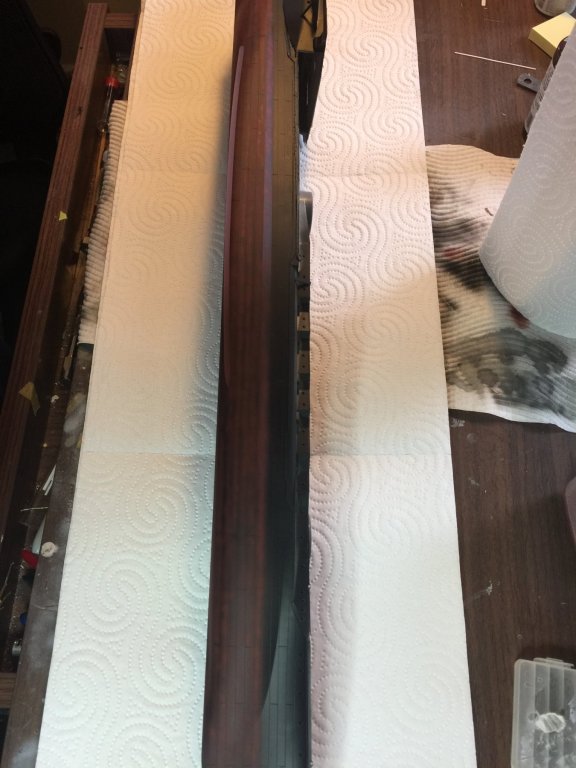
The hull has nice lines but the armour belt run continuously the length of the hull. I gave the hull 2 coats of Tamiya rattle can primer then measured up individual plates, then etched them into the primer coat with a strait razor. Then a black primer coat with the airbrush. I'll leave this coat for 24 hours now.


- 224 replies
-
- 12
-
-
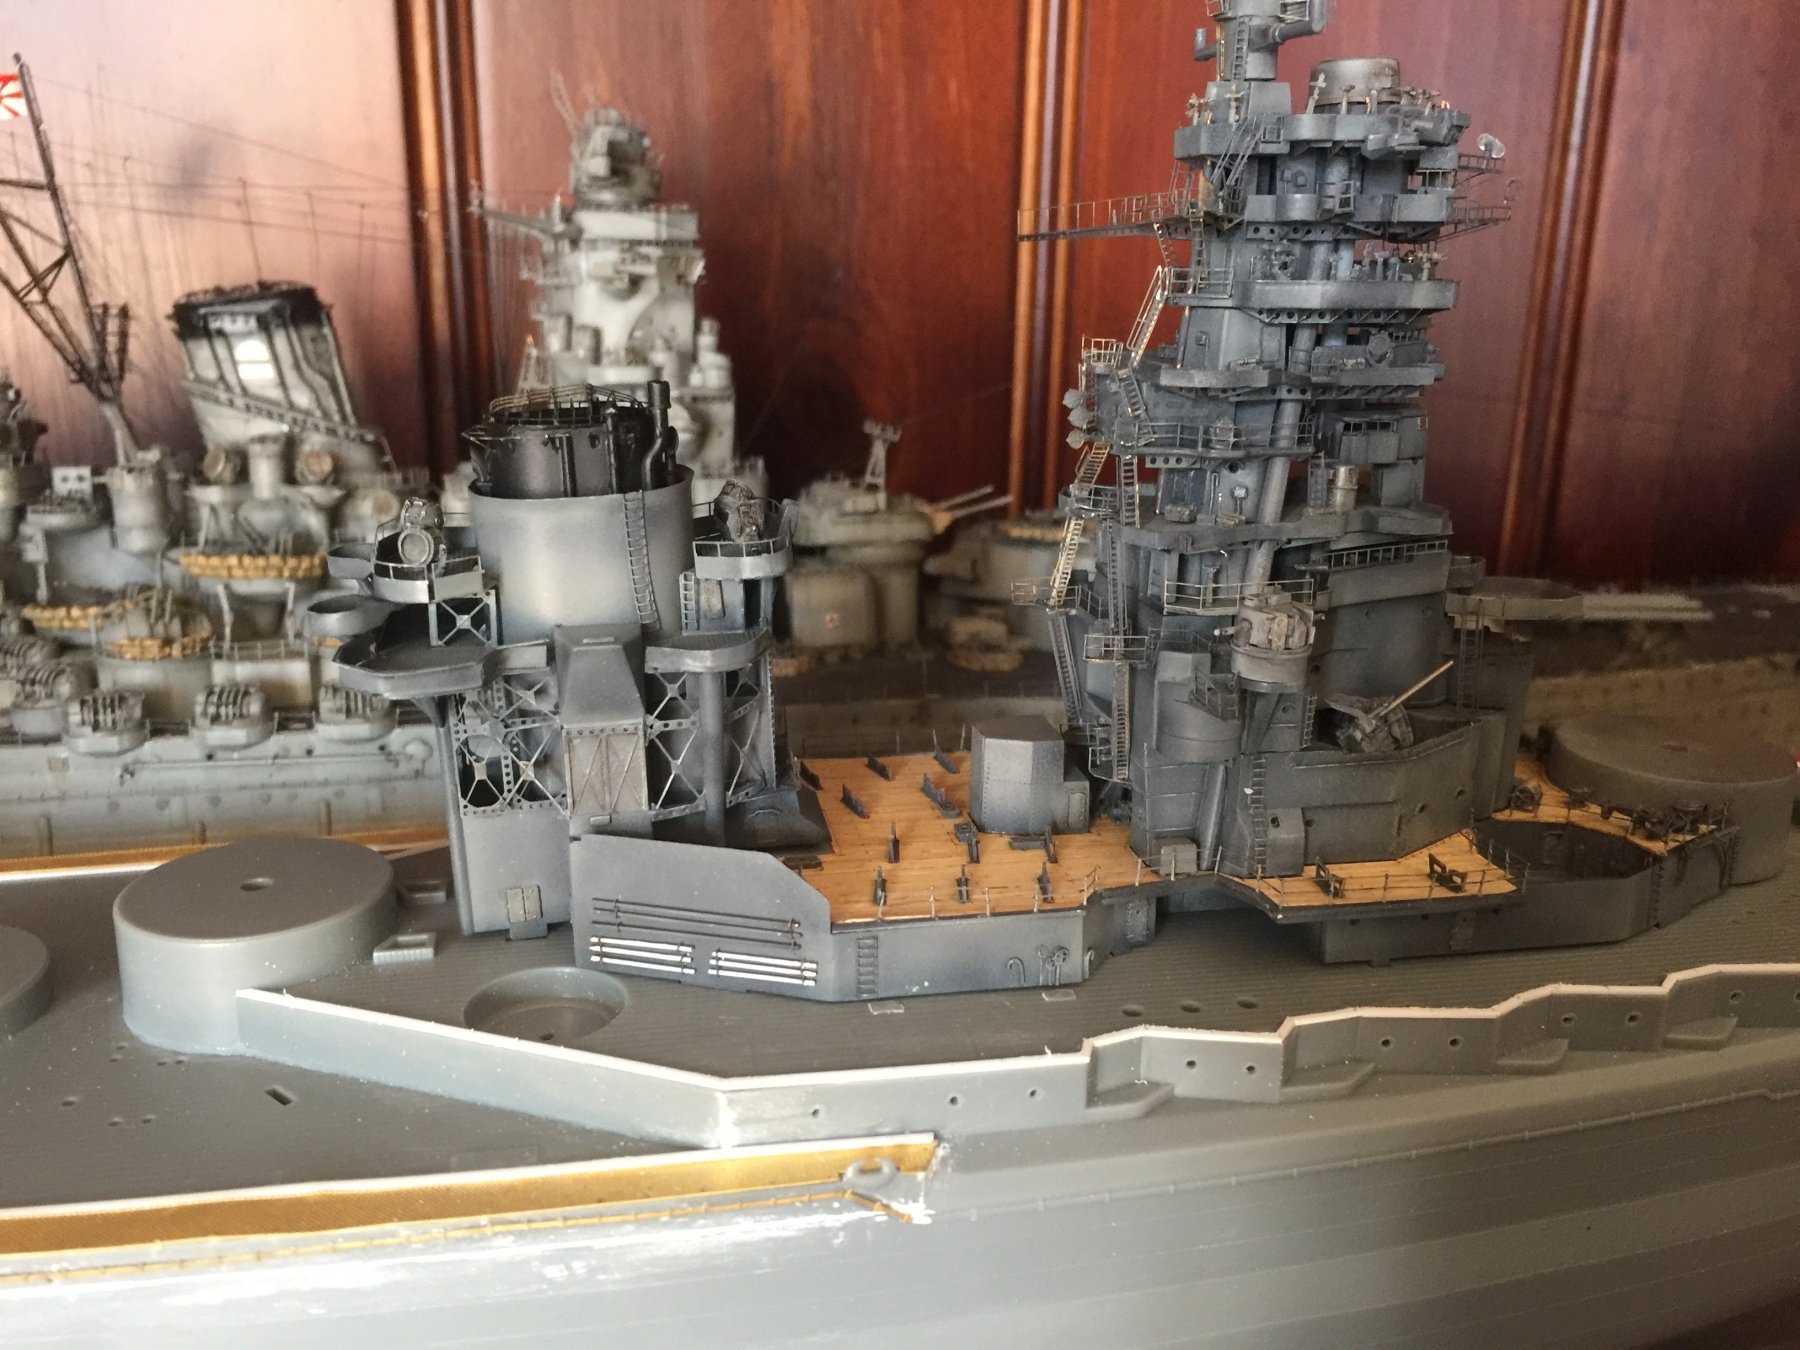
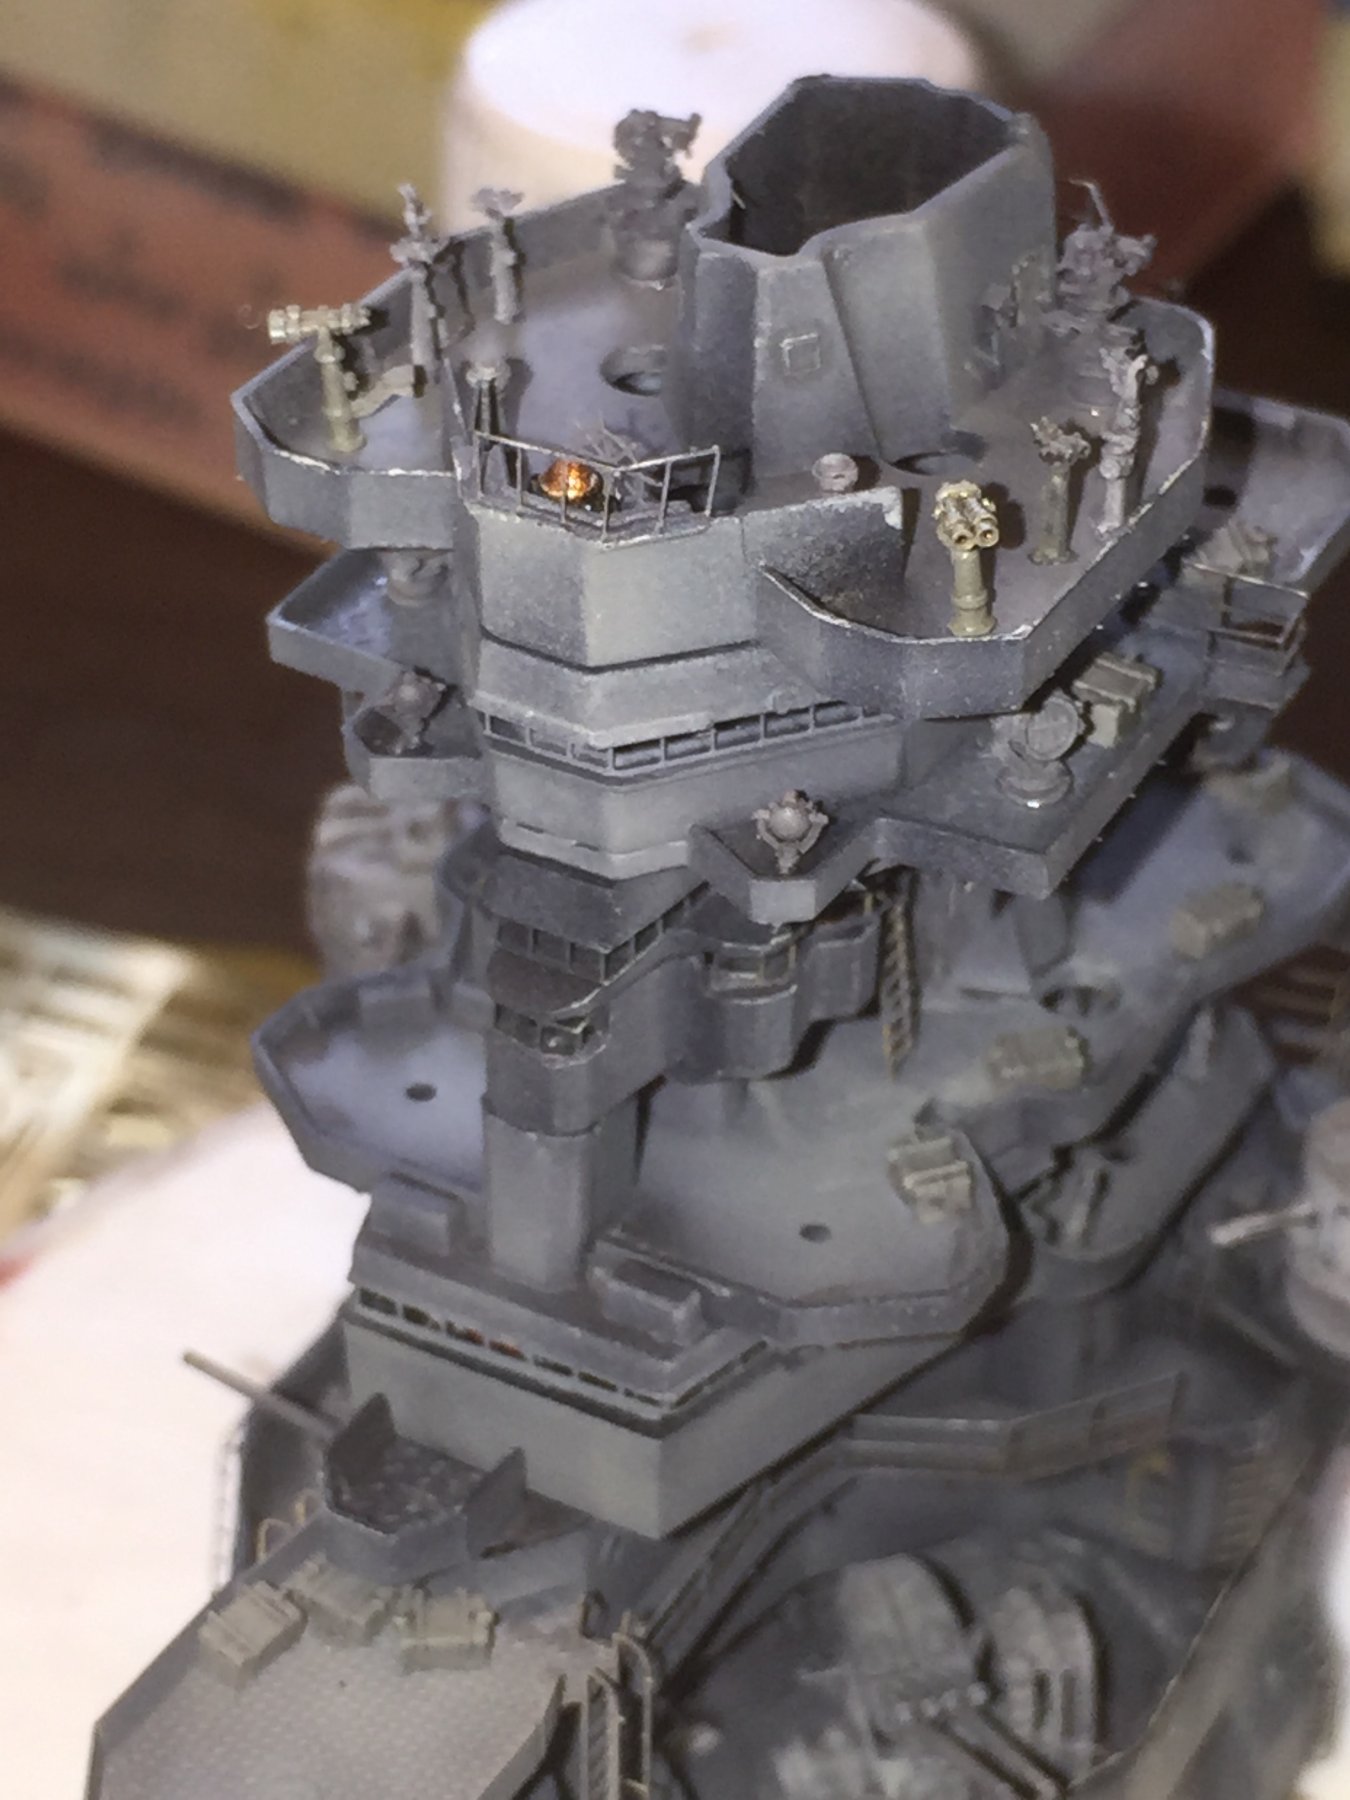
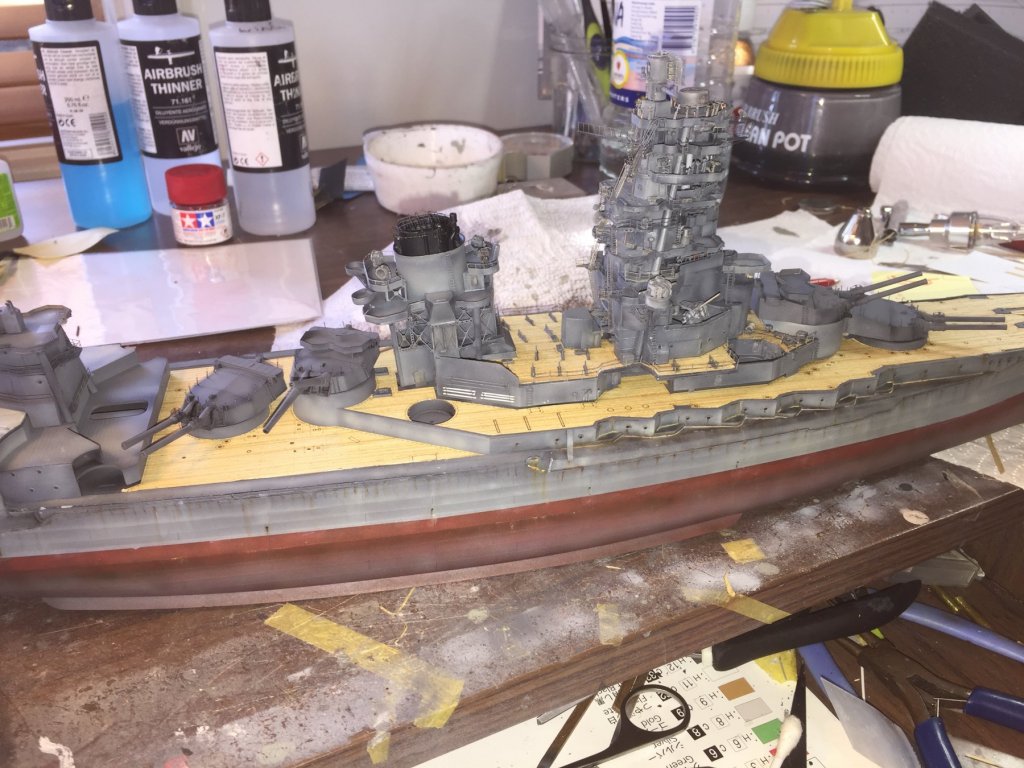
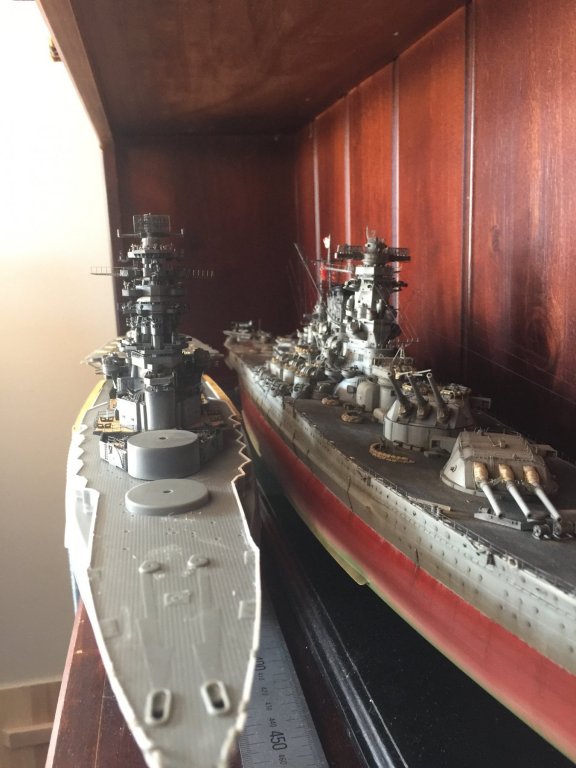
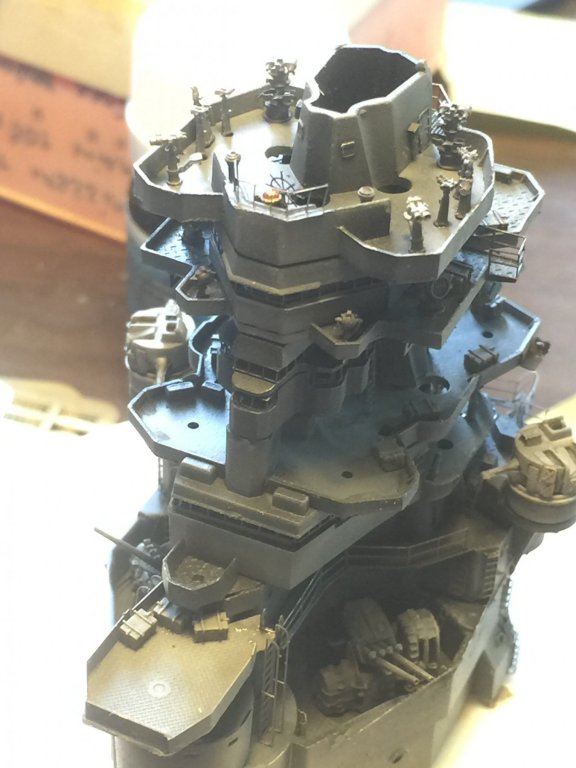
Pagoda tower glued down, and the tack dry fitted, I will not add any more details to this until it's glued to the hull and before the ships boats are done. You can see how huge huge this is even compared to Yamato.


- 224 replies
-
- 17
-
-
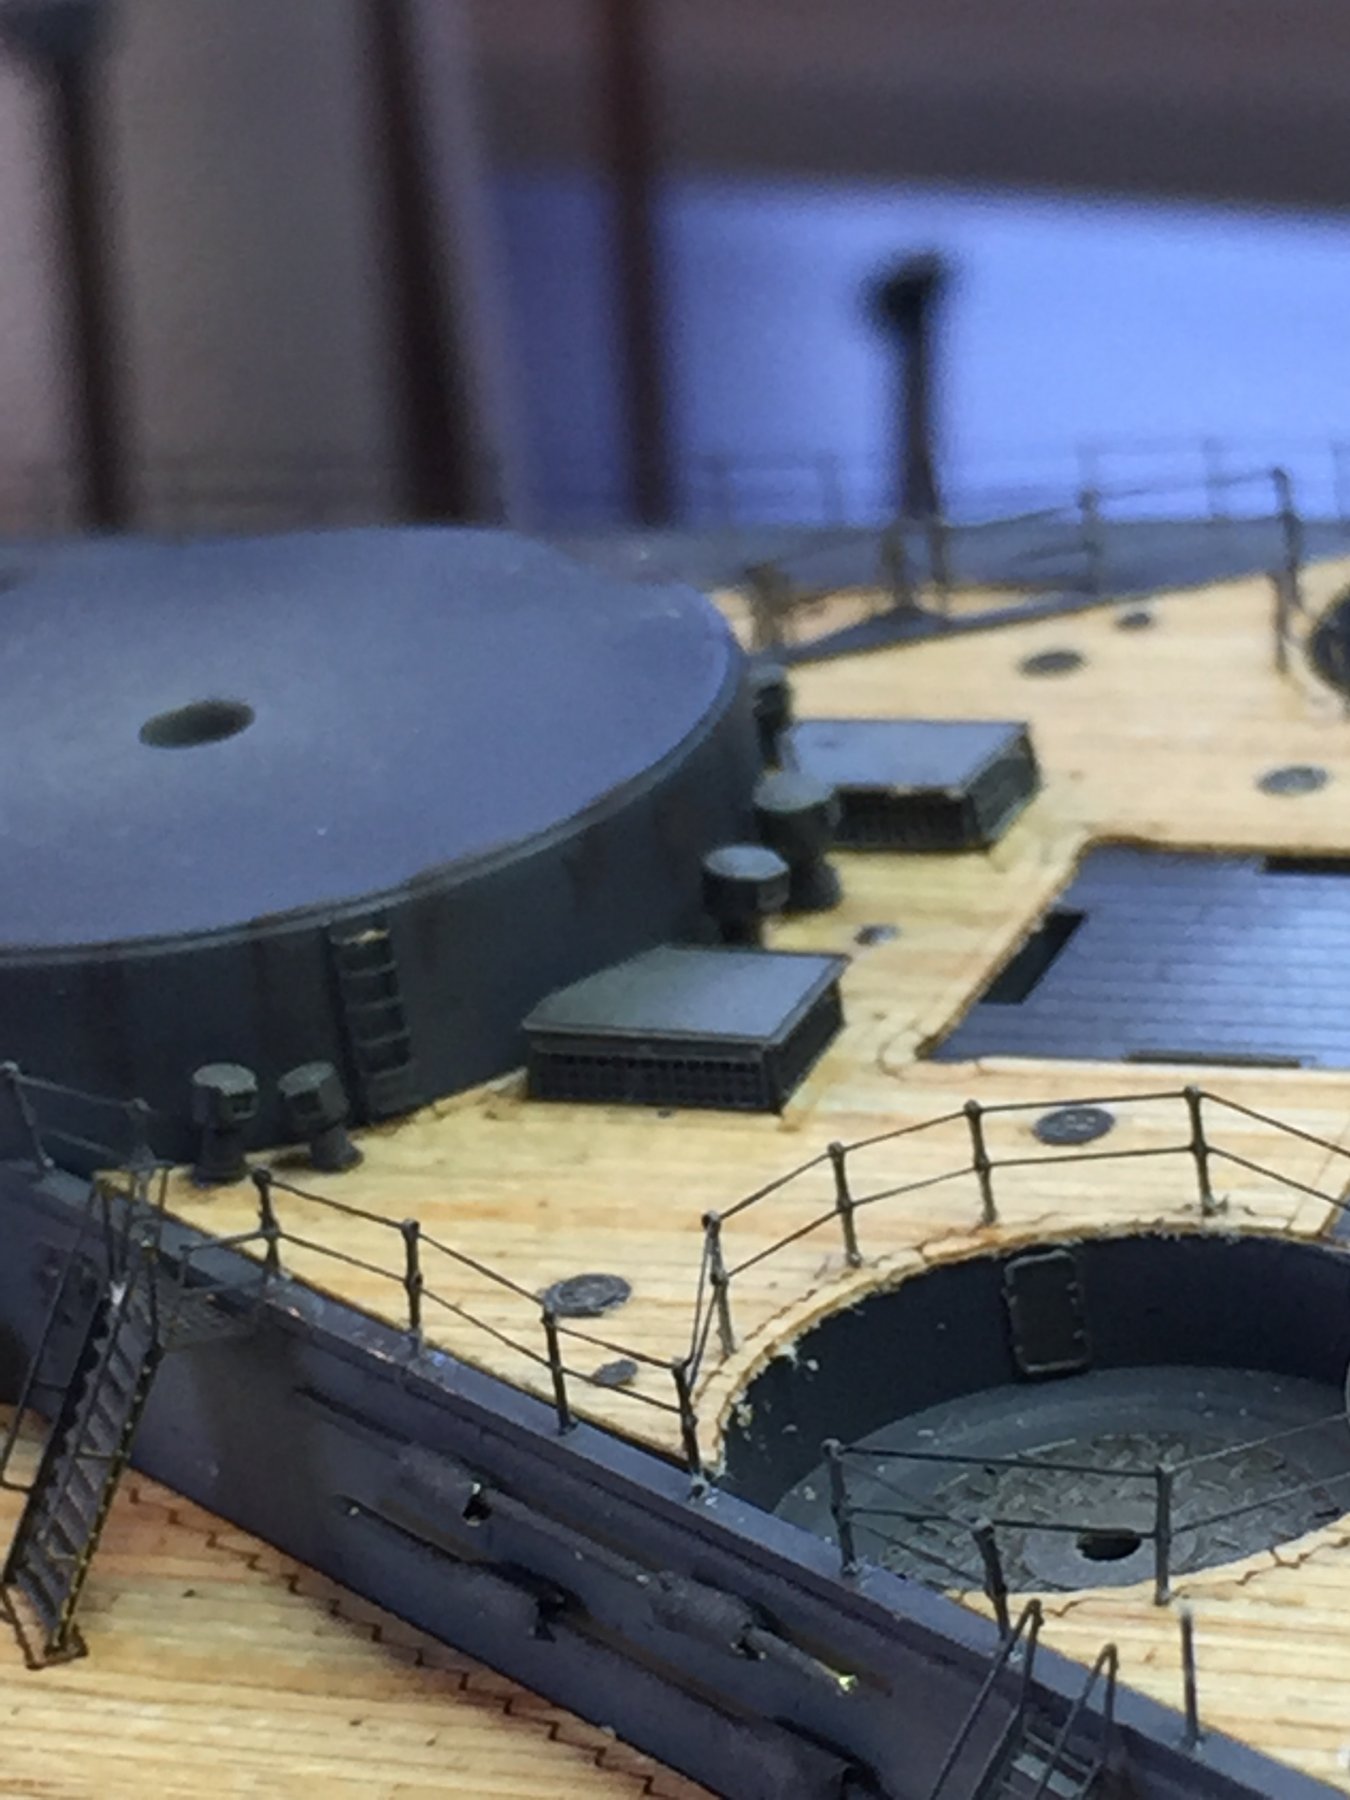
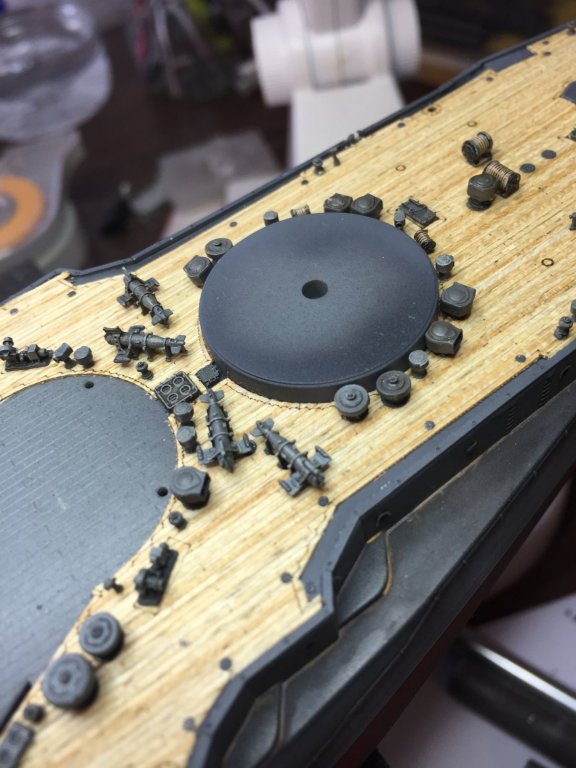
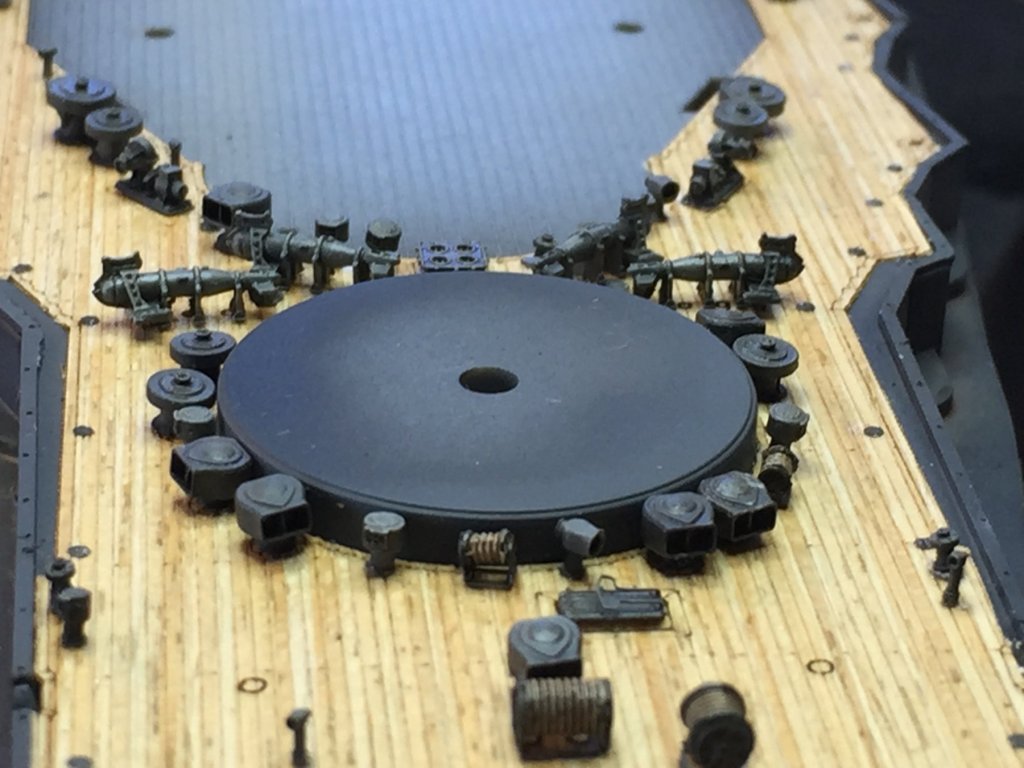
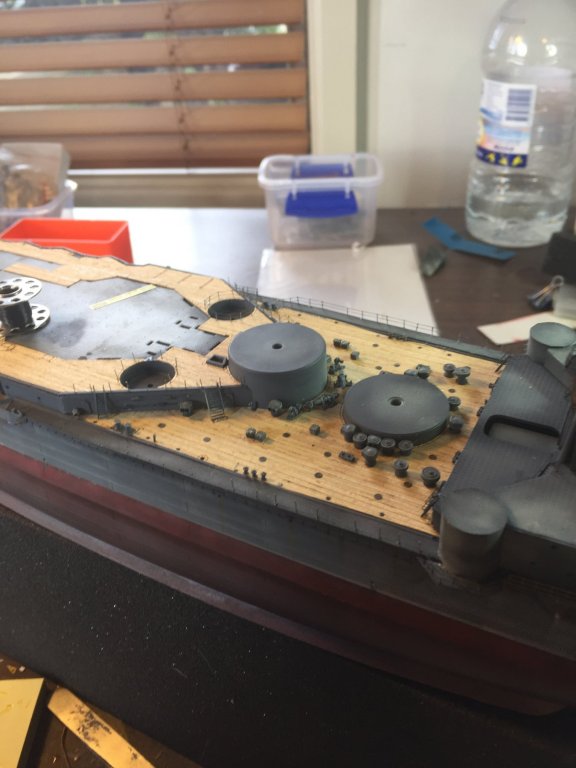
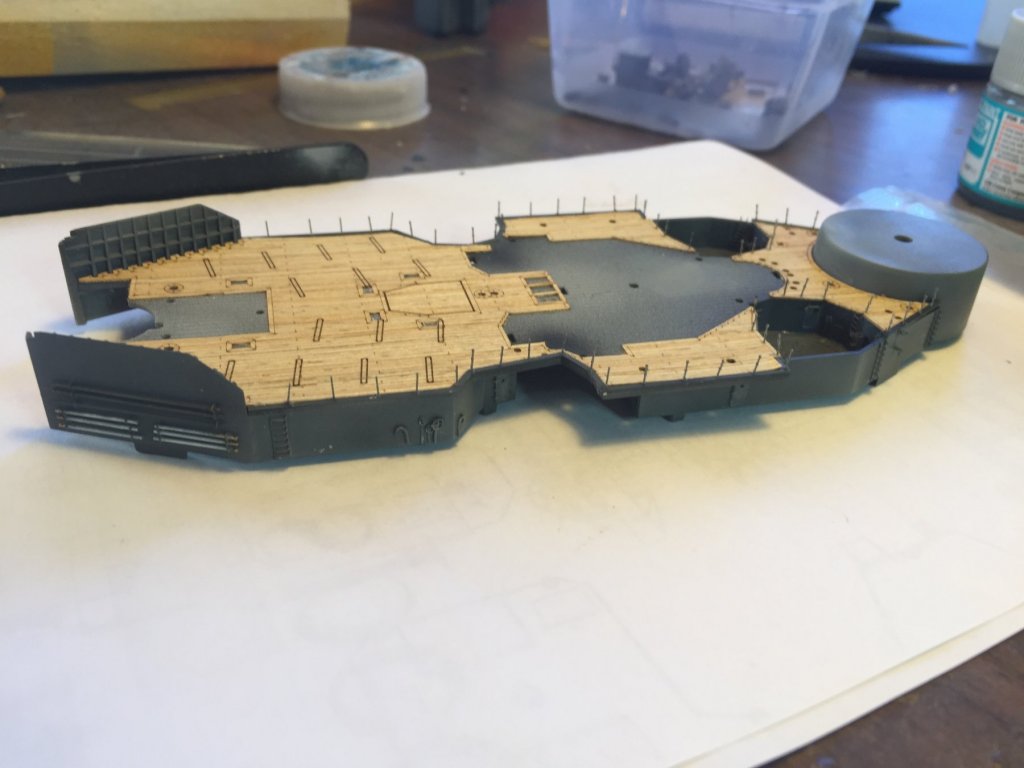
The base area under the main tower. Details added to the sides and deck stuck down. I had to trim it a little so the stanchion rails could work. Individual stanchions added, all the deck bits replaced; vents, paravanes, trestles, winches added as well.


- 224 replies
-
- 14
-
-
If I may suggest an easy solution to the blast bags, use the plastic backed tin foil on Ferrero Rocher chocolates.
- 295 replies
-
- 3
-
-
- amatsukaze
- halinski
- (and 2 more)
-
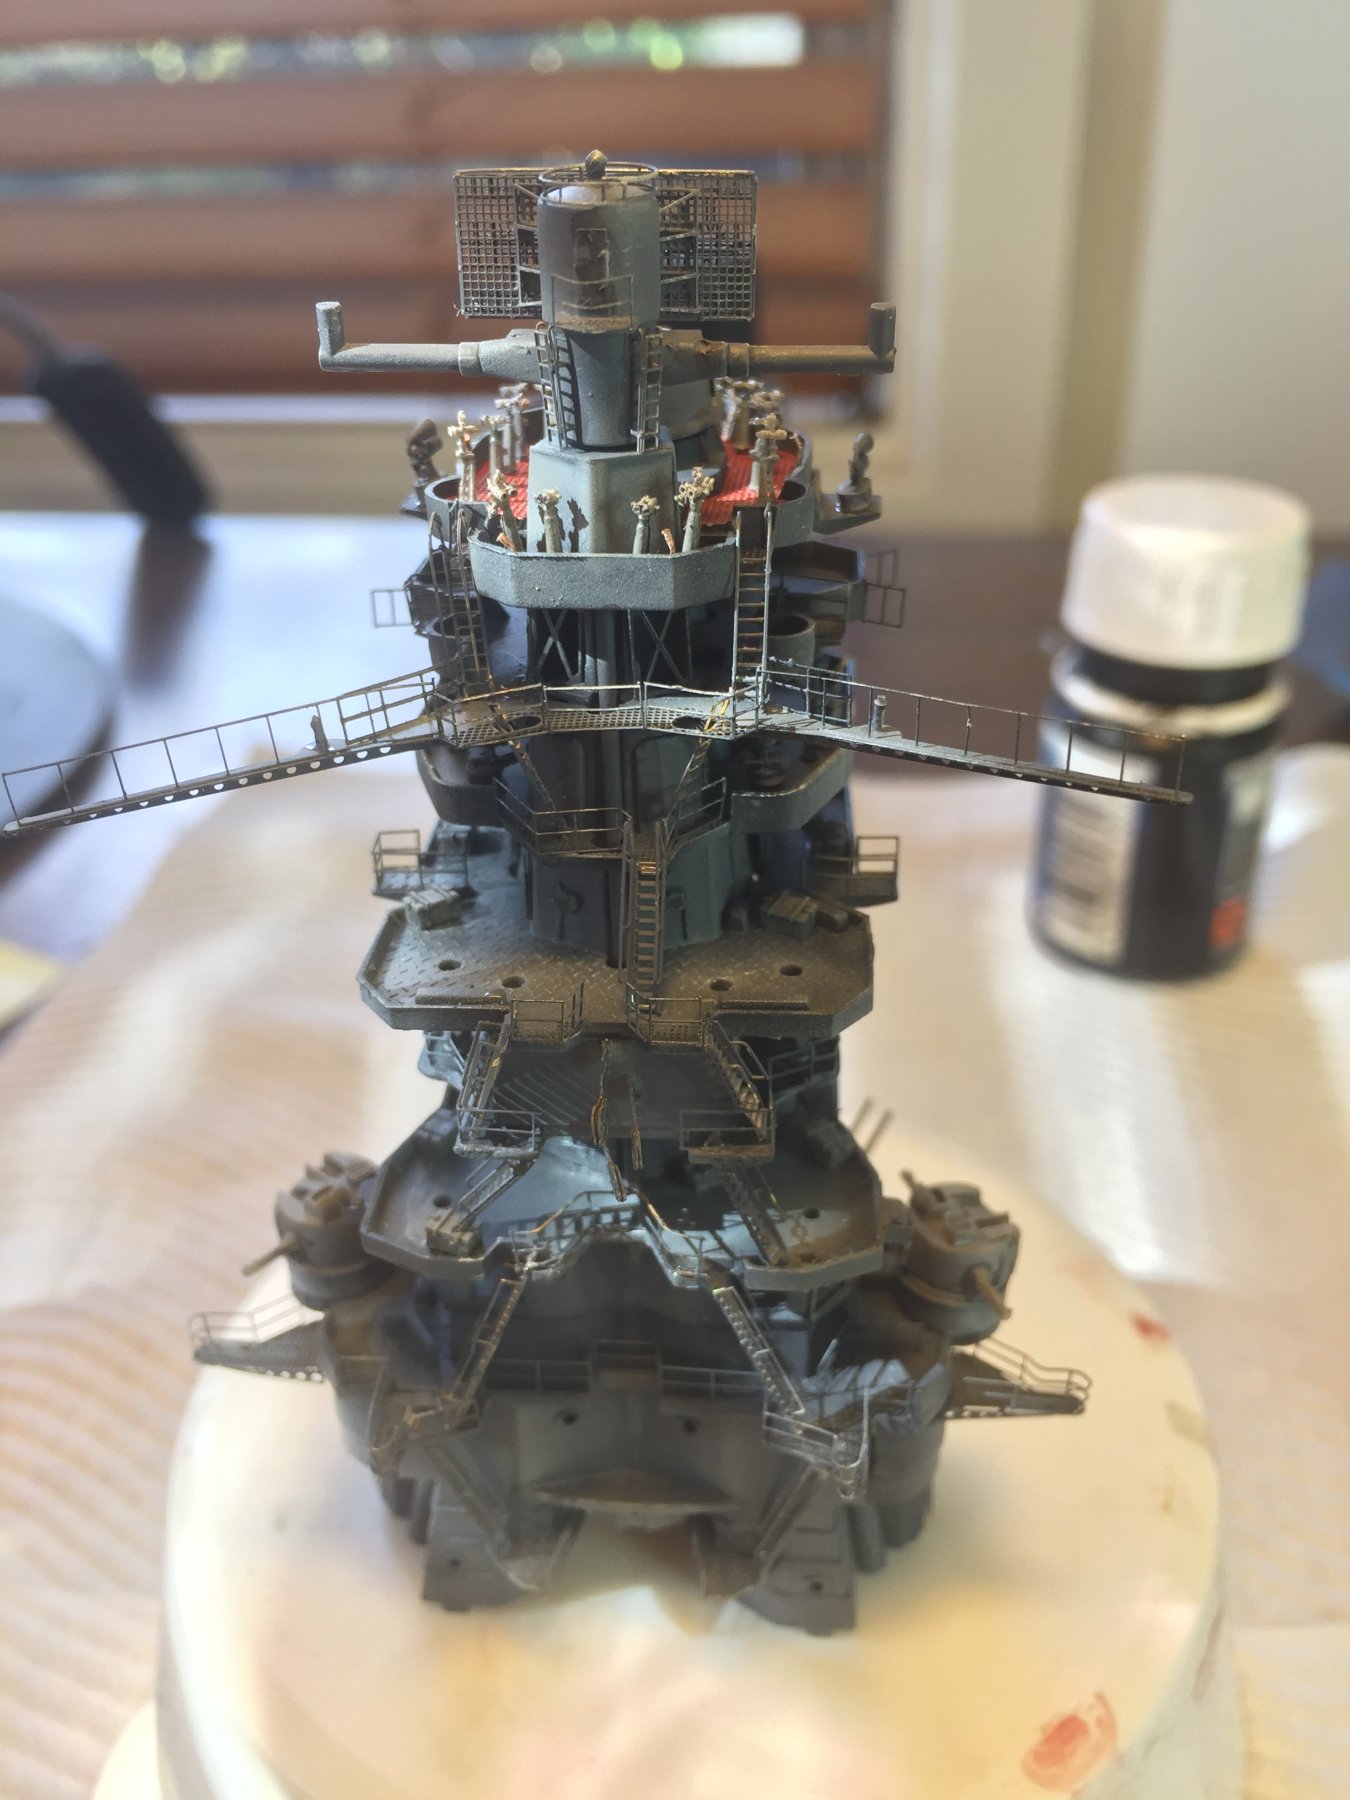
Cog or me? The rigging is a lot harder on this as it's so fragile. My endeavour made far more sense.
-
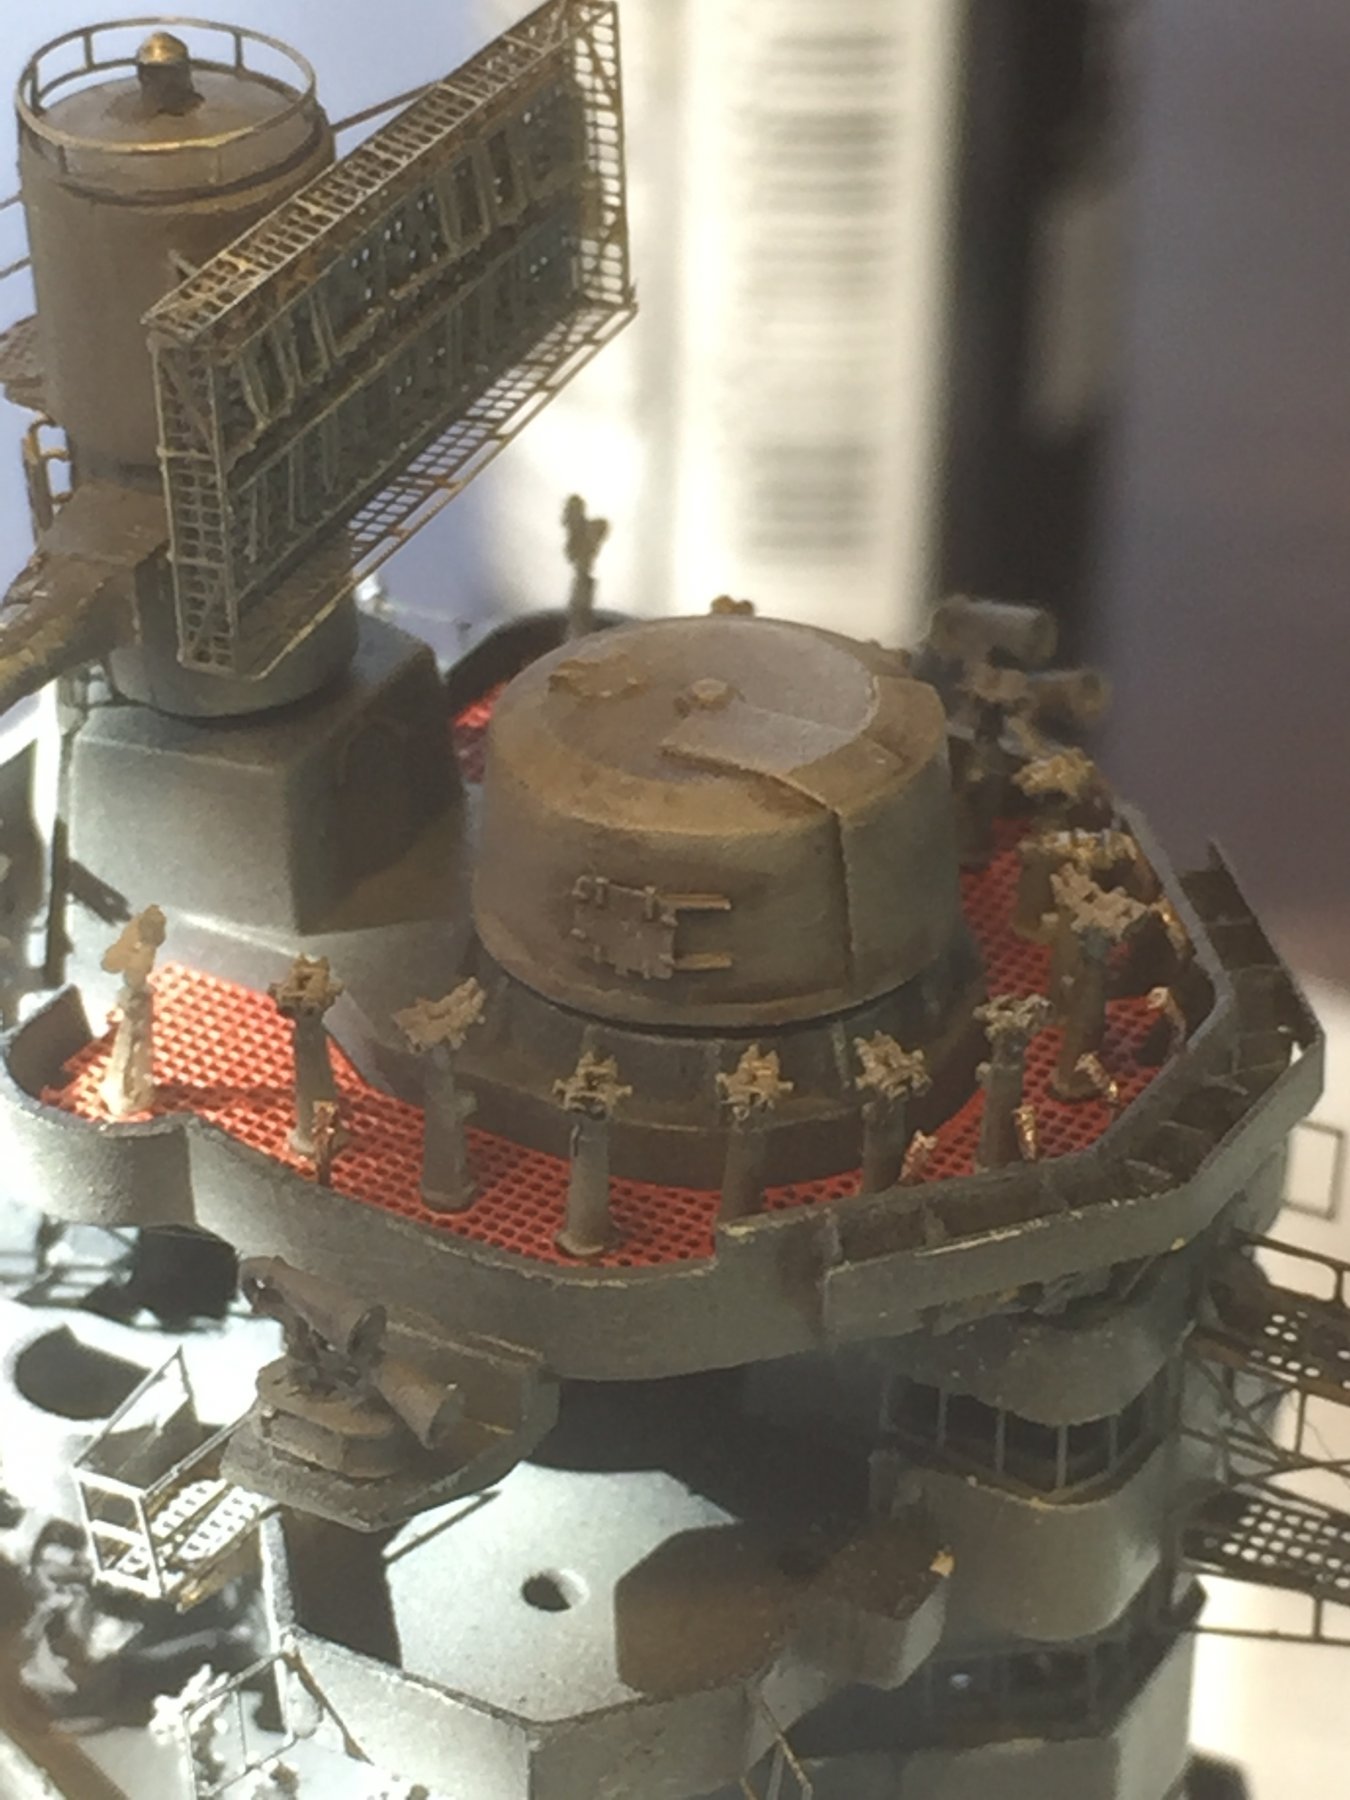
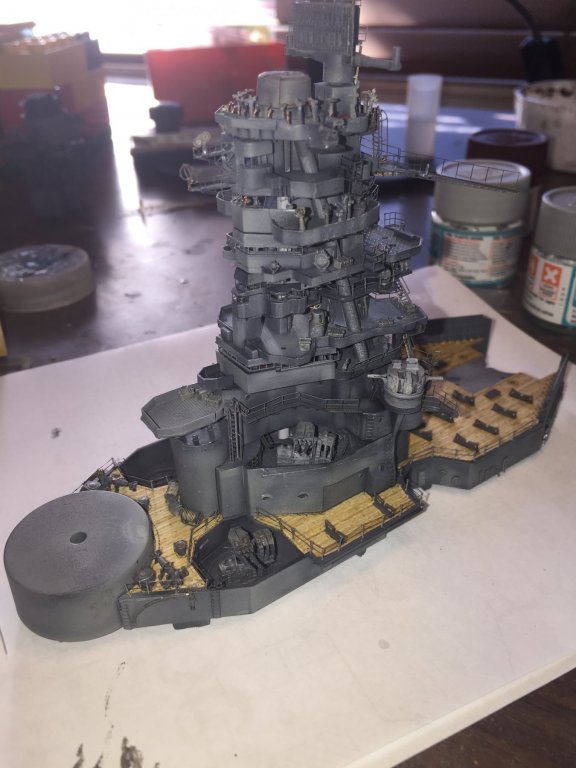
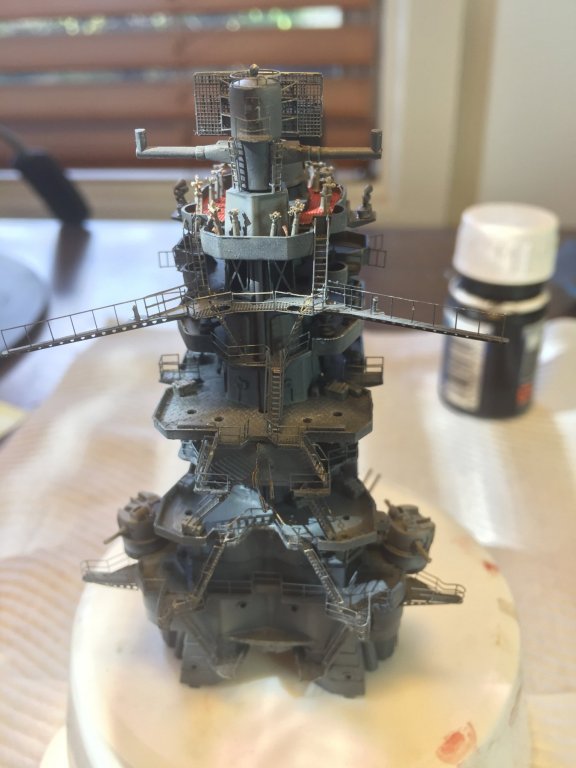
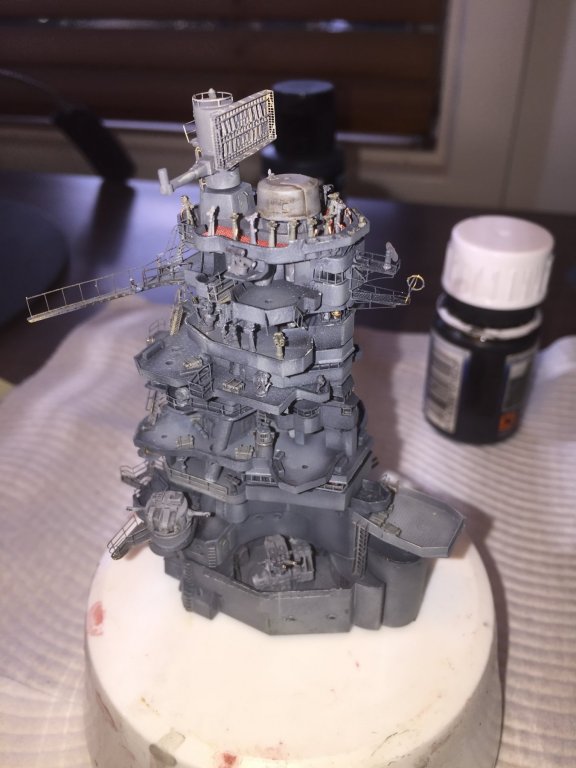
The Pagoda tower, just needs a bit of weathering, 7 triple 25mm's and rangefinders, flag lanyards and flags.


- 224 replies
-
- 16
-