RGL
-
Posts
5,539 -
Joined
-
Last visited
Content Type
Profiles
Forums
Gallery
Events
Everything posted by RGL
-
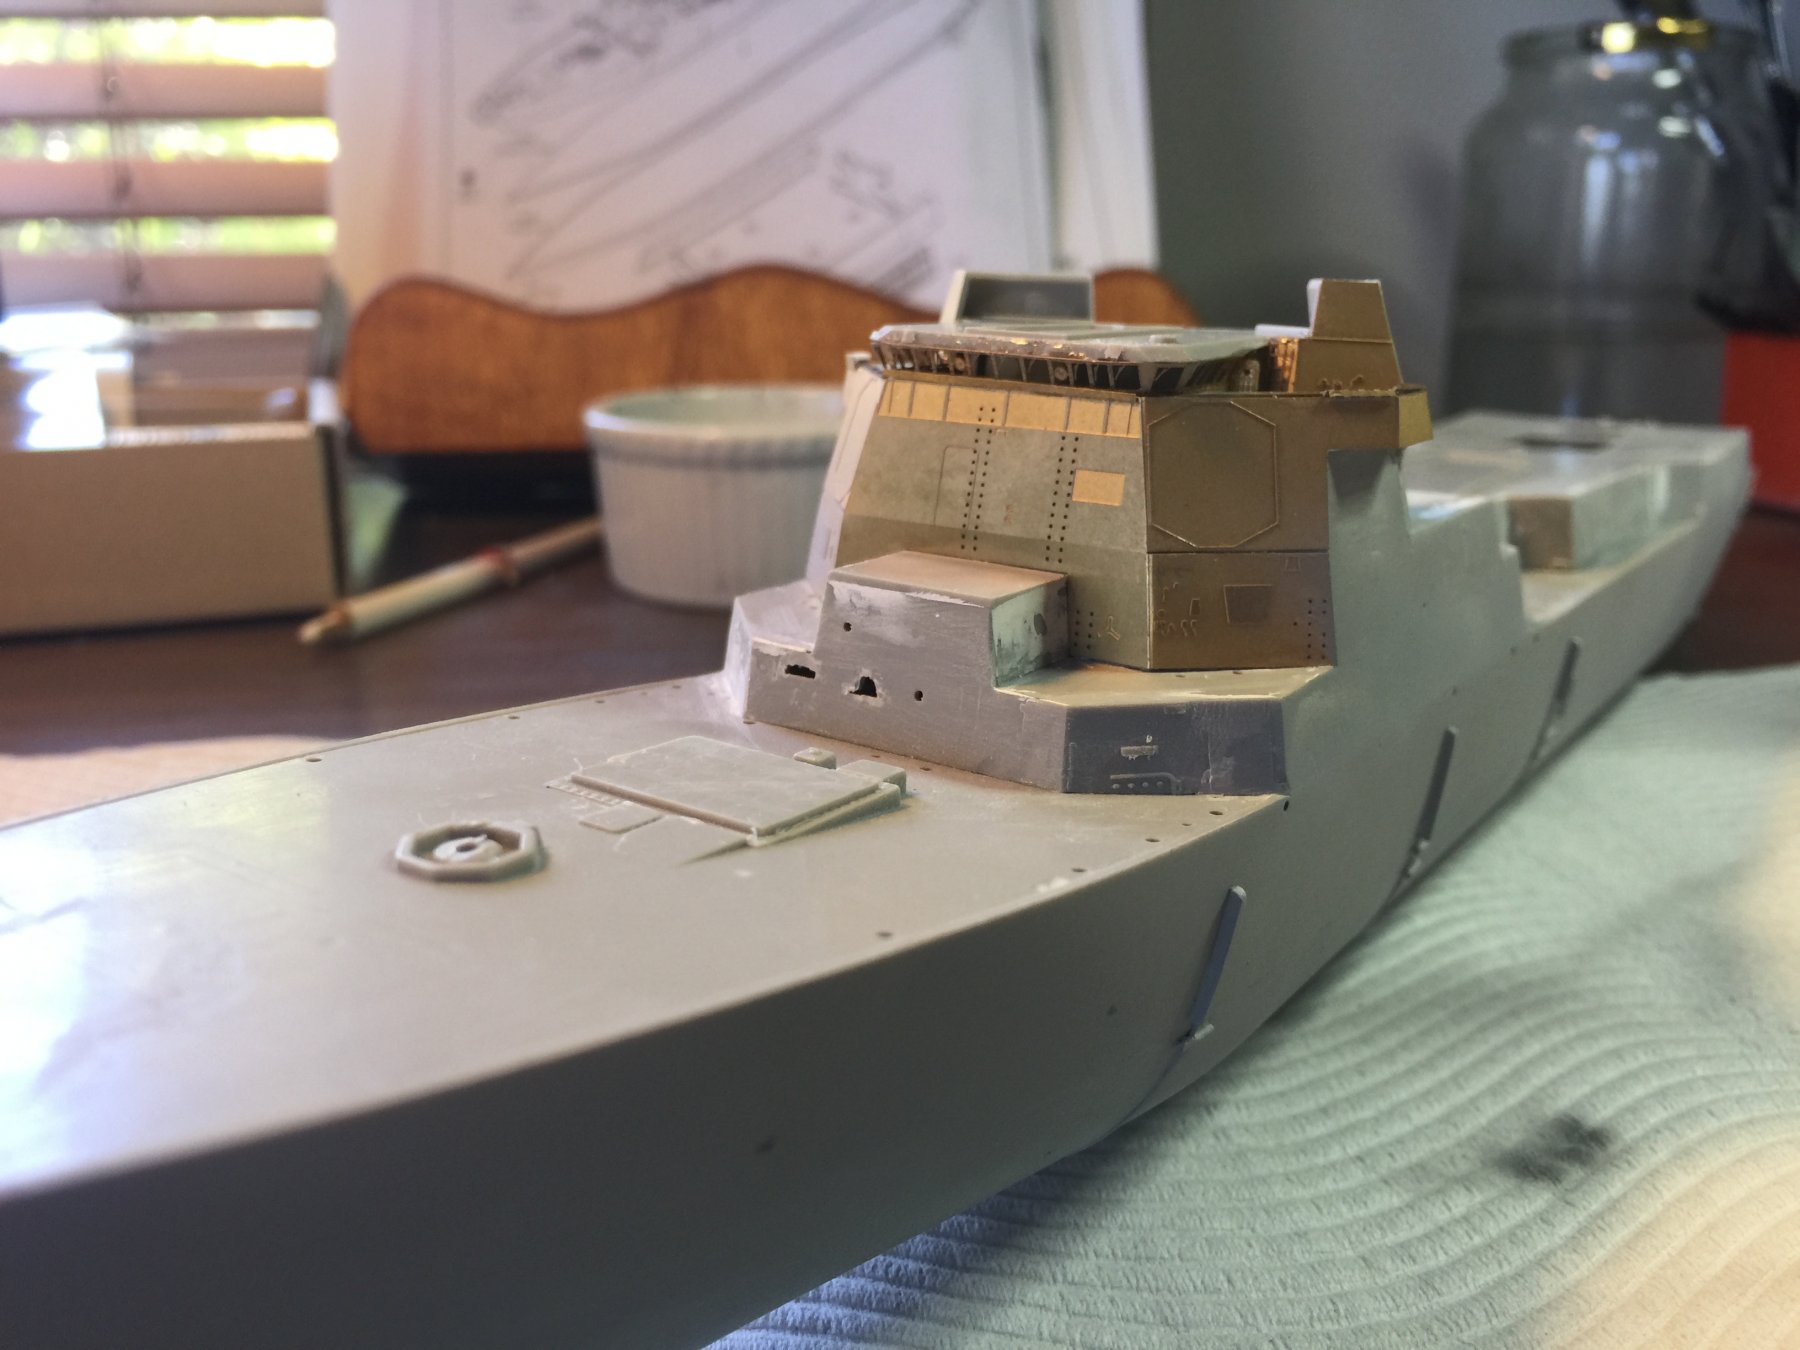
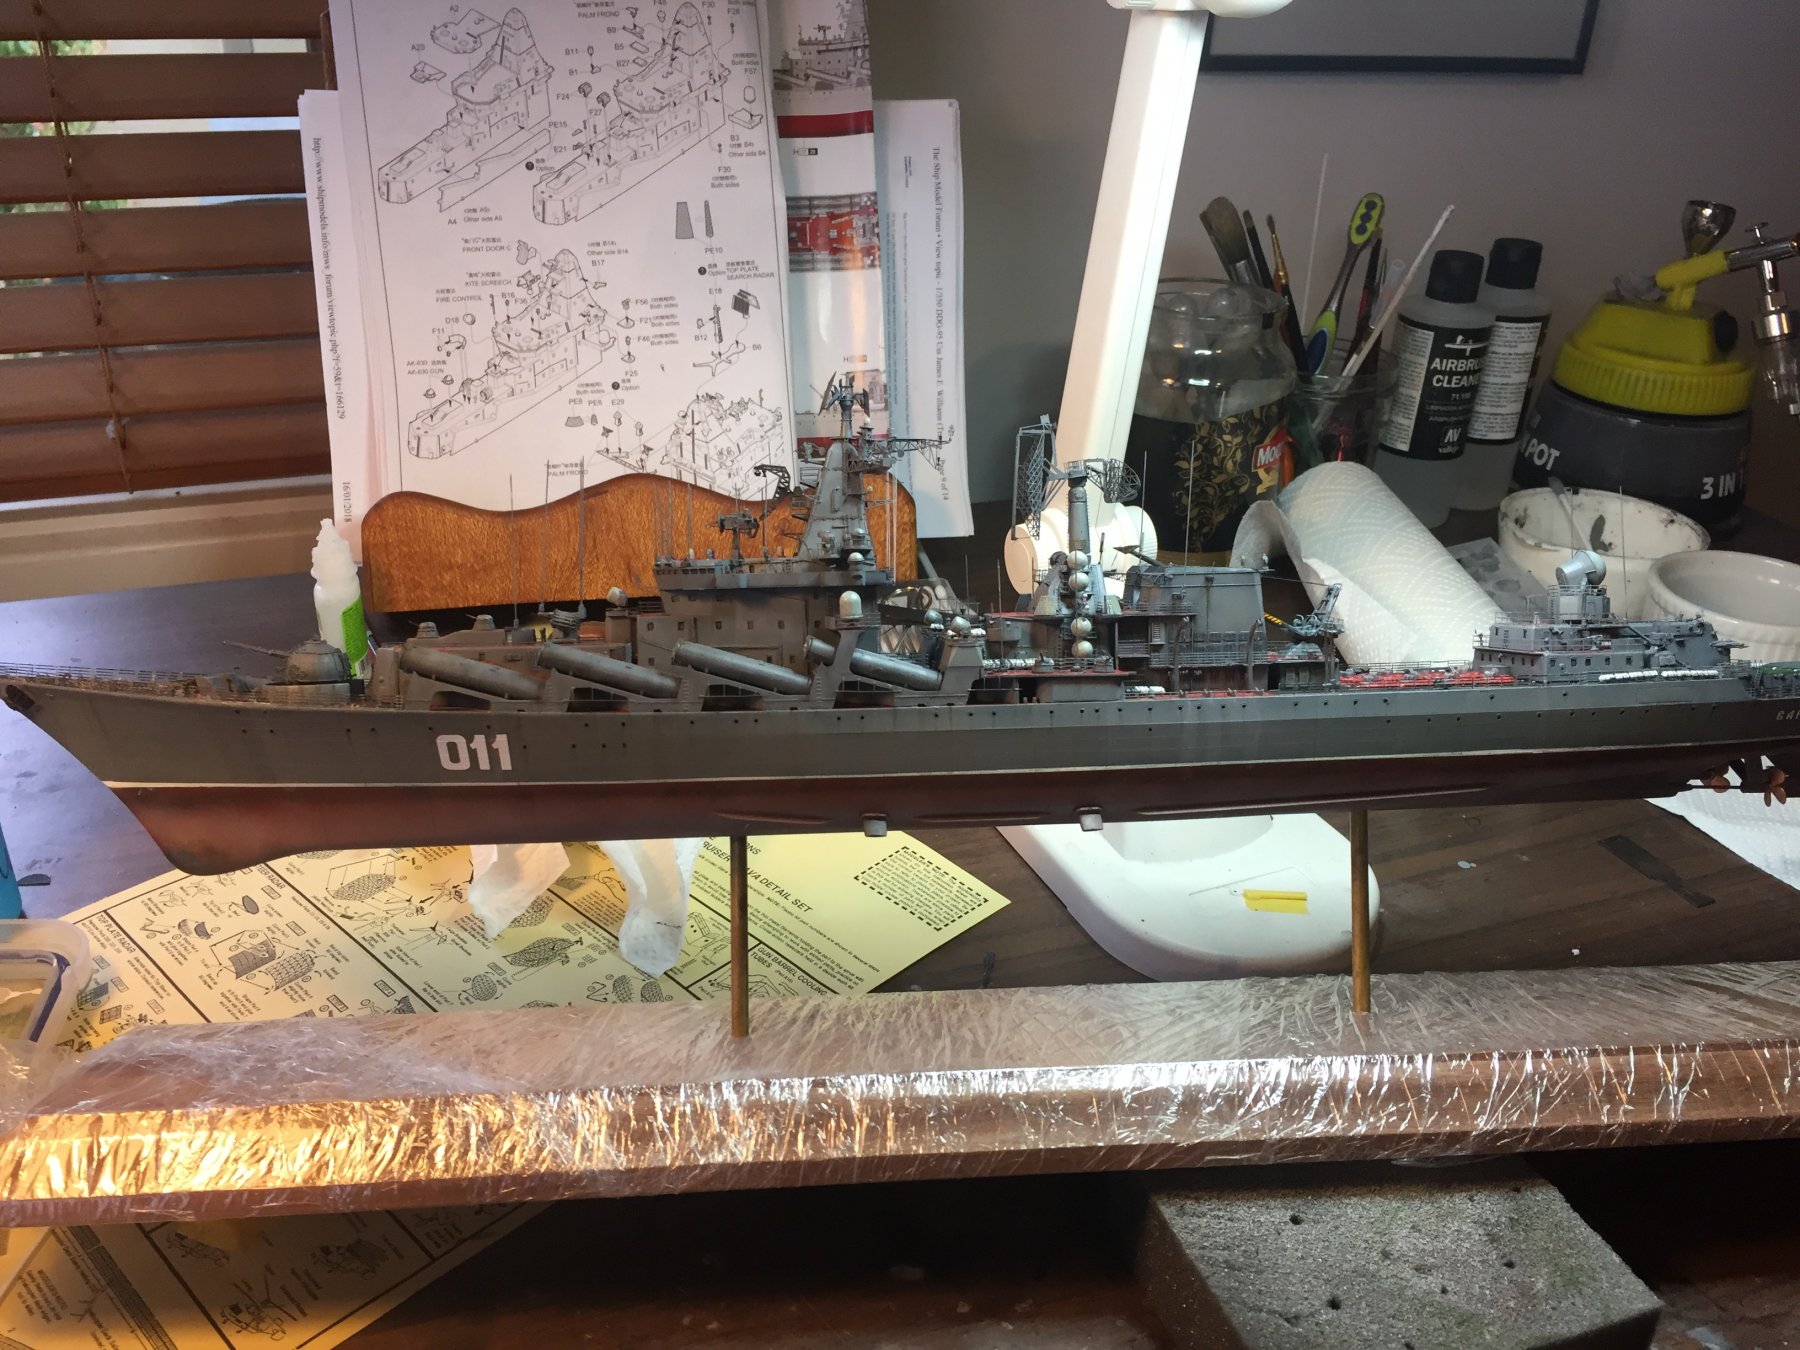
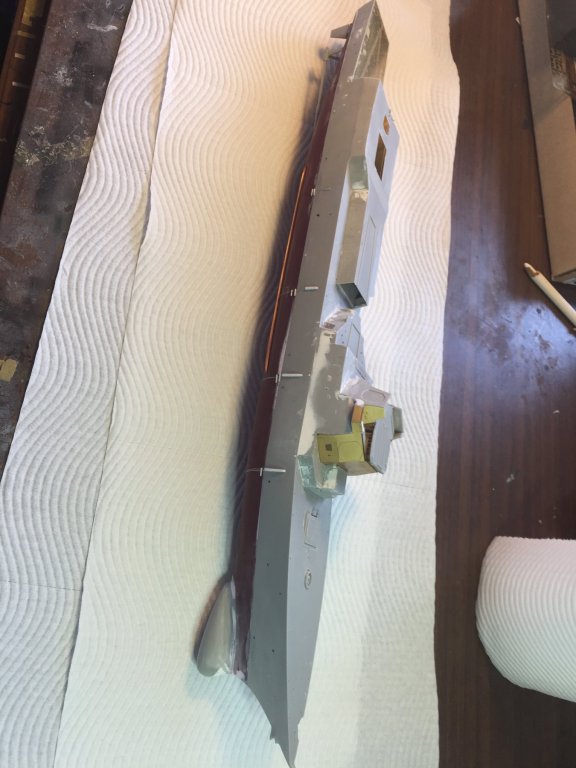
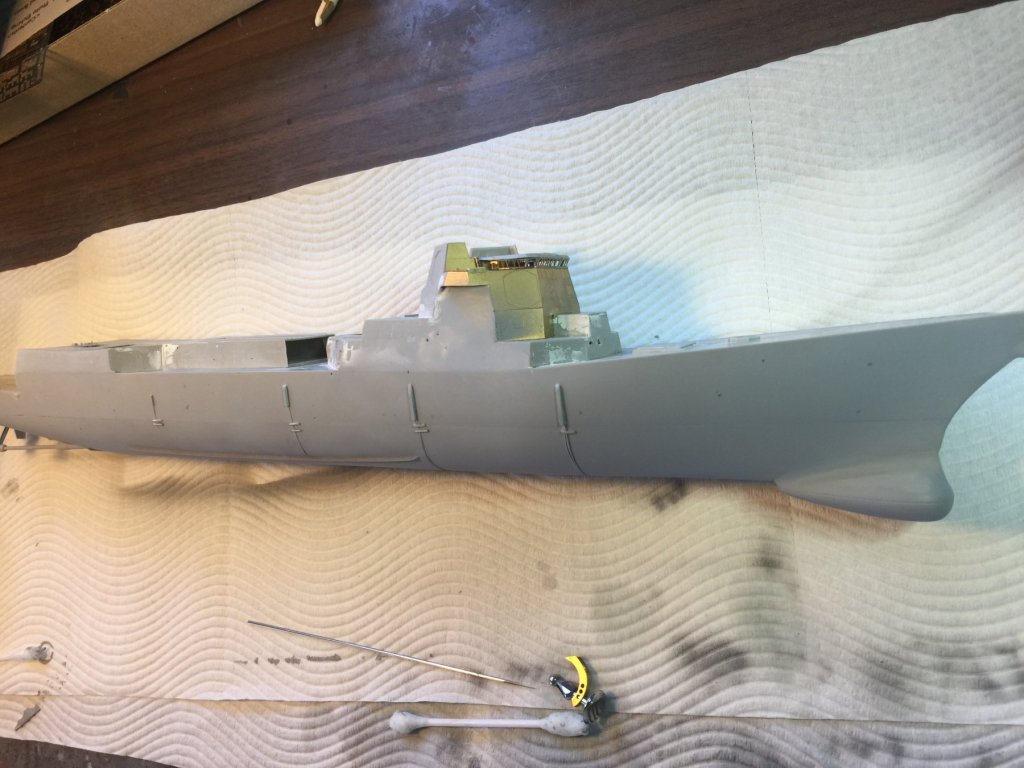
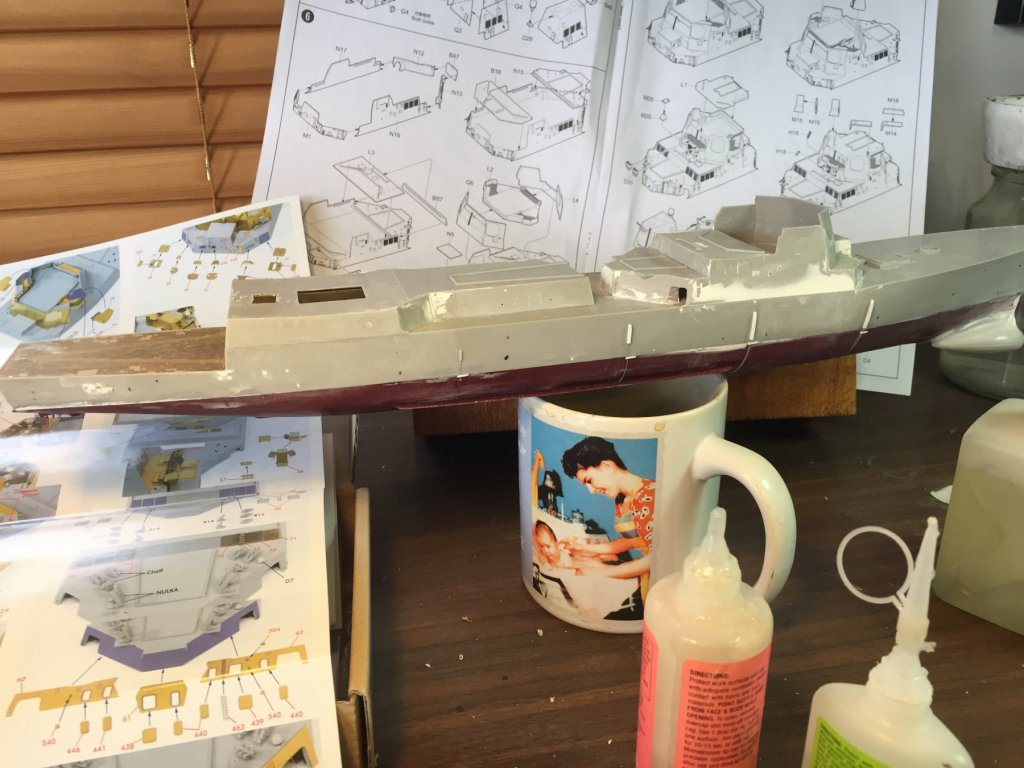
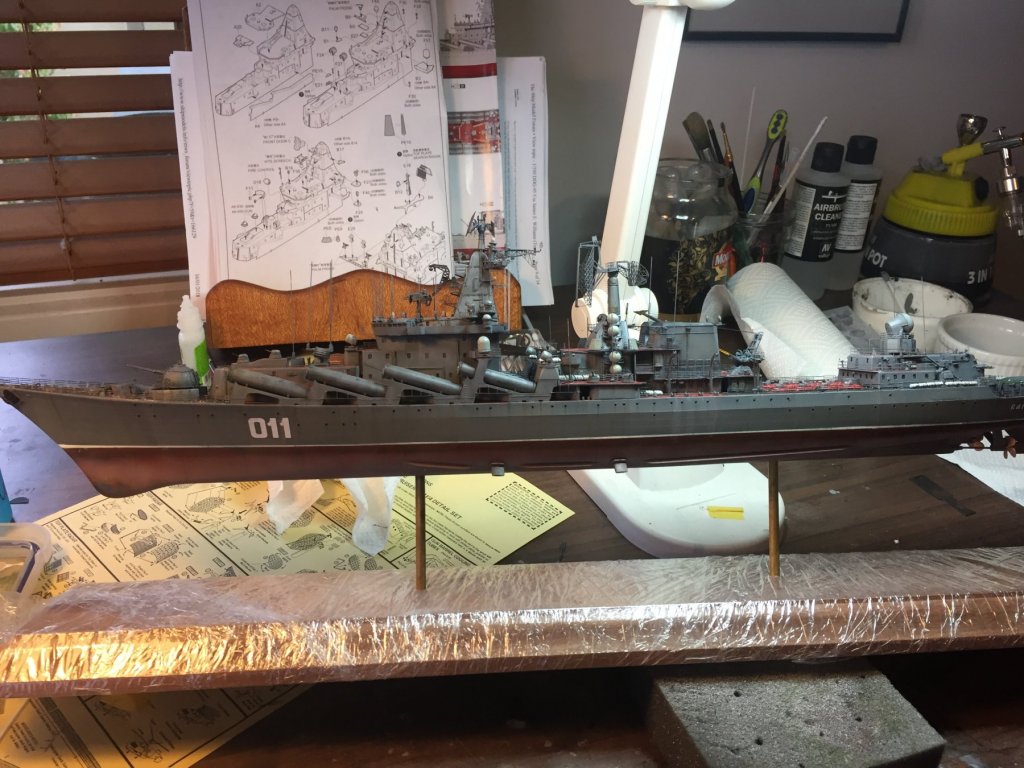
 Ok, the bridge is on, and a lot of tiny details to go, but, I’m going to stop there. The structures are now aligned. The lower hull now needs to be done. I can get that tidied up and painted then everything can be done right side up. The first primer coat coat shoes a LOT of sins, but that’s what by we do it. Lots of tiny gaps to fix up, then I can gentry scribe in my weld lines and measure up the armour panels and add the numerous scuppers before moving on to pre shading.
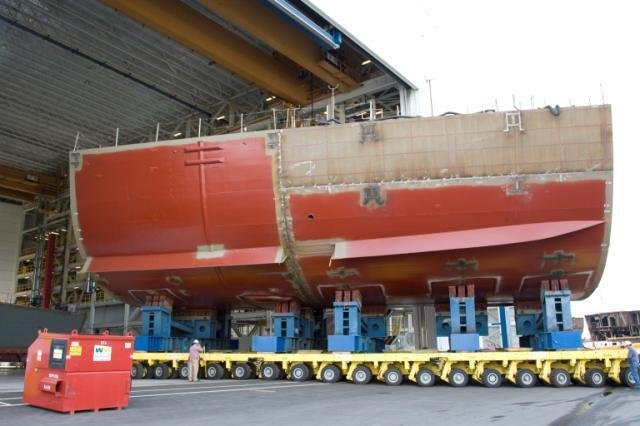

- 155 replies
-
- 11
-

-
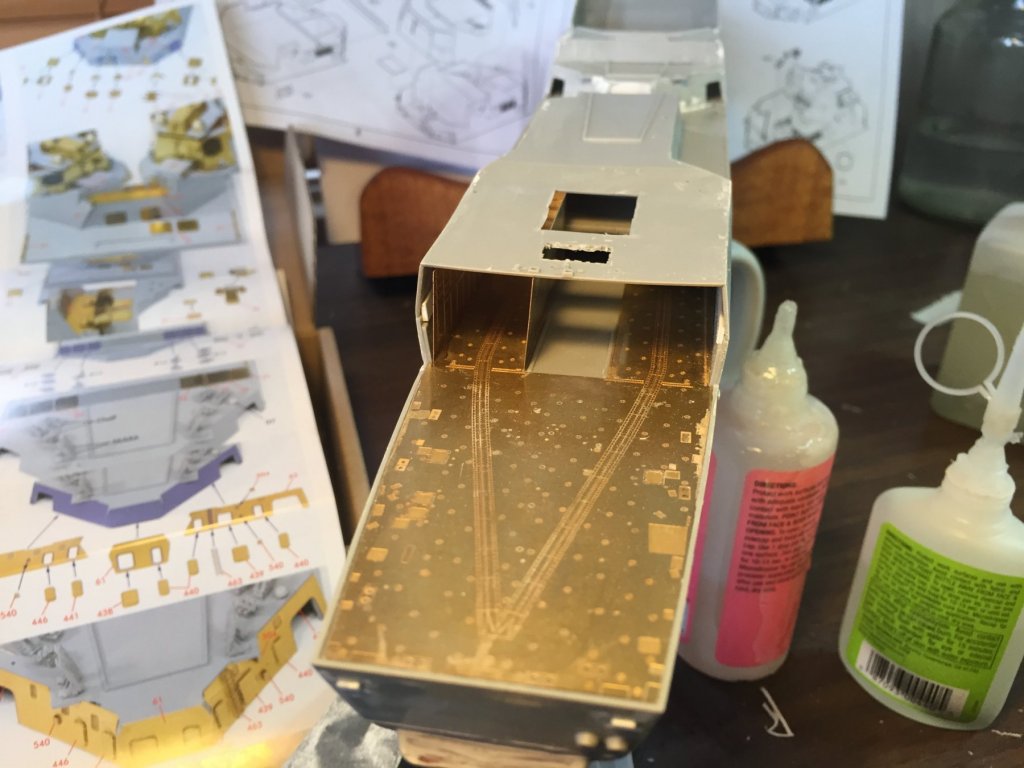
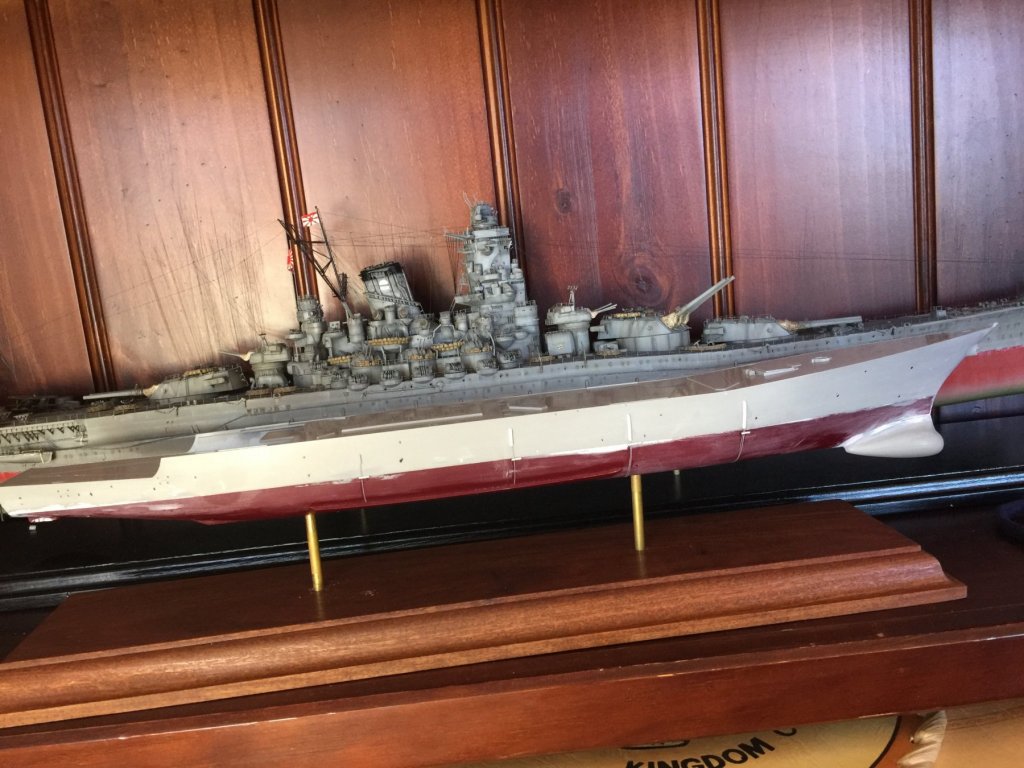
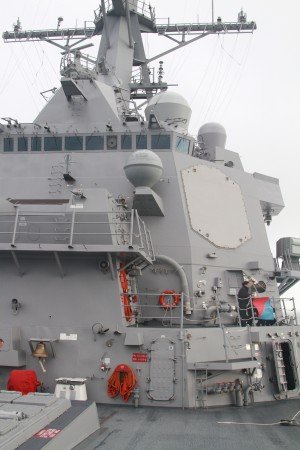
Trumpeter is not as exact as Tamiya. I managed to generate a lot of gaps, but the two superstructures that are the bridge and the hangar should be flush with the hull. They were’nt thus the prodigious use of bog. I’m hoping it’s somewhat strait forward from here, first two bits of PE on. I intend to have one door closed so why put the hangar in? Basically a whole day shaving off every feature on every piece (that will be replaced with PE) and trying to align each piece.
- 155 replies
-
- 16
-
-
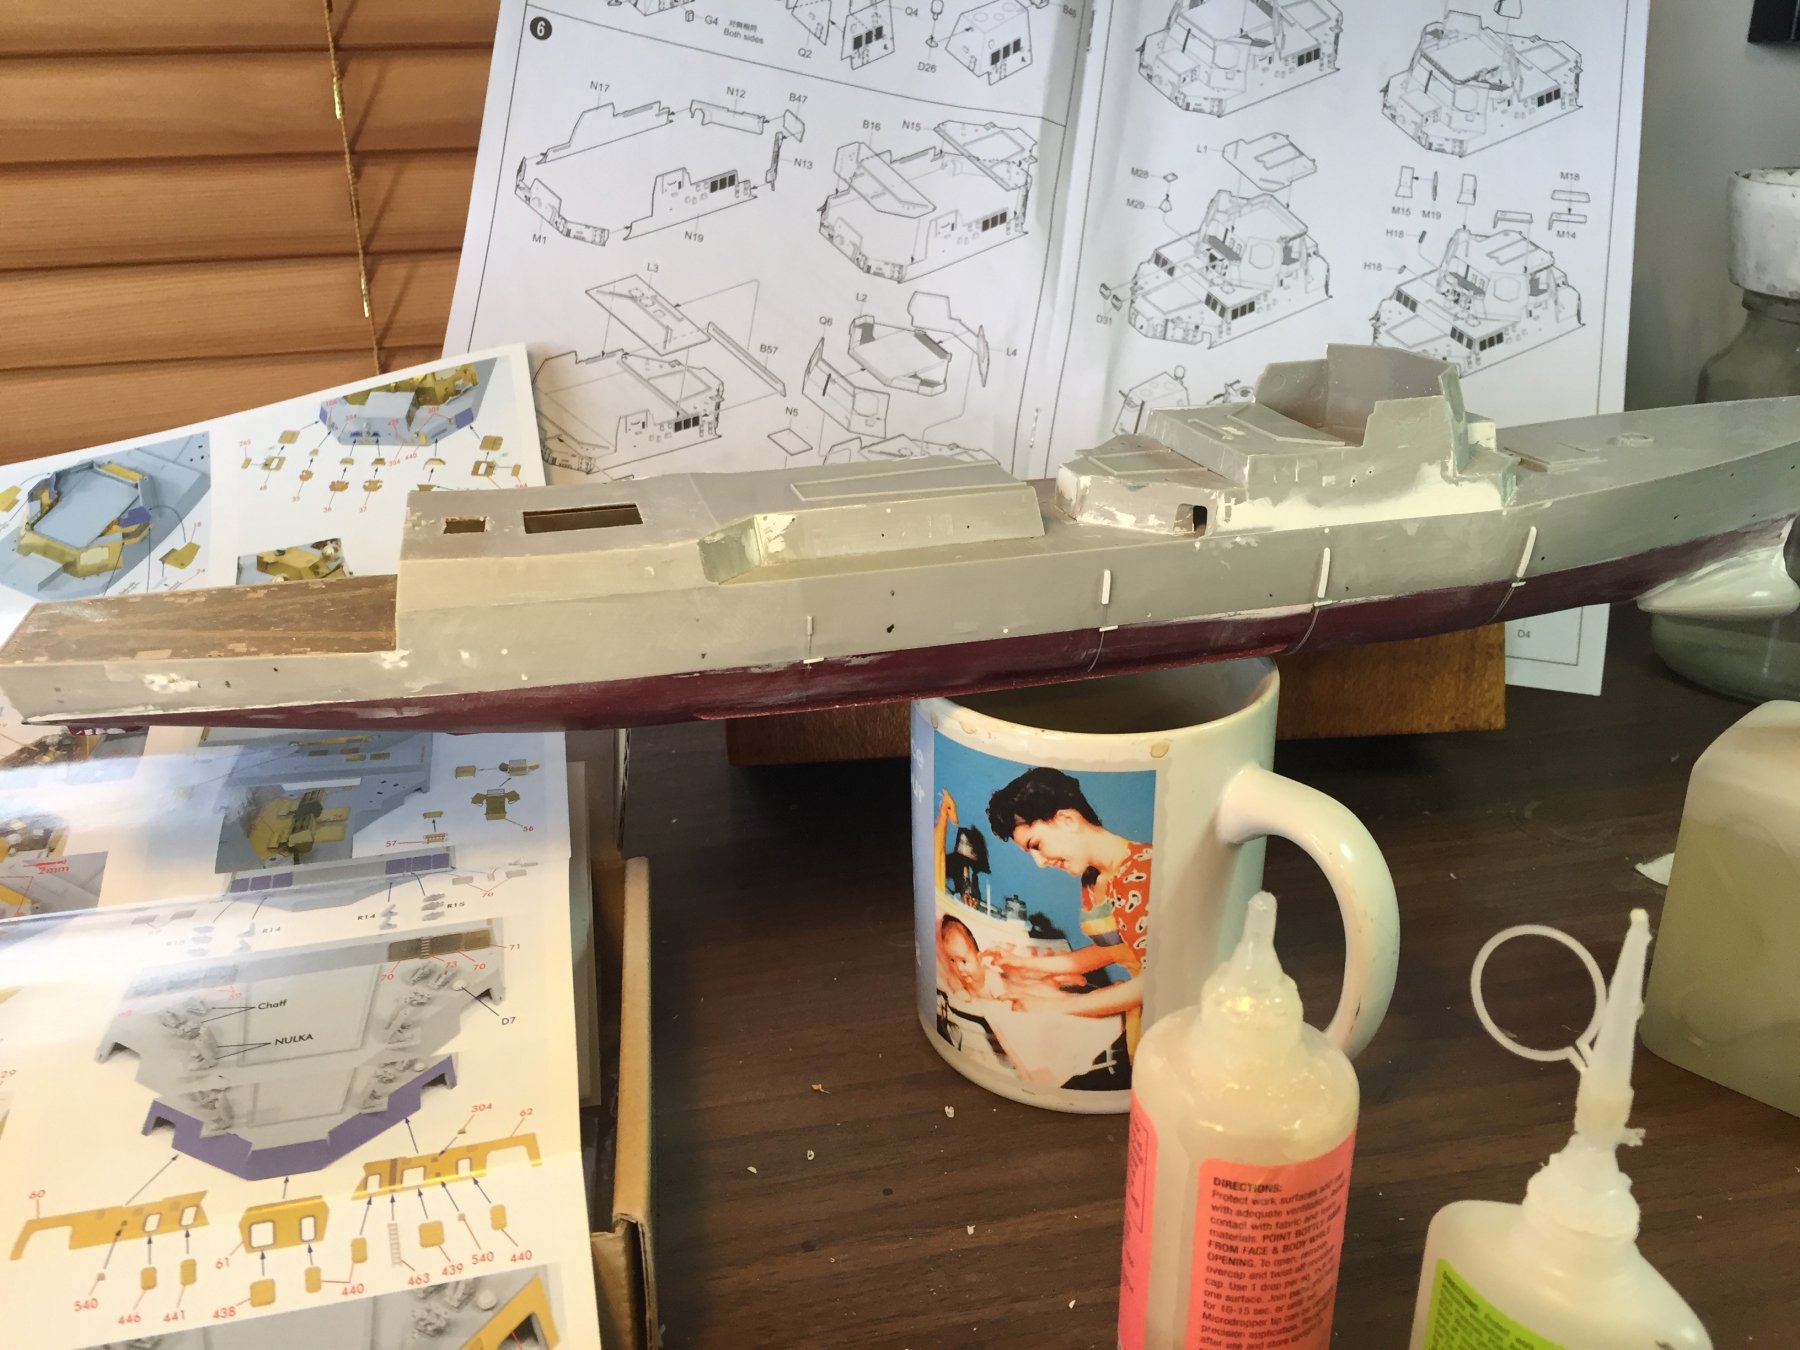
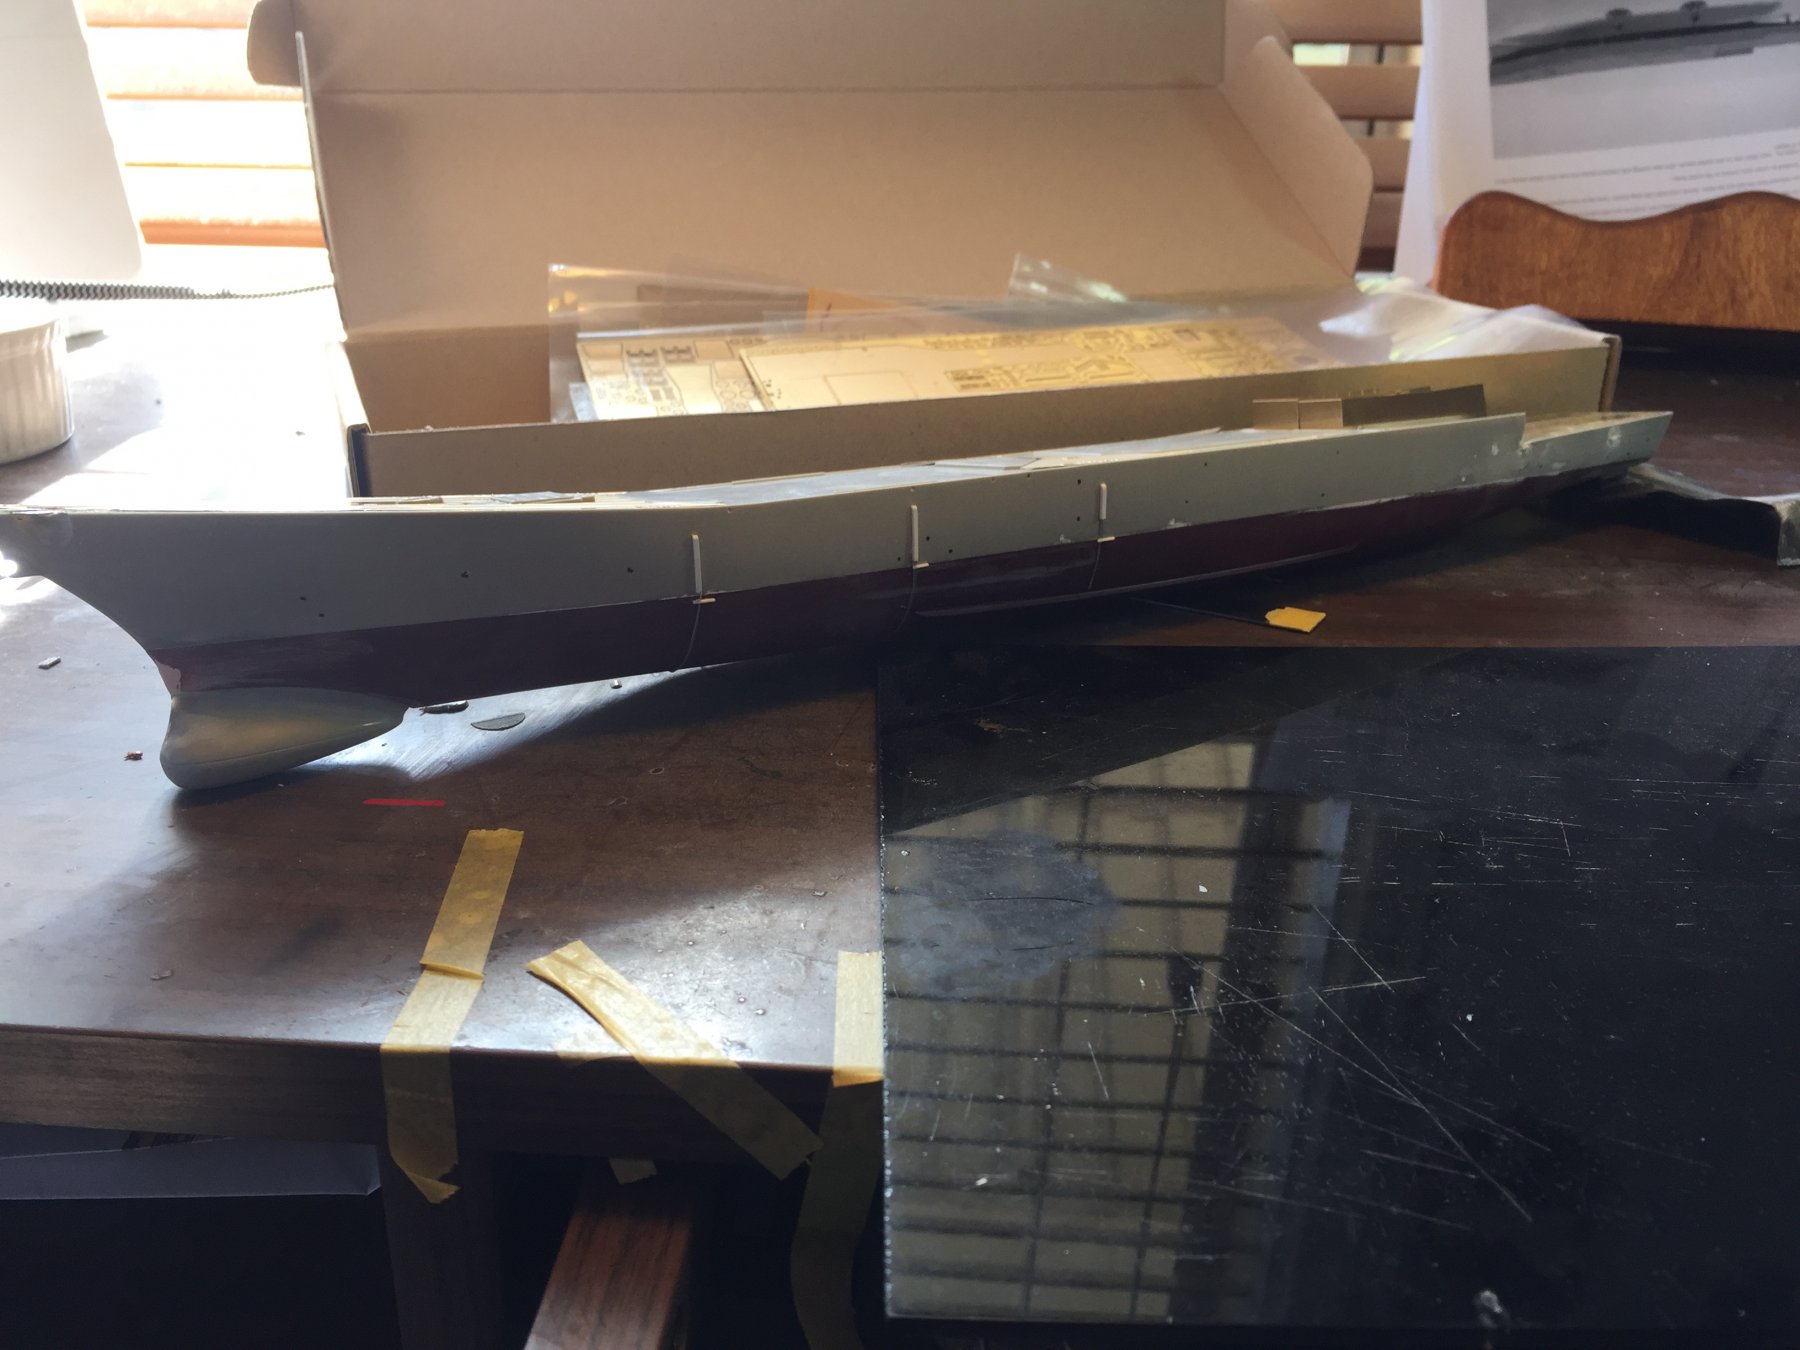
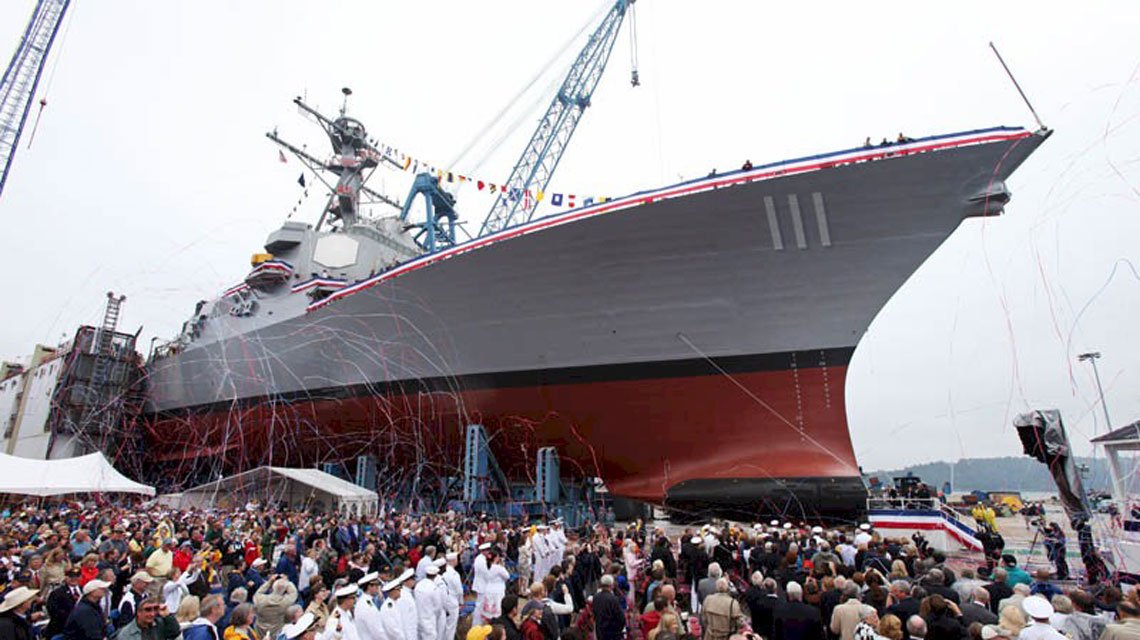
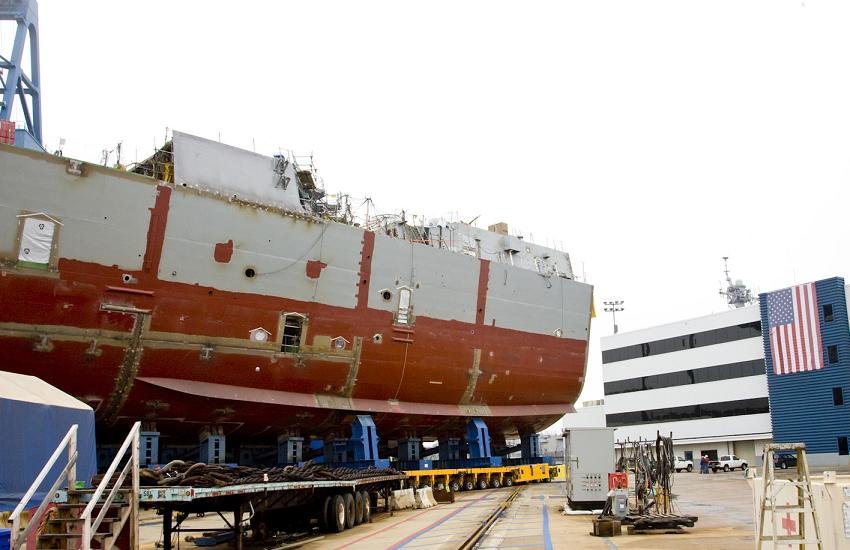
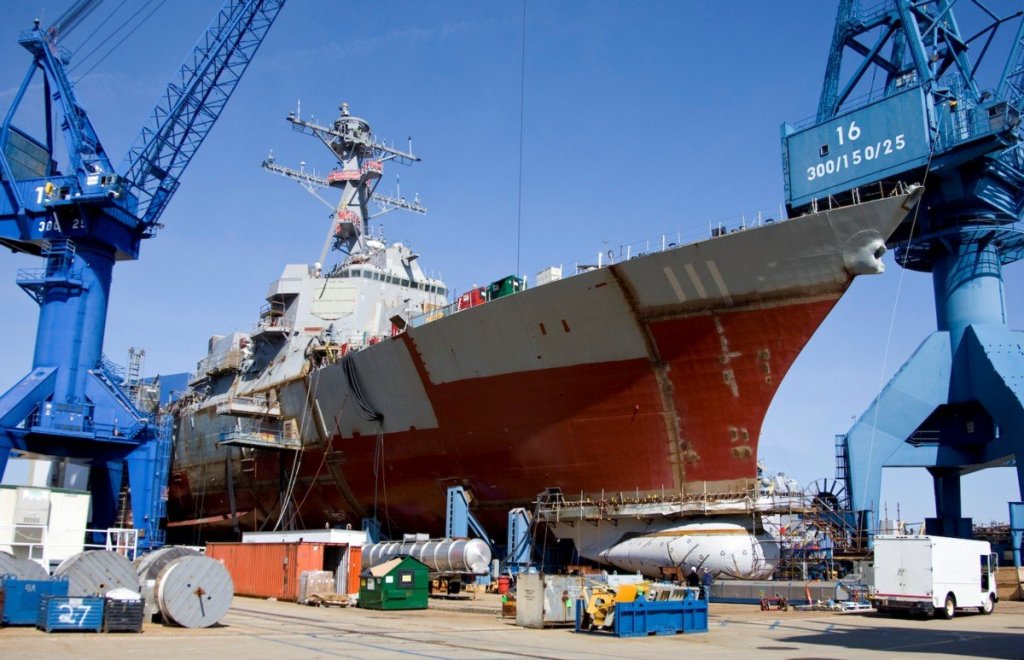
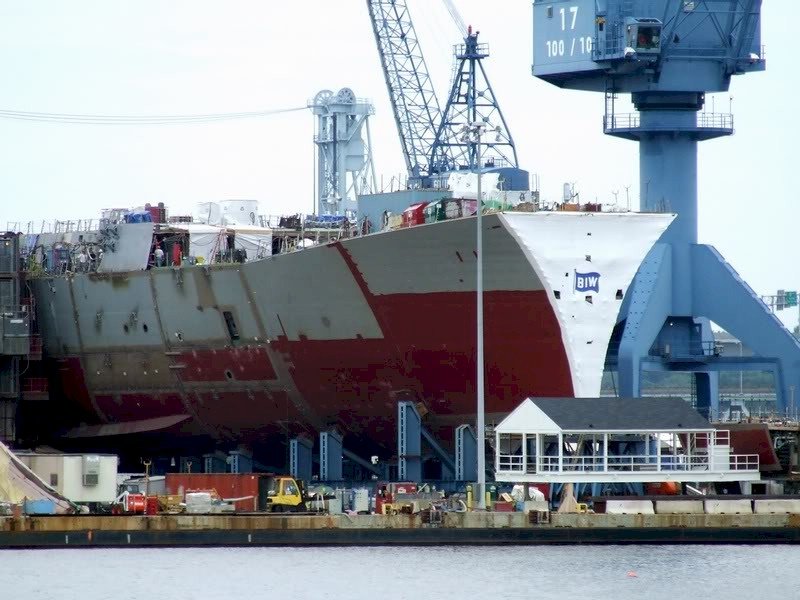
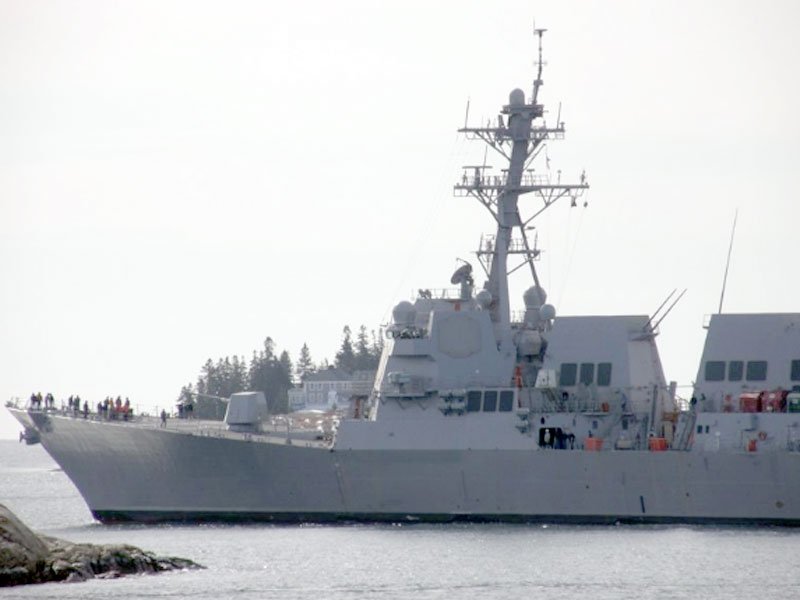
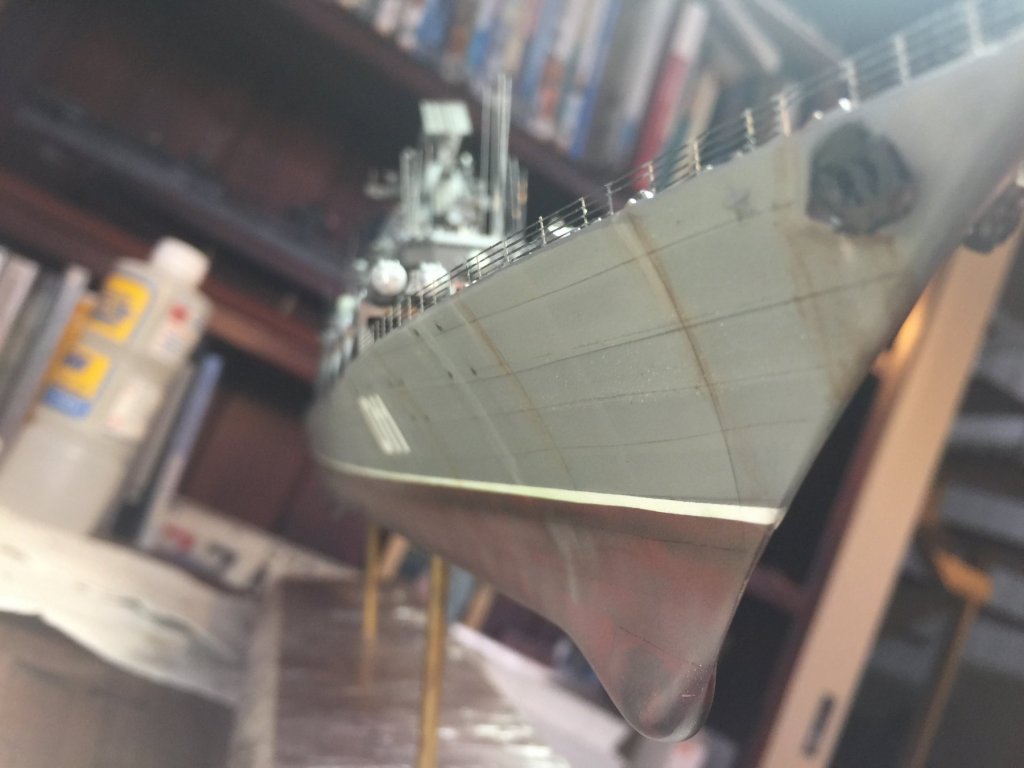
The hull is joined up. I found with my last build being Trumpeter, they give you the two options of waterline and full hull. Not a fan of this as it means the join at the waterline has to be perfect which i find very hard to achieve. So, lots of pity and sanding later, all the bits and pieces shaved off the hull and deck and were’re Ready for a dry fit of the first bits of PE. Im not going to weather her anywhere near as much as Mr K, but I will need to re drill all the hull features and panel lines plus there are a few armour belts which have to be added prior to the oil canning process. I will paint the lower hull first thought. There is a LOT of PE for this kit. Not daunting, the instructions are well presented, I just have to figure what I can paint off kit and what needs to go on first.
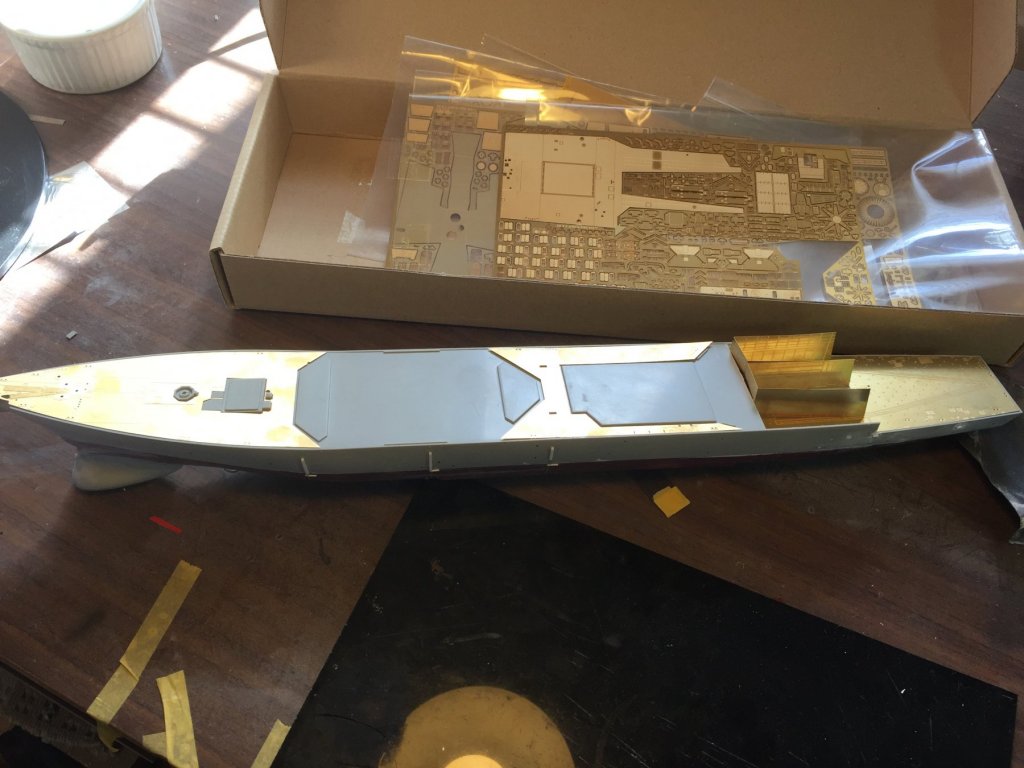
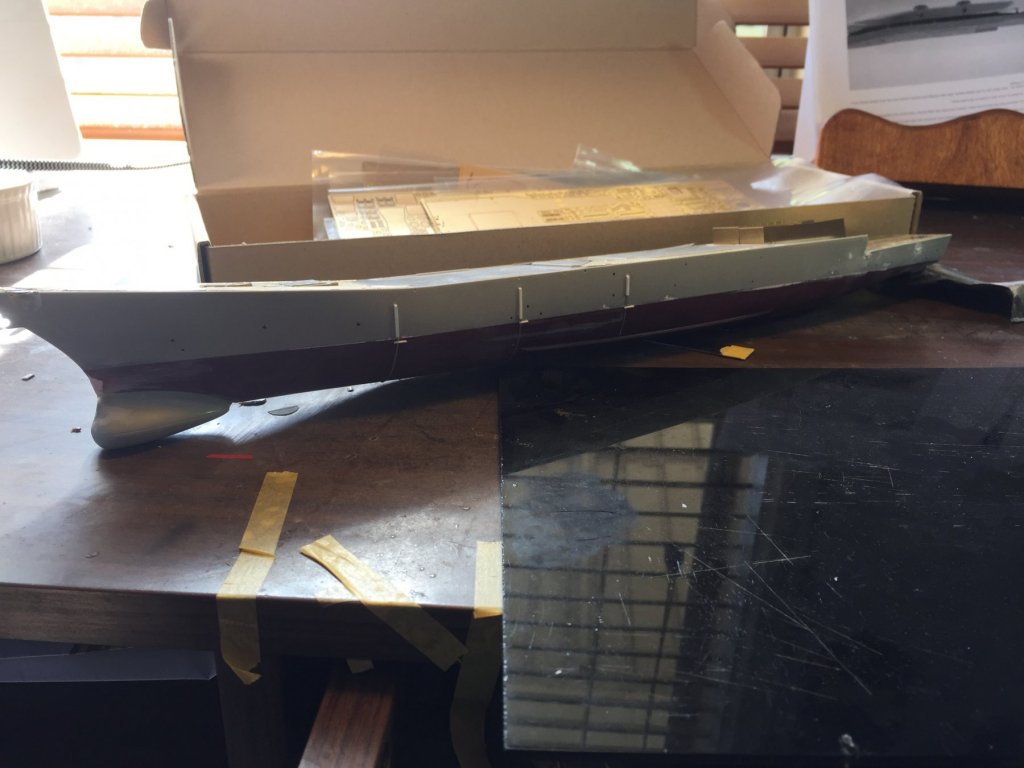
- 155 replies
-
- 14
-
-
Ok, thanks. Yours is a very hard act to follow K, I think there’s a bit of work to go aligning the bow yet before I touch the metal bits. Always happy to go with your advice! greg
-
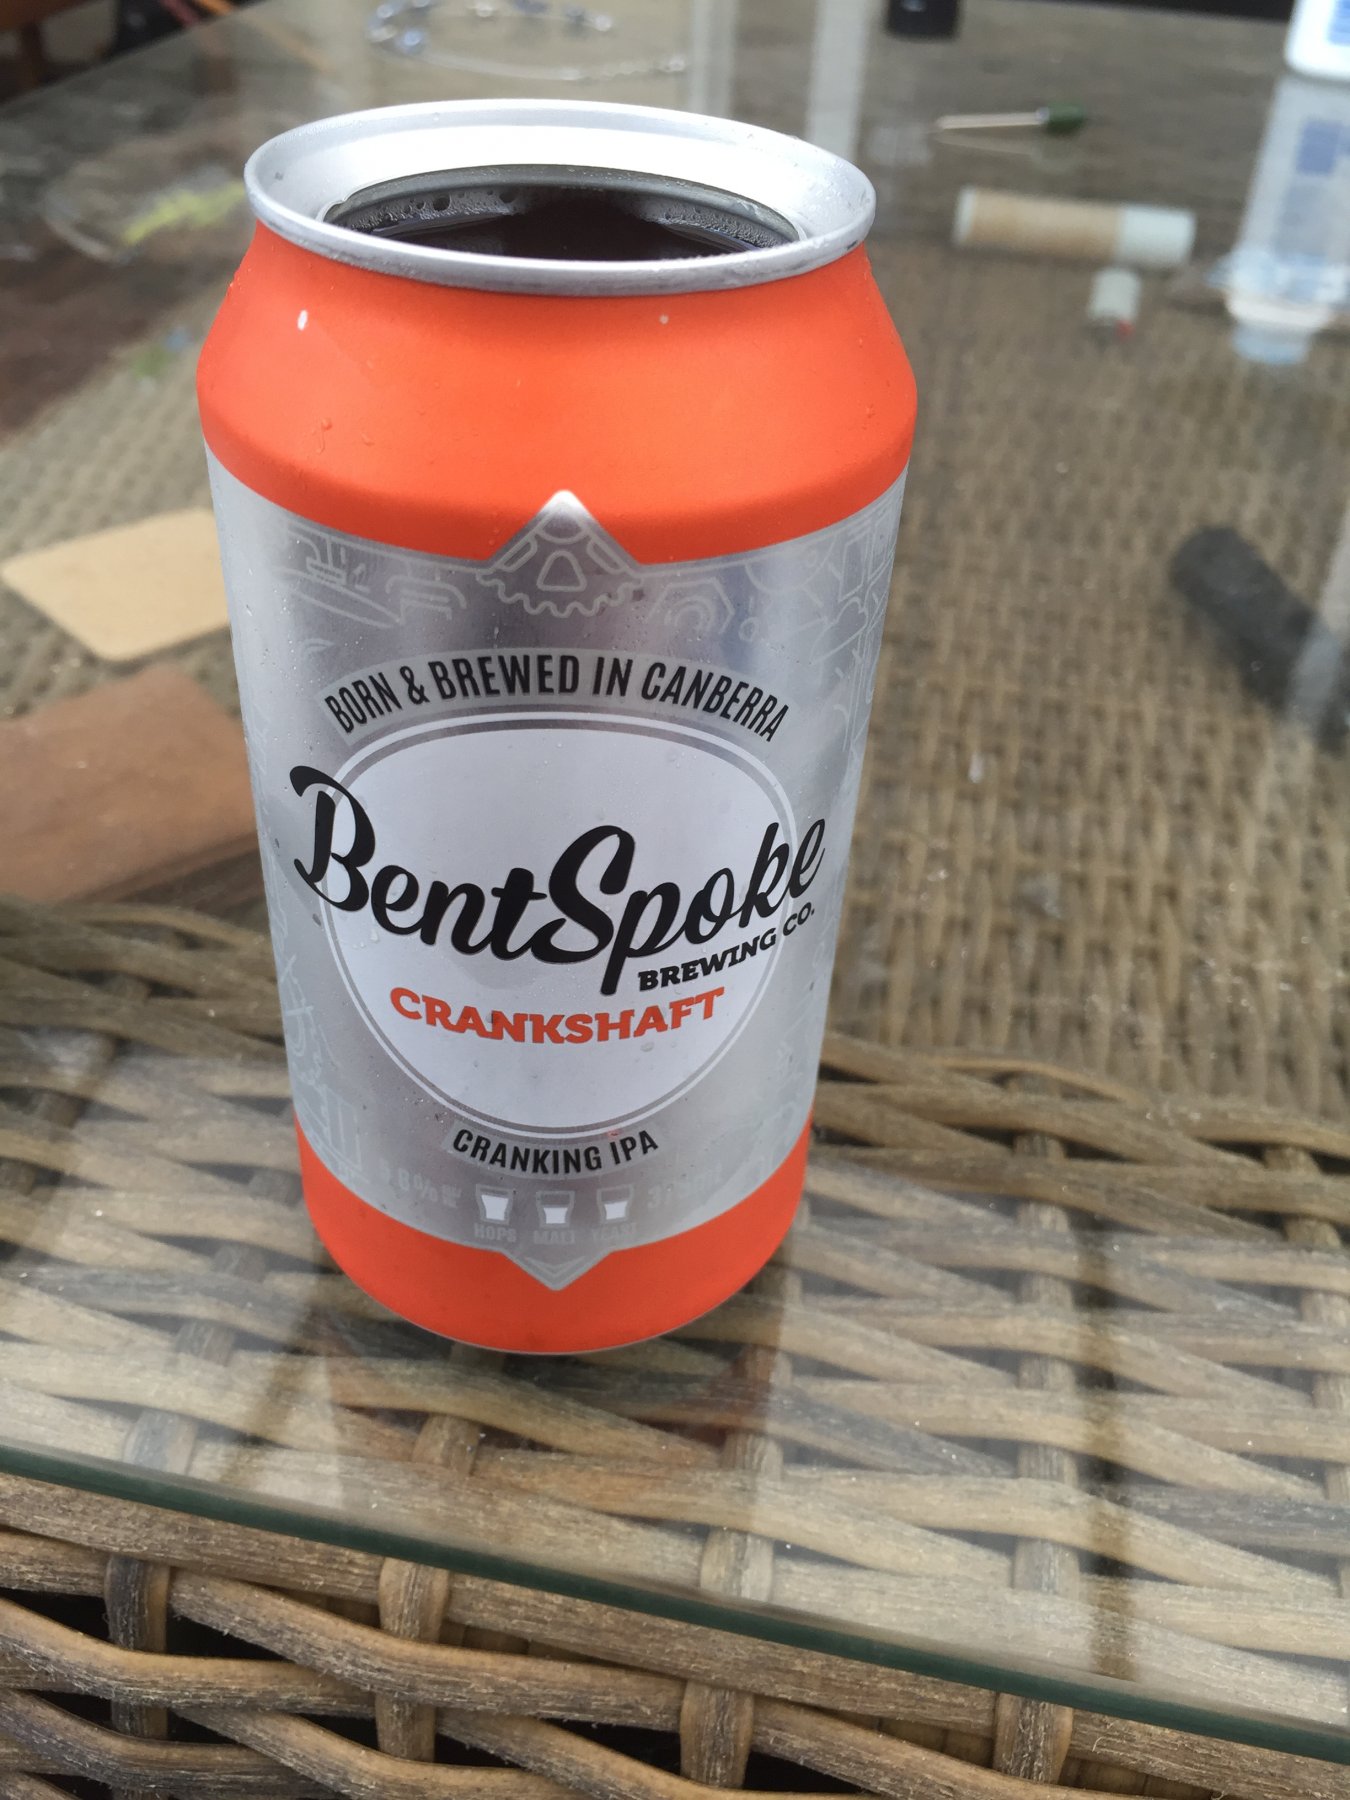
No one drinks Fosters in Australia as it’s made differently and it’s horrid! This is a local beer that made the top 10 in Oz last year.
-
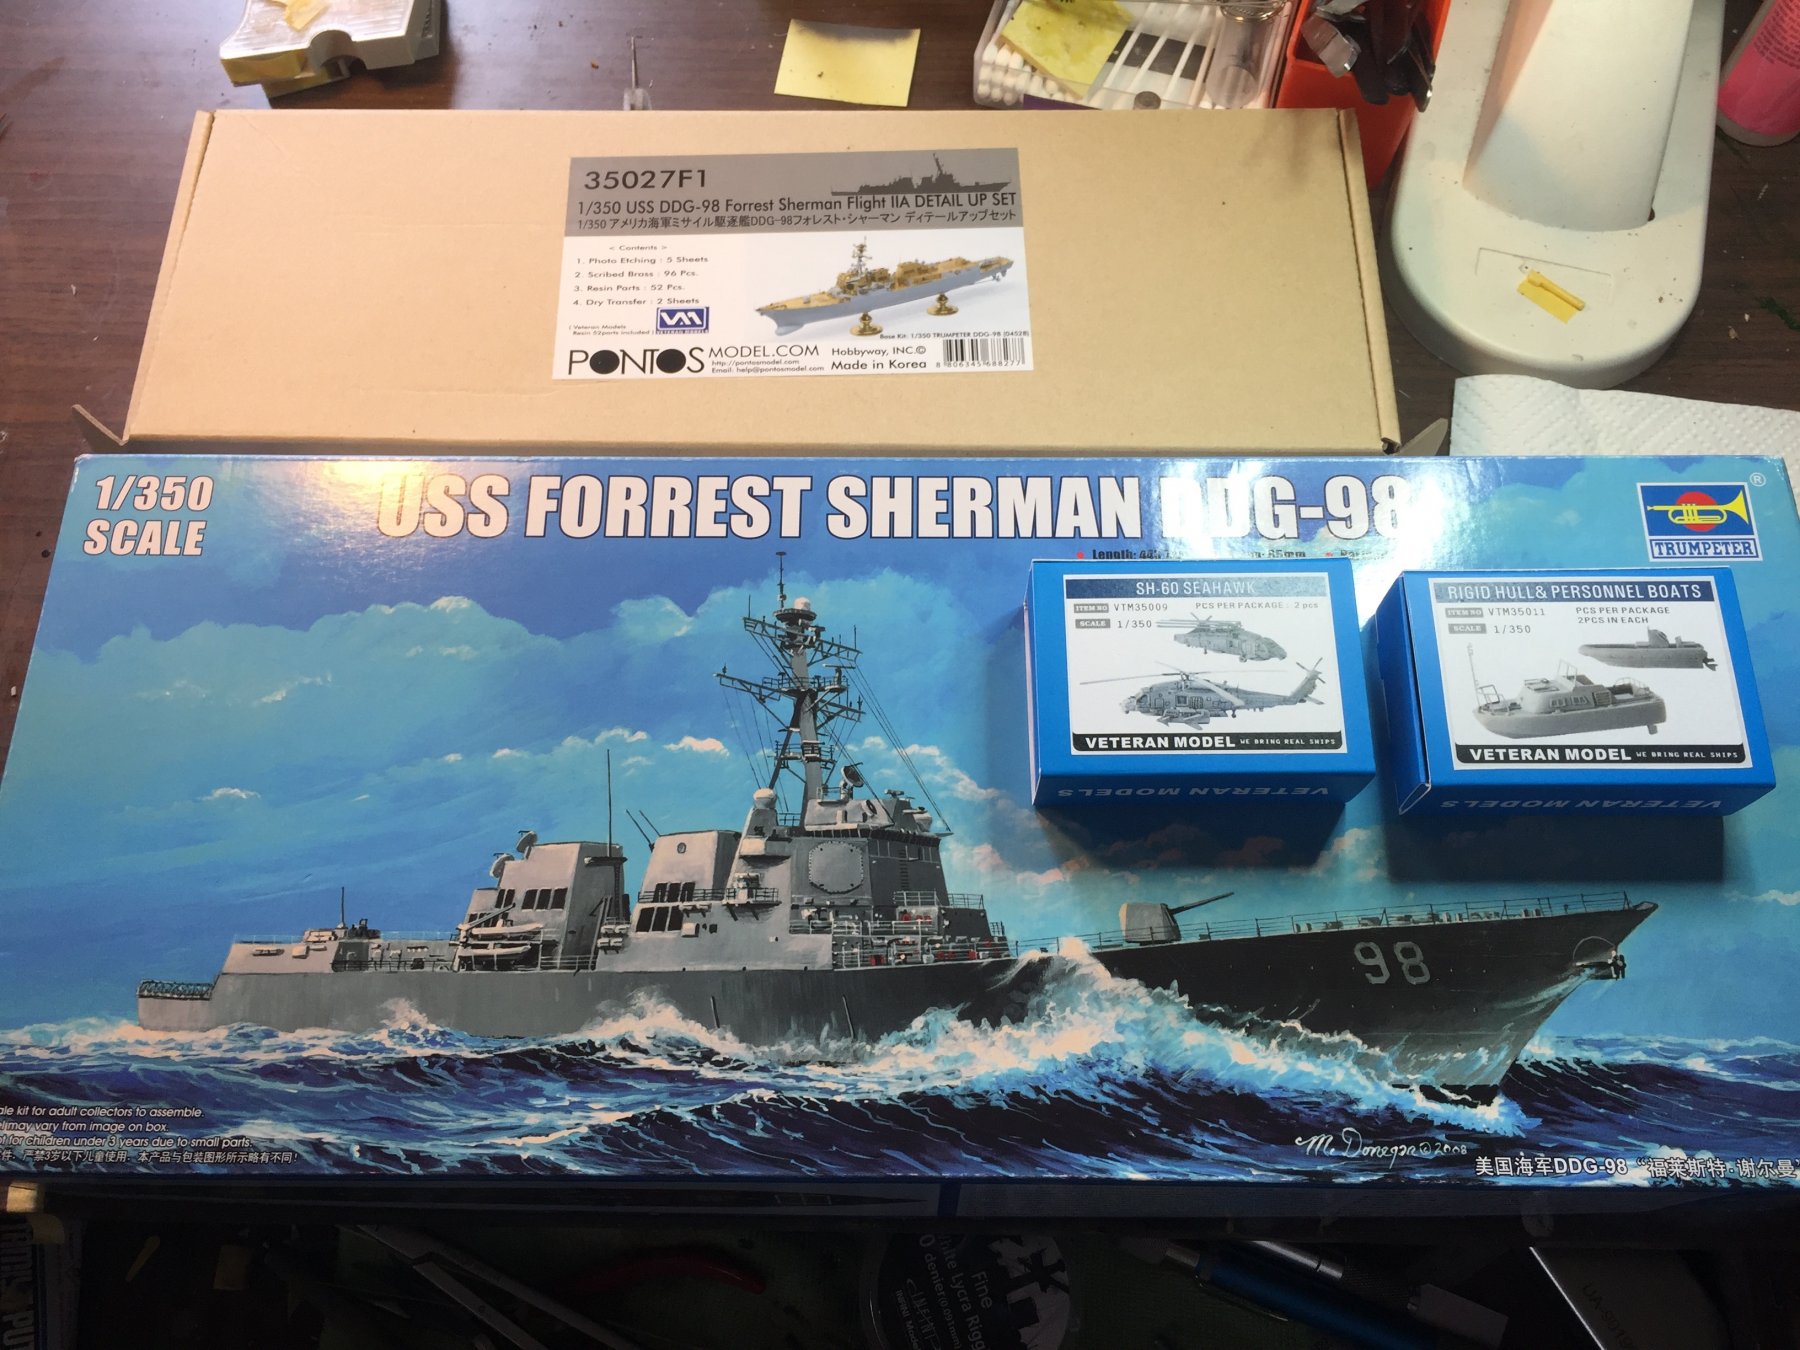
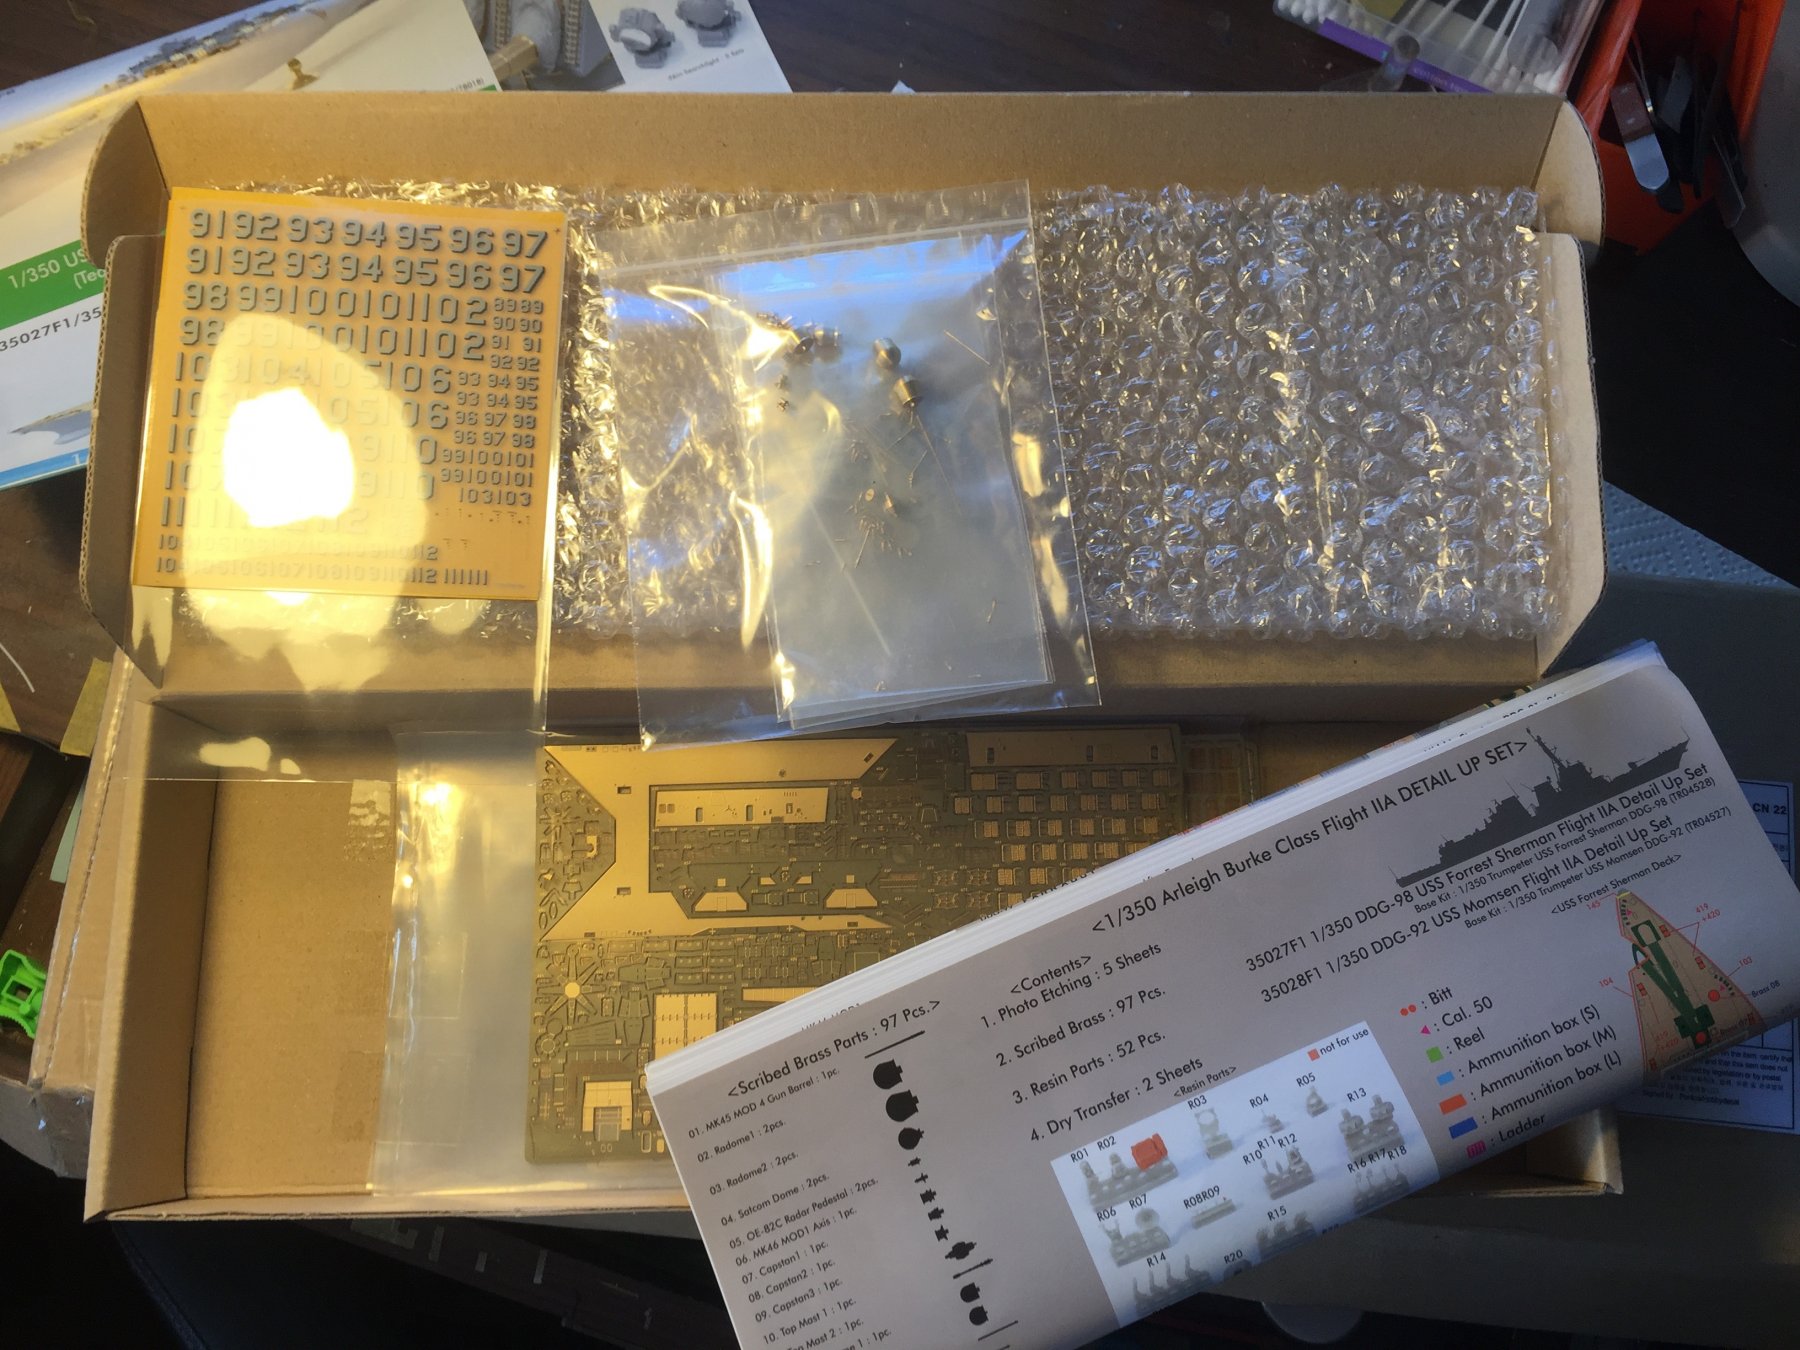
The Pontos stuff is extensive, as well as Veteran models resin. The Trumpeter hull needs a fair bit of work to bring her up to spec, but should be a good challenge.


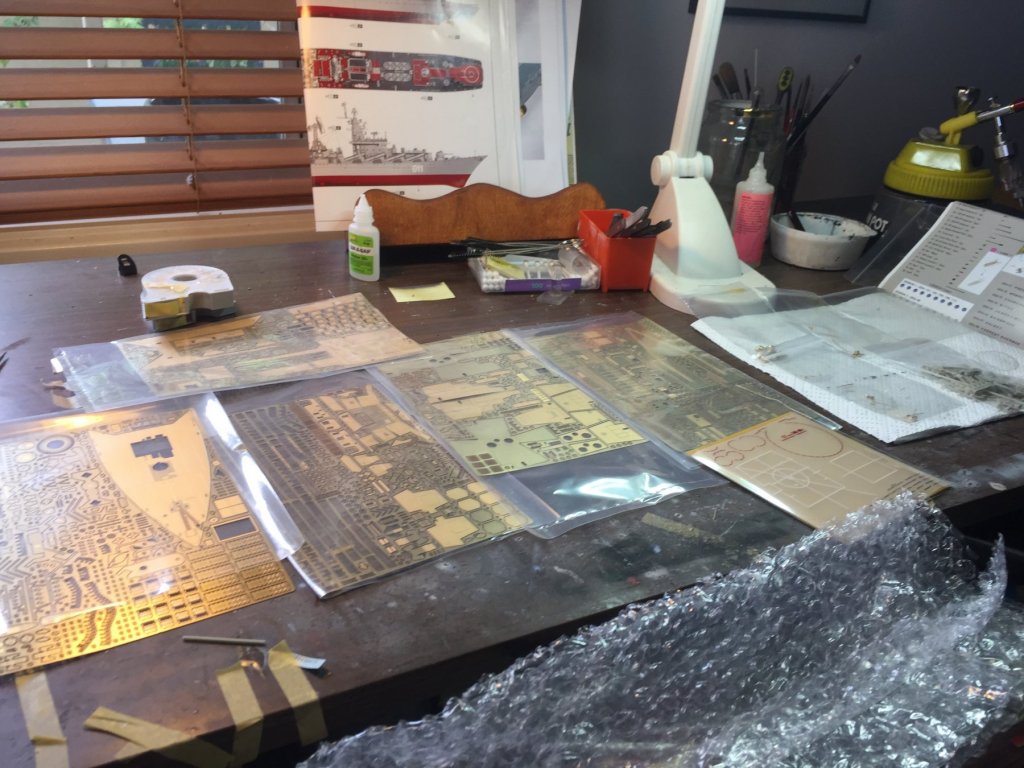
- 155 replies
-
- 14
-
-
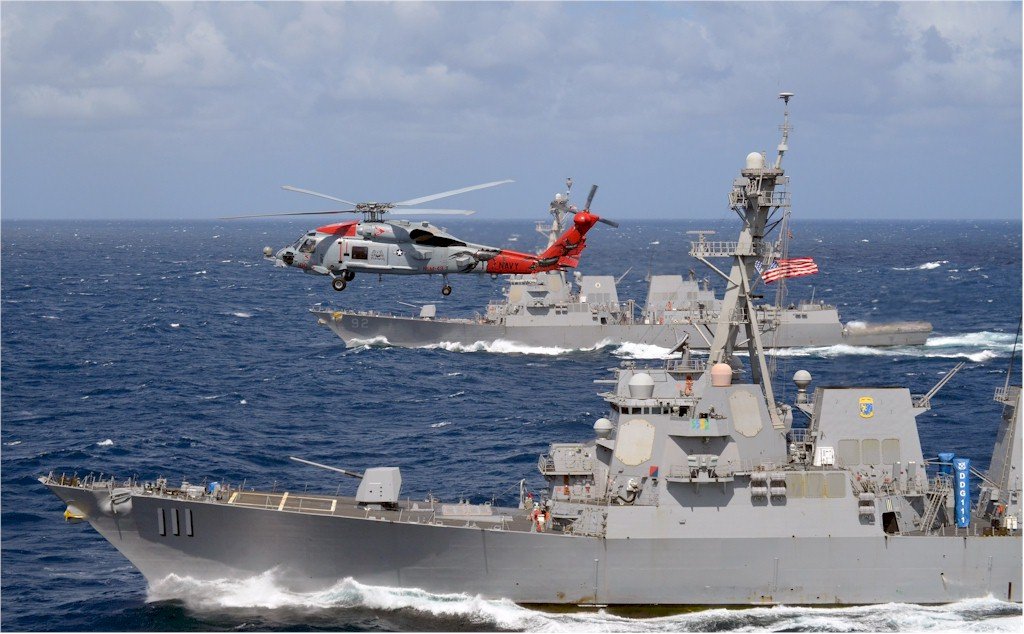
When I saw this Pontos set come out and Mr K's Build of the Momsen, I had to give it a try (he's already done the hard work). There are several variables for the DDG and I'm going to do the USS Spruance.


- 155 replies
-
- 10
-
-
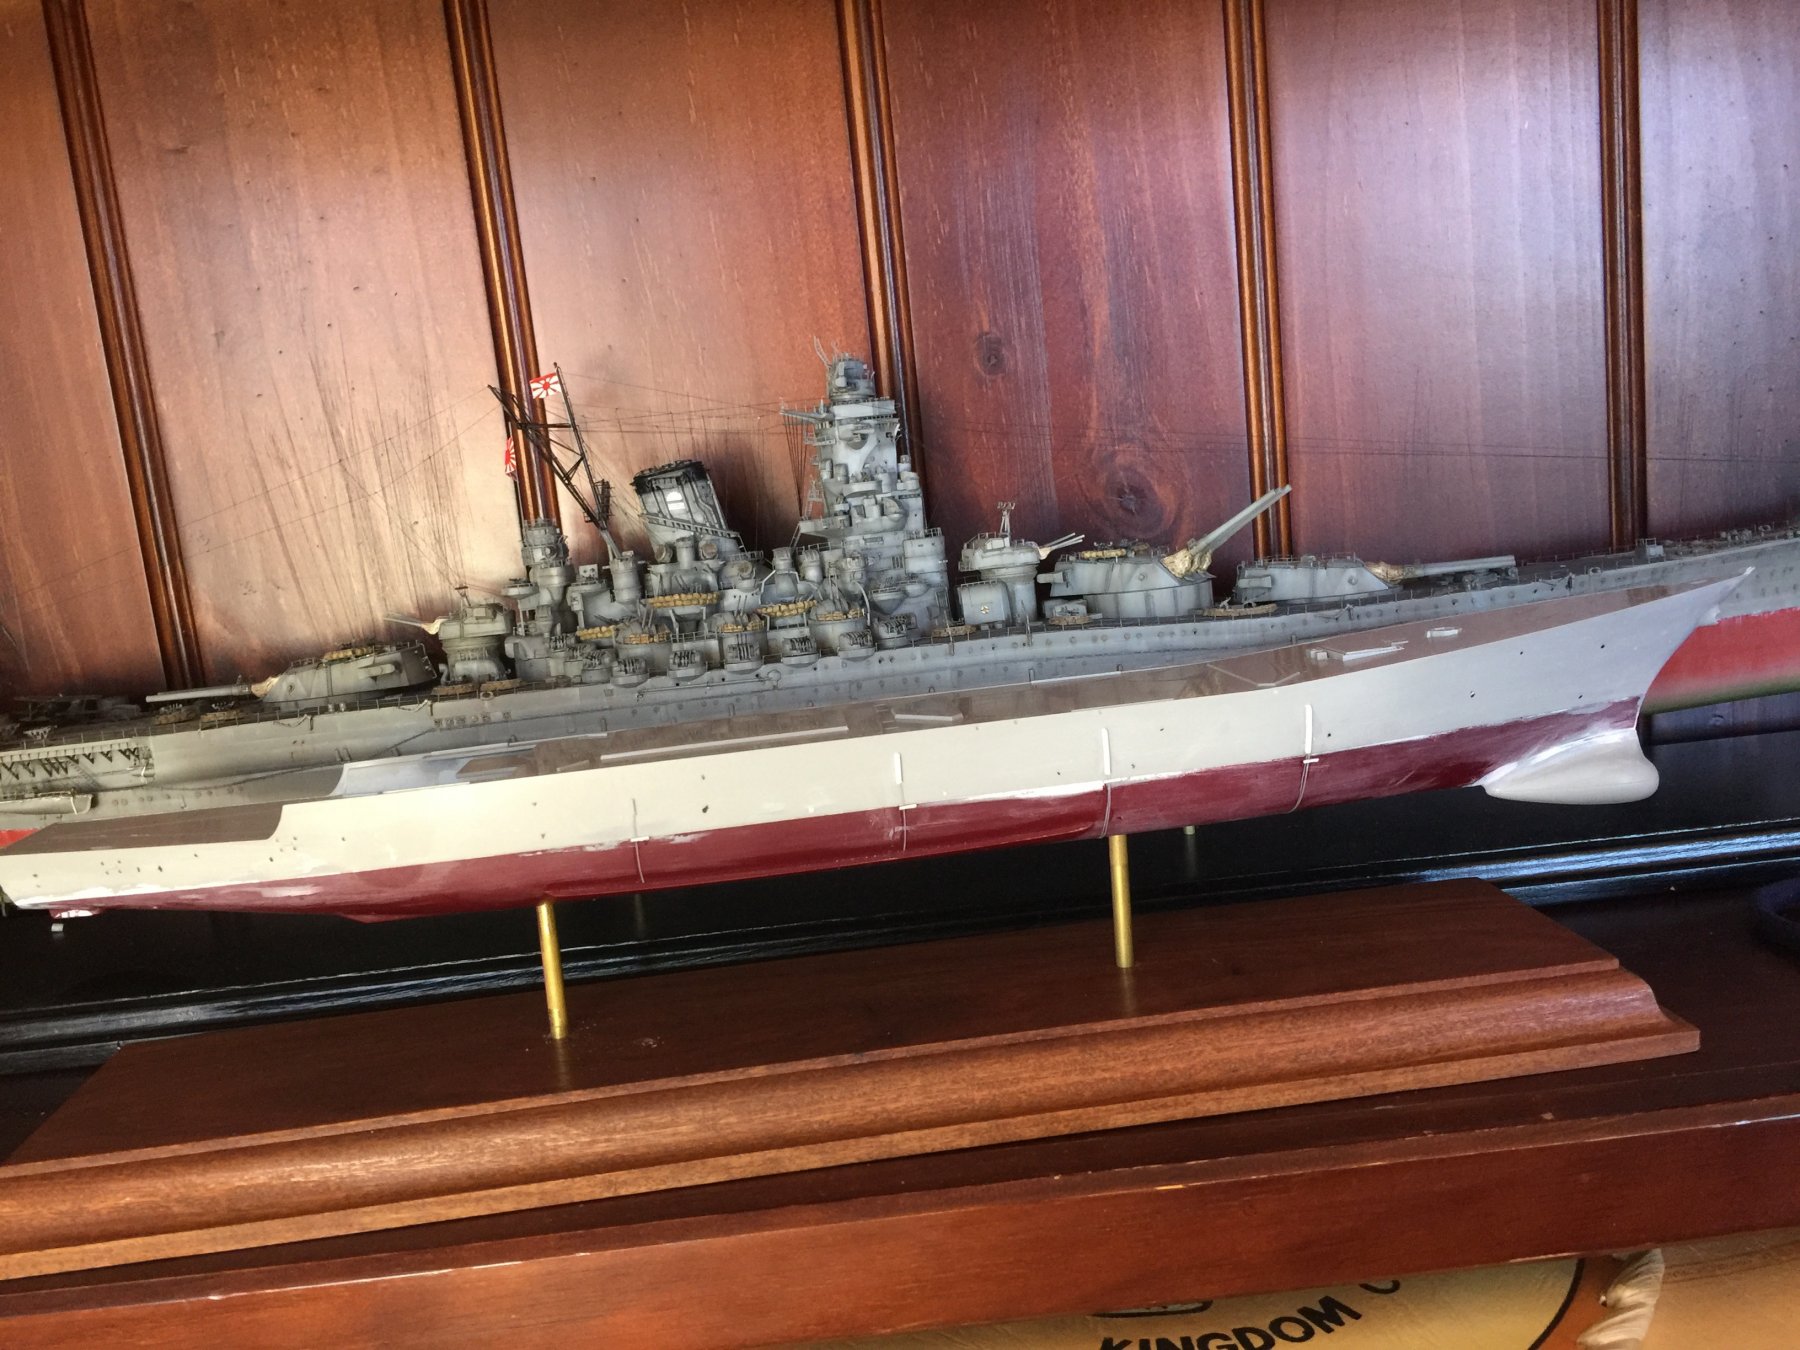
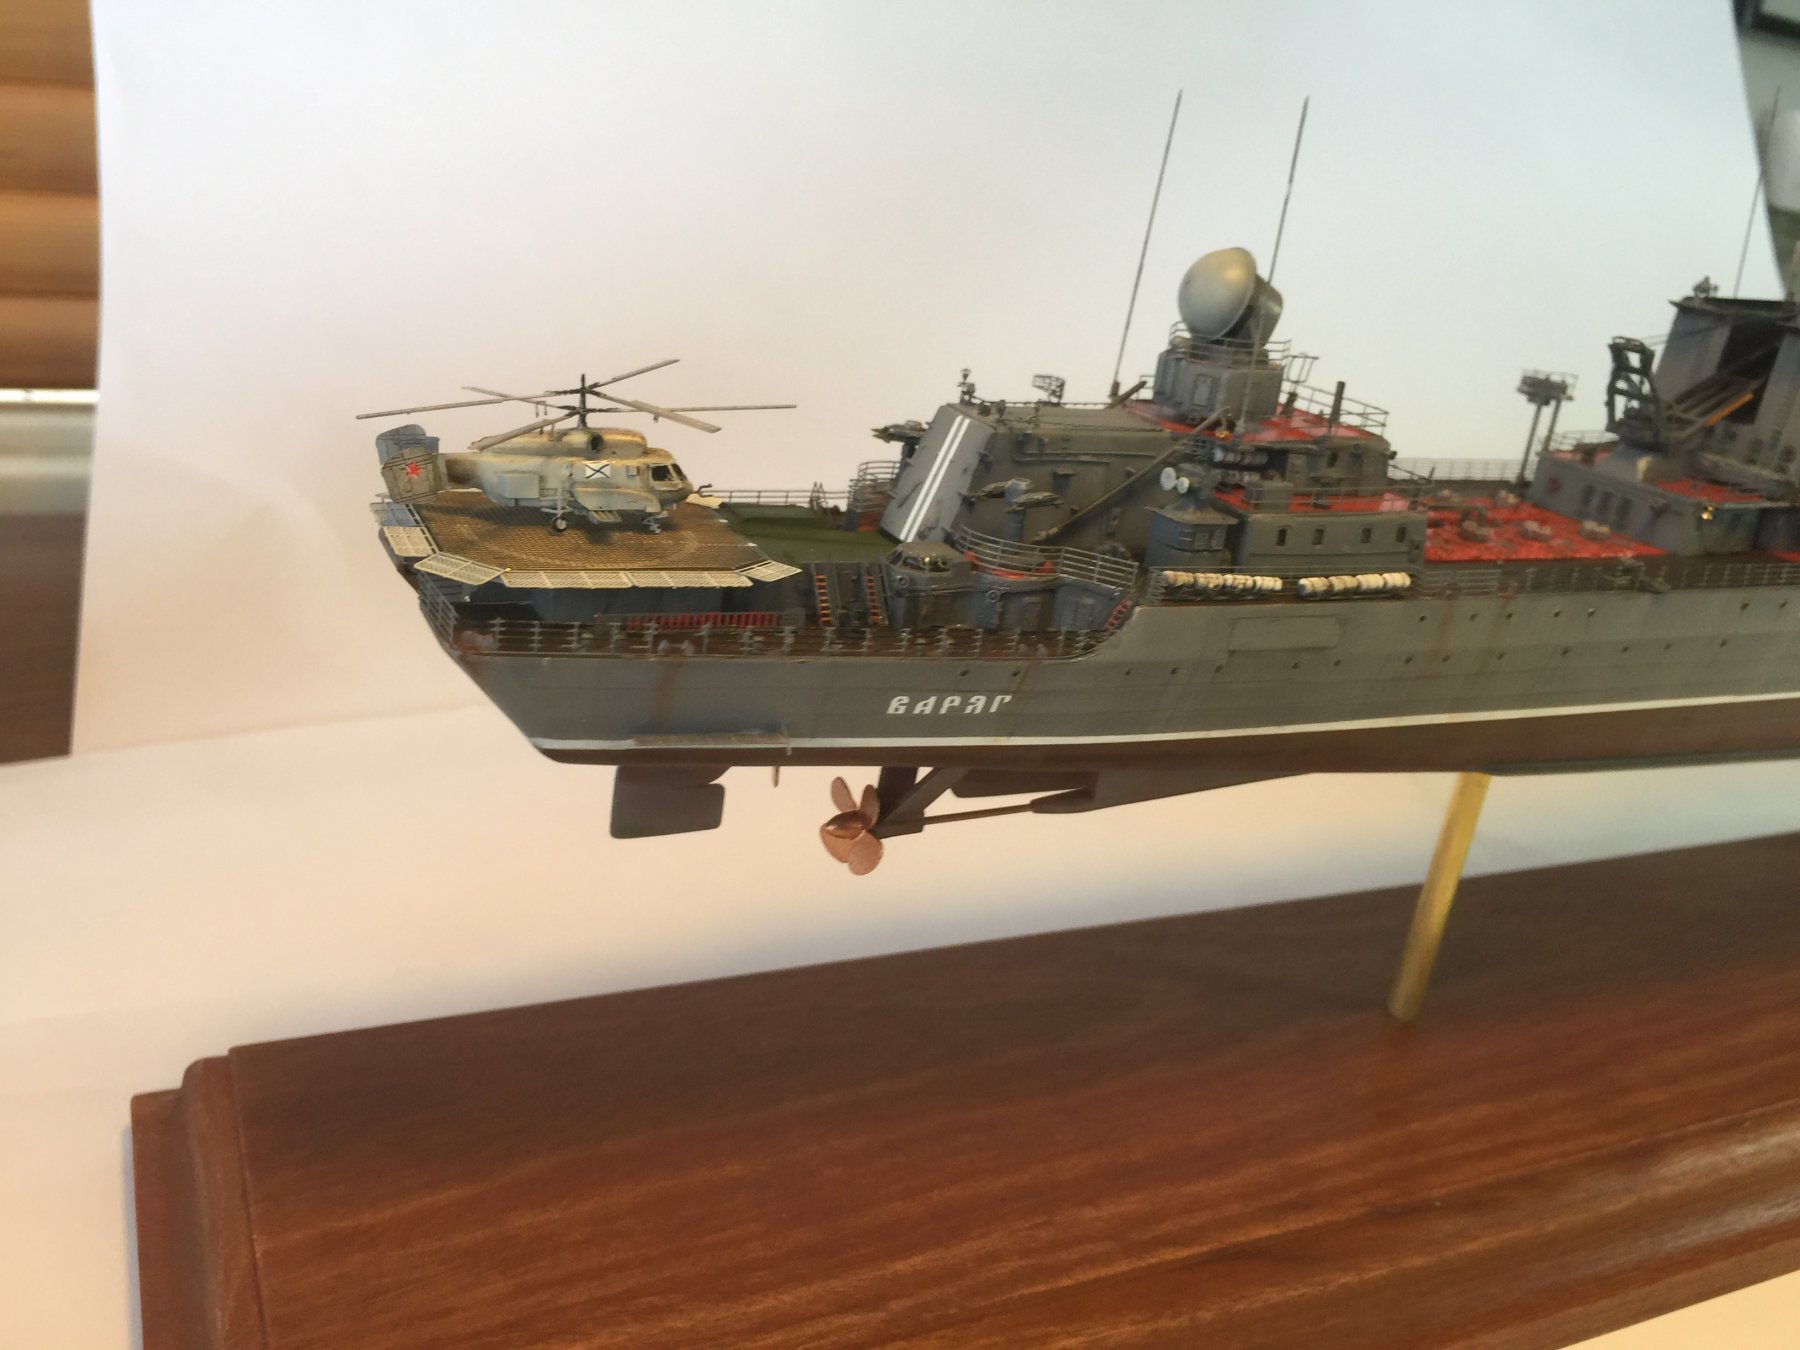
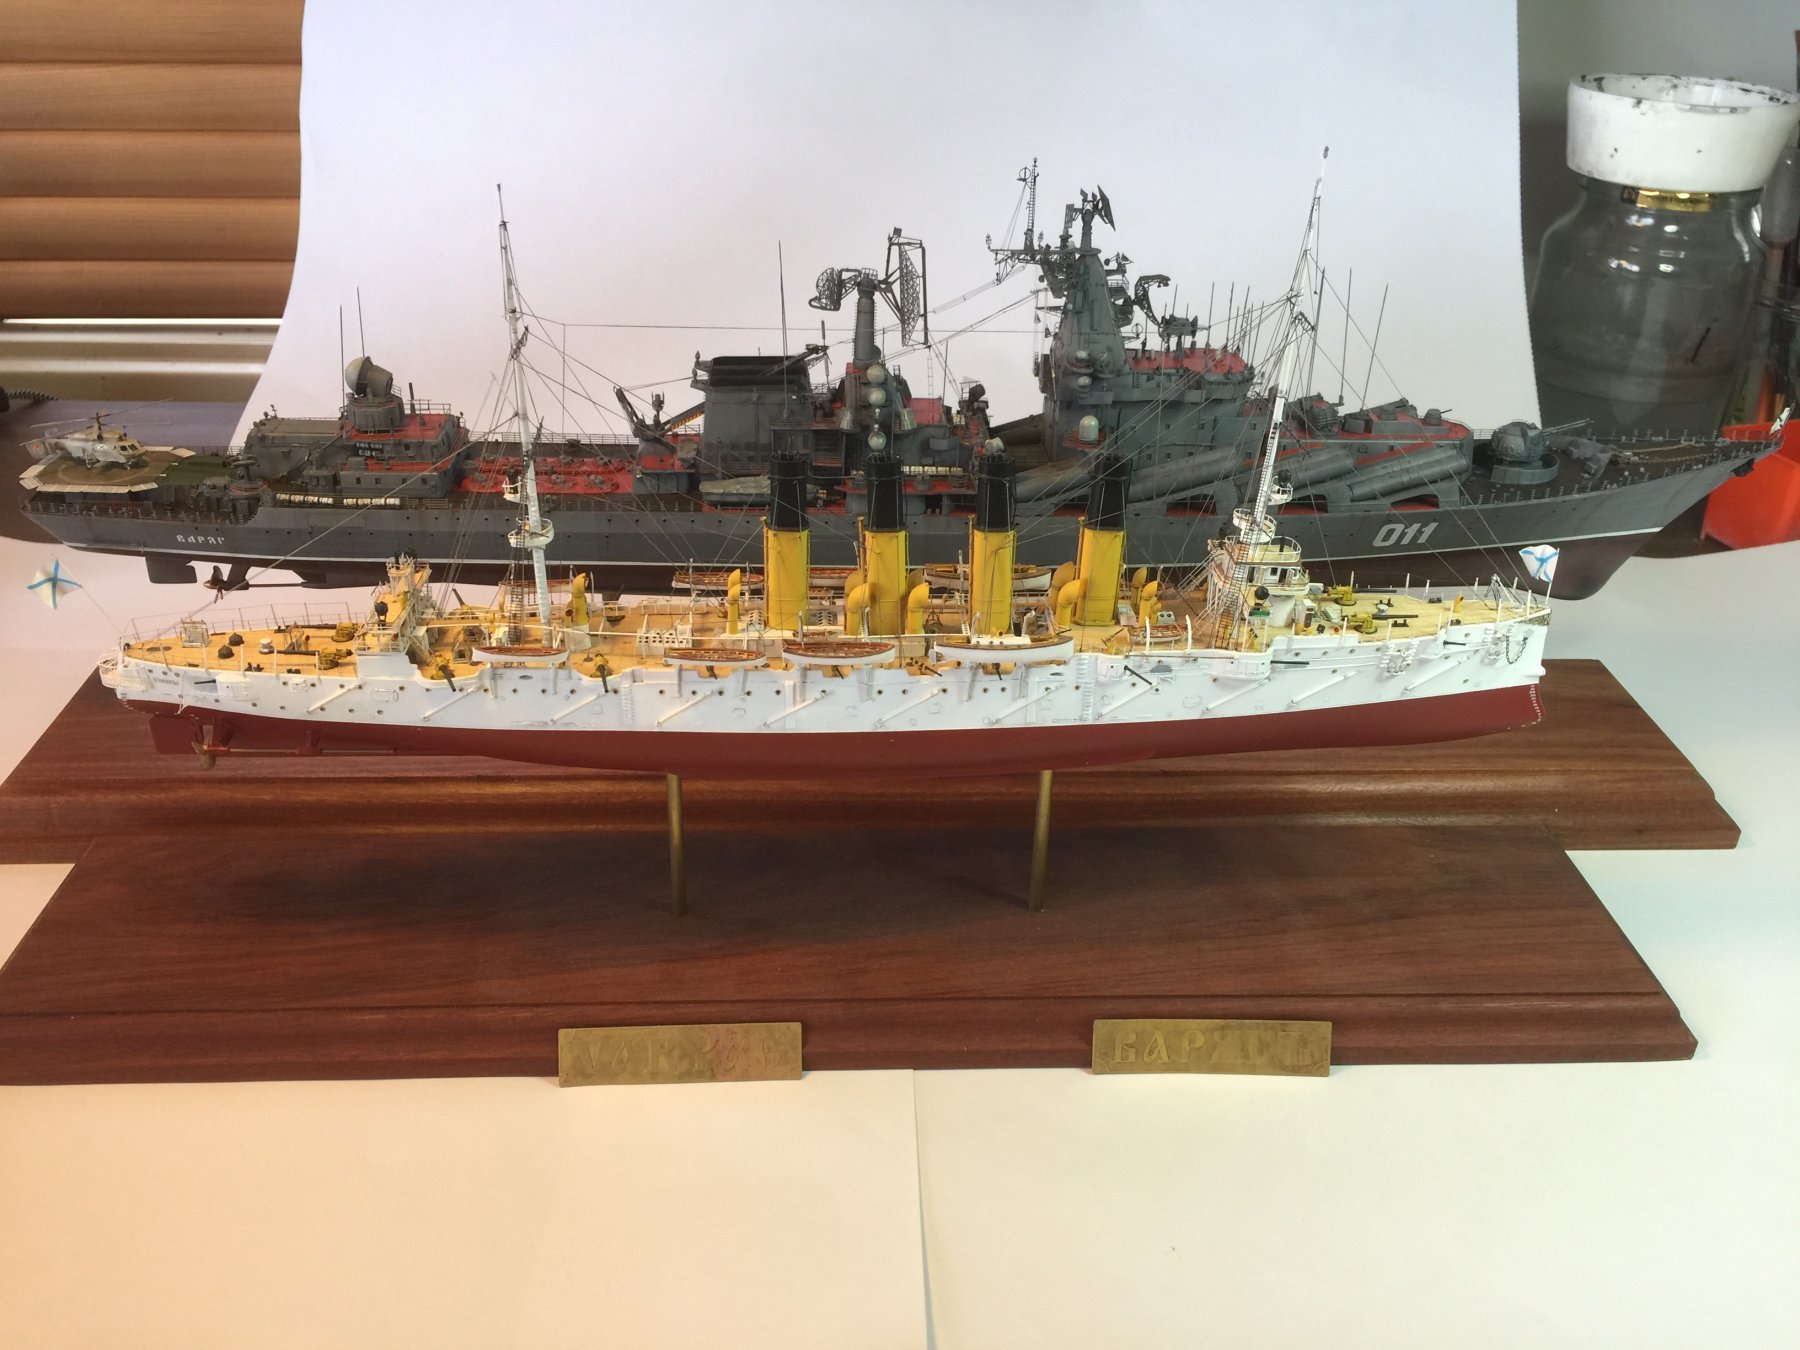
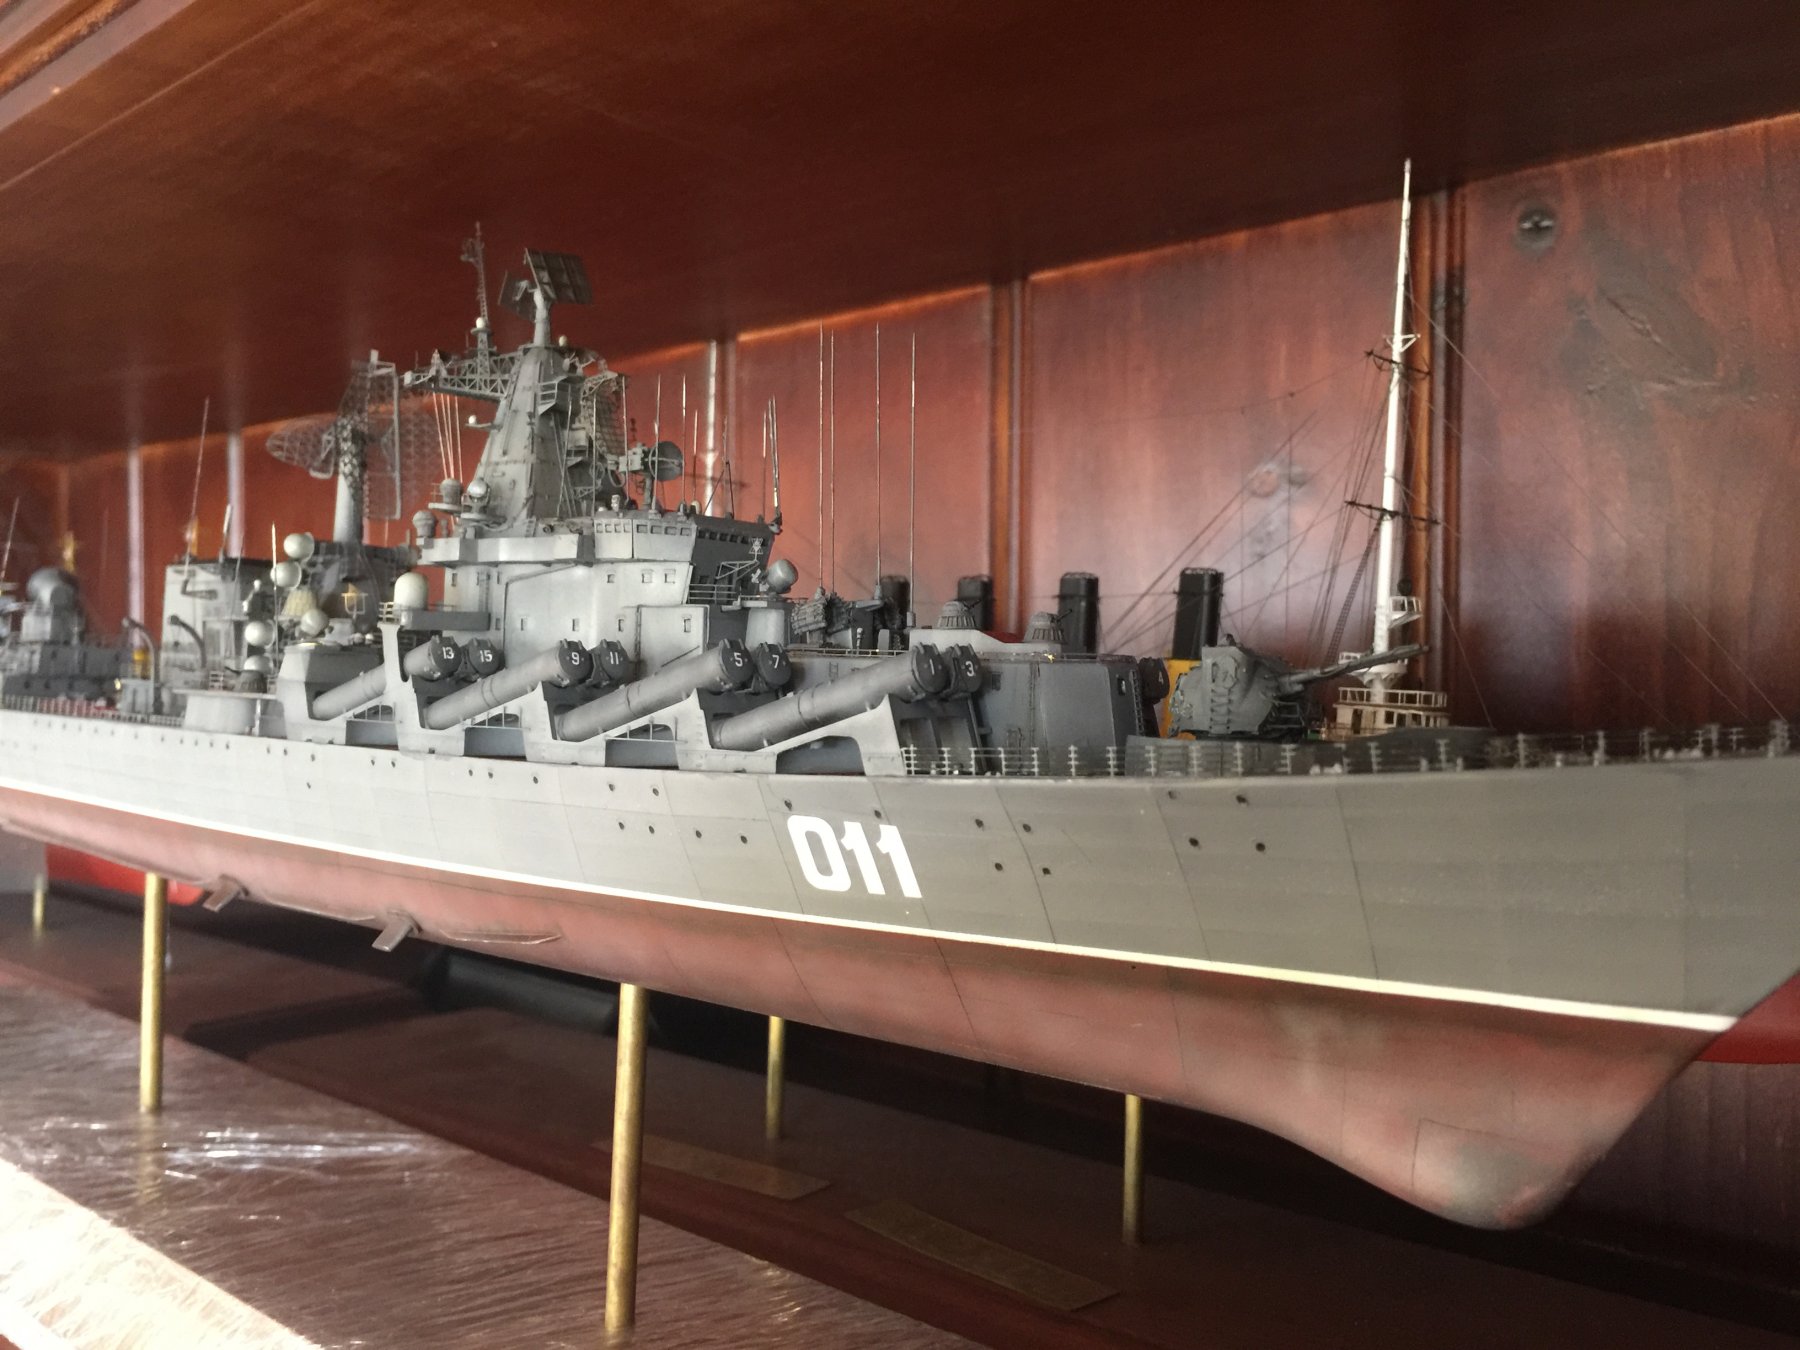
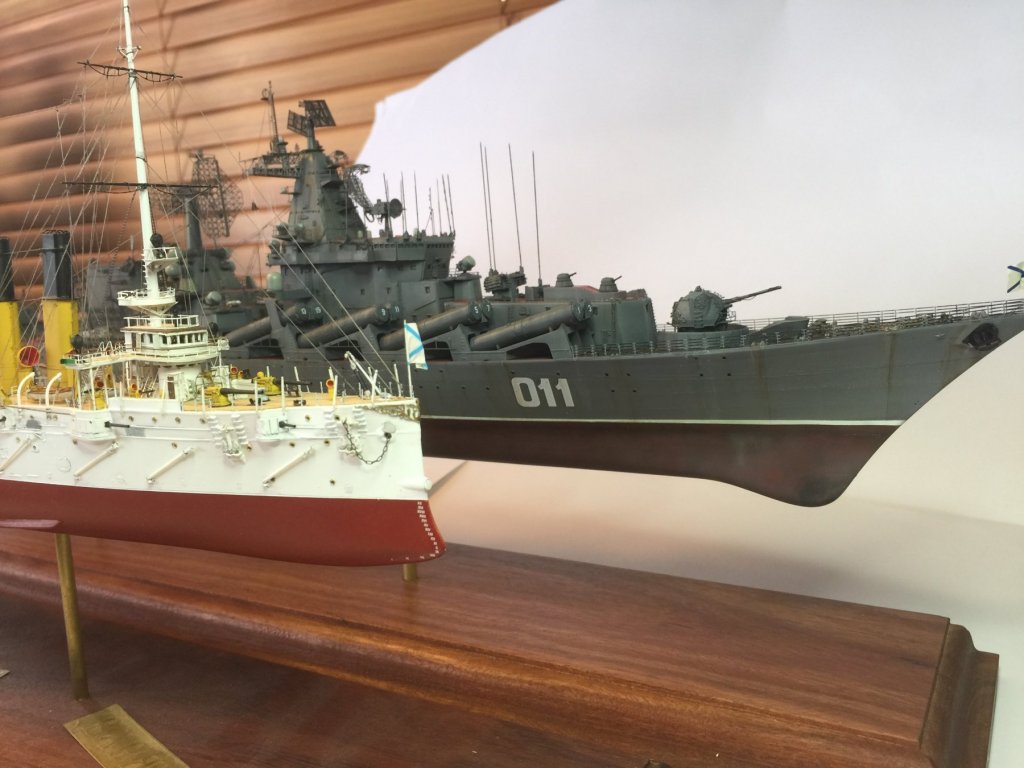
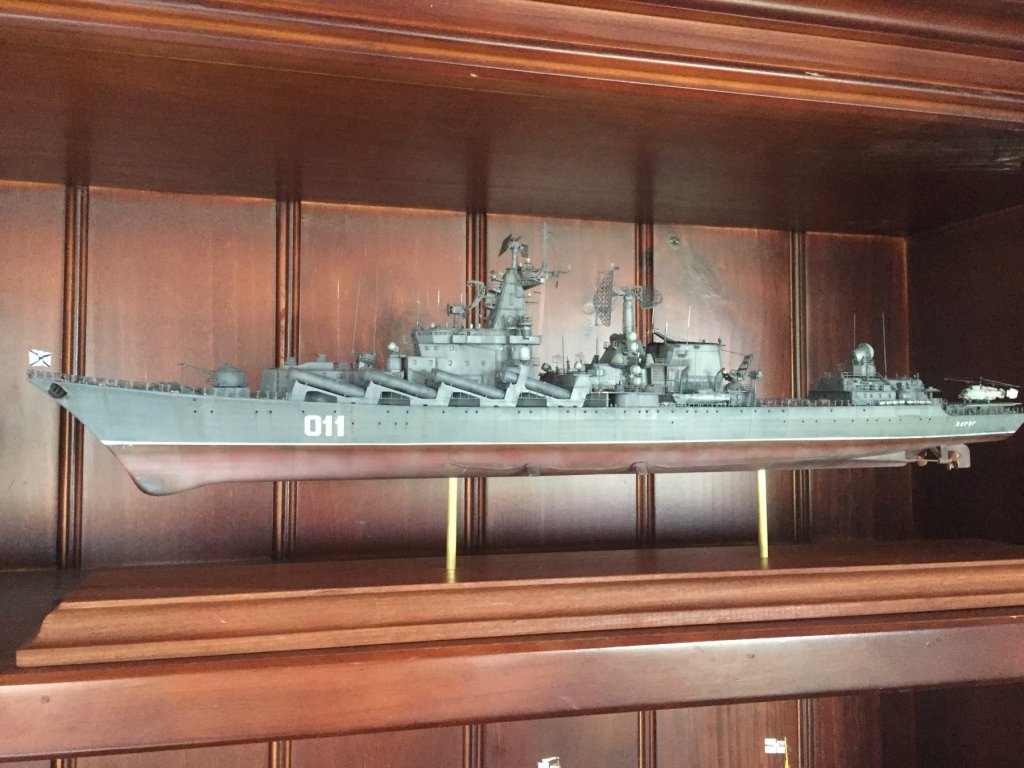
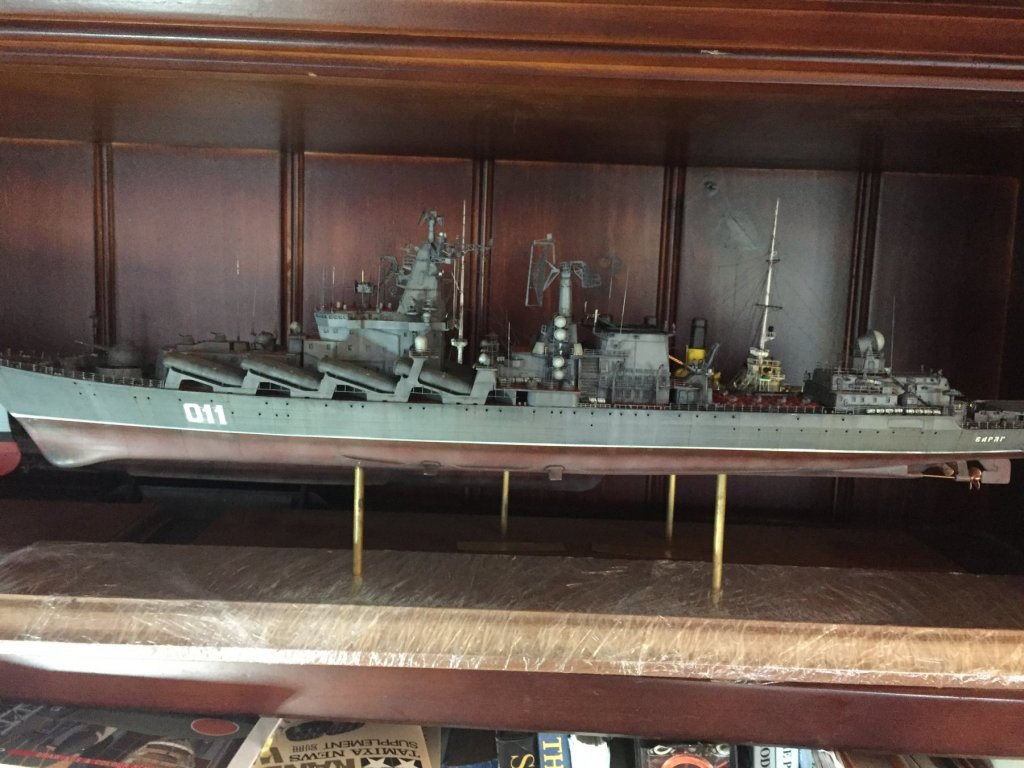
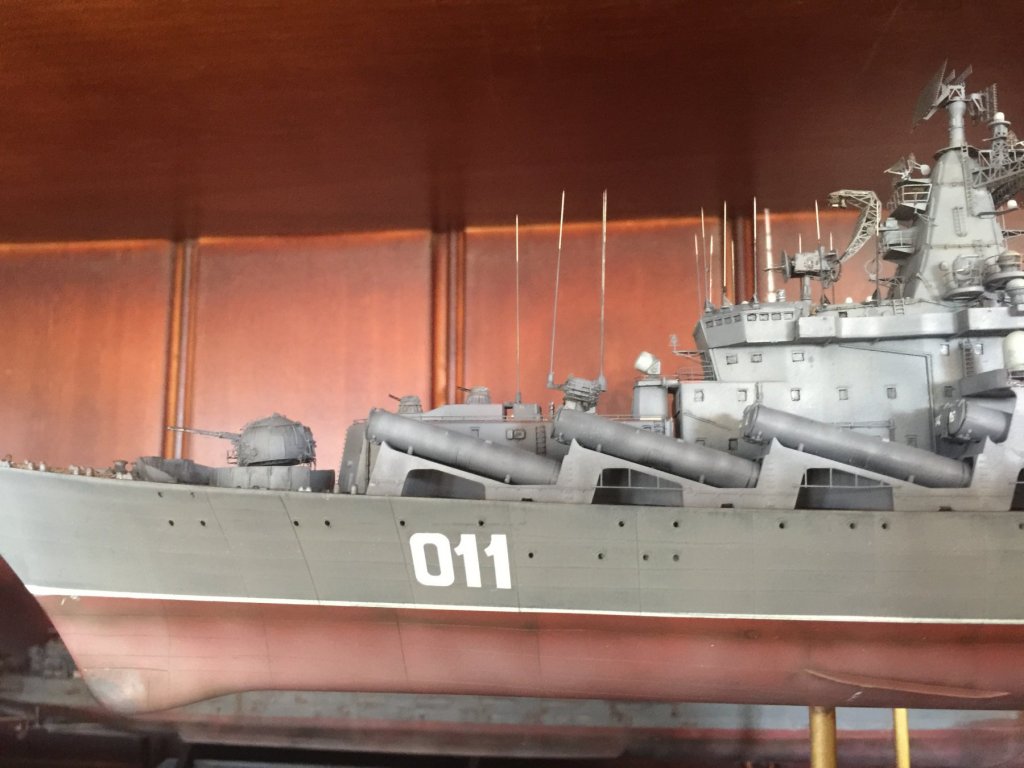
Finished! Cage aerials added, a couple of speed cones. Finally a father and son shot. Pretty happy really.


- 180 replies
-
- 19
-
-
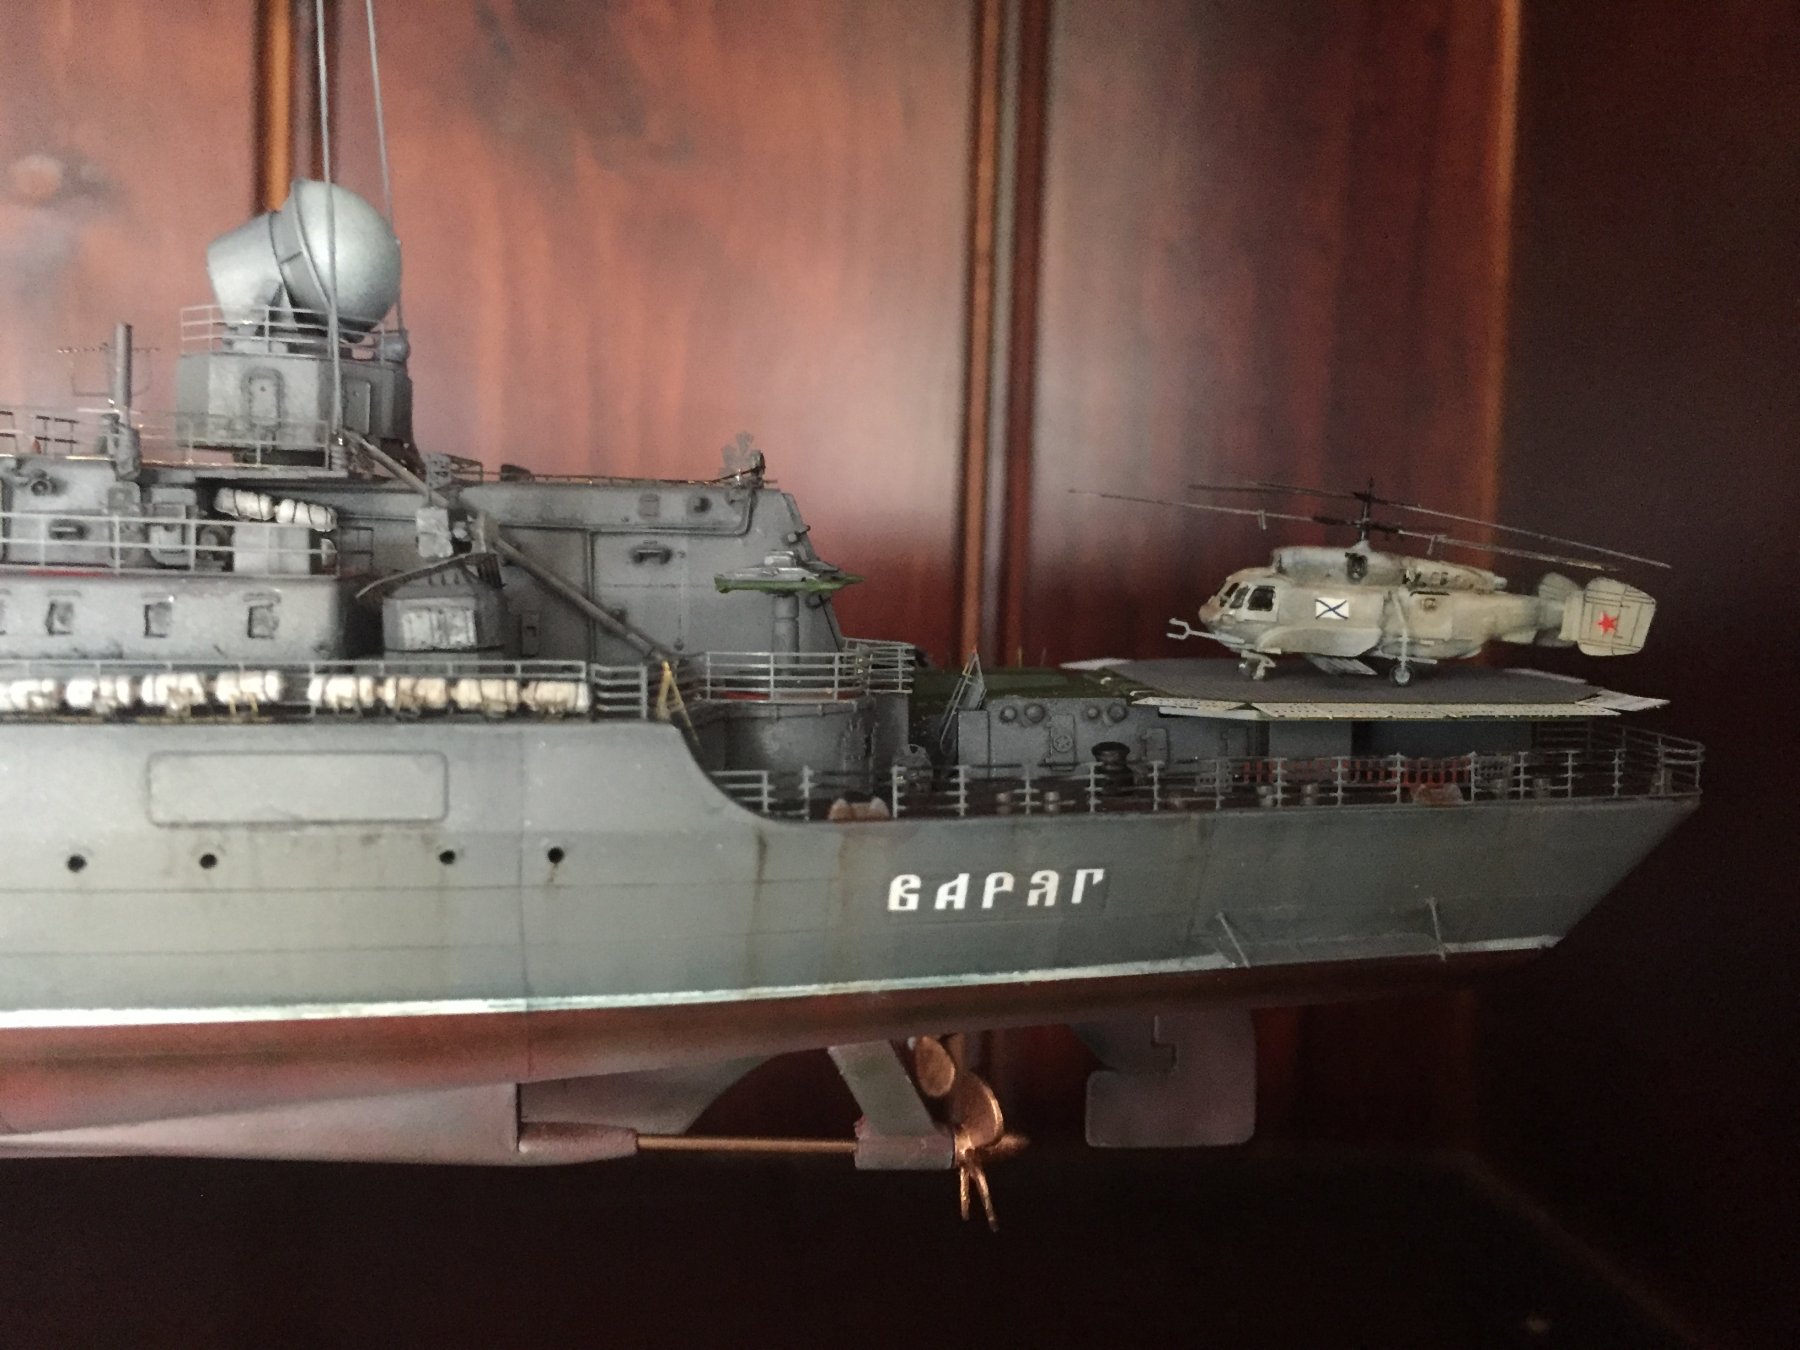
I’m very keen to do another Soviet ship but I’m on the process of trying to nag the guy from Infini models to make some PE for one. Next build is ready to go and I’m quite excited about it.
-
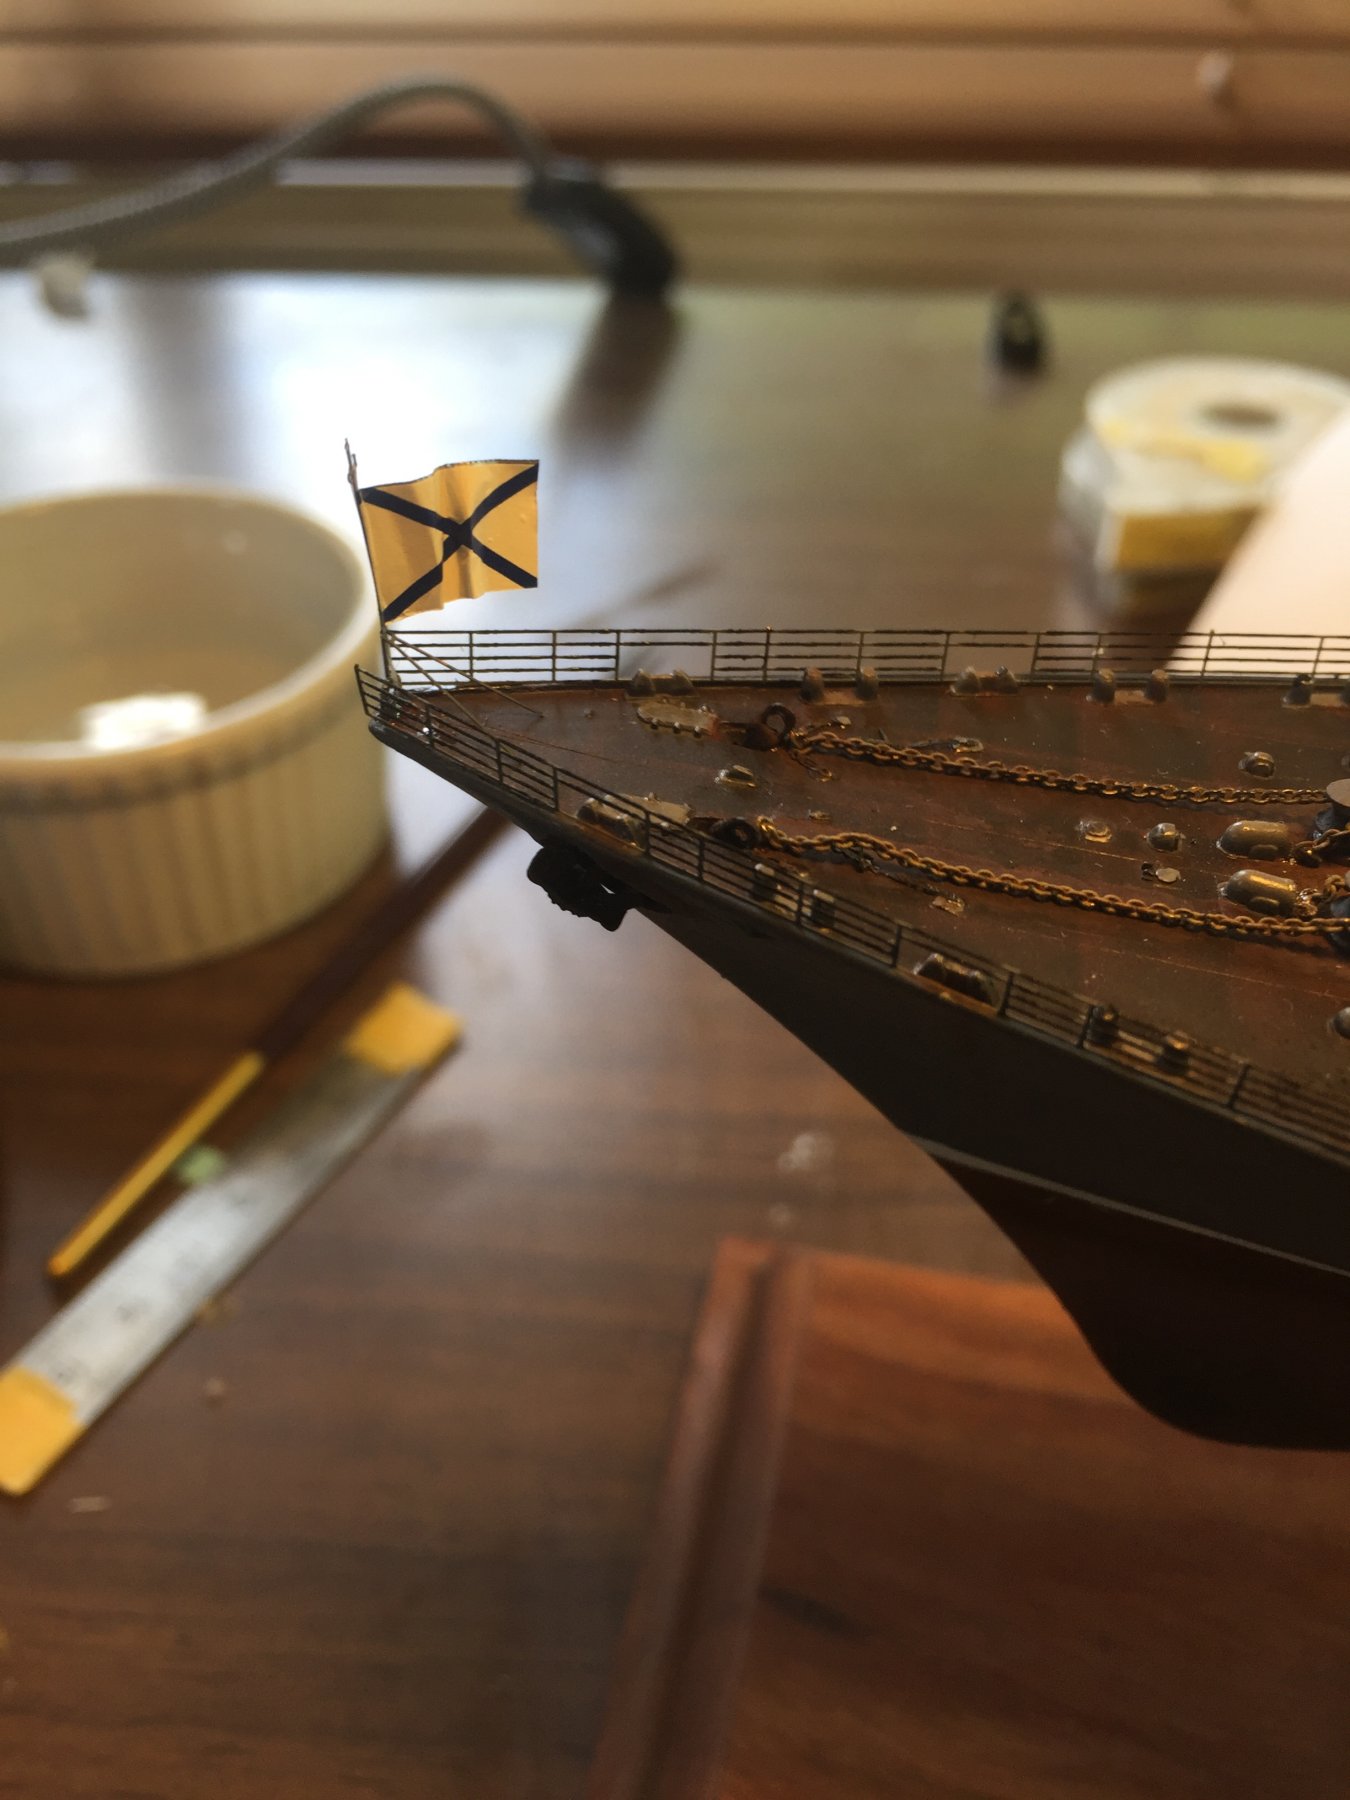
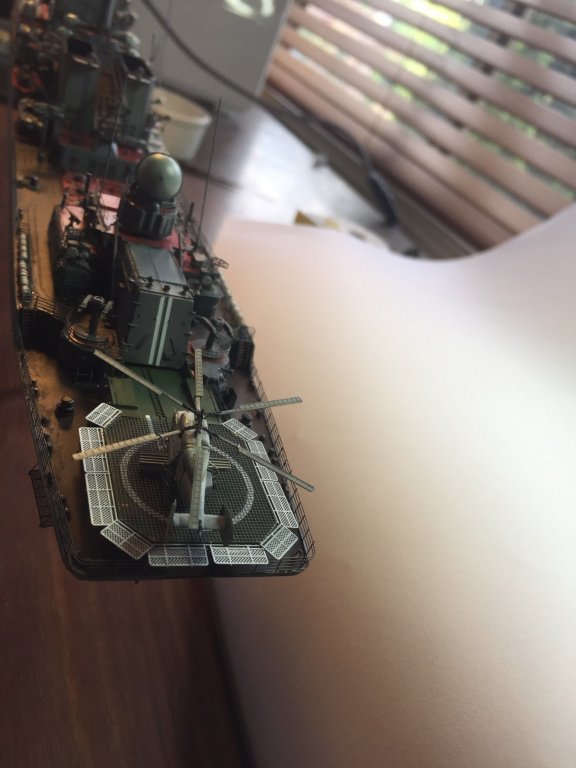
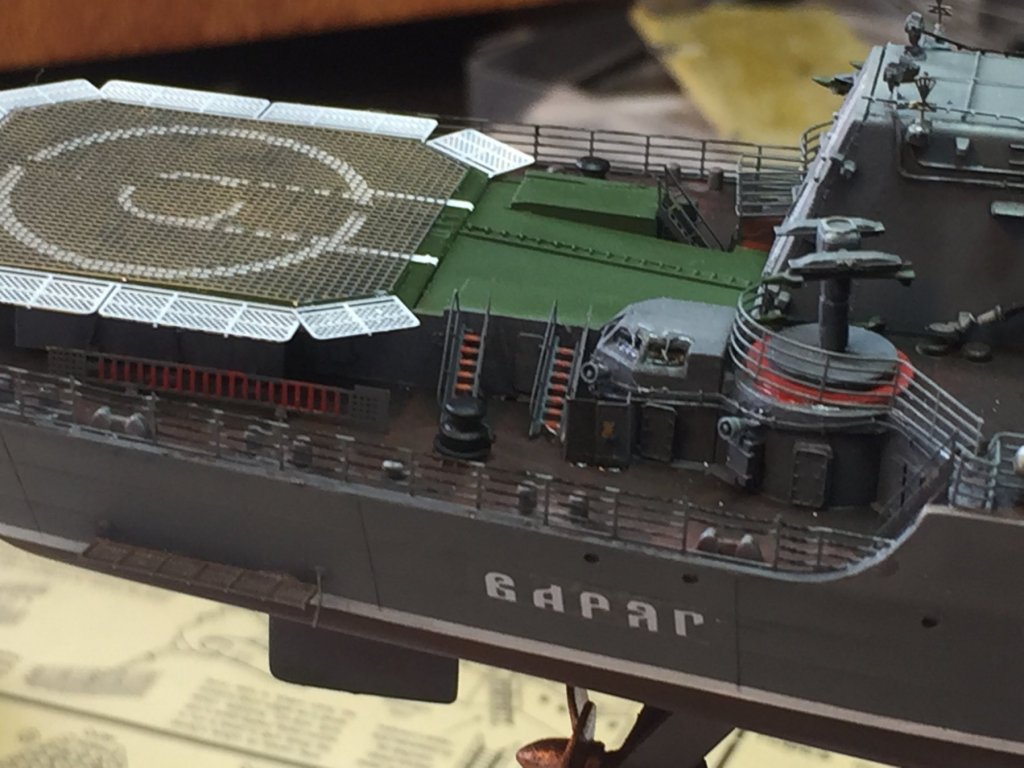
Nearly there, helicopter on the back deck, flag at the front. I’m just awaiting some cage aerials. I had some from WEM but there were just not enough of them; plan B pending, if they don’t work I’ll probably just run some Ezy line.


- 180 replies
-
- 20
-
-
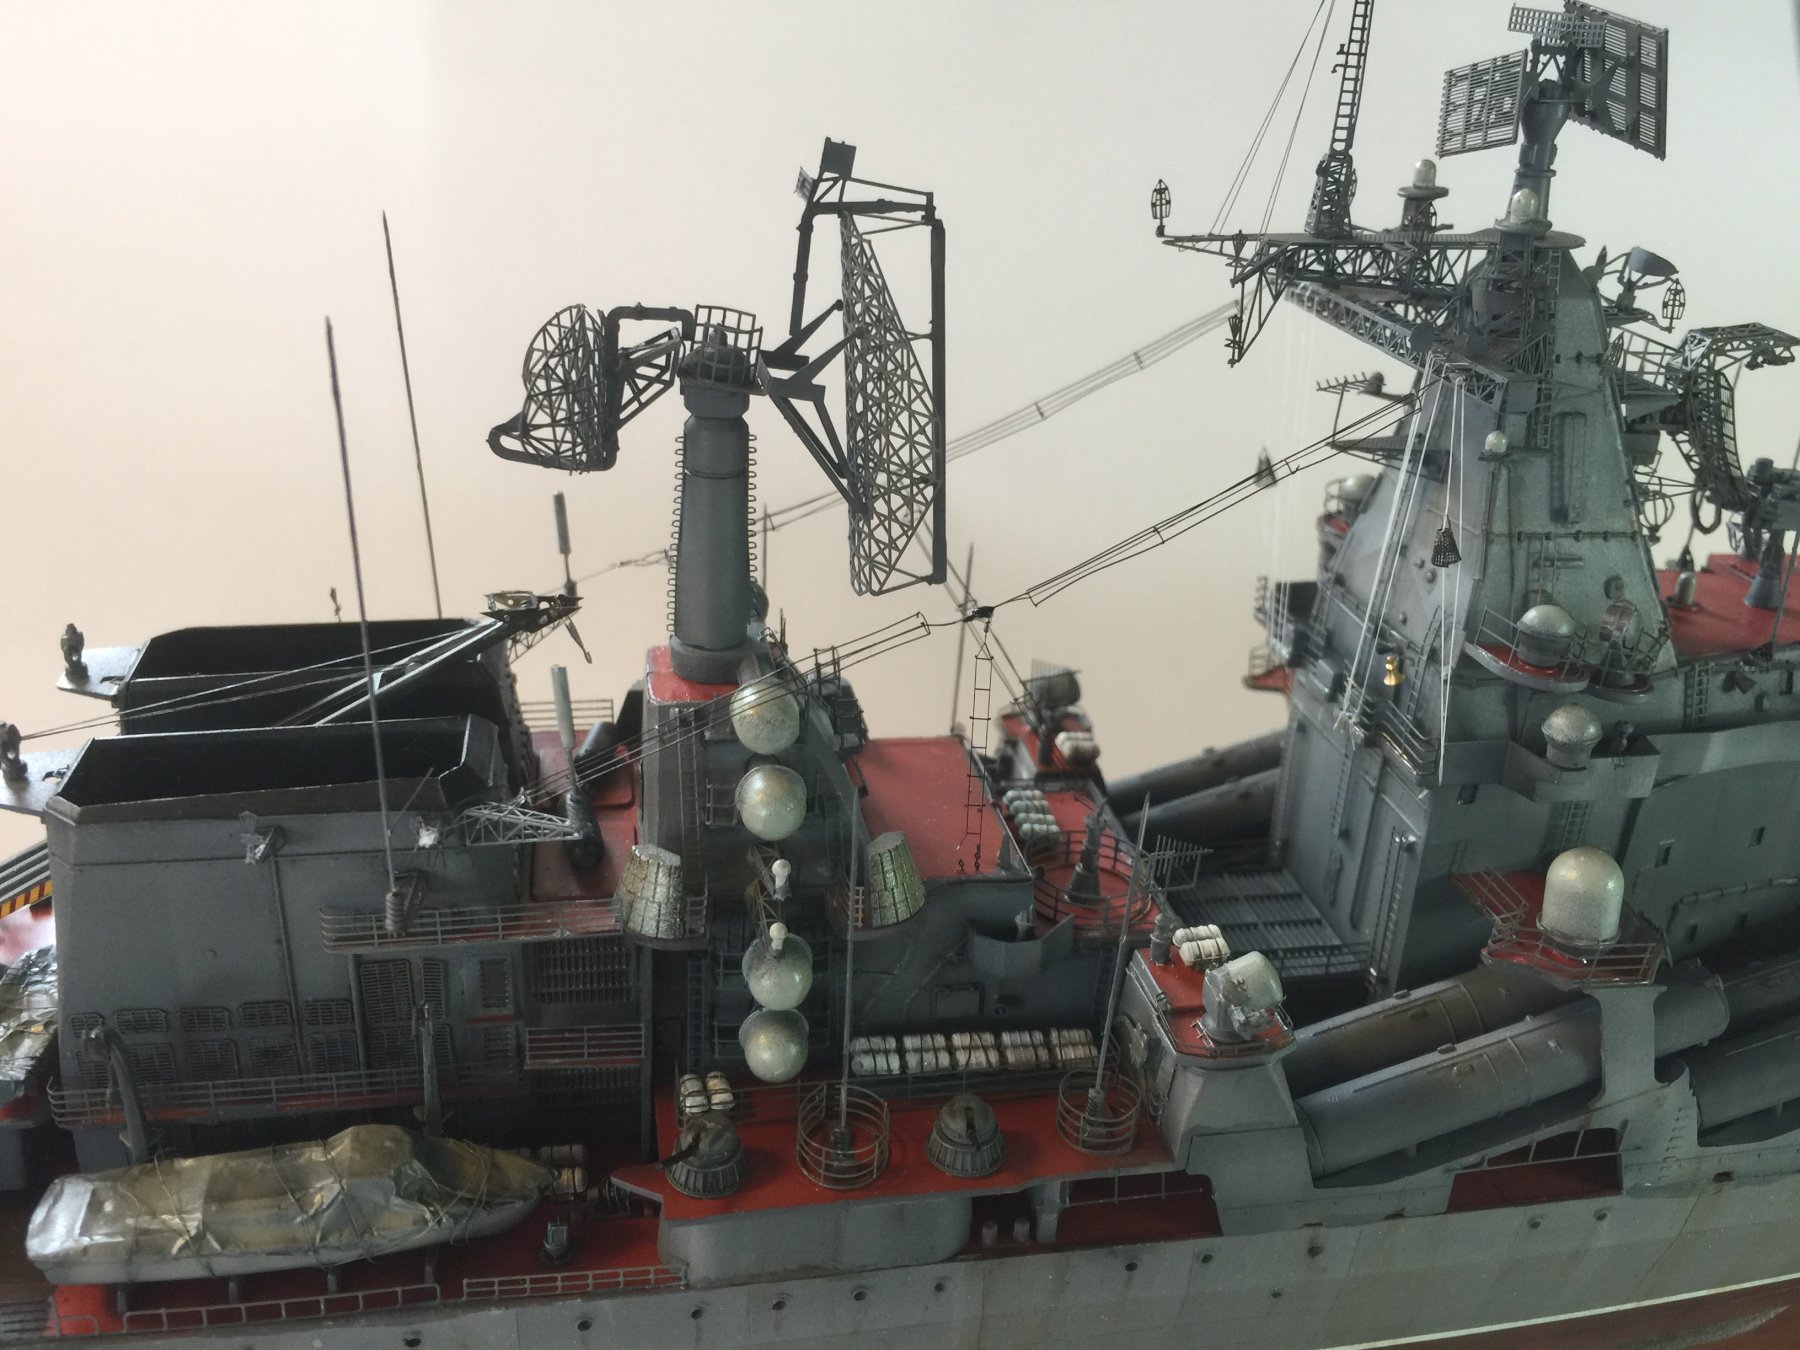
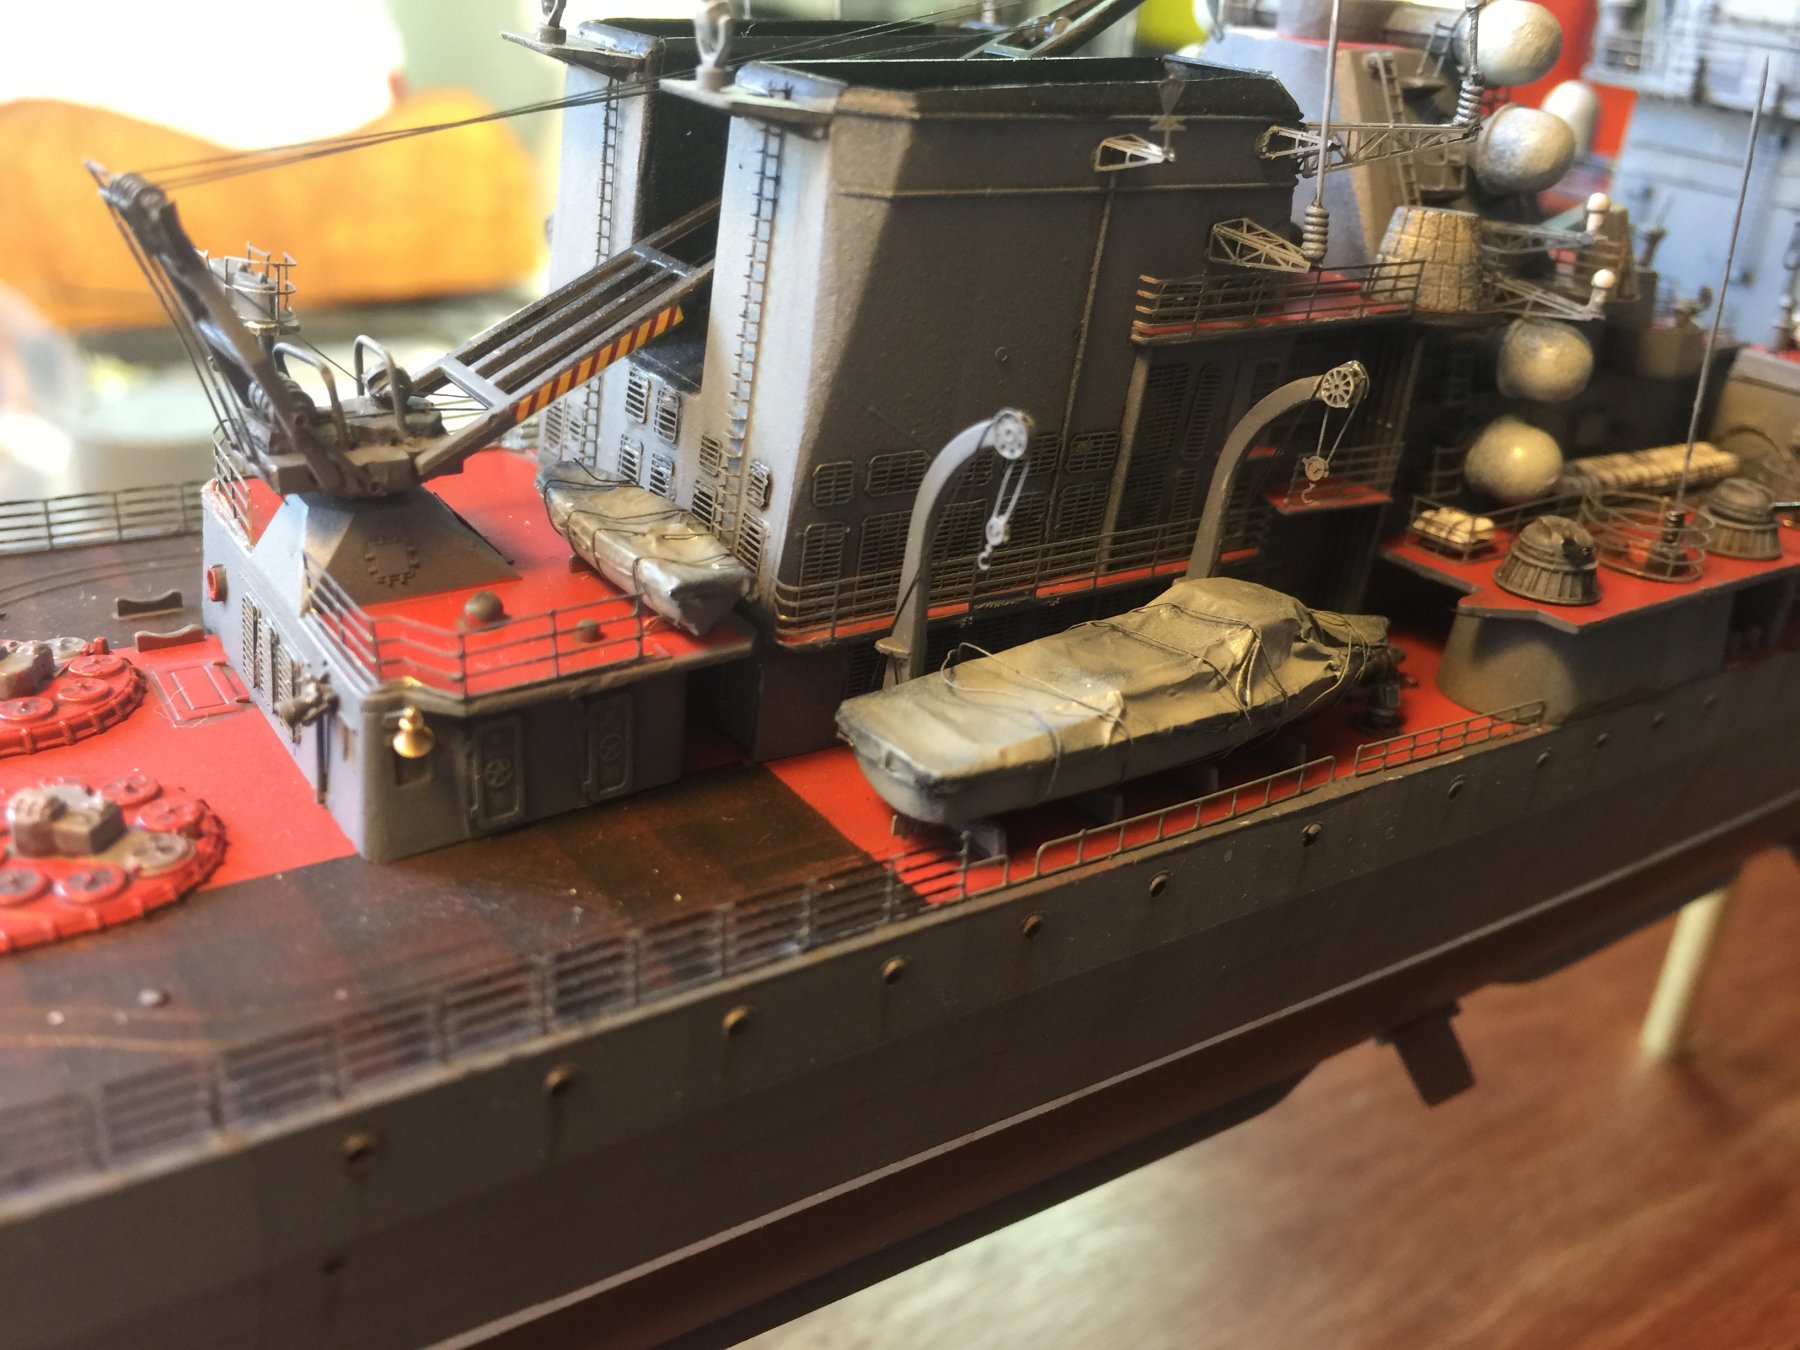
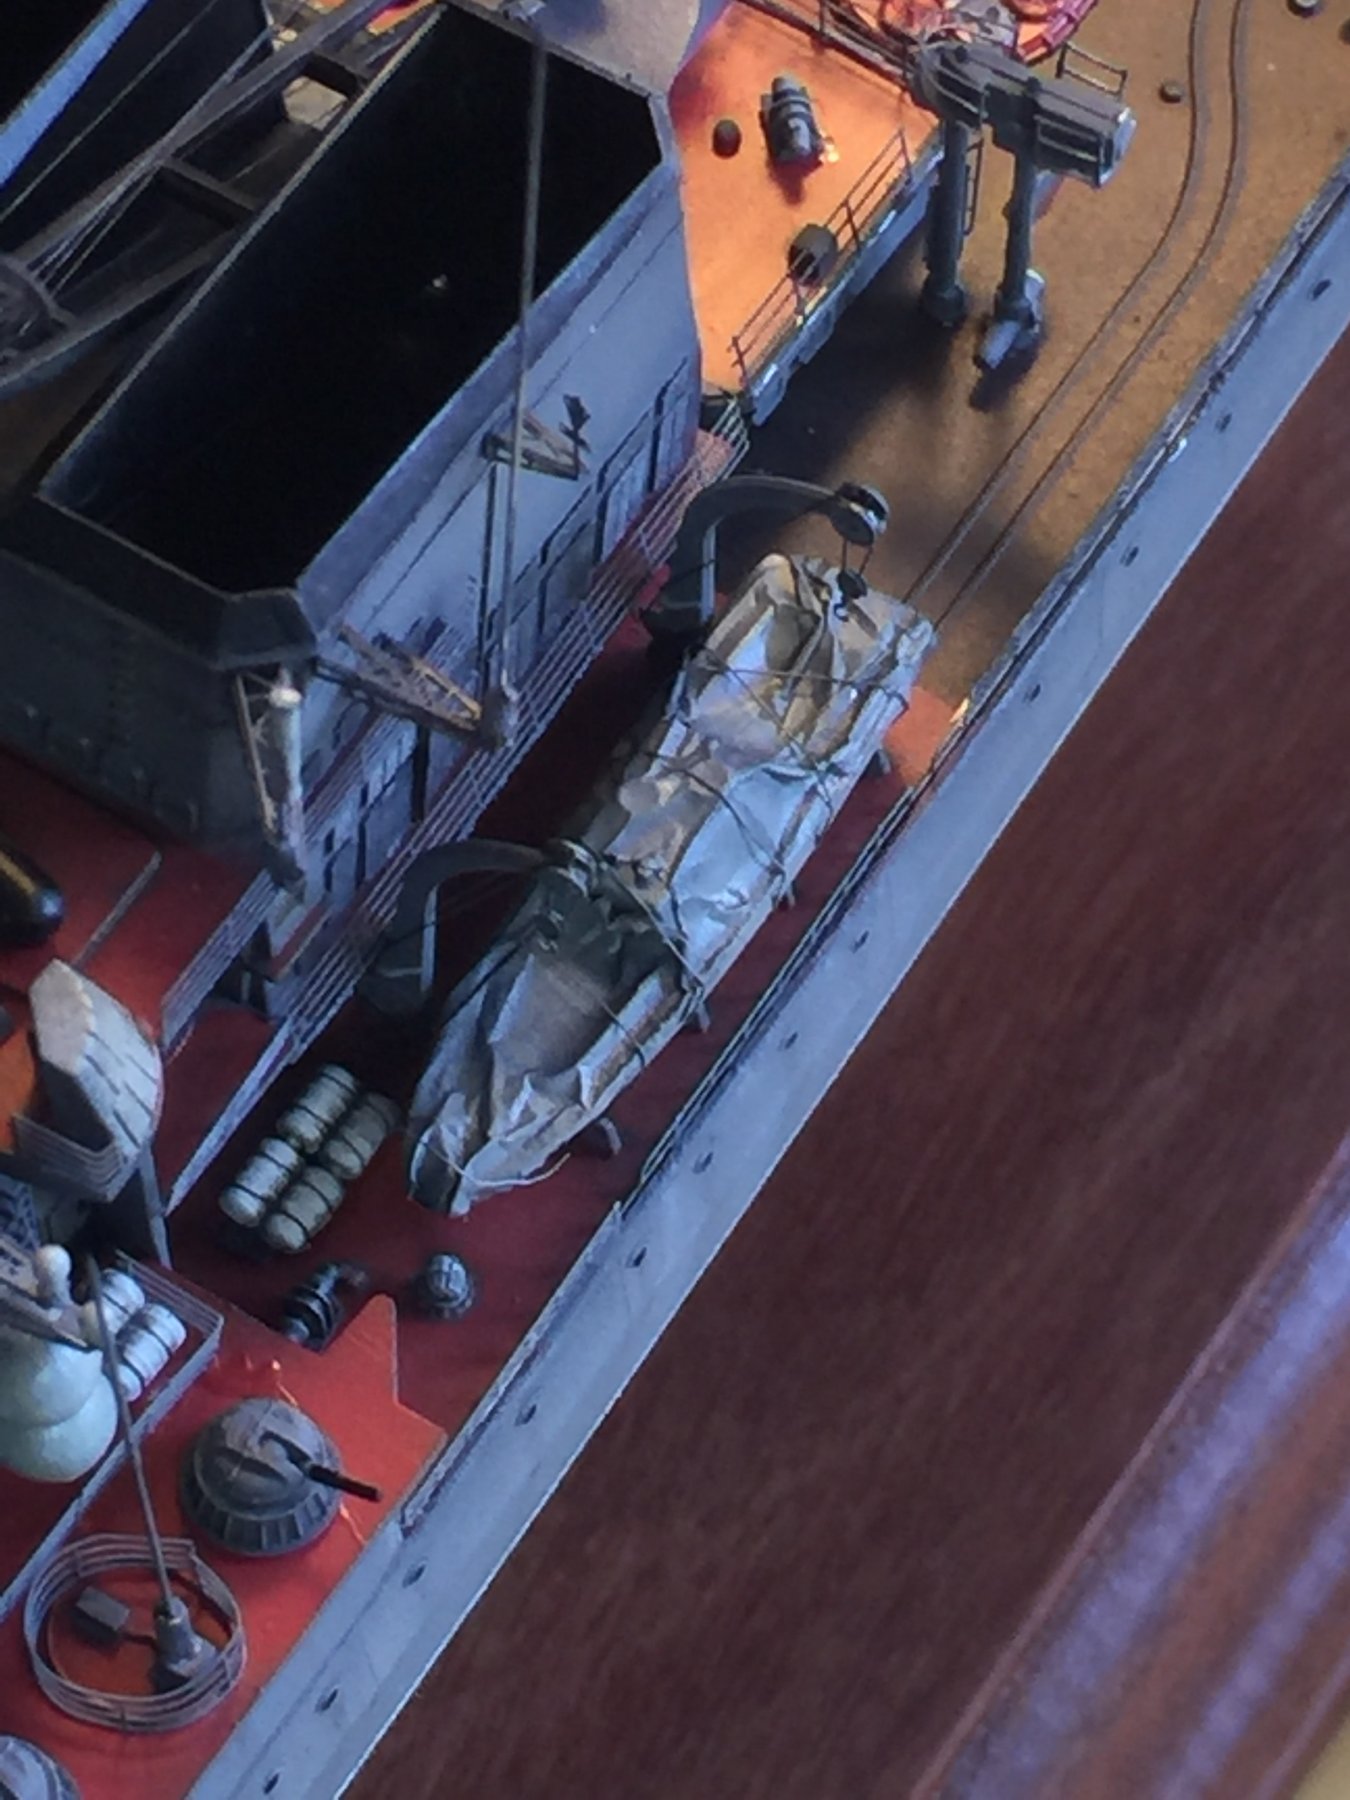
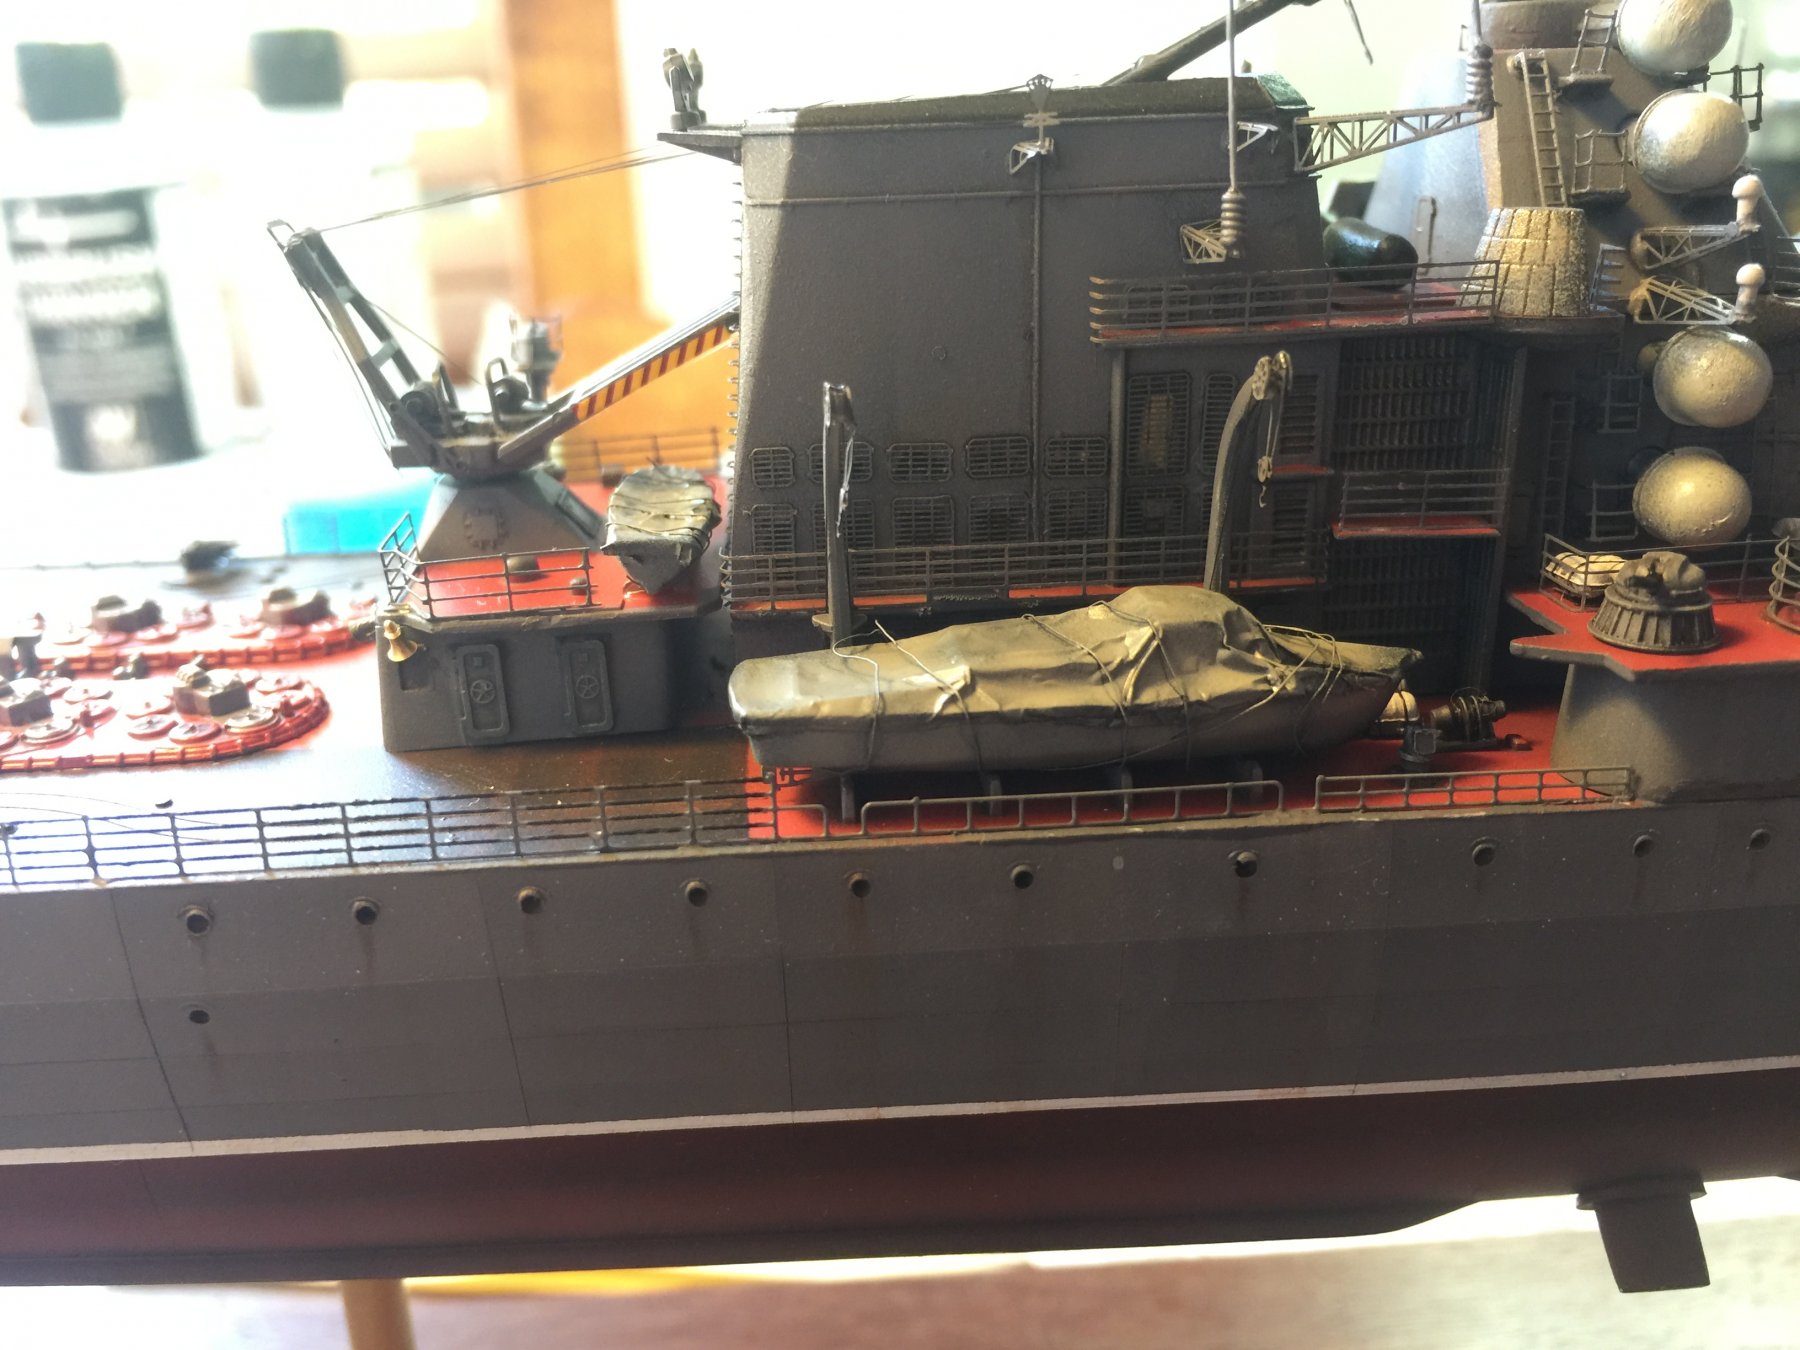
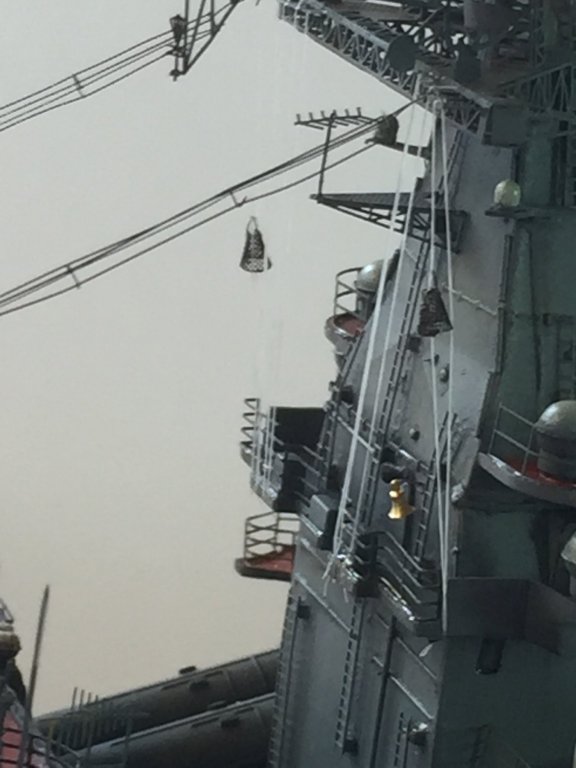
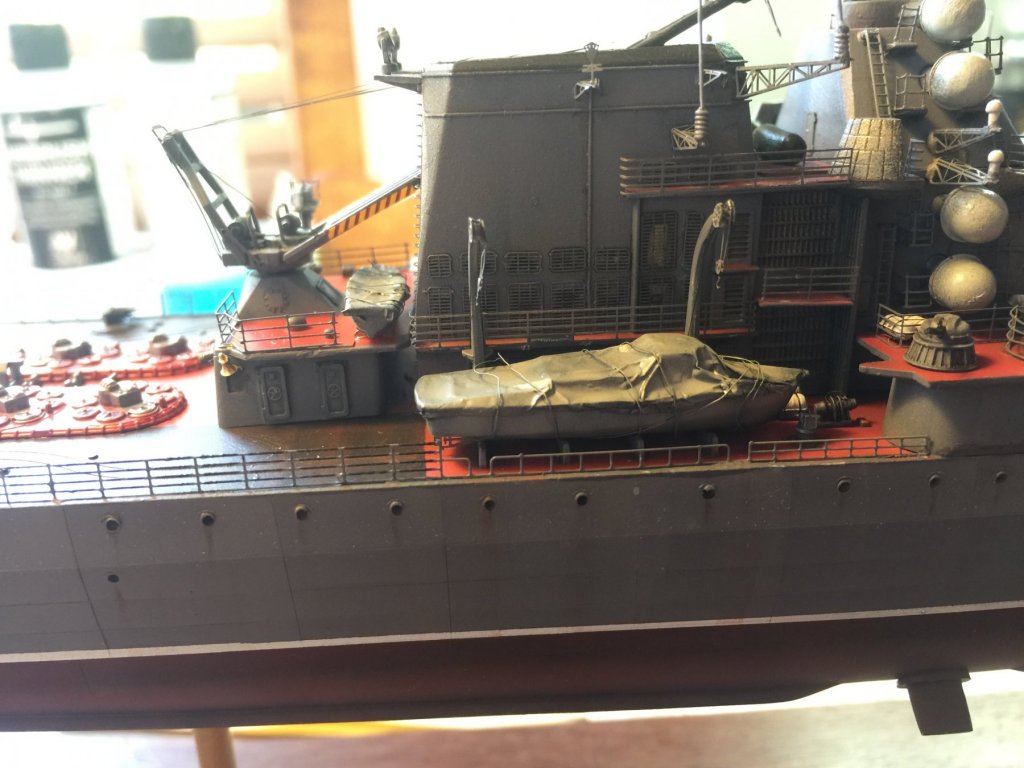
Kitchen Aluminium foil, doubled over, shaped, cut off around the edges with razor, wrapped in thin wire.
-
So when life gives you lemons make lemonade, so when Trumpeter gives you utter rubbish in the form of the ships boats, you put a tarp on it. I did up the kit provided helicopter and im not using it as it is also rubbish, so I’ve ordered an aftermarket one, given it will draw the eye.


- 180 replies
-
- 16
-
-
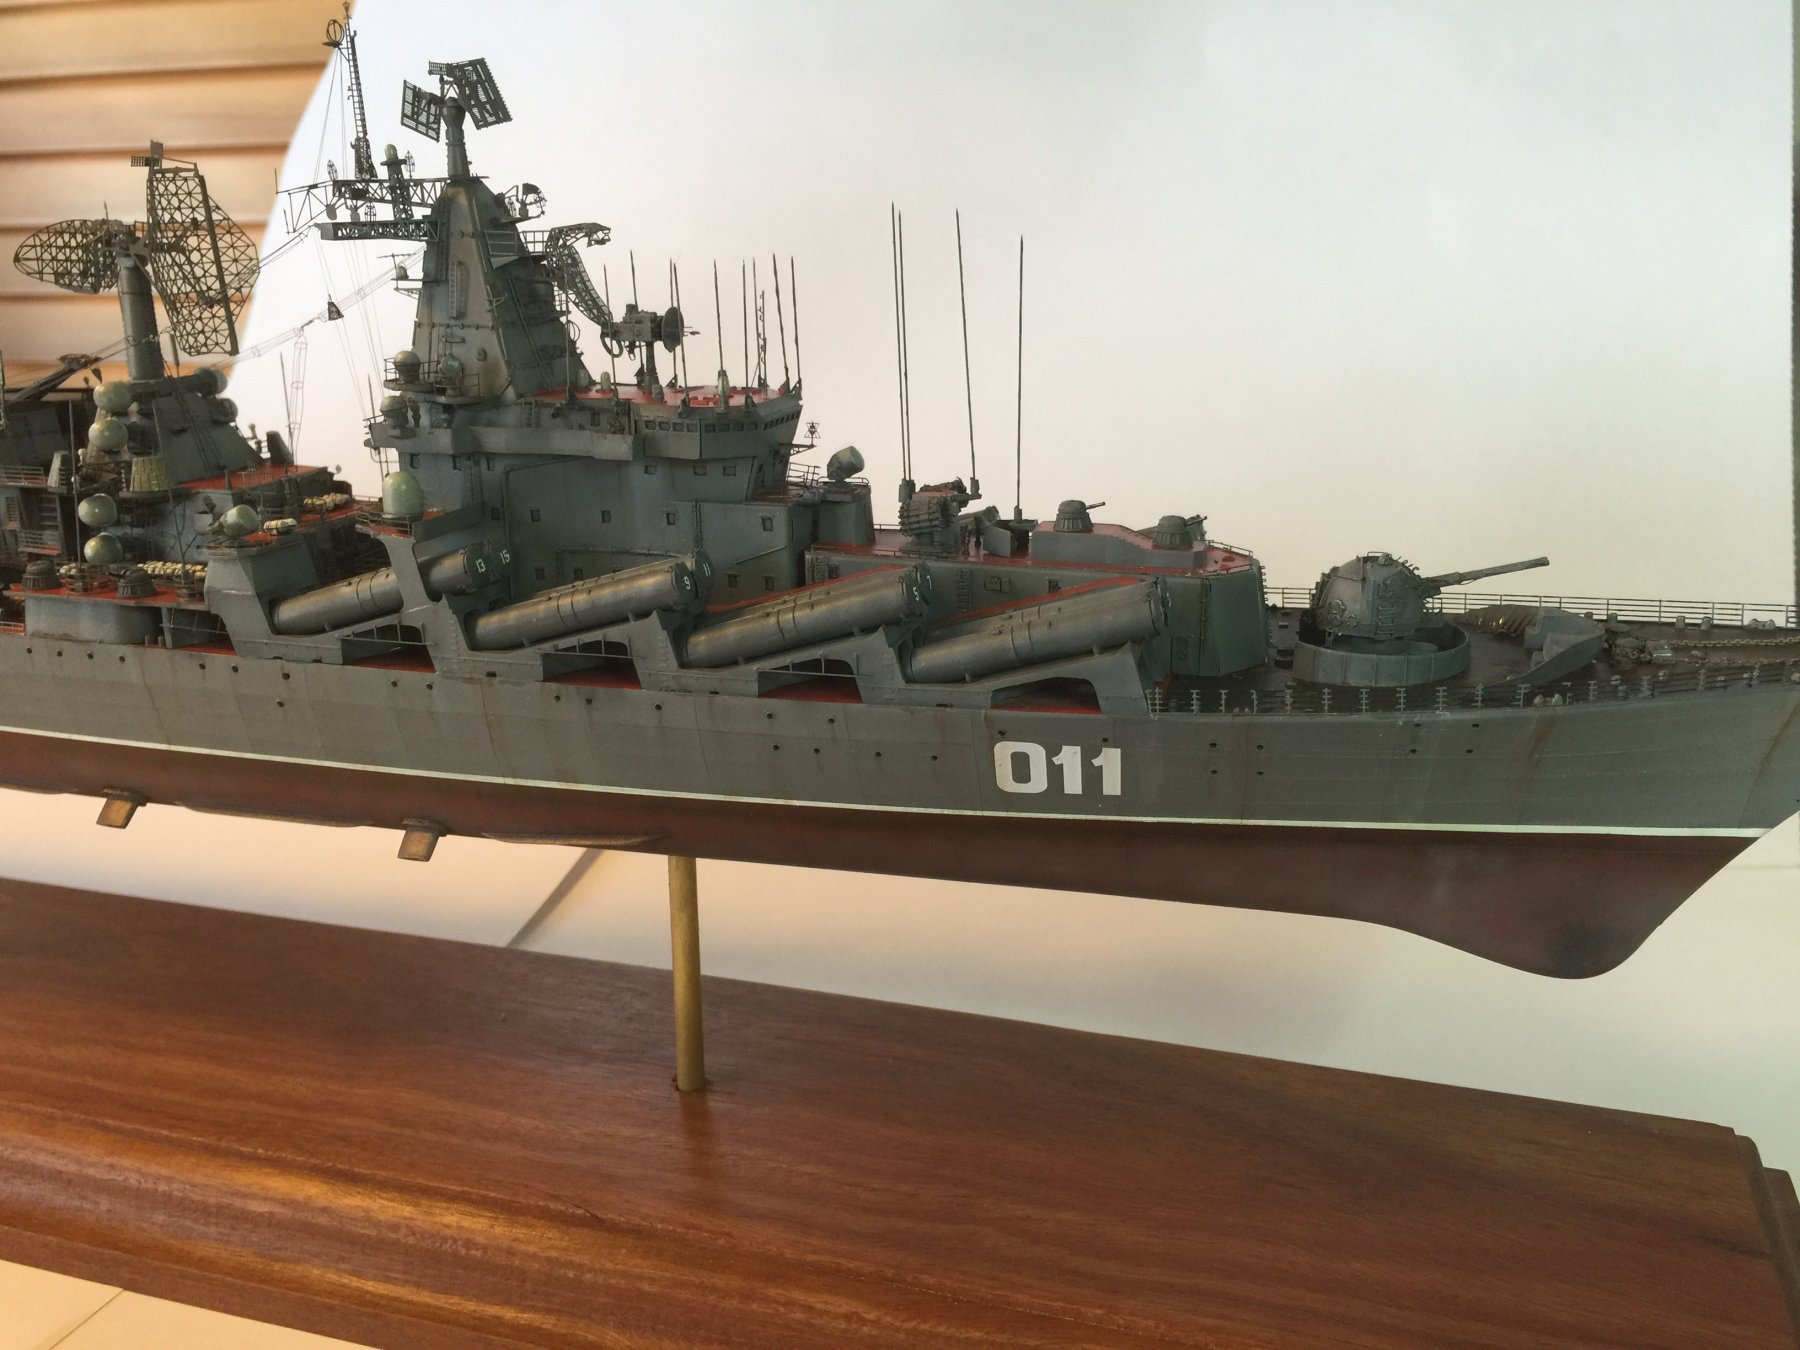
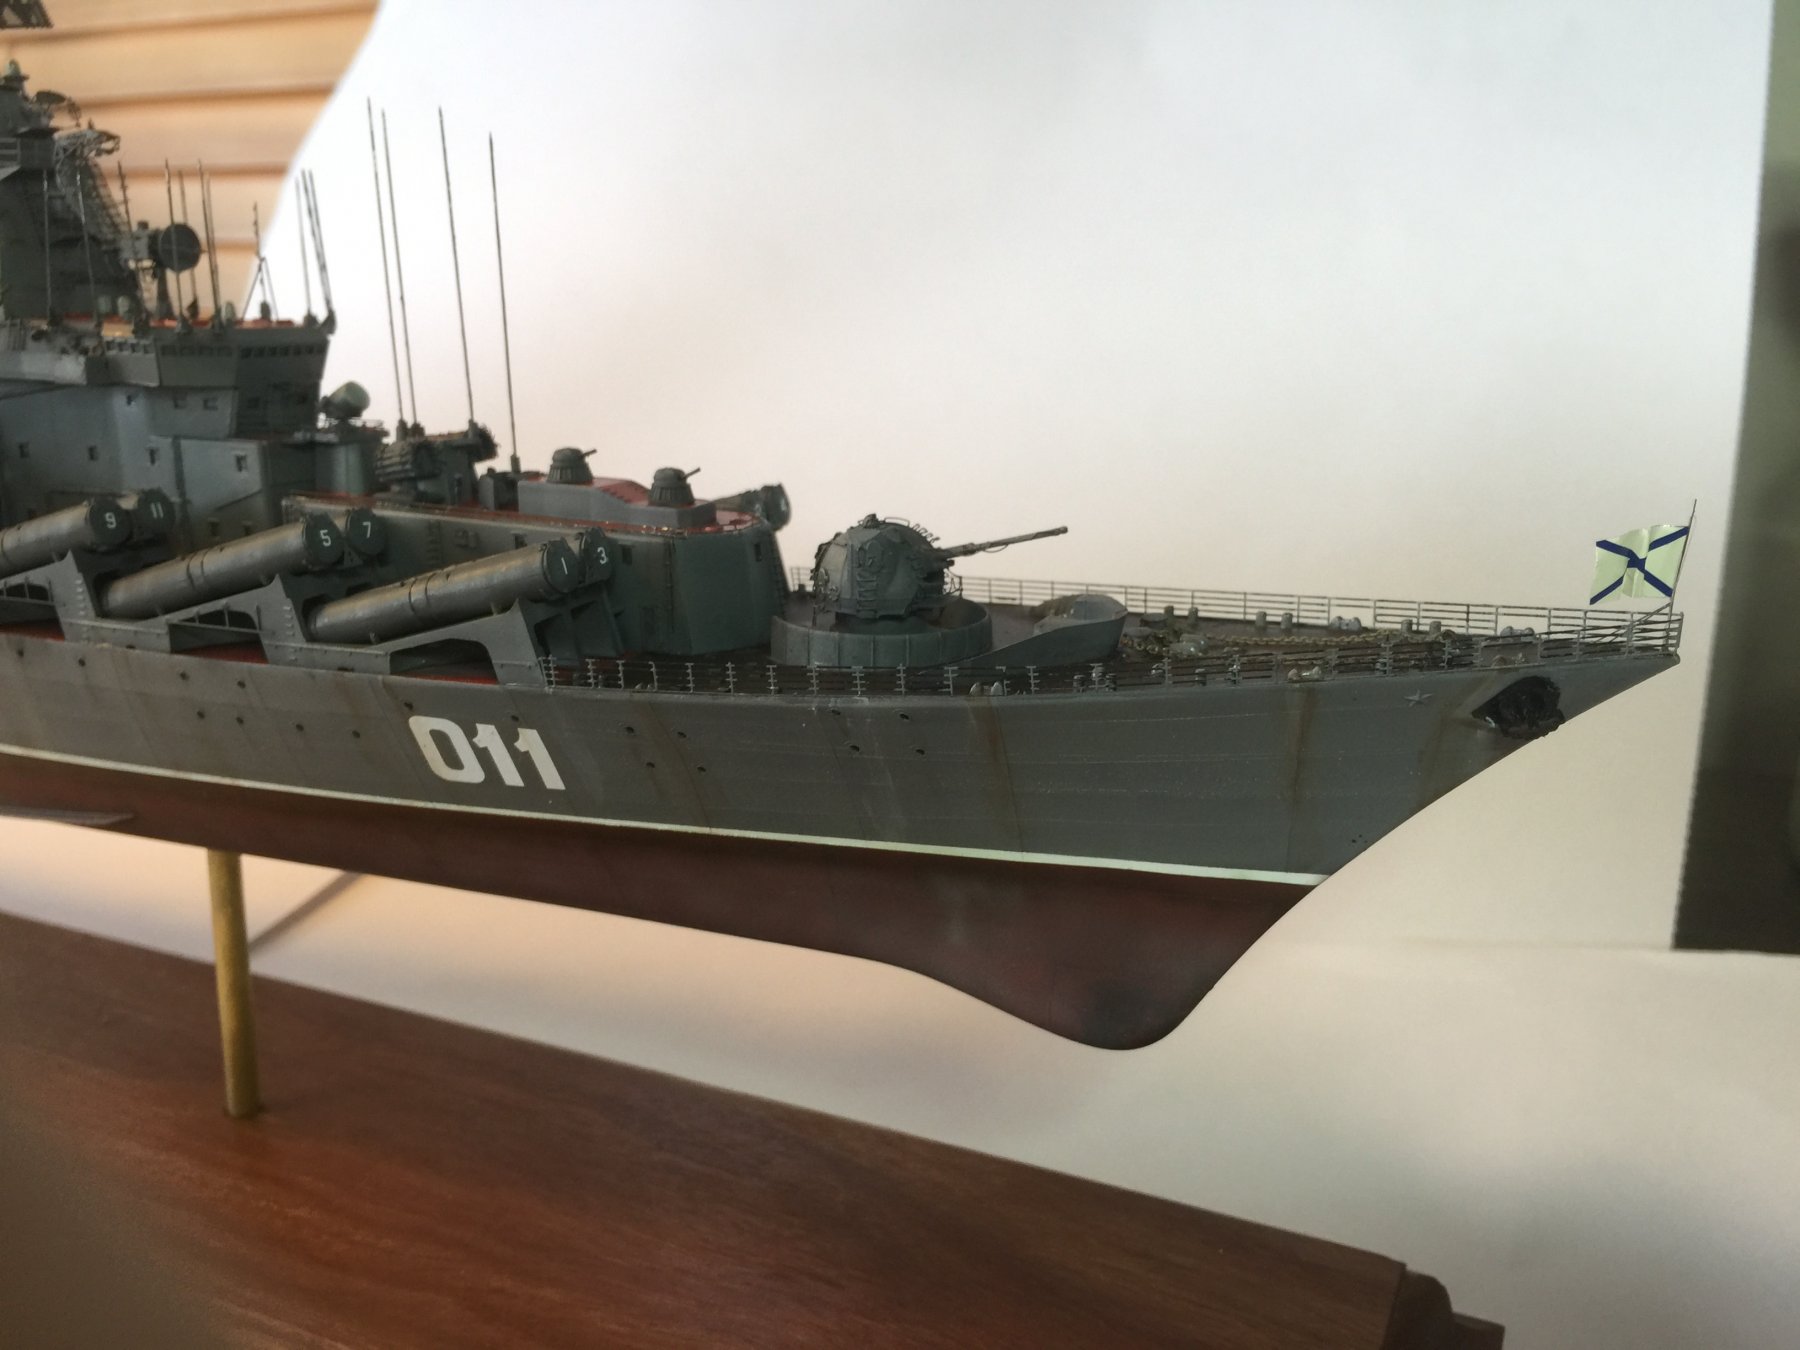
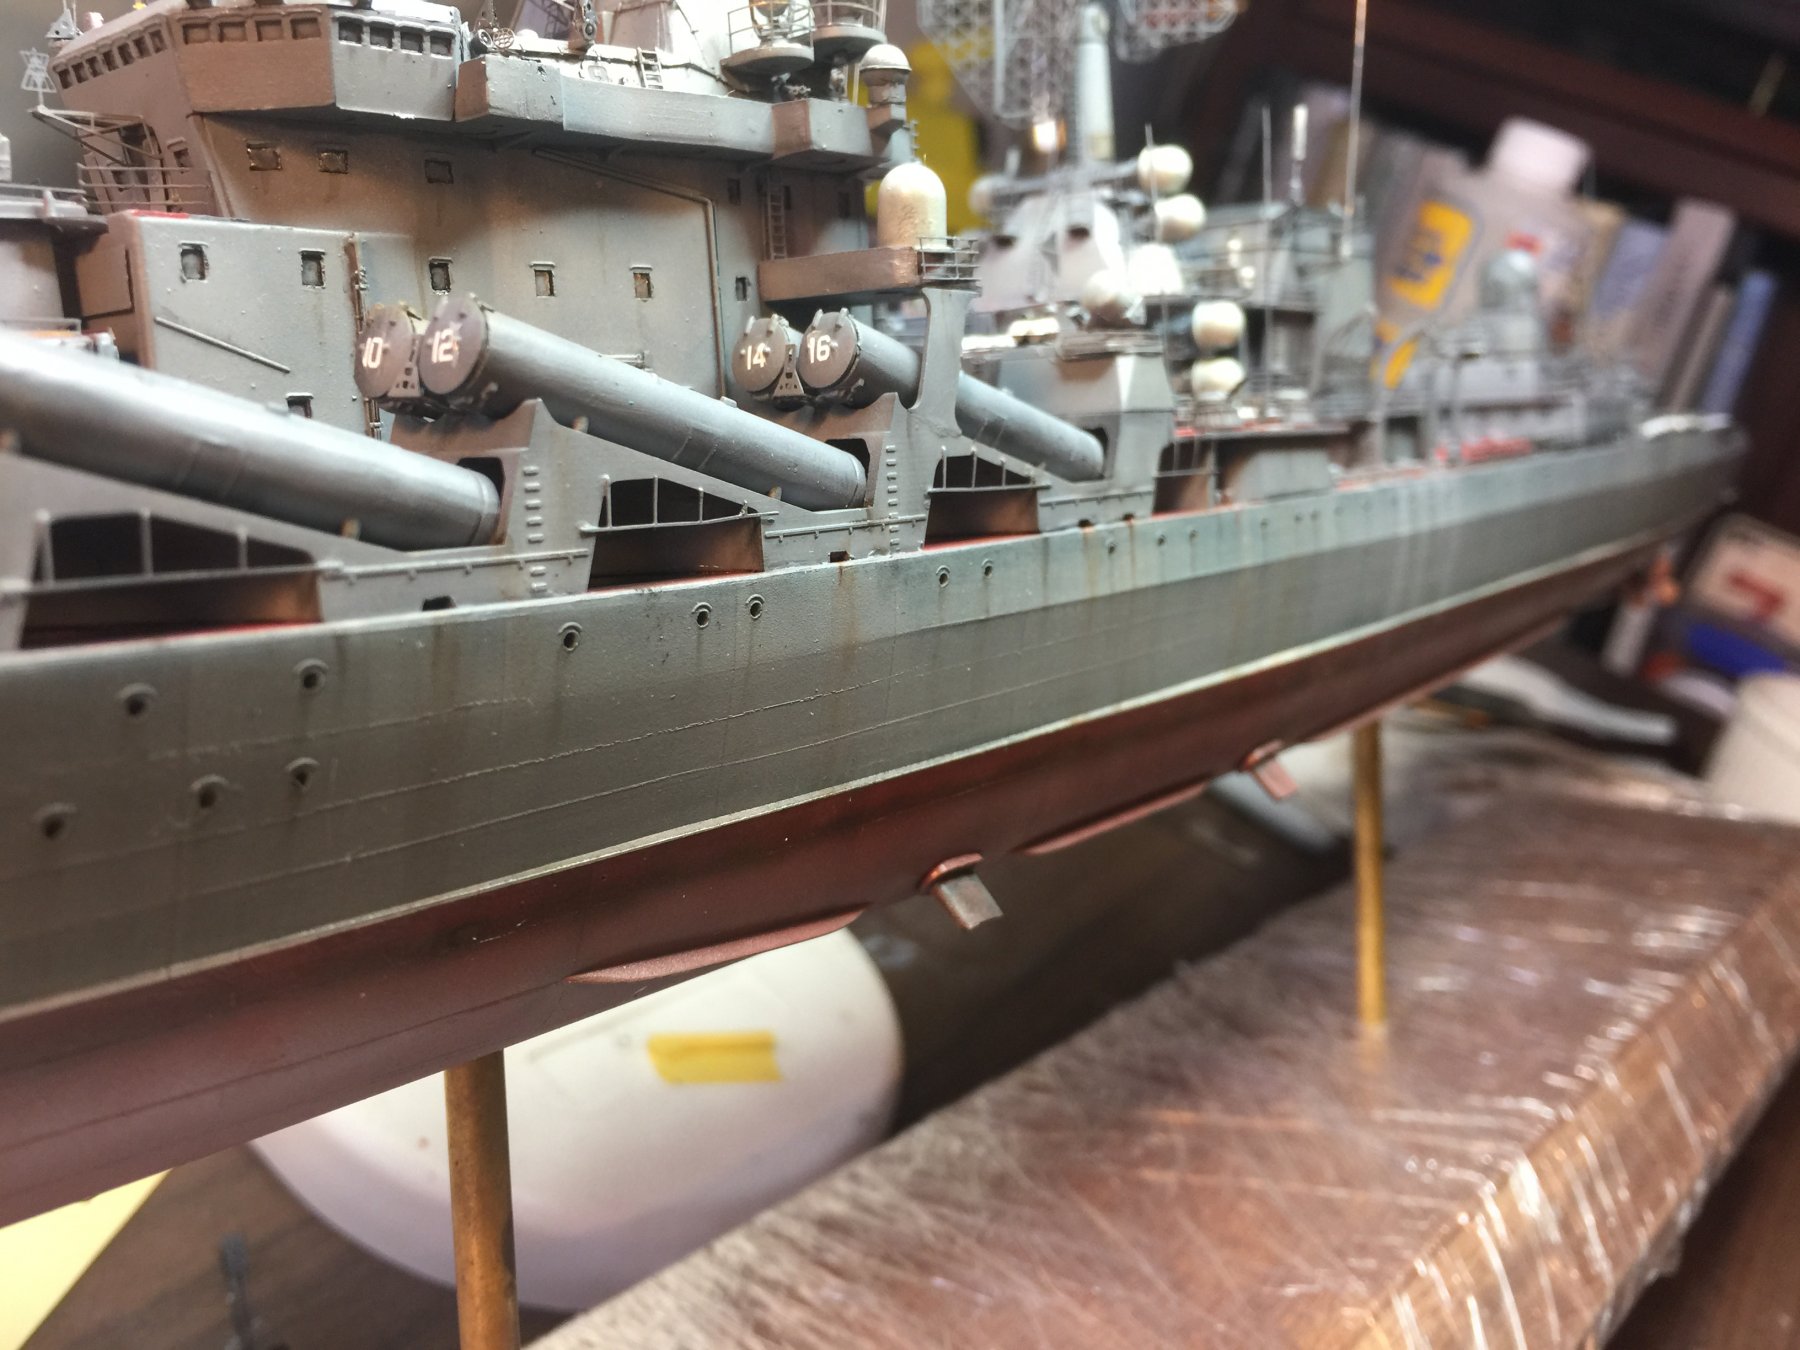
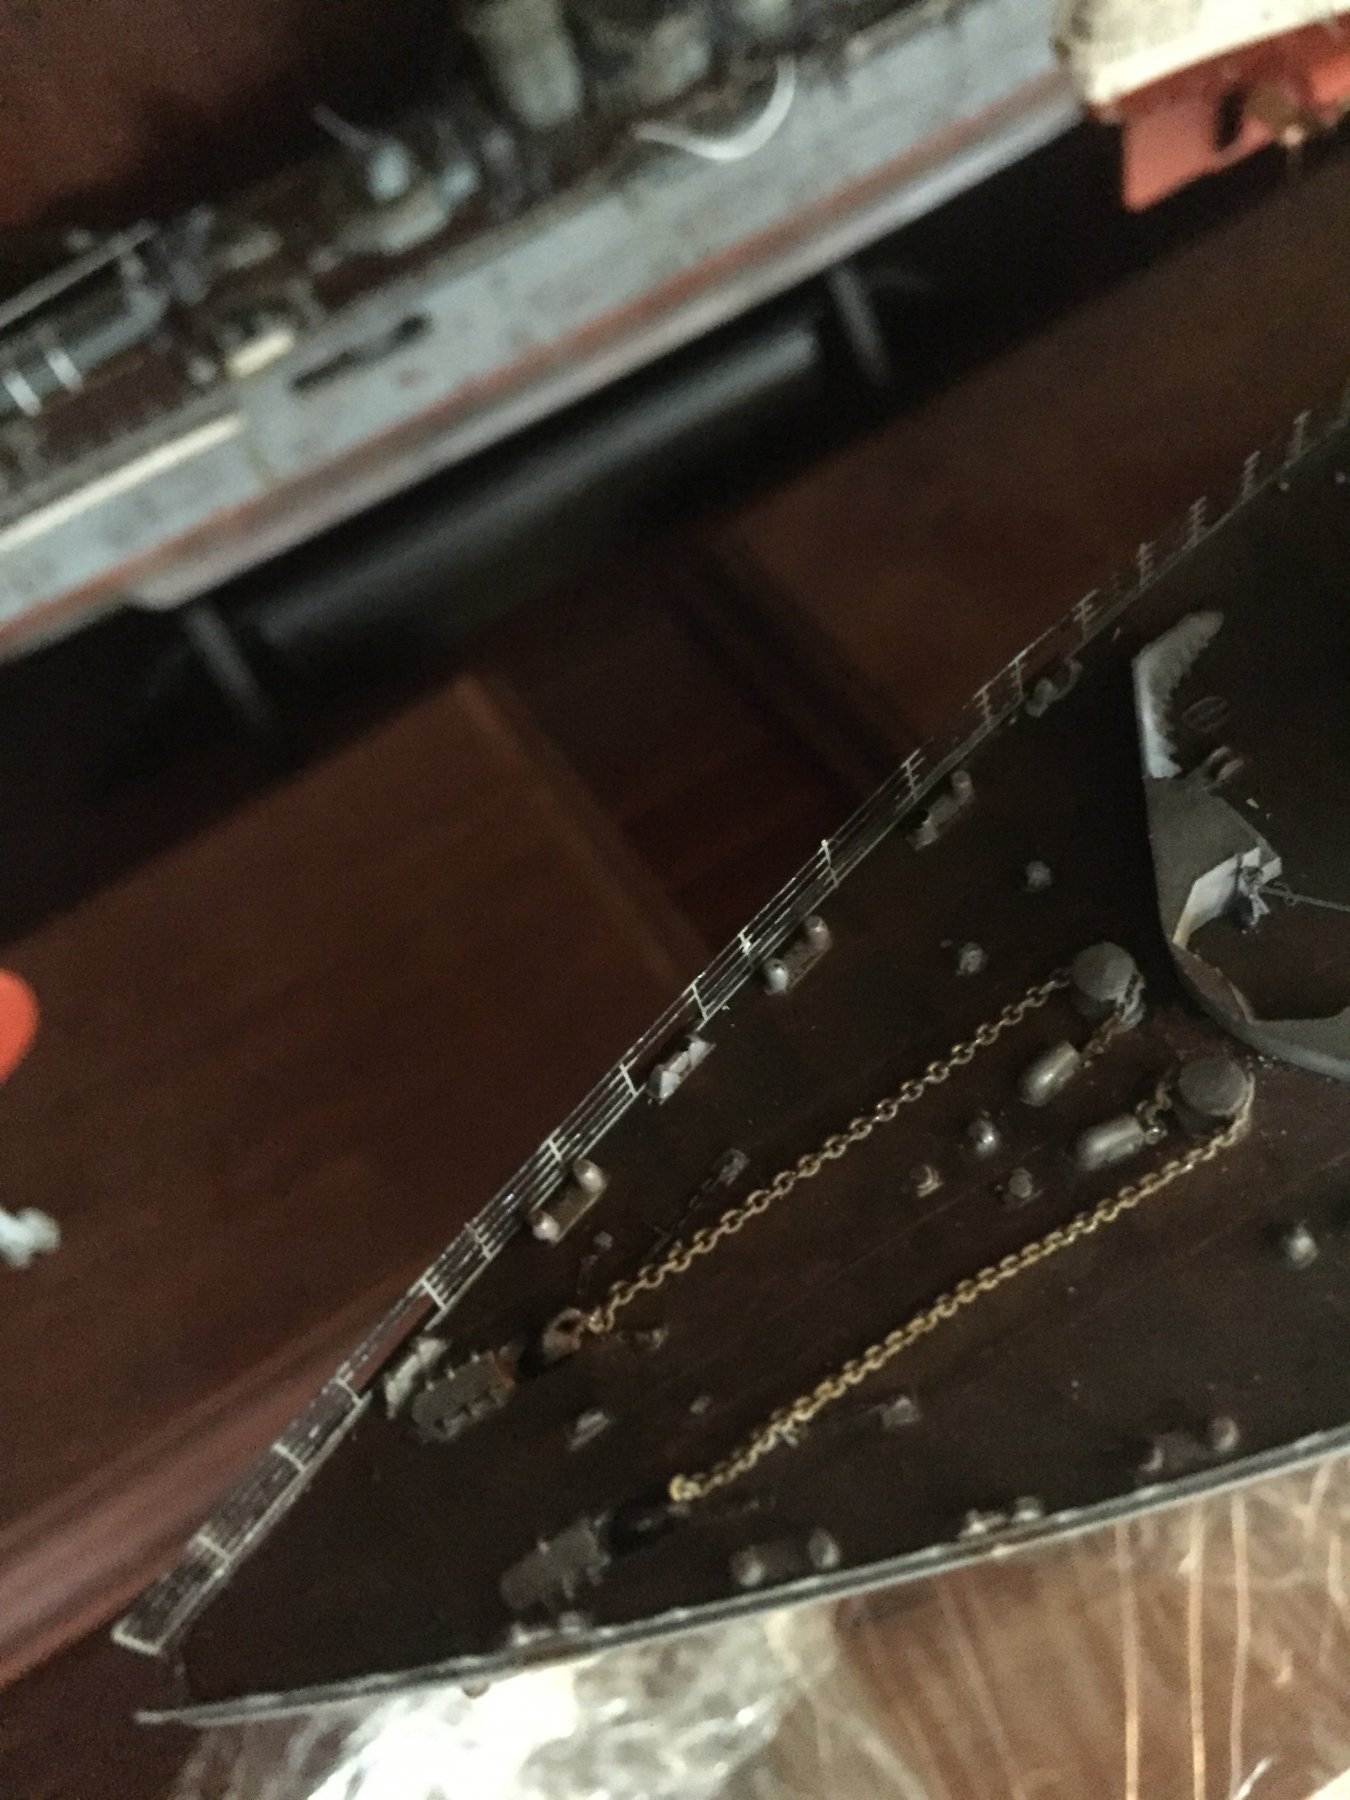
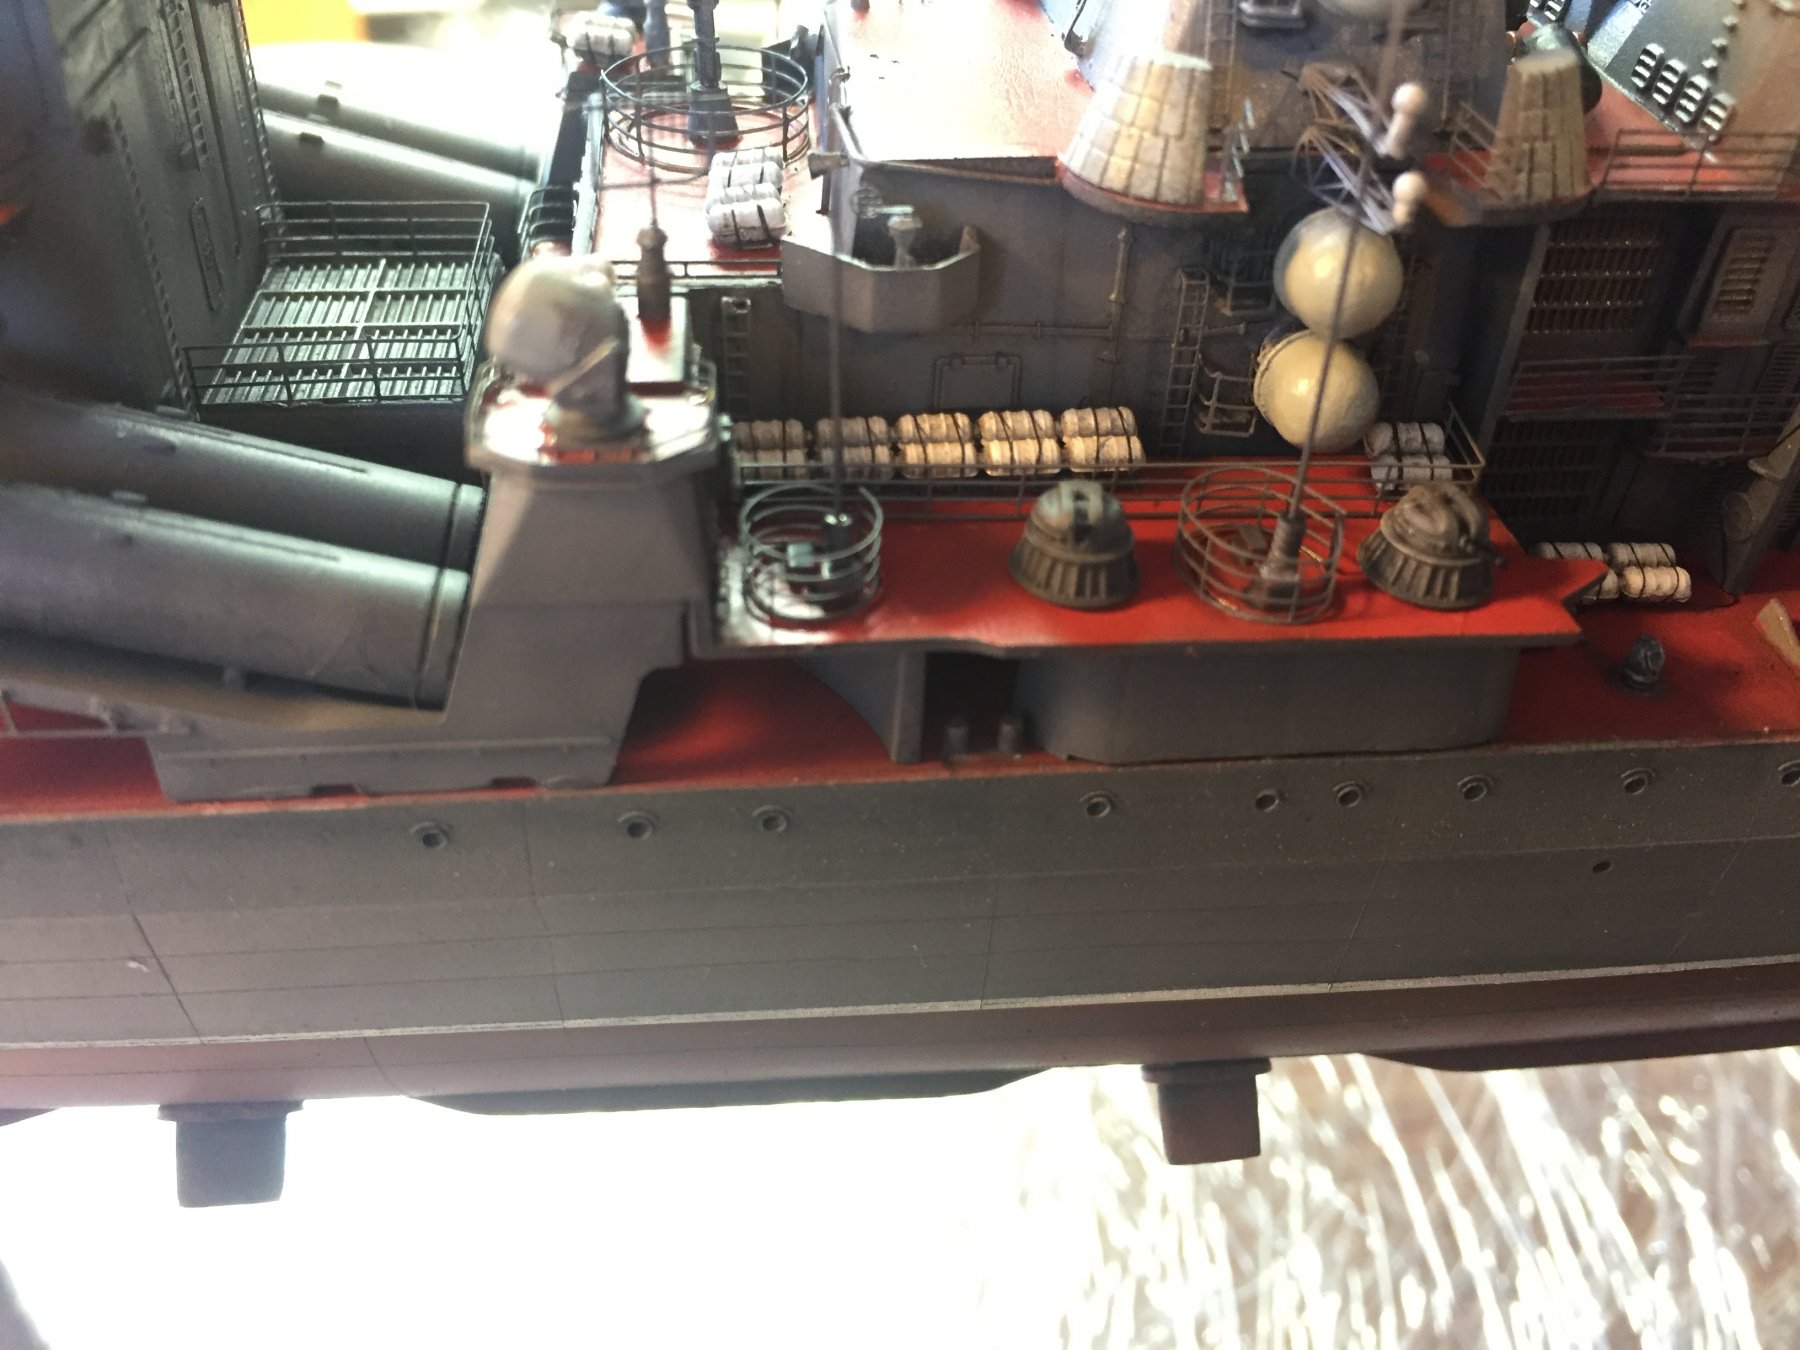
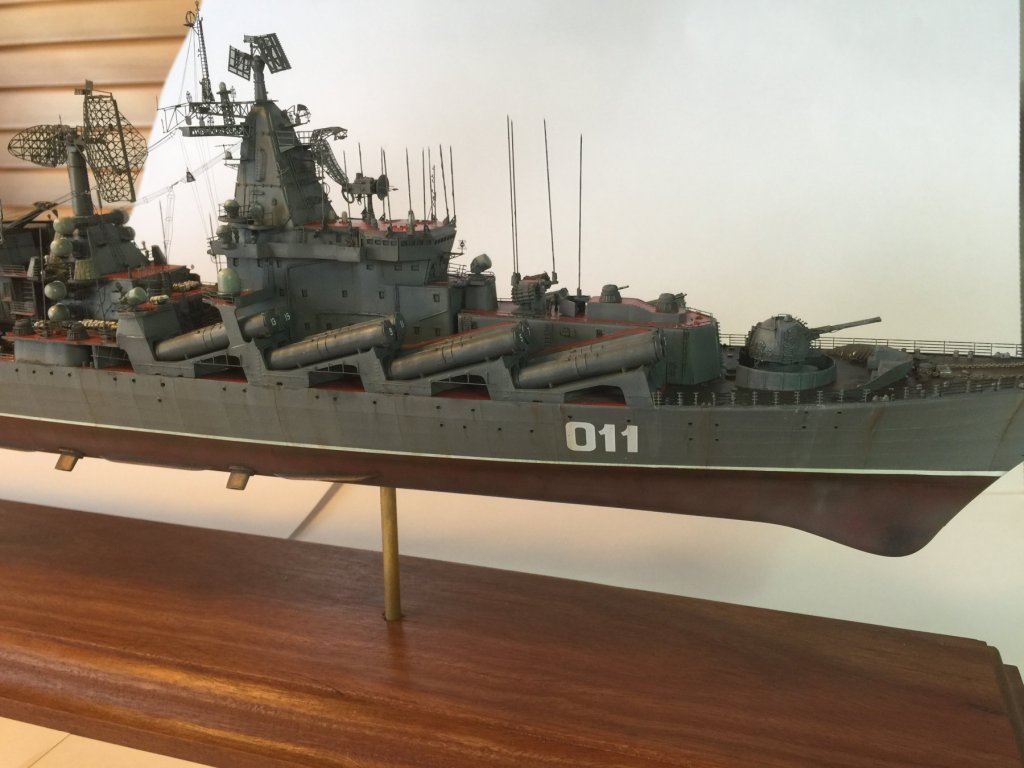
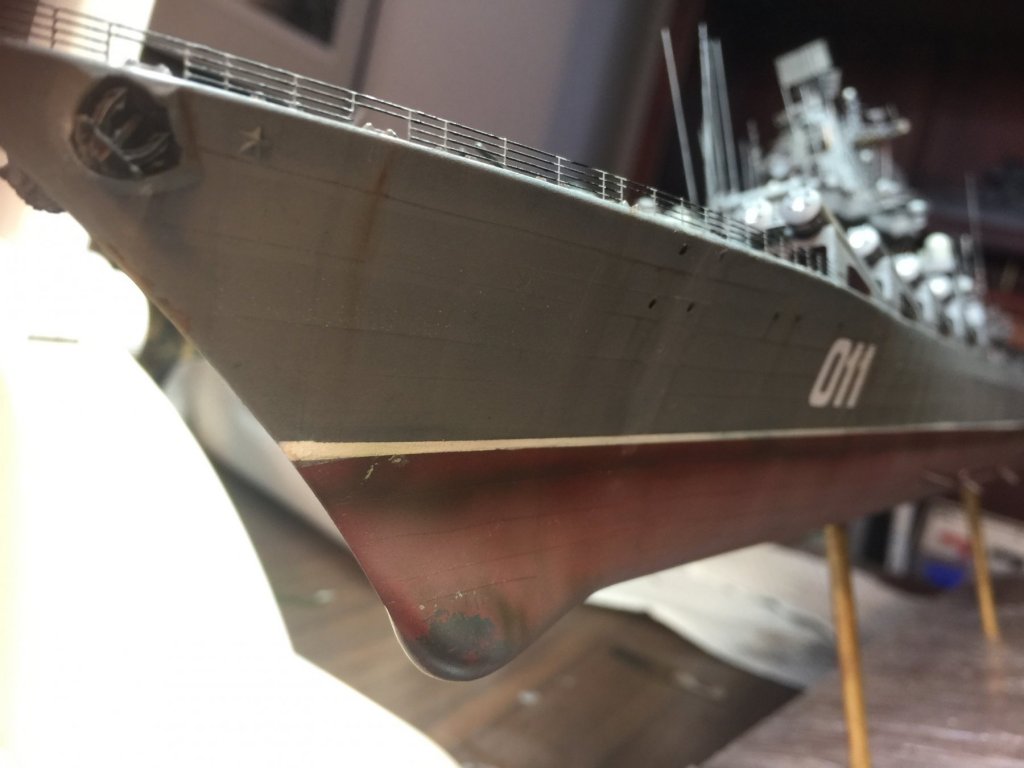
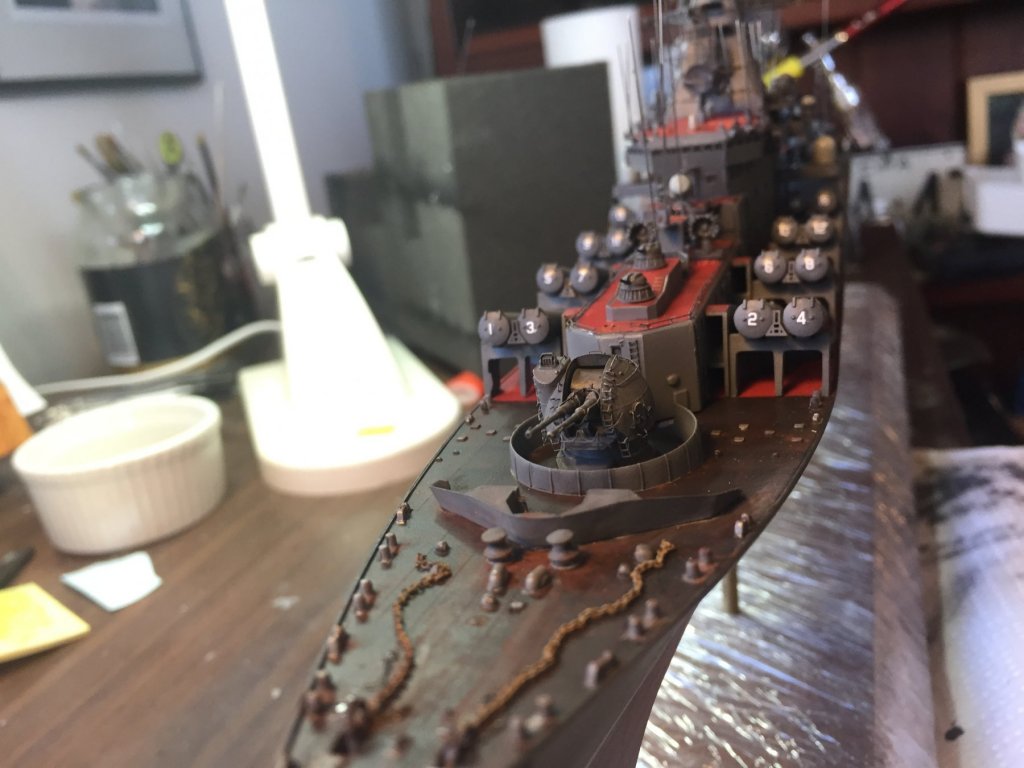
Much to the dismay of Banyan, I have done a bit of weathering. Salt, rust, grunge, some light pastels. You can just see the anchors which are resin aftermarket for Japanese ships, with the stock cut half way down the shaft, the kit provided blob was just horrible. The chains and stoppers were replaced, the hawser holes drilled out and rusted chains added to the tops of aftermarket anchor stocks jutting out of the holes. Getting there.


- 180 replies
-
- 11
-
-
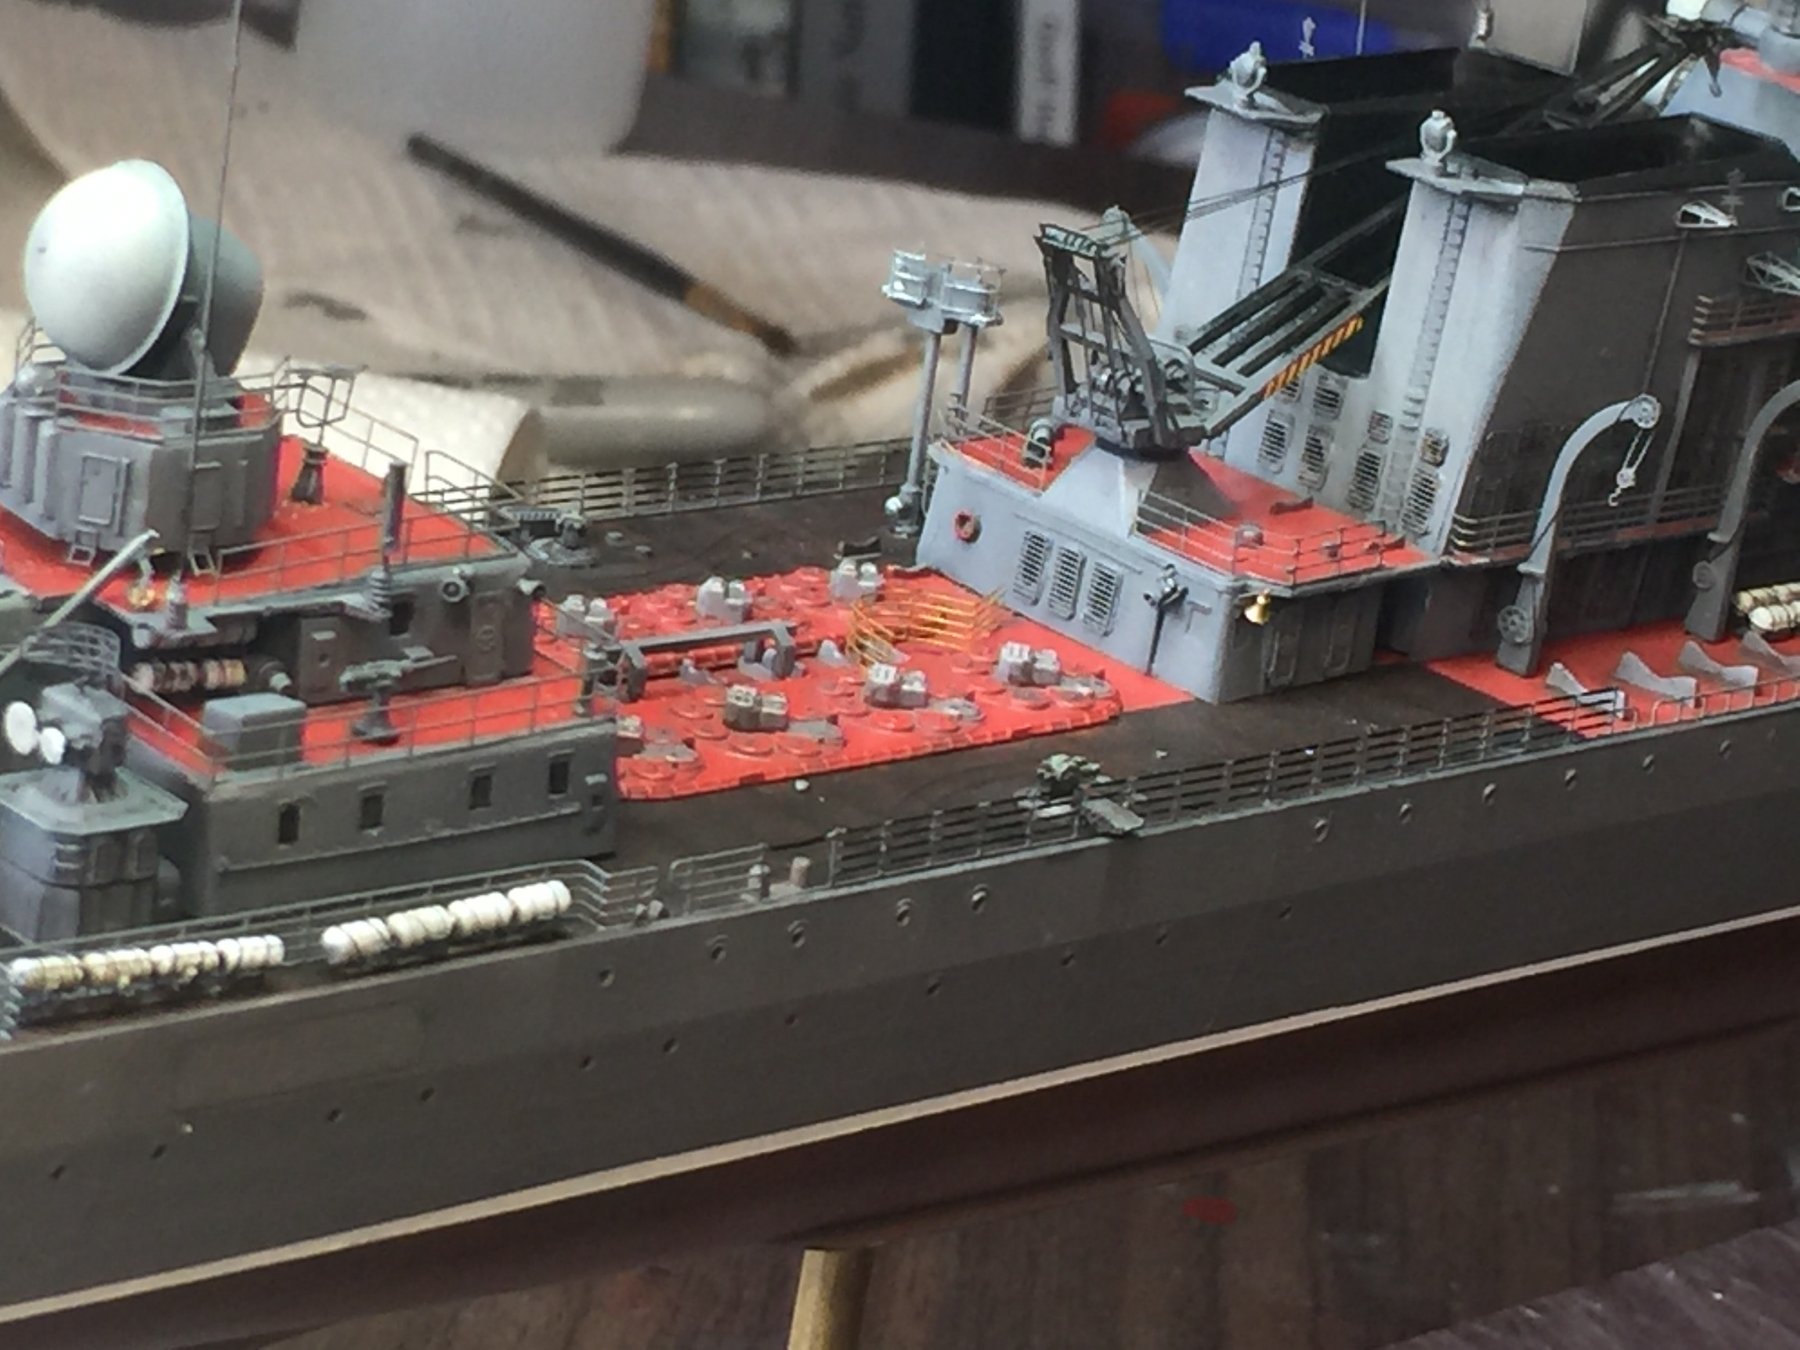
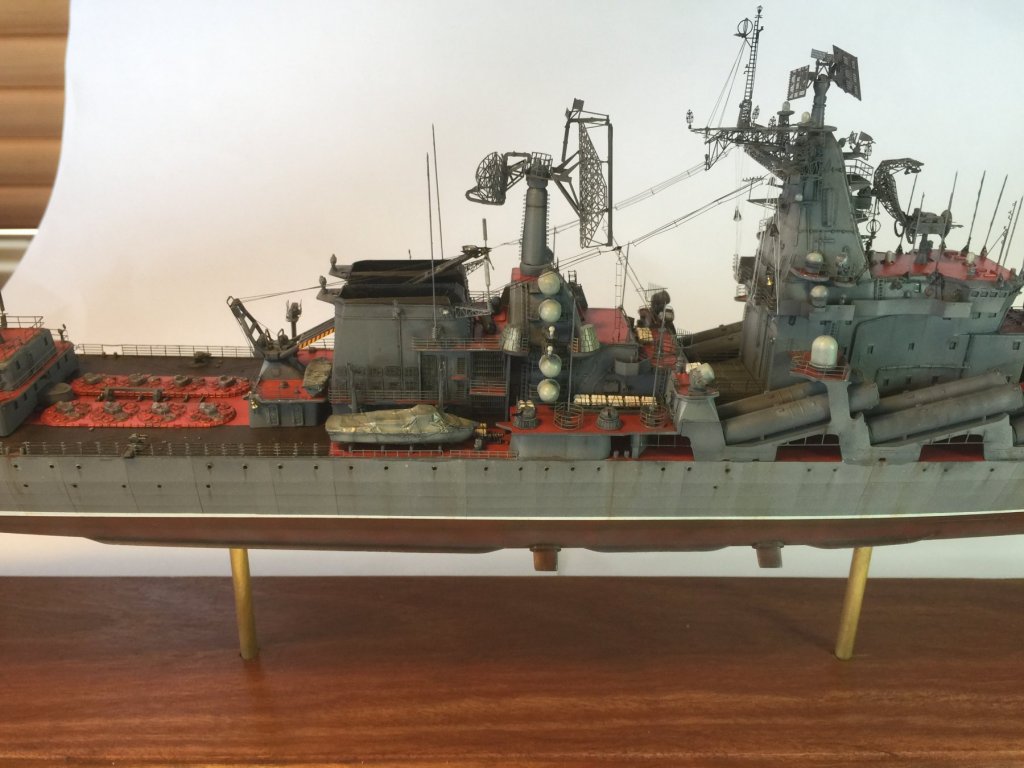
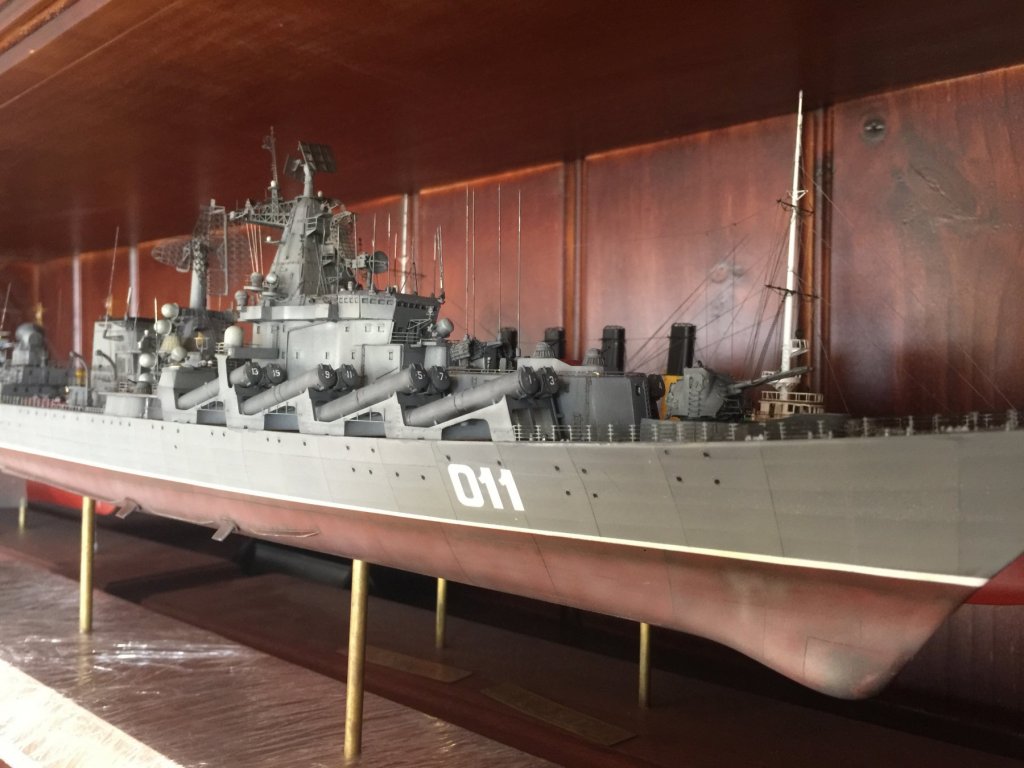
Railings are on. I painted the actual “wire” parts black, but it reminds me why I like individual stanchions. A quick run around with some matte varnish next to cover any shiny glue spots then finally some weathering. That will I’ll just leave the cage arials, the boys and helicopter.


- 180 replies
-
- 15
-
-
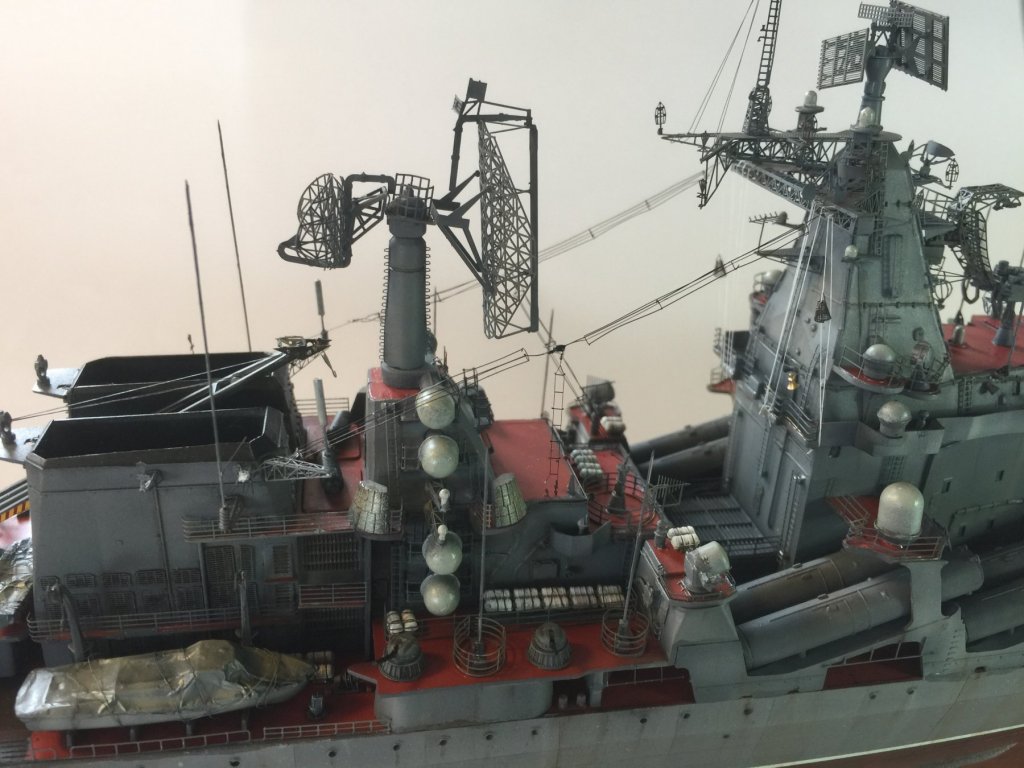
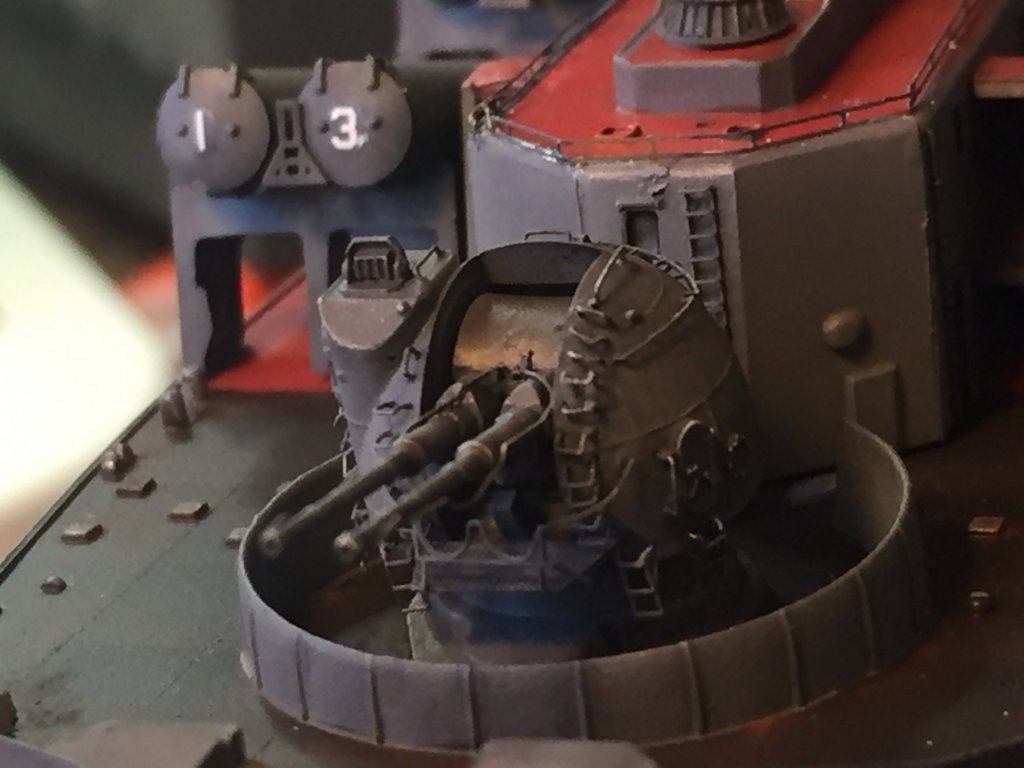
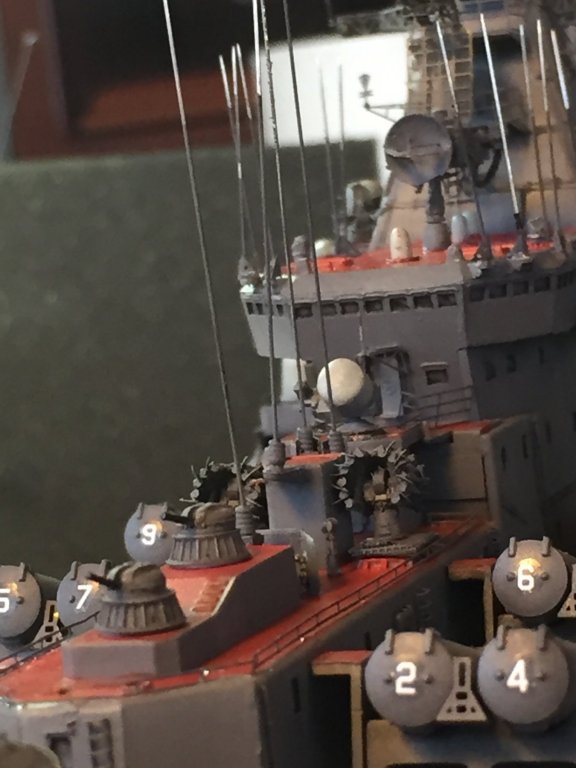
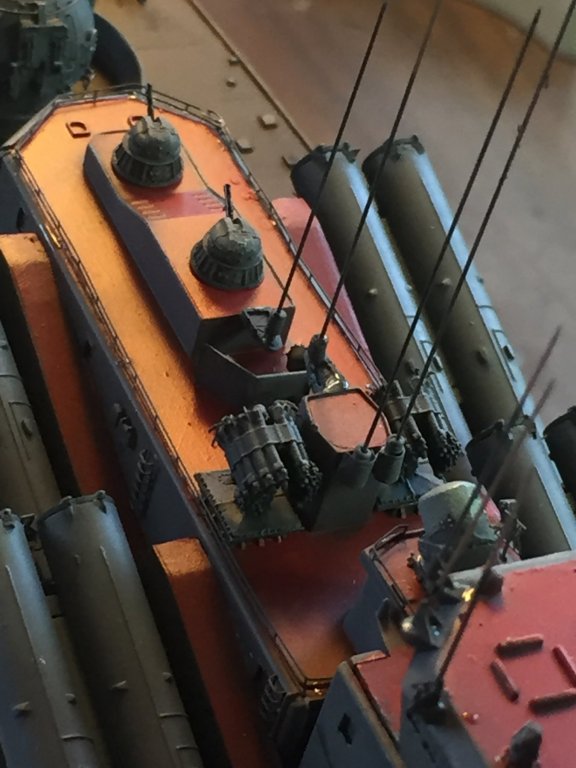
I’ve thrown on the CIWS, radar, rocket launcher and a heap of whip arials. The main gun is on but not glued down. I’ll finish painted the arials once the railings are on.

- 180 replies
-
- 15
-