RGL
-
Posts
5,564 -
Joined
-
Last visited
Content Type
Profiles
Forums
Gallery
Events
Everything posted by RGL
-
 There will be weathering and some modulation of colour otherwise it will be very boring.
 -
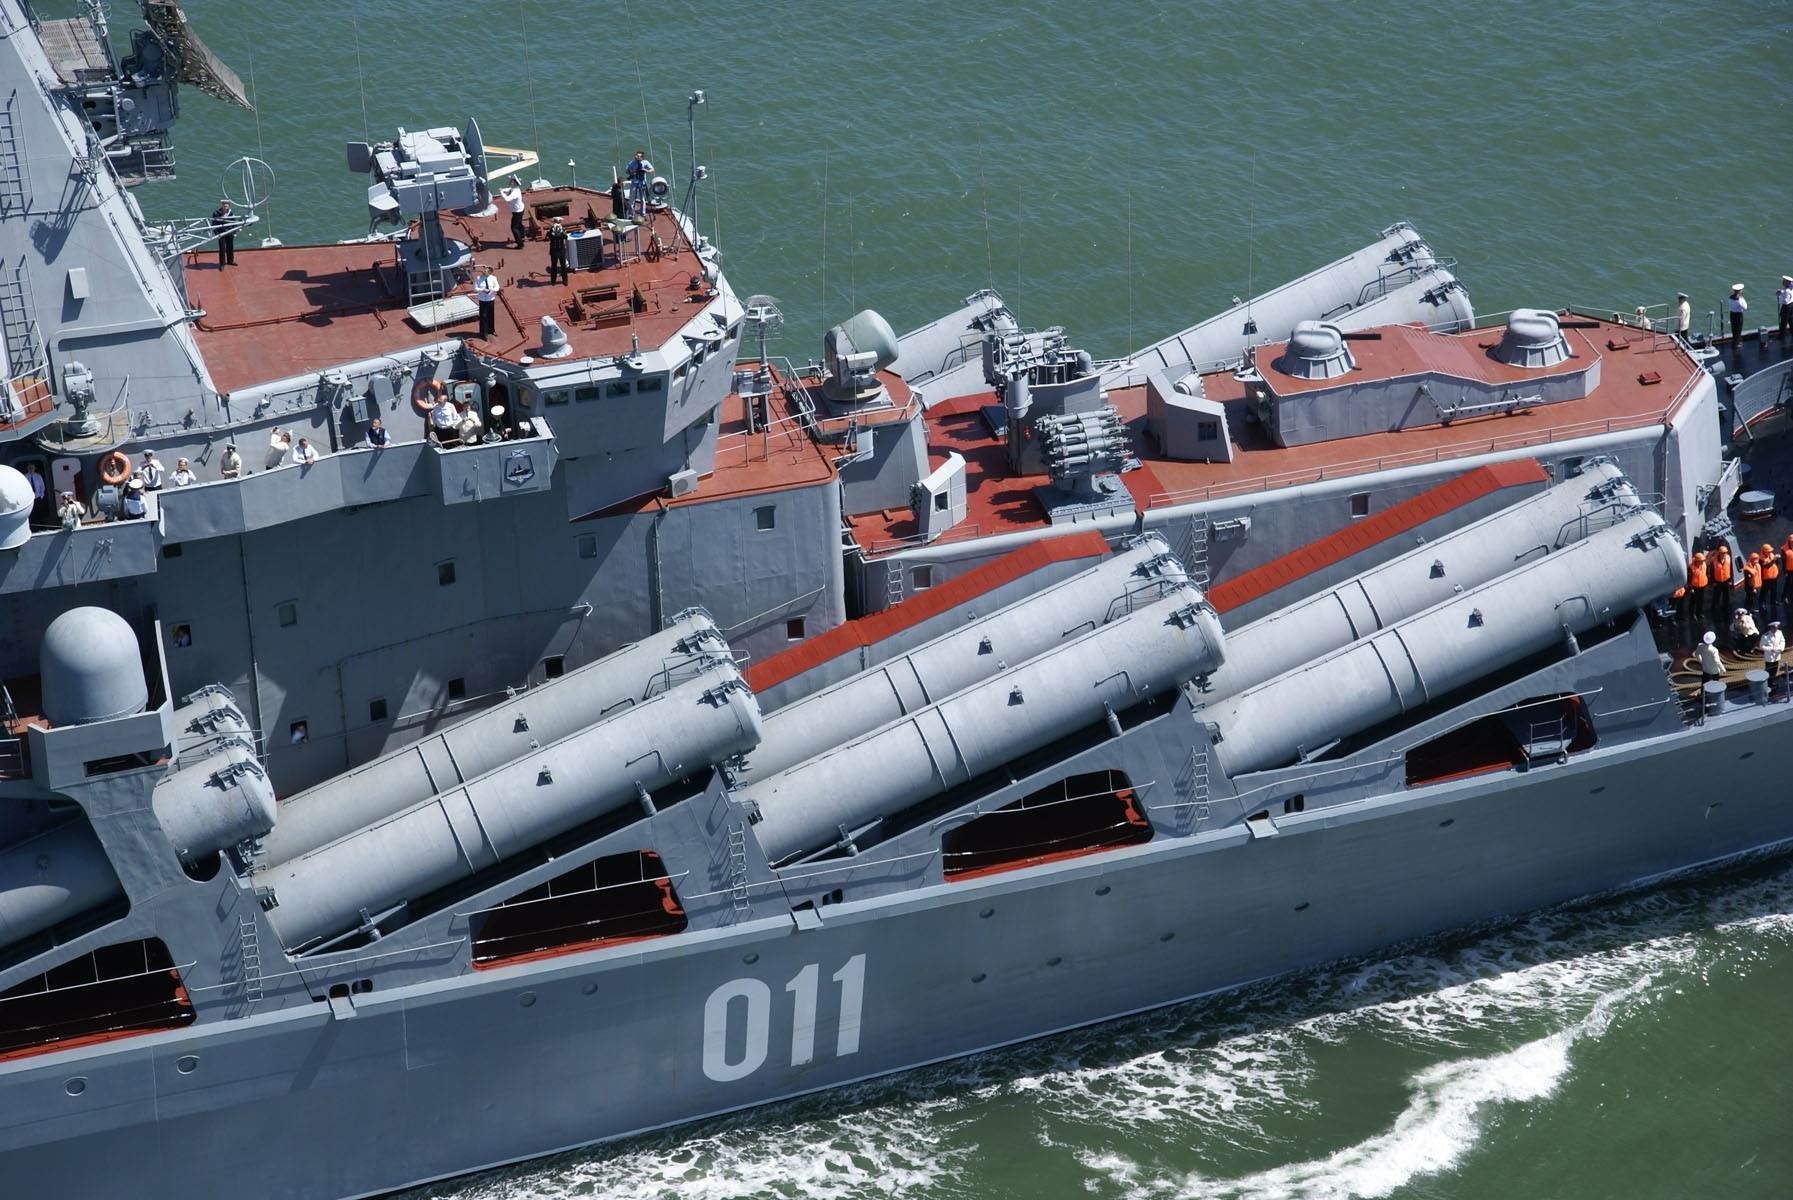
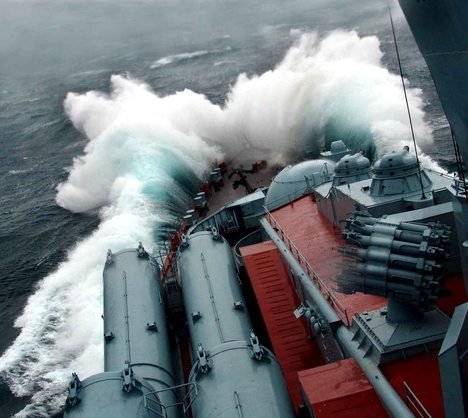
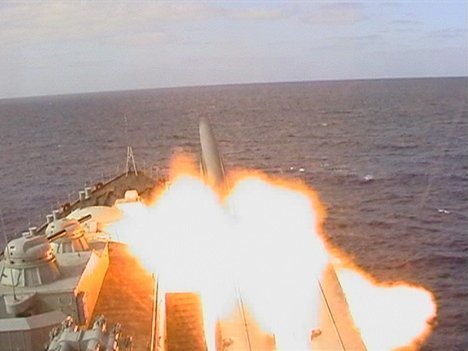
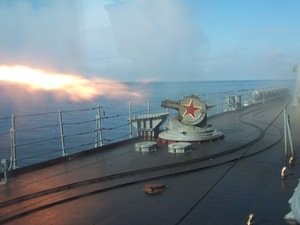
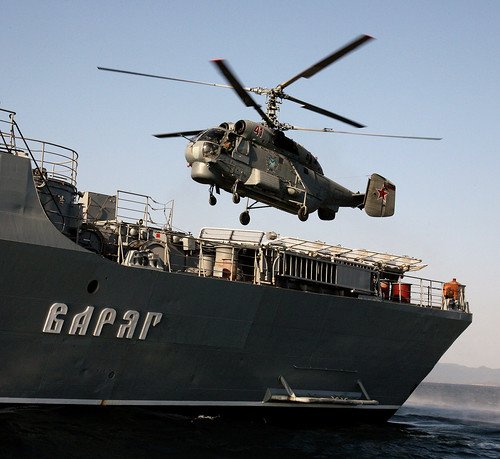
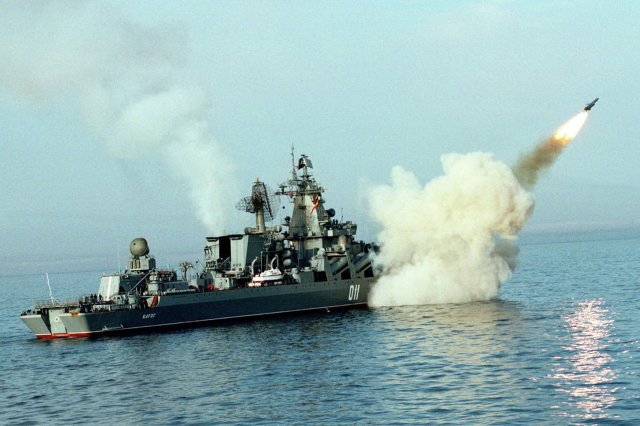
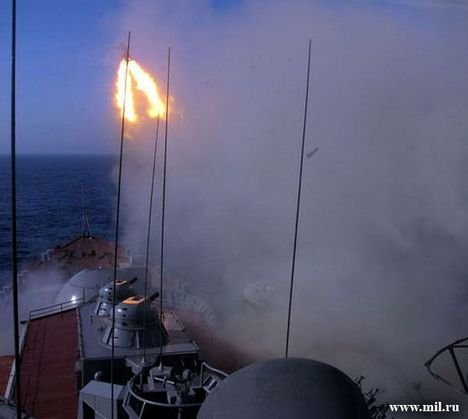
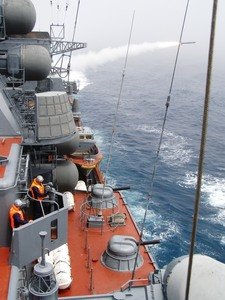
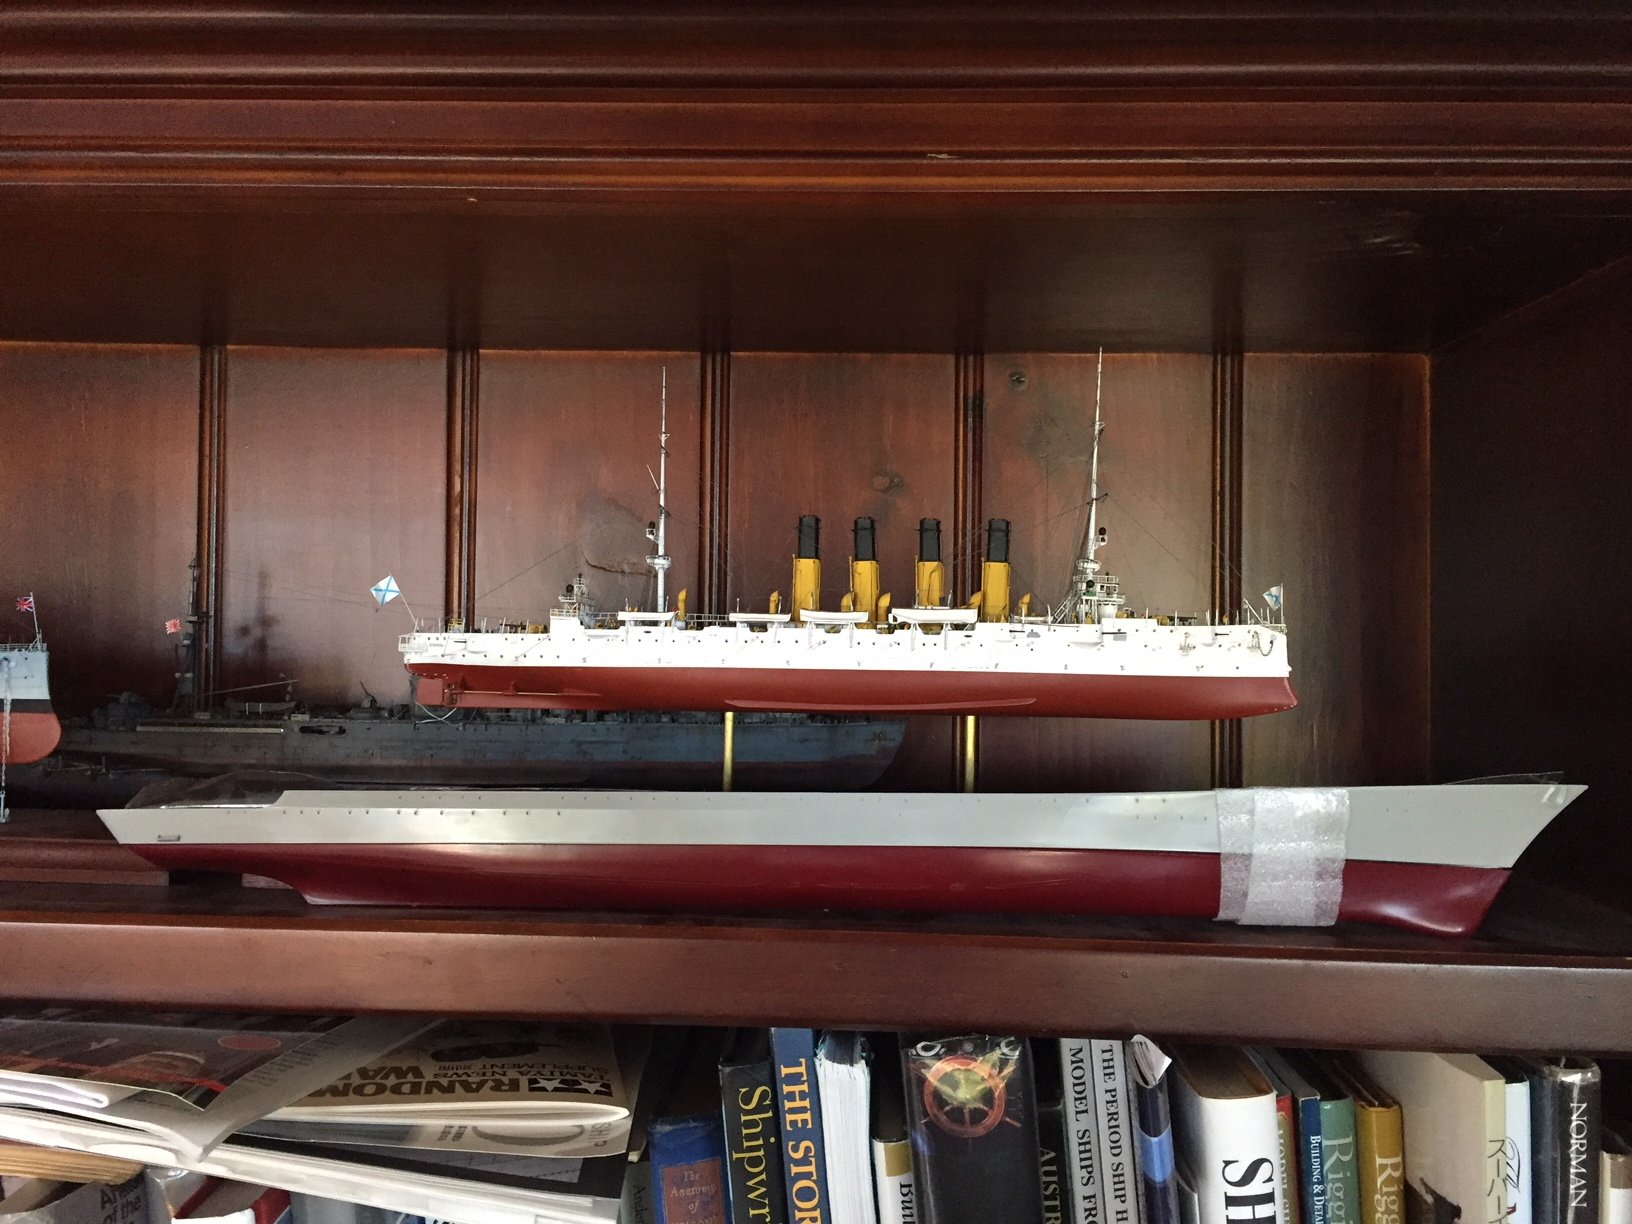
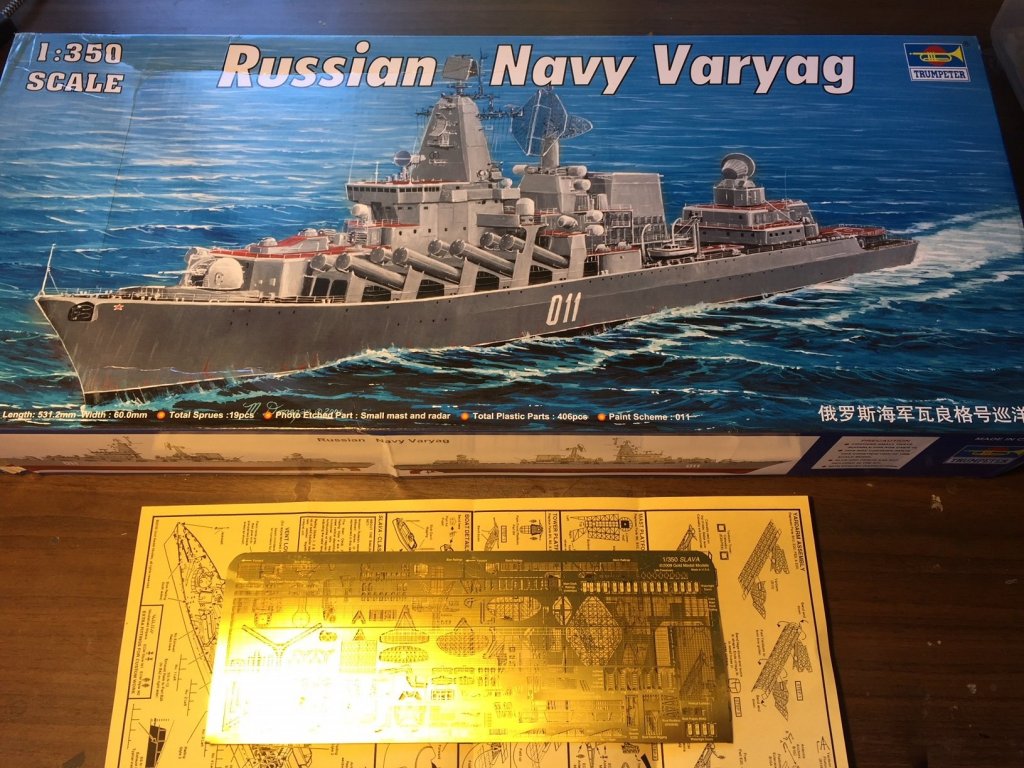
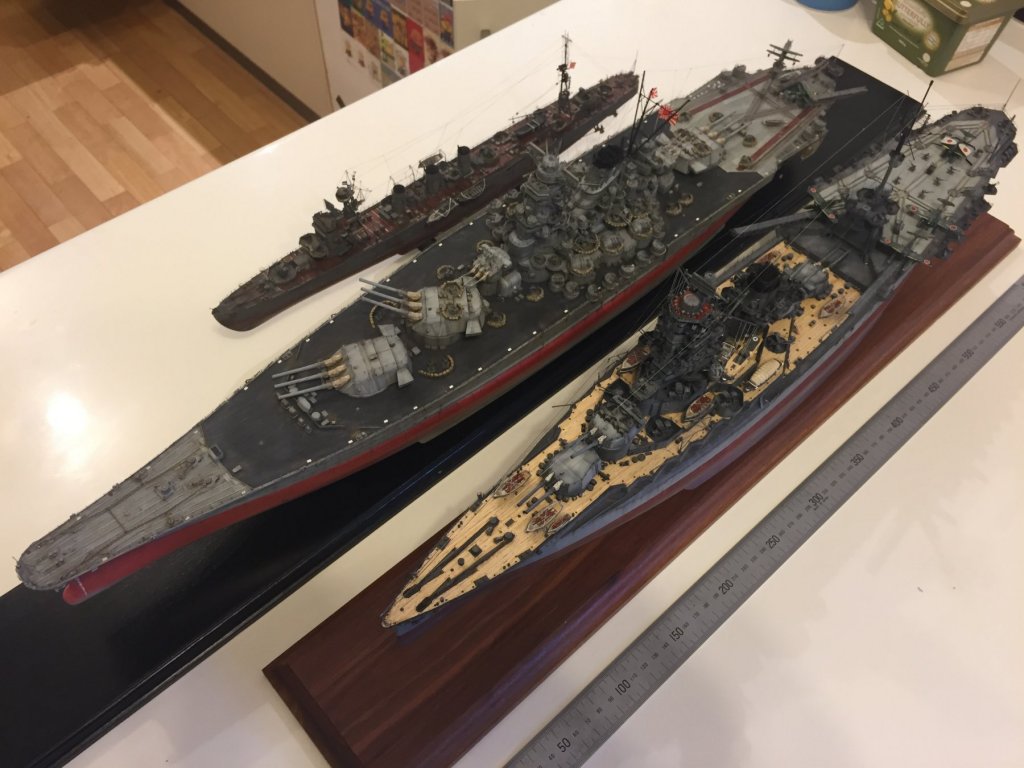
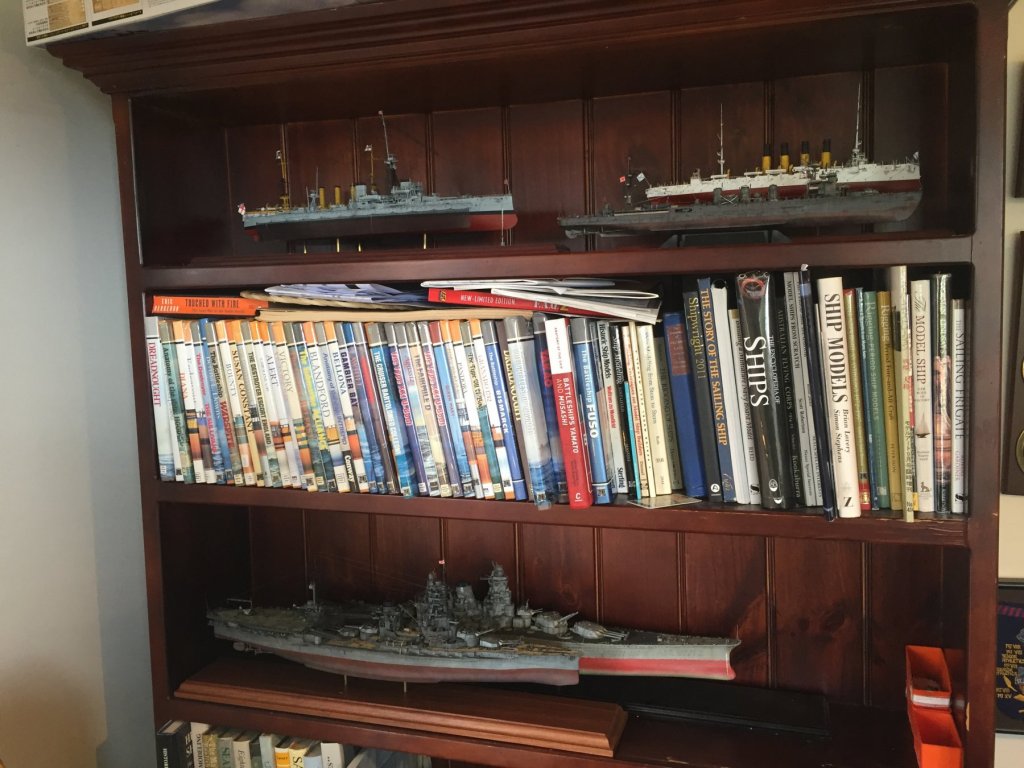
Moving forward in the later 20th century, my next build, the Soviet (now Russian Navy) Varyag. I found this on ebay along with a cruiser and a Chinese set of PE for the Varyag for a hell of a lot cheaper than anywhere in OZ. You can see from the 1904 version, she got a bit bigger and I think was primarily an aircraft carrier killer. There are a LOT of photos online for her him and his brothers (Russian ships are boys apparently), and I have as usual ordered up some more extras. The Gold Medal Models PE is just lovely and incredibly detailed. The hull is very smooth and I will be doing a fair bit of work to etch in some panel lines, scuppers, dents, all to aid in weathering it.
- 180 replies
-
- 13
-

-
Man, I could never bring myself to solder, so much PE, so much work! Ive decided the quick set binding fluid for Ca is now my friend. Its a massive build.
-
and I am looking forward to you value adding to the build log. I have ordered aftermarket from from around the globe and purchased my next kit for a steal off eBay, it actually included a Chinese pirated copy of the PE and a second Chinese build. All for under the RRP of the kit. In keeping with the principles of this site I have re ordered the PE from the company that produced it. I need to to tidy up all the pe I have acquired as it is all 1900-1945, and now we progress to the time when I started walking this earth. When it all comes together I’ll start a new log.
-
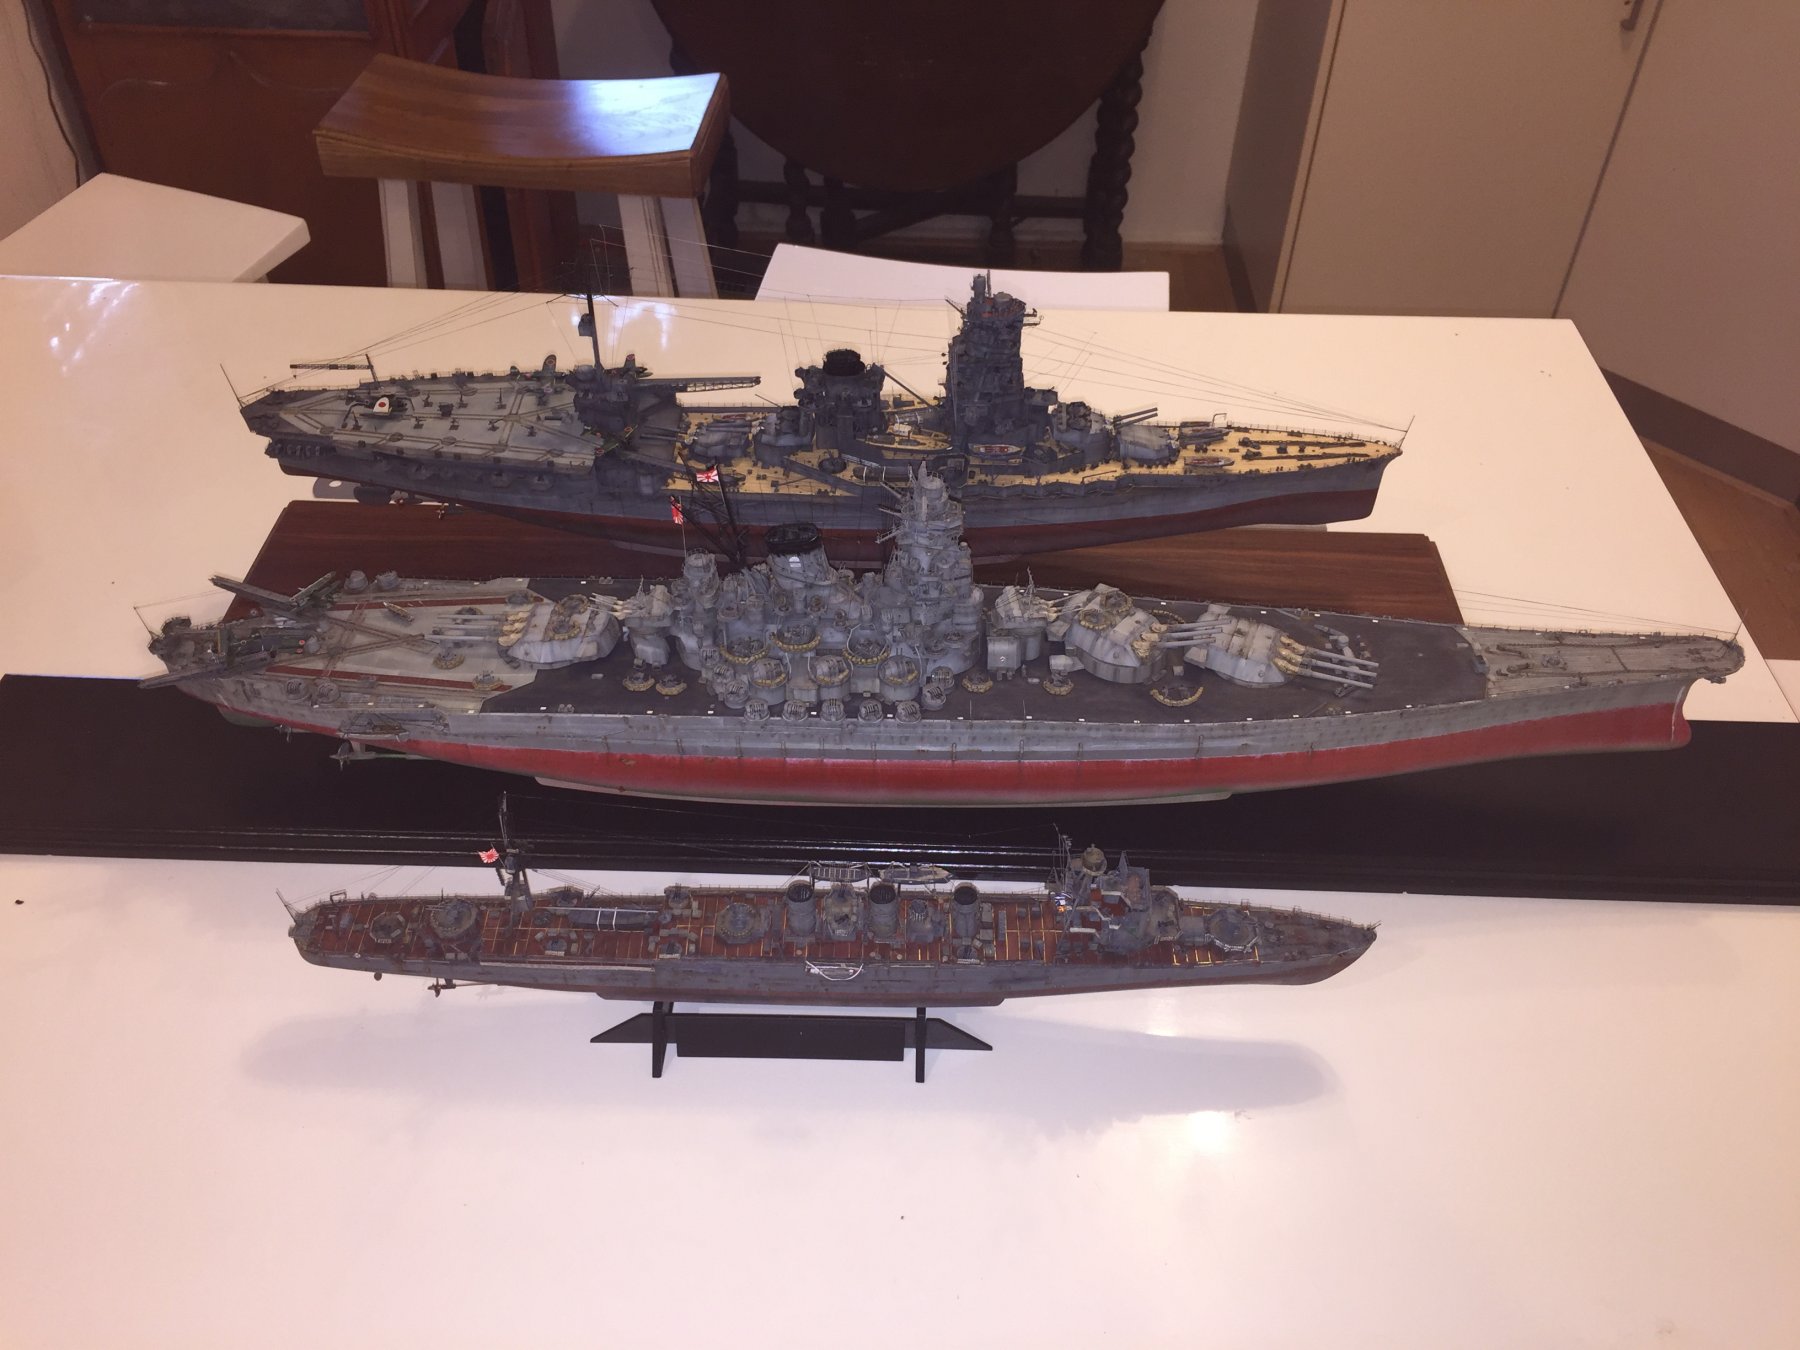
And here ends my IJN phase. I really don’t want to build another for quite a while as it just starts to repeat itself. Hope you enjoyed this one, I’m going forward to the Cold War next. Off to the digital graveyard.
- 224 replies
-
- 22
-
-
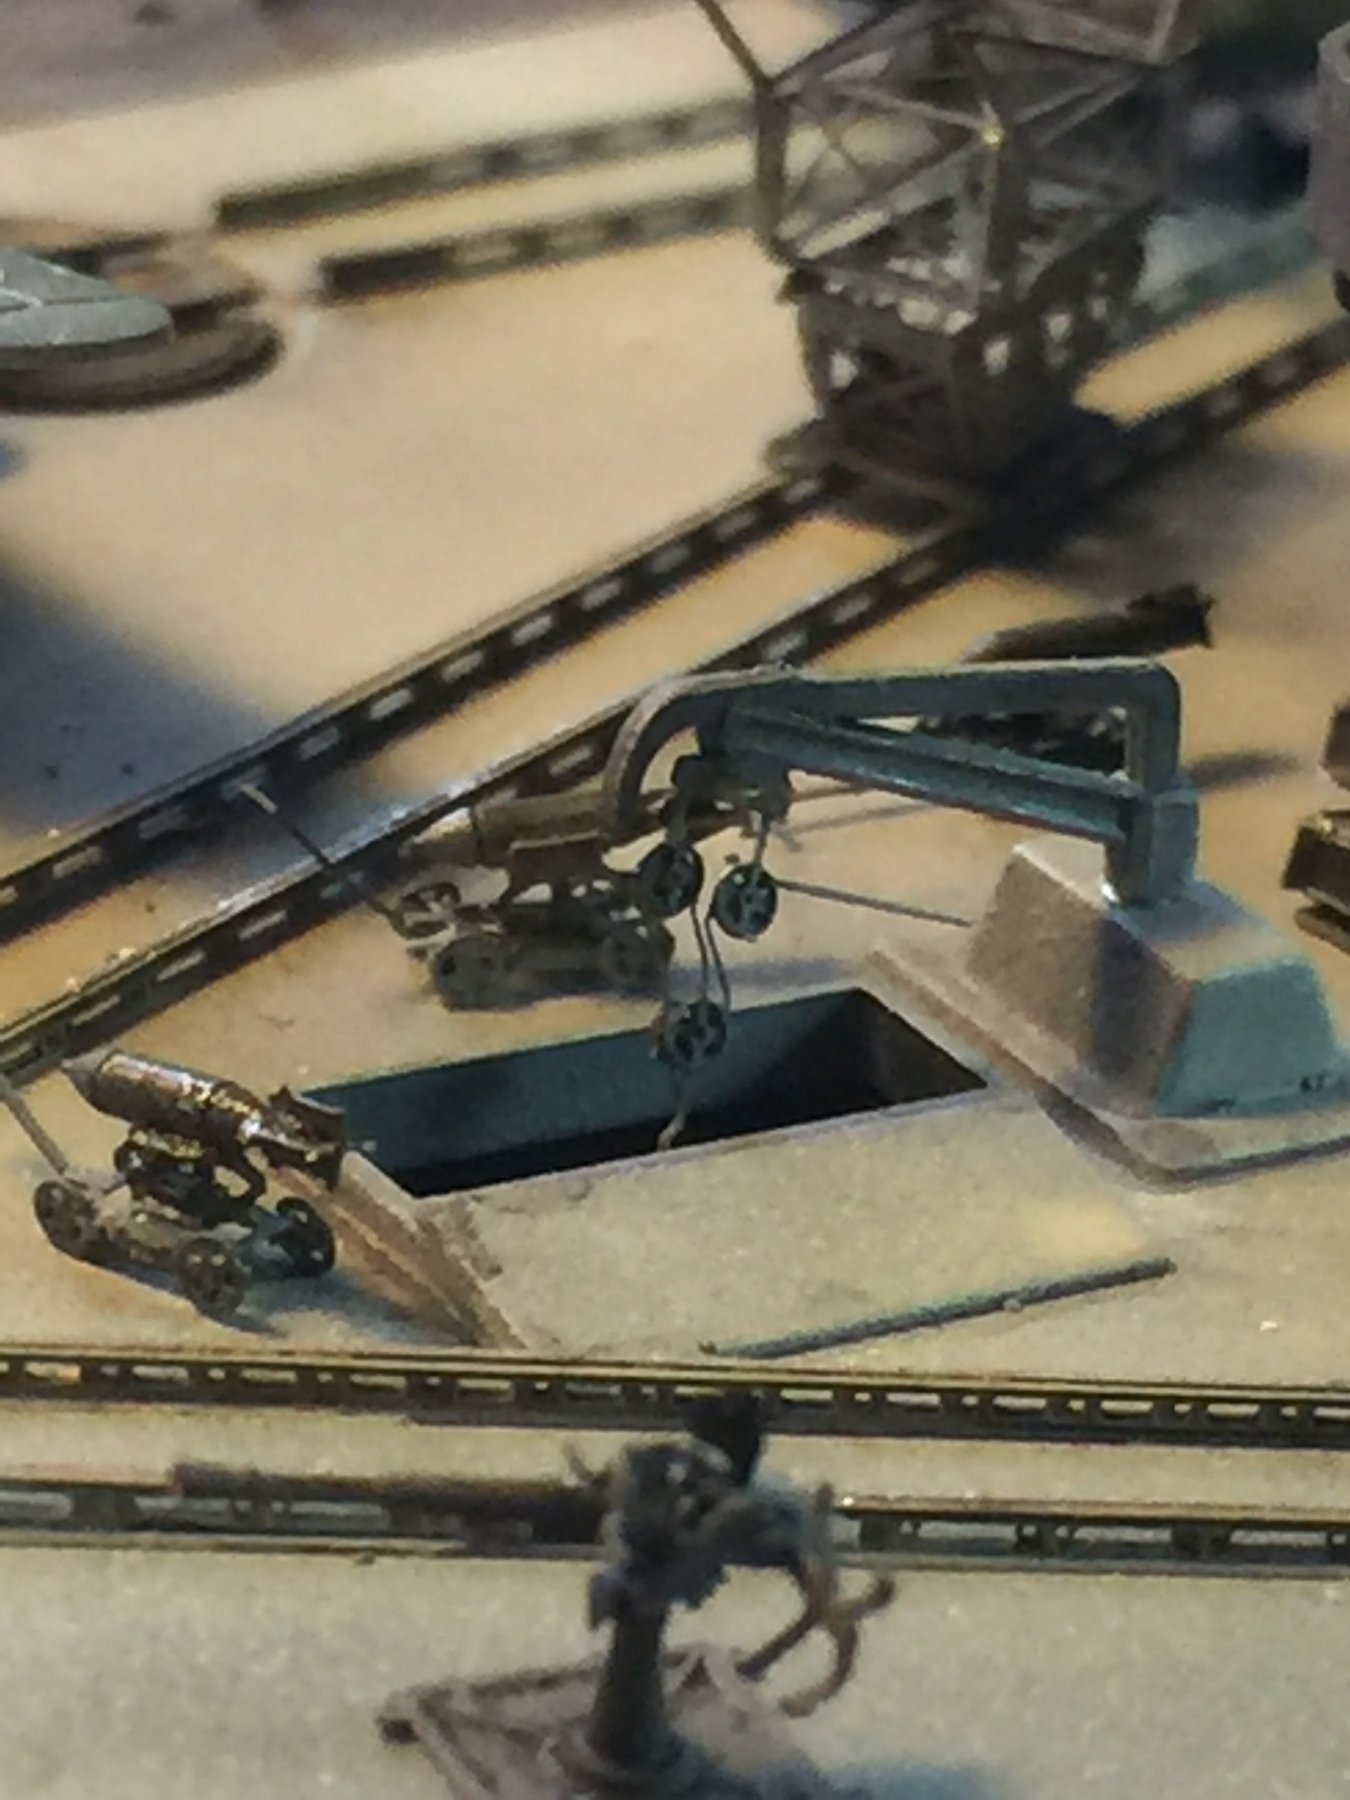
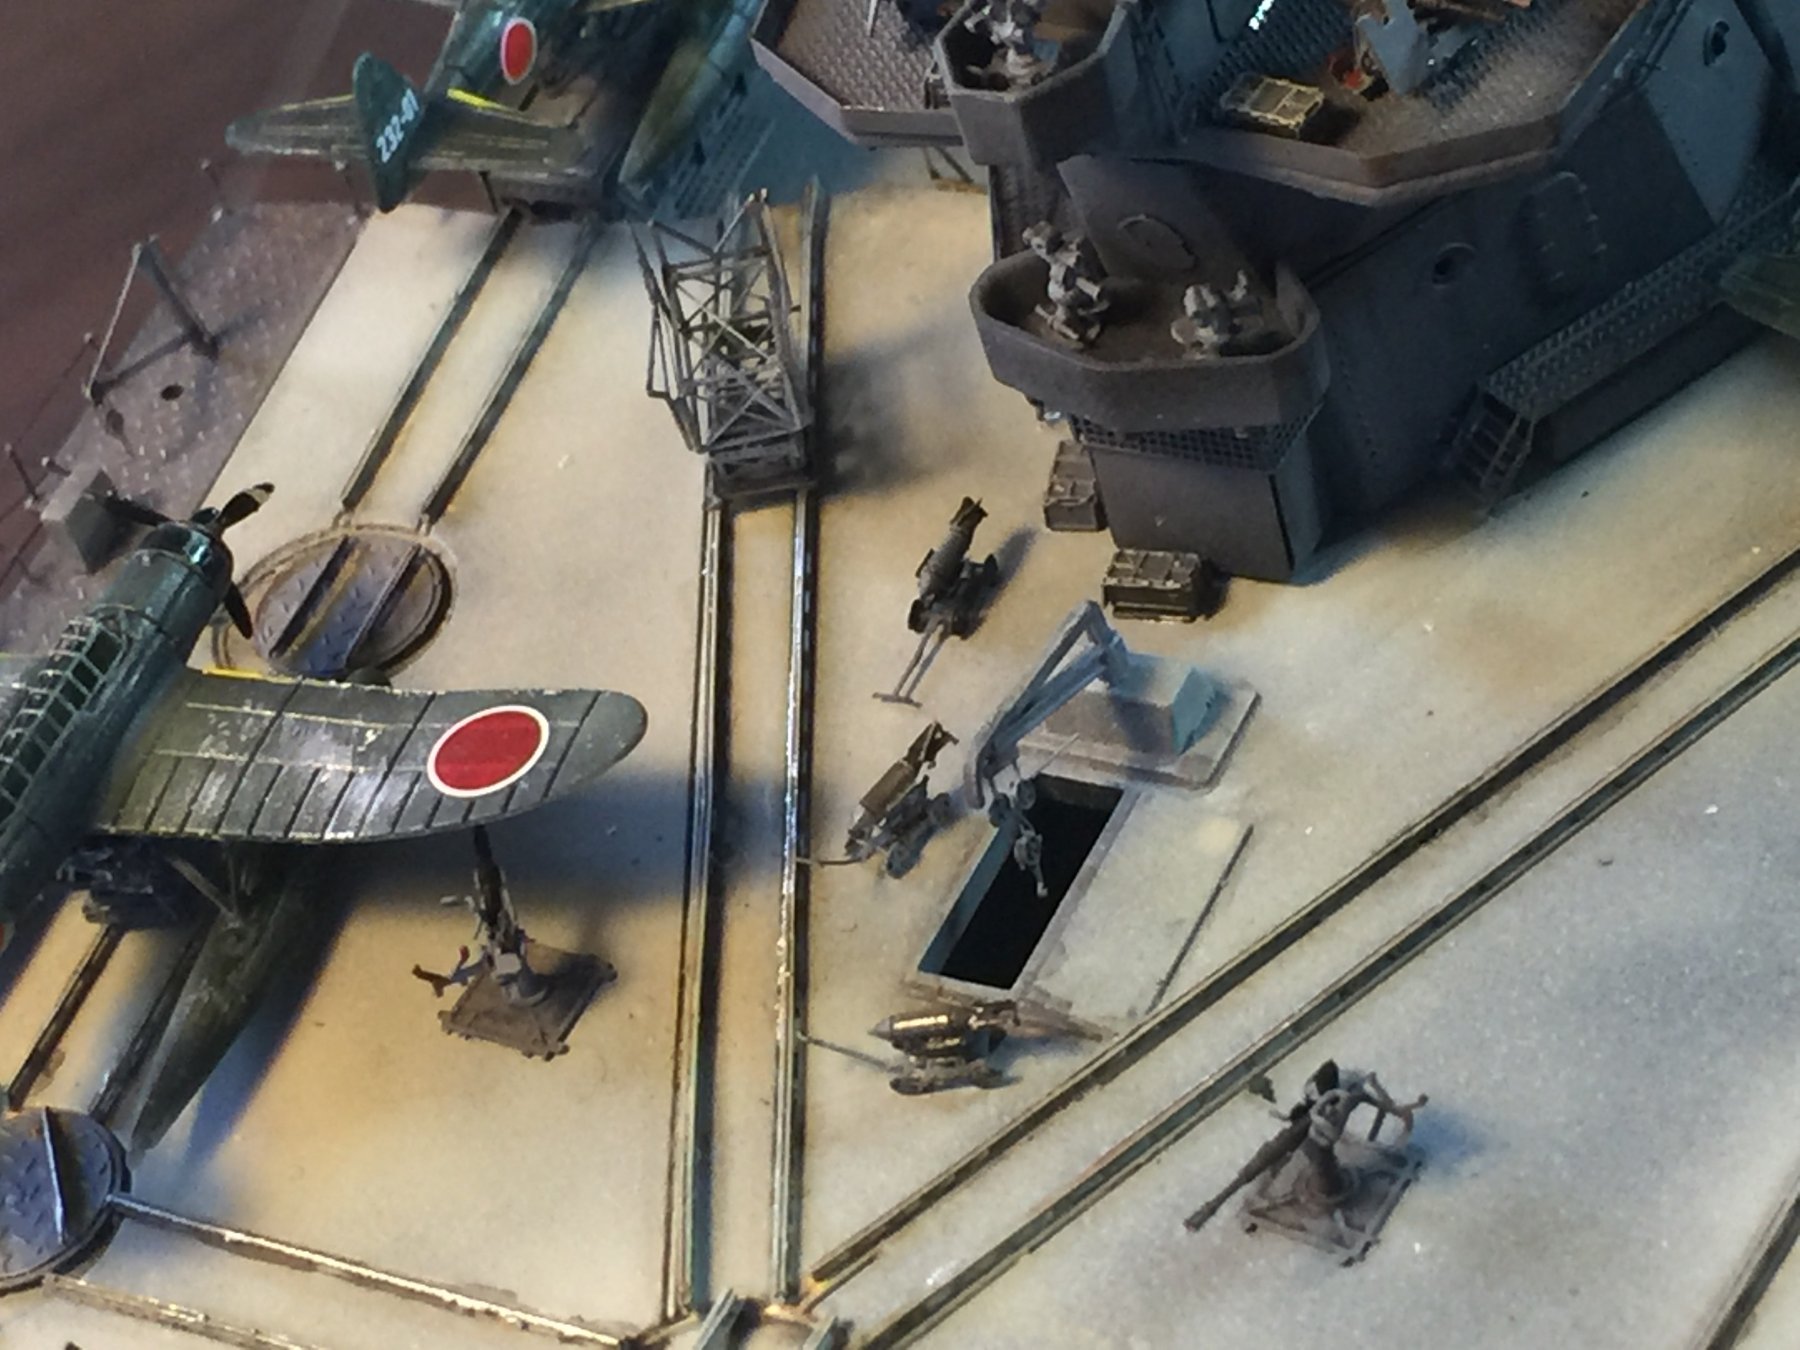
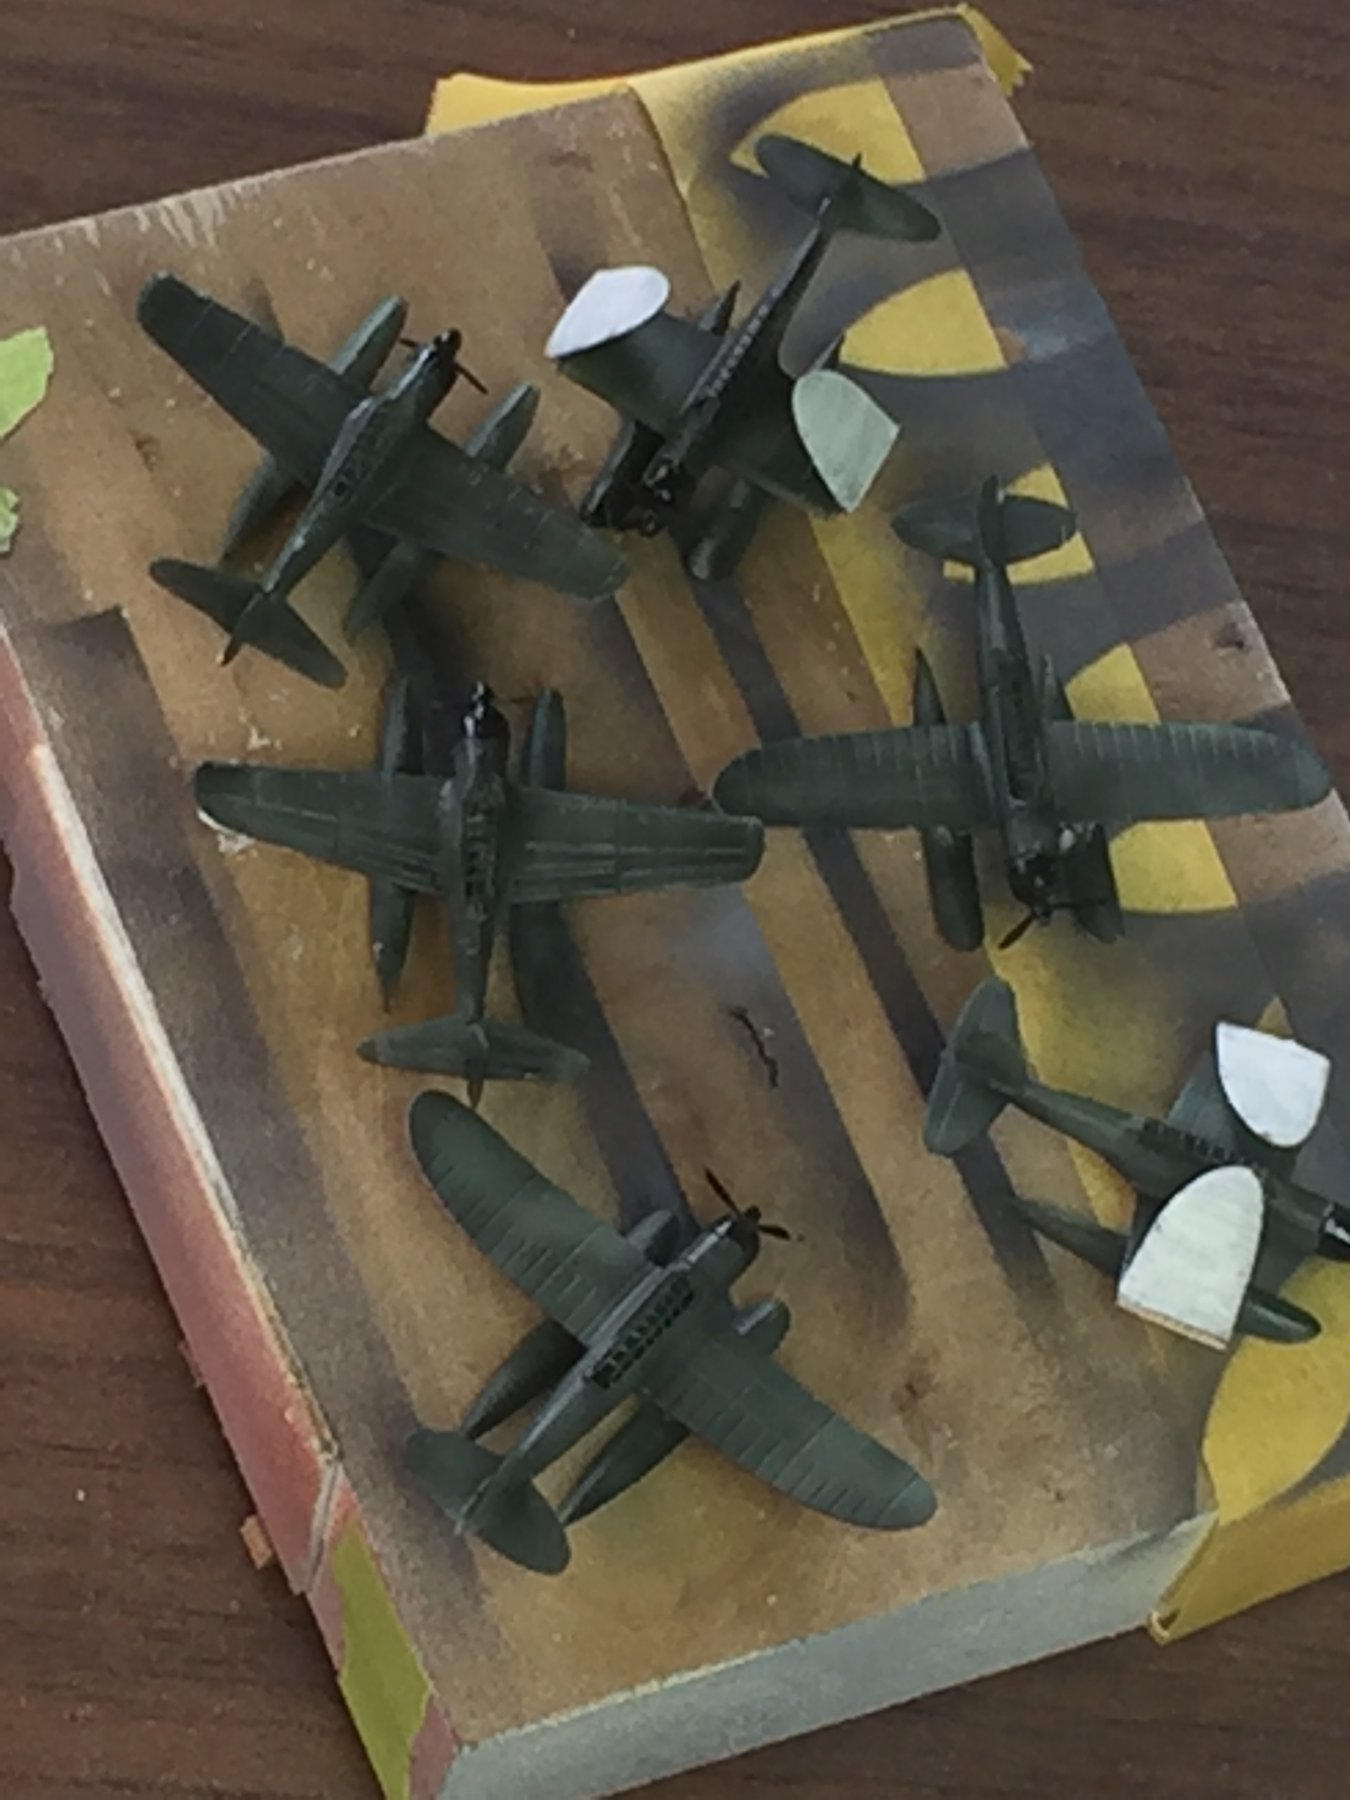
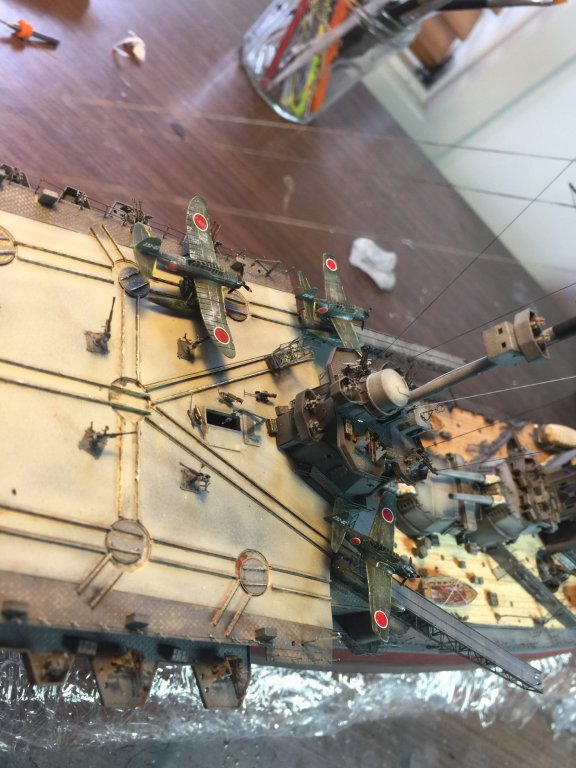
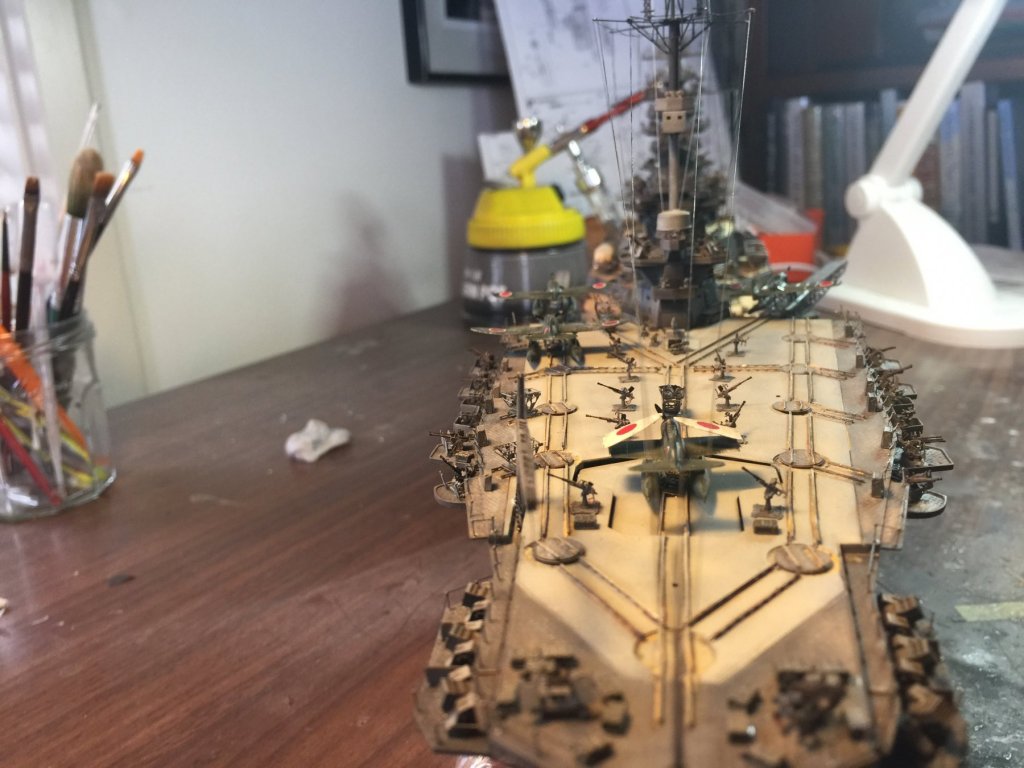
Essentially I’m crap at aircraft. There is a bomb hoist where I have added some little bombs on trolleys and left a few trolleys for aircraft lying around.


- 224 replies
-
- 17
-
-
You could try a heavy black wash for the helicopter windows.
- 133 replies
-
- 3
-
-
- jeanne d arc
- heller
- (and 2 more)
-
Cog, according to the internet, if you don’t grow up by 50 you do’nt have to, 2 years to fight it.
-
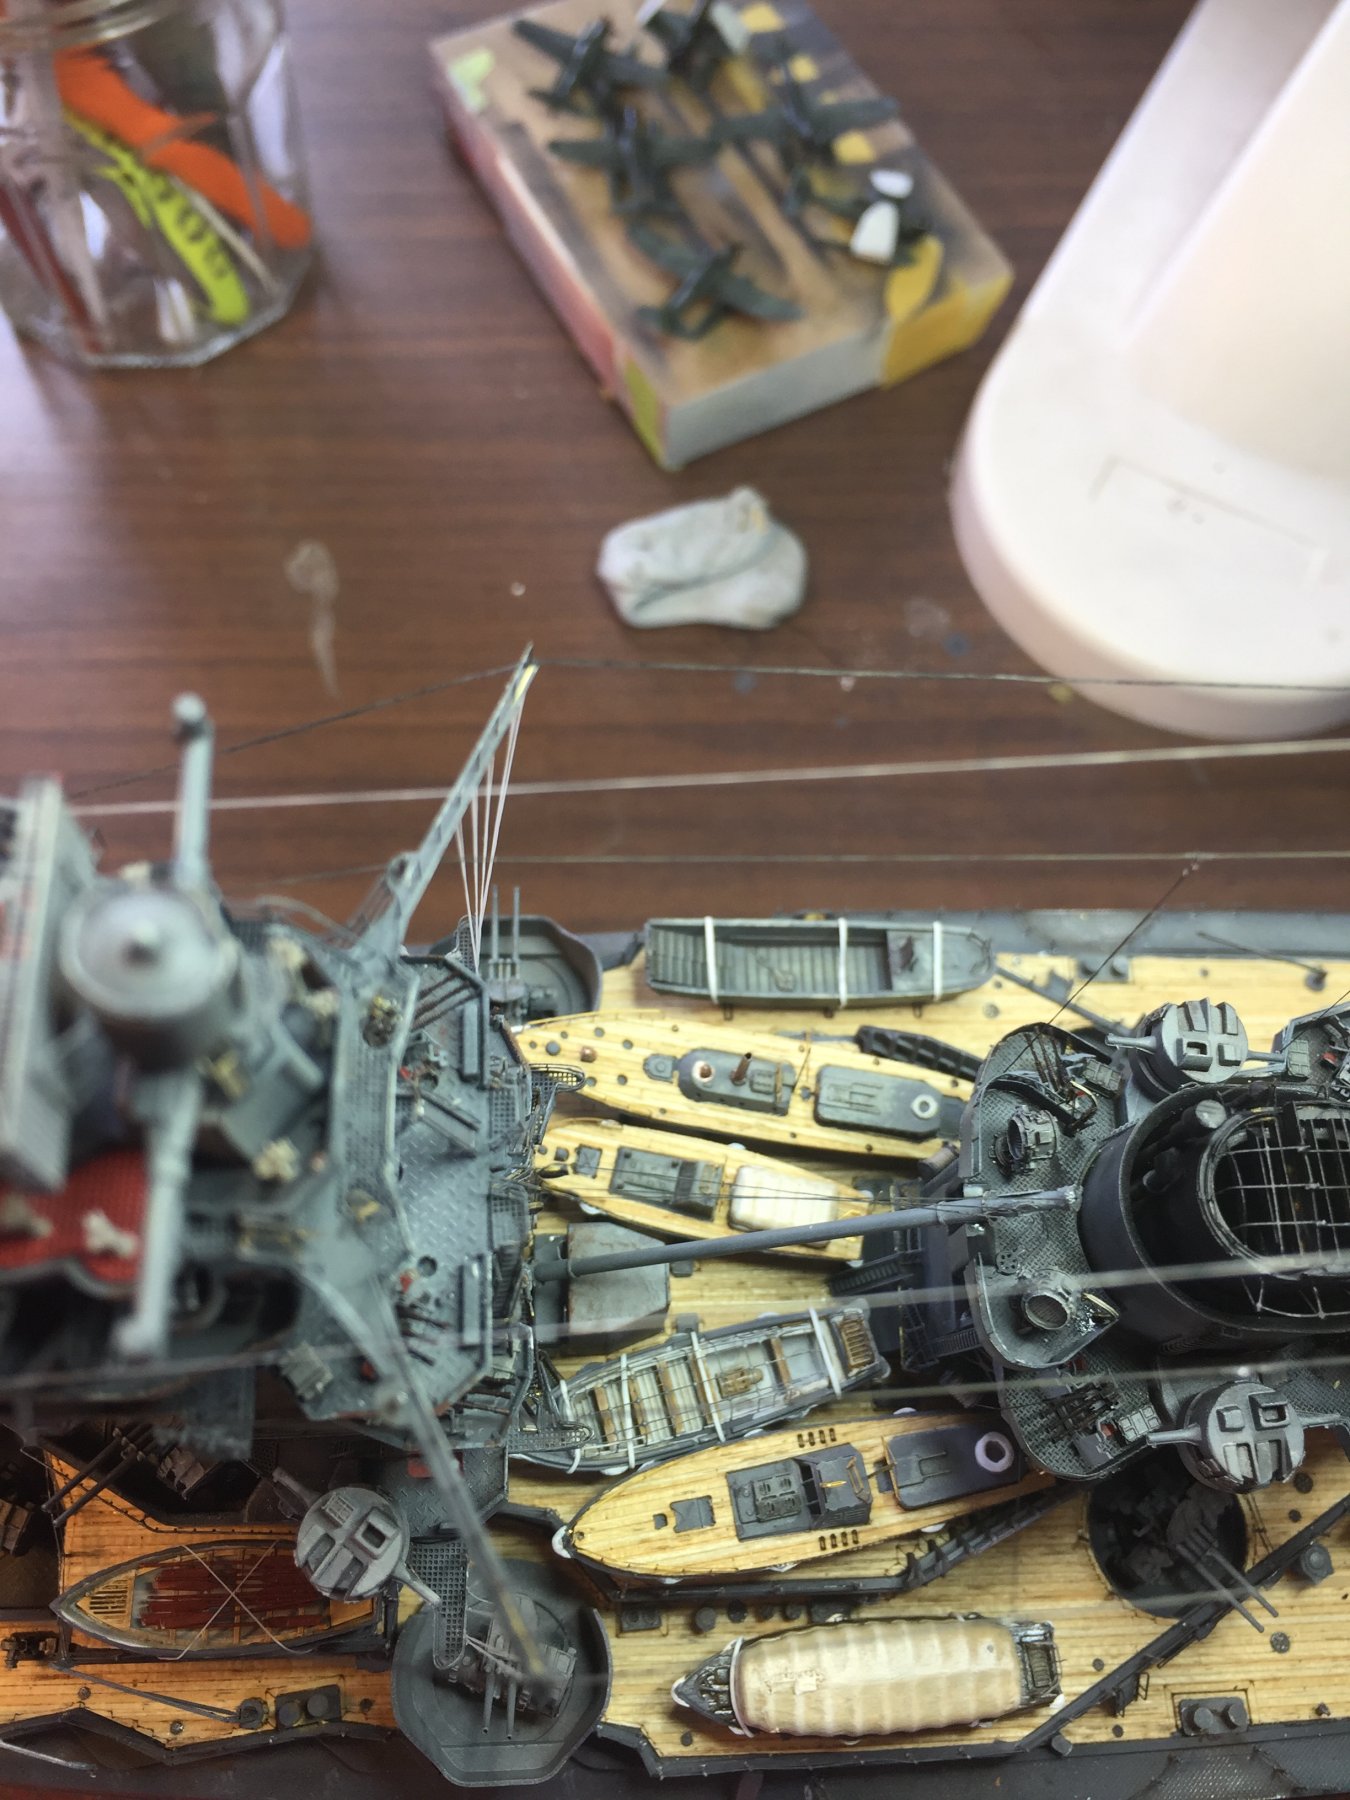
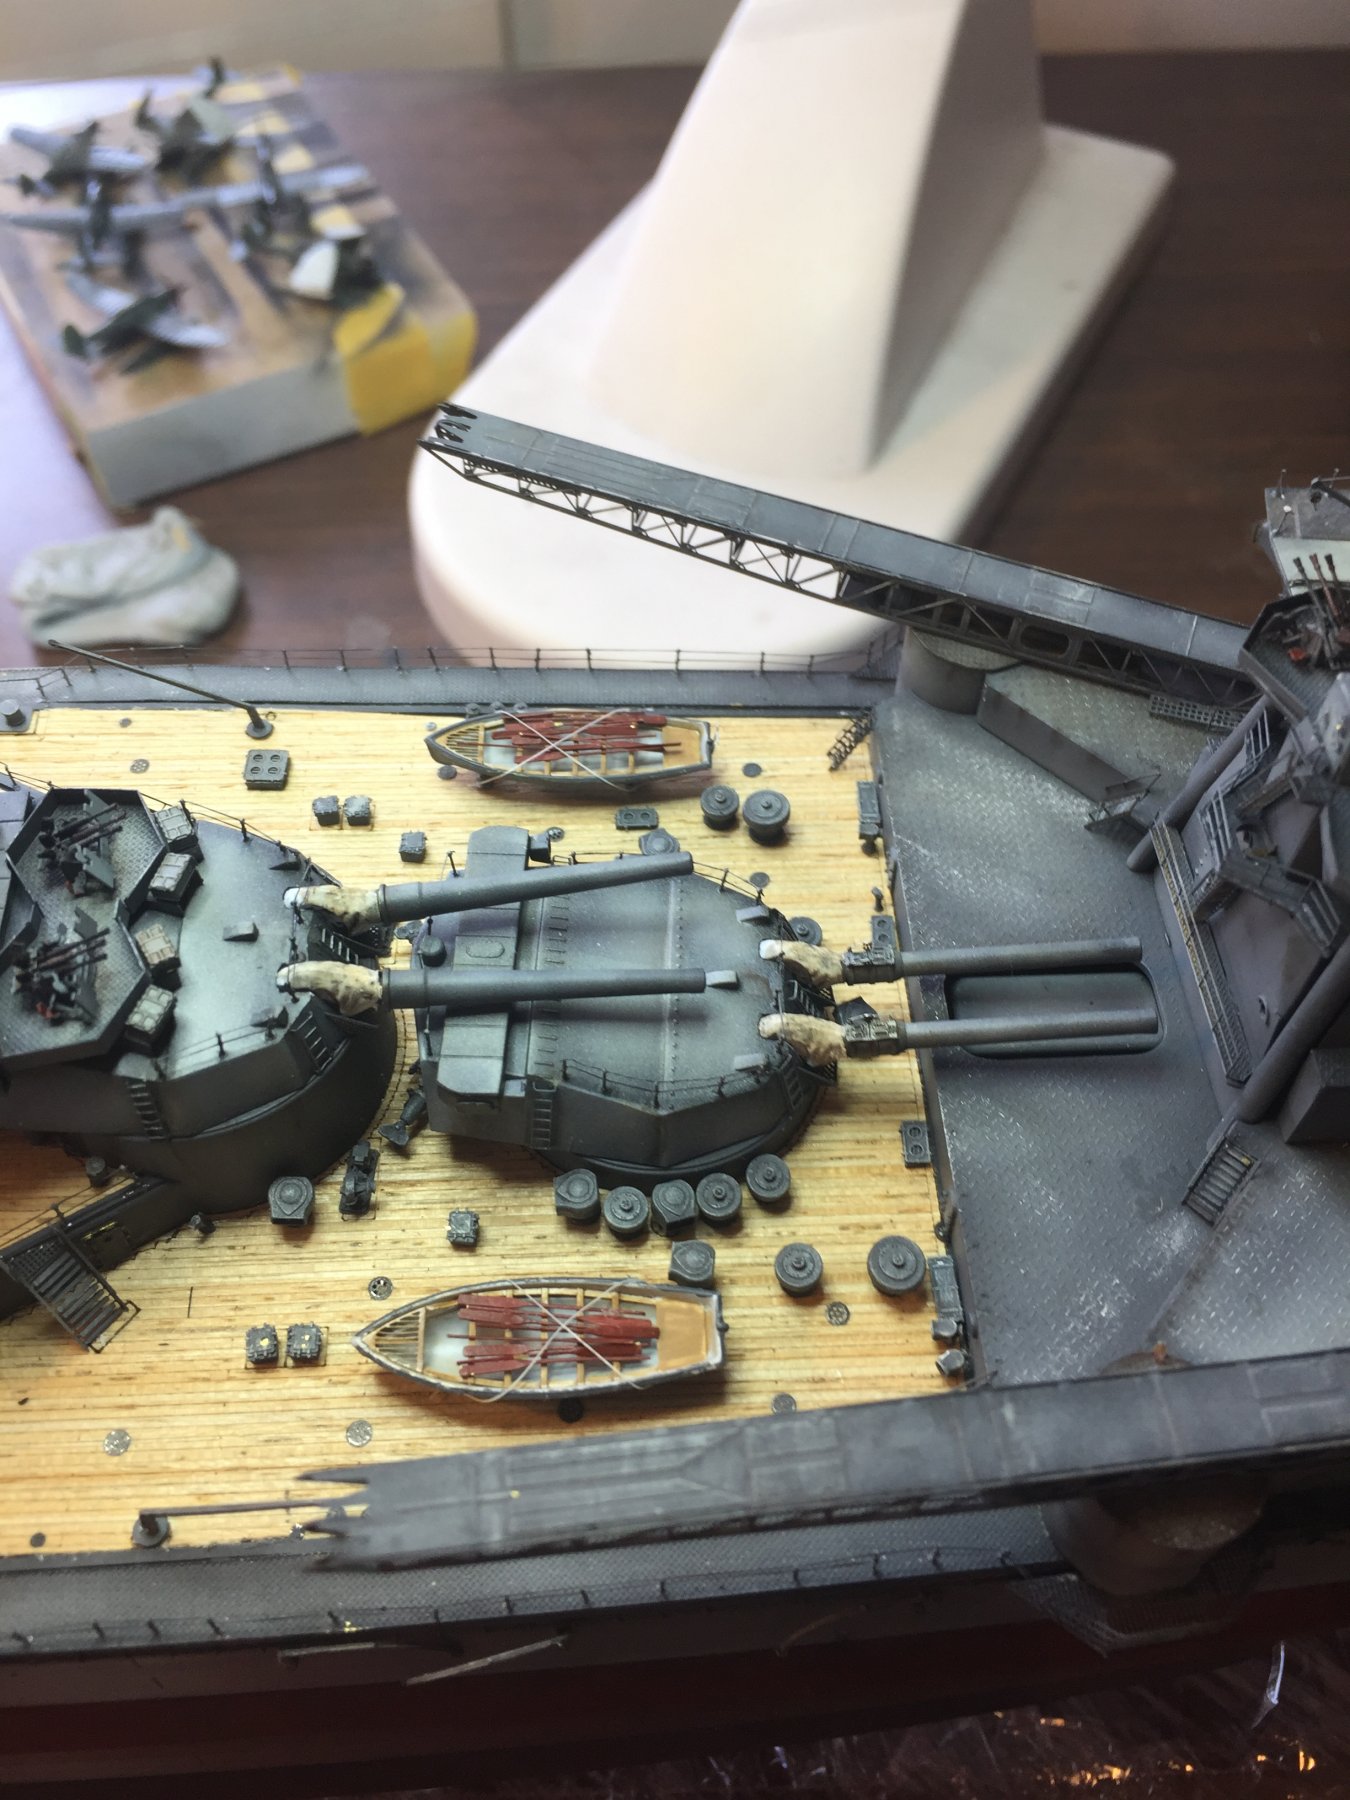
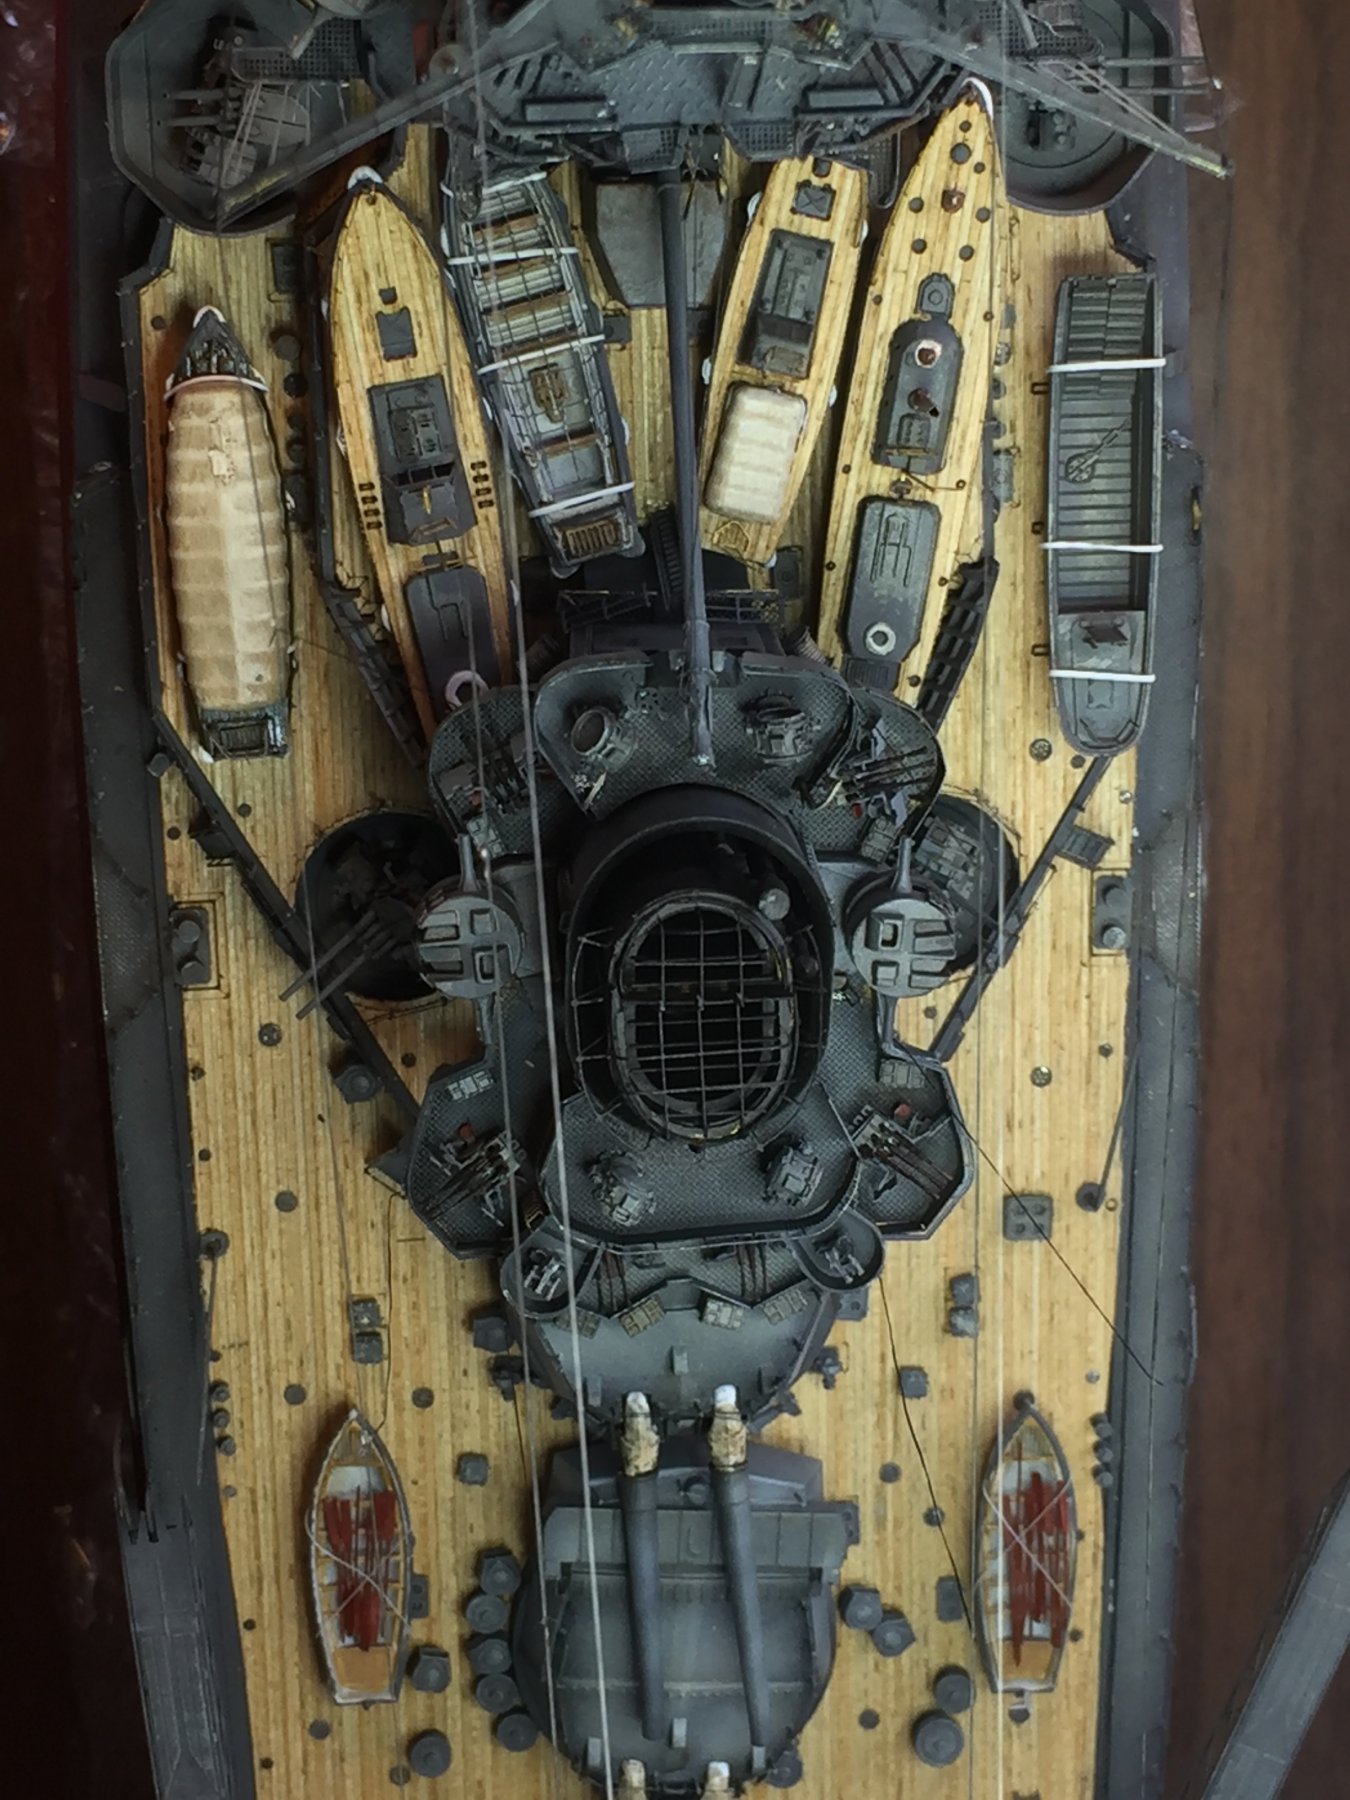
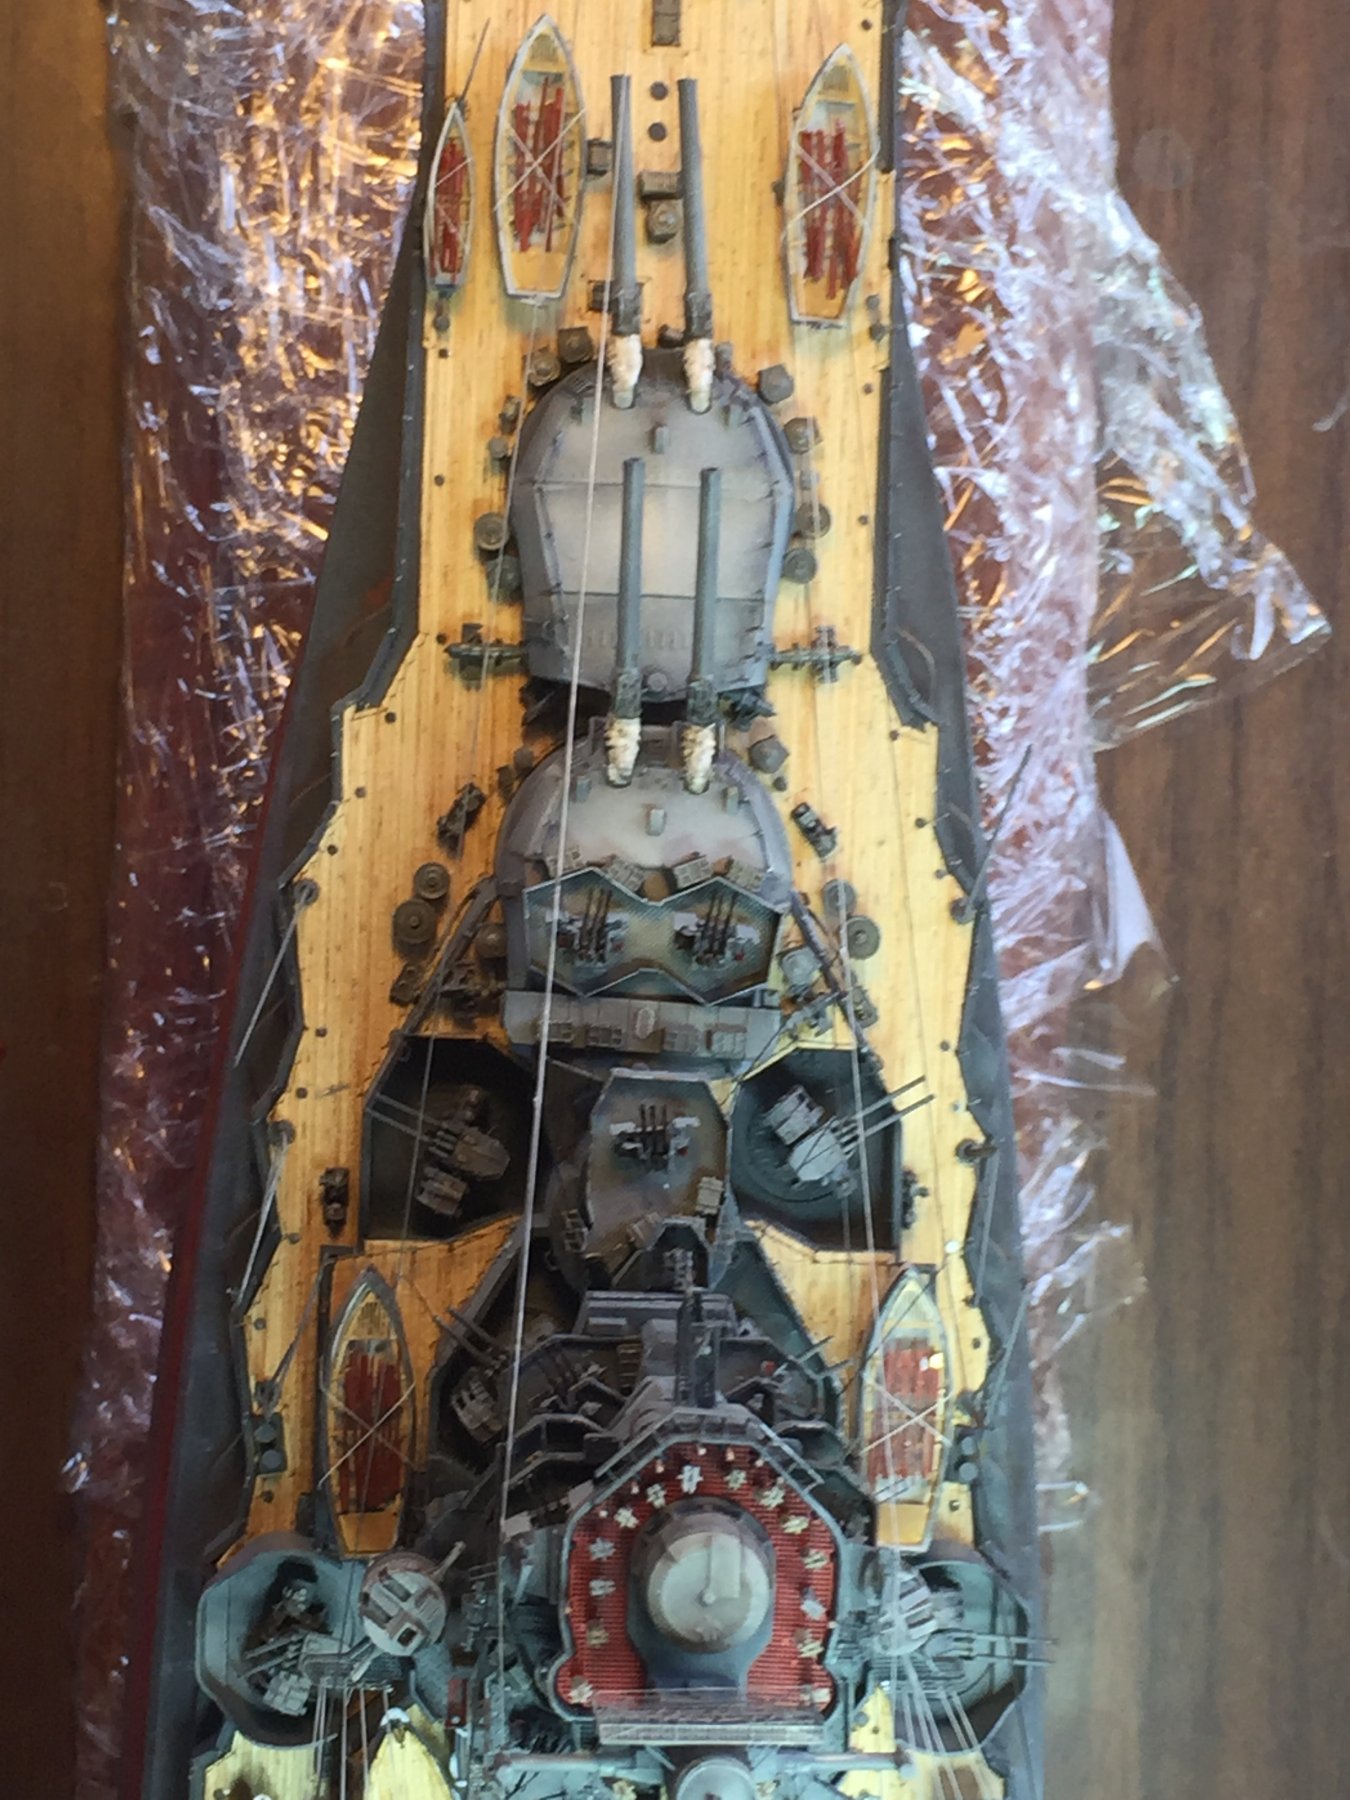
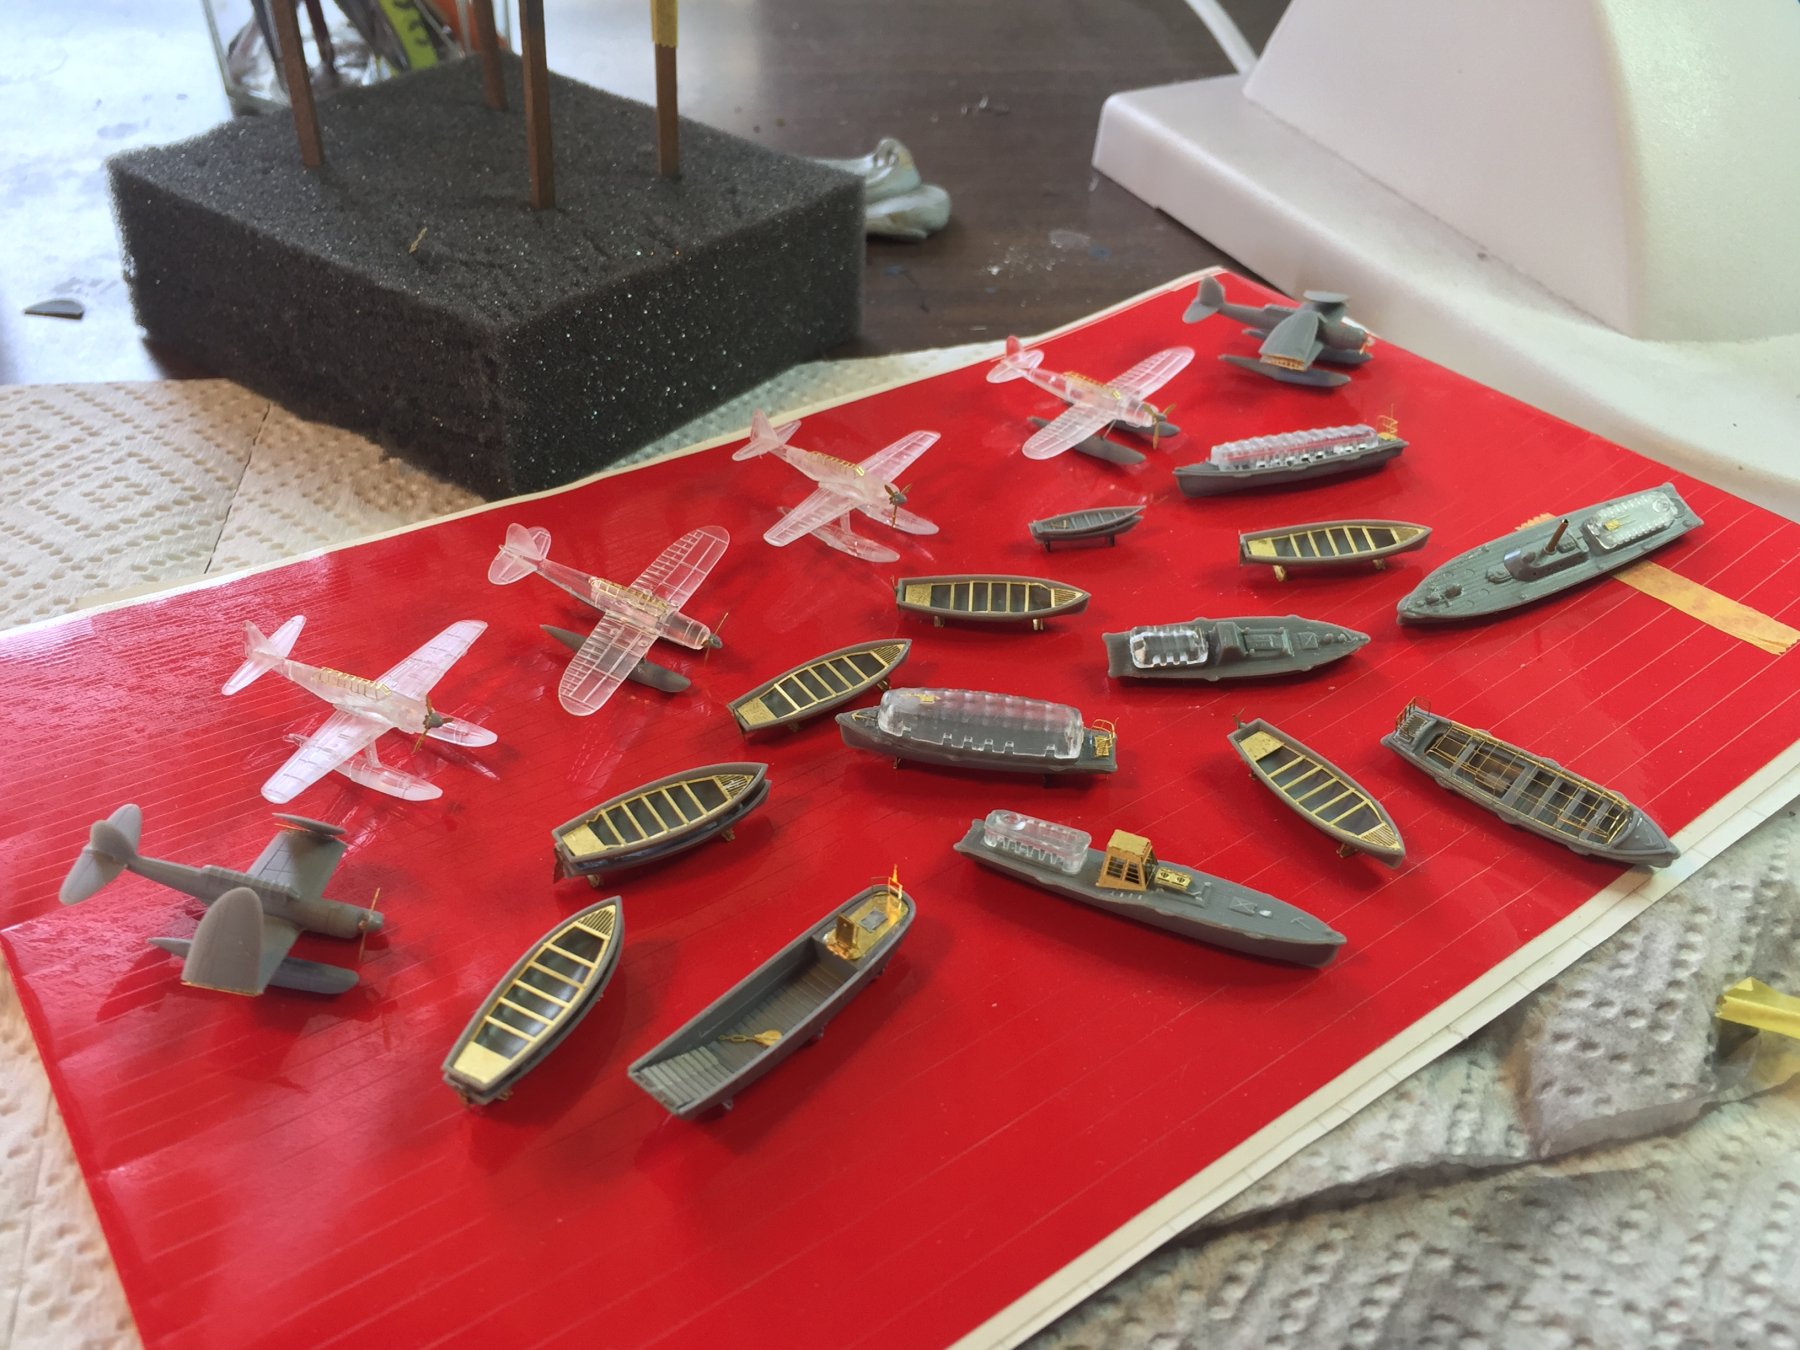
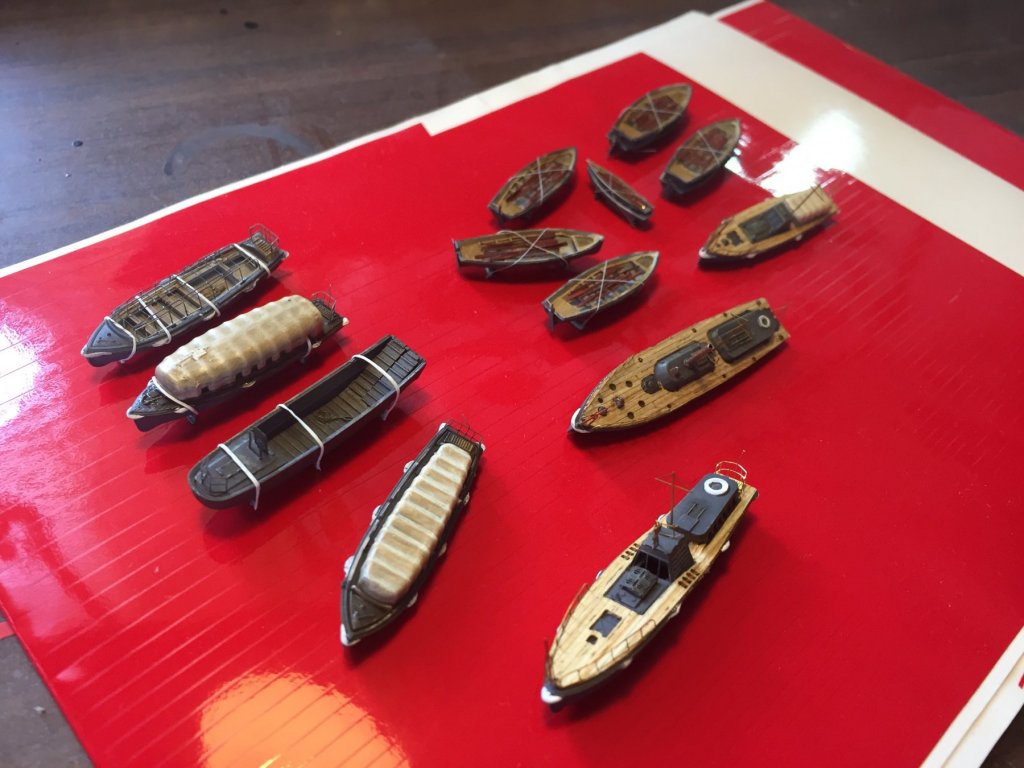
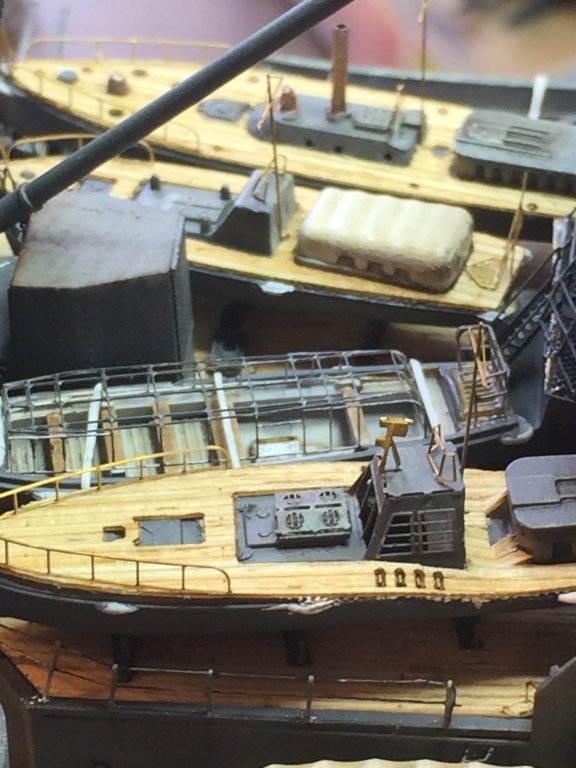
I seem to have achieved very little recently with work, coaching kids sport and tiny details. The ships boats are now complete.


- 224 replies
-
- 15
-
-
The whole thing was a failure really, the cats were removed and it didn’t achieve much. I will put planes on the cats, just not the ones without the floatplanes.
-
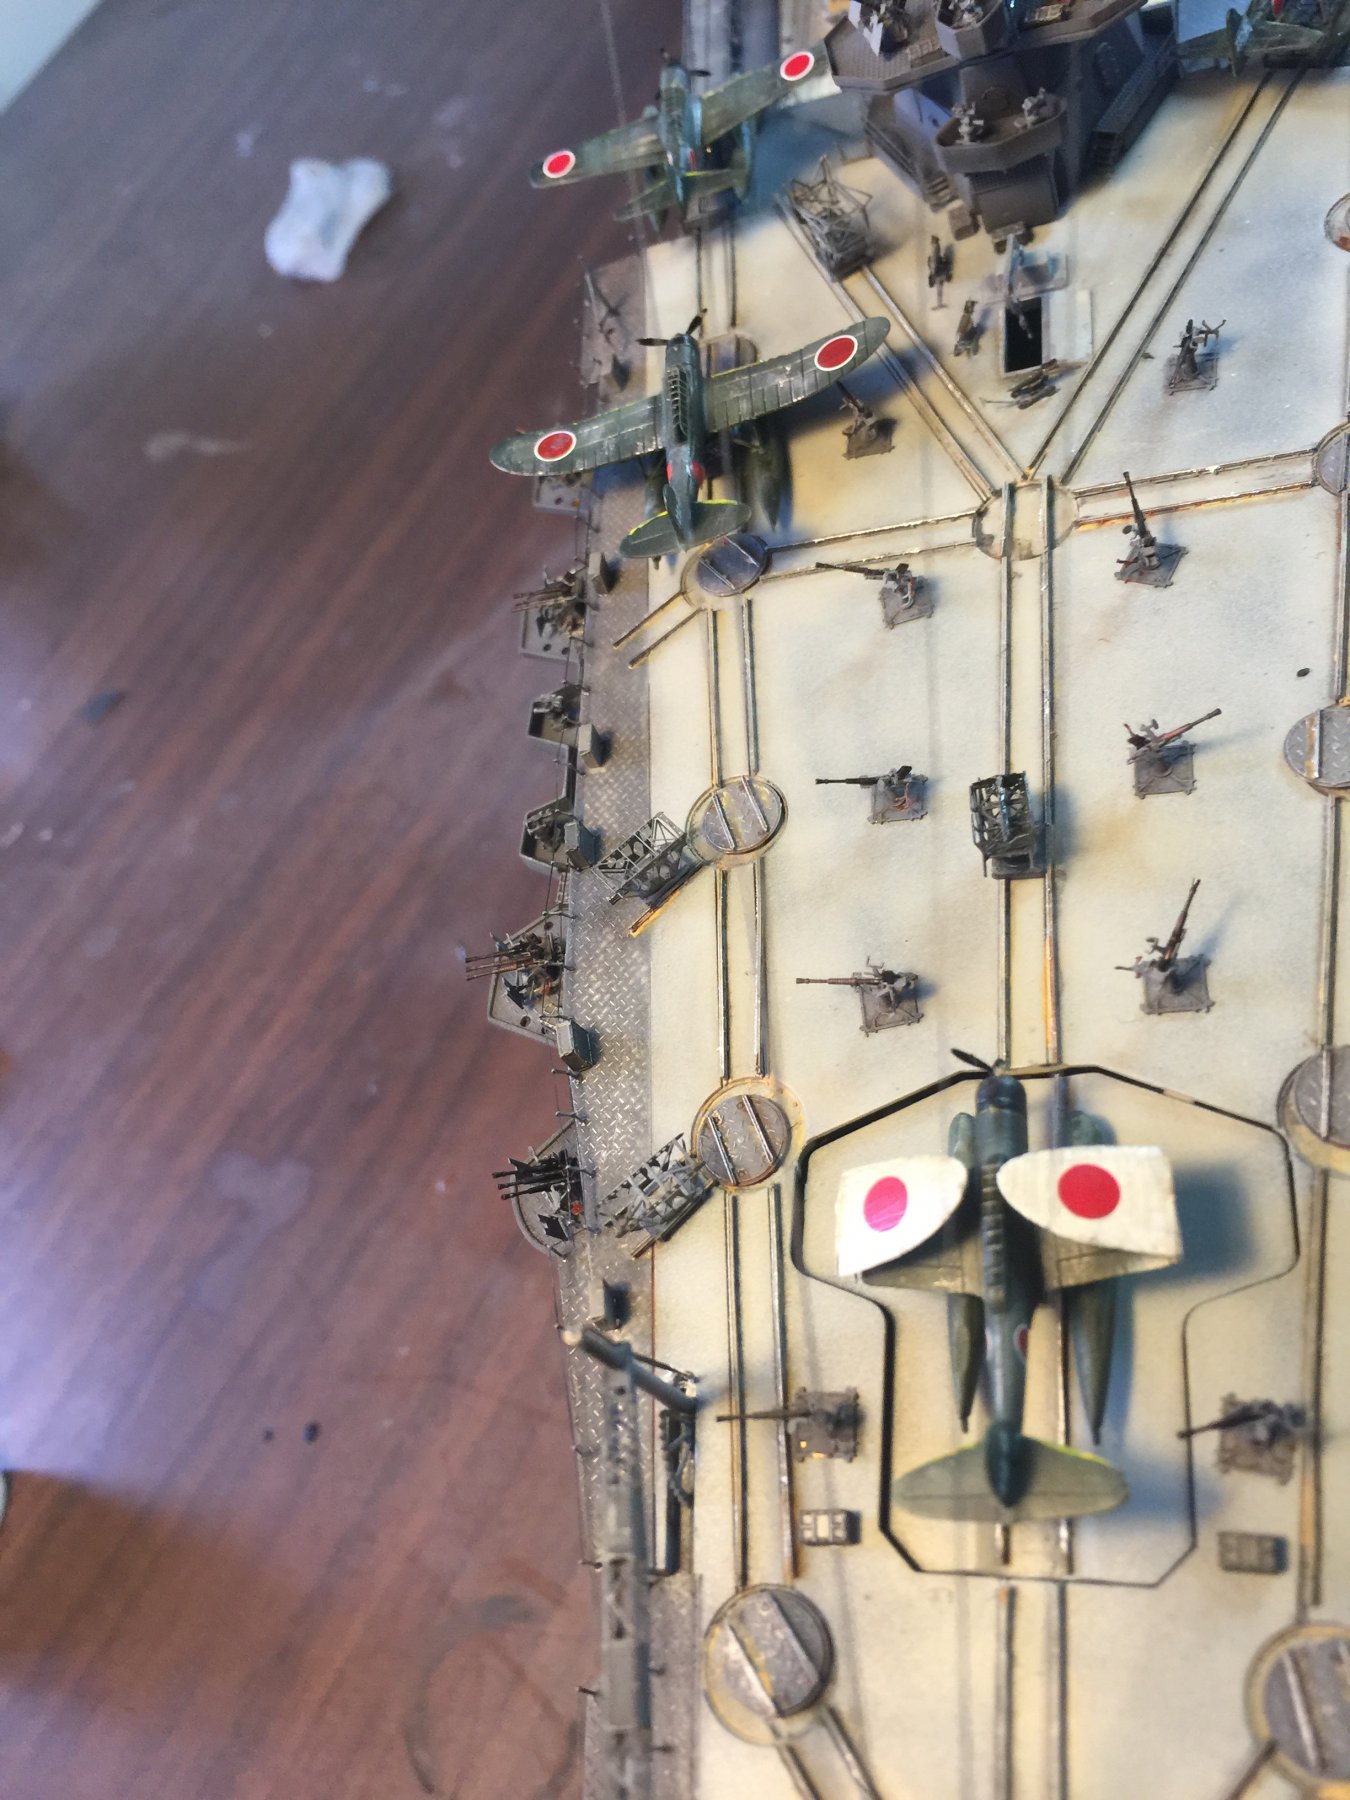
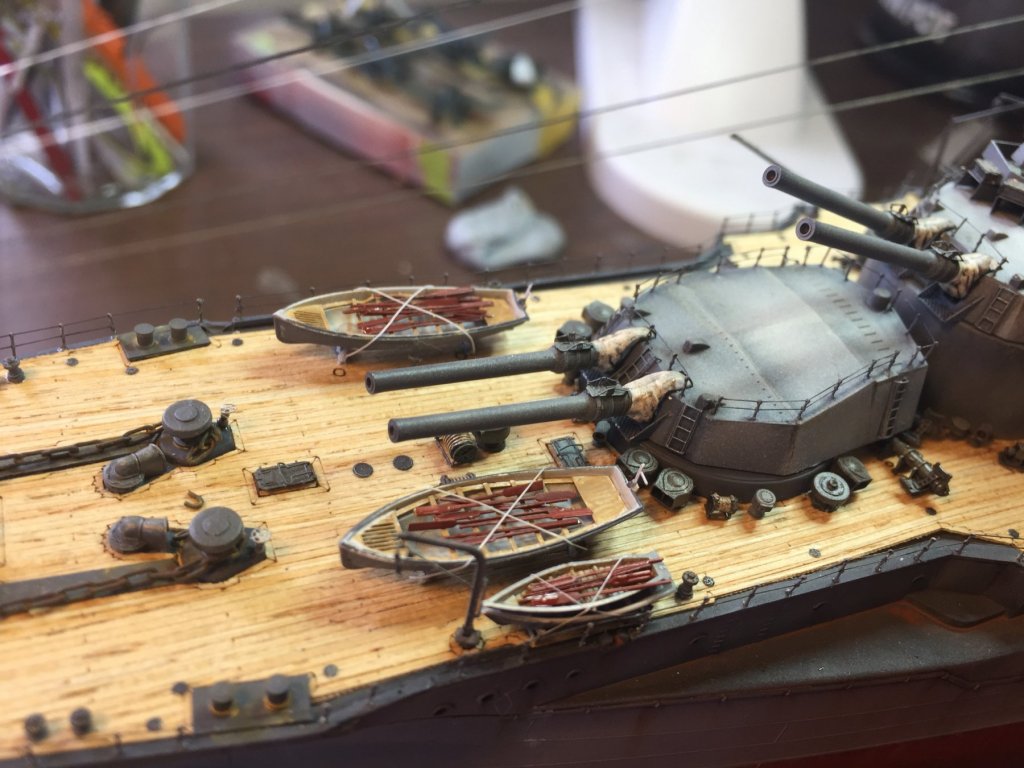
The last bits put together for the ship, the back veranda gets very busy very quickly with the aircraft. There were apparently 2 types of aircraft, one with and one without float planes, the latter could only be recovered on a proper aircraft carrier or airstrip. Whilst the kit does provide teo of these I cannot find any reference on how they went on the catapults so I’m just not going to do them. A fair bit of work to do to paint them yet, which I will not have time for this week or next.

- 224 replies
-
- 17
-
-
You can also try some of the chipping fluids. Works nicely and on a big 1/200 should work well
-
Looks good mate, it’s easy to get distracted doing the tiny details and we forget it’s hardly noticeable on the finished product.
-
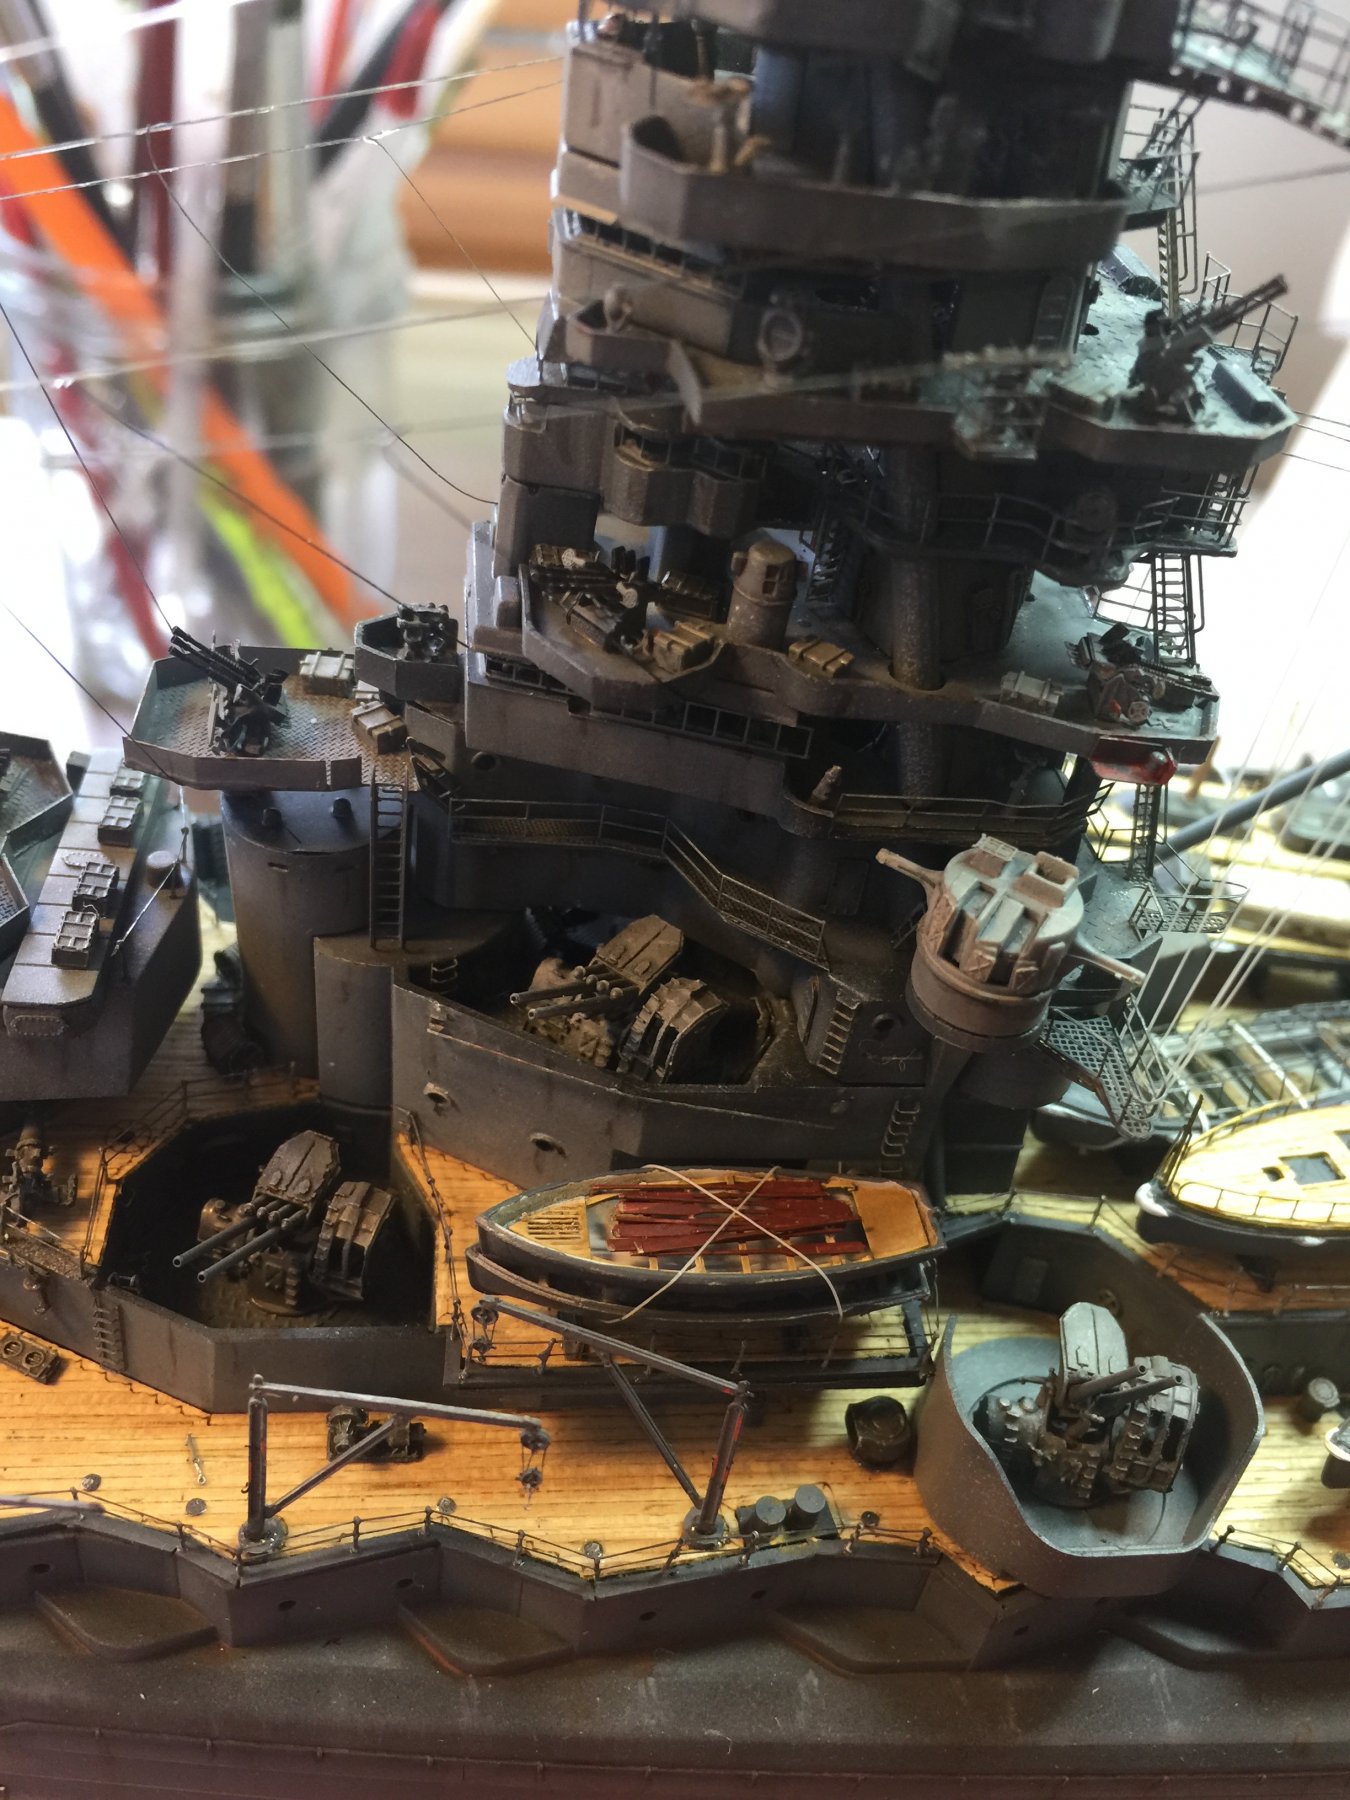
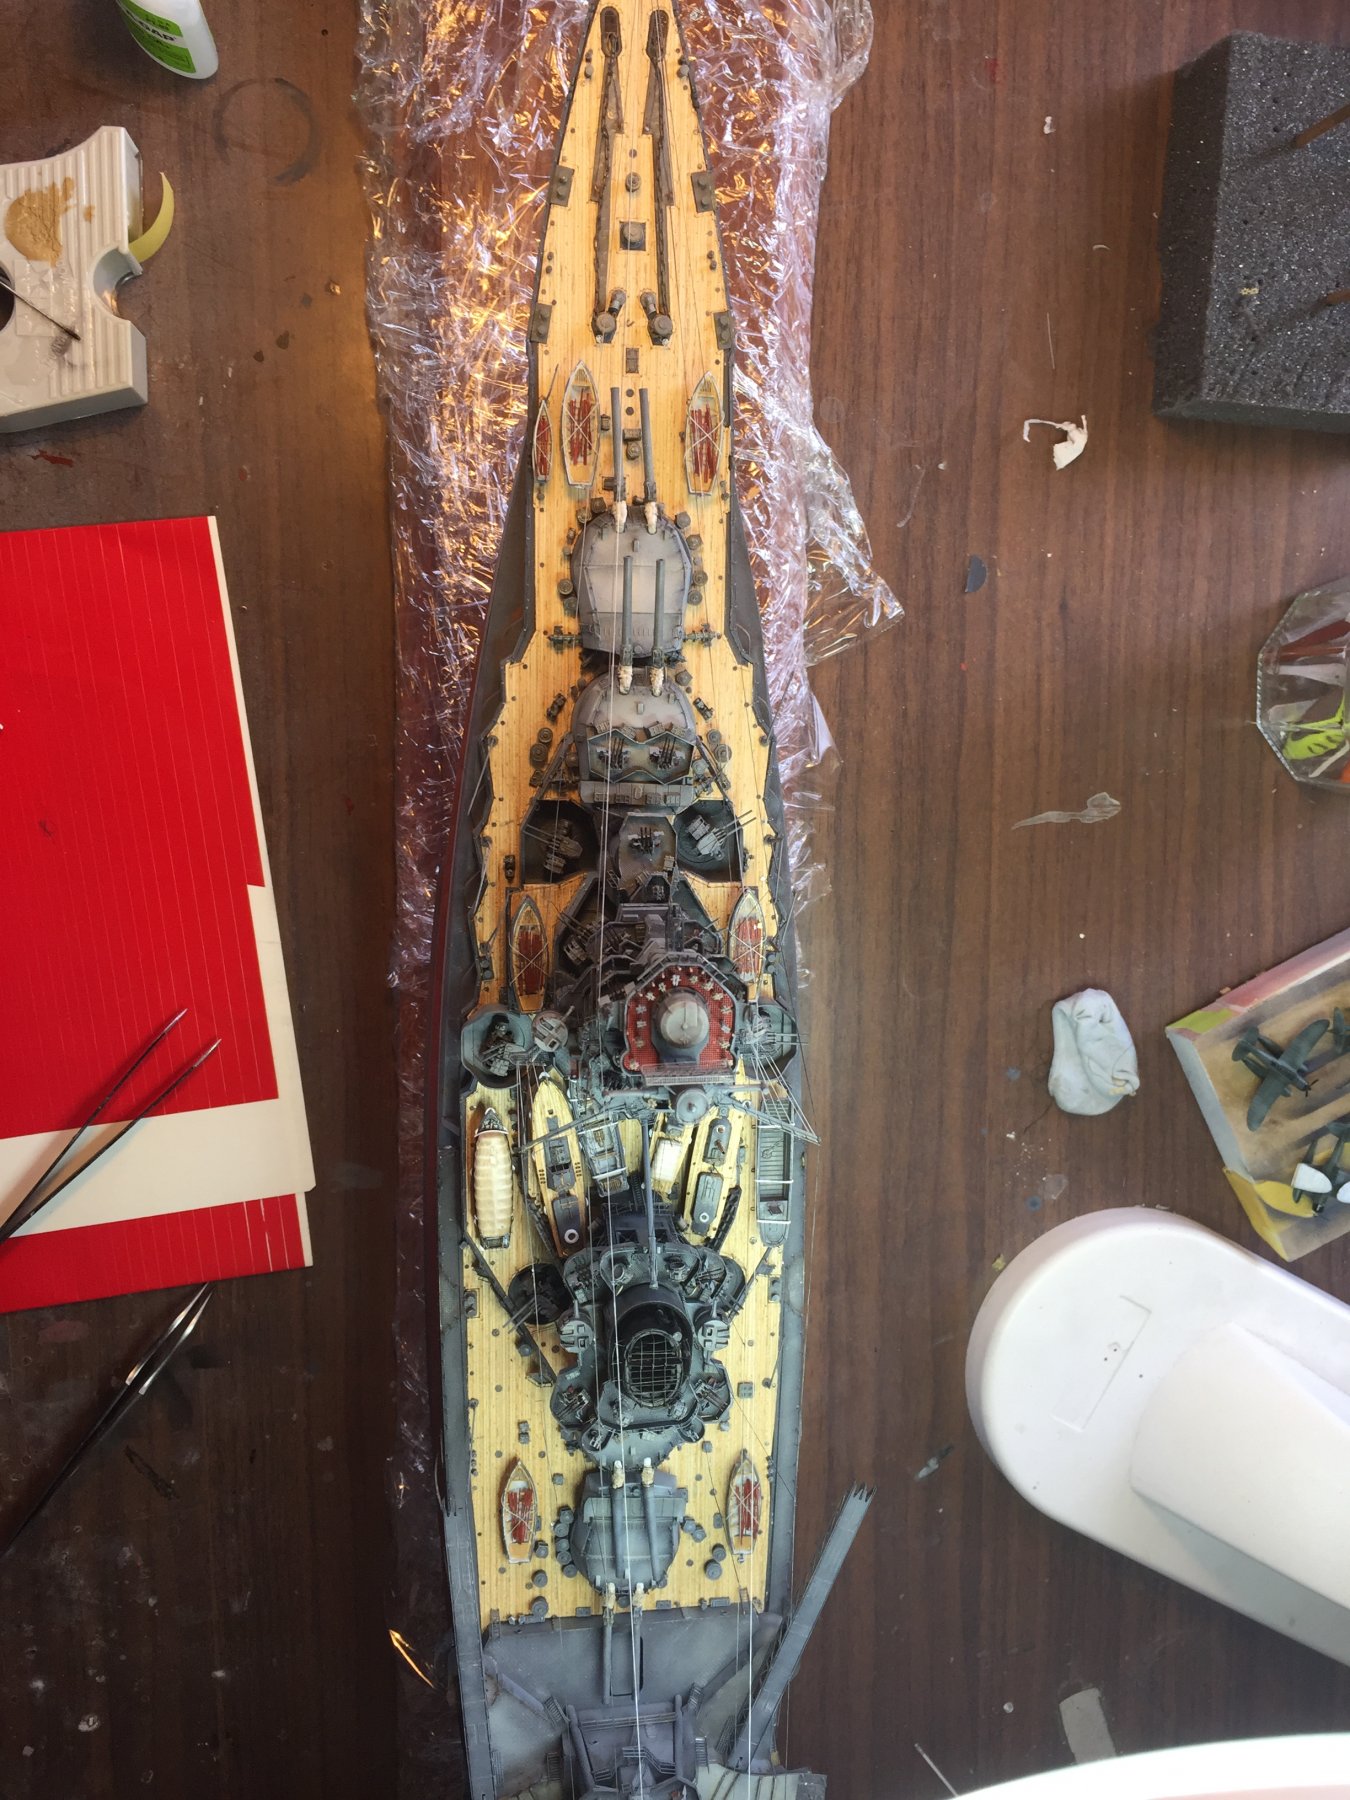
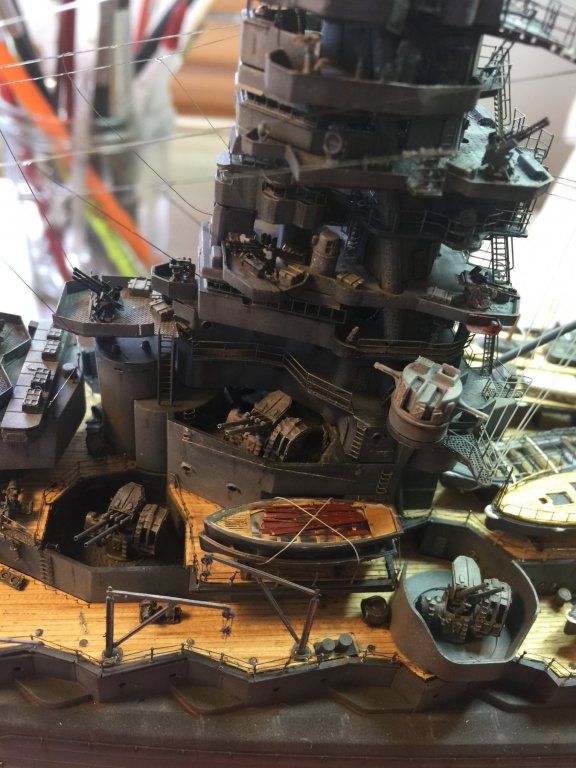
It does, but in the photos from Kure Harbour in 1945 have it under water. There are no cranes nearby, and it appears to be a big clear area so the rear main gun barrels can traverse. The casements for the rear removed guns stored fuel for the aircraft and aerial bombs.
-
I love it how Cog, OC and I are not the only ones with the PE addiction. Looking forward to us plastics group growing.