-
Posts
5,529 -
Joined
-
Last visited
Content Type
Profiles
Forums
Gallery
Events
Everything posted by RGL
-
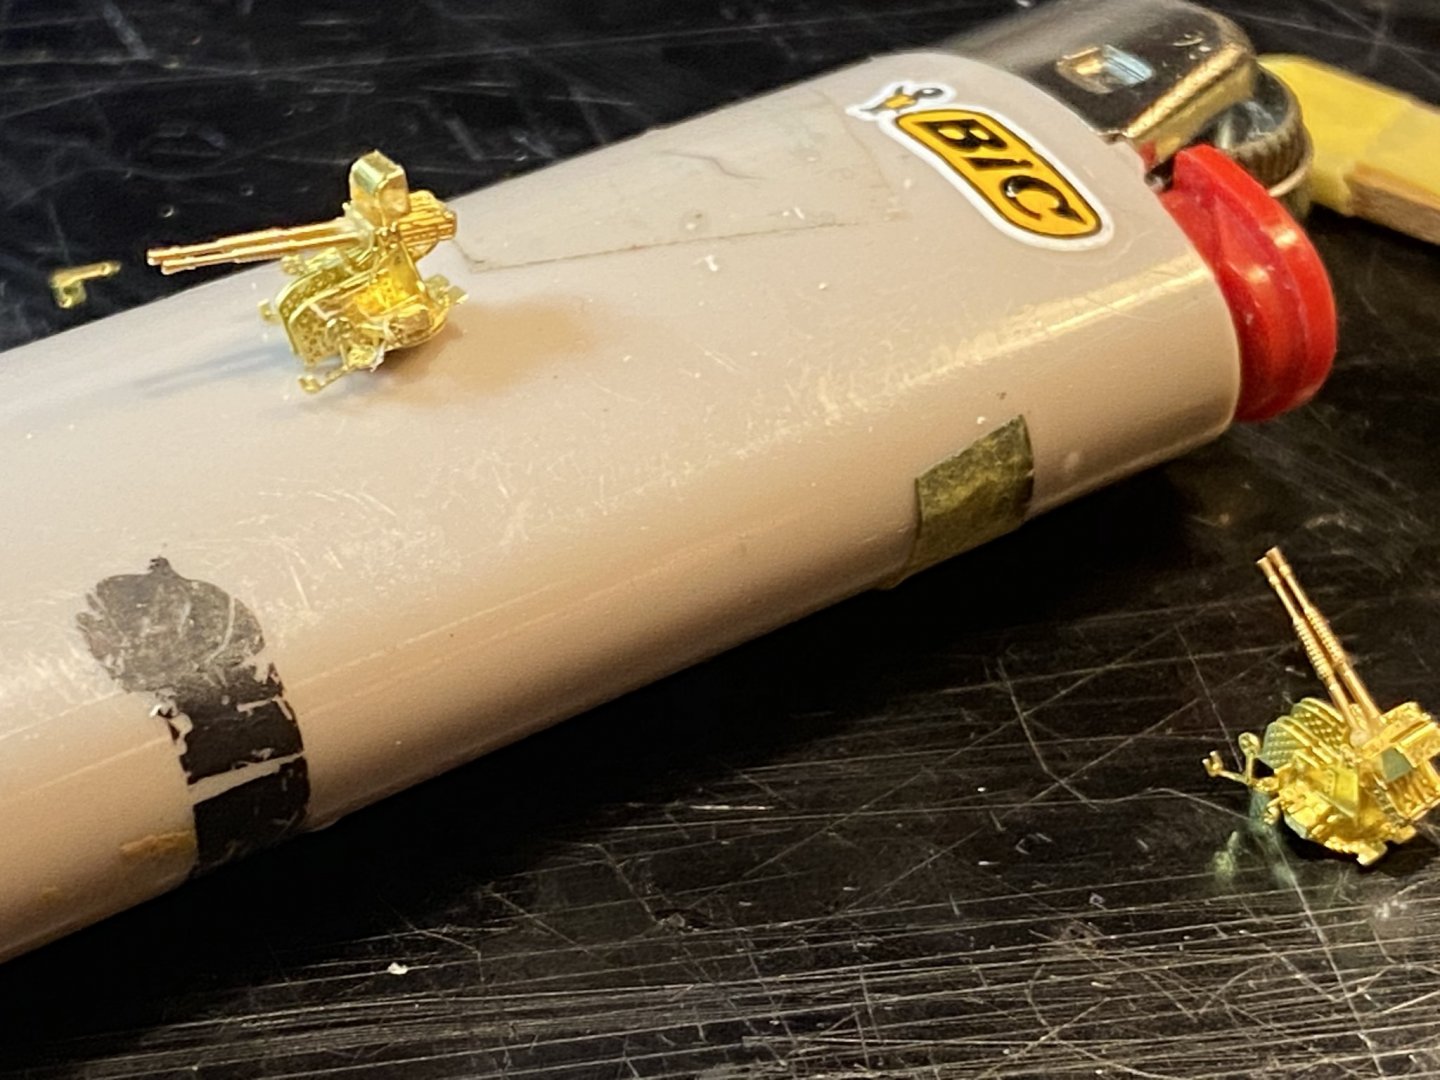
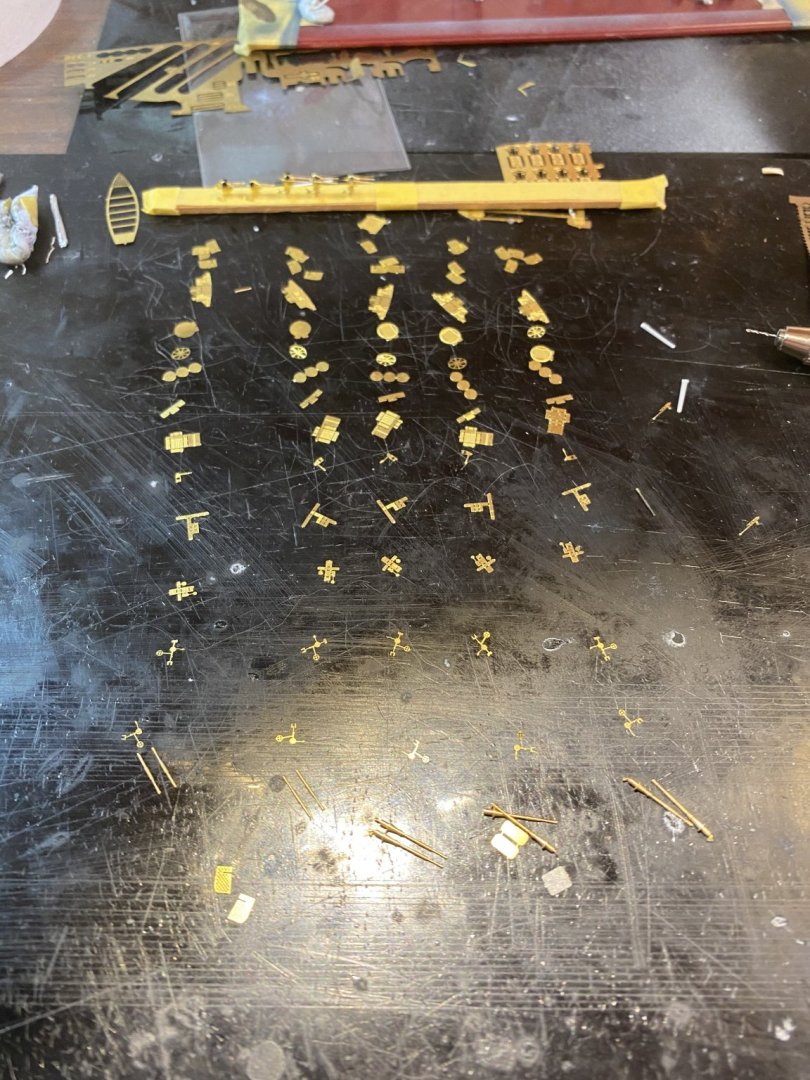
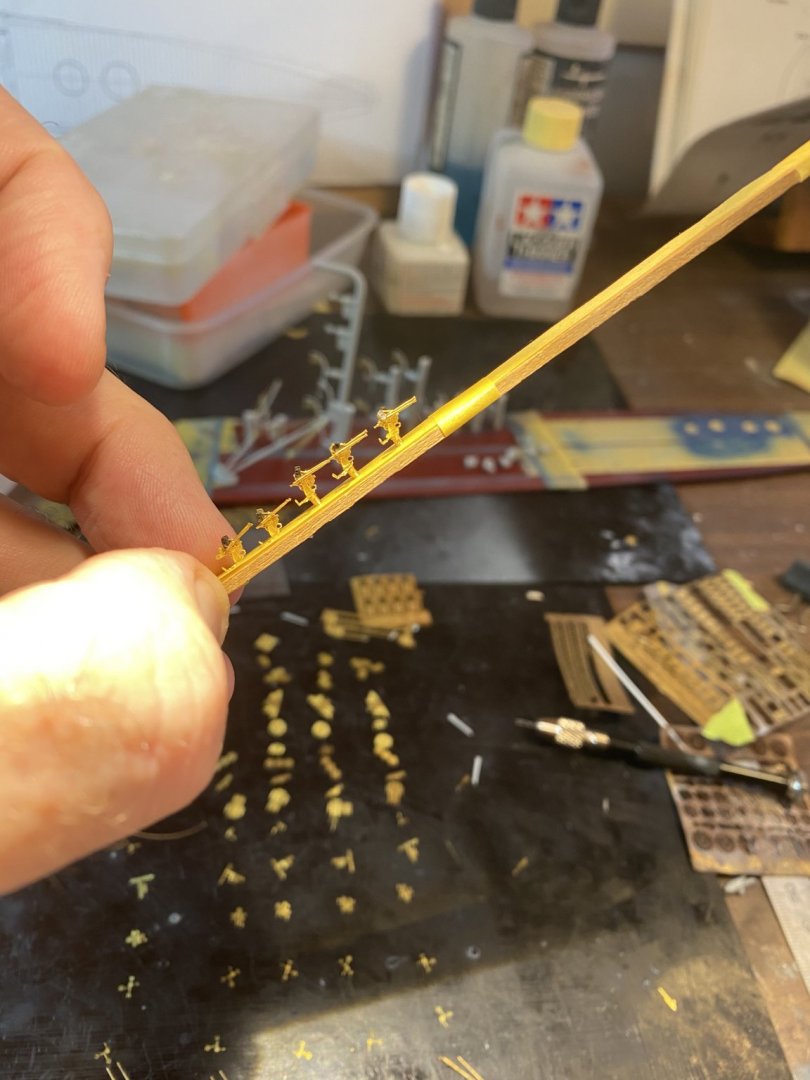
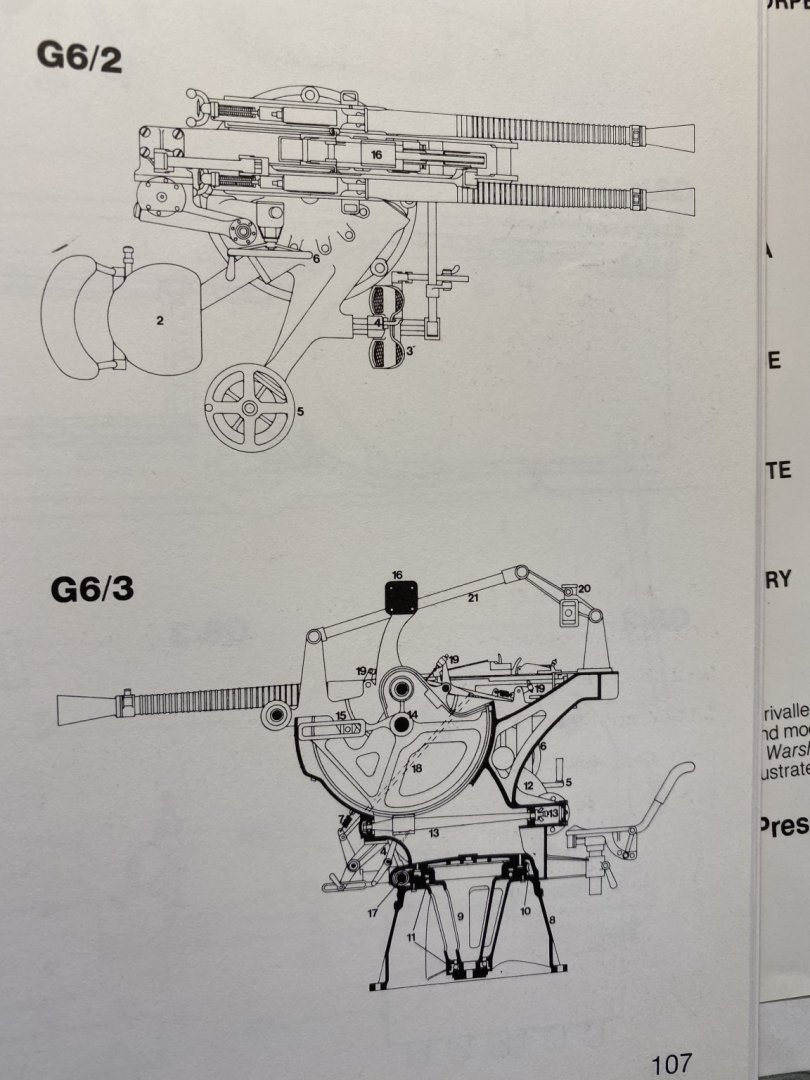
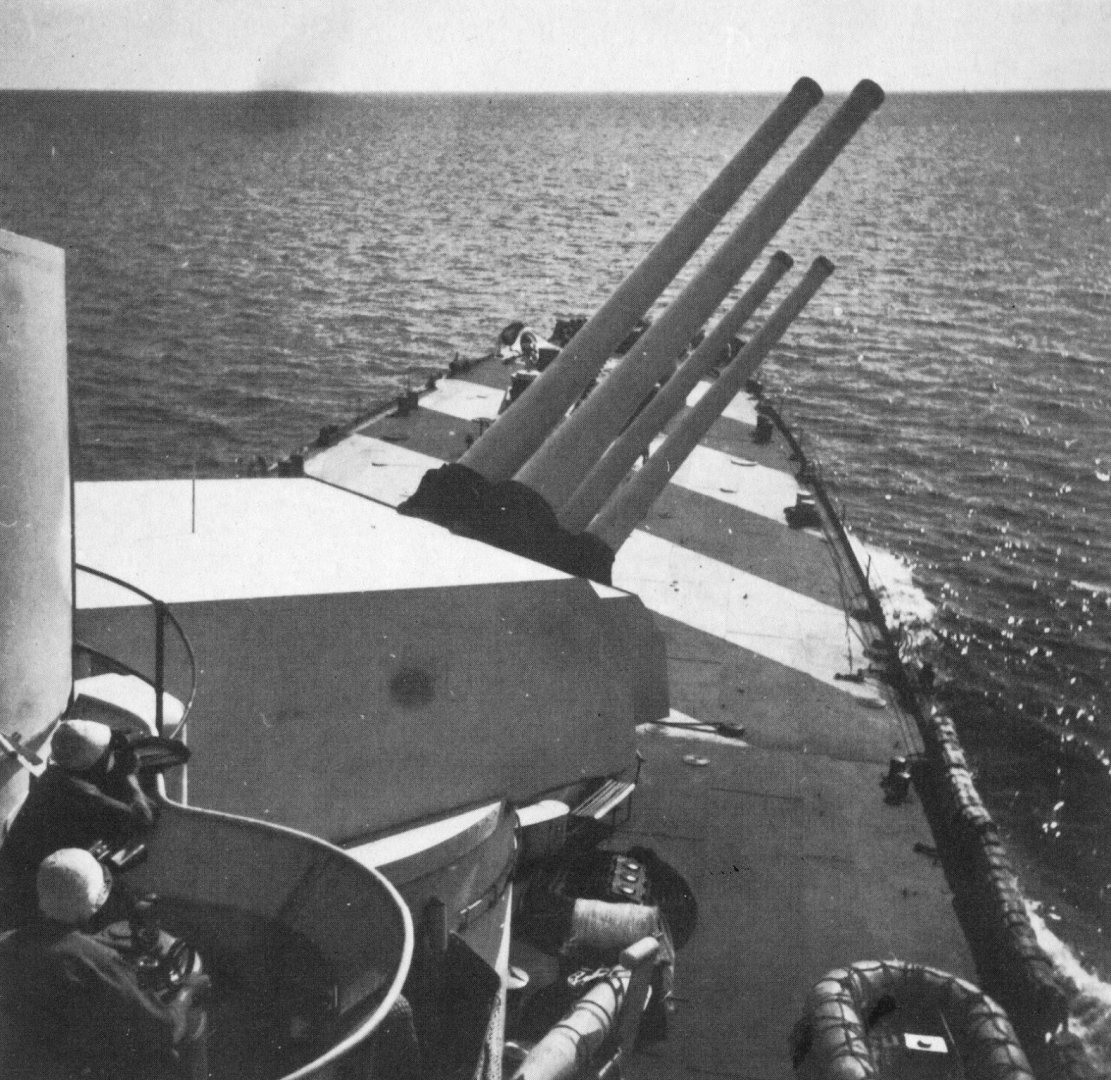
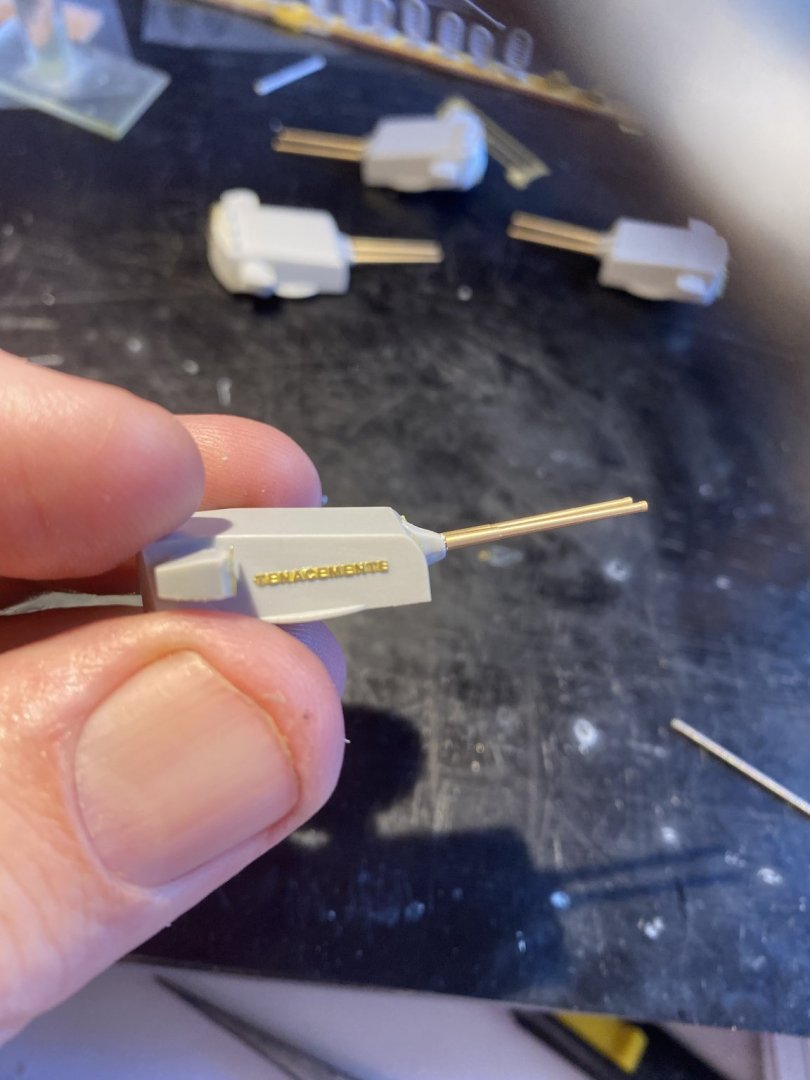
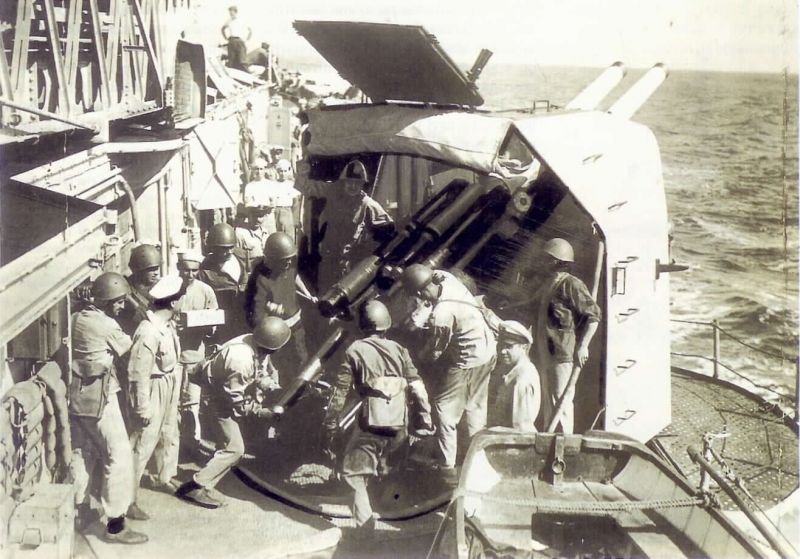
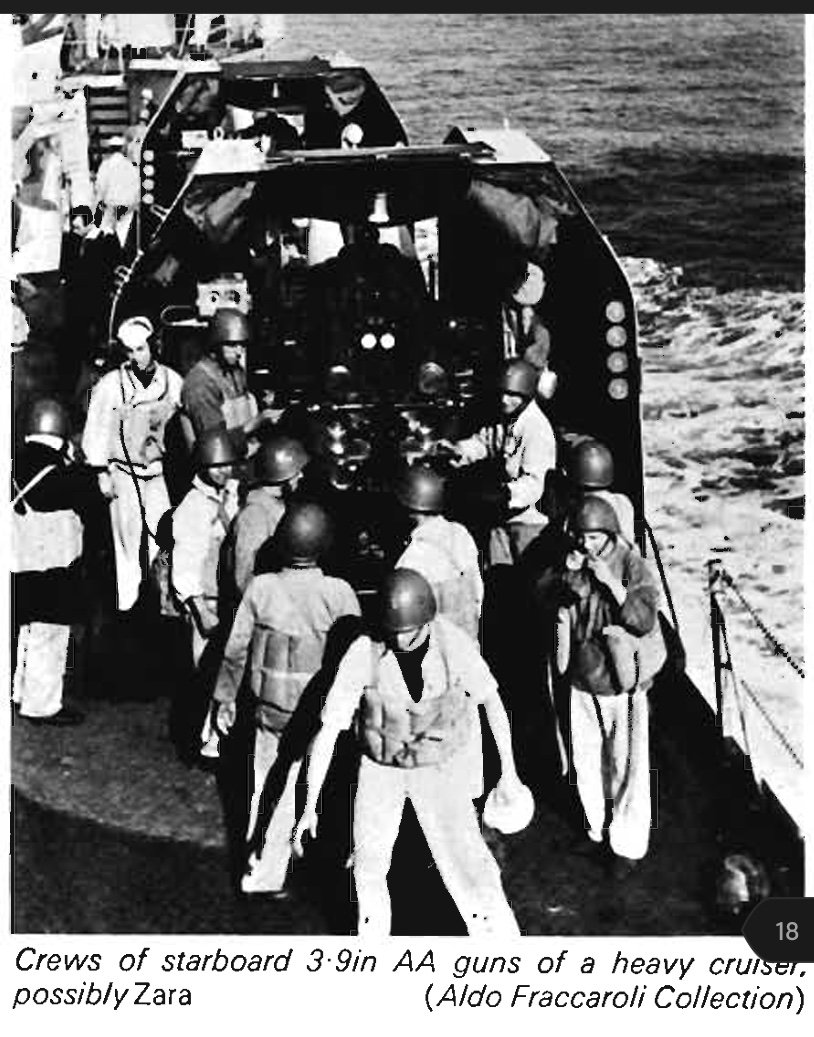
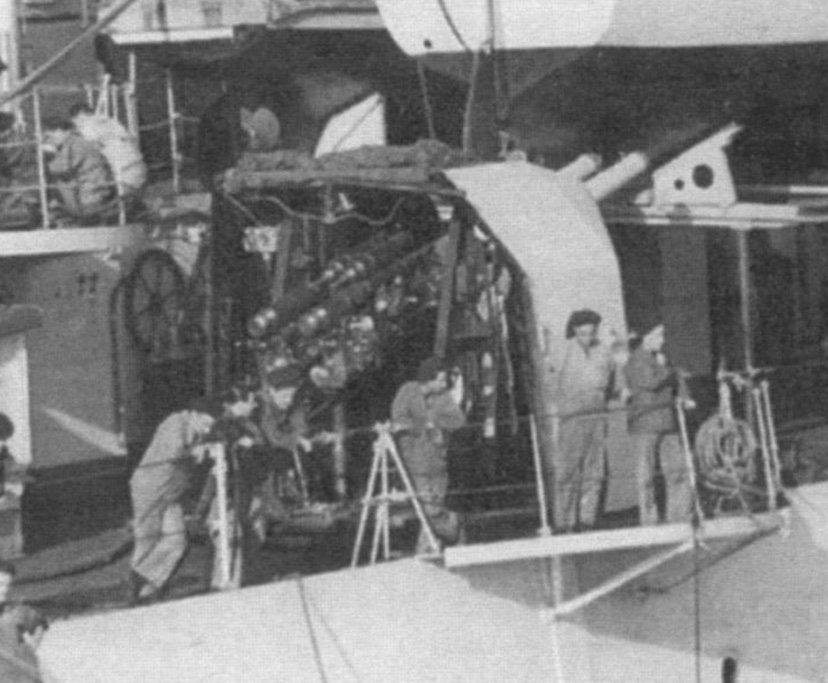
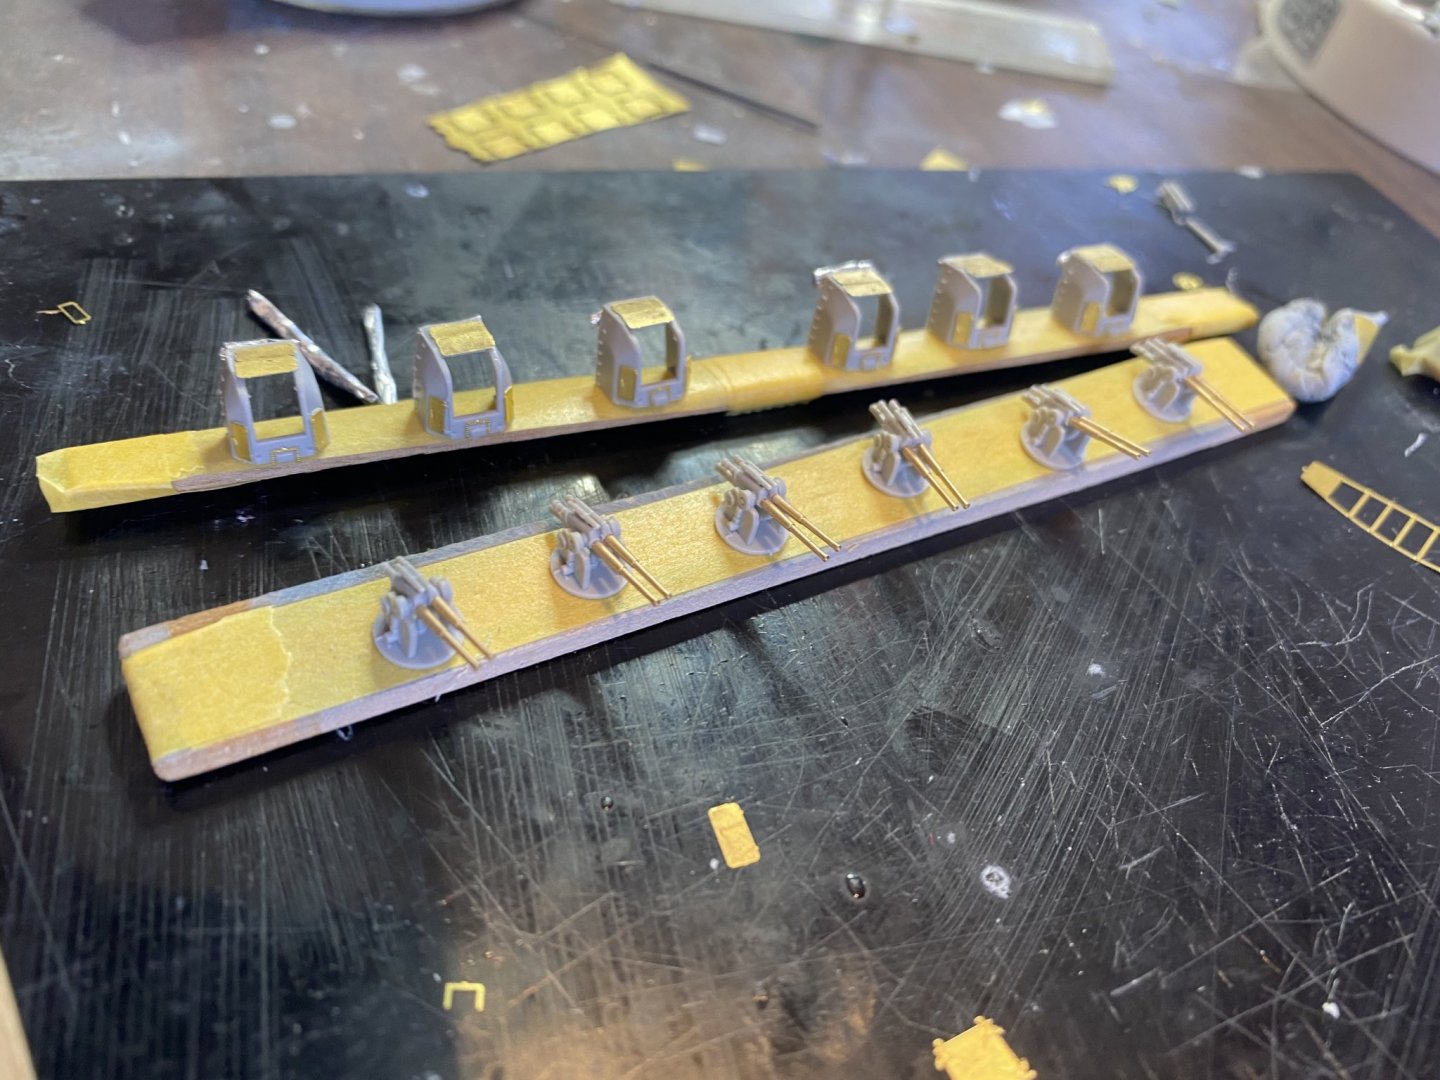
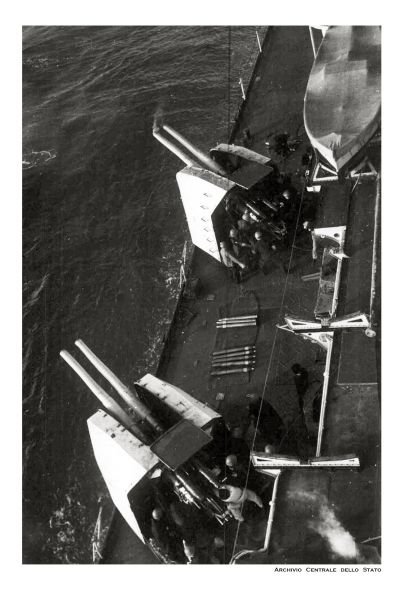
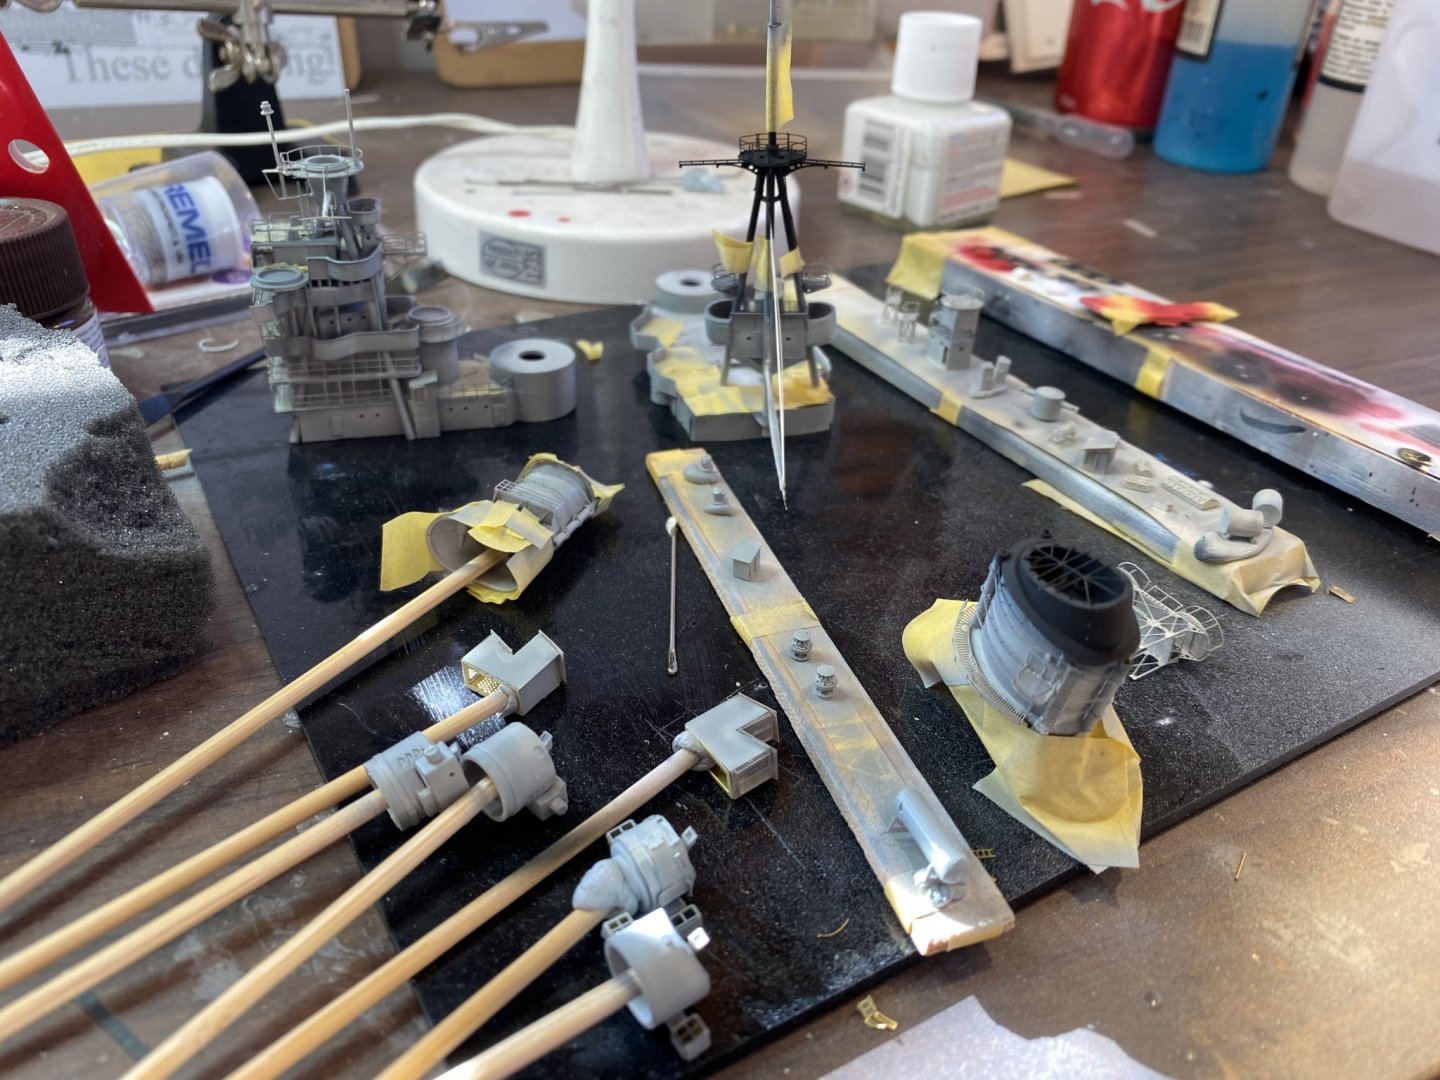
There are 6 high altitude AA guns, the kit is quite nice, but the barrels get replaced and I’ve added some extra panels on top (I would have required some surgery to cut the panels out.
-
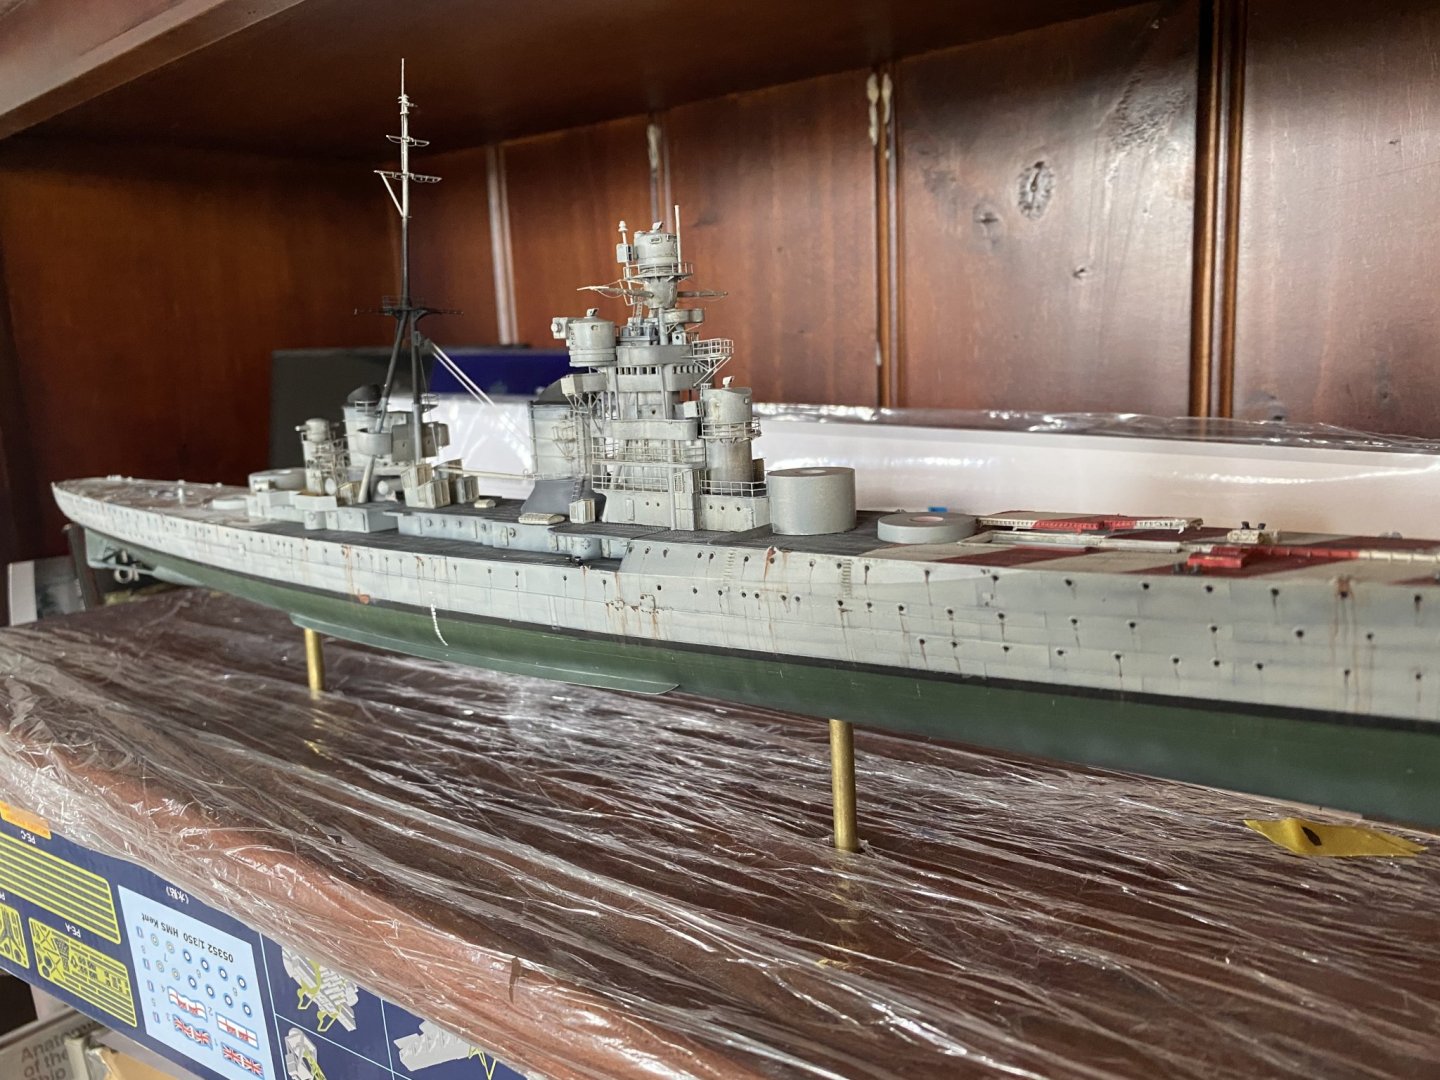
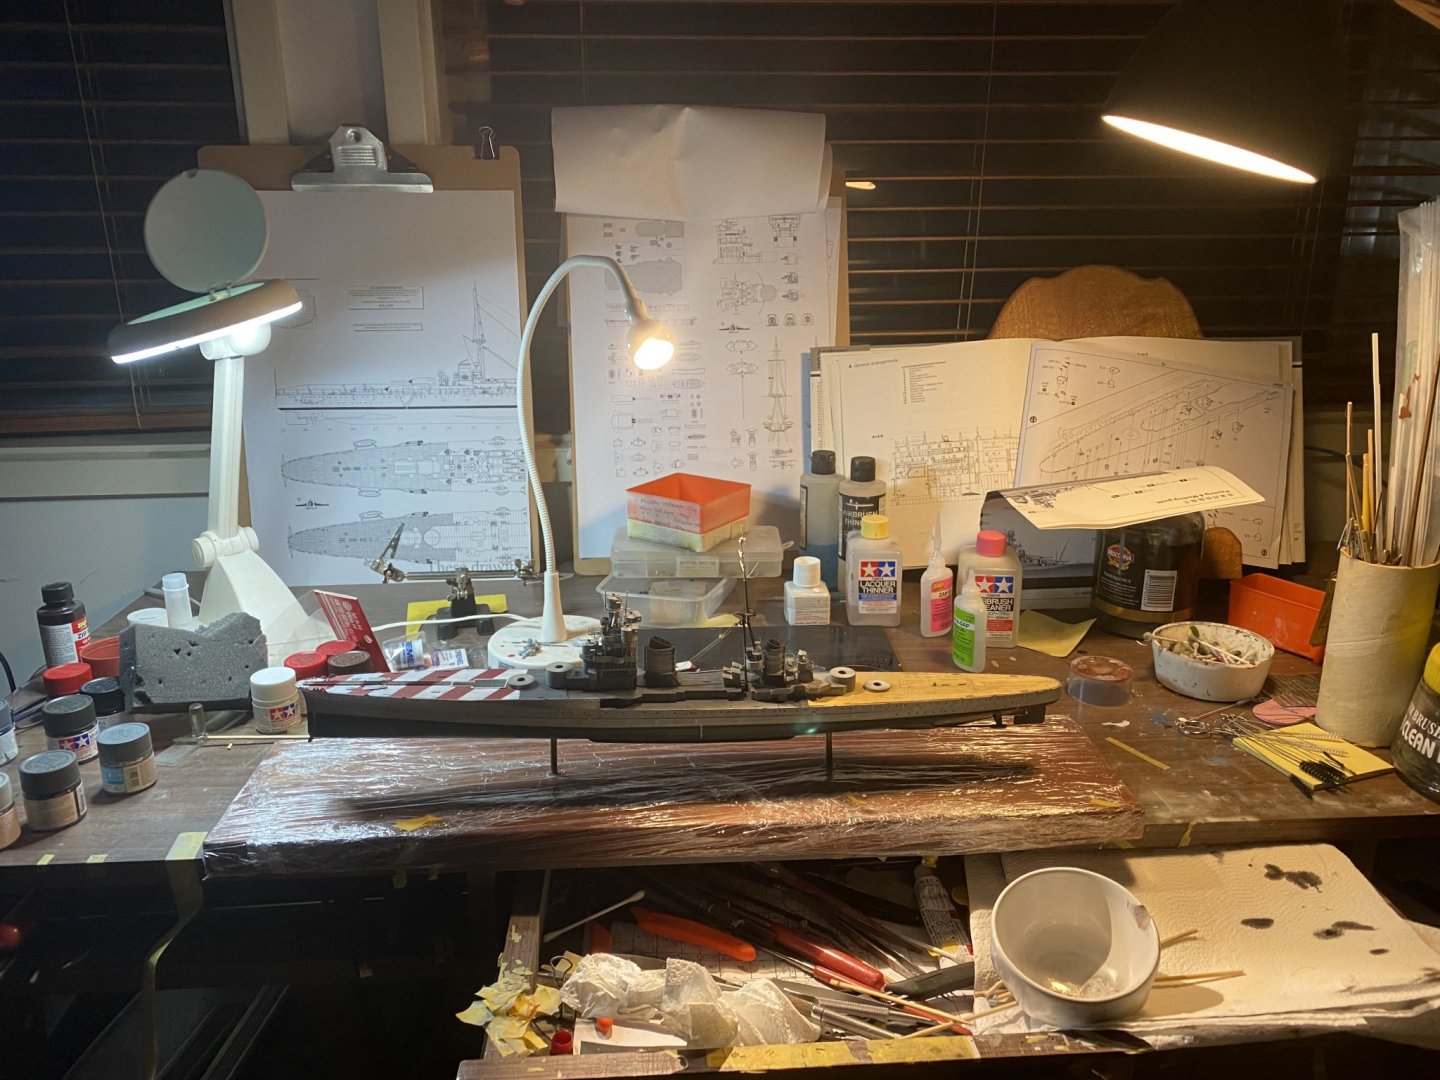
Hahaha description! You are kidding. You know as well as me there is a lot of ‘interpretive dance’ in Chinese instructions. ive gotten quite/ bit done this block of days off. Deck fittings next. Then ships boats, then I can step and rig the mast.
-
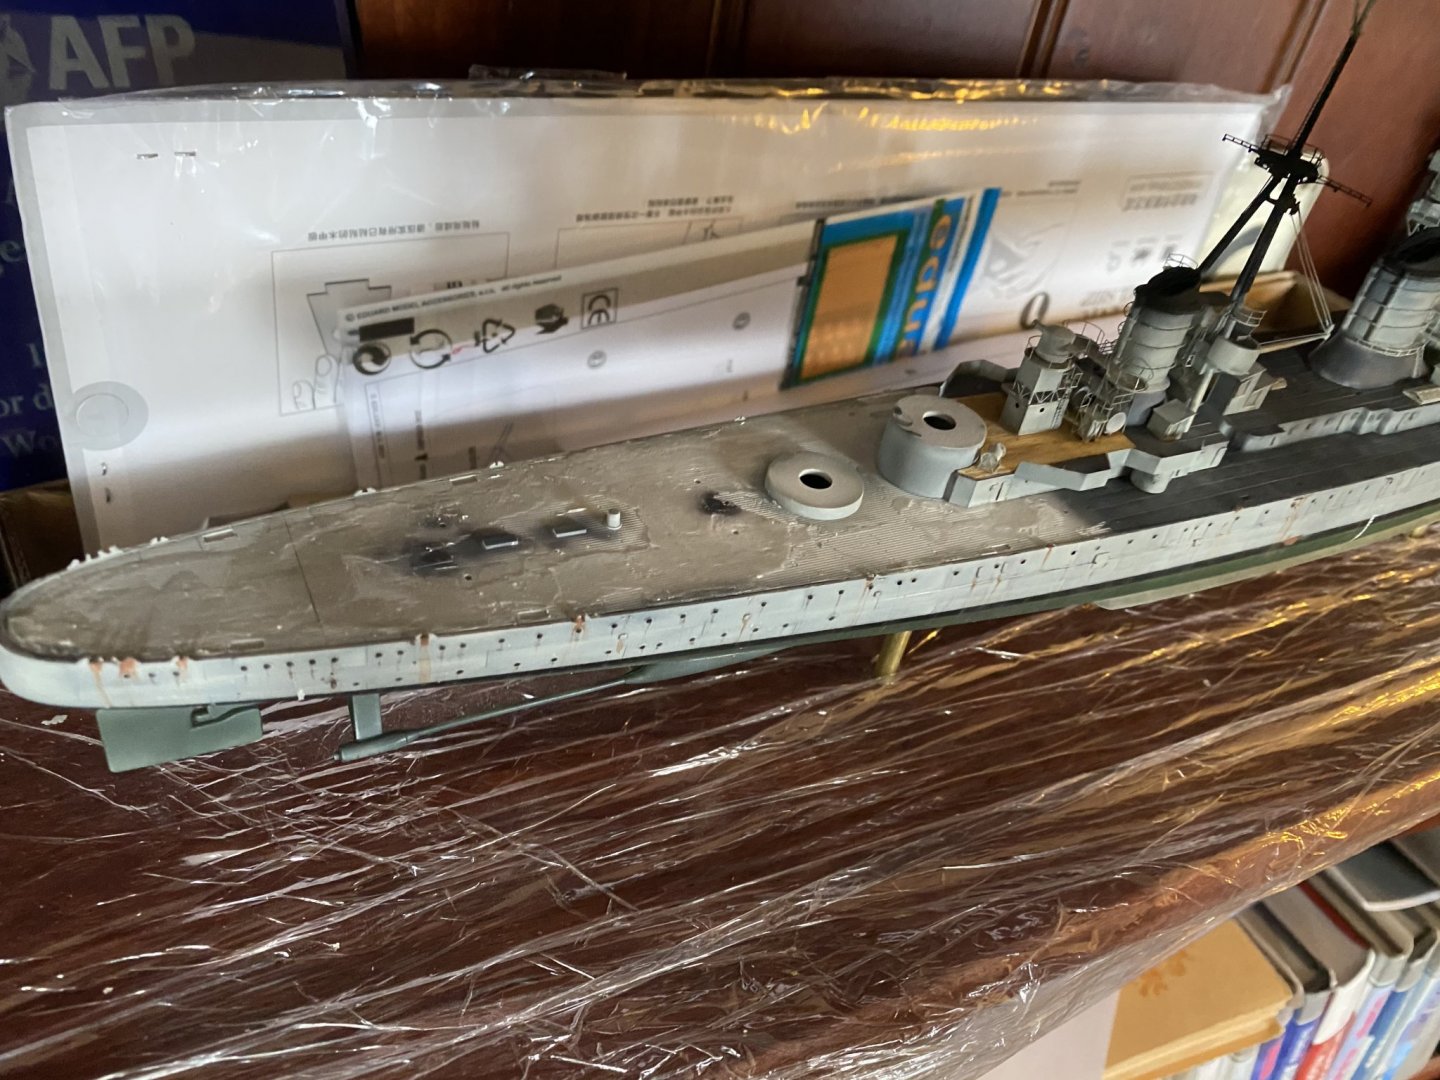
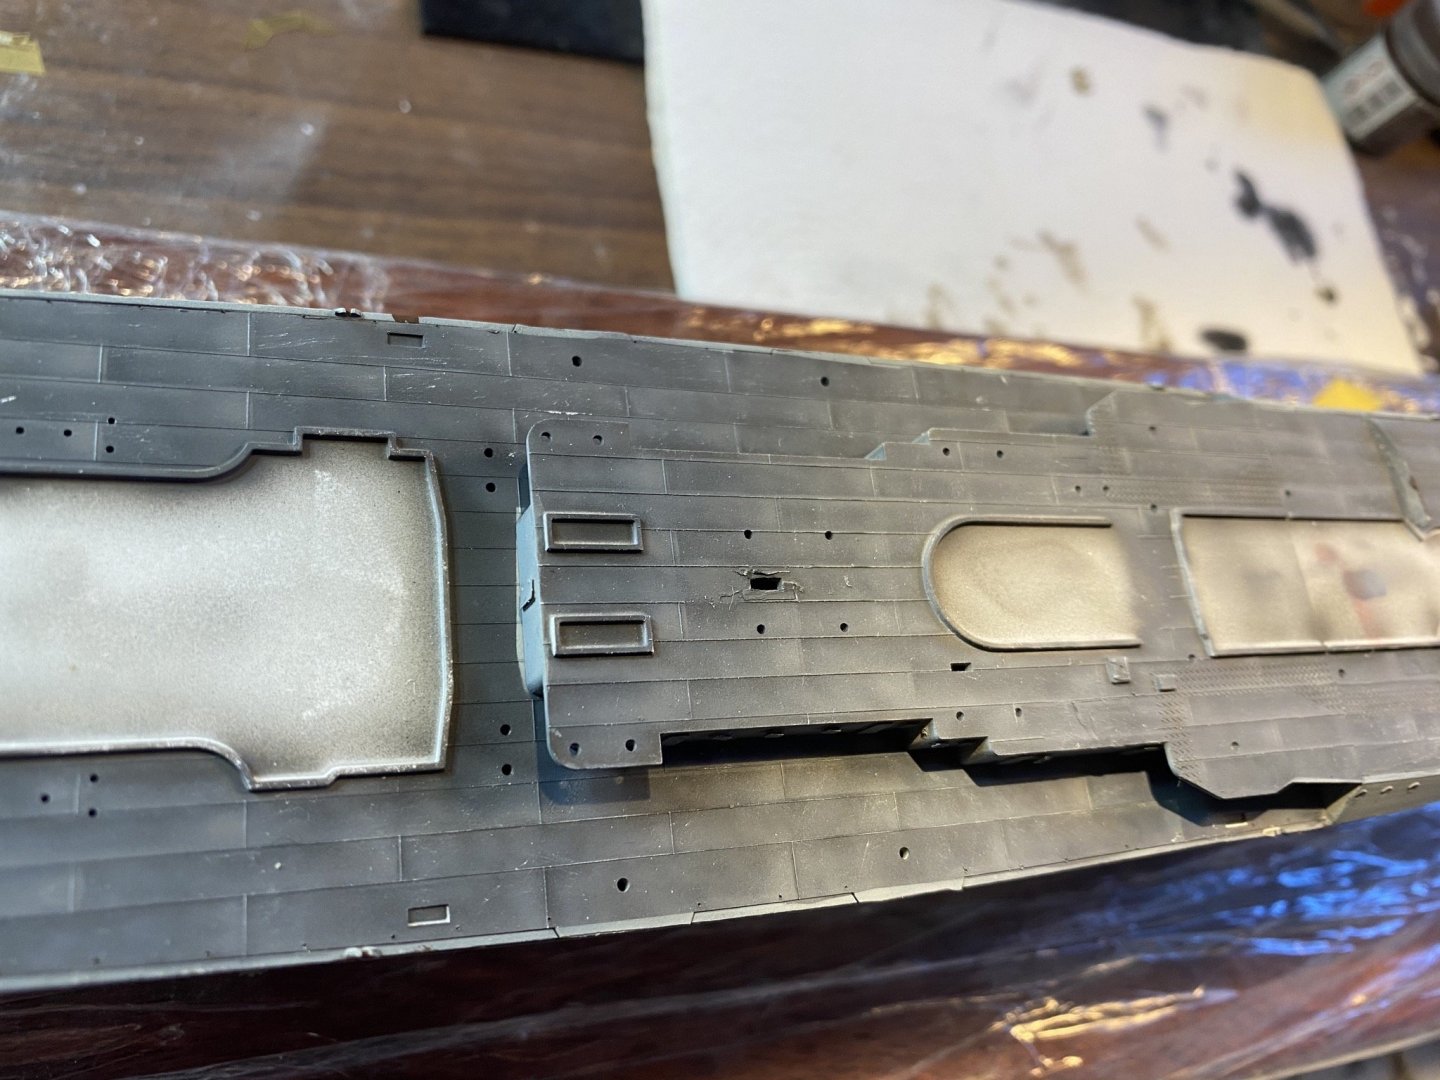
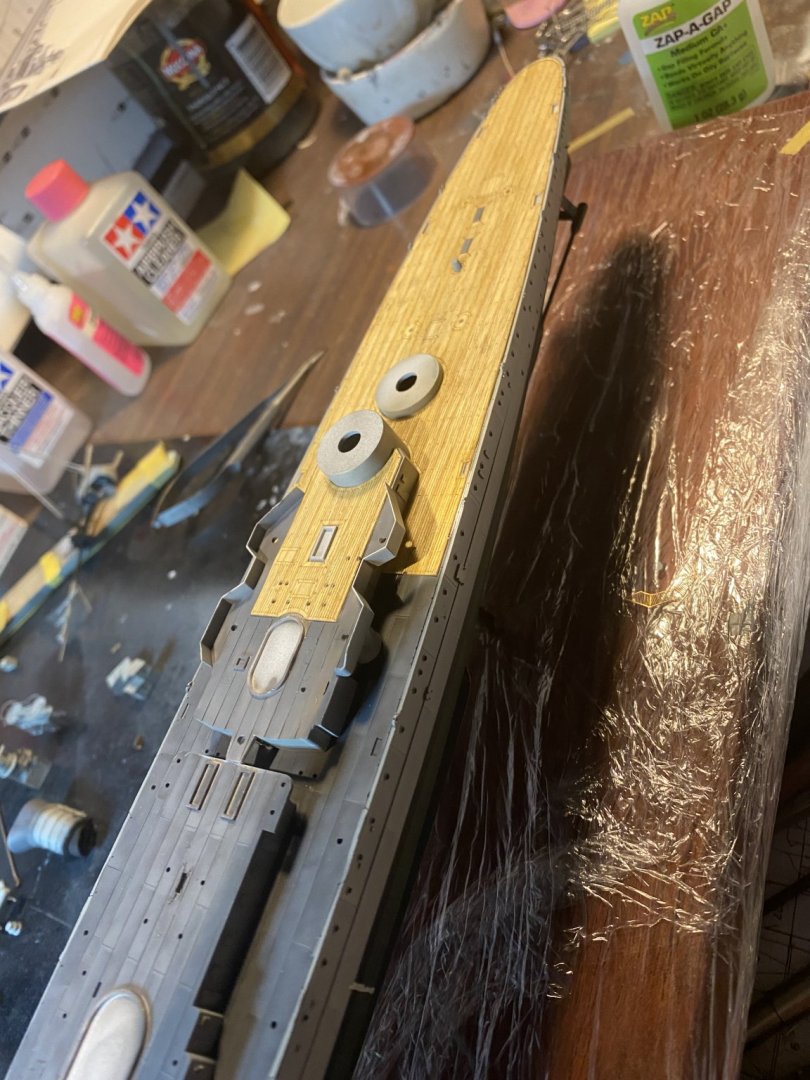
No I’m just going to replace it. The problem is I tried to peel it off the plastic backing thinking it was an adhesive deck which it wasn’t
-
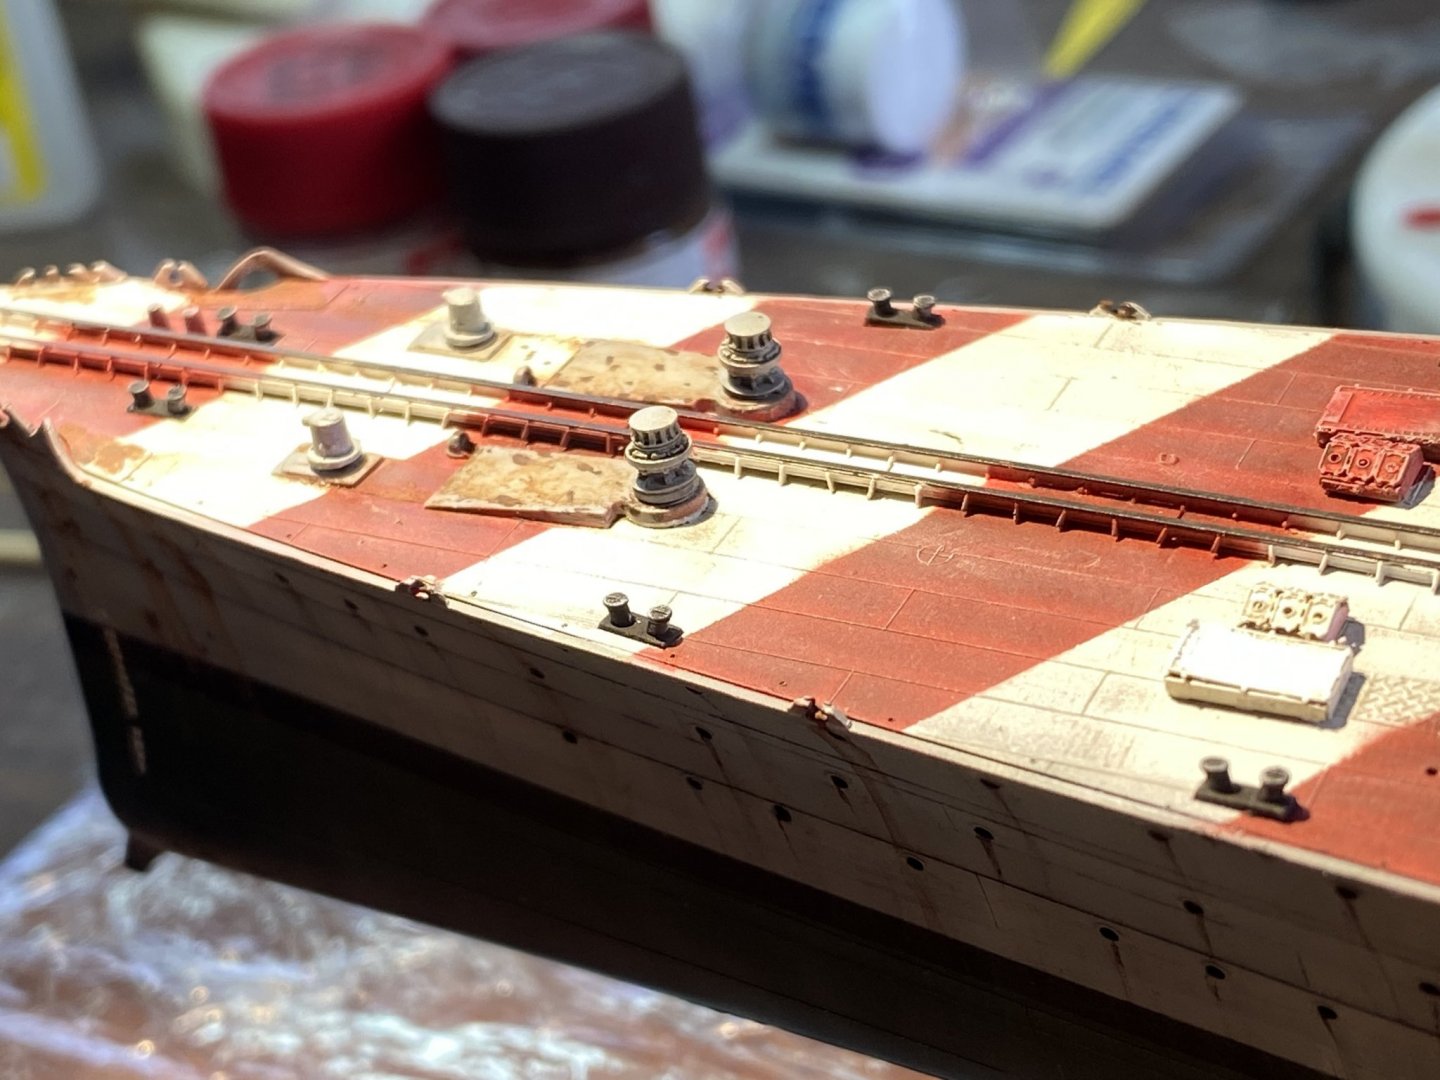
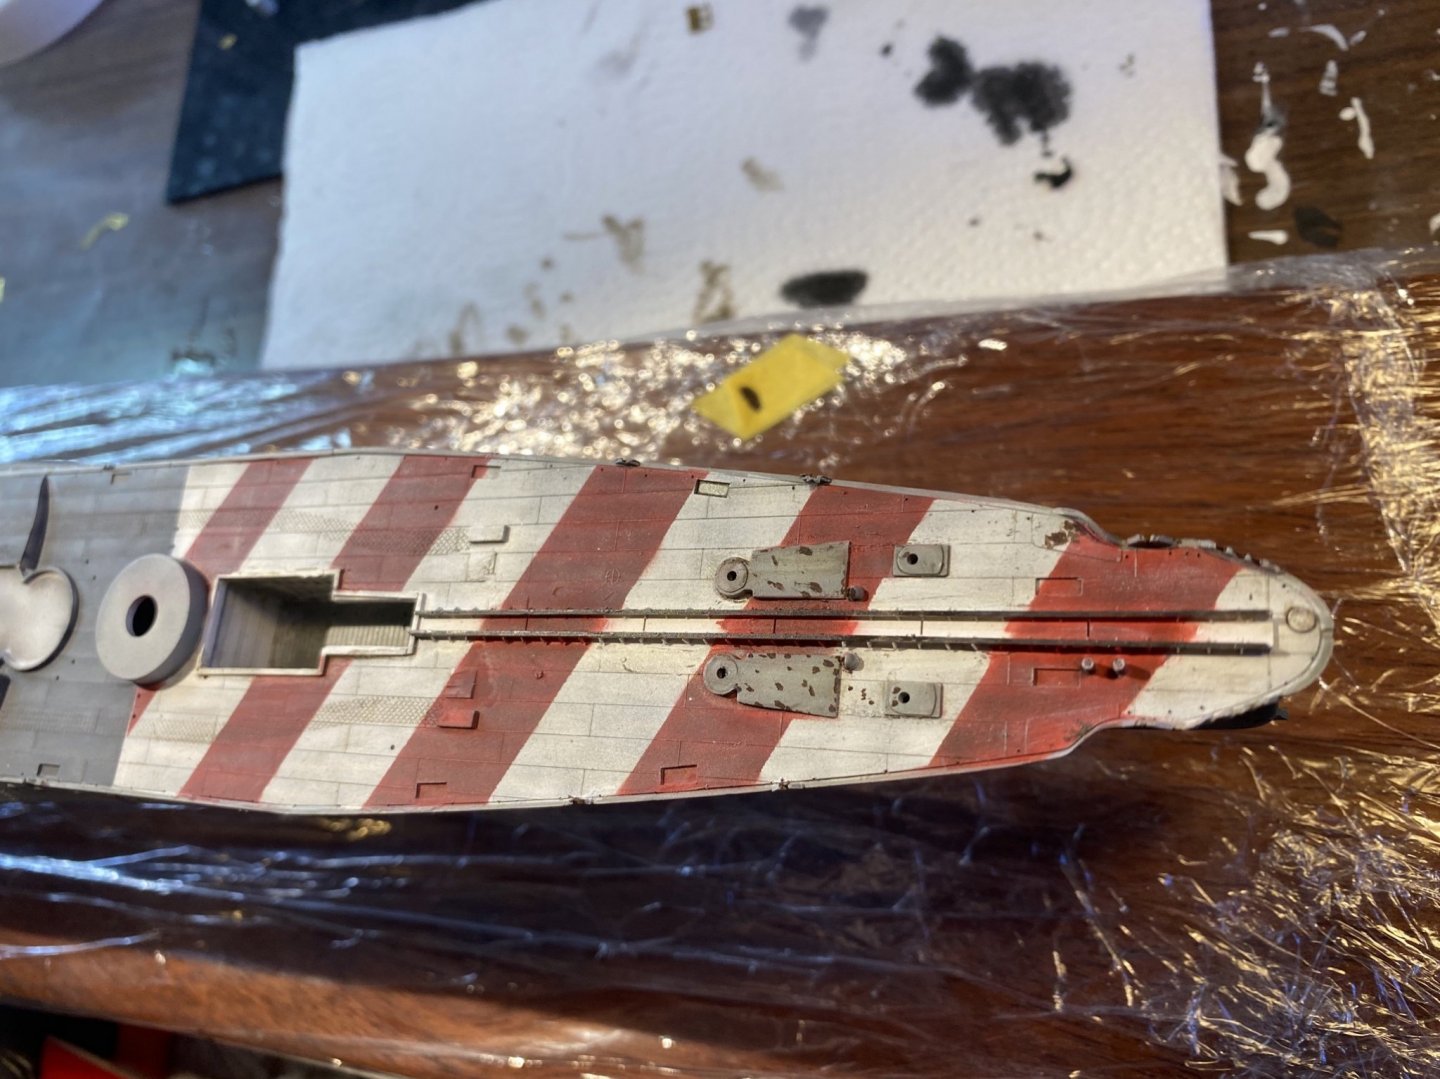
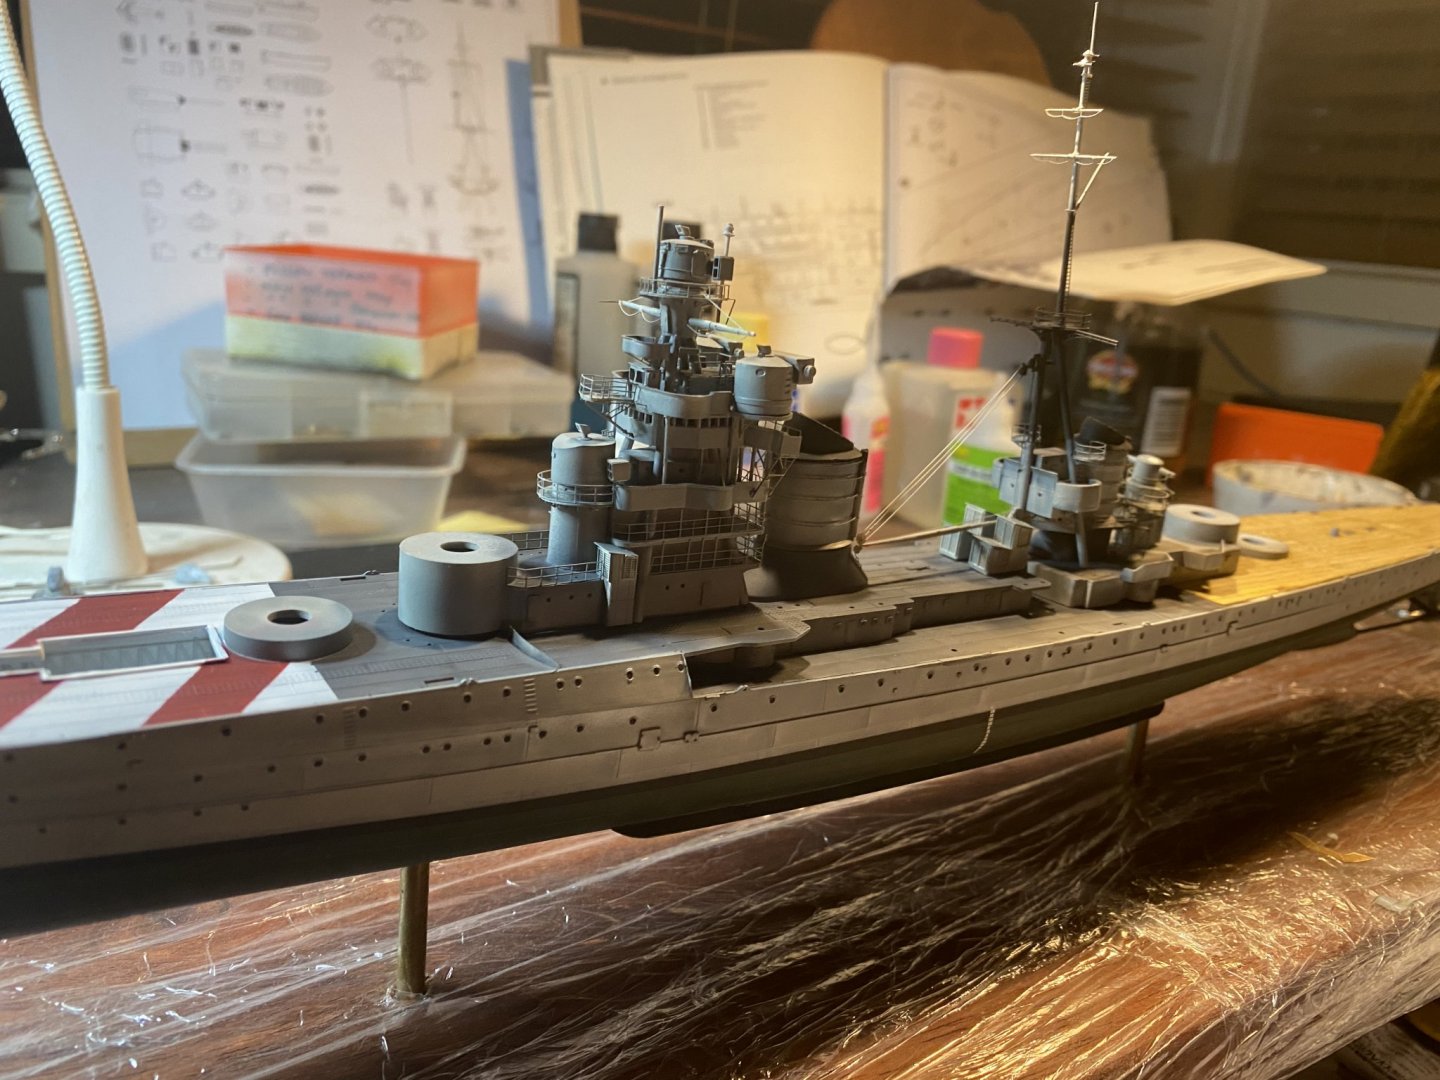
I’ve glued down most of the painted bits now except for the rear building as I’ve ripped off the horrible deck and will replace it.
-
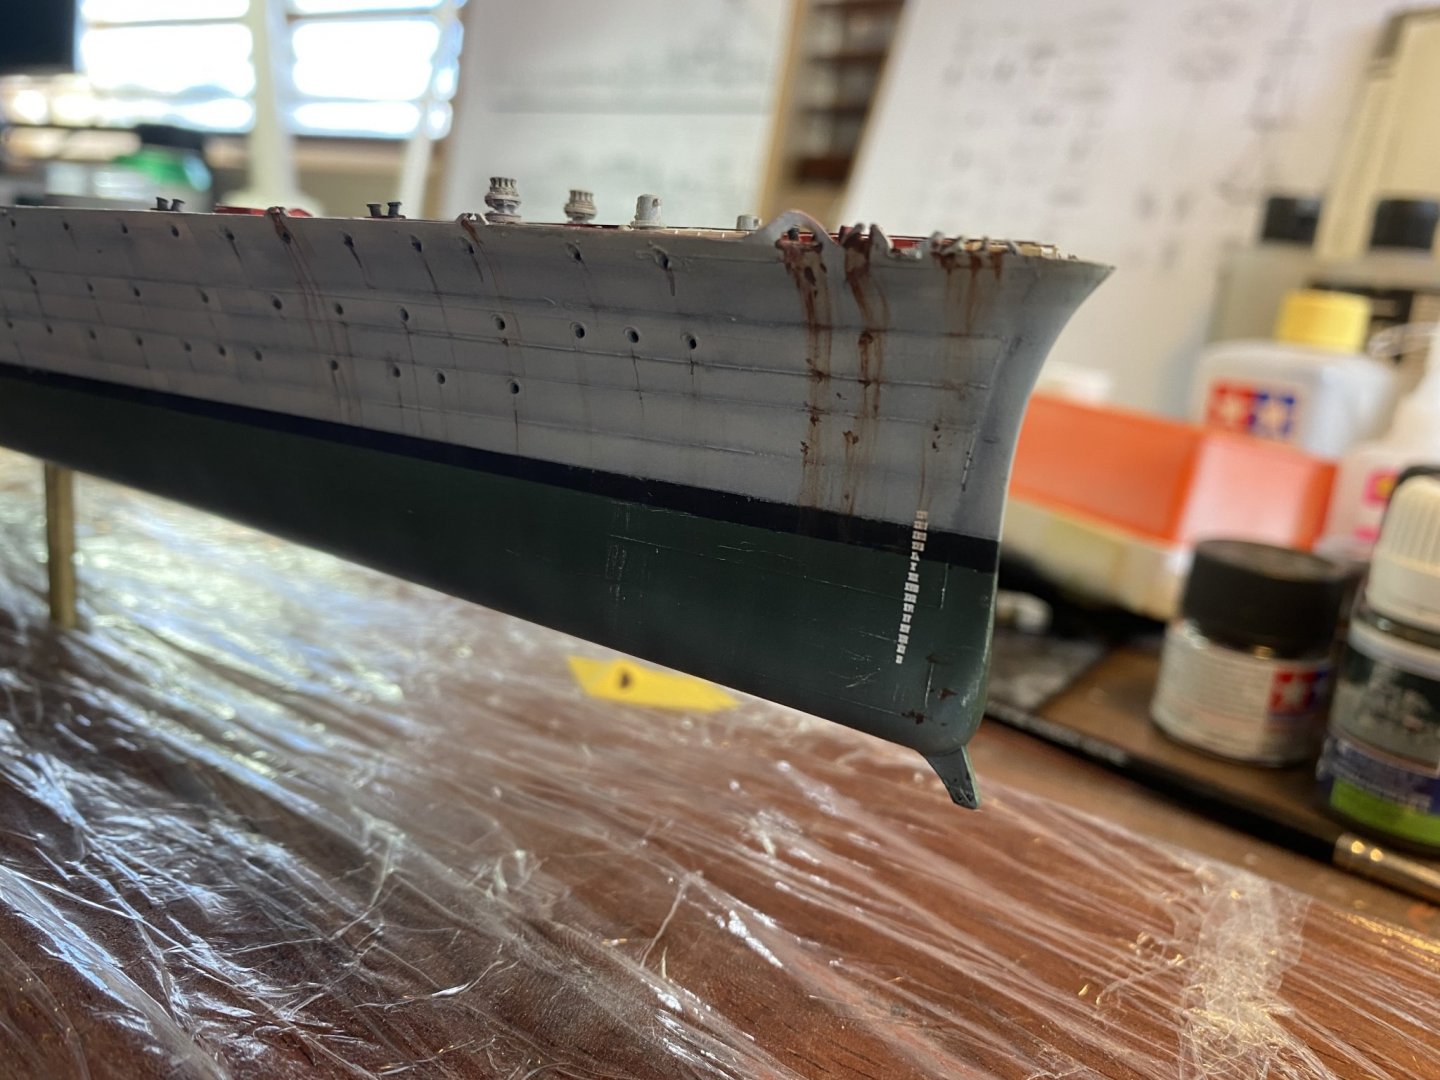
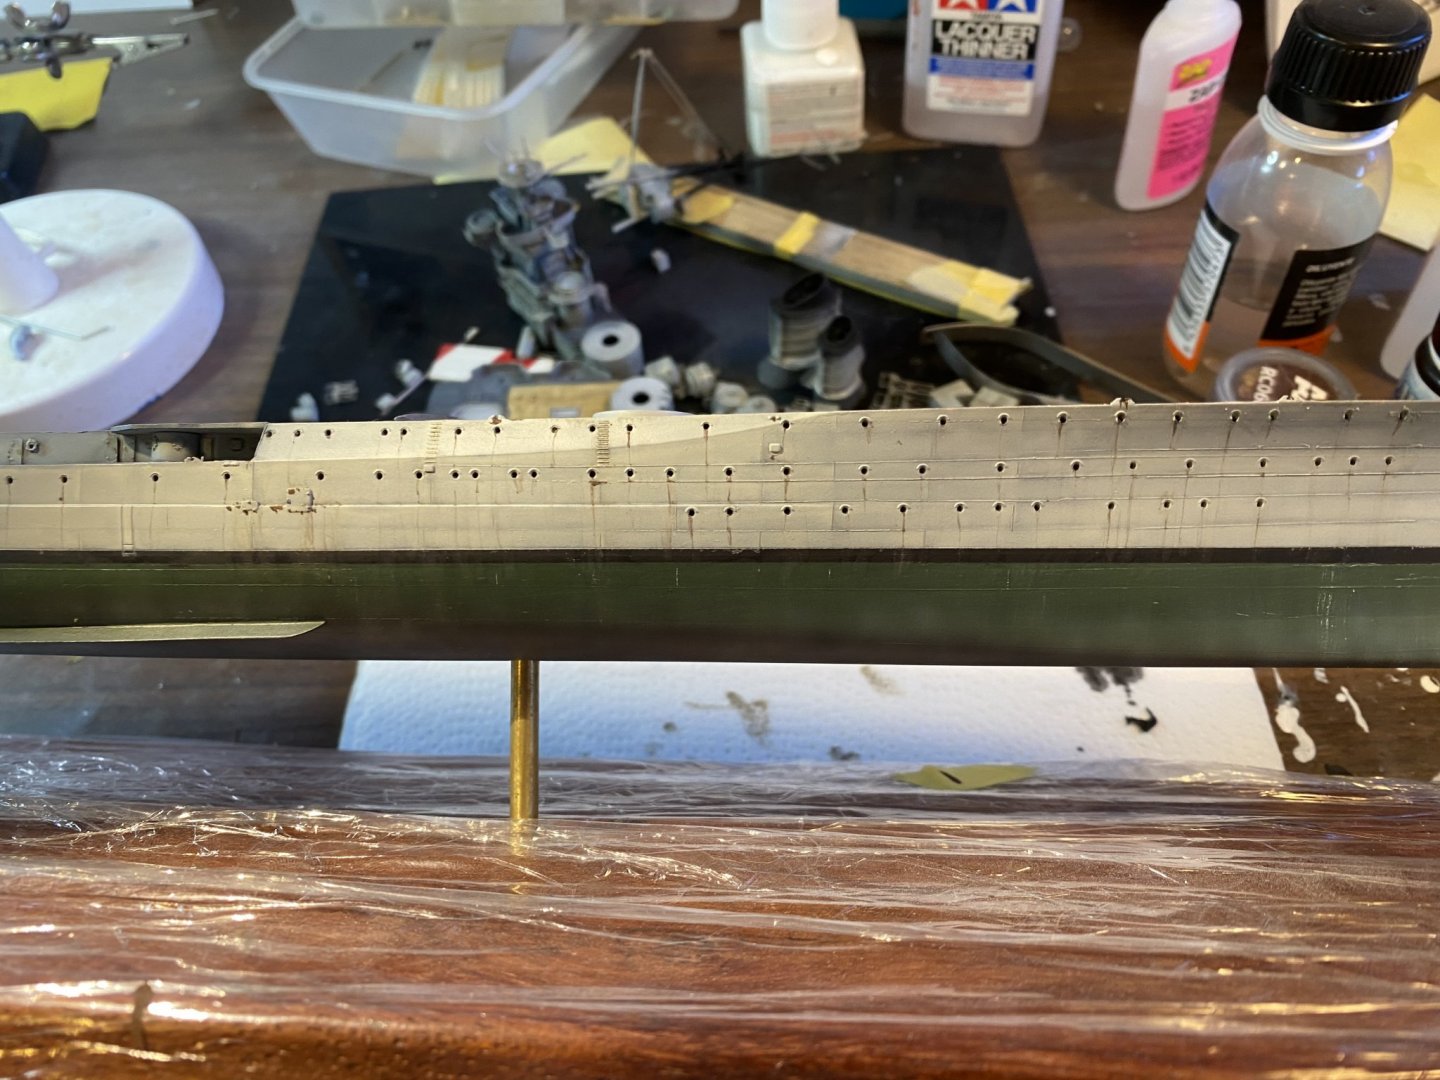
Weathering starts. Grime, filters washes. I feel much more comfortable now it’s a bit dirty a. Rust next.
-
It’s not that it’s bright as rubbish. It has to be glued down which just does not work well.
-
The stick down wooden deck. Isn’t stick down. First one I’ve come across. The plastic backing will come off, but it is not adhesive and it’s wafer thin. A lot of slicing and inserting glue needed.
-
Grey day. The main burg prices are now done. I want it to dry overnight then I can start filters etc.
-
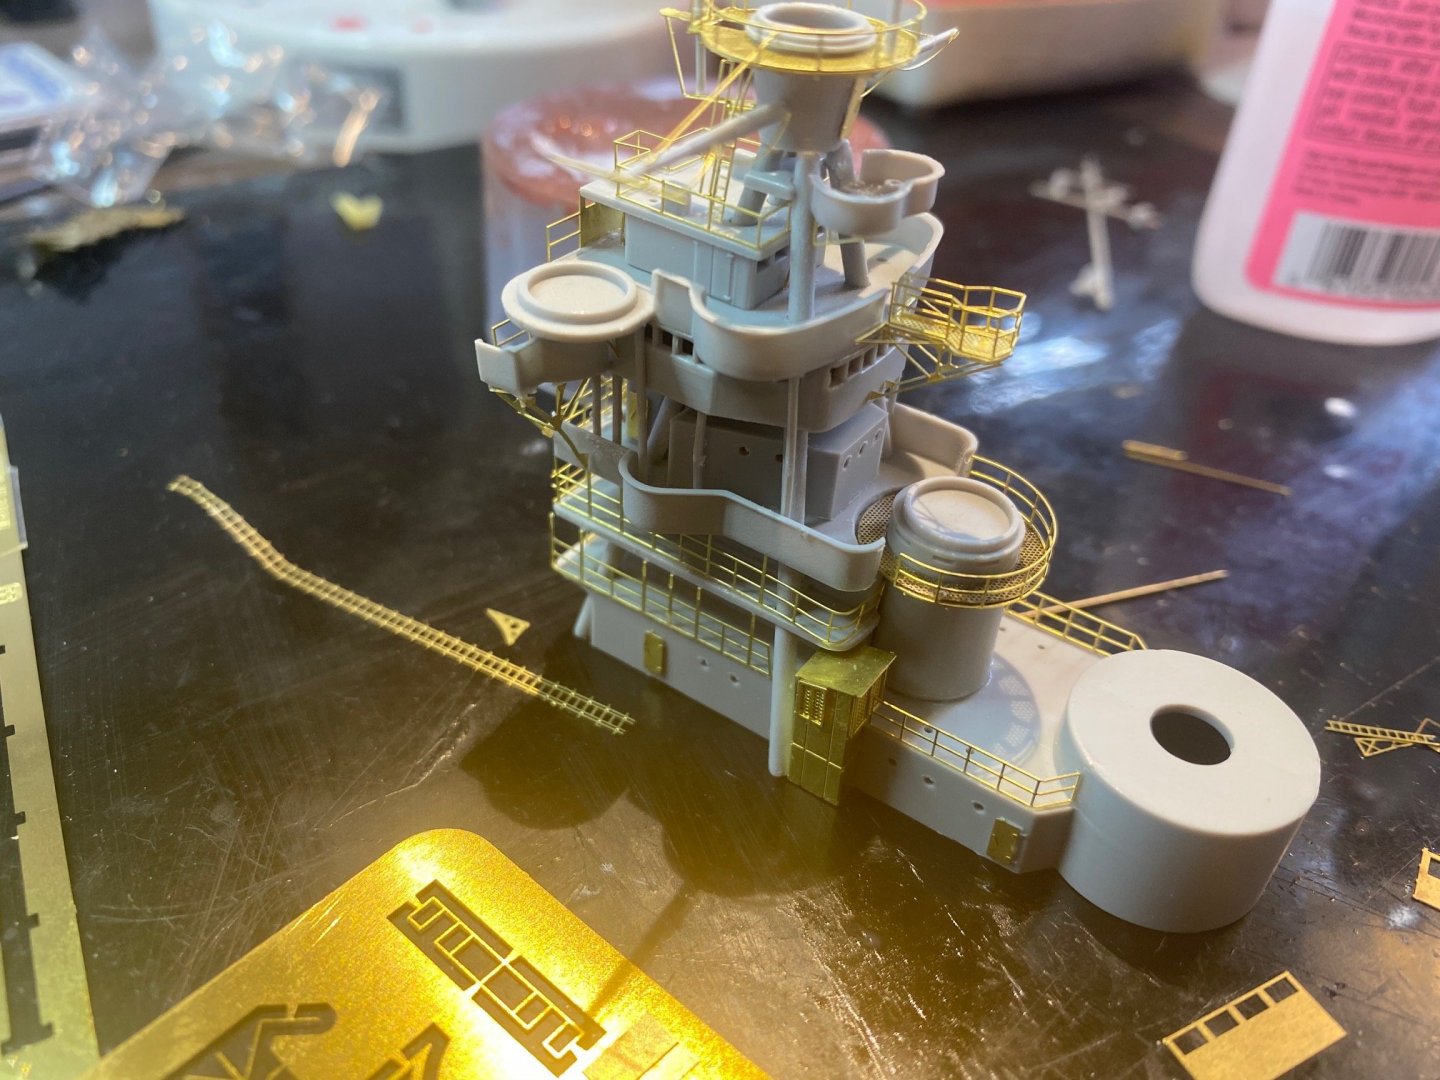
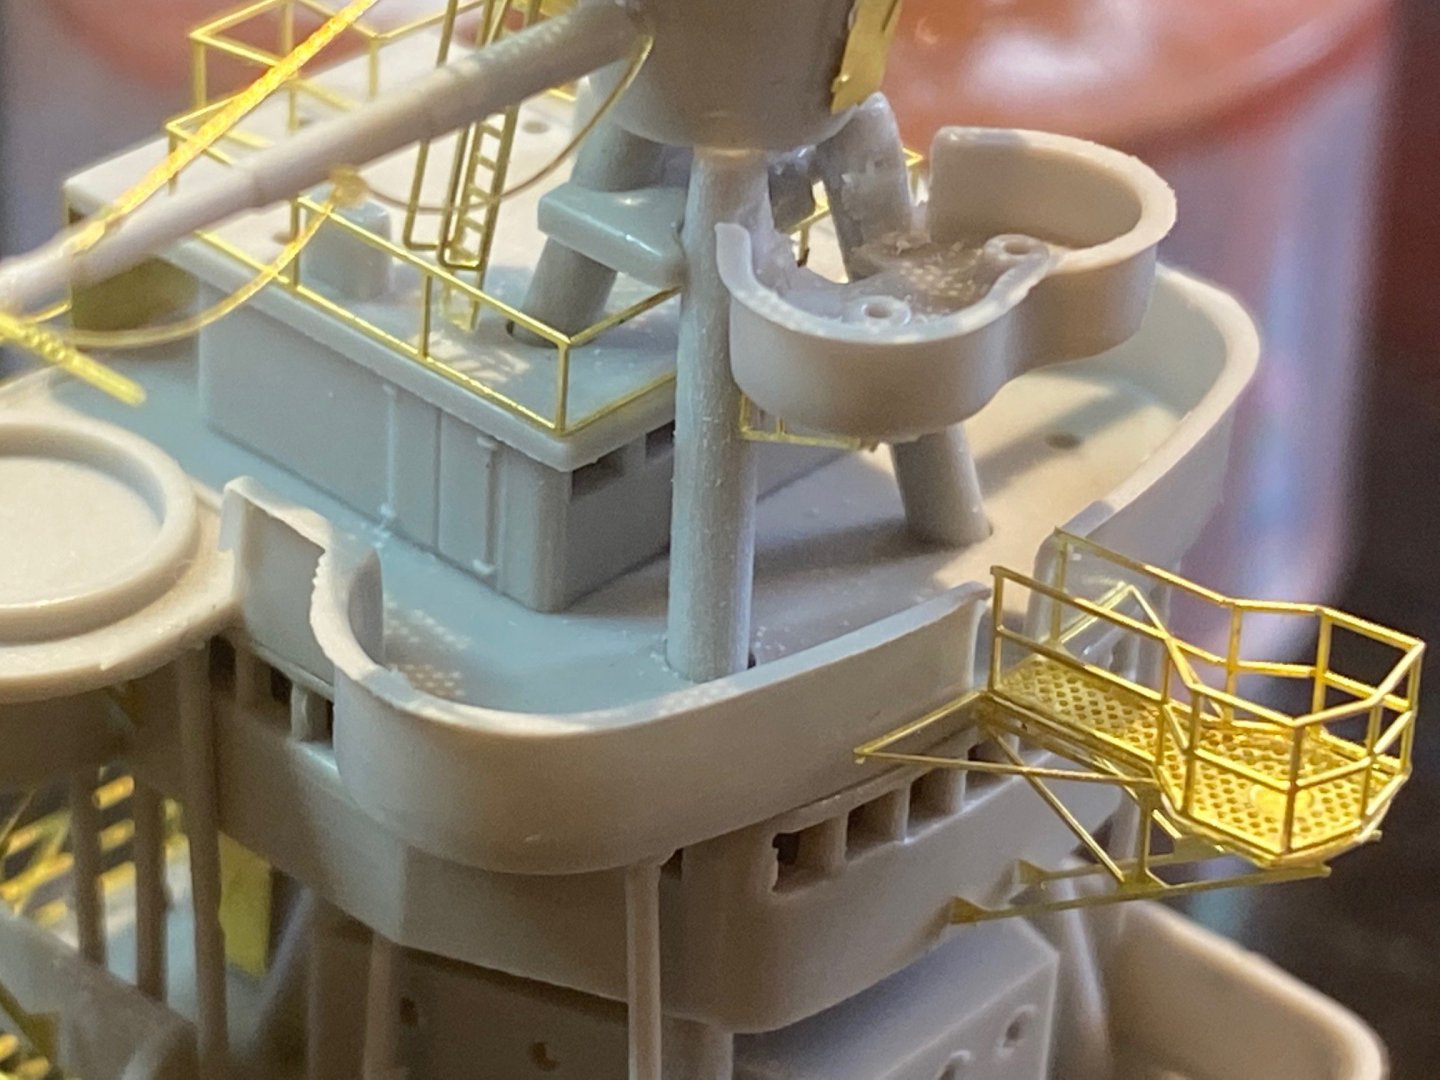
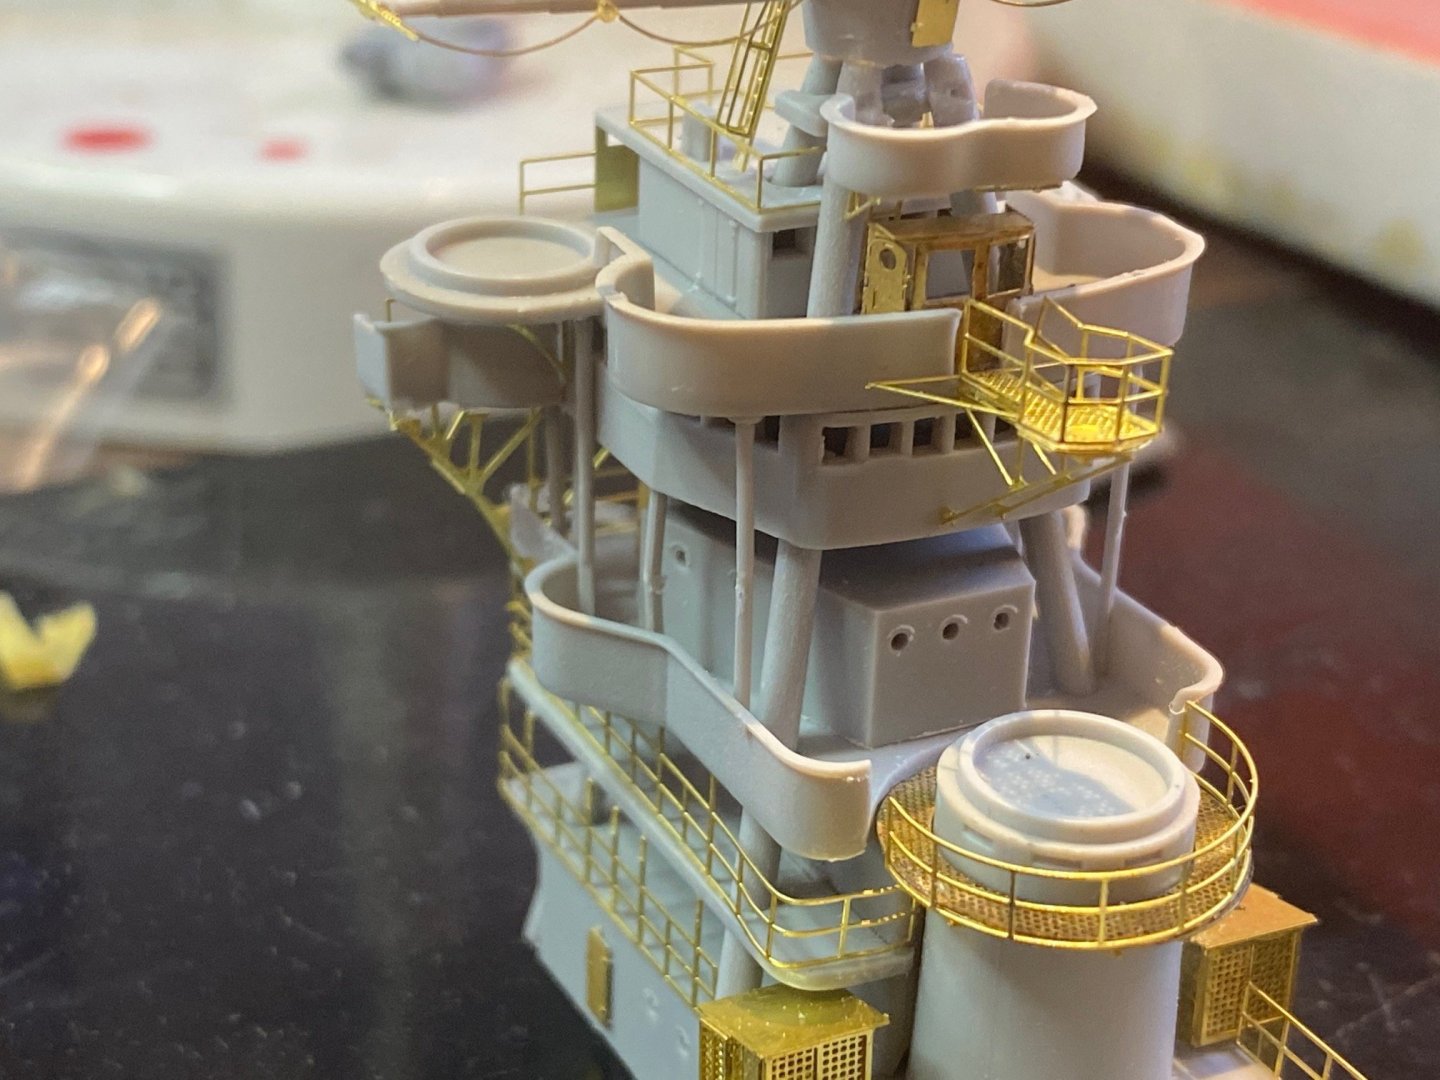
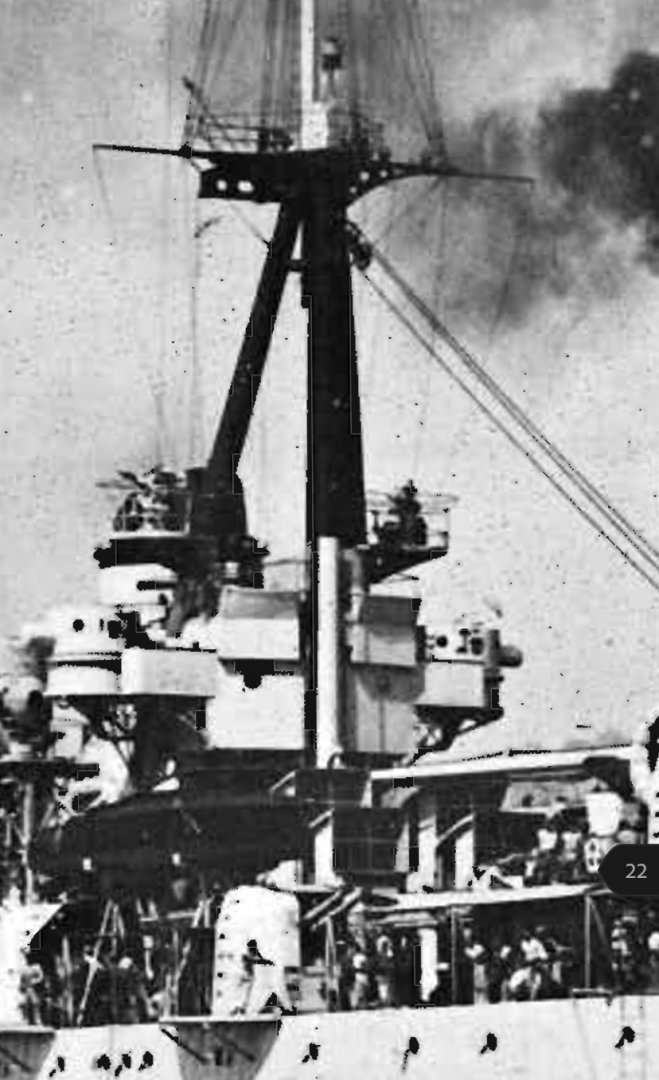
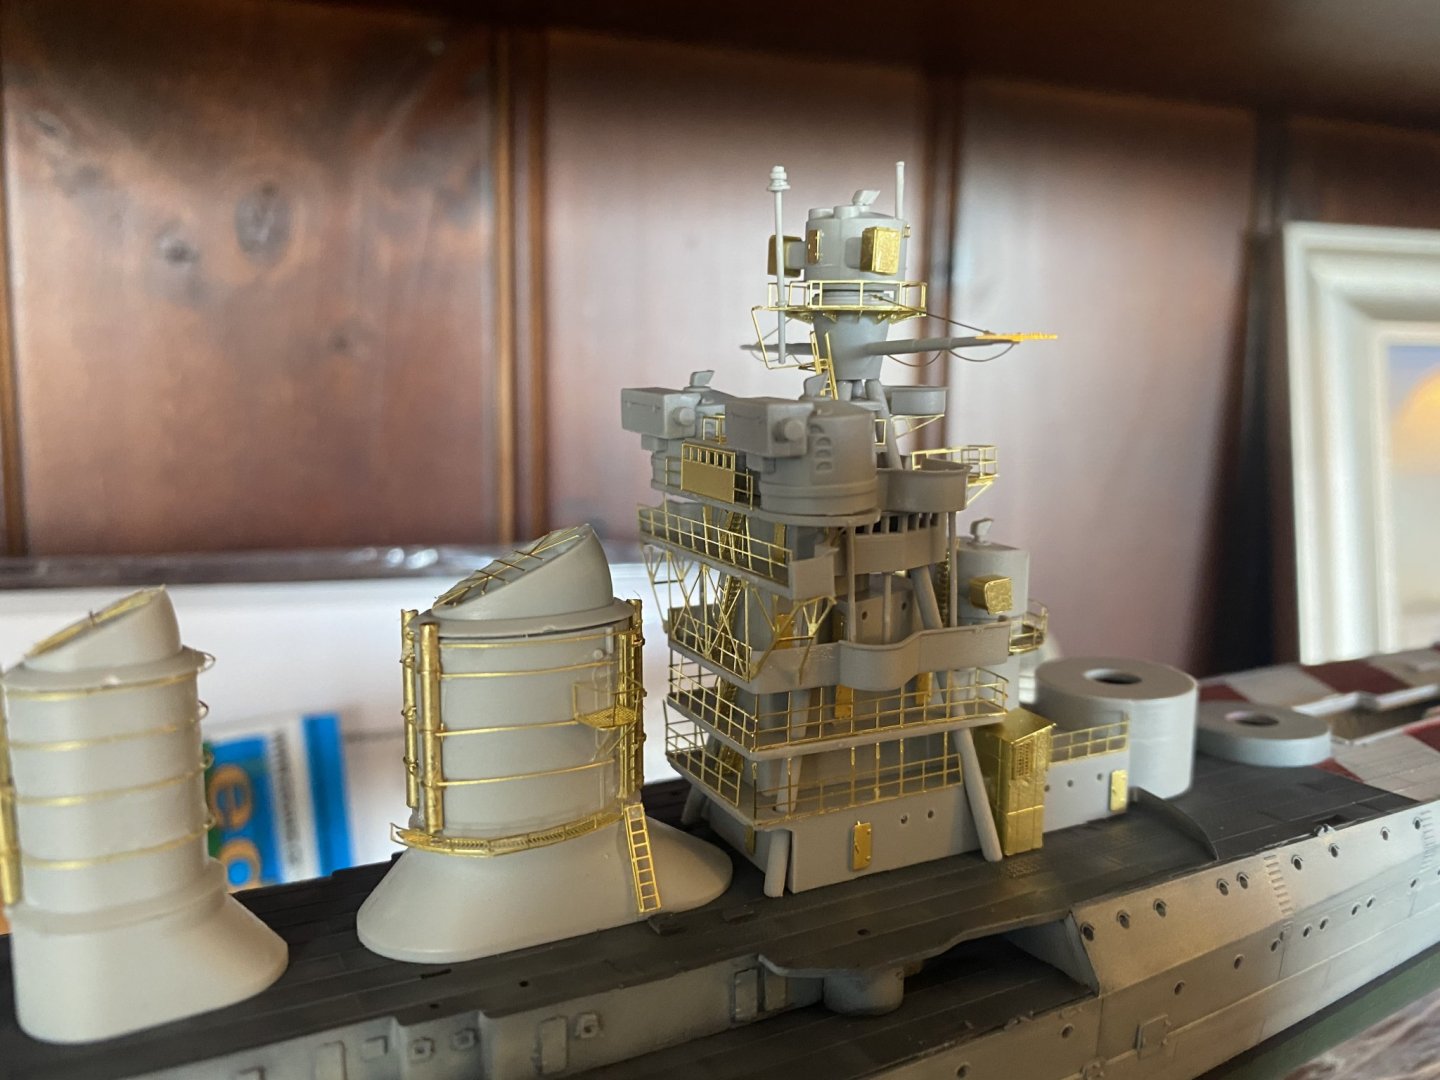
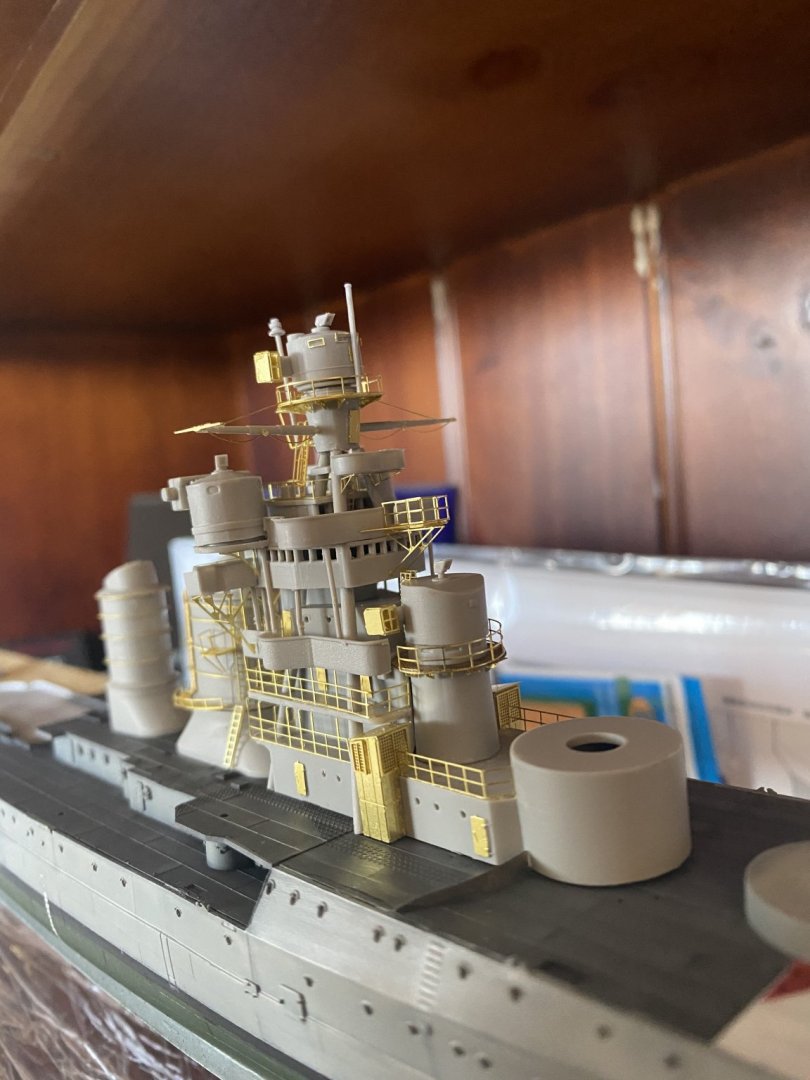
Now back to the bridge. I only figured out what was changed by 1941 after I finished the bridge. there is a cabin behind the directional finder. I cannot pull the entire thing to pieces, so I've just added a cabin.
-
I’ve really had too much on at work and home to do much on her. Once I can finish the main top mast I can go back to painting.
-
As much as I hate bashing kits, no one will notice until they do. I joined an Italian warship group on FB and it was correctly pointed out.
-
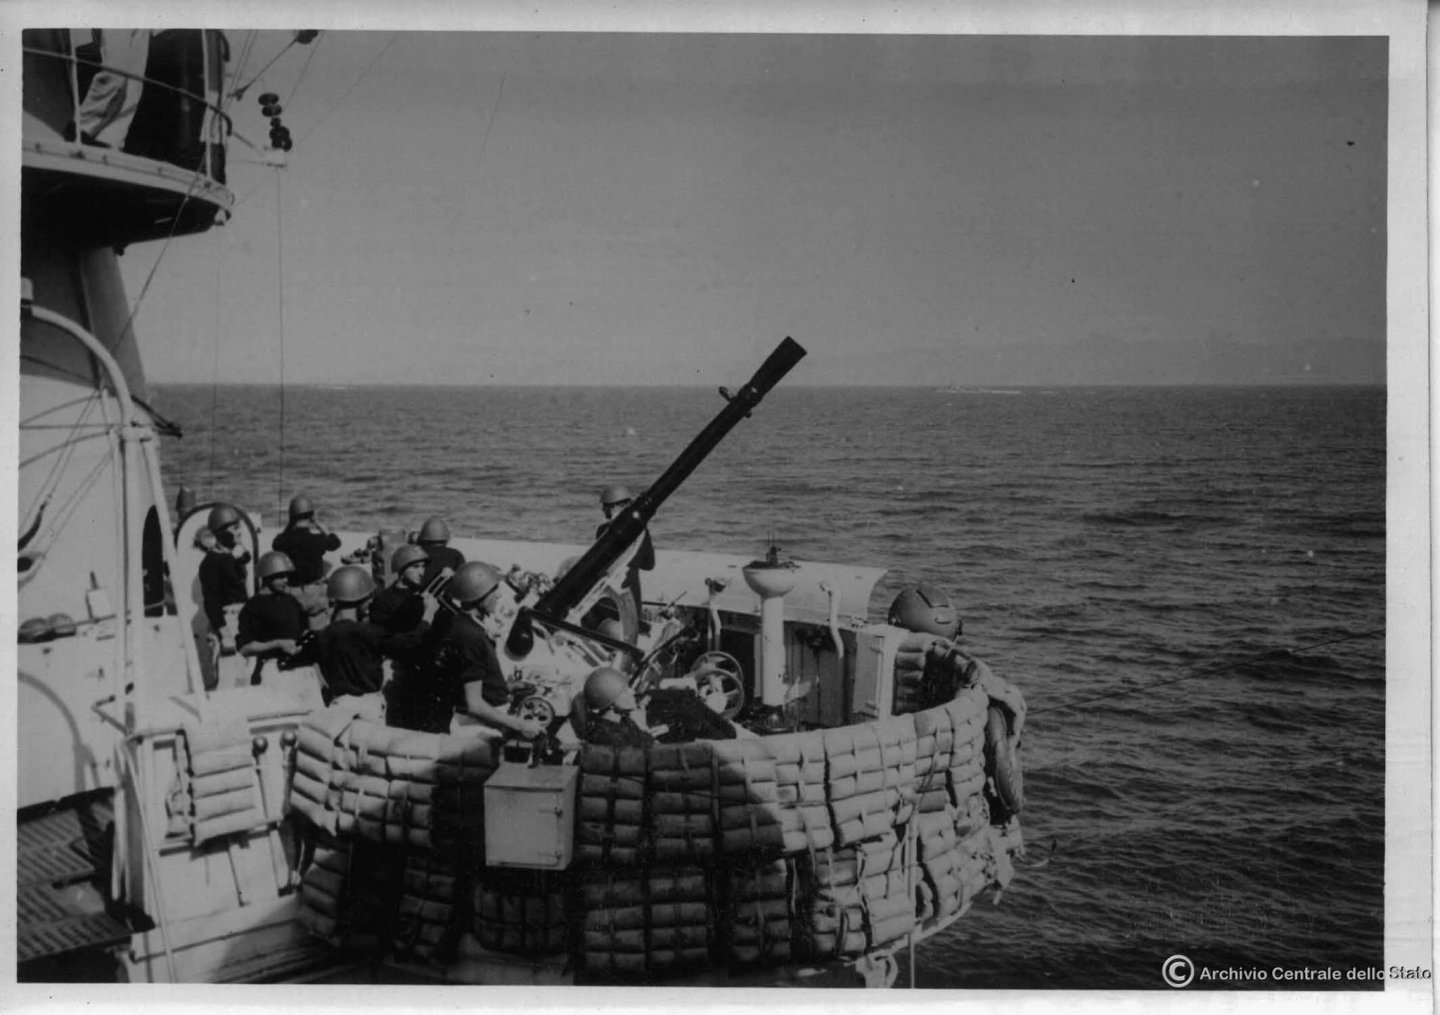
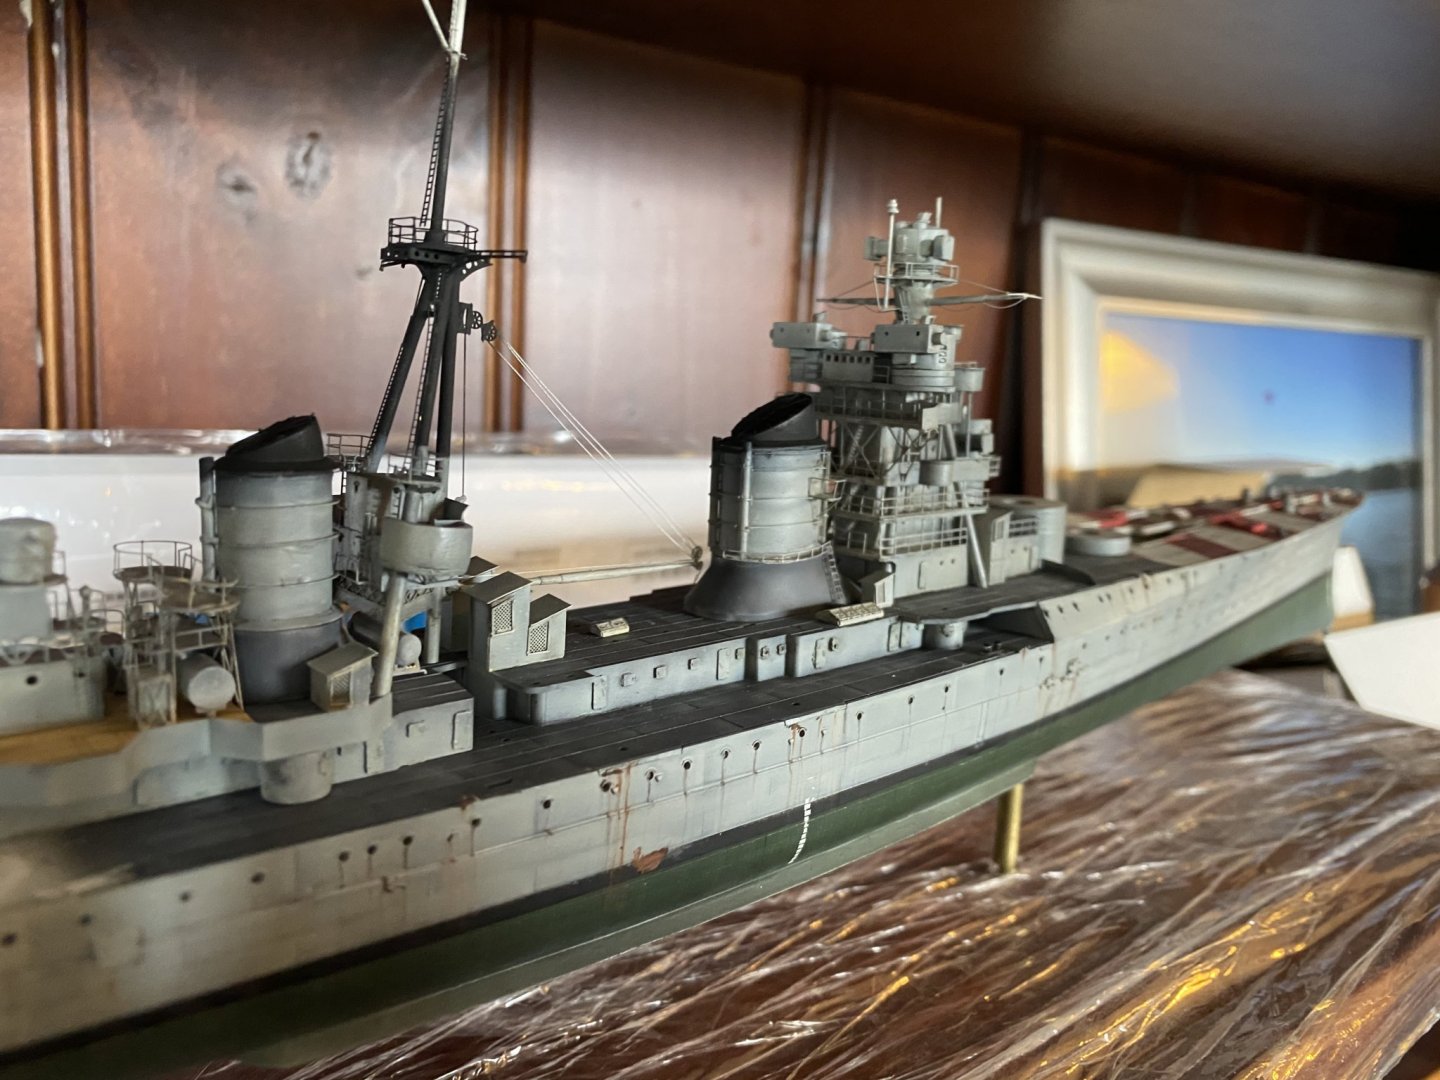
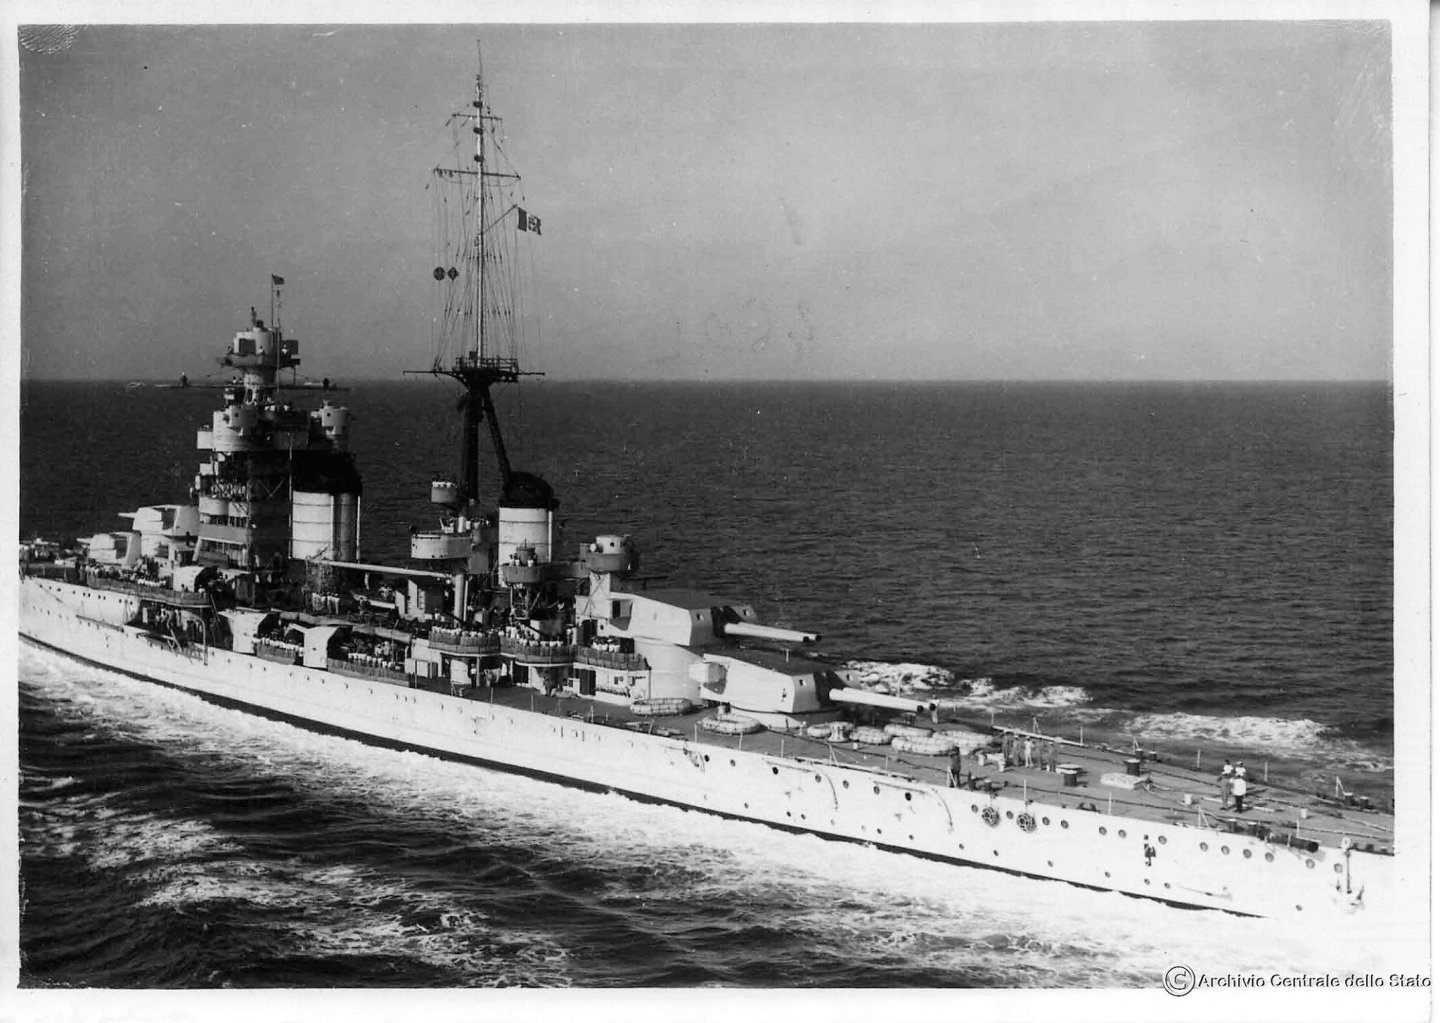
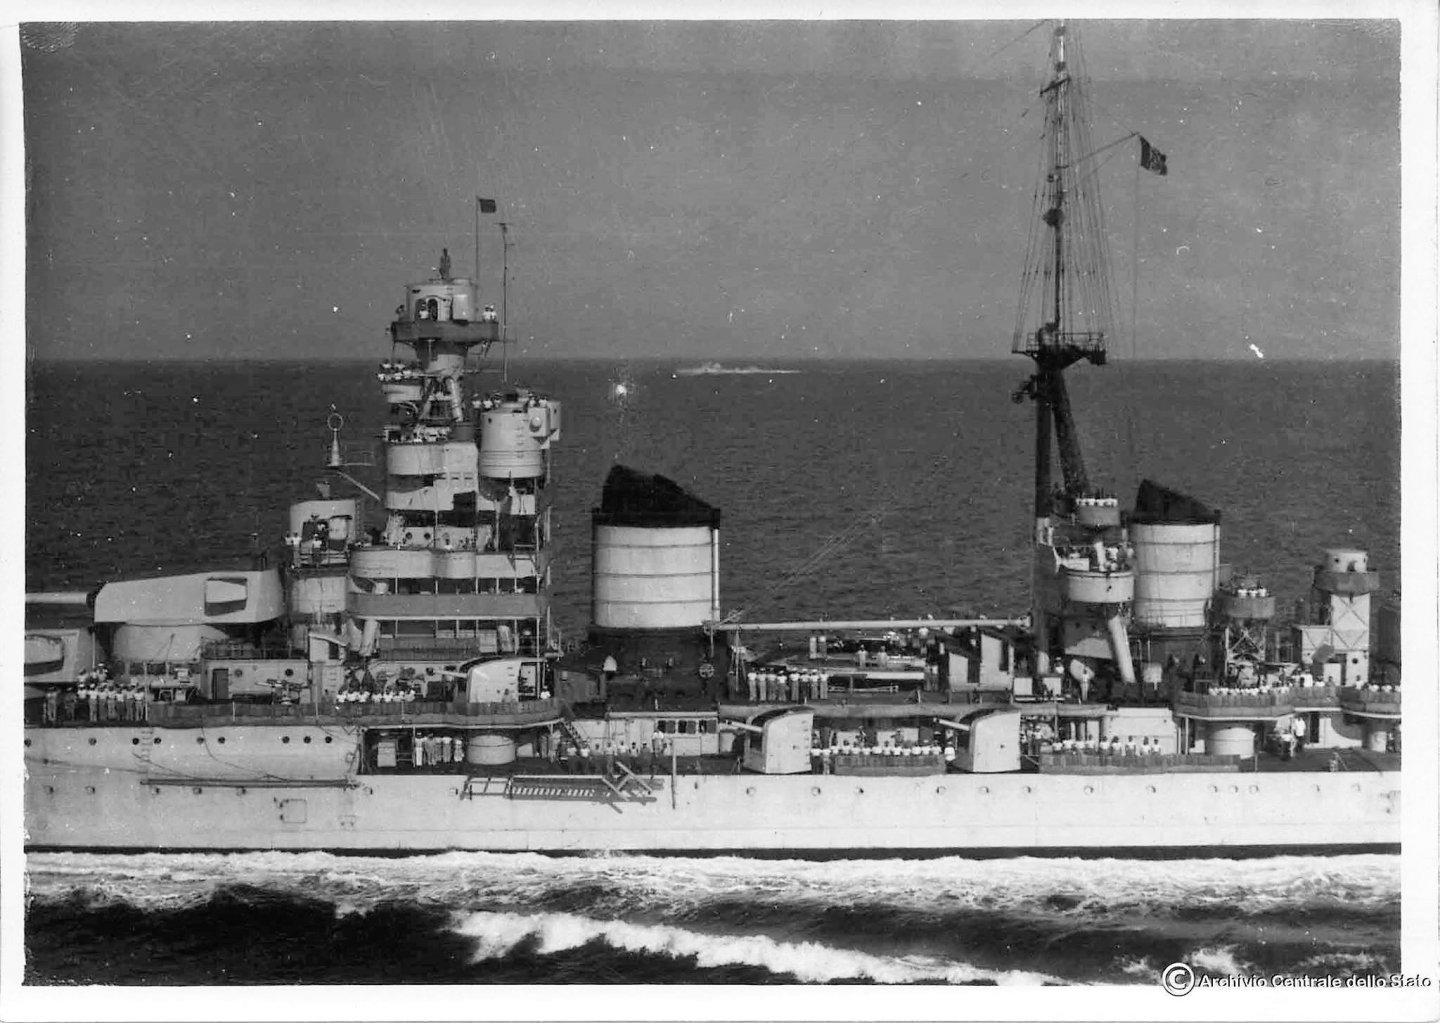
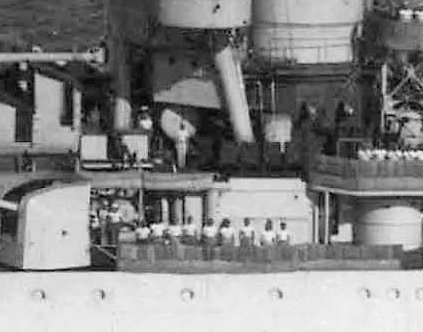
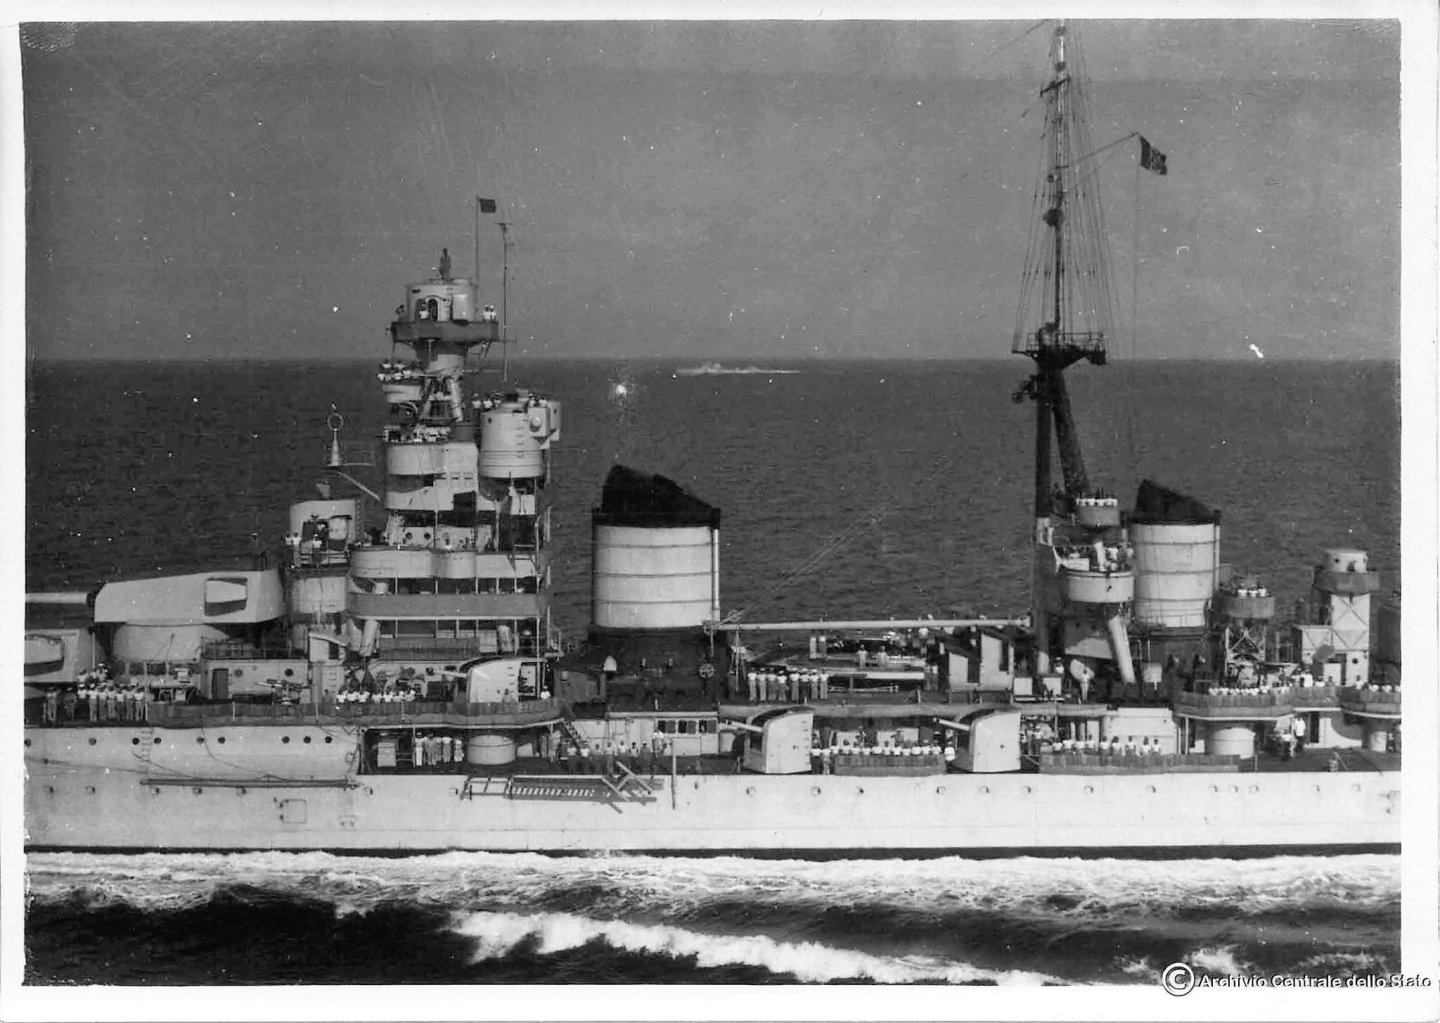
As you can see, the side range finders are gone as of post 1939, there is a big fuel or water tank underneath and a gantry alongside the funnel. the crew has places life vets on the railings and canvas dodgers (I’m not doing that)
-
So, after all that, the range finders on the side were removed in 1939, so a bit more bashing required.
-
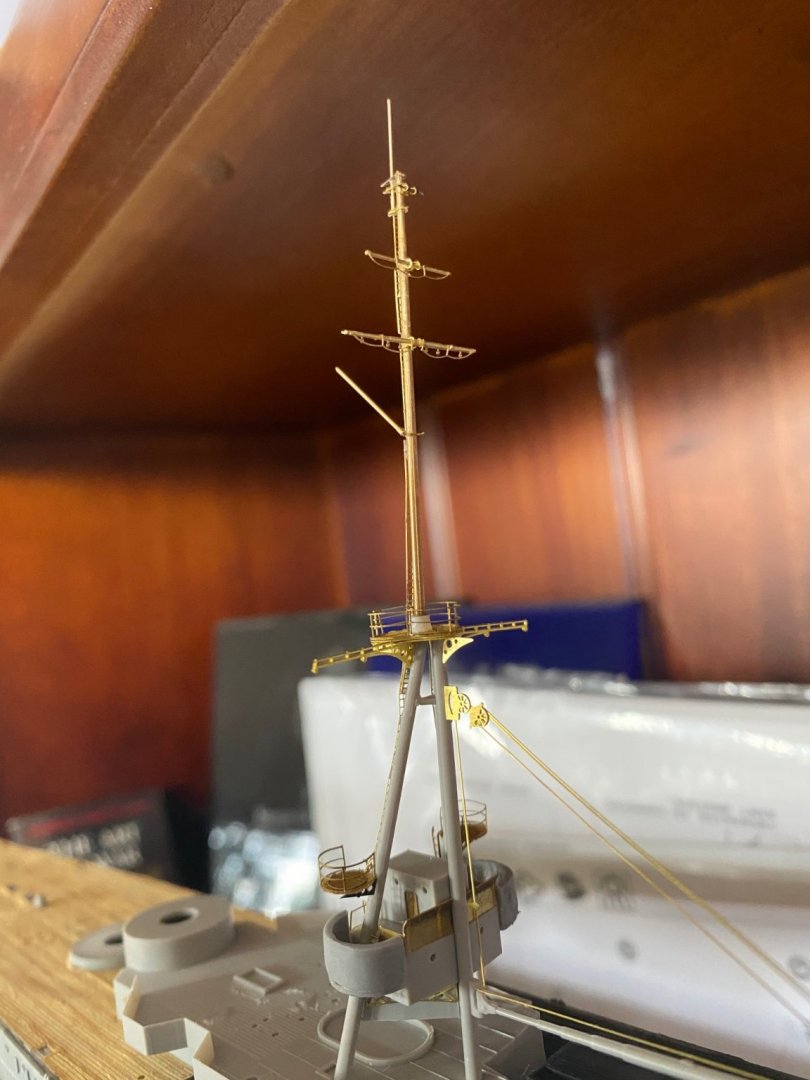
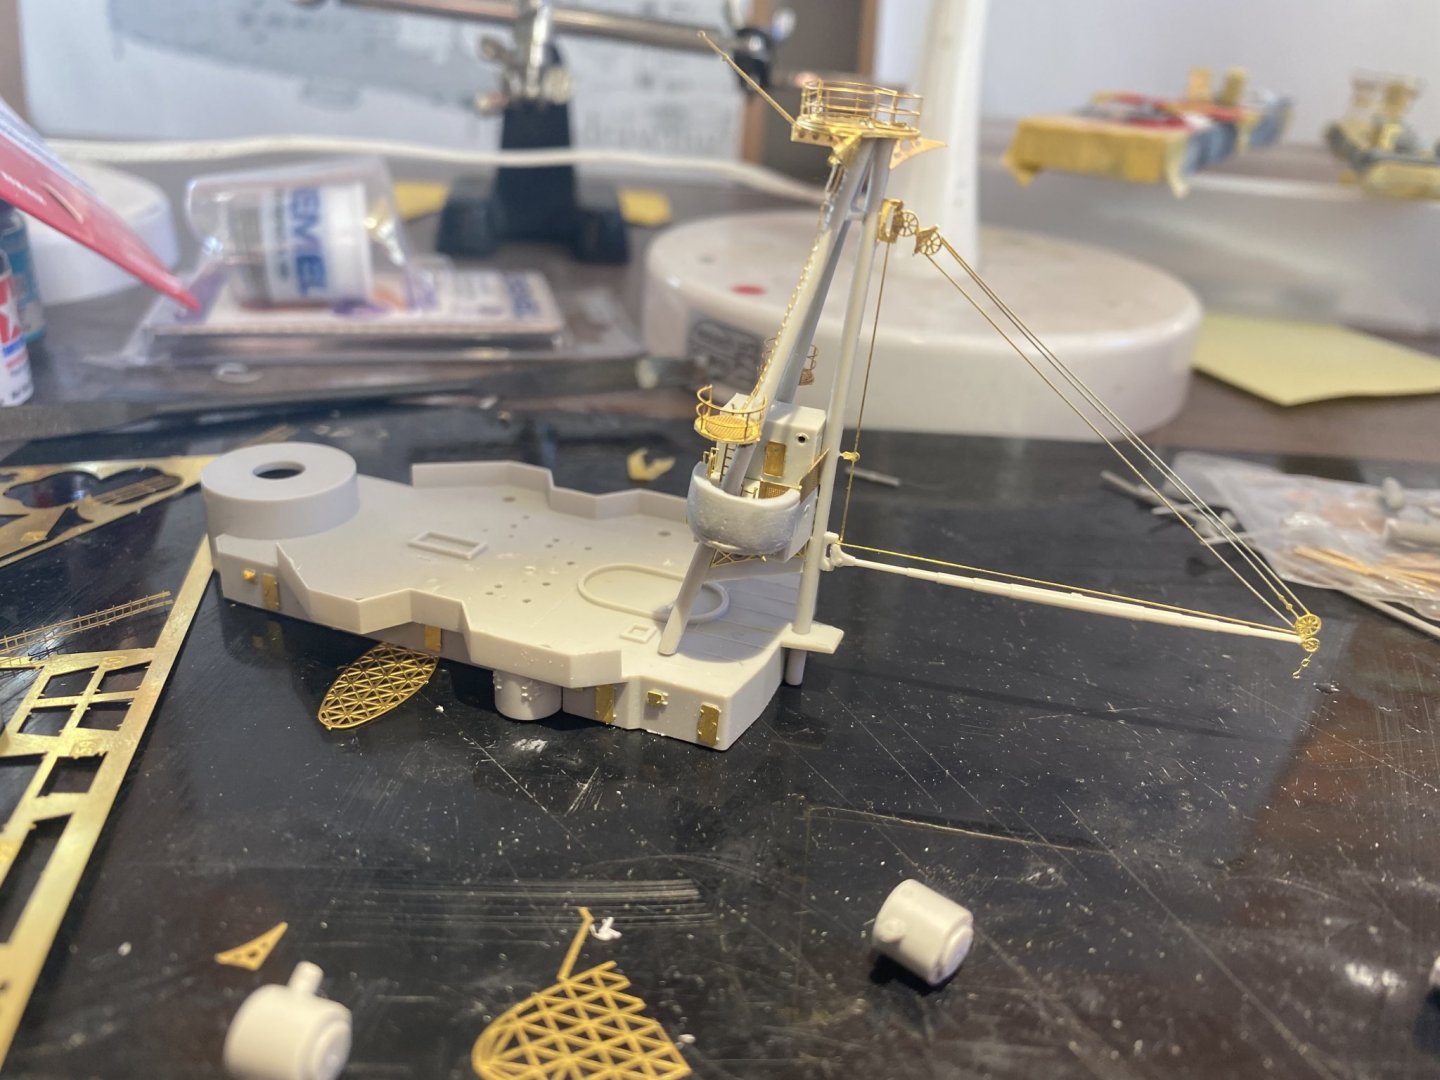
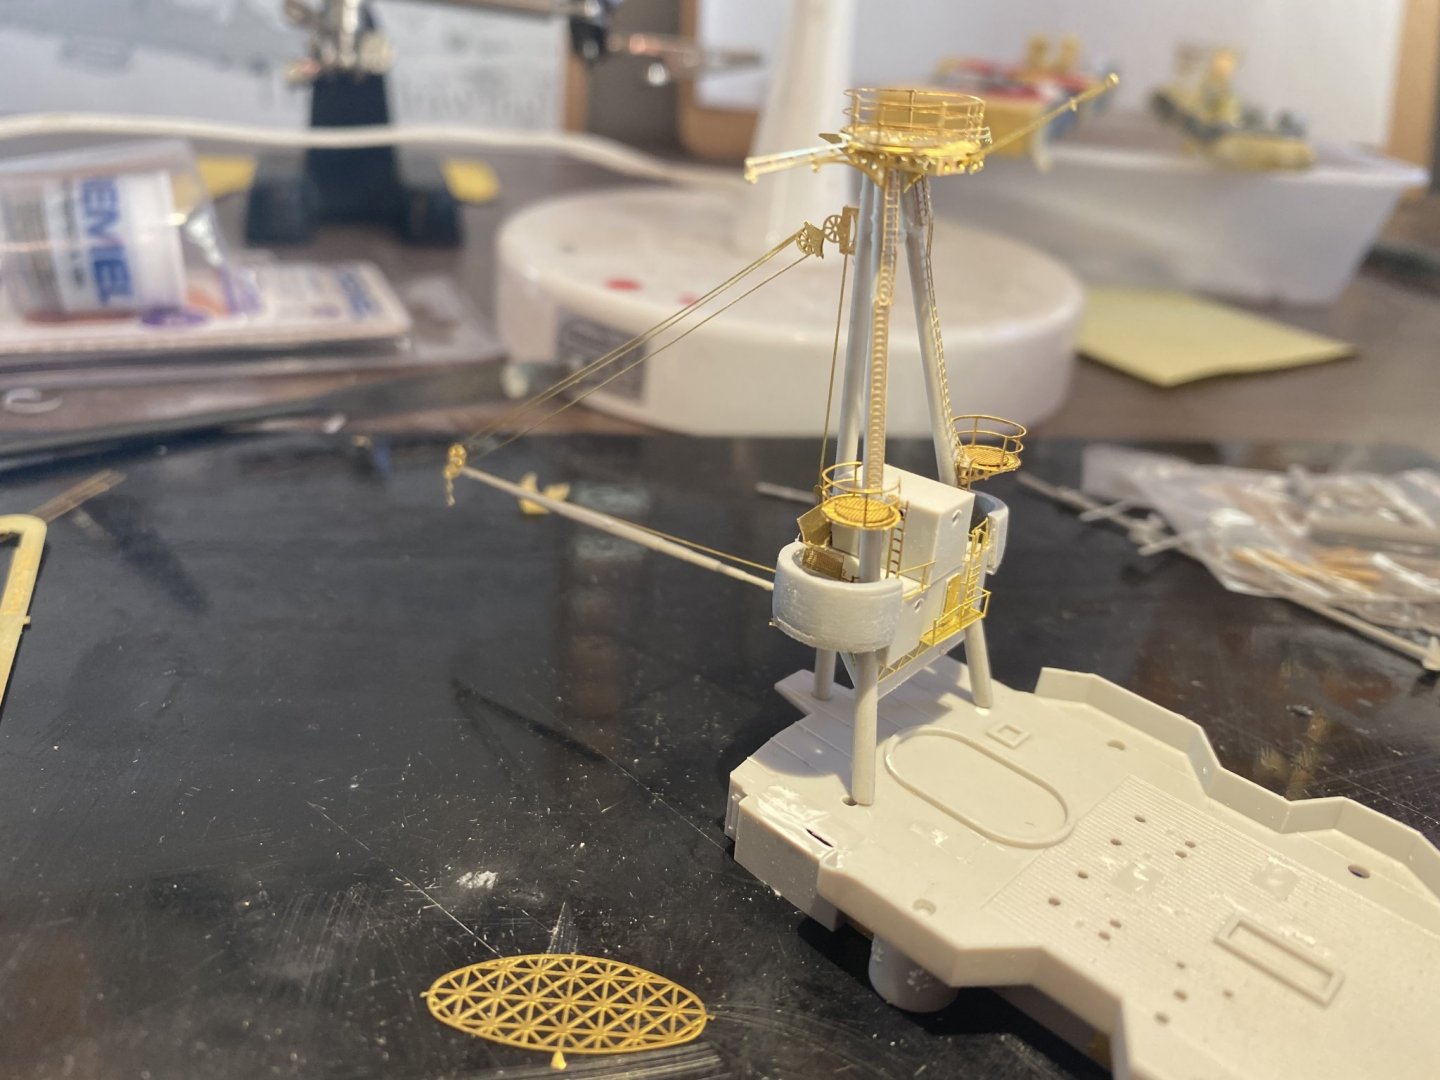
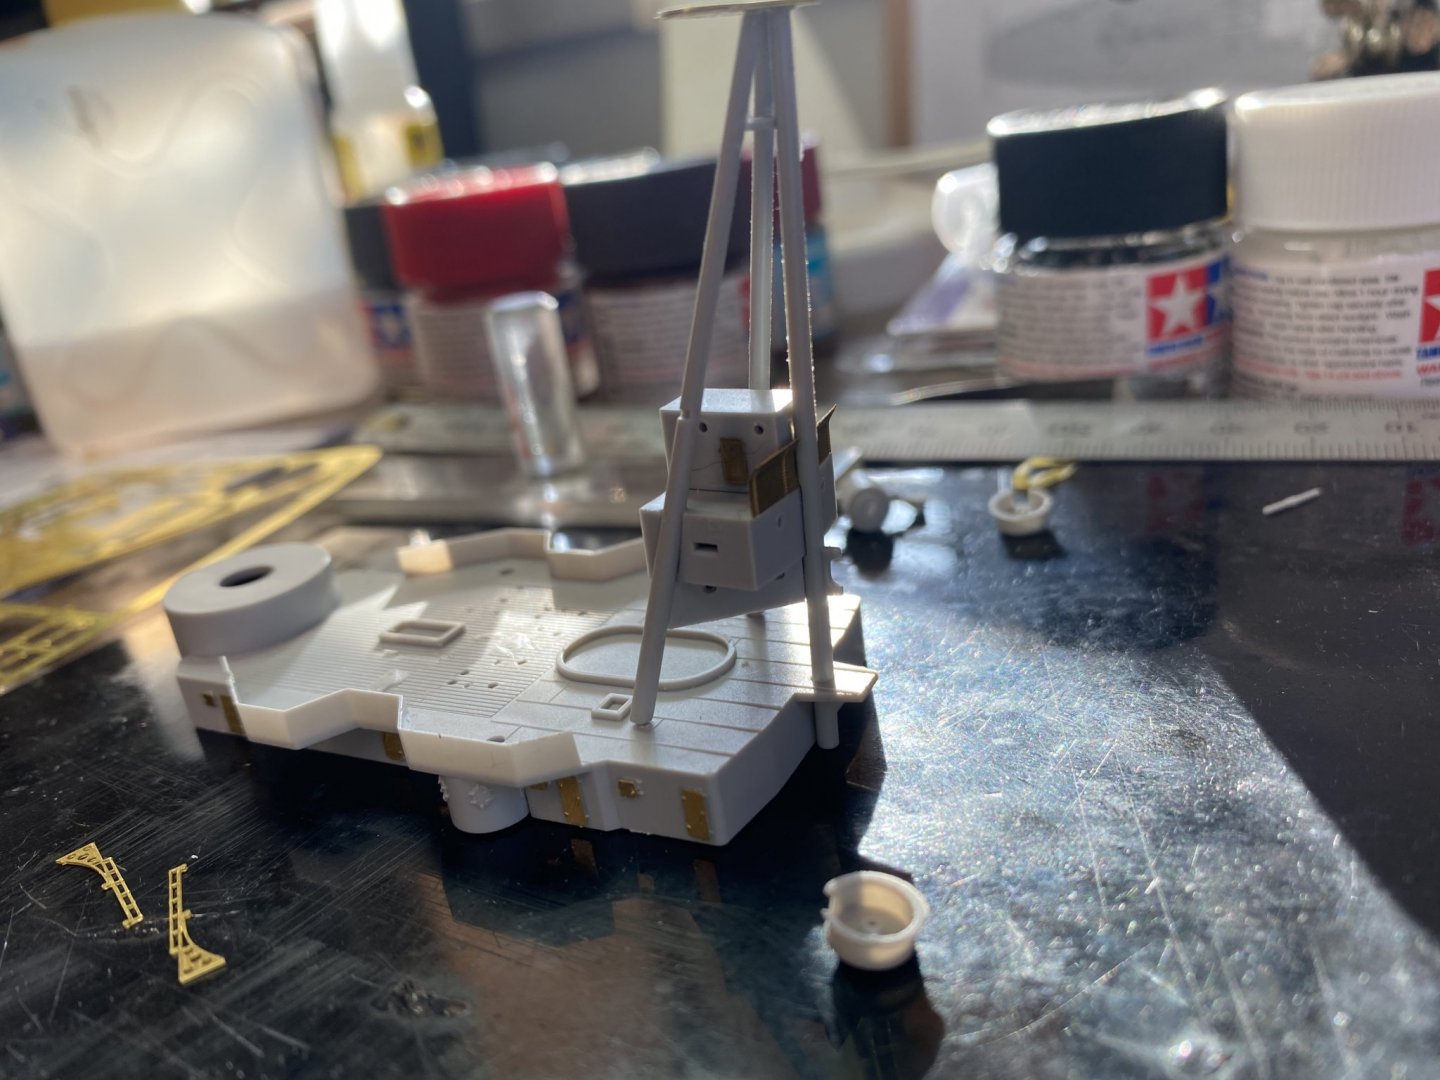
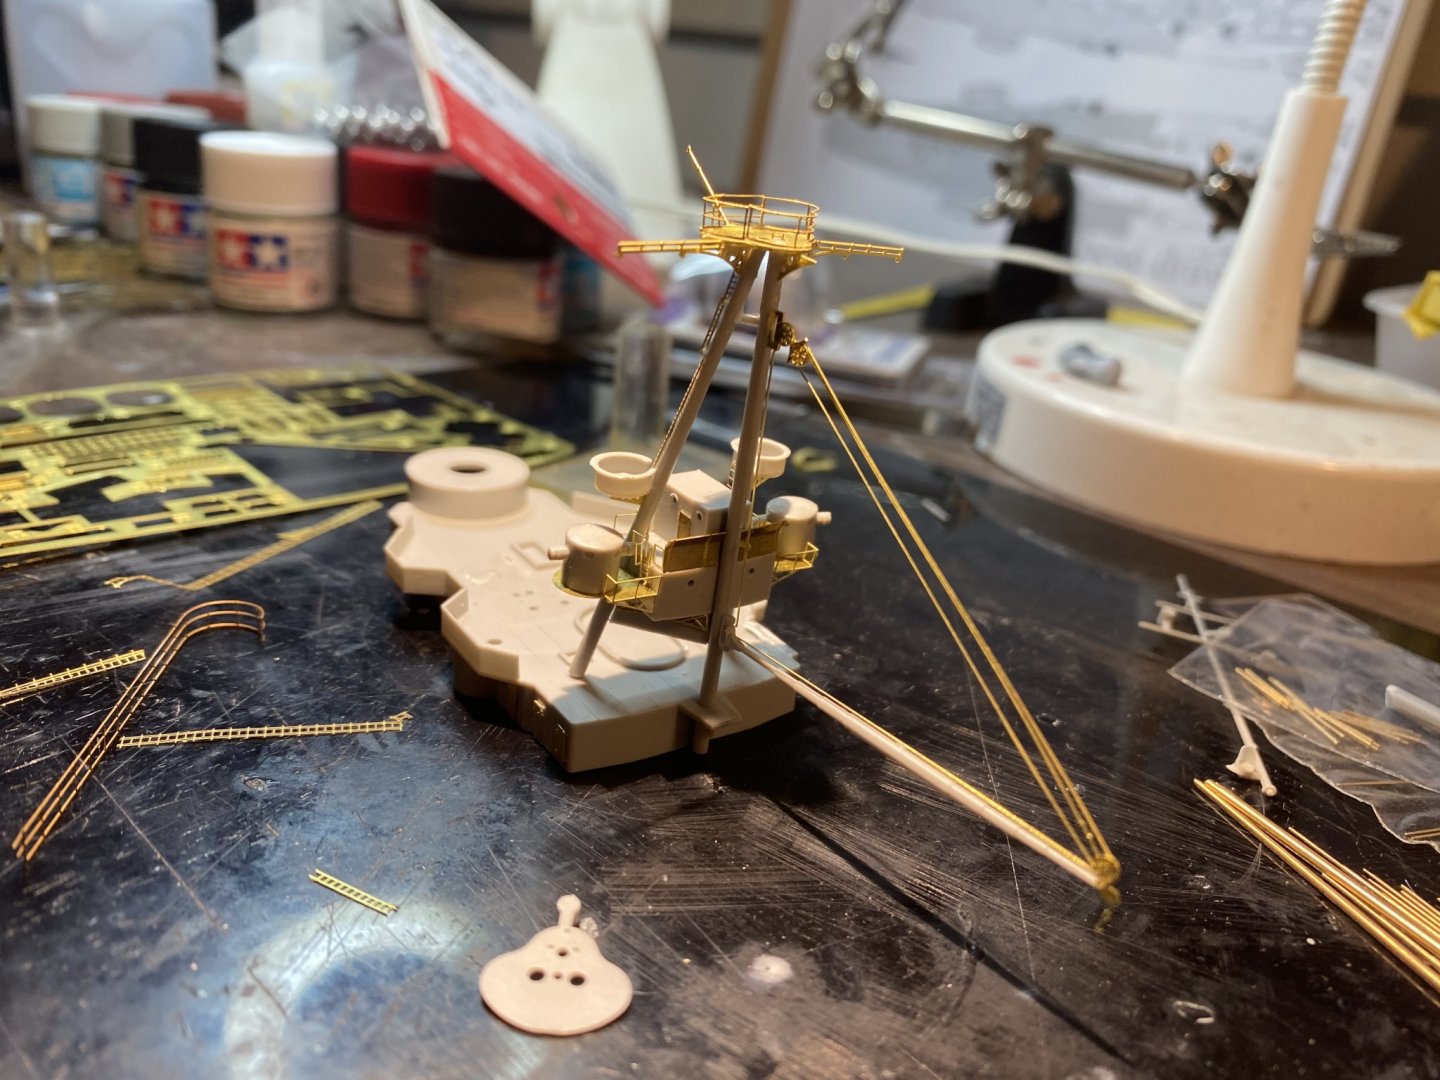
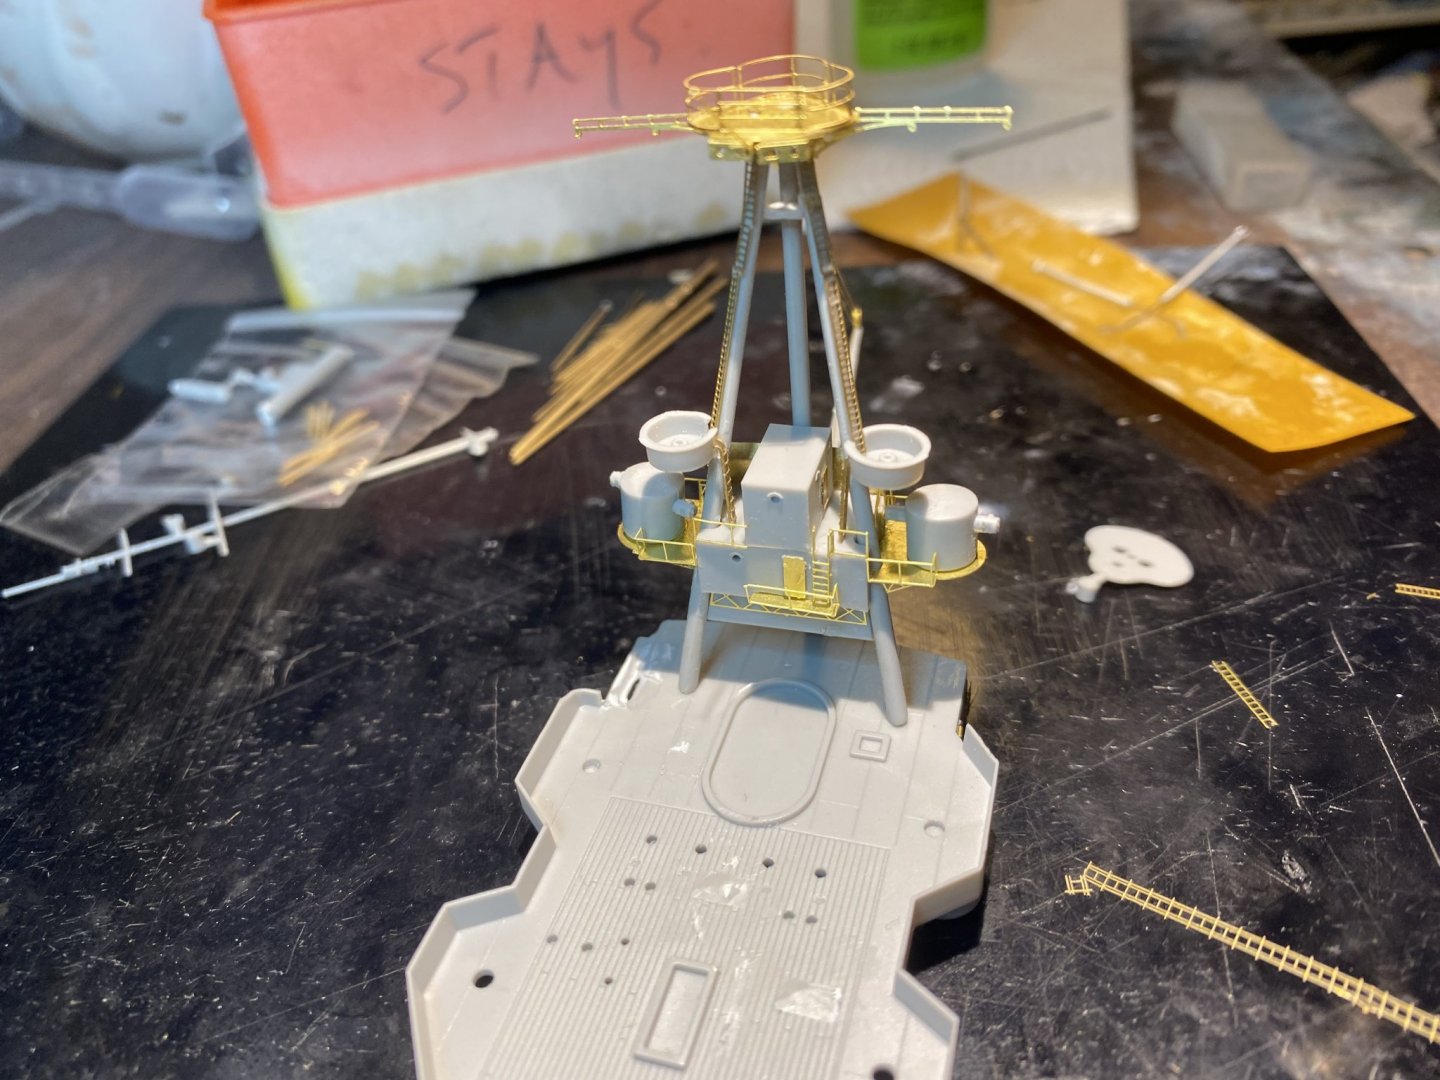
Mainmast, part a. Tripods armrest horrible things to build, the housing is added to a bit as there appears to be another cabin added on top by wartime. Top mast next
About us
Modelshipworld - Advancing Ship Modeling through Research
SSL Secured
Your security is important for us so this Website is SSL-Secured
NRG Mailing Address
Nautical Research Guild
237 South Lincoln Street
Westmont IL, 60559-1917
Model Ship World ® and the MSW logo are Registered Trademarks, and belong to the Nautical Research Guild (United States Patent and Trademark Office: No. 6,929,264 & No. 6,929,274, registered Dec. 20, 2022)
Helpful Links
About the NRG
If you enjoy building ship models that are historically accurate as well as beautiful, then The Nautical Research Guild (NRG) is just right for you.
The Guild is a non-profit educational organization whose mission is to “Advance Ship Modeling Through Research”. We provide support to our members in their efforts to raise the quality of their model ships.
The Nautical Research Guild has published our world-renowned quarterly magazine, The Nautical Research Journal, since 1955. The pages of the Journal are full of articles by accomplished ship modelers who show you how they create those exquisite details on their models, and by maritime historians who show you the correct details to build. The Journal is available in both print and digital editions. Go to the NRG web site (www.thenrg.org) to download a complimentary digital copy of the Journal. The NRG also publishes plan sets, books and compilations of back issues of the Journal and the former Ships in Scale and Model Ship Builder magazines.


