RGL
-
Posts
5,553 -
Joined
-
Last visited
Content Type
Profiles
Forums
Gallery
Events
Everything posted by RGL
-
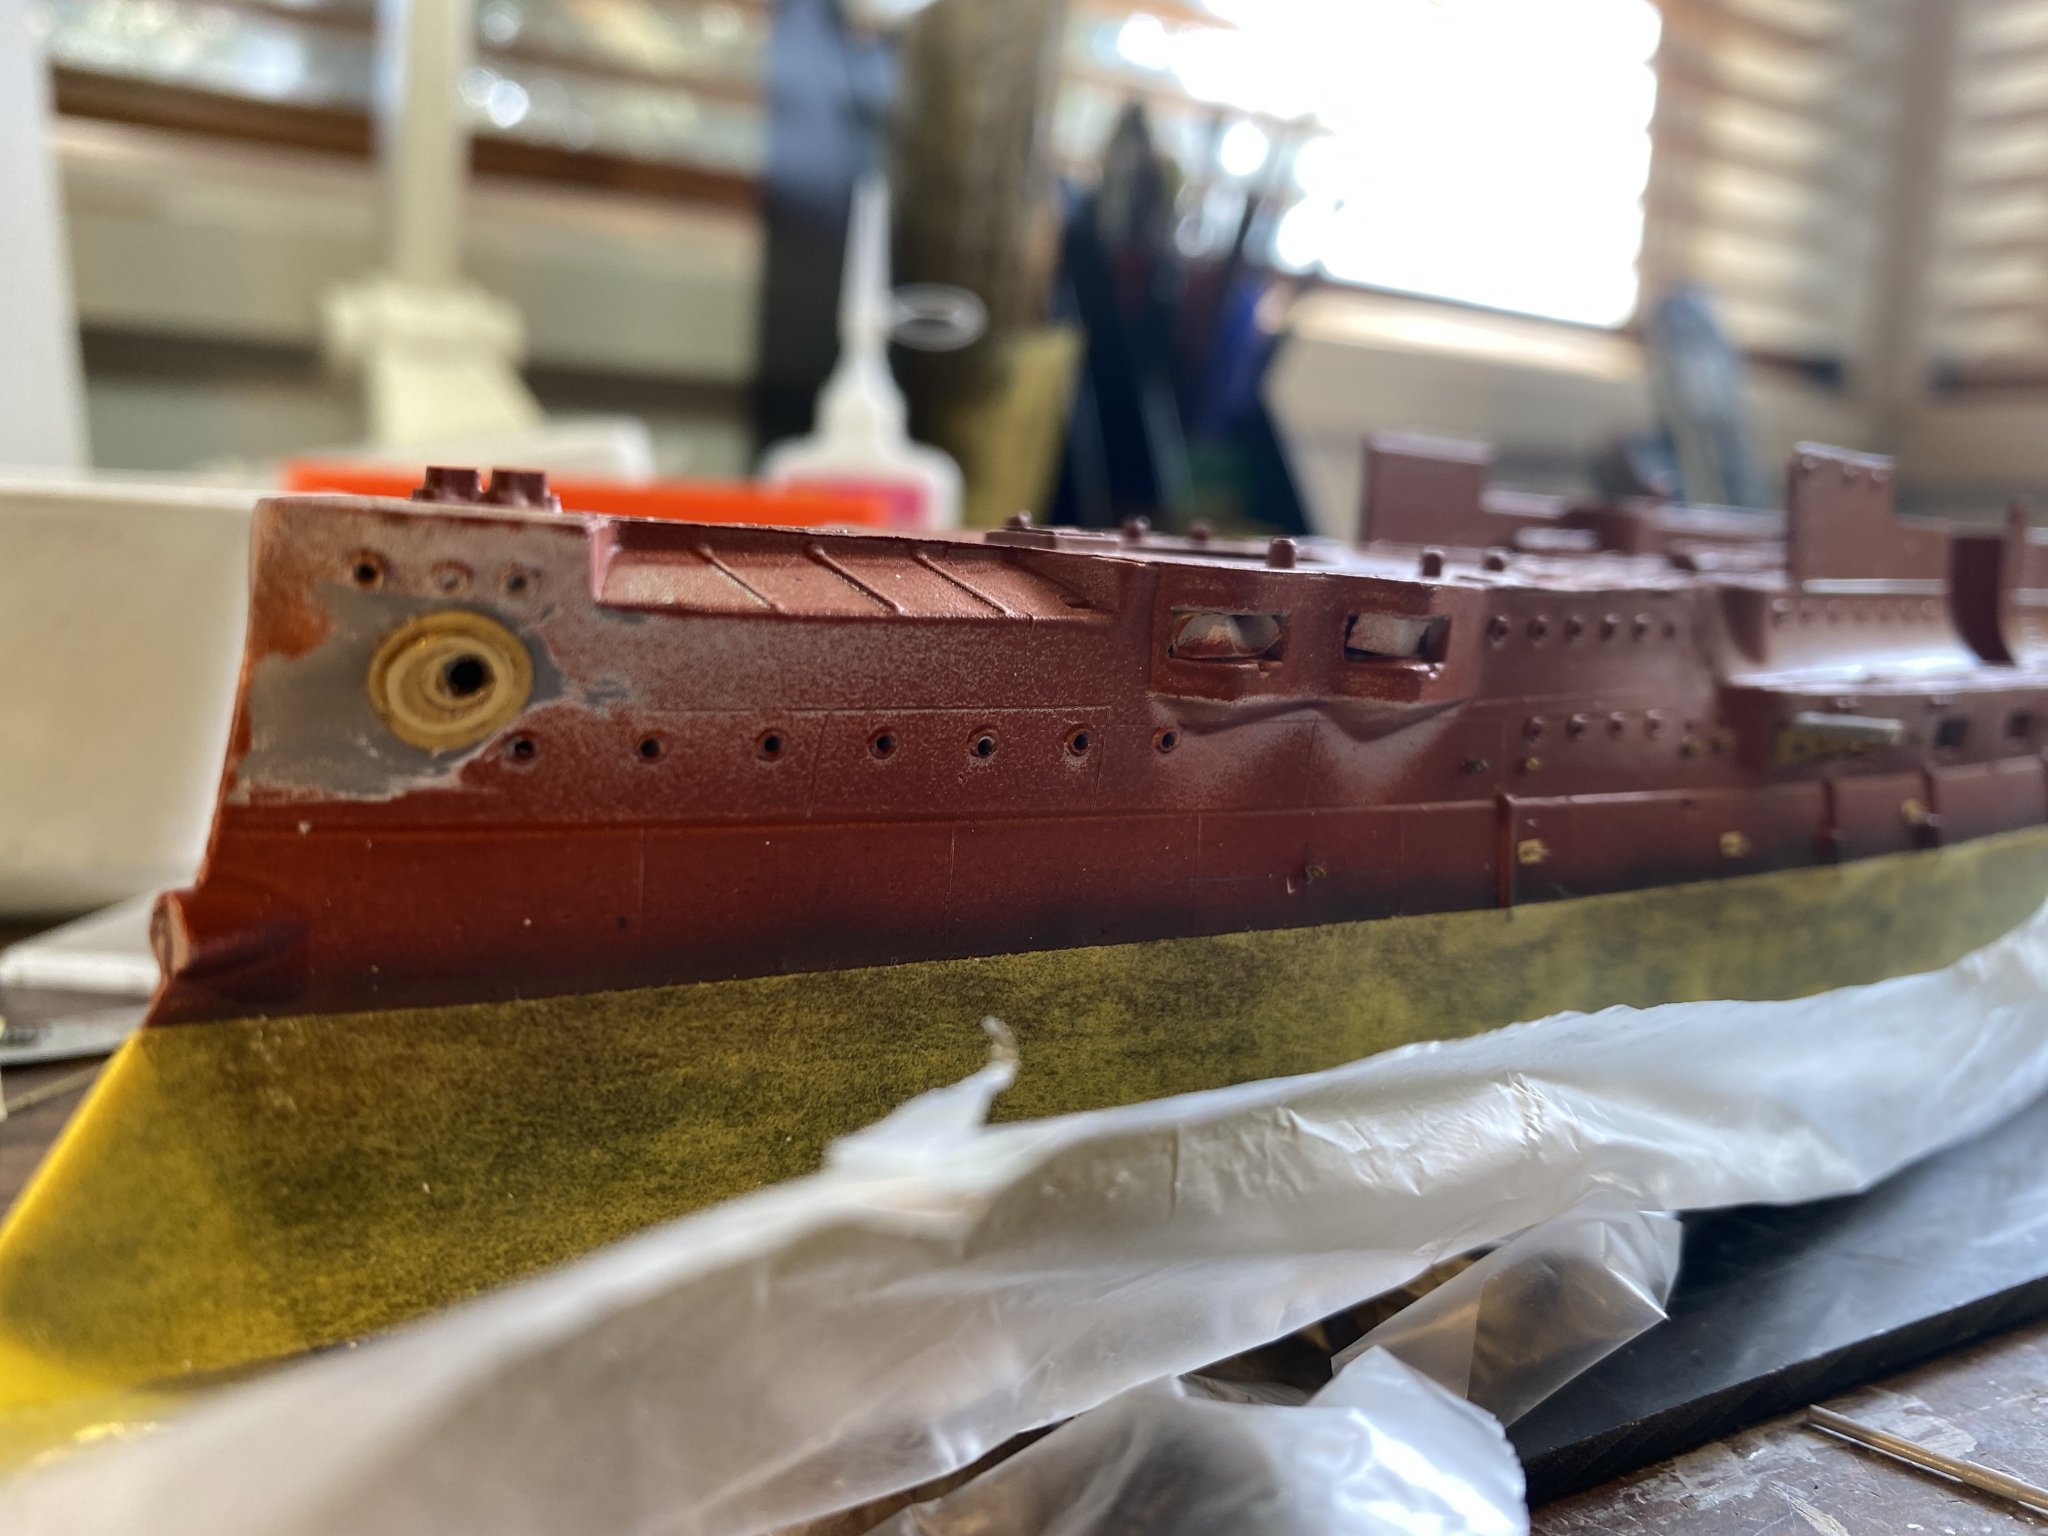
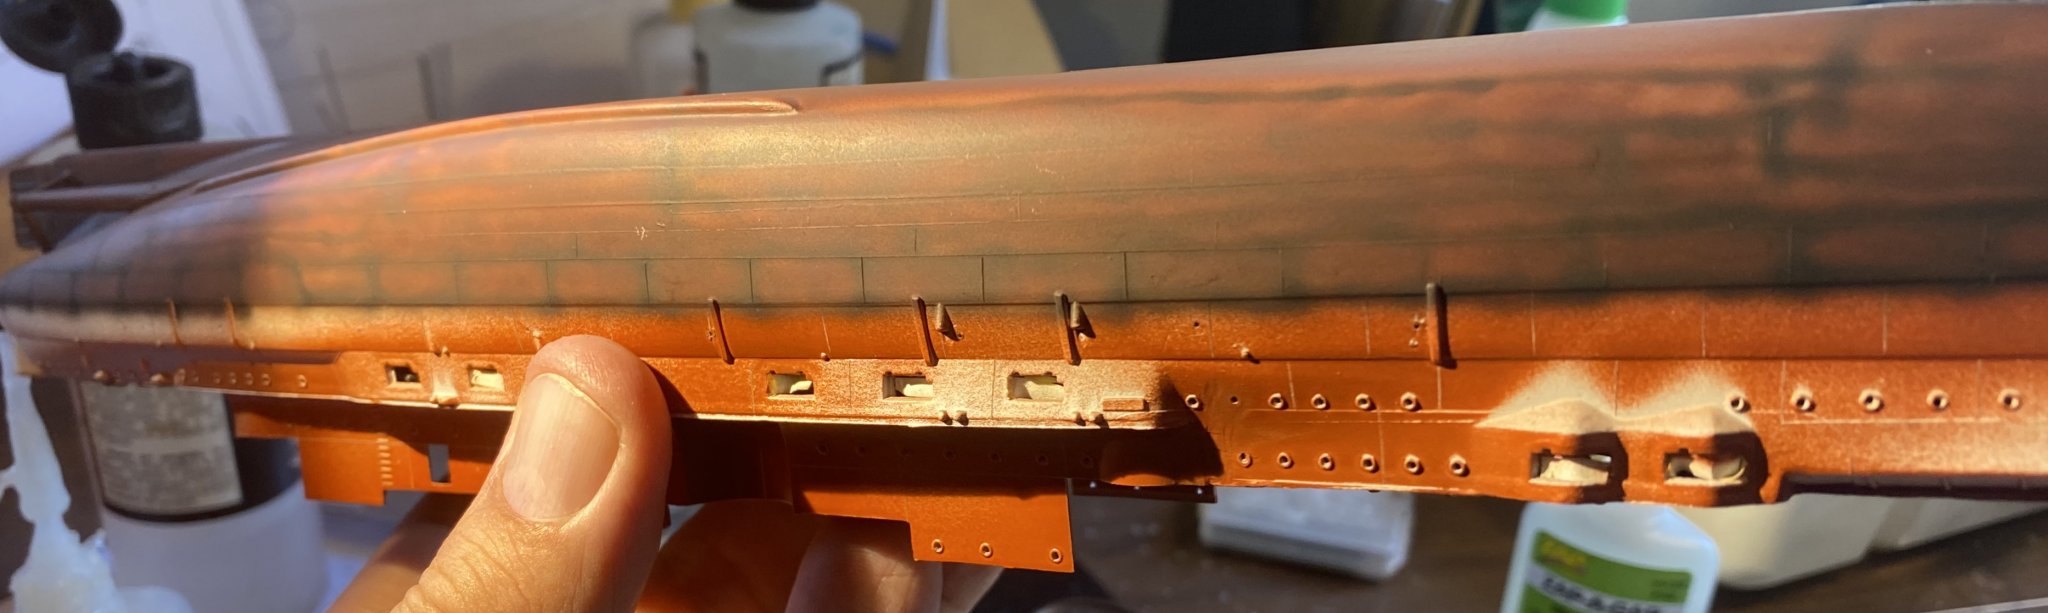
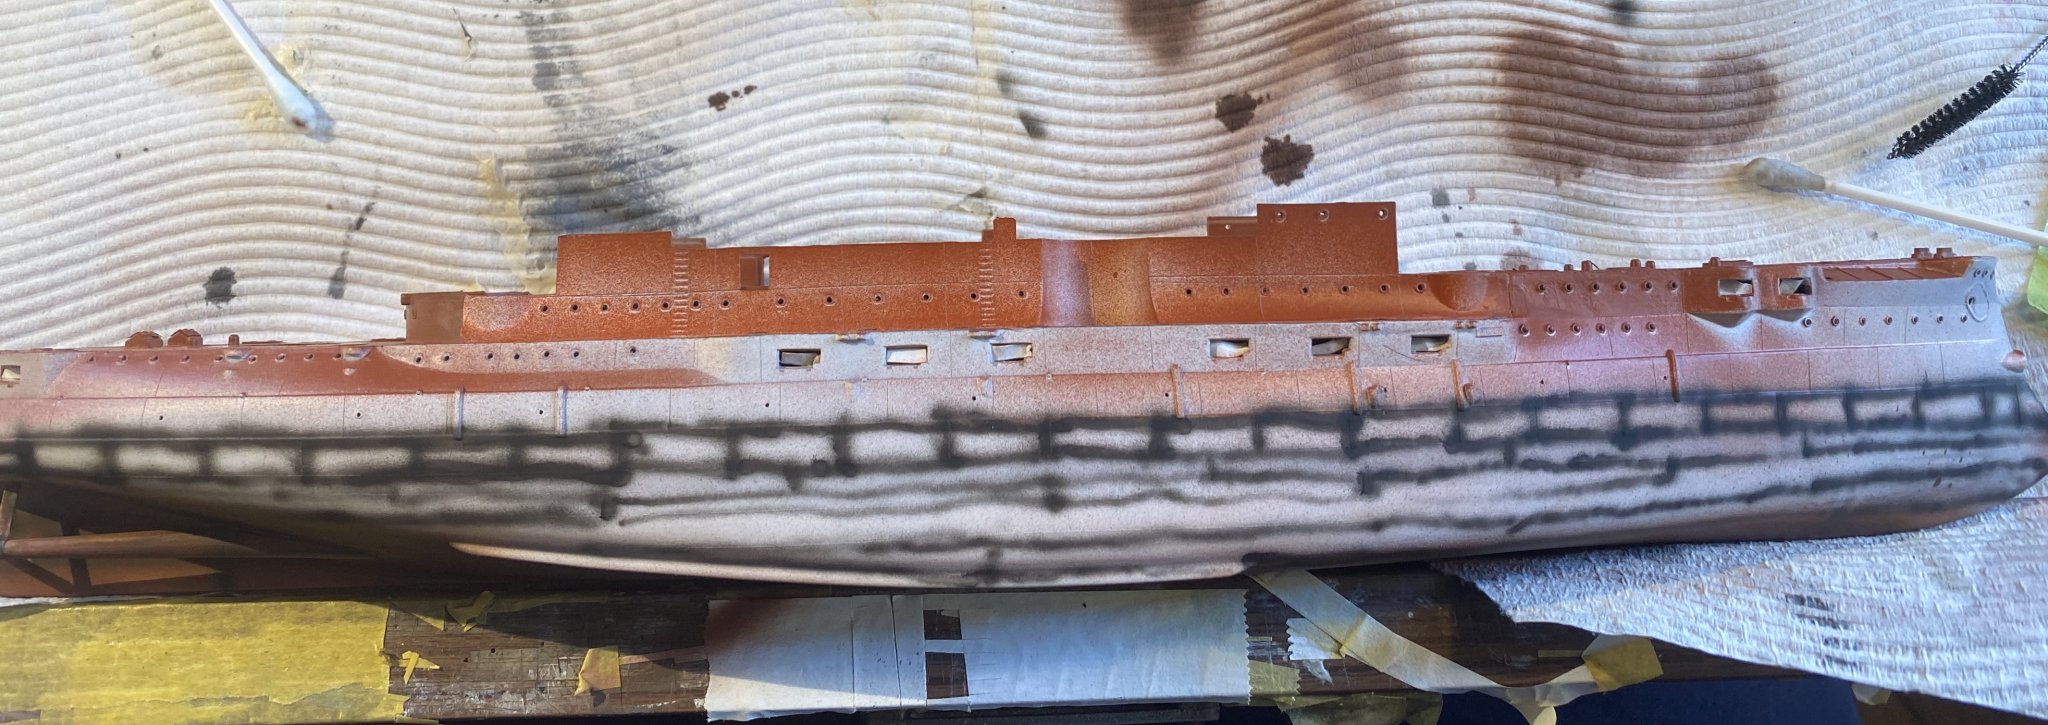
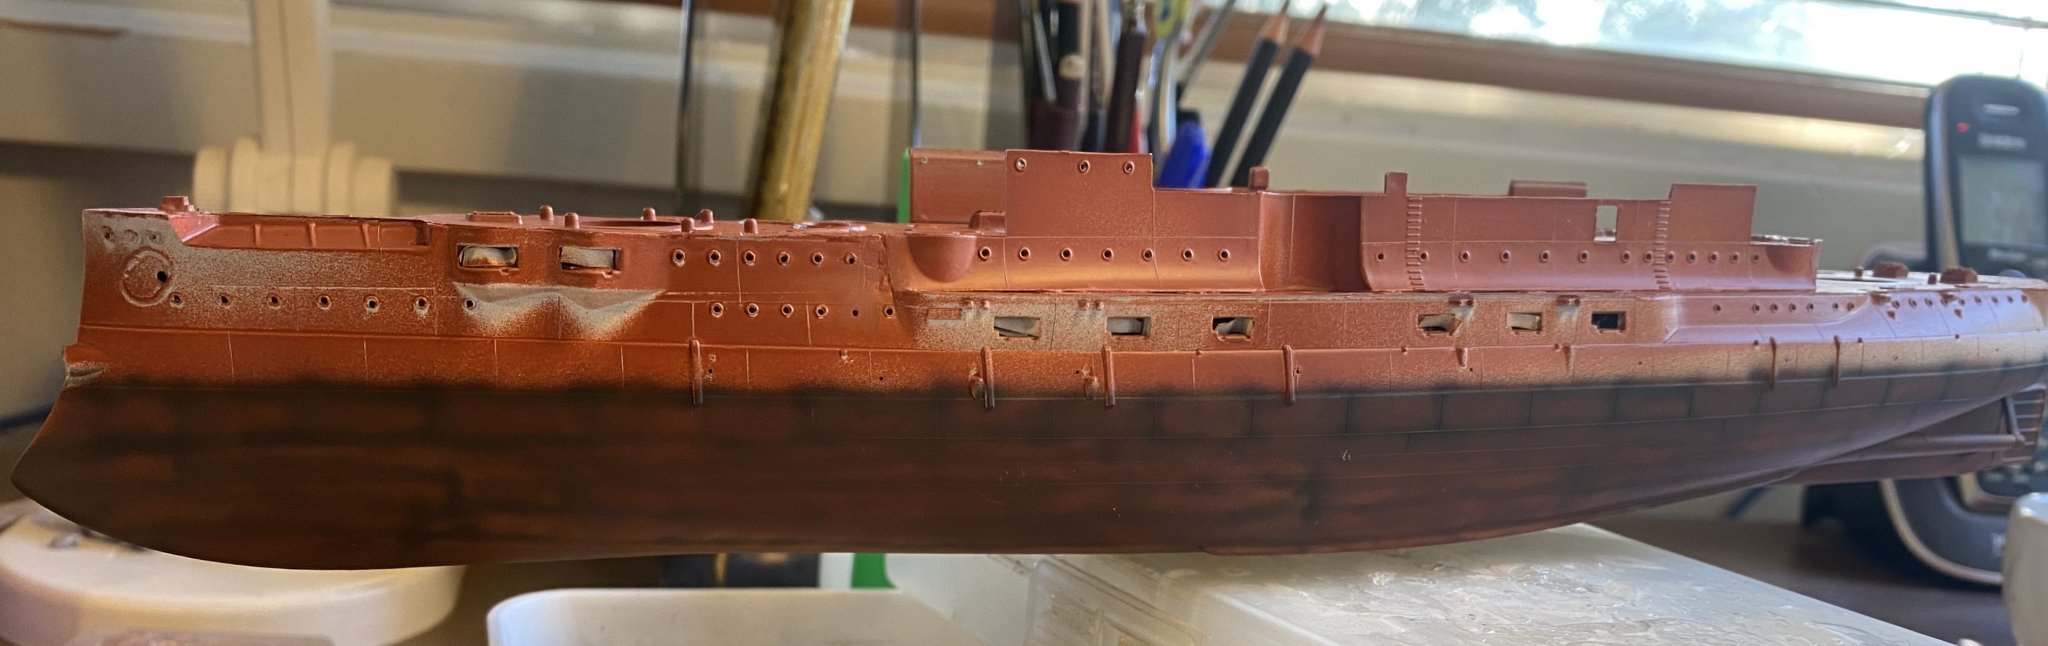
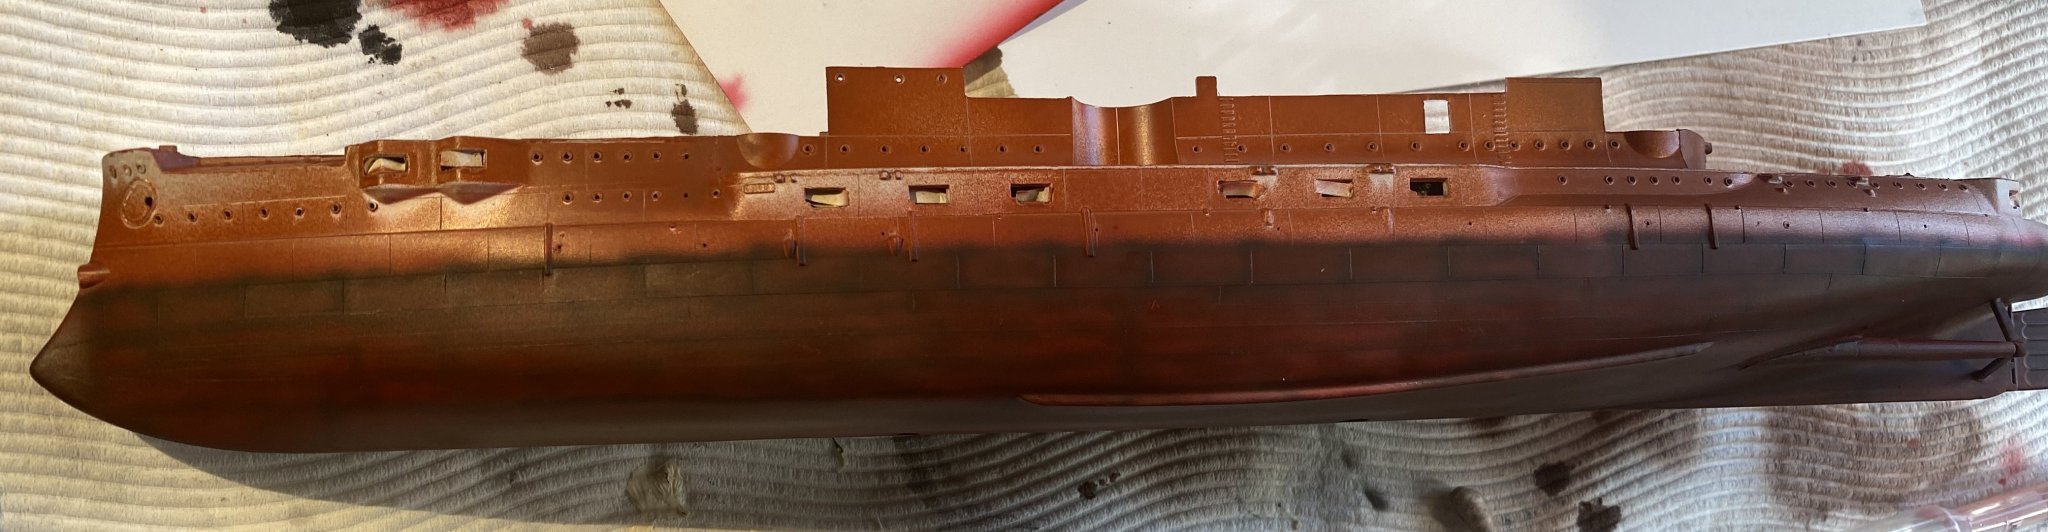
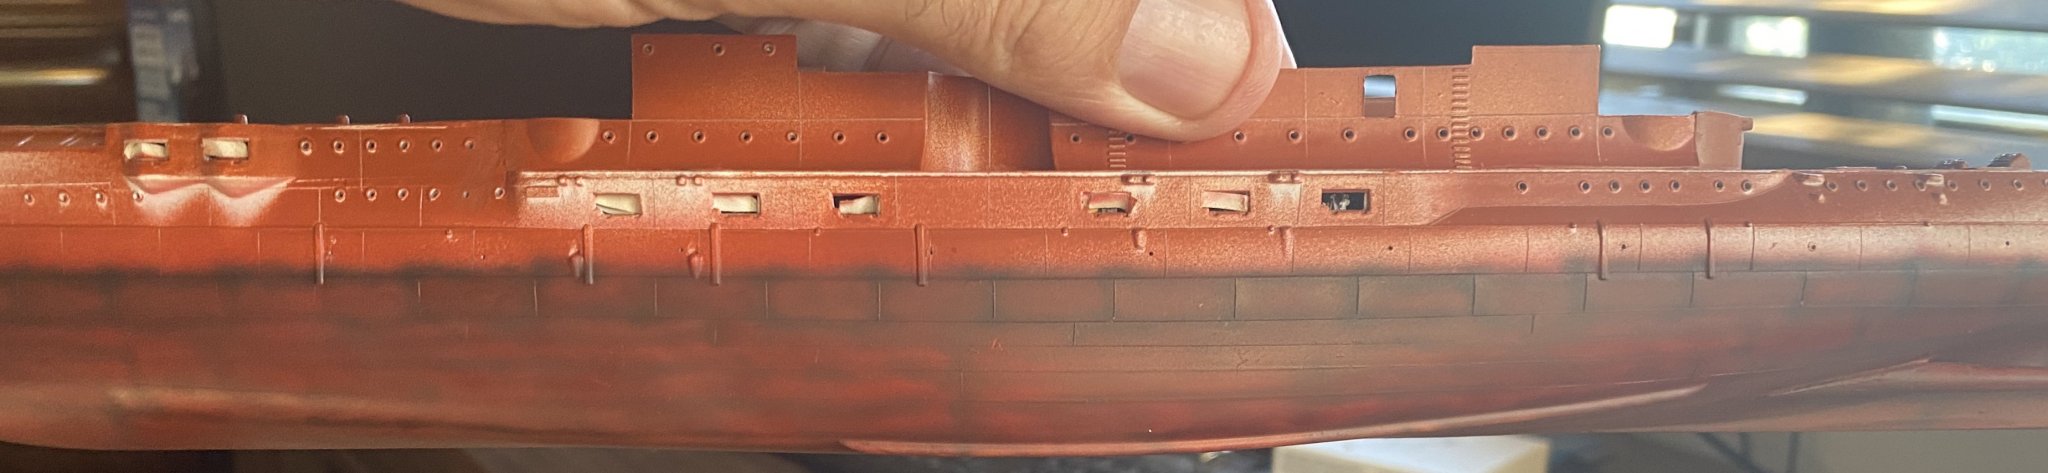
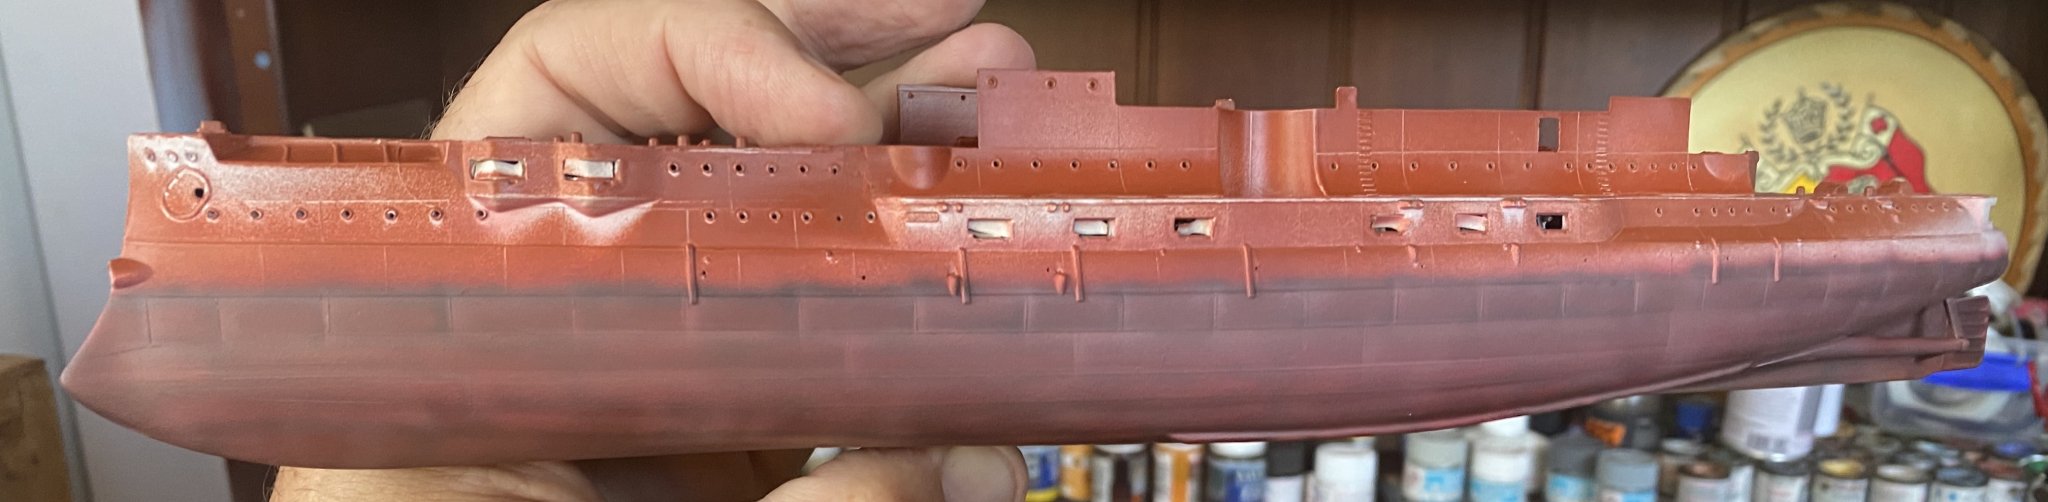
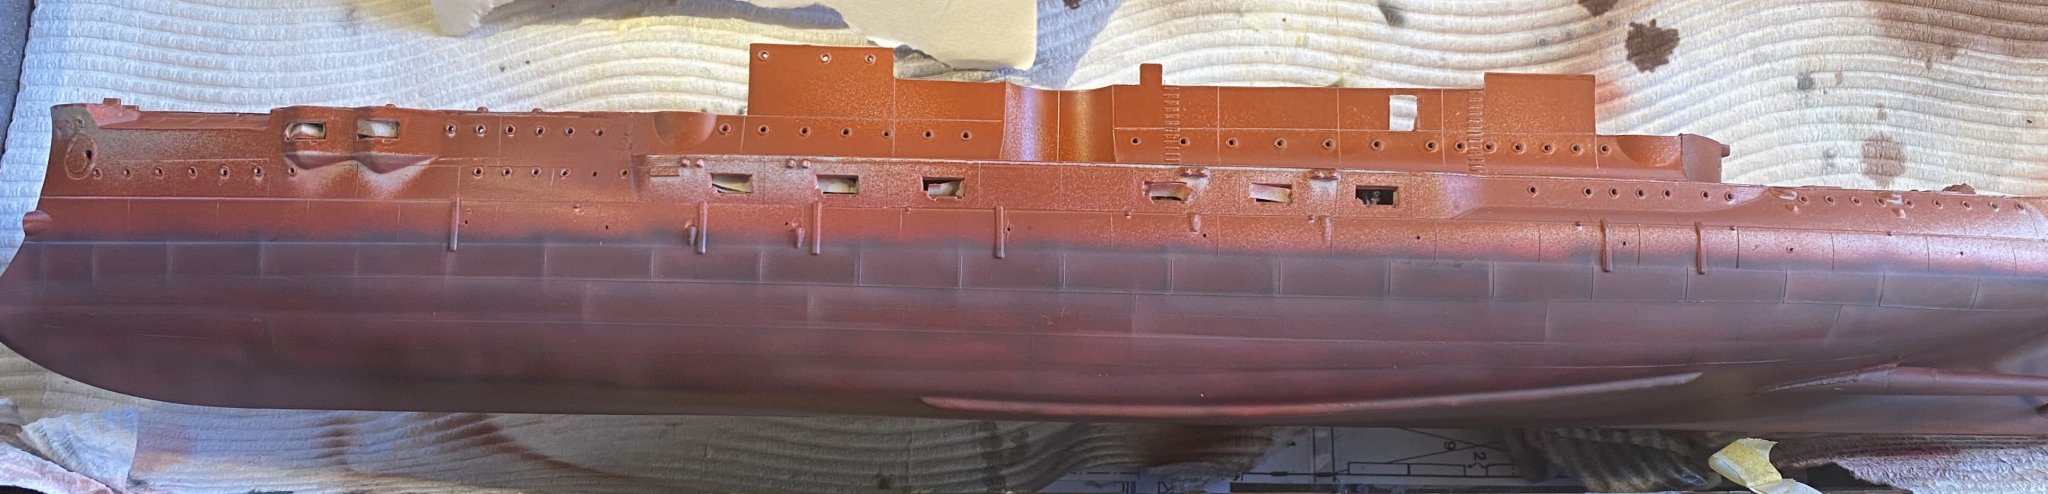
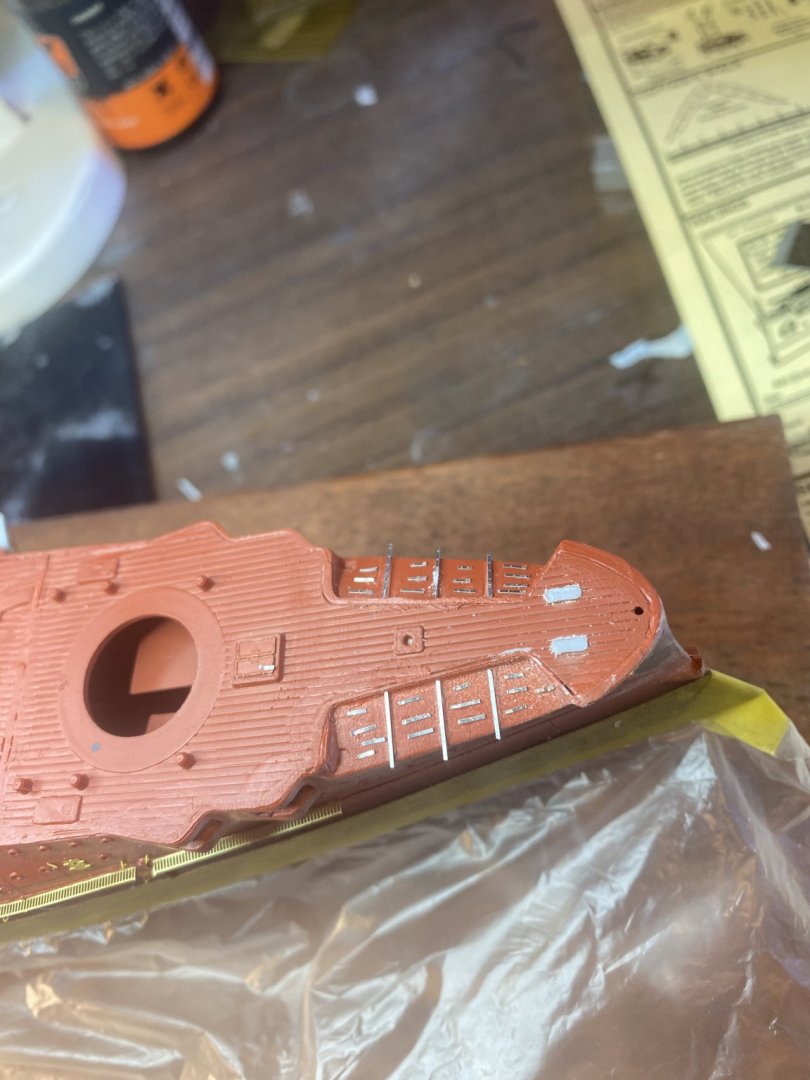
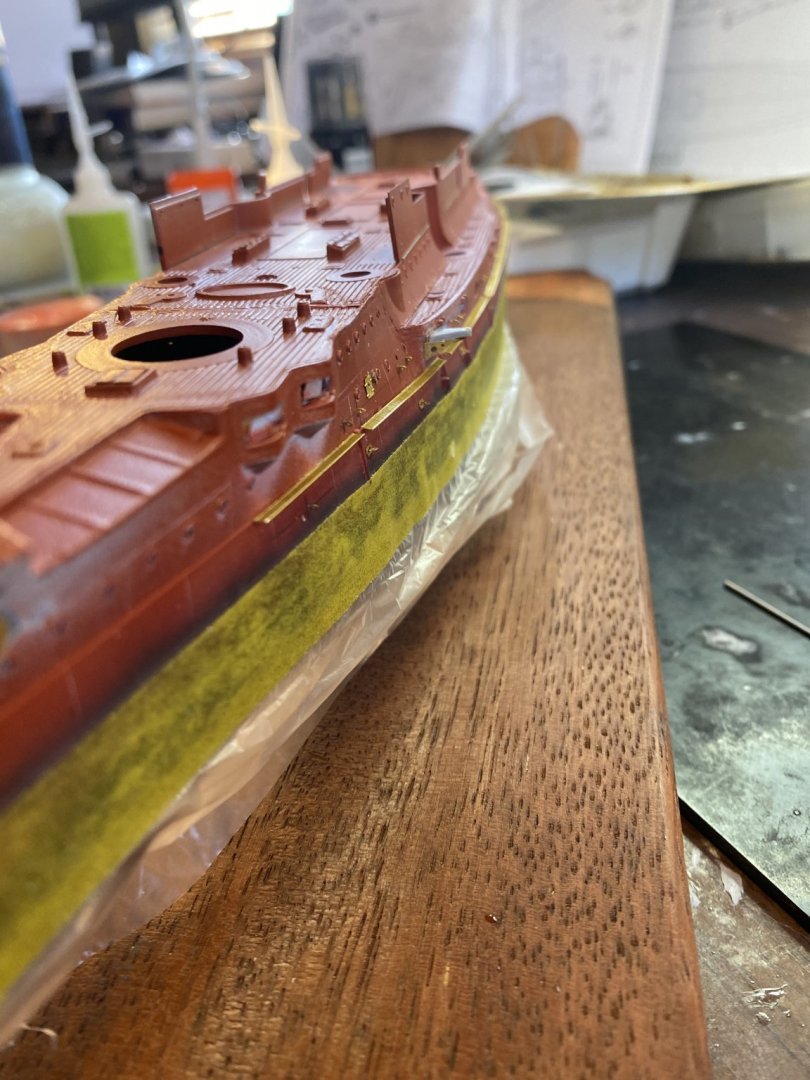
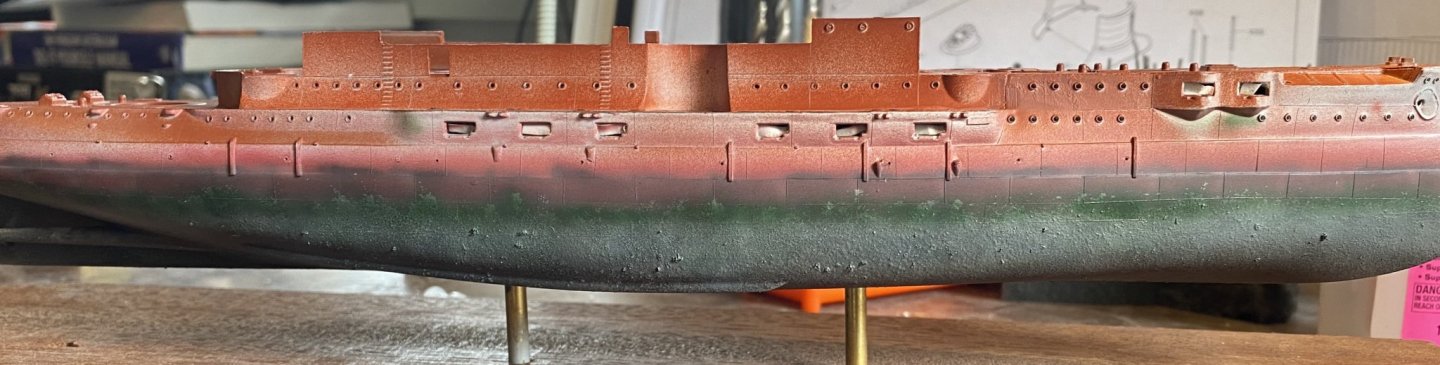
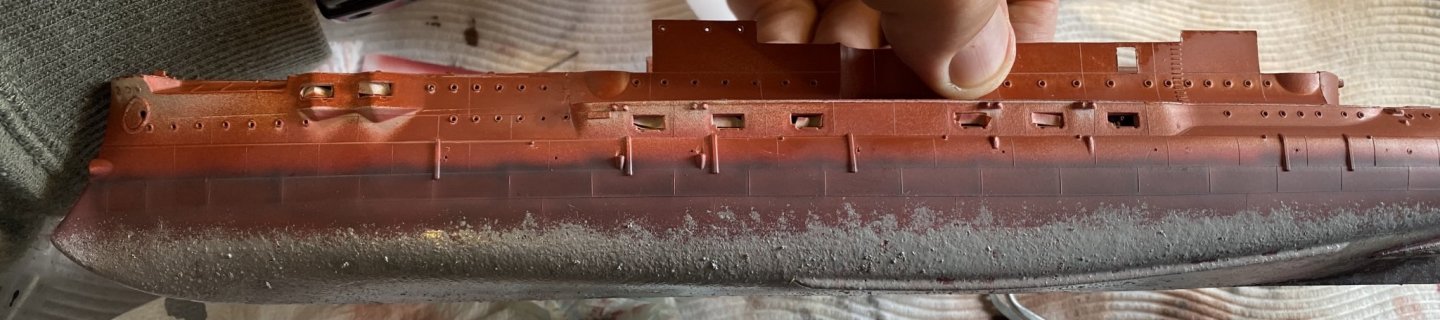
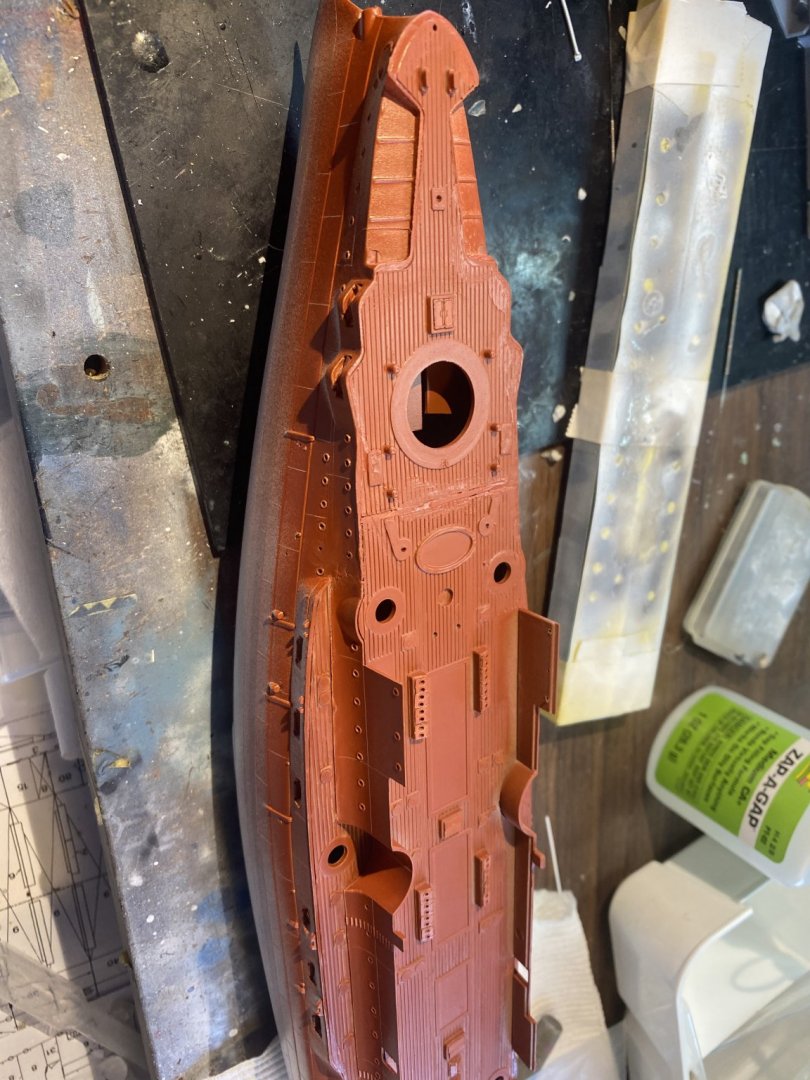
 It may not look like much but the base rust coat applied. Once I’ve applied a matte coat I can begin chipping fluids then start painting him black. That won’t be till next week when I’m off work again. My plan is to now start on some f the other hull structures that won’t need sever be weathering.
- 173 replies
-
- 14
-

-
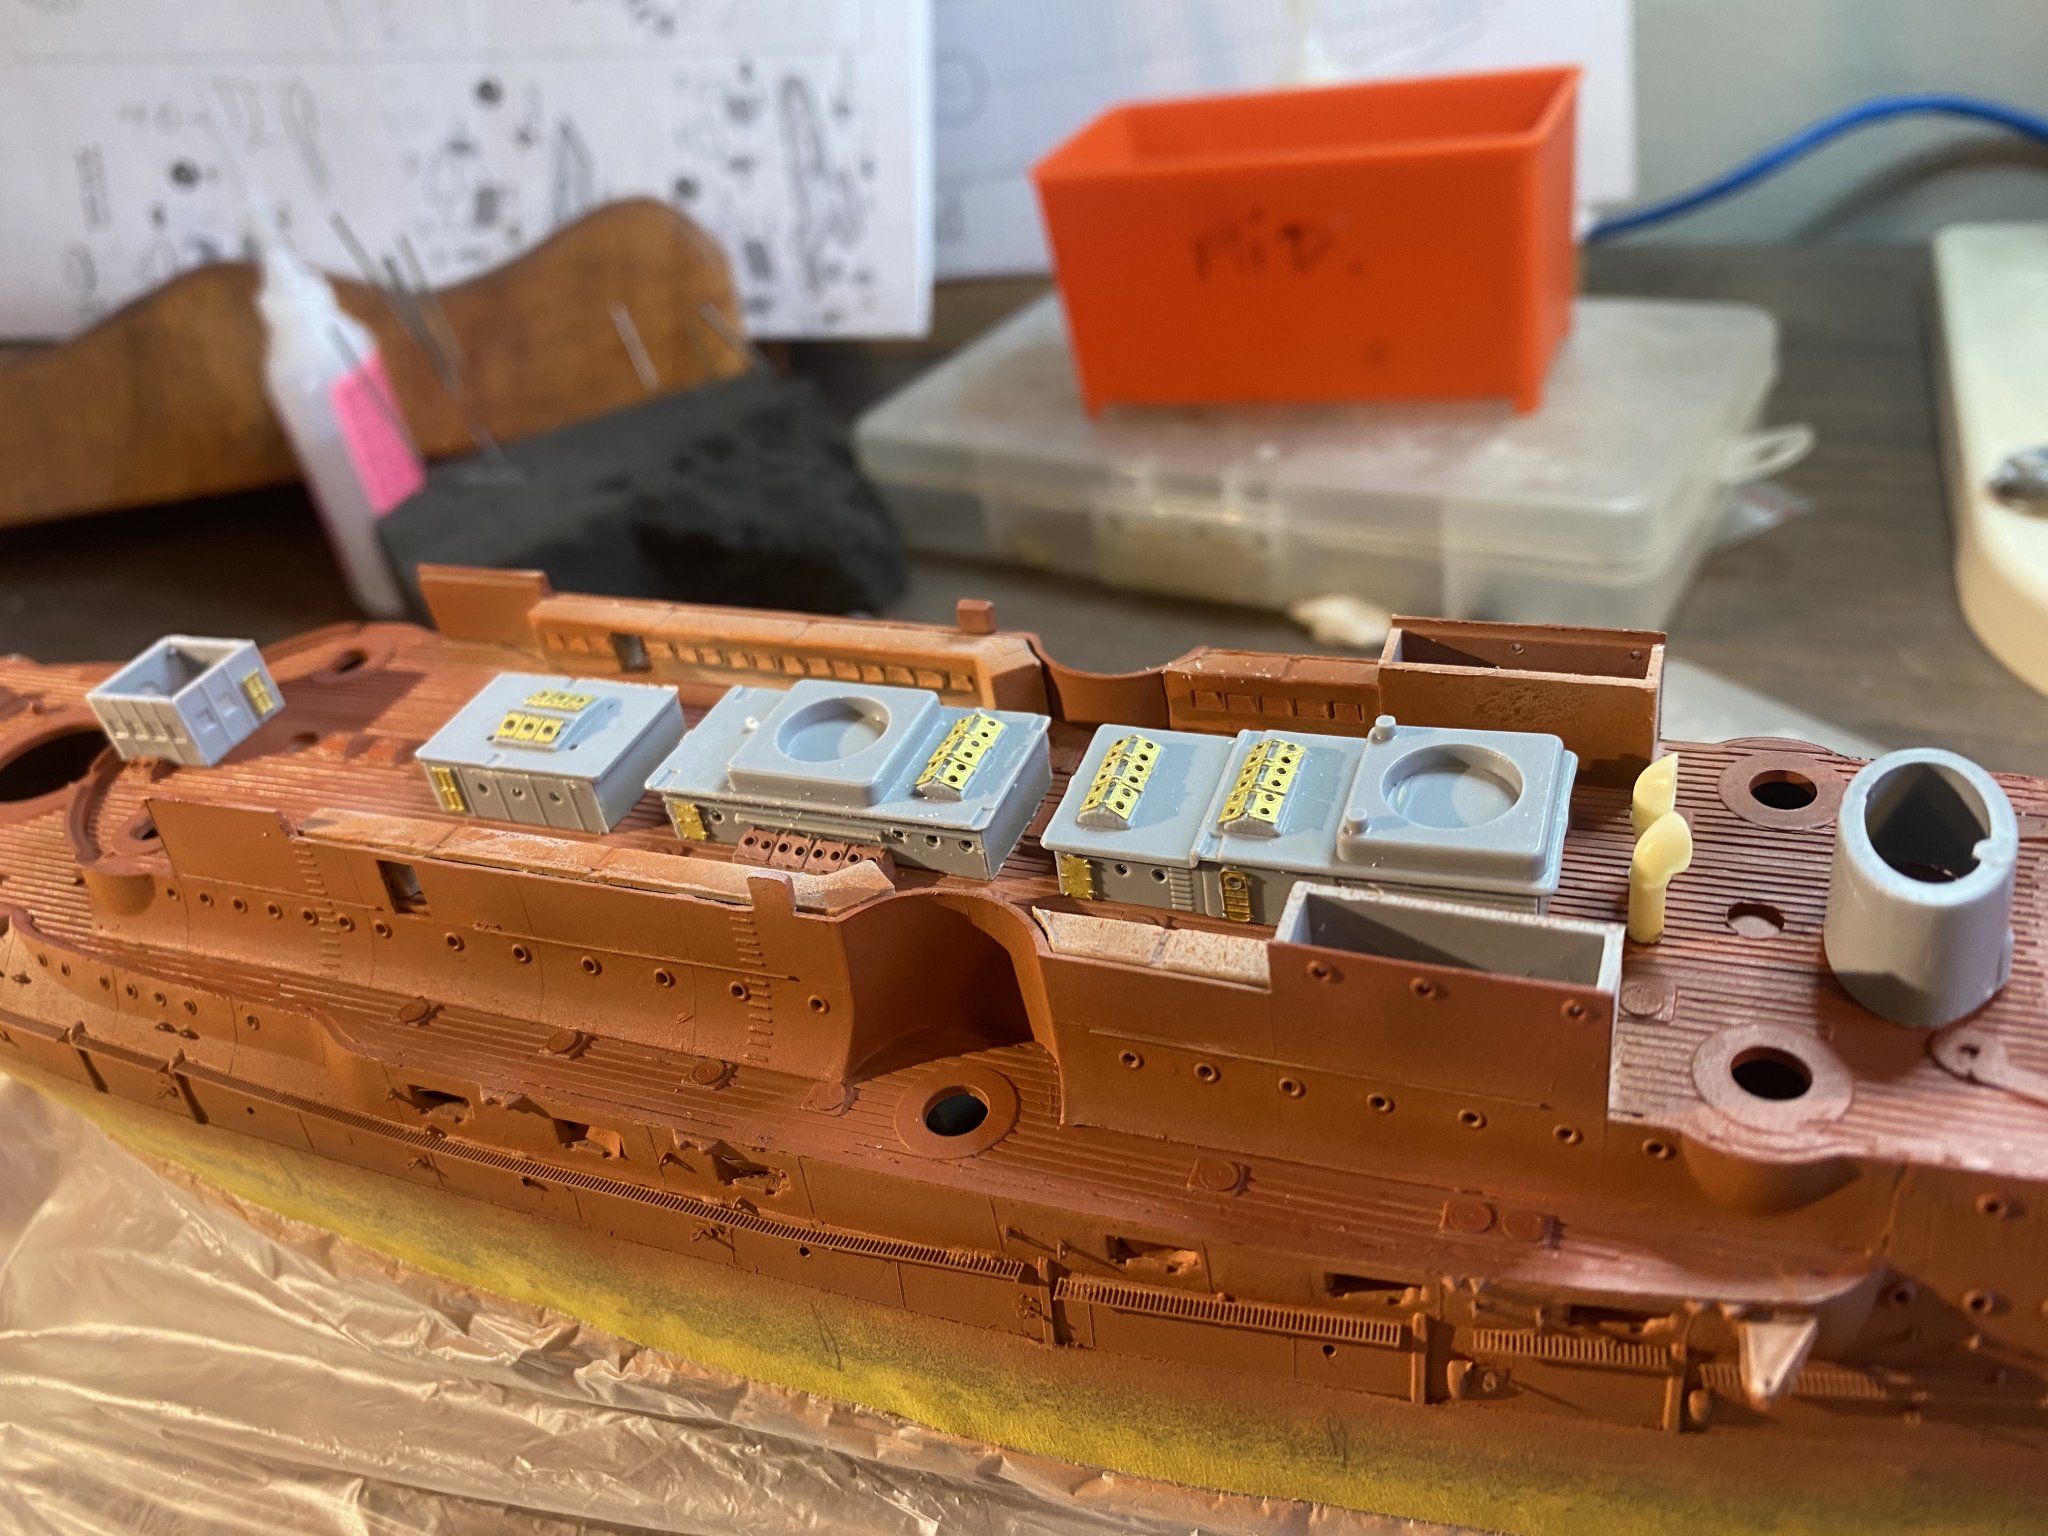
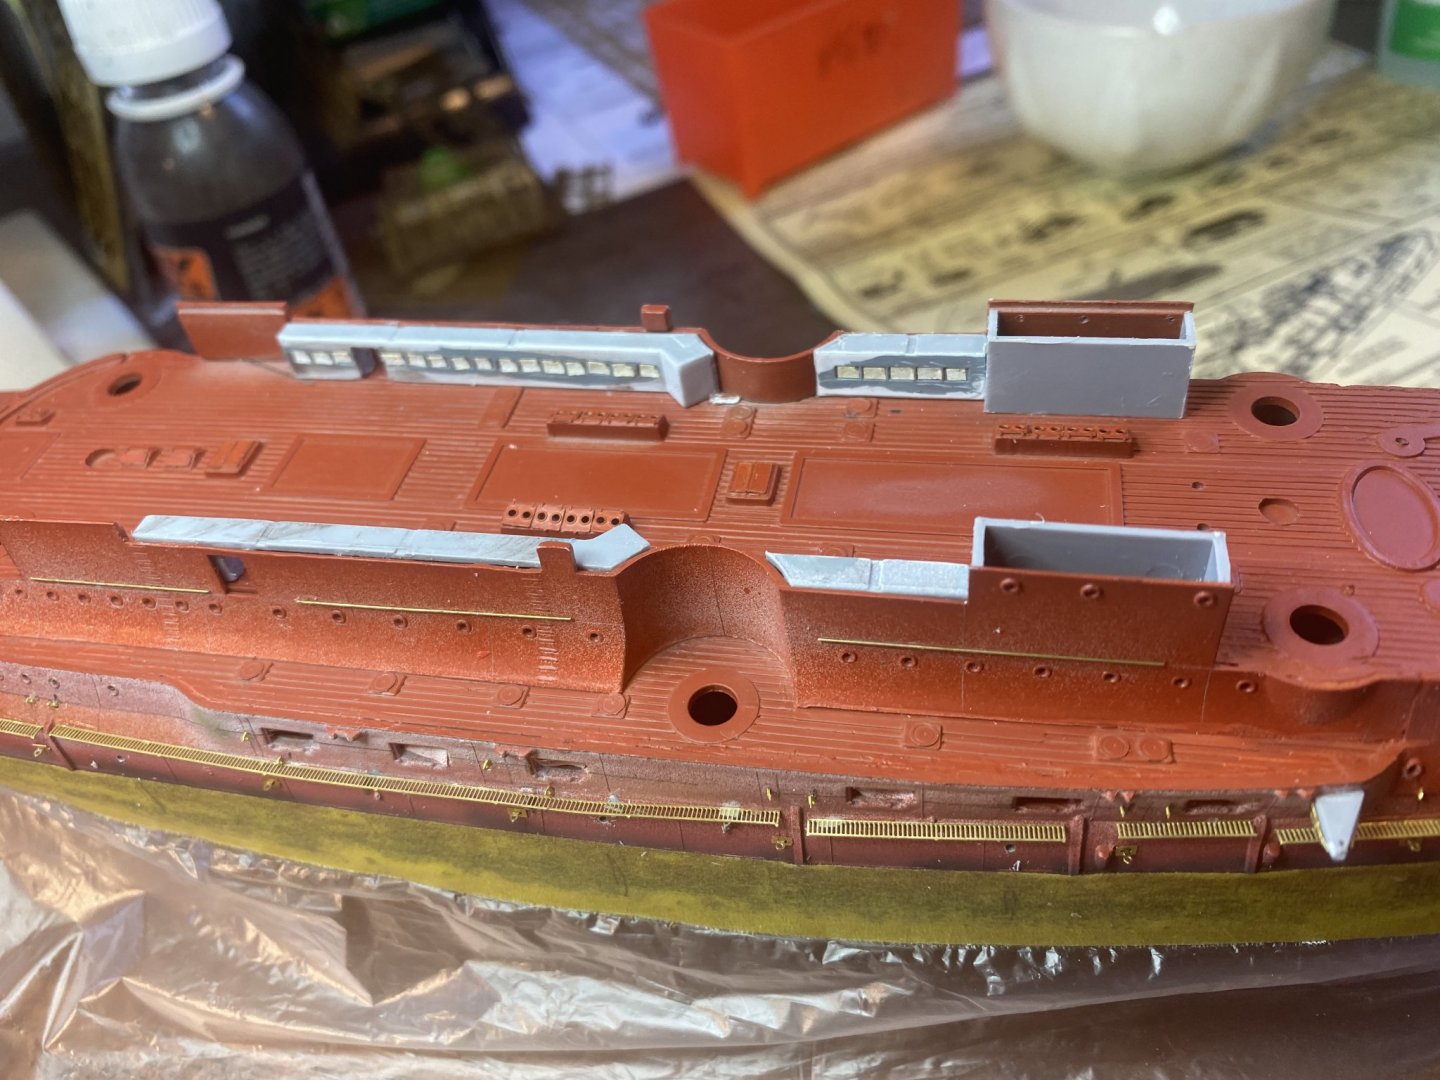
So not much done today as gardening took priority. The Svestapol set has a heap of thin little steel railings that are used on her deck. Perfect for non slip footings that are used on the anchor storage area. the housings amidships, I’ve painted in the windows and masked them off. A day of primer then a base rust coat next. Hopefully I can make it look a bit better than the old rough kit it is now.
- 173 replies
-
- 17
-
-
About 50/50 or until it is not opaque, it works a treat. Best discovery I’ve made in years. Trial it on on some frets that have been used.
-
Ah! It’s like being married! I’ve told you this before!!!! this, thinned with this in the airbrush is the answer. Works really well and does not lose detail. I still like the rattle can for hull plates and big areas with no detail as it’s quick
-
Cog, yes and yes. The primer is red Tamiya rattle can but I intend to prime all the PE with the airbrush then give it a further deep red coat then a clear coat to seal before using chipping fluids.
-
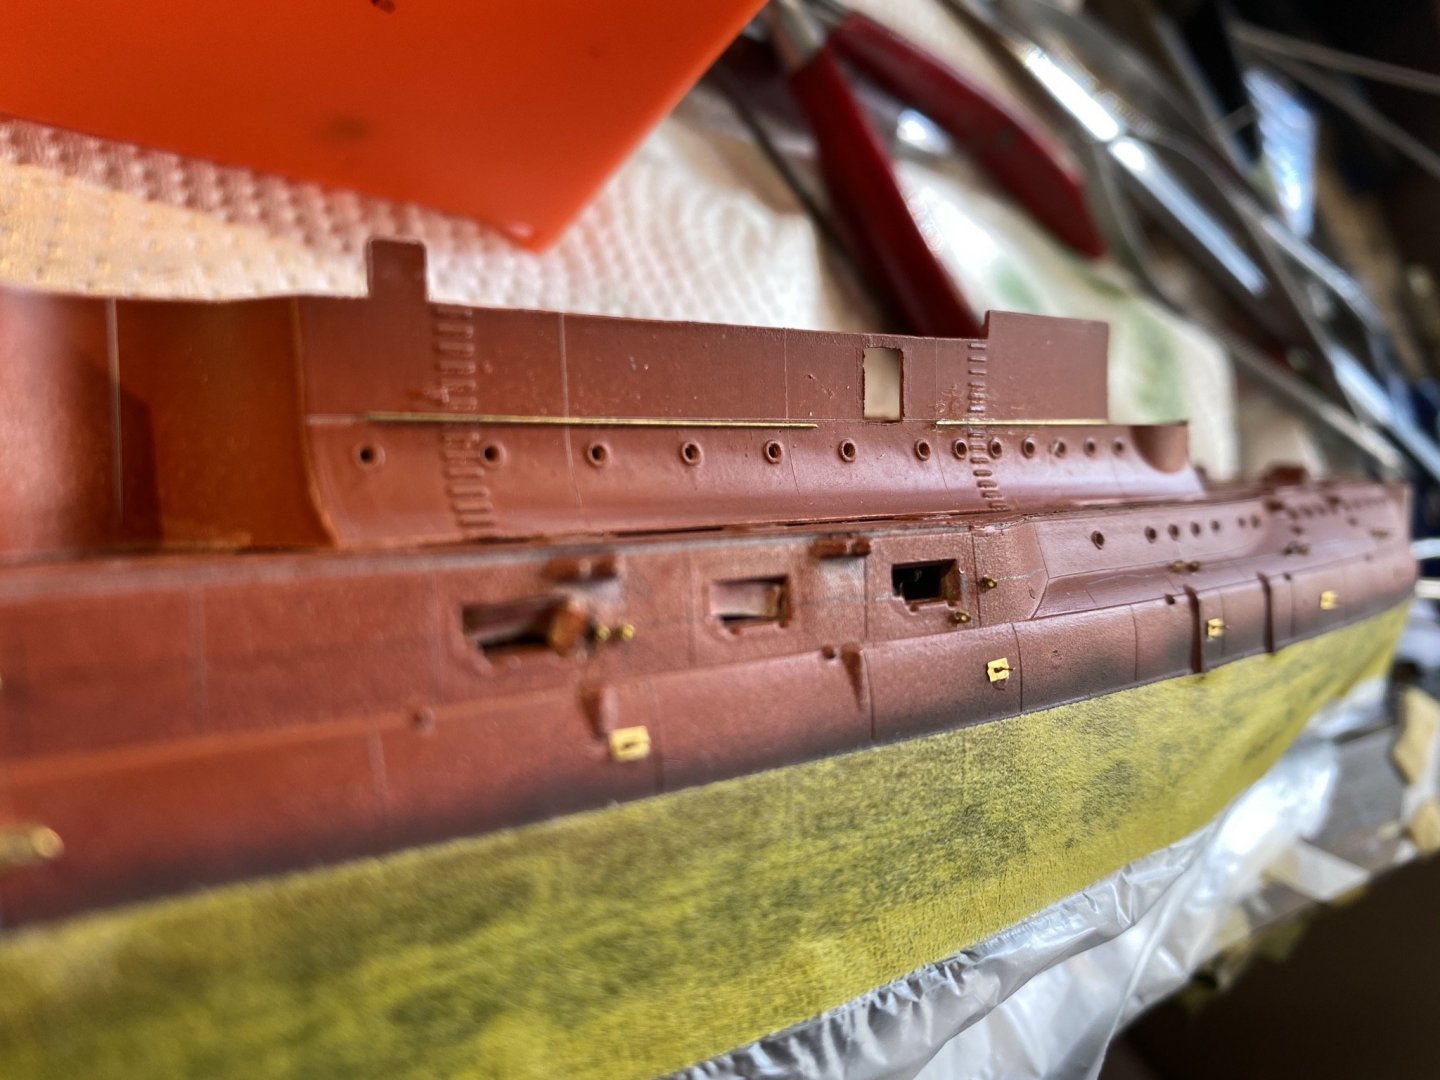
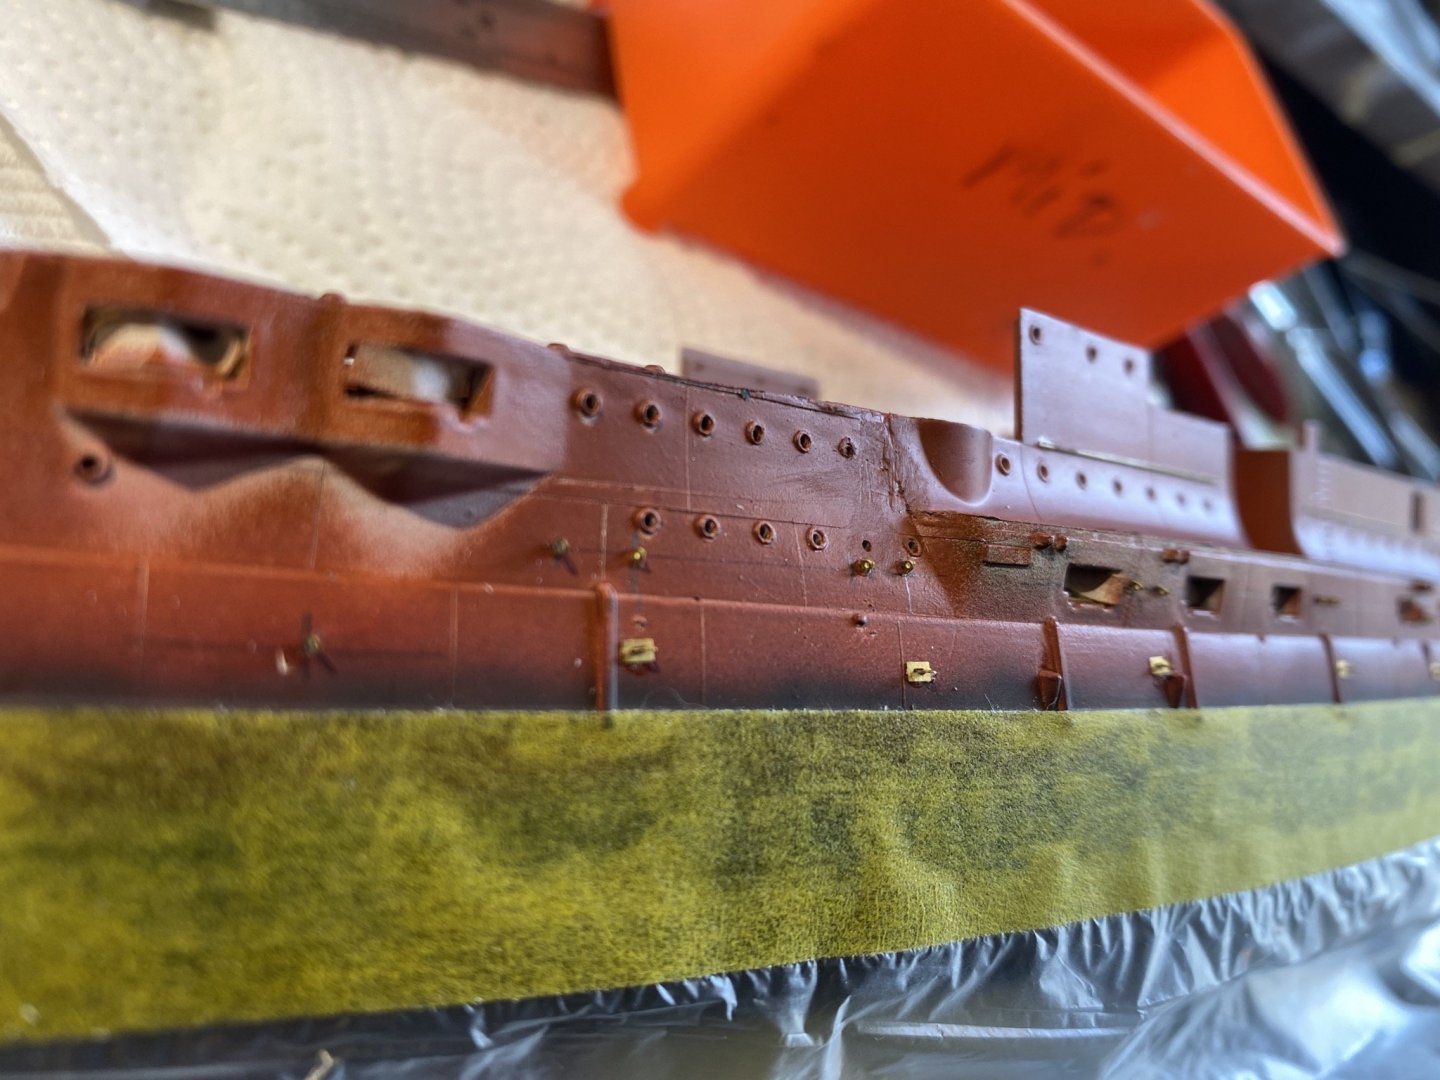
Torpedo net shelves, boom arm brackets and torpedo loading hatch (for some reason it’s on the plans but never provided for or on the kit.
- 173 replies
-
- 16
-
-
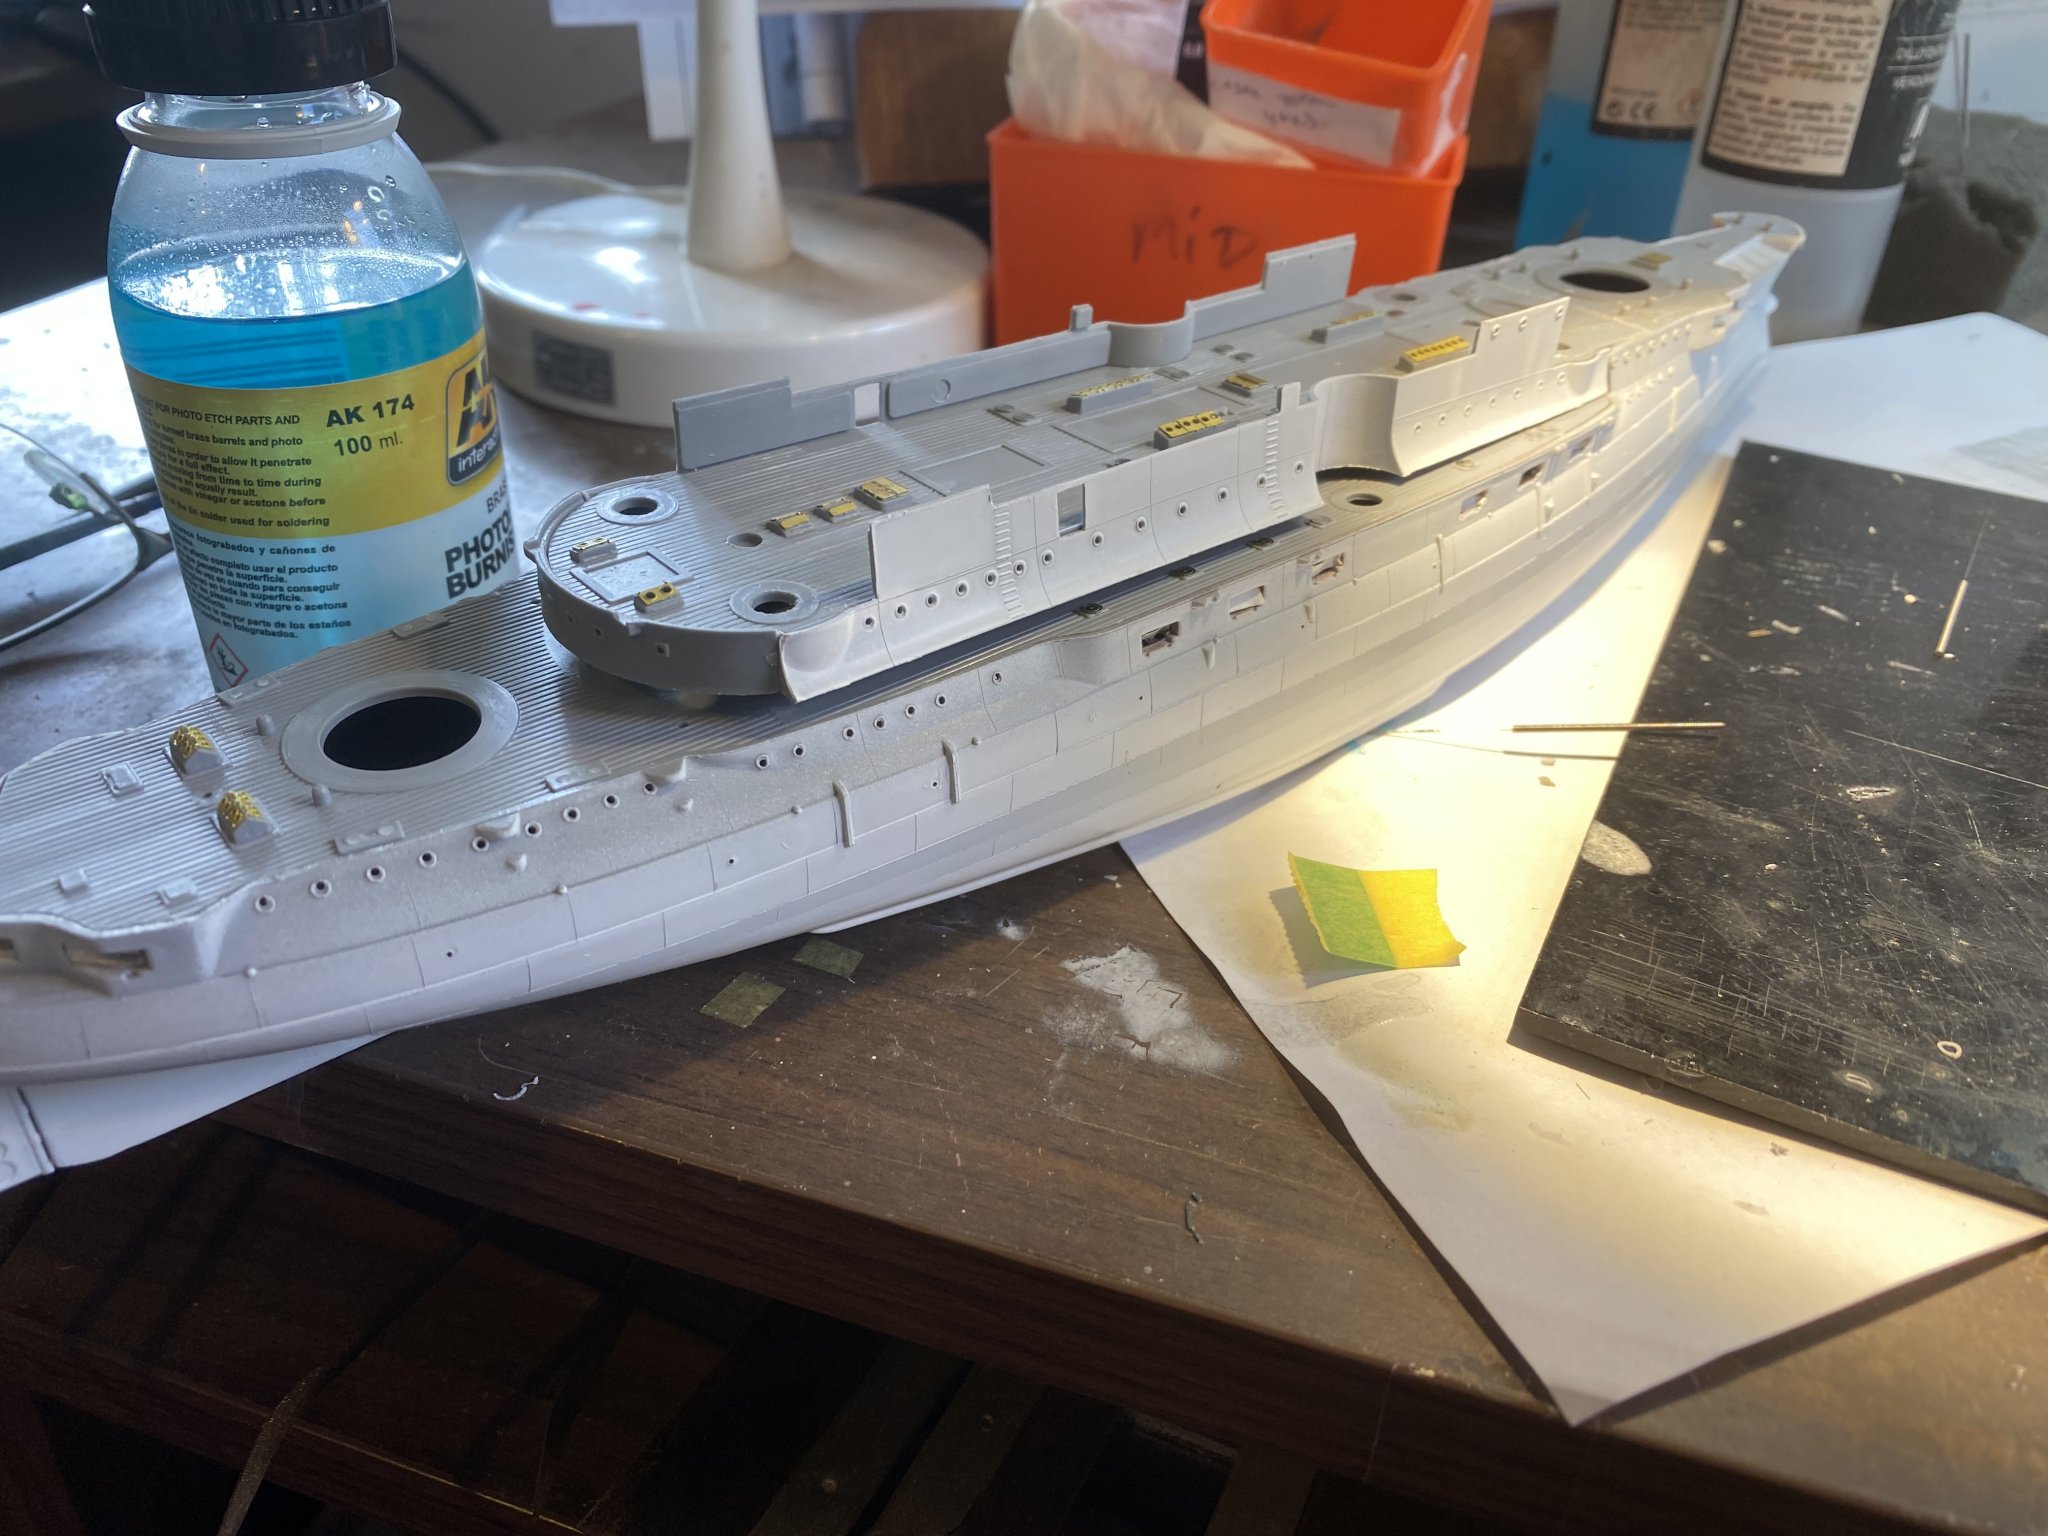
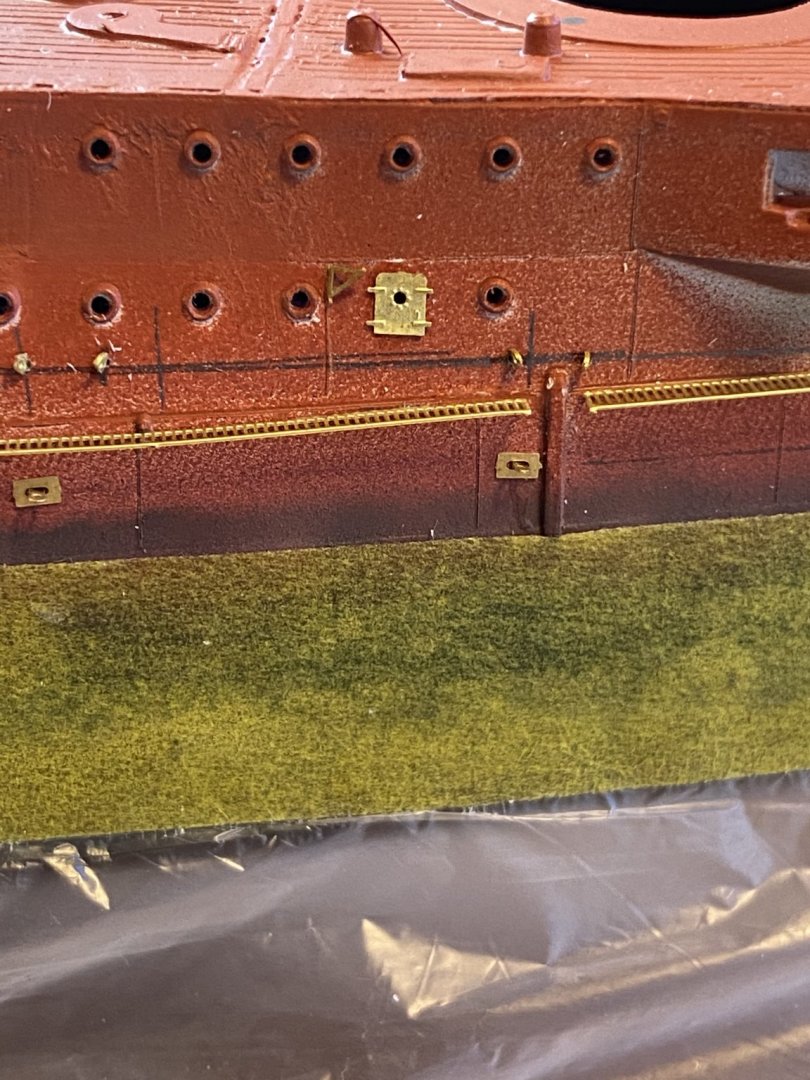
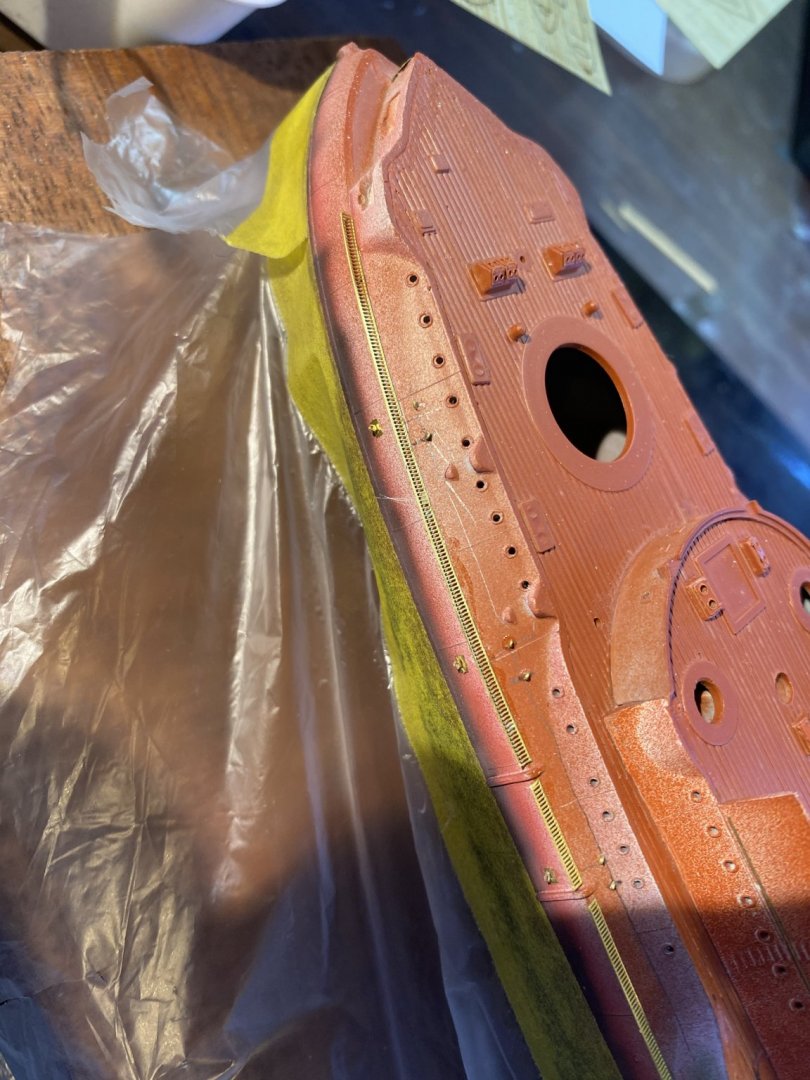
Hull fittings, rings and rigging points for the torpedo net booms, anchor hawse replaced and a Thin brass rod for a handrail.

- 173 replies
-
- 10
-
-
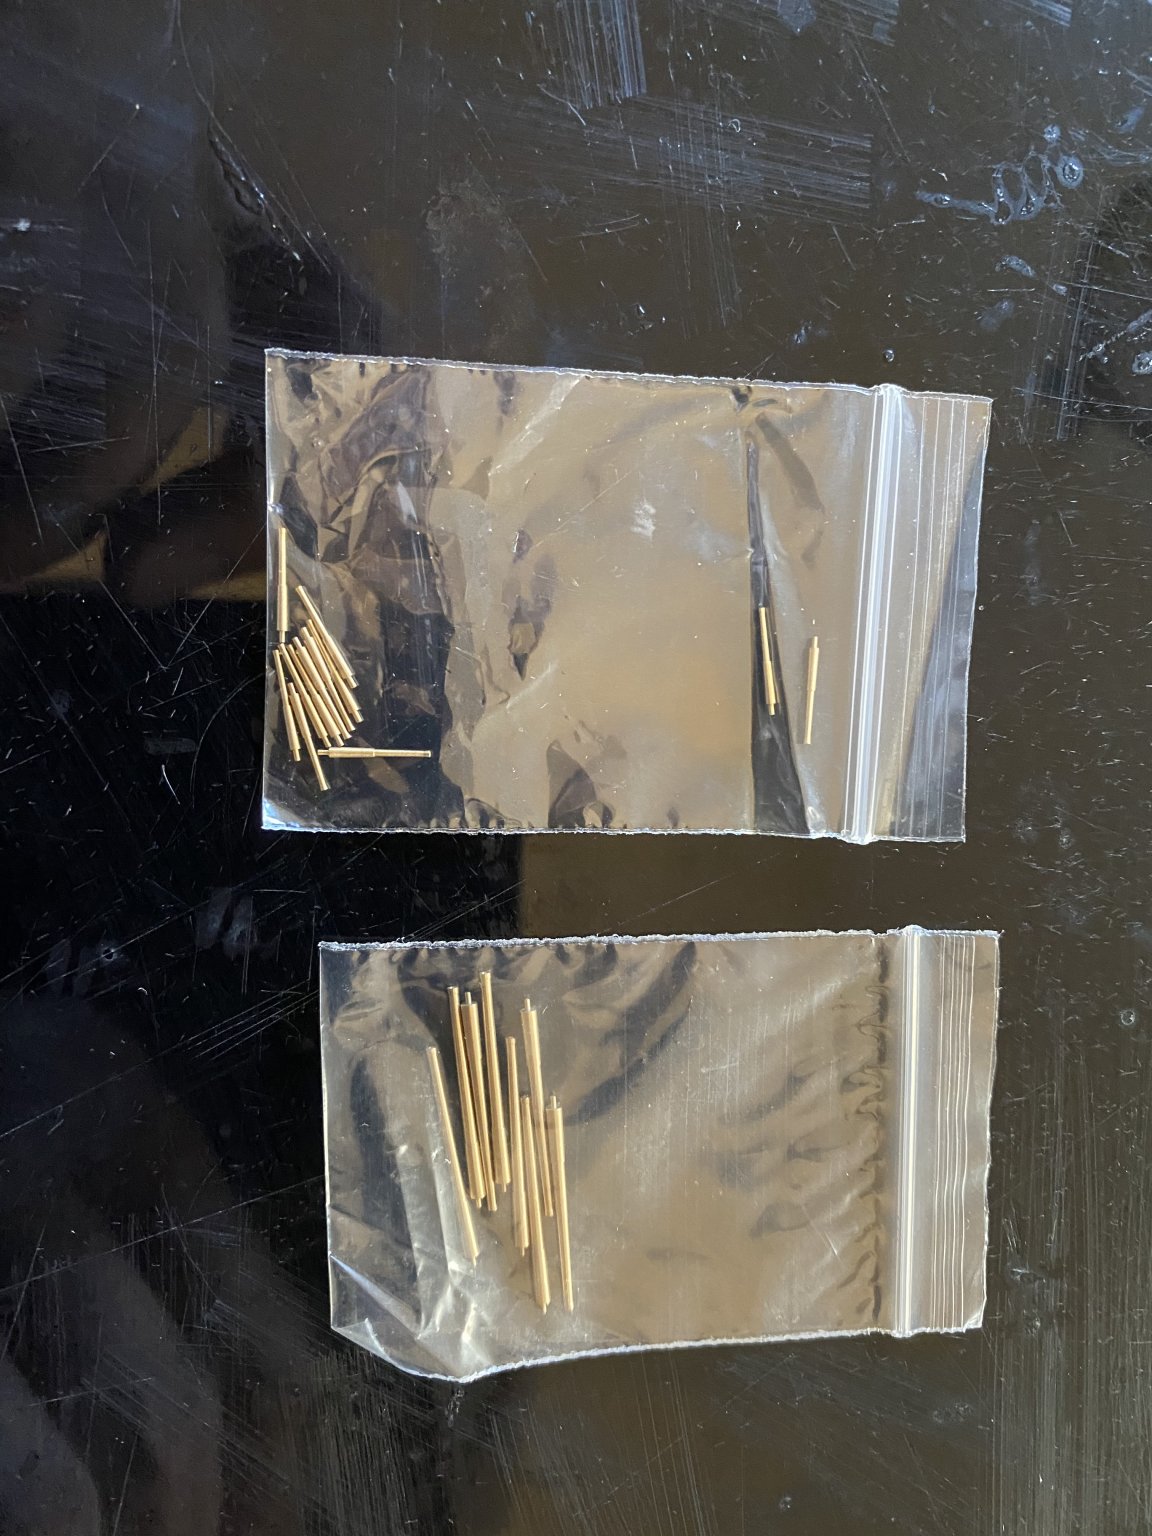
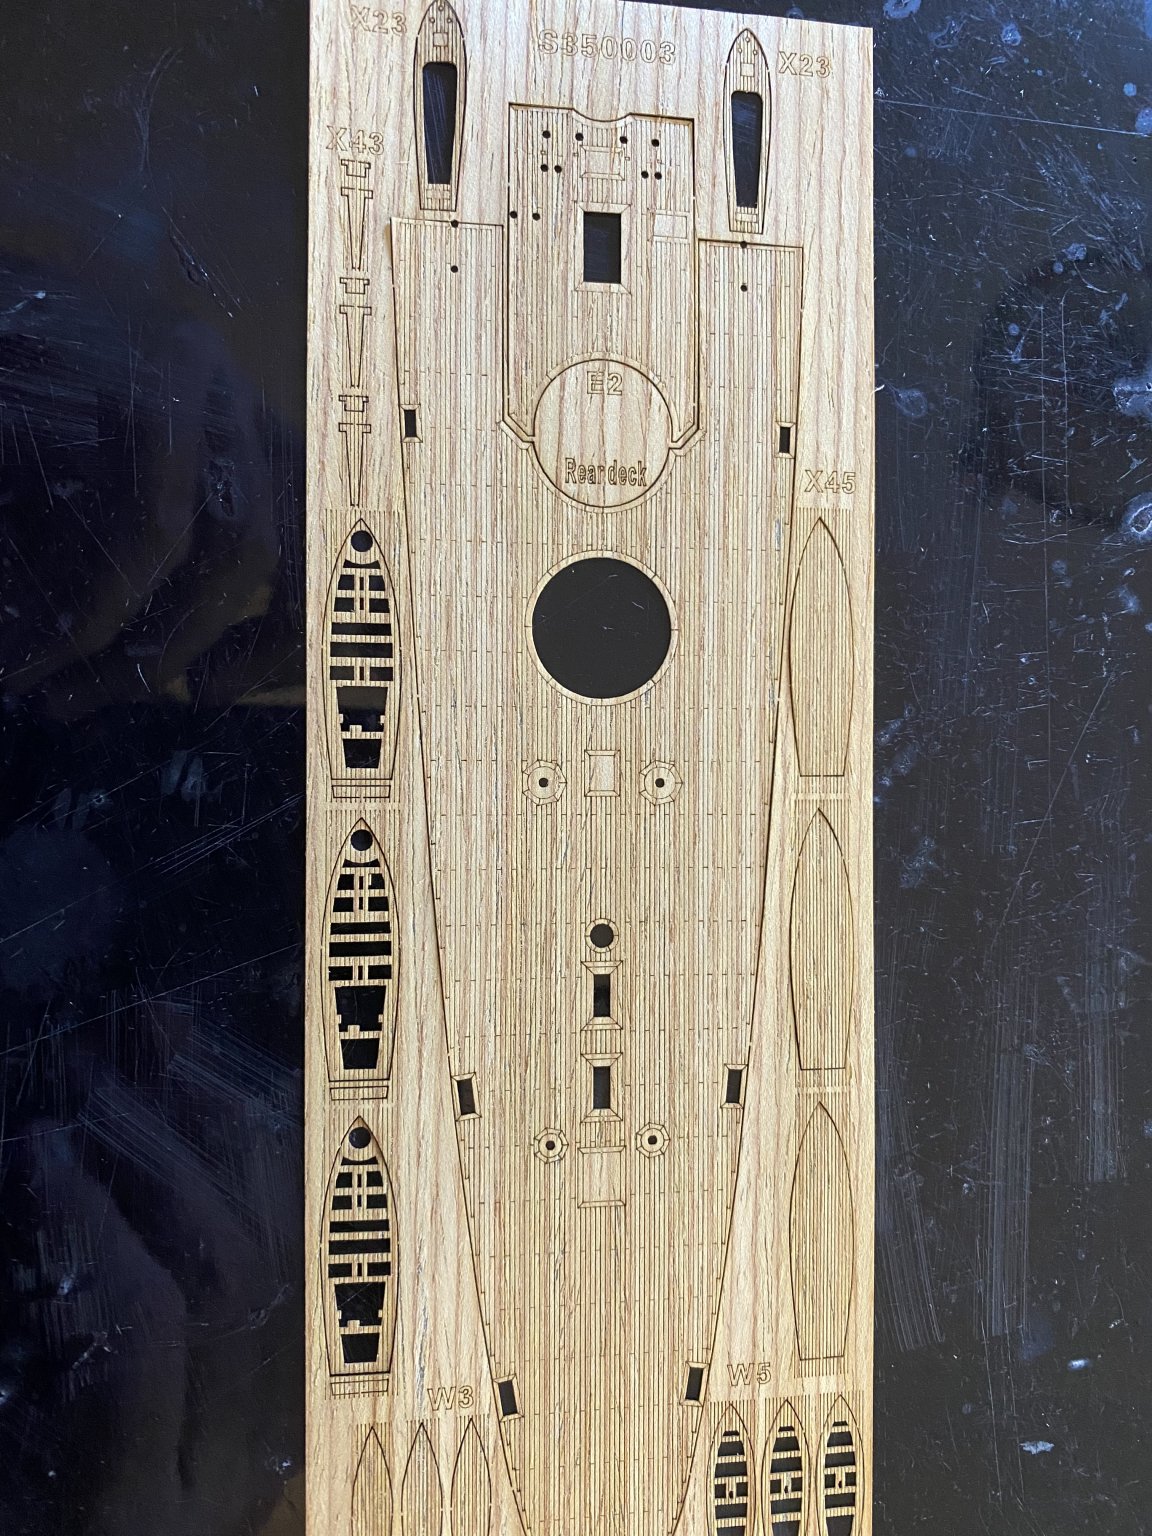
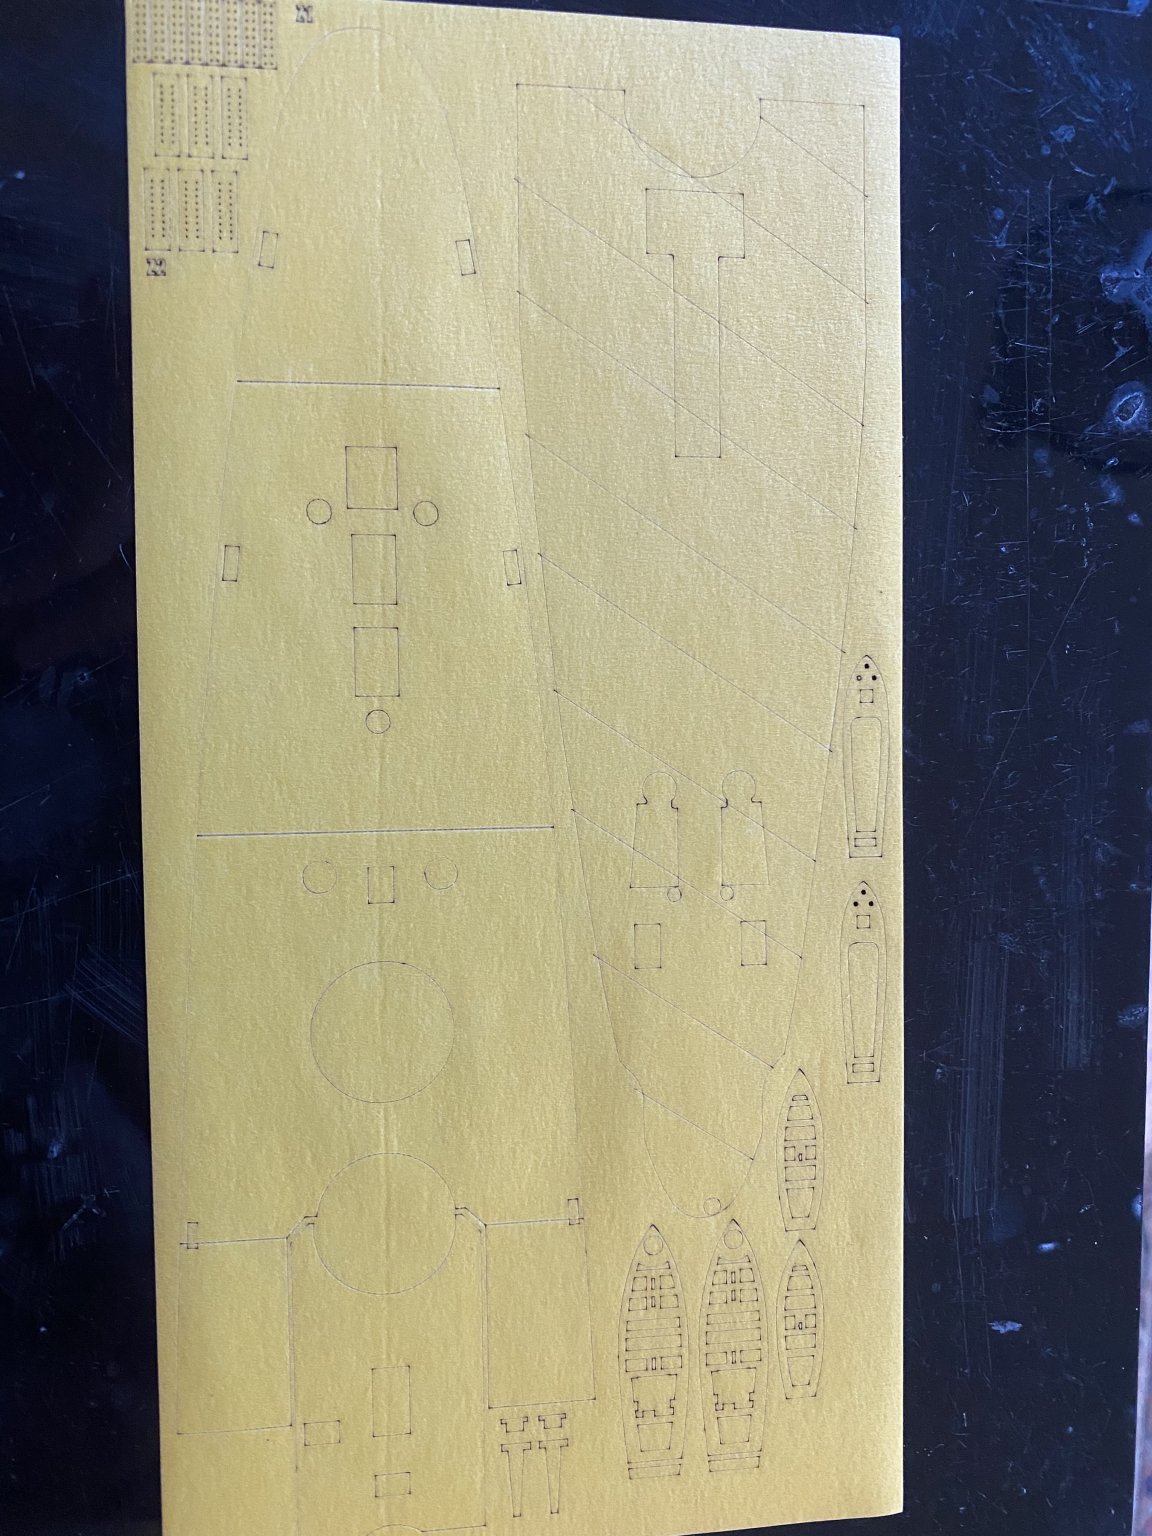
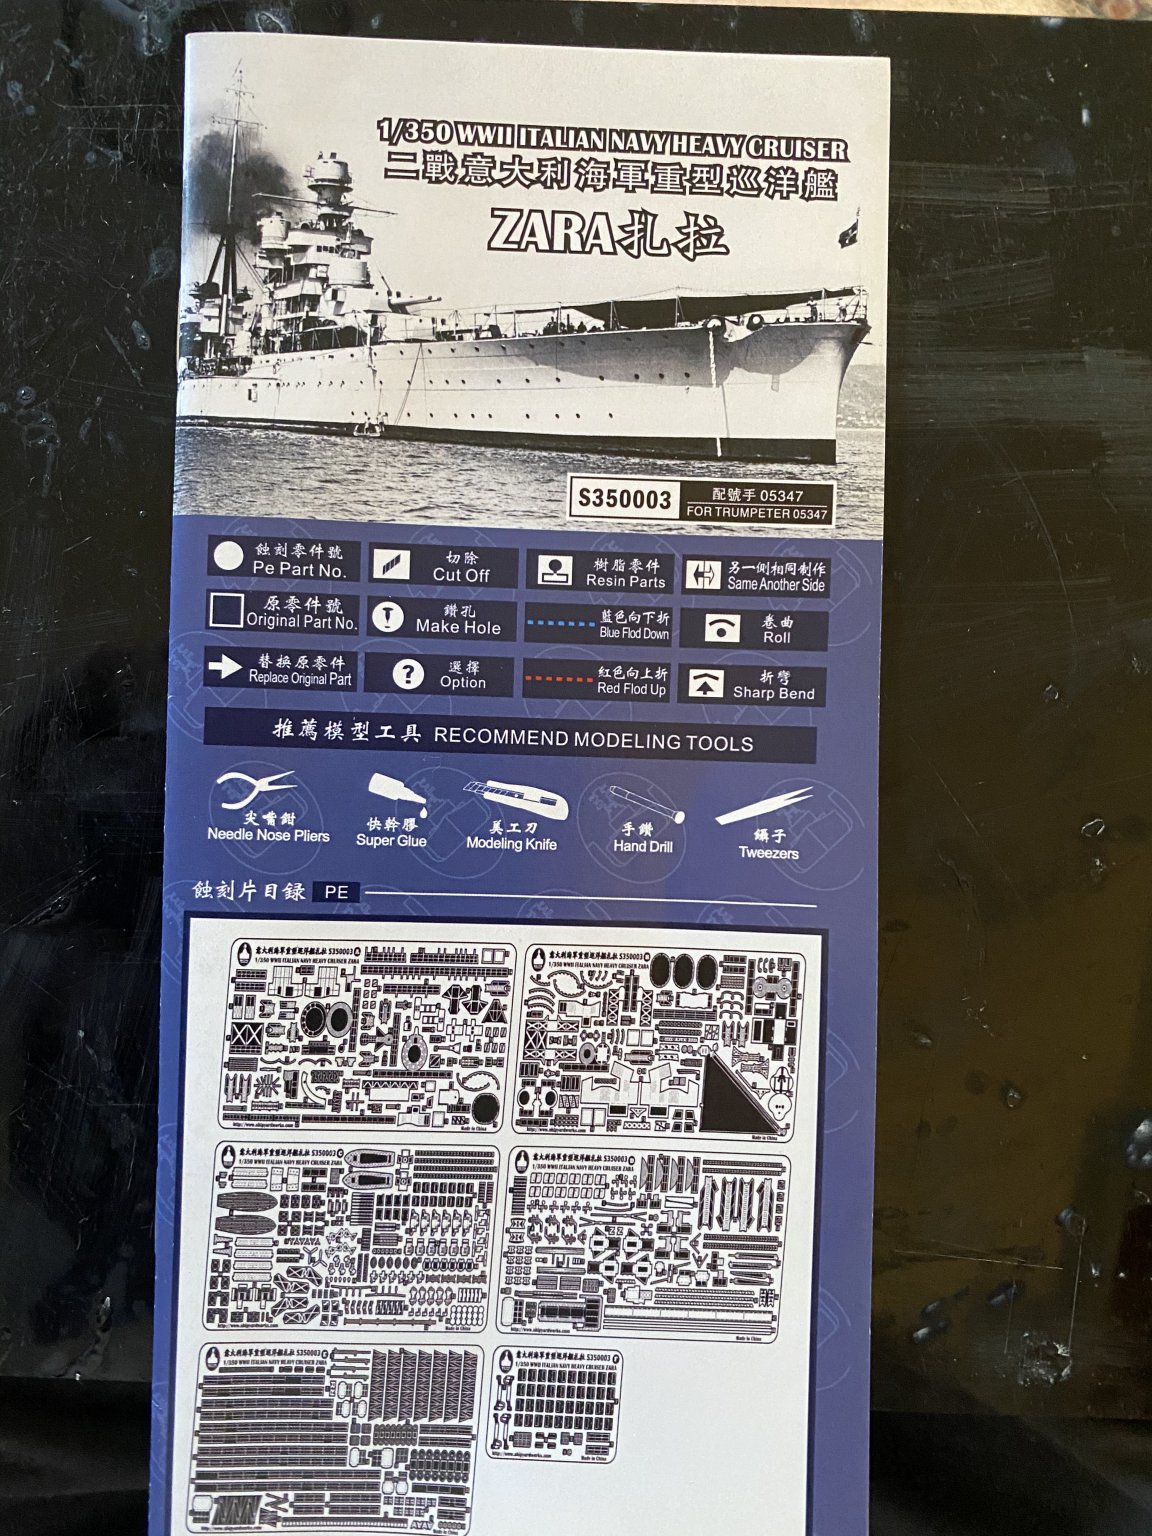
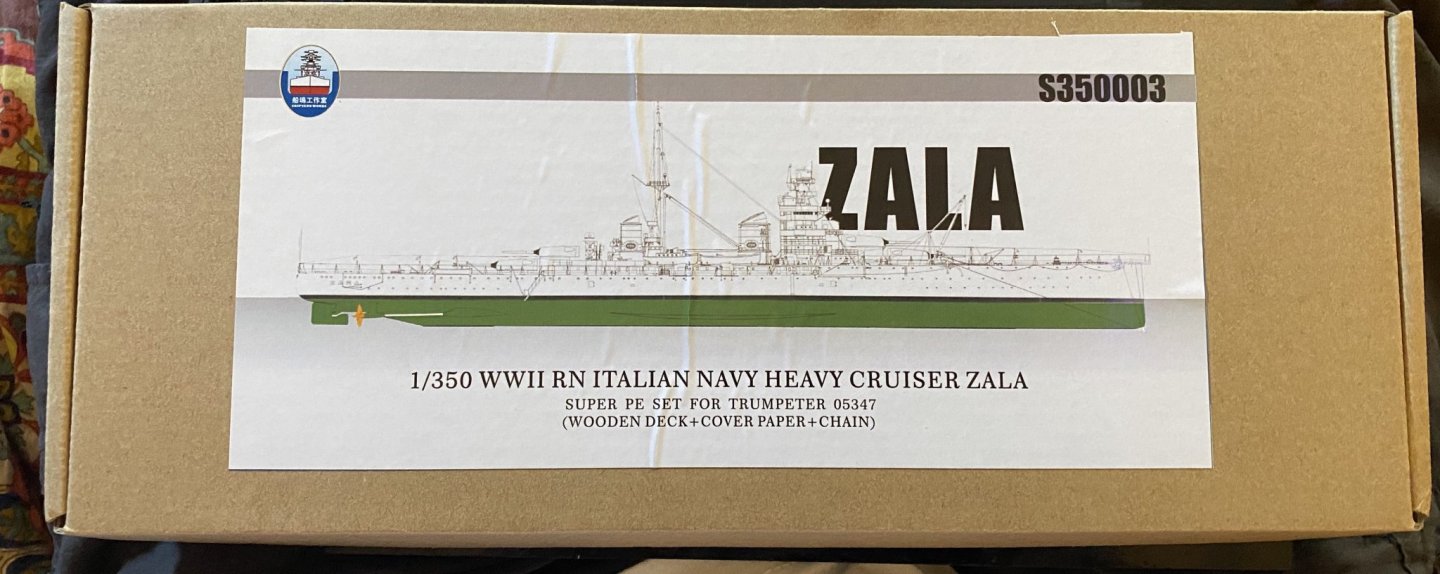
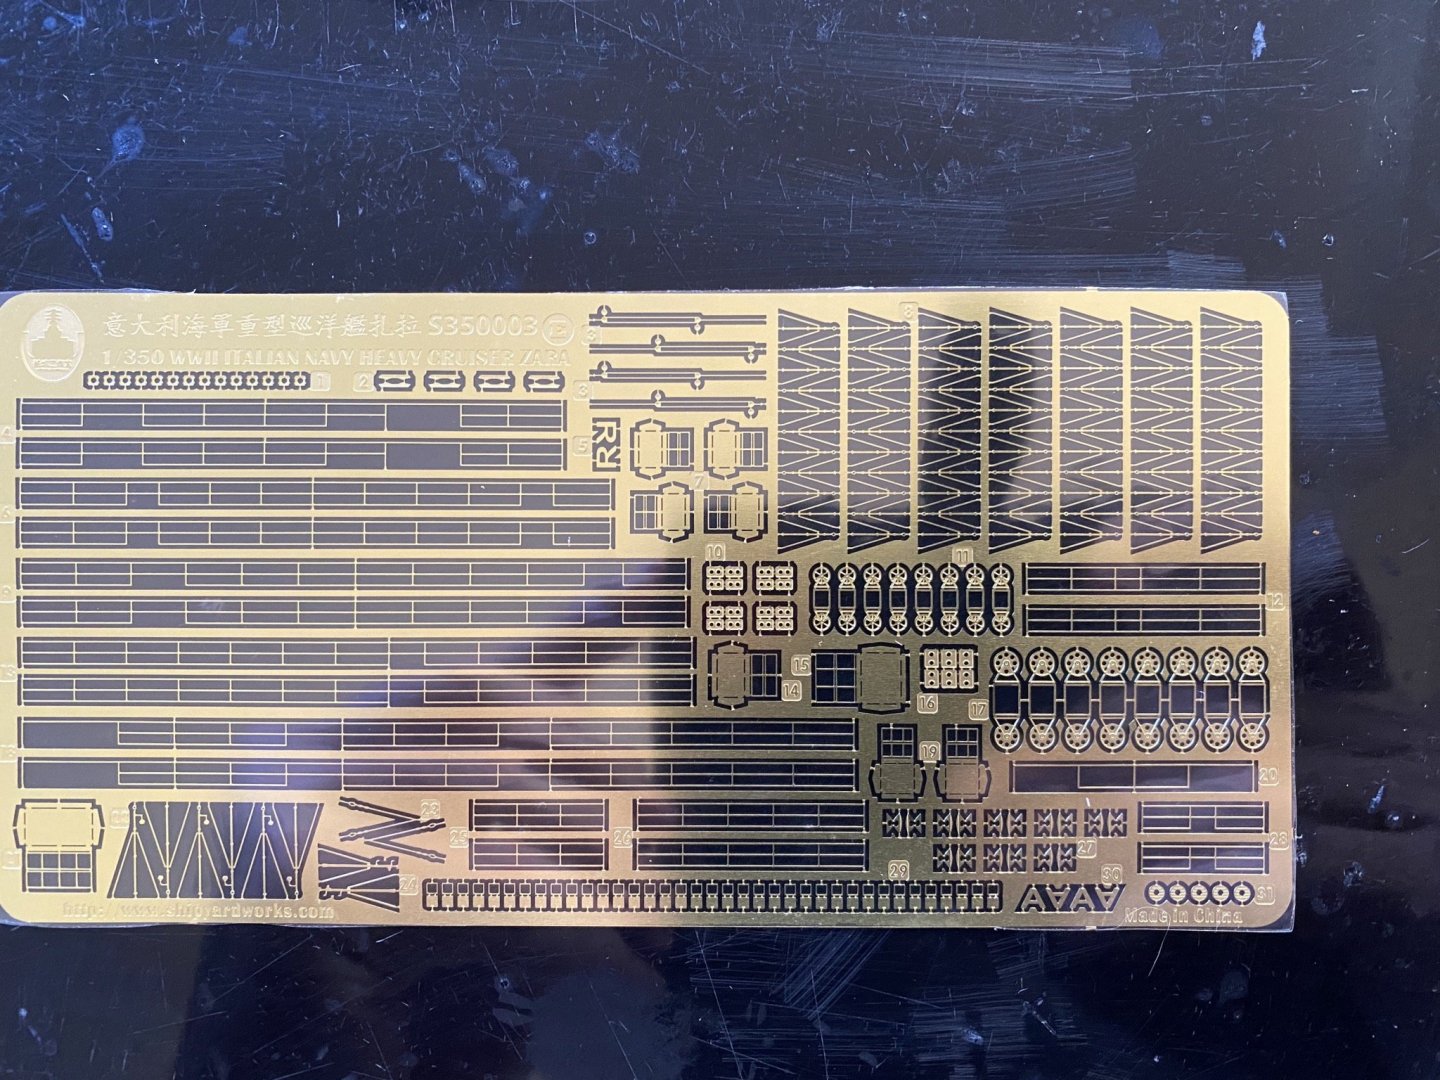
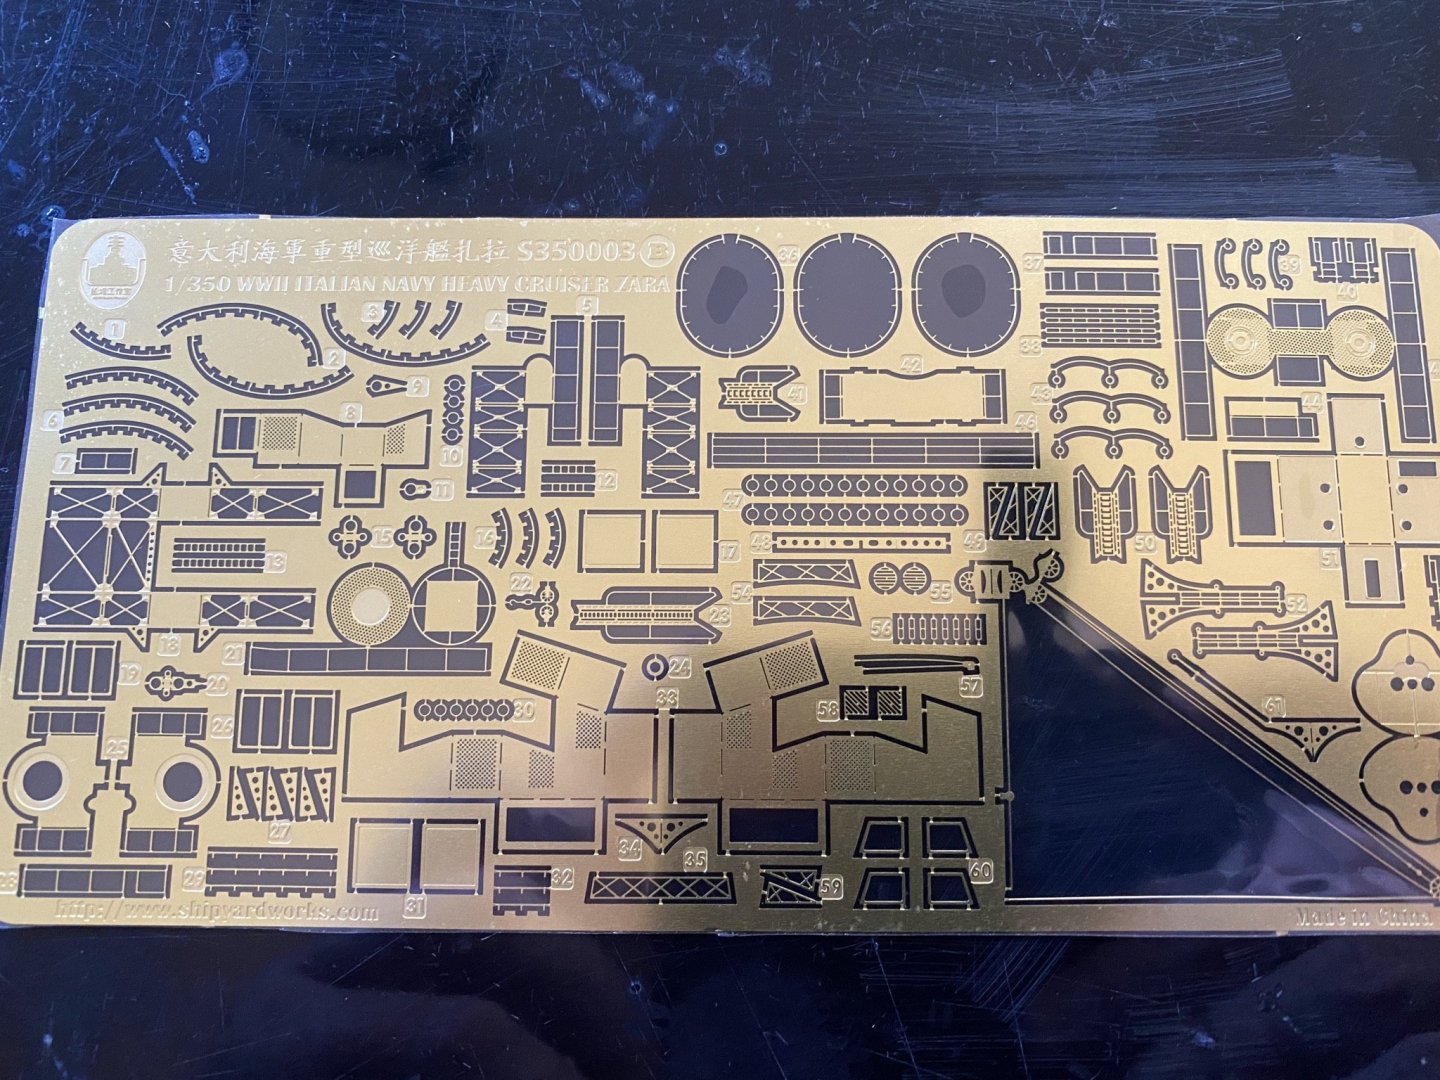
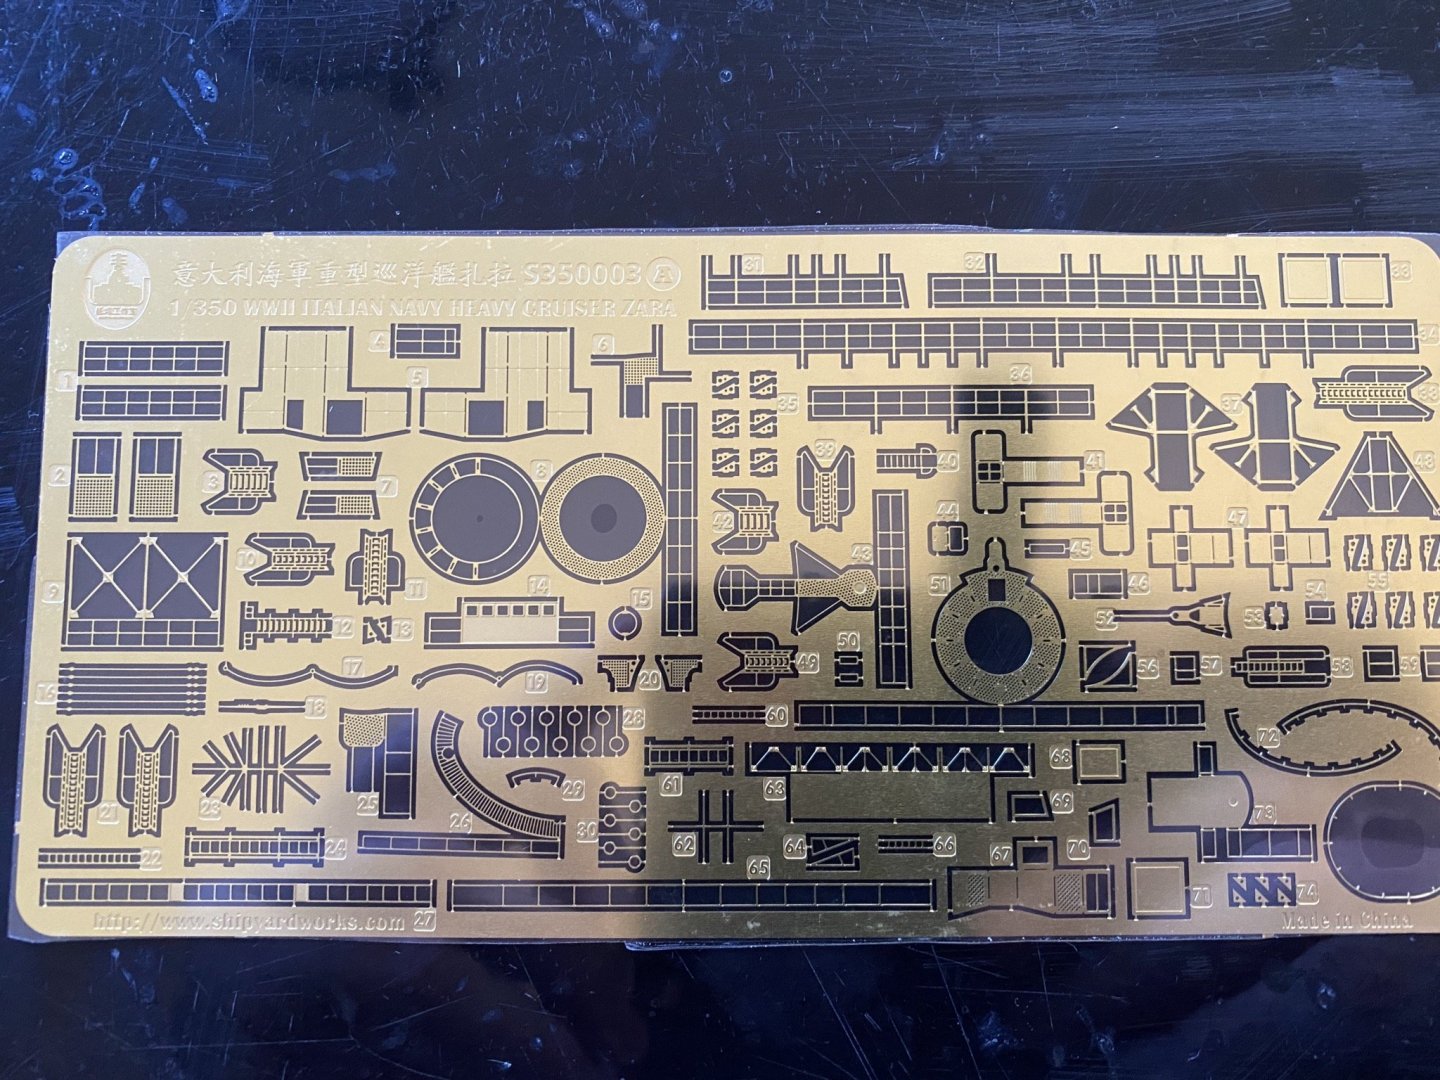
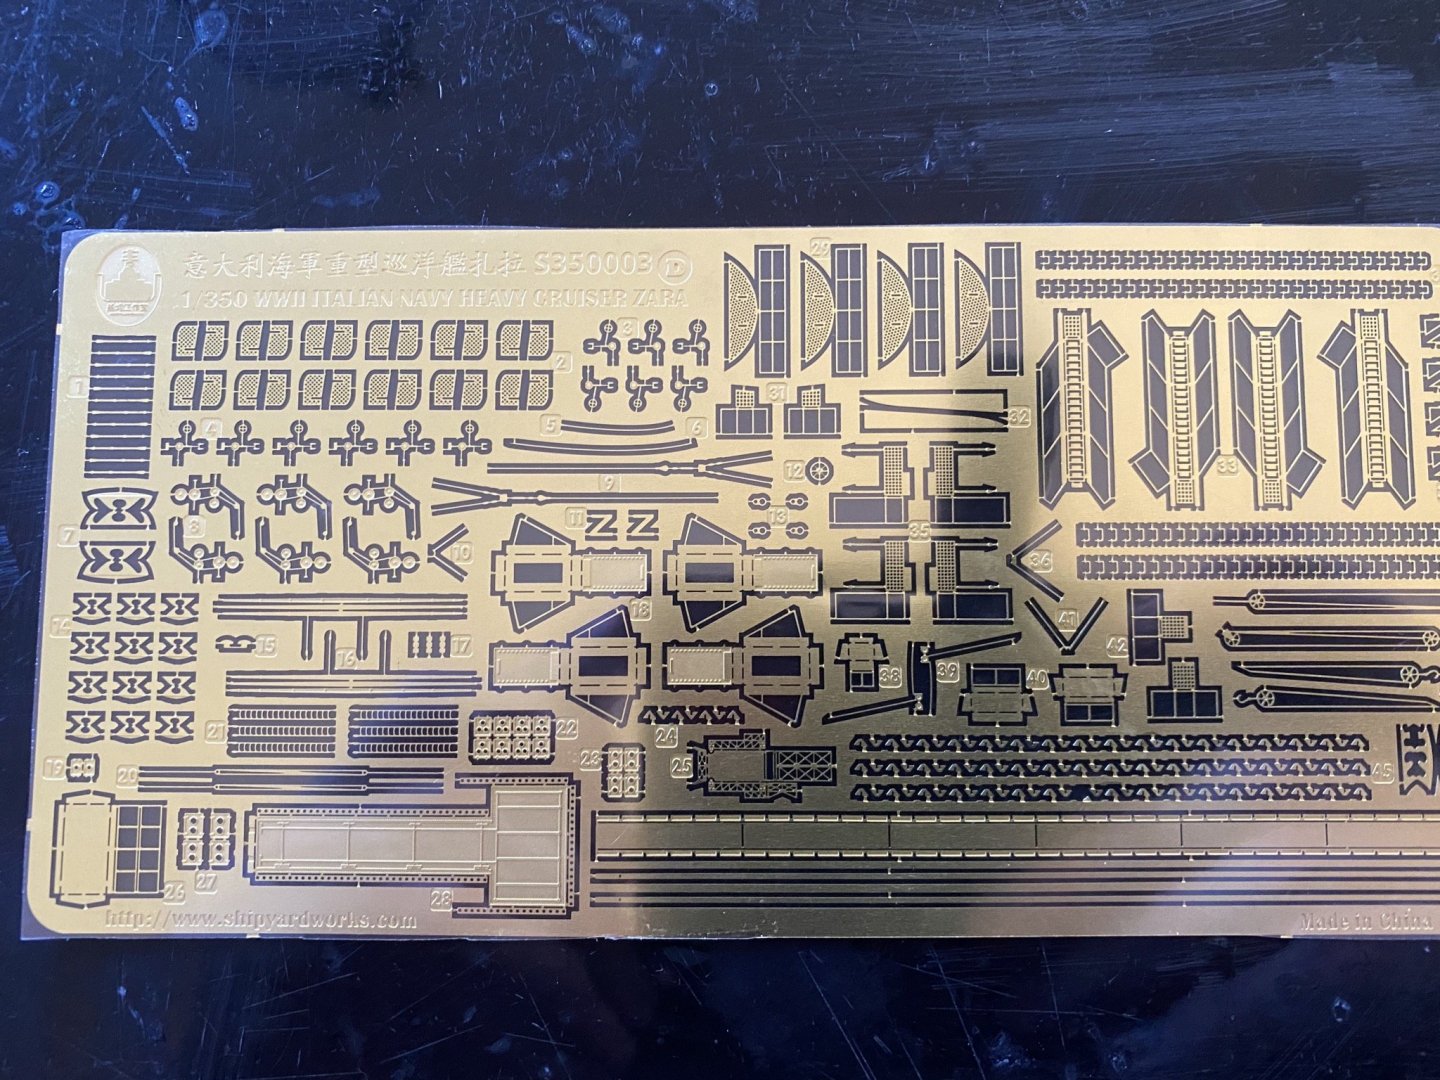
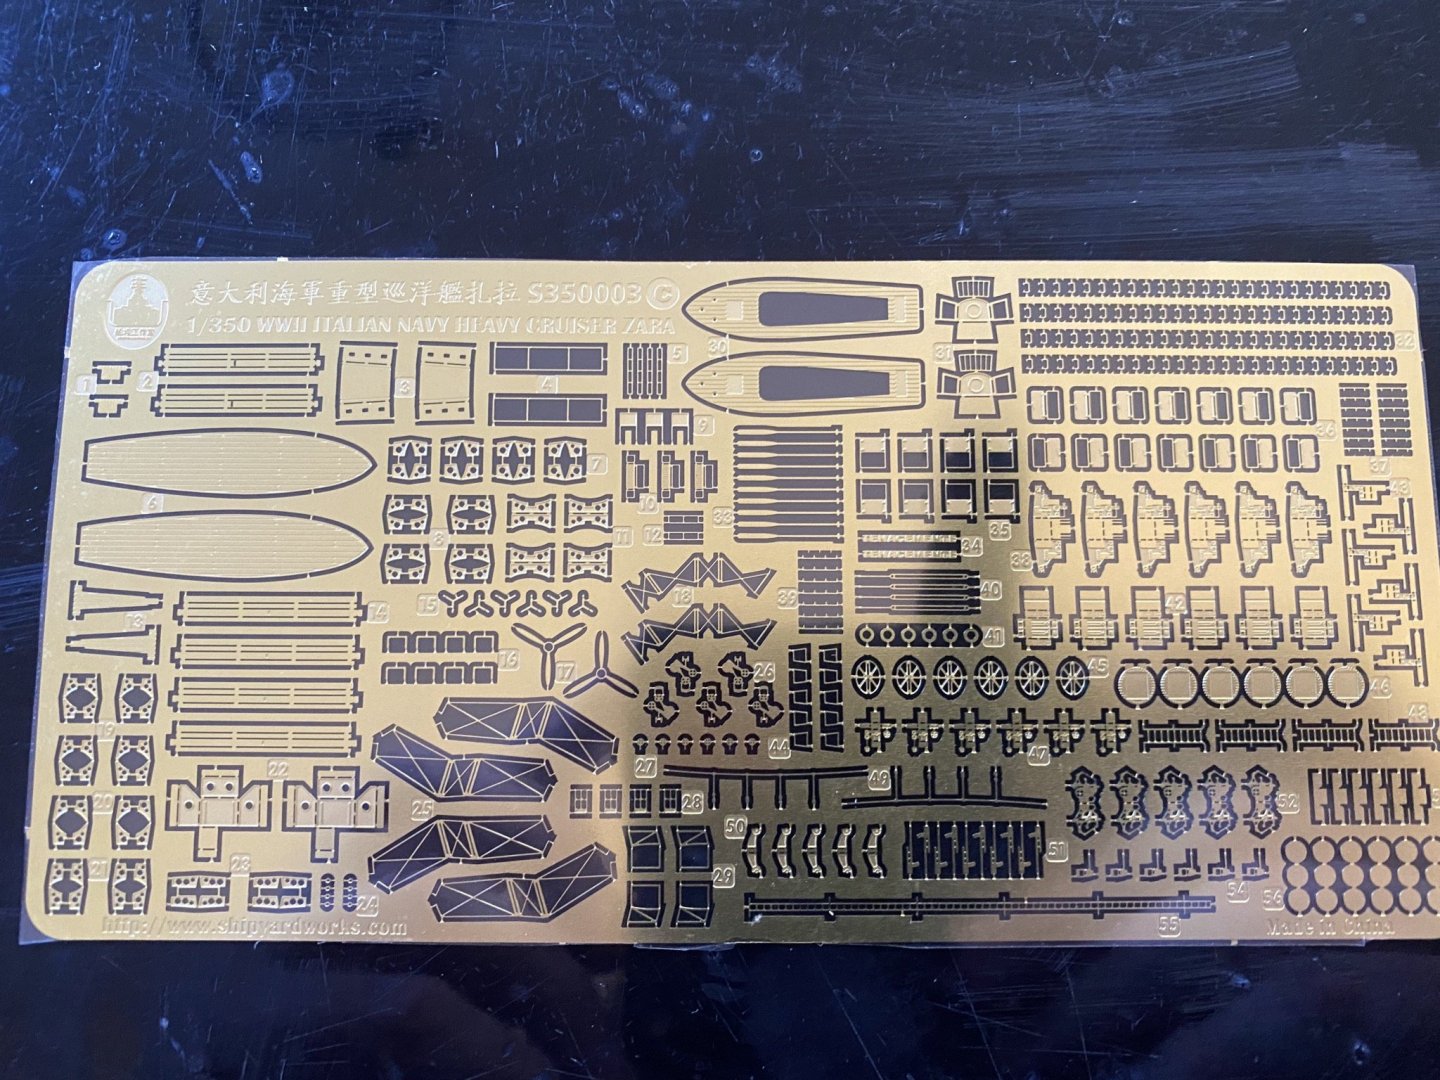
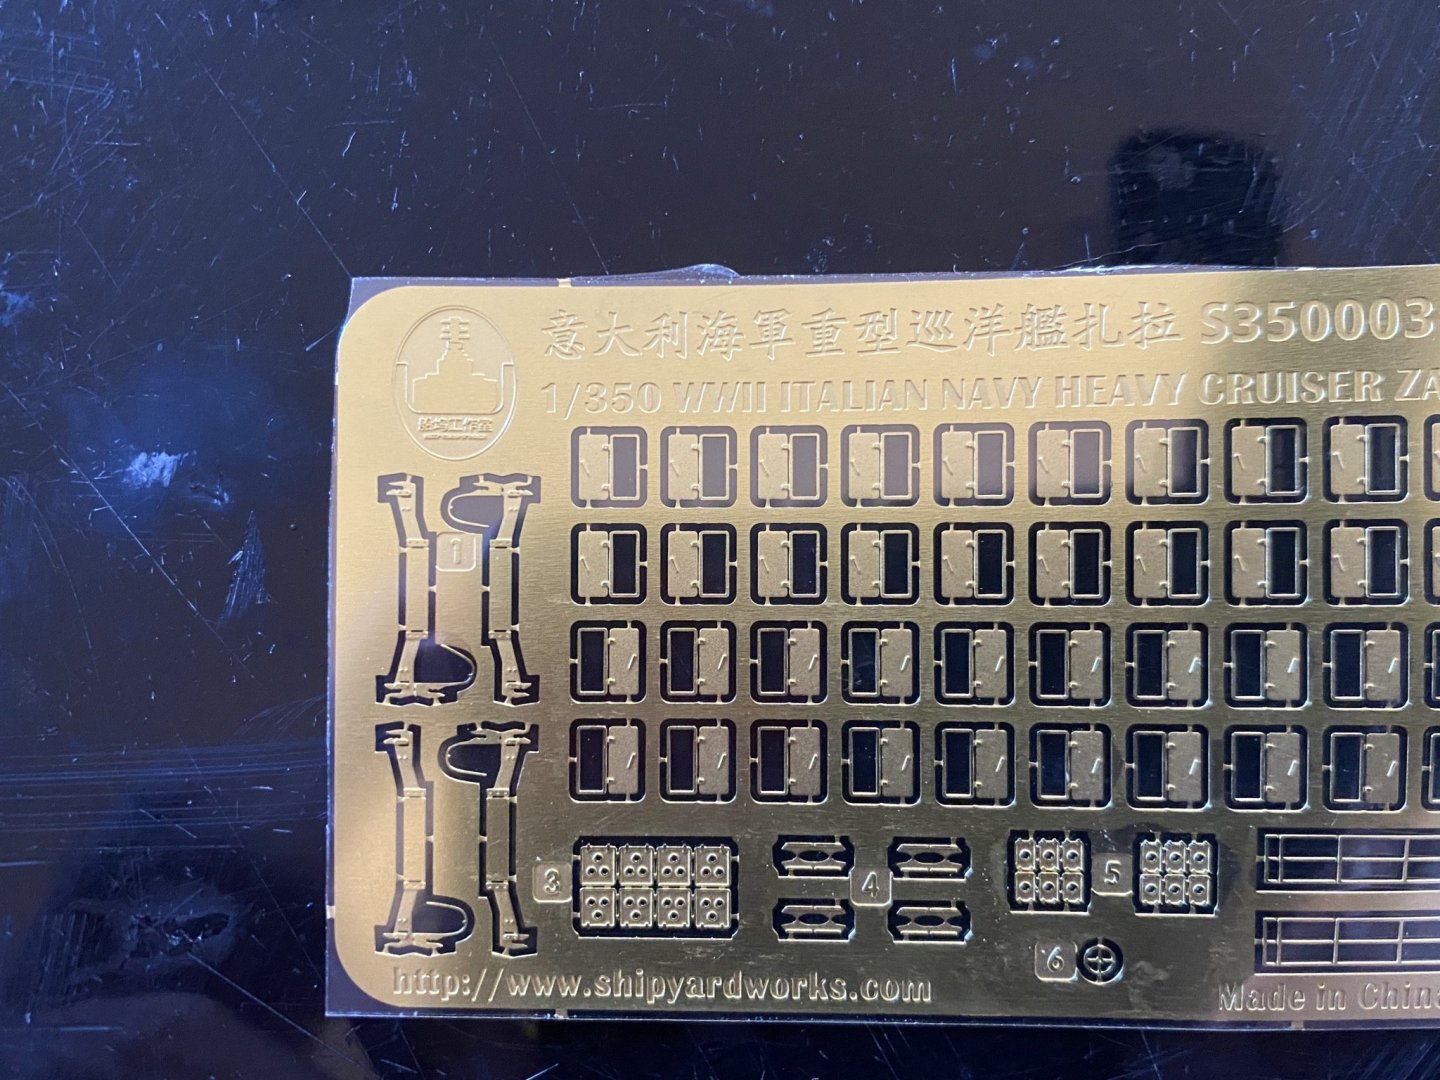
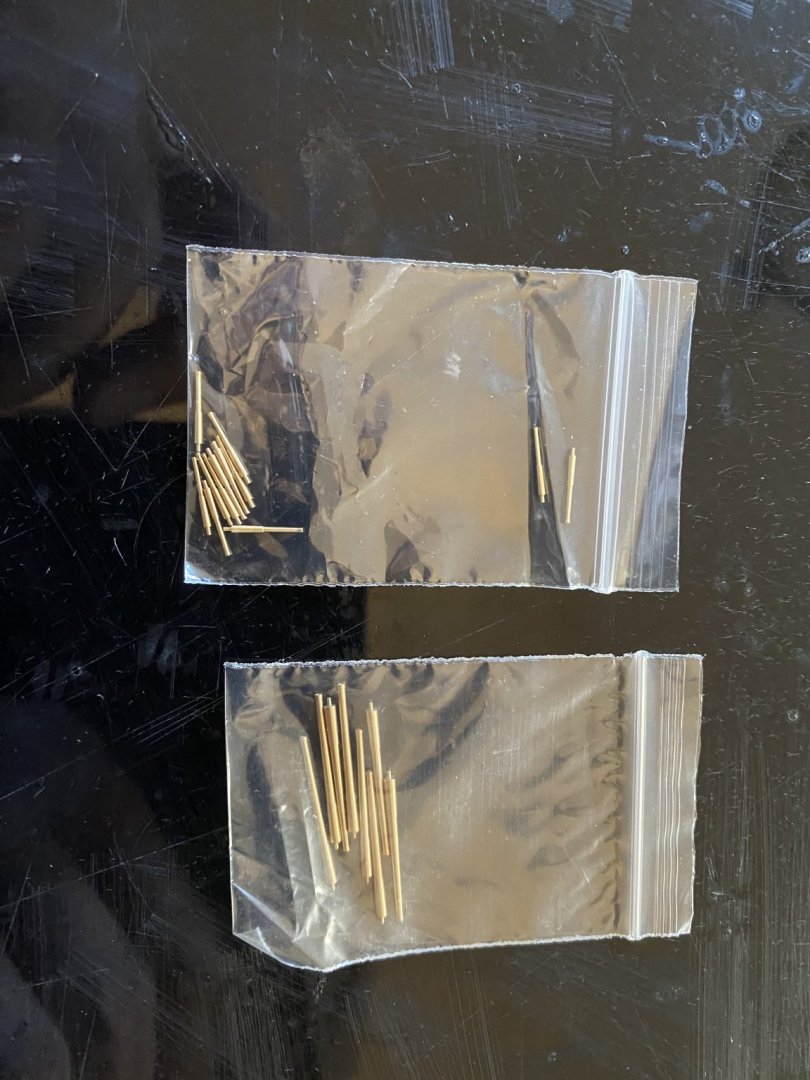
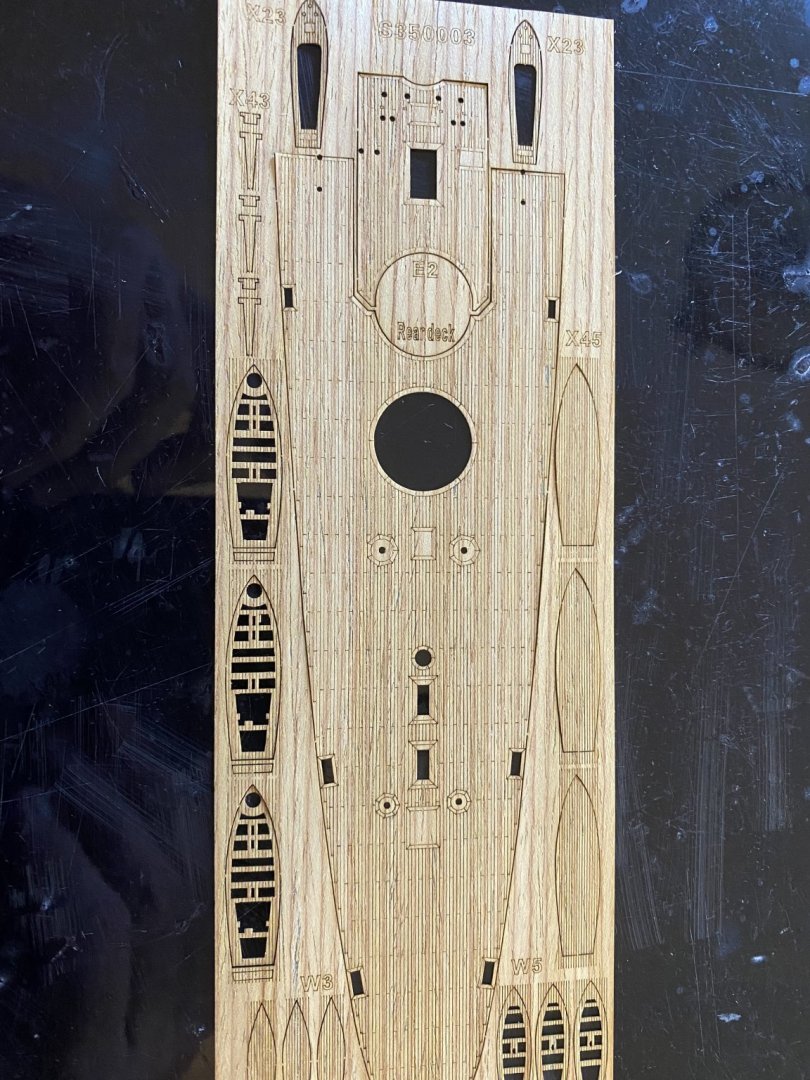
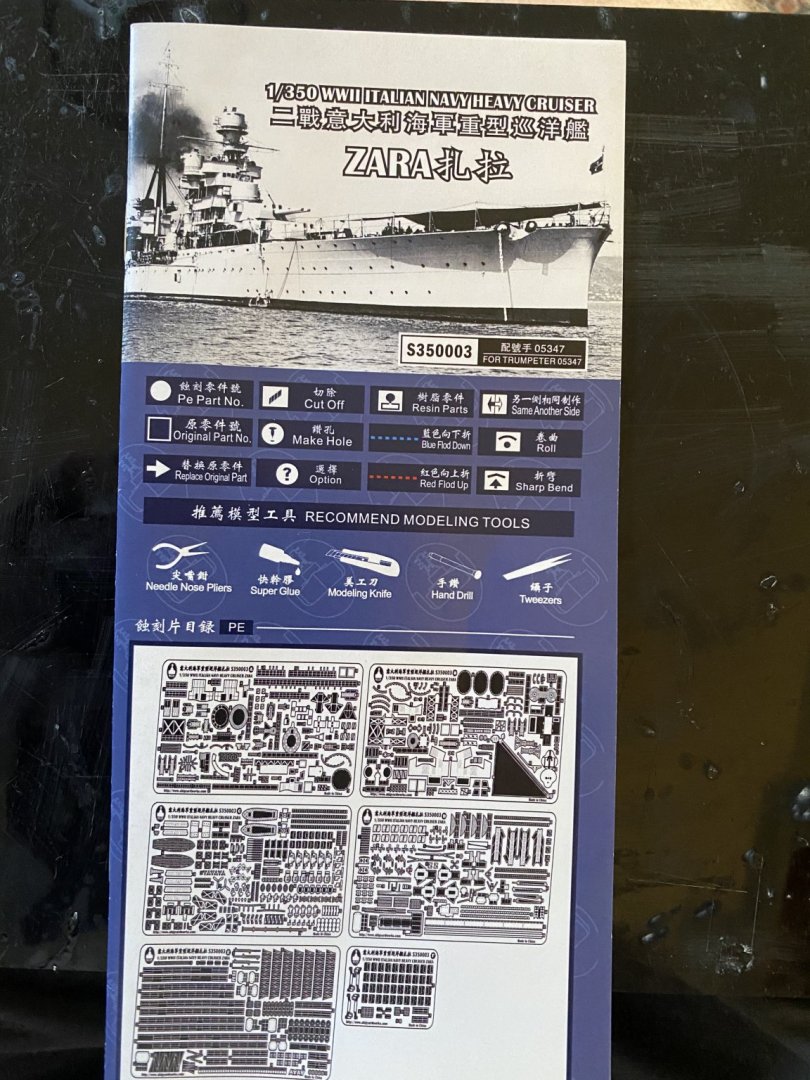
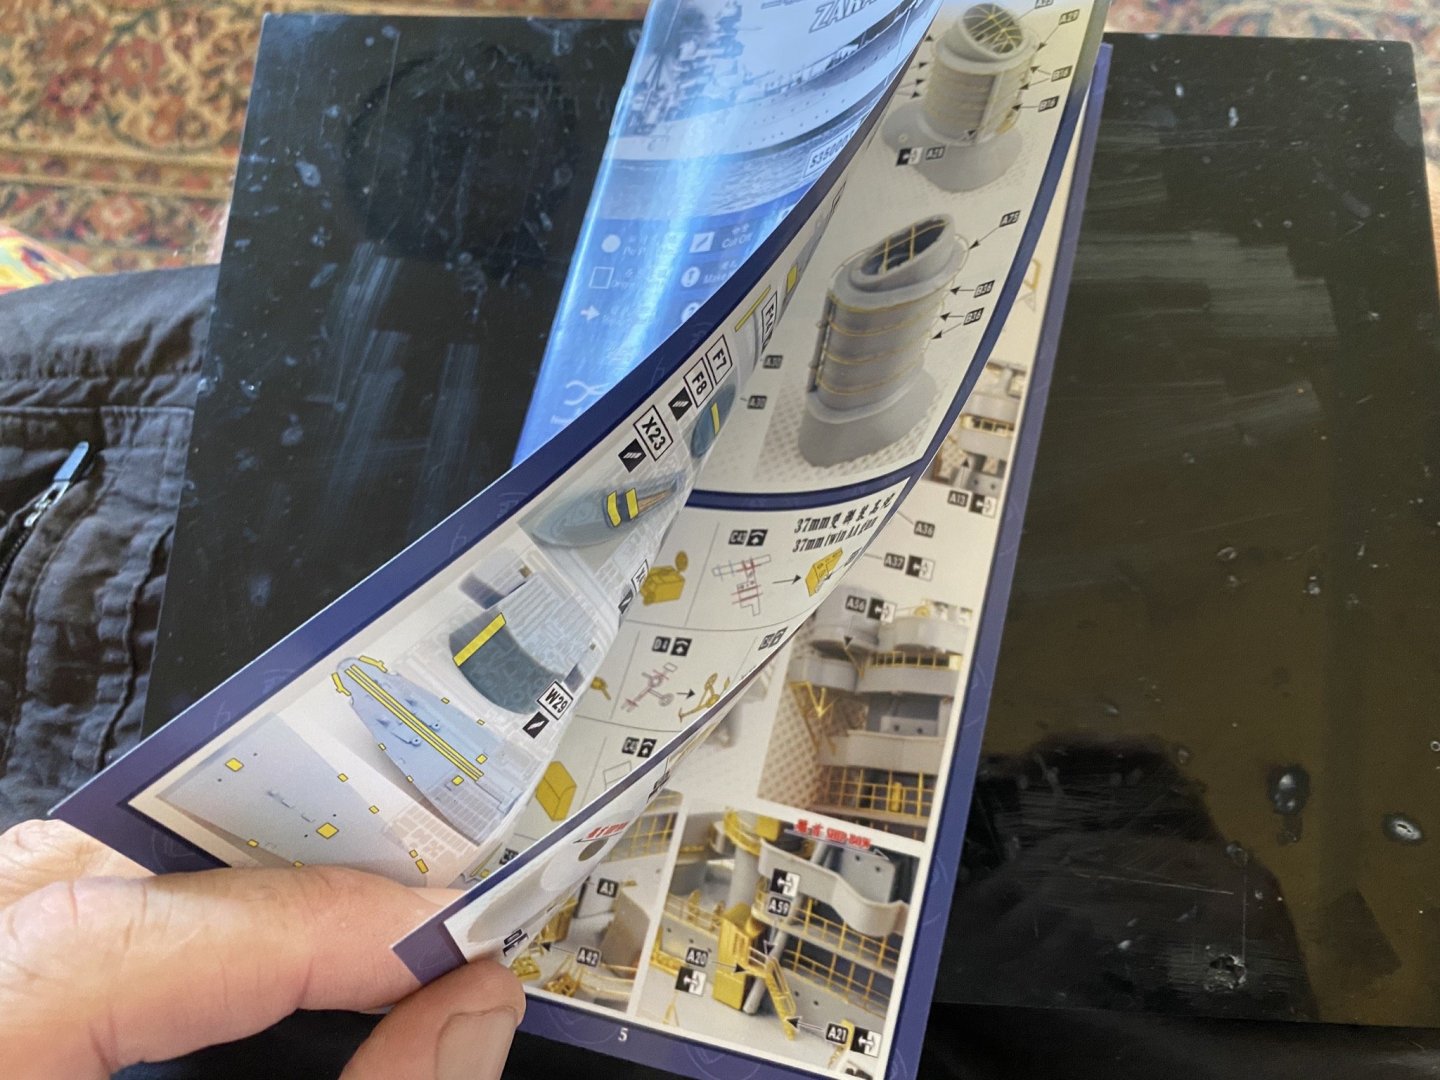
So this arrived today apart from a small spelling mistake, it’s almost like a Flyhawk set, very good quality. Wafer thin deck, masking sheet for painting the fore deck. , barrels and 6 sheets of PE. then instructions in a booklet


- 232 replies
-
- 15
-
-
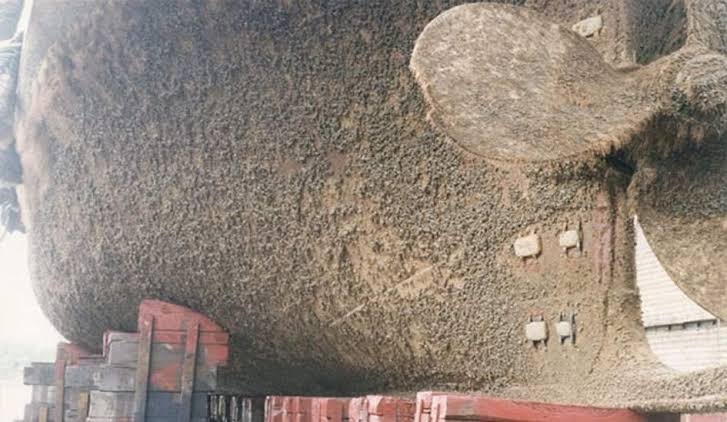
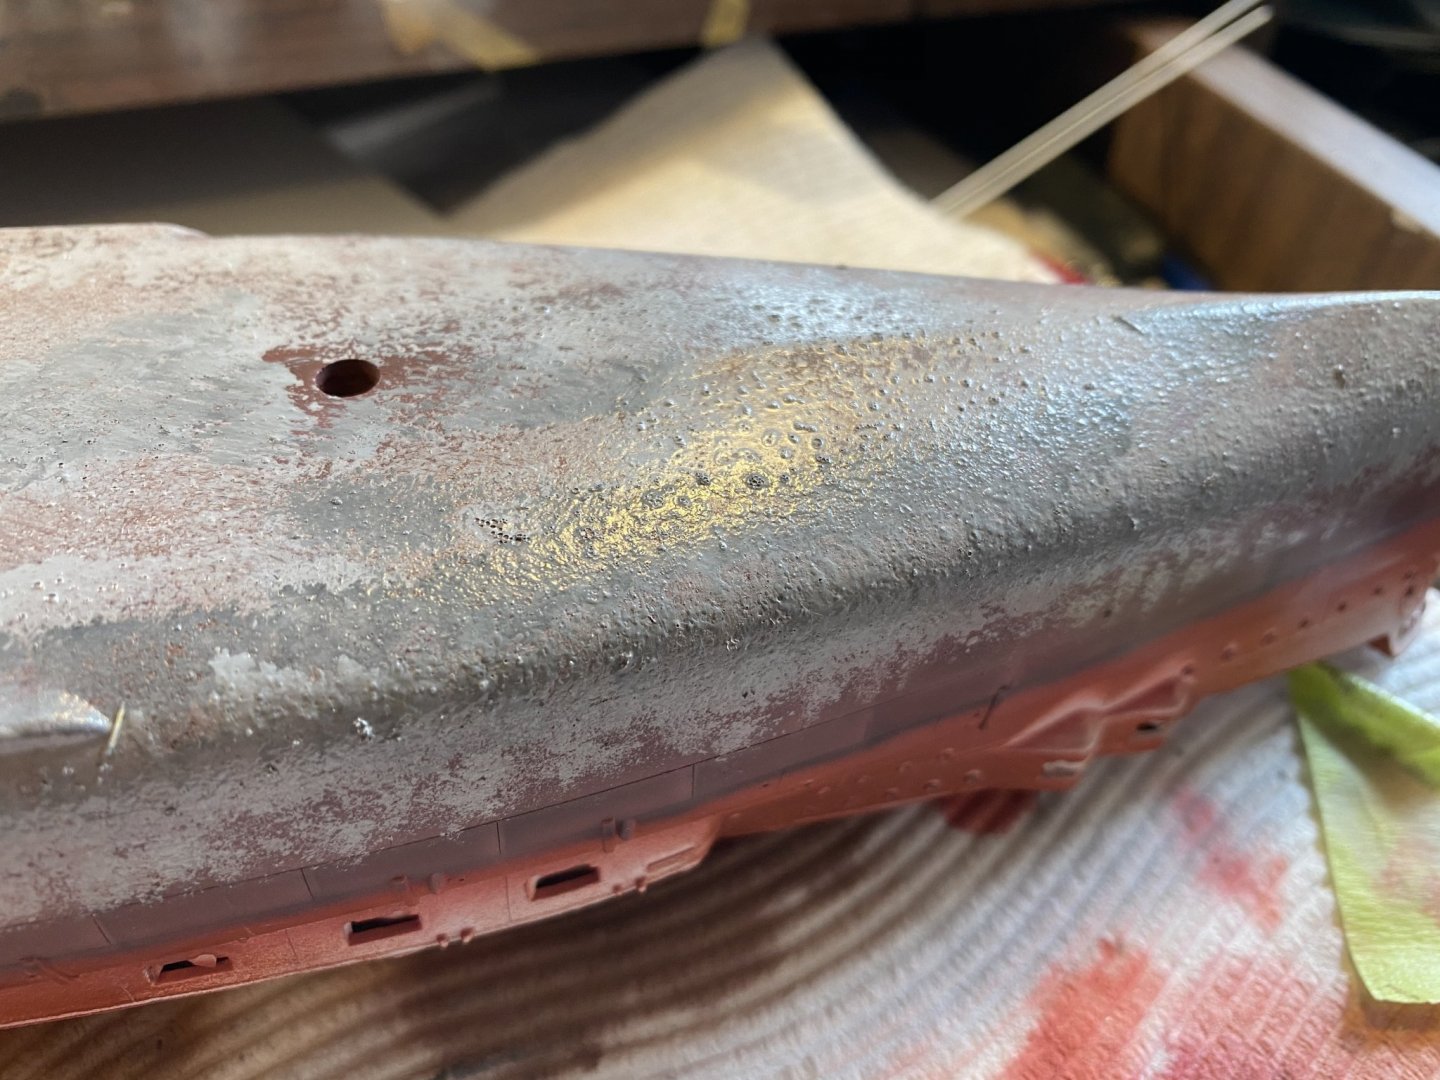
I think I can do some more when I do the waterline but I’ll need to add some rust then so it will dull it down. The alge would (I believe ) be nearer the waterline ...
-
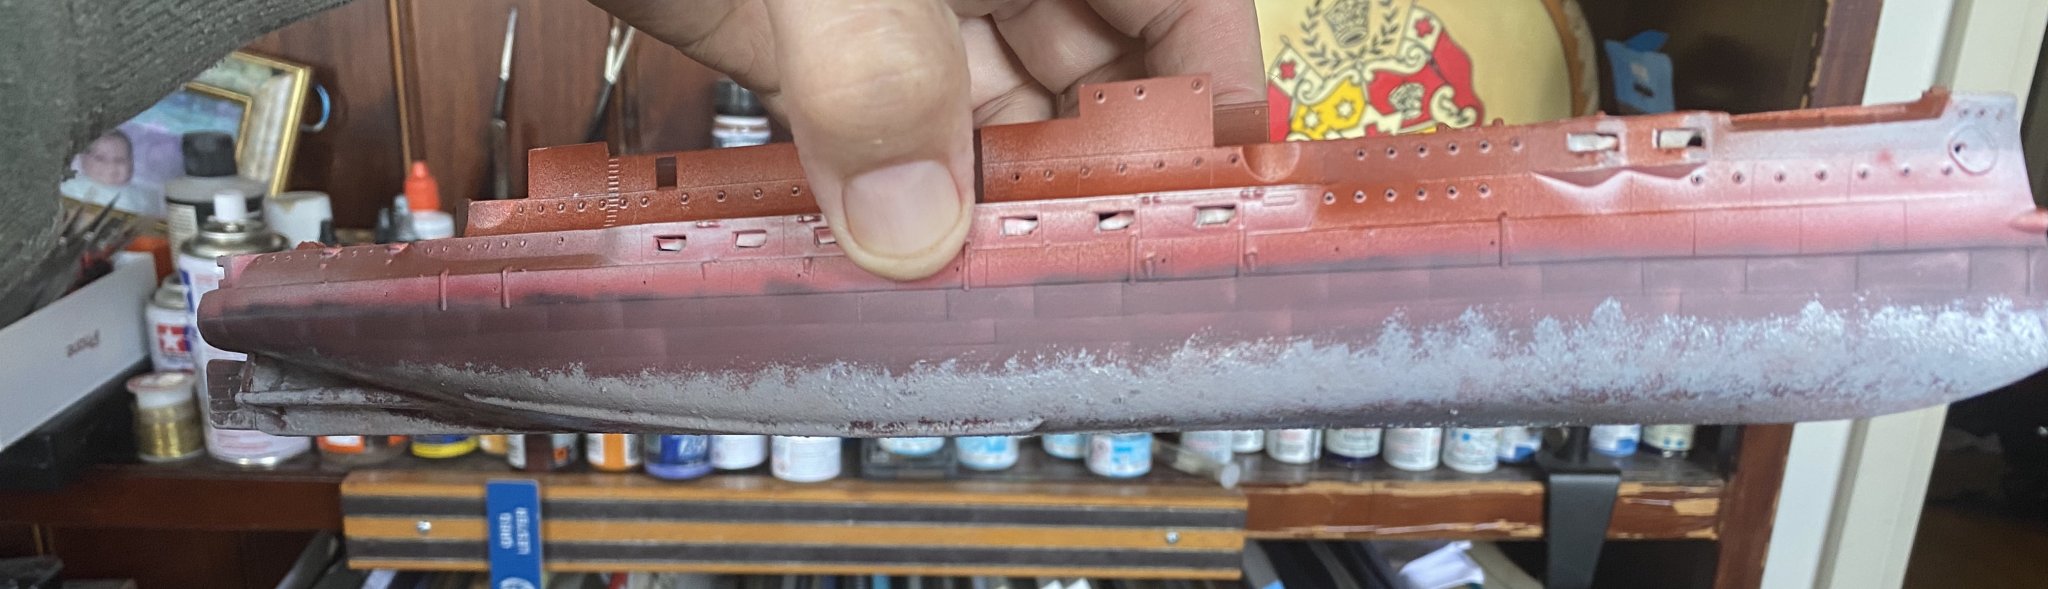
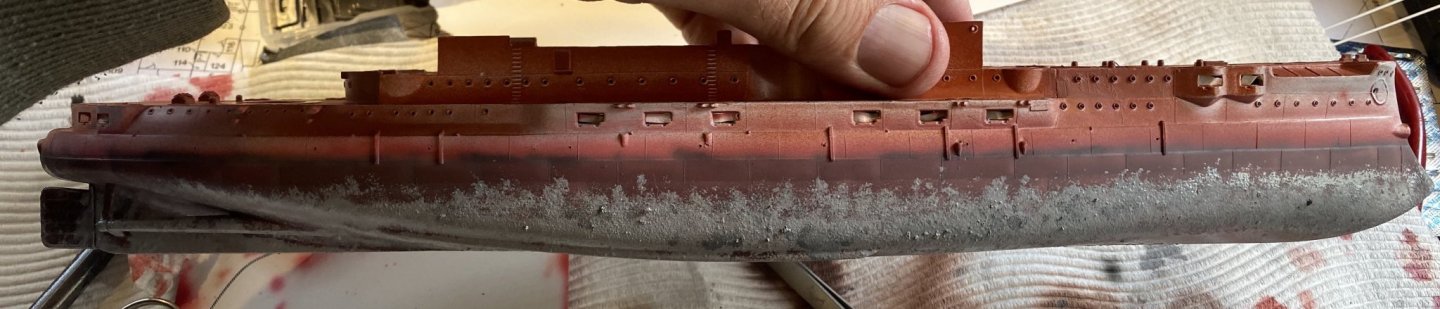
Barnacles and the beginning of seaweed done. I need to leave a gap for masking and blending of the waterline with salt, rust and more seaweed after the upper hull is done.

- 173 replies
-
- 17
-
-
Second coat, I think it’s thick enough for scale. It does not mix well with paint so let’s see where we go with the airbrush.....
- 173 replies
-
- 15
-
-
Yes, I just got home from work so I’ll have a play with it on a spare hull tomorrow to see what I can achieve. It needs to go Pretty much up to the waterline as witnesses said just before the Final battle they could see see seaweed up alongside the ship. She was laid up for Weeks on end inMadagascar and other African ports awaiting instructions and a second flotilla so the biofouling would have gotten pretty bad. They were very slow (12kts) anyway so the build up must have been bad.
-
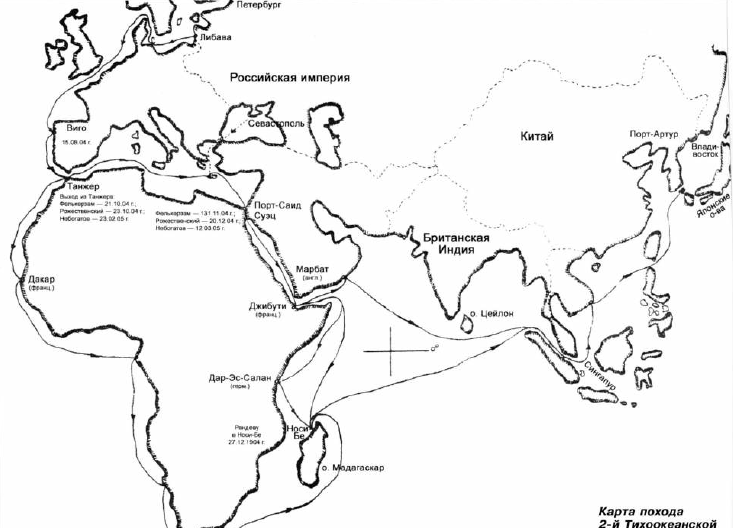
this is from a Russian language book, but the final trip of the Borodino was from way up north to way down south all around the bottom on South Africa, that the 18,000 miles with 800 guys on this steel oven.
-
Lots of opportunities to improve on it. The fleet Stopped all around the African coast to get coal, and then throughout Asia. The wear and tear on suck a long trip would have been amazing.
-
It’s a long way off that look. There is so much detail to pre plan yet. I was going to scratch build a couple of winches but you can’t see them. I can’t work from home so this is going to drag out a bit but my Zara upgrade has just arrived in Oz! I did not realise they stopped all shipping for 3 weeks
-
And happy to answer questions
-
Matty, I build them in sections. Find a build online and copy it, that way you’ll pick up the pattern. Don’t be tempted by lots of PE yet and eventually an airbrush is a must.
-
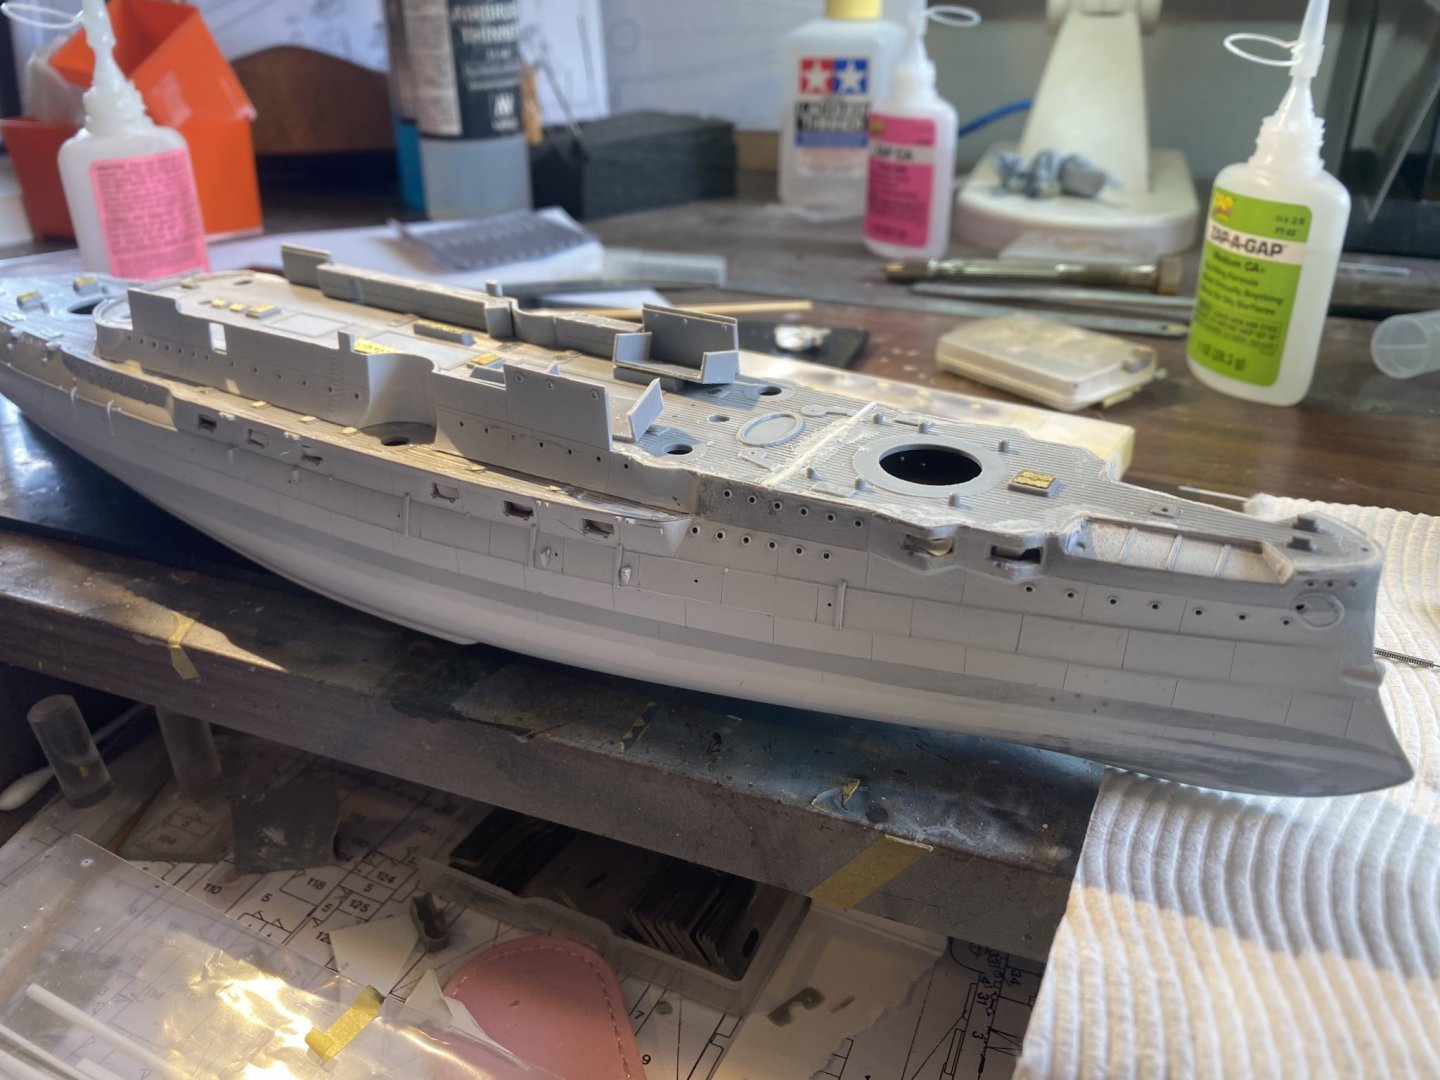
Another primer coat and no gaps. Can start adding some more things now and do the lower hull.
- 173 replies
-
- 19
-
-
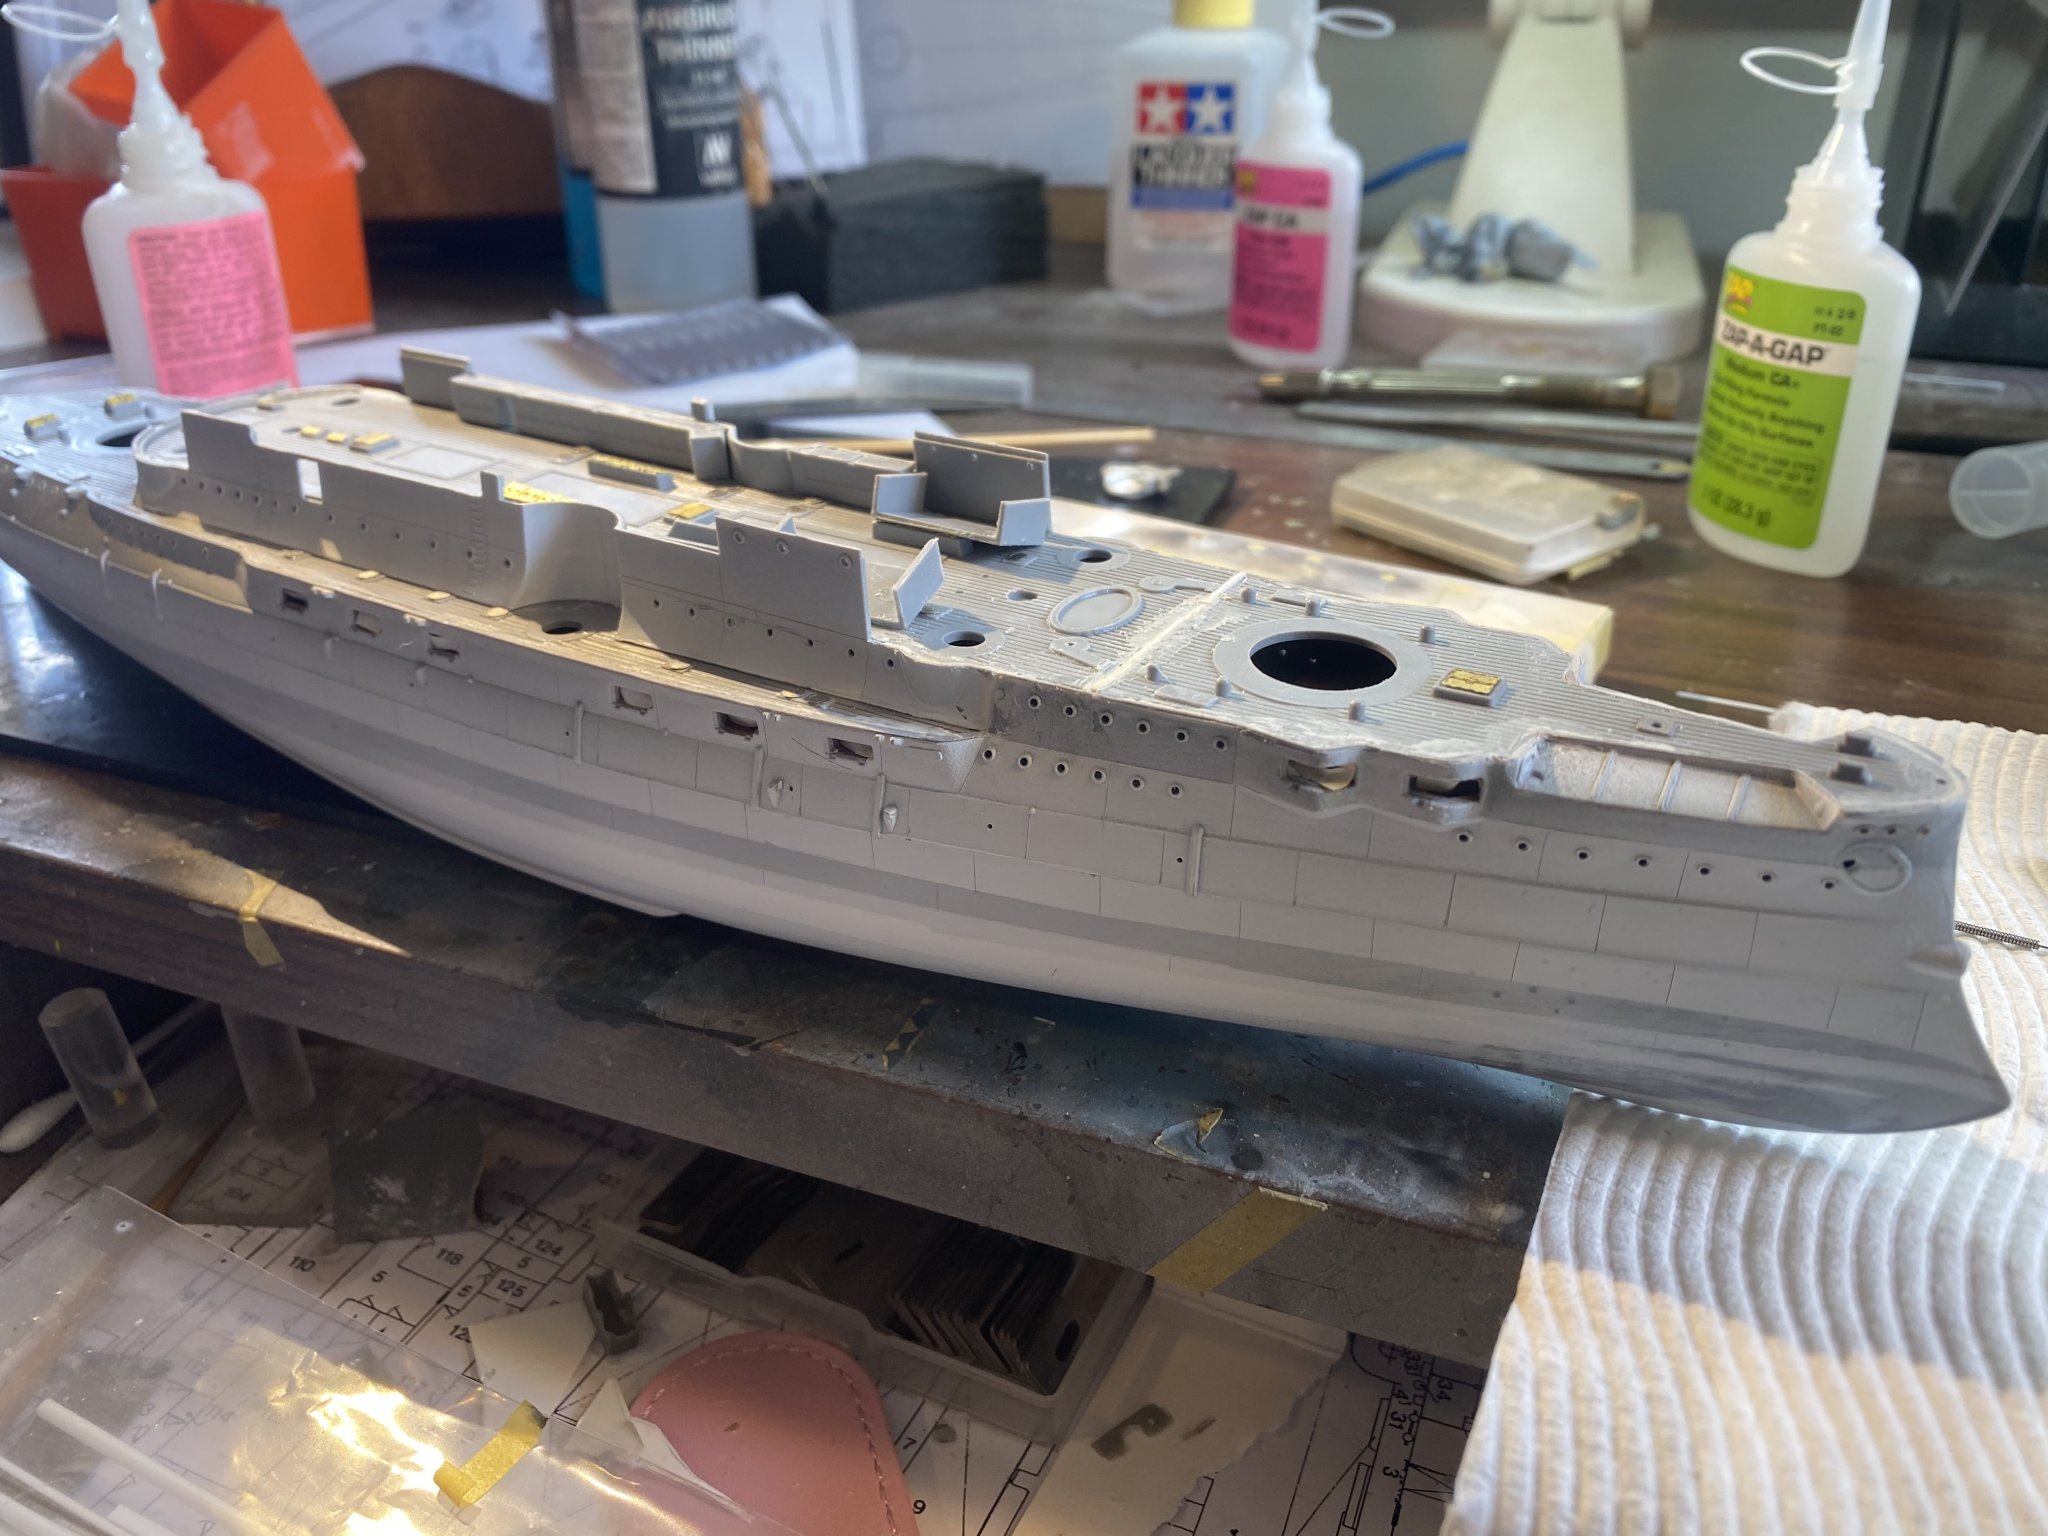
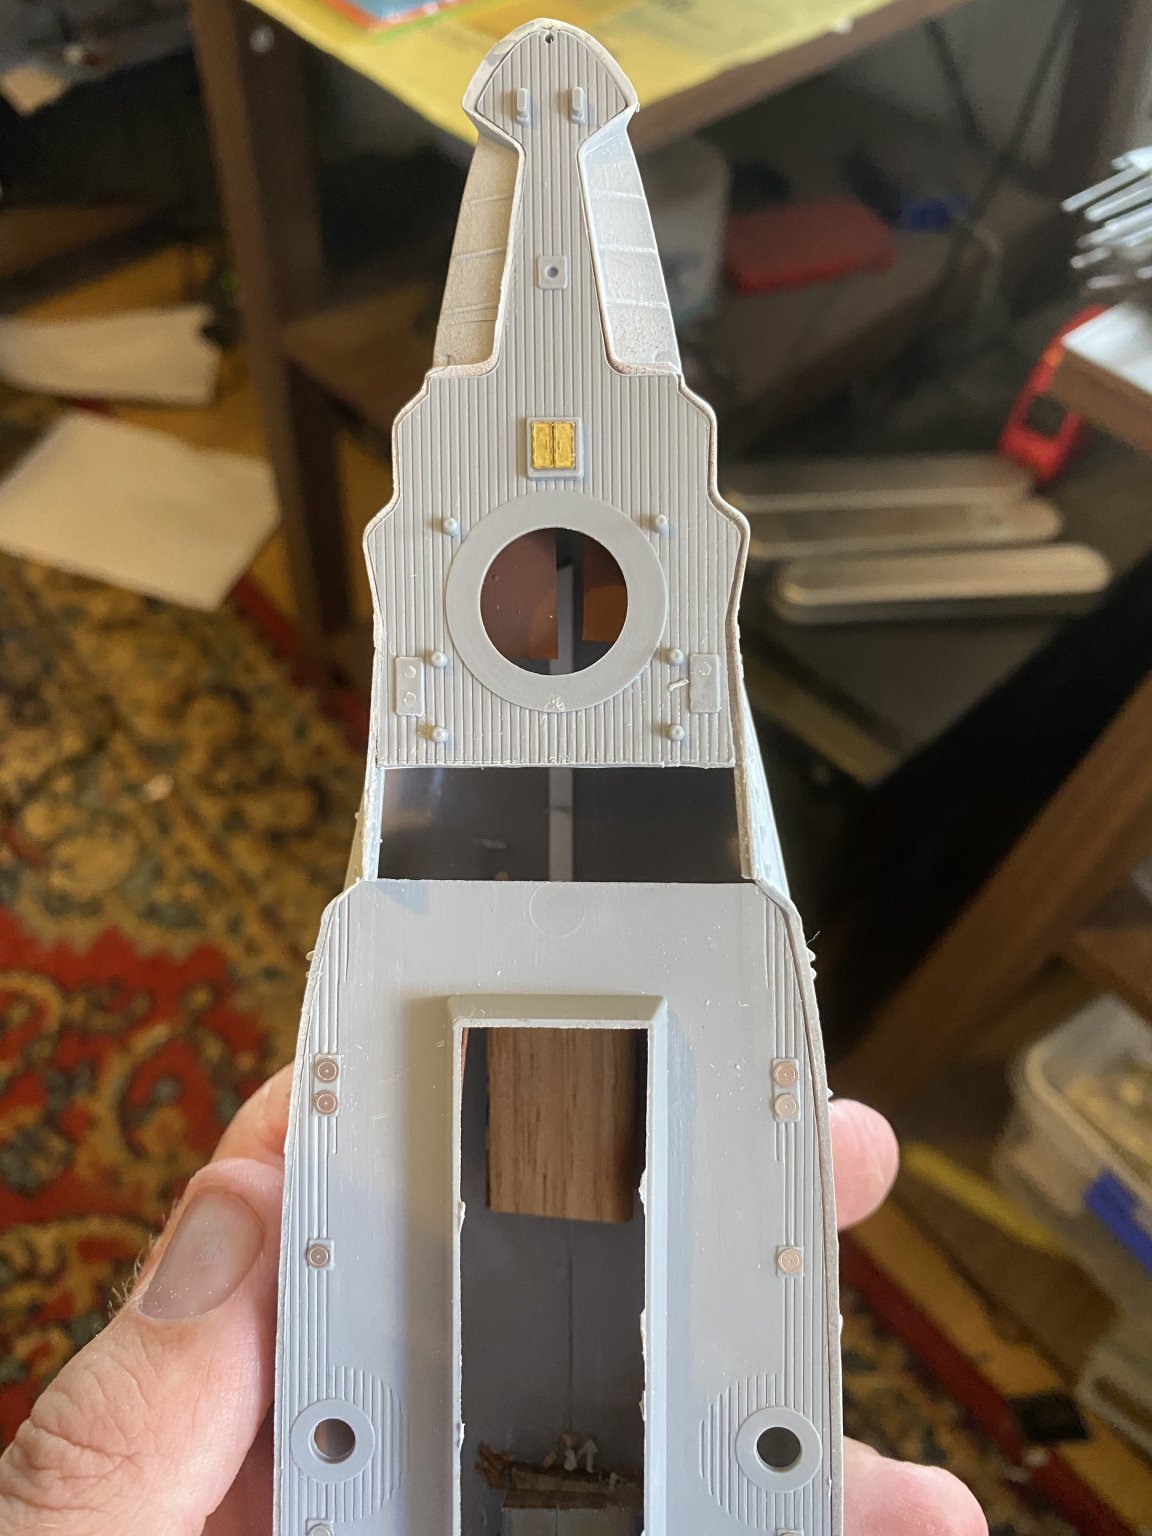
I’m really hoping this is the worst part of this build, trying to align the un alignable. lots of filler and sanding to go.
- 173 replies
-
- 17
-
-
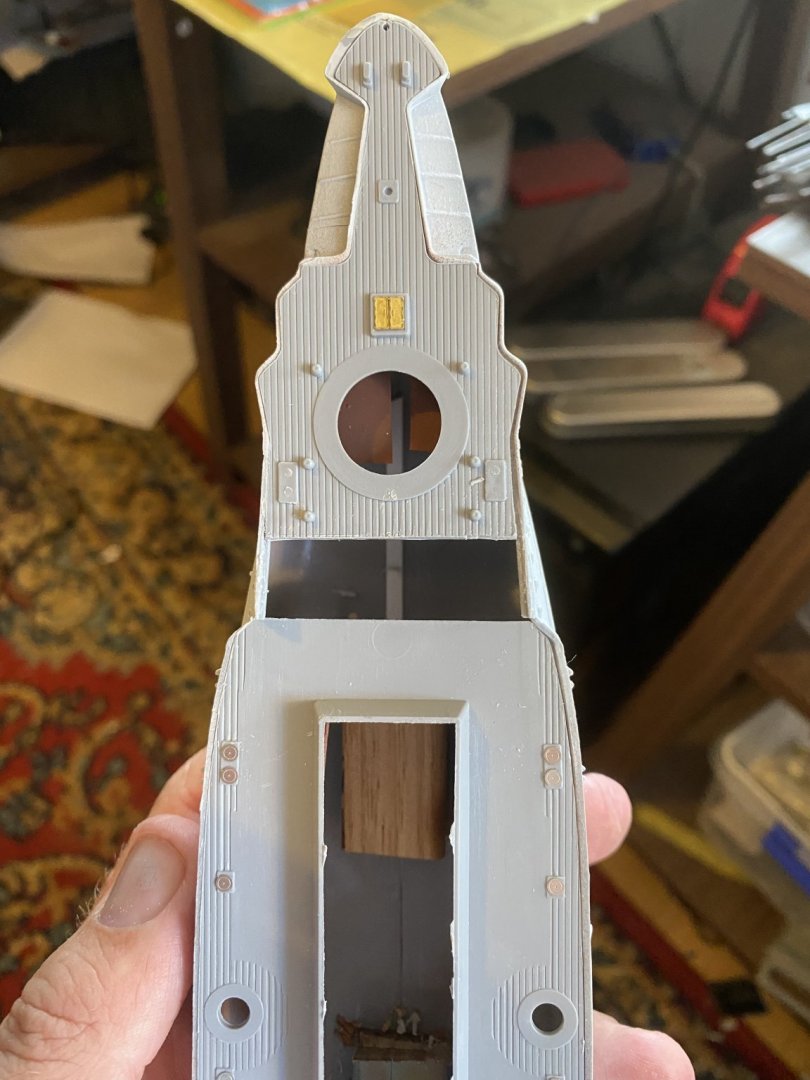
The company name is Russian, only available now on Russian sites, and Soga Minatures takes PayPal and is kinda English language friendly. the kit on the other hand! I thought it was completely malaligned, then I realised the deck has a seam that warps it completely out of alignment. As there is a stick on deck to go this won’t be seen but it really will need a lot of clean up. So I cut the deck at this seam and will have to remove a few mm as the the wing turrets won’t fit


- 173 replies
-
- 16
-