RGL
-
Posts
5,564 -
Joined
-
Last visited
Content Type
Profiles
Forums
Gallery
Events
Everything posted by RGL
-
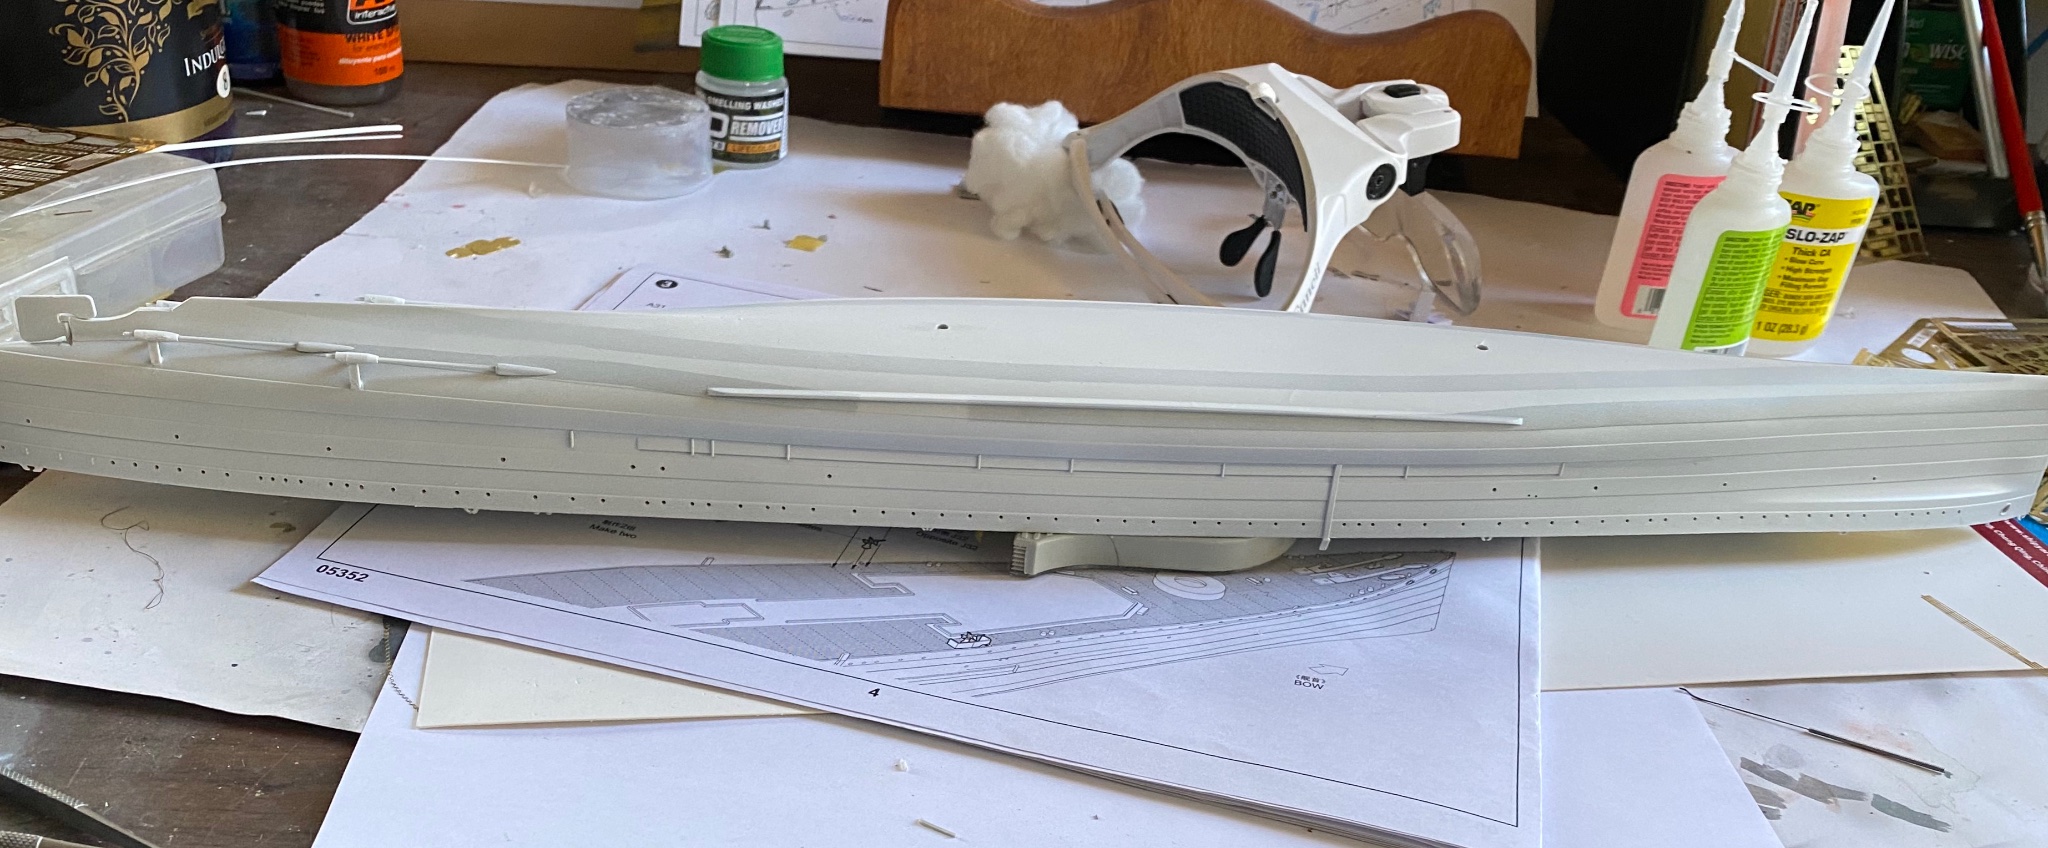
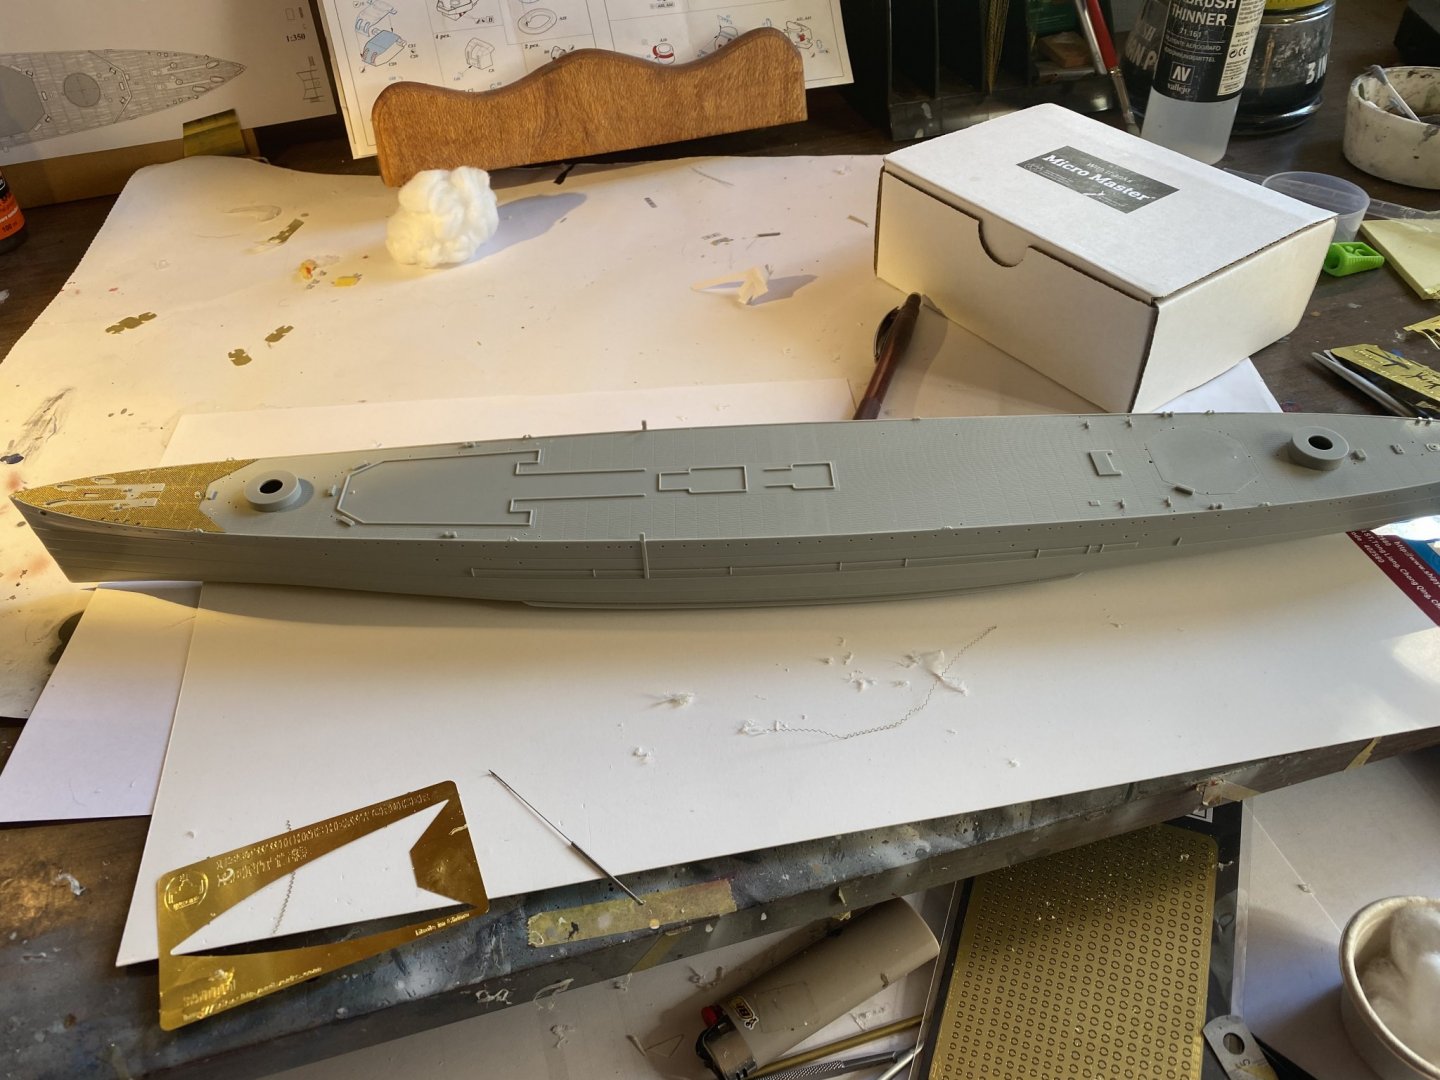
 She has some pretty good lines, so I’ve now cut in the plates. I’m going to oil can her below the waterline ( because I can really), the RN had a serious shortage of enamel for their paints and o it the boot strap was good quality as that was the highest exposure area at the waterline. I have to finish my last guns for the Strasbourg this week.
 -
Hull lines in, I added a few more, a couple of coats of primer with a flea type can. Tomorrow I’ll etch in the plates and put the undercoats on to represent the ships base primer and metal coats with oil canning.

- 128 replies
-
- 10
-

-
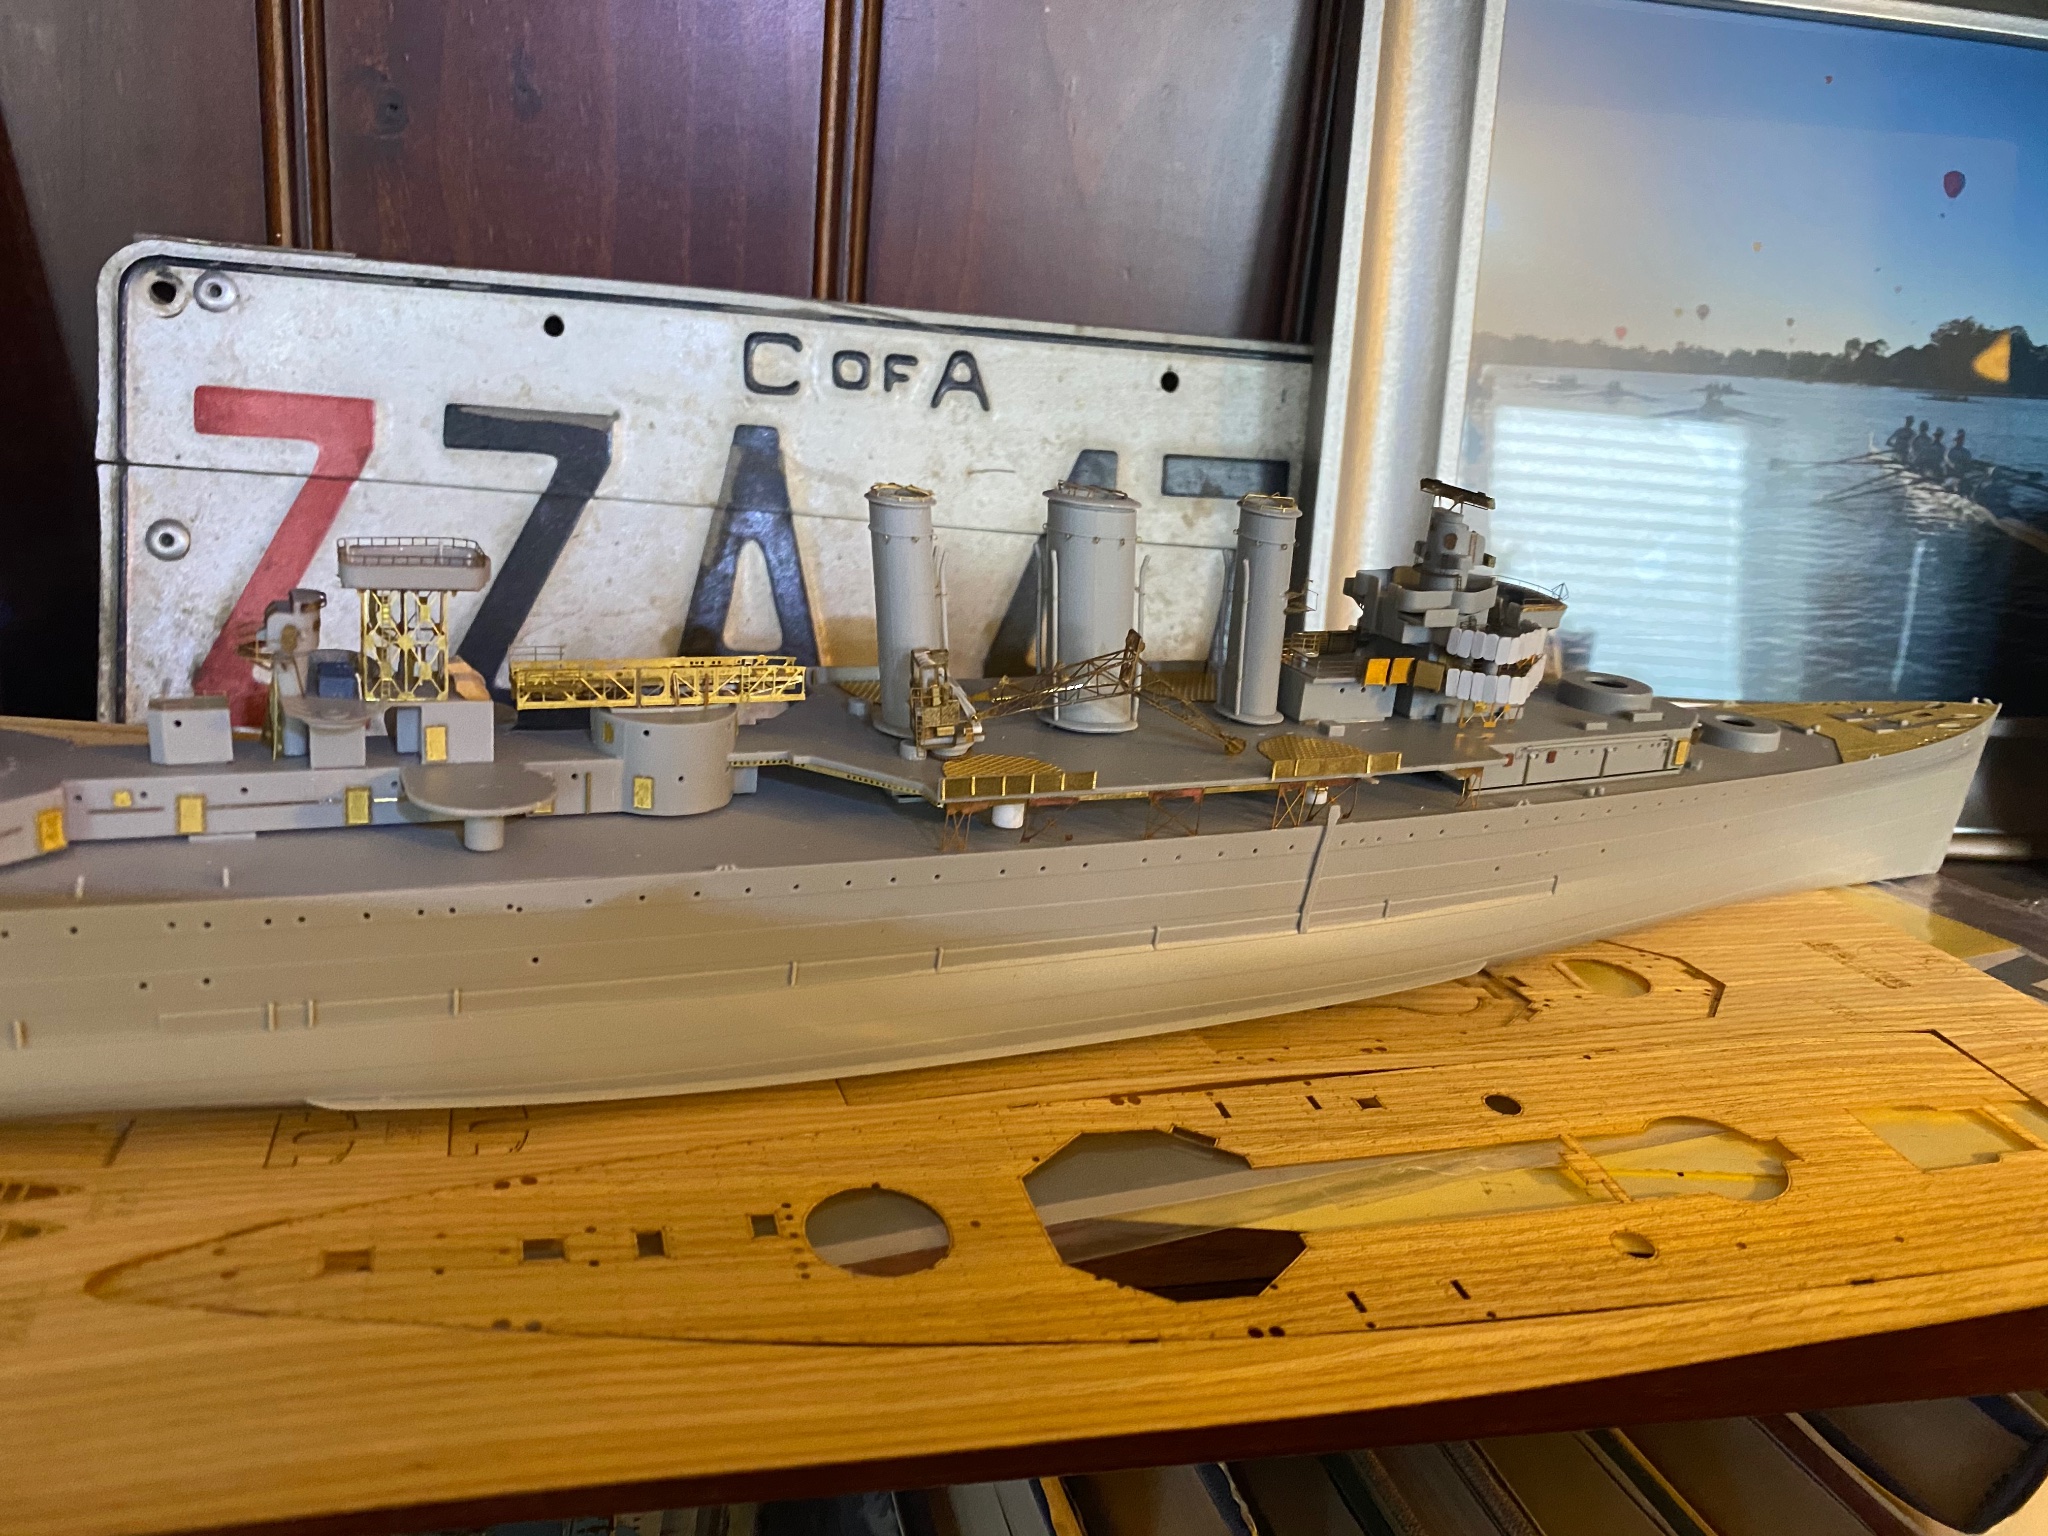
None of the aftermarket is for the HMS Kent so it’s not really linear, so I’m scratching around replacing doors and other stuff, metalled floor indeed the waist guns. I’m almost ready to start painting again.

- 128 replies
-
- 13
-
-
Mike, I pre paint them then place them and add a drop of fast setting very thin CA . The only reason I didn’t do individual stanchions on this one is that they were actually hard metal ones instead of stanchion and wire.
- 136 replies
-
- 4
-
-
- strasbourg
- finished
- (and 2 more)
-
I use brass rod for pipes, it comes in various sizes and is easy to bend unlike plastic which has a mind of it’s’ own.
-
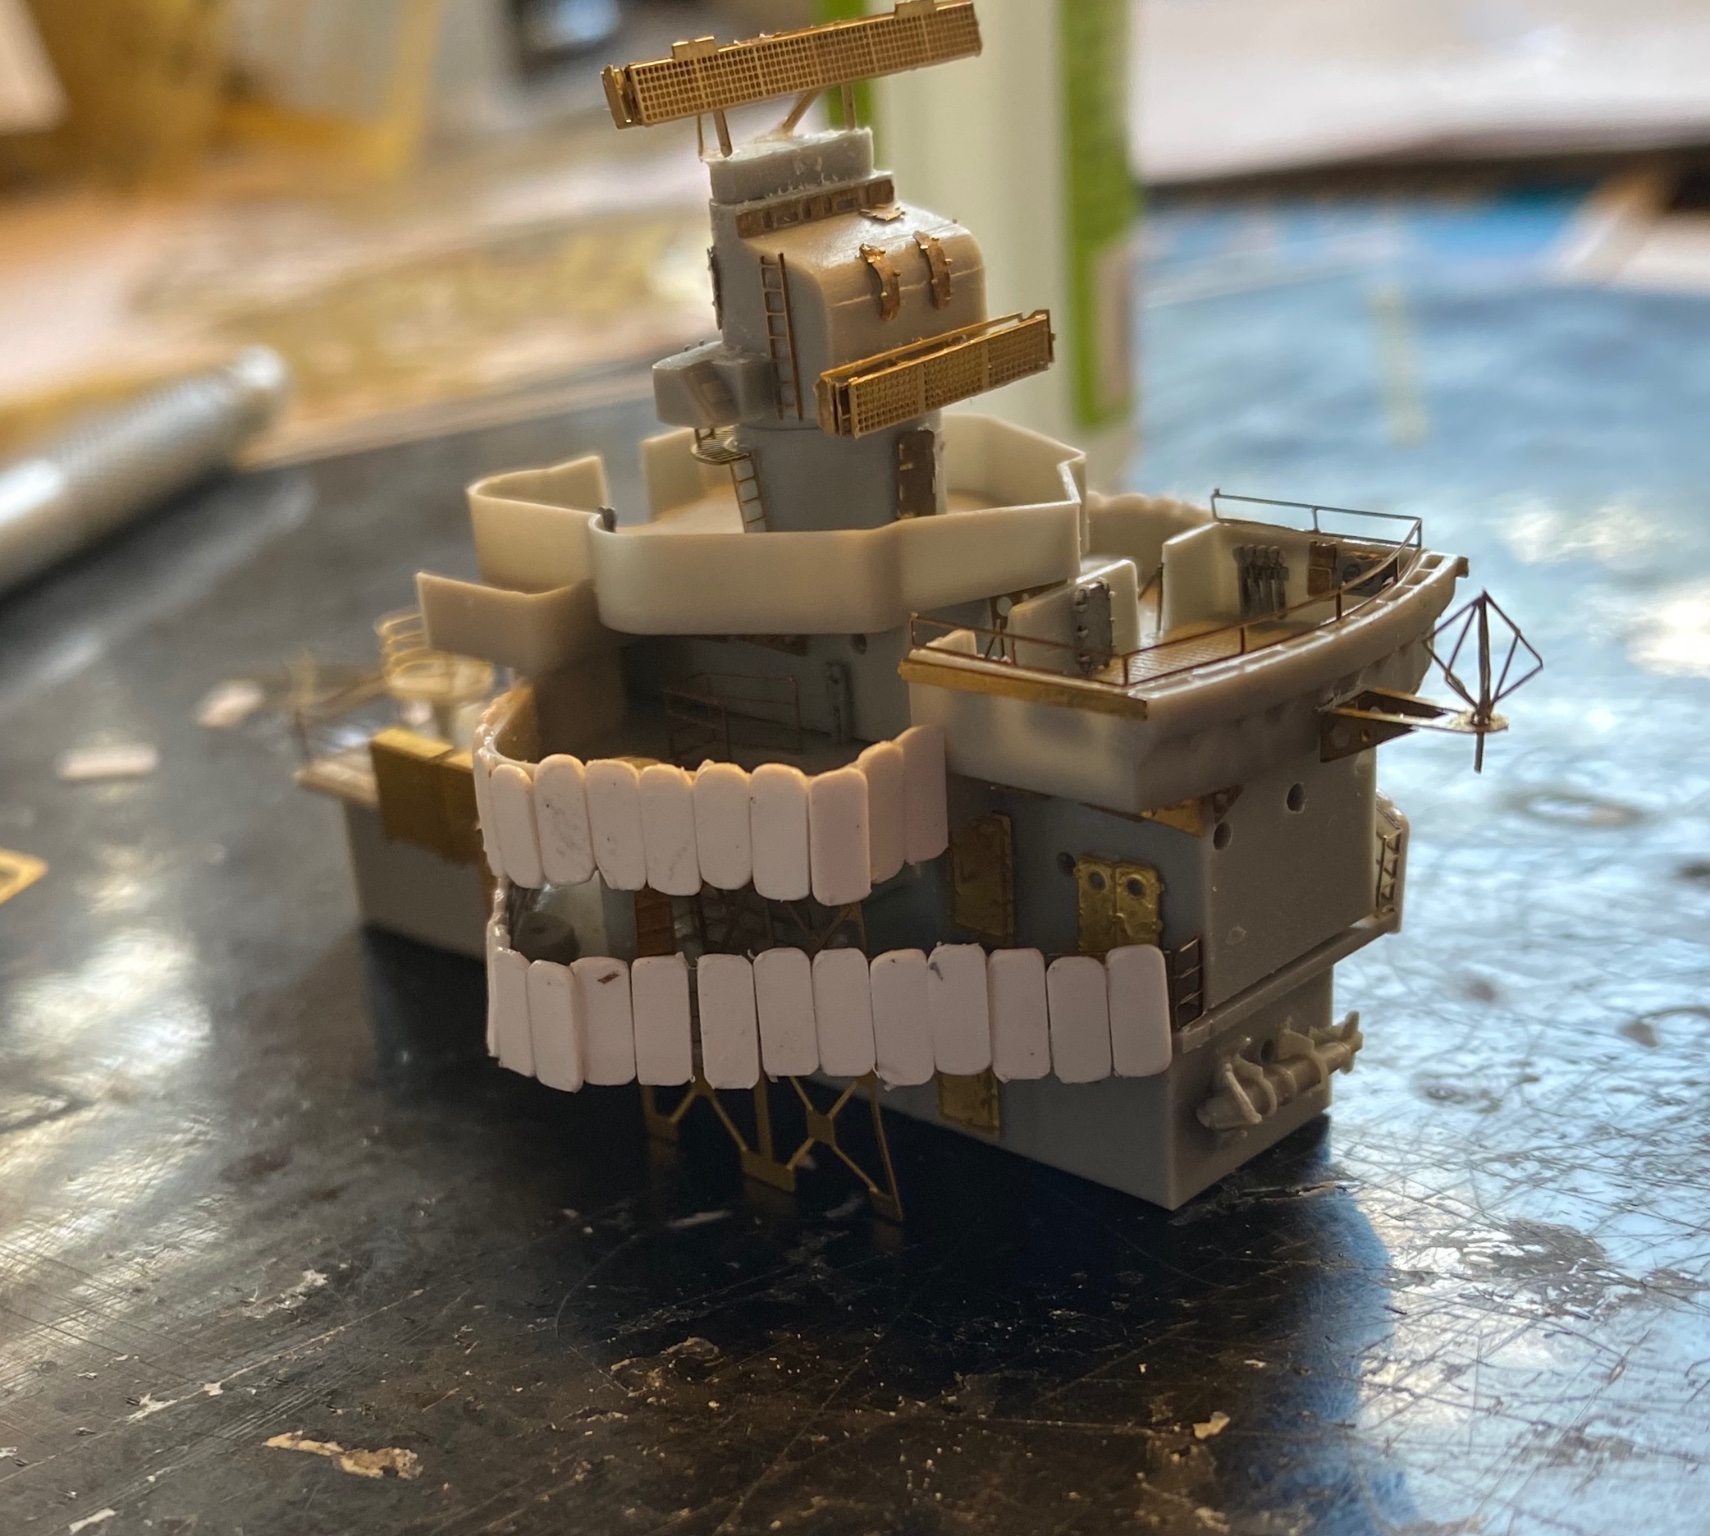
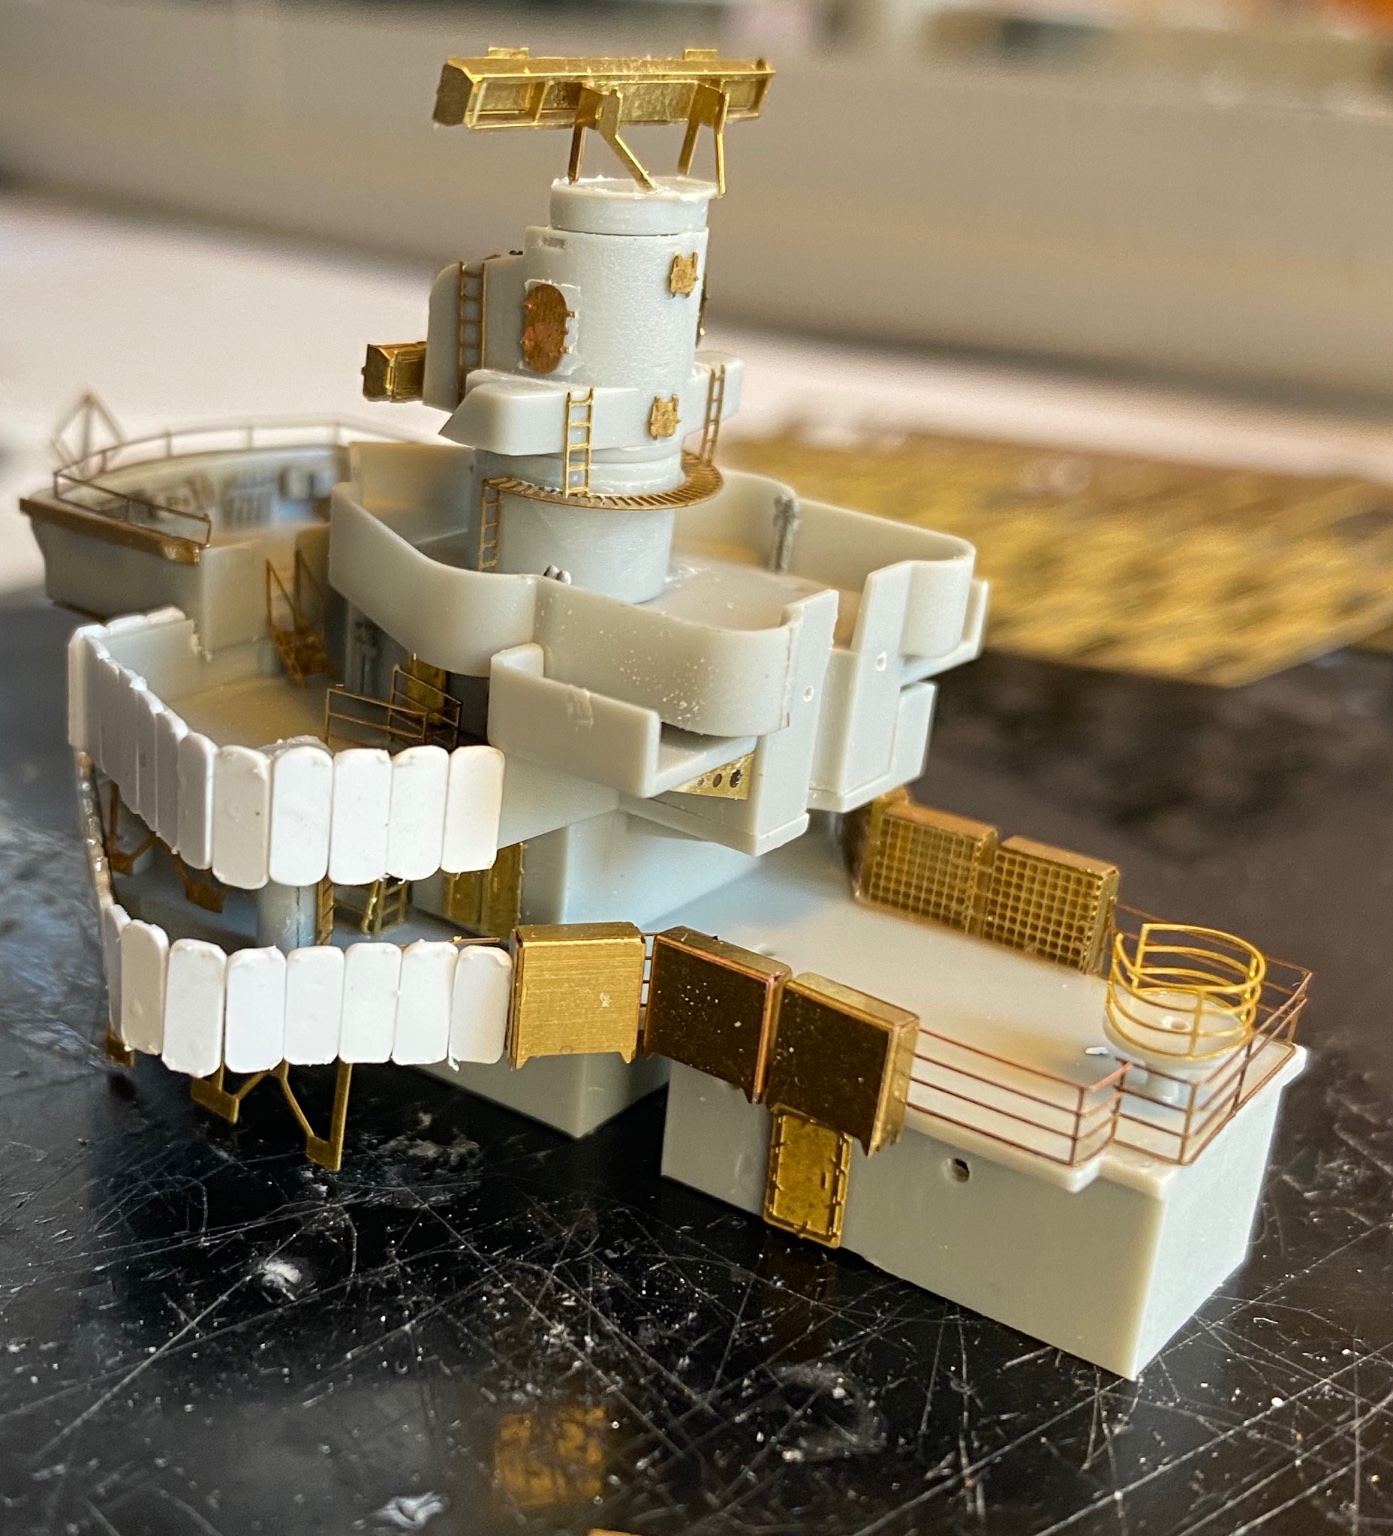
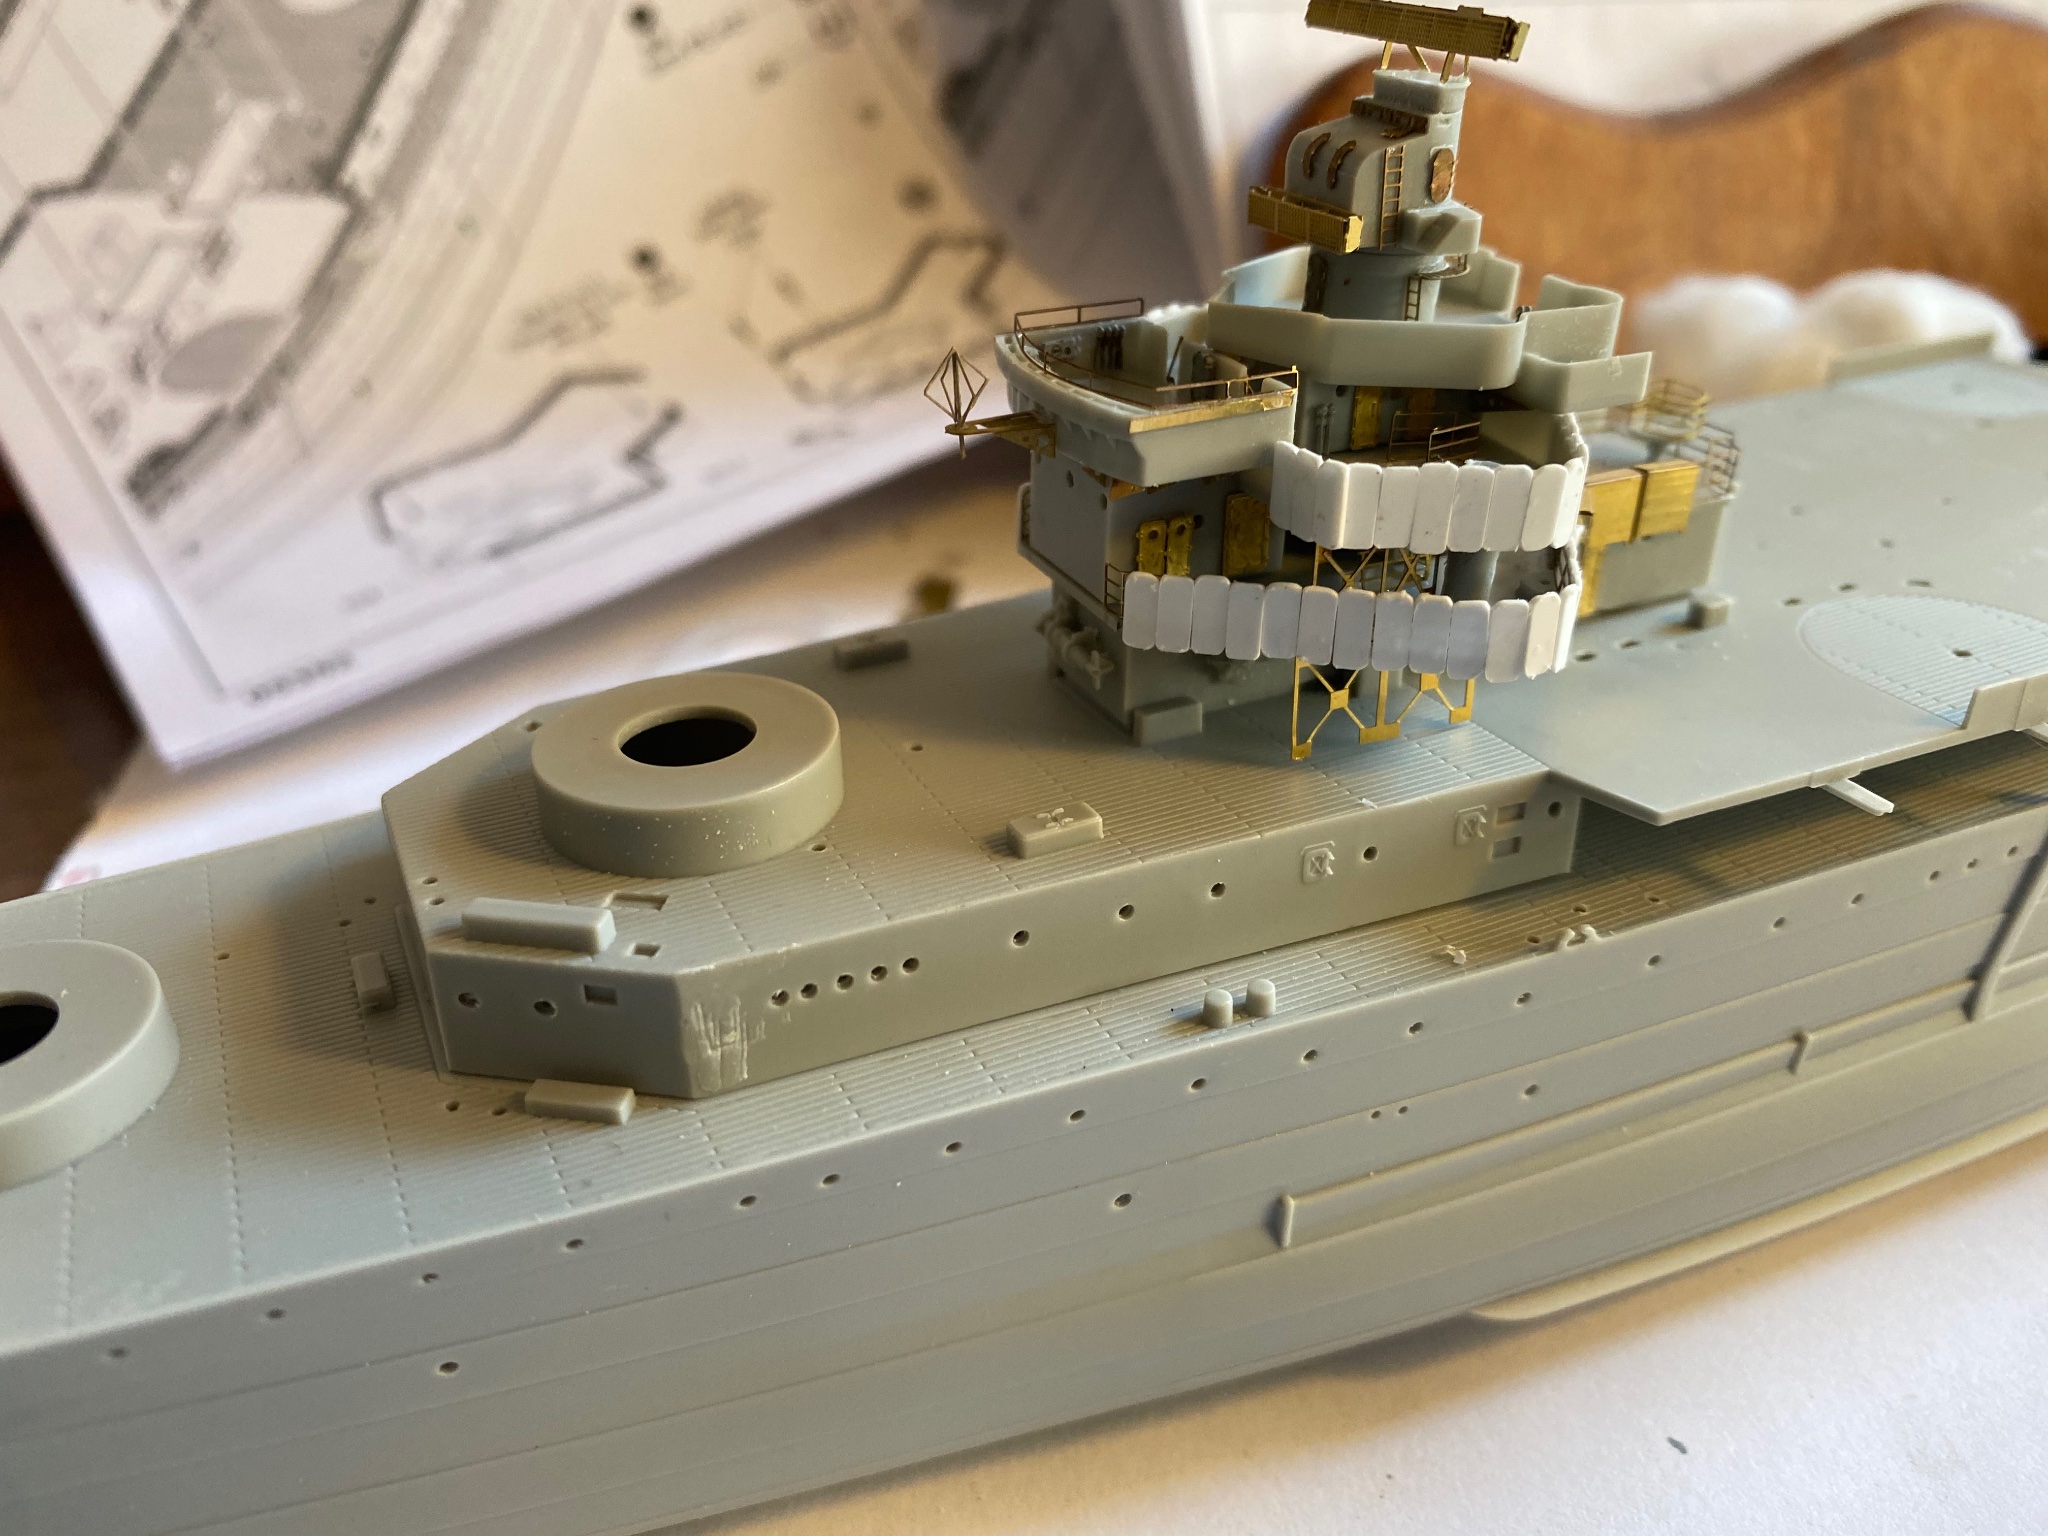
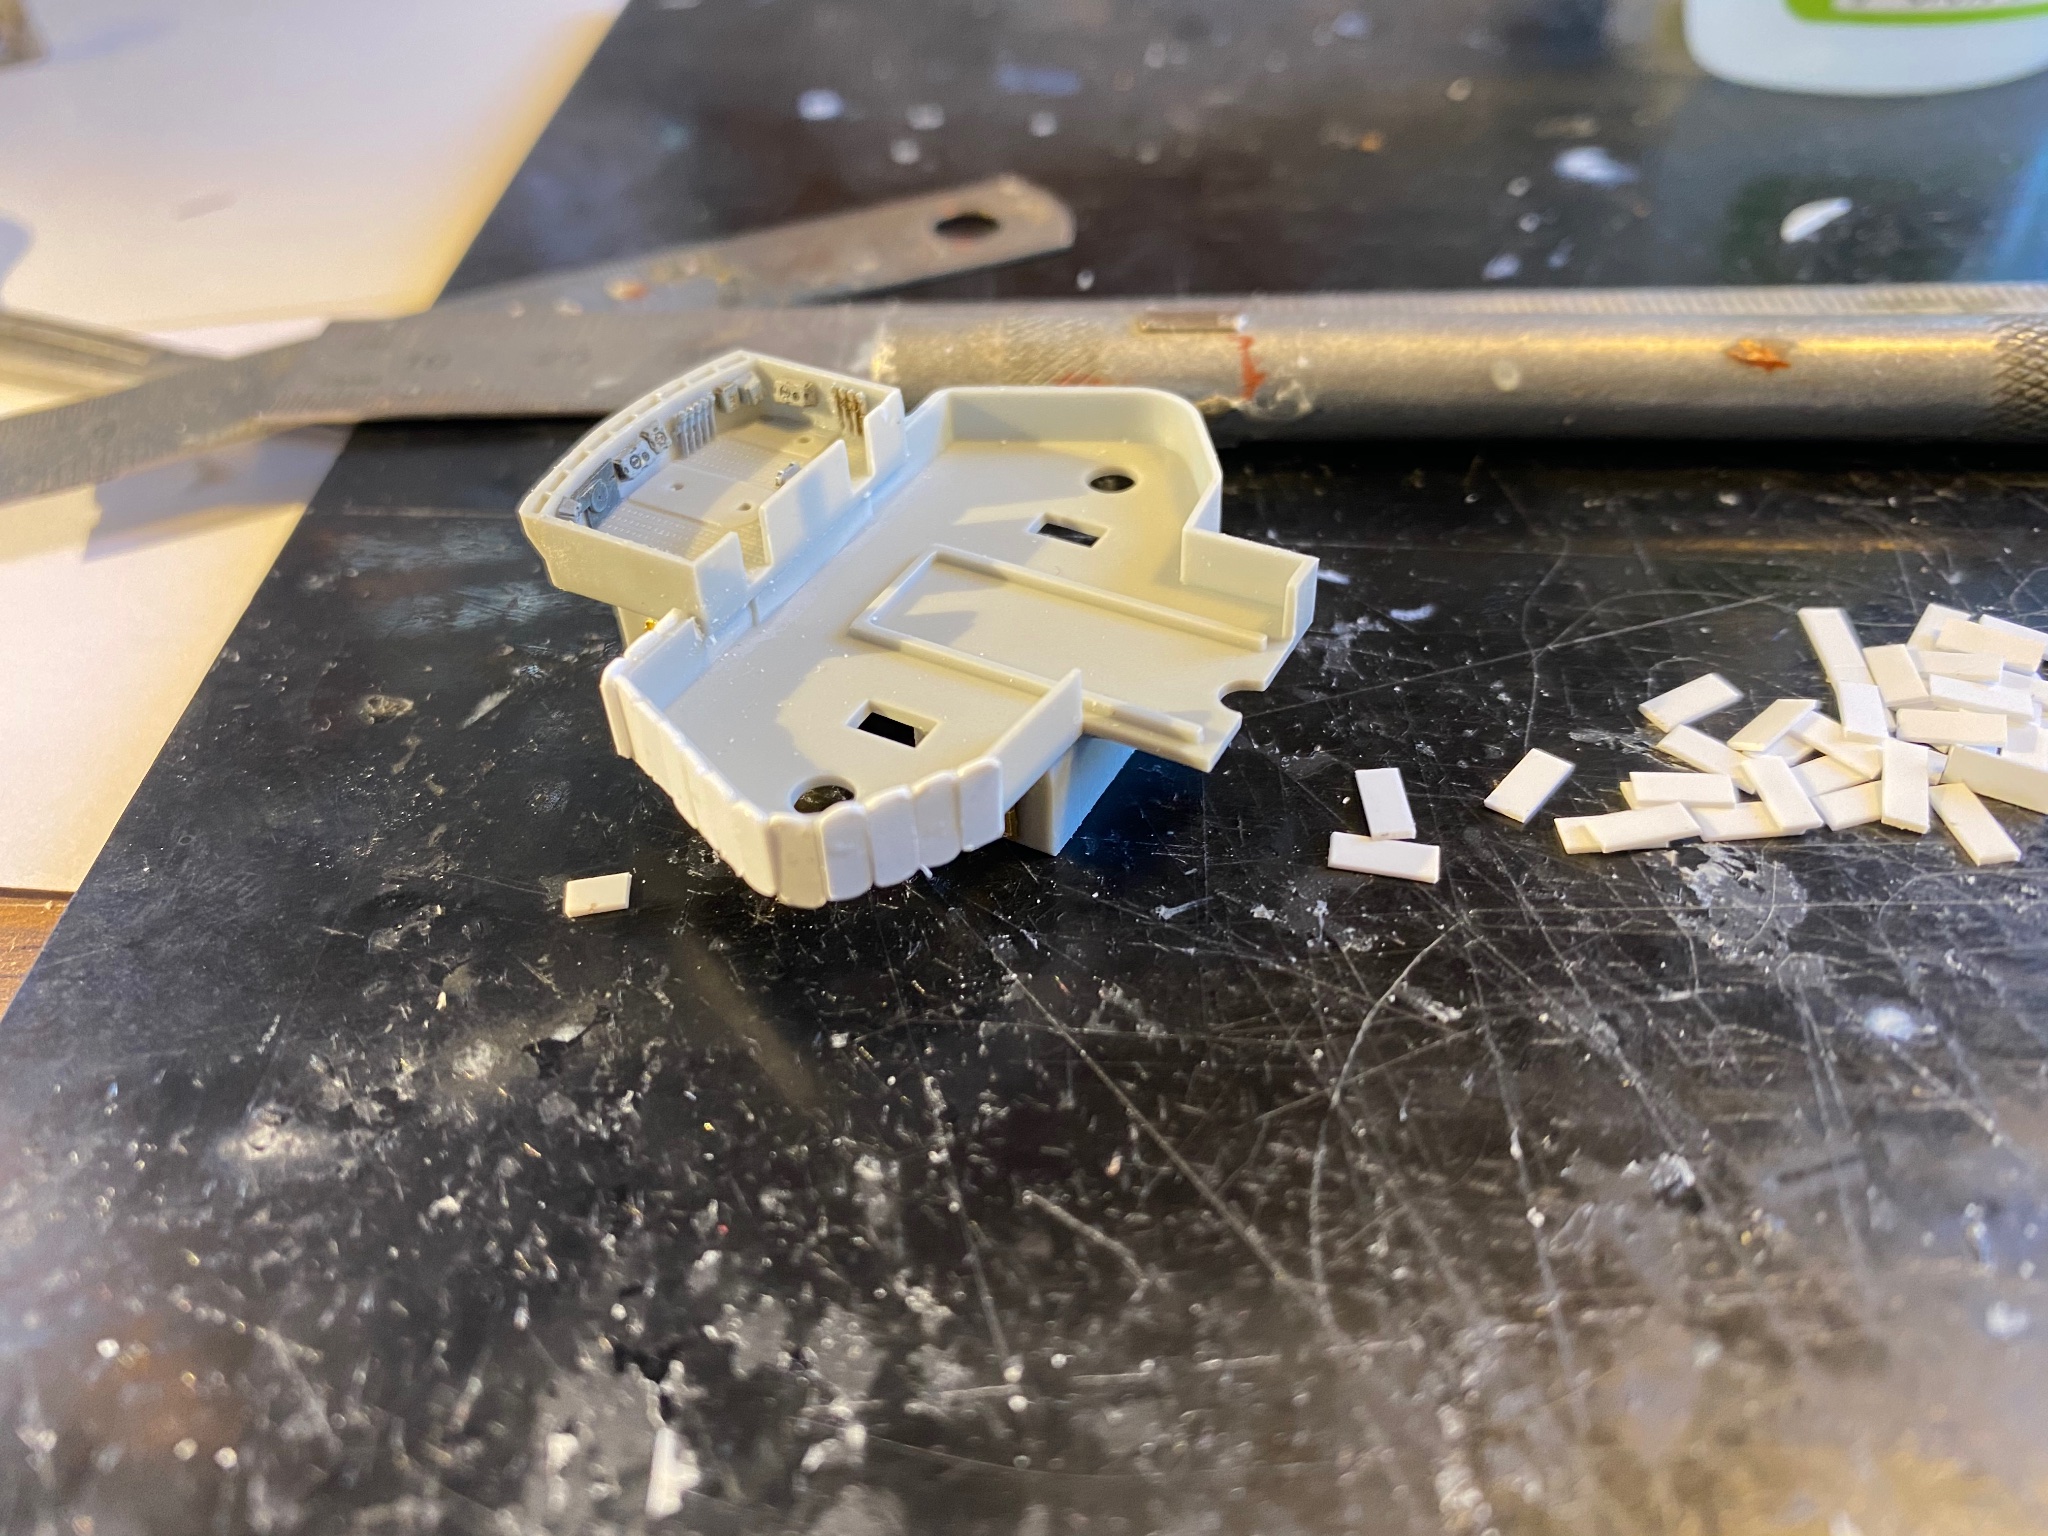
Doing up the main bridge area, the box art and the ship has splinter mattresses. None provided or available under $100 I’m going to use 5mm plastic strip, after I prime it I will scribe In the details

- 128 replies
-
- 11
-
-
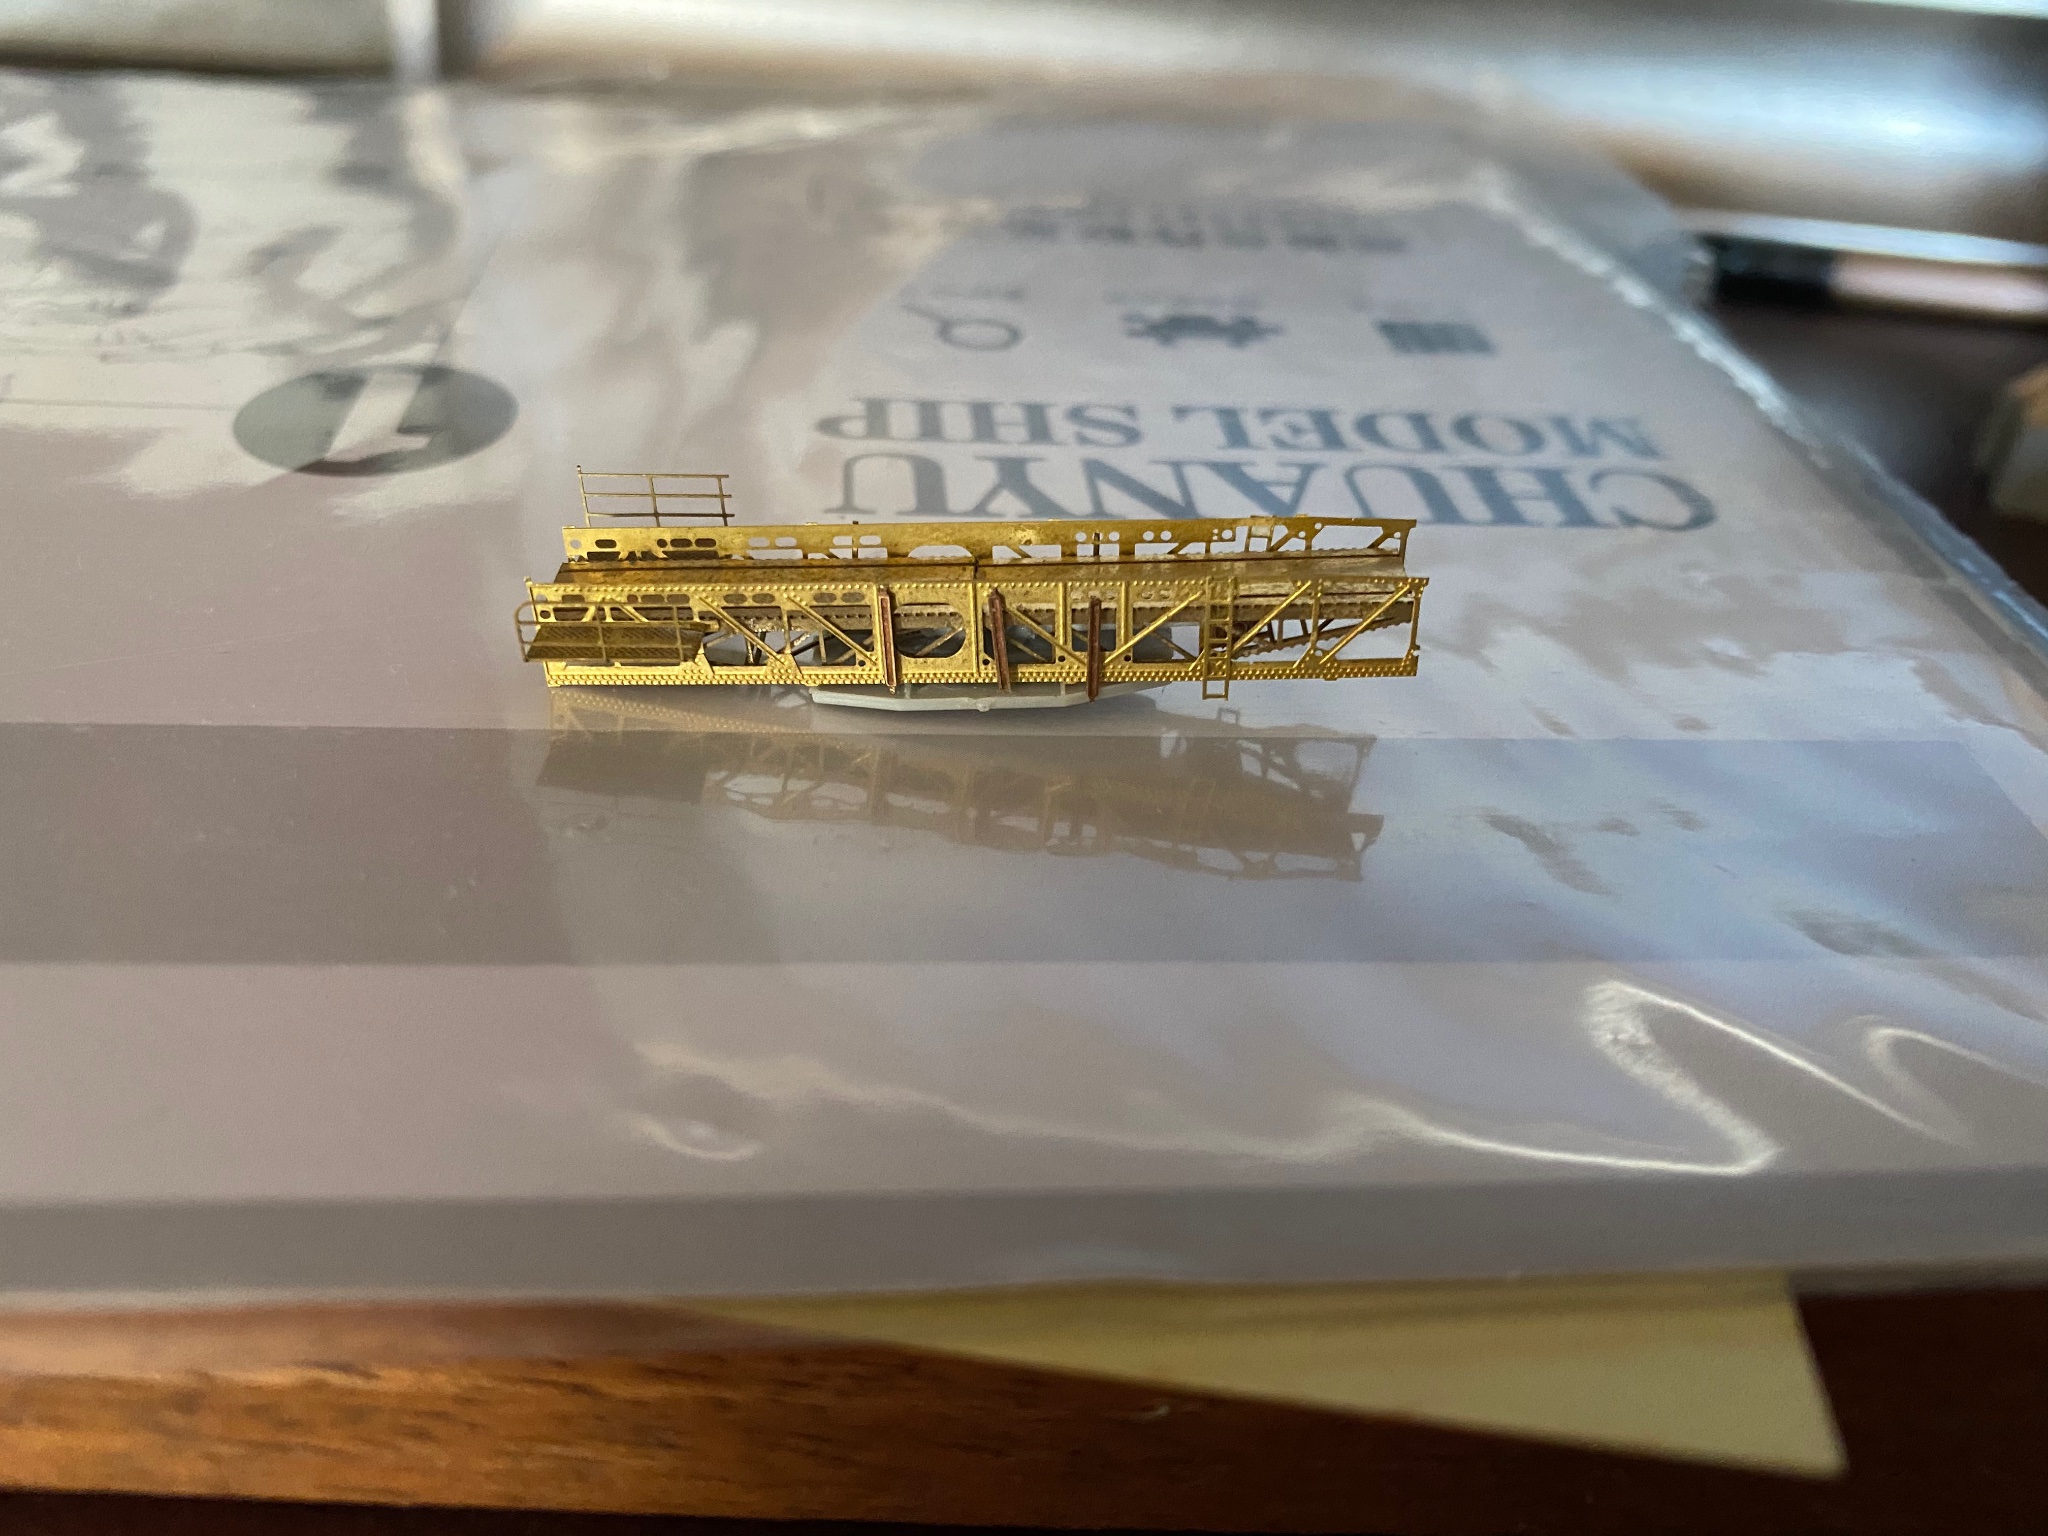
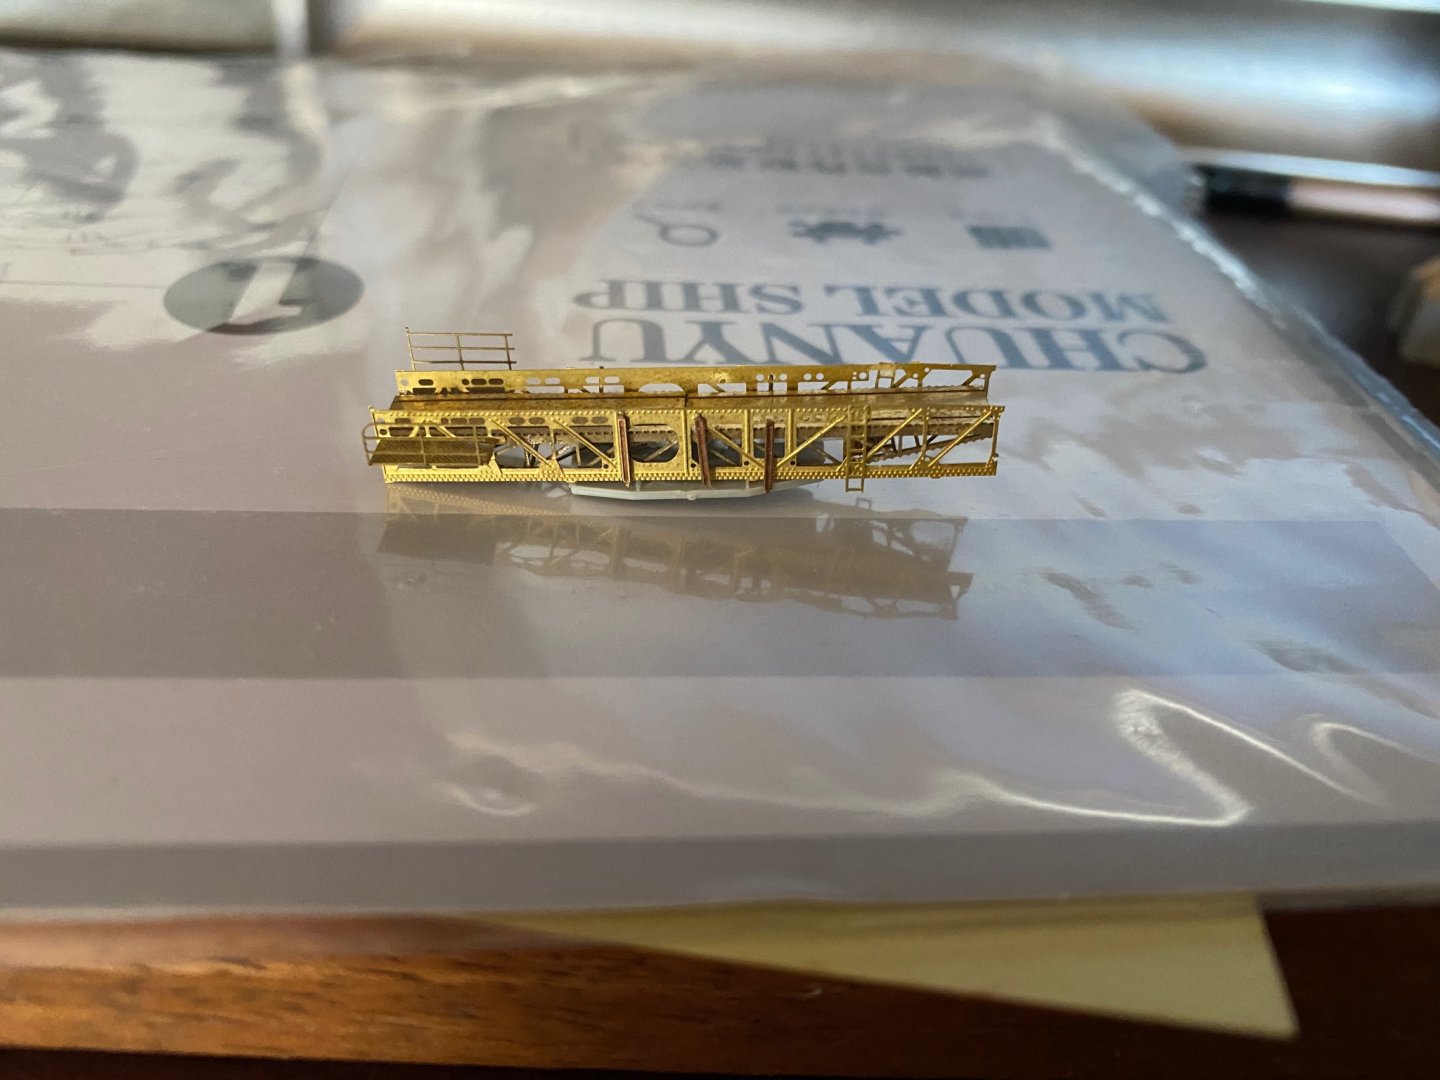
The kit provides a Poor plastic catapault for the seaplane so I scratch built one from bits and pieces
- 128 replies
-
- 12
-
-
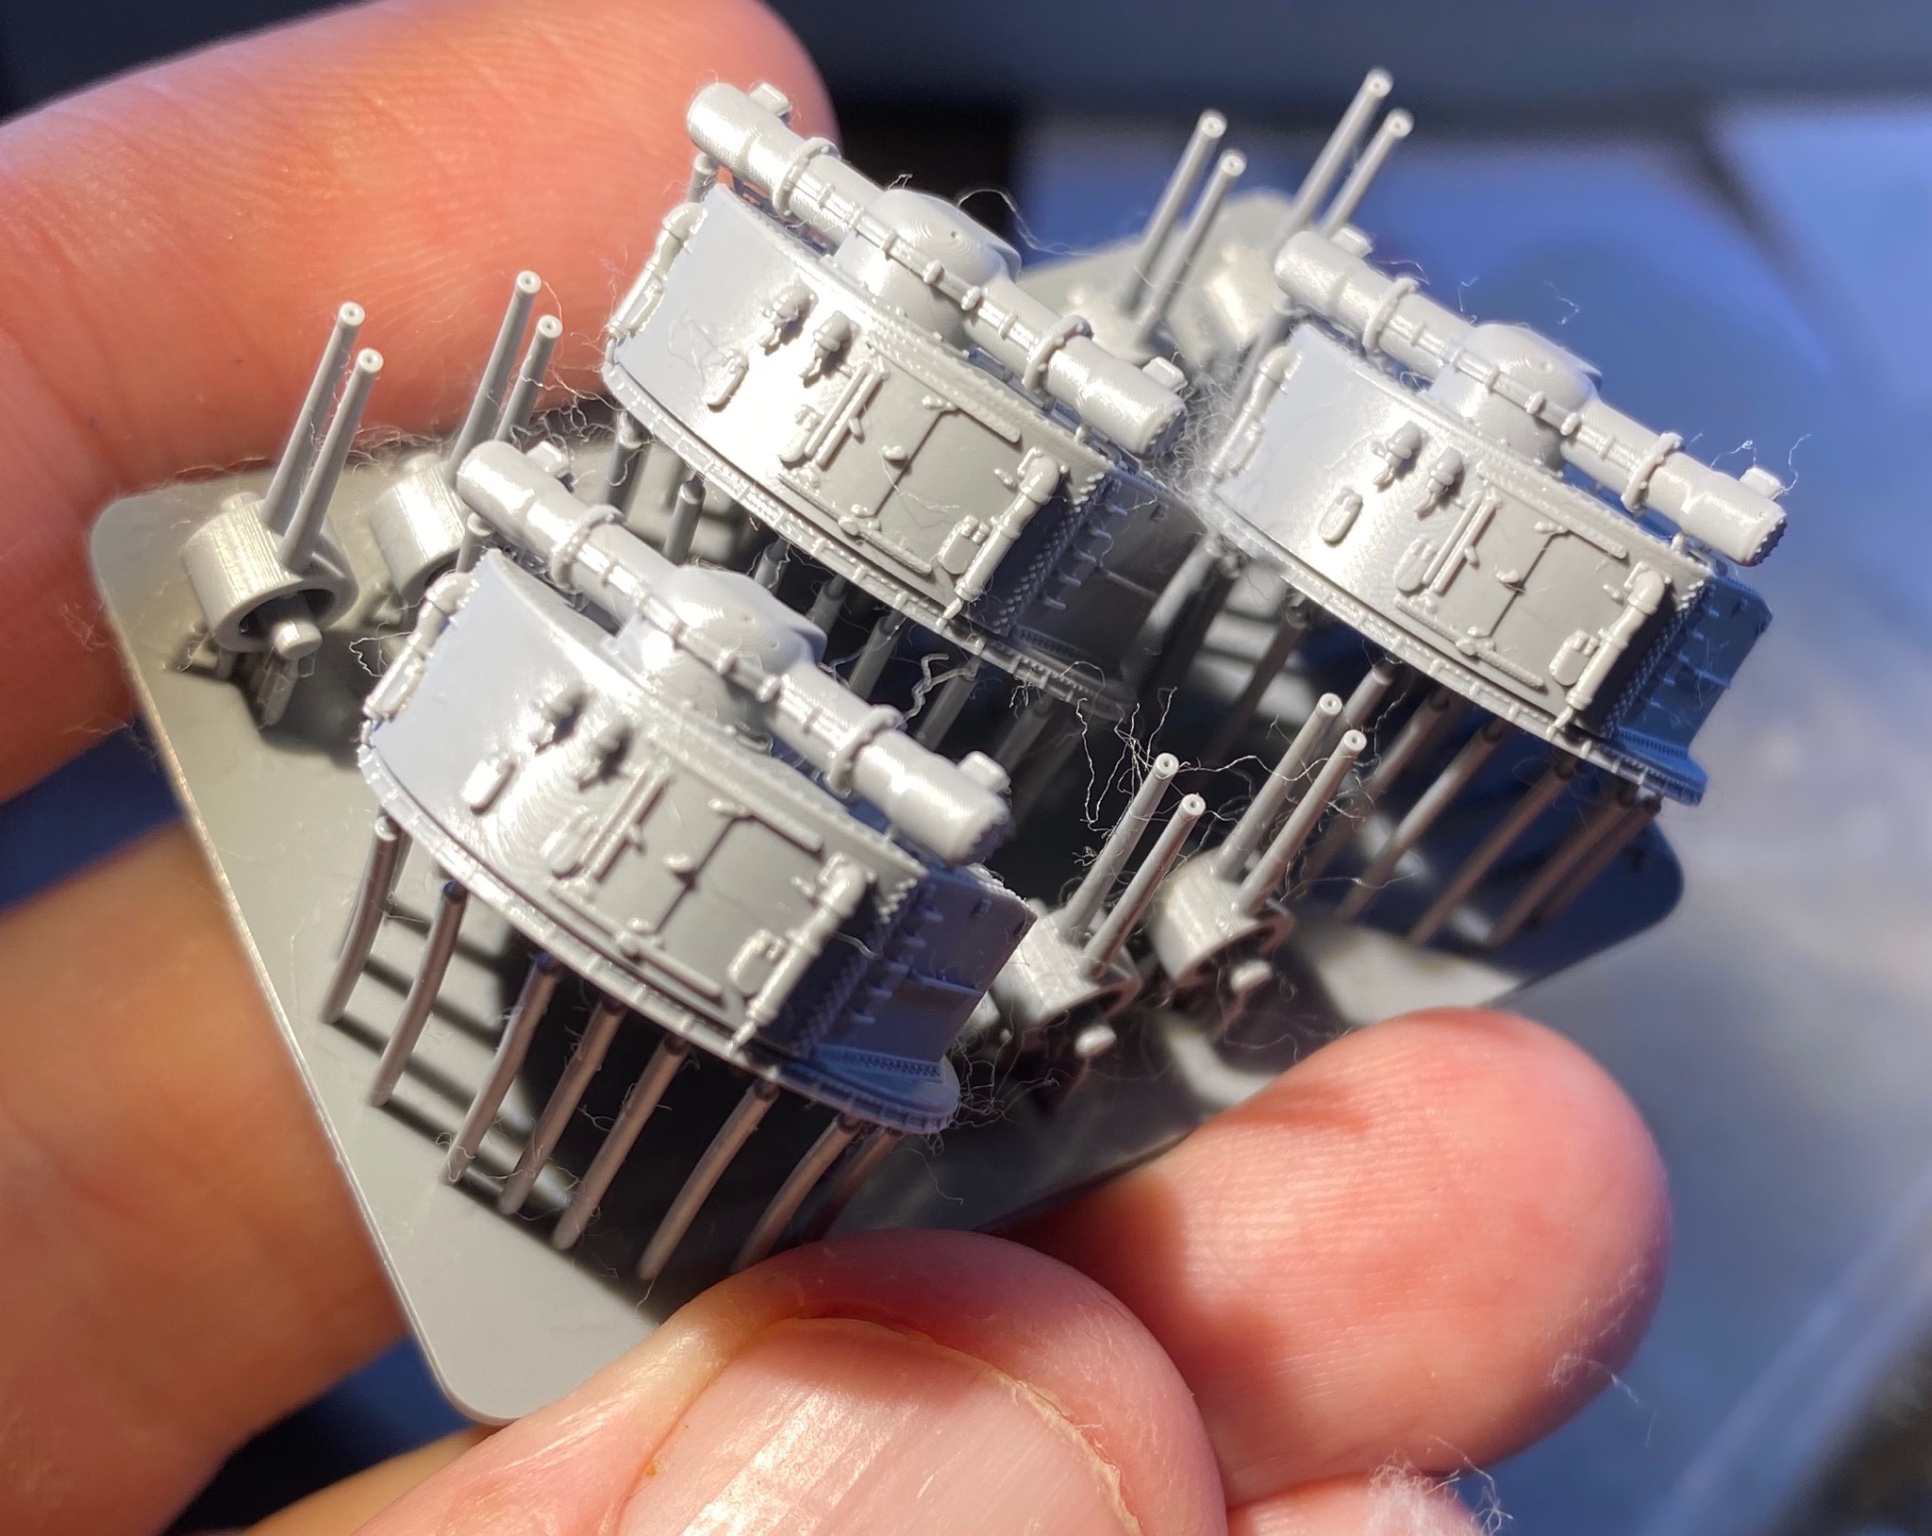
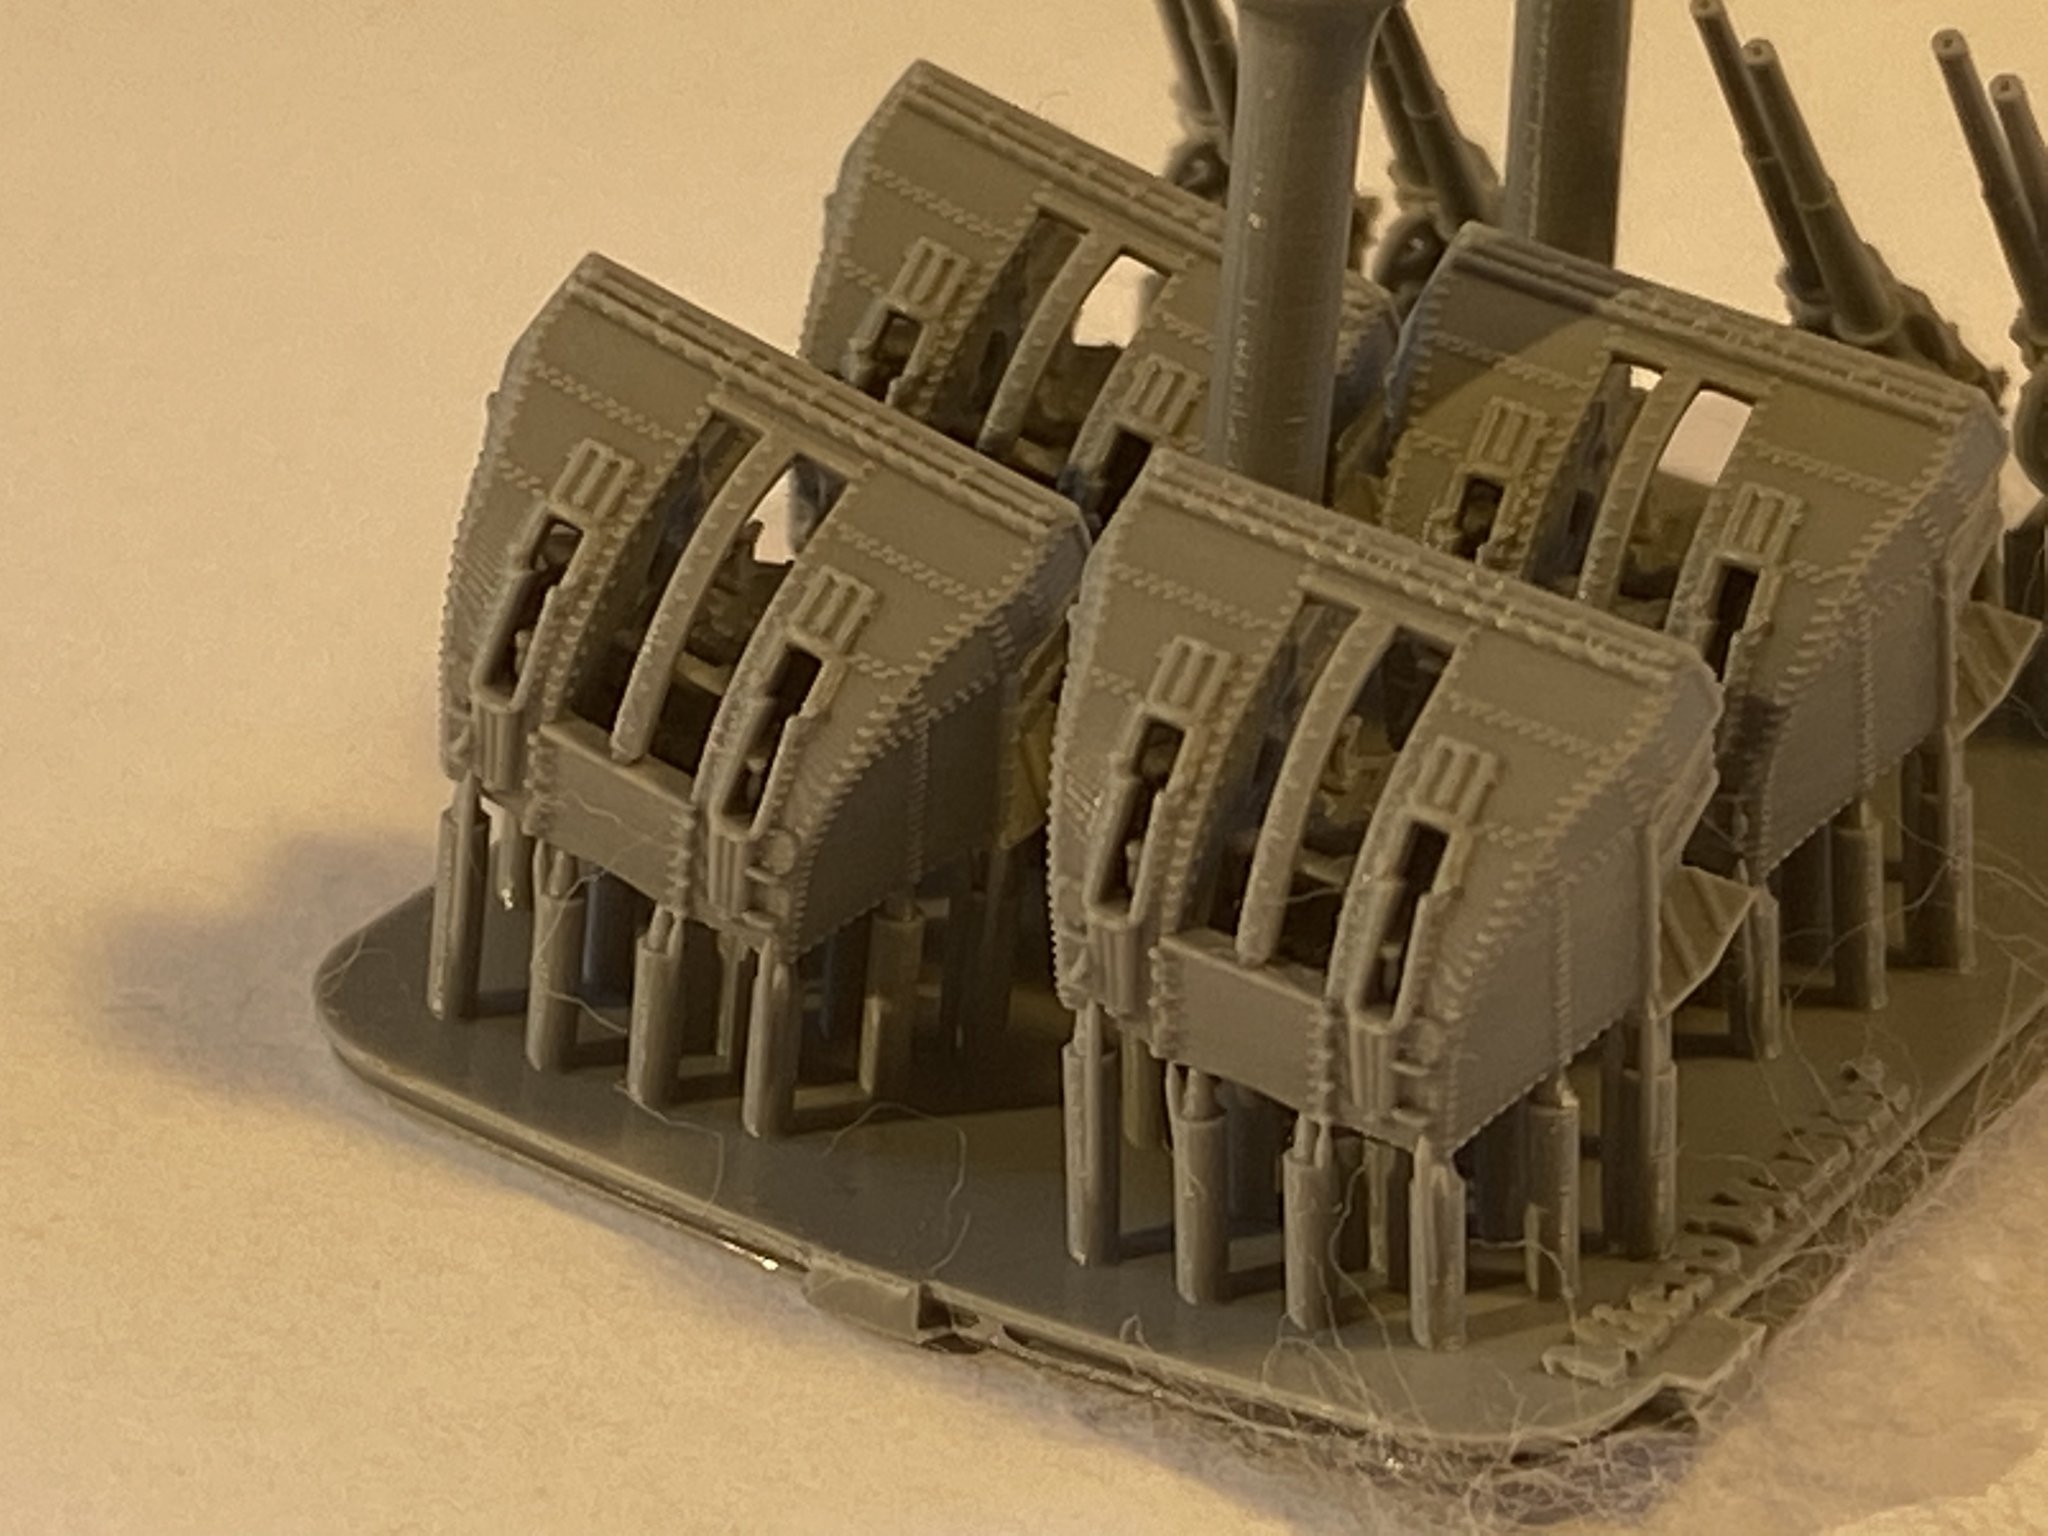
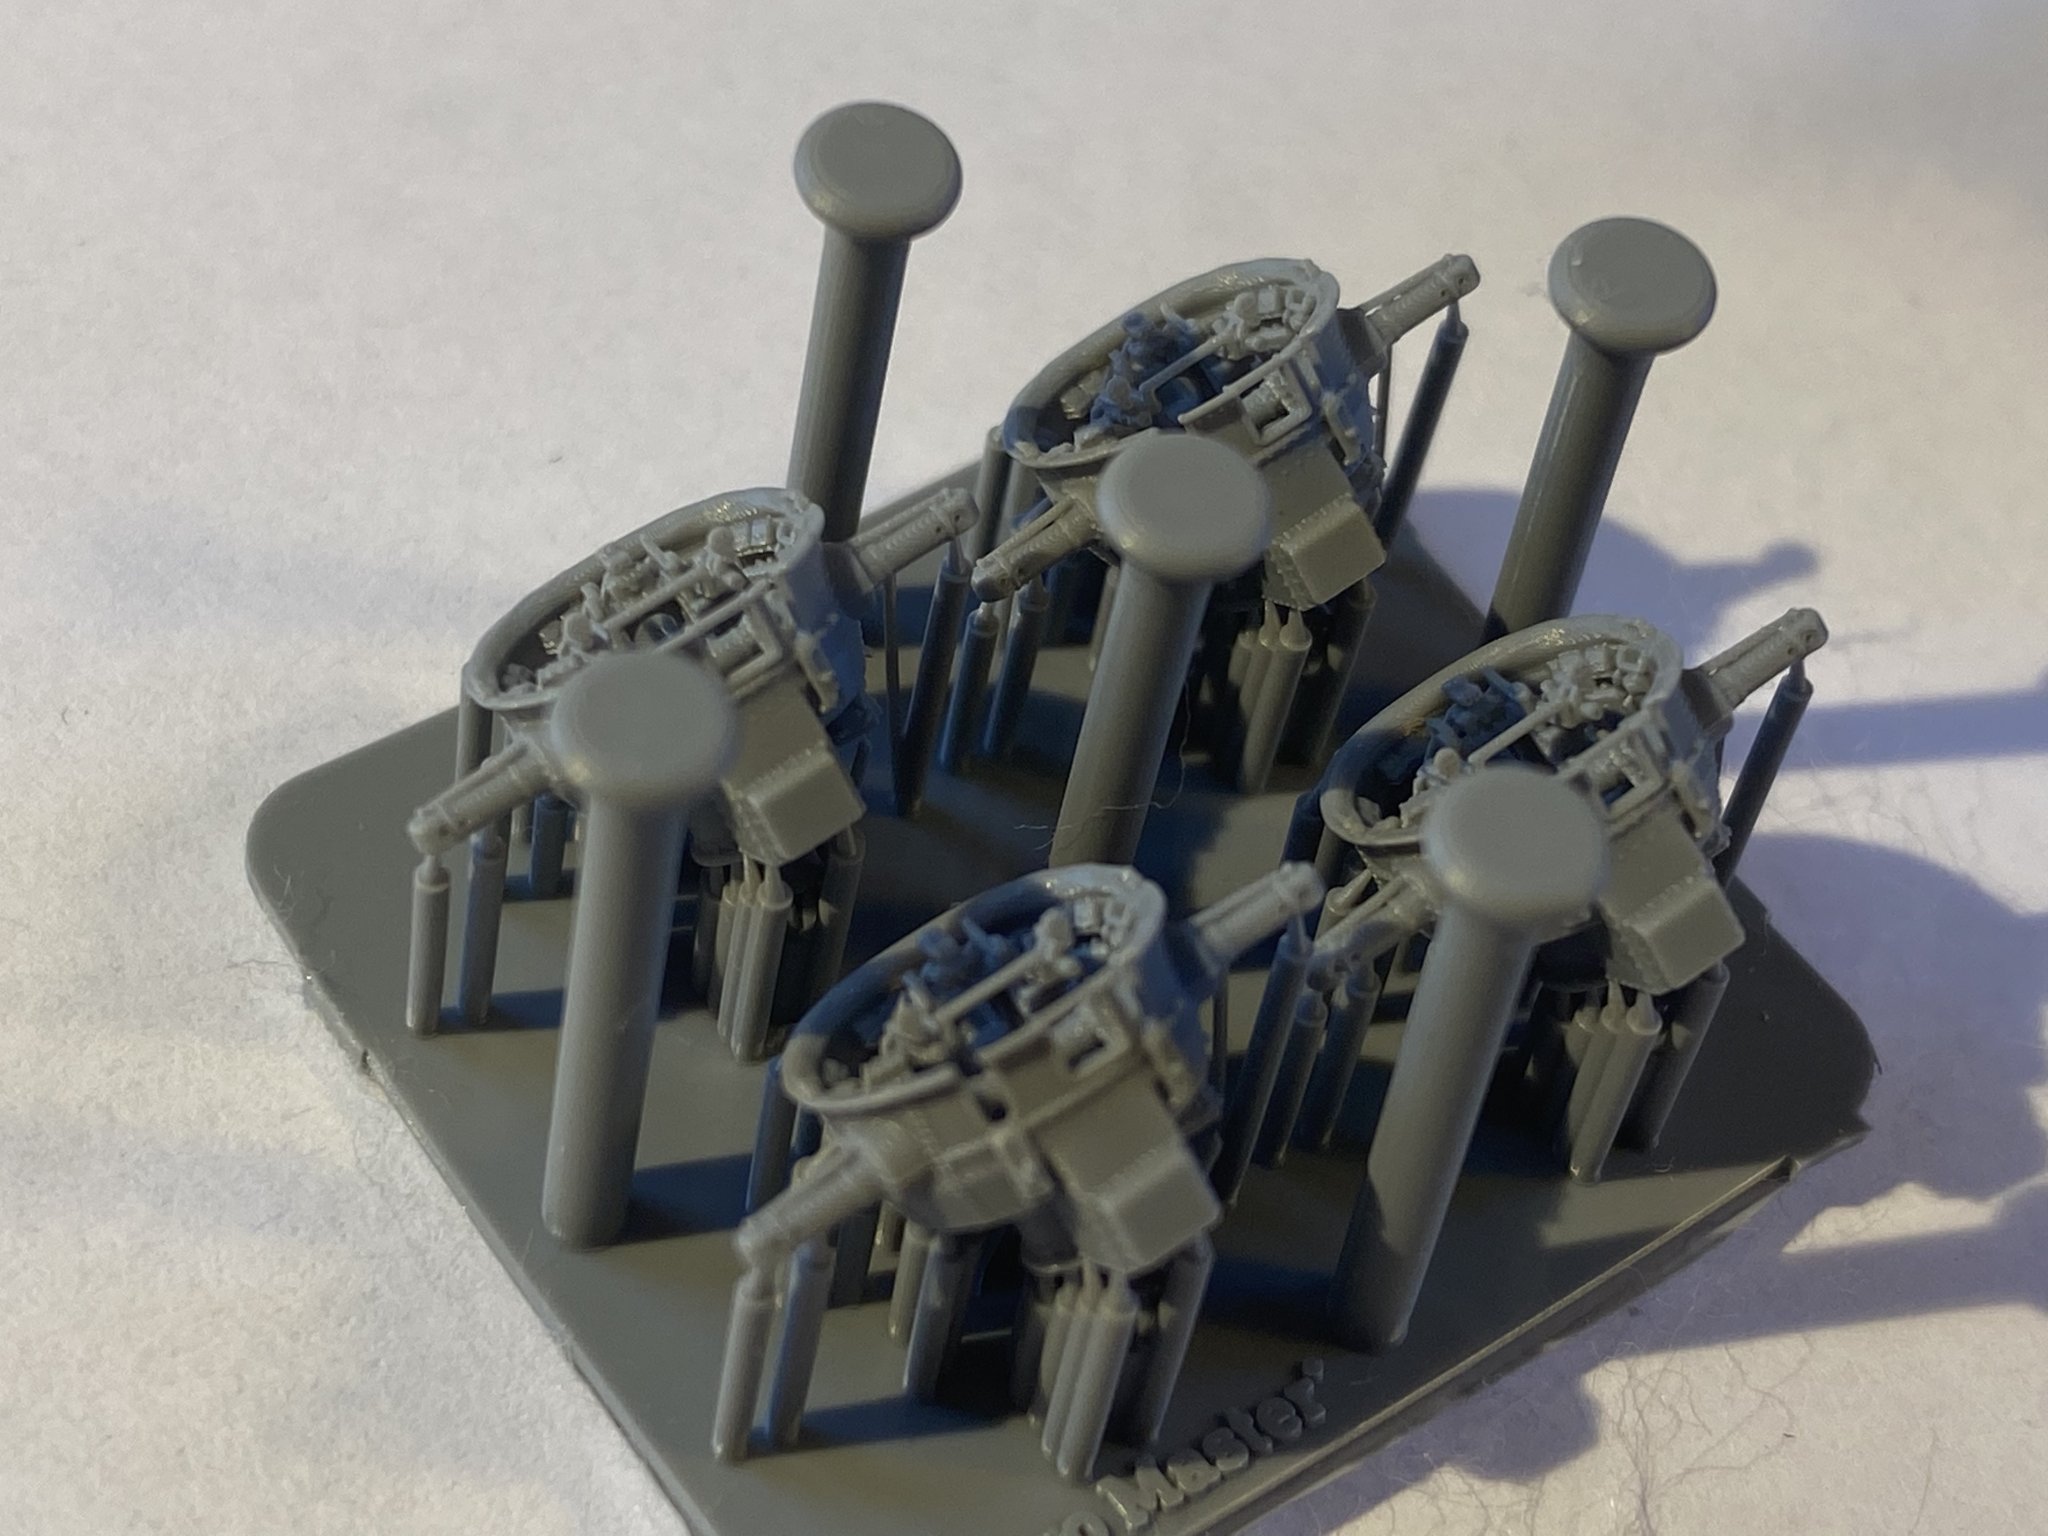
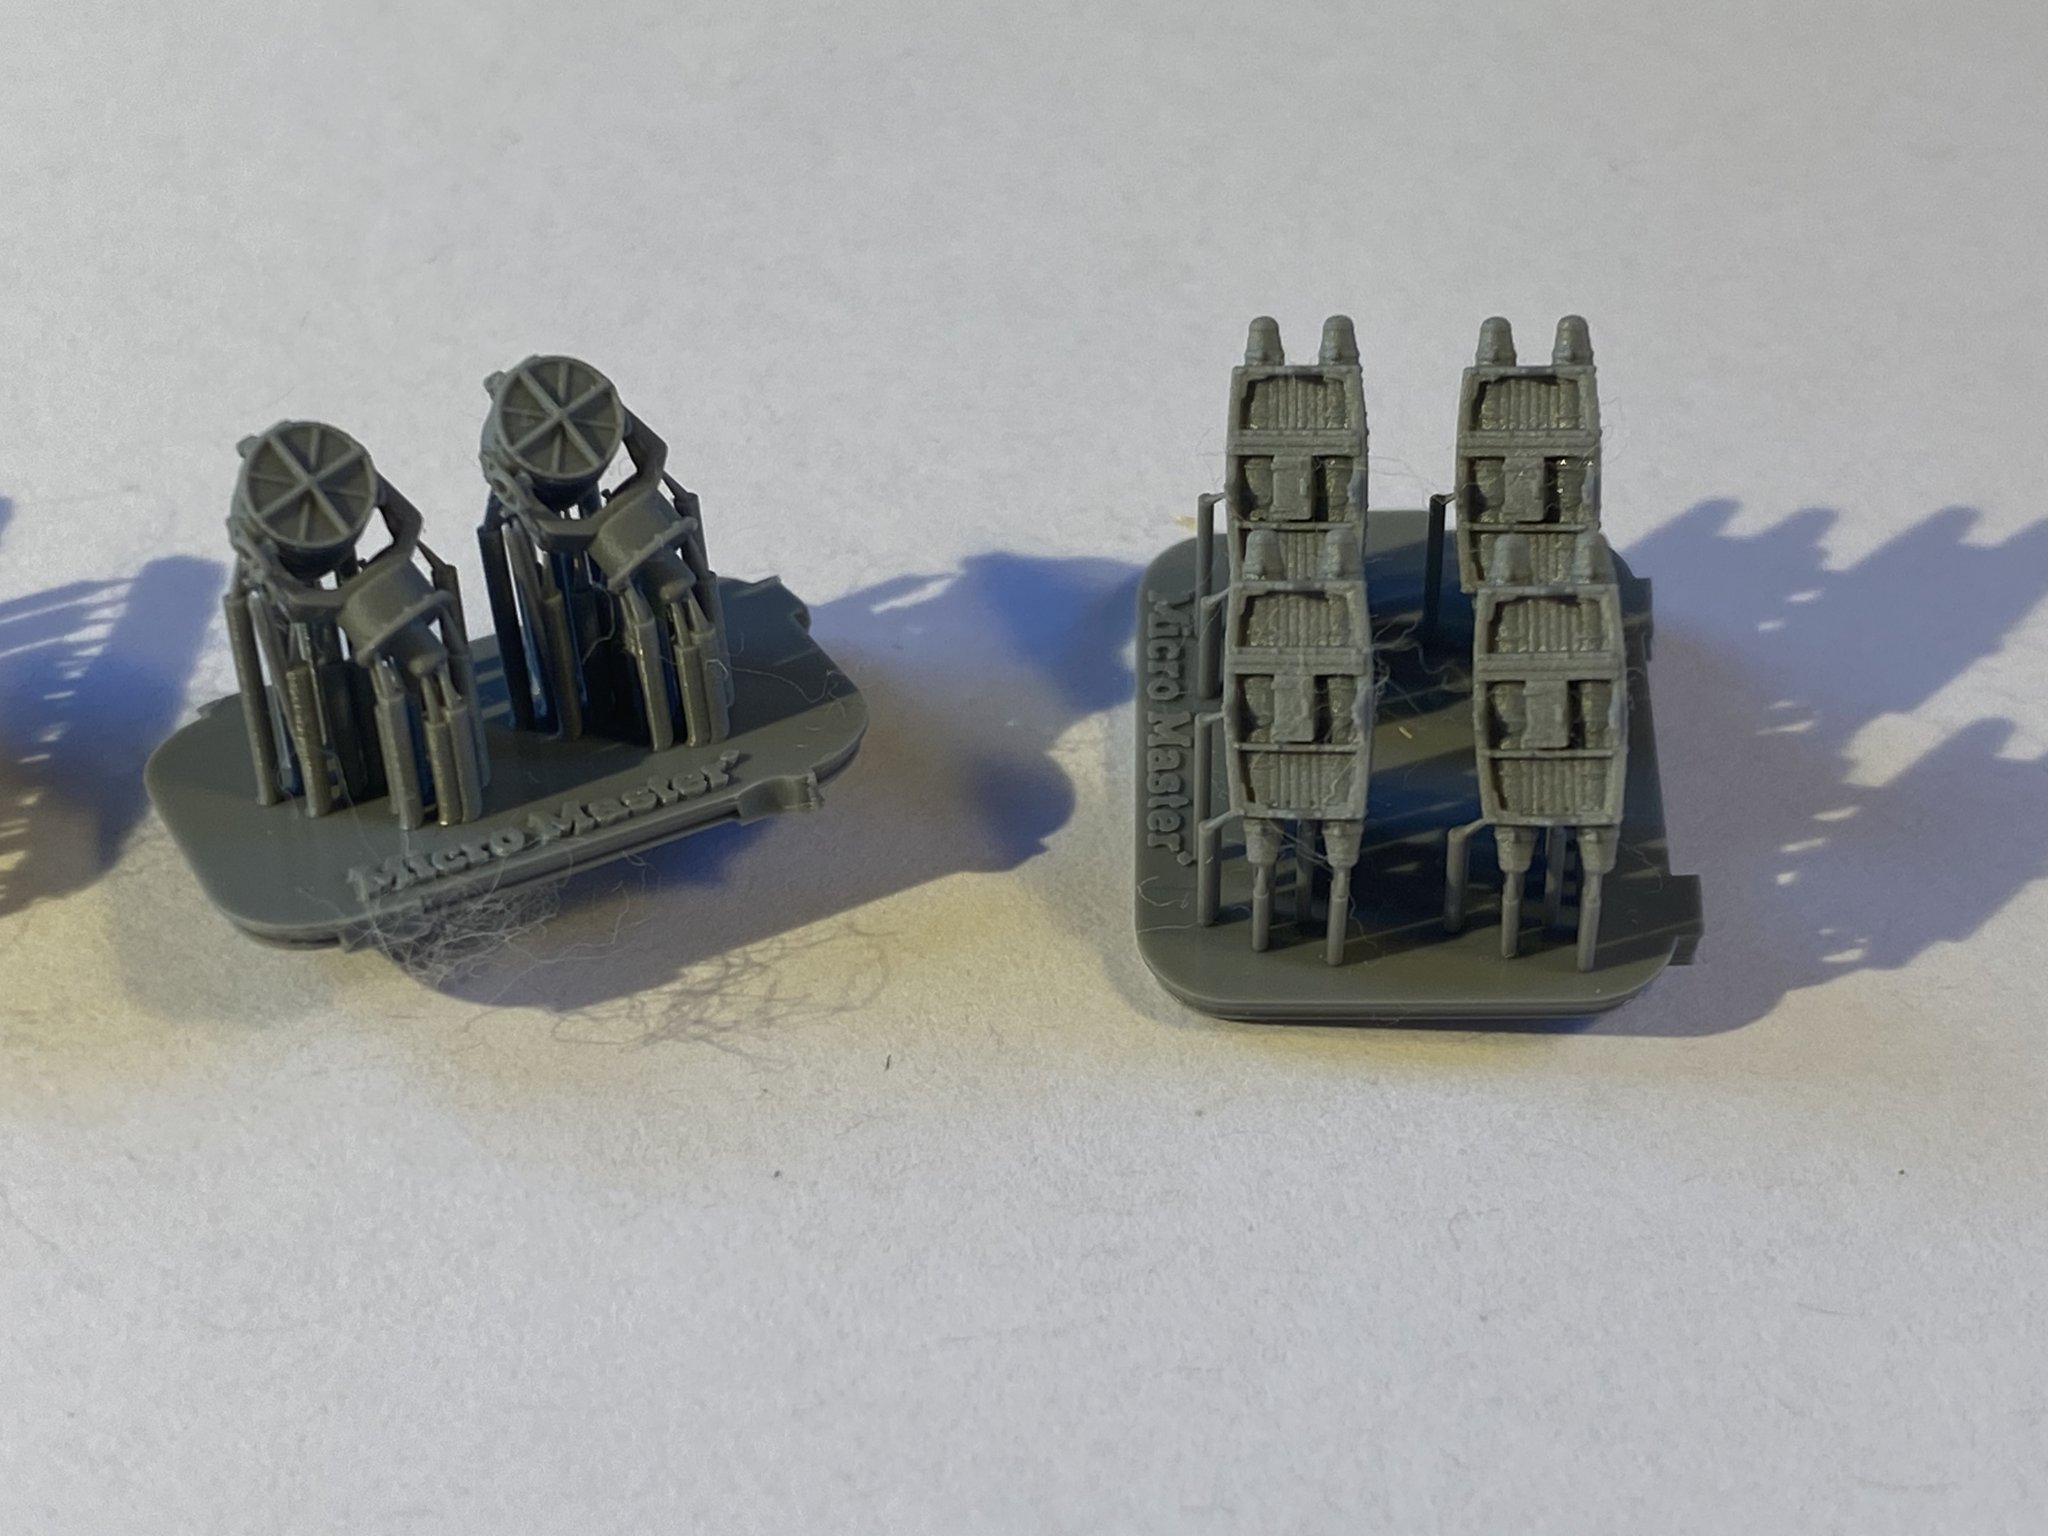
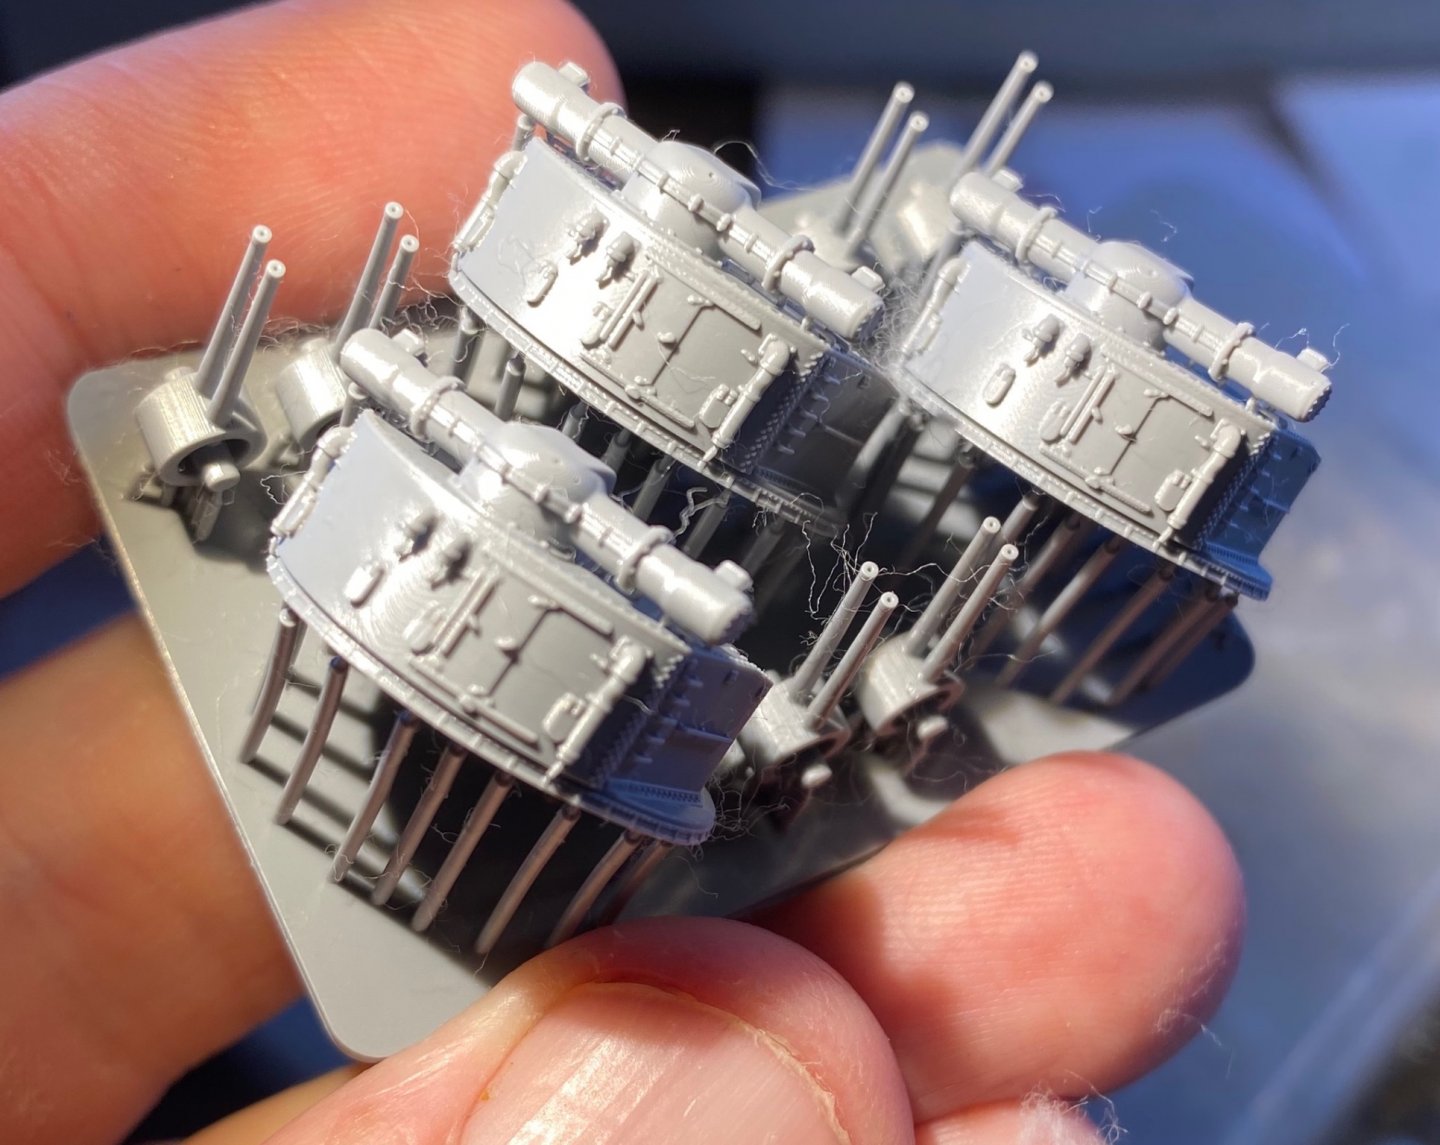
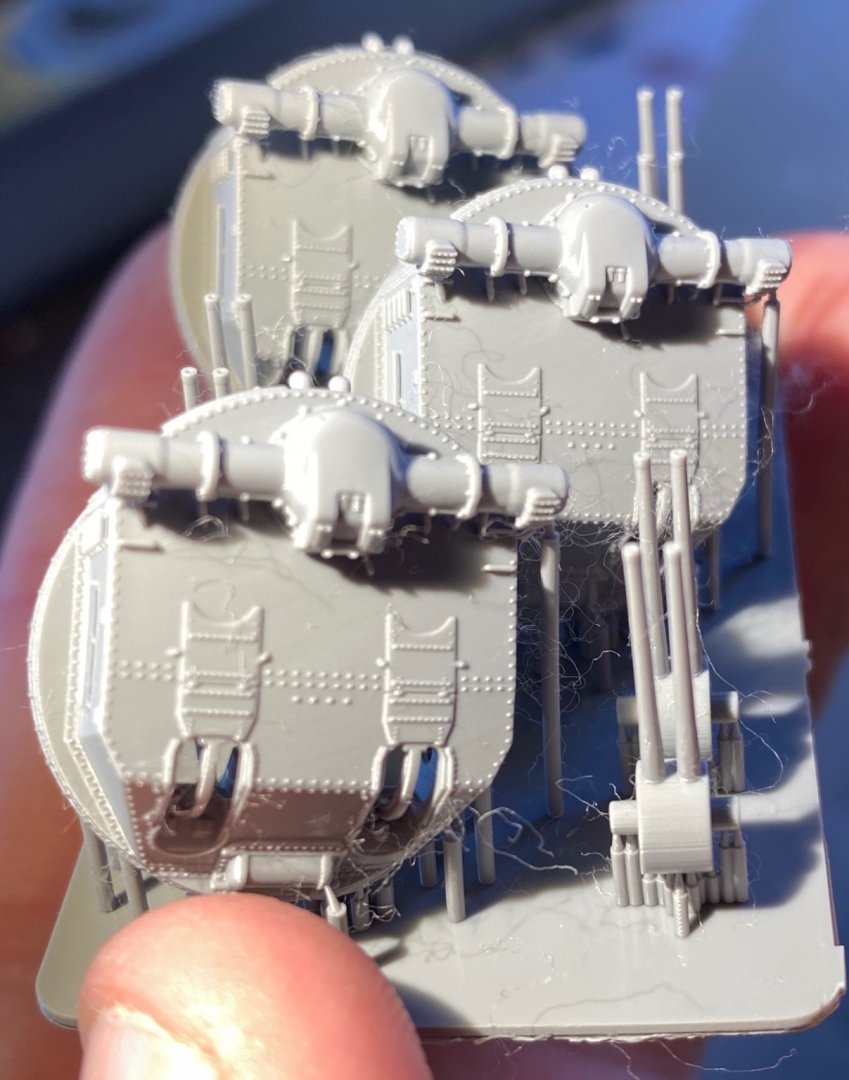
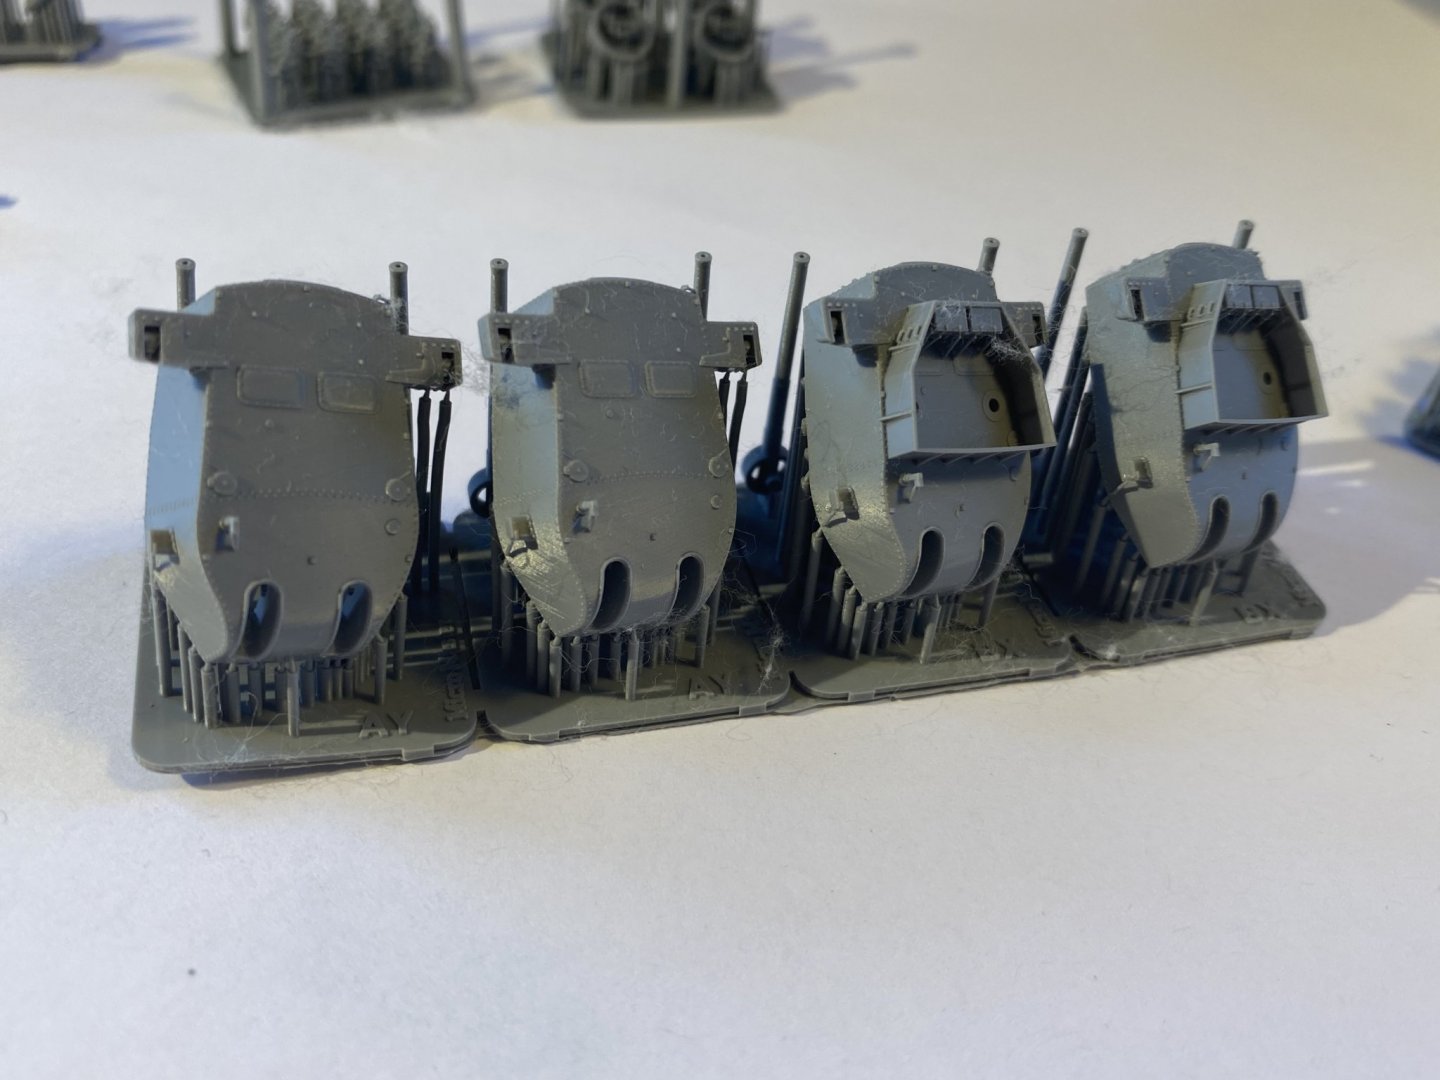
So today after 2 months the rear 3D printed guns arrived from NZ. I’m pretty sure it’s Australia Posts fault as anything coming through Melbourne hits a massive backlog due to the Covid’s
- 136 replies
-
- 9
-
-
- strasbourg
- finished
- (and 2 more)
-
Nice, Pontos instructions generally assume a lot of your ability to mind read but it really is excellent. Good to see another coming to the dark side.
-
I find if the thin up the inner gunnel it will sit a little below the edge allowing the stick on deck to sit flush (if that makes sense). I don’t think I could fit a 1/200 beast!
-
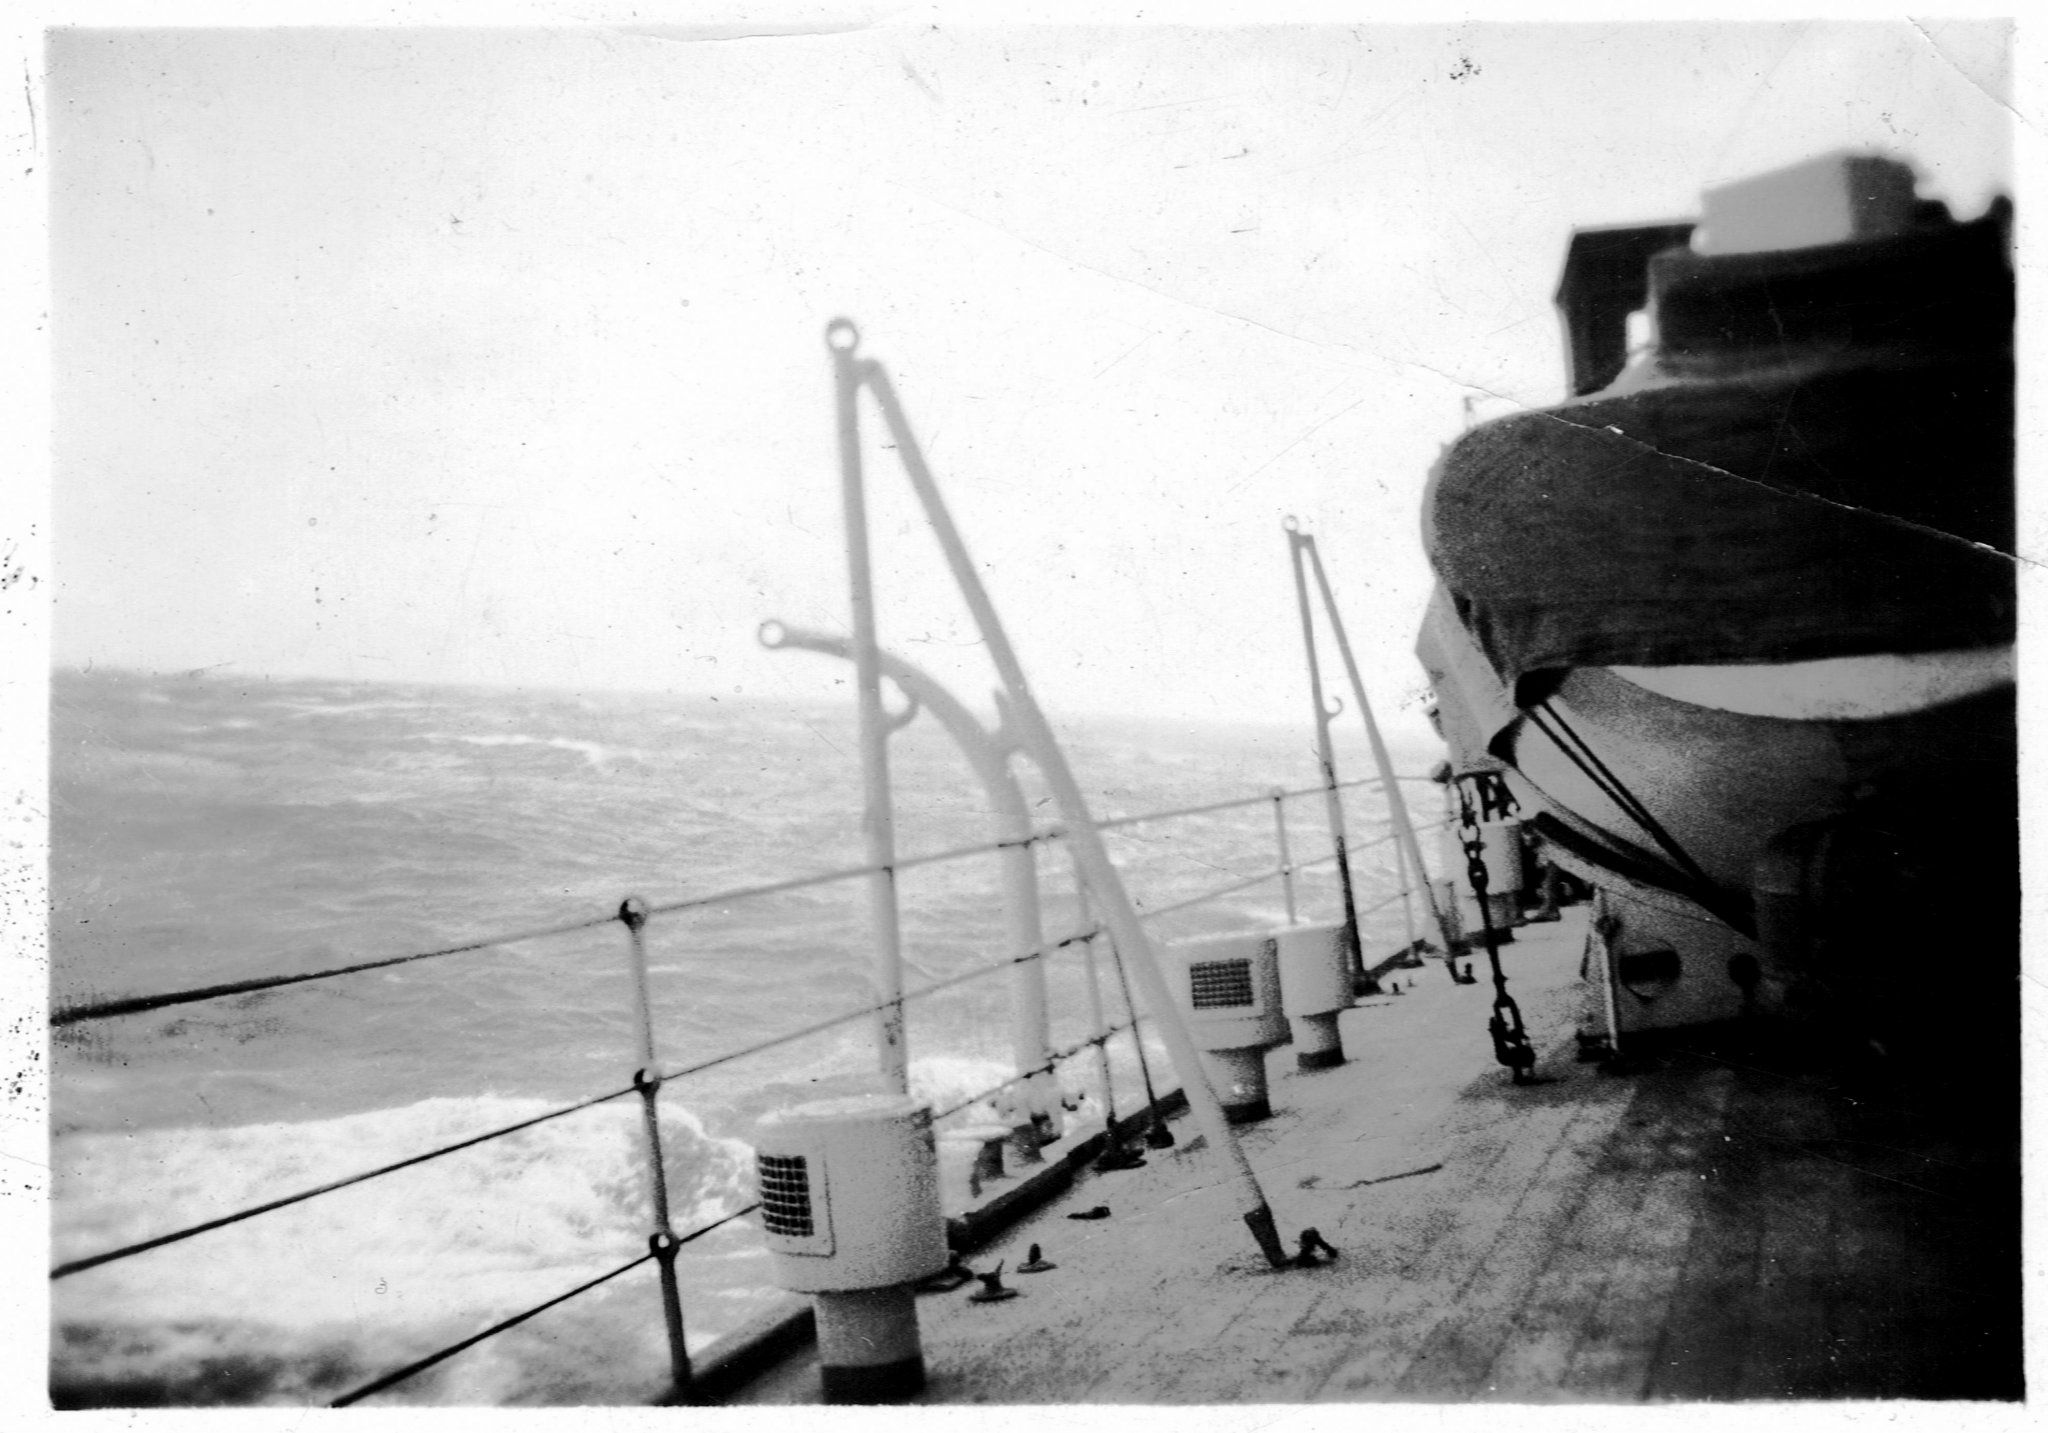
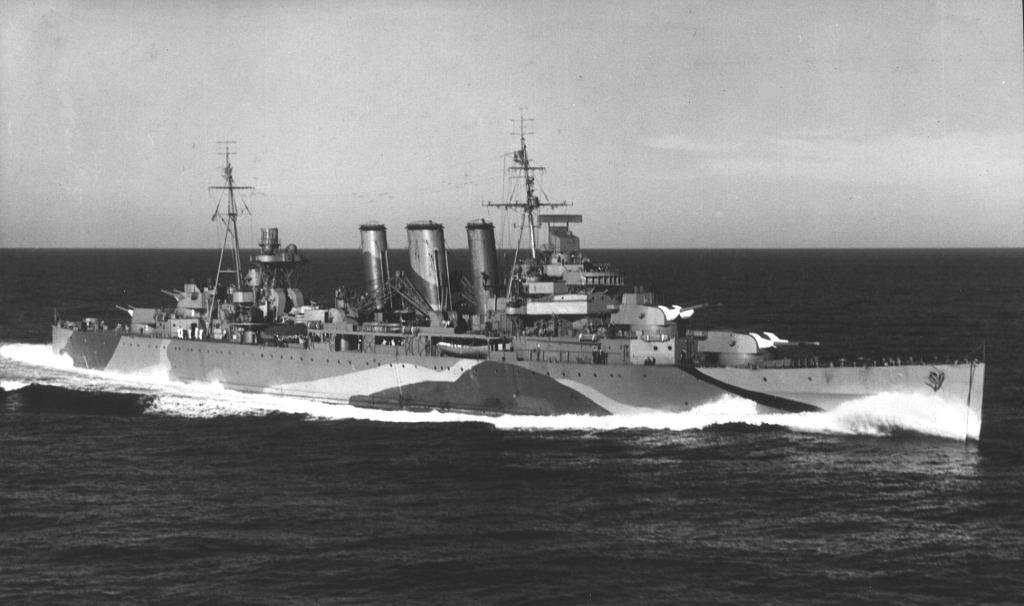
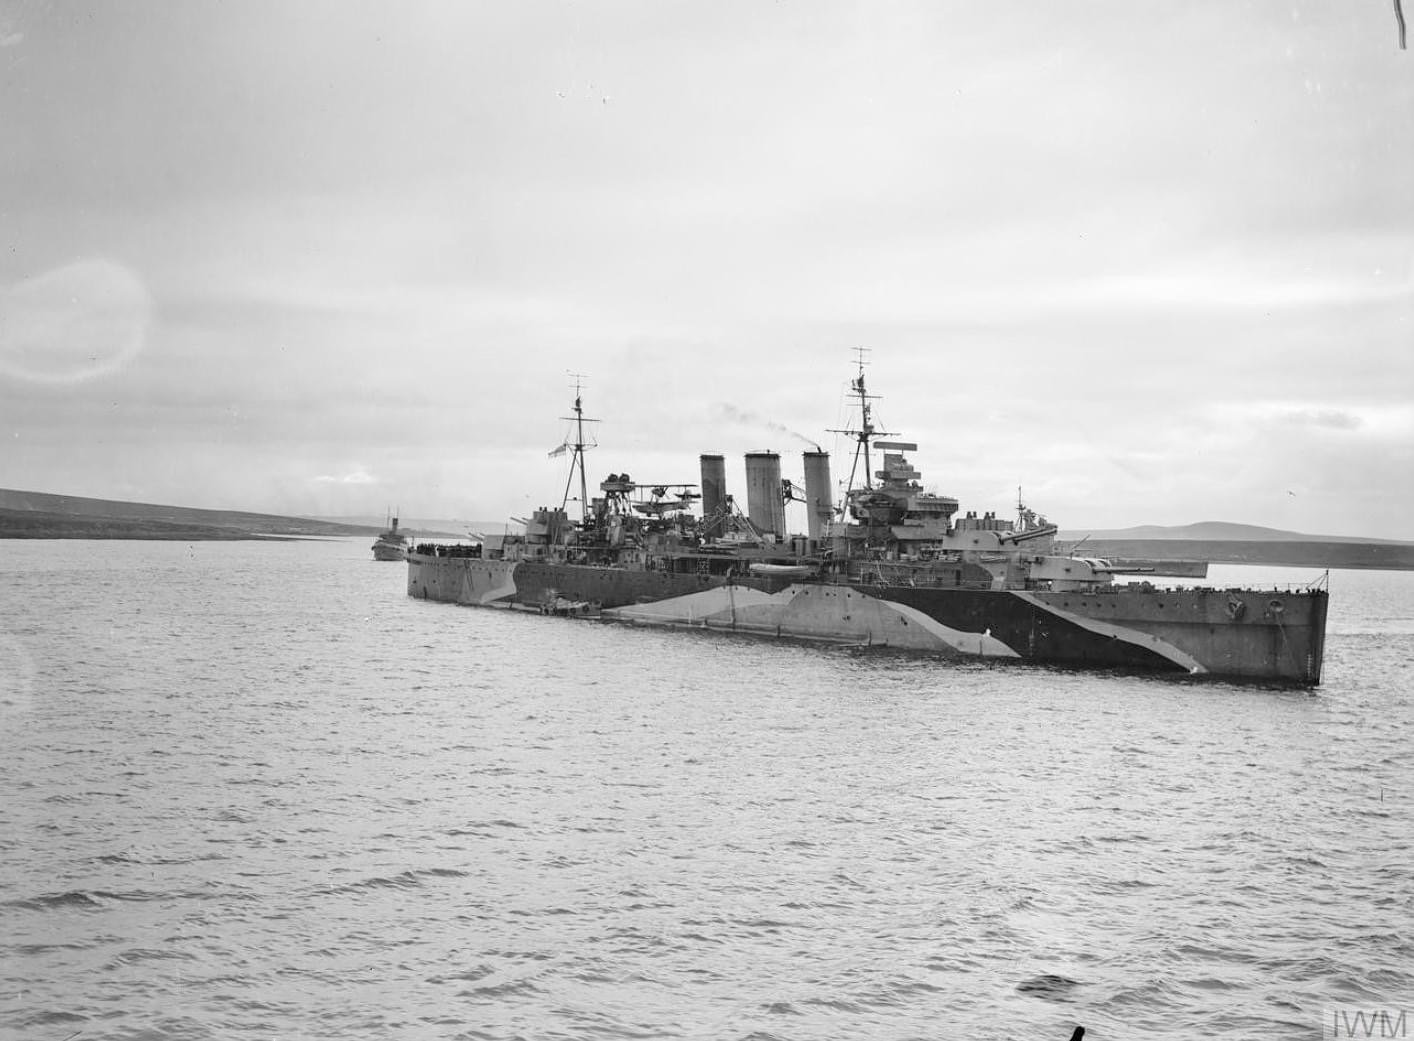
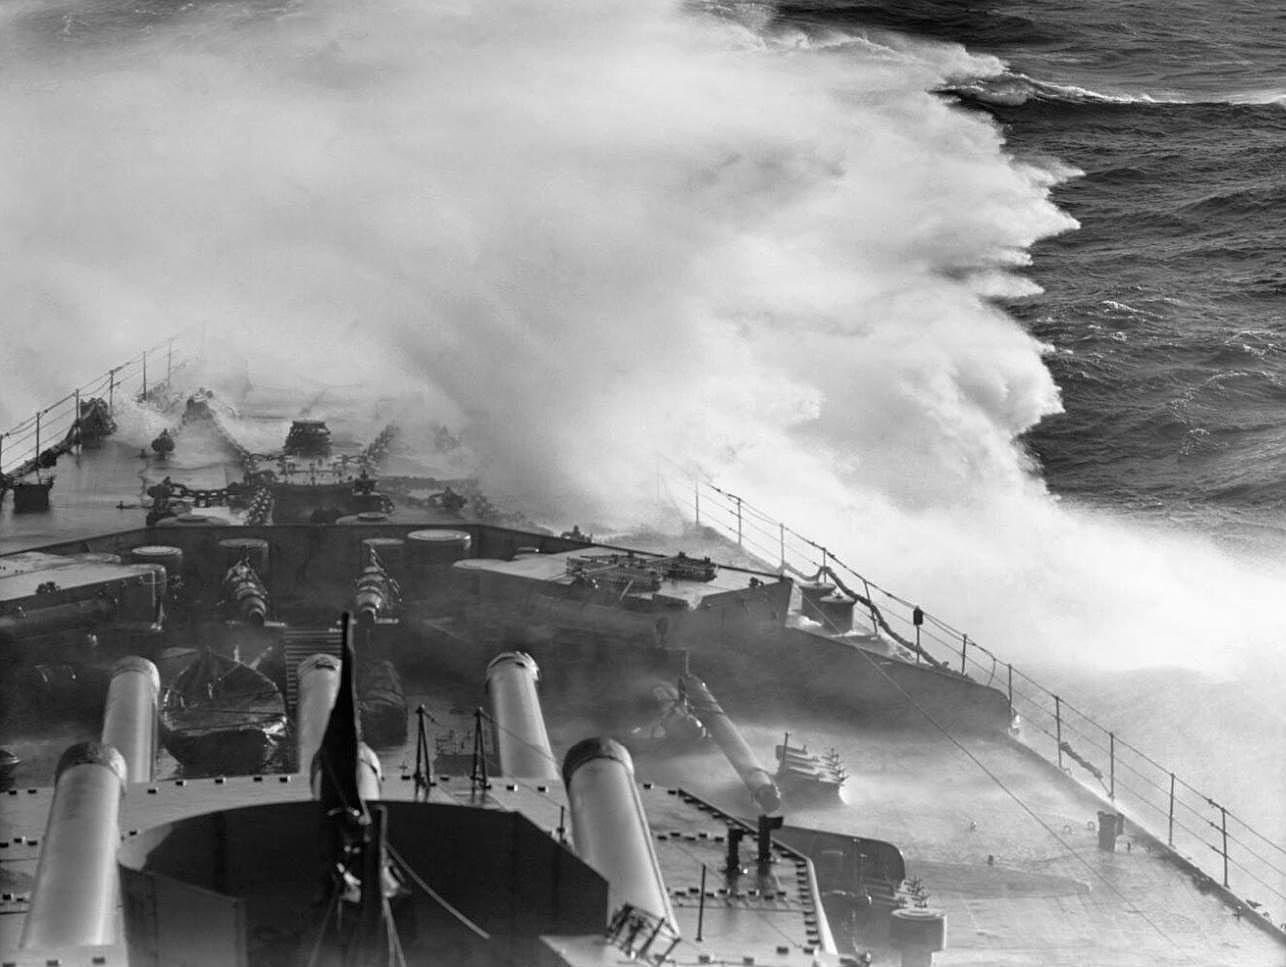
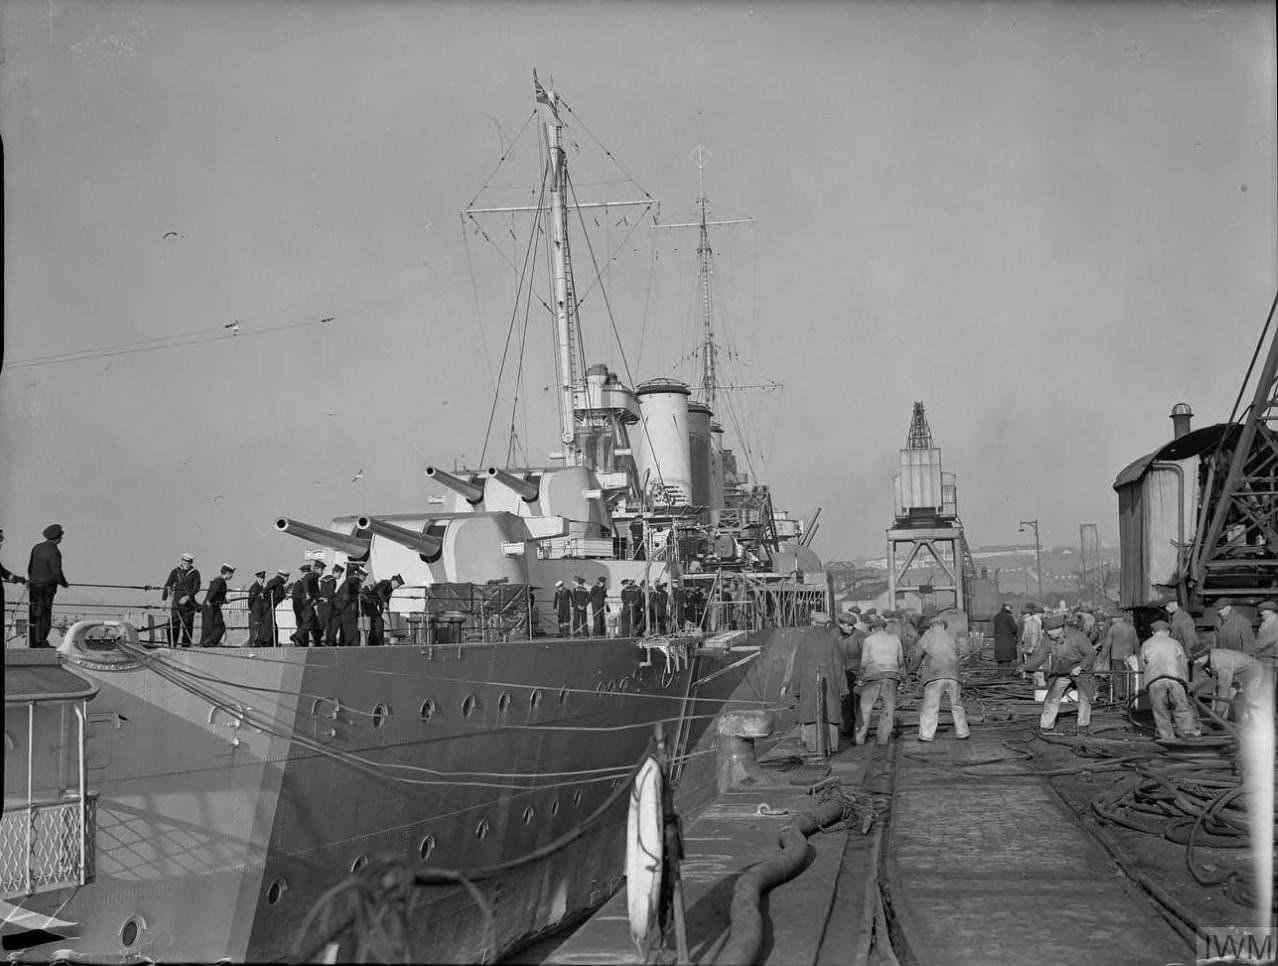
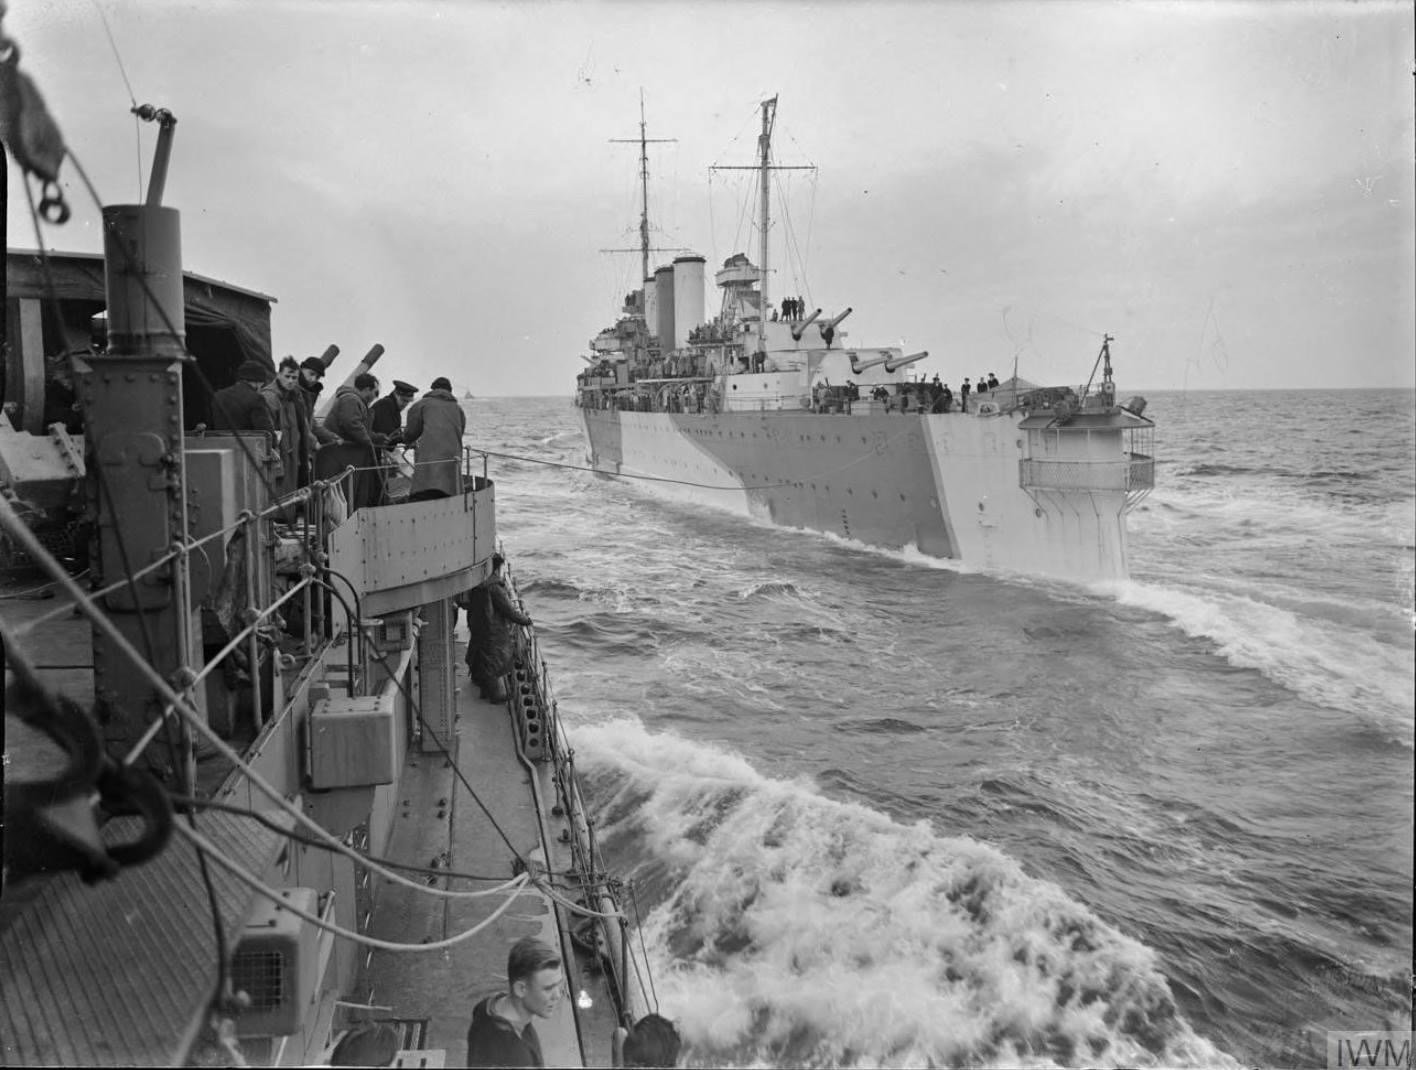
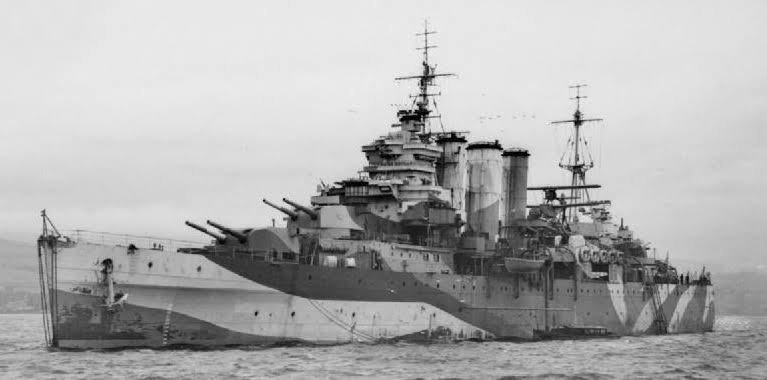
I look at all the IWM photos of the RN Ships from WW2, they have that fantastic black and white crispness I’d live to see in colour.
- 211 replies
-
- 3
-
-
- prince of wales
- tamiya
- (and 2 more)
-
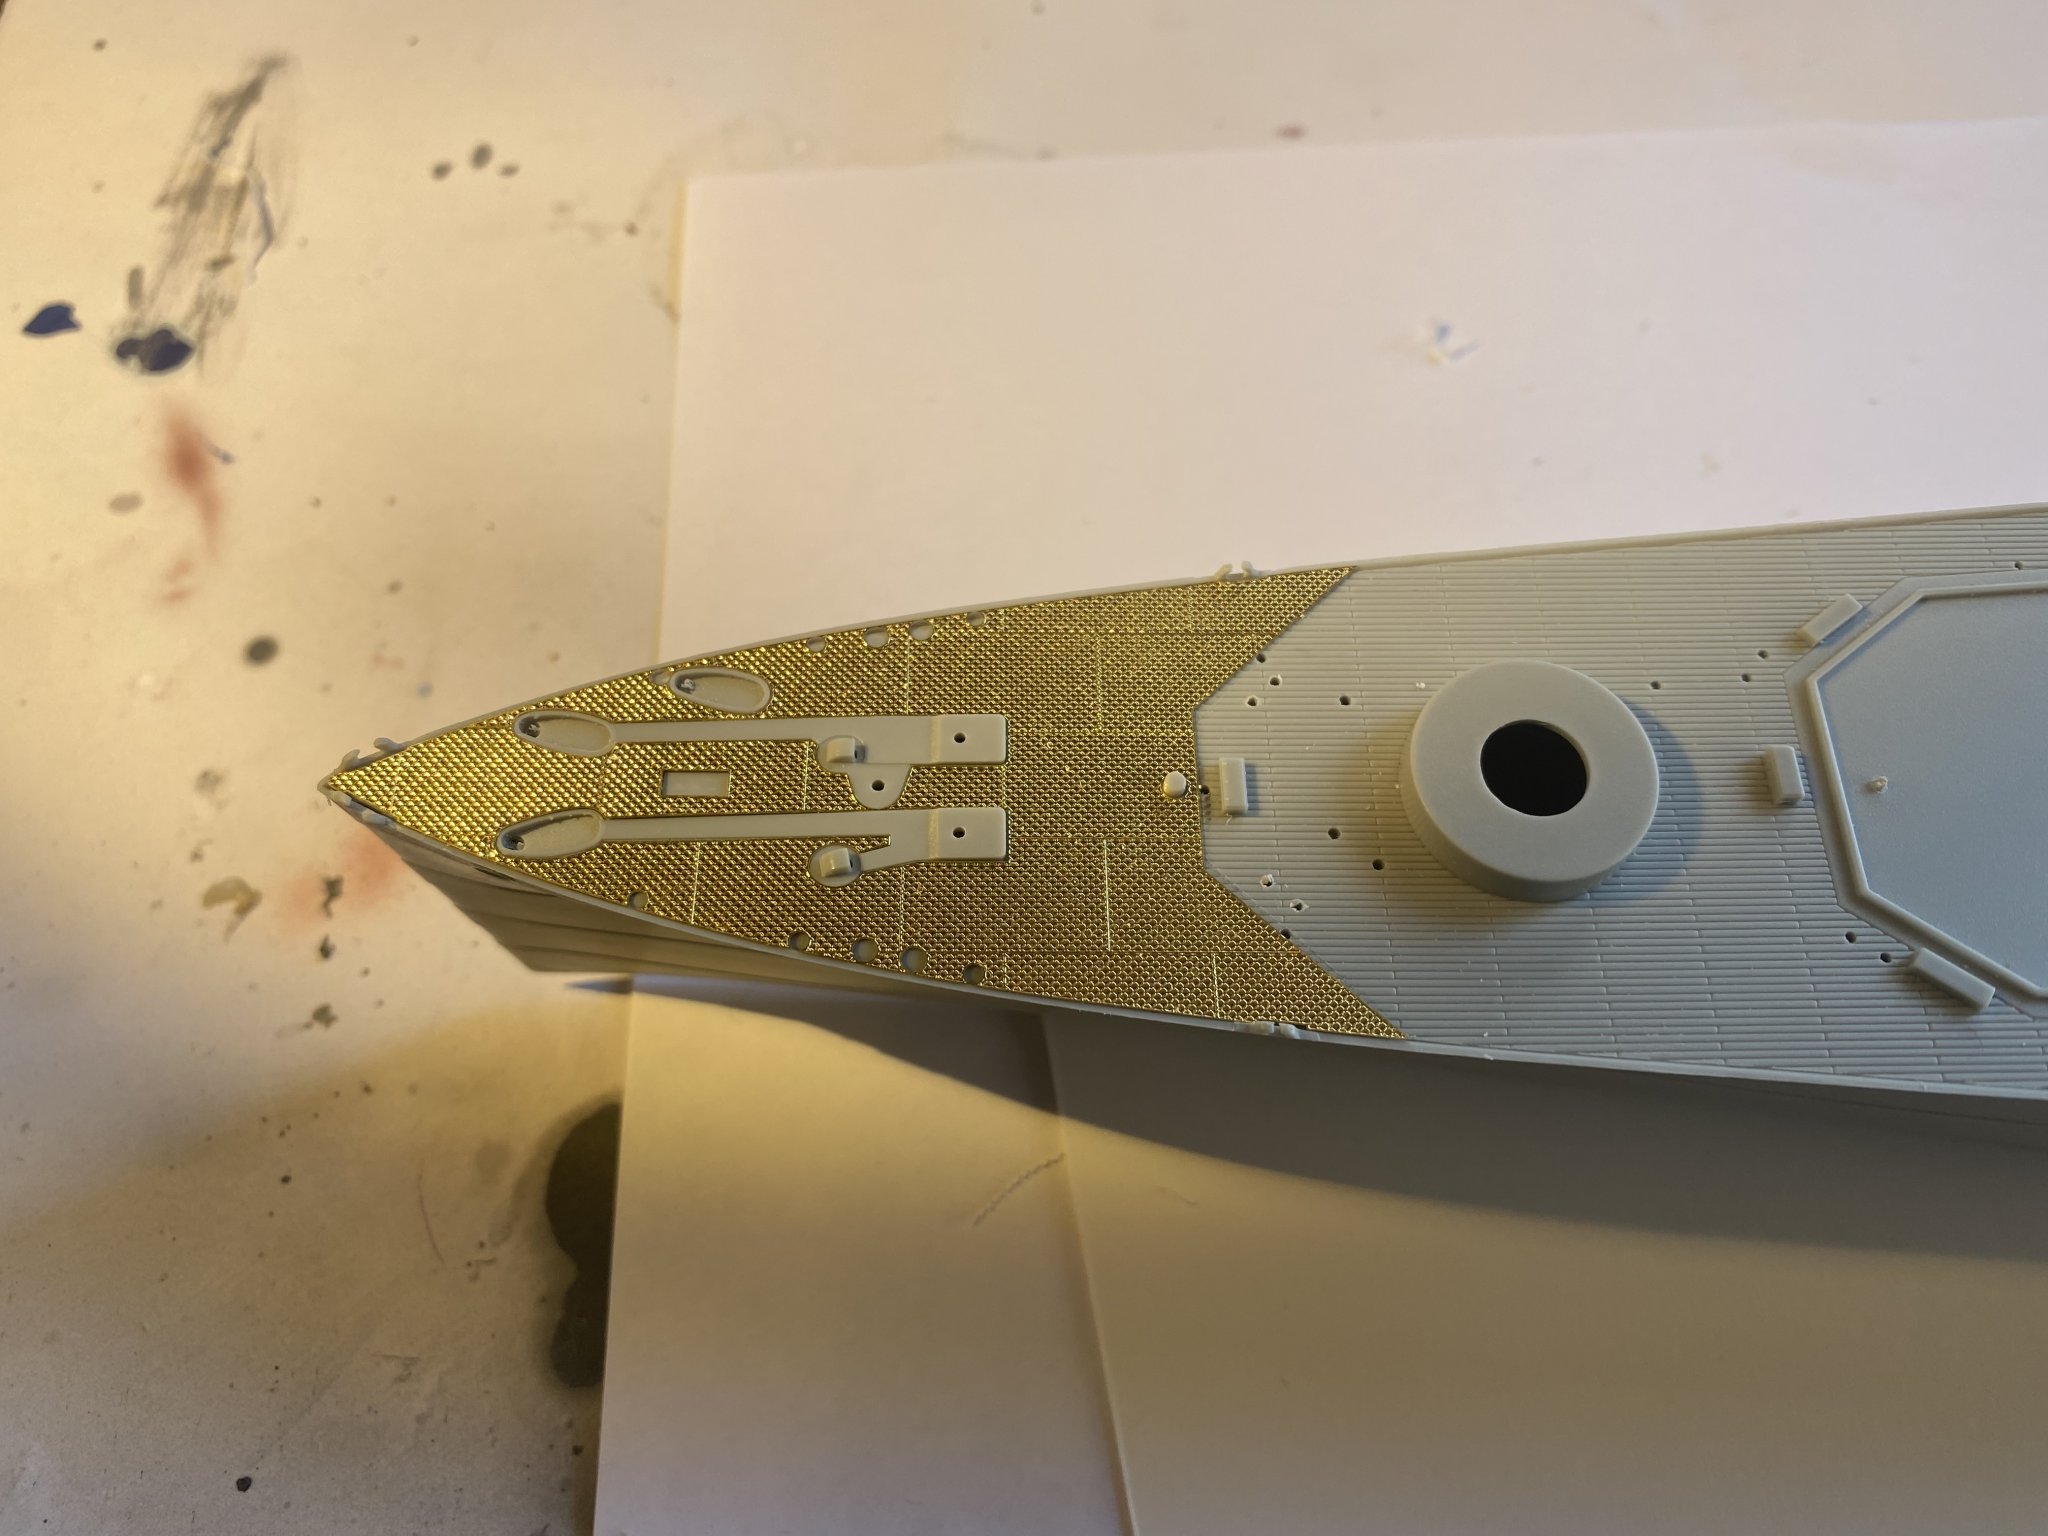
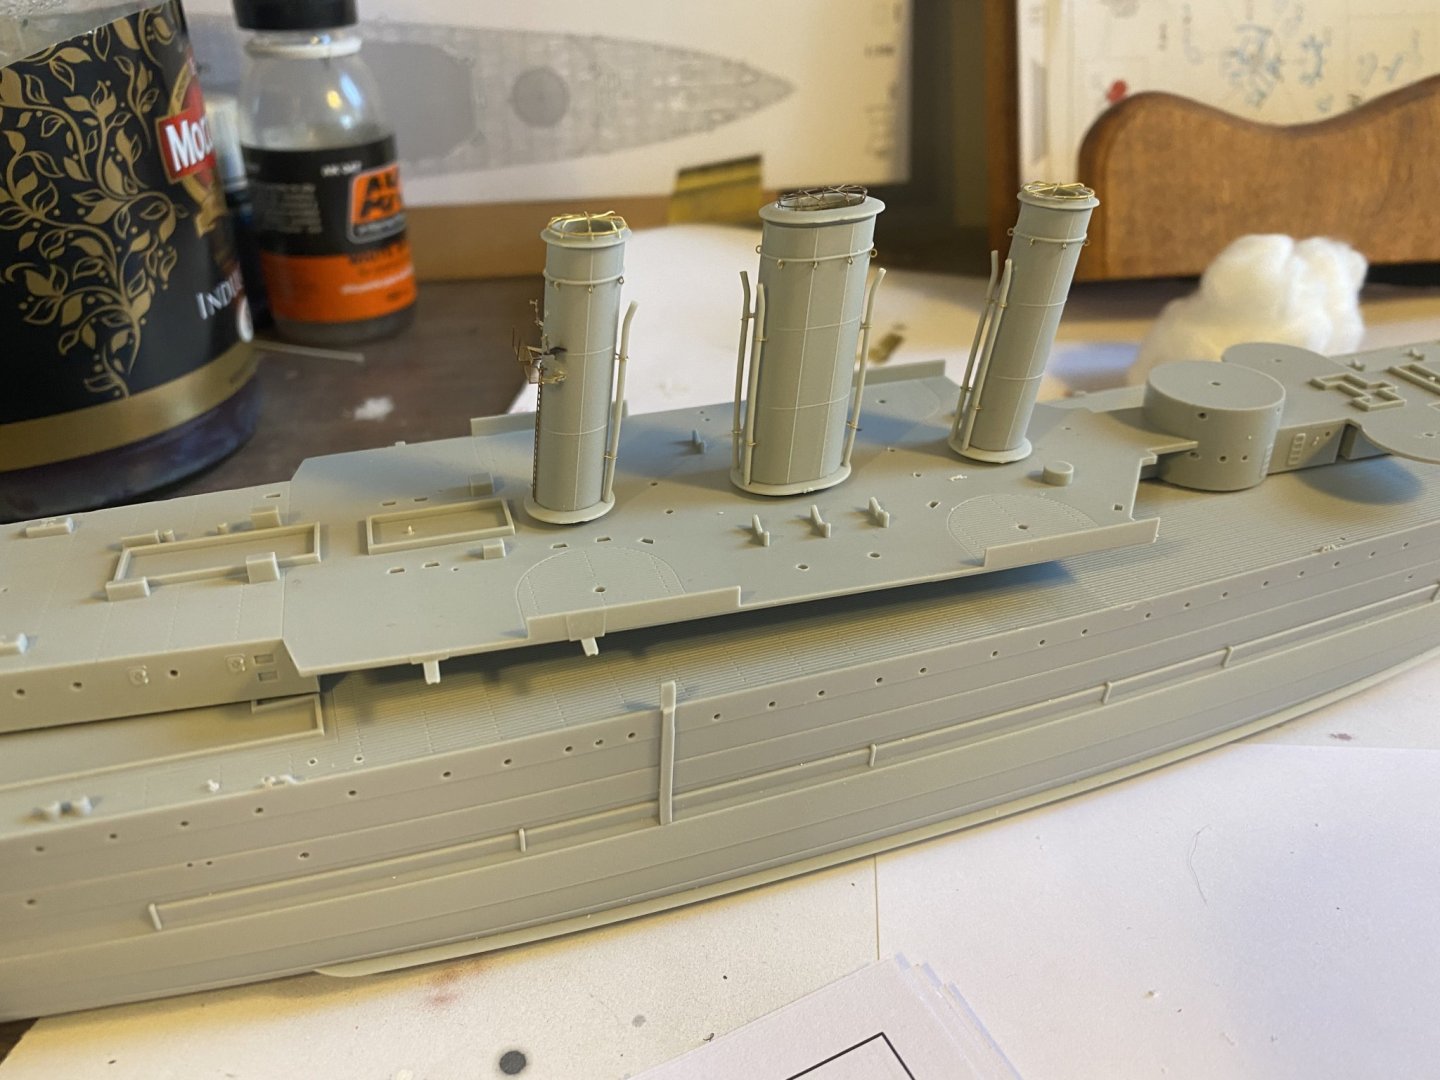
Thought I’d make a start, drill out the portholes, thin out the ledges for the deck so it sits just below the gunwhale, PE Foxsle added, funnels done

- 128 replies
-
- 12
-
-
I have broken off that many masts repositioning my ships it beggars belief, as they are always already rigged and need CA and a quick set solution.
- 211 replies
-
- 3
-
-
- prince of wales
- tamiya
- (and 2 more)
-
The Hull is quite nice but will need some work to make her look real. The camouflage pattern will be pretty dominant and therein lies the challenge of oil canning at different colours. The deck was also painted over so that’s going to need work as well. Most kits these days are starting to replace a lot of the finer details with their own PE, but this is no where as complex as the Fletcher or Spruance was to build.
-
Yes, I’m always a bit sceptical given he misses the metal focsle which Trumpy misses too.
-
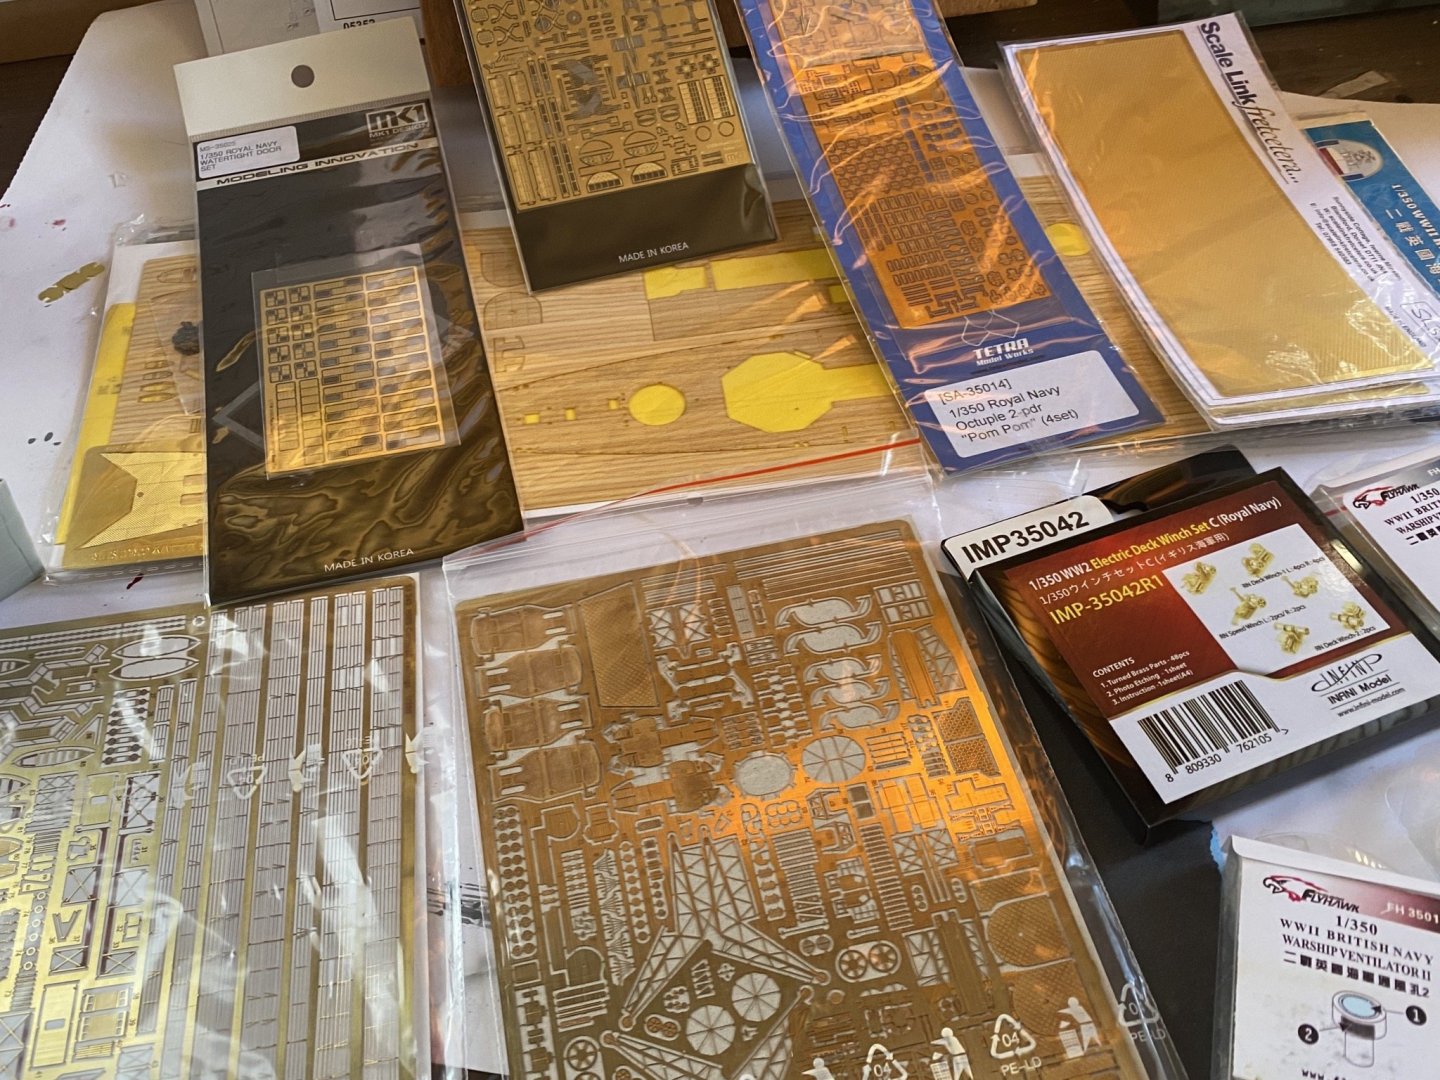
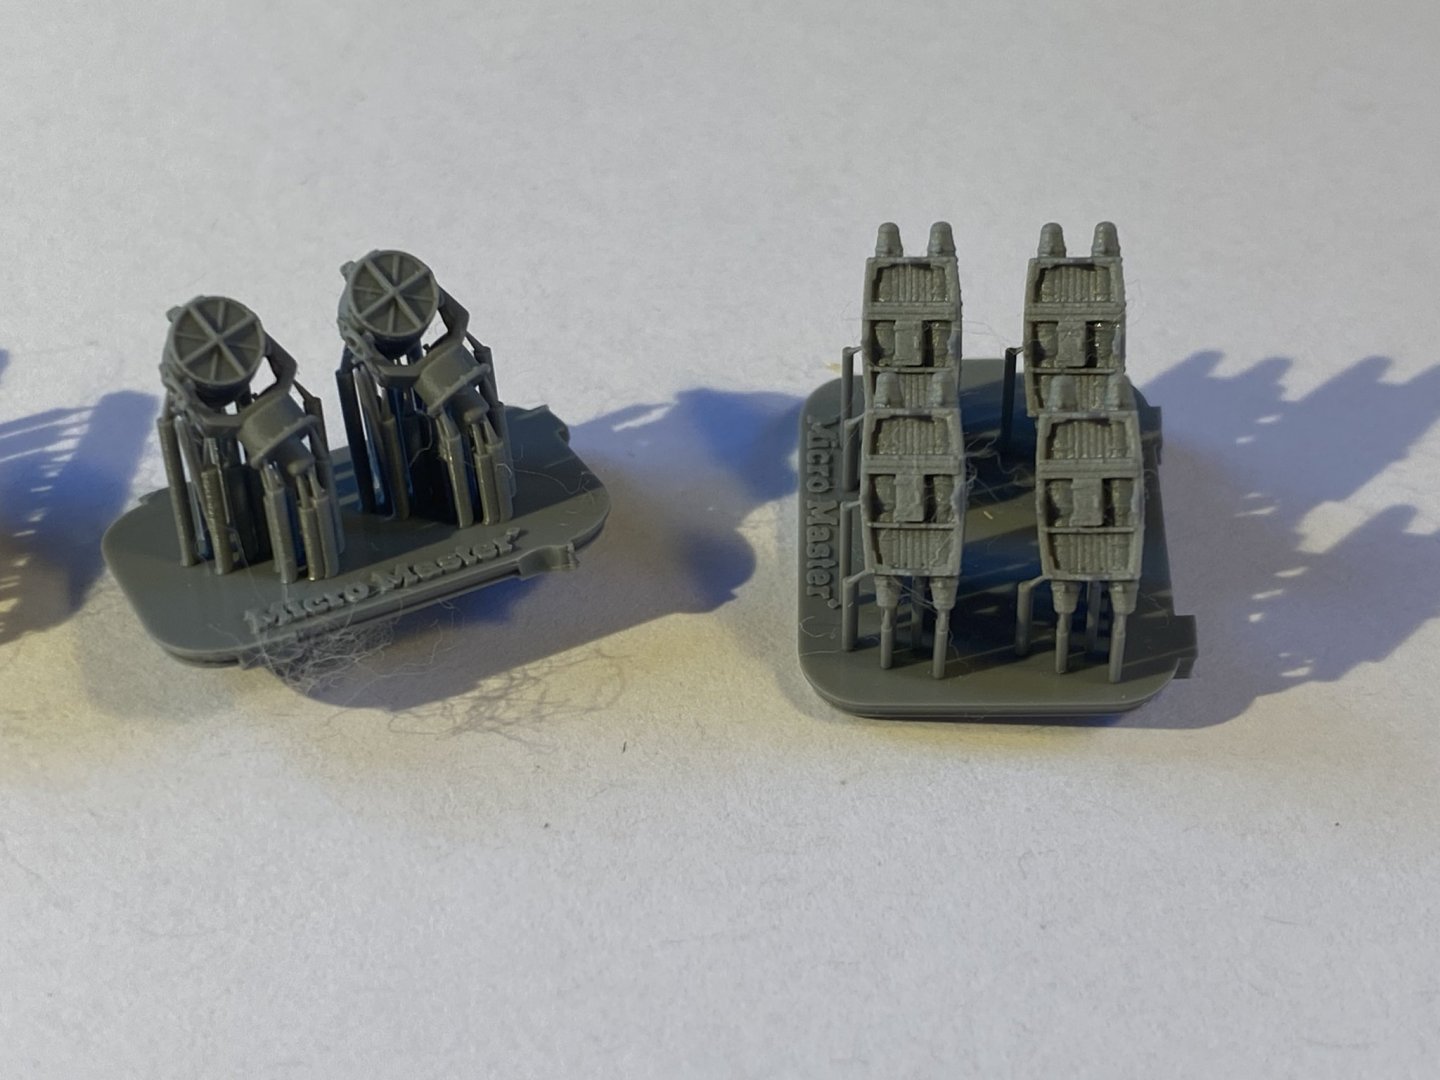
So the PE is from everywhere, plus spares, and I’m using the Micromaster.co.nz 3D upgrades. (I’m still awaiting the last three guns for Strasbourg which will be a couple of days to paint up so I can park her). the only thing not readily available are splinter mattresses which I’ll scratch build I think. luckily Joy Yard realises that by the 1940’s the Wooden focsle was replayed by meta and provide that with the deck set.


-
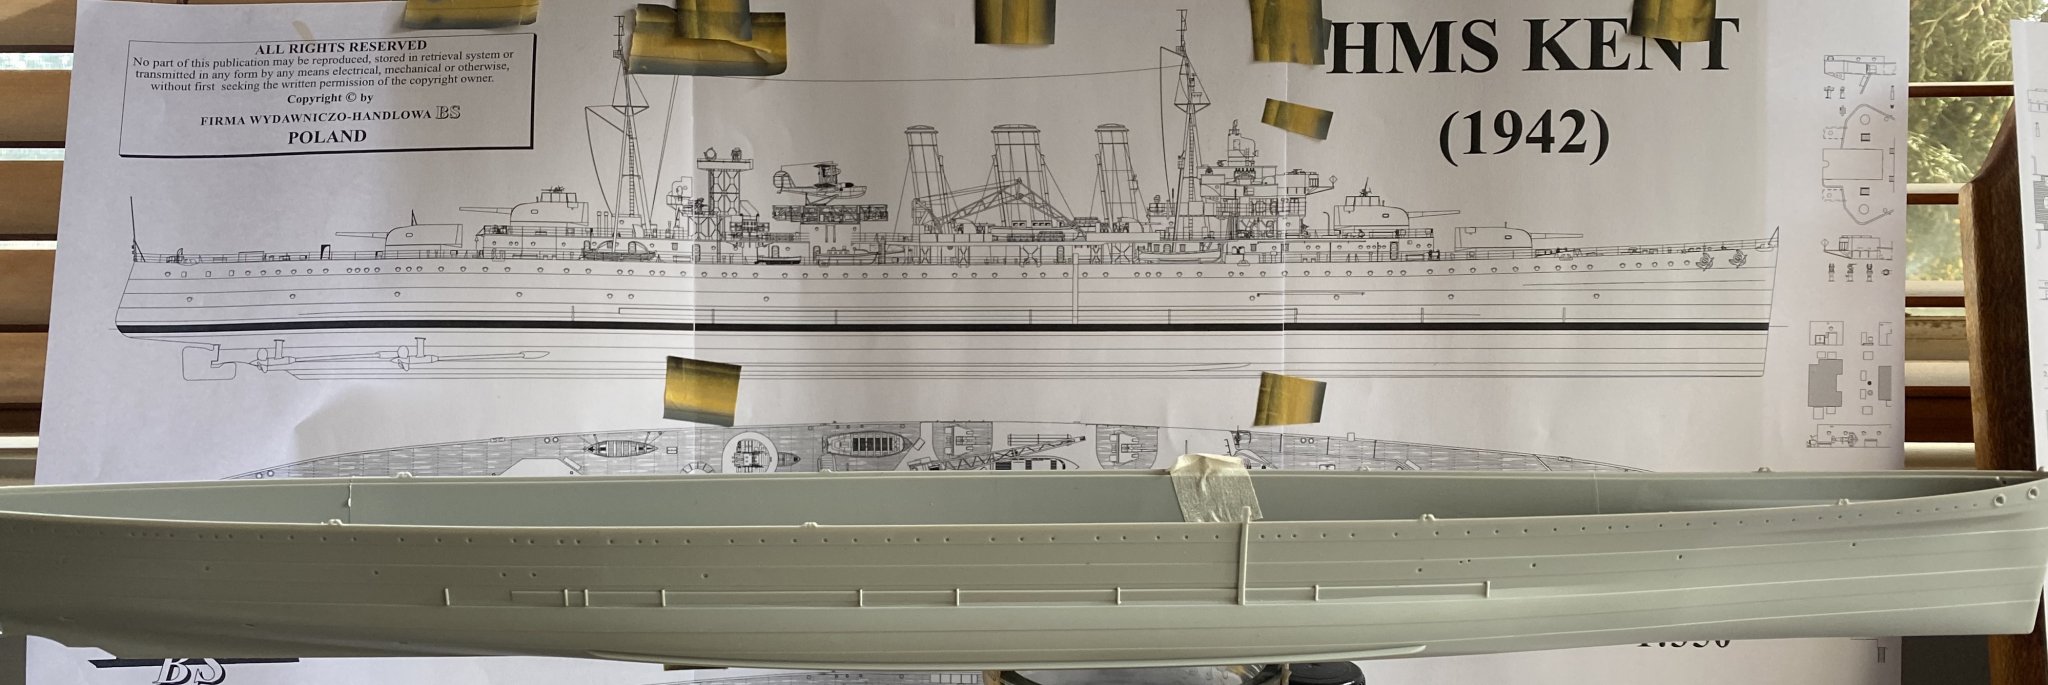
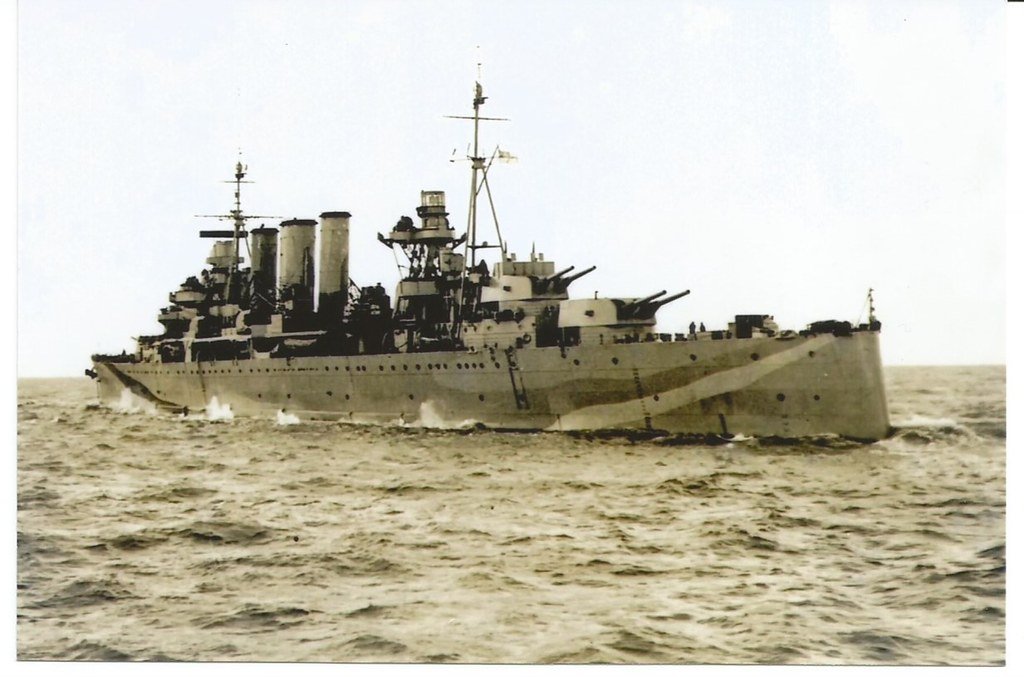
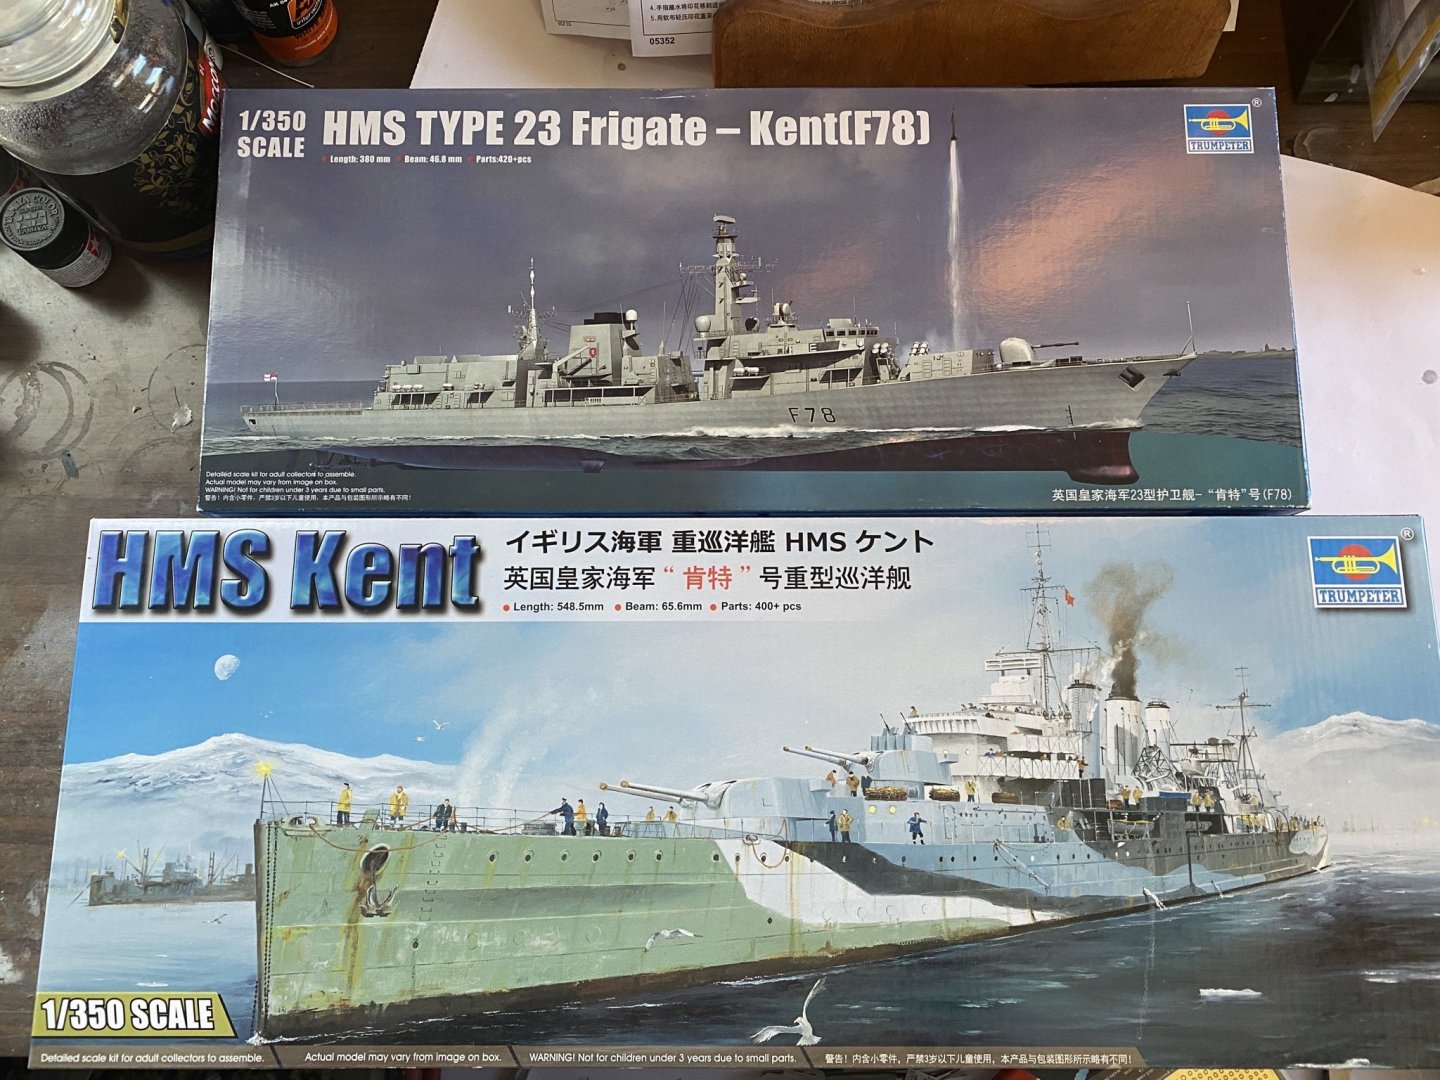
Next build, a series of British ships I think, is the HMS Kent from 1942, one of the 4 such ships of this period (the modern Frigate HMS Kent will be next). There is a dedicated PE set for some of the other County class ships but not Kent so some jury rigging will be needed plus extras etc my plan is to weather her heavily as she was doing the Murmansk escorts at this time. Jamie from Sovereign Hobbies has pretty much the most accurate paint scheme which I will use.

- 128 replies
-
- 11
-
-
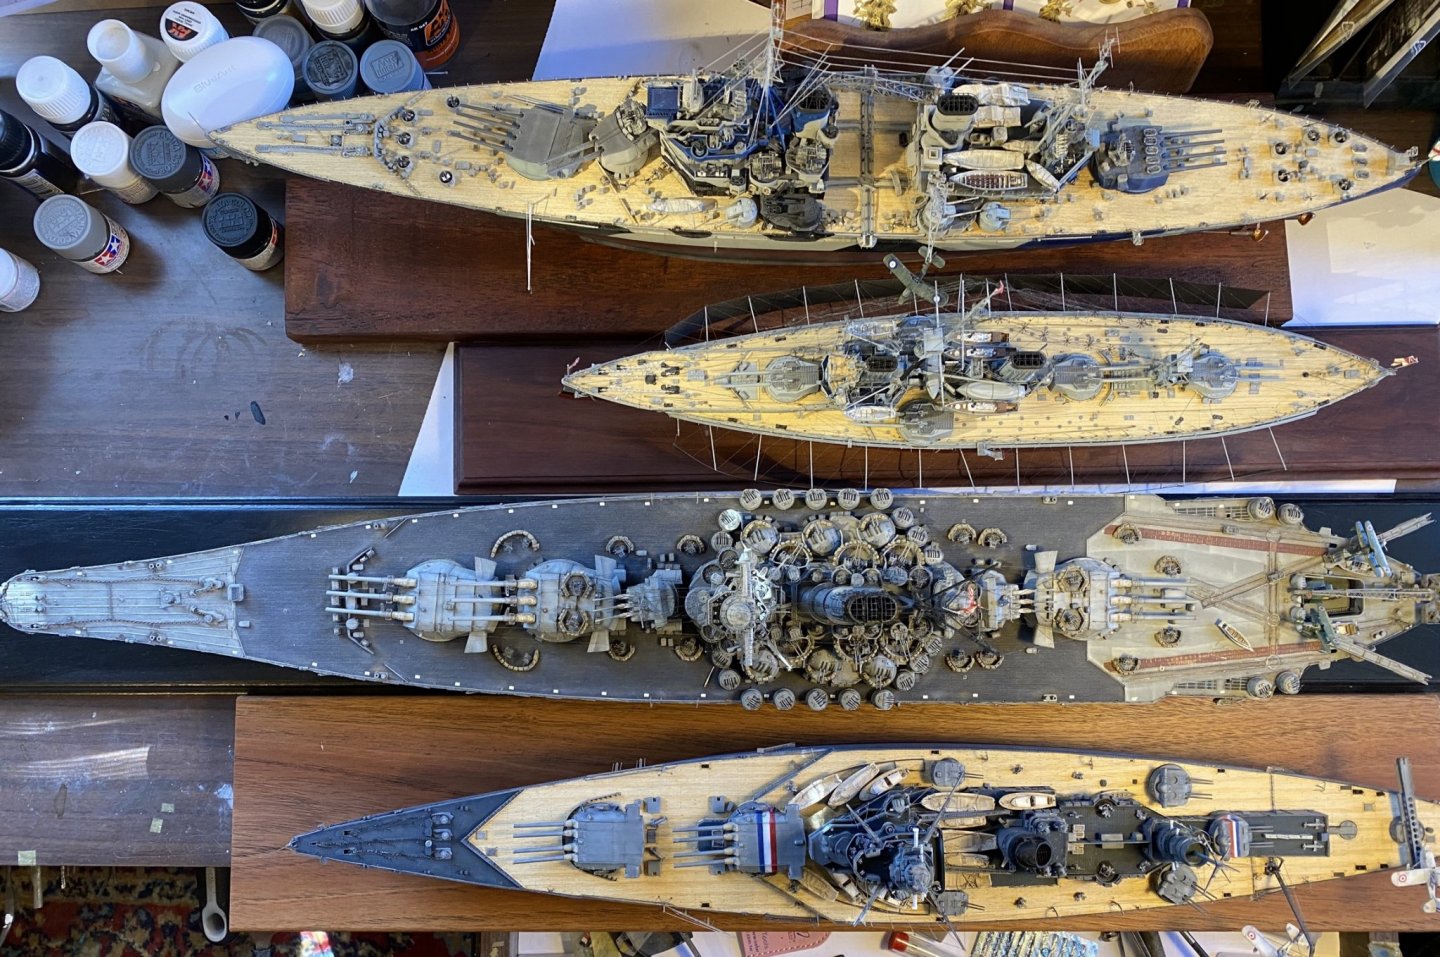
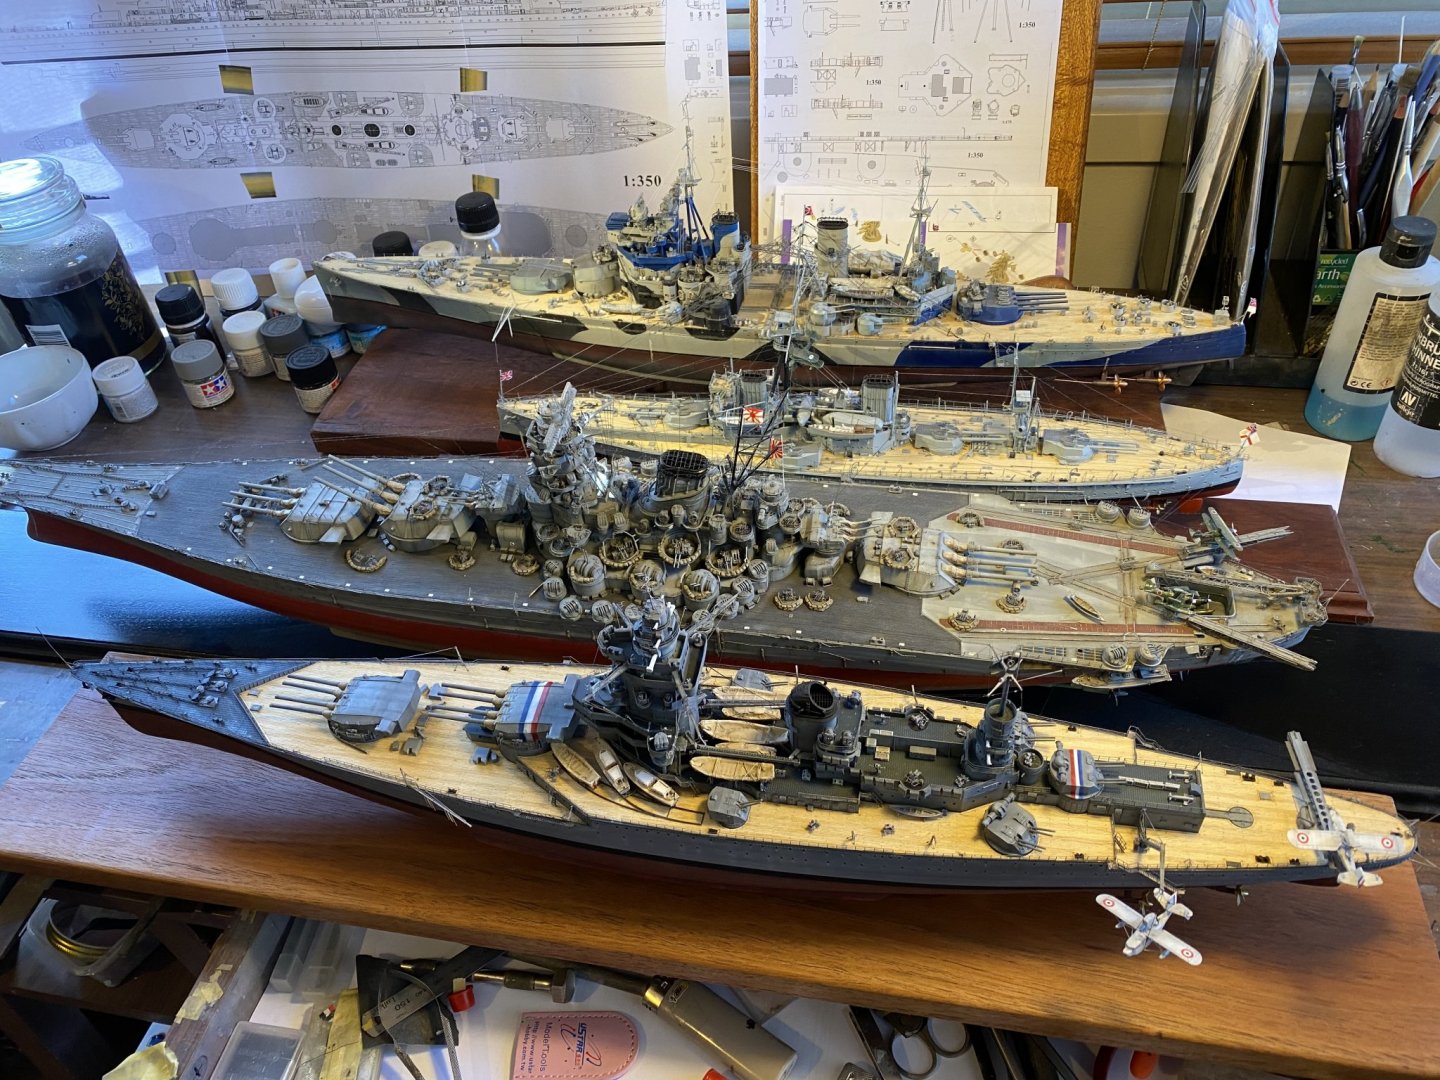
Now a size comparison, KGV, Dreadnought, Yamato and Strasbourg. Pulling her out of the cupboard I forget how big Yamato was.
- 136 replies
-
- 11
-
-
- strasbourg
- finished
- (and 2 more)