HOLIDAY DONATION DRIVE - SUPPORT MSW - DO YOUR PART TO KEEP THIS GREAT FORUM GOING!
×


RGL
-
Posts
5,528 -
Joined
-
Last visited
Content Type
Profiles
Forums
Gallery
Events
Everything posted by RGL
-
 Denier is not wire, it’s the name of the rubber compound
- 211 replies
-
- 3
-

-
- prince of wales
- tamiya
- (and 2 more)
-
BNA is still shipping, and they have denier line. The AUD has tanked so it shouldn’t be that bad. The fading thing is a nice effect. Look up a bloke called Jamie Duff, he runs a site dedicated to warship camouflage
- 211 replies
-
- 4
-
-
- prince of wales
- tamiya
- (and 2 more)
-
Mate you’re doing an amazing job. When I did KGV I still can’t understand how to put those cranes together. Looking forward to following
- 211 replies
-
- 6
-
-
- prince of wales
- tamiya
- (and 2 more)
-
He does 1-2000 scale (and sells them too). His tool set must be amazing as he’s also really fast and scratch builds them
-
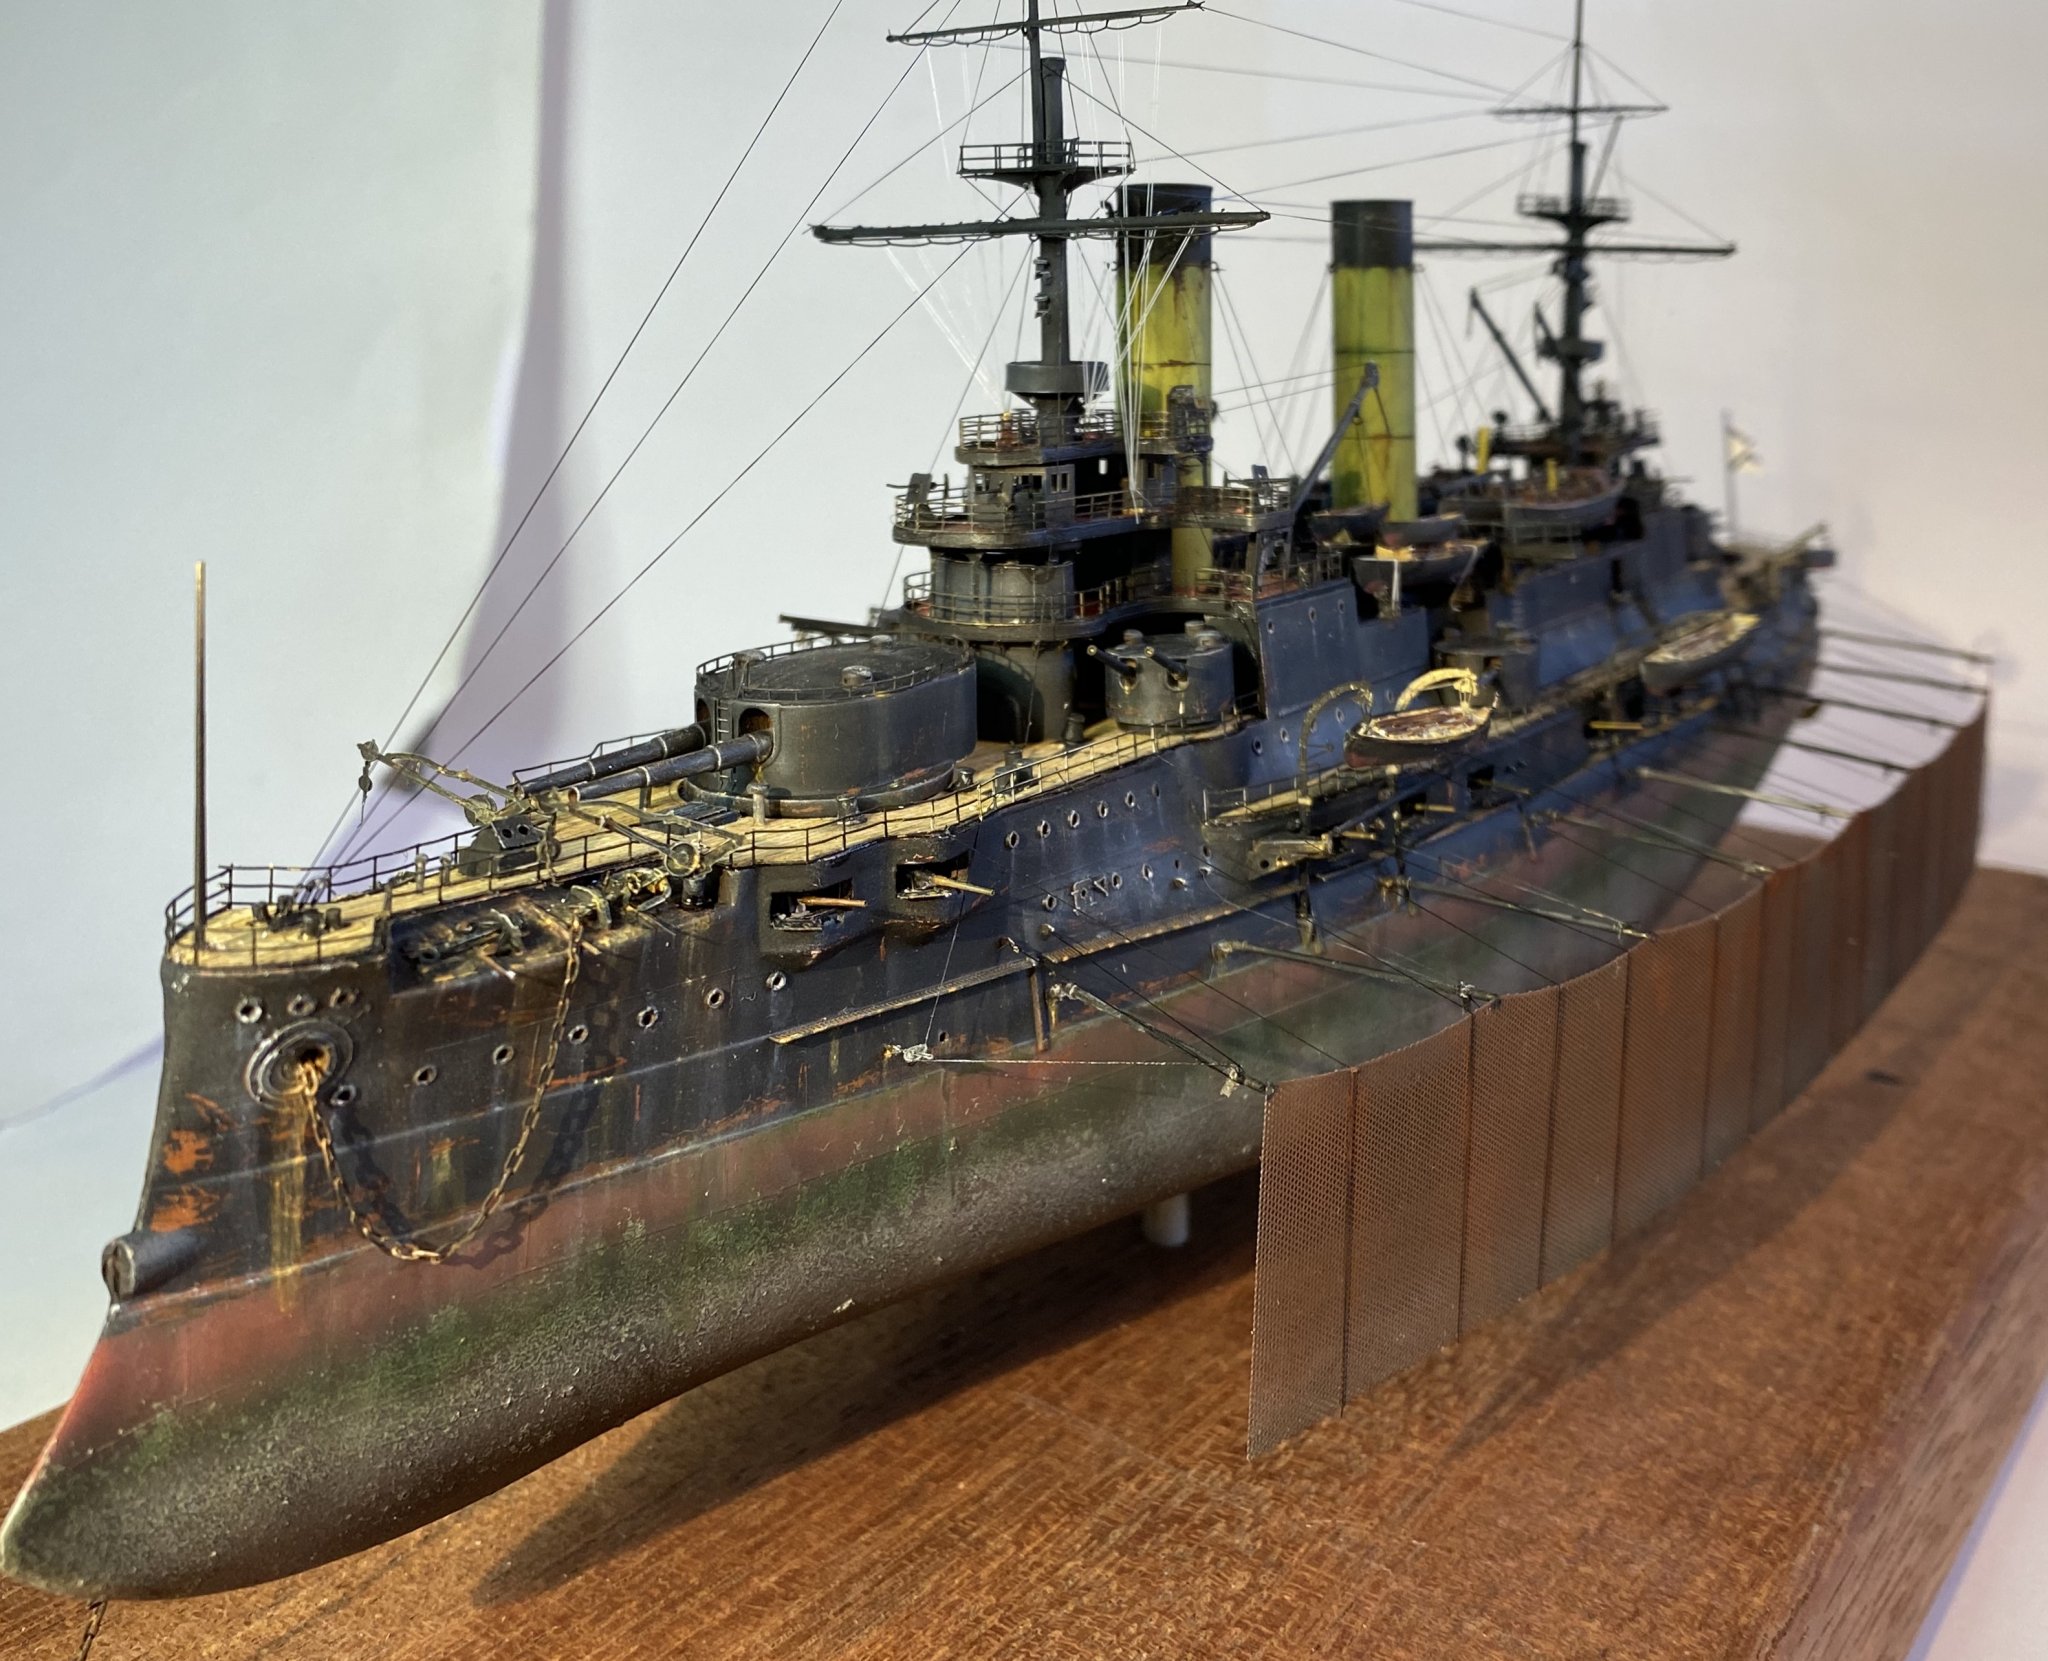
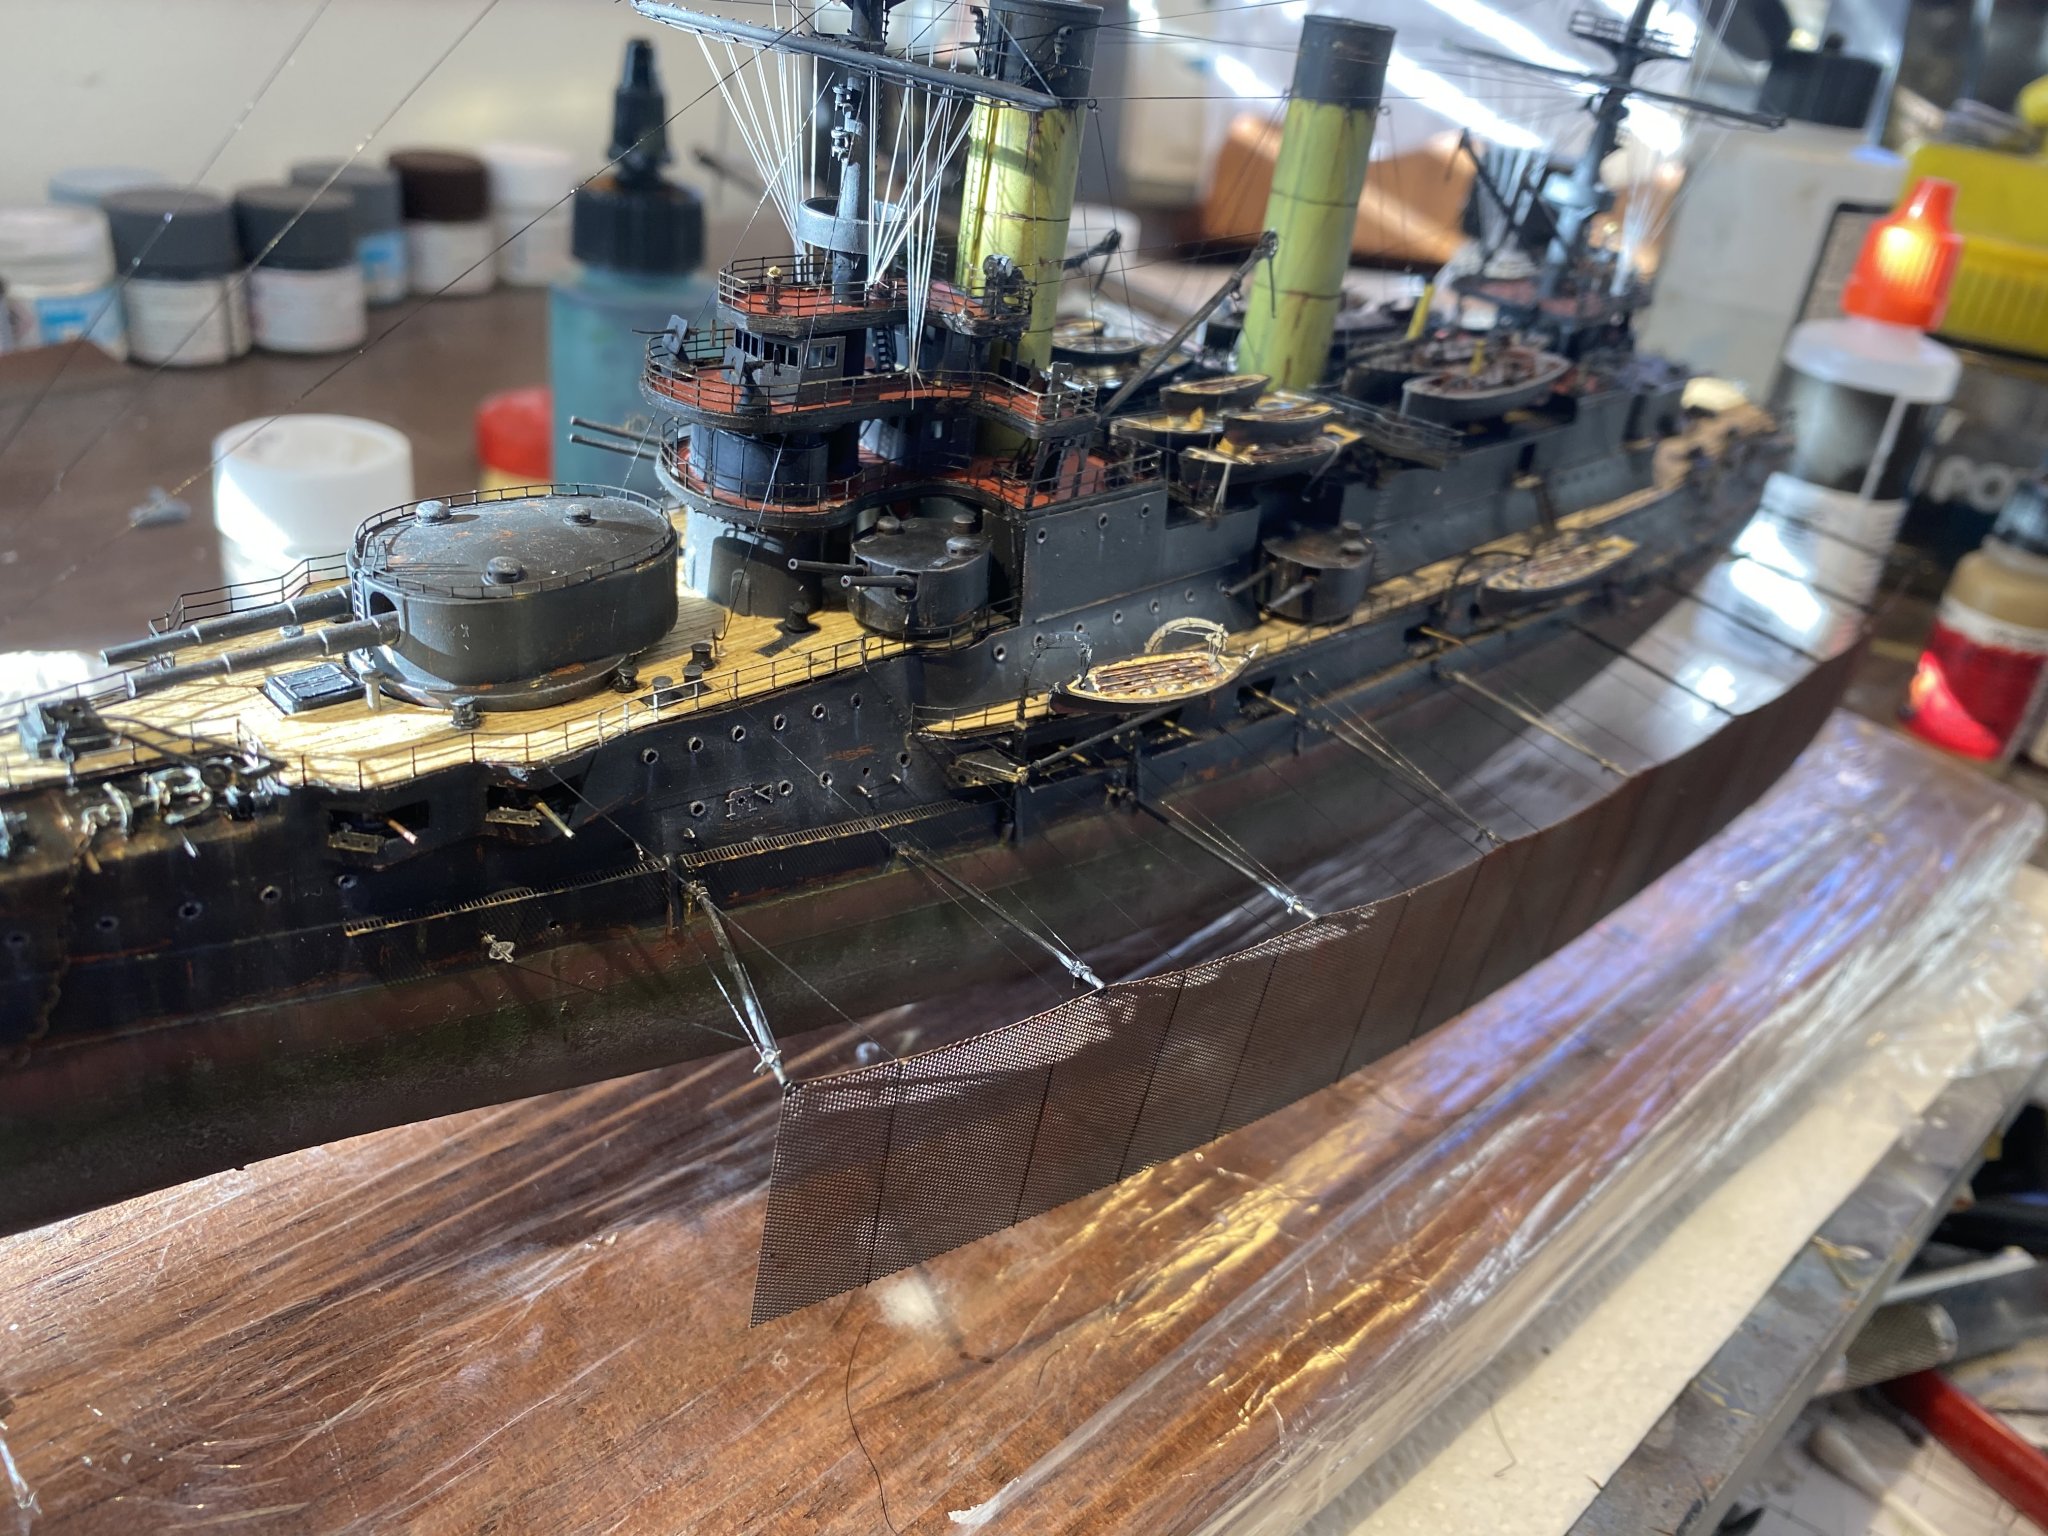
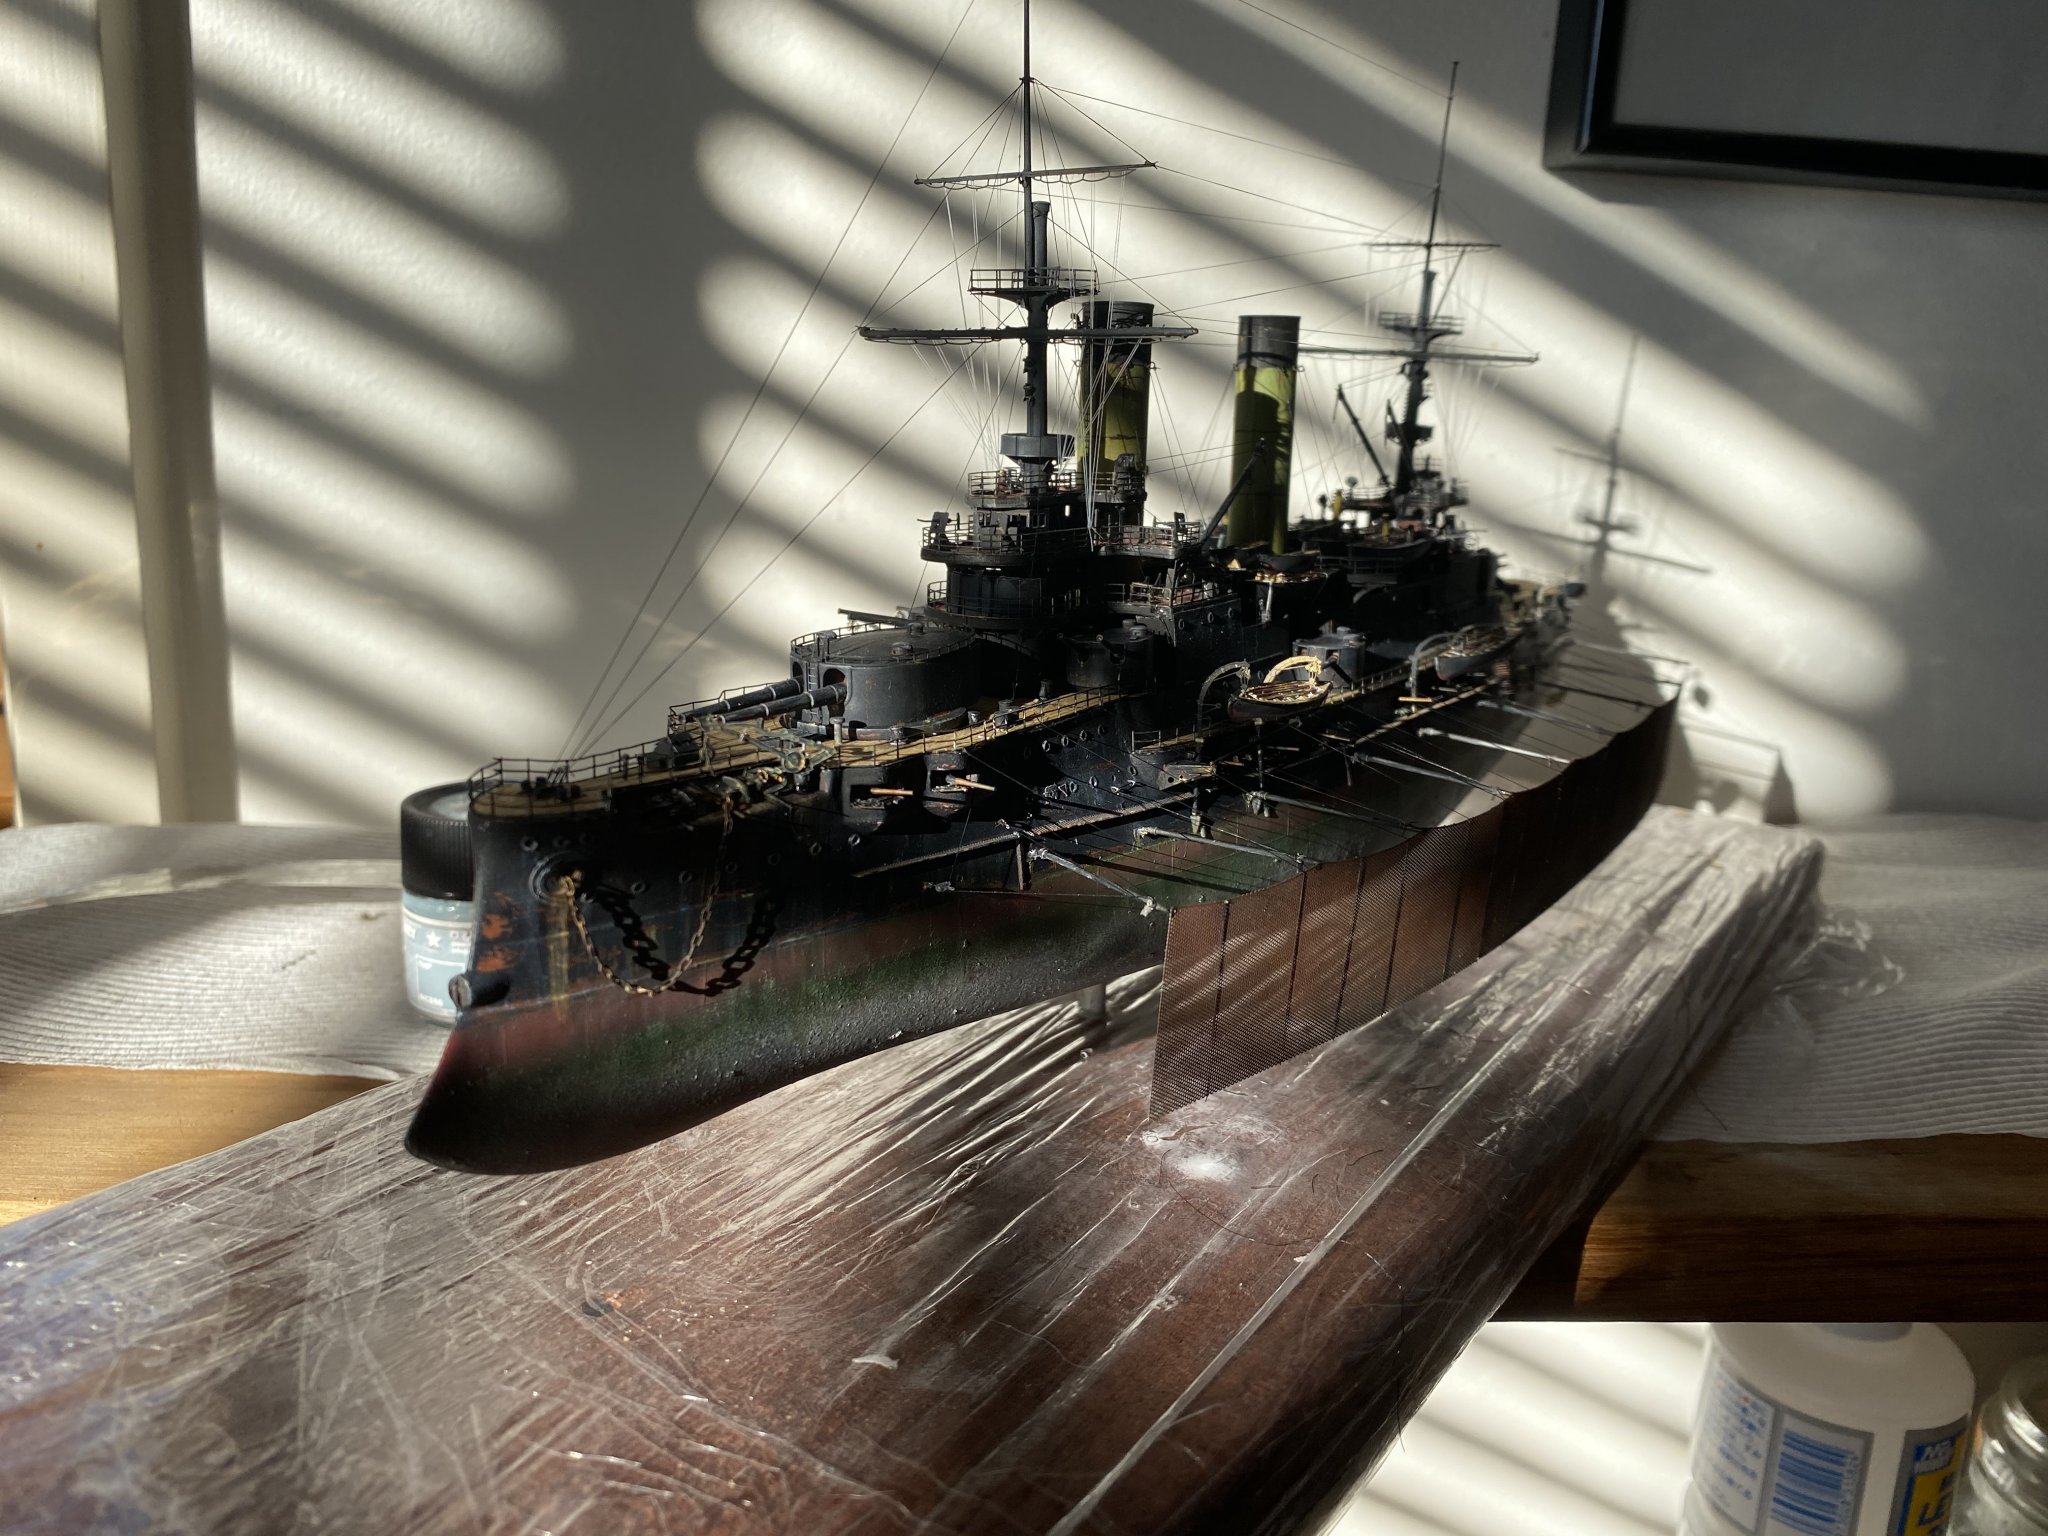
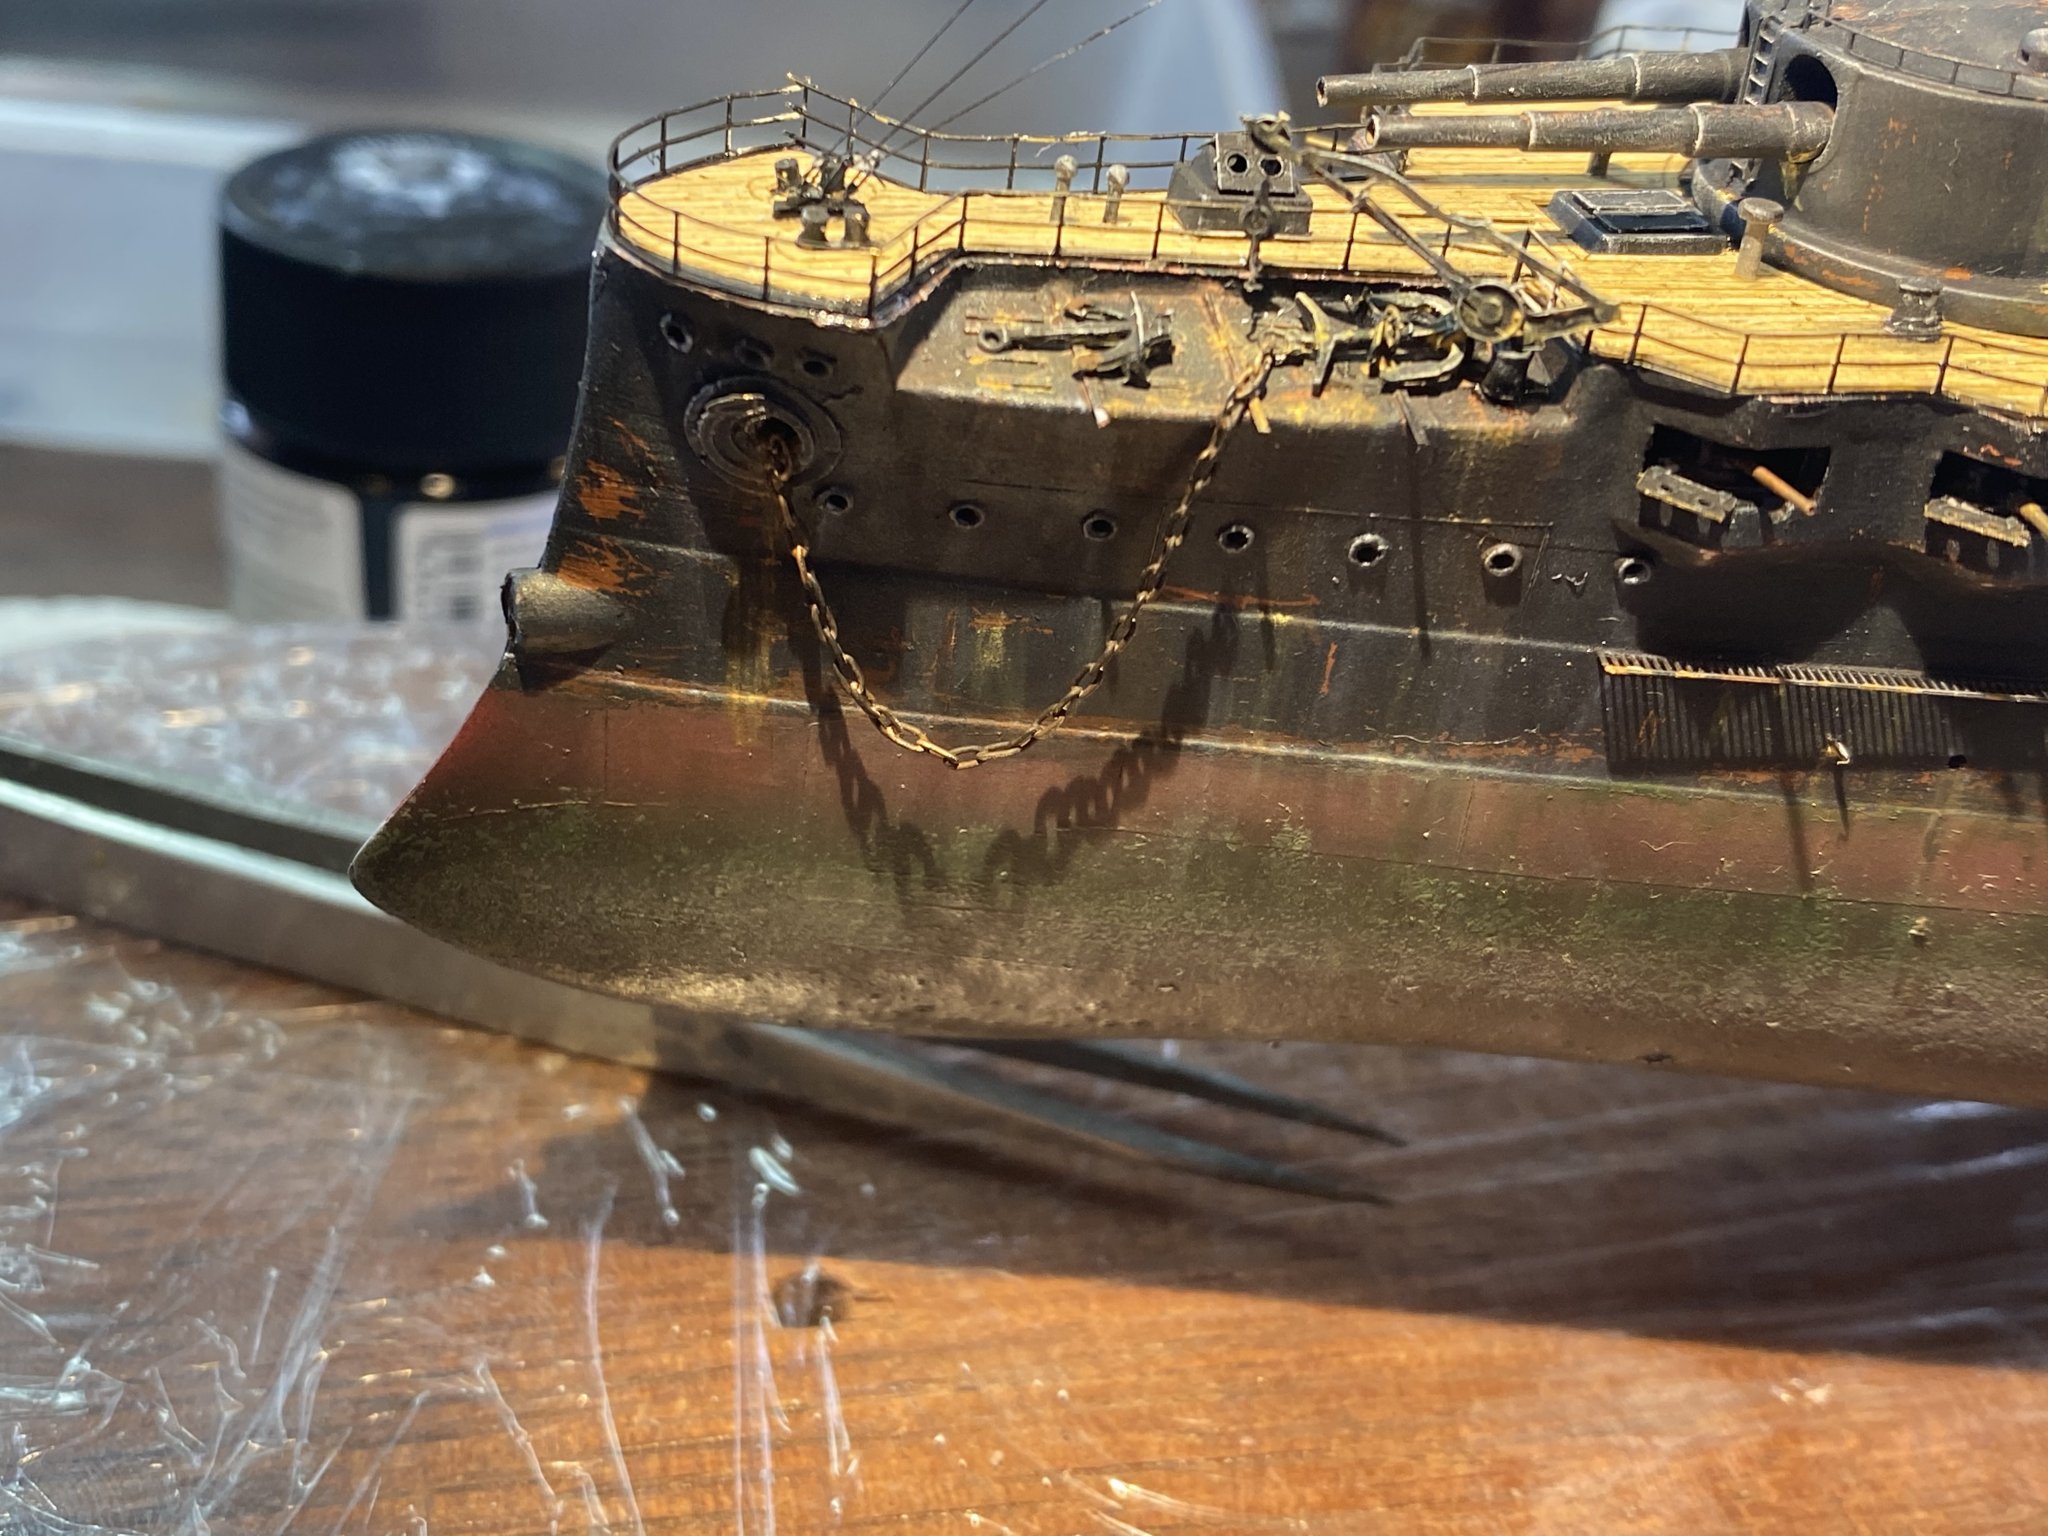
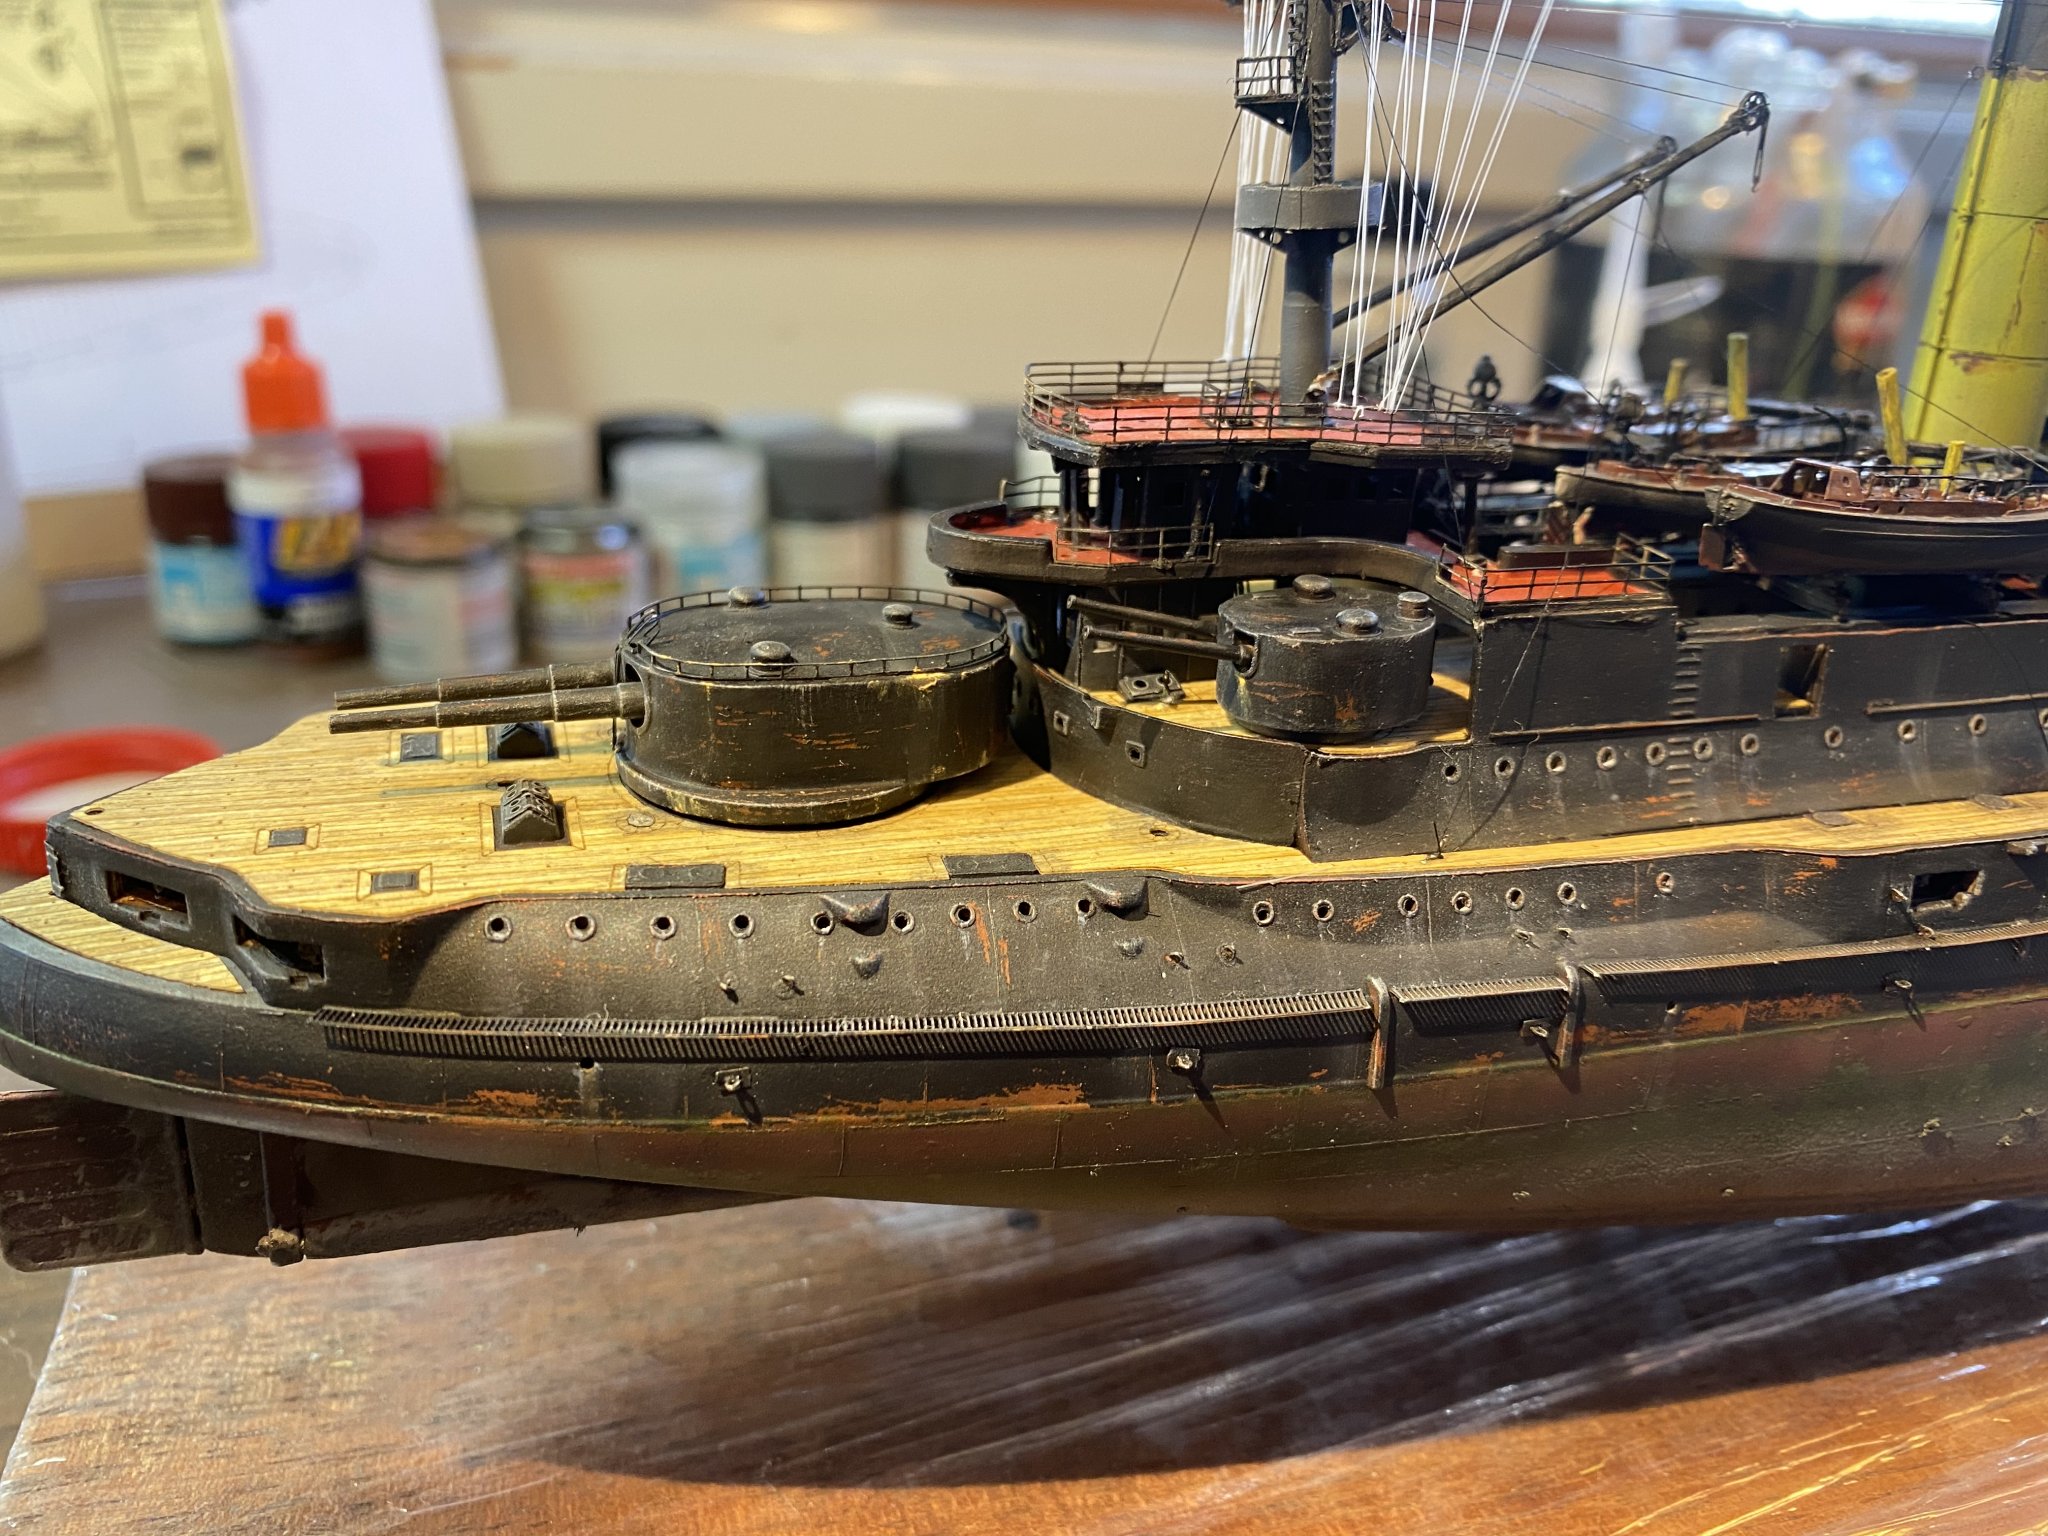
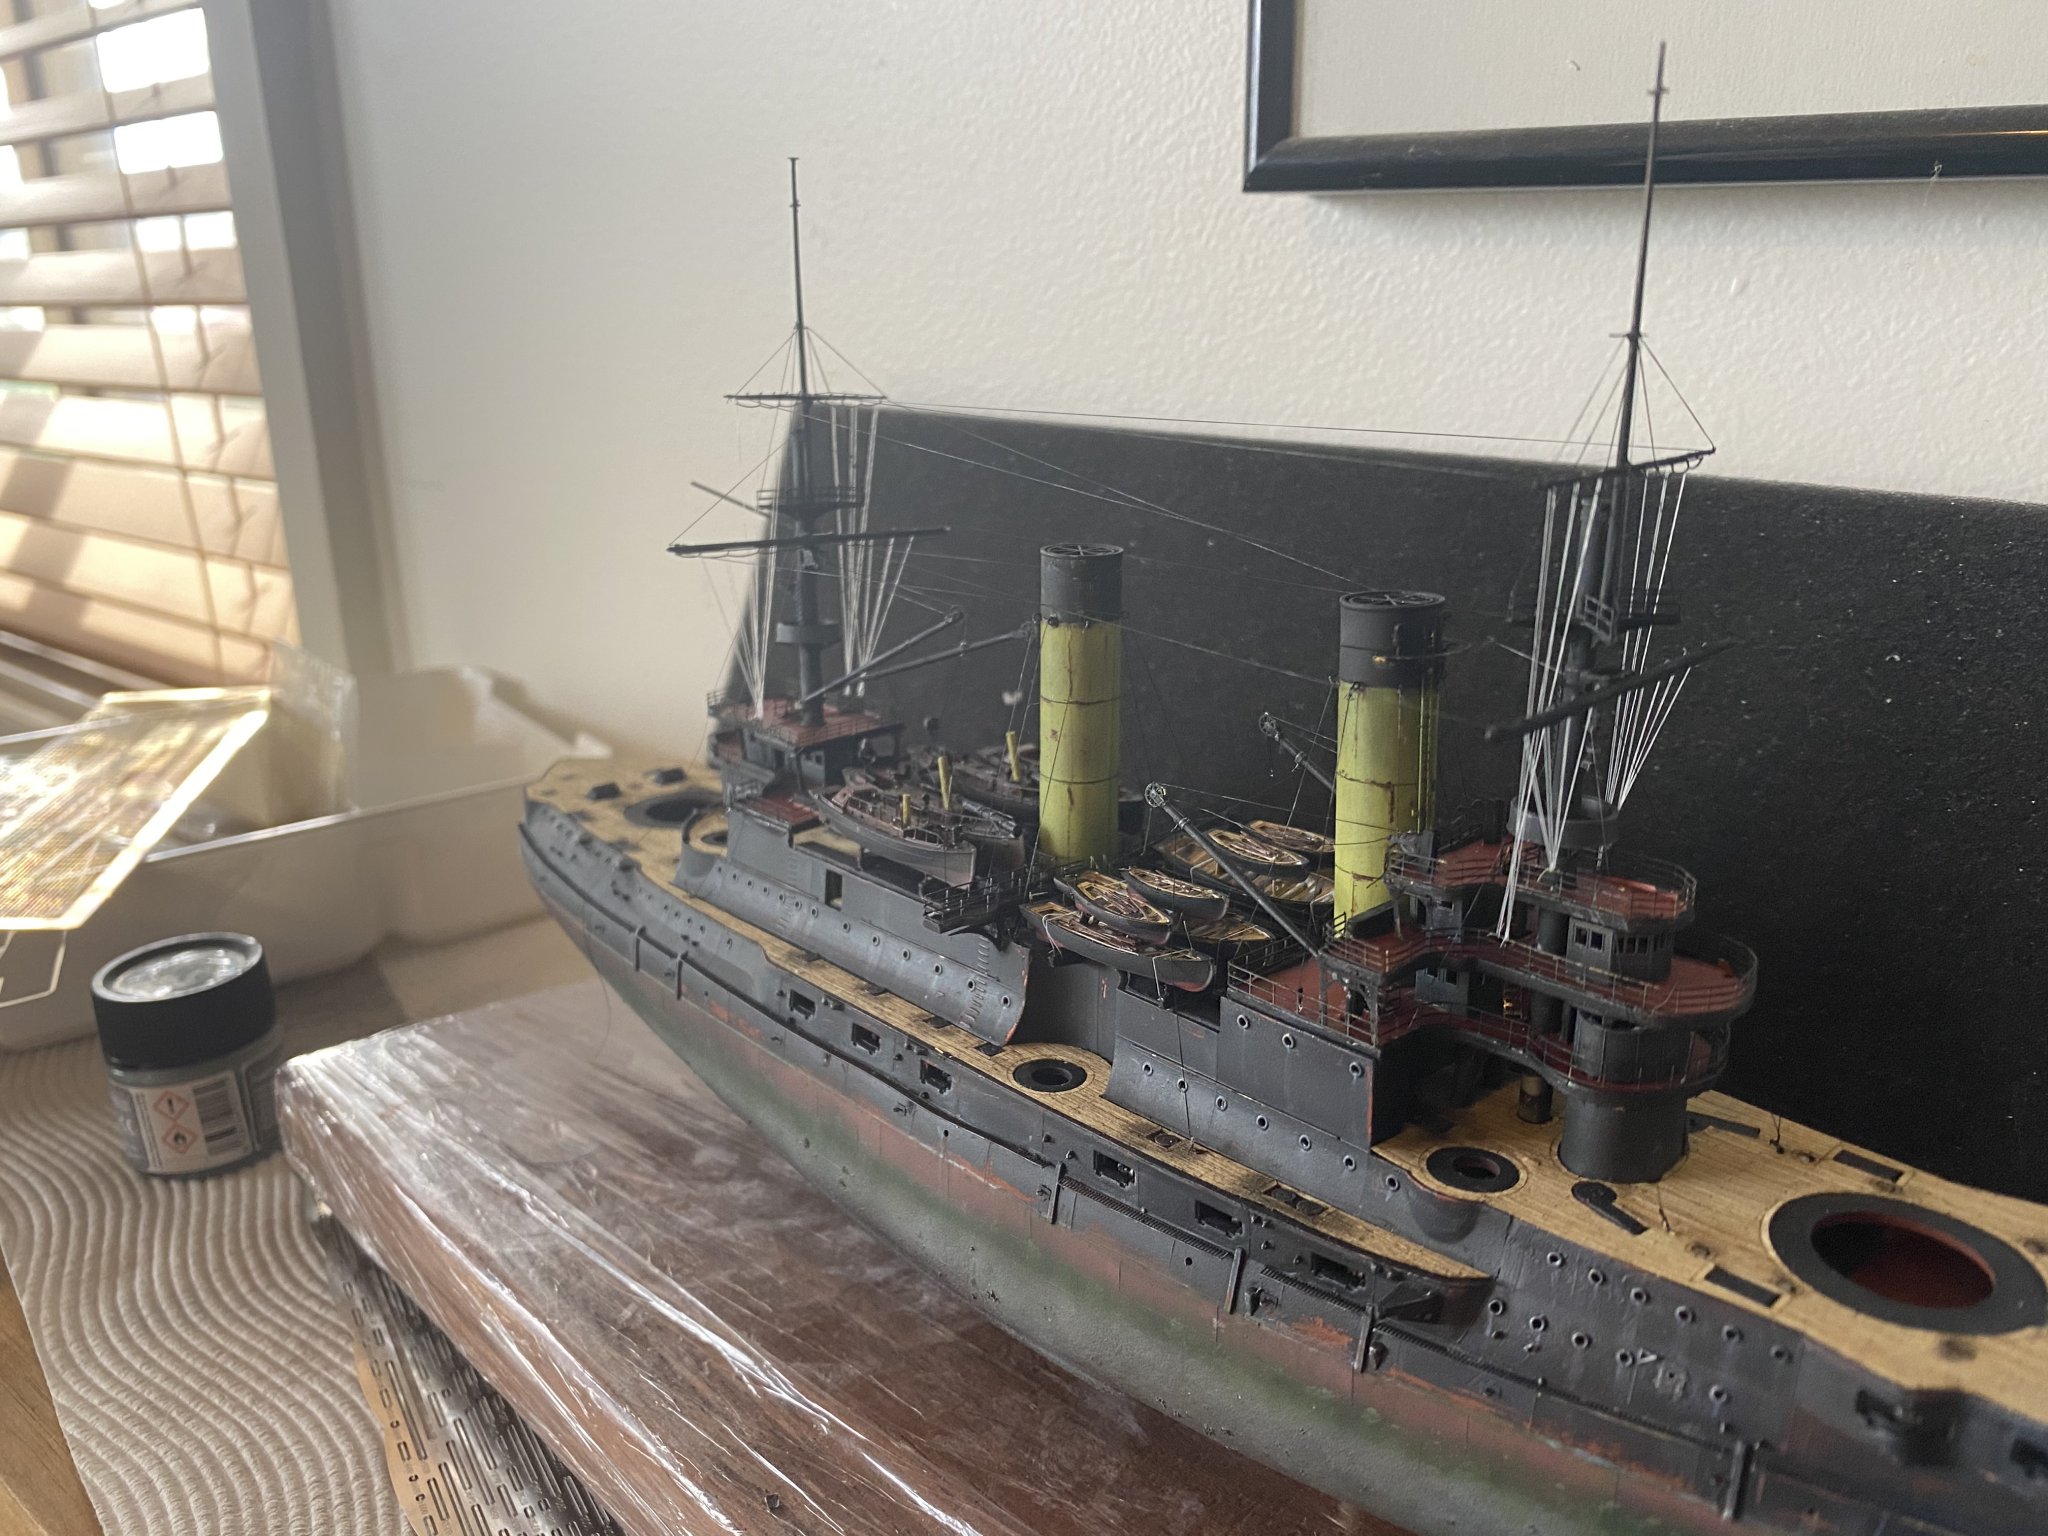
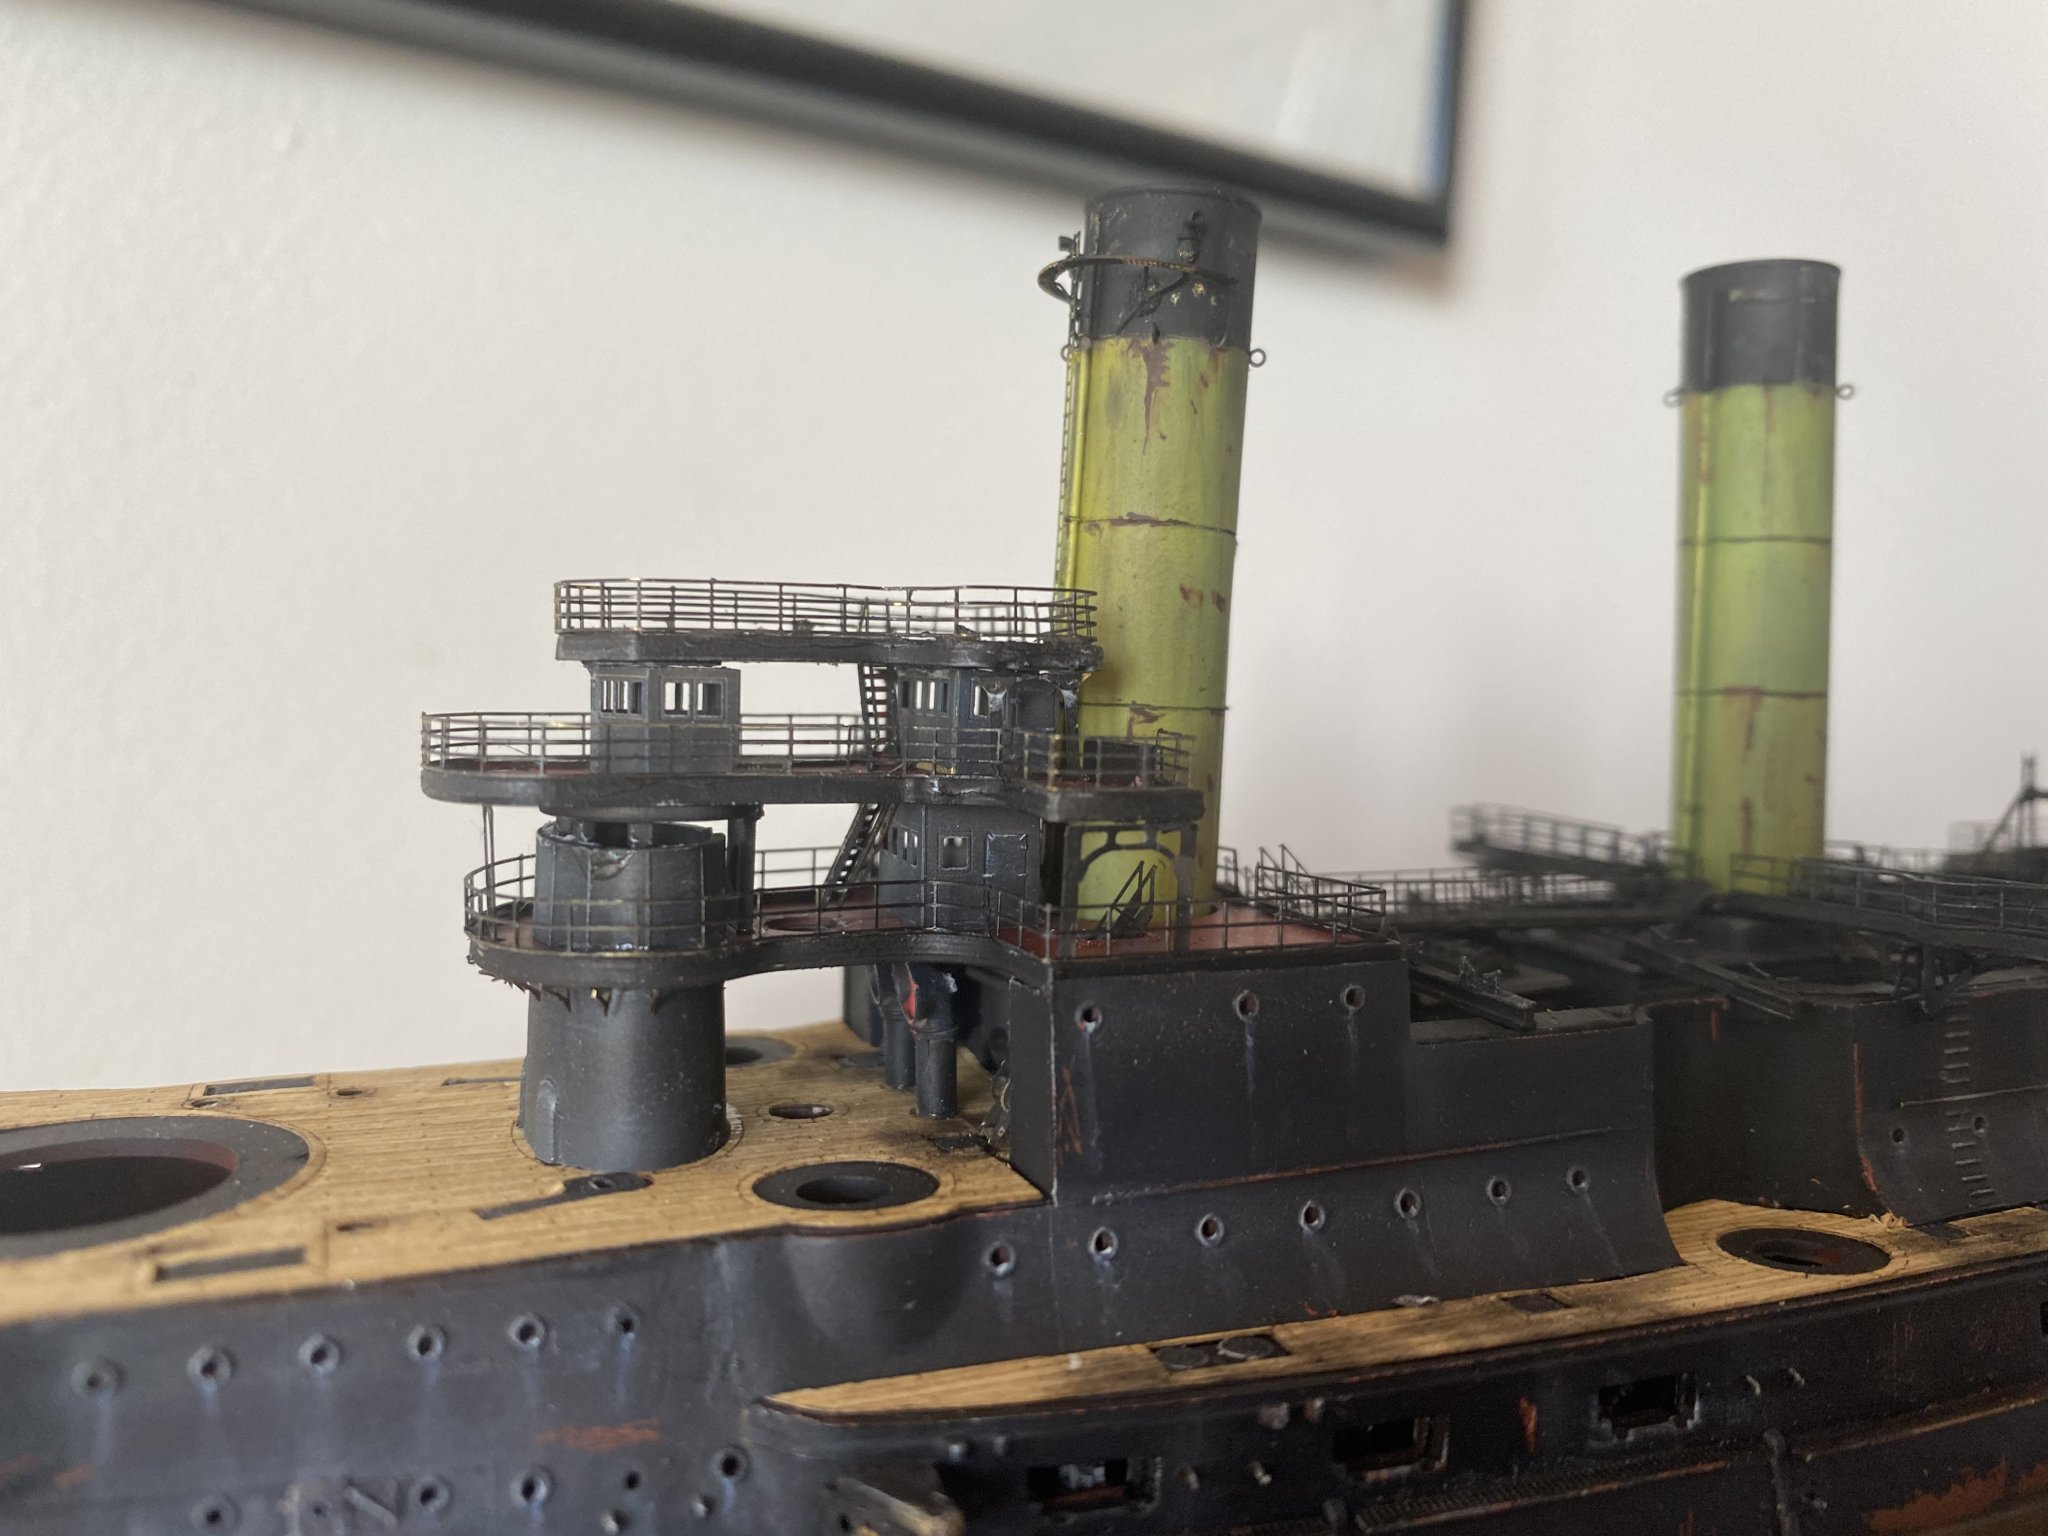
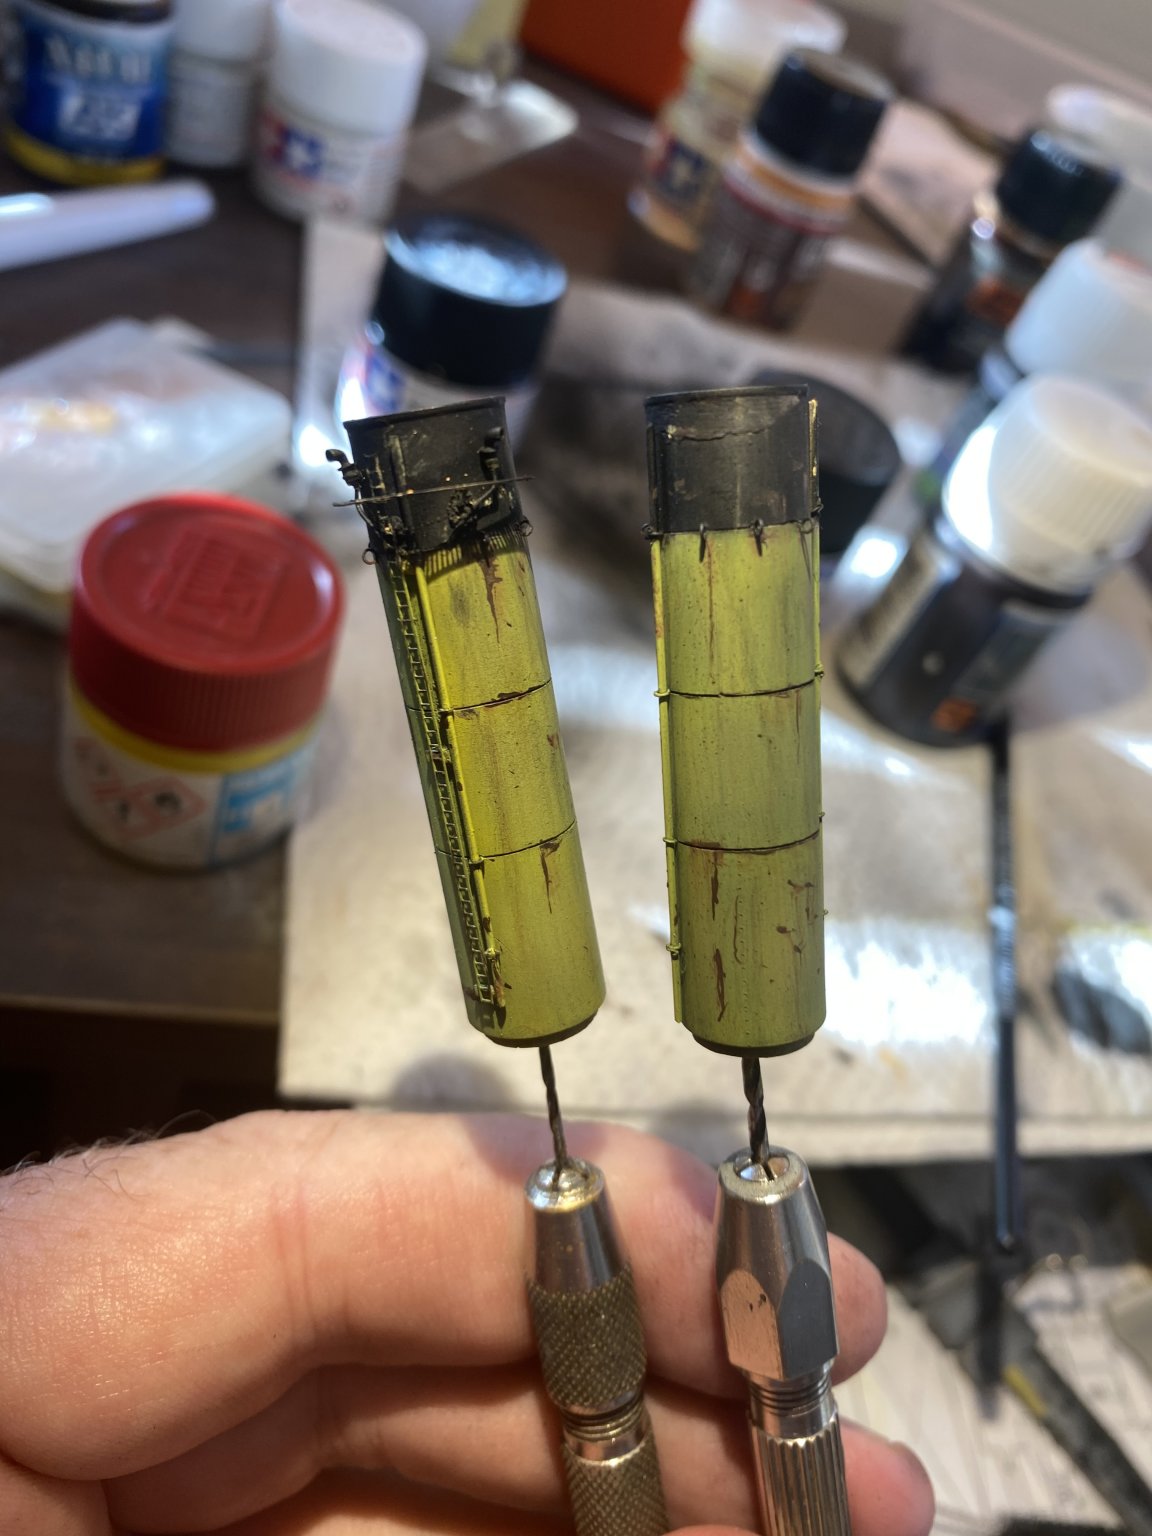
And back to Zara. Bit of touch up to get the hull plates right at the bow, some trimming of deck features that need to be replaced. Now to drill a lot of tiny holes for 2 bar stanchion poles.
- 232 replies
-
- 11
-
-
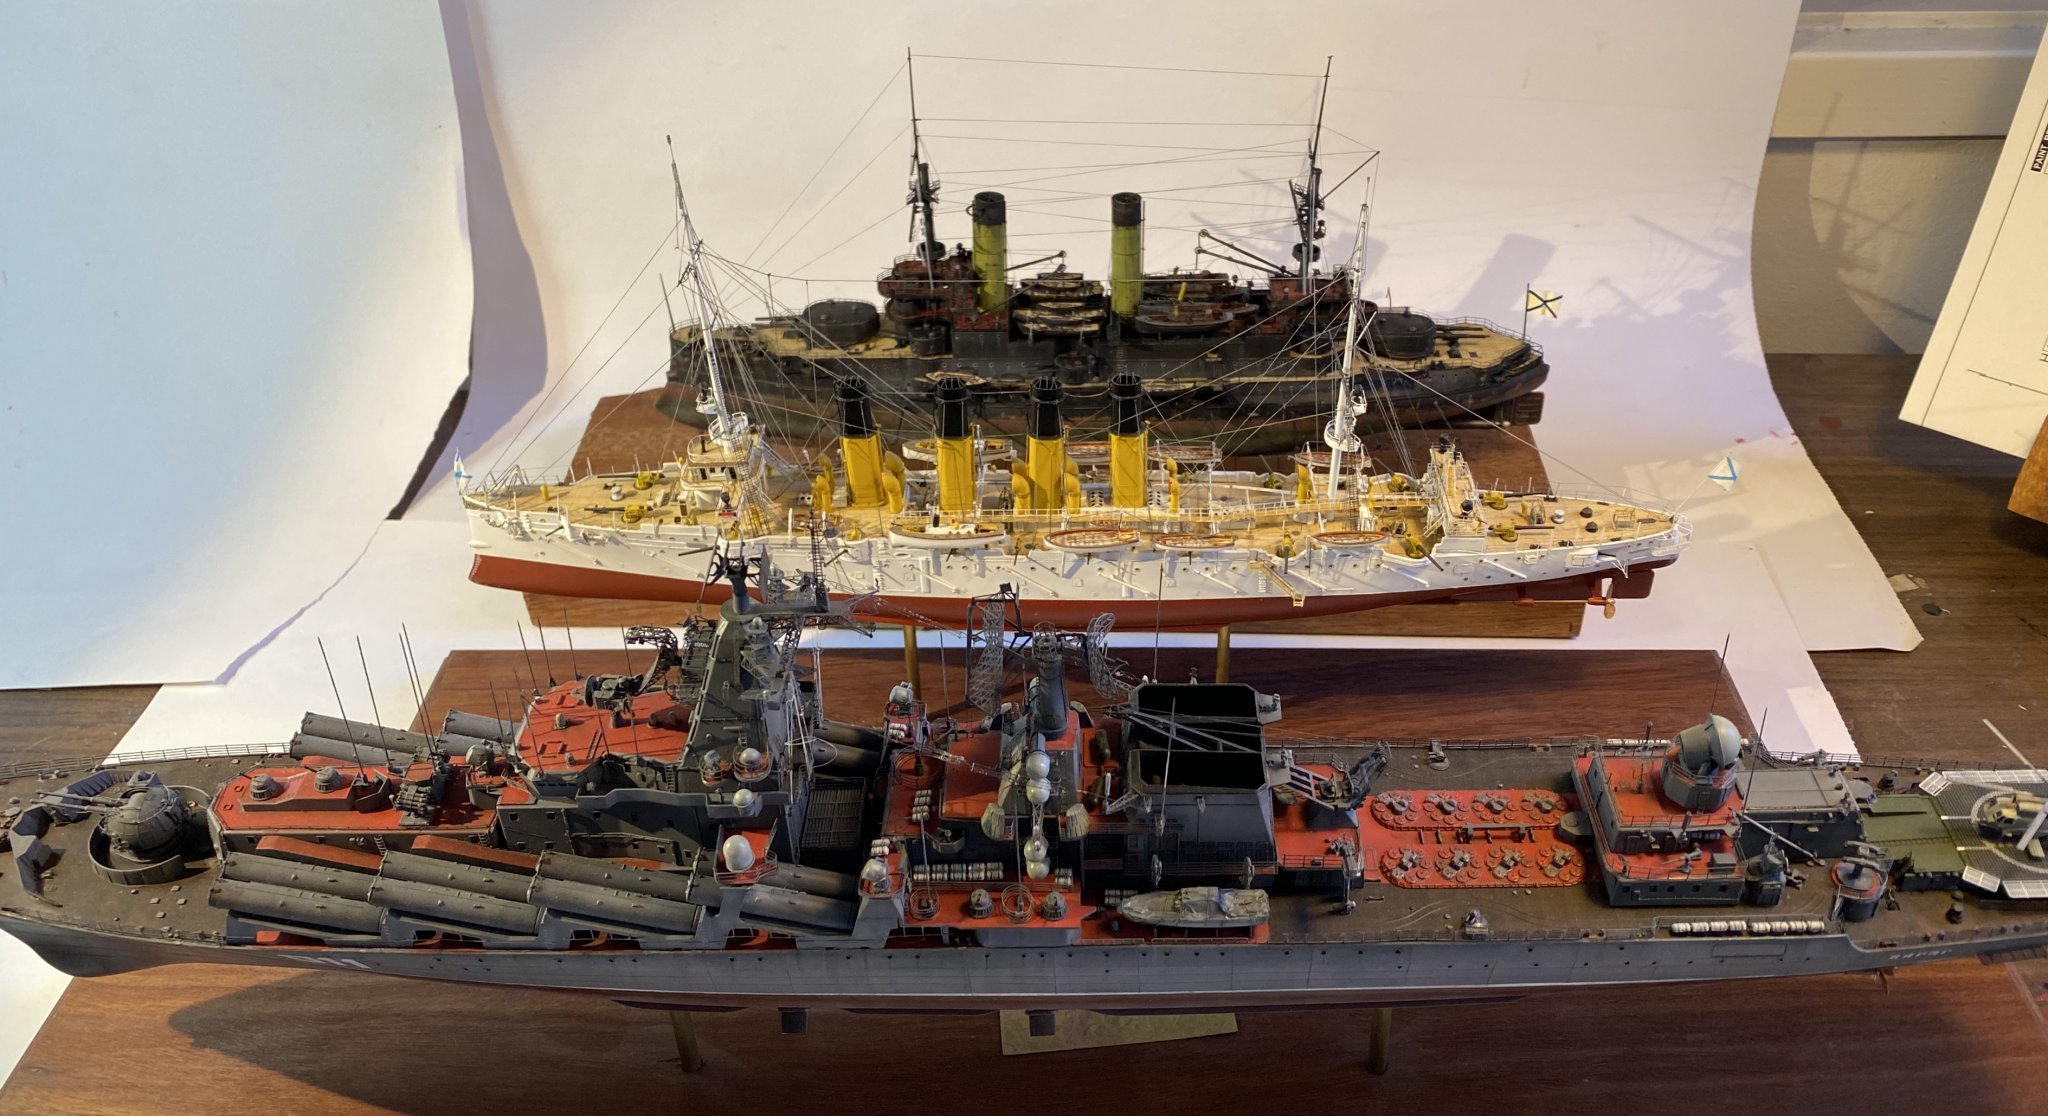
Some of the water dioramas are fantastic but they take up a lot of space unfortunately.
-
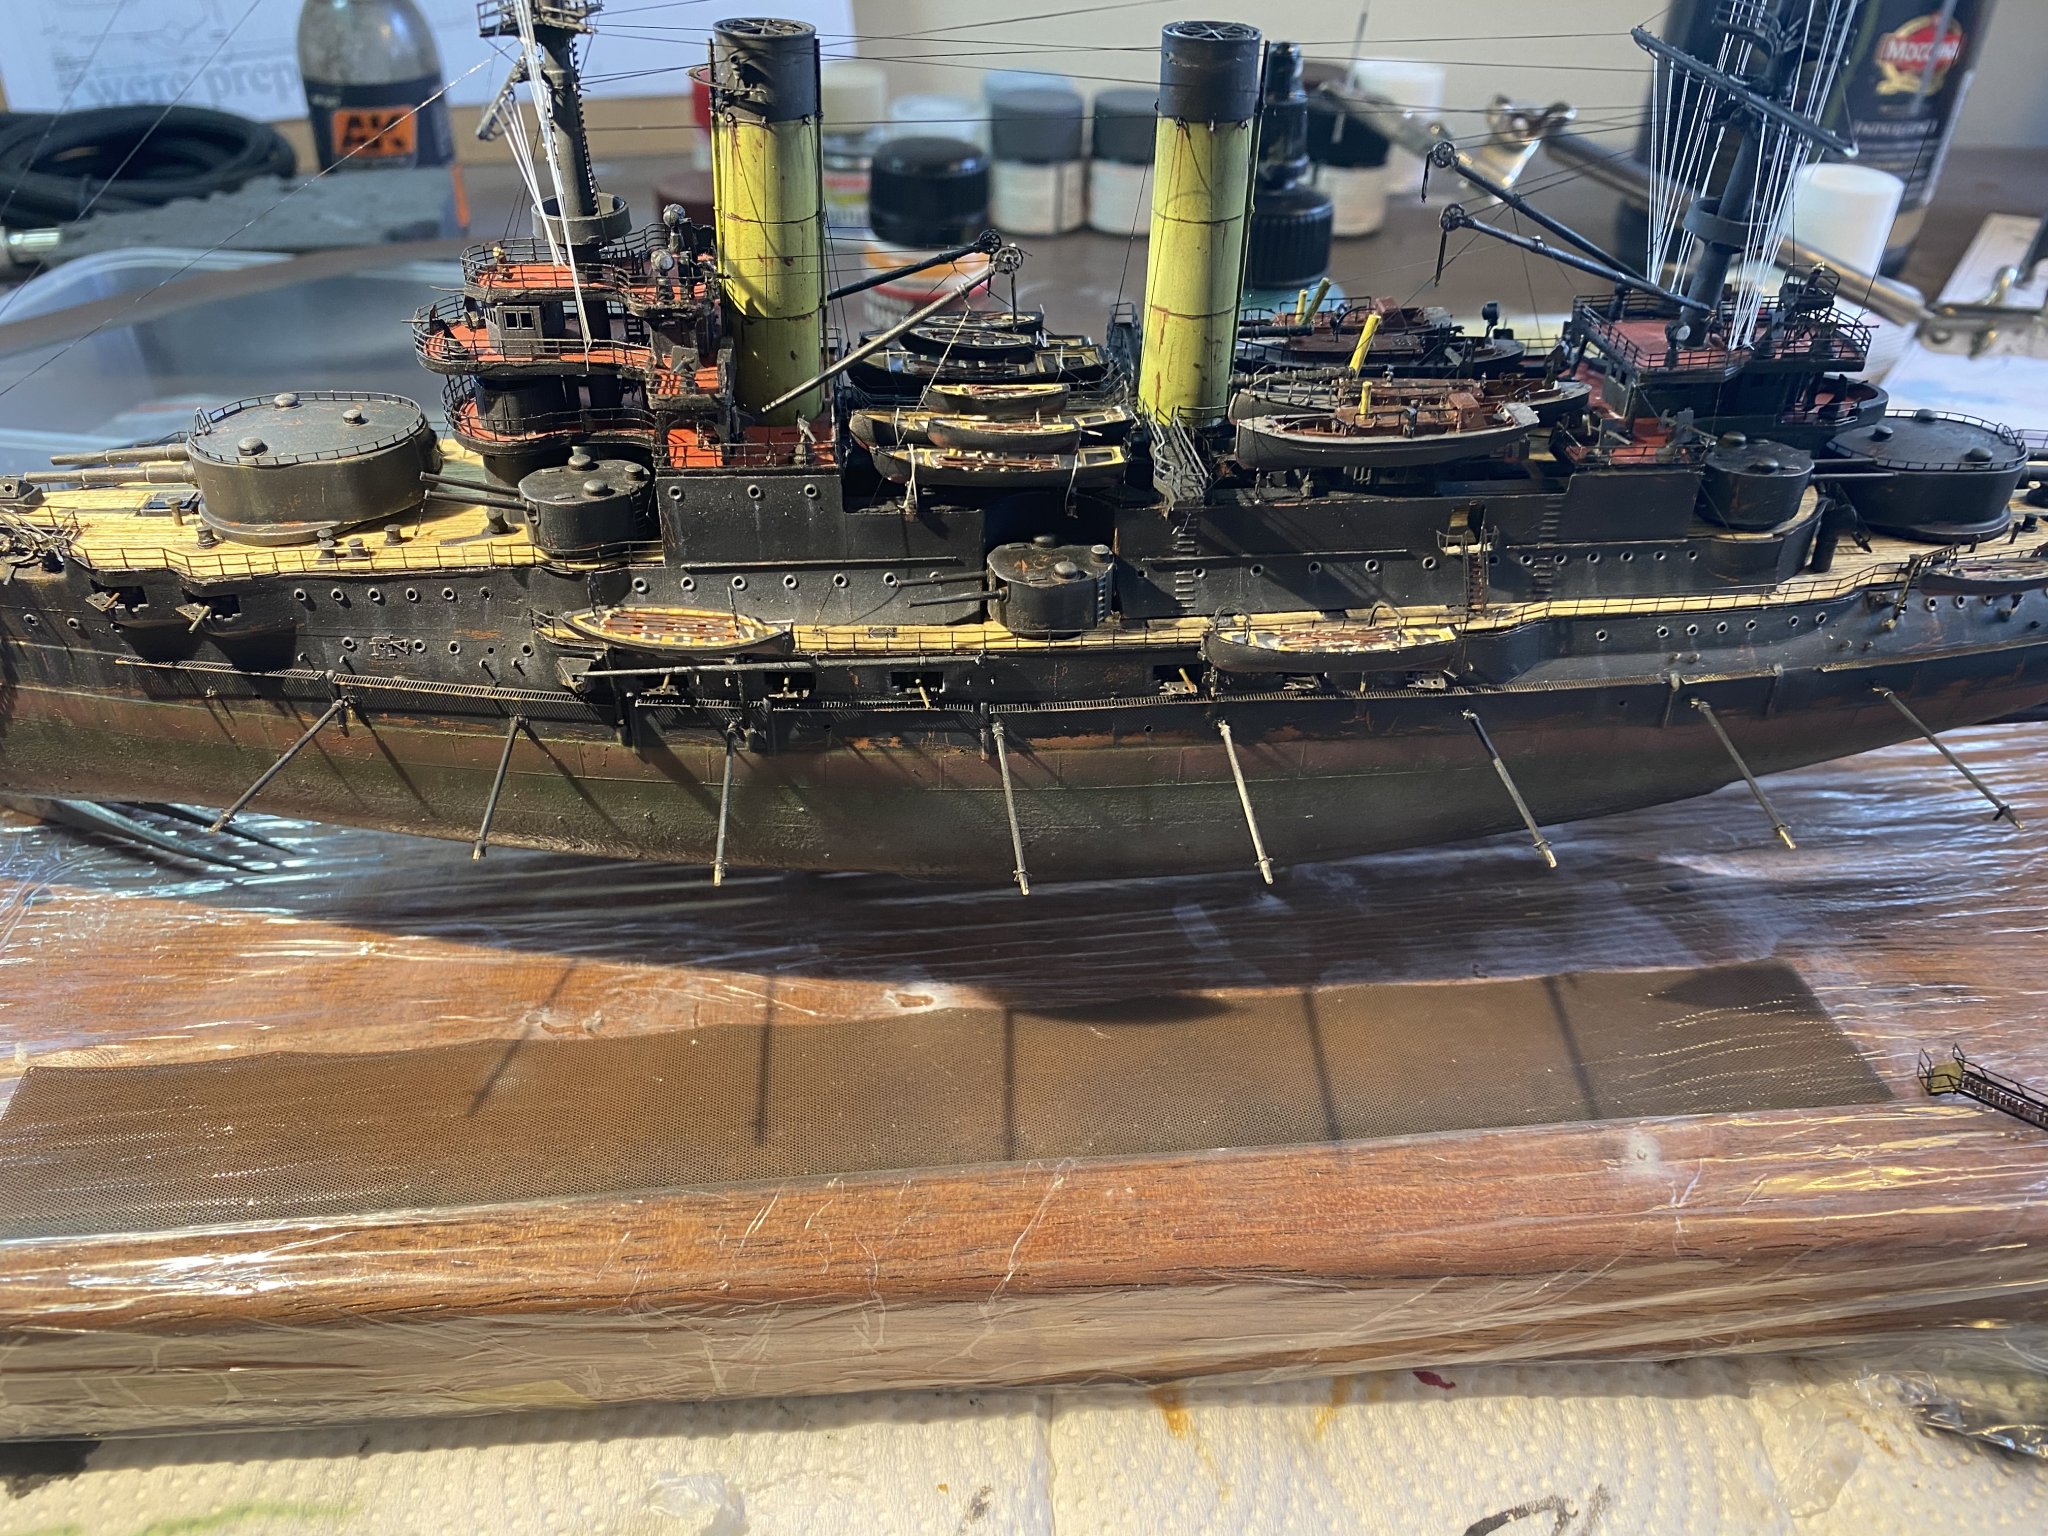
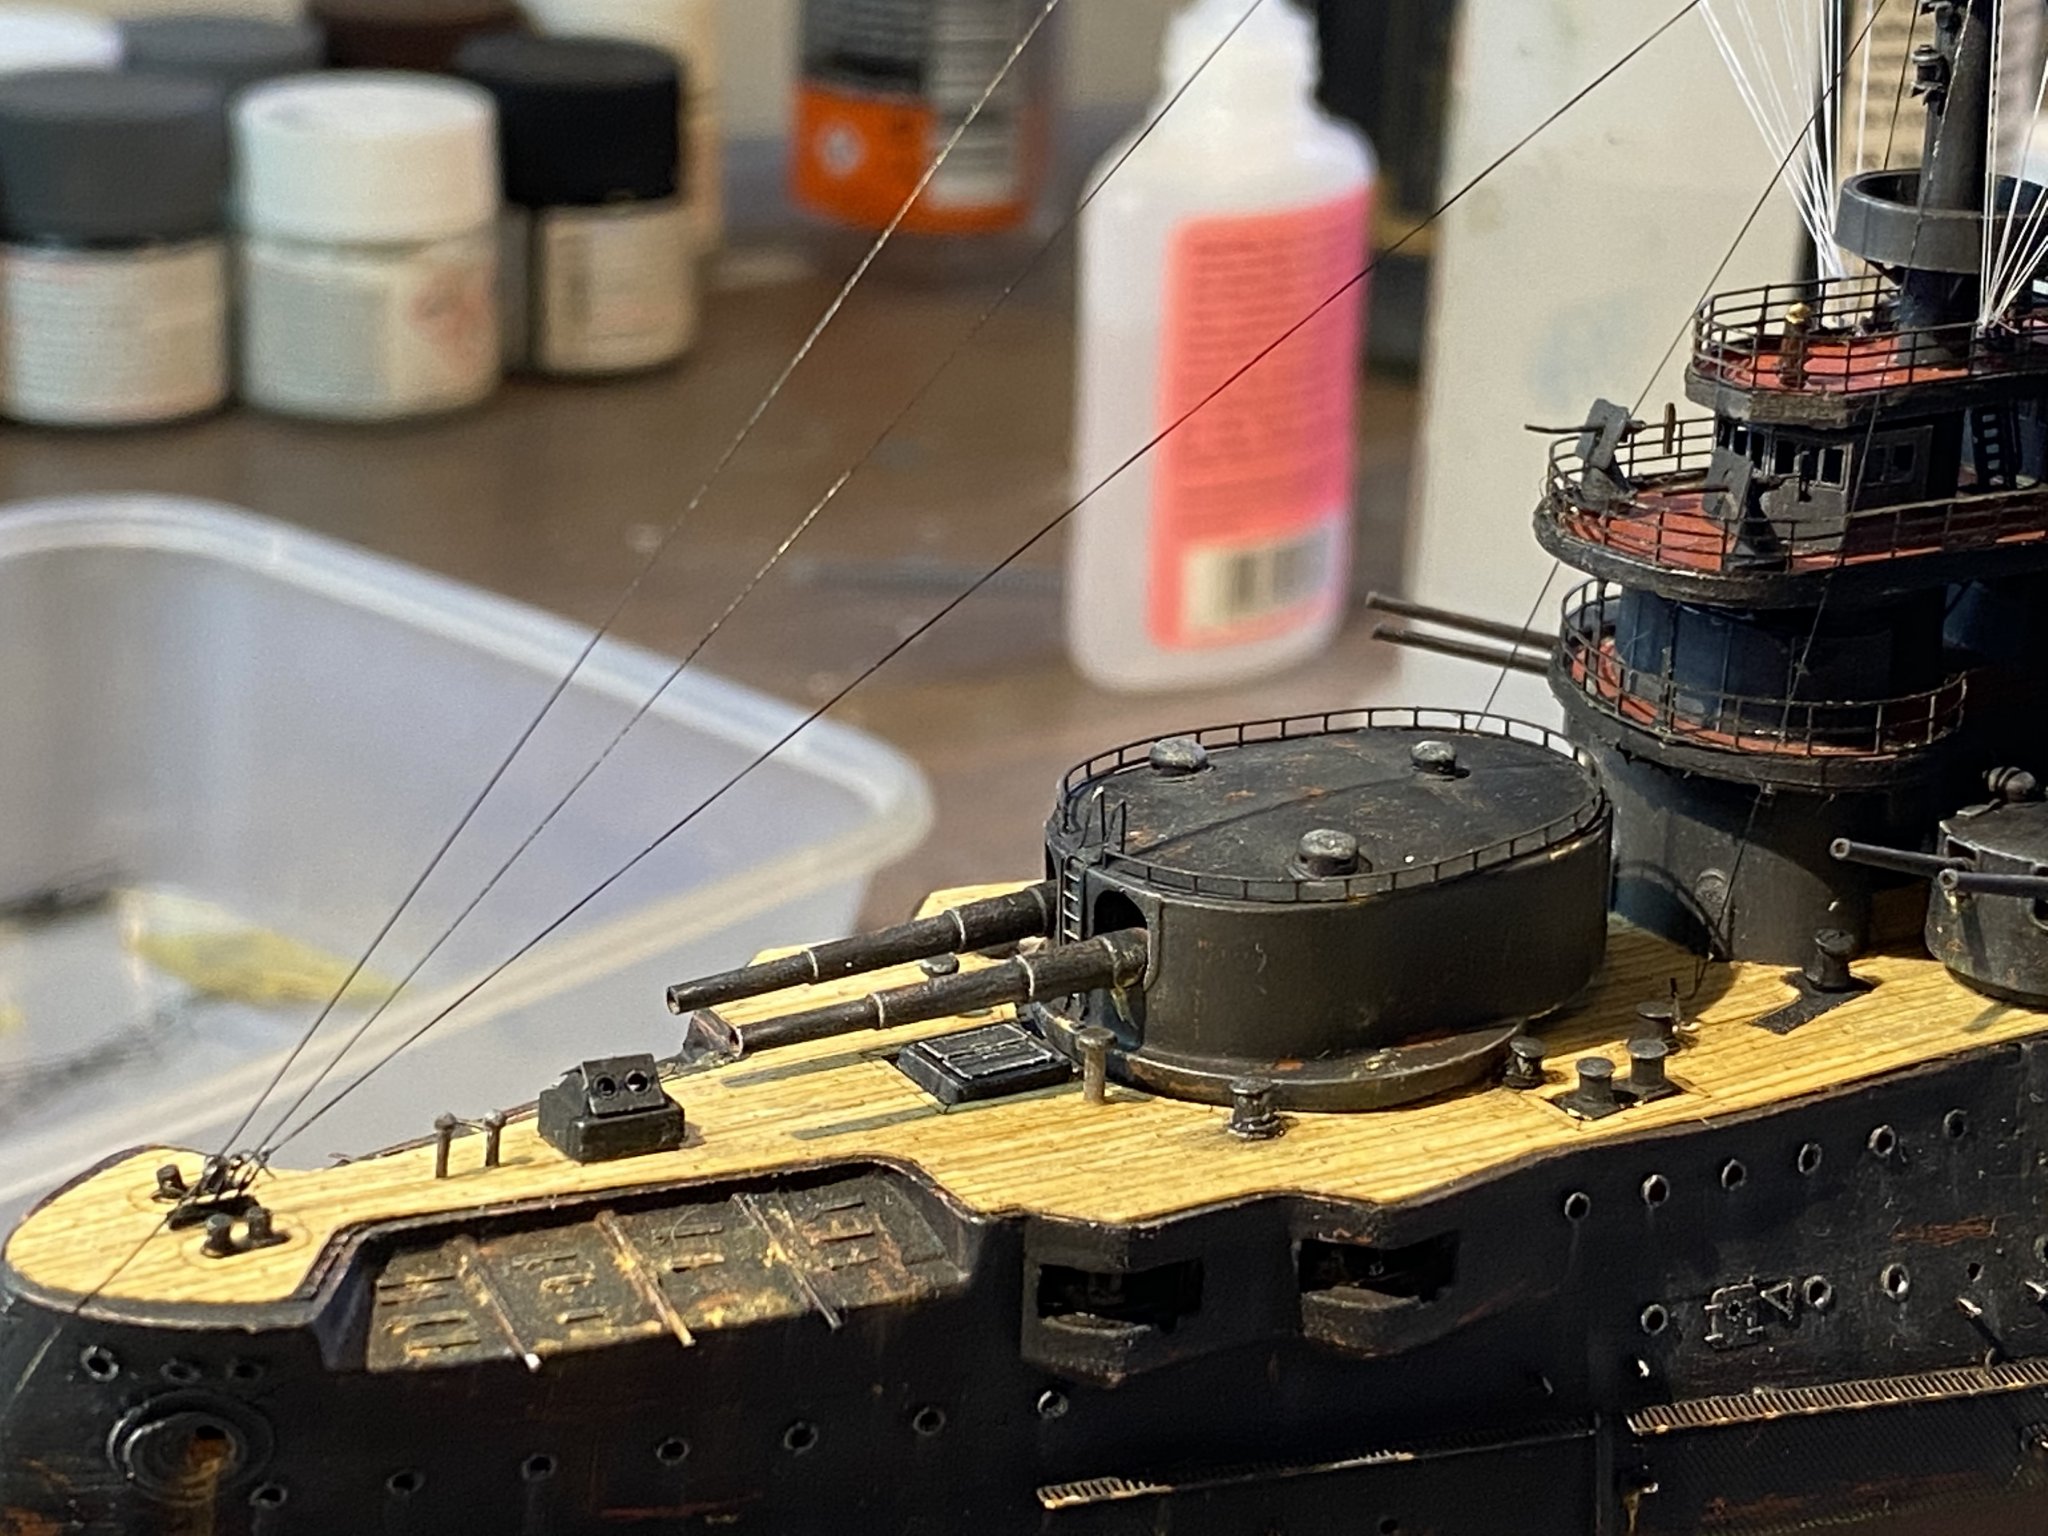
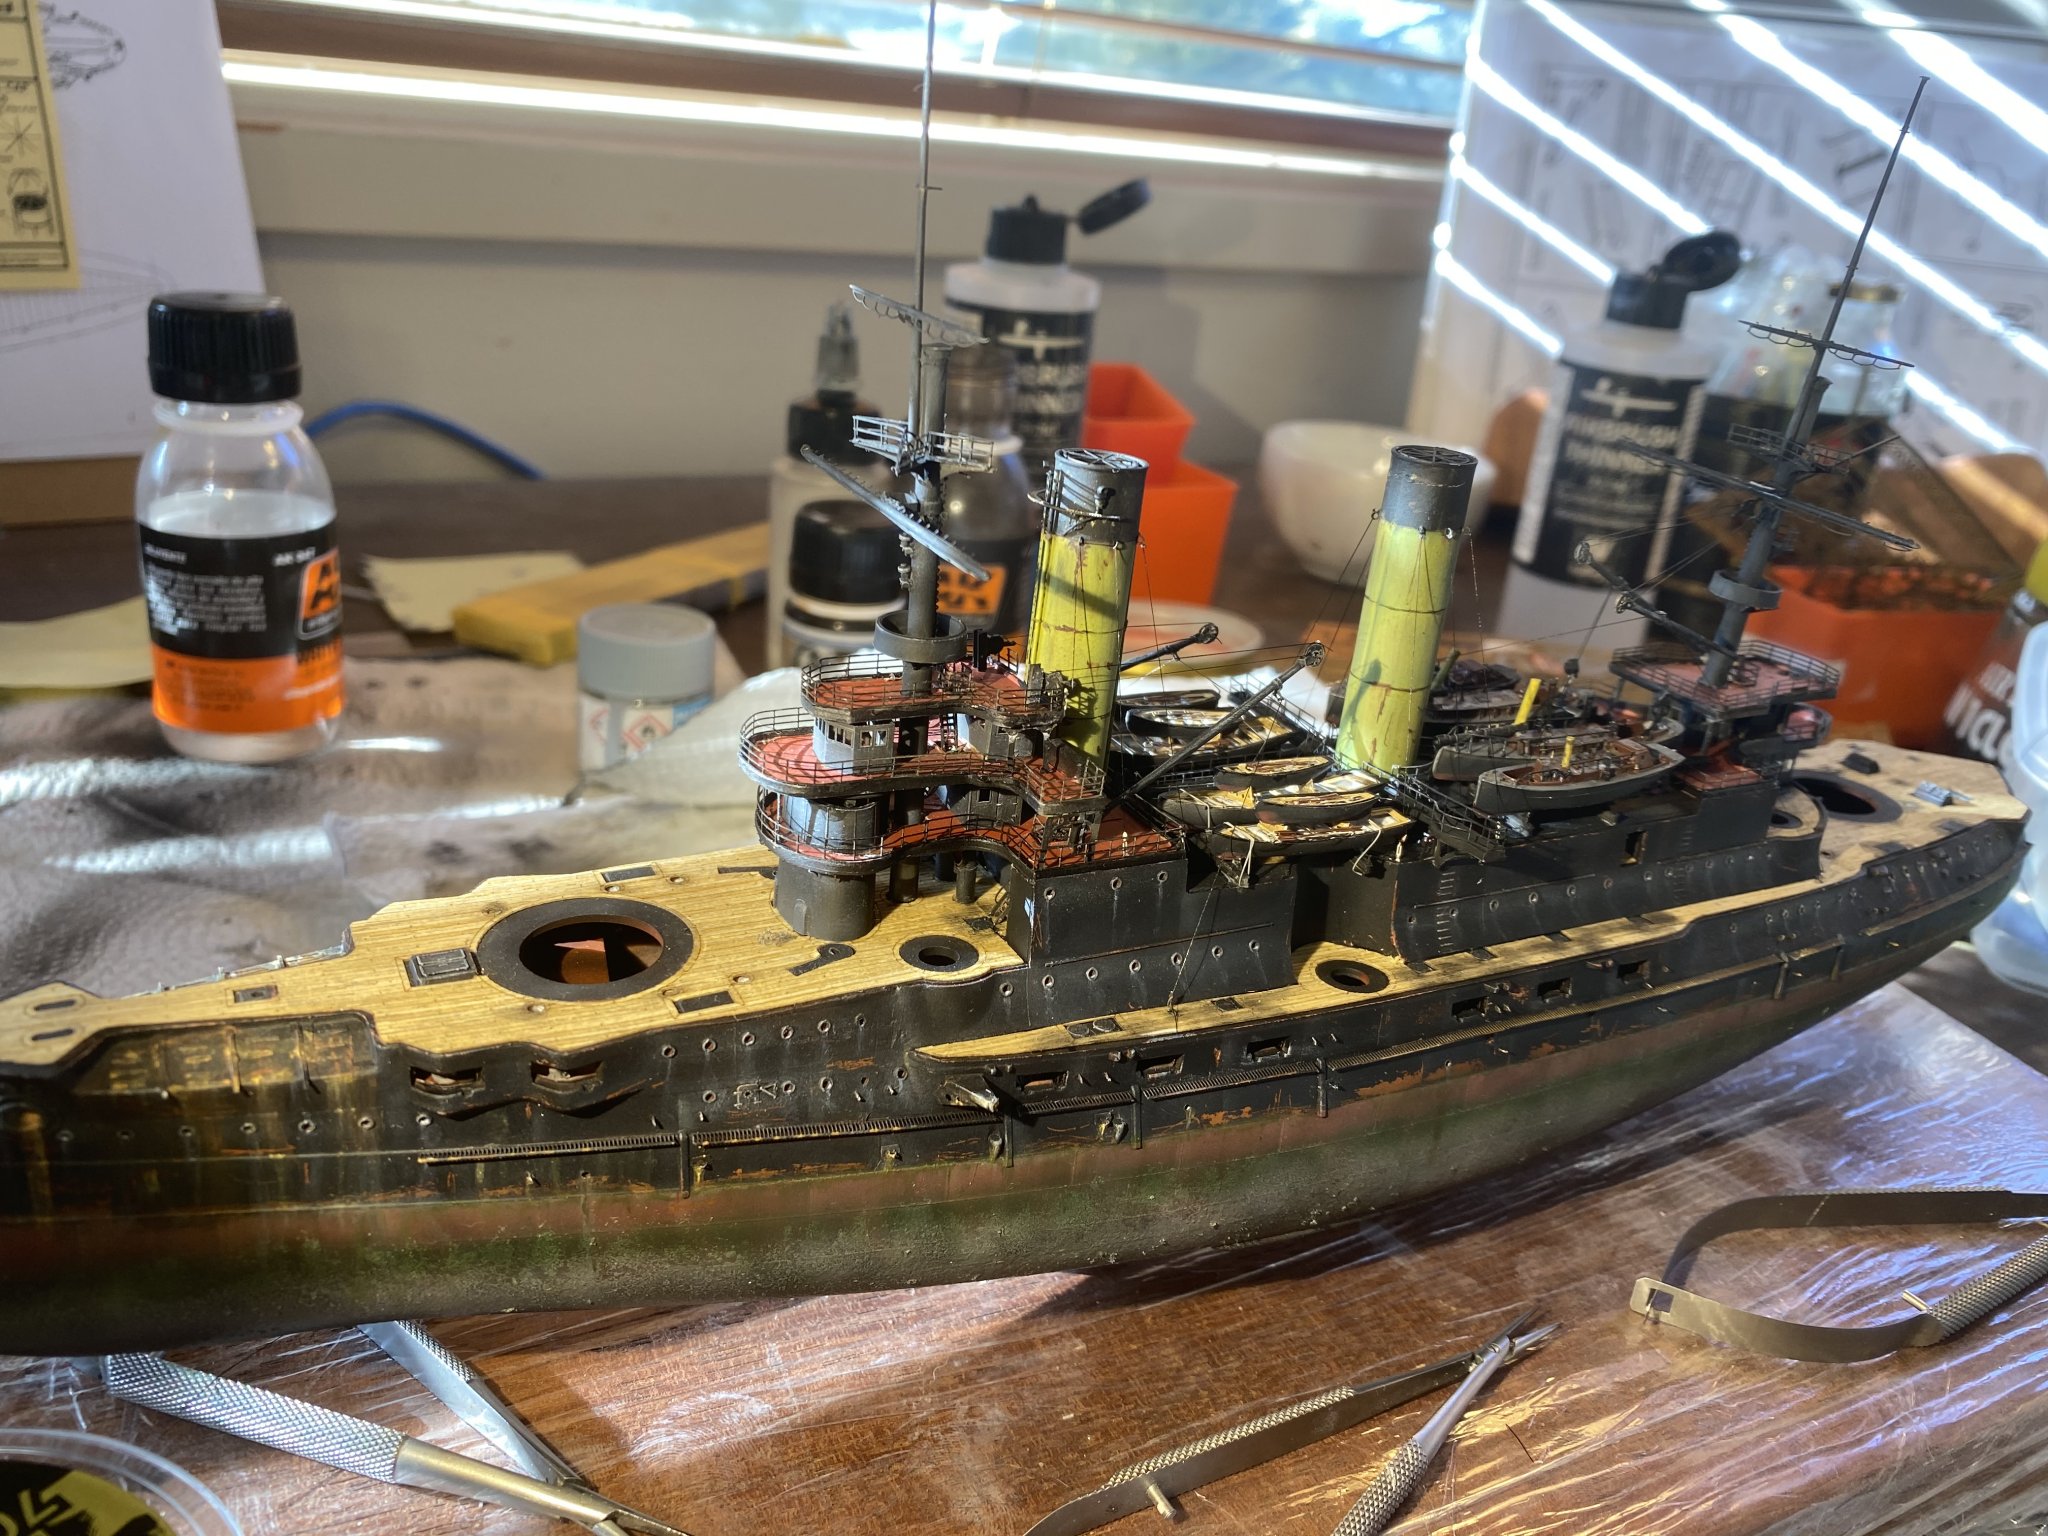
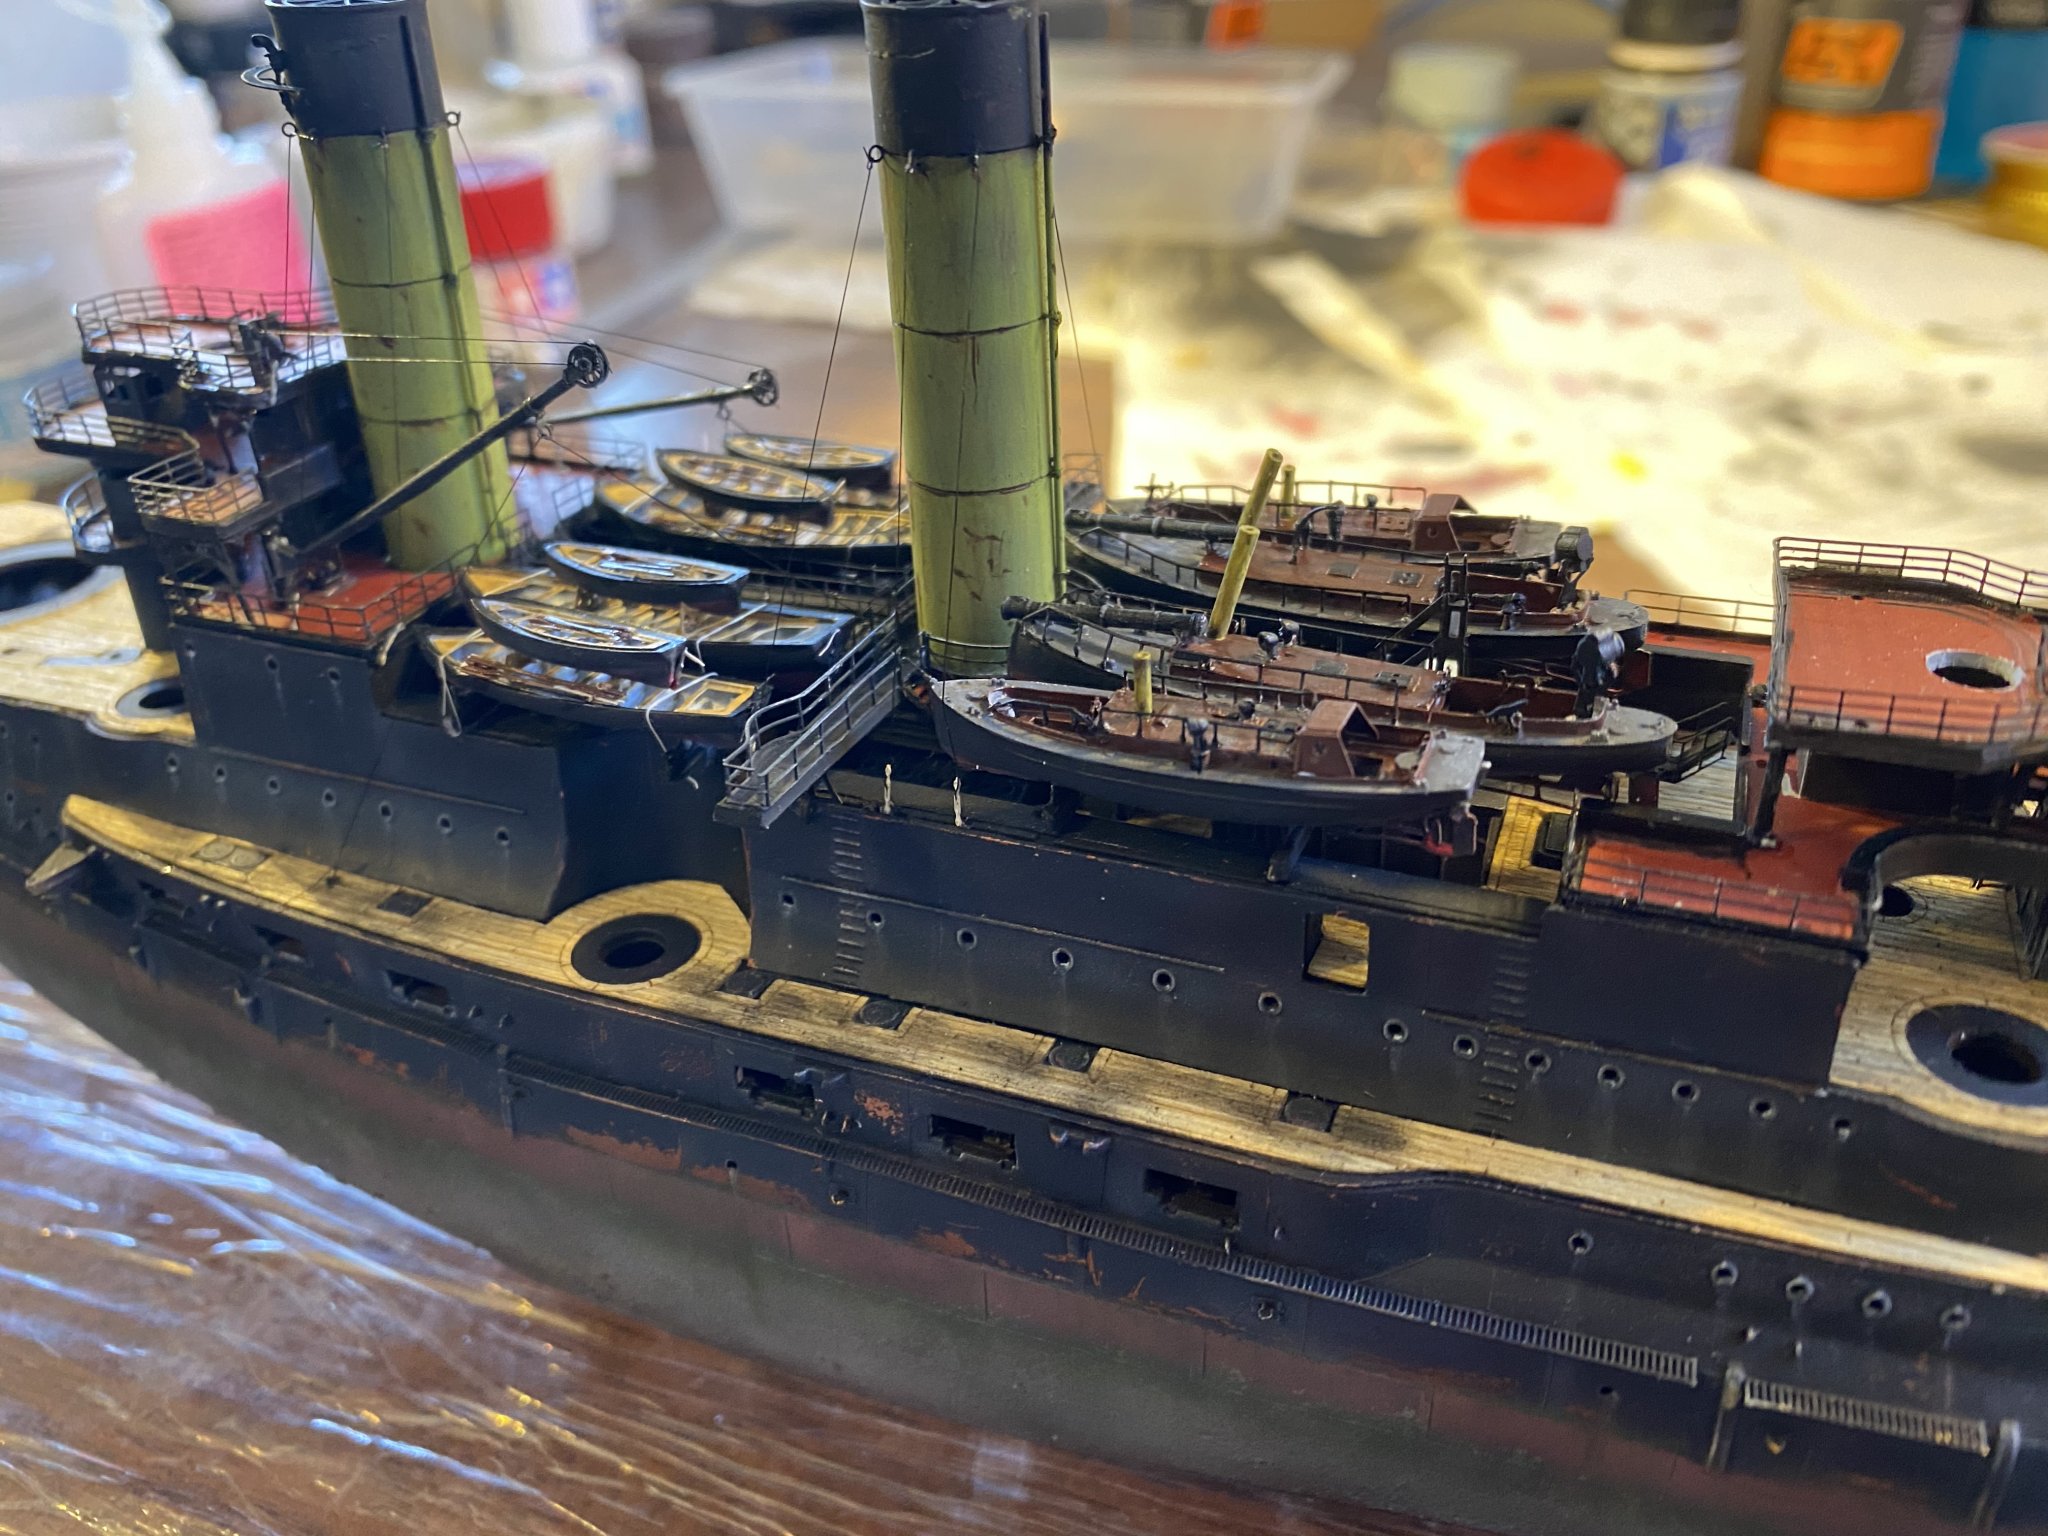
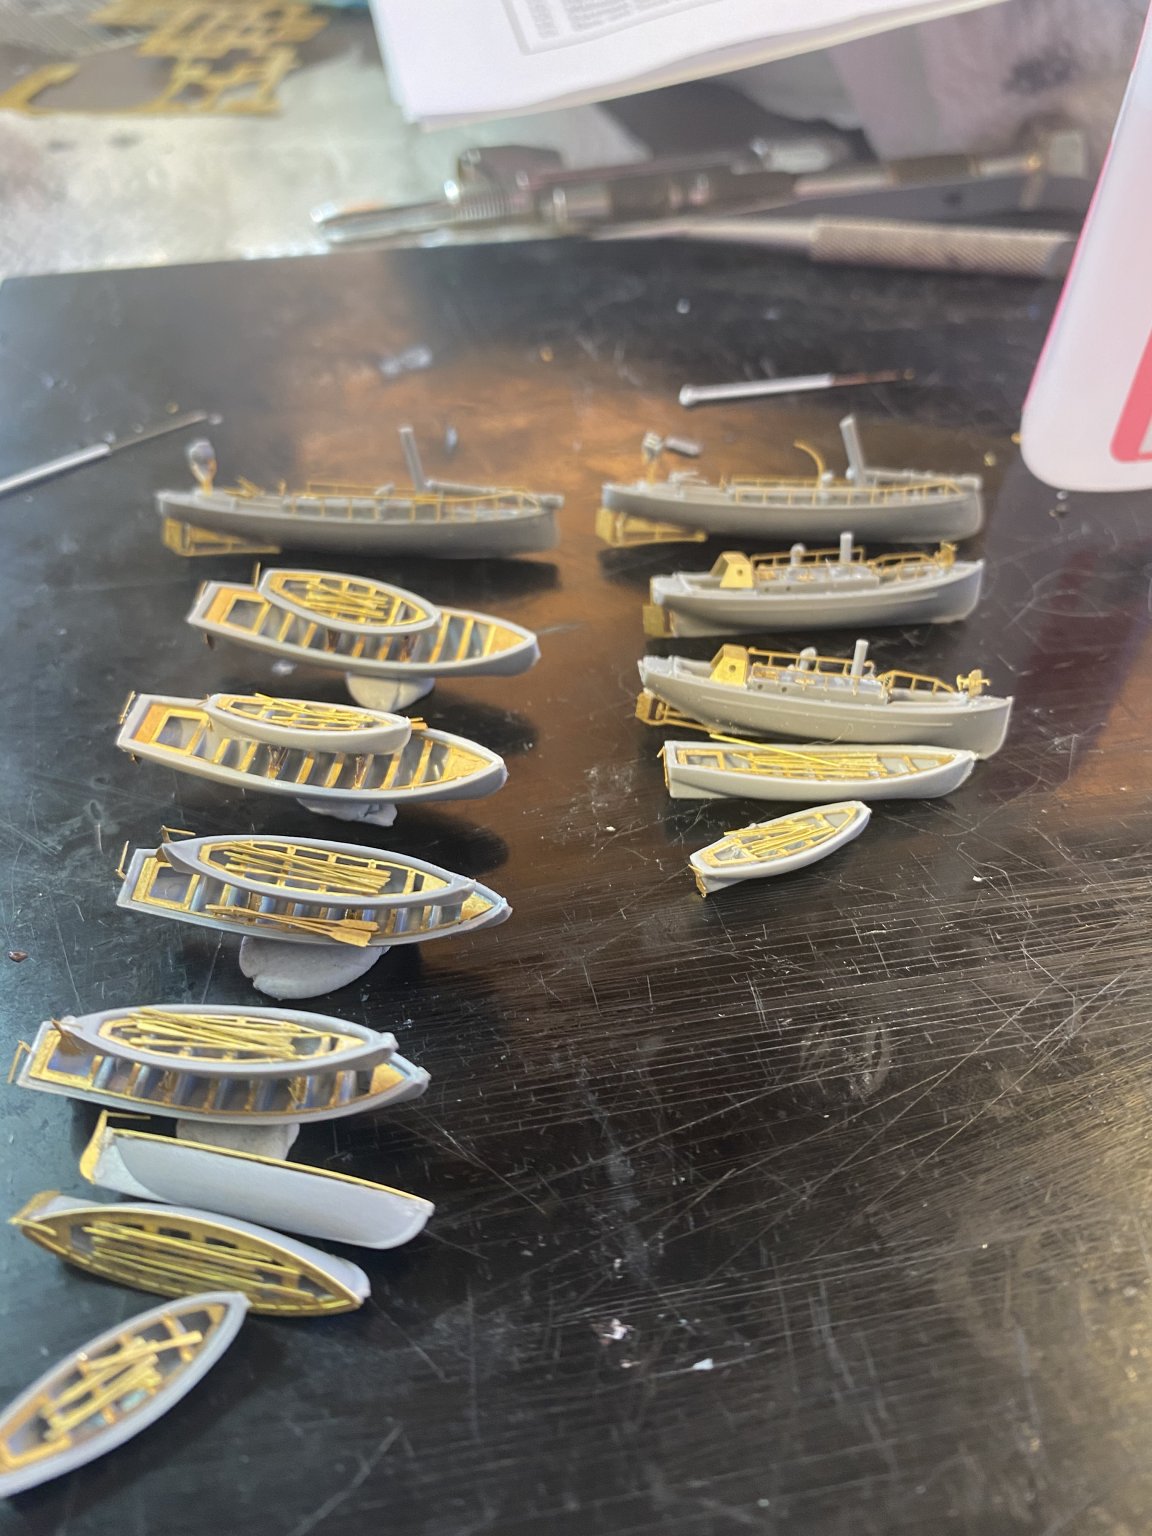
Railings added, barrels for the waist guns plugged in, kit provided plastic sticks Davits replaced with generic aftermarket Ones, and the port side boats added. I’ll leave the paint touch ups till the end.


- 173 replies
-
- 21
-
-
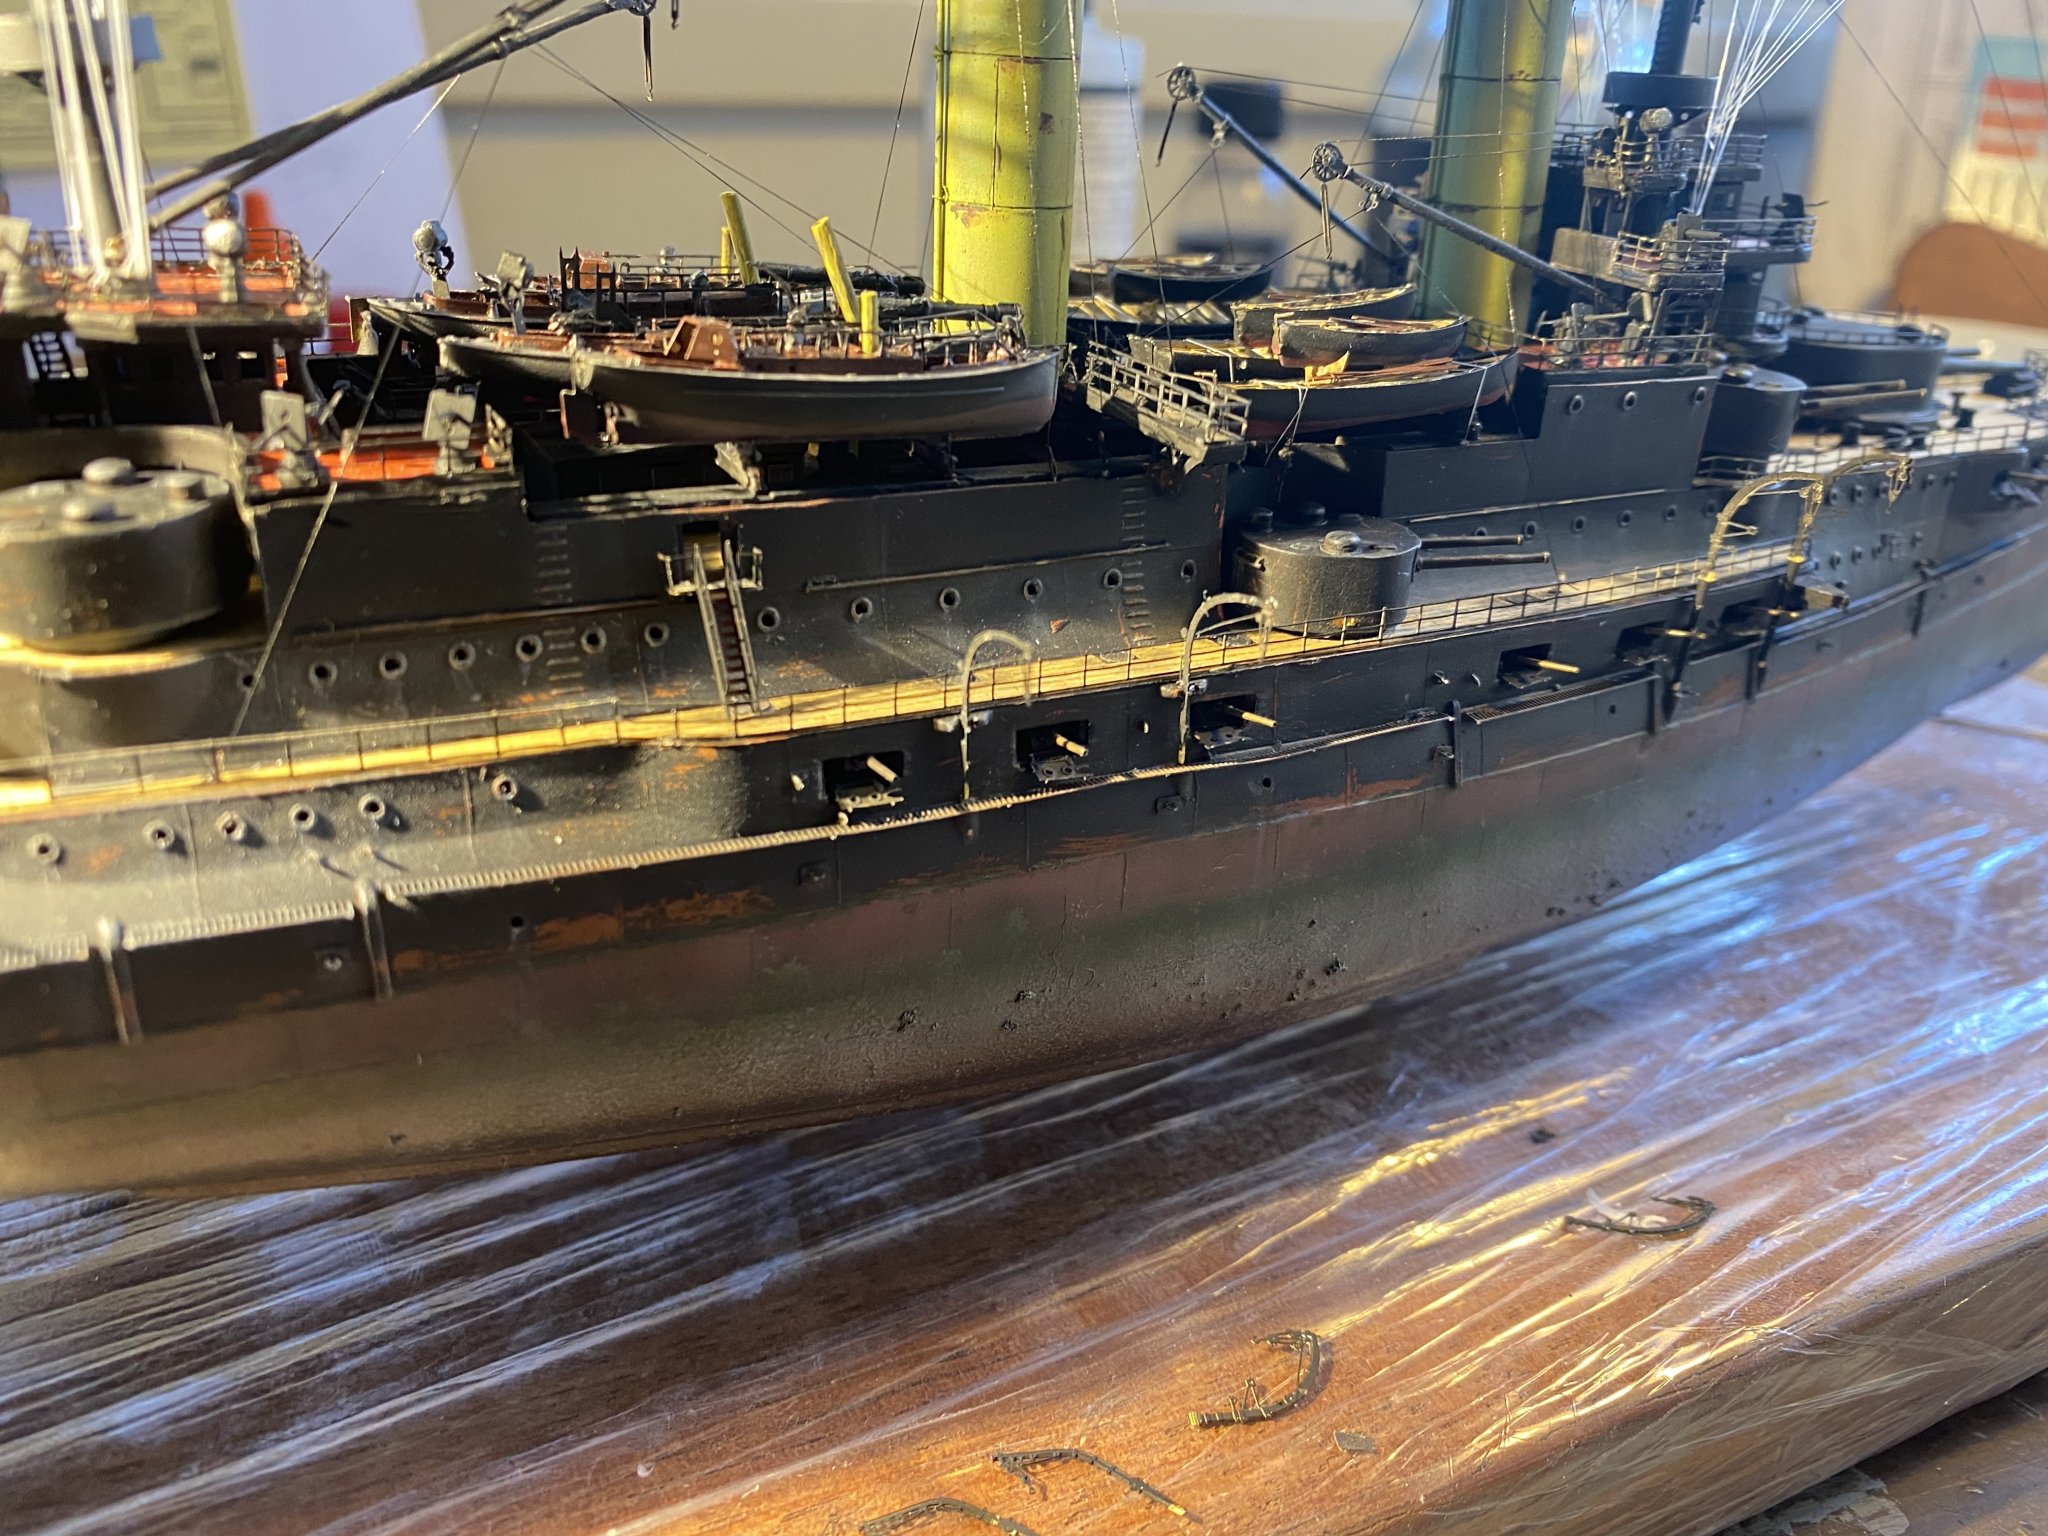
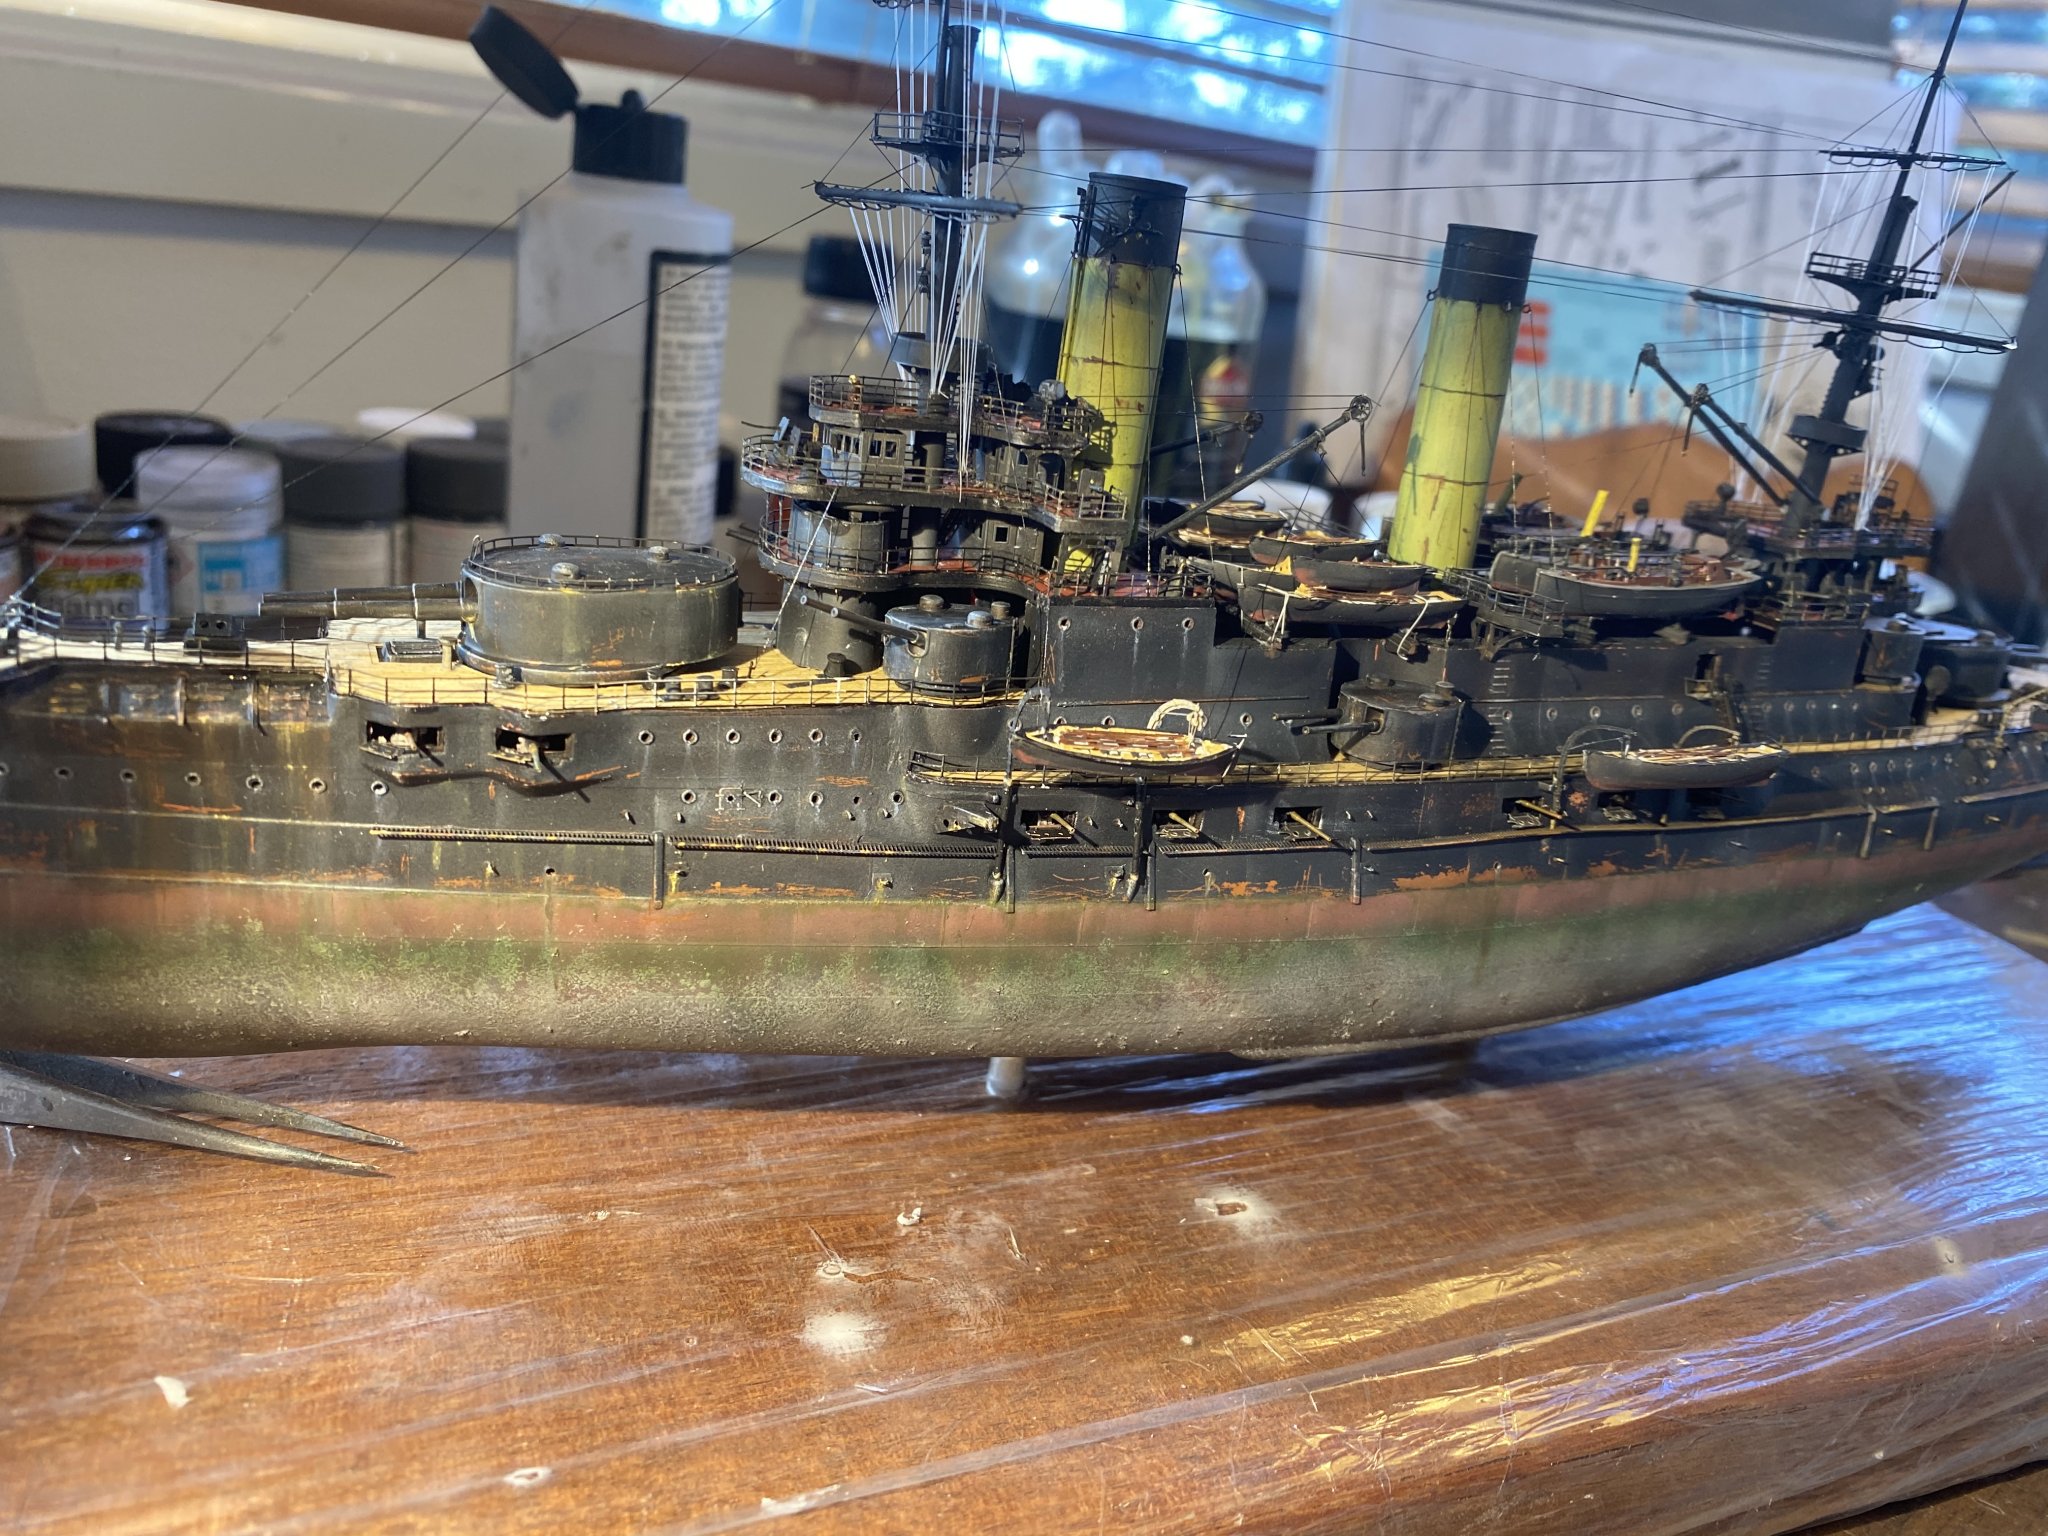
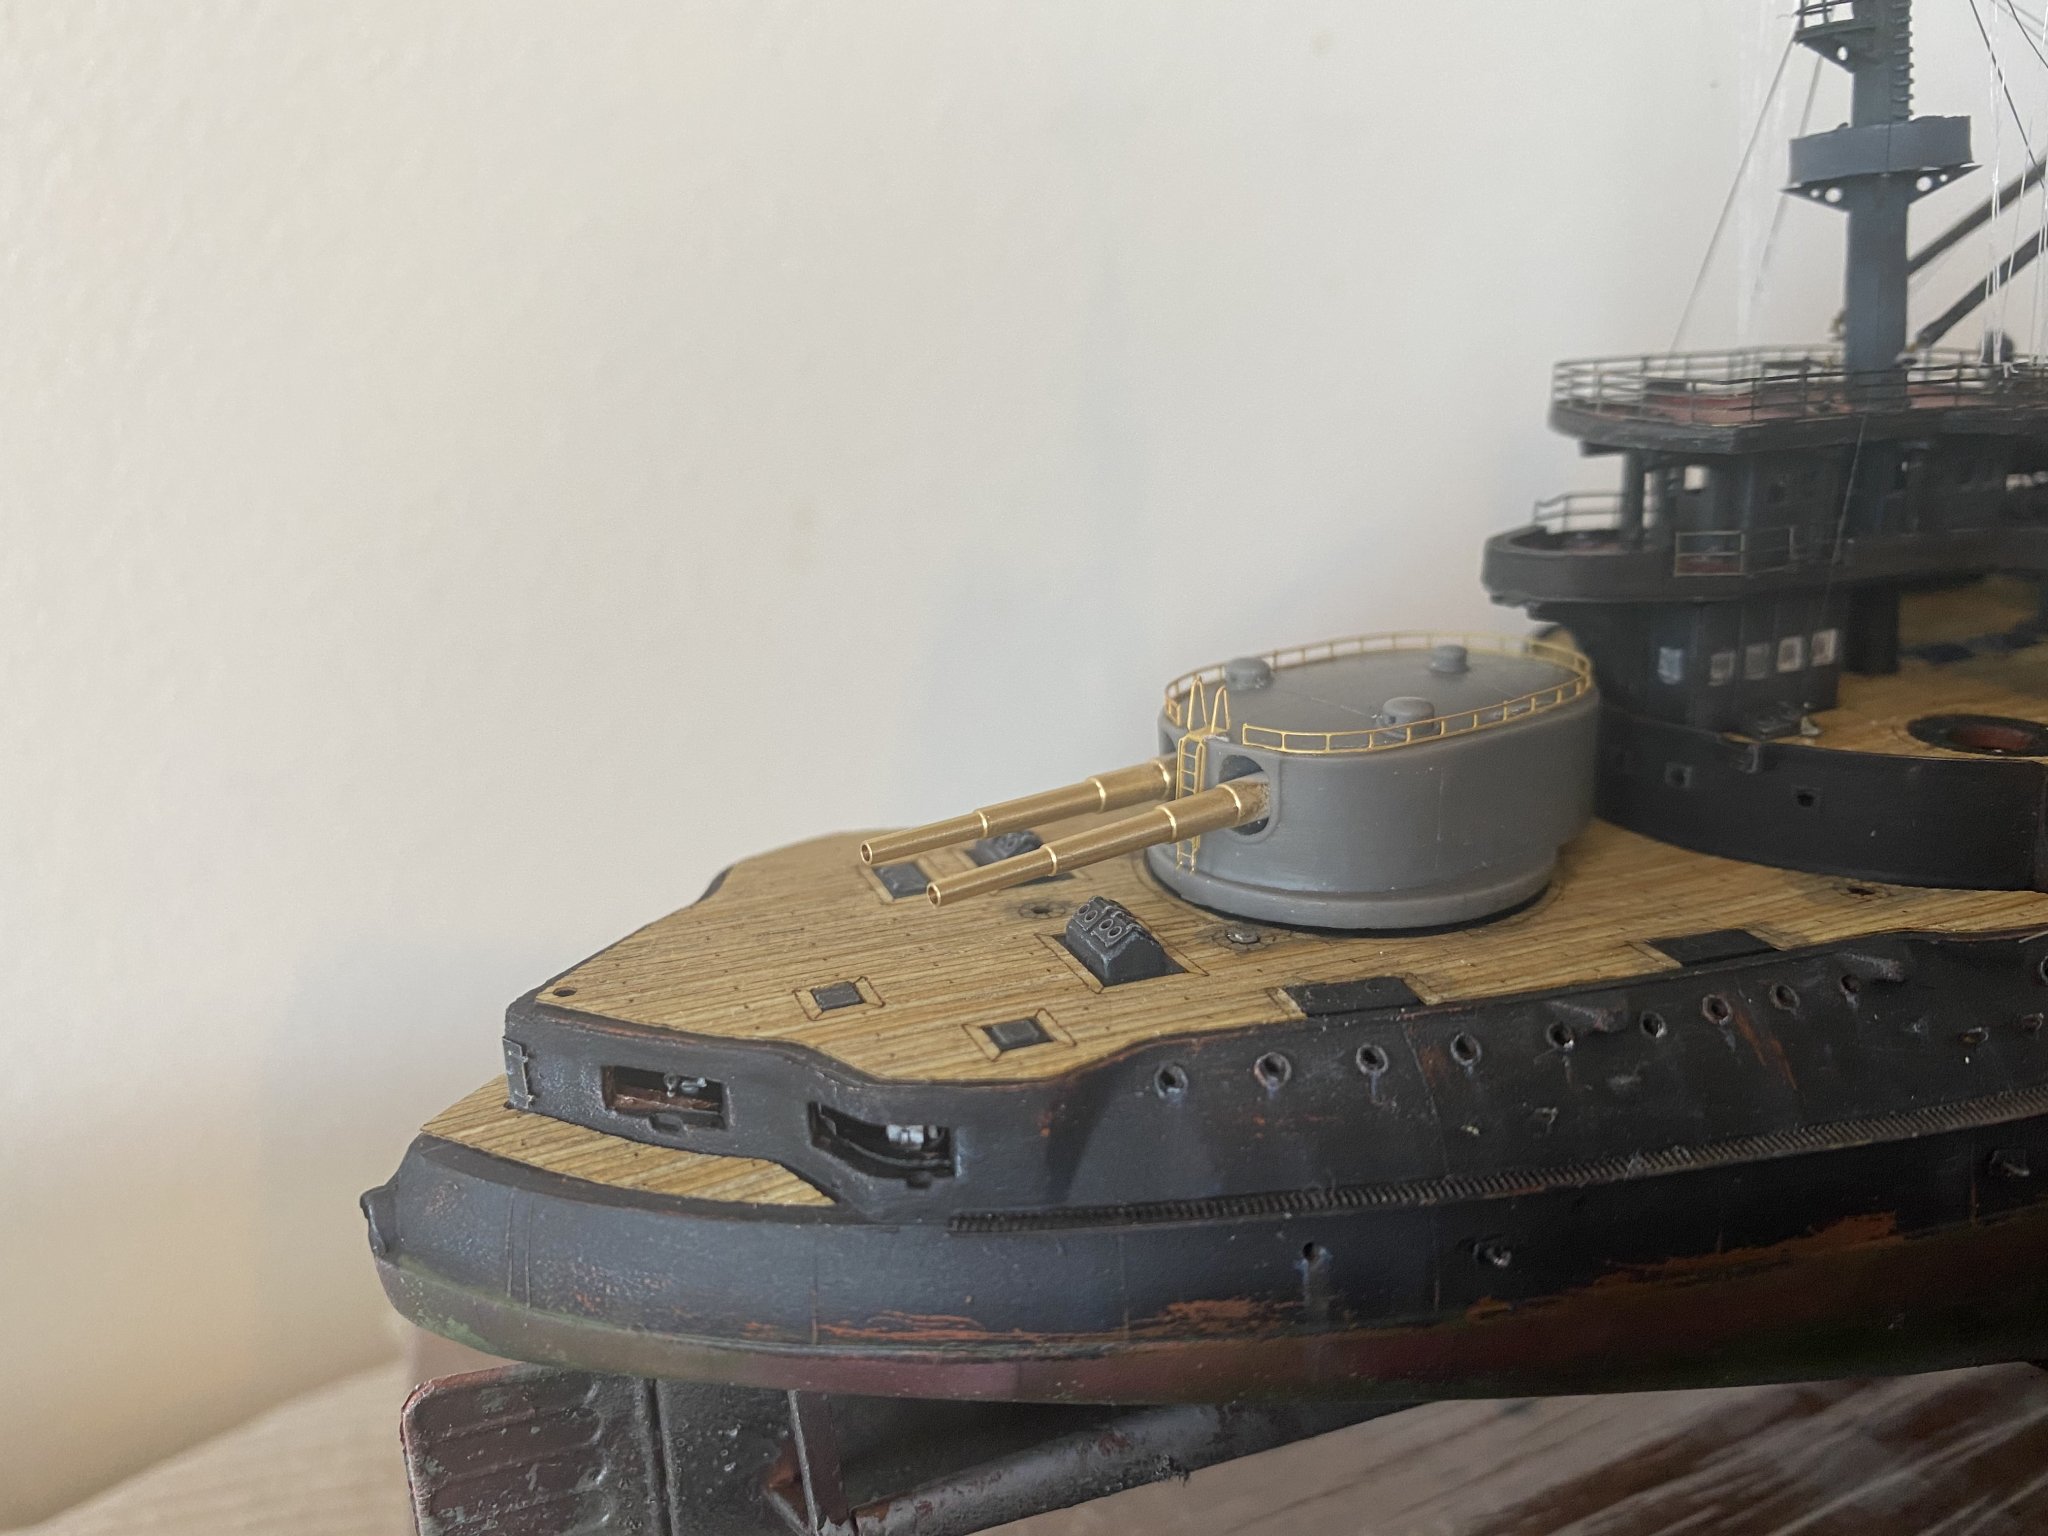
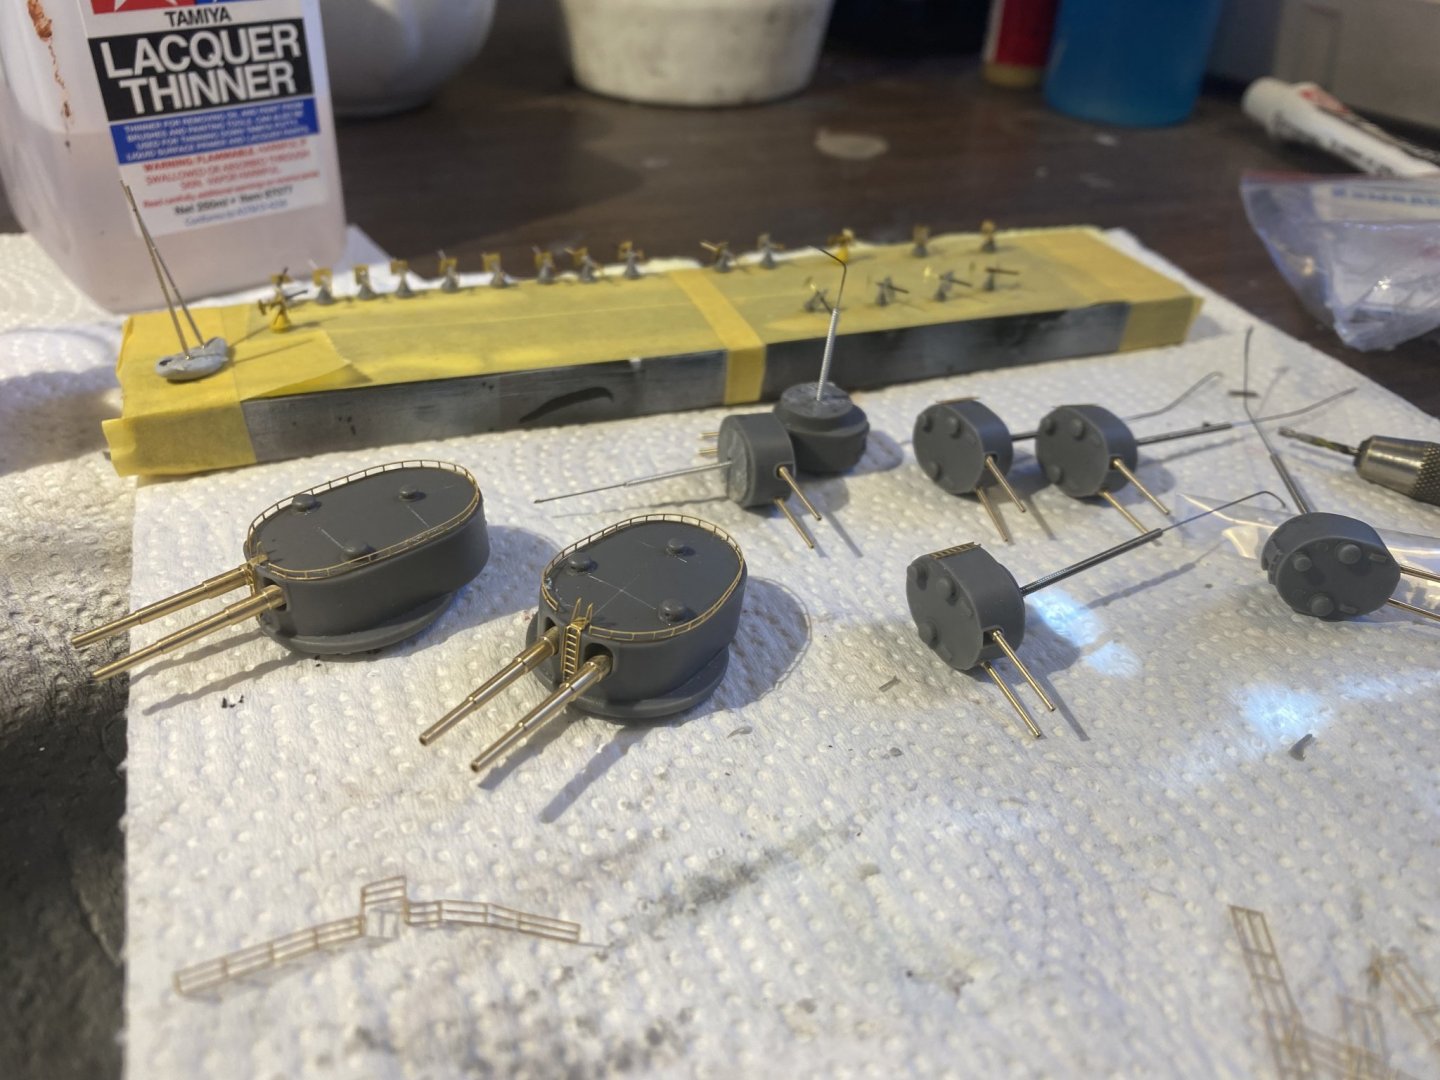
Guns. Lots of guns, the little ones were for torpedo boat defence. These are all resin replacements and tiny compared to the kits provided parts. I replaced the resin barrels with brass as they aren’t any better but just stronger. next are the torpedo net booms and nets.

- 173 replies
-
- 22
-
-
Infini goes no where in explaining how they work. If you go back and look at my Dreadnought there is a diagram from the AOTS how it works, and I’ve based this model up that form of mechanics and images from the era plus the descriptions in Gary Staff’s battlecruisers of ww1. I’m sure Infini will replace the missing parts and you’re welcome to add your build here. As it’s been a few builds ago I am not really in the headspace of the exactitude of it.
-
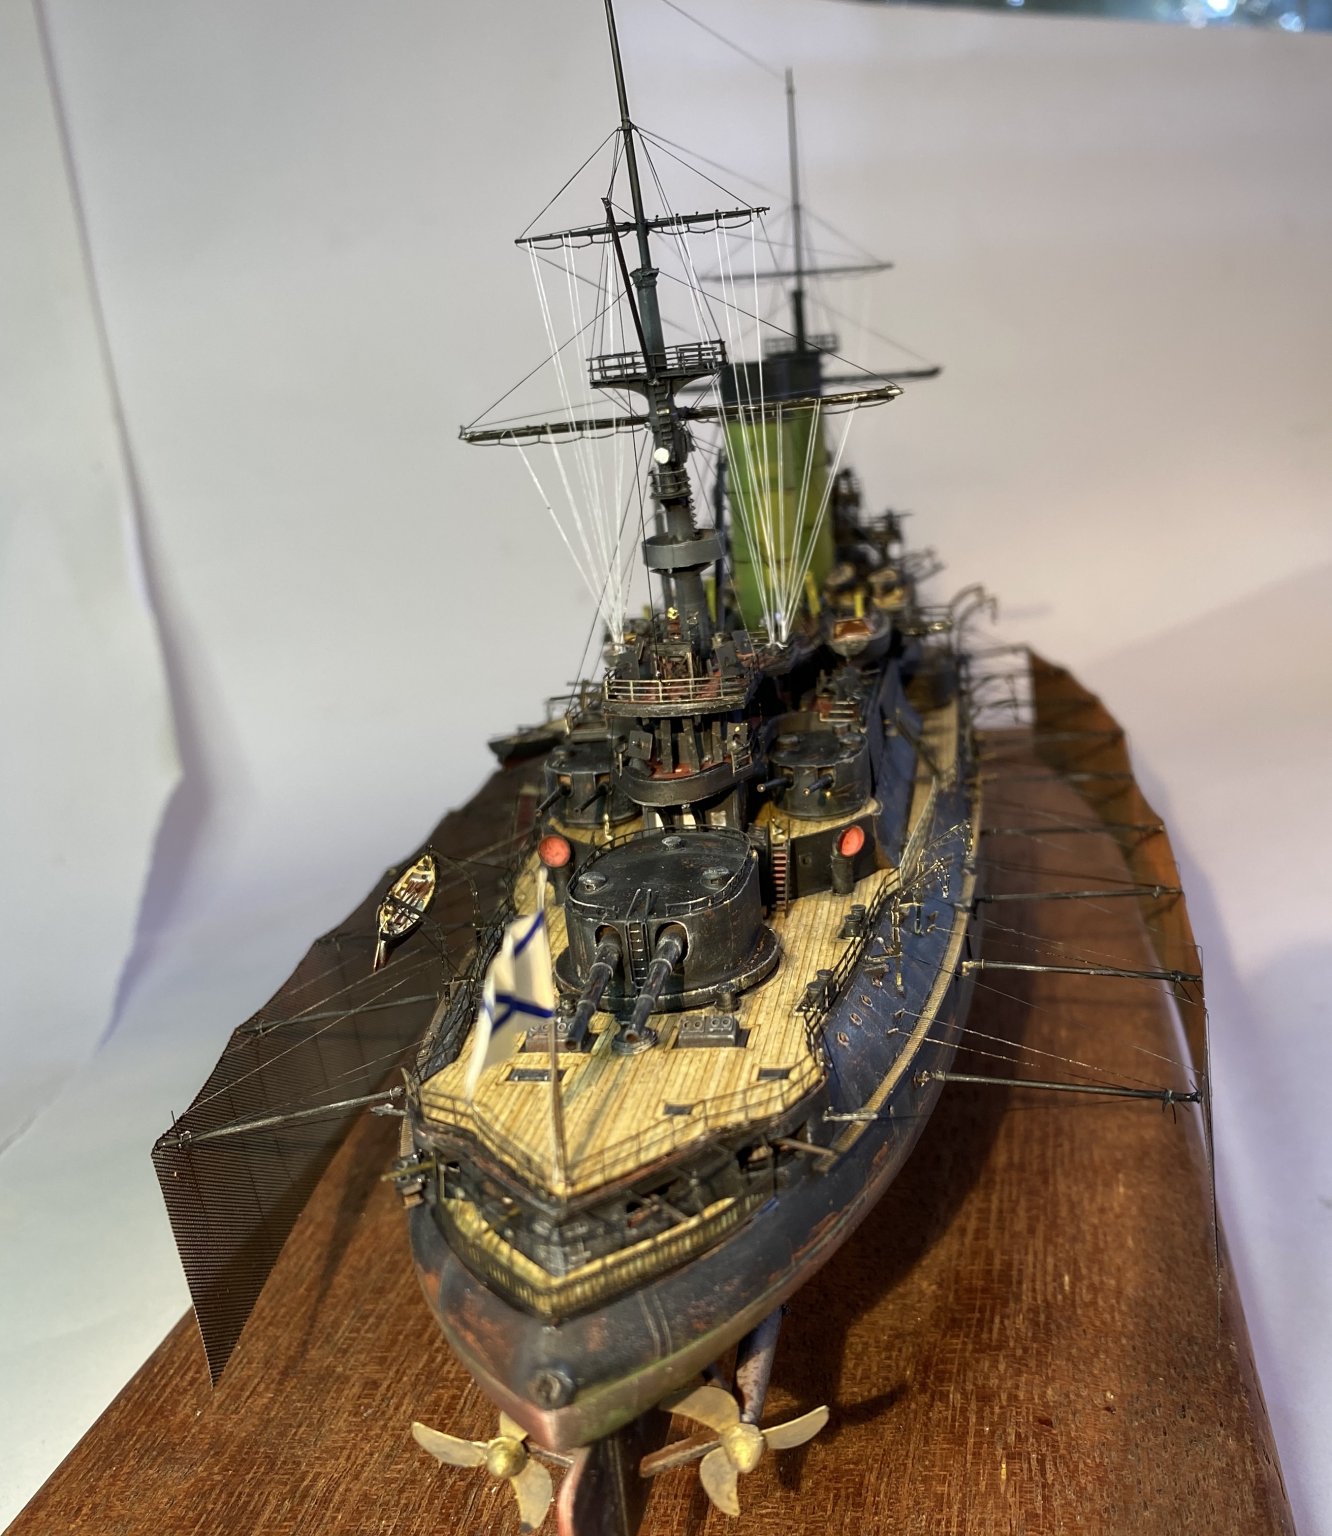
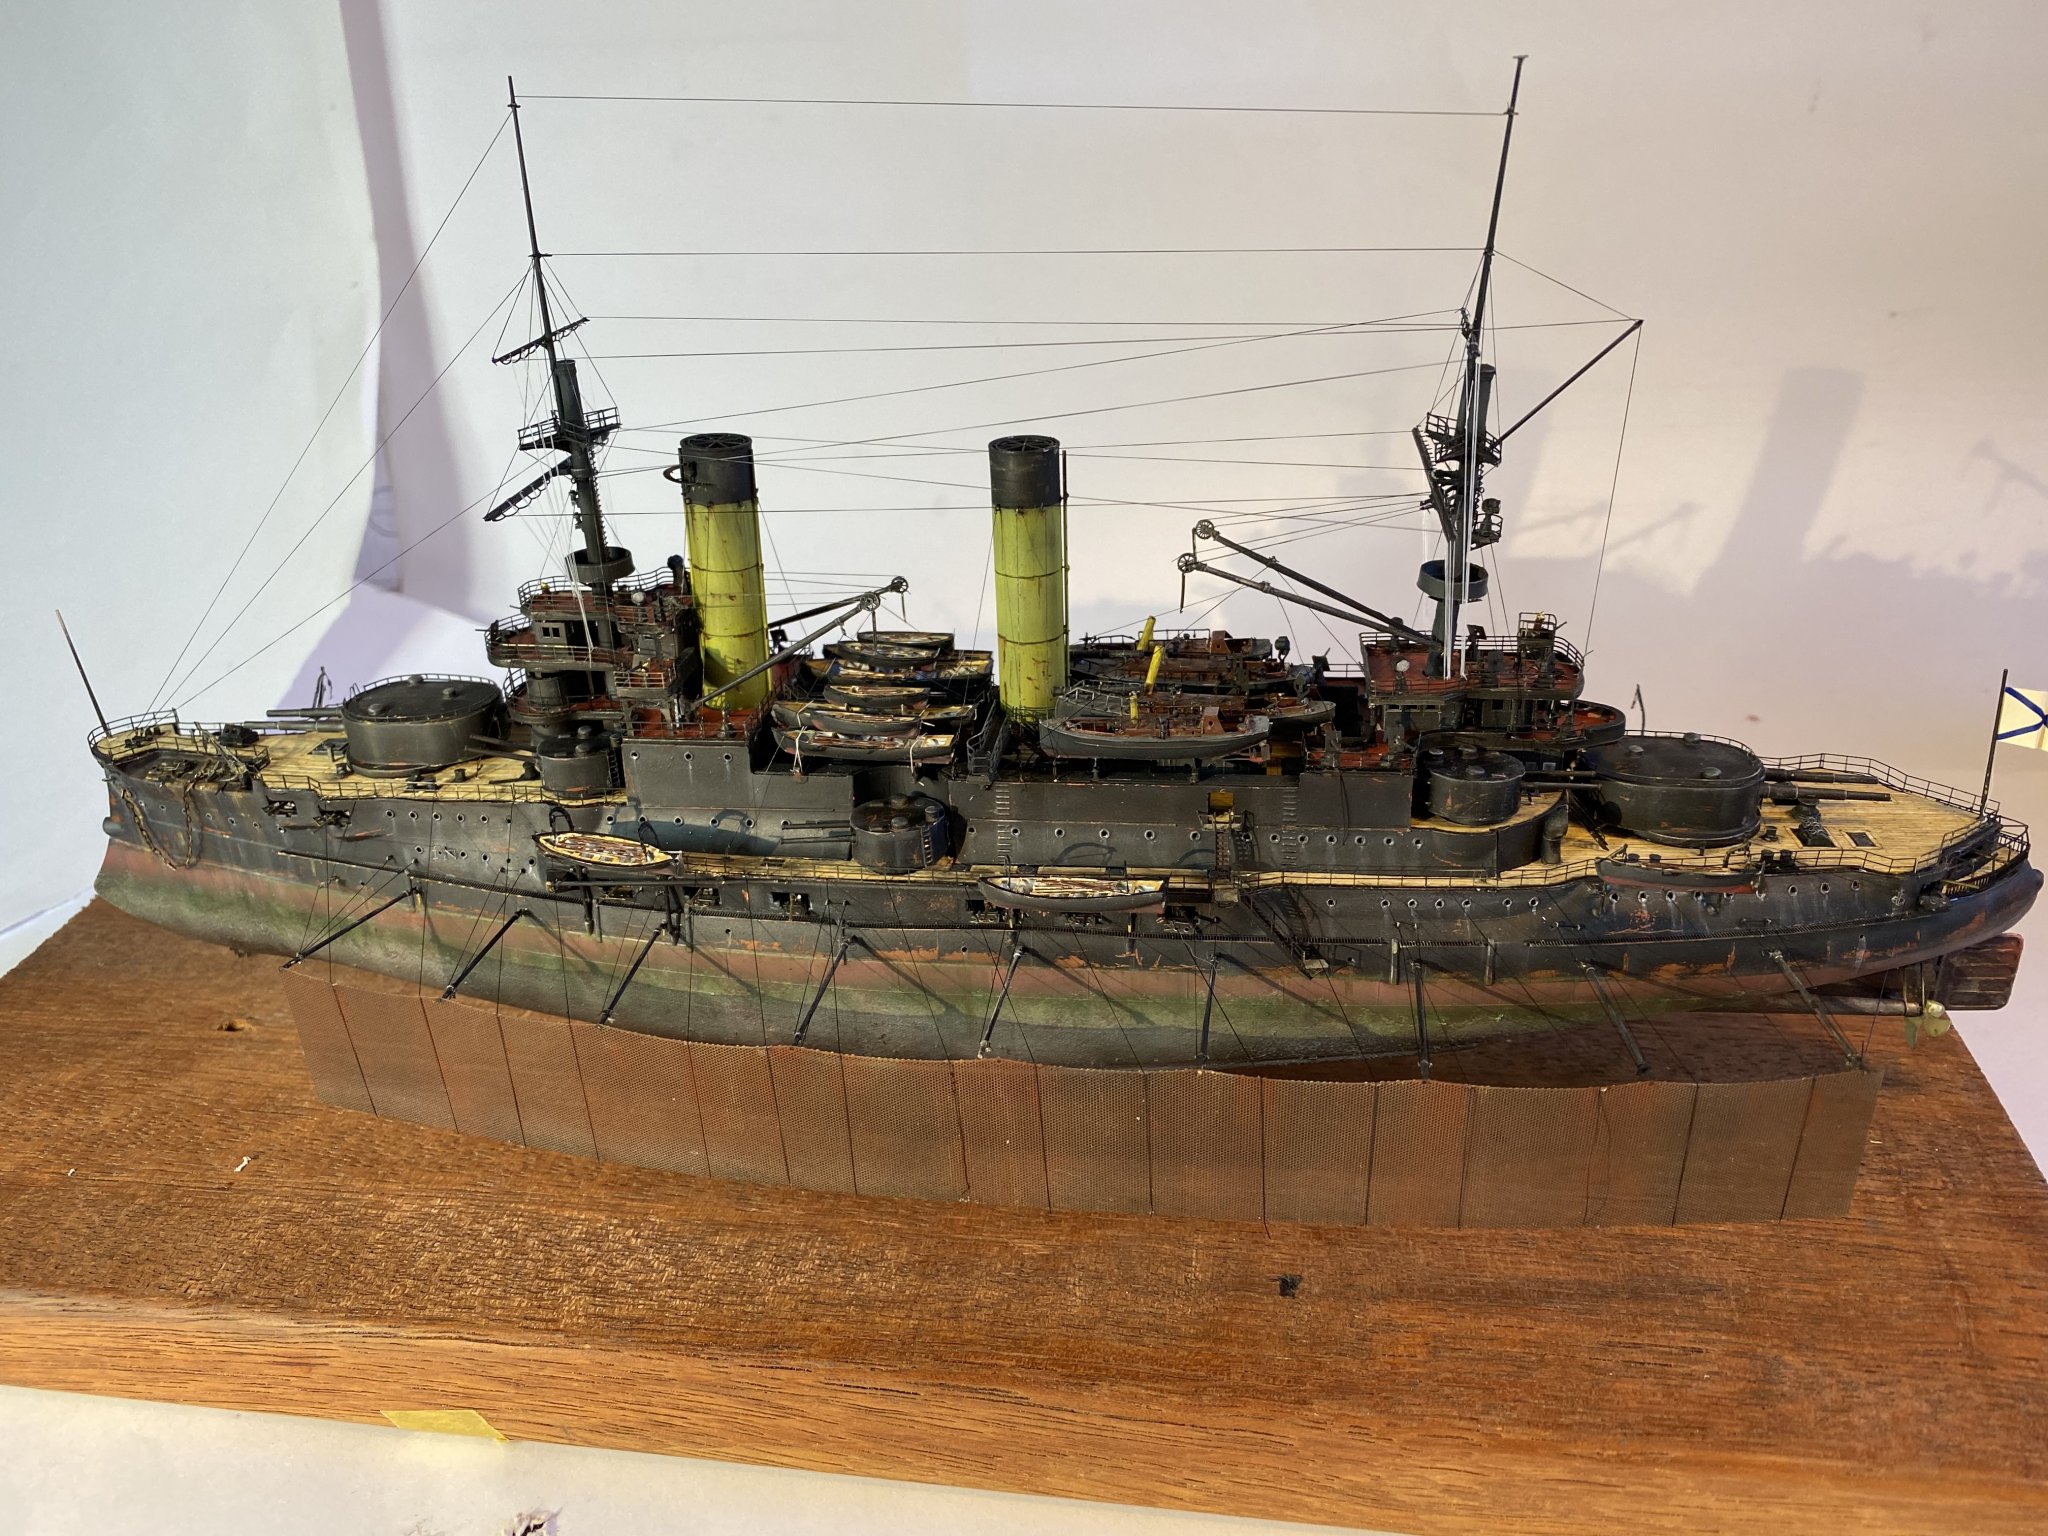
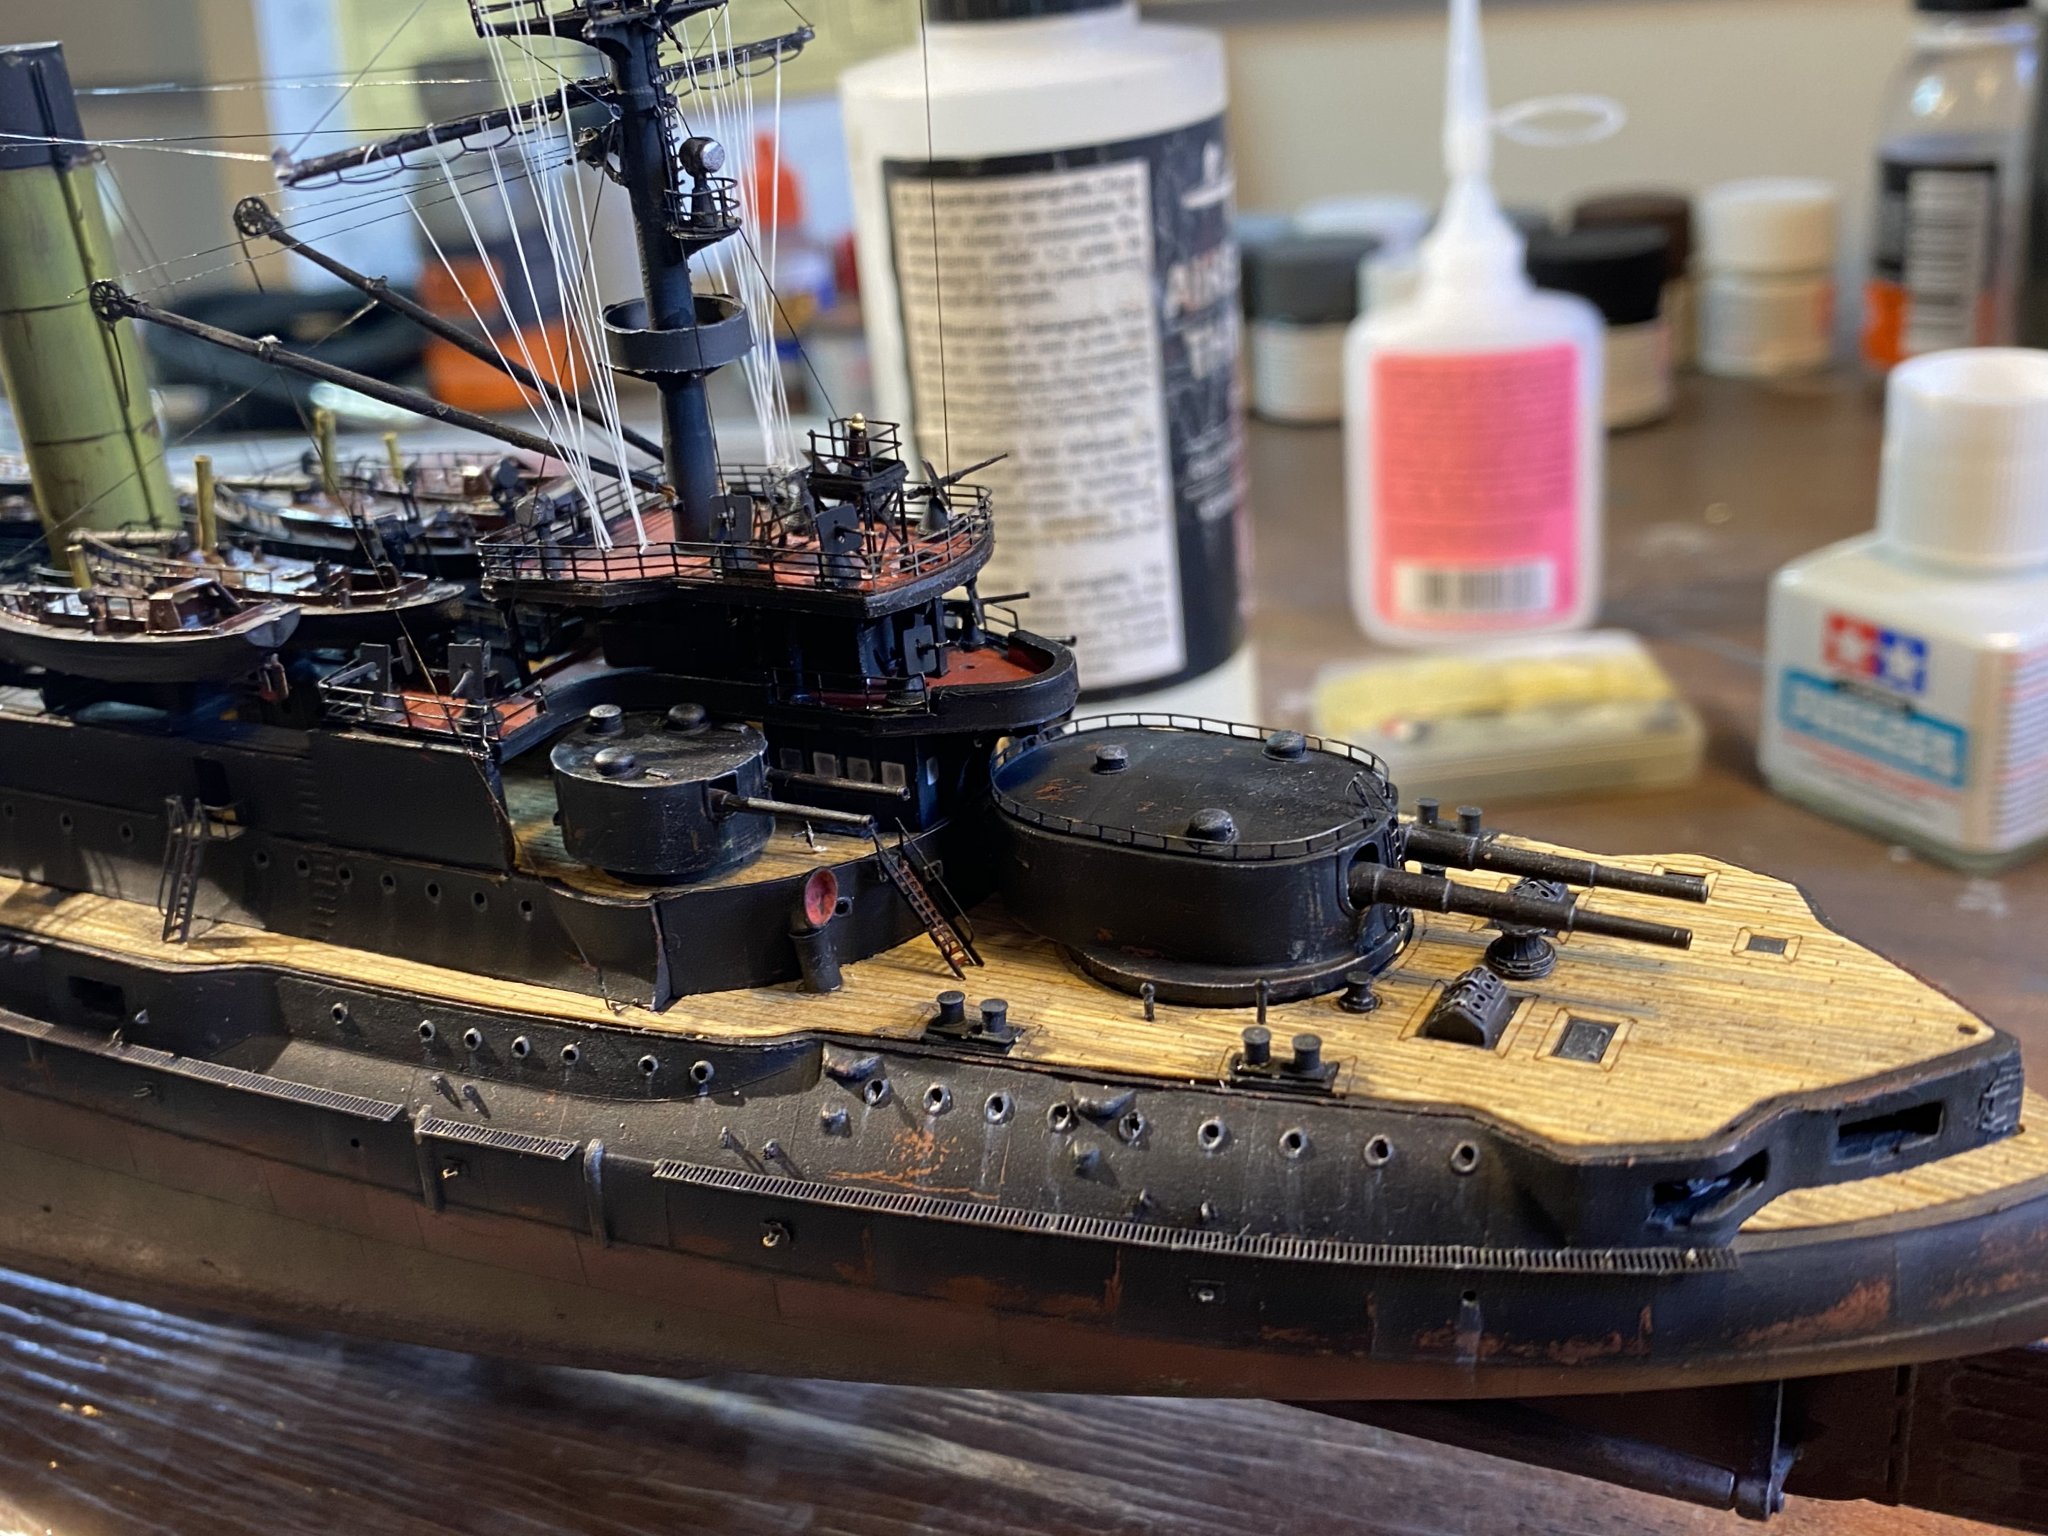
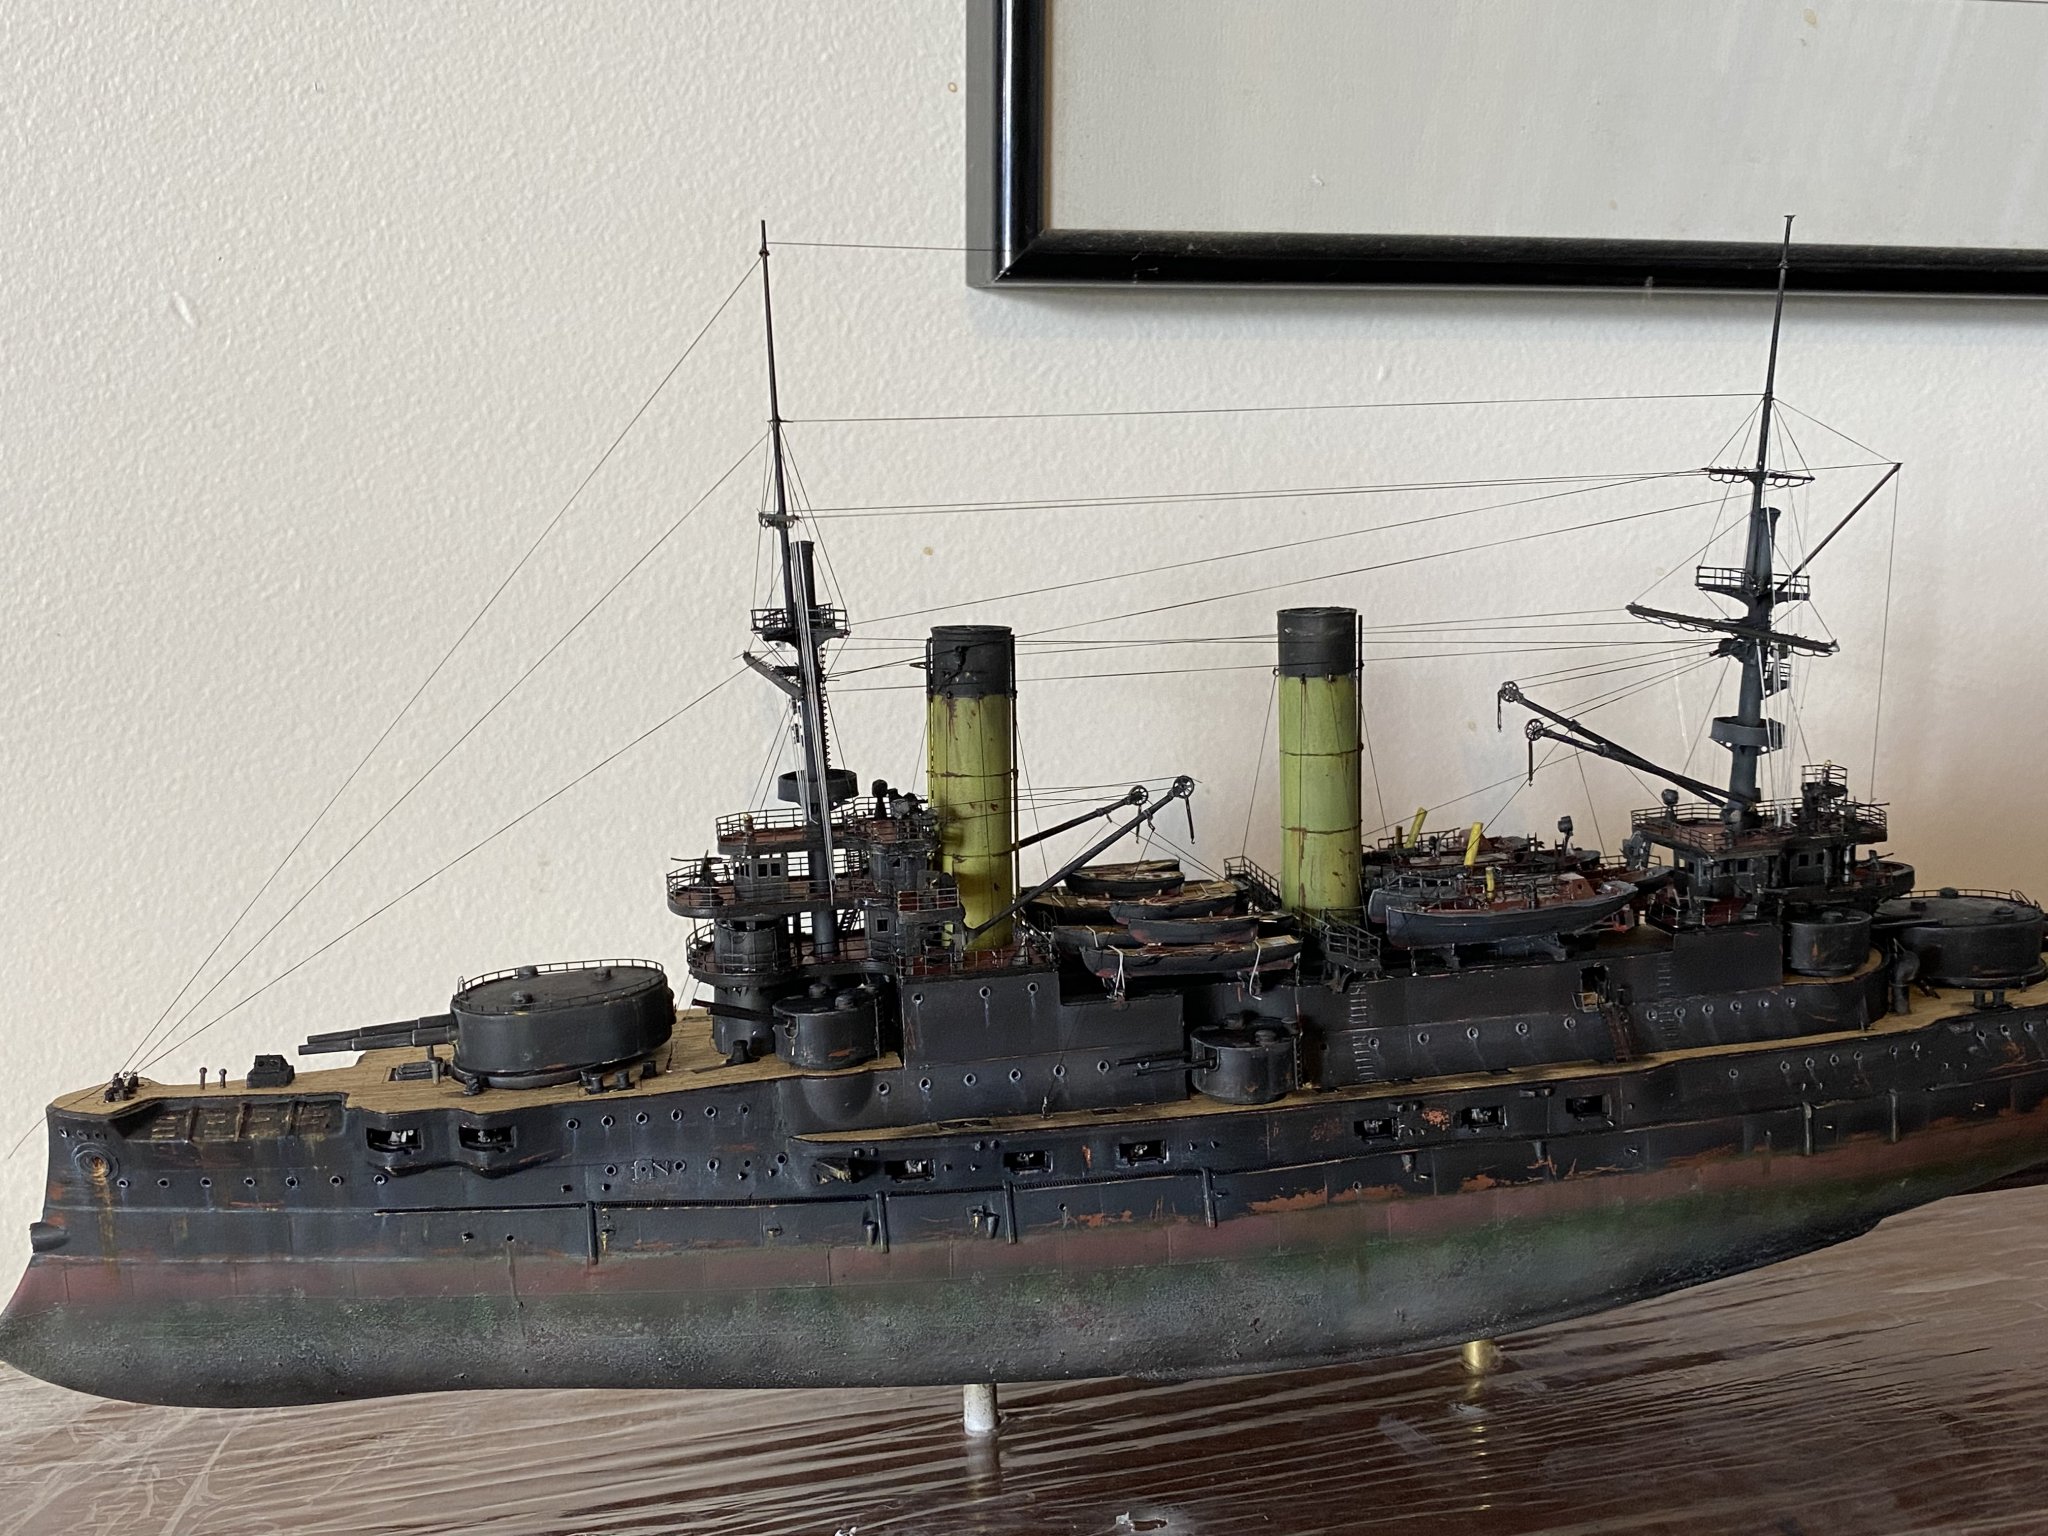
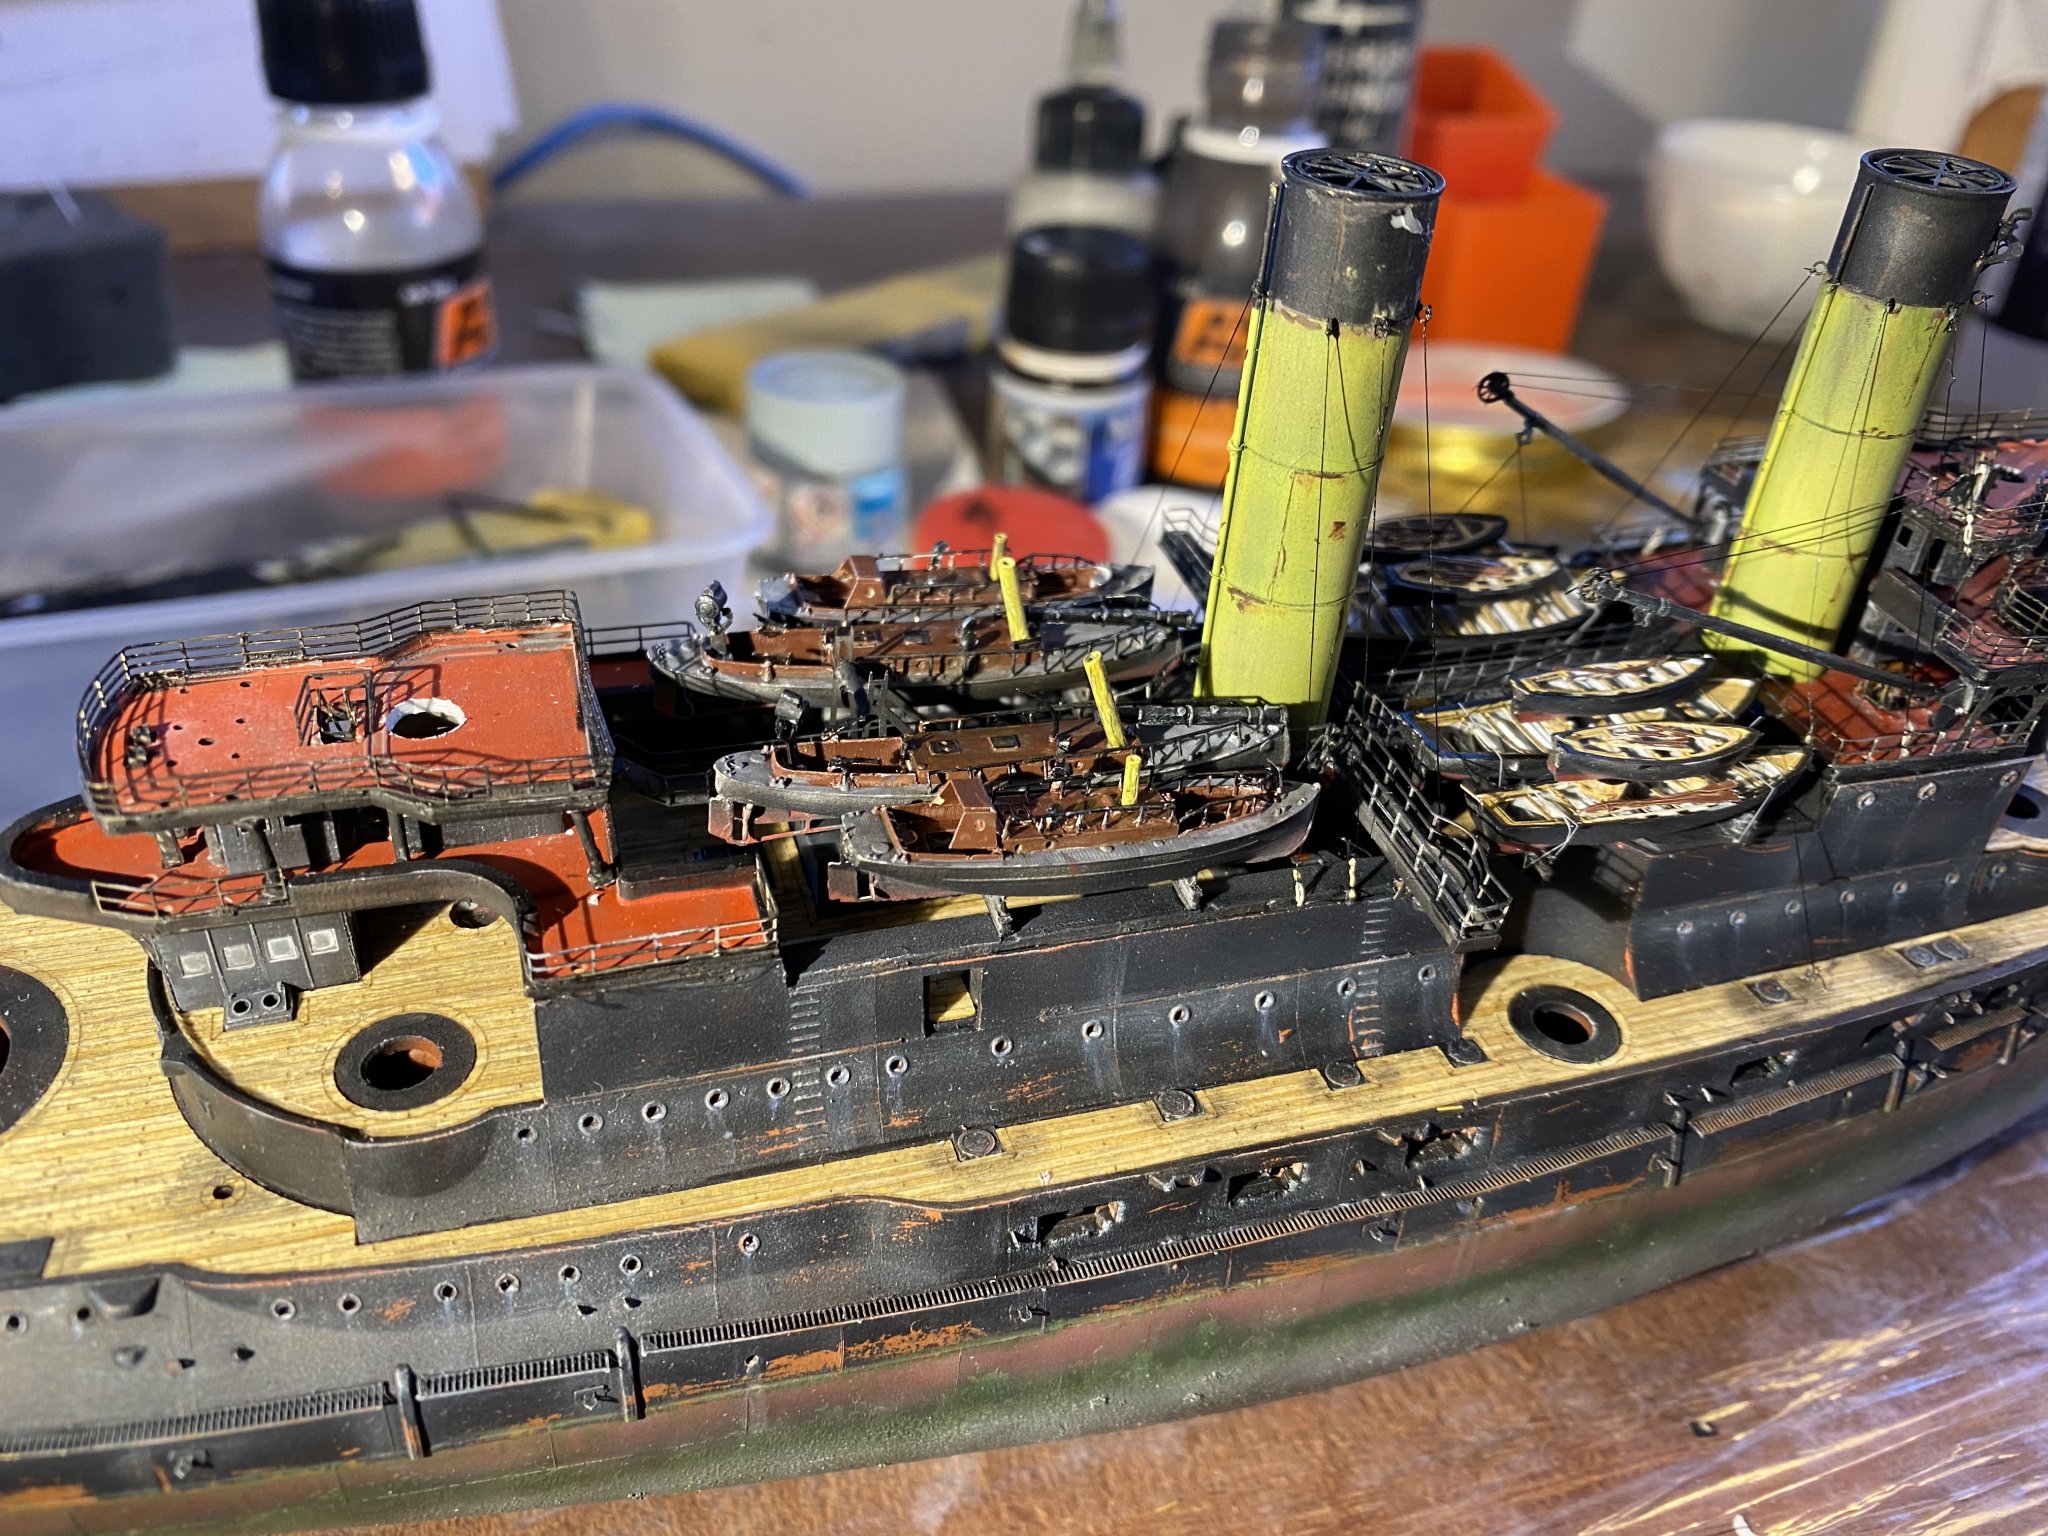
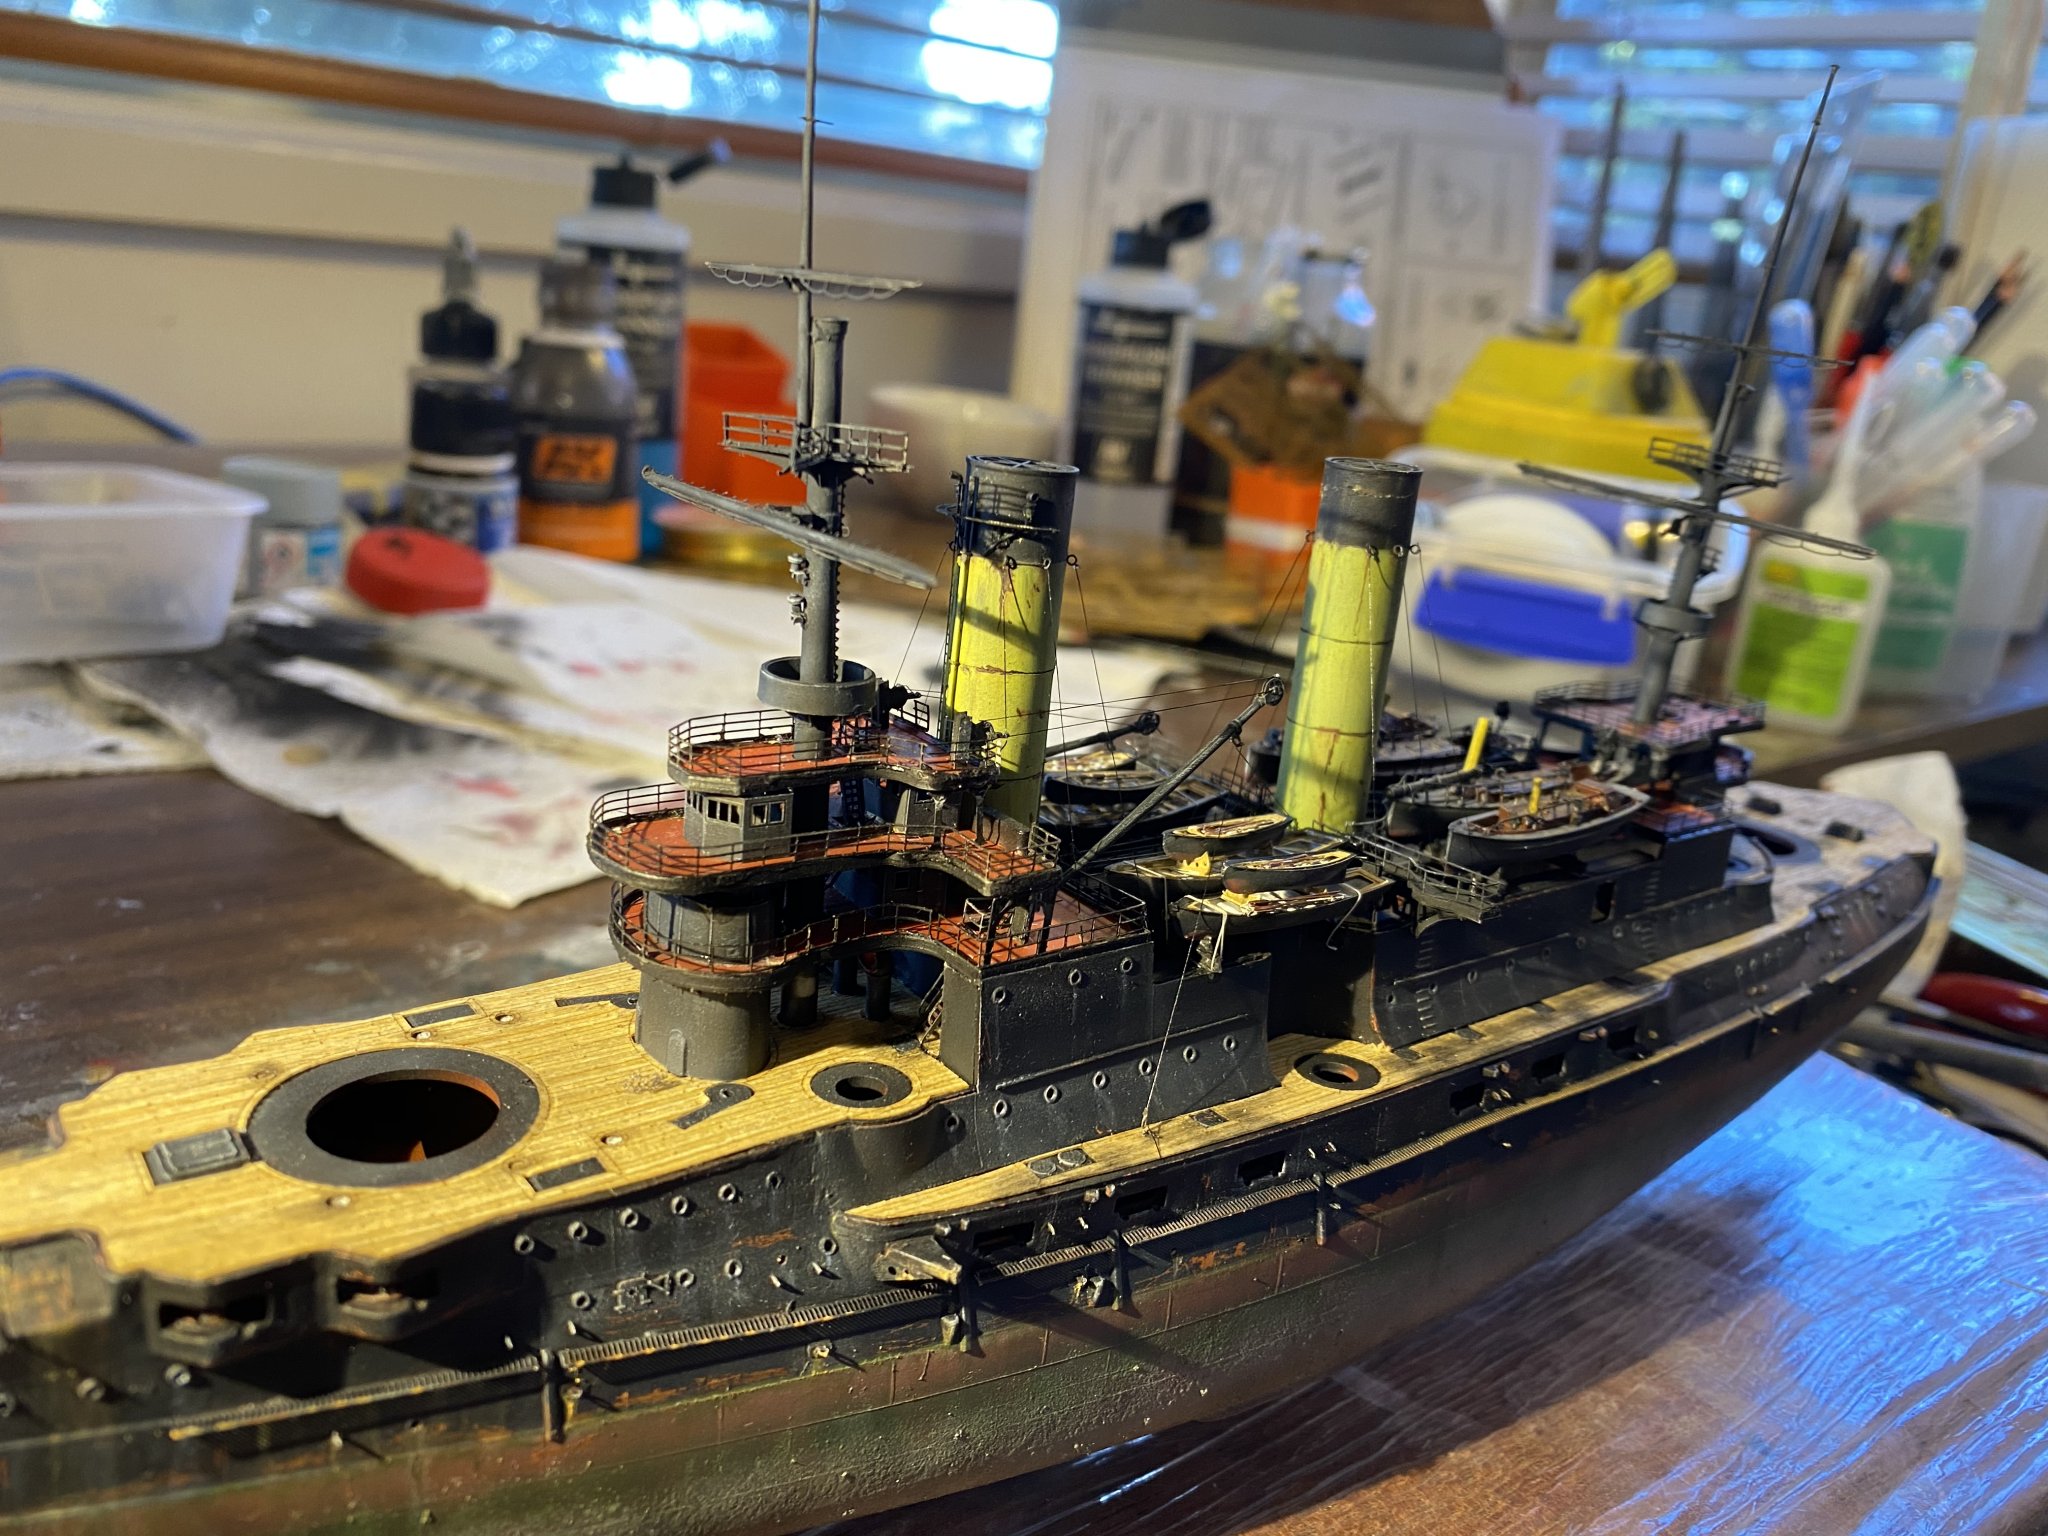
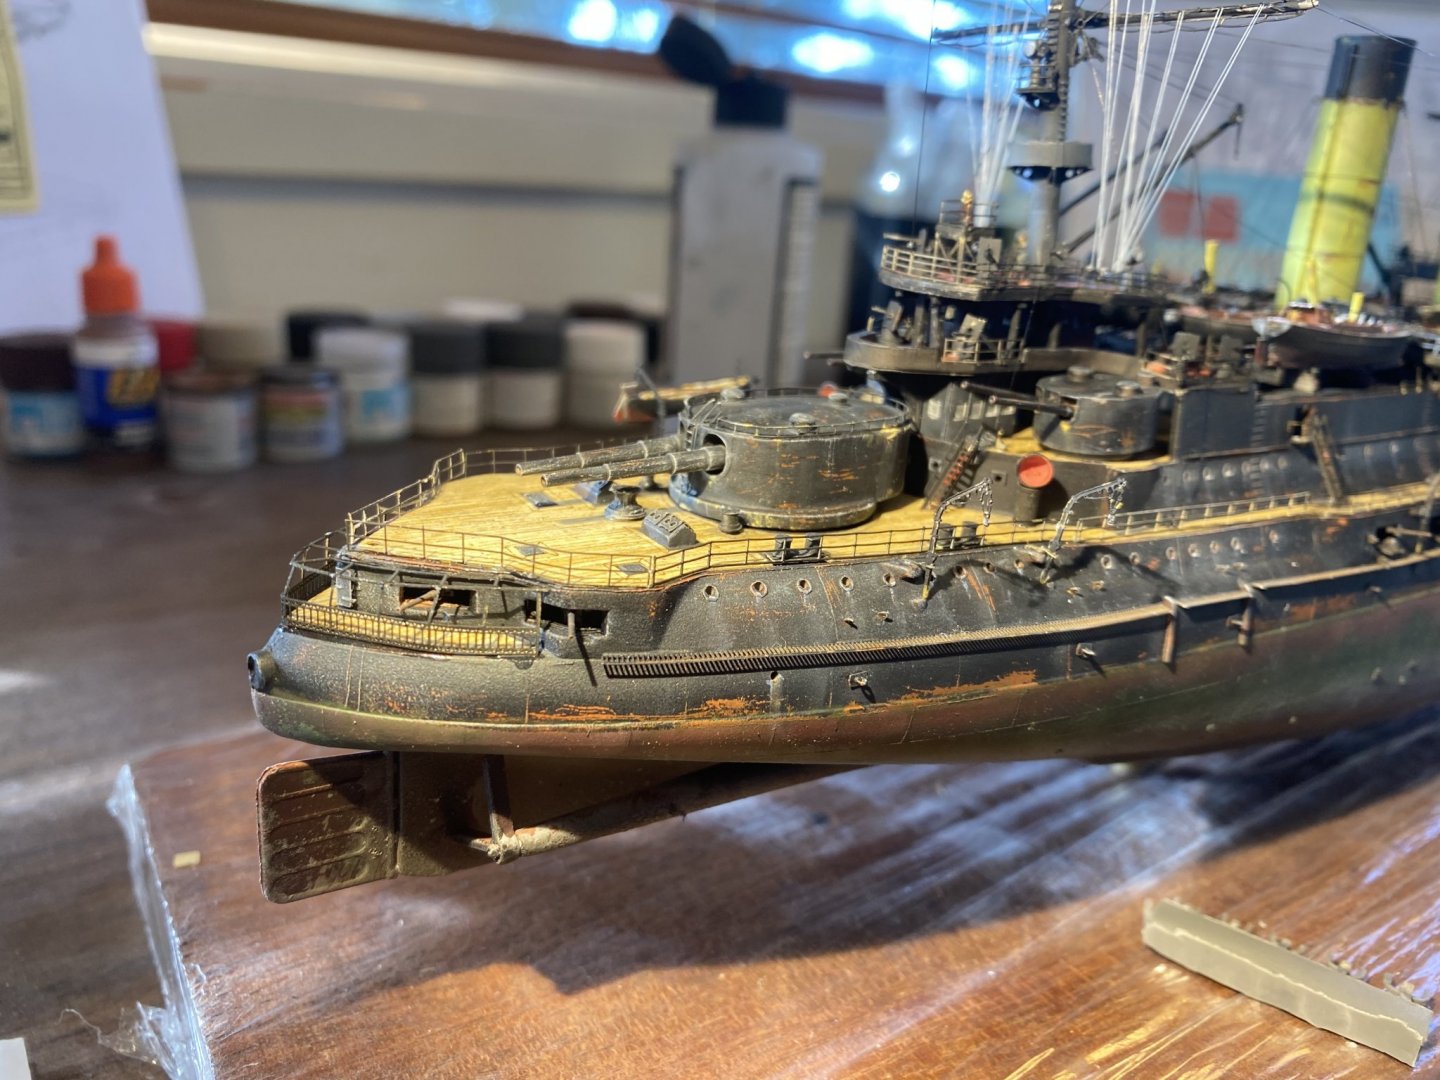
It is not an attractive ship! Rigging and signal Halyards done. I will eventually do the bow and stern rigging but I want to leave it clean until the deck details are done.


- 173 replies
-
- 20
-
-
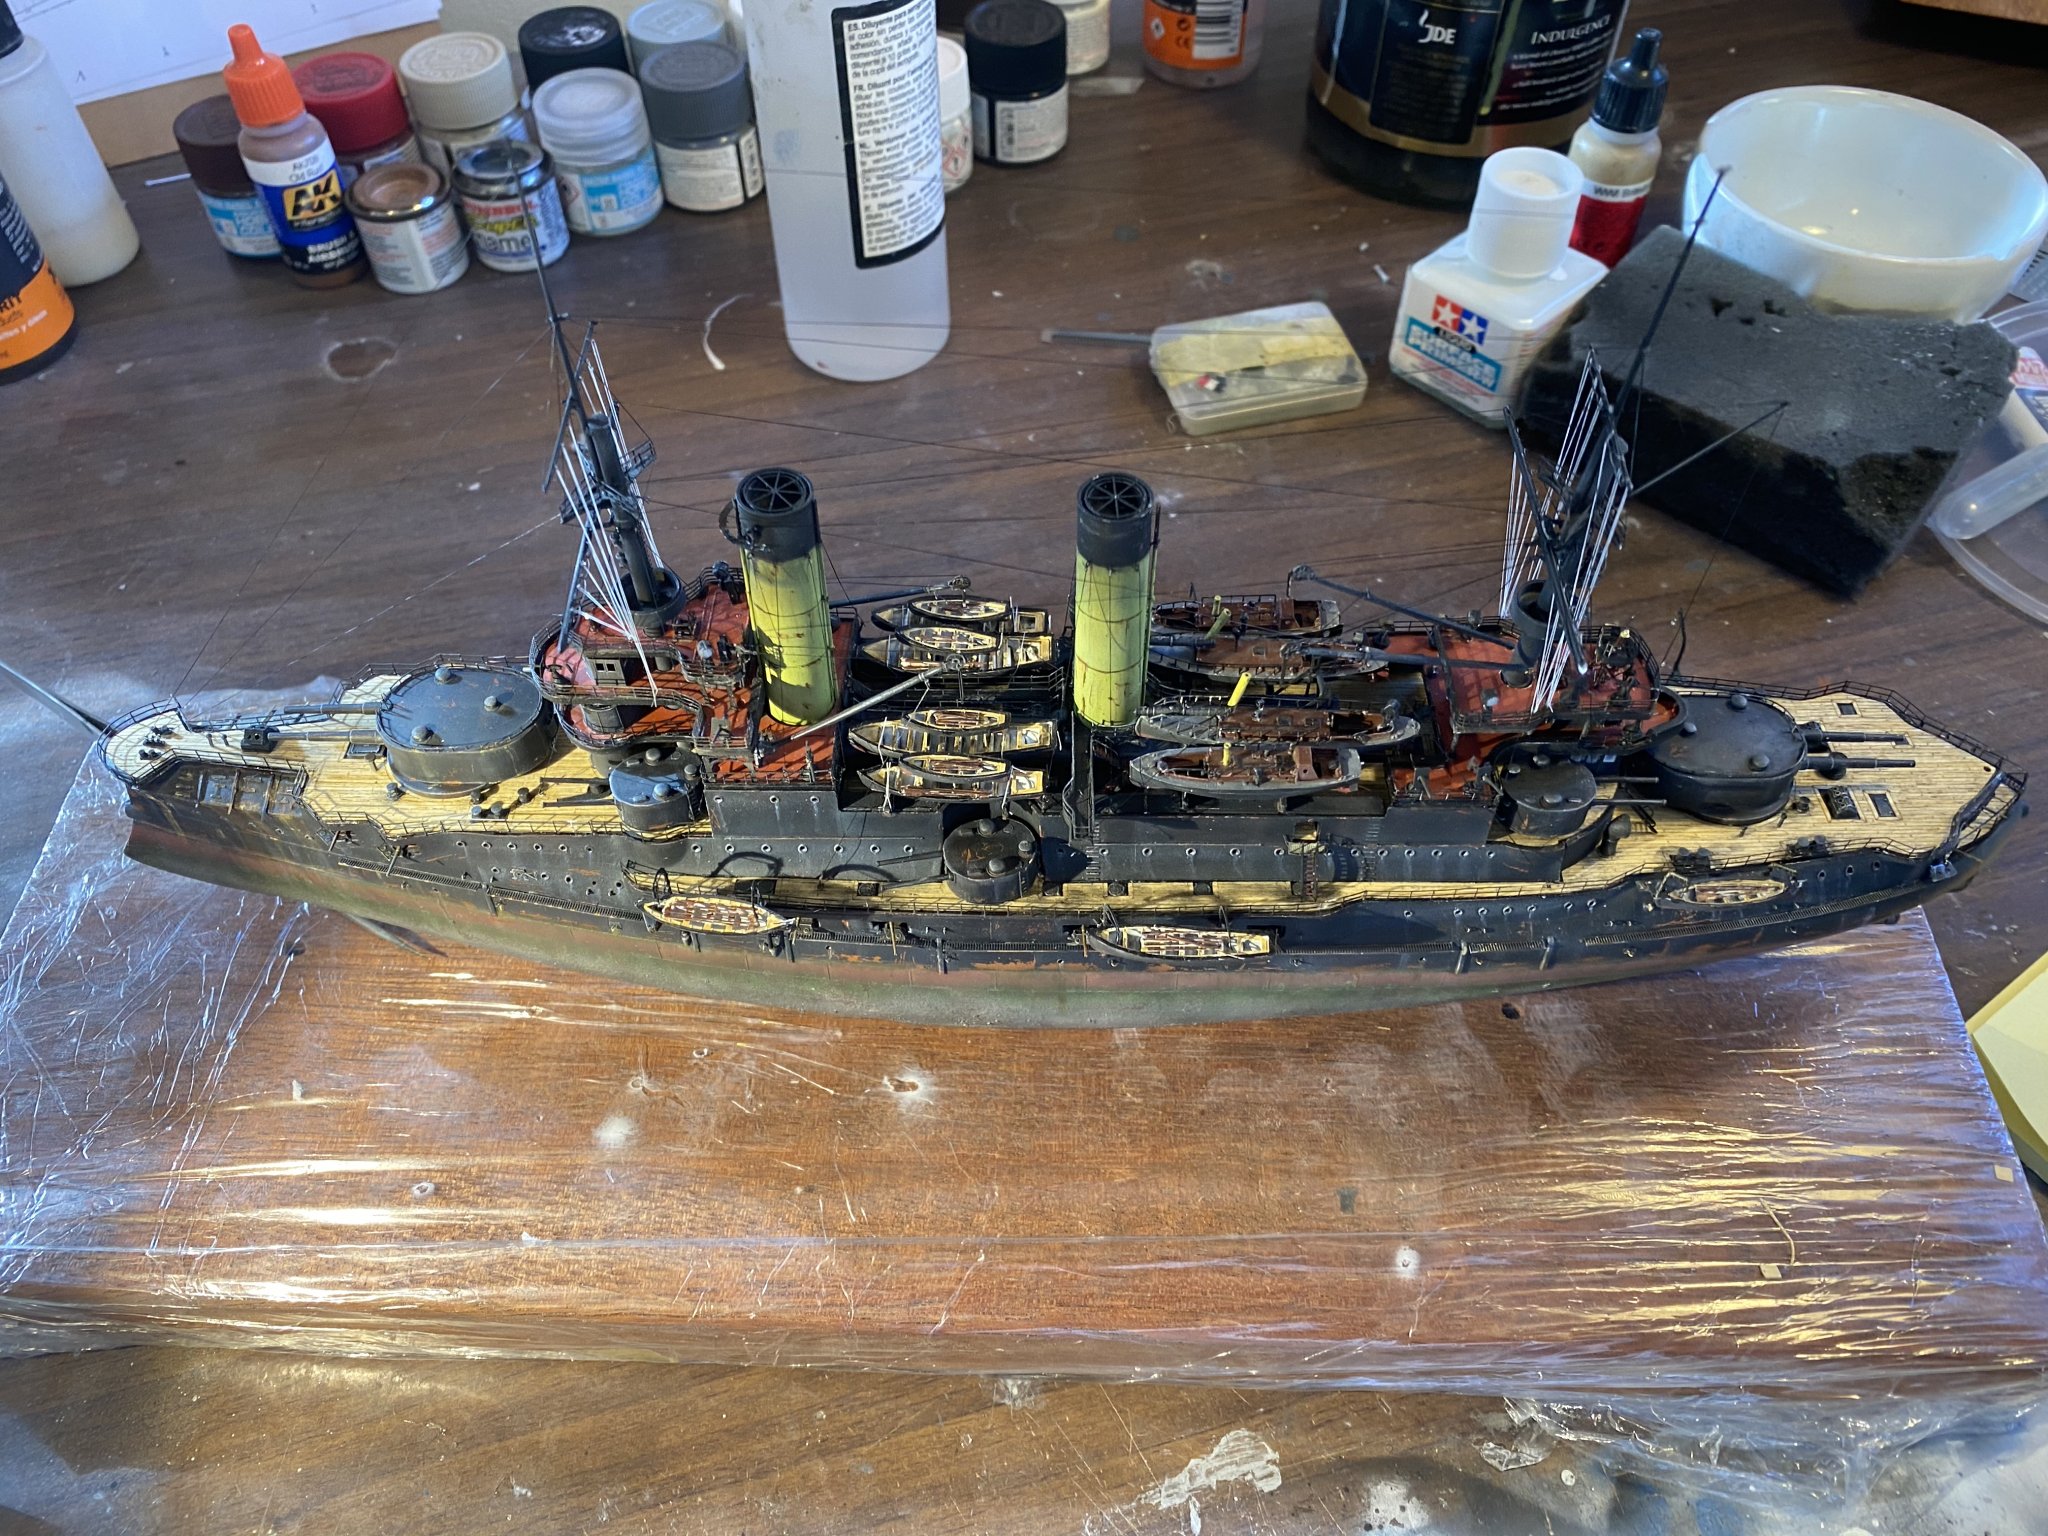
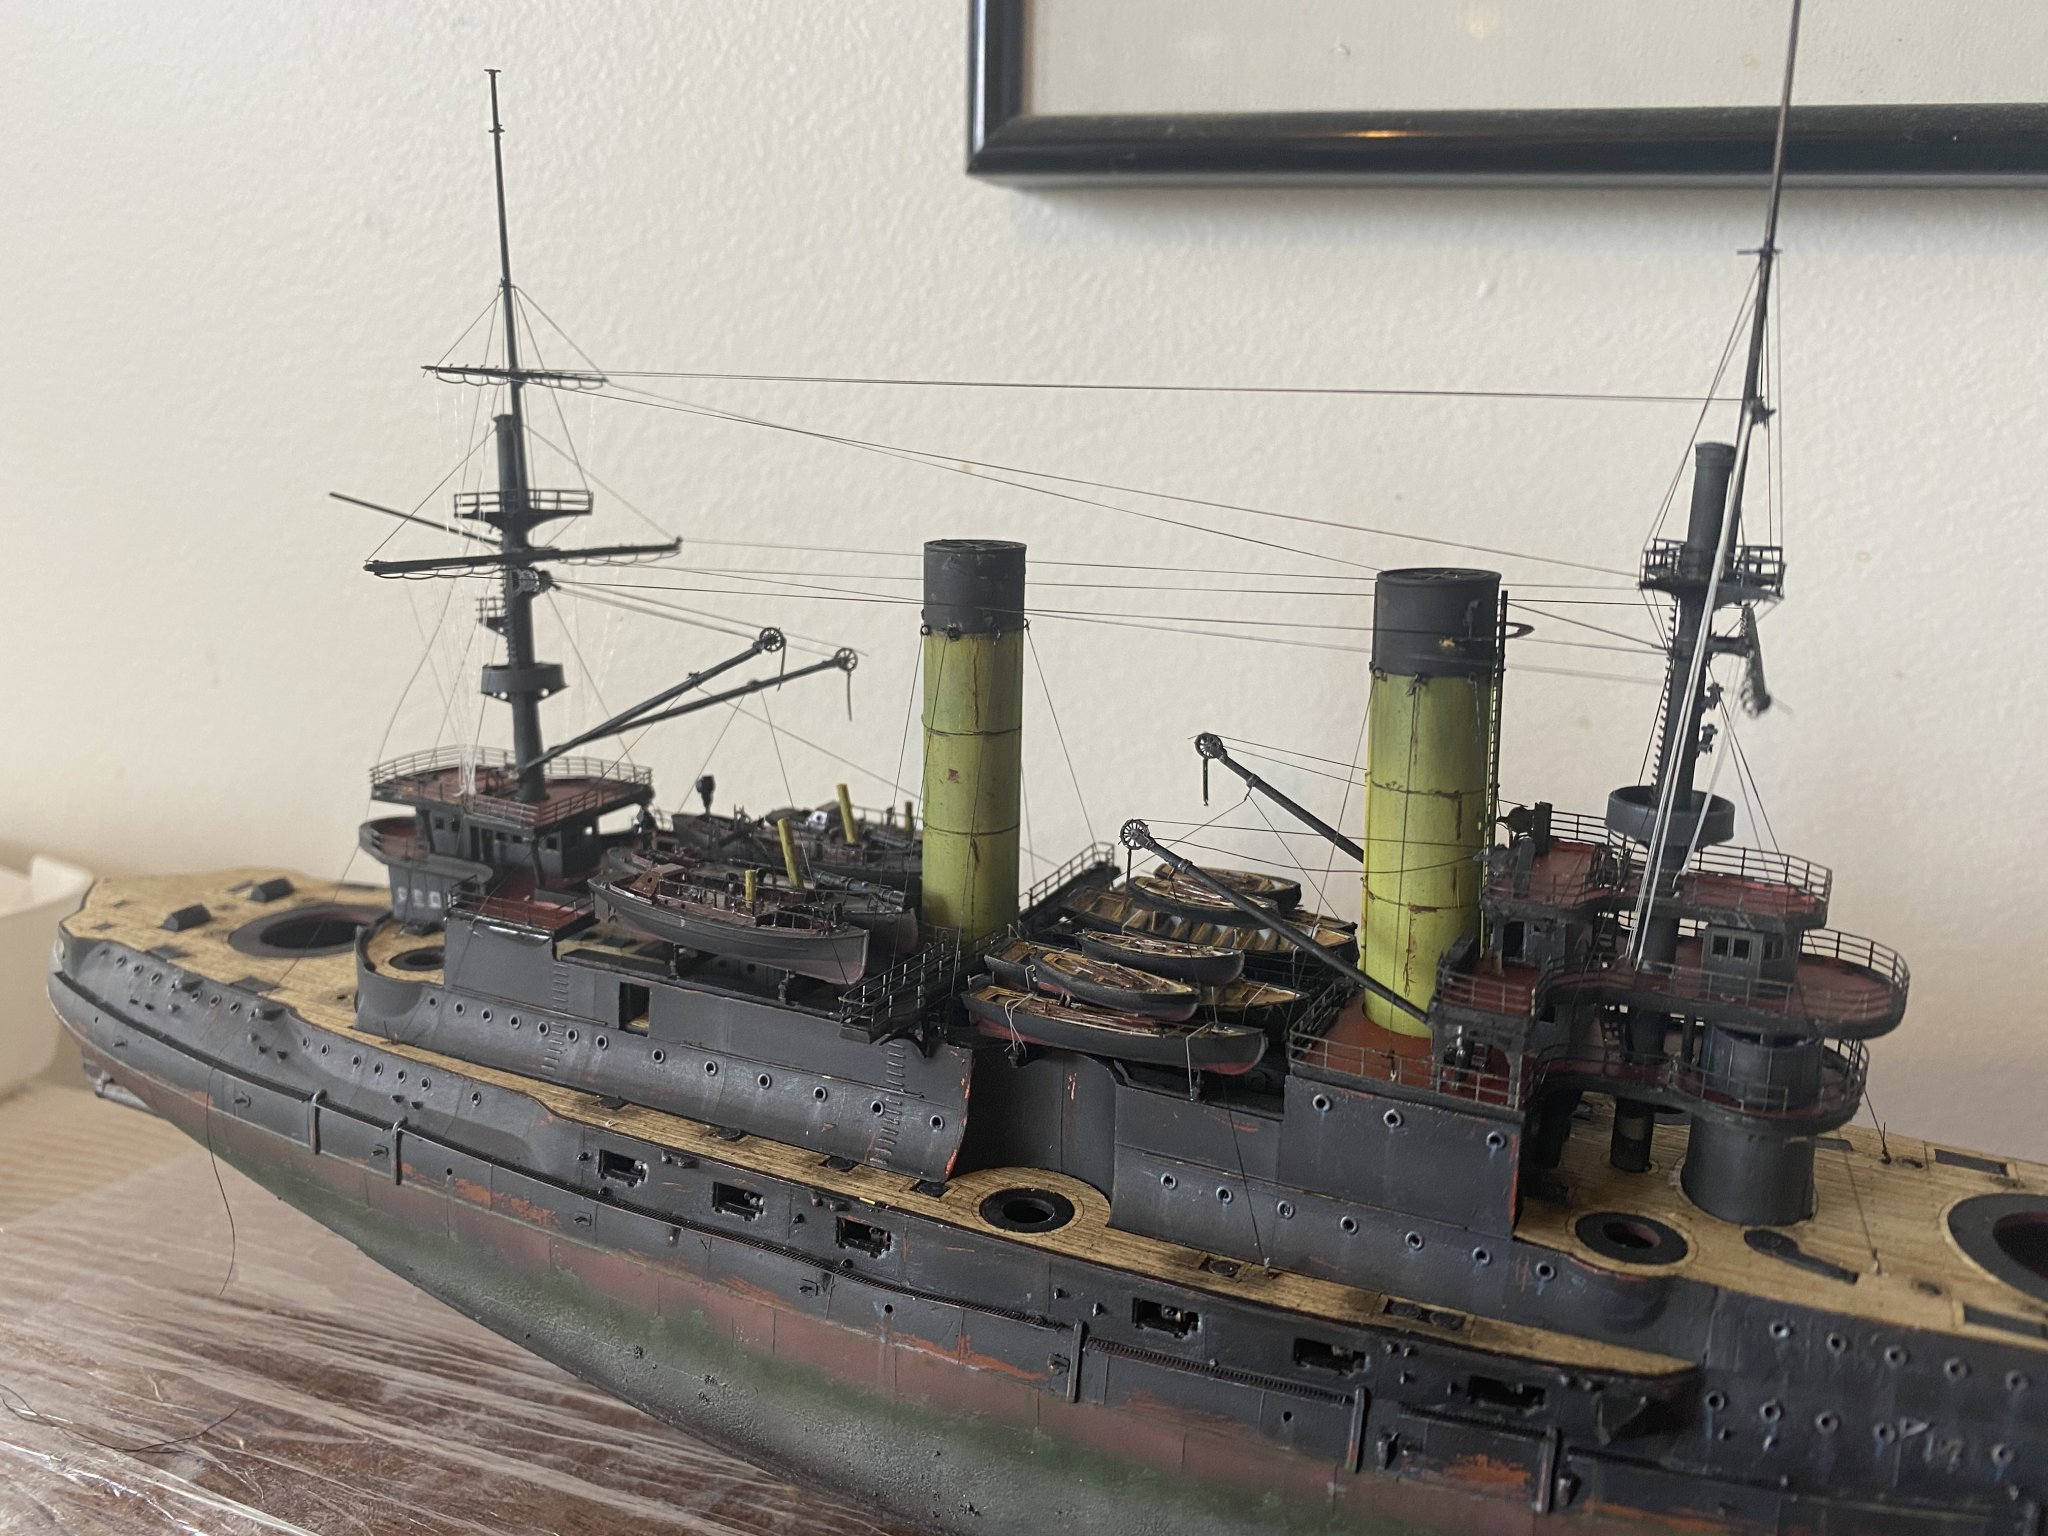
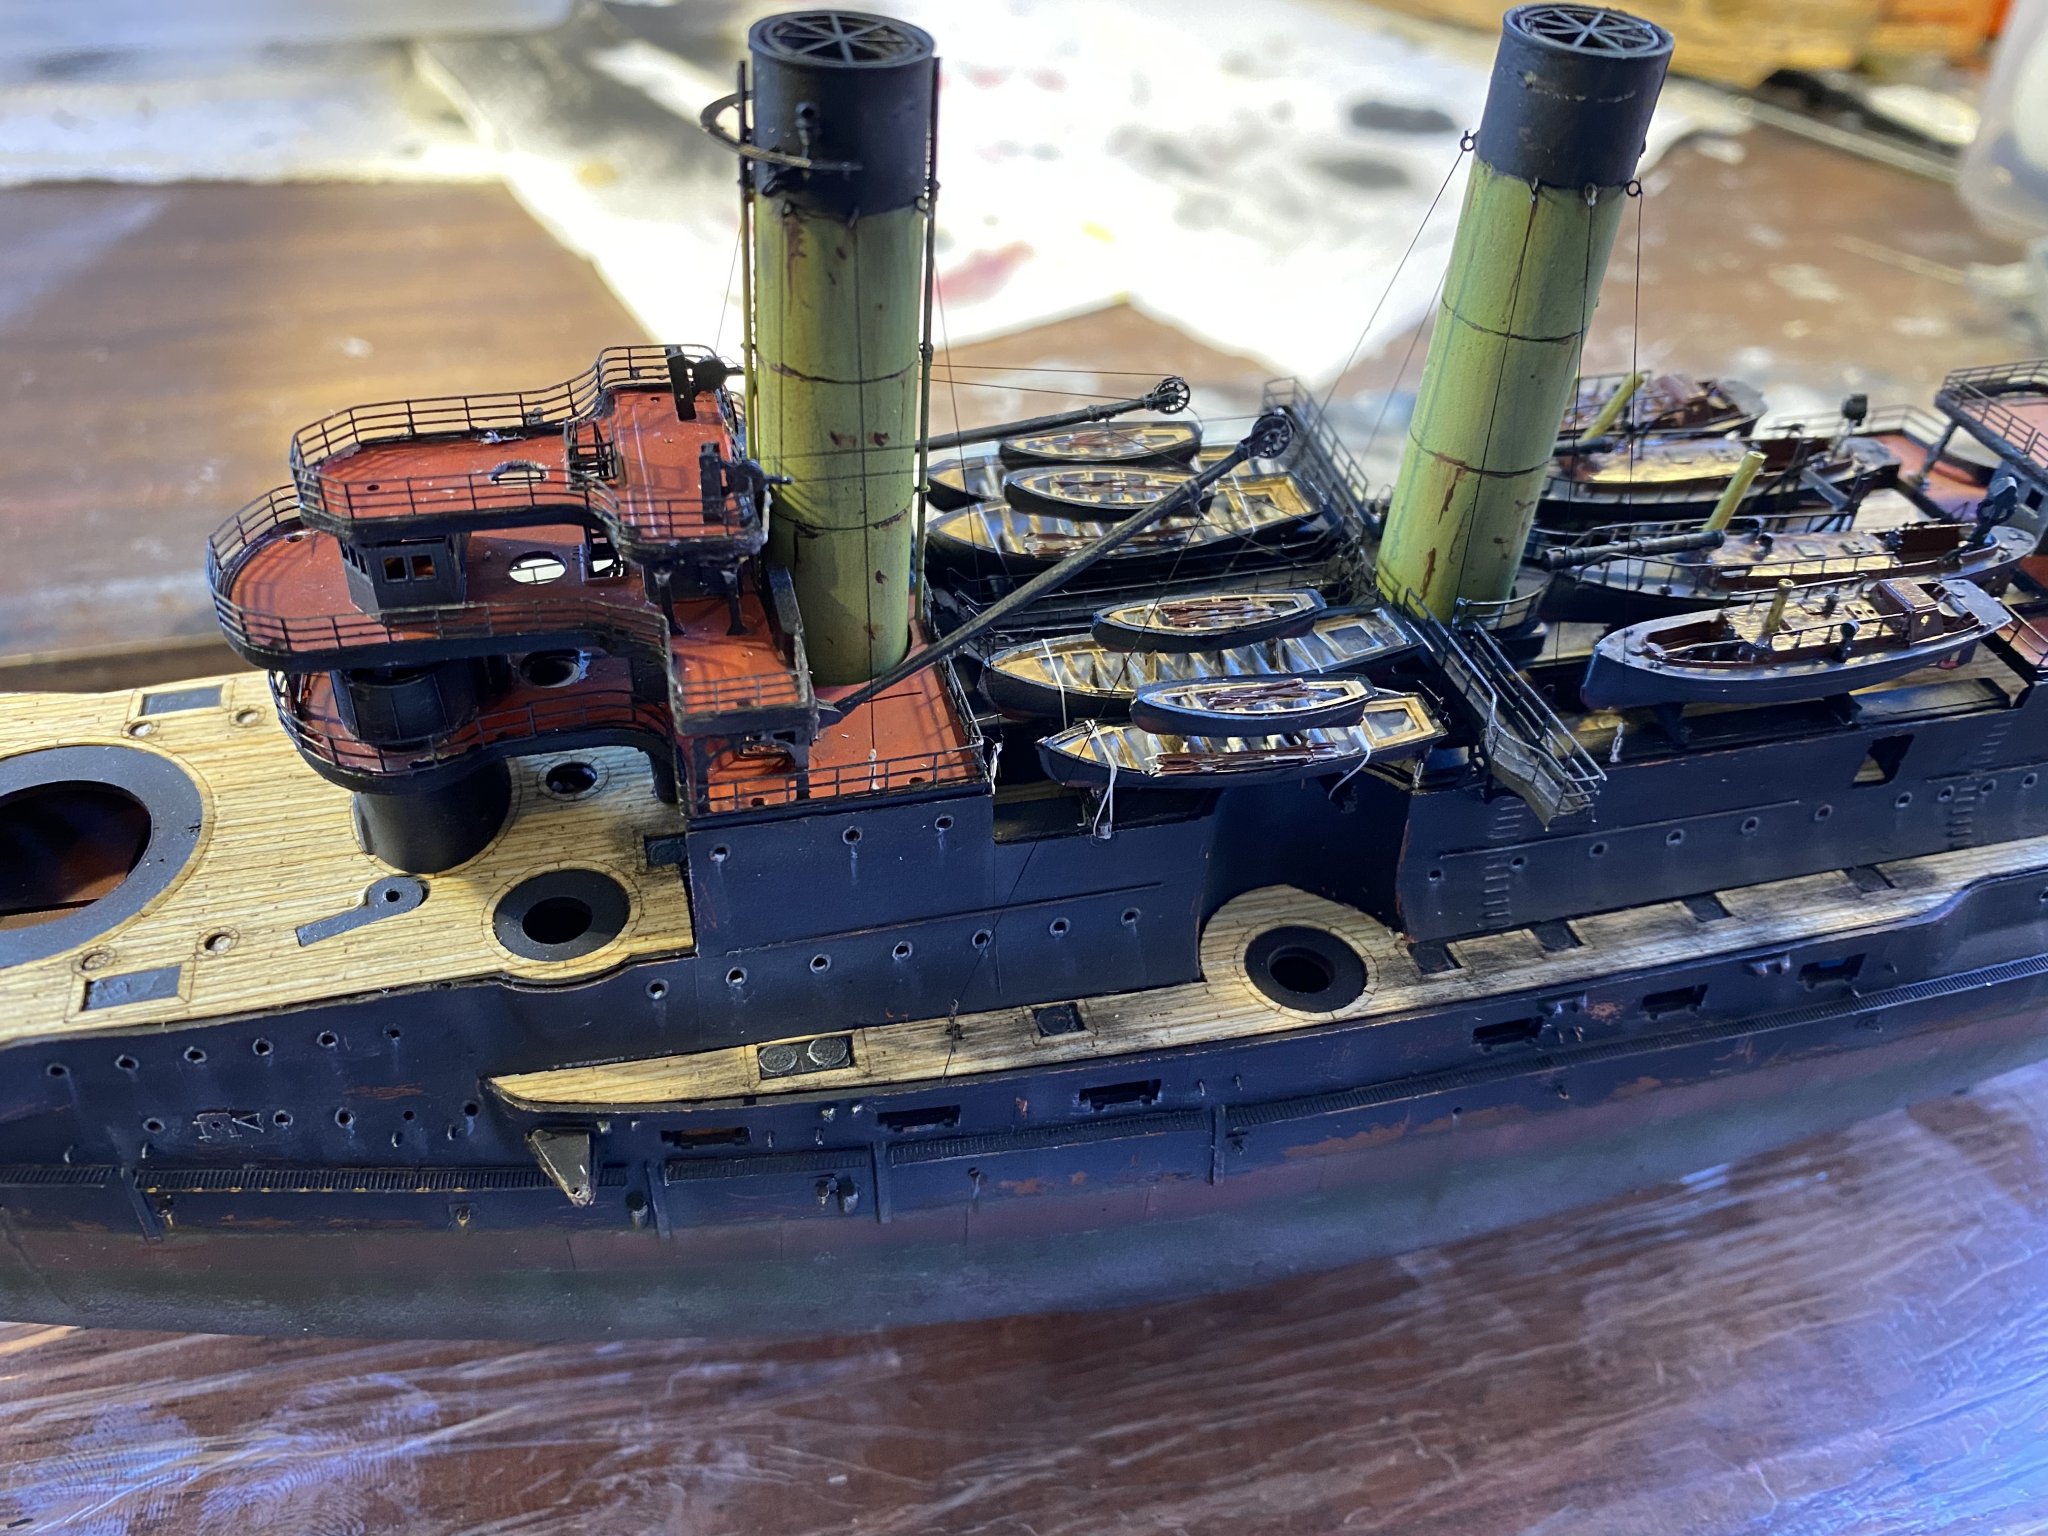
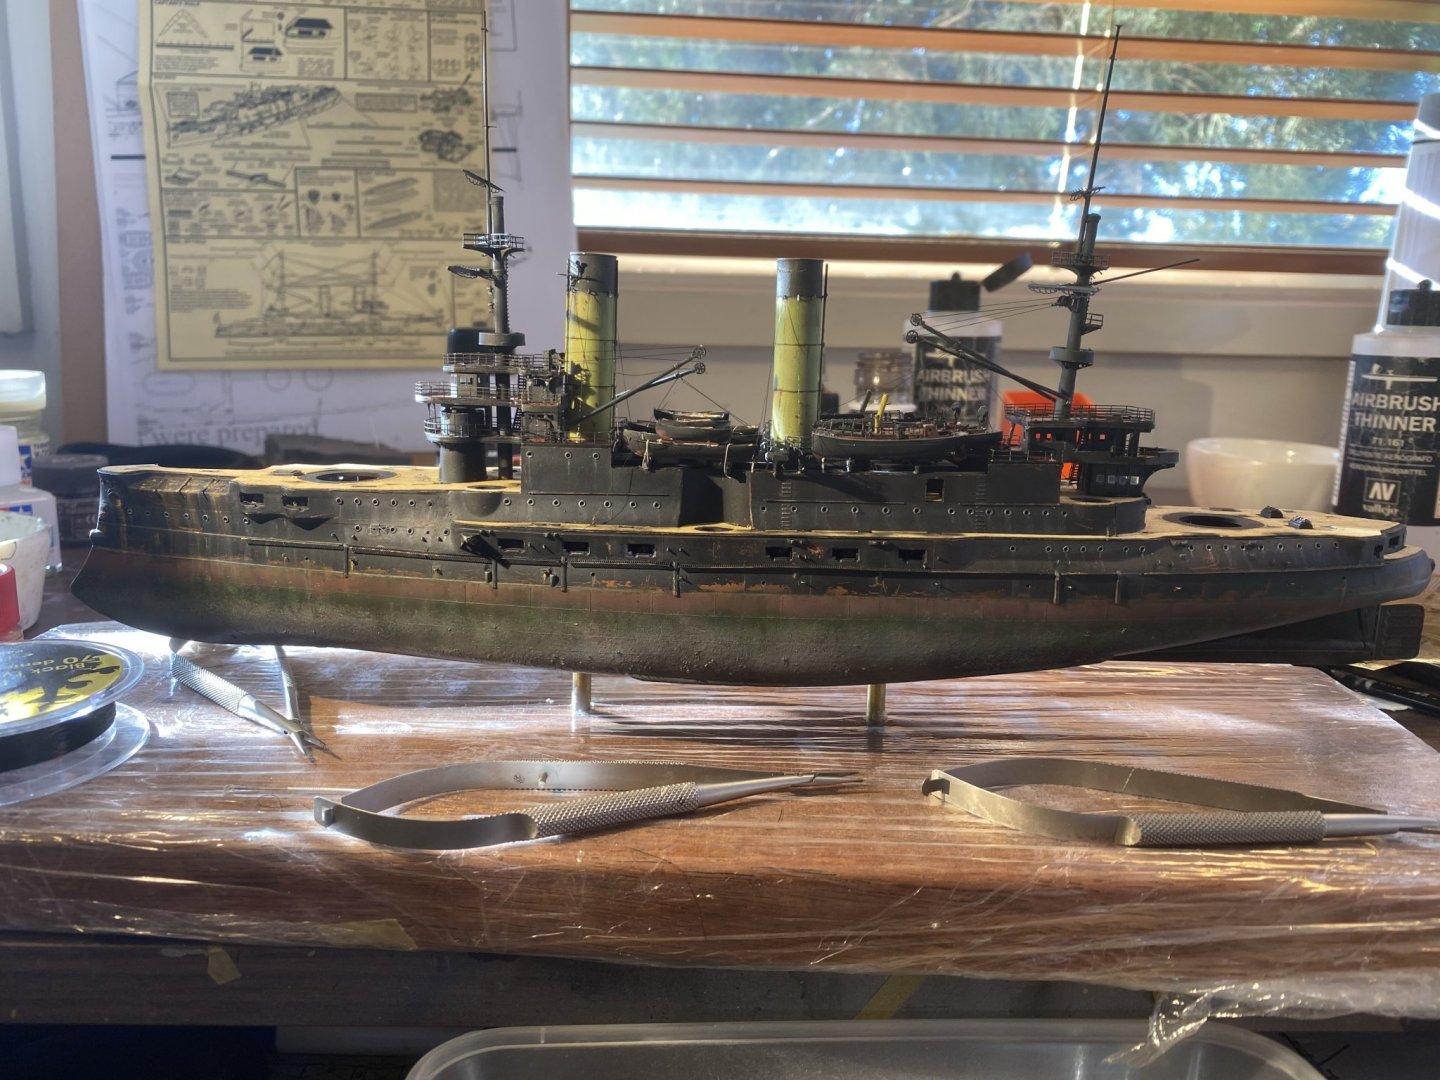
Masts and cranes added. Tomorrow I’ll rig her,well, most of her, then do sone touch up painting and weathering before moving onto the deck details and guns.

- 173 replies
-
- 29
-