RGL
-
Posts
5,564 -
Joined
-
Last visited
Content Type
Profiles
Forums
Gallery
Events
Everything posted by RGL
-
 Yes I do indeed intend on flogging him in this one. There is so much detail in a small space. Lots of panel lines yet to be added so I can do some good chipping.
 -
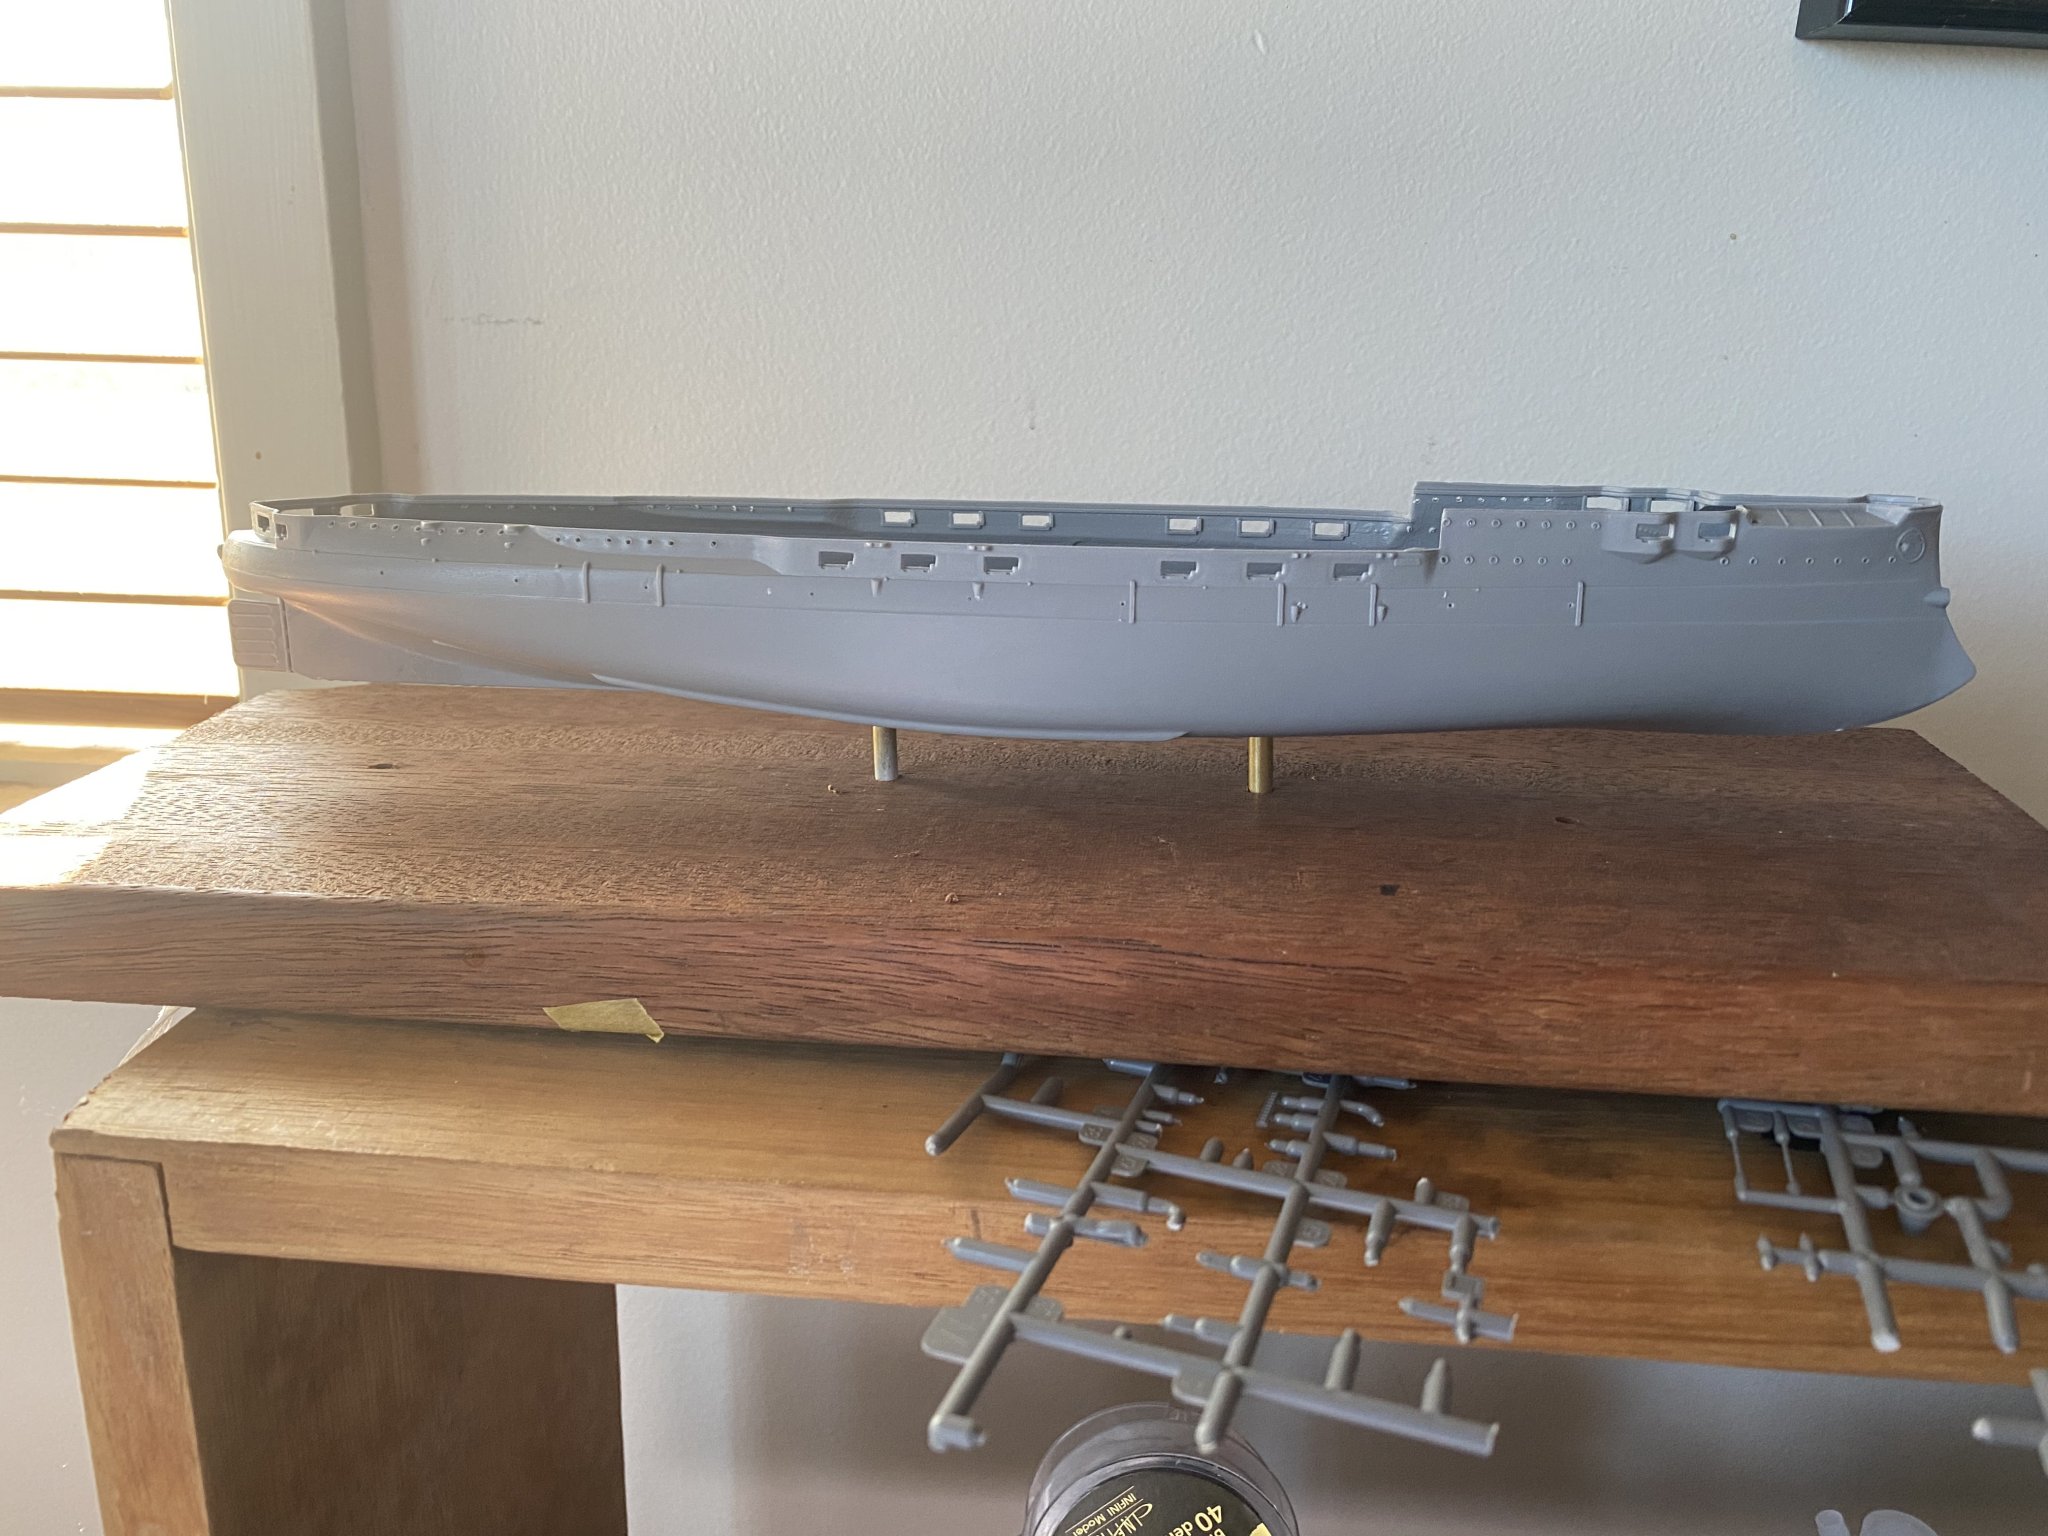
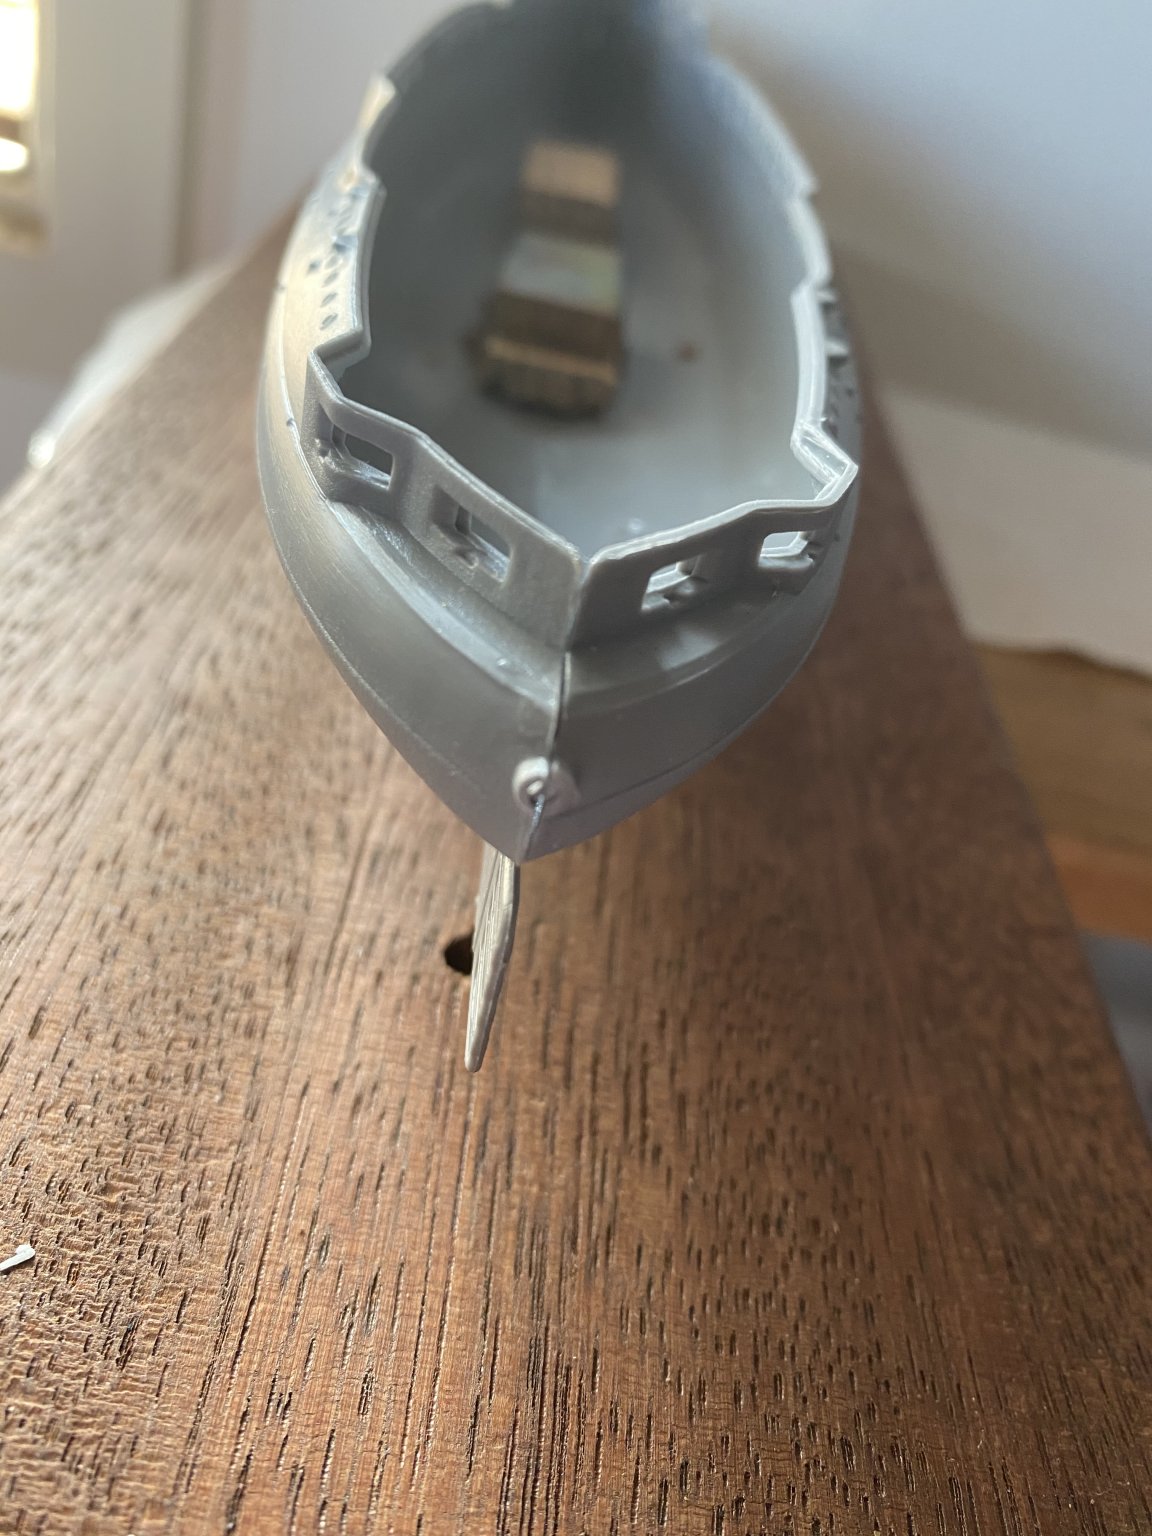
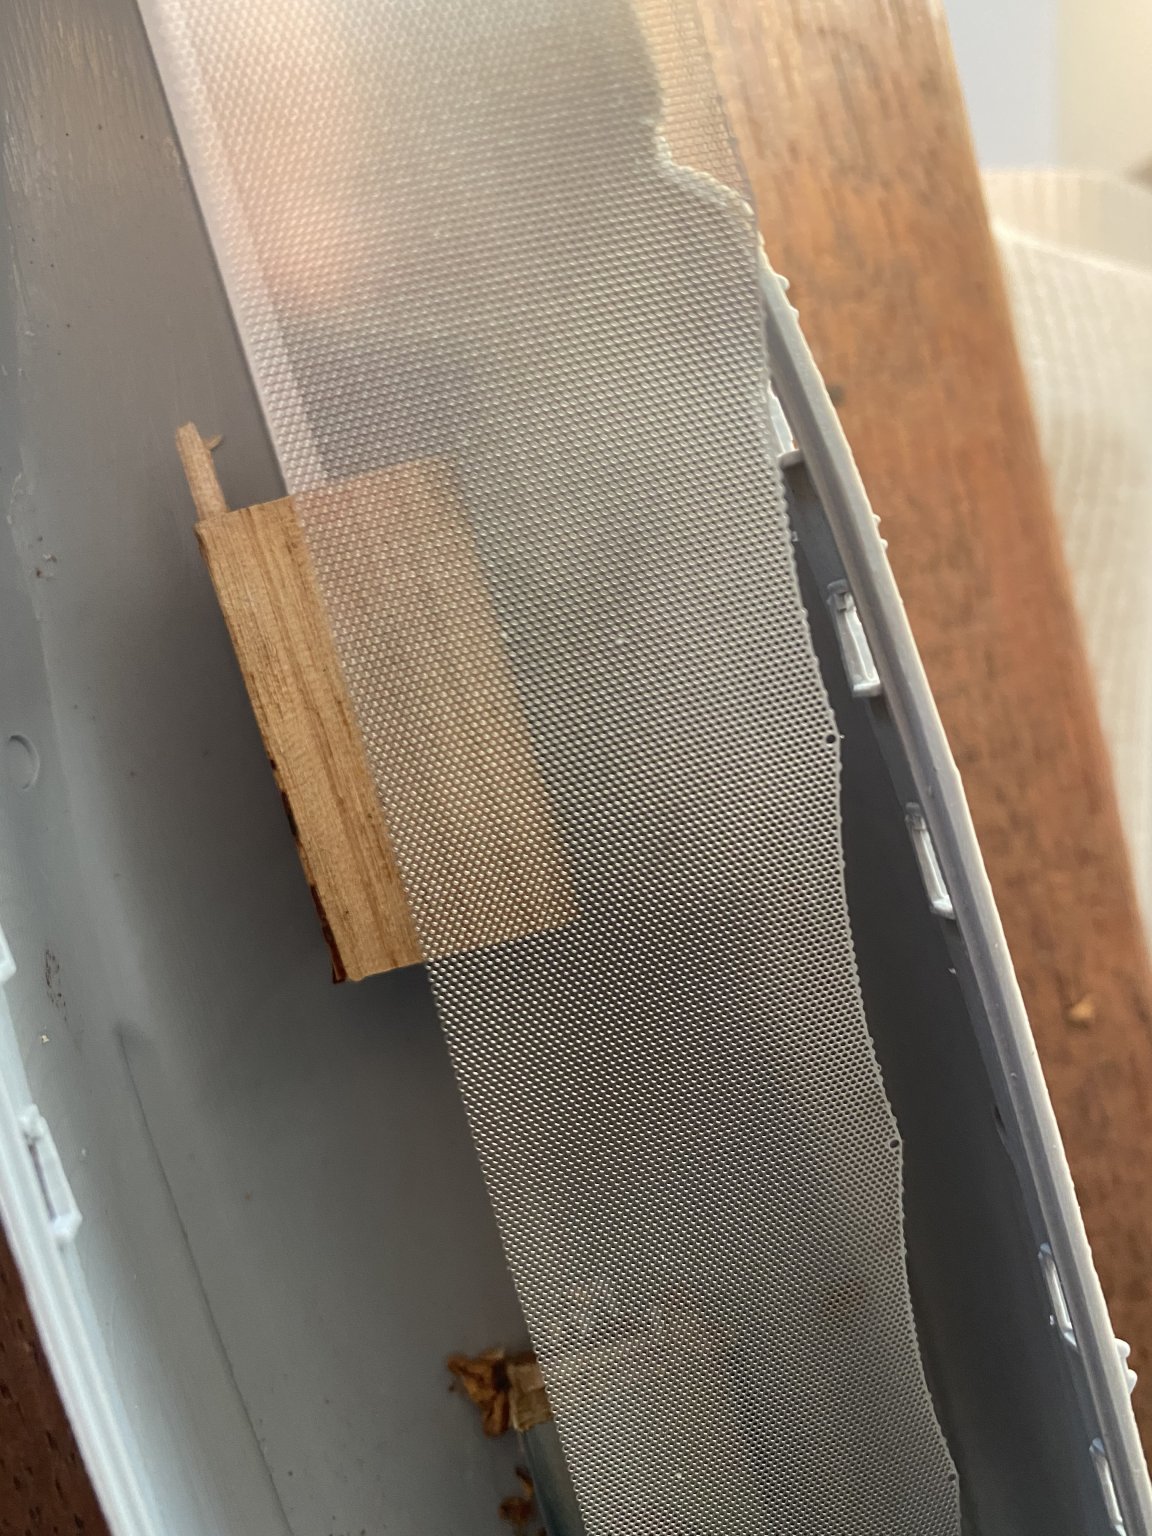
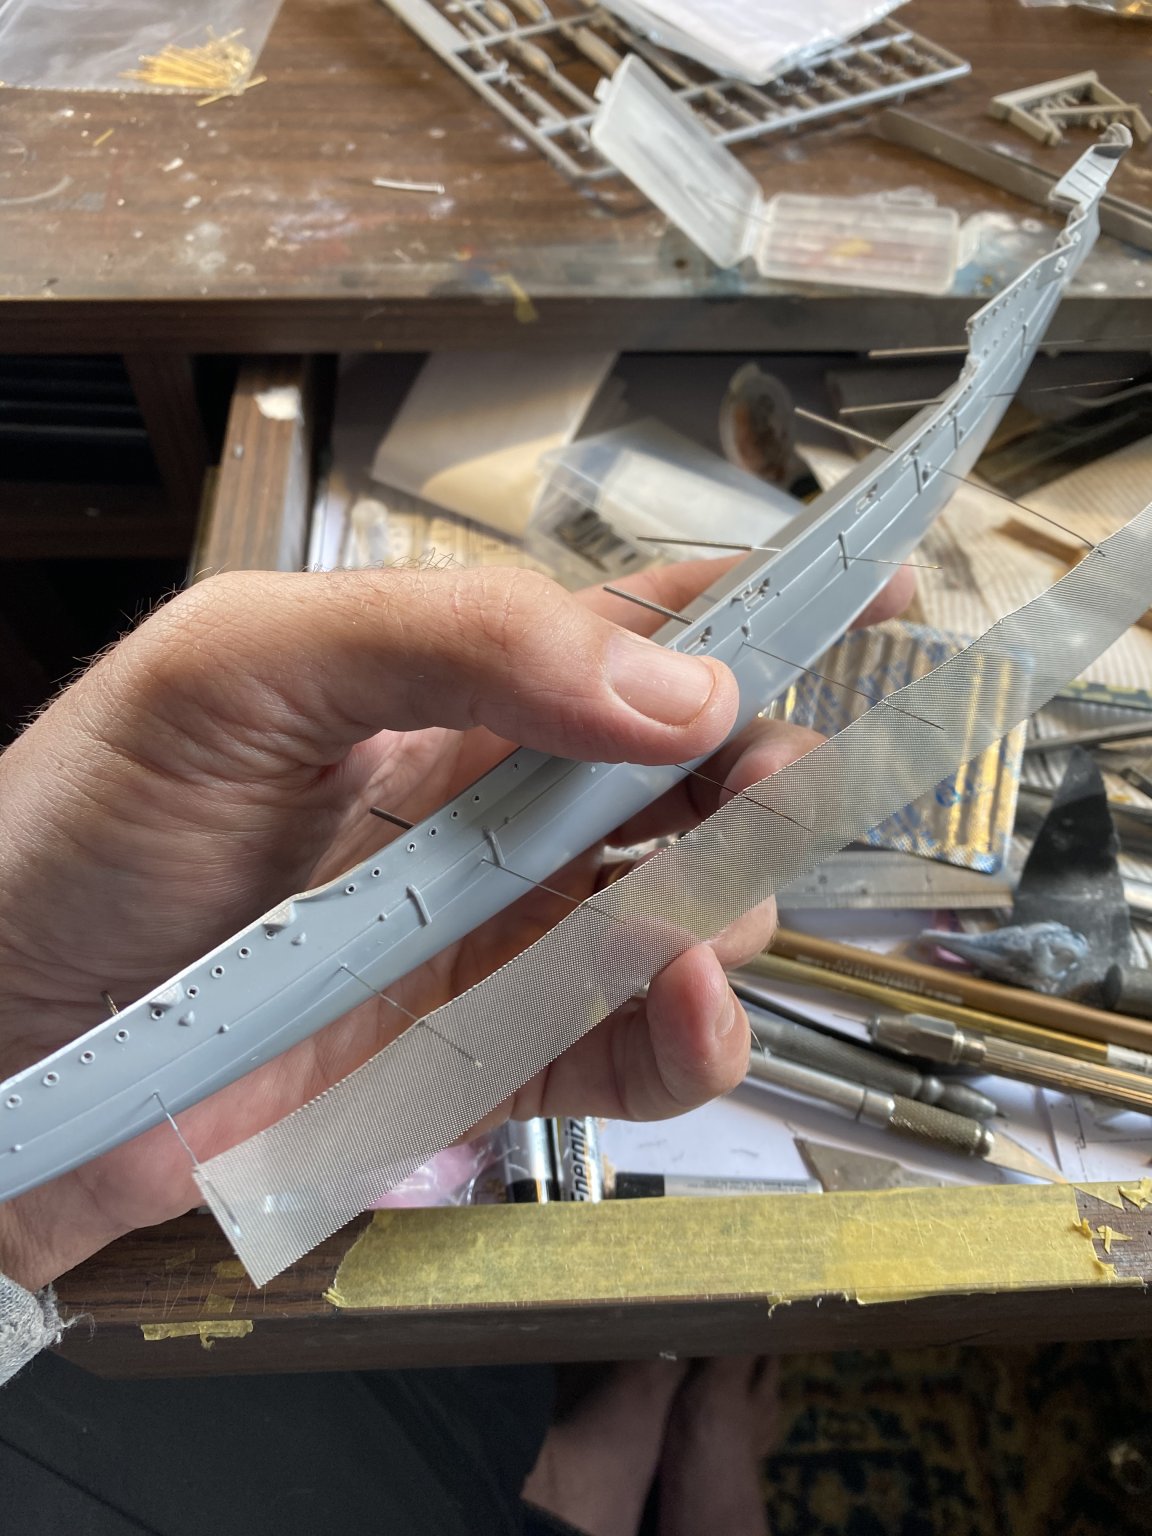
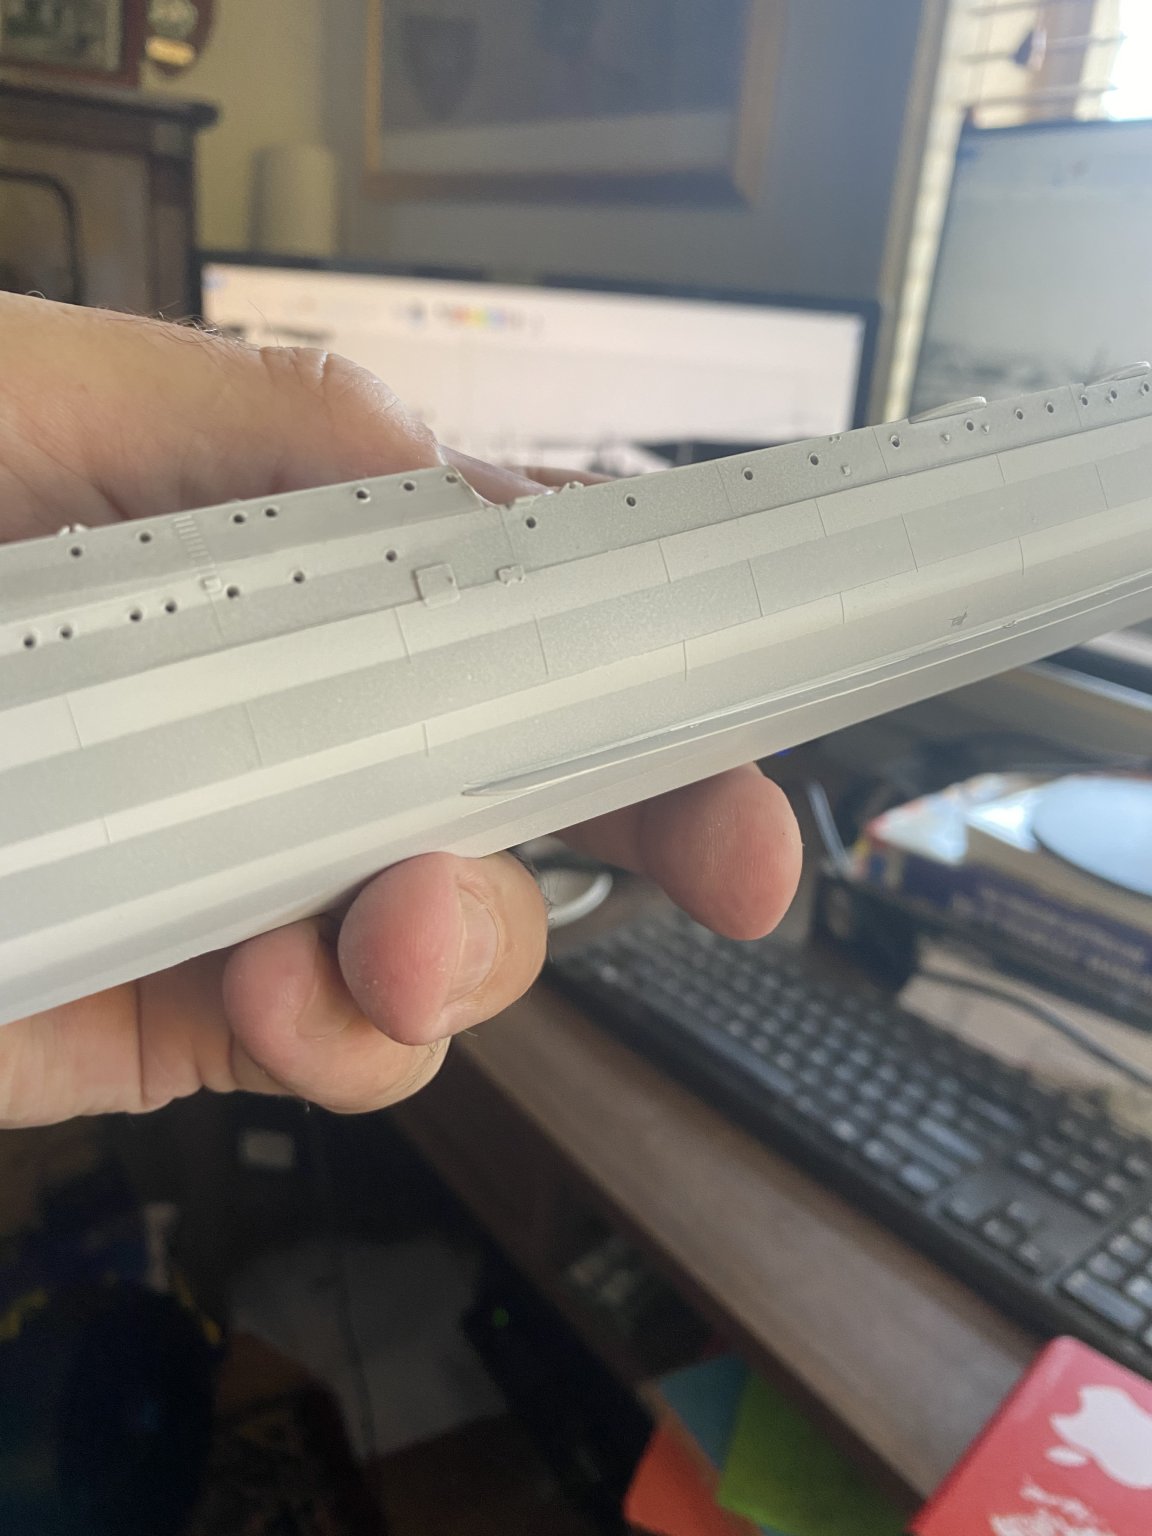
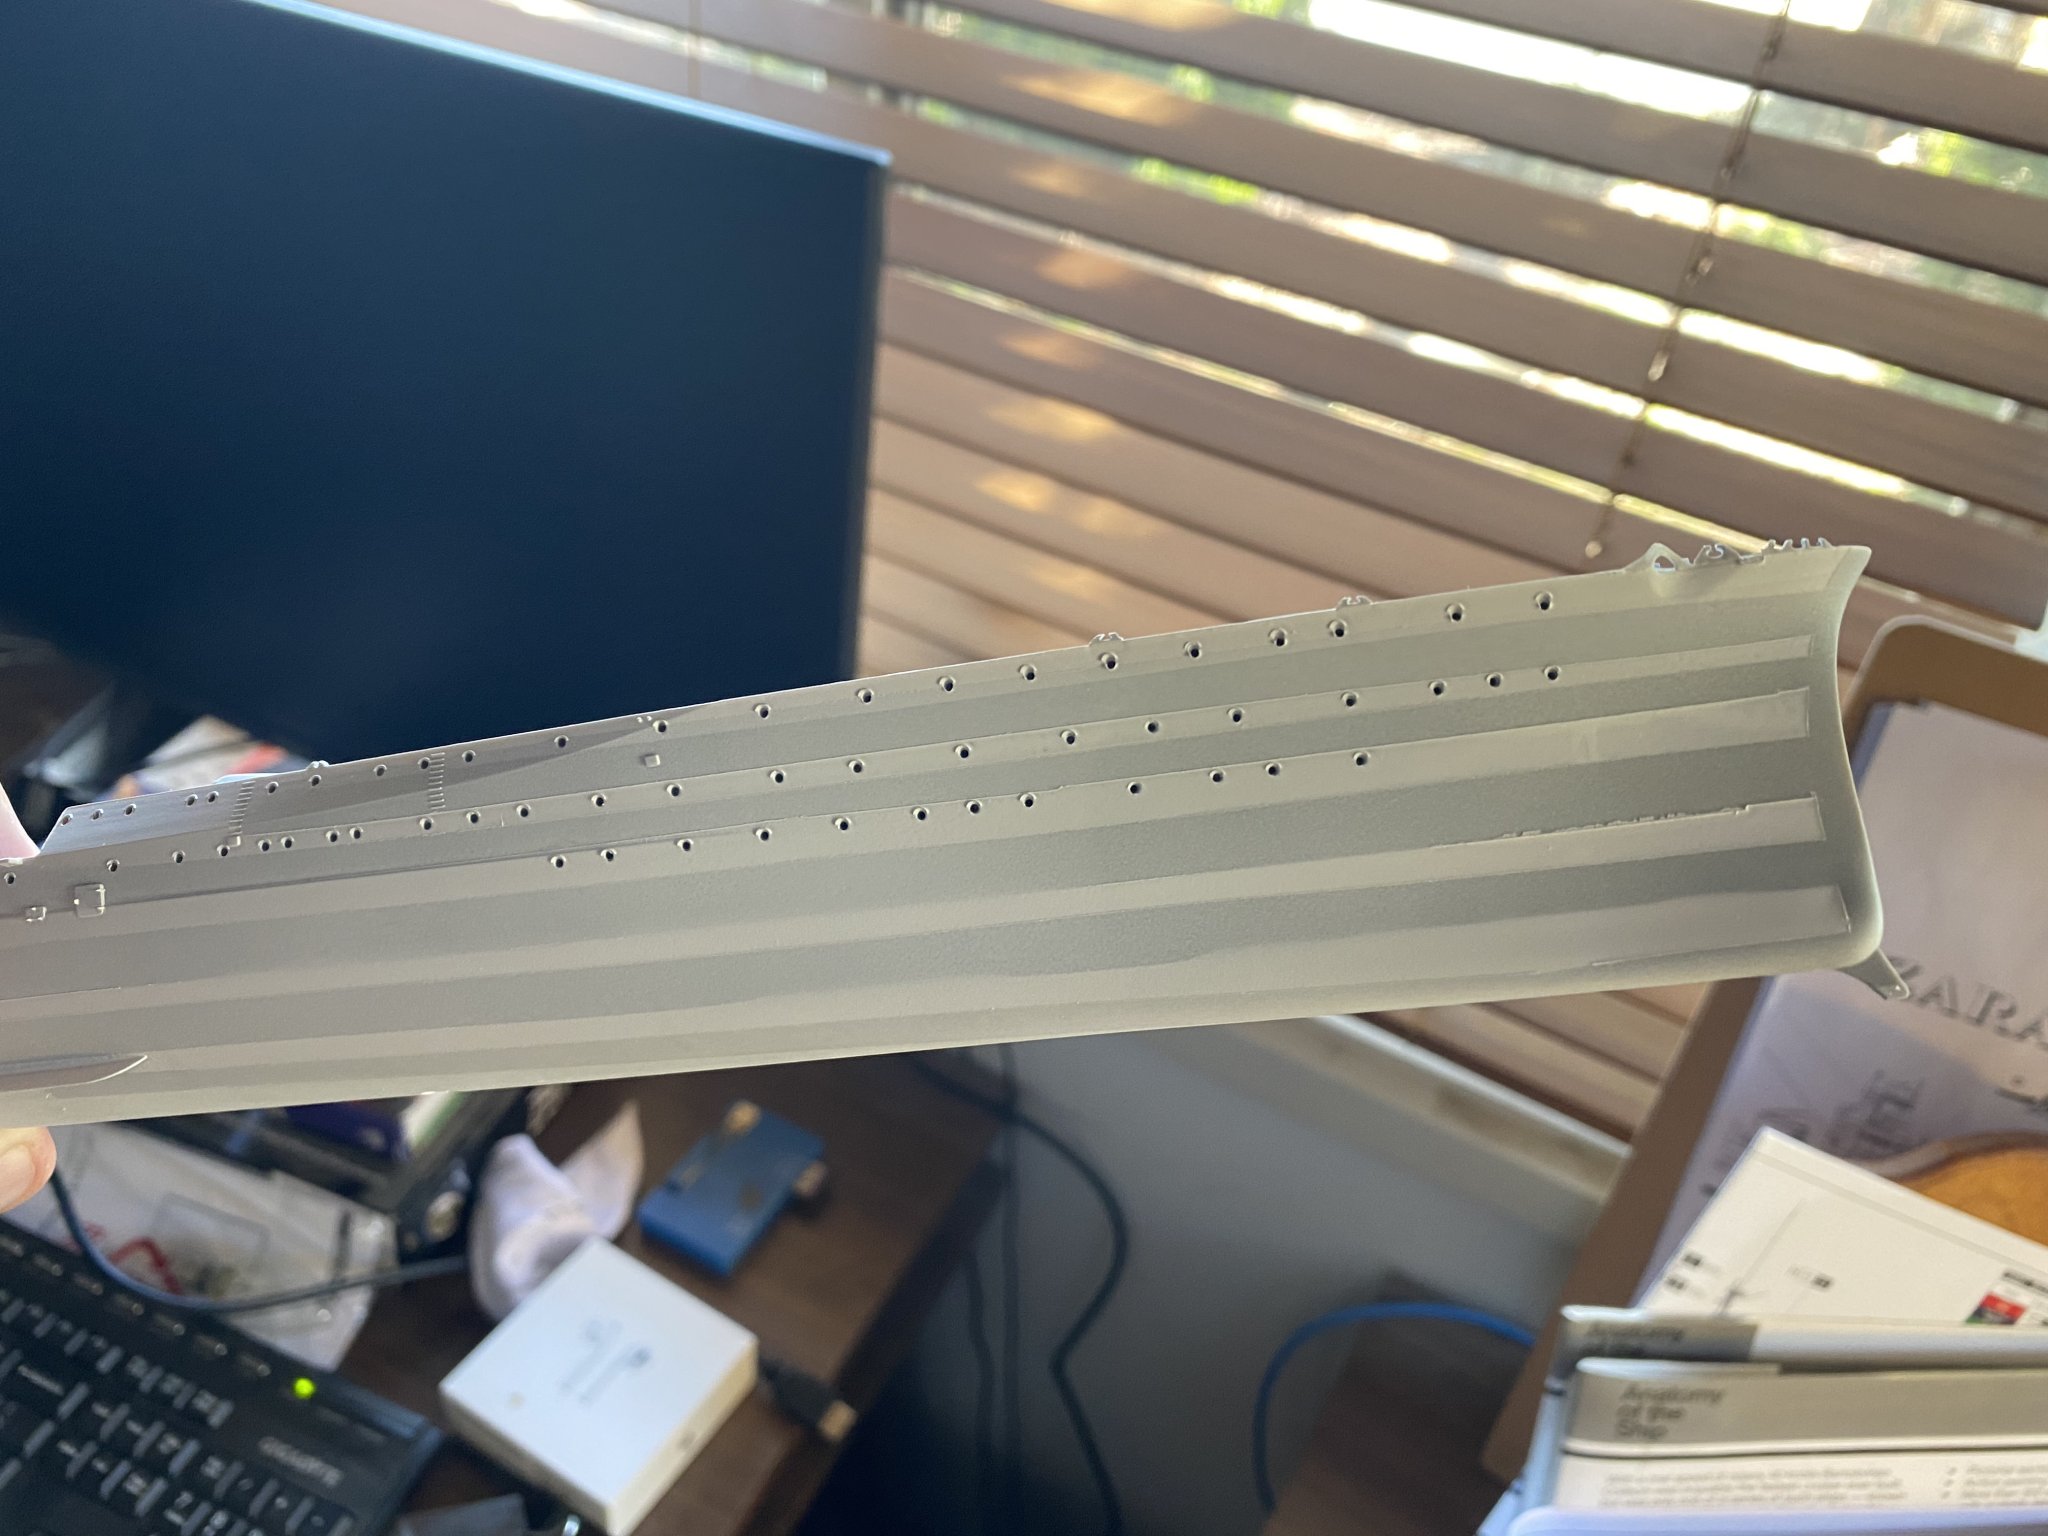
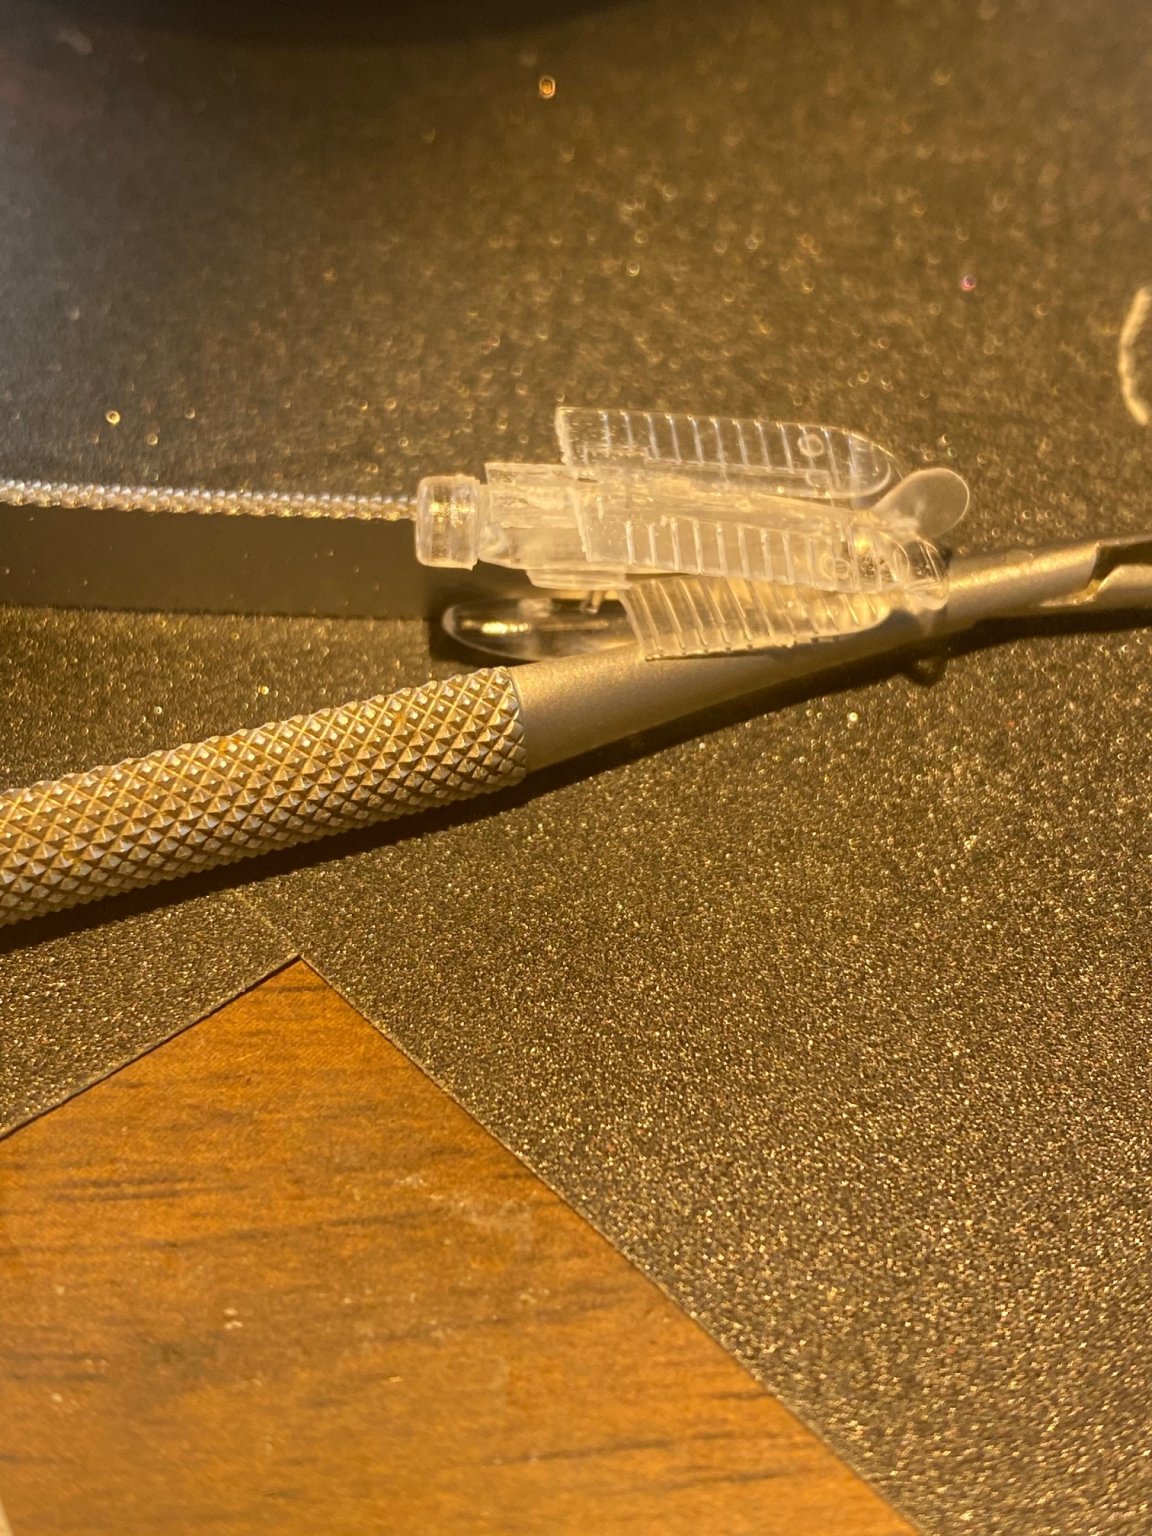
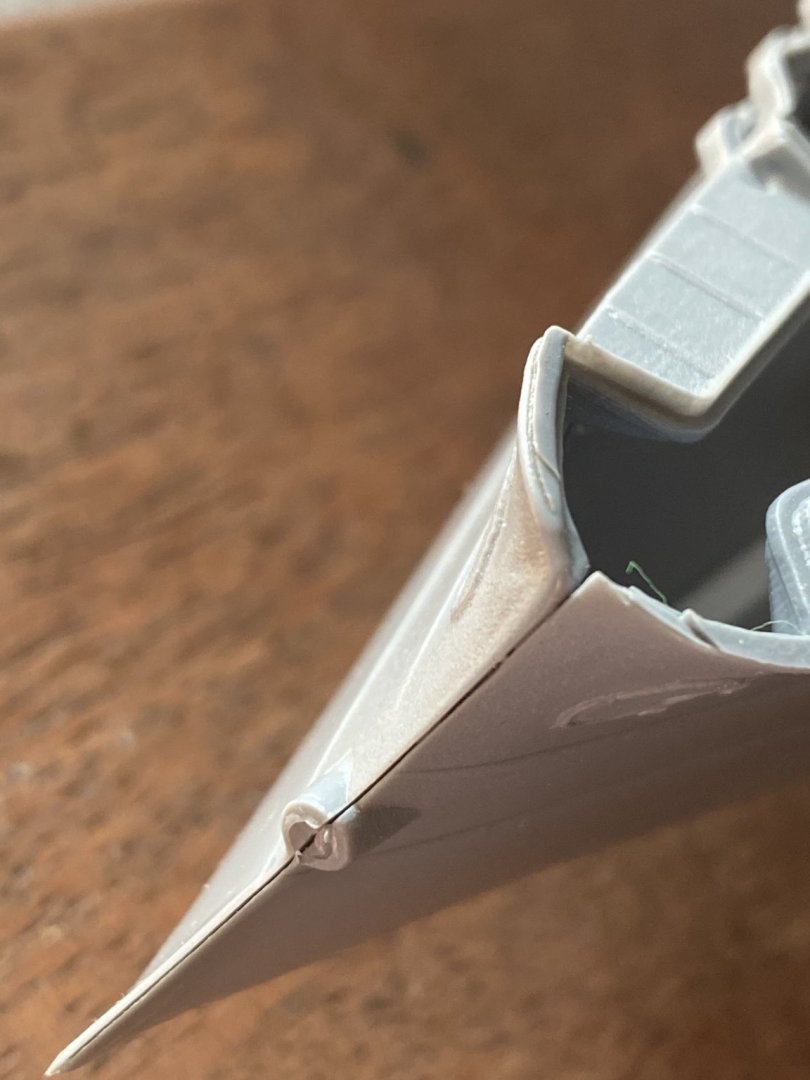
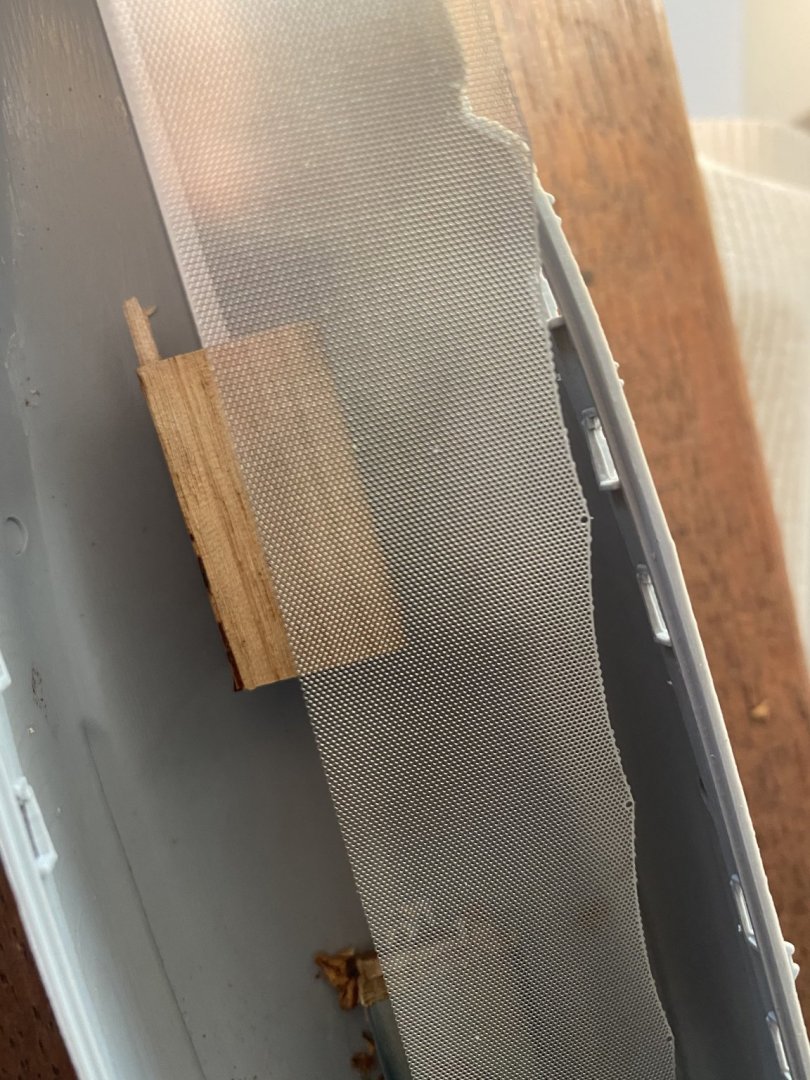
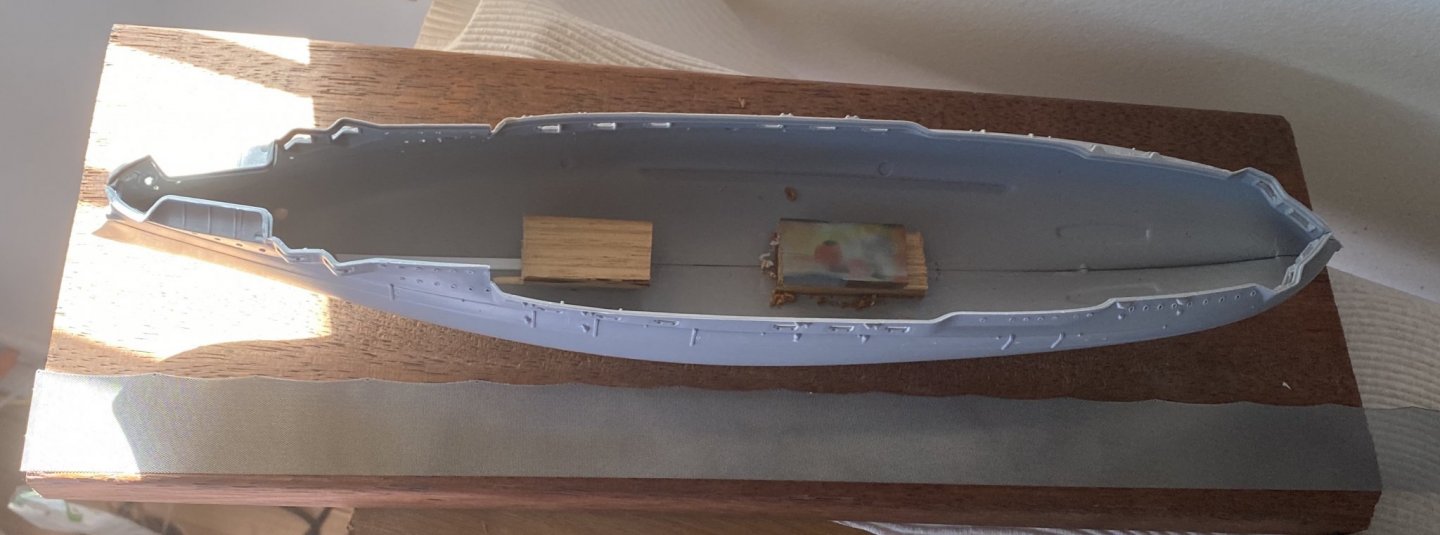
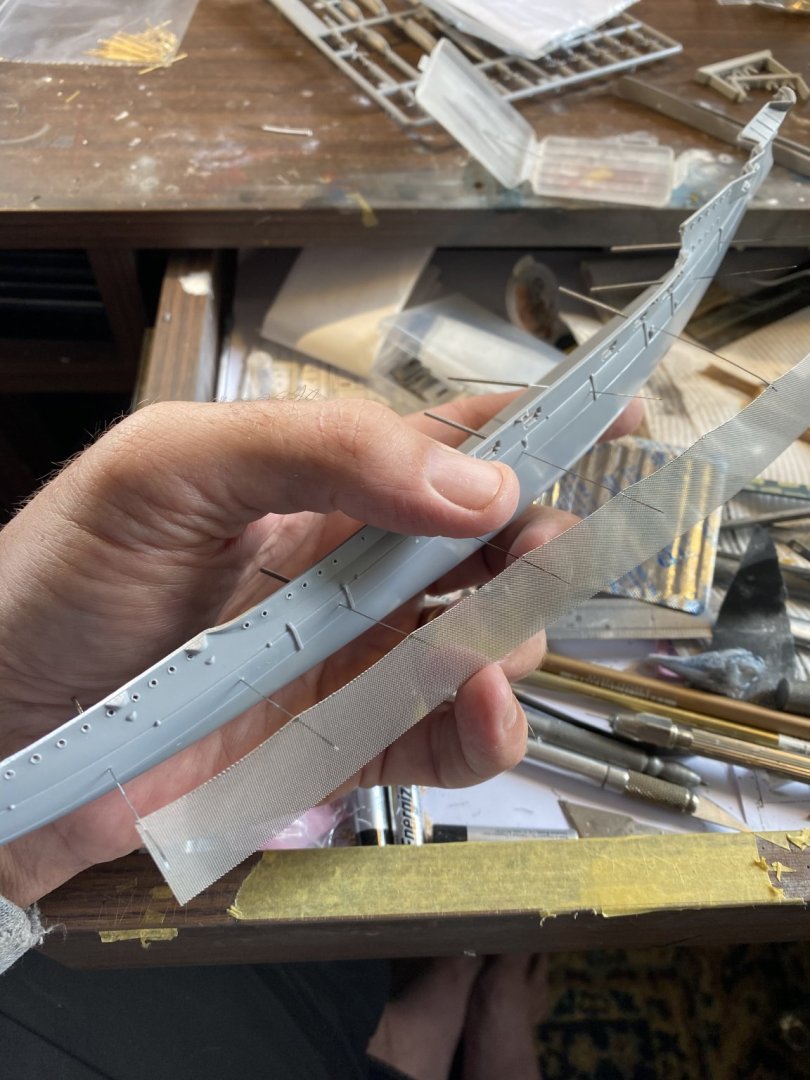
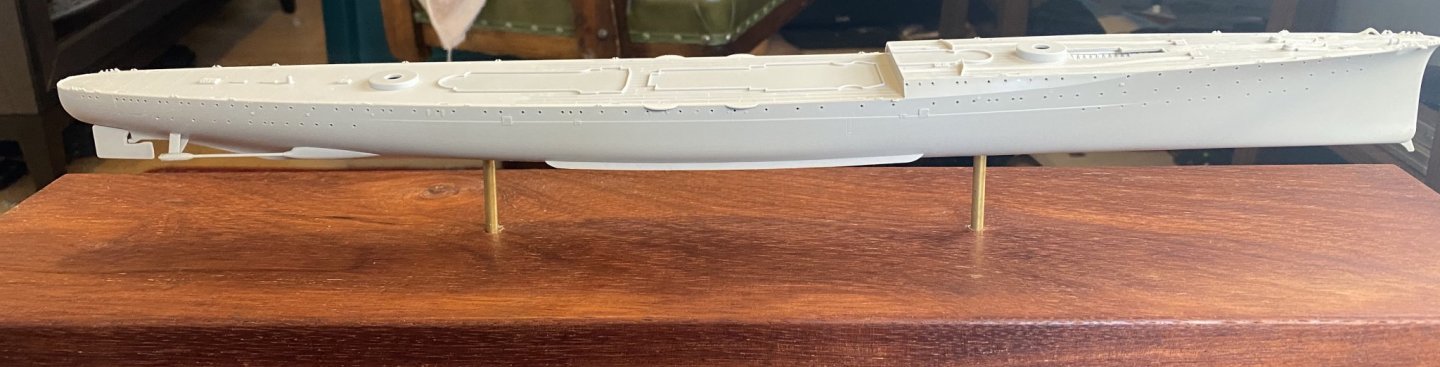
The netting comes with the Pontos set (but will need to be cut down. The needles I use for glue application but here I’m just using them for alignment the hull is in 2 pieces which does not align and is pretty Rough, will need a fair bit of putty

- 173 replies
-
- 16
-

-
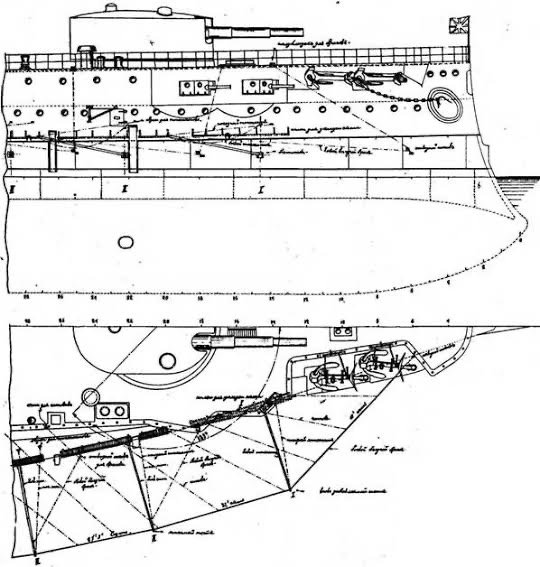
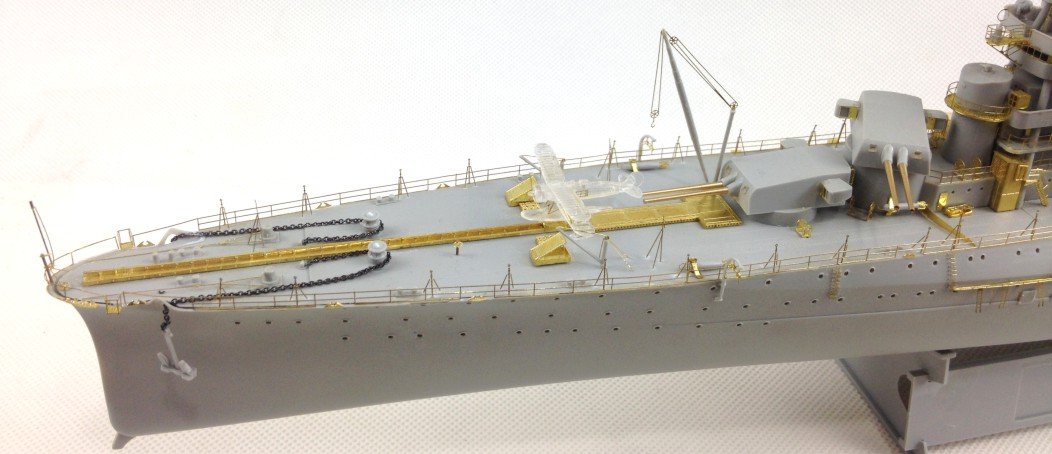
As usual drill out the portholes, then start calculating the ratios for the torpedo net booms
- 173 replies
-
- 18
-
-
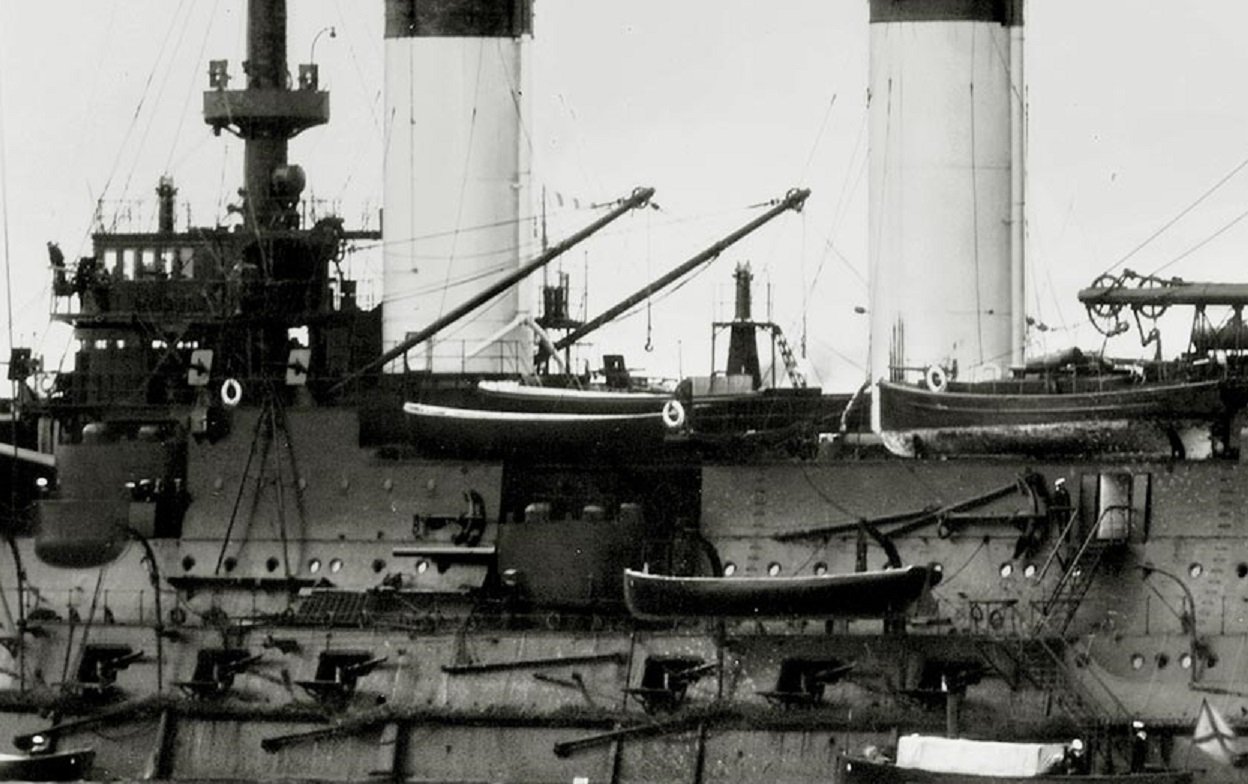
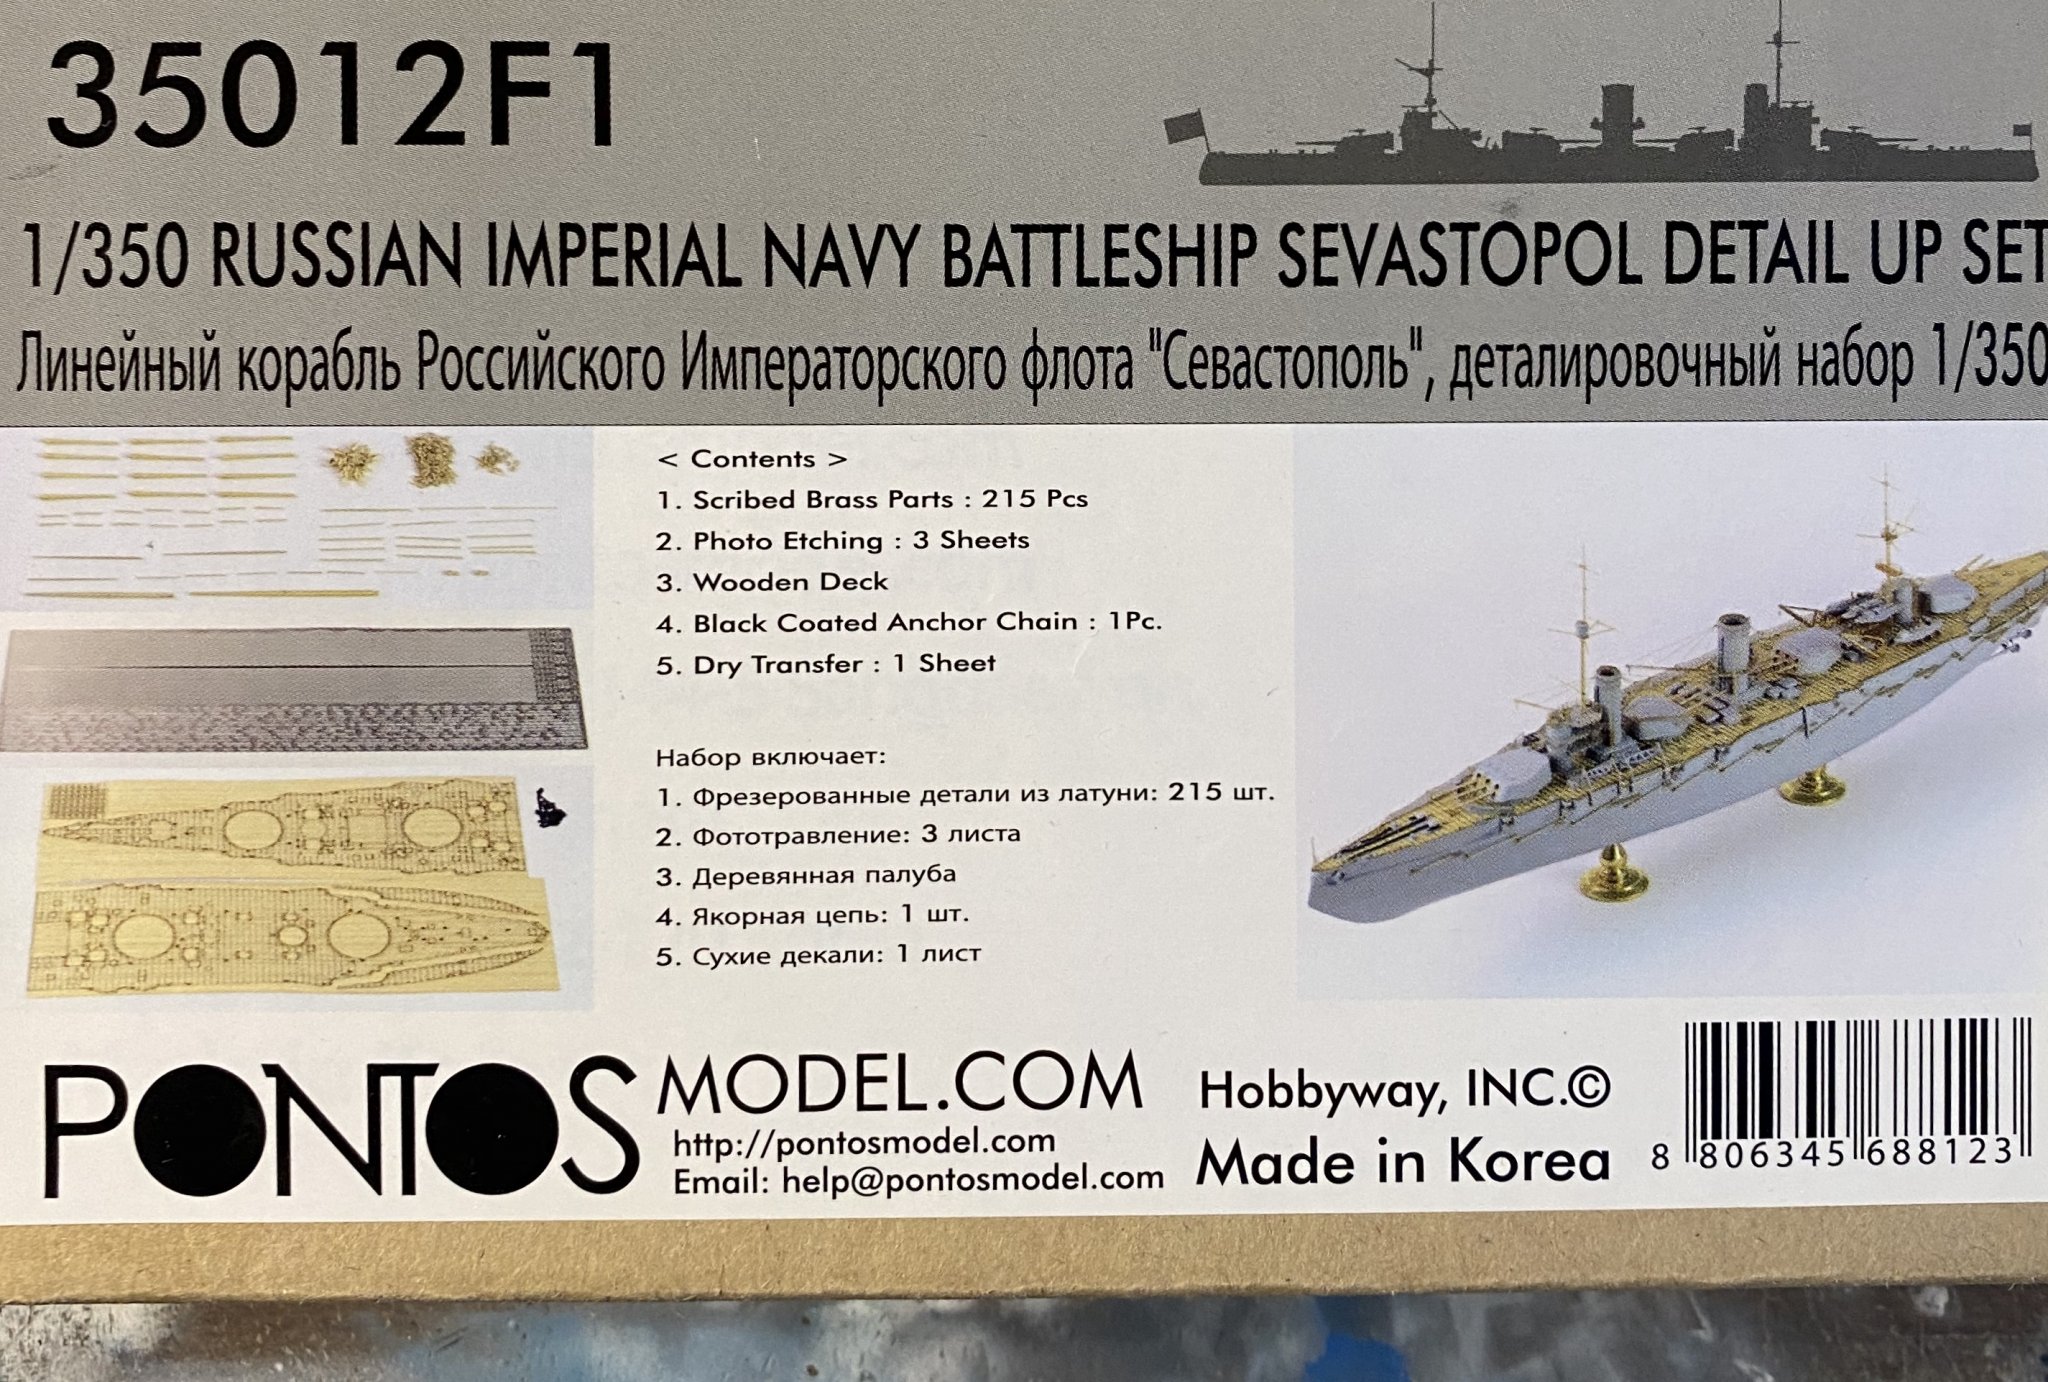
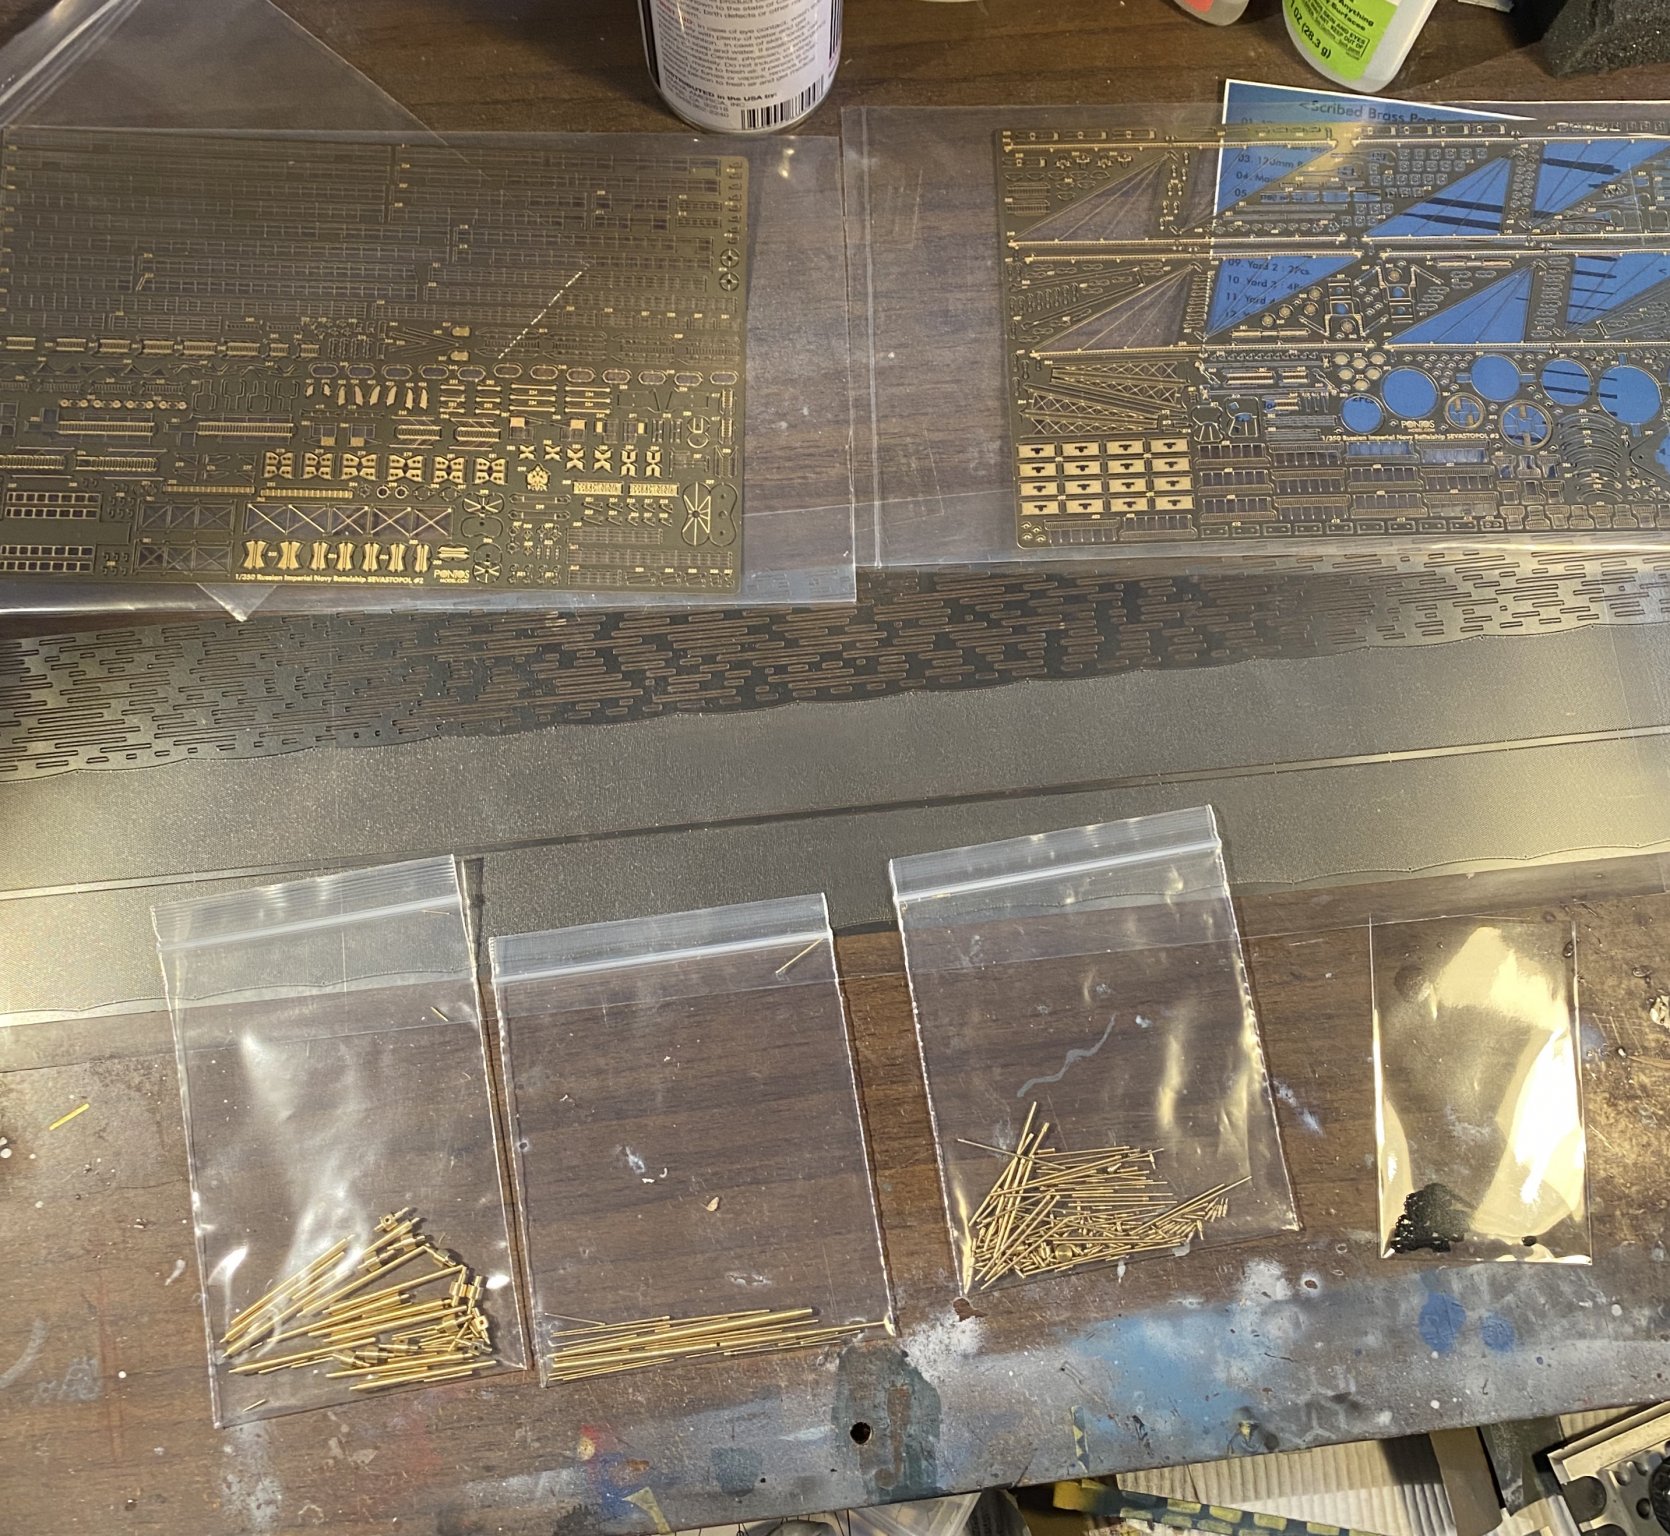
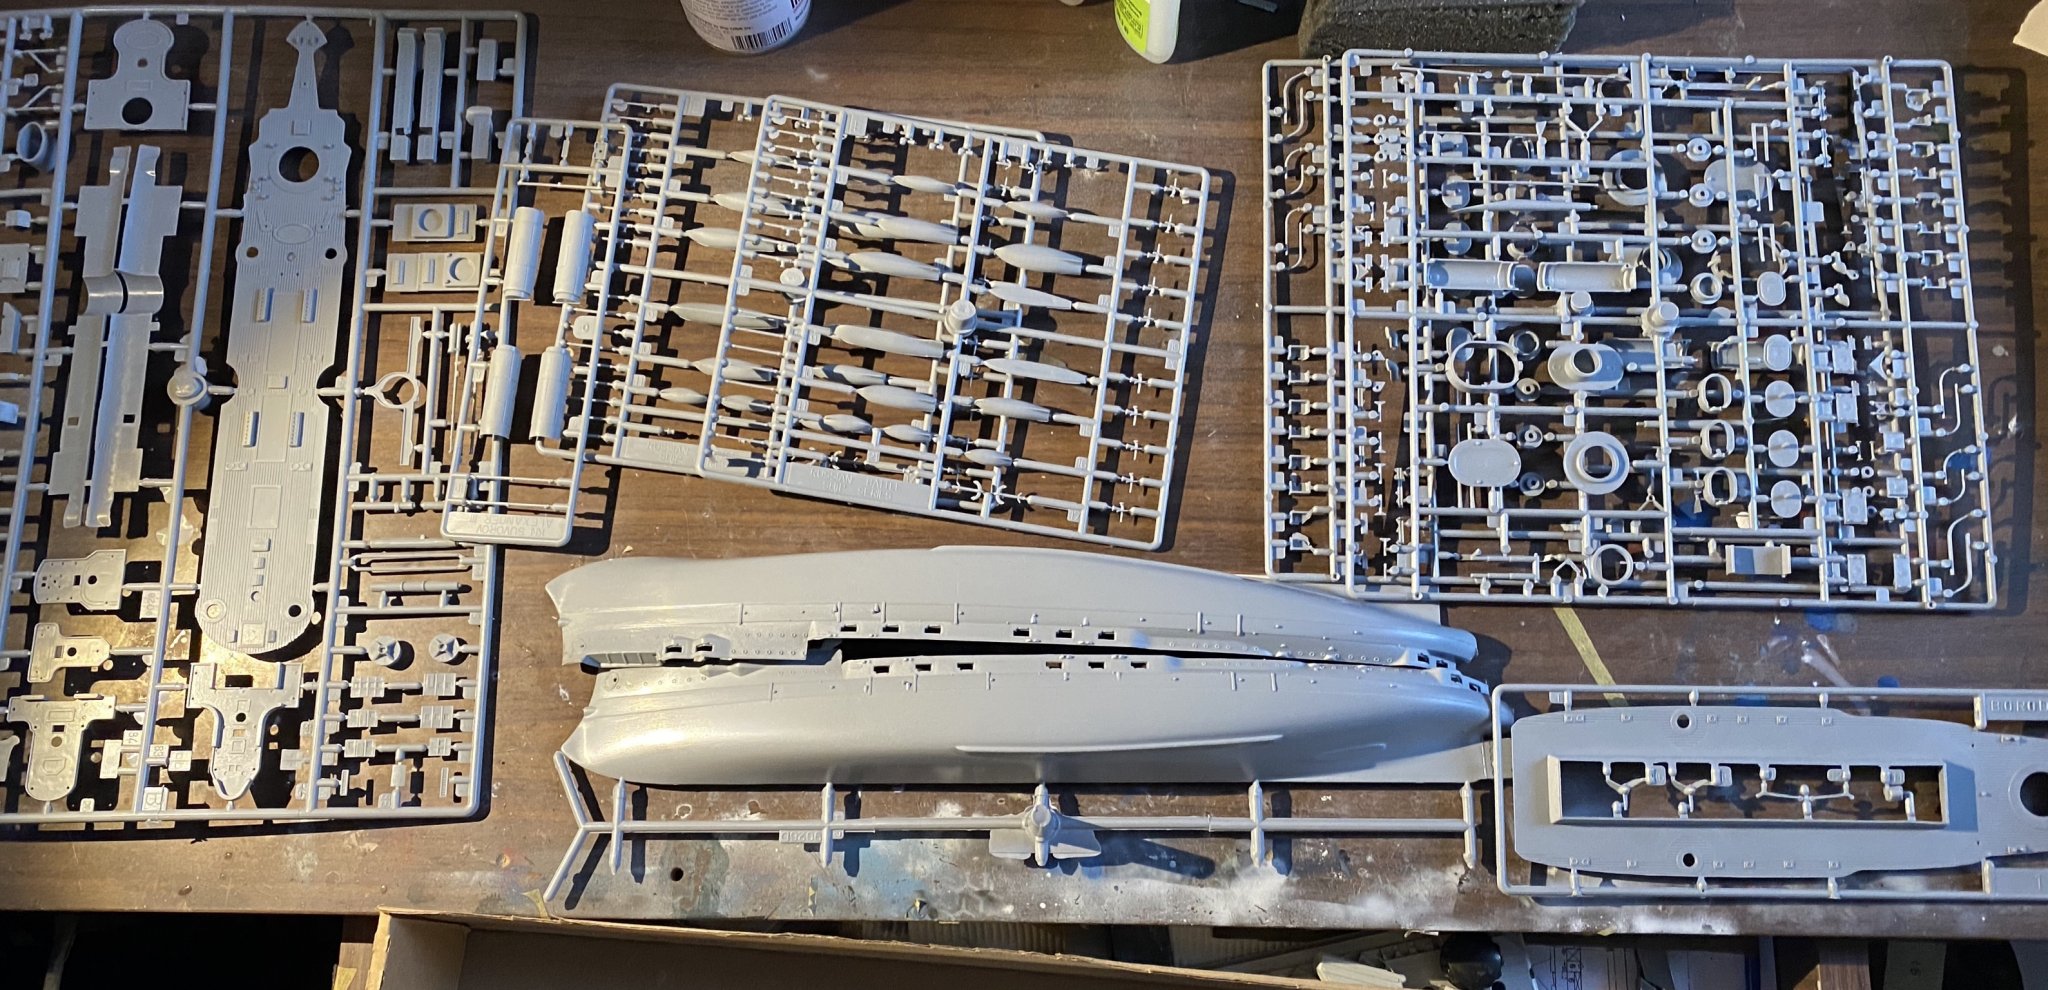
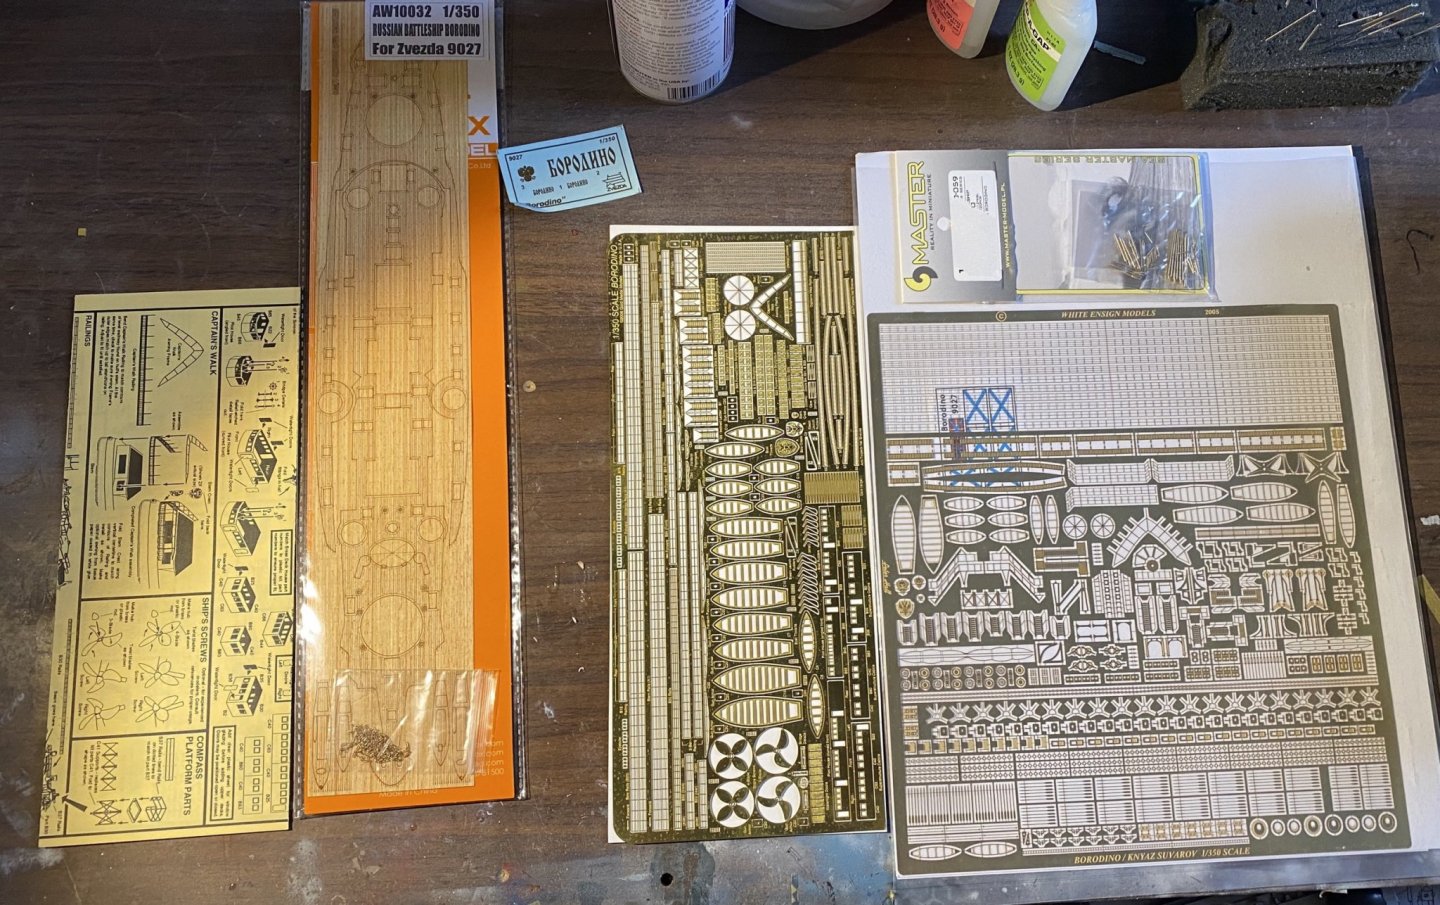
I’m at a roadblock with Zara so I thought I’d make a start in my next build, Borodino I’ve purchased both the Gold Medal Models and White Ensign models PE upgrades (they are both very nice and have critical omissions complemented by each other. A wooden deck and a barrels set. I then bought a cheaper Pontos set for Sevestapol because it has a full set of torpedo nets, booms, masts and some PE all of which I can use on this and future builds. I have ordered new resin turrets and other goodies from Russia. I’ve only found 1 other Borodino with a fully rigged torpedo net, so this will be a very busy build.


- 173 replies
-
- 18
-
-
Well, I think the mail from China is obviously sick, and I’m a bit stuck as I can’t progress as I have no idea what I need to do with the PE as there is no online instructions. might start Borodino
-
I always drill the portholes, I’ll have to clean them out again now because of the multiple layers. They’d just fill up.
-
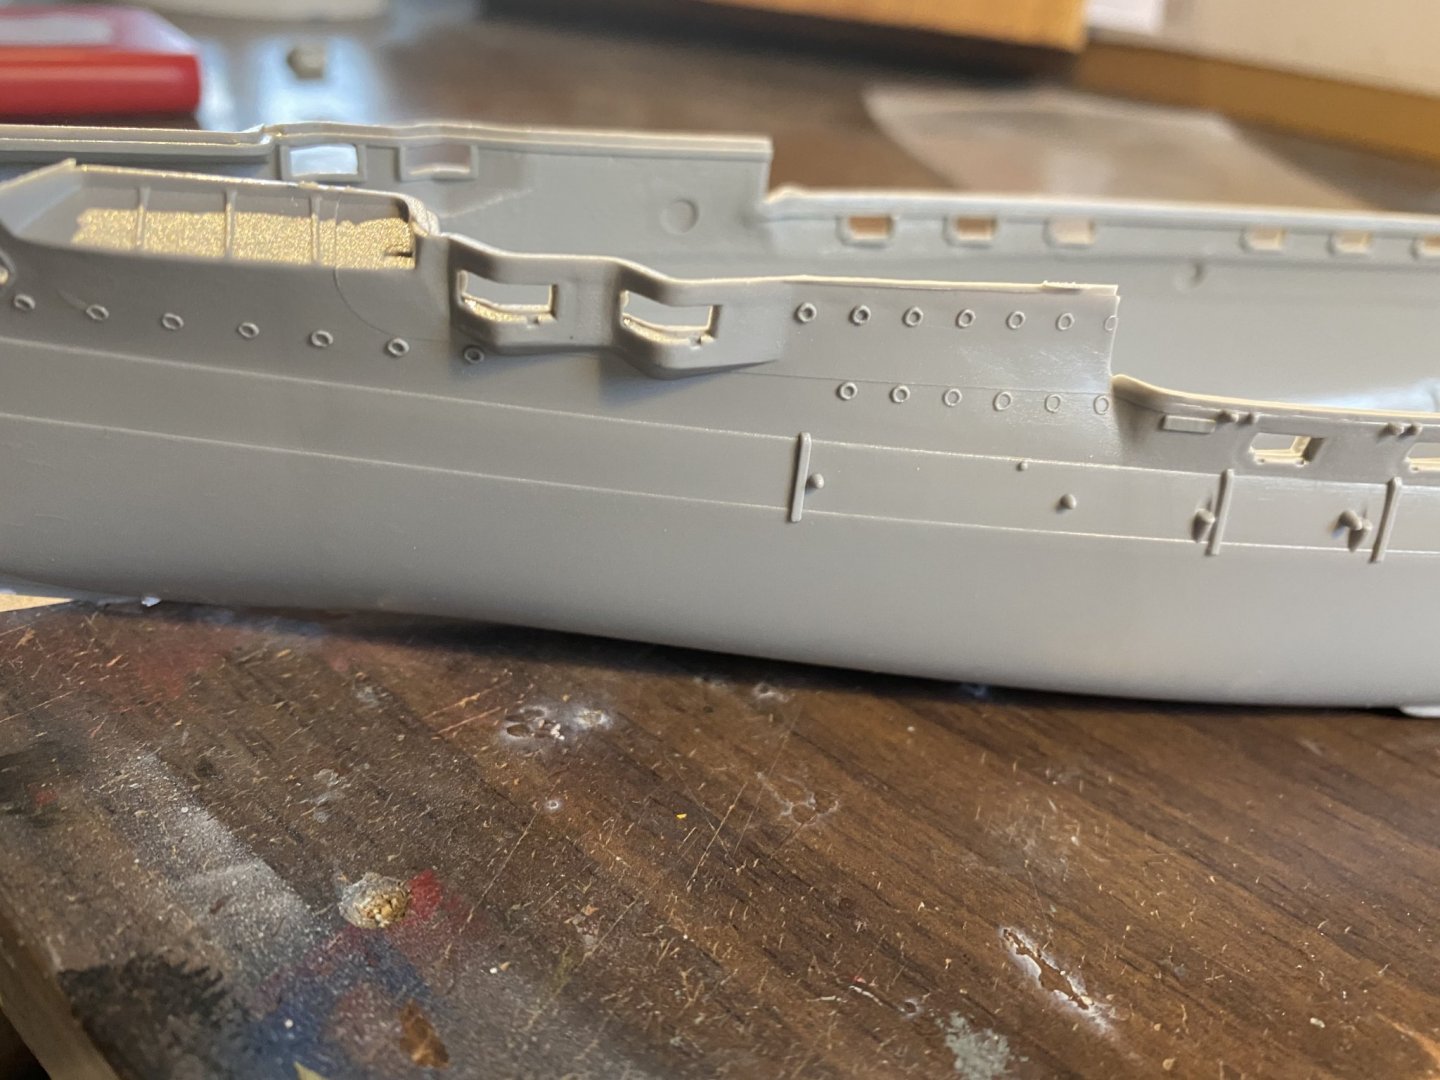
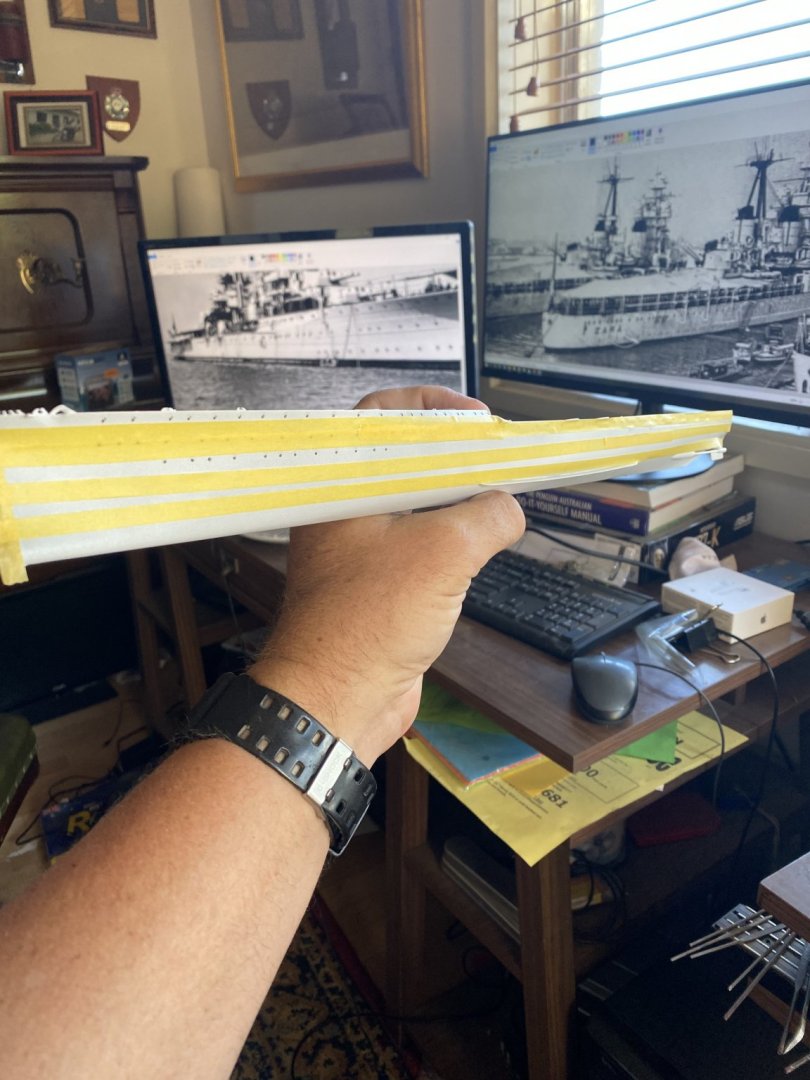
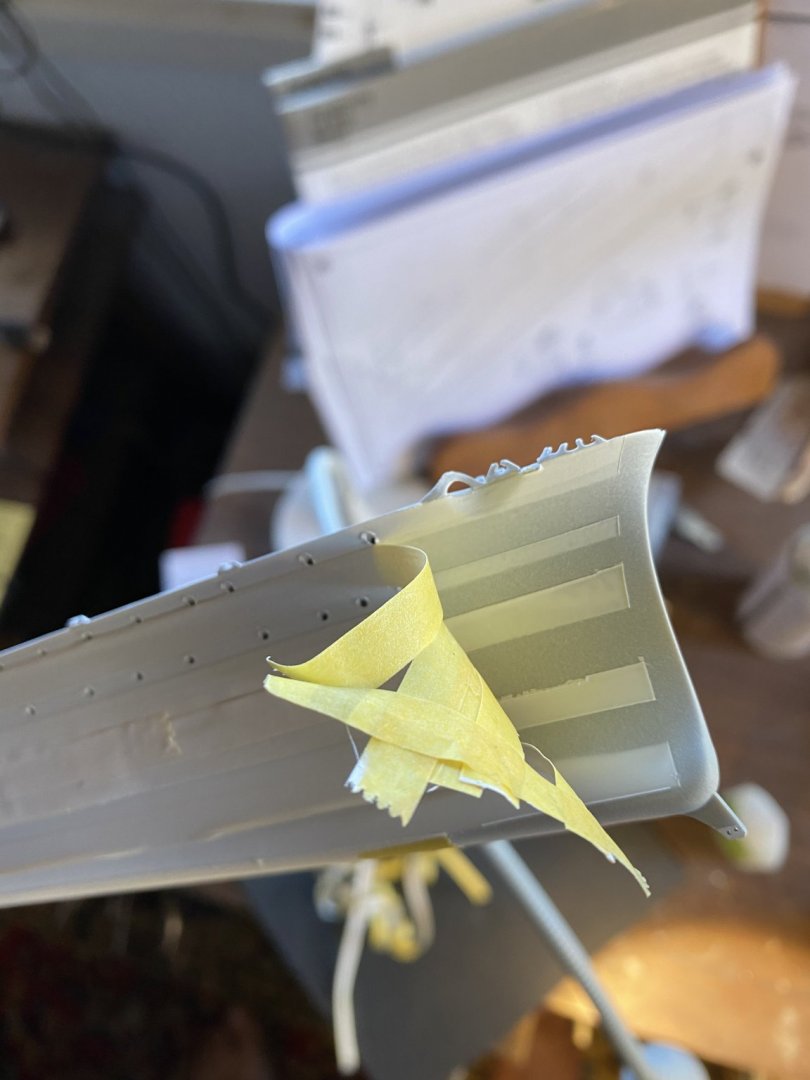
Masking the hull plates. I’m not going to weather this heavily so it will be quite subtle

- 232 replies
-
- 14
-
-
Absolutely Daddy Rabbit, people go Primal pretty quickly and mobs are dangerous creatures. There is also a massive problem here of people buying up all the baby formula they can and re selling it back to China. unfortunately it’s not going to stop any time soon
-
The sooner everyone gets the flu and gets over it the better. At least toilet paper will be available in Australia again.

-
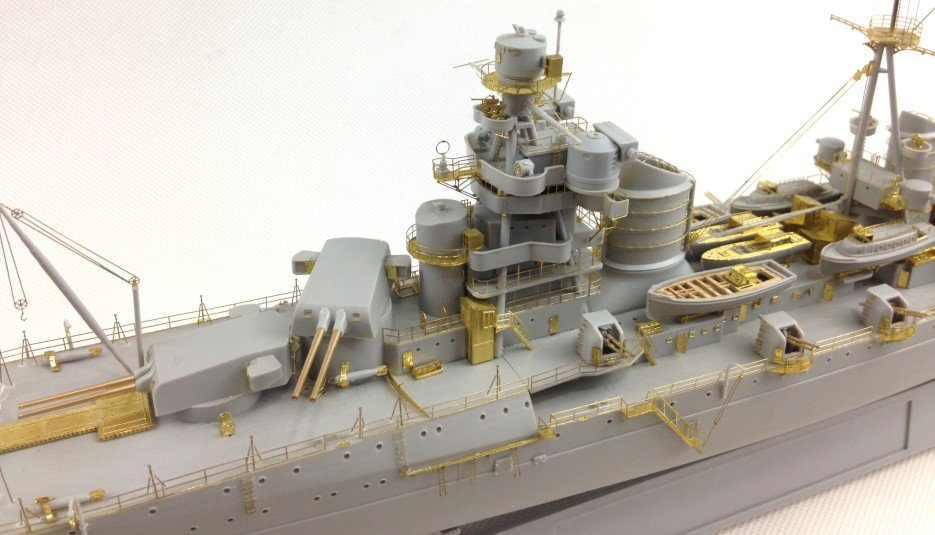
It’s just amazing how classy the interior details are. Amazingly impractical but stylish.
-
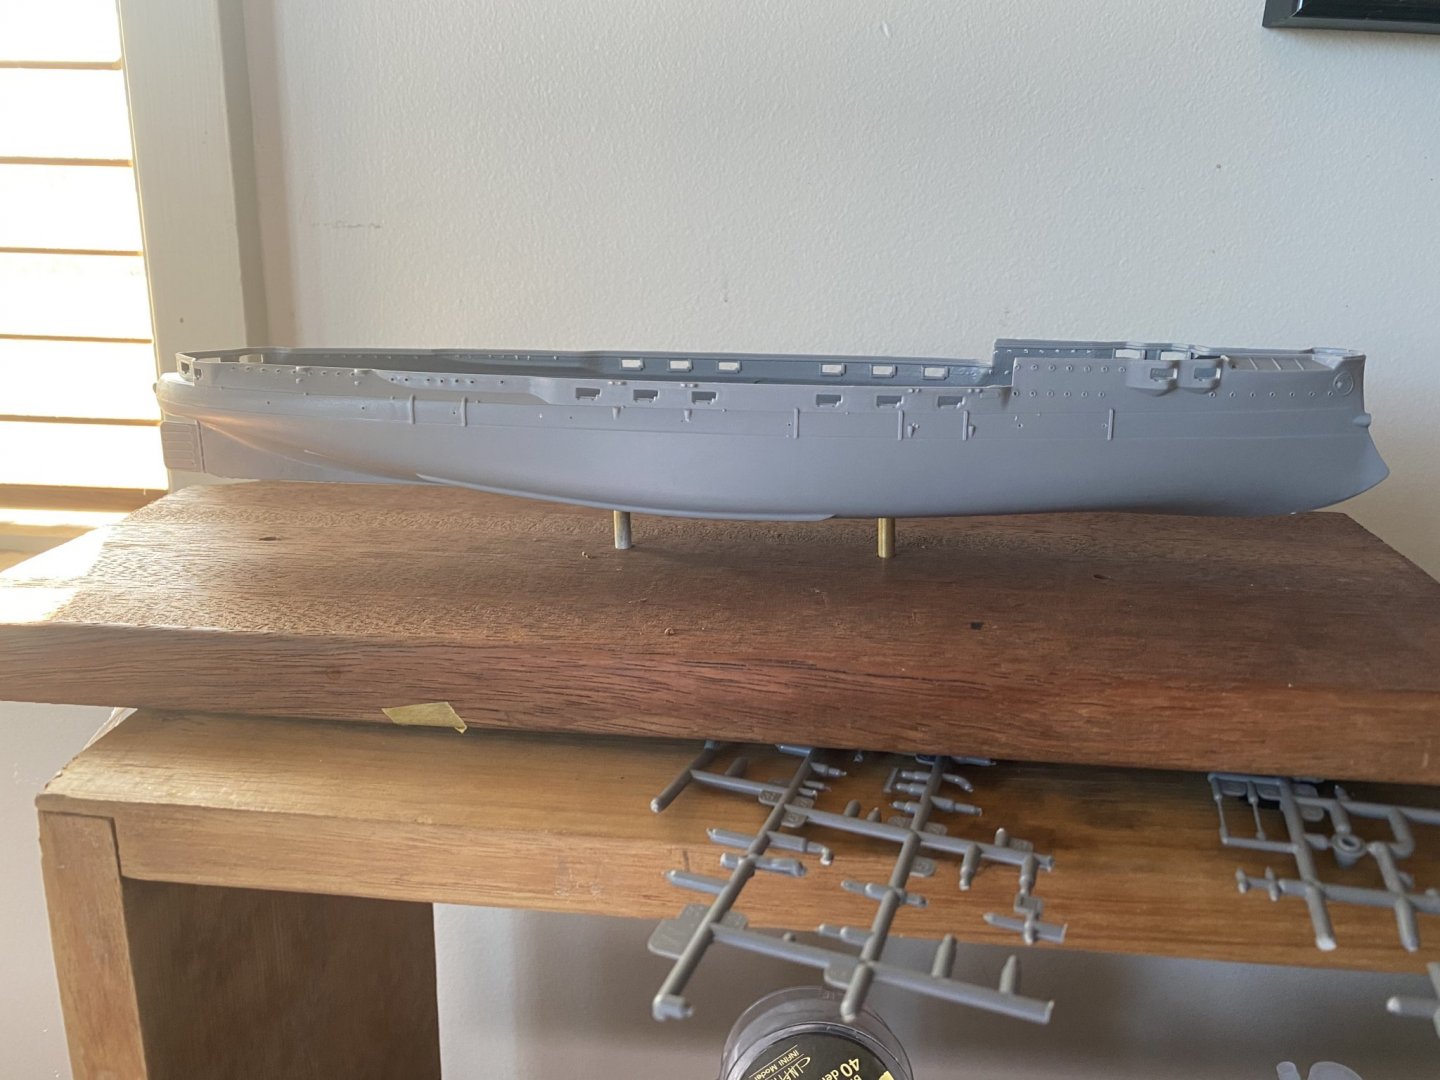
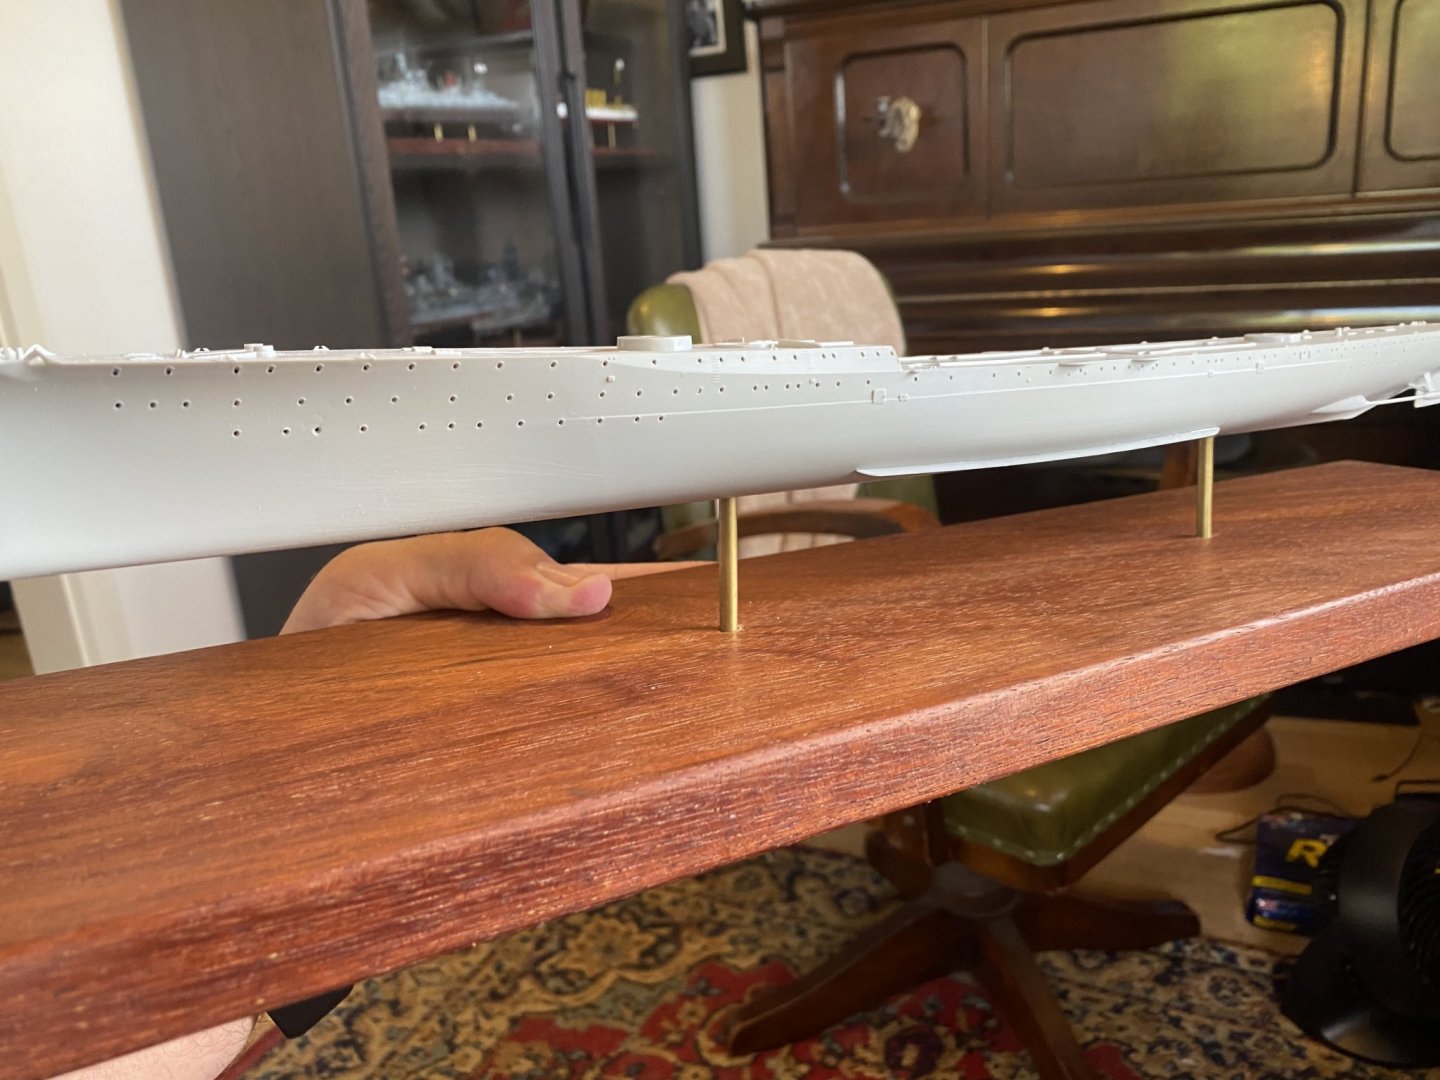
Hull together, bilge keels and shafts added. I can now do up the hull plates after an overspray of primer
- 232 replies
-
- 11
-
-
So what I’m awaiting from China (apparently it’s on the way but everything is so slow due to the flu), Shipyard works upgrade with a wooden deck as well apparently
- 232 replies
-
- 12
-
-
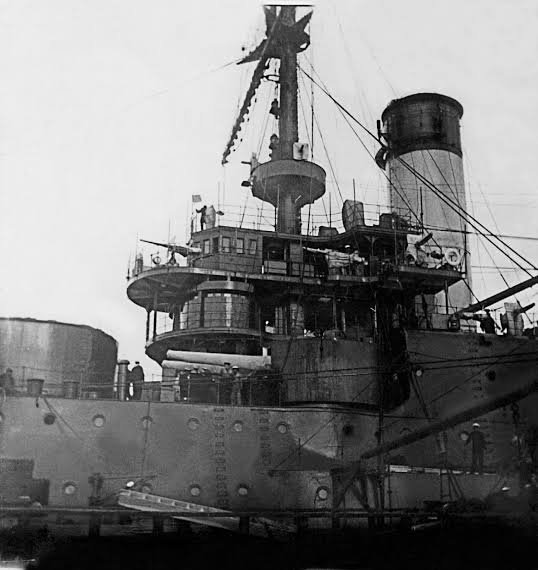
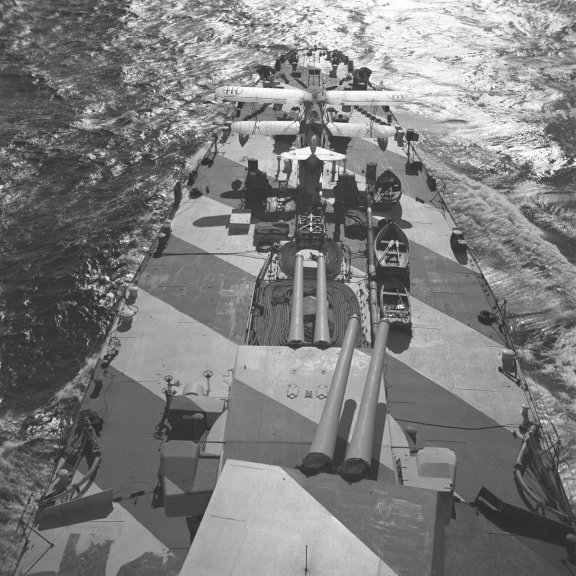
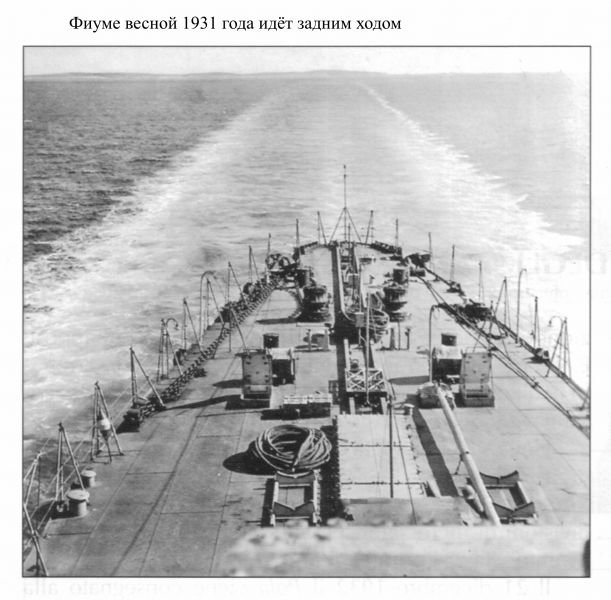
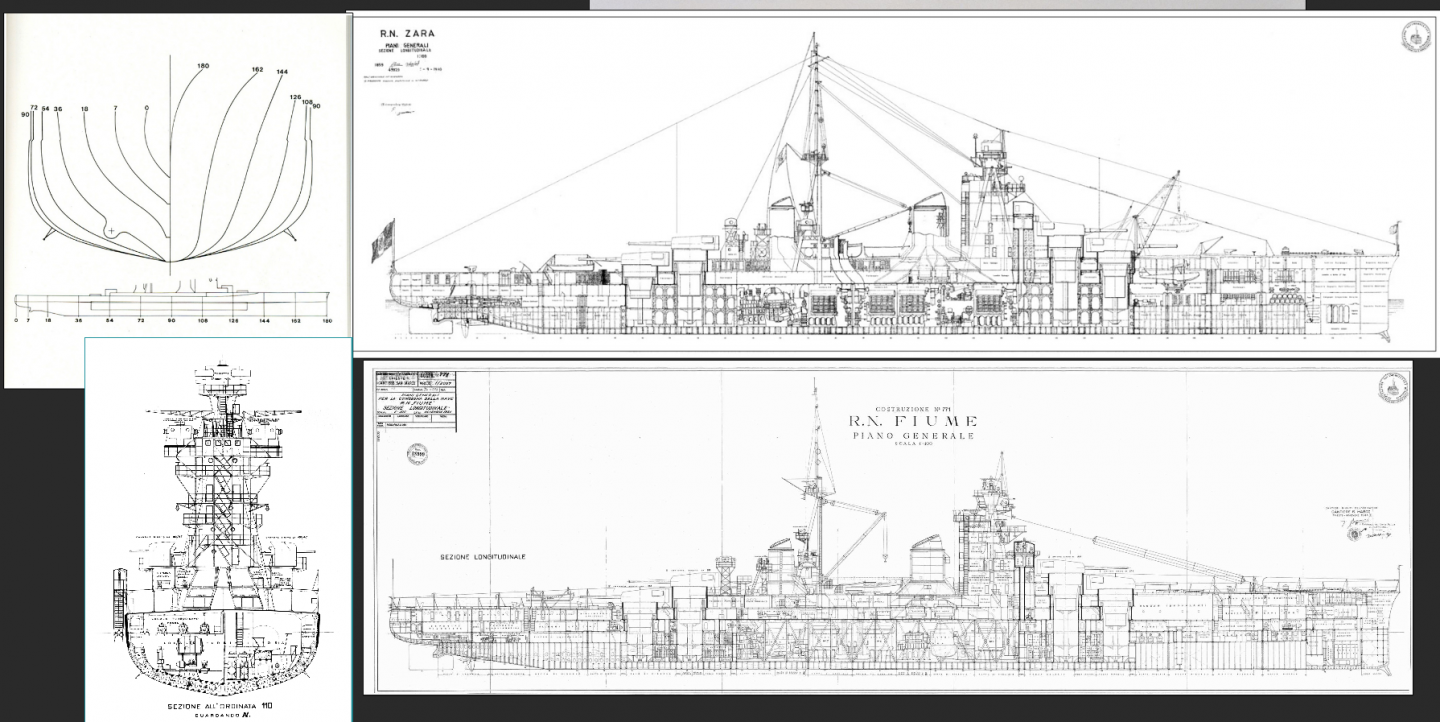
She didn’t last long enough to get a dazzle pattern. She would have been better served with flash less gun power (the Italian Navy didn’t order and) for night battles and radar
-
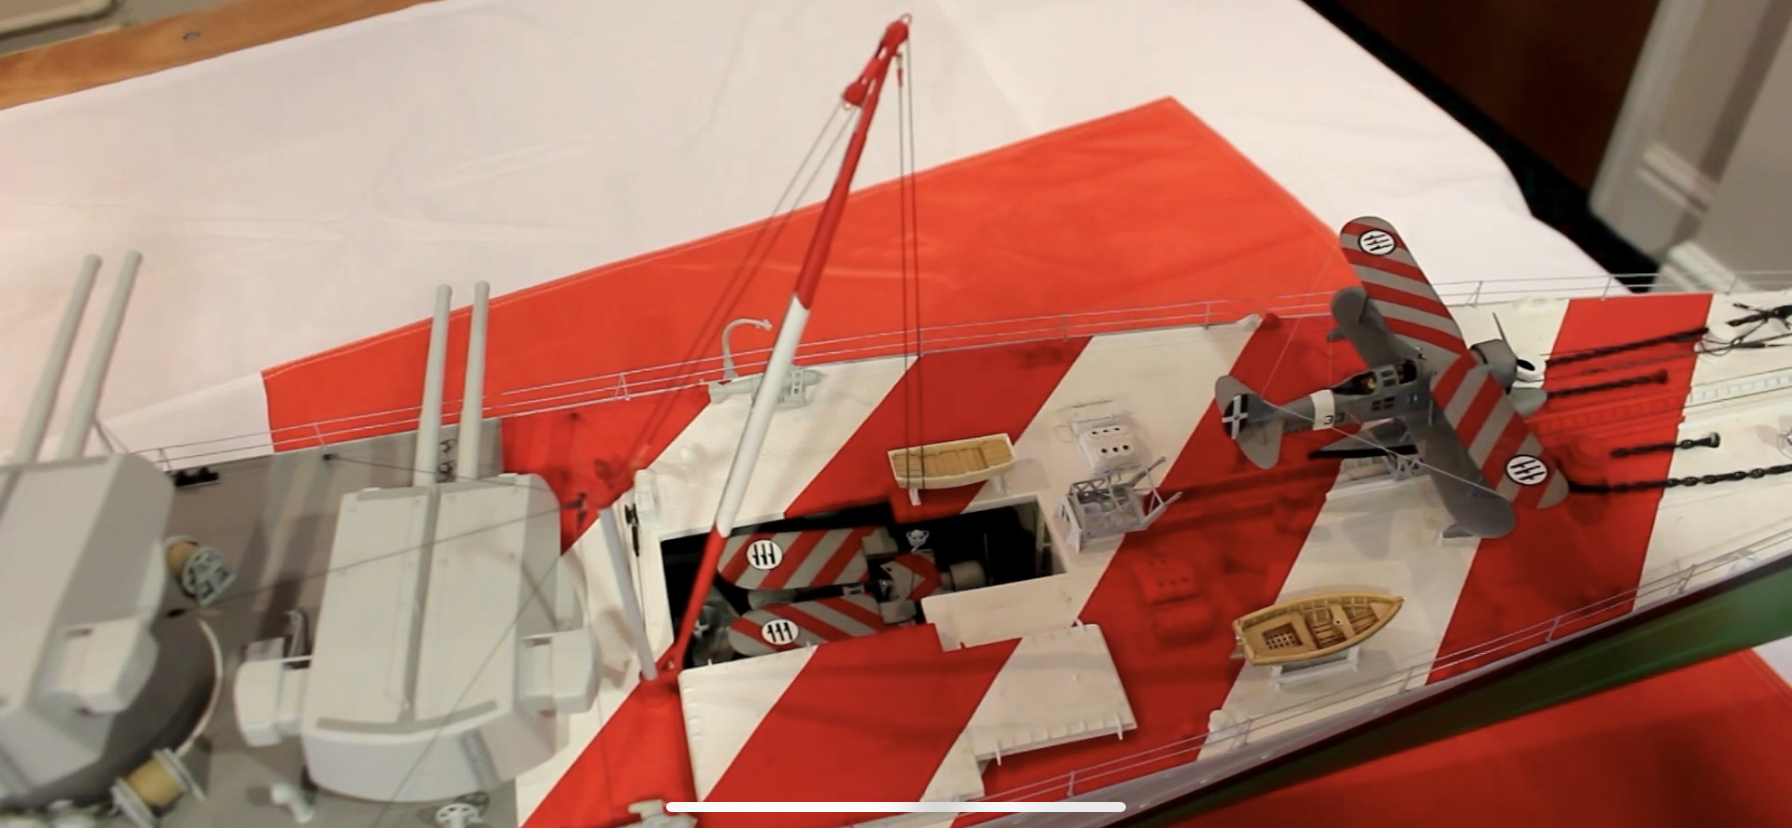
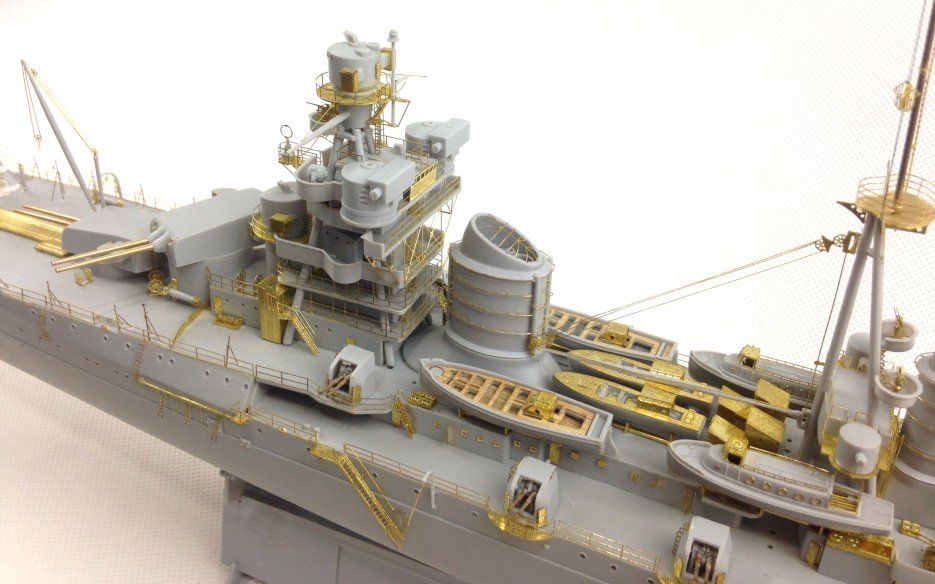
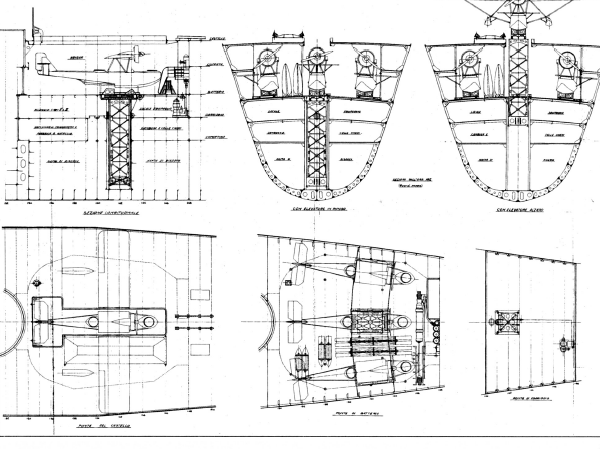
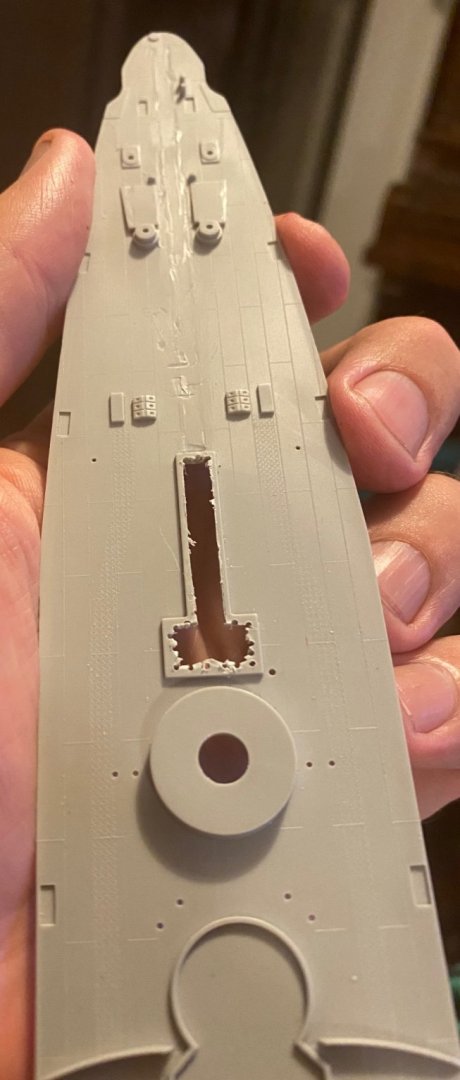
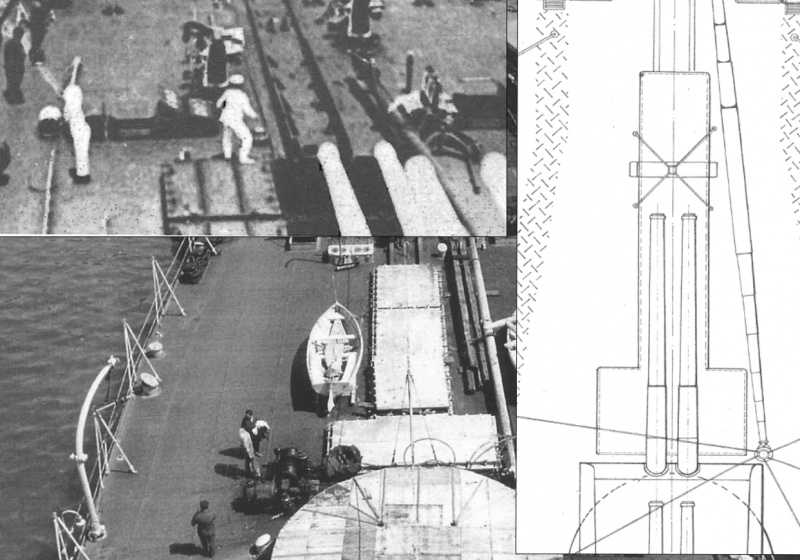
So there are two large panels that cover the hangar that slide (or are lifted) to the side and the crane lifts the aircraft out or in. This diagram shows an older version of aircraft with wings that were removed, ands with a hoist, but it appears the Trumpeter Zara kept this width were the WW2 version obviously widened the hatches. . This is a screen capture from a gentleman who made a 1/100 radio controlled model of Zara. Notice how he has a wider and longer deck hatch as well.

- 232 replies
-
- 15
-
-
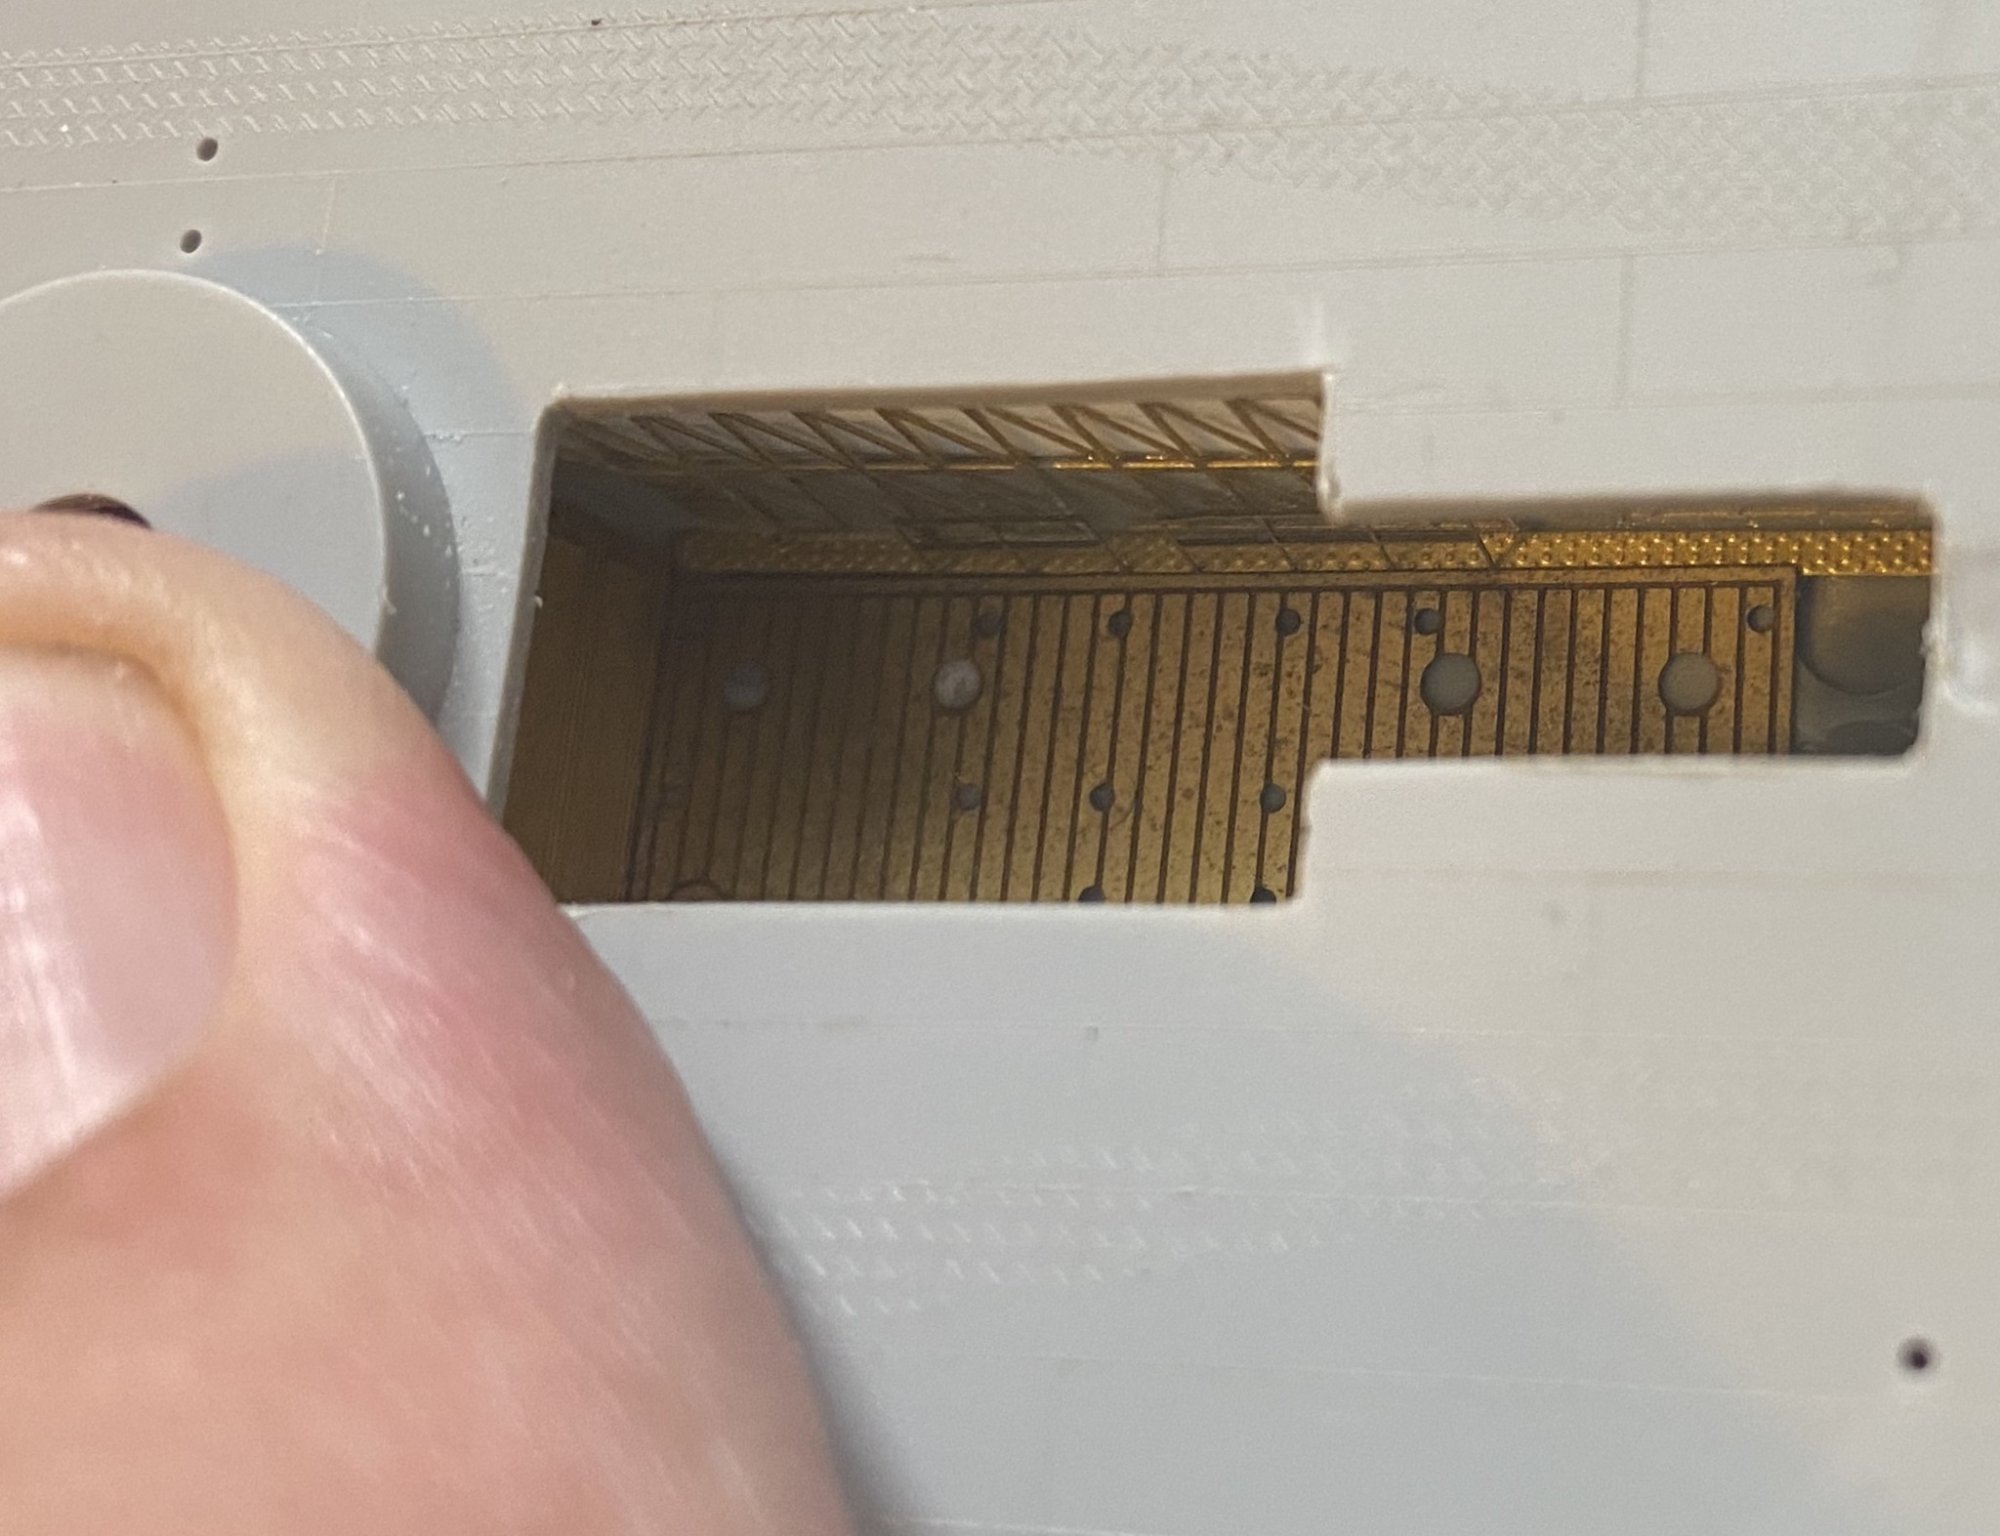
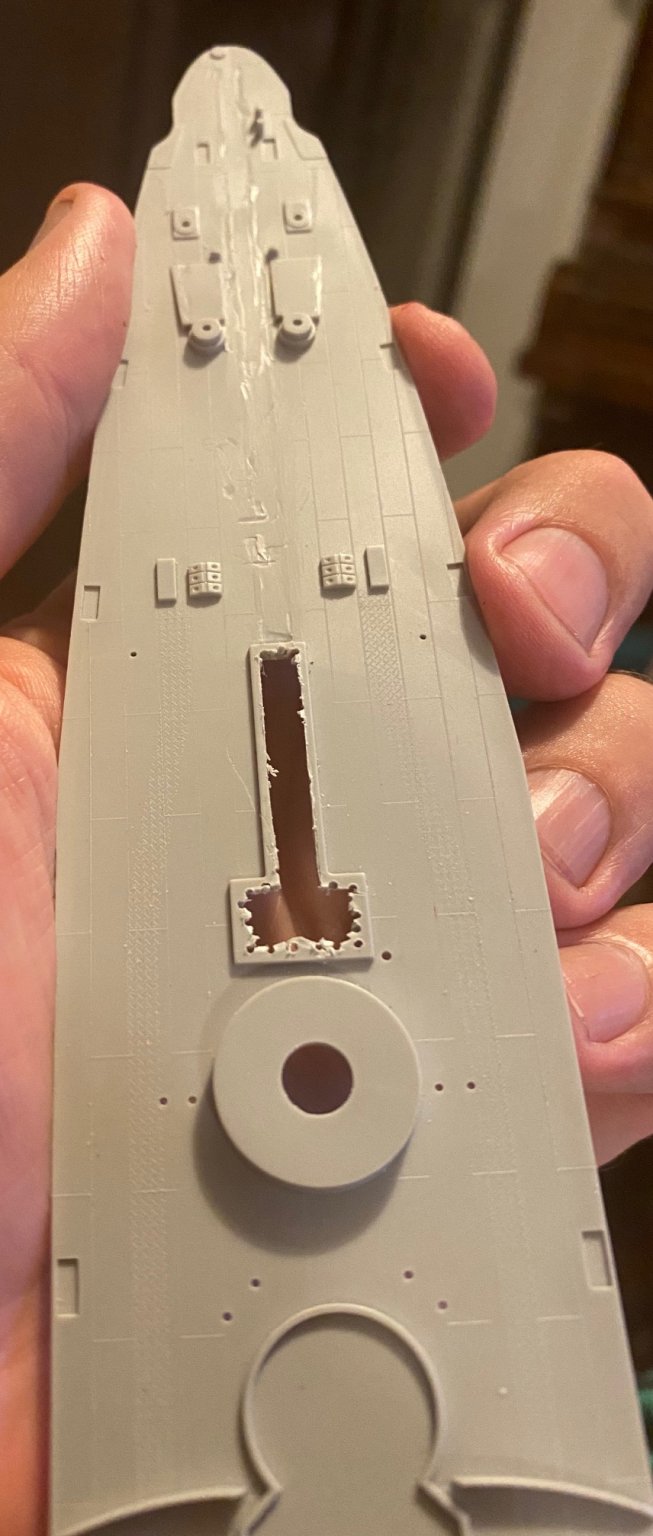
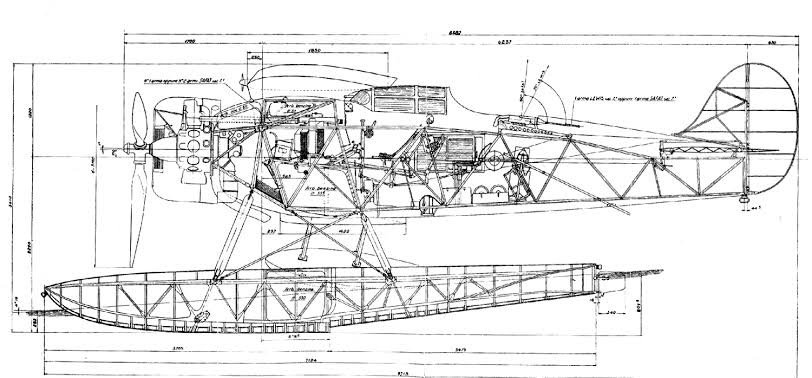
Next is the hangar itself. This took me forever to find diagrams of it, The rails and hanger deck of the actual kit are not to scale by the looks of it and needed widening. So eventually it should look like this

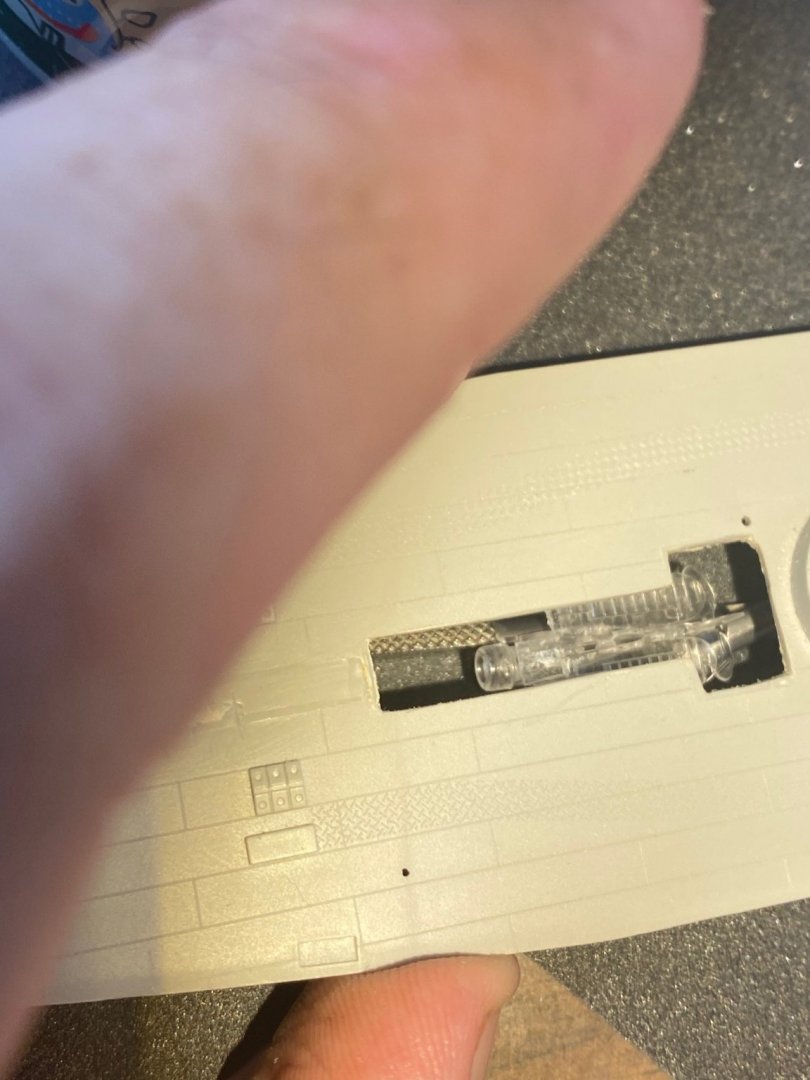
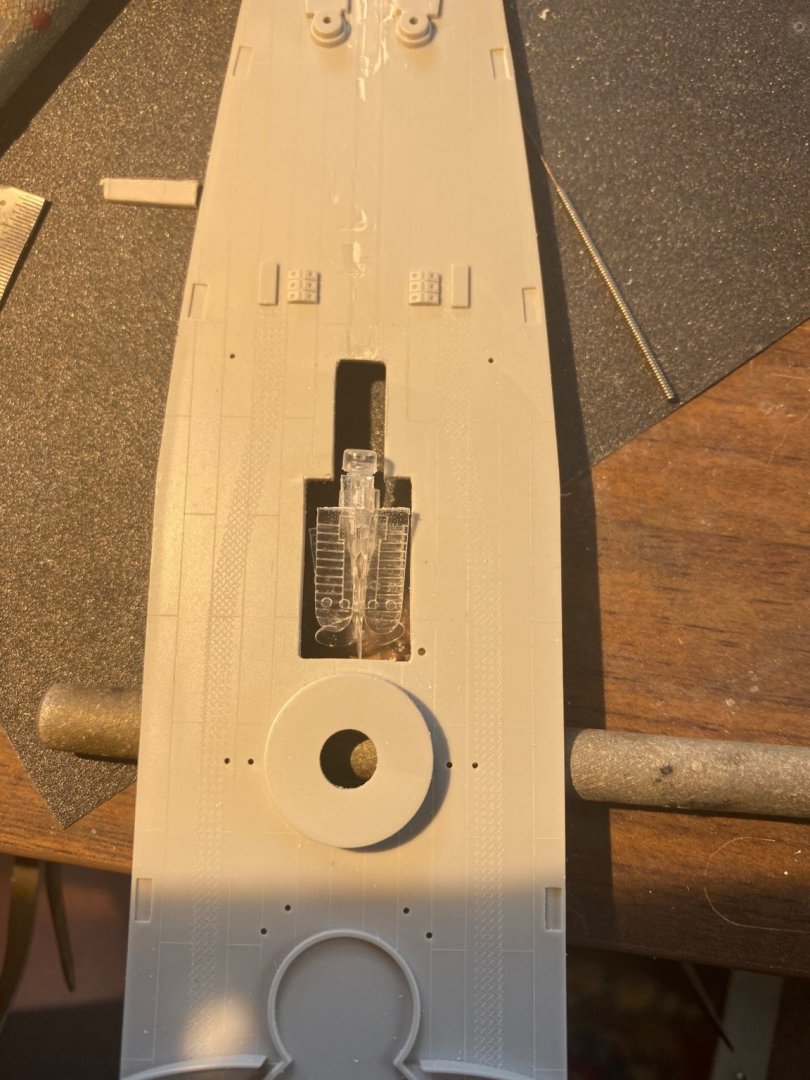
- 232 replies
-
- 11
-
-
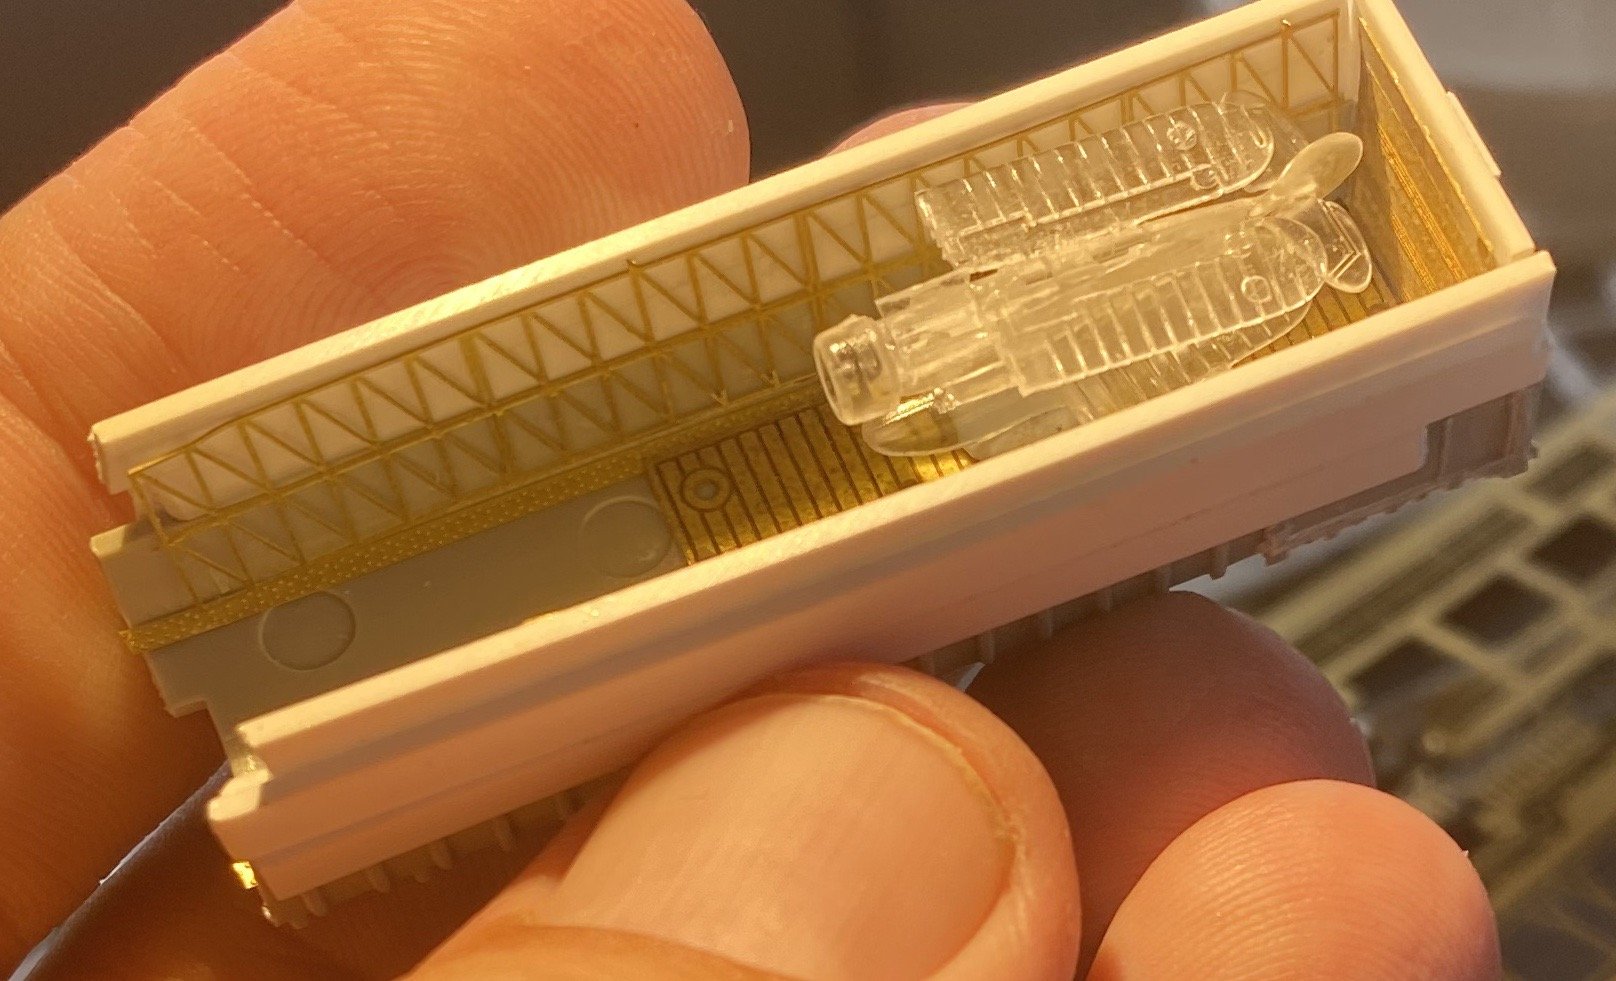
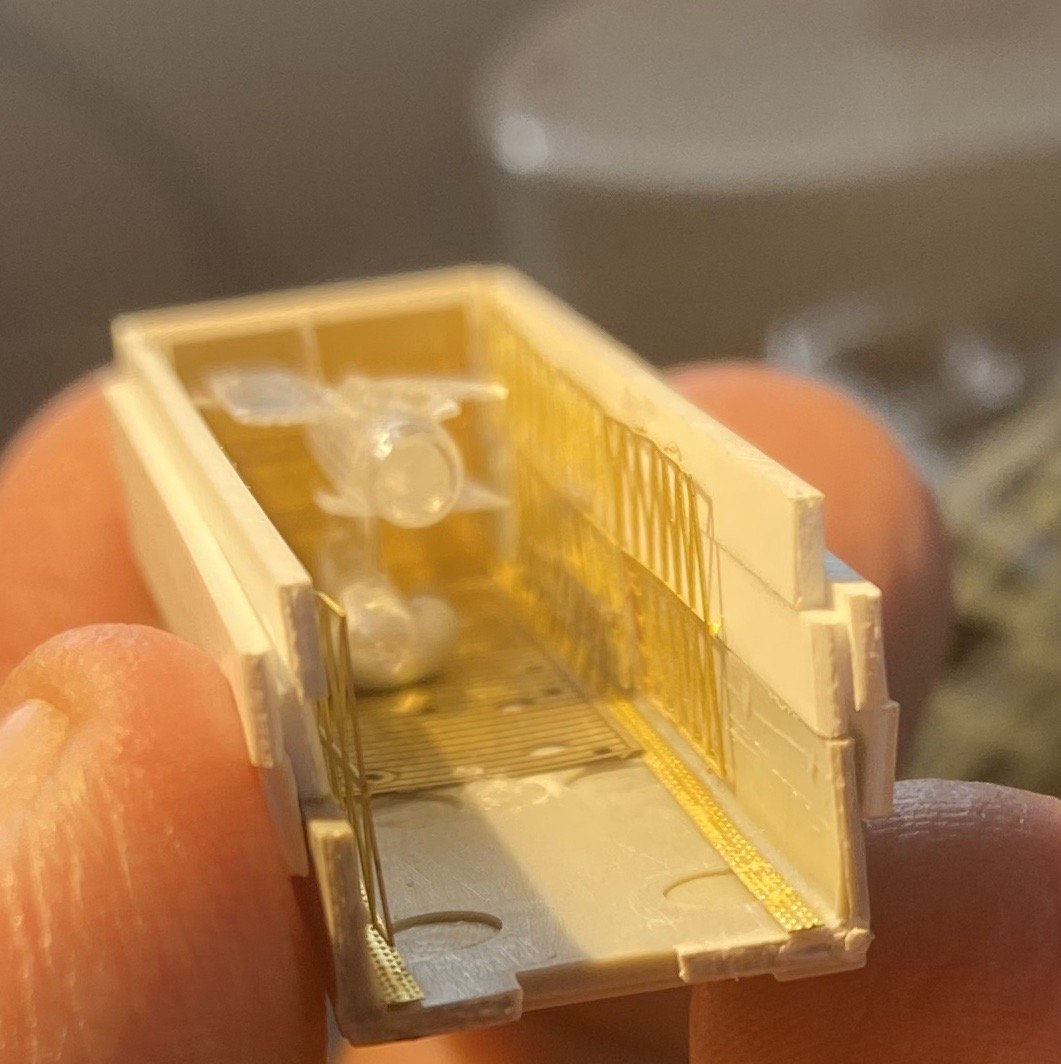
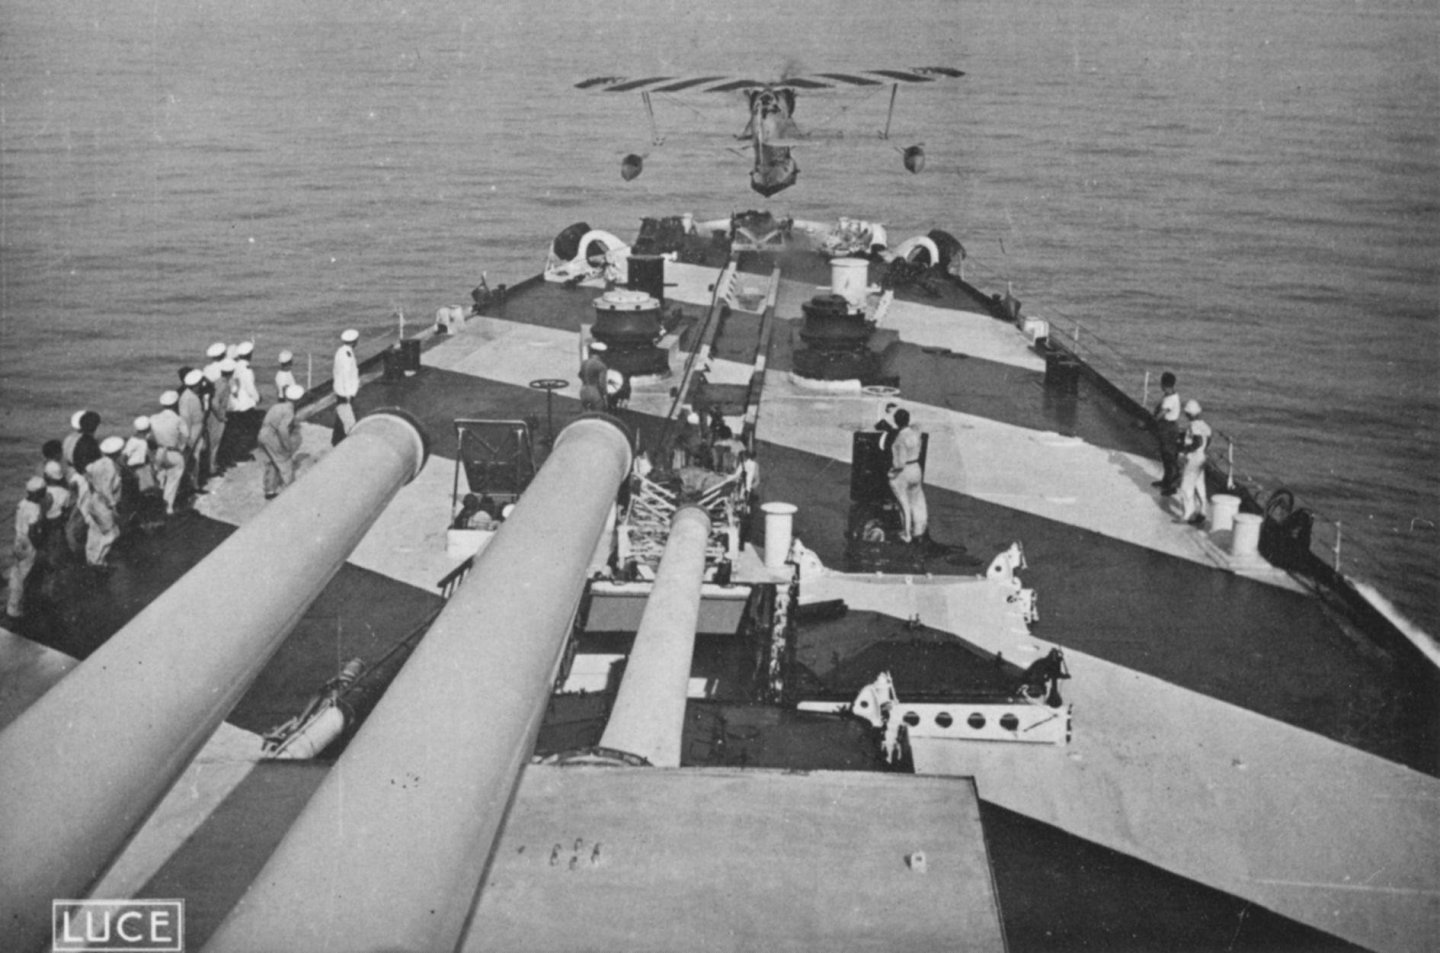
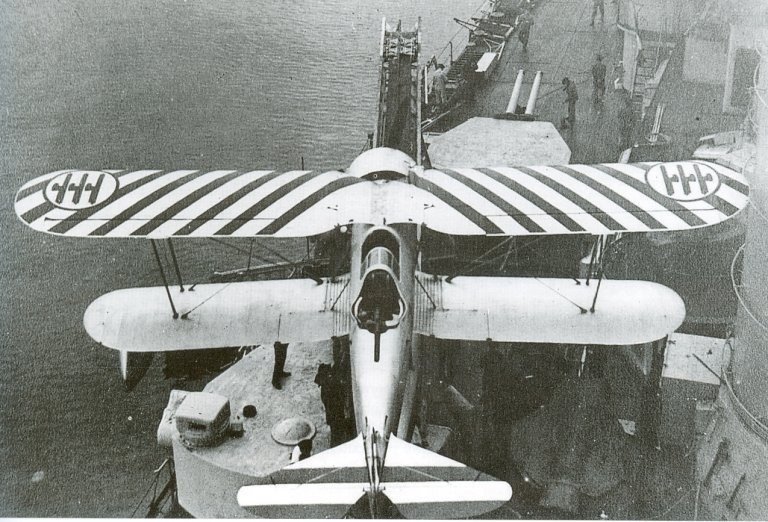
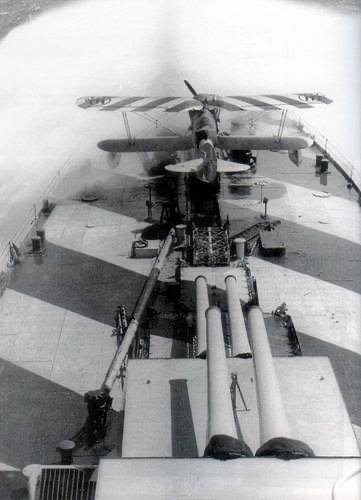
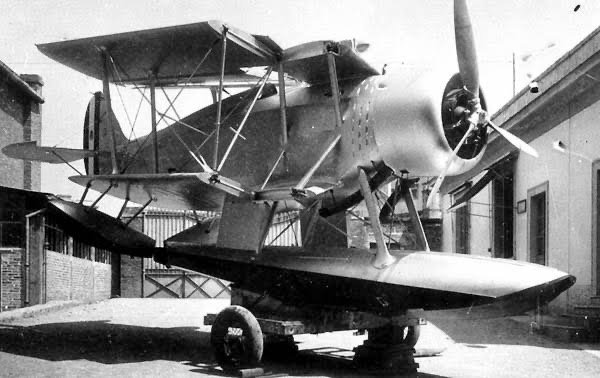
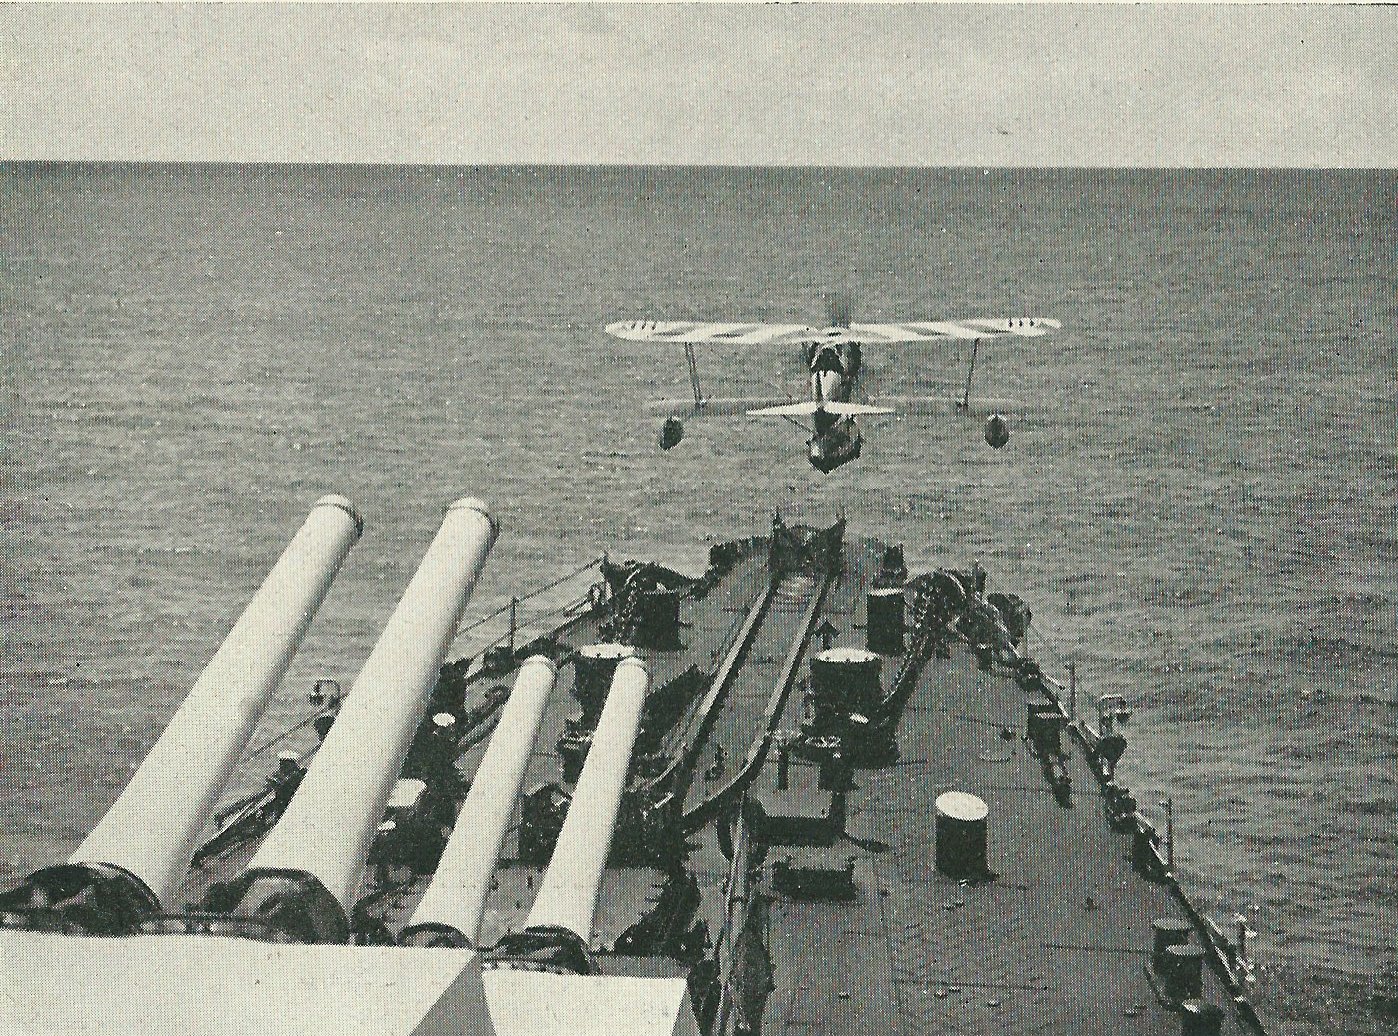
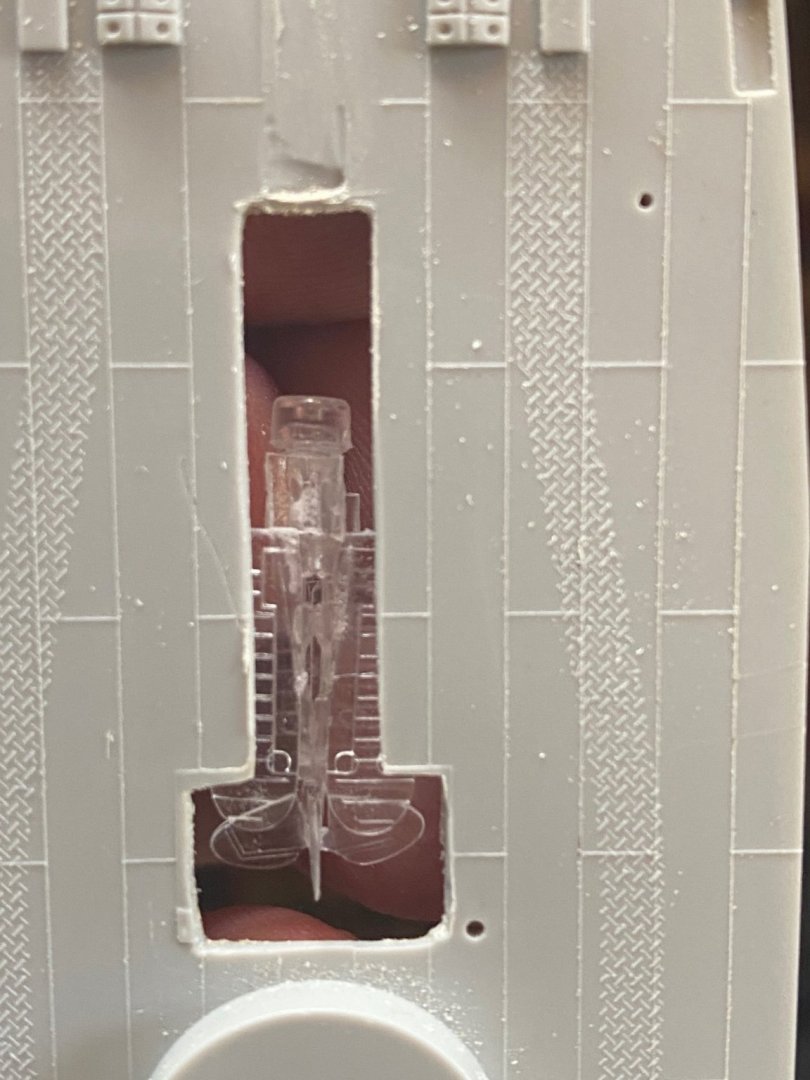
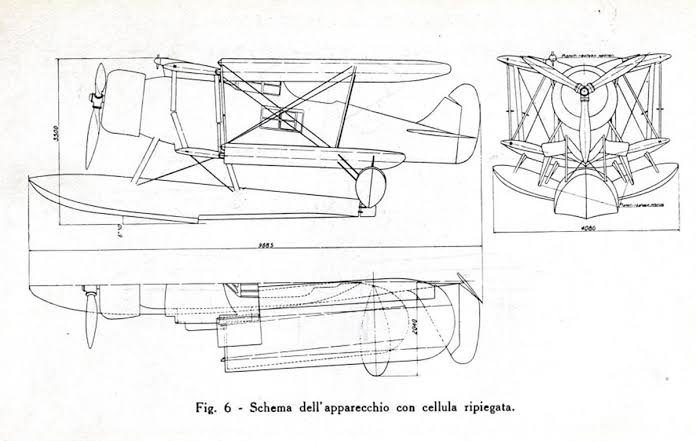
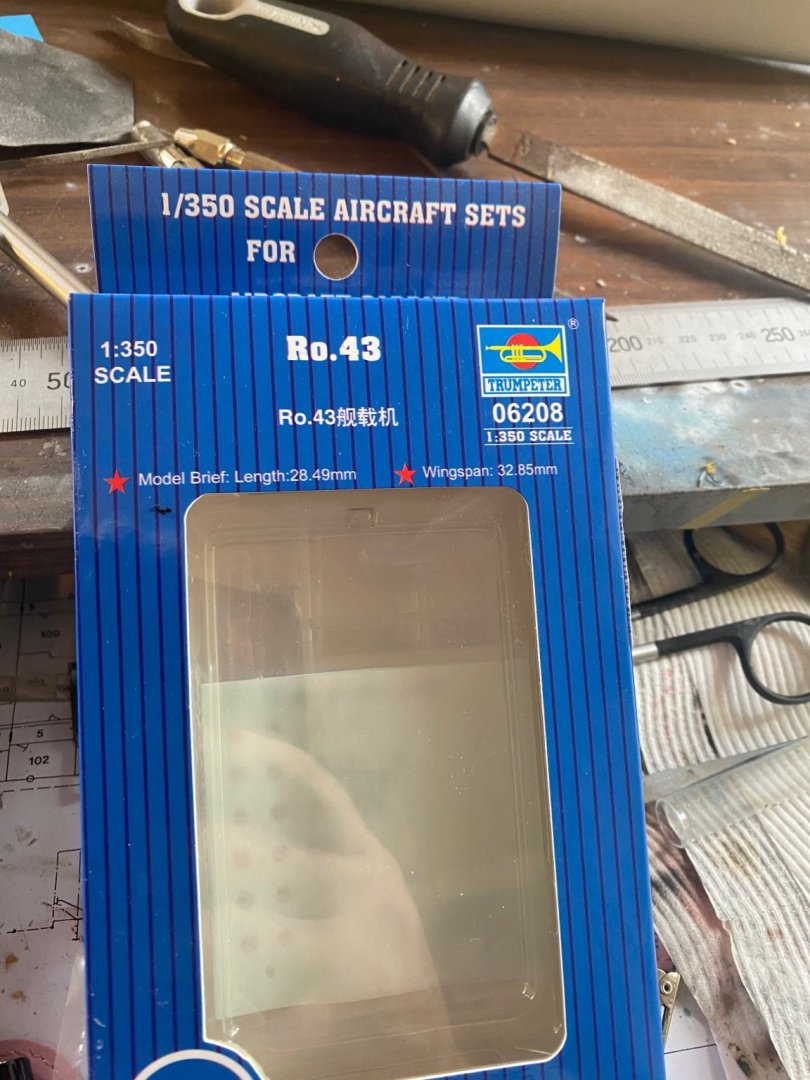
This class of ship carried two observation aircraft in front of the fore turret. The kit provided a single aircraft and I want to have two so I bought a six pack of them, an Imam Ro.43. I've sacrificed one for scale practice so I can see how it fits in the hangar.
- 232 replies
-
- 13
-