BenD
-
Posts
477 -
Joined
-
Last visited
Content Type
Profiles
Forums
Gallery
Events
Everything posted by BenD
-
 Well it looks like the Rattlesnake is going on my wish-list. Amazing work so far!
- 481 replies
-
- 1
-

-
- rattlesnake
- model shipways
- (and 1 more)
-
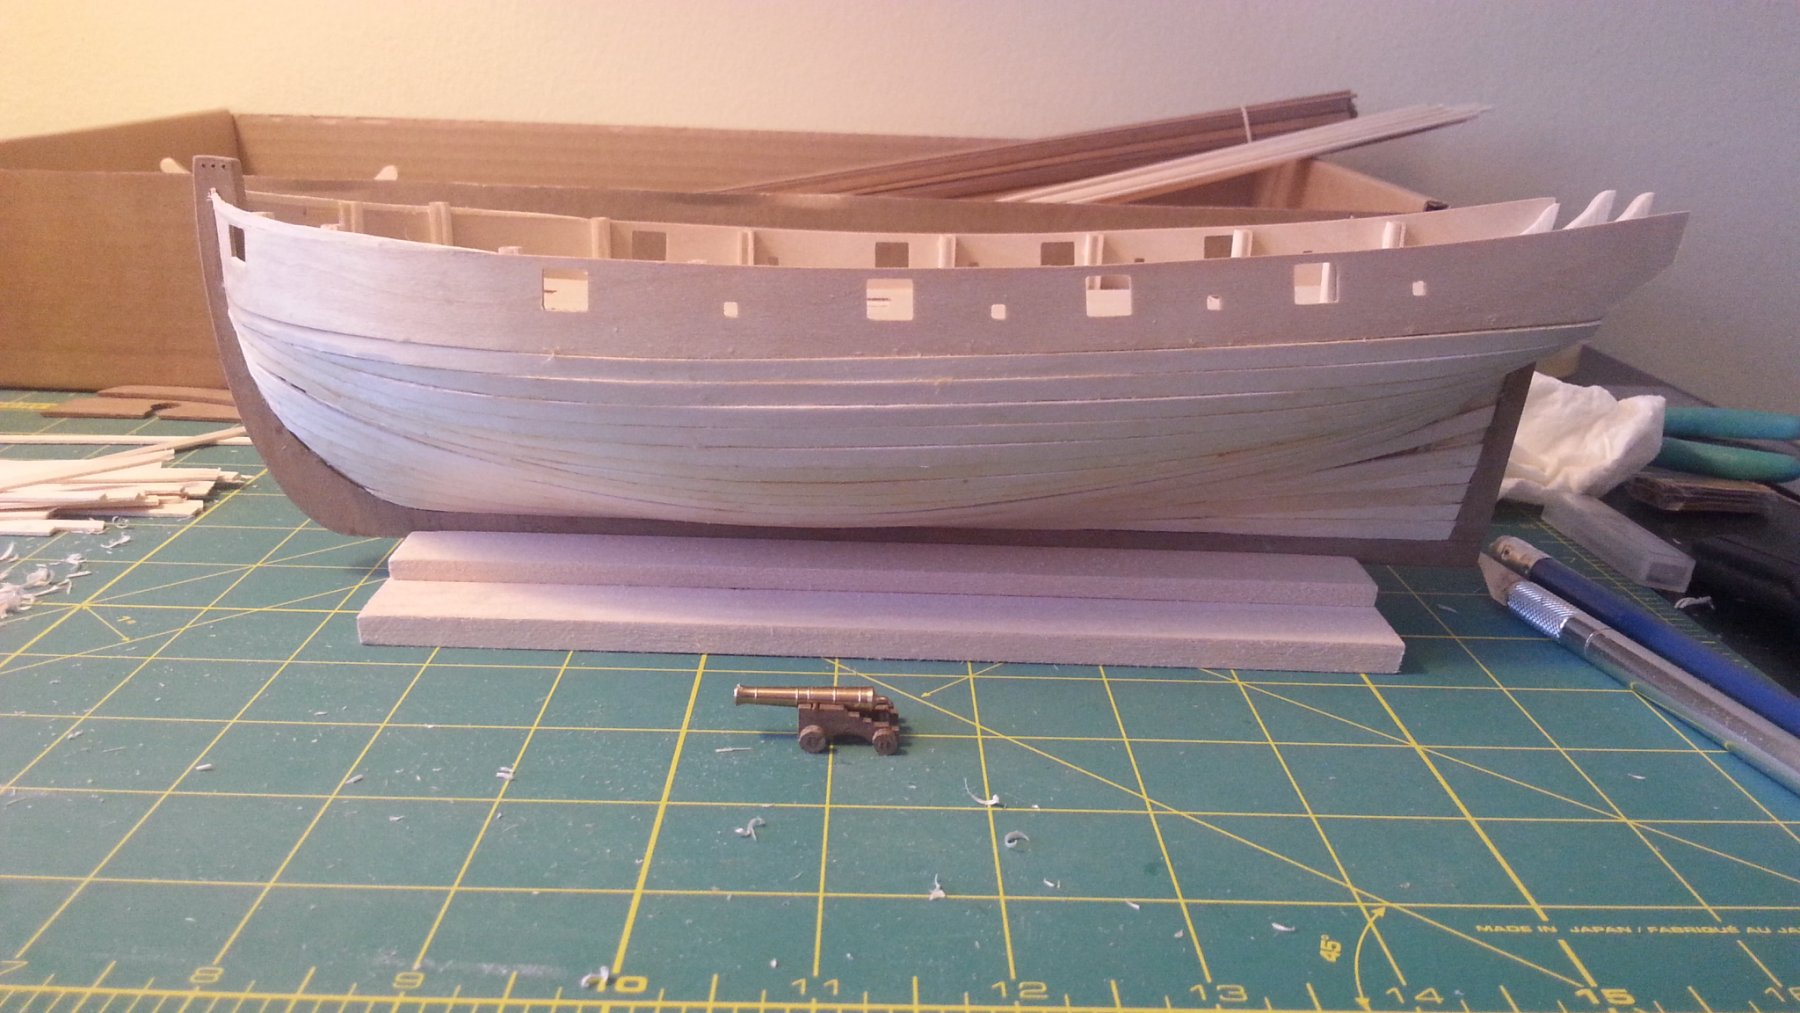
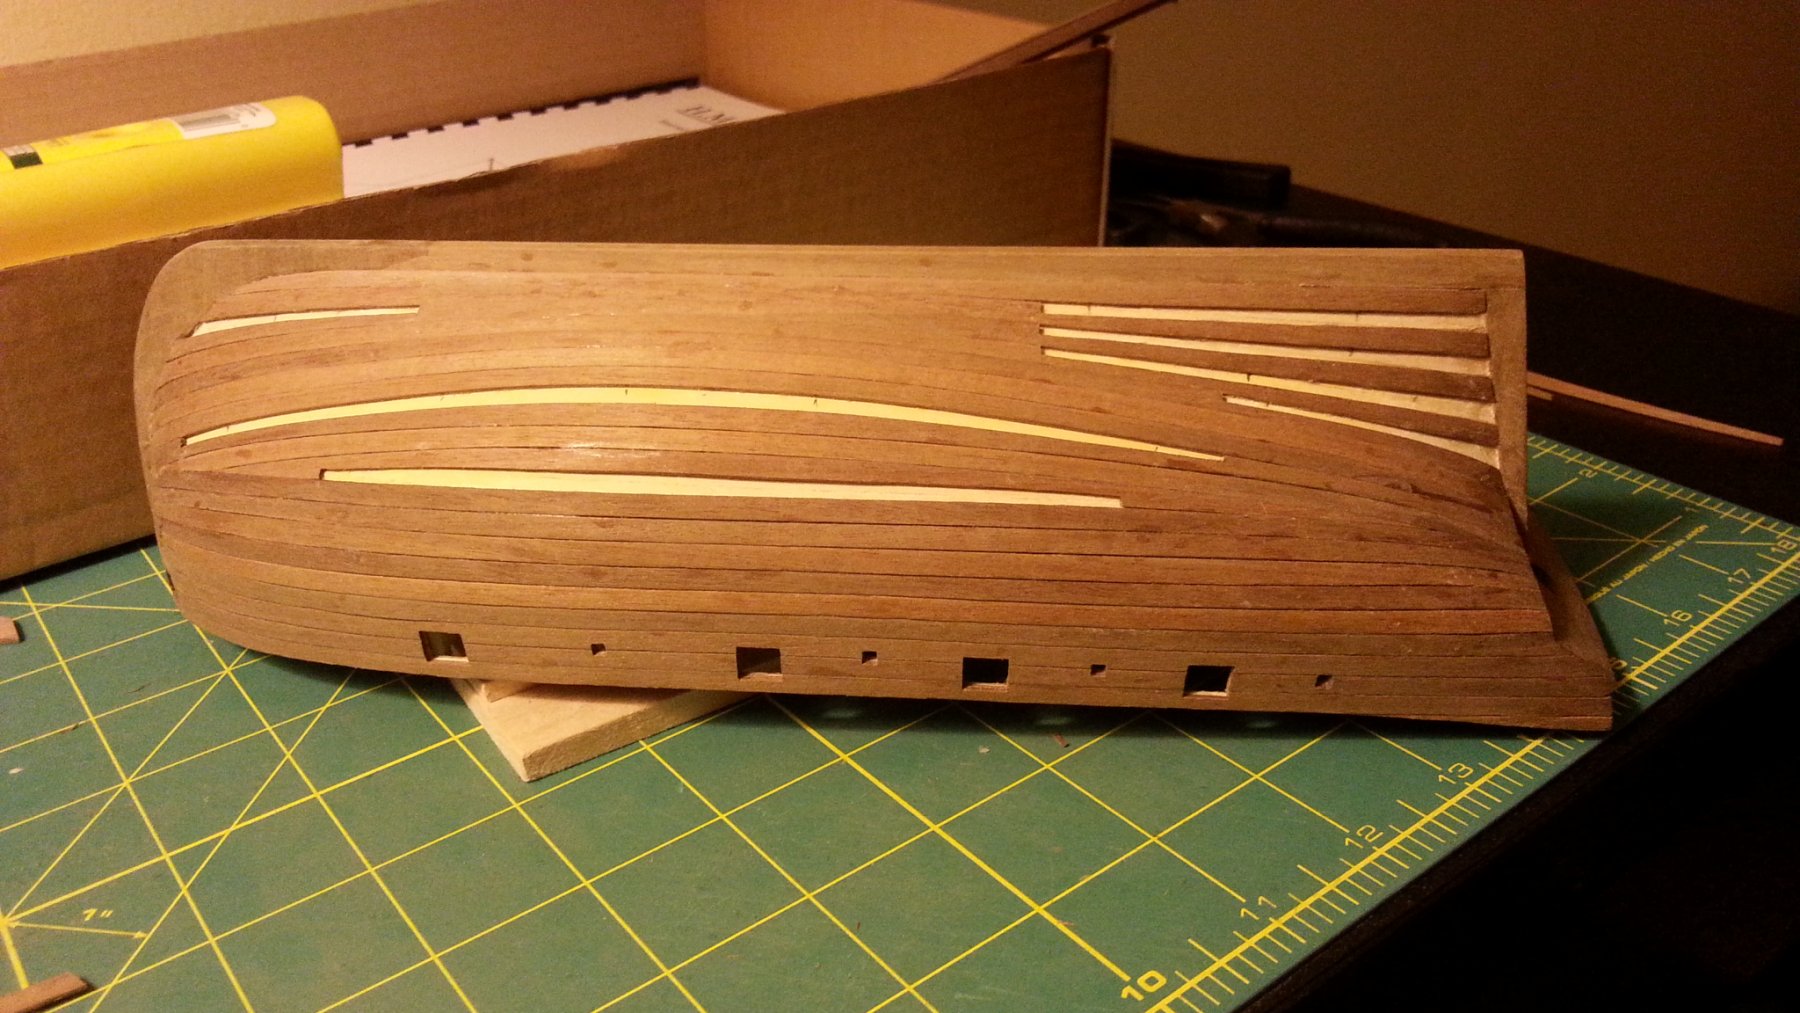
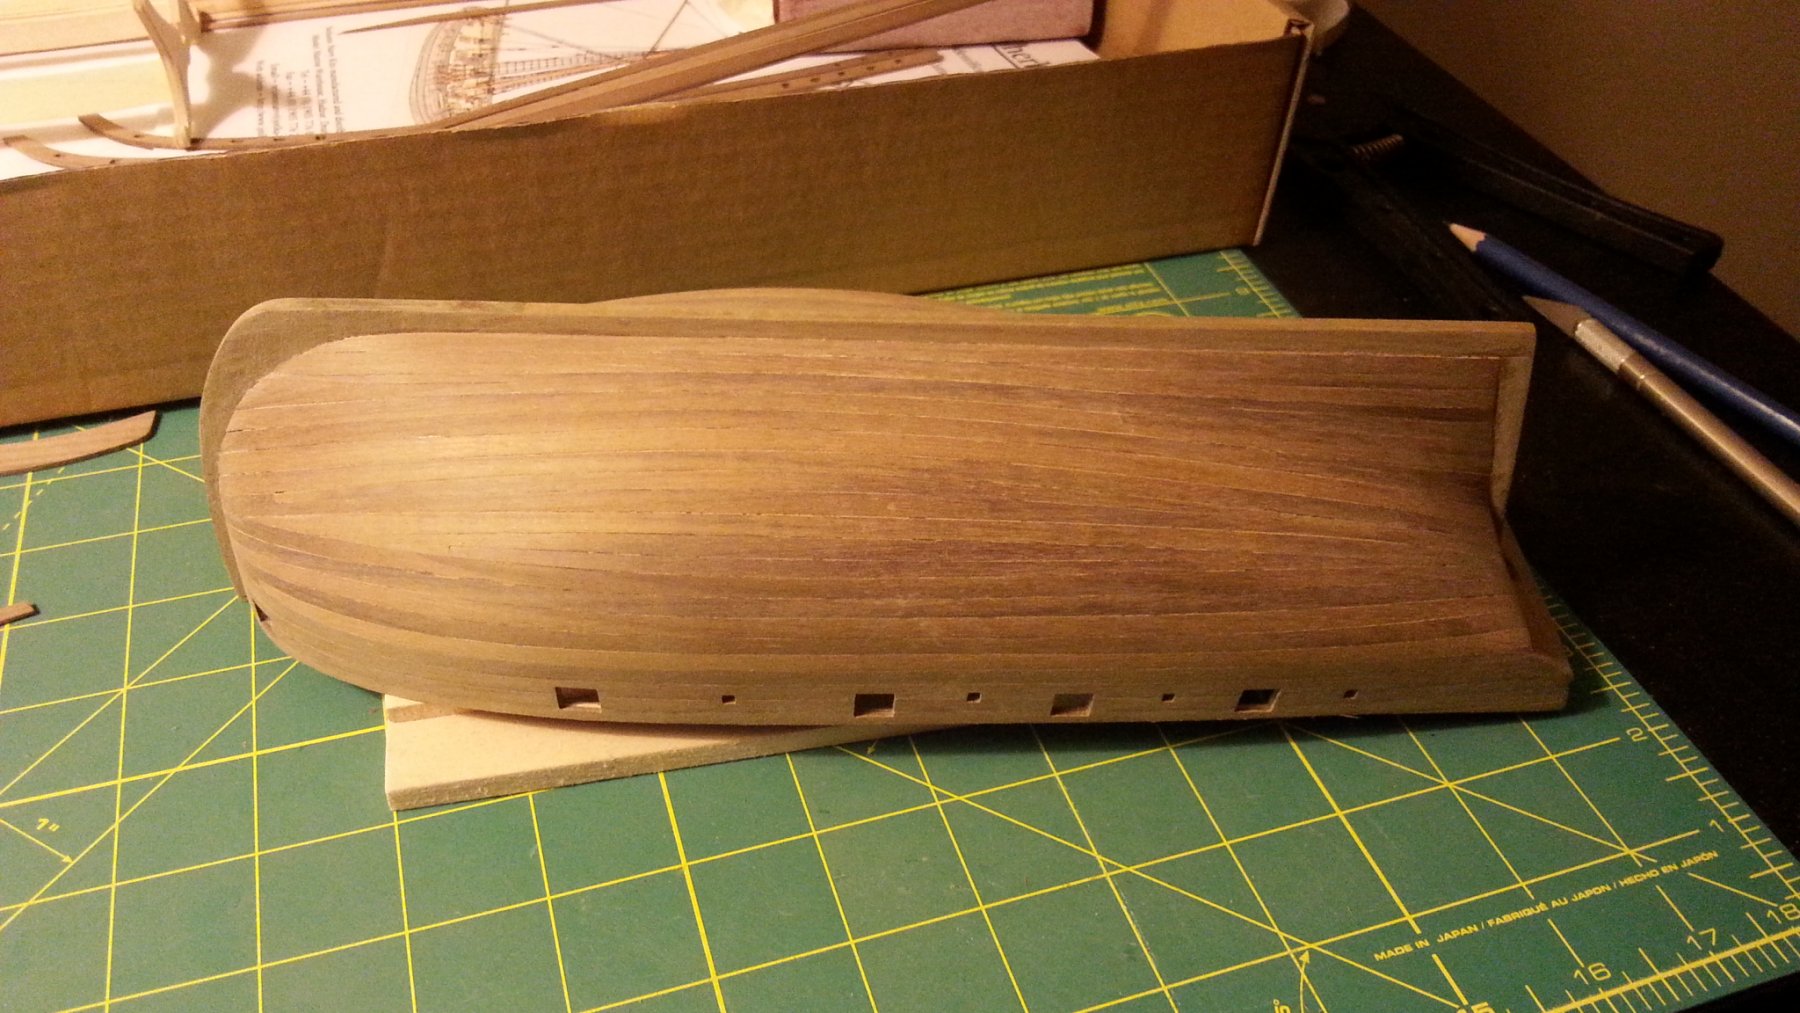
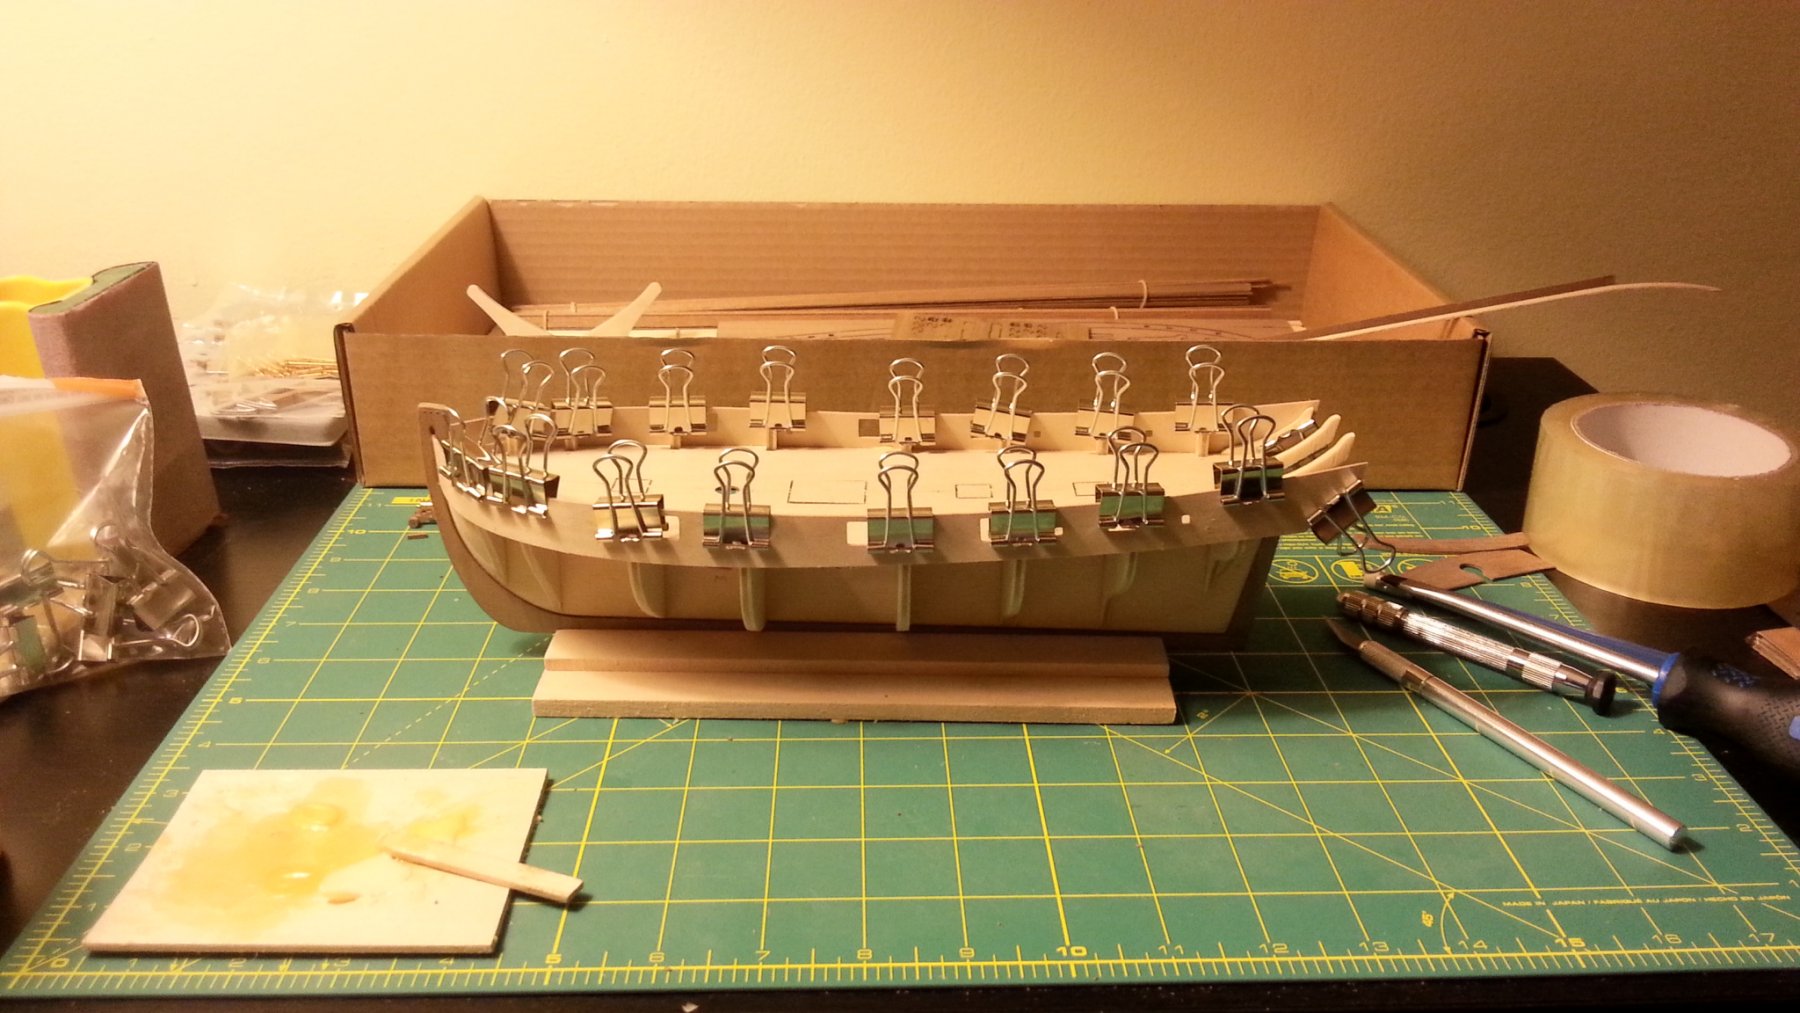
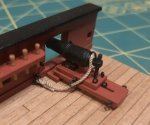
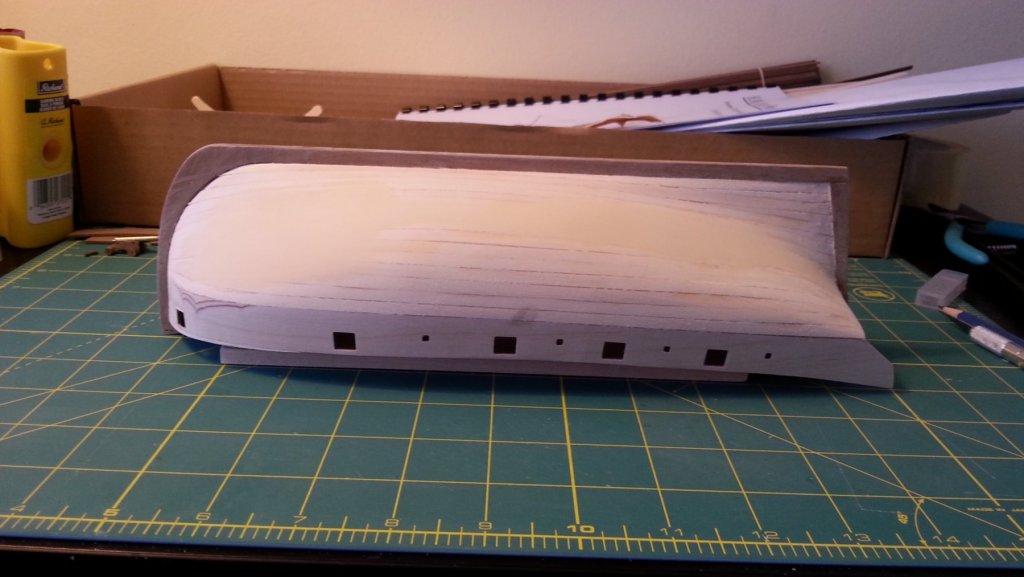
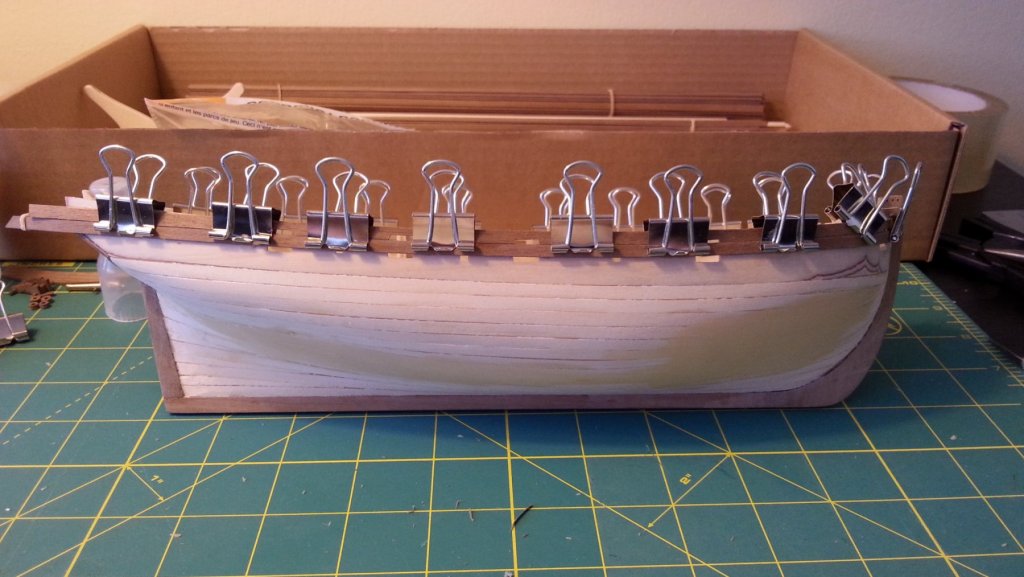
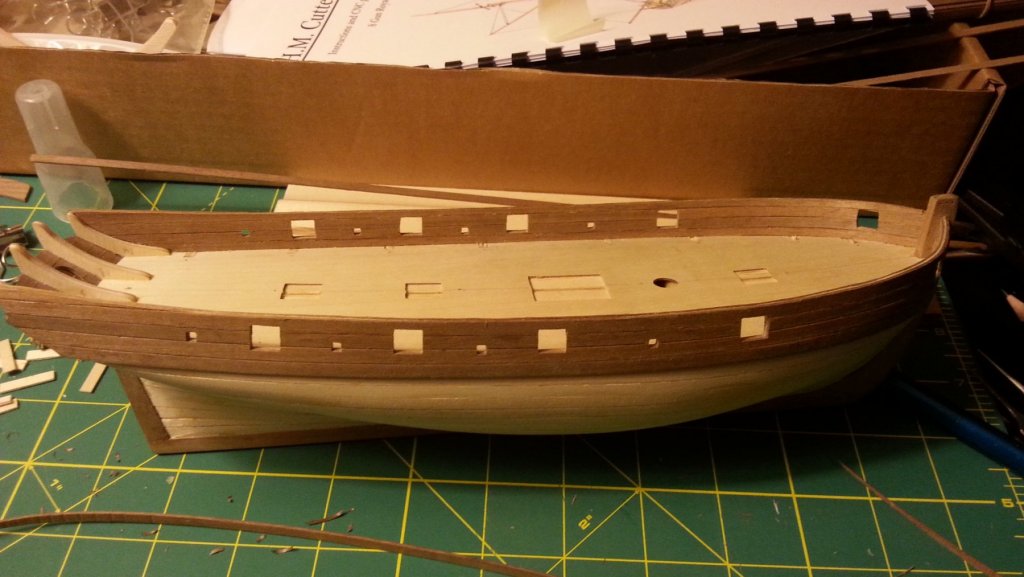
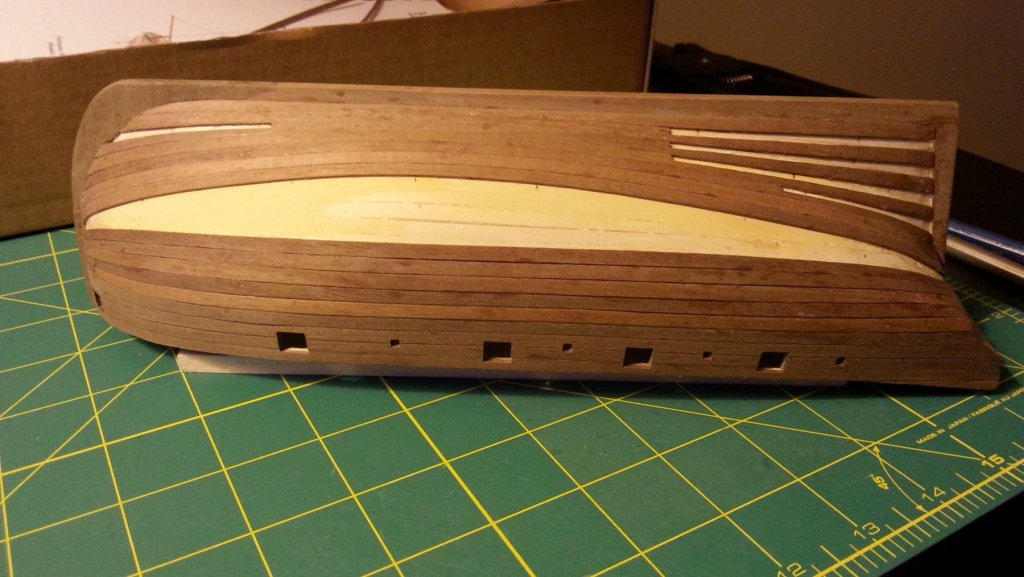
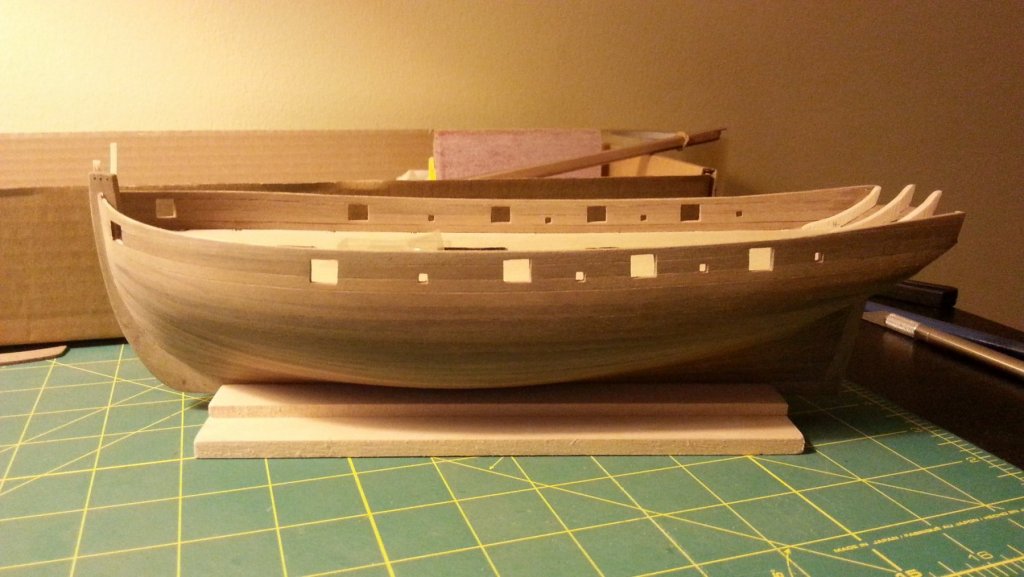
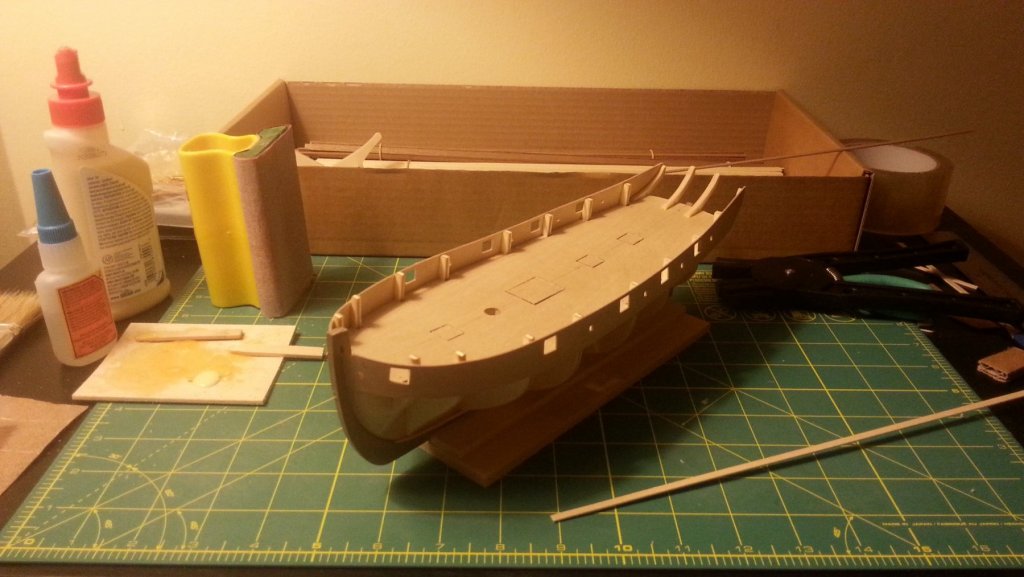
1st Planking finishing up My carelessness left me with a lot of sanding and filling to do. Also I tried carving the rabbeting back into the the keel as the 1st planking ate most of it. 2nd Planking I ran the stern planking level to the deck like the instructions said. I wish now I did something more like the other Sherbourne builders did. The Binder clips made for a nice smooth run of the planks. Pulled the bulkhead tabs off and lined the bulwarks with .5mm Walnut because it was easy to bend to shape. Cutting the gun ports and the oar ports to size took a lot more time than I imagined. The walnut is super easy to chip and flake so a lot of care is needed. 2nd Planking trouble I was trying up to this point not to have a huge gap in the middle so I ran a strip down the middle of it and planked outward from that. That is totally not how a ship is planked or a model ship should be planked! 2nd Planking finished After a few hours of sanding and a few blisters it looked like this. It started looking pretty ok at this point.


- 49 replies
-
- 12
-
-

-
- sherbourne
- caldercraft
- (and 1 more)
-
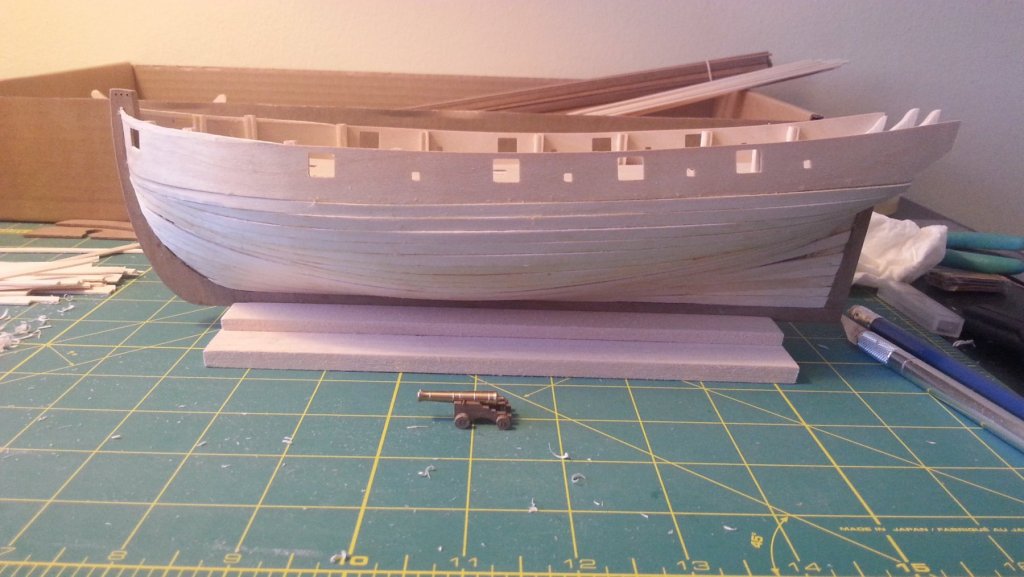
Bulwark strips They looked like they would be easy! The plywood definitely needed a soaking so I soaked the front ends and shaped them around a bowl over night. I made up one of the cannons to check the gun port levels and no matter what I did something was off so I glued them on with the bow section being low. I ended up adding some lime wood strip to the top of the bow and had to adjust 3 gun ports on each side. 1st Planking I regret gluing the stern post on but didn't really know that it would get in the way at this point, lesson learned. The planking I did was rough and jagged, I figured it didn't mater to much because they would be sanded smooth and be covered with a second planking.


- 49 replies
-
- 7
-
-
- sherbourne
- caldercraft
- (and 1 more)
-
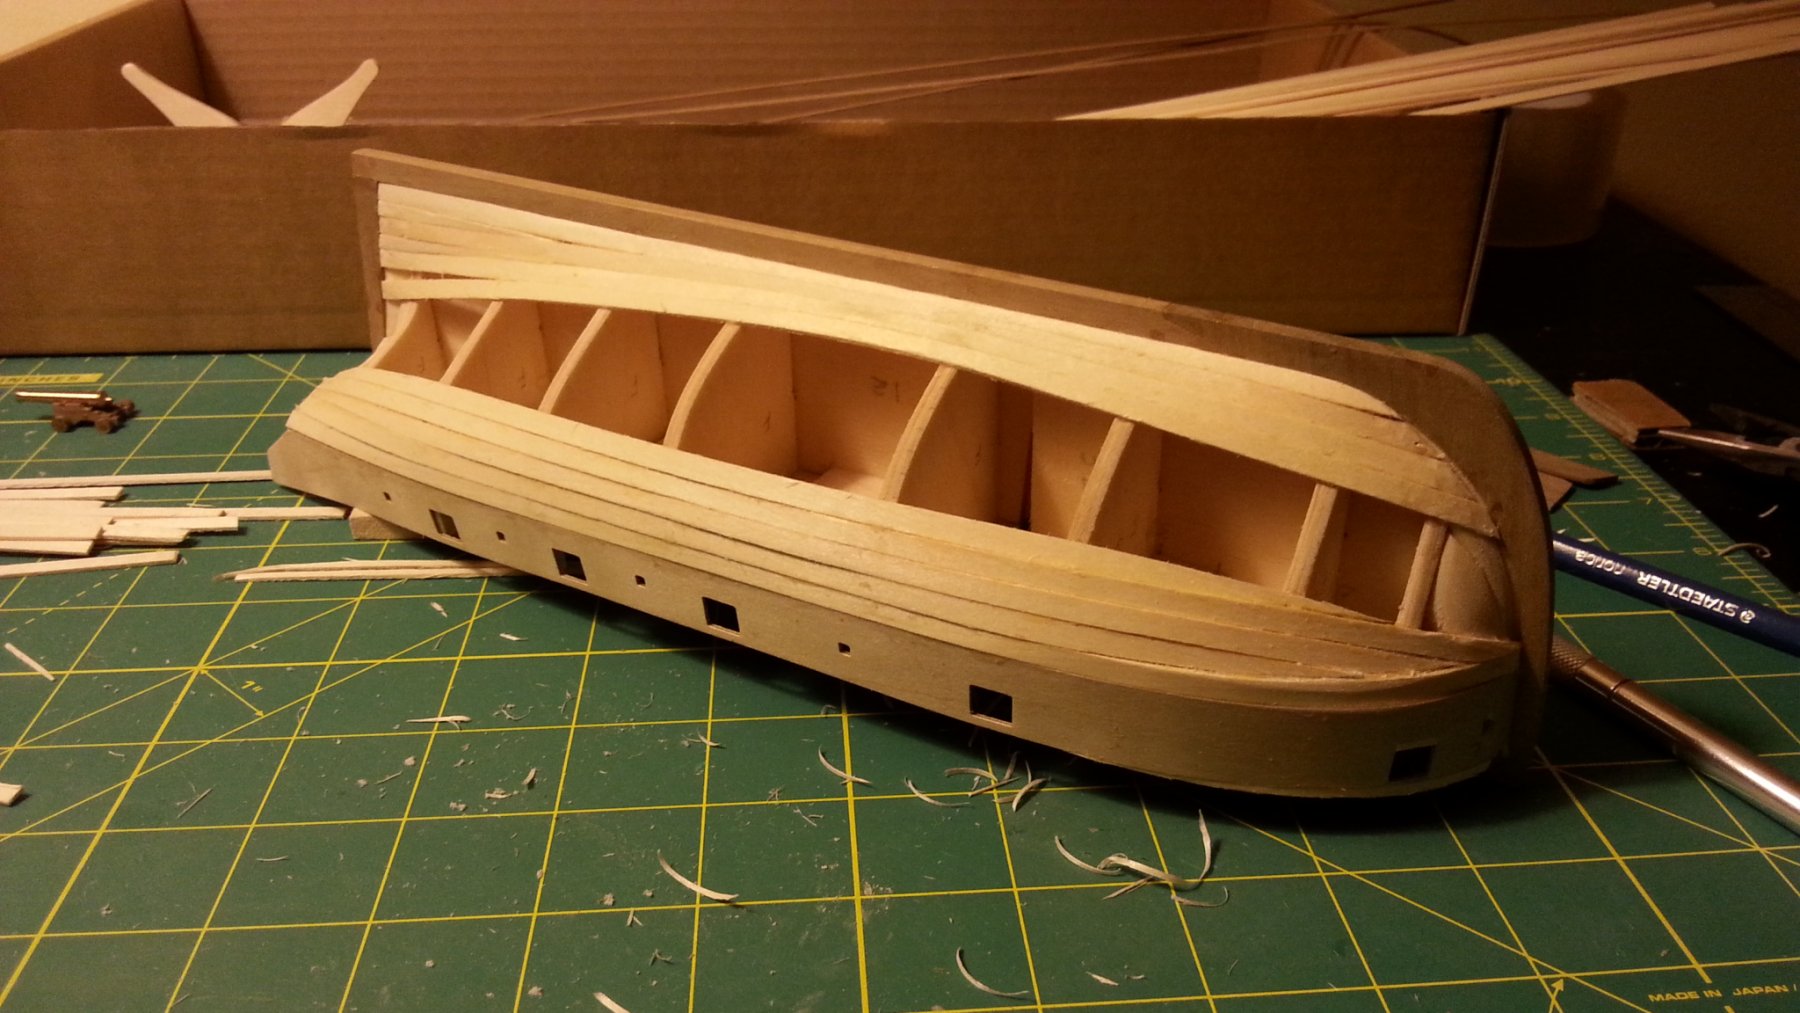
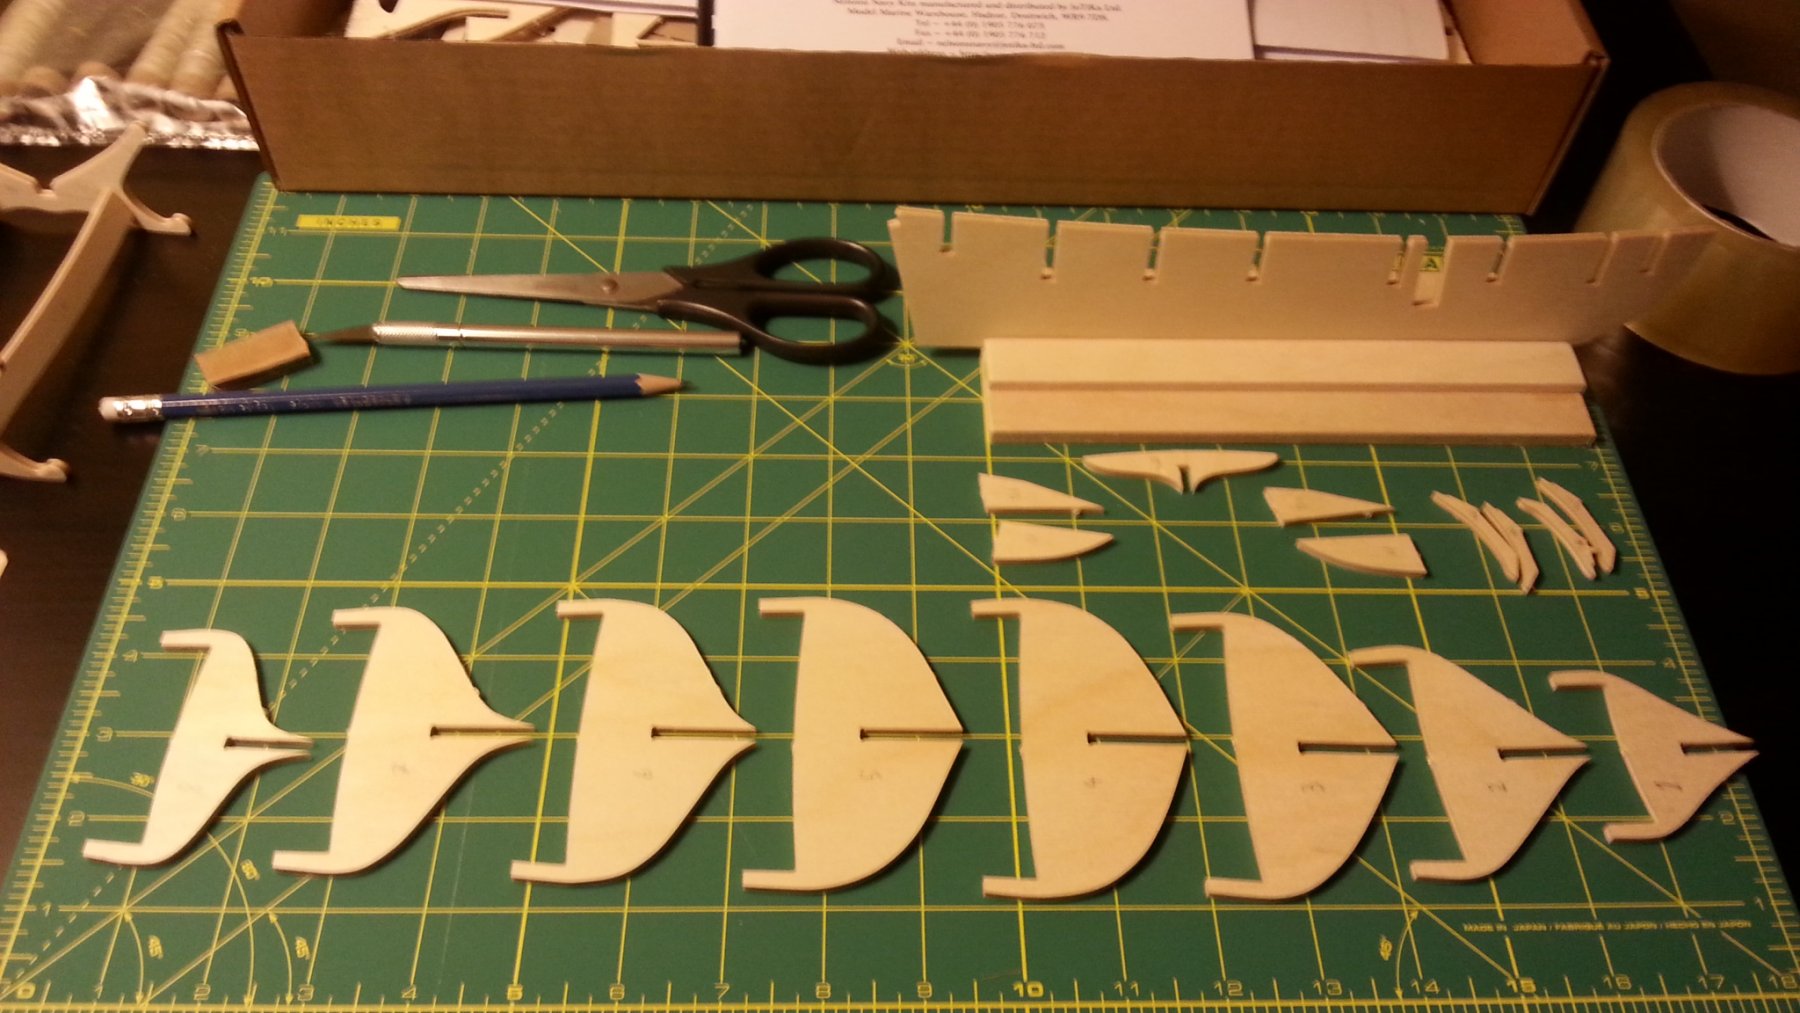
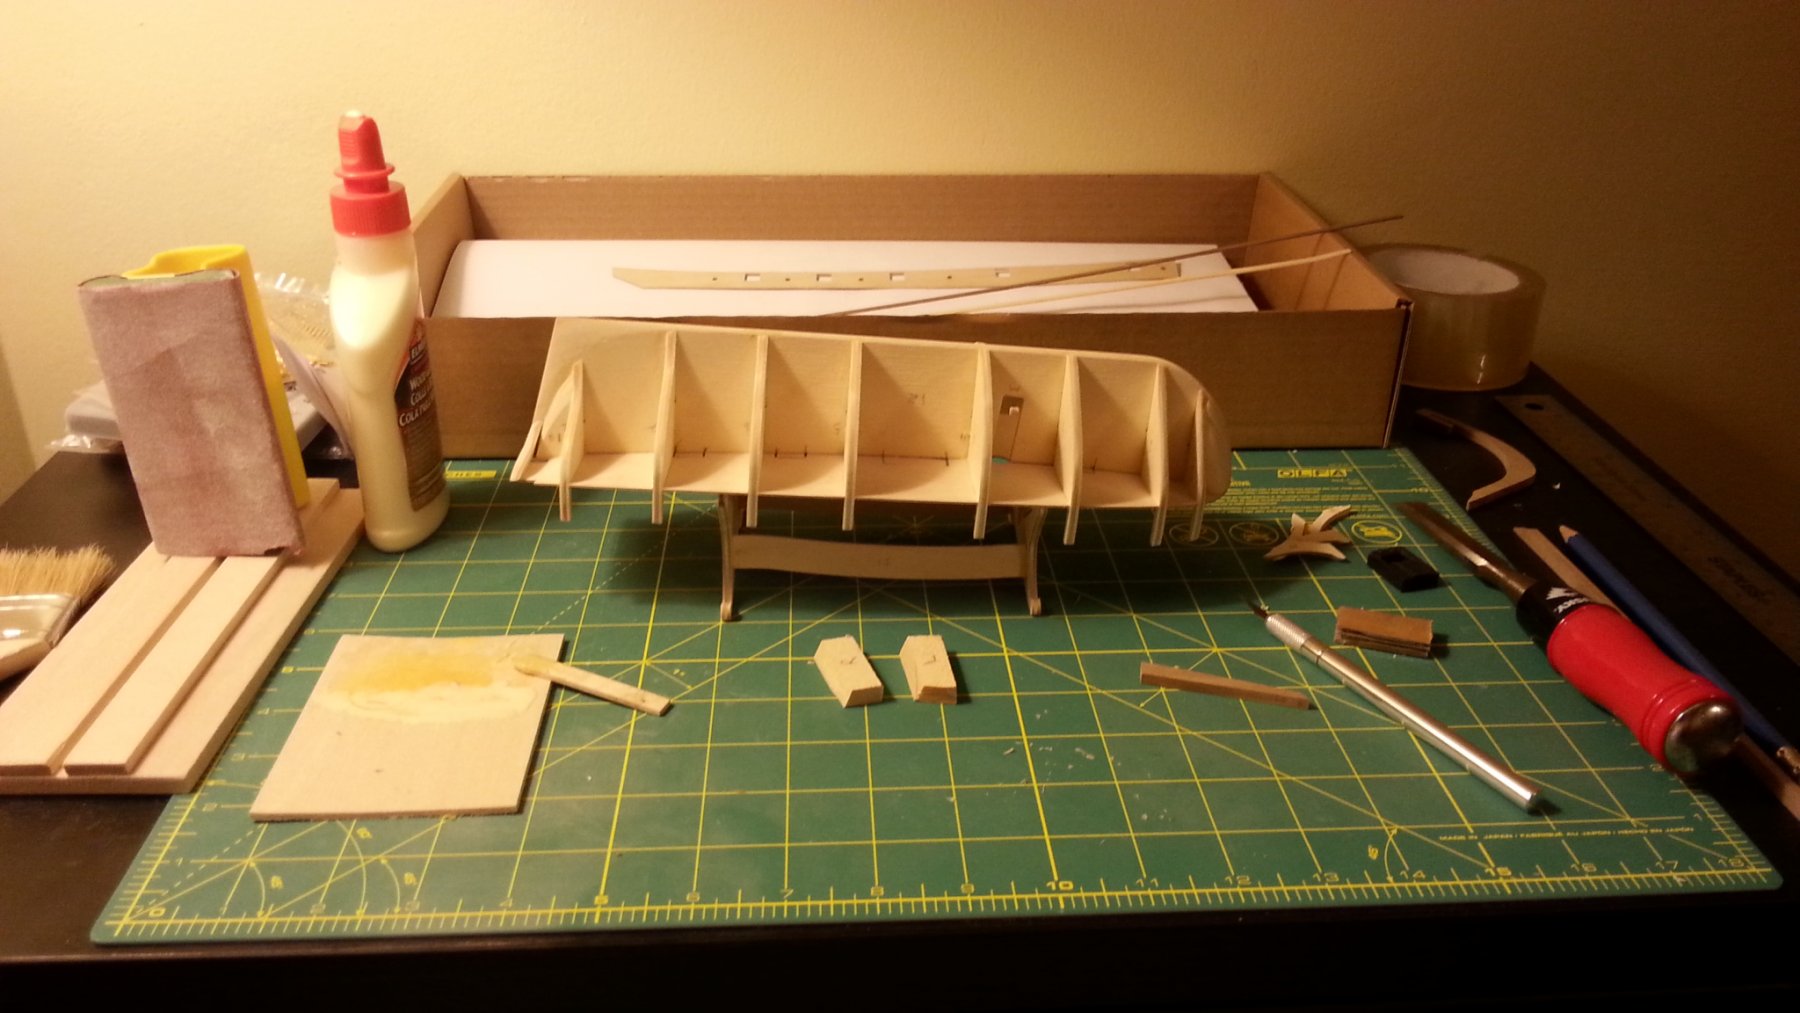
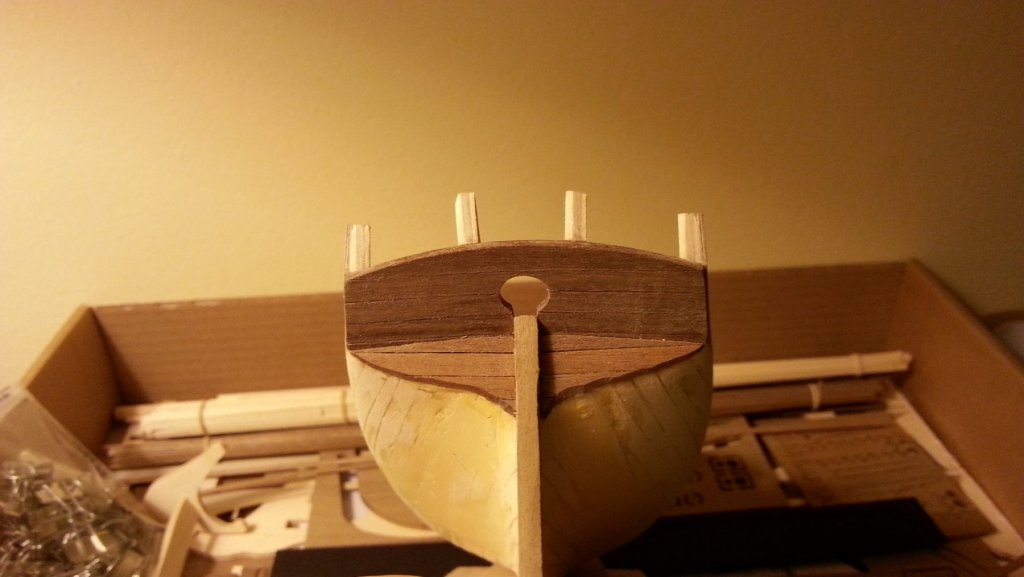
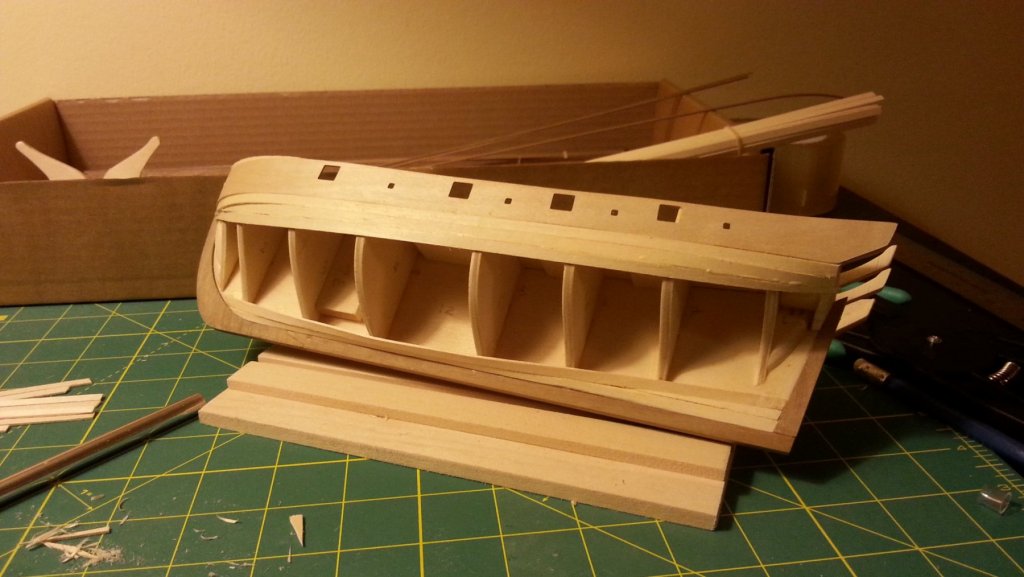
Keel & Bulkheads Hey Tony! Yes I hope to steer some people away from my mistakes, also there is there is the fact I have a small work area and lack of tools. I hope that could be some encouragement to some in the same "boat" as me. It's been challenging but it feels good when you make your own tool or jig. Even random household items can be of use. So My keel was a bit warped and so I soaked it for 3-4 hours and put a huge pile of useless law books on it for a day. That took out some of the bend but what really aligned it was the bulkheads and deck were in place. I did not need to throw it away and start over like one of my books said Ha! I squared the bulkheads to the keel with large binder clips and they came out squared, didn't snap a picture of that step sorry. You can't really tell buy my awful photos but I did cut some rabbeting into the keel before gluing the bulkheads. In picture 3 & 4 I had everything glued in place and started adding small filler blocks on the bow and stern. I felt it needed some support there but I opted out of using balsa wood to fill most of the hull, didn't feel necessary to me at the time but I would have used less filler on the planking if I had. As long as everything is shaped and smooth for second planking you should be good.


- 49 replies
-
- 9
-
-
- sherbourne
- caldercraft
- (and 1 more)
-
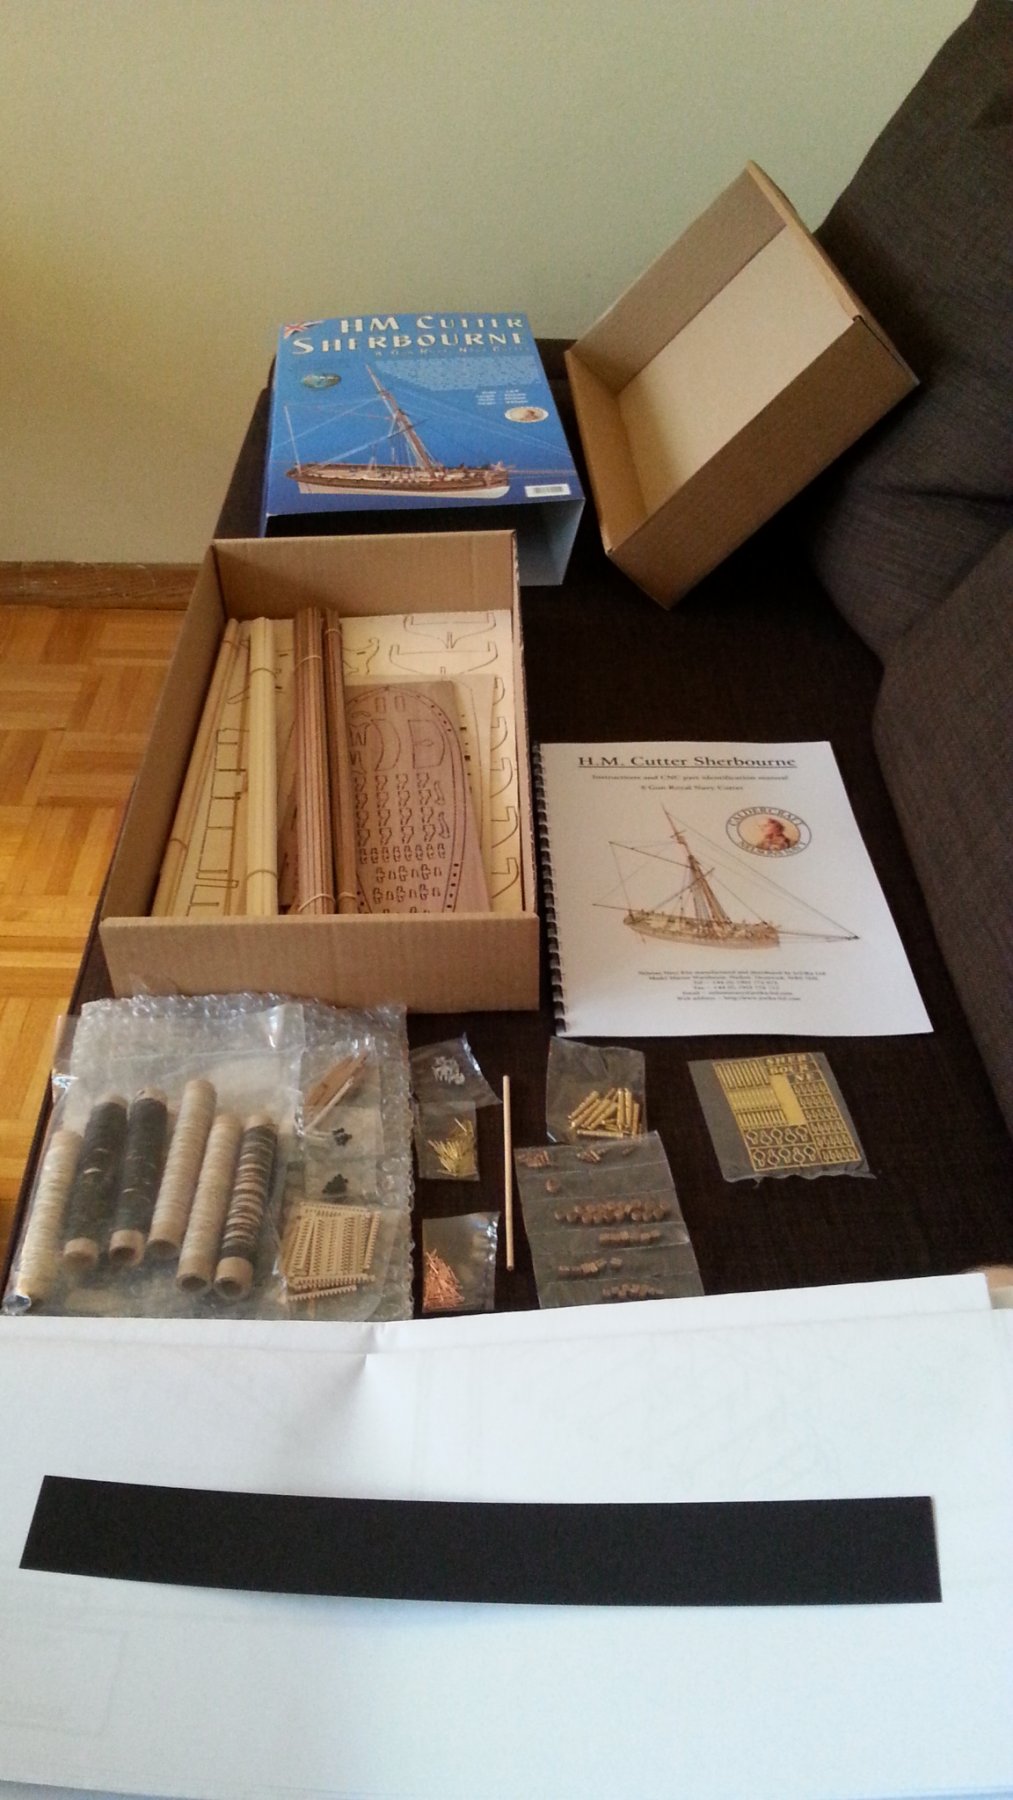
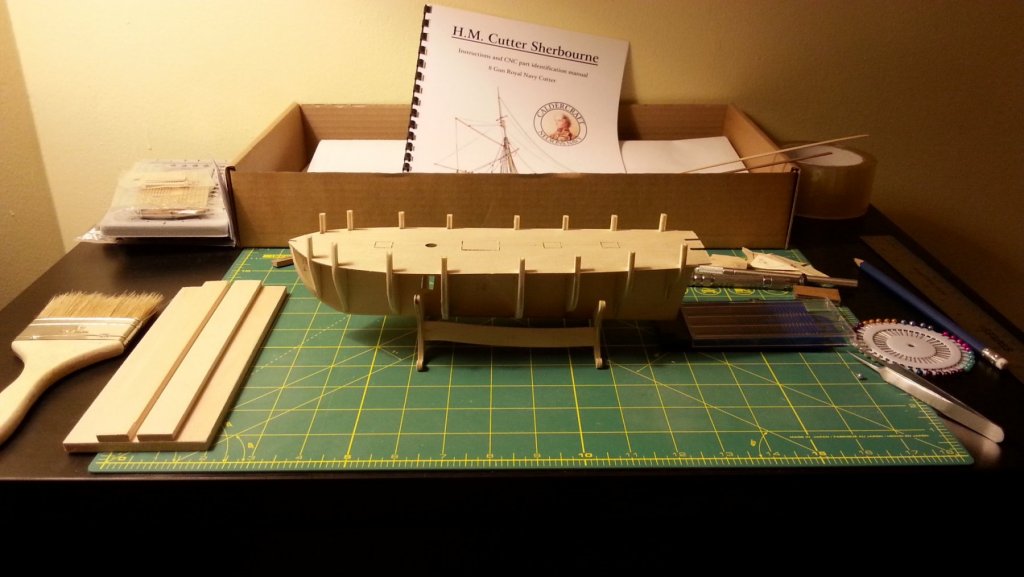
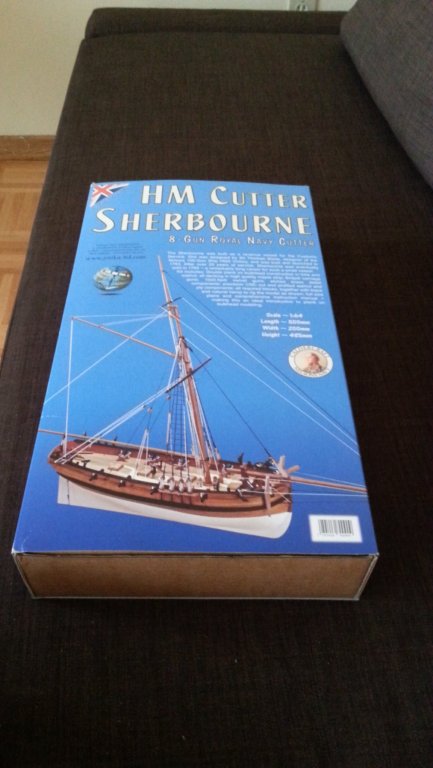
Hey fellow Builders! I've been lurking on this site for almost a year now and I feel it's time to reveal my work... or pile of poorly painted bent sticks. I would like to give my thanks for all the other Sherbourne builders on this site as it has been immensely helpful to see your builds! I started building this lovely little kit last August and have been working on it slowly over the last 9 months. It would totally be done if I wasn't working so much, I'm a line cook so I get home and most of the time collapse into bed. Anyway I bought this kit after doing some research, it came highly rated for beginners. I still couldn't have made it without the resources on this site or the books I bought. Most kits are just assuming you know what you are doing it seems. The kit was missing the maple wood for the deck so I contacted JoTika/Caldercraft and they mailed some out to me for free! The build is at the rigging stage... I've been a little stuck there and will probably ask for help. I'll just post these two un-boxing pictures for now and add the rest later in chunks.

- 49 replies
-
- 9
-
-
- sherbourne
- caldercraft
- (and 1 more)