BenD
-
Posts
477 -
Joined
-
Last visited
Content Type
Profiles
Forums
Gallery
Events
Everything posted by BenD
-
 I can definitely agree about watching Chris's thread. When he finally gets around to developing the HMS Indefatigable I'm going to be bouncing off the walls.
 -
Yellow Ochre Paint
BenD replied to Daliab's topic in Painting, finishing and weathering products and techniques
I used Admiralty Paint's Yellow Ochre on my HMS Snake. I added white and yellow to it and I got something between Vallejo's Yellow Ochre and Admiralty. Honestly go with what you feel because you are going to have to look at the model. Look at some of the other Victory builds on this site and you'll see a massive array of colors. Here is a link for a video about the color change. -
https://www.acrylicjob.com/custom-order I got a case from acrylicjob for only $150 CAD before shipping, I've had my Sherbourne in it for years now no dust or build up. I would recommend getting one after you do a thorough cleaning. It's most definitely affordable.
-
God I love Master and Commander! I've considered this movie for color schemes. There are so many variables to consider with this seemingly simple aspect of ship modeling. Thanks everyone for you're input.
-
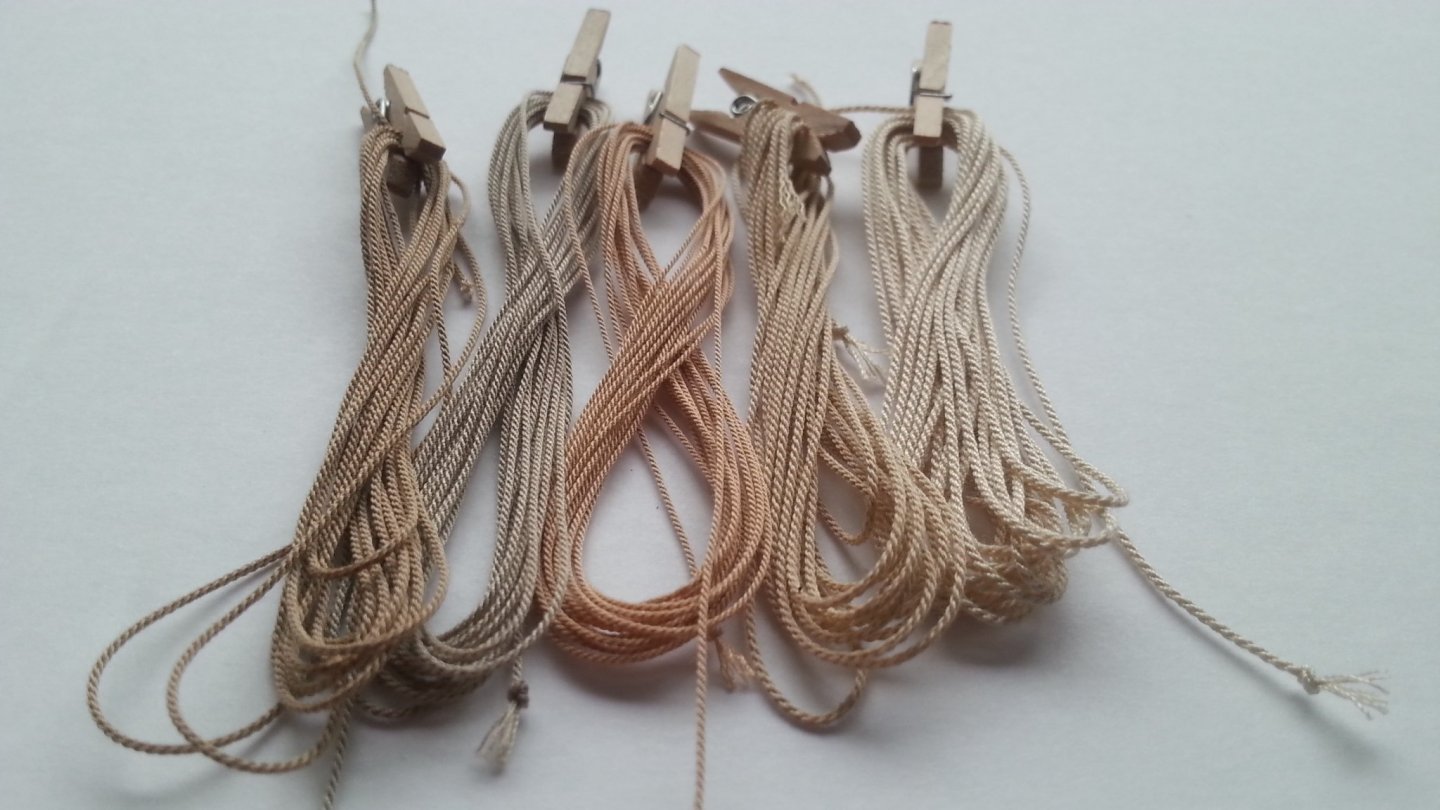
Yes they are Both very good options and I've thought about that combination. I'm still going to keep searching a little bit for running rigging colors. #2 Aurifil 5011 Rope Beige is really close to Caldercraft's rope color.
-
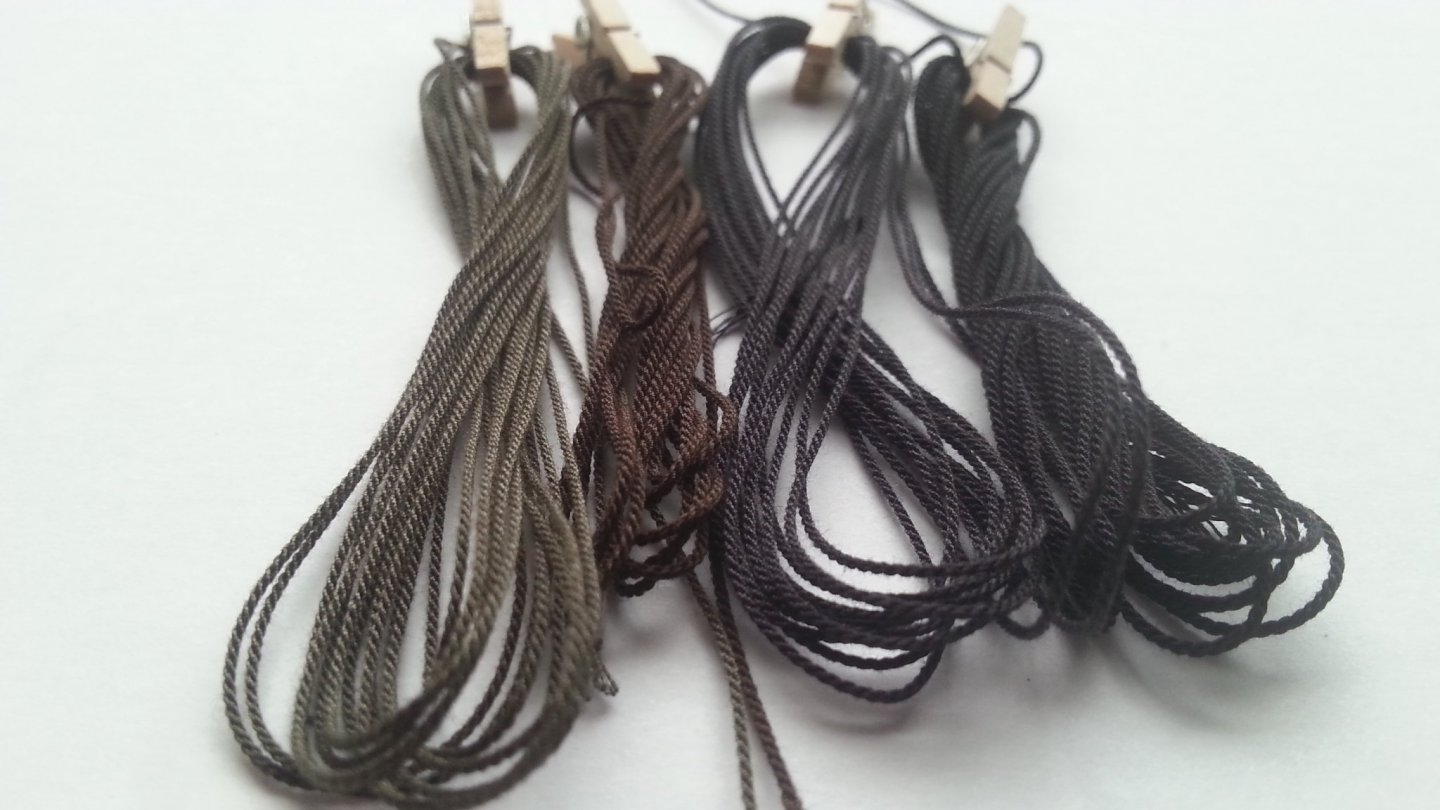
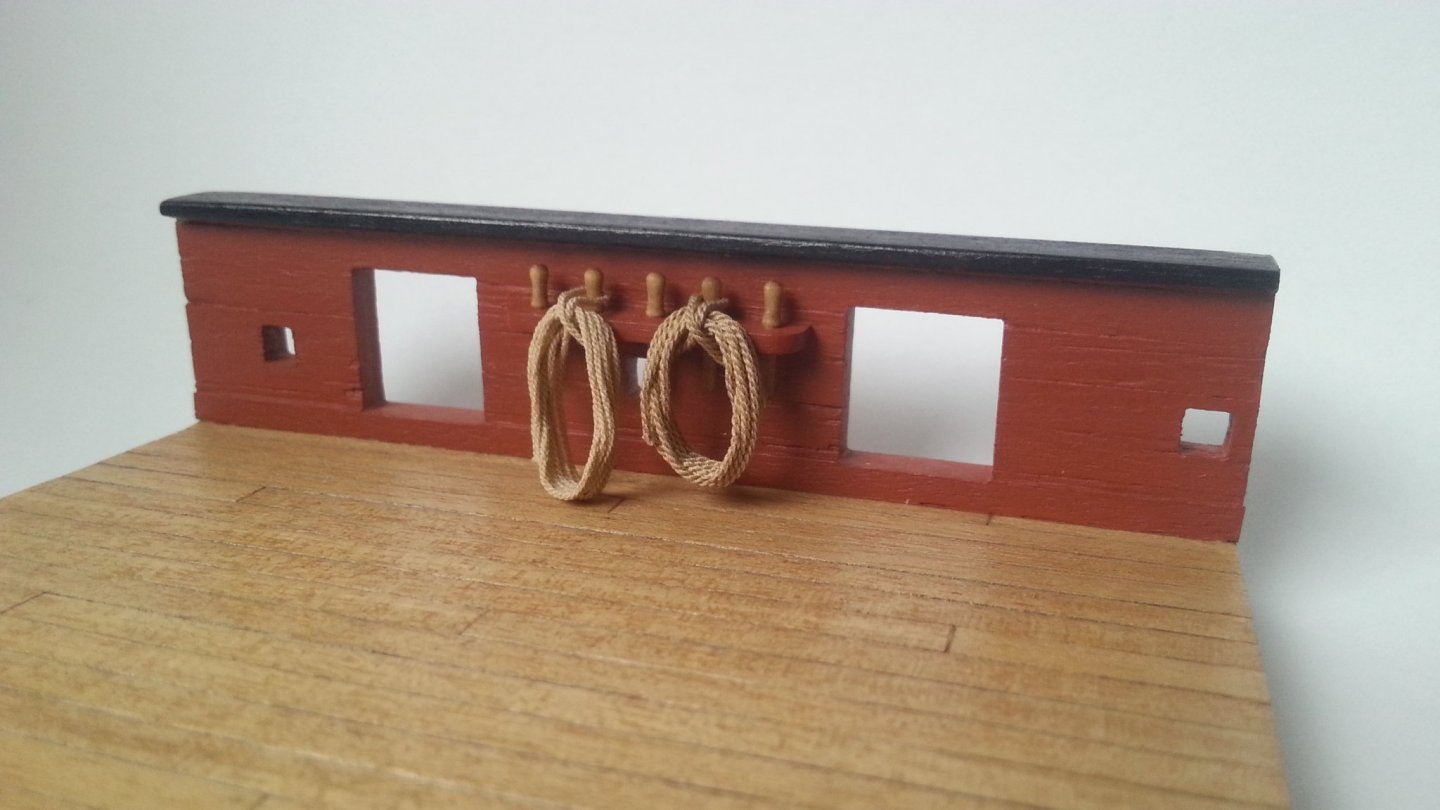
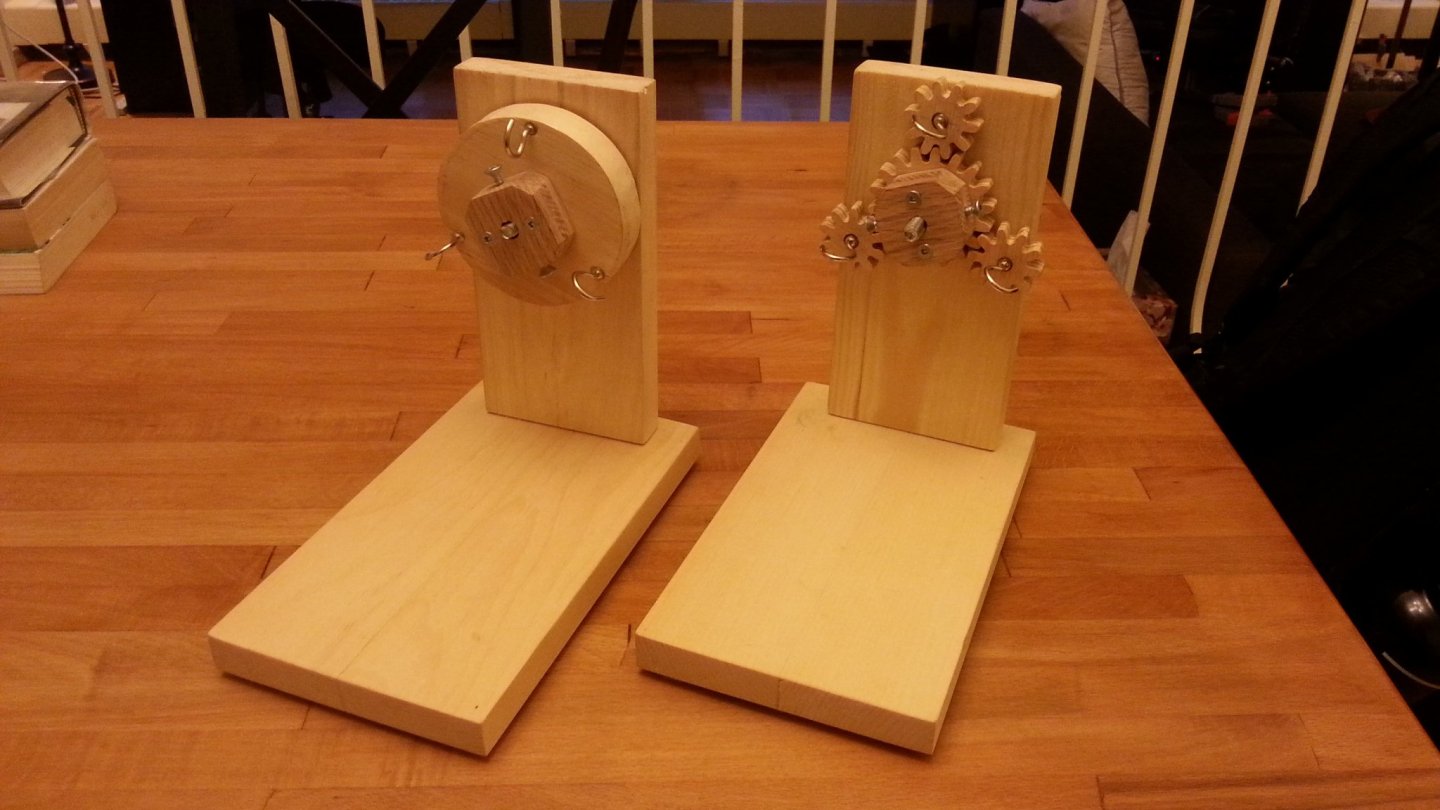
I've been Experimenting with different colors of cotton thread and would like to know what you guys think of them. I'm not quite sure about any of them so the search is still on. From right to left #1 Aurifil 5013 Asphalt. #2 Gutermann 3020 Seal Brown #3 Aurifil 4241 Very Dark Grey #4 Gutermann 1001 Black #1 Gutermann 2700 Khaki #2 Aurifil 5011 Rope Beige #3 Aurifil 2314 Beige #4 Gutermann 3260 Beige #5 Aurifil 2310 Light Beige Gutermann 3260 and 2700 on the belaying rack. I feel they are the closest but still could use something in between Here Is my home made rope walk V2, It does the job but by God does it make noise. V3 is still one the drawing board.
-
HMS Snake by BenD - Caldercraft - 1:64
BenD replied to BenD's topic in - Kit build logs for subjects built from 1751 - 1800
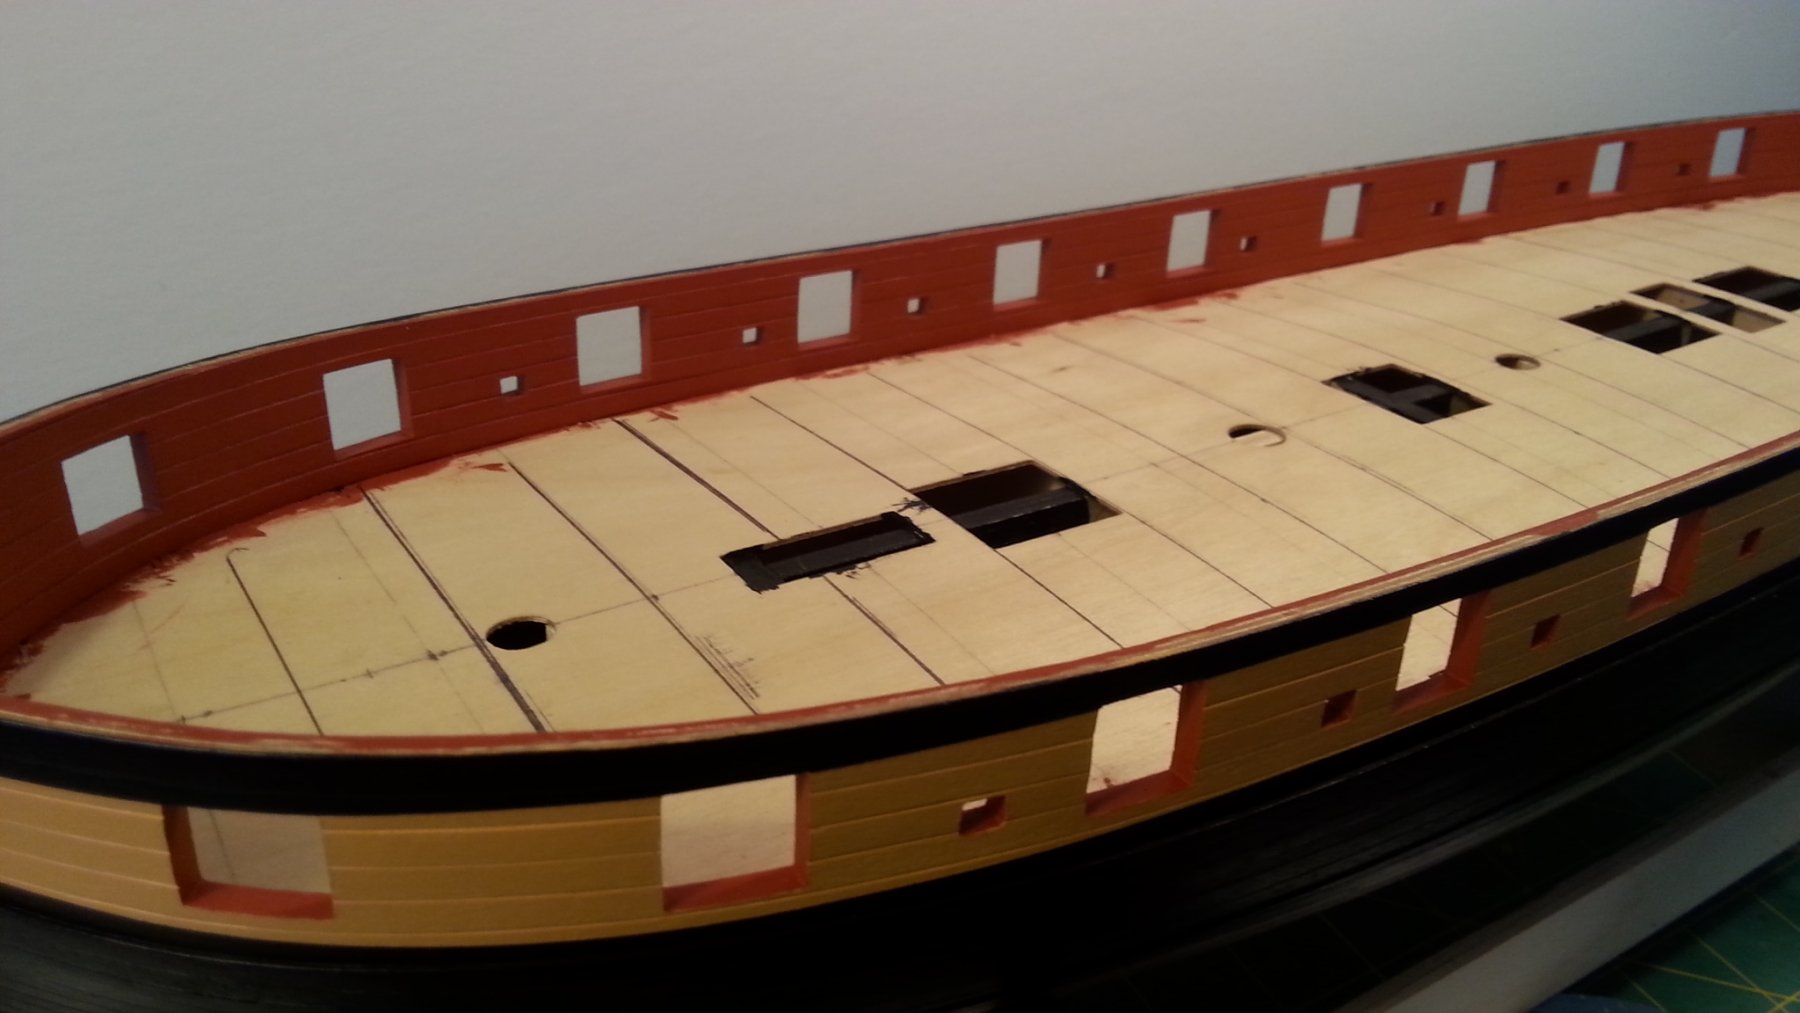
Deck planking is in the works. I'm currently unemployed so I'll have some time to work on her over the holidays I'm reasonably happy with how it's turning out, Little bit regretful of not adding margin planks. Next build perhaps I will delve deeper.

-
Nice job on the coppering! The extra glue can be removed by acetone (nail polish remover) or debonder.
-
Hey Vane. If you want to add a signature go to your account settings at the top. Go to signature and within there is a button to link you're builds.
-
HMS Victory by Vane - Corel - Scale 1:98
BenD replied to Vane's topic in - Kit build logs for subjects built from 1751 - 1800
I knew it! You made the right choice. HMS Diana is on my someday list. -
If you want to get fancy with your planking you could try a three or four butt shift planking. Or do the plans show this already?

-
That is some solid planking right there. Just needs some sanding to deal with the glue spill over and it will look fantastic. At this speed you're gonna pass me! With three builds going no less.
-
https://redrockthreads.com/ has a large selection of cotton threads
-
I'm currently planking the deck on my Snake and the Tanganyika is not so fun to work with, look's good though. I used Maple in the a previous build and had no problems working with it. It is a very pale wood though. As for size it's best to match the size given with the kit unless you have access to dimensions of planks for the period. I do know they were hand sawed and were about 24-28 feet long, when converted to 1/64 is about 12cm long. As for the width I've never found info on that unfortunately so 4mm could be incorrect.
-
I almost did this to save some time. Cutting out the gun ports was a heck of a time, Just need a really sharp knife and some patients. Filling and sanding hide all but the most heinous of crimes
-
That turned out really good. Who ever you got to paint this did a fantastic job.
-
WOW that thing is EPIC!
-
This is really cool that we can see this process. I've been reading a lot of your posting and see that you have the laser cutting outsourced by a company, Don't feel brave enough to get your own?
-
HMS Snake by BenD - Caldercraft - 1:64
BenD replied to BenD's topic in - Kit build logs for subjects built from 1751 - 1800
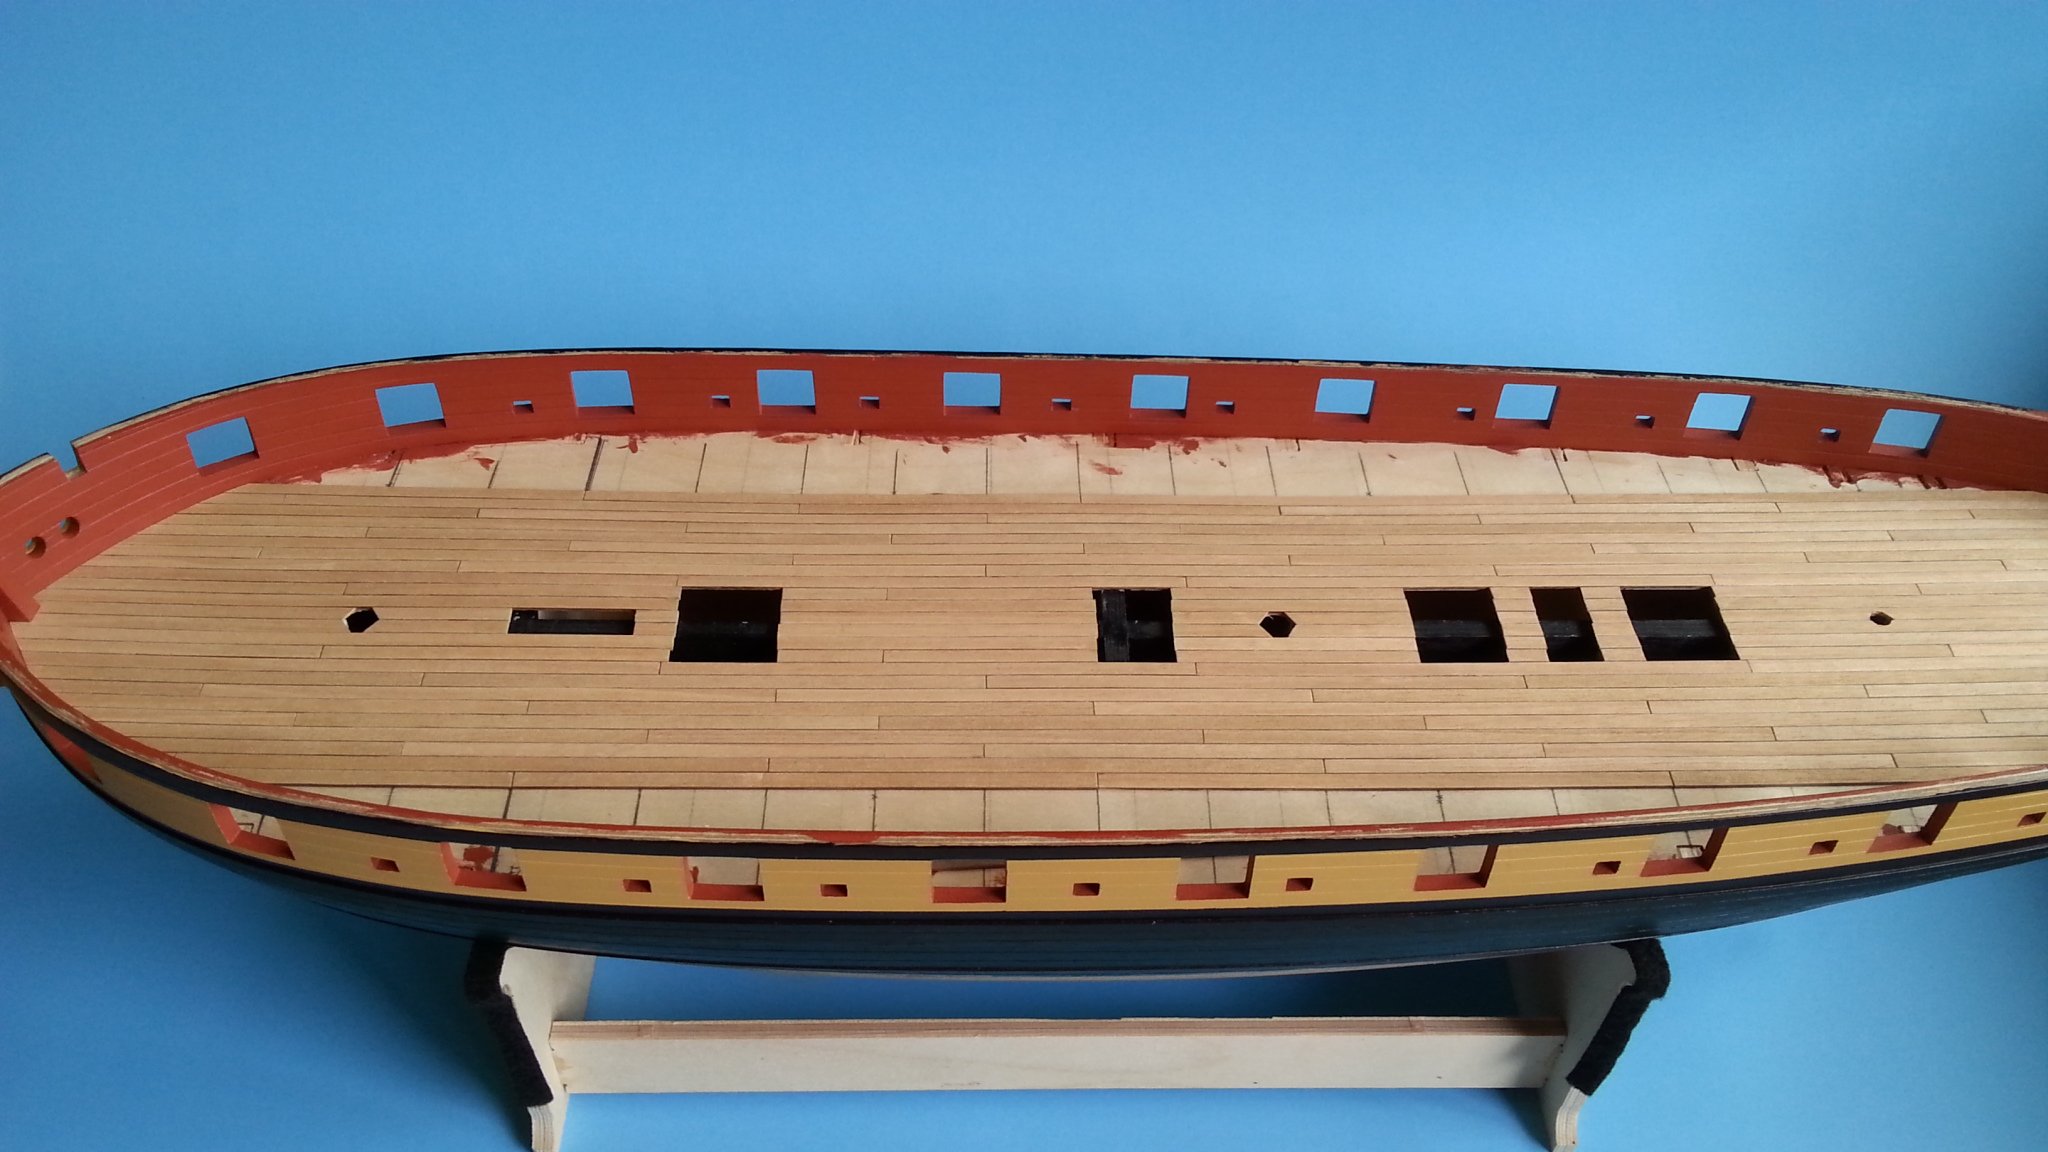
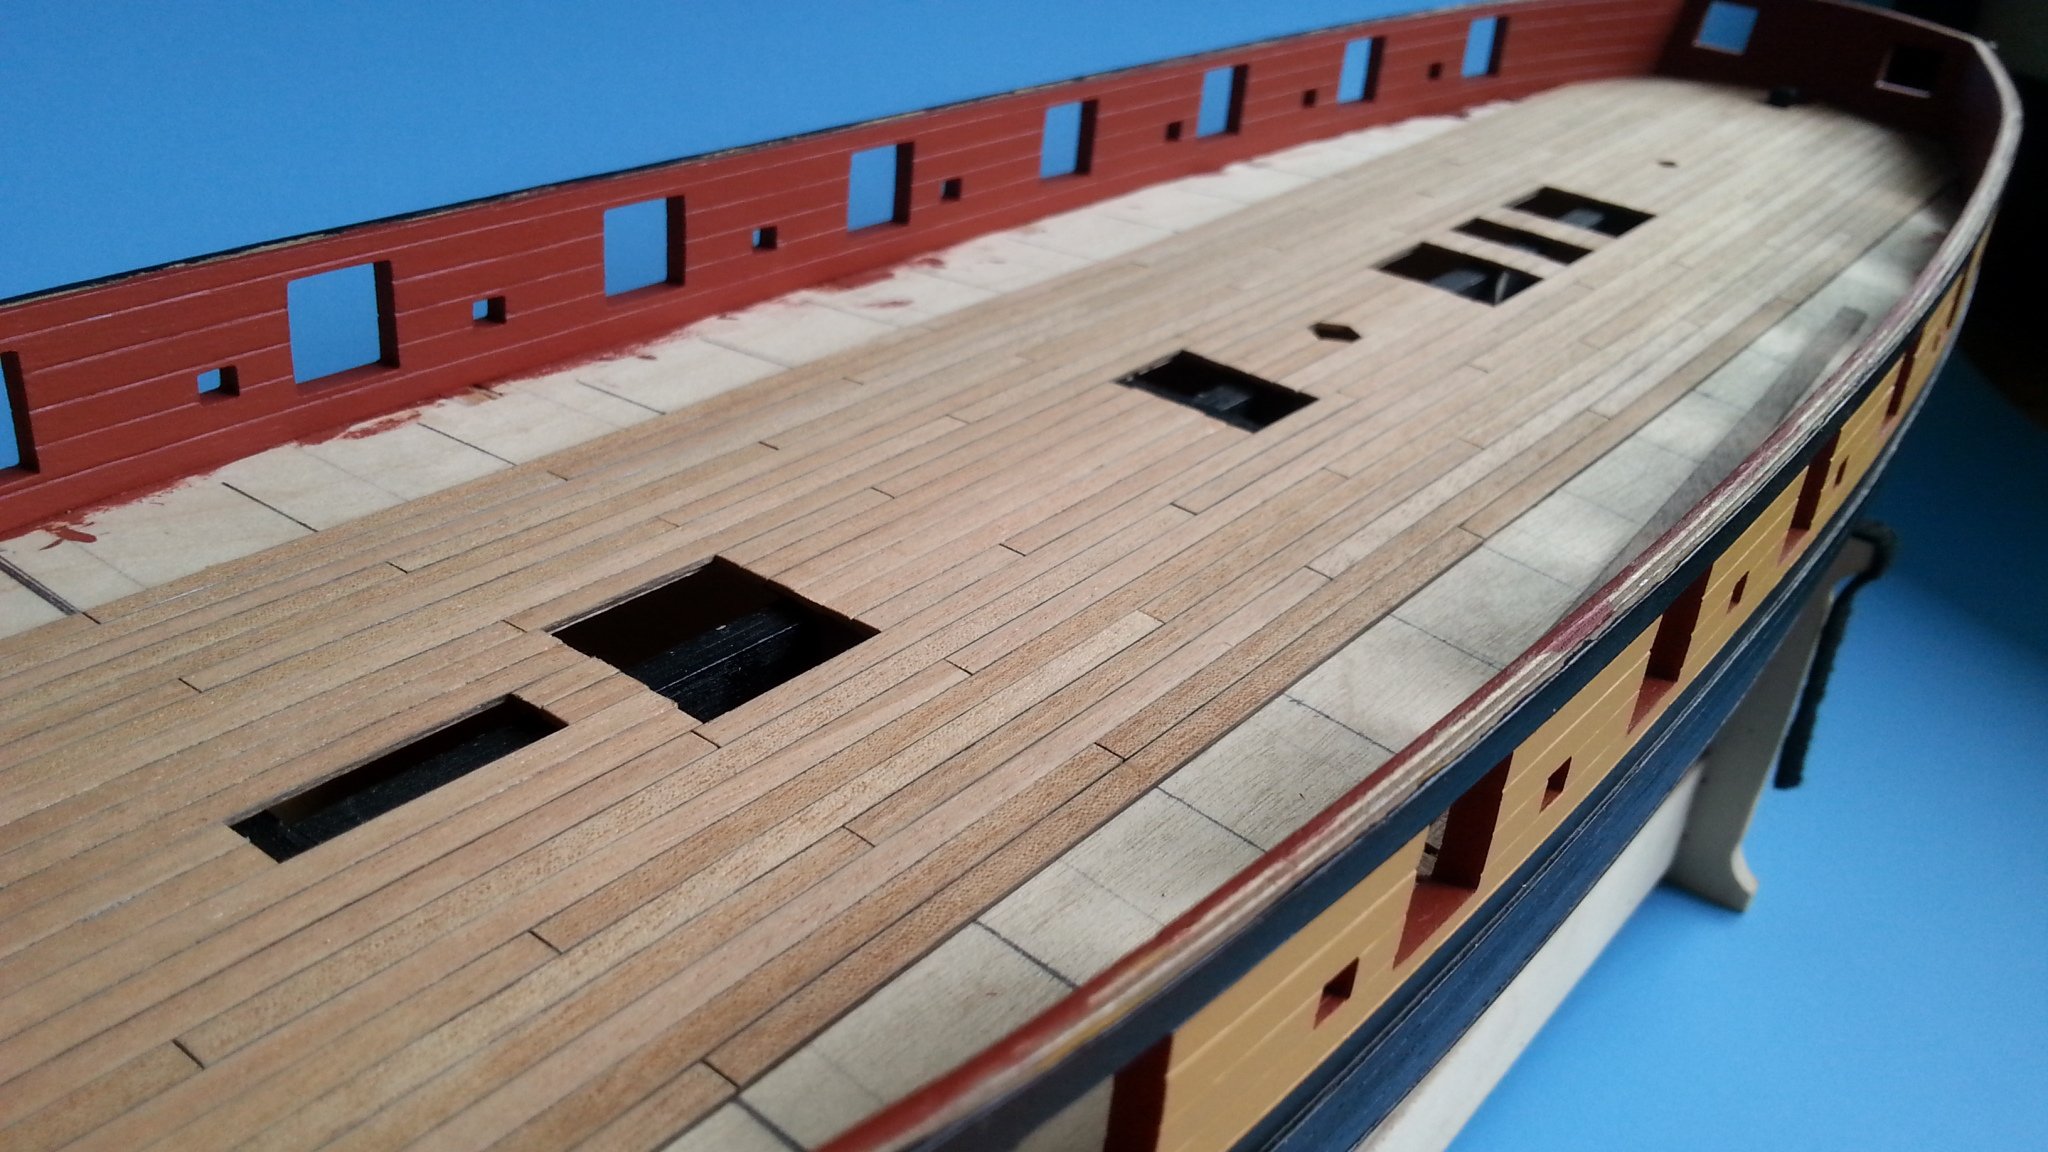
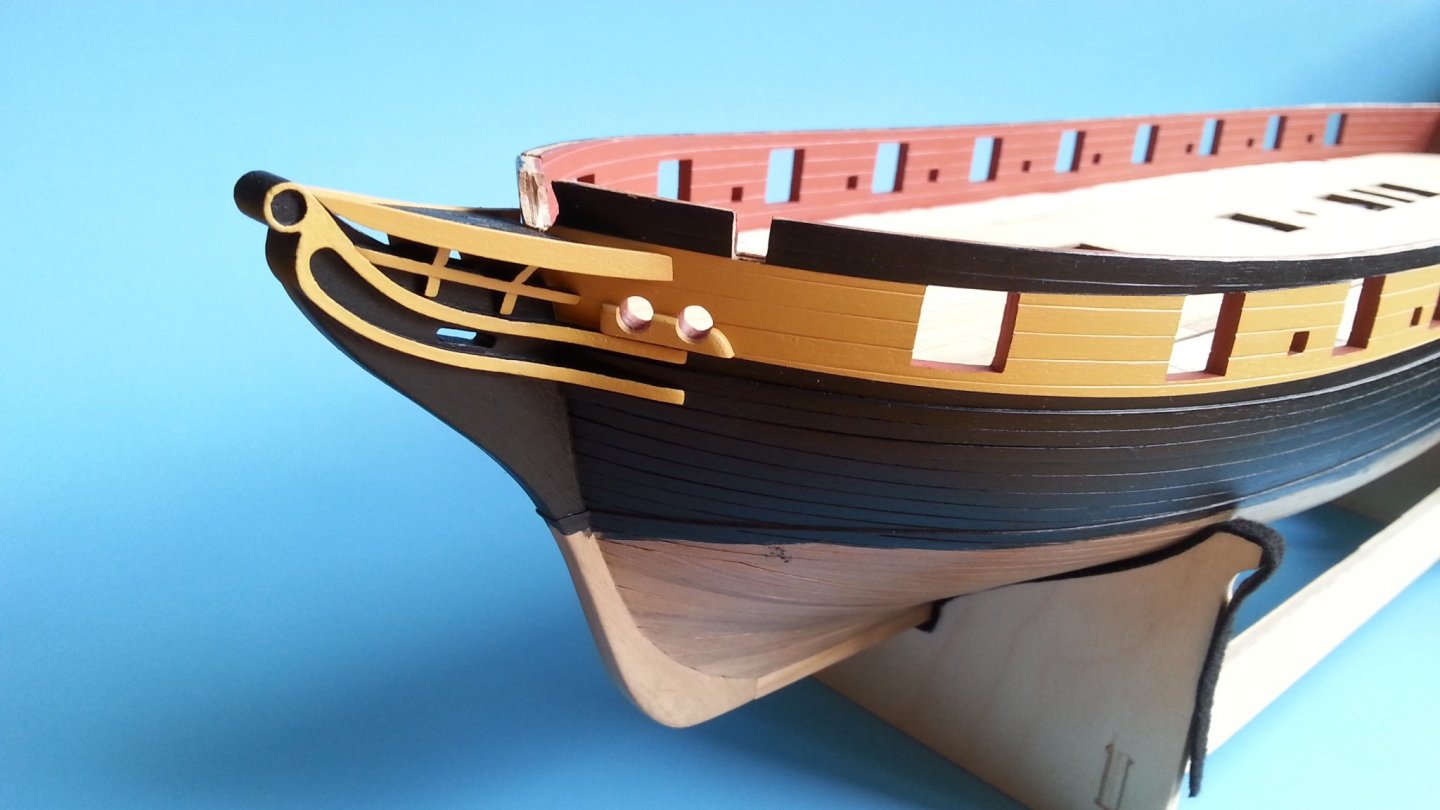
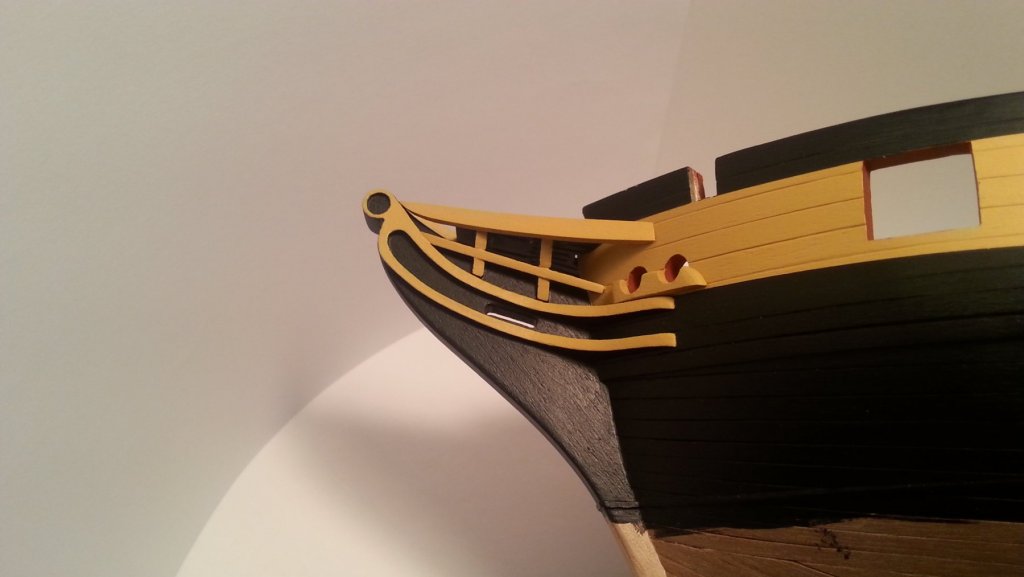
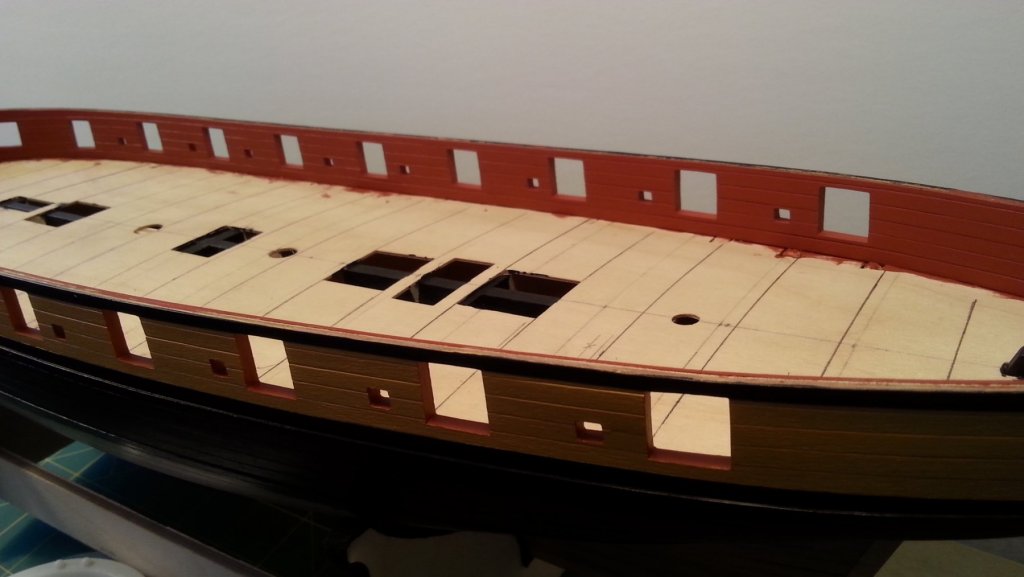
The Bow decorations are finally done. The long parts #58 and #59 I ended up scratch building because the ply material was just not good and I had broken one. It was only four pieces but I think making my own parts is kind of fun. I think I should extend the red ochre out to the Hawse hole Bolster, what would be normal for painting that? On to deck planking! This must be the 5th time I've gone over the deck pattern!?!. The beam positions are not really correct but it lines up with the hatches at least. My Beam positions range from 23mm-26mm which is not so far off from real ships I think. I'm doing a four butt shift pattern with 11-12 cm planks. With a scale converter that adds up to 25ft which is about correct for a ship of this period. I ended up buying more Tanganyika wood for deck planking because the stuff in the kit was jagged and awful. Turns out the extra I bought is in the same lousy shape. They are the same color at least.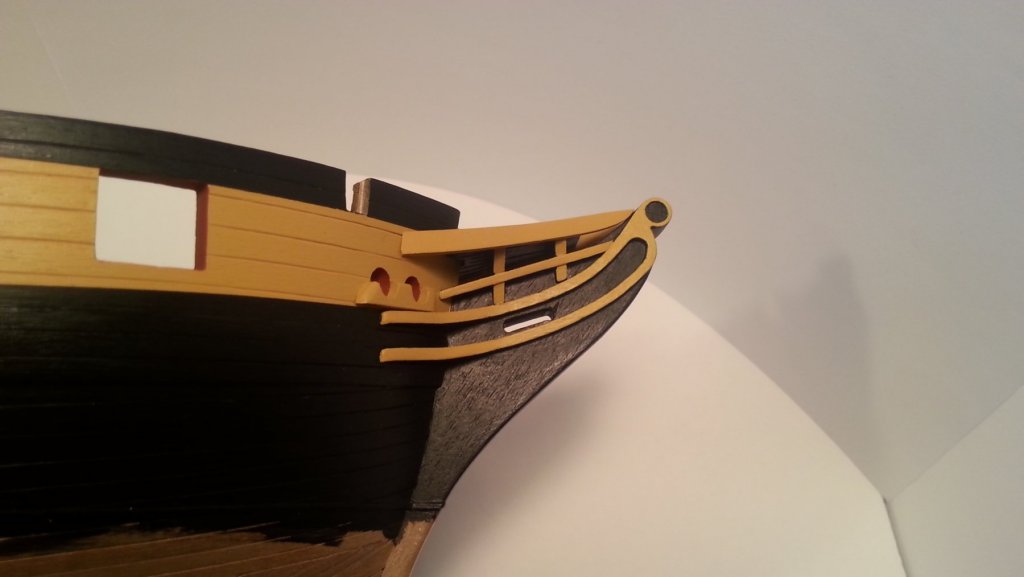

-
this is looking real good, You're making me want to buy this kit!
-
Holly molly you're just cracking on full speed! I'll be watching along if you don't mind. Good work so far
-
She's looking good! That walnut look's like the stuff I got with my HMS Snake. Well milled very dense wood, It's hart to work with but it will make a stiff hull. The Diana is on my someday list so Don't mind if I follow along.
-
HMS Snake by BenD - Caldercraft - 1:64
BenD replied to BenD's topic in - Kit build logs for subjects built from 1751 - 1800
Jason- Thank's for the words, Your Snake is probably my #1 go to when I'm confused. You did really nice work on her. Yacht1255- how much does a set cost? Do you mean the kit?