-
Posts
16 -
Joined
-
Last visited
About Mozartman
- Birthday 04/02/1958
Profile Information
-
Gender
Male
-
Location
Coventry, England
Recent Profile Visitors
-
 thibaultron reacted to a post in a topic:
Wrong kit
-
I have to admit I now have a problem, having bought kit from reputable manufacturers in the past I needed to buy a new kit, nothing big, like Model Dockyard Hayling Hoy. Had a discussion with wife as what I might do as the CAF Granado is on hold. Well without telling the wife I did purchase the Hayling Hoy. Well, my wife being a great wife bought me a kit without telling me. Now the problem. She saw a kit on a very well-known site 1:48 in Pear or Cherry and ordered said kit, great 2 kits now. It turns out the kit from the wife is not a copy or its very good one or it has come from the factory that are making the kit for Unicorn Models (HMS Wolf). I thought great a kit that would be good for build log only to be told by moderators that all is not well. I do agree with the policy of not encouraging rip offs, but what to tell the wife. I have looked on the web for Unicorn Models and can only find a Facebook page for new model coming soon. So this to me prooves that company’s are not copying designs but are being sold by the company who will make the kits or at least an employee of the company. This should be a warning to all to be very careful of who you choose to do the manufacturing. Does anybody know of a WWW for Unicorn models & when the kit is officially released.
-
 CiscoH reacted to a post in a topic:
HMS Granado by Mozartman - CAF - Full hull build
-
 CiscoH reacted to a post in a topic:
HMS Granado by Mozartman - CAF - Full hull build
-
 JeffT reacted to a post in a topic:
HMS Granado by Mozartman - CAF - Full hull build
-
 Jorge Hedges reacted to a post in a topic:
HMS Granado by Mozartman - CAF - Full hull build
-
 Beef Wellington reacted to a post in a topic:
HMS Granado by Mozartman - CAF - Full hull build
-
 Ryland Craze reacted to a post in a topic:
HMS Granado by Mozartman - CAF - Full hull build
-
 ir3 reacted to a post in a topic:
HMS Granado by Mozartman - CAF - Full hull build
-
 ccoyle reacted to a post in a topic:
HMS Granado by Mozartman - CAF - Full hull build
-
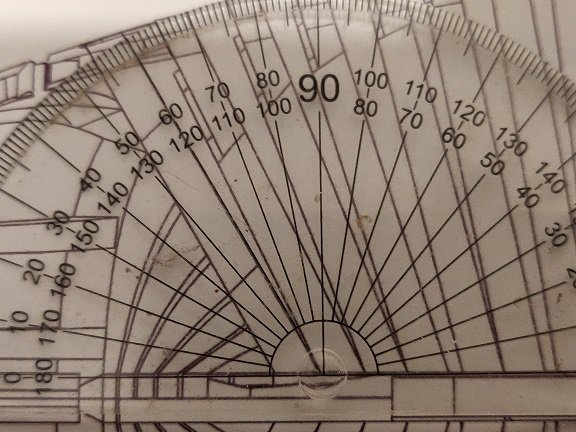
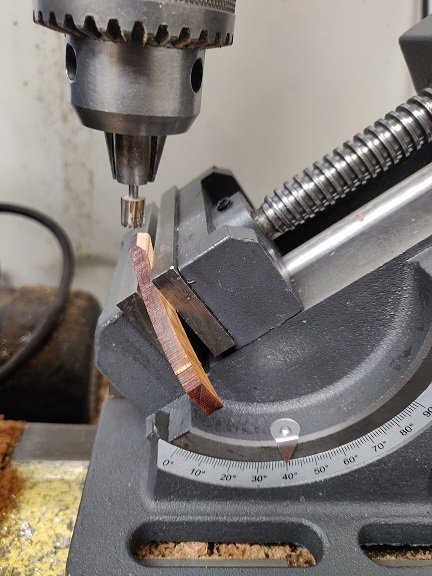
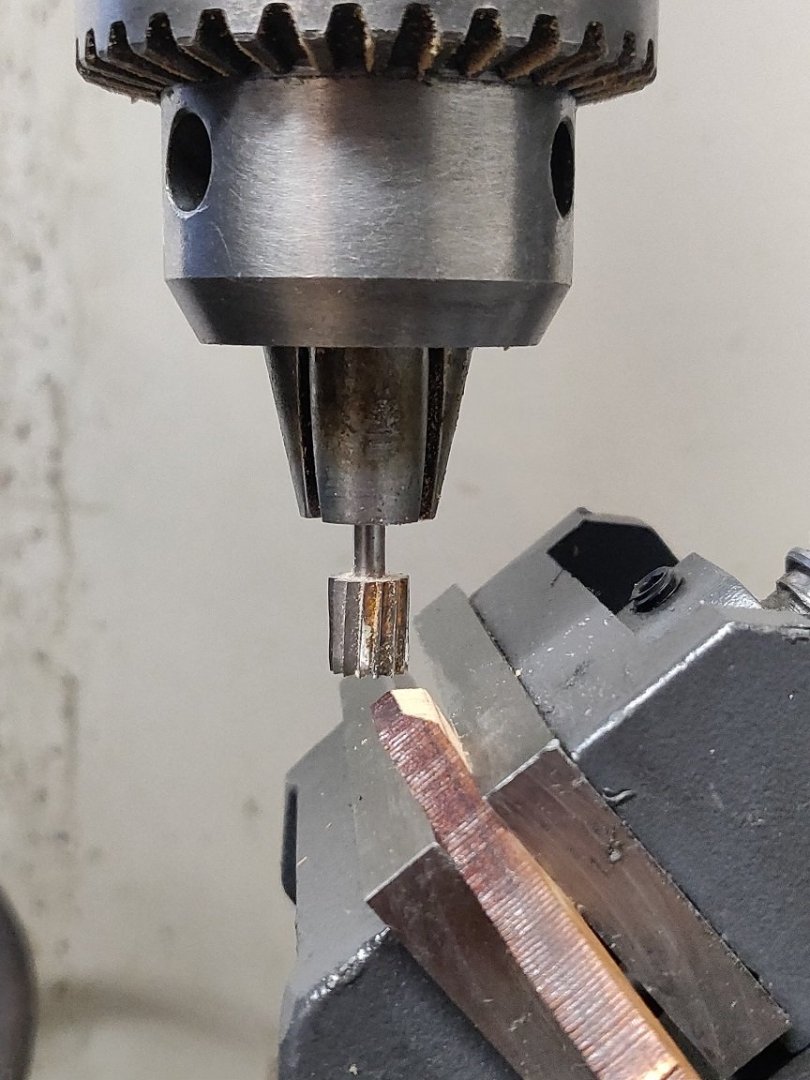
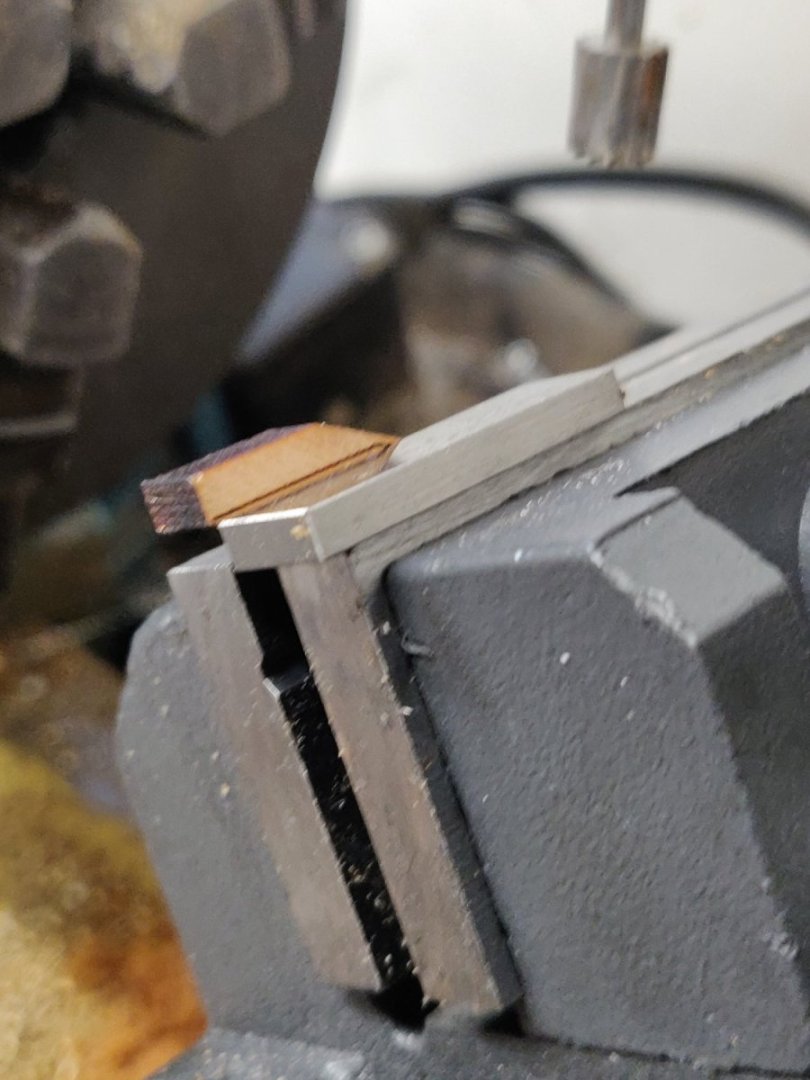
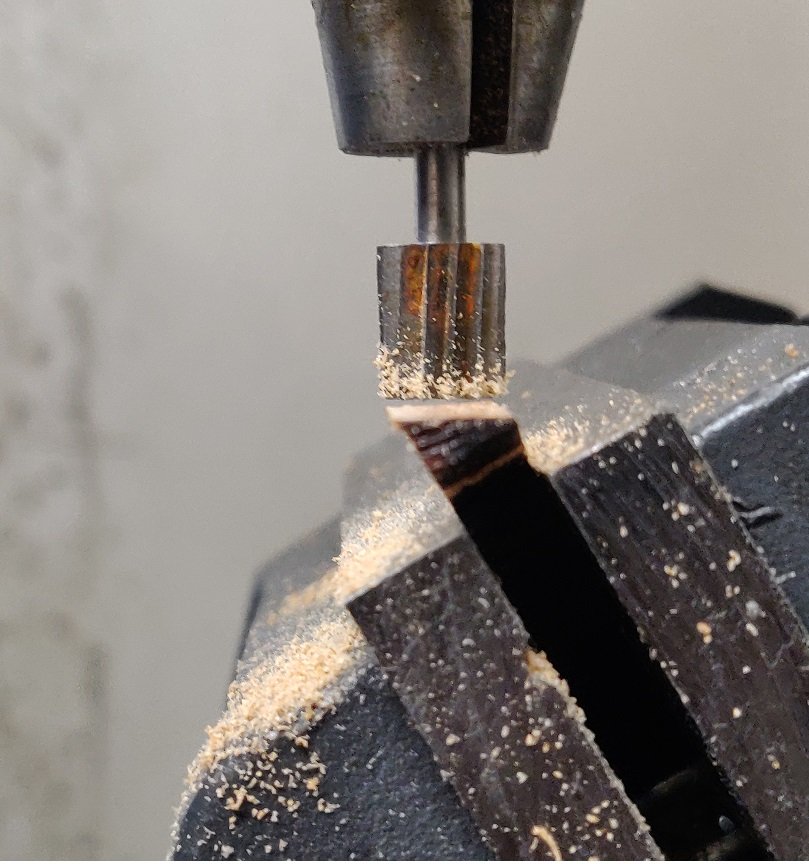
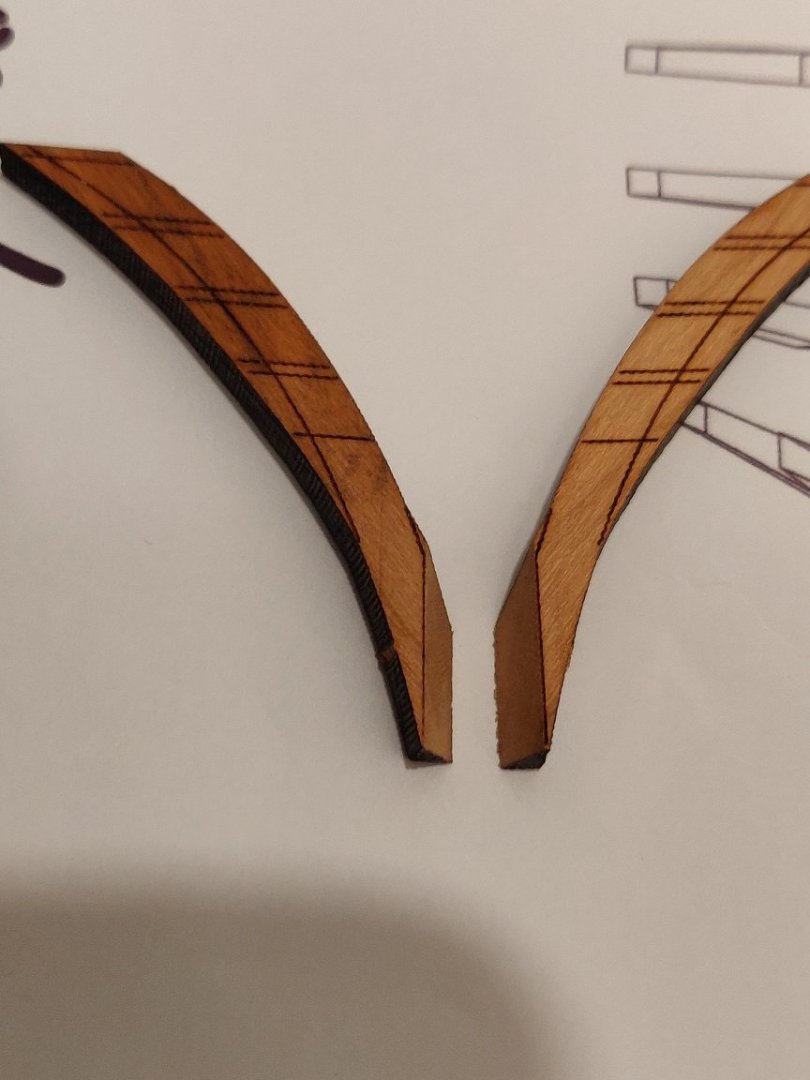
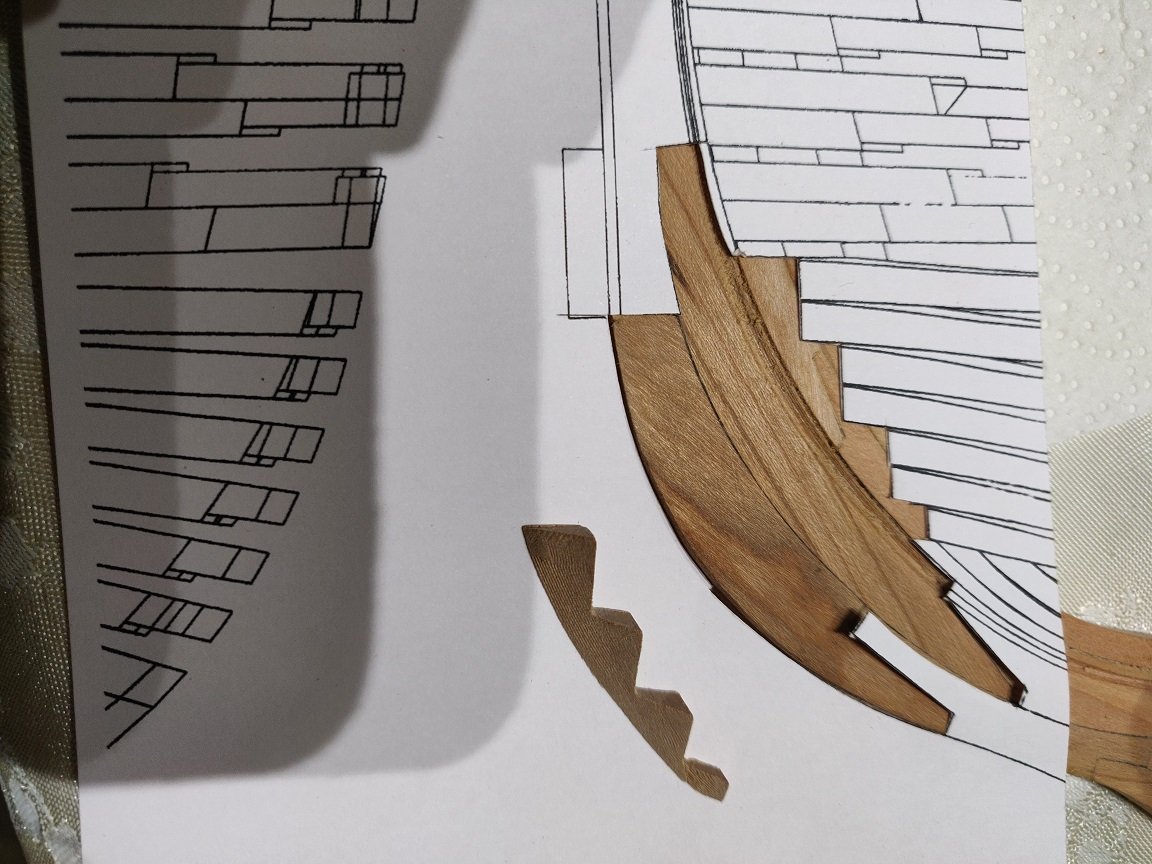
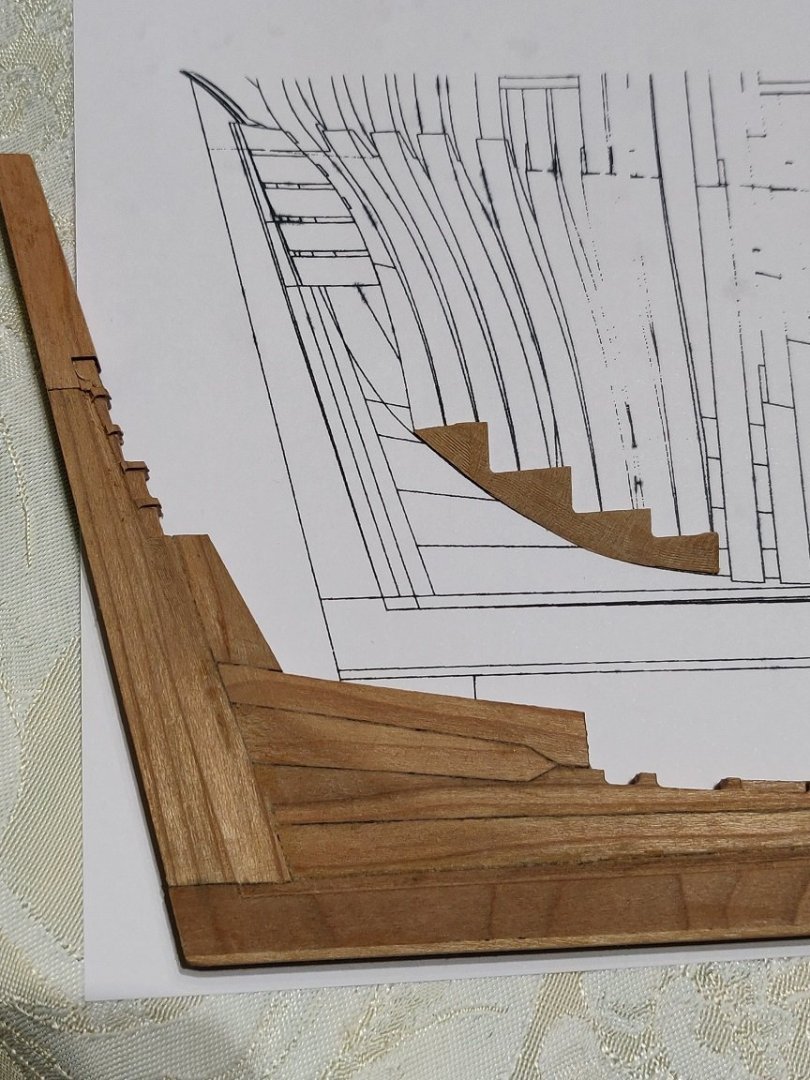
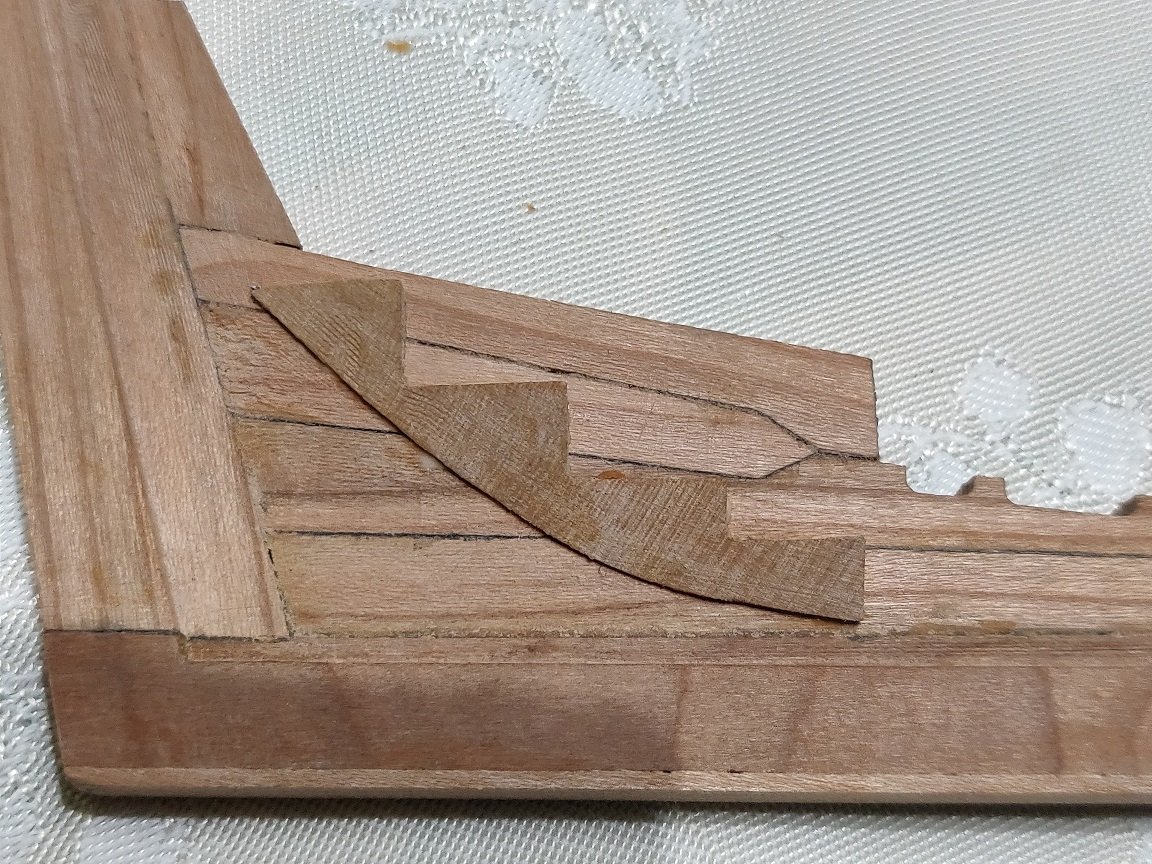
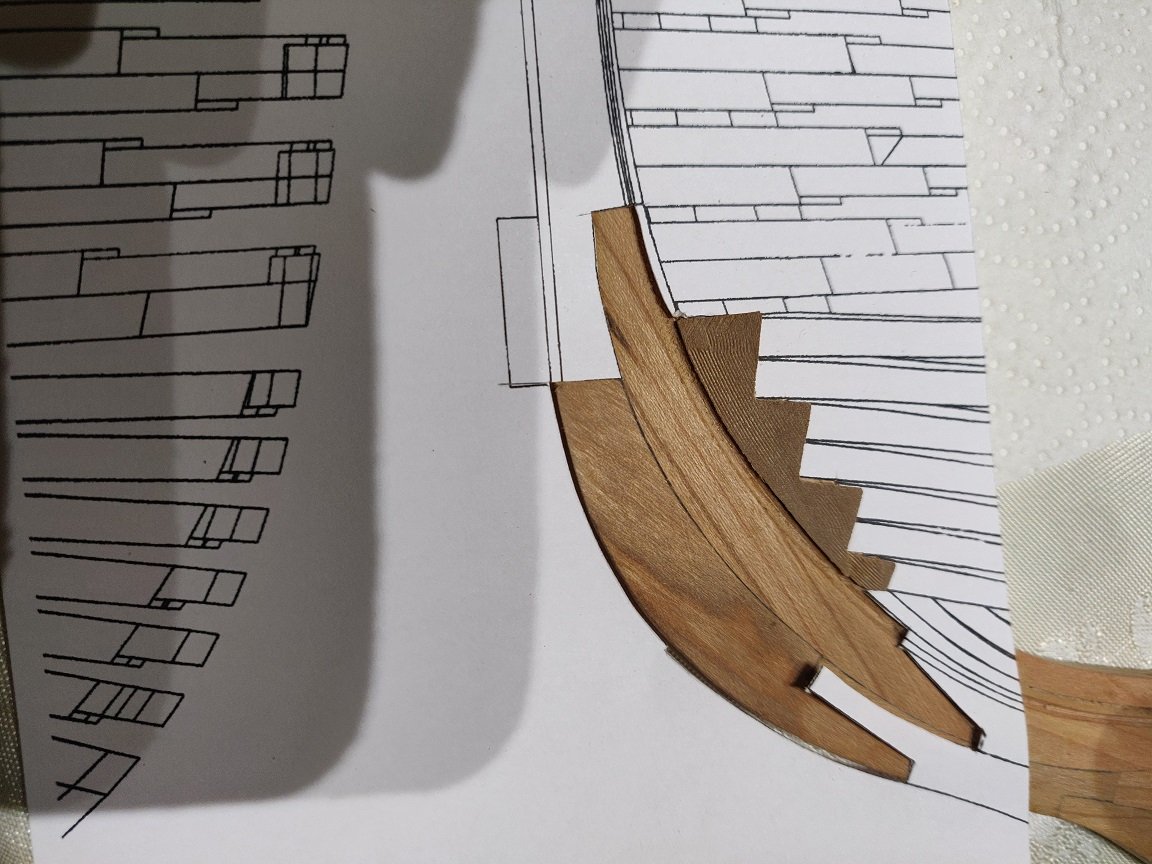
Section 20, Frames. Some of the frames sit at an angle (cant frame) and therefore angles need to be introduced, looking at the plans parts 53# they are made of 2 pieces, the lower one has the angle. Trying to sand this by hand for me, not a good idea. So I decided to use a milling head of a Lathe\mill, the angle I took off the plans was 60° I bought an angled machine vice £49 from well known online retailer, It is cast iron (I think) with a milled flat bottom, The piece was loaded and the angle was set for 30° because the mill was at 90°. I levelled the piece by eye using the laser burn line and slowly took of a small amount every pass. Used a small Dremmal type bit. The result looks good, but we will see when come to fit with the other parts. This will be good practice as other parts have 2 angles to join pieces together. One of the pics shows 40° it was cut at 30°.
-
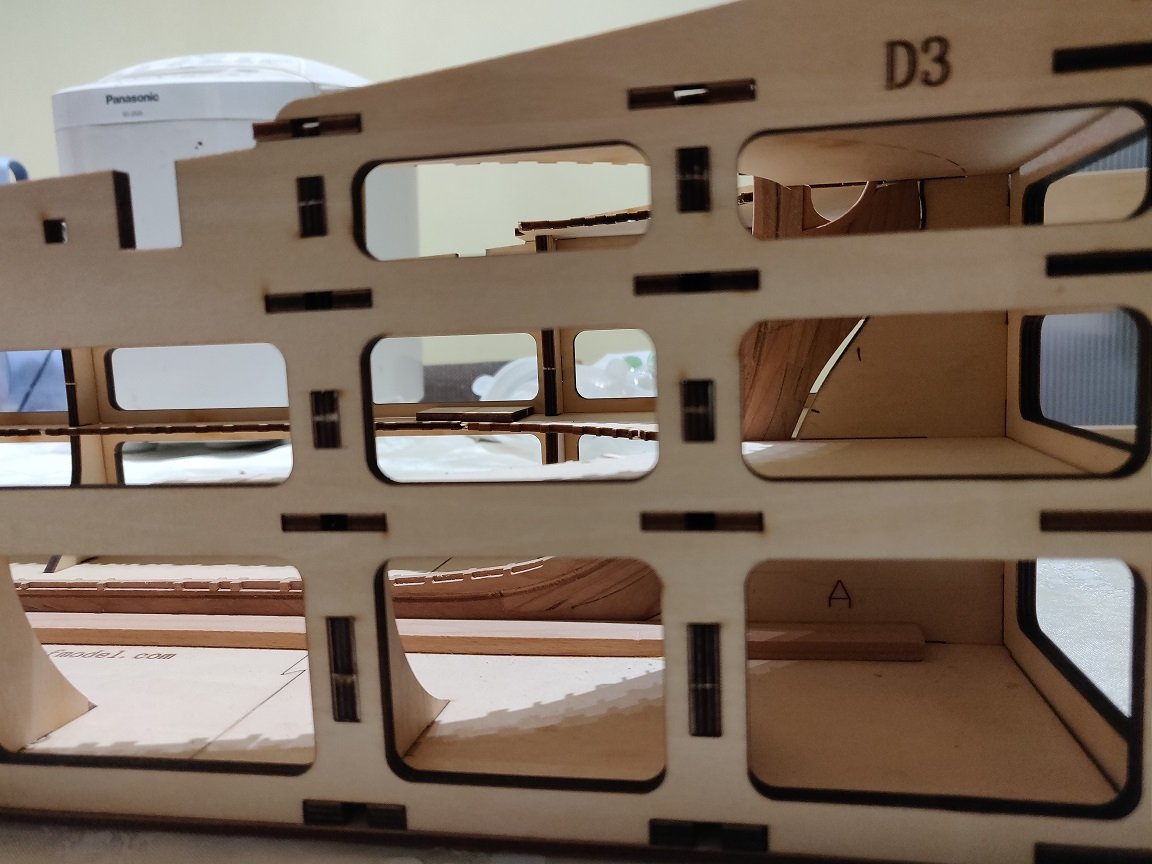
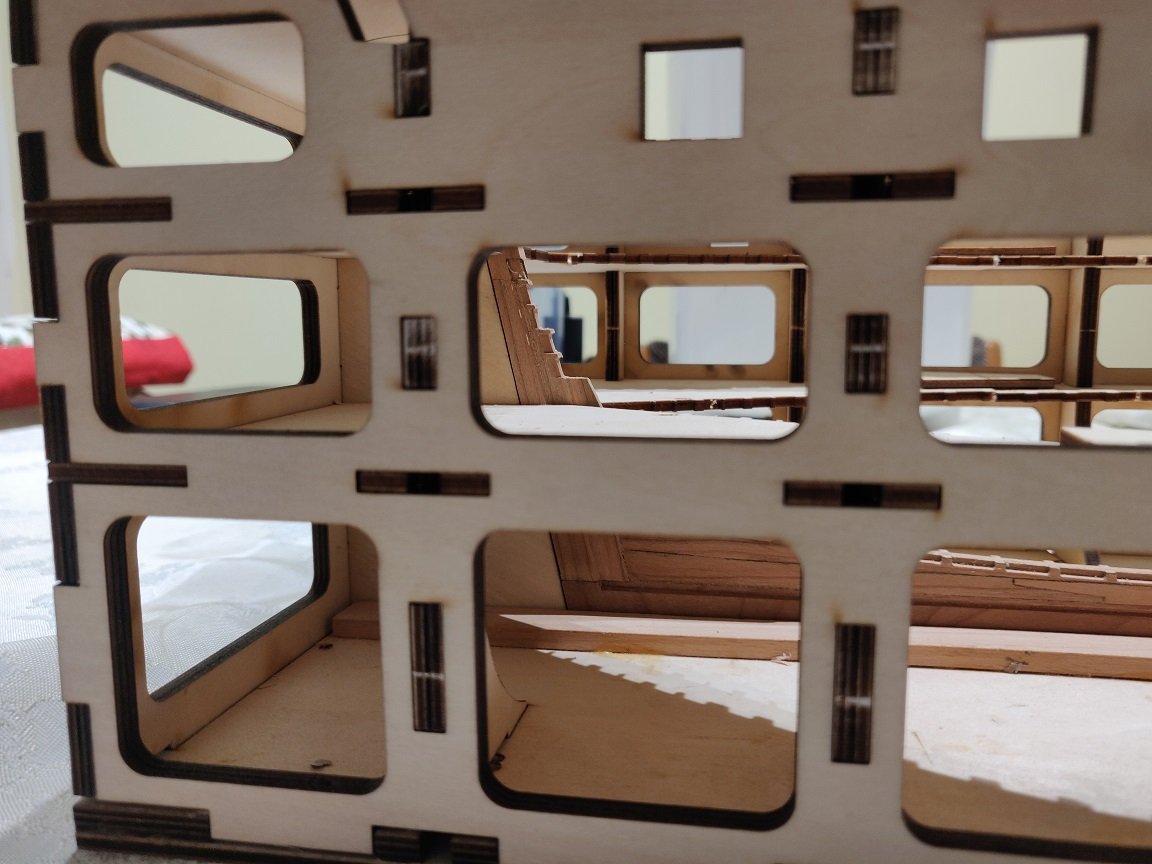
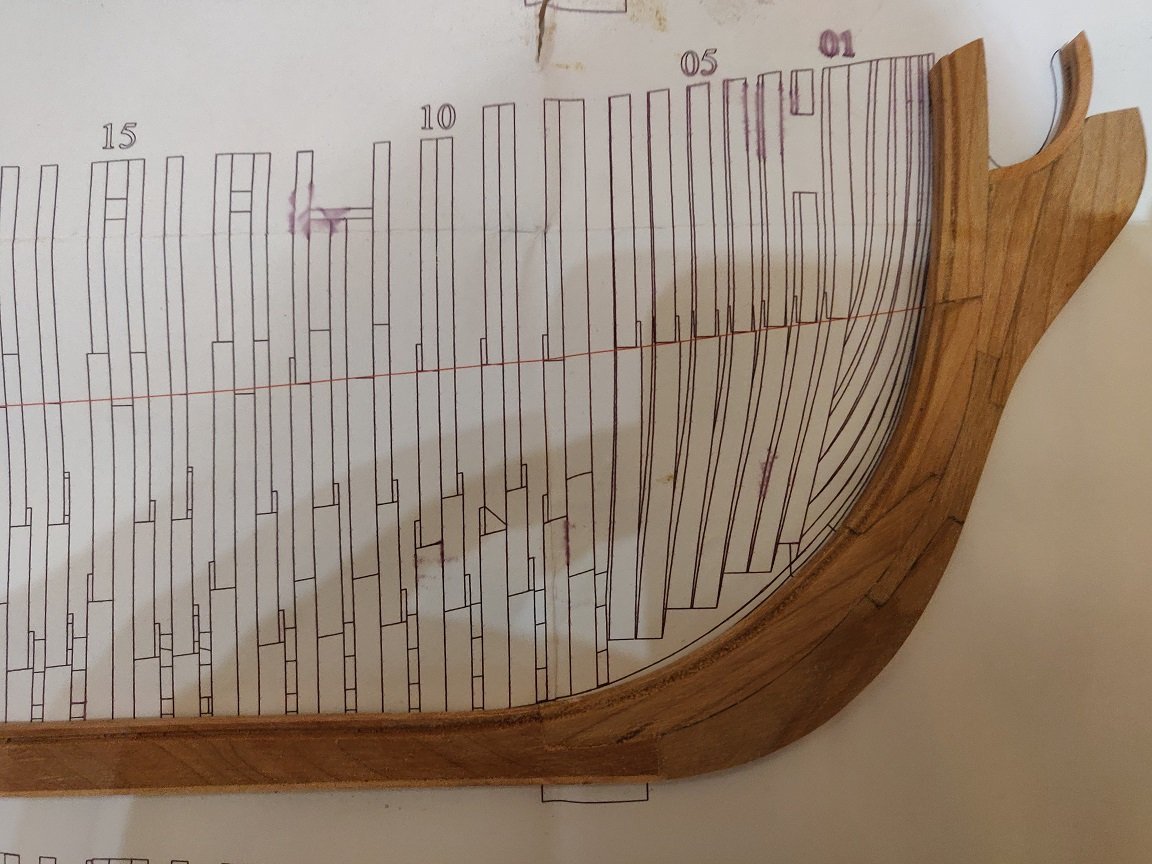
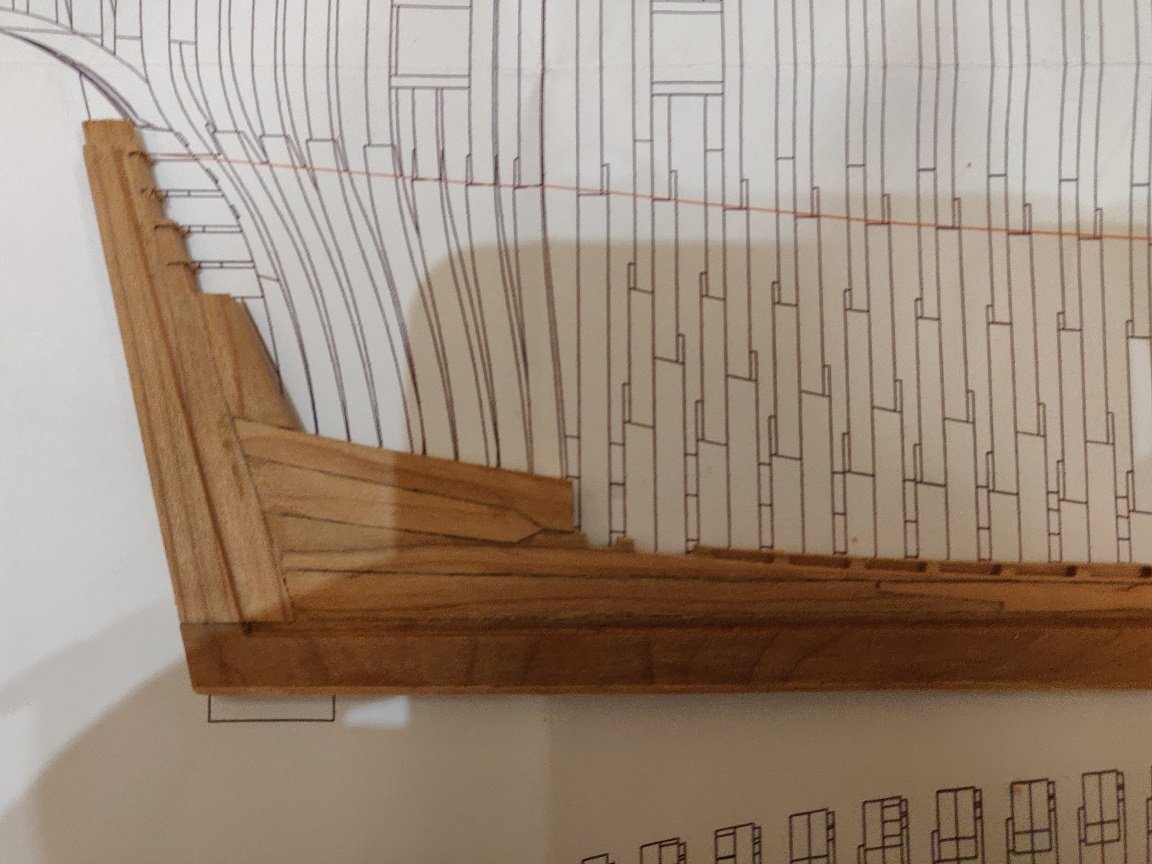
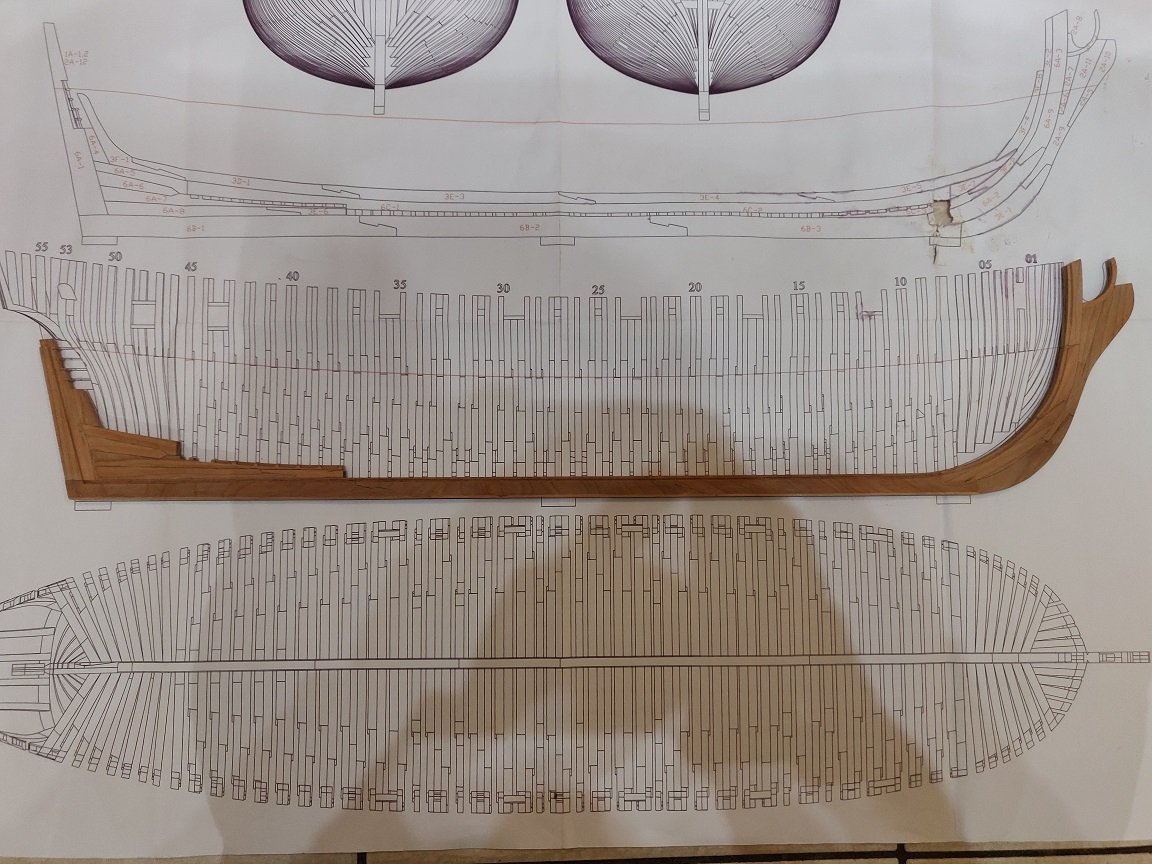
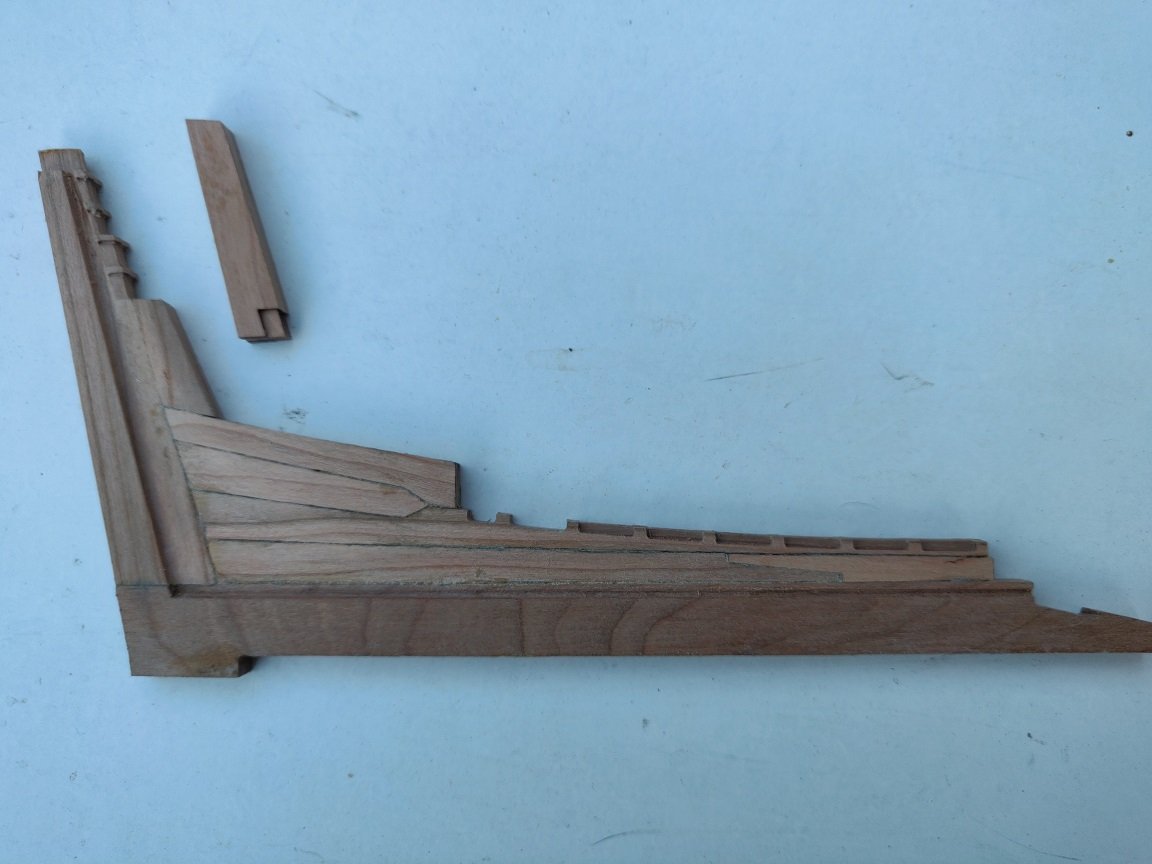
Fitting in the build rig you can see the fit for the stern is good but my mistake on the stem, not going to redo it. Fitting parts 8A-1 & 8A-2. I decided to scan the drawing in and print an area of those parts, then cut out the parts of the print giving me a mask. Place the mask on the model giving me a location for the parts. Be careful when sanding the ridges left by the milling, I broke one of the ends off but luckily managed to glue it back. It’s on the photo of the stem but after a final sanding it looks good. A thought, if this is your firs model then decide where you want the model to be but which way round (port or starboard) facing you. Always do the side that will be away from you and do the facing side second e.g.: you practice on the away side. One of my stern pieces has moved slightly I noticed after the glue has dried.
-
On a real ship there is fitted a "False Keel" this as you know is protective stip under the keel, this can be replaced if damaged rather than the keel itself, it also protected the bots that hold the parts of the keel. Sone kit manufacturer use the term false keel as the ply backbone that all the ply frames are assembled on. I wanted to show this feature and sanded asmall amount off the bottom and applied a strip. The affect is not bad. Because I sanded the locating pieces off the keel I added 2 pieces on the building bed to keep it all straight. The question of wood protection must be addressed. A lot of modellers use "Wipe On Polyurathane" WOP varnish. This is just a spirit varnish (not water) diluted with in most cases white spirit 50/50. Thats what I will use. I have noticed that when the wood is anded it goes slightly darker as oxygenation takes place. A point to note is be carefull when gluing, if to much glue is used the access gets squashed out but even if wiped off quick the wood will absorb some and the WOP will not penertrate the glue to be asorbed by the wood, it forms a barrier and looks like pale blotches.
-
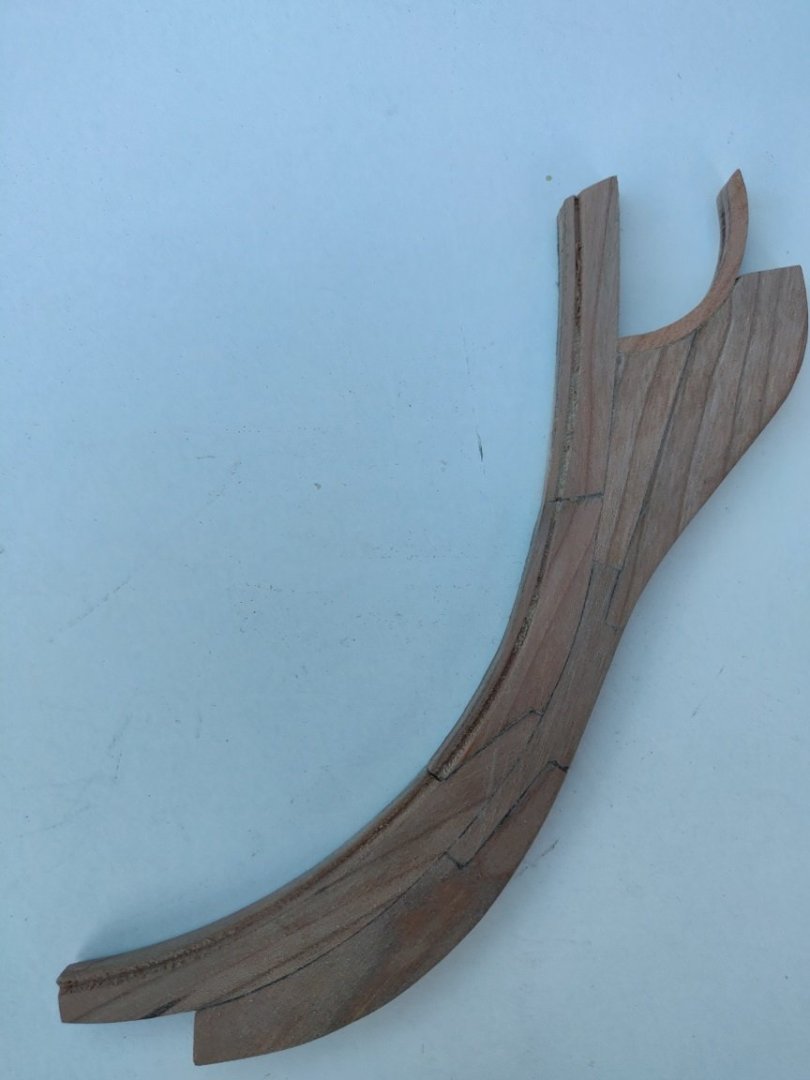
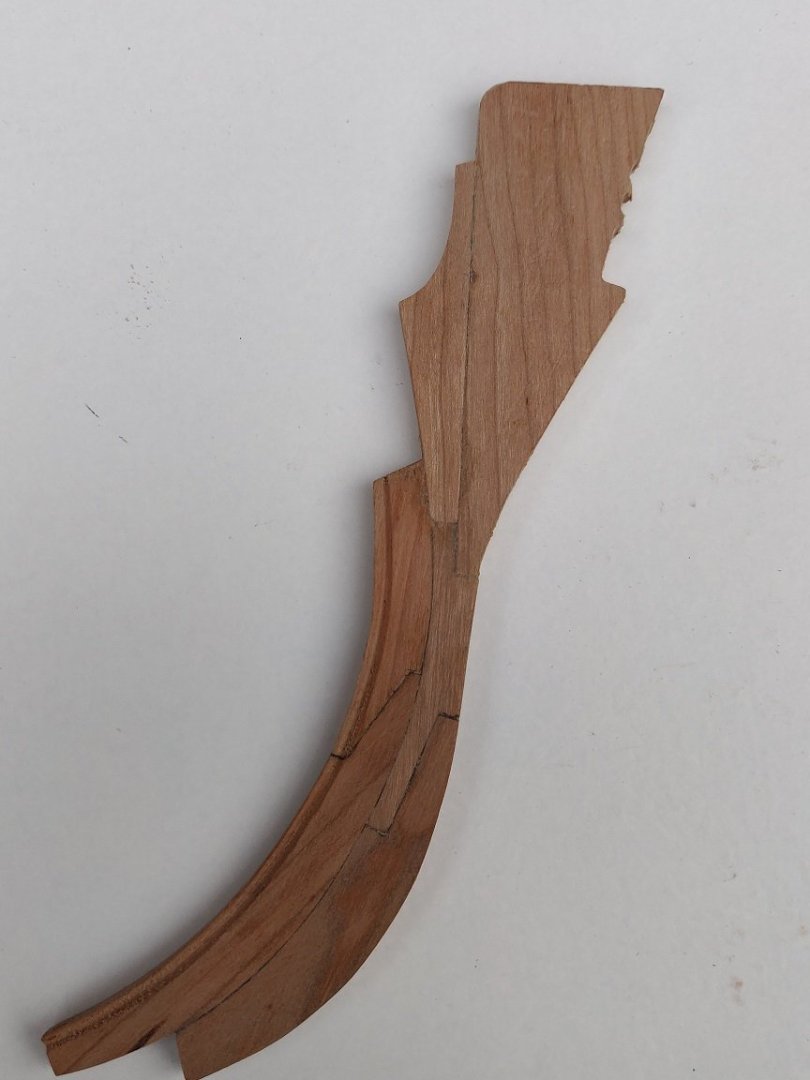
Started with the stem, The lower parts upto the split all fitted really well just a little bit of sanding needed. I am not going to do the hull in the upper and lower parts and do not like the line showing where the split will be so decided to modify. Using bits left over,. made the following, just to reshape.
-
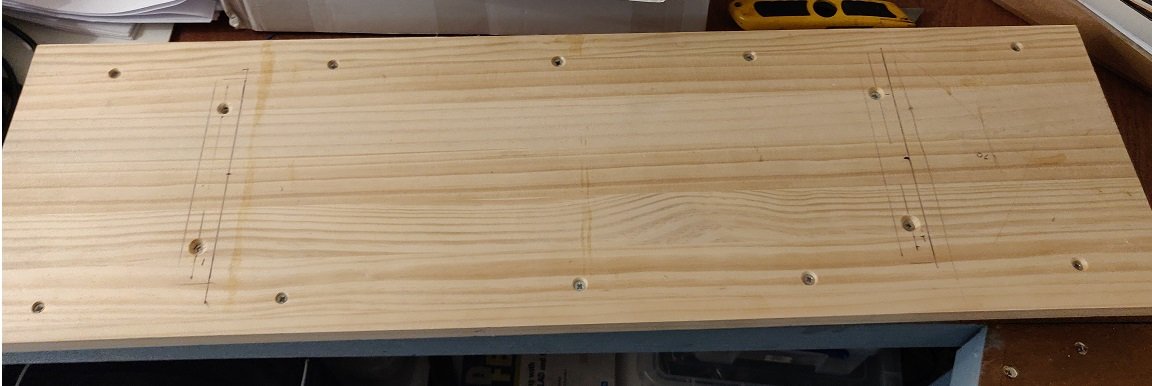
With any model the first thing is the base. I have decided to use a portable base as the model may get moved space is a little tight. Found a good board but added extra battens underneath to give extra rigidity. Started by gluing C4 C5 & C6 together then once dry added the first of the top layer C1. This C1 was slightly warped, glued it down clamped down overnight and perfect. Added C2 then C3 to give a straight completed base. The Keel In the instructions there is a hint in pictures of a false keel yet construction within the building frame has no direct reference to a false keel. So once the keel, stem & stern post are complete may introduce a false keel unless I find reference to it in box 2 or 3 which have now arrived
-
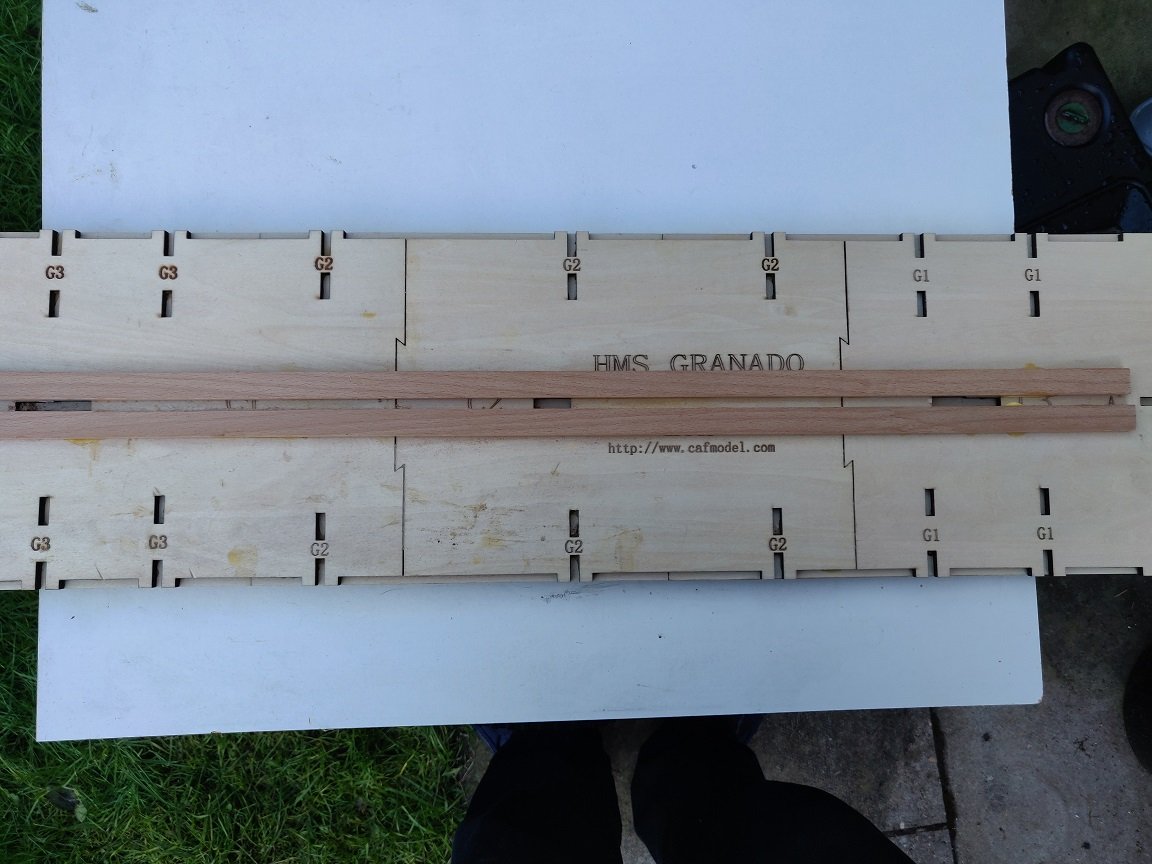
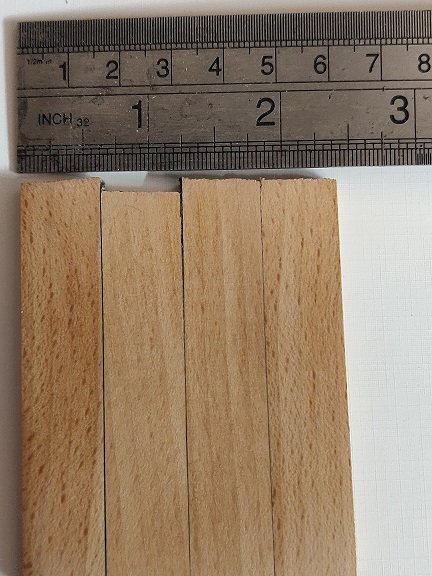
The subject of caulking has also had many discussions but I show my test piece. On the right is H6 pencil rubbed on the edge with ordinary glue (Titebond II) used, next black Crape paper, then black paper about 0.1 mm this would give a caulking of 4.8 mm or just under 1/4" for non decks I think this is fine a hint of caulking but not over powering. For decks I think a bit thicker (may go over to HMS Victory and measure there deck caulking) unless any body knows already. Each plank Beech is 15mm or just under 5/8" Can not decide if to give the impression of taring between the pieces of the stem post & stern post as I have seen models with included or not included. Any thought anybody
-
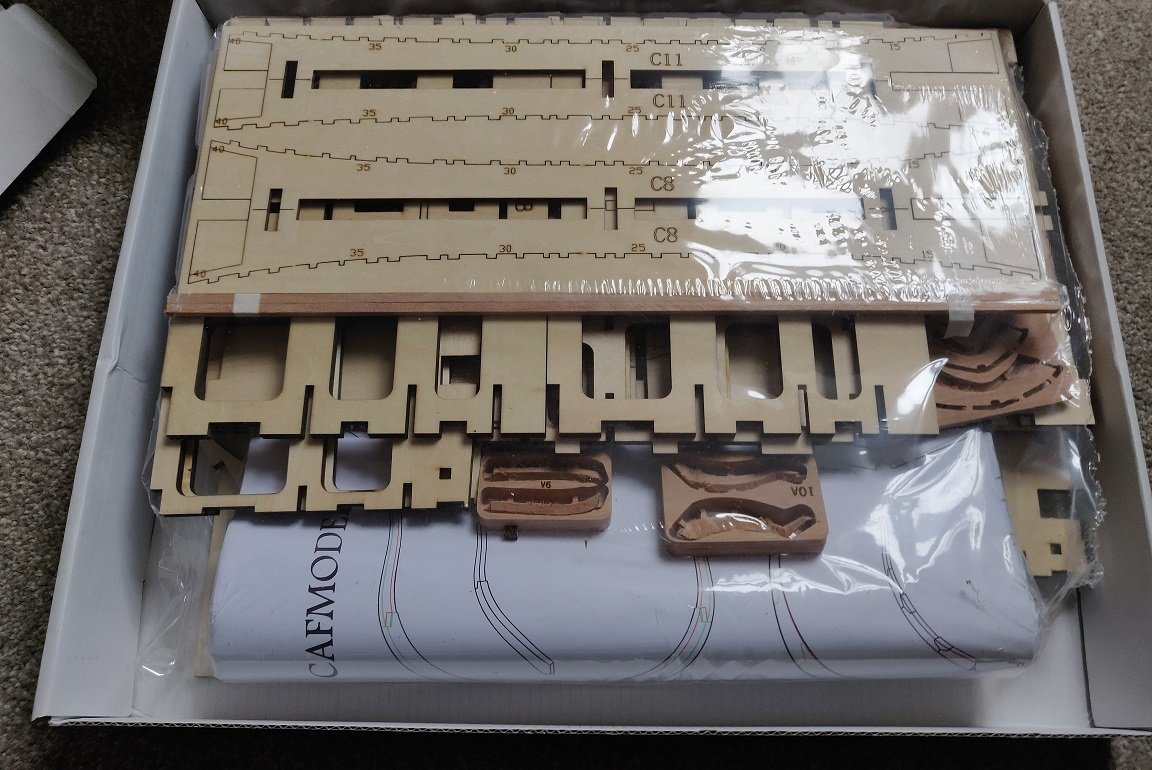
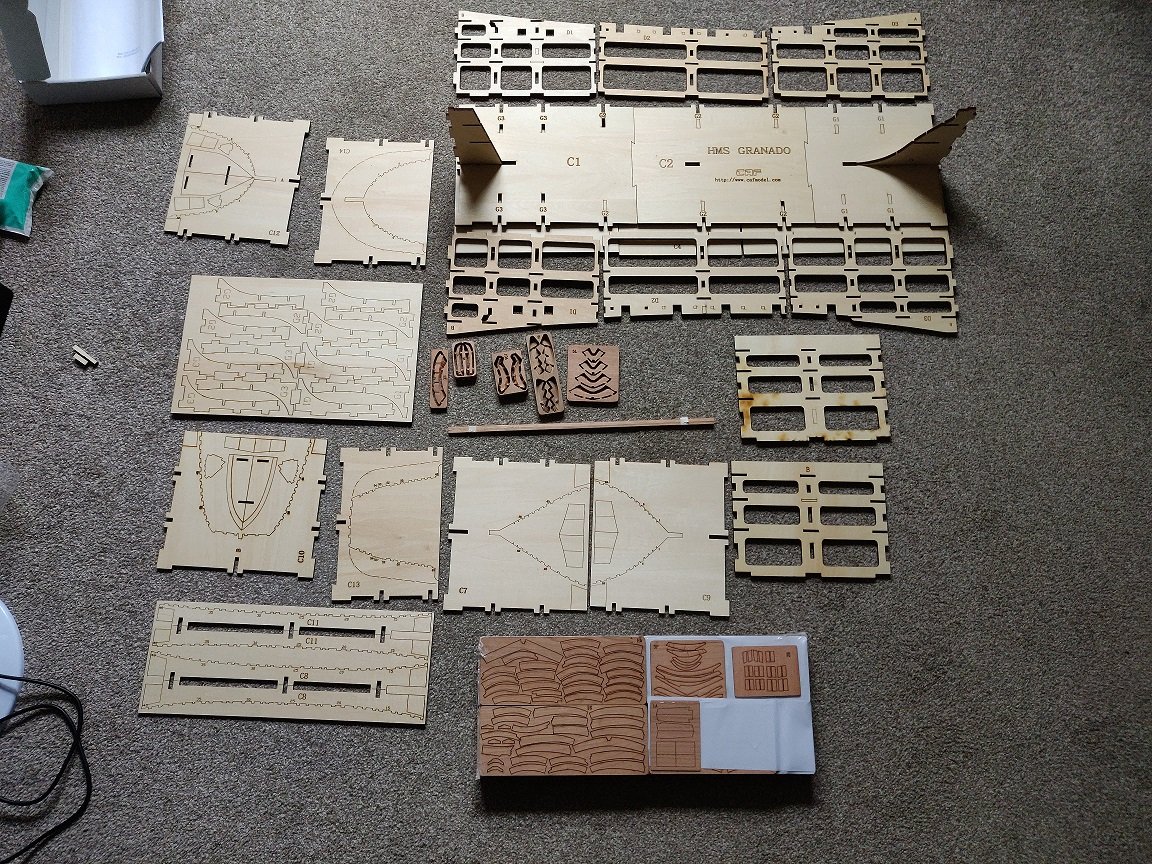
At last time to get started. HMS Granado full kit by CAF. There has been much discussion about kits and cost etc and yes in the UK, total is over £1000.00 but looking at all the parts supplied and remember all of the work gone in to produce the kit then in my opinion it’s worth it. Box 1 arrived in a week, that's good, no damage. Wood looks good with a slight variated in colour remember this is a natural product and will have colour variations. The instructions are in pictograph form with the odd text and quite understandable (it is helpful if you understand ship terms and building. Anatomy of Ships, Model shipwright, SeaWatch books SOS plus others are a good source of information & knowledge. There is a good video series on the HMS Thorn from the Swann practicum model built by K Kenny, a 1/48 scratch built model. 1/48 is the scale used for the old Navy board models in the UK with ships built with metric (France, Spain, Sweden etc) were 1/50. So CAF use 1/48 for the kit, this means a good level of detail can be achieved even by beginners like me.
-
Mozartman changed their profile photo
-
It is a shame that you feel that way, I am myself doing the CAF HMS Granado and on section 20 where the stem, Keel, Stern are now in the jig ready for the frames. And you may be surprised that this is my firs model as well. I have been wanting to do one for nearly 40 years and just getting round to it. I have looked at all the modellers’ sites MSW & SOS and seen every body’s posts. The tools I have bought in the last few weeks (don’t tell the wife) but the one thing I have learnt is patience, look at a section in the manual do not move on until you are sure of what to do. Remember that at the back of the manual is shows where every part is before cutting them out. I am on section 20, pieces 5K 5L-1 to 5L-4 require sanding it is 53# that are a challenge. Get the art of these and you will crack it. Angles need to be sanded, do not try to do this by hand unless you are an expert. Both pieces must be sanded at the same angle to give a good joint, I going to use a angled machine vice give me the angle. It does not matter if the angle is say 40 or 41 or 42 degrees for example as both parts have to be the same. I will the use a milling head (a drill stand will do) and slowly cut the parts away using a small milling bit or router bit Dremmal type to give a joint. Before I do it, I will take some scrap and see if it works and try again until I get it right. This is the fun part, finding a solution. The vice arrives hopefully tomorrow, I will take pictures of how I do it, in fact I will post all the build for all to see. Don’t give up, it will get better.
-

Its about time I built that model
Mozartman replied to Mozartman's topic in New member Introductions
Will wait and sea -
Since the age of 16 I have all ways loved ship models, I used to go down to London to the Science Museum or to the Nation Maritime Museum and gaze at the model with longing to do one myself. But now at the age of 59 there is no excuse on this earth as to why I have not done so. So here we go. I totally agree with all that say start small, single deck, 1 mast or 2 at push with a simple syle of stern or bow. but I will add that I think also what is needed is reading lots, watch online videos, learn the language used by shipwrights. There are books published by Conway Marine Press or Seawatch Books on ship models, building, techniques, specific models, scratch building etc. Model shipwright a quarterly journal then annually (now seems finished) are high on the list. The NRG or MSW are a must for anybody thinking of starting, build logs or videos like K Kenny on vimeo.com inspire as to what can be done. So many will ask why have I not done so. I have the books, watched the videos, well now we start. The project is going to be Caldercrafts HMS Snake (yes i have just broken the 1 or 2 mast suggestion) I am not going to do the kit as out of the box but improvements like replacing the stem with a built up stem rather than the whole one piece stem. M Benten did Caldercrafts HMS Diana with improvements that increase the model so much. (there used to be an online version of his efforts but has sadly disappeared online though I do have all the website saved offline so i can see how he did it. contact me if anybody wants to see it) Wood now is a problem, model shops here in the UK are closing as the younger generation play on computers (I do to) and the woods you used to buy are less and less. English box rare though logs can be found, (just bought 4, dried for over 6 years) Lime (that’s not Basswood) Pear, Apple, Holly are all the best woods to use in my opinion and therefore shall be used in my hopefully improvements with a few others. Not sure if to fully paint the model or use different woods as some modellers do with perfection. A log will be created so you can all see how good or bad a job i doo.
About us
Modelshipworld - Advancing Ship Modeling through Research
SSL Secured
Your security is important for us so this Website is SSL-Secured
NRG Mailing Address
Nautical Research Guild
237 South Lincoln Street
Westmont IL, 60559-1917
Model Ship World ® and the MSW logo are Registered Trademarks, and belong to the Nautical Research Guild (United States Patent and Trademark Office: No. 6,929,264 & No. 6,929,274, registered Dec. 20, 2022)
Helpful Links
About the NRG
If you enjoy building ship models that are historically accurate as well as beautiful, then The Nautical Research Guild (NRG) is just right for you.
The Guild is a non-profit educational organization whose mission is to “Advance Ship Modeling Through Research”. We provide support to our members in their efforts to raise the quality of their model ships.
The Nautical Research Guild has published our world-renowned quarterly magazine, The Nautical Research Journal, since 1955. The pages of the Journal are full of articles by accomplished ship modelers who show you how they create those exquisite details on their models, and by maritime historians who show you the correct details to build. The Journal is available in both print and digital editions. Go to the NRG web site (www.thenrg.org) to download a complimentary digital copy of the Journal. The NRG also publishes plan sets, books and compilations of back issues of the Journal and the former Ships in Scale and Model Ship Builder magazines.


