REXY
-
Posts
43 -
Joined
-
Last visited
Content Type
Profiles
Forums
Gallery
Events
Everything posted by REXY
-
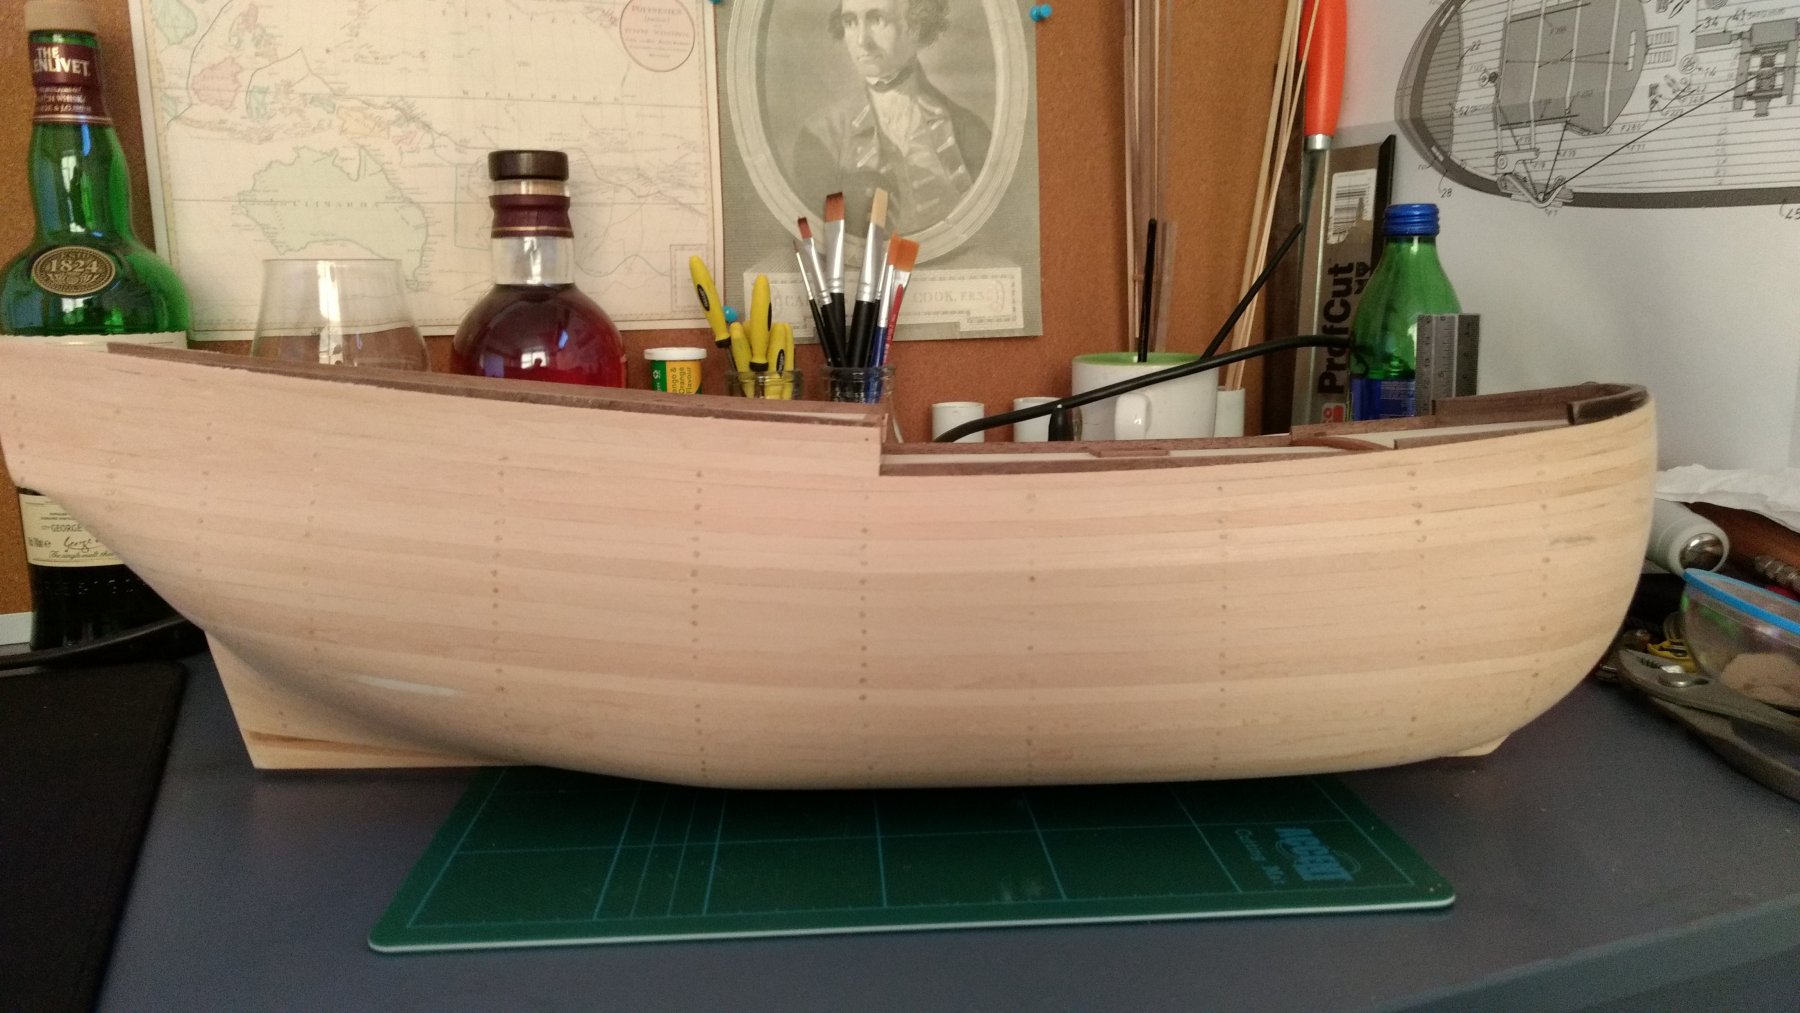
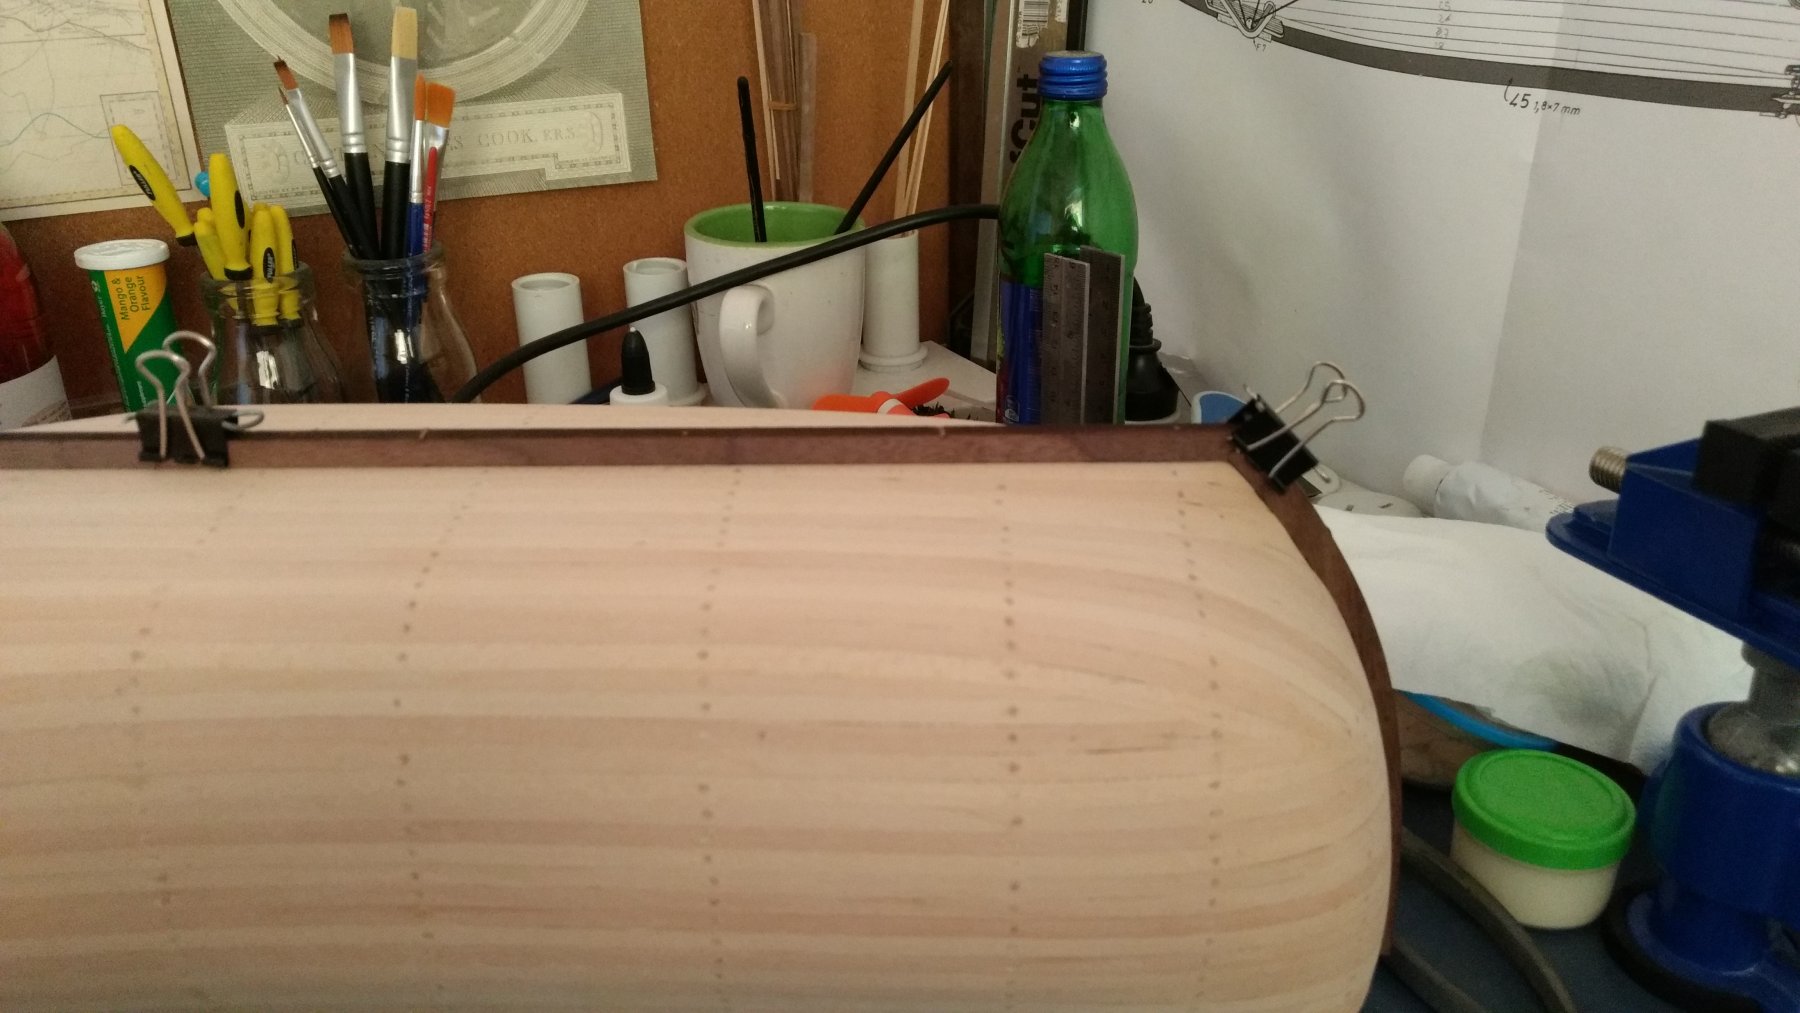
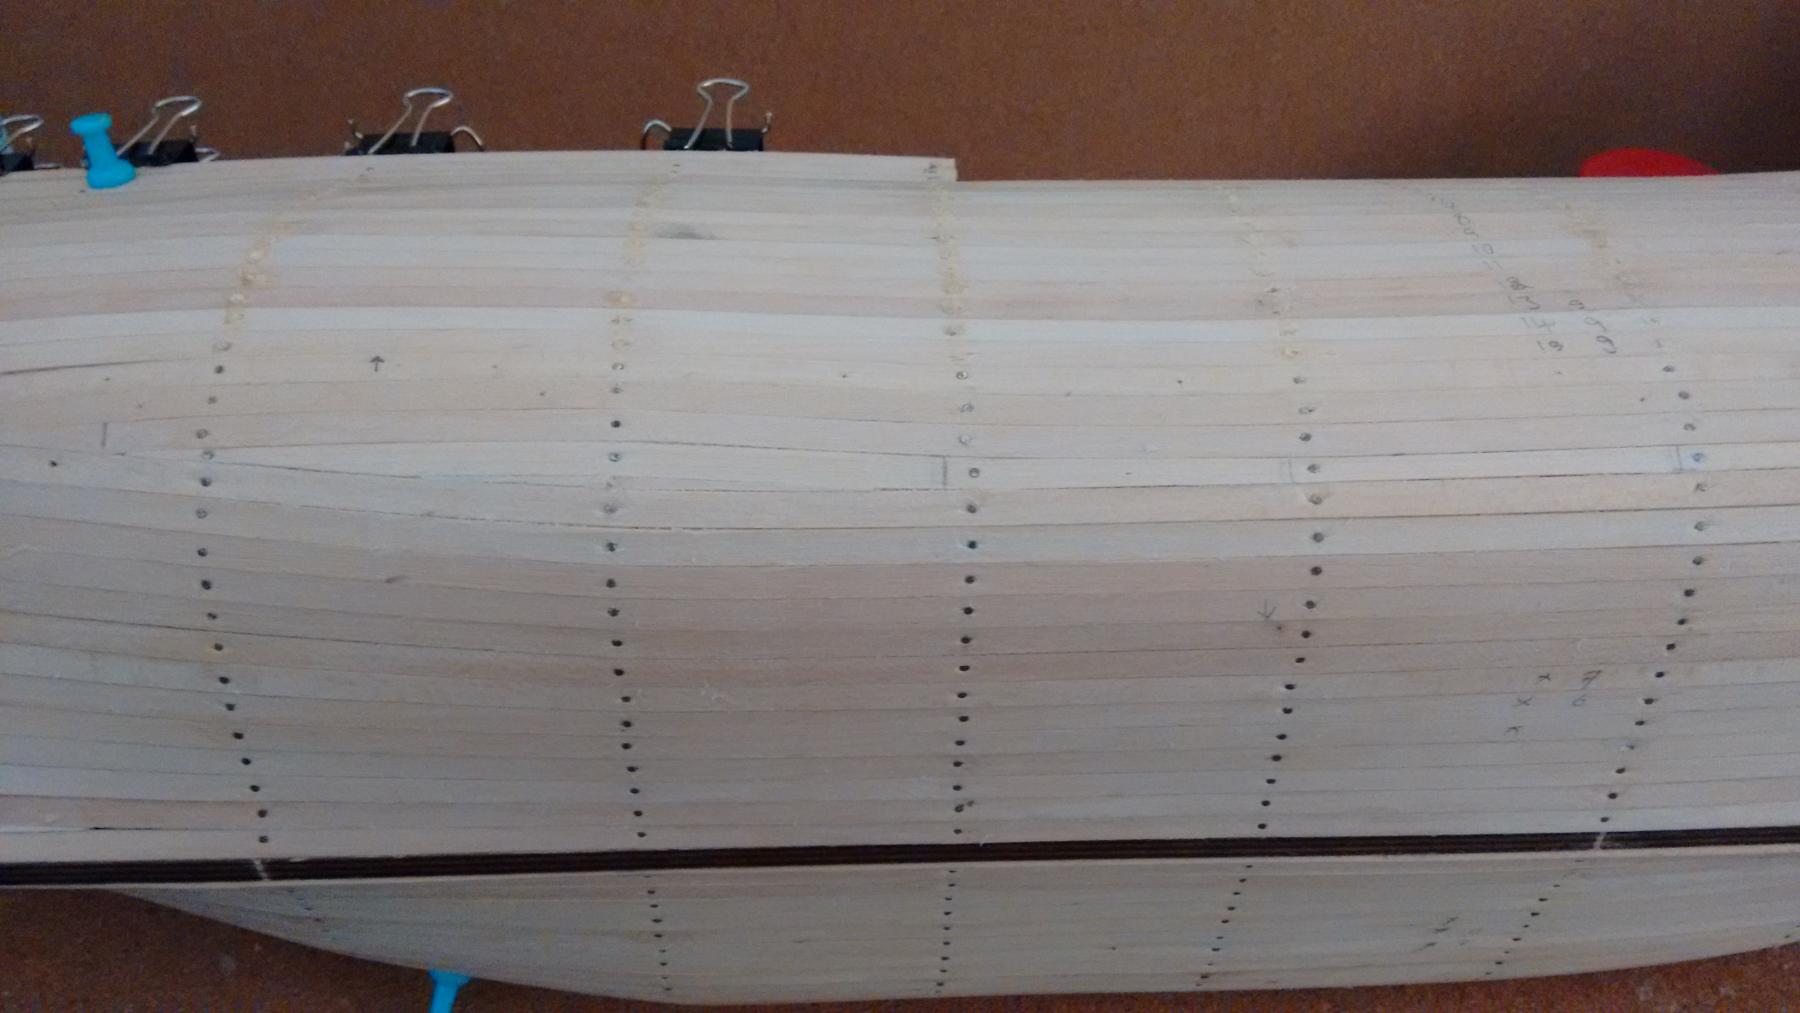
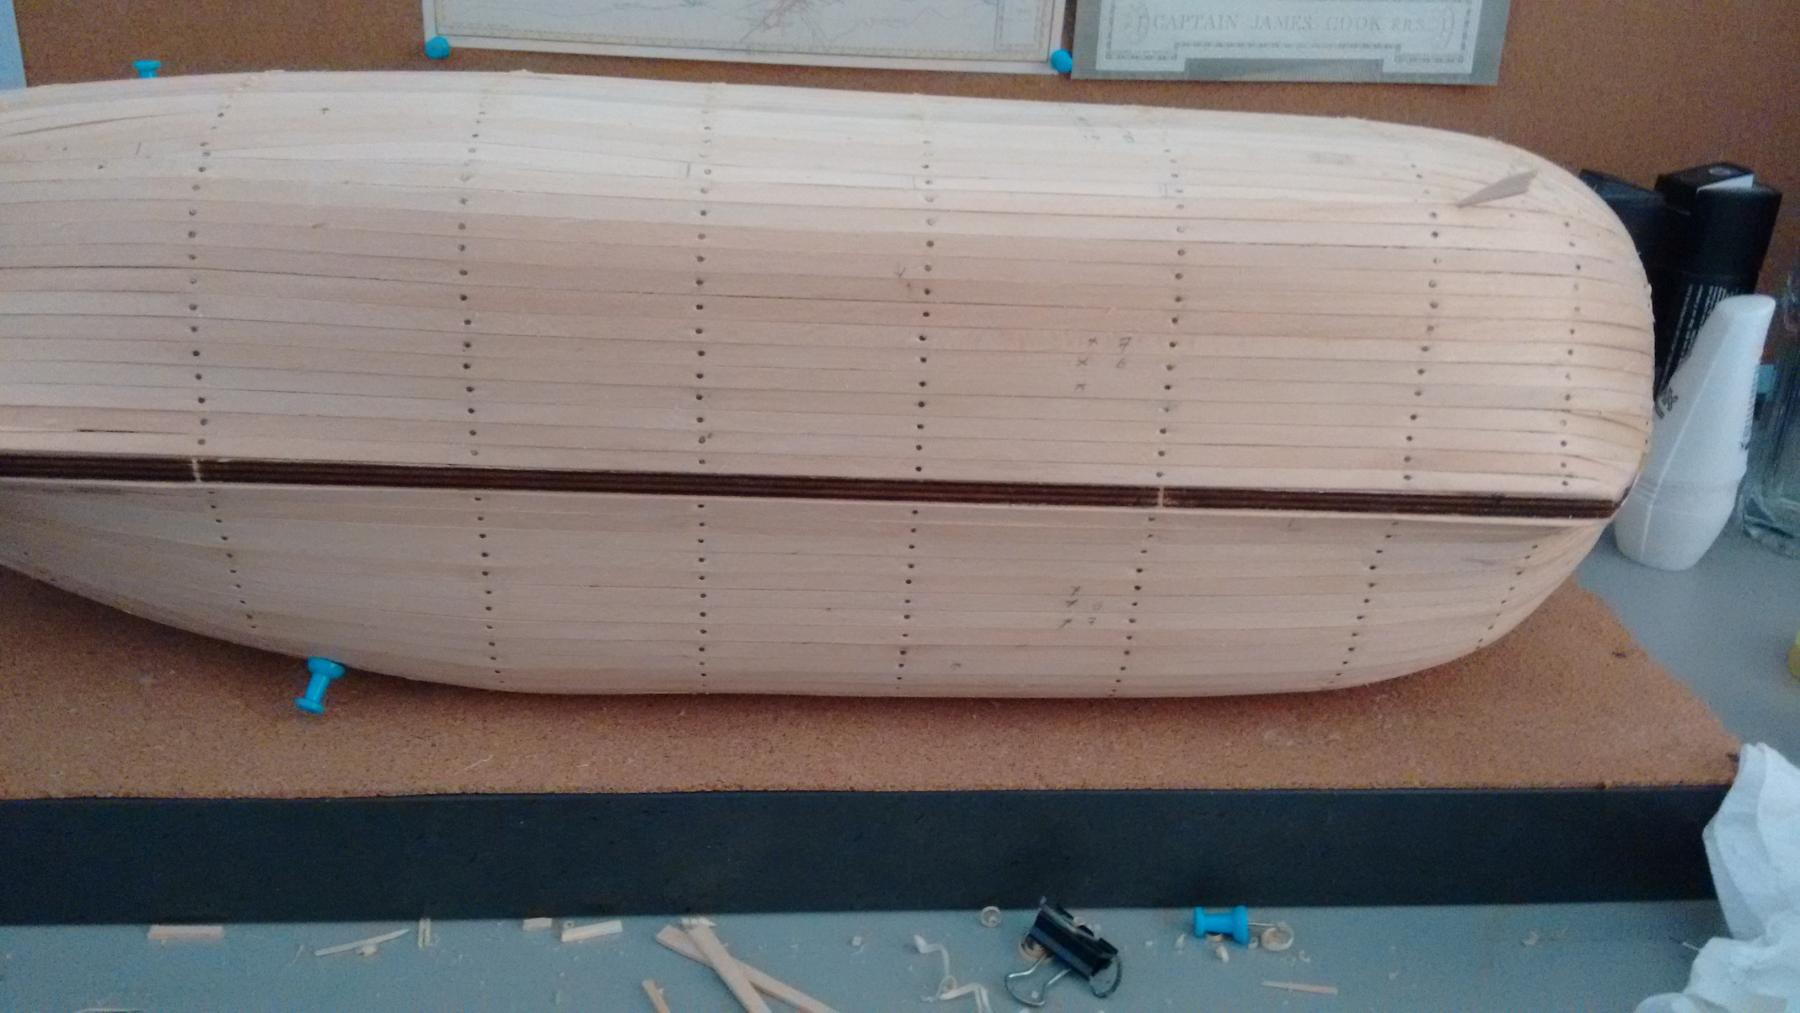
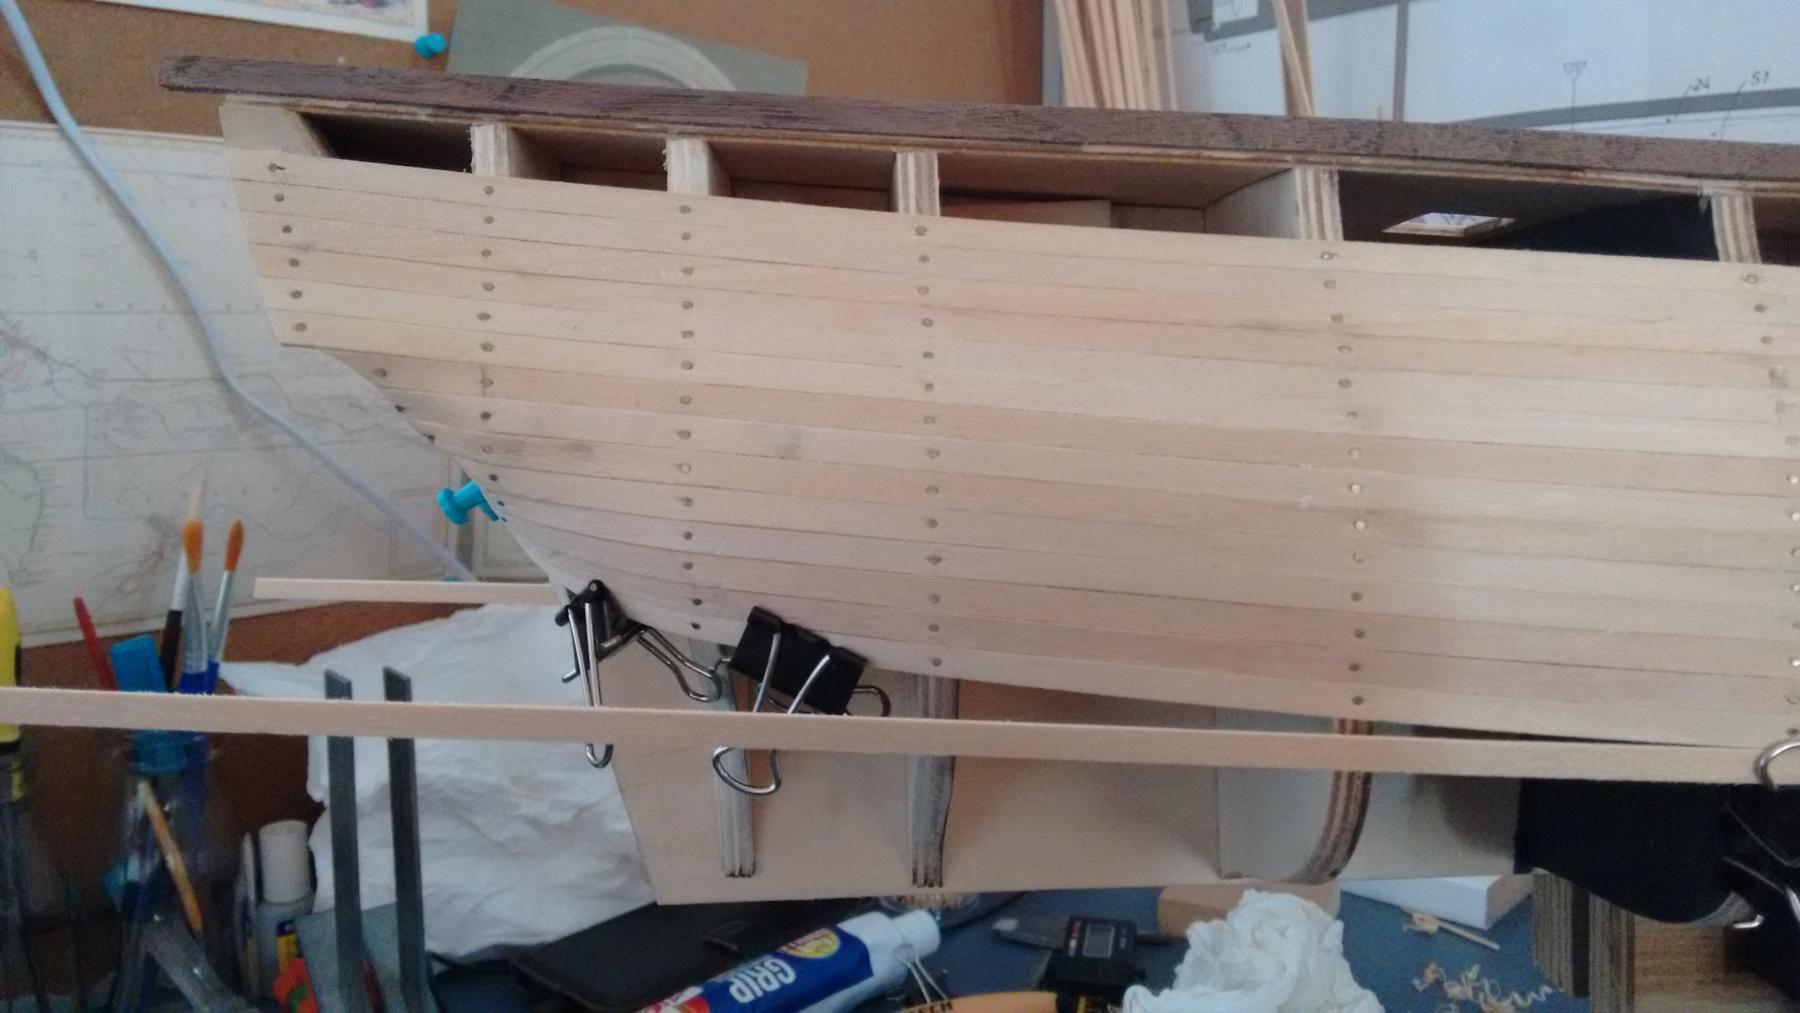
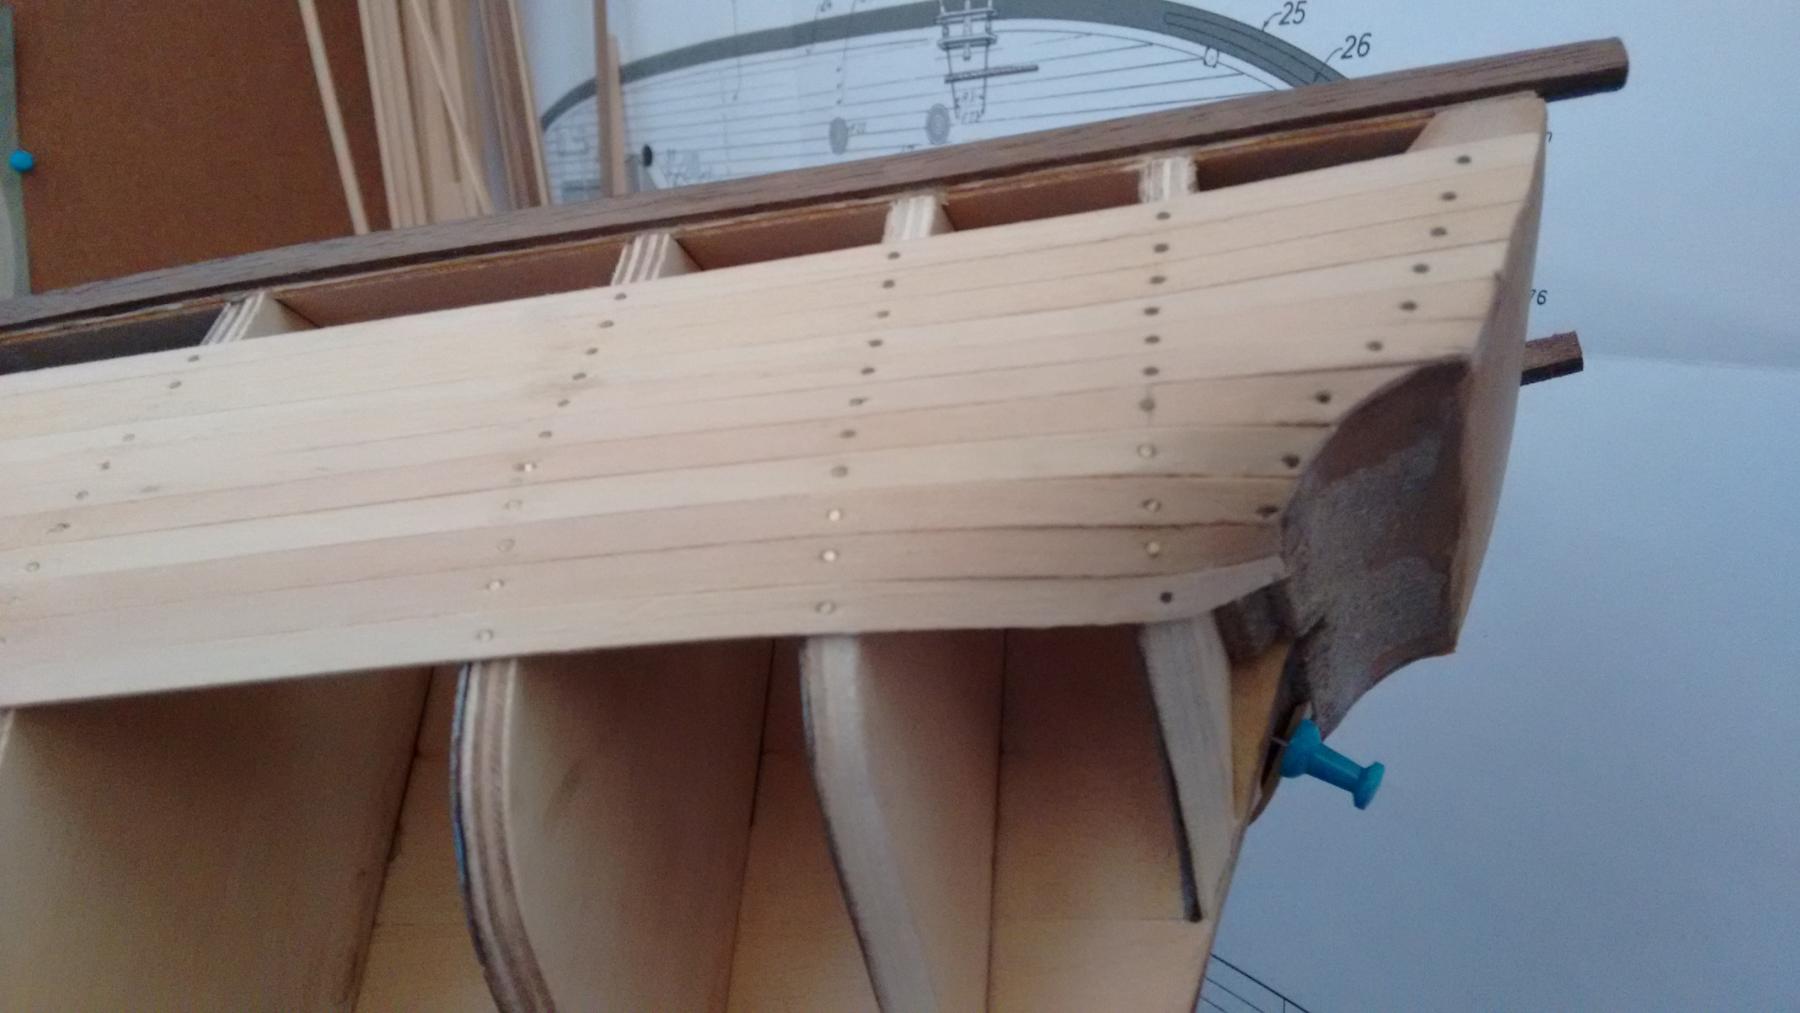
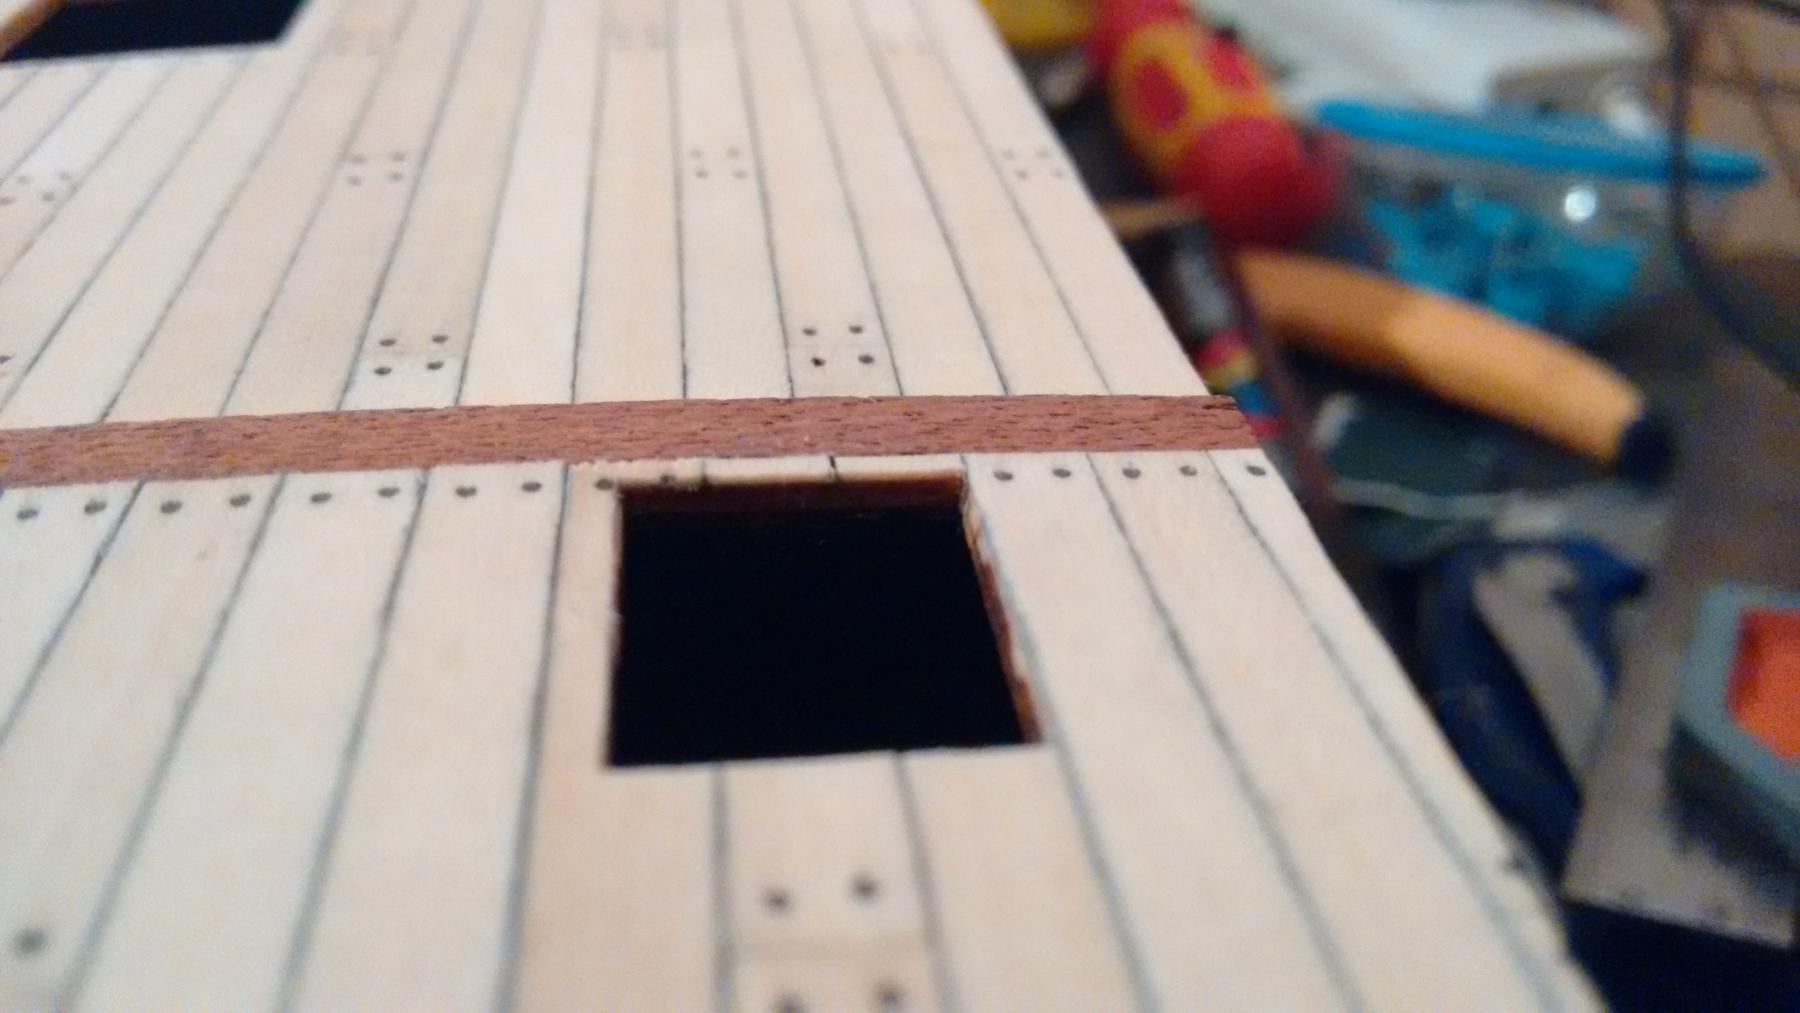
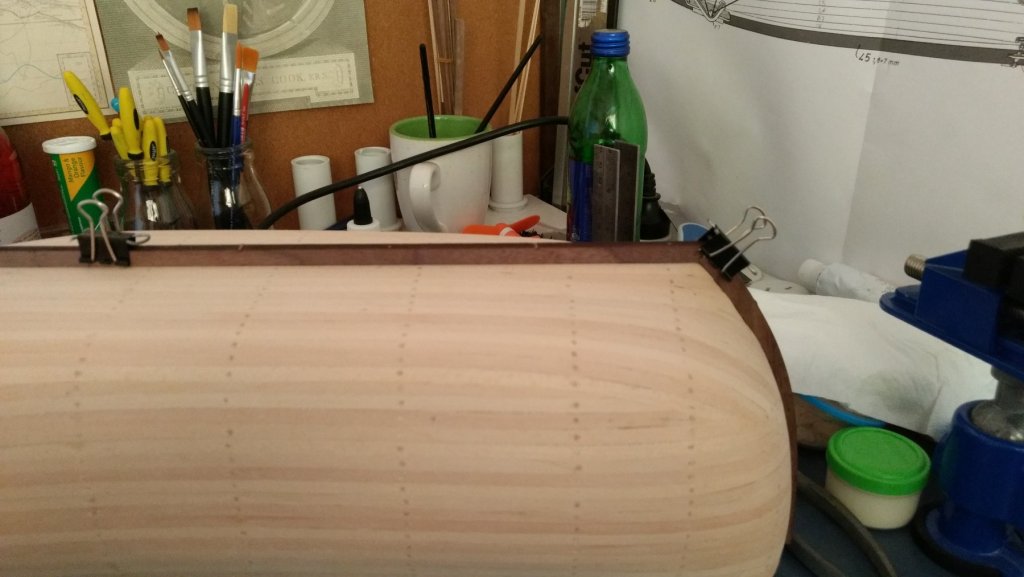
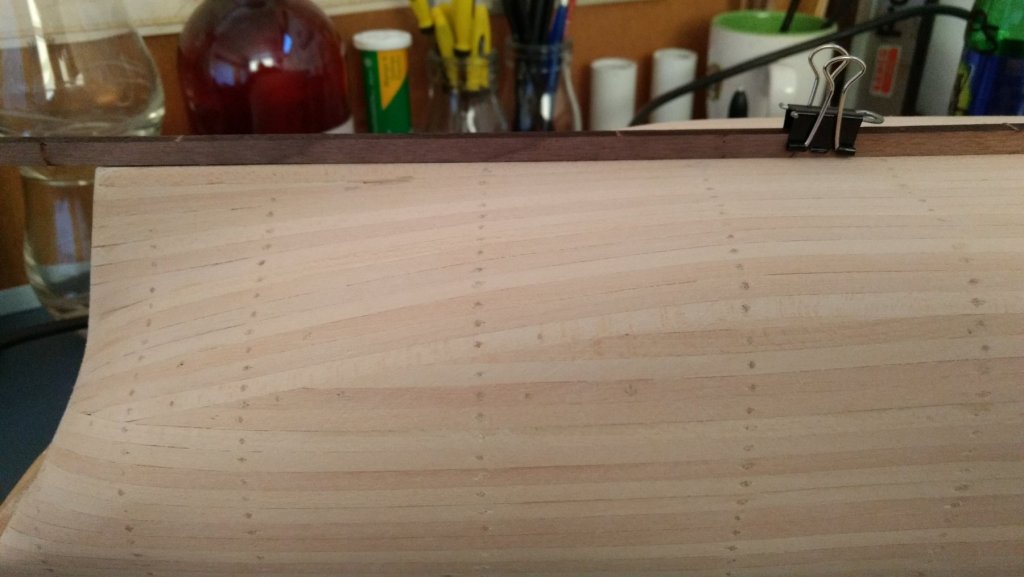
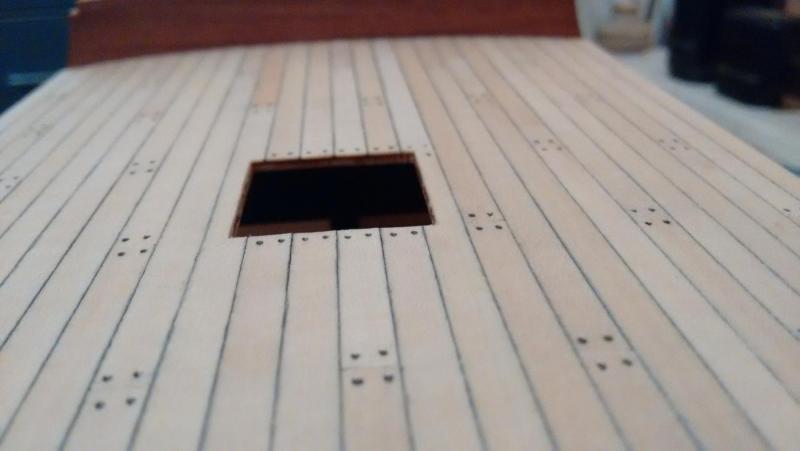
 The lines you can see are were i have excess silver marker on the edges of boards for the caulking effect but will go away when i sand the hull and any small gaps i plan on filling with some walnut filler to match the second layer. Cheers REXY.
 -
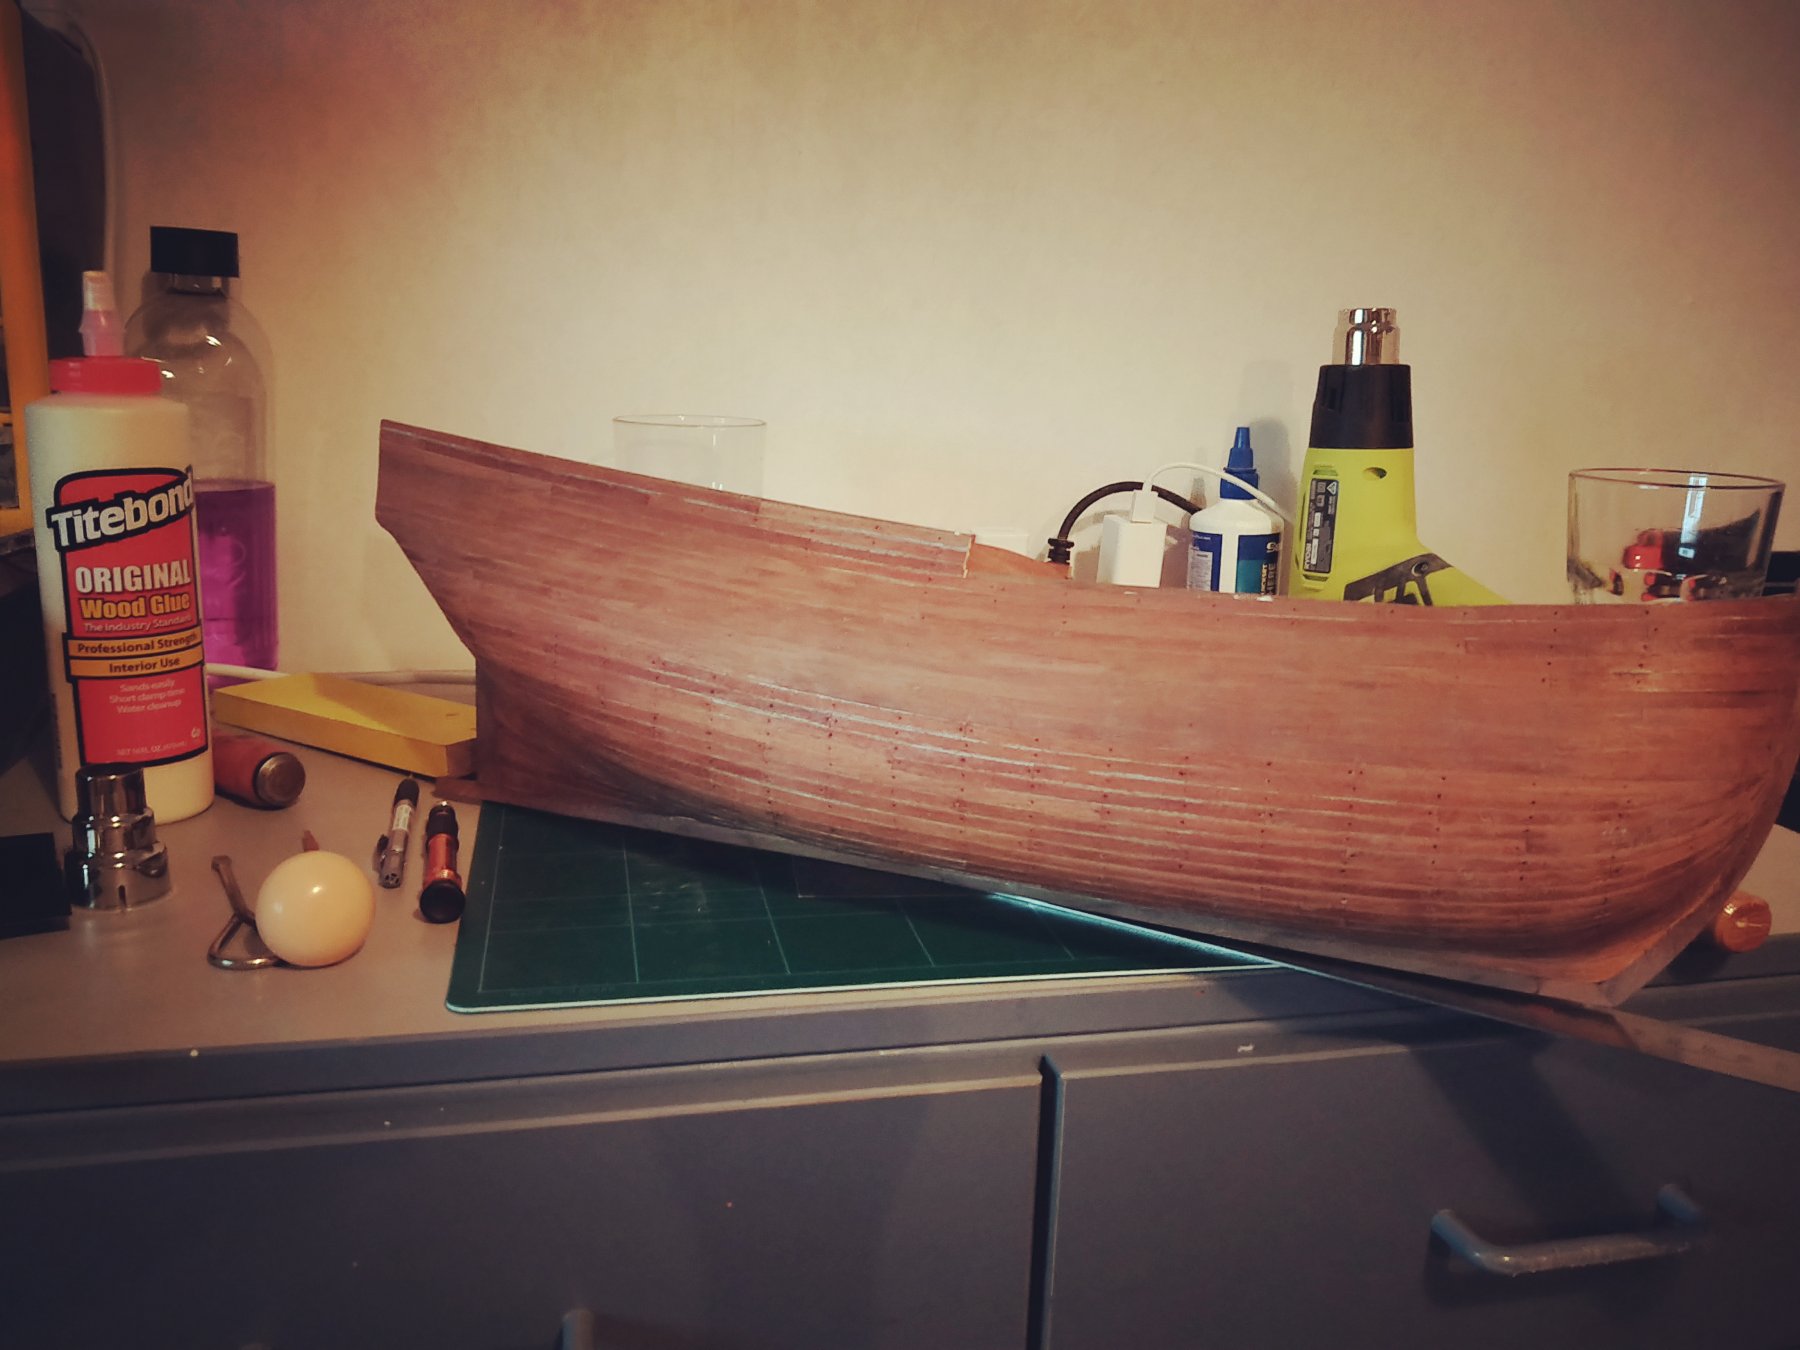
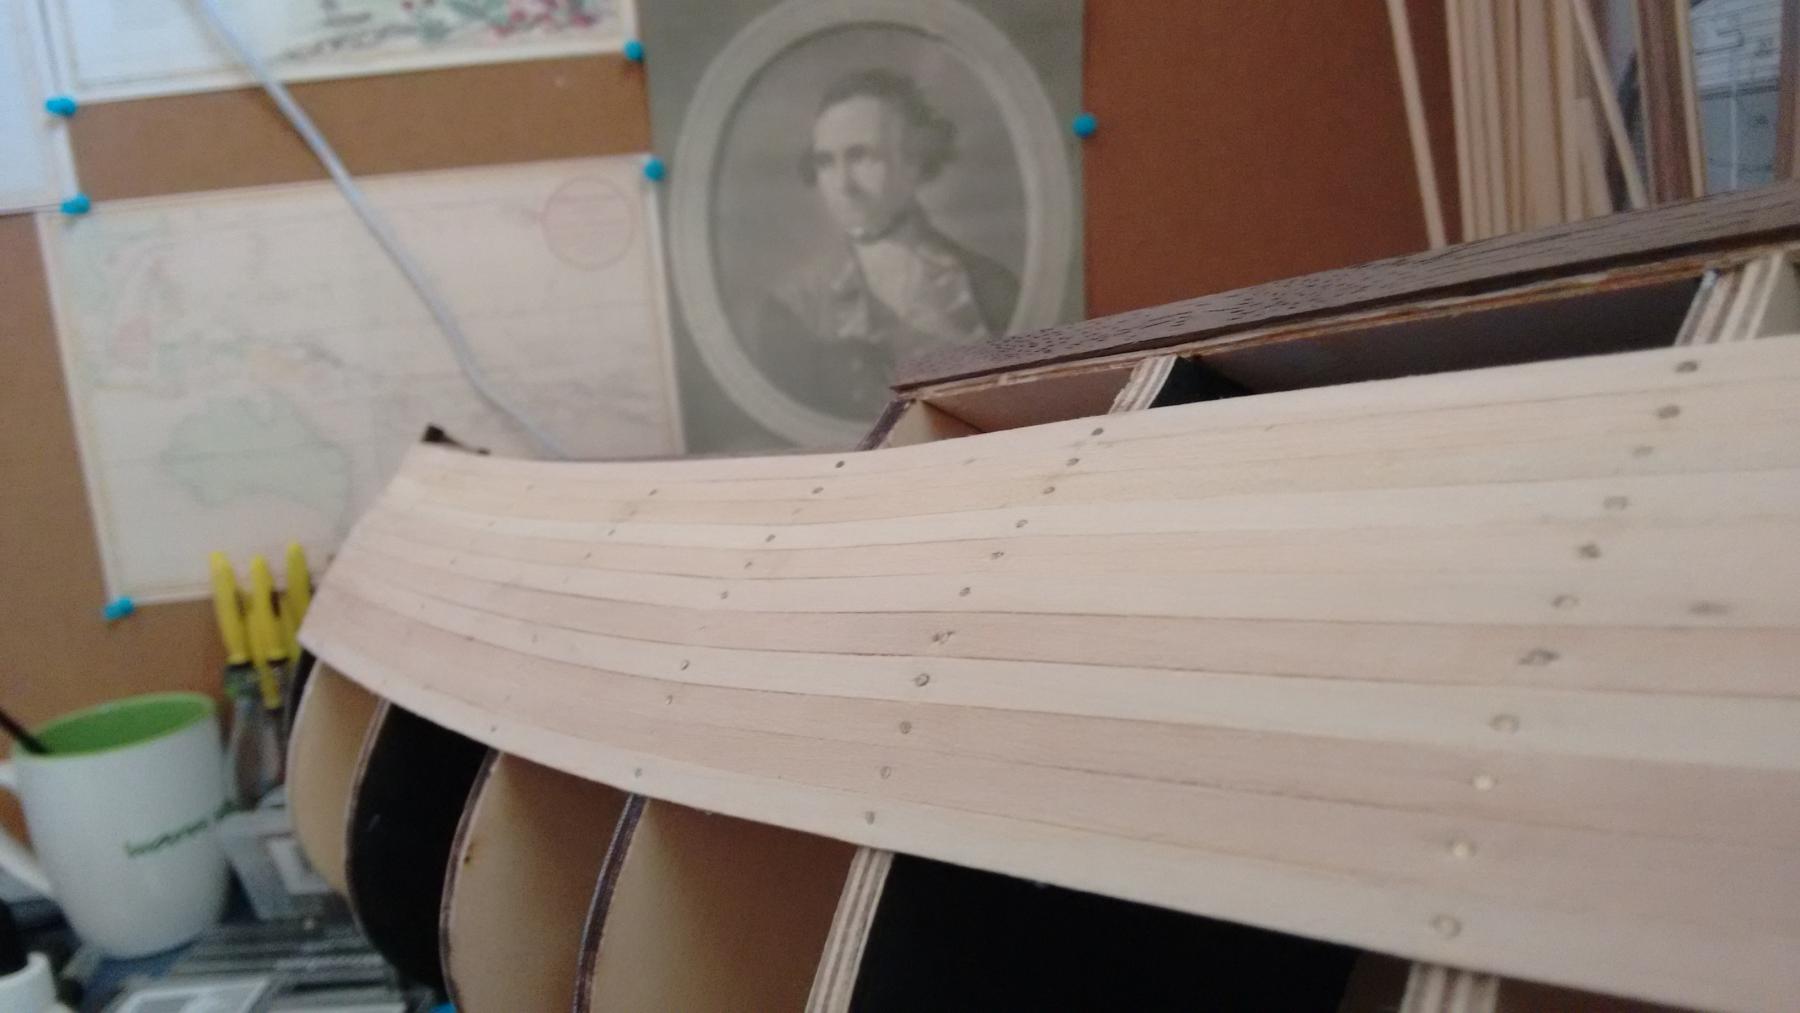
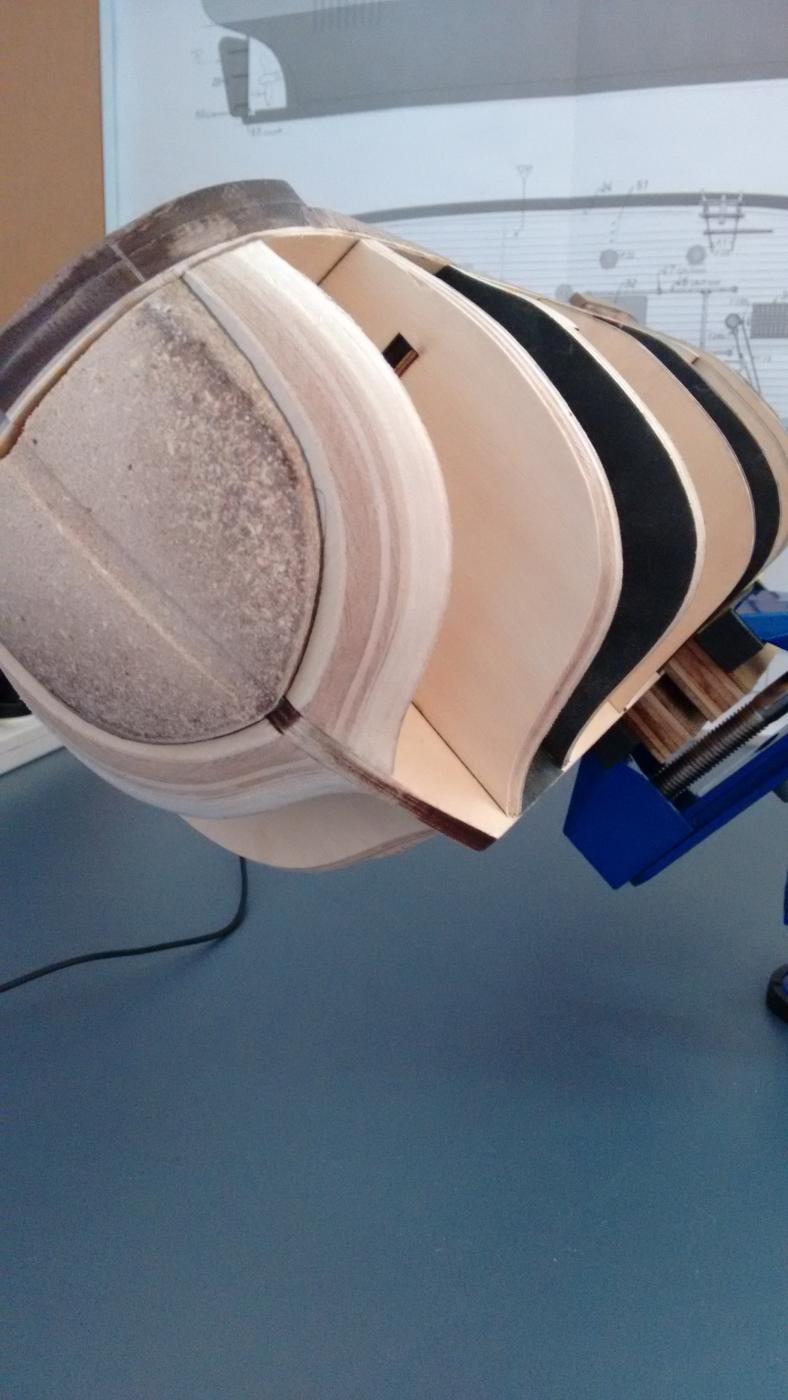
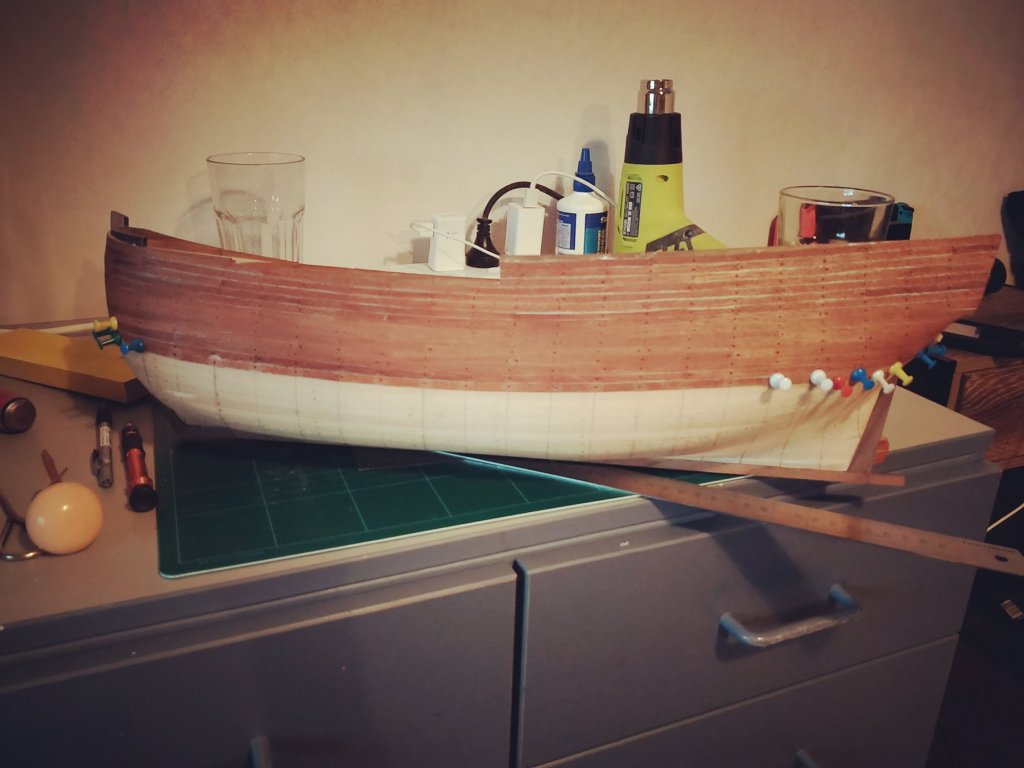
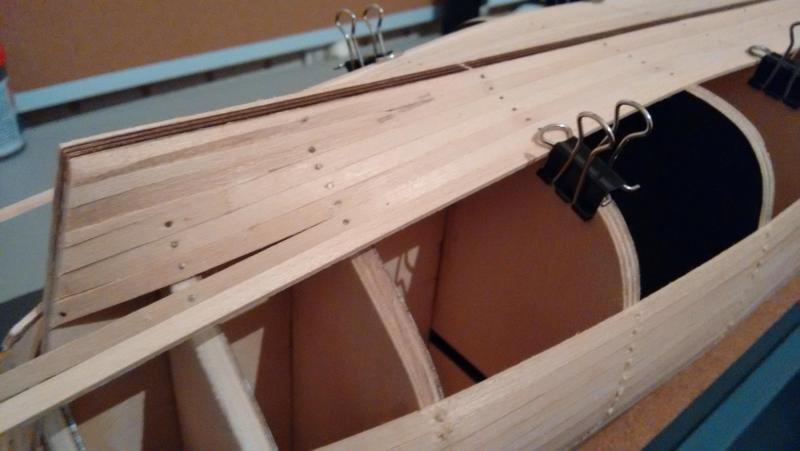
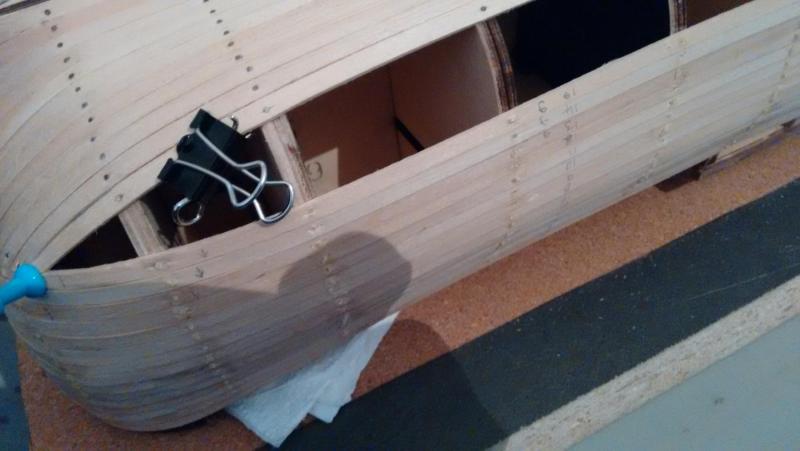
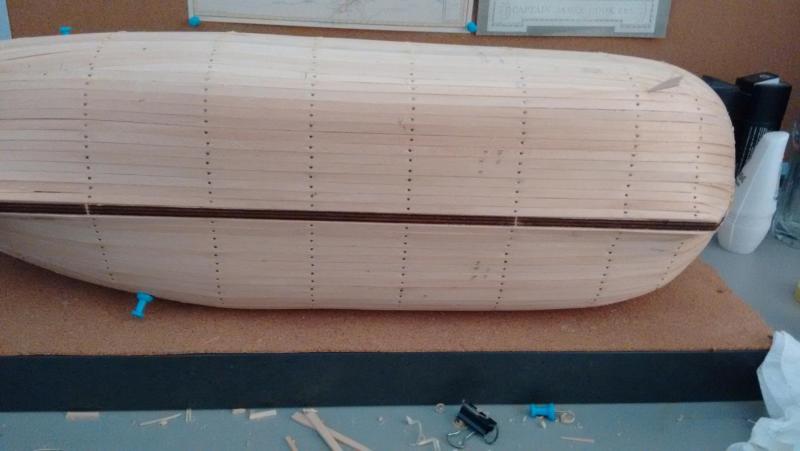
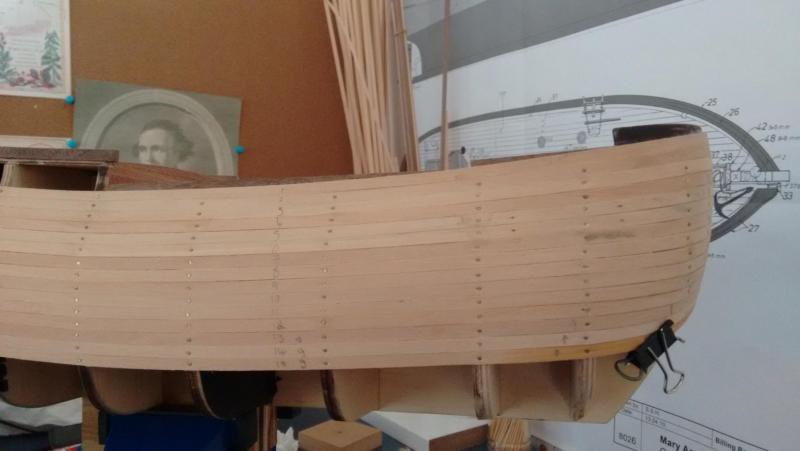
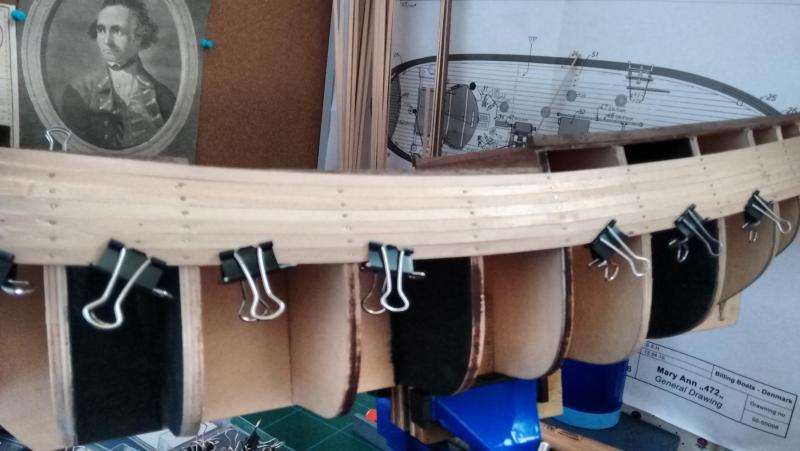
G'Day Sailors, It has been a while, work and what not keeping my busy but over the past year i have managed to complete one half of the second layer of planking and am half way through the second side. The Result is fine just a lot of learning on were to shape planks on the first side. I do have some thoughts on the second layer though as it is only thin it tends to buckle when trying to achieve a bend vertically even if heated or steamed, this makes planking the bow a bit harder. A few pics of the second layer.

-
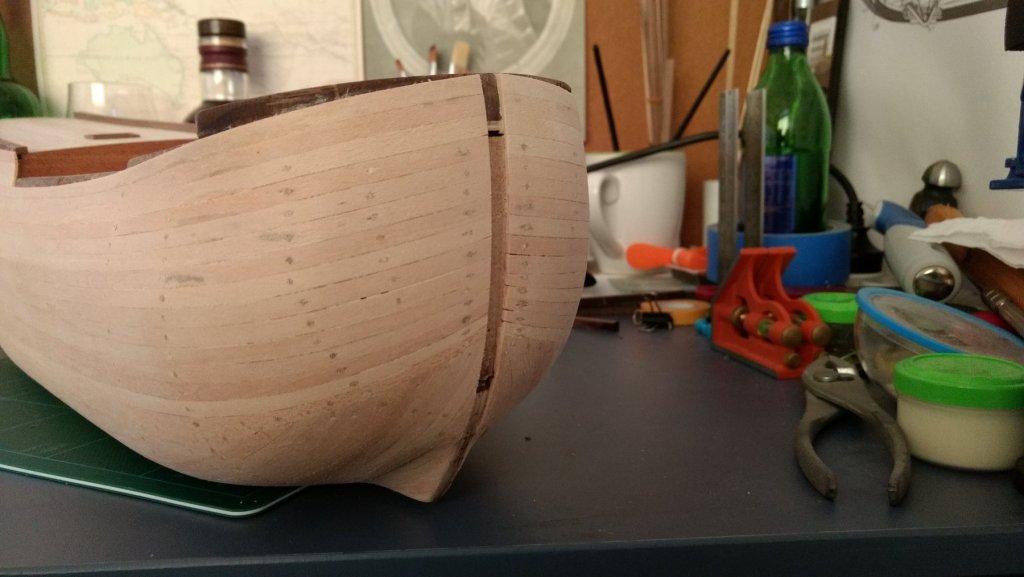
G'Day, sailors I am back, it has been a while because i got the job and now the only free time i have is the weekends, that being said i am going to try and use each weekend on the boat. well back to the boat i have most of the hull sanded it just needs a bit of filler in a few places, after that the keel will be going on and i can start on the second layer. but first some pics of my progress. Cheers REXY.


-
Well its been a while but i am slowly working on sanding the hull, this post is just to say i will be back in a bit just all my time right now is going to trying to secure a job. Cheers Rexy
-
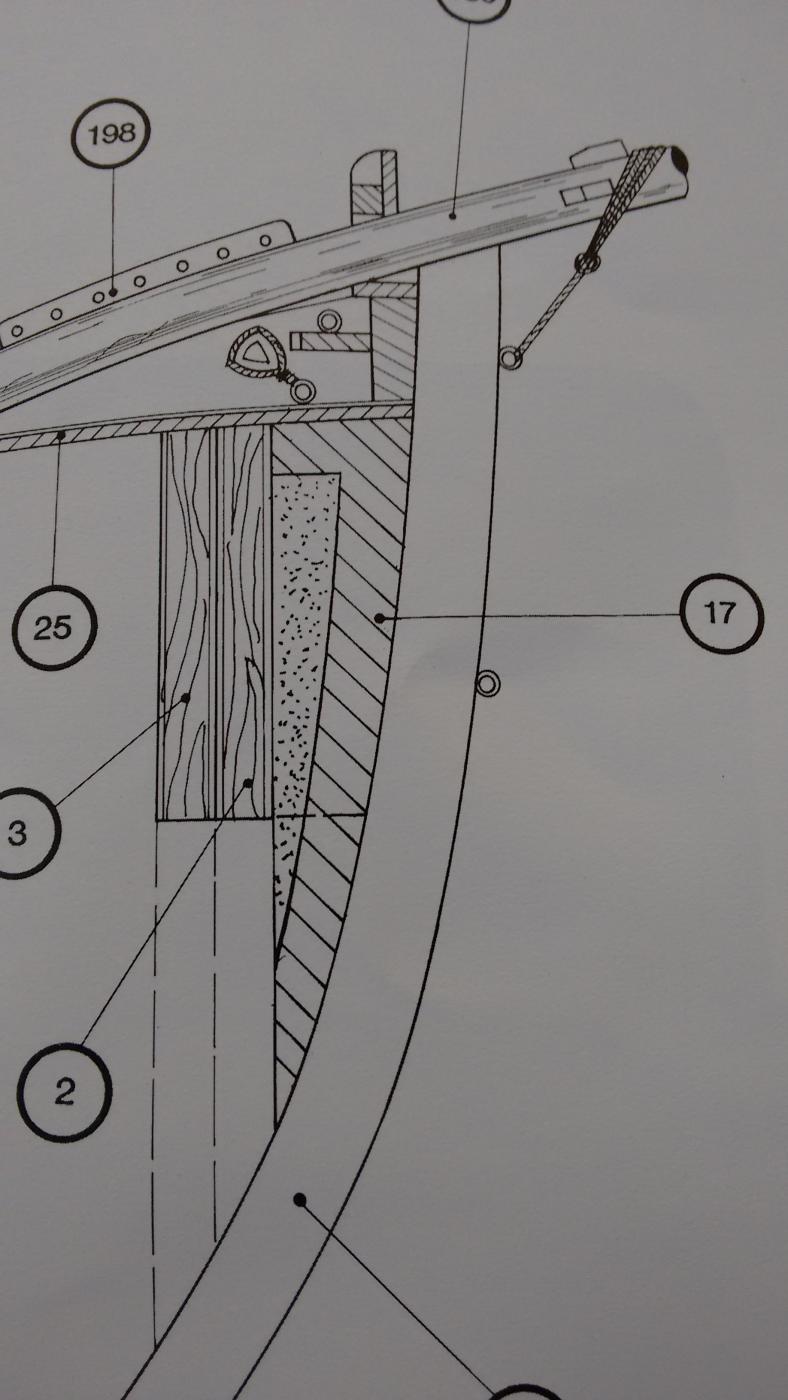
thanks dave i have the anatomy of a ship endeavour in pdf, it is in german but all i need is the pictures which shows the run of the bow and stern planks. i did notice that the way the AL kit shows to be planked looks completely wrong and had looked at the replica for info, but the pictures you posted will be of much help. now i do intend to follow the paint scheme of the replica minus the white lower hull as was discussed on page 3 with some great input from shipaholic and BANYAN as to her colour scheme. Cheers Rexy.
-
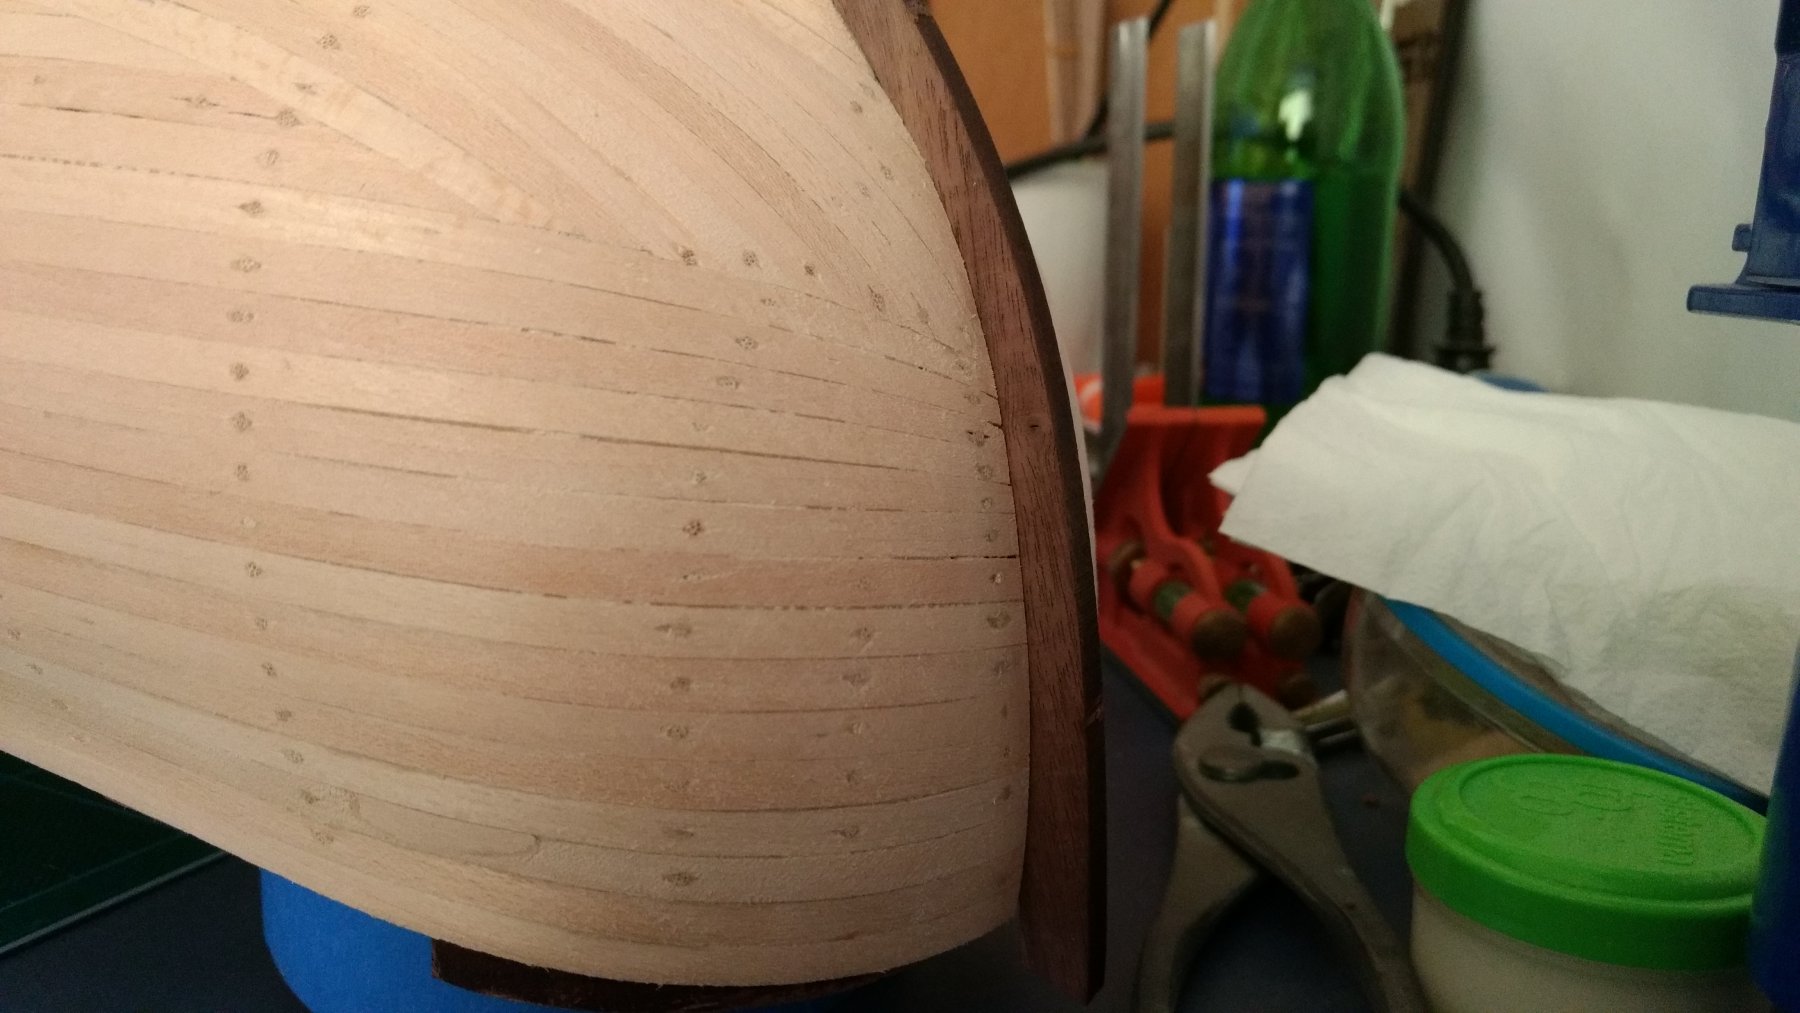
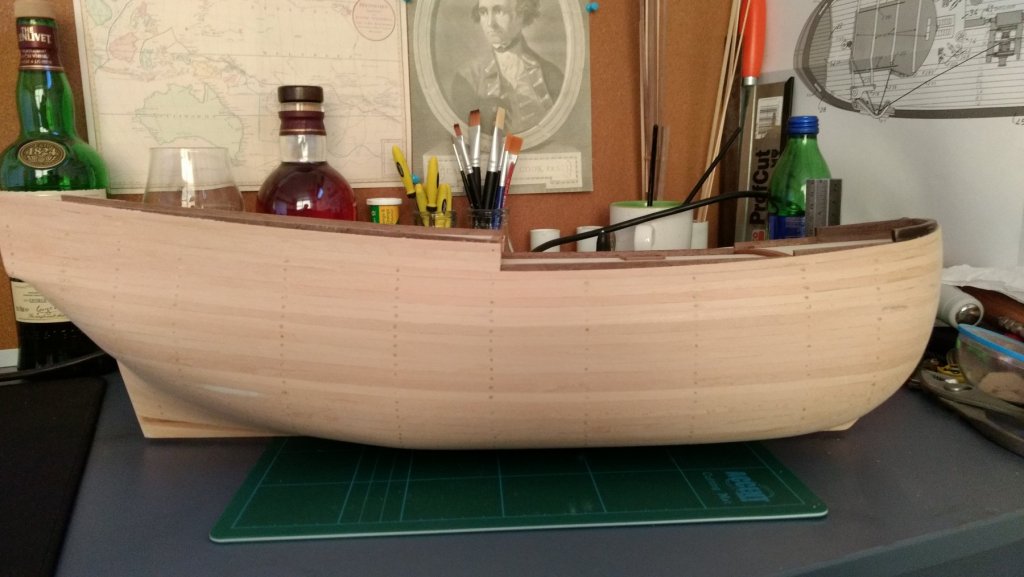
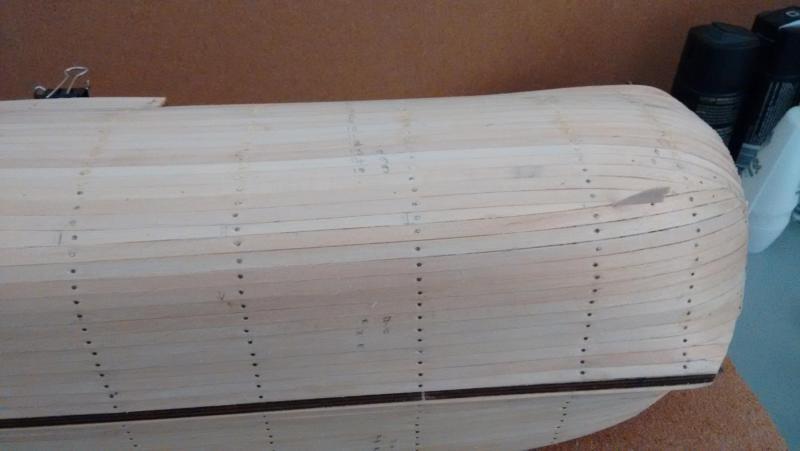
G'Day Sailors a major milestone has been completed today in fitting the whiskey plank, thus she is now a complete hull. i was going to celebrate but as she is double planked i will wait to bring out the single malt scotch till her second layer whiskey plank is fitted. the next step will be pulling out all of the nails and giving her a first sand and some filler where it is needed. enough rambling it is time for a few pictures. Cheers Rexy.


-
G'Day sailors, i have been working on the planking and in the time when planks are being formed, i have continued work on the cannons which resulted in some research as to if the Endeavour was painted like the replica or natural timber. There a a few paintings that show the ship from the 18th century but none that detail of colour can be taken from. I did find that the salvaged cannons from the reef she ran aground on have been restored and painted with a red ochre colour scheme. from what i have read it was common of ships of that era to have a colour scheme like the replica has. after a little digging i read that when she ran aground and was repaired fully in a dock that she had her hull fixed and "repainted" which may suggest she had a painted hull like the replica. I am debating whether to finish her as a natural timber hull or finish her like the replica, if anybody has any info into if she looked like the replica when she left in 1768 it would be much appreciated. Cheers Rexy.
-
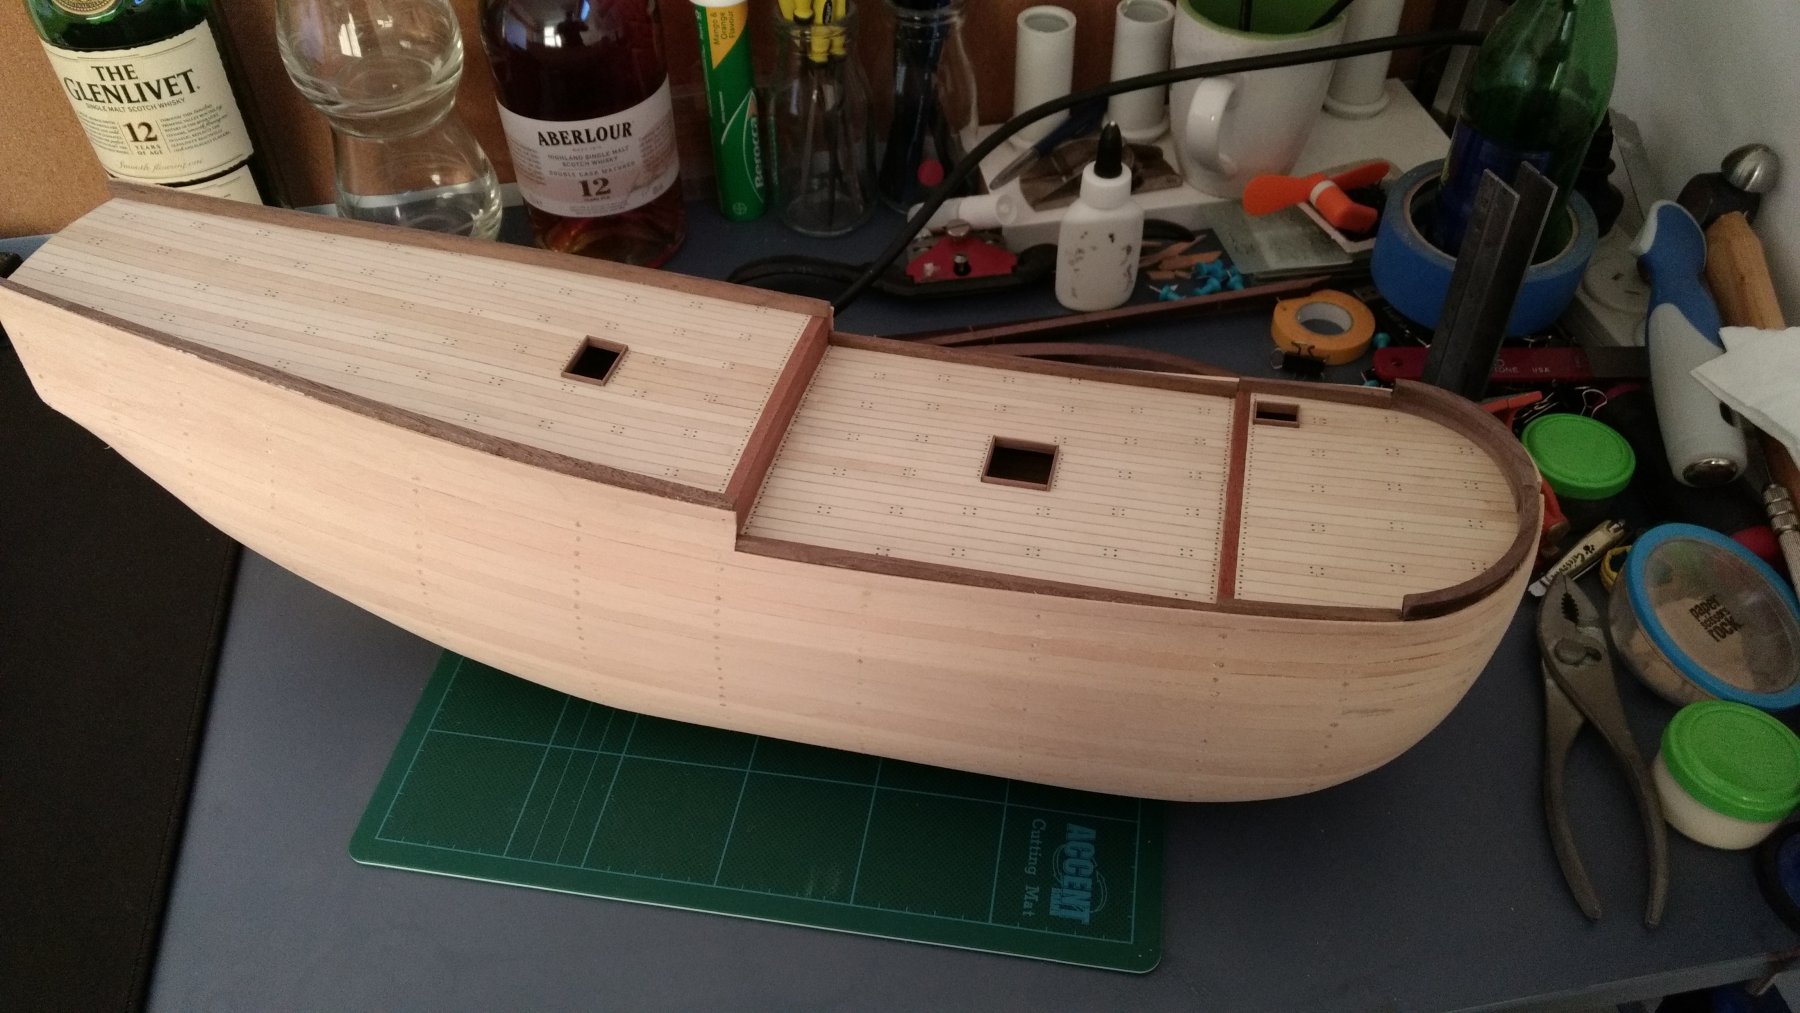
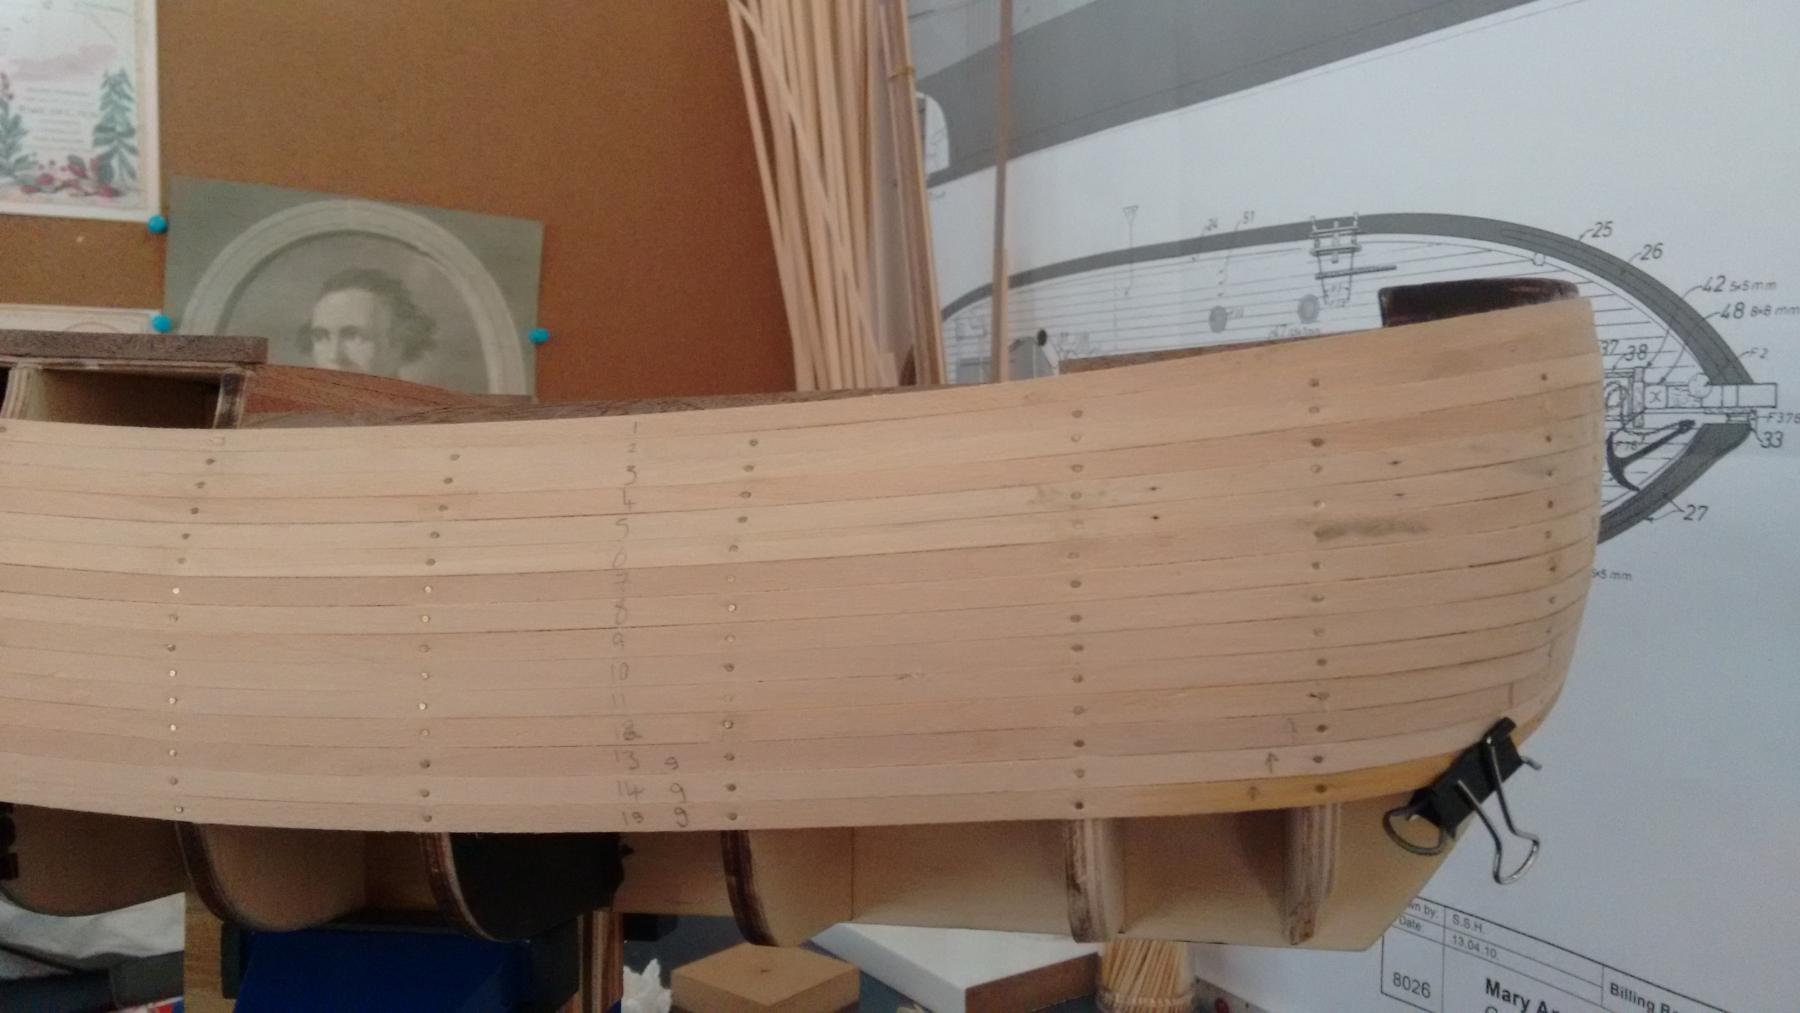
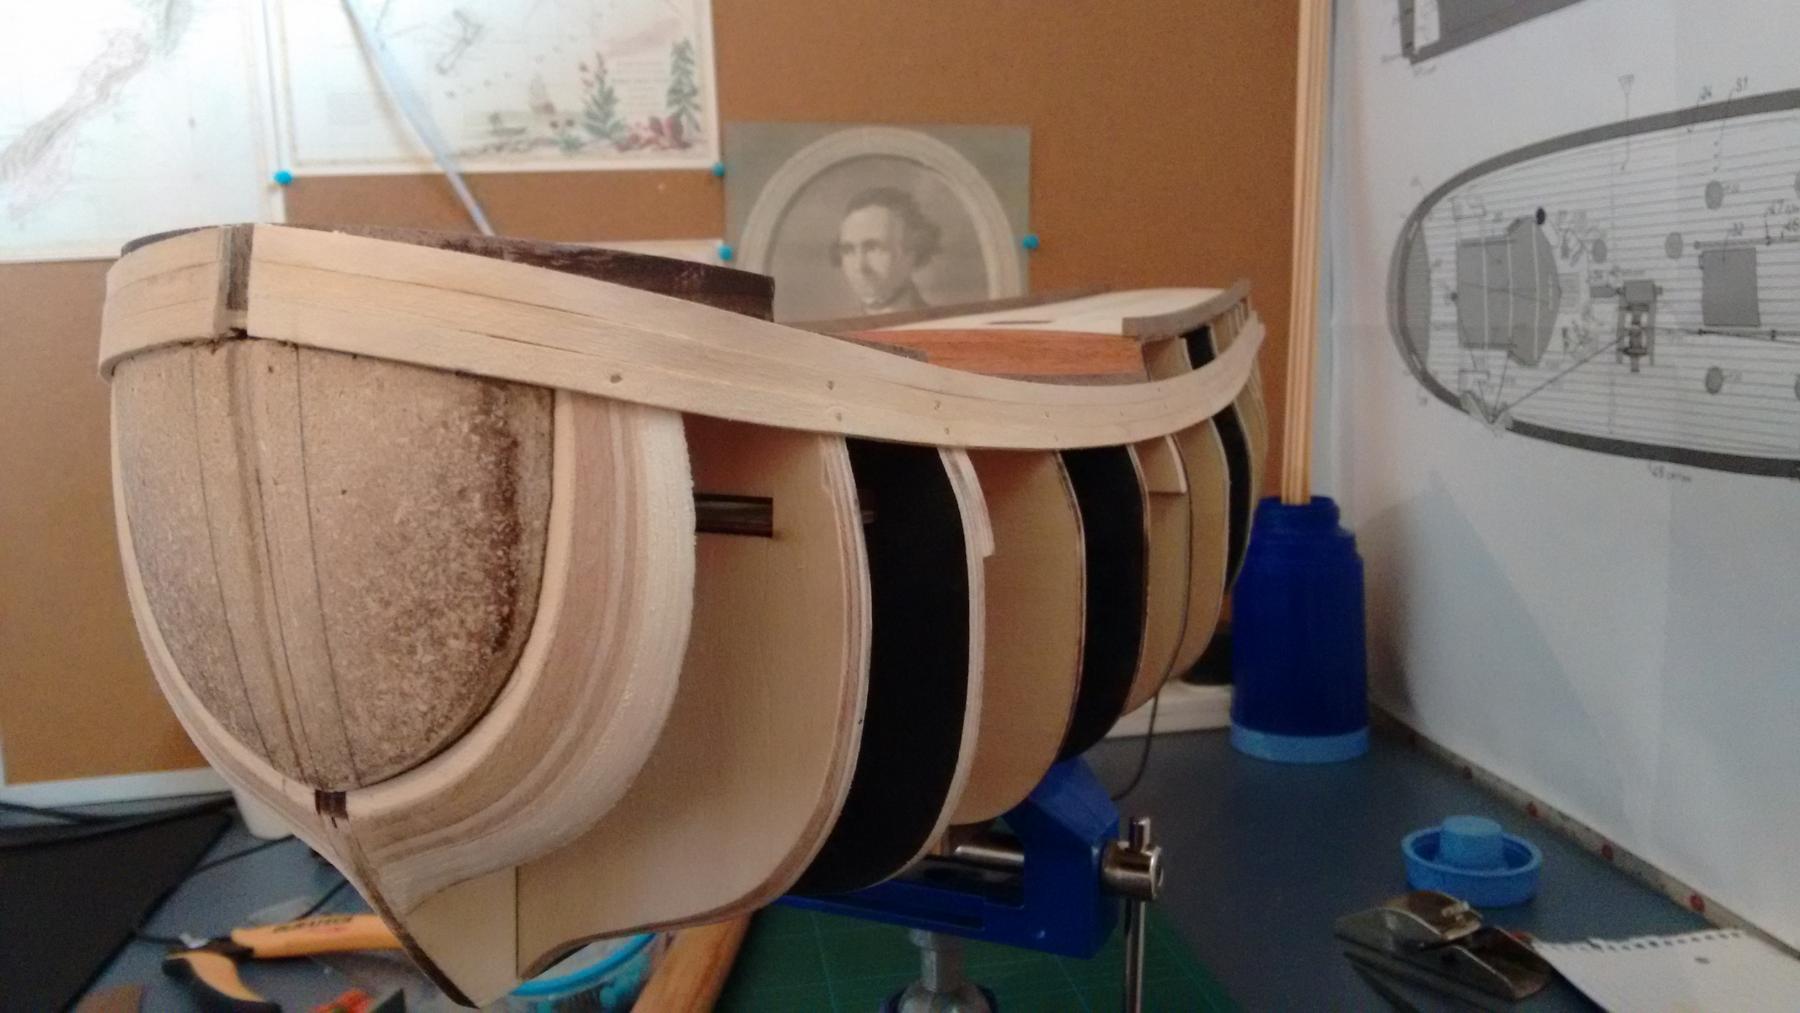
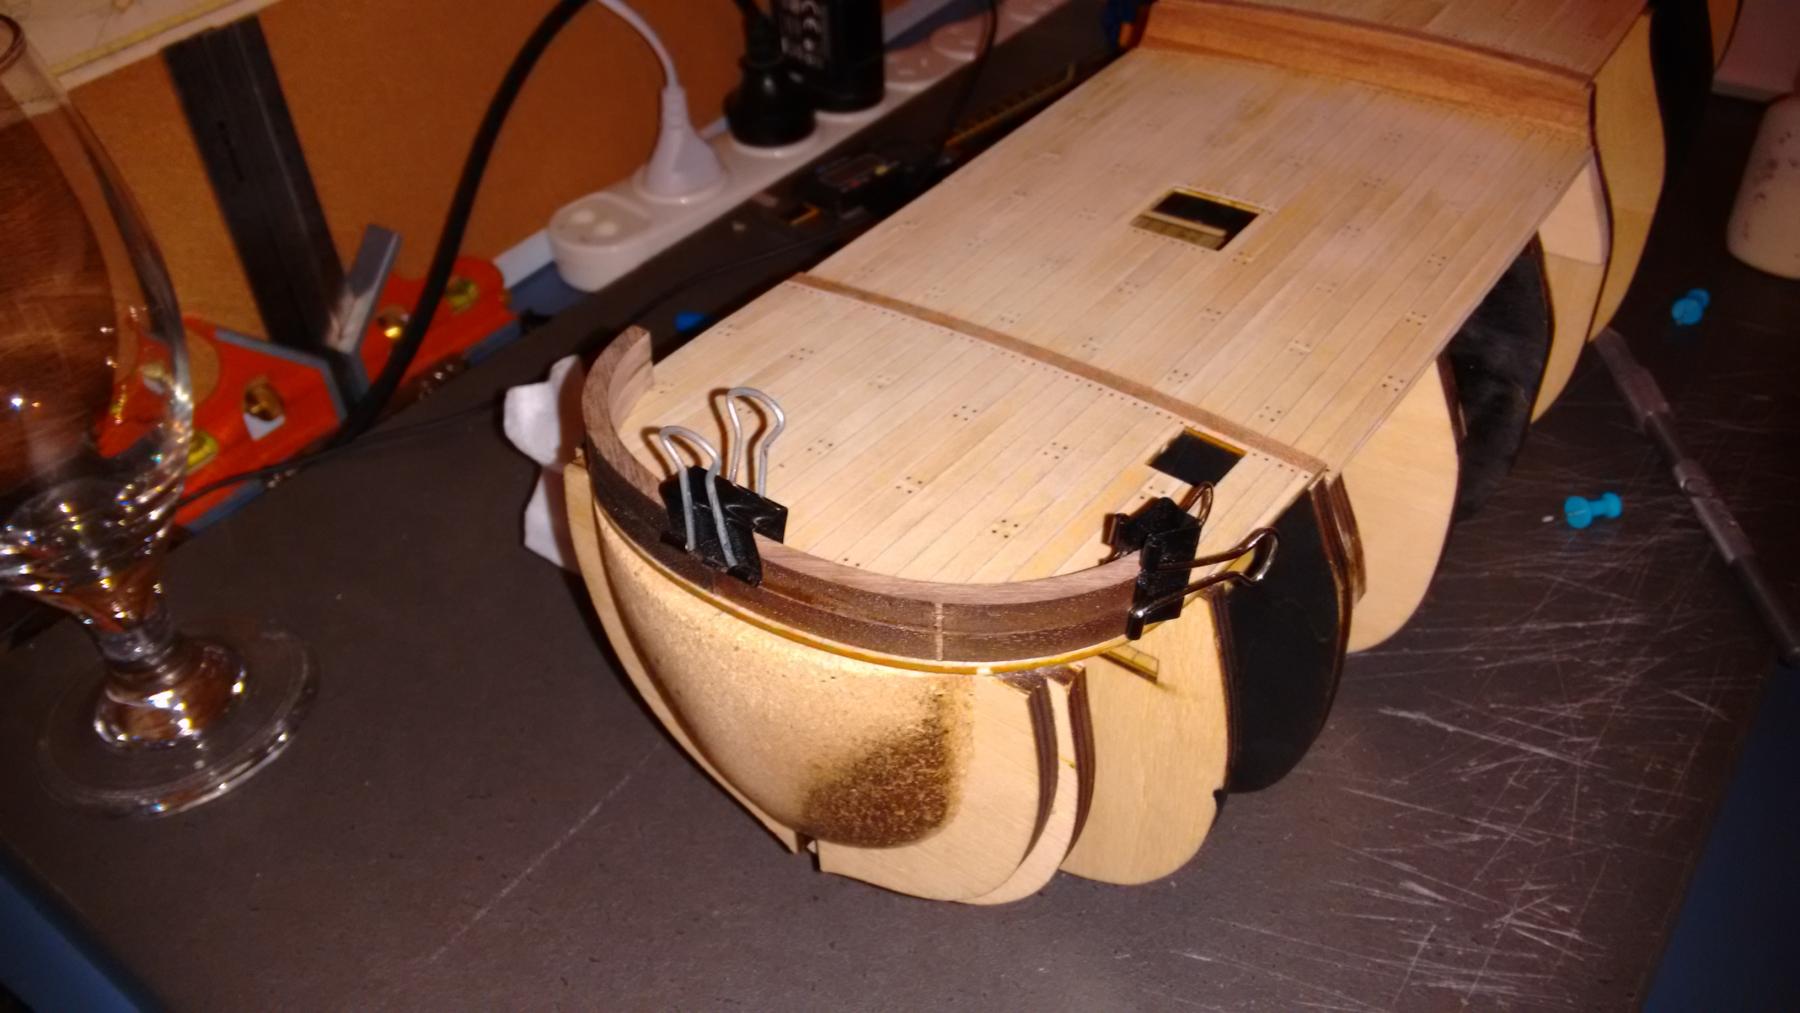
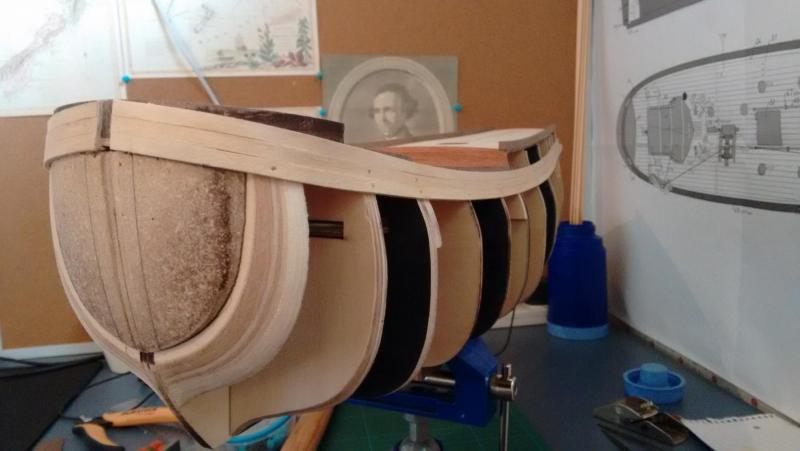
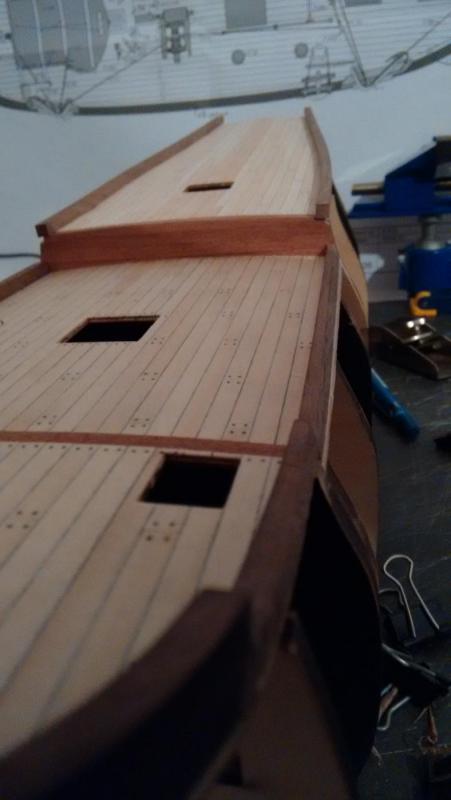
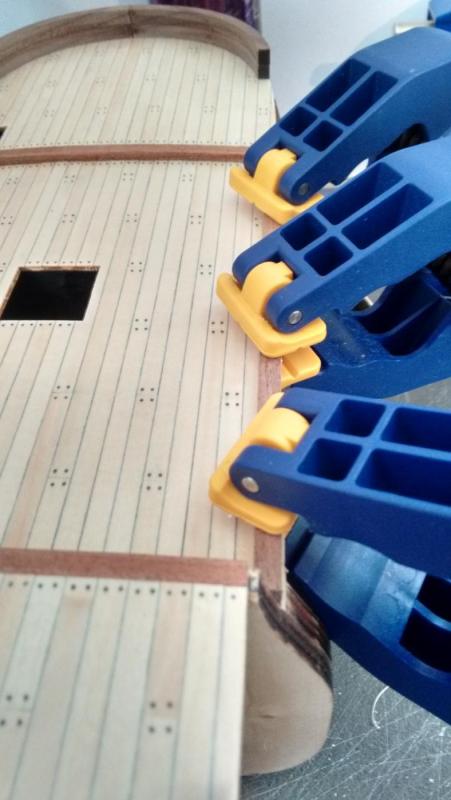
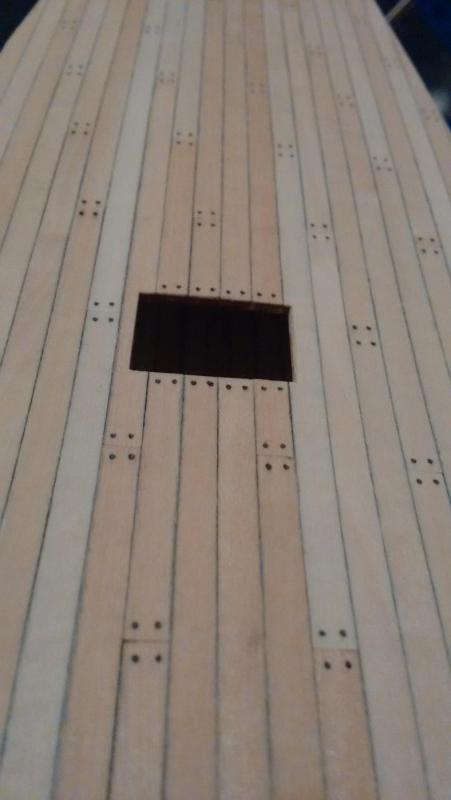
G'Day sailors. An important milestone has been reached, as per the instructions i have fitted 15 planks including the sheer strake, down. from this point the rest of the planking is done from the keel up, this means i will need to find a way to hold the boat without damaging the decks, some foam will work nicely i think. With a nice sand she will come up nice and smooth. Well anyway some pictures of her with said planks fitted Cheers Rexy.


-
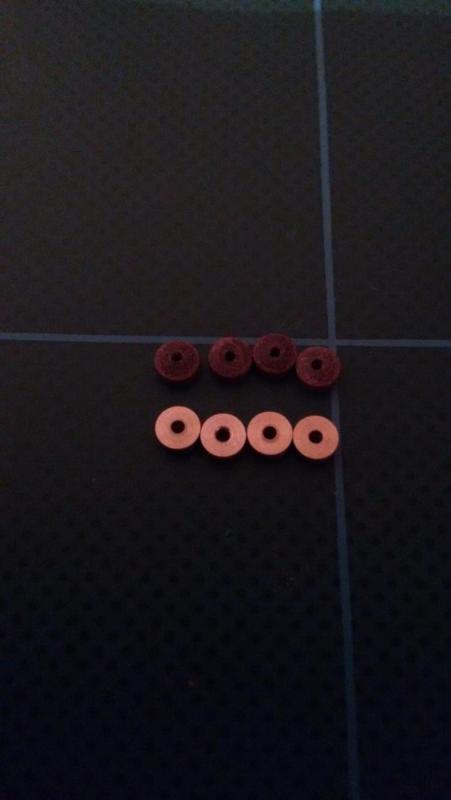
Ok so in between planks i have started work on the cannons and have run into a little dilemma the instructions are clearly old and say that the wheels should be 4 mm round by 1.5 mm thick walnut which is fine, but in the parts container there are little brass wheels of the exact same dimensions and quantity but i can not find them in the parts list, if anybody has some info on this it will be much appreciated. Anyway i will continue to try make 4 mm walnut ones in the mean time. Cheers Rexy. Edit : added pic
-
Ah yes i was debating that, i was thinking of punching them below the surface but after looking at the thickness of the planks i do not think its worth it. So i was planing on pulling them out but not till all planks are fitted, i have a set of really sharp side cutters (for cutting electronic components) that allow me to have the nail in flush but i can still get under the head and flick them out with minimal damage to the plank. Hey i might even put tree nails in there place for strength. Cheers Rexy.
-
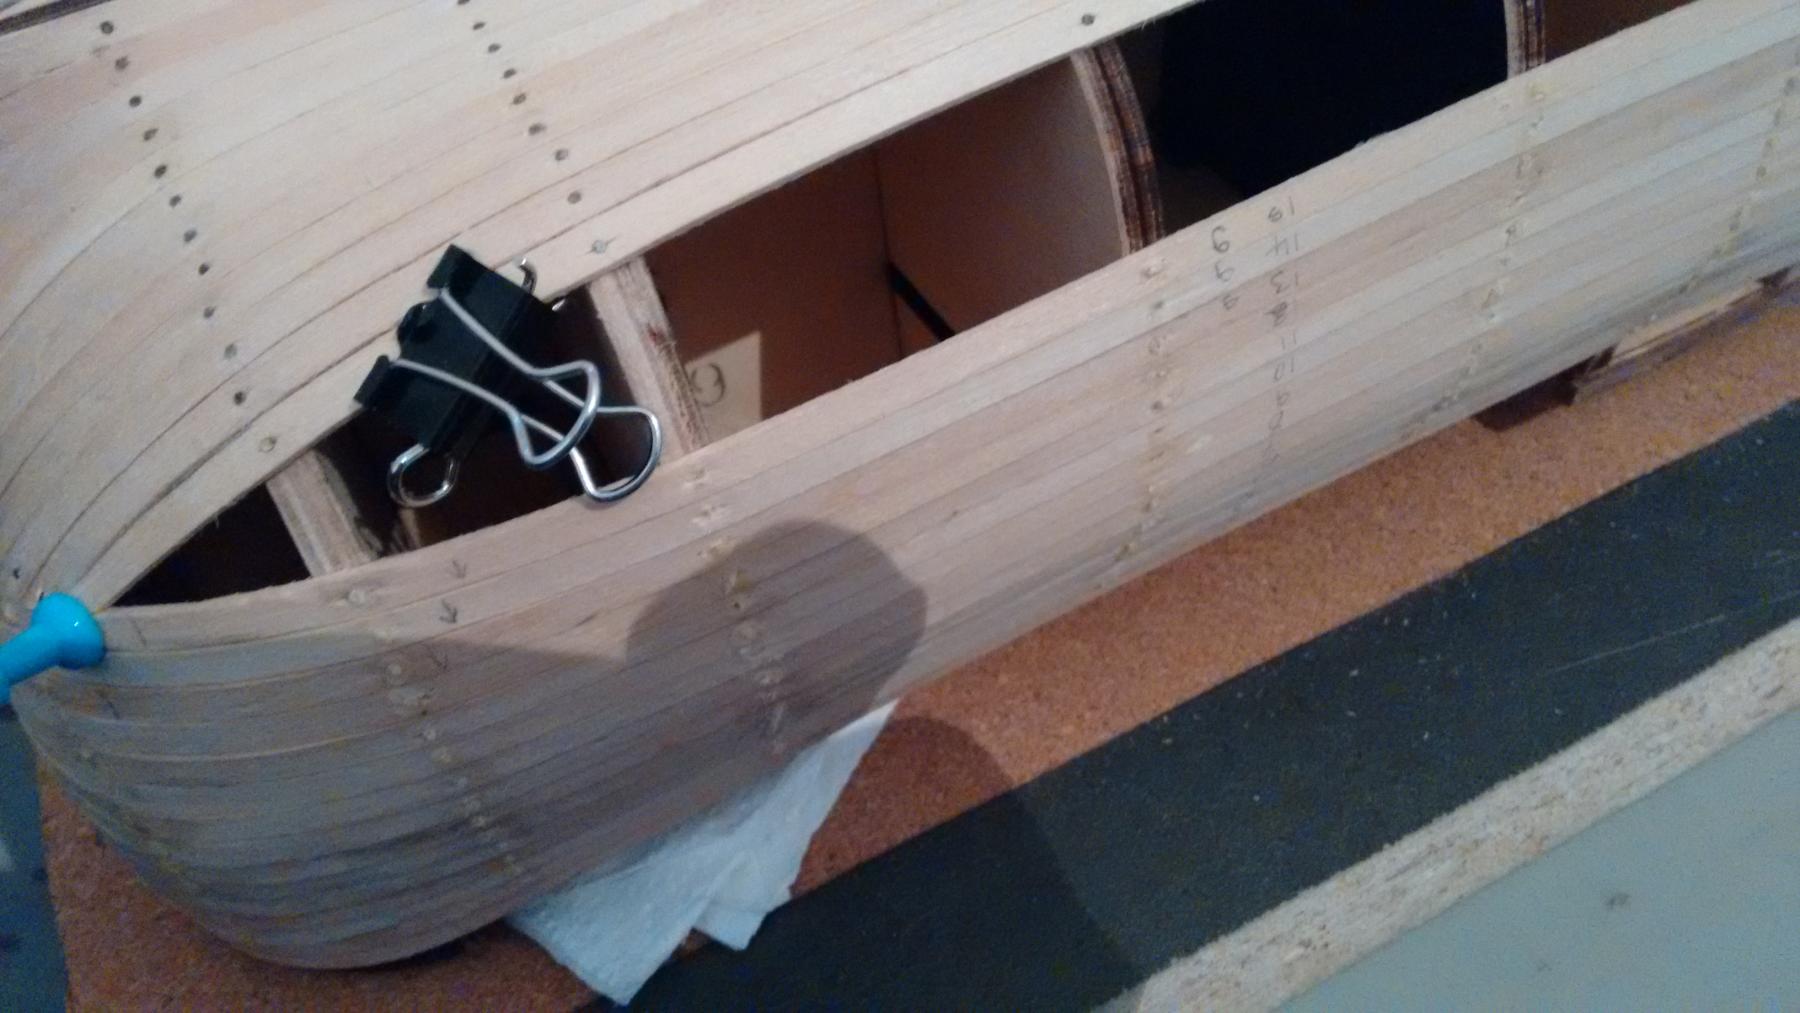
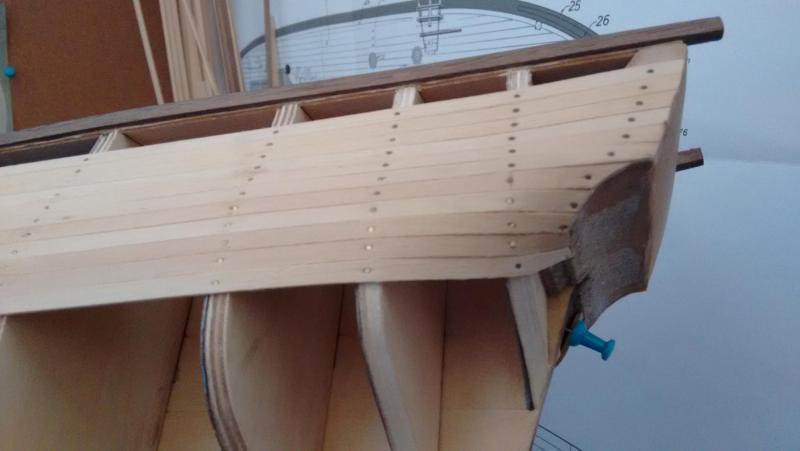
small update i have got some more planks on to the point were they bend round the bow and bend round the stern, the stern has some mighty tight bends but we will see how it goes when i get there. well anyway some pics of the current progress. Cheers Rexy.
-
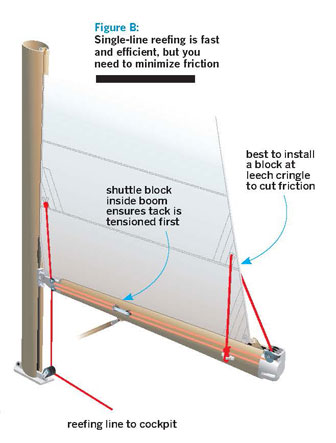
Hey hof i have found some info for you, but first a quick tip if googling a phrase e.g gaff reef it will return any page with gaff and or reef but if you put the phrase in quotes it will search for any page with that phrase. OK now onto what i found i think what it refers to is reefing a sail which is to reduce the surface area of the sail by pulling it down the mast and the excess is rolled up and tied to the boom. from what you describe and a pic i found (bellow) there is a rope system to accomplish this. Try googling "Reefed sail" you should find plenty of info. Cheers Rexy.
-
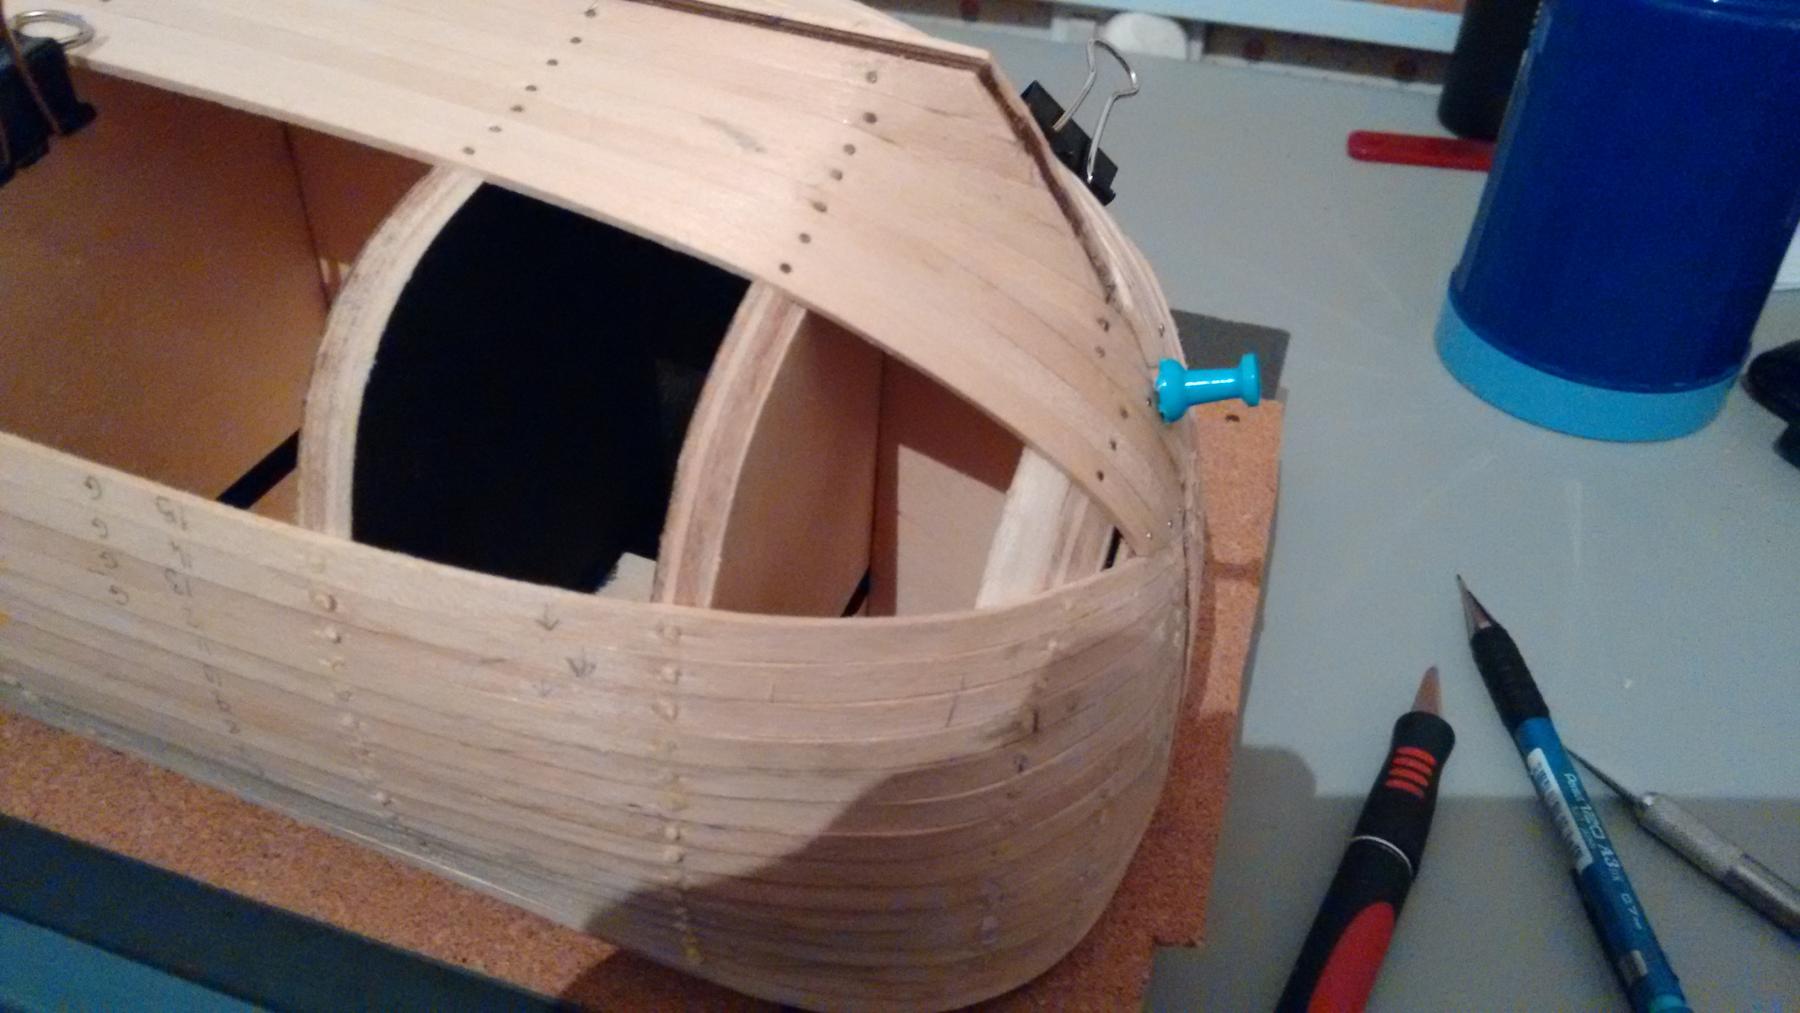
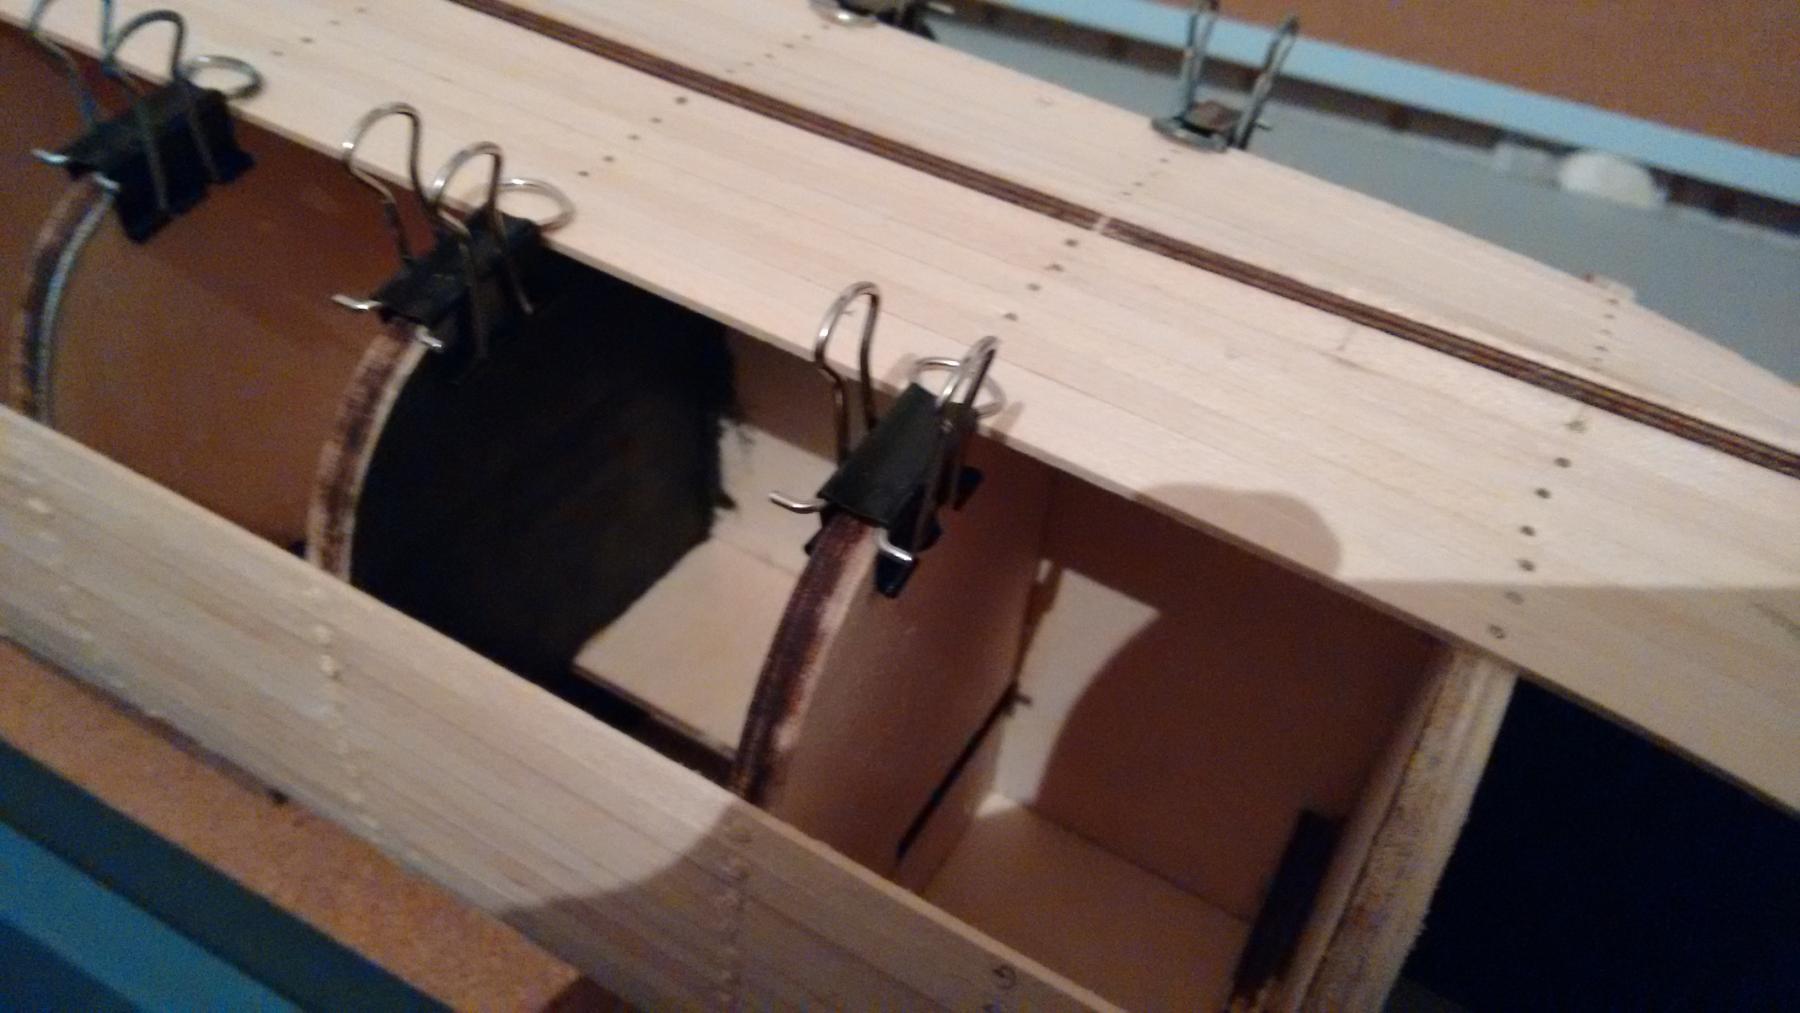
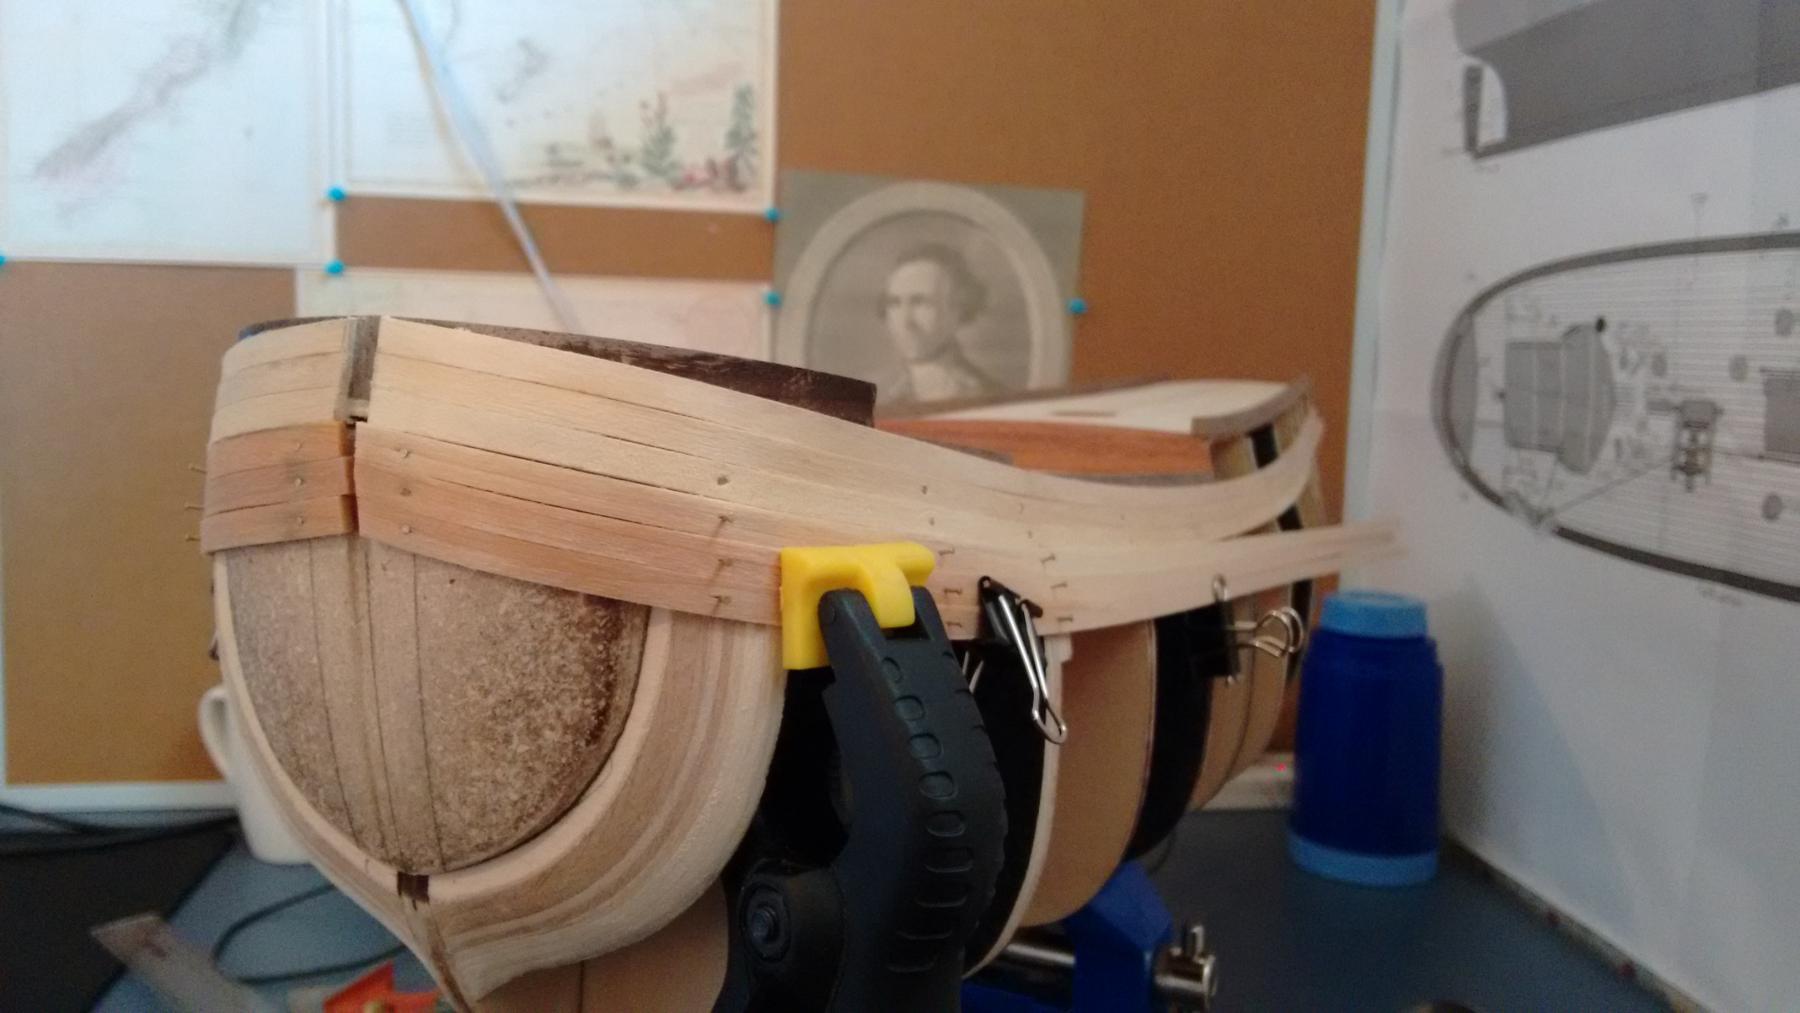
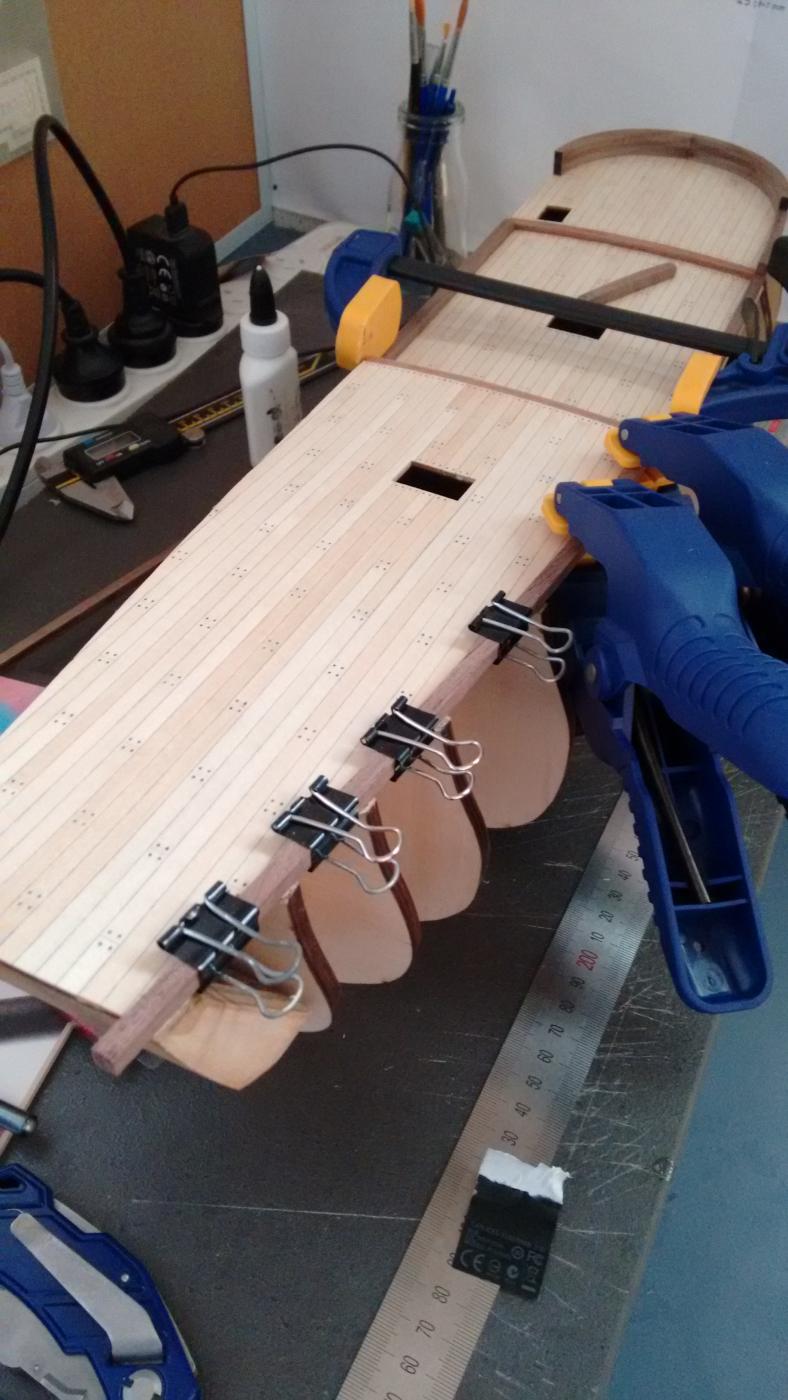
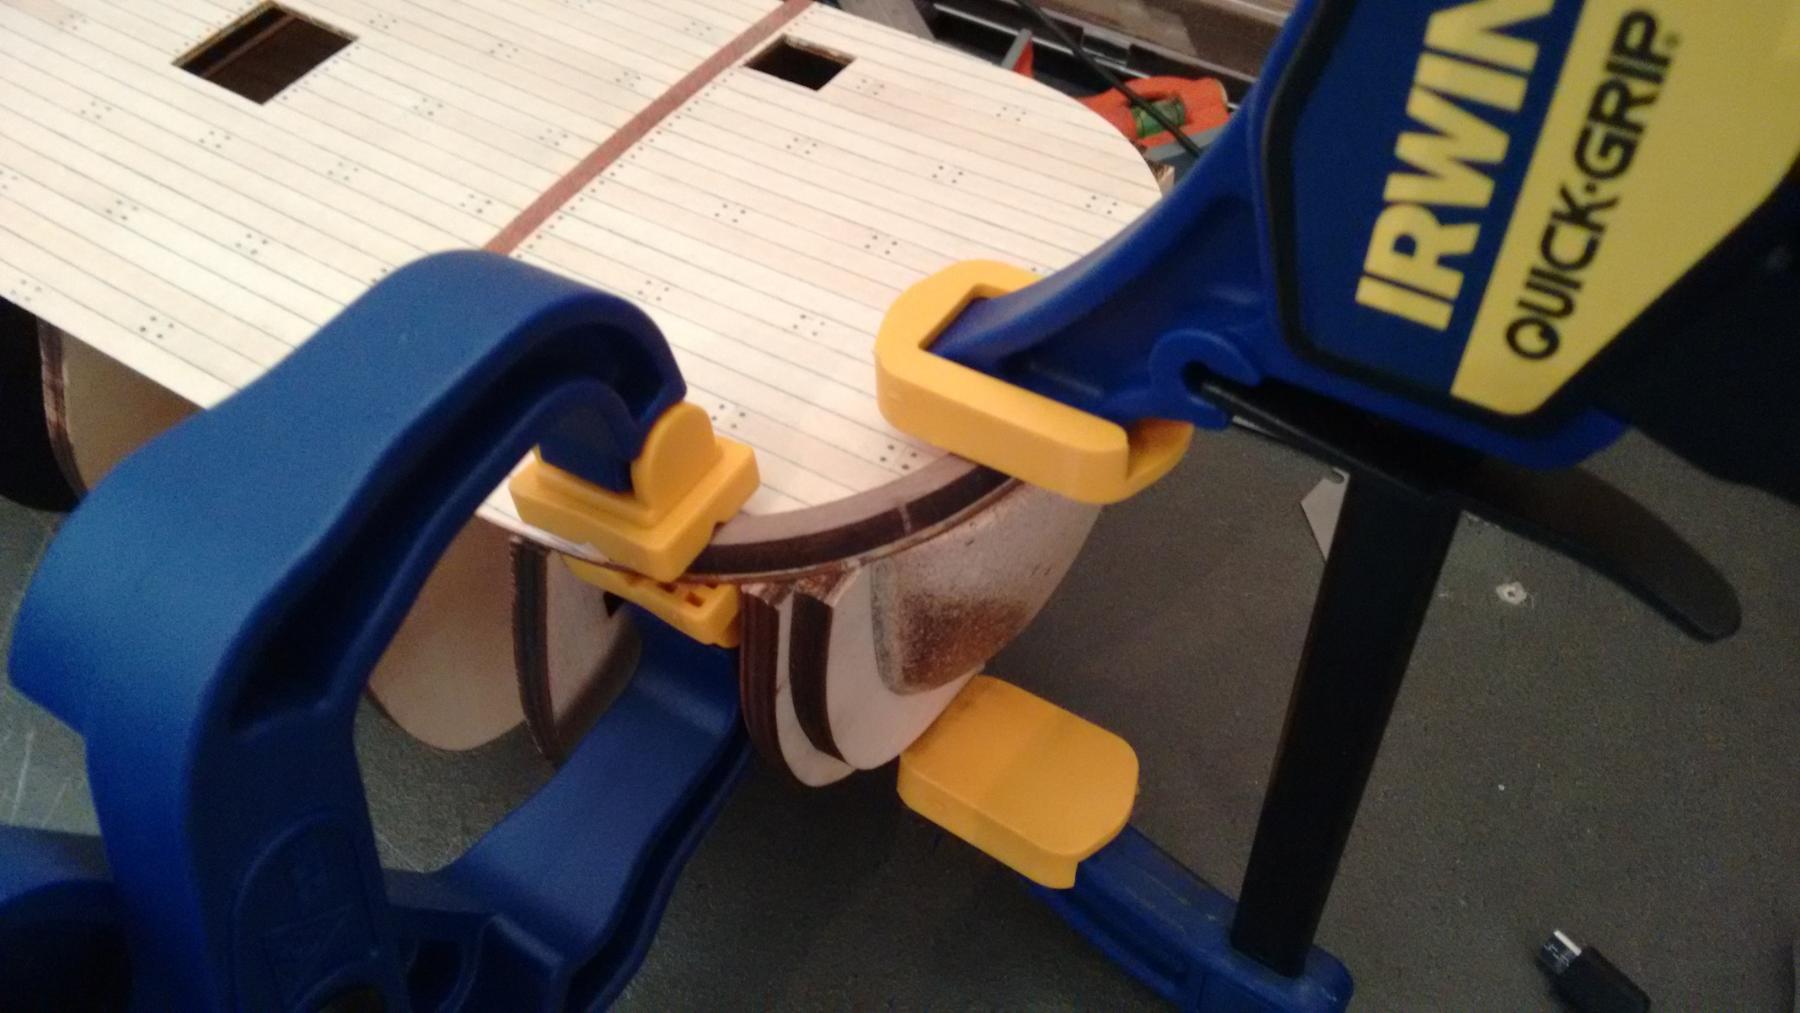
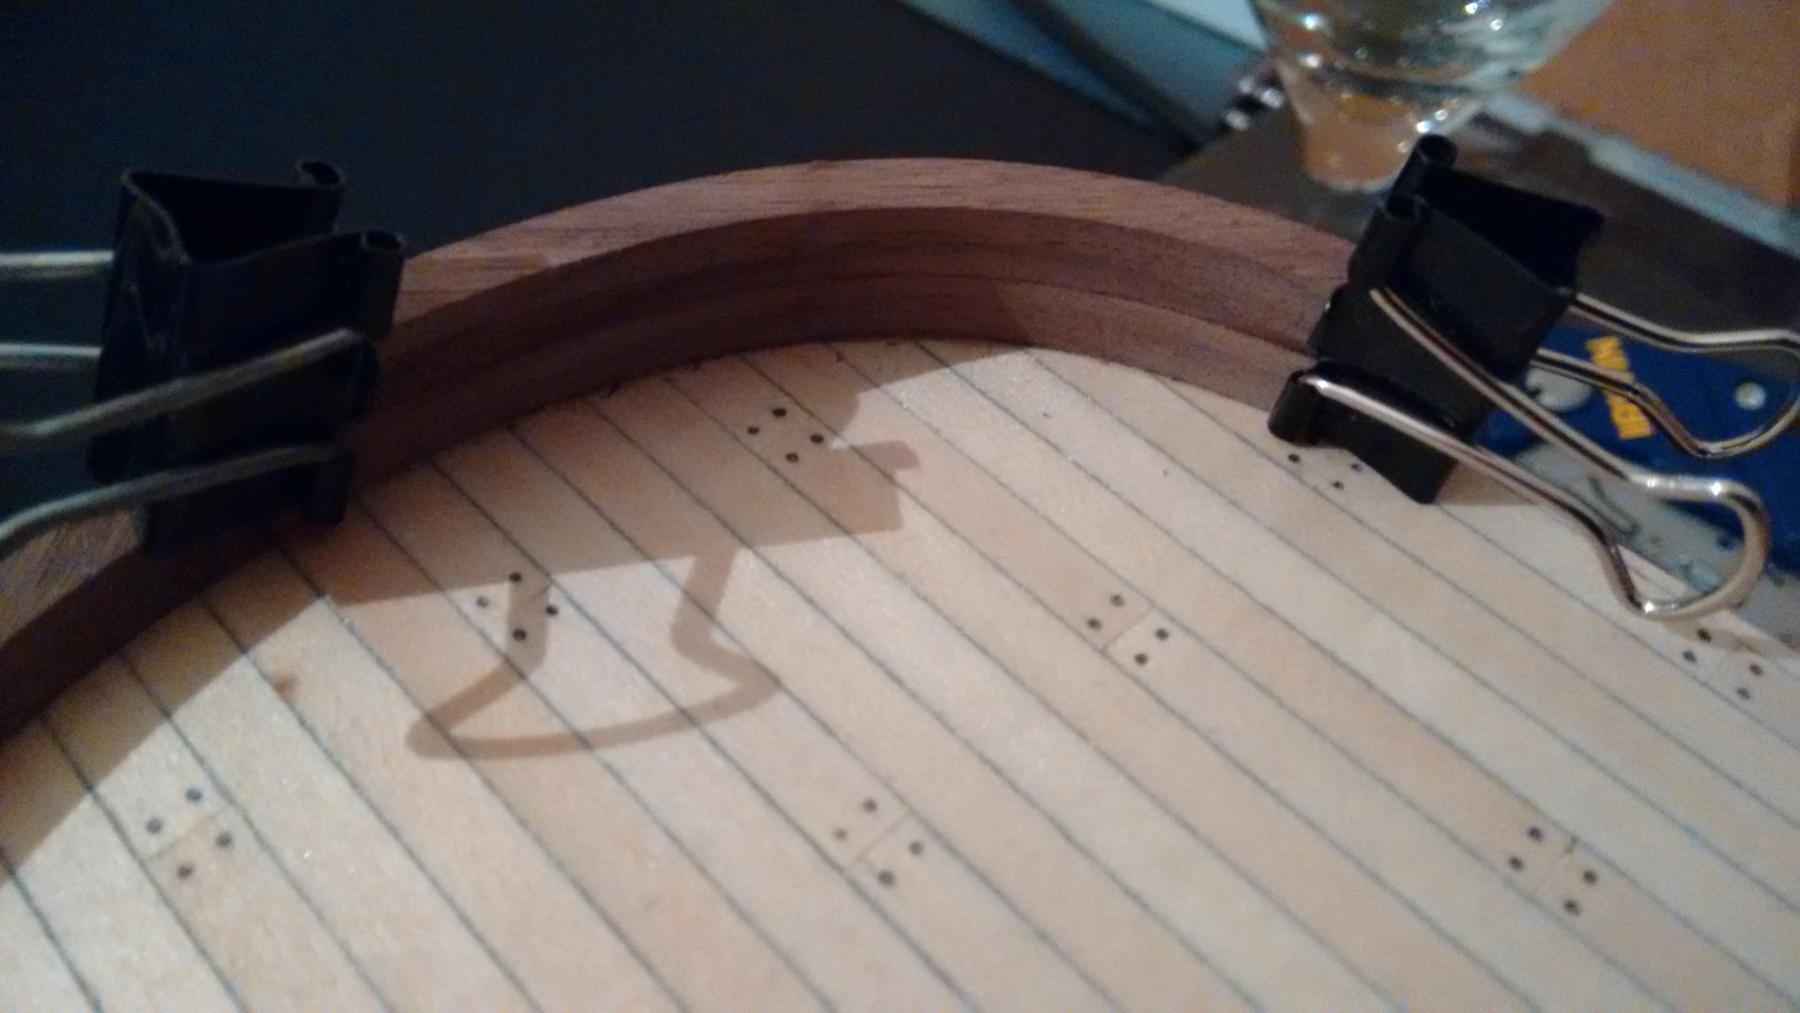
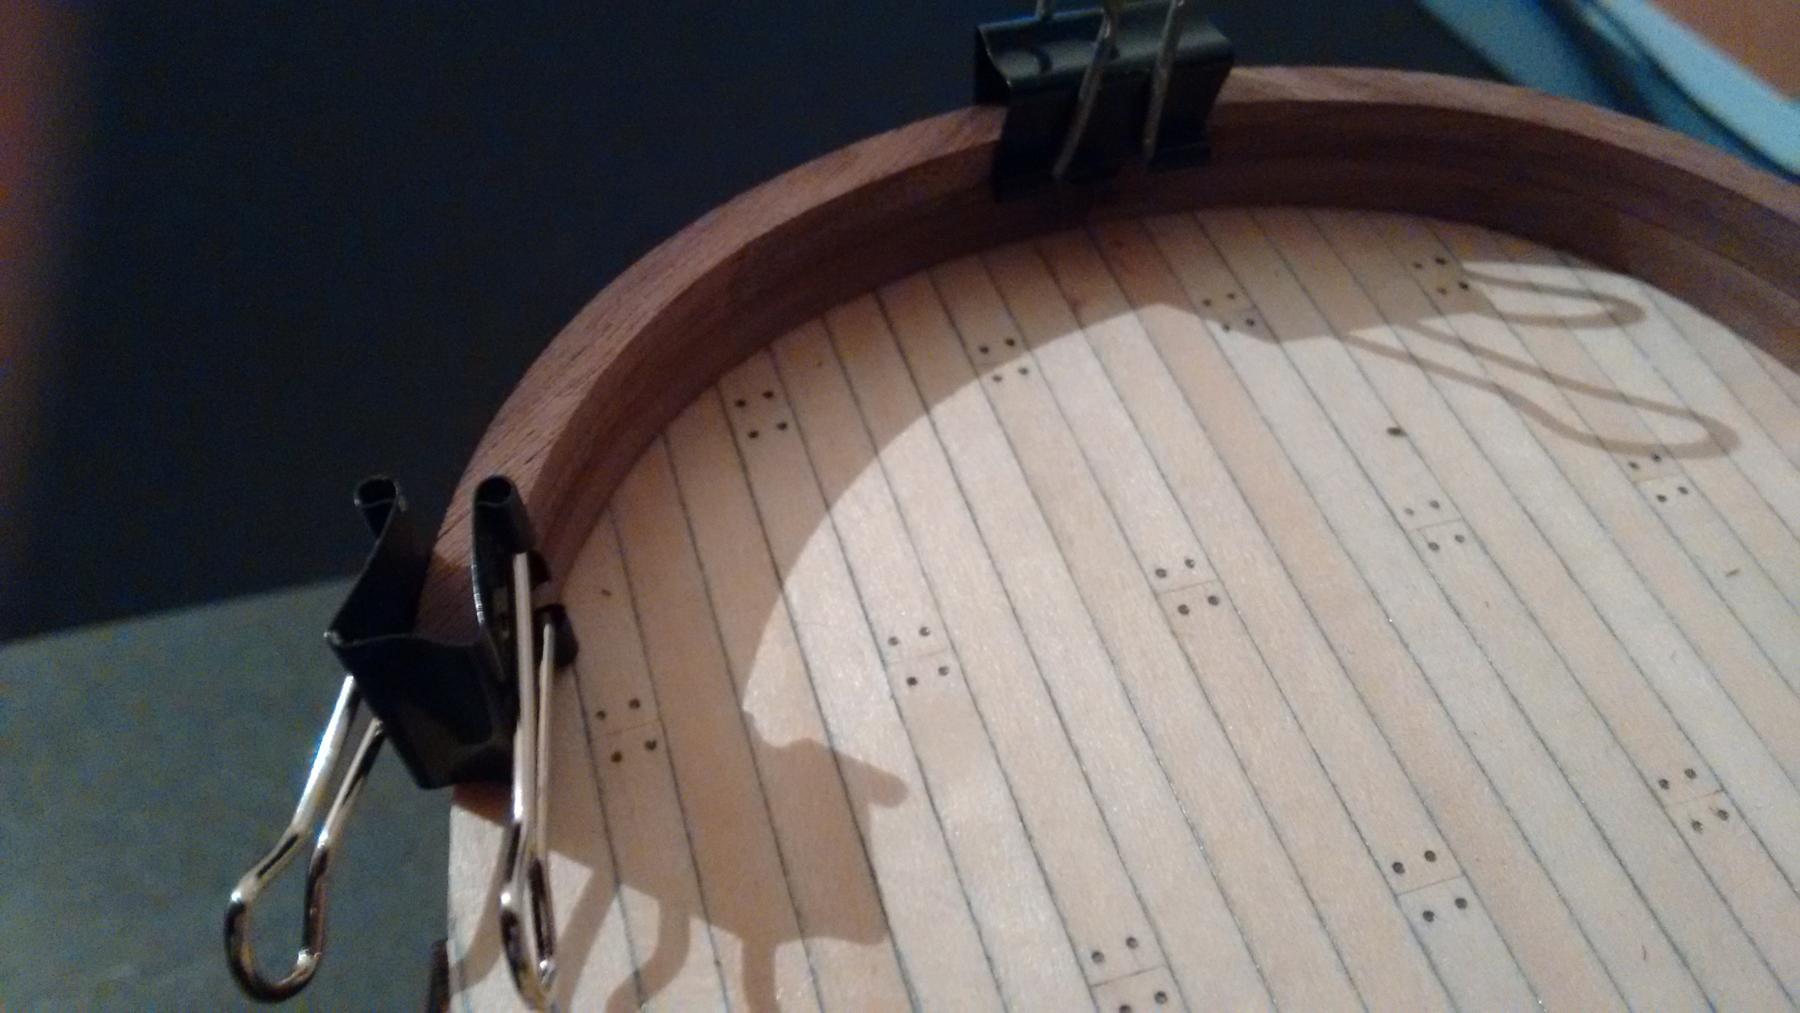
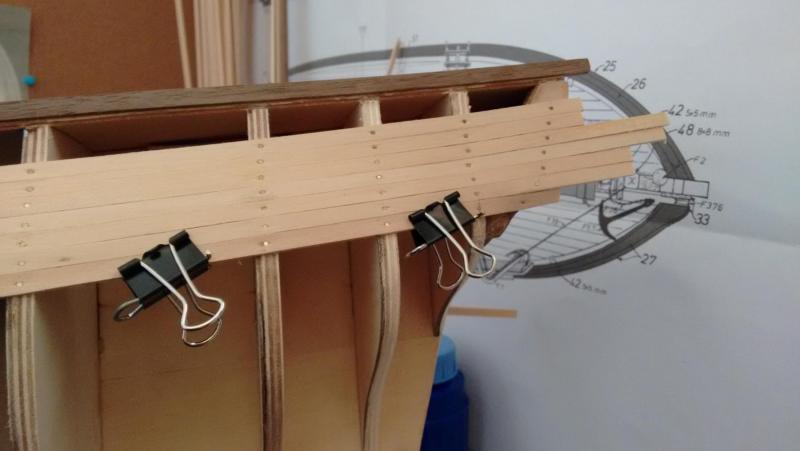
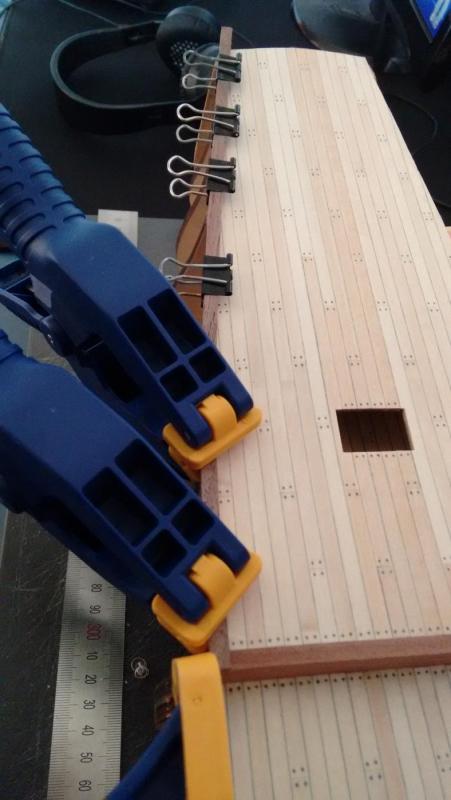
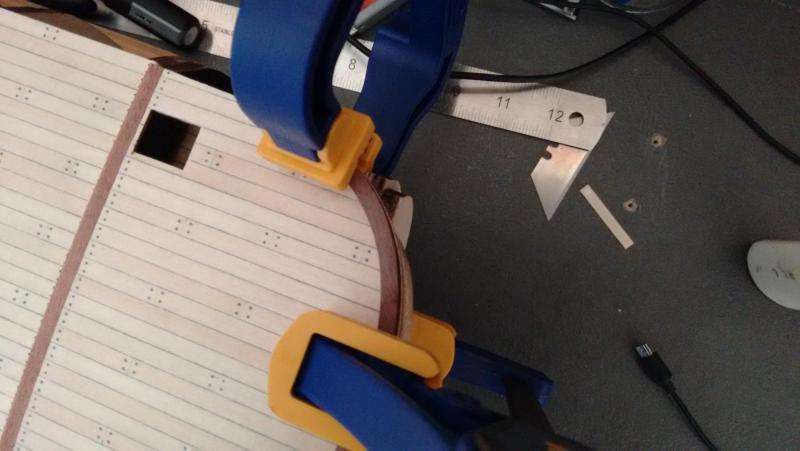
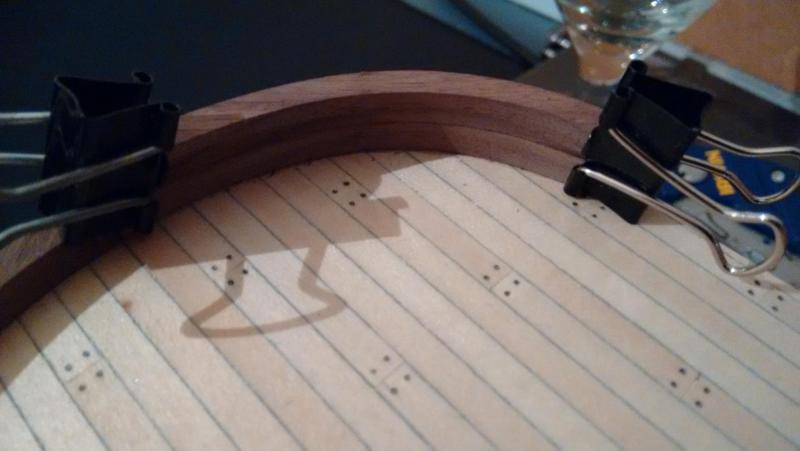
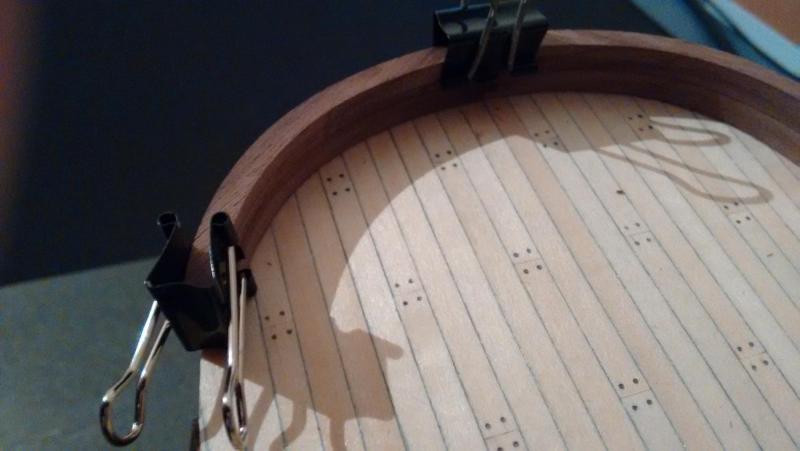
Planking has been slow going as i have been soaking the bow section of each board so it bends nicely. first of all was the sheer strake which dictates the planking run for most of the side planking as one might assume it is very time consuming to get both in the right place and as close to symmetrical as possible. Up until now i could only do 1 board each side a day as i had no way of holding multiple boards on the bow to keep the shape as they dry, because i can not nail into the gunwales. I have now pinned 3 boards each side on the bow which are drying and i should be able to install them tomorrow. while i am working my way down the hull i am and will continue cutting the stem in. enough chin wagging some pictures are in order. Cheers Rexy.


-
Doug here is a little list of what i would consider as the right tool for the job, if you plan on continuing in the hobby it is never to early to buy some small power tools. small Band saw would be the best i think, Scroll saw with a fine blade cutting on the down stroke would be the next best, scroll saws come in handy as you can just change the blade and work with metal ideal for brass. Cheers Rexy.
-
firstly Thanks Pat, Carl and Scott for the kind words. secondly Carl i if you mean processes as in what tools i used or how i accomplished a task, i think this is mainly because ever since i was young we have had a full workshop and my father taught me what tool to use for each application, i guess i take this knowledge for granted as i am sure not everybody knows what tools to use and when. Lastly Scott in regards to the decks i may later on go and give the decks the extra tree nails that each board had between but joints like in the picture below (found on google taken on the replica). Cheers Rexy.

-
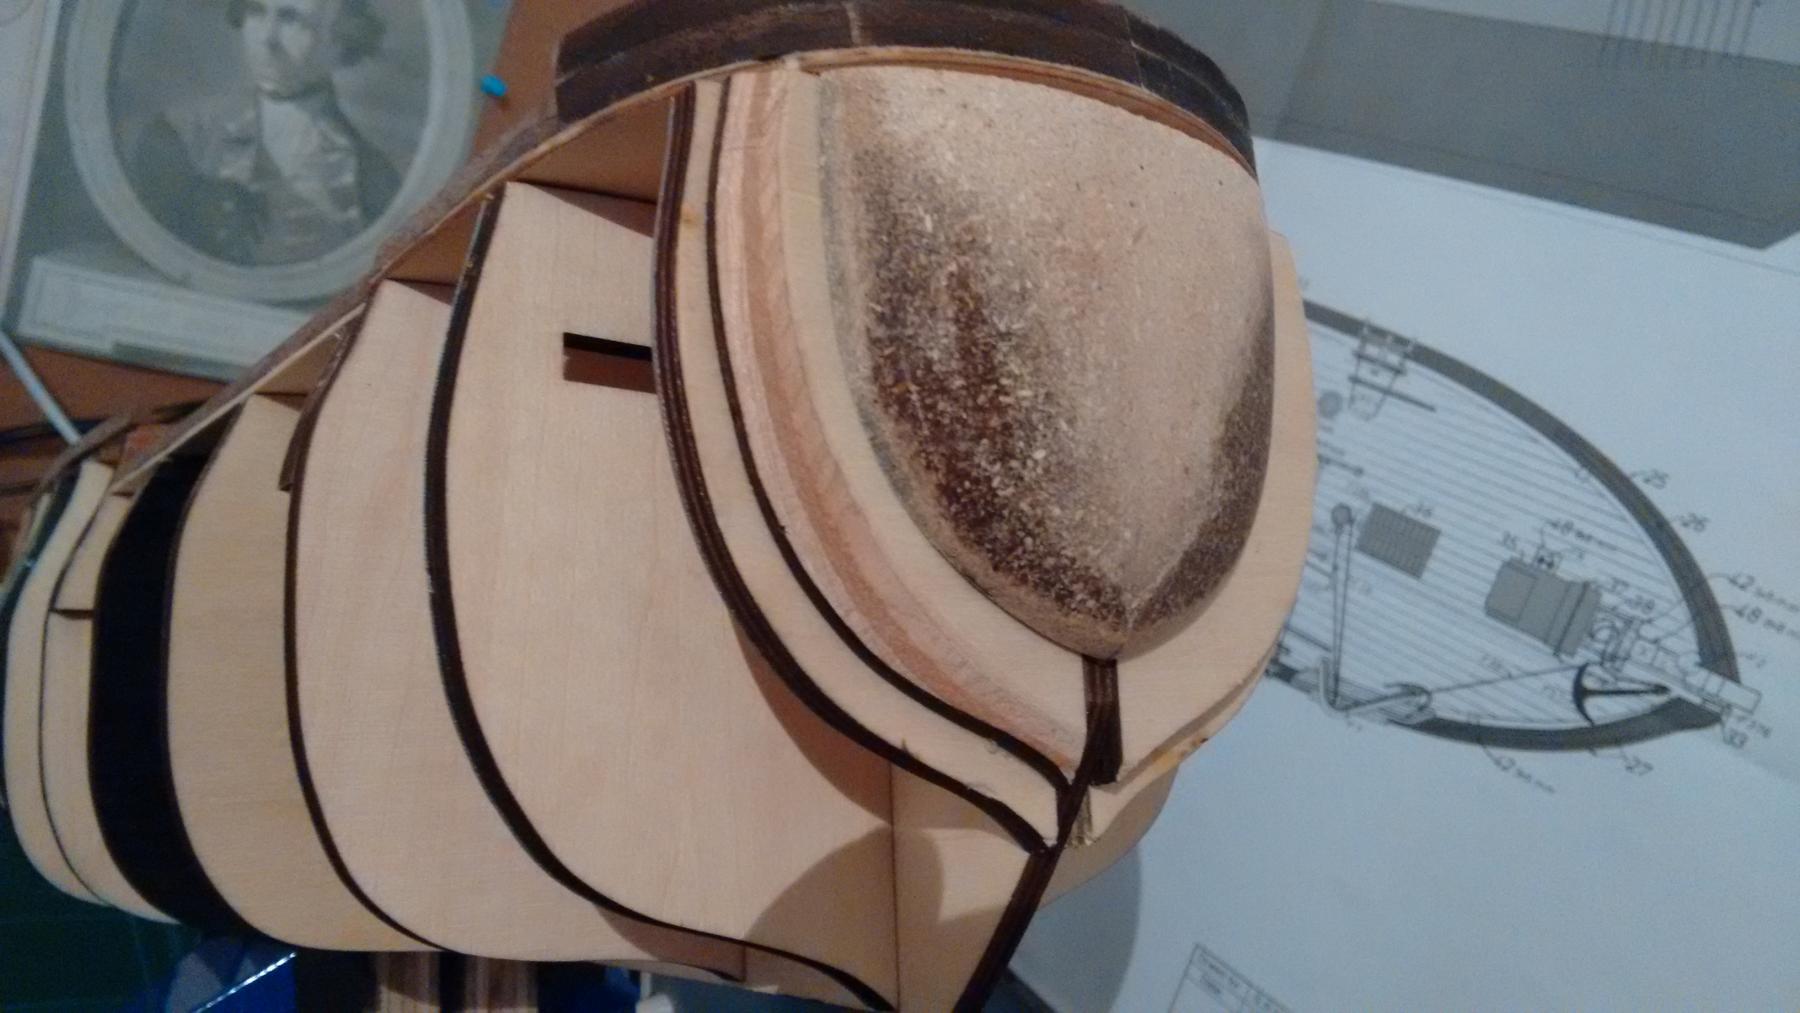
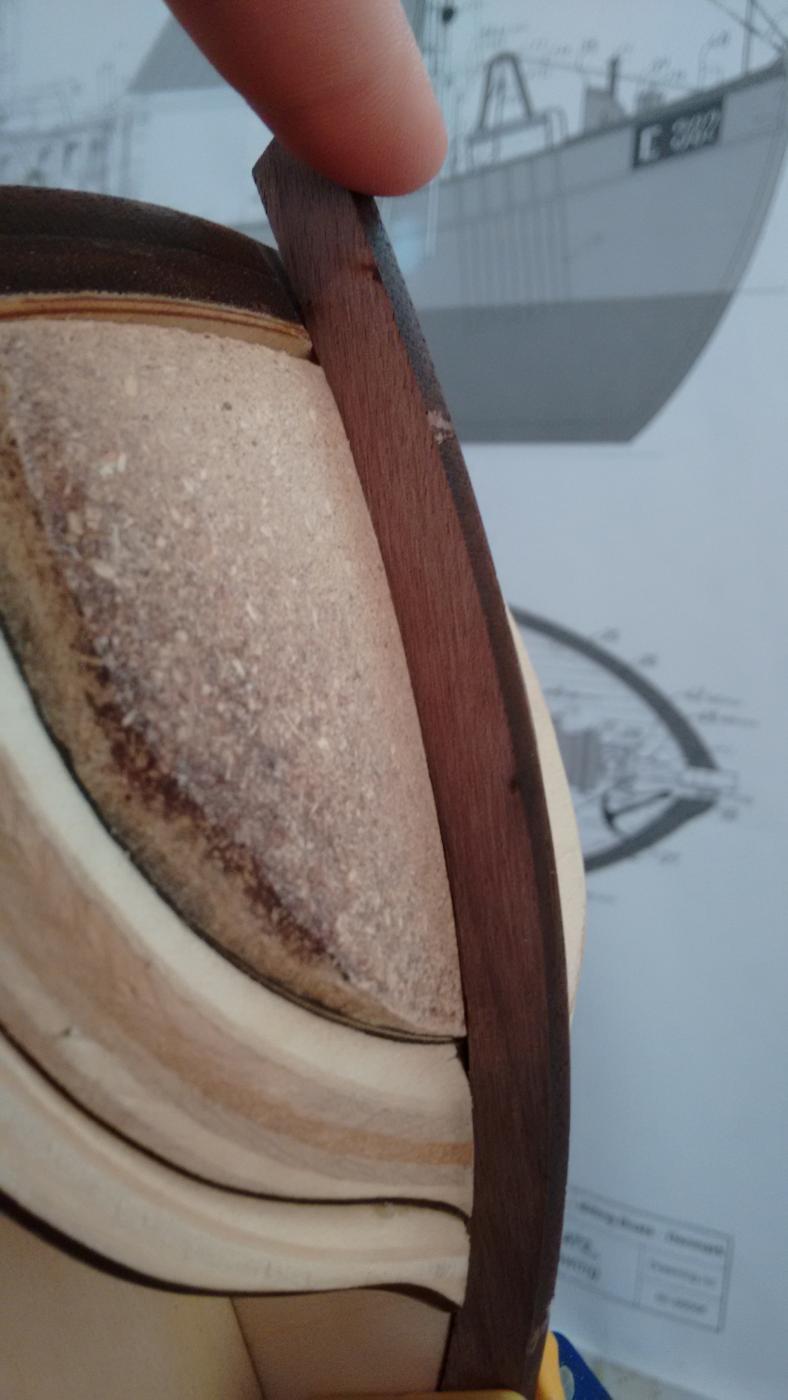
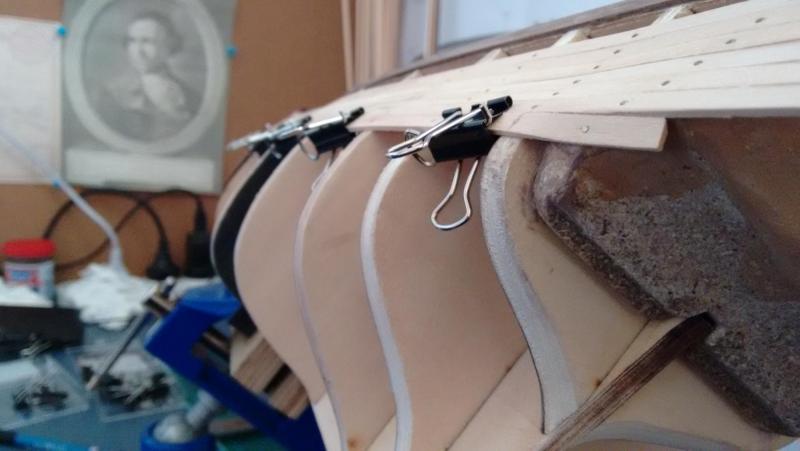
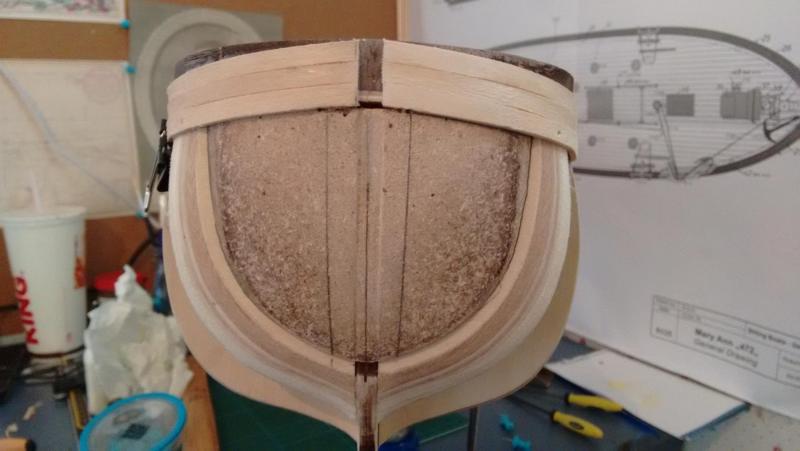
After most of the day filing and sanding, the frames are shaped as well as the bow and stern pieces. Due to the fact that the the Endeavour is a buff bow most of the forward planks will need to be soaked allow them to bend without breaking, this will make planking quite slow as i have to wait for the timber to dry before gluing them on. i have fitted the first plank that intercepts with various spots on the gunwales and stern from which all other planks get there line. And the obligatory photos of my progress thus far. Cheers Rexy.

-
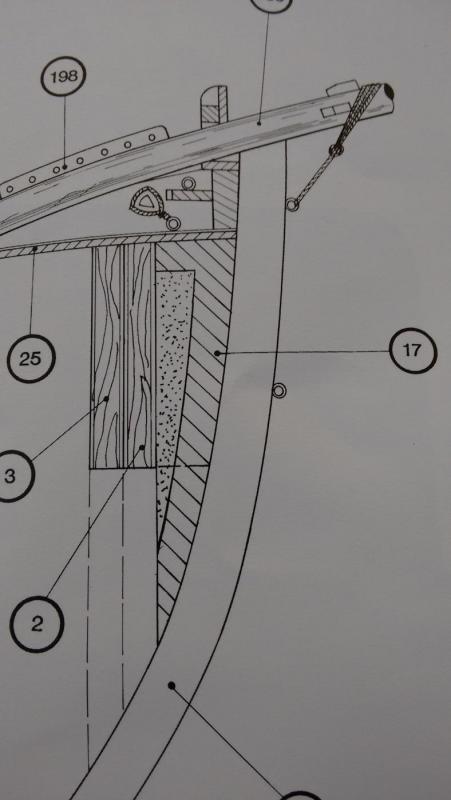
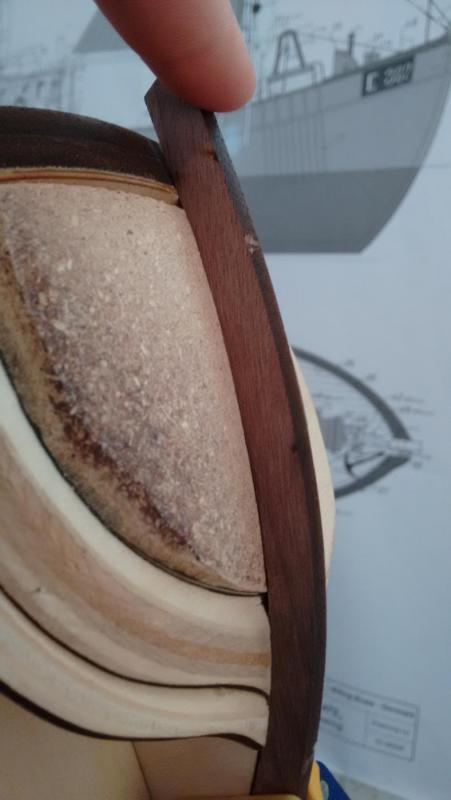
Well it seems that this company loves making thing harder than they have to be, i was following the instructions and shaping the frames fore and aft and noticed that the bow filler looked a bit big in thickness so i referred to the plans and sure enough they show the filler hard against stem the instructions say to fit the stem only after planking which sounds fine but the stem wound never have fit / would have had to file a deep grove into the bow filler this would mean loosing much of the stem. Now i debated on how to fix this i figured that shaping the bow filler to the stem would be the best option as this is how it should be. I really do not know how a company that molds the filler pieces can not make them to fit, as now i have to go by eye shaping the rest of the bow using the fore deck and front frames as a guide. well here are some pics of the bow now i have shaped most of it. Cheers Rexy.

-
The clinker problem will be hard to explain but i will try with my knowledge in woodworking and education in engineering. As you probably know when you bend a plank round the bow it naturally wants to rise up hence the tapering of the boards to correct this but if the board with the taper shaped still rises to high and you force it down into position the plank now has extra tension and the edge of the board will not compress to alleviate this so the board will naturally want to kick the top or bottom edge of the board outwards to get rid of the pressure this is the reason for the clinker effect. hope this helps for future builds Cheers Rexy.
-
i think most if not all ships that old were built keel up, do not quote me on this but i think the planking was done keel up and top down in theory the plank against the keel would have the bottom edge angled to fit and every other plank going up would have the bottom angled and in theory from top down the top of the plank would be angled and so would all the other planks until the whiskey plank was reached which would most likely have both edges angled. This could be wrong but i am sure i saw / read this somewhere. Cheers Rexy.
-
All gunwales have been glued on and the instructions say to file them to lines given by the tops of the frames this means removing a fair amount of material from the waist deck ones. The instructions say to file them but using my small block plane is a far nicer and cleaner way of tapering them, they go down form 5 mm to around 2.5 mm but this is at the top and most of this gets tapered to the deck height so they will get wider. Well enough talking here is the obligatory pictures. Cheers Rexy.

-
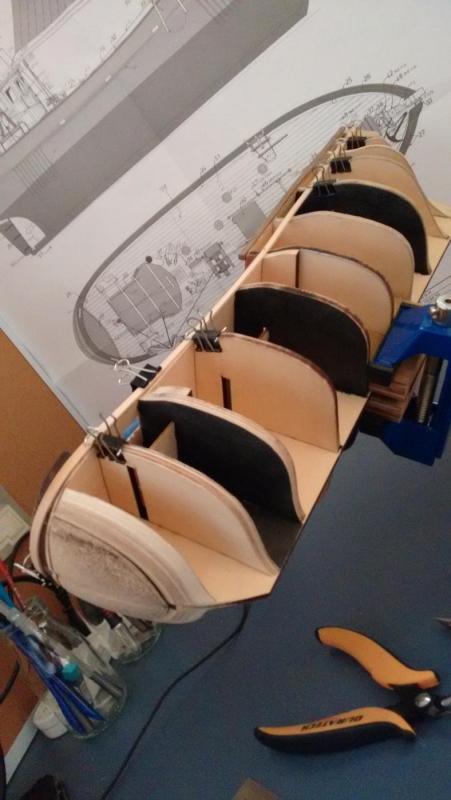
After some more debating about the gunwales and how they fit on the poop deck i have decided to fit them to make them line up with the top of the frames 1 frame is a little out but that is because of how ridiculous the bend of the walnut is. I have also fitted the waist deck gunwales, soaked and bent the extra bits for the forecastle deck well enough chatting here is some pictures. Cheers Rexy.


-
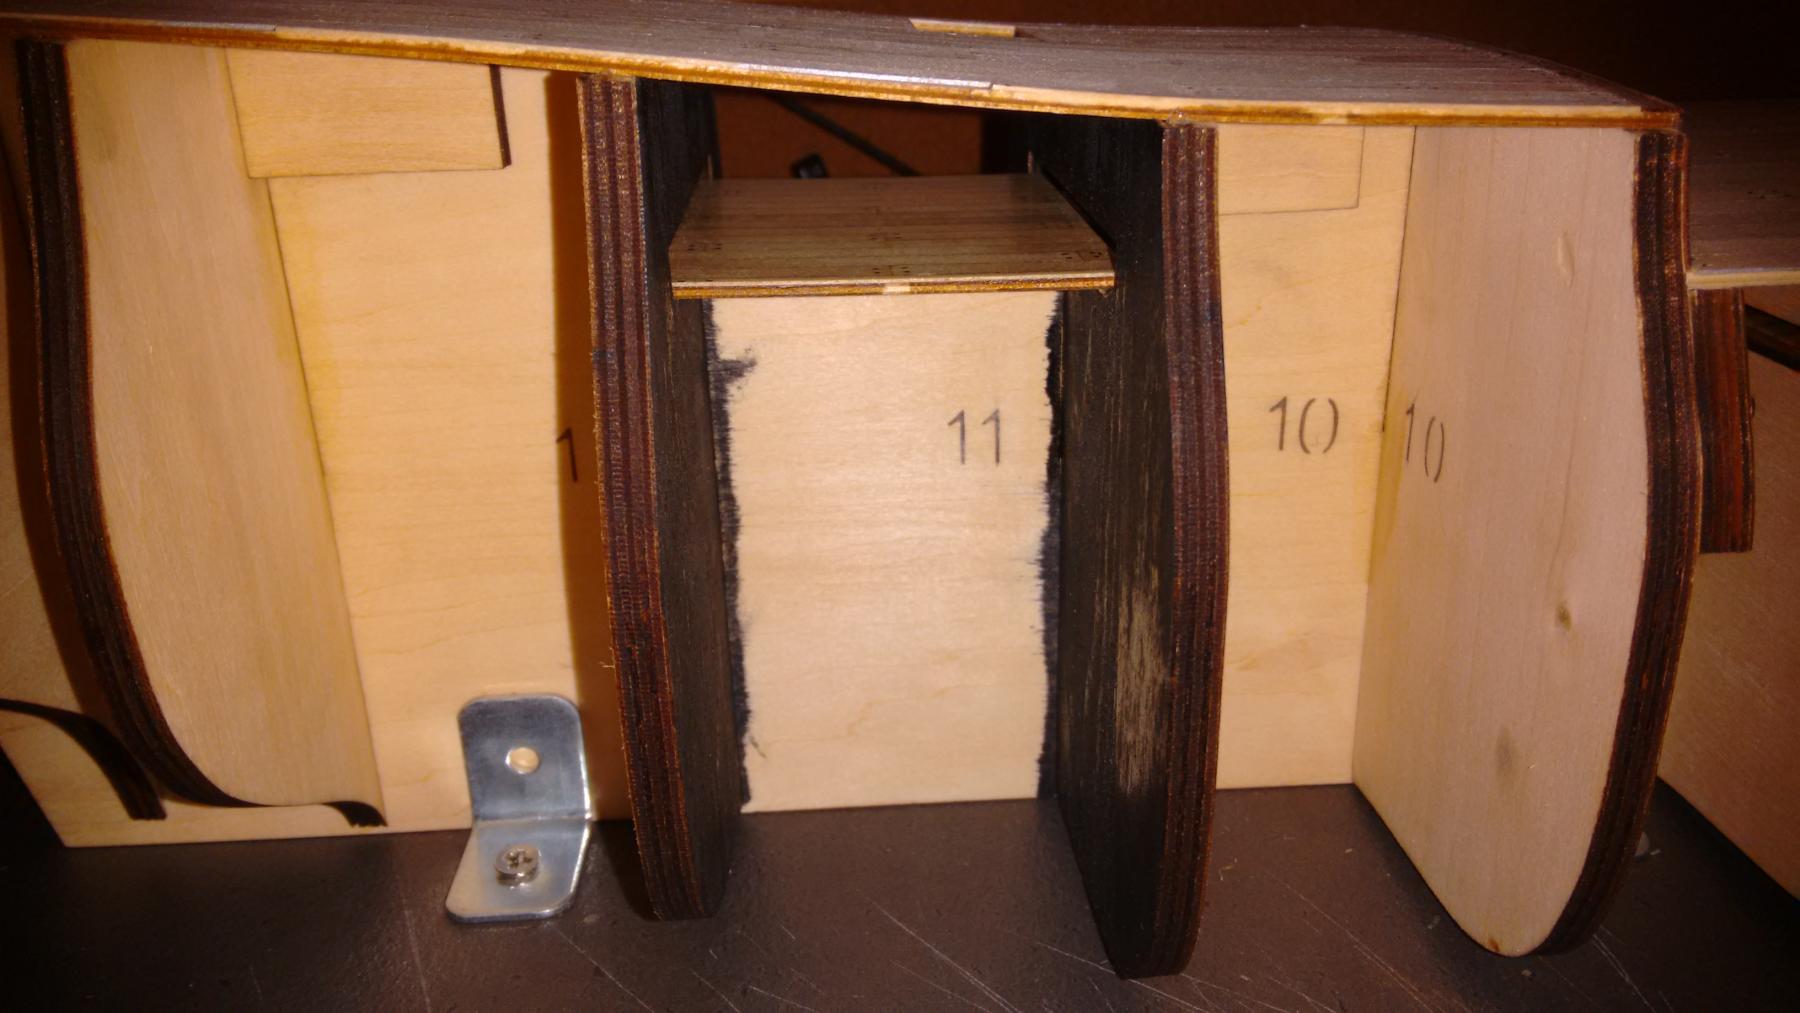
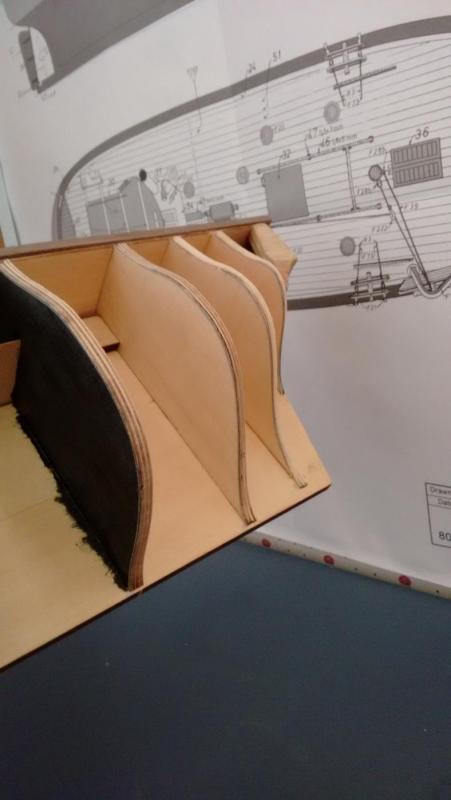
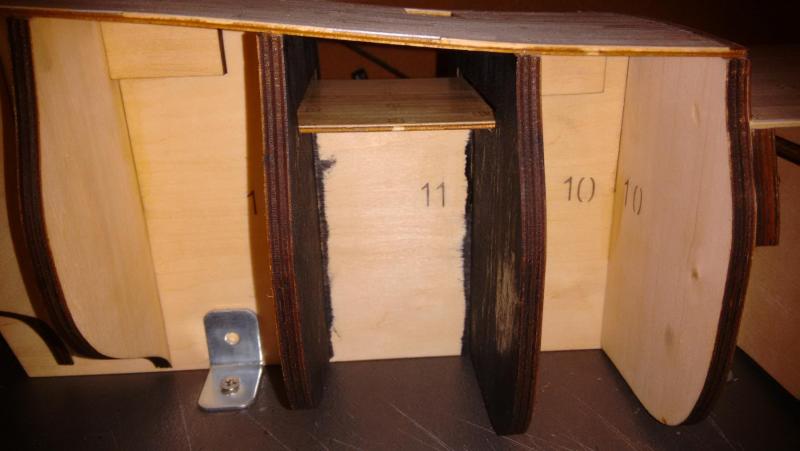
Have not done much progress since last post and had to work but the fore and aft frames of each hole to the sub decks have been painted black to give the illusion of a dark area, they do look very nice thanks for the suggestion. The bow gunwales have also been glued in, next step is to bend some 5 x 5 mm walnut to shape. I think i may want to soak them in hot water, well here are some pics of her progress so far. Cheers Rexy.


-
She's looking great and that led candle looks amazing but the electronic engineer in me is concerned with if you have a resistor in series with the led looks like you are using a 9v battery which is far to much for an led, or does the led have a built in resistor. Cheers Rexy
- 144 replies
-
- 2
-

-
- surprise
- artesania latina
- (and 2 more)
-
pulling up a chair to watch your build she looks like a great ship. Cheers Rexy.
- 144 replies
-
- 3
-
-
- surprise
- artesania latina
- (and 2 more)
-
from my experience and what my father has told me ( was a boat builder now joiner ) cold water fills up the pores of the wood, making the wood softer.steaming wood really opens up the pores and makes the wood nice and flexible (dry method as pores are not full of water) soaking the boards in hot water does a bit of both but the pores become full of water this requires you to let the water dry out before gluing as the board is at its most wide because it has swelled a lot. Cheers Rexy
- 134 replies
-
- 1
-
-
- artesania latina
- mare nostrum
- (and 1 more)