MORE HANDBOOKS ARE ON THEIR WAY! We will let you know when they get here.
×


REXY
-
Posts
43 -
Joined
-
Last visited
Content Type
Profiles
Forums
Gallery
Events
Everything posted by REXY
-
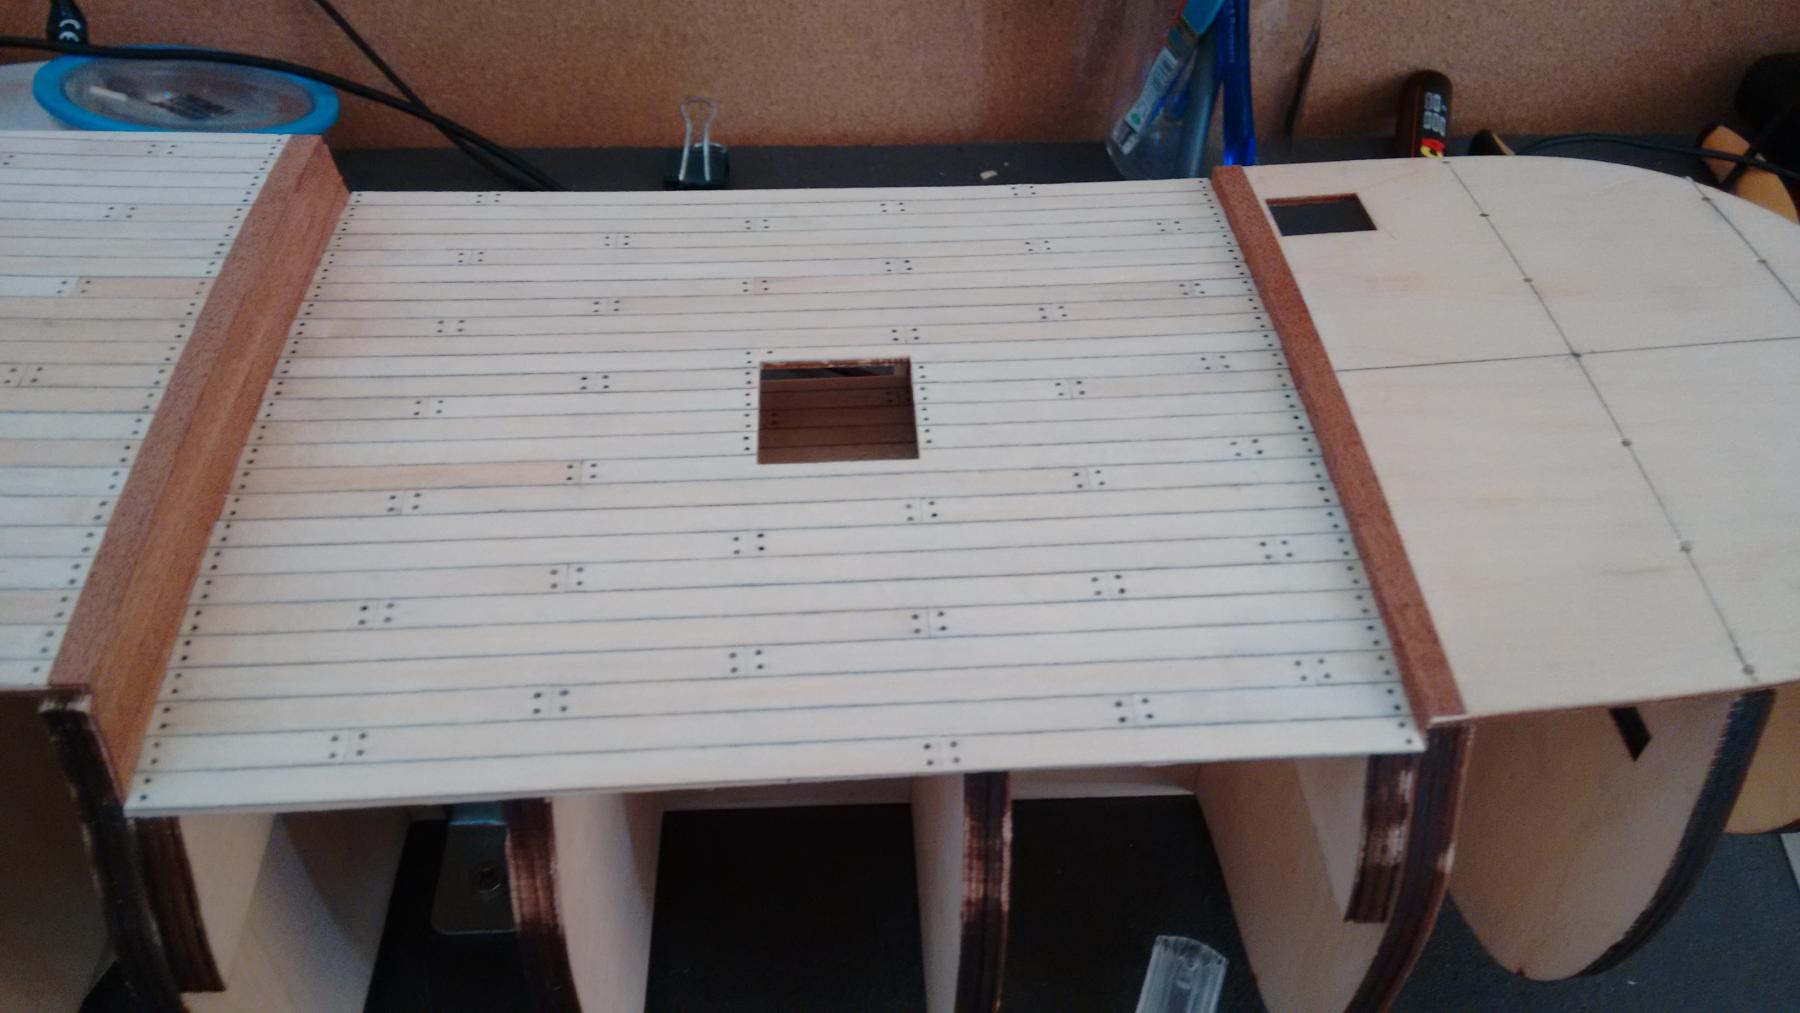
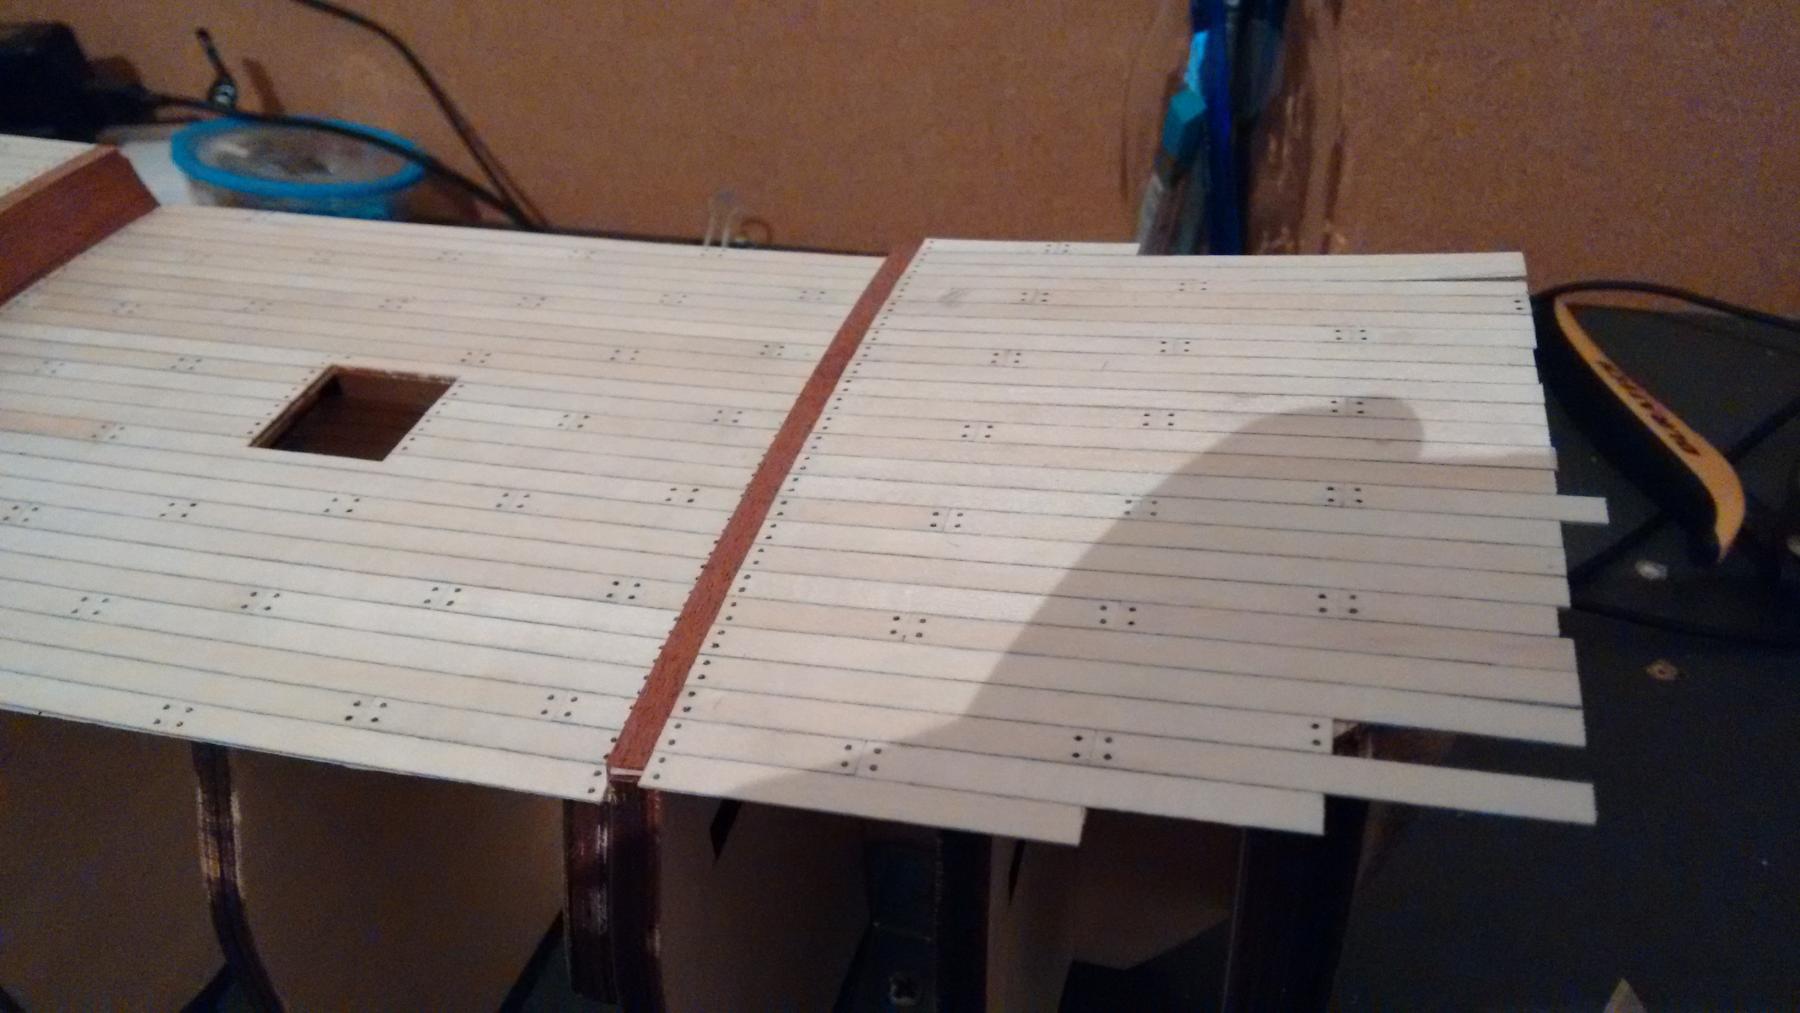
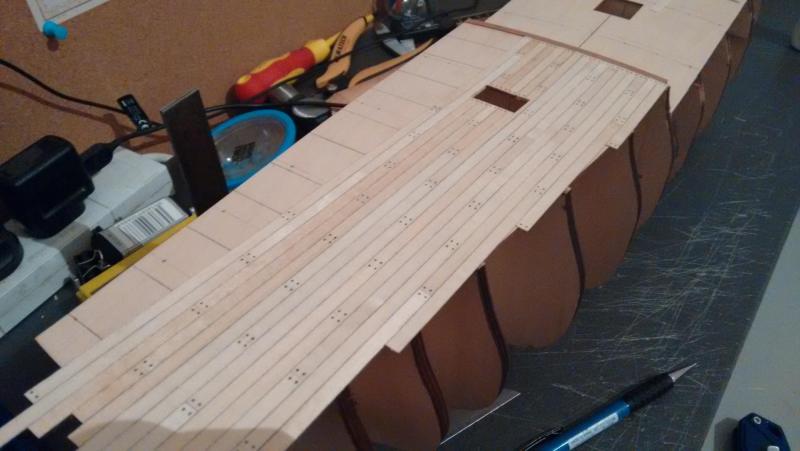
 Well after a long time dealing with fiddly little planks i have finally finished planking all three decks they have come up quite nice but must resist the urge to seal them as more parts need to be glued down. next step is to paint the frames fore and aft of each of the hold decks and then start work on the gun wales. some pics of the finished decks. Cheers Rexy.
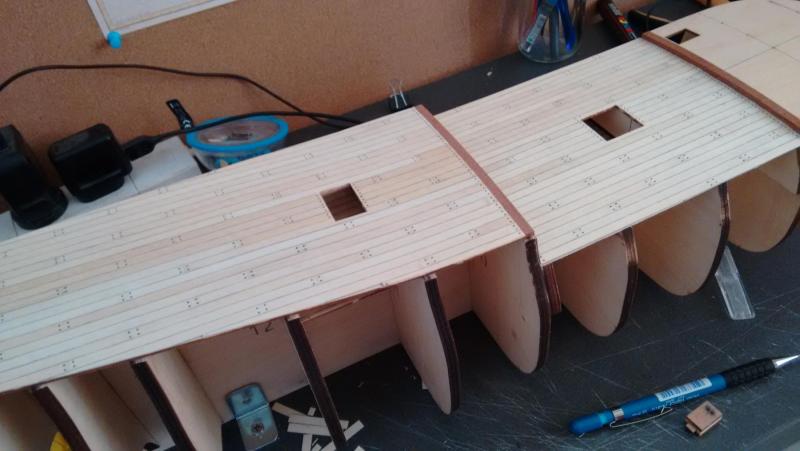


-
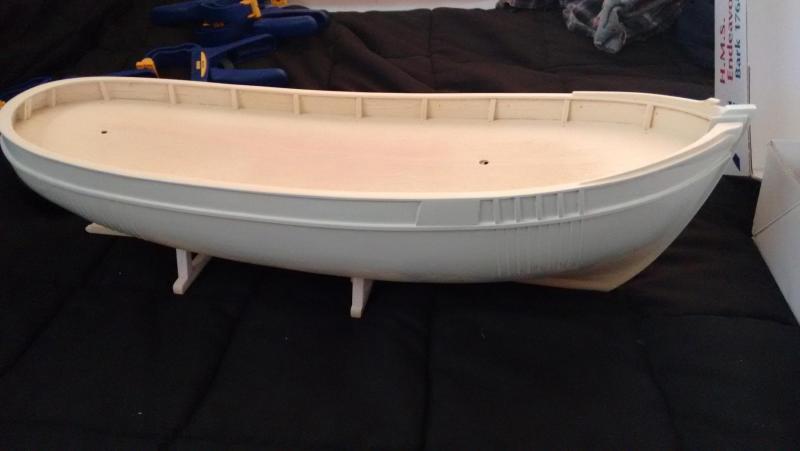
Hey doug the first kit boat i built ( well just the hull) was the mary ann from billing boats. been procrastinating about finishing the painting of the hull which is the same hull as the krabbenkutter or new kit cux 87. the instructions are quite bad very little in the way of information. the frames and keel are easy but planking is the hard part my 1 suggestion is to plank down from the deck height tapering the boards fore and aft like the manual says but when the planks no longer want to follow the curve on the stern is use a stealer plank to shift the planking to a more manageable curve. anyway hers a pic of what the hull looks like. Cheers Rexy.
-
Yes i agree instructions are of up most important for beginners / Rigging complicated models, i am quite lucky as my father was a boat builder for around 10 years building million dollar launches and yachts. he taught me how to interpret real plans, from the kits i have looked at even beginner models give the impression that you have many years woodworking experience and tend to skip important steps. Ps never go billing boats the instructions are terrible
-
my best guess is that like you said the basswood and sapele is soaking in the CA before the joint reacts. why not use Cross-linking PVA like Titebond 3 sure it takes a little longer to dry but you are not left with CA marks over your hull. Cheers Rexy.
-
Hof, Steve i believe moving manufacturing to china to be true as when i got my kit i talked to the hobby shop owner who told me that the whole company had changed owners, this is also the reason for the new 2016 N version kits. Cheers Rexy.
- 130 replies
-
- 1
-

-
- mare nostrum
- artesania latina
- (and 1 more)
-
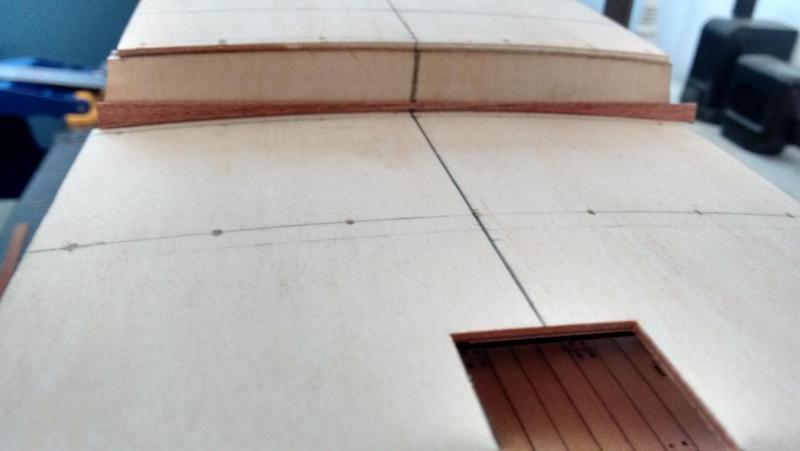
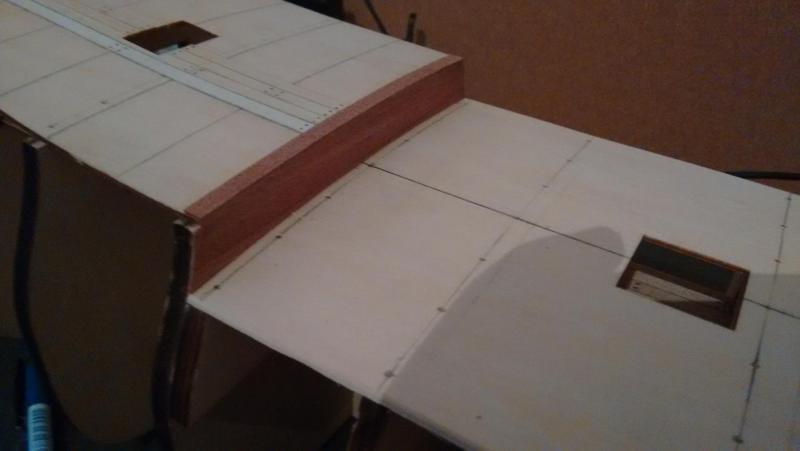
Well after some procrastination, waiting for the grey felt rubbed on the edge of every plank to dry so it does not smudge and dealing with little fiddly pieces i have almost finished planking the poop deck. If i do say so myself it has come up quite well. Now while planking the step with Sapele i came up with a smart idea to use the ply that the fame came from to cut the veneer to the curve of the waist deck. anyway here is some pics of the progress. Cheers Rexy.

-
When to varnish
REXY replied to medic's topic in Painting, finishing and weathering products and techniques
from my knowledge of glues epoxy relies on penetrating the pores of the timber or a rough surface thus the bond to paint will not be very strong, your best bet would be to scrape the paint off were you need to apply the furniture. do not quote me on this but maybe jb weld might work if you scuff the surface a bit as its designed for metal / non penetrable surface. Cheers Rexy. -
your build is off to a great start, from my experience with wooden model kits is, even if it is targeted at beginners it still requires a lot of woodworking knowledge to achieve a great finish. anyway good luck. Cheers Rexy.
- 130 replies
-
- 2
-
-
- mare nostrum
- artesania latina
- (and 1 more)
-
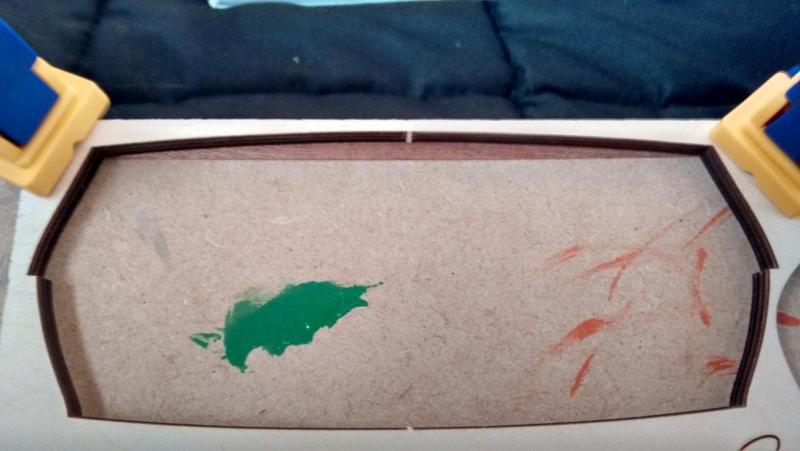
Oh man, i never would have thought of that thanks Carl, i have some humbrol enamel but what colour, black comes to mind as it wants to look like a void i assume not much light got down there.
-
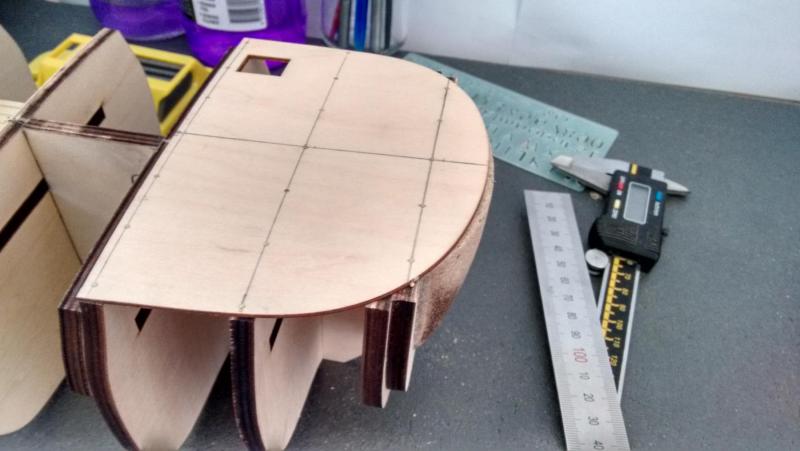
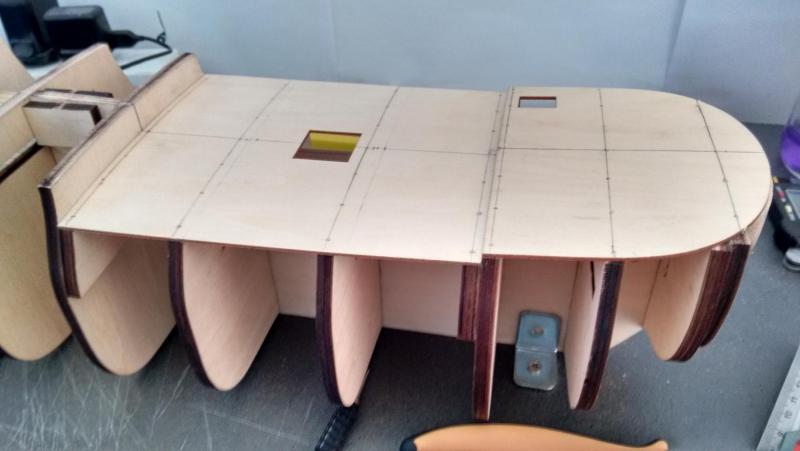
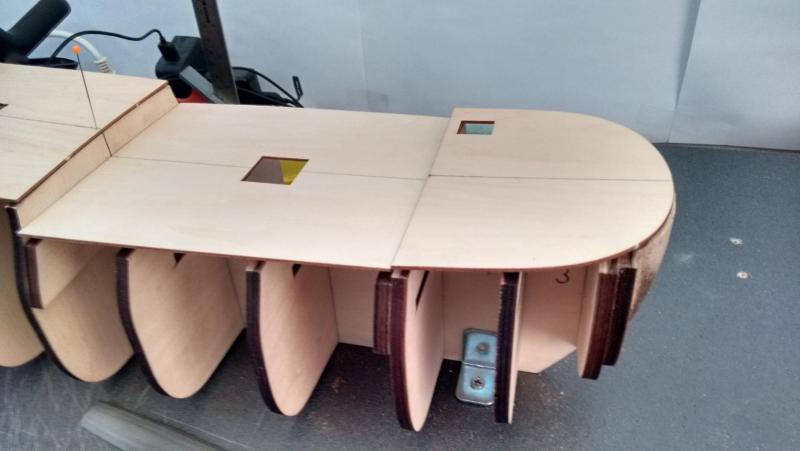
She has decks... (would sound real funny in the New Zealand accent) after marking and drilling every hole for the pins with a 0.75 mm drill bit on my drill press i have the forecastle waist and poop decks on as well as the sub decks in. i pulled the hull out of the cleats to check the false keel for bow and there was none, i will leave it in the cleats until a few planks are on so it does not move. next job is going to be planking the decks and as cog suggested i went out and got a dark silver marker, from a little test piece i did i looks real good. Here is few picks of the fitted decks. Cheers Rexy.

-
Thanks for the feedback guys ,Hof i did look at your endeavour and you did not have the problem with stern filler i did some more research and i think i have found that the older kit has better filler pieces. Cog trying to get a new part is more hassle than it is worth, plus my father has a full workshop downstairs with any tool i could ever need to make a new piece. Now onto the fix, i was looking at the transom piece and noticed that filler was way smaller (about 4 mm each side) when it only needs to be two hull planks plus two veneer planks, it is far easier to modify the filler piece than trim the transom piece the shape . I glued two blocks of MDF to the sides and sanded them to the contours of the filler piece this should fix the issue but it will need to be shaped with all the frames, time will tell if this fixes the problem but anyway here is what it looks like now. Cheers Rexy.
-
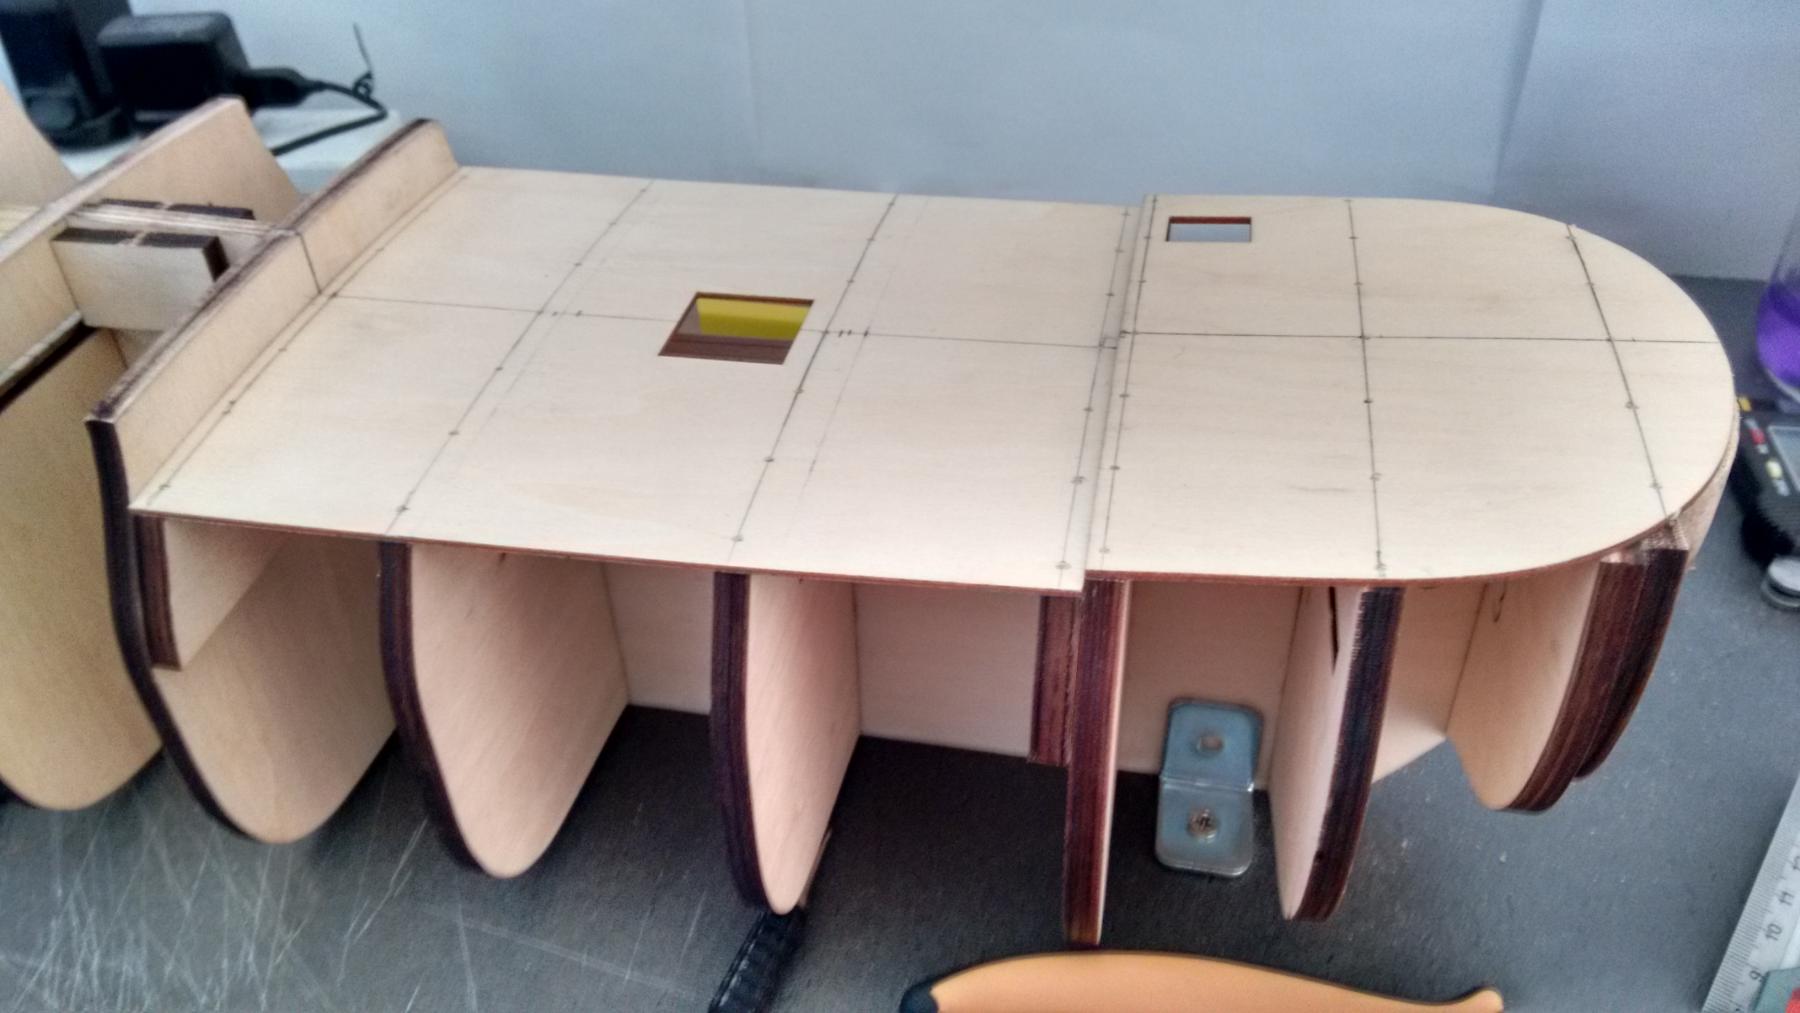
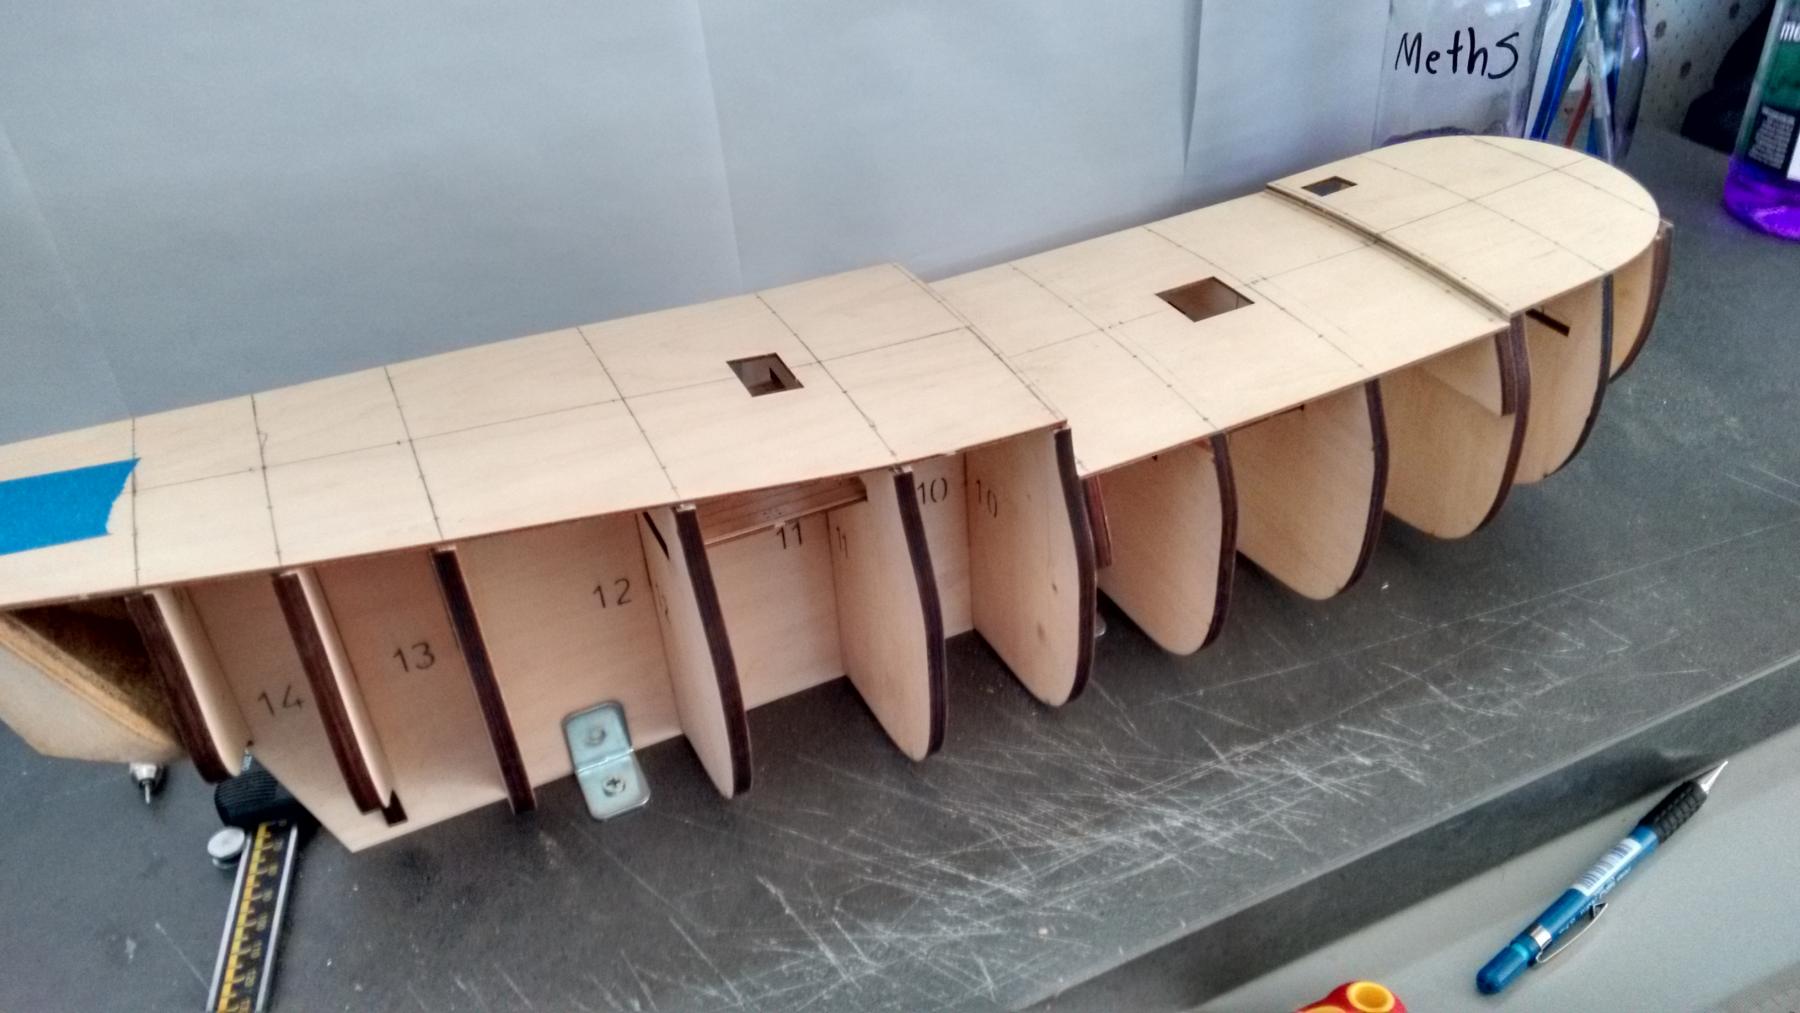
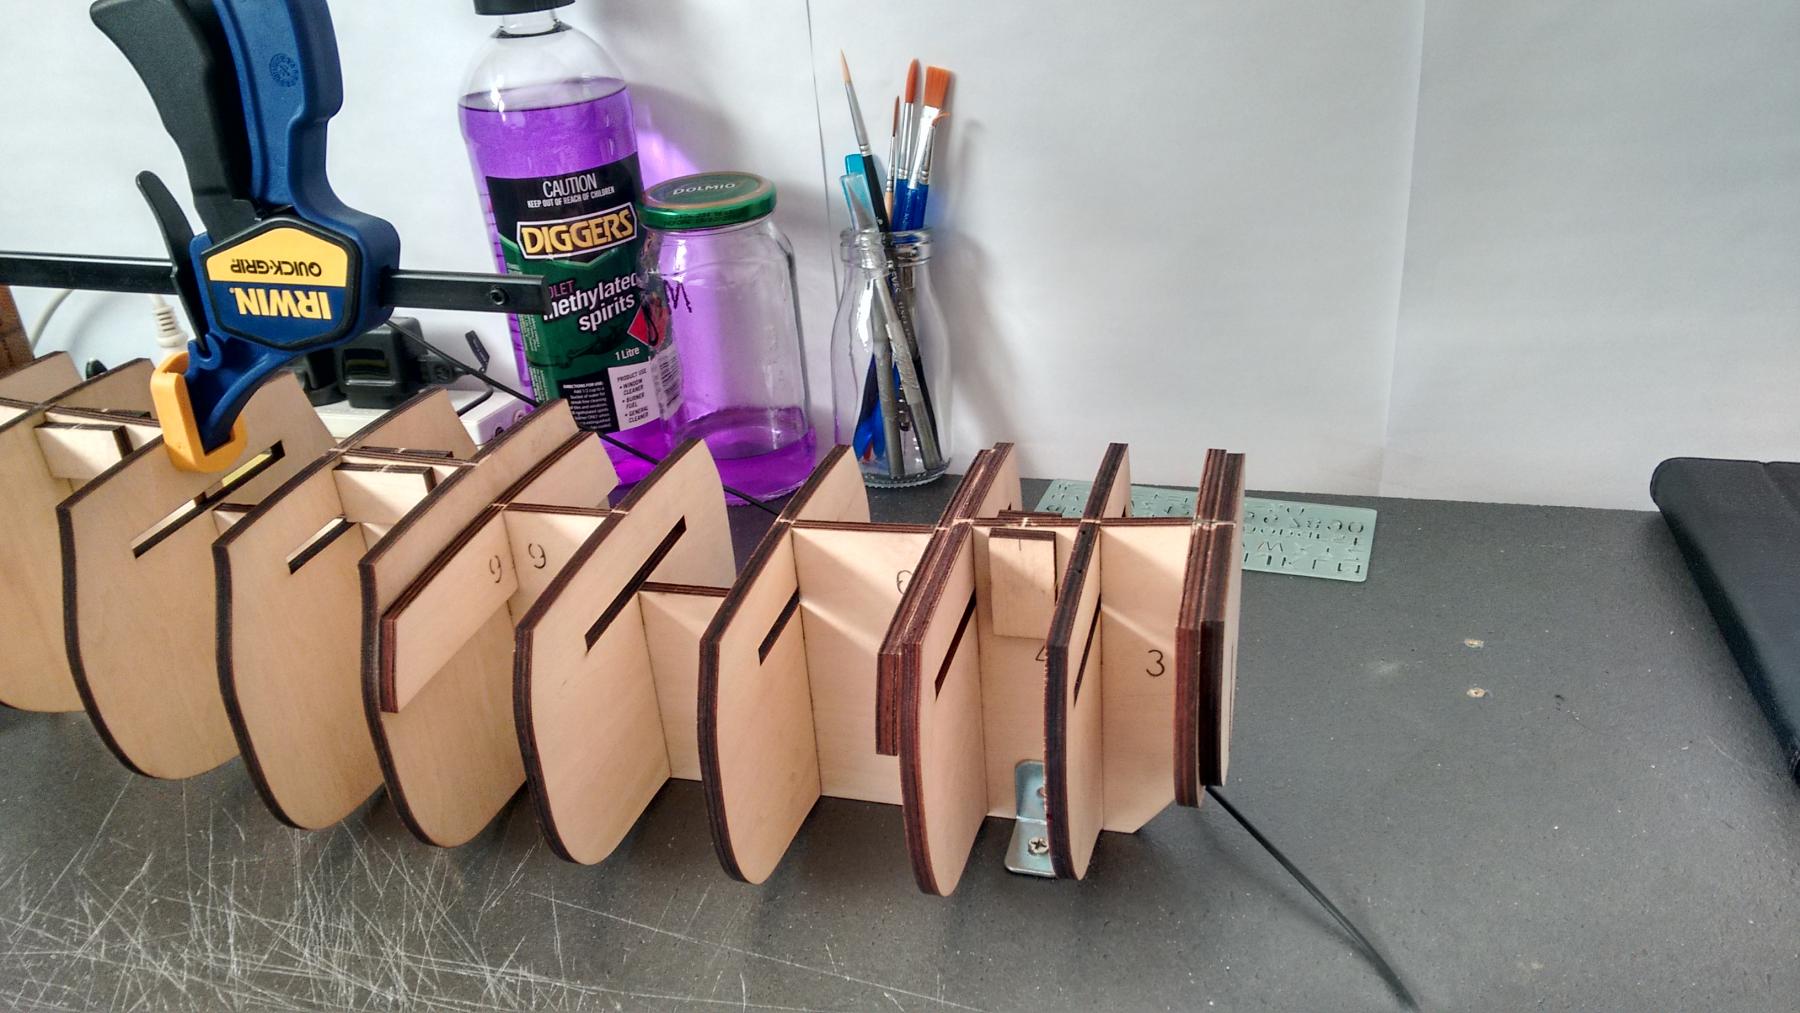
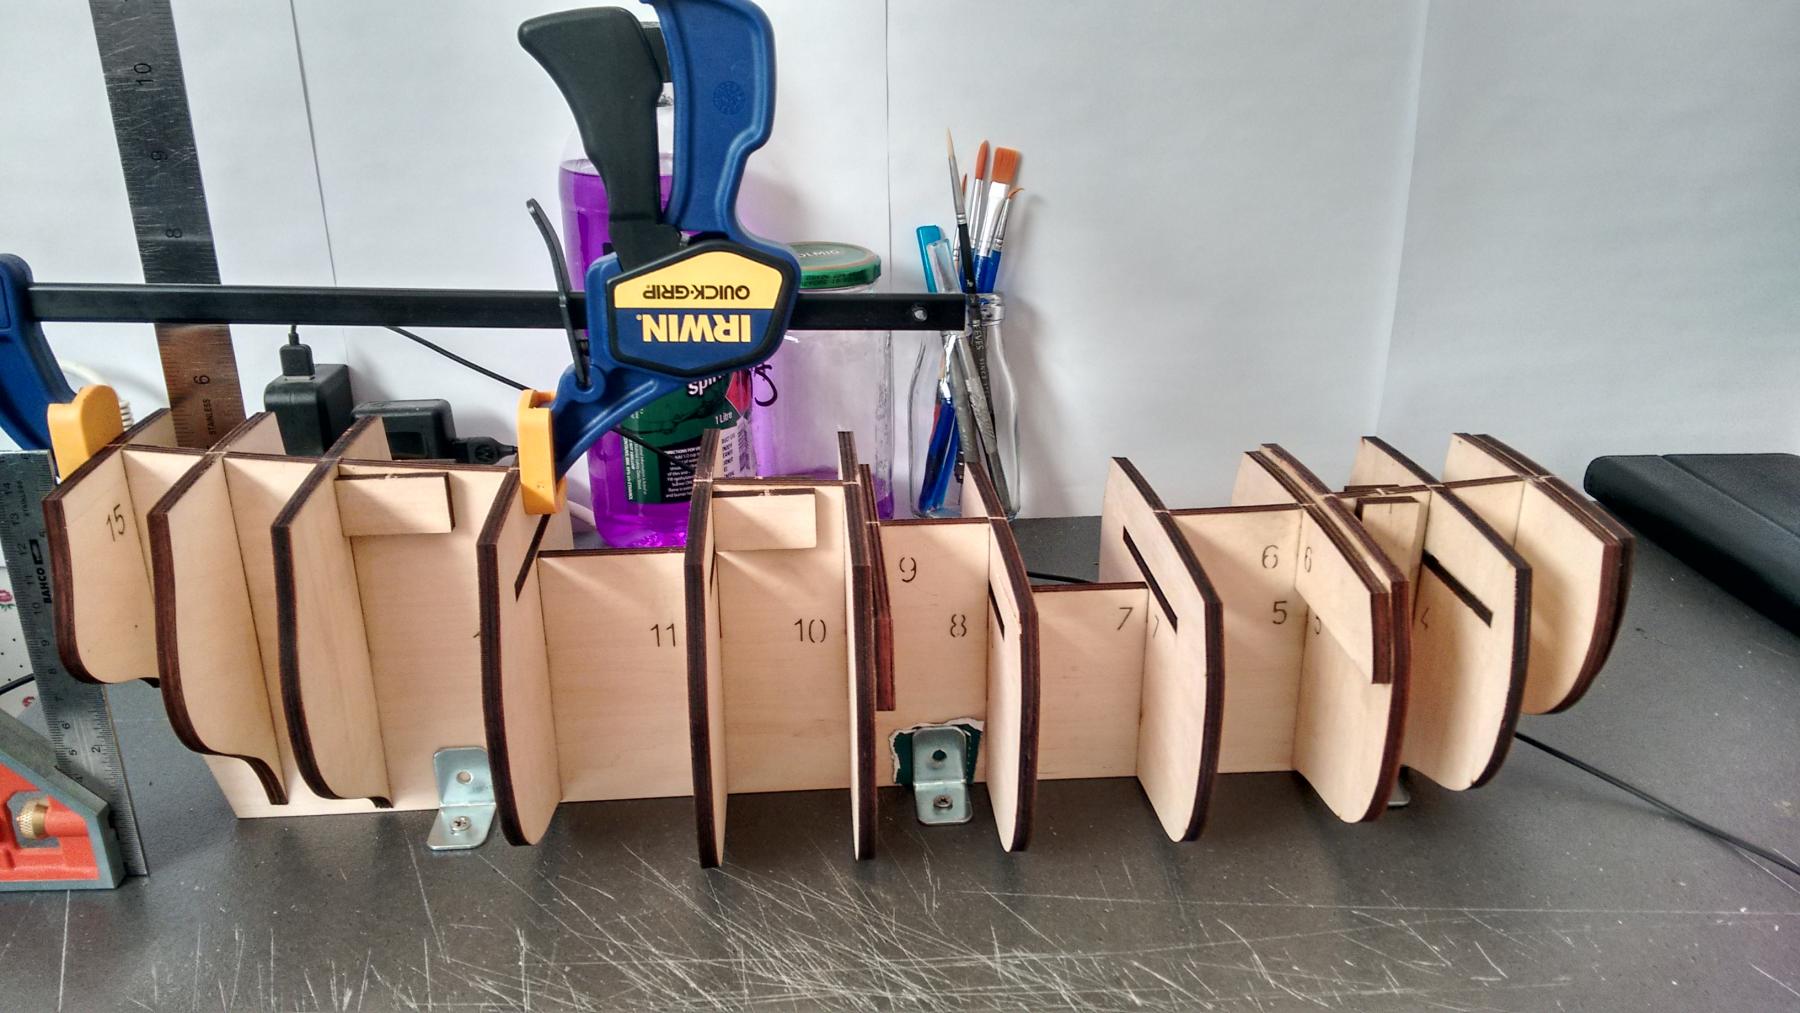
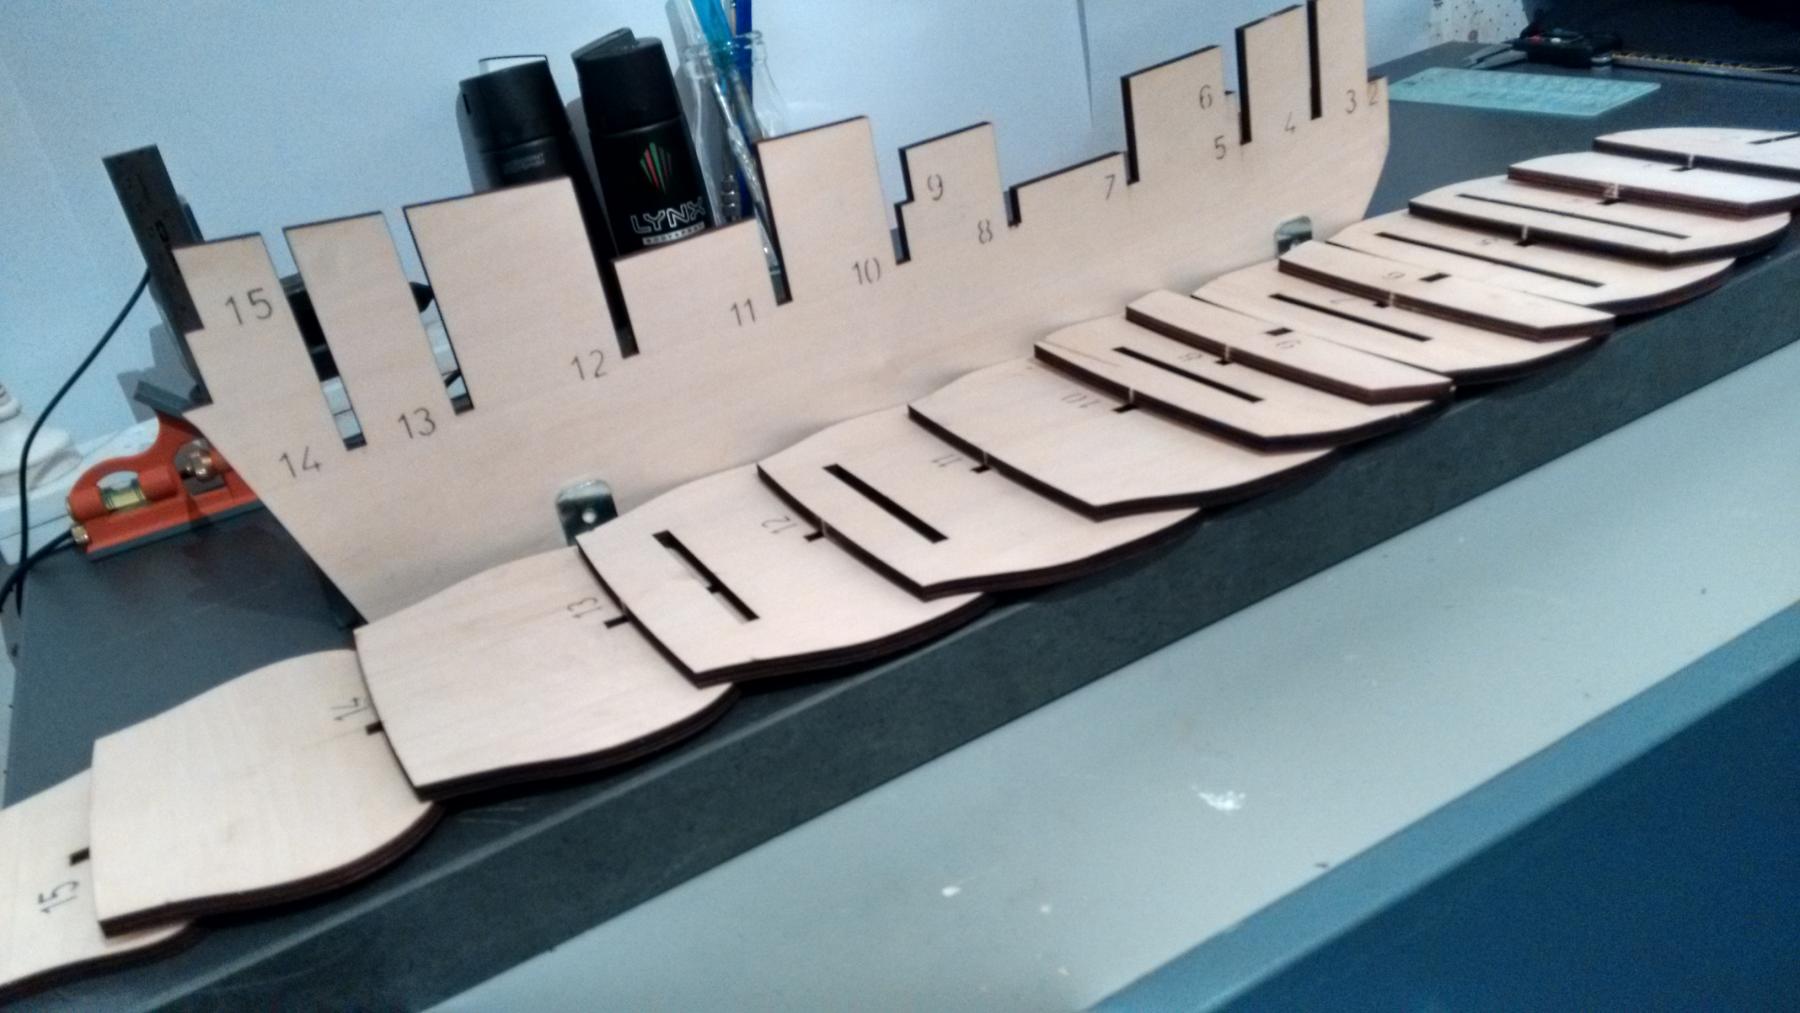
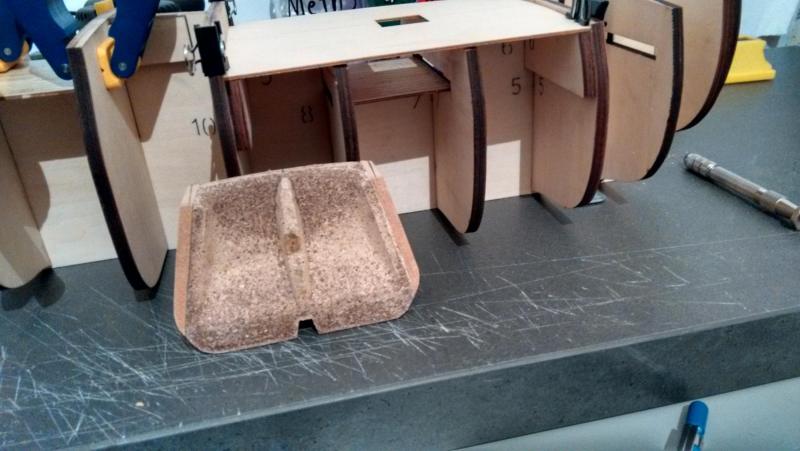
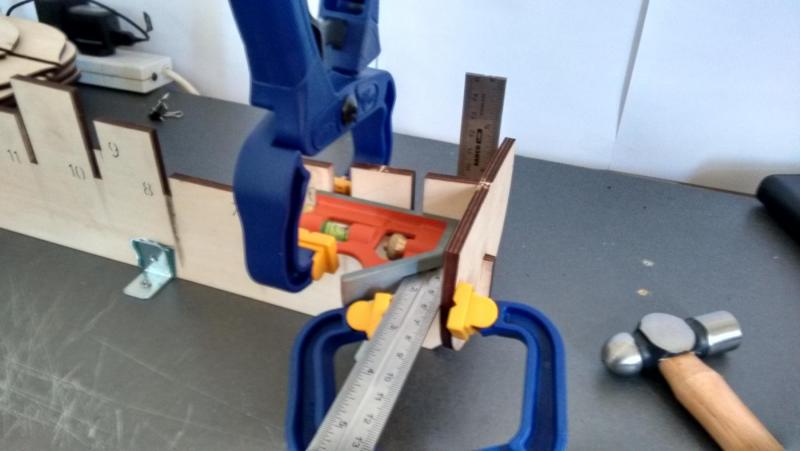
Captain Cook We have a problem.... (technically should be lieutenant ) Well this always seem to happen to me but after beveling all the frames so the decks sit nice and flat over them i dry fitted the forecastle and waist decks which fit nice, with the back of the frames lining up with the edge of the deck so as to keep the profile when shaping the frames. Now this dam poop deck, it has some fitment issues, one is that the deck is smaller than the frames so even after shaping them to the curve the will be 1.5 to 2 mm gap to the edge of the frame although the gunwales are 5 mm walnut so i can cover the gap by running them to the edge of the frames, may run them over the table saw to take out 1.5 mm by 2 mm rabbit (thickness of the deck) to make them sit on the frames and deck. Now the hard problem, the instructions for the boat show the stern filler block the same width as the deck mine is not and this seems to be a problem that a lot of people encounter just nobody shows how to remedy it, i can not sand the deck to taper cause from what i can see the transom piece needs the deck to be this width , i might need to add material to the filler block. some problem solving is in order. If anybody has any fixes or suggestions please leave your input. cheers Rexy
-
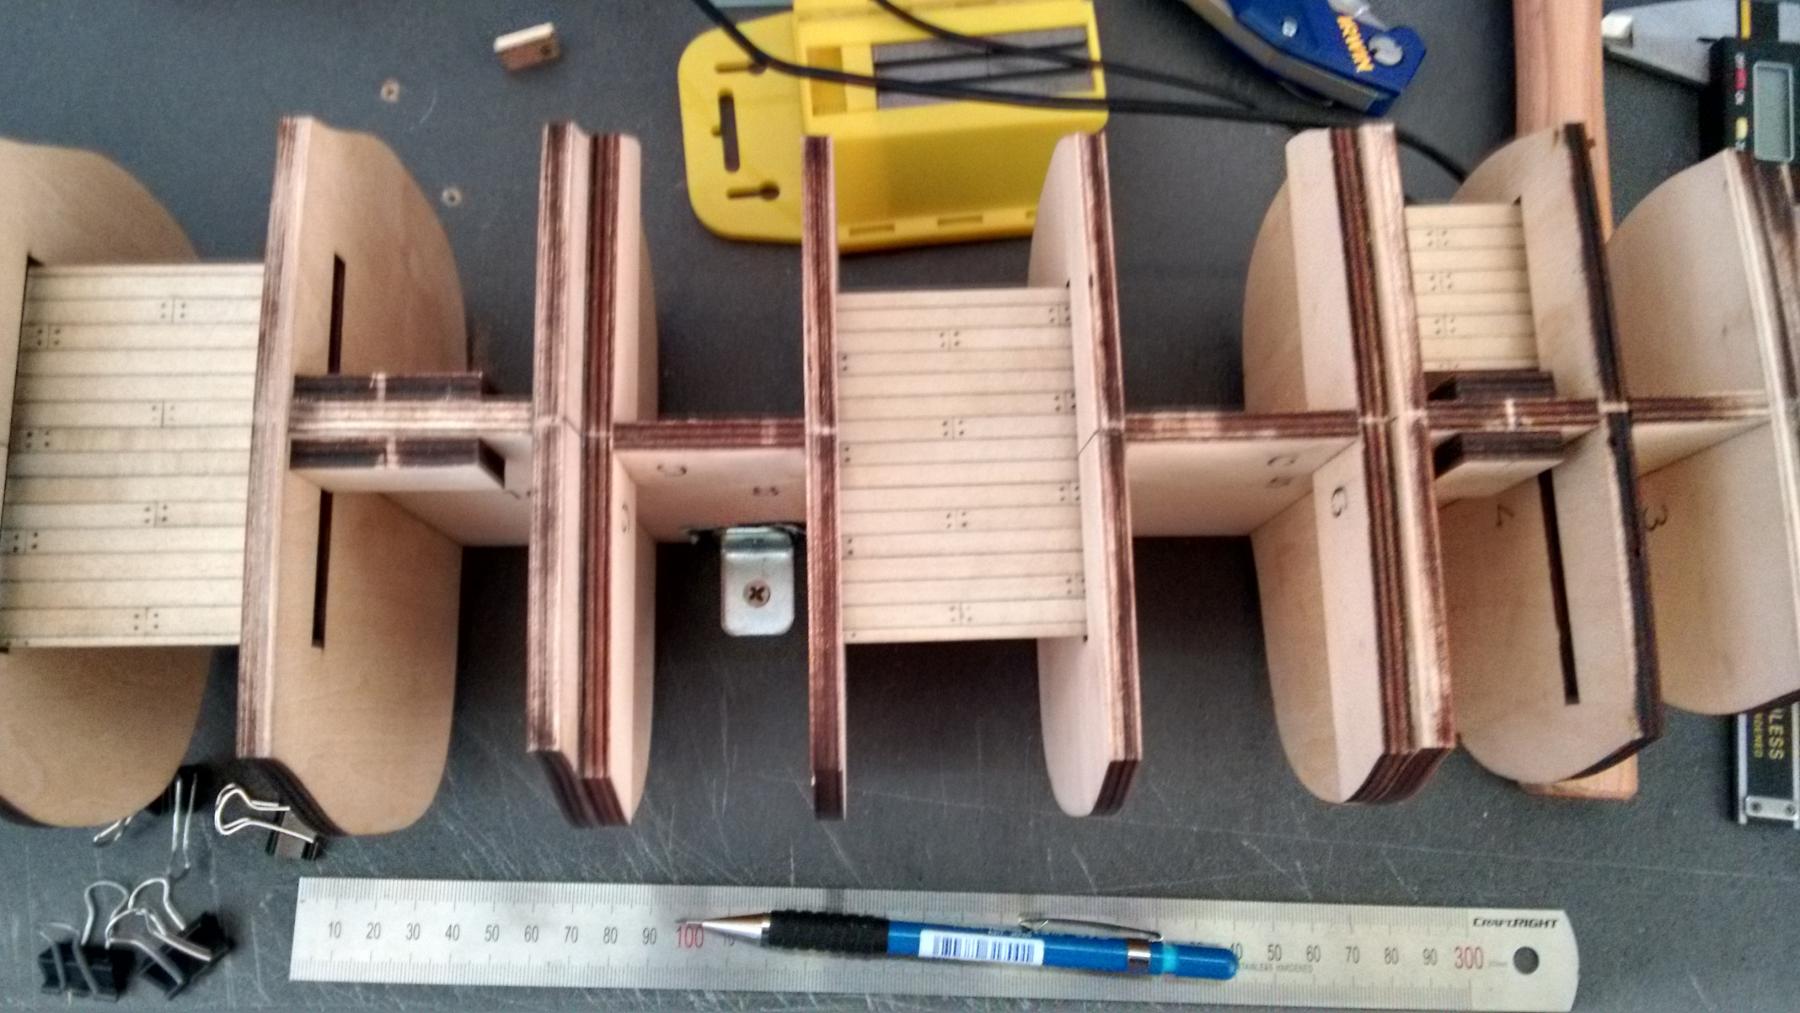
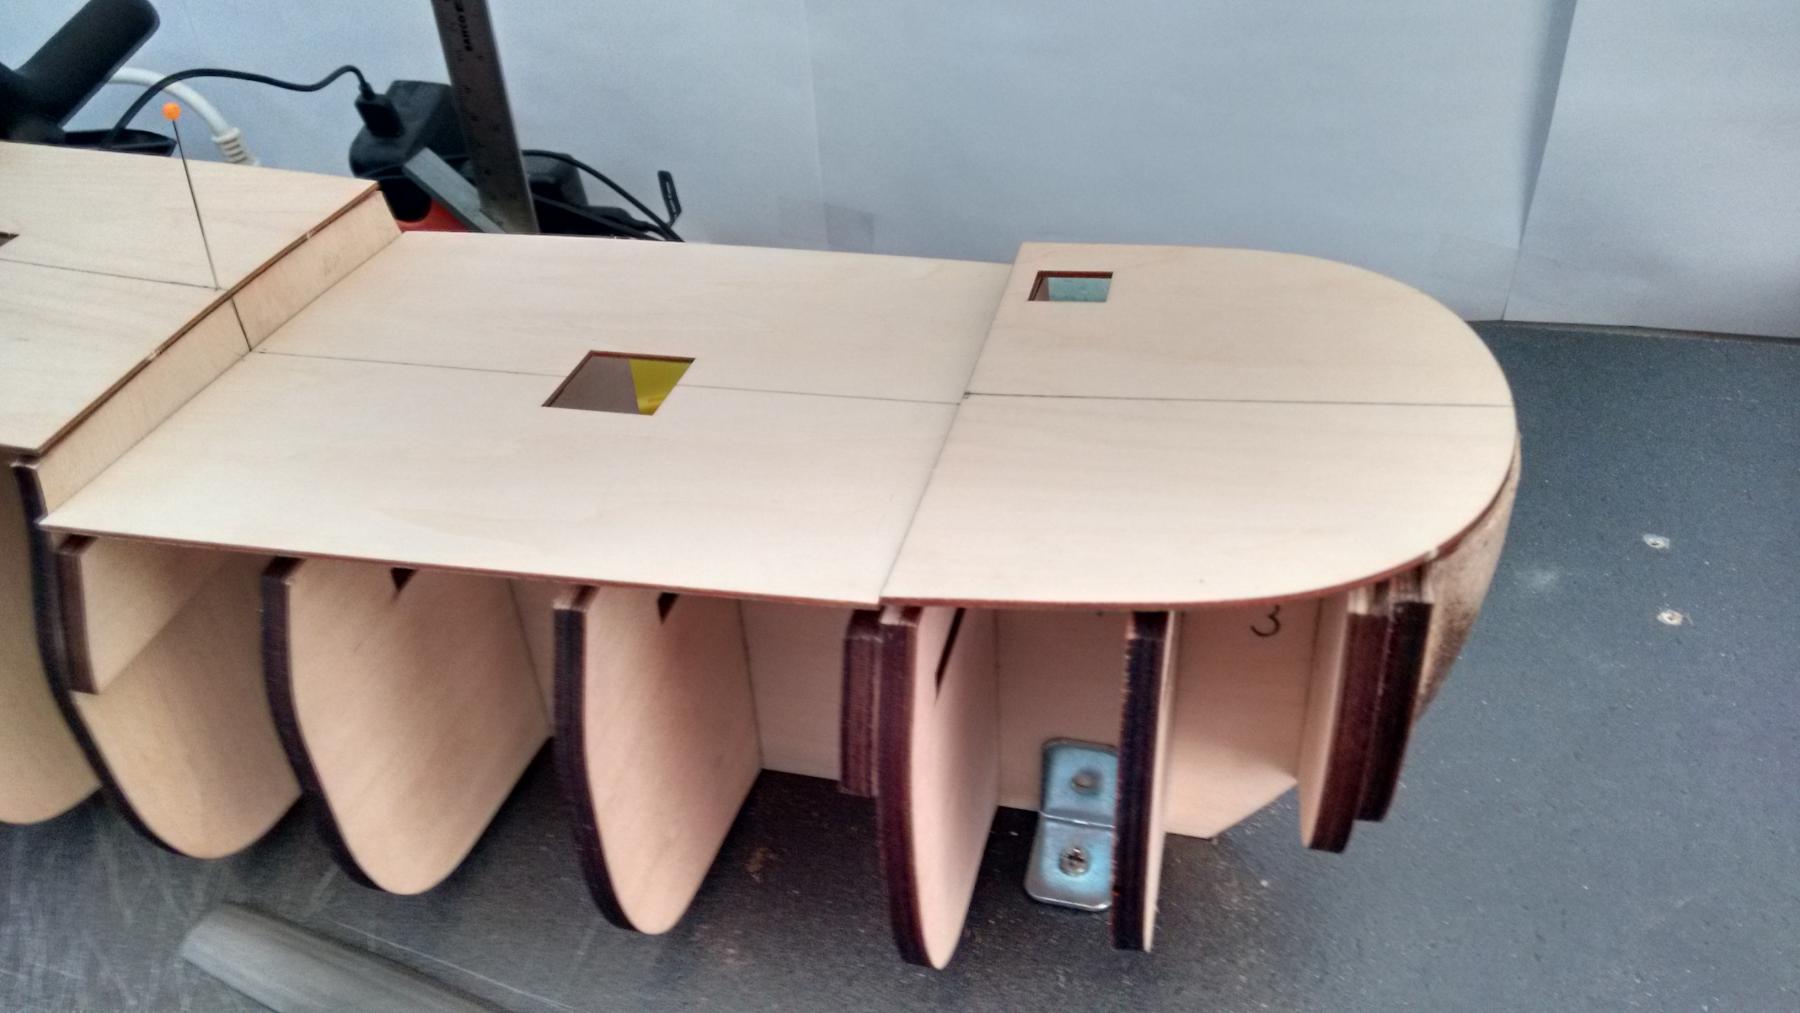
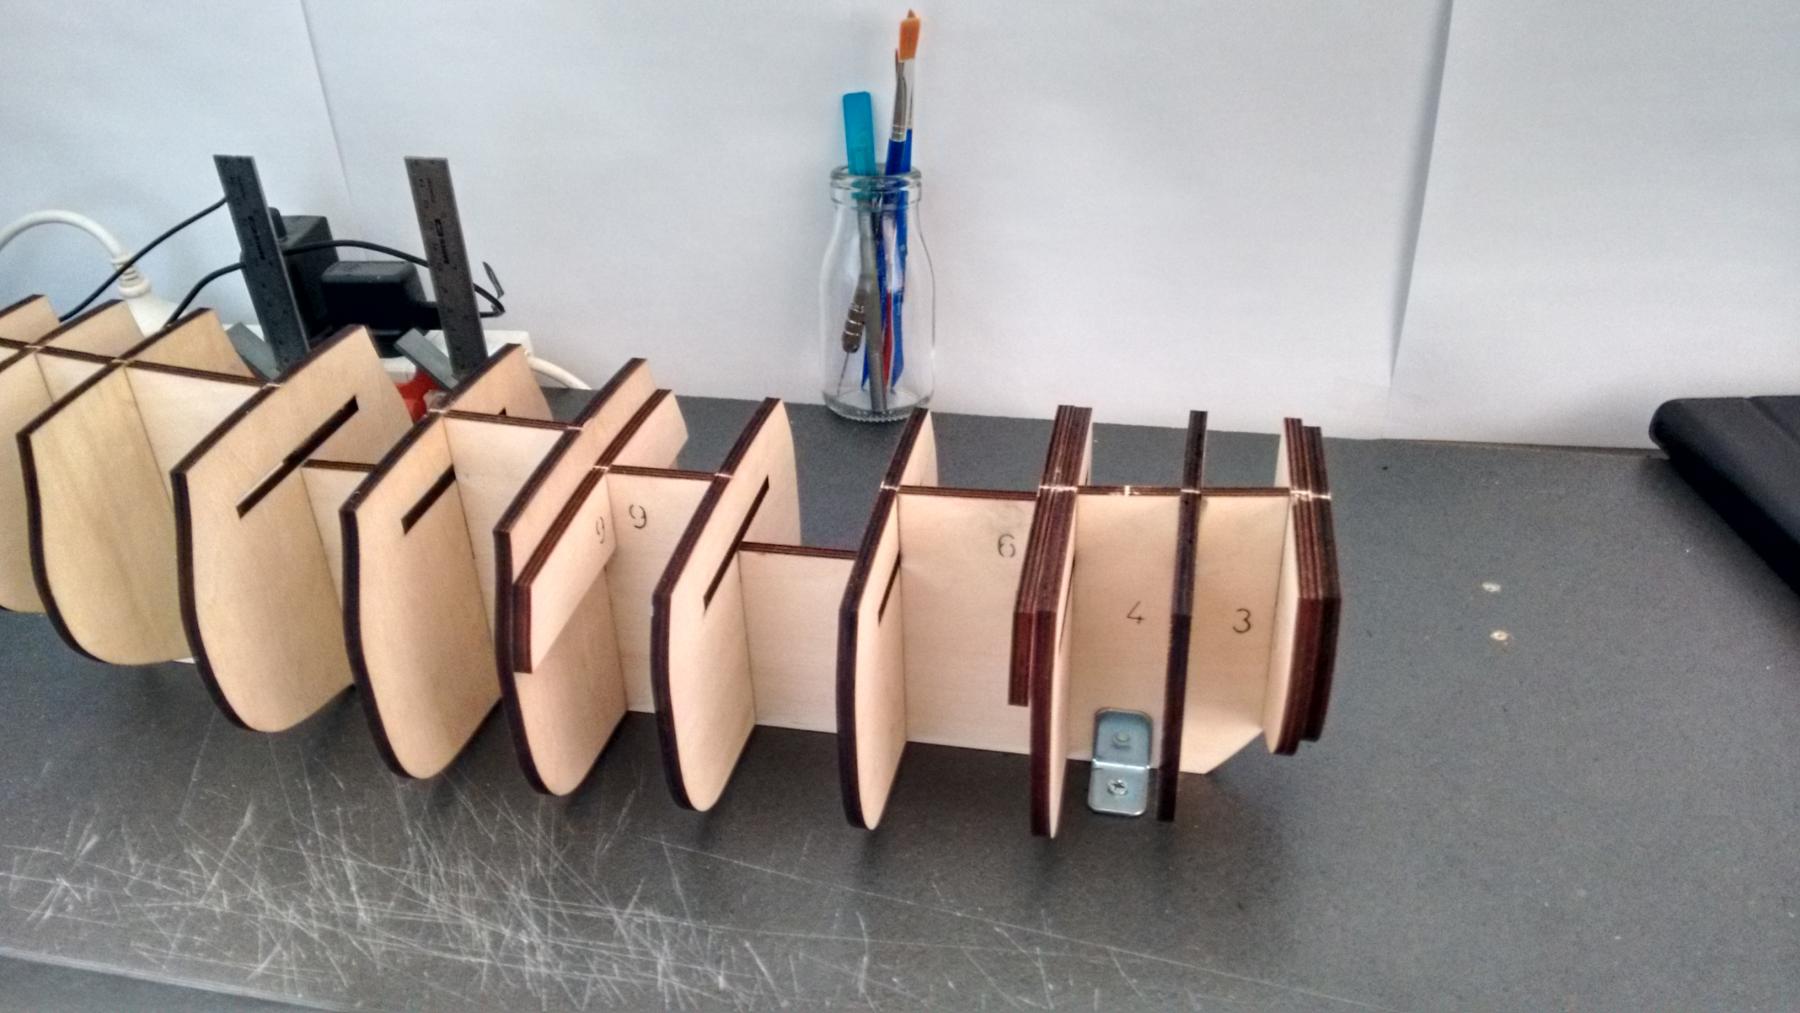
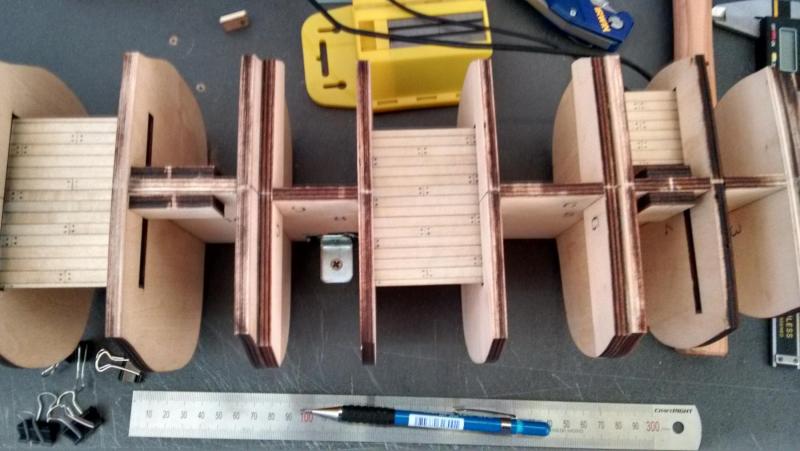
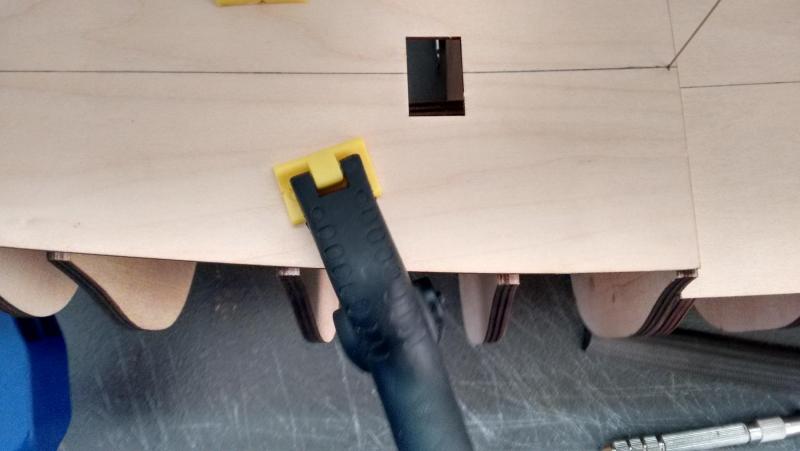
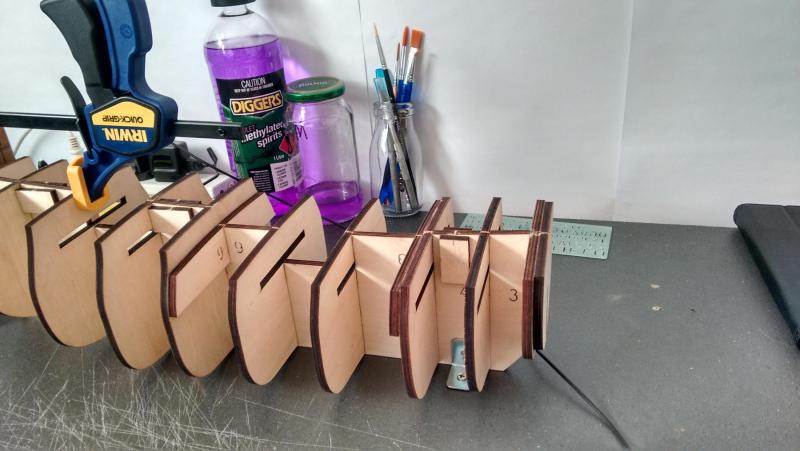
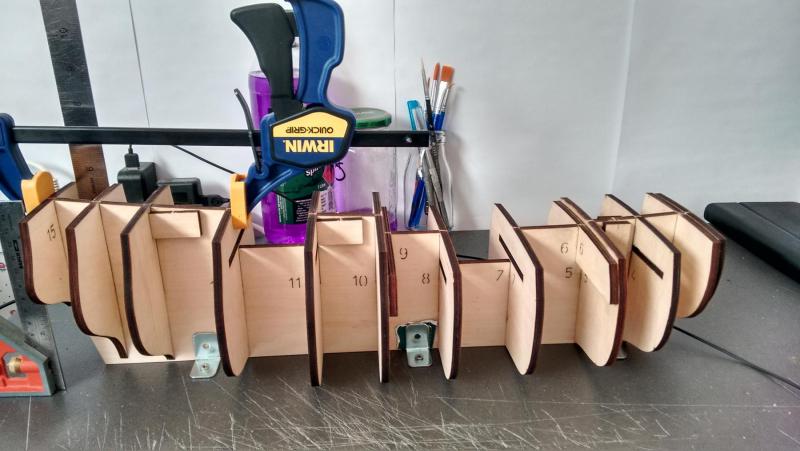
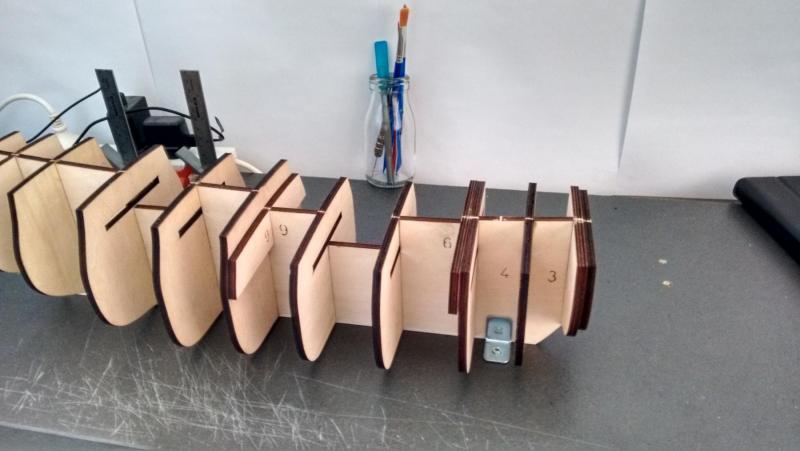
Well after another day of gluing i have finally finished, and all the frames are attached to the false keel, this includes the mast support blocks. from what i can tell the false keel looks nice and straight. While waiting for the glue to dry when i put in frames i worked on the fore, waist and aft decks which i think came up quite nice only problem is they are almost hidden and can only be seen if looking down the holes oh well better to do it right for piece of mid ( i am sure it would bug me). Next is to get the bow and stern filling blocks in place and maybe start the upper decks. Cheers Rexy.
-
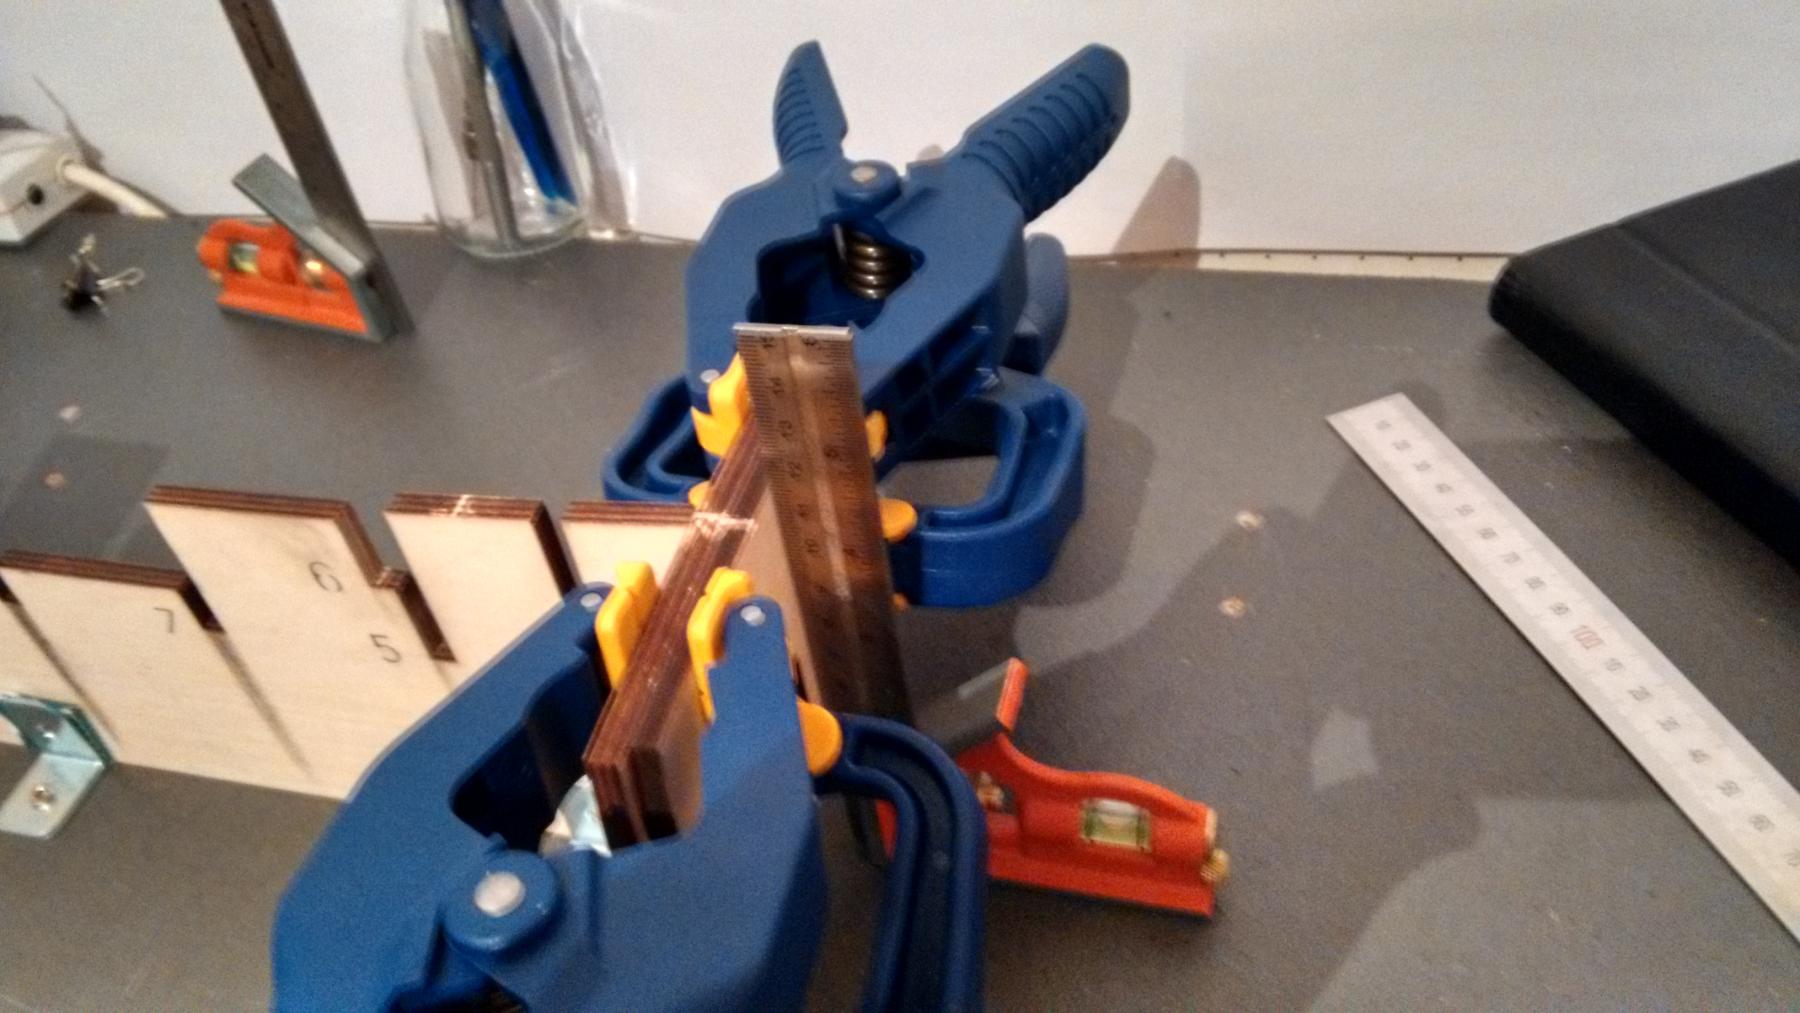
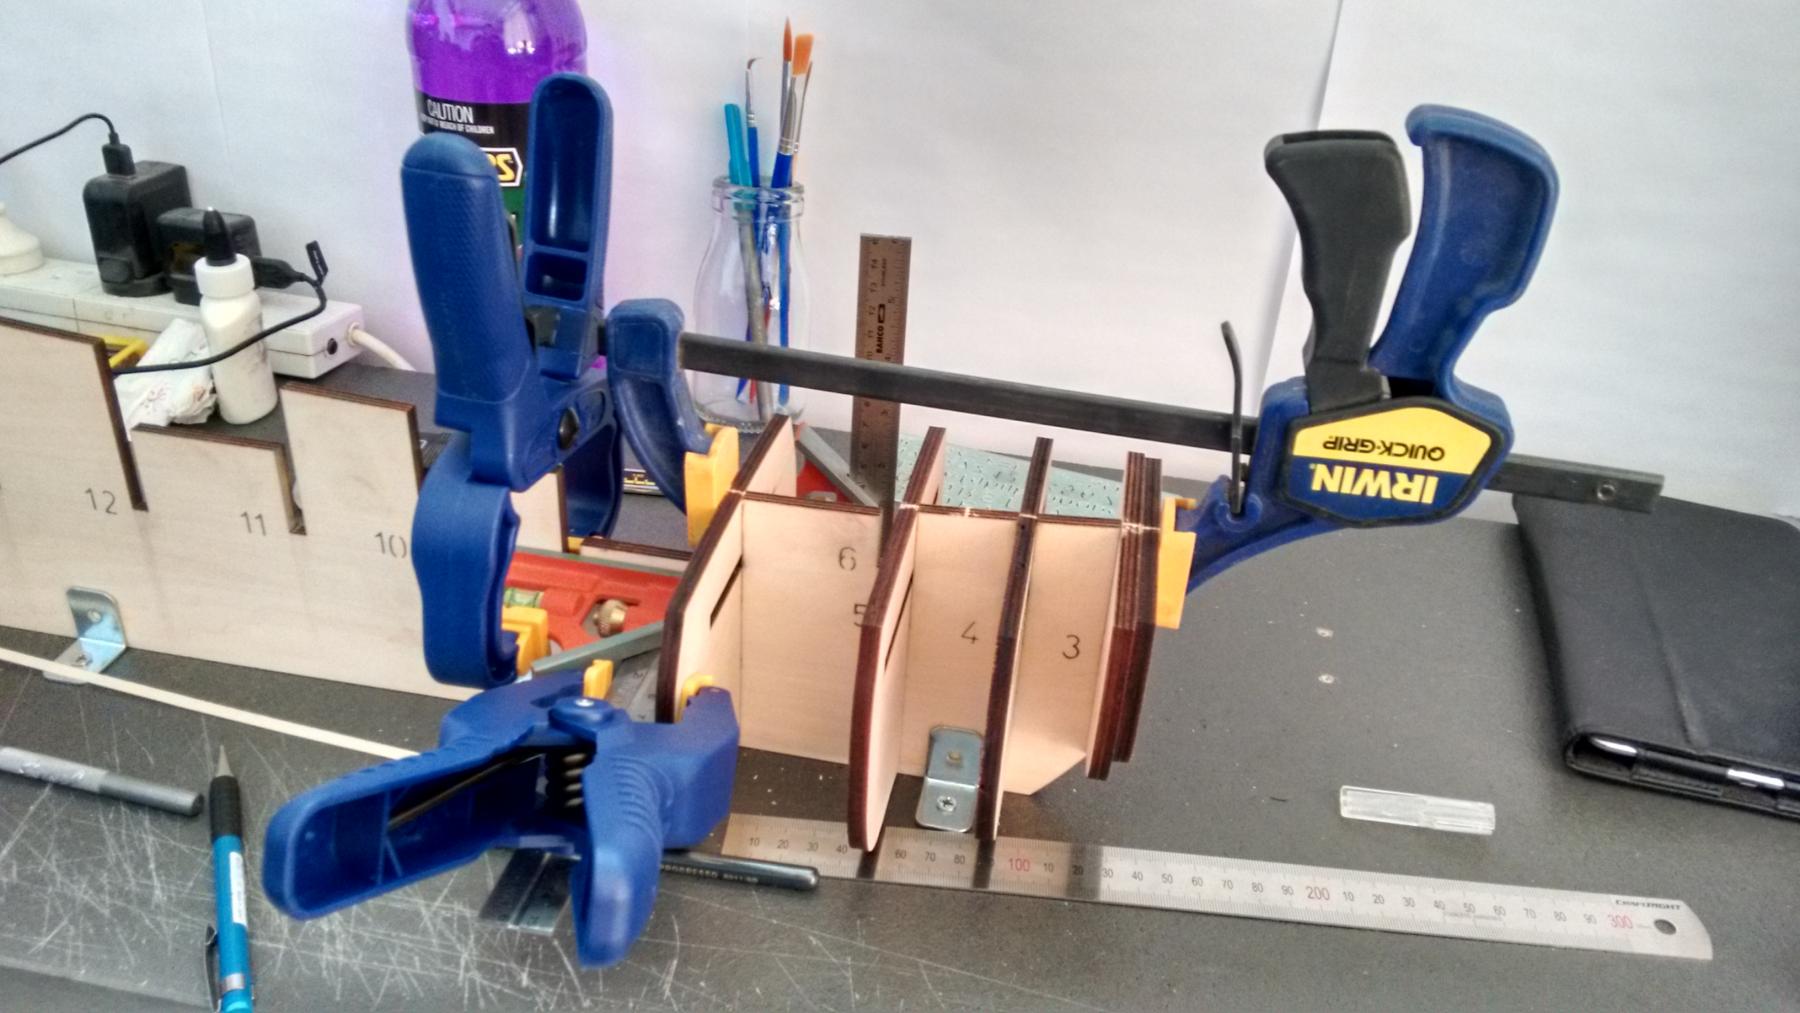
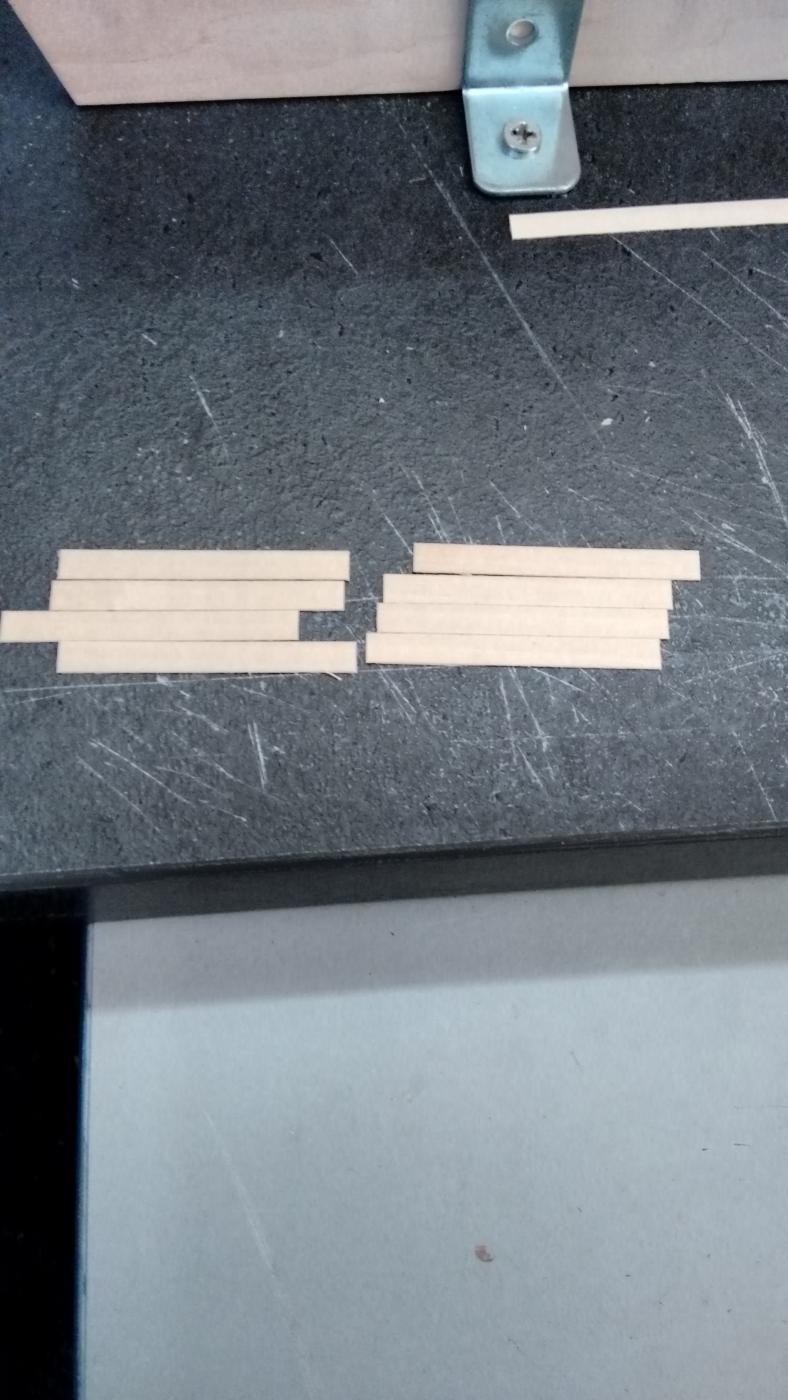
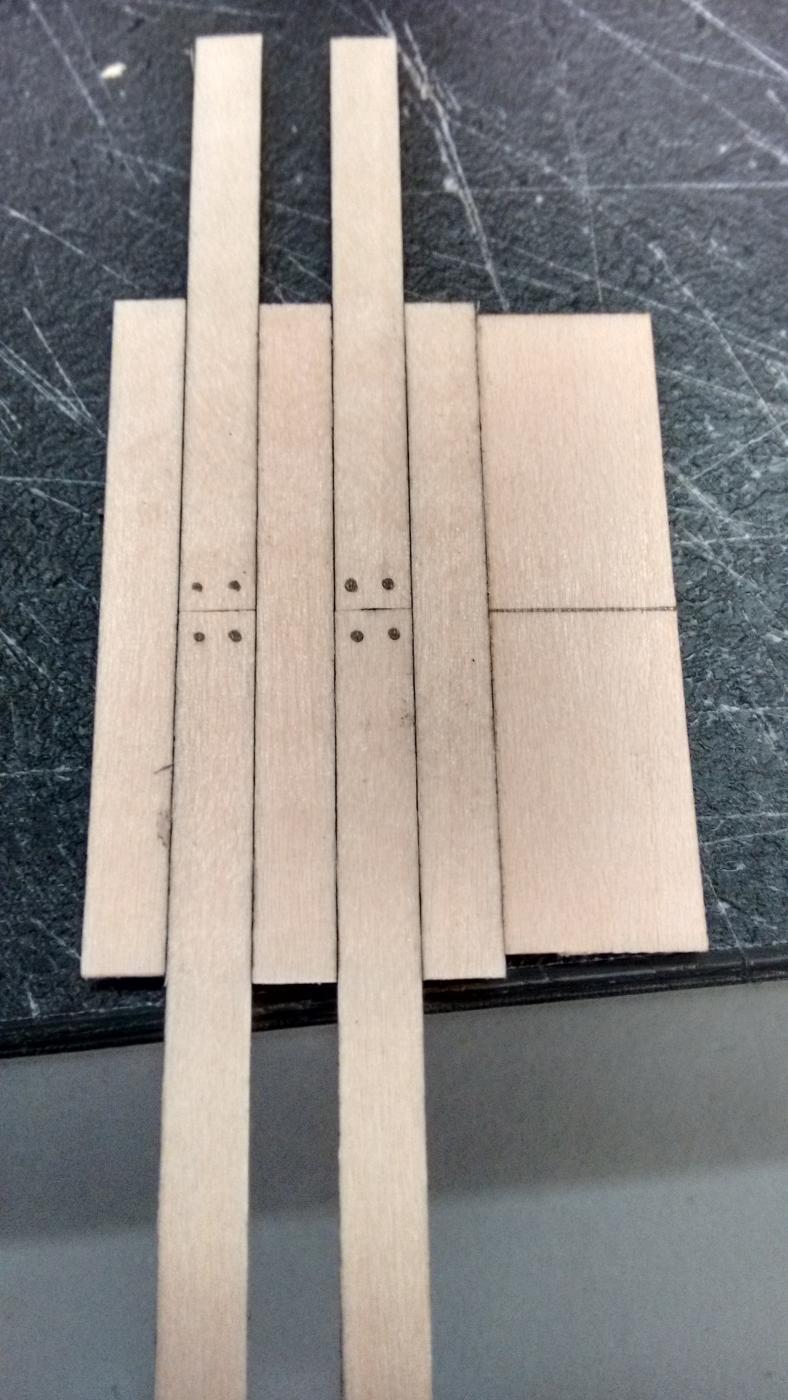
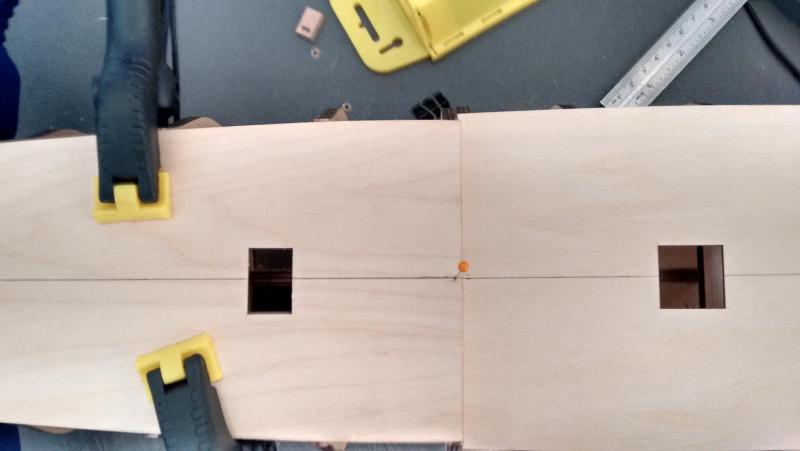
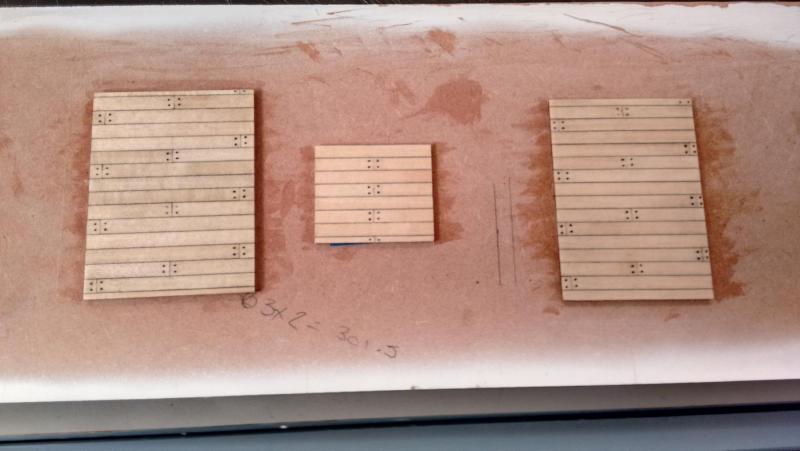
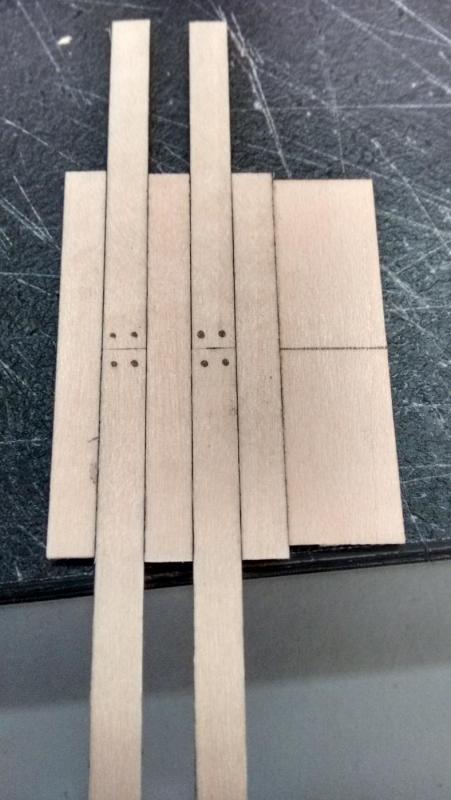
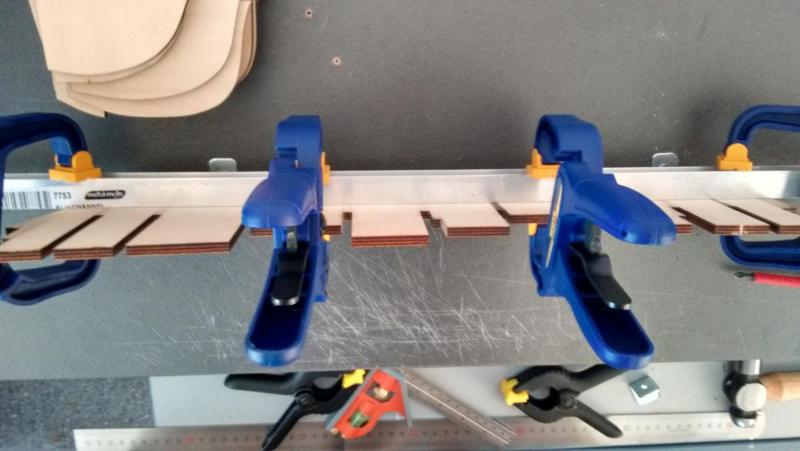
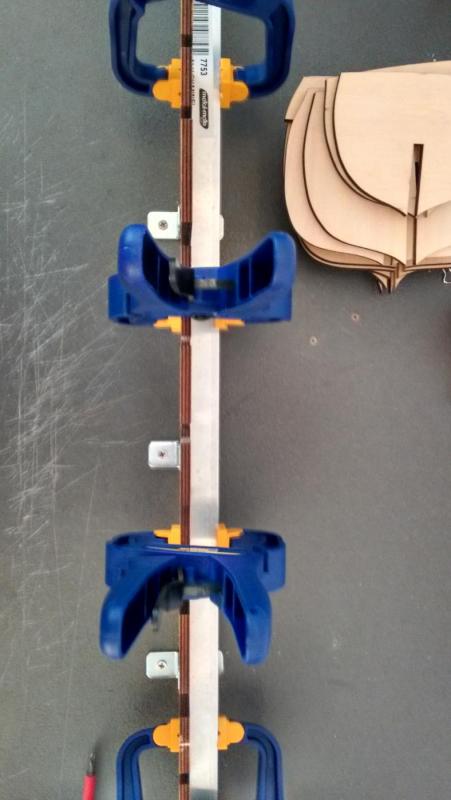
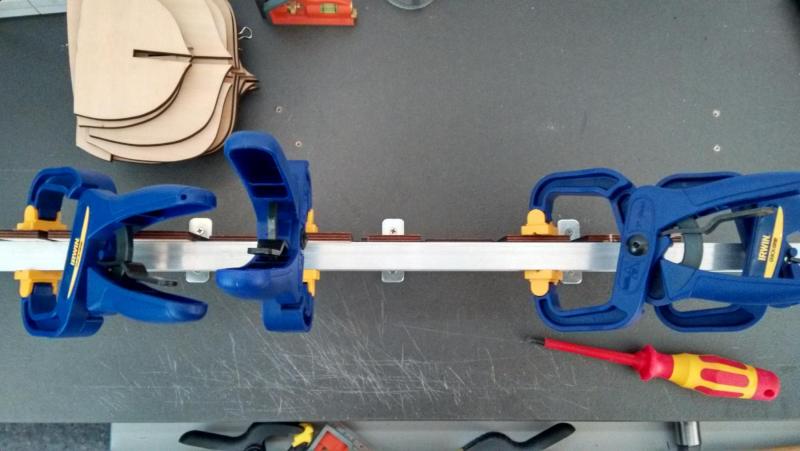
Thanks for the input Cog, i did look into the deck beams and found some plans on it but i do not know if i want to go that far. Anyway i got some more frames glued in (its quite hot today so they are drying real fast) while waiting in between gluing of frames i started on one of the sub frames, i trimmed the boards needed to size clamped them all together and rubbed a 8B pencil down both edges, after that i made a little jig to add two little pencil marks simulating the fixing i think it turned out quite well considering that its only seen if looking down the hole. since this was just a small deck i did a butt joint every second board but the bigger decks will have a 3 or 4 butt stagger.


-
This sounds like an excellent build I did look at this ship but ended up with the endeavour in regards to working with the hull planks traditionally the planks would be steamed on site this makes them bend a lot easier by opening the pores of the wood you can achieve this at scale by steaming them or soaking a plank in boiling water and clamping it to the hull overnight to let the water dry out and in the morning it should hold the shape of the hull.
- 68 replies
-
- 1
-
-
- san francisco ii
- artesania latina
- (and 1 more)
-
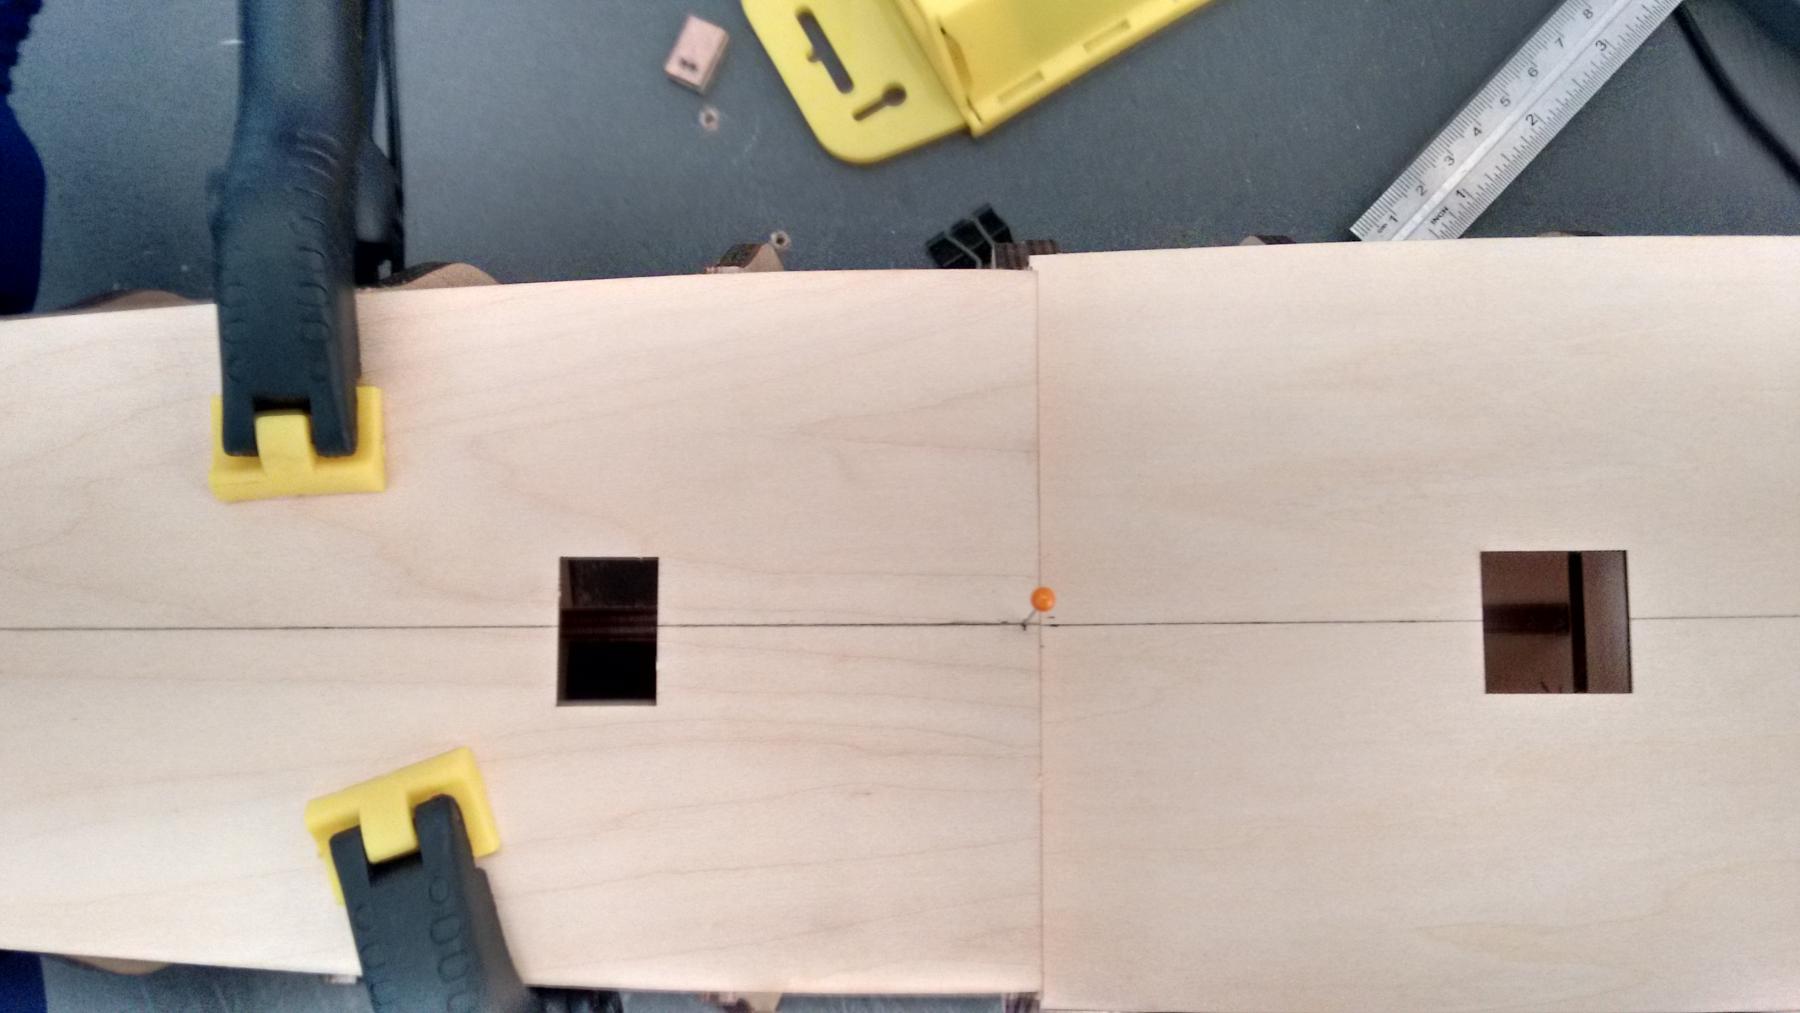
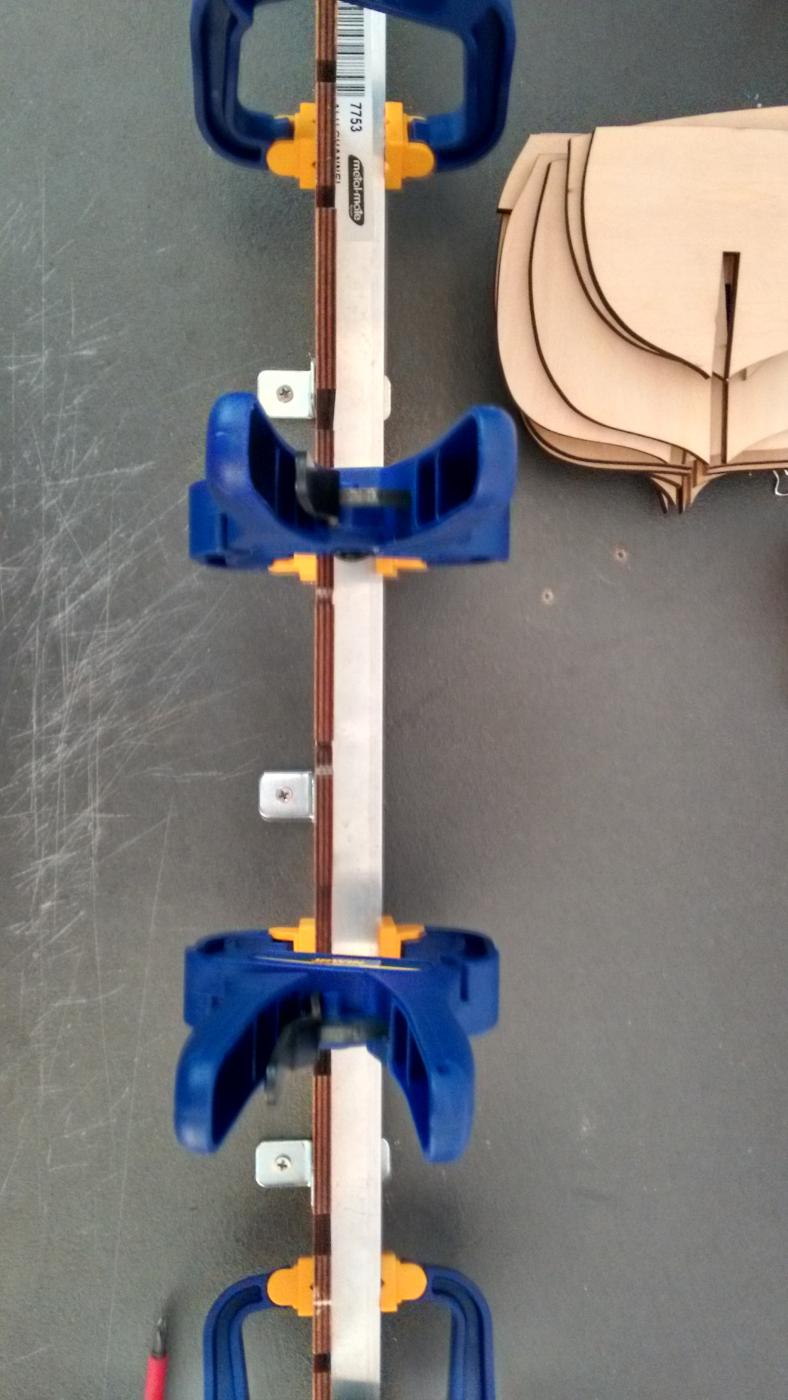
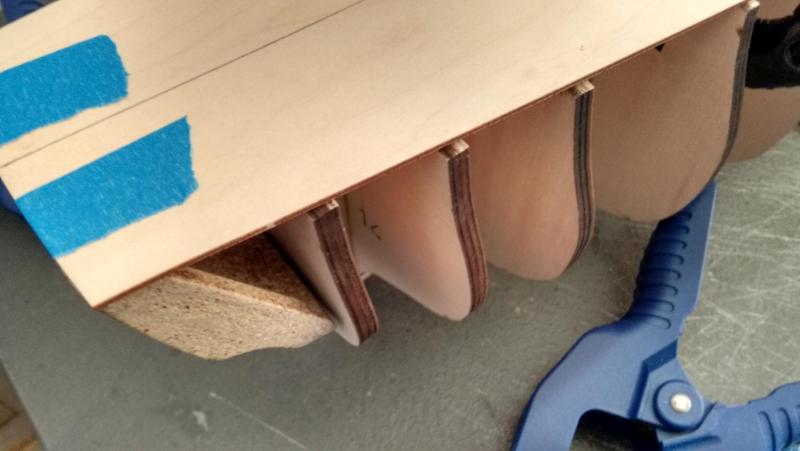
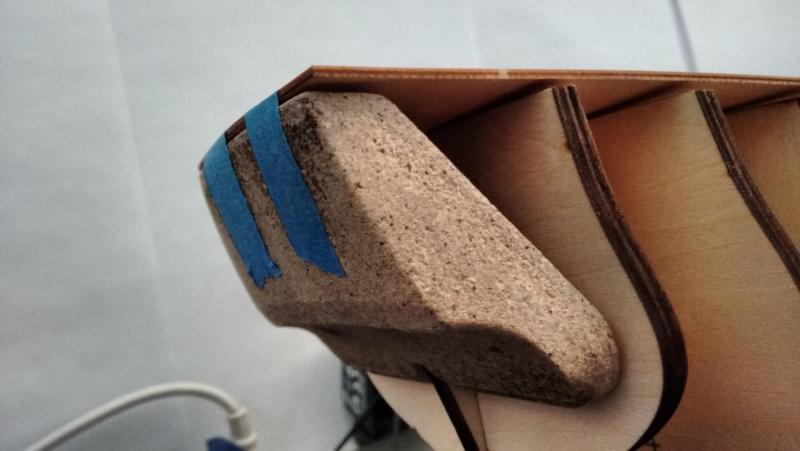
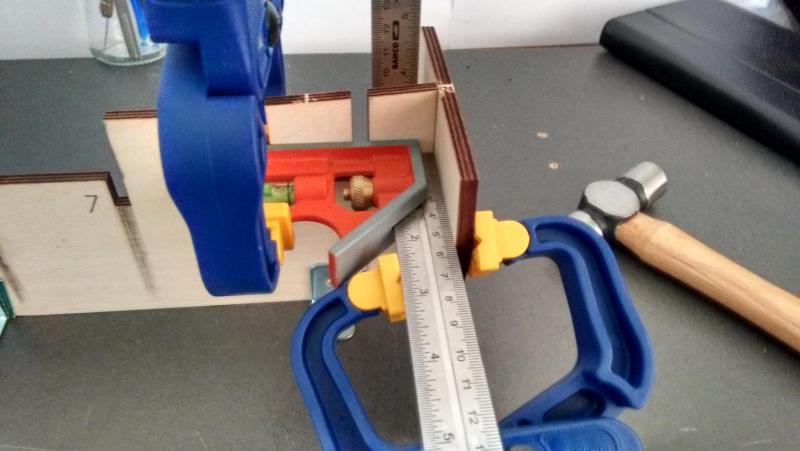
While i was removing the frames getting ready to start gluing i held my ruler down the face of the false keel and notice a small bow to it, do not know what causes this but my guess is the humidity change during shipping or that the big sheet it was cut from was slightly bowed. The way i fixed this was adding a third set of right angle brackets around the center of the false keel and resulted in most of the bow being gone there is still a small bow (like less than 1mm in the center) but the decks can easily get rid of this. After fixing the bow i started gluing the first 2 frames in place.
-
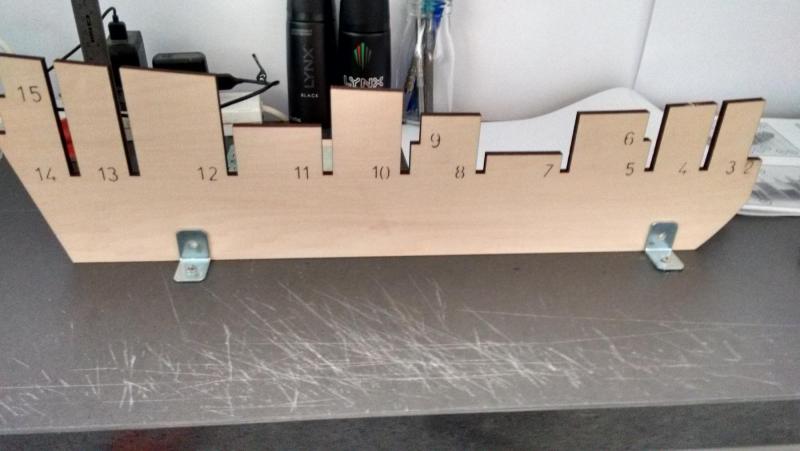
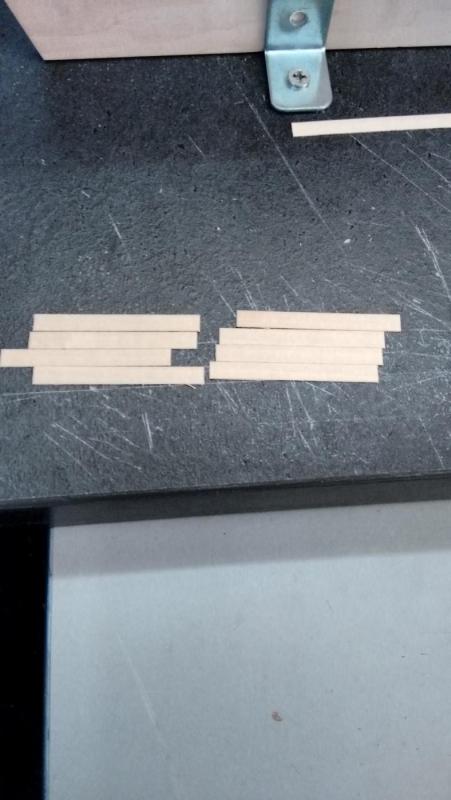
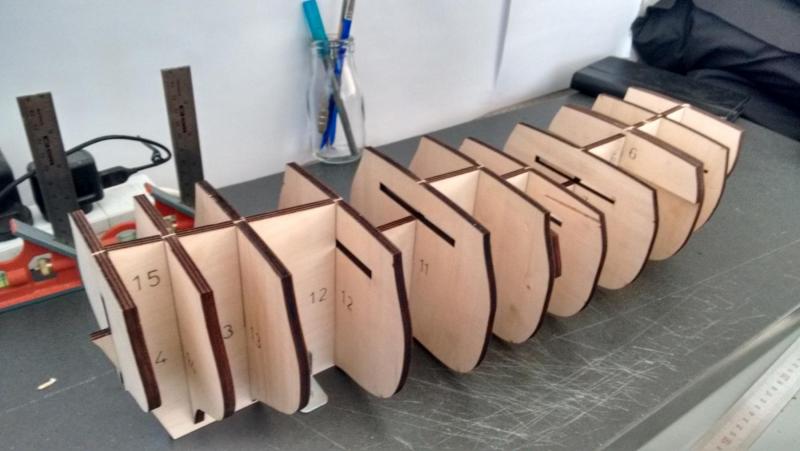
well that took longer than i thought but i have finally finished filing the frames to sit nicely over the false keel, i ended up filing every frame as some were a bit tight and sat a bit out of square in relation to the false keel. i have noticed that in the two kits i have gotten the laser tends to cut with a slight angle not much but when the parts are a tight fit can cause the frames to sit off square. next step will be to start gluing the frames in and and planking the small sub decks, while i am on the subject of the decks i remember reading somewhere that the standard board length for the deck is 12 feet (full scale) please correct me if i am wrong but ill do some more research into that. Edit : did some more research into the deck plank length and found that the planks were usually 20 to 25 feet long or 6 to 7.5 meters that means at 1:60 th scale planks are 100mm to 125mm long think ill go for 100mm.
-
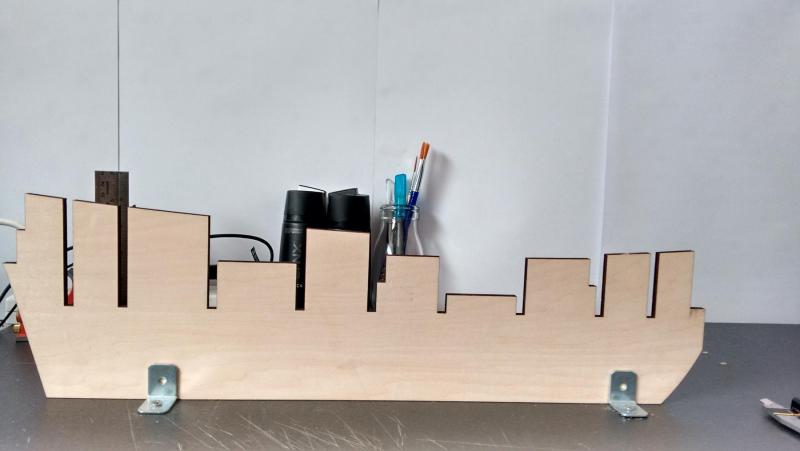
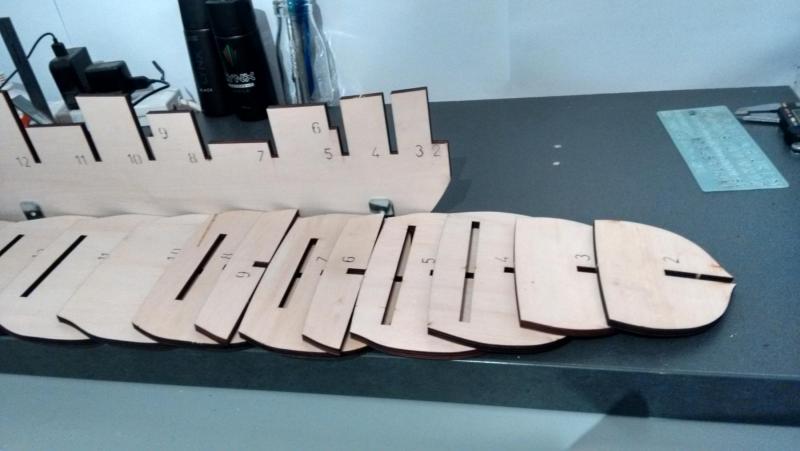
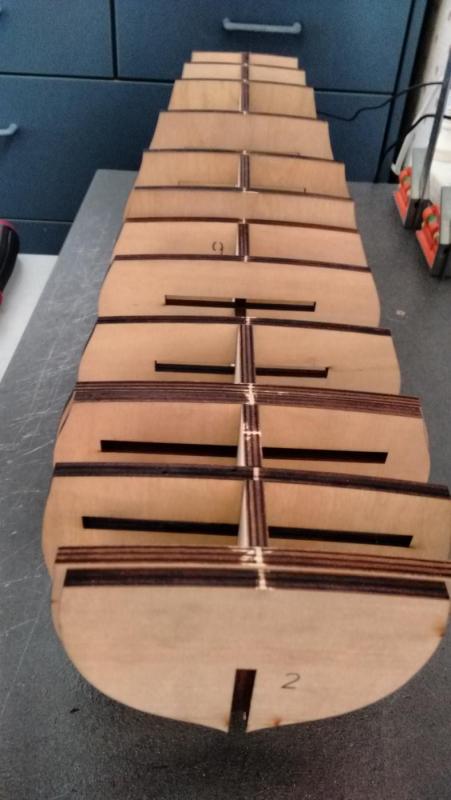
This is my second proper model kit build (first i never took photos of ) and as the Endeavour was the ship that is credited with discovering my country i felt it was such a fitting build. My first impressions of the kit is that wood is good quality, minimal if any bow to the plywood all nicely packaged in plastic wrap. The metal castings and various other parts are nice. Now lets get onto the fun part and build it. False keel trimmed out standing on my board. All frames positions marked on the False keel. All frames trimmed out and laid out next to the false keel. About half the frames fit over the false keel and into place nicely but the other half of the frames will need to be filed to fit over the false keel.