pwallace2
-
Posts
14 -
Joined
-
Last visited
Content Type
Profiles
Forums
Gallery
Events
Posts posted by pwallace2
-
-
Happy holidays!
The boat shop is being converted to a spare room for the holidays so the longboat is going into a long box until mid January.
Progress to date is most of the keel and prep work on the frames. I have some ideas for a homemade right angle sanding block as the laser cut is great but I would like to be able to knock down the slight angle from the laser.

-
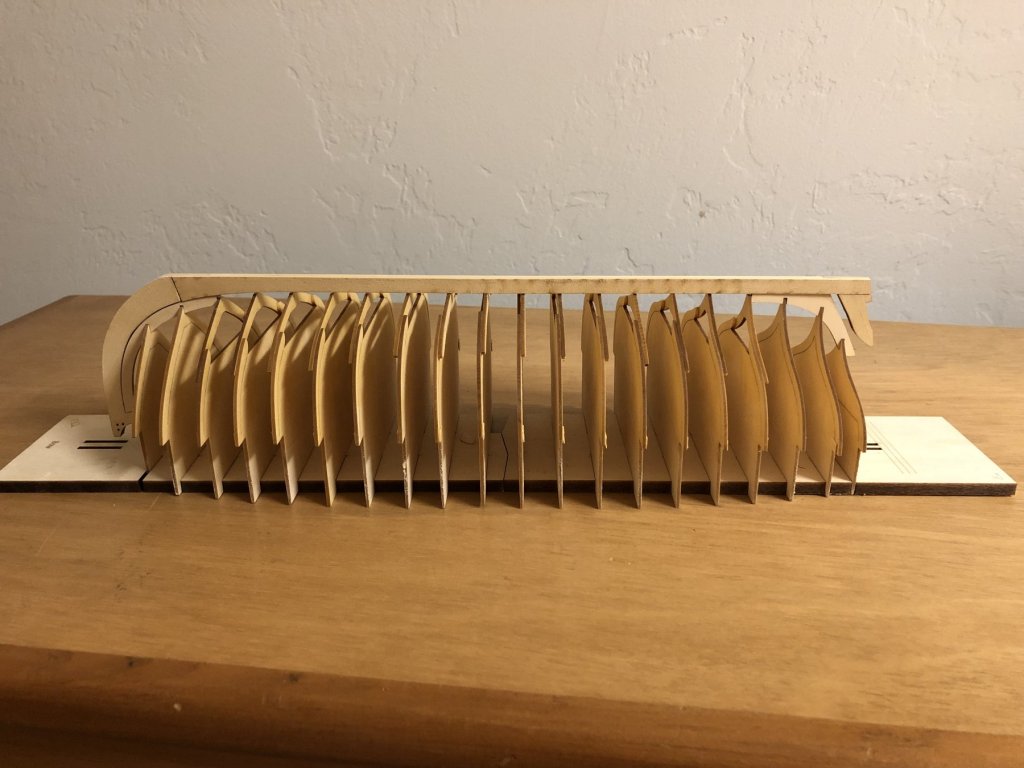
We are off the starting line. I chose to start with the frames to get them assembled and tuned for the build board slots. The little extra wood at the edge was used on all the frames as one of the little tabs already feels broken after handeling.
Question: the frames have half of an H for alignment. Should the build board be flat with the outside of the frames even with the bottom of the build board or should the build board be elivated so that the center touches at the top? I would estimate the difference to be about the thickness of a business card.
-
Recieved P-2 in the mail. I was missing it but had no idea (yet). Just like the kid whom tosses the gift and plays with the box the “packing” wood is Nice.
Do you have advice on applying the wipe on poly? I am finishing a ship and cloth does not get the corners and cotton things leave lint. Is there an easy way to do finish work like the inside of this hull after assembly?
-
First step is finish up the swift (1805) at least to the point of riggling and clearing the bench. The longboat kit is on site and already starting to use tricks like wipe on poly.
Thanks in advance for following along.
-
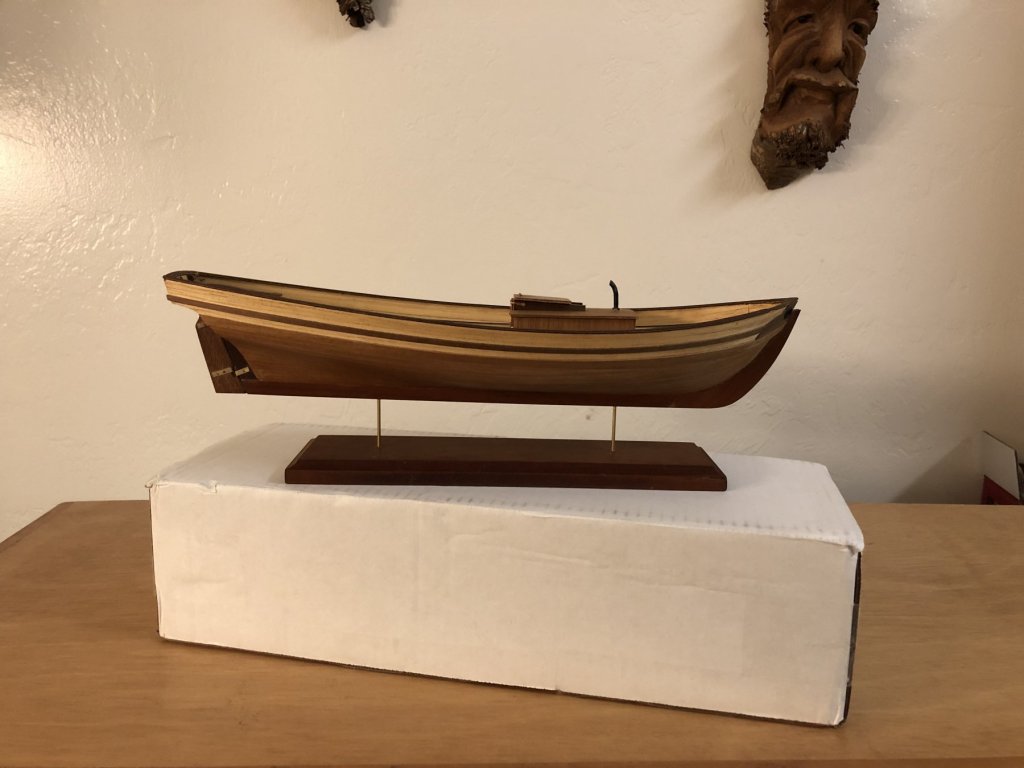
Current status of the long boat is “under the unfinished Swift”. Made some progress this weekend with the other cabin and bulwarks but I am reminded of how far I have come in hull building, and how far I need to go for rigging.
The swift uses “torture the wood and do a second planking” technique and I am really looking forward to the better way to plan on the longboat.
- Ryland Craze, aviaamator, Rustyj and 1 other
-
 4
4
-
On 11/5/2018 at 2:35 PM, michael mott said:
I have struggled with the whole radio control issue but have decided to free sail her like the old pond yachts. I am not going to sail her a lot just enough to know that she sails.
It's an old trick but is you tie a string to the bow and launch perpendicular to the wind you can let the boat sail aways and then tug the string and force a tack.
If the boat gets away you happen to have a handy recovery line ready to go. Just make sure there is no surface traffic to run over the line and tangle.
-
I picked up what looks to be a complete Billings 456 without instructions or the plans.
* does anyone have a copy in the event that billings is not responsive? Small details like the spacing of the ribs would help a lot.
* I have the "roar ege" guide downloaded but it's slightly smaller and built as two half hulls.
* the wood is printed and not cut. Do I cut to the outside, inside or middle of the painted line? The line is about 2 mm thick.
-
On 3/24/2018 at 6:21 AM, Osmosis said:
"I applied three coats of oil based poly. I hope this will make it a little easier to peel off and replace the sand paper. Here they are with some 80 grit self sticking sand paper applied."
I am a big fan of "Parks Super glaze finish" as a cheap source of epoxy. Do you thing that the oil poly stiffened the wood?
-
The second image on the model expo site shows the locker behind the windless.
Please remove if link are not allowed.
-
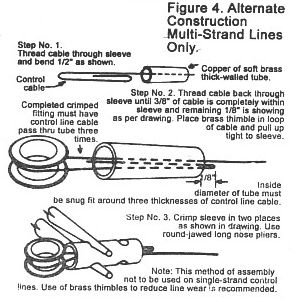
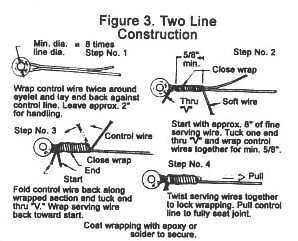
Are you building his up as a RC sail or a static display? For my RC sailboats I am a big fan of "control line" like you would see on tethered airplanes. Its stainless and looks great. The warning though is that when made up like "kurtvd19" as posted above is that 3 passes are much better than two through the crimped area. See "line wrap 195 as posted below if this is a "working" connection.
If you are building static then you might do better with a served end as it kinda almost looks like a turnbuckle like line wrap 183. If you have the ability to fabricate the chain plate two posts above could you drill through the chain plate and run the wire under deck where it could be secured with a set screw tied in a way to preserve tension on the lines so they never go slack?.
-
Hi Jean,
This boat is next in my build queue after the bounty gets a rigged.
Are you using the preformed small boat or making one out of wood?
- popeye the sailor and Elijah
-
 2
2


Medway Longboat 1742 by pwallace2 - 1:24 Scale
in Medway Long Boat - 1742 - Public group project.
Posted
Thank you for your patience.
The holidays brought a dremel drill press to the house so in with the small press at out with the 8” delta drill press.
I had some time today to get the ribs glued in and actually got a decent amount of the fairing done. My baseboard is a little thin so it has feet and packing tape on 3 sides to hold the ribs together. It really helped. A little more sanding and then the tape lines.