-
Posts
920 -
Joined
-
Last visited
Content Type
Profiles
Forums
Gallery
Events
Everything posted by drobinson02199
-
Tree Rail and Timberheads installed and painted. All of the posts have to be sanded down to fit in the slots in the railings. I also found that it's best to install the posts in the top railing one at a time, align the first post and glue it, then trim the rail, then the next post and align that with the slot, glue it to the top, and so on. That way all of the posts align when you finally glue it down to the lower rail. Regards, David
-
Flavia: I left the deck natural and just used clear satin polyurethane varnish. It's a great kit. Enjoy it! Regards, David
-
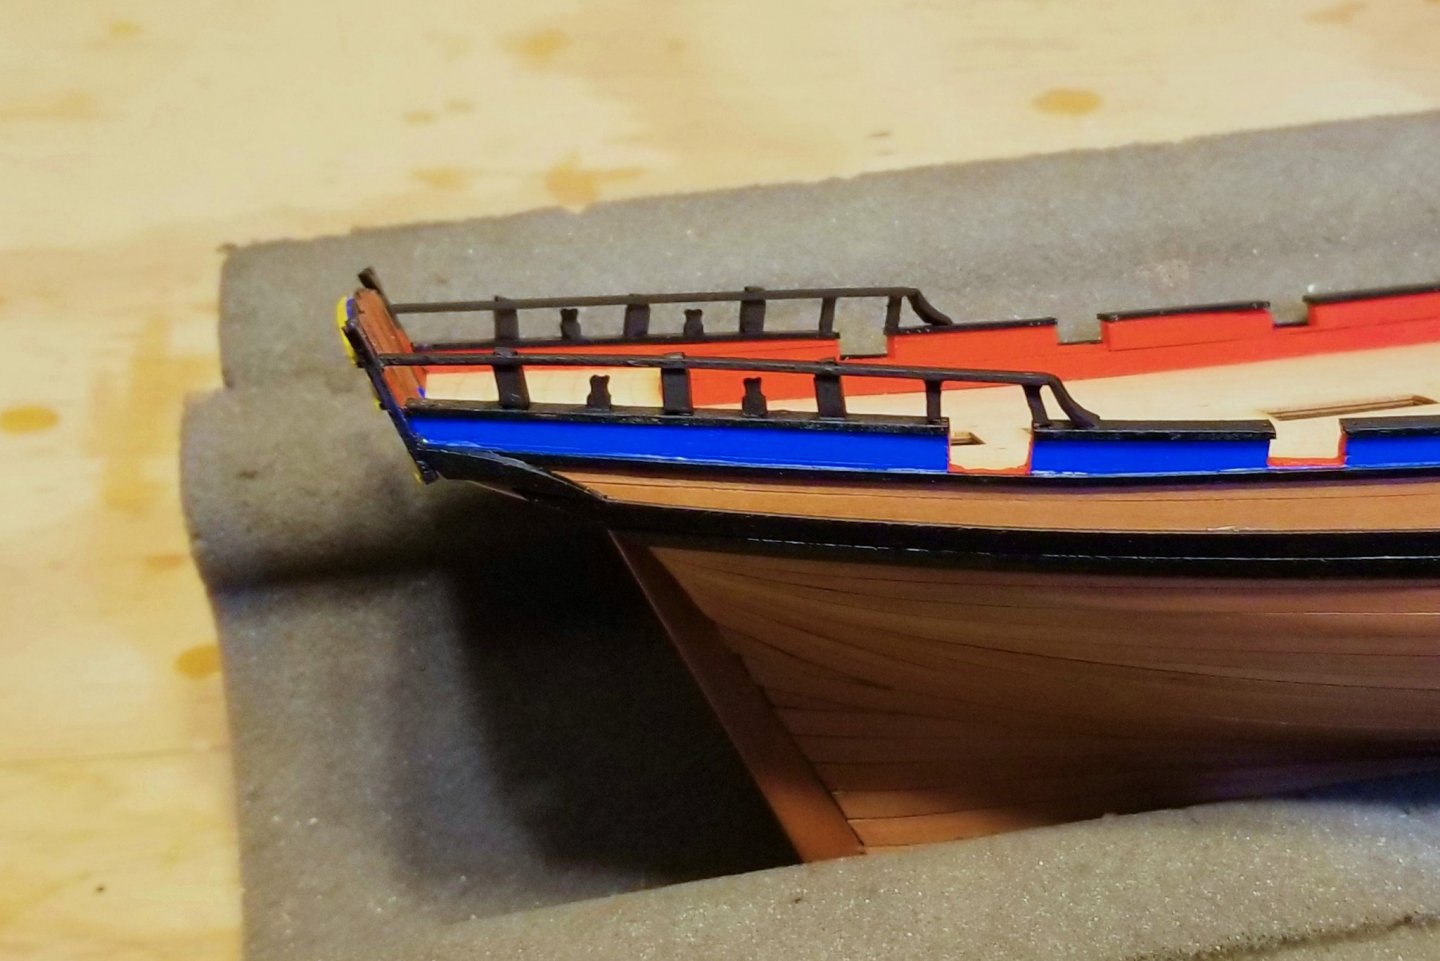
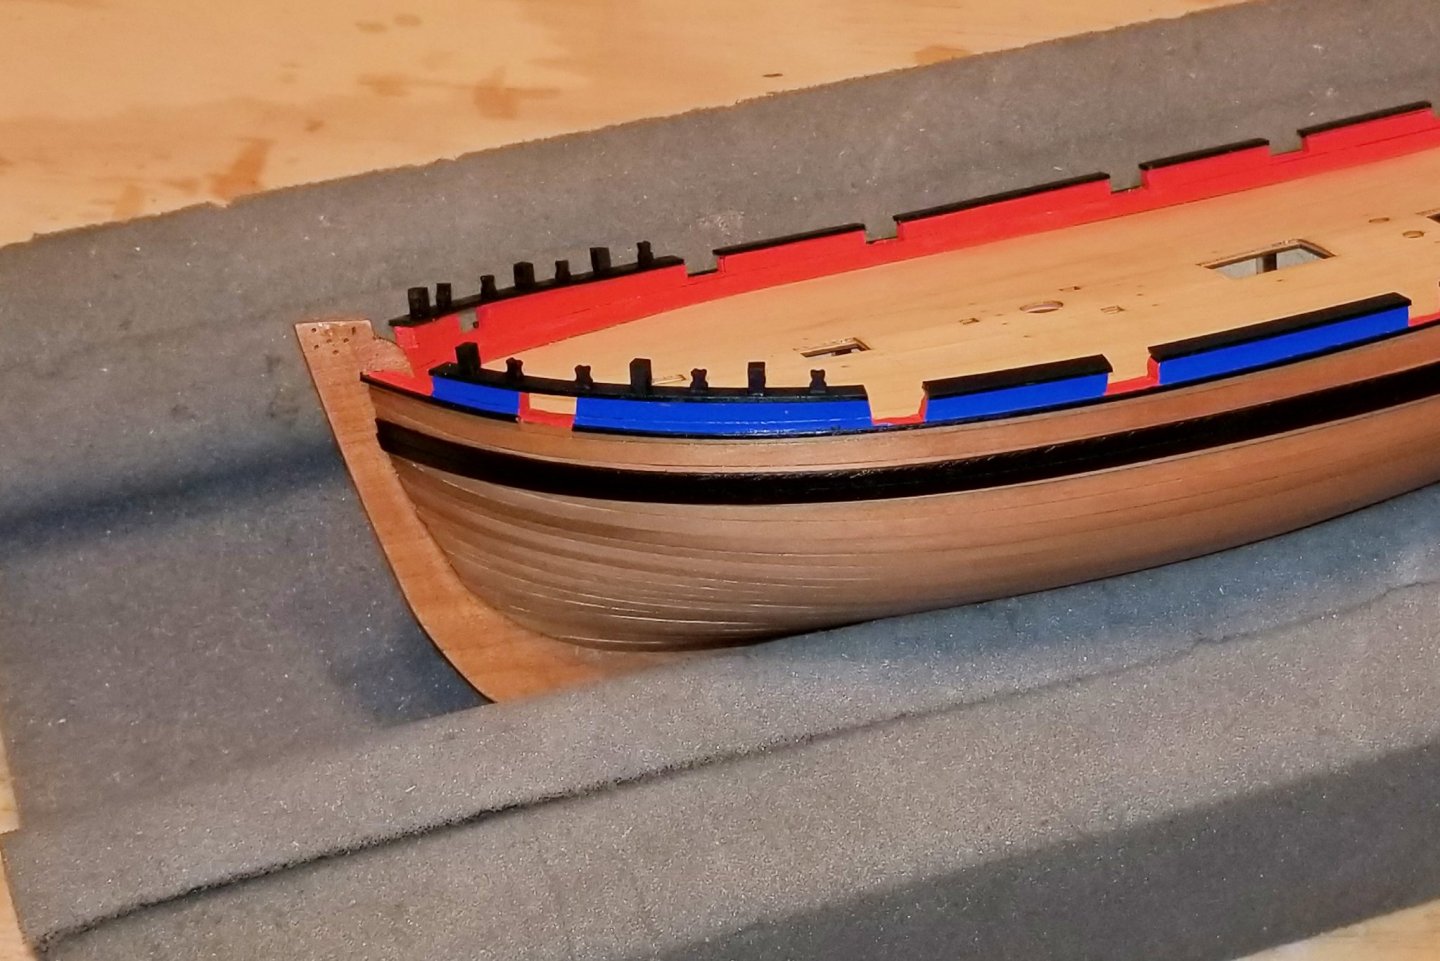
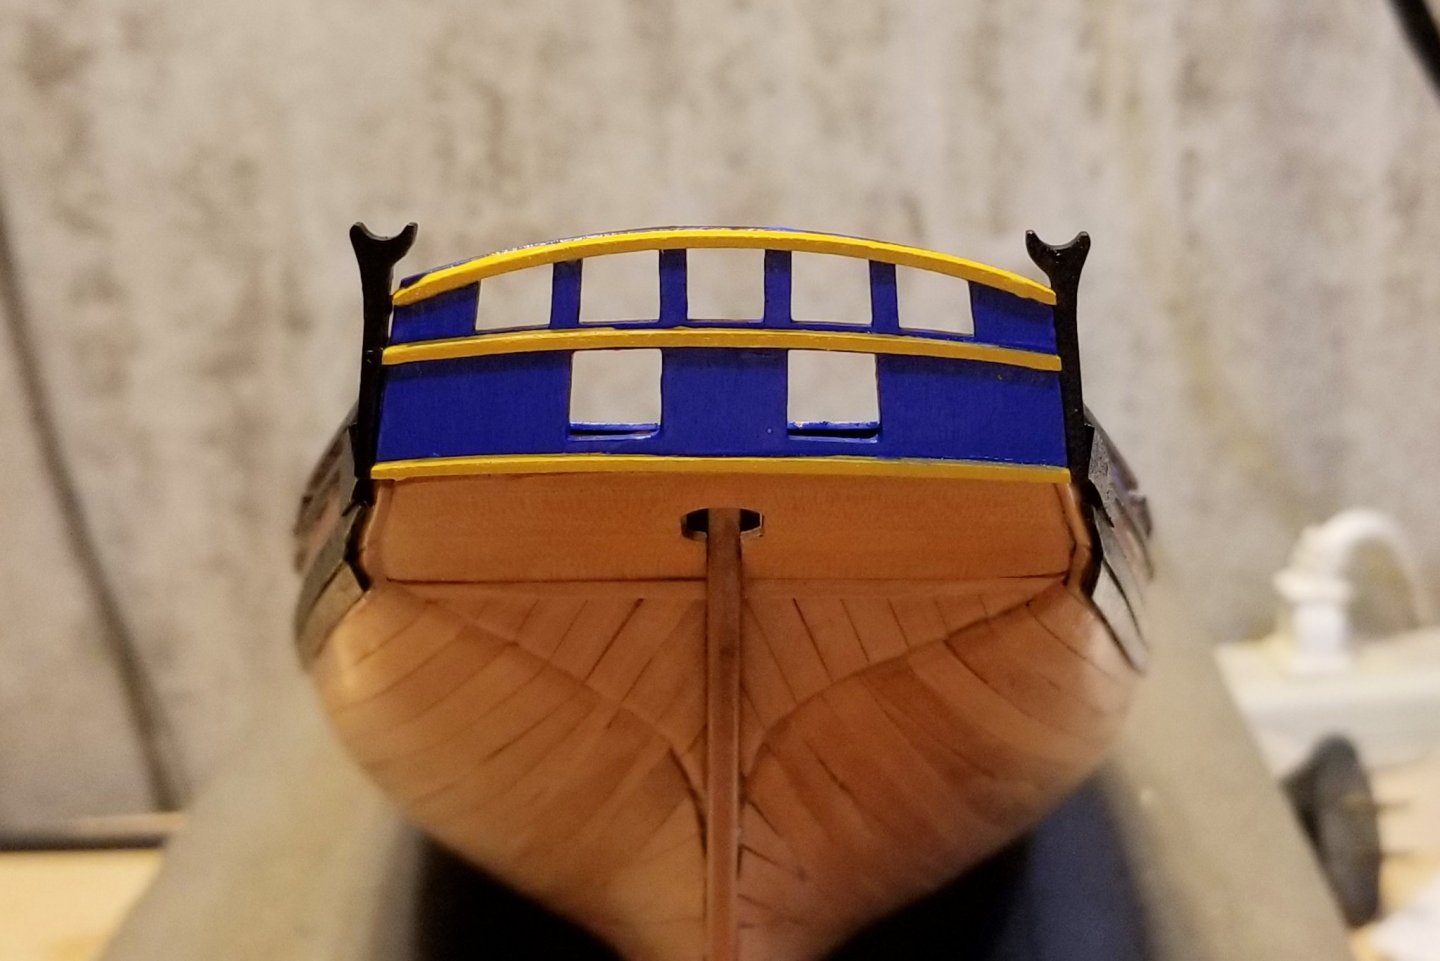
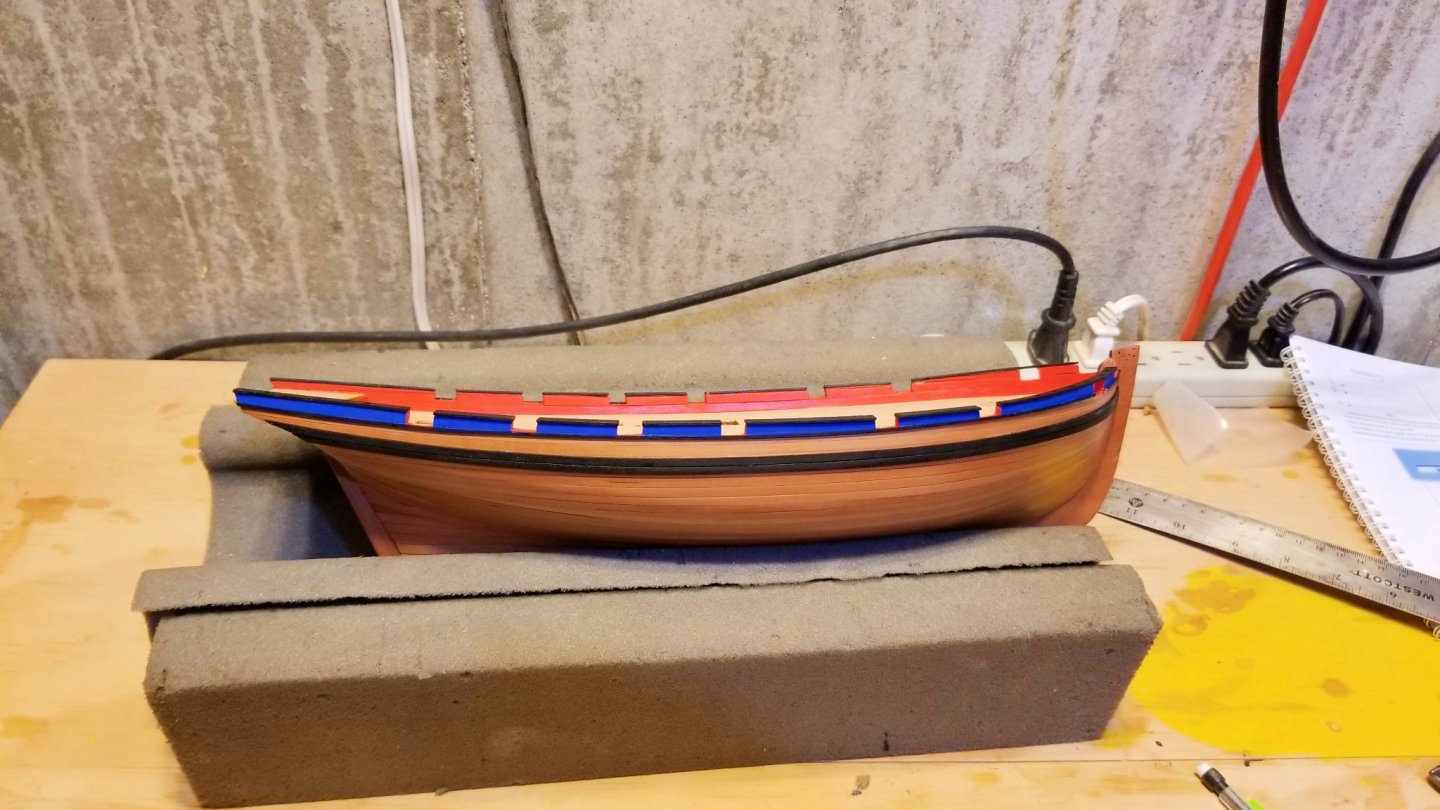
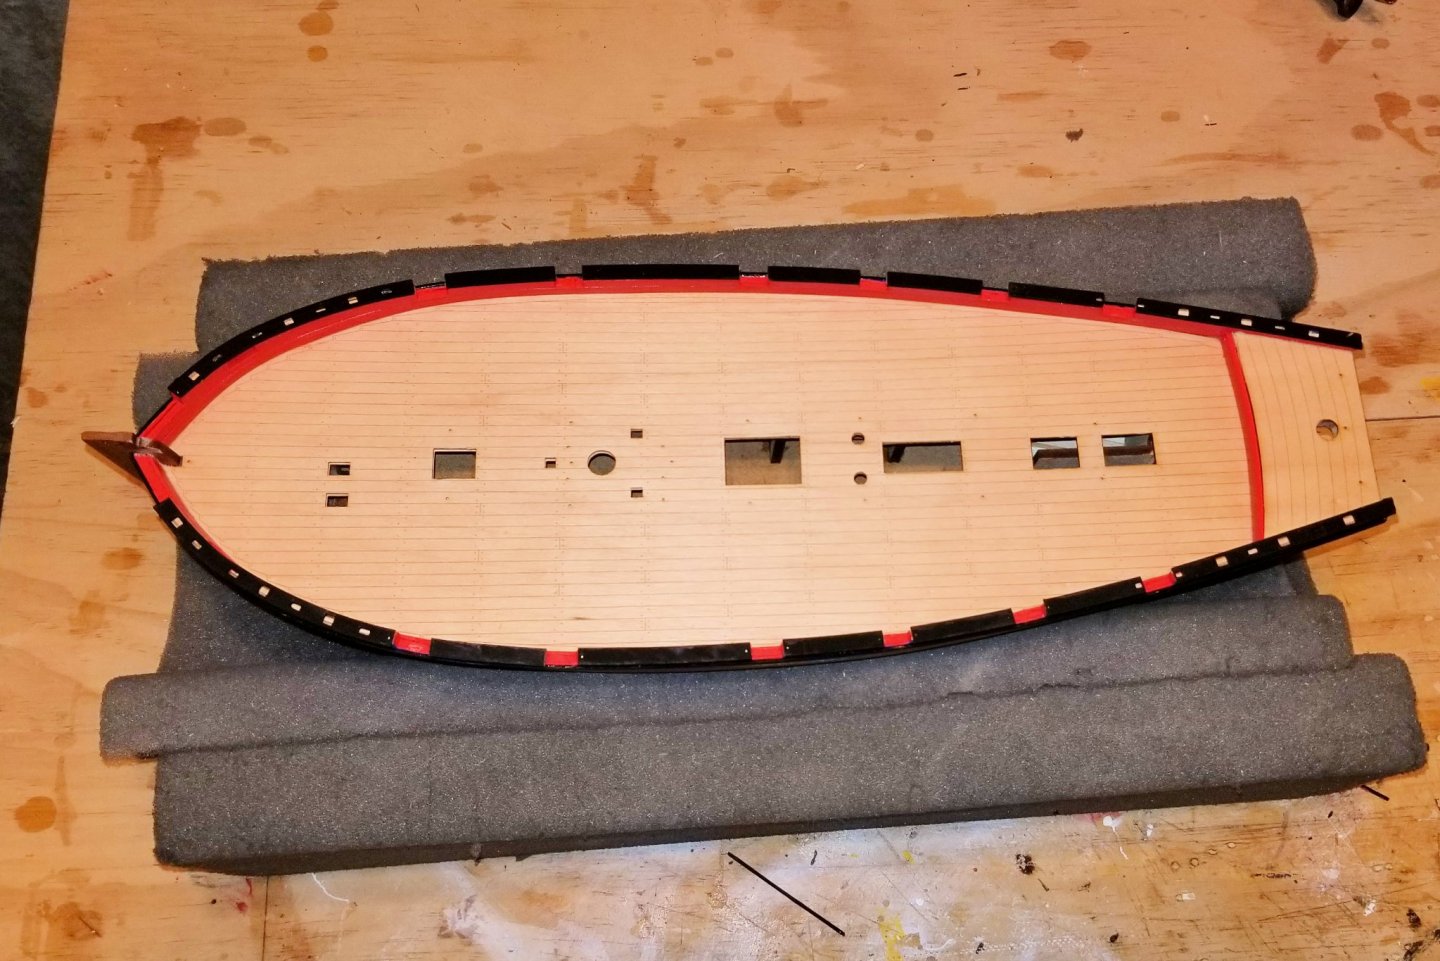
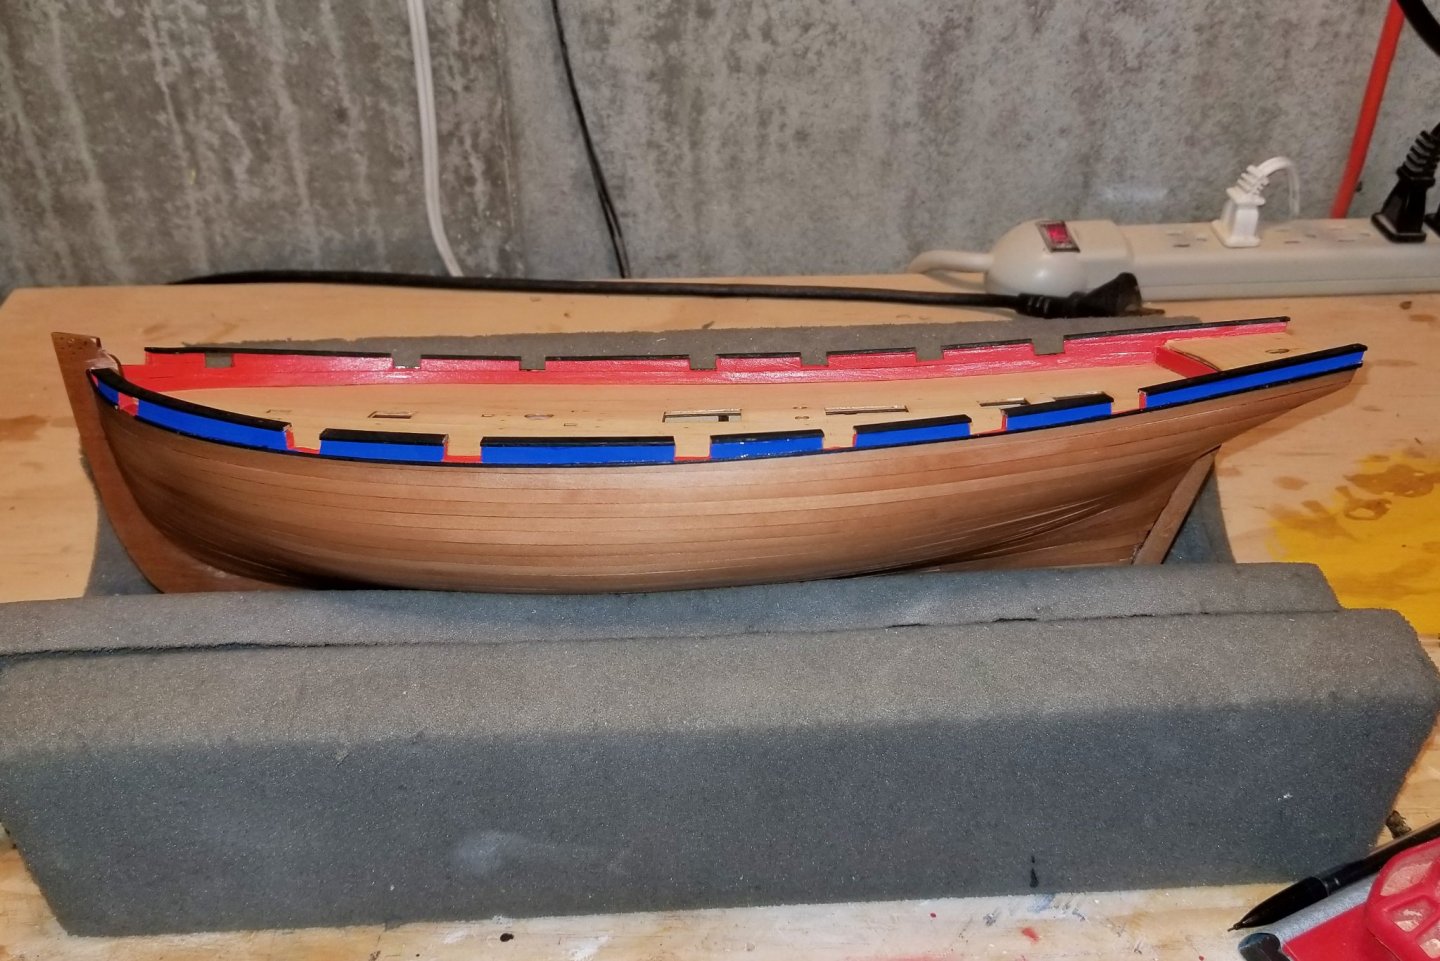
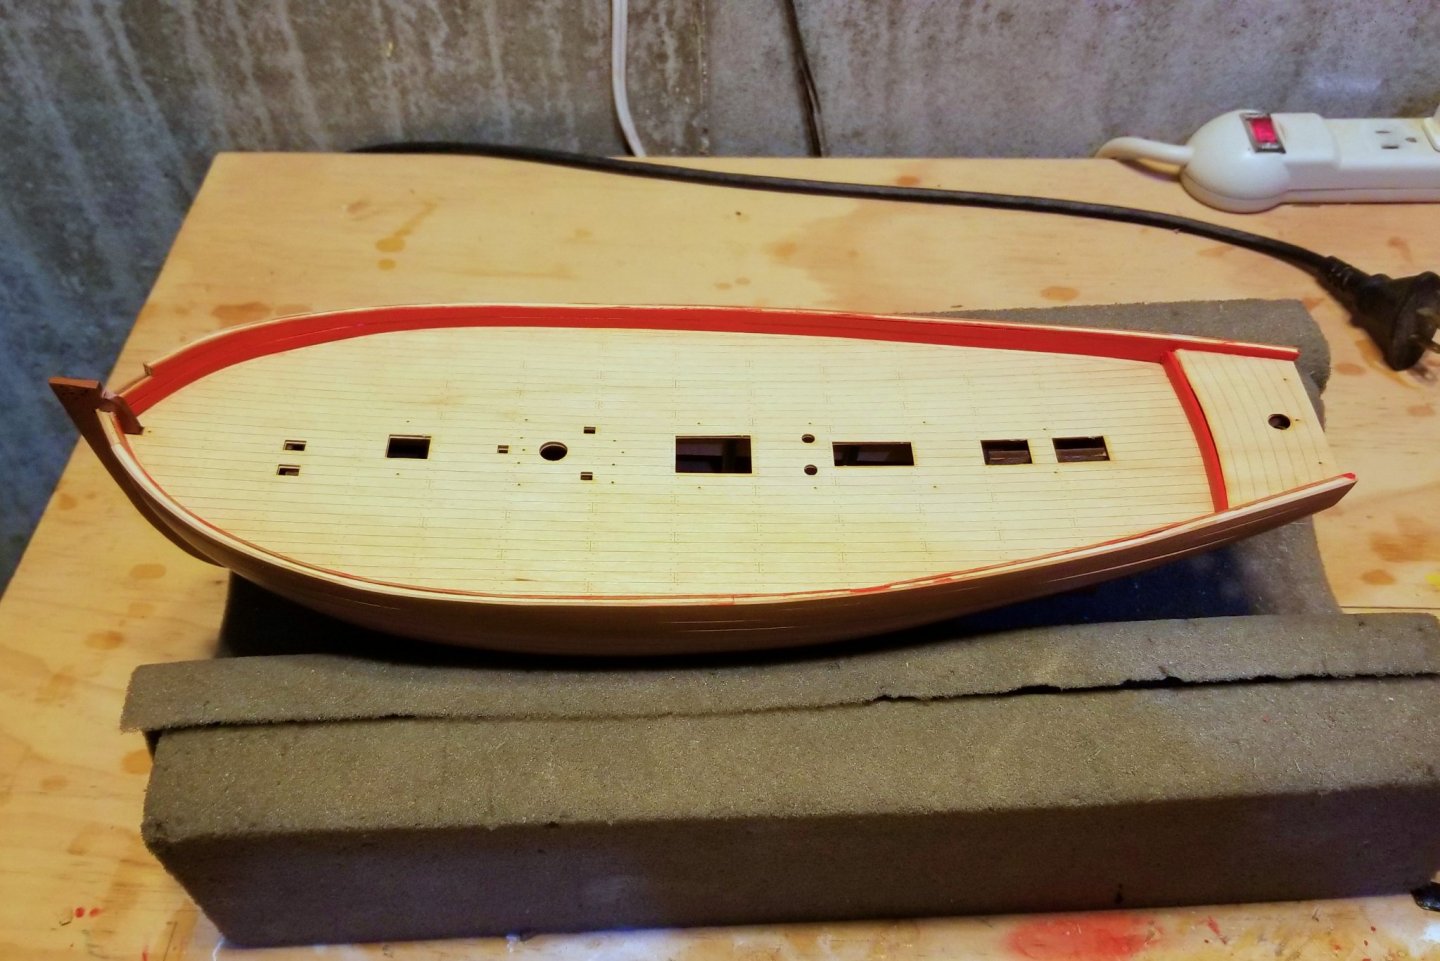
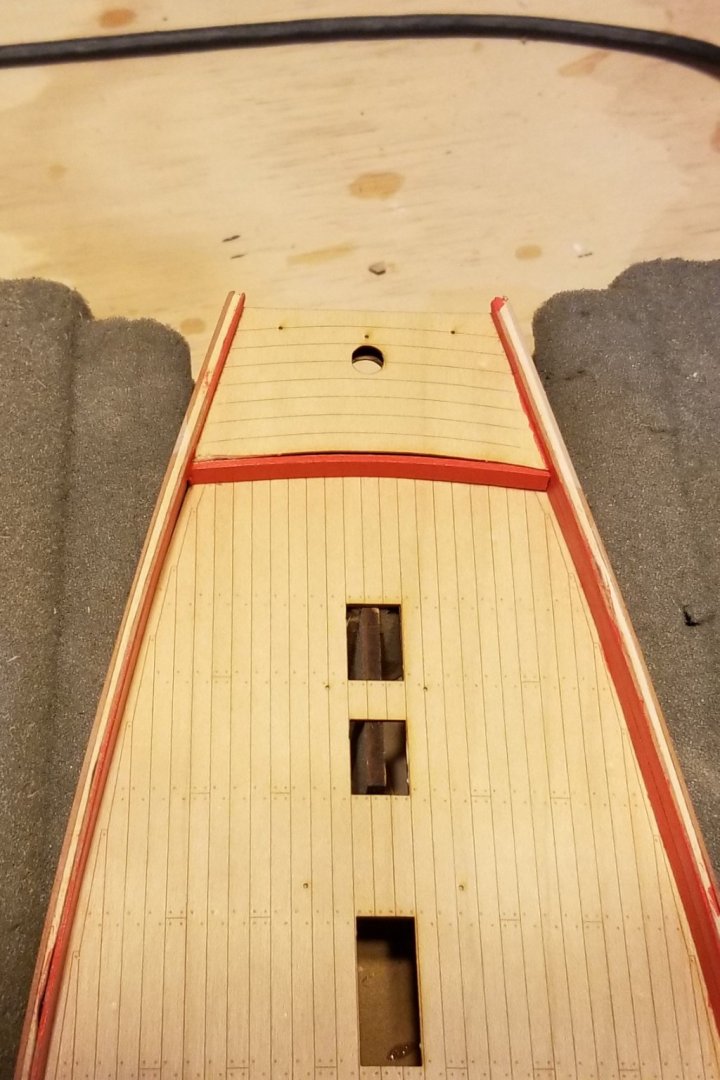
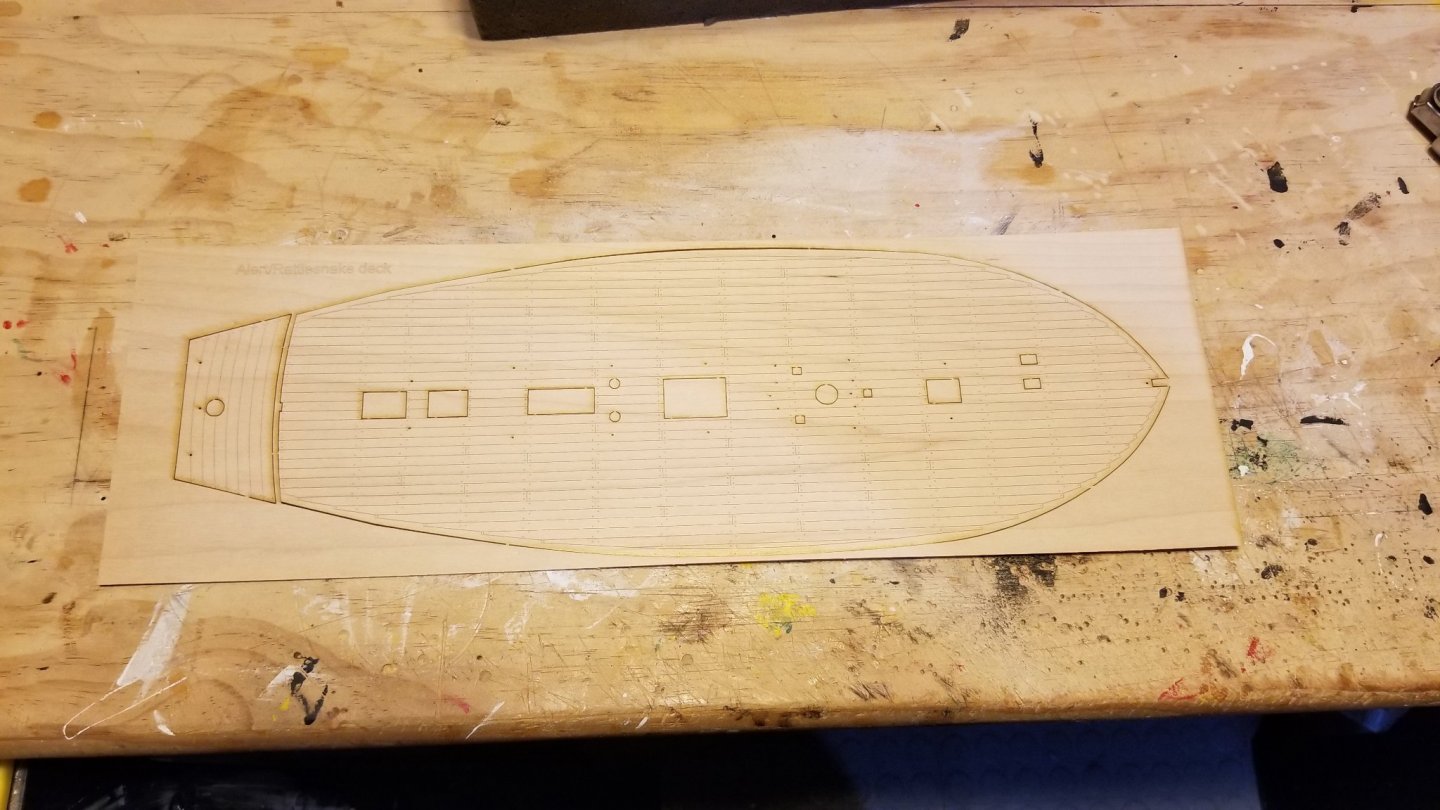
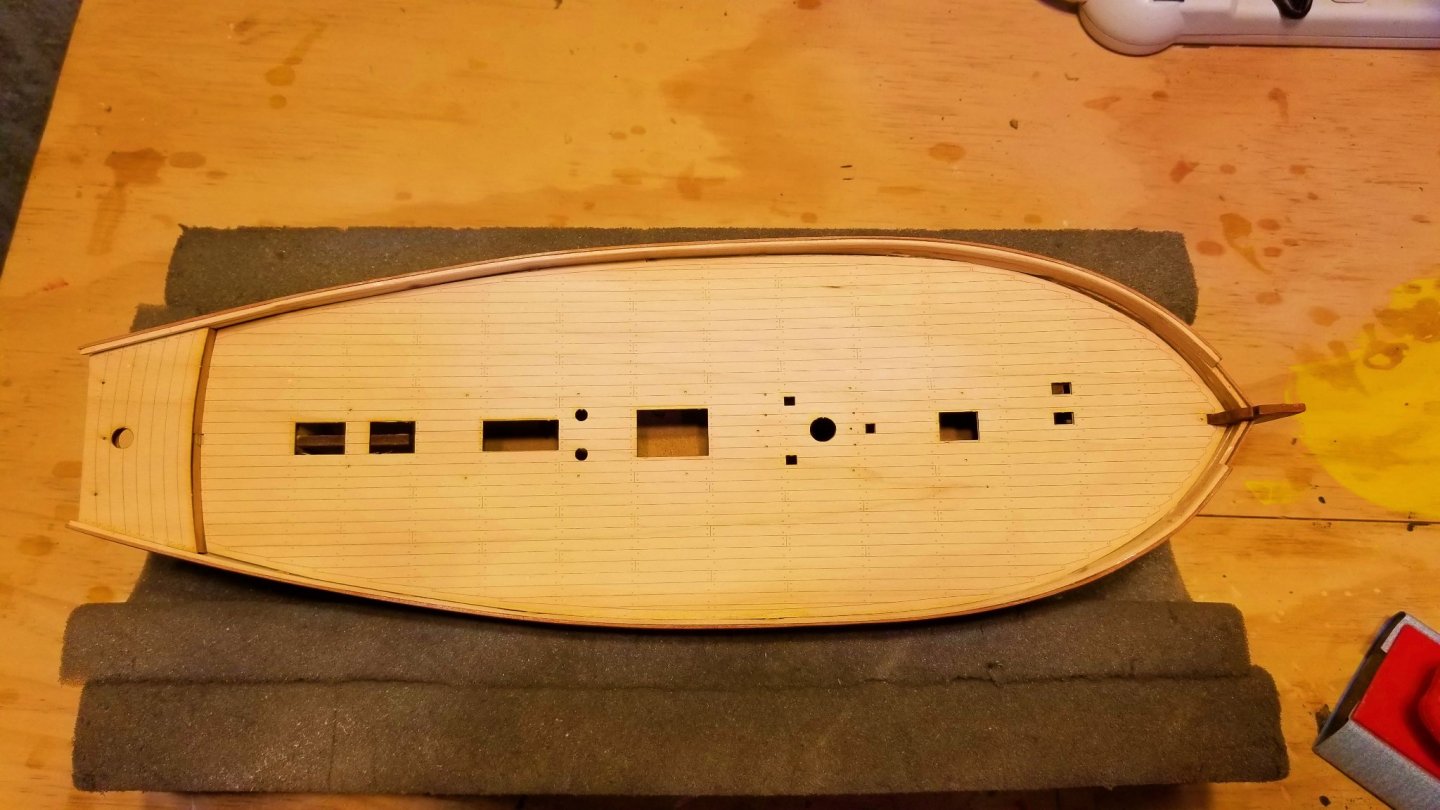
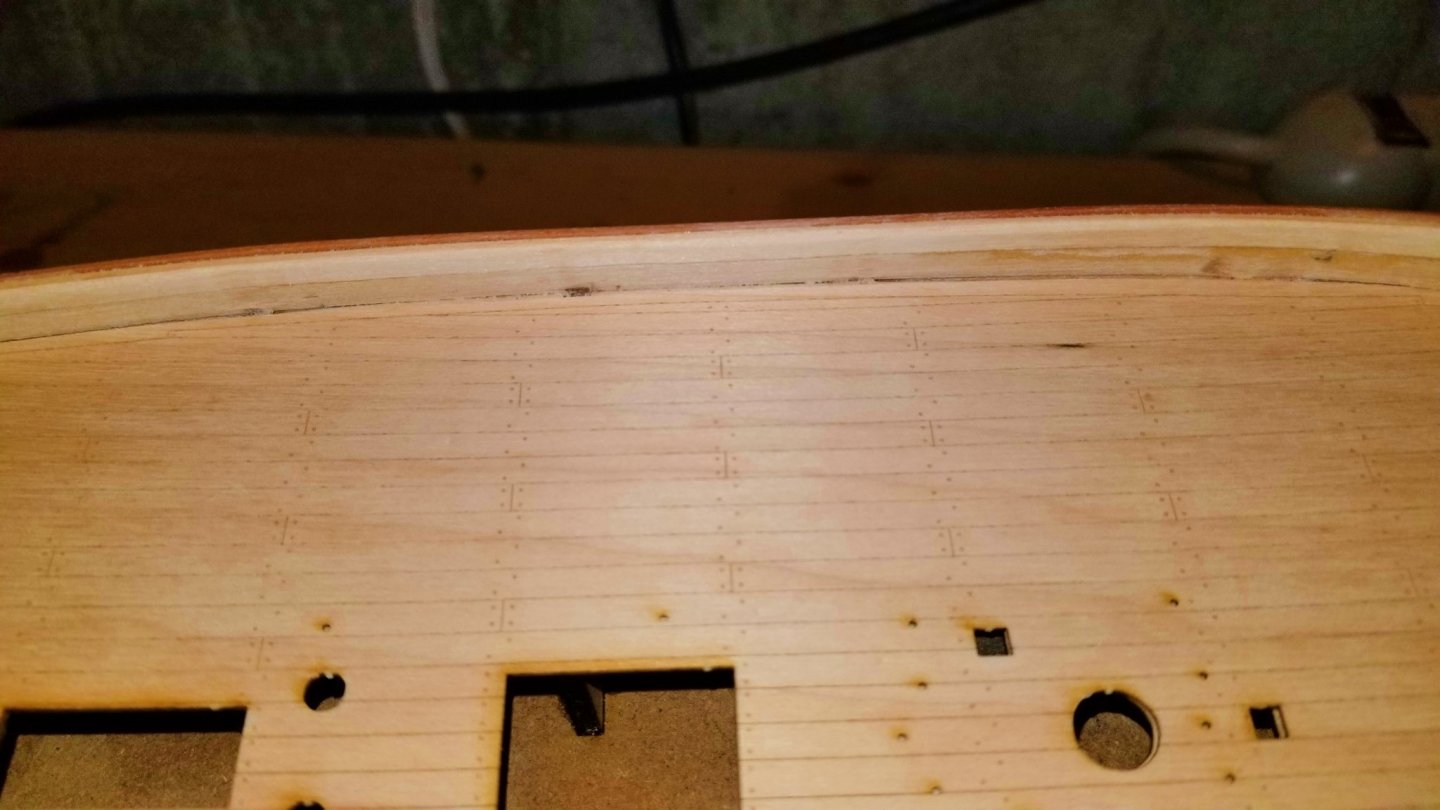
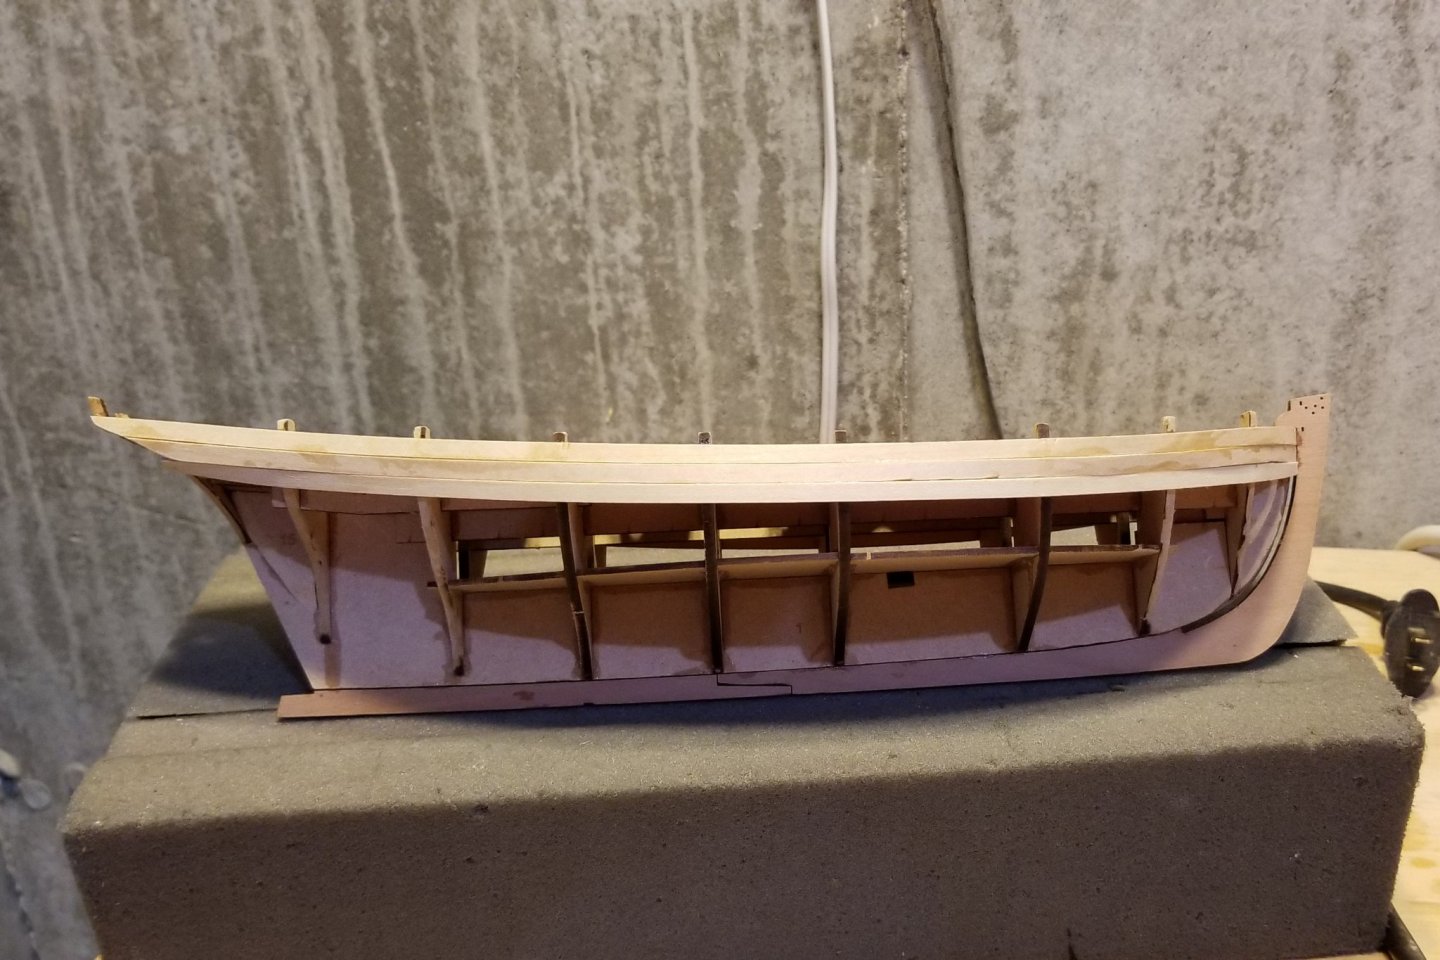
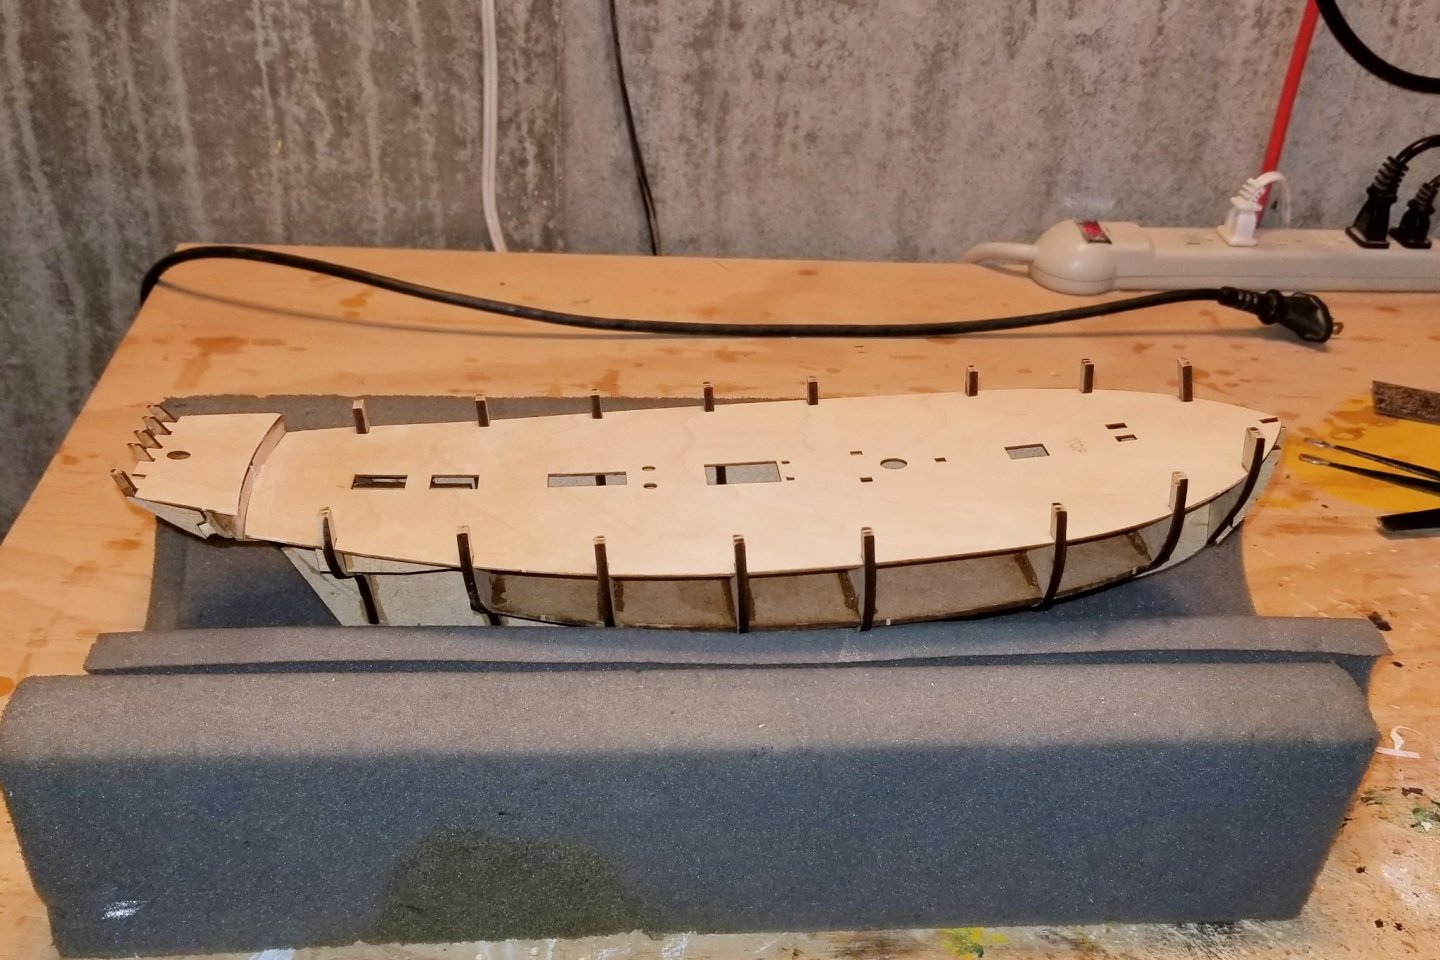
One option when you buy this model is to get a pre-etched deck (so you don't have to plank it), and I took that. In the photos, you can see the deck on the laser-cut sheet, and then mounted on the ship. The manual reads as if you are planking the deck, and it has the side bulwarks planked before deck planking, and then painted red after. When you use the pre-etched deck you really need to plank the bulwarks after you mount it. So you can see that at this point they aren't planked yet. Further, if I paint the side bulwarks after I plank them, I'll need to do a lot of careful masking around a curved bulwark (this is how the manual reads), but what I think I'll do instead is pre-paint the lower planks that run along the deck, which will give a nice finish and obviate the masking.
-
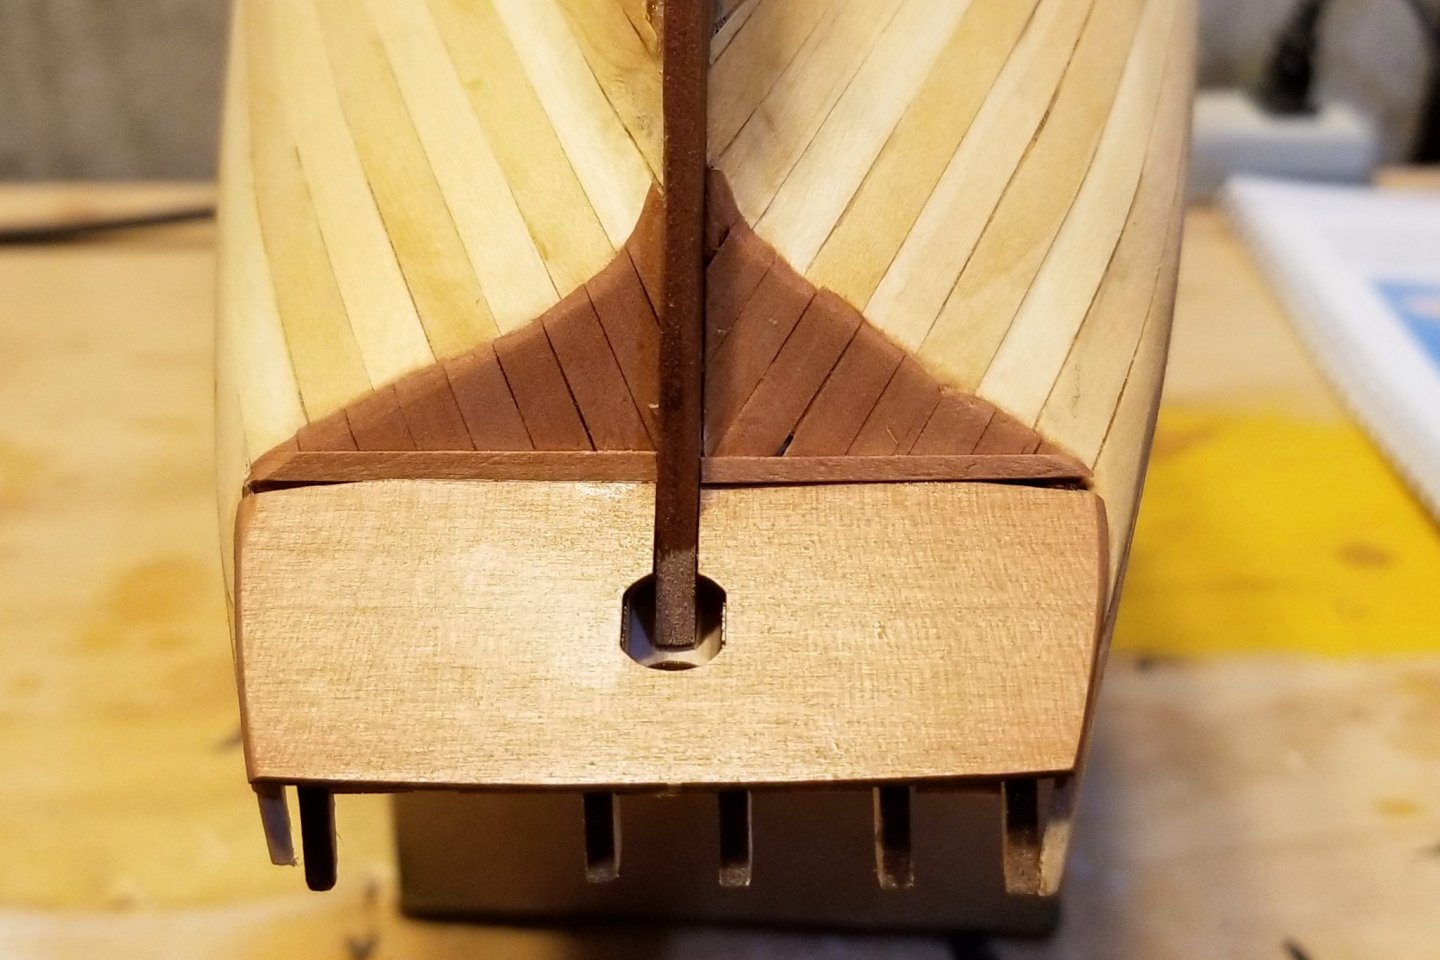
I've filled, sanded and varnished the first planking, and done some work on the stern. The diagonal planks you see at the stern are the pear wood that will be used for the second planking (which is next). As I mentioned earlier, I will probably not paint the hull white as I really like the look of the finished wood. Regards, David
-
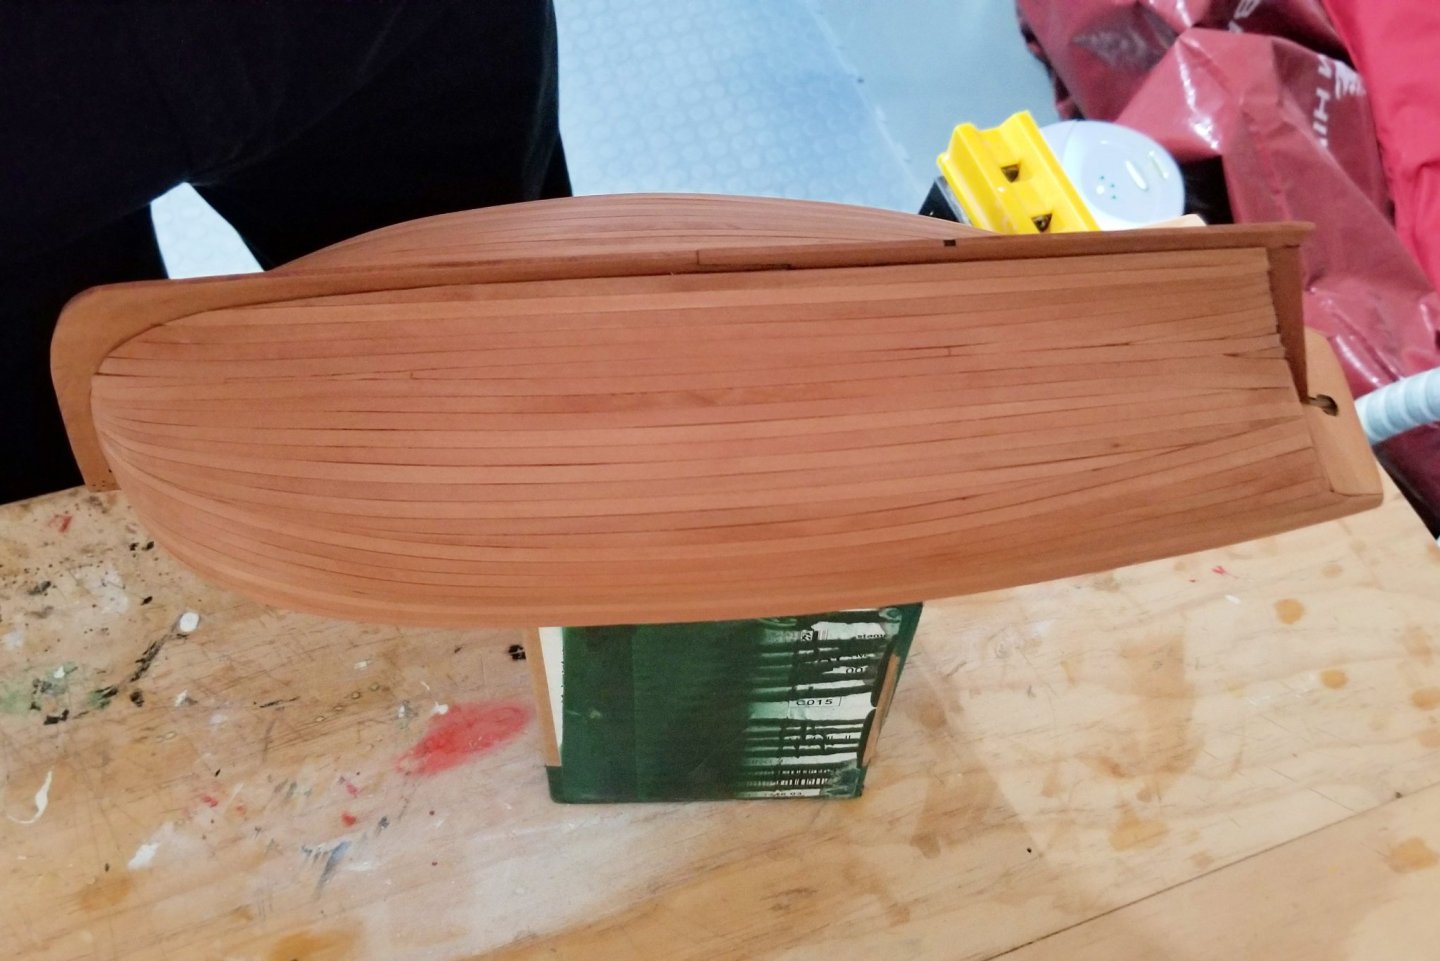
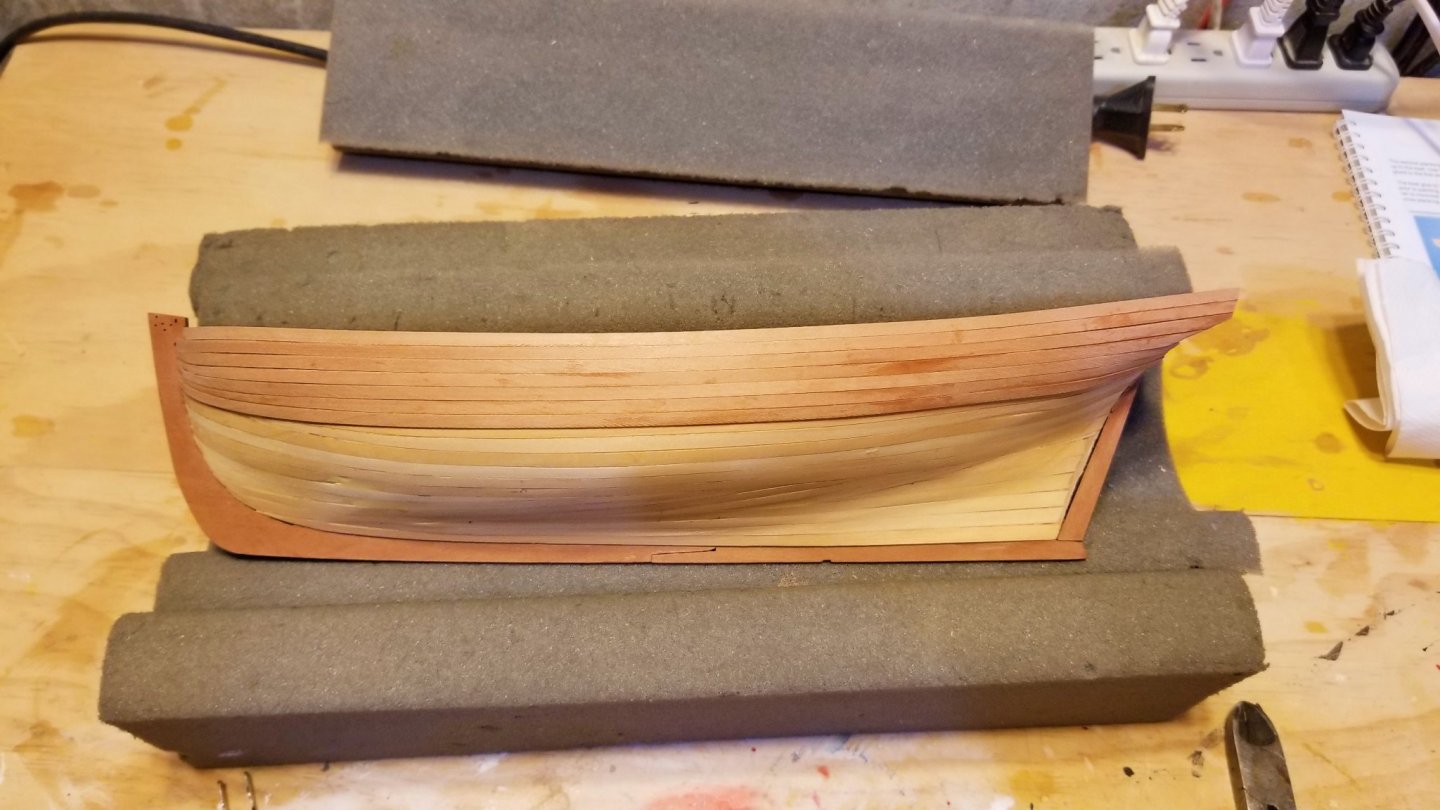
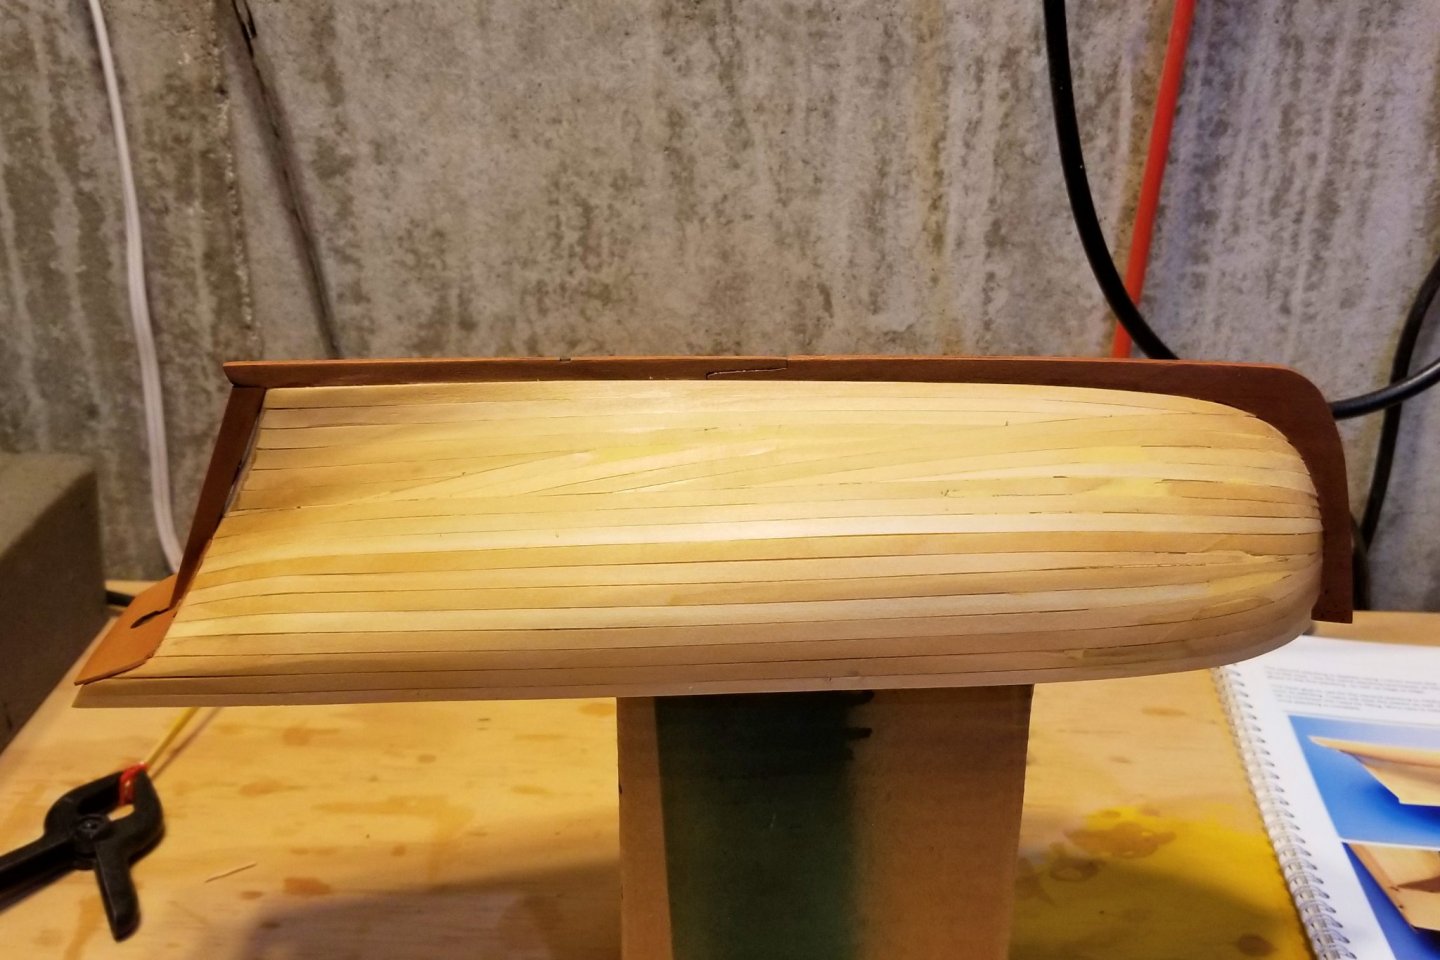
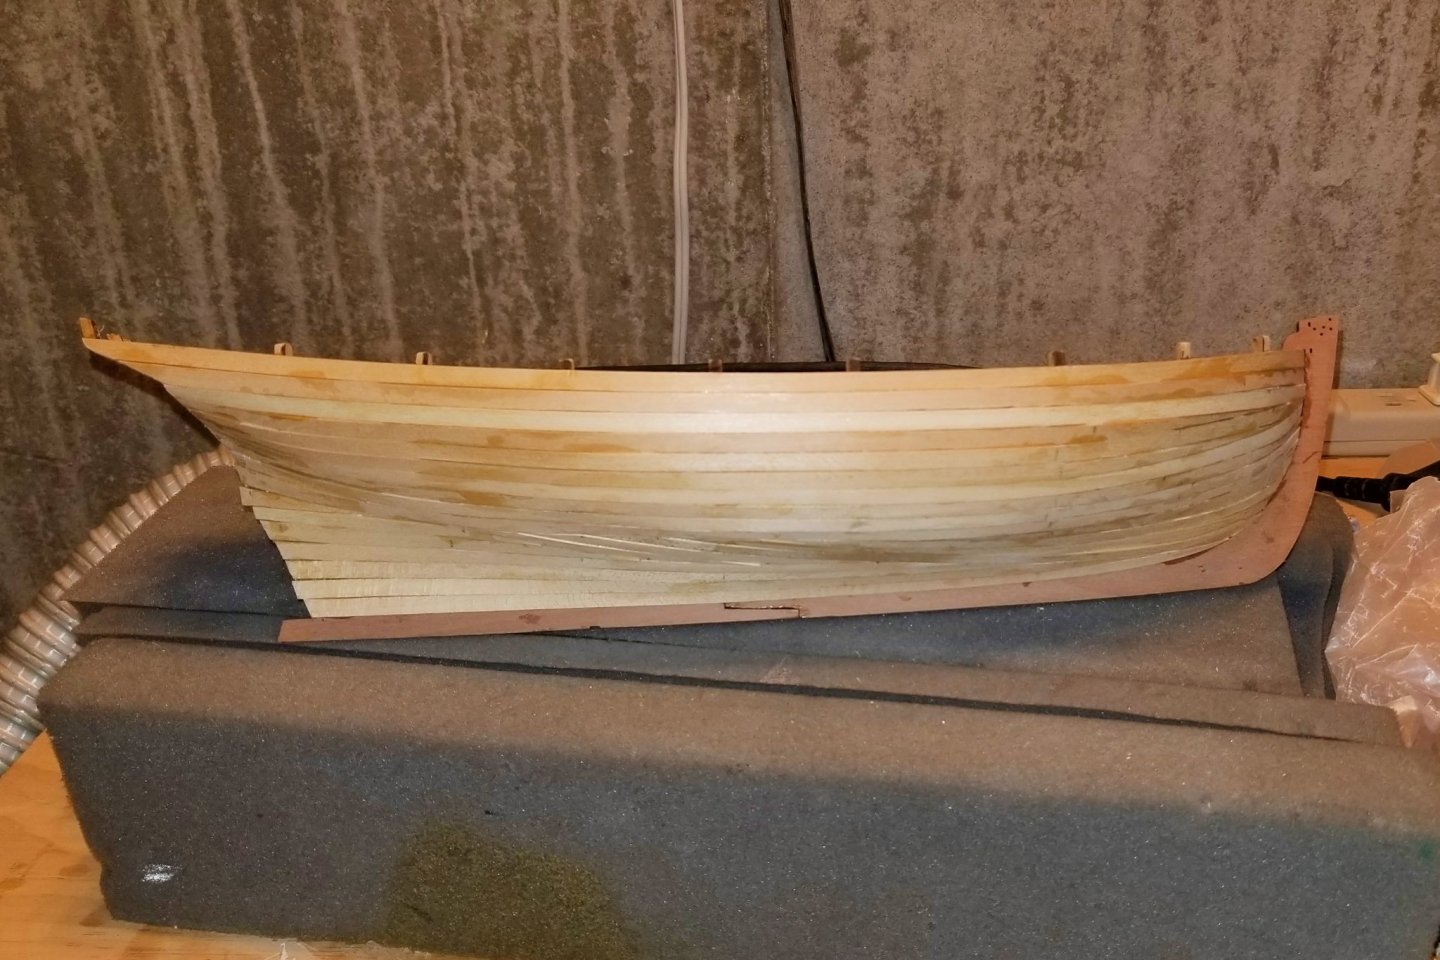
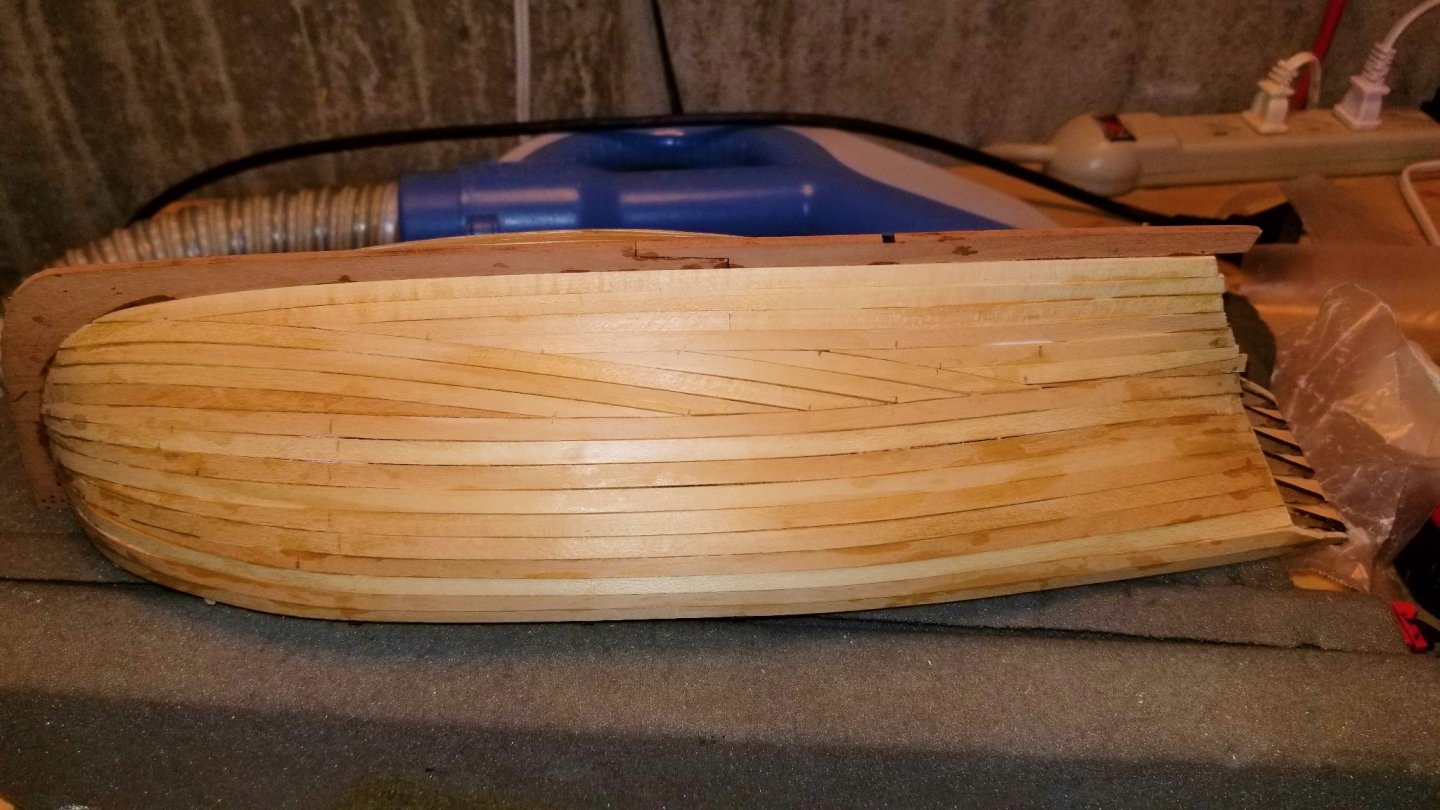
Except for the top rail, first planking is done. I experience hull planking as an existential art form. You never quite know what pattern you're going to end up with. This one reflects my continued use of side-bending (with the help of my steamer) until I finally threw in the towel and let the planks run. The result is the most interesting planking pattern I've ended up with to date. Regards, David
-
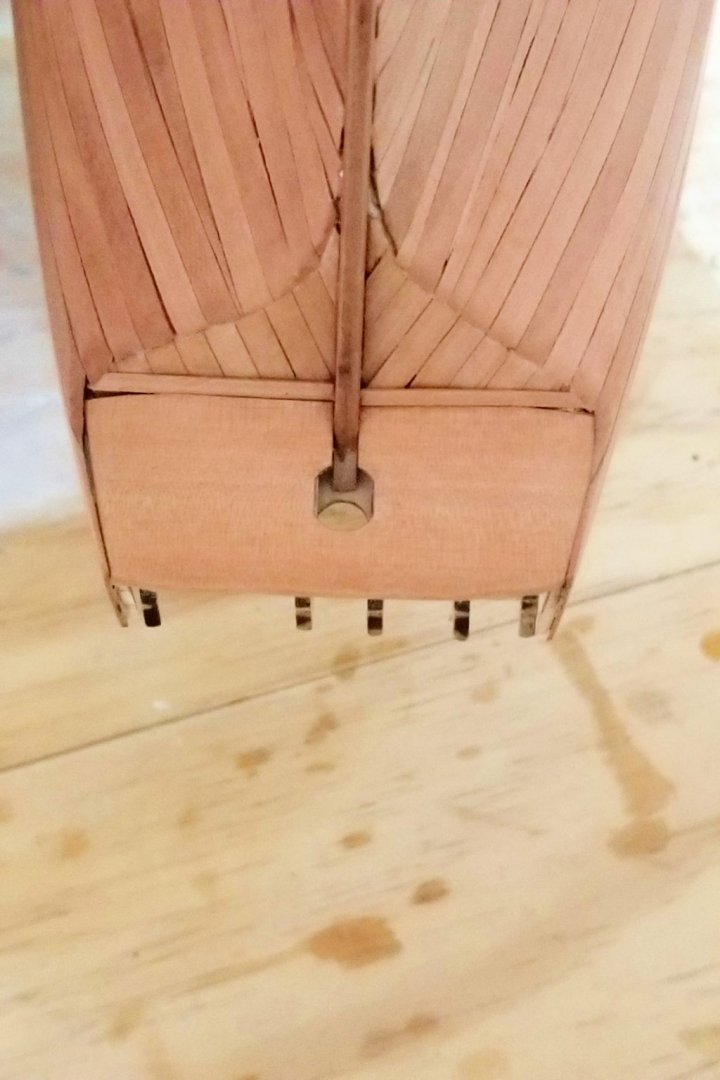
The upper deck is now mounted. One issue I had is that the rear flanges are very fragile, and before I mounted the deck I set the boat down on its stern and they all snapped off. So I glued them back on, paying attention to the angle, and then glued on the rear deck. One is missing, because I couldn't find it after it snapped off, but I've looked ahead and it won't matter to the build. So that's something to be careful of when building this model. Regards, David
-
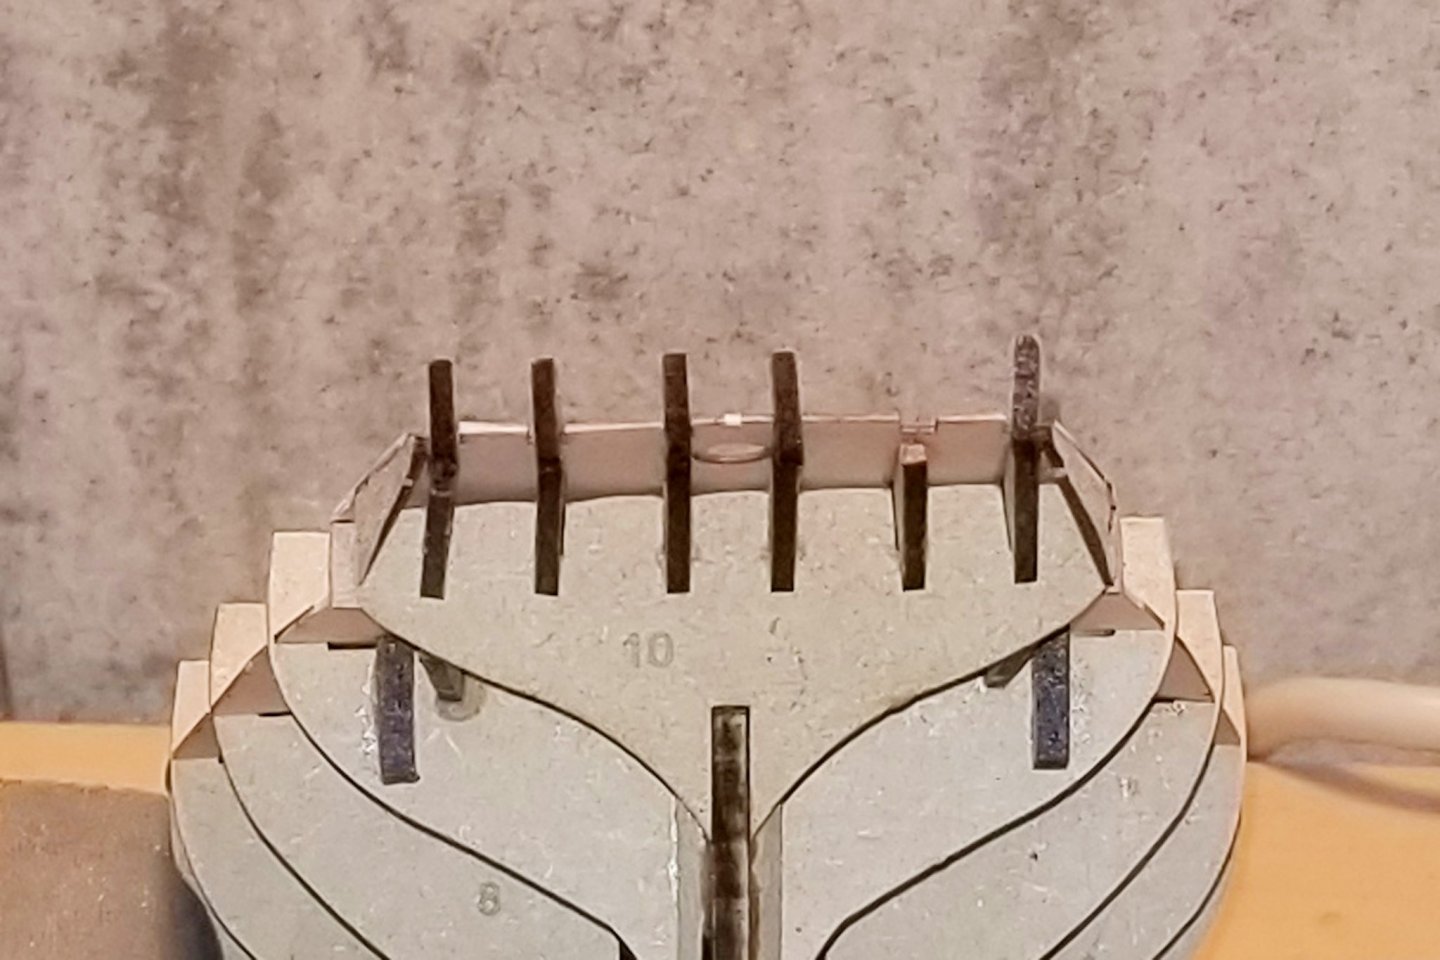
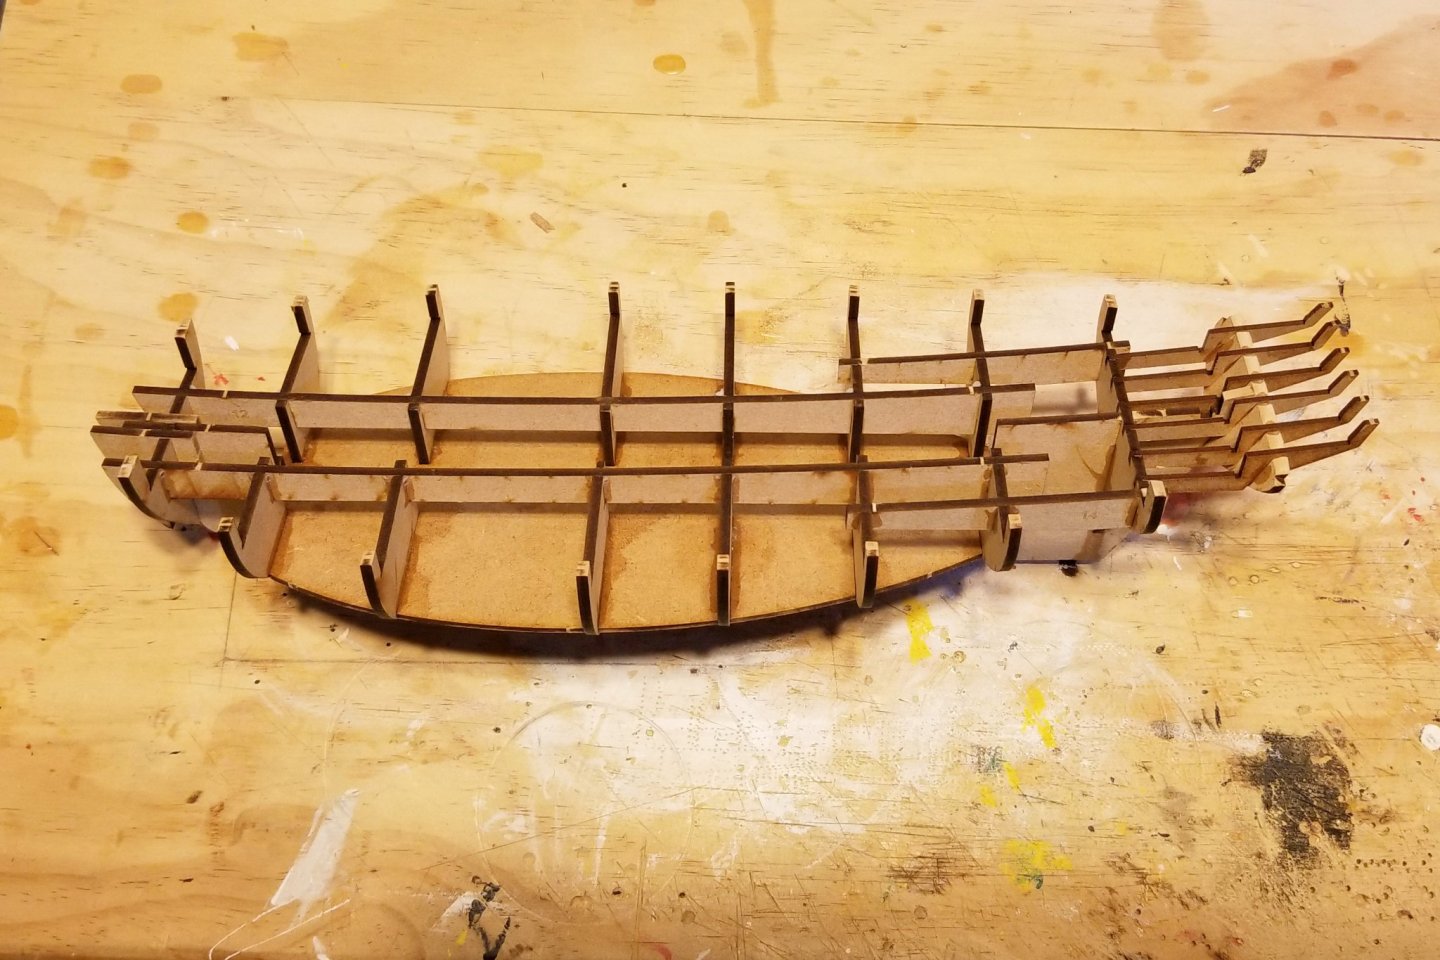
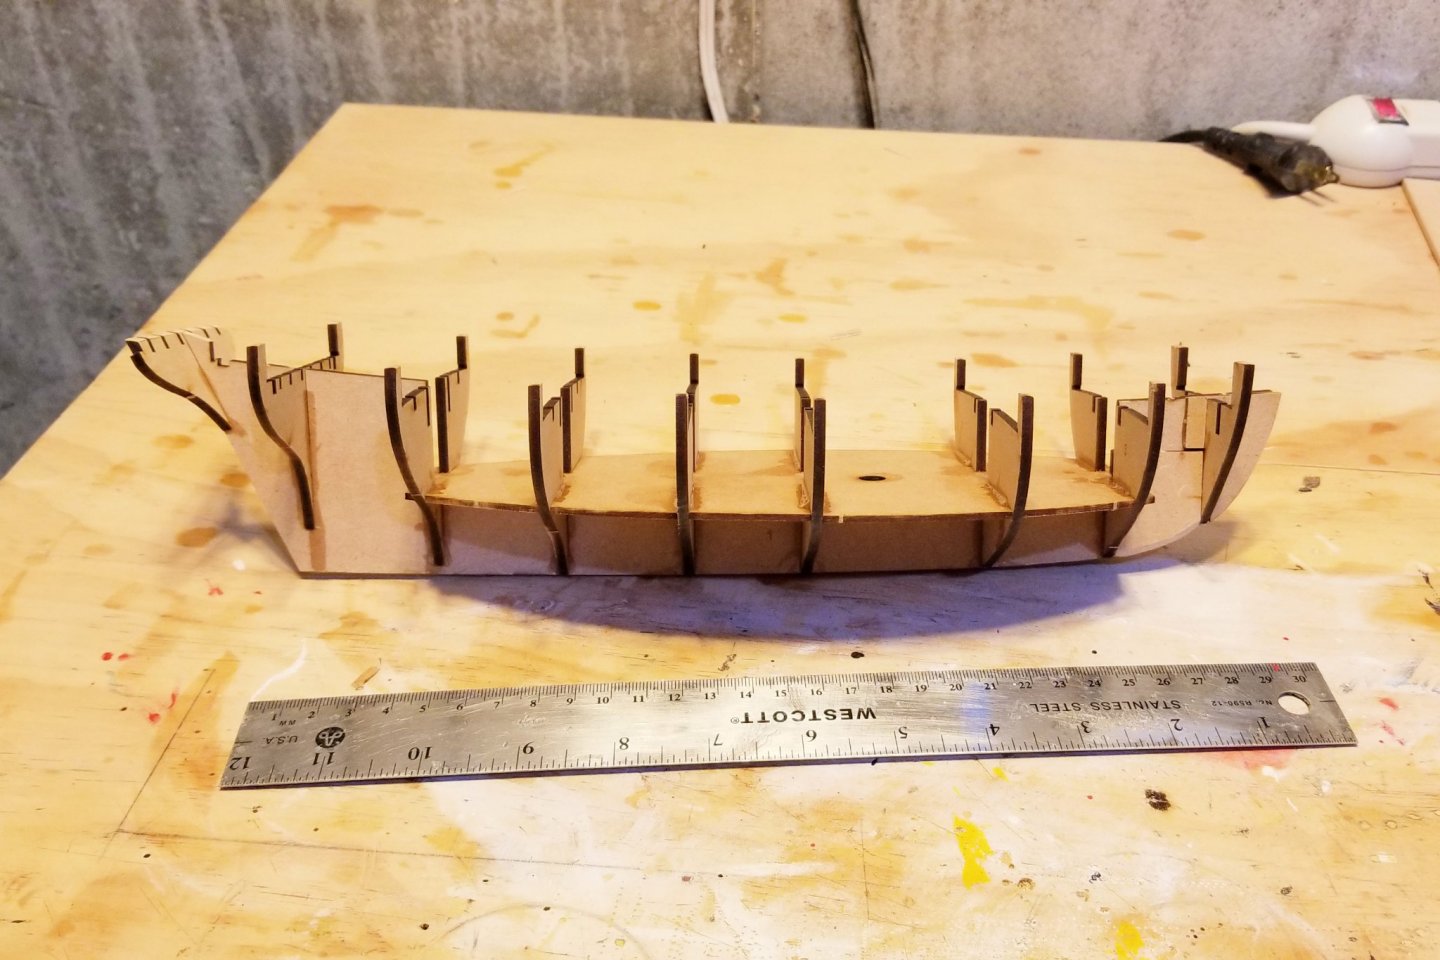
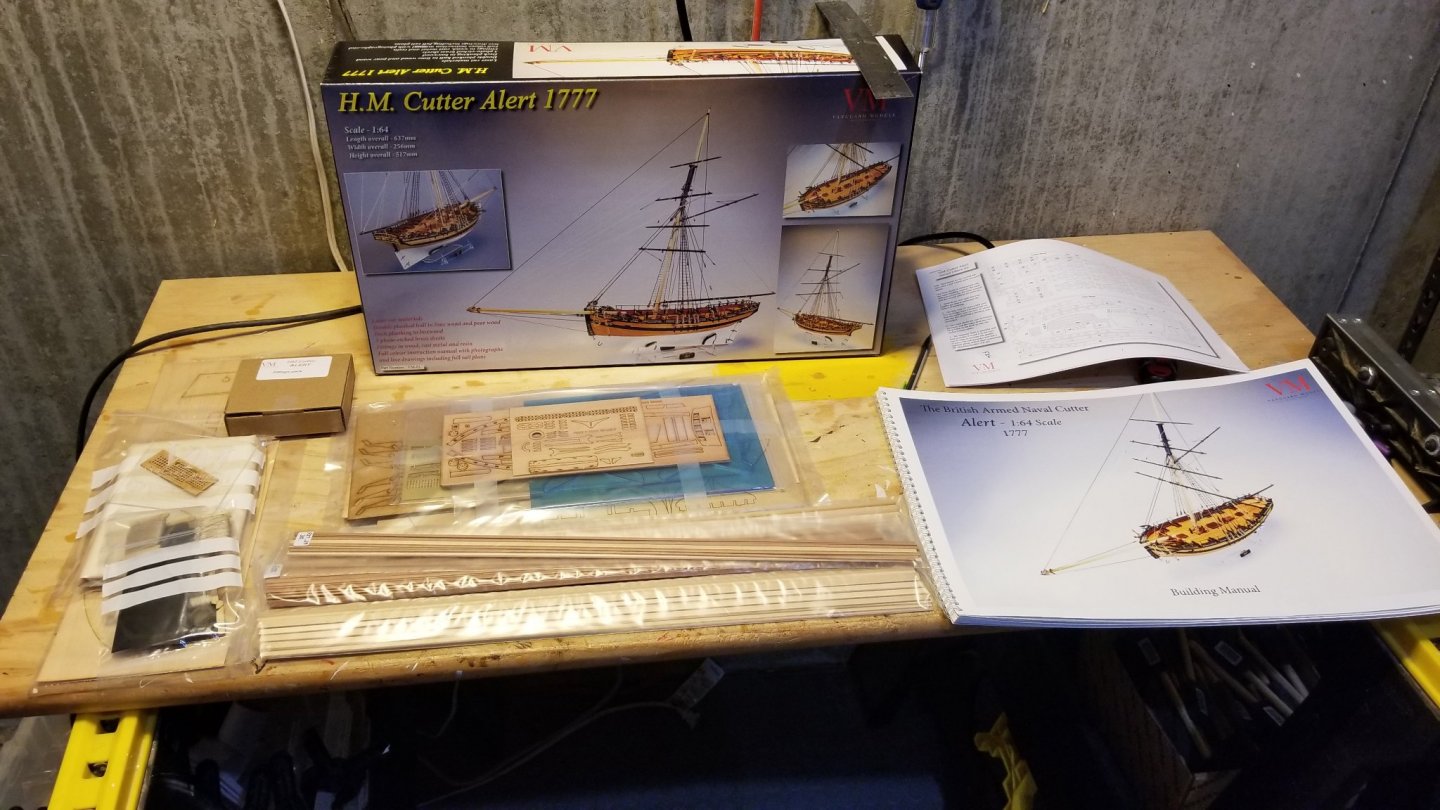
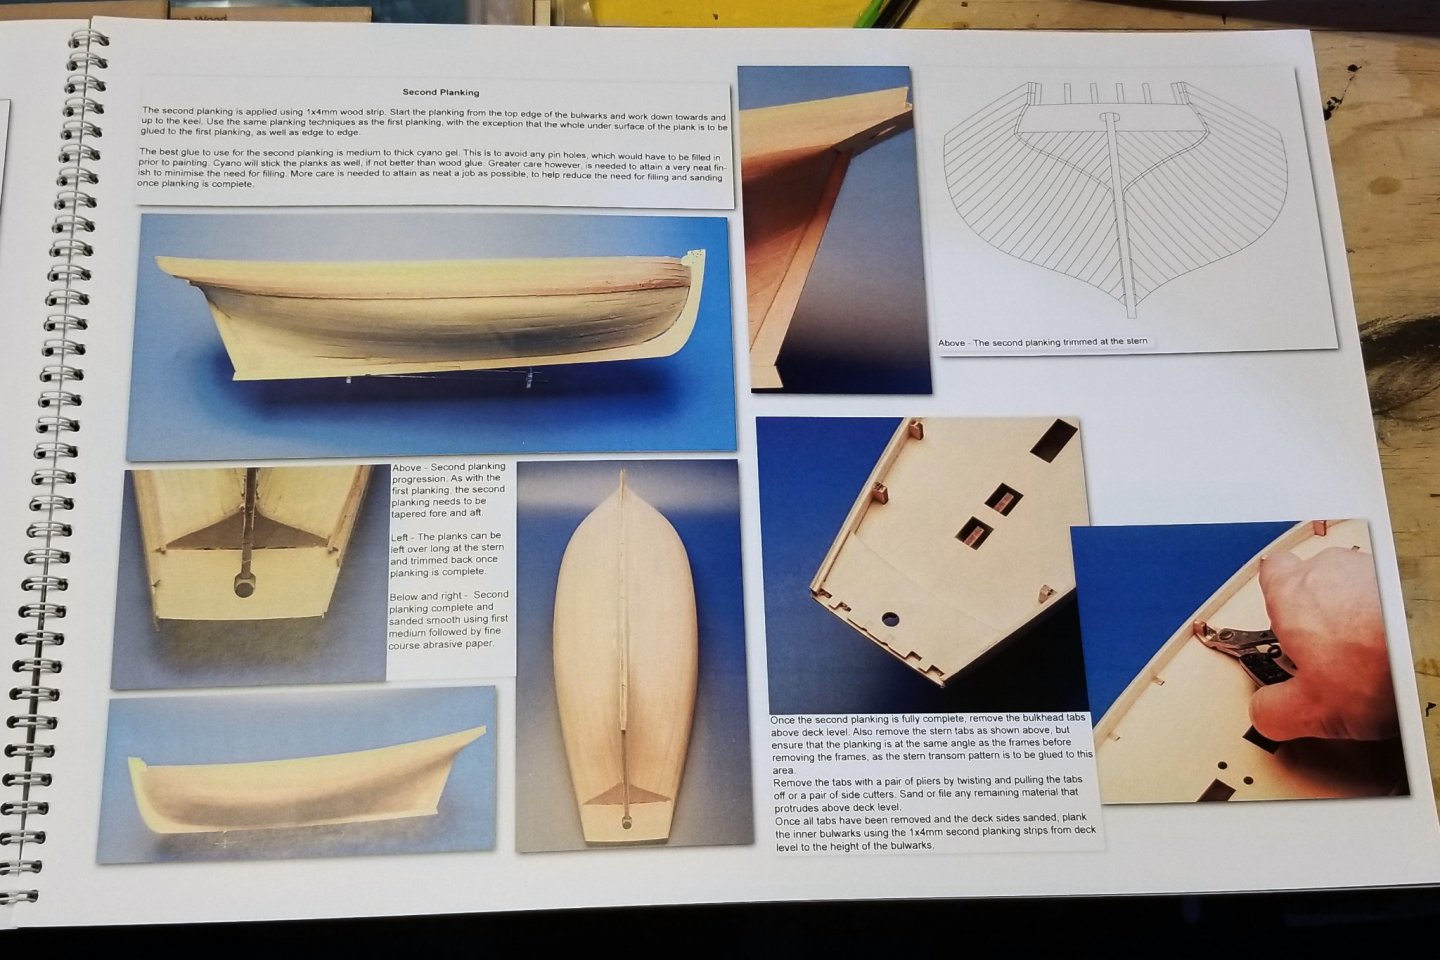
I have built the Amati Revenge and Fly from the Victory Models series, and both were terrific builds with outstanding kit quality. These were designed by Chris Watton, so when I saw that he had formed his own modeling company, Vanguard Models, I really wanted to try one to see how the kit quality and ship appearance compared. Opening the box, the kit quality looks outstanding. Everything neatly packed and shrink-wrapped, and the wood looks great. The manual is also something to behold: large lie-flat with heavy pages and lots of 4-color pictures and drawings. I'm looking forward to starting this one and will post a log as I go. Regards, David
-
Thanks, Hans. 7 months almost to the day, which for me seems like a longer time. My longest build to date. Regards, David
- 136 replies
-
- kolderstok
- batavia
-
(and 1 more)
Tagged with:
-
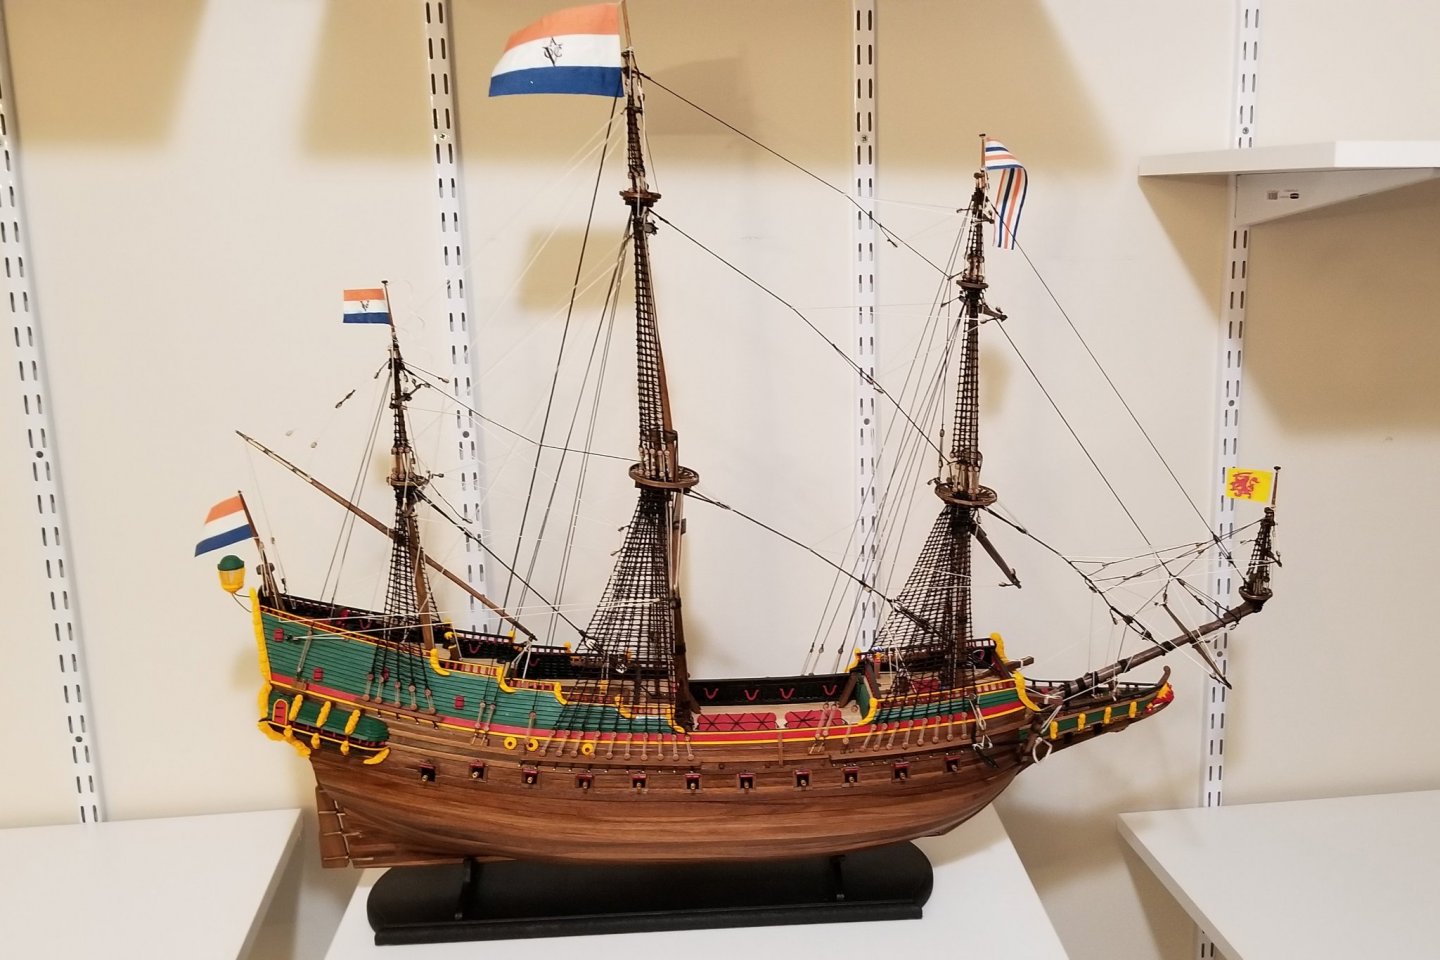
Batavia is finished! Completion photos have been posted to the kit-built ship gallery. Kudos to Kolderstok Models for a really high quality kit, and thanks to Hans (the owner of Kolderstok) for all of his help at times along the way. Regards, David
- 136 replies
-
- kolderstok
- batavia
-
(and 1 more)
Tagged with:
-
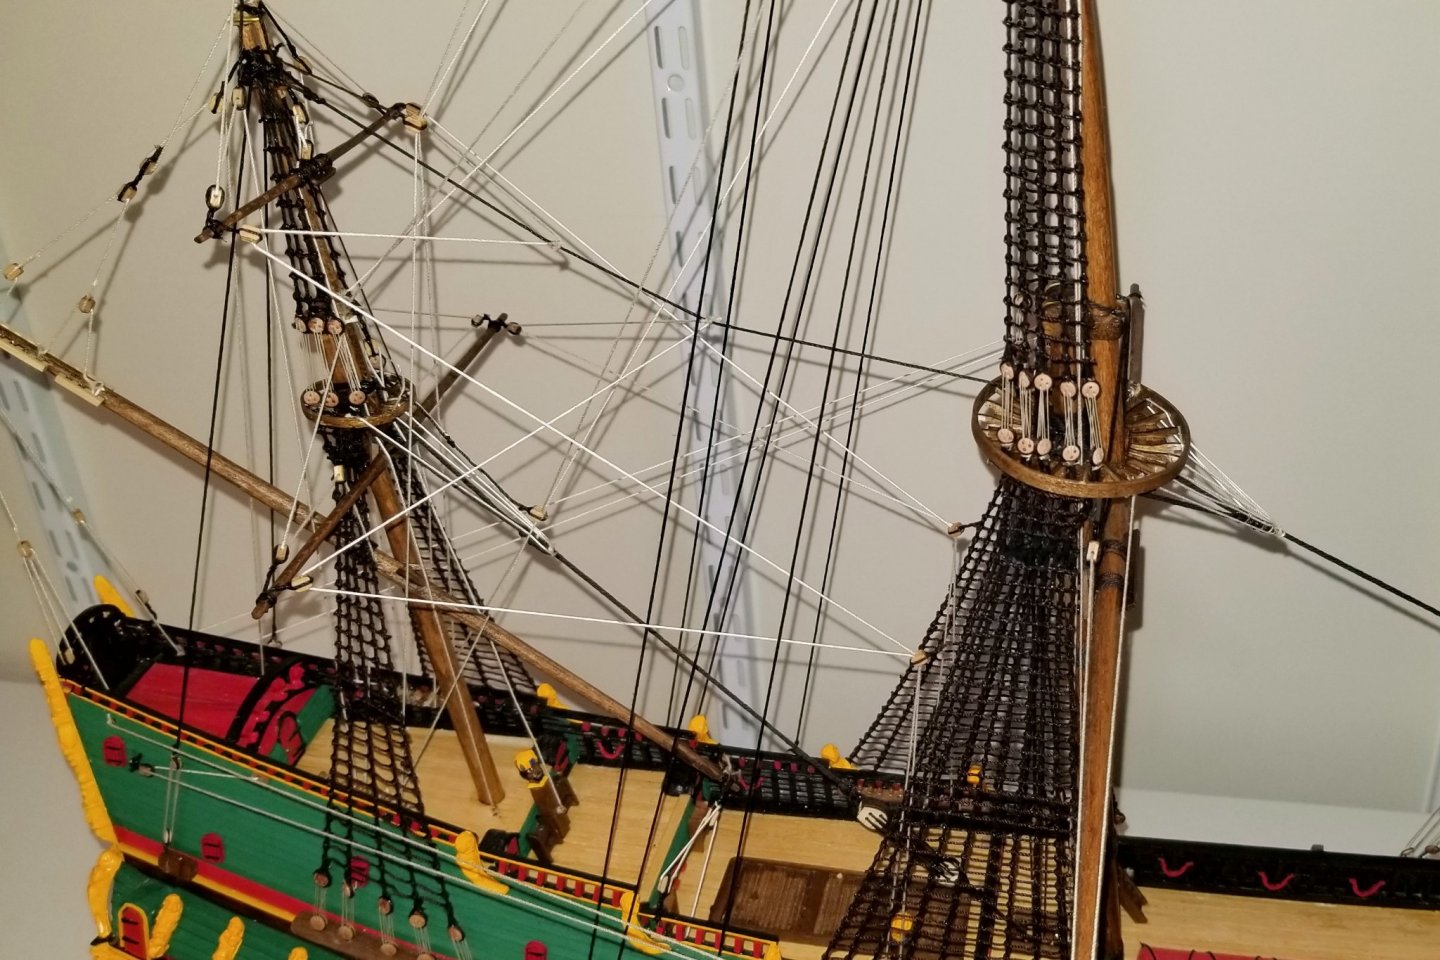
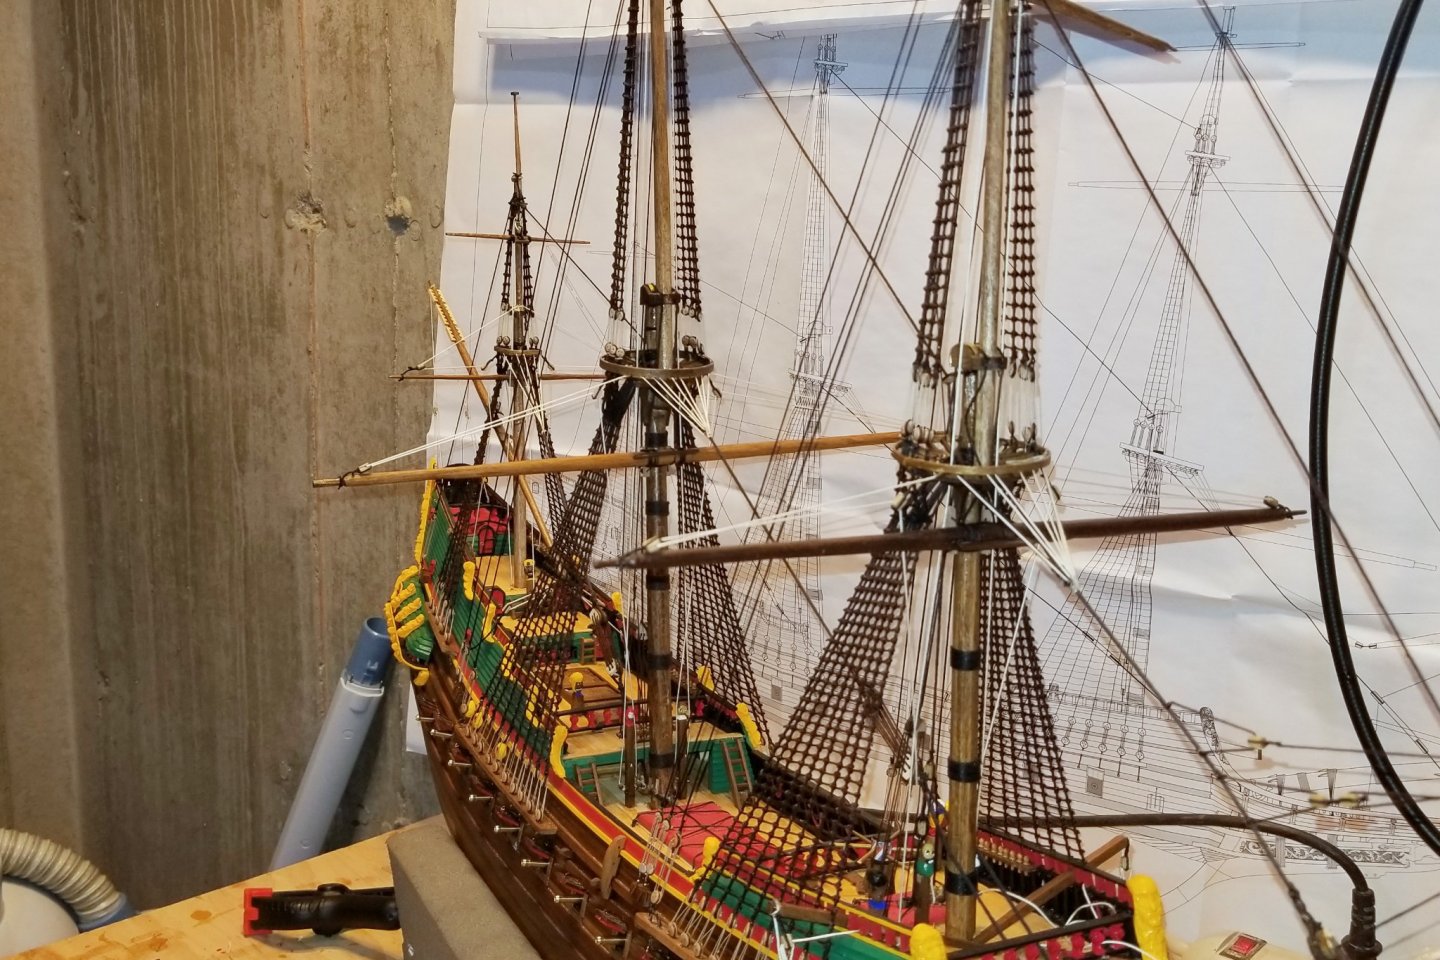
Running rigging is complete now. All that remains is the rear flagpole, the rear lantern, the flags, and the stand. Getting close! Regards, David
- 136 replies
-
- kolderstok
- batavia
-
(and 1 more)
Tagged with:
-
- 136 replies
-
- kolderstok
- batavia
-
(and 1 more)
Tagged with:
-
- 136 replies
-
- kolderstok
- batavia
-
(and 1 more)
Tagged with:
-
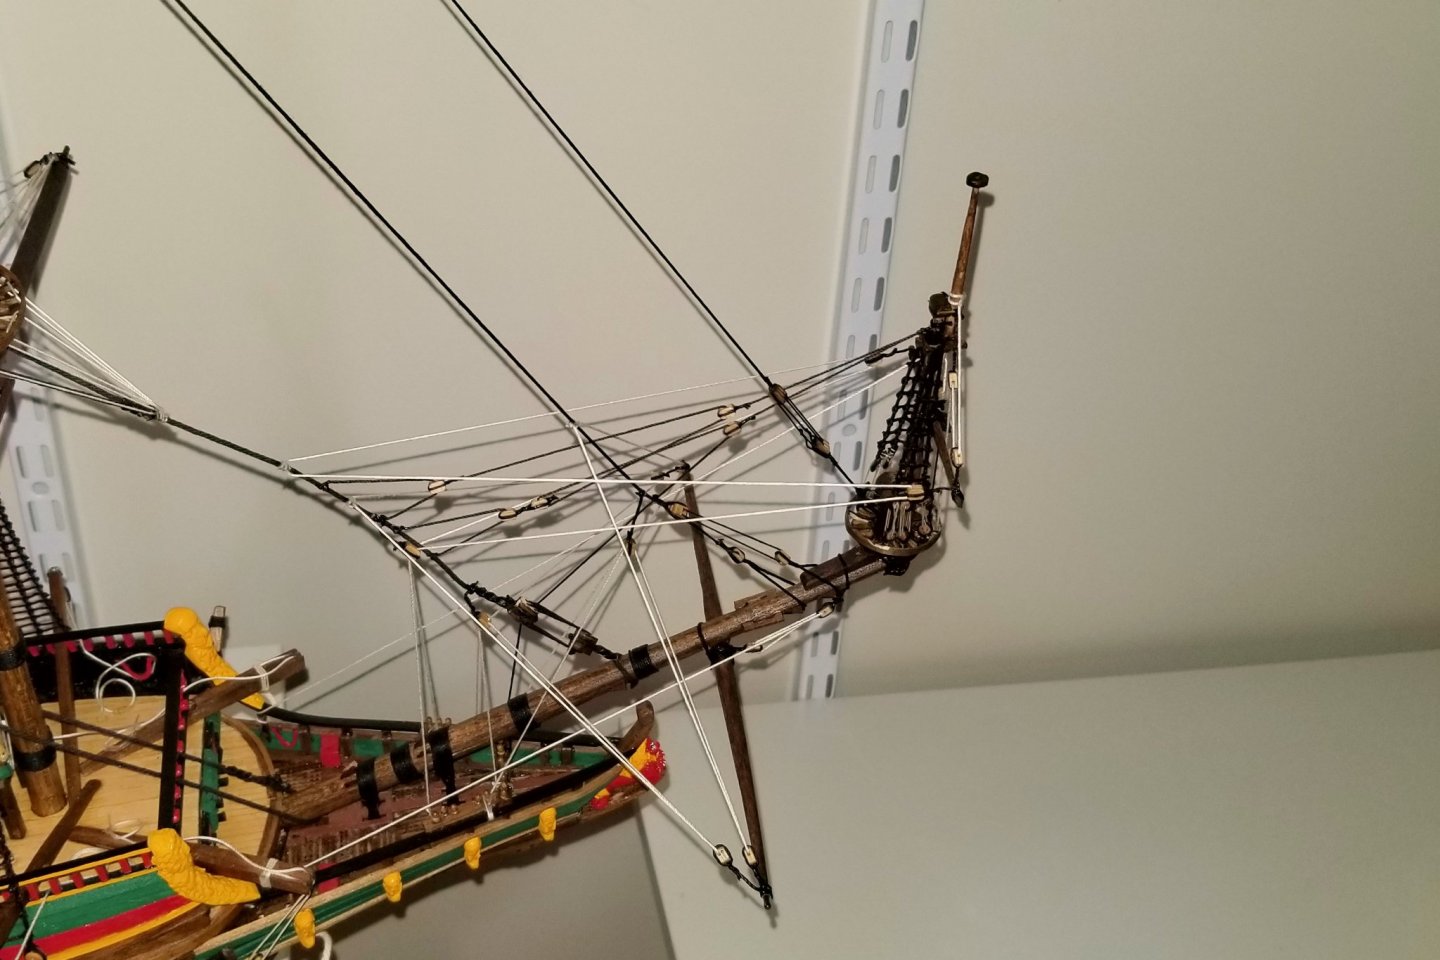
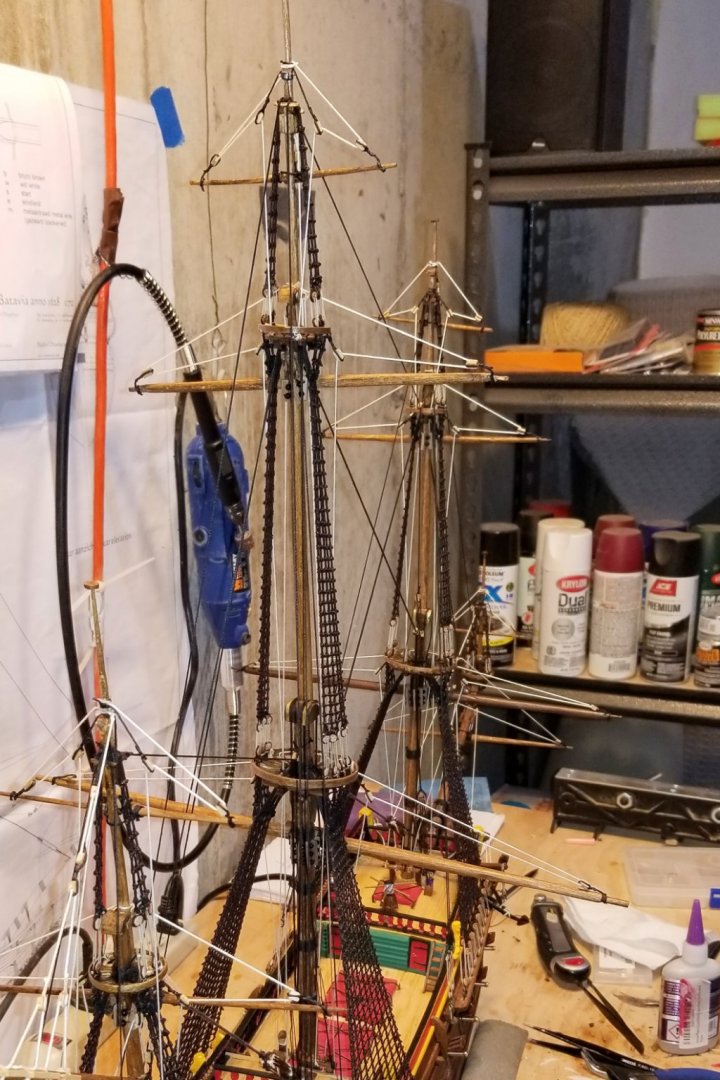
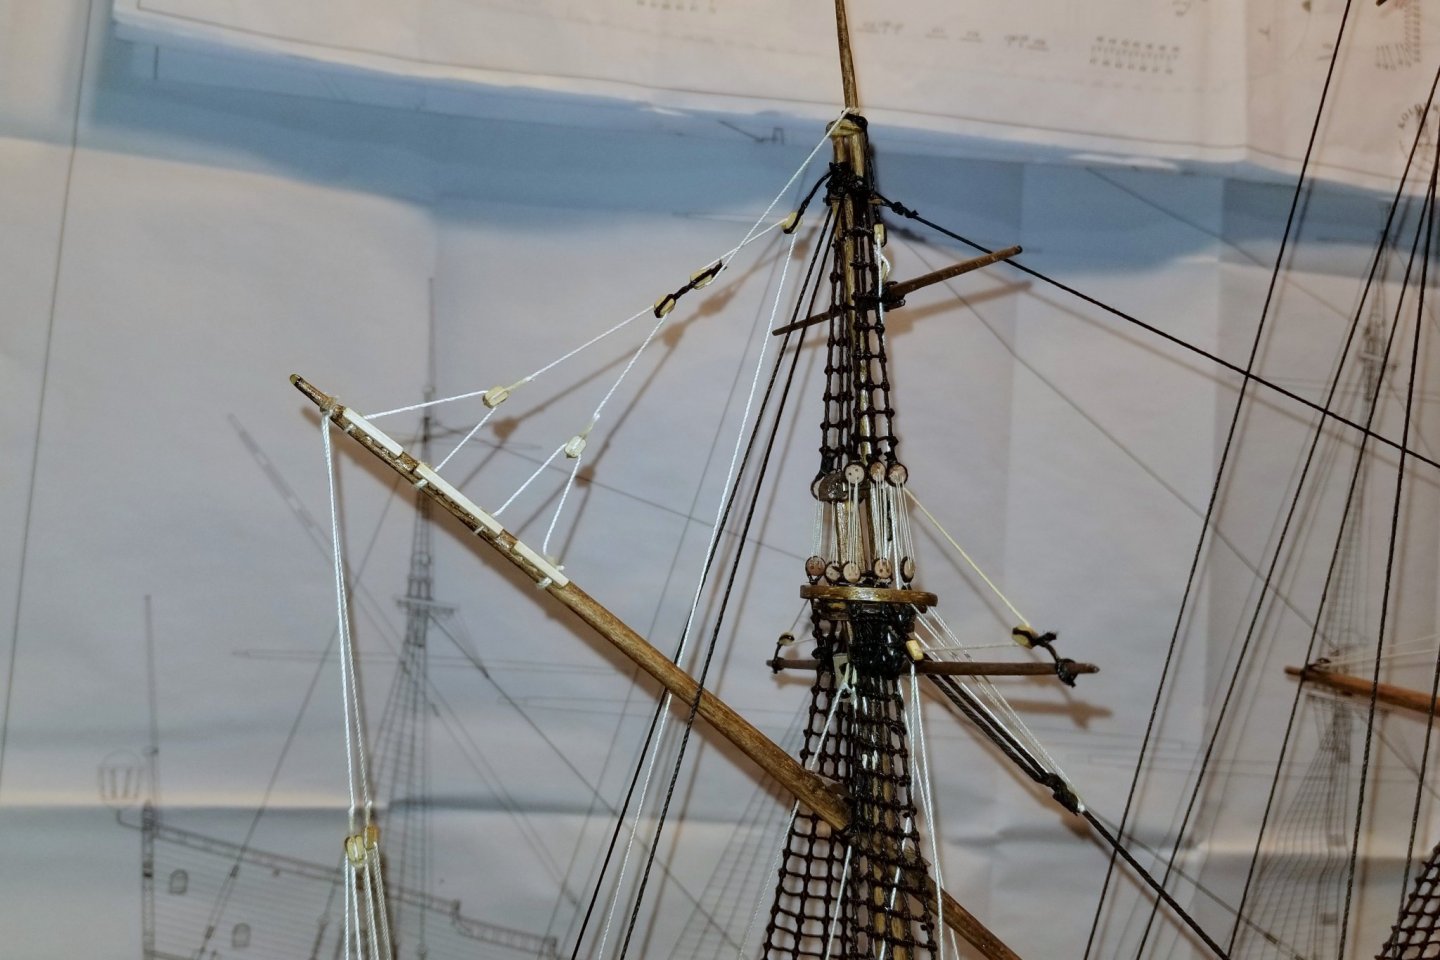
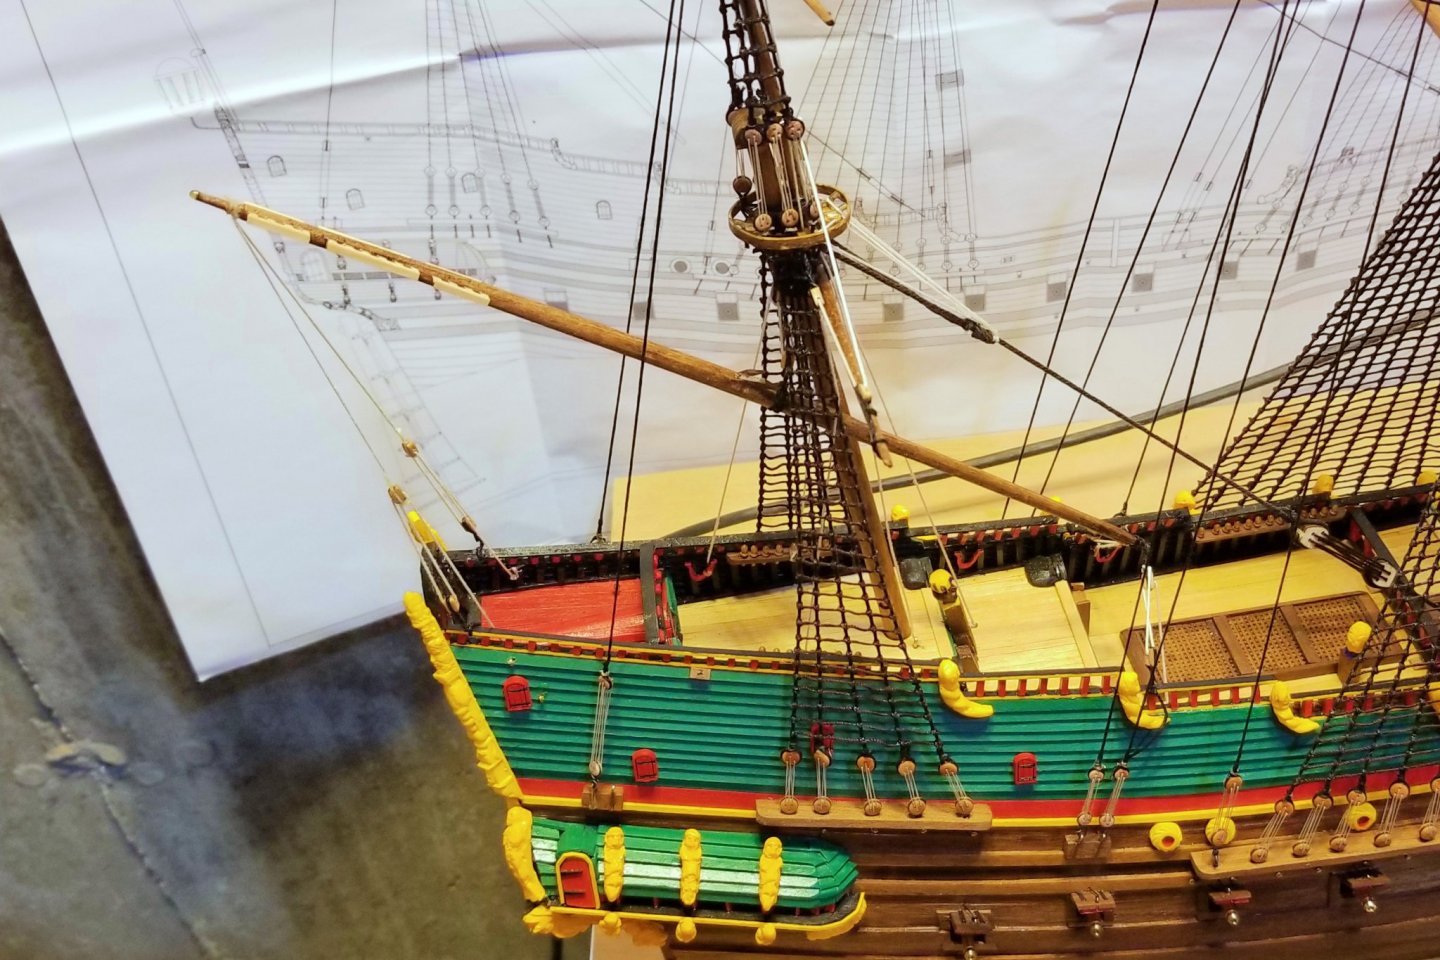
Lower yard lifts done; lateen yard rigged. Actually, partially rigged. There is some more rigging from the lateen to the mizzen that I have to do. Regards, David
- 136 replies
-
- kolderstok
- batavia
-
(and 1 more)
Tagged with:
About us
Modelshipworld - Advancing Ship Modeling through Research
SSL Secured
Your security is important for us so this Website is SSL-Secured
NRG Mailing Address
Nautical Research Guild
237 South Lincoln Street
Westmont IL, 60559-1917
Model Ship World ® and the MSW logo are Registered Trademarks, and belong to the Nautical Research Guild (United States Patent and Trademark Office: No. 6,929,264 & No. 6,929,274, registered Dec. 20, 2022)
Helpful Links
About the NRG
If you enjoy building ship models that are historically accurate as well as beautiful, then The Nautical Research Guild (NRG) is just right for you.
The Guild is a non-profit educational organization whose mission is to “Advance Ship Modeling Through Research”. We provide support to our members in their efforts to raise the quality of their model ships.
The Nautical Research Guild has published our world-renowned quarterly magazine, The Nautical Research Journal, since 1955. The pages of the Journal are full of articles by accomplished ship modelers who show you how they create those exquisite details on their models, and by maritime historians who show you the correct details to build. The Journal is available in both print and digital editions. Go to the NRG web site (www.thenrg.org) to download a complimentary digital copy of the Journal. The NRG also publishes plan sets, books and compilations of back issues of the Journal and the former Ships in Scale and Model Ship Builder magazines.


