drobinson02199
-
Posts
1,076 -
Joined
-
Last visited
Content Type
Profiles
Forums
Gallery
Events
Everything posted by drobinson02199
-
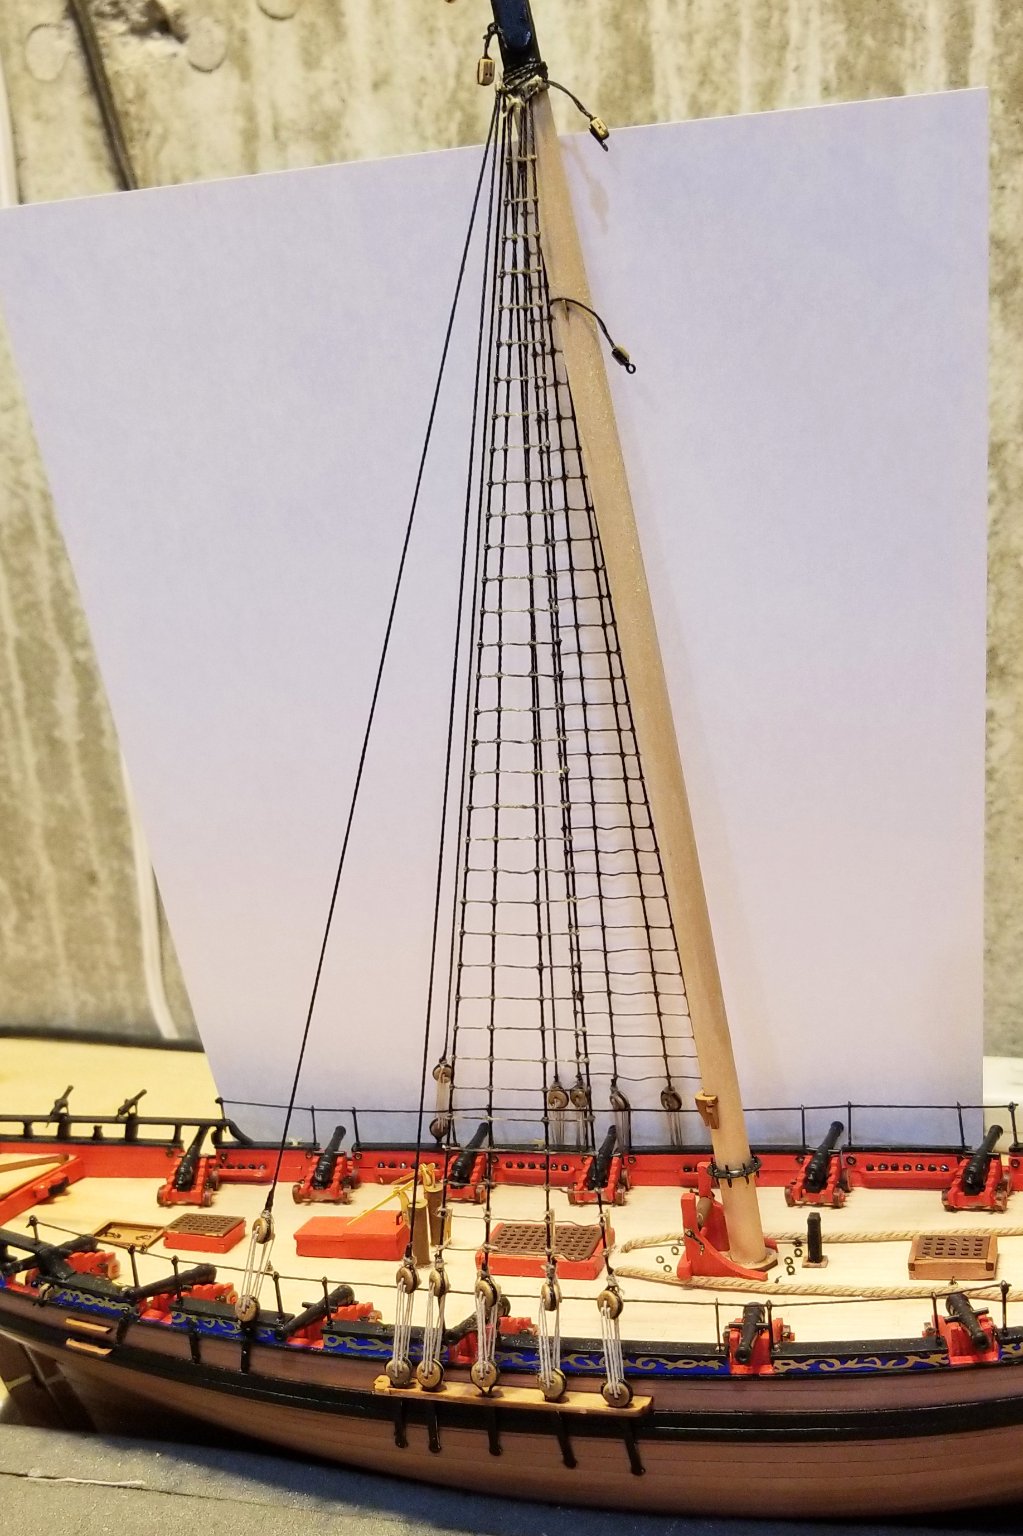
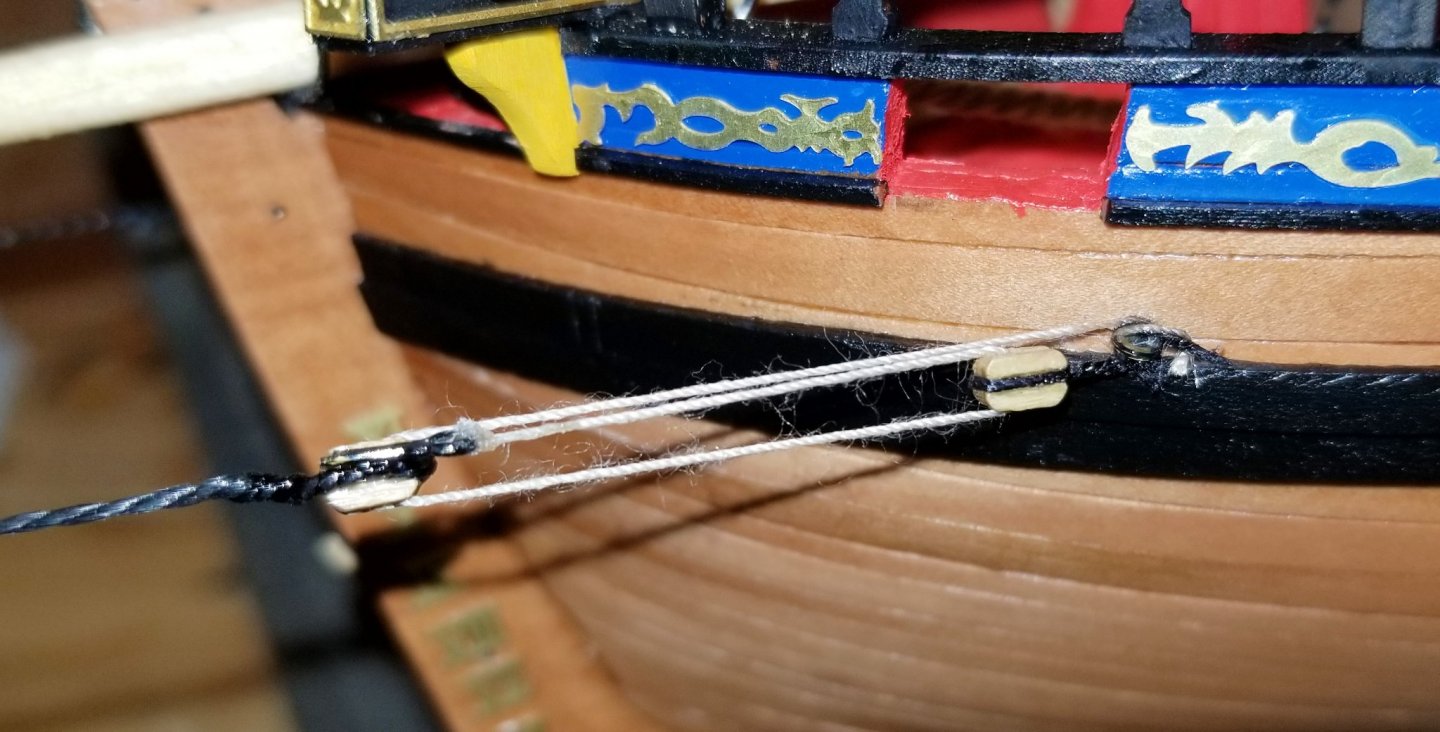
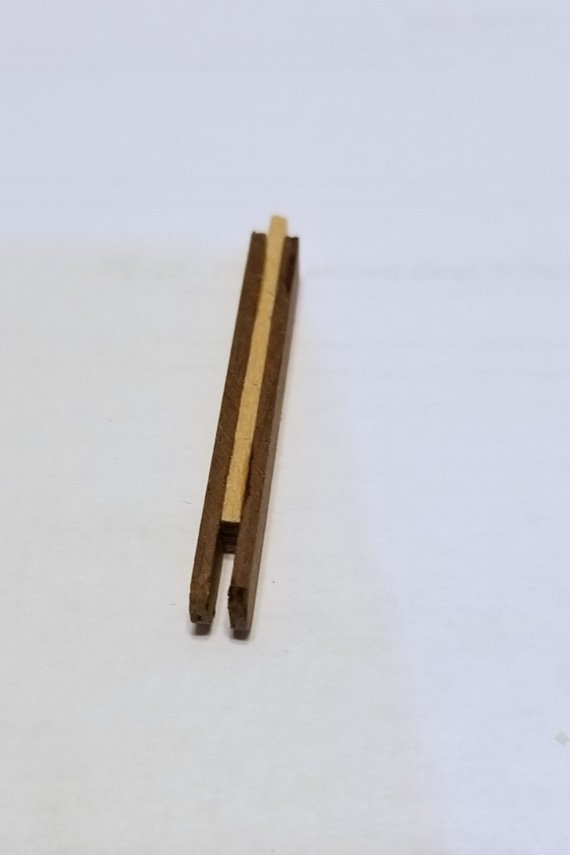
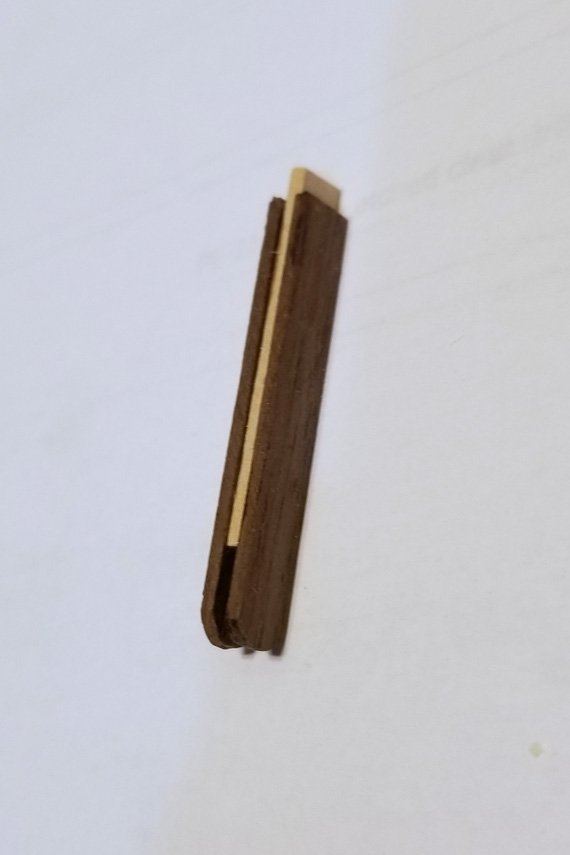
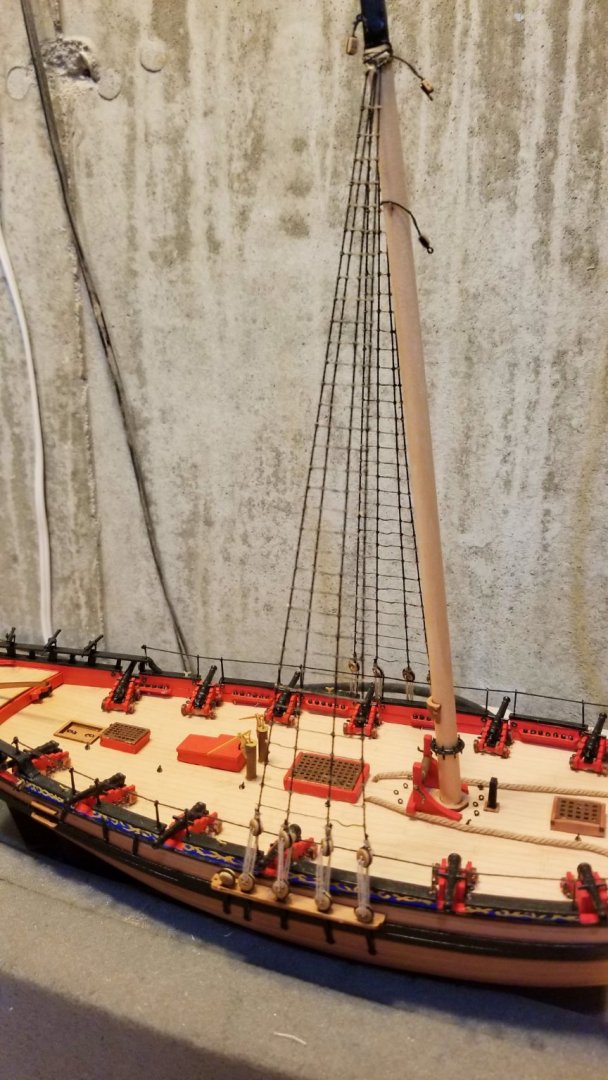
 Installed the bowsprit and side rigging for it. The stays on each side of the bowsprit are the same thread that was specified for the shrouds. When it's under tension, it twists. So if you rig the blocks loose all the way (the way you'd do with a deadeye) and then tighten them, the block on the stay spins and the rigging between the blocks twists -- bad look. The way I solved it was to attach the thin thread to the eyebolt on the block attached to the stay, pass it through the block at the hull only, and then tension it. That causes the stay block to twist, and if you hold the twist there and then finish rigging the thin thread back through the block on the stay, the rigging aligns when you re-tension it and looks as you see in the picture. But it took some work to figure out a solution. Regards, David

-
Hakan: Thanks for the comment on my ratlines. I use a homemade jig that helps me keep the spacing uniform and the ratlines level. I have included a couple of pictures below. I find that I make a new jig for each ship because the spacing varies. Regards, David
-
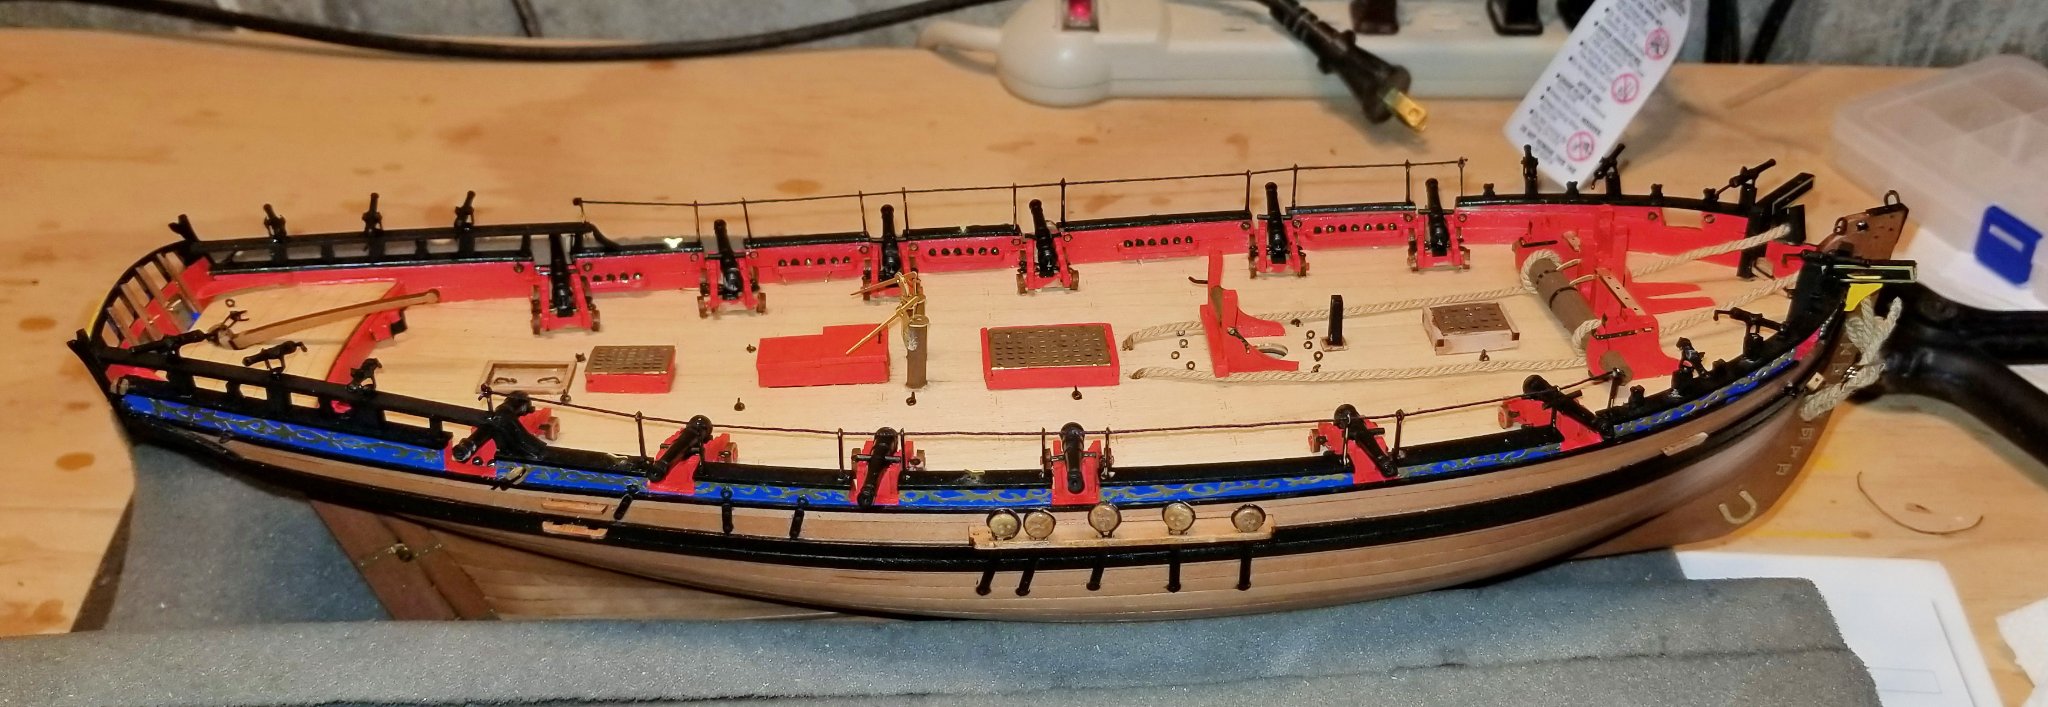
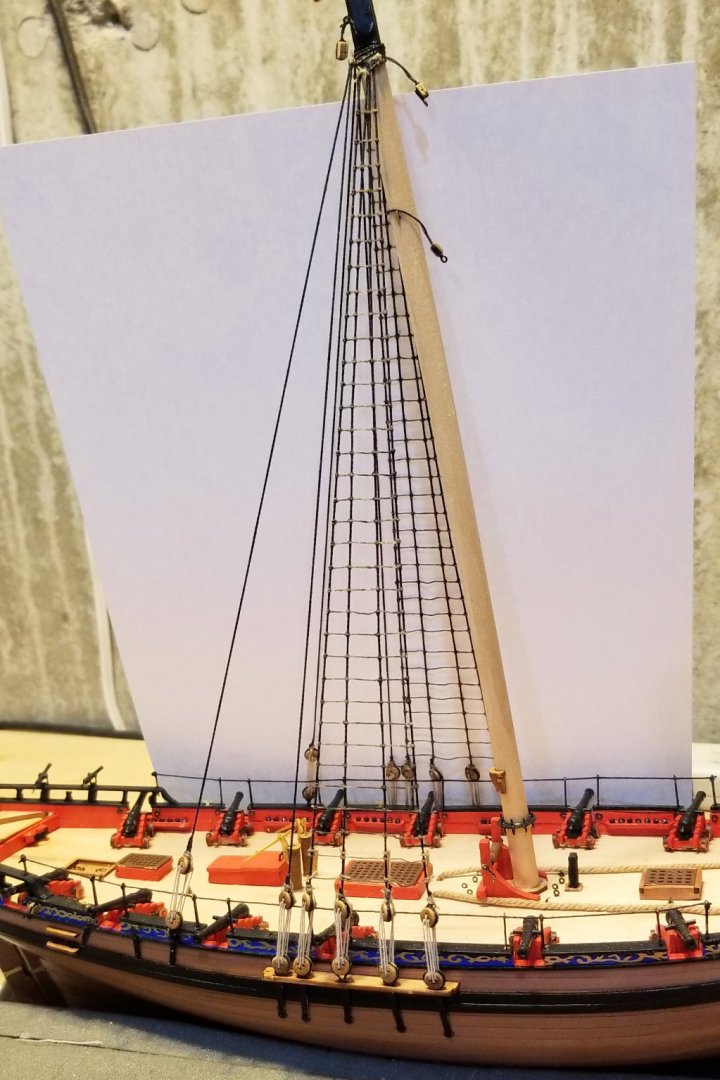
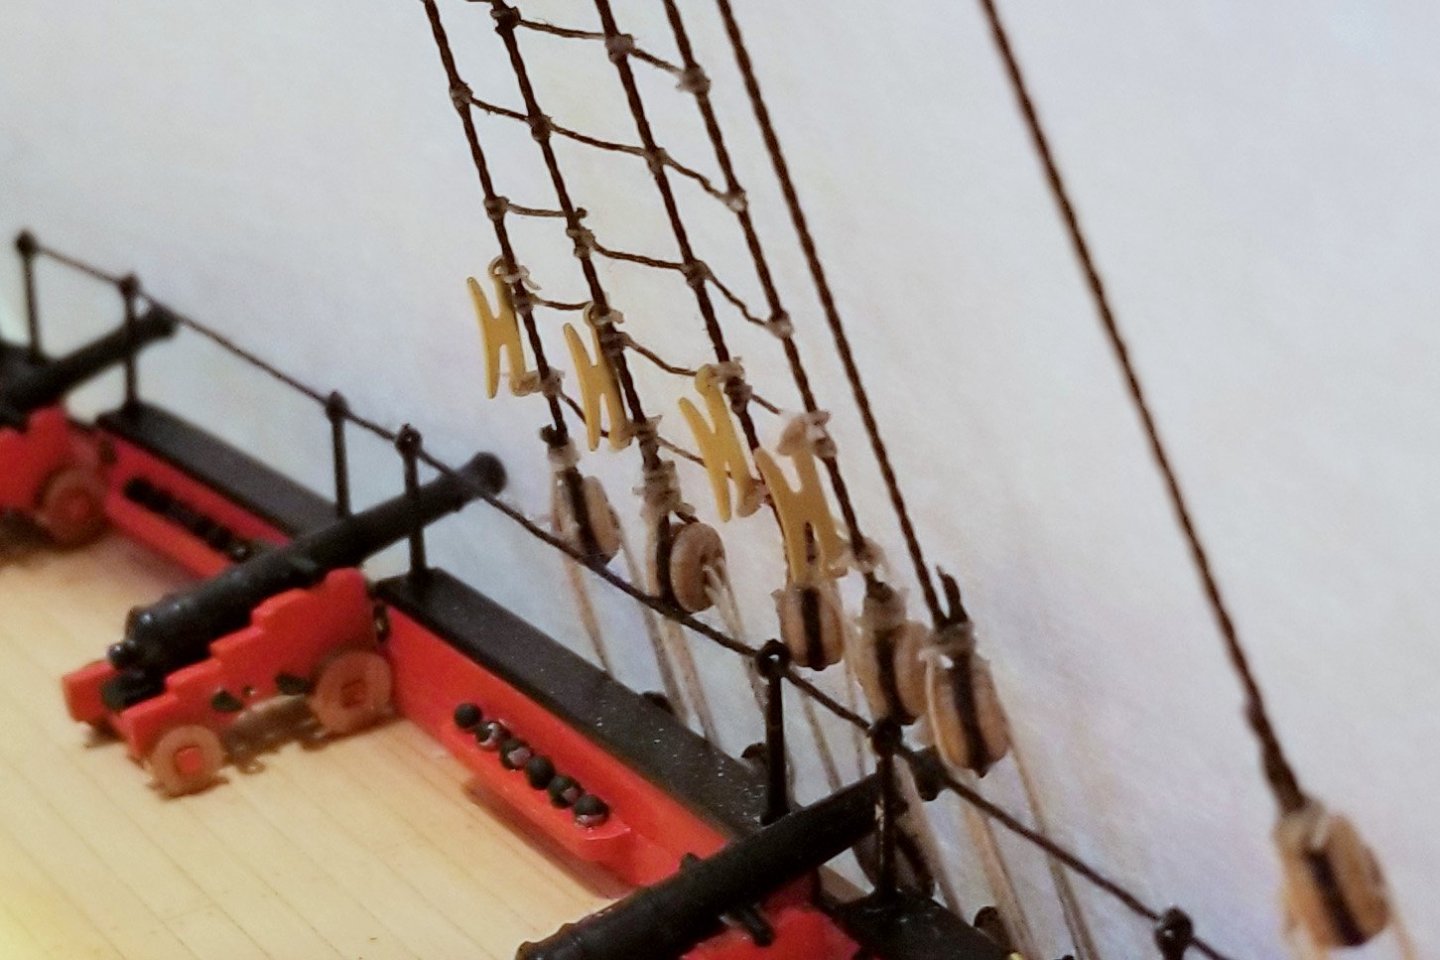
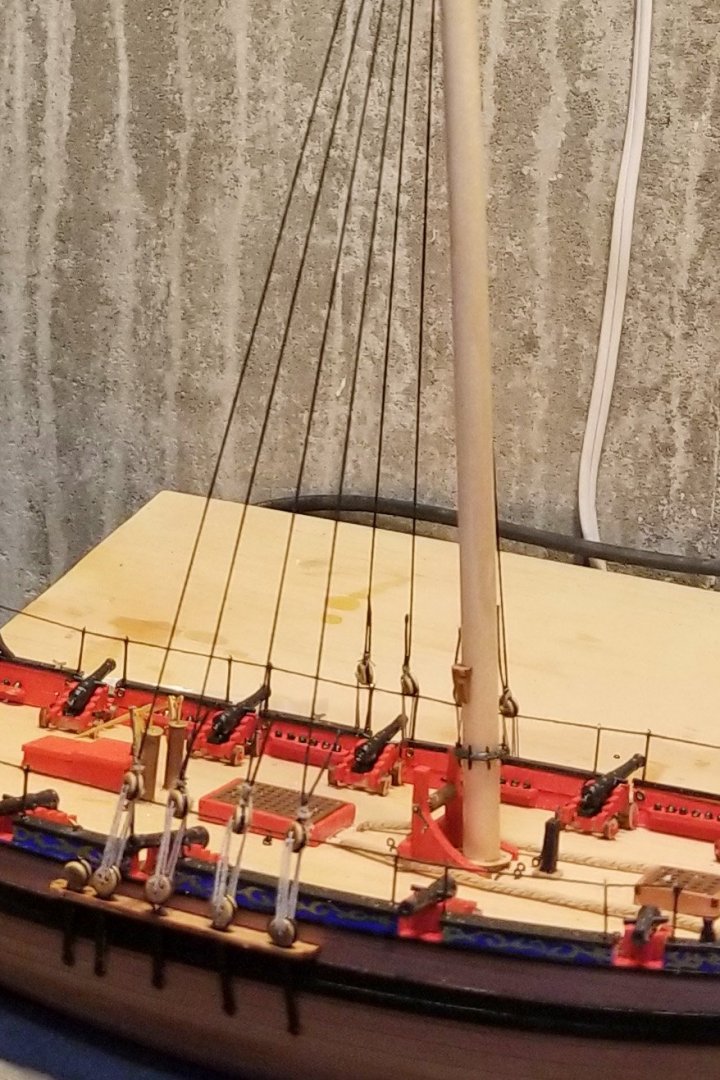
Remaining two shrouds rigged on each side -- they don't get ratlines. Also installed the shroud cleats. I haven't seen anything like these on other ships I've built, and I think they are kind of cool. The manual says paint them black, but as with the hull-mounted cleats, I left them unpainted and I think they will show better this way. Nothing is actually rigged to them in the finished model. Regards, David
-
Ratlines are now done. They are done in a natural thread, and then dyed black. Now I can rig the last two shrouds on each side. Regards, David
-
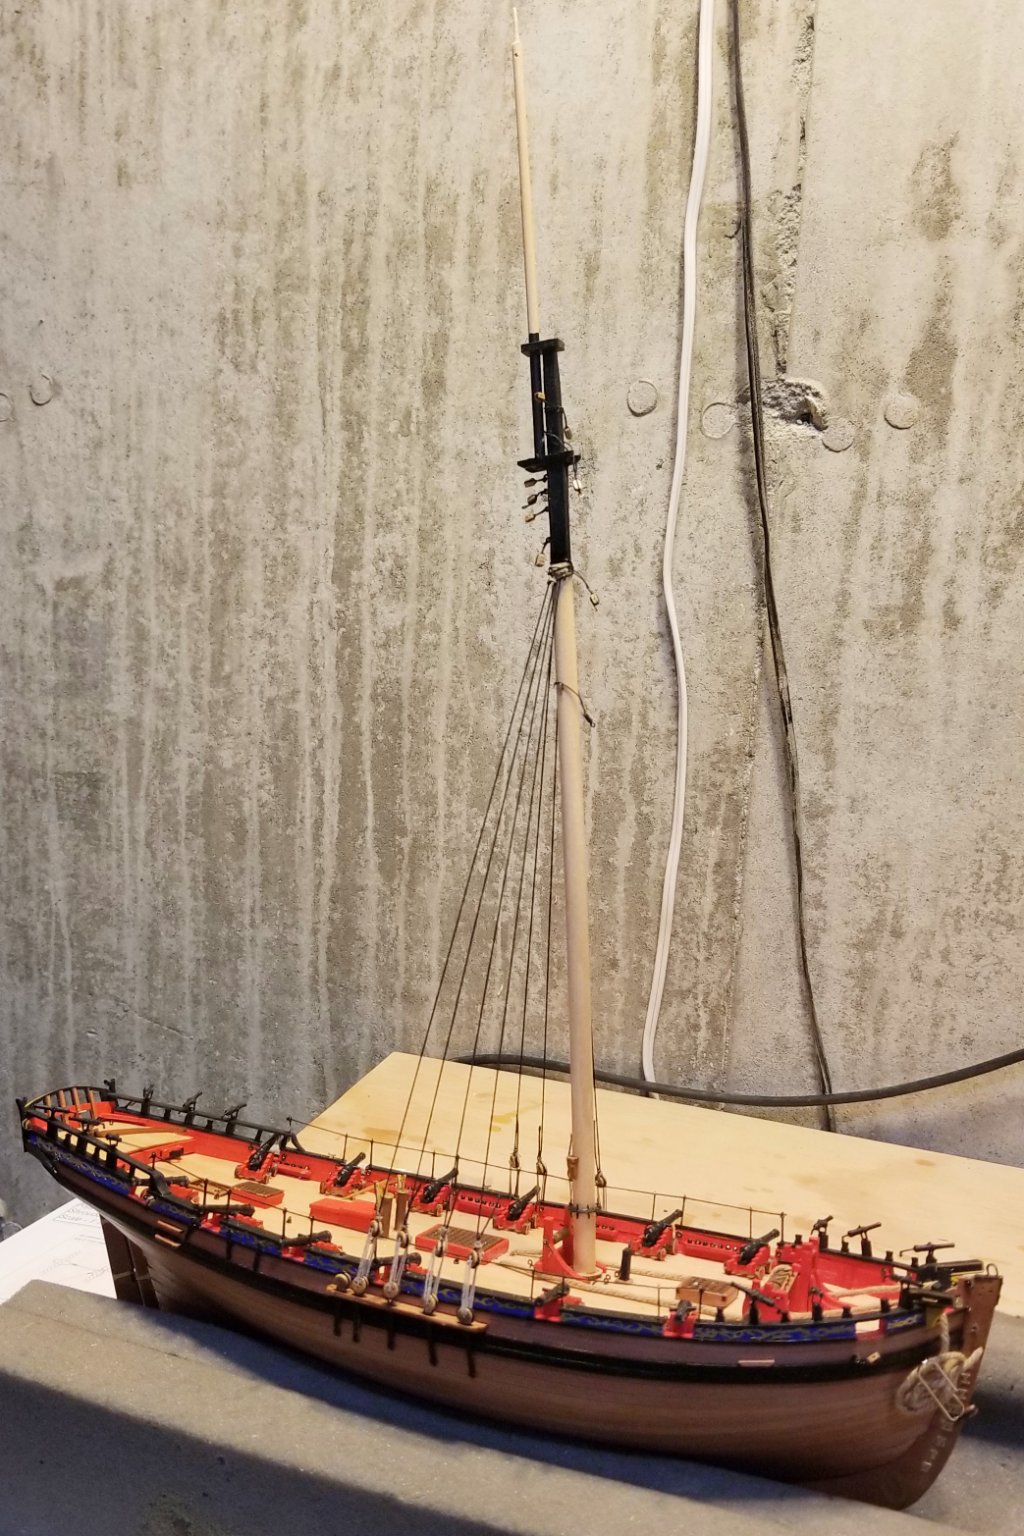
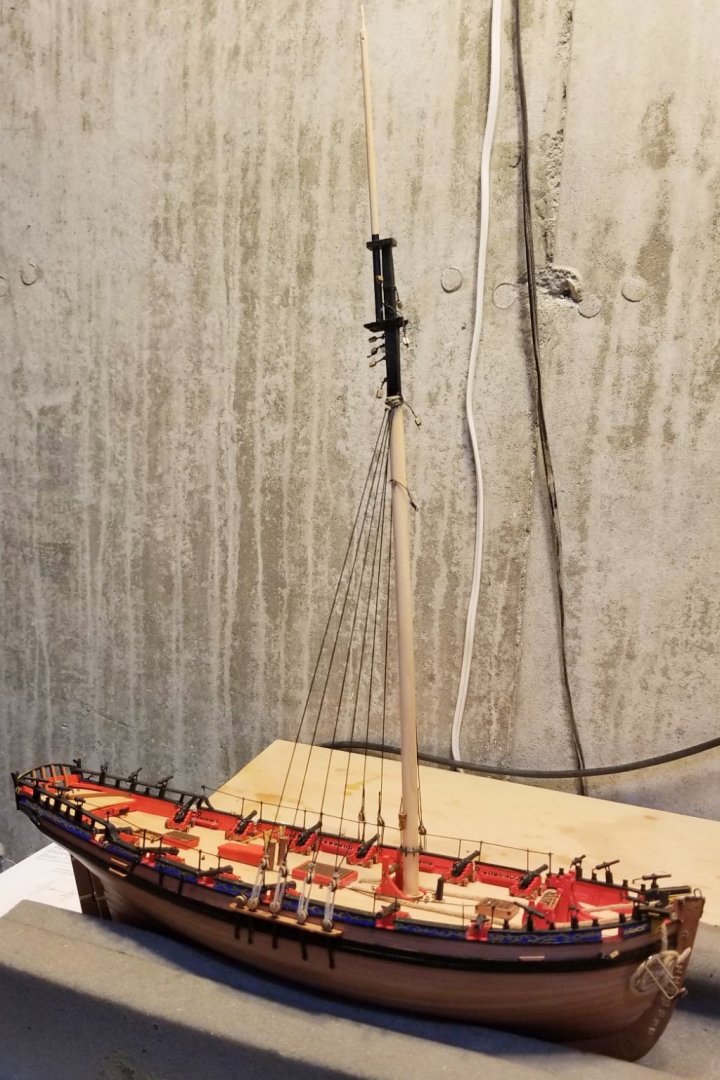
Mast is up and four shrouds rigged. There are two more shrouds on each side, but the ratlines only go across the first four, so easier to do the ratlines next before I put up the other two shrouds. Regards, David
-
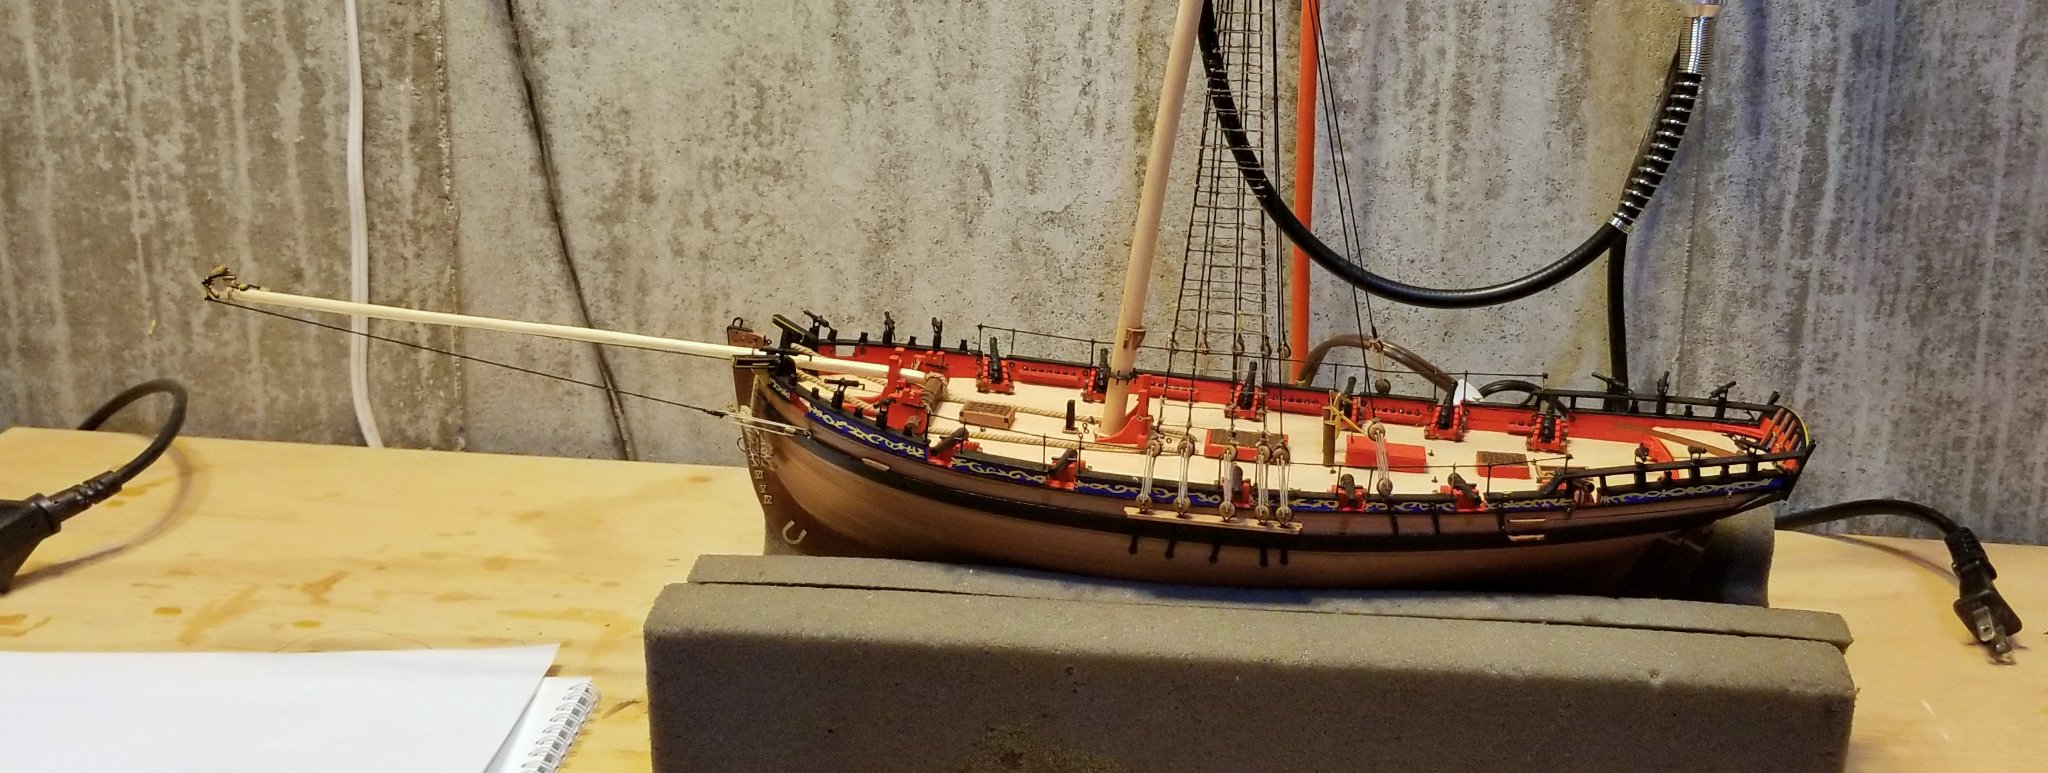
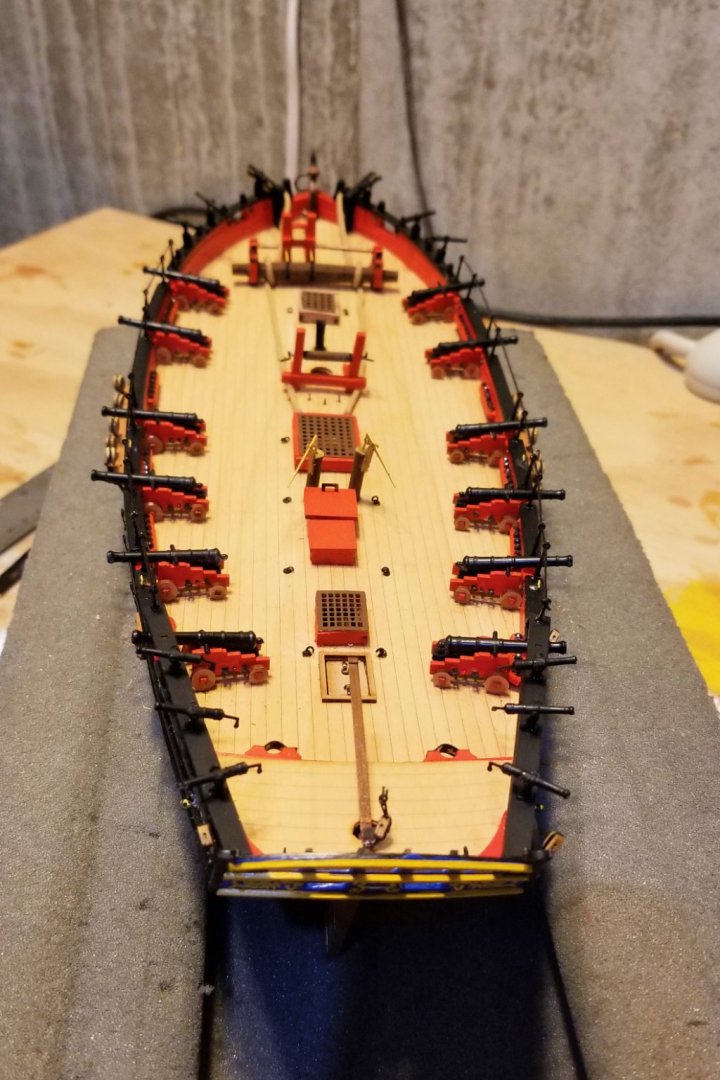
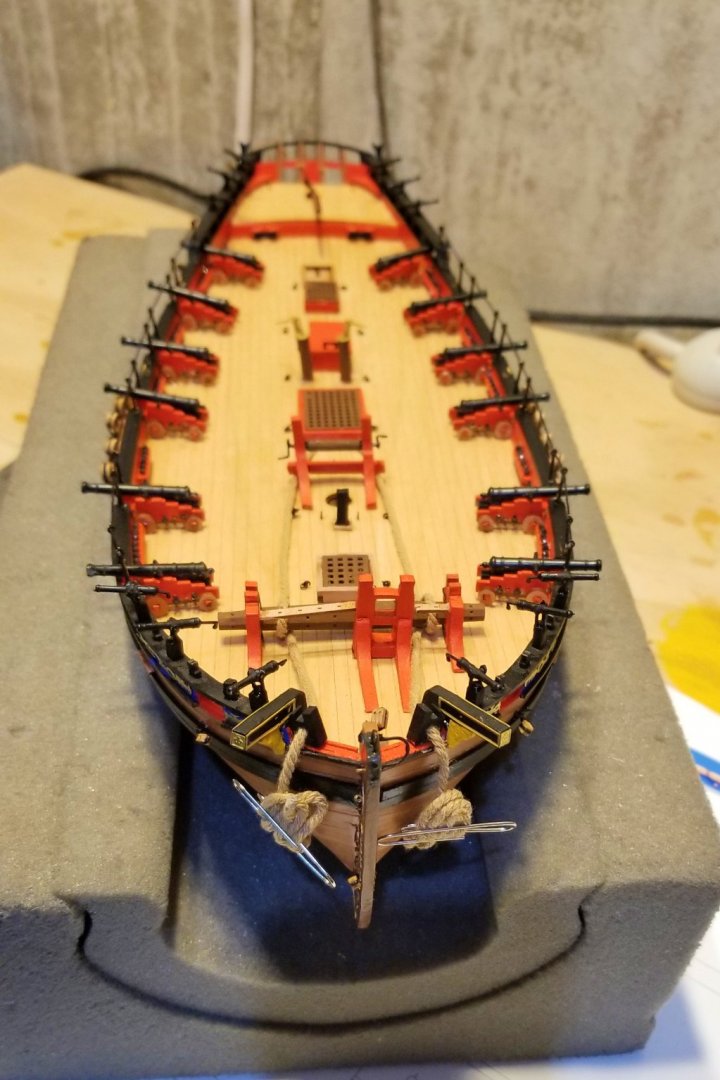
I have now completed work on the hull. Added: Deadeyes on channels Cannons Stanchions and railing Anchor cable Some side rigging The manual says to wait to rig the anchors until the other rigging is complete (makes sense), but I installed the anchor cable across the deck and through the hawse because it would be tough to get at after the mast rigging is up. You can see the excess at the bow held with paper clips for later attachment to the anchors. Next step is the mast and yards. Regards, David

-
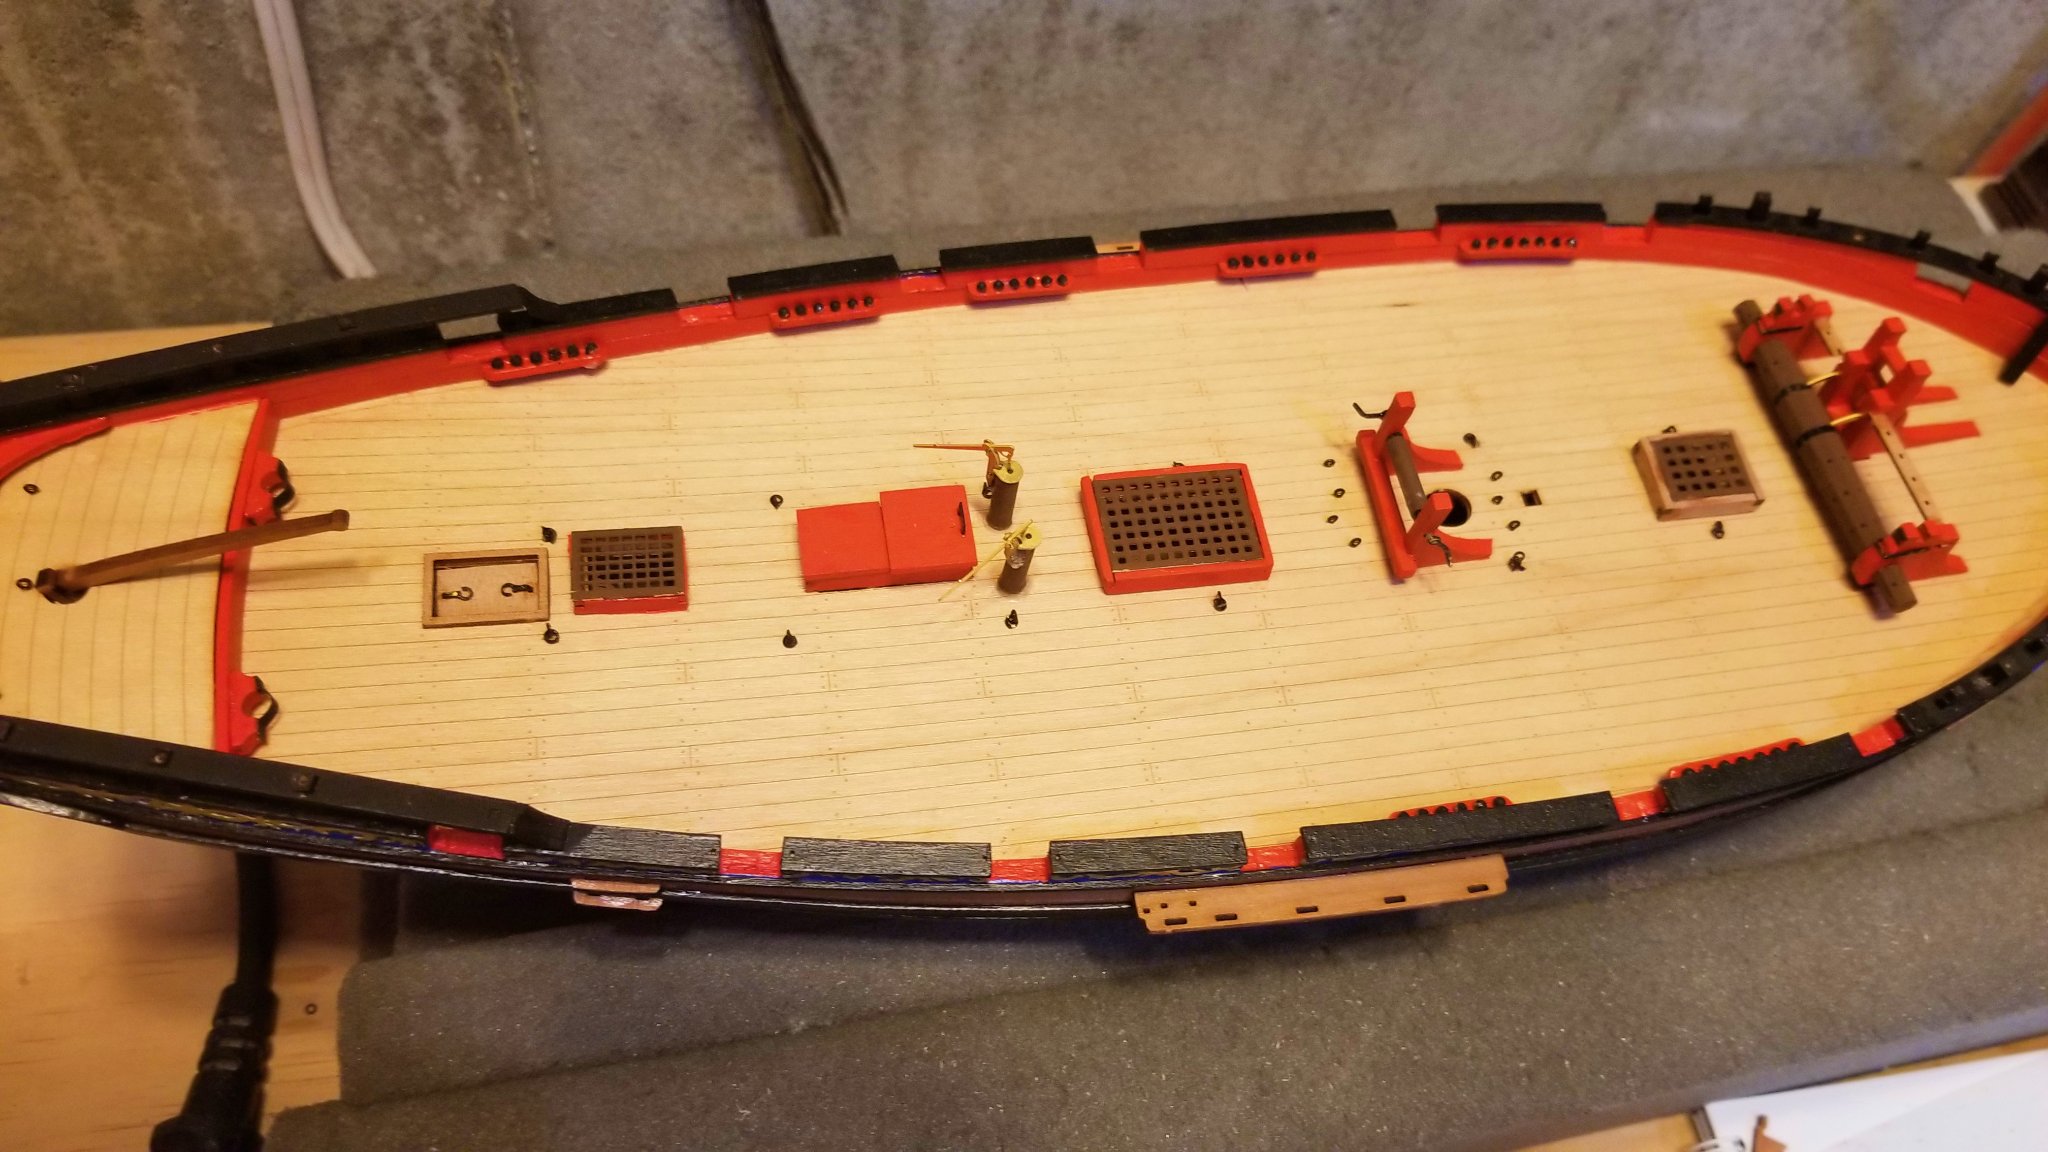
Deck fittings built and installed. Regards, David

-
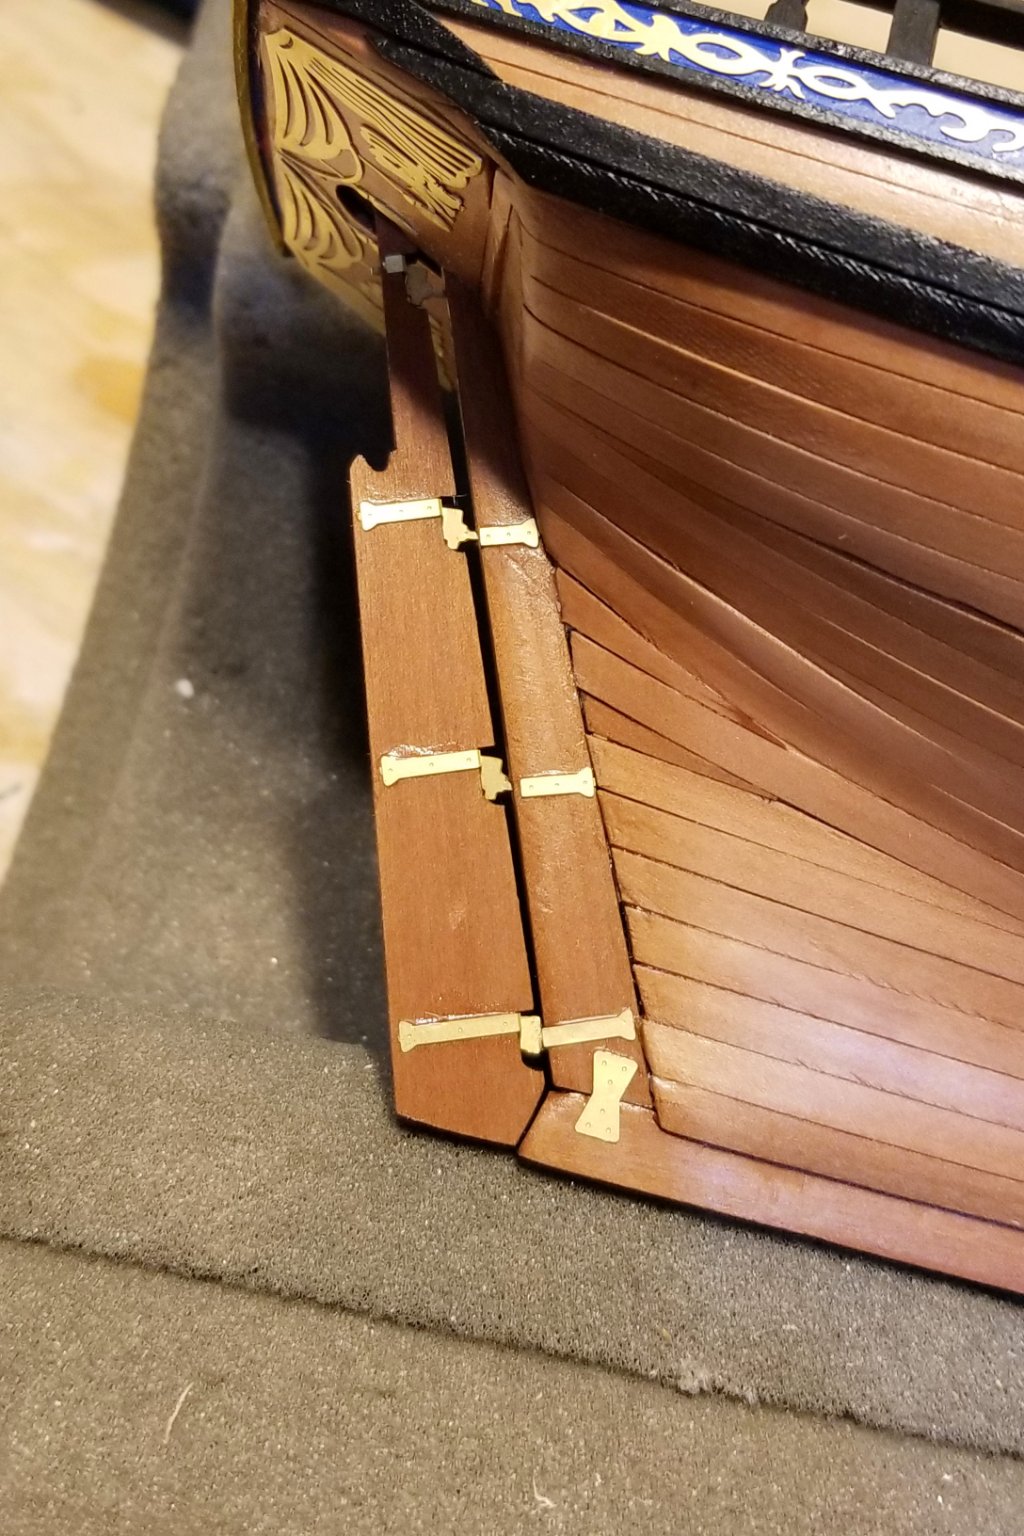
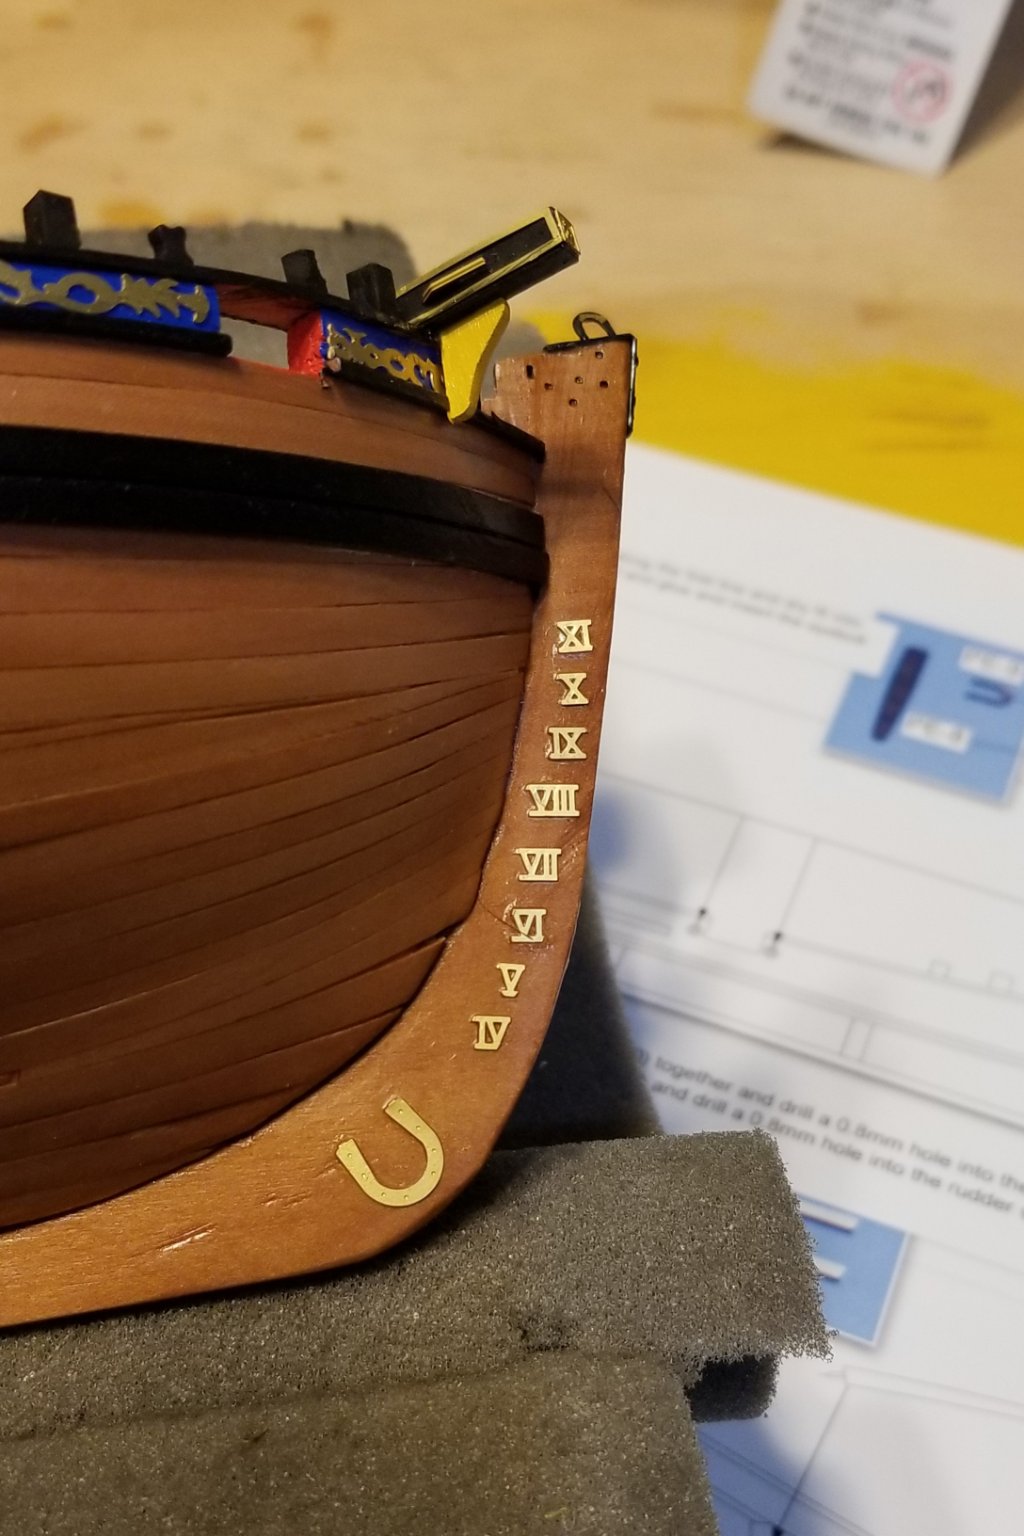
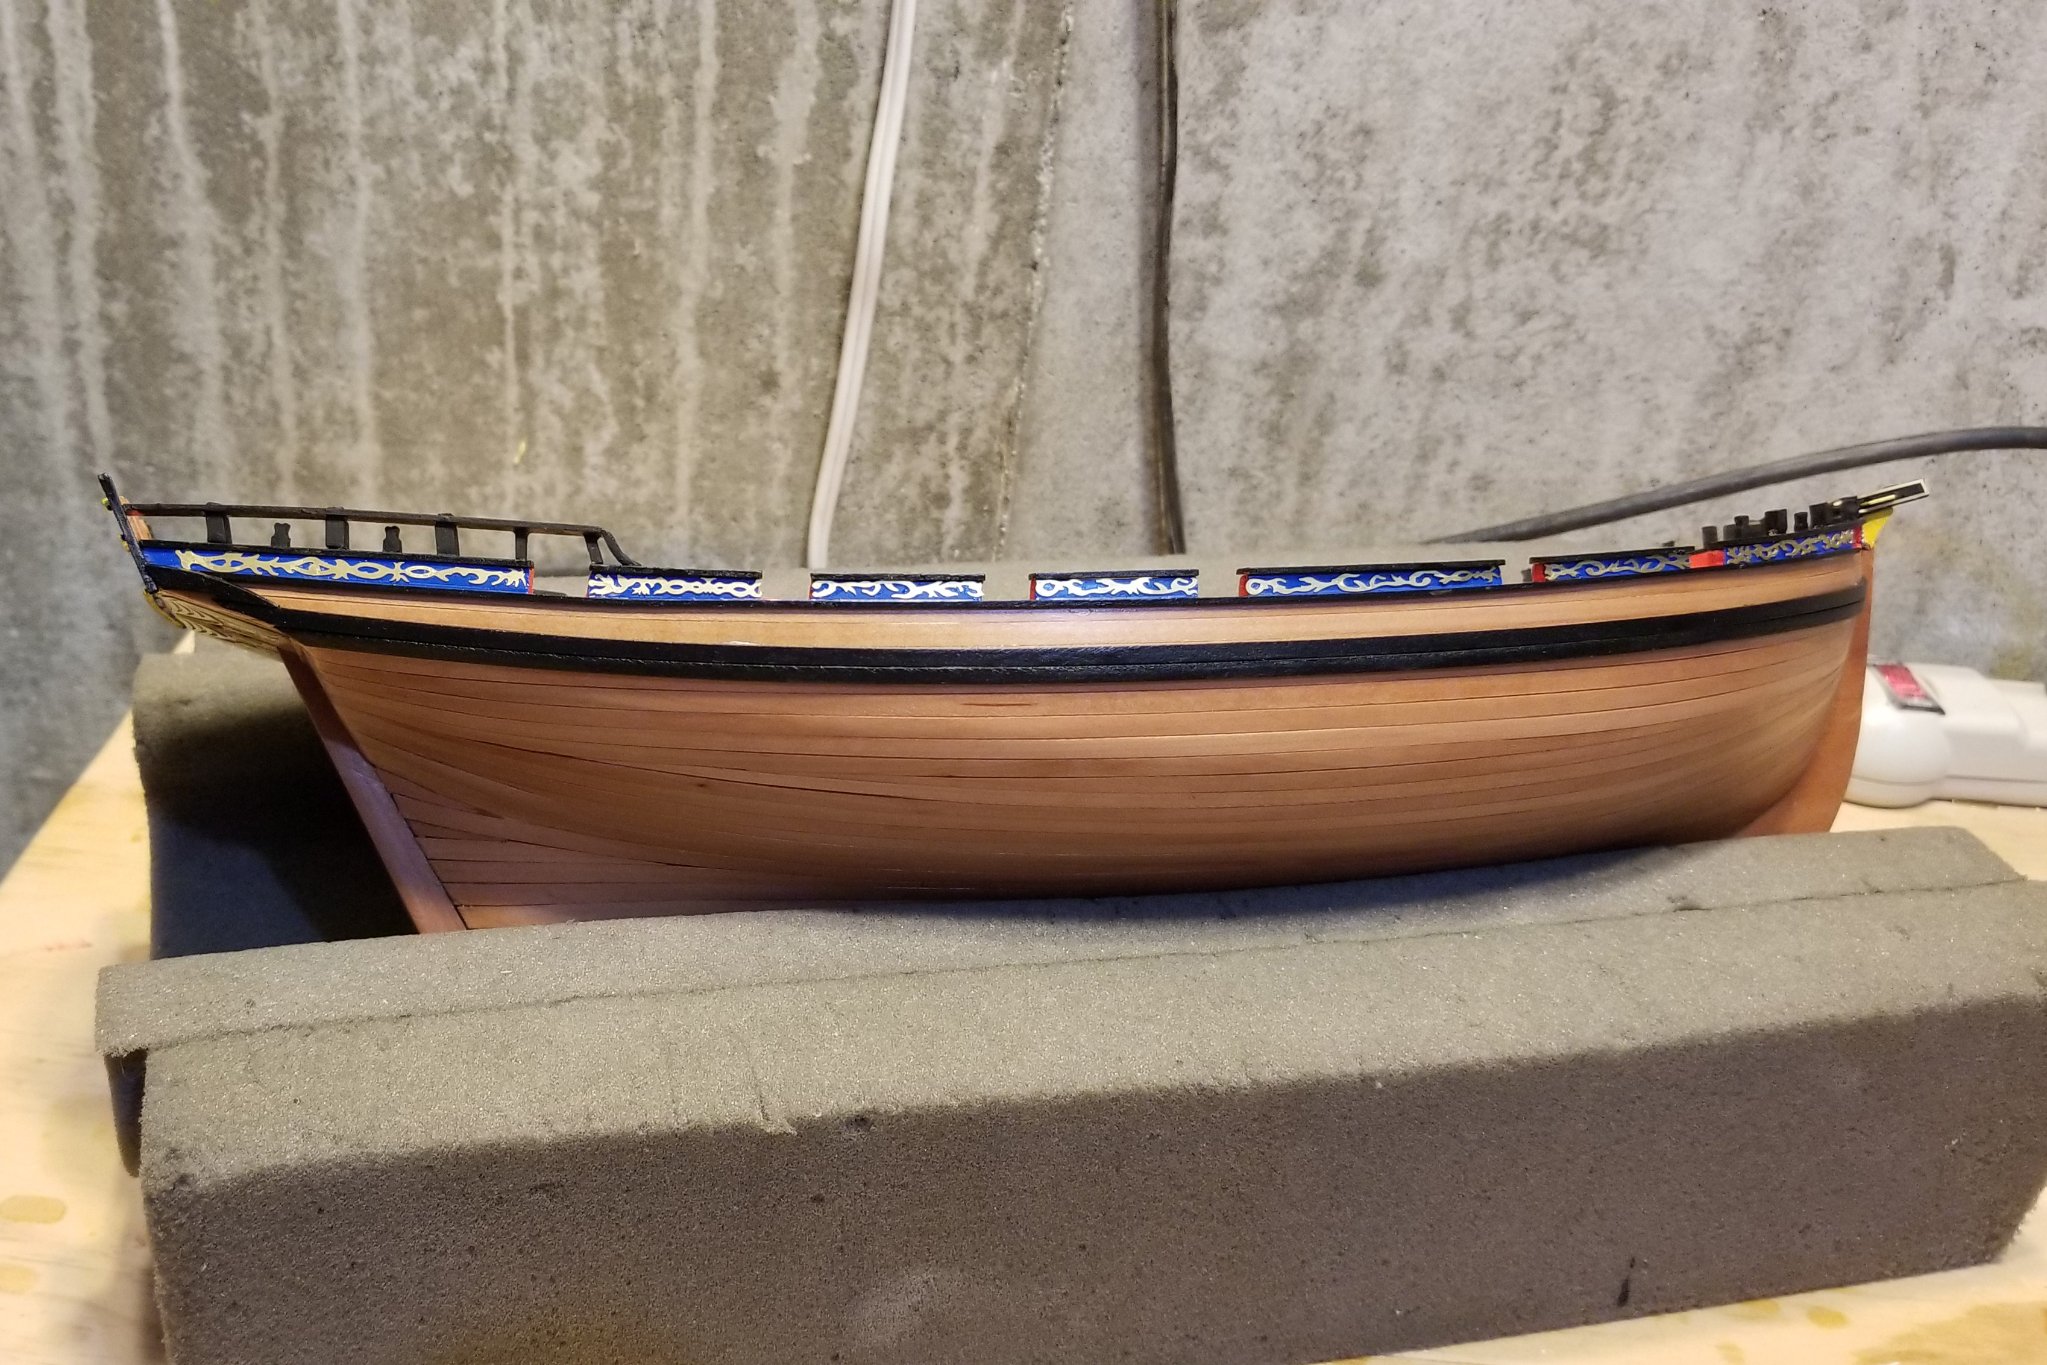
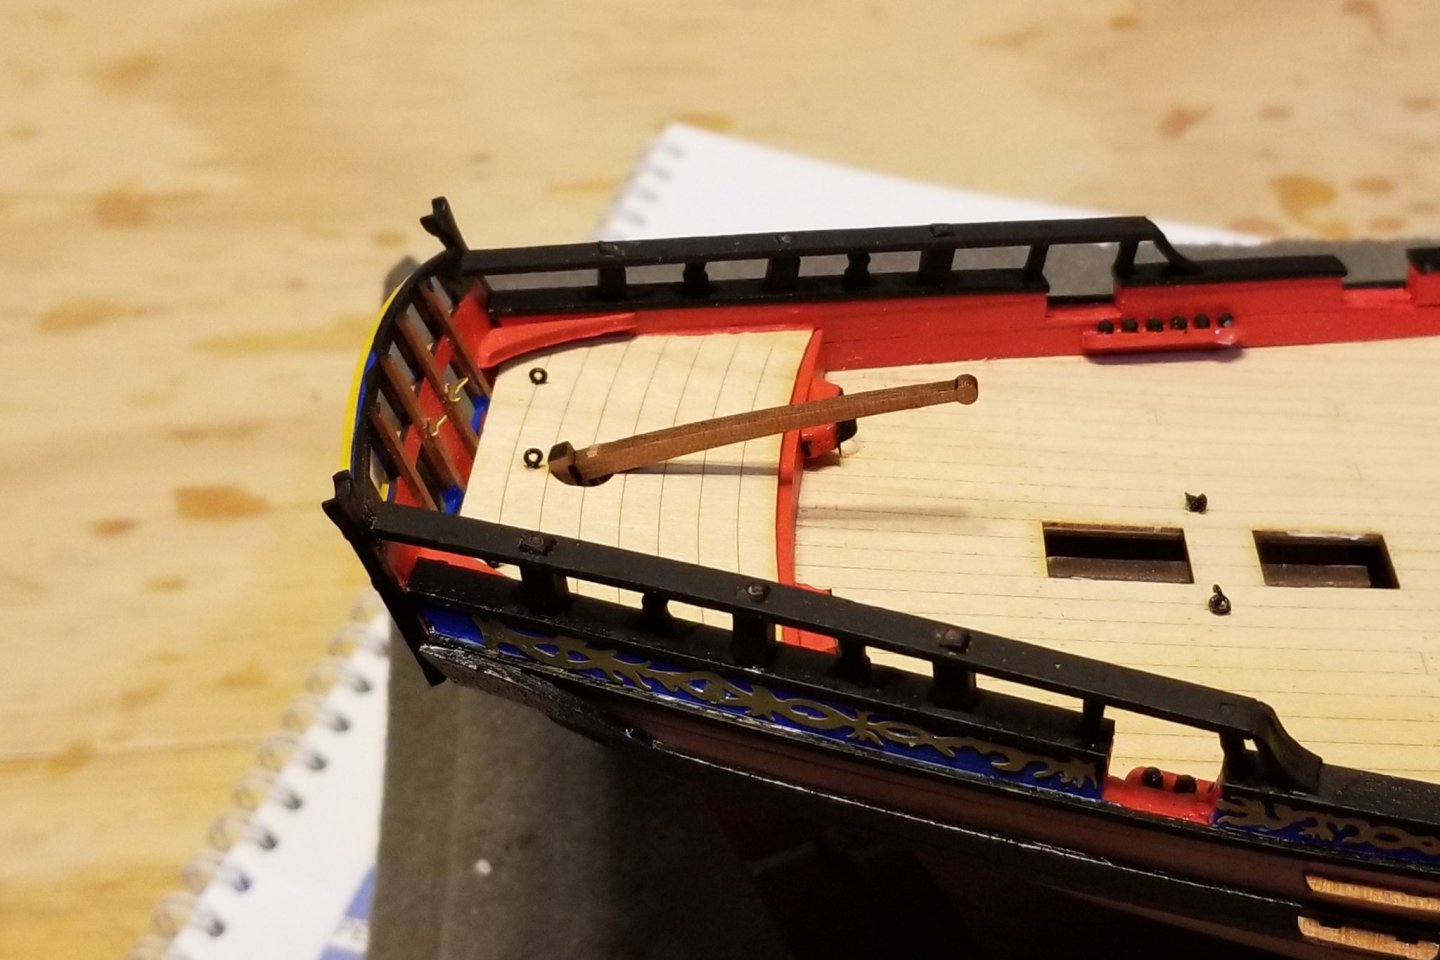
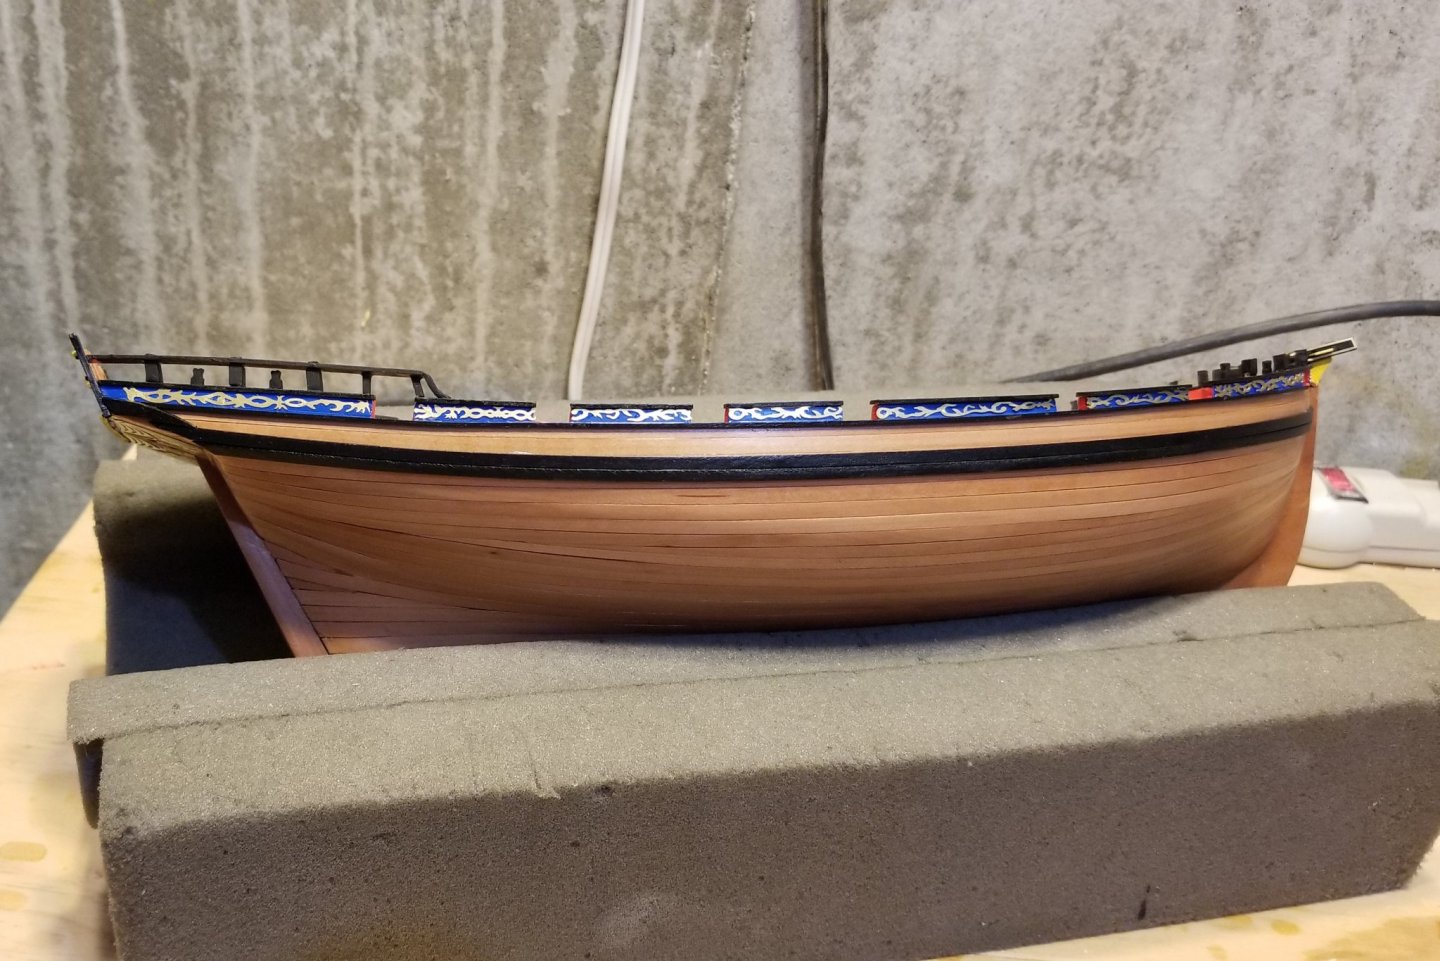
So my last post was January 2 just before I headed south to Florida for a few months, but now I'm back and have turned to the Alert again. Pictures here of the rudder and tiller, the bow waterline decorations, and the channels and stern steps. Regards, David


-
Greg: Depends on which ones you are talking about. The ones that I had difficulty with were the curved ones at the bow and forward cockpit. In fact, one of the stanchions broke off the railing and I had to glue it back on. I did not heat them. Just bending and fitting. Regards, David
-
Hello, Brian. I can't recall - but I would only have done so if they supplied balsa and called for it in the instructions. I use a steamer to take tension off the planks for bends like the ones you are referring to. Good luck - it's a nice little kit. Regards, David
-
Shot racks installed. I put the shot into the racks before installing them, and I would highly recommend that. This will be my last post for a while -- going south for some warm weather! Regards, David

-
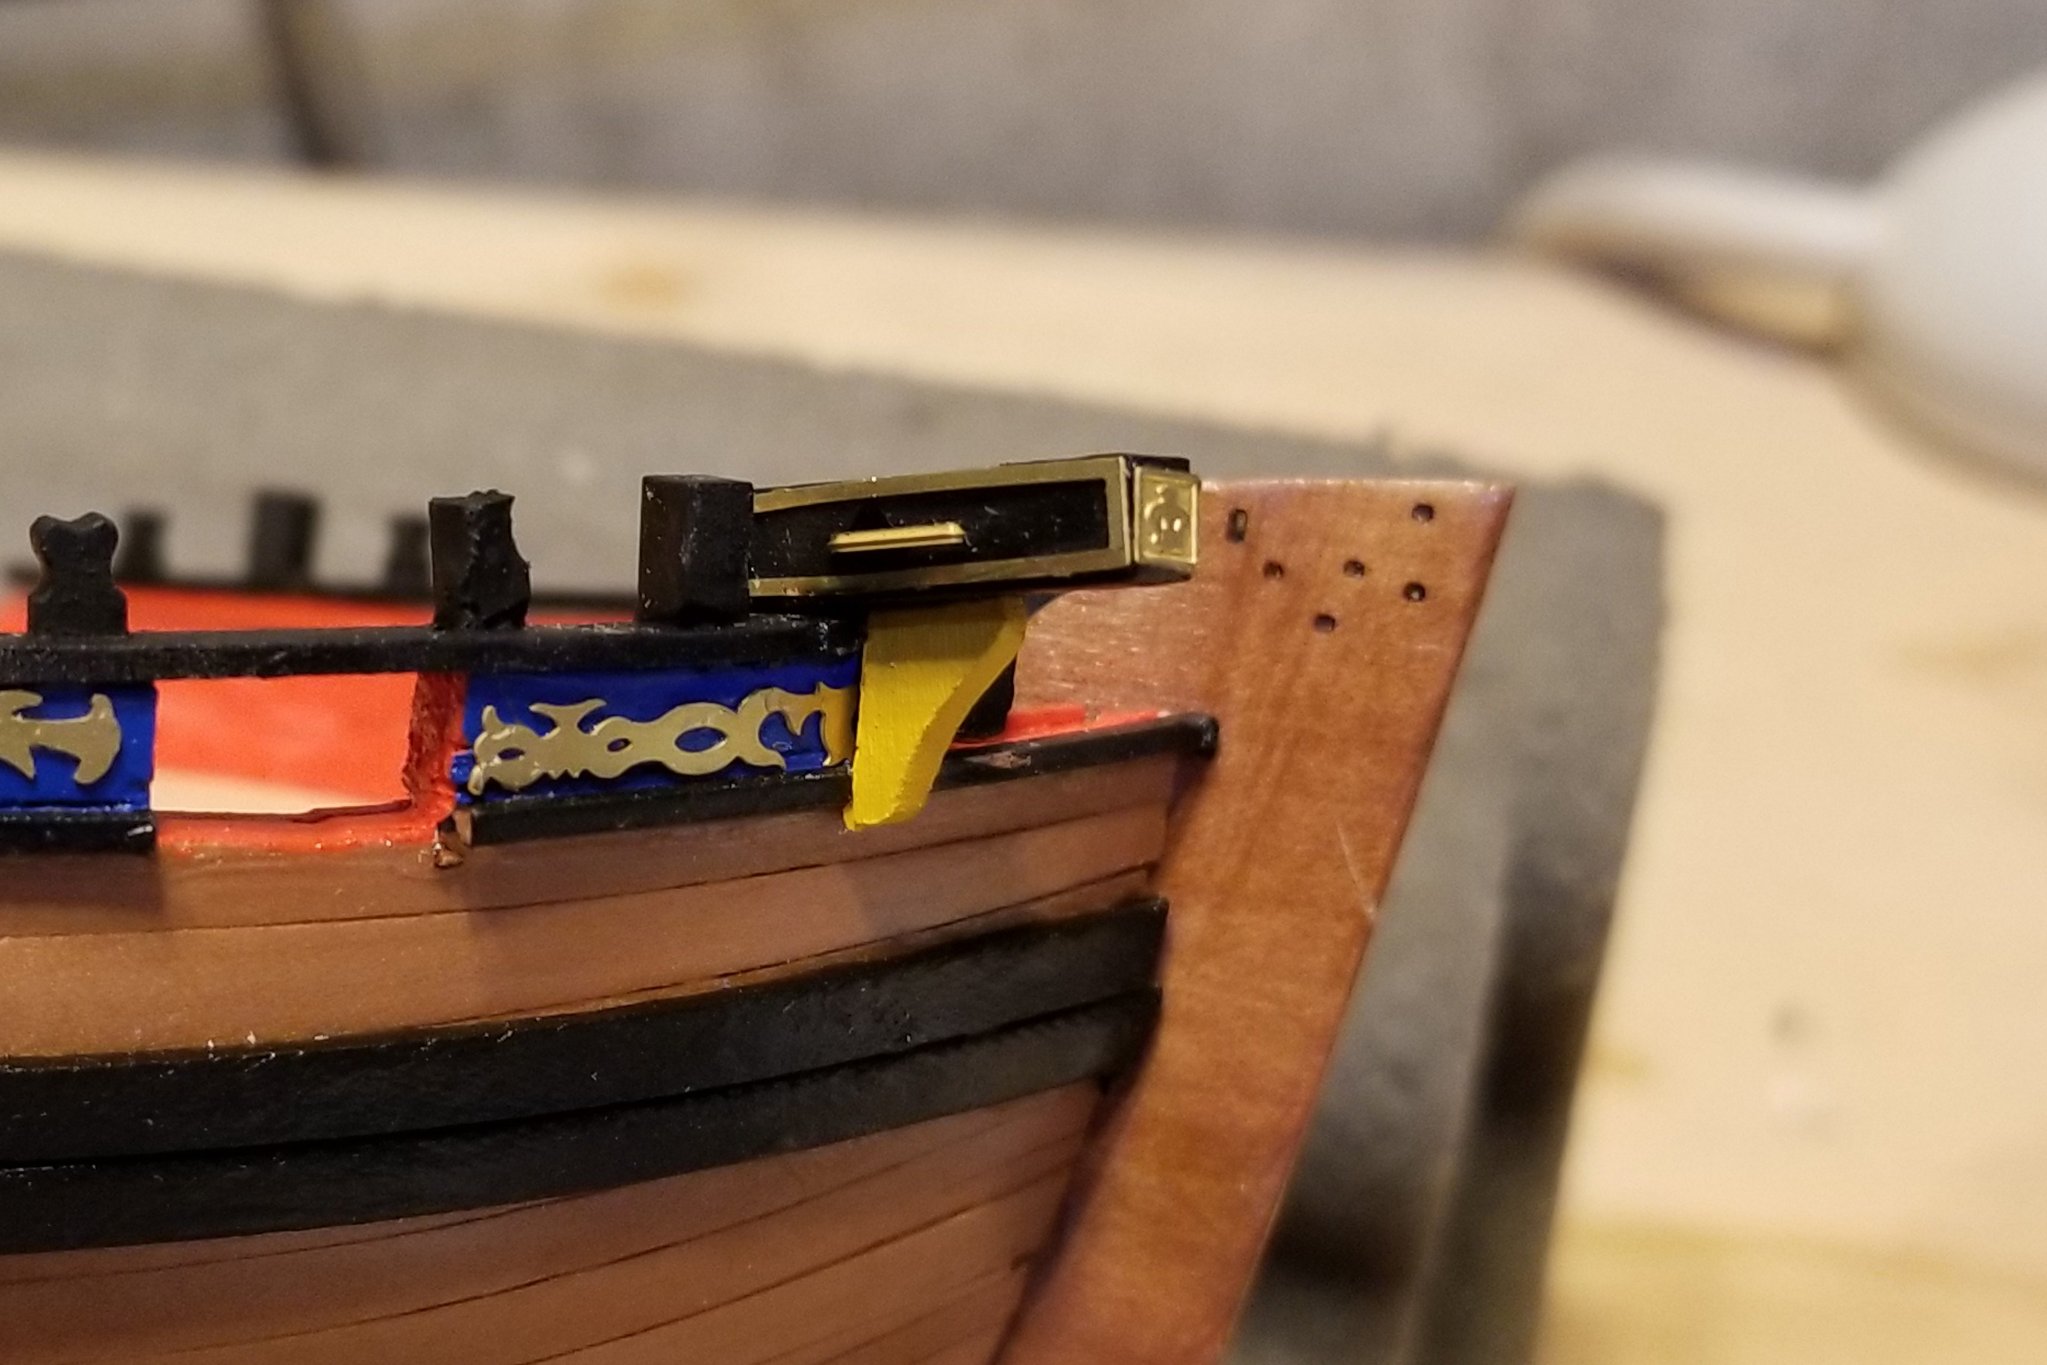
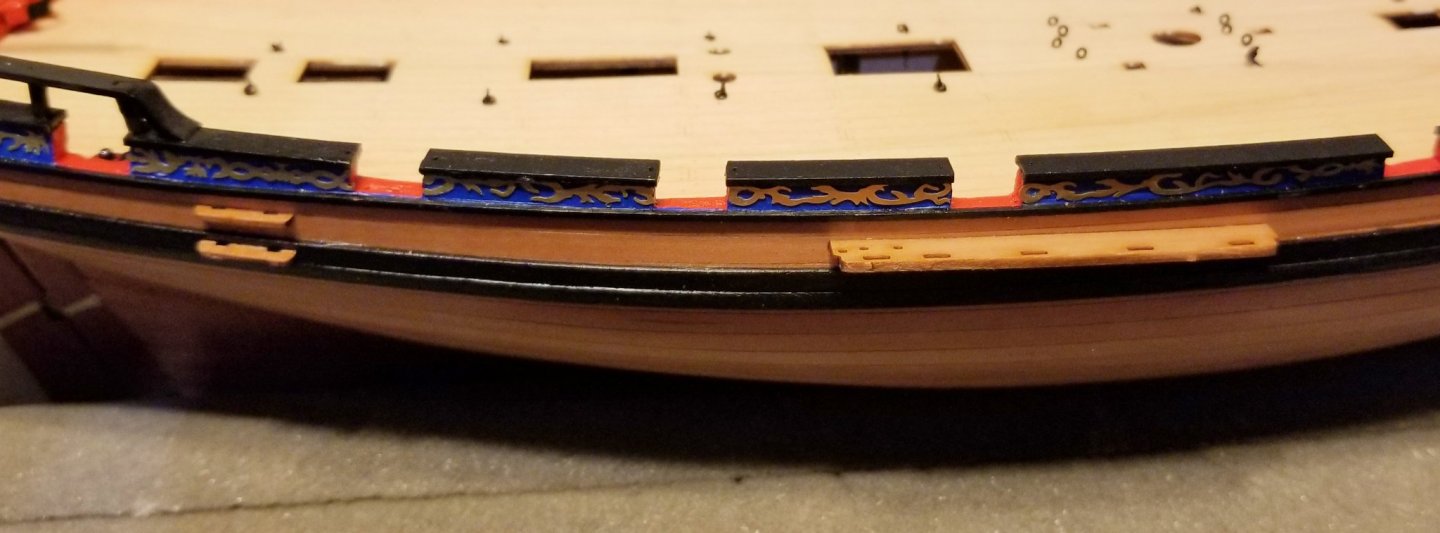
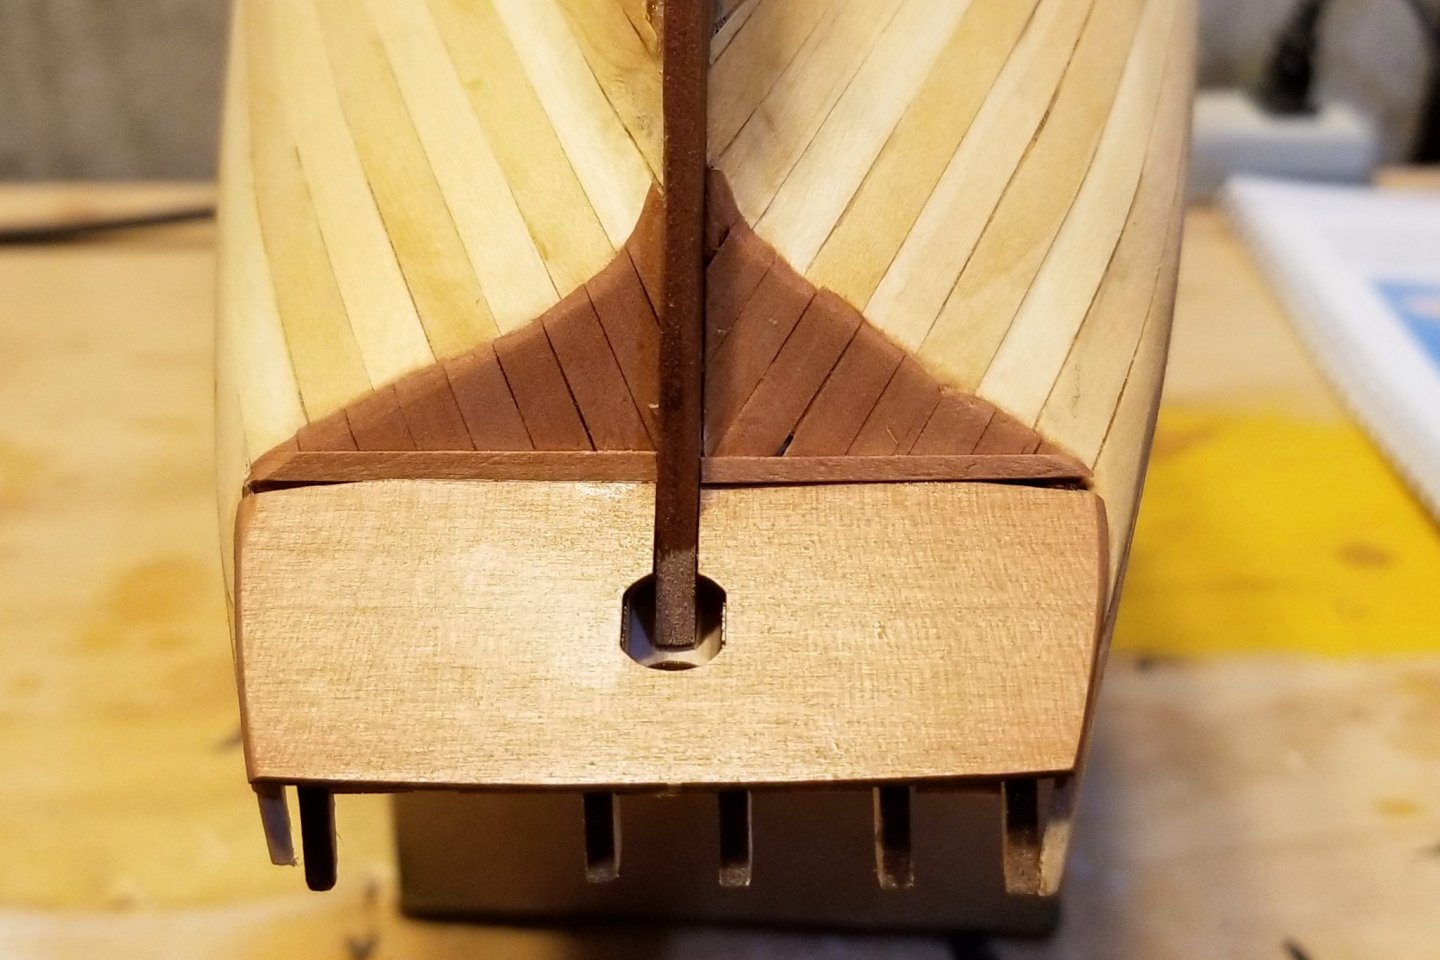
Added the catheads and all of the scrollwork. Some building notes: The hawse hole pieces next to the catheads are cut so that they fit perfectly -- if you fit them backwards from the way the manual says. So I had to sand down the bottom edges to get them to fit properly. The manual says to paint the scrollwork yellow. This is the same treatment (and same instruction) that Chris Watton used on the HMS Fly, which I also built. I love the look of brass, and don't see the point in painting it yellow -- so I left it plain (as I did on the Fly). Regards, David


-
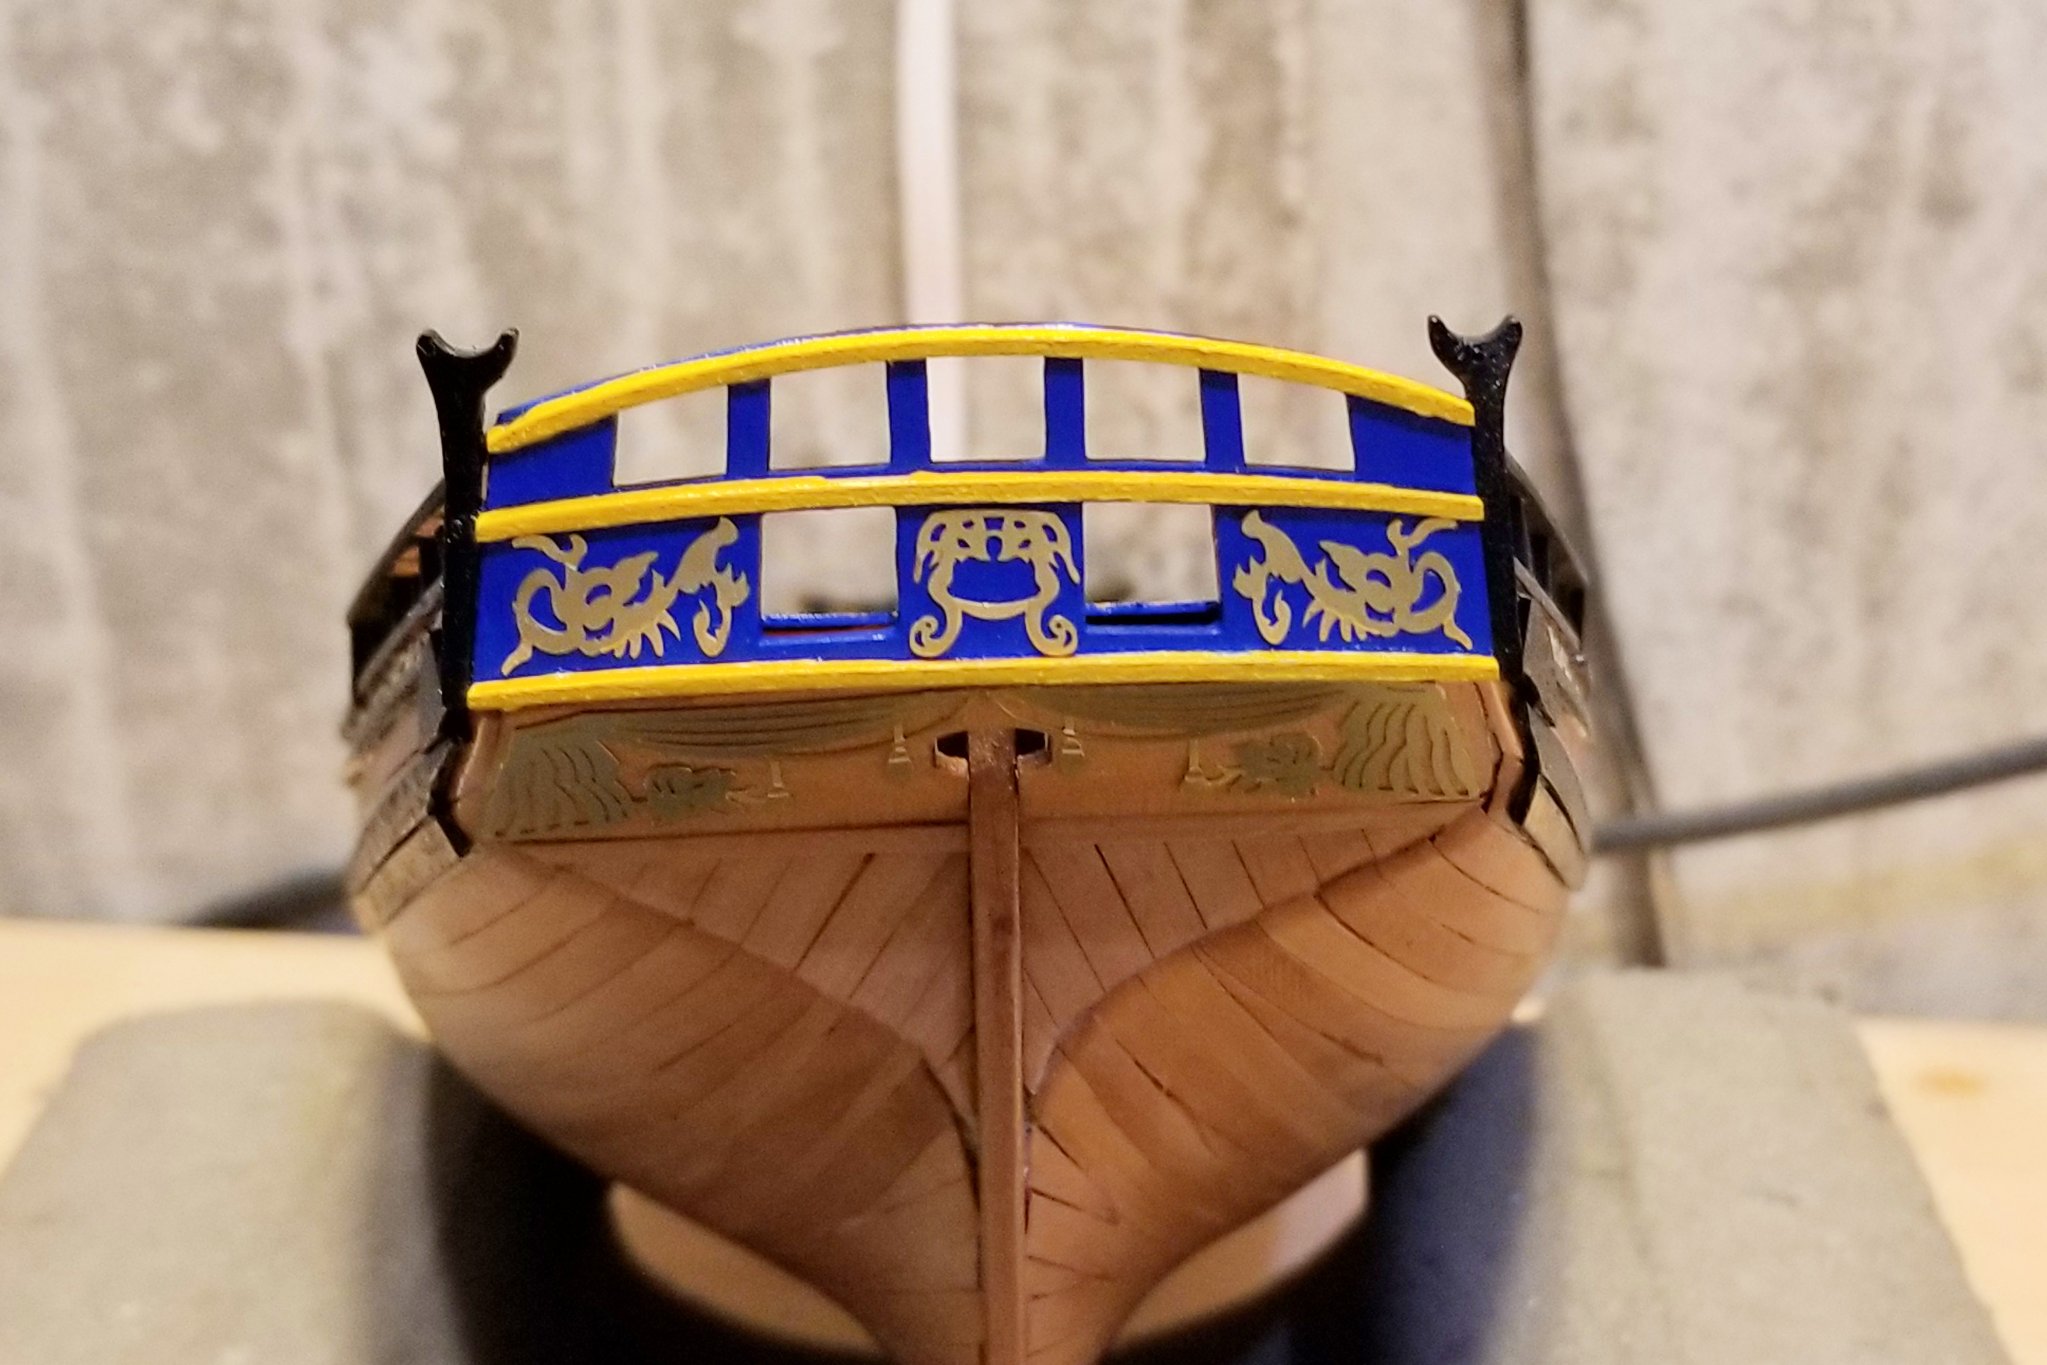
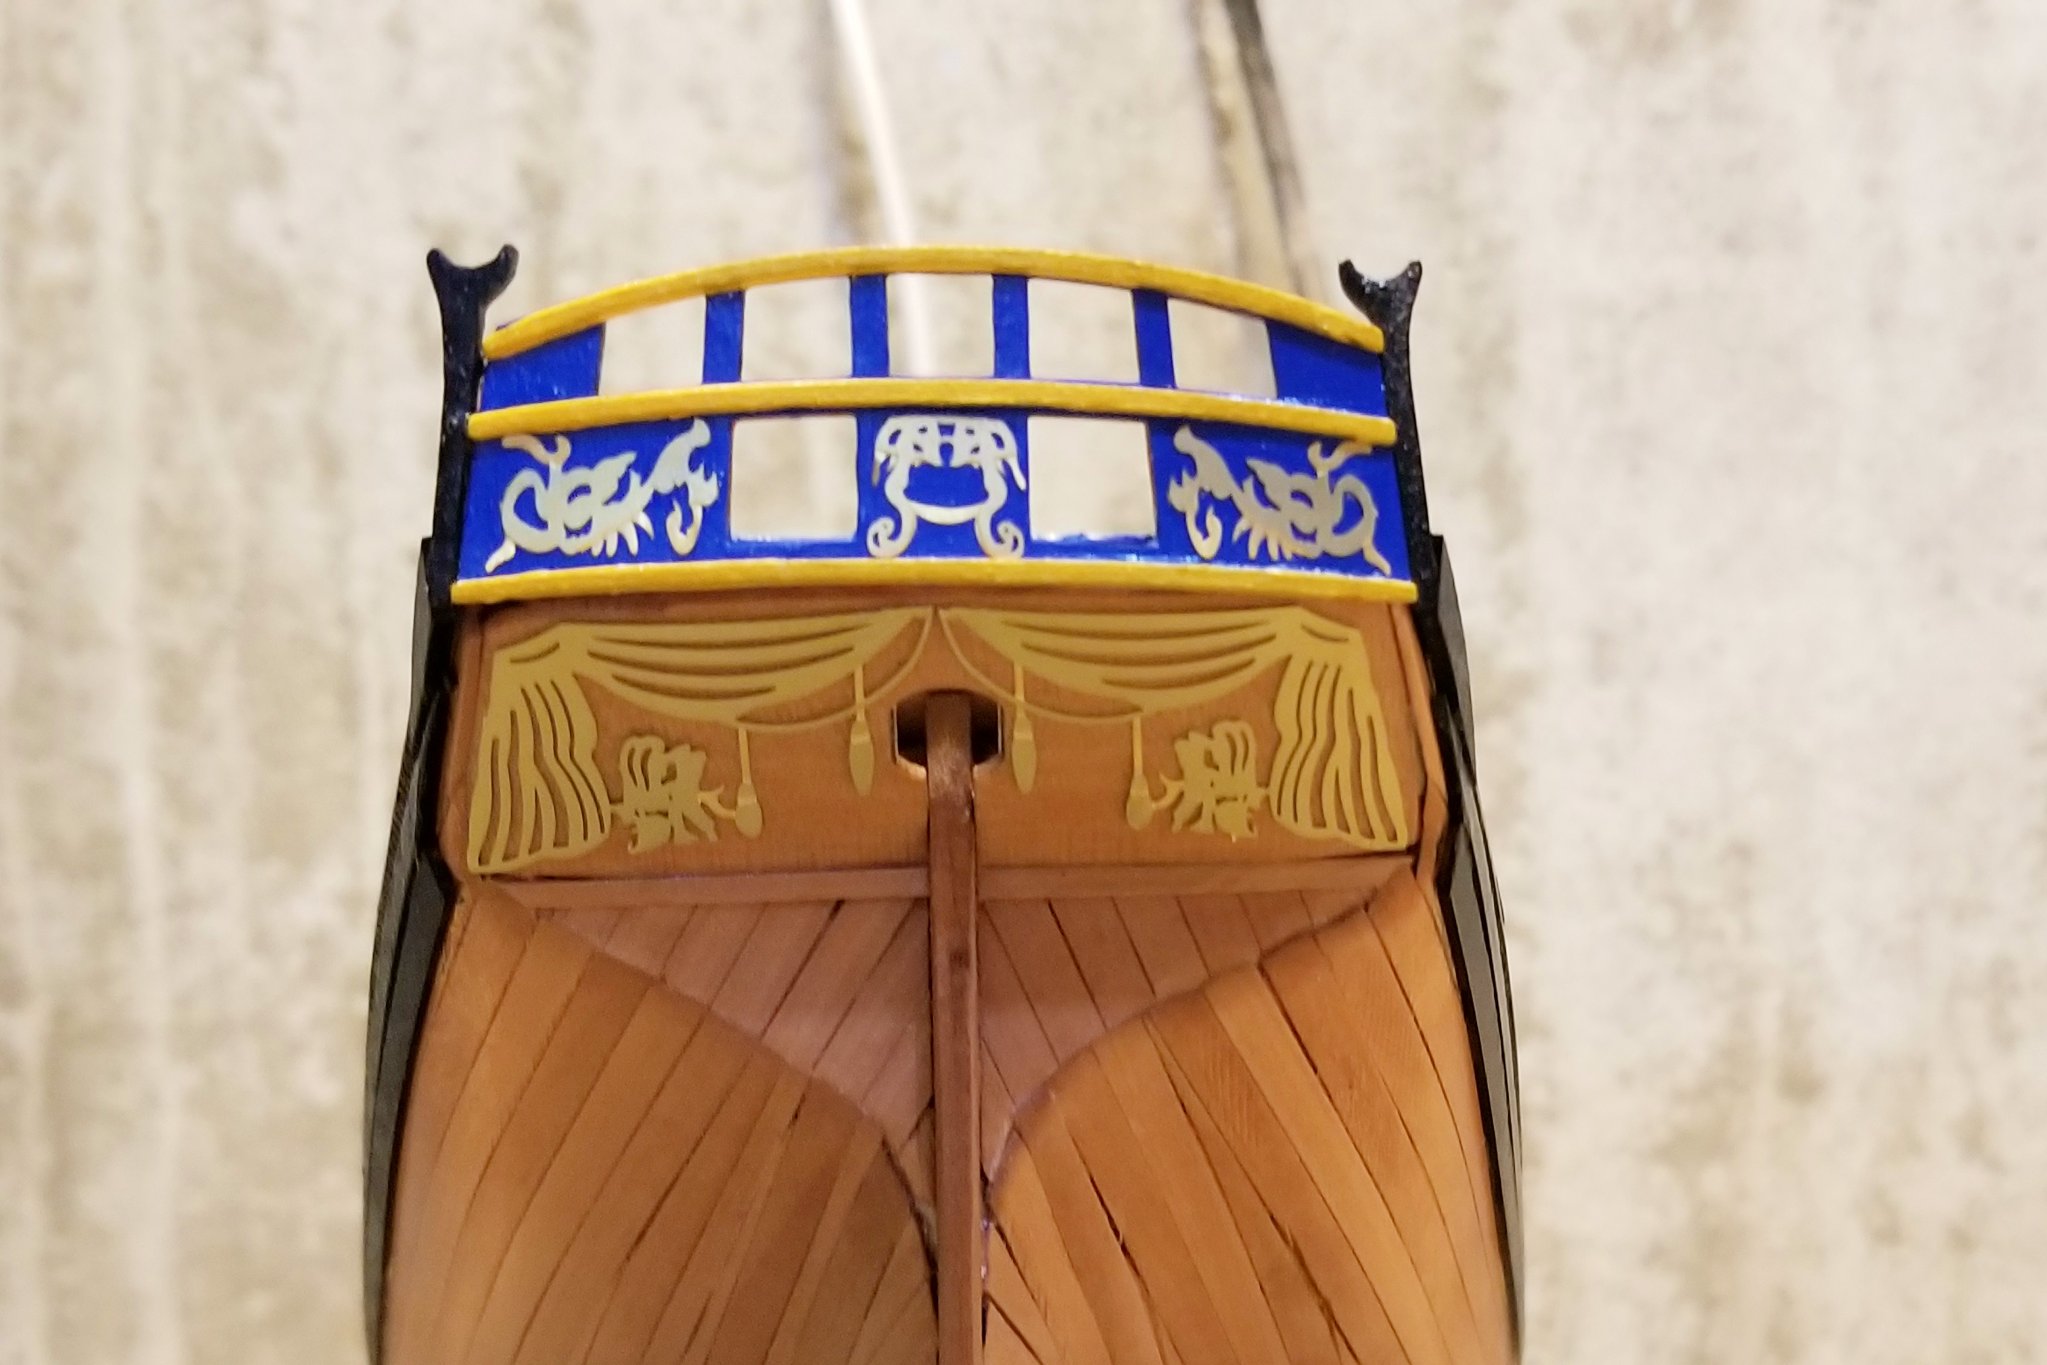
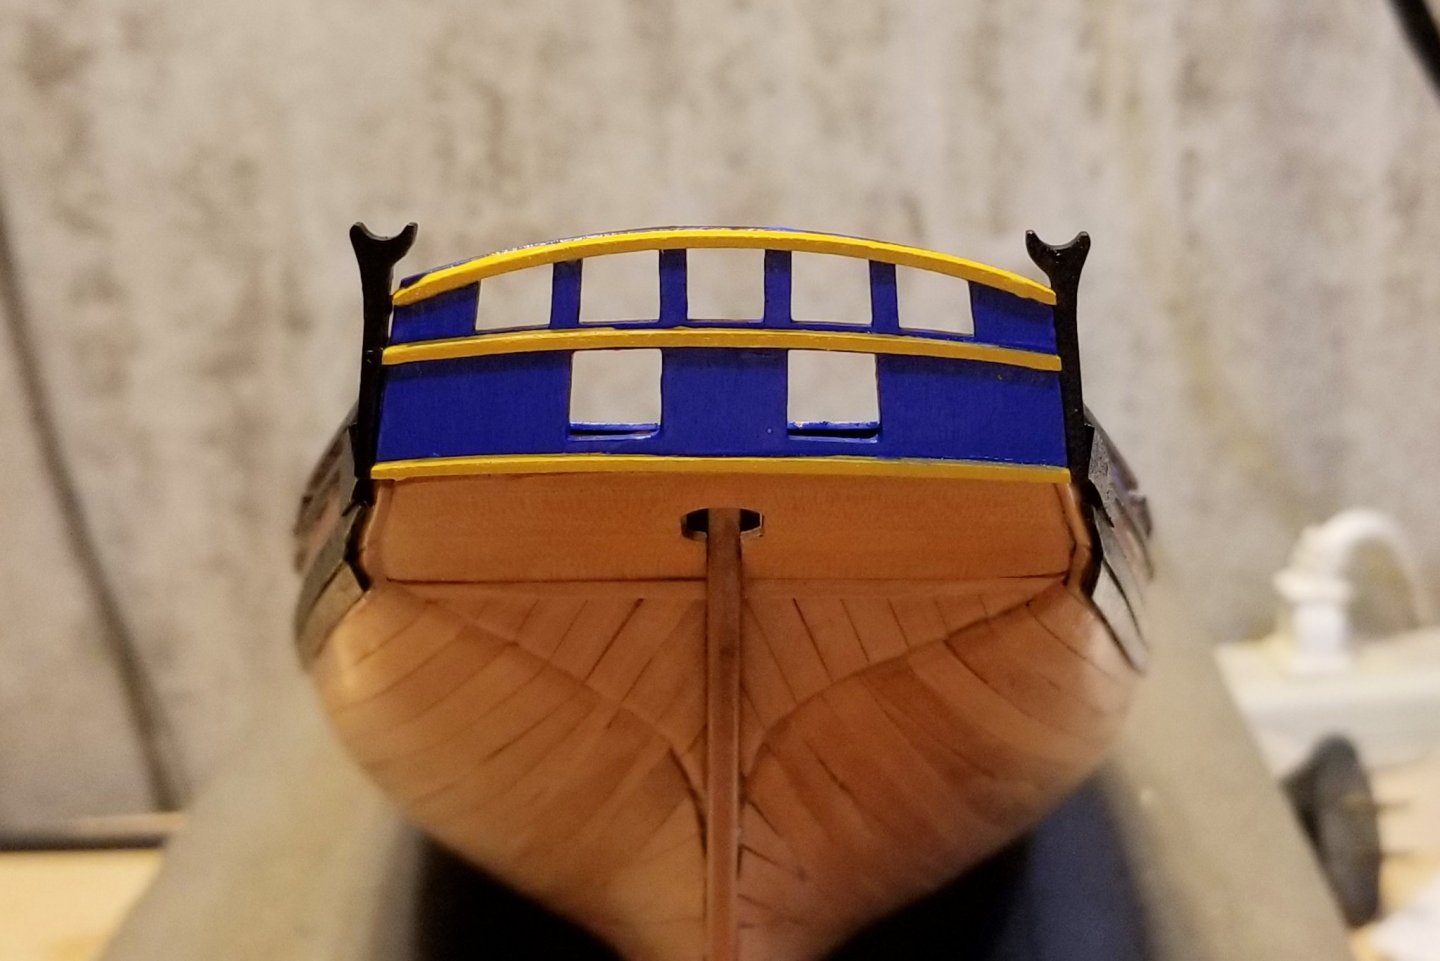
Tree Rail and Timberheads installed and painted. All of the posts have to be sanded down to fit in the slots in the railings. I also found that it's best to install the posts in the top railing one at a time, align the first post and glue it, then trim the rail, then the next post and align that with the slot, glue it to the top, and so on. That way all of the posts align when you finally glue it down to the lower rail. Regards, David
-
Stern transom assembled, painted and installed. Regards, David
-
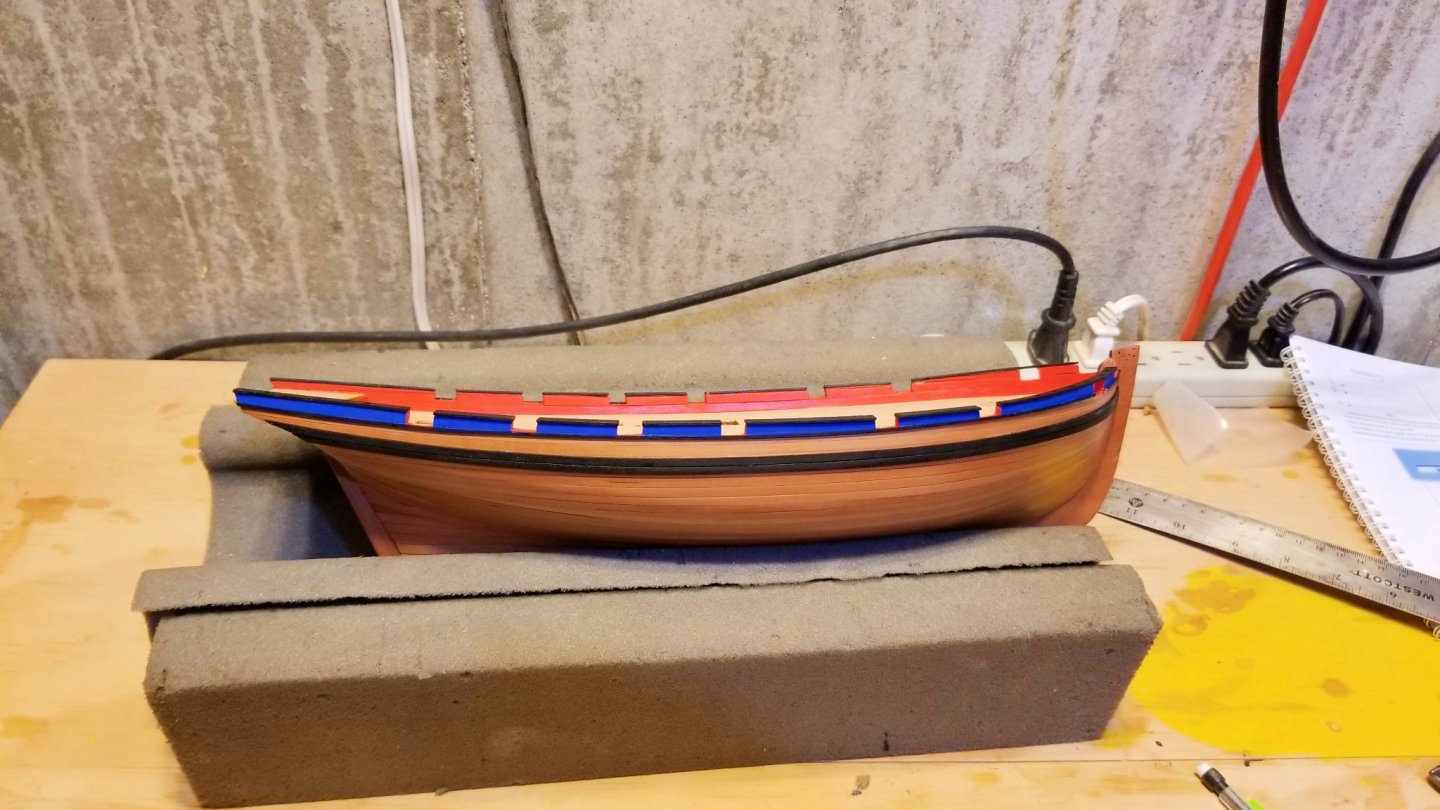
Main wale now added. Regards, David
-
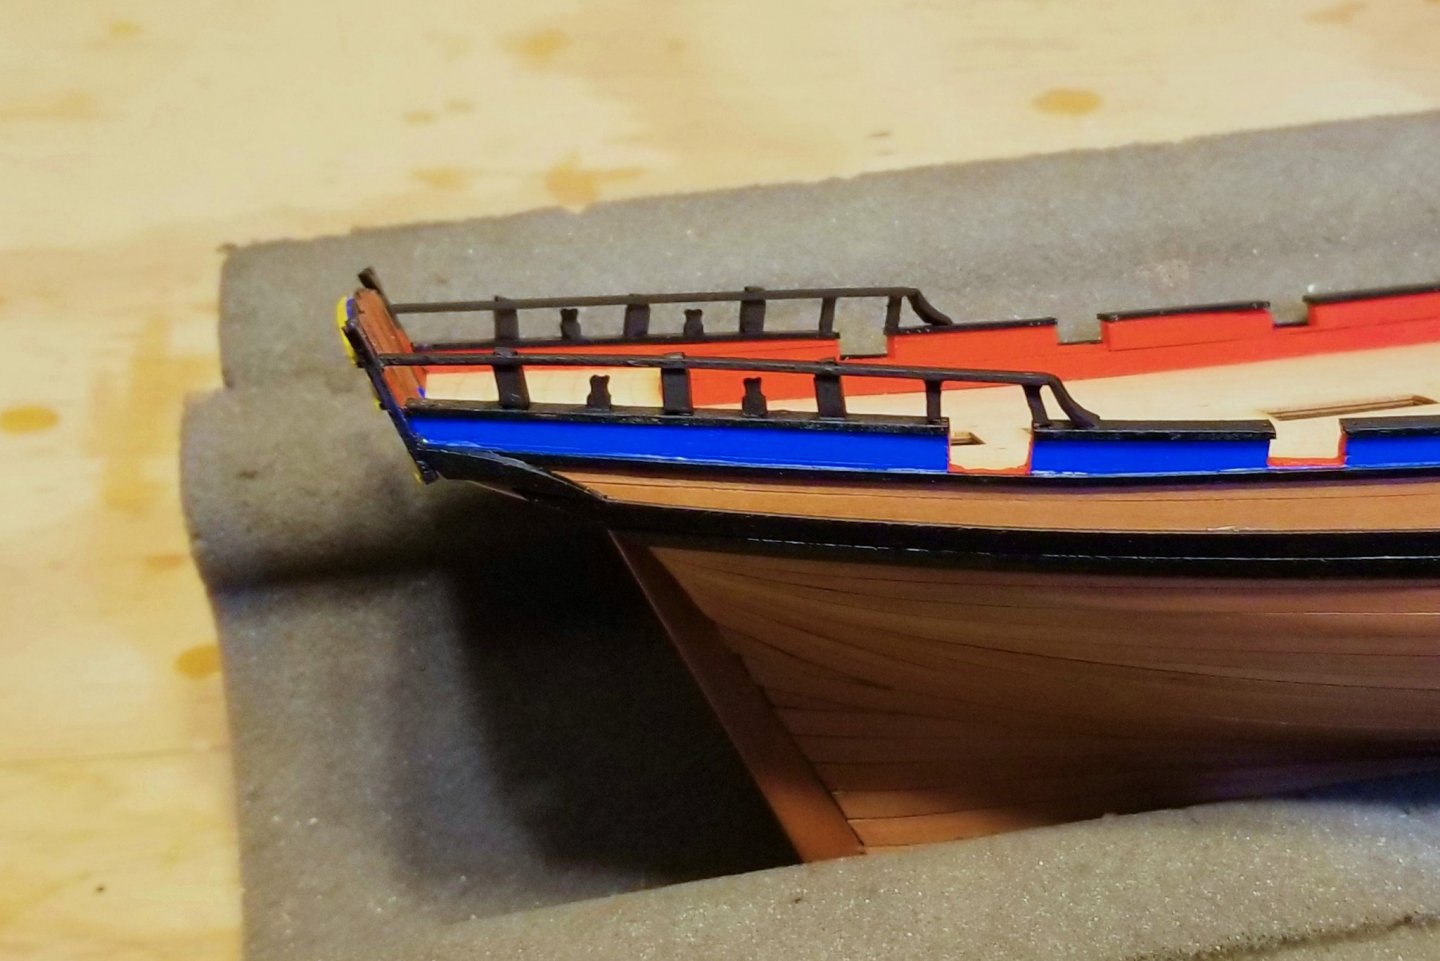
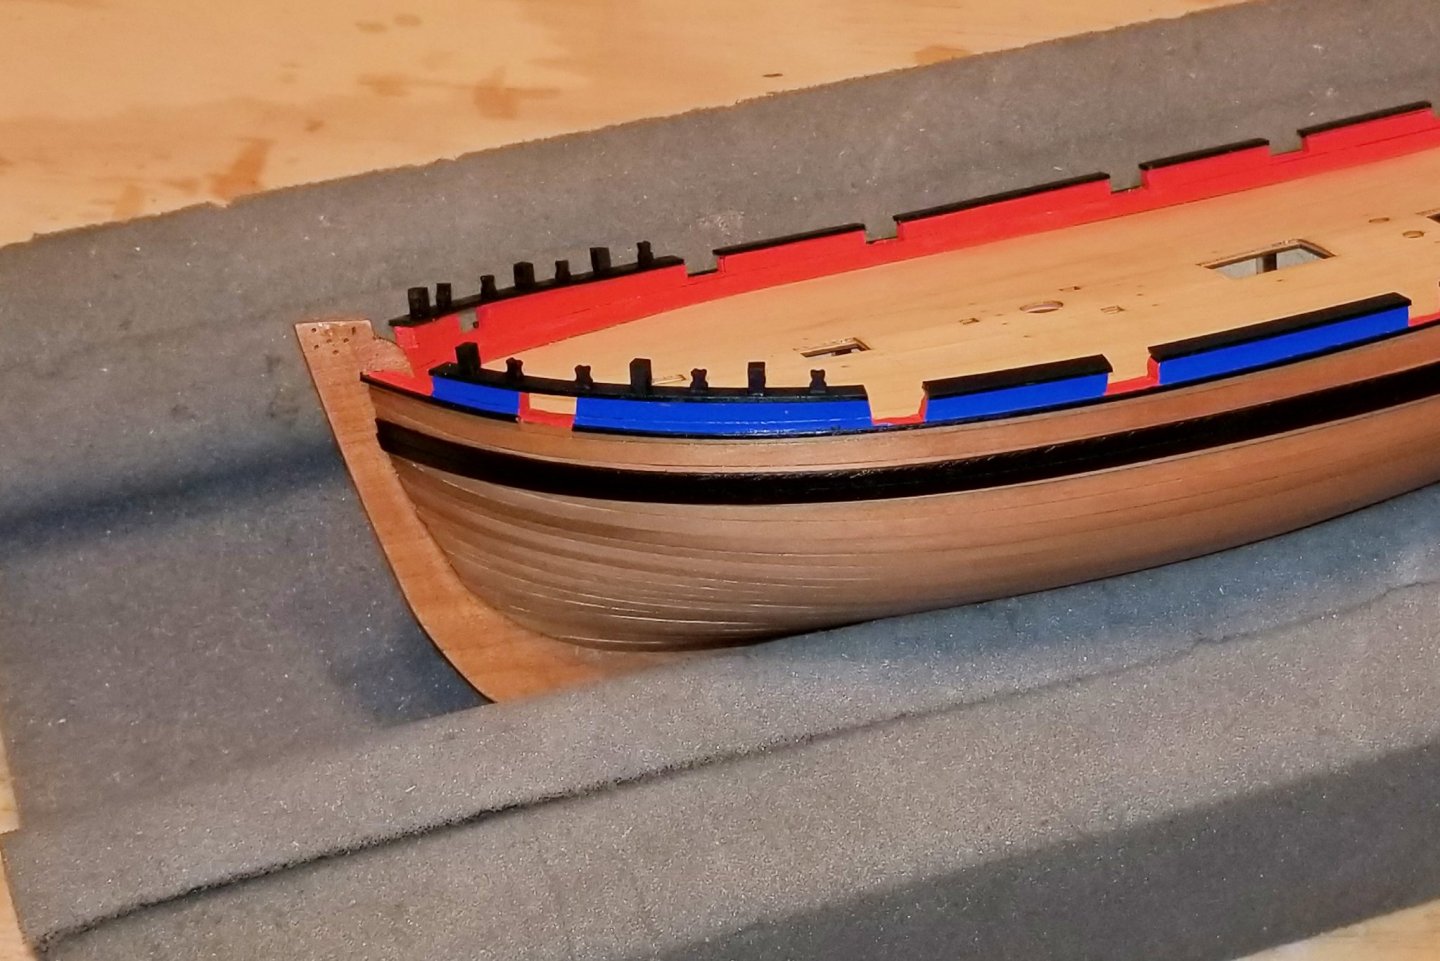
Gunports cut and painted and bulwark tops installed. Regards, David
-
Finished planking and painting the inside bulwarks. The manual calls for the 1x4 second planking strips for the inside bulwark planking, which I used, but for the short piece across the rear I used a 1x5 first planking strip, because the strip width fits better. Regards, David

-
Flavia: I left the deck natural and just used clear satin polyurethane varnish. It's a great kit. Enjoy it! Regards, David
-
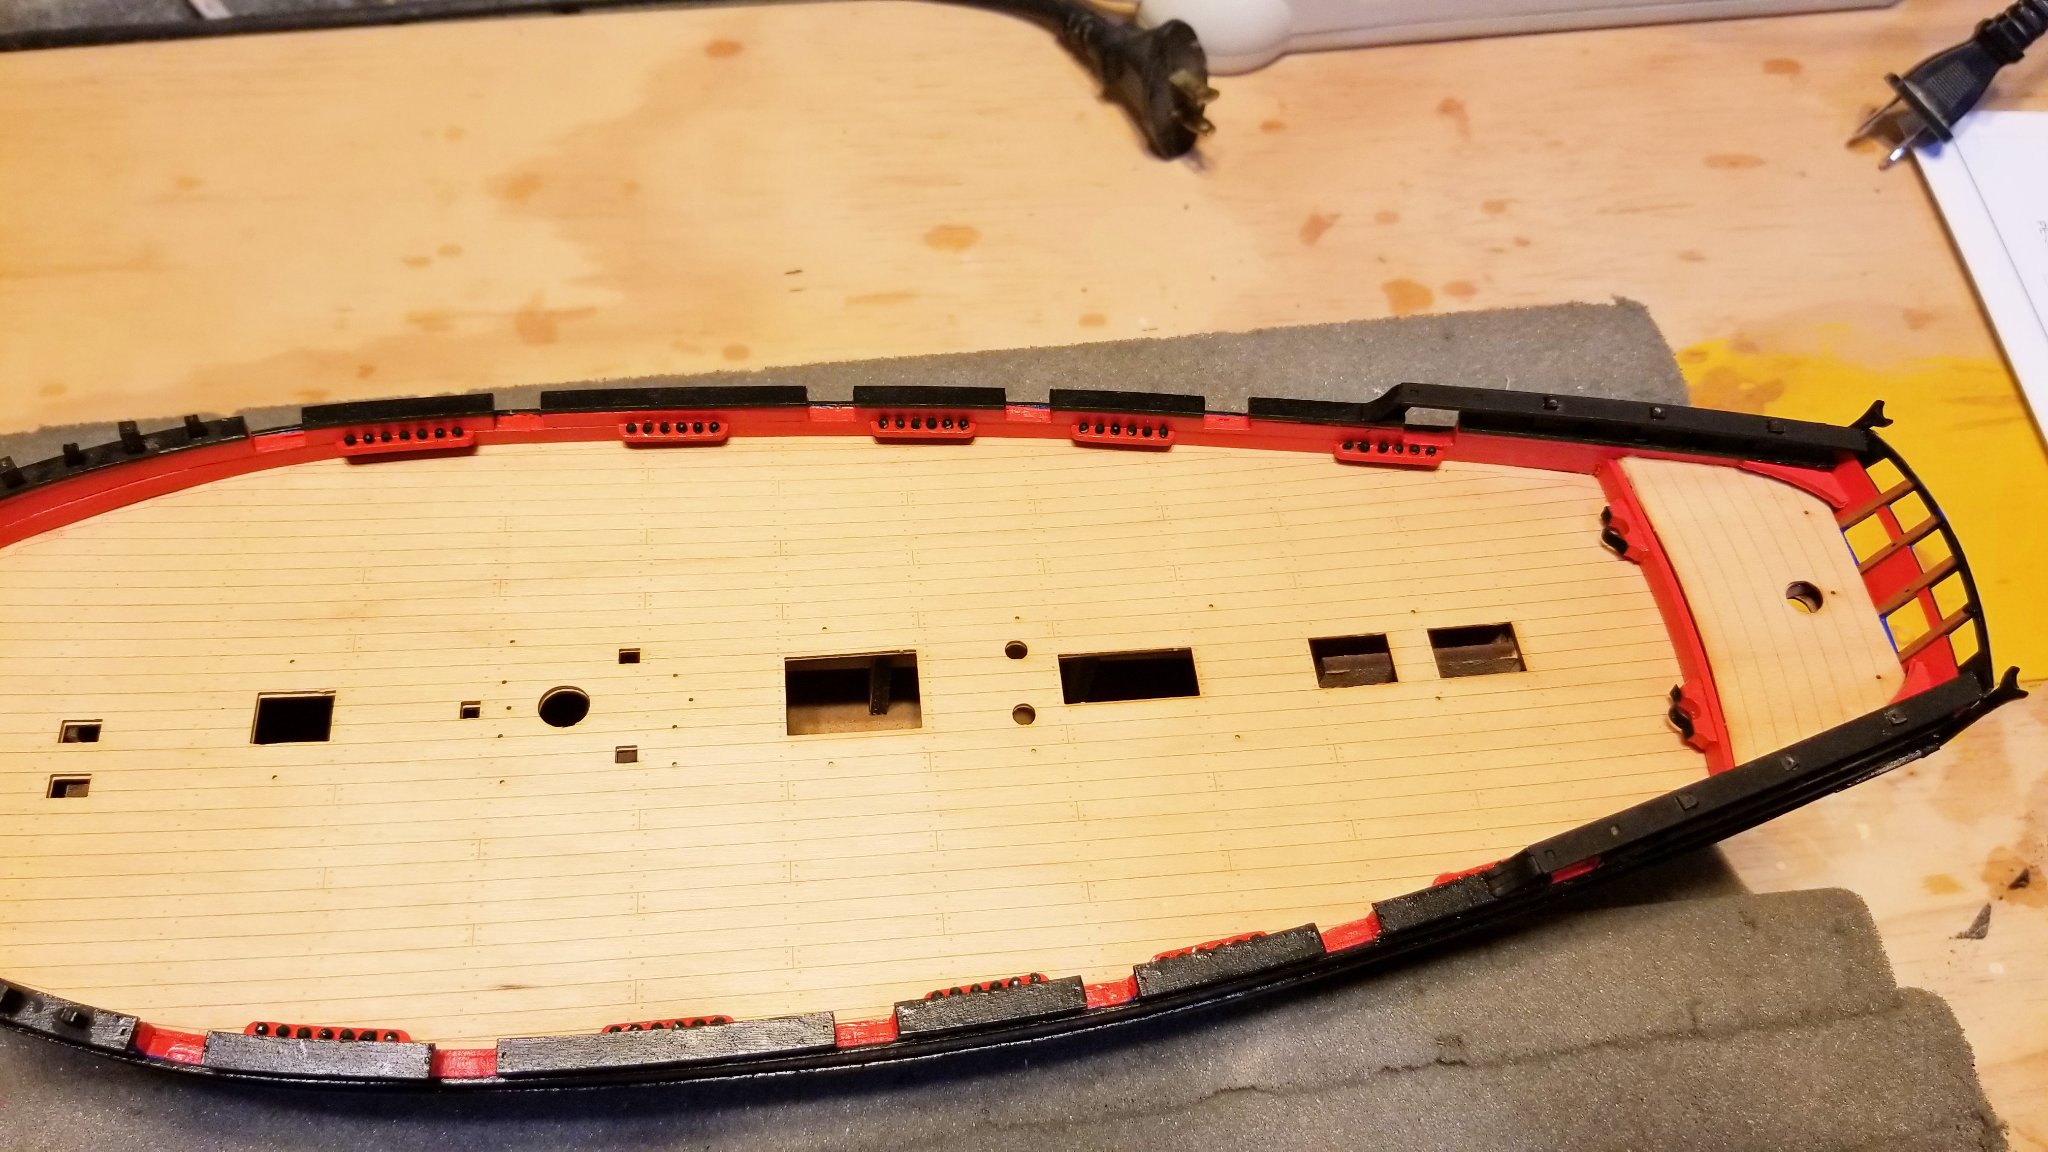
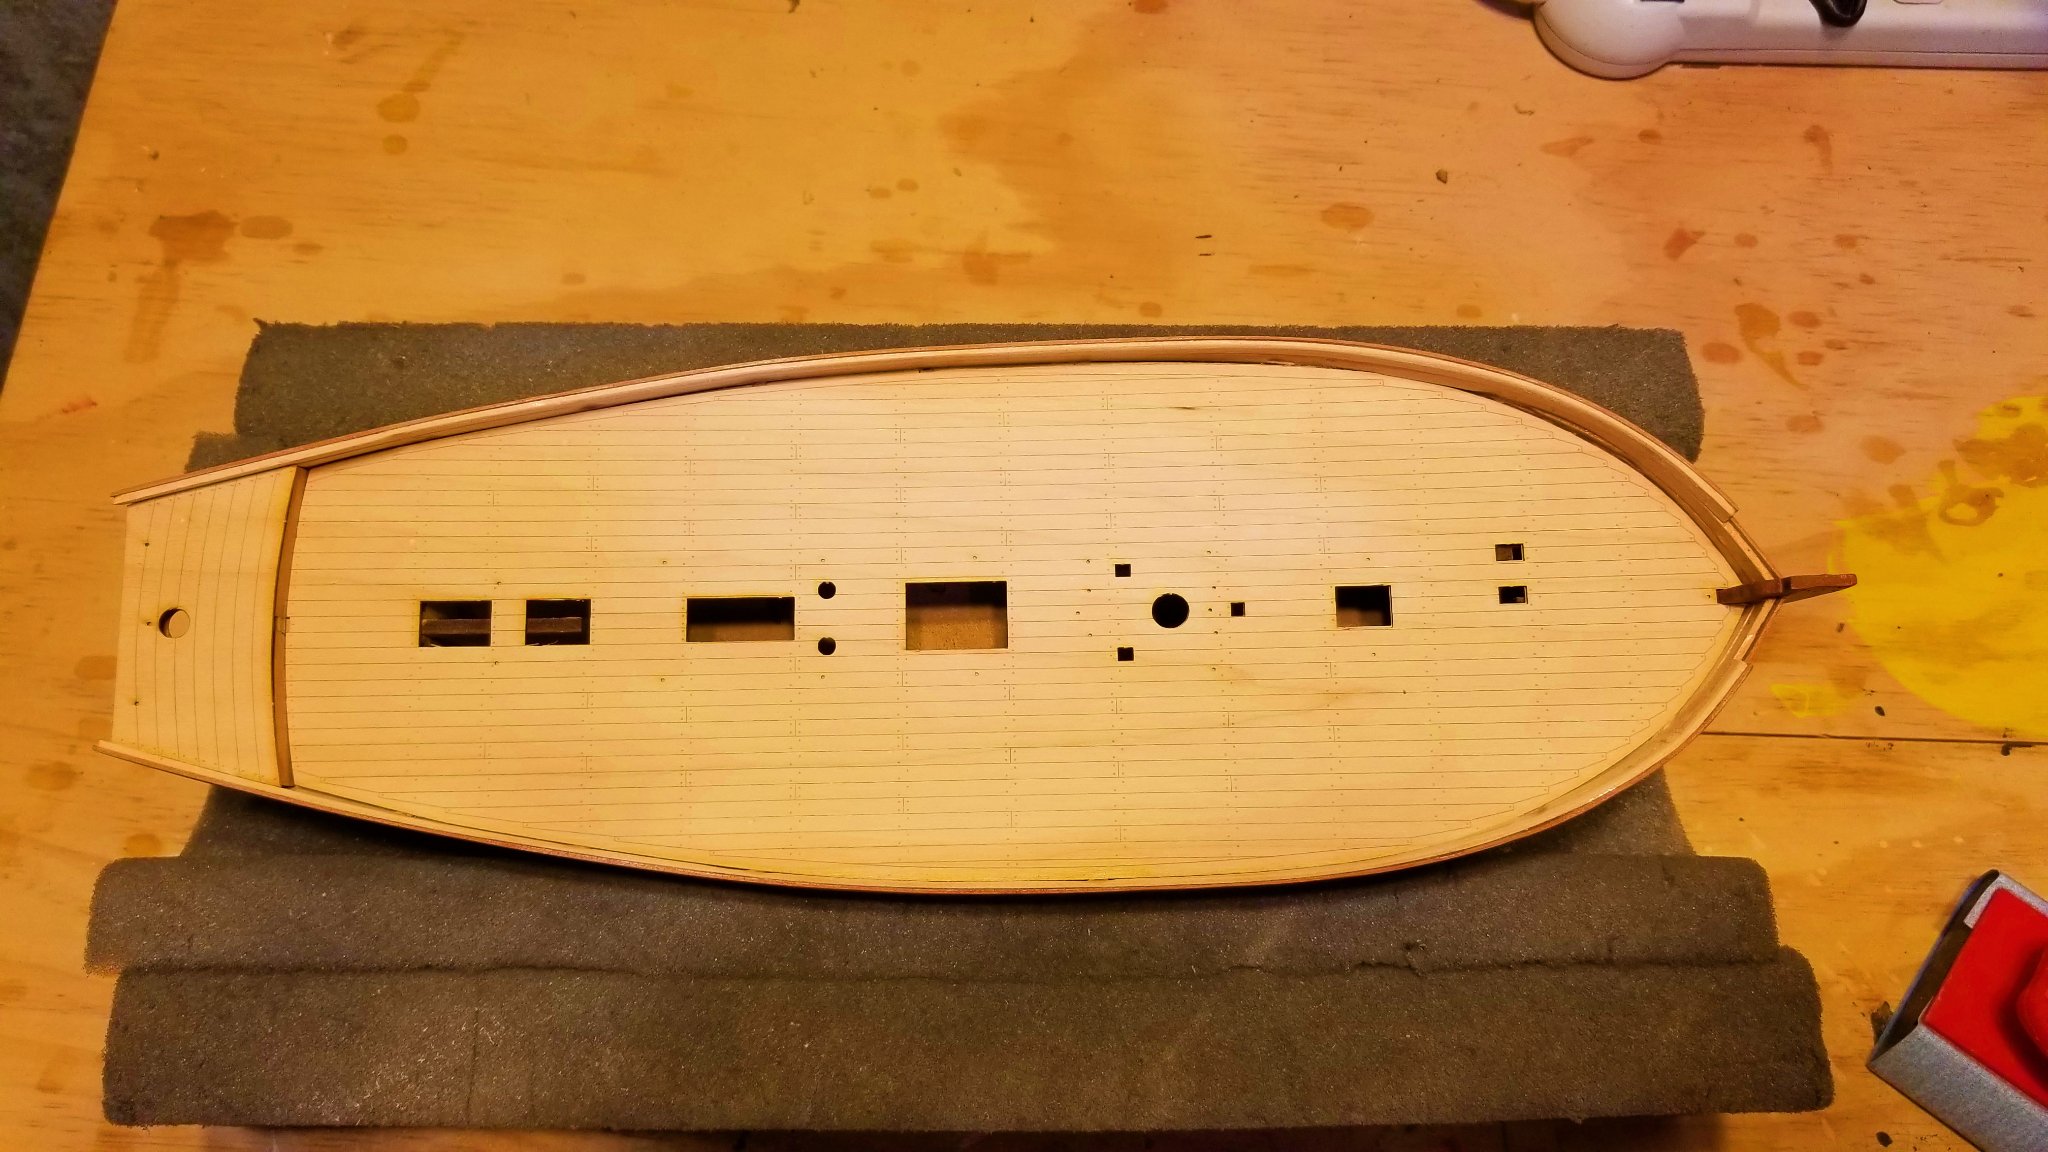
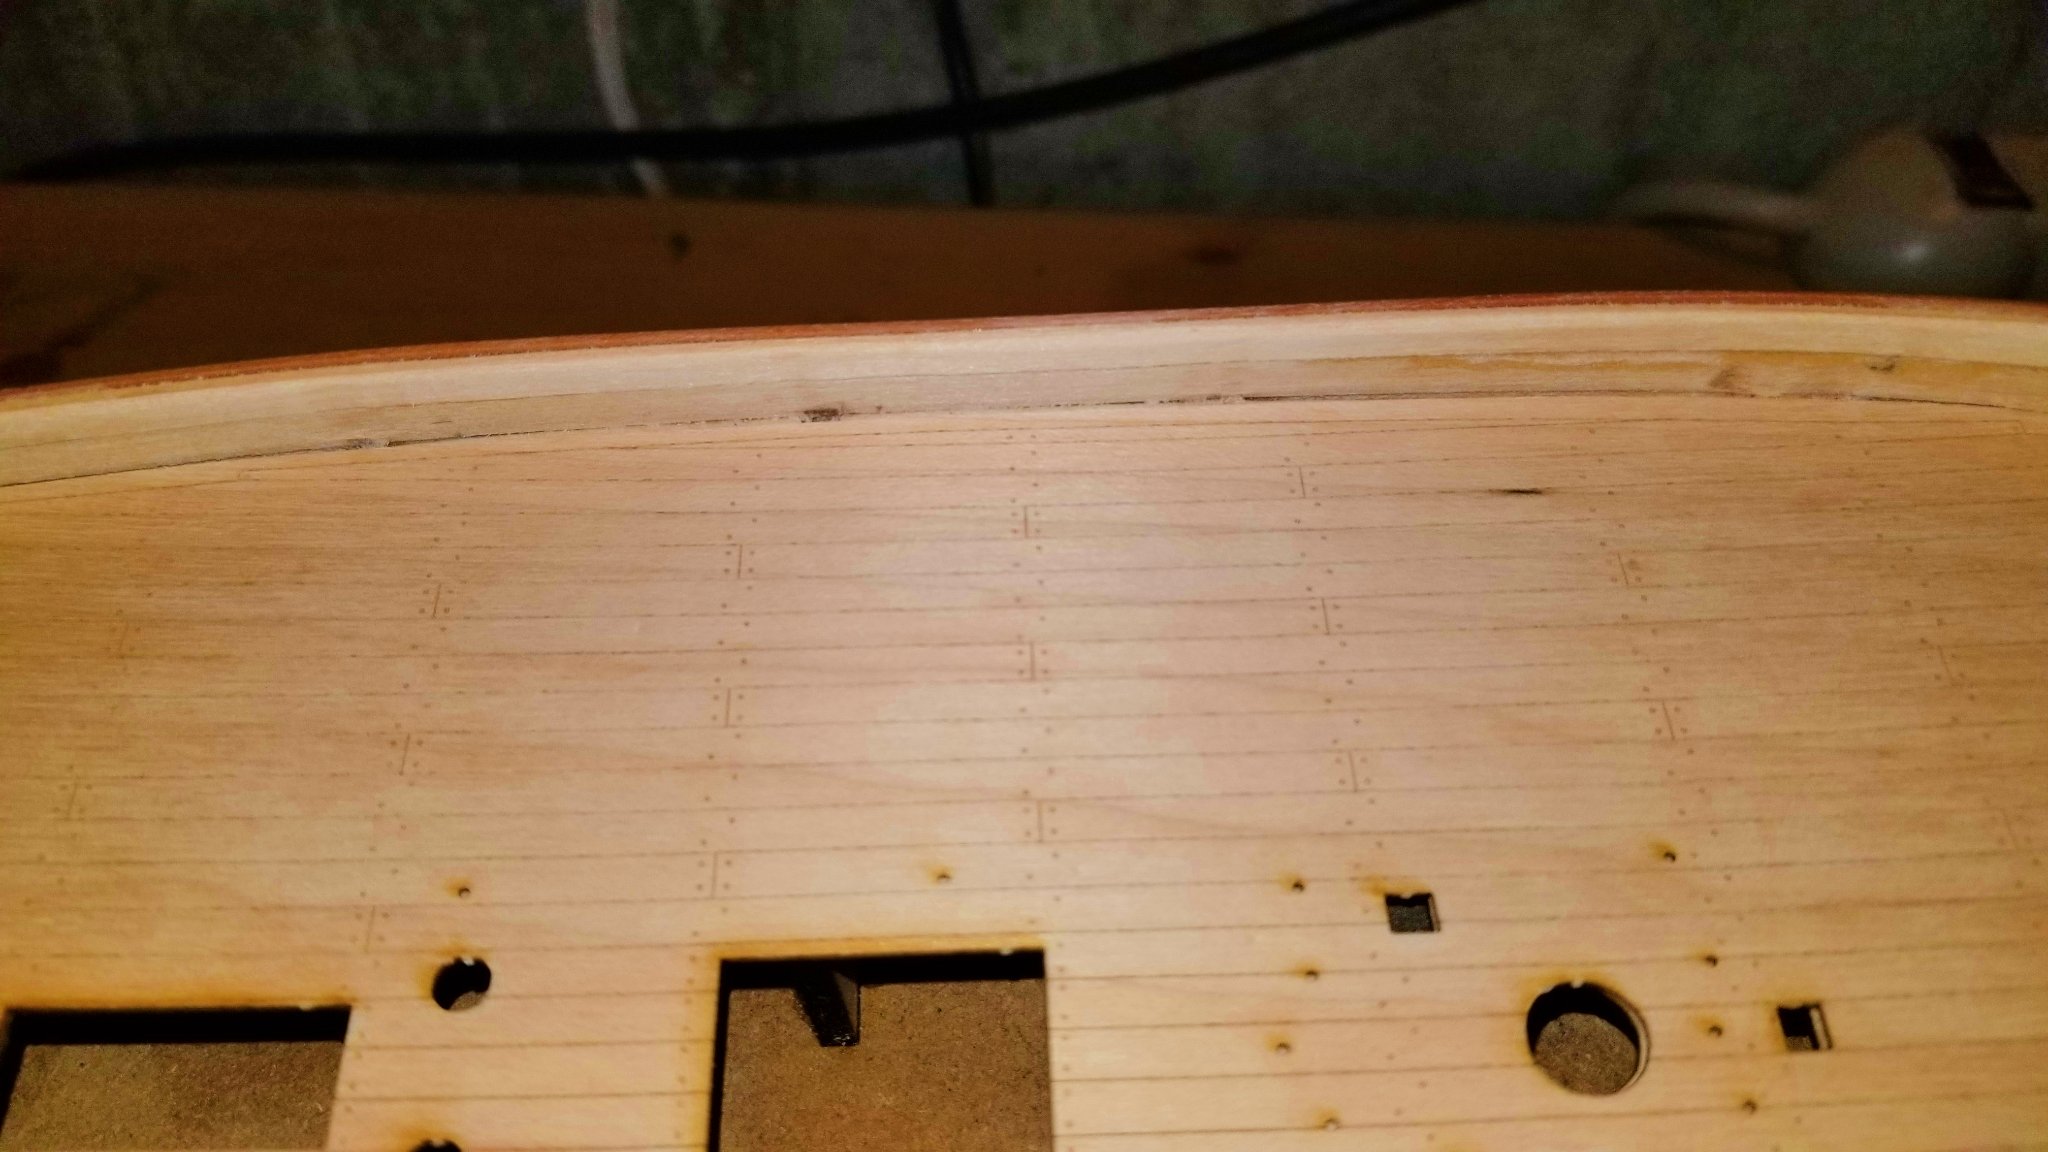
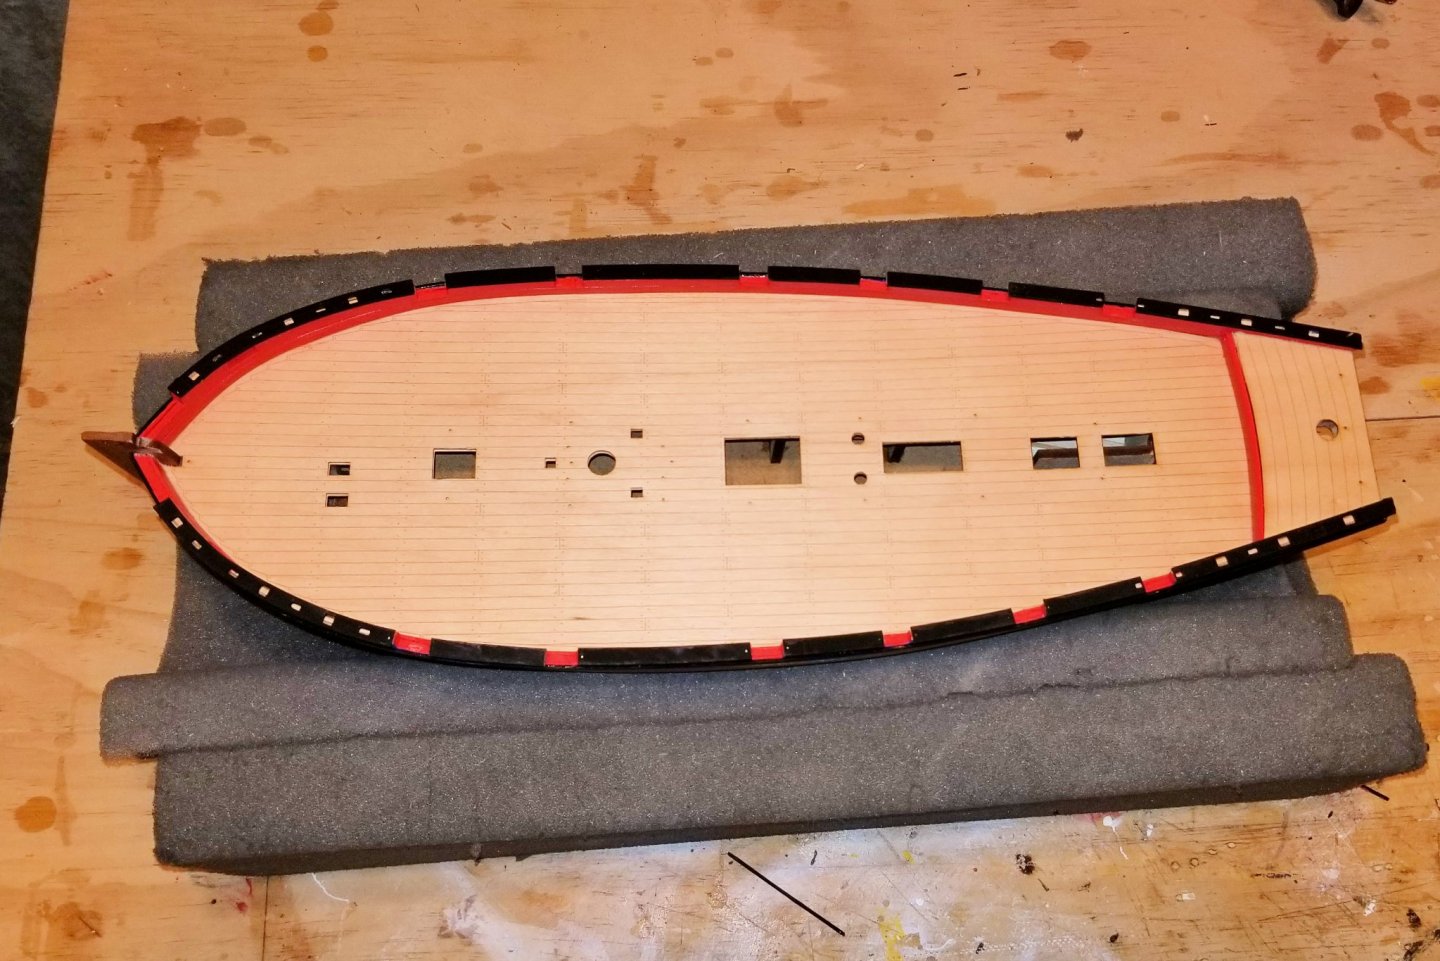
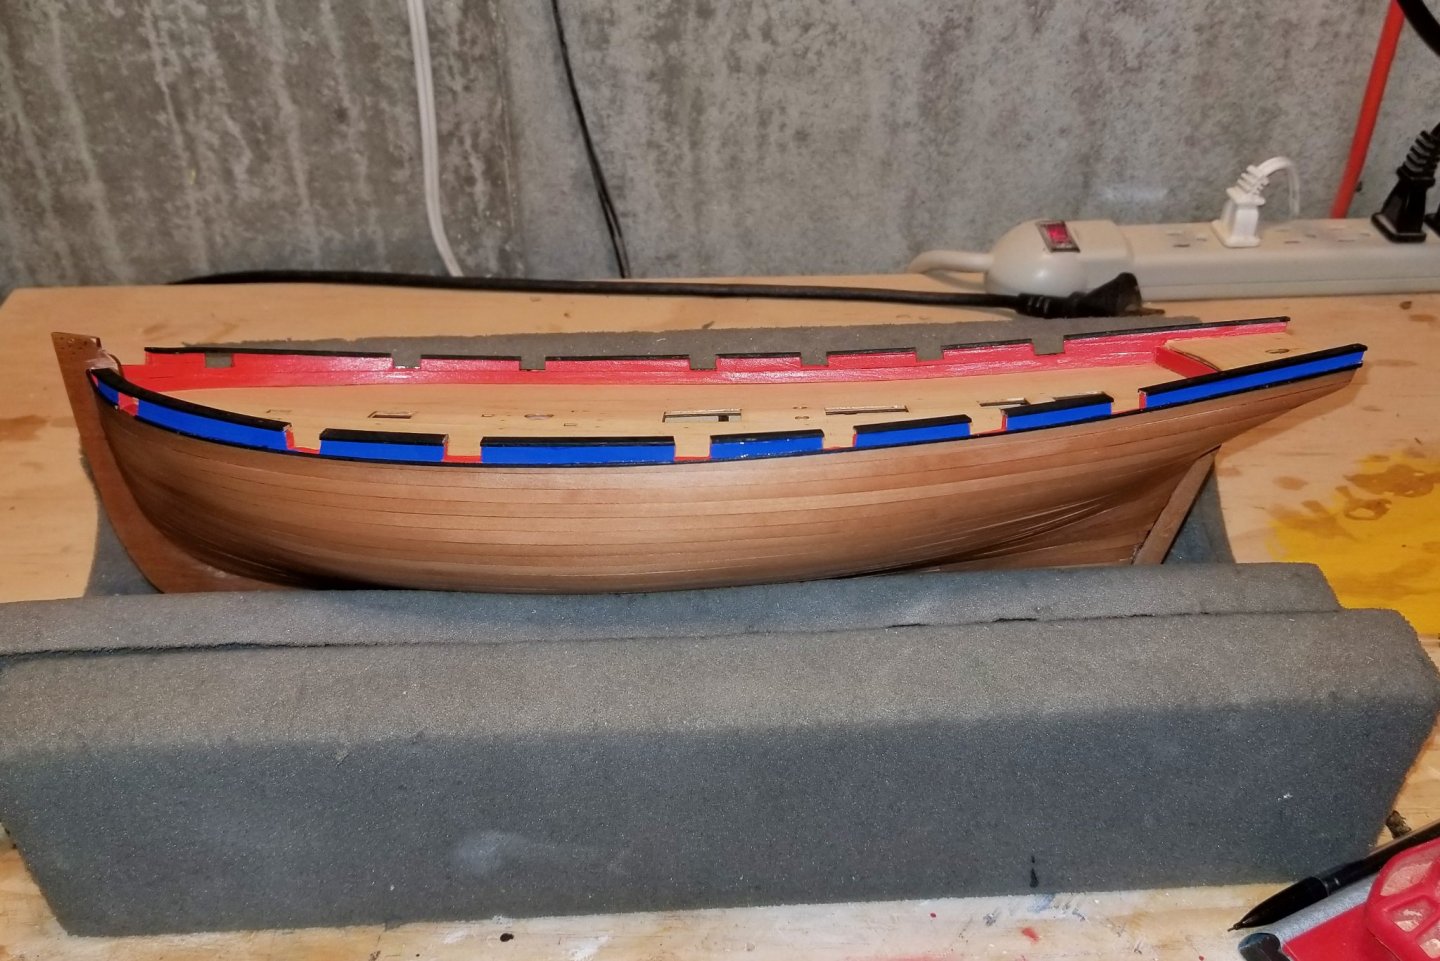
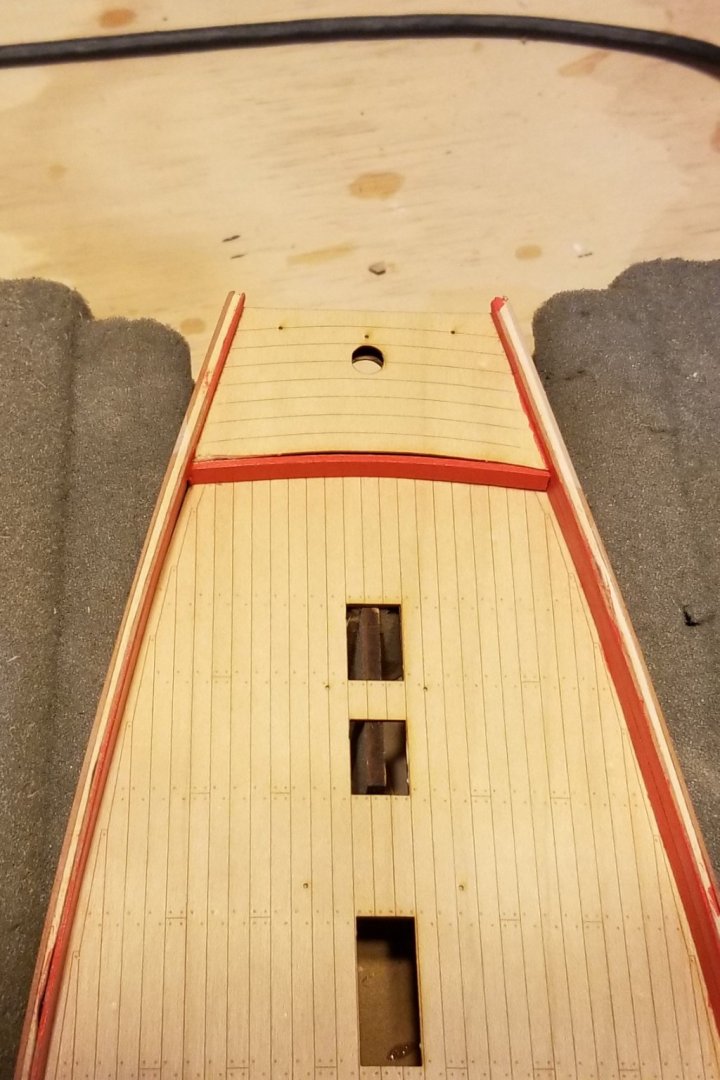
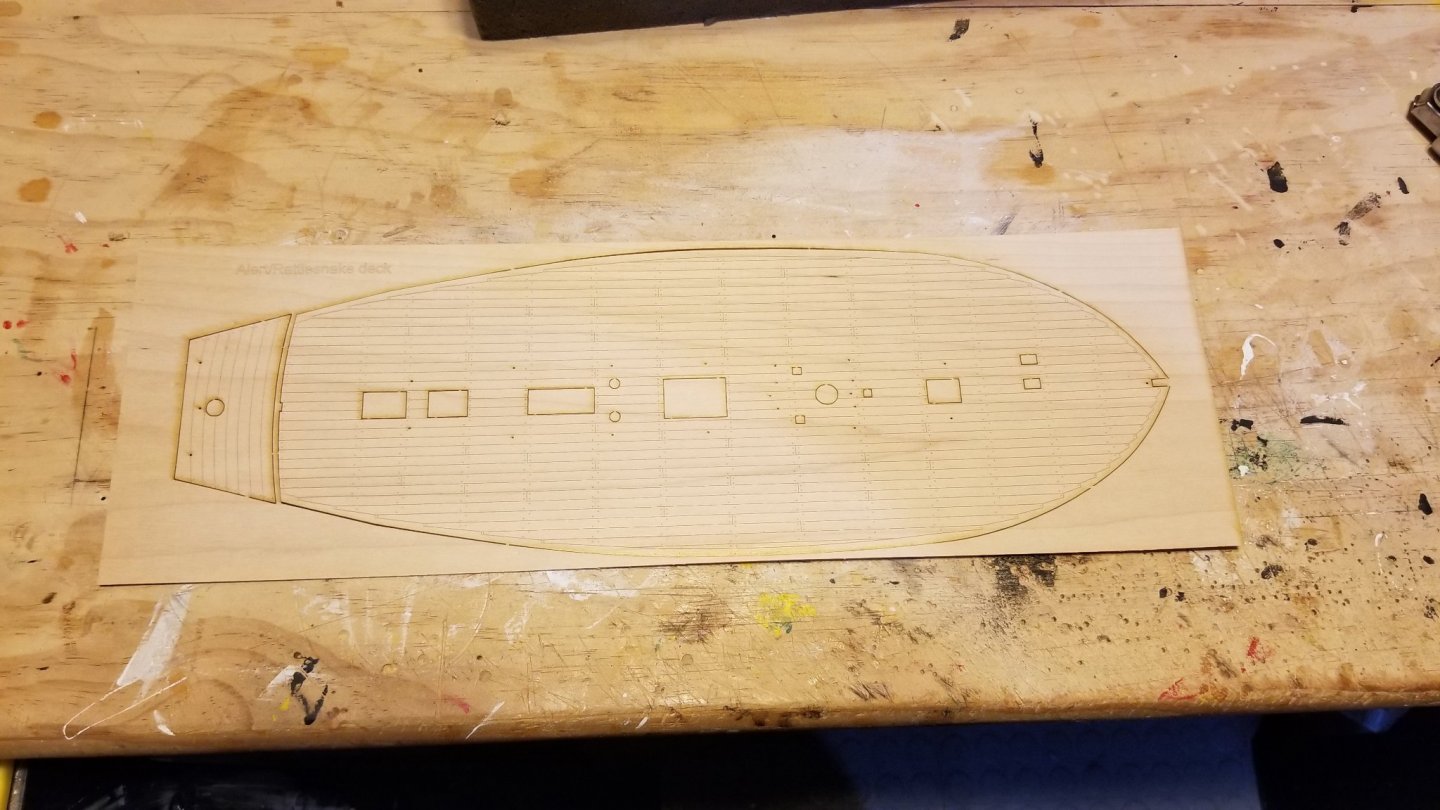
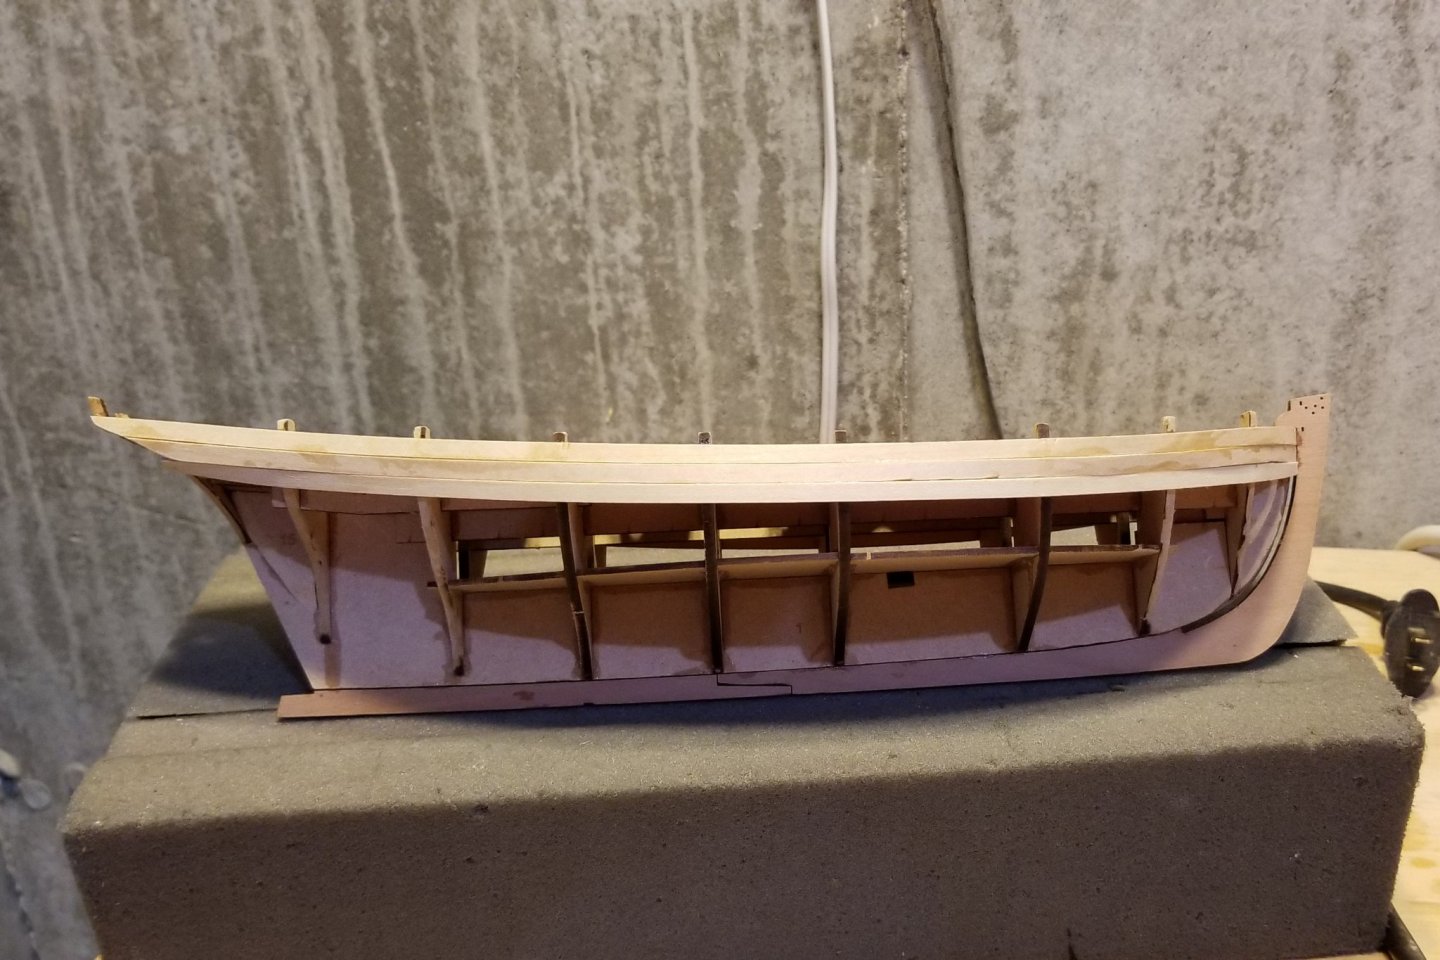
One option when you buy this model is to get a pre-etched deck (so you don't have to plank it), and I took that. In the photos, you can see the deck on the laser-cut sheet, and then mounted on the ship. The manual reads as if you are planking the deck, and it has the side bulwarks planked before deck planking, and then painted red after. When you use the pre-etched deck you really need to plank the bulwarks after you mount it. So you can see that at this point they aren't planked yet. Further, if I paint the side bulwarks after I plank them, I'll need to do a lot of careful masking around a curved bulwark (this is how the manual reads), but what I think I'll do instead is pre-paint the lower planks that run along the deck, which will give a nice finish and obviate the masking.


-
Second planking done, sanded and first coat of varnish applied. The pear wood Chris Watton used on this ship reminds me of the Tanganyika wood he used on the Revenge. Regards, David


-
Started on the second planking. The pear wood for that installs very easily and lies flat. Regards, David
-
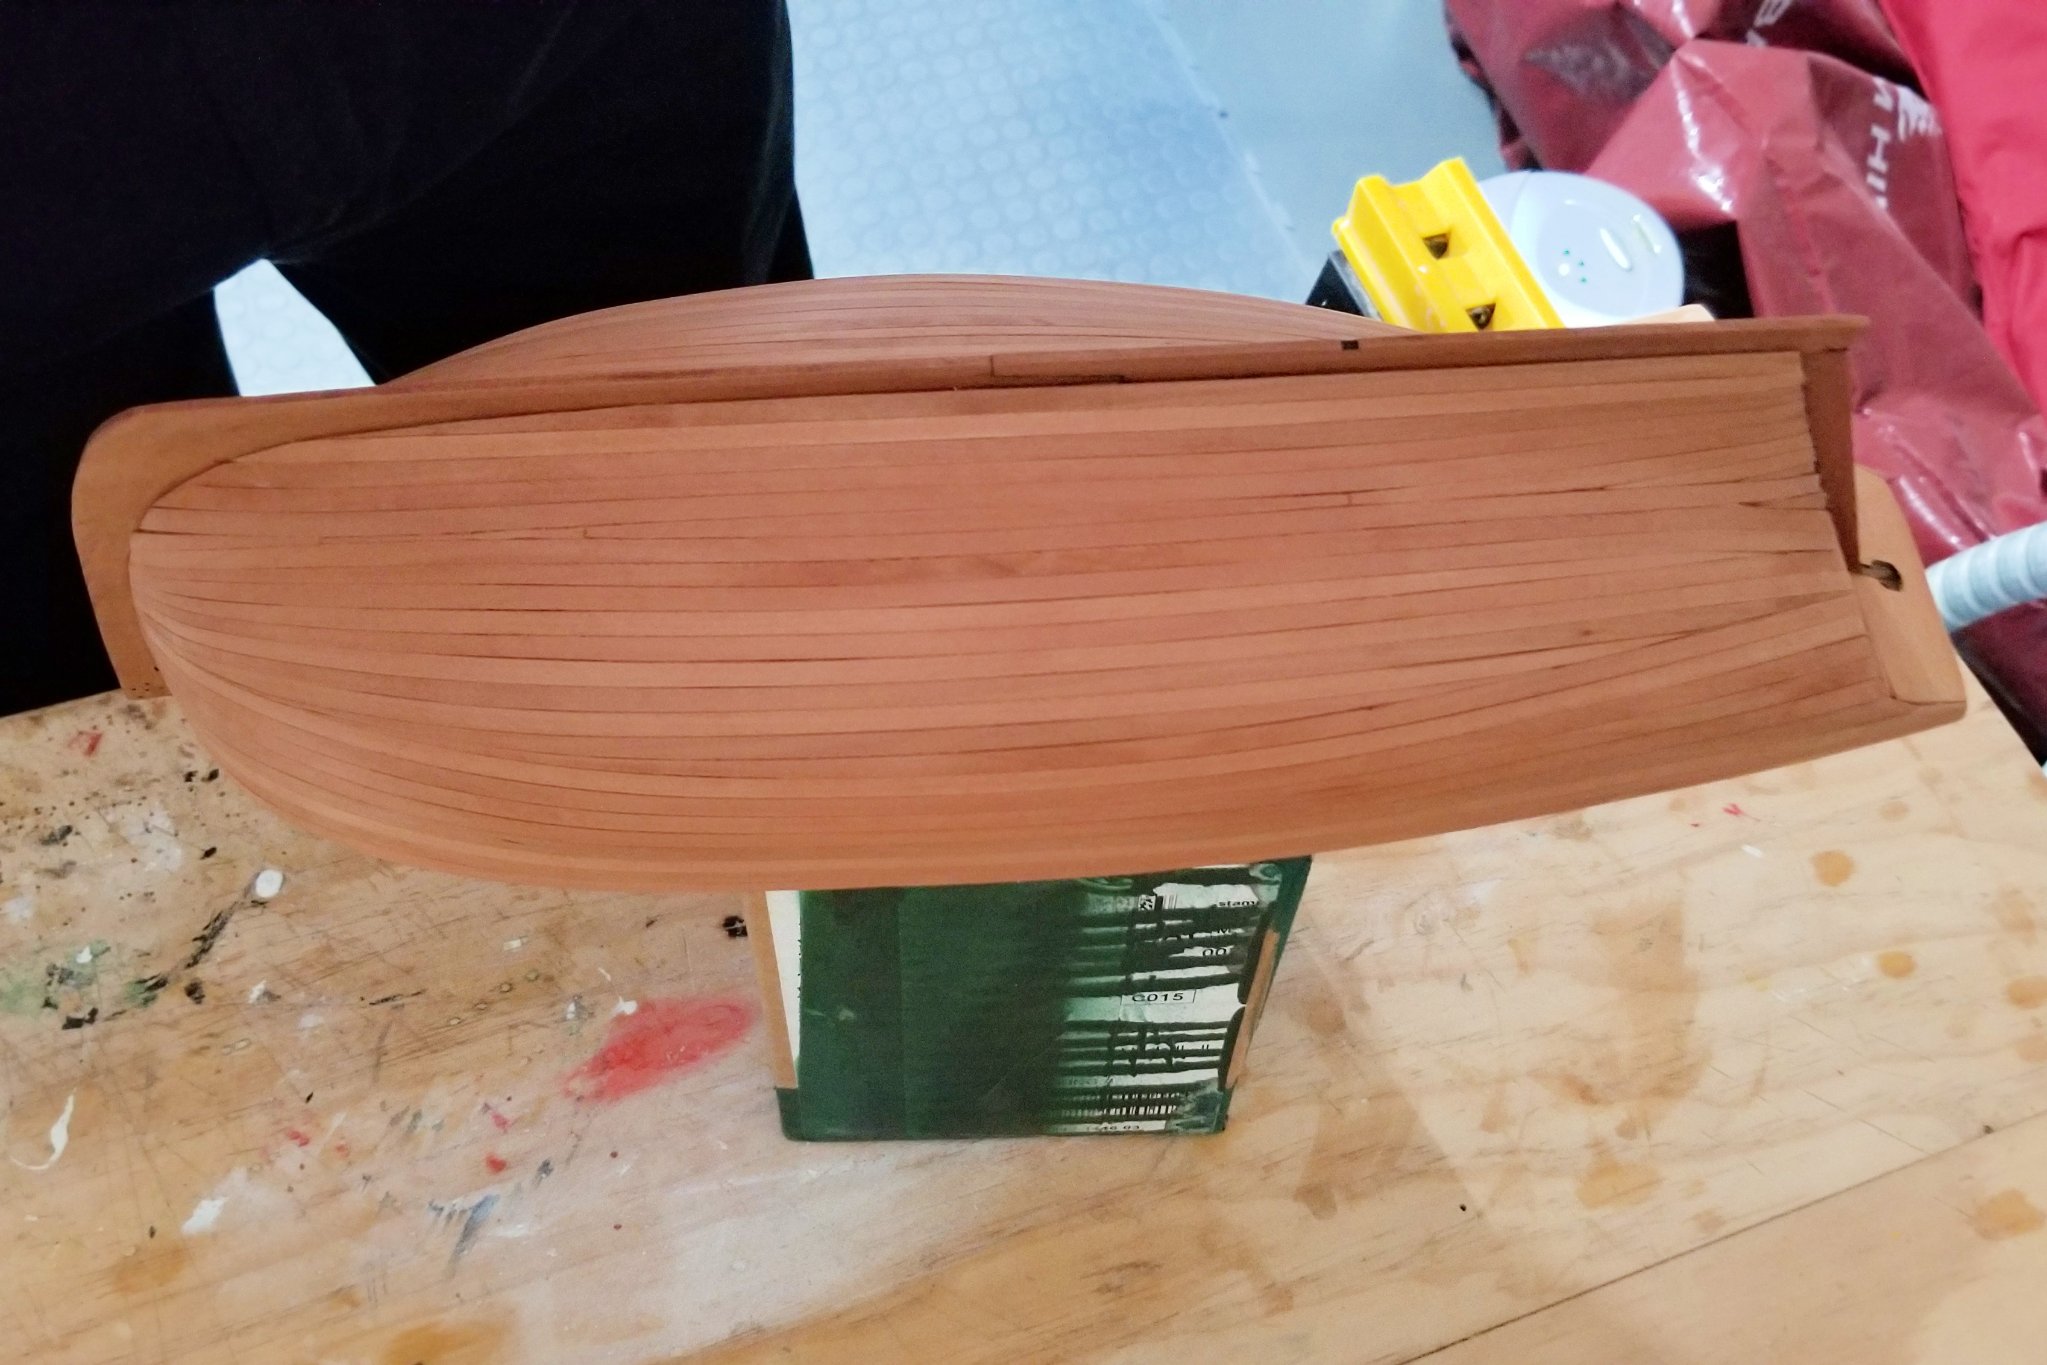
I've filled, sanded and varnished the first planking, and done some work on the stern. The diagonal planks you see at the stern are the pear wood that will be used for the second planking (which is next). As I mentioned earlier, I will probably not paint the hull white as I really like the look of the finished wood. Regards, David

-
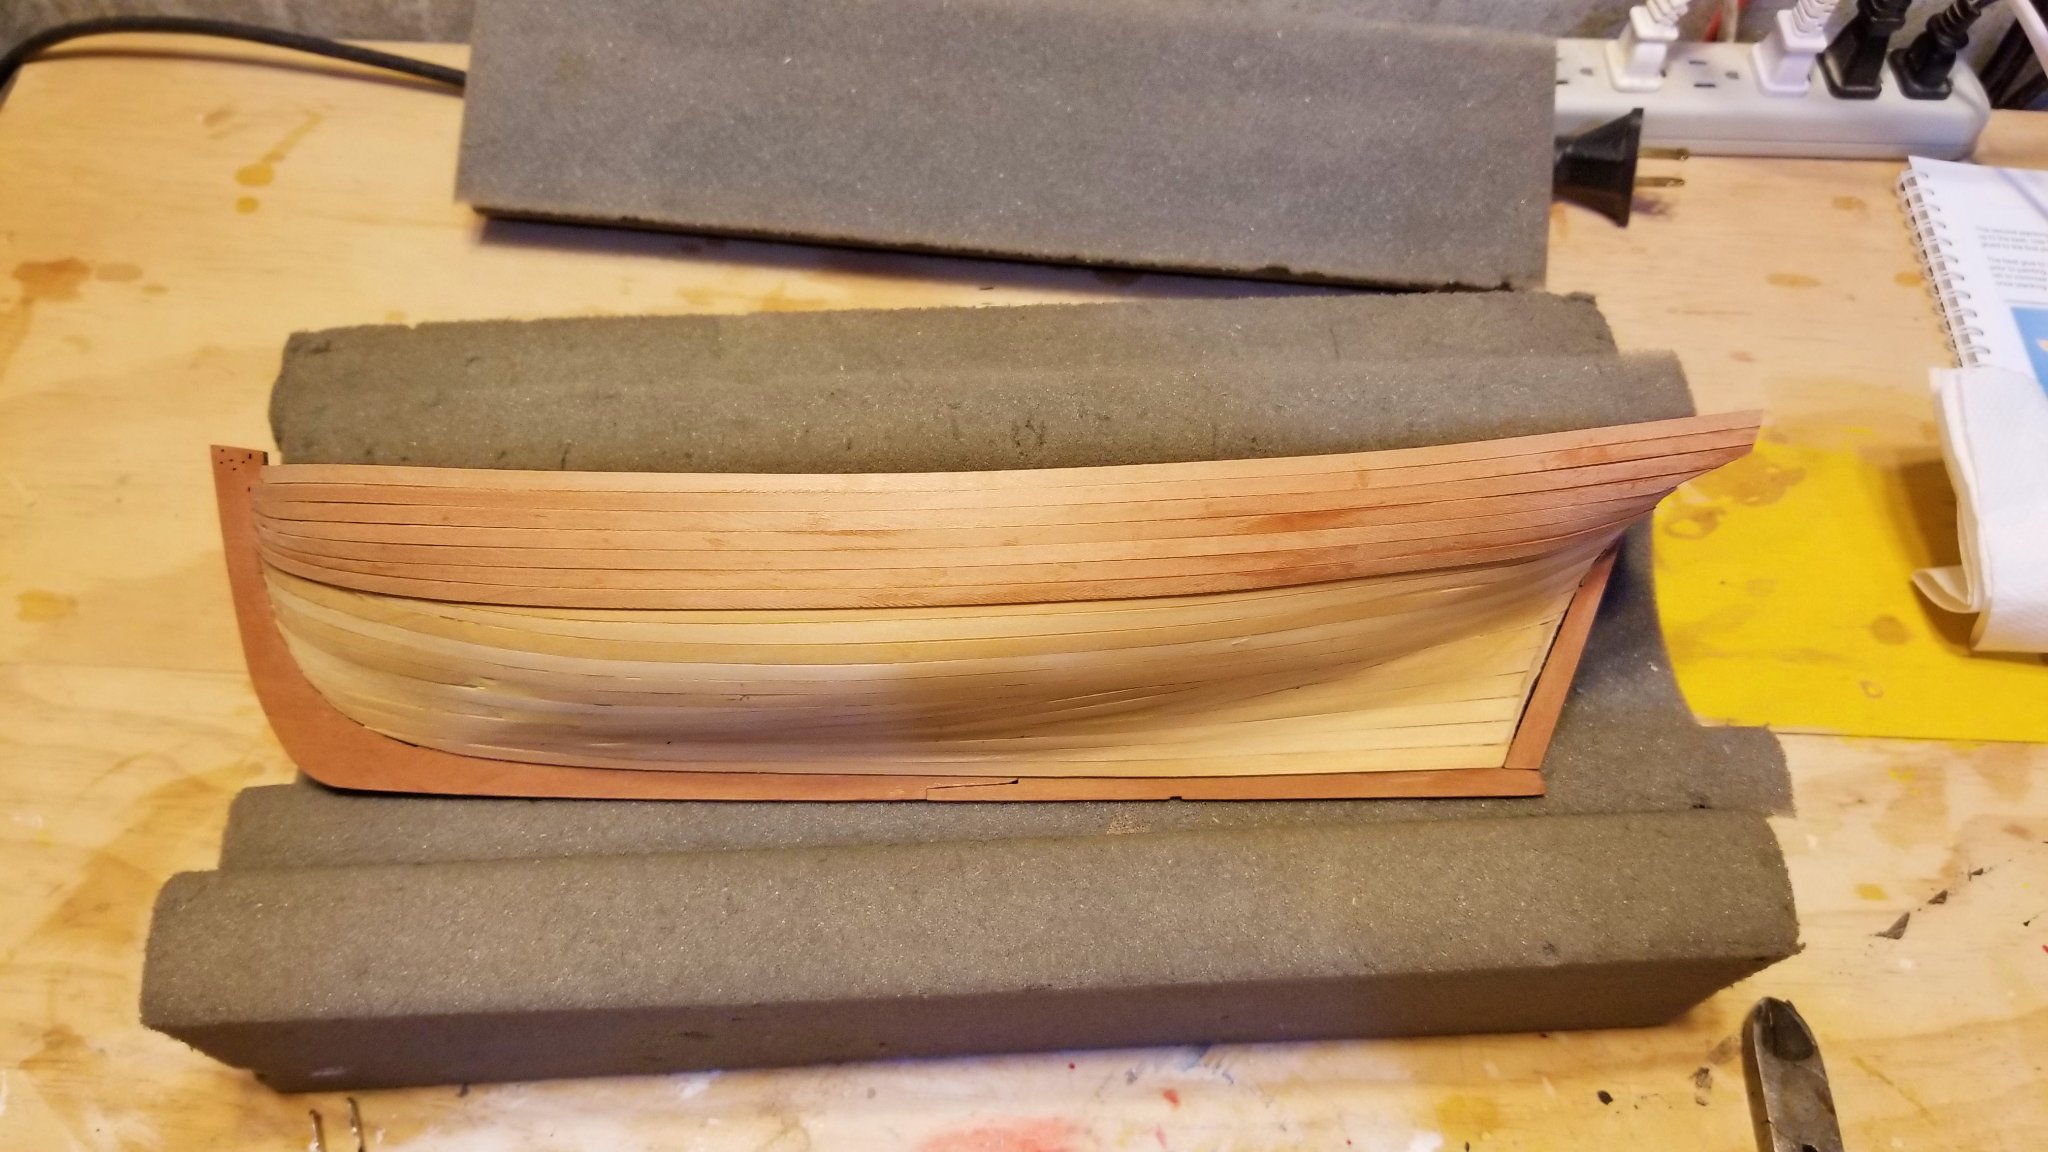
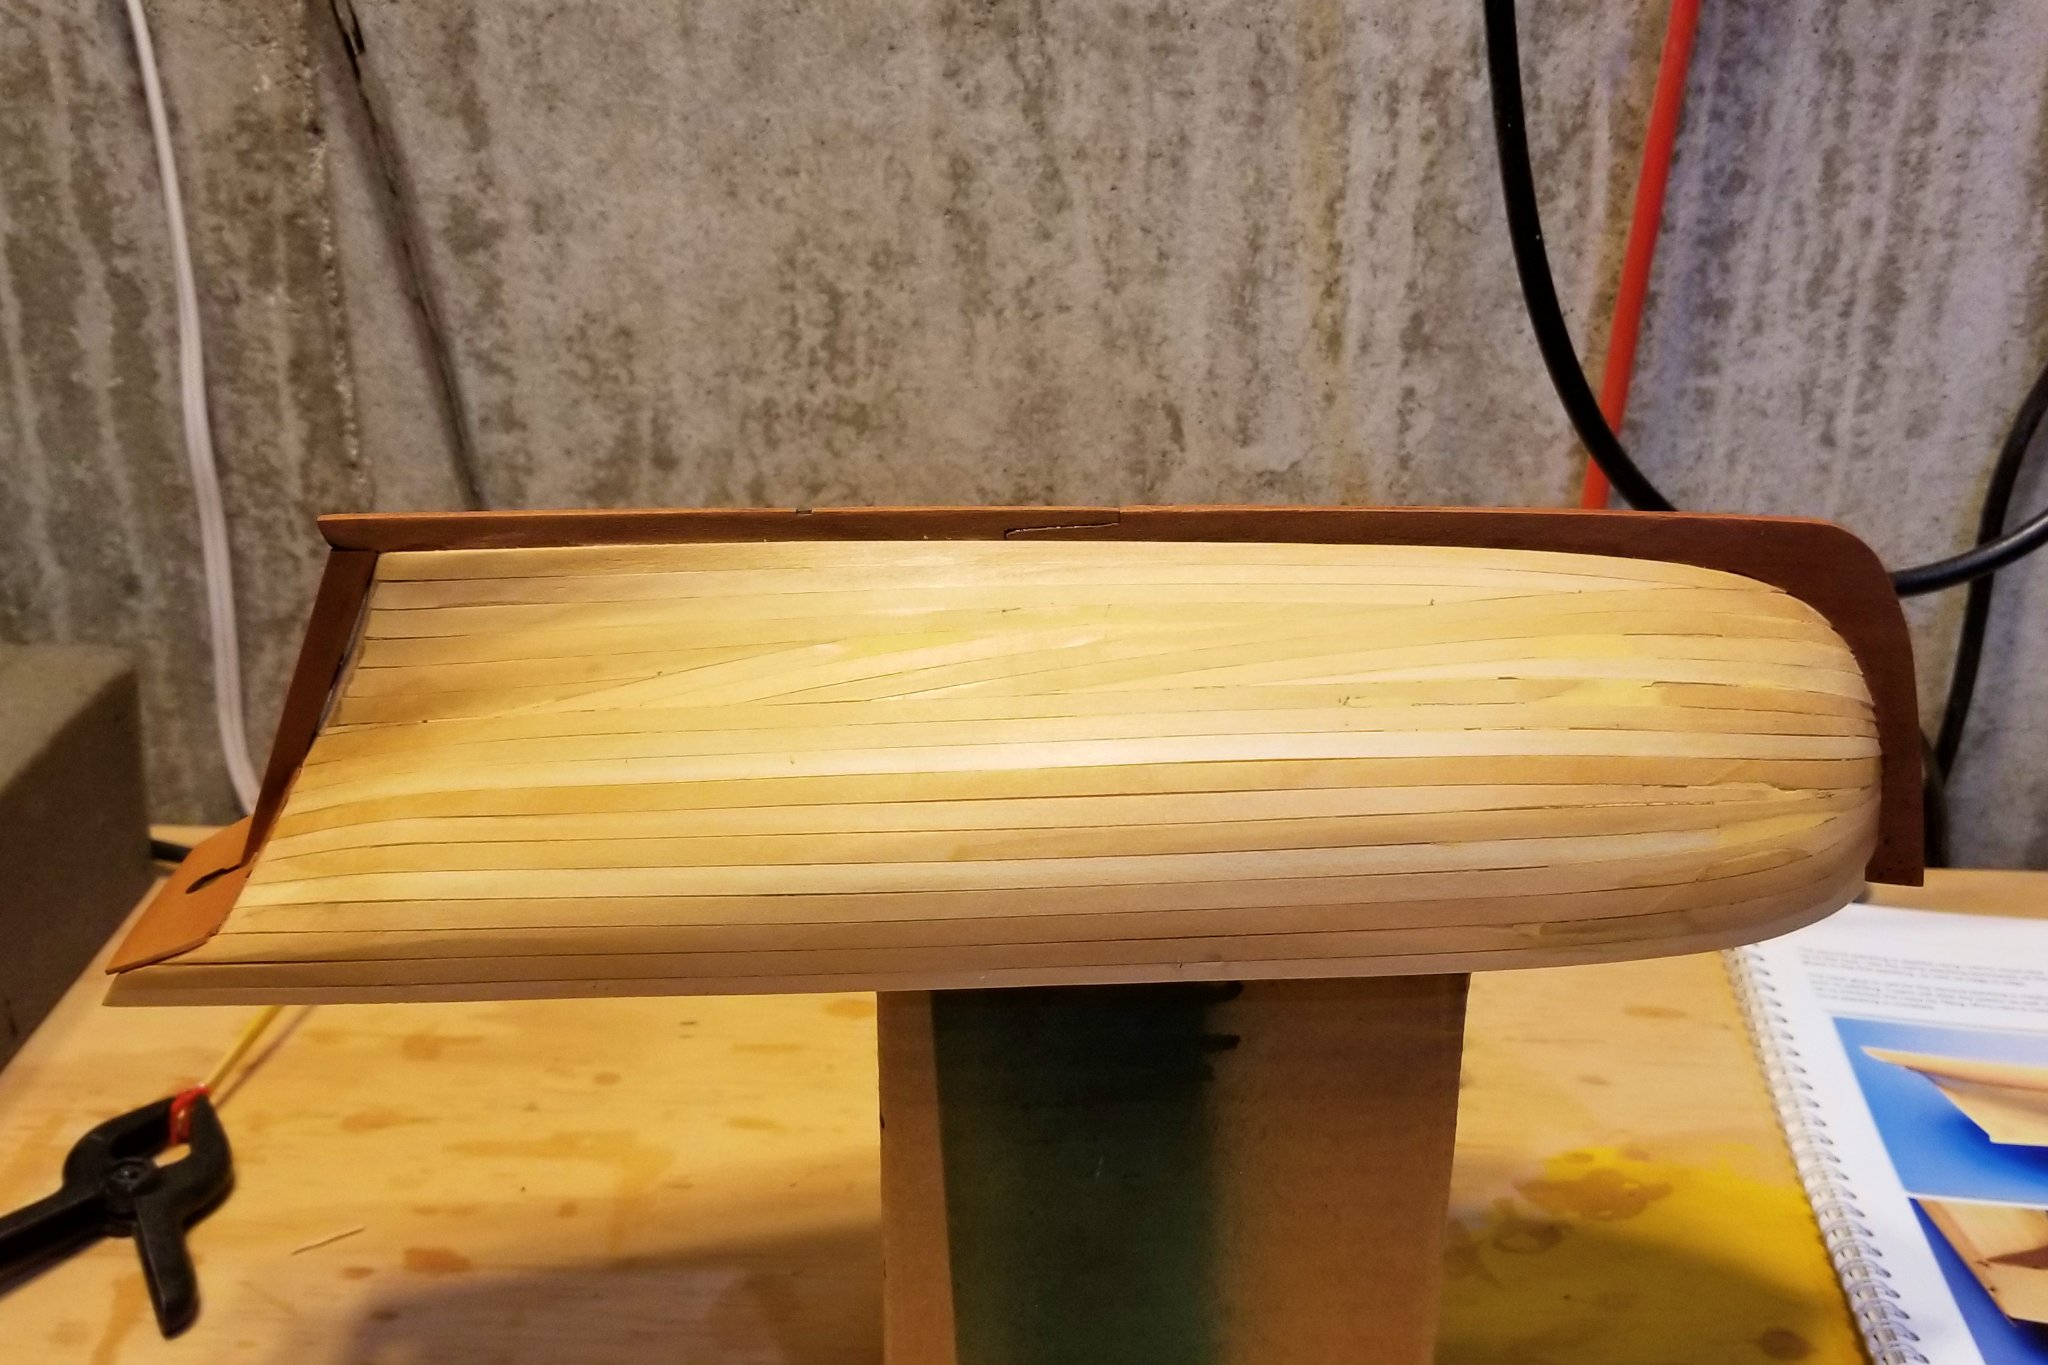
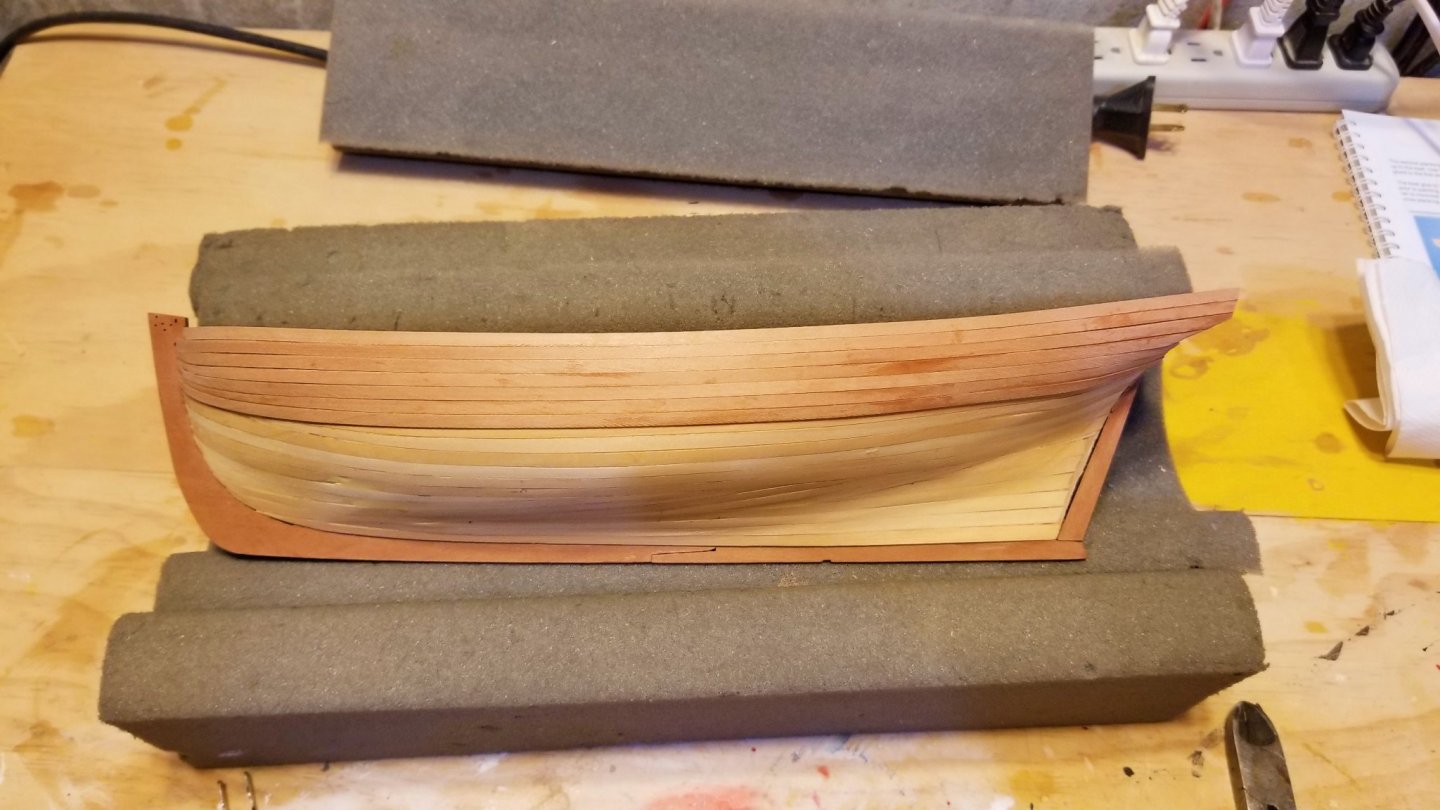
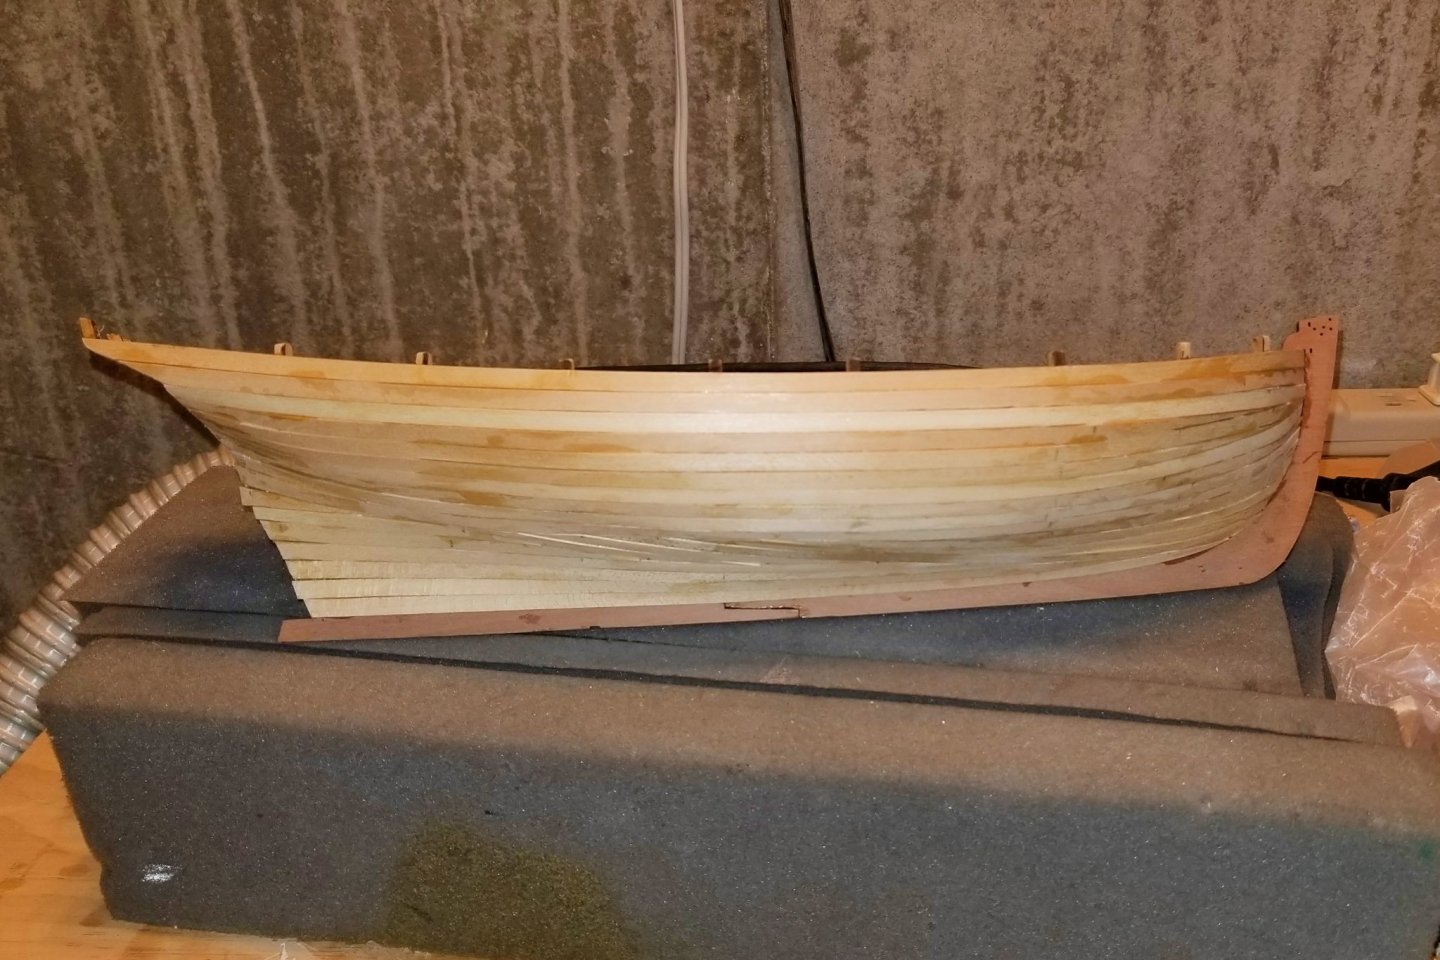
Except for the top rail, first planking is done. I experience hull planking as an existential art form. You never quite know what pattern you're going to end up with. This one reflects my continued use of side-bending (with the help of my steamer) until I finally threw in the towel and let the planks run. The result is the most interesting planking pattern I've ended up with to date. Regards, David
-
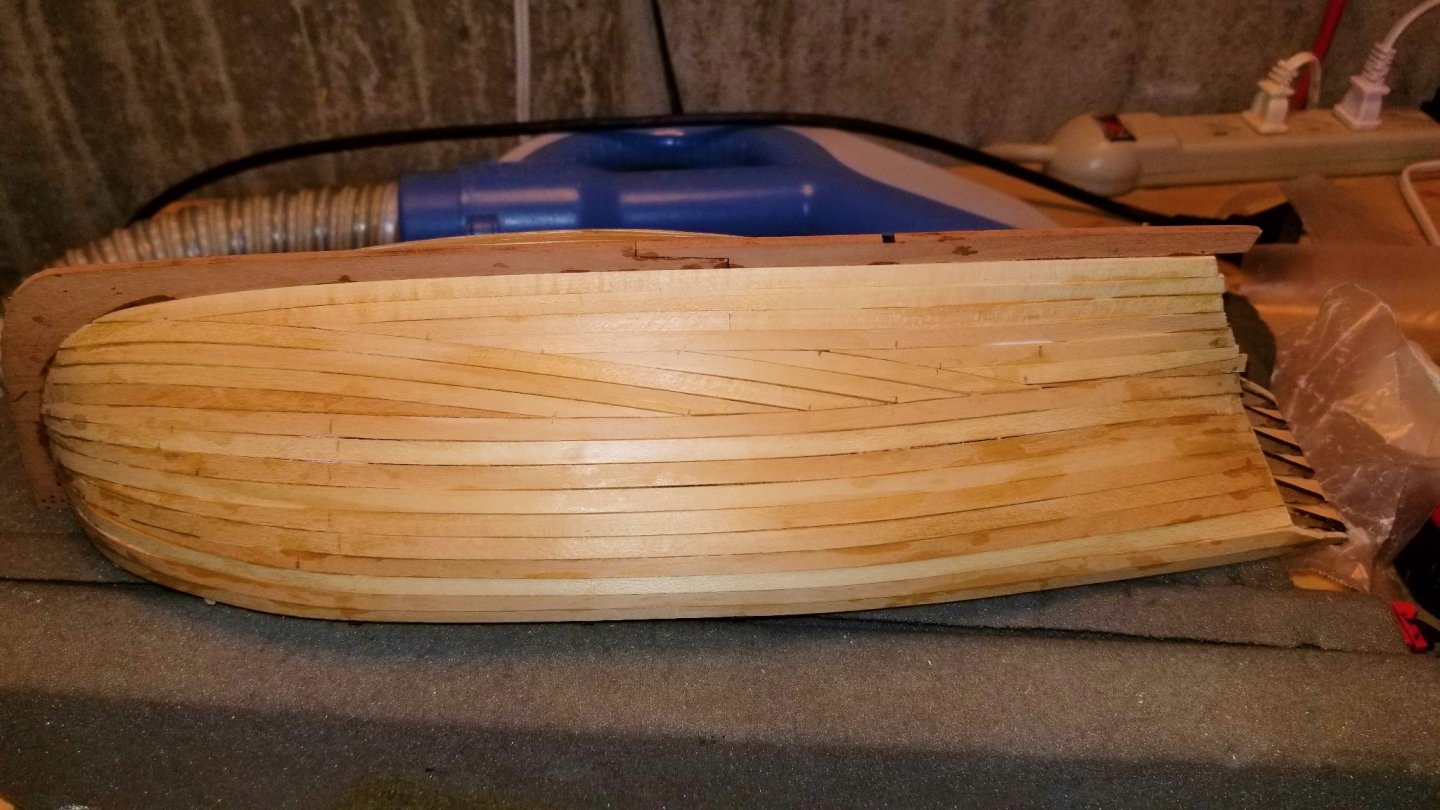
First planking underway. Regards, David
-
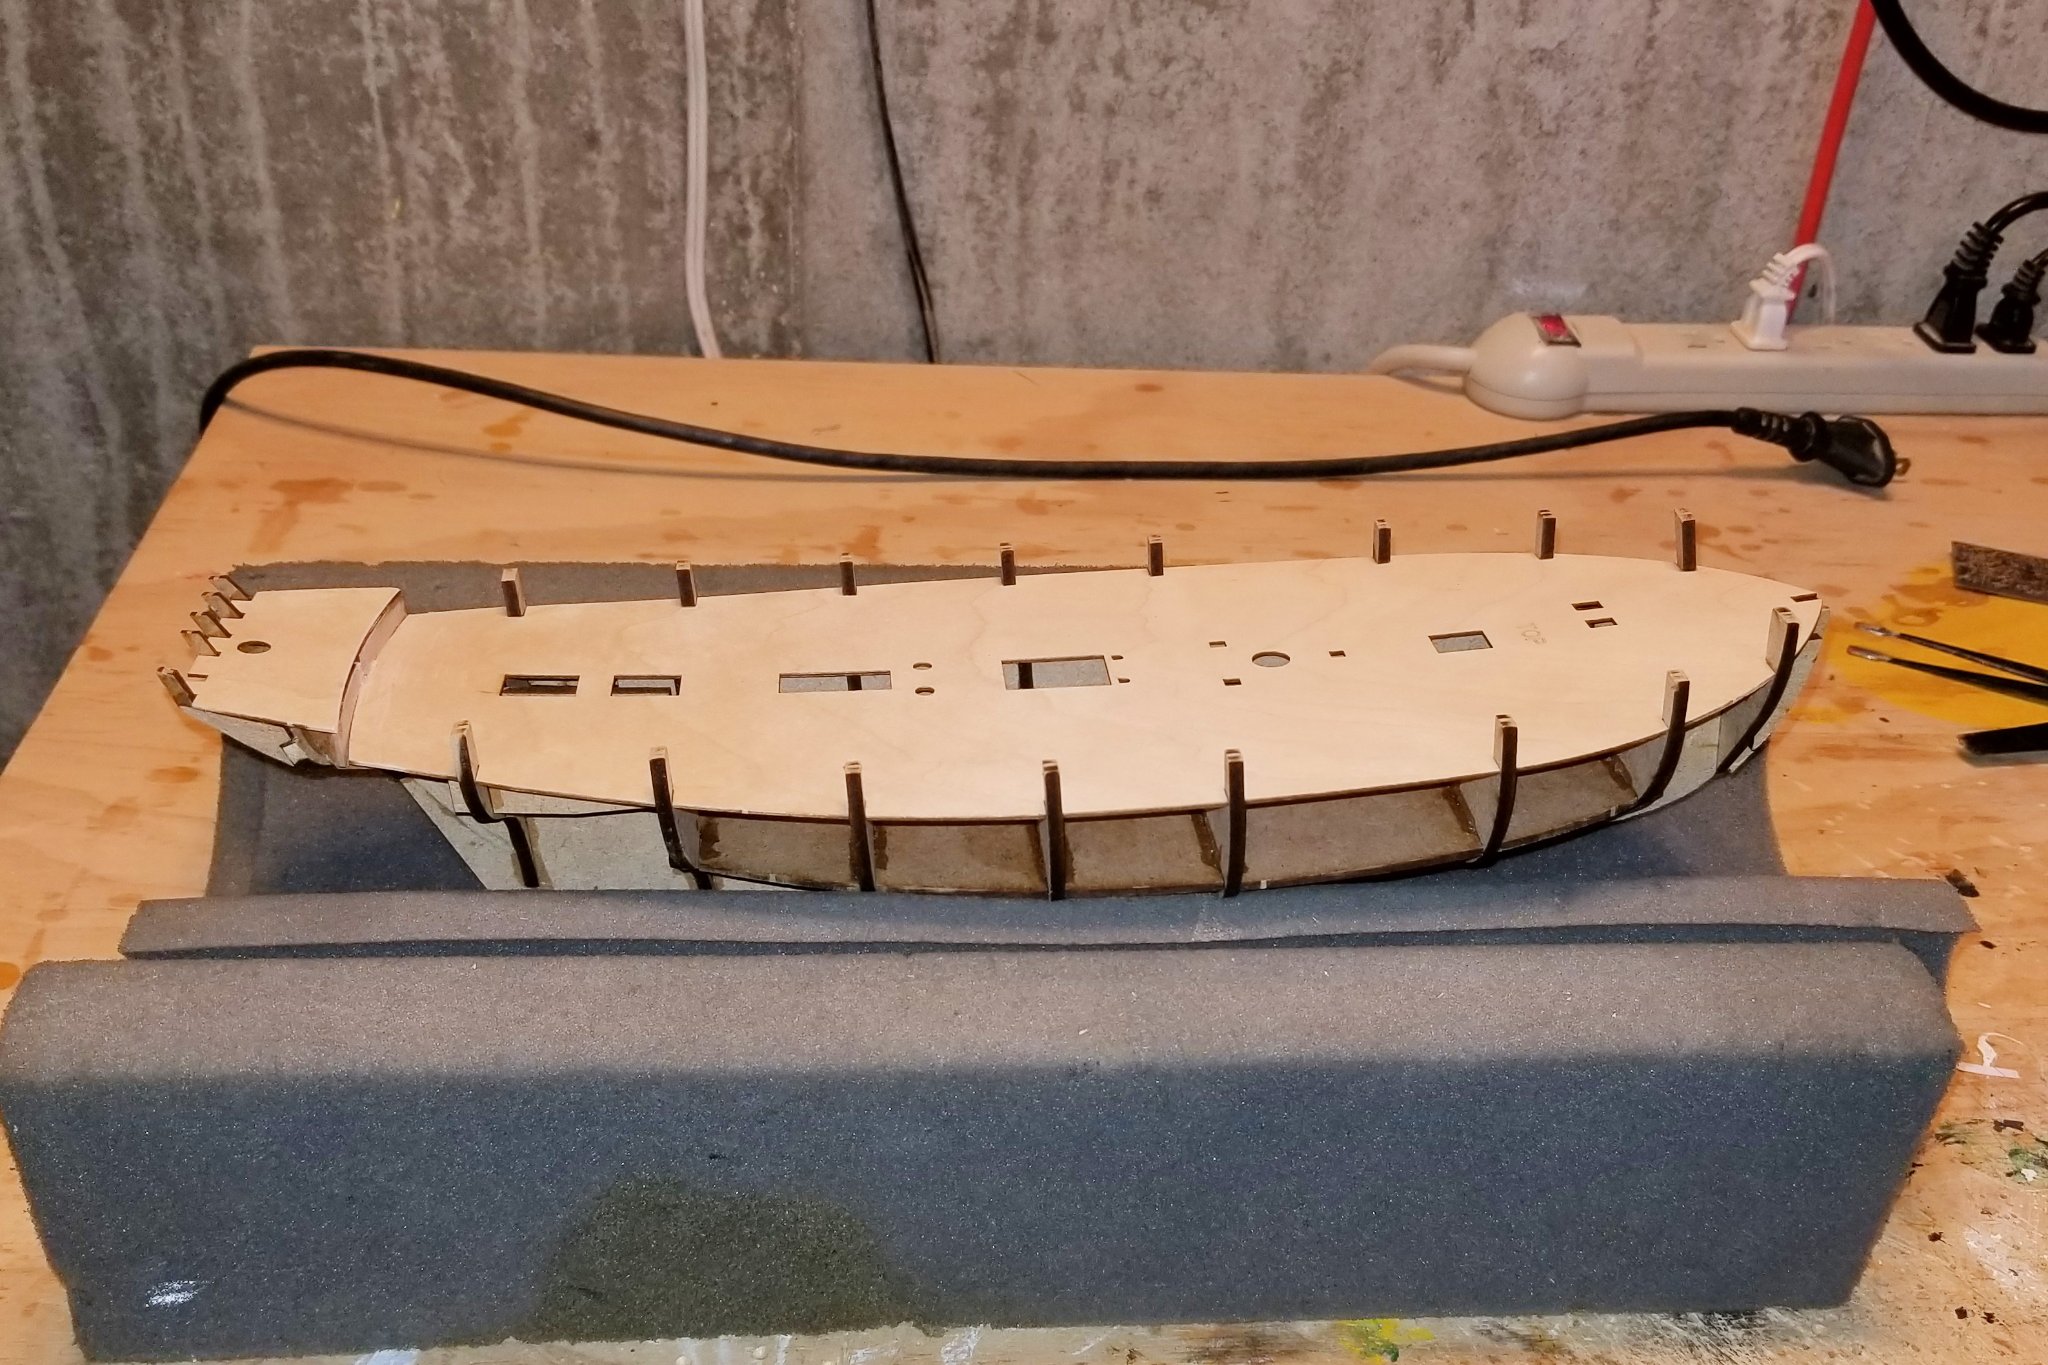
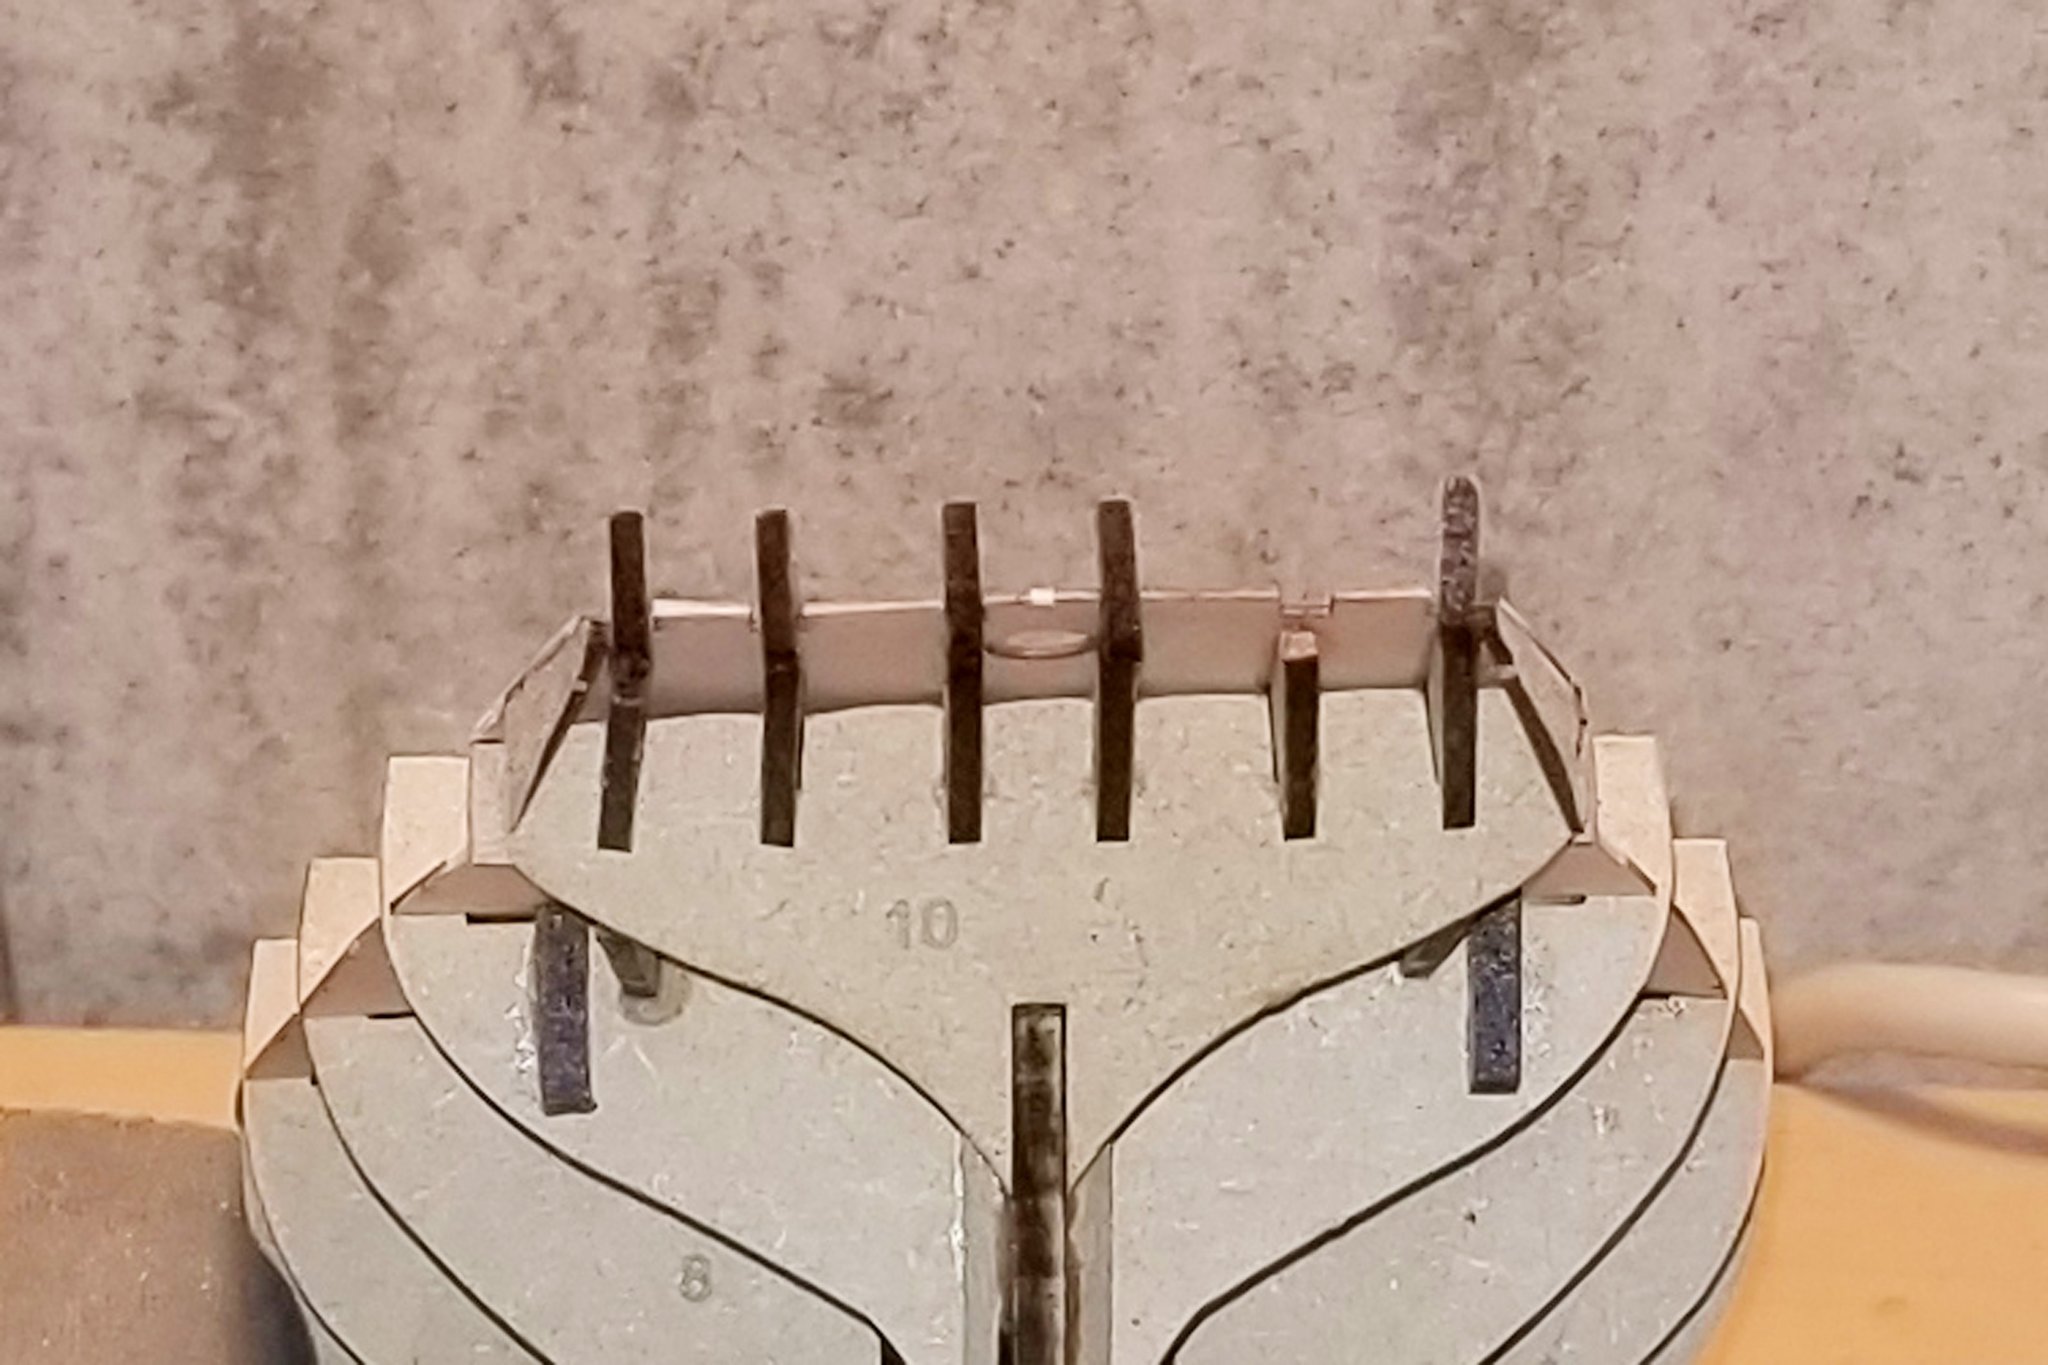
The upper deck is now mounted. One issue I had is that the rear flanges are very fragile, and before I mounted the deck I set the boat down on its stern and they all snapped off. So I glued them back on, paying attention to the angle, and then glued on the rear deck. One is missing, because I couldn't find it after it snapped off, but I've looked ahead and it won't matter to the build. So that's something to be careful of when building this model. Regards, David