-
Posts
304 -
Joined
-
Last visited
Content Type
Profiles
Forums
Gallery
Events
Everything posted by Schrader
-
- 158 replies
-
- byblos ship
- Egyptian
-
(and 1 more)
Tagged with:
-
Steven your level has served to me as inspiration and motivation to try to take my models to the next level congratulations!!!! and now what is next? GOOD JOB!!!
-
- 158 replies
-
- byblos ship
- Egyptian
-
(and 1 more)
Tagged with:
-
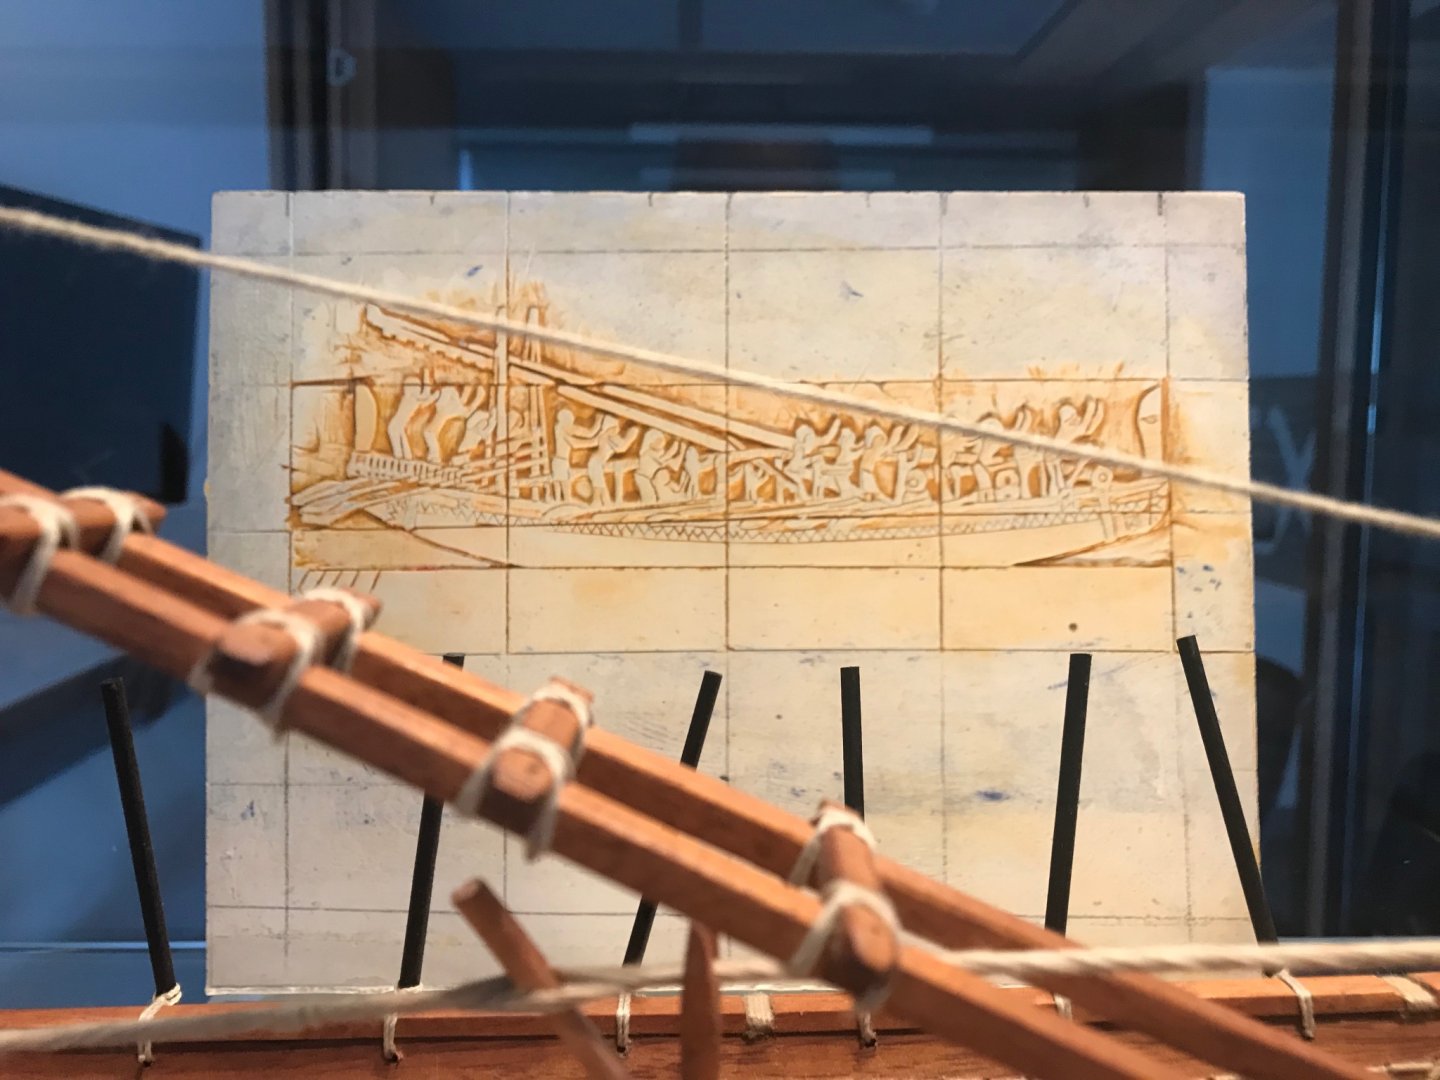
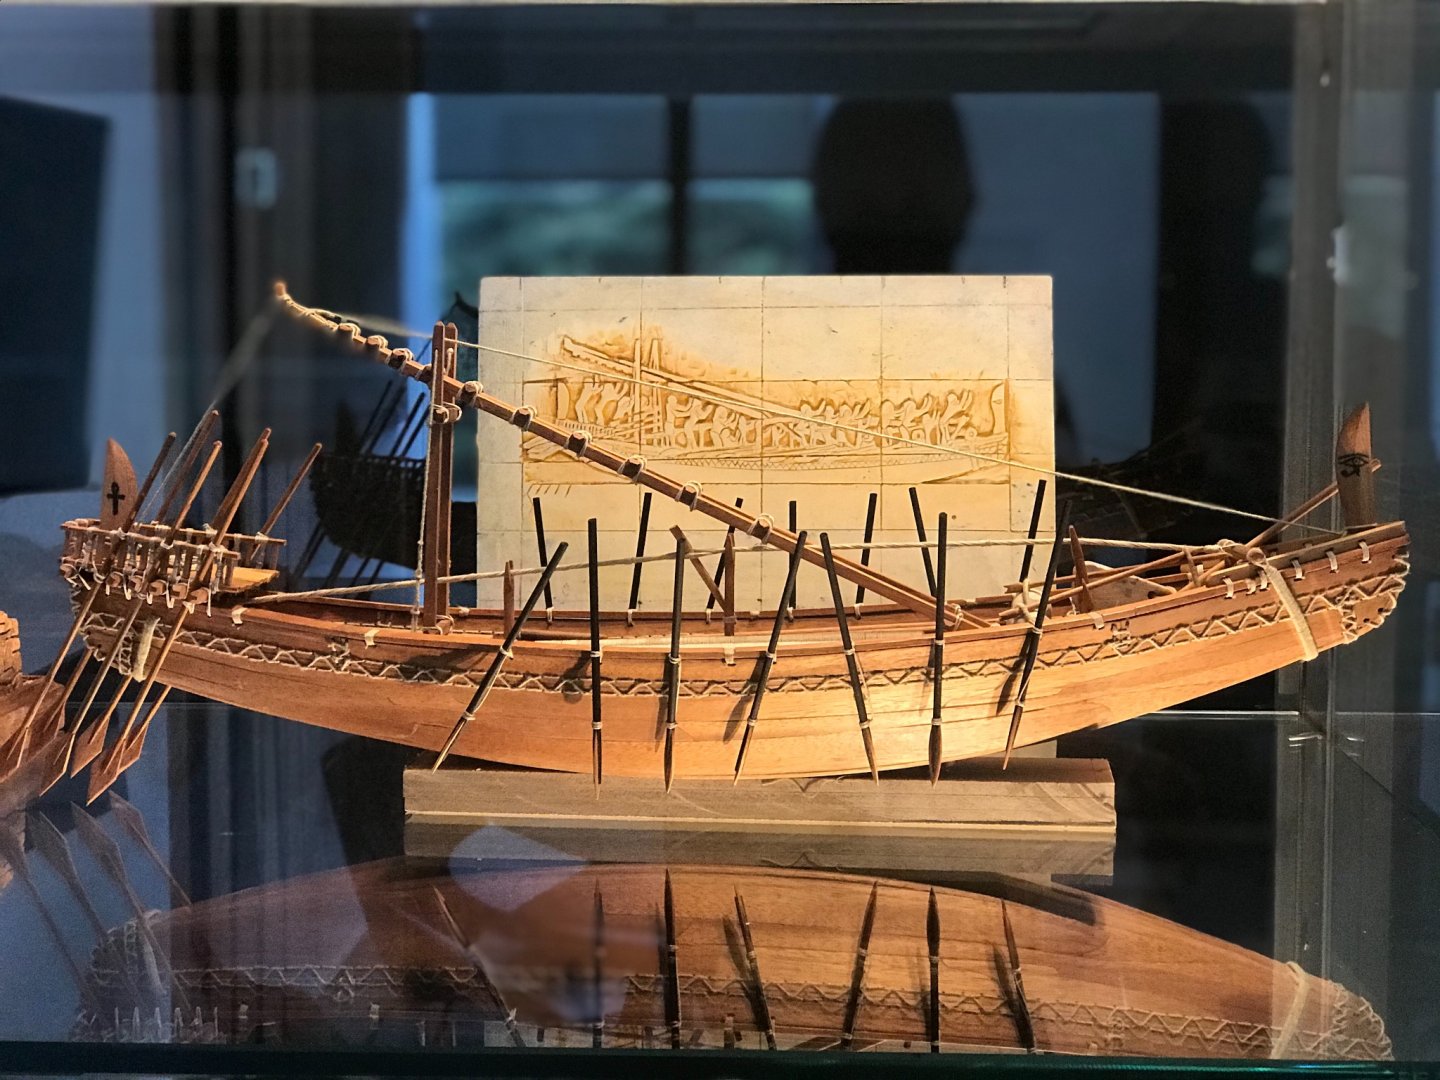
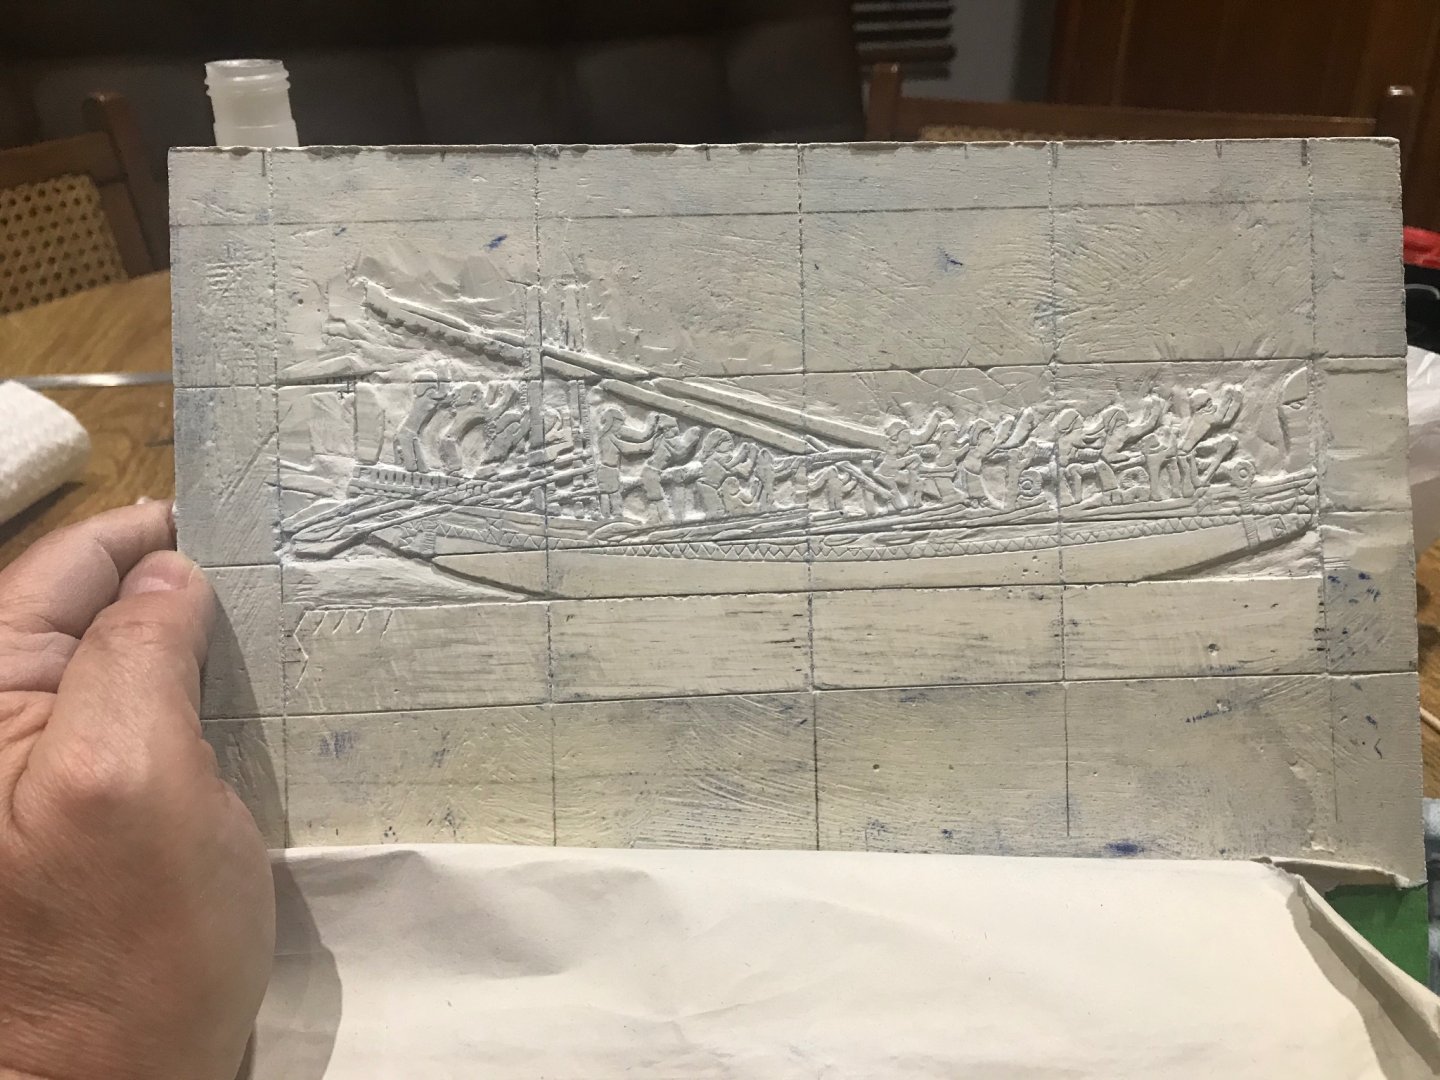
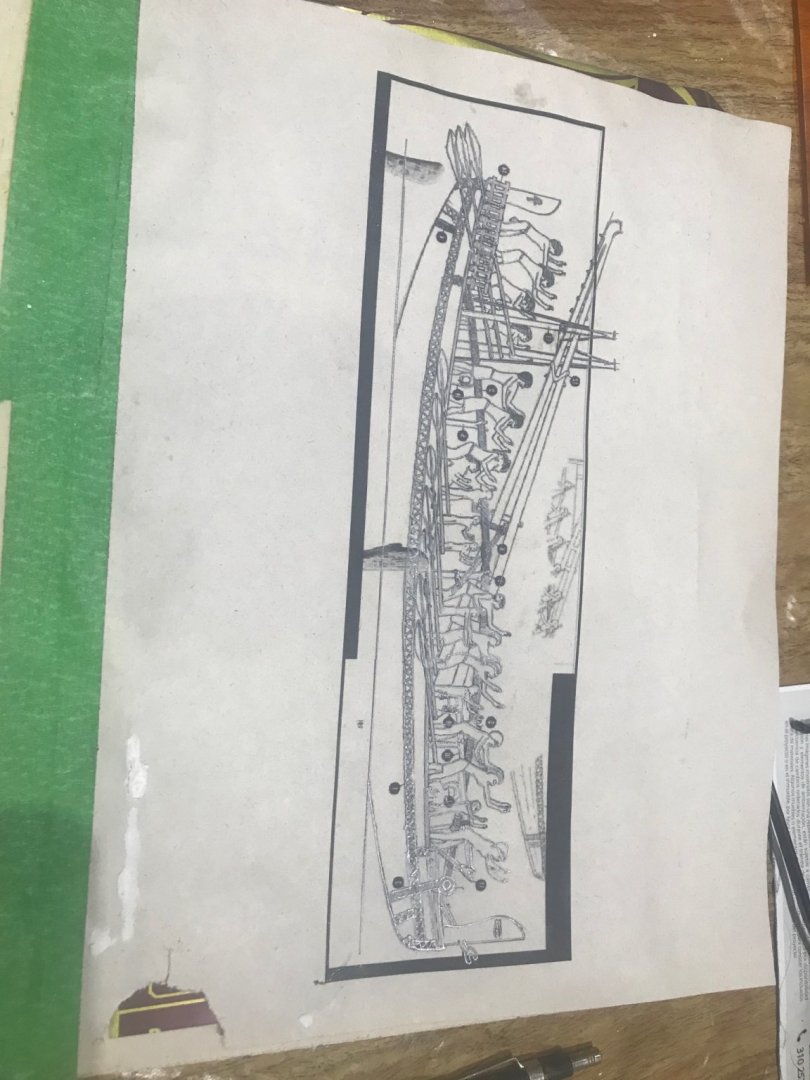
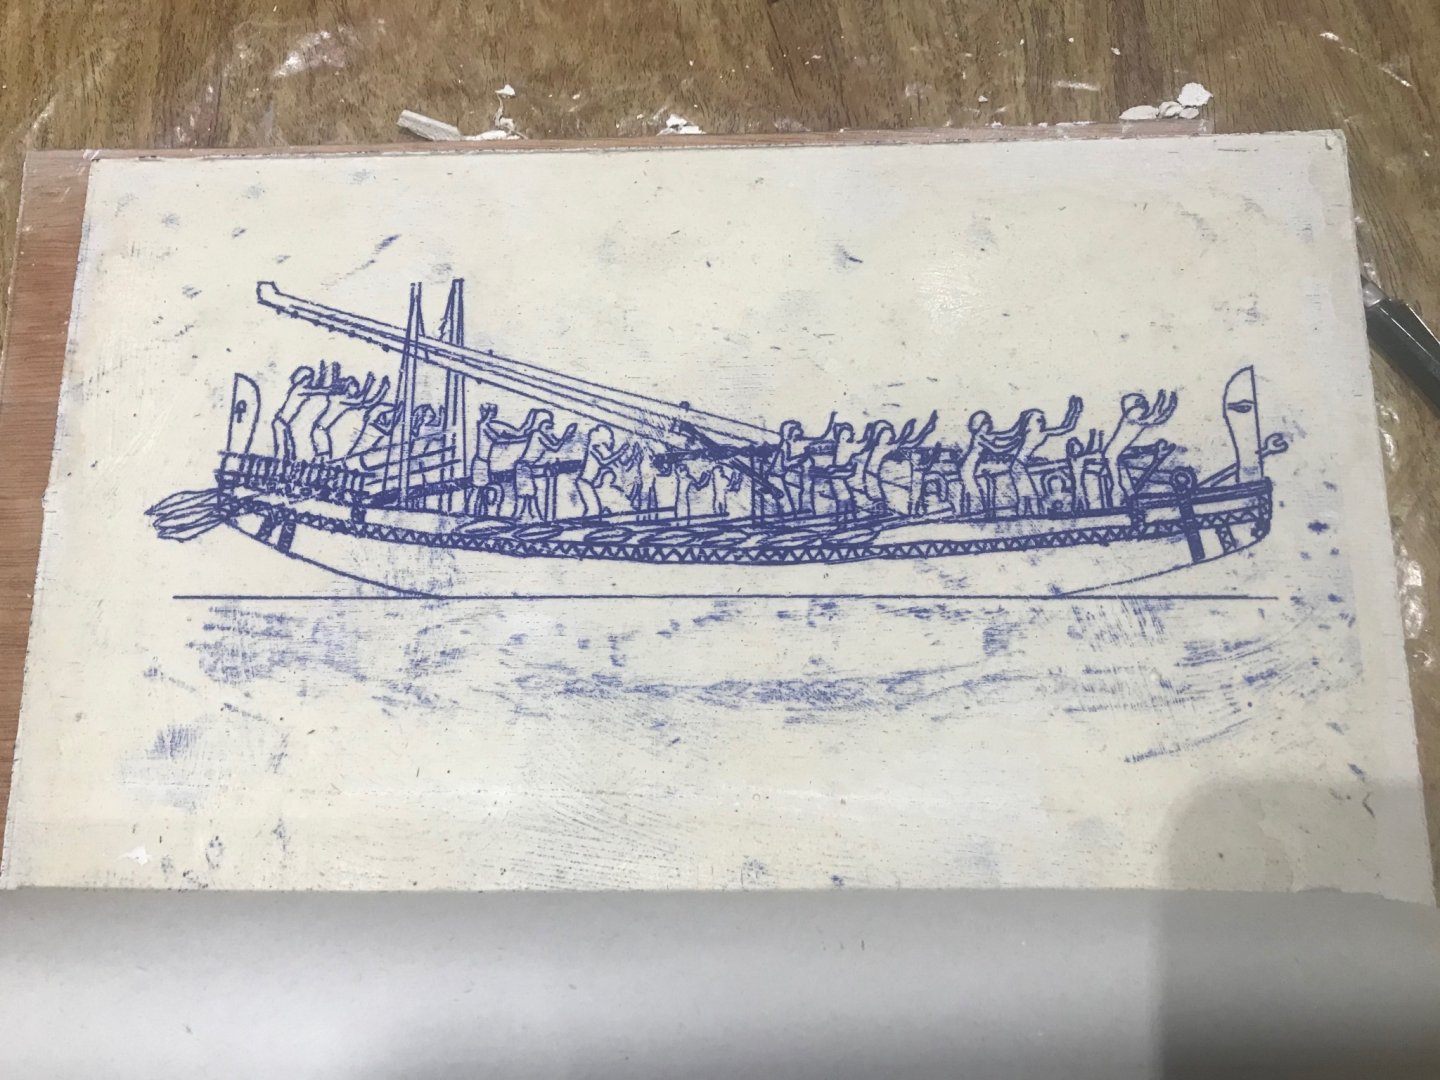
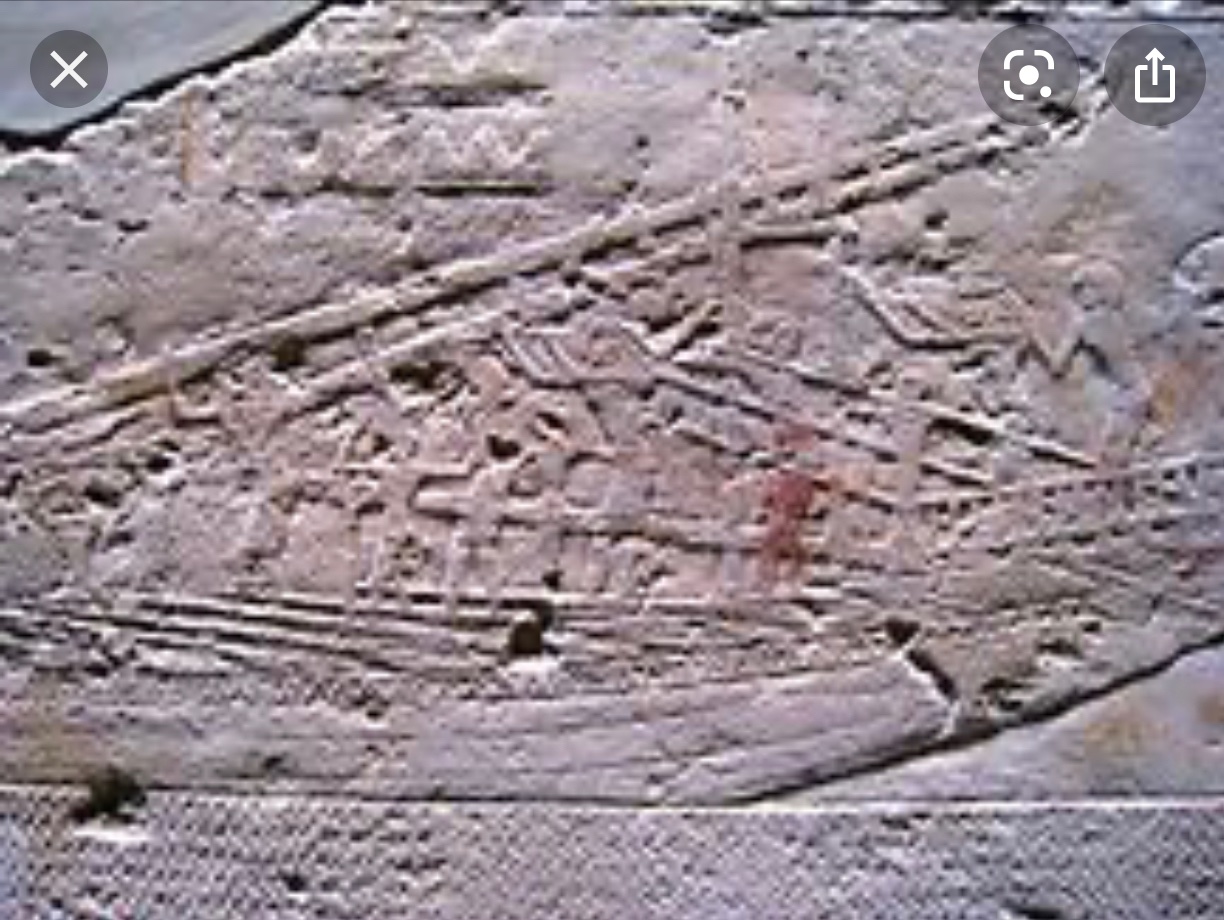
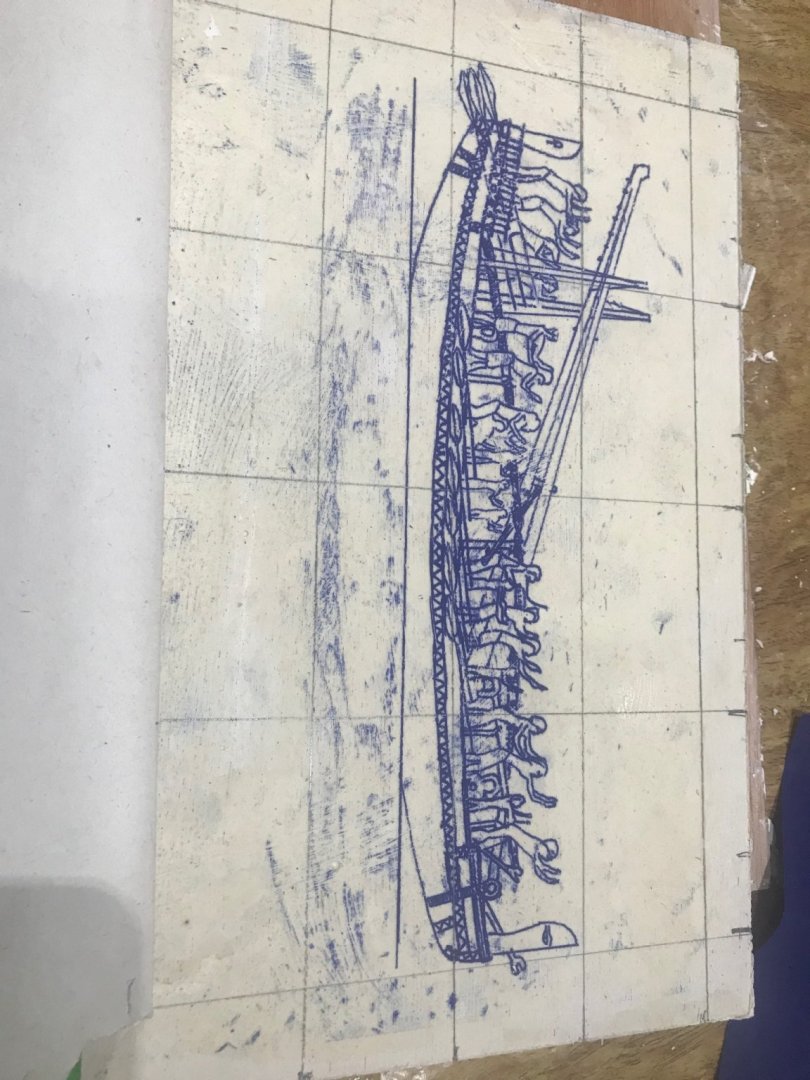
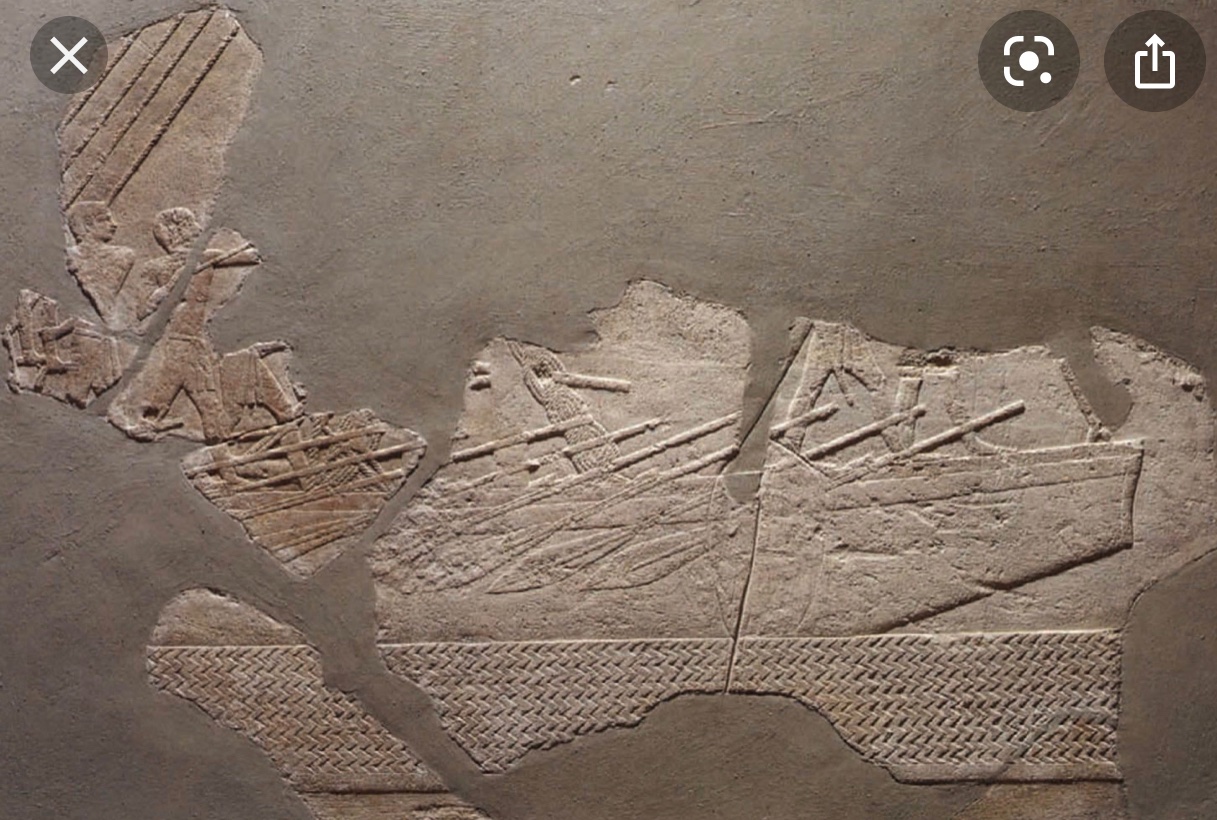
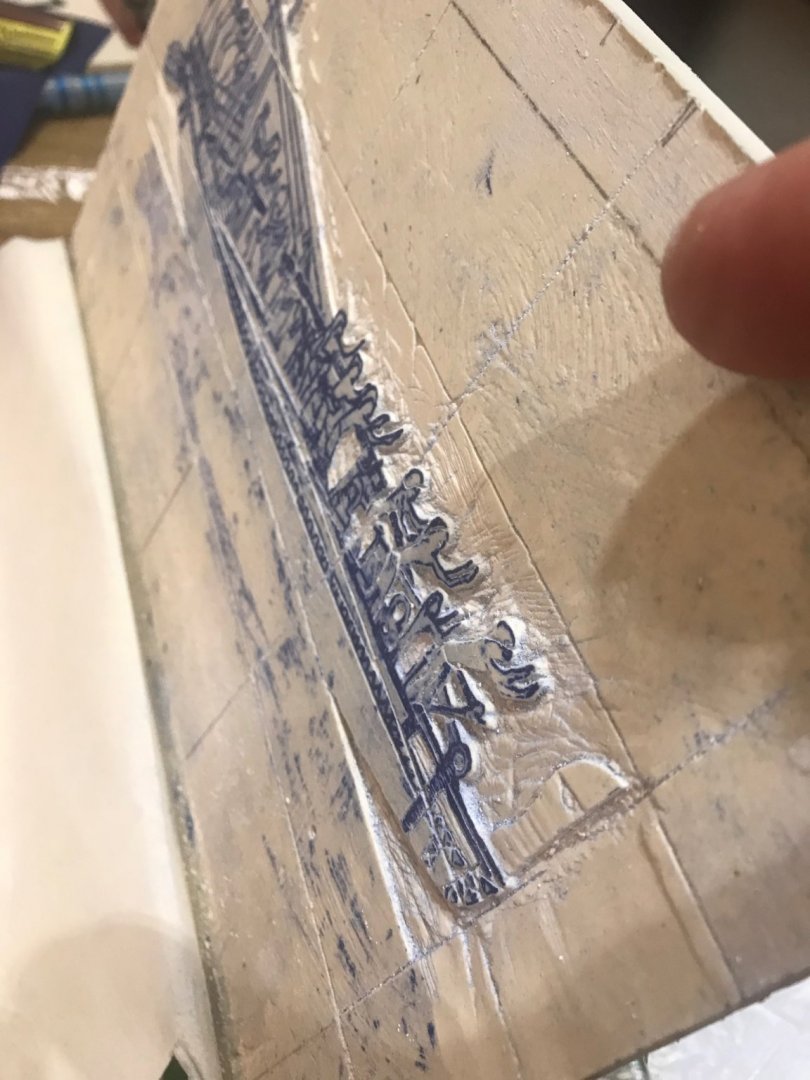
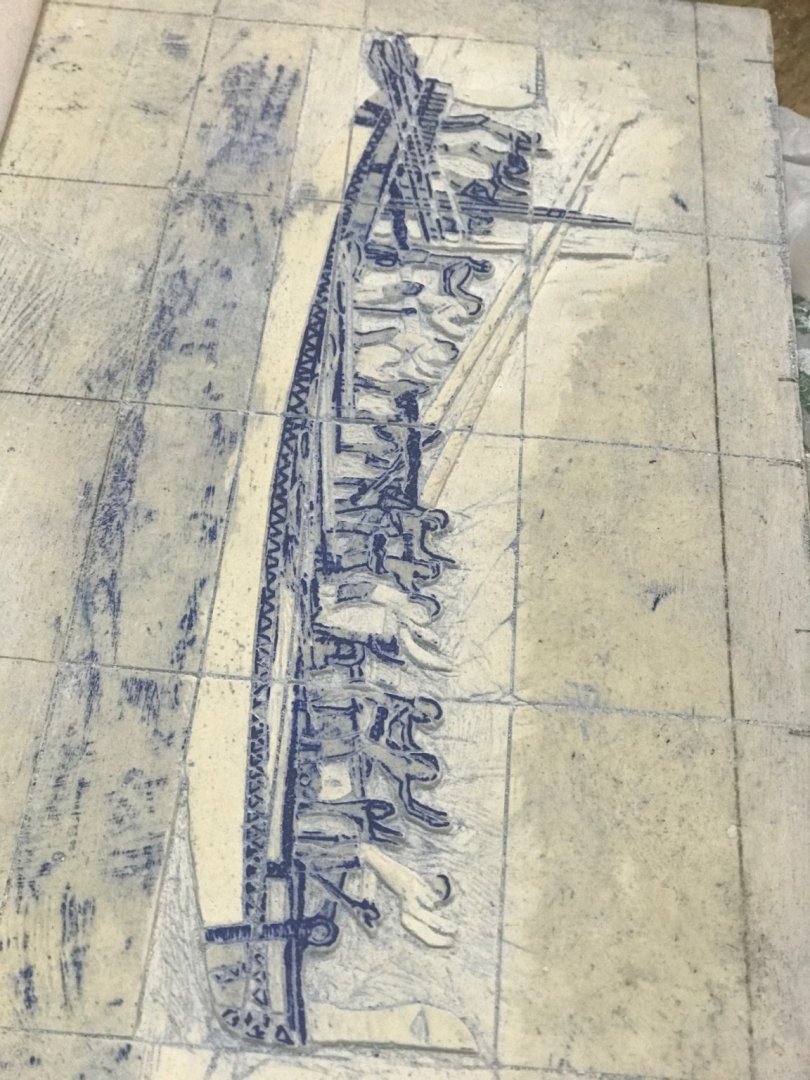
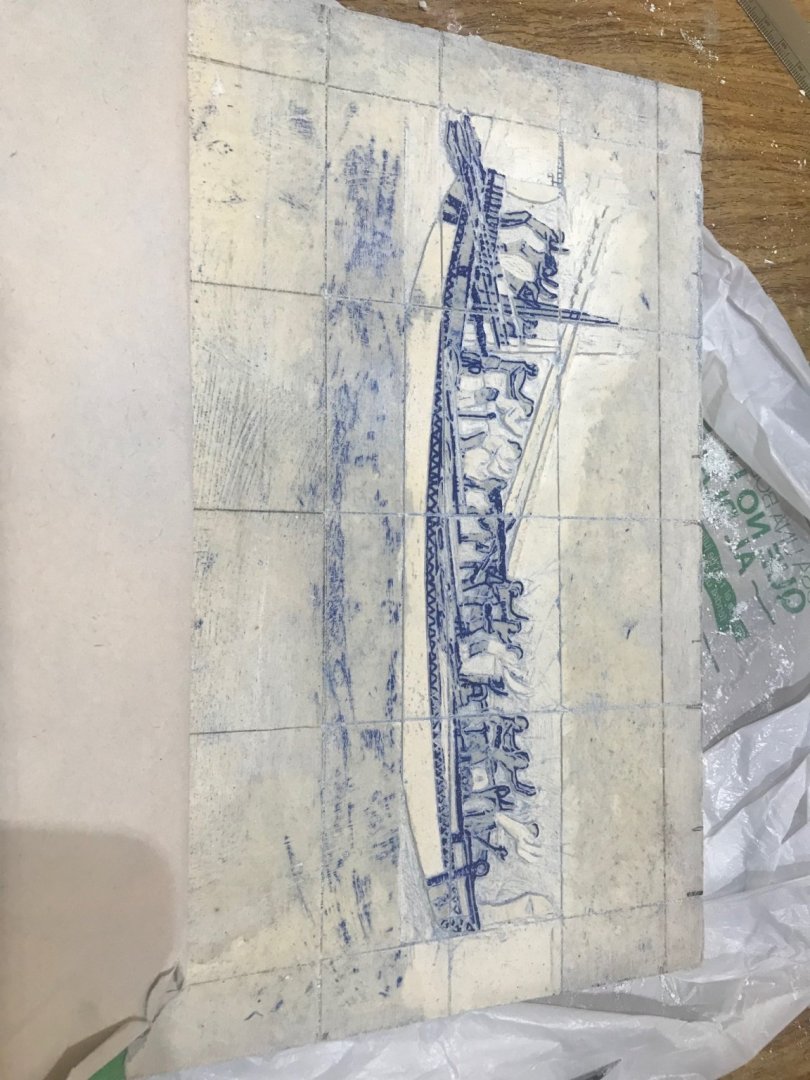
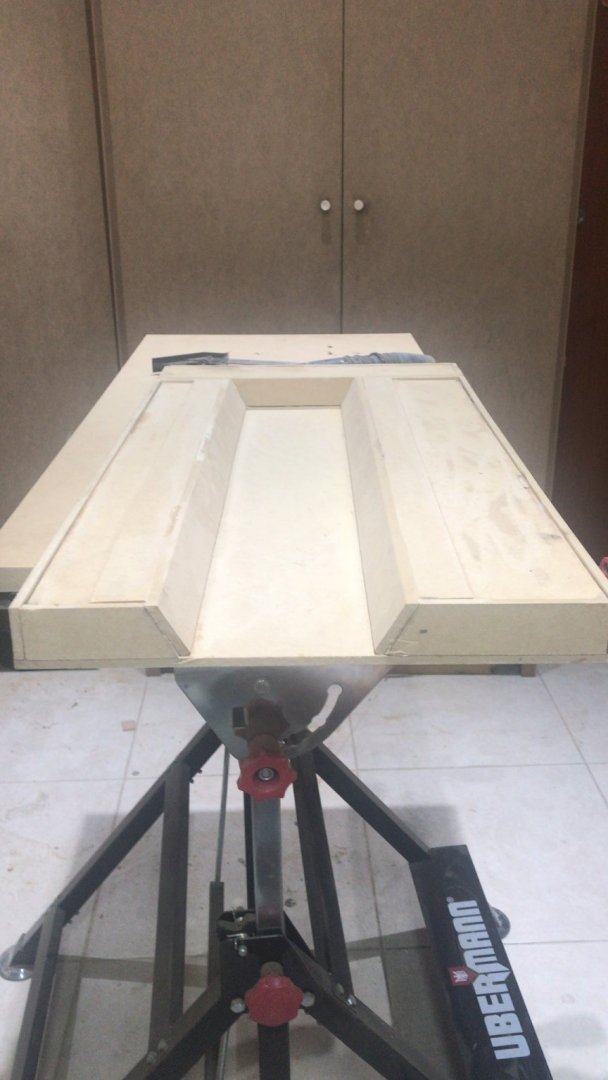
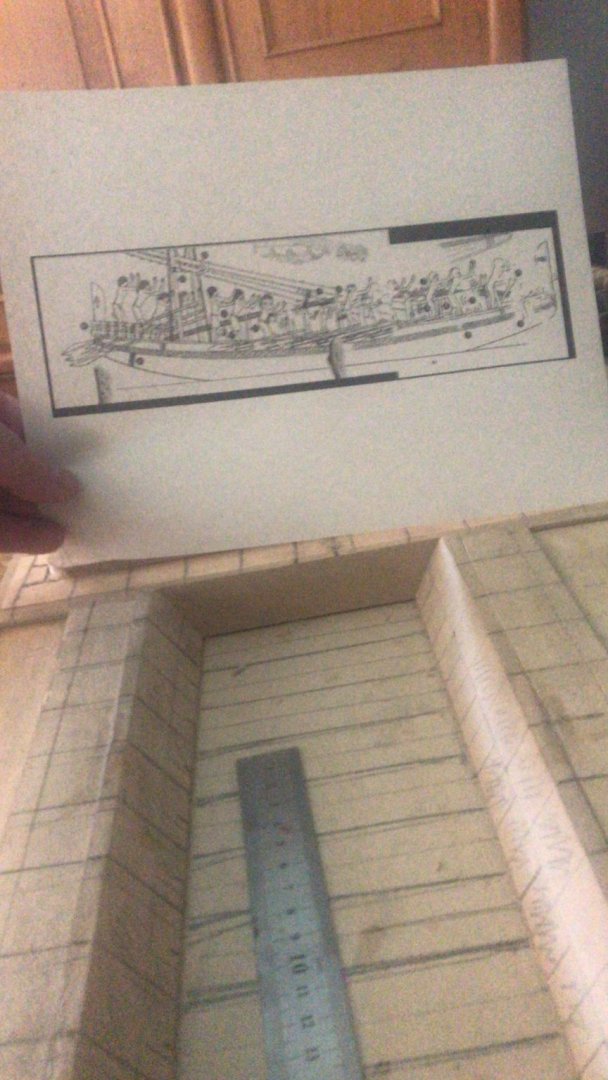
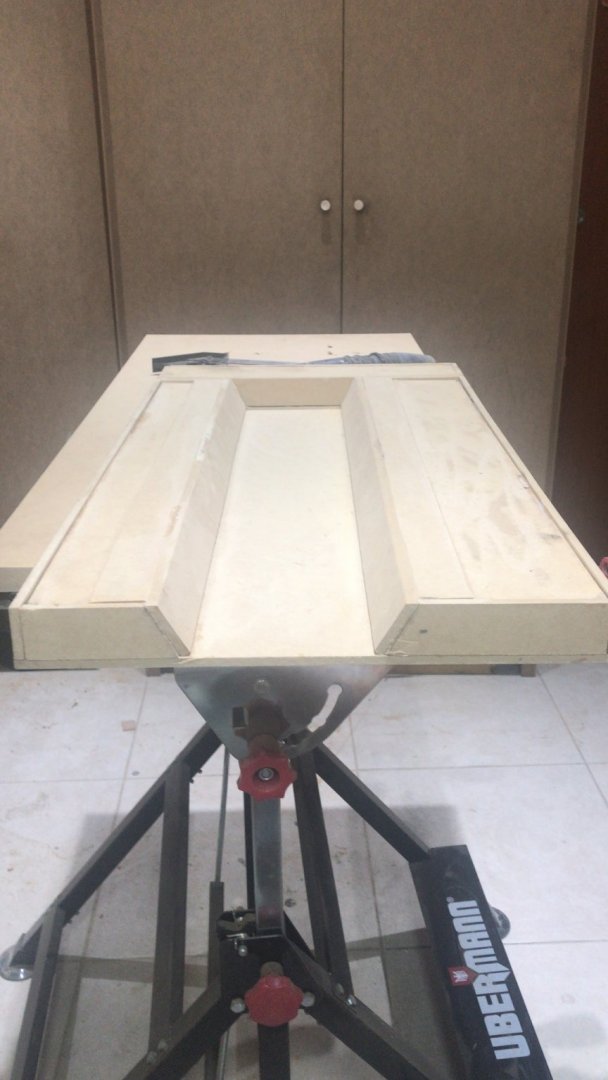
Hello all...... I already brought the diorama Base...... The idea is to build a dry dock “simulation...... and in the back side I’ll build a “wall” simulating the Sahure King tomb (. Let’s remember that the “Byblos ship pictures were found in his tomb)..... Well...... I went to the “odonthology” method.... and using the PLASTER CASTING material I created the “wall”..... but first I took the drawing from Landstrom book, imported to Autocad and created a full picture with 25 cm long.... Then I put it over the “wall” and with carbon paper I reproduced the image over it..... Created the “stones”..... And started to carving all these “details”..... It is going to be a long way before it is finished....
- 158 replies
-
- byblos ship
- Egyptian
-
(and 1 more)
Tagged with:
-
Thanks a lot to you all. Your comments an your likes always motivate me to start and most important “to finish”. I’ve seen a lot of unfinished projects in different scenarios, which is really sad. with all this positive comments you all make me blush. Next I have several alternatives but looking for 1. finally to have “my viking” where with the help of this forum, there are enough research and documentation. 2. a Quanzhou Ship. Which is a first century Chinese Junk. Where there is not that much information (pretty less that the Egyptian one) BUT FIRST.... finishing the “diorama” where the idea is not to build a very complex one but a real Egyptian surroundings. again. Thanks a lot!!
- 158 replies
-
- byblos ship
- Egyptian
-
(and 1 more)
Tagged with:
-
- 158 replies
-
- byblos ship
- Egyptian
-
(and 1 more)
Tagged with:
-
This happens a lot when yo build a “ real” thing. You realize that plans and theories not always can be executed GOOD WORK LOUIE!!!! 👍
-
You are right Louie. After looking the stone composition and definitions it is the same stone
- 158 replies
-
- byblos ship
- Egyptian
-
(and 1 more)
Tagged with:
-
Not at all. It was my fault. I should explain that bet🙂ter
- 158 replies
-
- byblos ship
- Egyptian
-
(and 1 more)
Tagged with:
-
I’m here to see this log. I really want to see how this is going
- 179 replies
-
- longship
- Helga Holm
-
(and 1 more)
Tagged with:
-
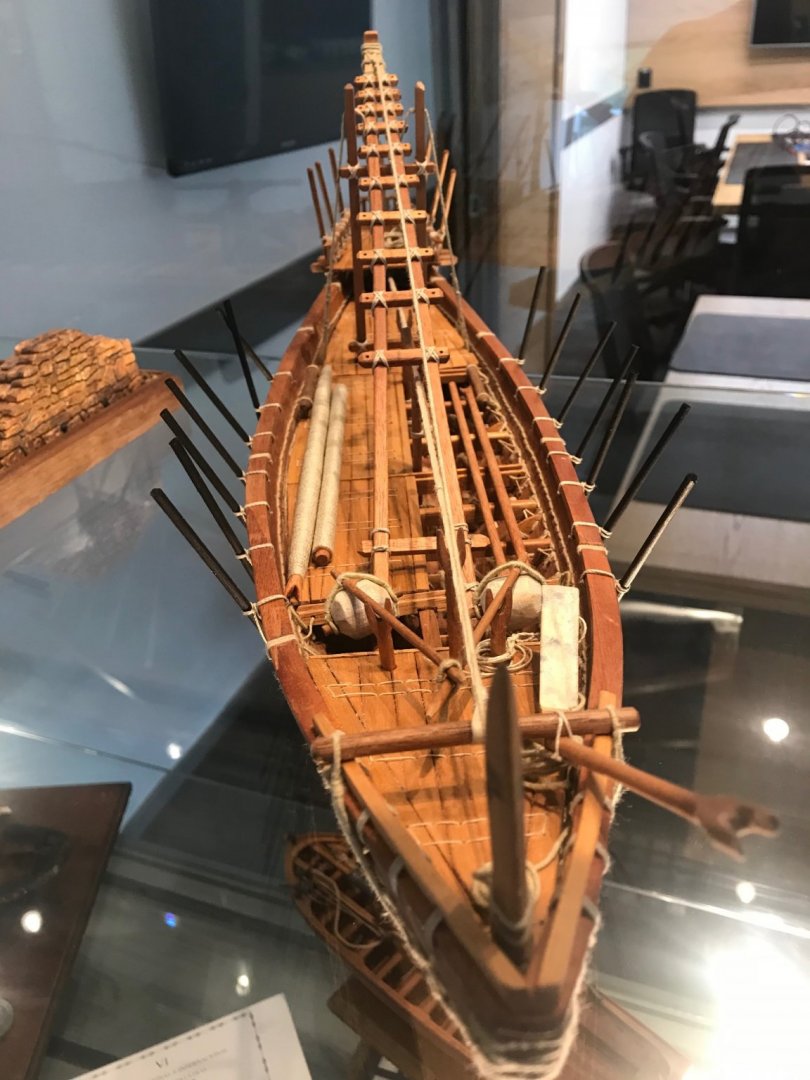
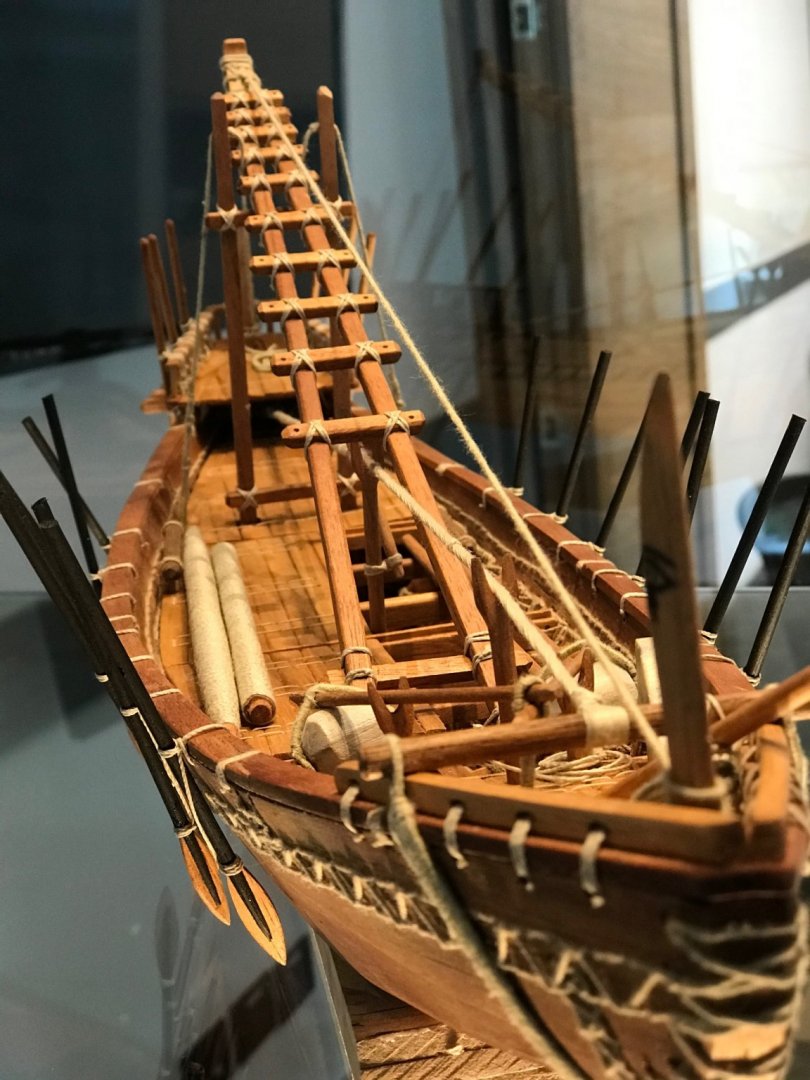
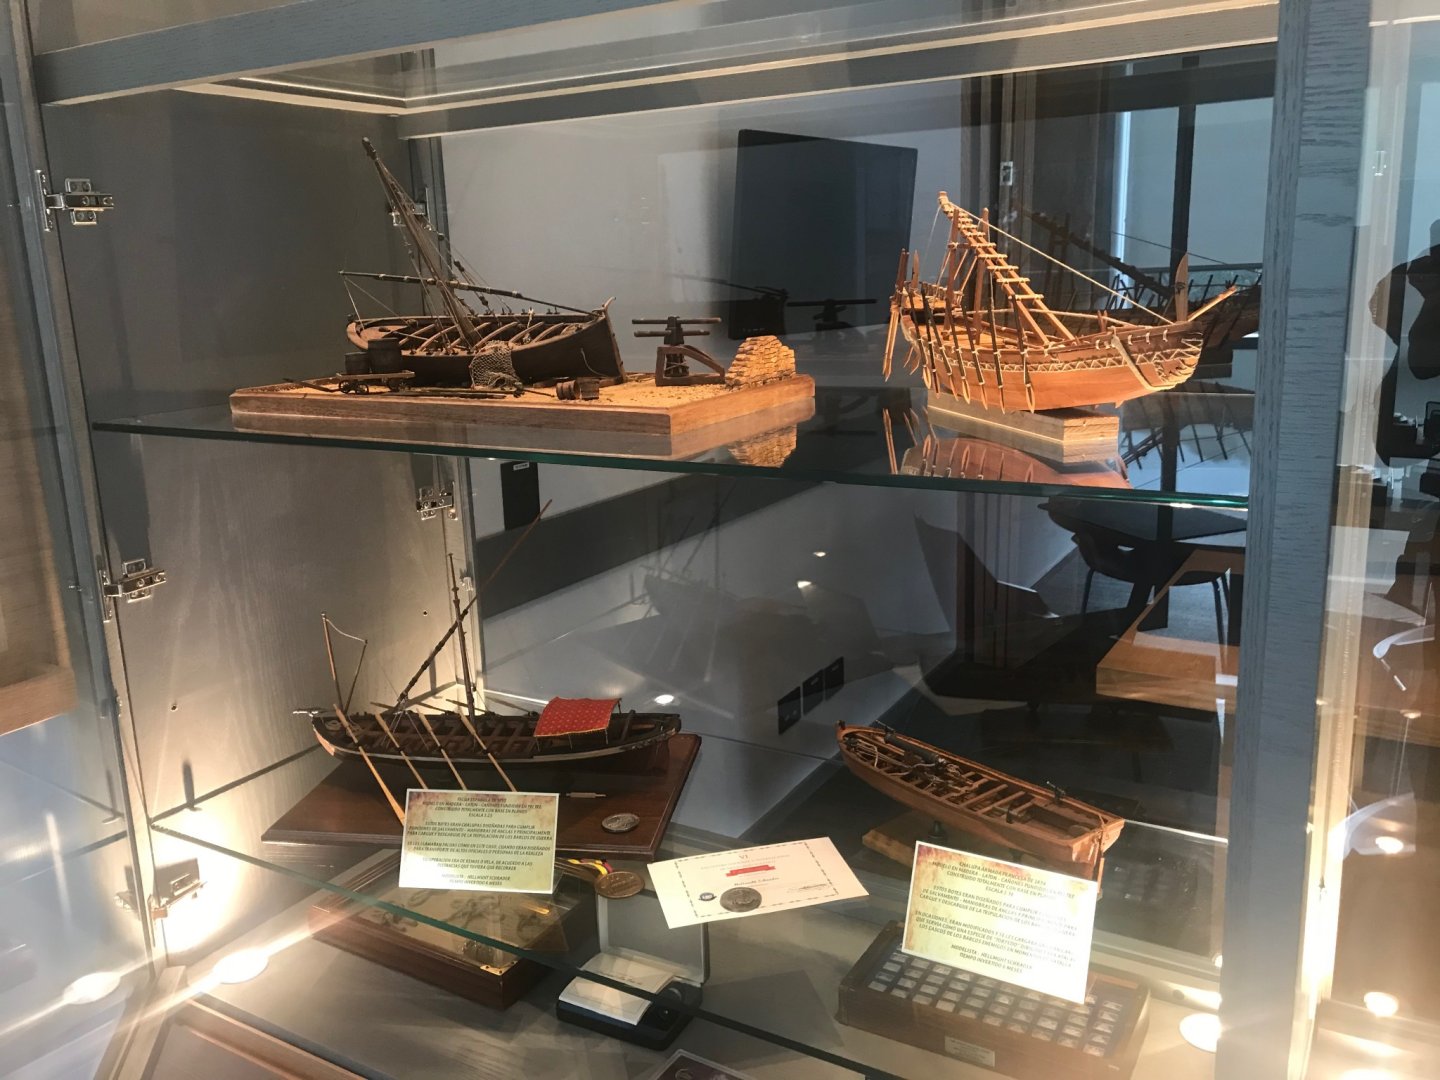
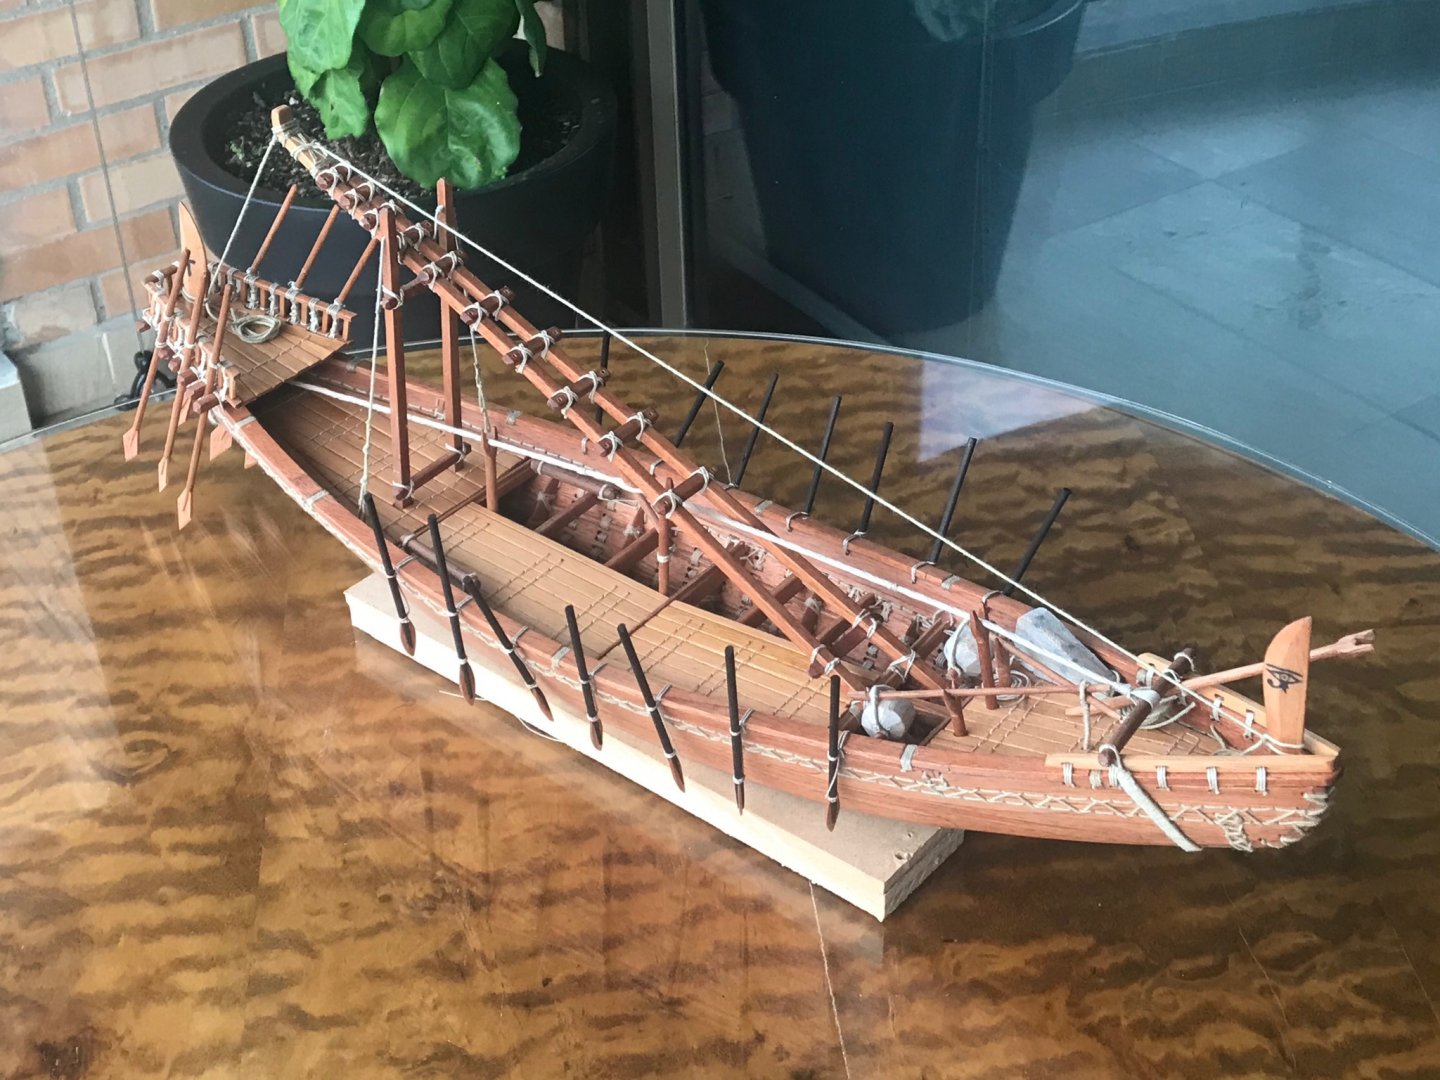
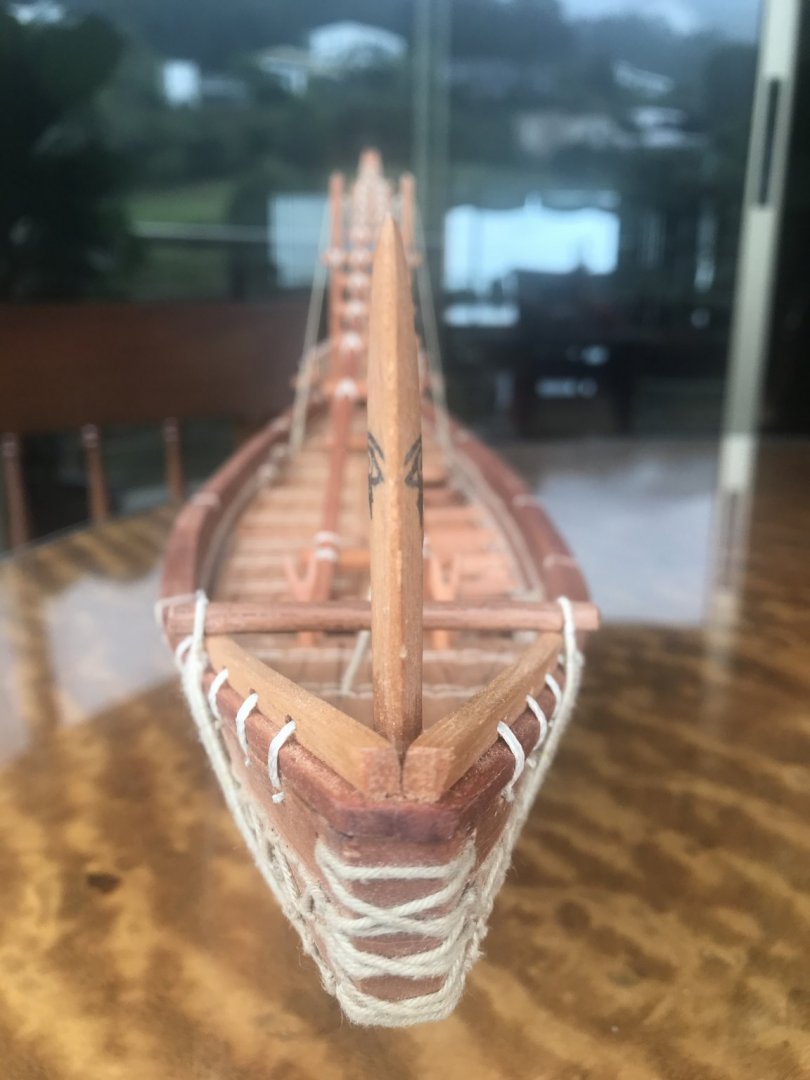
I already ”made” a false stop in my showcase...... Still the yards to make...... and the ship is really finished. I started the diorama design already. This is going to be a new adventure!!!!! Thanks all for your support!!!
- 158 replies
-
- byblos ship
- Egyptian
-
(and 1 more)
Tagged with:
-
- 158 replies
-
- byblos ship
- Egyptian
-
(and 1 more)
Tagged with:
-
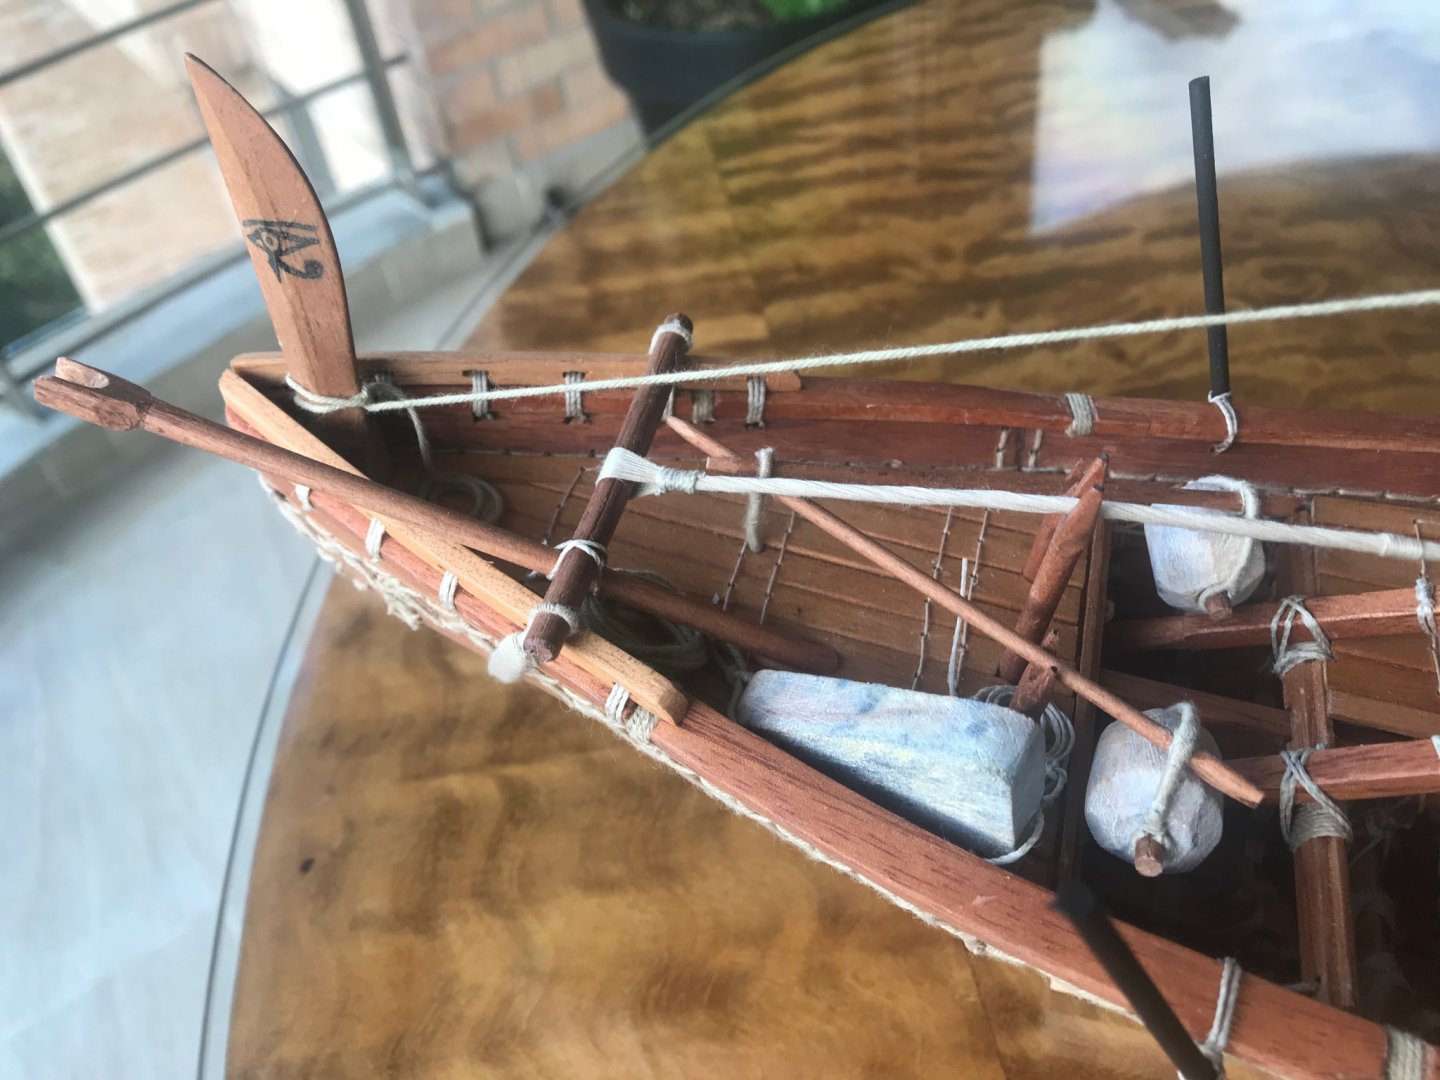
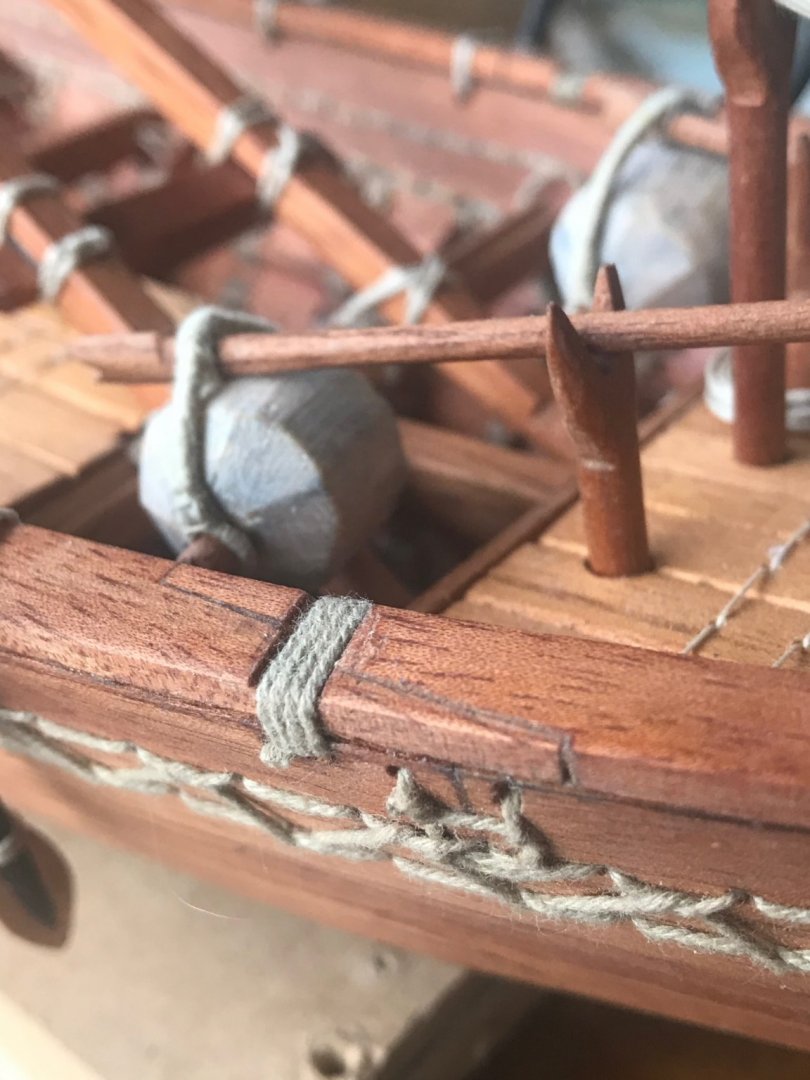
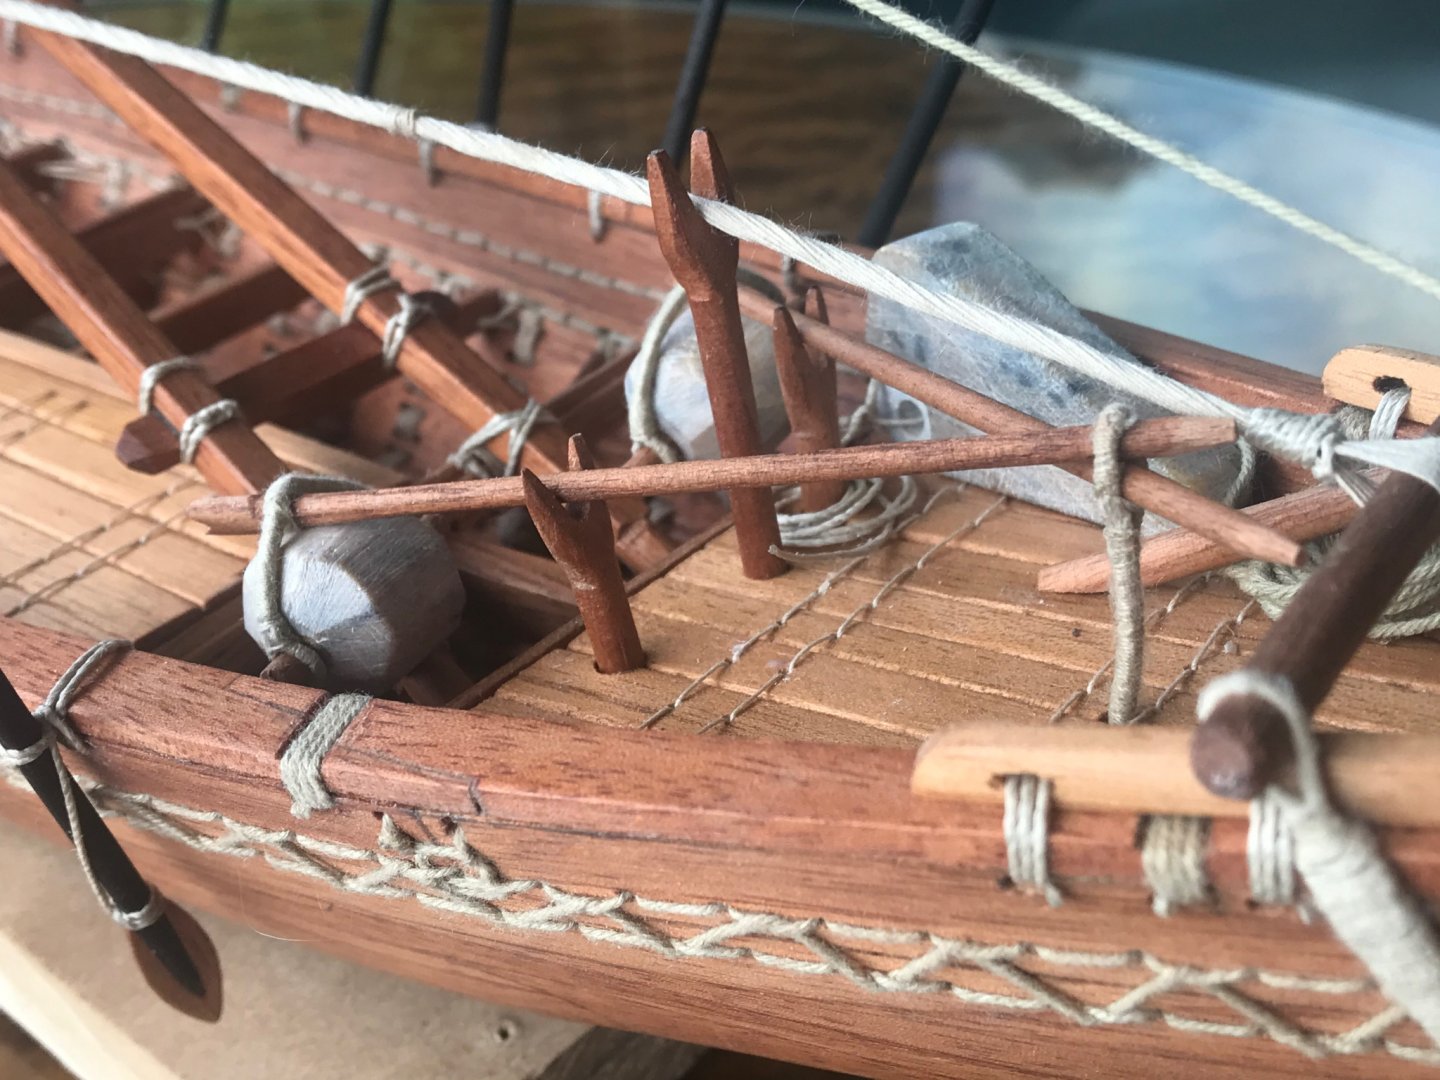
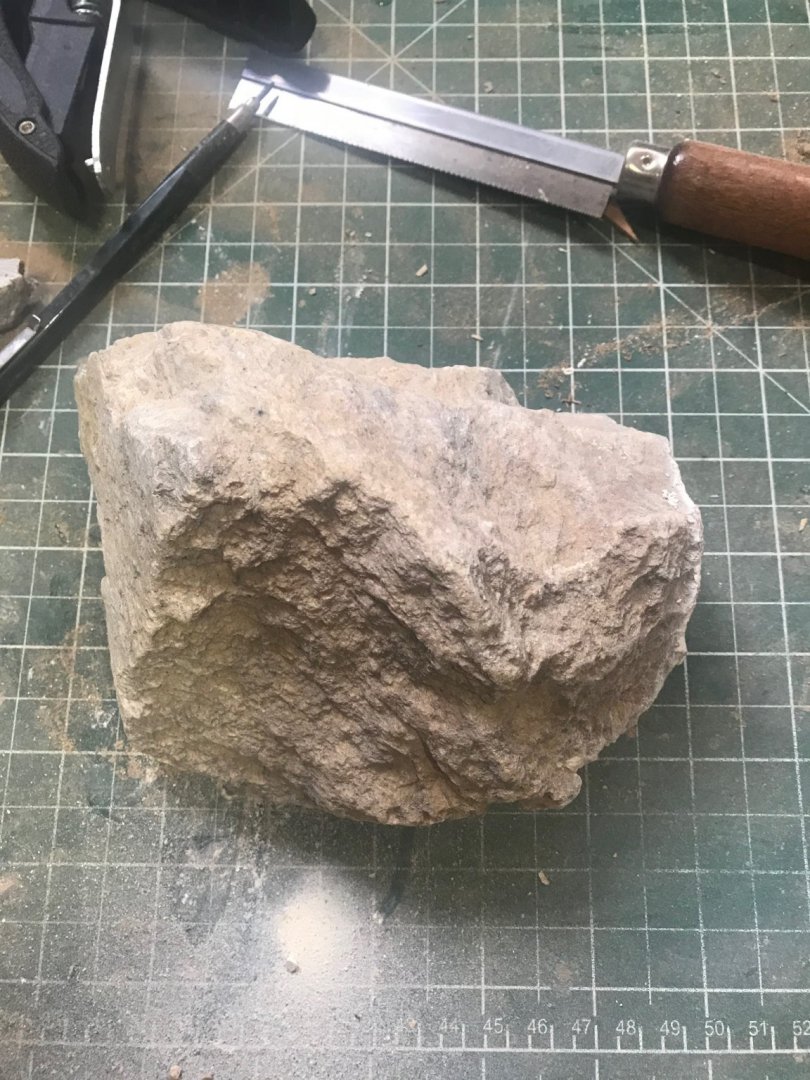
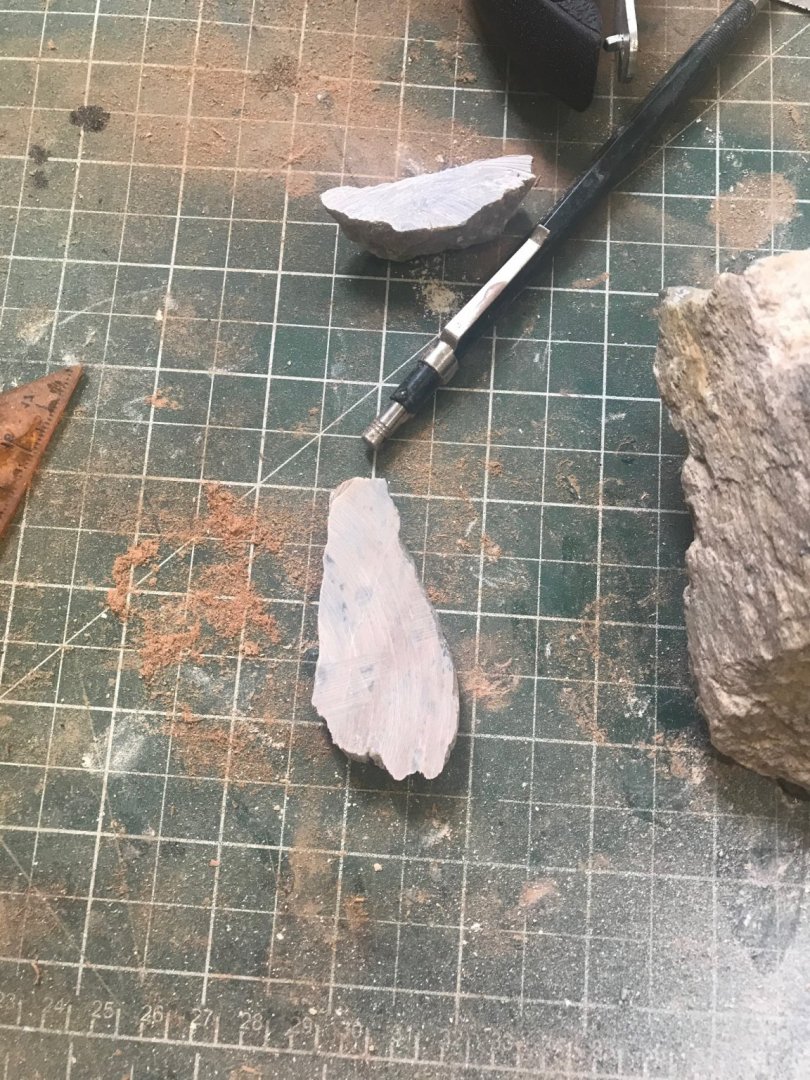
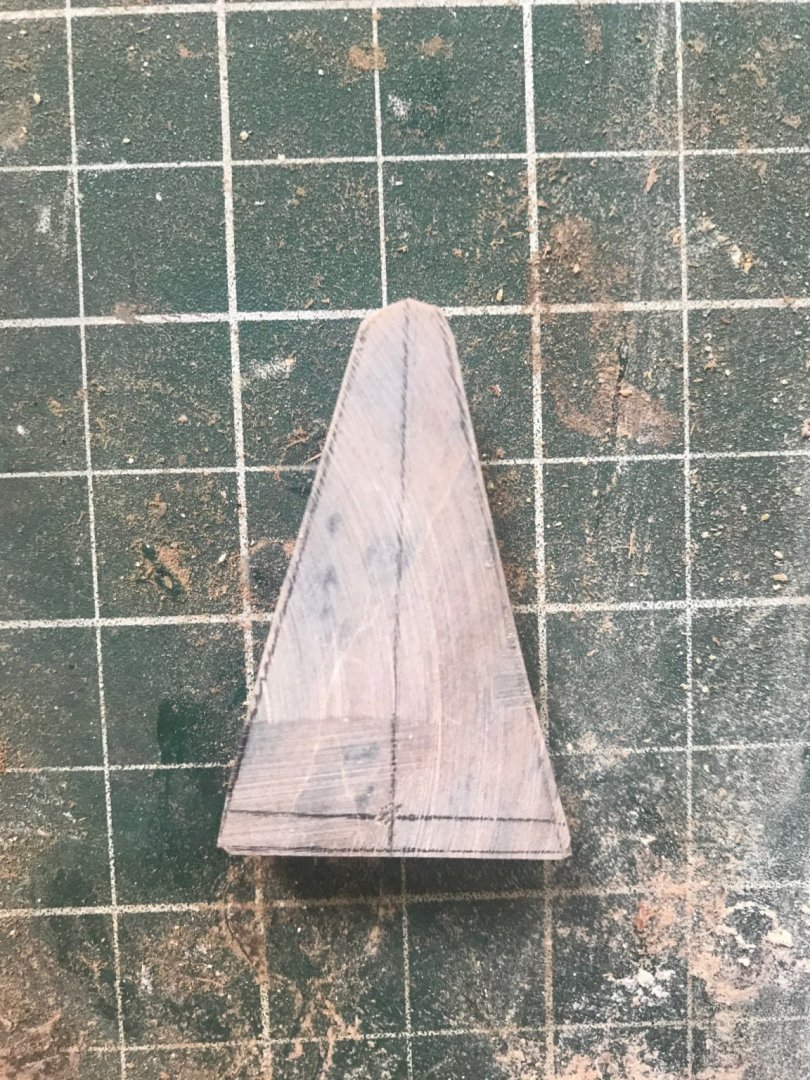
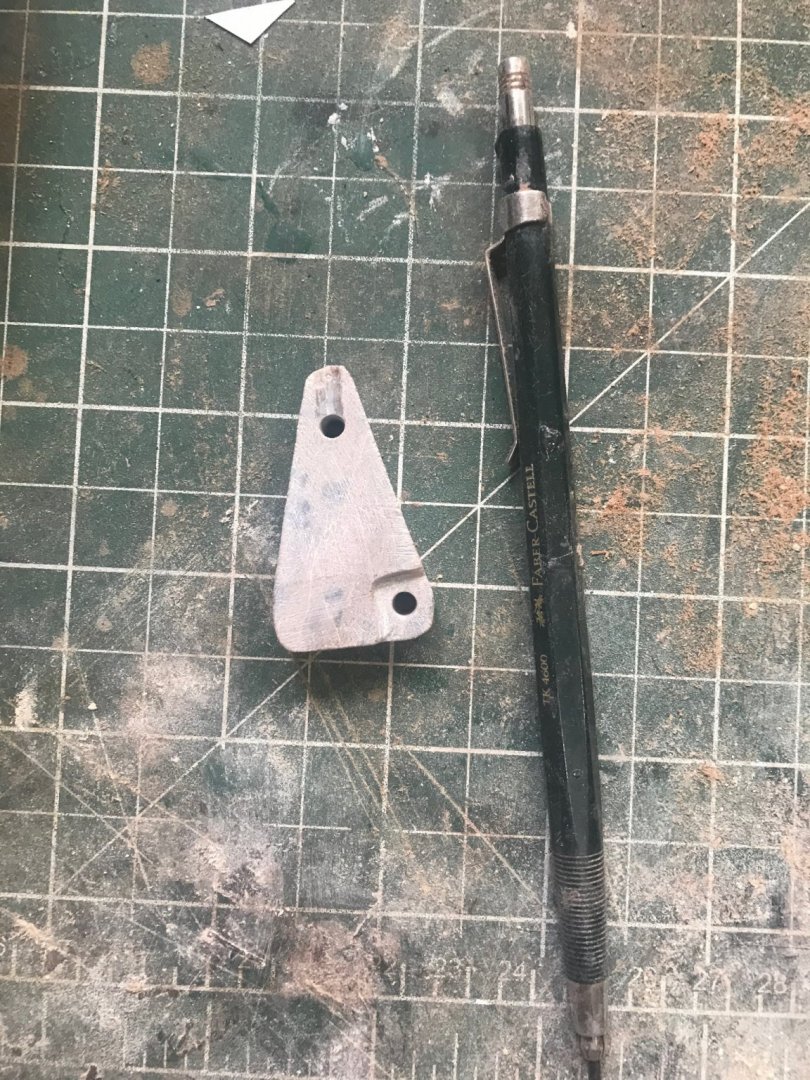
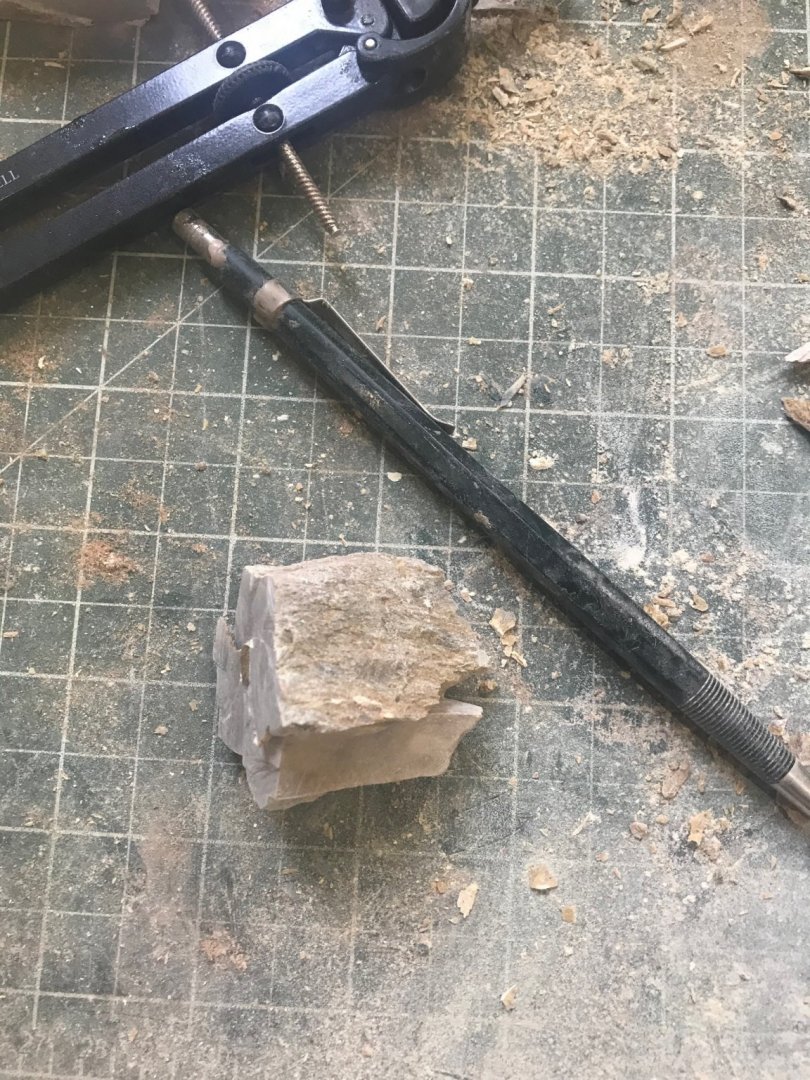
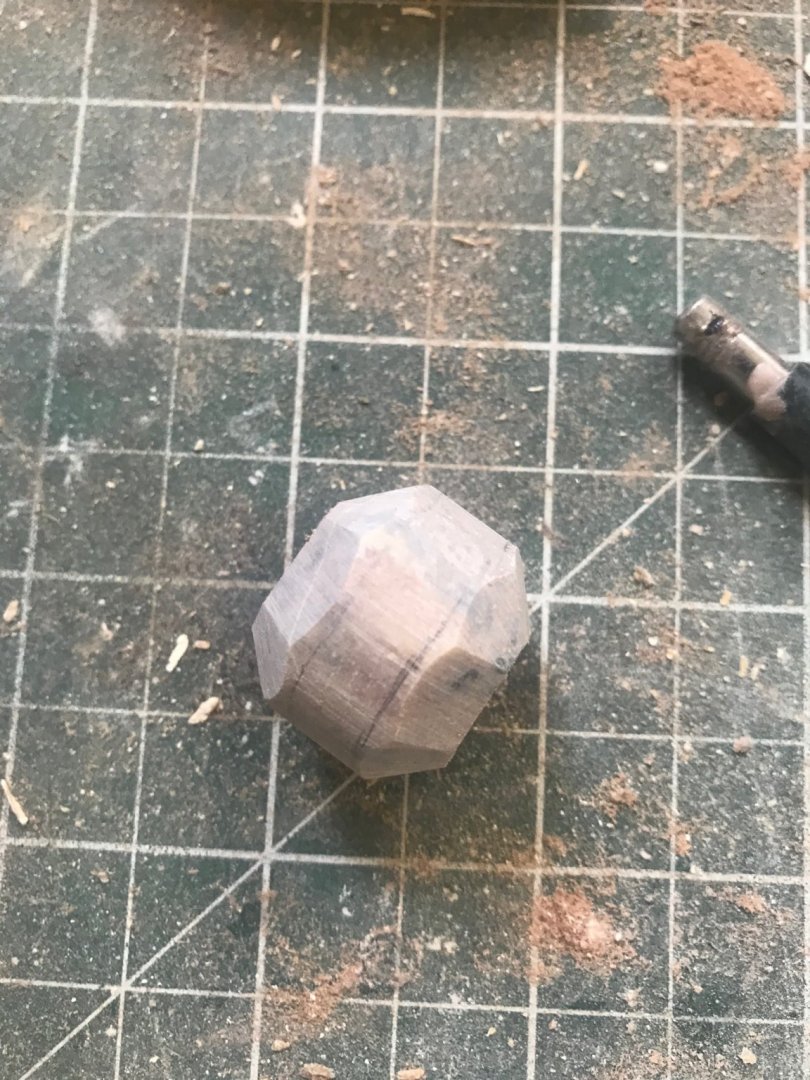
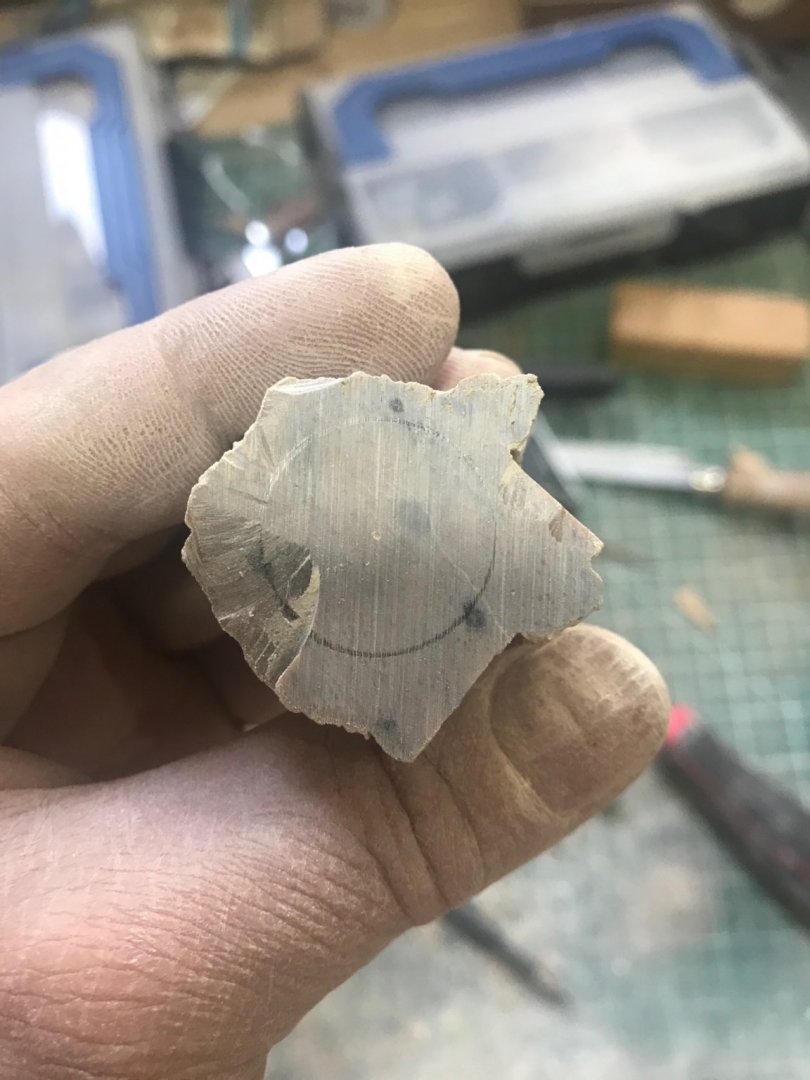
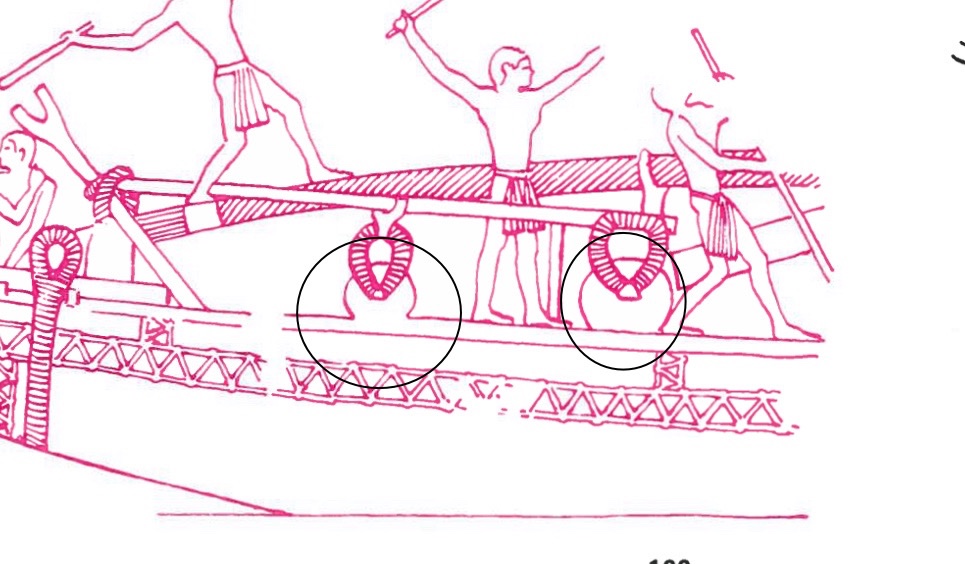
Here w go again..... This time we are going to work in some fittings..... This picture “suppose” to be the mast elevation system. I consisted (according with Landstrom mainly) in two stones that with a levers help..... For these stones and for the anchor... I decided to work with a kind of stone named “powder stone” or “talcum stone” (probably you all have different name for it). Is kind of stone really easy to work with. I made the pieces using basically the dame tools I use for wood, finishing them with a wired brush to give some “carving effect “.... Here some pictures about the anchor process.....
- 158 replies
-
- byblos ship
- Egyptian
-
(and 1 more)
Tagged with:
-
There are two theories one is the one you just mentioned. This one is with the oars in the position I just used They are tide in two position. the other one is they steer moving the oars like “rowing” With the angle needed to have the ship in the right direction. They would be tide in just one place (like the oars are) so???? Pick just one
- 158 replies
-
- byblos ship
- Egyptian
-
(and 1 more)
Tagged with:
-
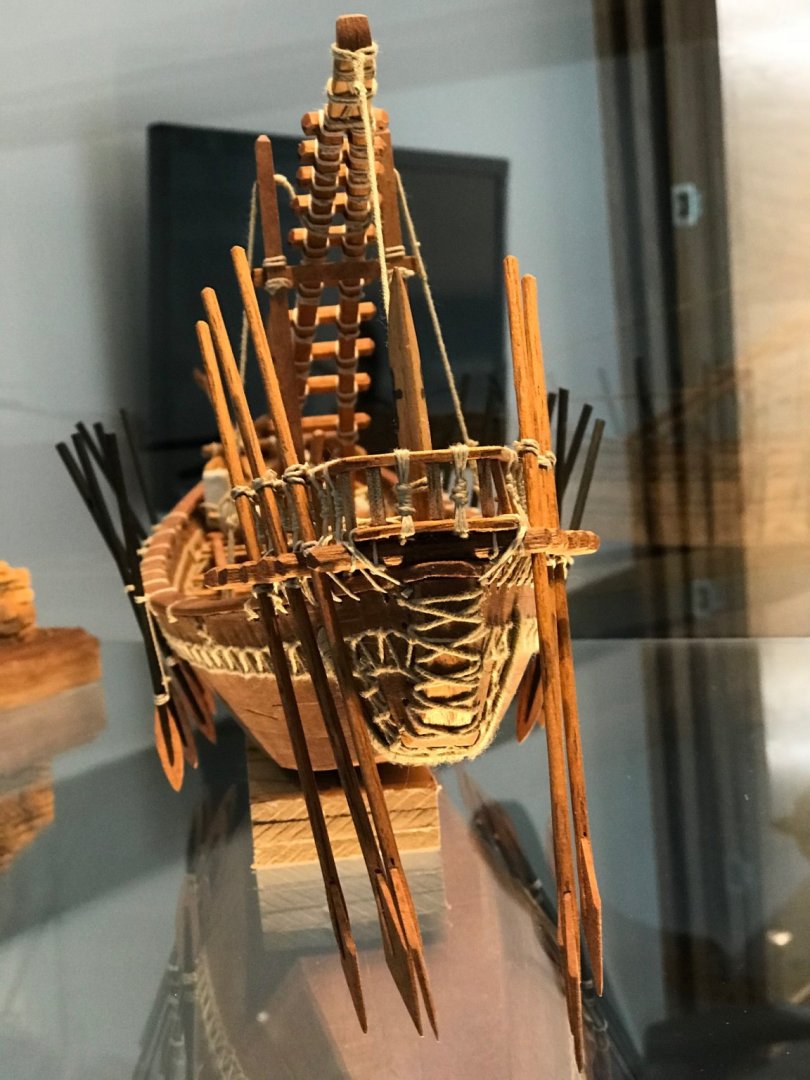
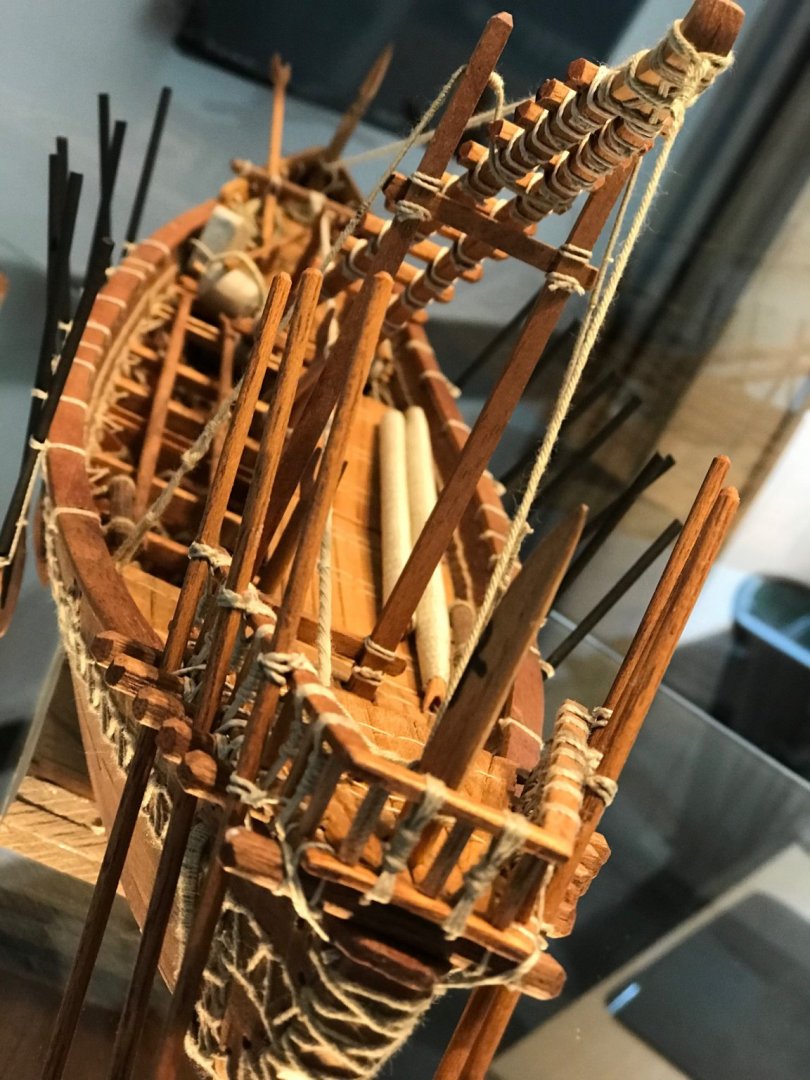
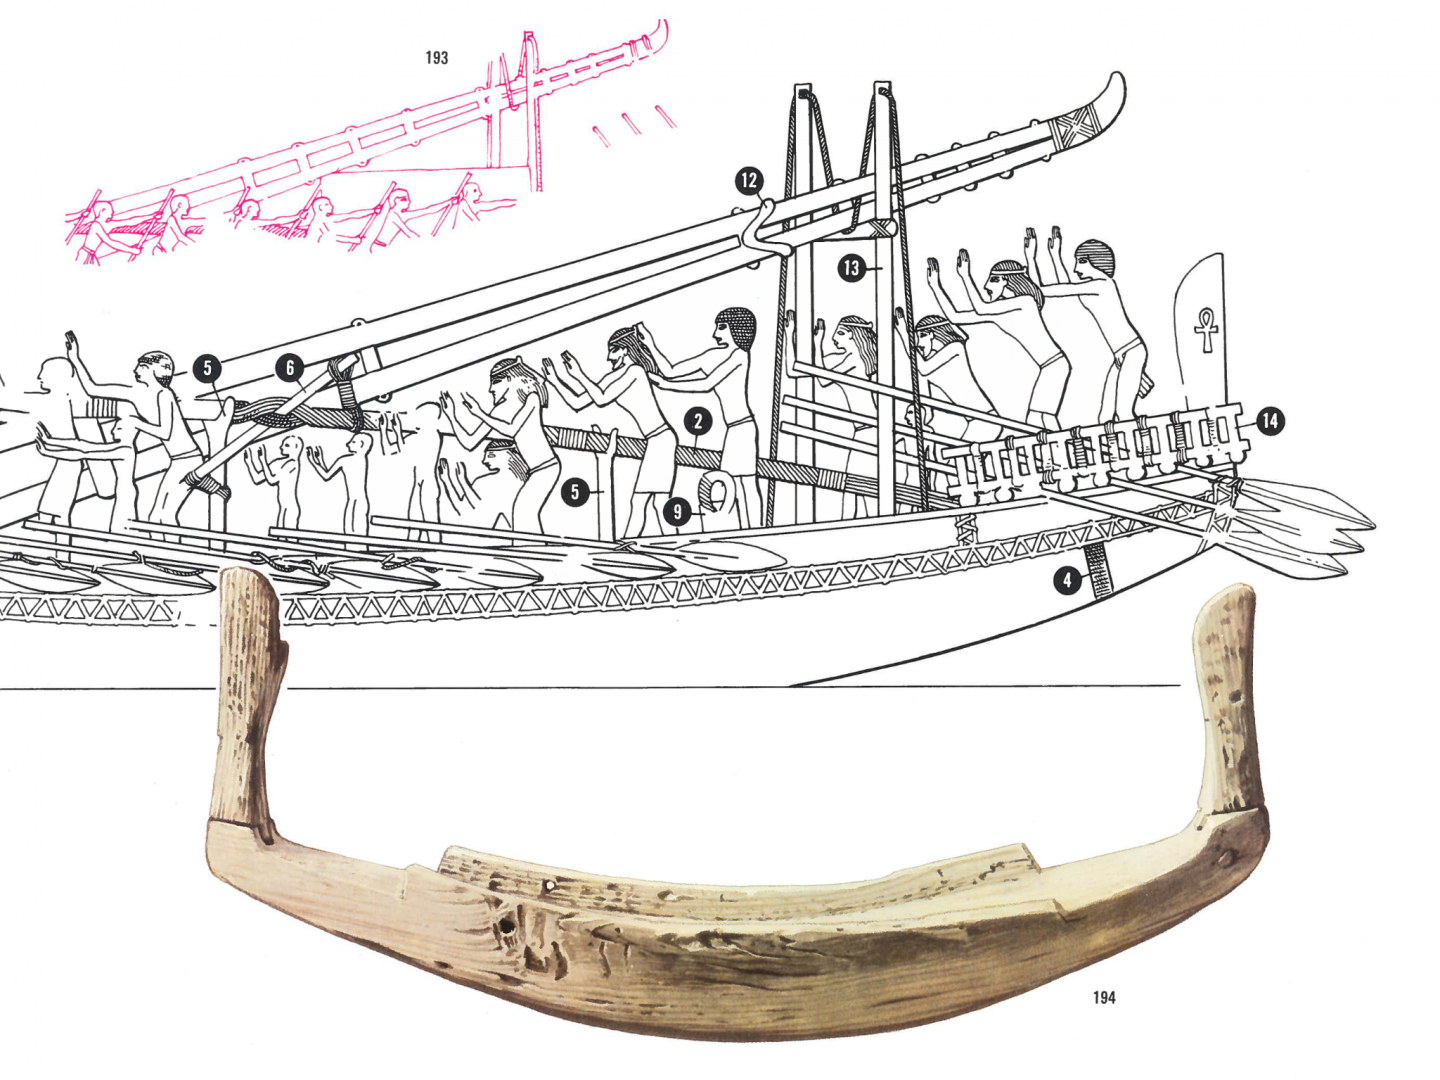
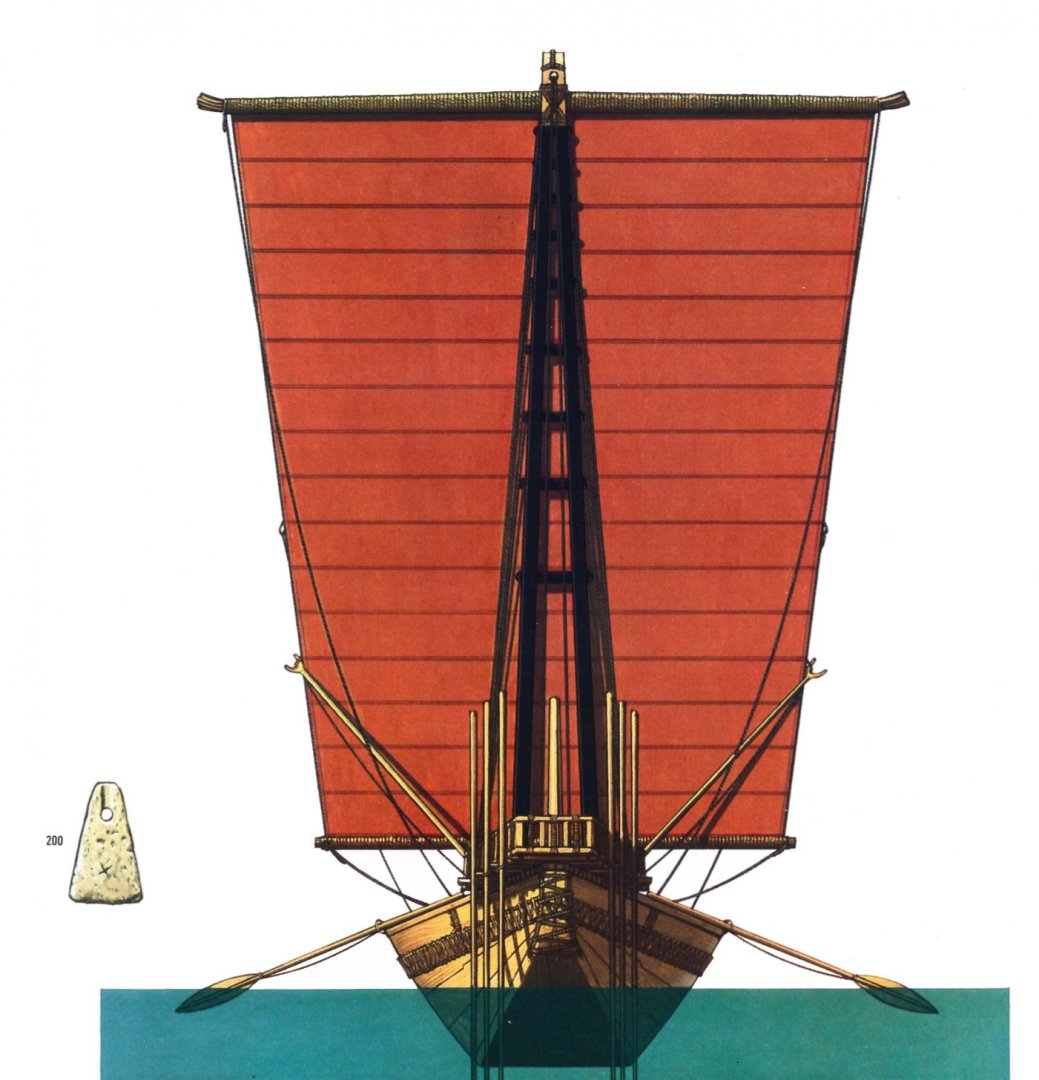
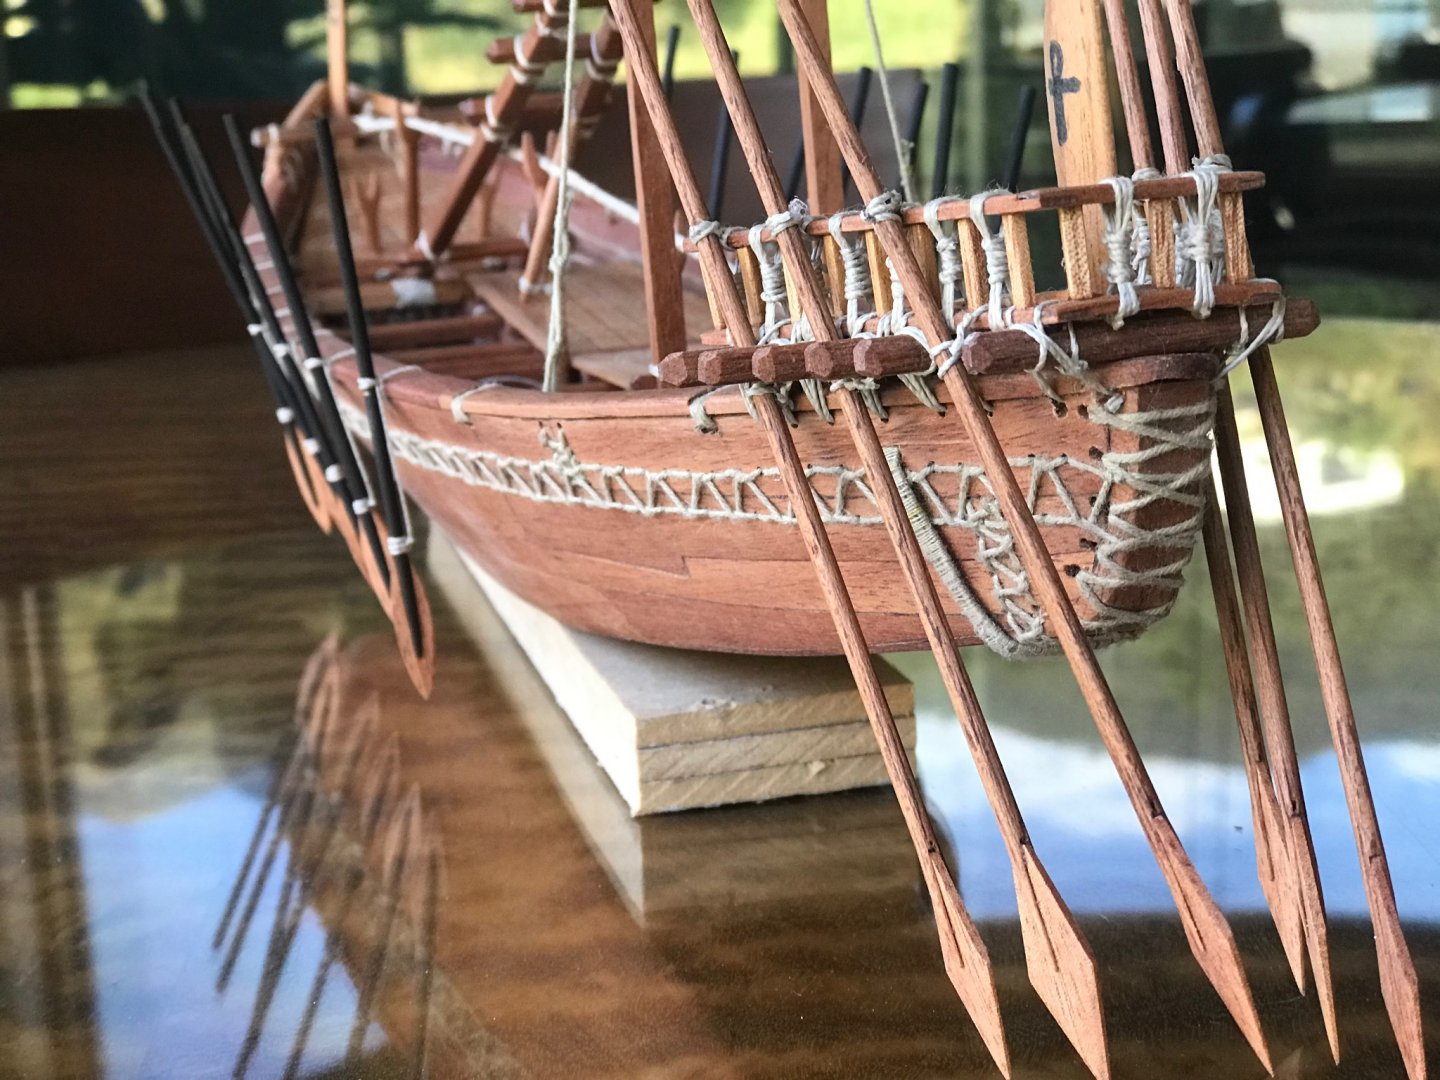
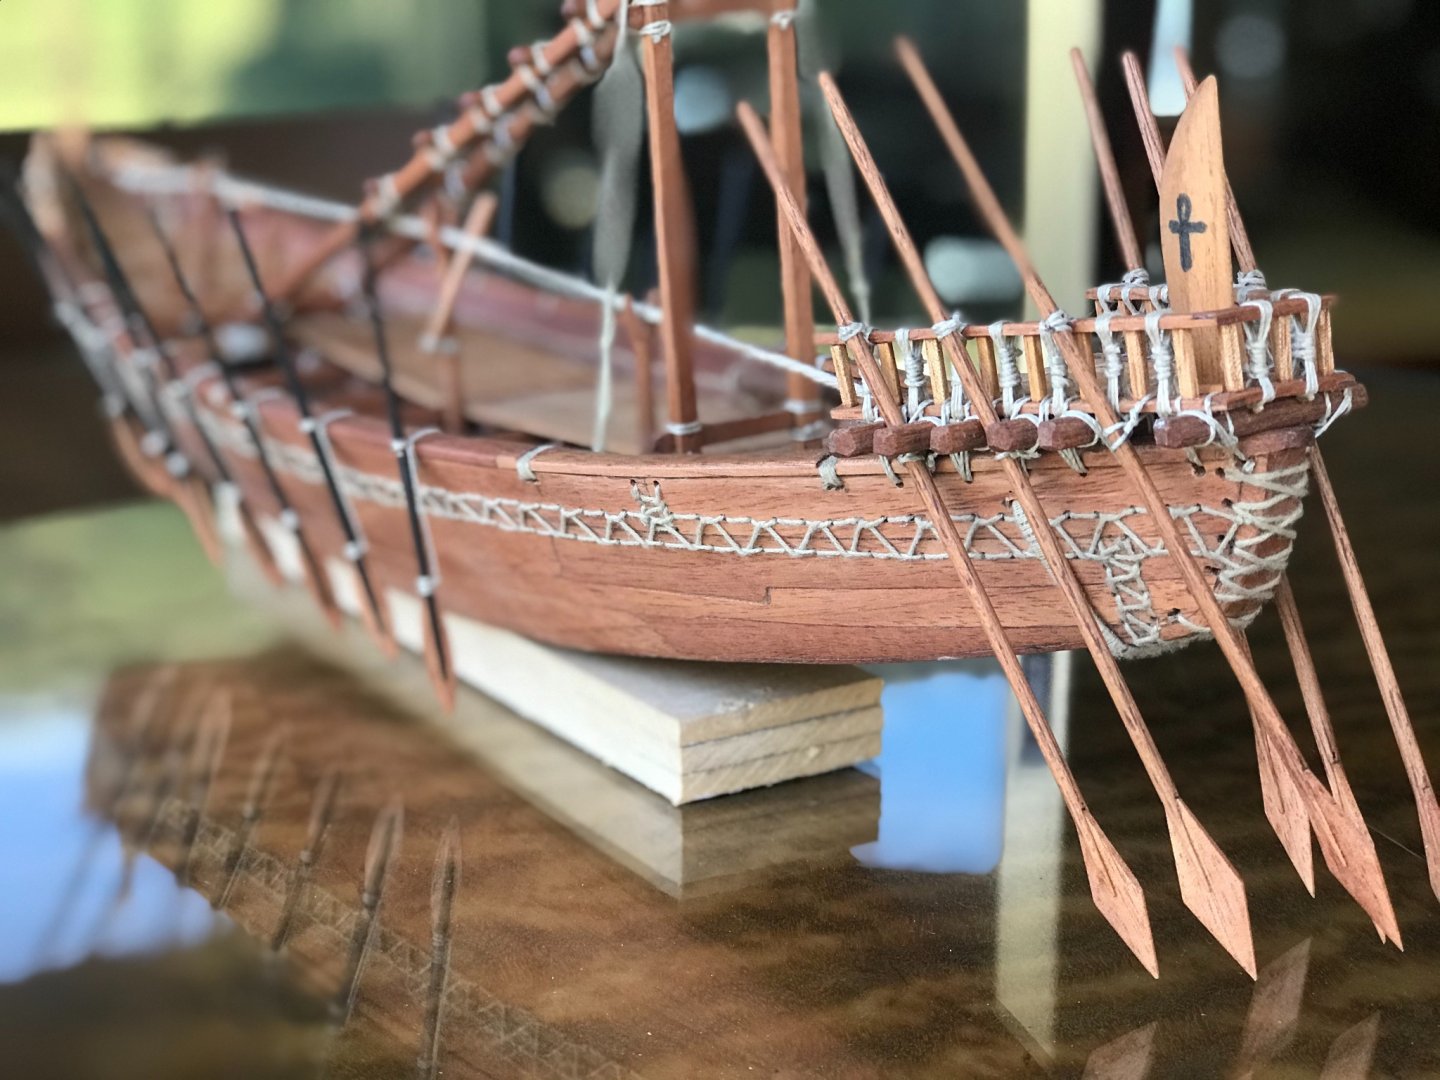
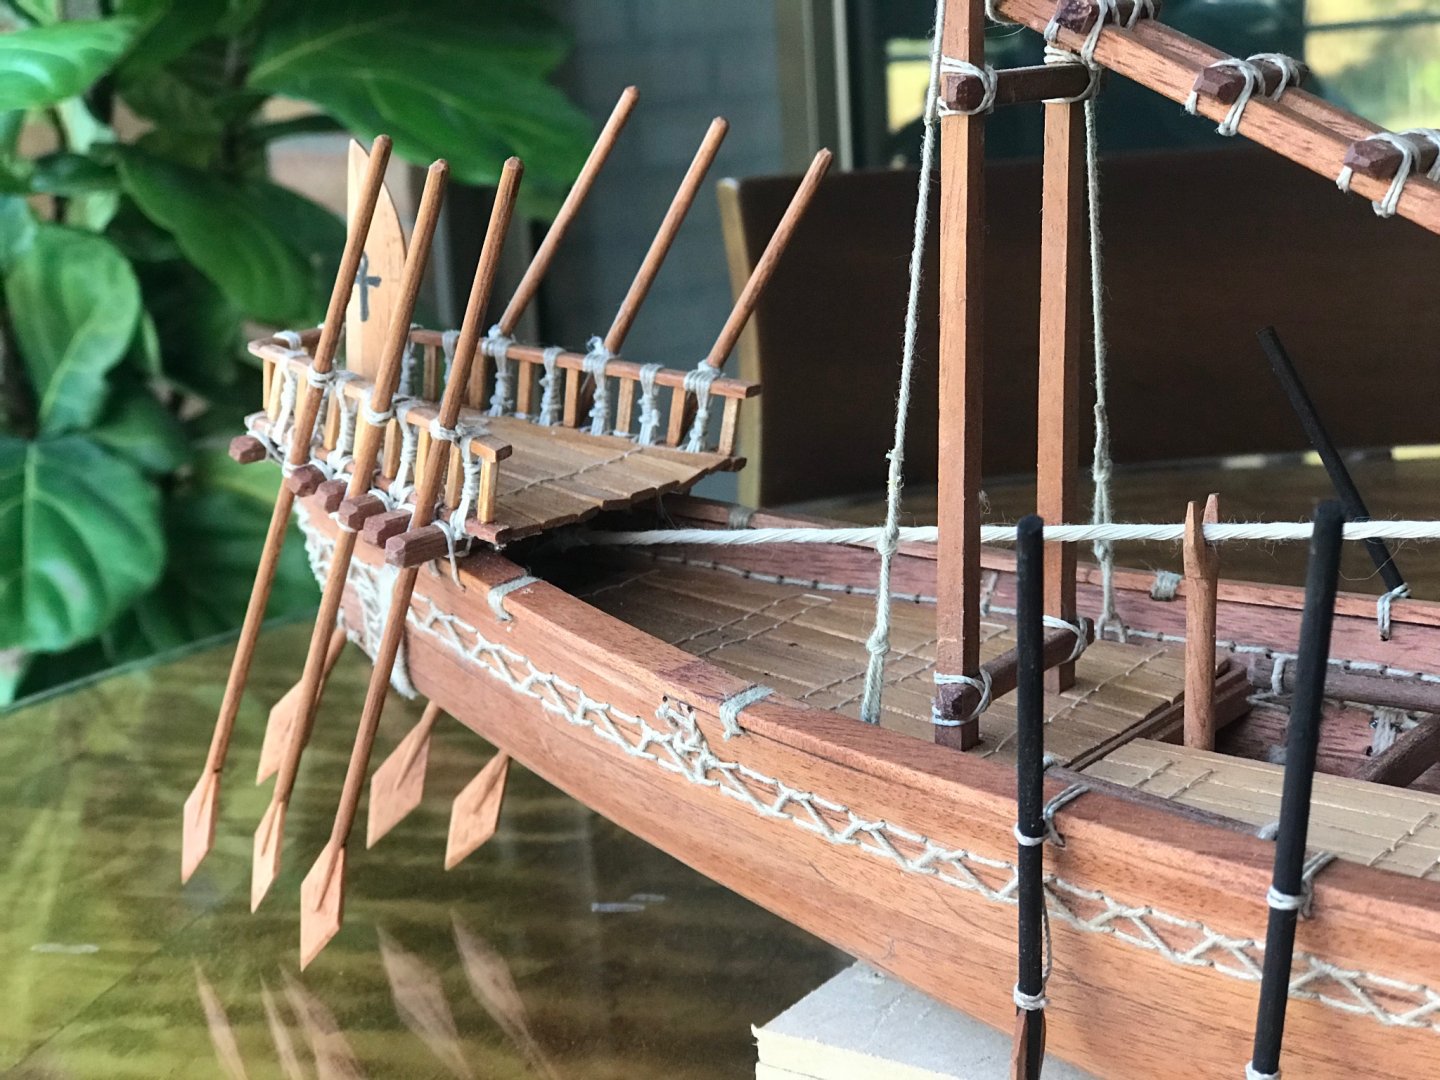
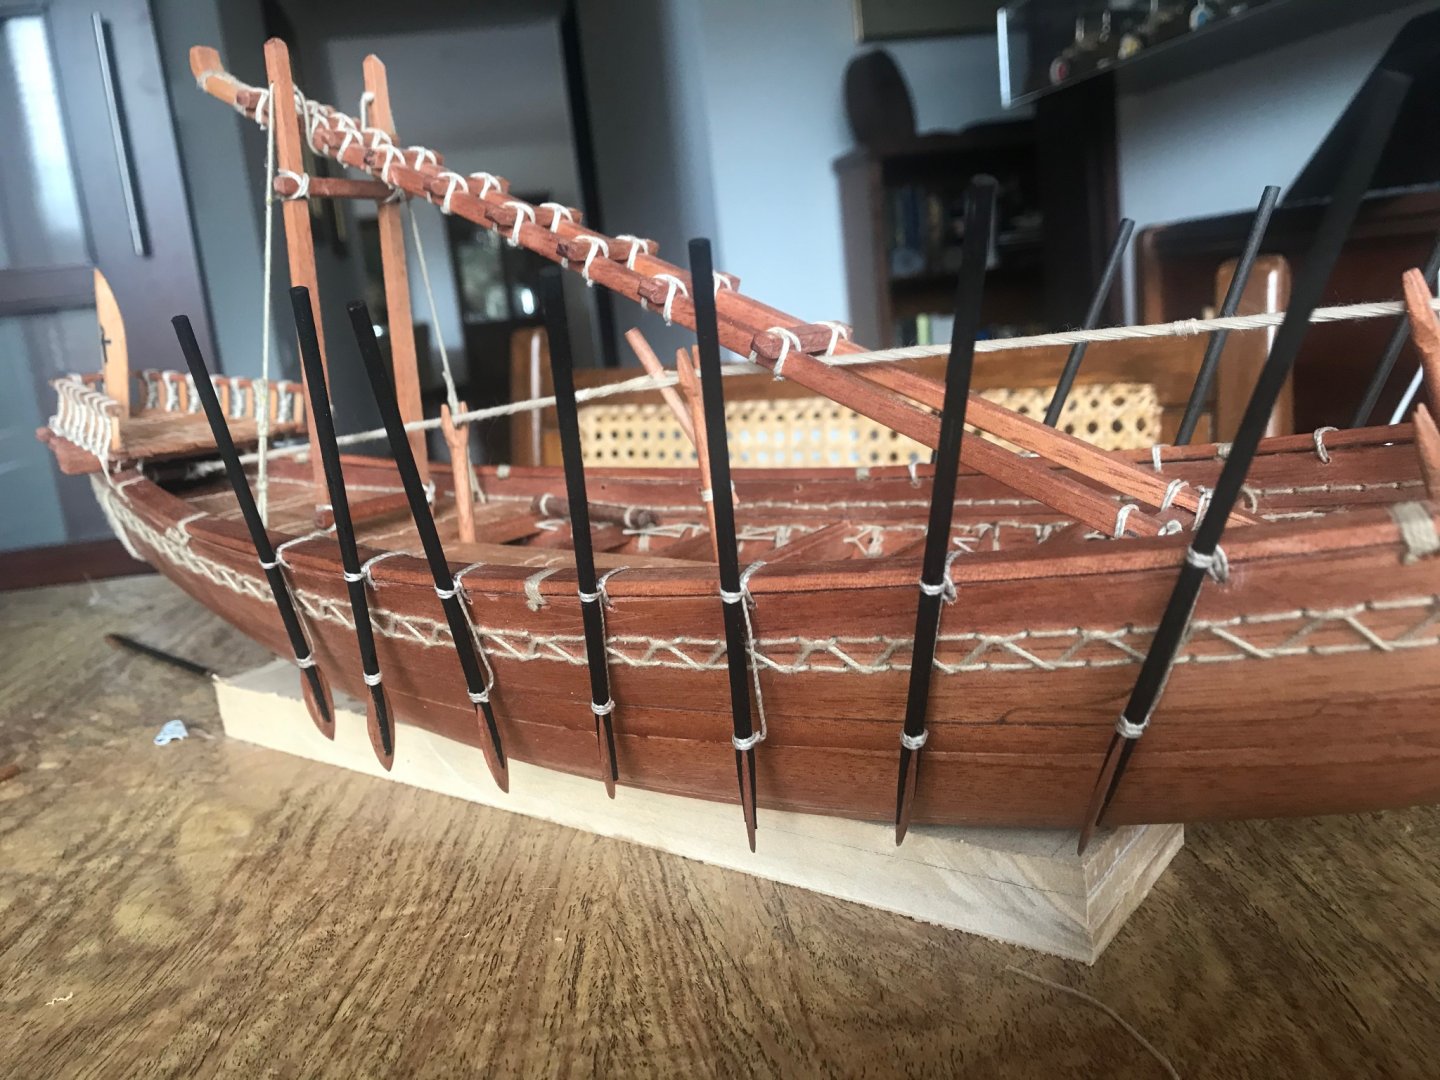
Now the oars for the “really” helmsmen. According with the pictures in documents they were six..... And also There are different versions about it.... some pictures put he oarsmen stand some seated...... I went with the stand version Also they have some differences in the blade form.....Take a look Here some pictures....
- 158 replies
-
- byblos ship
- Egyptian
-
(and 1 more)
Tagged with:
-
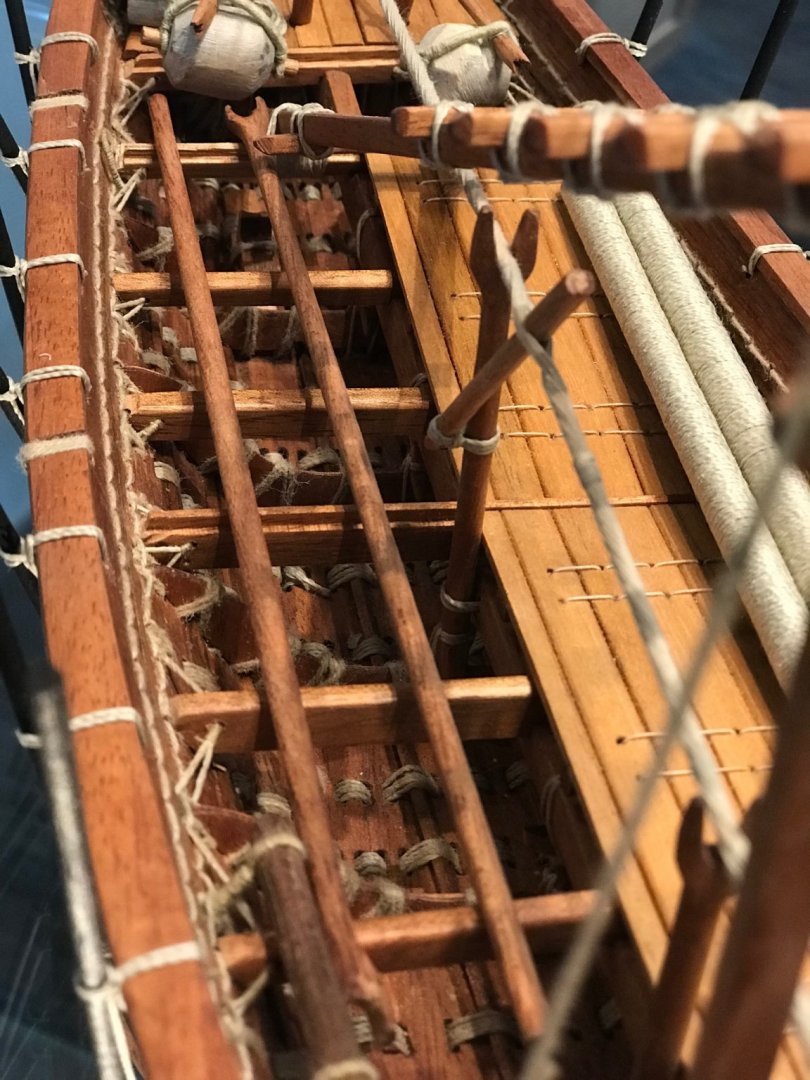
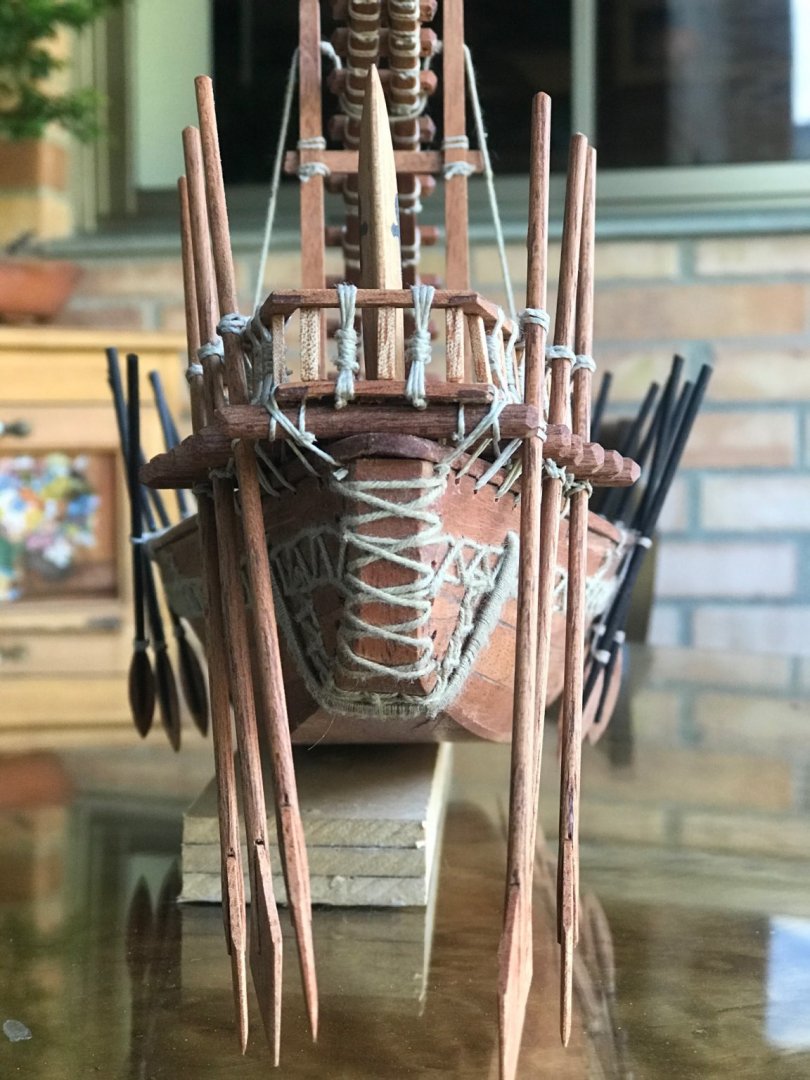
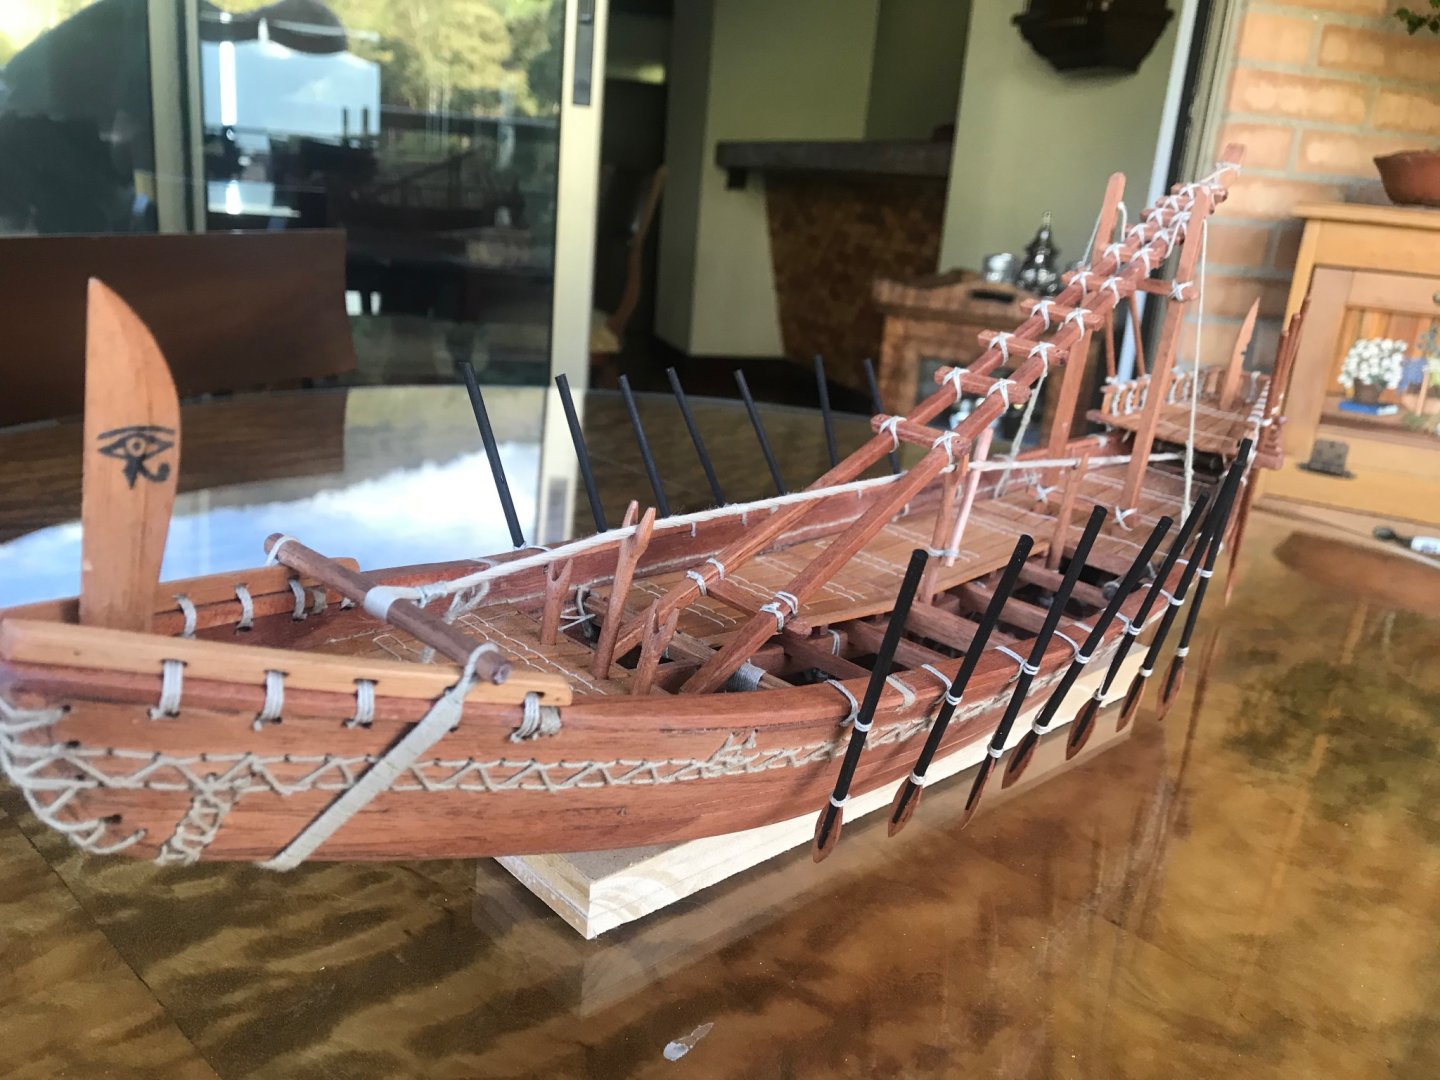
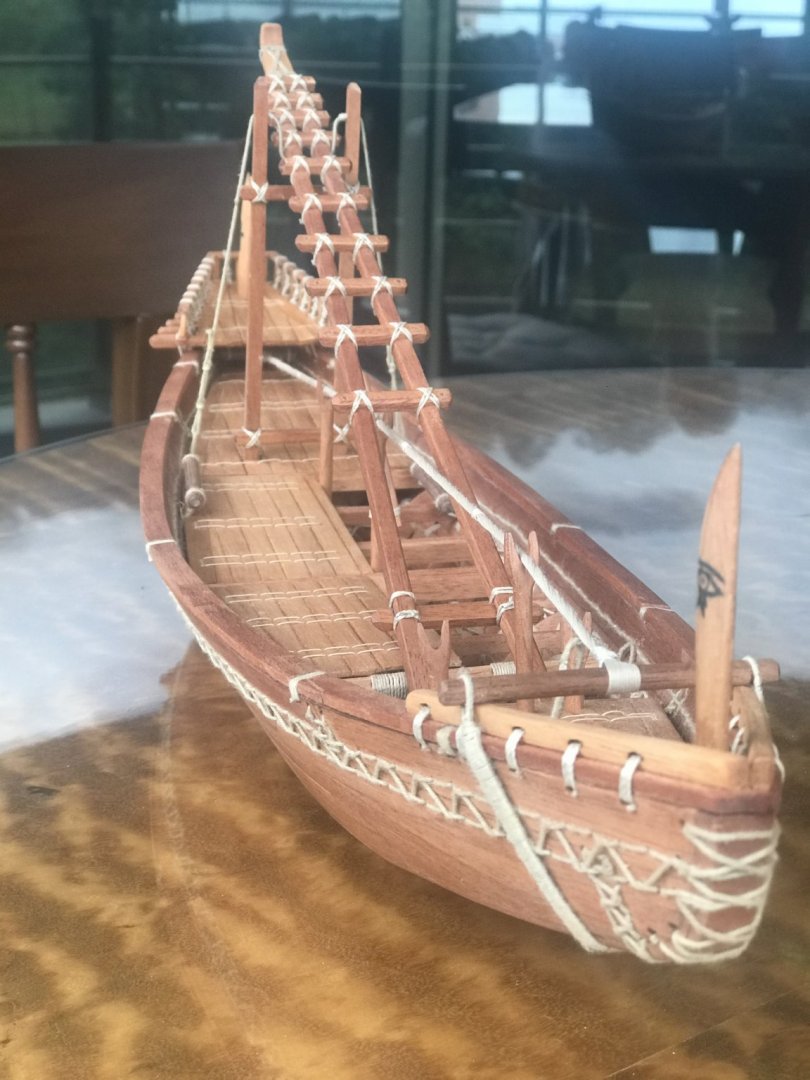
Weekend advances..... Oars in its place..... The oars length were something that I had to deal with. Accordingly with Landstrom, today we don’t know if these oars were really for rowing or for helmsman. We don’t know if they were rowing stand or seated. So... I decided to build them assuming they were for rowing and the oars men were stand.... Also, they had a very special way to fix them to the ship.......guess what!!!!! They also were tied 😄 here some pictures.....
- 158 replies
-
- byblos ship
- Egyptian
-
(and 1 more)
Tagged with:
-
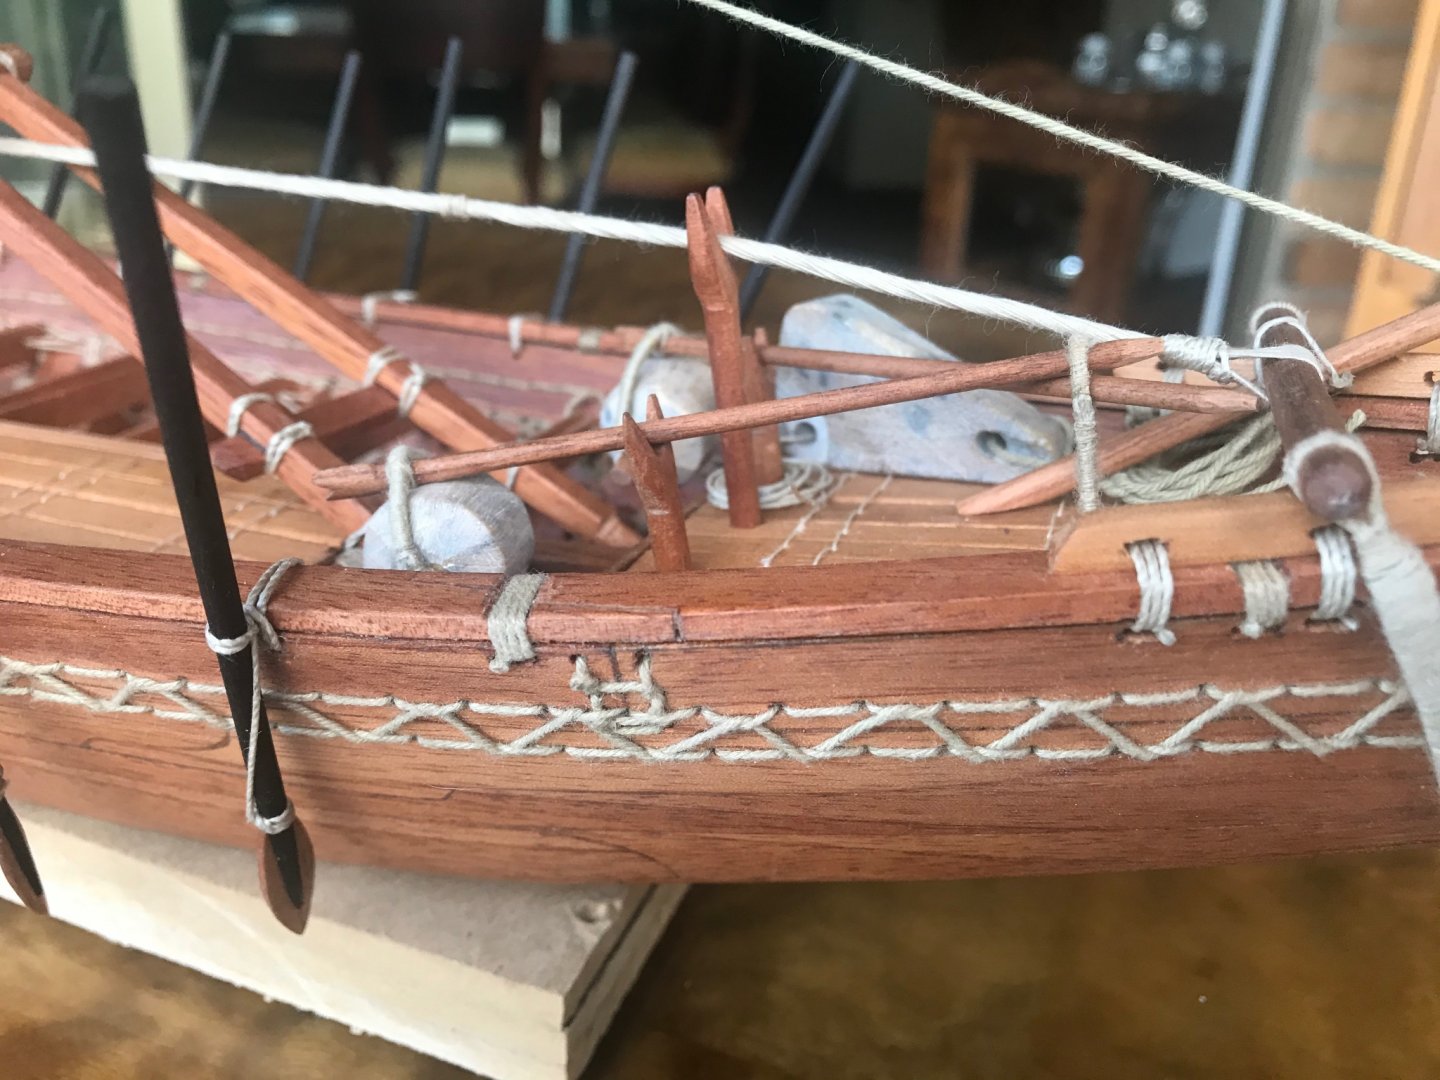
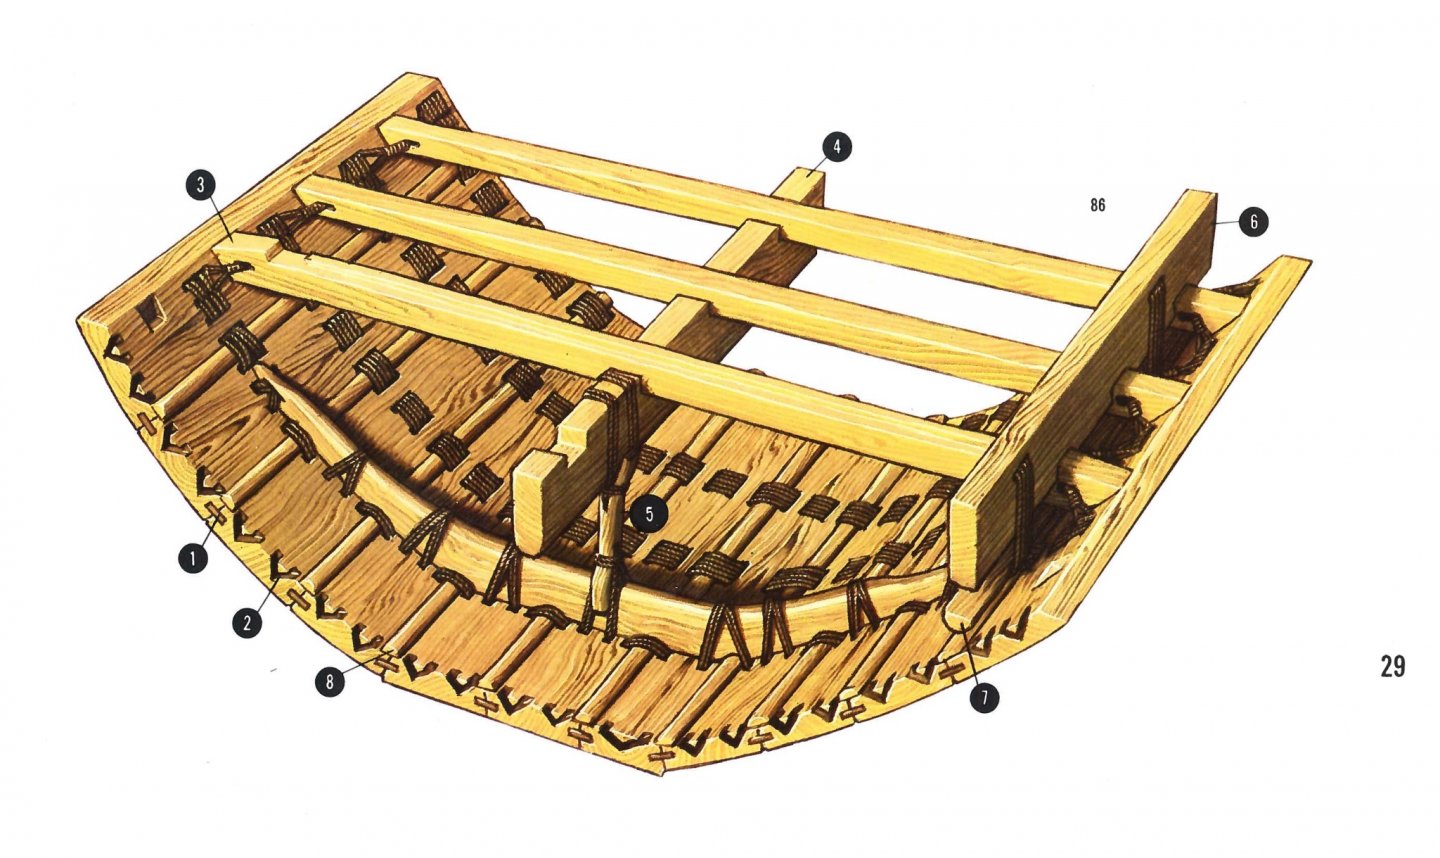
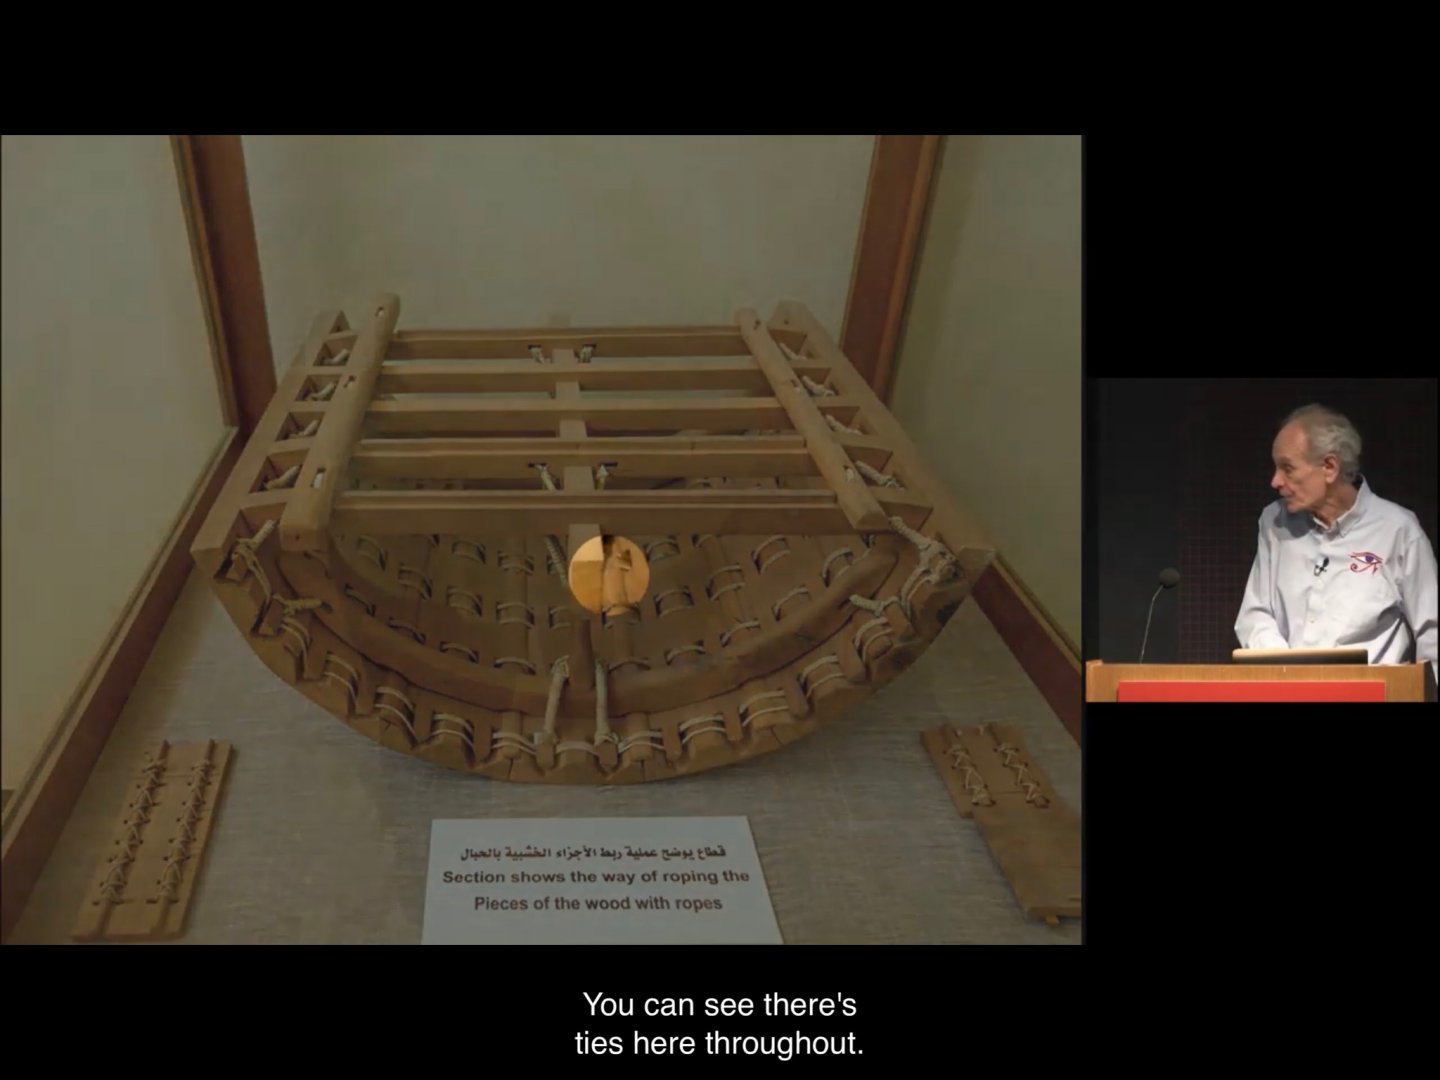
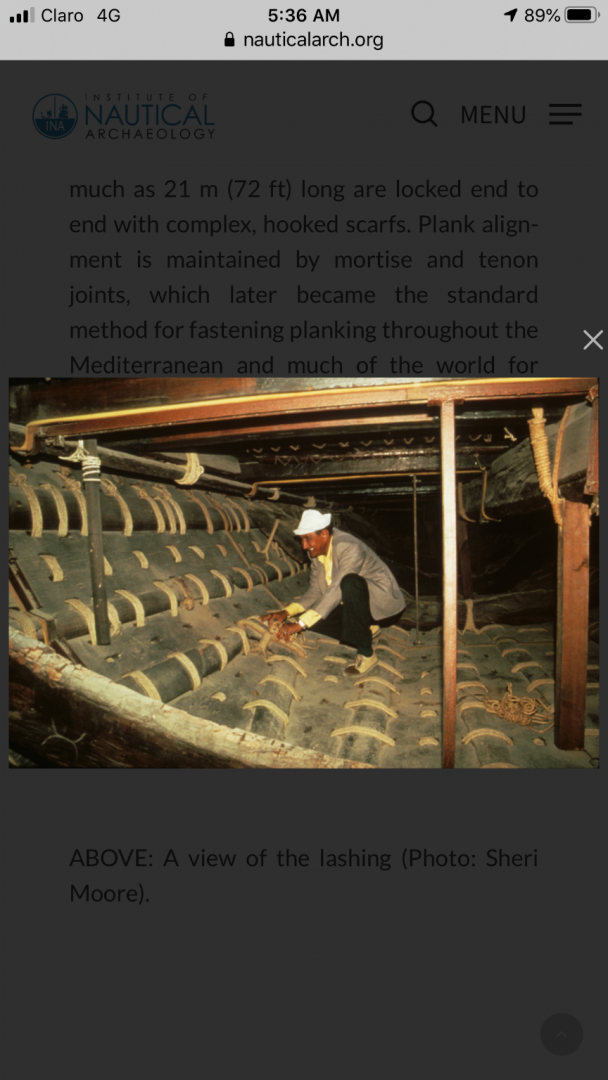
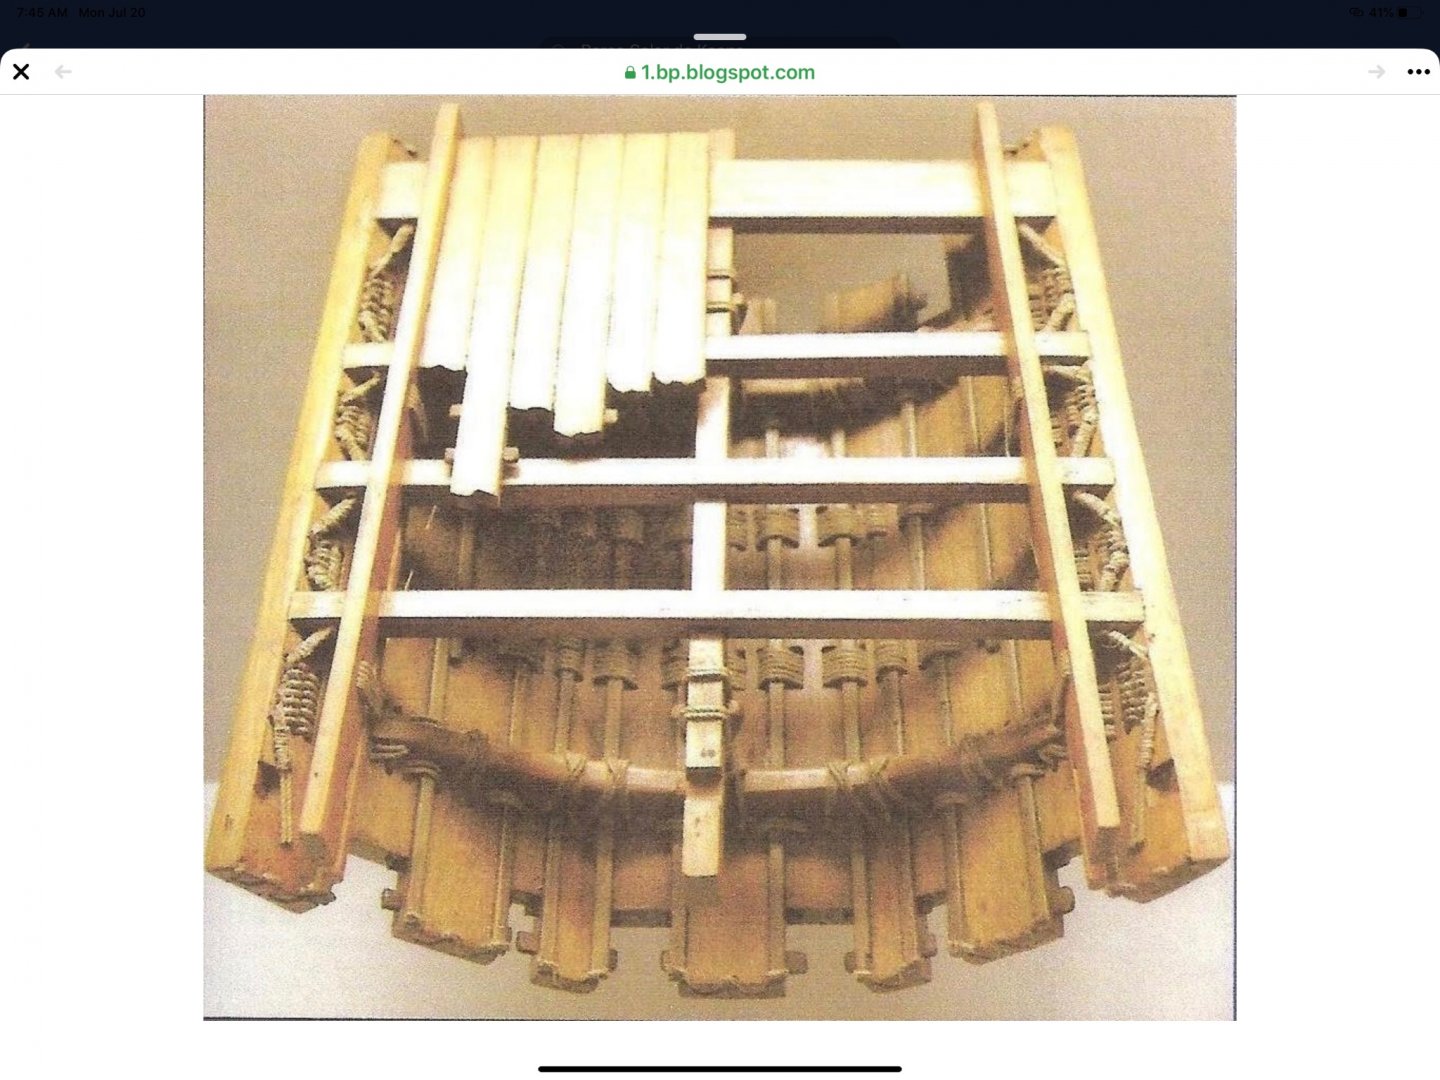
Thanks for following...... This ship belongs to the 5th dynasty...... by then, the wooden ships were just starting, they used tied rushes (according with some documents) because This was about the copper age.... they did not have materials strong enough to work with They tied their ships - again this is speculation- because this method allowed them to assemble and dissemble the ship, allowing them to transport it in pieces.
- 158 replies
-
- byblos ship
- Egyptian
-
(and 1 more)
Tagged with:
-
- 158 replies
-
- byblos ship
- Egyptian
-
(and 1 more)
Tagged with:
-
the holes were like “V” shape in the interior going just up to the middle of the thickness. They were not seeing from the exterior. talking about the knots.... I did not find any specific annotations about it However I realized that using those that helped me with “tension” worked well thanks for your comments
- 158 replies
-
- byblos ship
- Egyptian
-
(and 1 more)
Tagged with:
-
No!!!!! it is not that much. But I appreciate your kind words
- 158 replies
-
- byblos ship
- Egyptian
-
(and 1 more)
Tagged with:
-
- 158 replies
-
- byblos ship
- Egyptian
-
(and 1 more)
Tagged with:
-
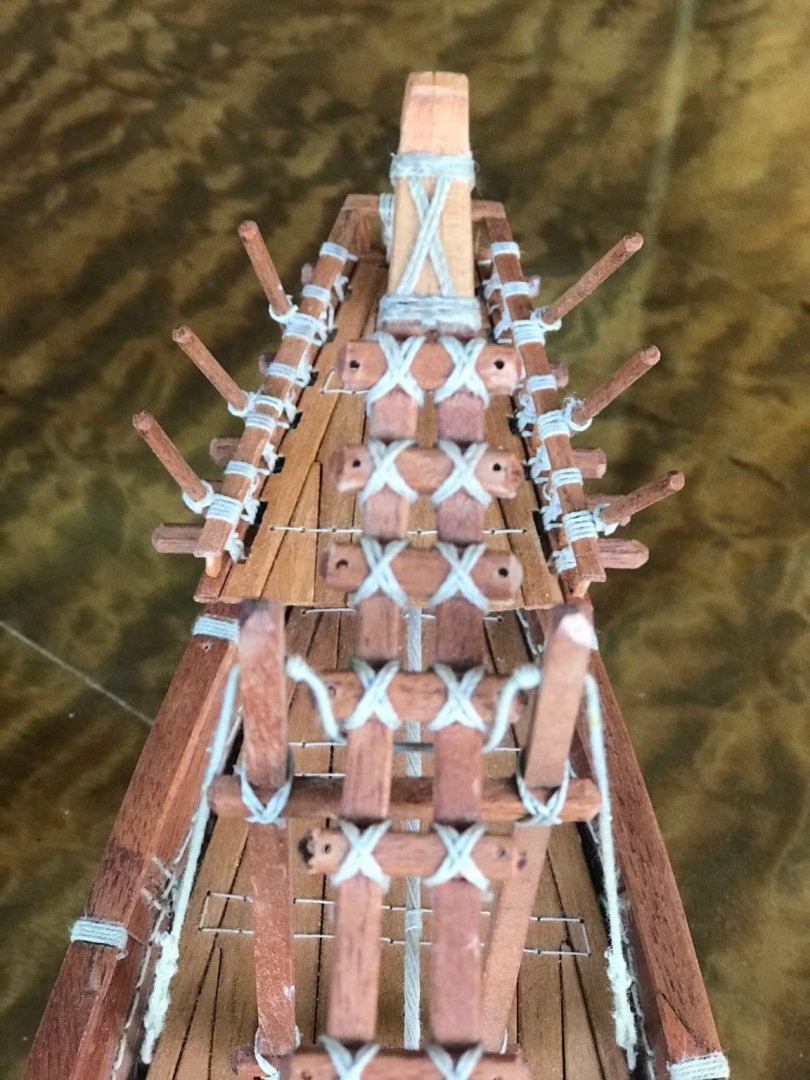
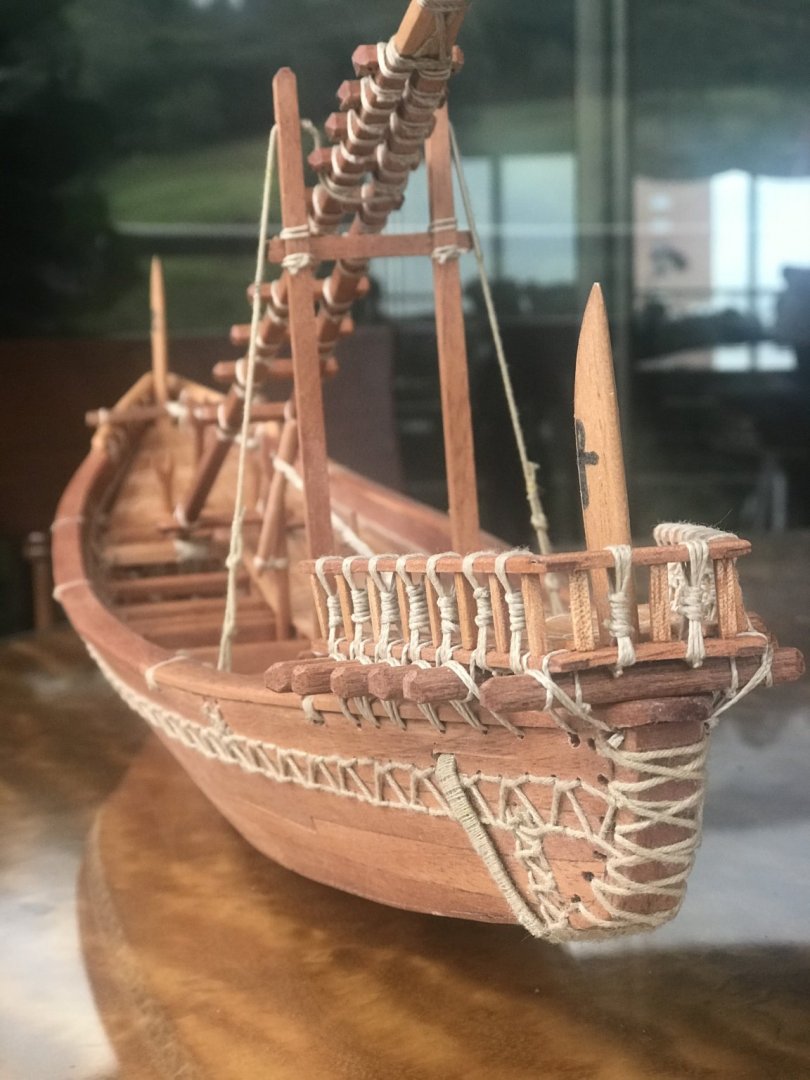
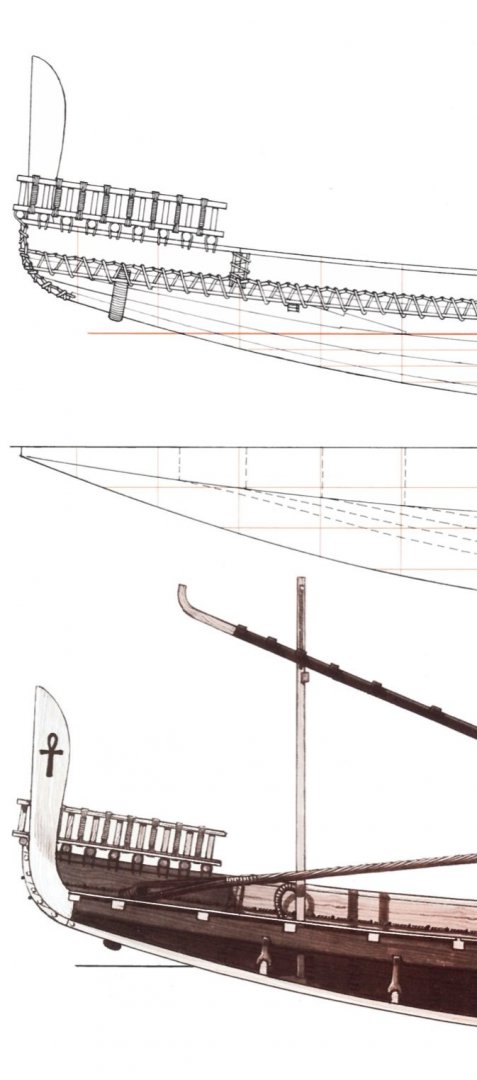
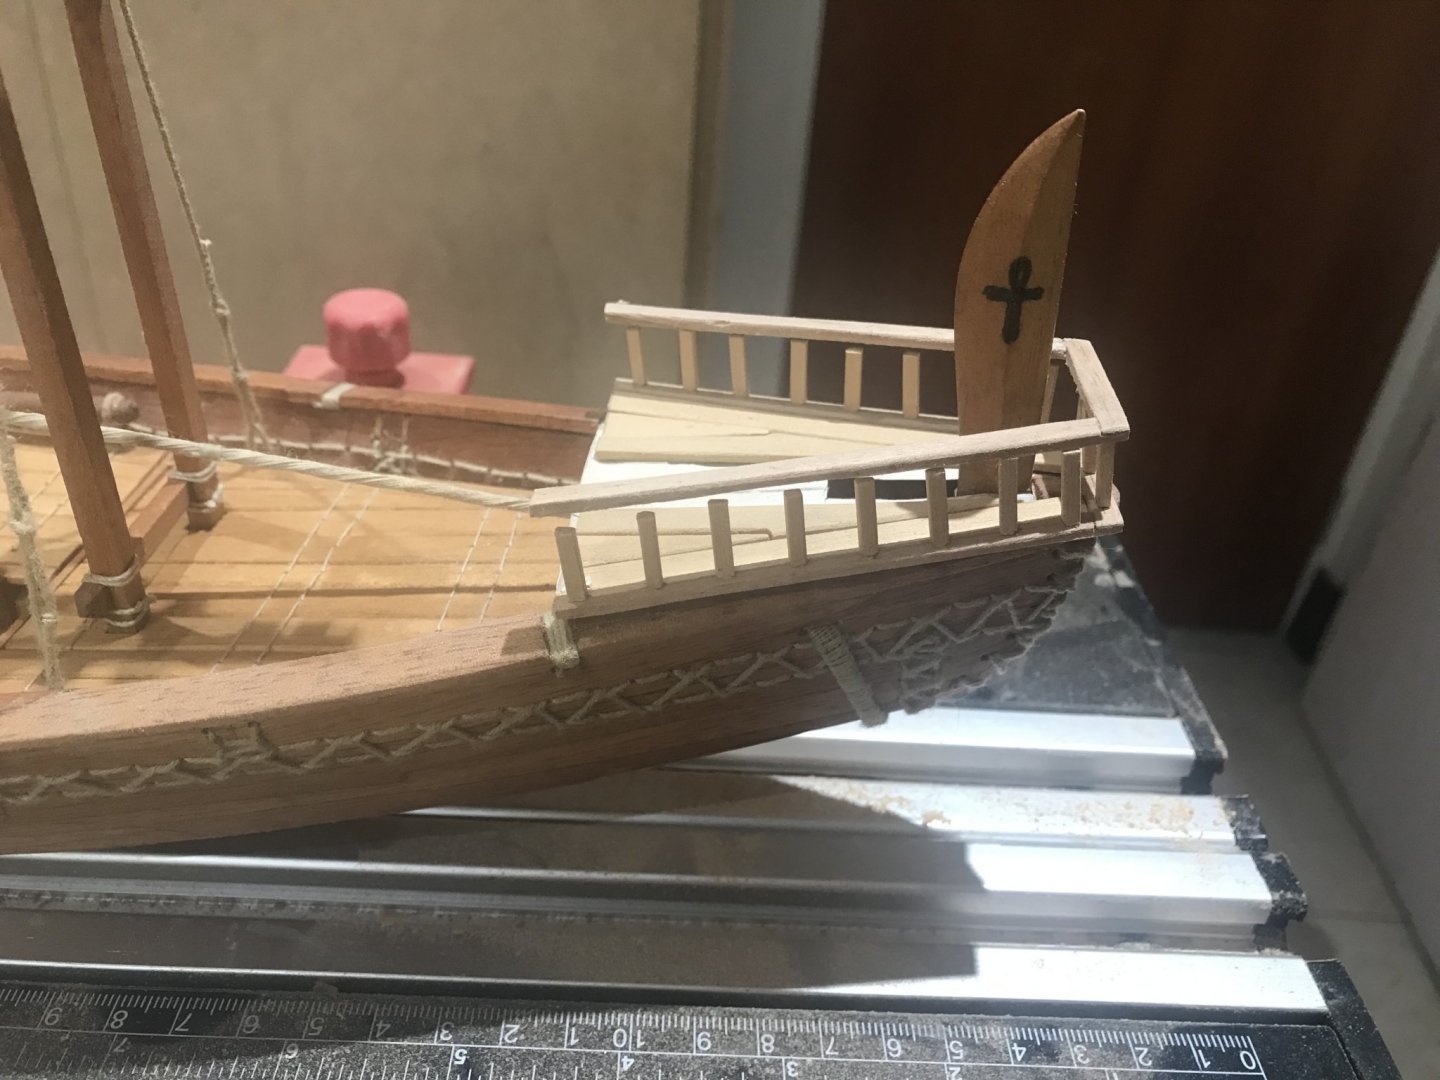
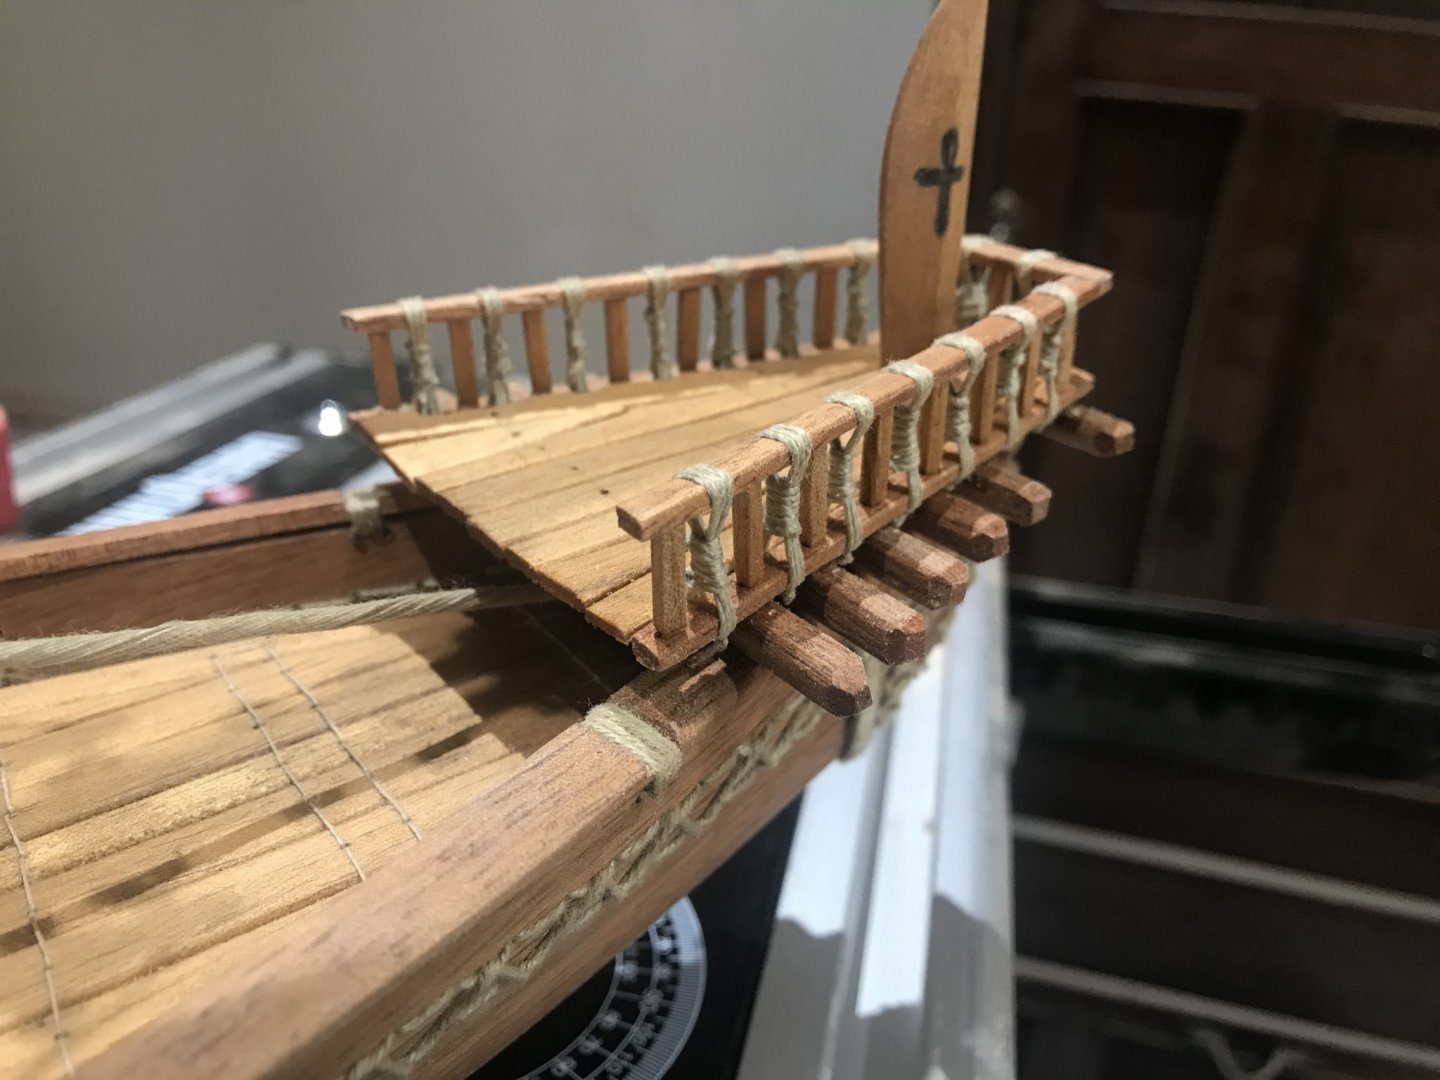
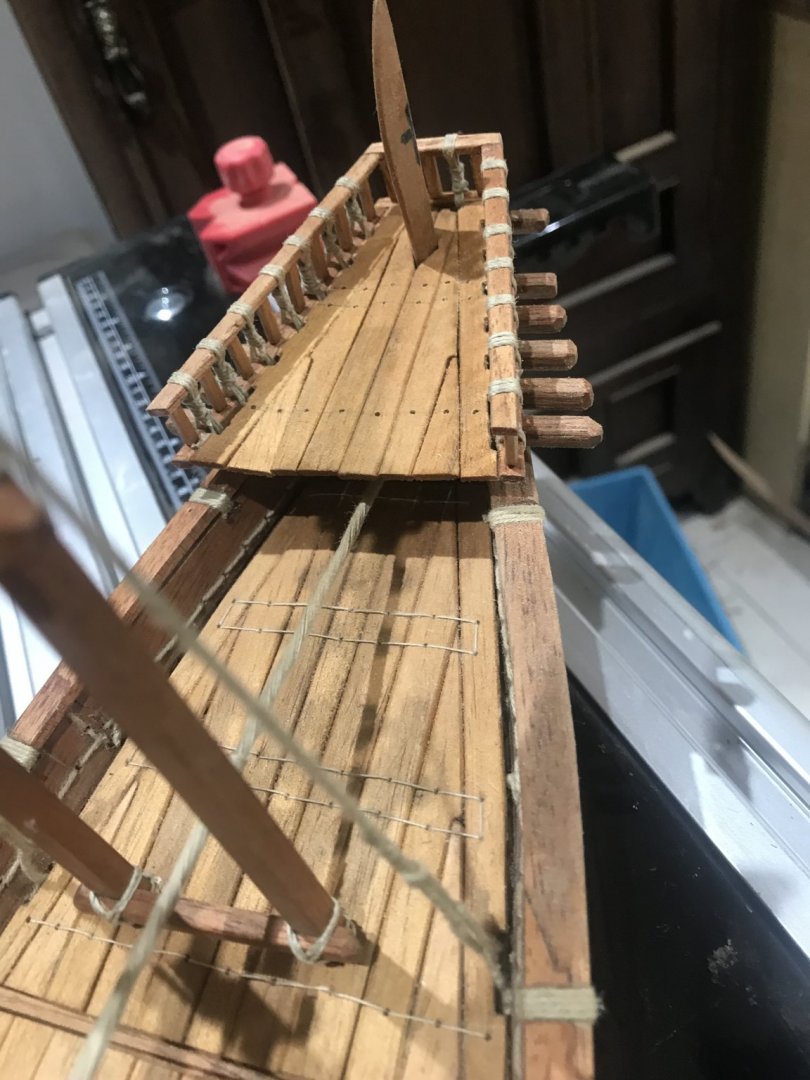
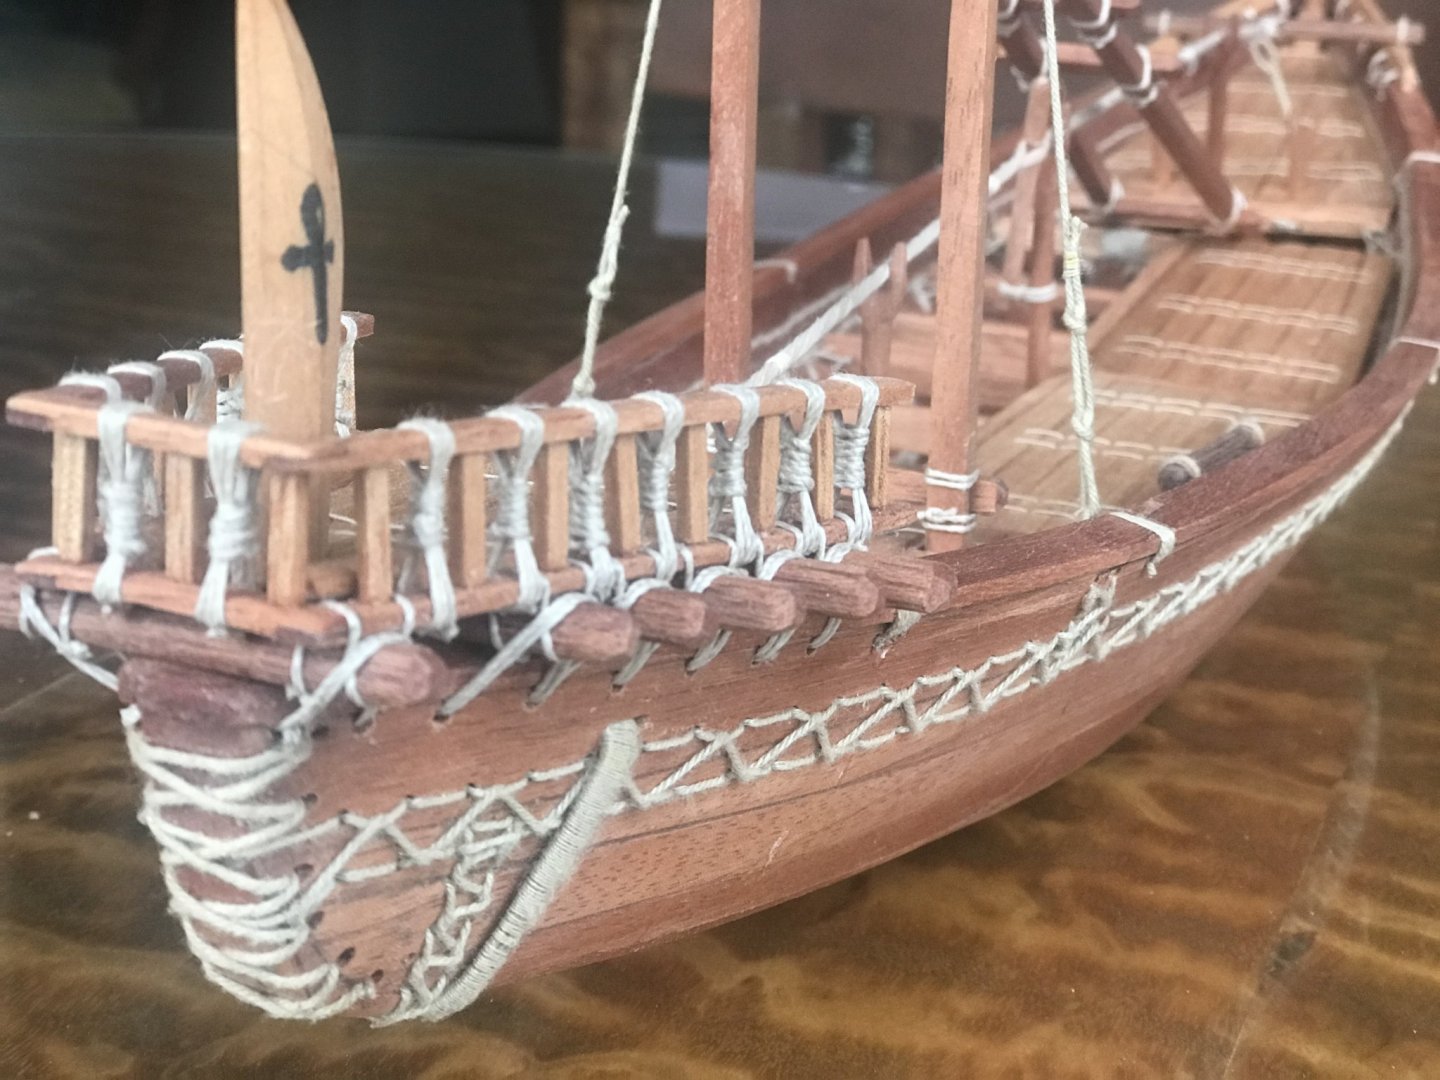
Here we go again.....this weekend I’ve been working in the helsman’s platform..... As almost everything in this ship this particularly puzzle has been tide....
- 158 replies
-
- byblos ship
- Egyptian
-
(and 1 more)
Tagged with:
-
Steven it looks really good. Well executed and It will looks wonderful any place you decide to show it I just want to see it person once in my lifetime congrats
About us
Modelshipworld - Advancing Ship Modeling through Research
SSL Secured
Your security is important for us so this Website is SSL-Secured
NRG Mailing Address
Nautical Research Guild
237 South Lincoln Street
Westmont IL, 60559-1917
Model Ship World ® and the MSW logo are Registered Trademarks, and belong to the Nautical Research Guild (United States Patent and Trademark Office: No. 6,929,264 & No. 6,929,274, registered Dec. 20, 2022)
Helpful Links
About the NRG
If you enjoy building ship models that are historically accurate as well as beautiful, then The Nautical Research Guild (NRG) is just right for you.
The Guild is a non-profit educational organization whose mission is to “Advance Ship Modeling Through Research”. We provide support to our members in their efforts to raise the quality of their model ships.
The Nautical Research Guild has published our world-renowned quarterly magazine, The Nautical Research Journal, since 1955. The pages of the Journal are full of articles by accomplished ship modelers who show you how they create those exquisite details on their models, and by maritime historians who show you the correct details to build. The Journal is available in both print and digital editions. Go to the NRG web site (www.thenrg.org) to download a complimentary digital copy of the Journal. The NRG also publishes plan sets, books and compilations of back issues of the Journal and the former Ships in Scale and Model Ship Builder magazines.


