
(2).png.8ea3e9b5d119e85c31982336f68c92c0.png)
FrozenRabbit471
-
Posts
77 -
Joined
-
Last visited
Content Type
Profiles
Forums
Gallery
Events
Posts posted by FrozenRabbit471
-
-
Excuse my 4 year absence. But the good news is I took the boat back out and started where I left off. Photos to follow.
-
Yup, drive ya to drink!
I guess it could just build the superstructure and paint it later. grrr
- cog and popeye the sailor
-
 2
2
-
Hey Carl, I figured I could work on the superstructure. Minimal sanding and some hand painting. That in itself should take in a lot of time. I really wanted to make this boat into an RC vessel, but I think I'll just keep her static to save on the headache. Maybe a single screw boat would be better suited for an RC boat starting off.
- cog, maddog33 and popeye the sailor
-
3
-
Hey everyone,
I fell off the grid for a bit. We did move from western Canada to eastern Canada, then back west again. It was fun for me as I love travel. My wife however, not so much. That's where I've been.
Anyway, we moved from a house to an apartment. I have not lost interest in the least, I want to jump head and eyes back into the boat but it's hard to wrap my head around how to make this build work in an apartment.
I am mainly concerned about the sanding, glueing and epoxy applications and painting.
(( Keep in mind )) I live in a region where the temperatures drop to -45C / -49F so patio work is pretty much out.
Input please.😊
-
Hi everyone. I haven't thrown in the towel. I'm in the midst of preparing to move across the country. I'll get back into it when life gets out of the way.
Terry
- cog, popeye the sailor and Sjors
-
3
-
43 minutes ago, popeye the sailor said:
you could also try and reframe the windows and edge them with styrene striping from plastruct or evergreen. they have wonderful stuff to simulate angle Iron and quarter round strip. good to see your making some good progress. your gaining on it
")
A labour of love sir
-
I messed up a few windows on the rear port side of deck 1 cabins. I attempted to repair them but realized I was making it worse. Its one of those times when you just have to realize when to stop!
So I improvised and decided to install "storm covers" over them. After all is sanded down, and window box inner and storm cover trims are applied, it will look better. Ill ensure to install micro hinges to those storm covers guys, no worries
😁

-
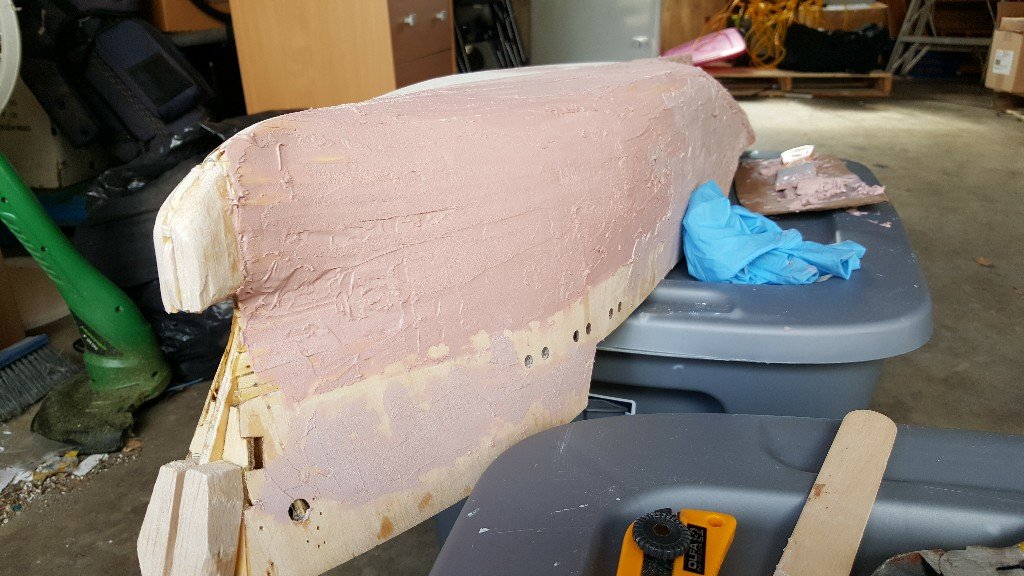
This is just the first coat of primer to show me the hills, valleys and pinholes. I have some more light fill and sanding.
Some areas "look" rough, but the lighting and shading accounts for some of it. This hull is a solid as a church. The inside is very rigid as it's epoxied with fibreglass cloth..... and two clothes pins!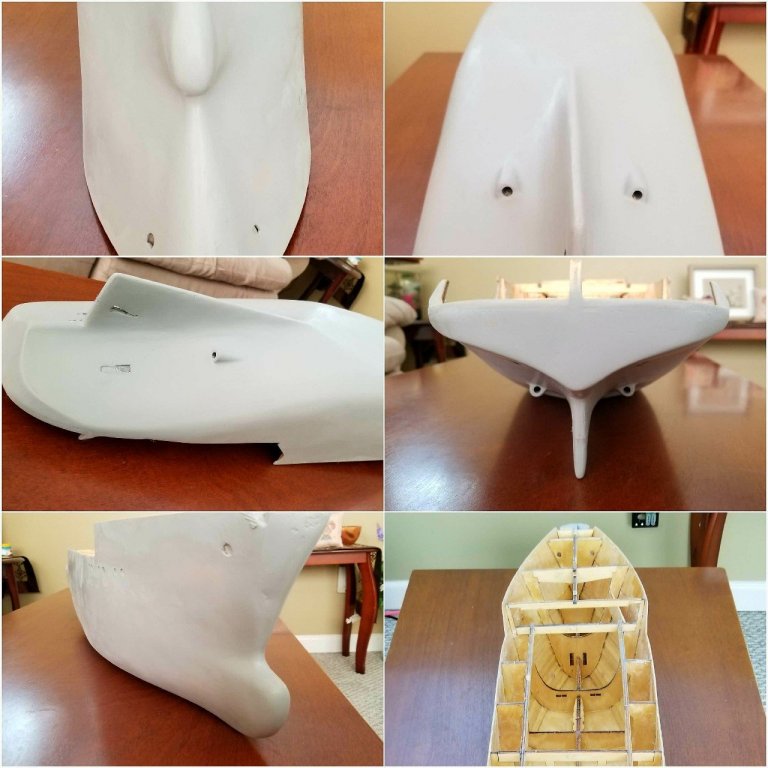
- cog, maddog33, Steve 12345 and 5 others
-
8
-
Thanks guys. There are days I get a small hint of the novelty wearing off and feel guilty. Then I Thanks, nah it's ok to not be at it "every day
- Steve 12345 and maddog33
-
2
-
The bow & bell are working out great. It's obviously not completed yet. Fill and sand, fill and sand. To the non builders, it doesn't look very good, but it's only due to the various shading of fillers.
The paint and wax will prove to be a masterpiece for this amateur!😁
- maddog33, Tallshiptragic, CDW and 2 others
-
5
-
I've discovered the initial bulk filler application over the hull was the easy part.
The later stages of smaller amounts of filler is like pulling teeth. Very tedious.
It's all a part of it I guess. I am either very lucky or actually have some hidden skills to have pulled of a successful hull despite the not so perfect planking.
The easy part of the build is all behind me now. This is where patience and time really kicks in. I am still loving it.
-
Hey all,
I haven't given up. I've simply got derailed by life. I Have done a small bit of work on the lower superstructure in between being busy.I hope to get back at the hull and get my RC components soon.Terry -
-
The beauty about these models, you can make small modifications to make it your own. There is beauty, even in an aged, now demolished, tug.
We had two identical super-ferries running between Nova Scotia and Newfoundland for years. They sent them off to some beach in India I beleive to be torn apart.
Caused quite a stir. Everyone hated to see them go.
They were named M.V. Joseph & Clara Smallwood
and the M.V. Caribou
Absolutely amazing, beautiful ships. I wish there was a 1:75 scale model of one of them.
-
-
5 hours ago, Tallshiptragic said:
This is the launching of Rotterdam

nice!
-
2 hours ago, Tallshiptragic said:
This is the smit London in dry dock one of the three sisters of Rotterdam, London and Singapore. The bulb is a little pointy in real life, not 90 degree flat surface.
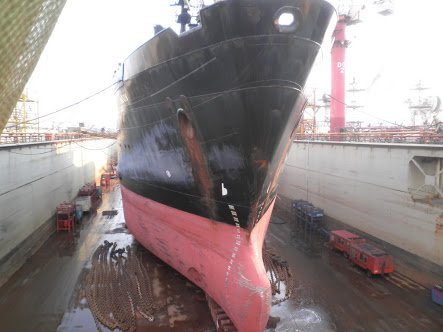
Wow, quite the blade going on there. I'm keeping mine a little rounded i think. Never seen one like that before Anton. Thanks.
-
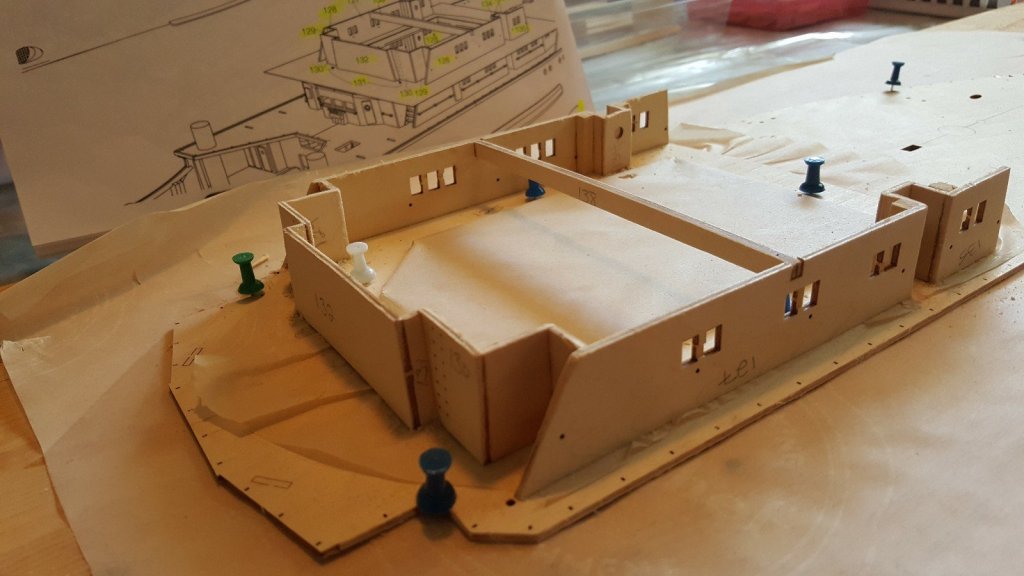
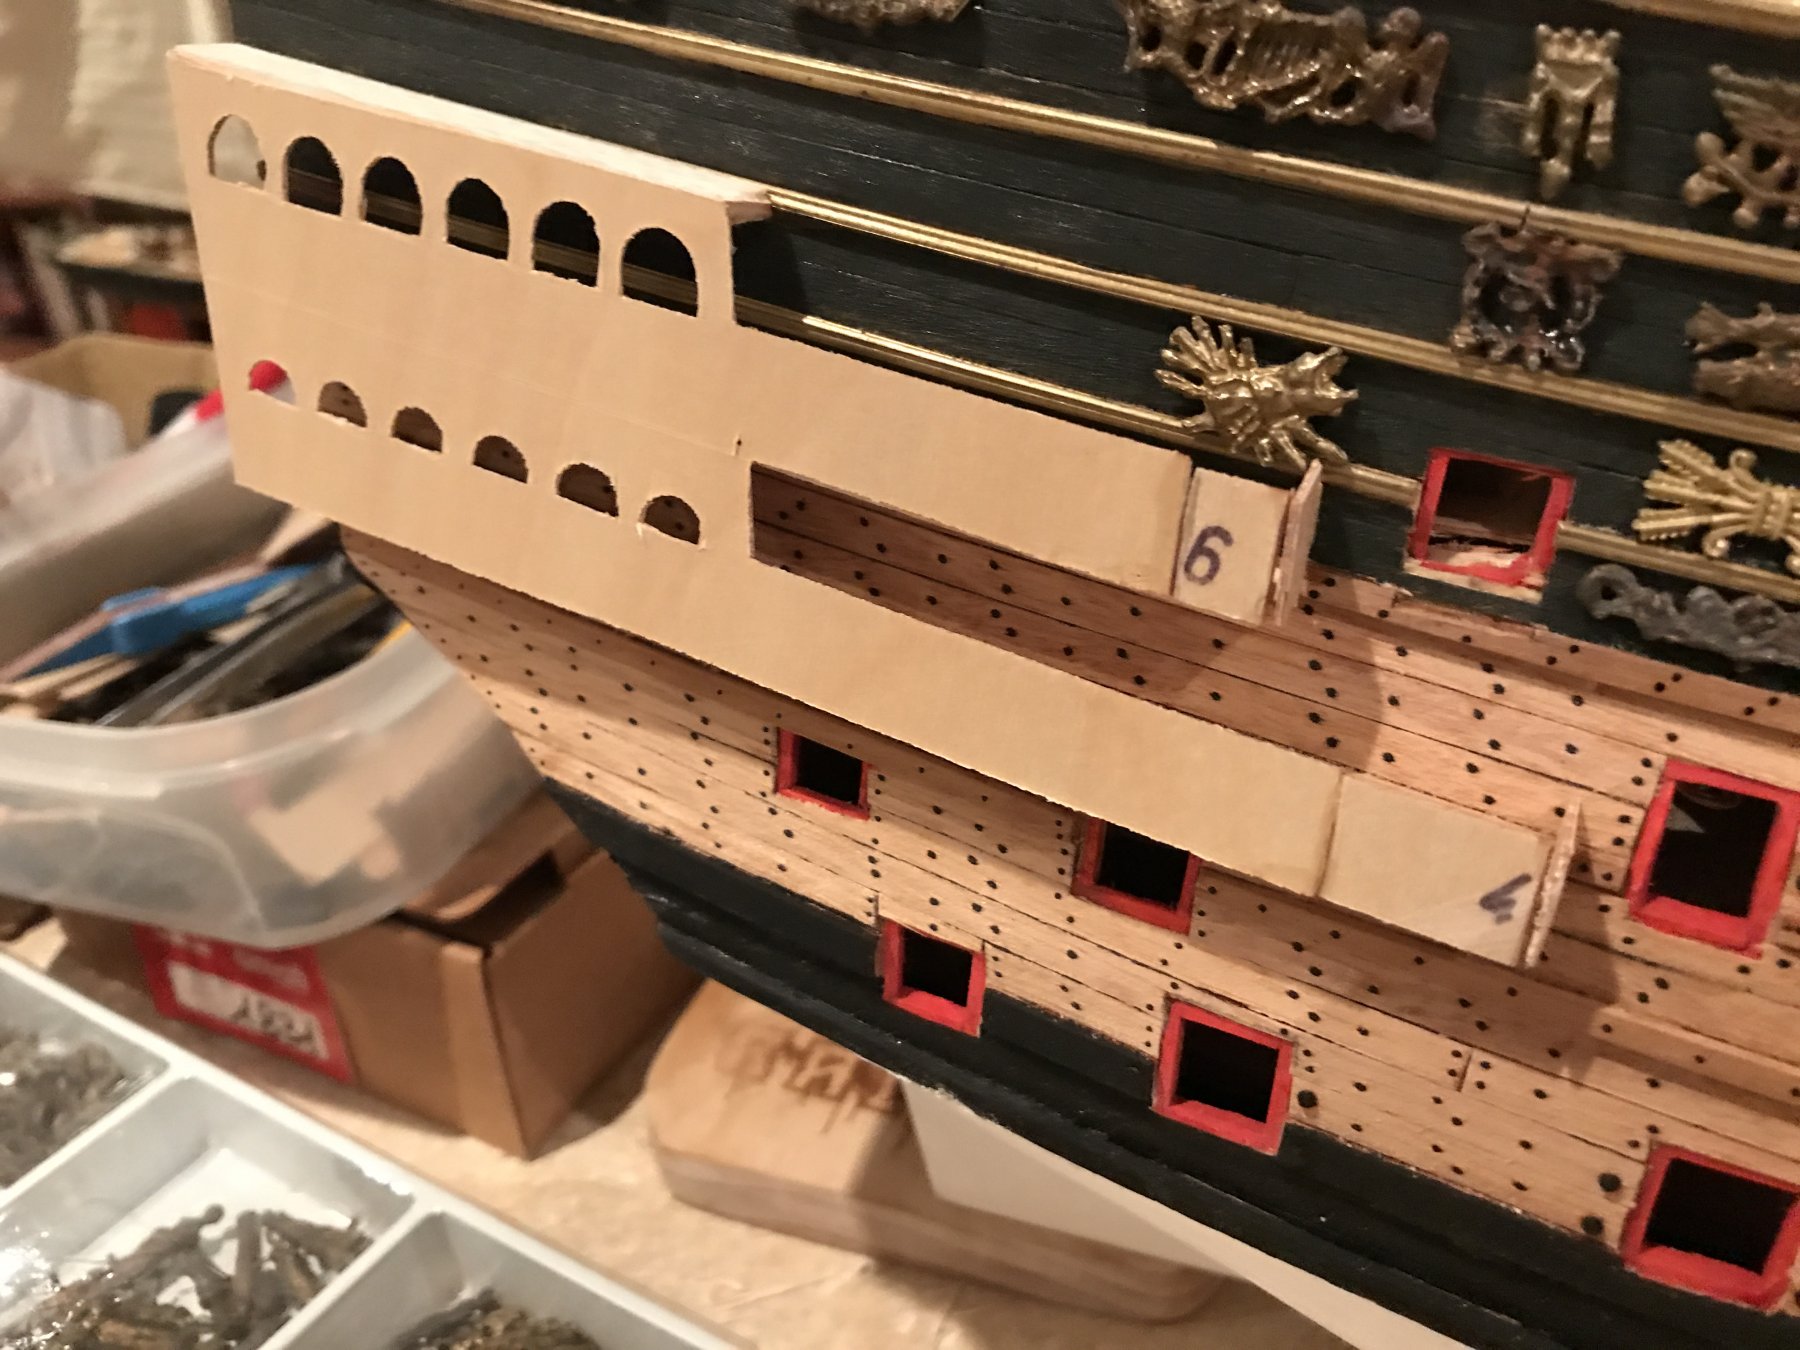
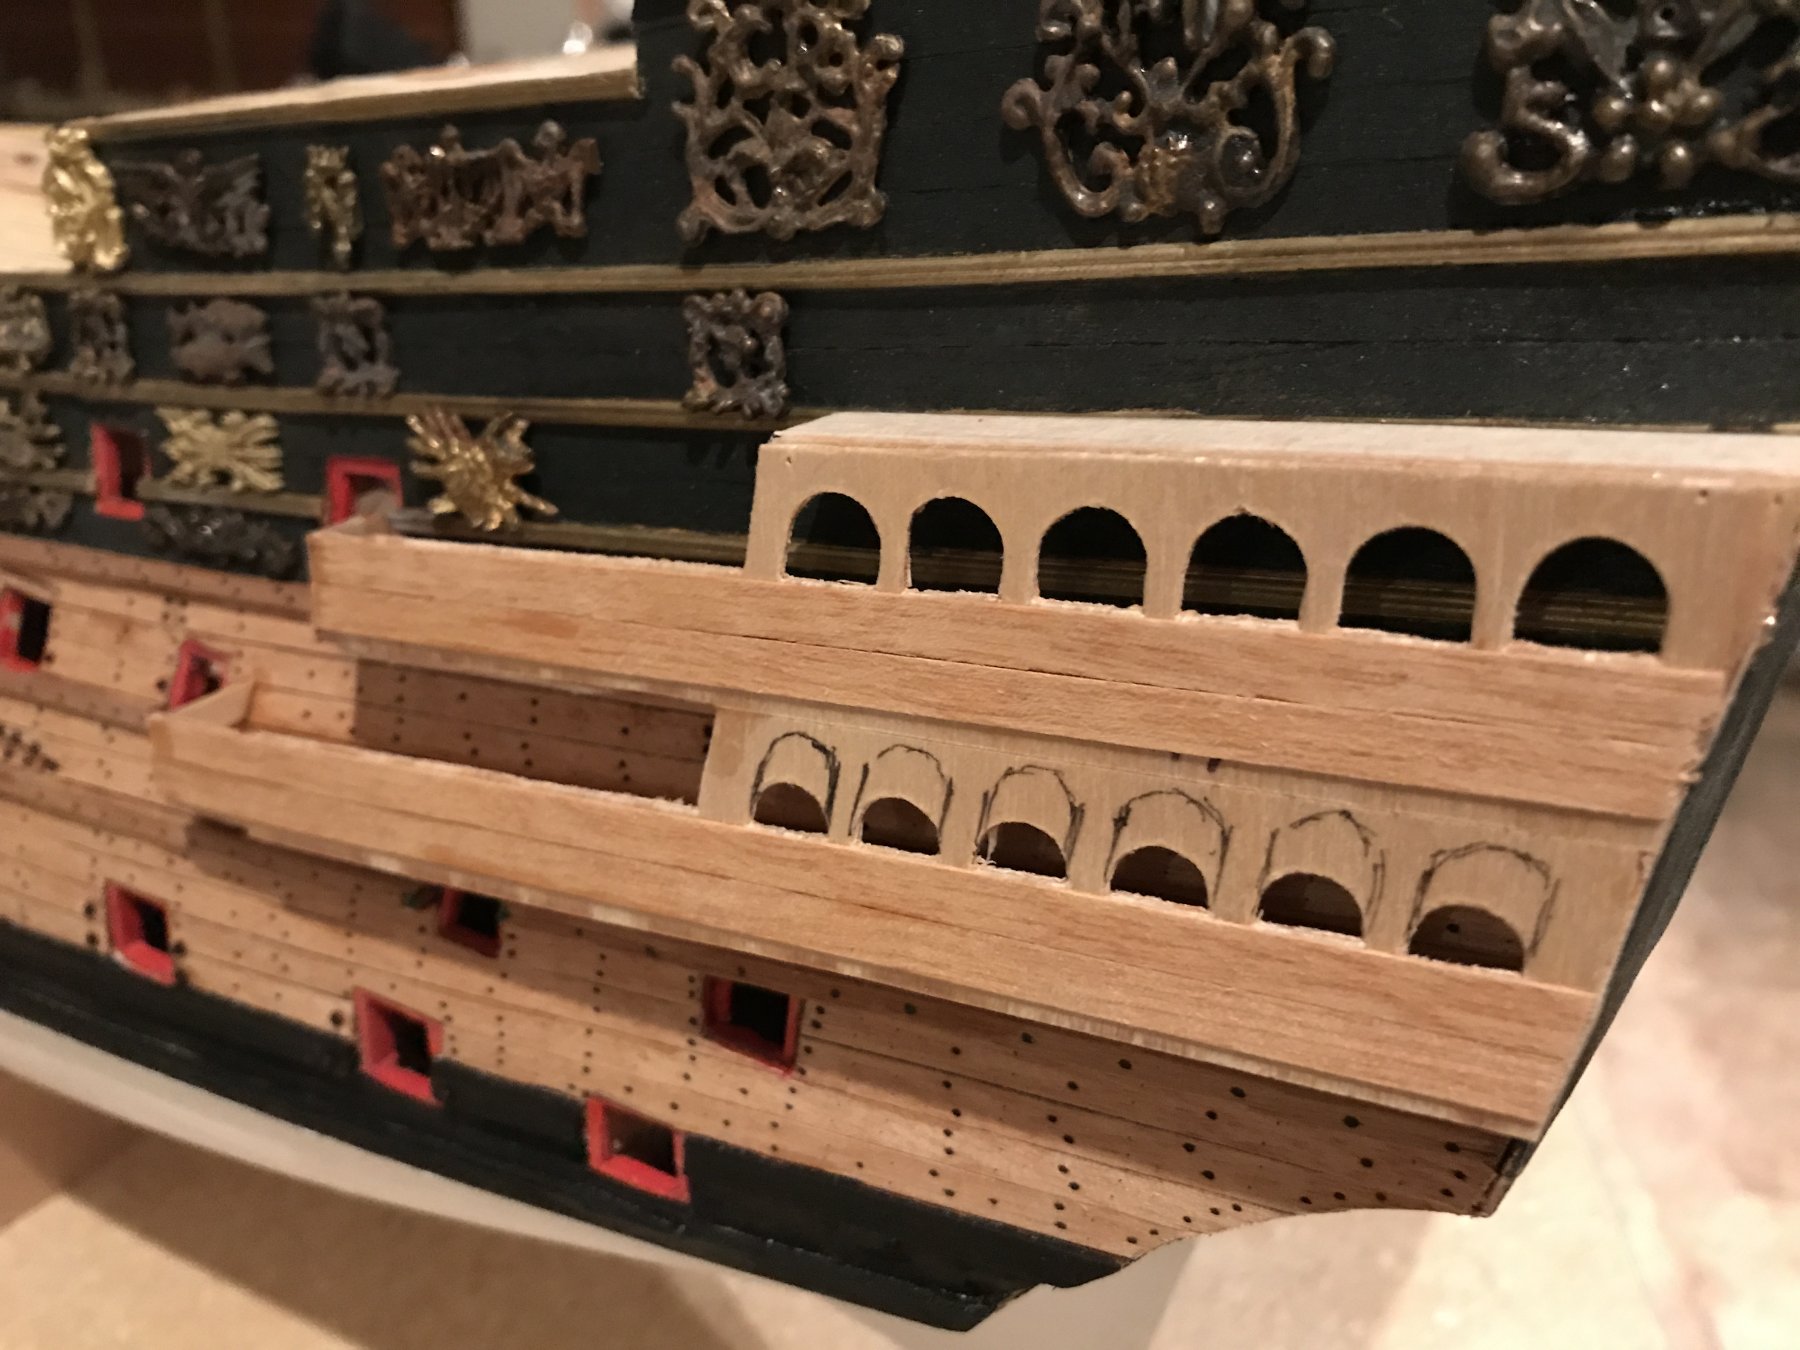
On 2017-5-8 at 5:09 AM, Tallshiptragic said:
Again more building, this time the quarter galleries
") the forward deck extensions have had to be extended and the lower row of dead lights (windows) need to be larger to match those of the level above... I don't understand why sergal had these half the size of the others?
the forward deck extensions have had to be extended and the lower row of dead lights (windows) need to be larger to match those of the level above... I don't understand why sergal had these half the size of the others?
Also ive yet to do, but the underside will be built up with an incline again to match the sketch I'm using as my base. She's coming along now and now really resembles the Sovereign! 😁


Holy cow🤤 and I thought I had my hands full with my Rotterdam¡
- coxswain, Tallshiptragic, Hennie and 3 others
-
6
-
Paul,
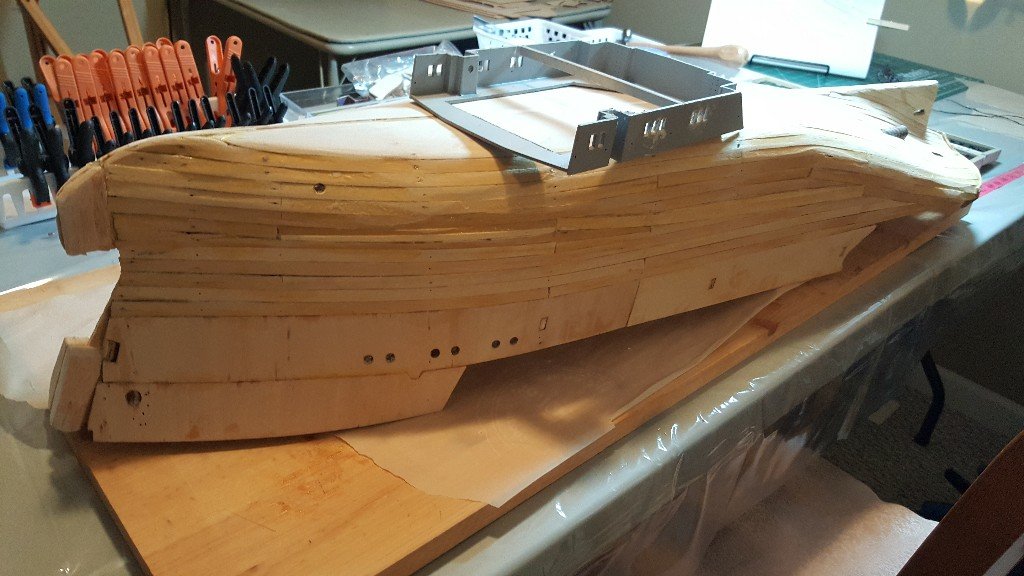
I noticed the bulb on all the Rotterdam models was pointy. I'm not sure if that's what it is on the 1:1 scale ship, but it's not what I want. I wanted a bulb that looks more so what you typically see. Makes the front of the ship look a little tougher. Of course it will be under water anyway lol.
I wonder if the models out there ends up being pointy because that's where the planks end up meeting.
I'll be customizing mine to give the front just a shade rounder. You can see I've left mine open quite a bit. I'll sand down the bamboo (or whatever the soft wood blocks are) and add planks vertically to close it in. Custom bow project!!!
I've been looking around the ship here and there and may make some minor changes. "minor"
 34 minutes ago, Paul Jarman said:
You should be fine with a bit of elbow grease. The hull at least looks like it is running true. Good work with the bulb.
I did the same only i used wood filer not fibreglass putty. But i have filled and sanded back twice before being happy with the finish.
Paul
-
6 minutes ago, Tallshiptragic said:
Nice progress
my father actually built this kit back in the 80's and I always loved this ship due to the power and size of her. The model is now with the Fremantle port authority and not sure if it's still on display or not to be honest.
That's pretty sweet. Im hoping mine will turn a head or two
-
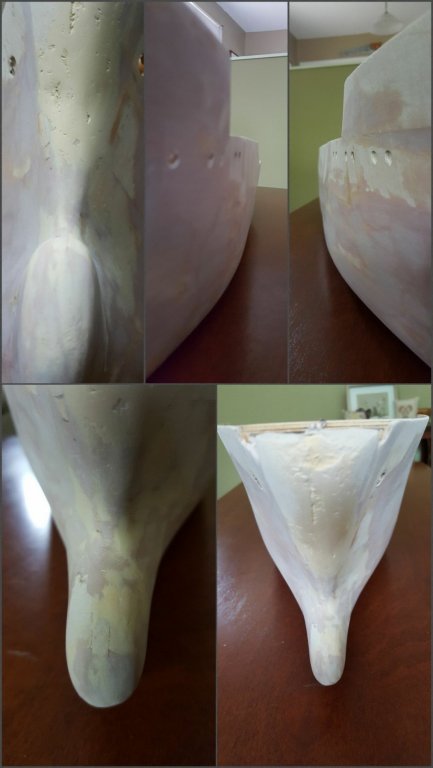
The kit doesn't supply acetate so I used parchment paper. It give me a precision fit. I have the bow section glued together but not to the boat yet.
The hull has been completly filled, sanded and another fill in certain areas. Ill sand that tomorrow. I've also sanded the window holes a little bit to add some realism, shown in the photo. It hasn't been fine tuned yet.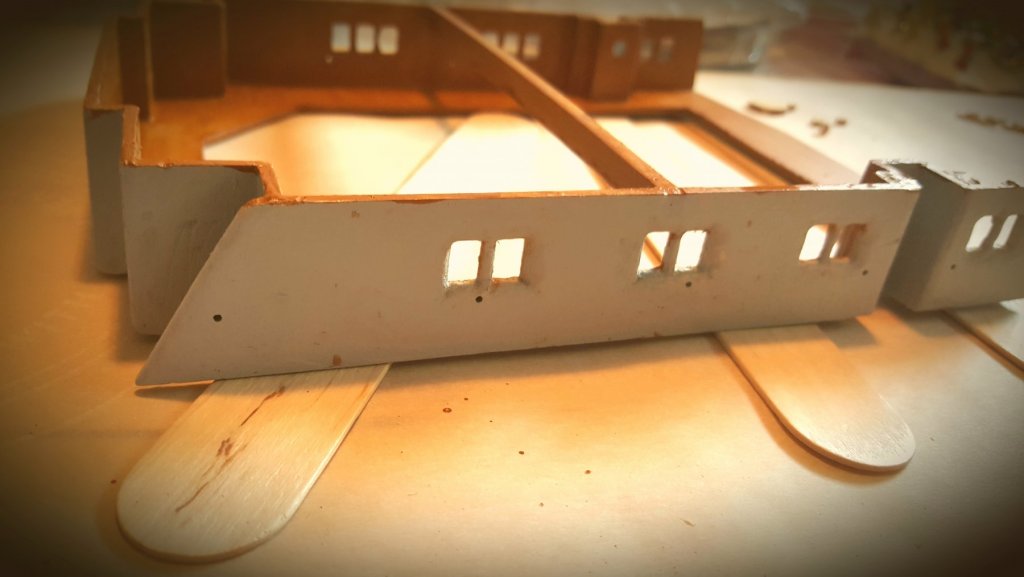
-
7 hours ago, Tallshiptragic said:
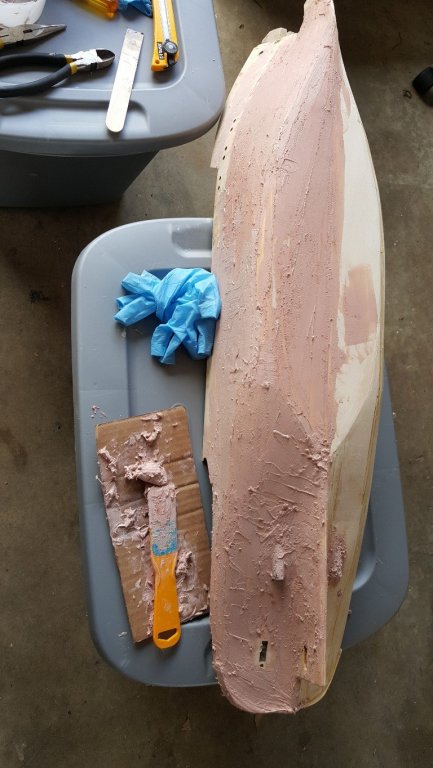
Looks a little heavy on the coats my friend but will a lot of sanding it will be fine. Did you sand the hull down before adding the putty?
yes I did sand it. going to be a bit of work. glad I didn't do the other side yet
-
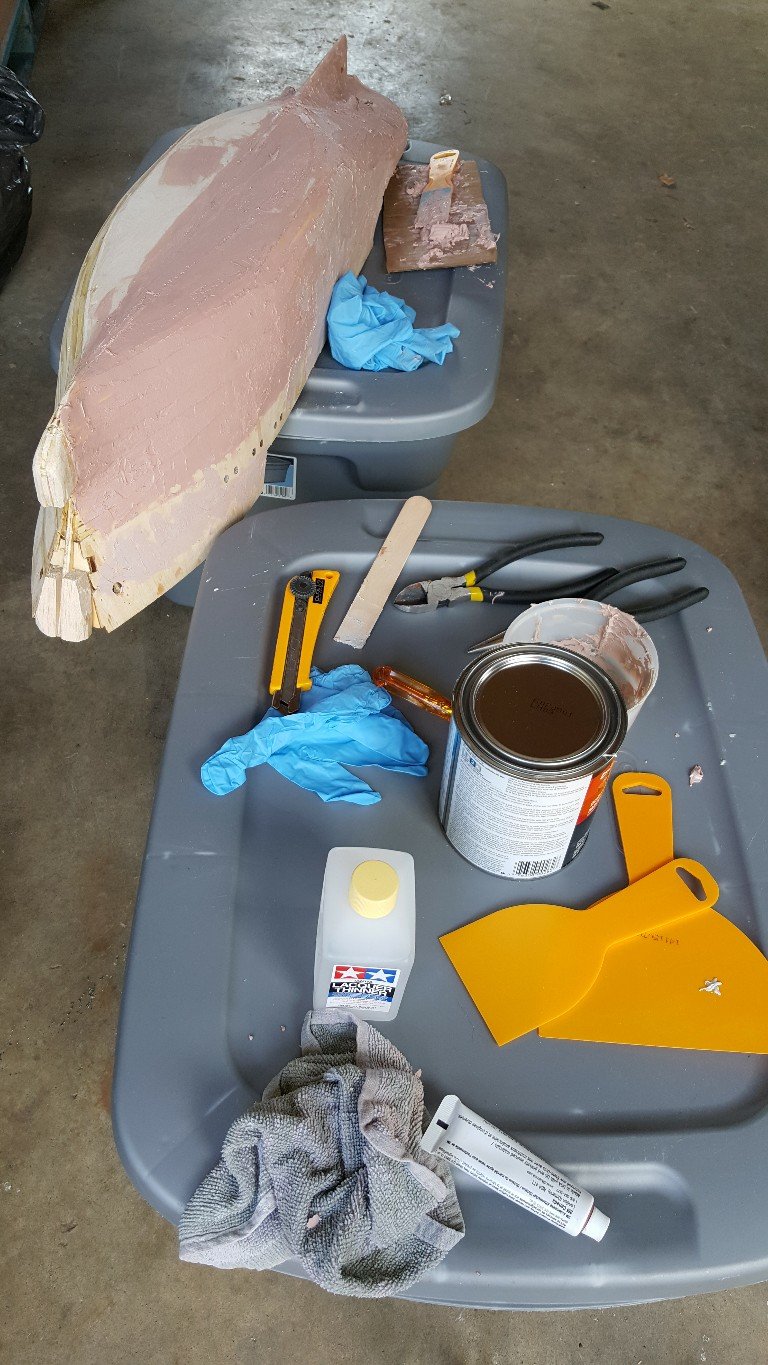
 Wait, hang on! This is the first time I ever used fibreglass putty. I have no finesse in my hand to spread and feather this stuff out.
The initial coat "IS" on right and in every crack, but I think I added too much hardener. That and the amount I put on is a learning curve. It appears to be an epic fail, but she will be a fine ship when I'm done.

- popeye the sailor, cog and maddog33
-
3
-
Did some sanding of the hull this morning and primed the cabins for the top deck
- cog, Tallshiptragic, maddog33 and 1 other
-
4


Smit Rotterdam by FrozenRabbit471 - Billing Boats - 1:75
in - Kit build logs for subjects built from 1901 - Present Day
Posted
What i’ve done since i took her out of storage. I’m so out of practice. my finesse is toast!