HOLIDAY DONATION DRIVE - SUPPORT MSW - DO YOUR PART TO KEEP THIS GREAT FORUM GOING! (Only 66 donations so far out of 49,000 members - Can we at least get100? C'mon guys!)
×


Derek C
-
Posts
333 -
Joined
-
Last visited
Content Type
Profiles
Forums
Gallery
Events
Everything posted by Derek C
-
 Looks real good bud , but I agree with mike start tapering those edges. Better a bit now than a Ton later .
 -
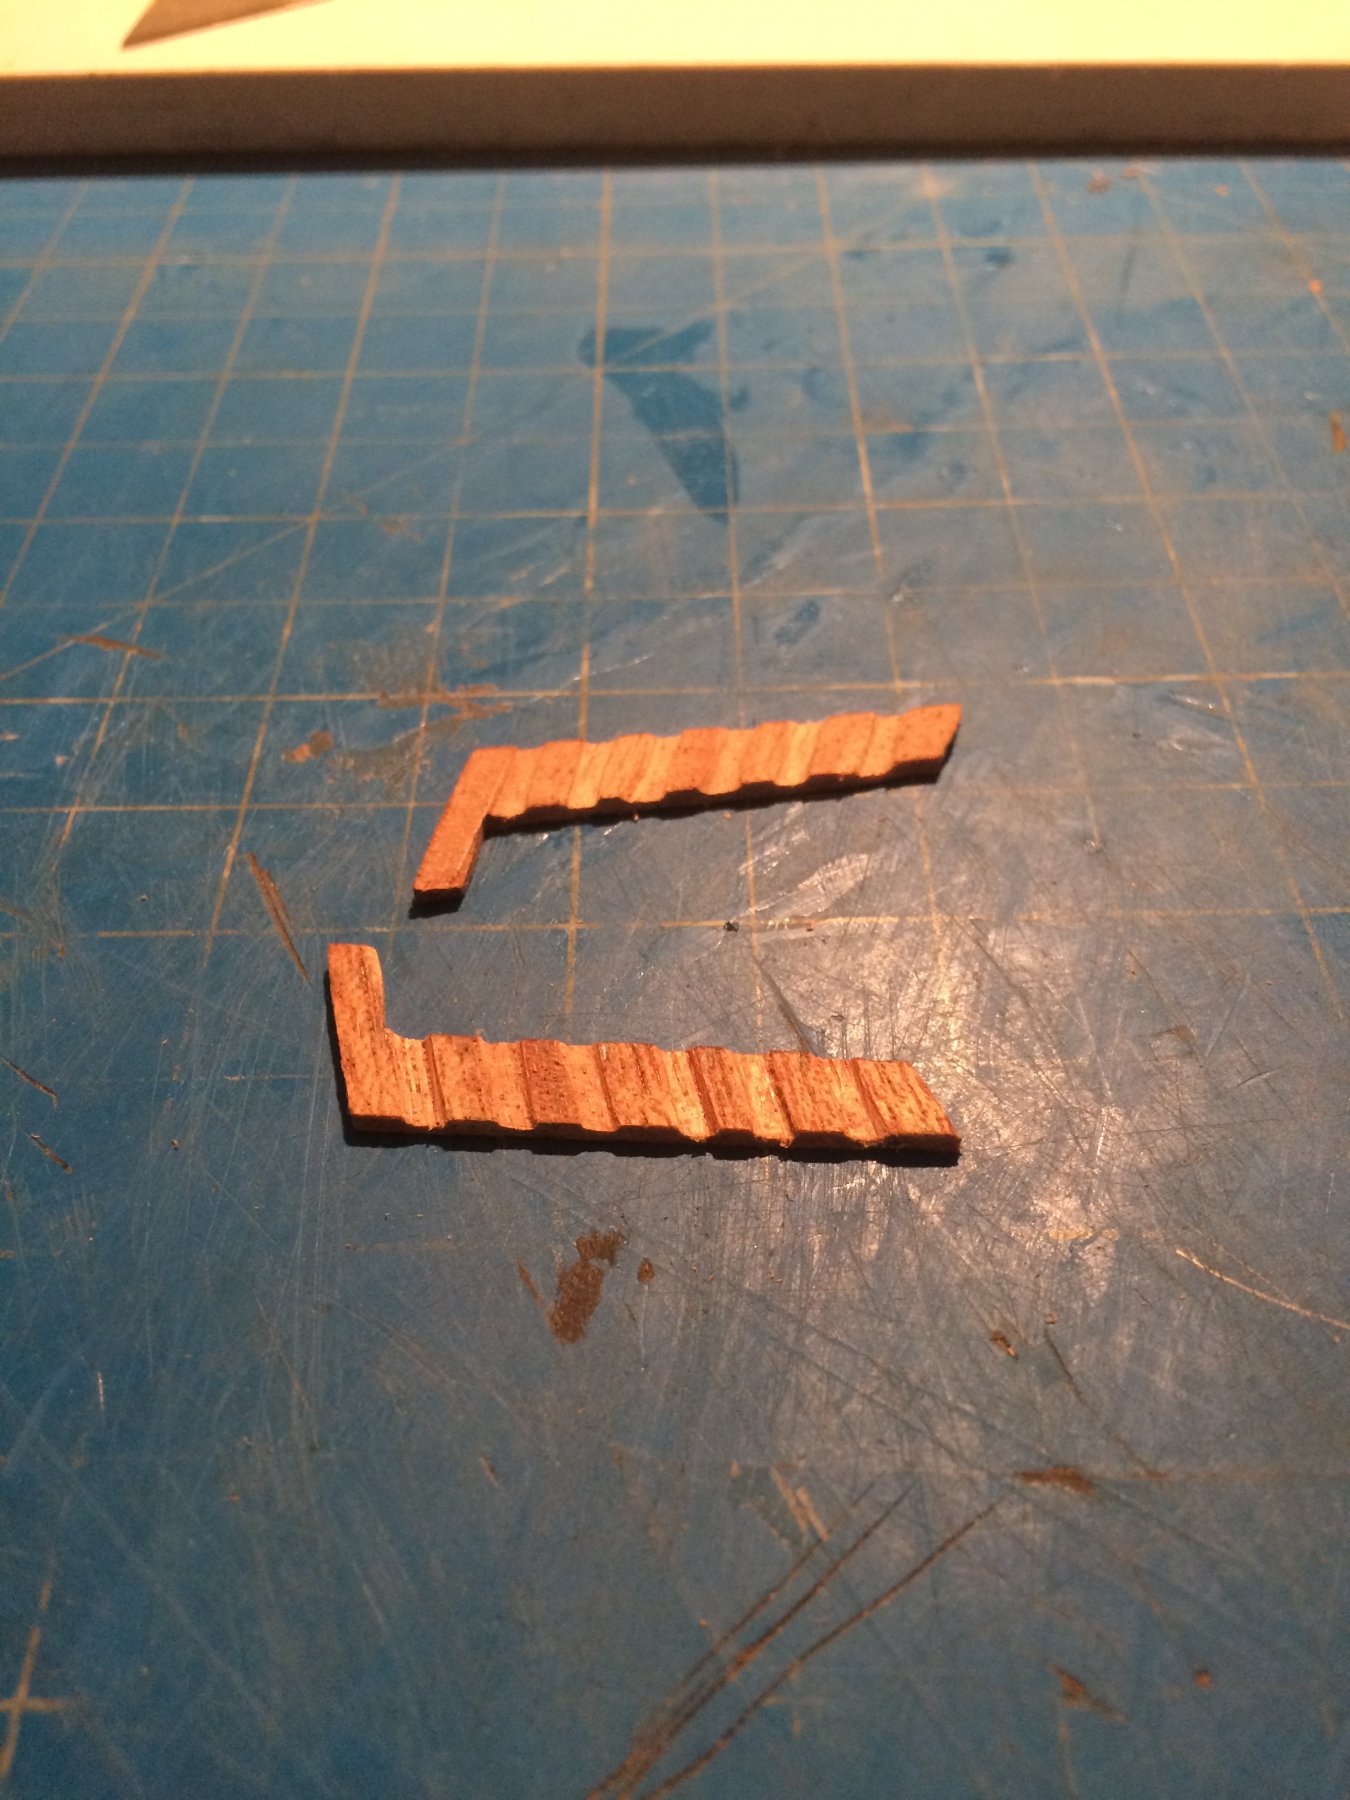
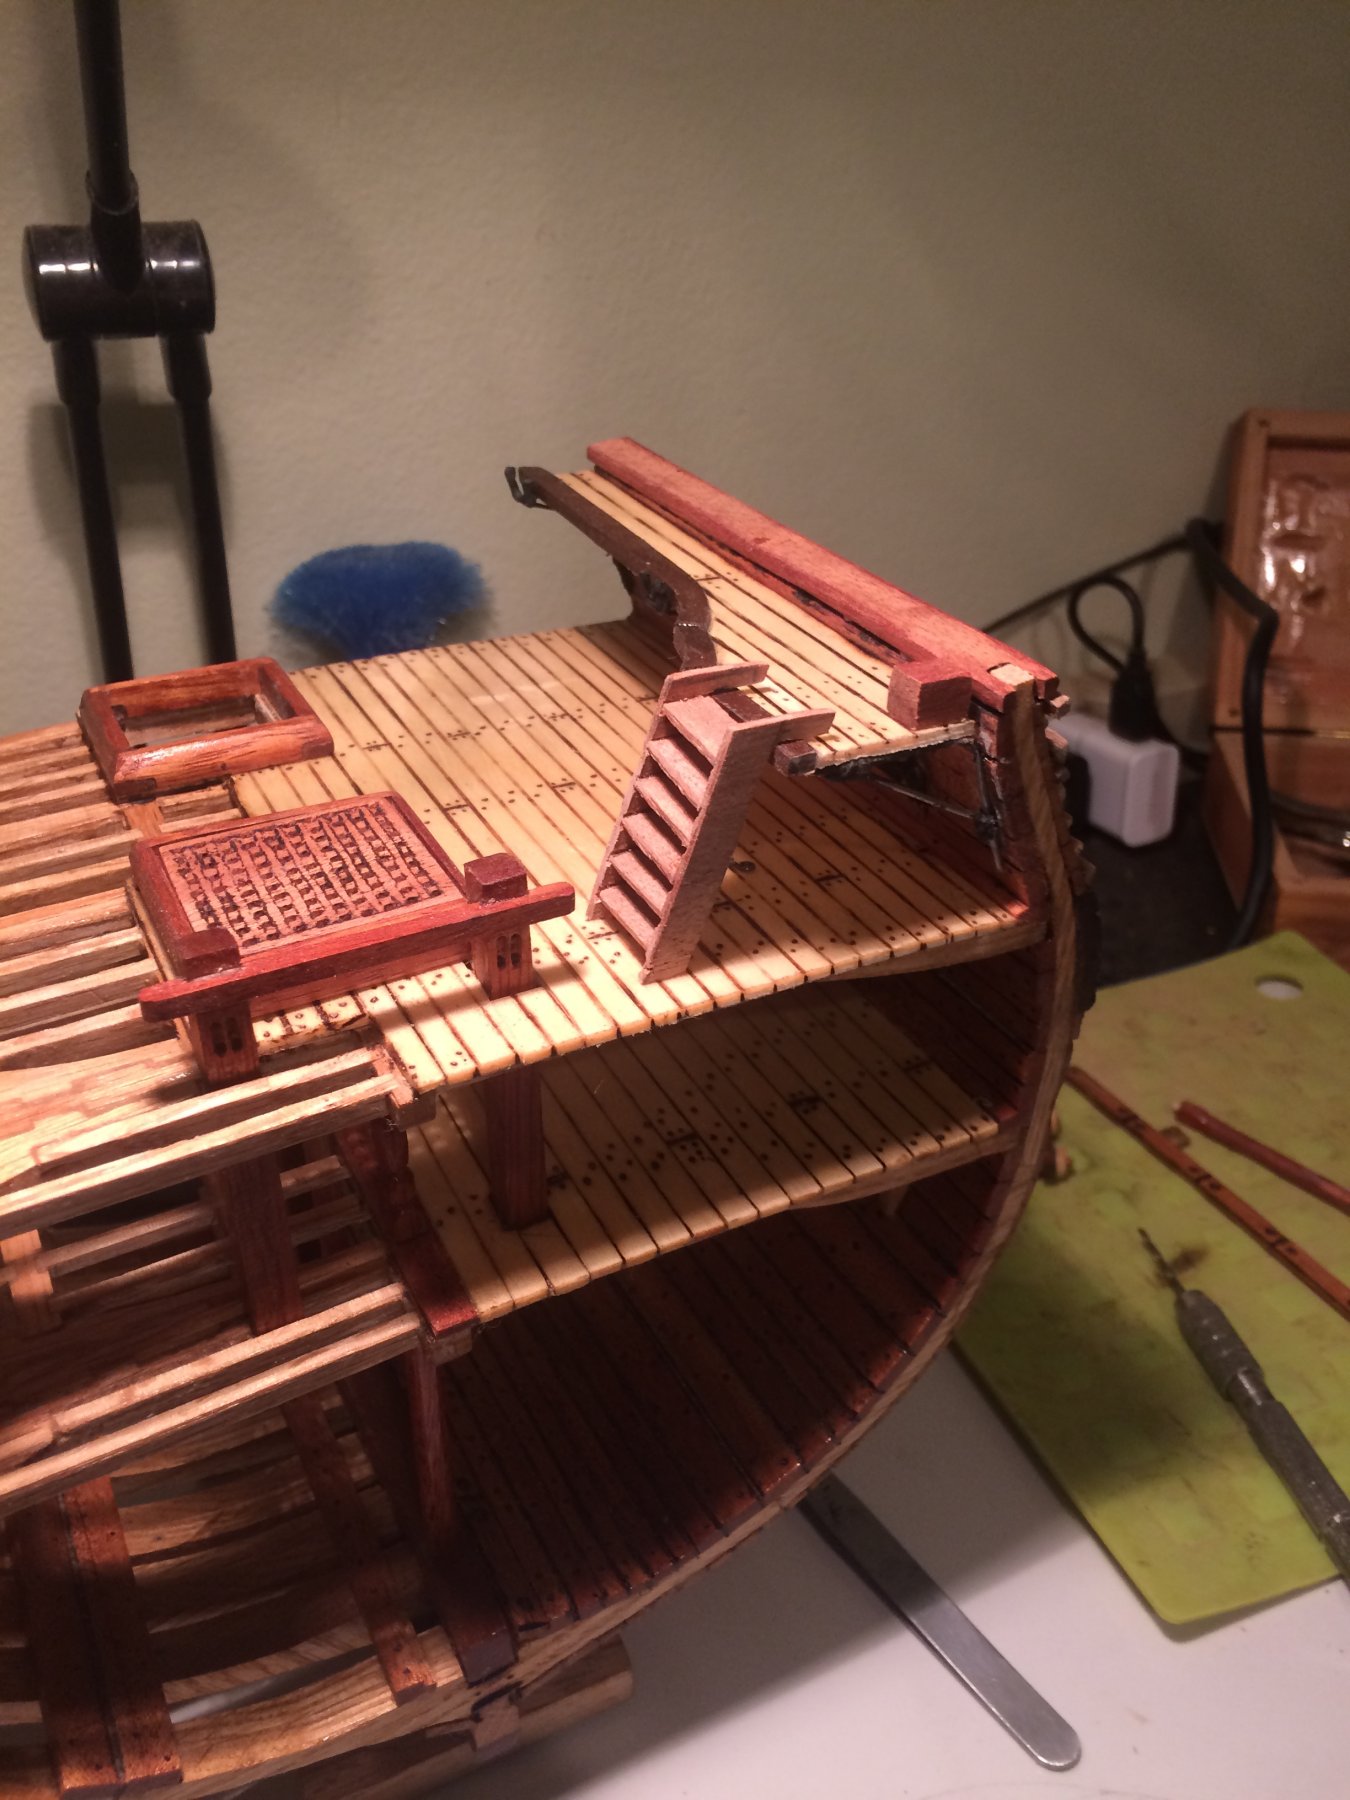
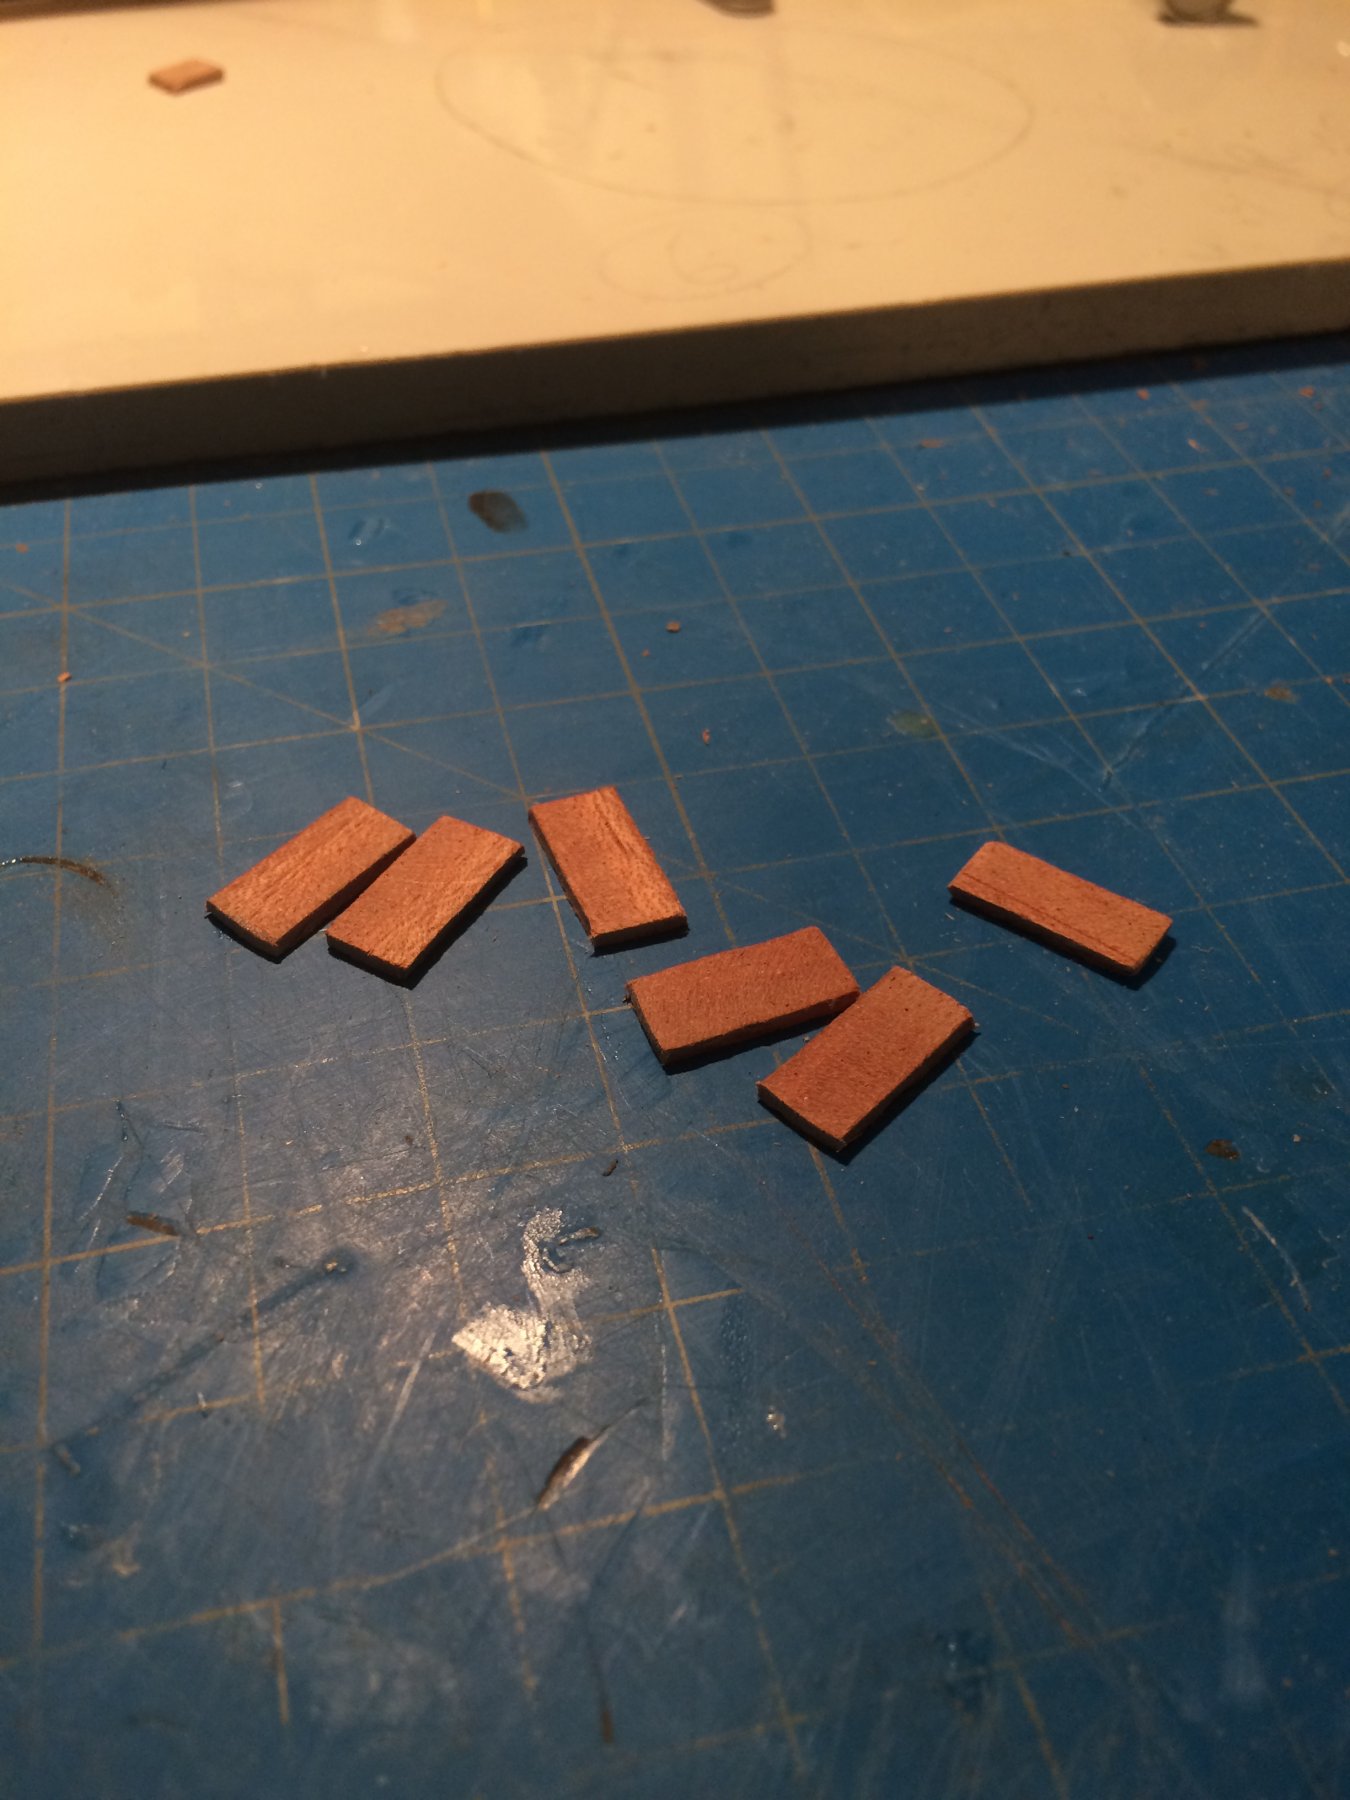
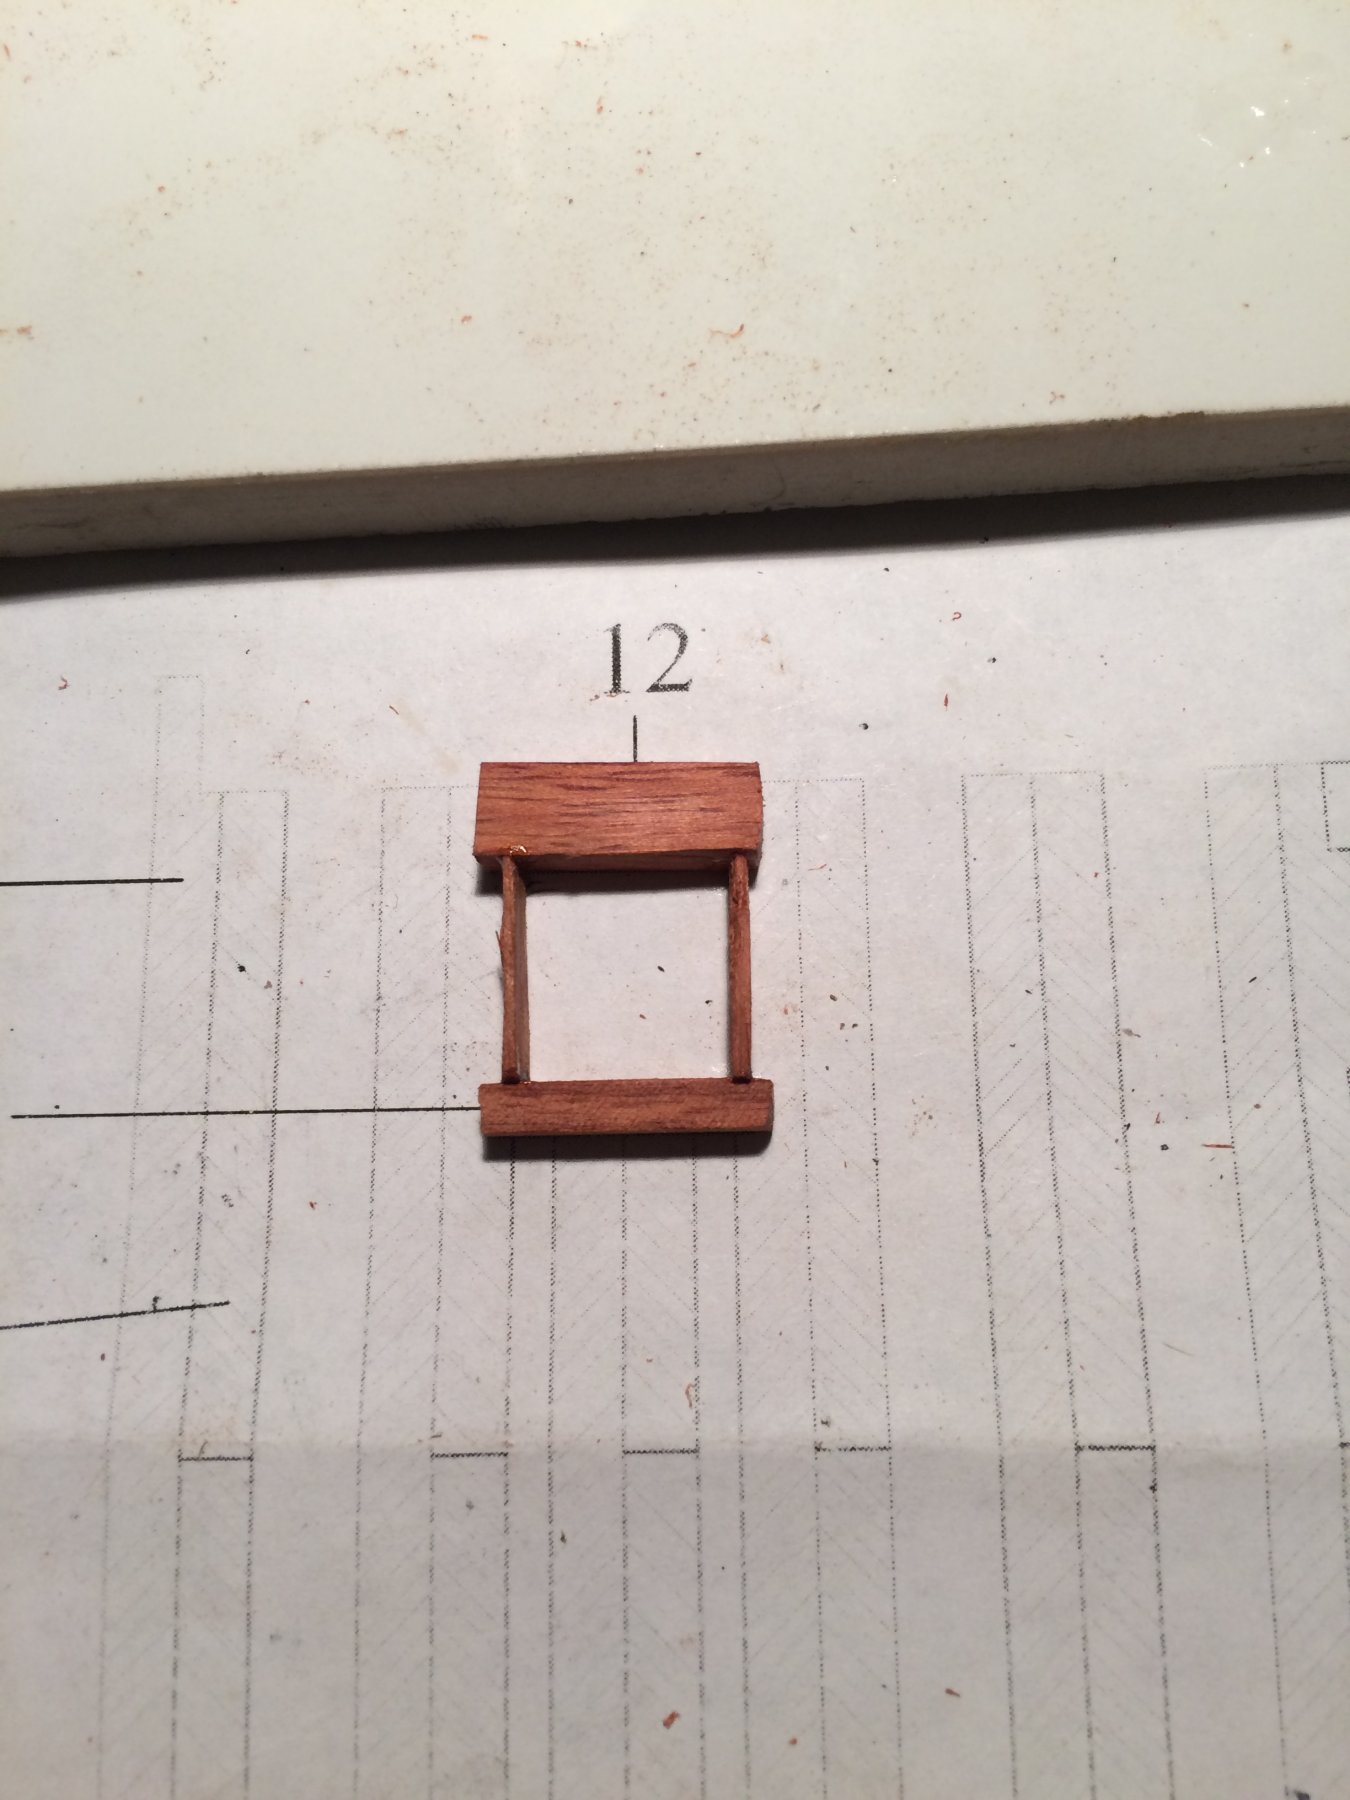
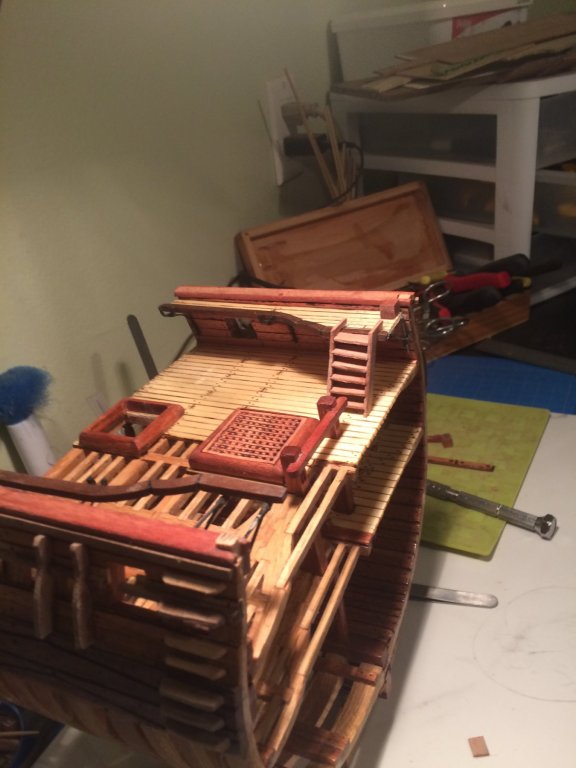
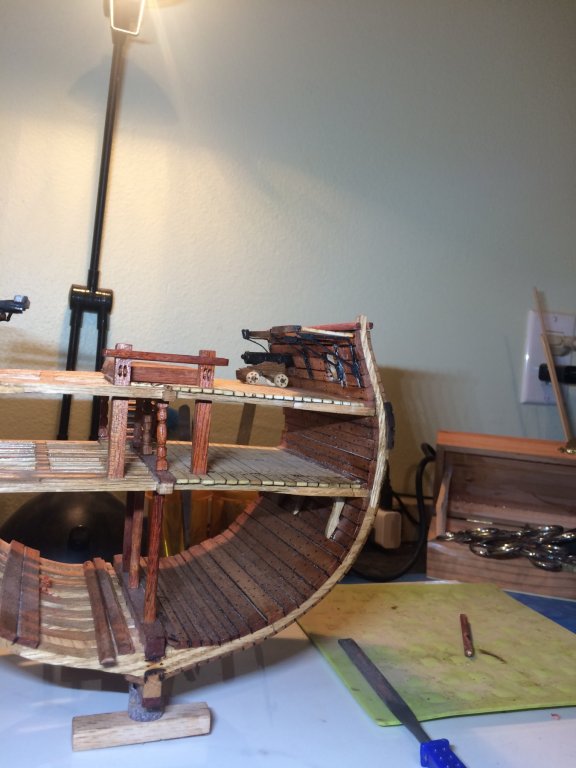
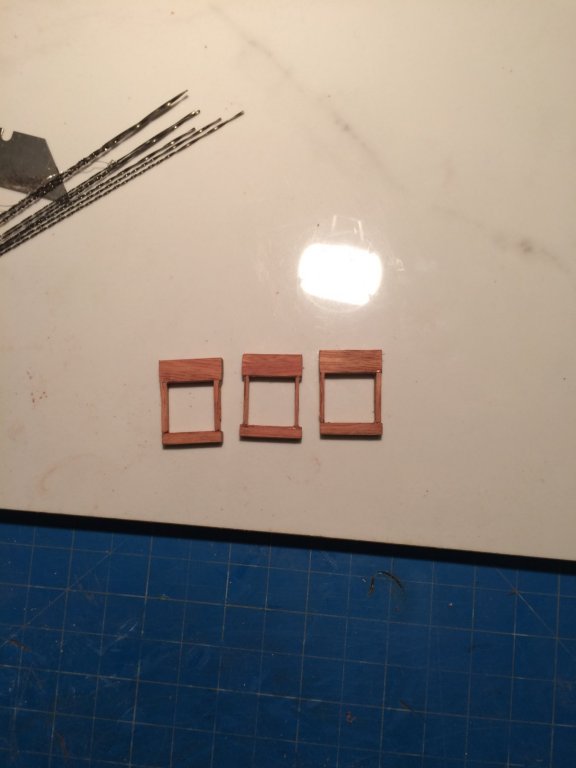
Hello everyone i have been working on the trim ,fenders and gangway ladders. As for the hanging knees I have half of them cut out lol. I don’t know why but I keep putting them off . my plan is to get those done tomorrow . Here are the pieces of the gangway ladder i assembled them them ,then added the trim and fenders .I am getting close to the end of this build ,I think i can finish it up next week.Im already thinking about my next project, I’m thinking to try a ship in a bottle .For now I need to concentrate on buttoning up this beast. Here is what she is looking like. Thanks for looking in on my build Derek C


-
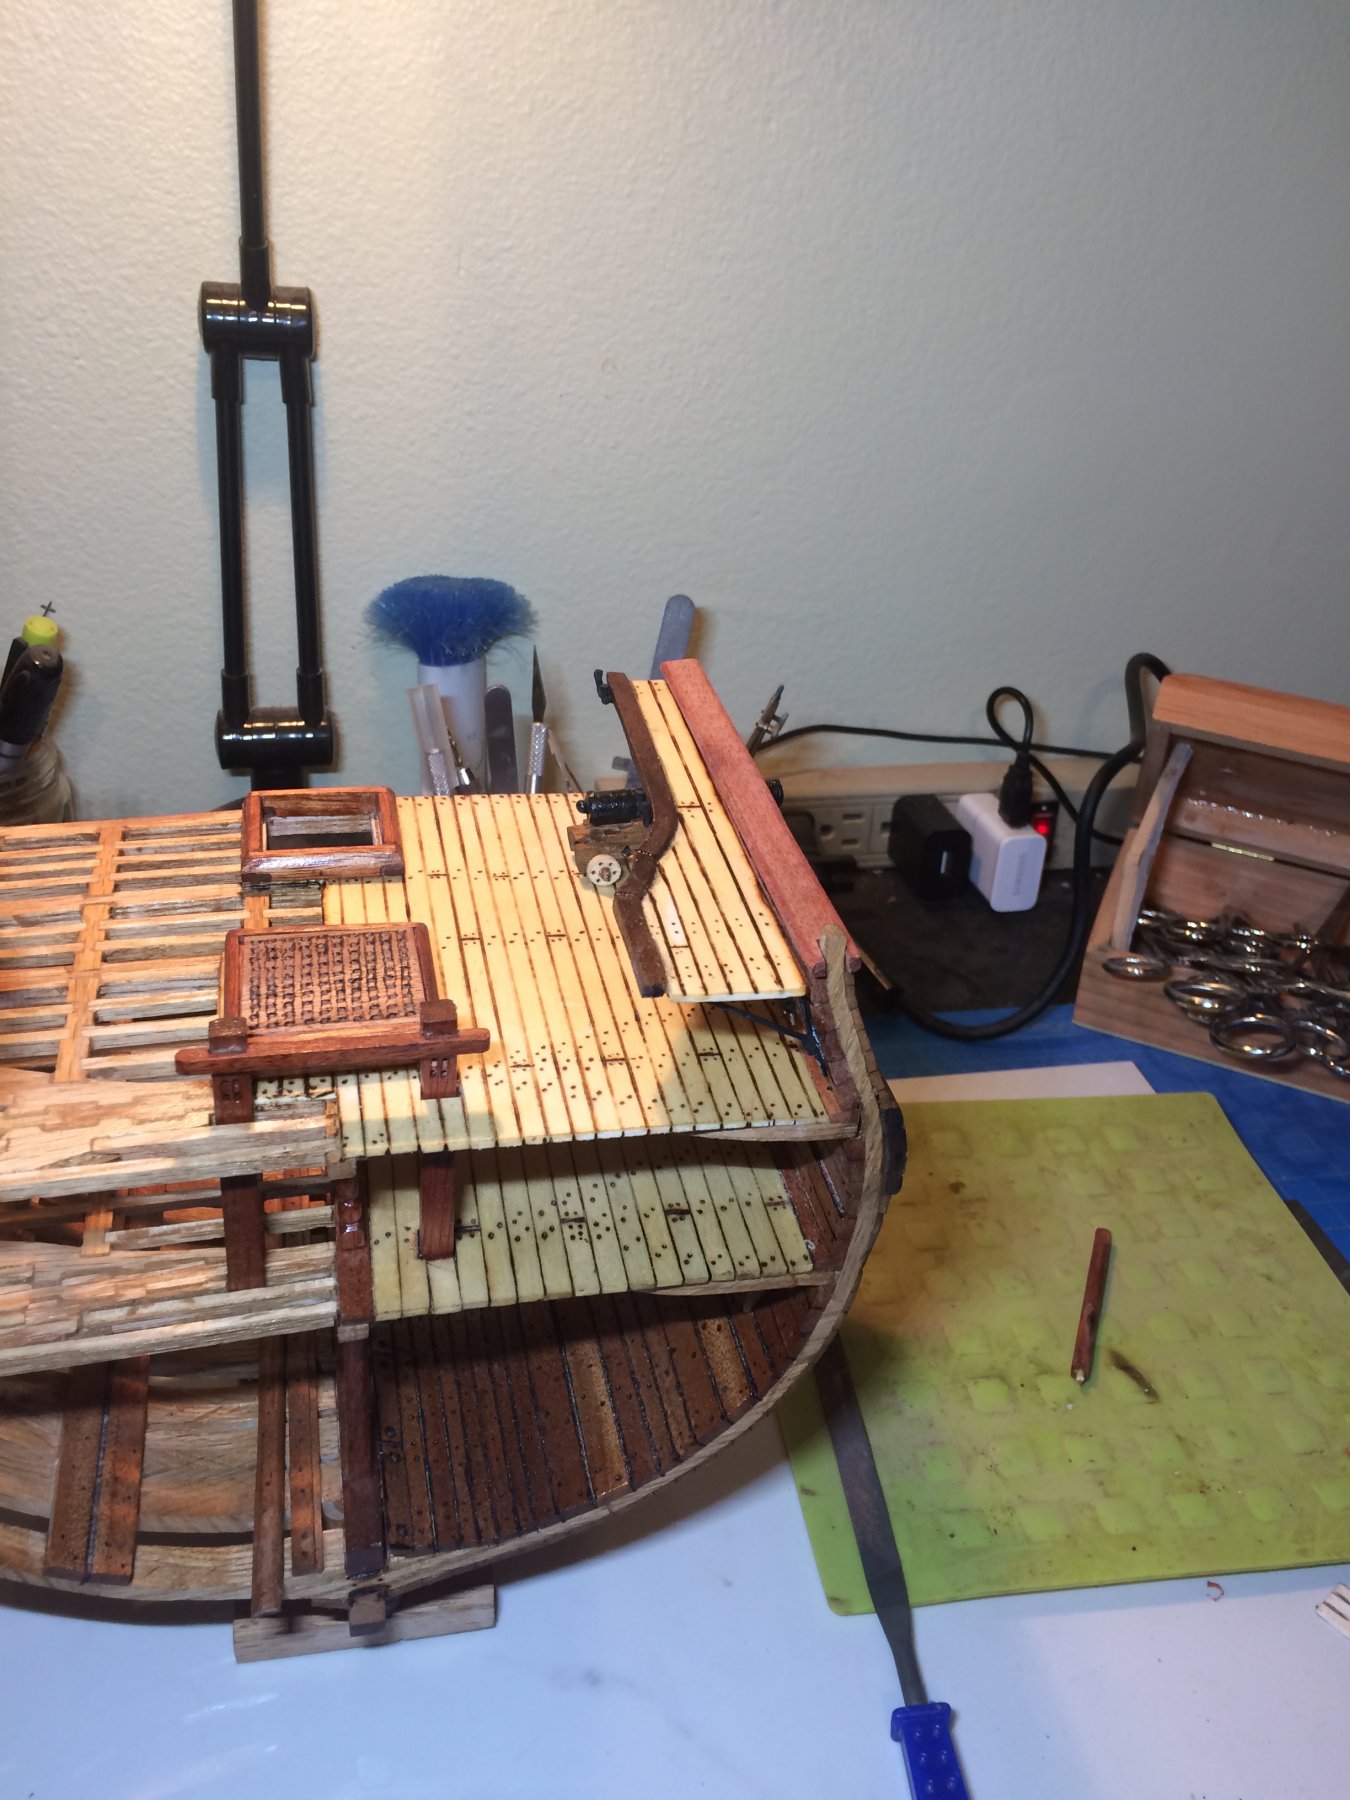
I have not done the gun deck hangin knees yet instead I started on the gangway, and shear rails. I still have a bit to do to them but here is my progress . I hope to button it up tomorrow.Them I will move on to the knees before I make the ladder for the gangway . Thanks for looking in on my build, Derek C


-
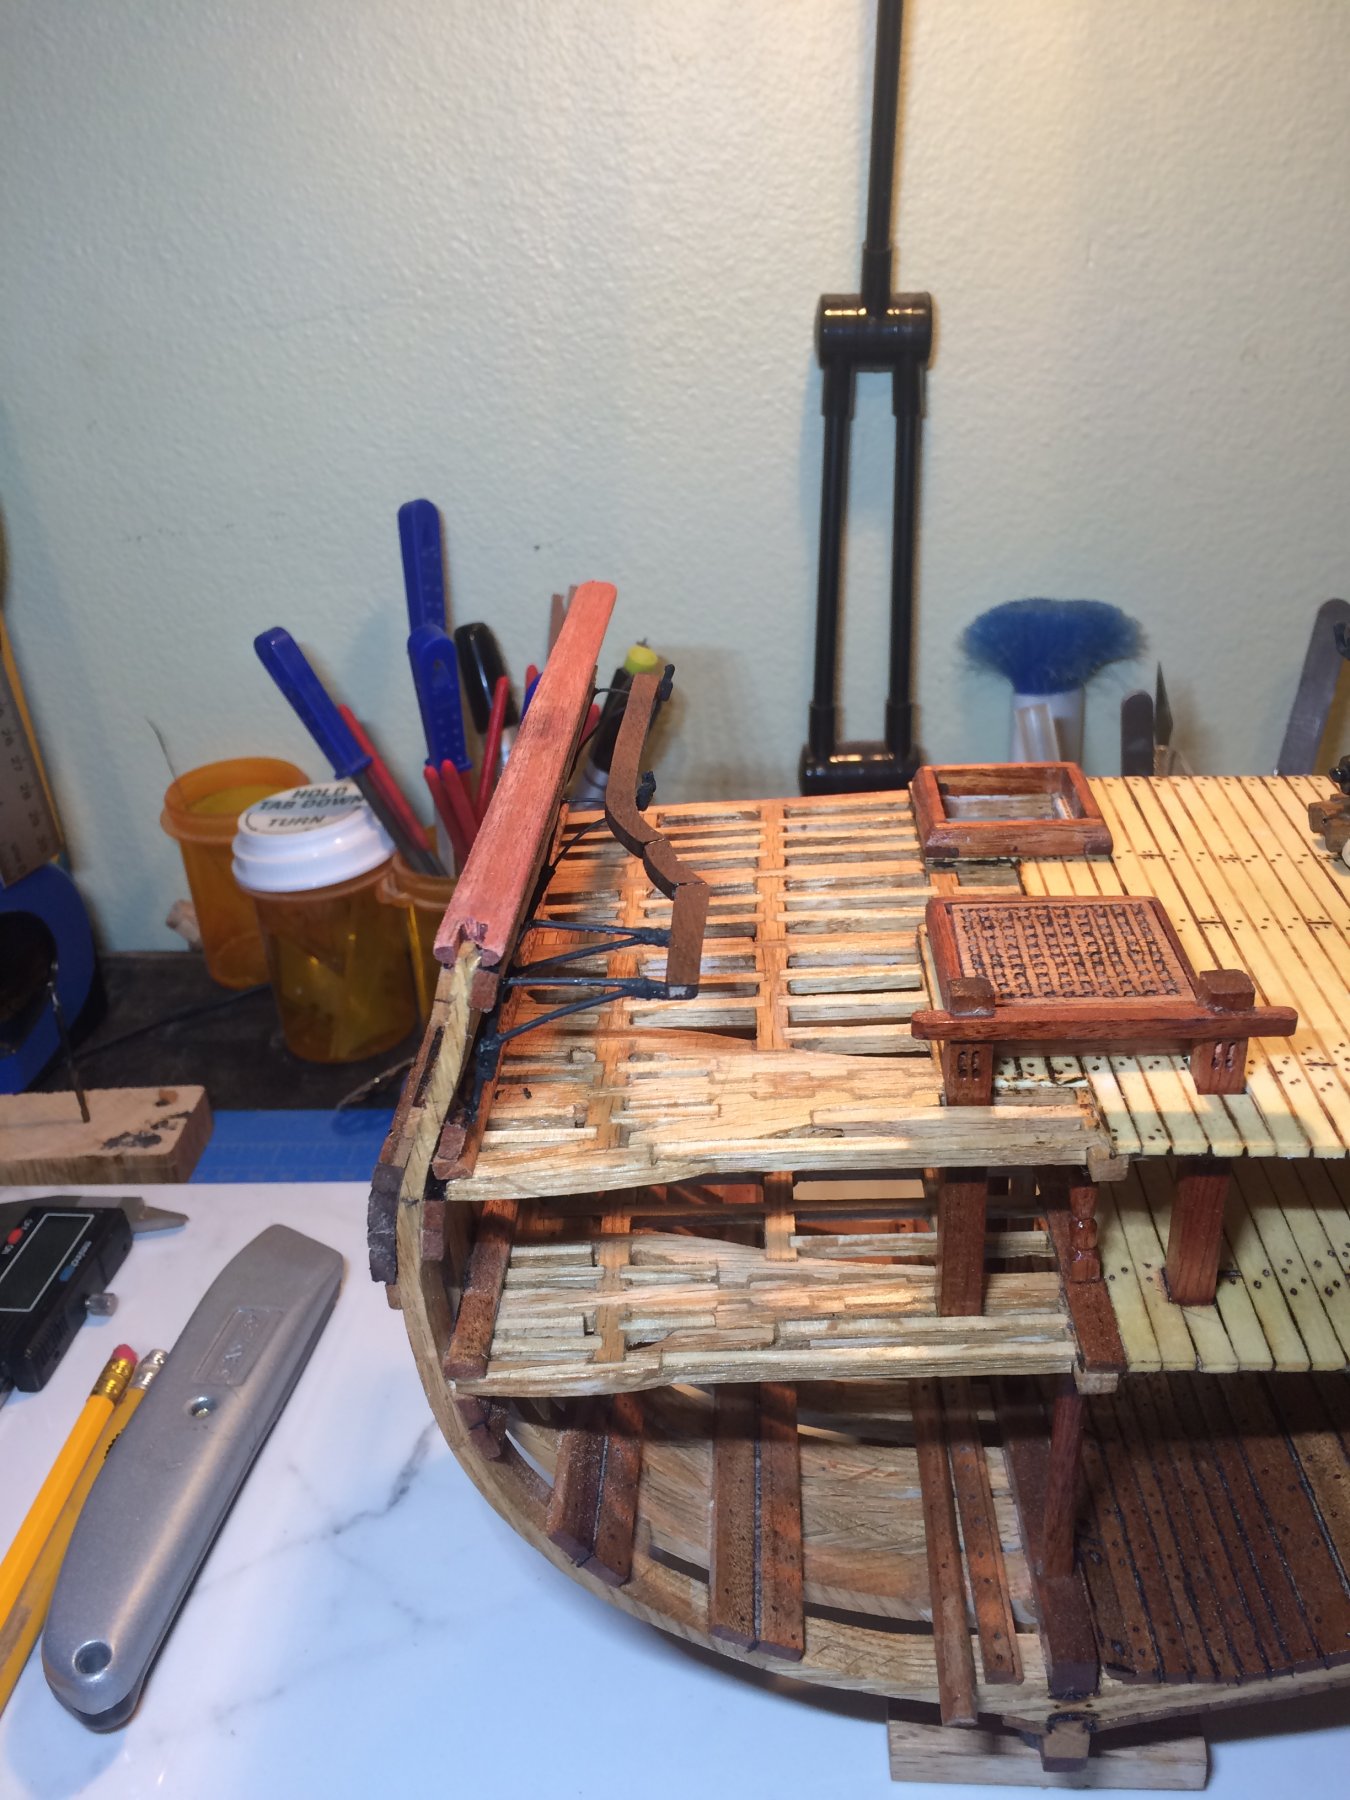
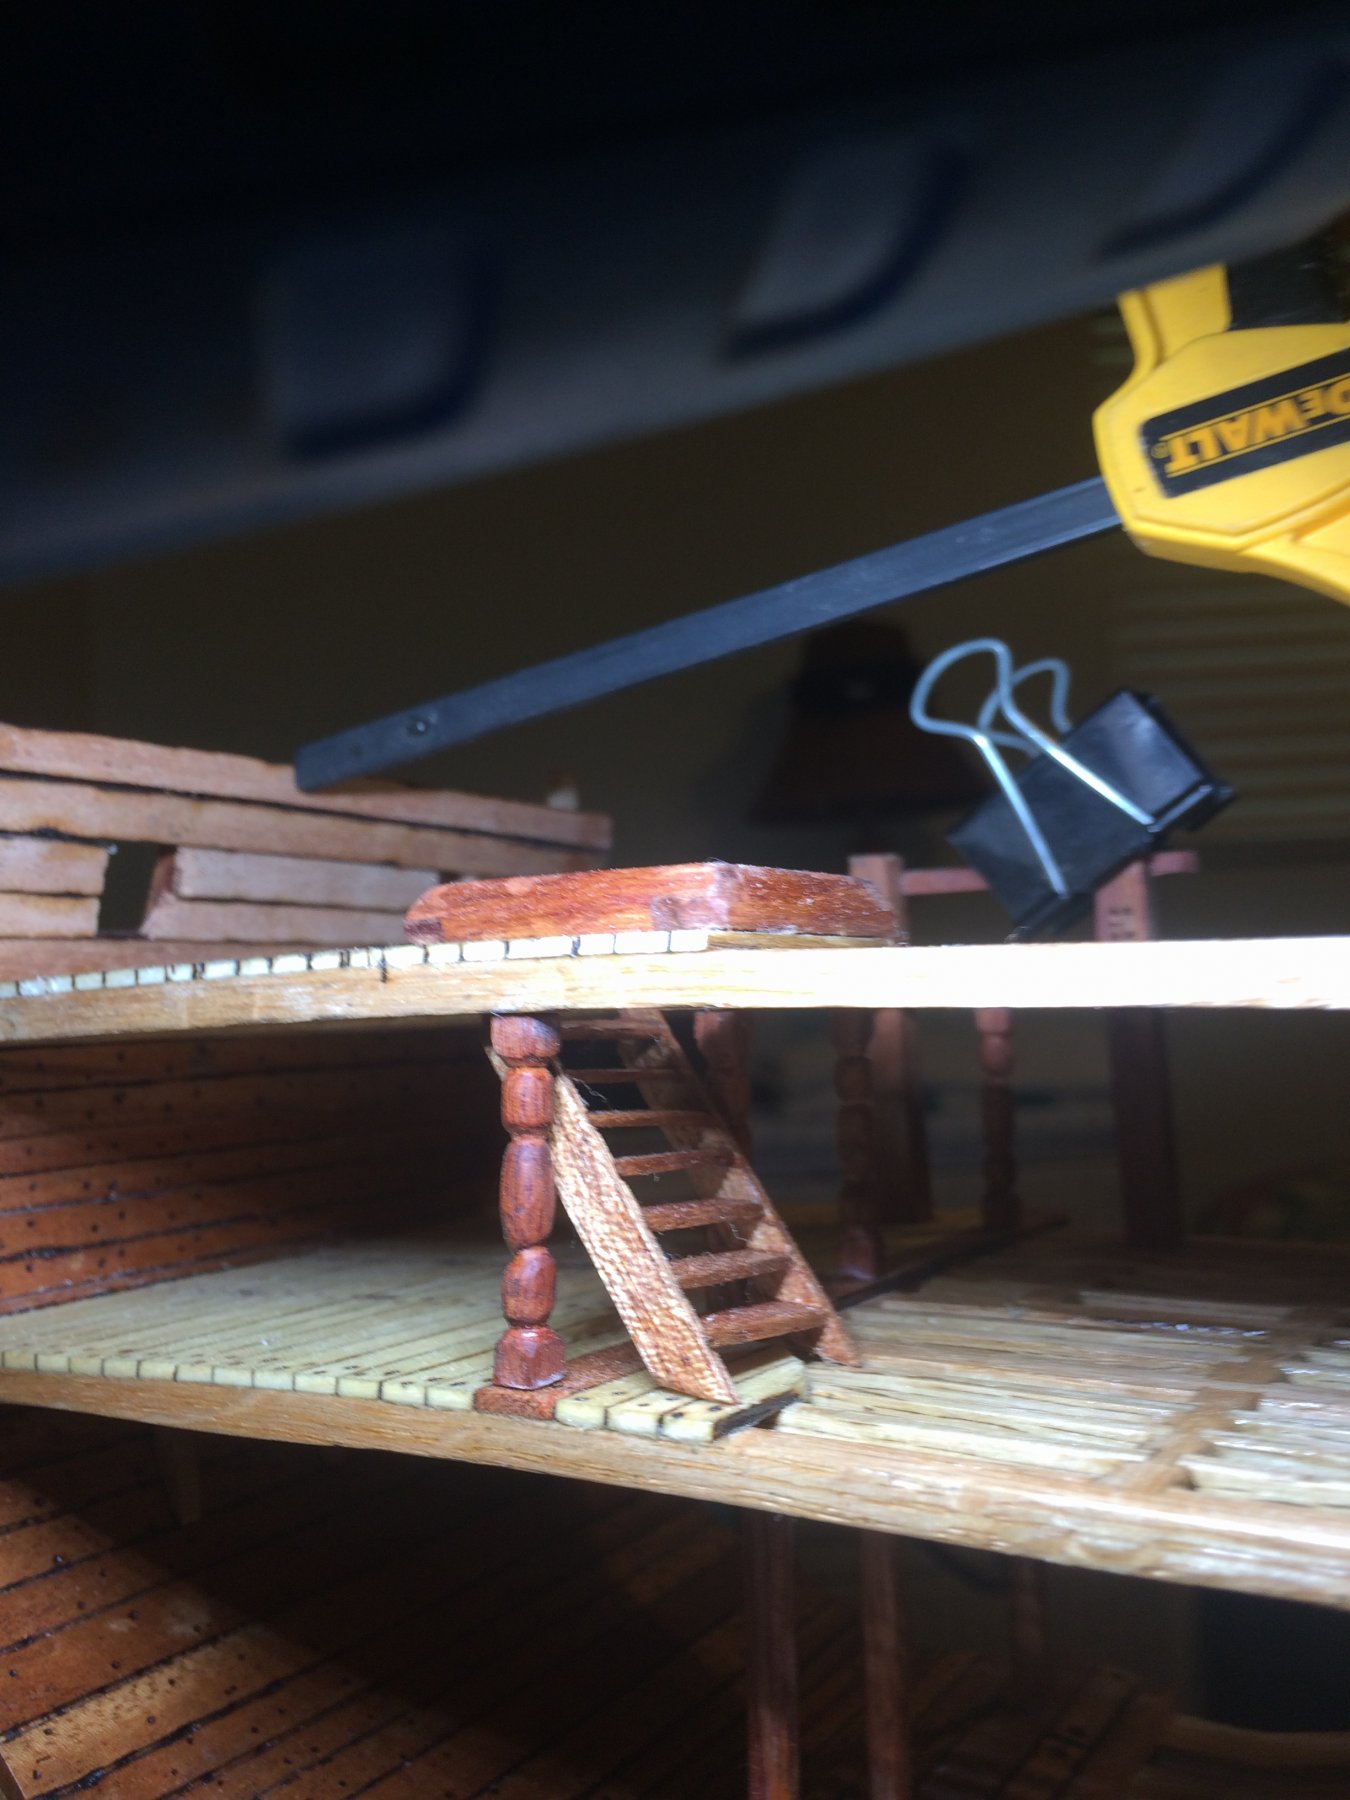
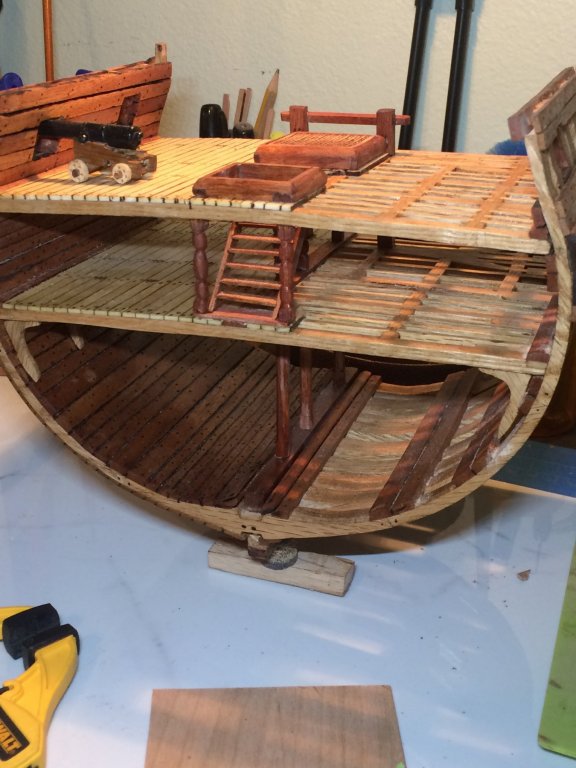
After reviewing the plans and build logs I noticed I set the stairs in the wrong position . So I had to loosen the glue and remove the stairs and the center gun deck support . I re installed the stairs in the proper direction and then had to cut and shape another gun deck support beam,as there are one one each side of the stairs. Ivthen glued those in and now I think she is proper. Derek C

-
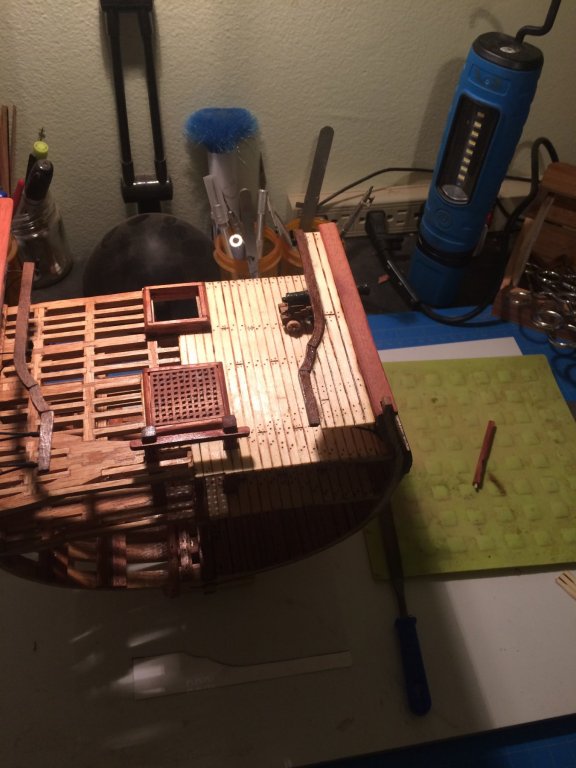
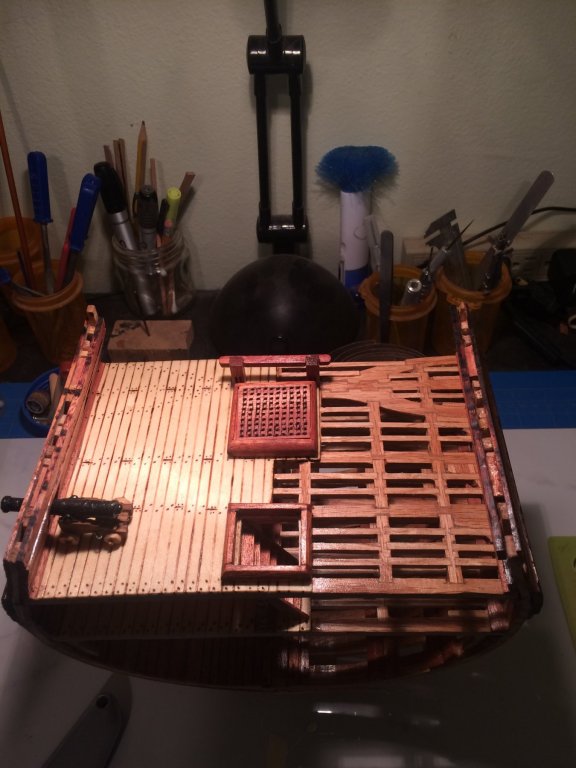
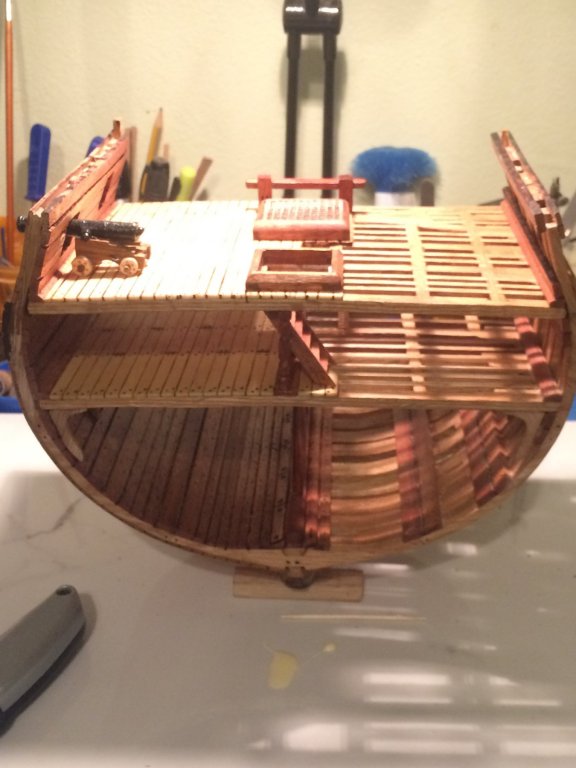
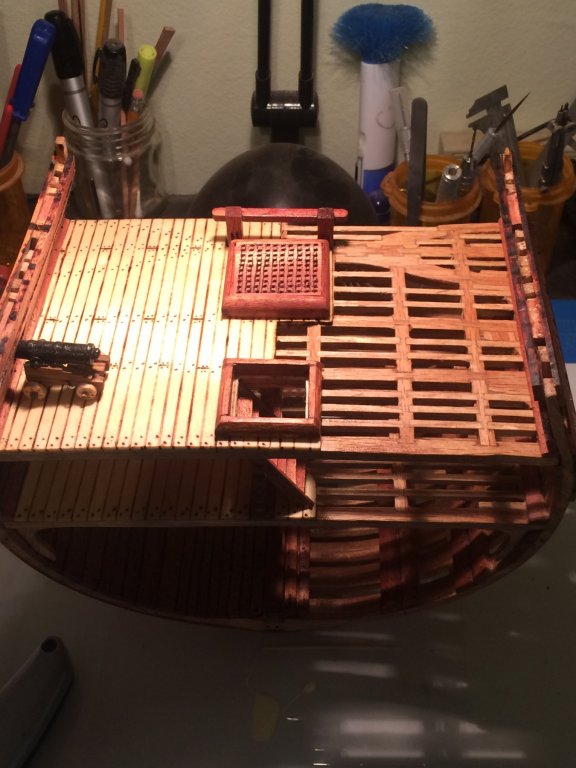
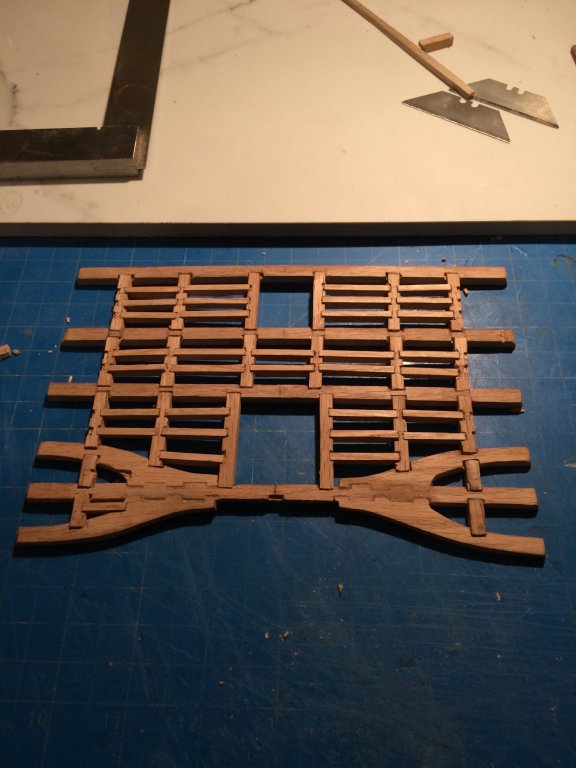
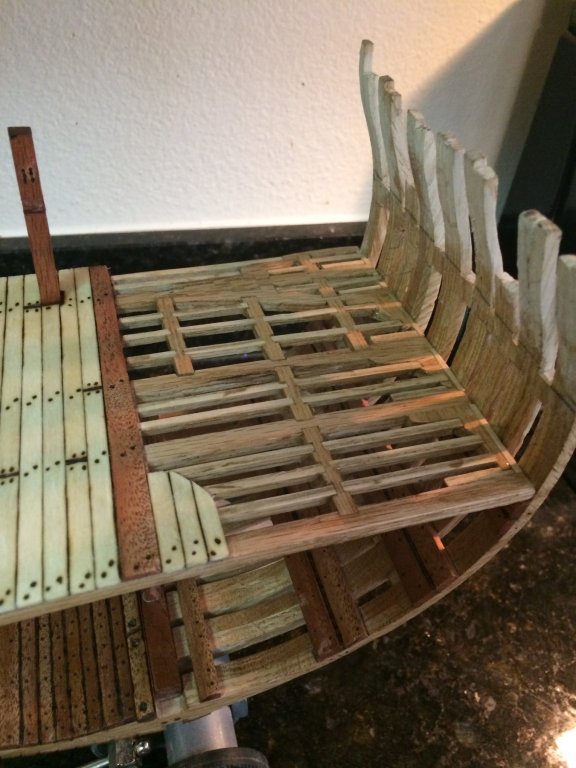
I worked on the after hatch and grating this week . I tried to do the grating like G.L. did on his Cross Section , but ran into three major issues while trying to use his method. 1. I do not have a small table saw. (but I will soon 😁) 2. After many attempts I ran completely out of patience. 3. The most important thing is I slap ran out of talent ,(after sooo many failed attempts I finally realized it was beyond what I am capable of at this point ) So I cheated and glued a template on a piece of cherry and drilled small holes in the needed spaces, and used a small square file to open them up some . I have to say that the grating project has been the hardest thing for me to overcome on this build so far . I got it done it looks ok , maybe someday I will re make it but for now this is how she looks. I am going to work on the hanging knees for the gun deck next , before I forget about them again. Thanks for looking Derek C
-
Thanks Tom I appreciate the compliment. If you take your time and think it through it’s very enjoyable doing a scratch build . I think you could do it . The wood was the hardest part for me . I had never had to think about the different woods before and had to use google a great deal to figure out what wood looked like what and then try to envision it on the boat . The Cross Section is very well drawn out this is only my second scratch build and have only had a few issues that confused me . It’s great for a beginner like myself. . I was fortunate enough that G.L was working on his cross section at the same time just a bit ahead of me . Him and his log helped me out a lot .
-
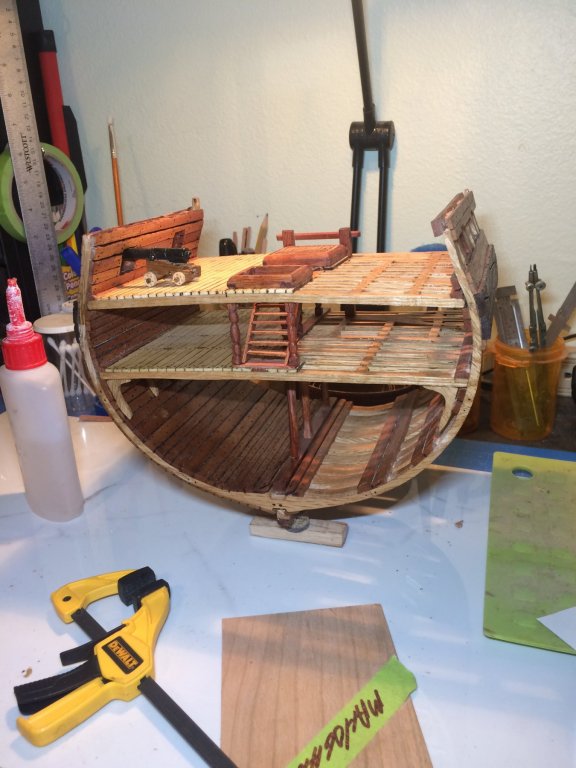
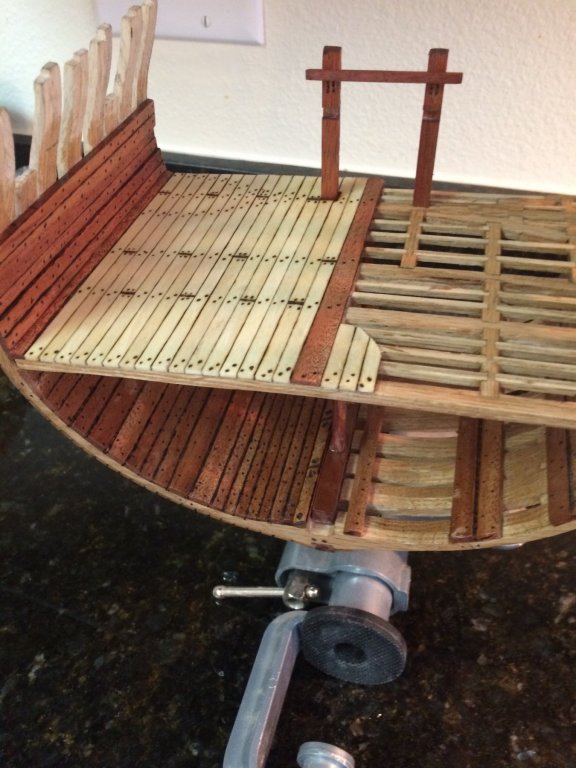
Good Evening Today I worked on a few items I had a productive day in the the shipyard. I got the forward stairs done, also finished planking the inside of the gun deck . I built and installed the cap for the forward stairs. Here is how she’s looking Hope you like her and thanks for looking in. Derek C


-
Lol I only have half the cross section to plank you did the whole thing and your parts are twice the size = twice the sanding lol
-
Thank you for the info G.L i will attempt that this weekend.
-
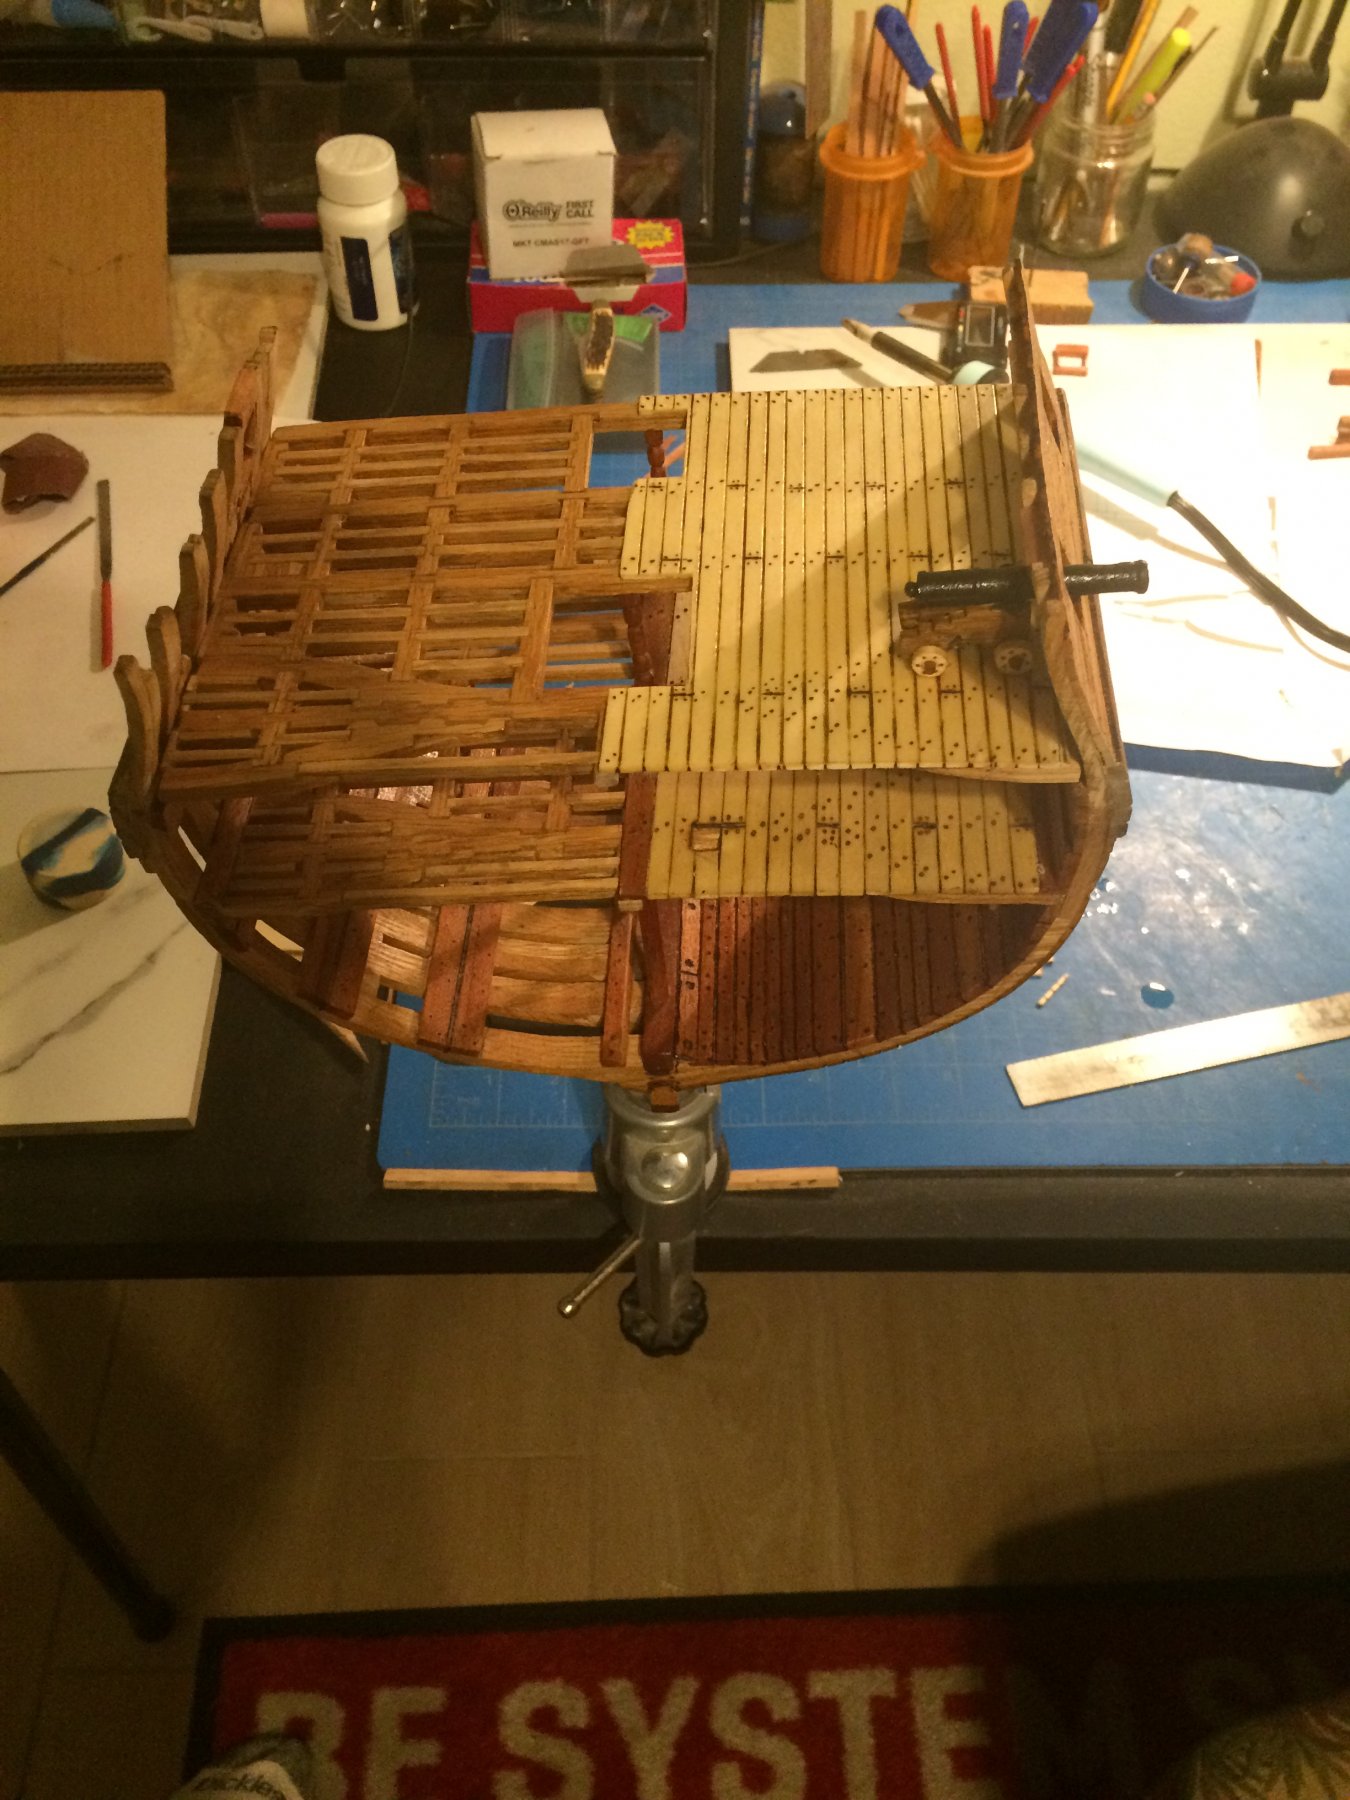
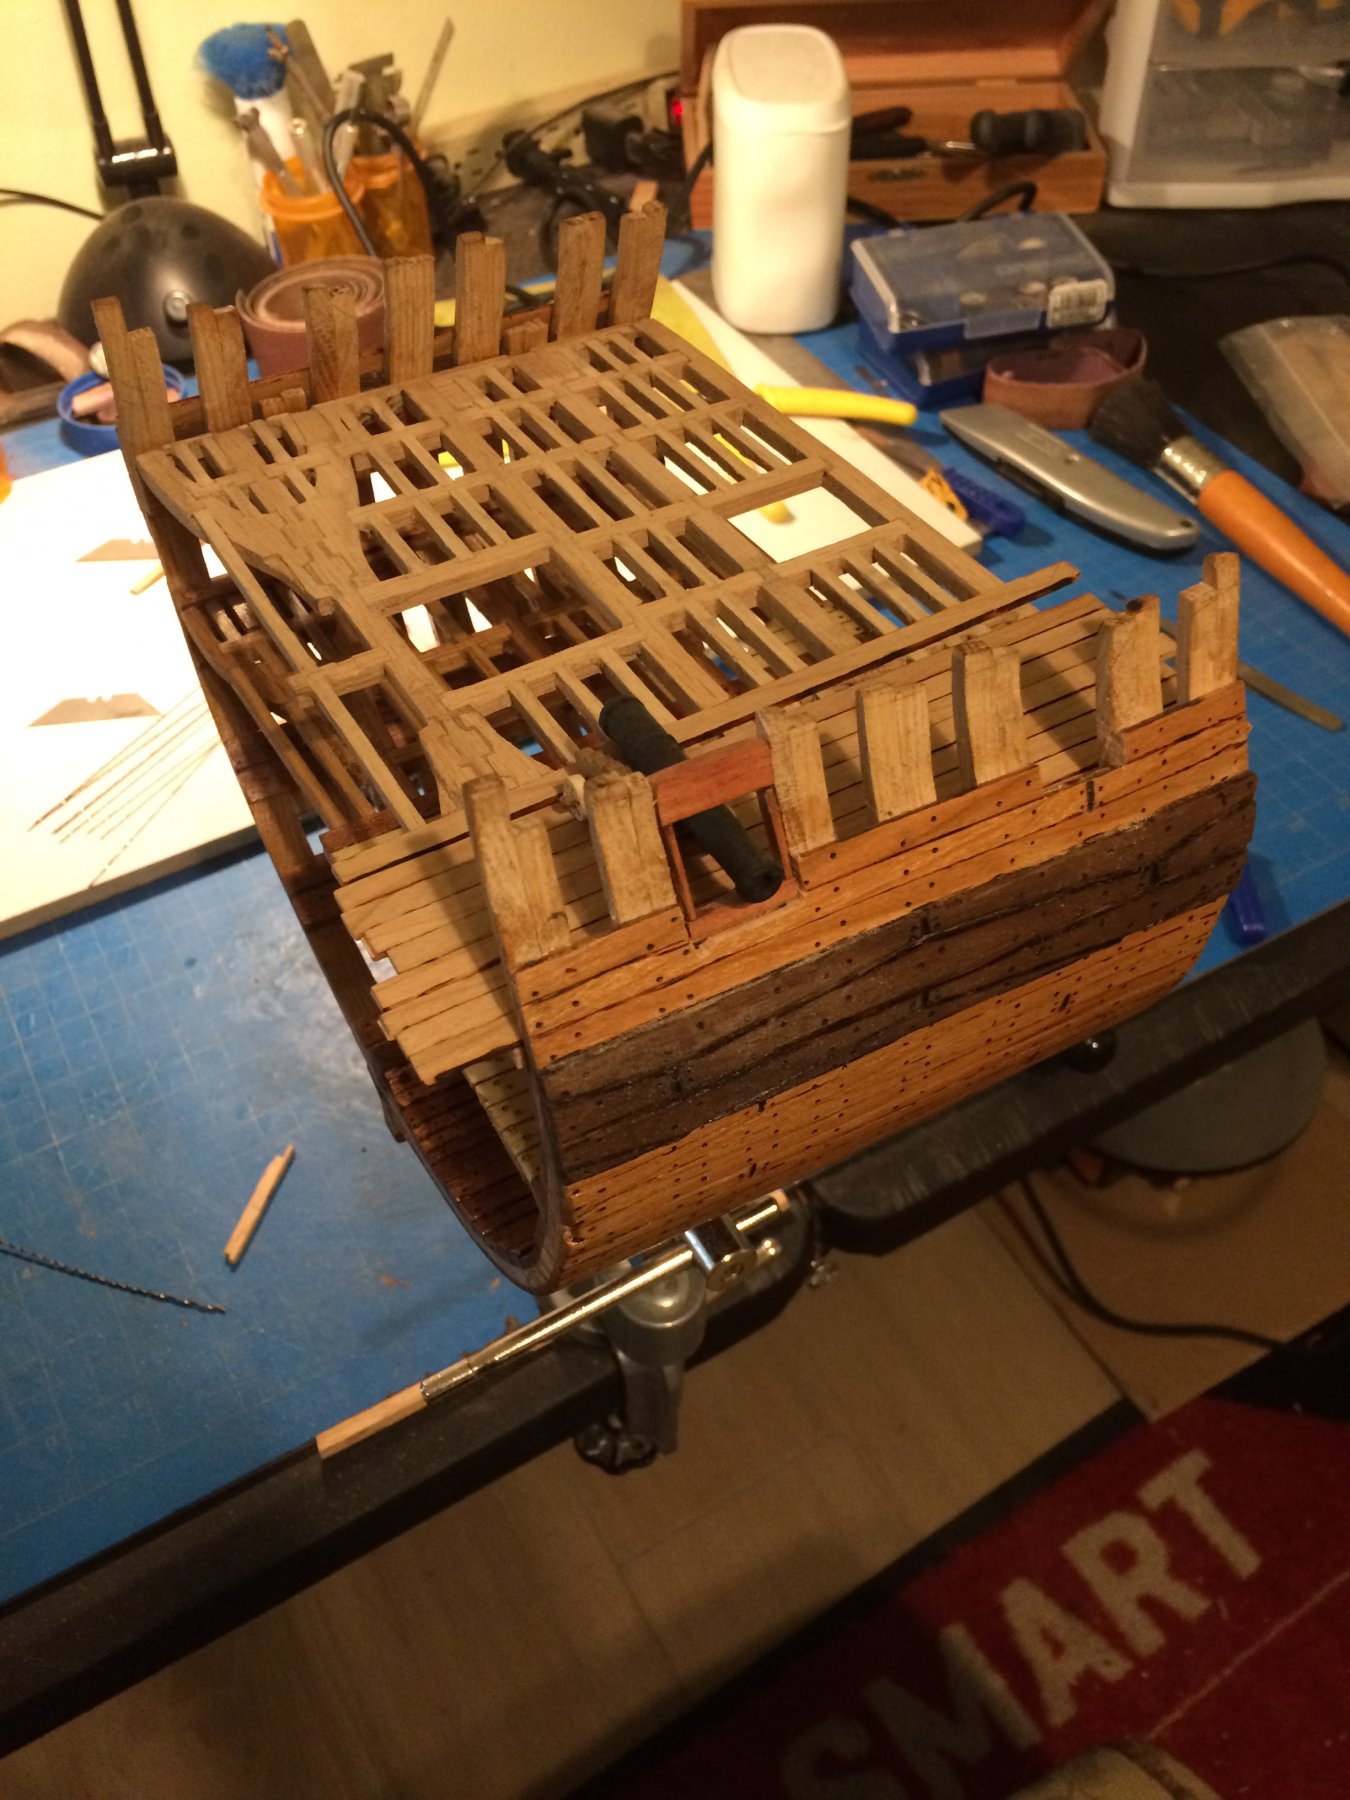
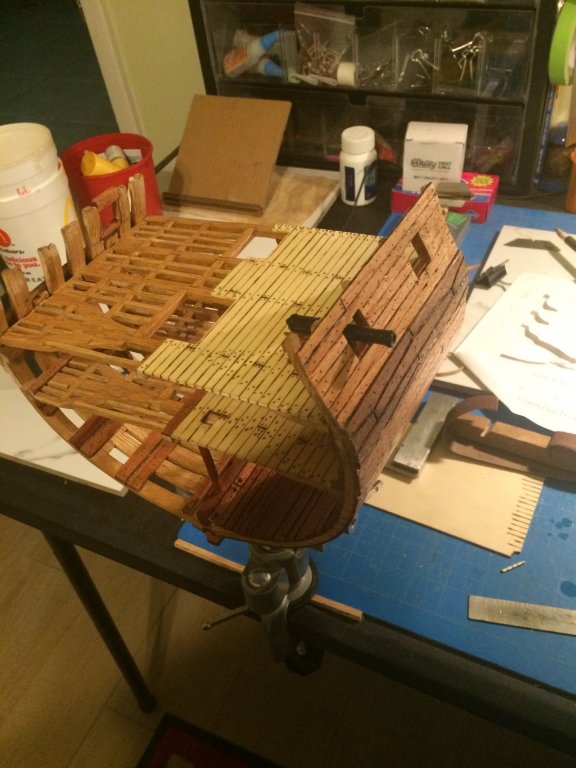
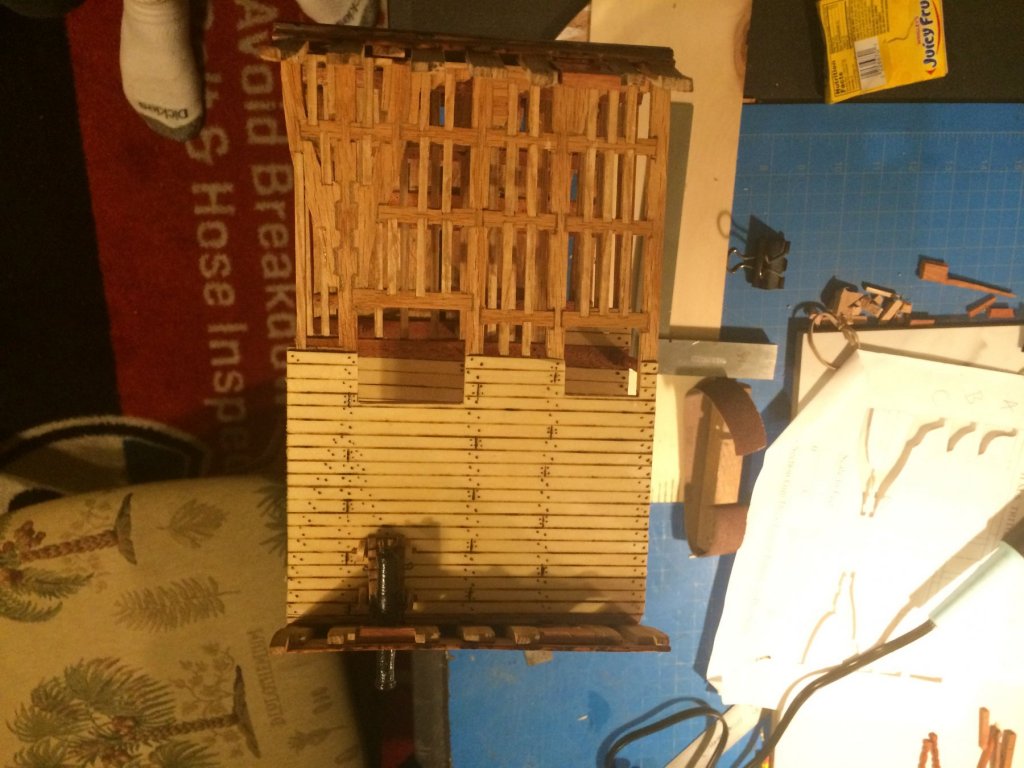
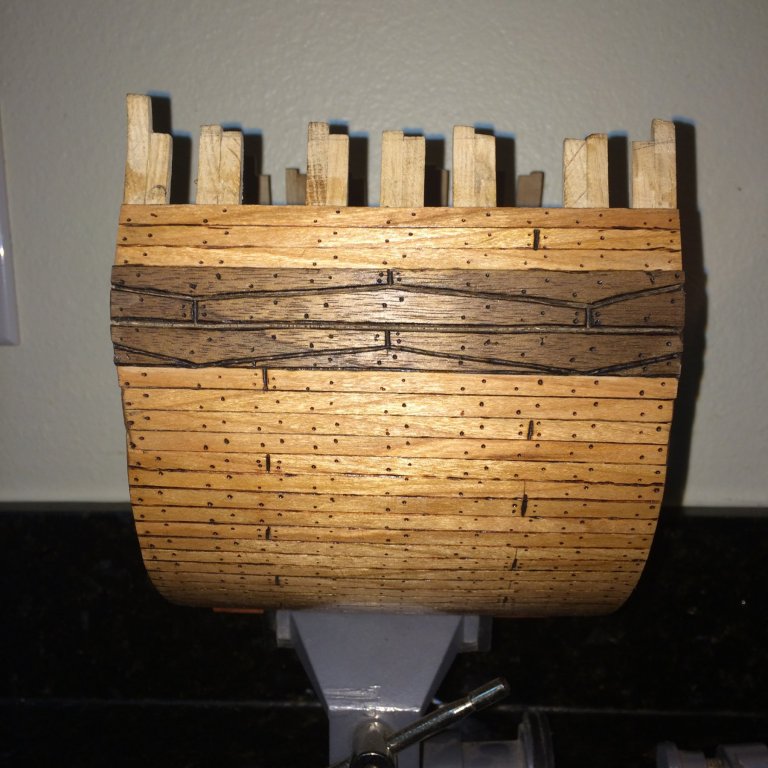
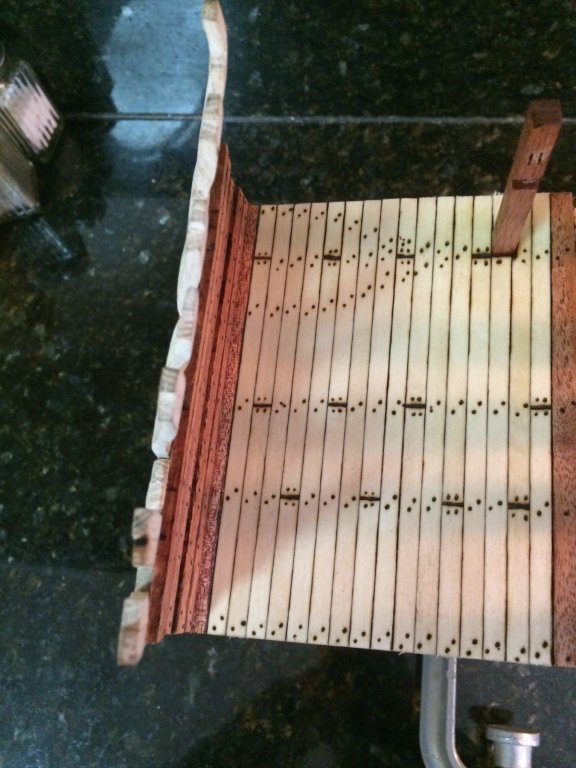
Today I worked on planking the gun deck . I used the same technique. That I used on all the other planking . Cutting my strips a bit larger than needed with a razor knife, then clamp them all together and sand them down until they reach the desired size and they are uniform . I then burned the edges to simulate the caulking . i them proceeded to glue them down . Once the glue cured I did my tree nailing . I also got another gun port installed , I would have gotten both installed but I broke one of my assembled gun piers and had to make another. here is how she’s looking Thanks for checking her out. Derek C


-
She is a looking good ! At 24 scale she is big , I I got a question for you , how did you cut the razor blade ? Did I miss this step ? I think that is awesome and want to try to do the same . Thanks Derek
-
lol G.L no worries
-
Tom she is looking real good ,your doing a fine job .
-
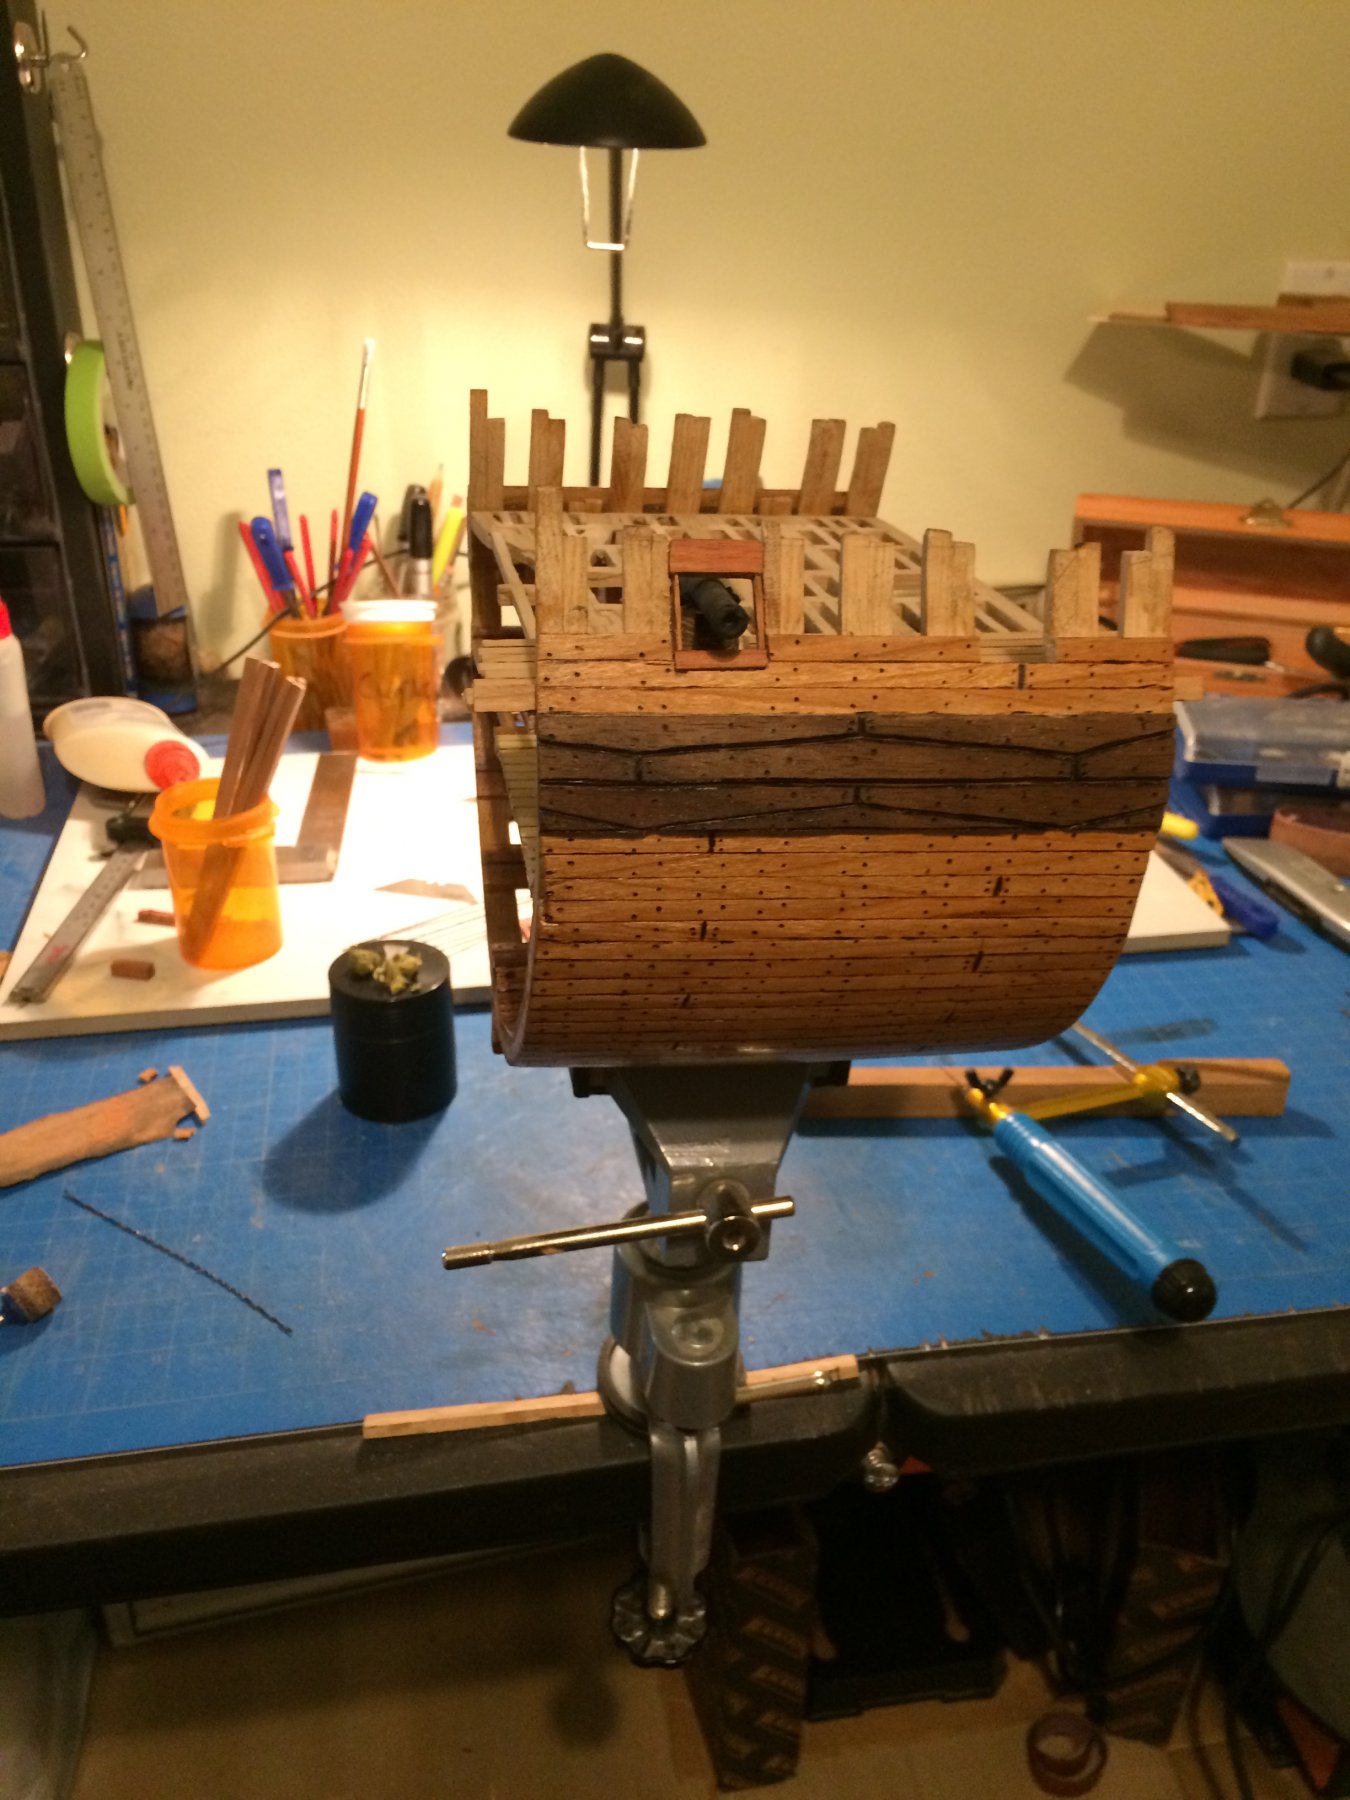
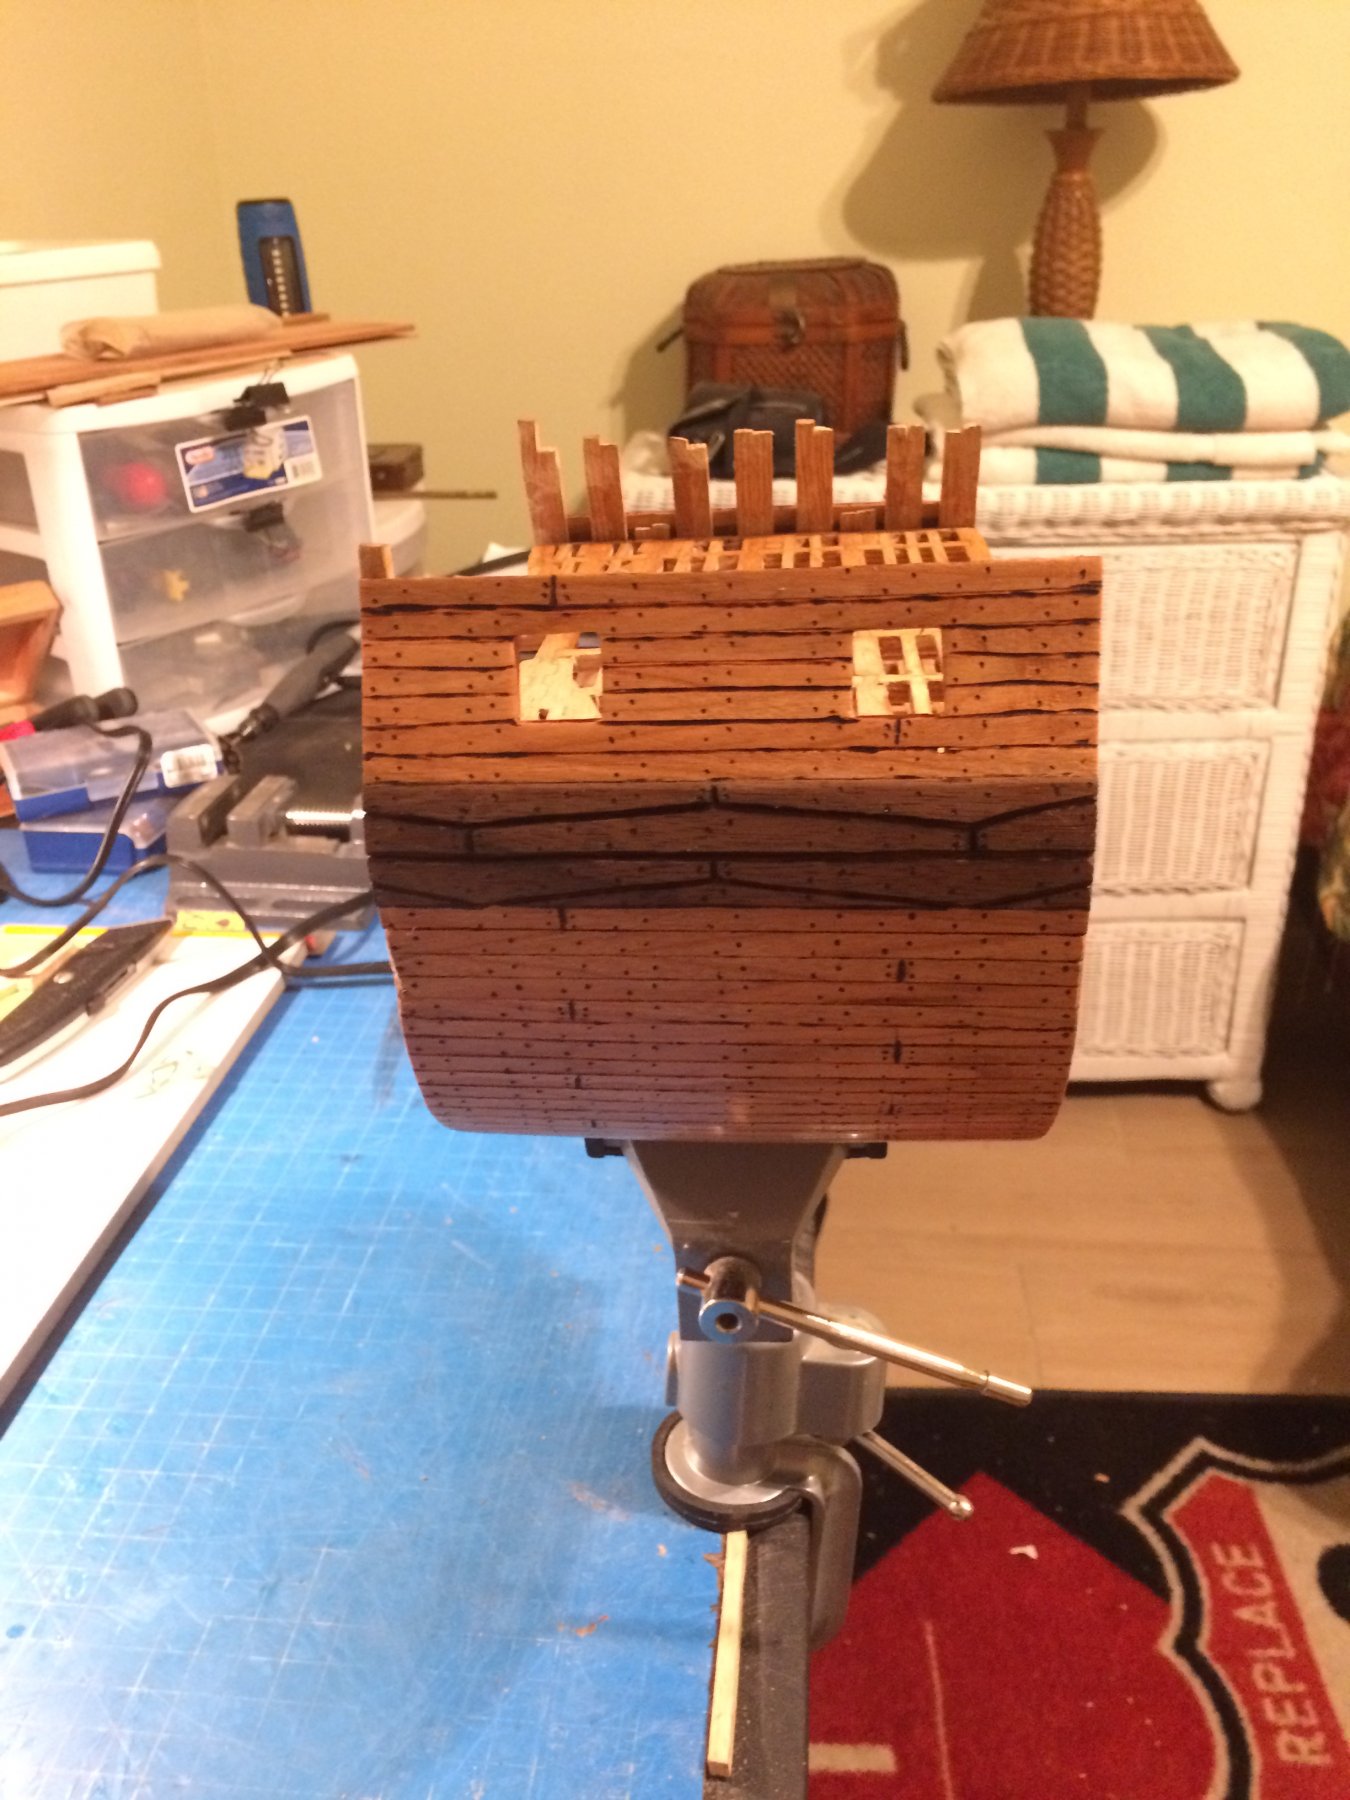
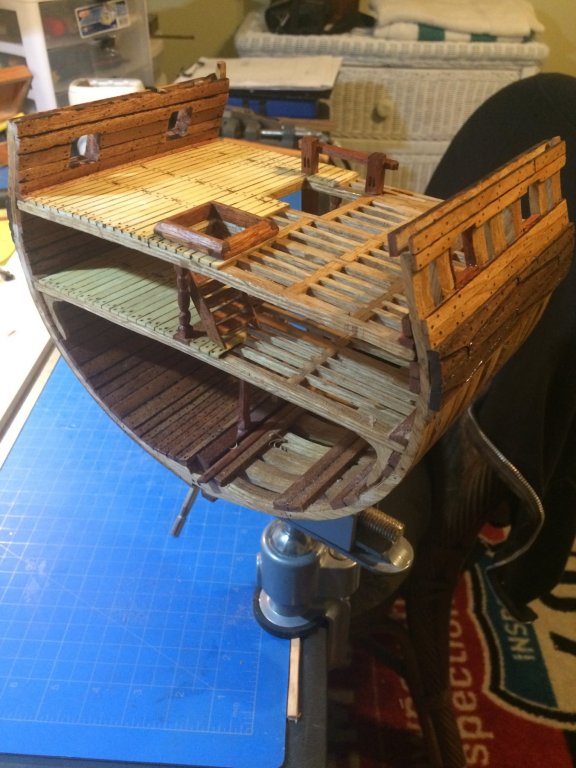
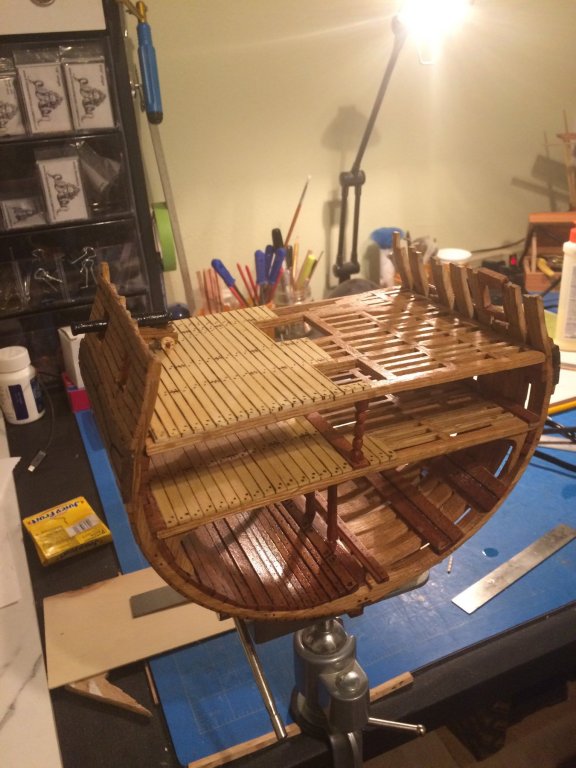
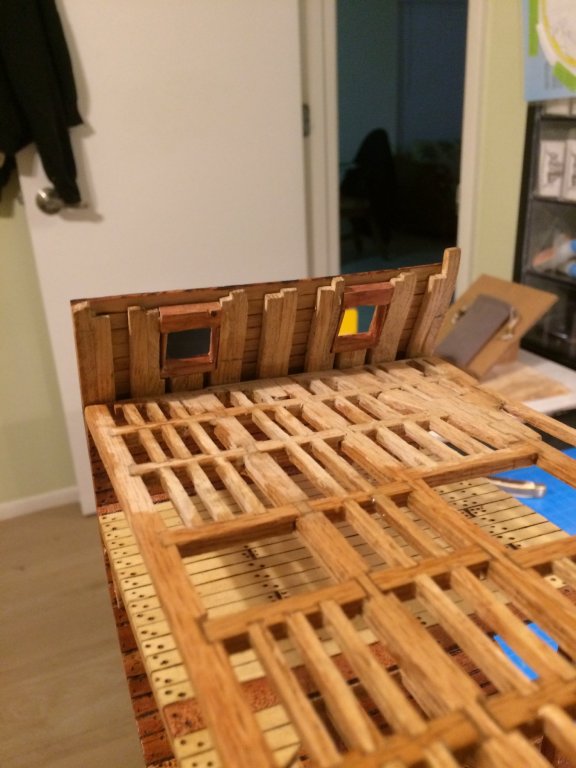
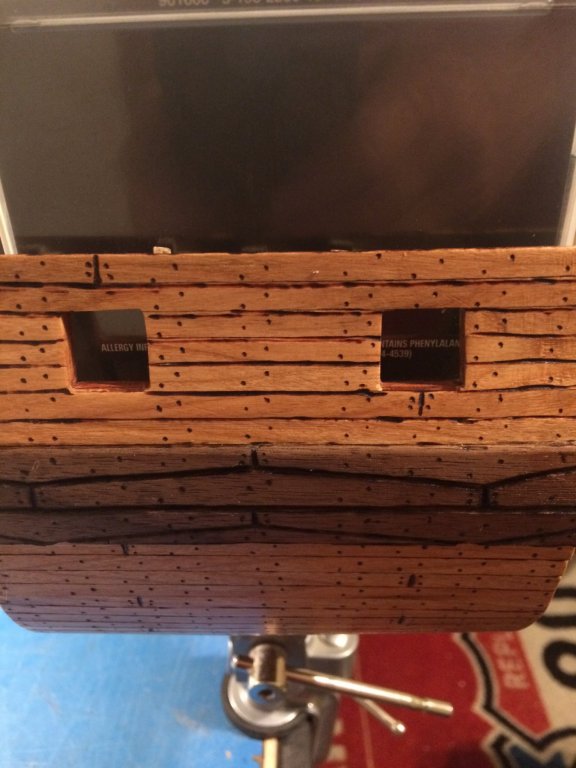
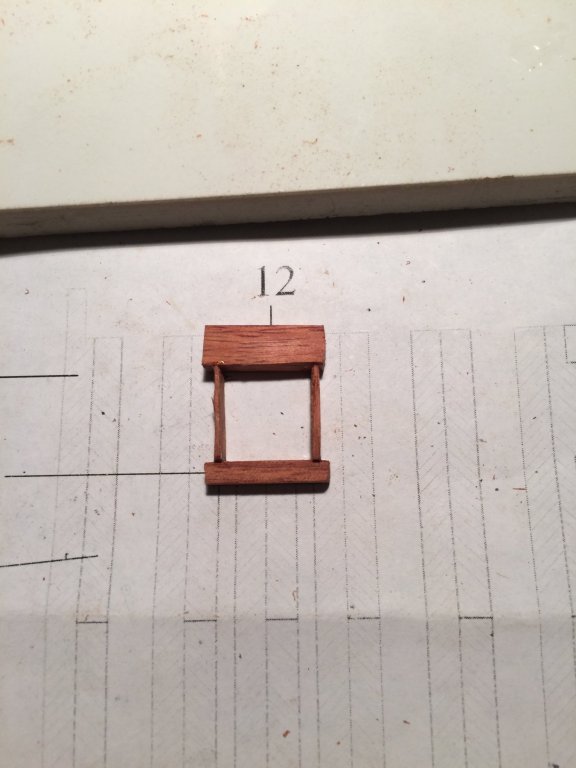
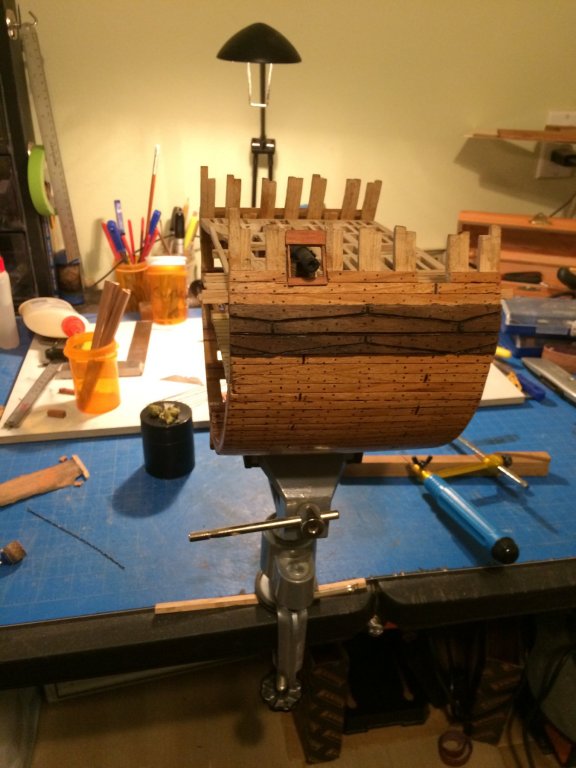
Another busy week , I looked forward for today , I knew The admiral and I had no plans for the day so I spent all day in the shipyard . It helps me to forget about the prior weeks stress . Today I did final sanding of the gun deck and built the frame work for the gun ports. I cut thin pieces of blood wood to use on the sides to connect the gun port sills and lintels . after i I got them all built I started to install them i laid some of the outside planking down and set a cannon to see how it fit . i liked the the fit so I glued two of them in on the side getting the planking and then I finished the outside planking around the gun ports. i hope you you like my progress,and thanks for looking in . Derek C


-
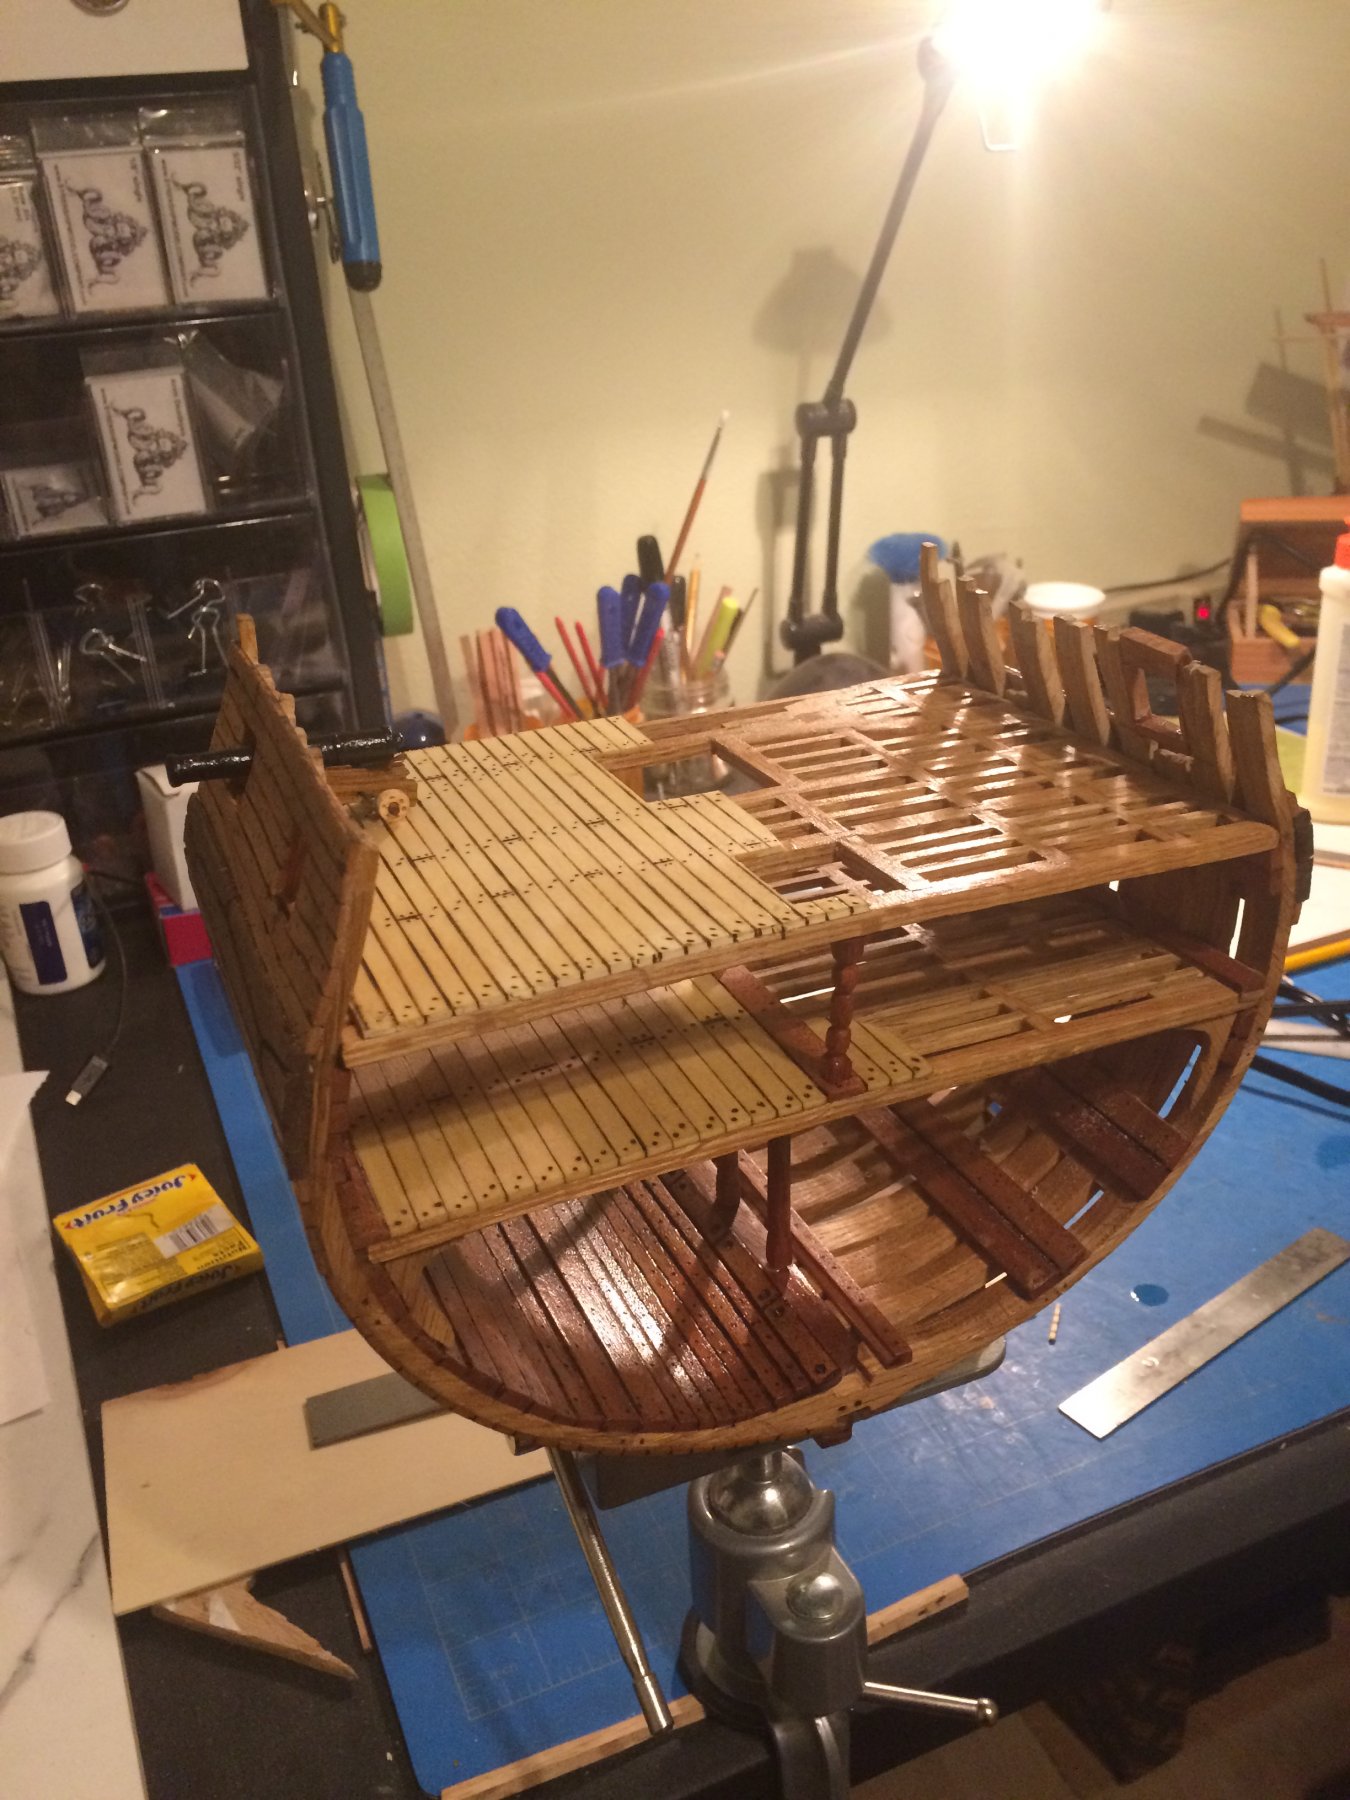
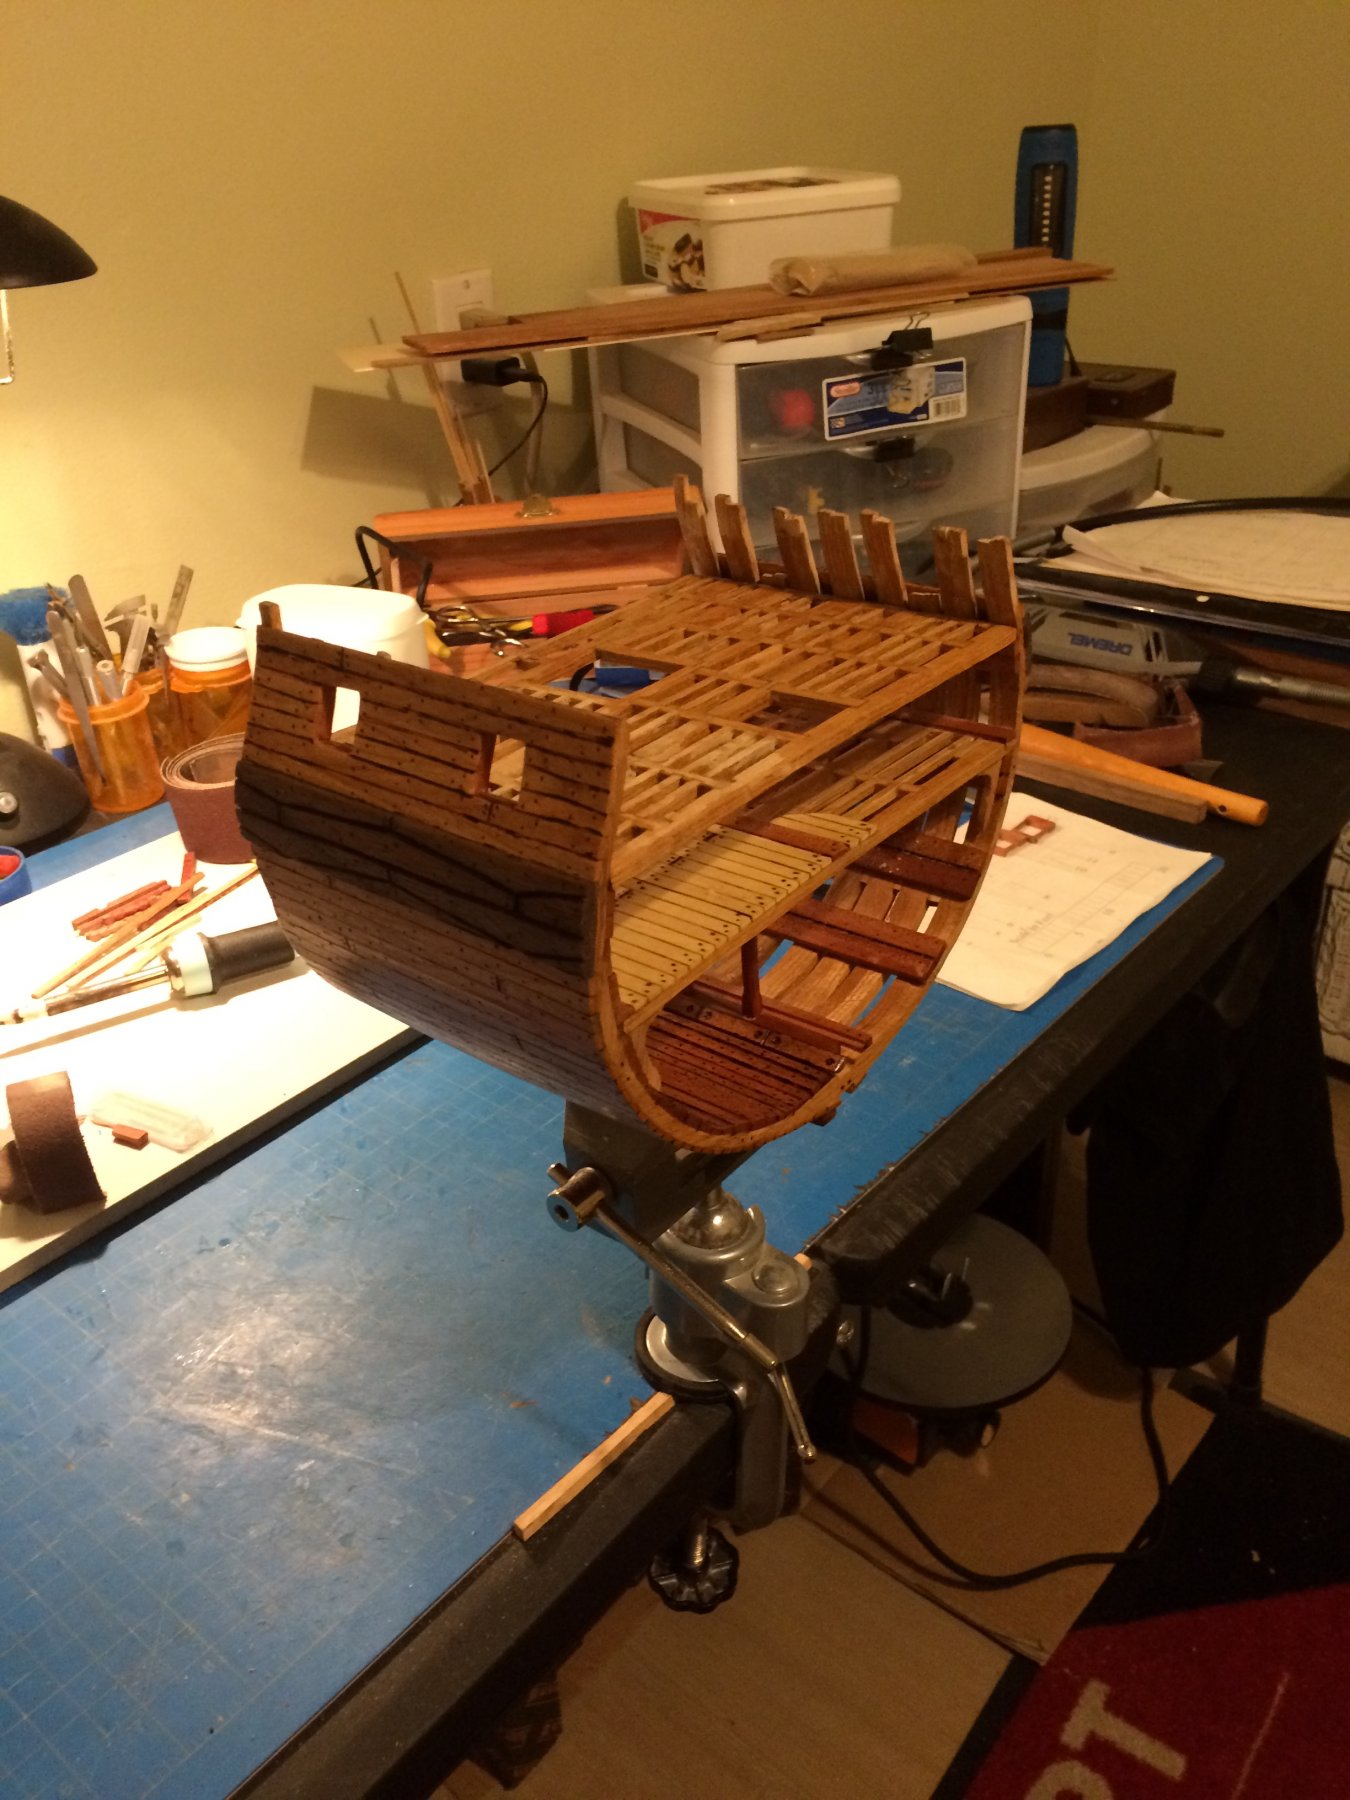
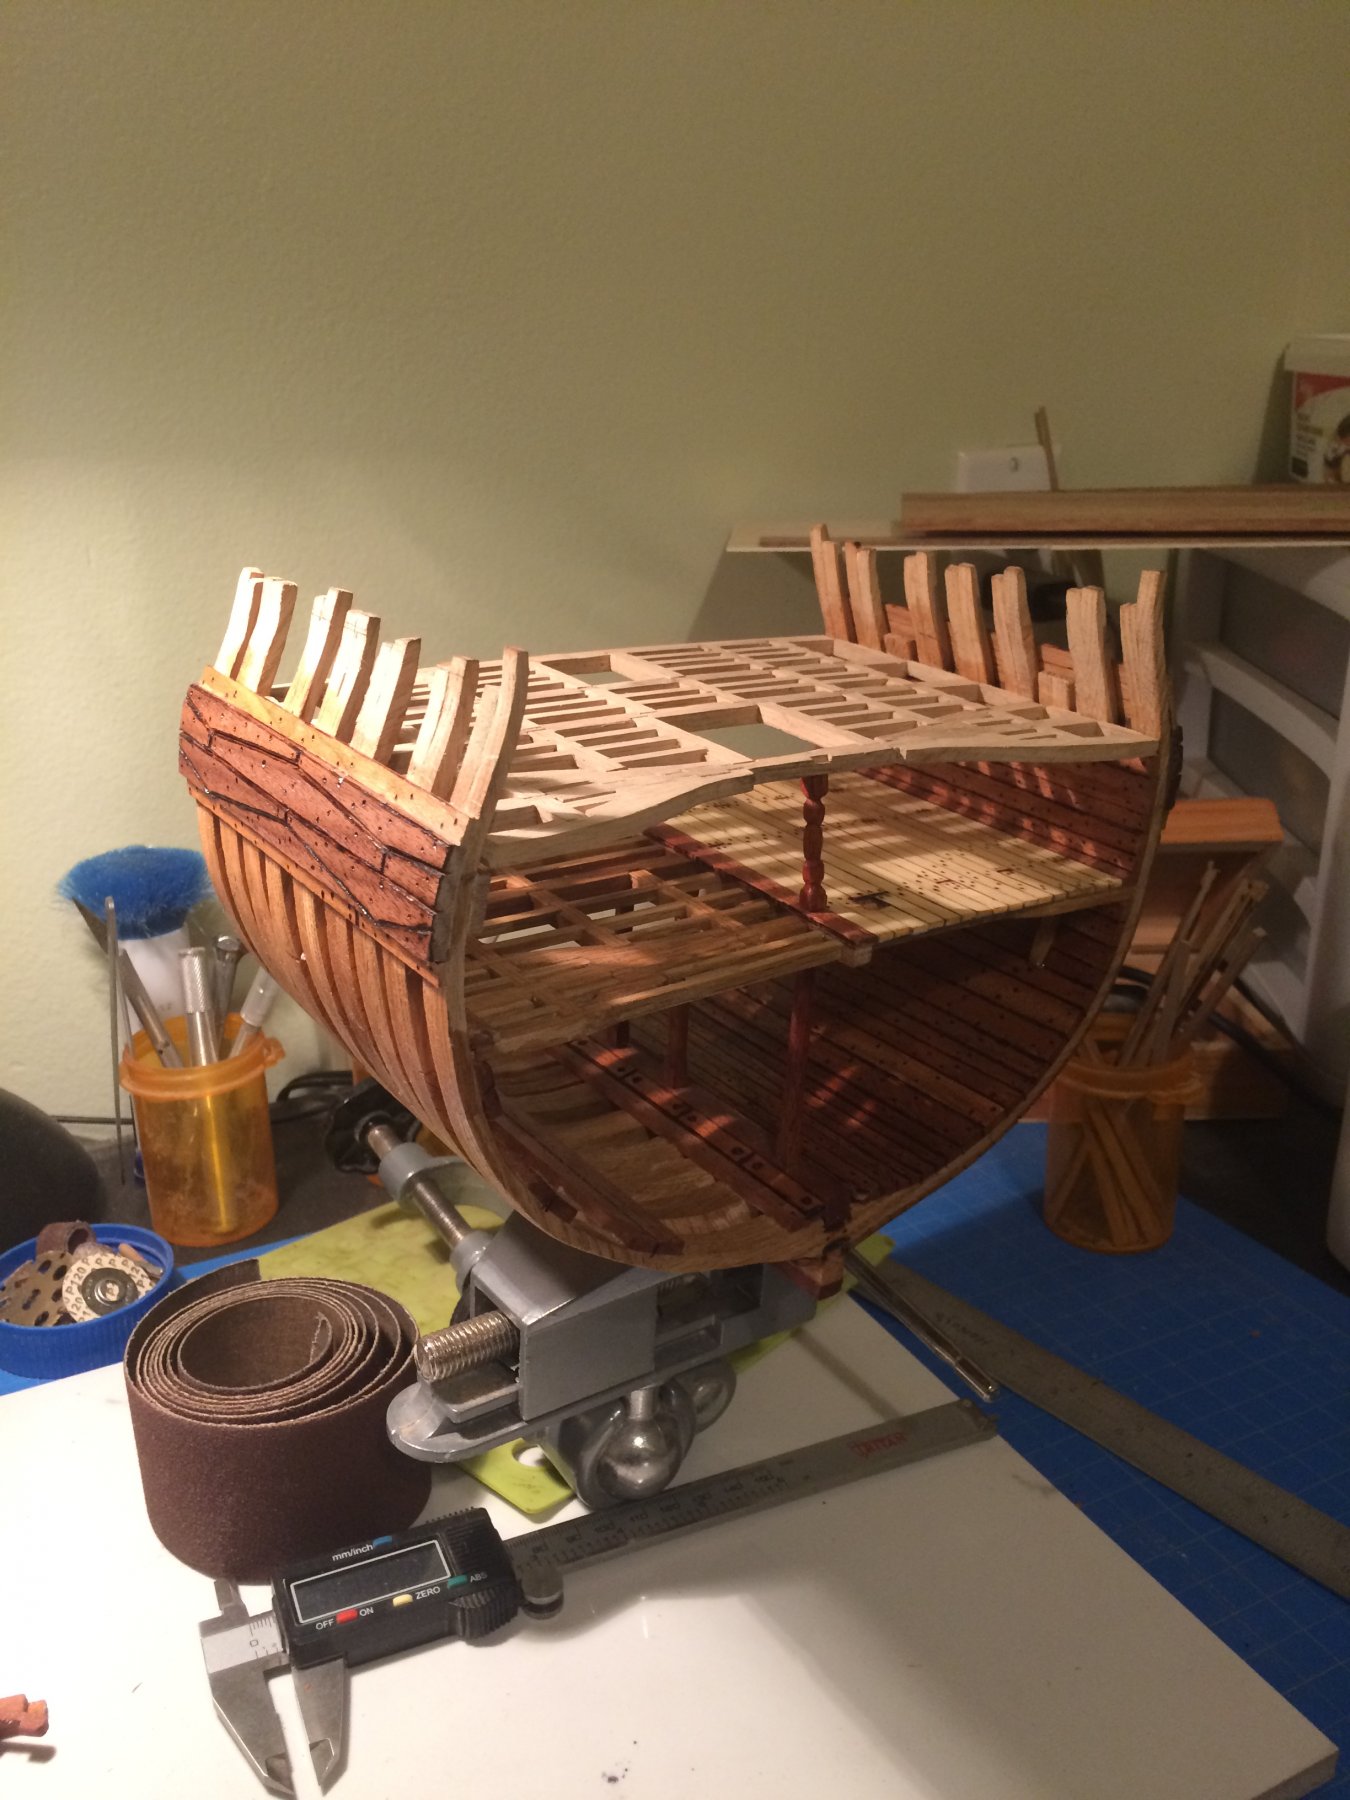
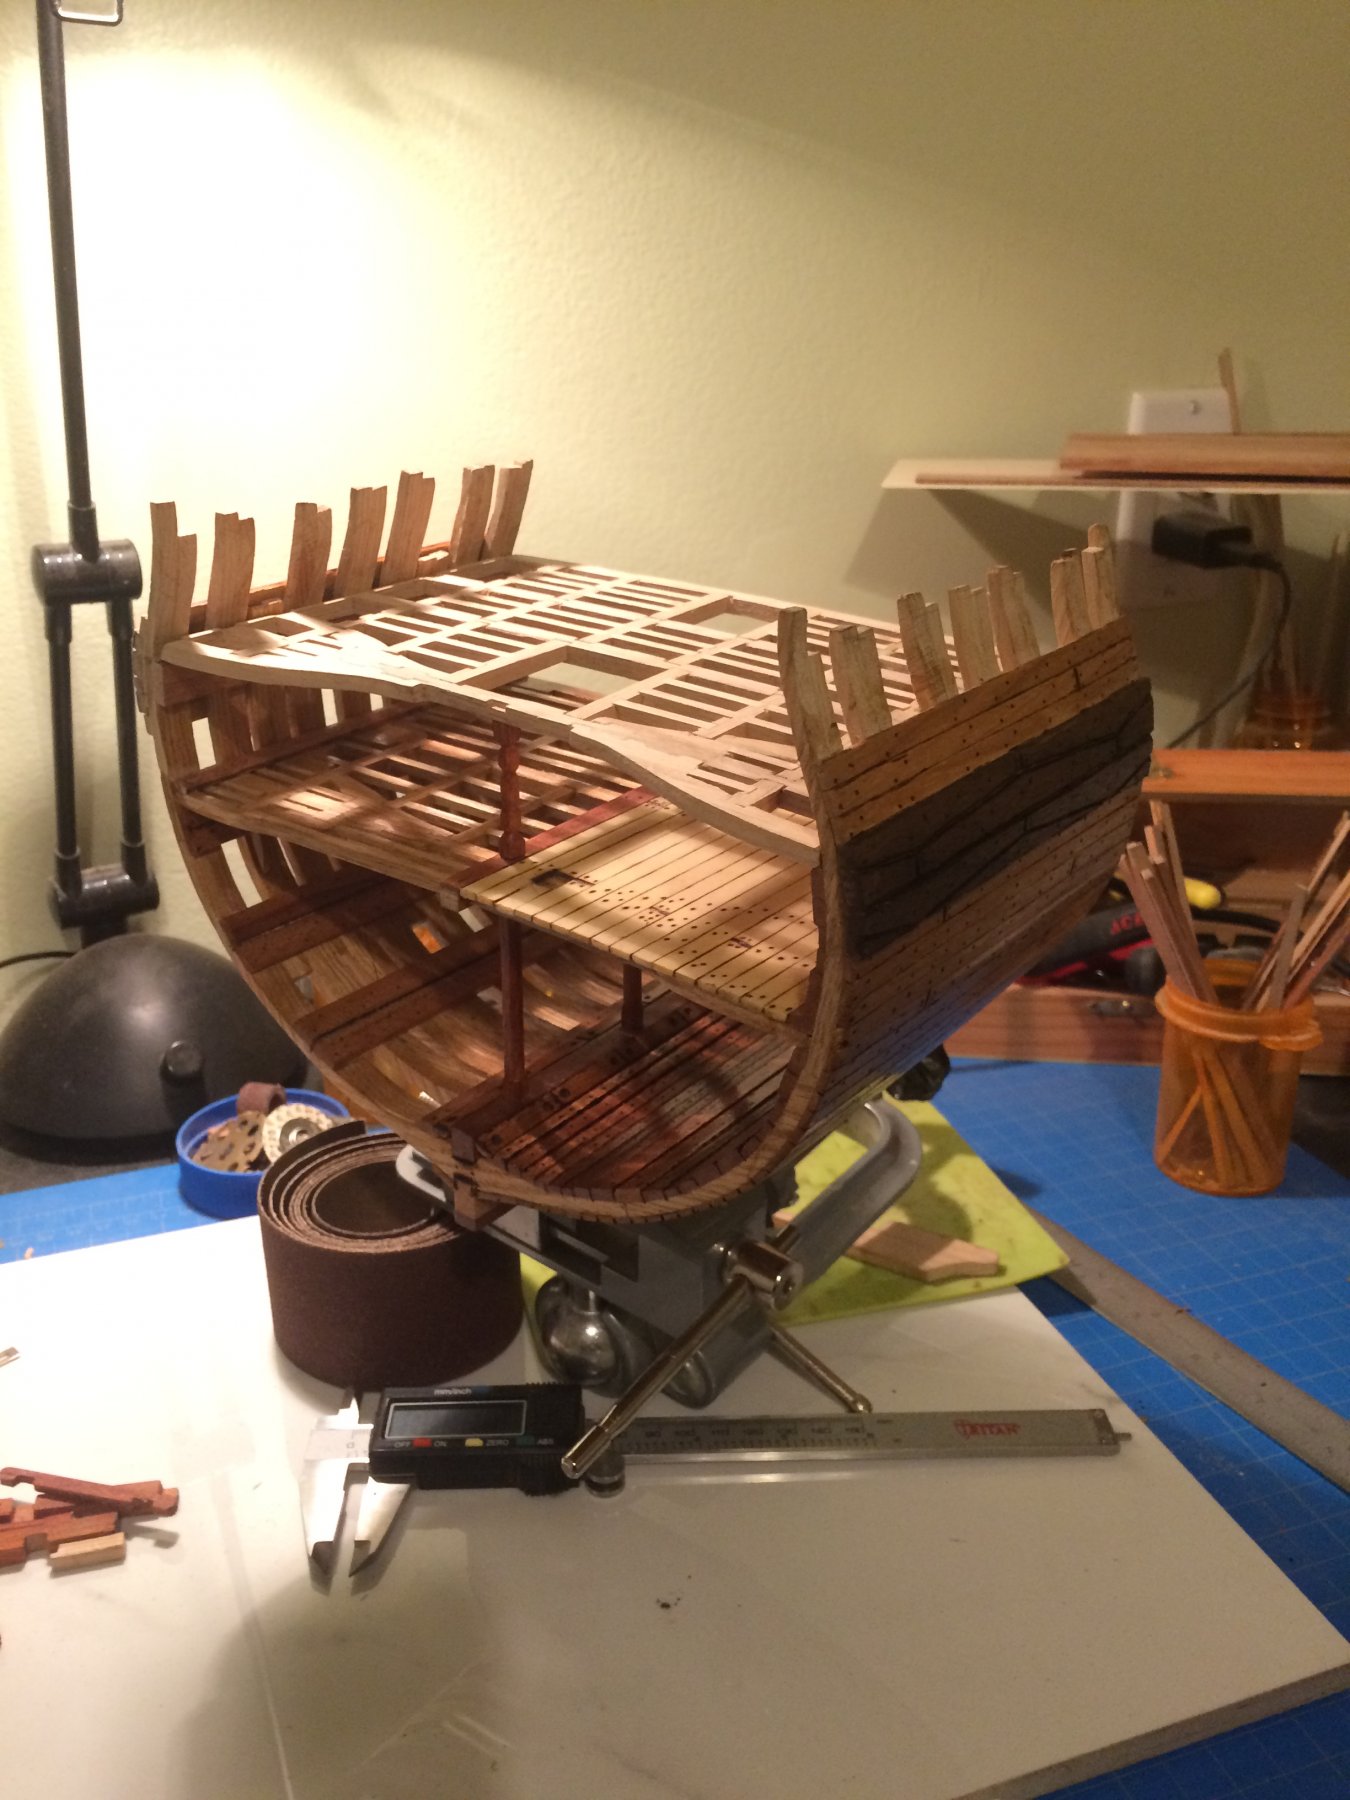
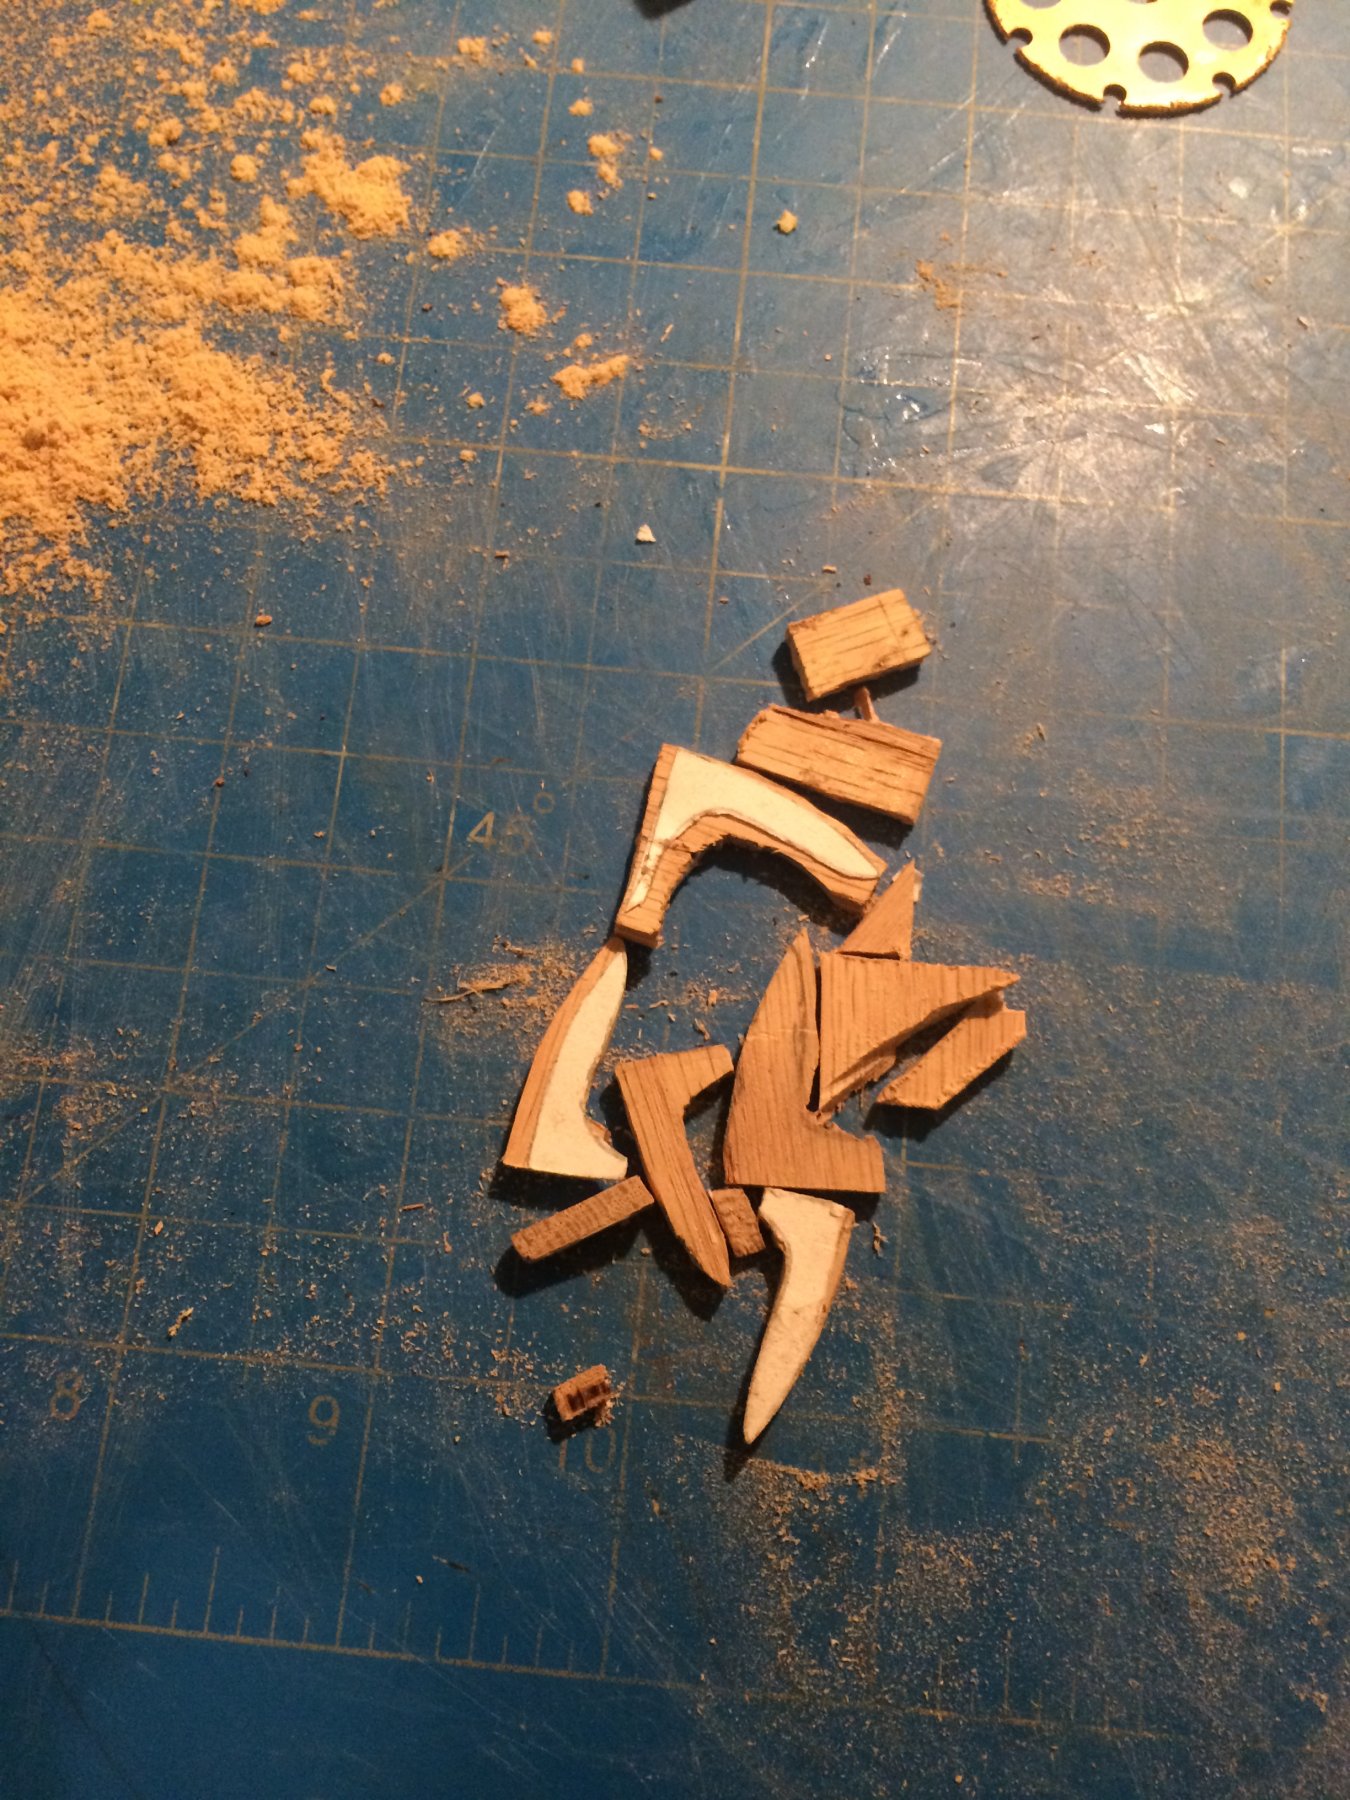
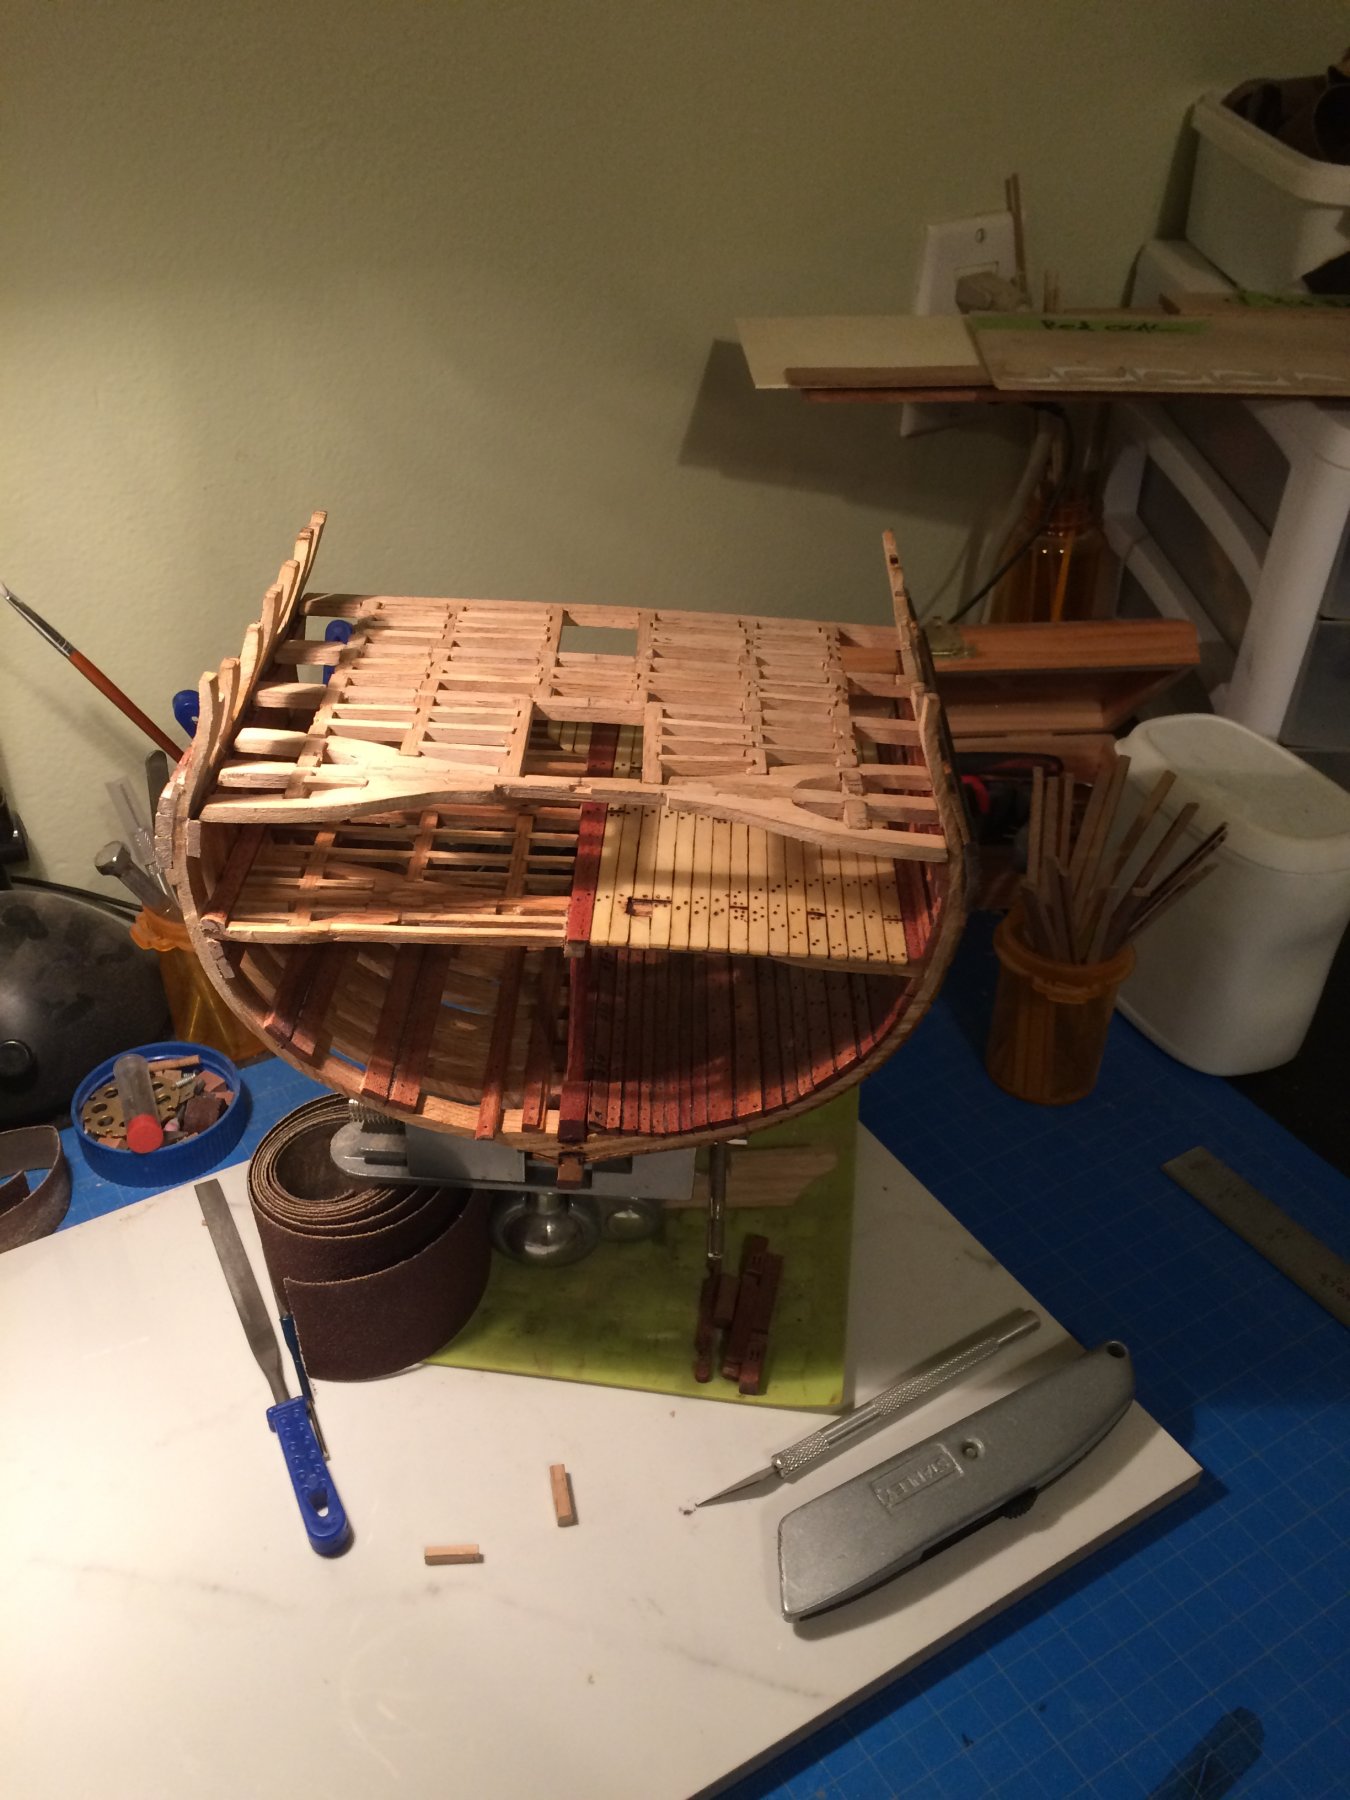
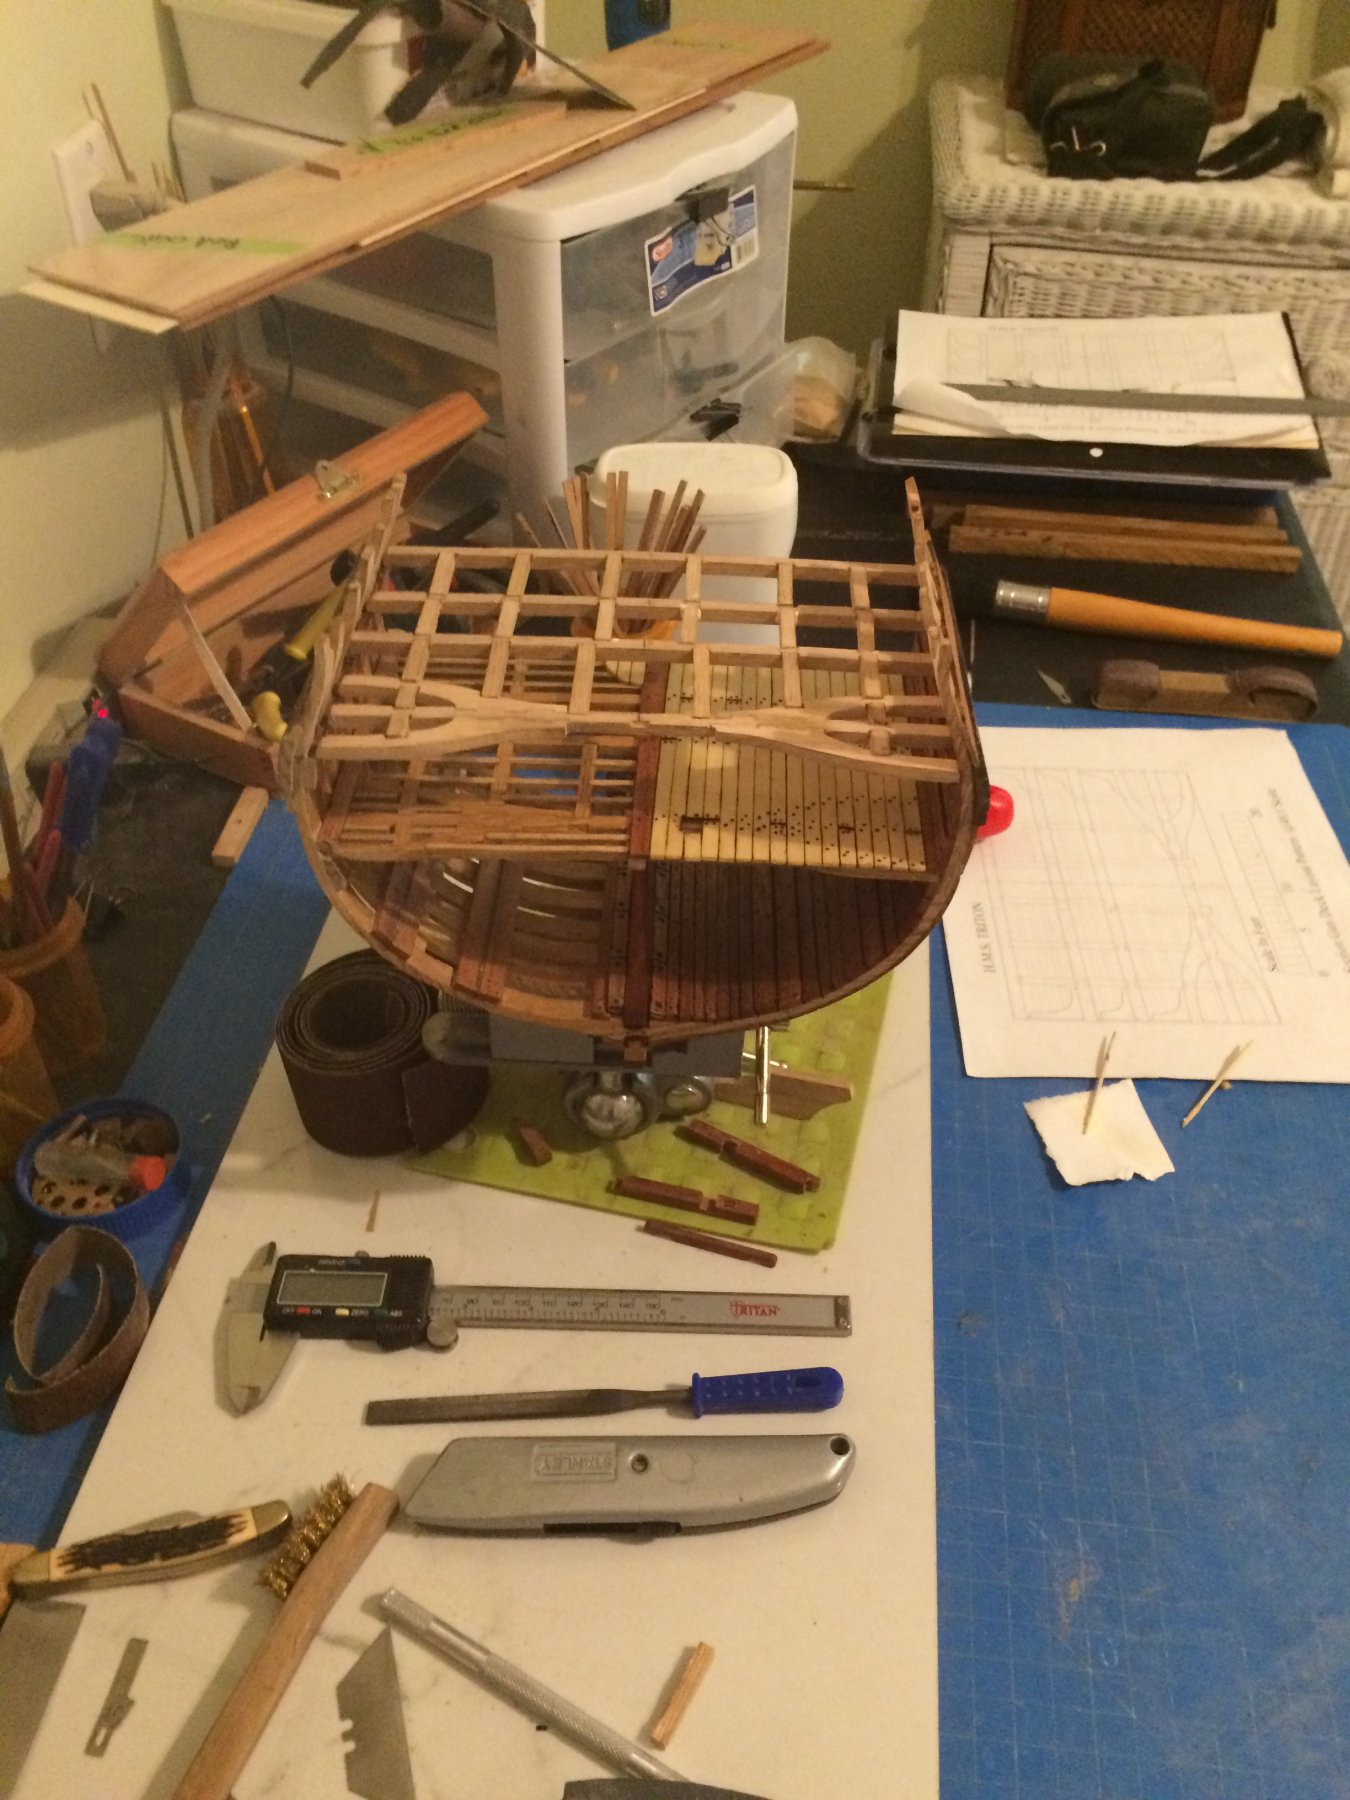
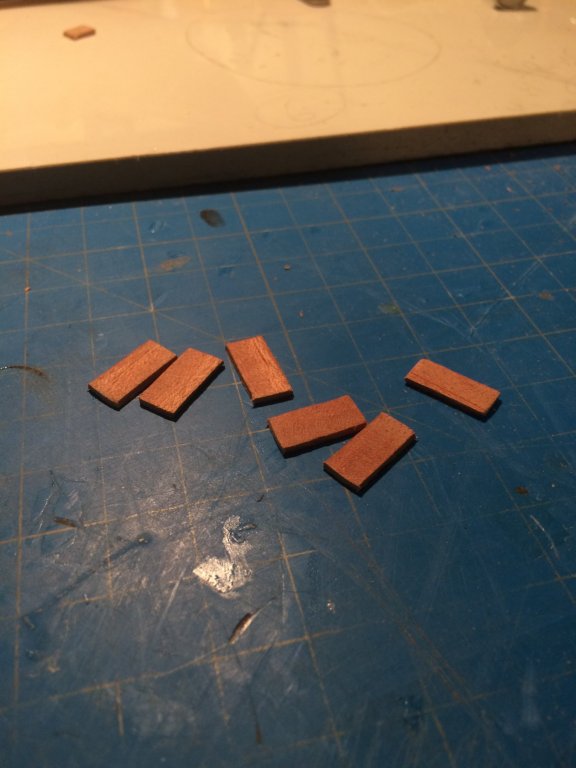
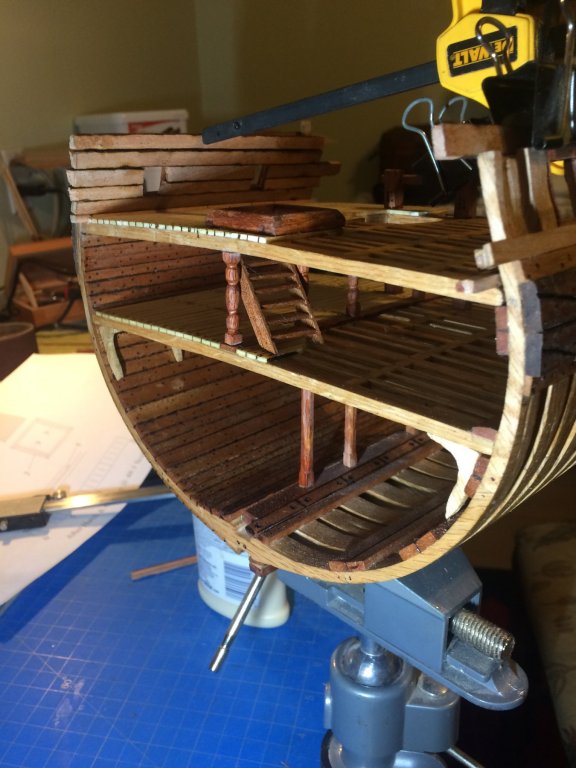
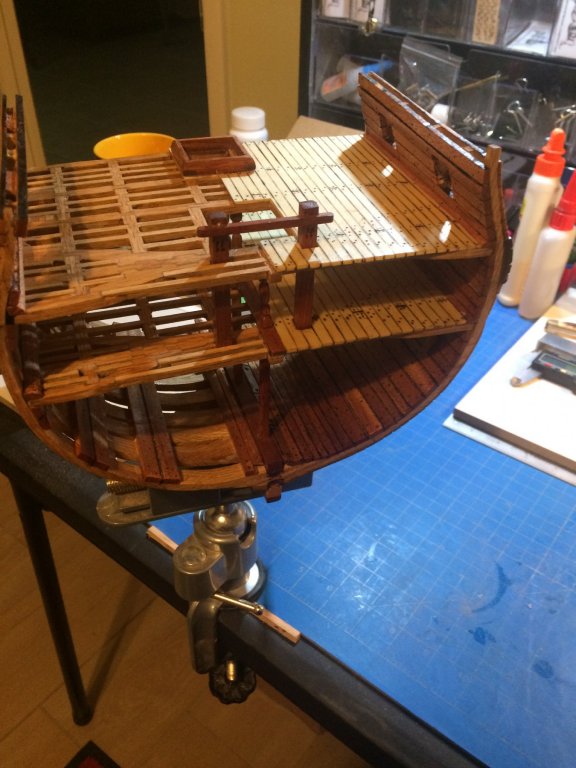
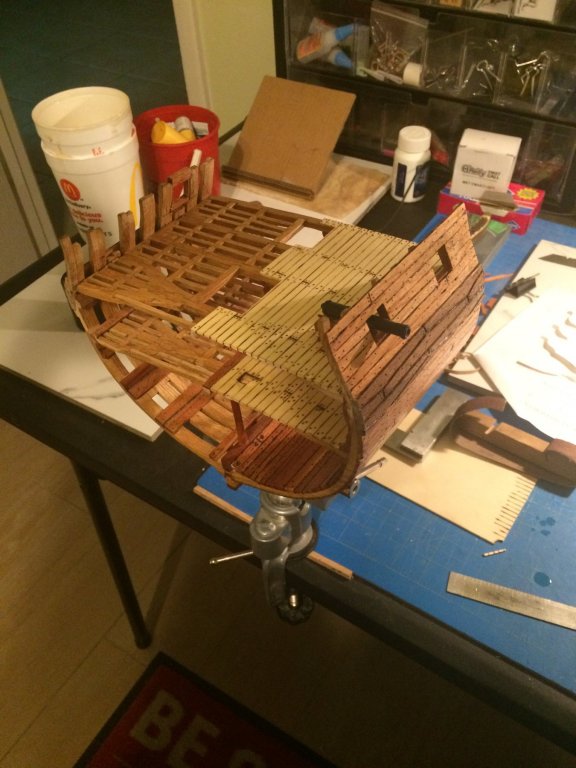
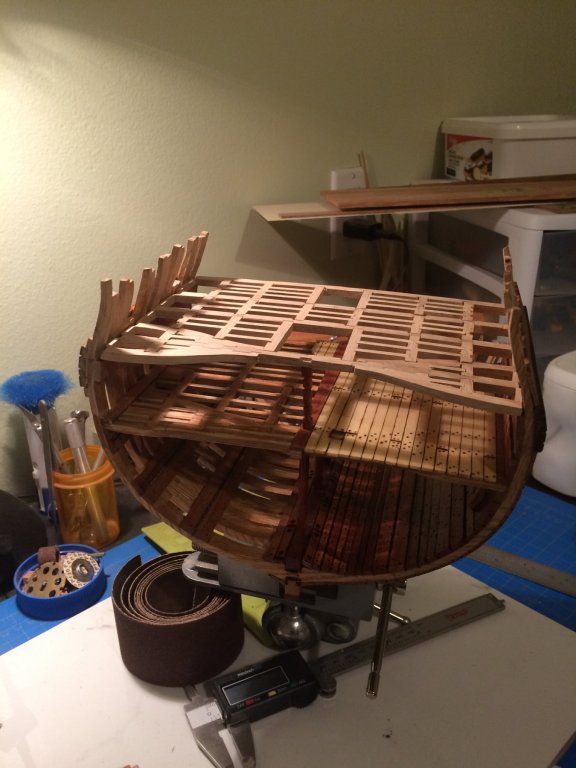
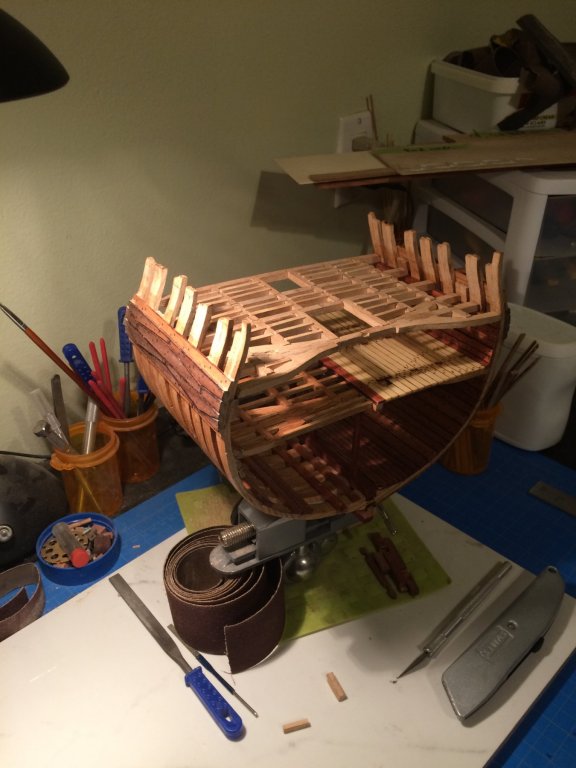
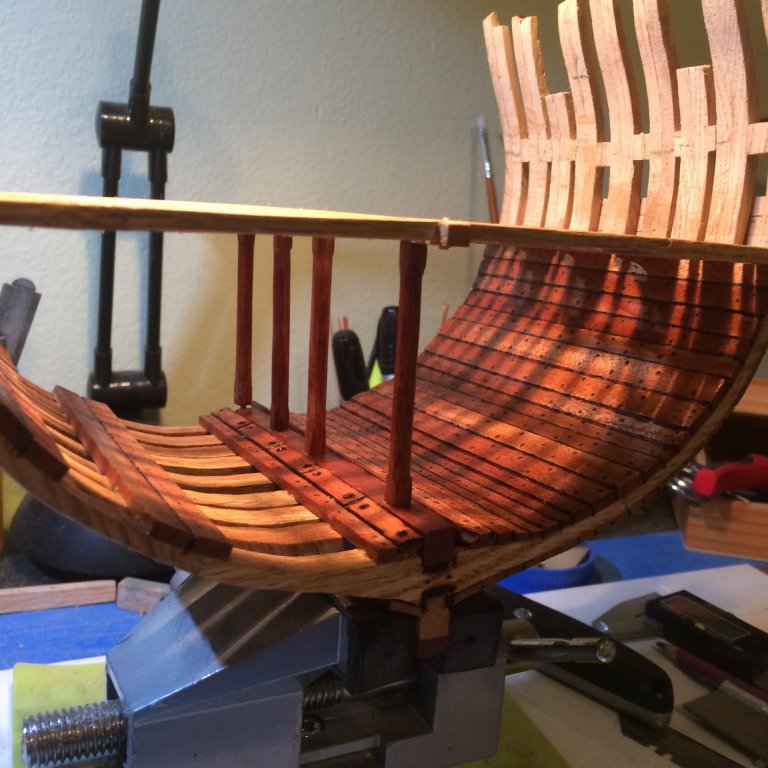
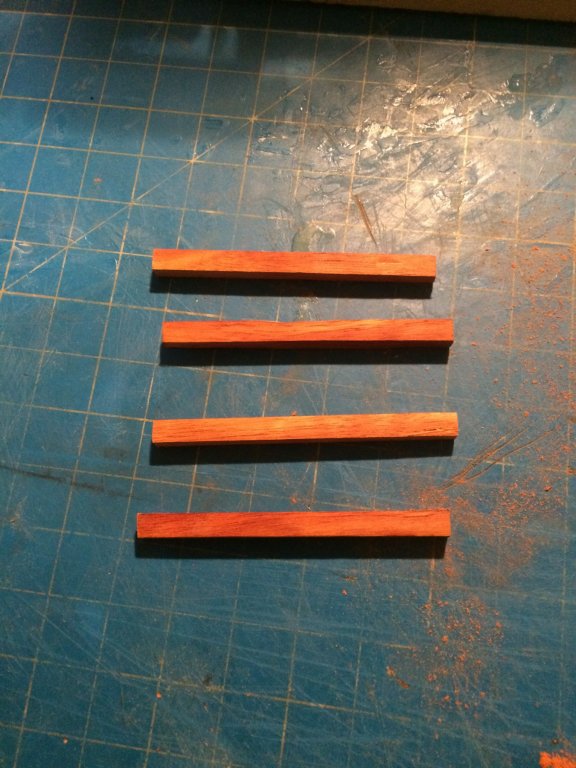
Good evening everyone i did not have much time or success in the shipyard this week. Work kicked my butt , and I worked on the hanging knees for the lower deck and they kicked my butt as well . I needed 8 hanging knees and must have made at least a dozen or more and would break them while sanding to get the final shape . Here is a pile of failures. I eventually got them done and glued in here is a pic of them installed. Then I cut some pieces of blood wood to make the center support columns for the gun deck. using files I cut and shaped my column to a rough shape . i then used sanding sticks to get my finished support beam. Here is a few pics of how the cross section is looking . hope you like her thanks for looking in Derek C


-
I also have a gaggle of syren rope and blocks they are great .
-
I did manage to get the other side Wales done and mounted and started on the gun deck . I got a good amount of it dry fit . I hope to be able to get the rest fit and get it sanded and glued together over the coarse of the week. Here are a few pics of how she is looking at this stage of the build . Thanks for checking out my progress Derek C


-
G.L. I like the looks of the step inset in the rail ,not sure if it's correct but it looks clean
-
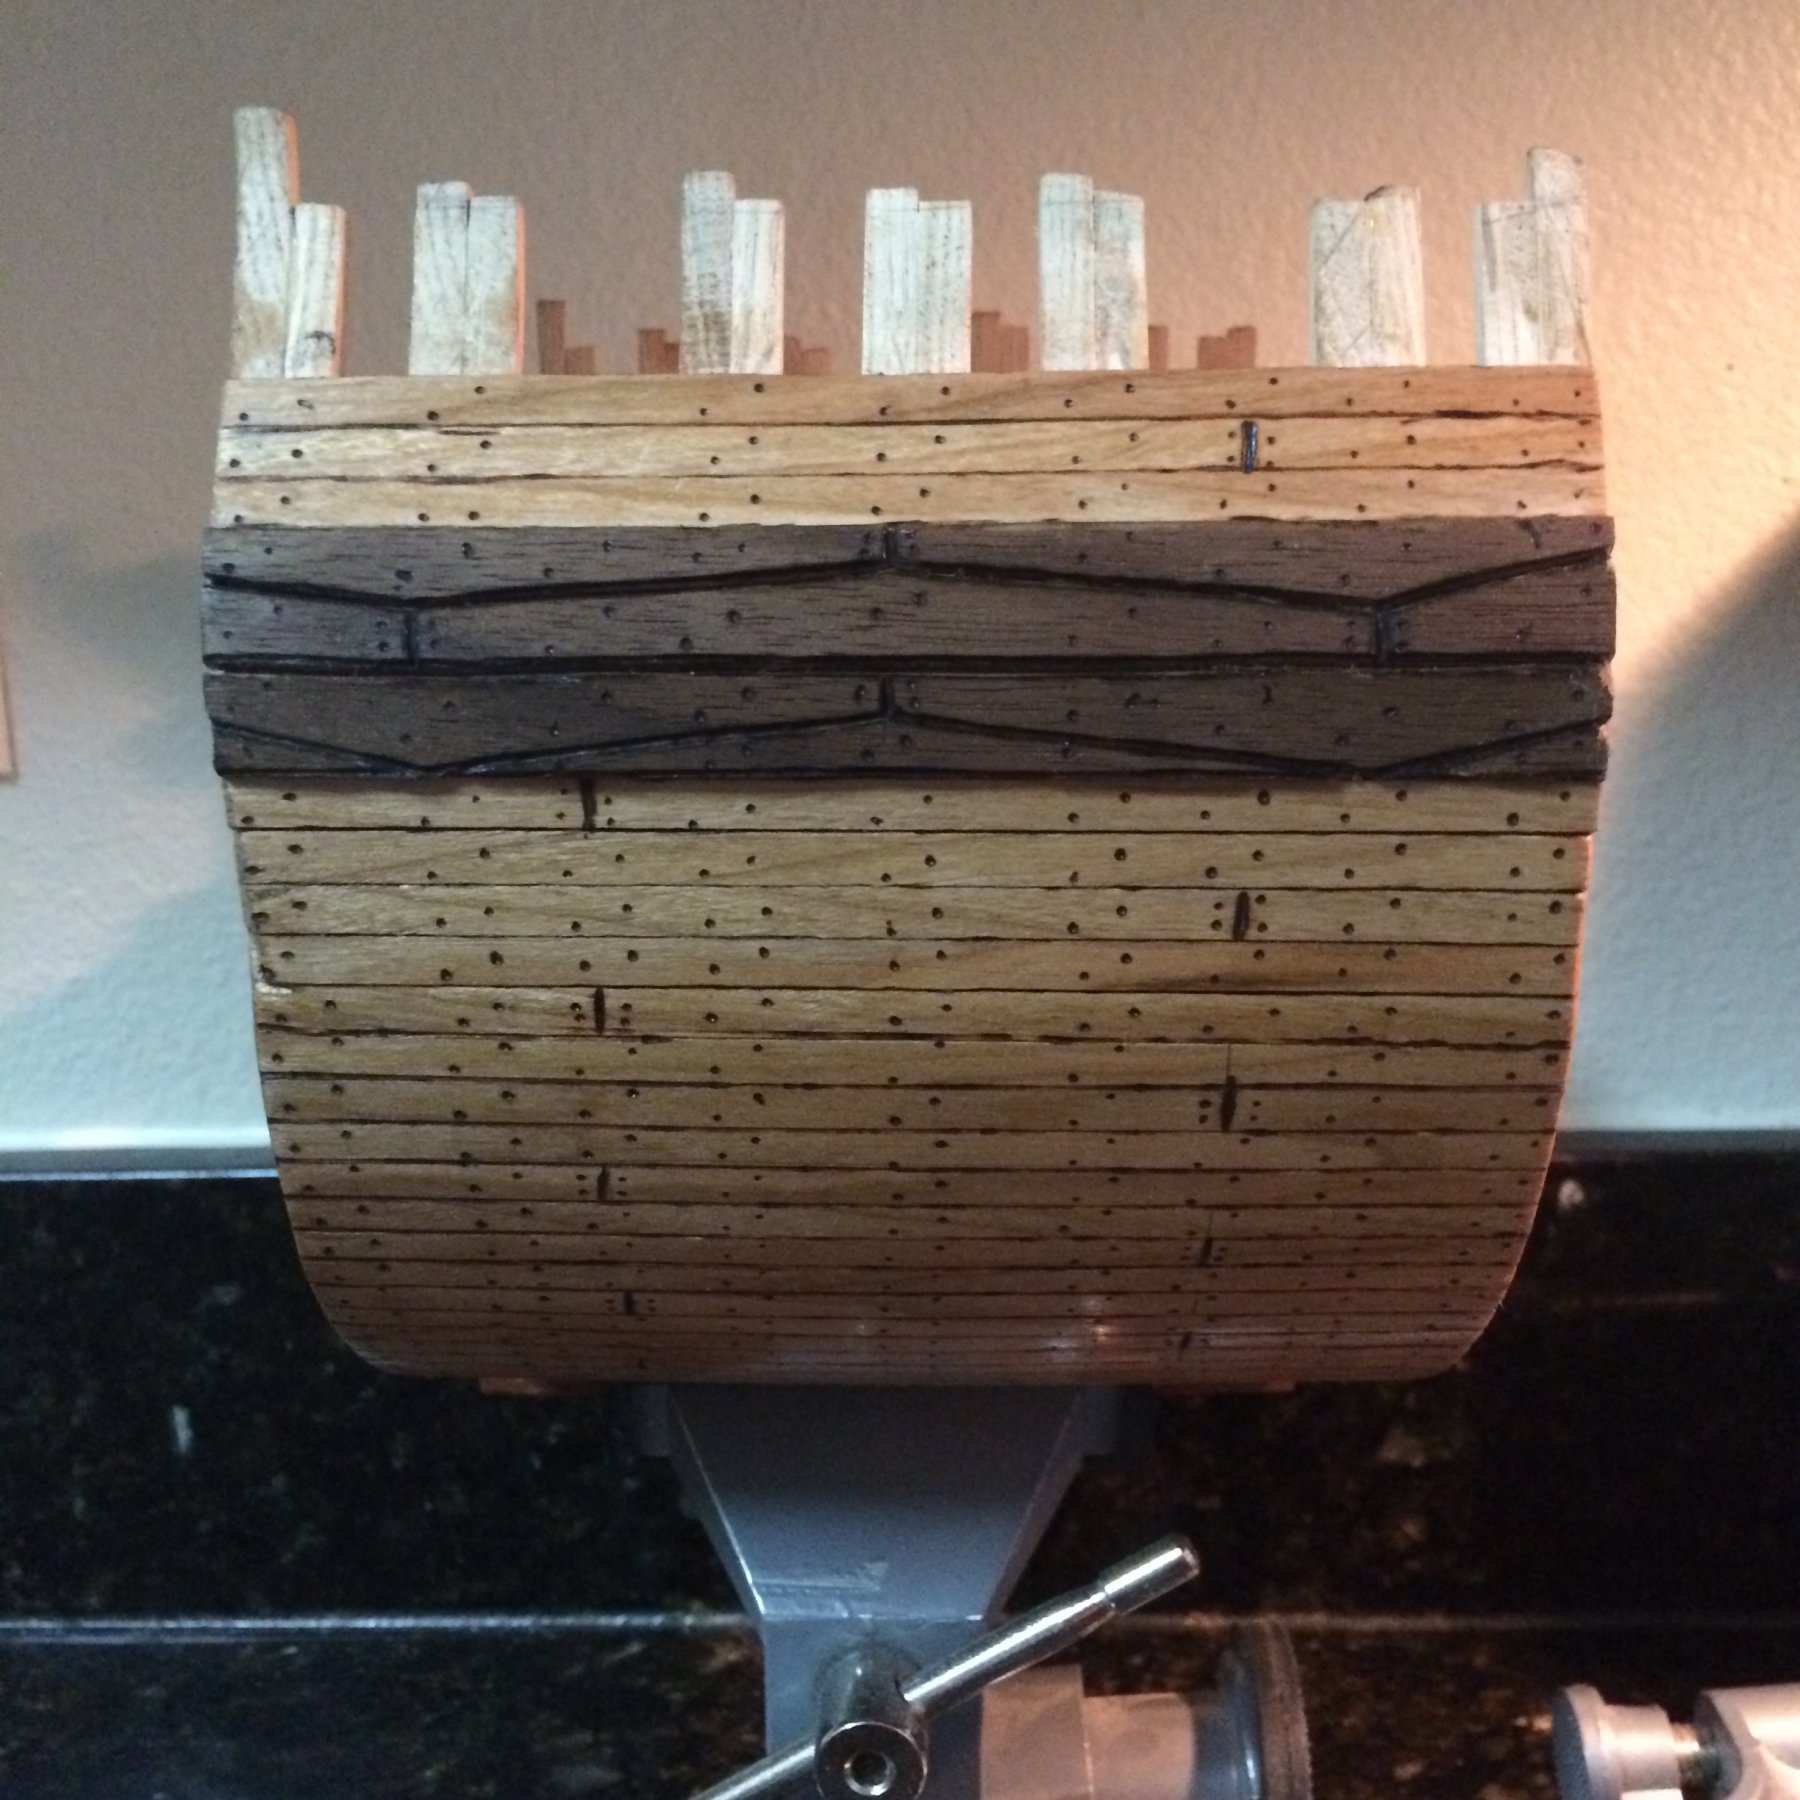
Today I worked on the Wales I got one side done hopefully get the other side done tomorrow. I made the Wales from walnut. Here is a few pics of how they turned out. Thanks for checking in . Derek C

-
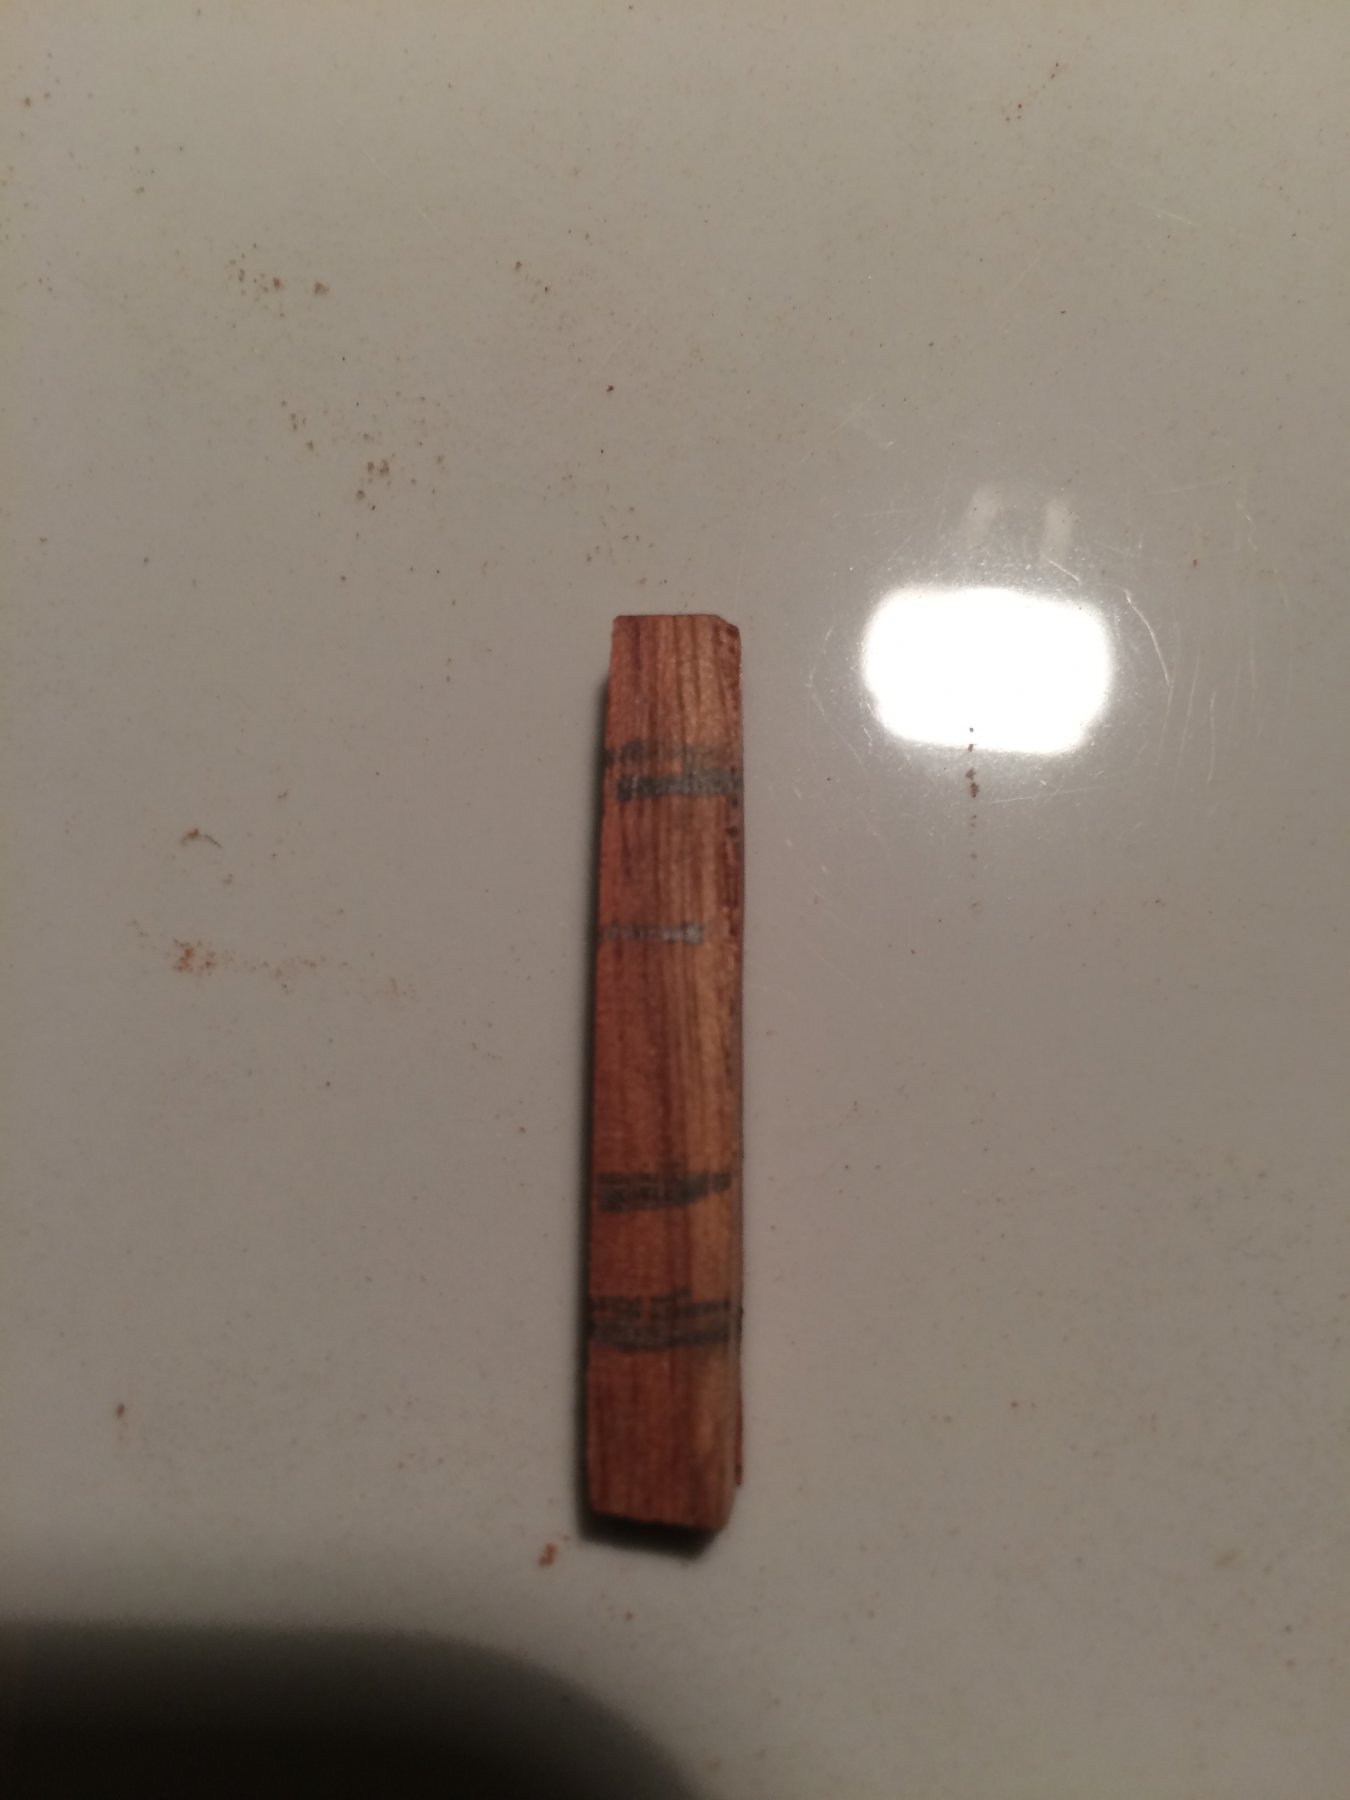
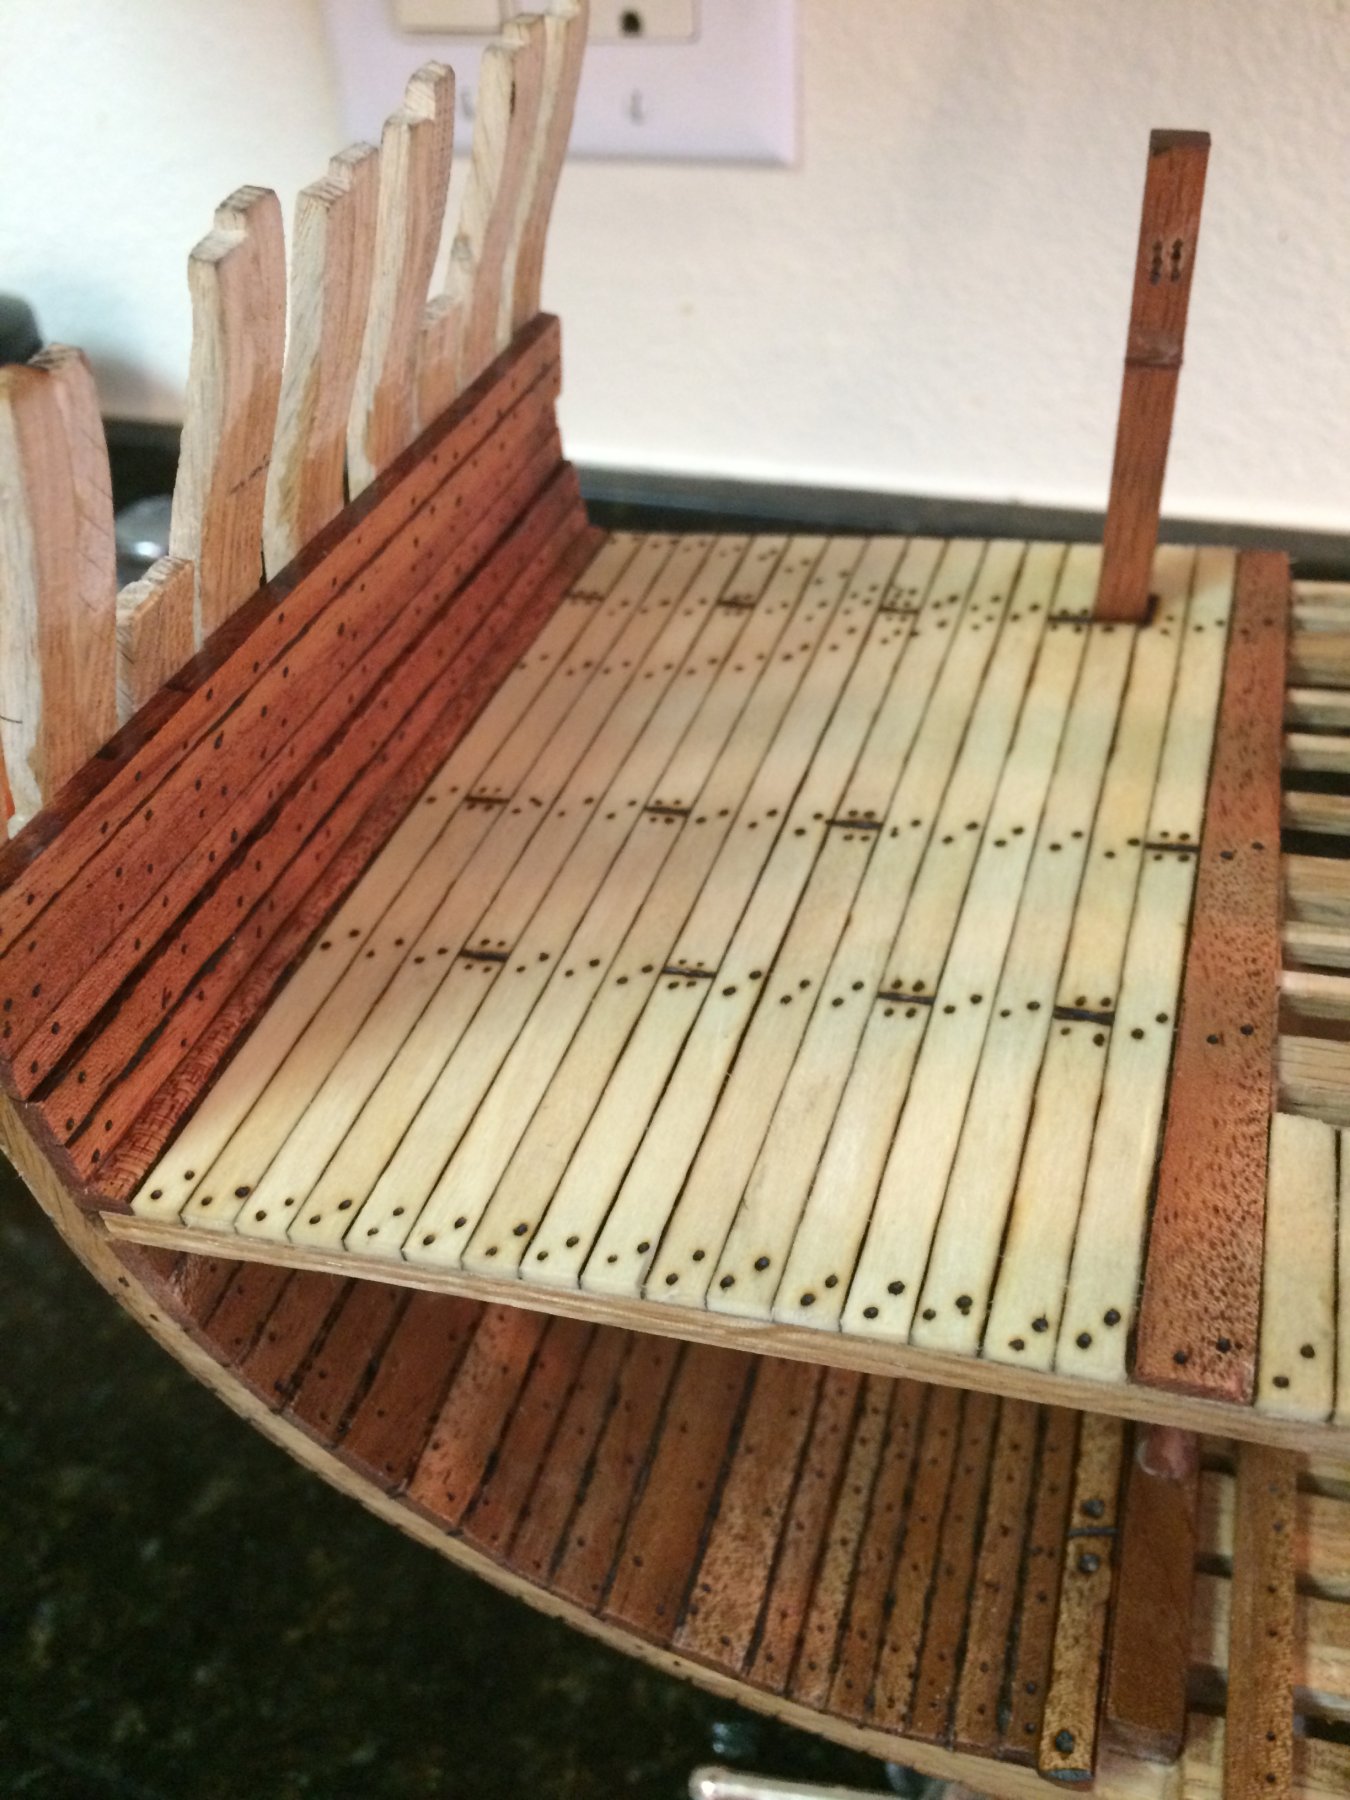
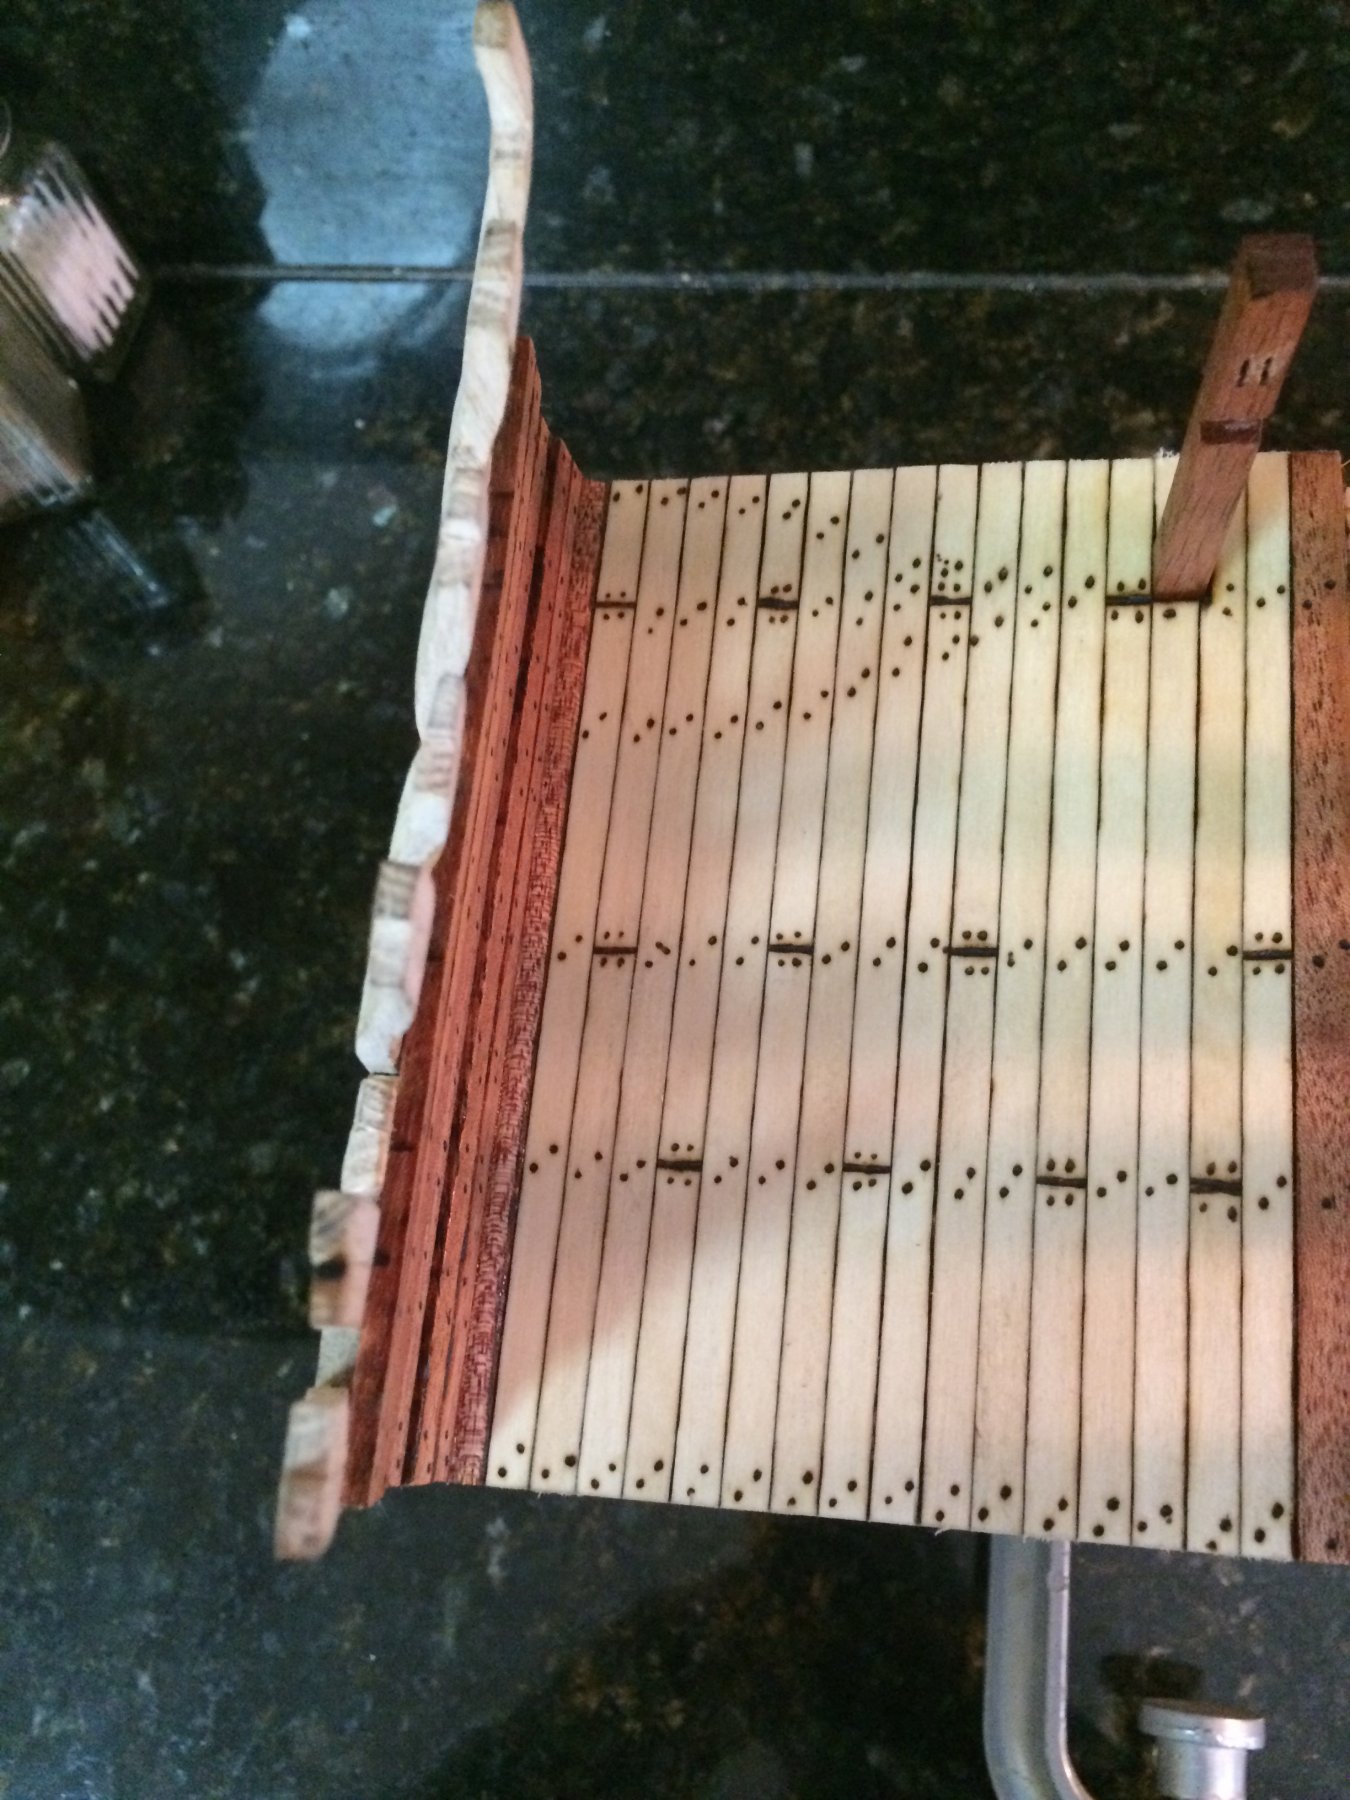
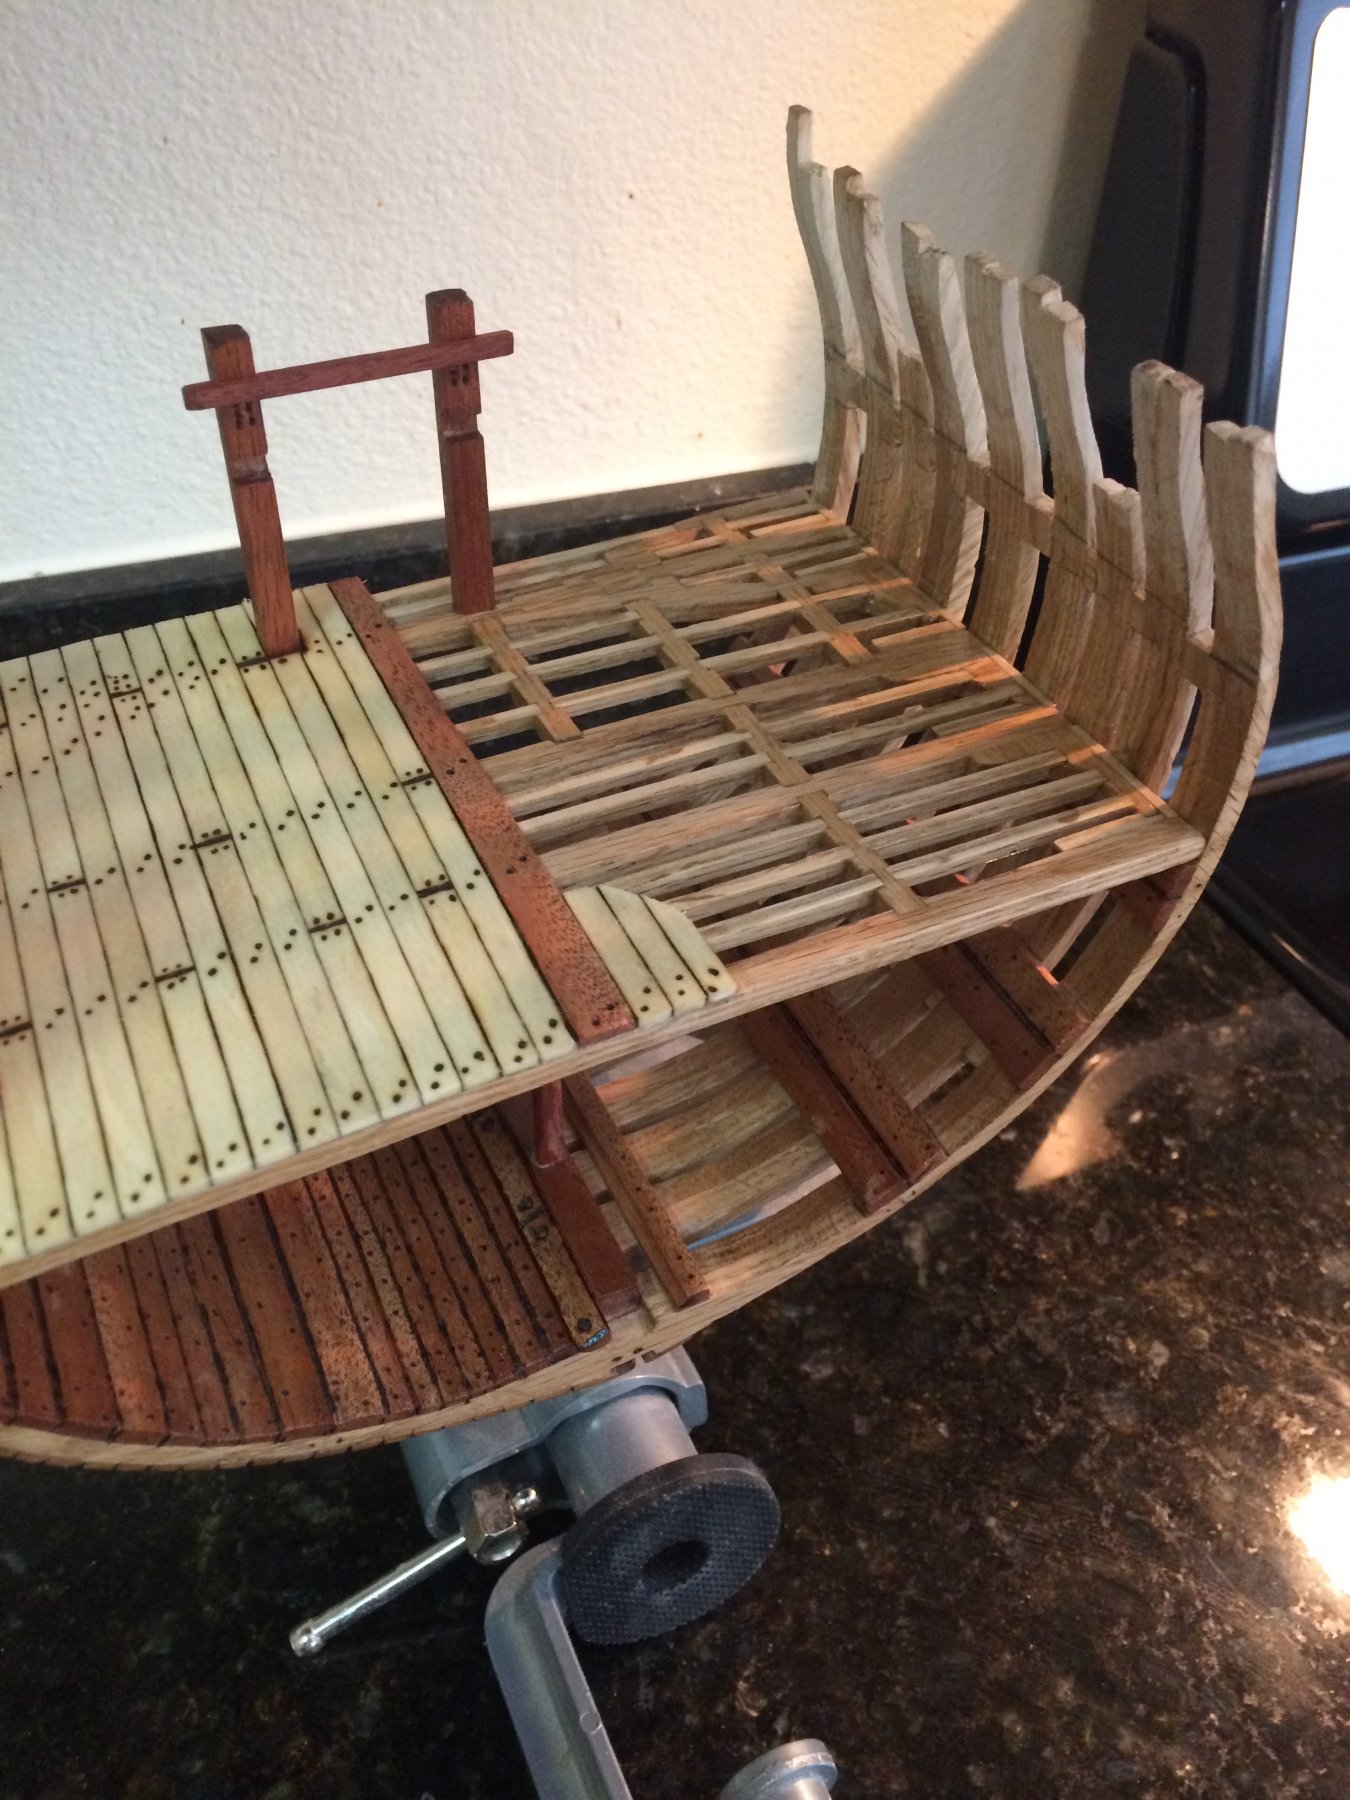
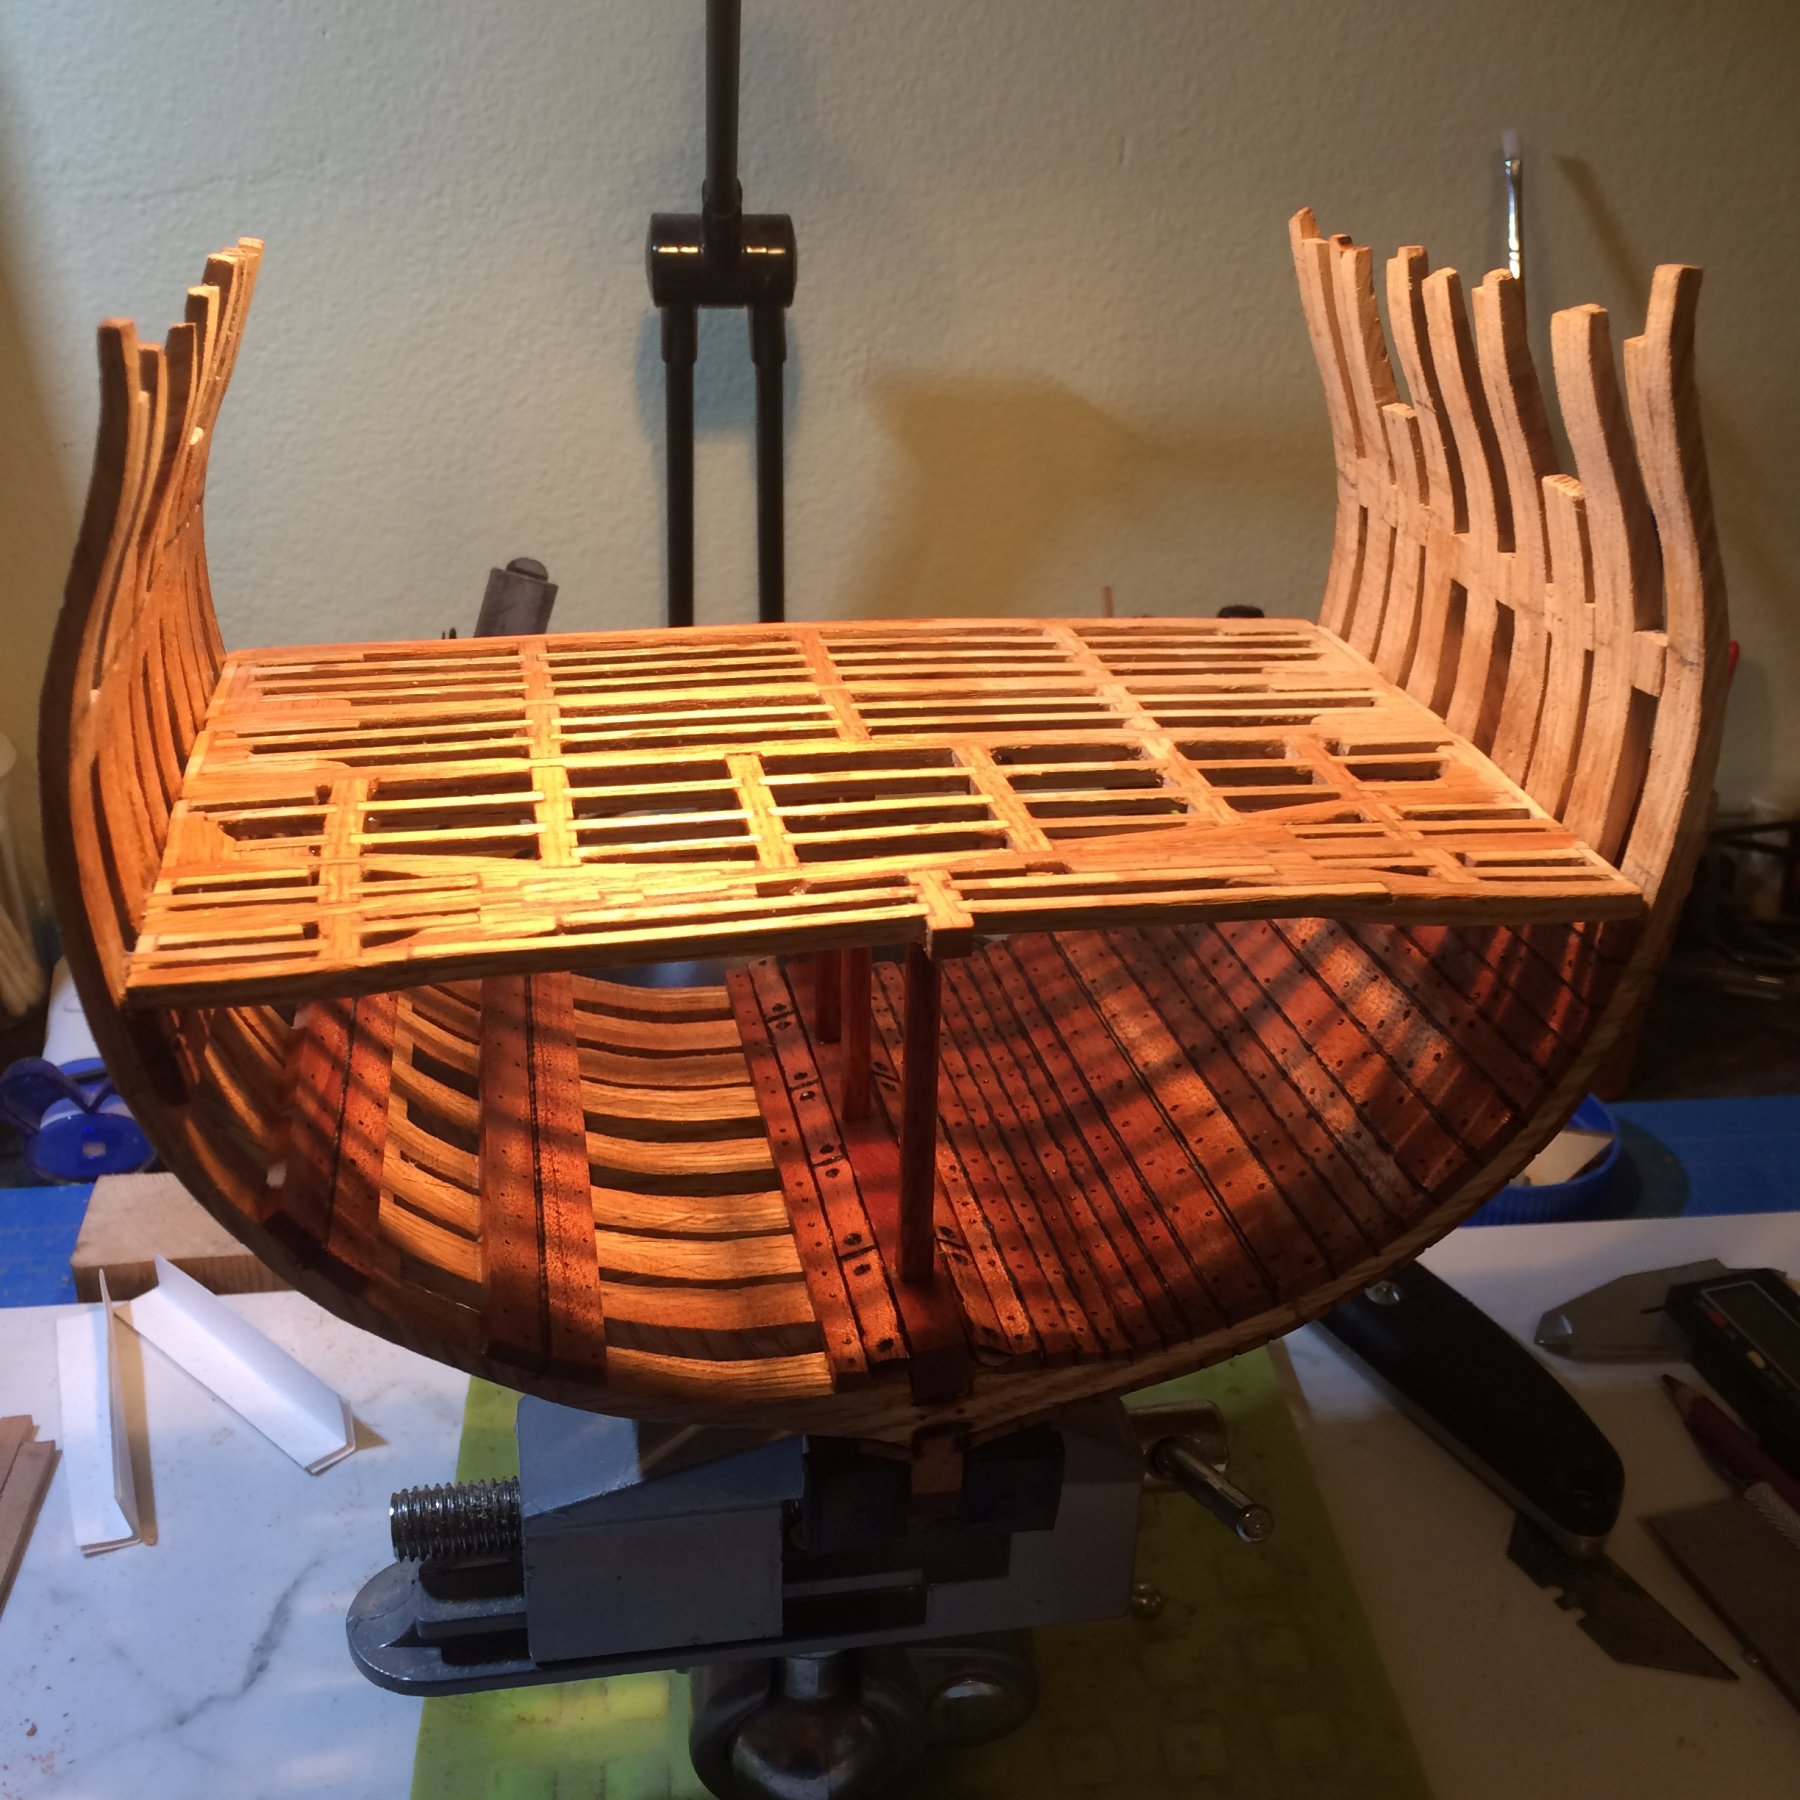
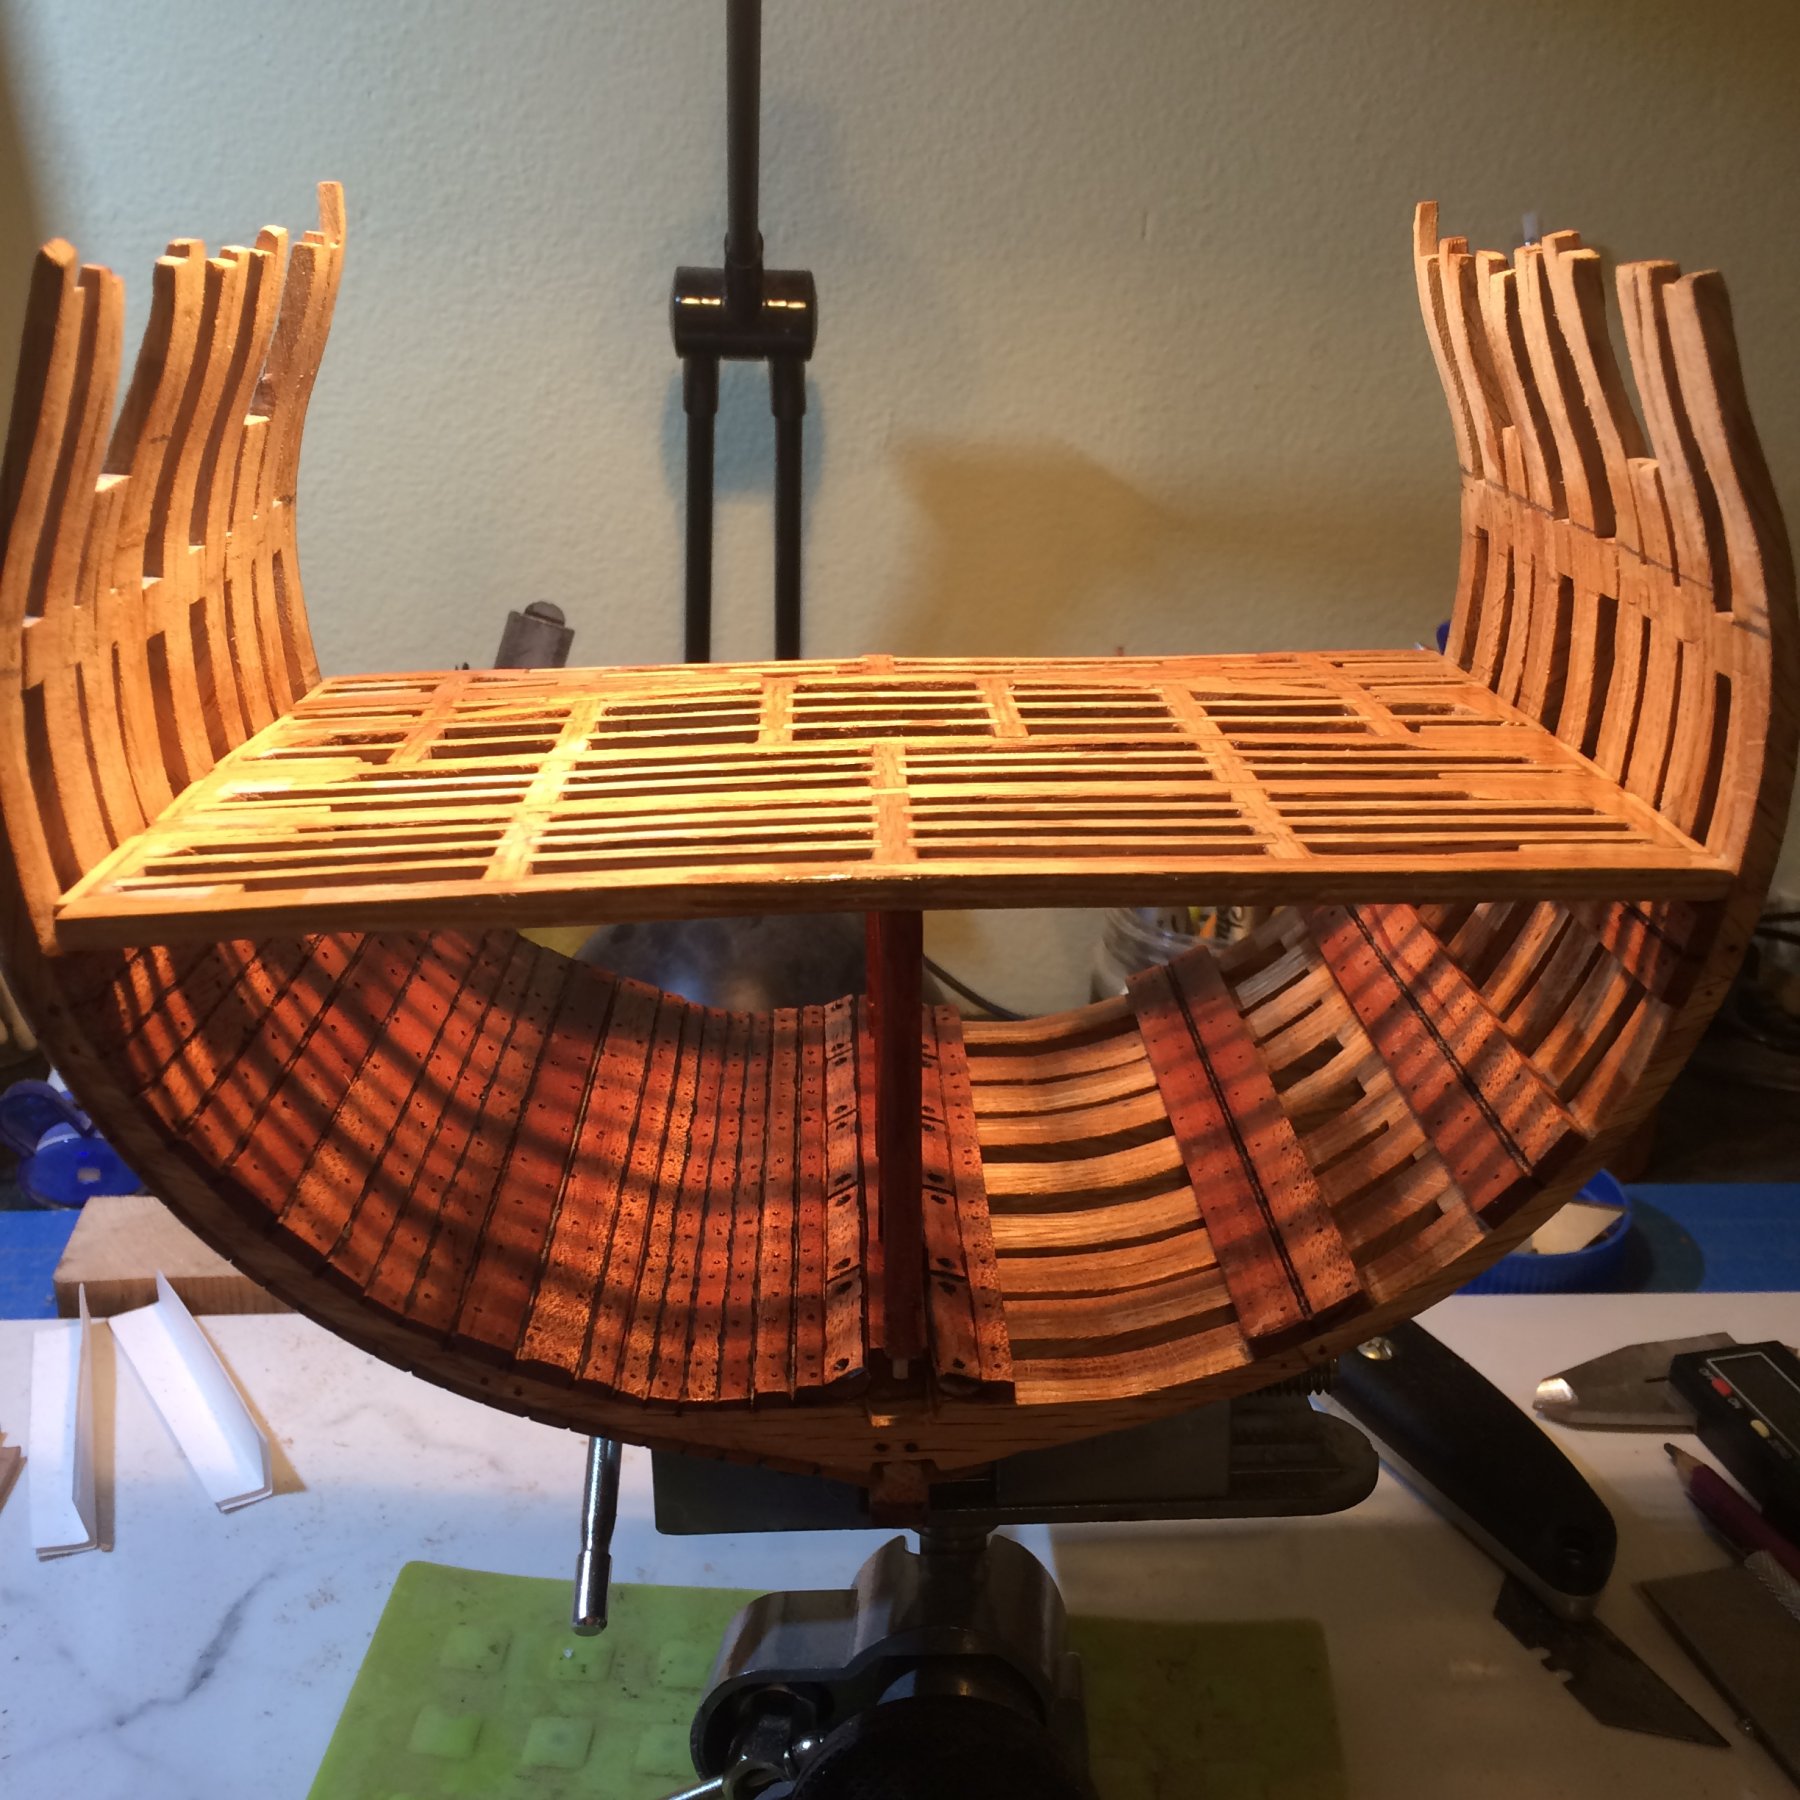
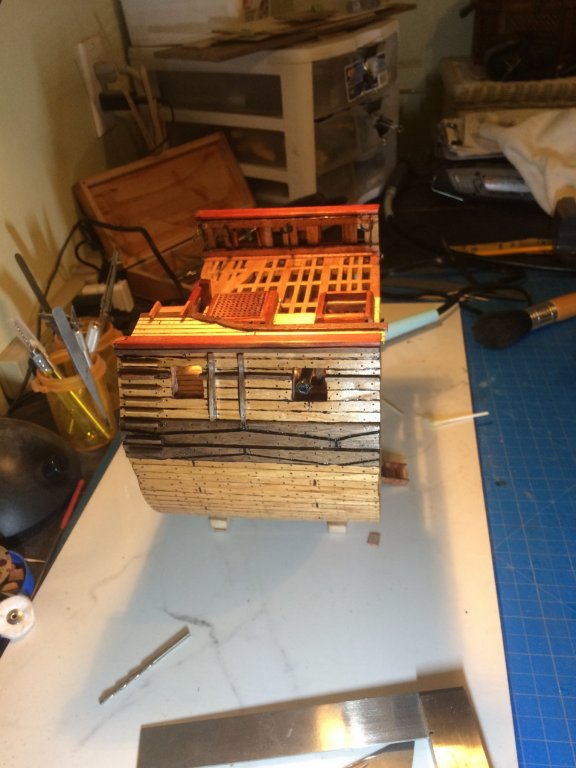
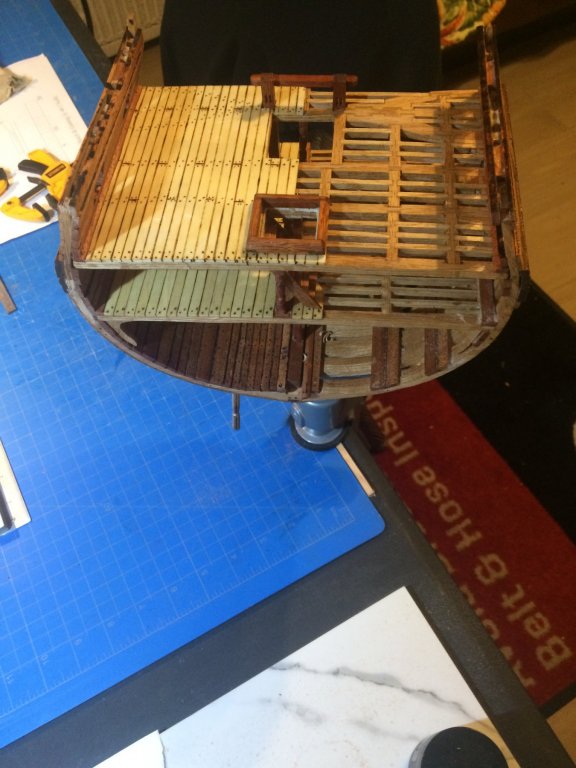
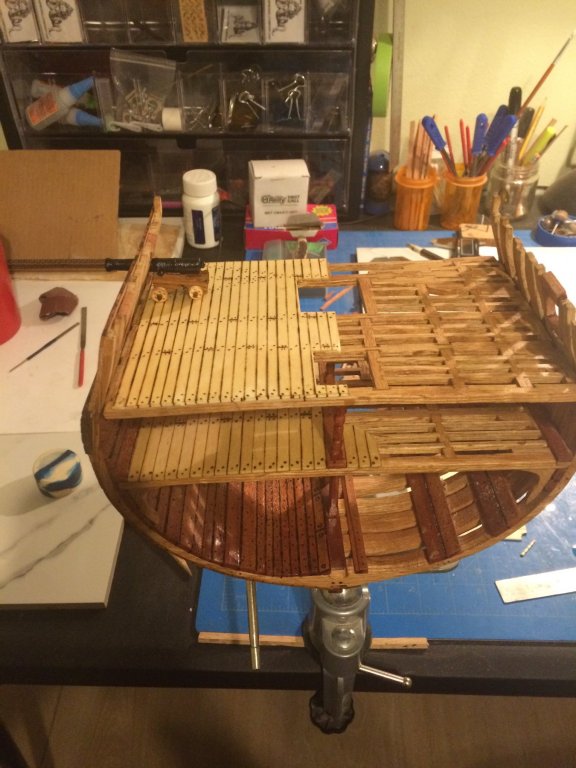
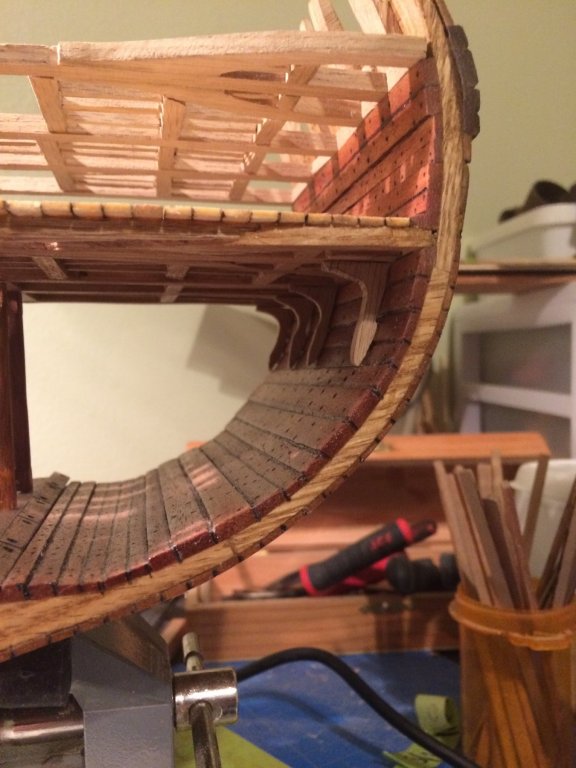
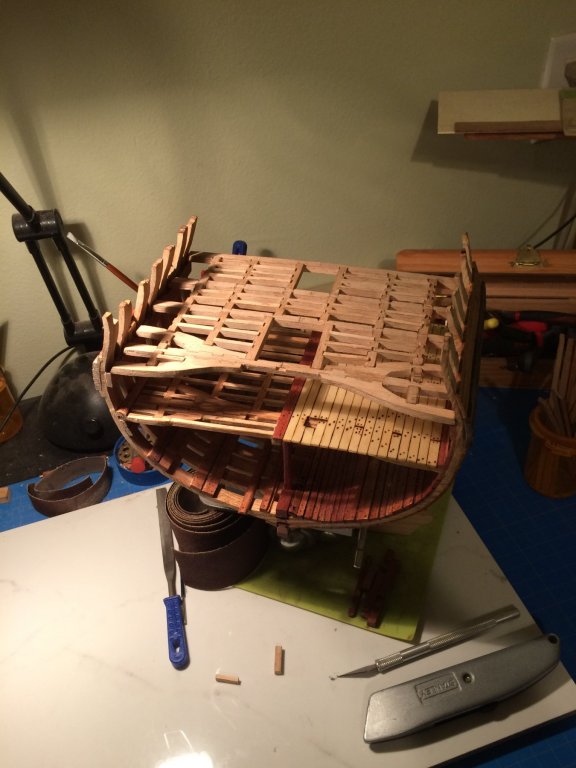
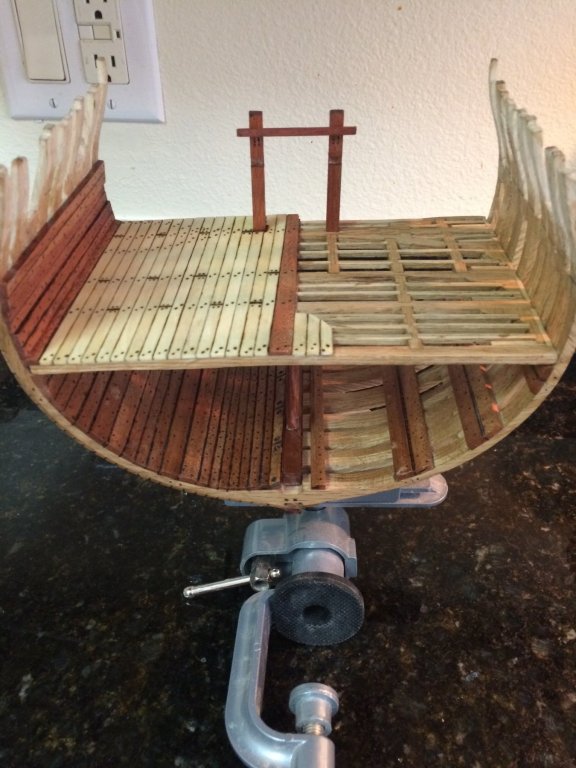
Good afternoon friends This week I worked on the planking for the lower deck . I cut out the pieces I needed from the aspen, and then using the technique I used earlier in the log .stacked them in the vise and sanded ,until all of them were uniform . I then used a wood burning pen to darken the edges to simulate the caulking. I was then ready to start laying out the planks and marking them up . i used the example that G.L. Posted in his cross section log. Here is a few pics to show how she is looking.% I personally am not 100% happy with the way the lower deck turned out and will hopefully get better results on the gun deck .This first deck was definitely a learning experience. Thanks for looking in on my build Derek C


-
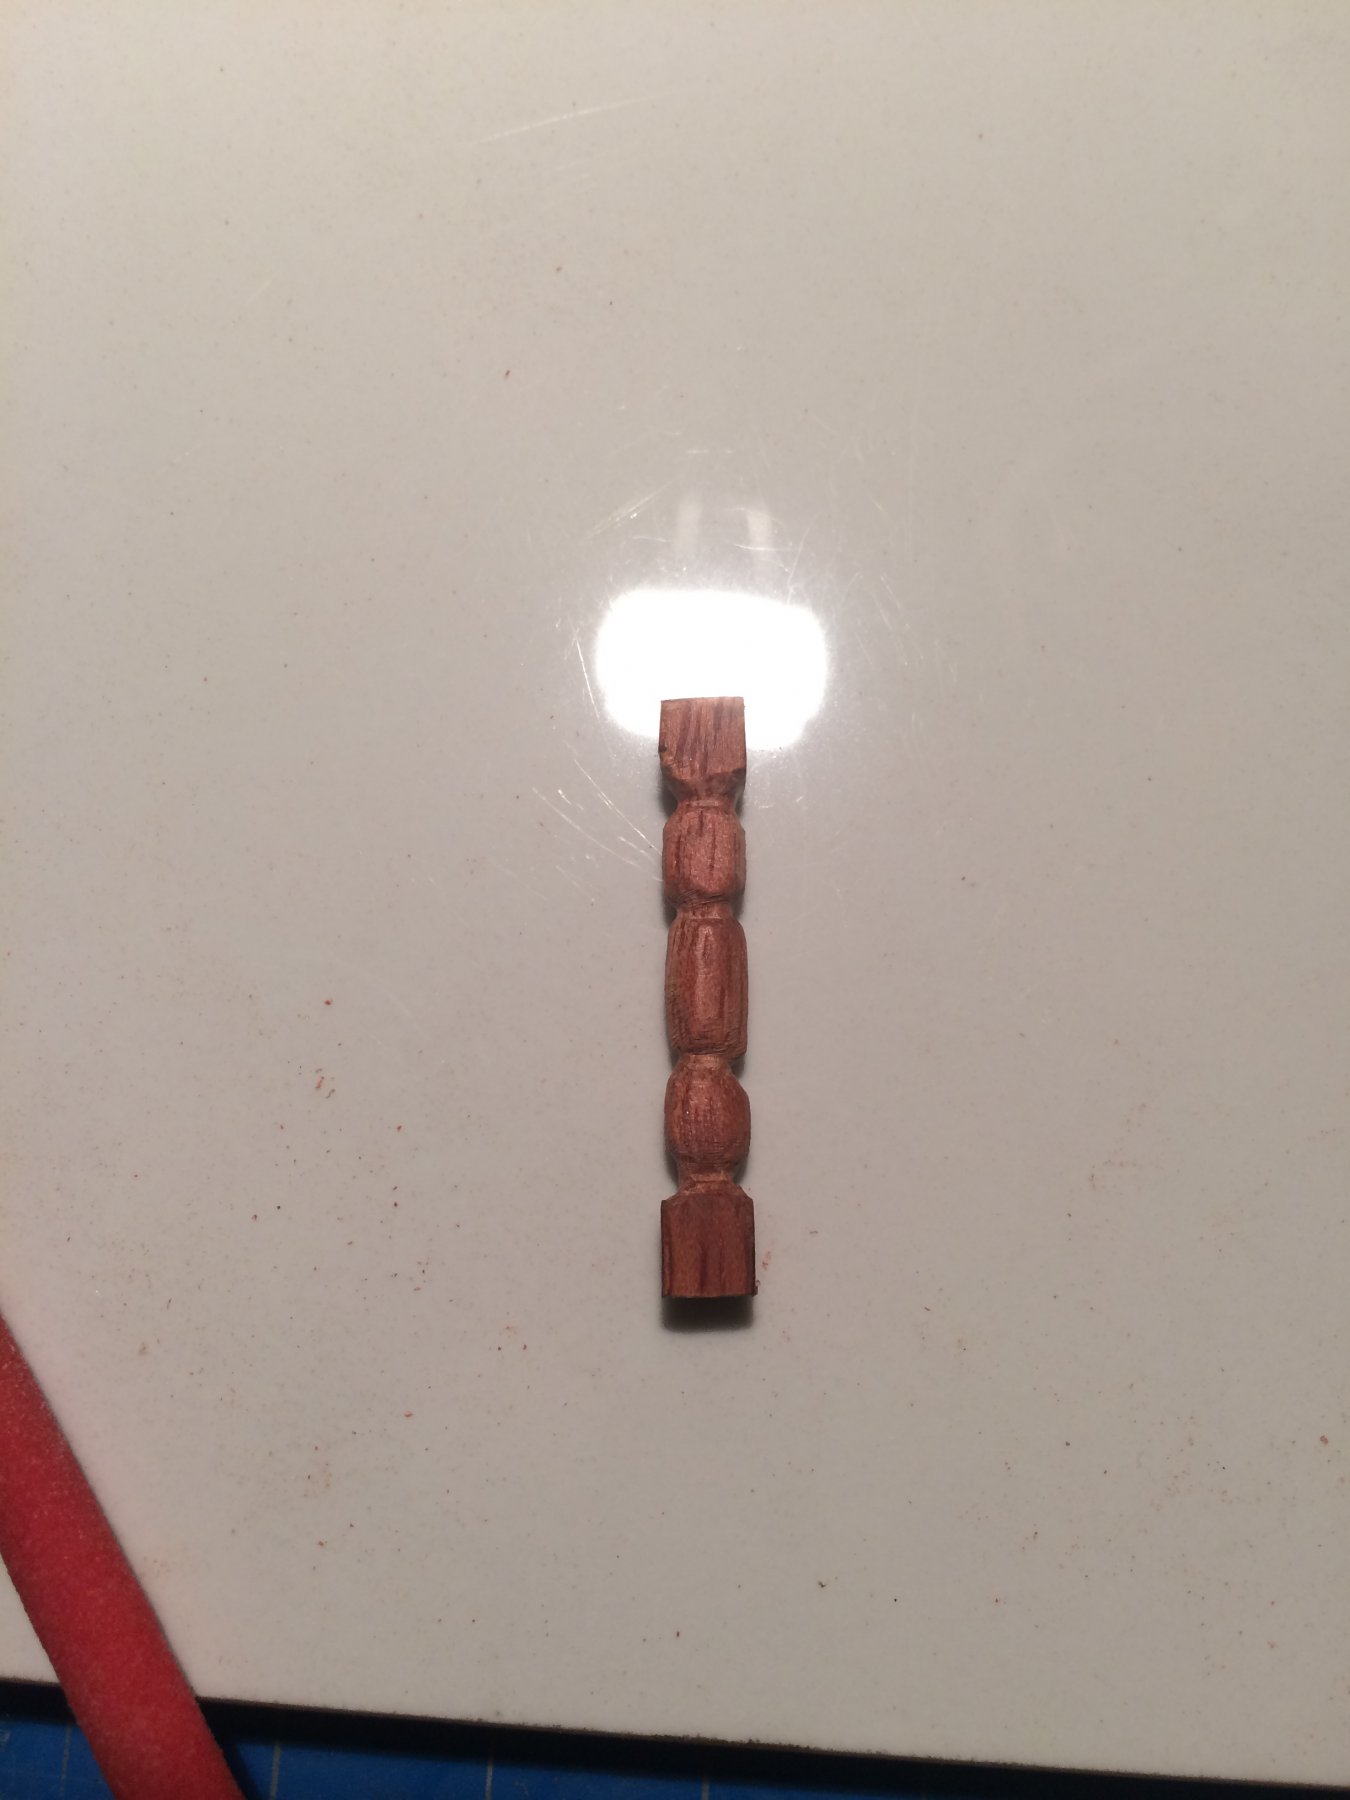
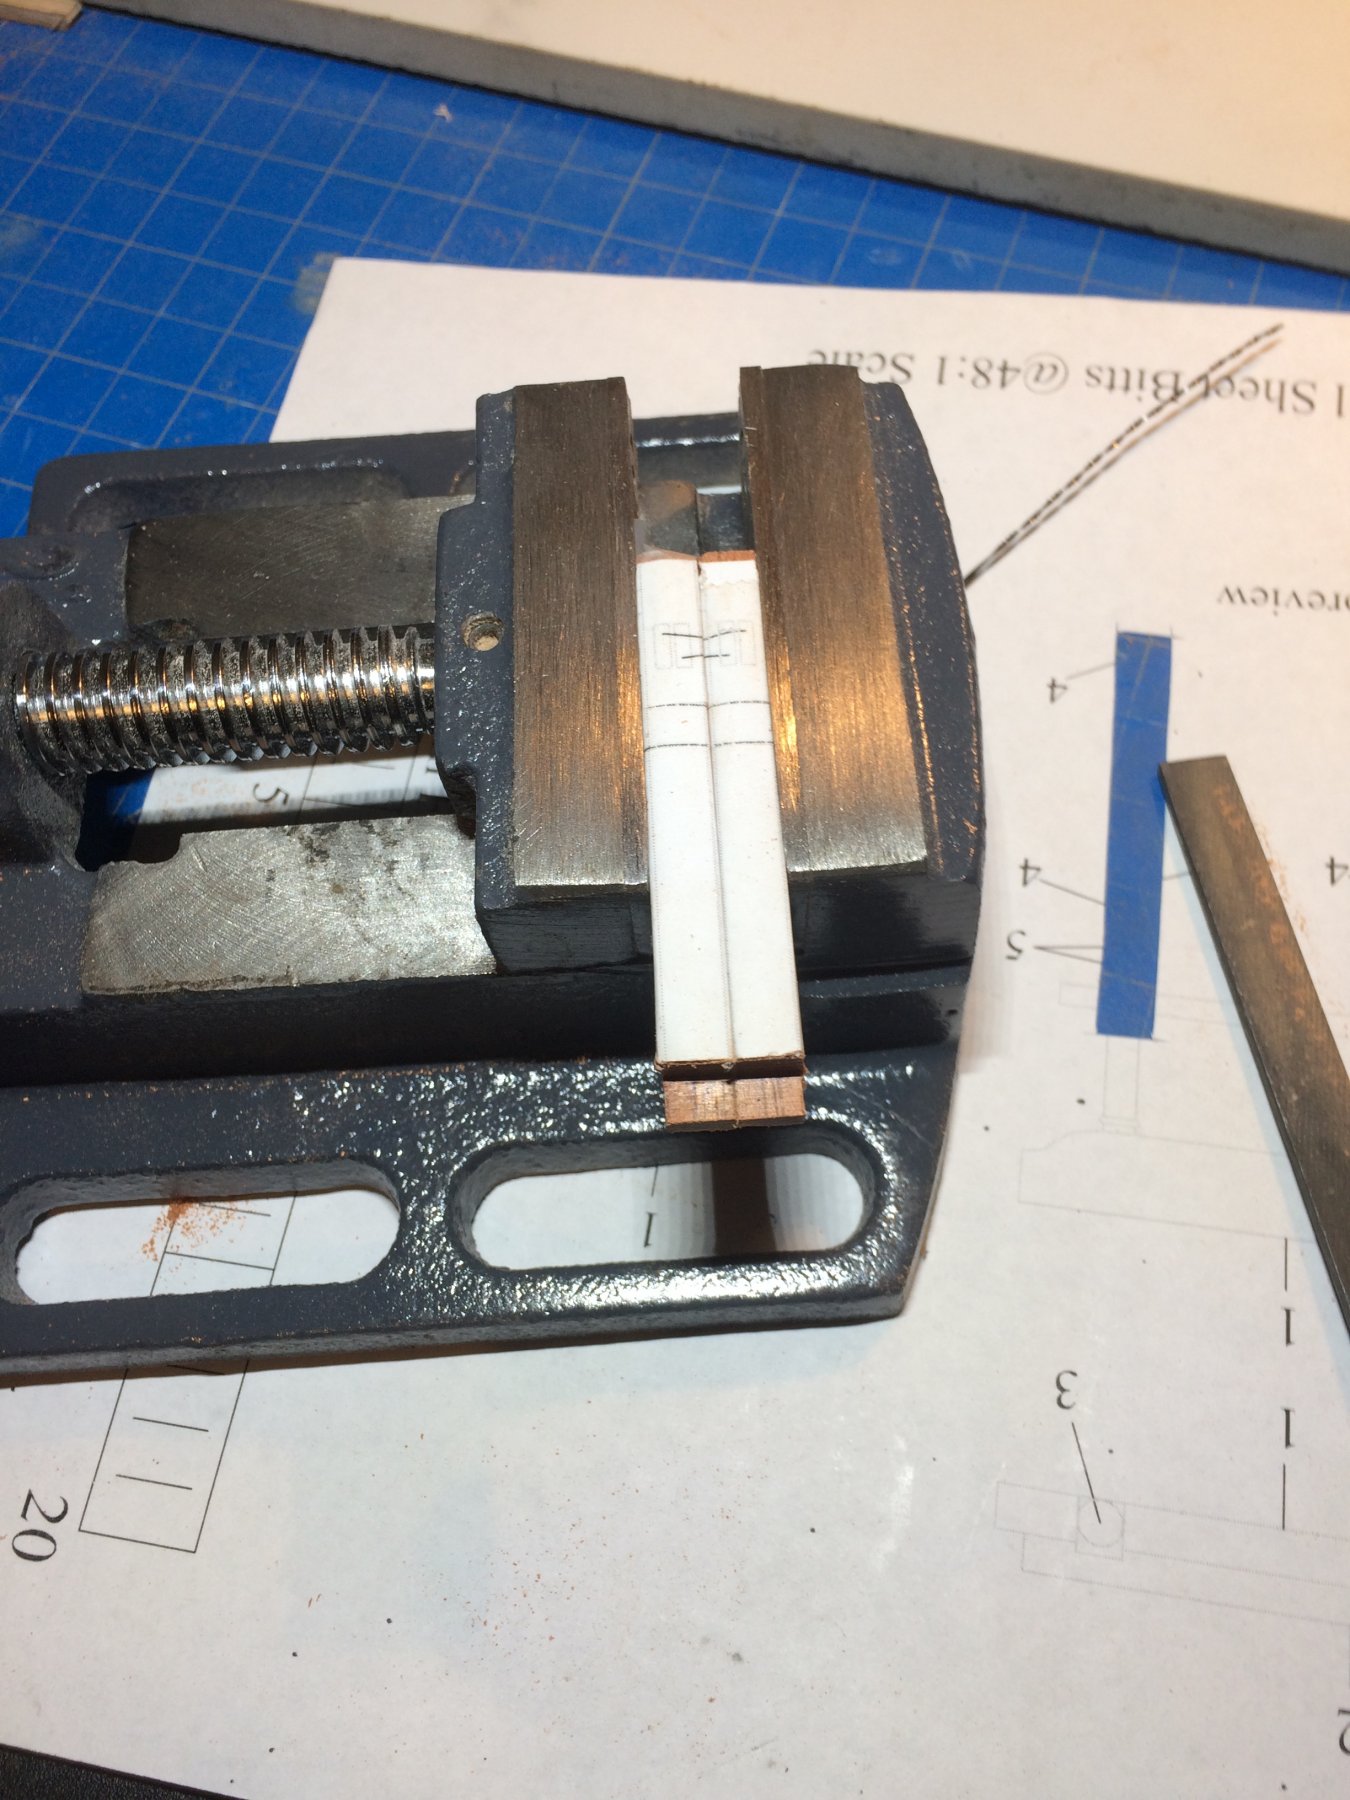
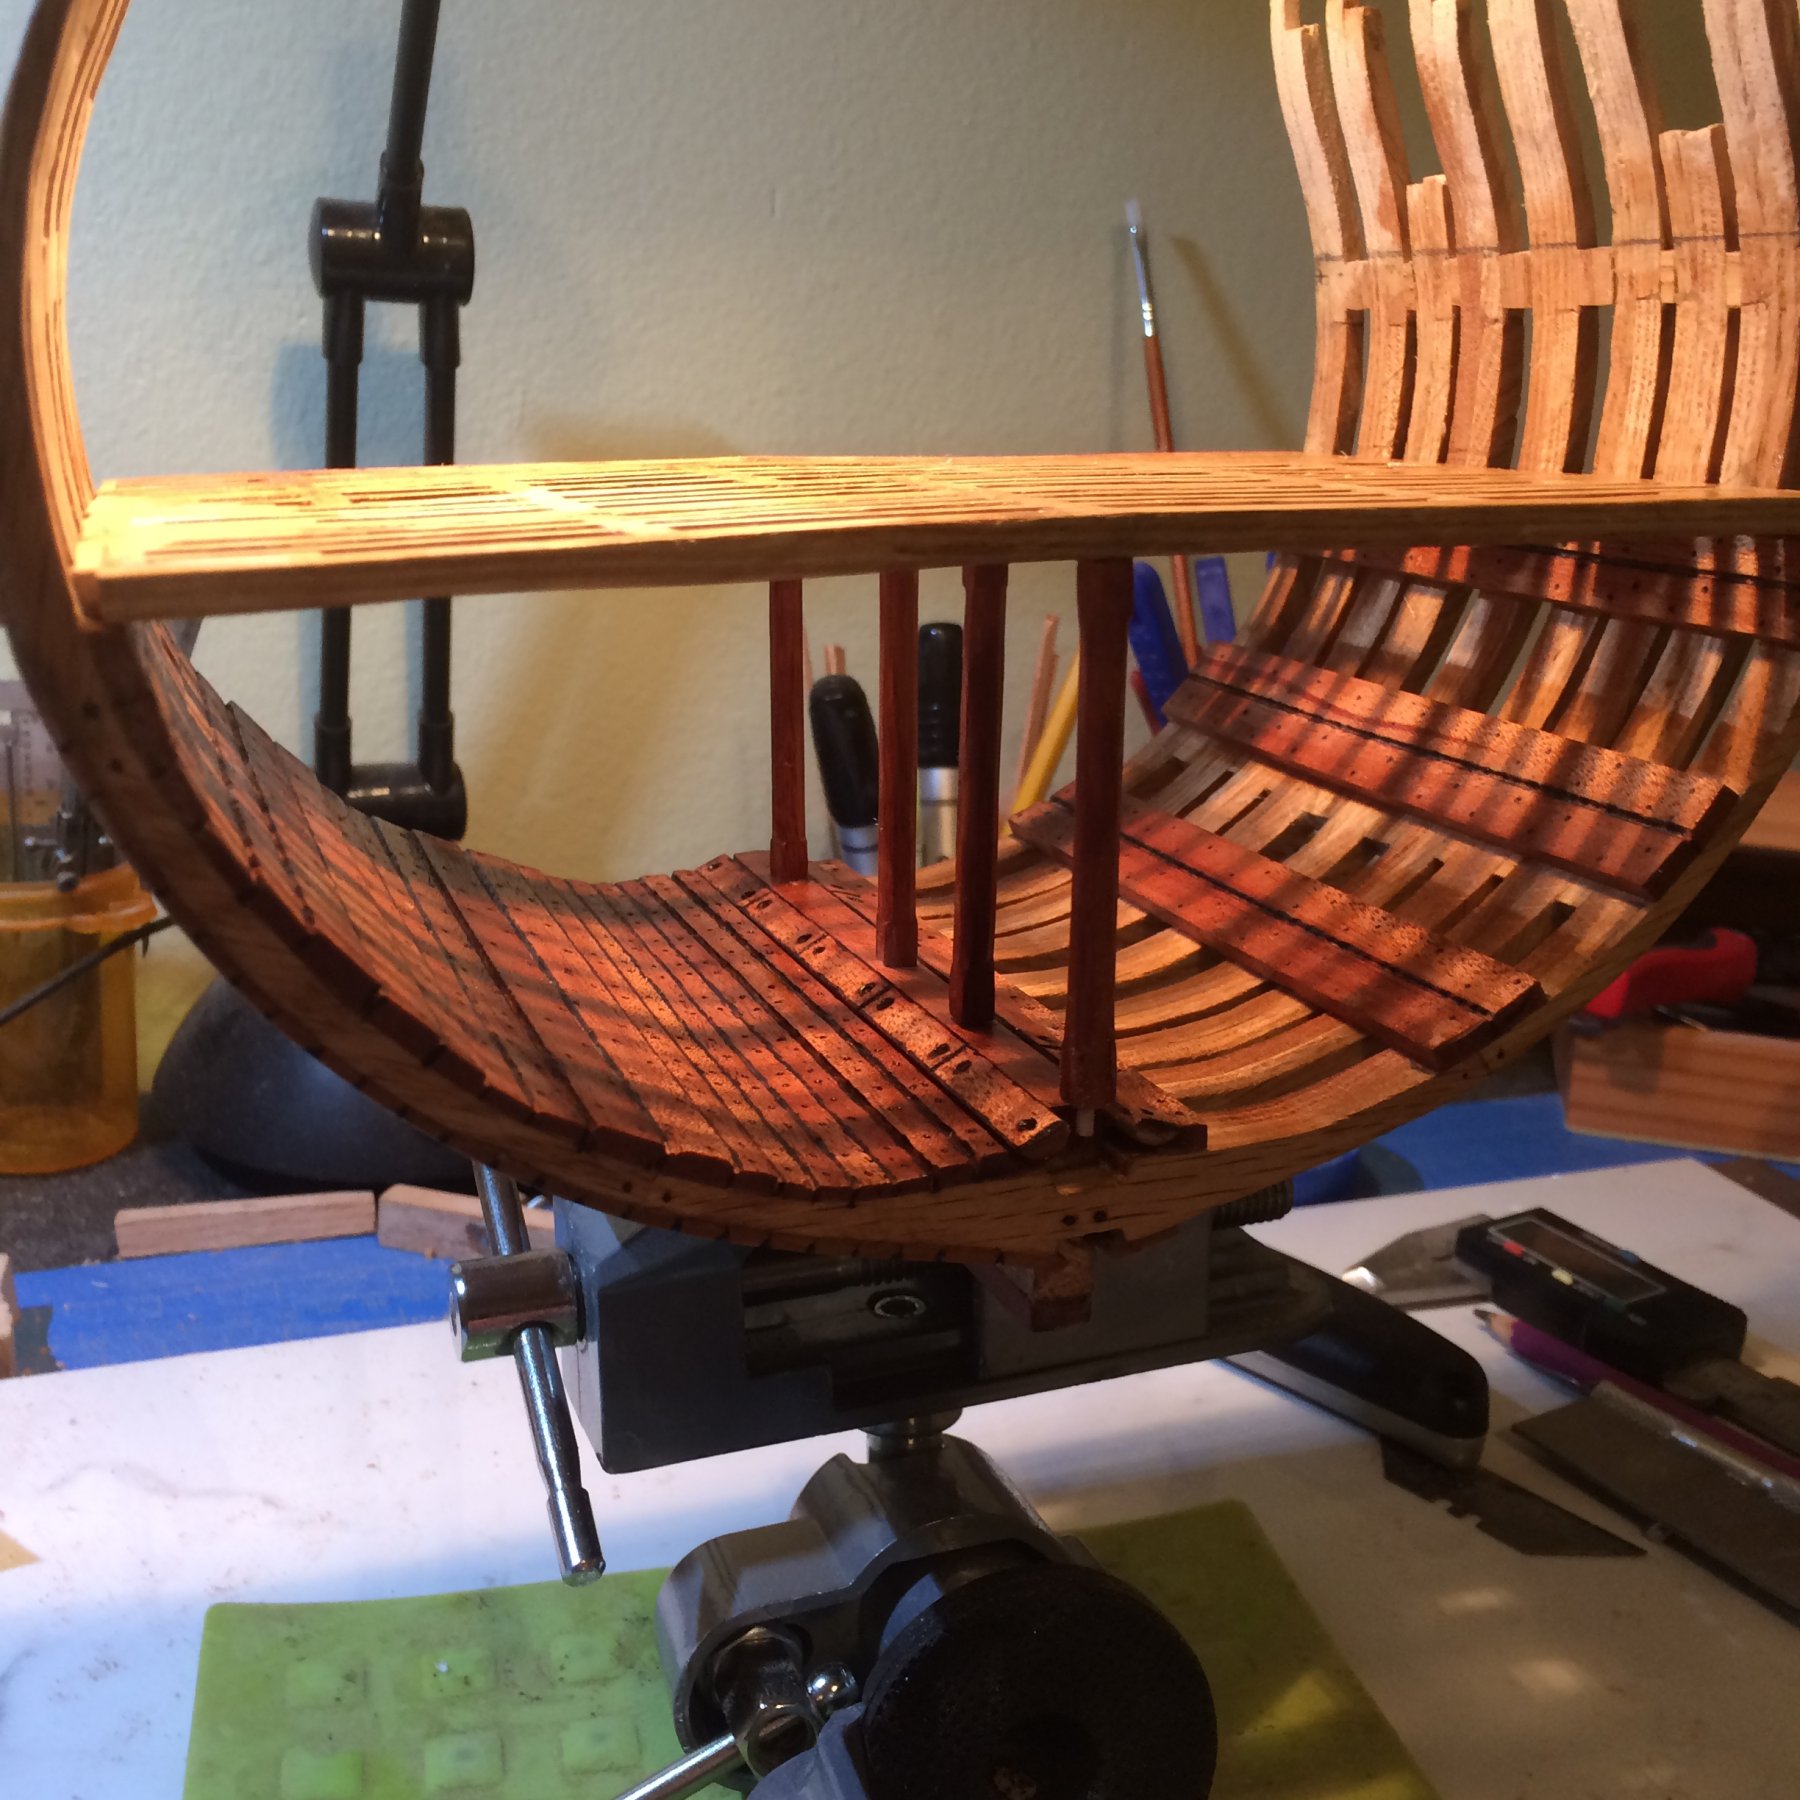
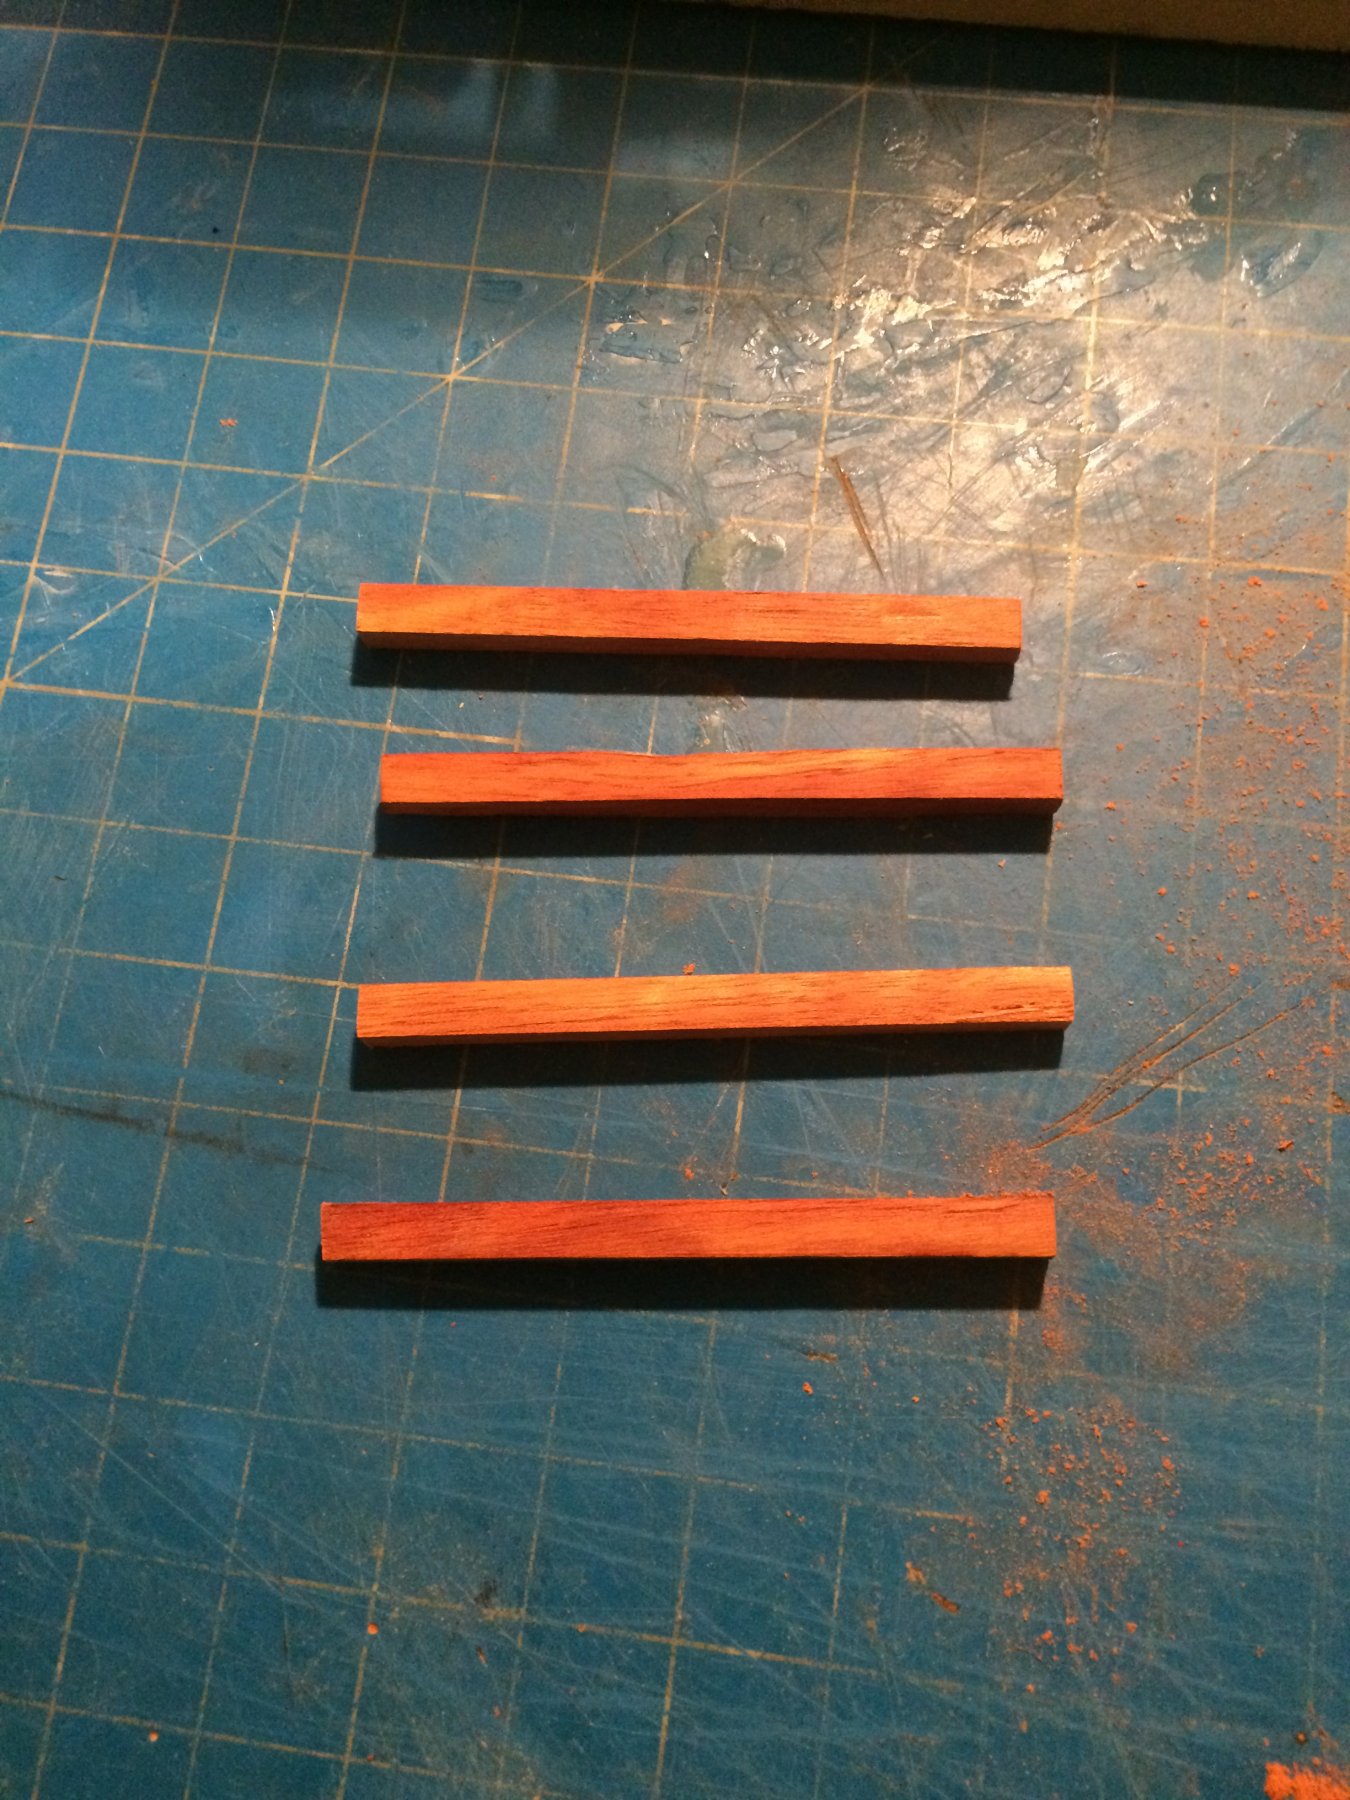
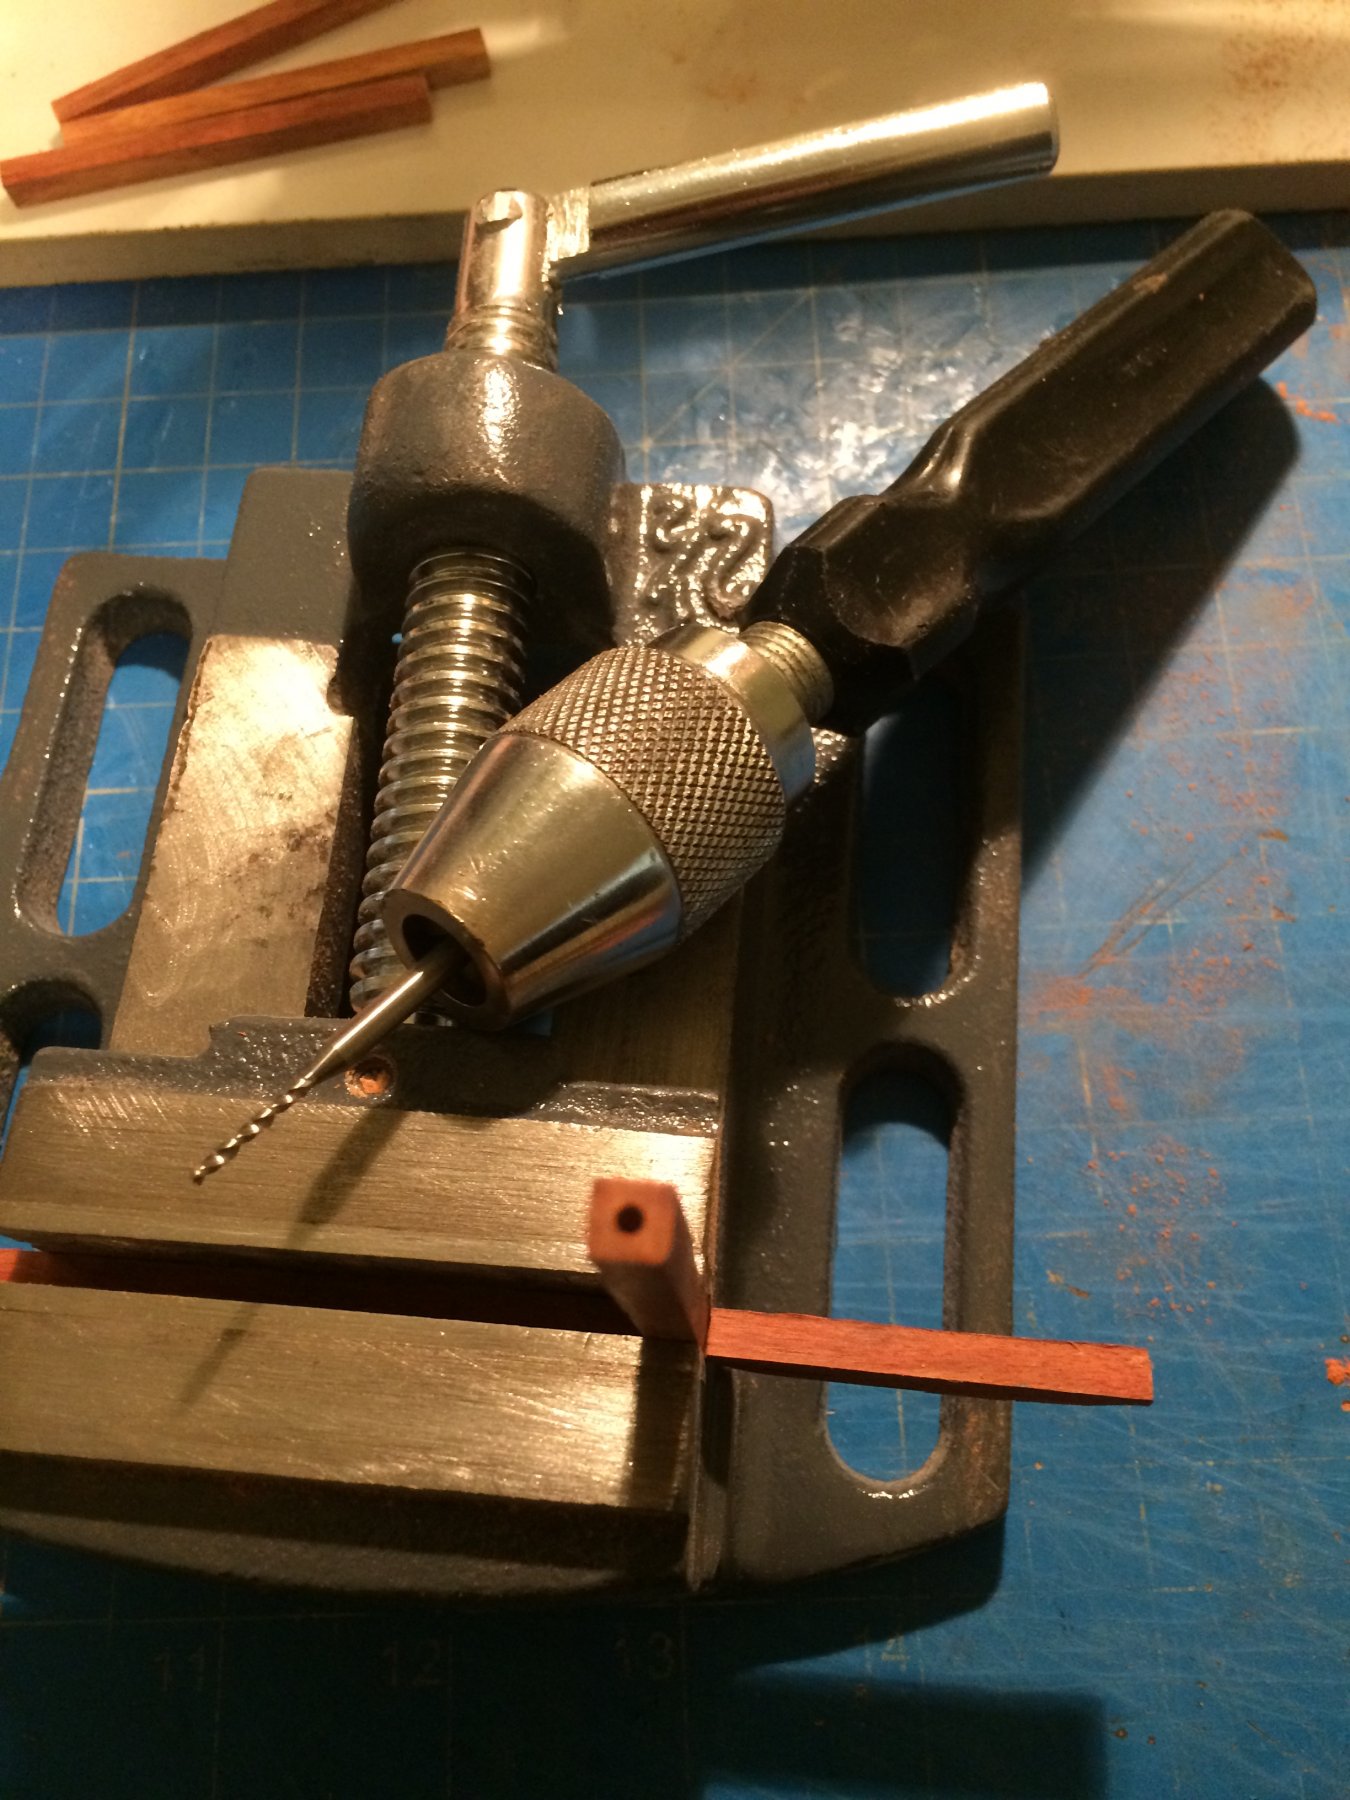
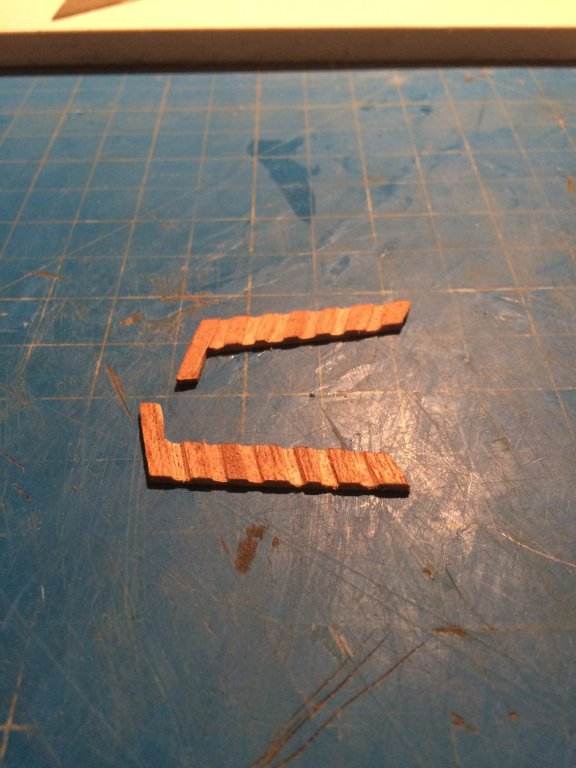
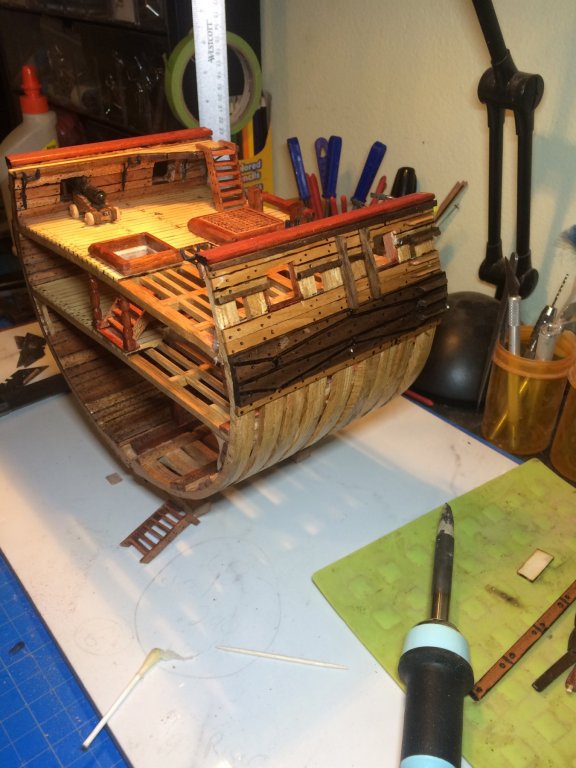
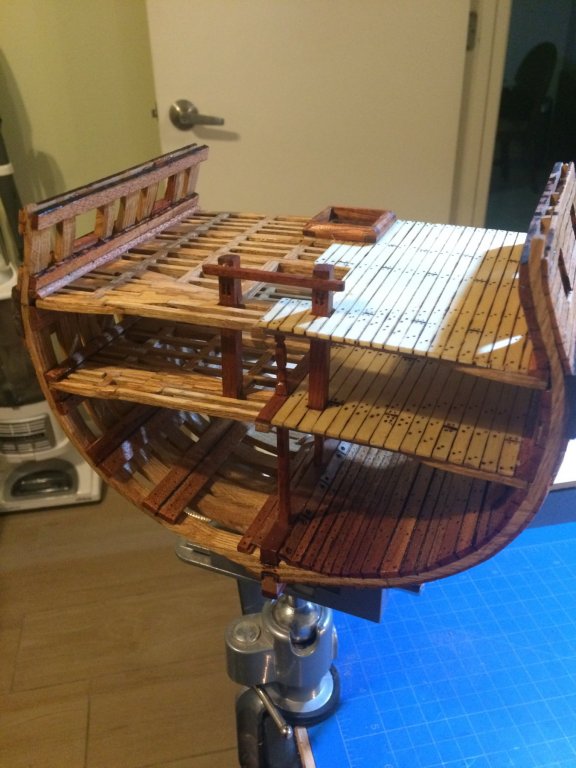
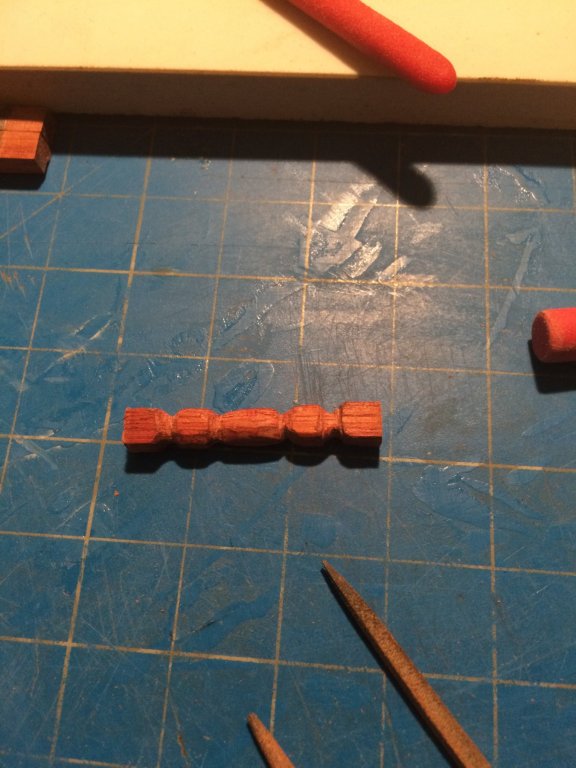
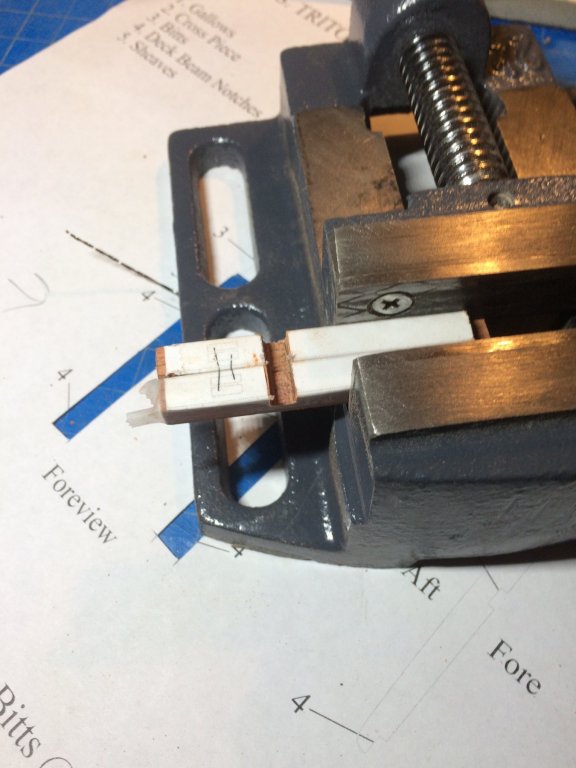
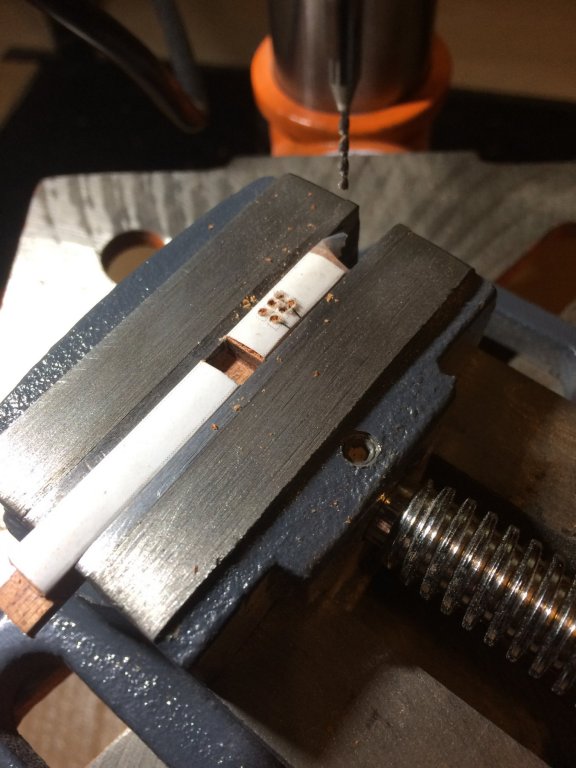
I made the center supports for the lower deck the plans showed square post , but I like the looks of the way G.L. did his , so I knocked off the corners starting from 1/4 “ in from both ends. and i I drilled the ends to slide in my pegs . Then I drilled holes in the bottom side of the lower deck and keelson and assembled and glued down the lower deck . That felt like a milestone lol . While I wait for the glue to dry I started cutting out pieces for the Main Sheet bits. First I cut blood wood to the desired size and sanded it to the final demensions shown on plan. I then used a coping saw and files to cut my notches Using a drill press I drilled the spots for the sheaves as Tony K and G.L . did in there logs. Now that the glue has dried and I have removed the clamps here is a few pictures of how she is looking. Thanks for looking in on my build. Derek C


-
Missing Drawings?
Derek C replied to Derek C's topic in HMS Triton - 28 gun frigate's Cross Section Build Logs for HMS TRITON
Thanks Mark I found it in the full build drawing section ,I appreciate the help. Derek -
Hi guys I'm not sure where this should be posted ,but since it's cross section related i figure i would start here. I have downloaded and printed the cross section drawings and can't seem to locate the drawing that shows the center beam supports that hold up the main deck beams . Am I not seeing them or are they not there ? Any help would be greatly appreciated . I have looked thru some logs and have a pretty good idea,but would really like to see the drawing. Thanks Derek C