Tim Moore
-
Posts
357 -
Joined
-
Last visited
Content Type
Profiles
Forums
Gallery
Events
Everything posted by Tim Moore
-
Haha, enjoyed reading your post. Loved your classic paragraph about the pitiful instructions, nailed it! You obviously have the right temperament for success in our hobby. Tim
-
And this week's mystery kit part is...........
Tim Moore replied to MacBeagle's topic in Wood ship model kits
Hi Andy. I believe it is fitted on the mast, teeth down, and the jaw fitting at the end of the horizontal boom rests on it. -
Stupendous work, a real treat to look at. Alive with so many well crafted details, you have created a really engaging narrative. You have a great colour sense too.
-
From someone who also fails to fill his fathers shoes, let me just say he would be tickled that you are taking this up, and you’ve come to the right place to be successful at it.
-
What an absolute gem! Gritty and visually striking rendition. That is awesome, extremely well done.
-
Astonishing work! Shrink me down so I can take her for a spin.
-
Dan, that is just an amazing job. I’m from Peterborough and your model belongs in the canoe museum there!
-
That’s just crazy good. Perfectly finished, well done.
-
Your Cobra model is an absolute beaut, Rob. Great finishing. Demanding kit to build, I would bet it feels pretty solid holding it. I made a bollocks of the bonnet hinges on my Fiat 806. I eventually just put it down as wabi sabi.
-
Congrats Rob, another gem of a model! Really appreciate your detailed explanations of how you go about tackling every challenge.
-
Another jewel in your remarkable collection Chris! Meticulous bit of craft, really well done. I enjoyed following along the journey with you,
- 85 replies
-
- 11
-

-
Beginner - Rigging Tools
Tim Moore replied to nheather's topic in Modeling tools and Workshop Equipment
Hi Nigel - enjoy your upcoming build in the new year! Have to agree with toolmaker Paul’s suggestions, decent tweezers and particularly those collapsible eye needles have been exceptionally useful in practice. -
I build models to escape, to occupy my busy hands and mind. It gives me something to do where I am only answerable to myself. The process is important to me, and I get a sense of accomplishment, although, like a jigsaw puzzle, I only rarely bother to look at them when finished. The historical association is also important, getting to know and appreciate the subject matter. Nobody in my family or close to me ever built models, so for me there is no familial association or trigger.
-
A lovely finish in all respects. Very well done, a pleasure to view your work.
-
Well I think it is an outstanding sub presentation to my eye. Bravo! And I appreciated you showing all the steps in the water building.
-
Well done AL producing Bounty’s big brother - well presented! Got a fine result from the Bounty kit.
-
Hi Chris. This is the process I have followed on colour boundaries on my hulls and it has given me good results. I usually take the tape up soon after I’m finished rather than let everything harden. Seems to work best. I usually only use latex paints. Thukydides is quite right you usually want to do the darkest colour last, but in your case I imagine there would be difficulty trying to set tape on that small element, which is also curving opposite to the plane of the masking tape.
-
I would paint the upper as you plan to do, mask it off, brush on any clear finish on the rail to perfectly seal off the edge of the tape, then paint the rail. You should get a good result if you do that.
-
A sensational work of art and craft!
-
Incredible Rob! Just catching up on the build, you really nailed it. It’s a jewel.
-
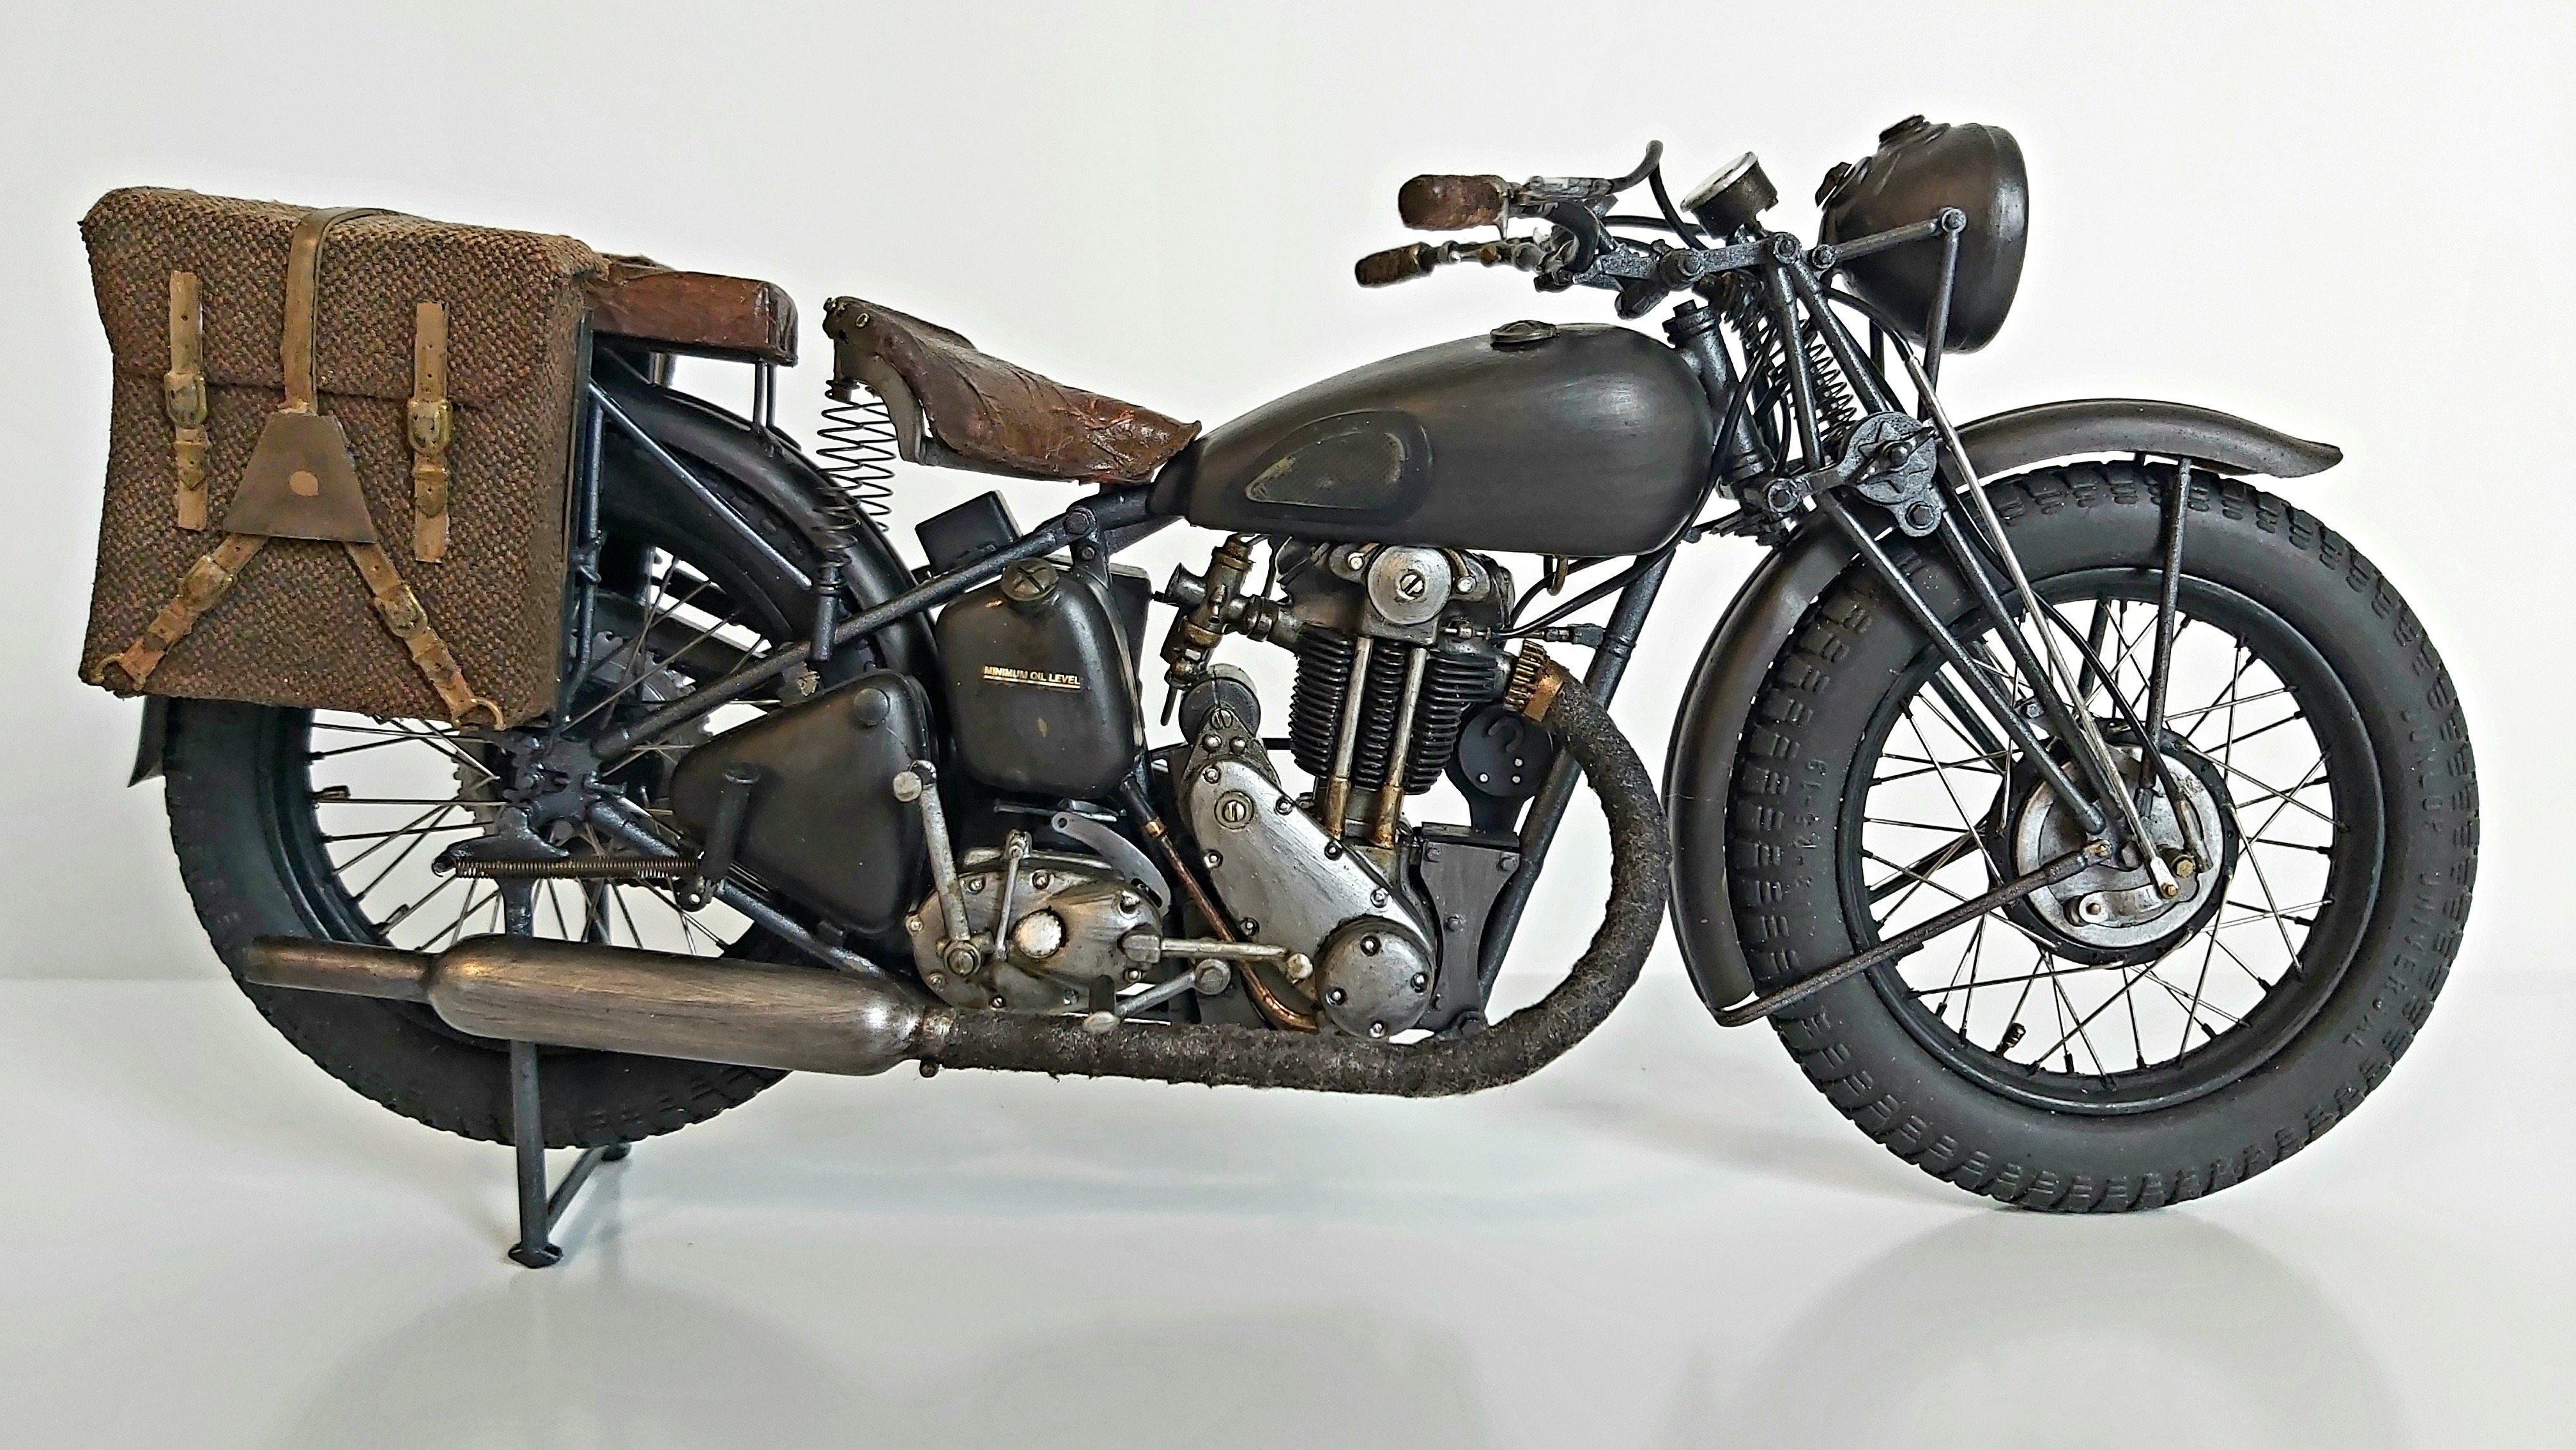
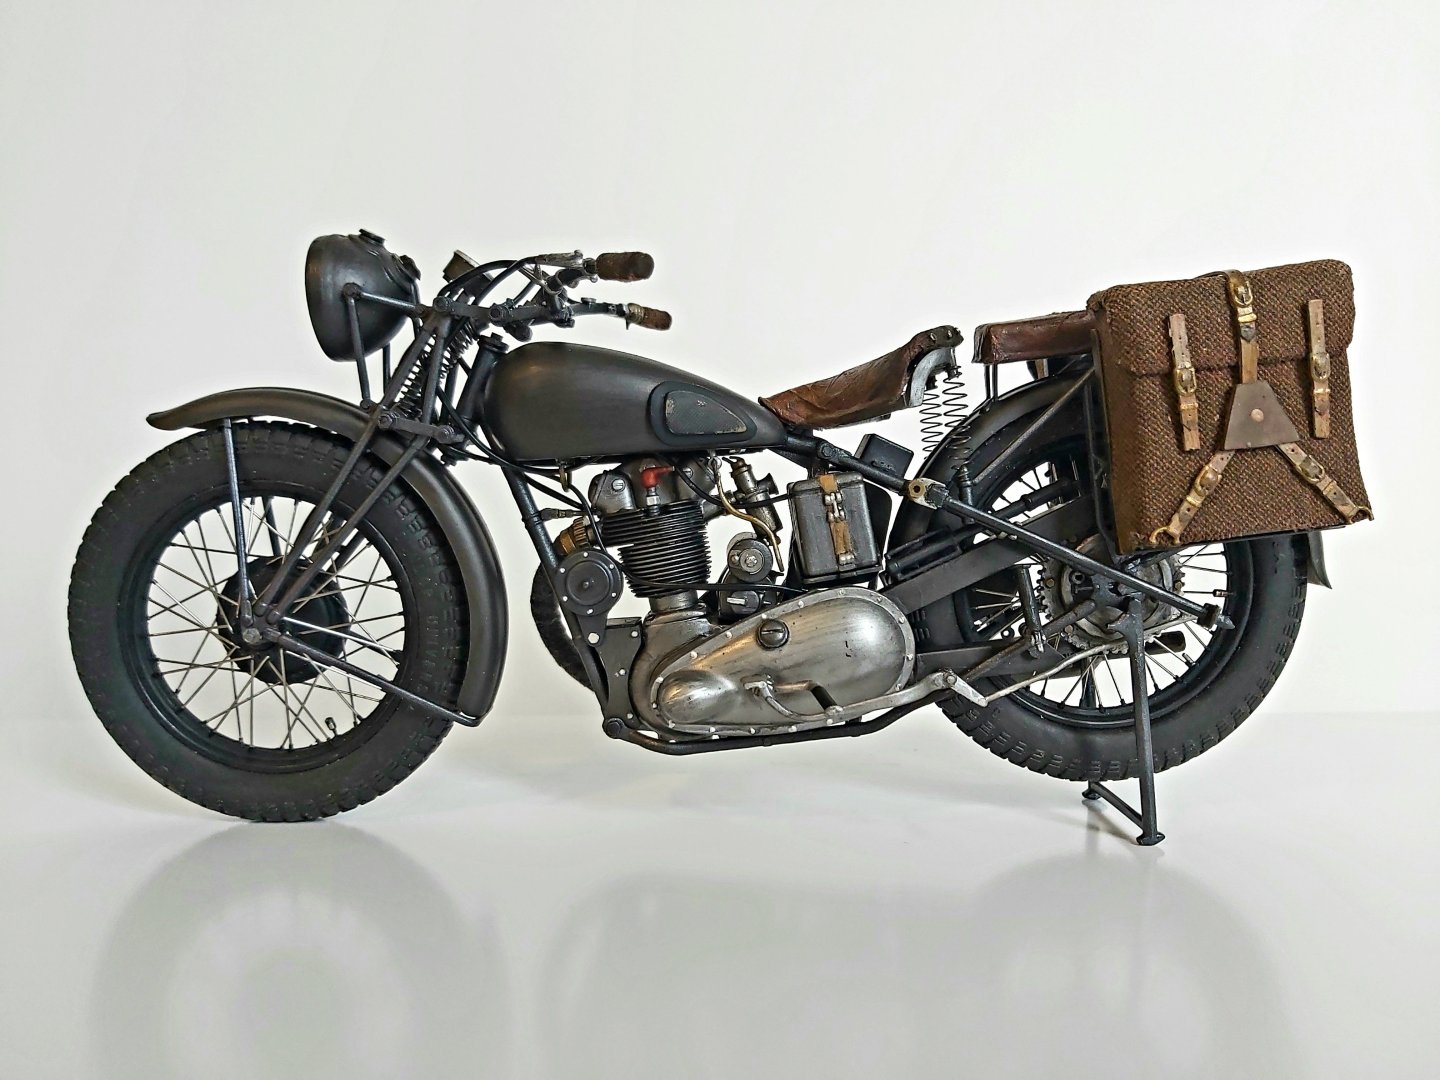
Triumph 3HW by Tim Moore - Italeri - 1/9
Tim Moore replied to Tim Moore's topic in Non-ship/categorised builds
Thanks Shipman, and you are quite right, I have demonstrated a willful disregard for historical authenticity! To be honest I thought about a desert version but it came down to paint I had on hand.- 77 replies
-
- 10
-
-

-
Triumph 3HW by Tim Moore - Italeri - 1/9
Tim Moore replied to Tim Moore's topic in Non-ship/categorised builds
Thanks Rob, appreciate your comments, great to hear from the North Channel! Just took a look at your Crocker build, wow that is going to be pretty amazing methinks. I will have to pass on Egilmans ‘honey I shrunk the bike’ award to you when you pull that together. -
Triumph 3HW by Tim Moore - Italeri - 1/9
Tim Moore replied to Tim Moore's topic in Non-ship/categorised builds
Those spokes look pretty good against a dark background…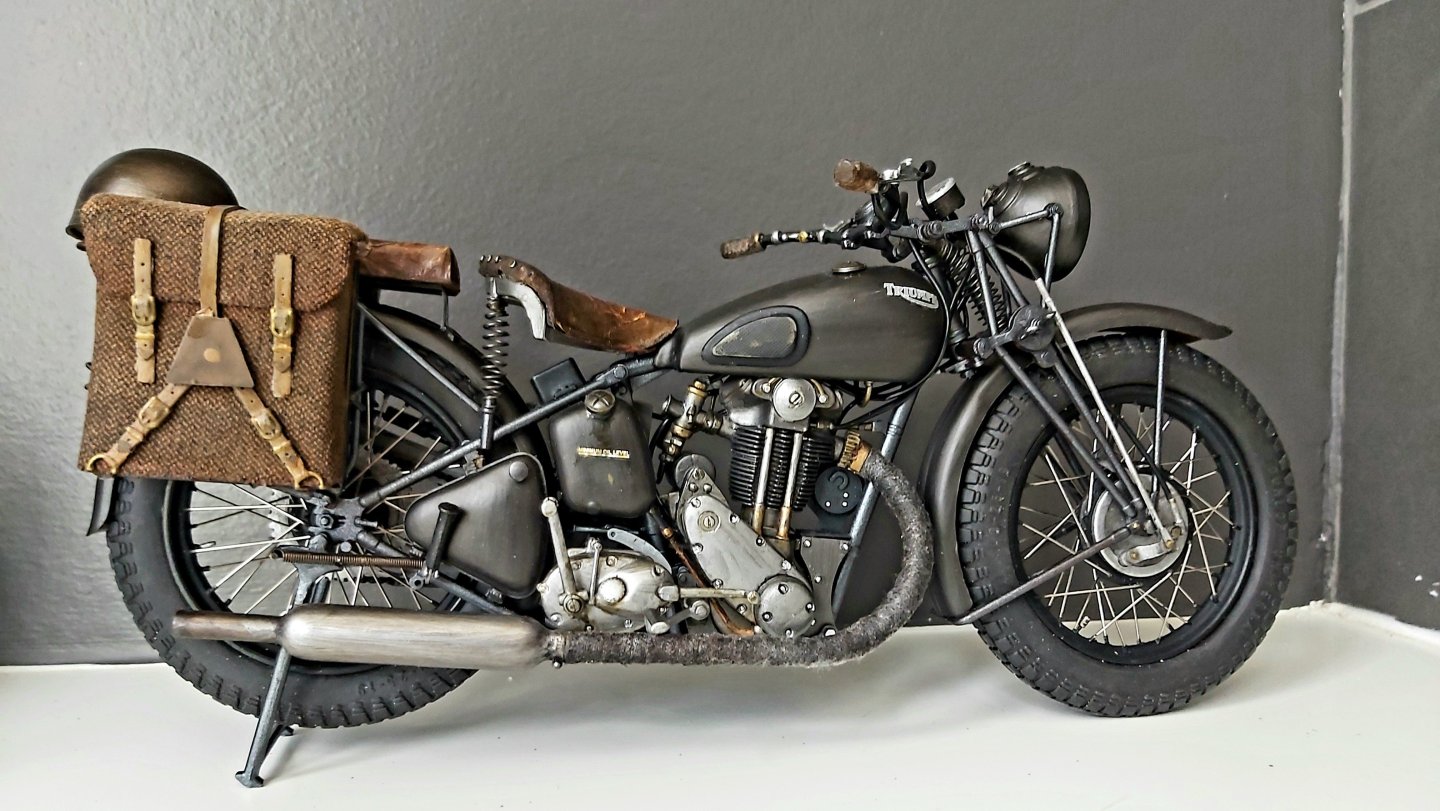
- 77 replies
-
- 14
-
-

-
Triumph 3HW by Tim Moore - Italeri - 1/9
Tim Moore replied to Tim Moore's topic in Non-ship/categorised builds
Thanks to everyone for dropping in….like the sound of the Manx bike for a future project, and am totally humbled by Kim’s house motorcycle model collection. Just some more cabling to finish, decals and final detail painting etc and I’ll wrap this up. Still have to go back and reset the slightly troublesome fork/frame connection so it works correctly. For the saddlebags I glued on a bit of old thin denim on the plastic and then stained it. Probably not quite scale but hoped it would visually suggest a canvas type fabric.
- 77 replies
-
- 16
-
-