


deaz
-
Posts
16 -
Joined
-
Last visited
Content Type
Profiles
Forums
Gallery
Events
Posts posted by deaz
-
-
I don't think it's been said yet, regarding epoxies: working time and set time aren't the same. The times quoted on most off-the-shelf epoxies is the working time. This is the time that the epoxy is easiest to work with and still fluid enough to move. This isn't an exact time 5 min might not be 5 minutes, 60 minute might be 45. It depends on how much hardener was added, how well it was mixed, etc. Set time for many epoxies is 24-48 hour. This is the time in which it will become fully cured, again not always exact.
In the OP, after 5 minutes and through an hour it was still gummy. This isn't surprising or unexpected, rather it's quite normal for that type of epoxy. I've used 5 minute epoxy that's taken a week to cure completely!
I won't go into the epoxies that only harden with UV light... or are flexible even after fully cured....
-
-
-
-
One advantage to the smaller pieces (more cuts) would be if one piece didn't print well, it would be quicker and easier to try different printing settings in an attempt to get a better print without having to reprint half the cannon.
I honestly think either approach would work though.
-
I didn't expect you to know nozzle size, or some of the other details for that matter. It's something they should know, as it would go into calculating the right wall thicknesses to make number of passes an even number.
0.15mm is much more reasonable. Yet you should have been able to get more/finer detail than you did, even under large zoom. And I will freely admit looking at a picture isn't the same as holding the part in your hand, it might not be a bad print at all. It'll be interesting to see what you learn from meeting with them.
In the end, it comes down to whatever you are happy with, not everyone else's opinion.
-
-
6 minutes ago, AON said:
Druxey and Dowmer
Thank you for the comments.
The printer was set at 1.5mm layer thickness and 20% fill. I confess I do not know if this is good or bad.
Trying again vertically in two or three pieces might be worth trying. The insignia could would be applied seperately.
I've been watching numerous YouTube videos regarding gluing and smoothing.
Thank you again.
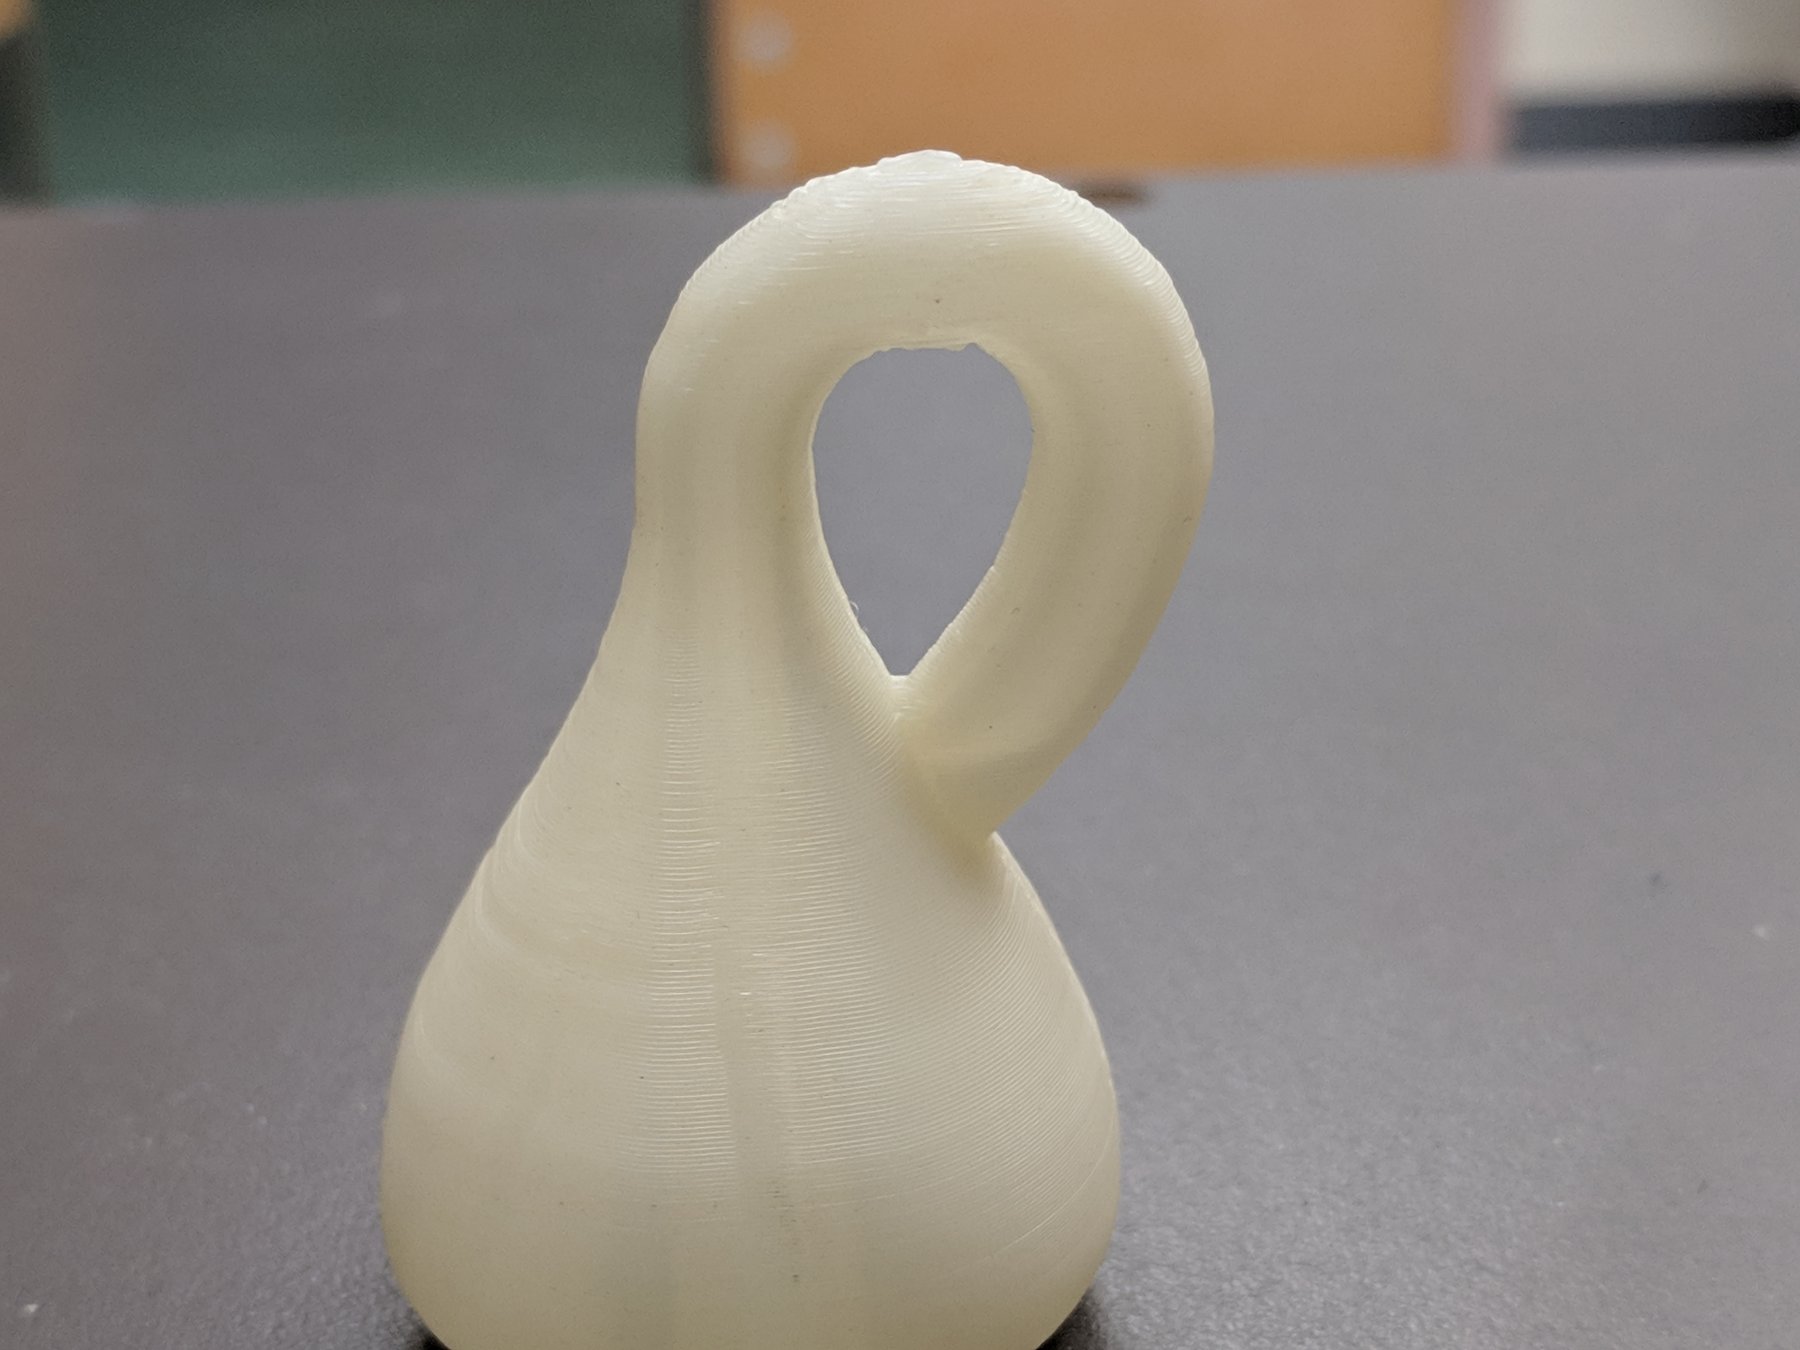
I thought I would chime in here, because I actually have some 3D printer knowledge (one is sitting on my desk behind me).
The layer height is way way too course for what you want. I typically print with a height of 0.2mm. I'll attach a "poor" print with this layer height. The infill amount is ok, and should be fine going forward.You should also consider wall thickness, for your cannon, a 1-1.2mm thick wall should work well. All this can/should be variables in the printer, limiting factors include nozzle size, print speeds, people making the print for you, etc. But they should certainly be able to produce a better cannon for you without having to remodel it for vertical printing.
Final thought: shorter print height will definitely increase the print time. I'd guess, without running the model through my slicing program, each half would be 3-4 hours... max.

-
I've already set aside funds for this. Patiently waiting for you to release it out into the wild. It looks fantastic, and I'm eager to try to do the kit justice.
- Canute, mtaylor, thibaultron and 1 other
-
 4
4
-
19 minutes ago, markjay said:
Welcome, glad to see another Arizonan on the Forum. If you would like to meet other desert mariners drop me a PM and I'll fill you in.
Sweet, I figured there had to be a few around, certainly going forward I'd like to possibly meet others, maybe learn a thing or two. I see you're in Phoenix, I'm located in Tucson.
-
32 minutes ago, ccoyle said:
No fear of that. If you already have the kit, then there's now harm in giving it a go. I heavily modified my kit, but I have seen it built essentially out-of-the-box -- just maybe a little more challenging to do than with some others.
Good luck!
Thanks! I'm not afraid of a challenge, so we'll see how it goes.
-
-
Thanks for the head's up ccoyle. I've already got the kit, had it for 5-6 years sitting on the shelf waiting for me to finish the Swift. I've been looking over the instructions and plans and already realized the instruction booklet wasn't going to be much help. I hadn't made it to the rigging diagrams yet. As a mechanical engineer by day, I'm quite use to incomplete, inadequate, sub-par documentation (sometimes my own fault, more often than not someone else's). Most of the time I can figure out what's suppose to go where and such.
As for this Fish kit, the wood looked pretty good, at least better than the Swift's. Though I'll freely admit, I probably haven't seen a kit with great wood to begin with. As for your other points, at this point in my skill level, I'm not really looking for a ship that's correct in every aspect, I'm looking for something that will allow me to develop the skills (planking) needed for those ships that will cost an arm and a leg, where I expect to have nothing but the best materials, period correctness, etc.
All that being said, as I start down this next journey, I'm sure I'll be back with questions about how to do this or that and complaints about the kit. At which point you can enthusiastically say "I told you so" because I'd probably say something of the sort if roles were reversed.
Cheers!
-
10 minutes ago, gbl said:
This was my first kit in 1997 and had to laugh ....... because reading your 1st two paragraphs reminds me that I had the same experience of mistakes and frustration.
Recall I was really, really upset that after completing the planking of the hull, the pieces that had to be fitted on each side of the bow (not sure the name) where the anchor chain came through from the deck did not fit properly due to my incorrect planking. I didn't touch the ship for about a year because of this but finally talked myself back to the table as you did - it was my 1st kit, mistakes apart of the learning process, so just continue on. I re sized these 2 pieces and completed. Today I am happy with how my kit turned out.
Ugh! So many mistakes... I laugh now, but at the time... Those pieces you're referring to, I worked really hard at getting them to fit, and still look like they belonged.
And the holes that were suppose to go through to the deck for the anchor ropes/chains, I couldn't figure out why the instructions were calling for a 0.5mm hole...but I drilled them as 0.5 only after stringing the rope for the anchors and finding some additional fittings did I figure out they should have been 5.0mm. I left them; artists discretion, right?!
Add a few other mistakes found in the plans, the last 6 months weren't without their own frustrations, but I made it through. And like I said, learned to enjoy the process.
-
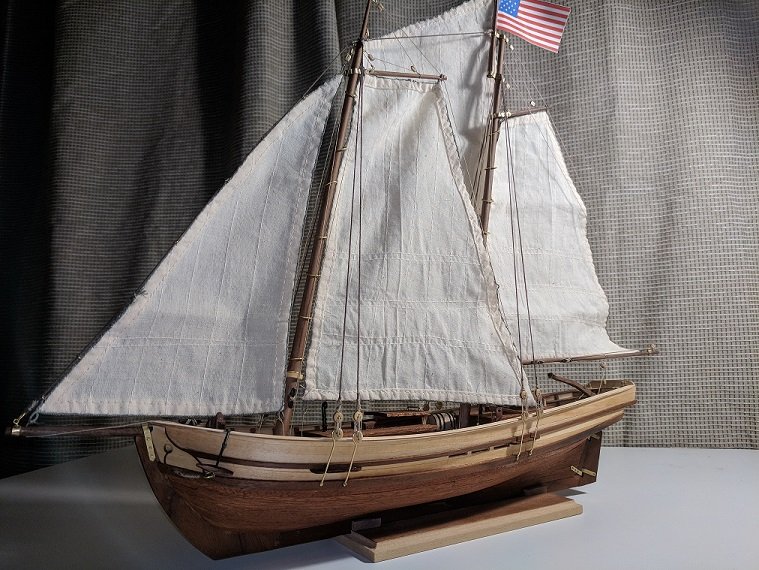
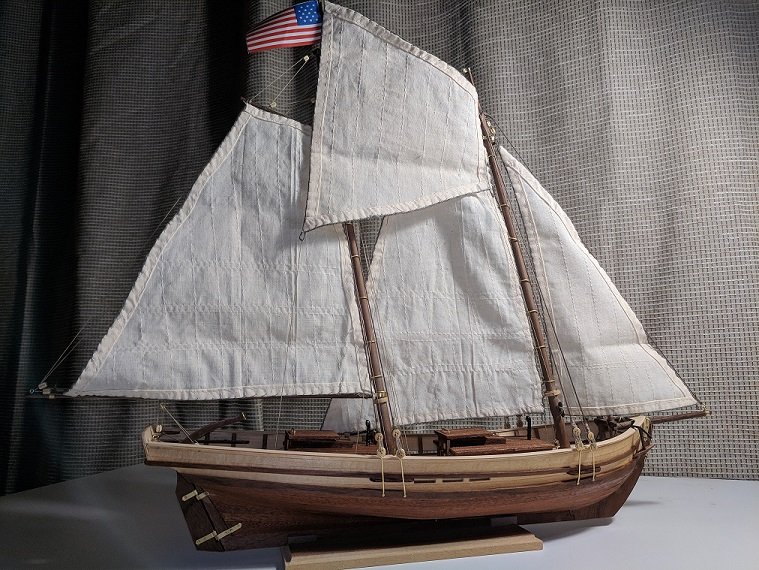
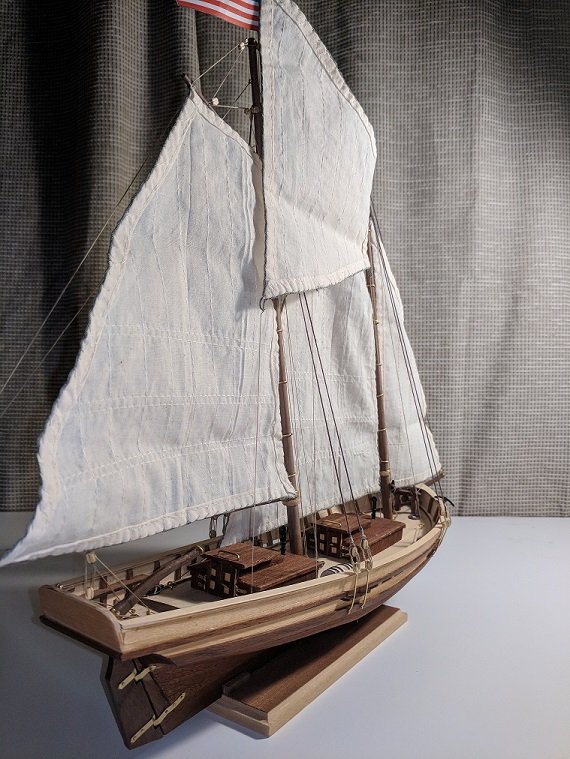
I'll start off by saying I've finished my first wooden model boat. An A.L. Swift 1805. I started it a few years back, then due to planking frustrations, life, etc. it was set aside. The unfinished model always lurked in the back of my mind; needing a distraction from life events that were out of my control, I pulled it out of storage about 6 months ago. I decided despite my mistakes (there have been many) I was going to finish it.
I pushed through, telling myself that it was my first wooden model, there were going to be mistakes, it's part of the learning process. I started having fun, really enjoying the process. And as of last week, it was completed. Overall, I'm happy with how it turned out for a 1st timer, I learned lots, still have lots to learn. But I think more than anything, I've grown to enjoy the process rather than the final result. At 35 years old, I have time to become better.
I think I will take some time off before starting the next model, but am looking forward to the next one. I have a couple on the shelf to choose from (bought several years ago on a whim, they were on sale...). I find myself leaning towards Corel's Flying Fish, alot more challenging than the Swift, but I still think it's doable with my skills where they're at.
So without further ado, here is the less than perfect, but I'm happy with how it turned out, Swift...

Rules for posting and joining the Medway Longboat group project
in General discussions/How to join
Posted
I still need to get mine ordered. Life has unfortunately gotten in the way of everything. I still plan on starting just don't know when. 😕